Blog by Steve Laug
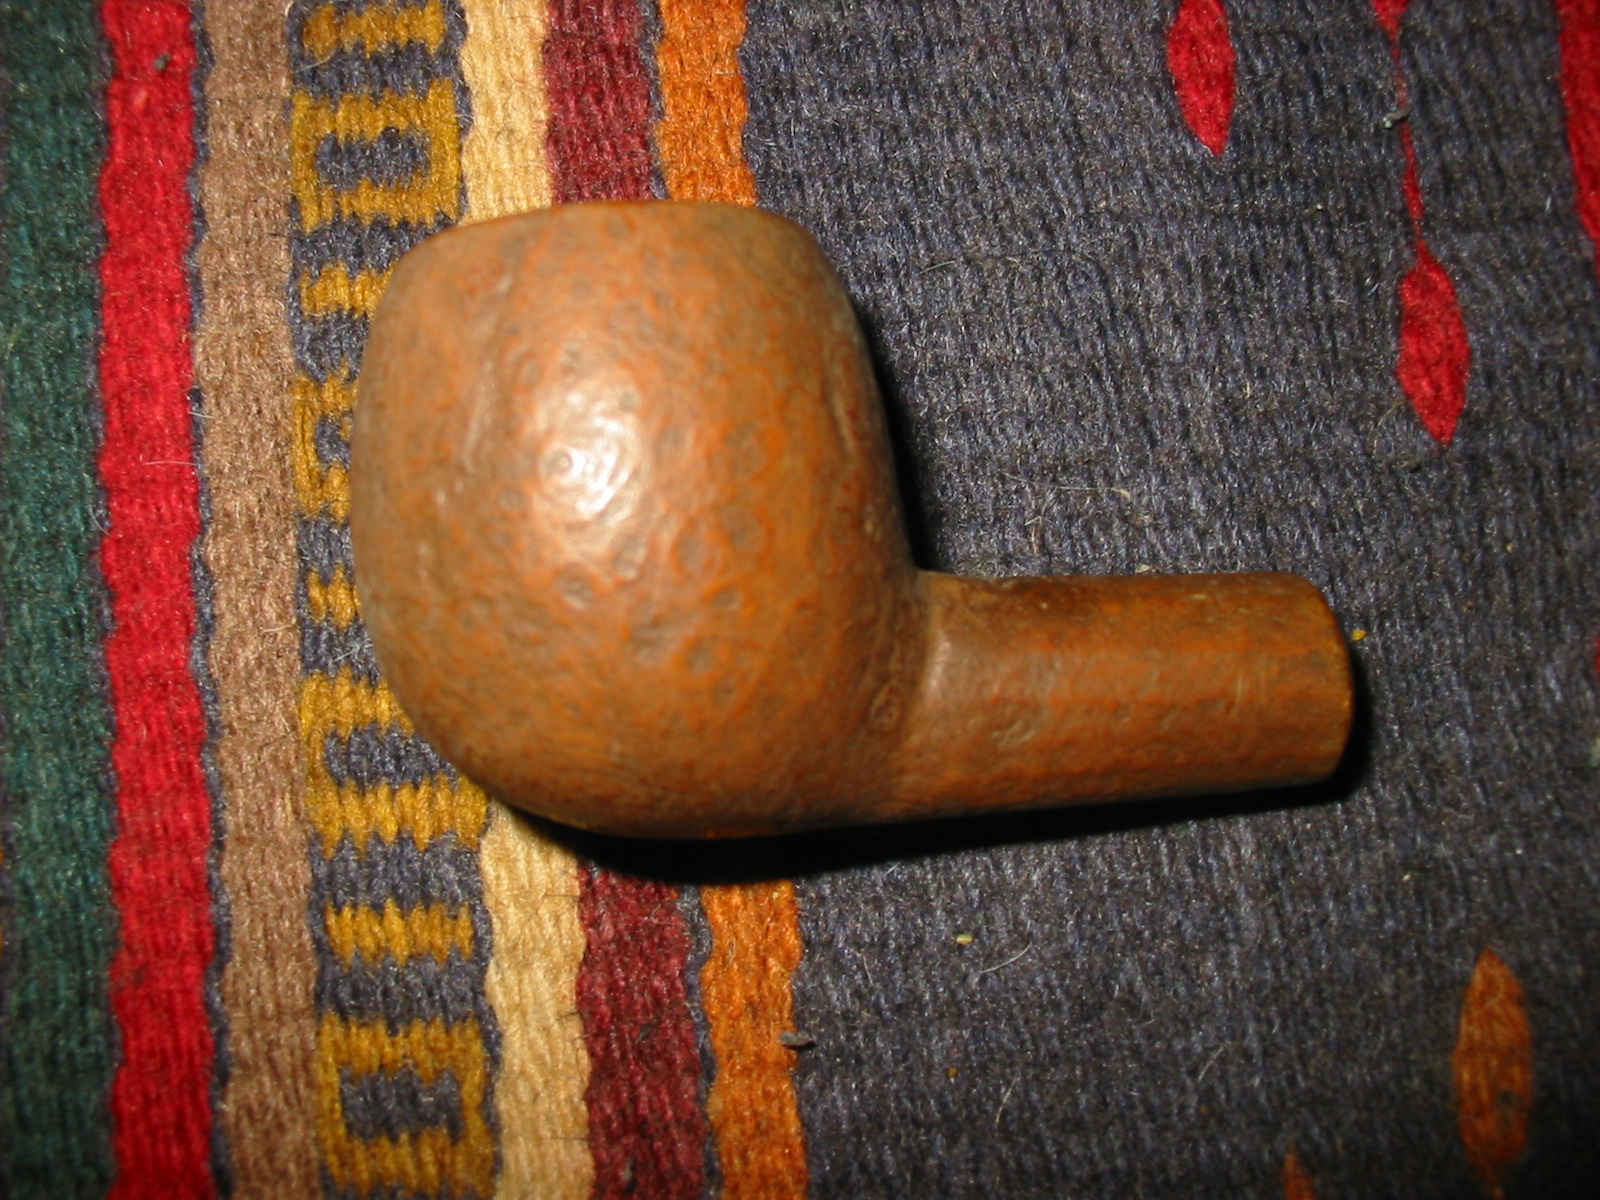
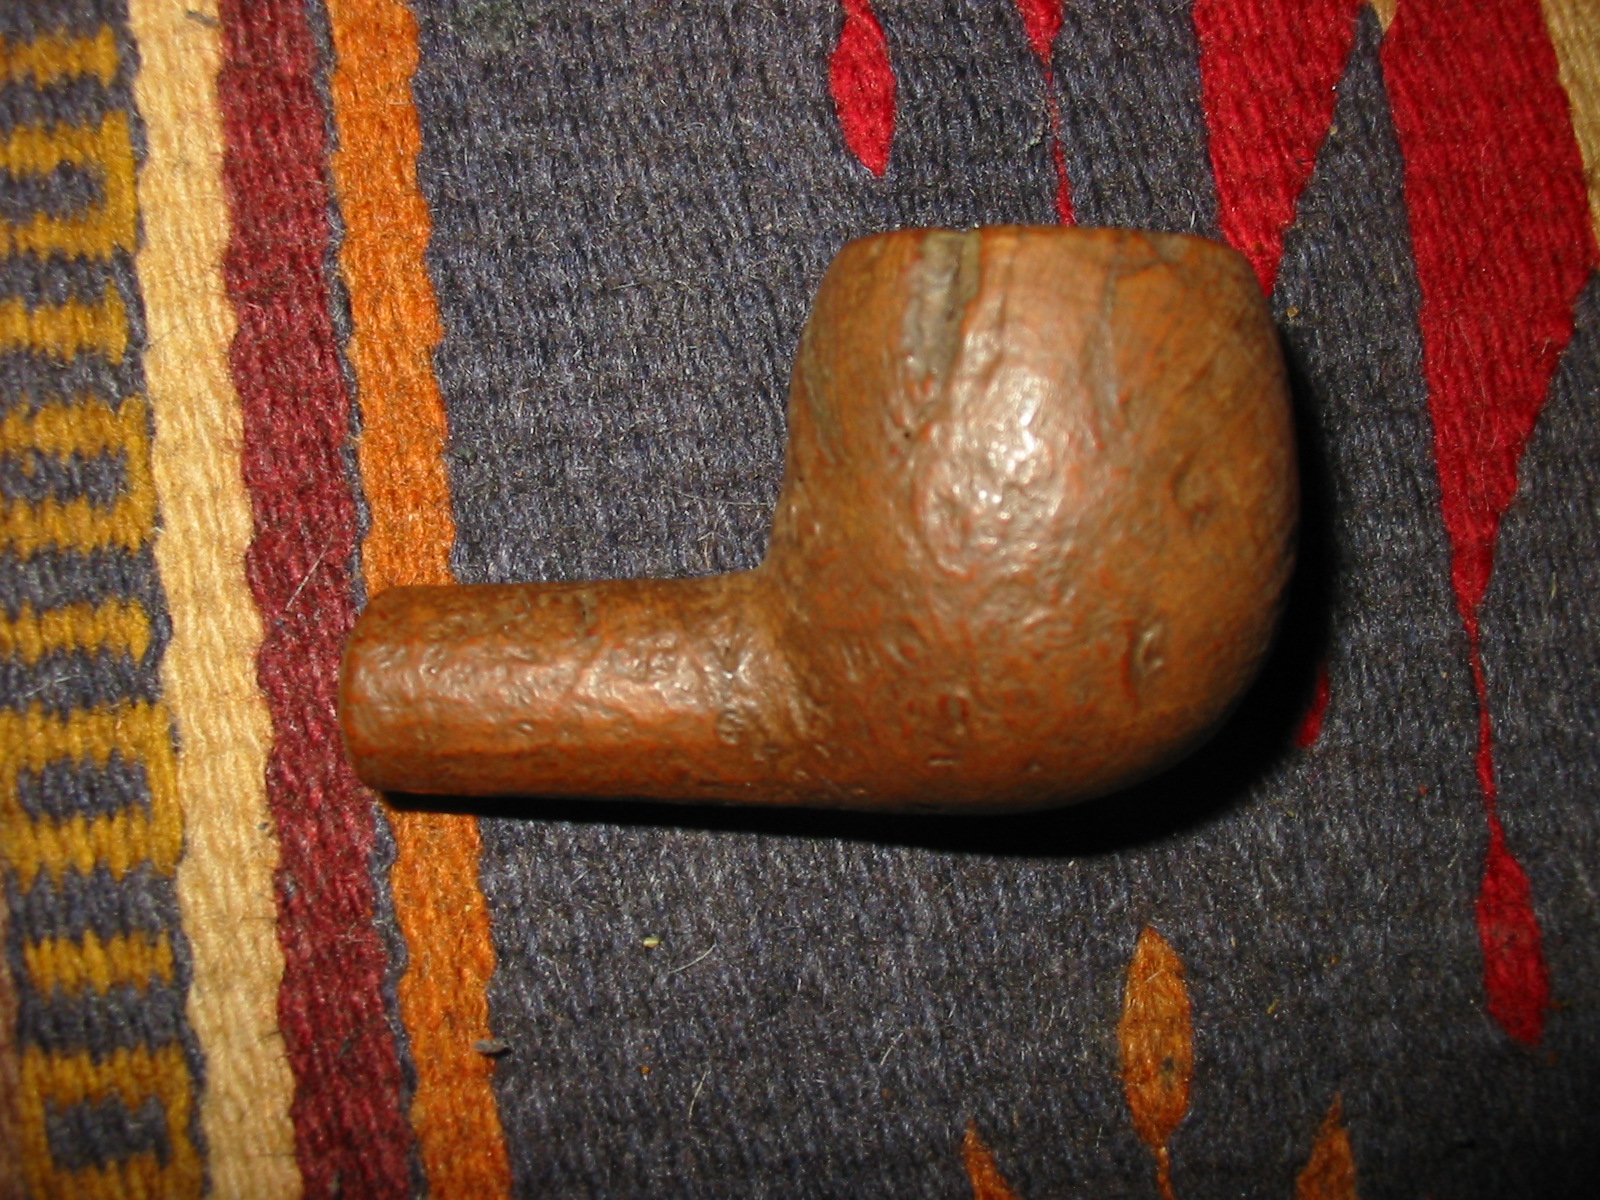
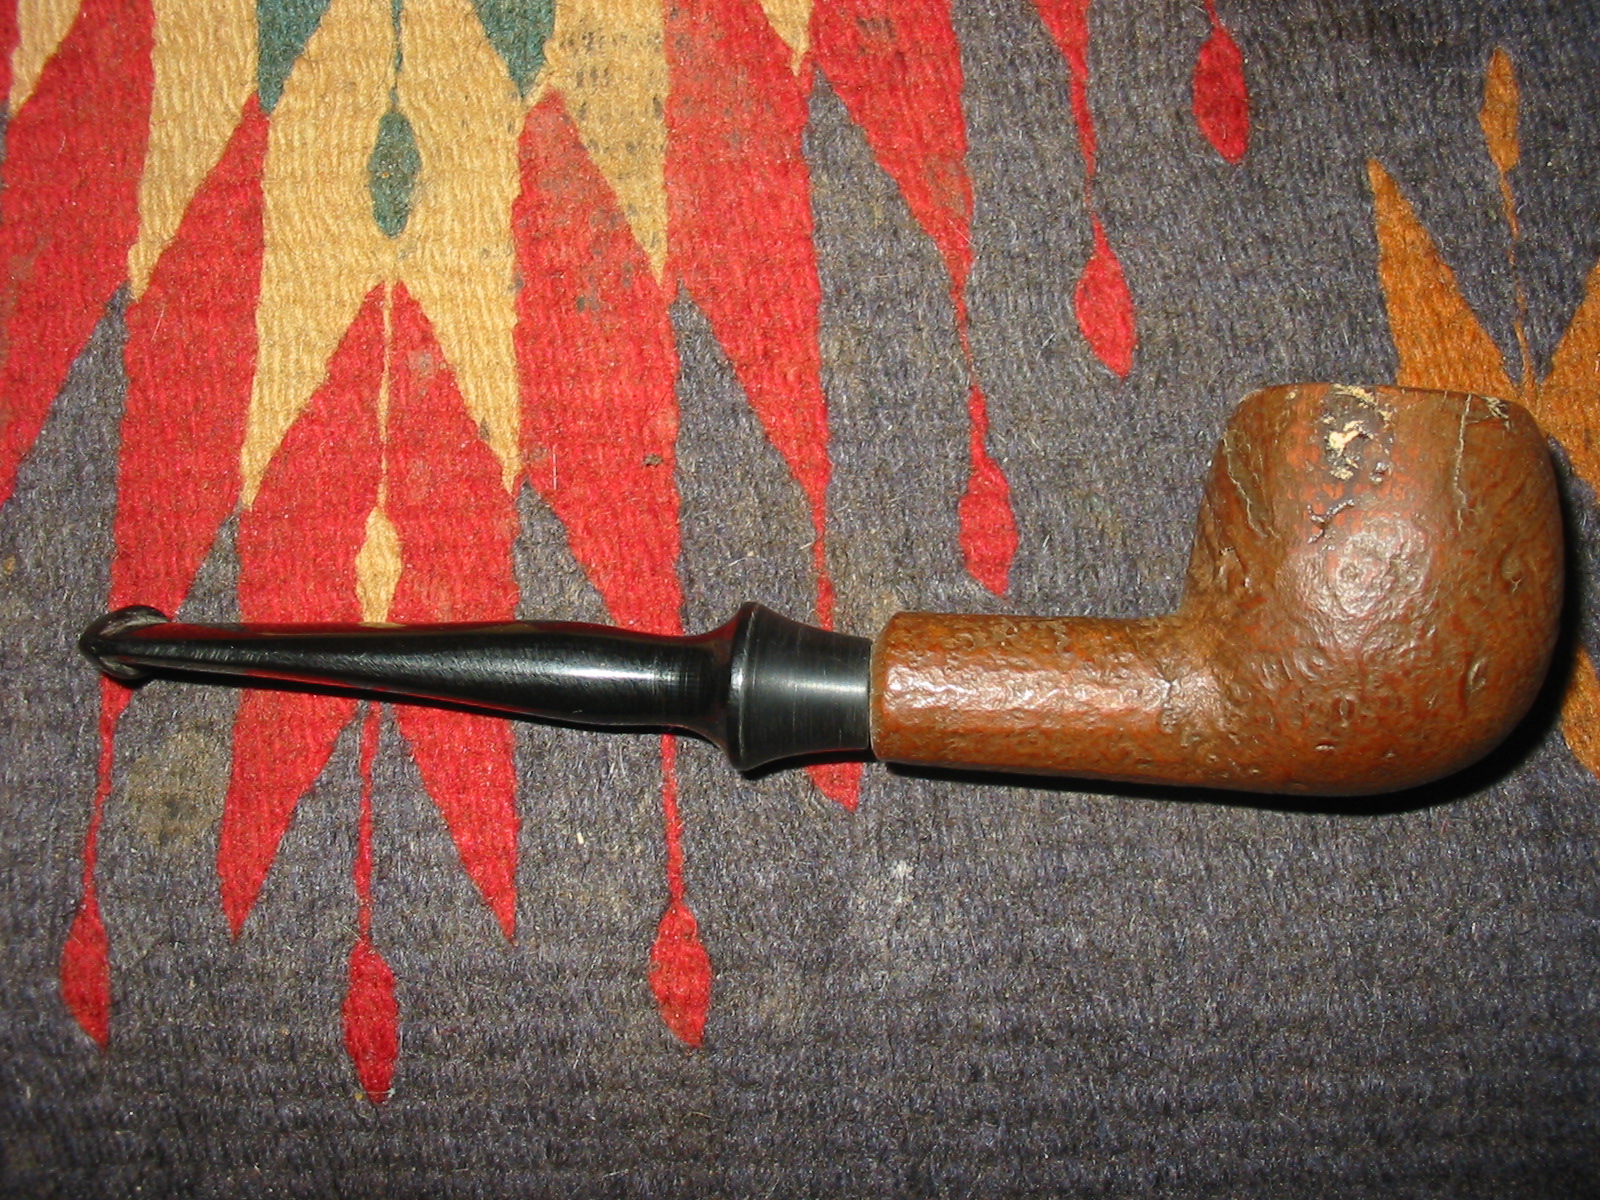
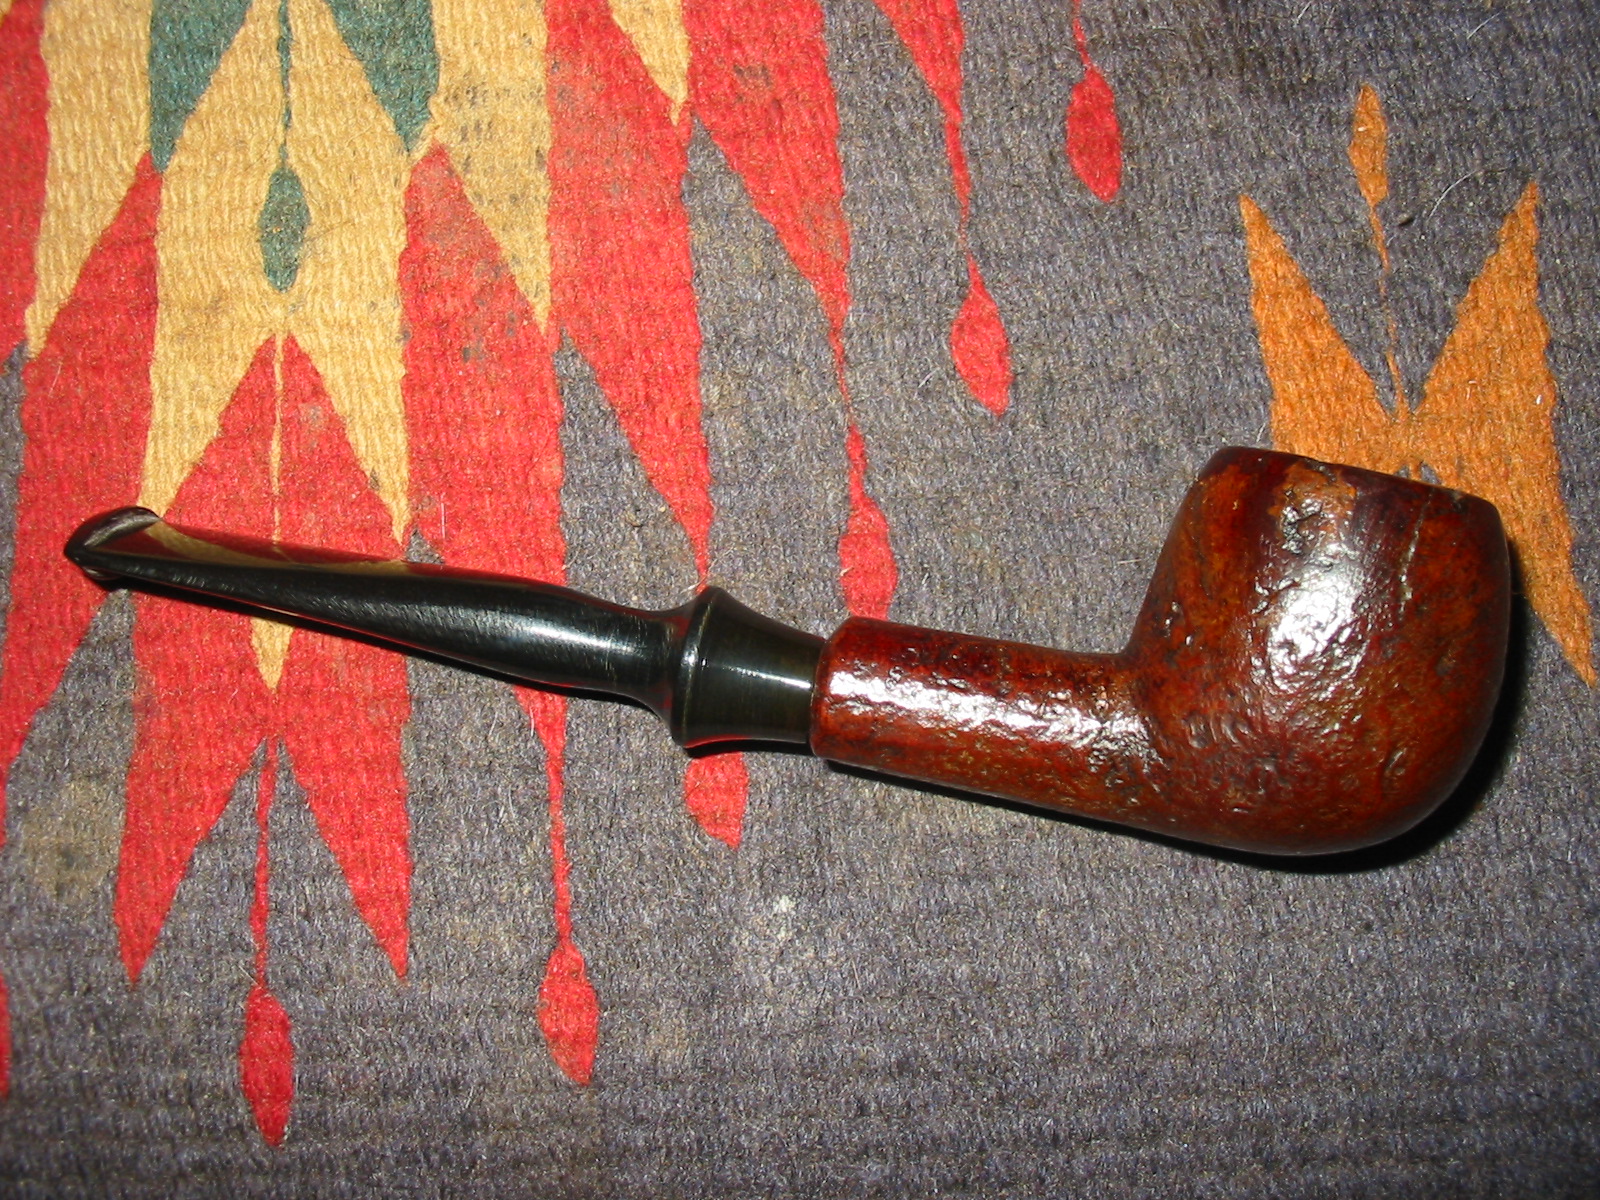
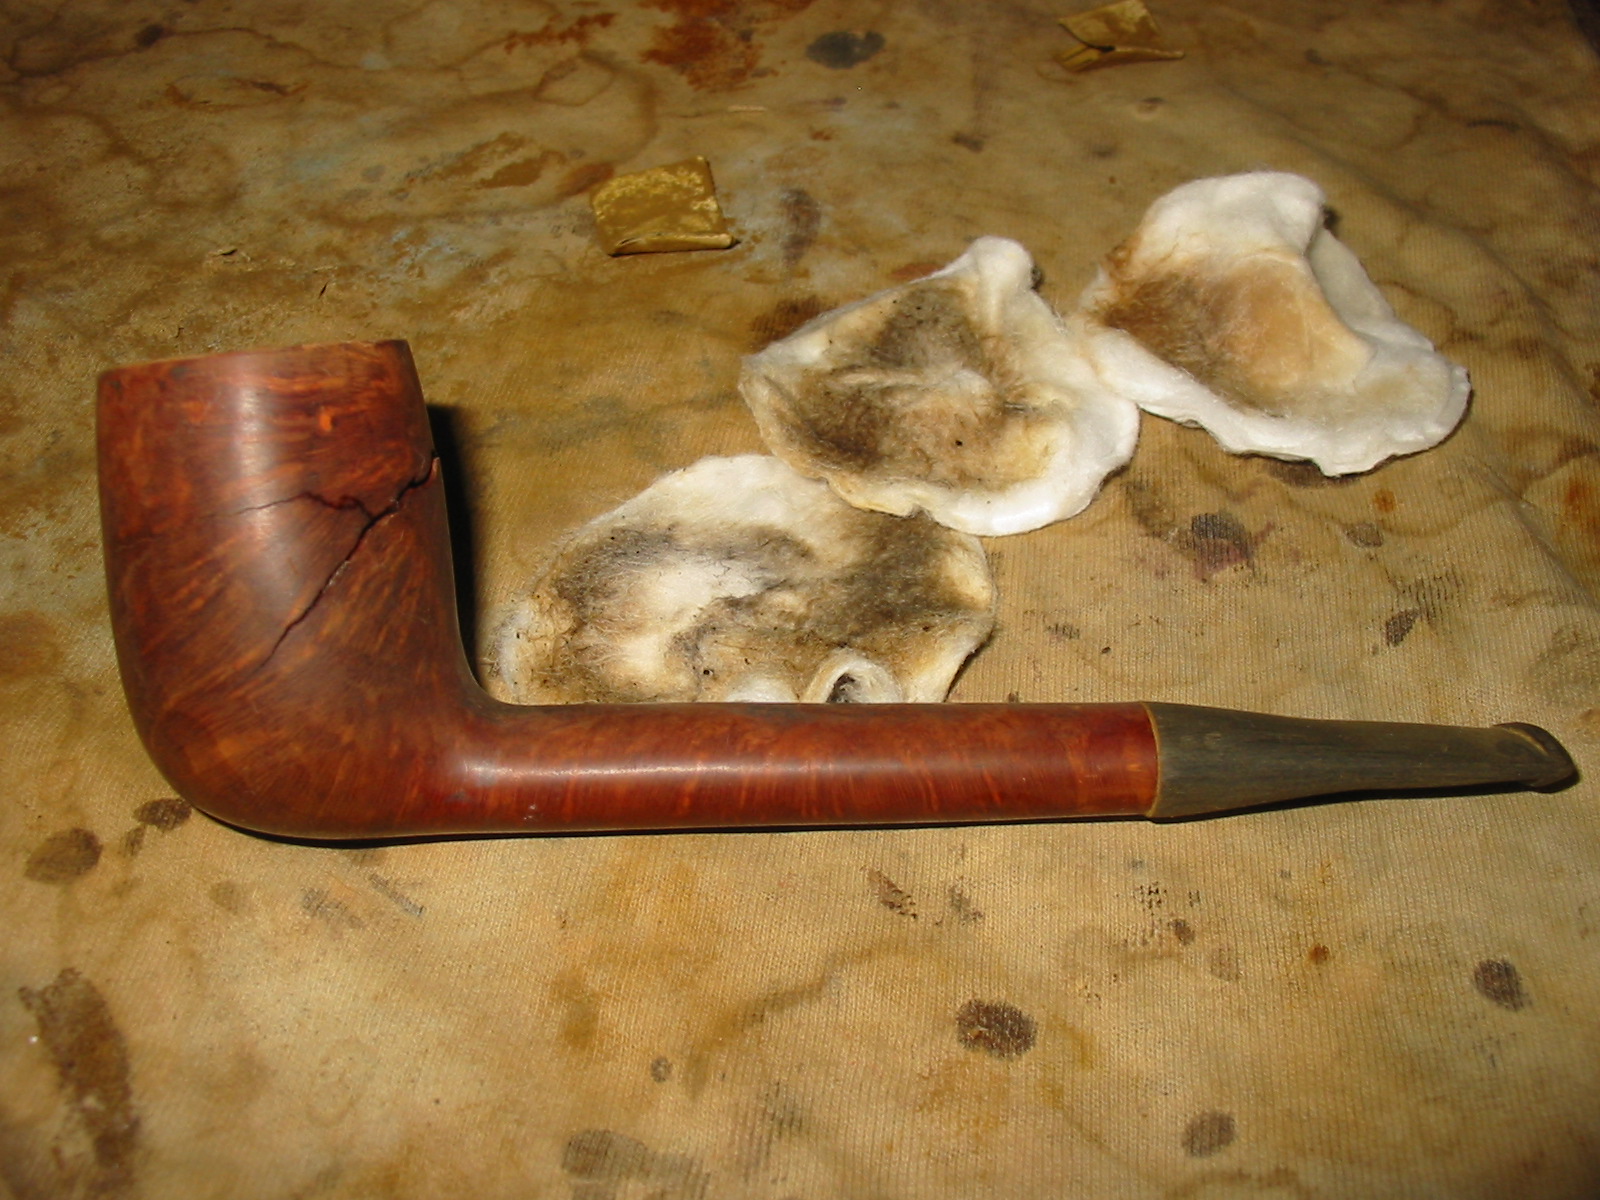
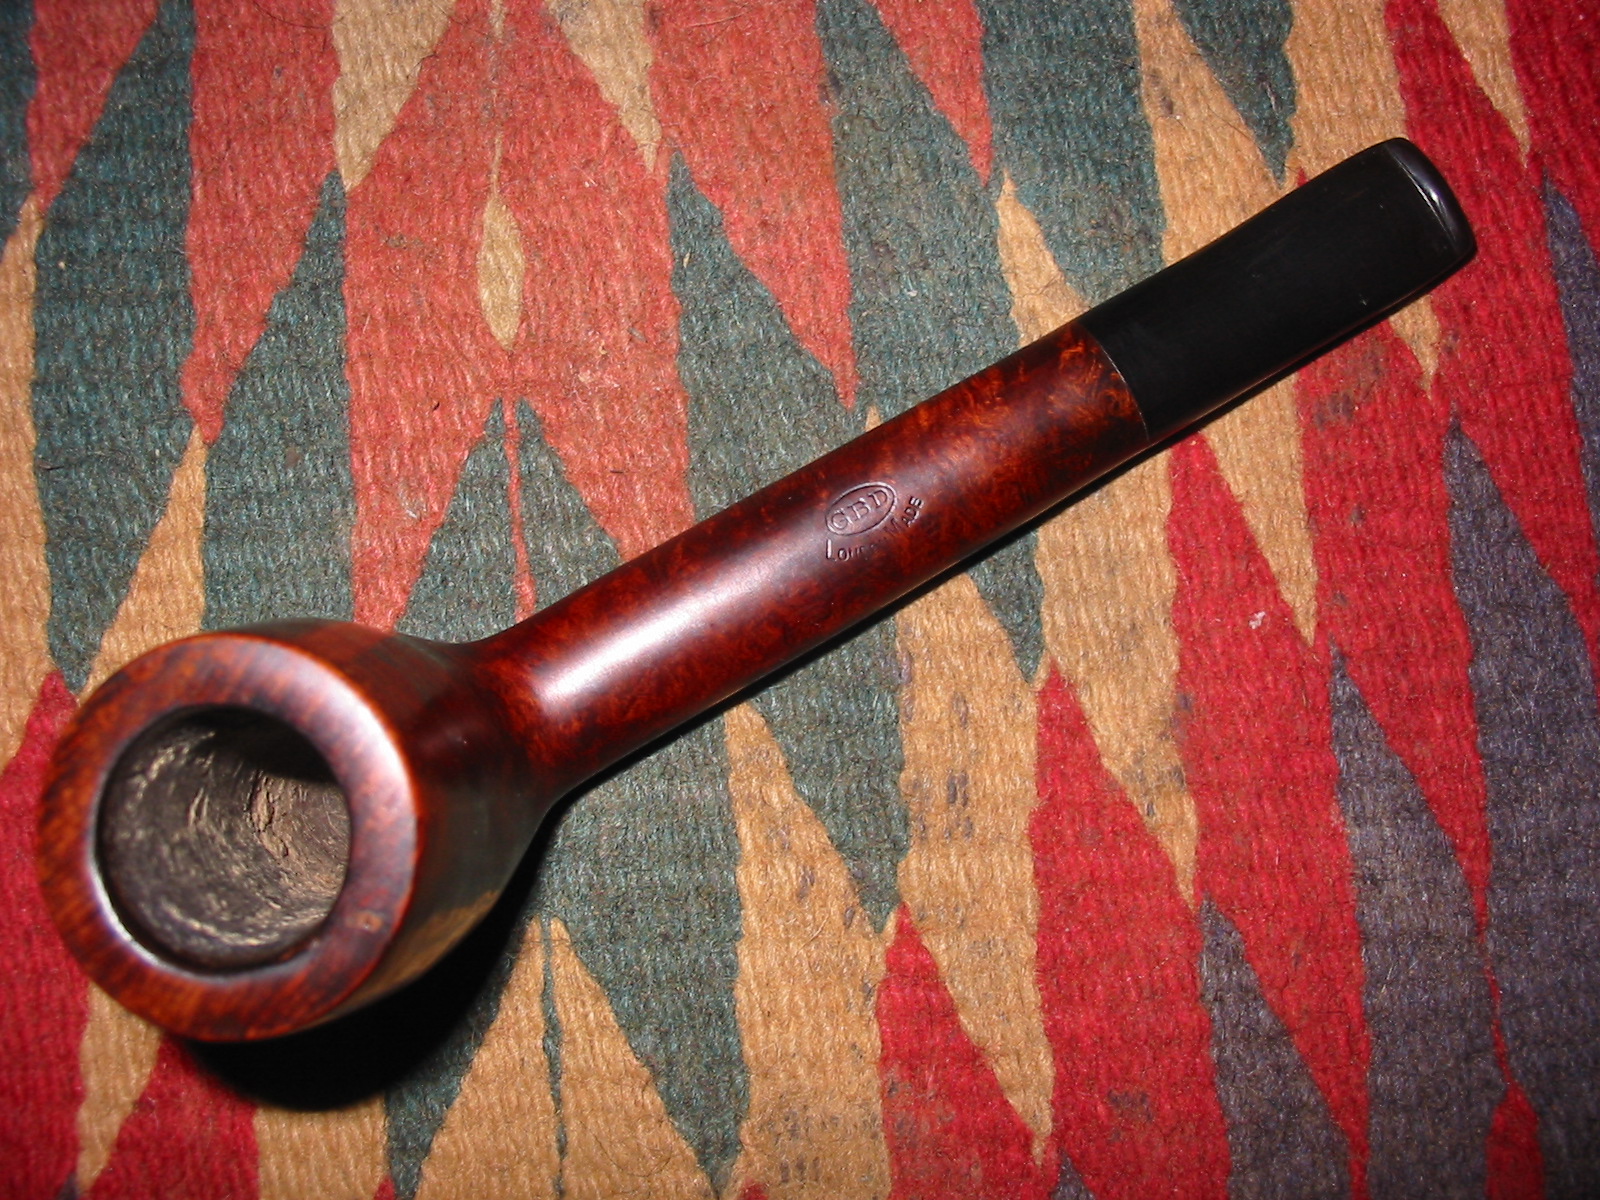
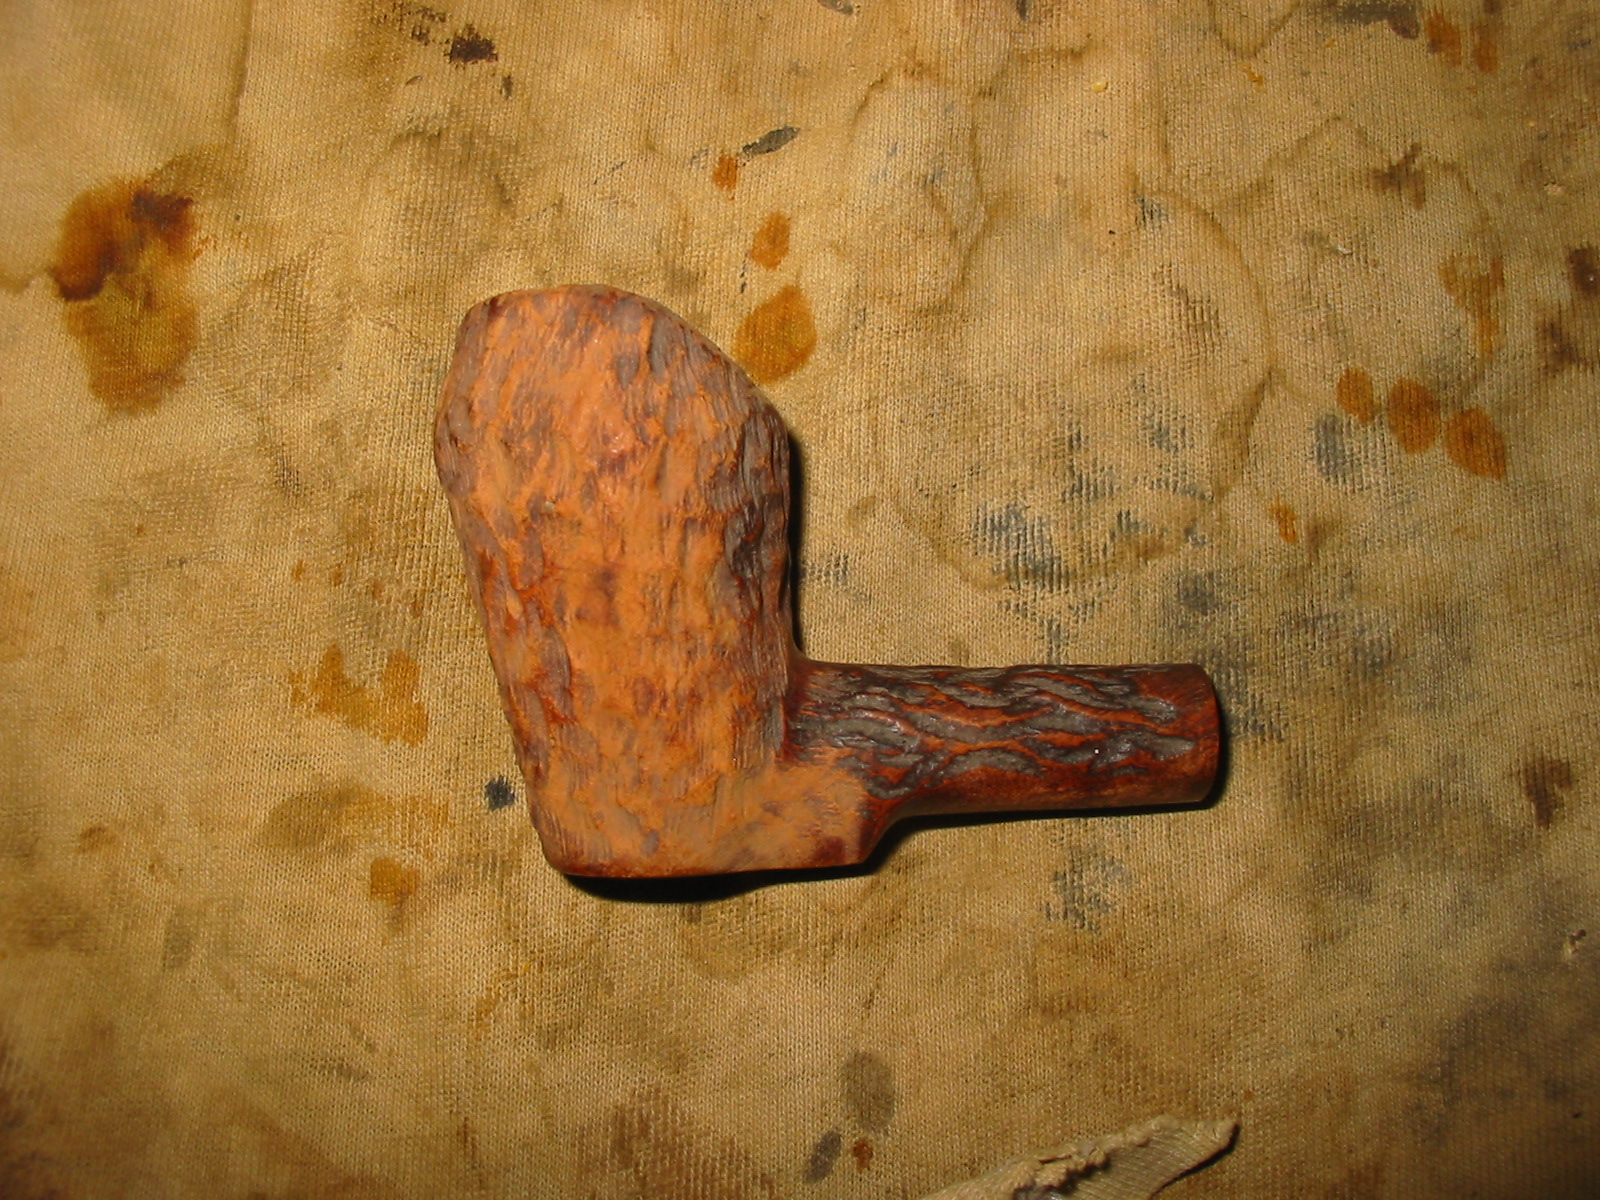
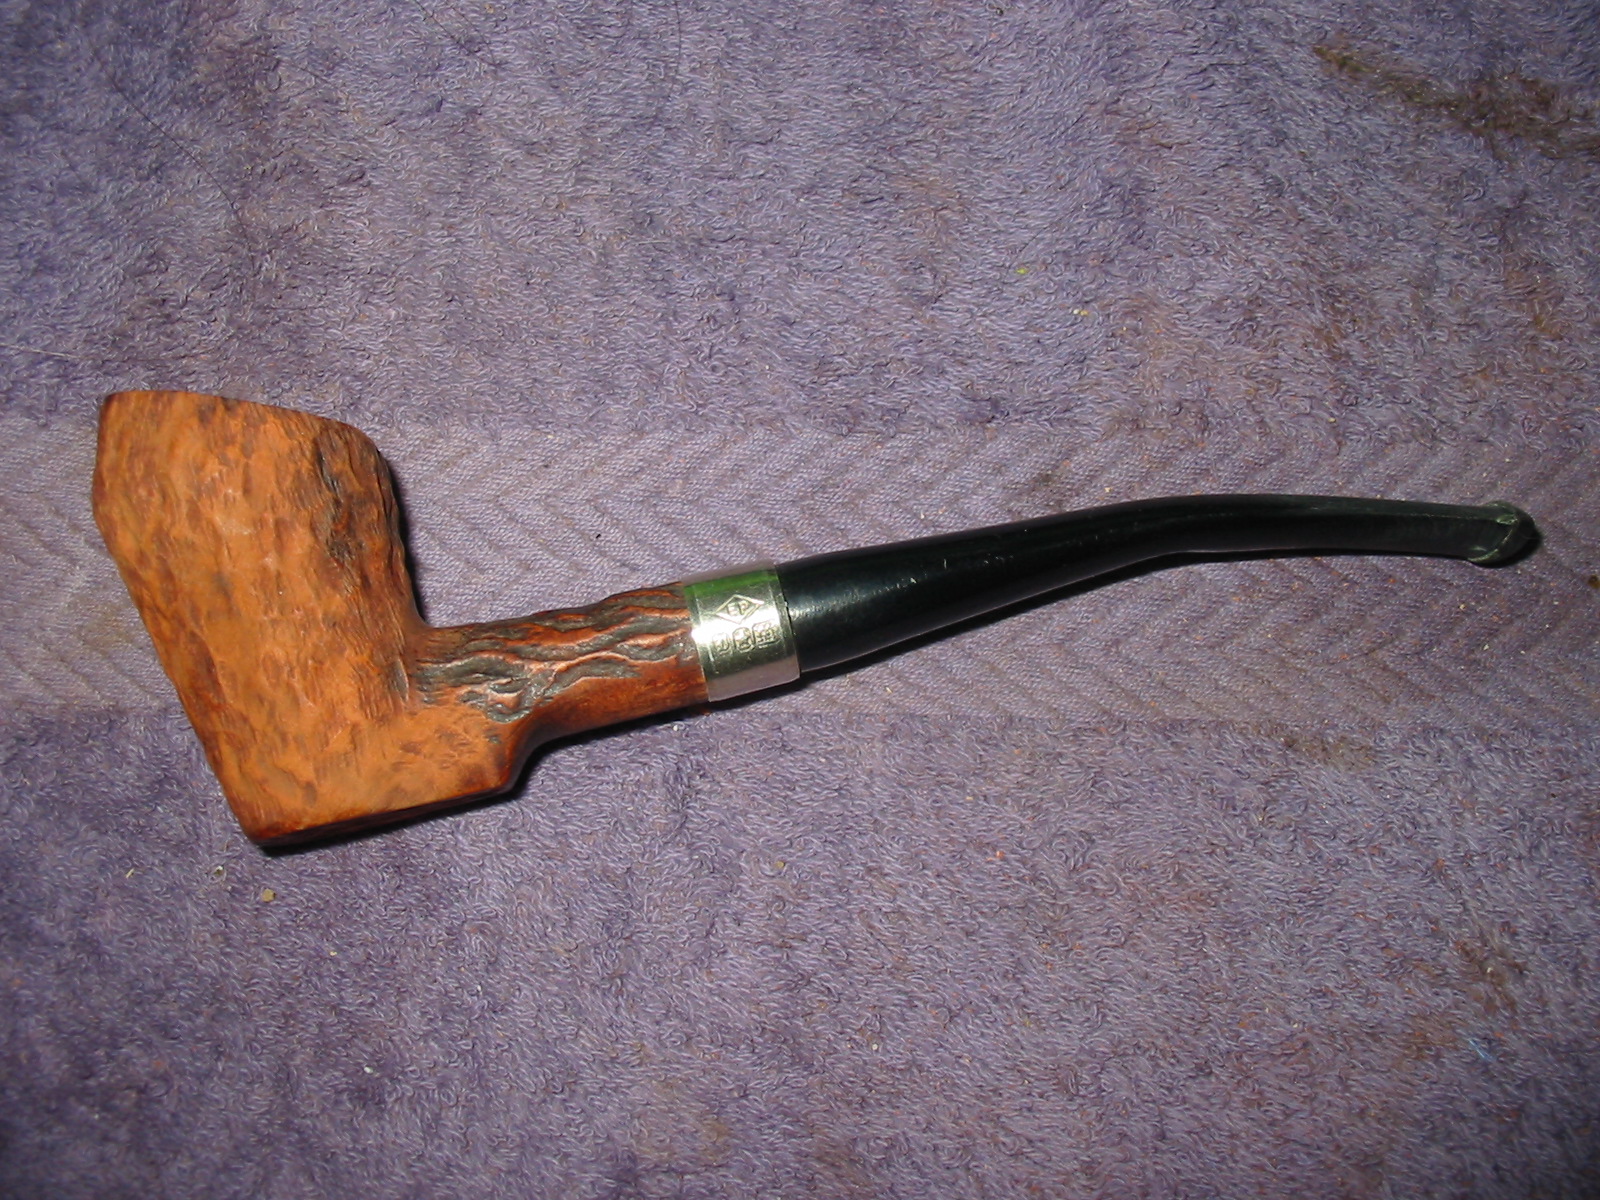
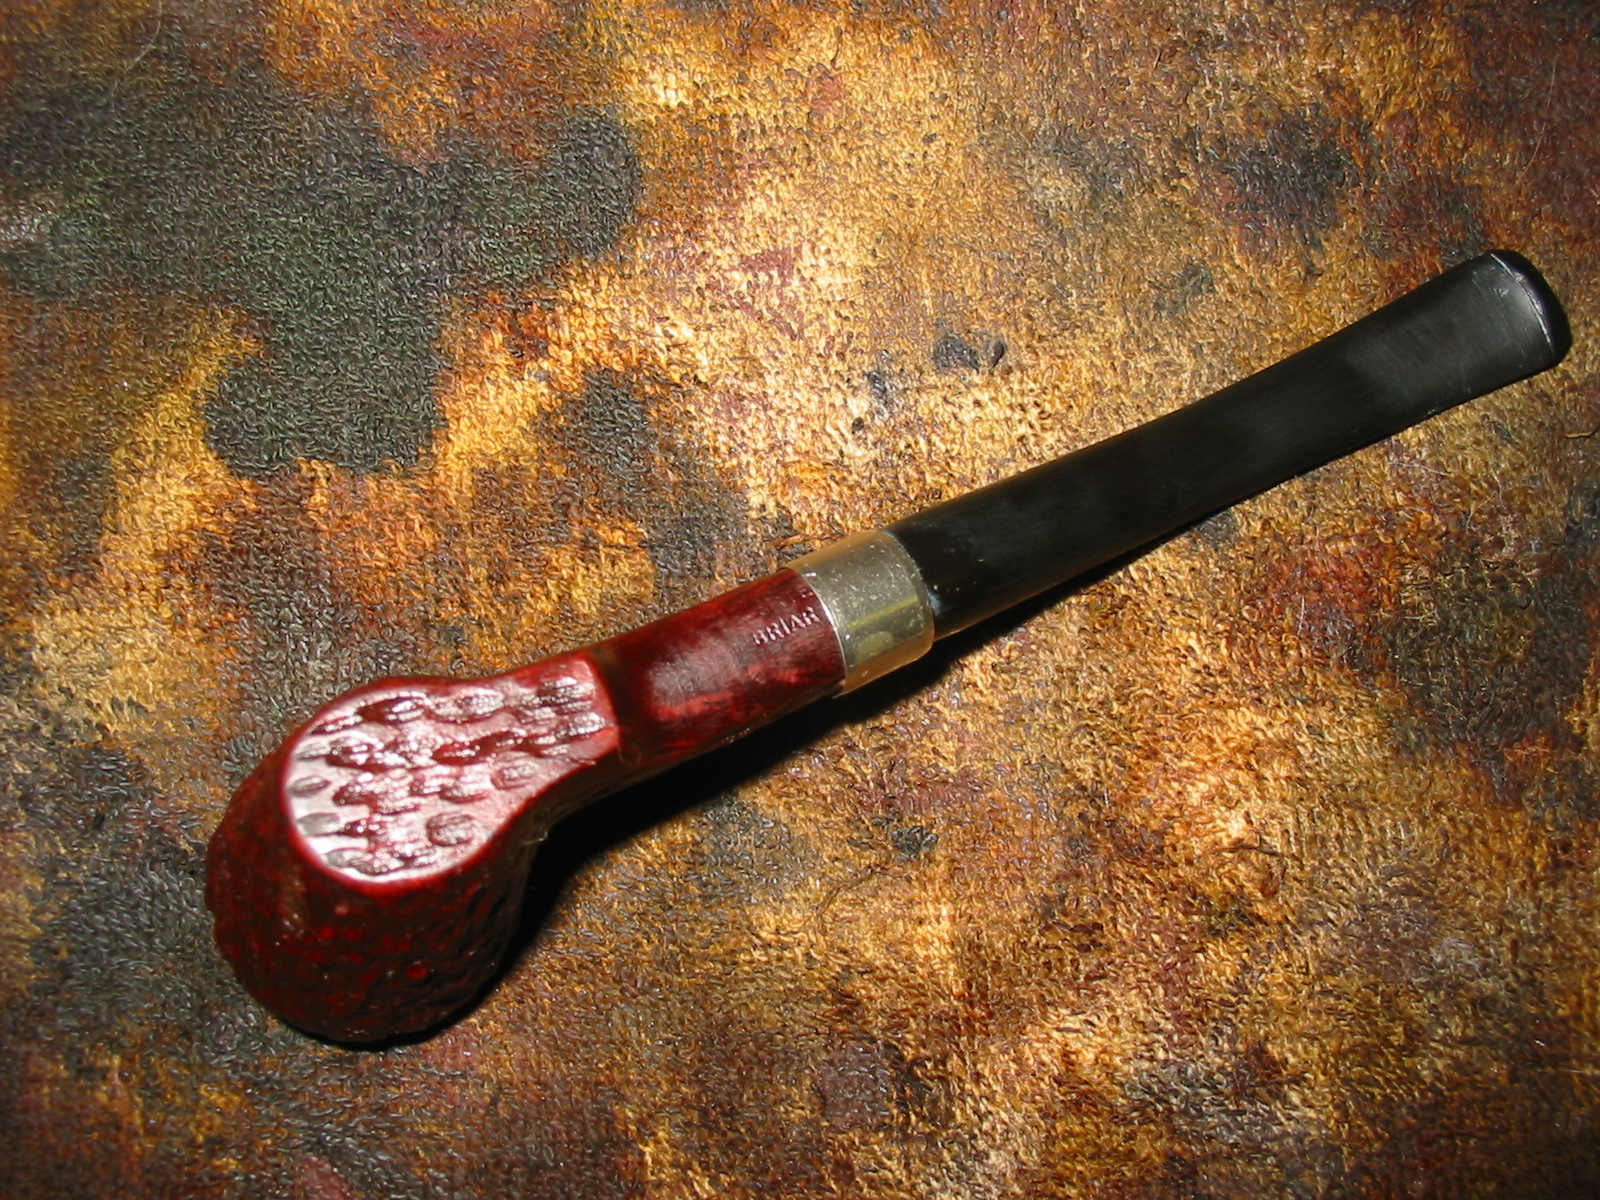
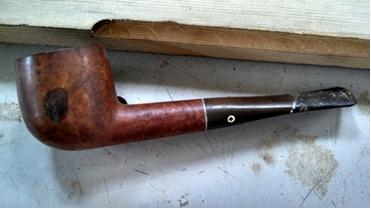
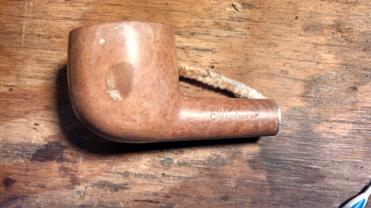
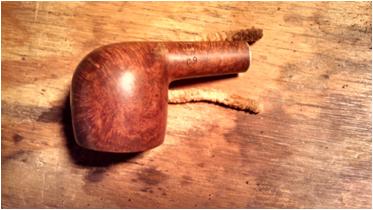
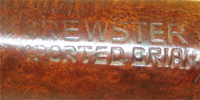
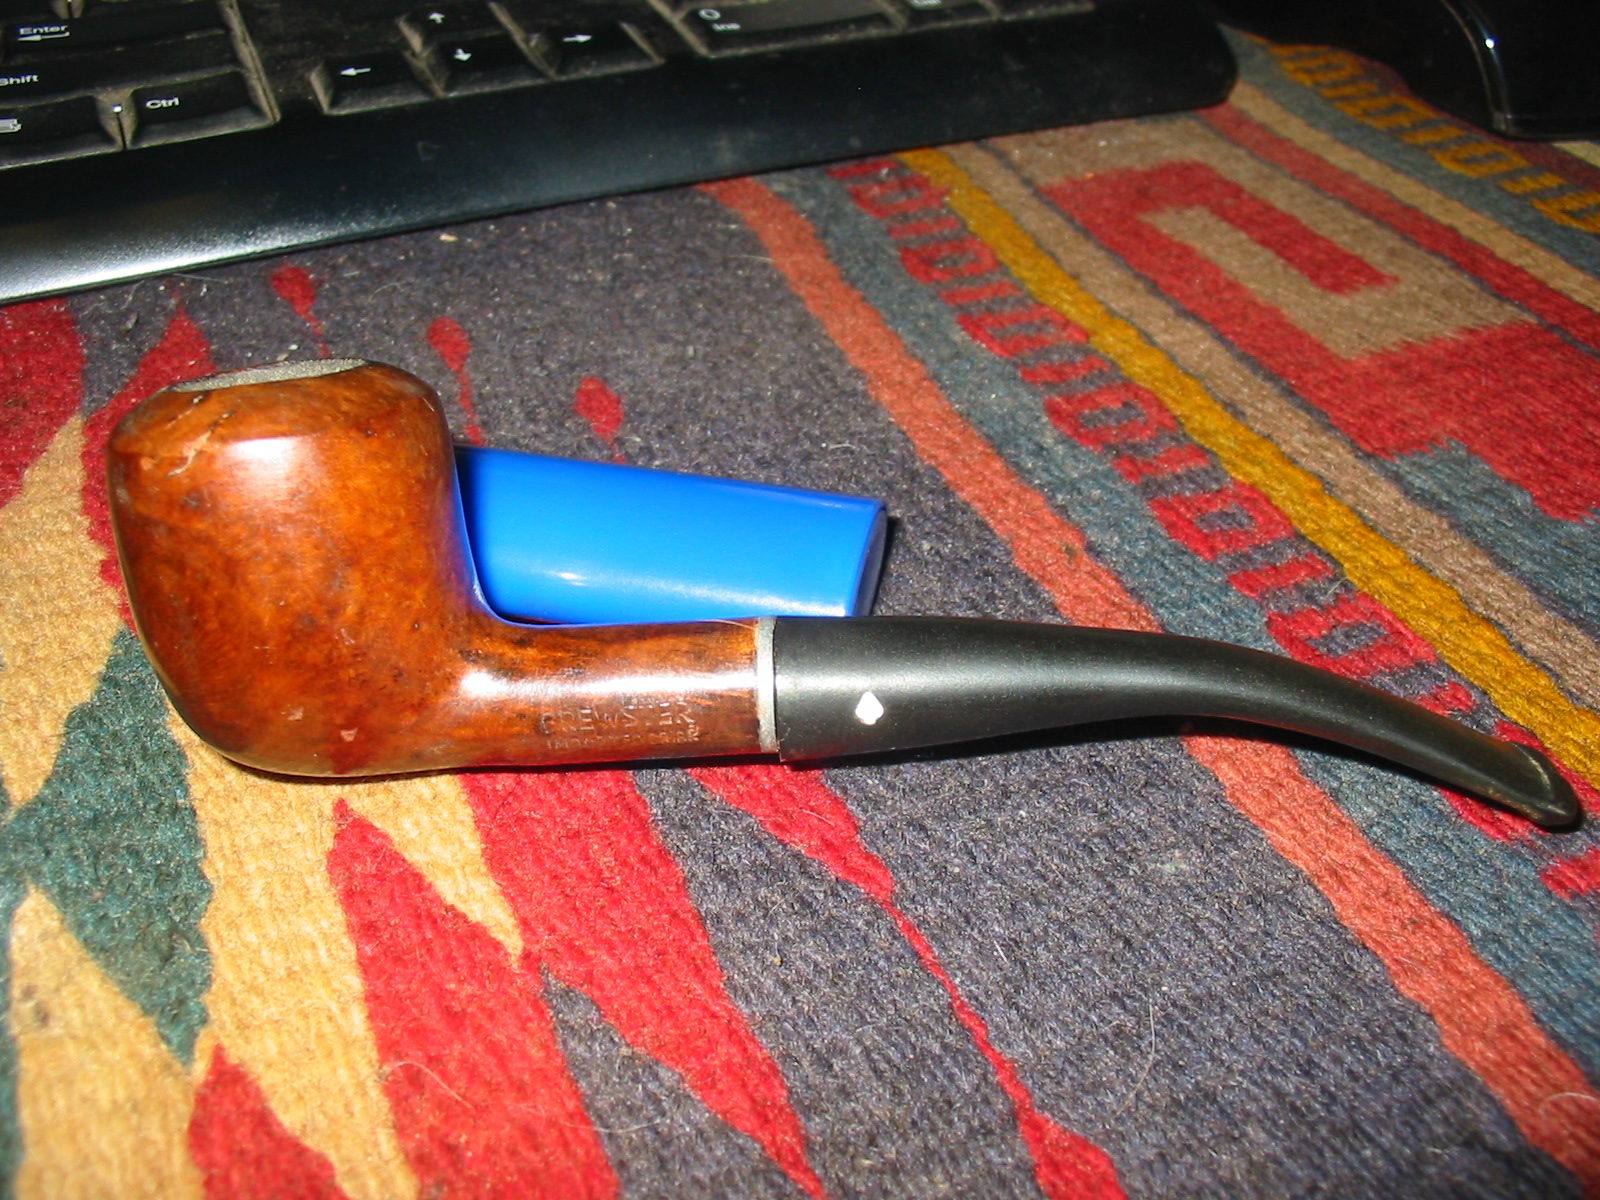
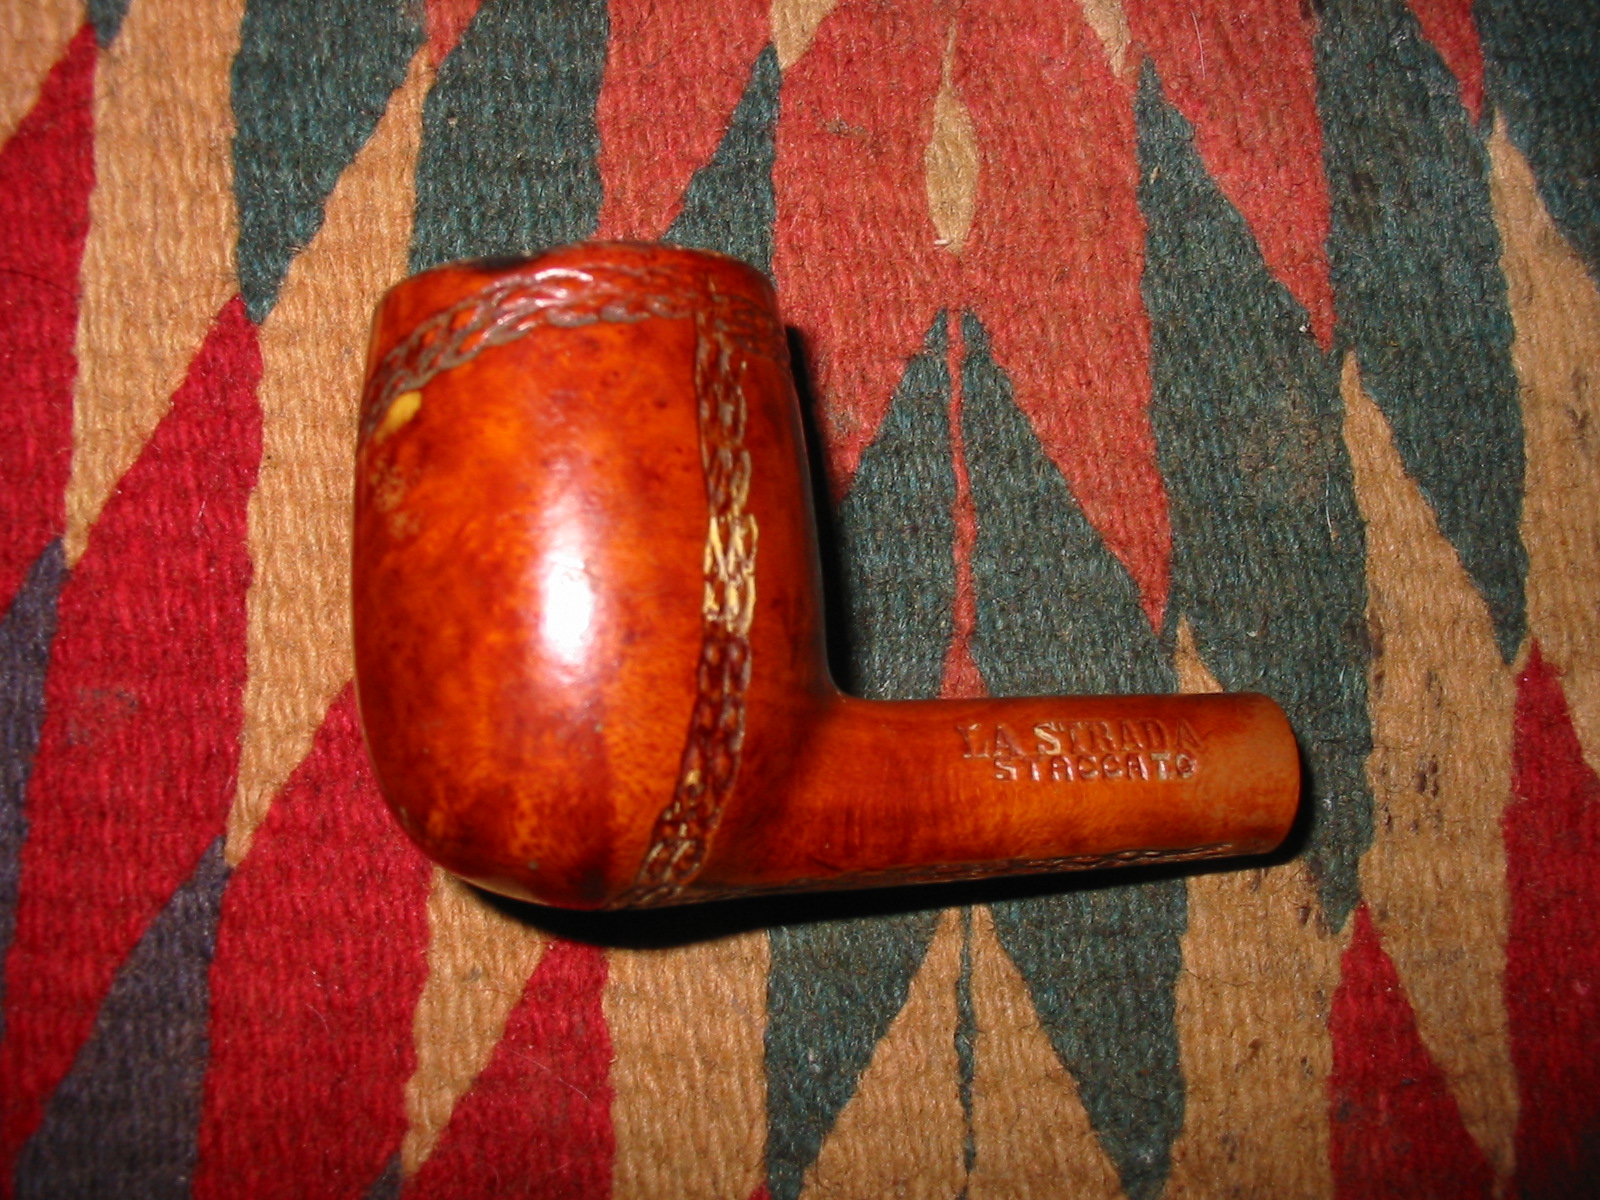
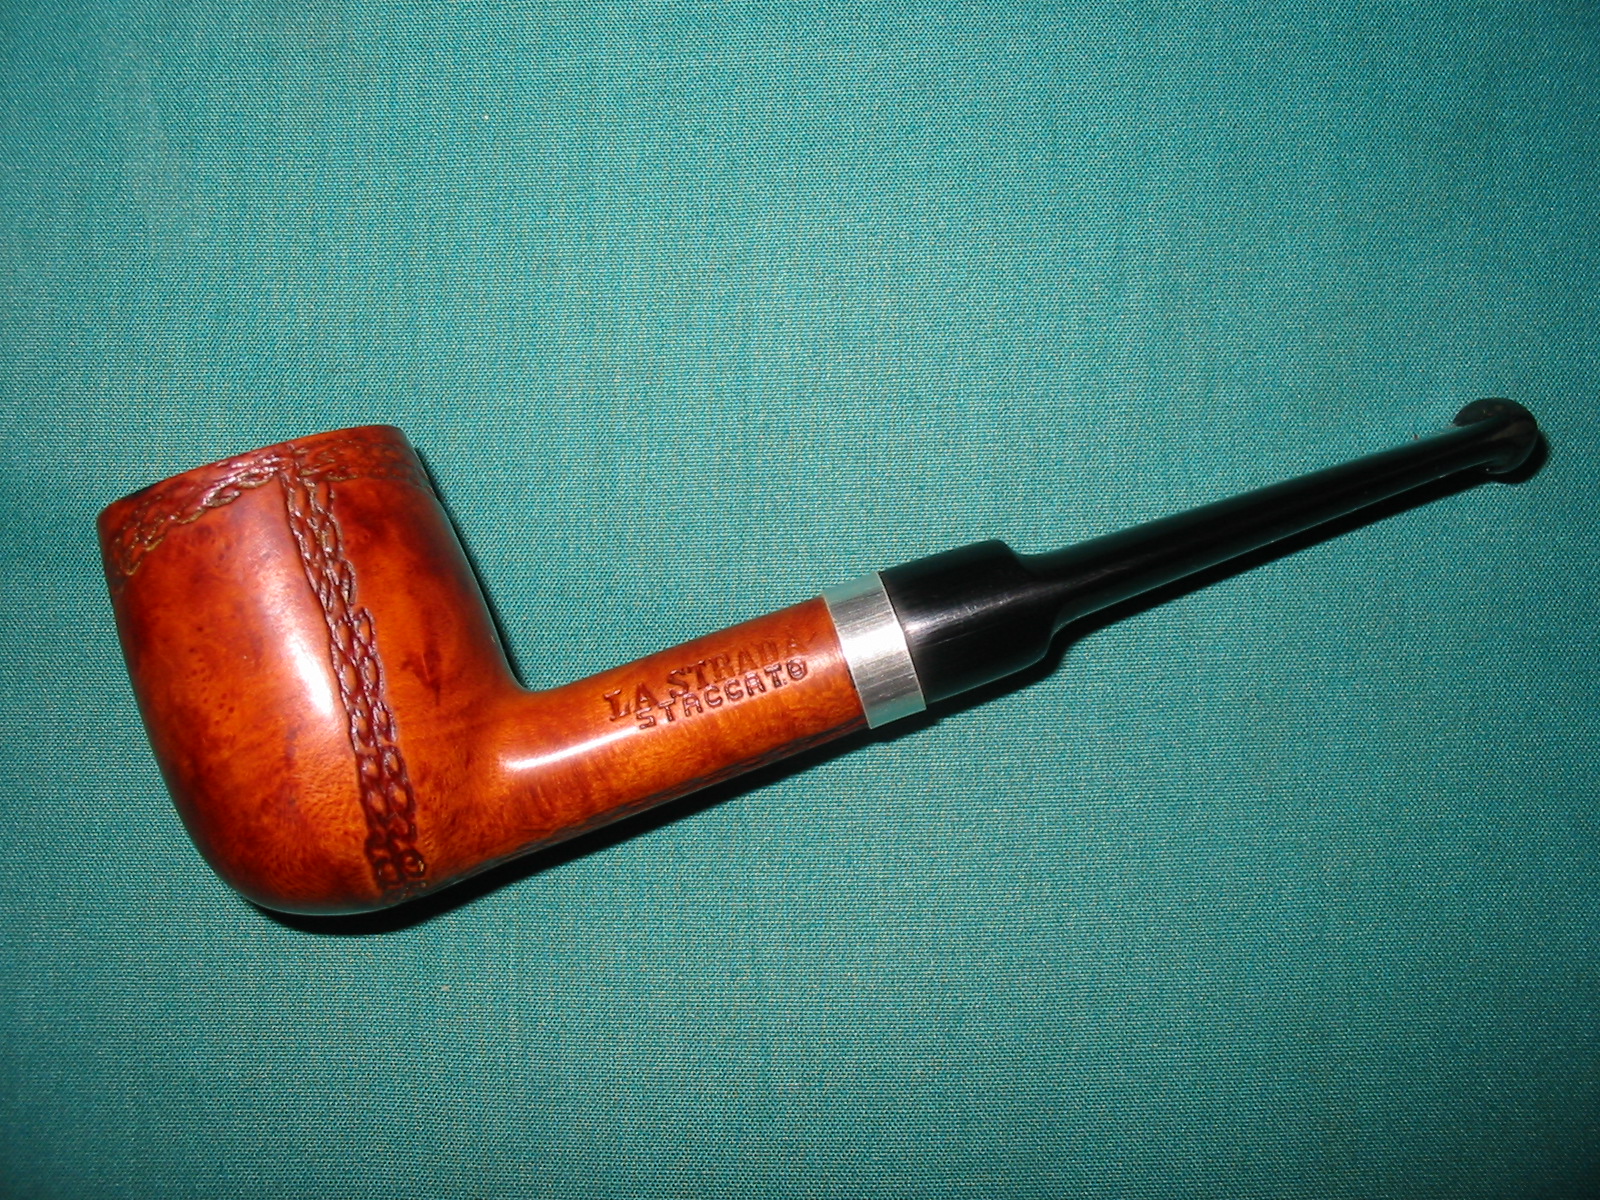
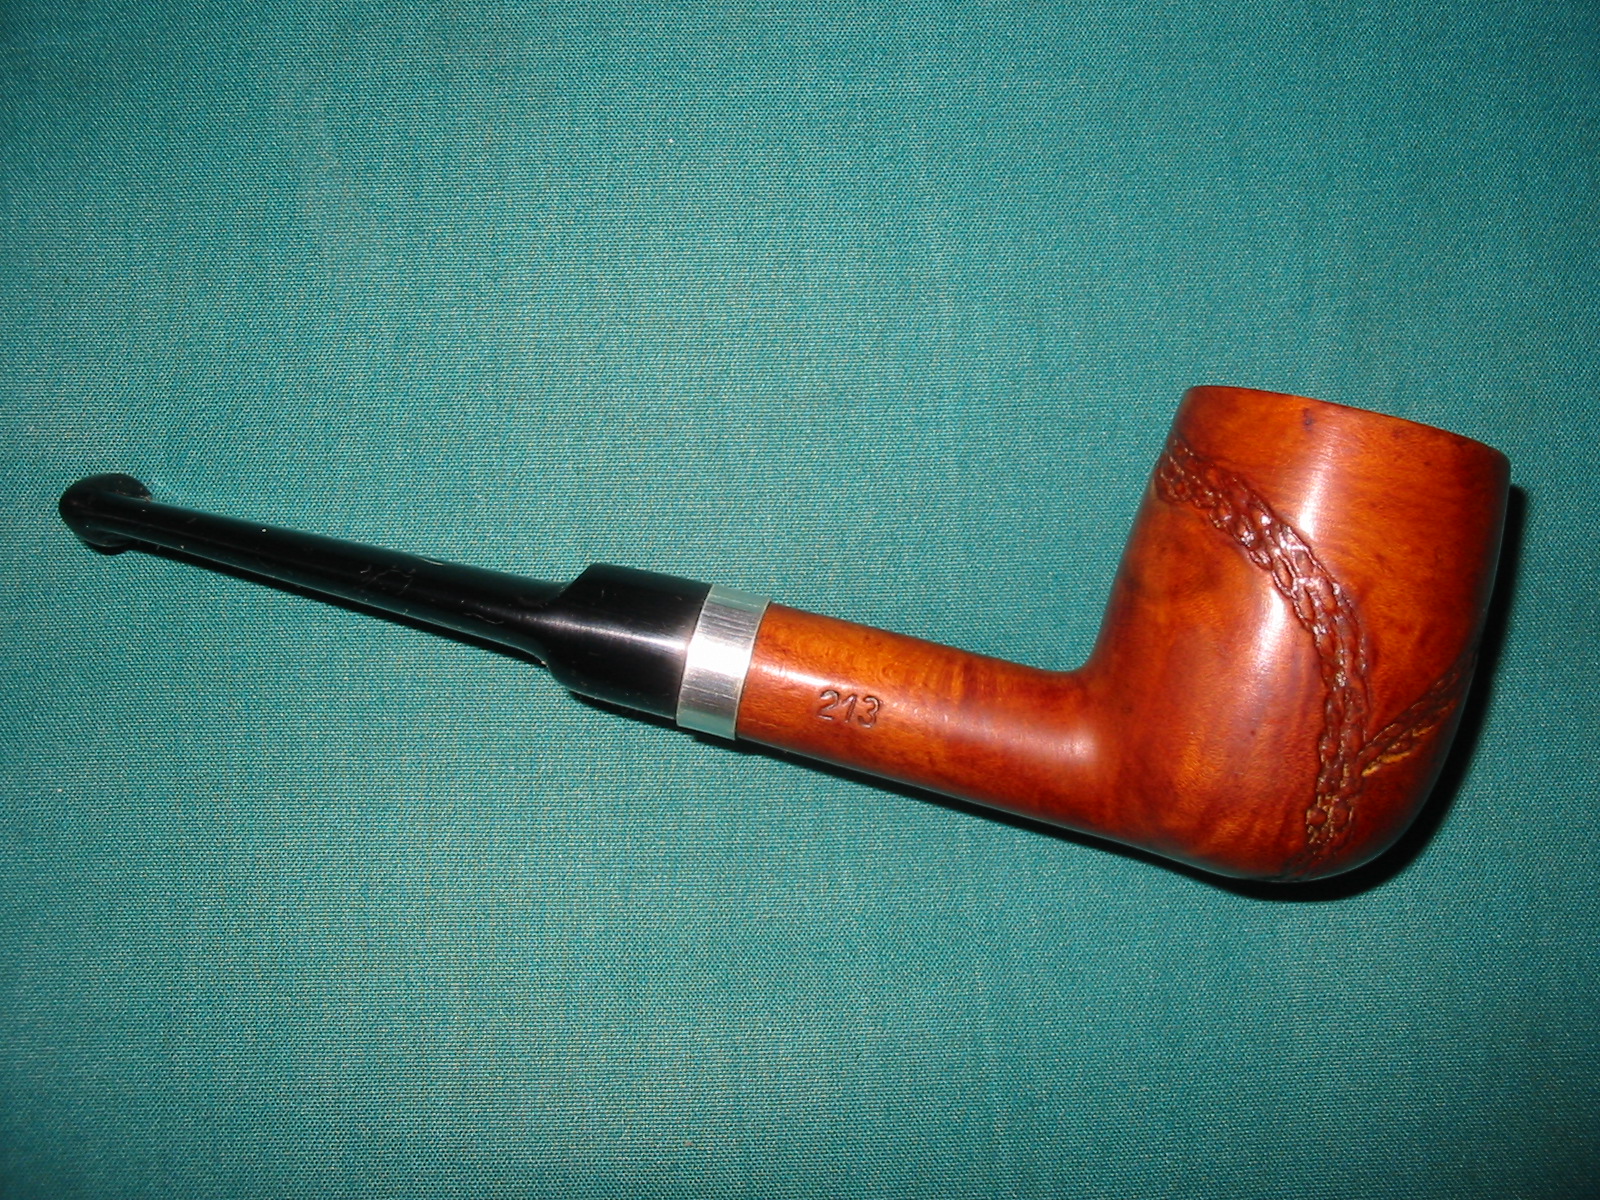
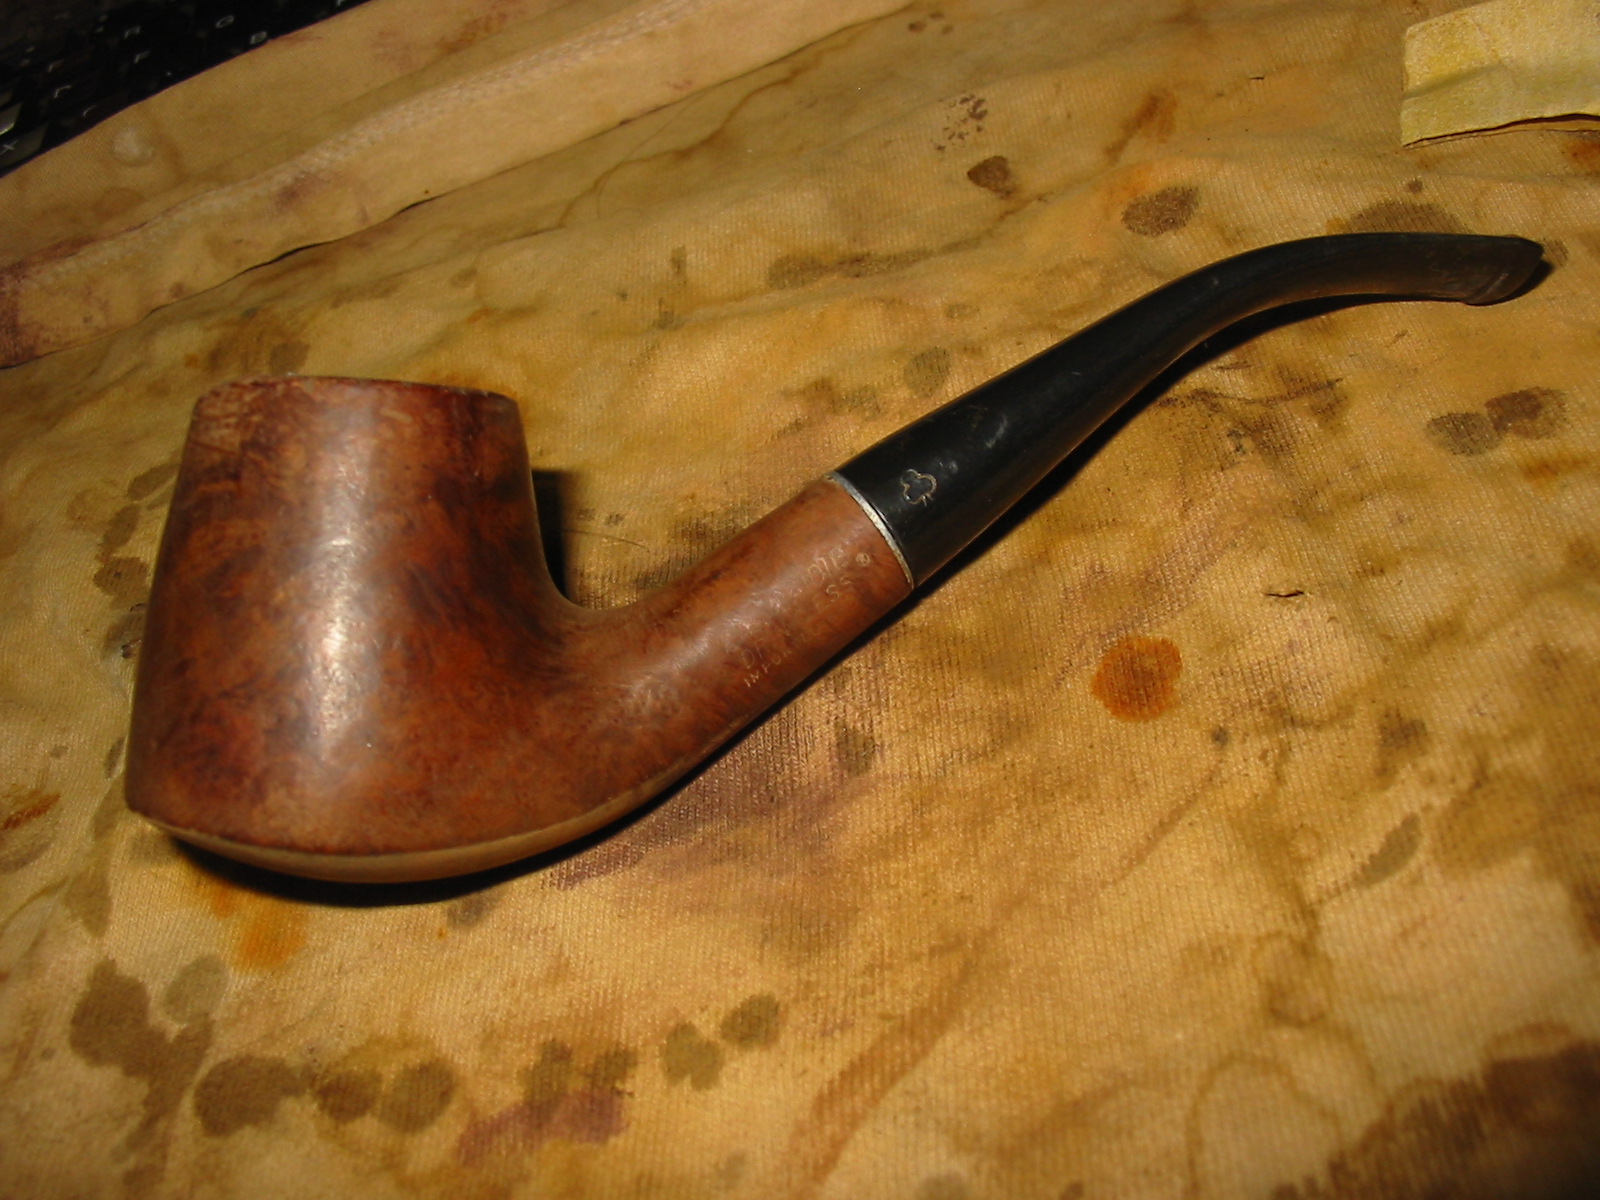
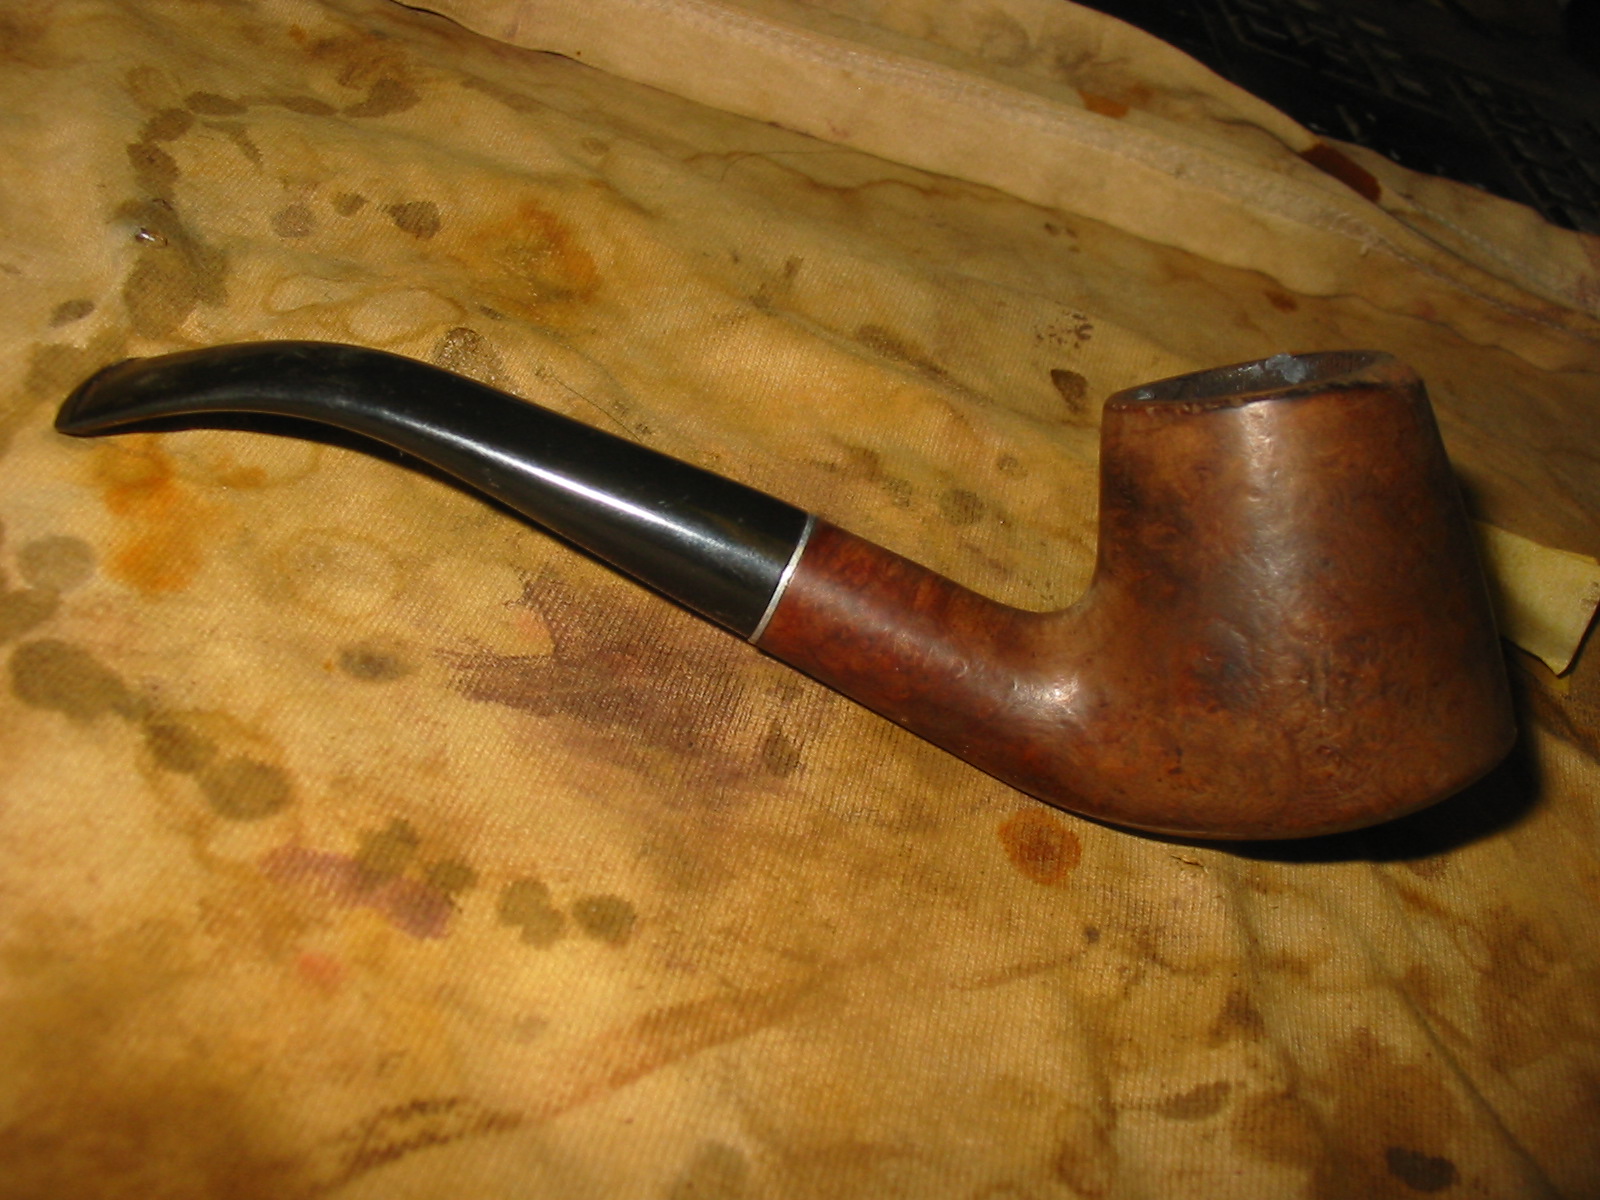
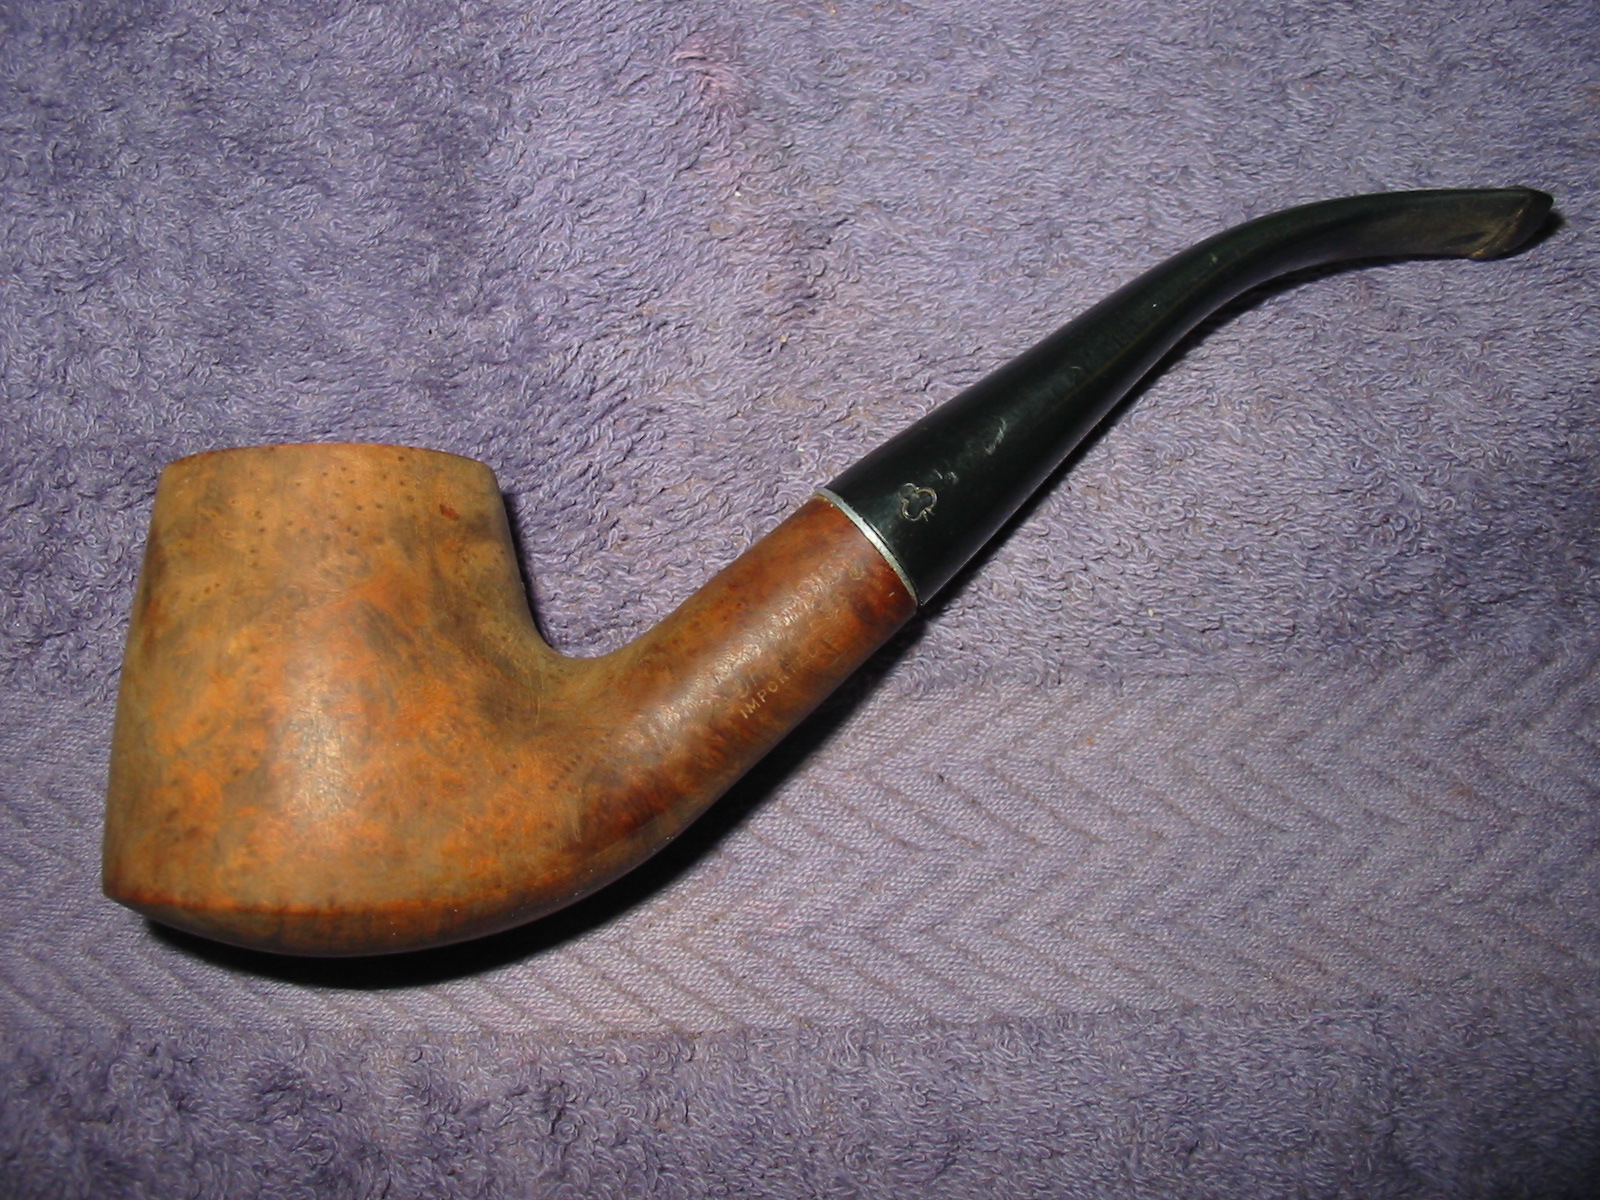
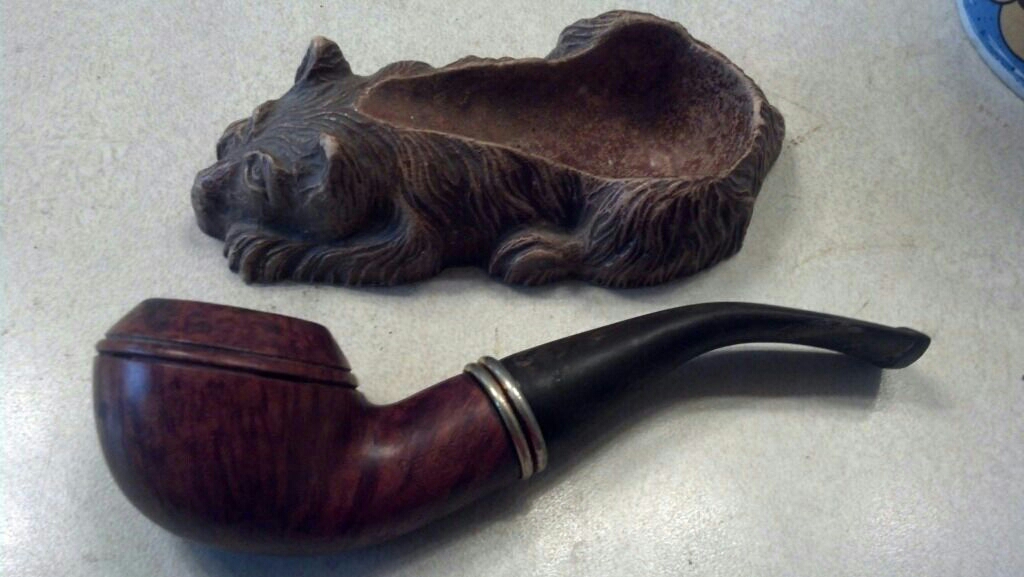
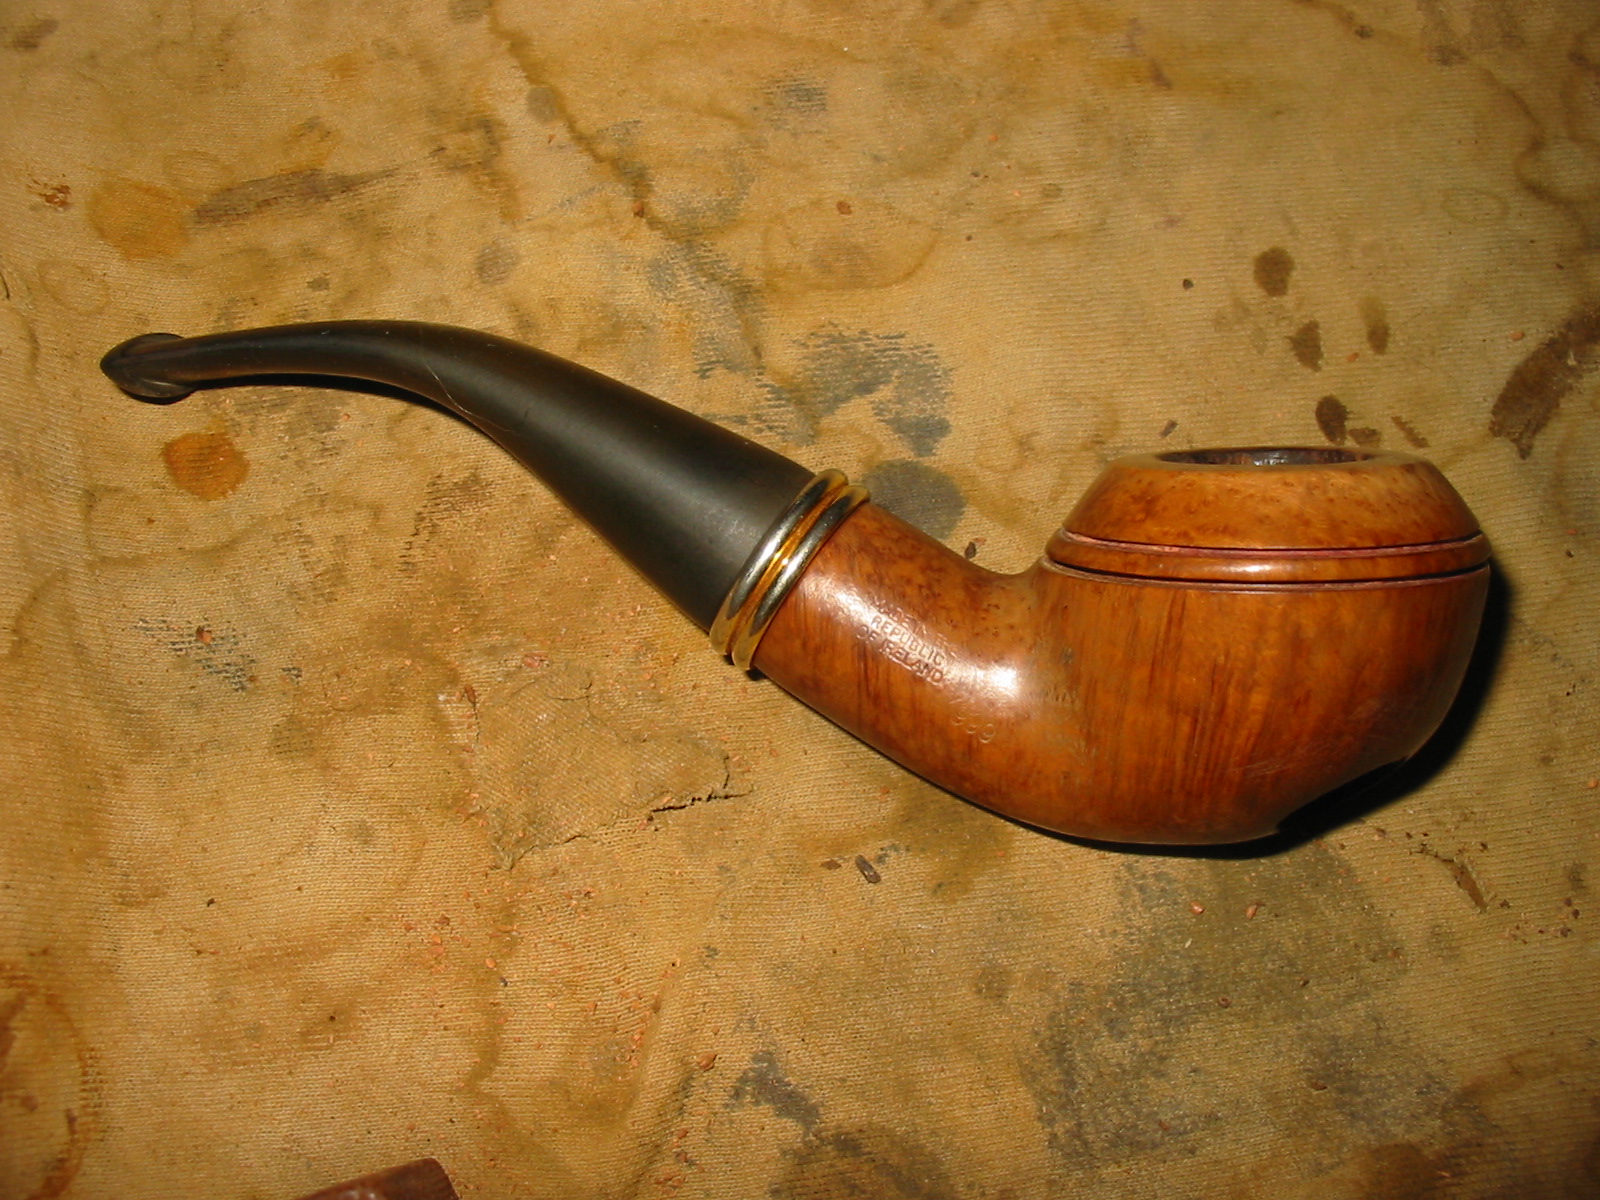
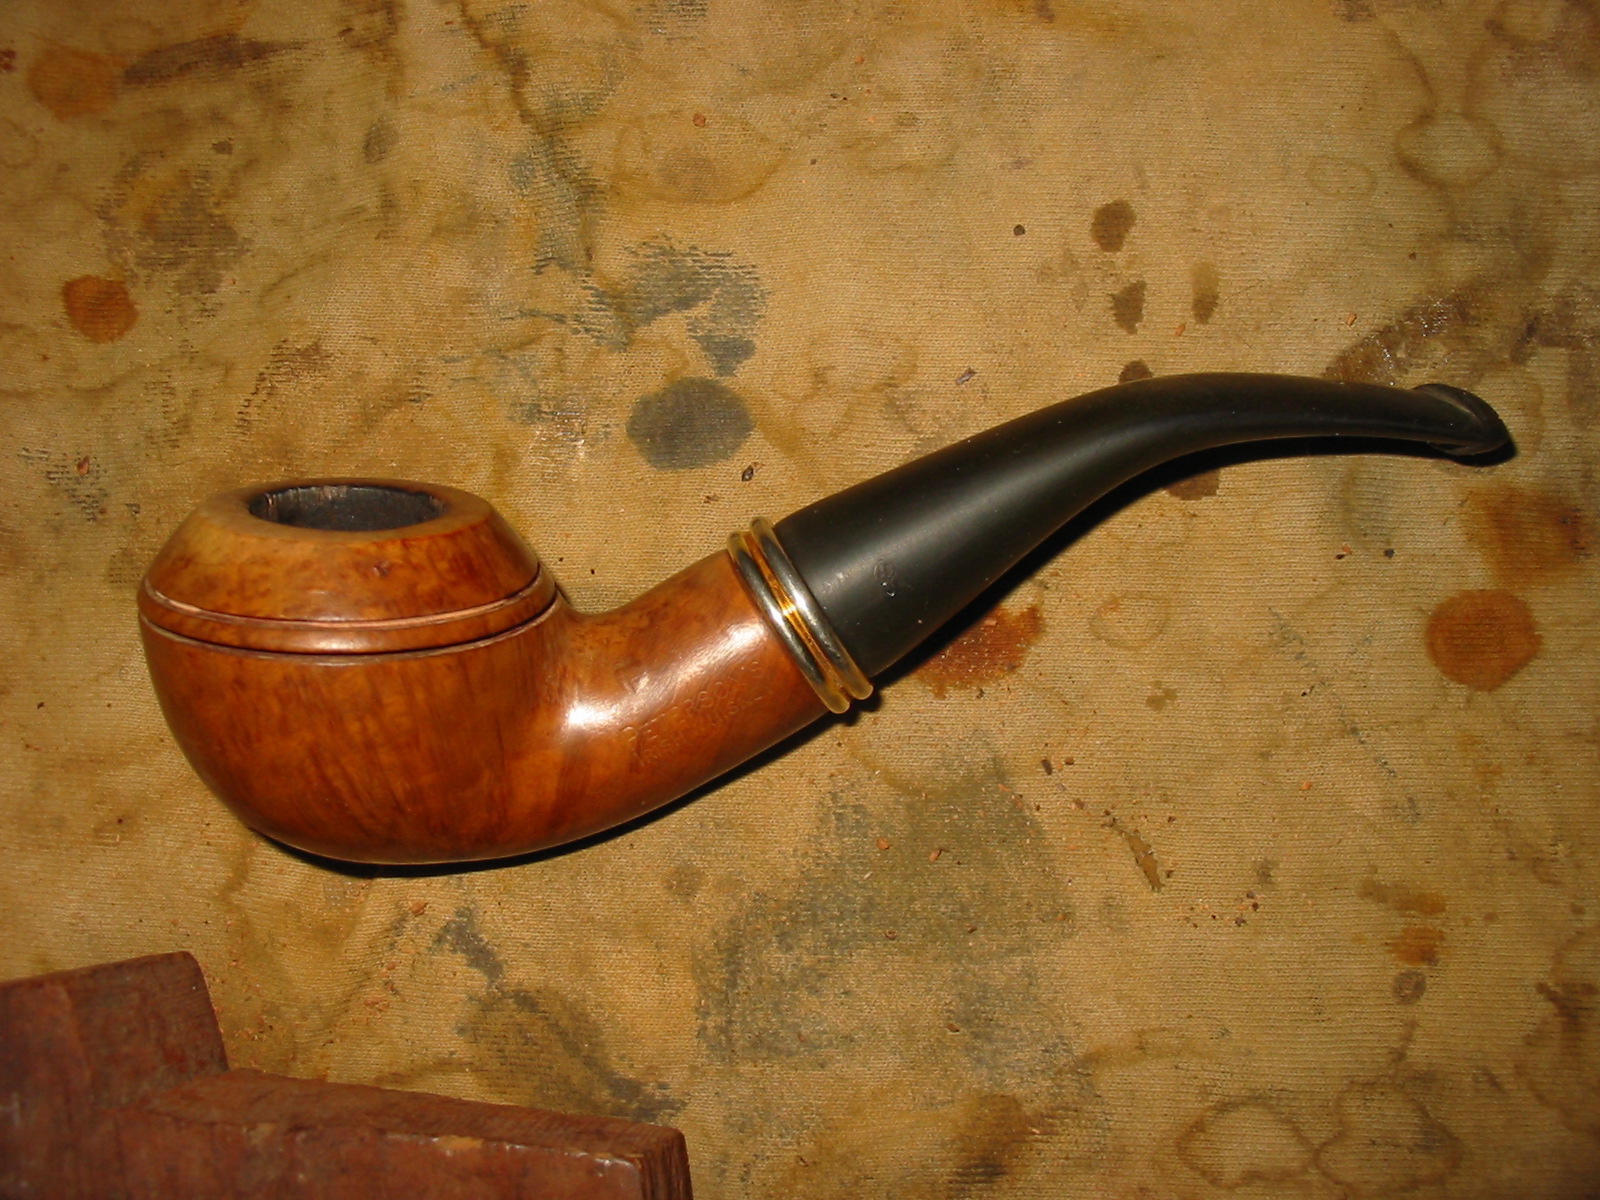
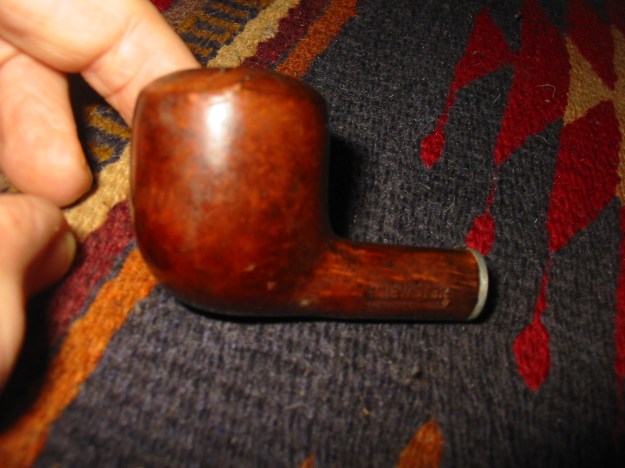
I was gifted a pipe bowl from a friend in exchange for some work on his Peterson. He had no idea of the brand or maker but thought I could have some fun with it. I dug it out of the refurb bin the other evening and began to work on it. I would need to clean it up and then restem it in the process as it did not come with a stem. It was stamped Brewster over Imported Briar on the left side of the shank with no other identifying stamping.

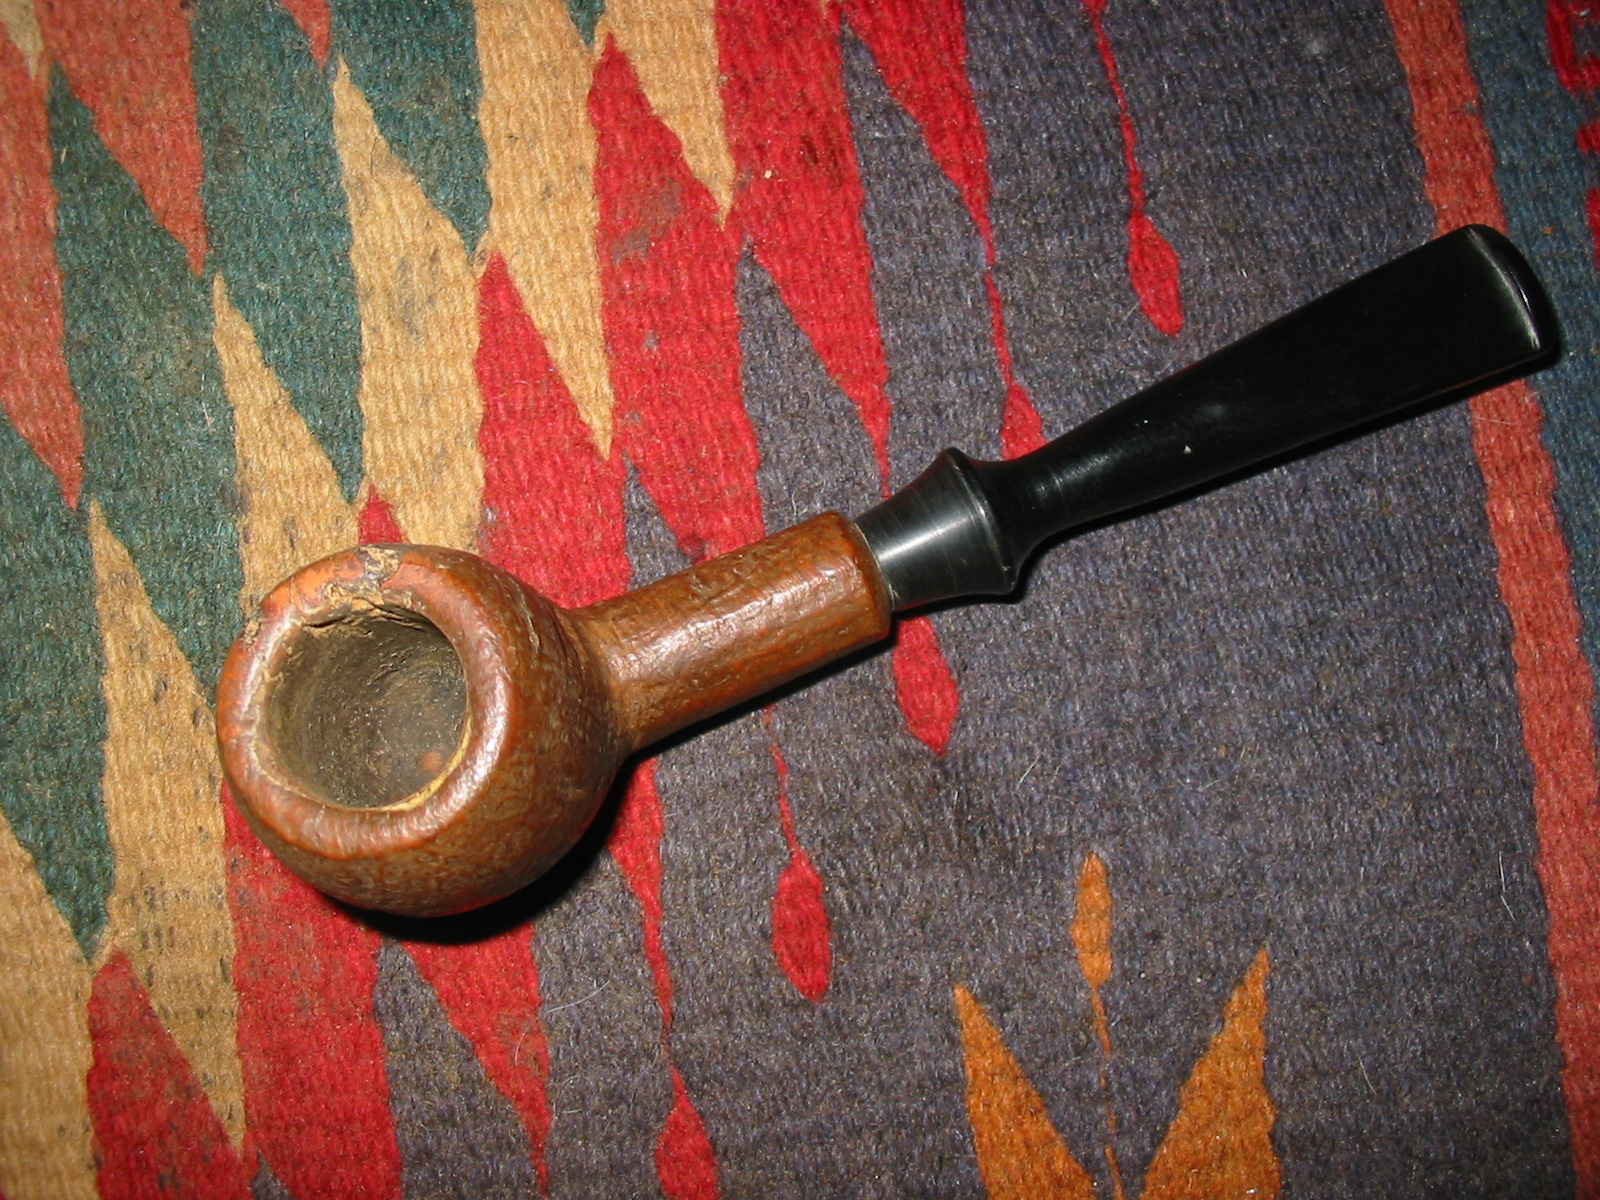
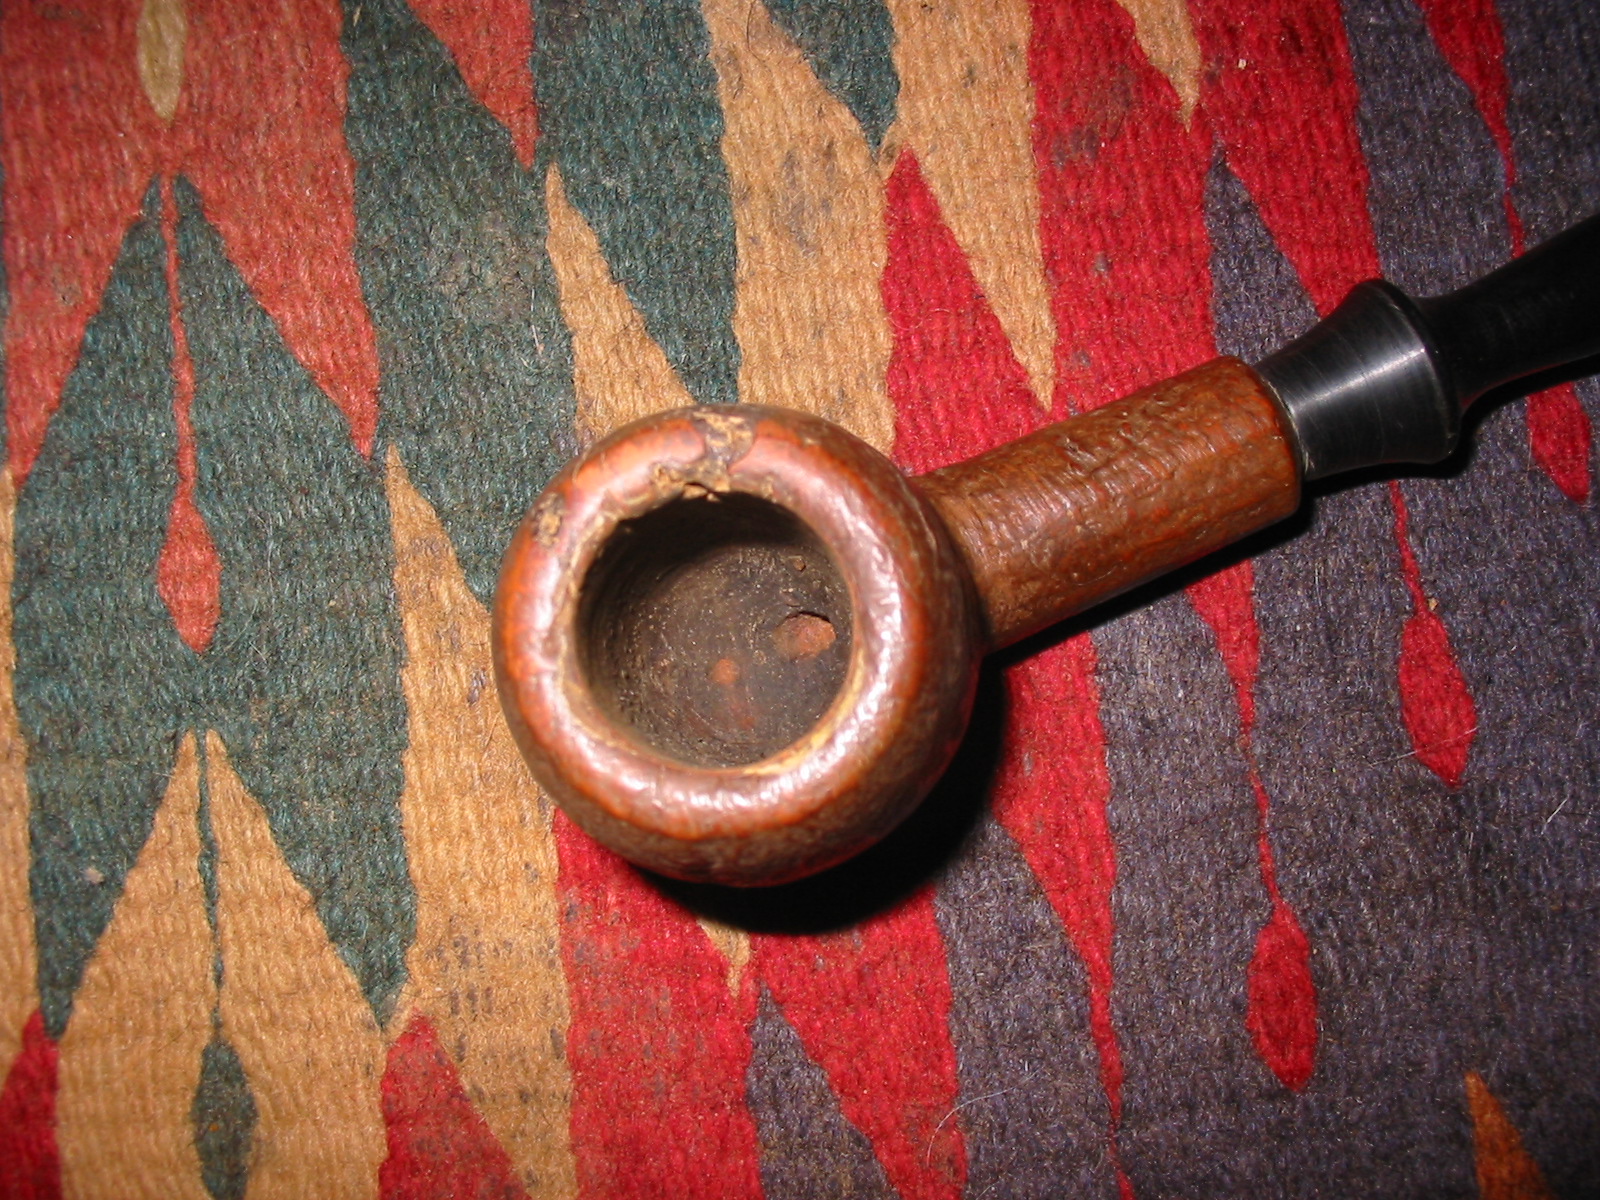
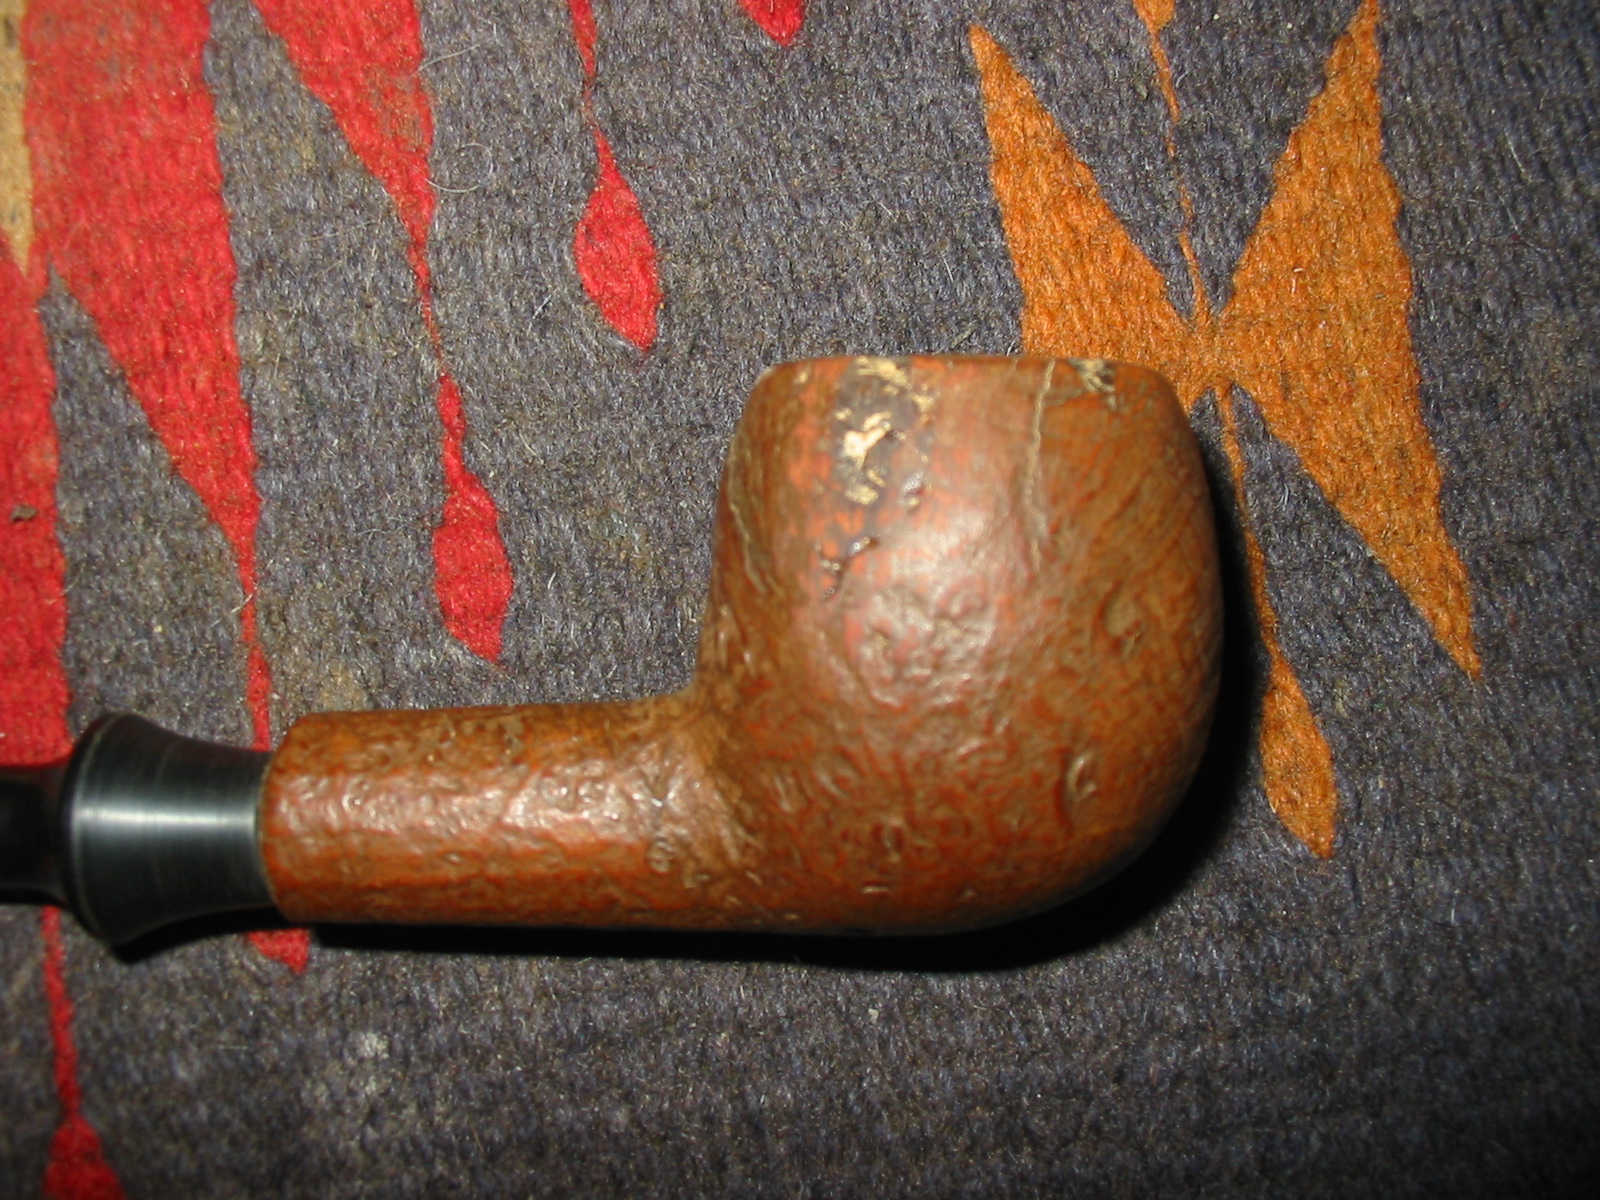
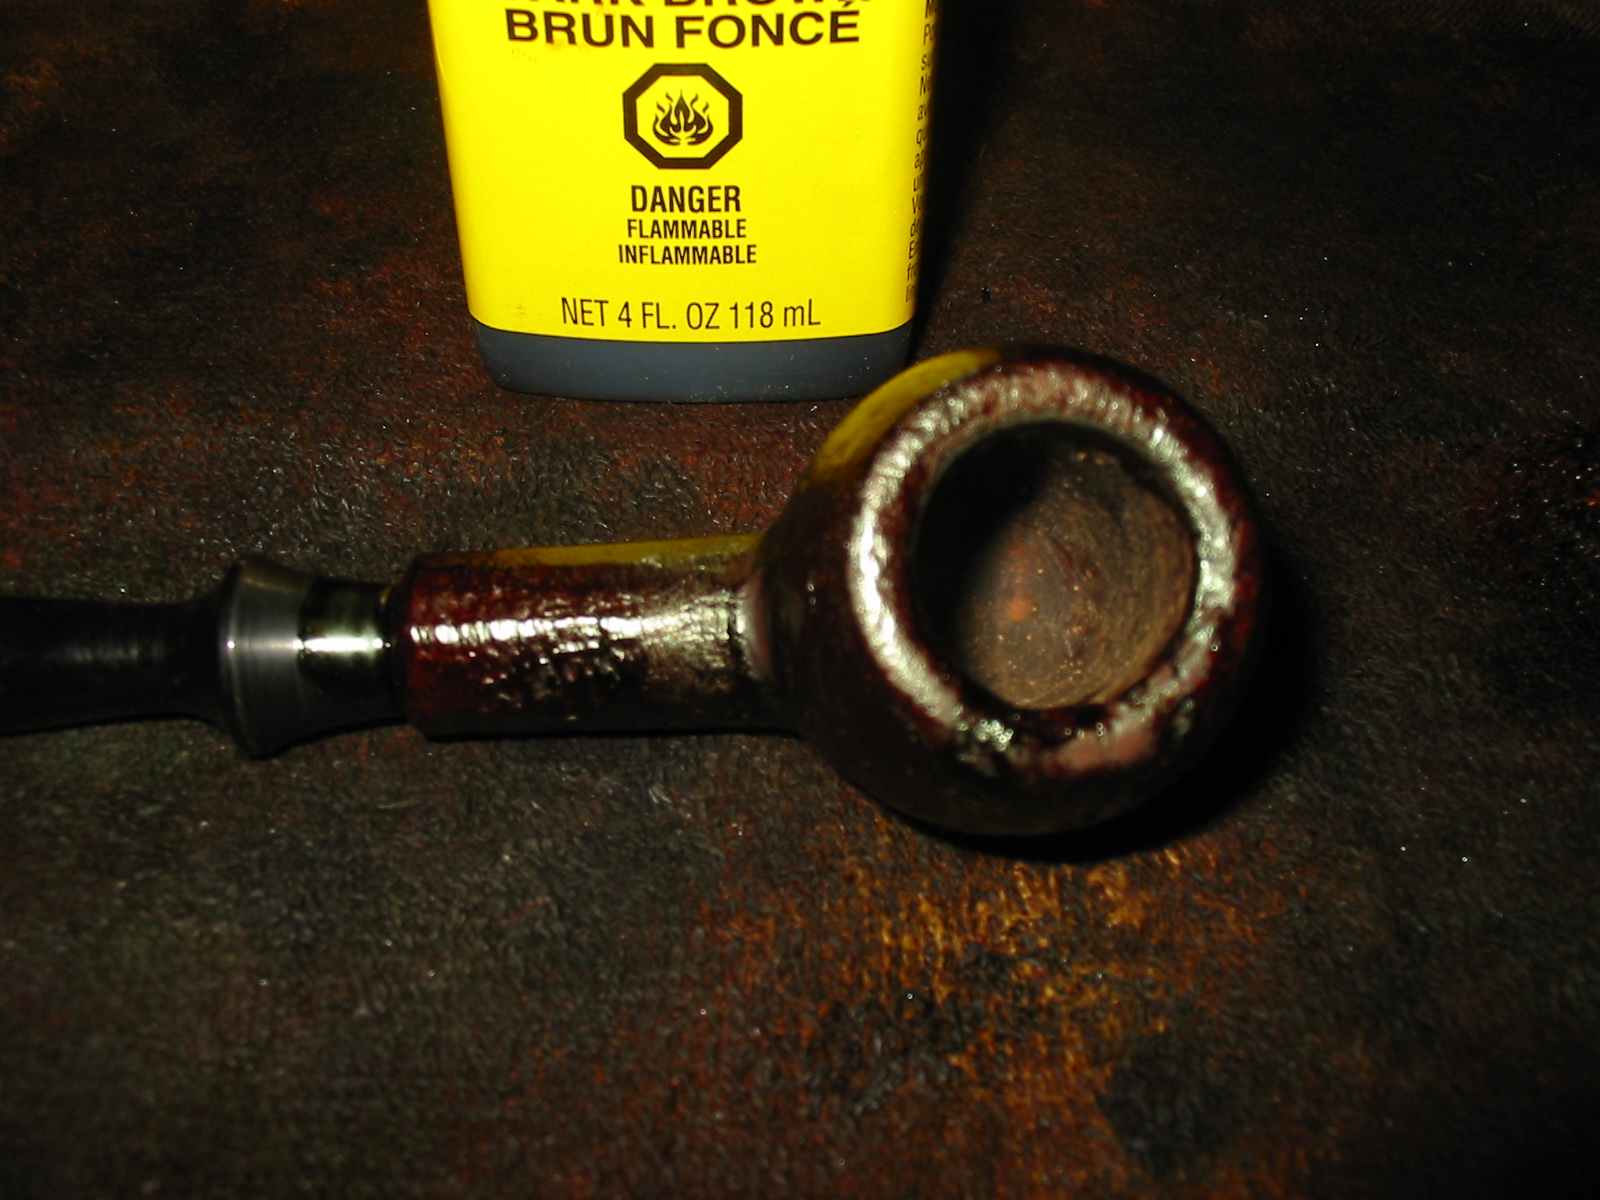
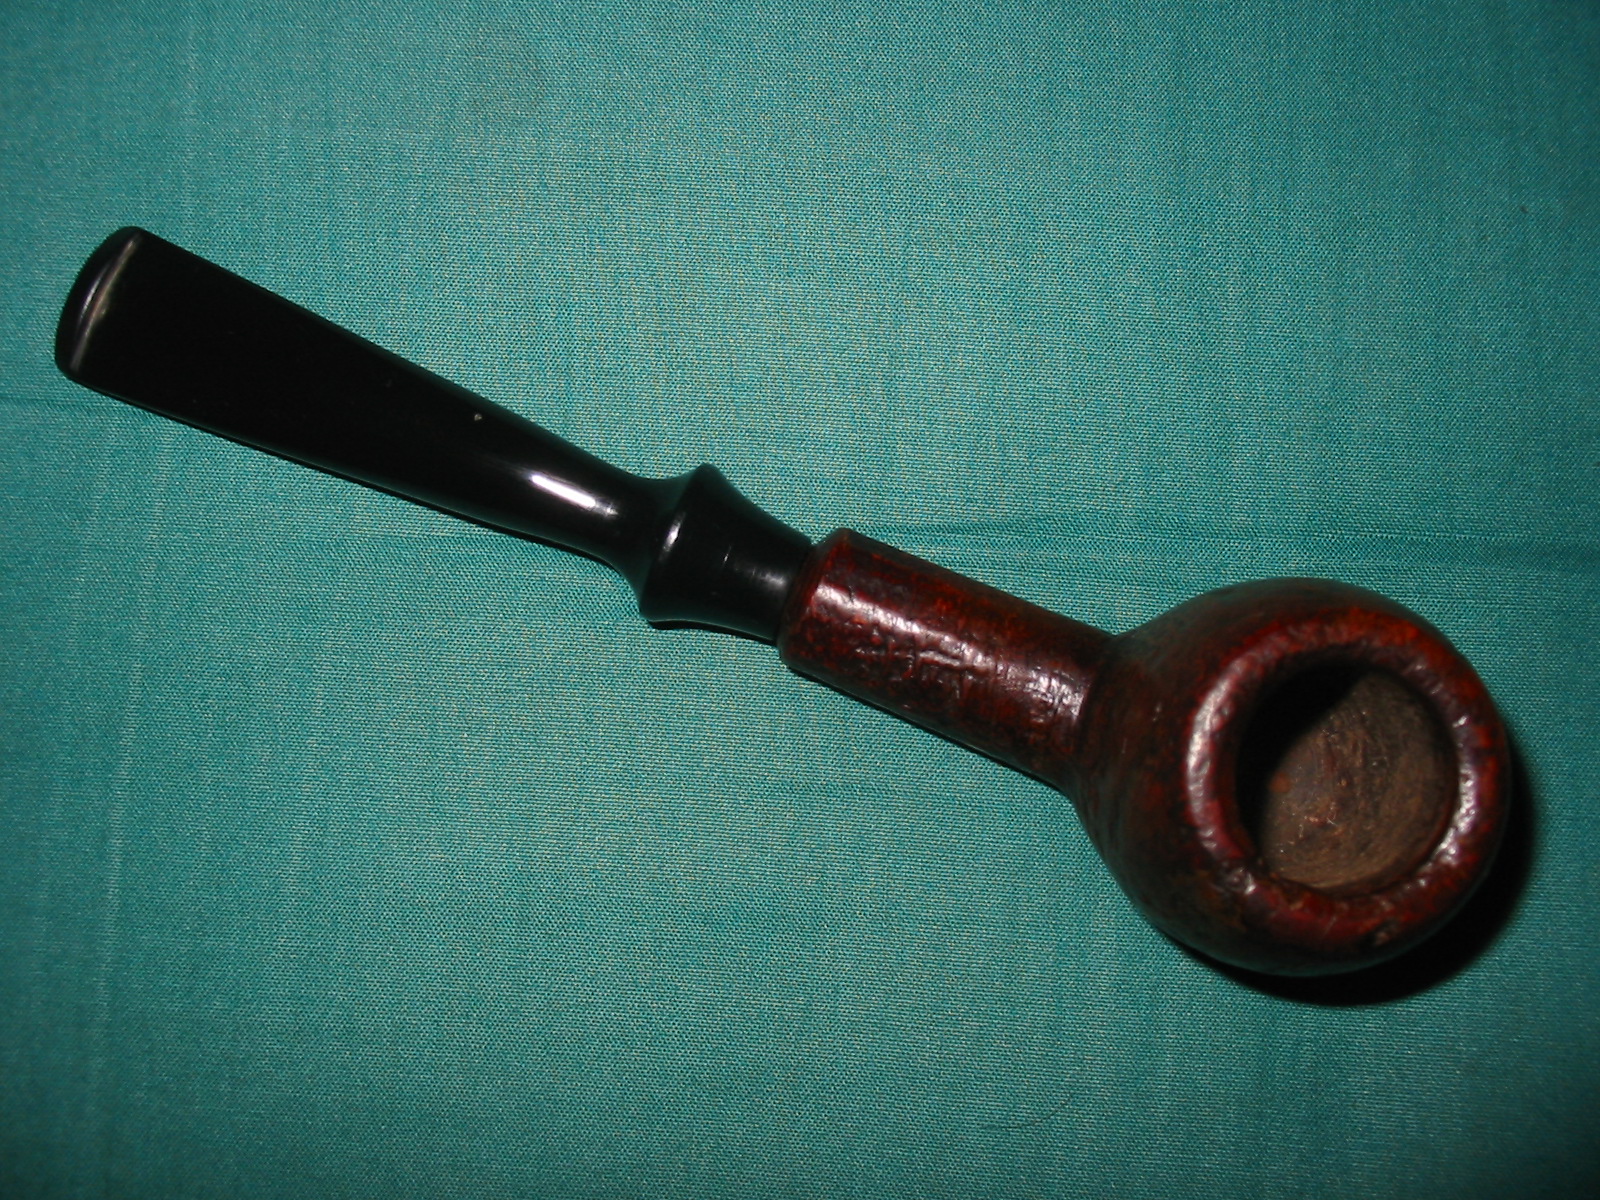
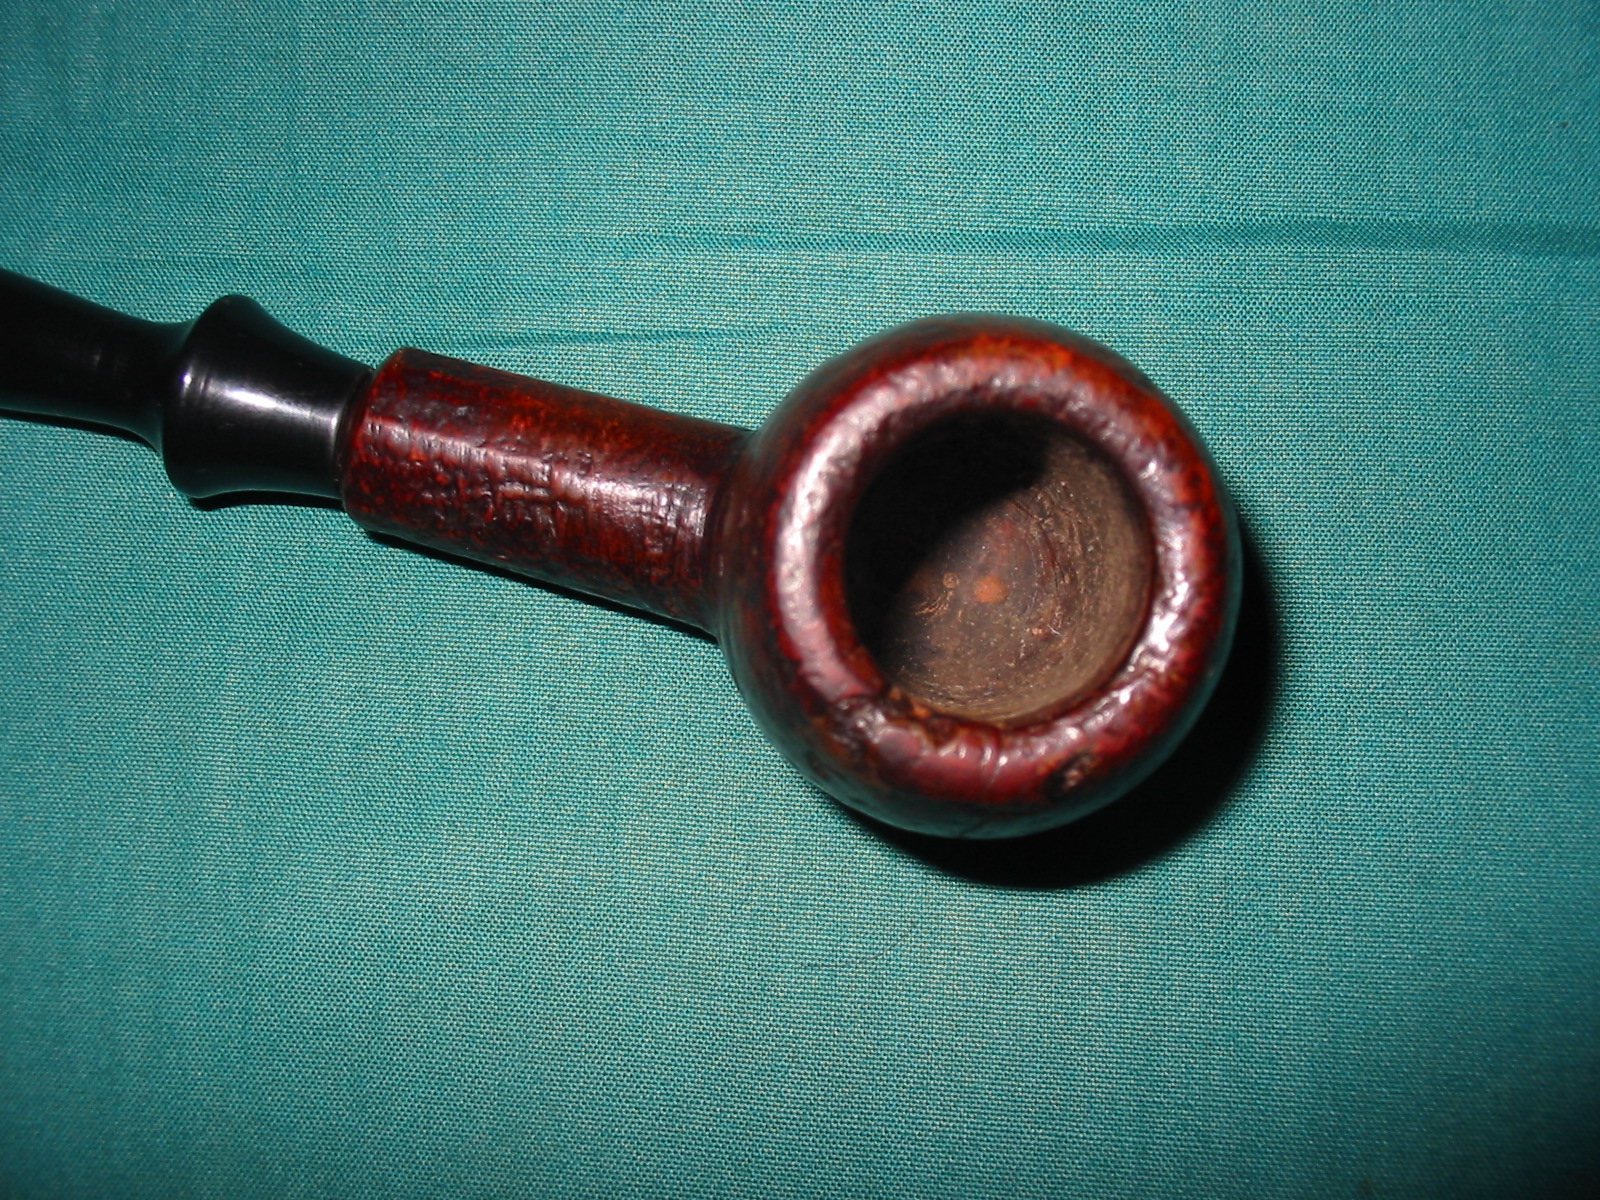
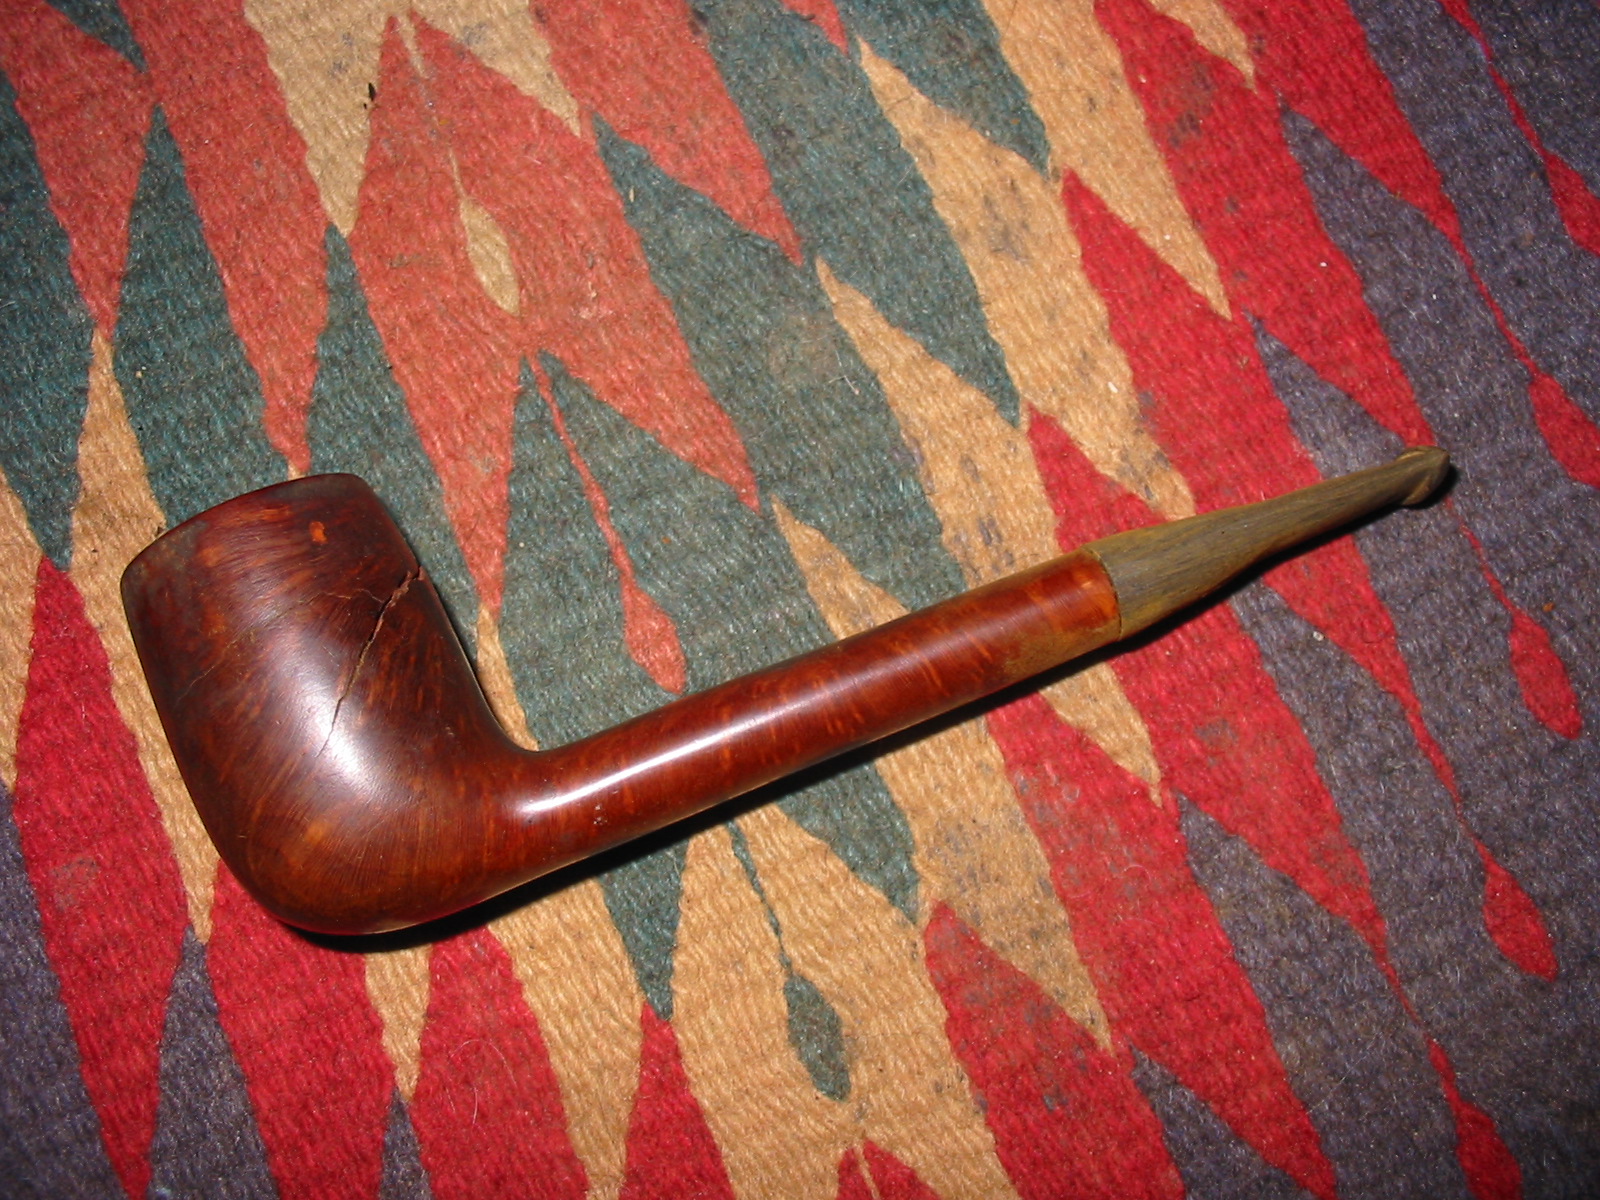
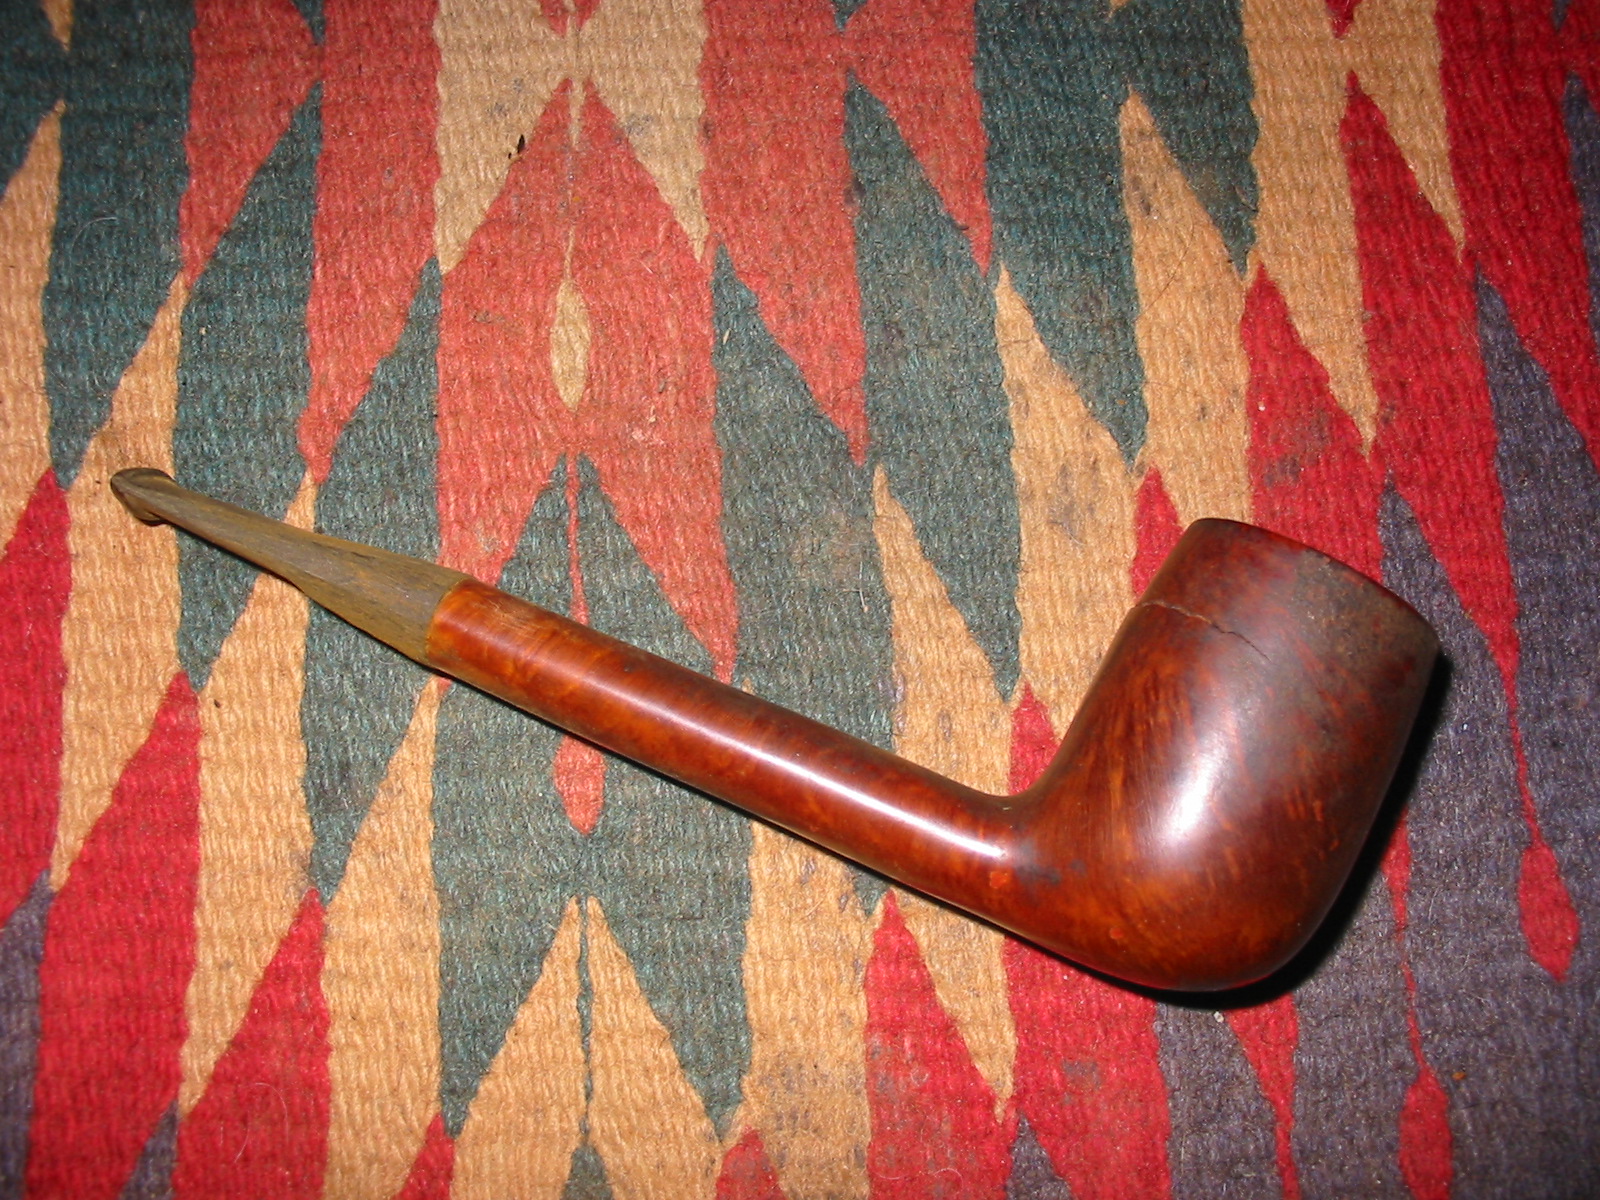
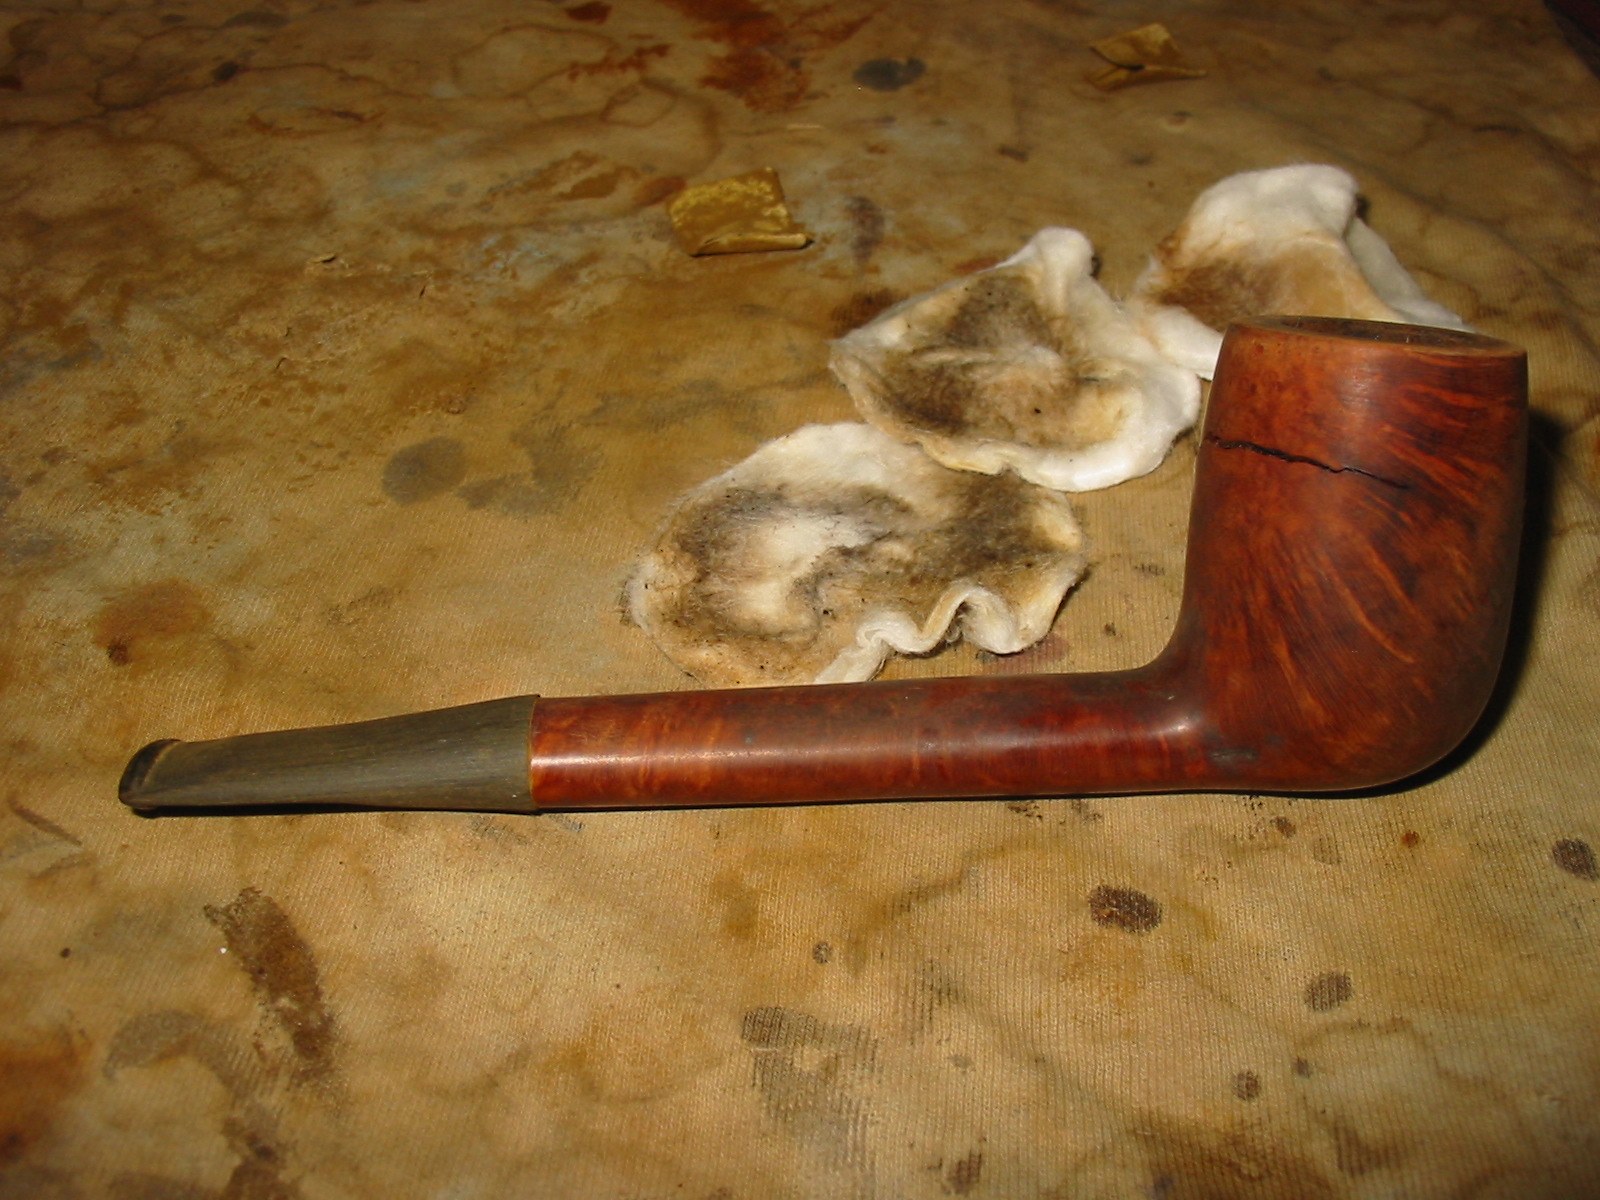
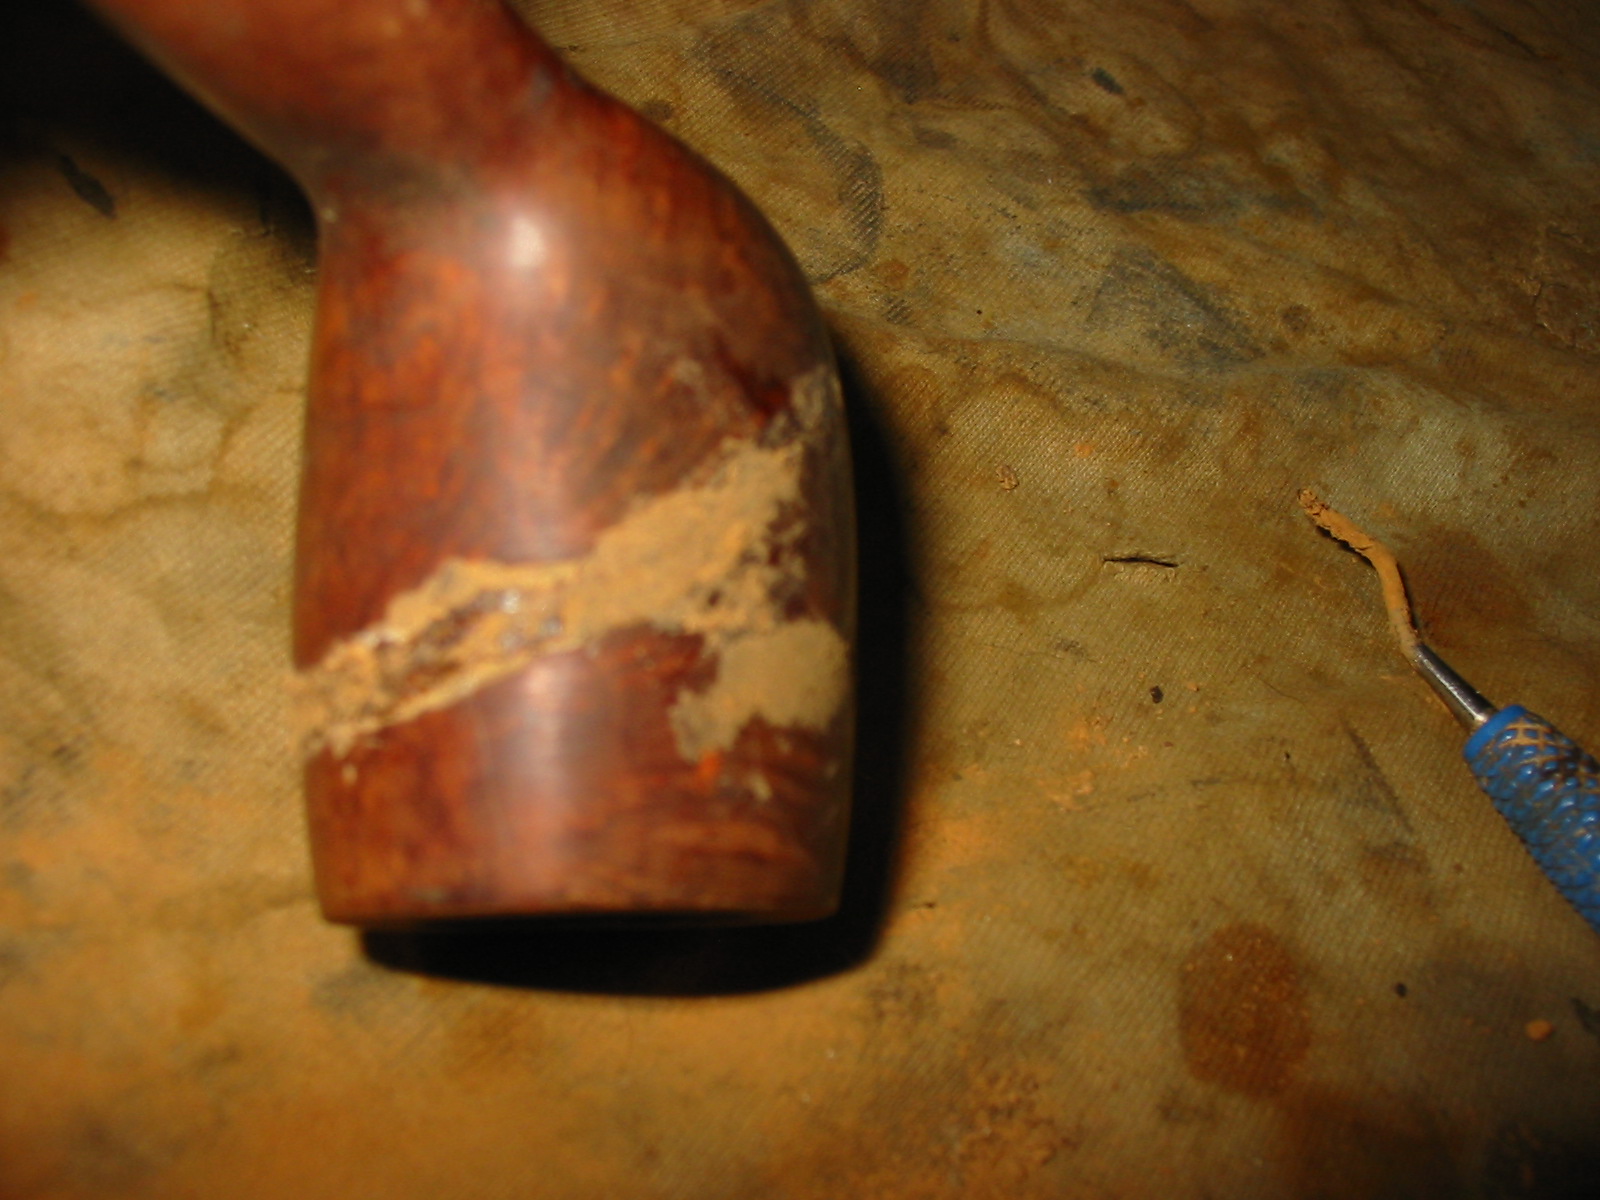
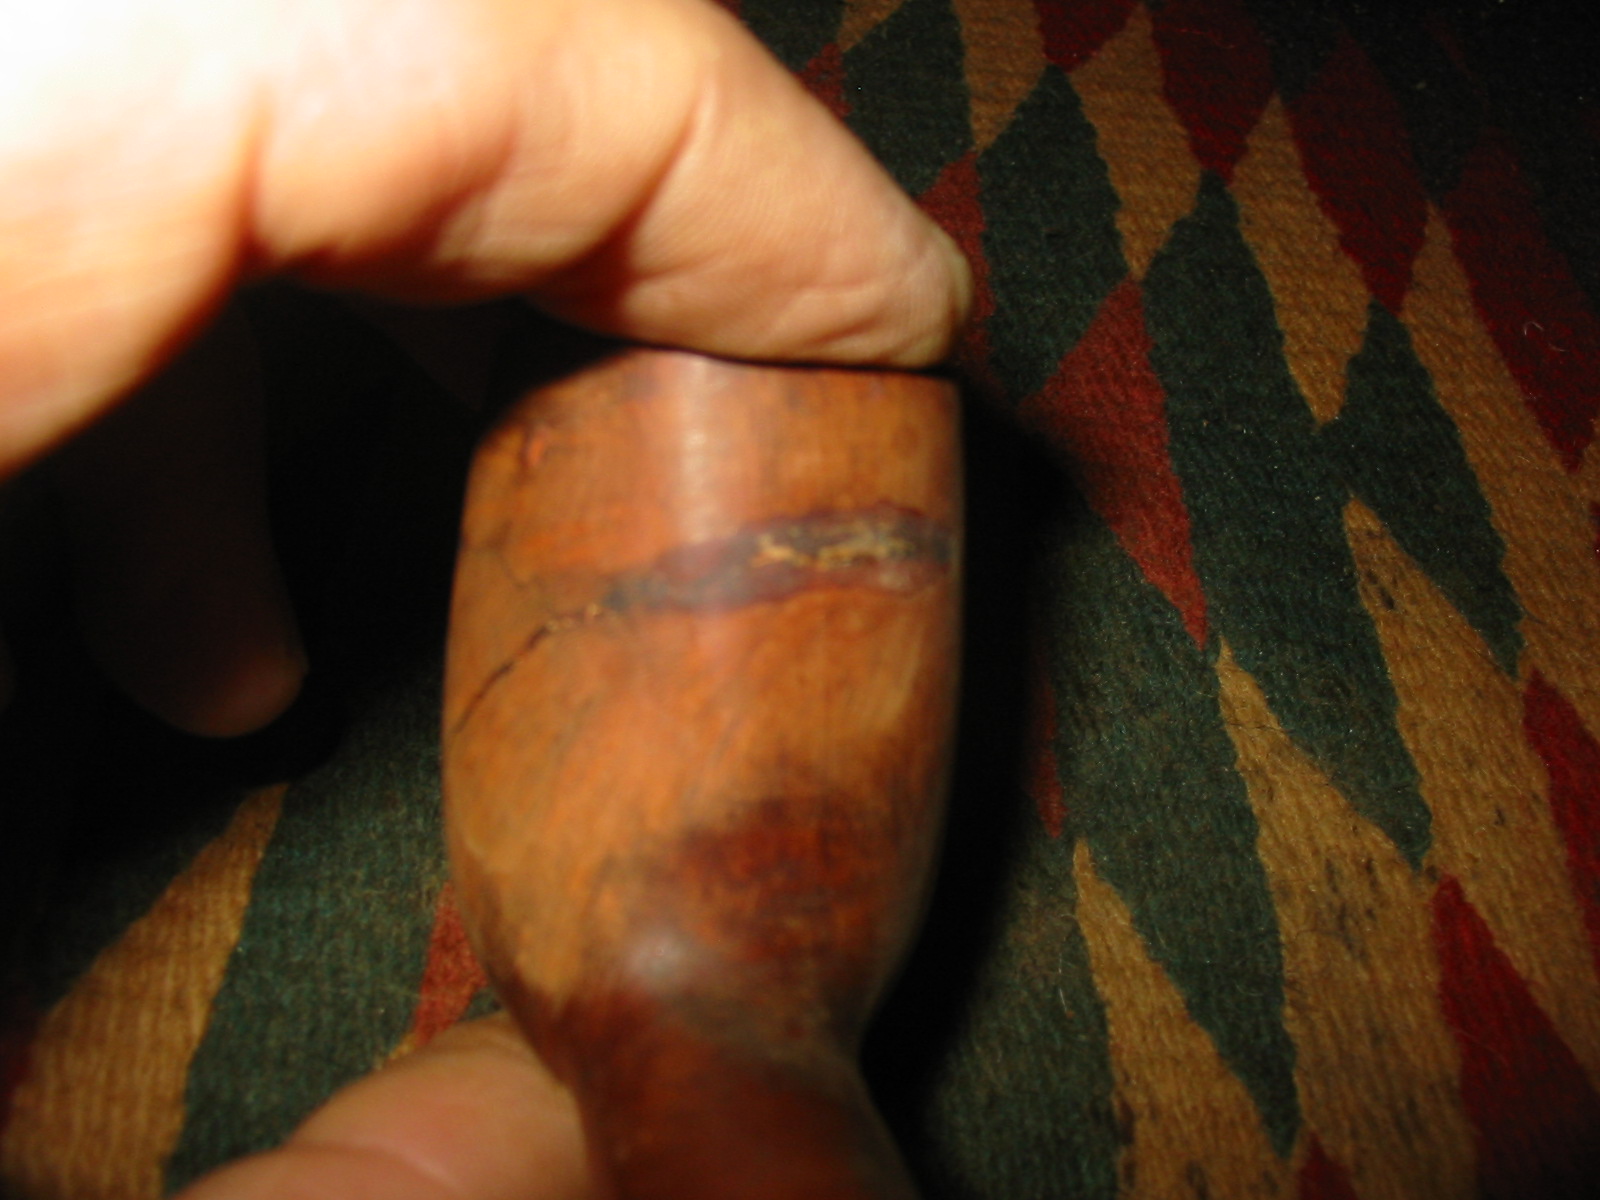
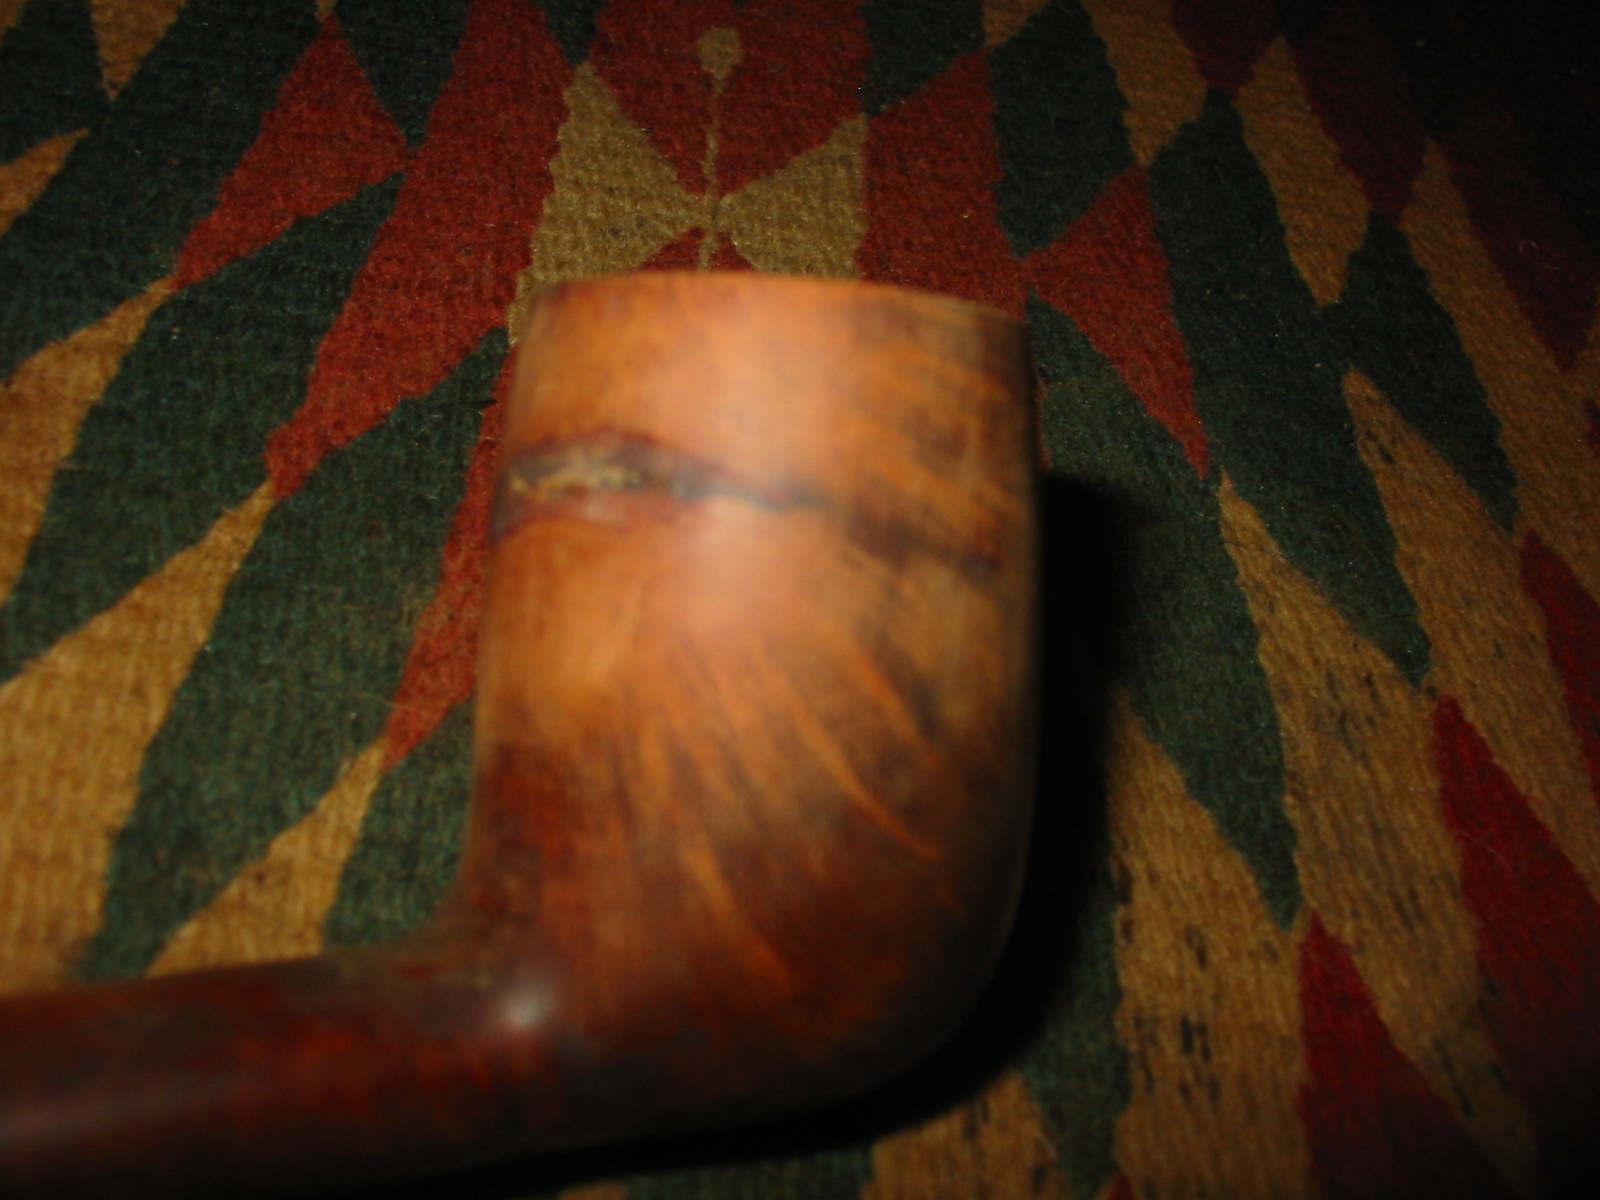
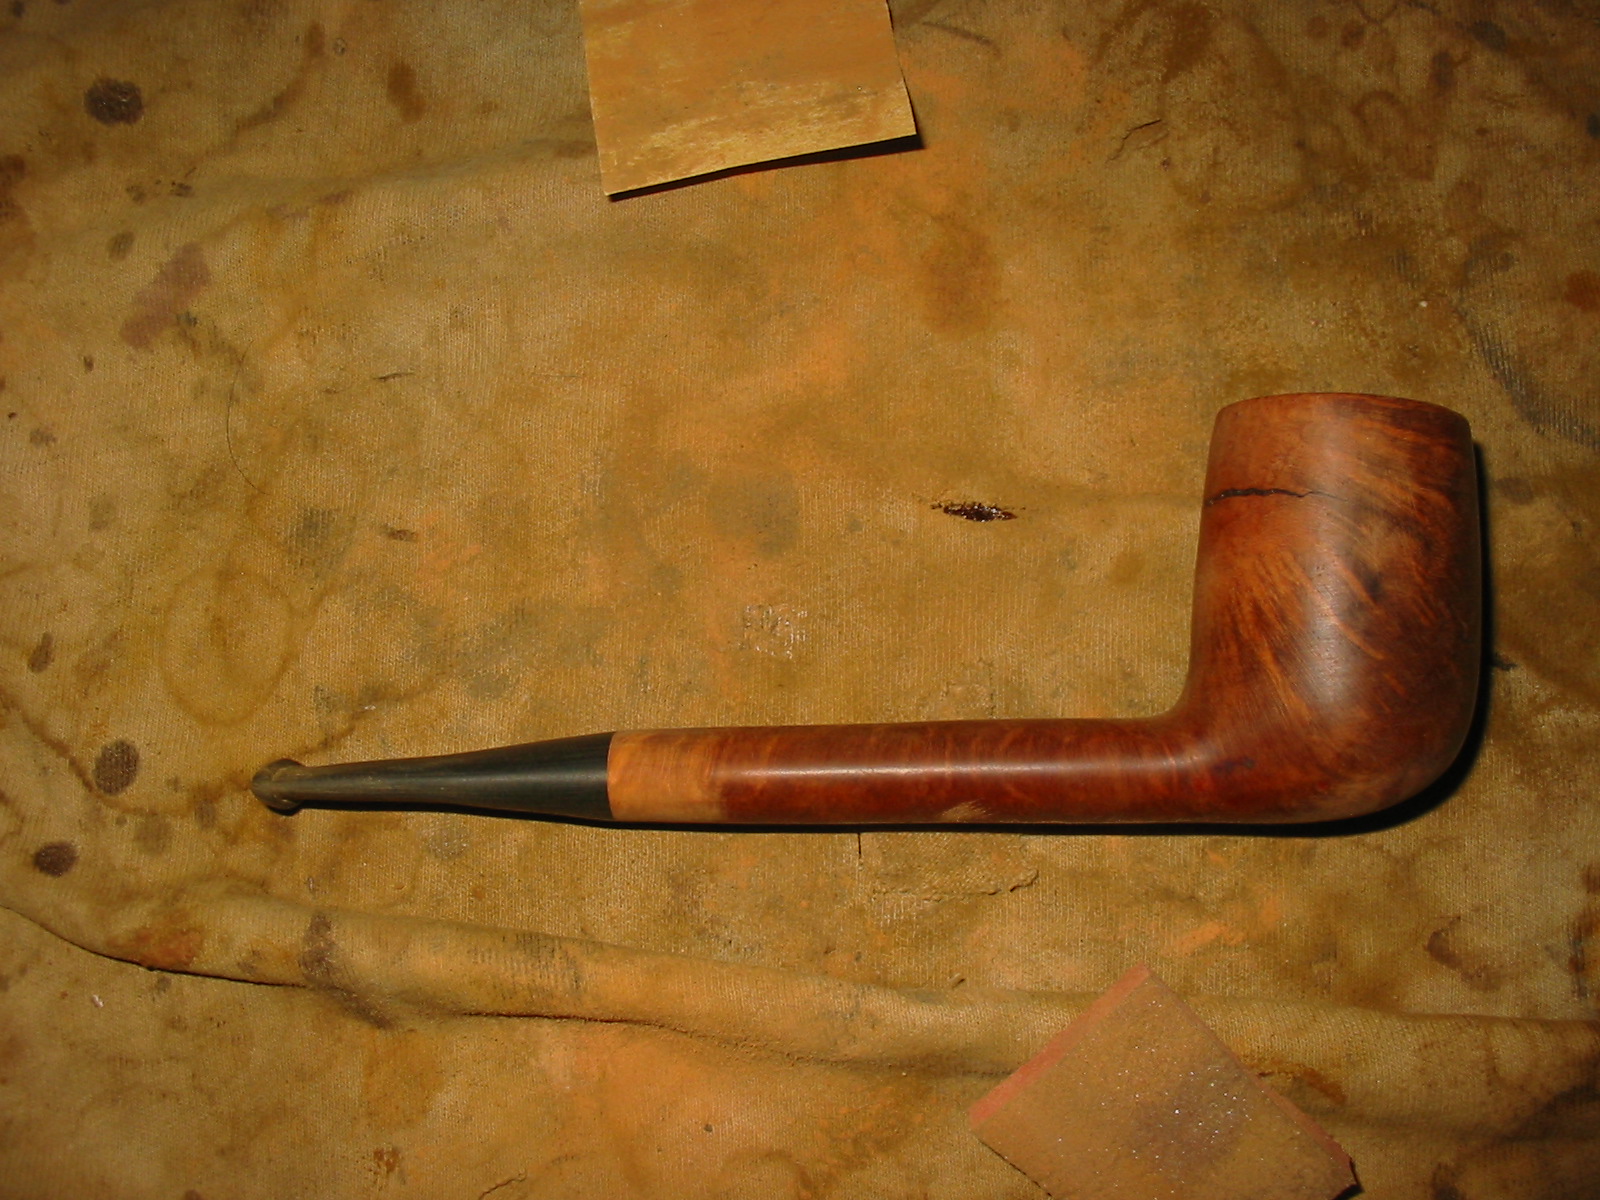
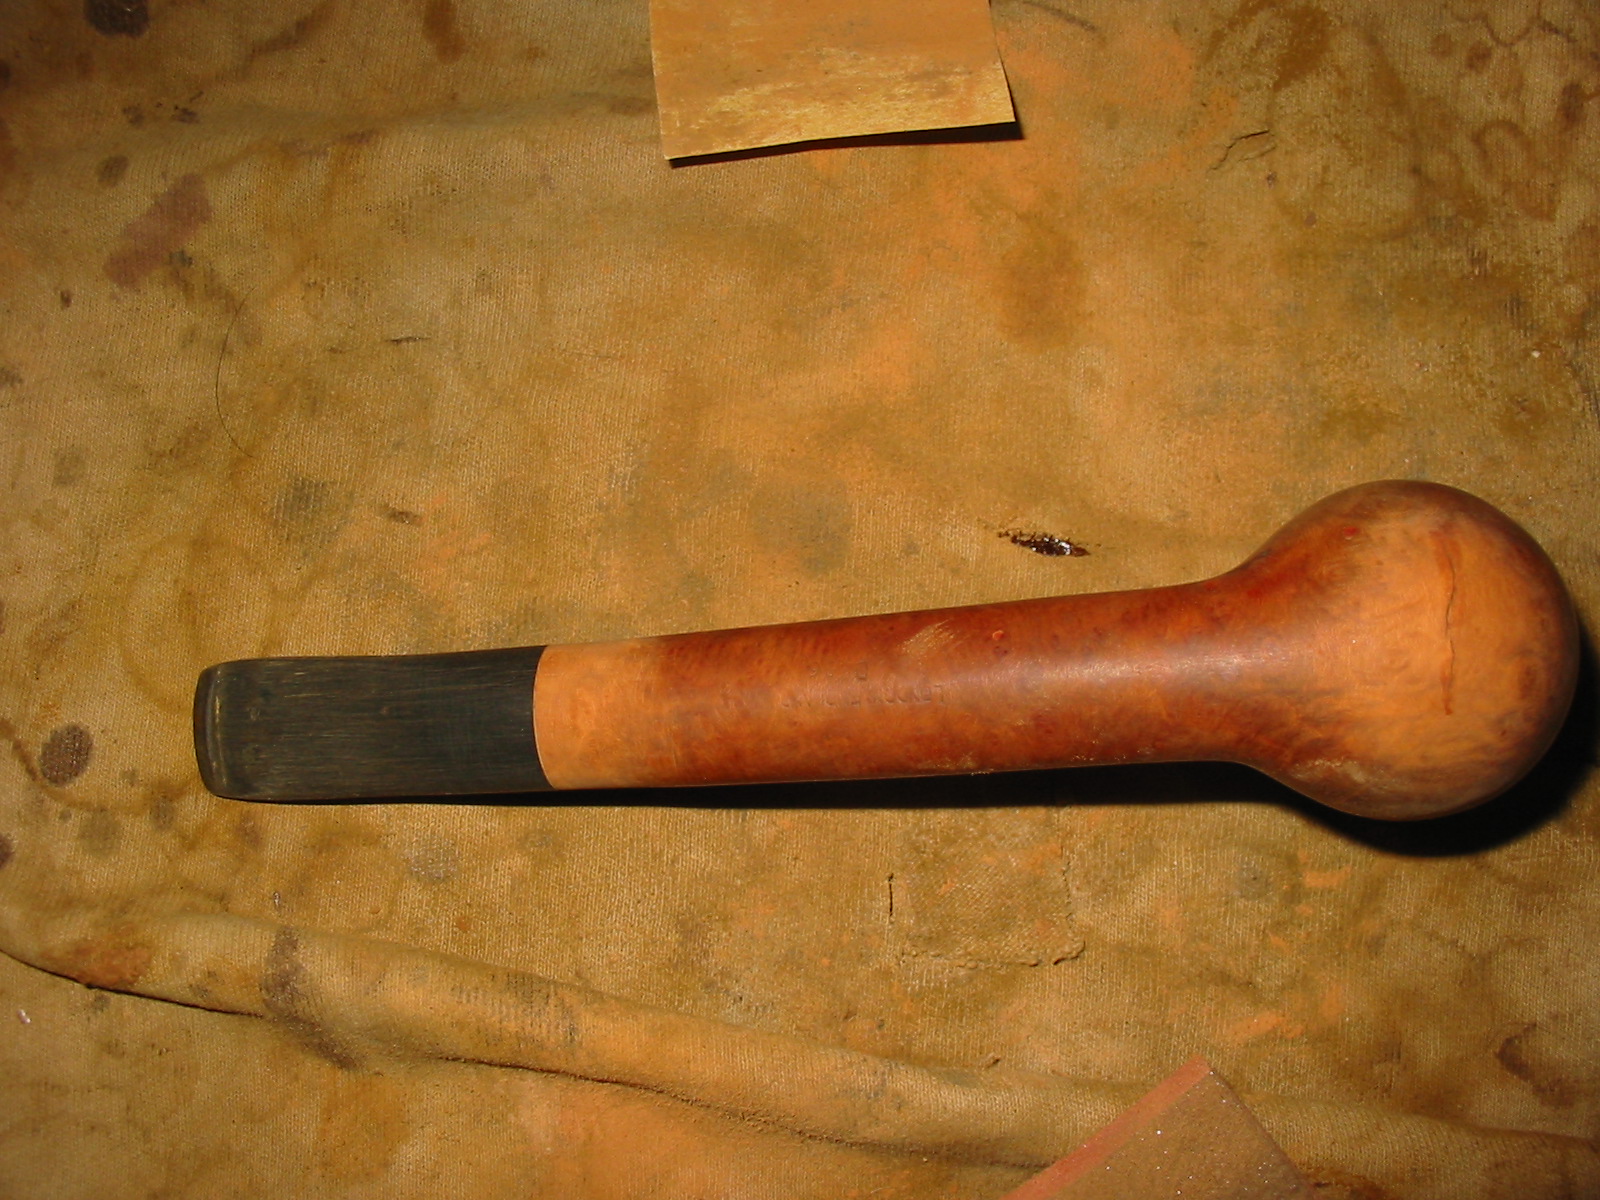
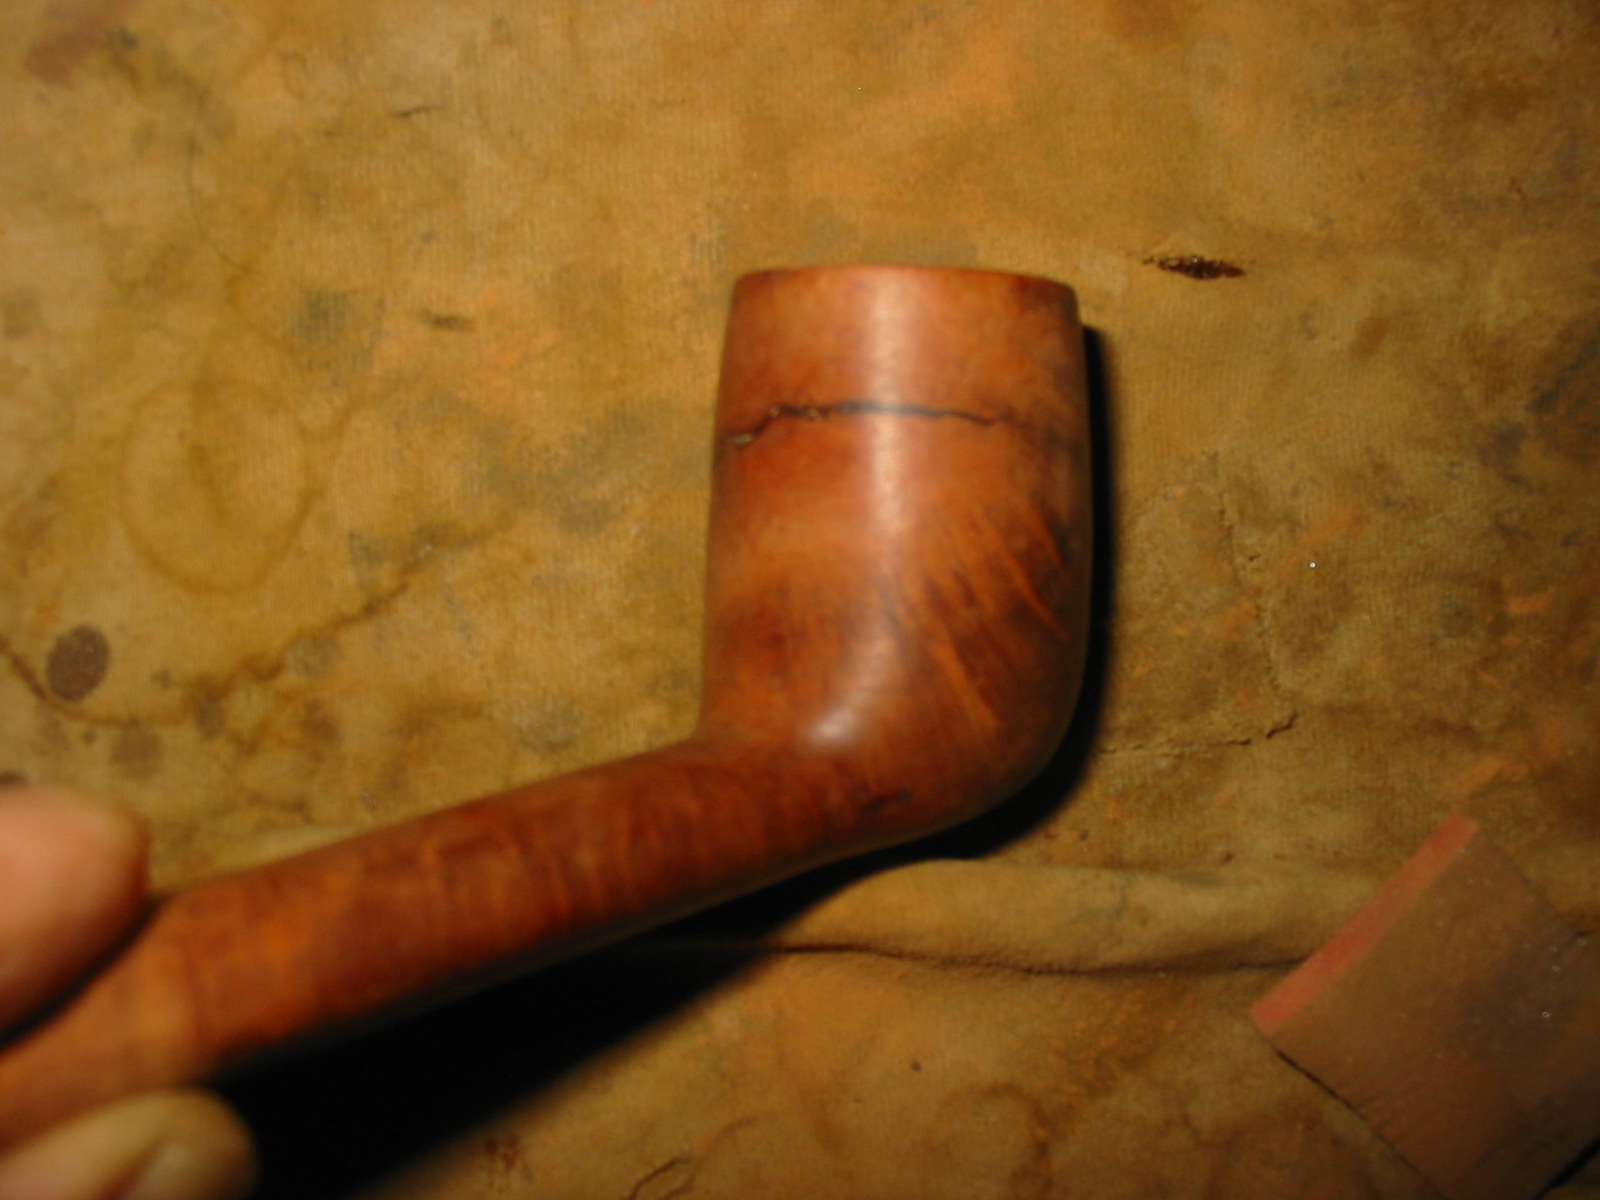
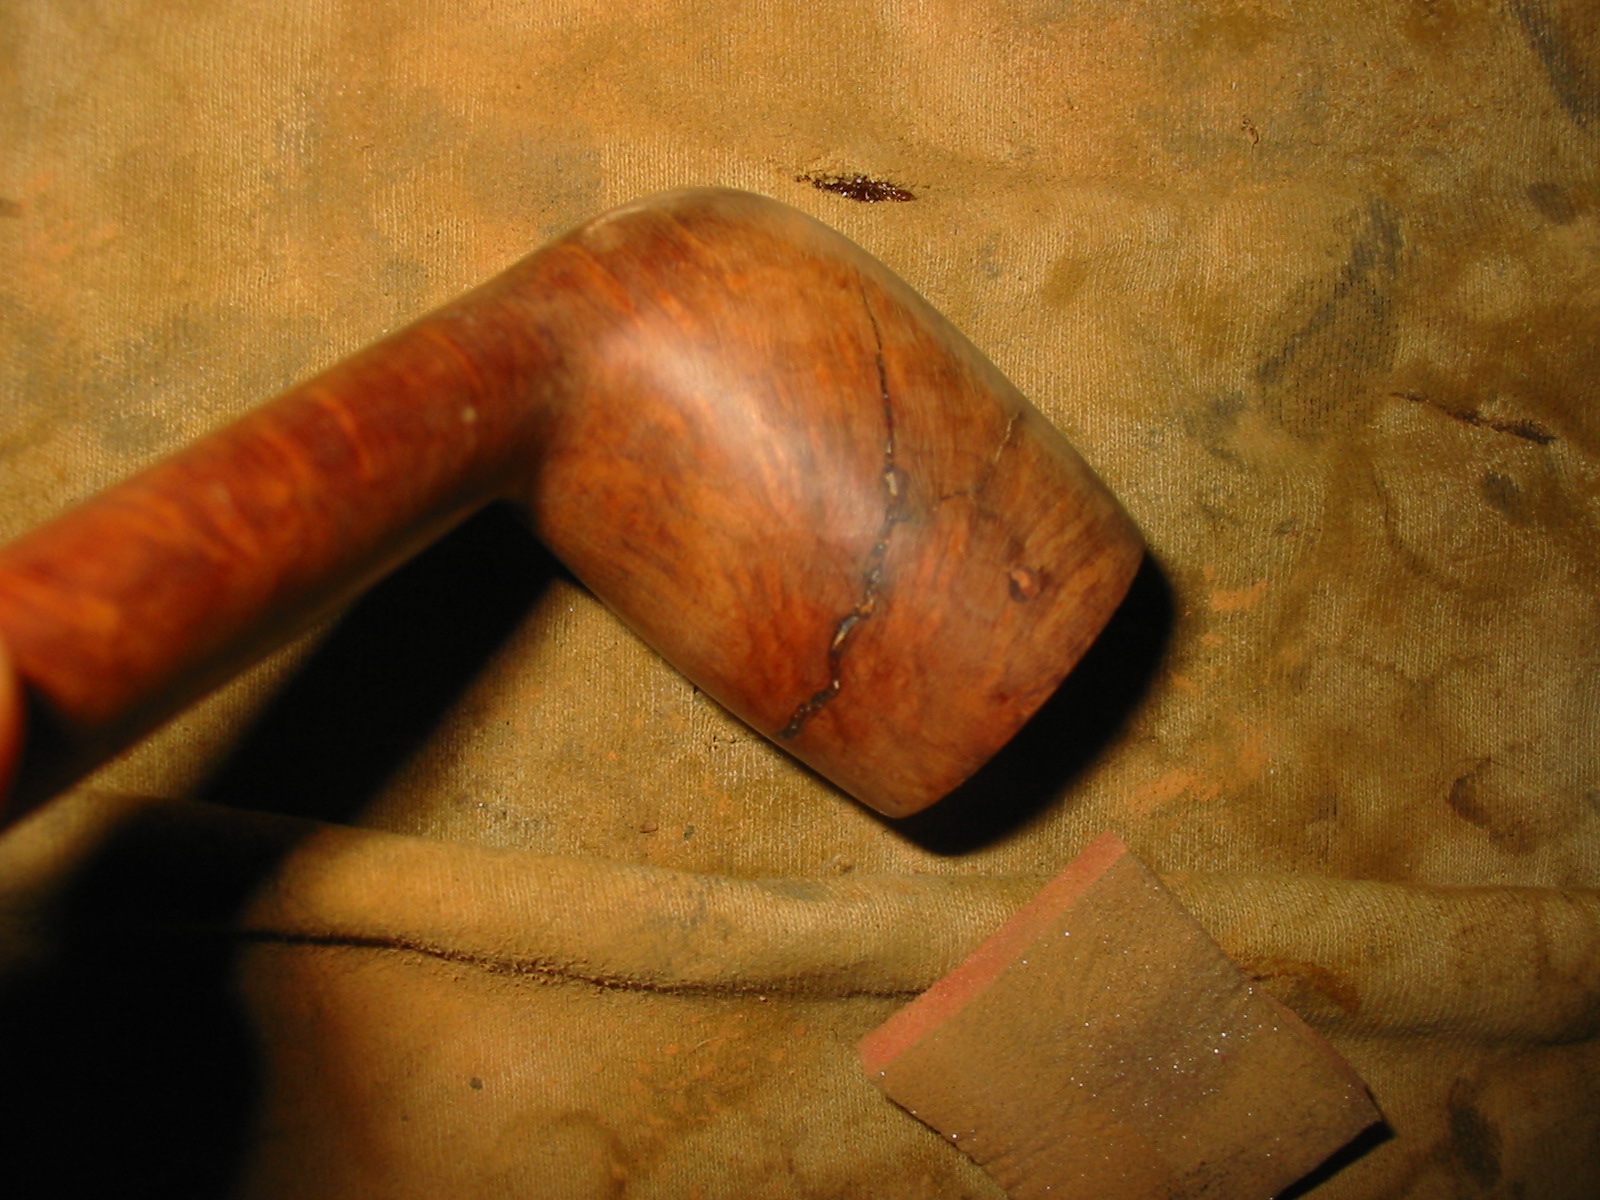
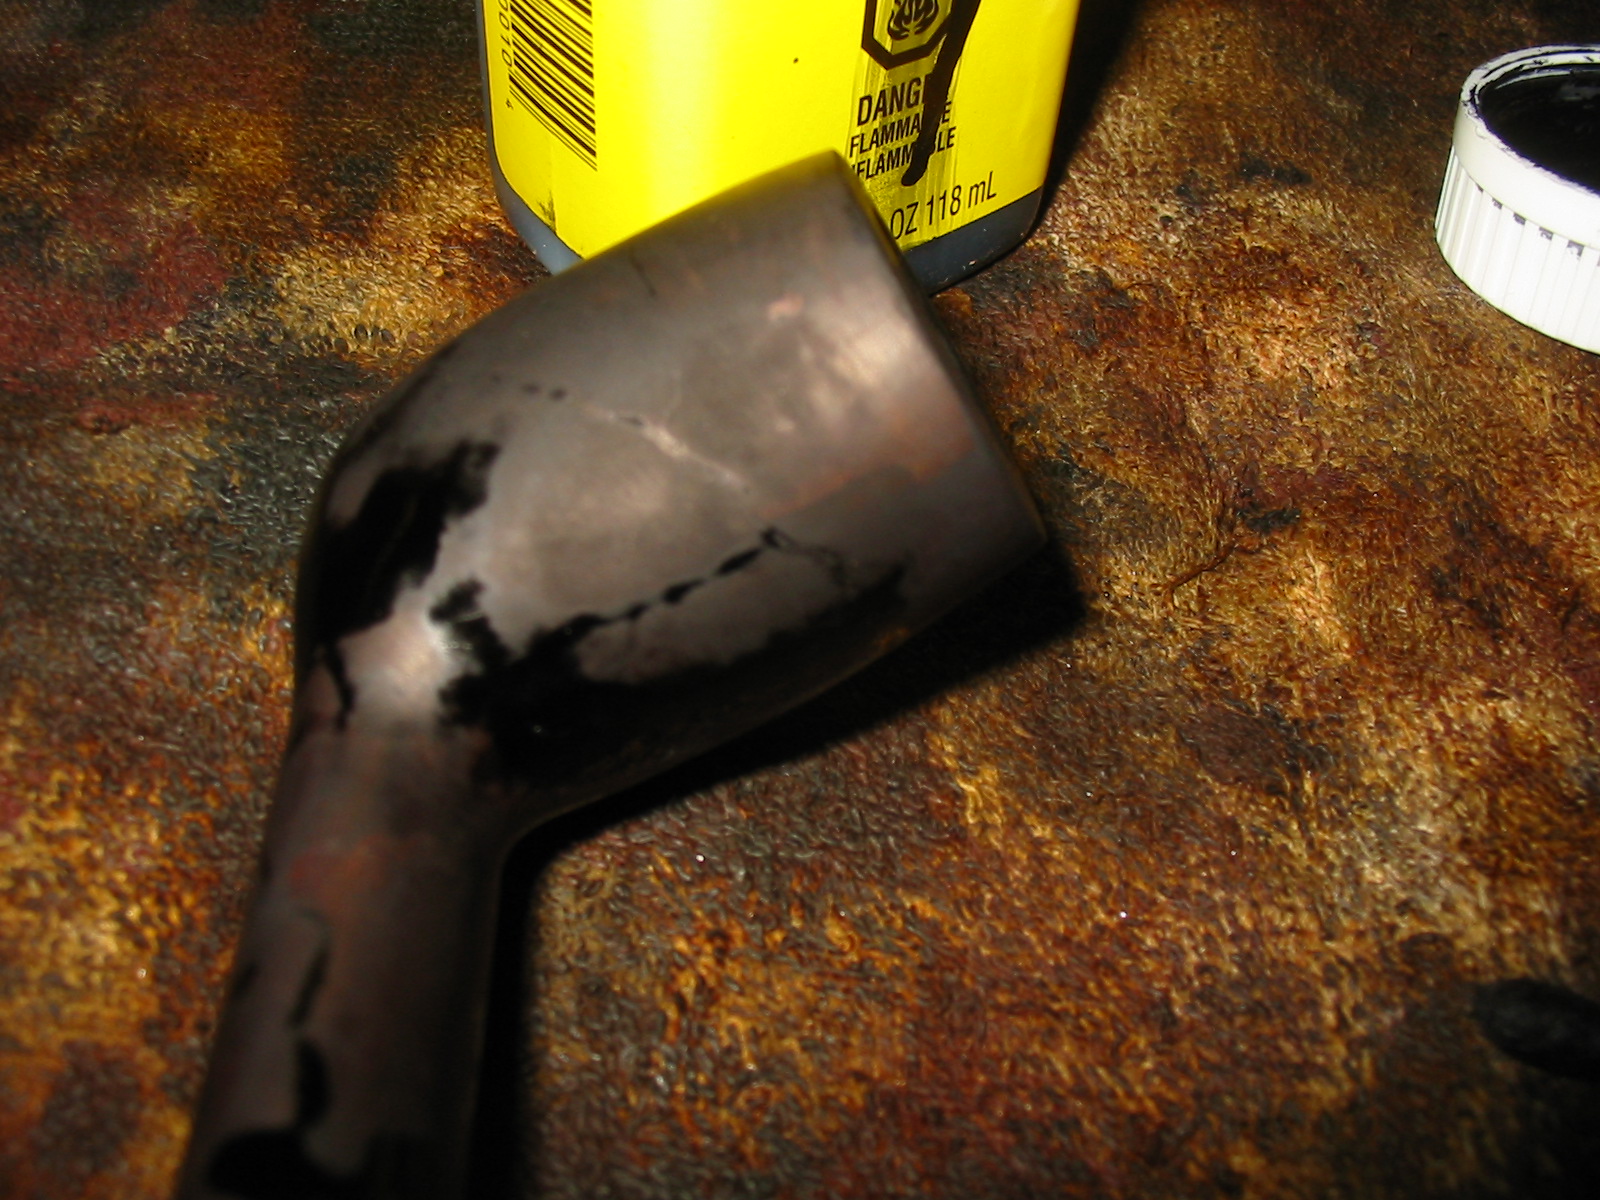
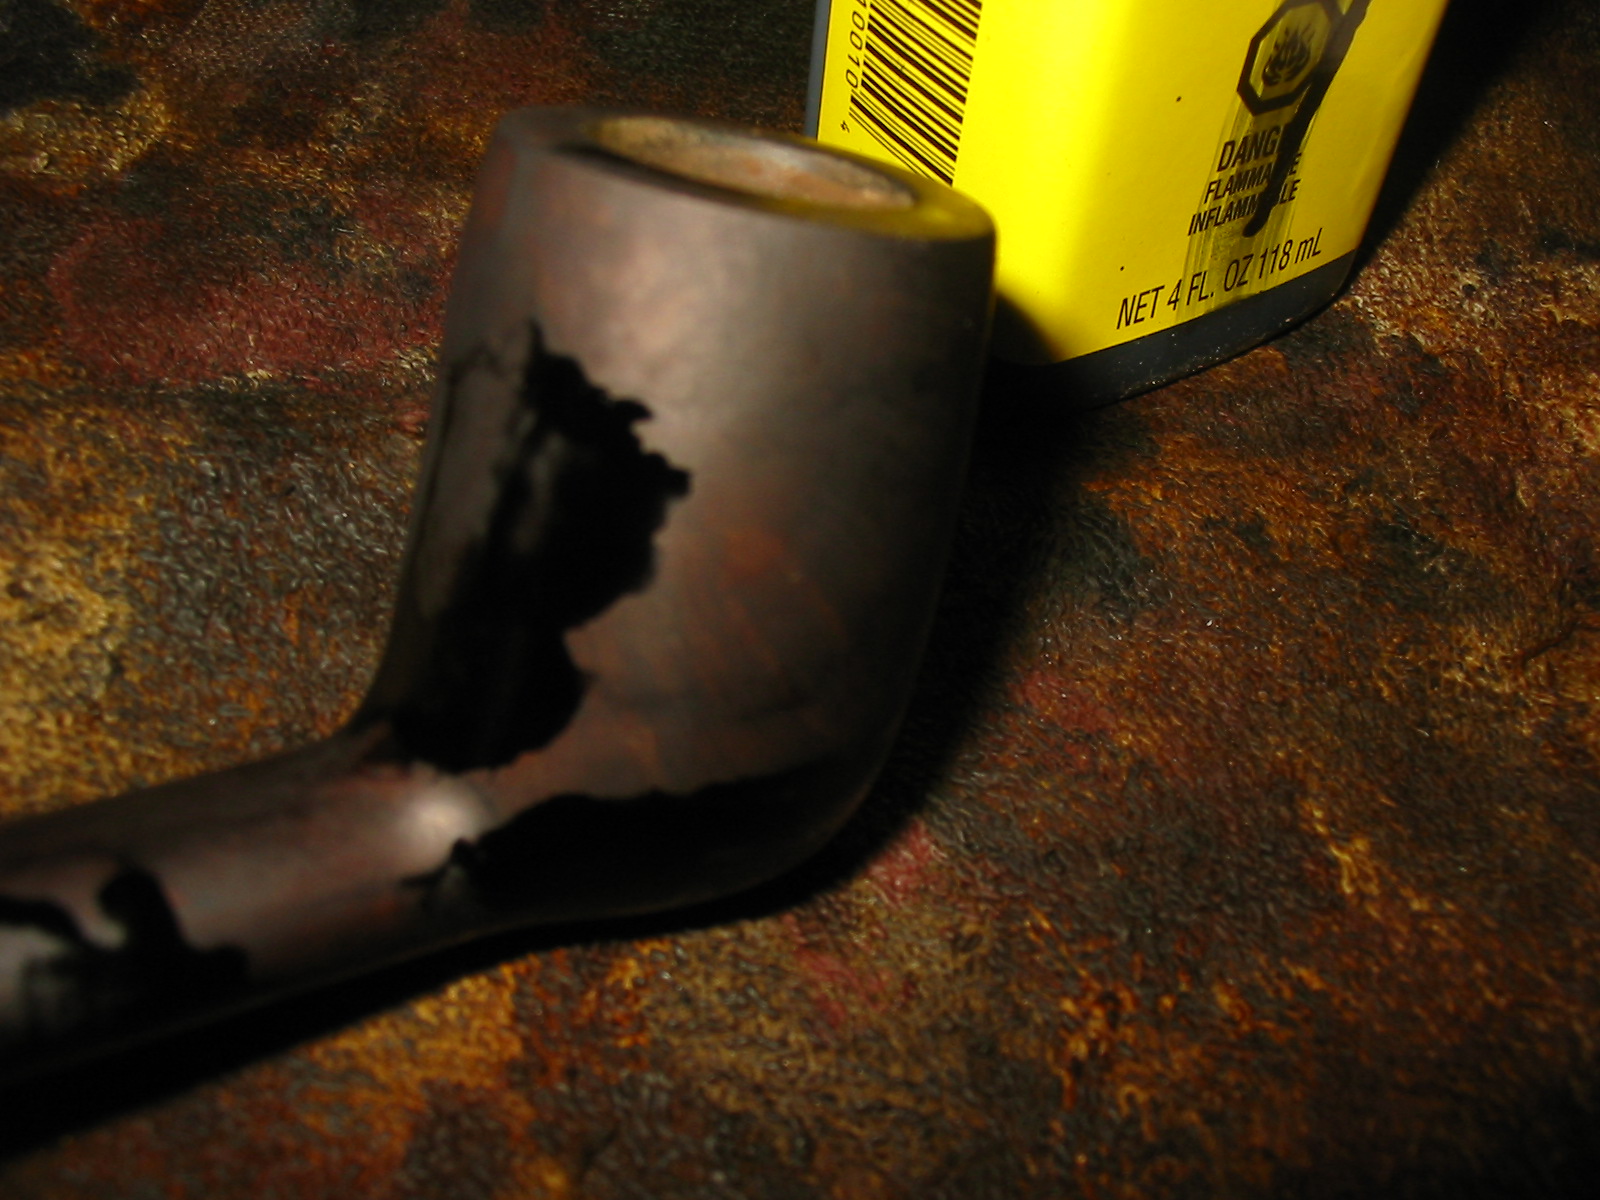
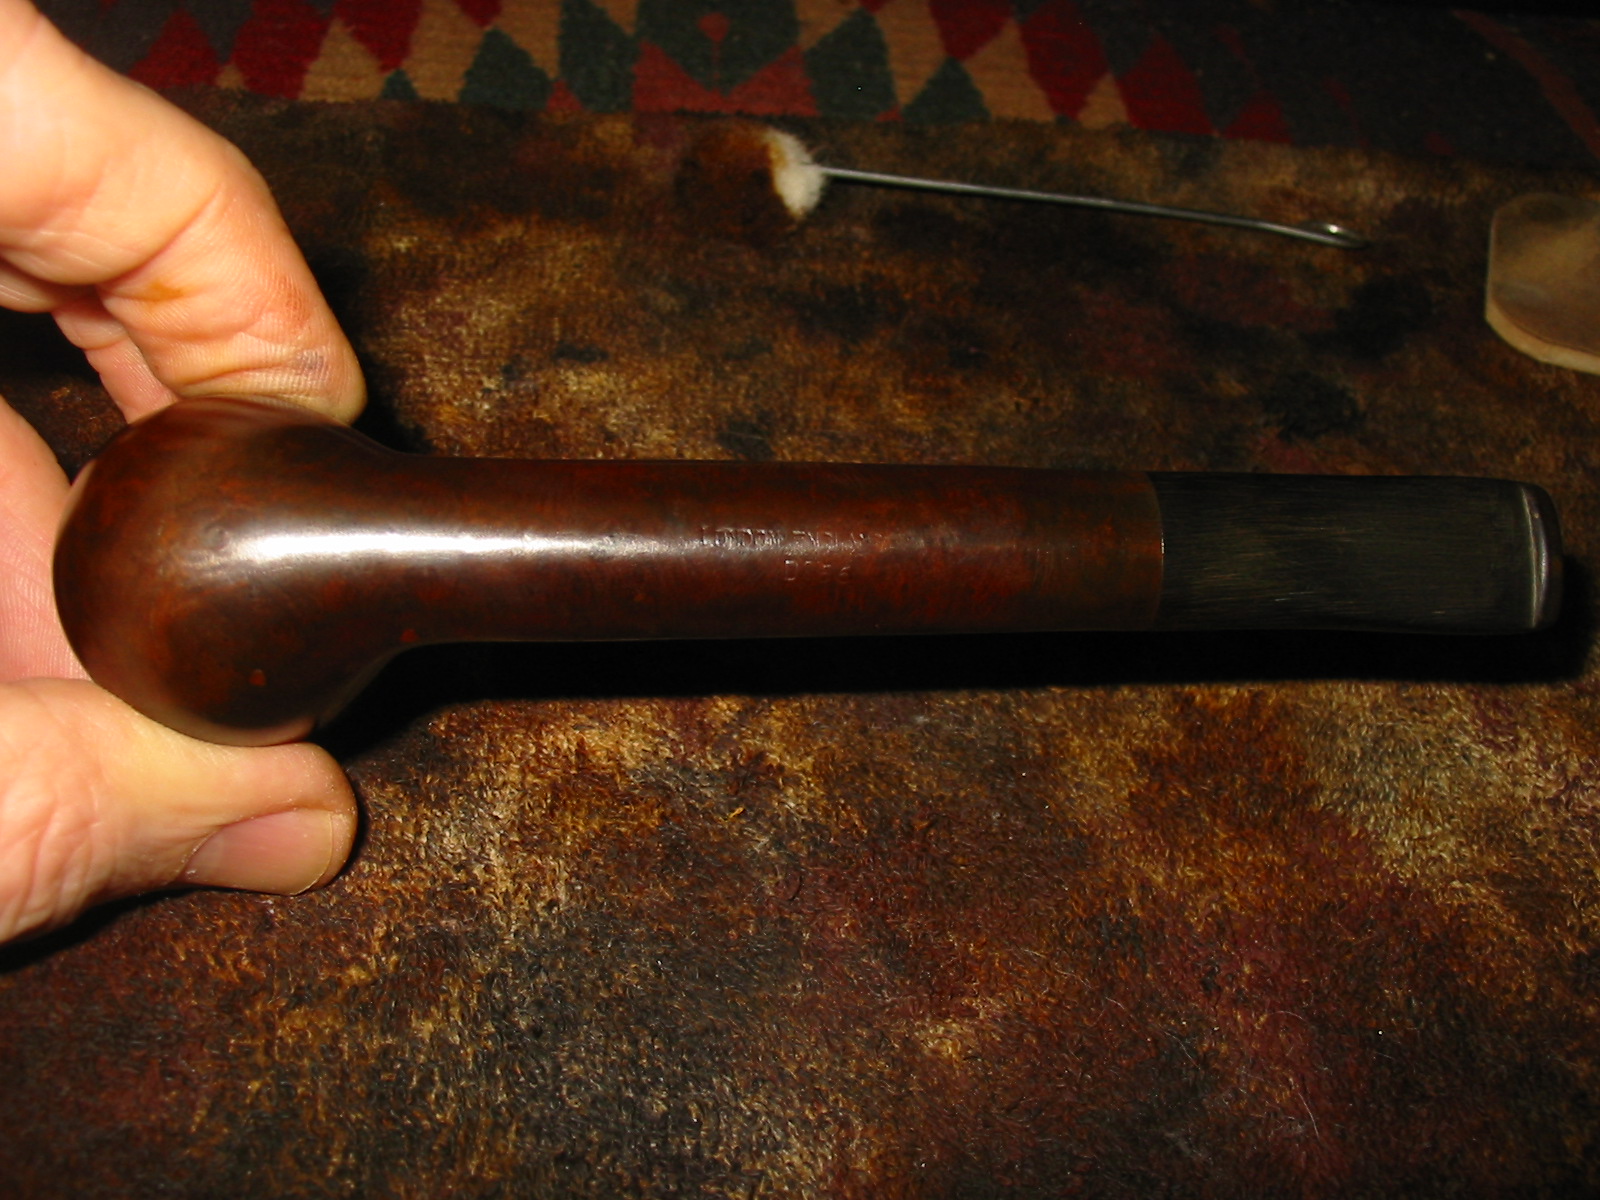
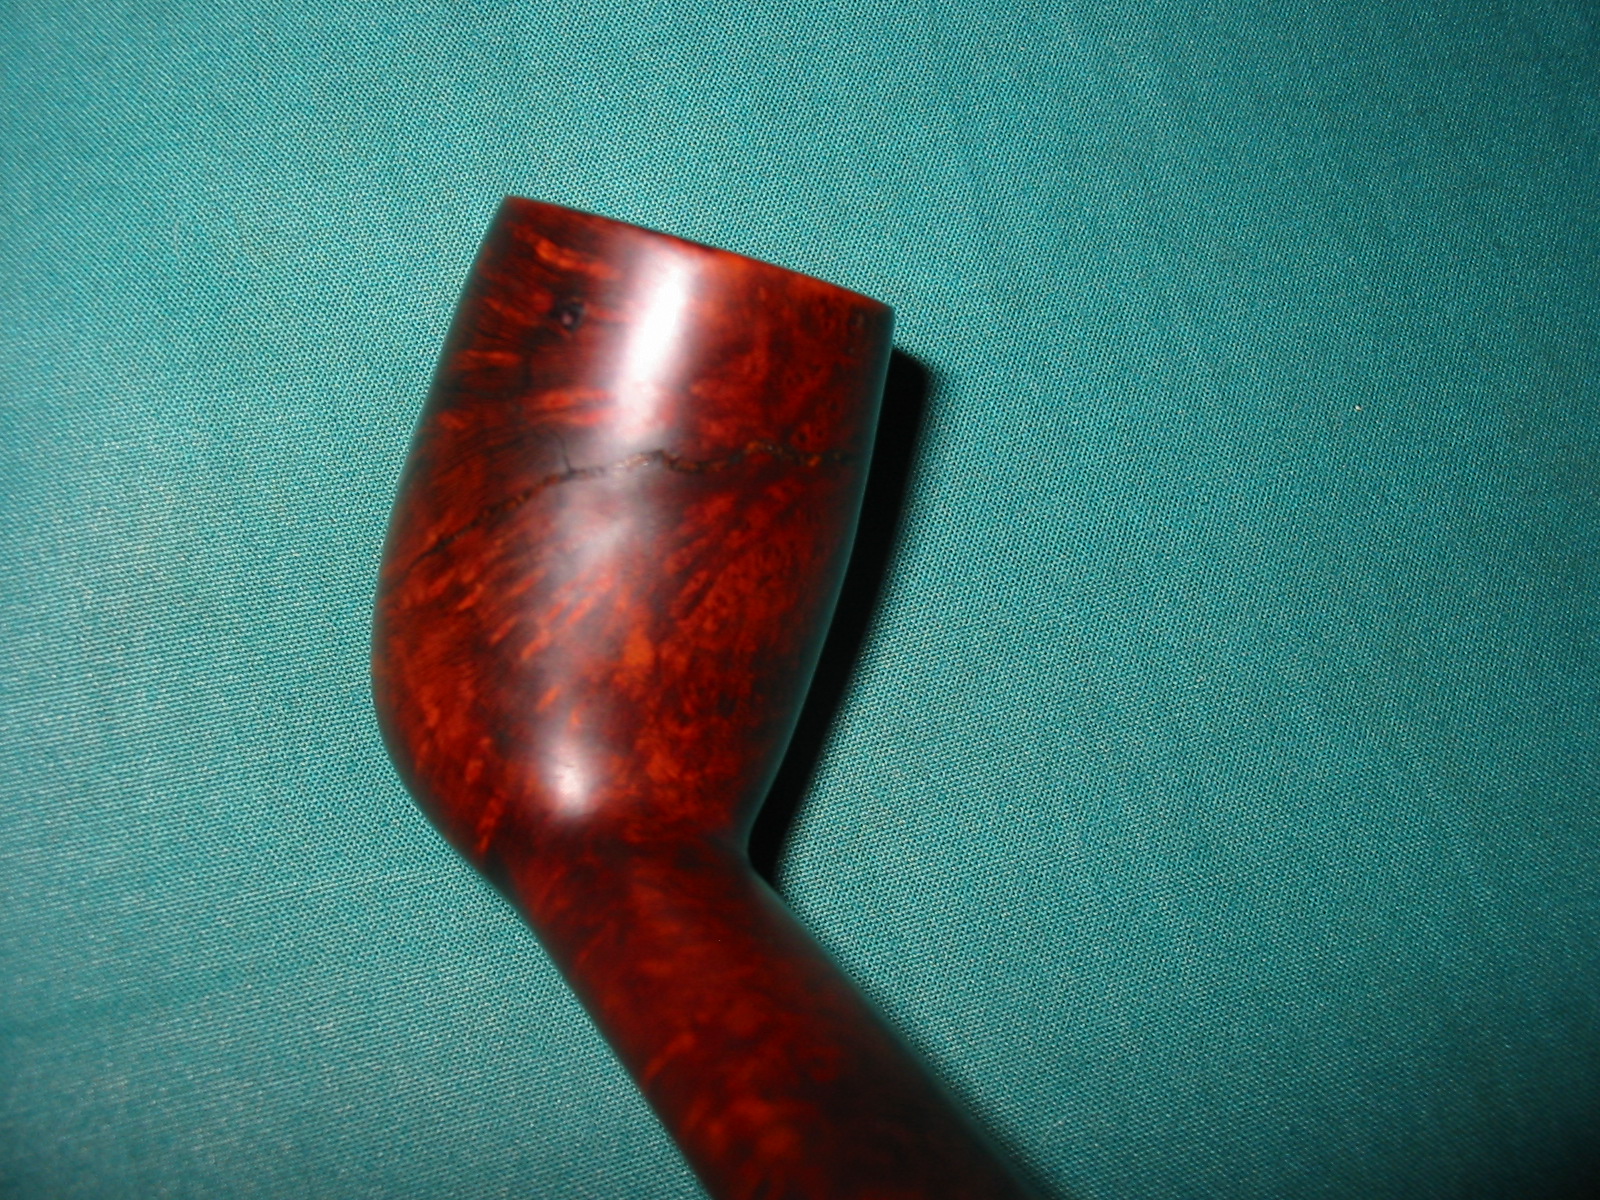
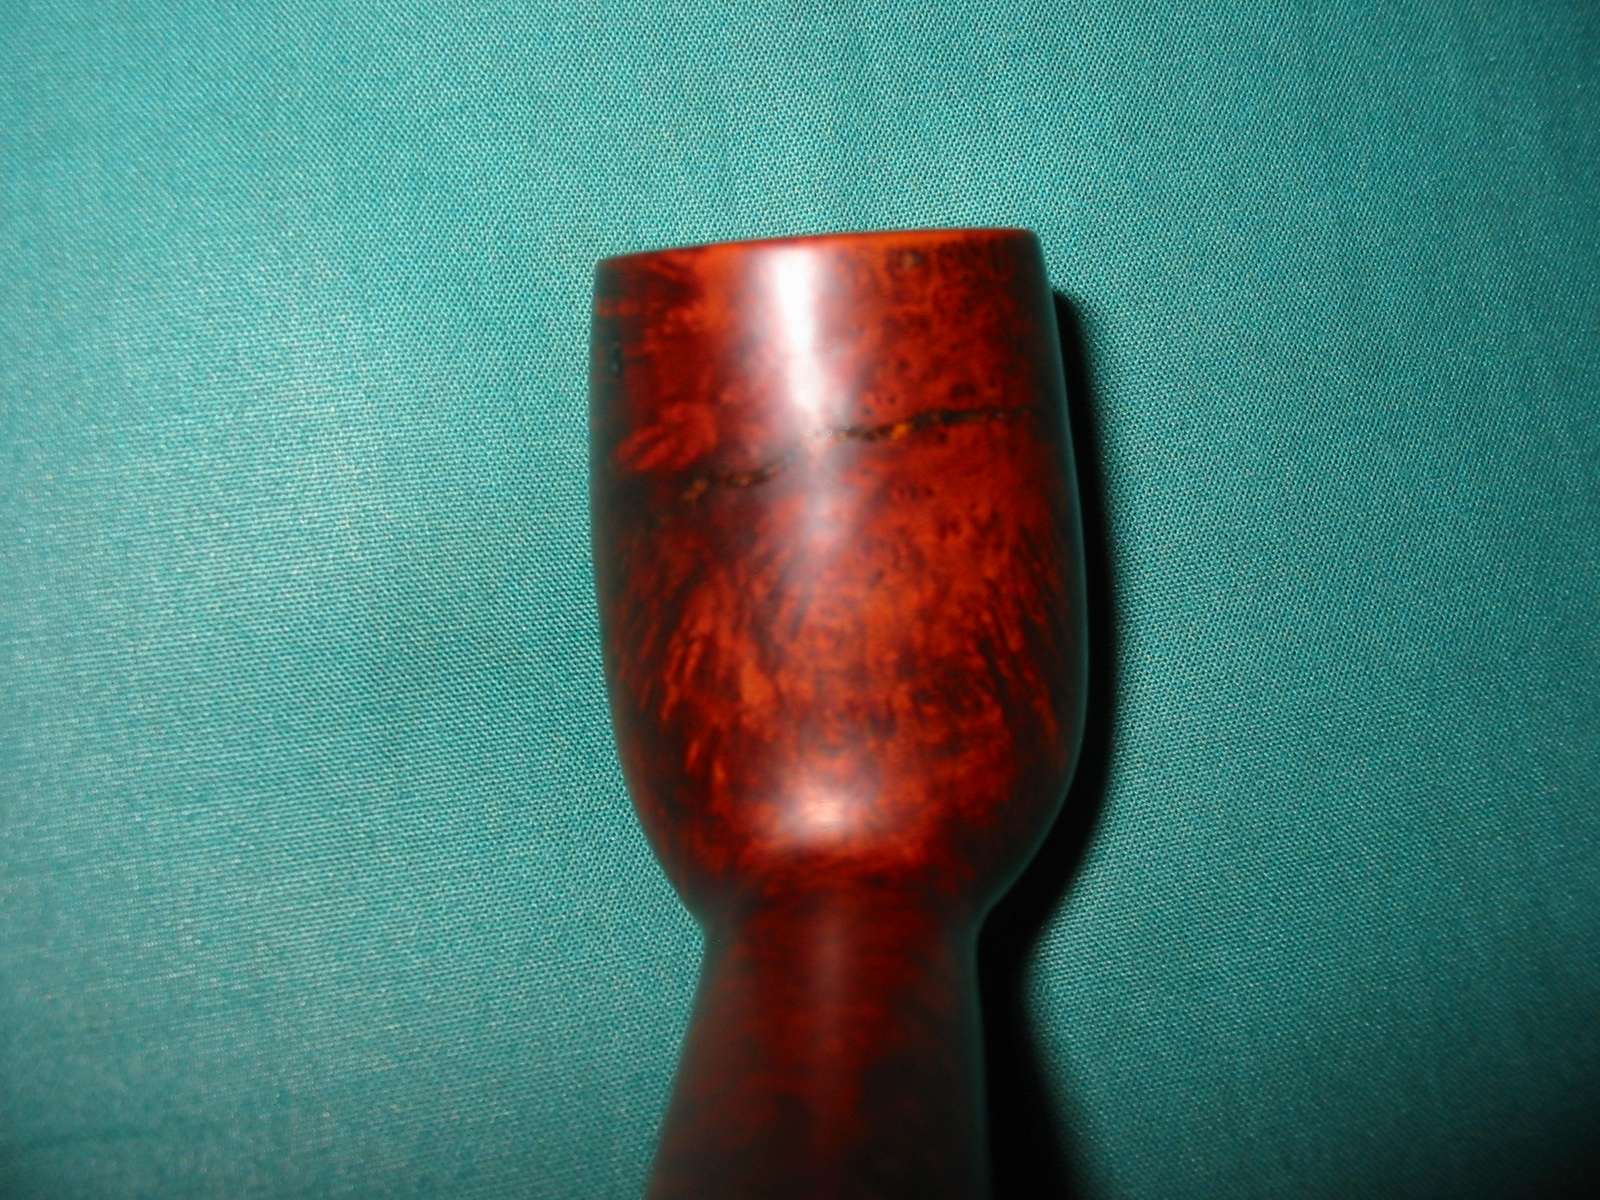
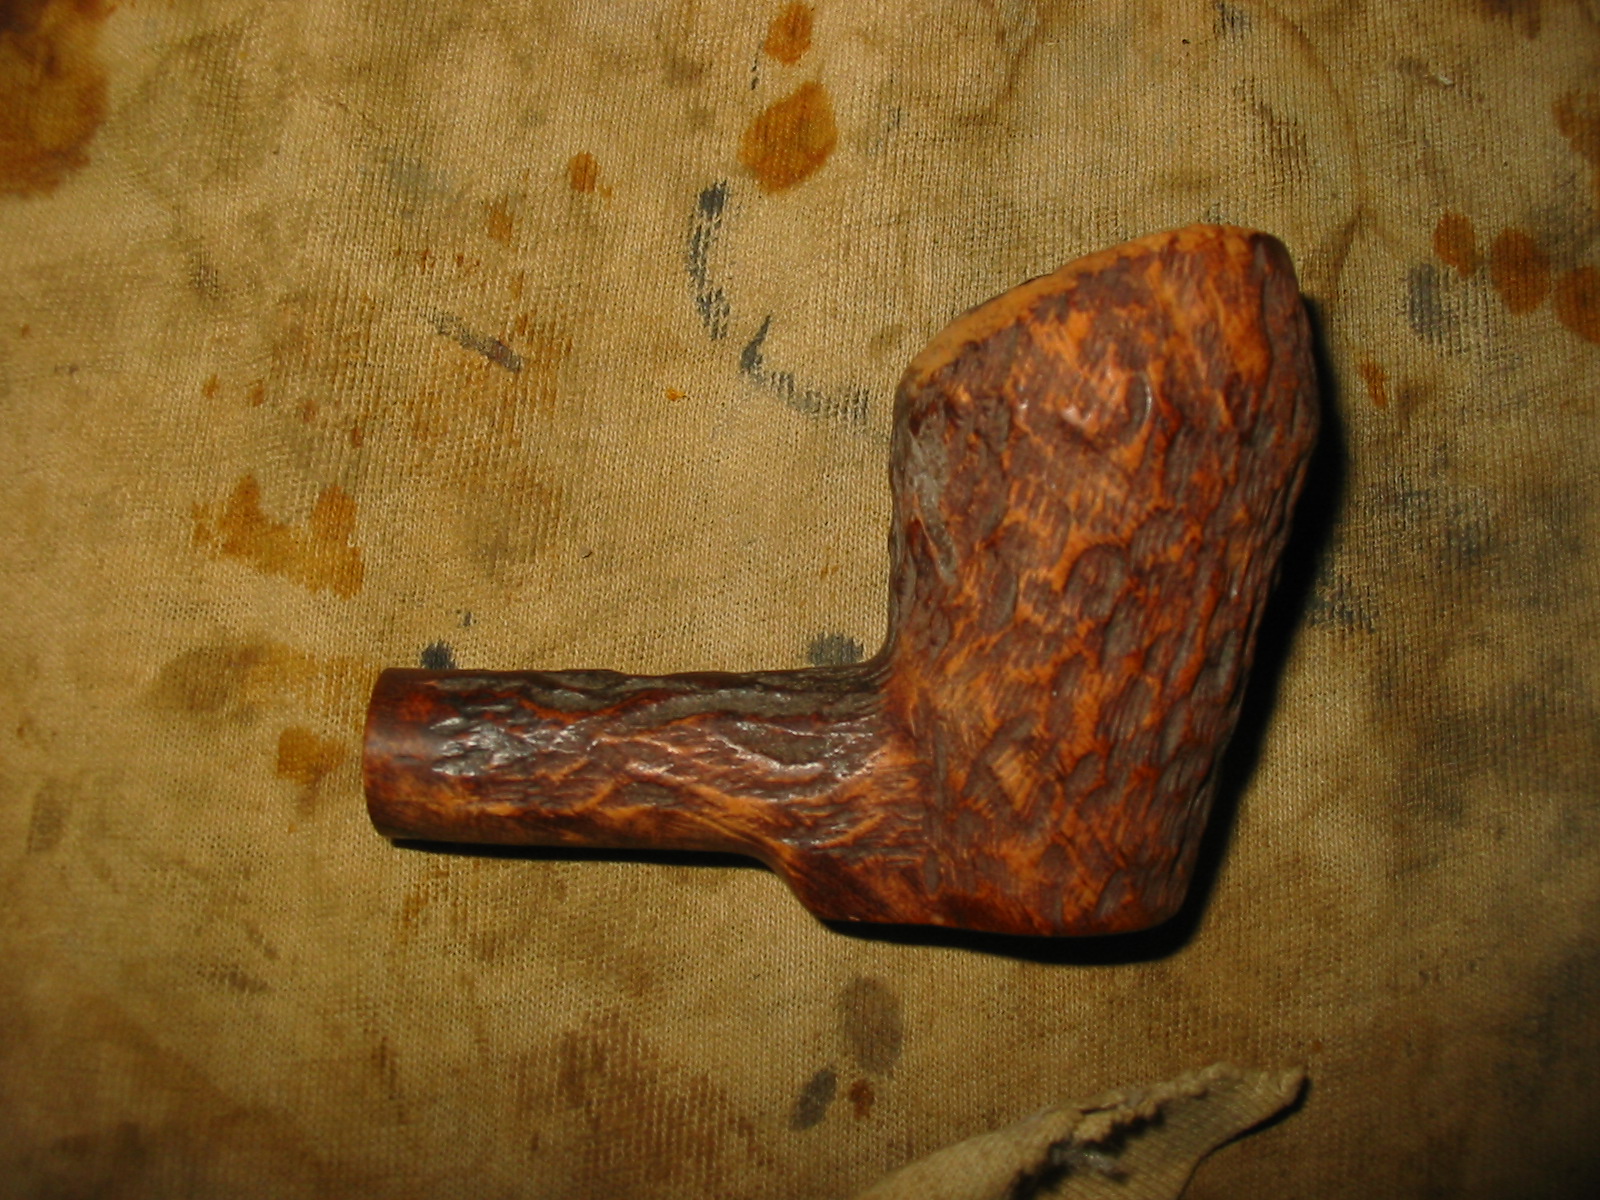
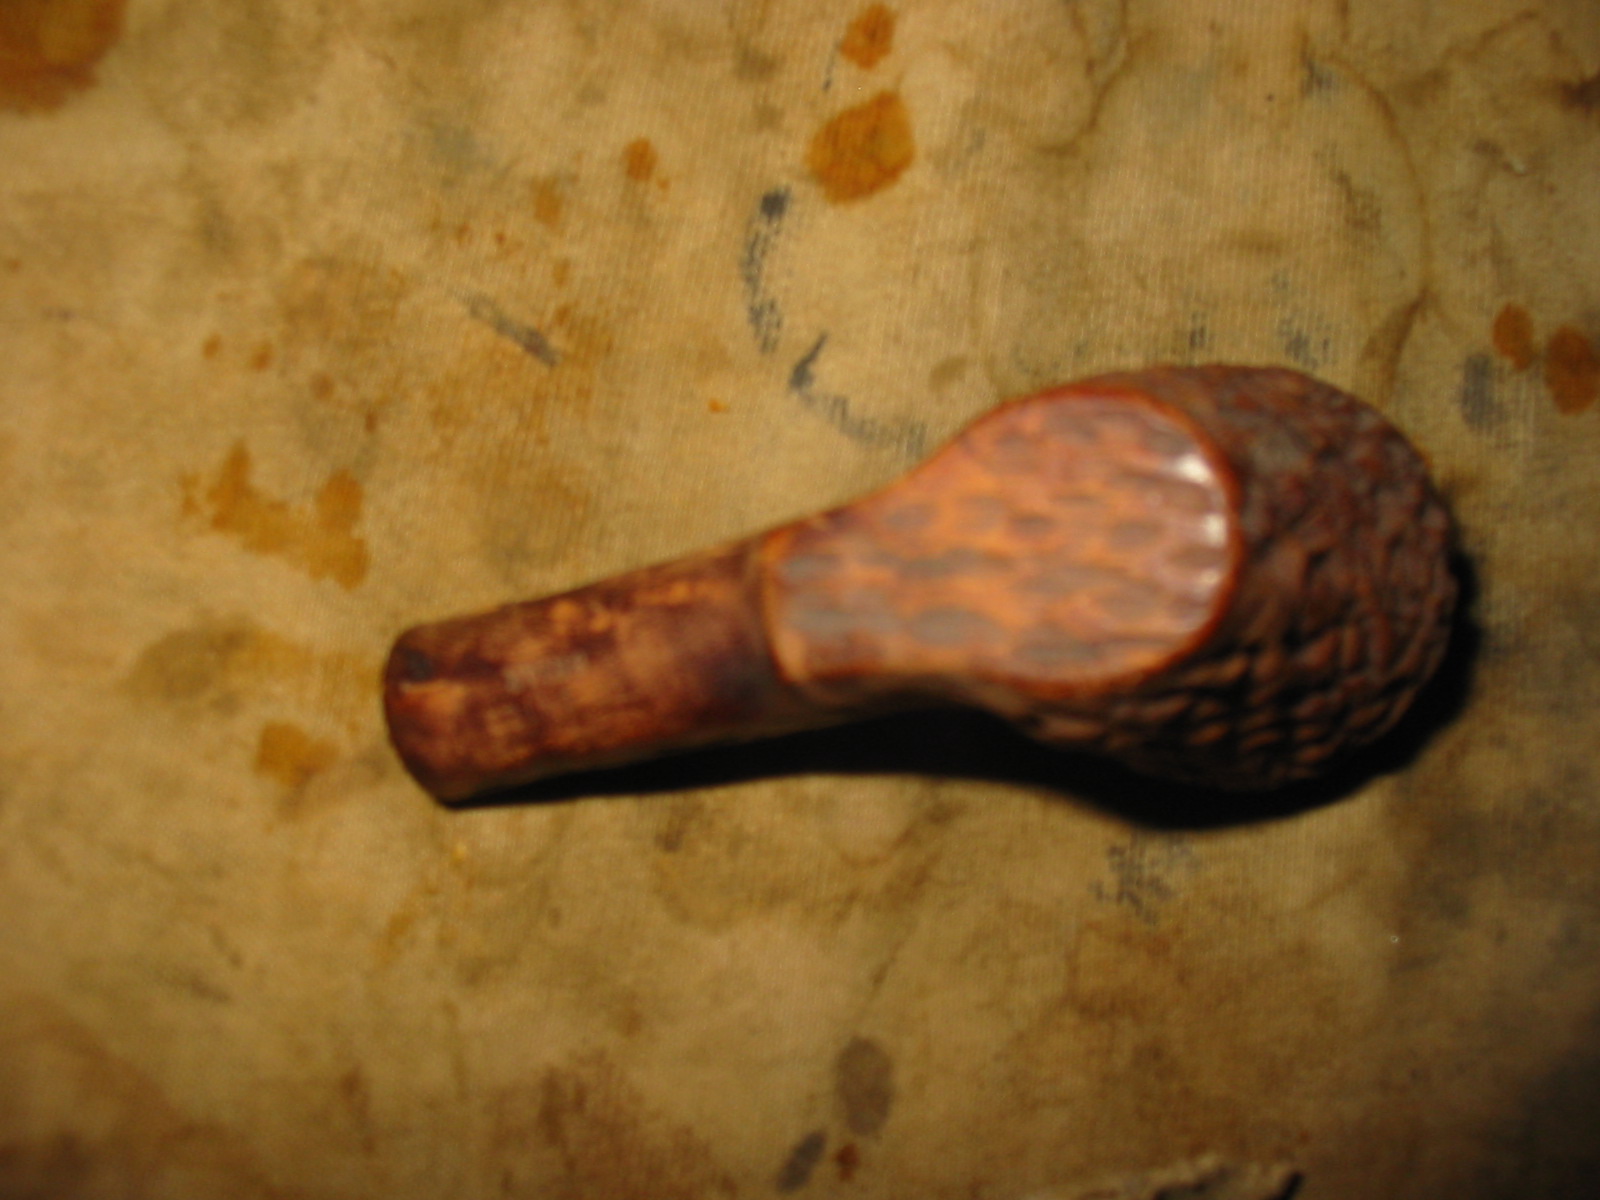
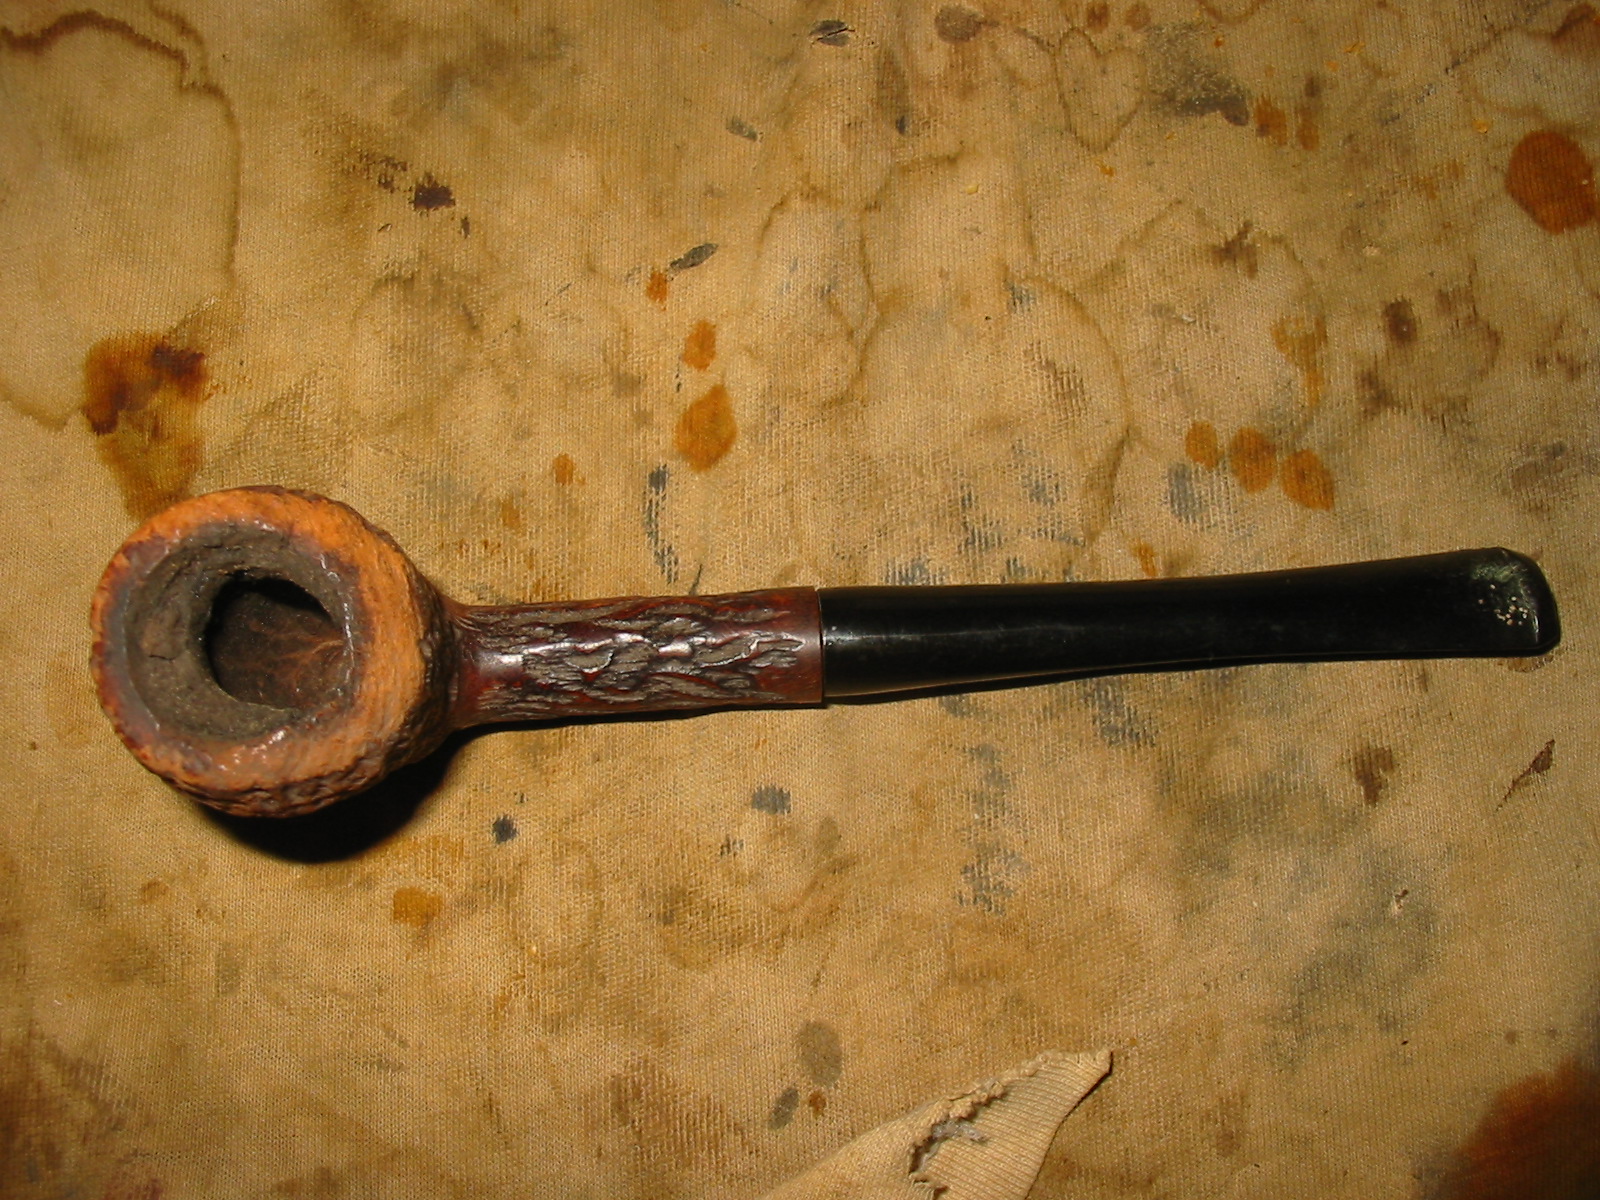
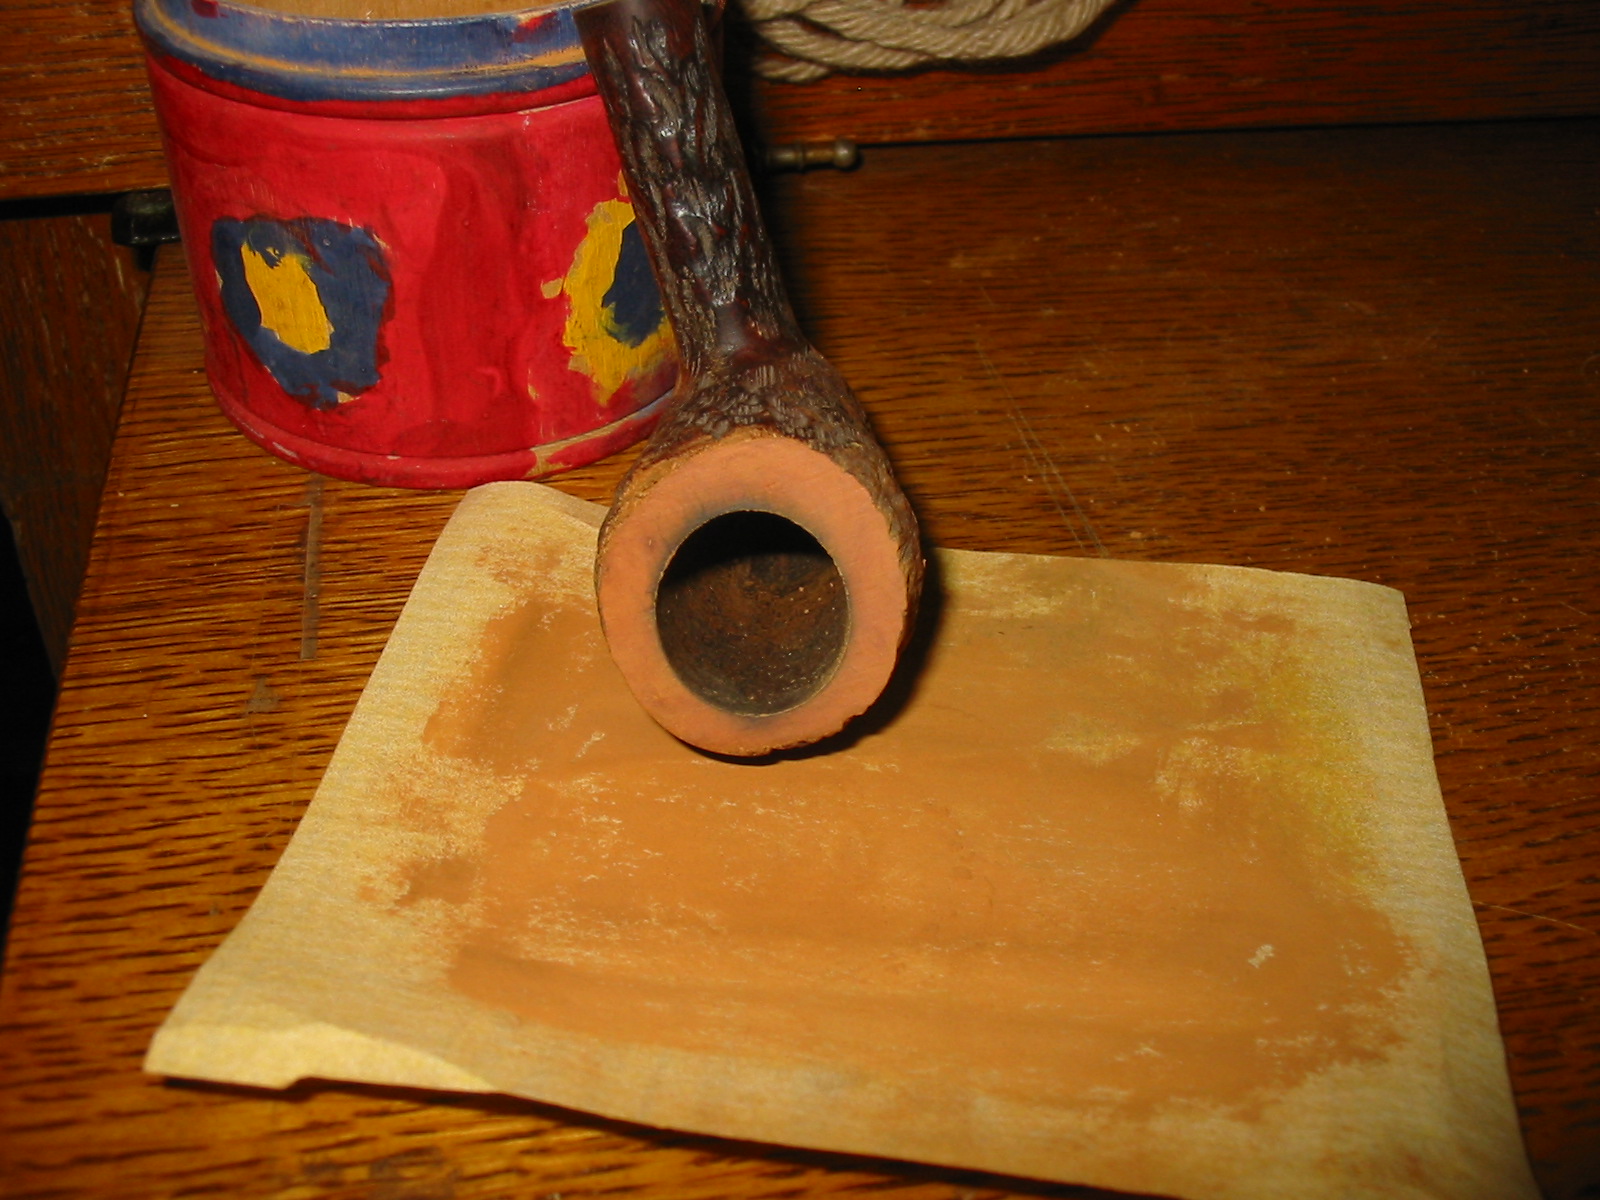
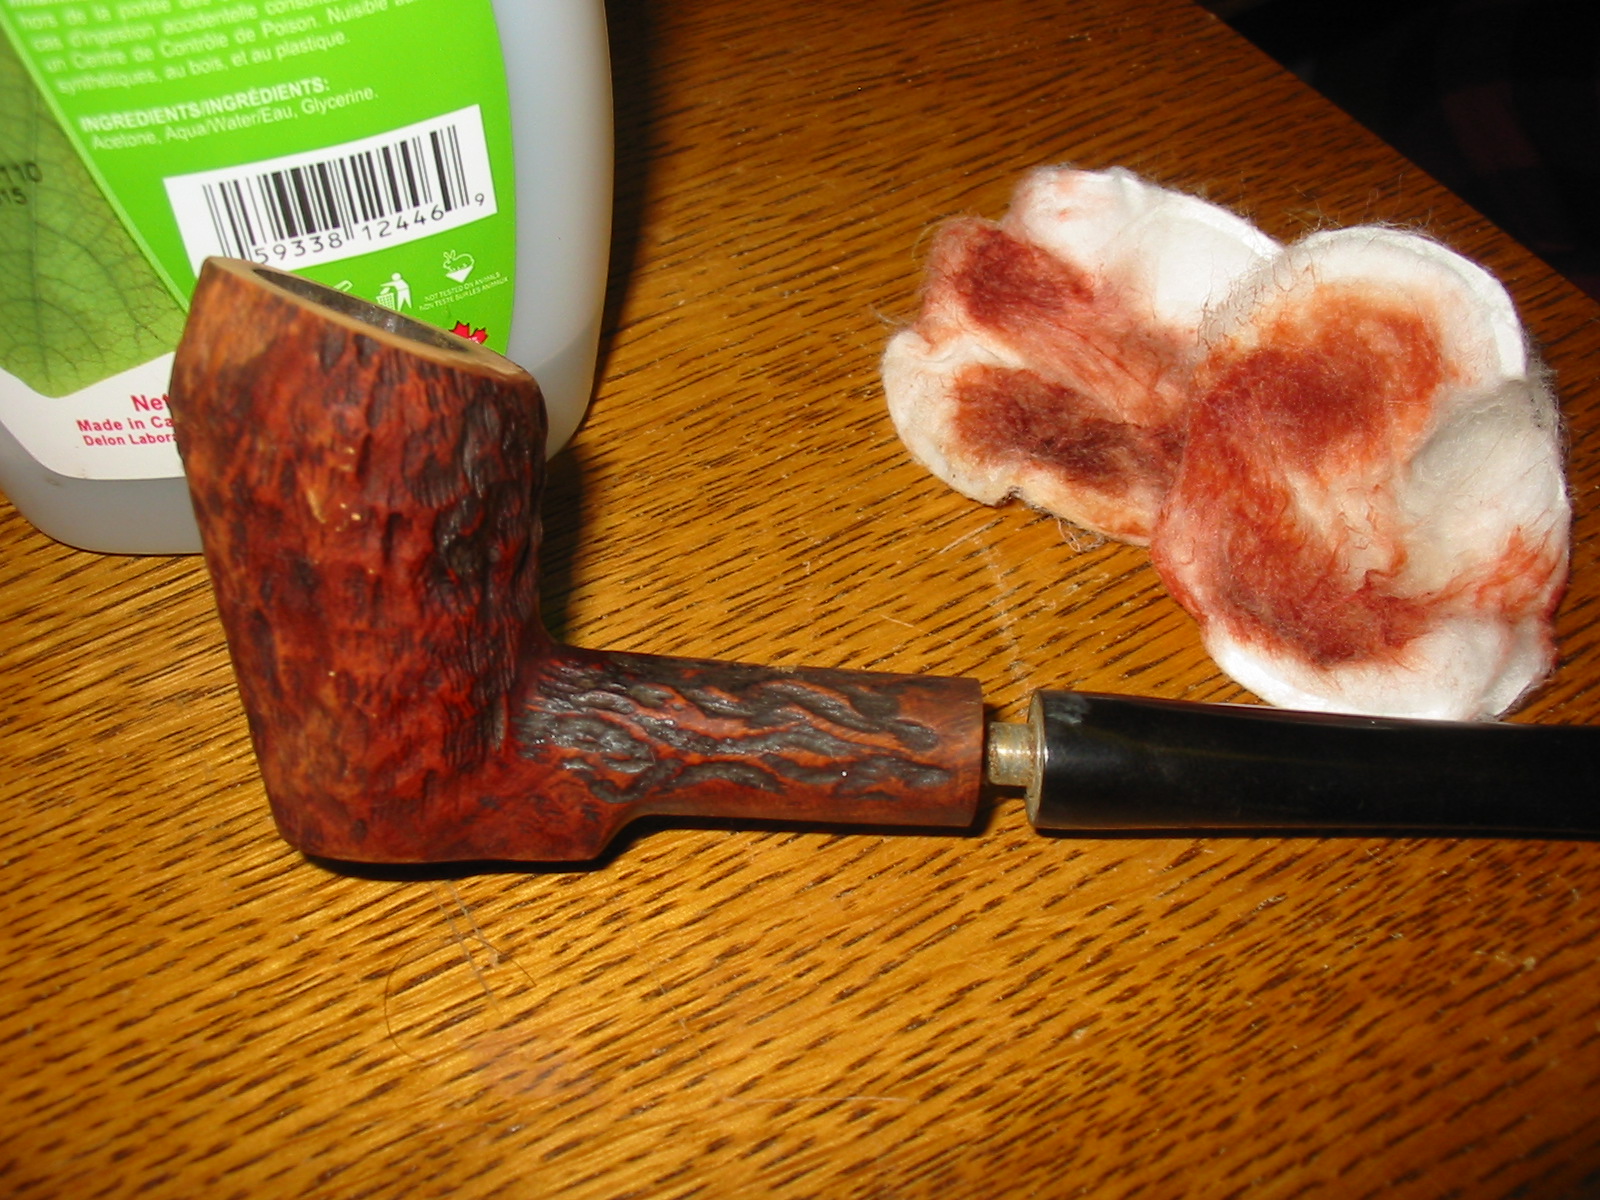
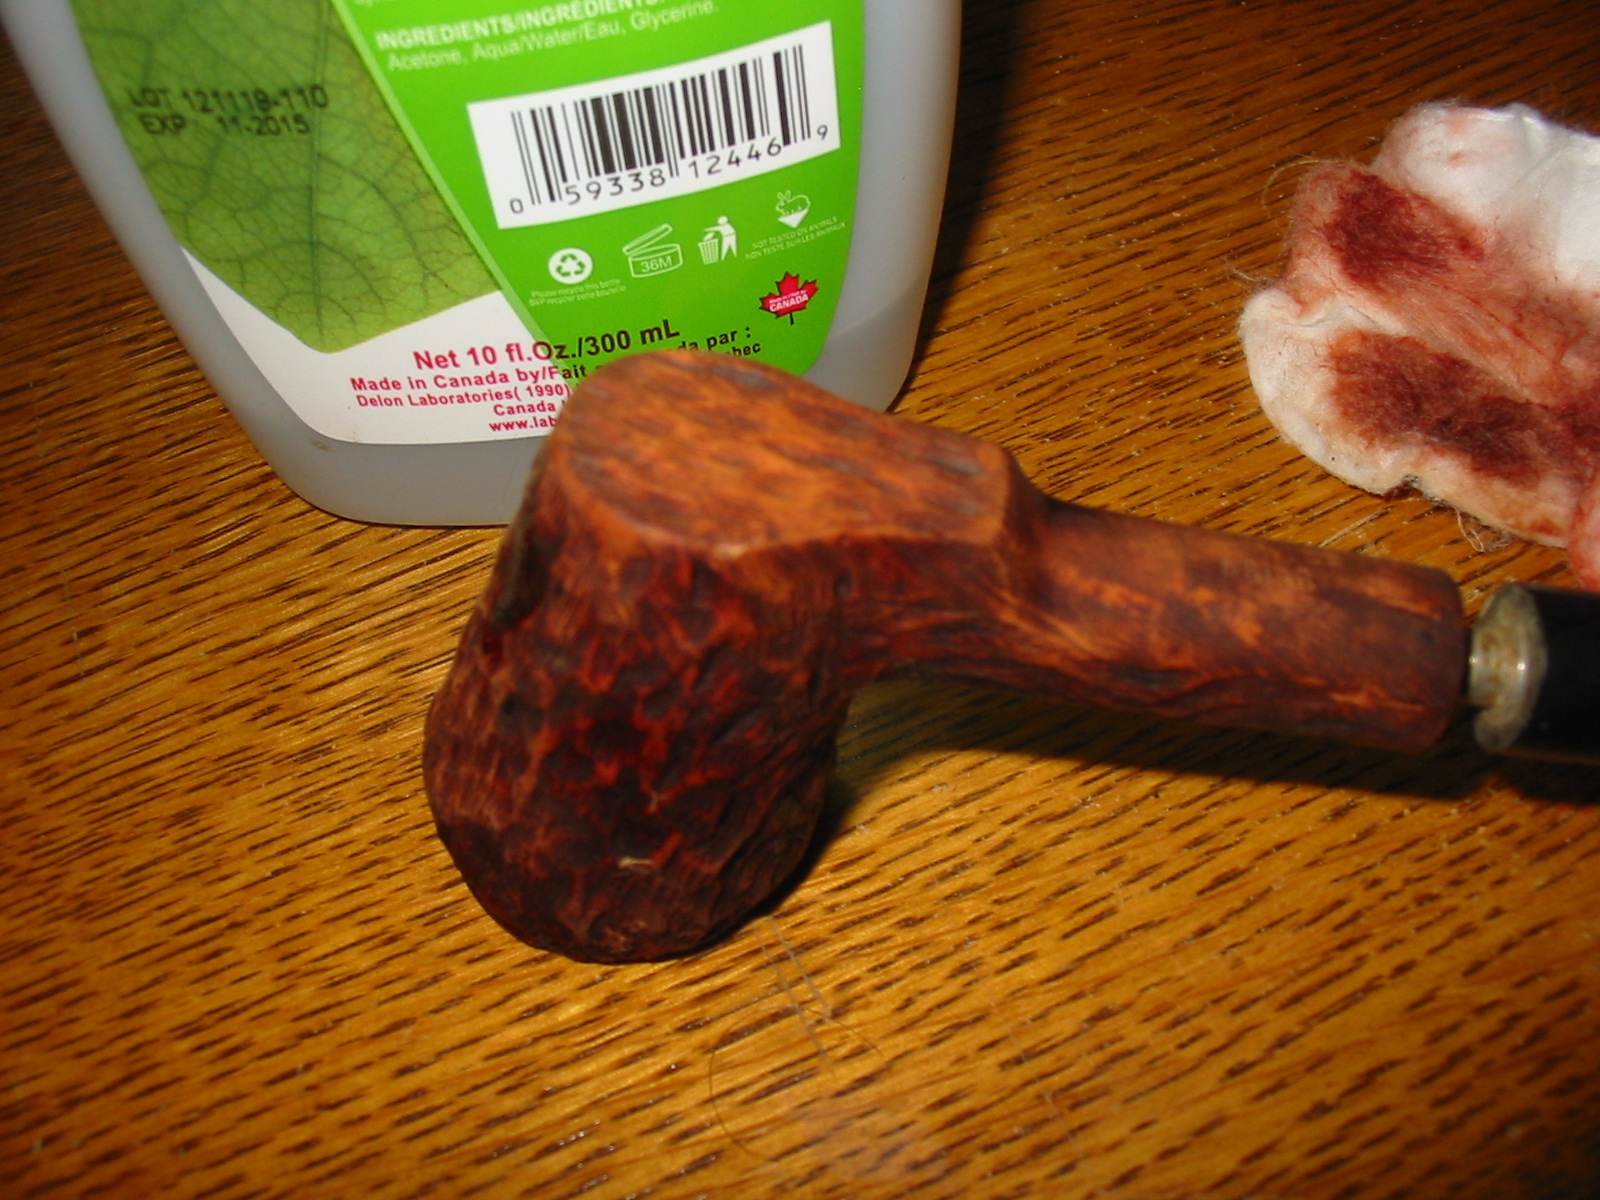
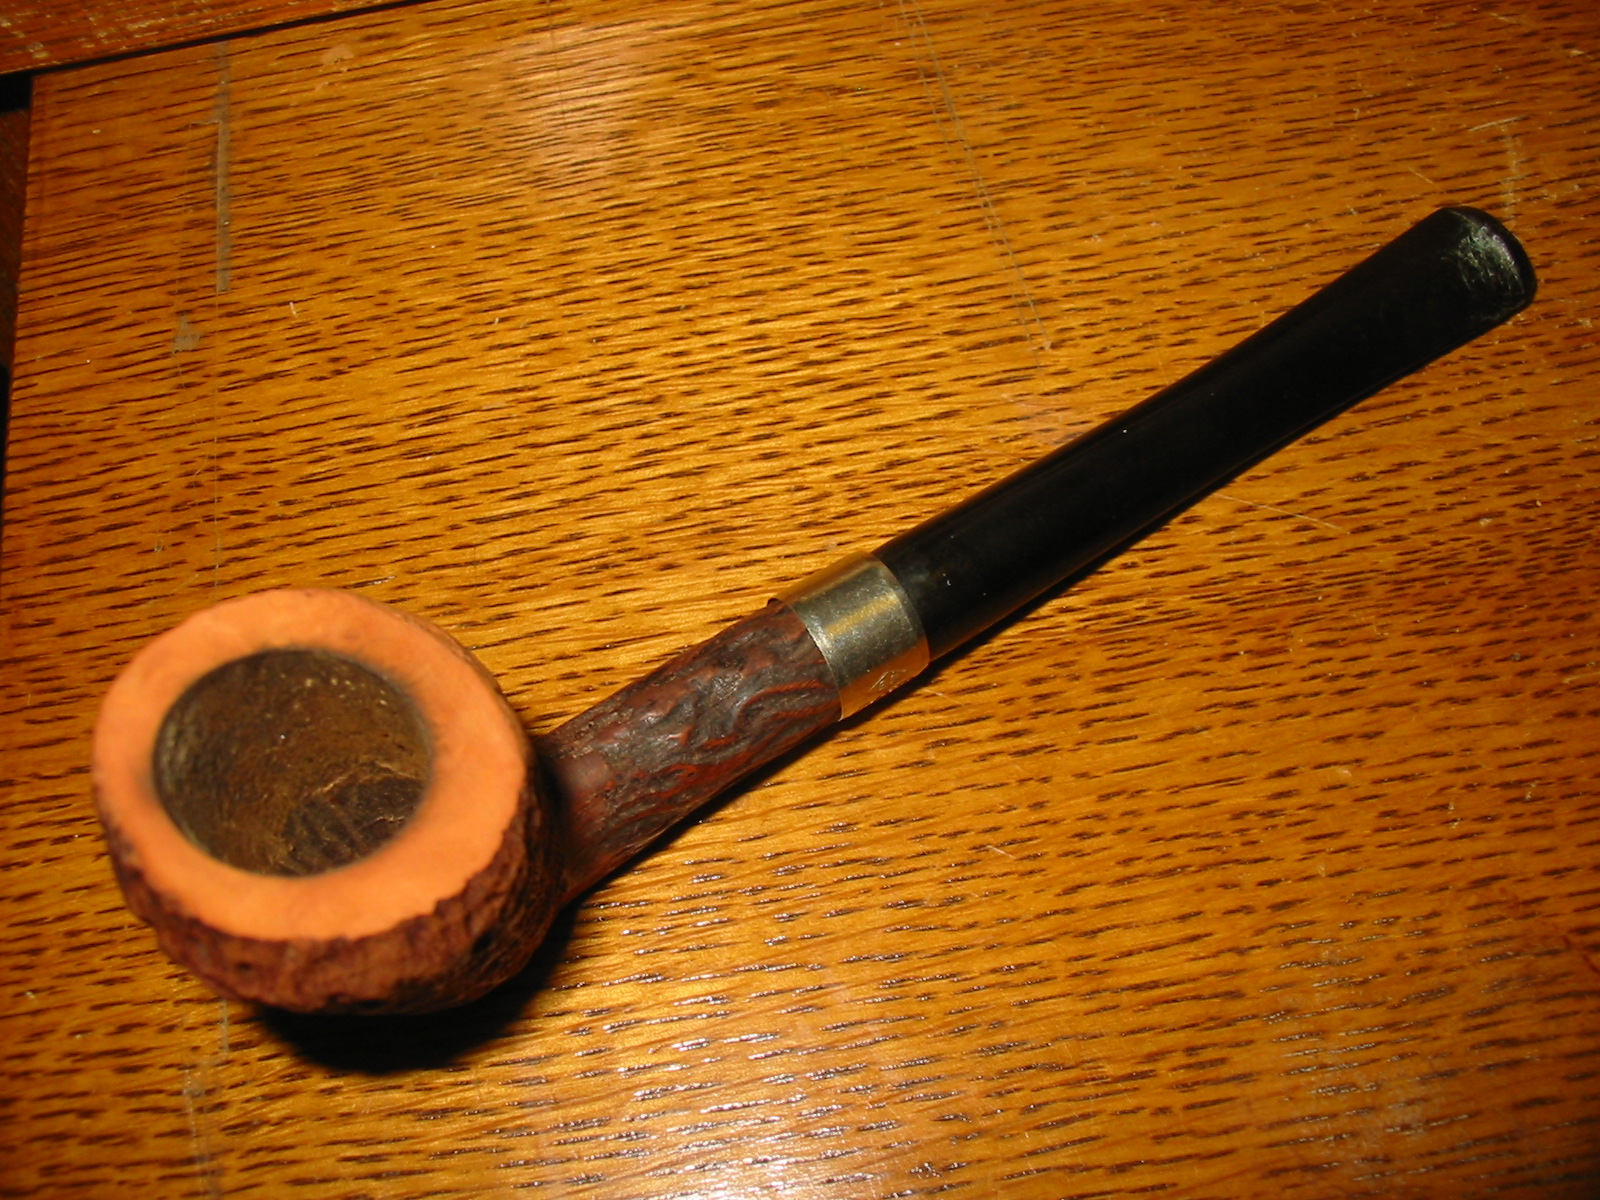
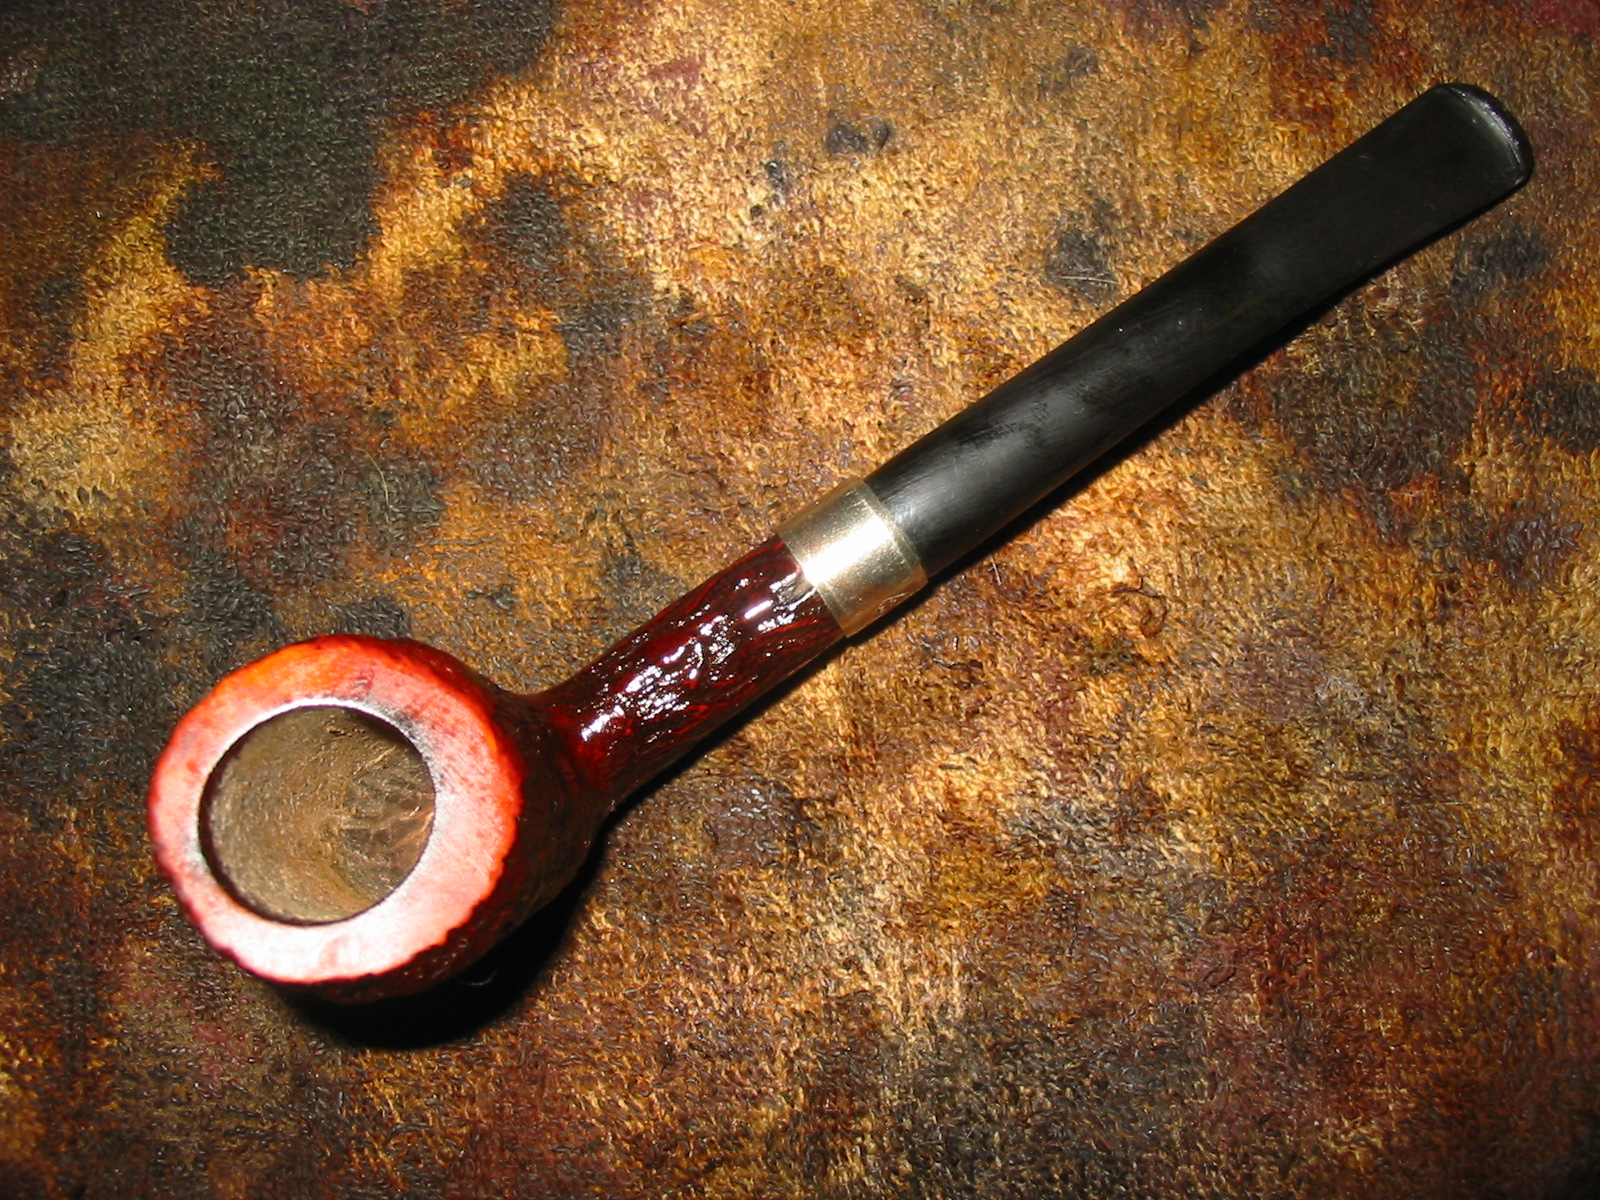
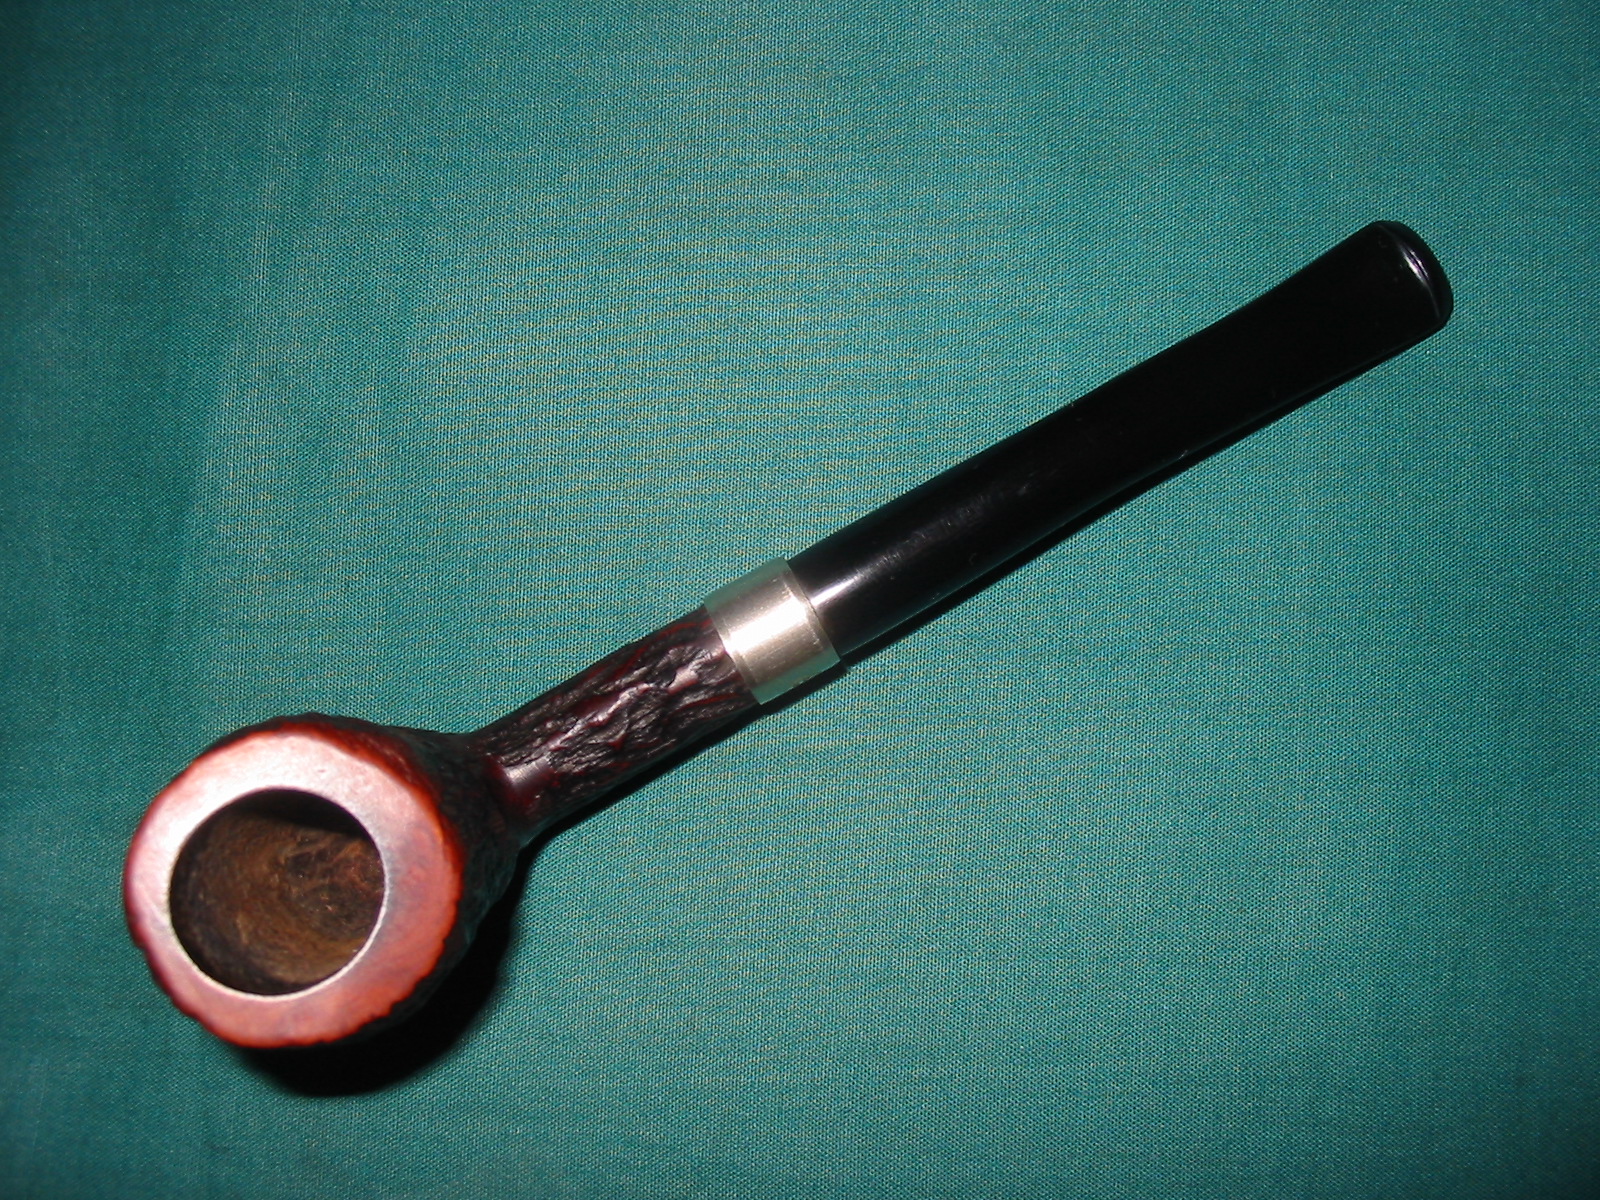
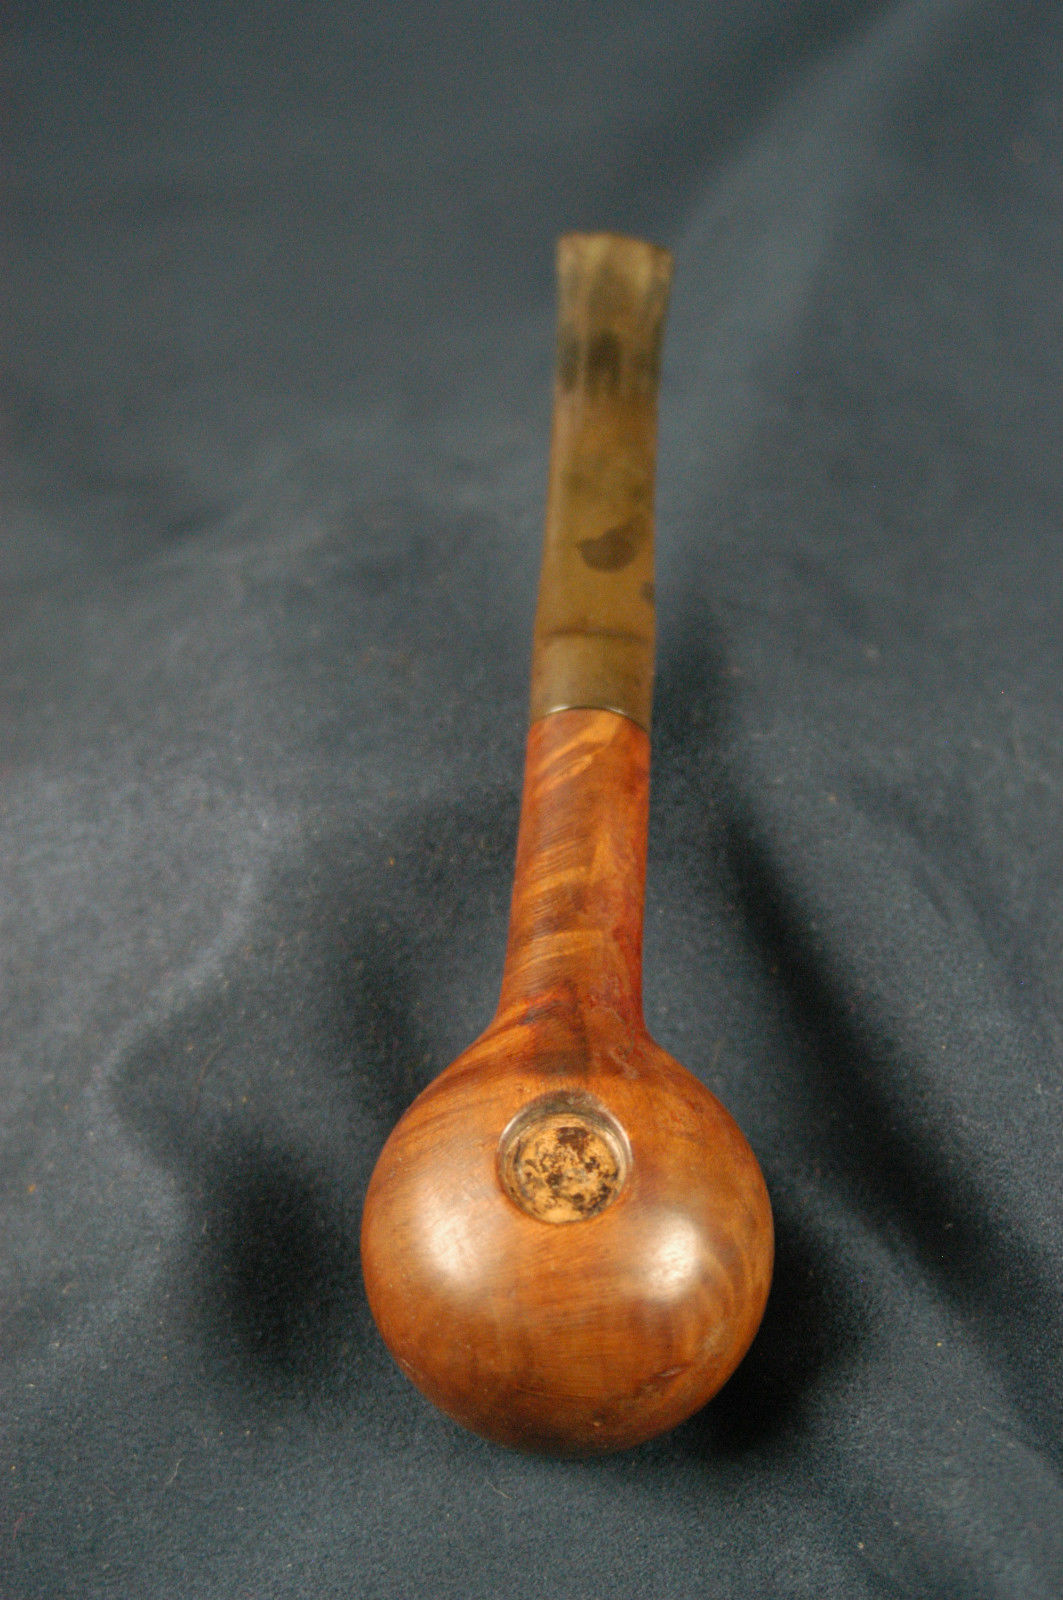
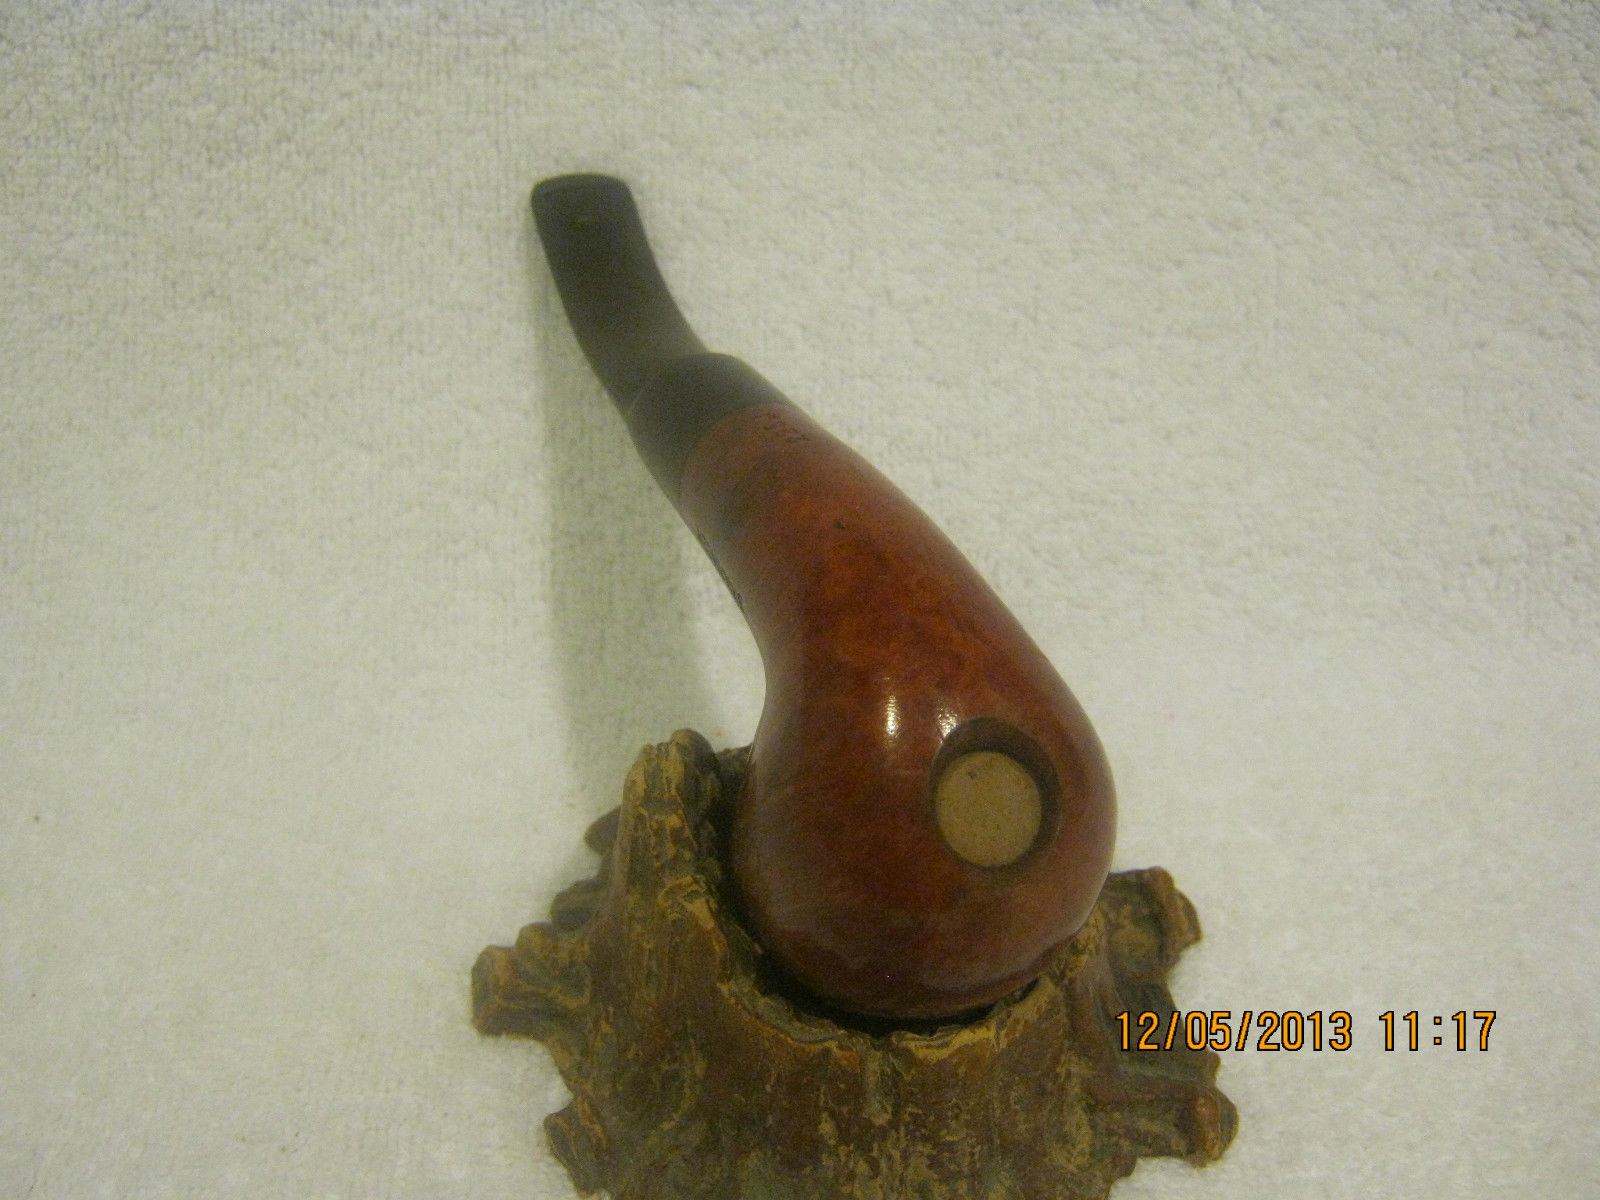
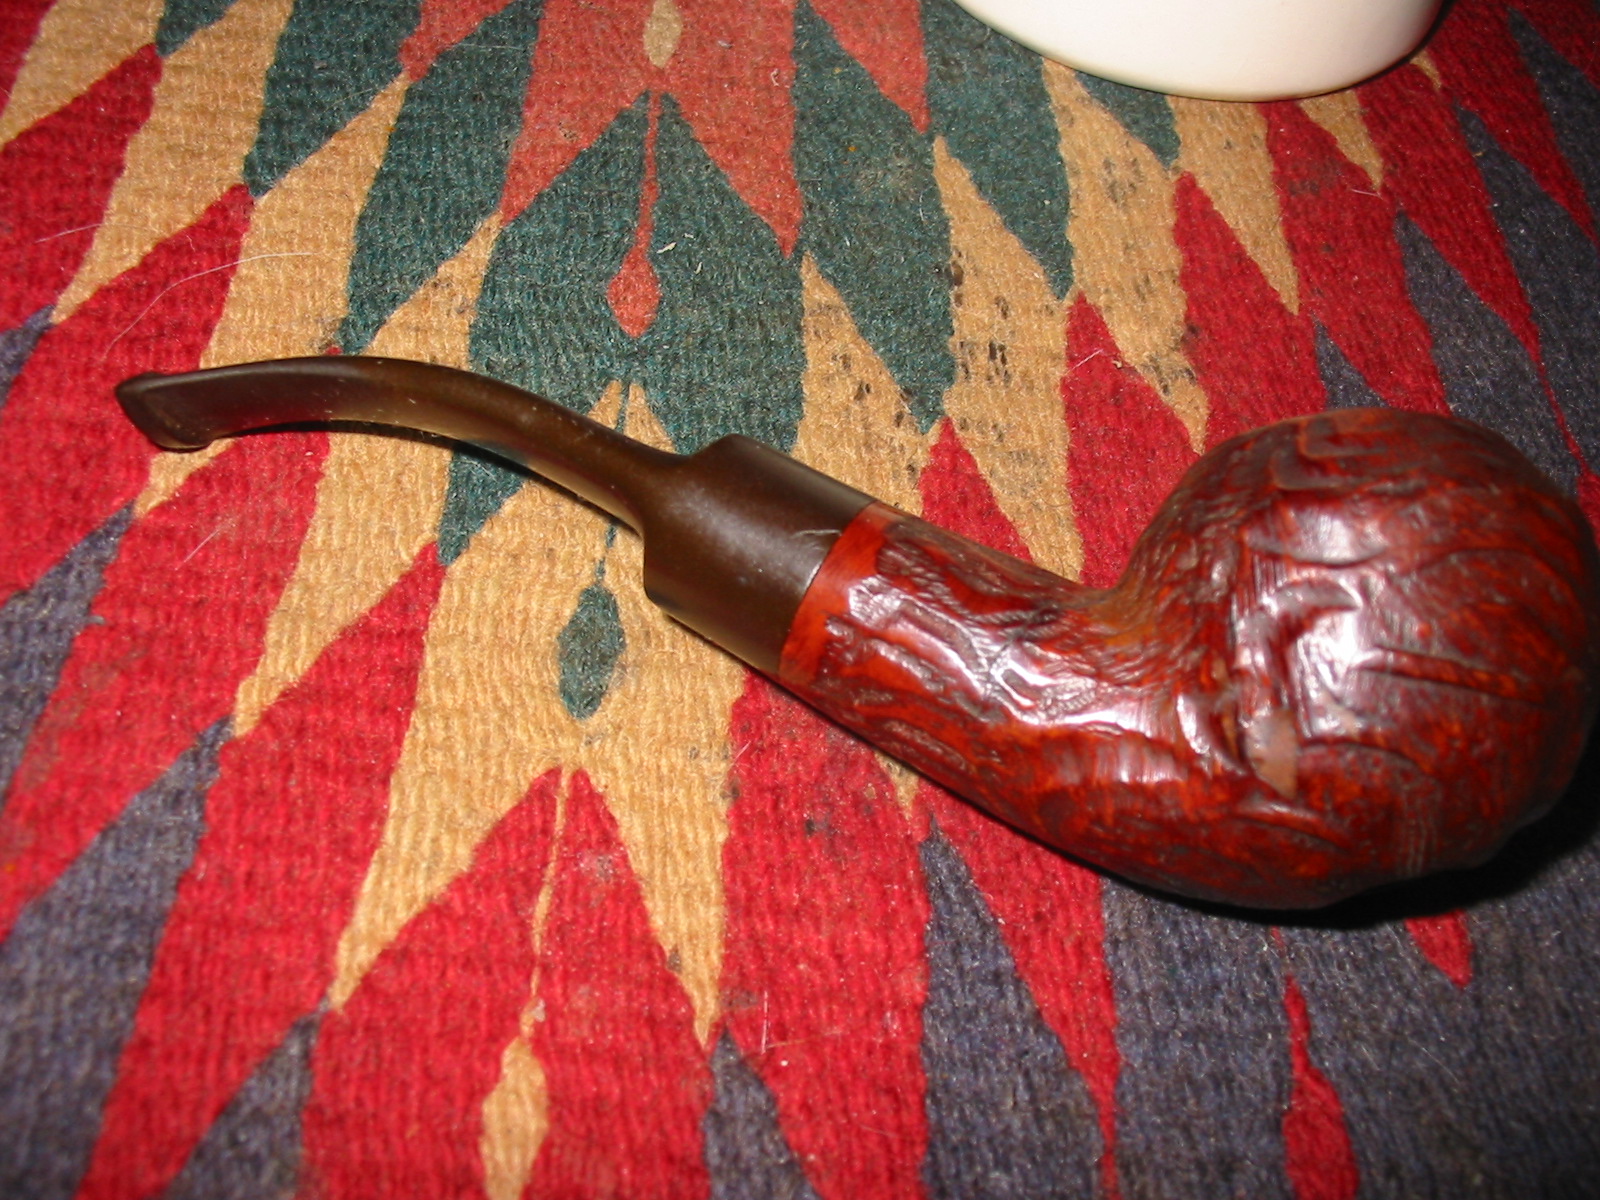
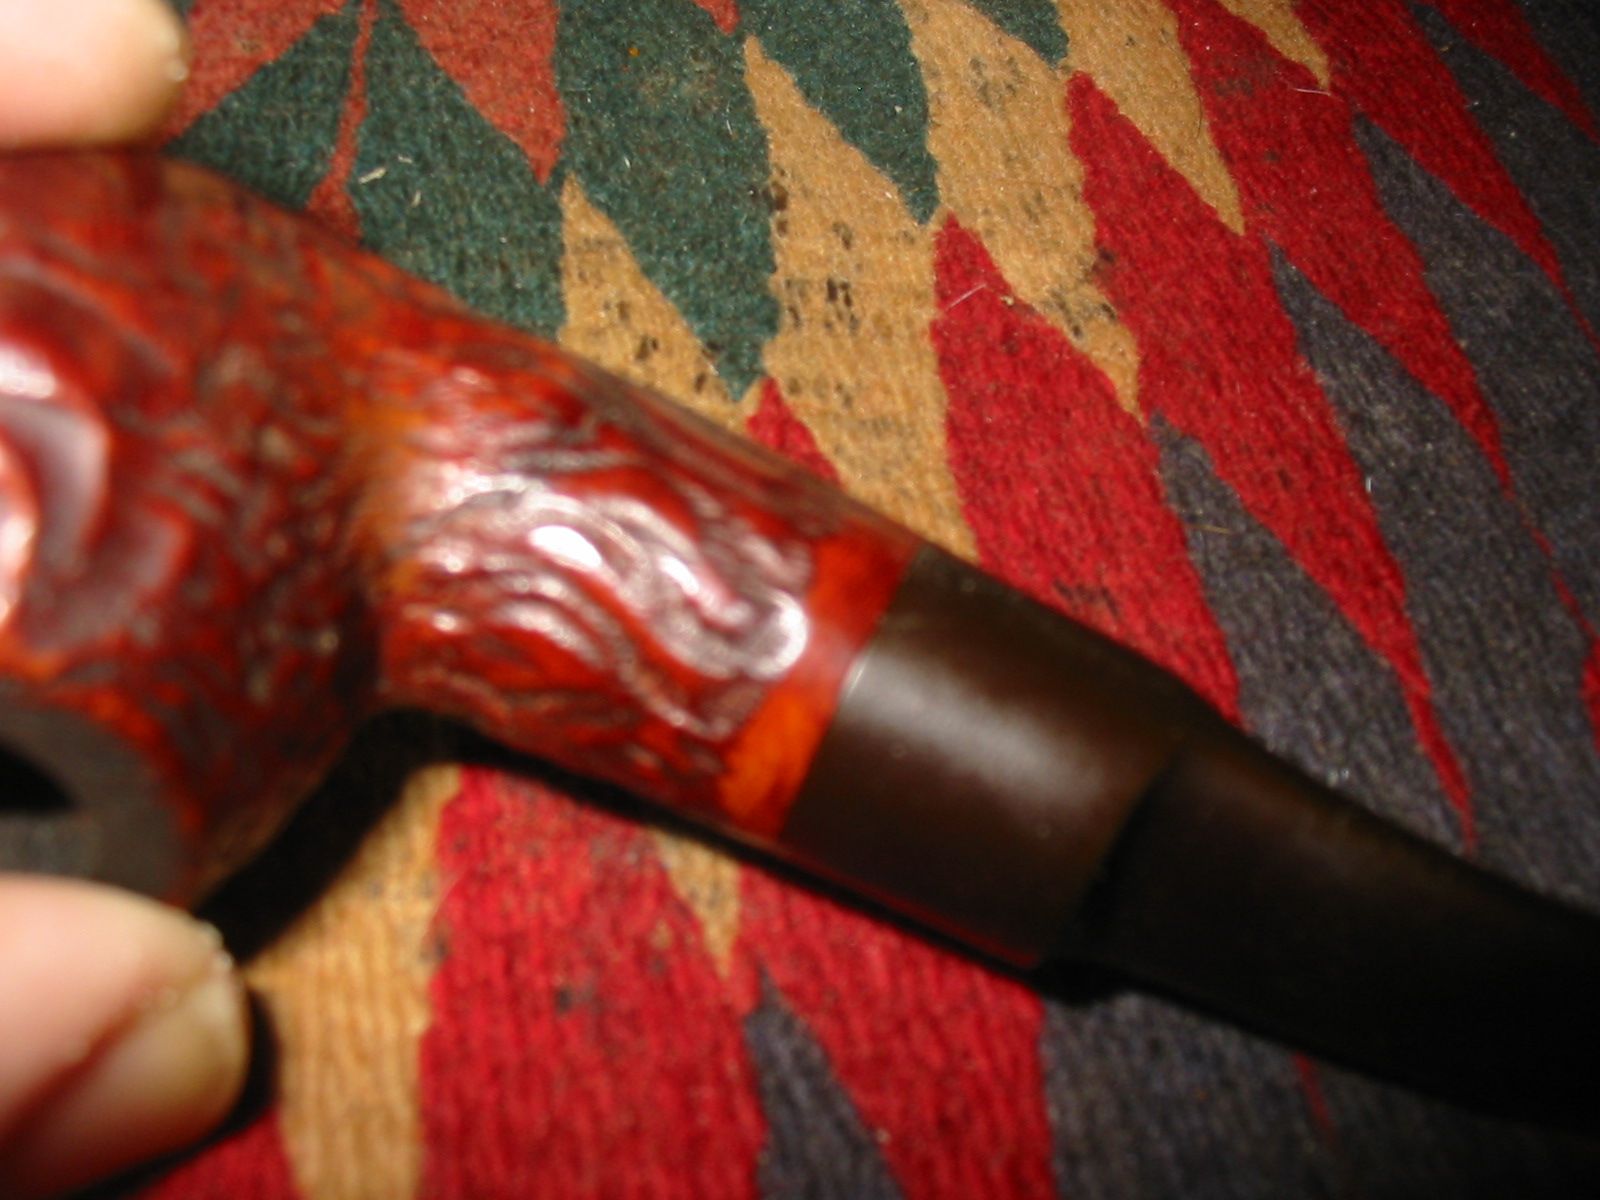
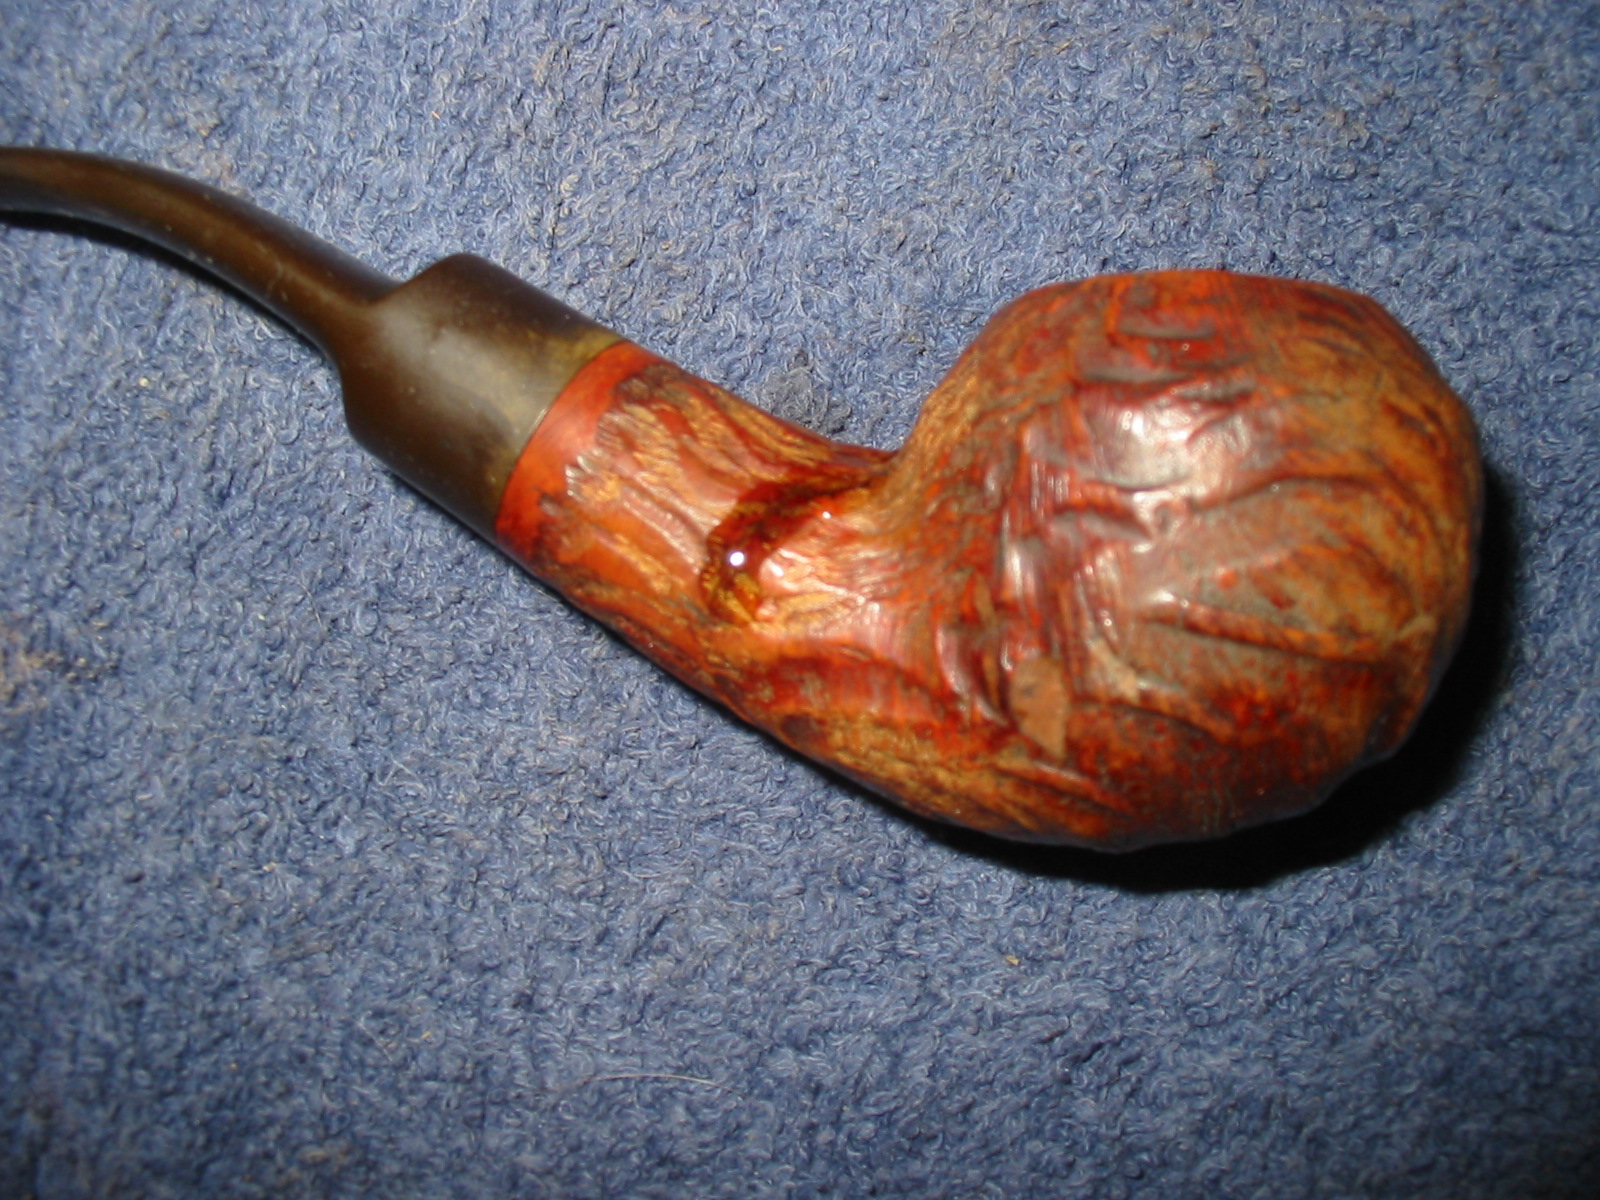
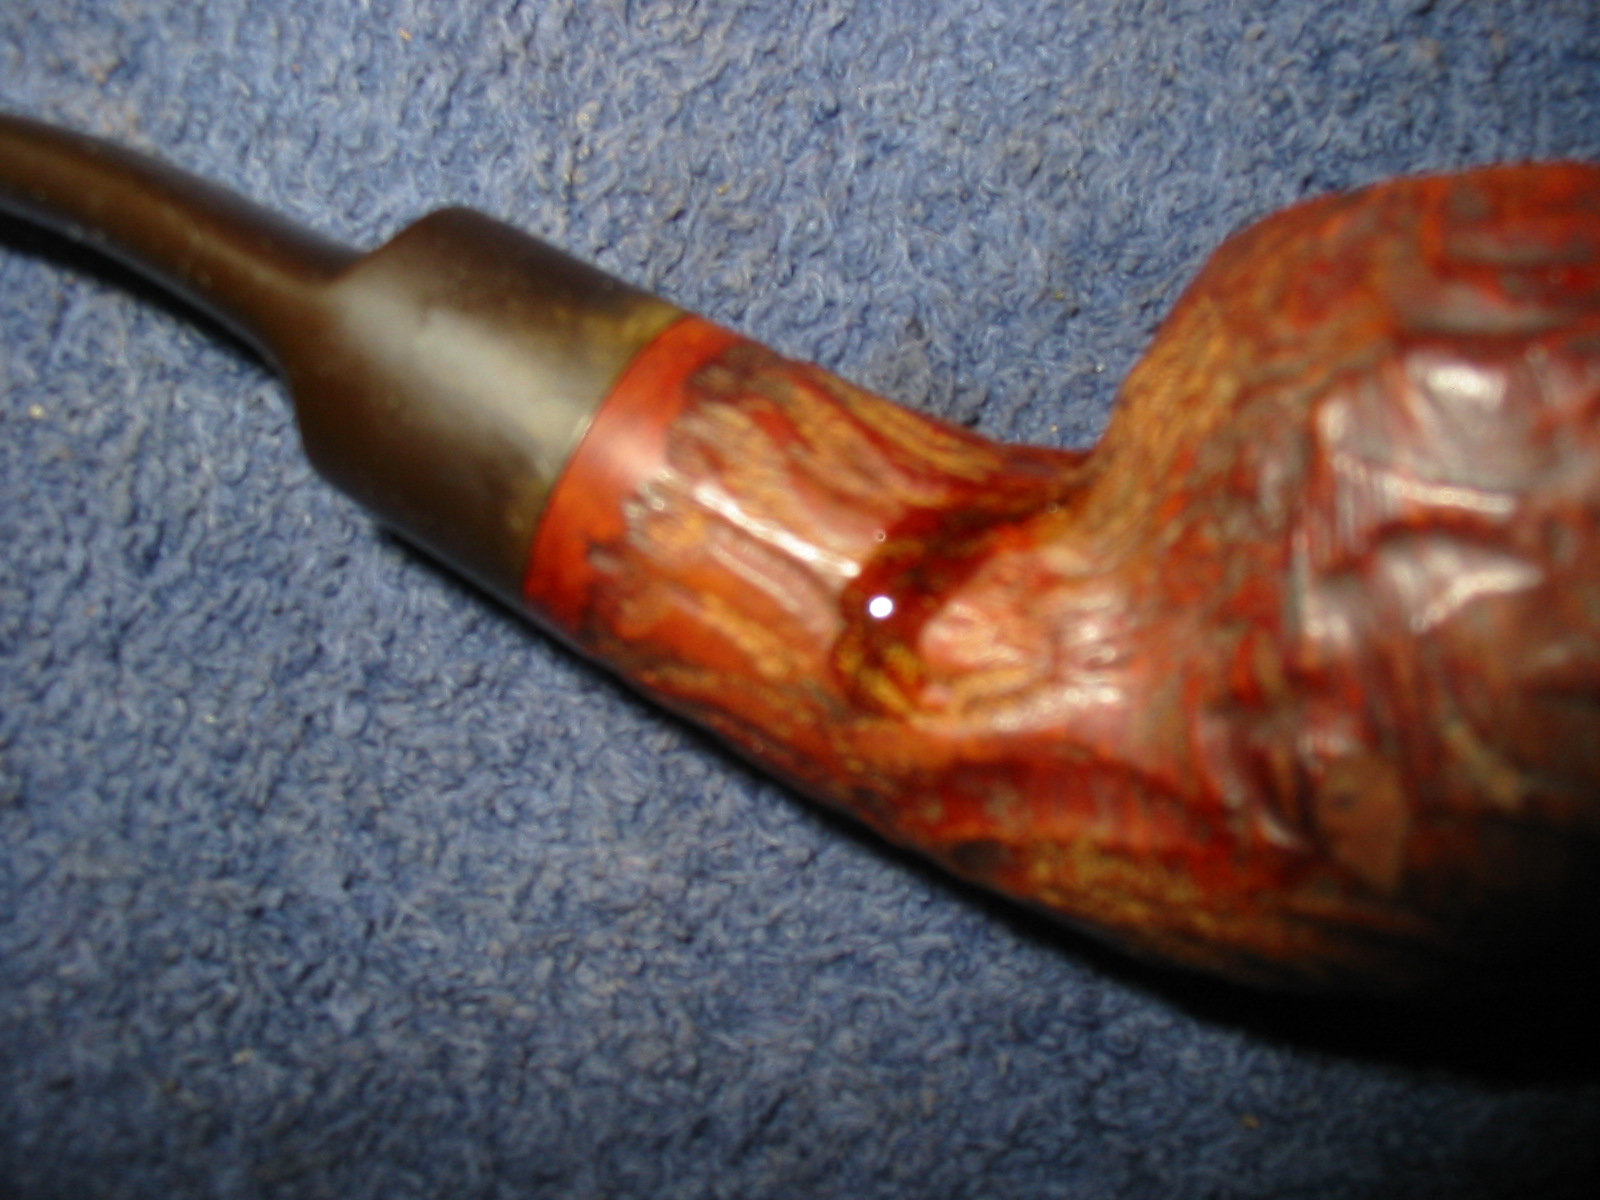
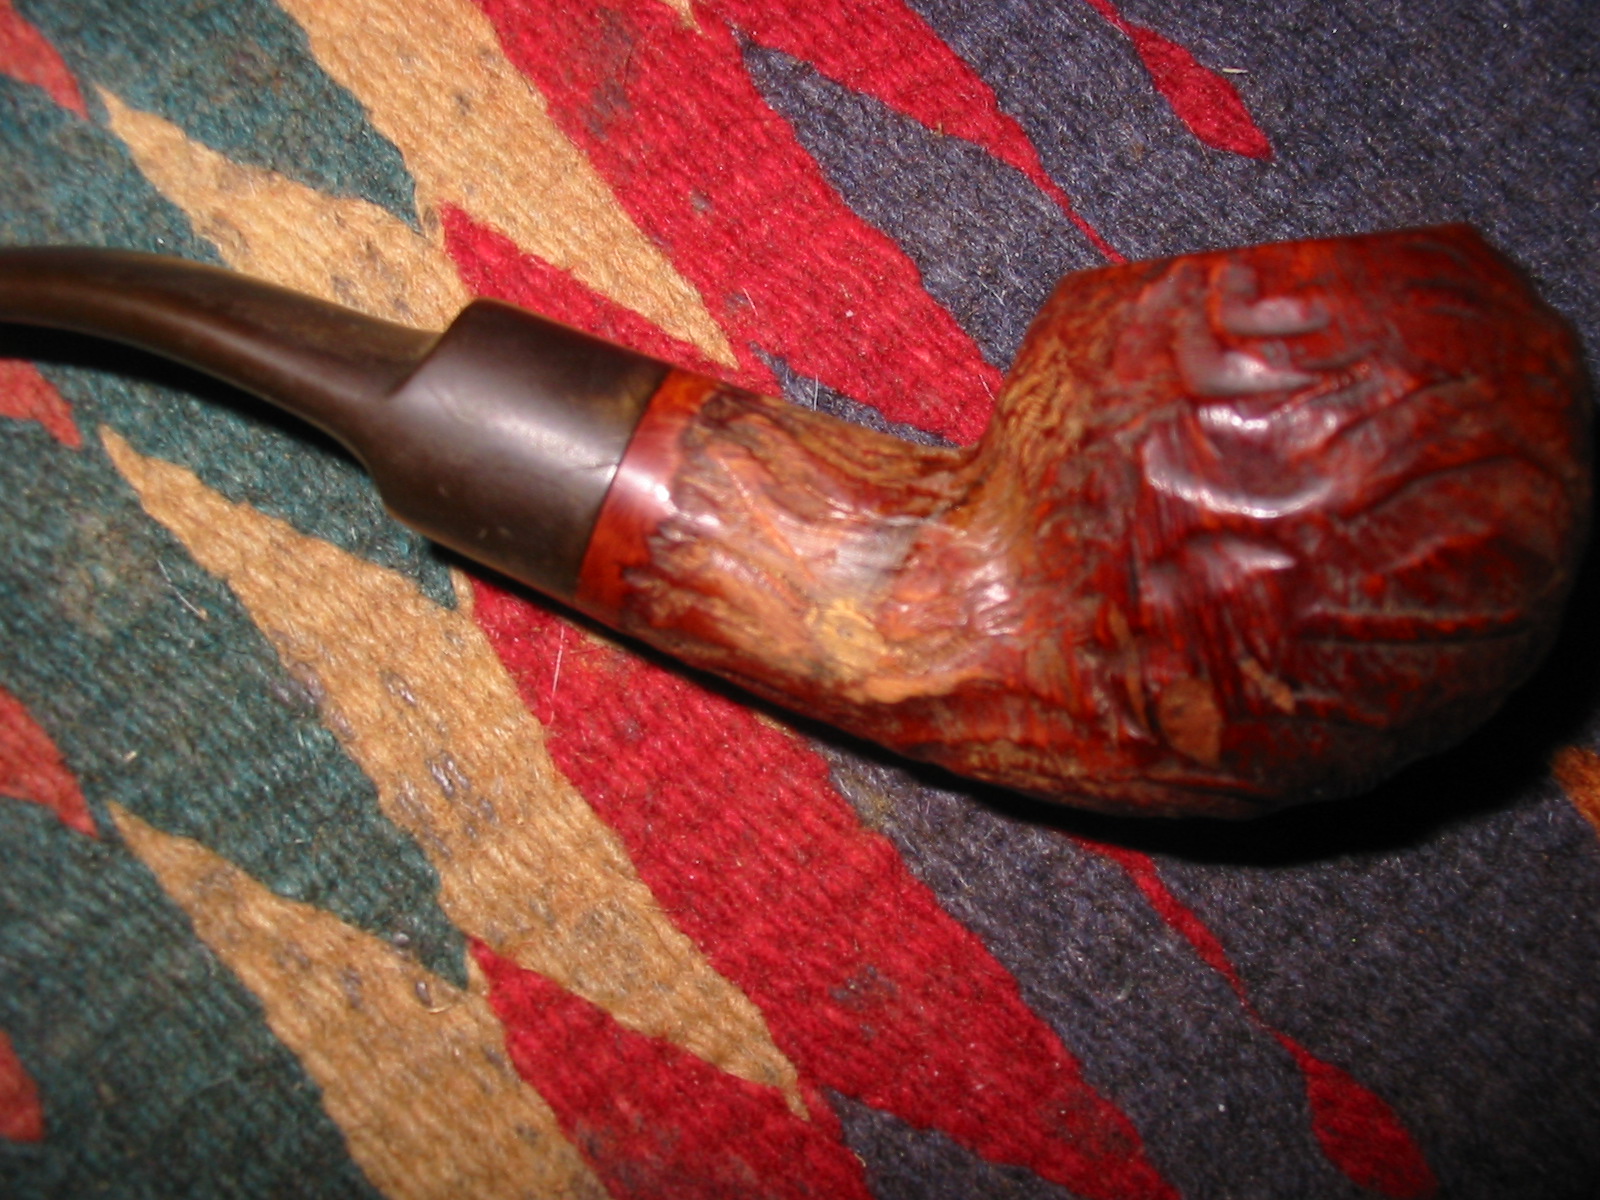
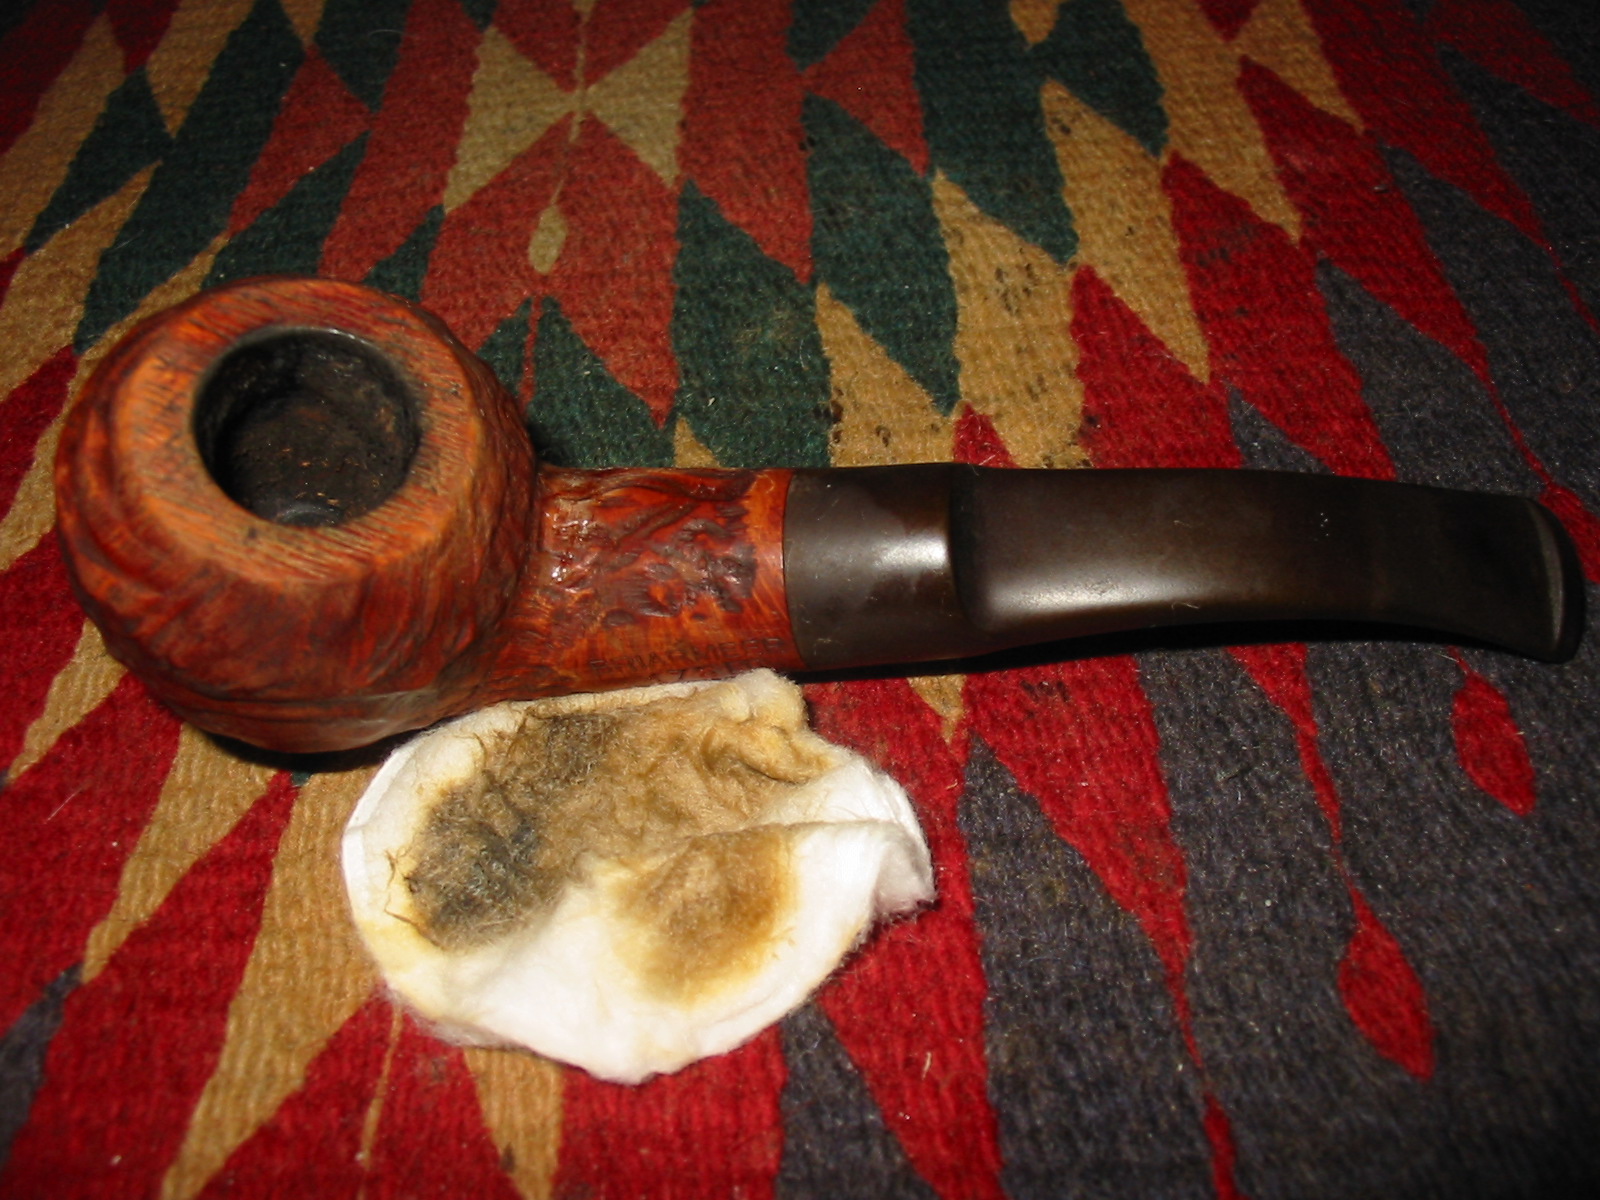
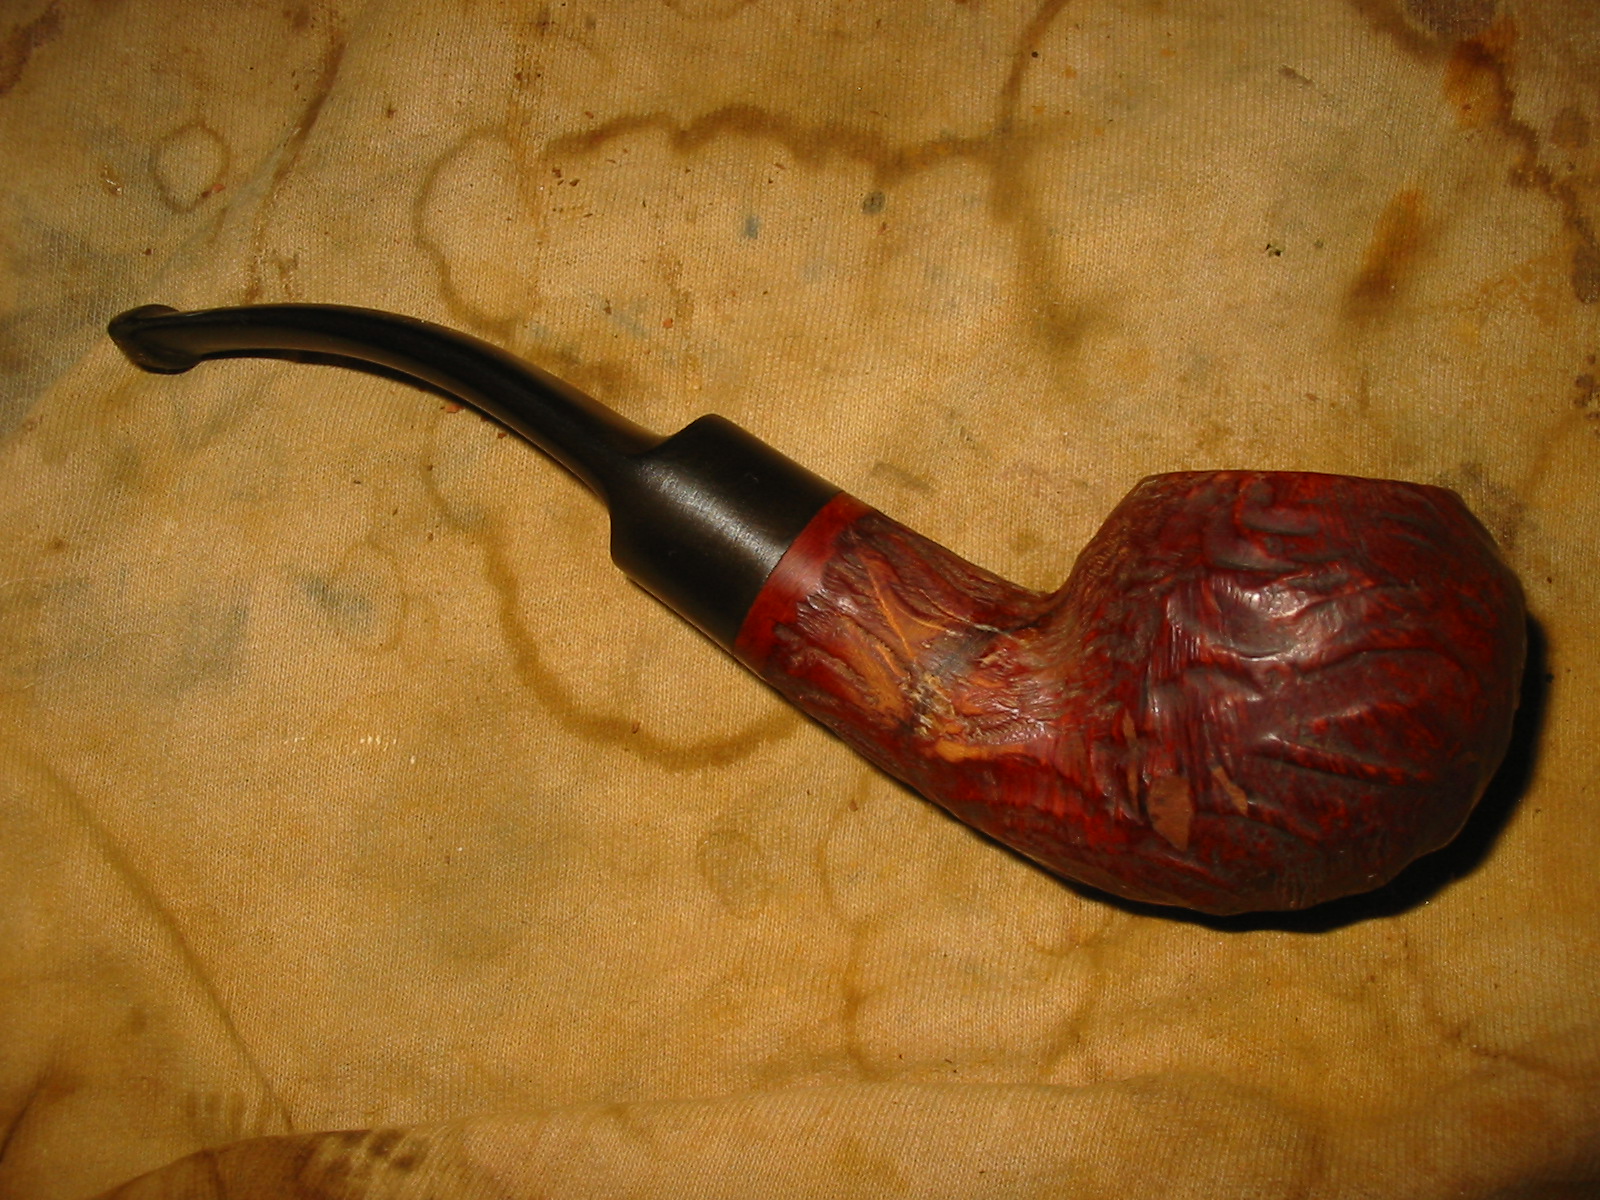
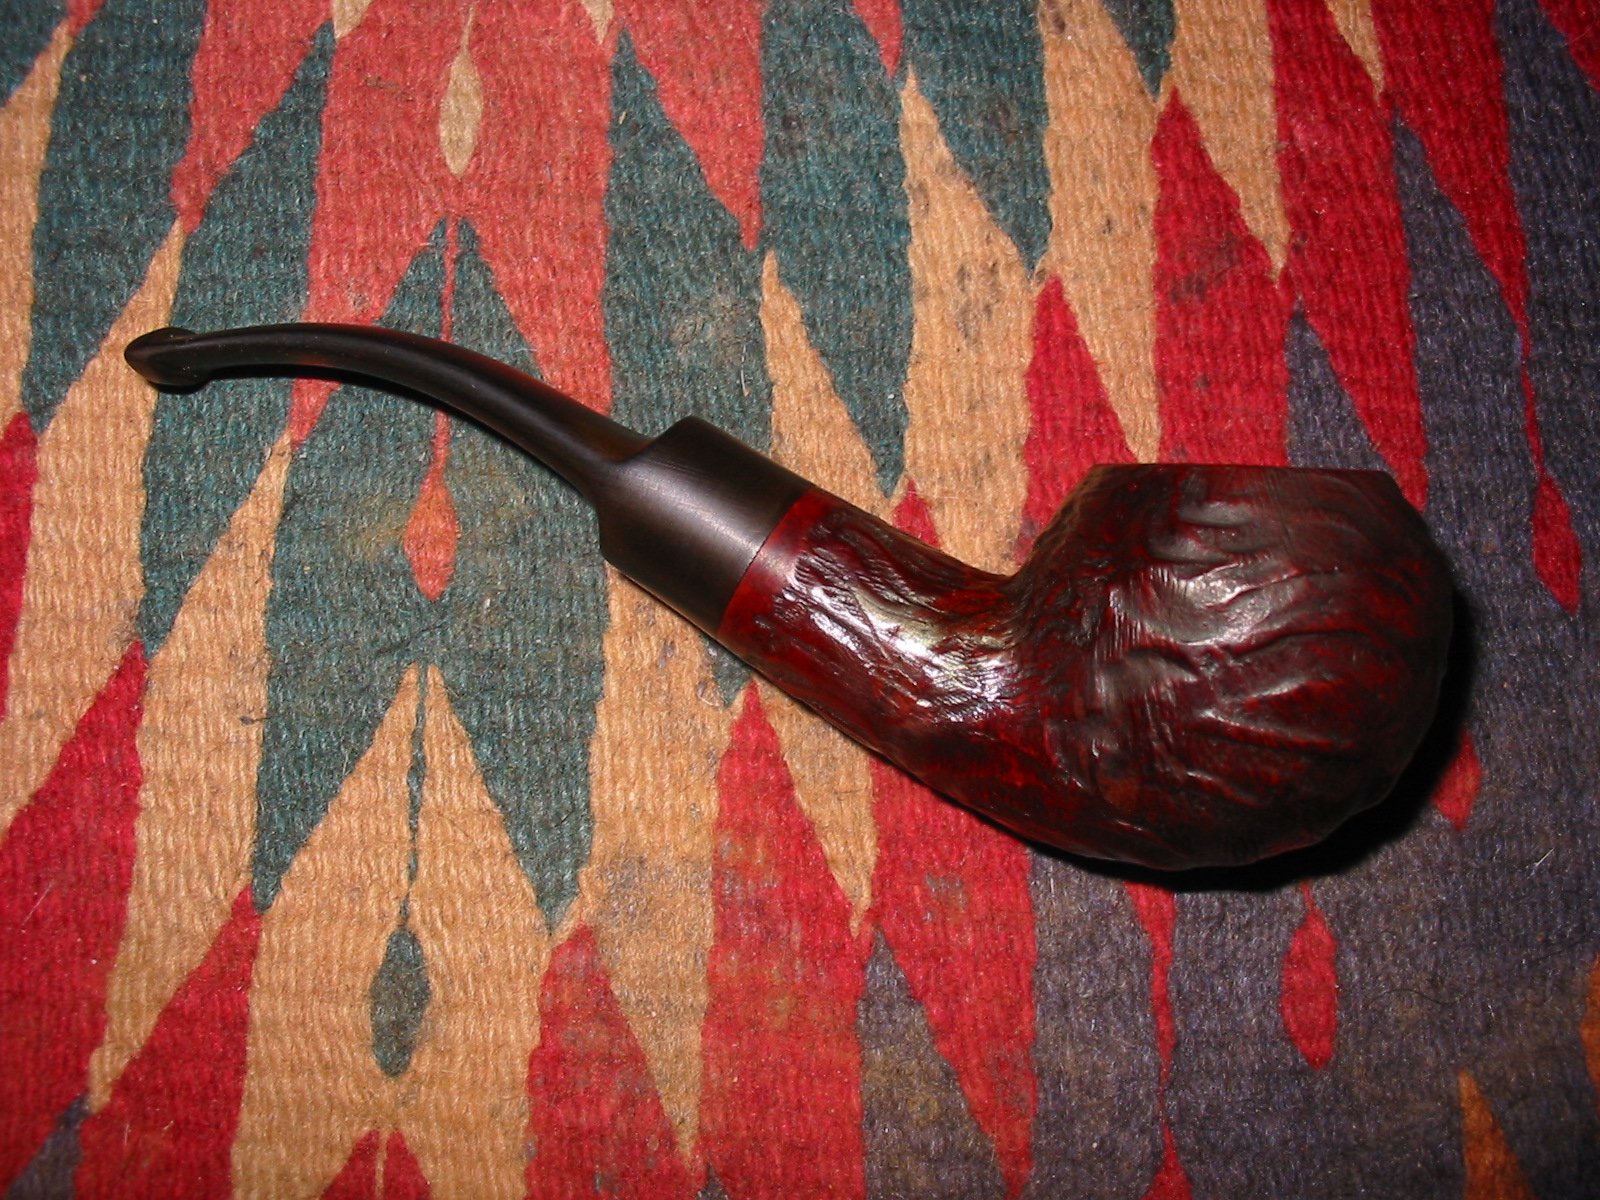
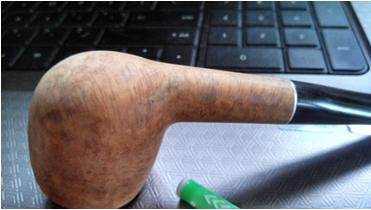
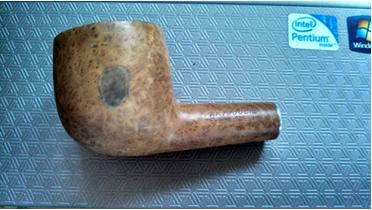
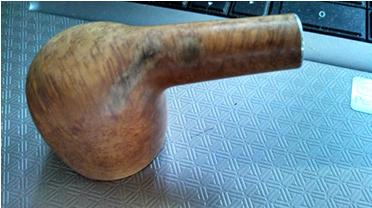
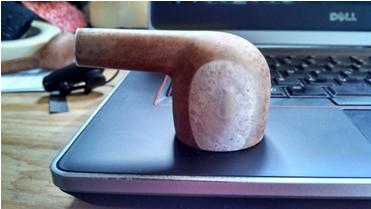
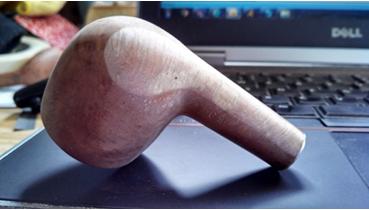
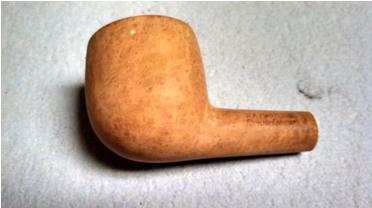
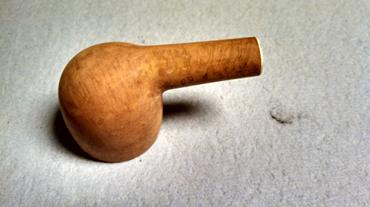
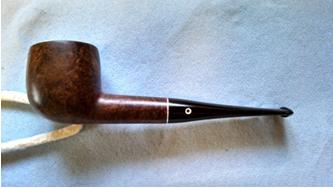
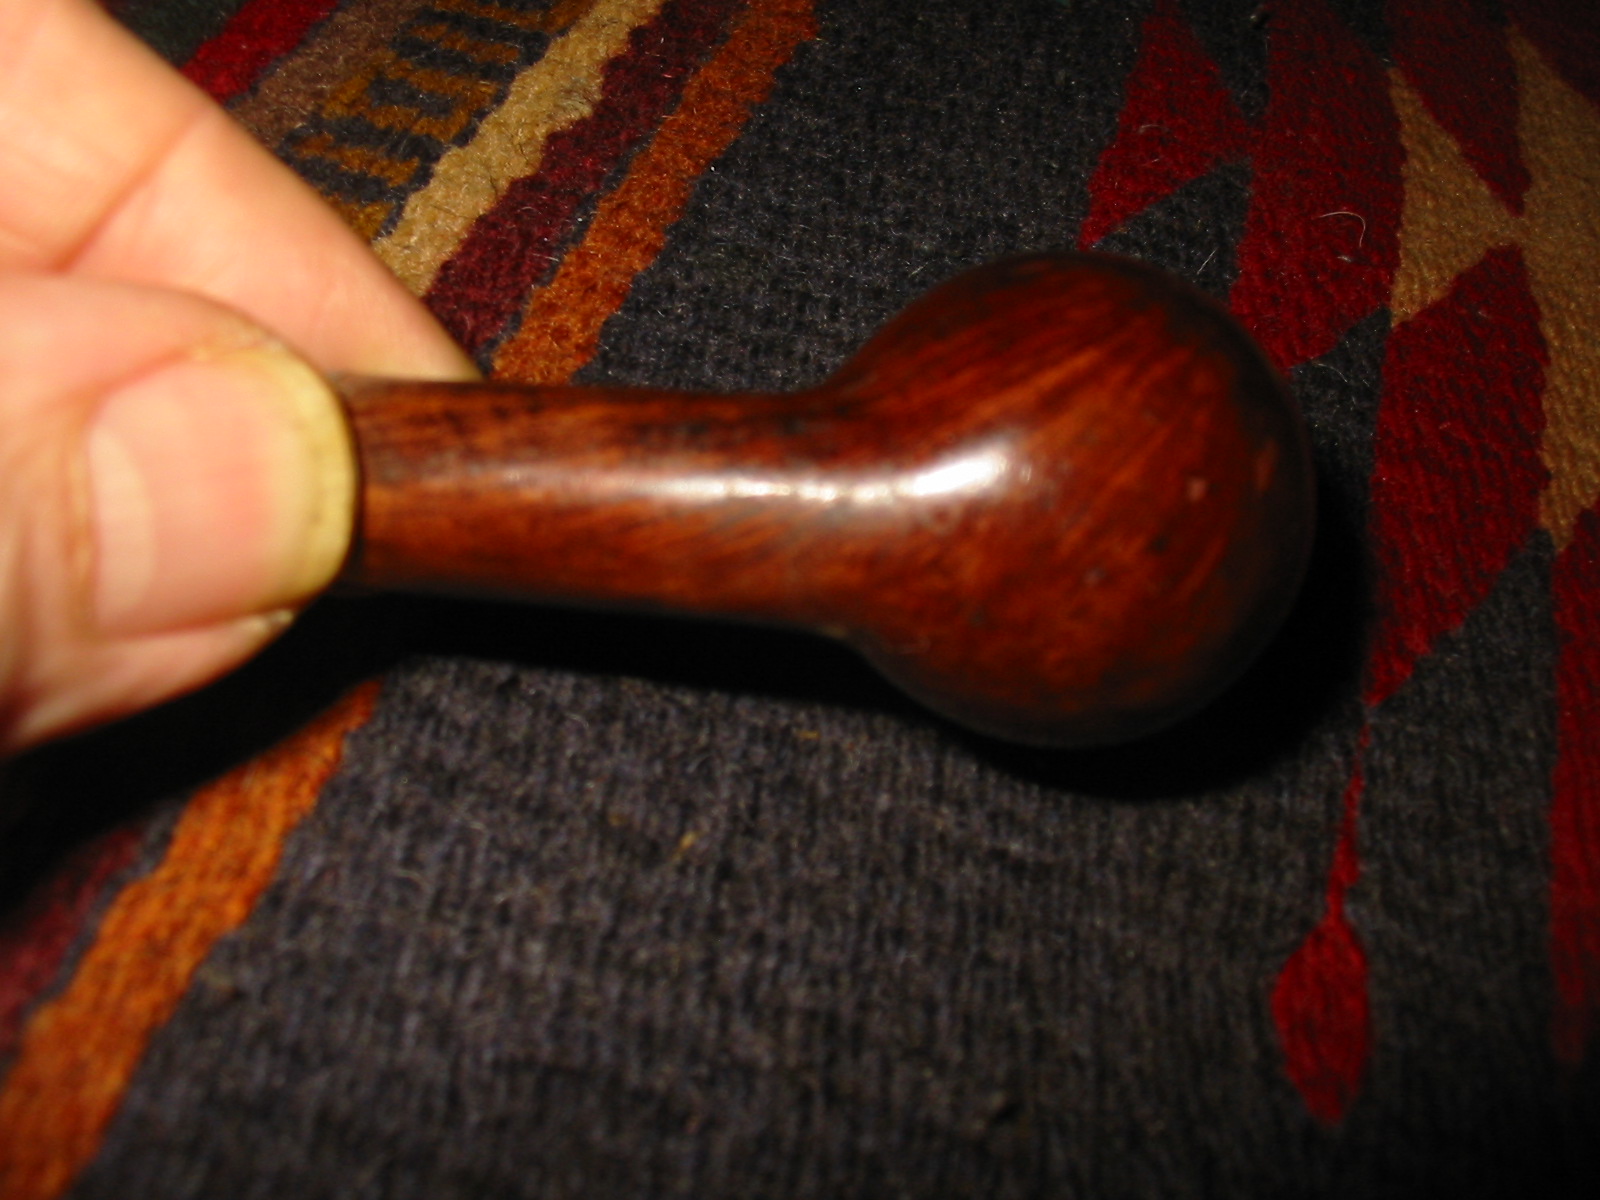
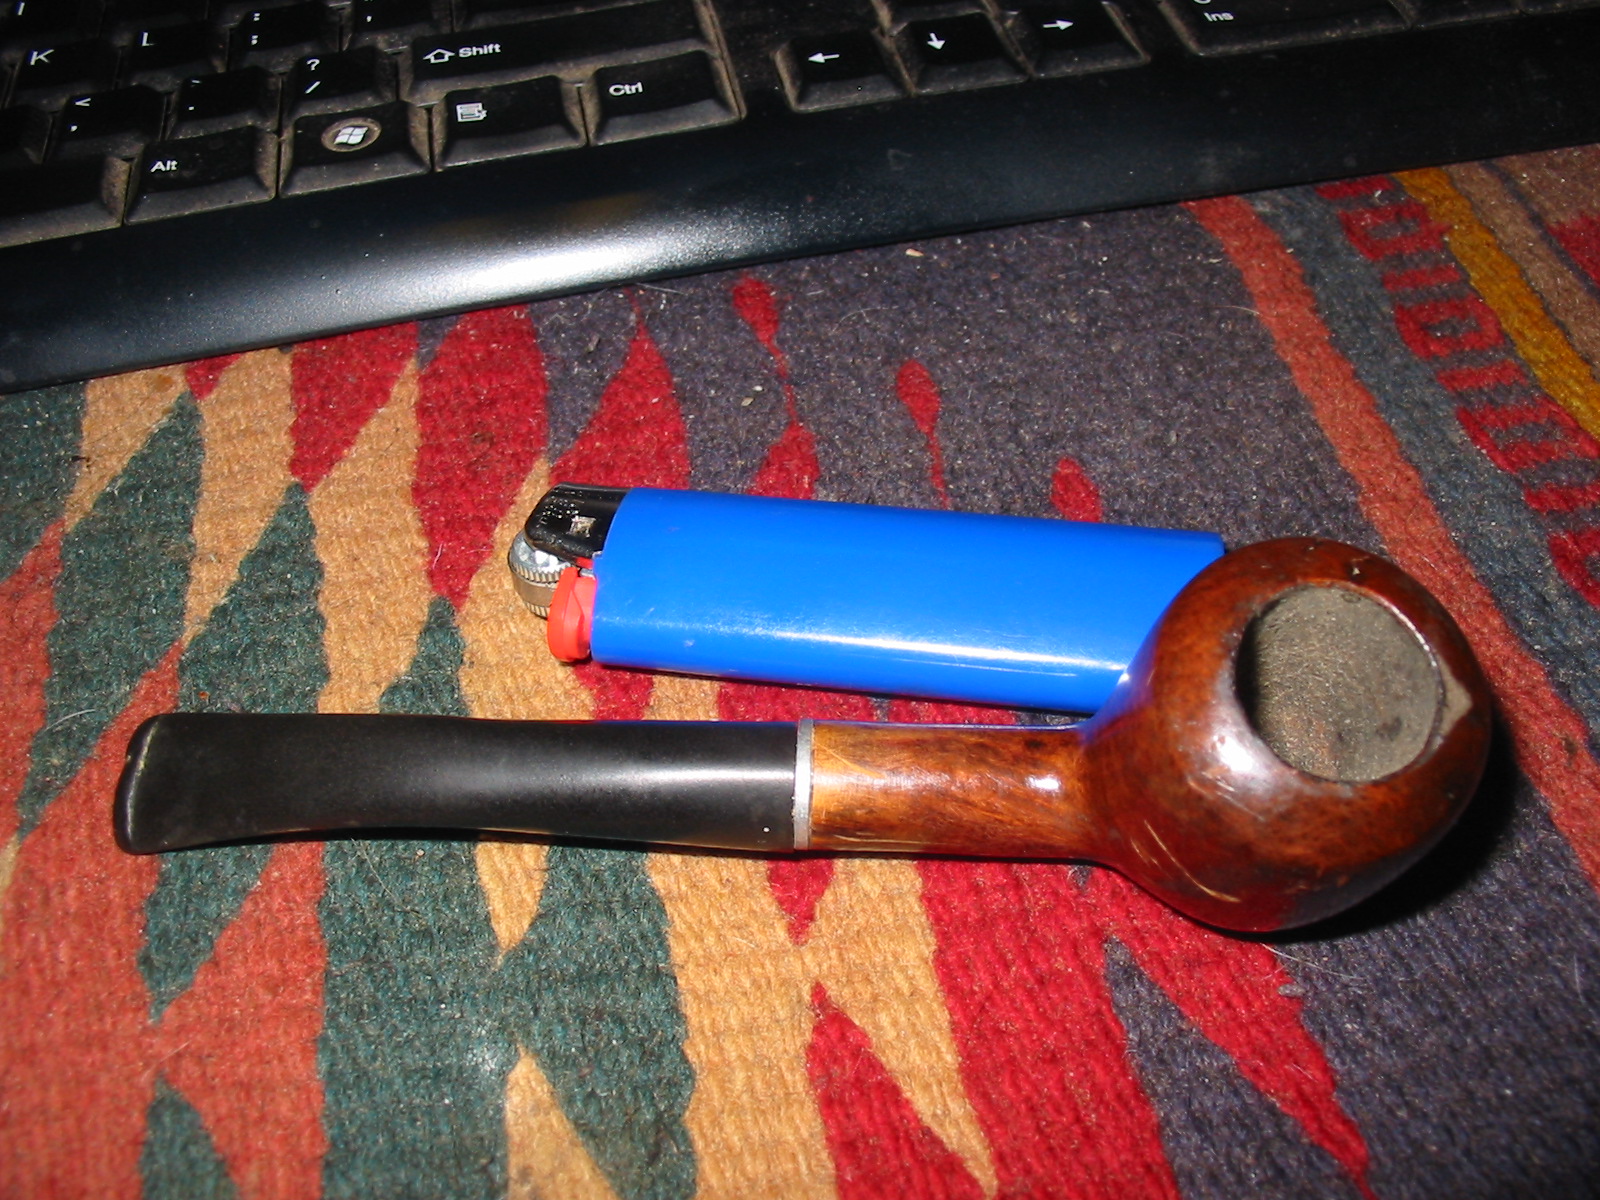
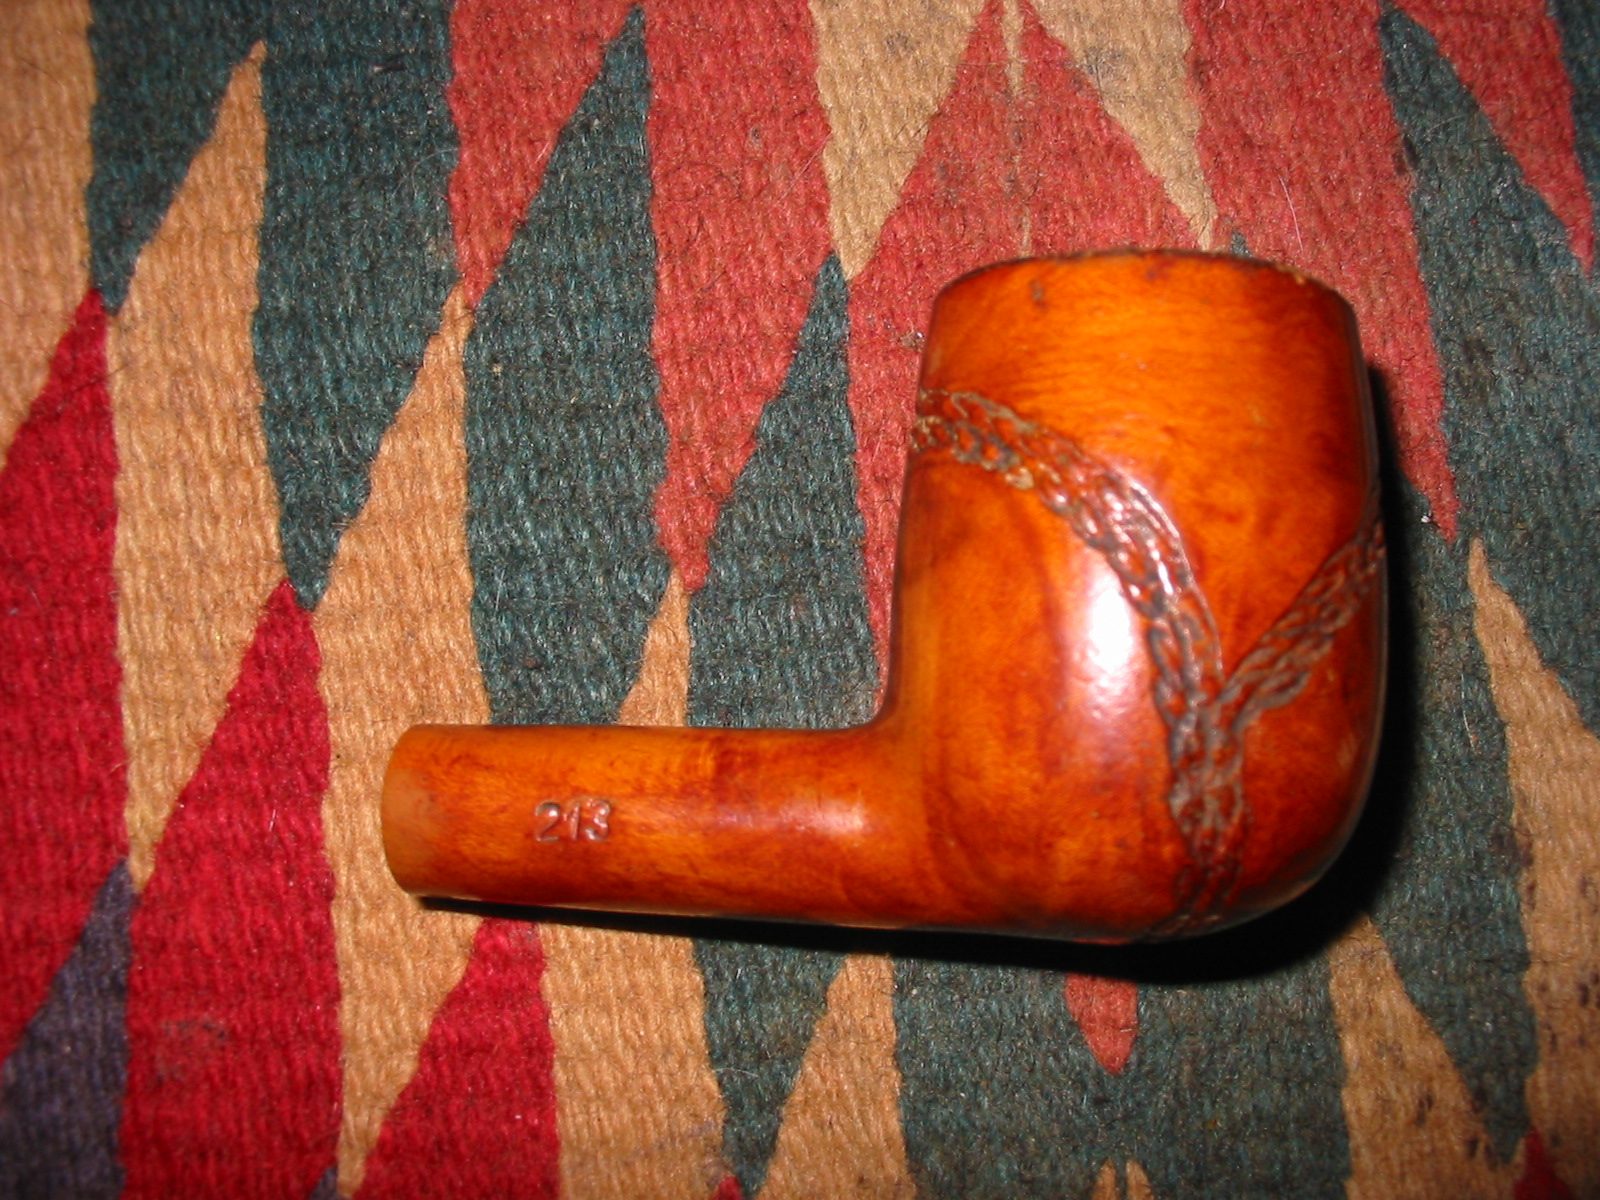
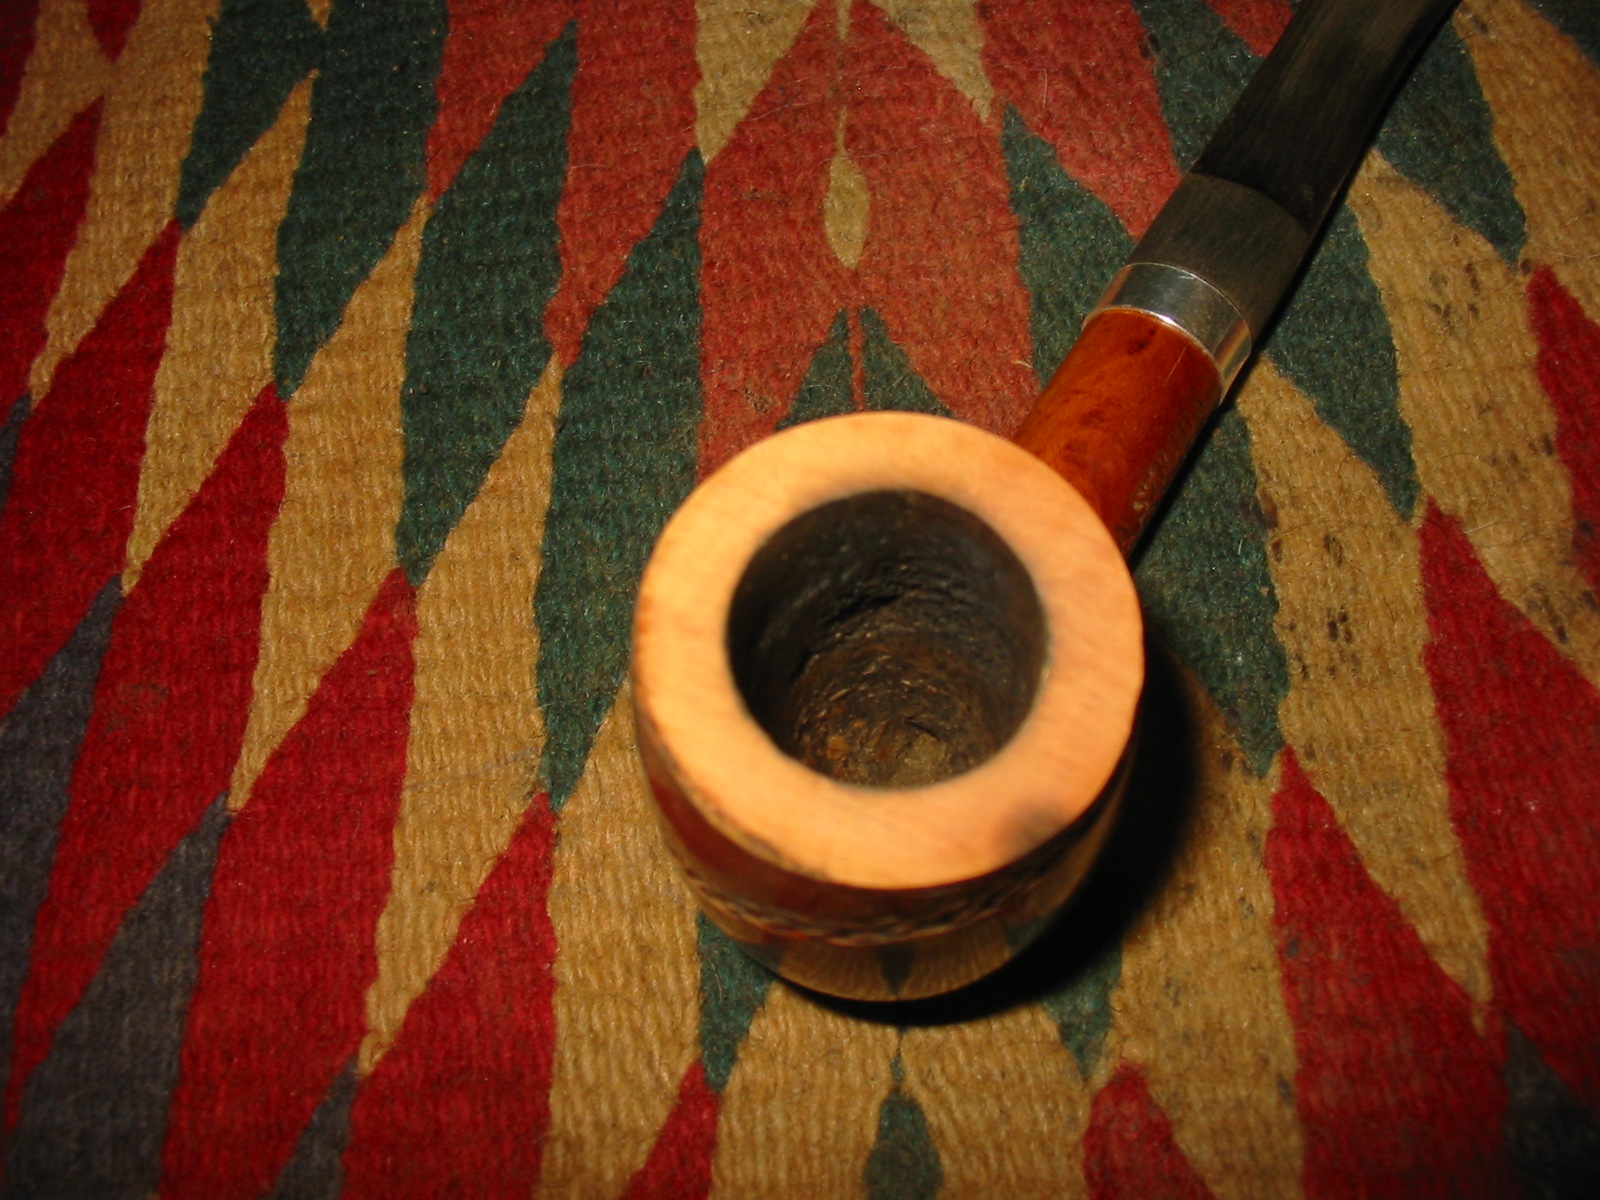
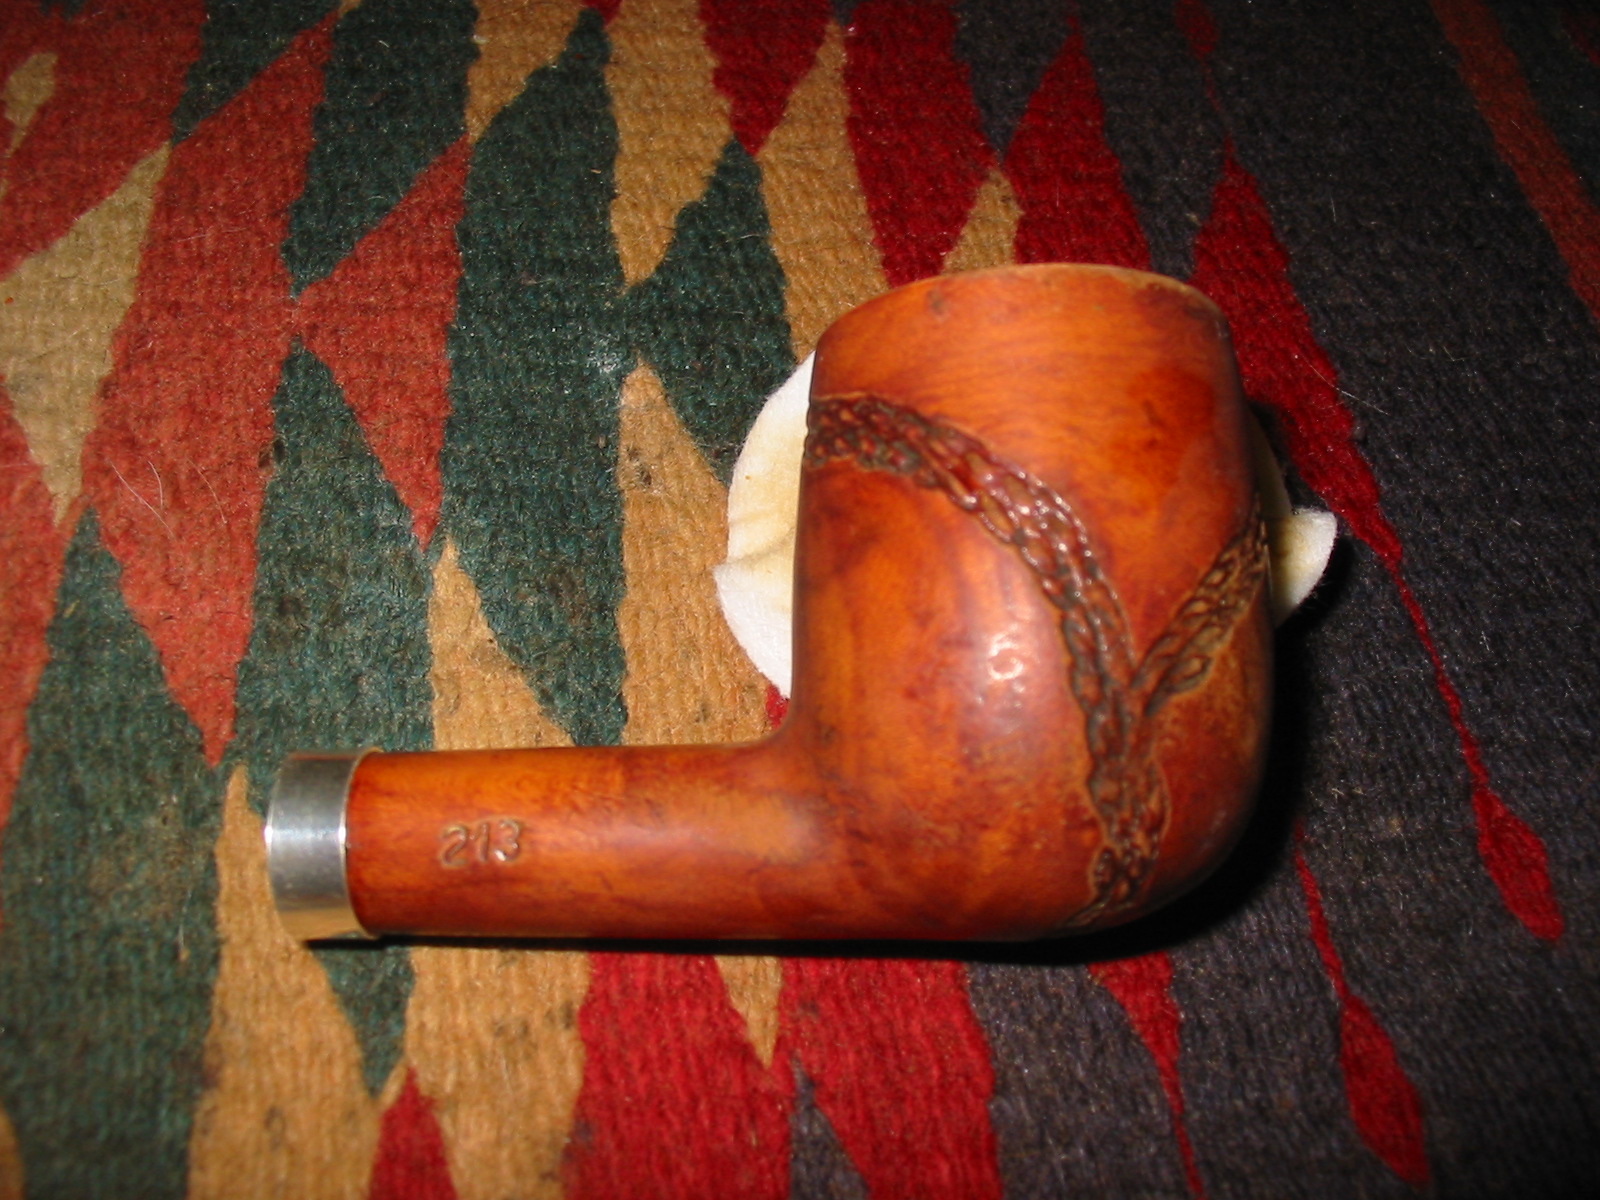
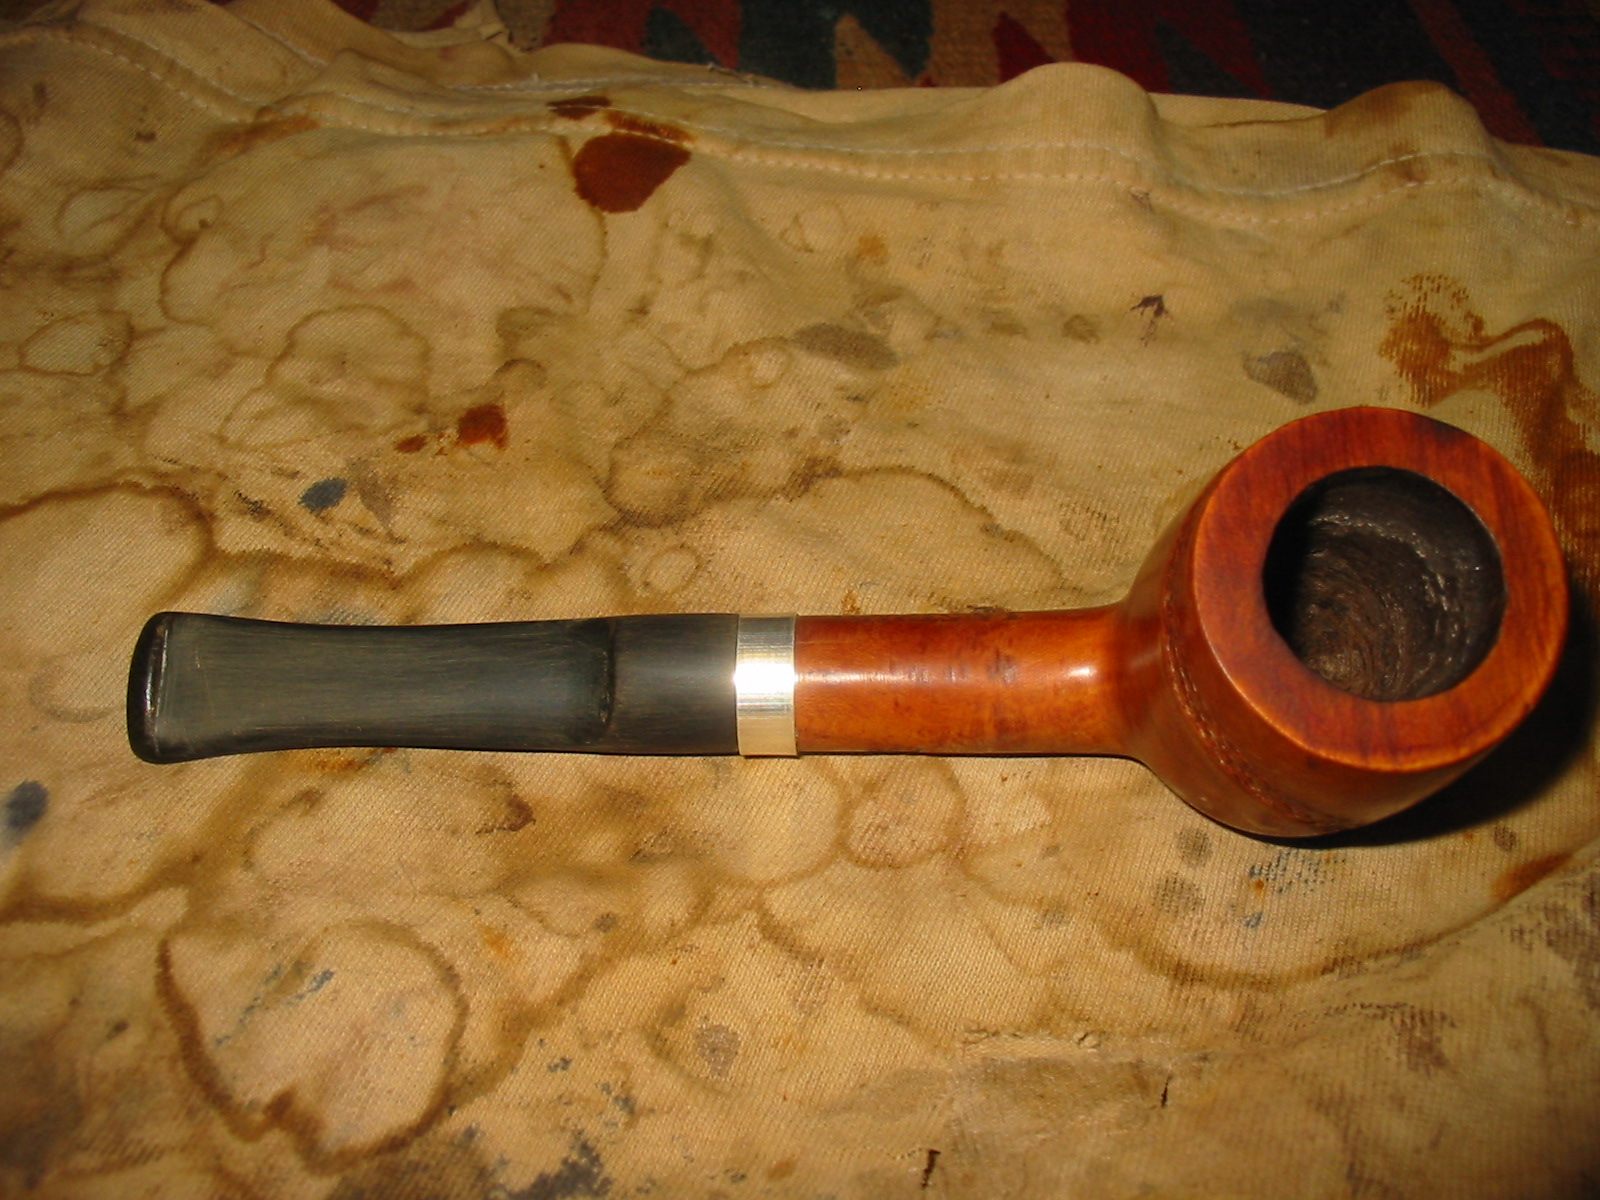
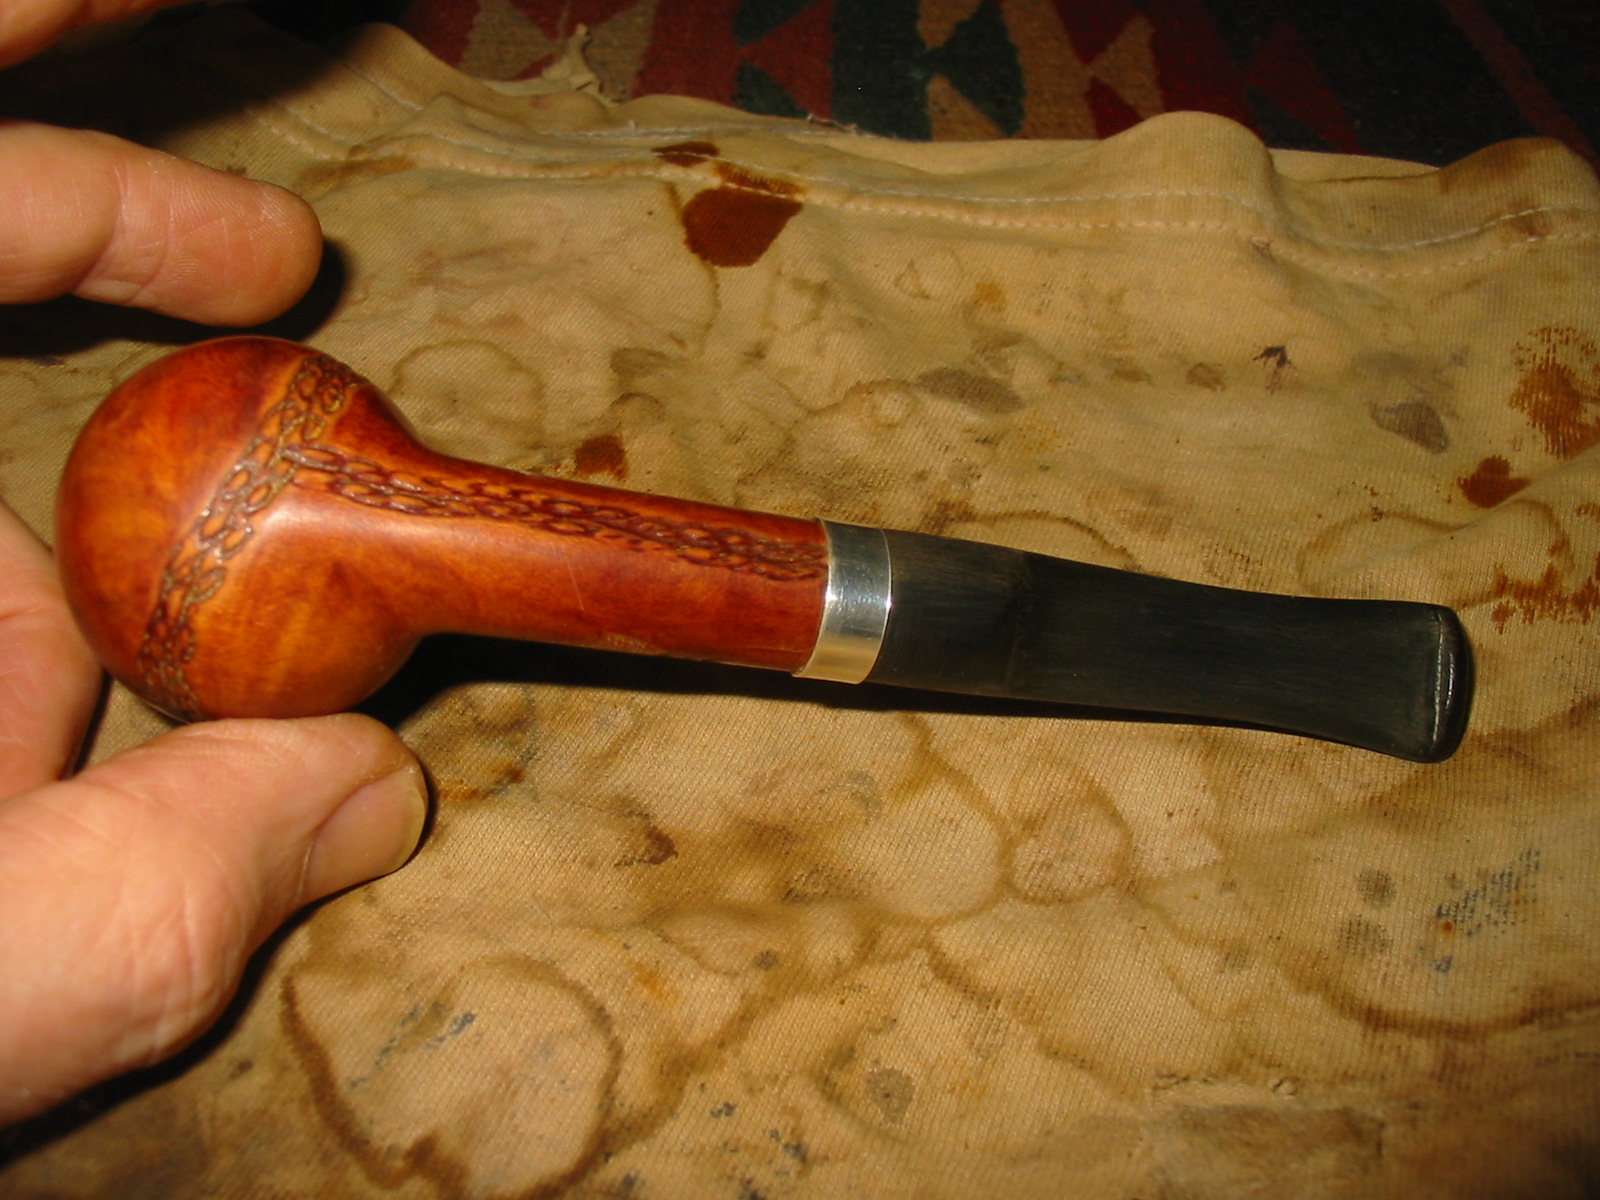
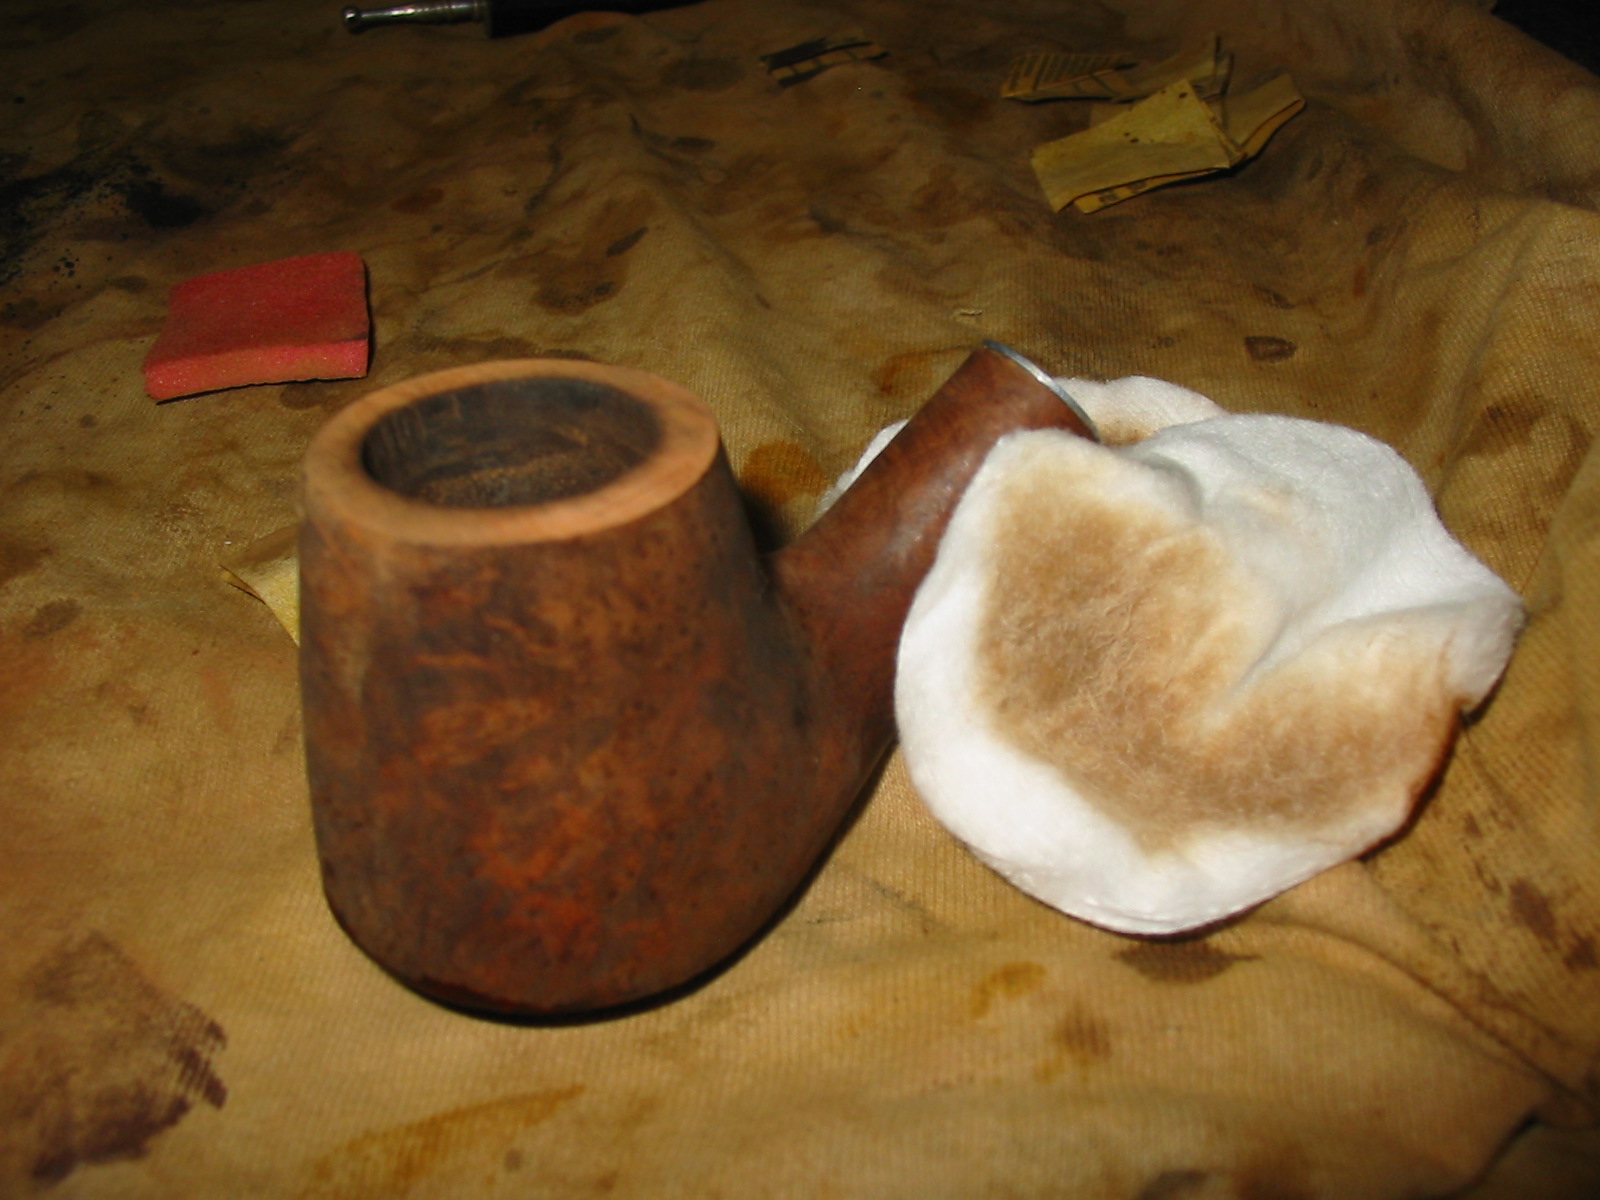
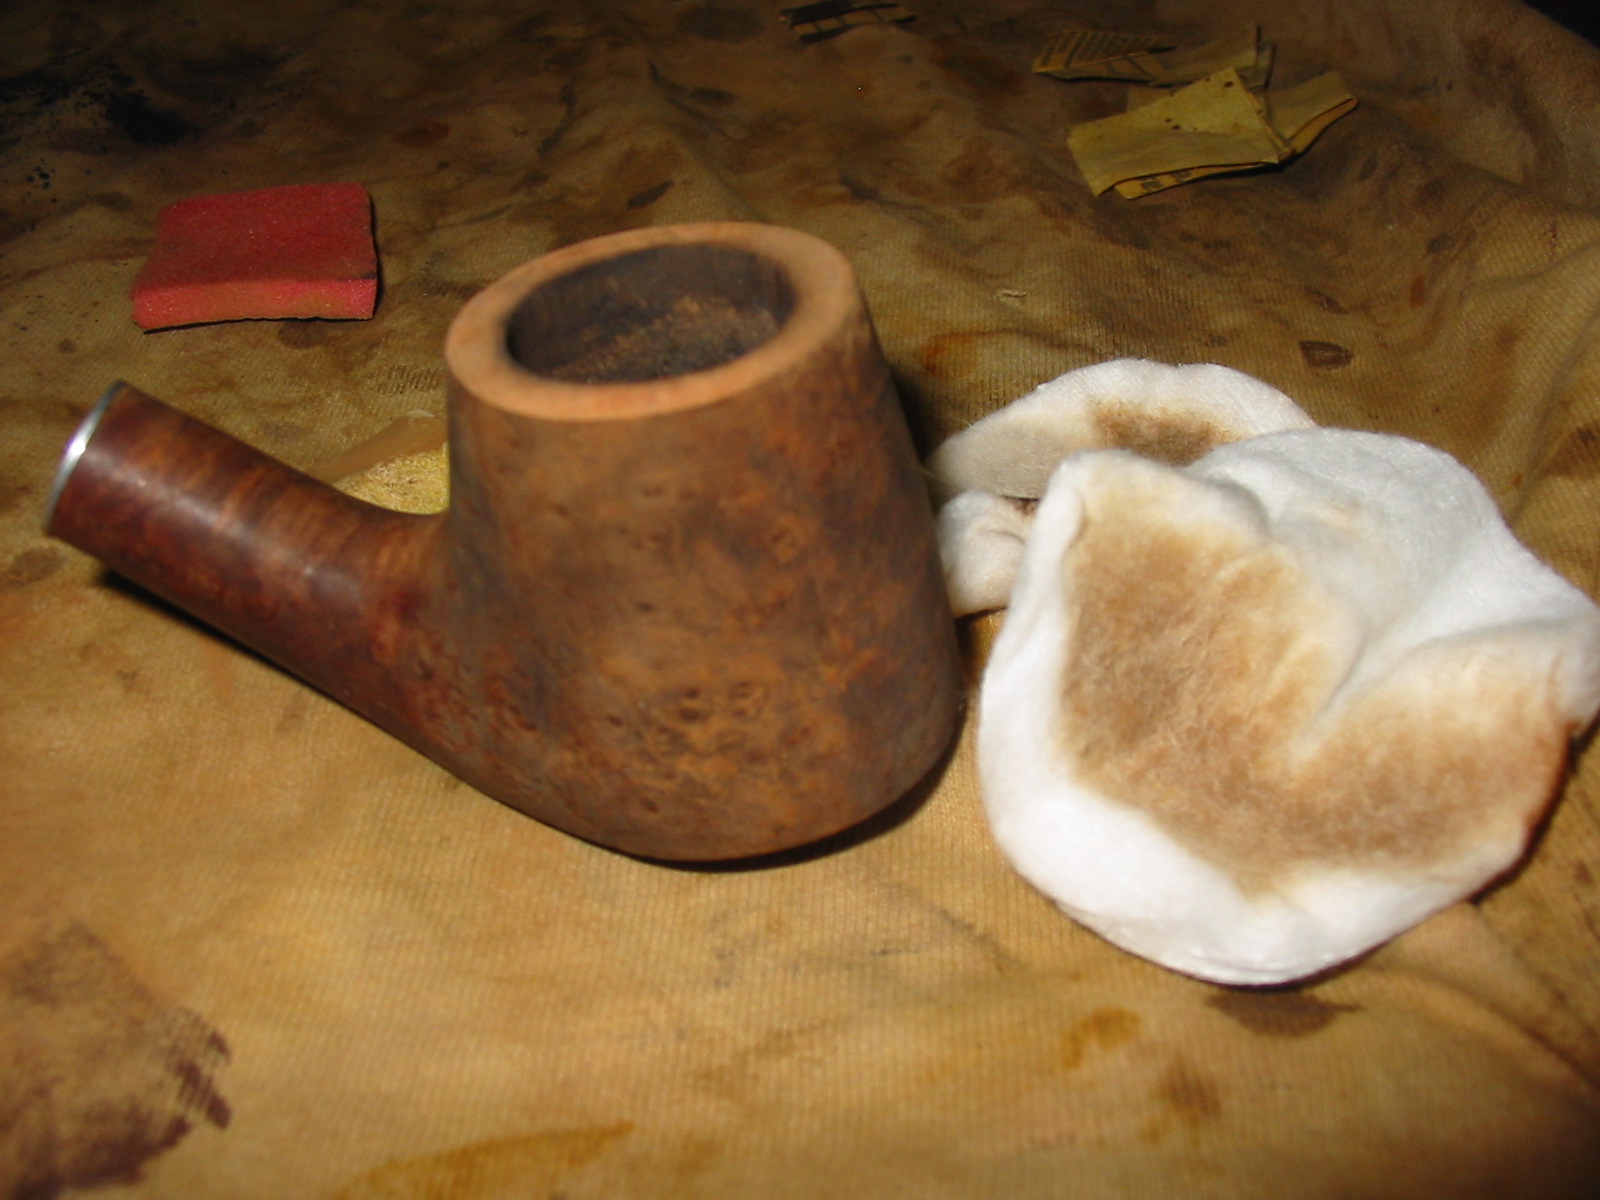
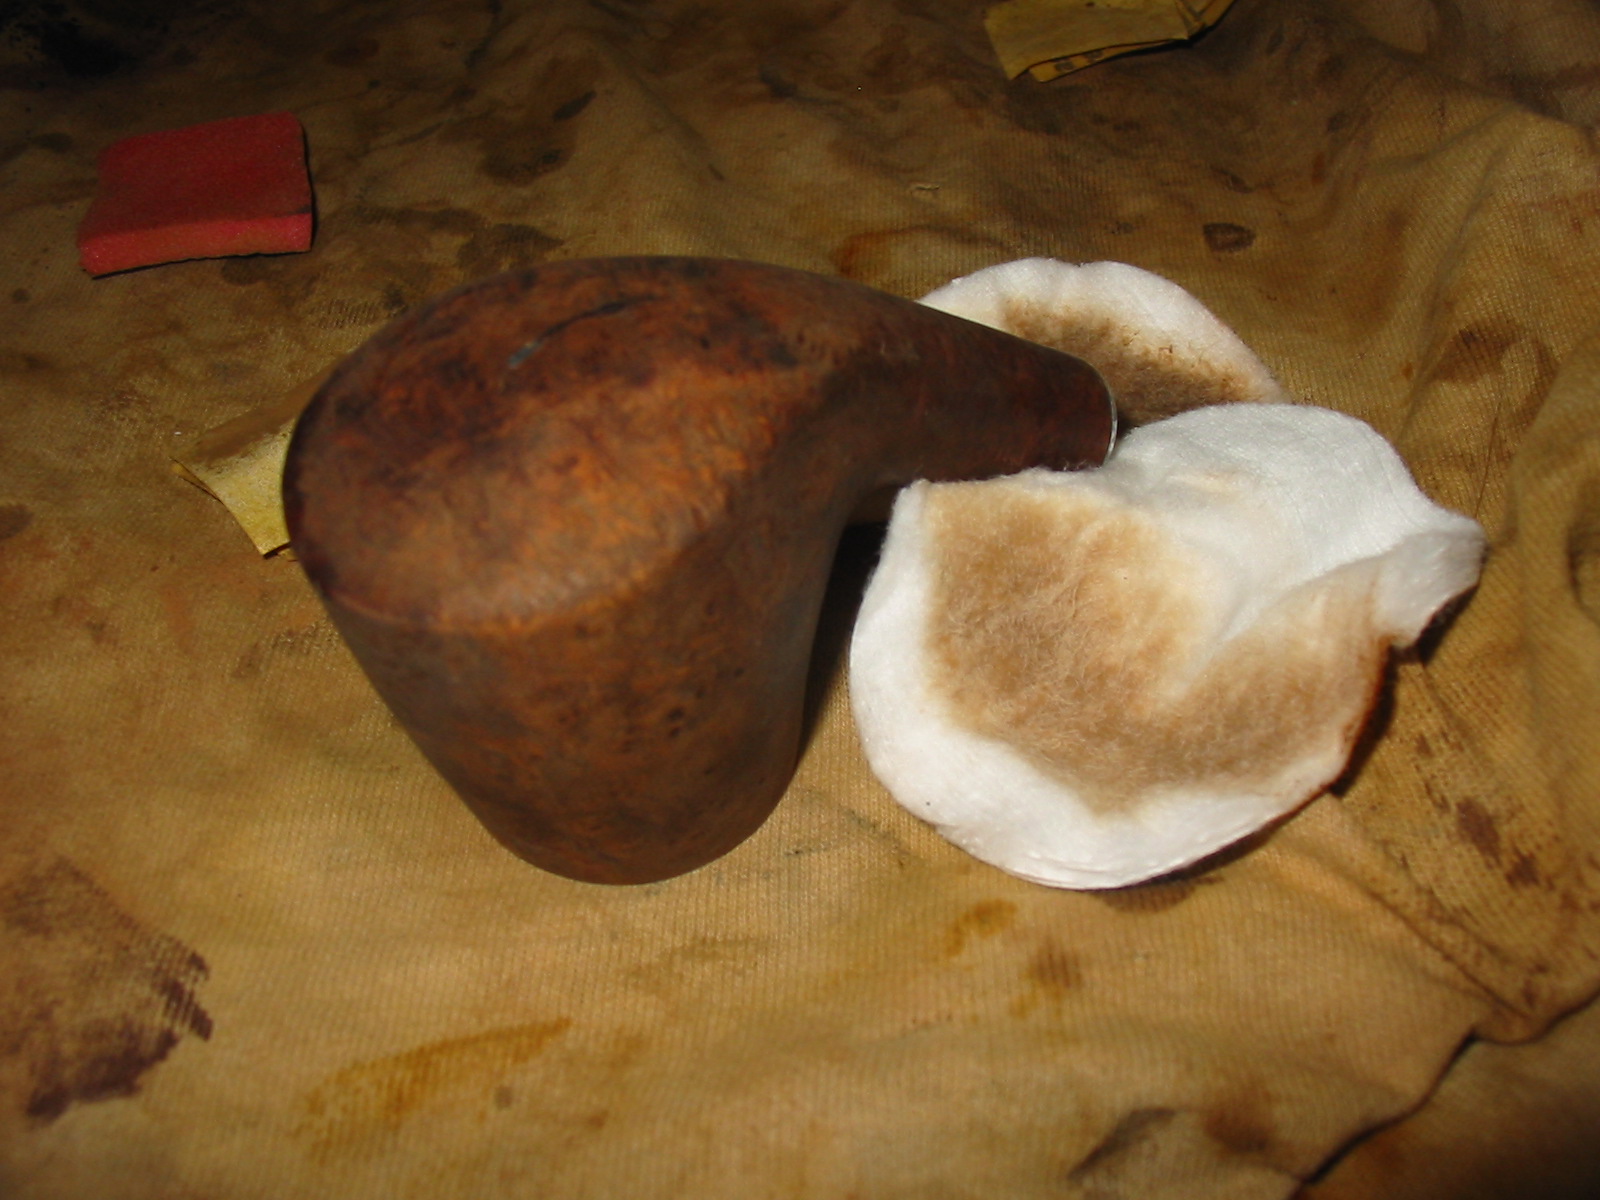
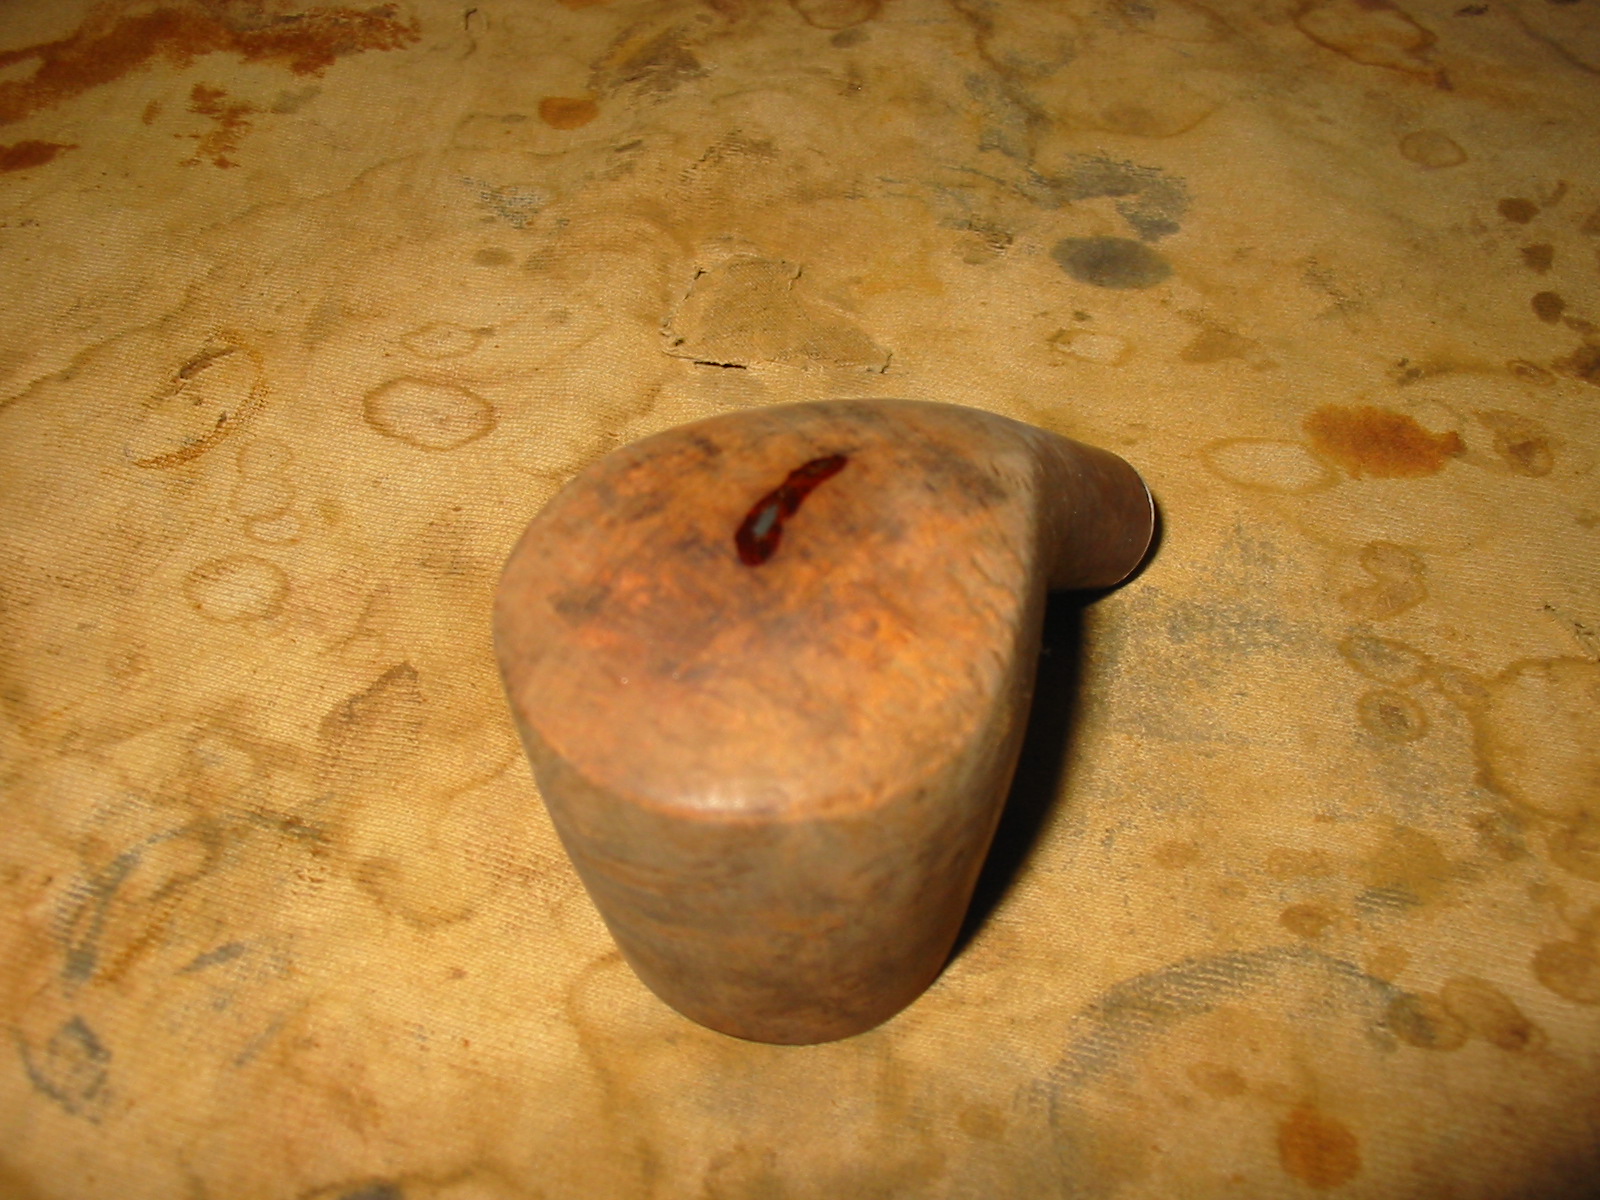
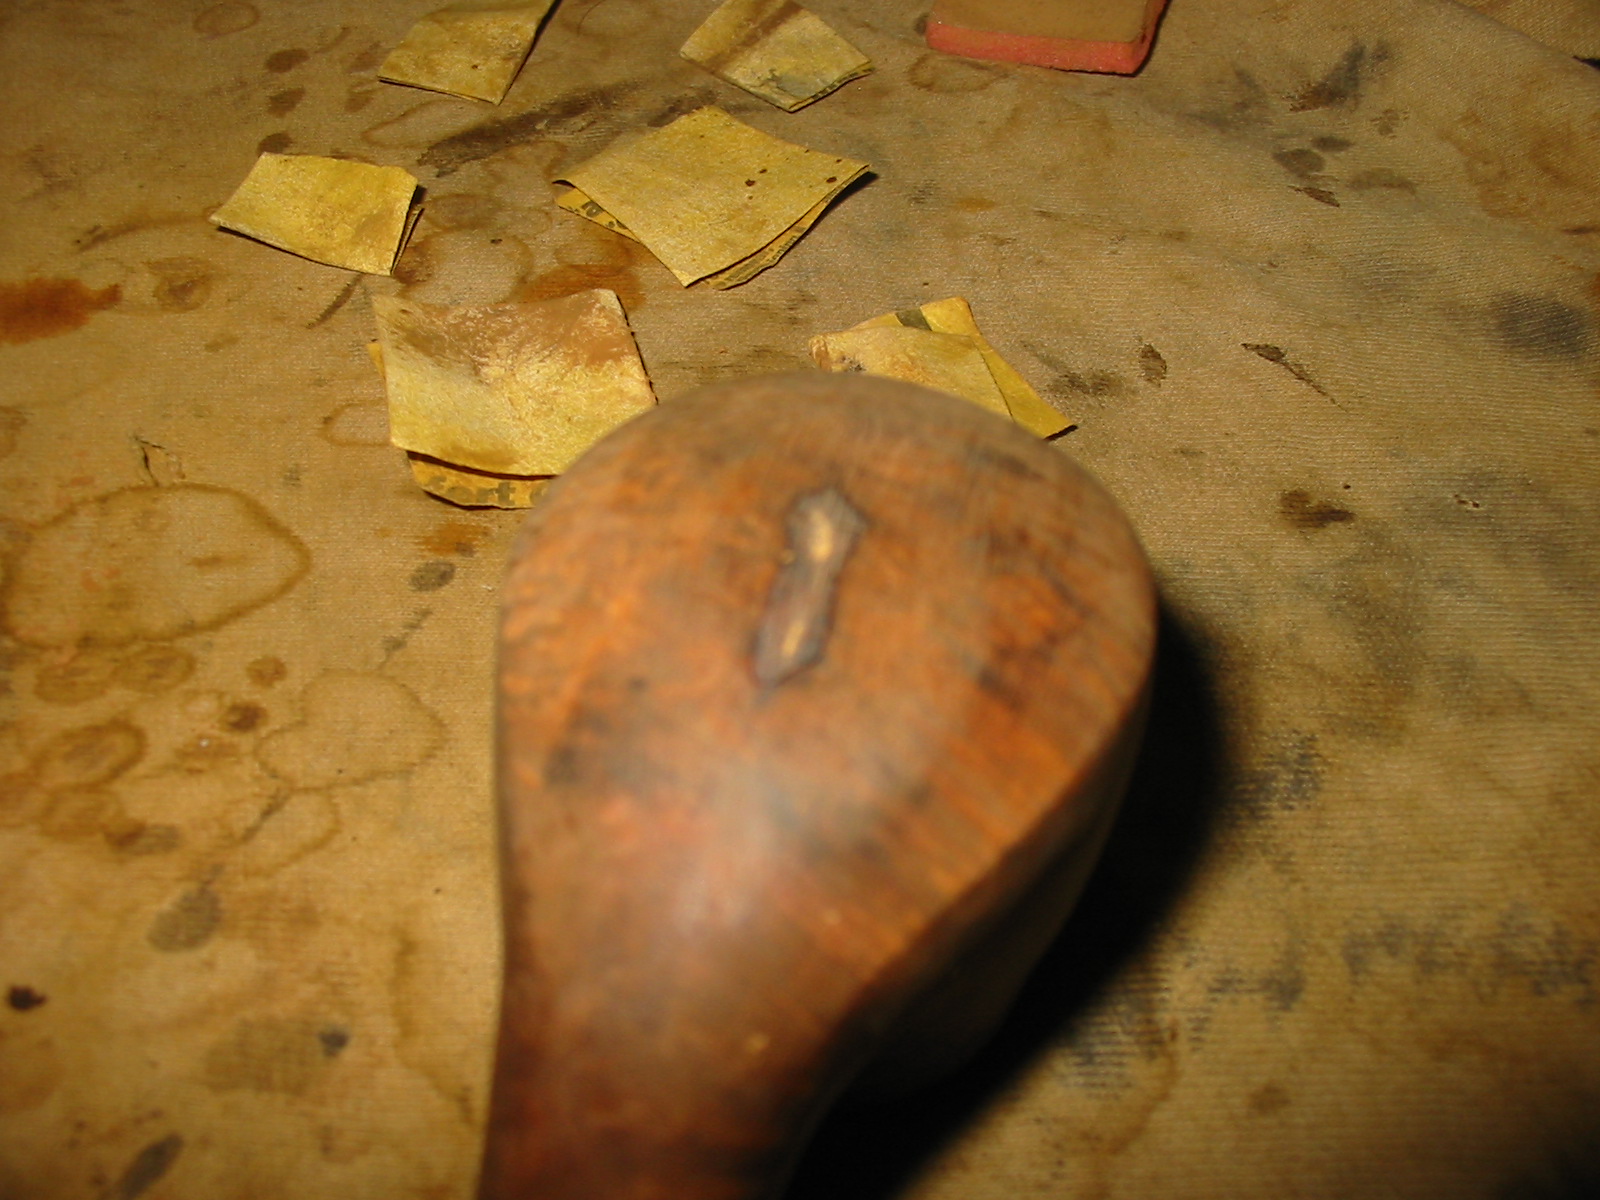
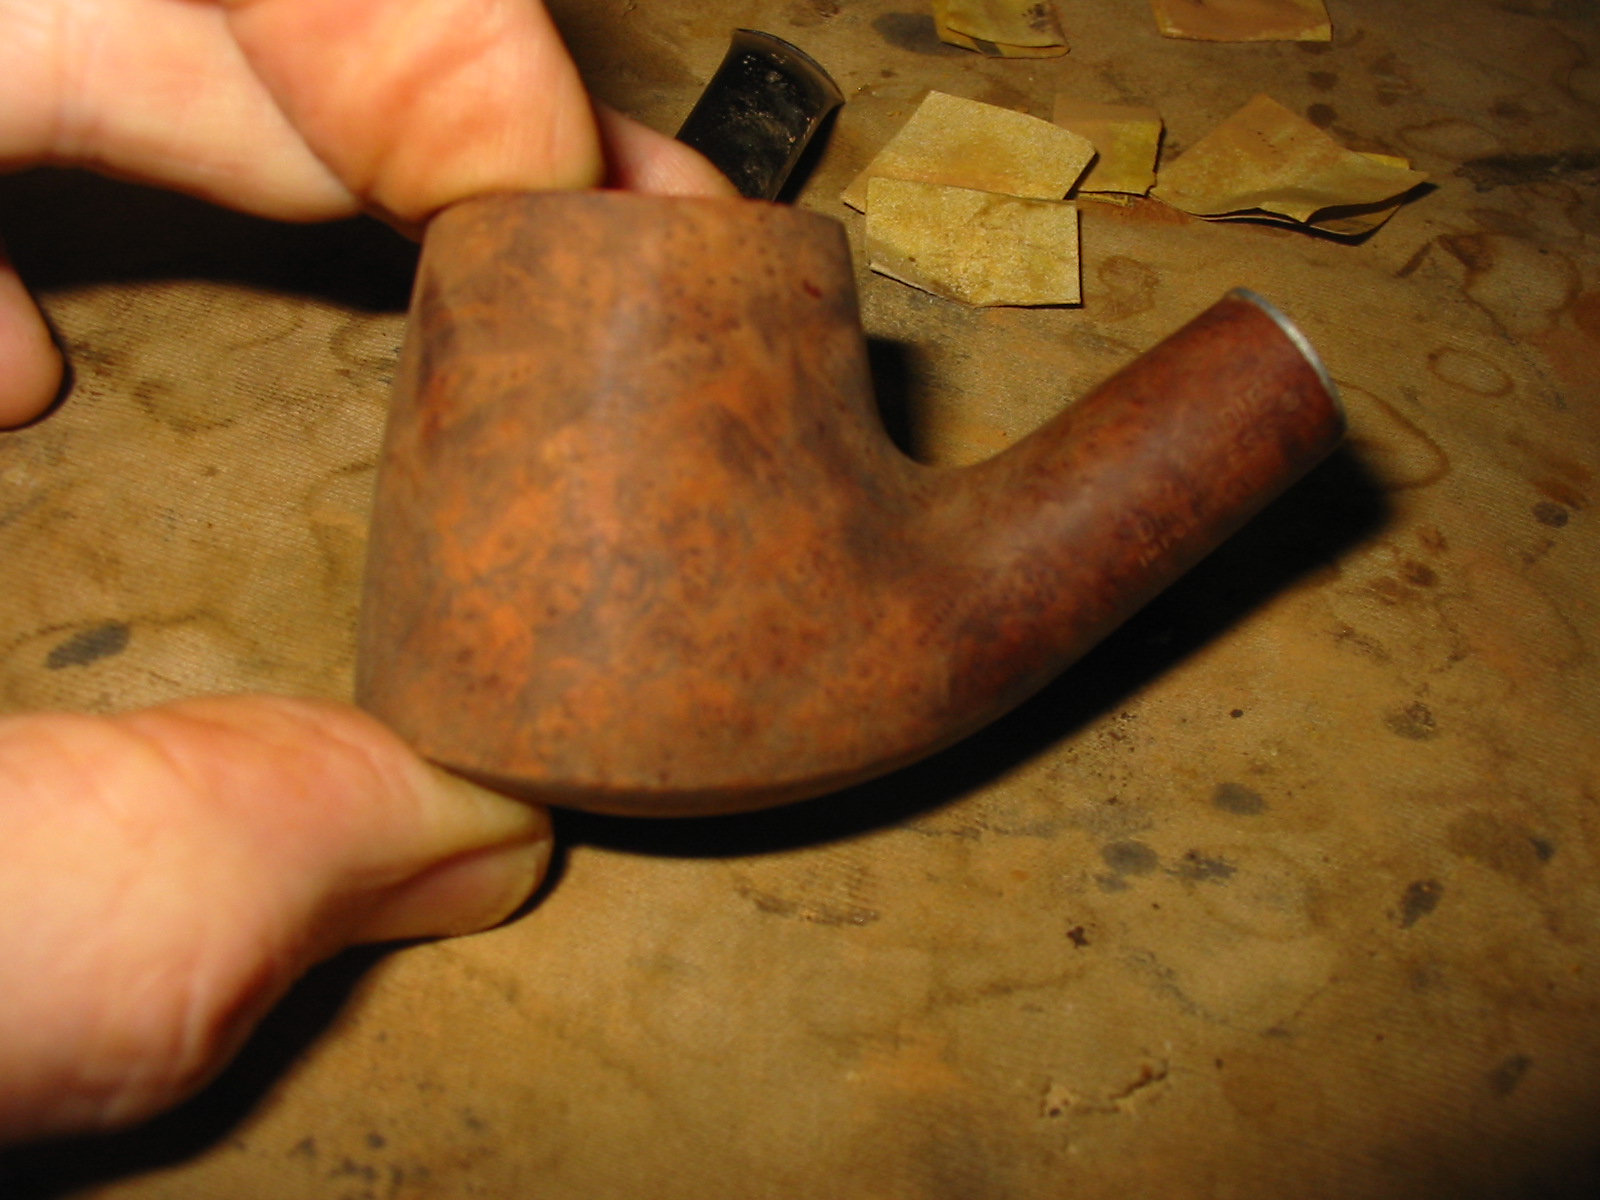
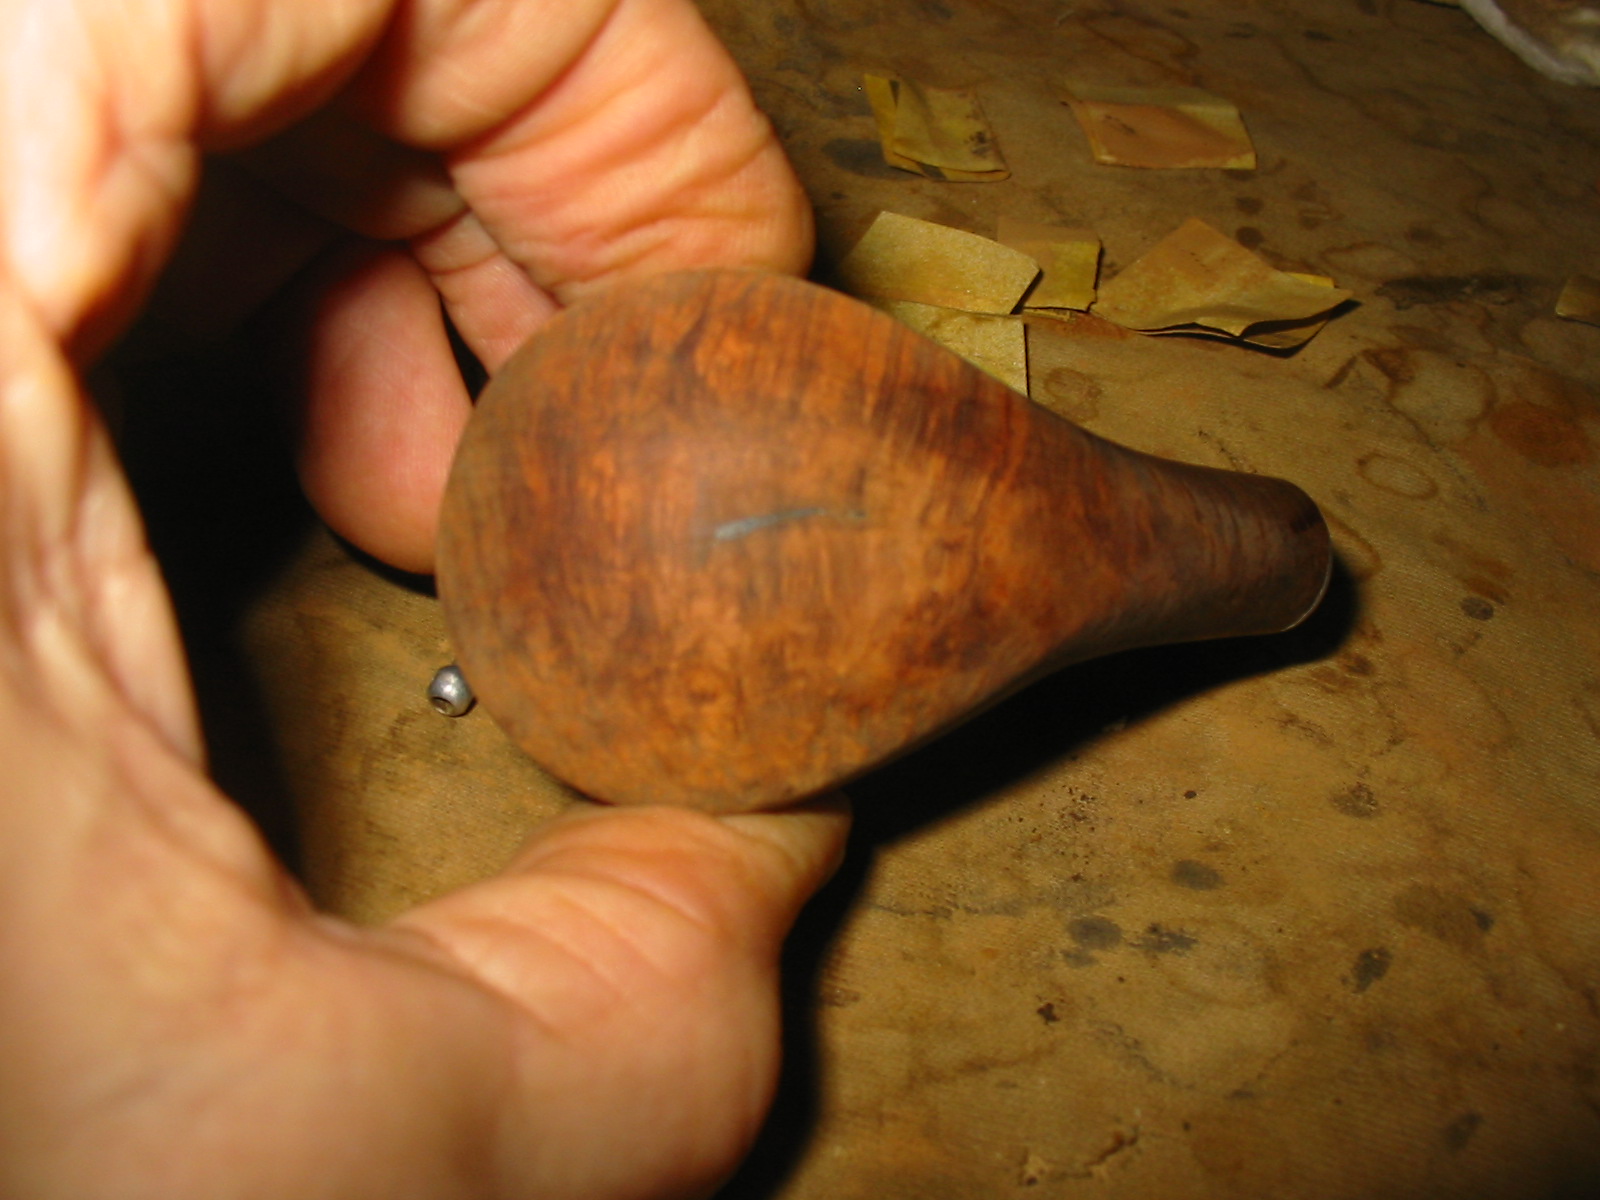
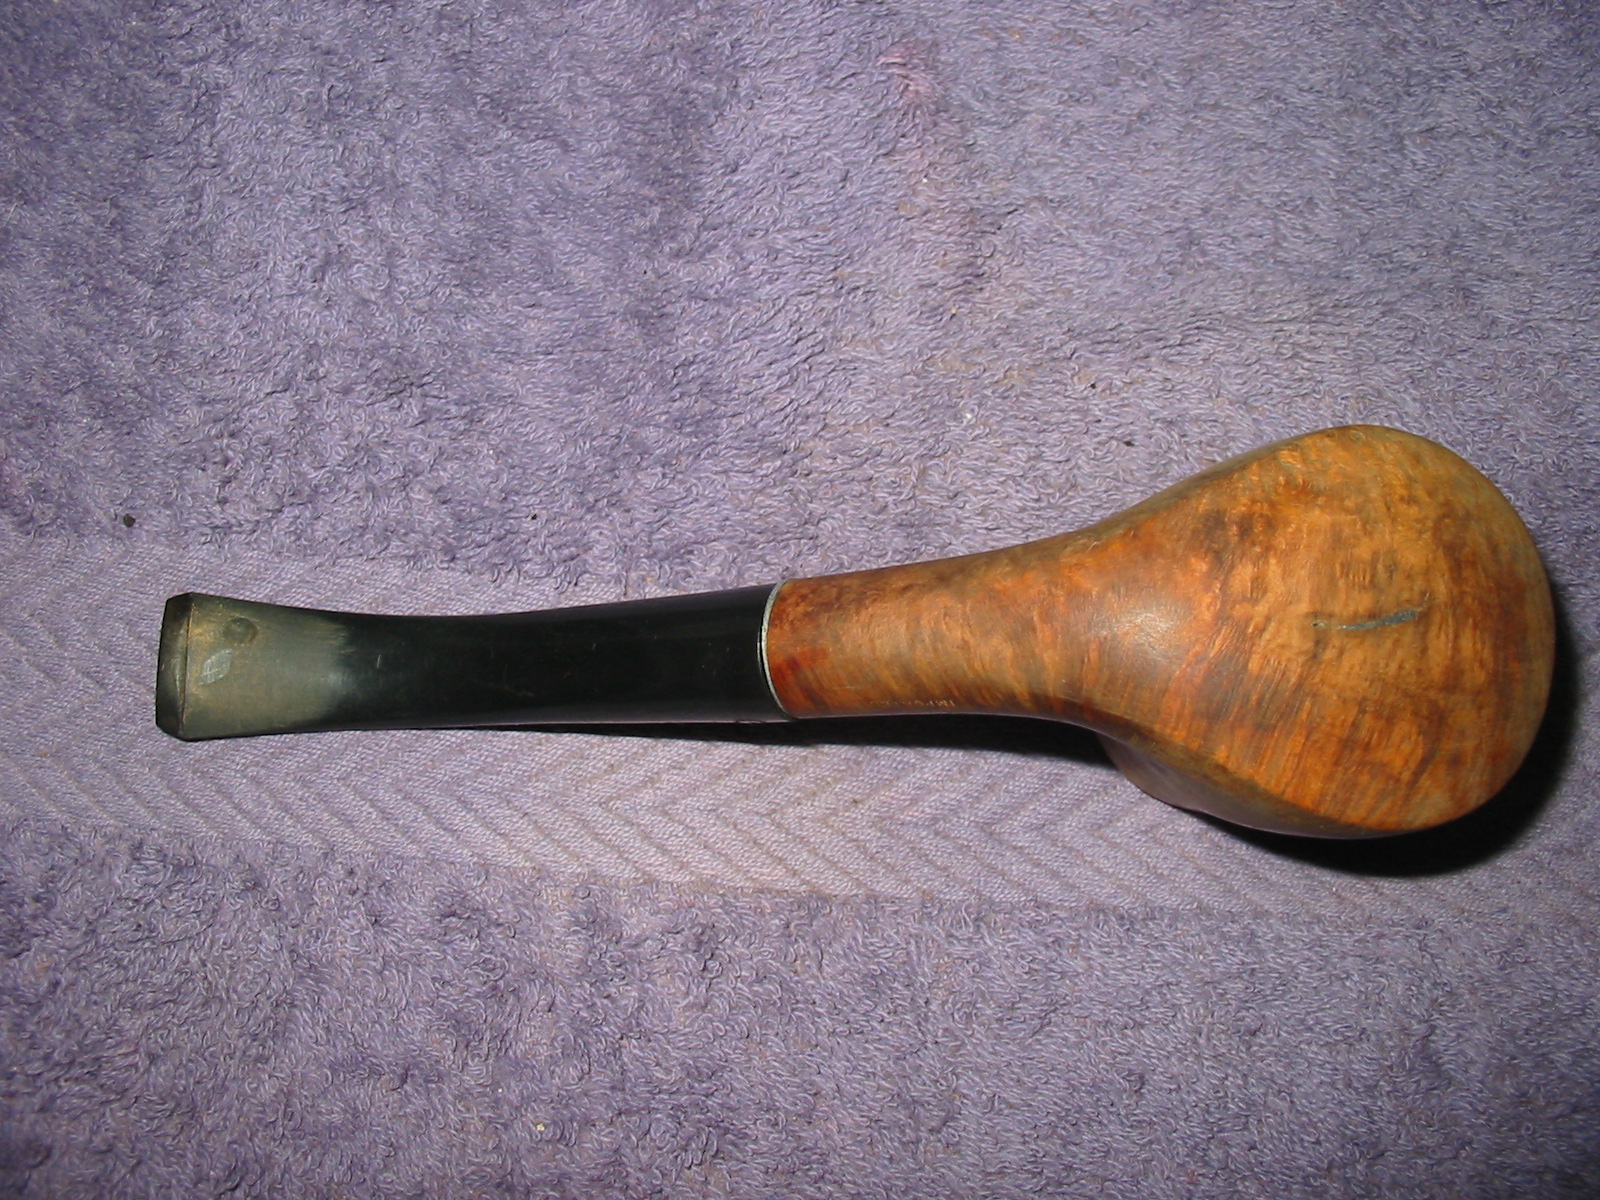
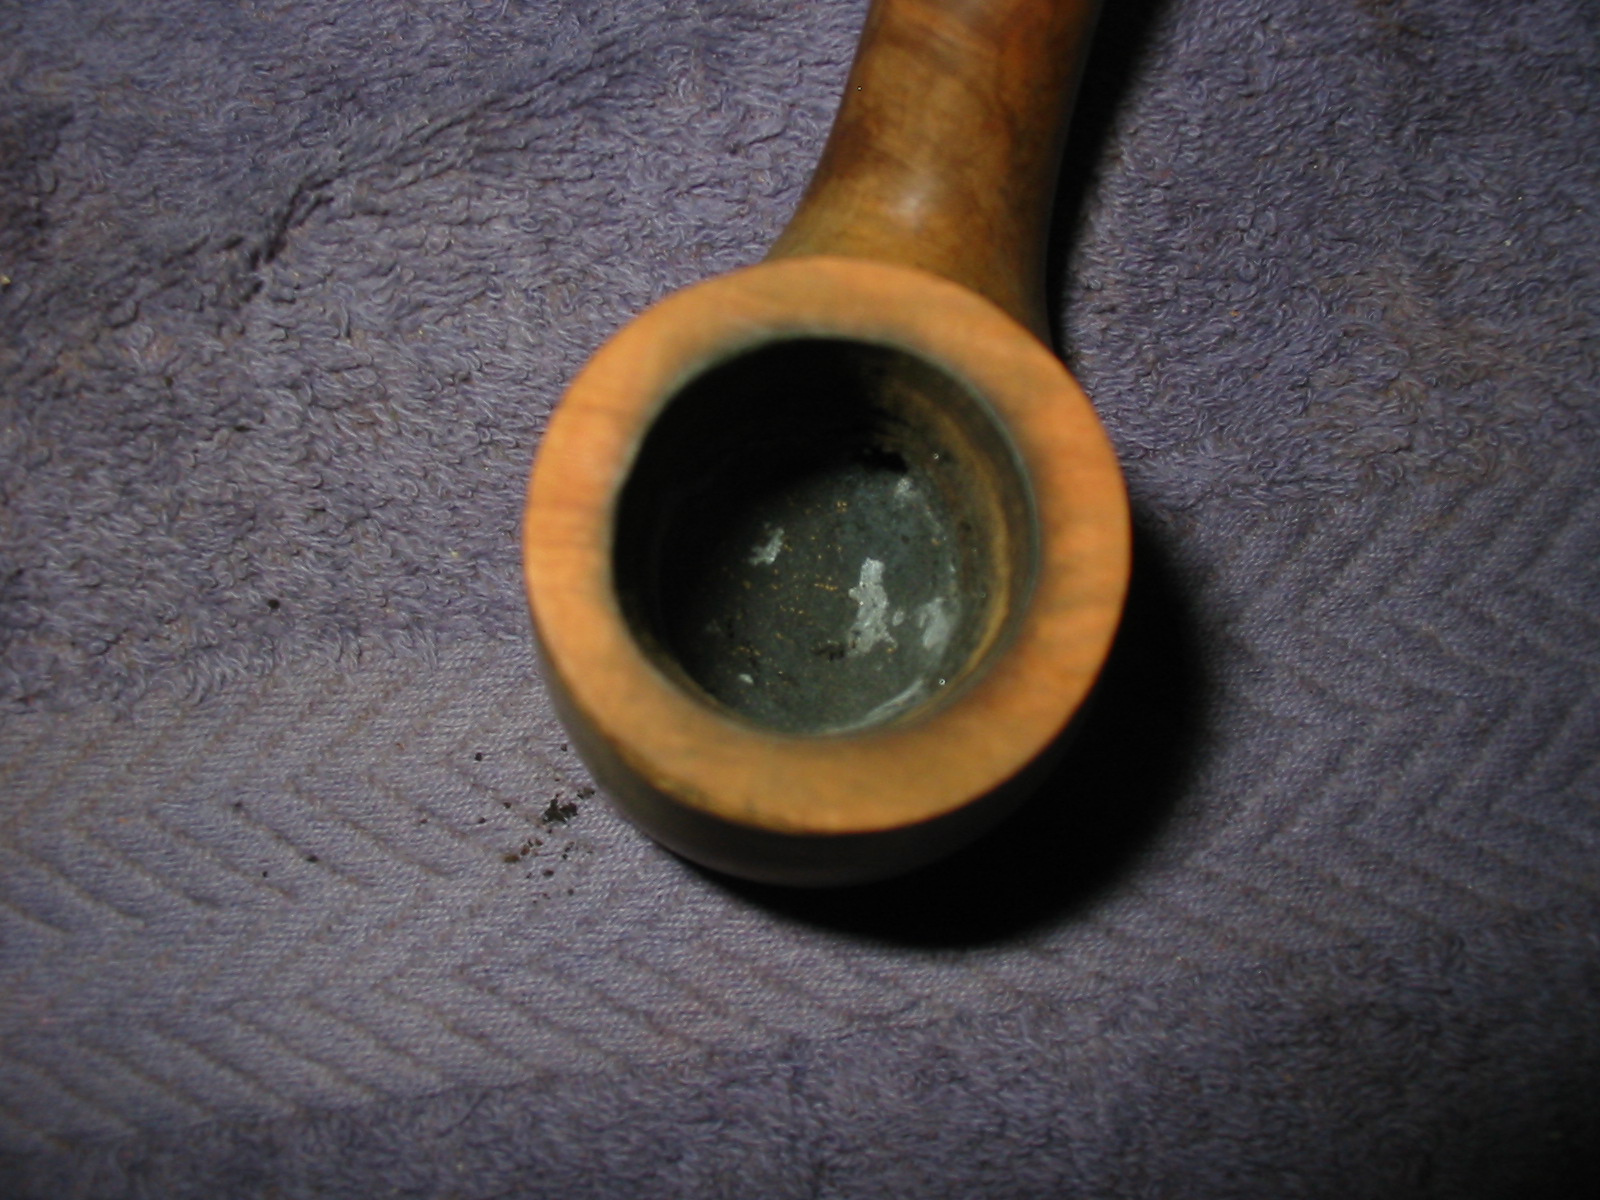
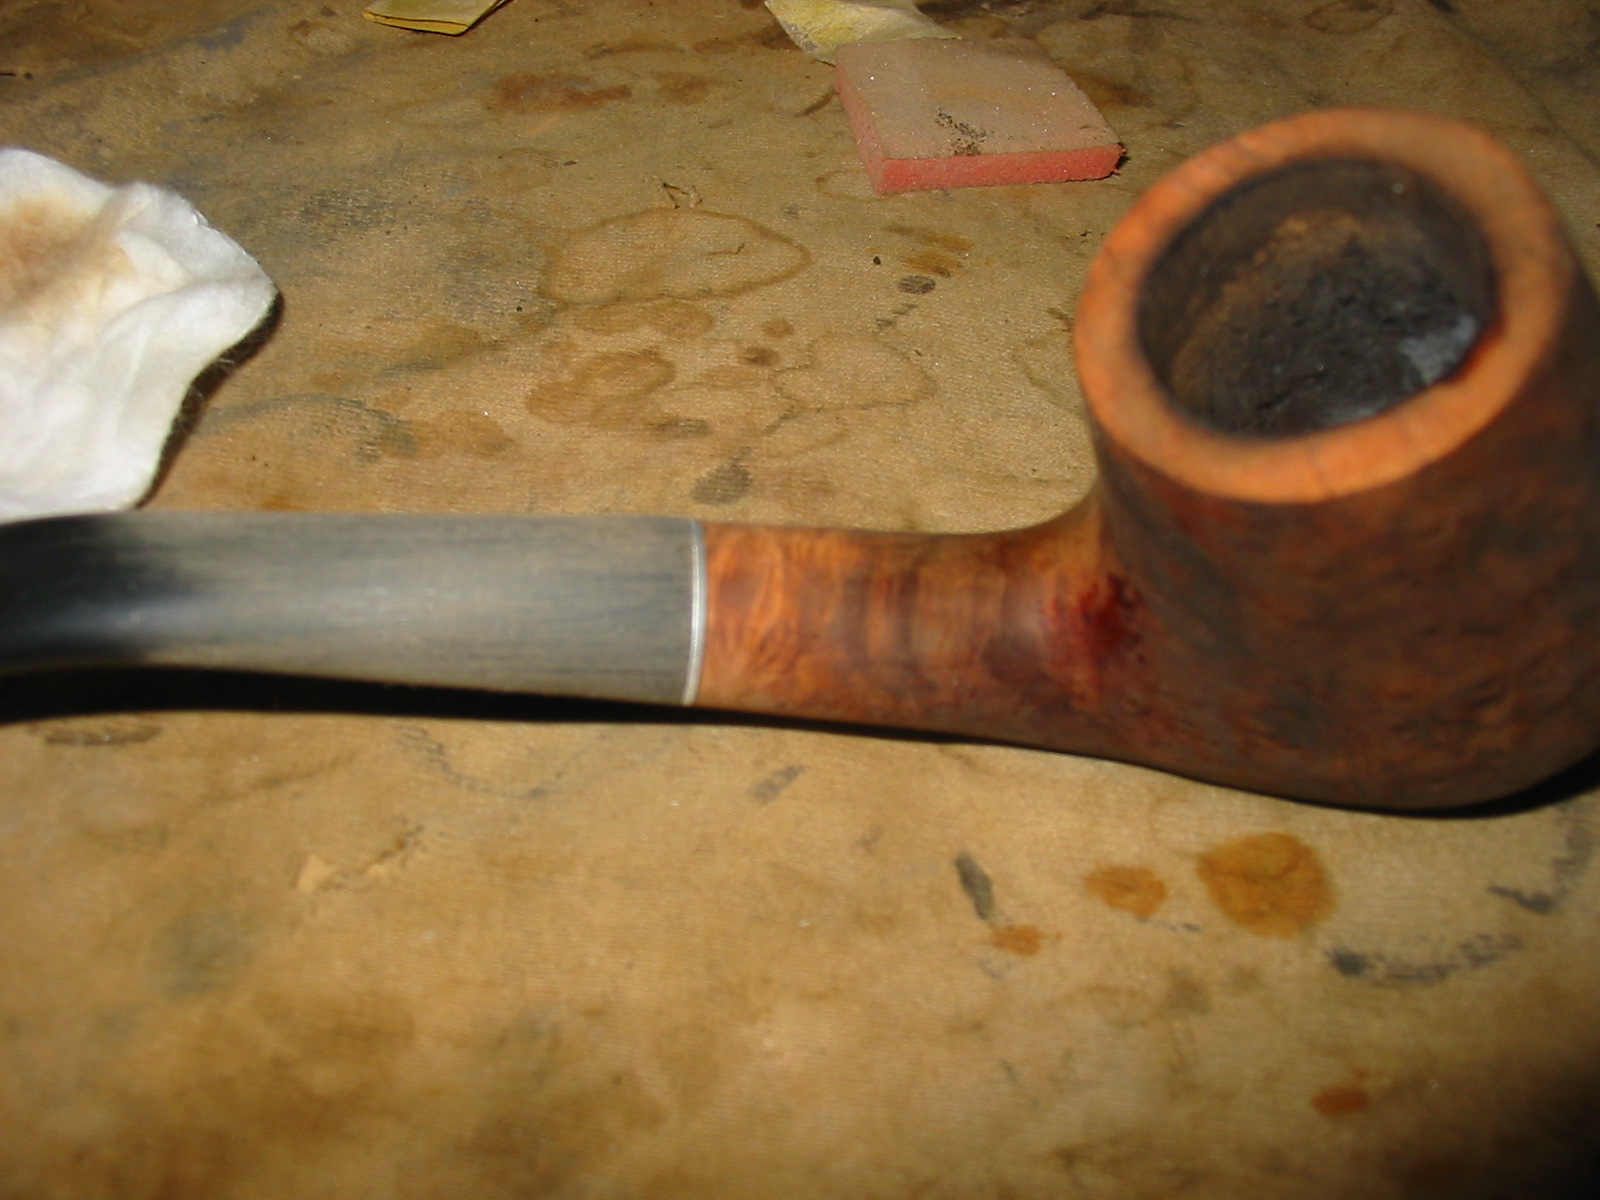
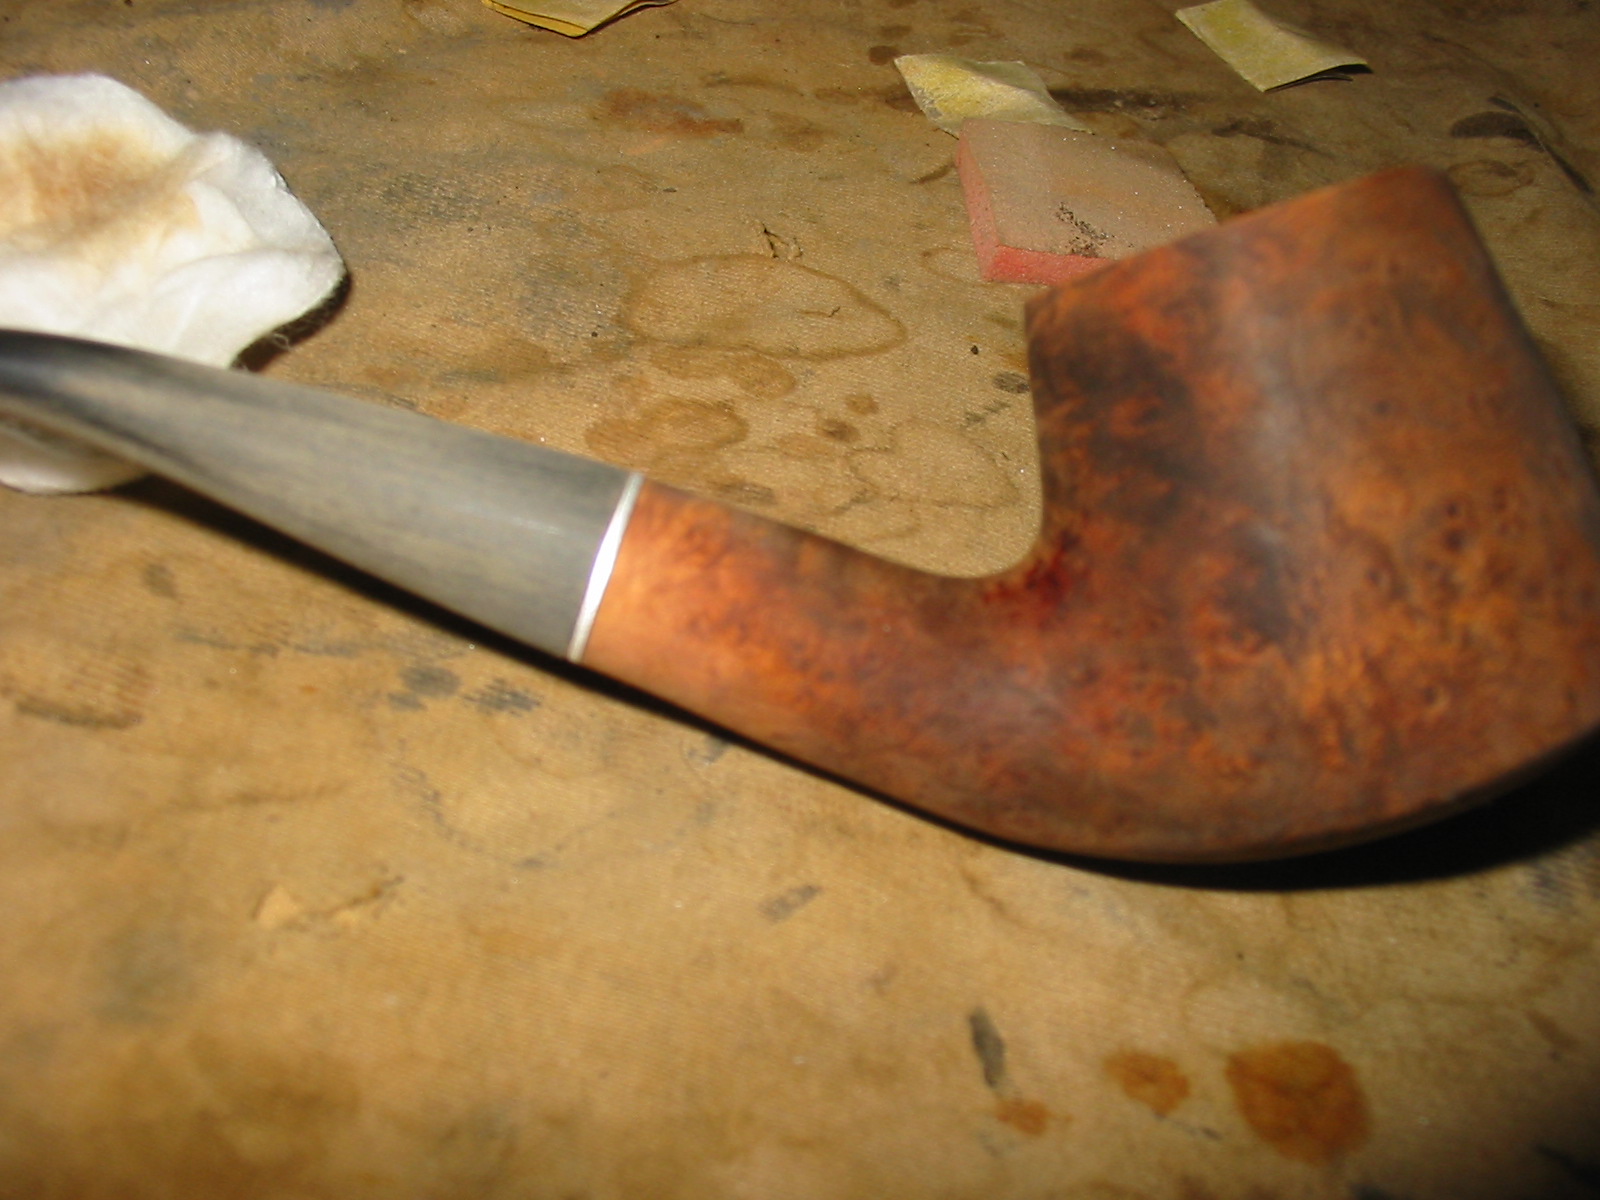
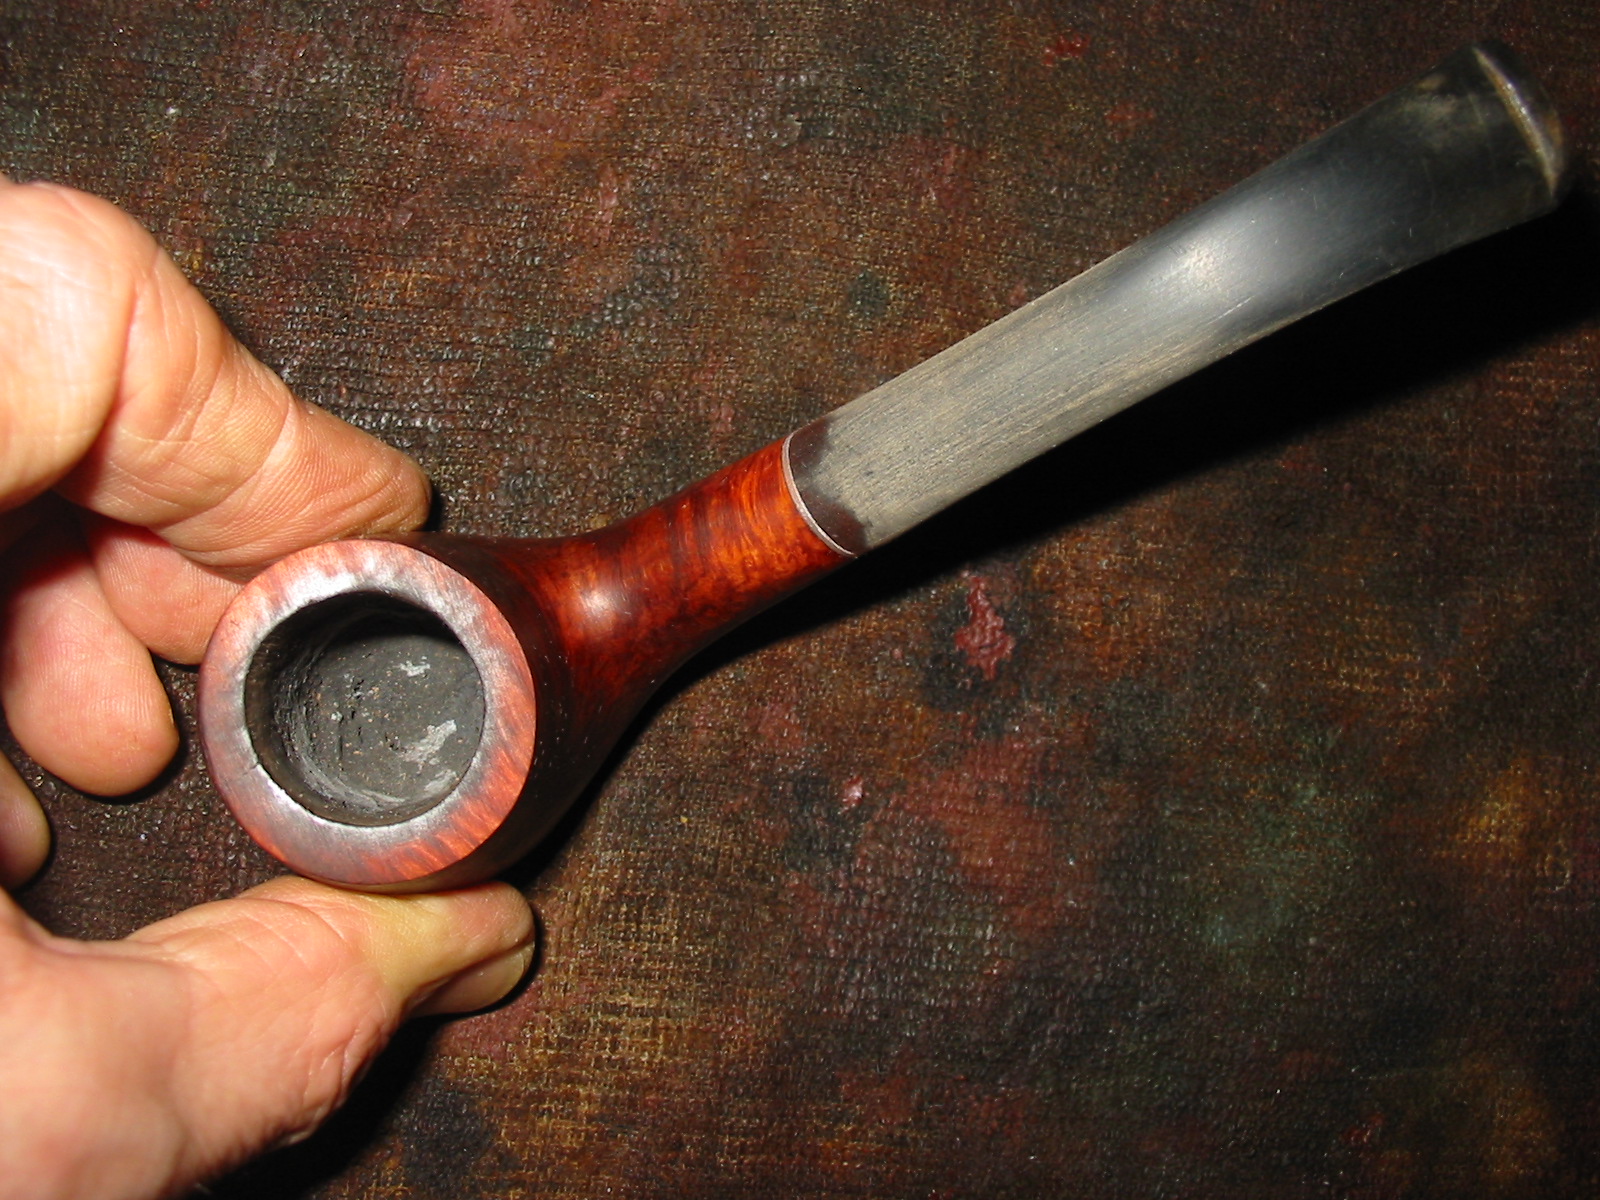
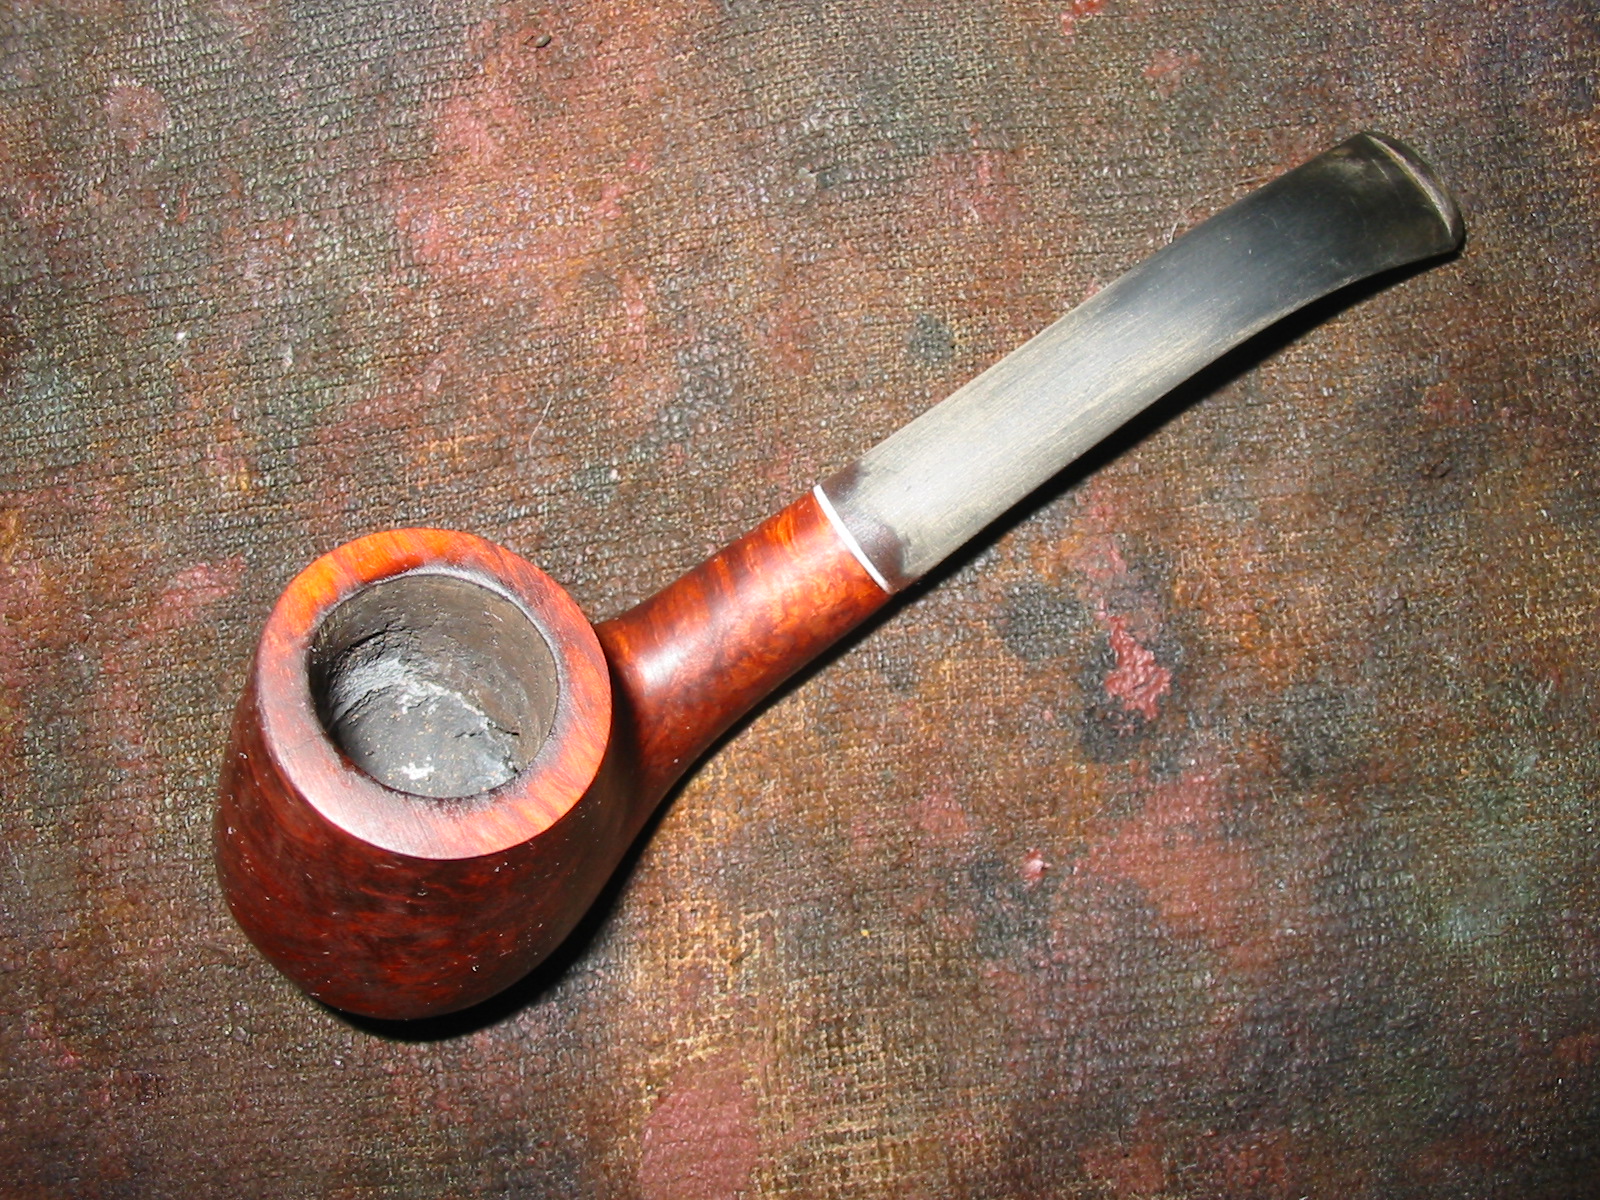
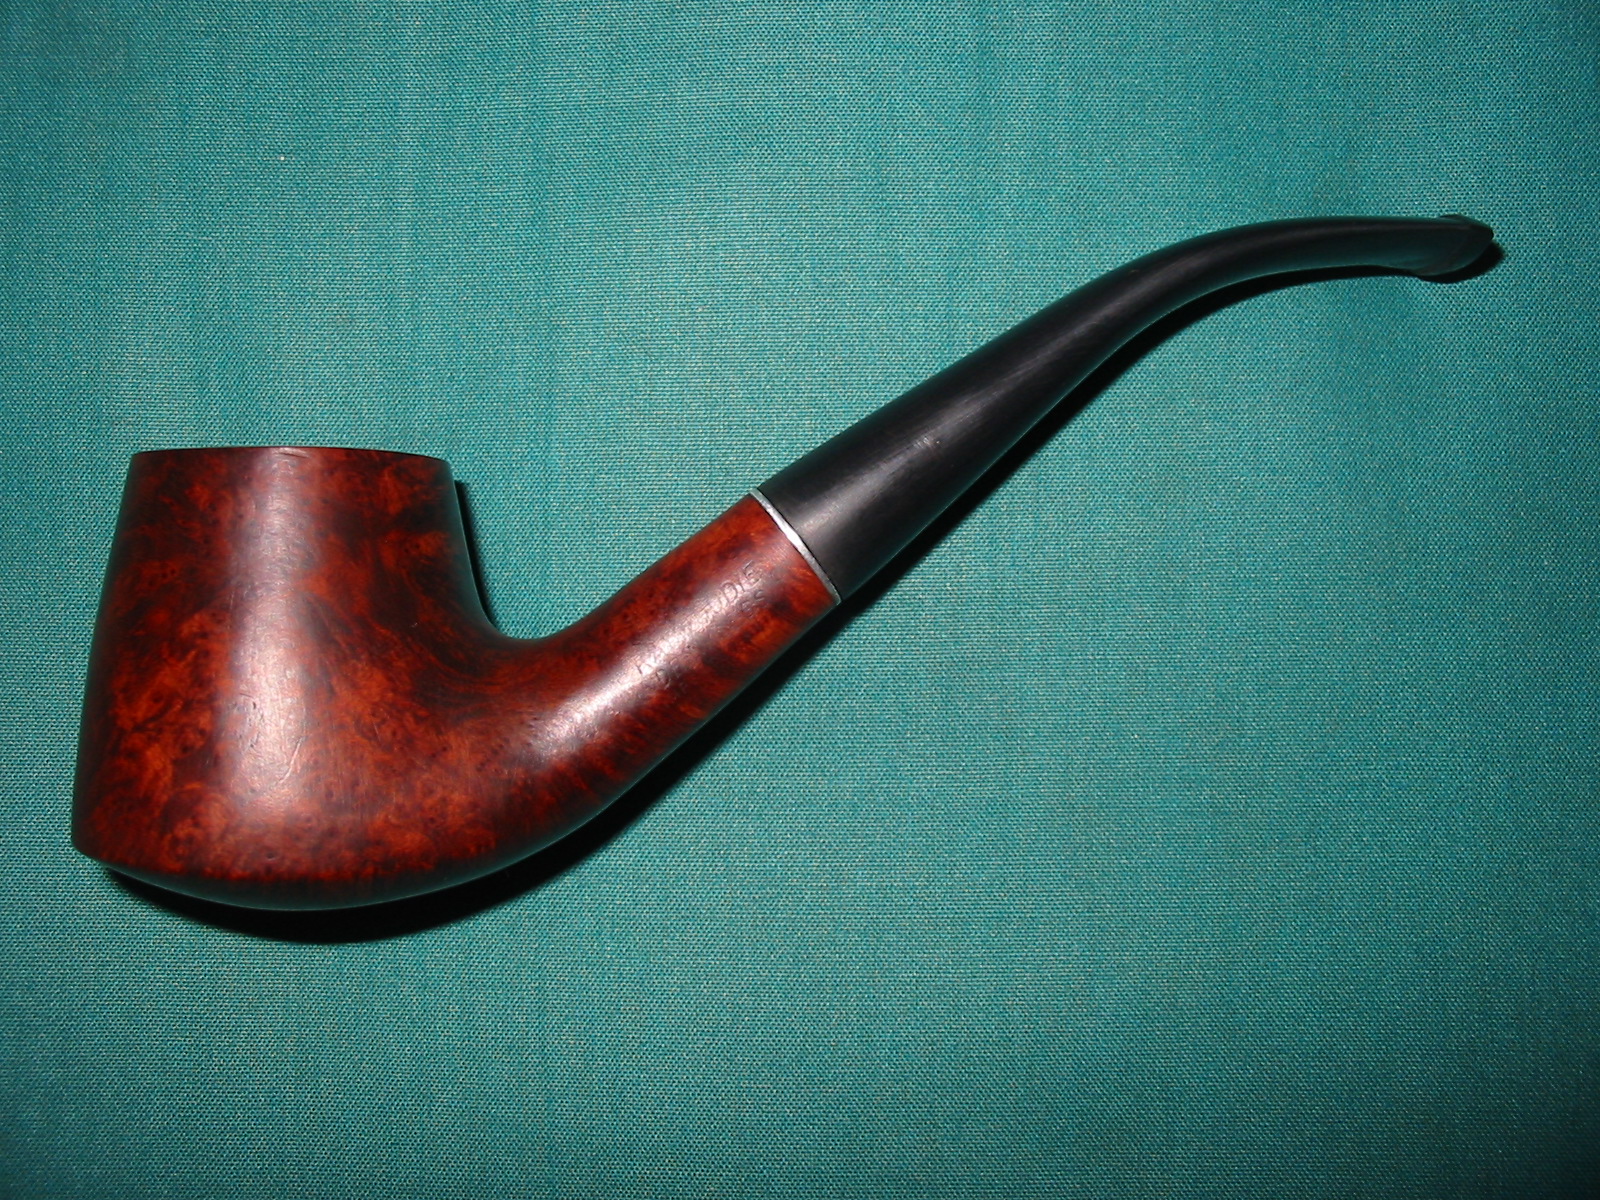
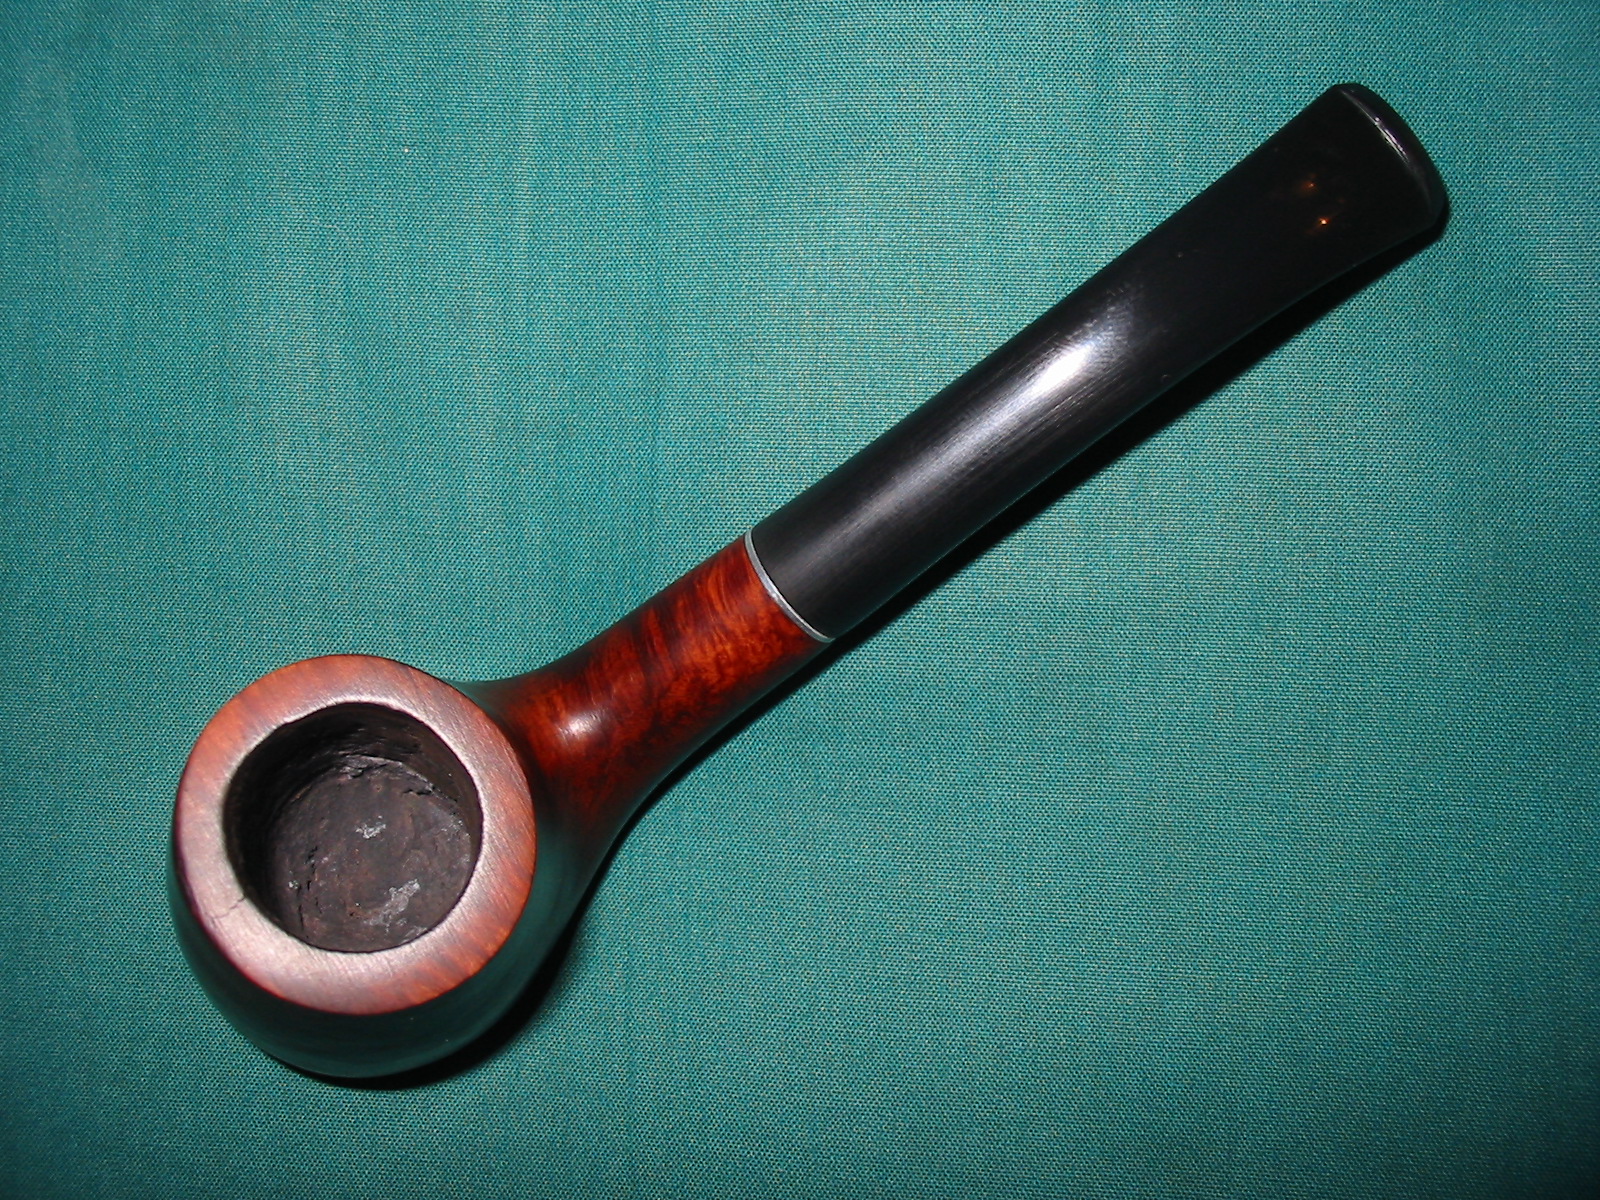
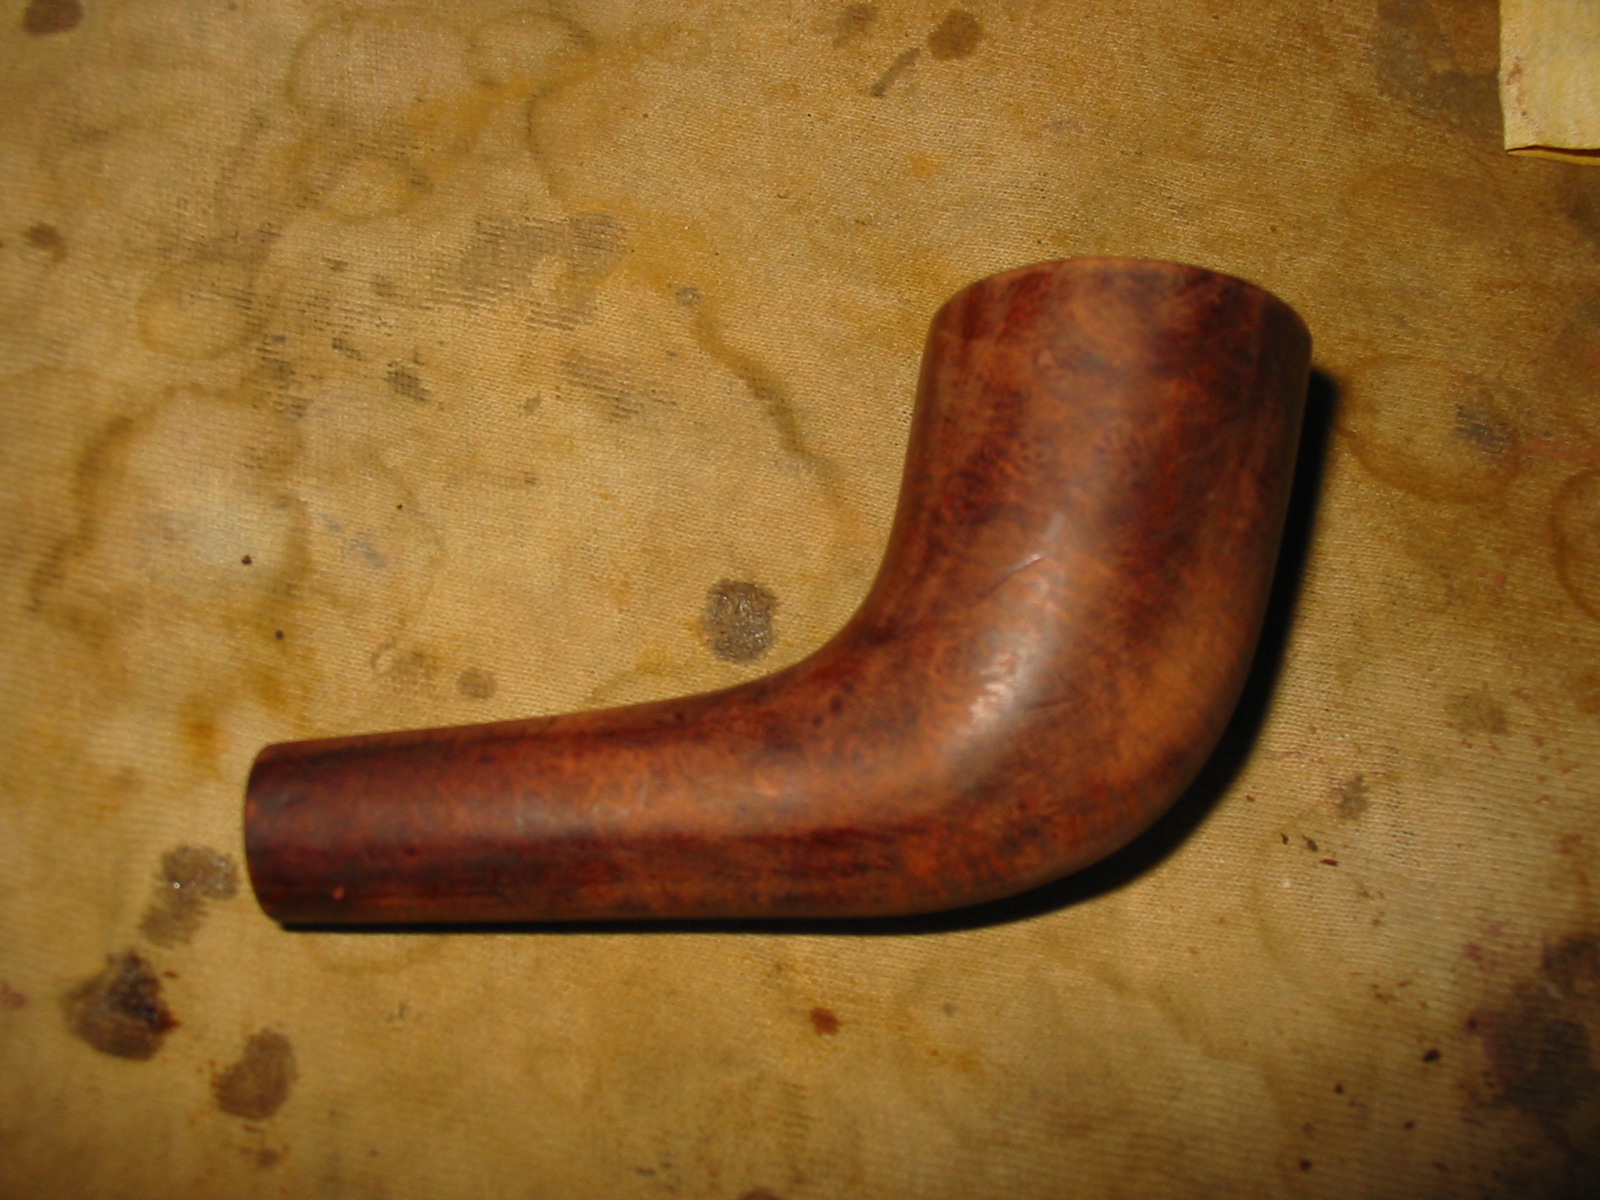
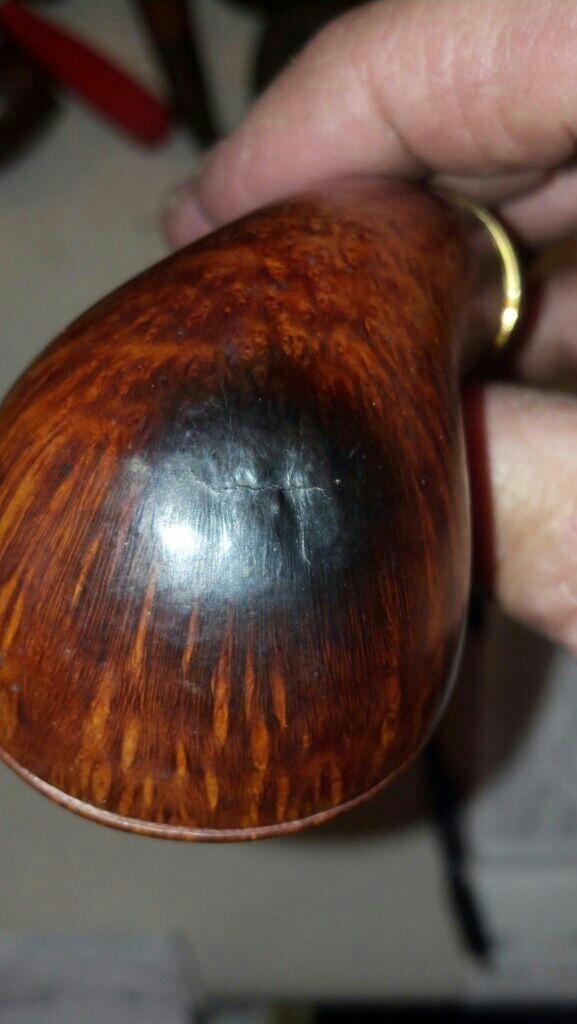
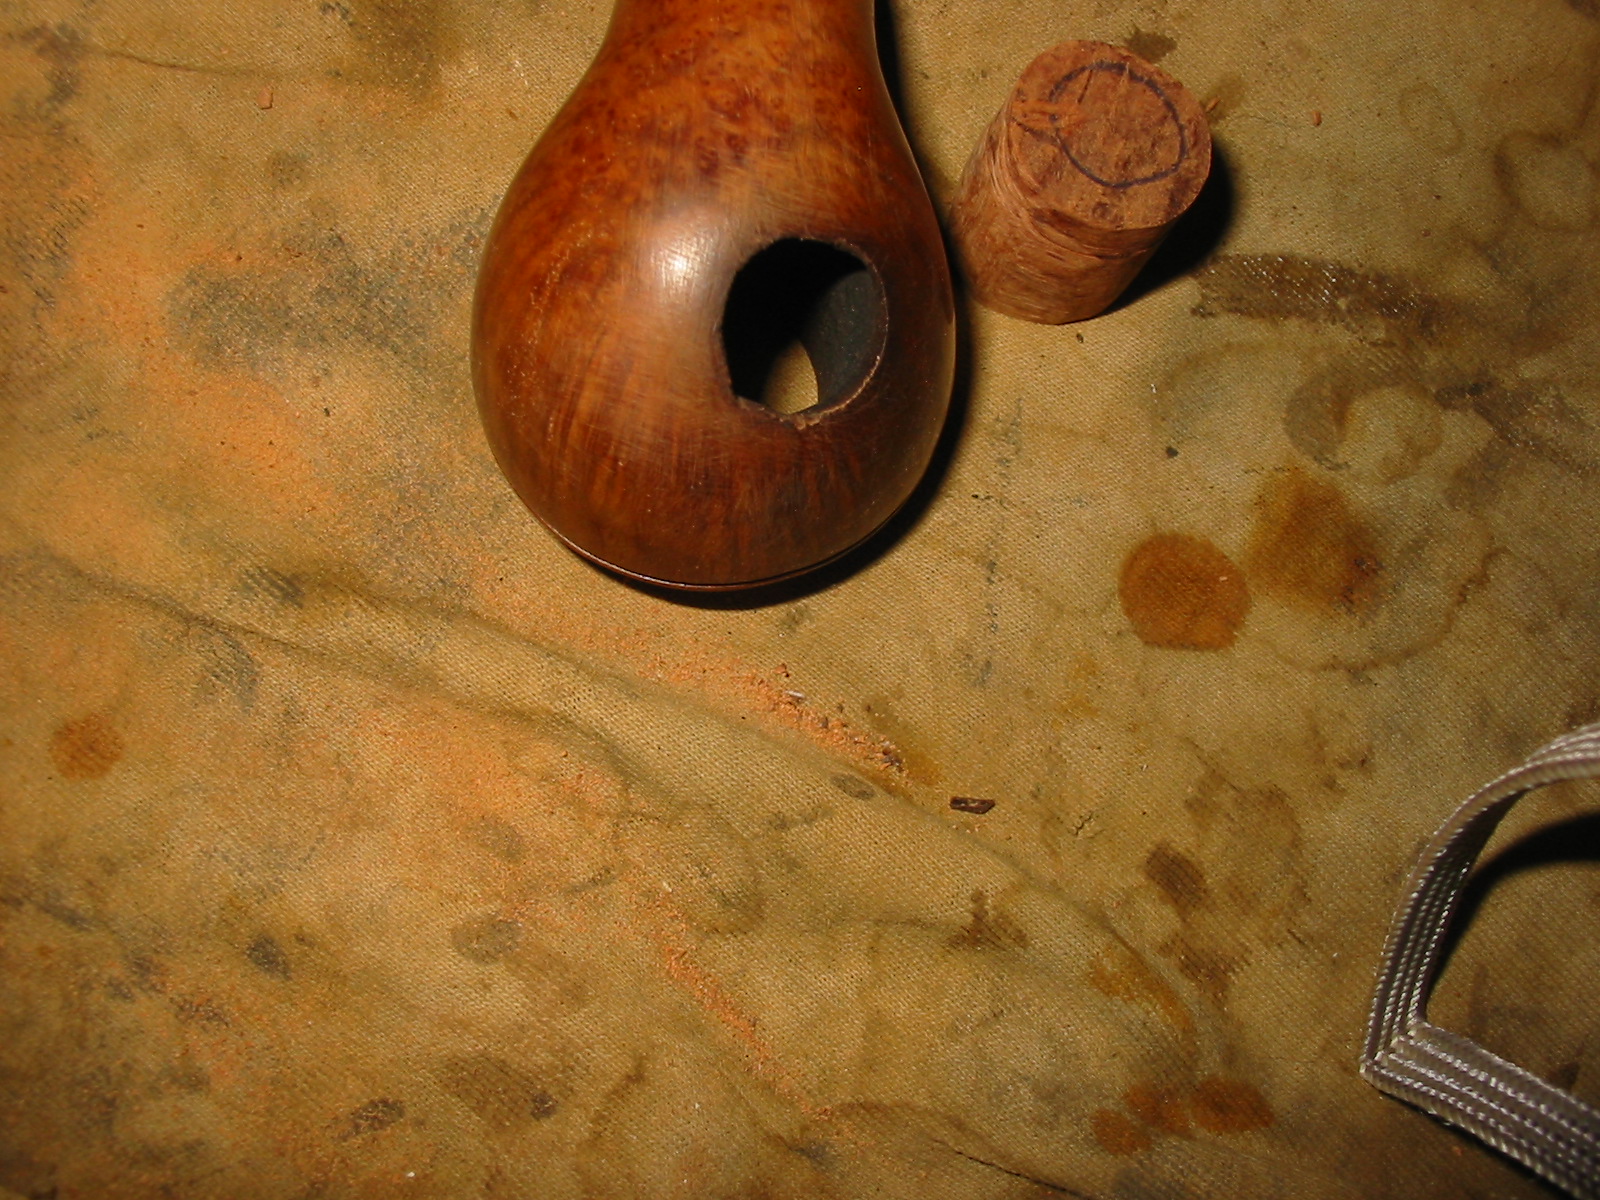
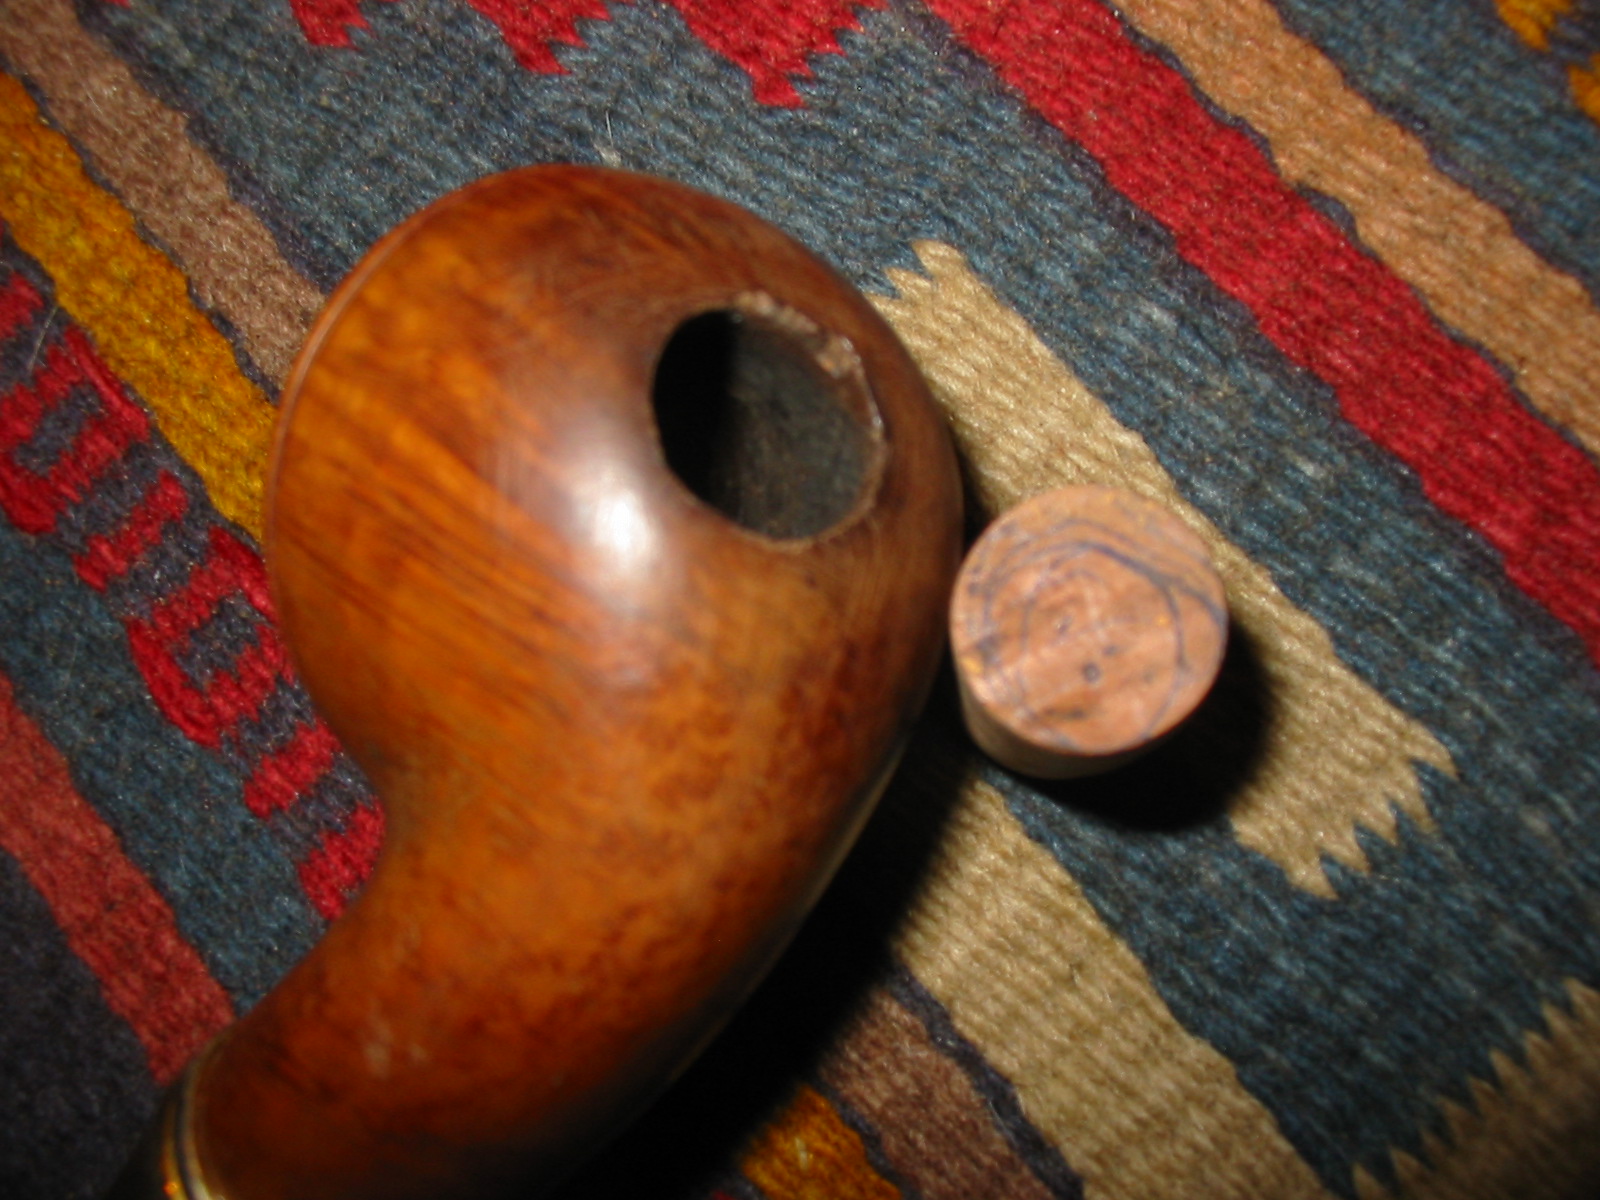
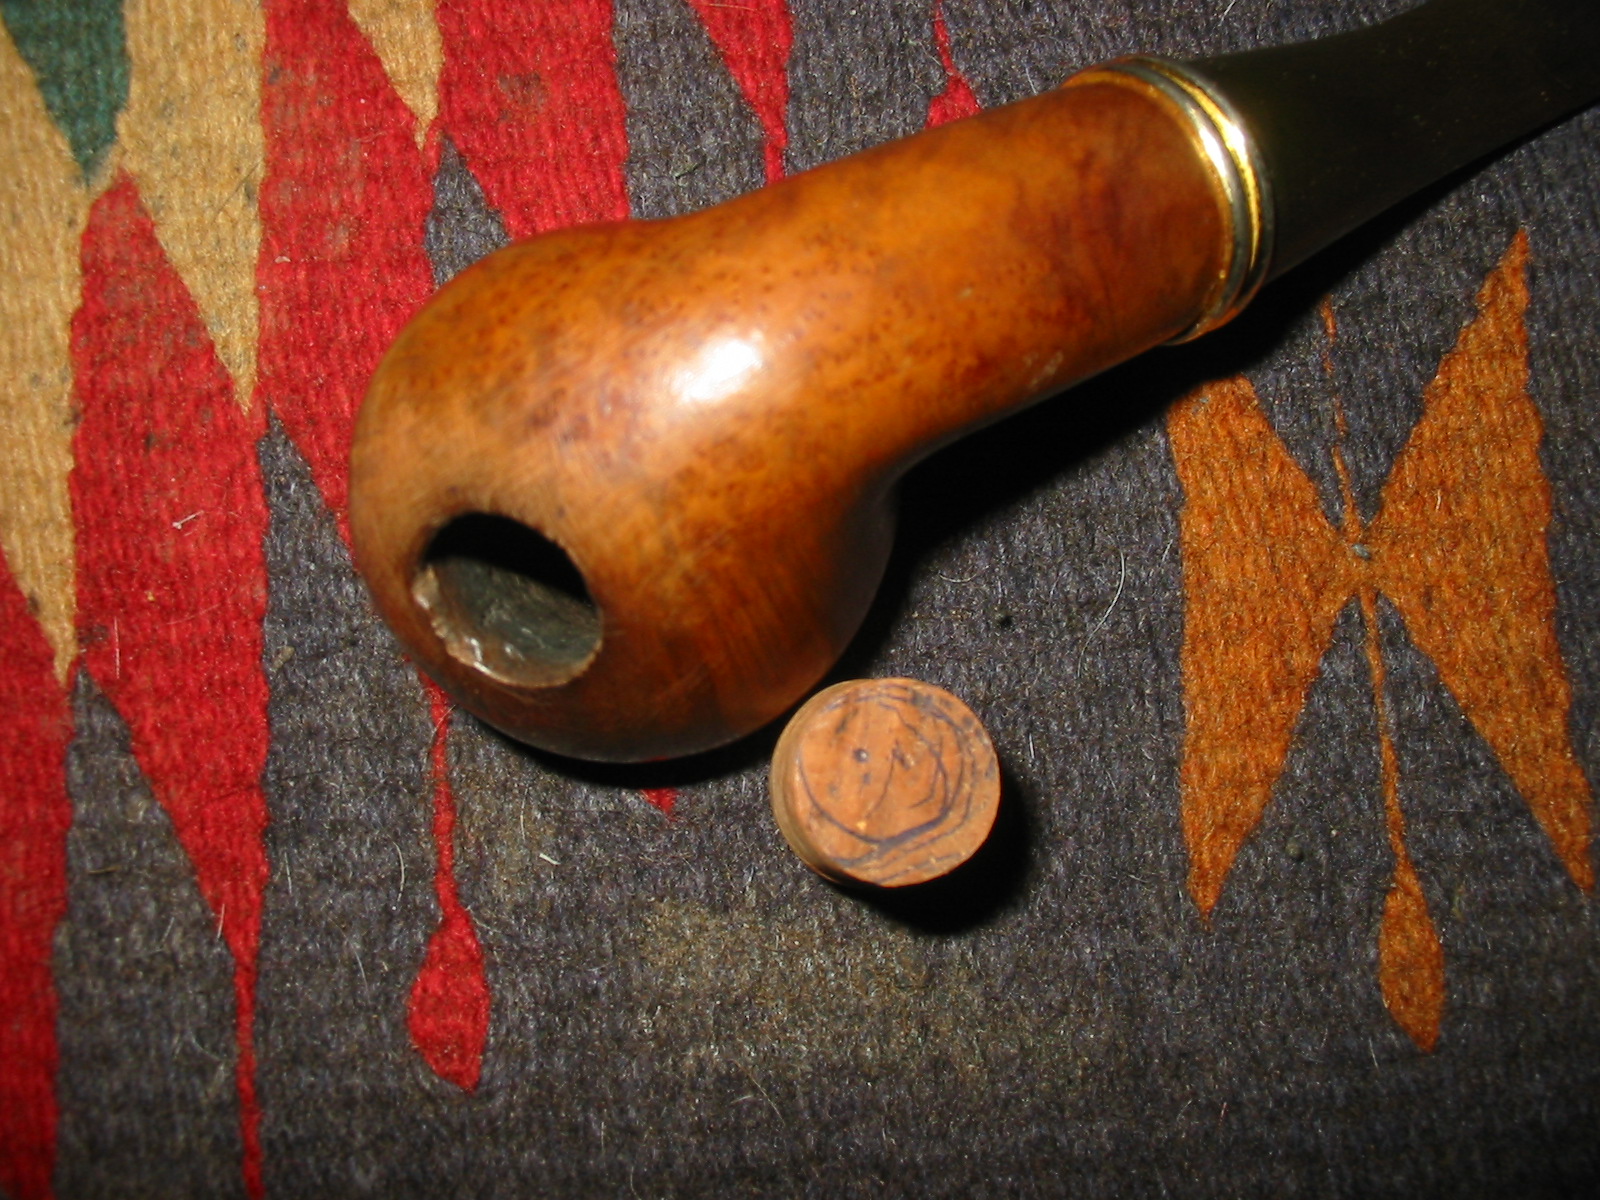
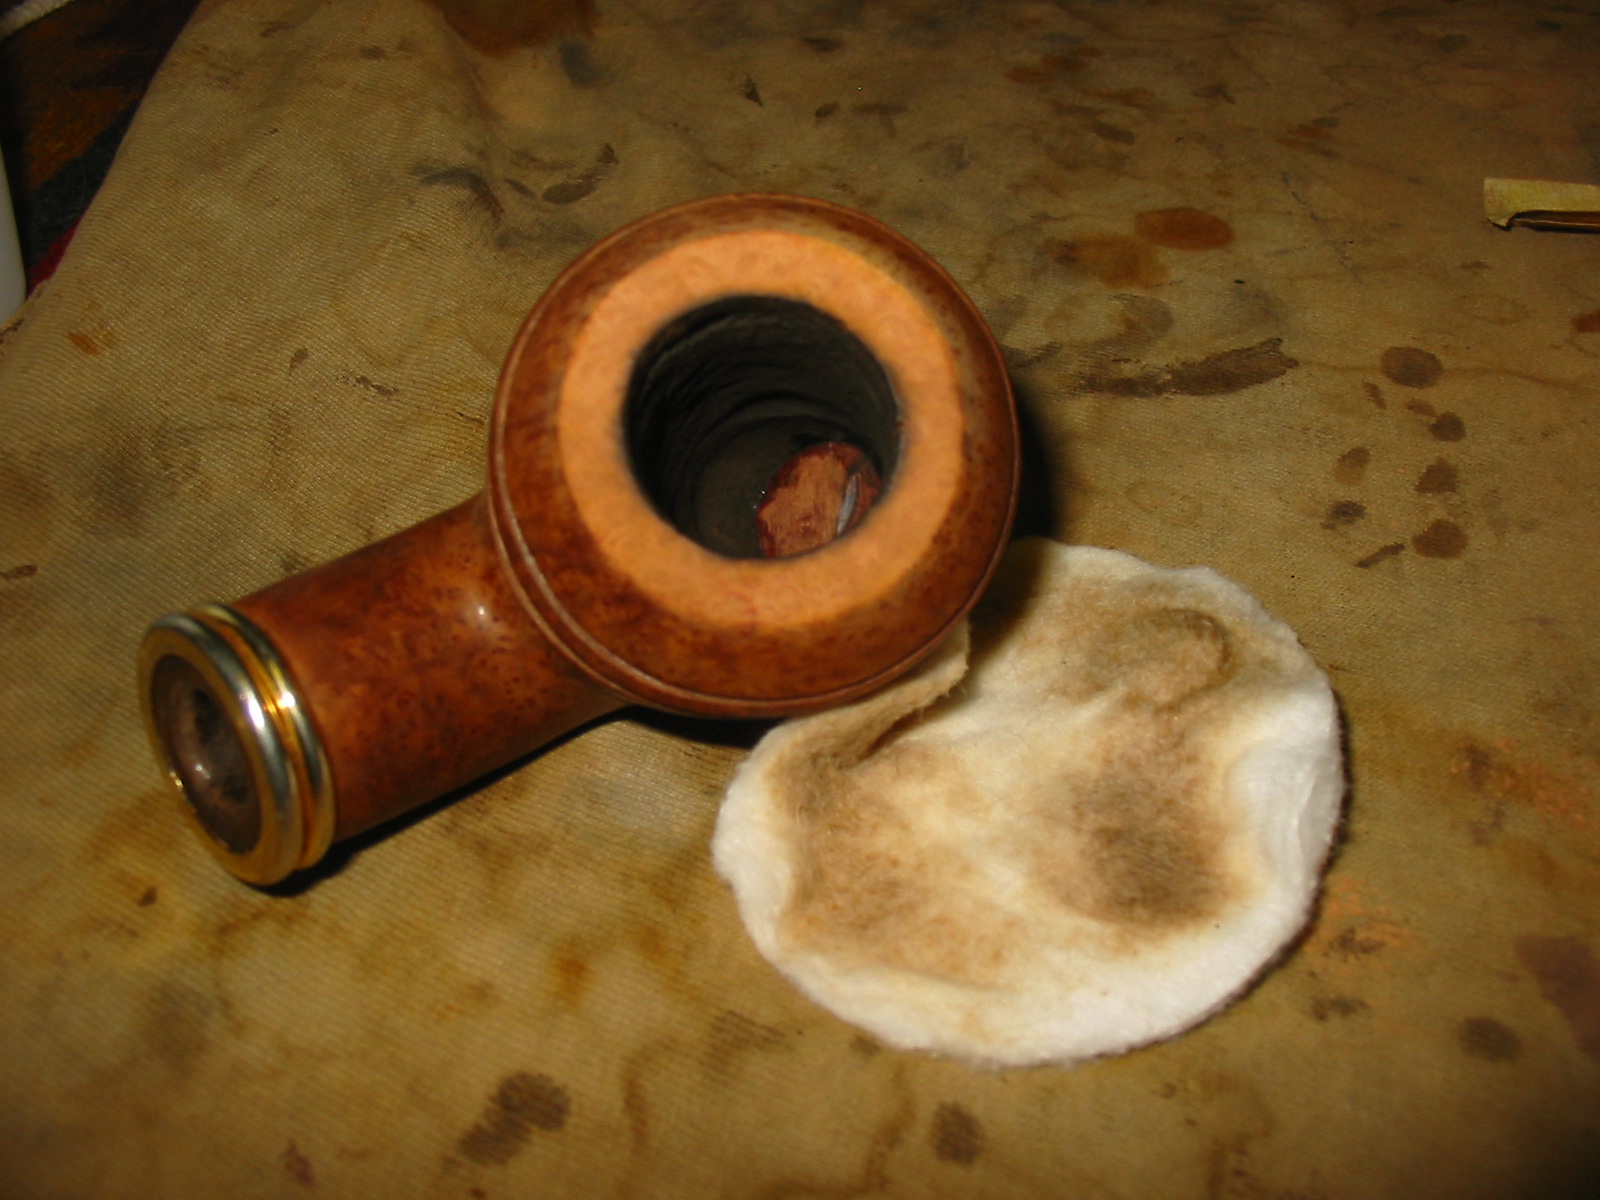
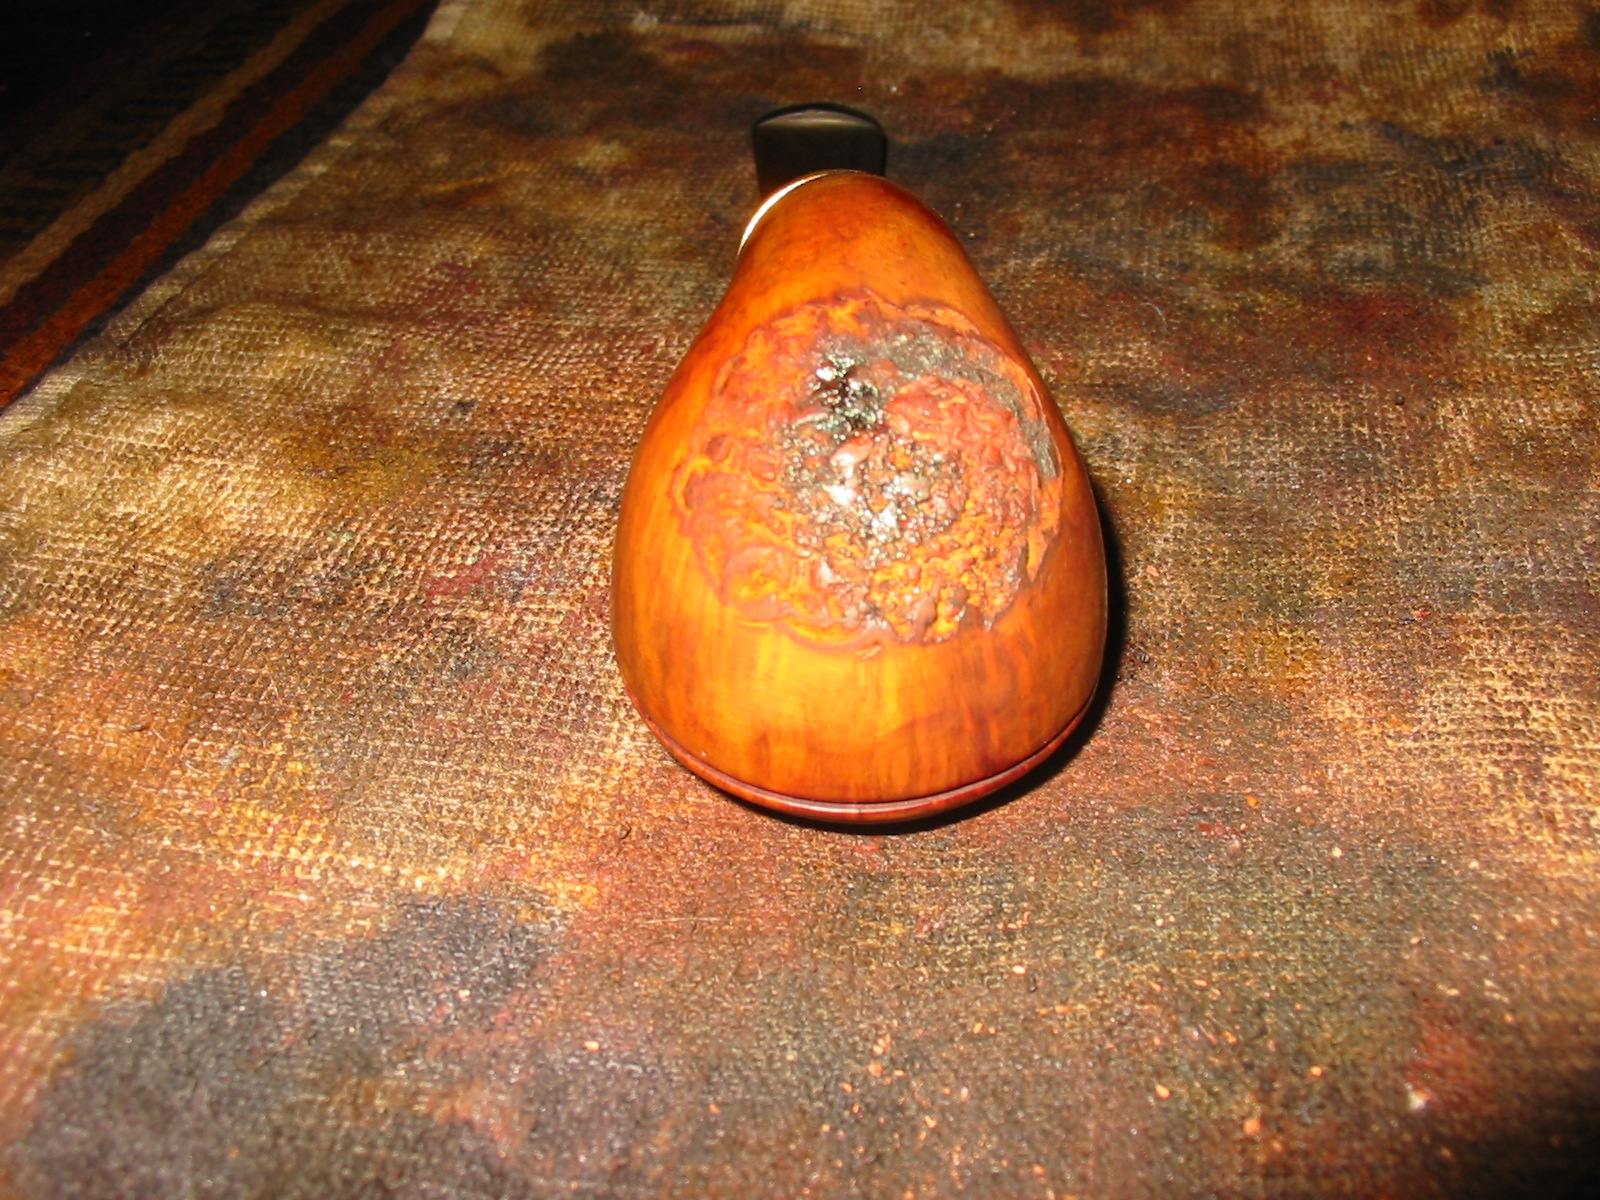
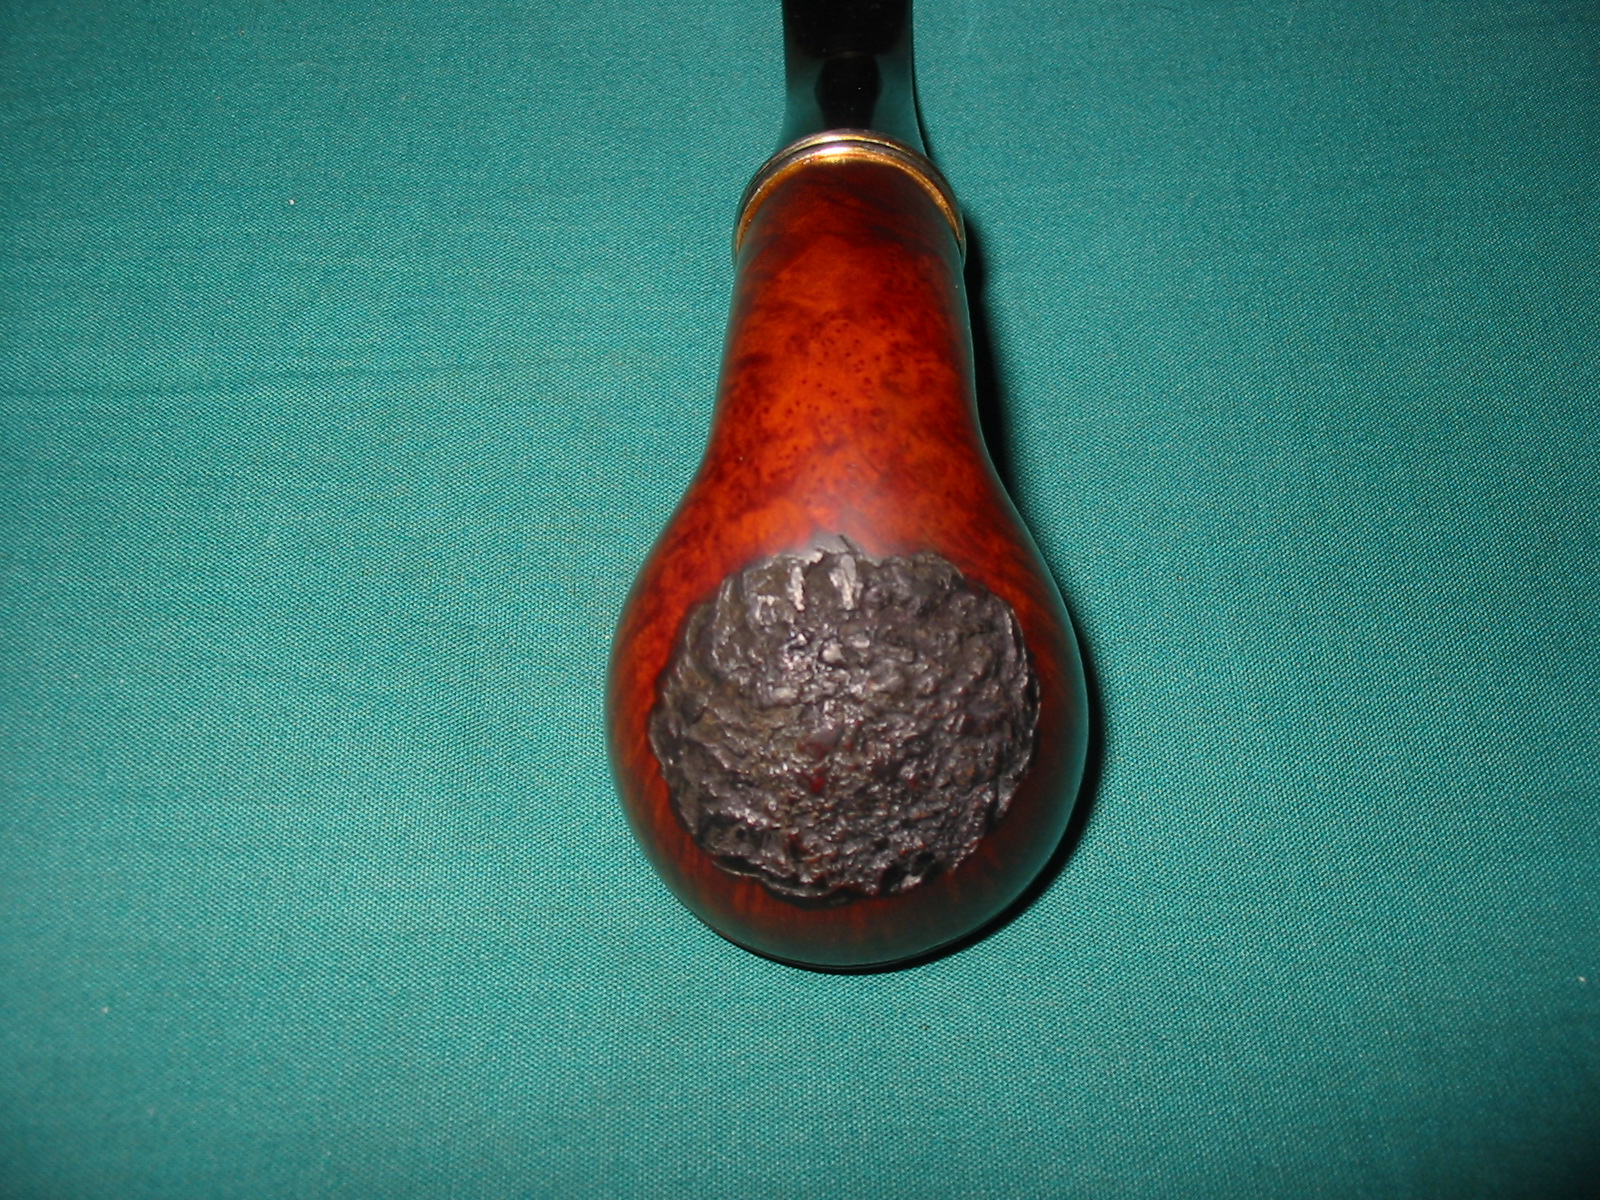
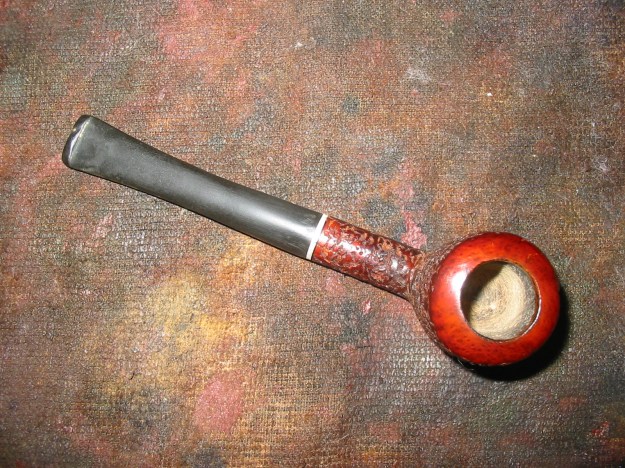
The finish seemed to be a very heavy lacquer that was cloudy with age. The shape was very interesting to me – a billiard like shape with a crowned rim, rounded and quite elevated. I like the looks of it. It is a small pipe – group 2 sized. There were a lot of putty fills on both sides of the bowl, the shank and the rim that would definitely show up once the lacquer finish was removed.
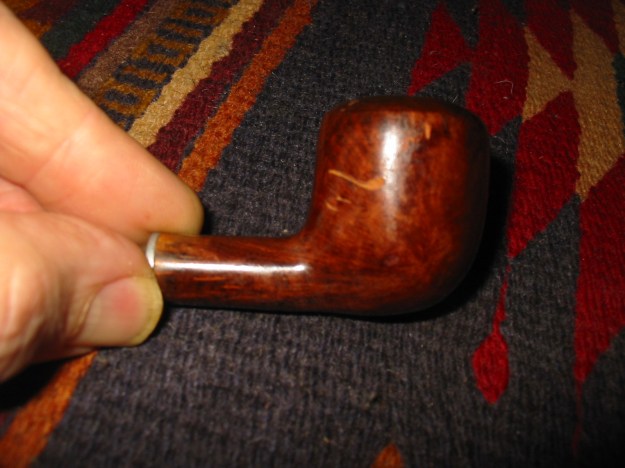
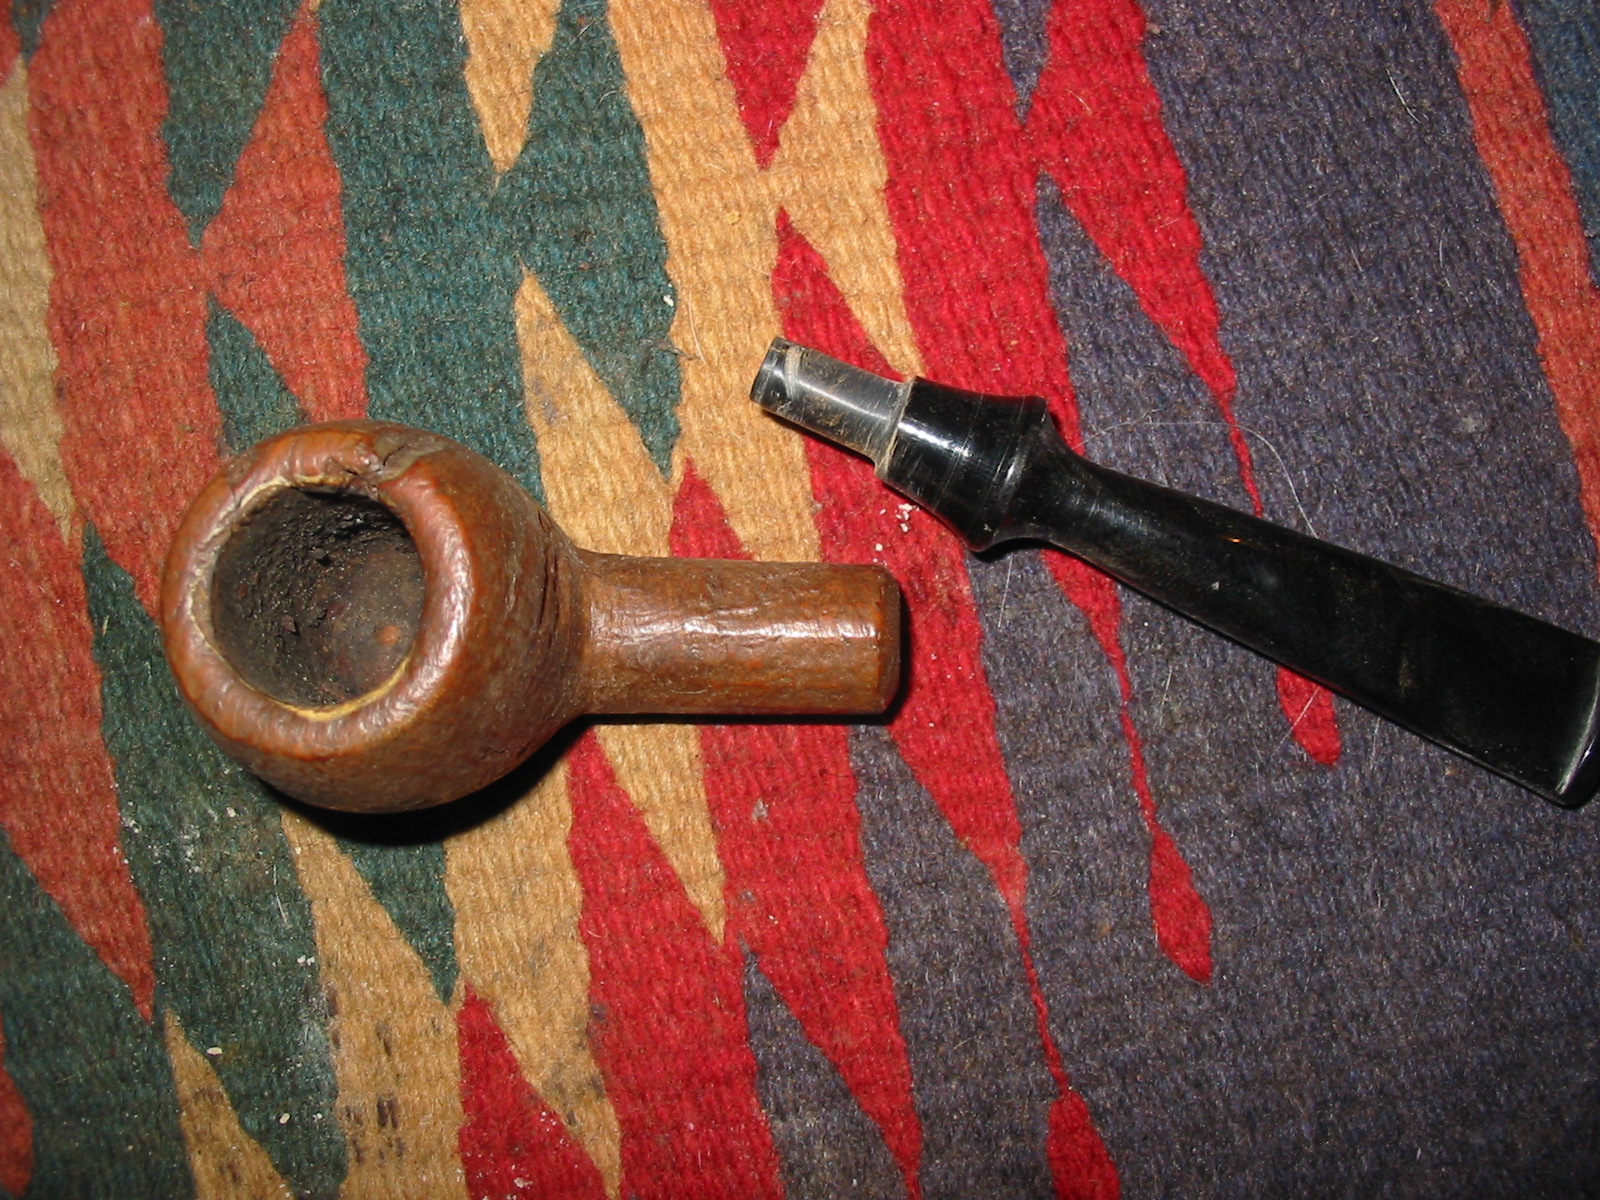
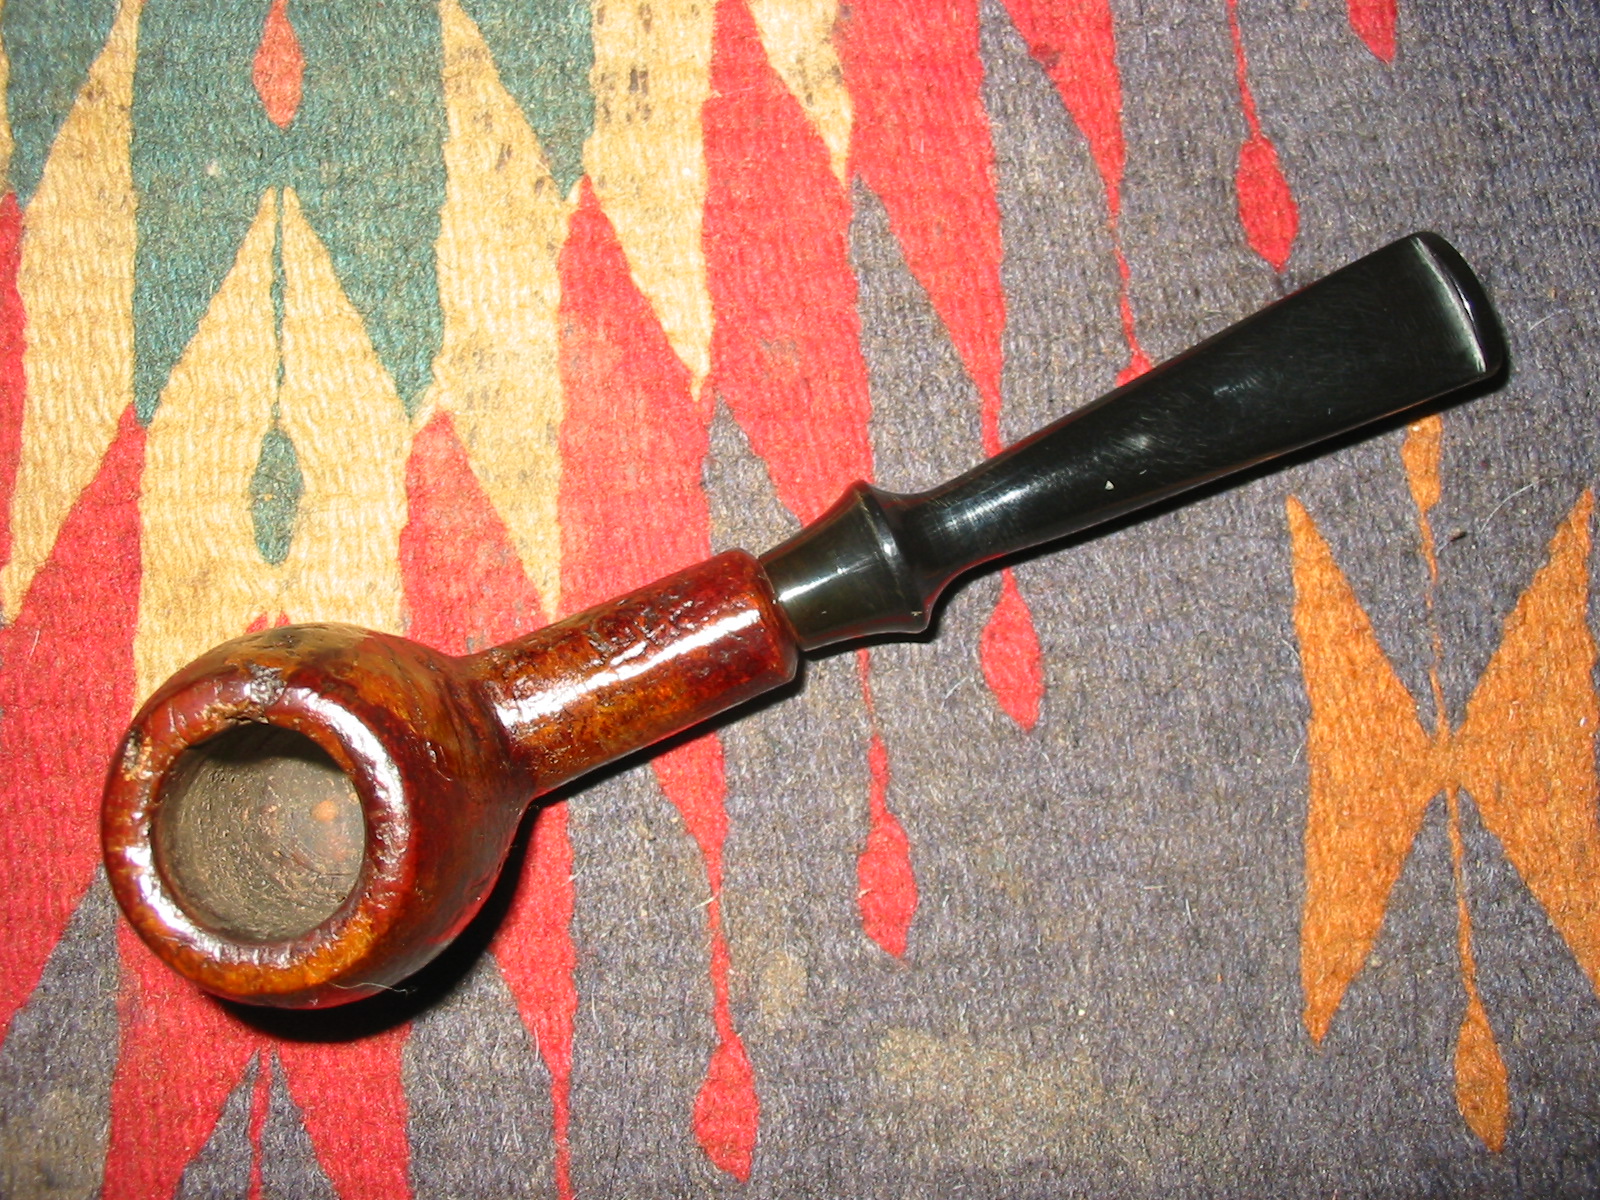
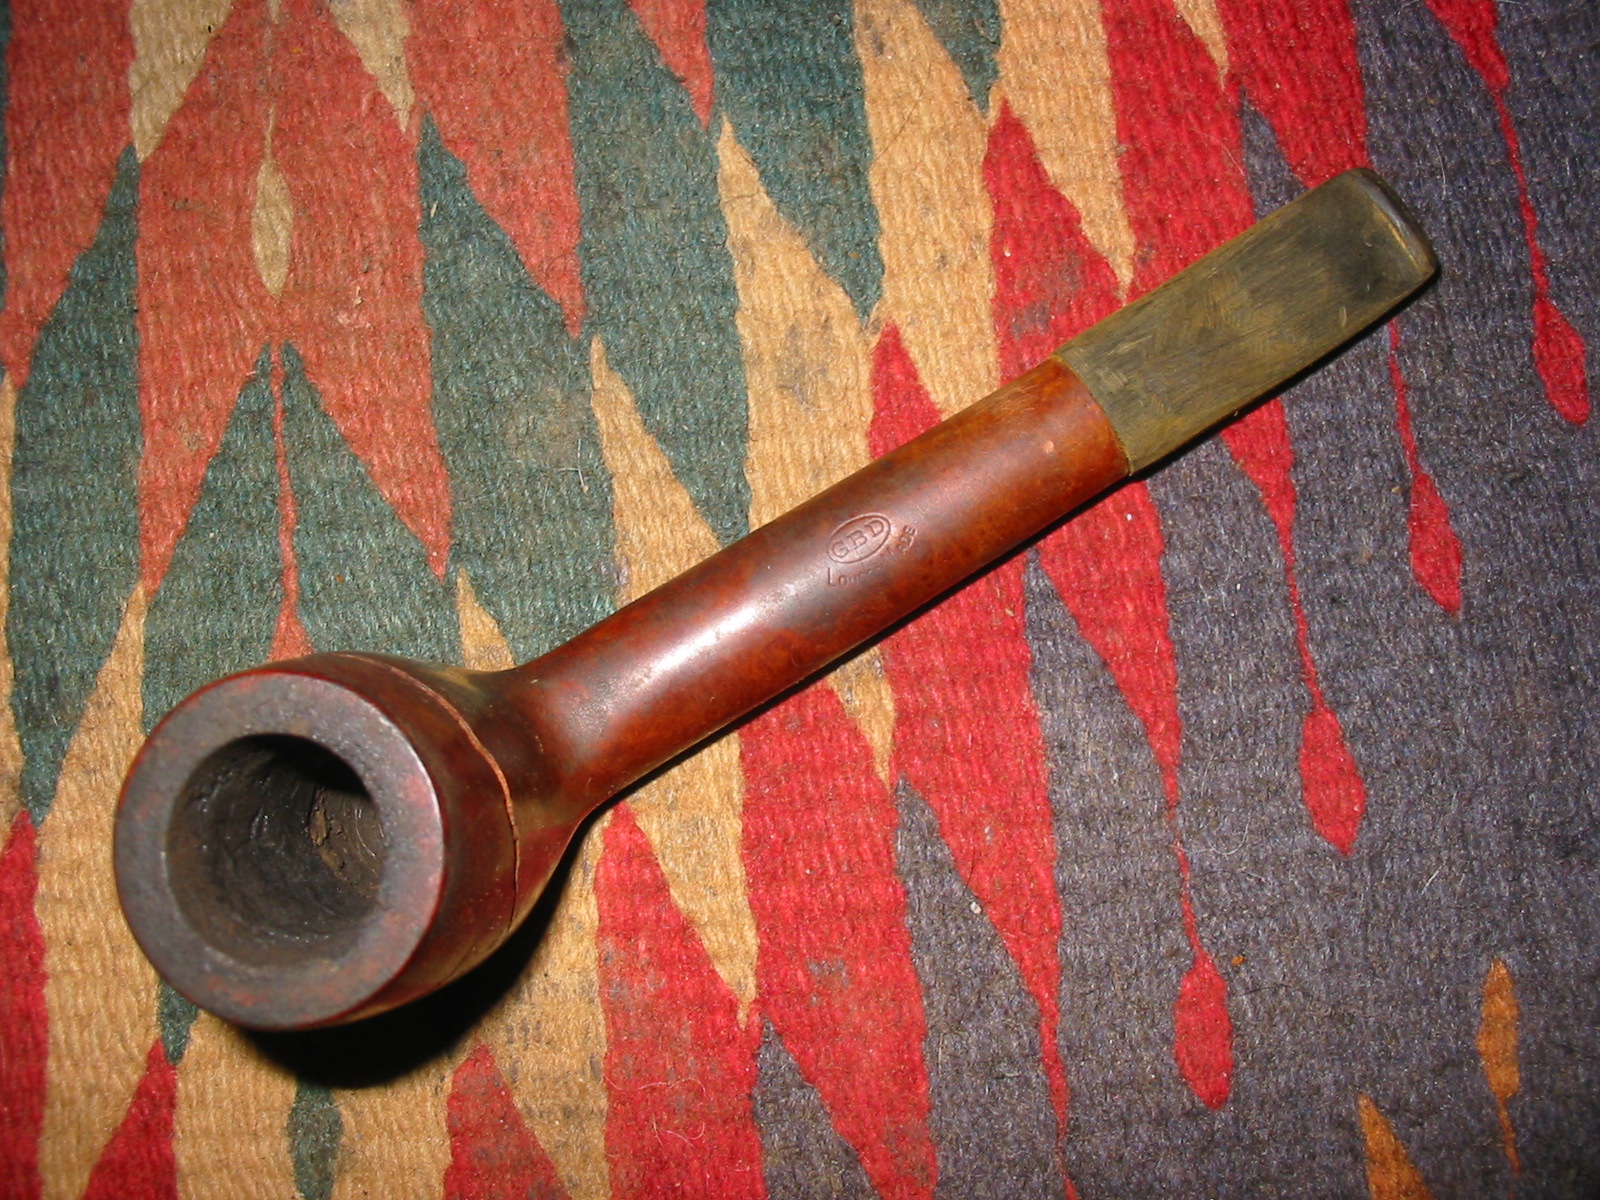
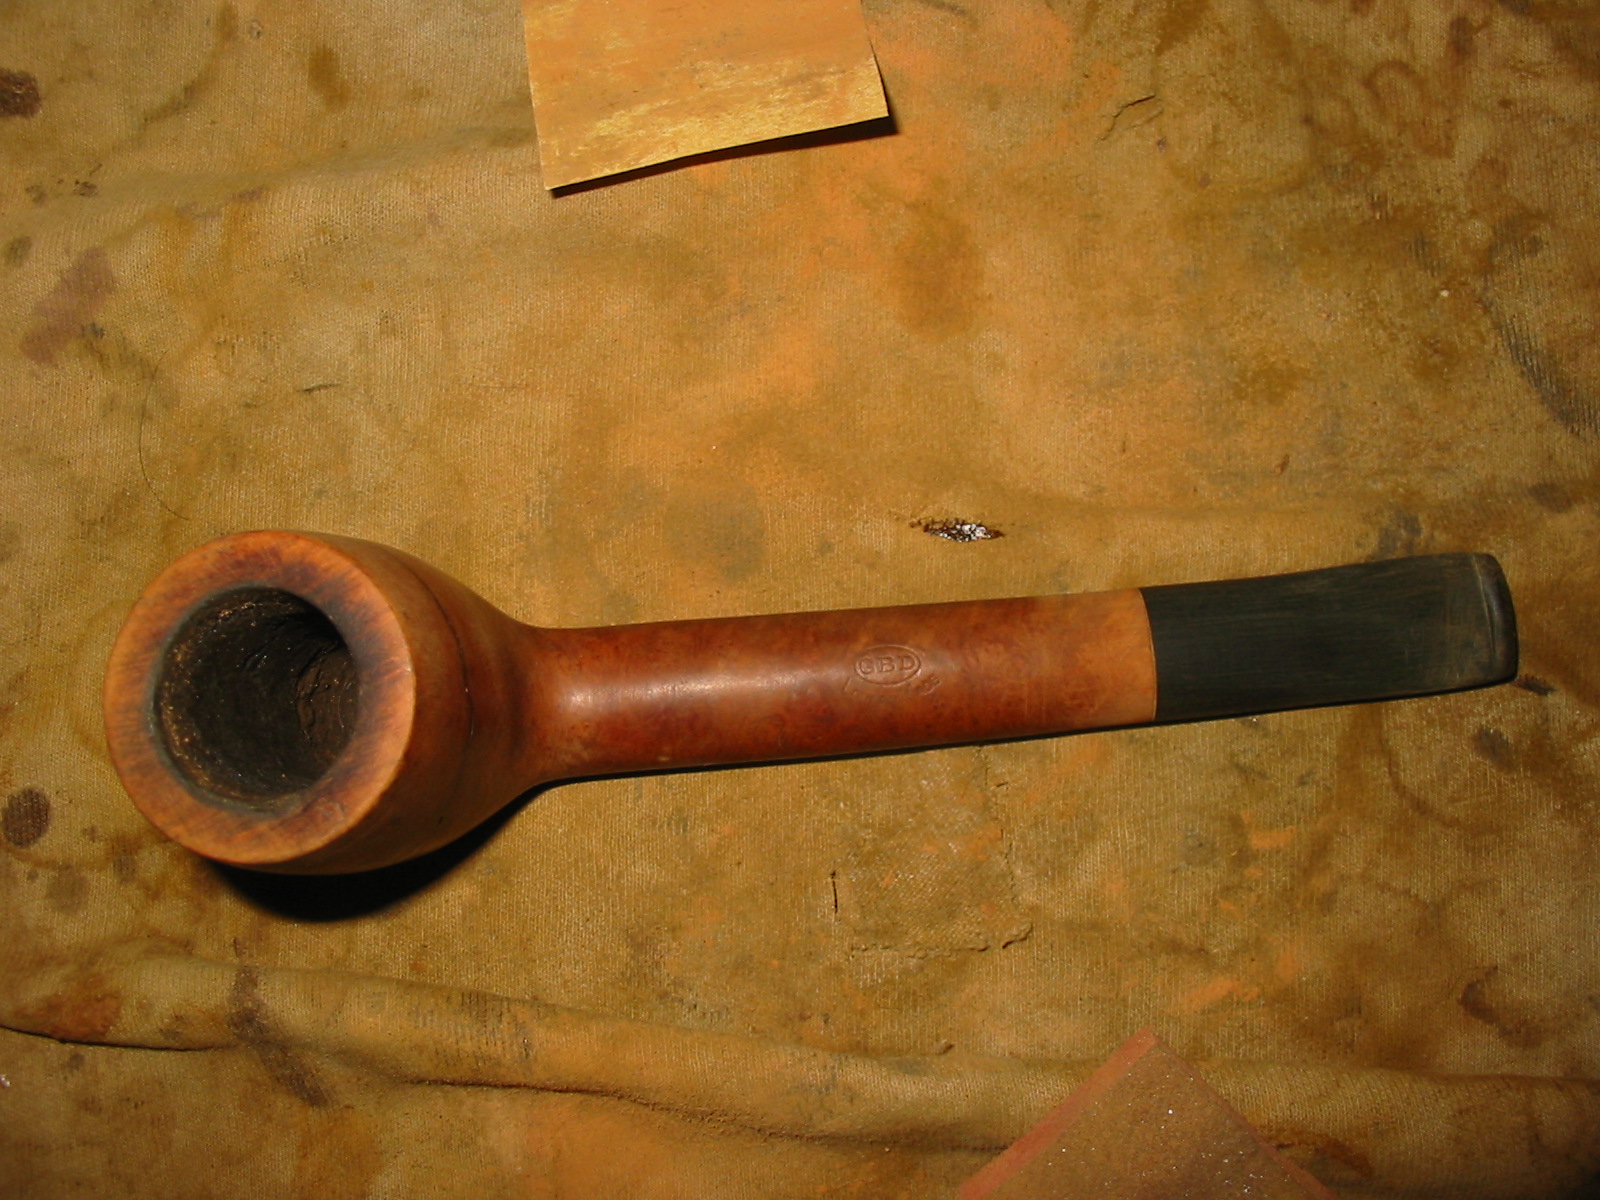
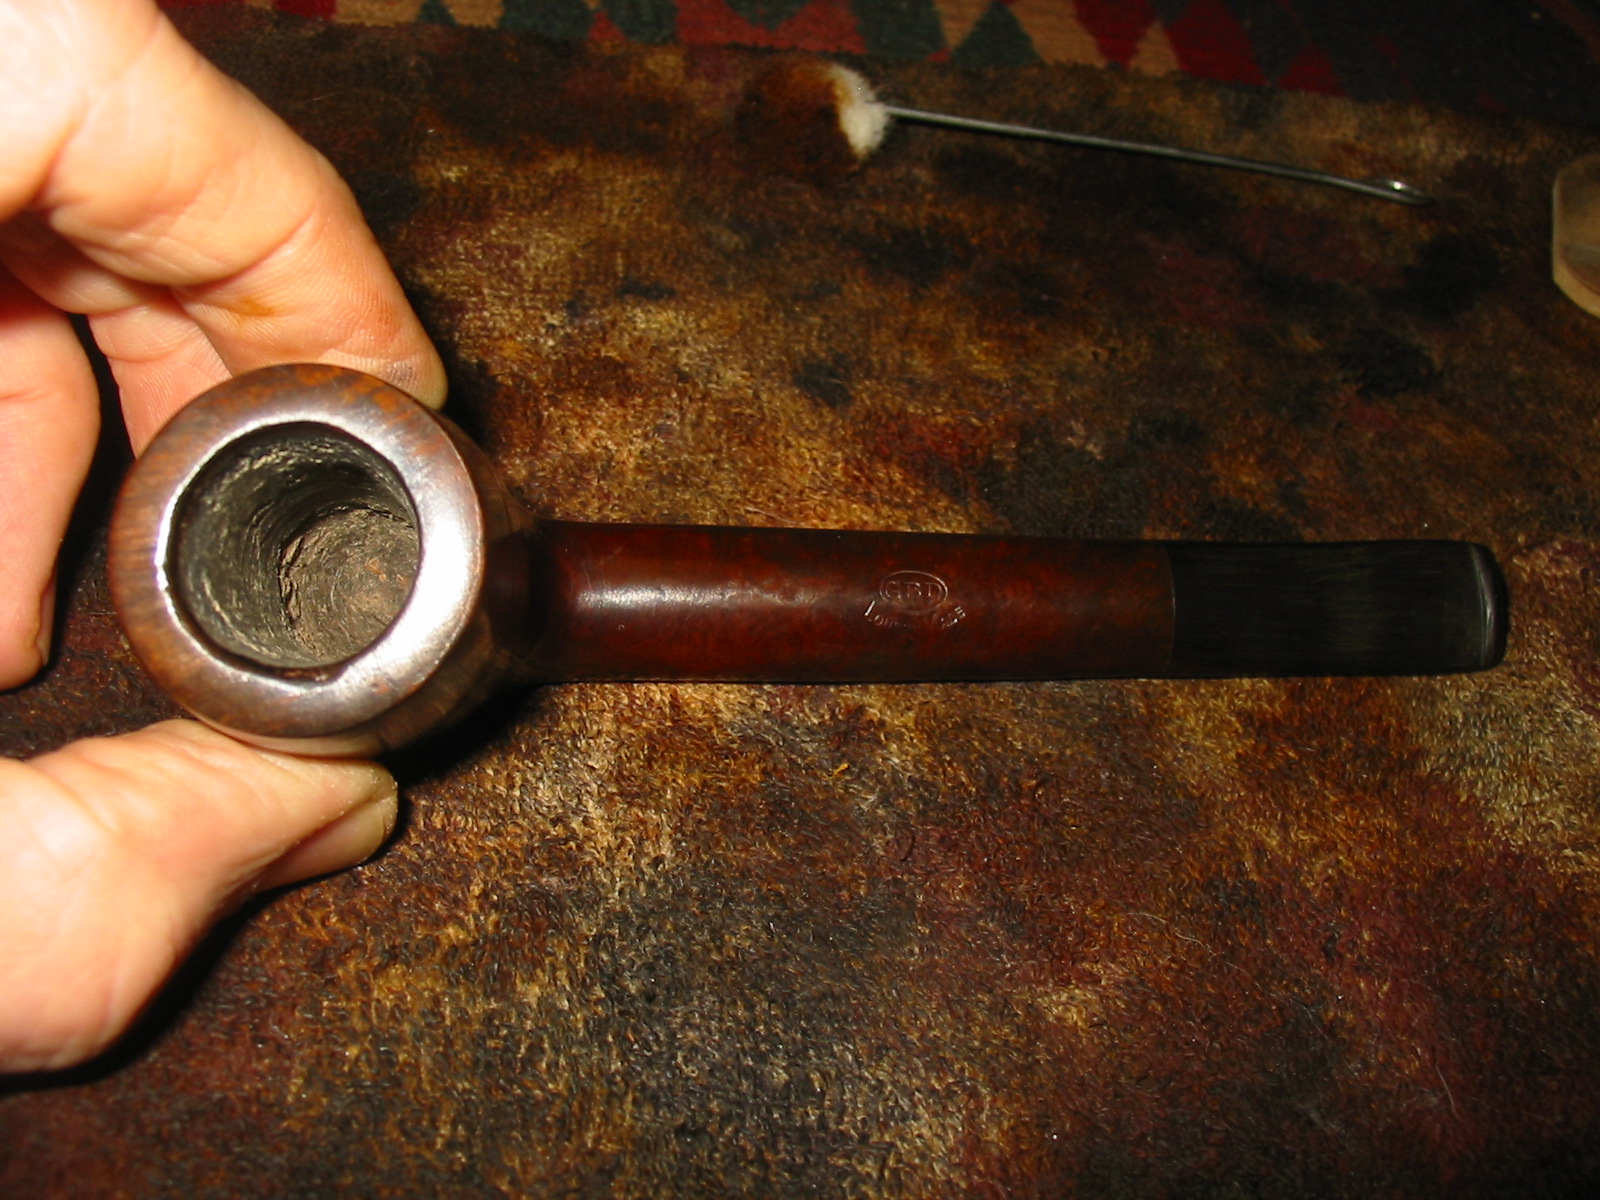
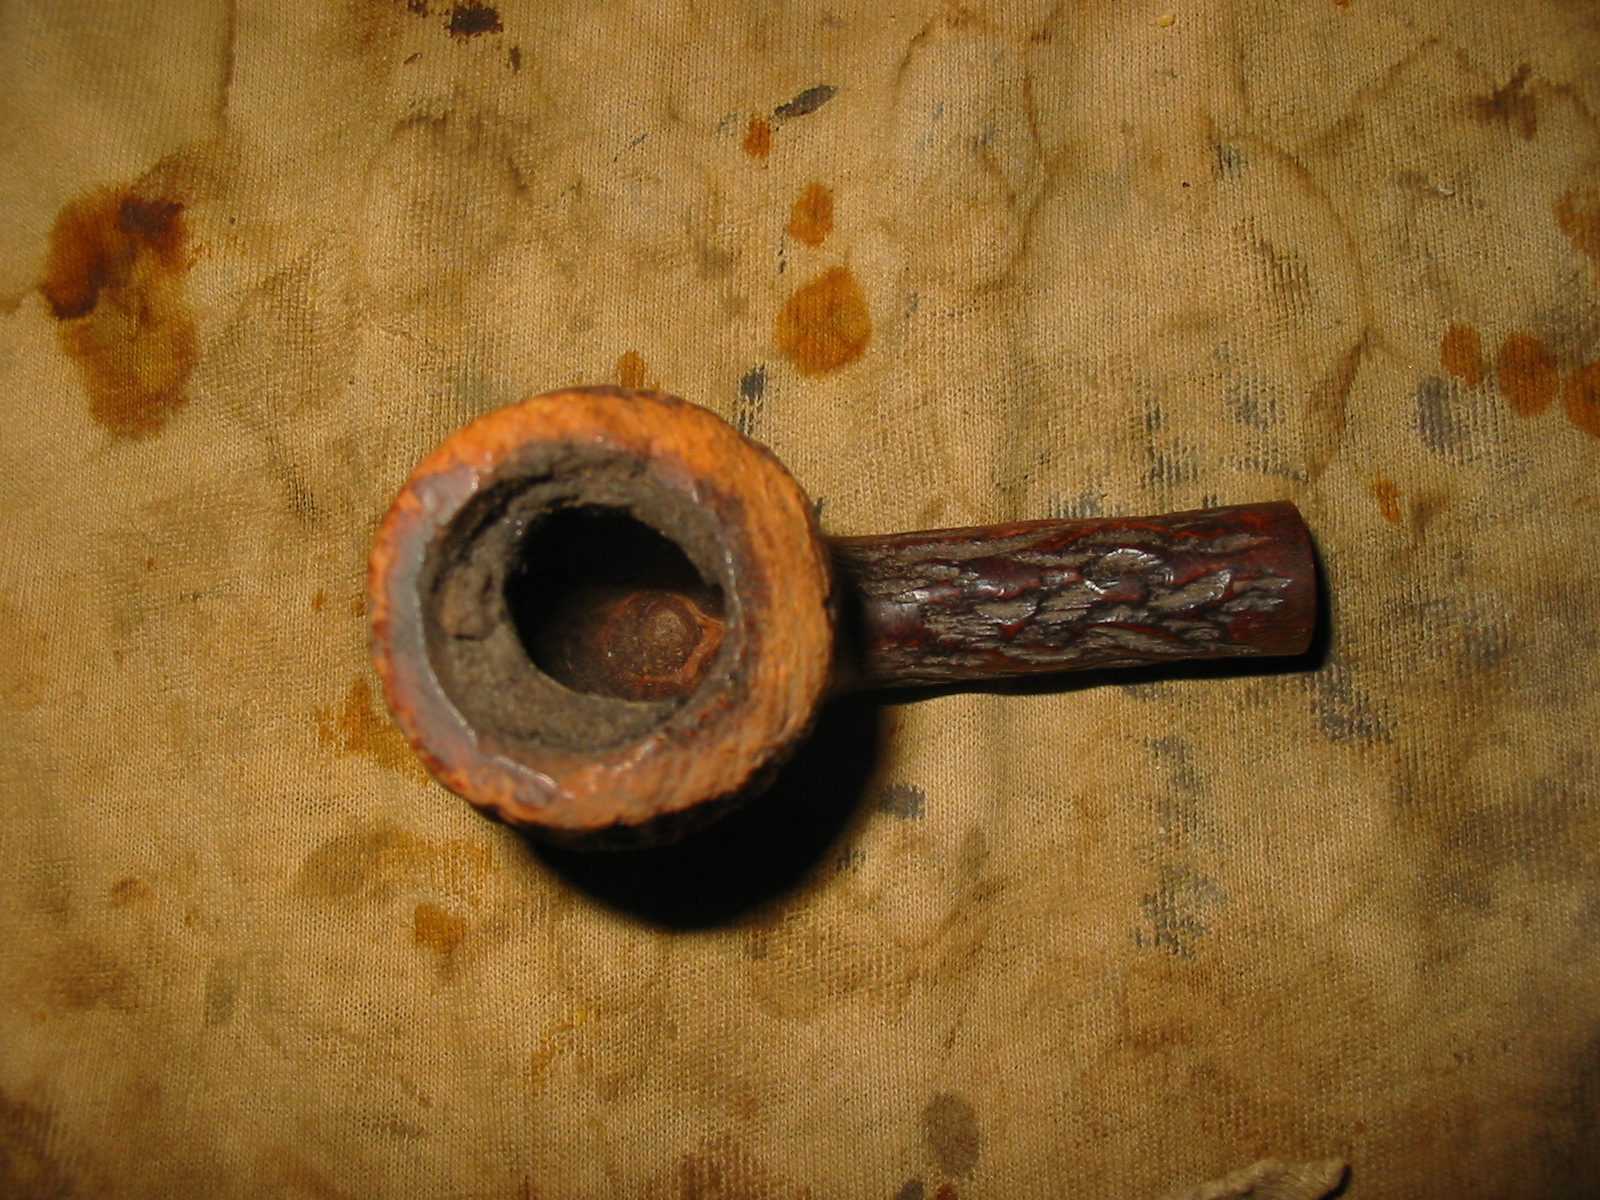
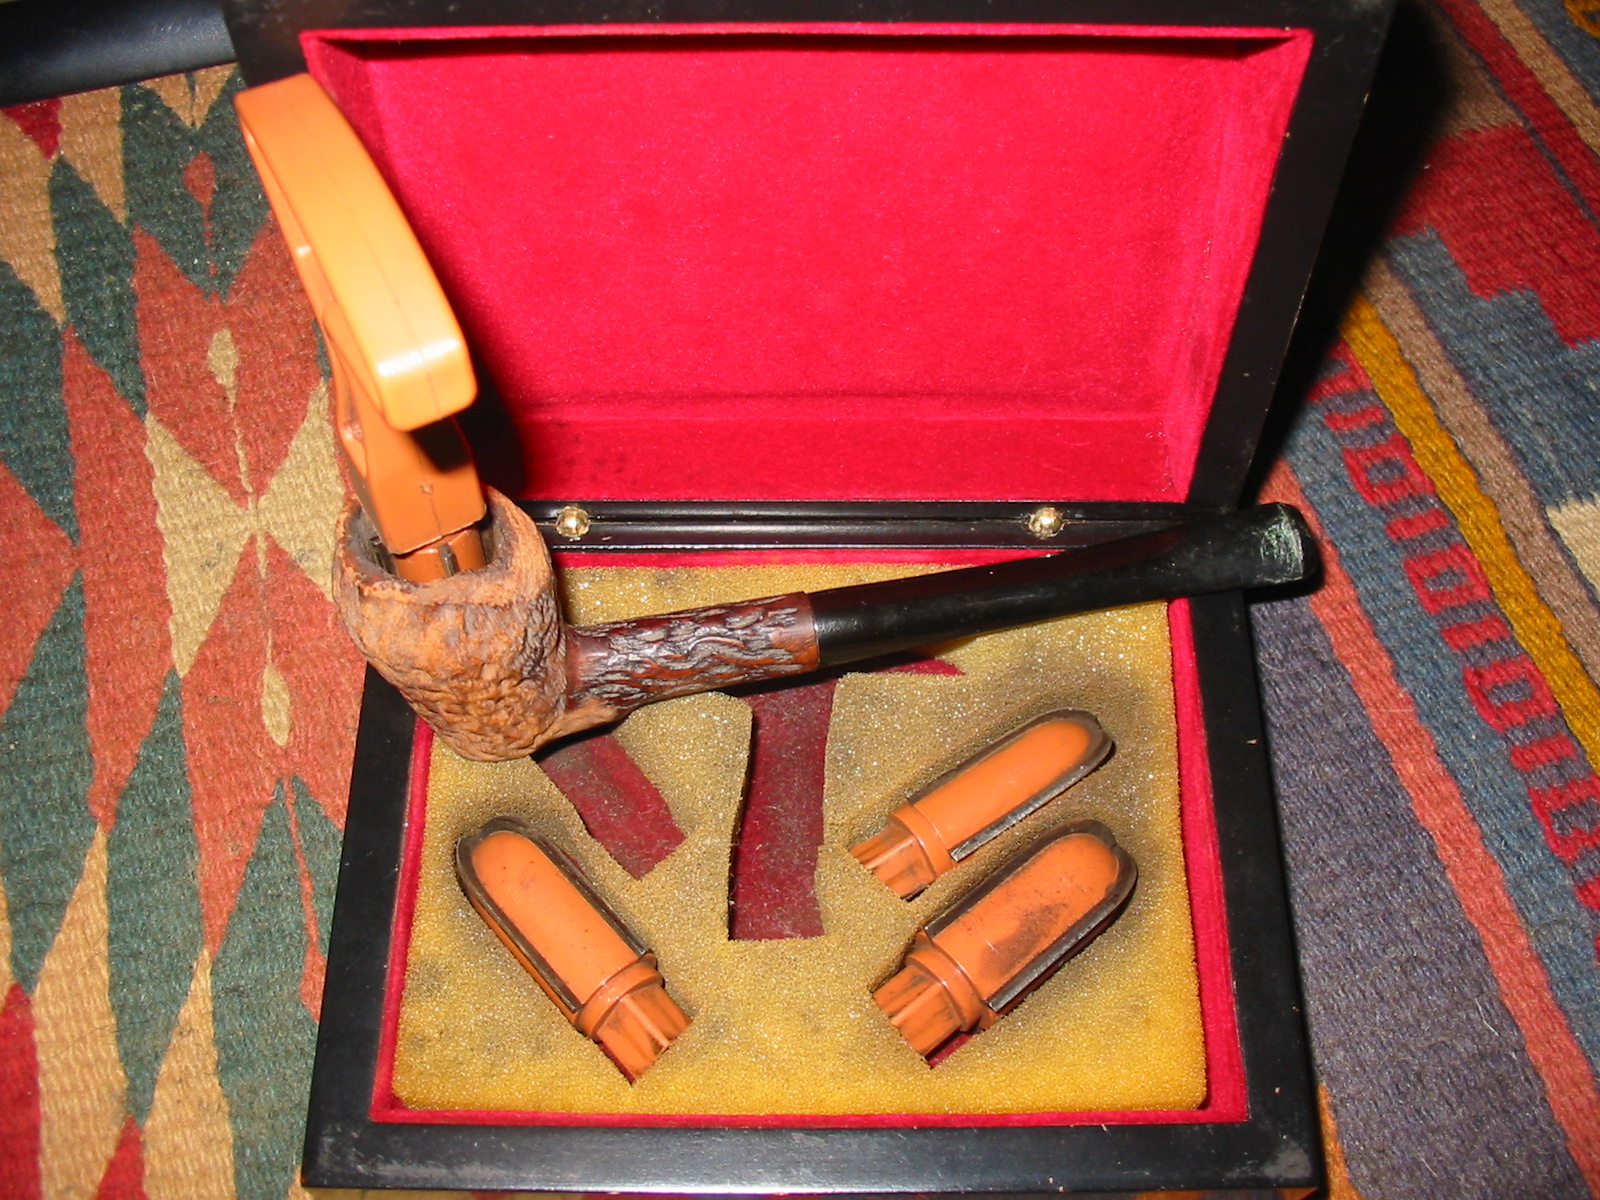
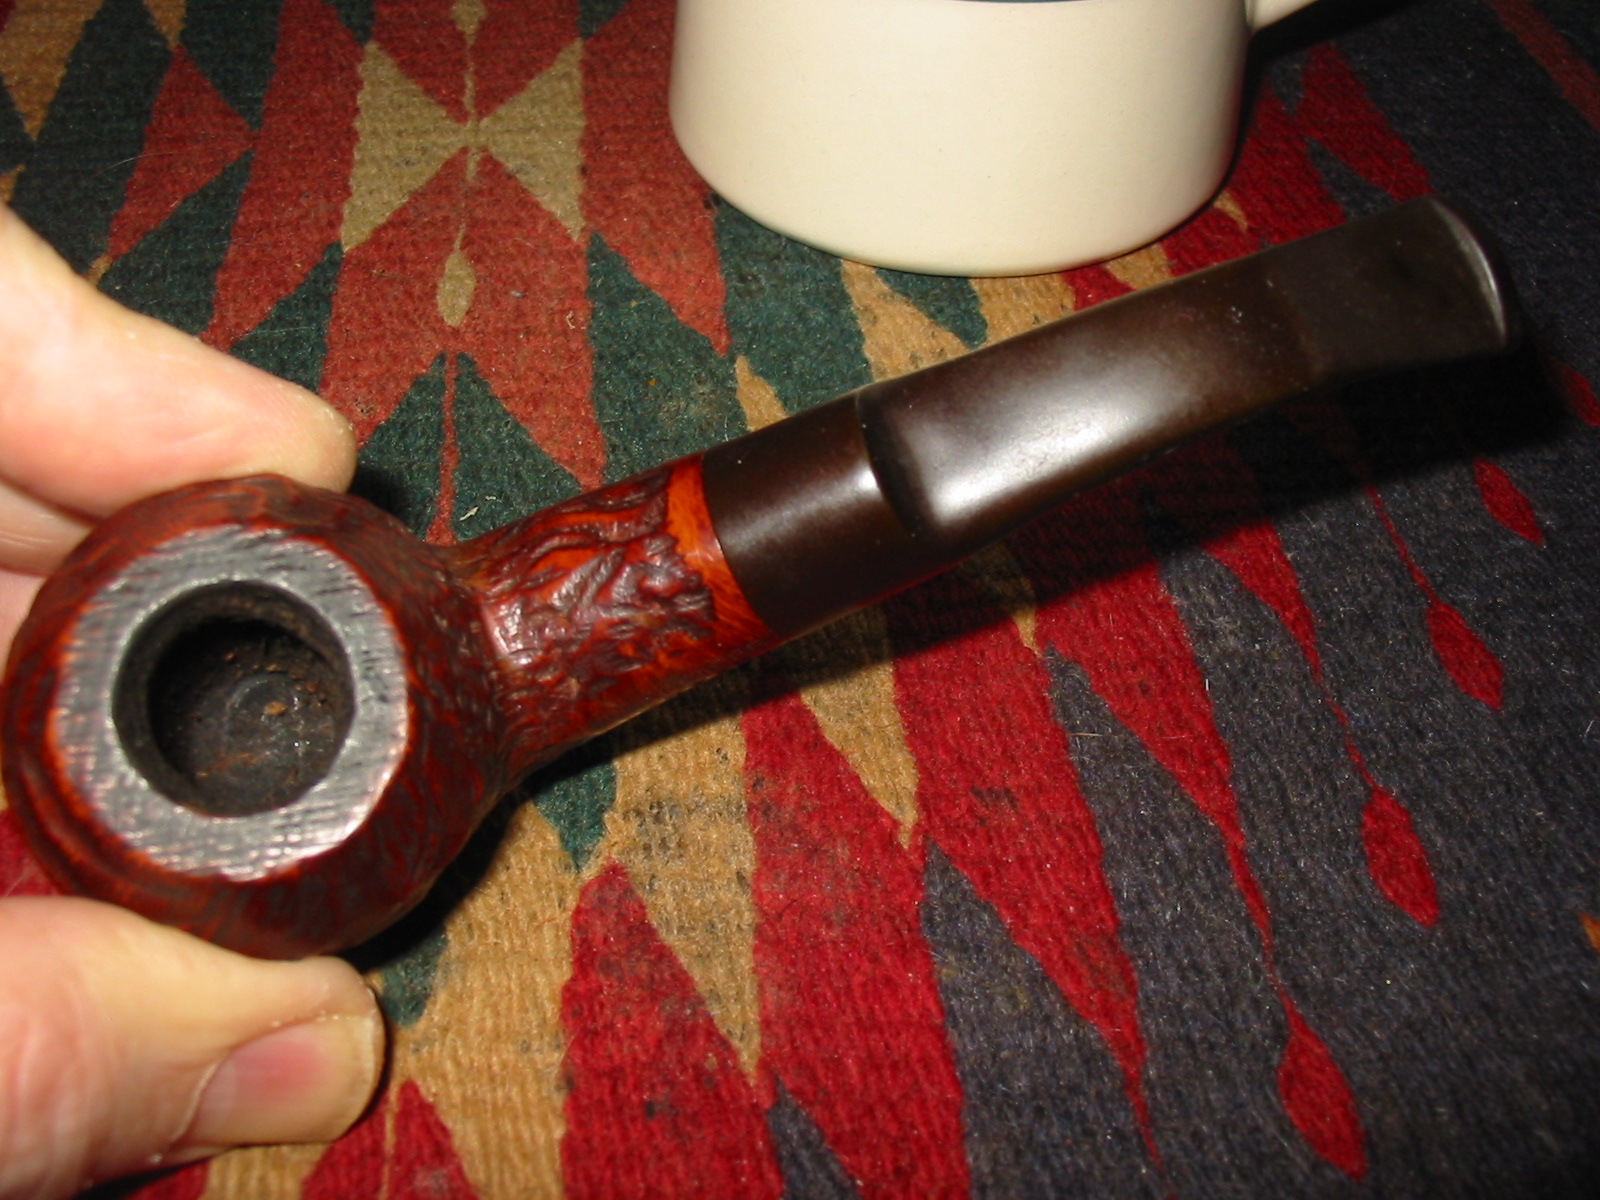
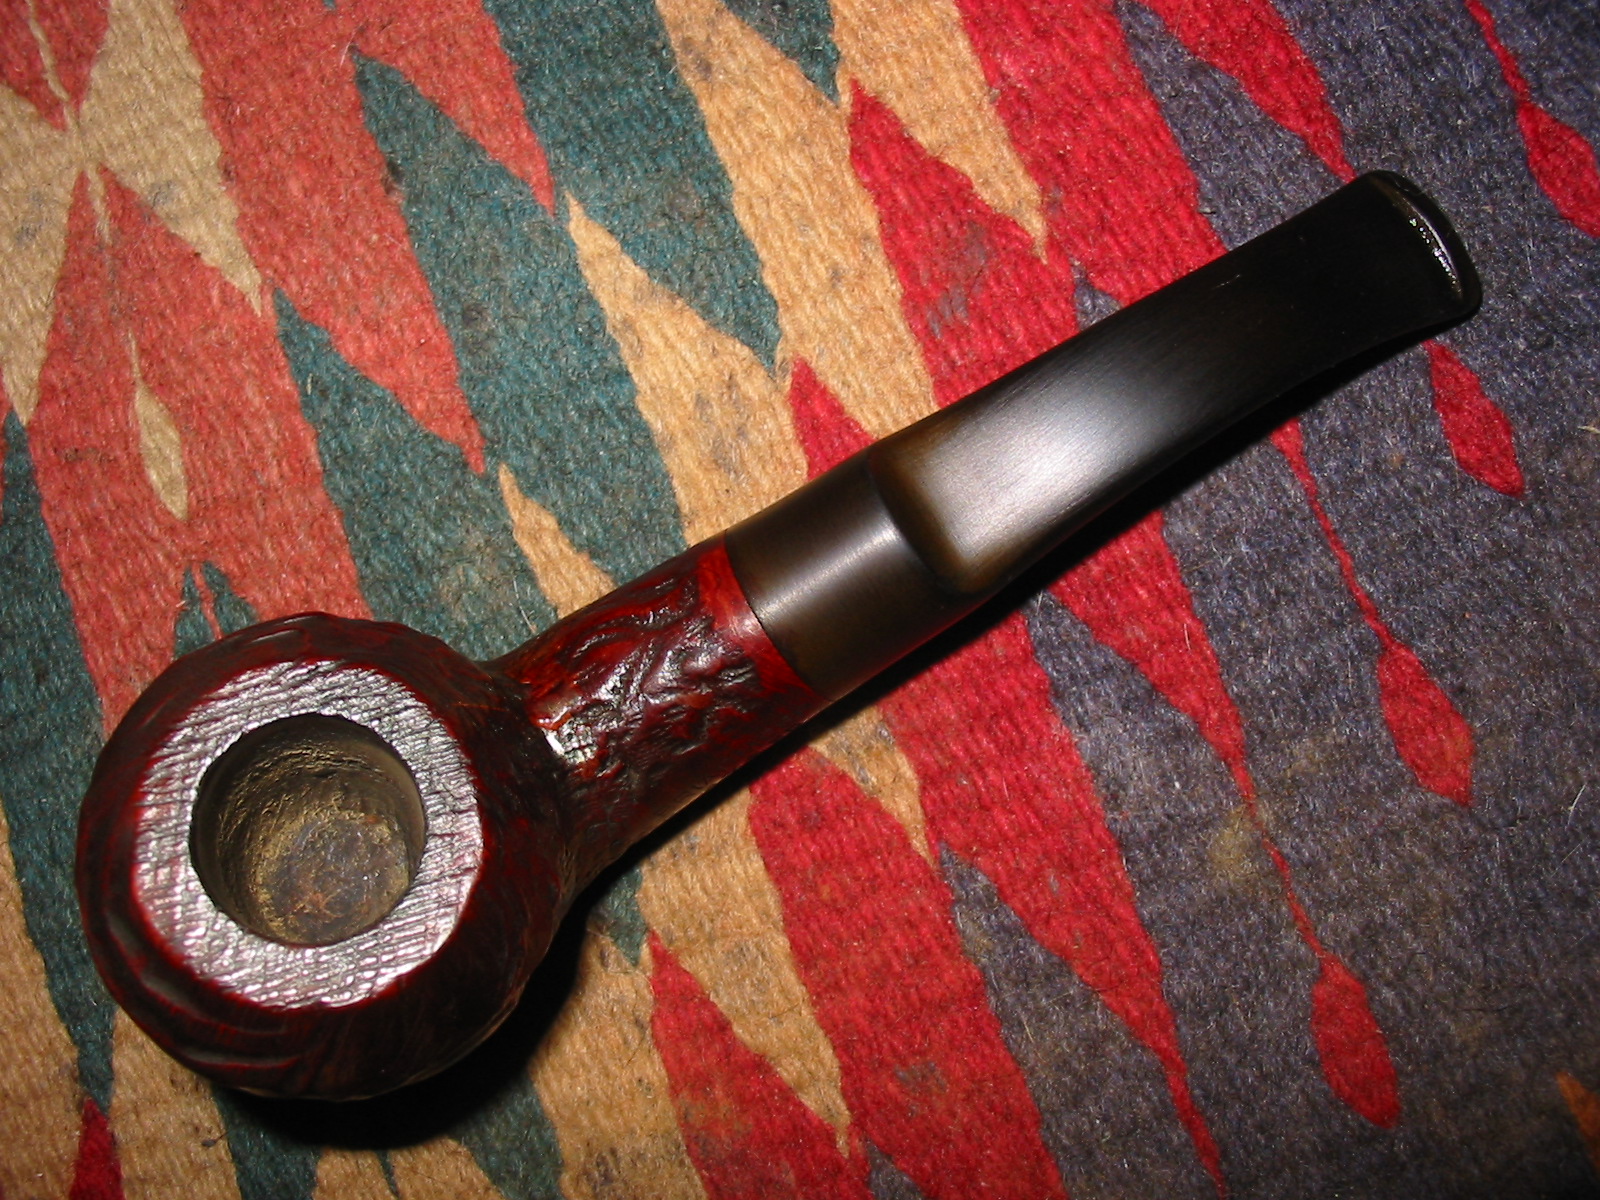
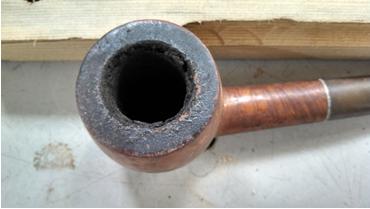
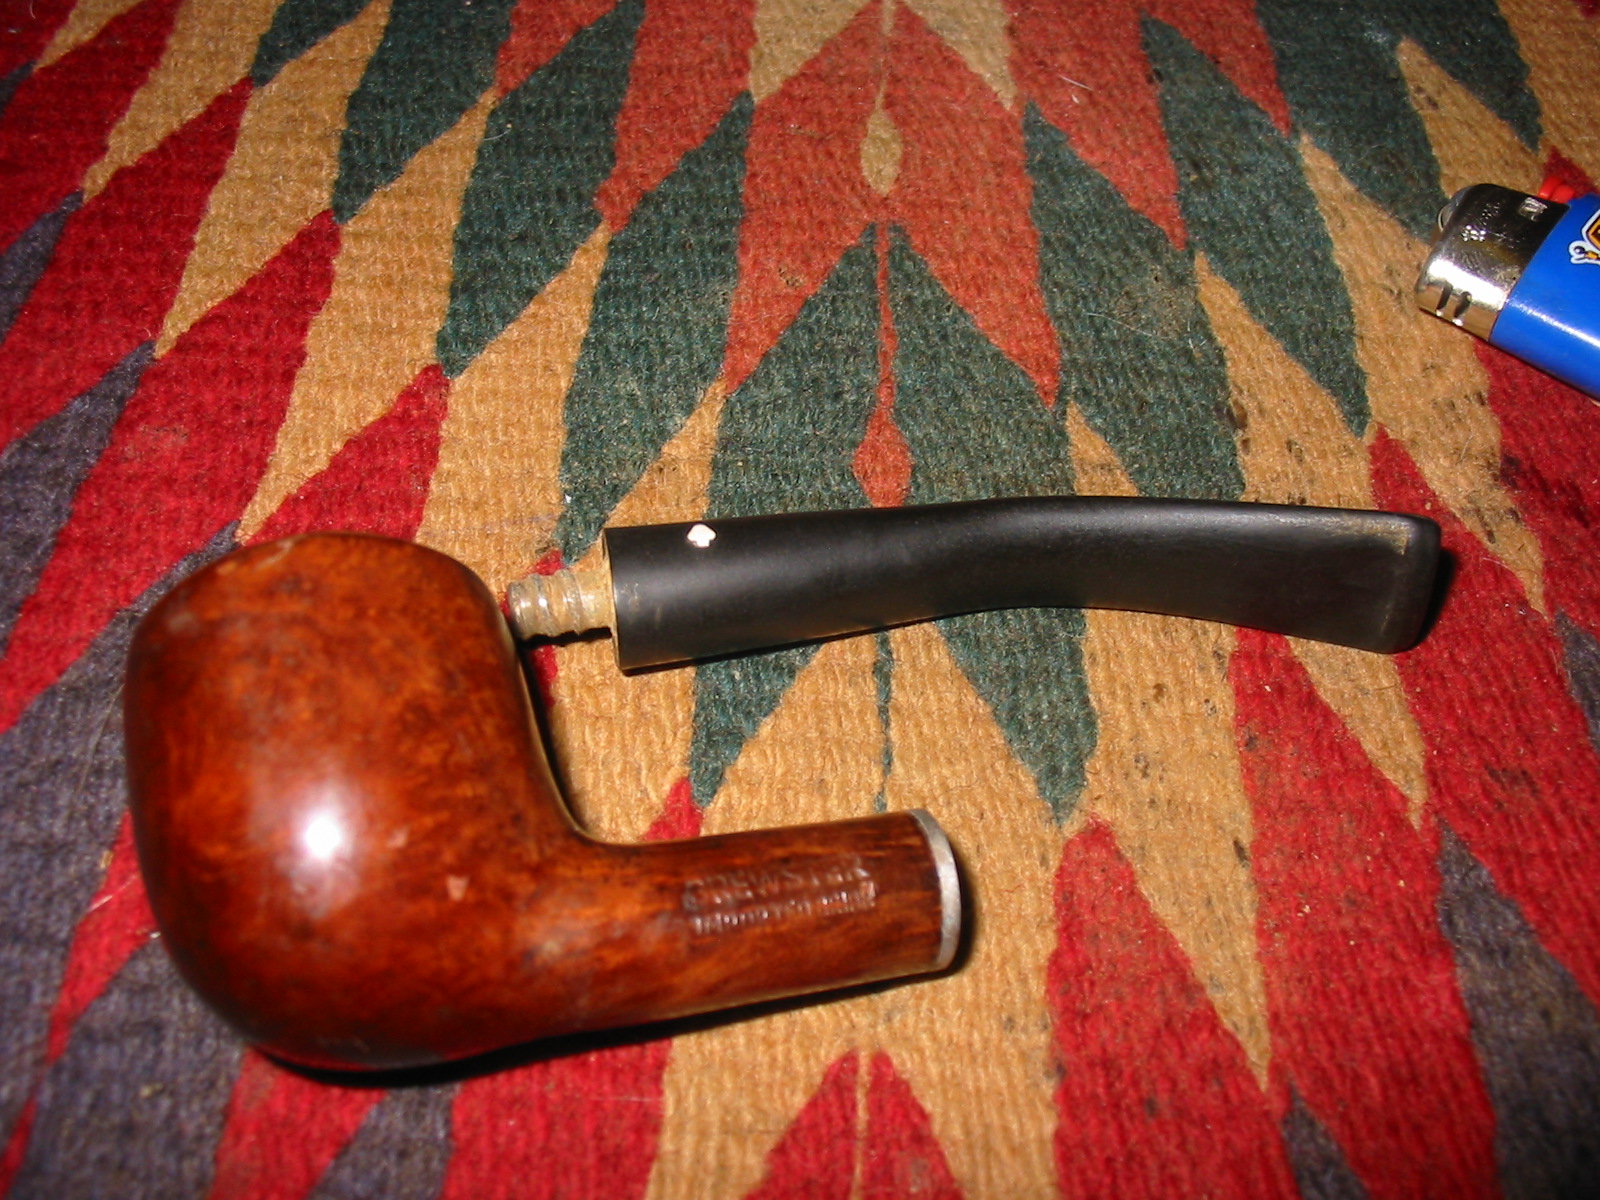
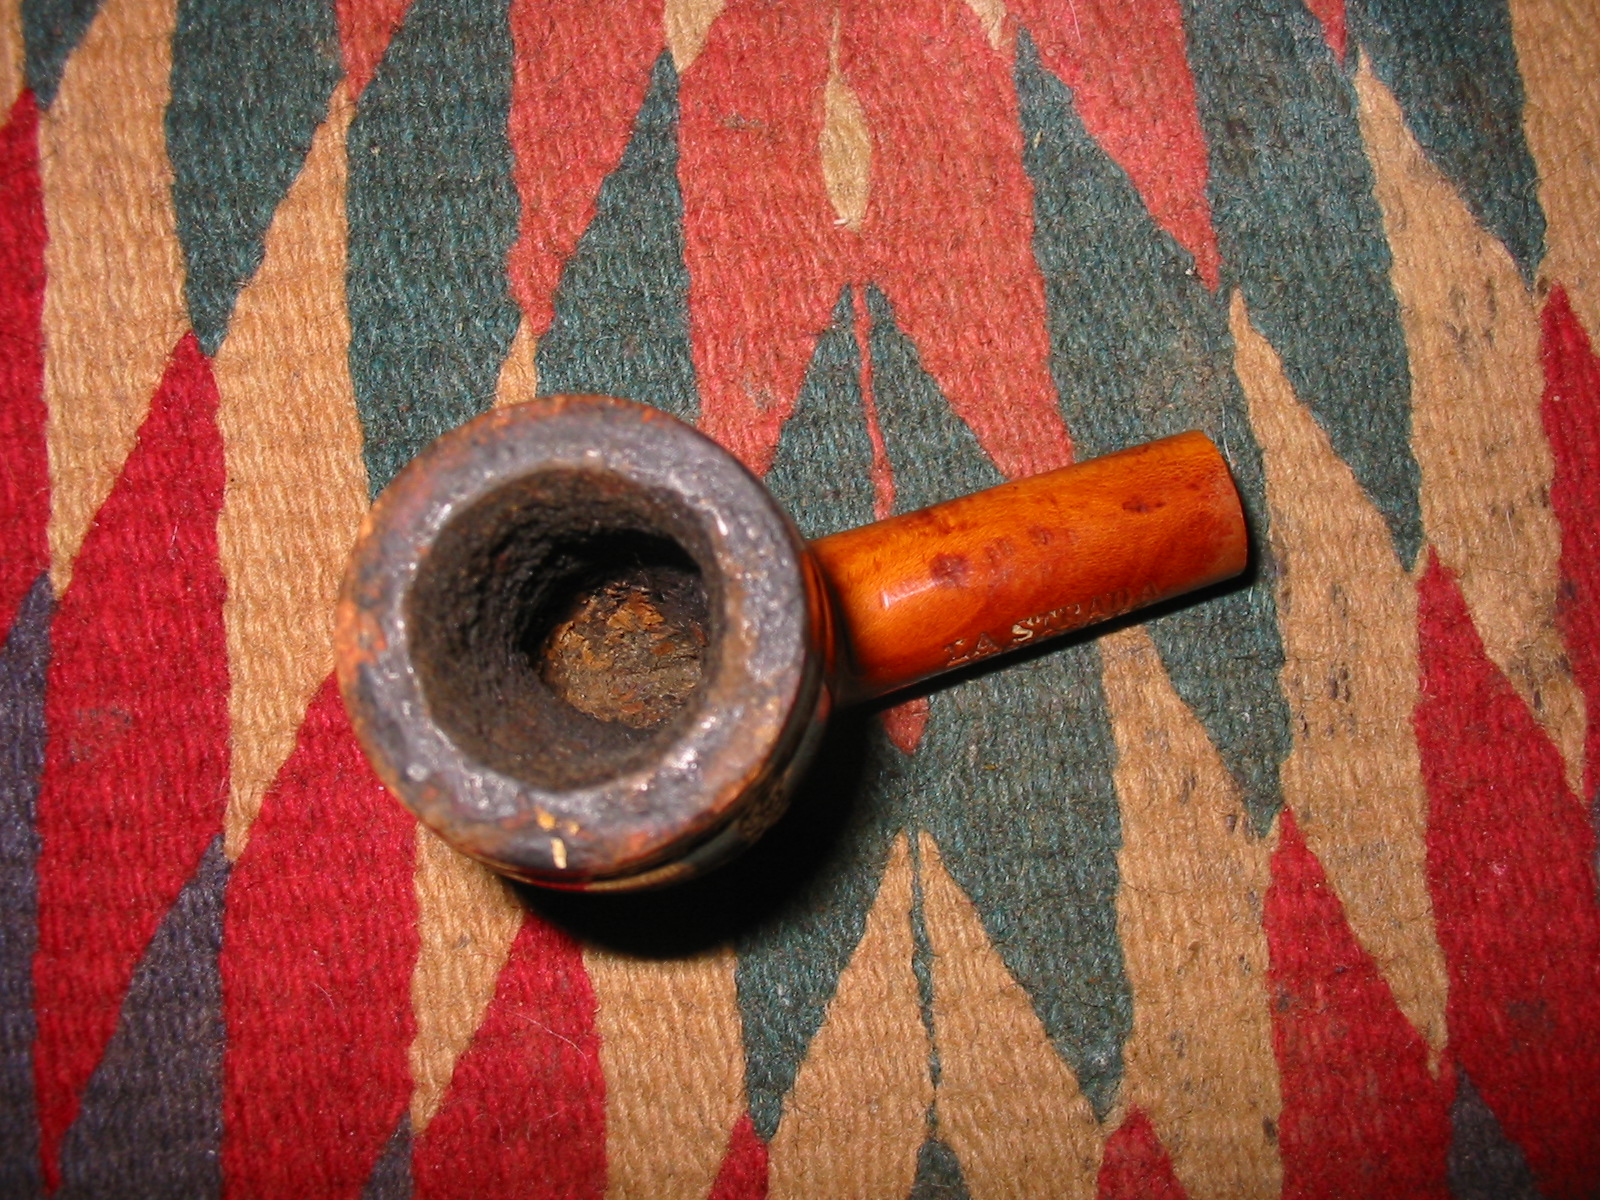
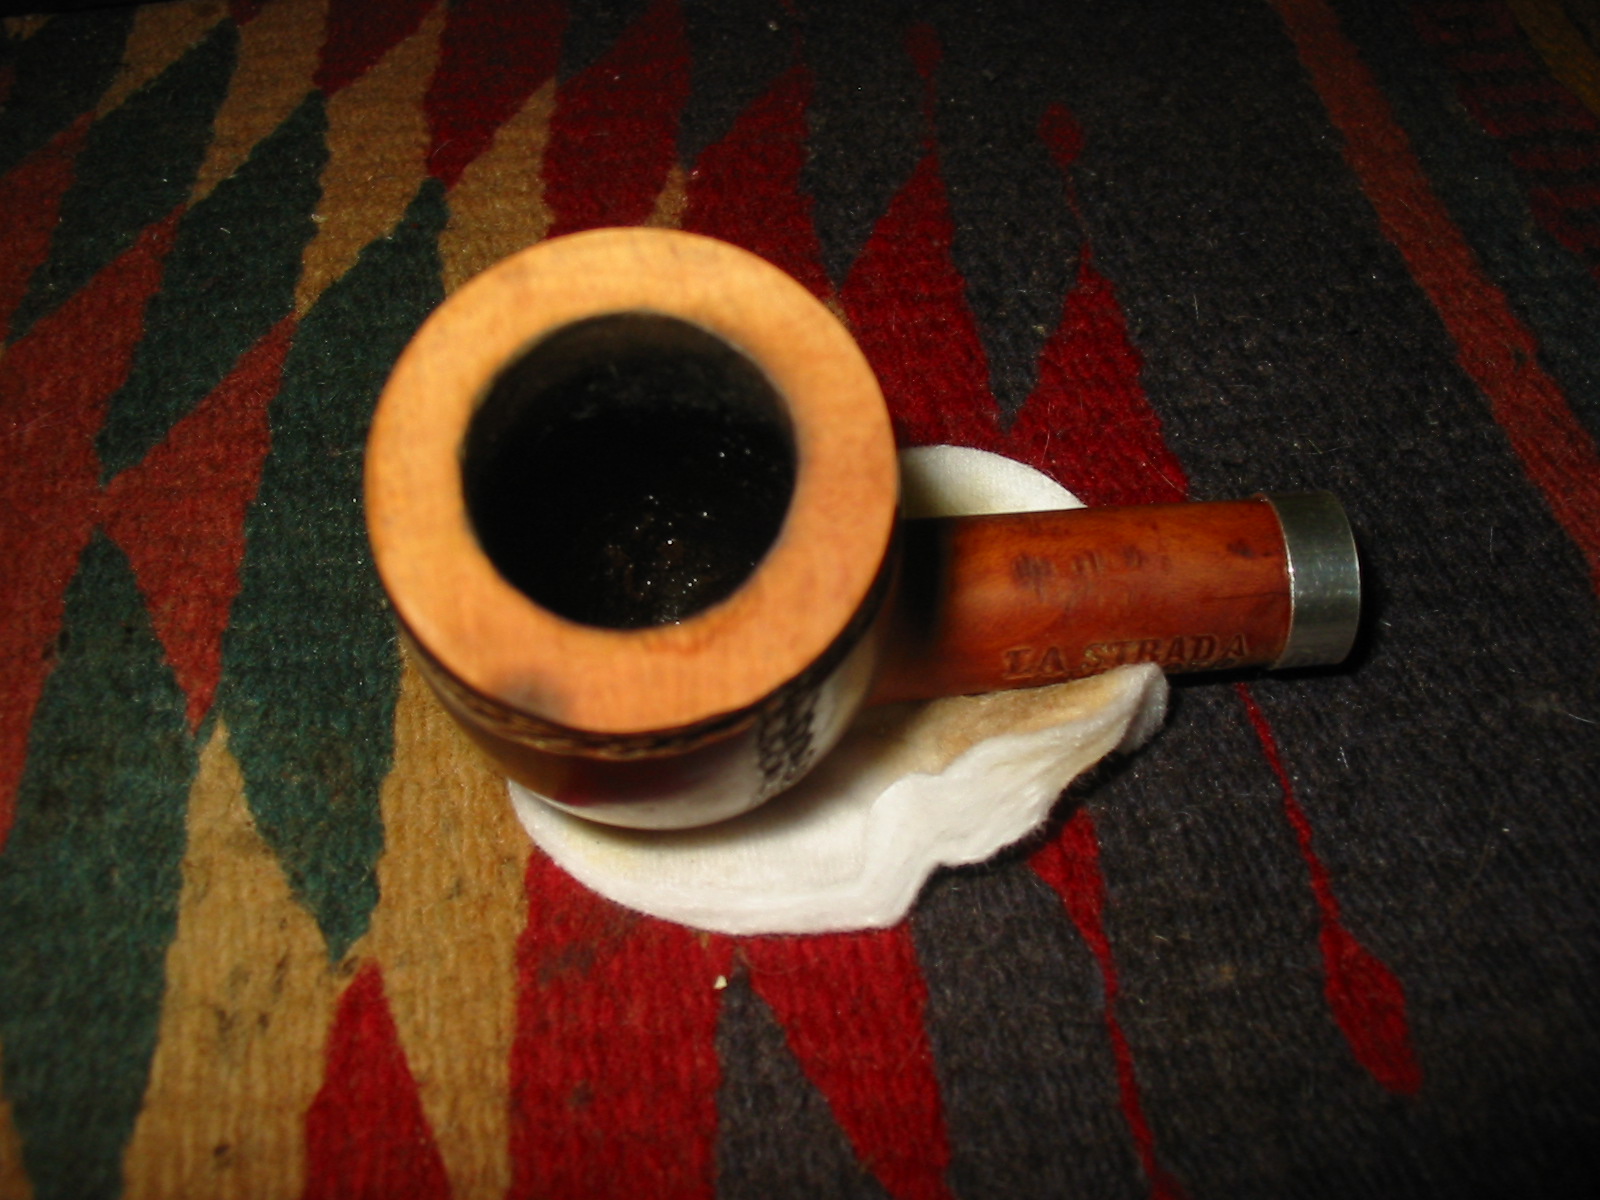
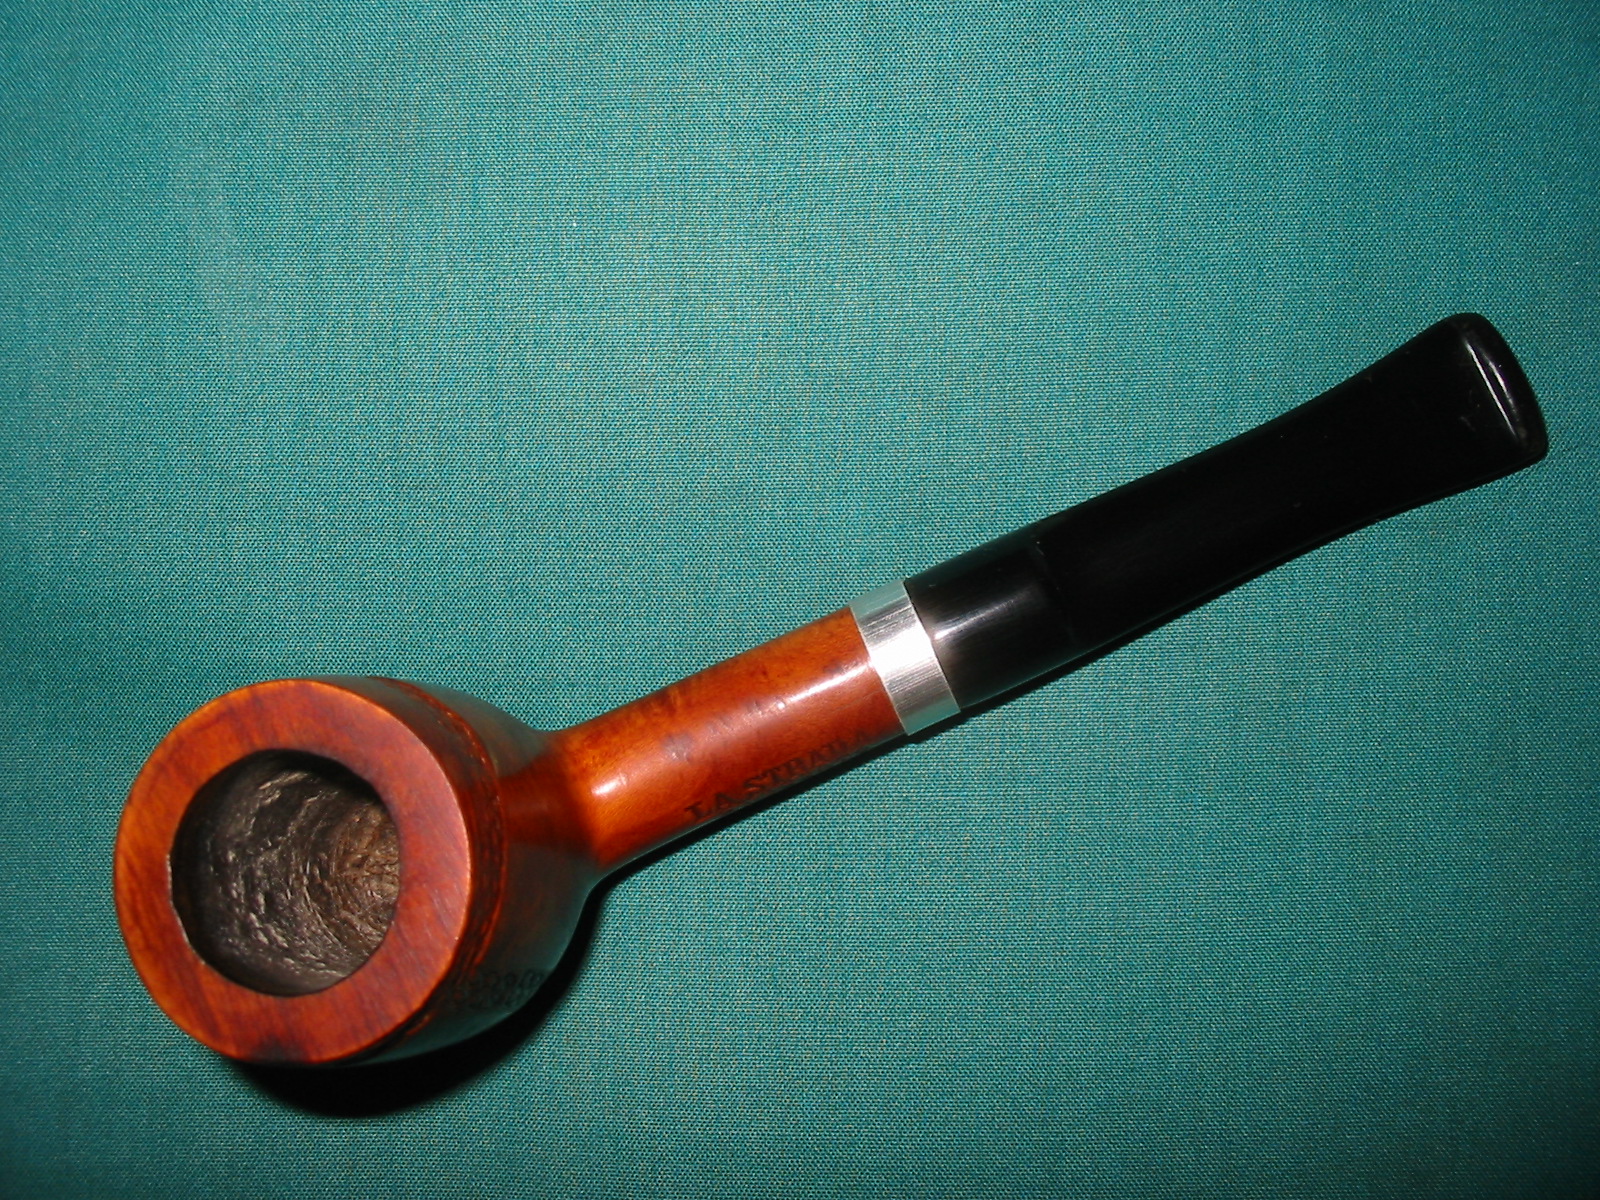
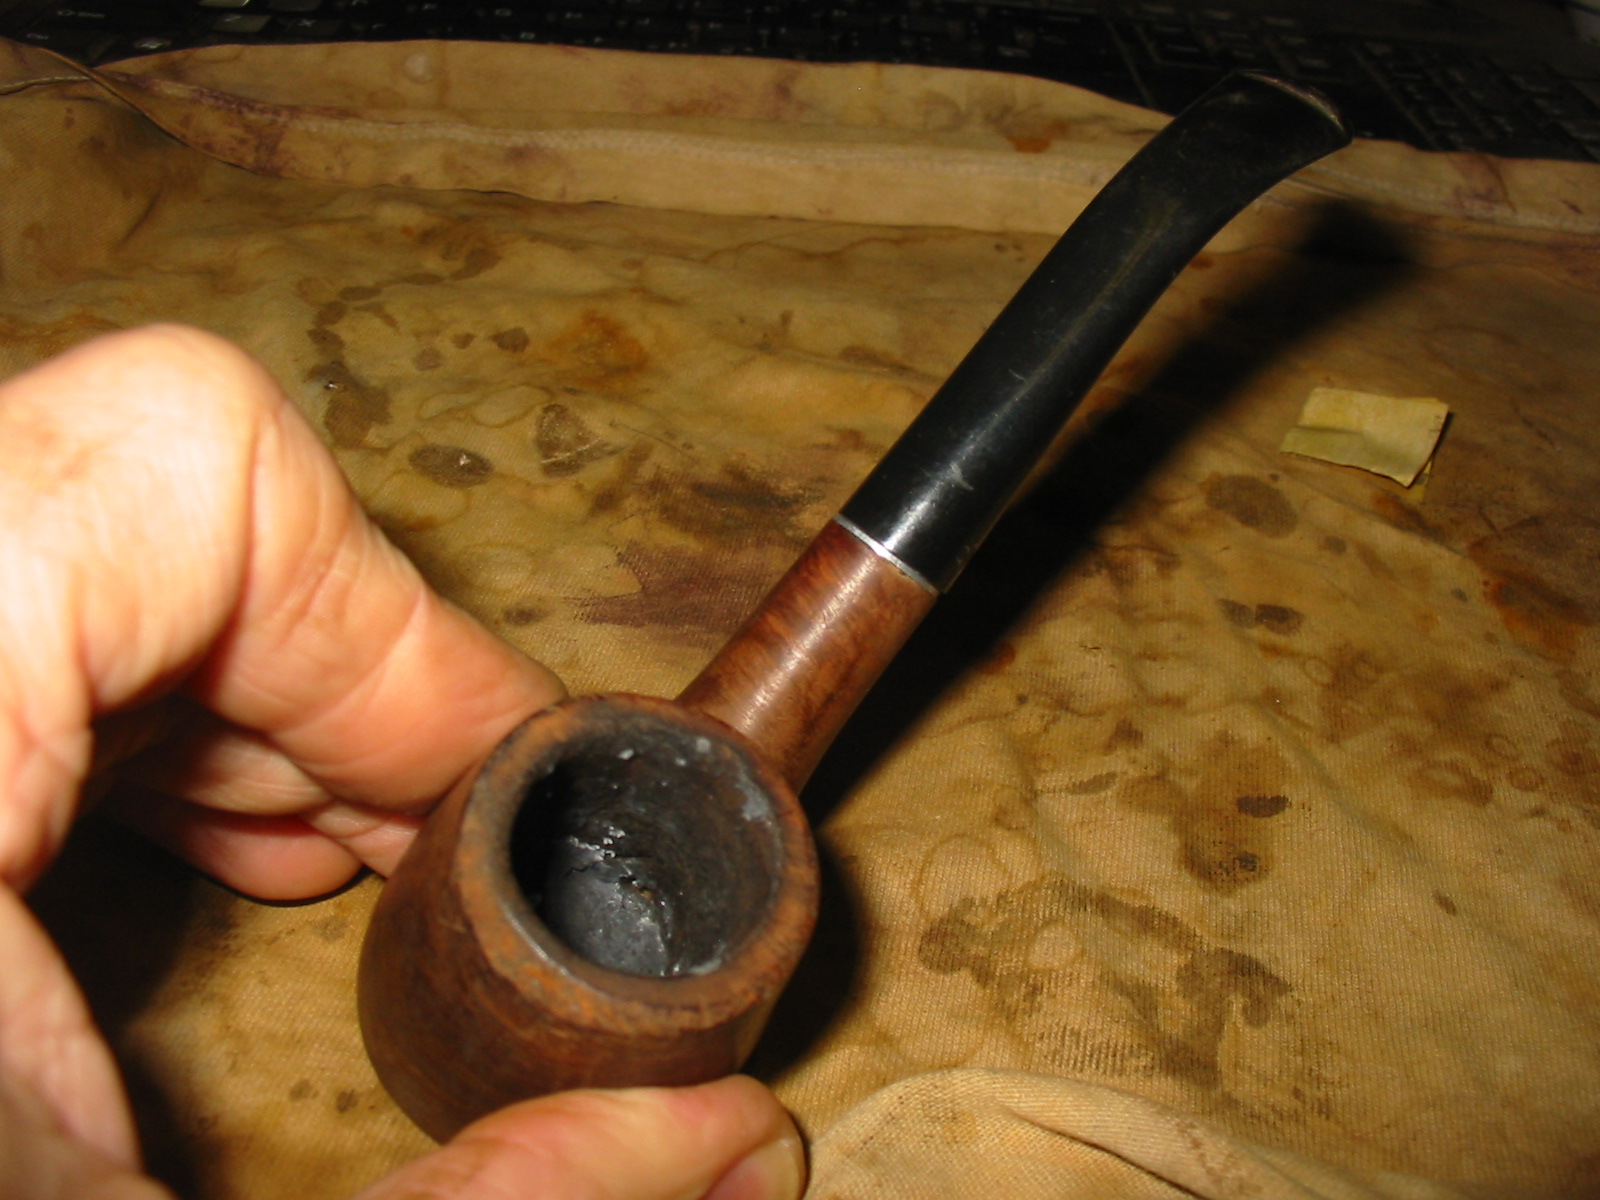
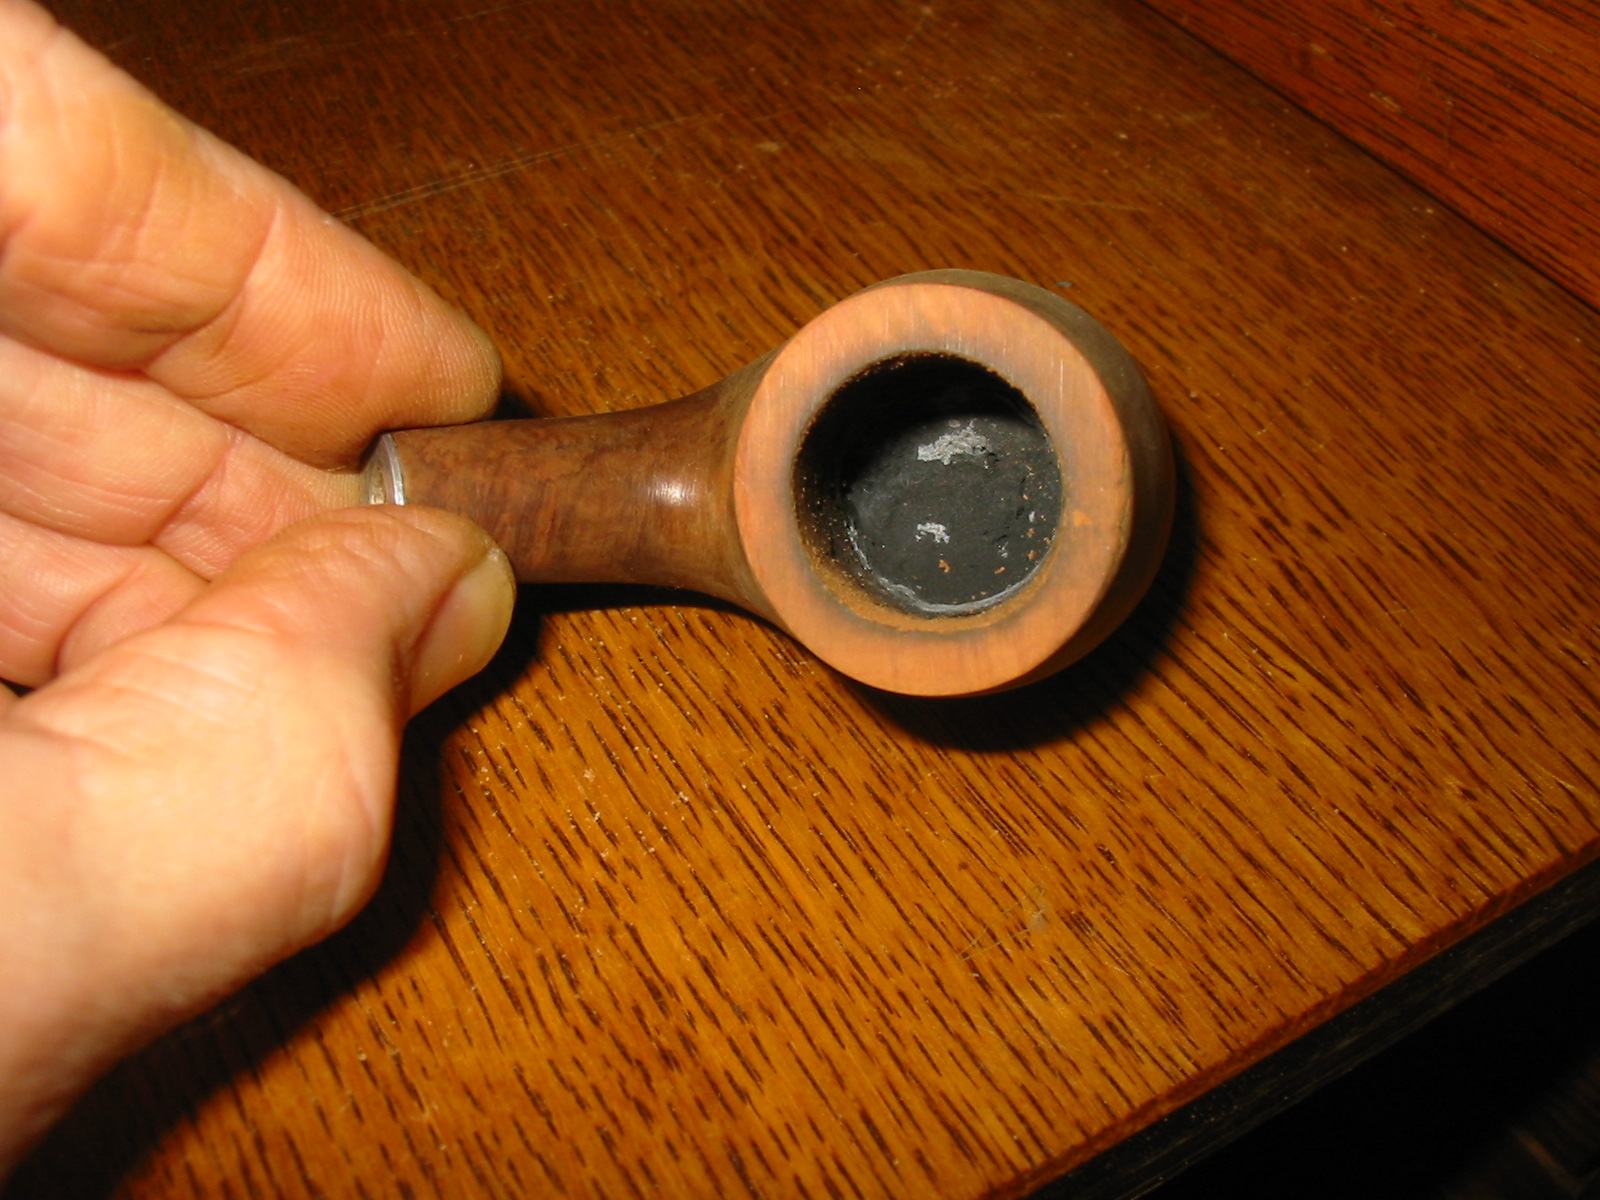
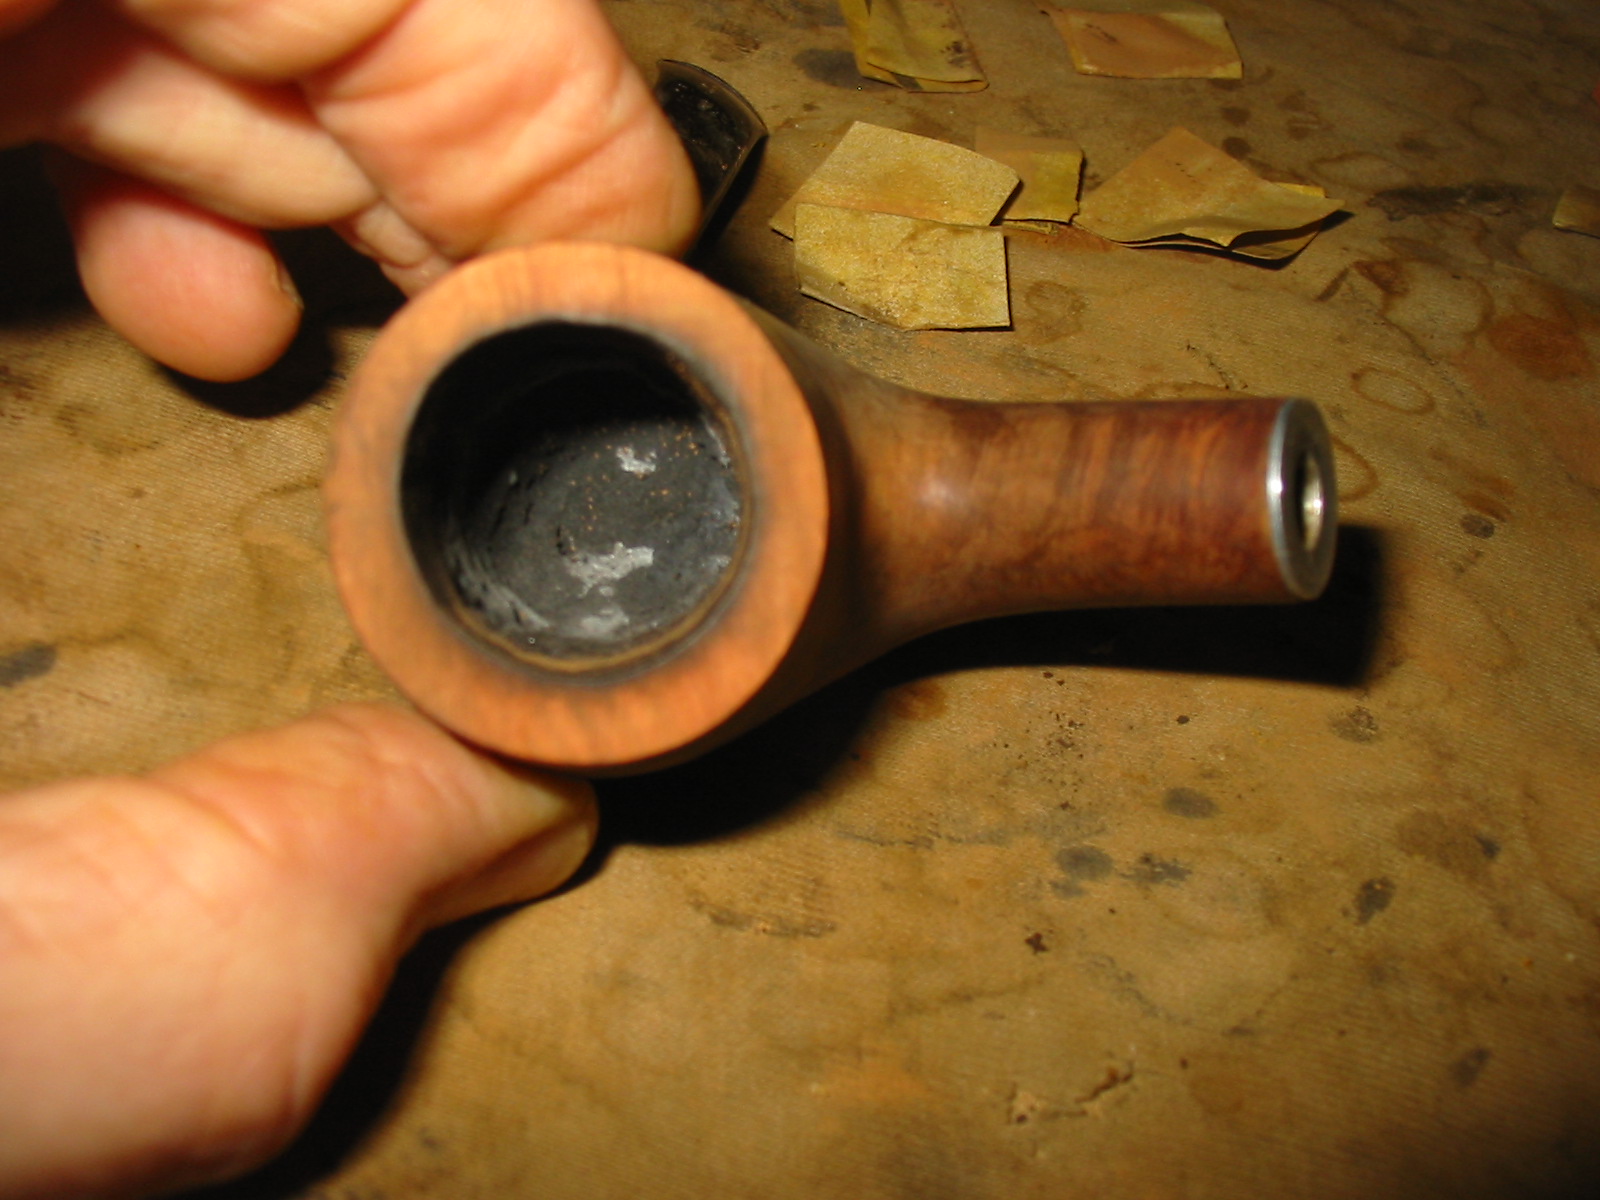
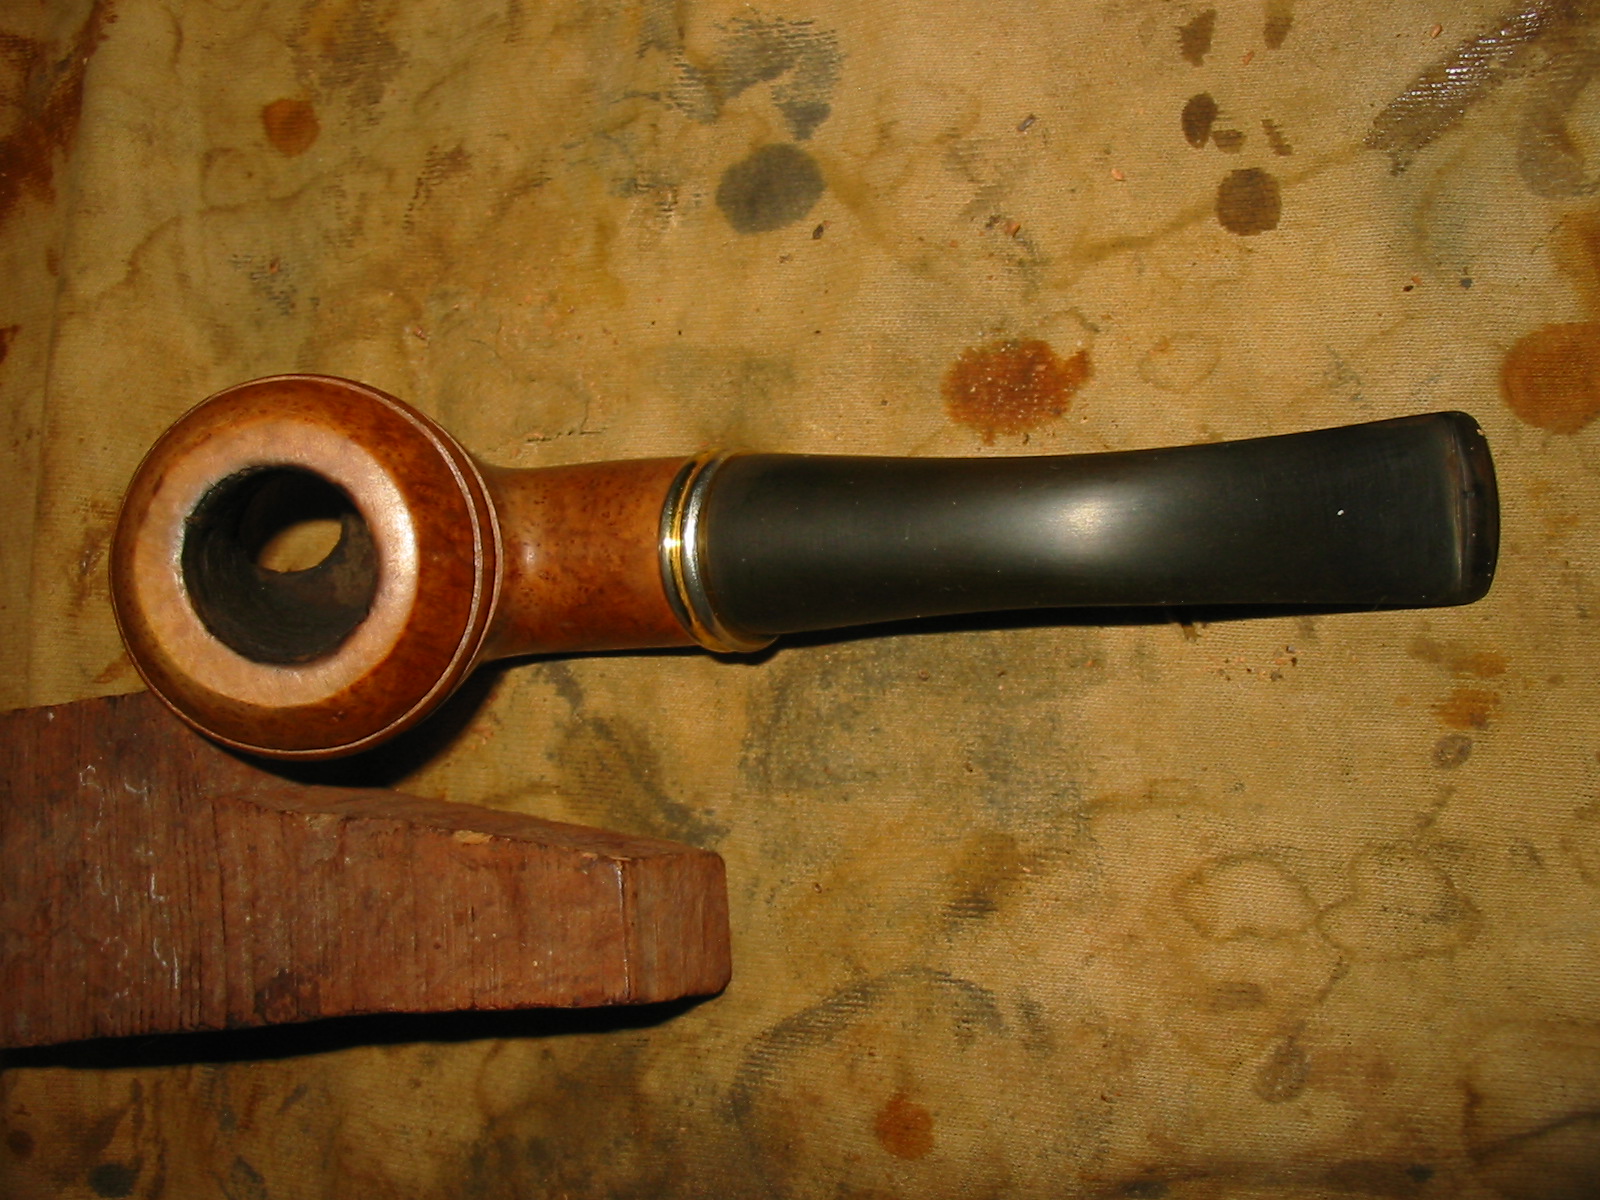
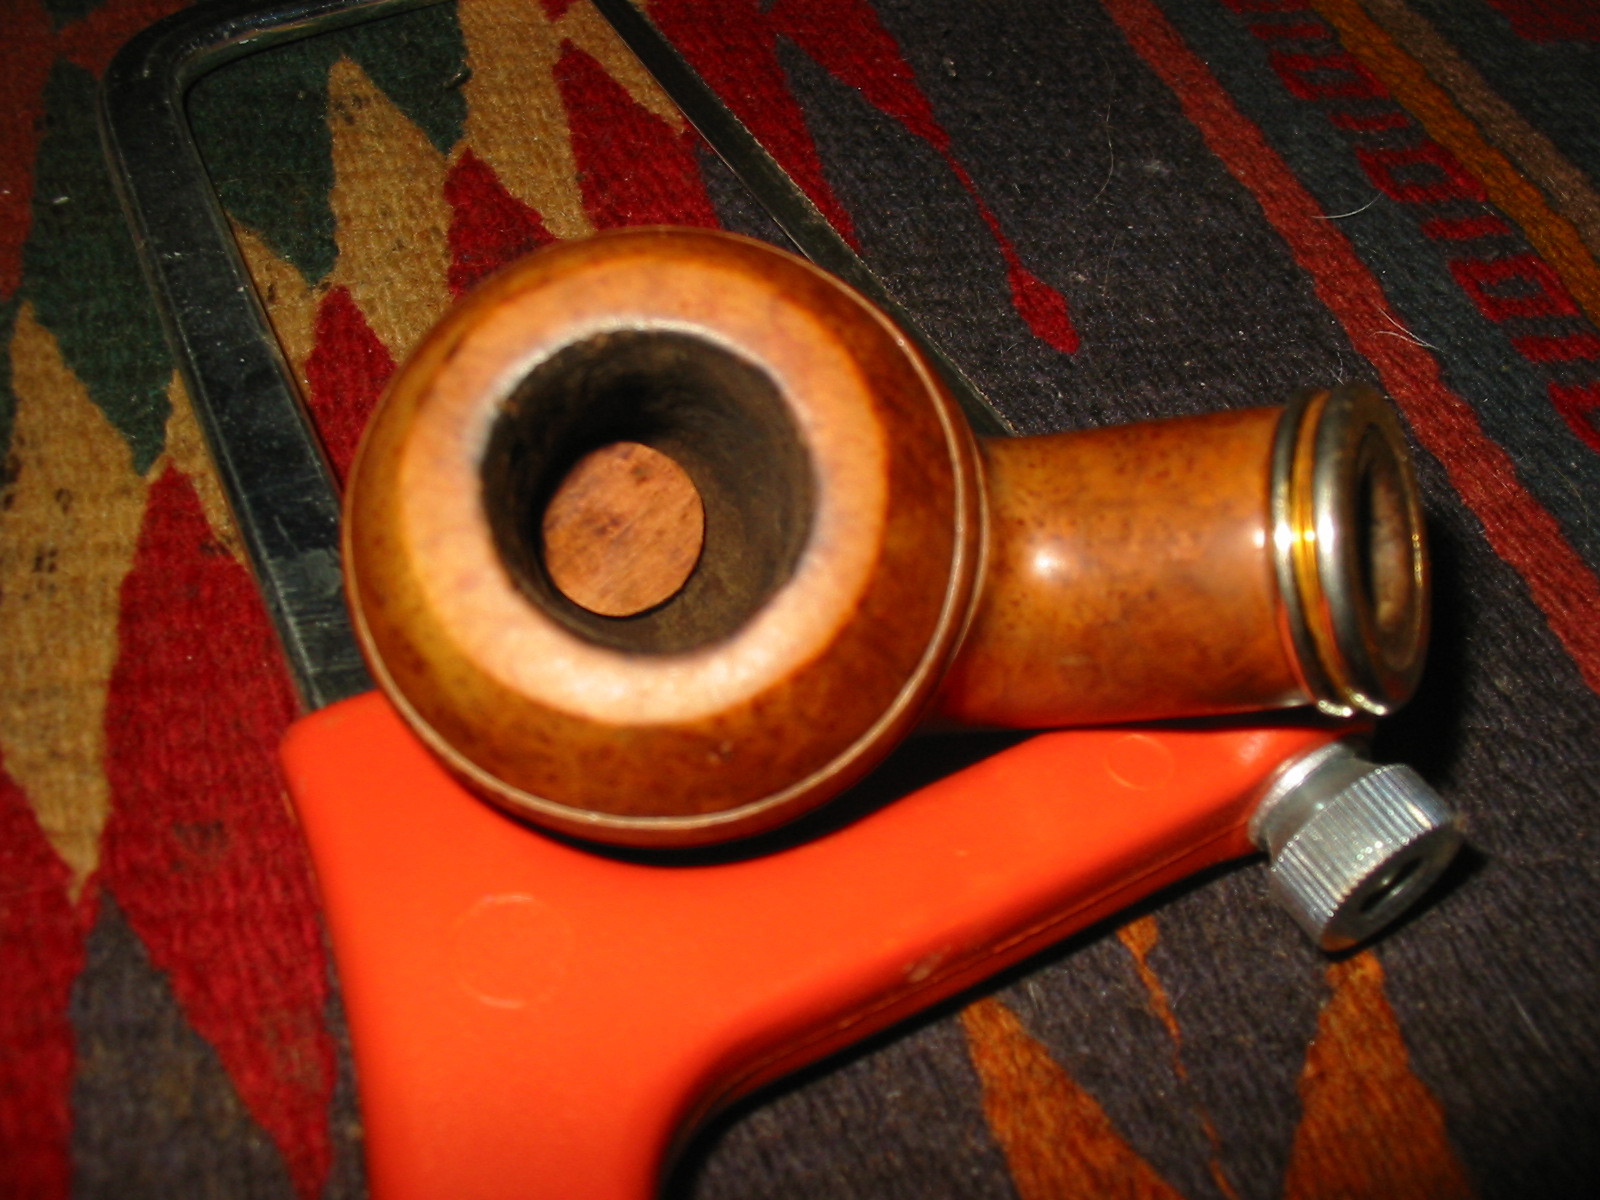
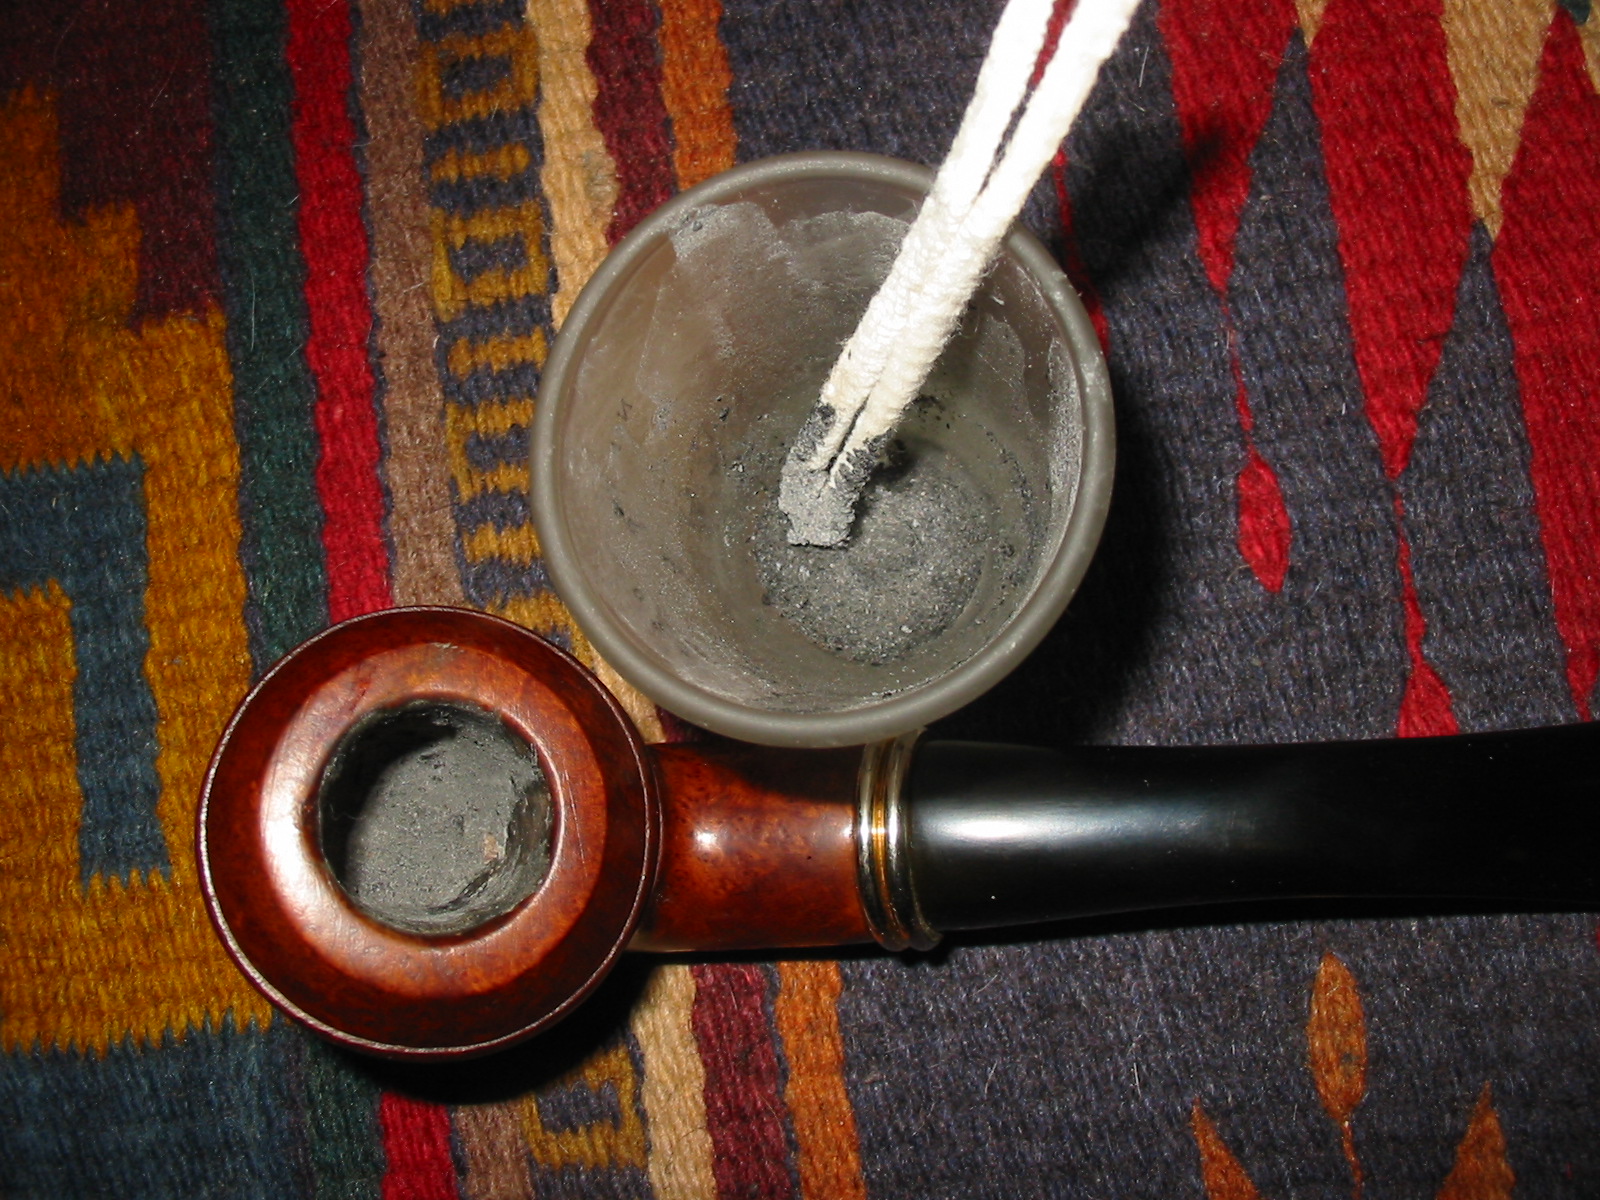
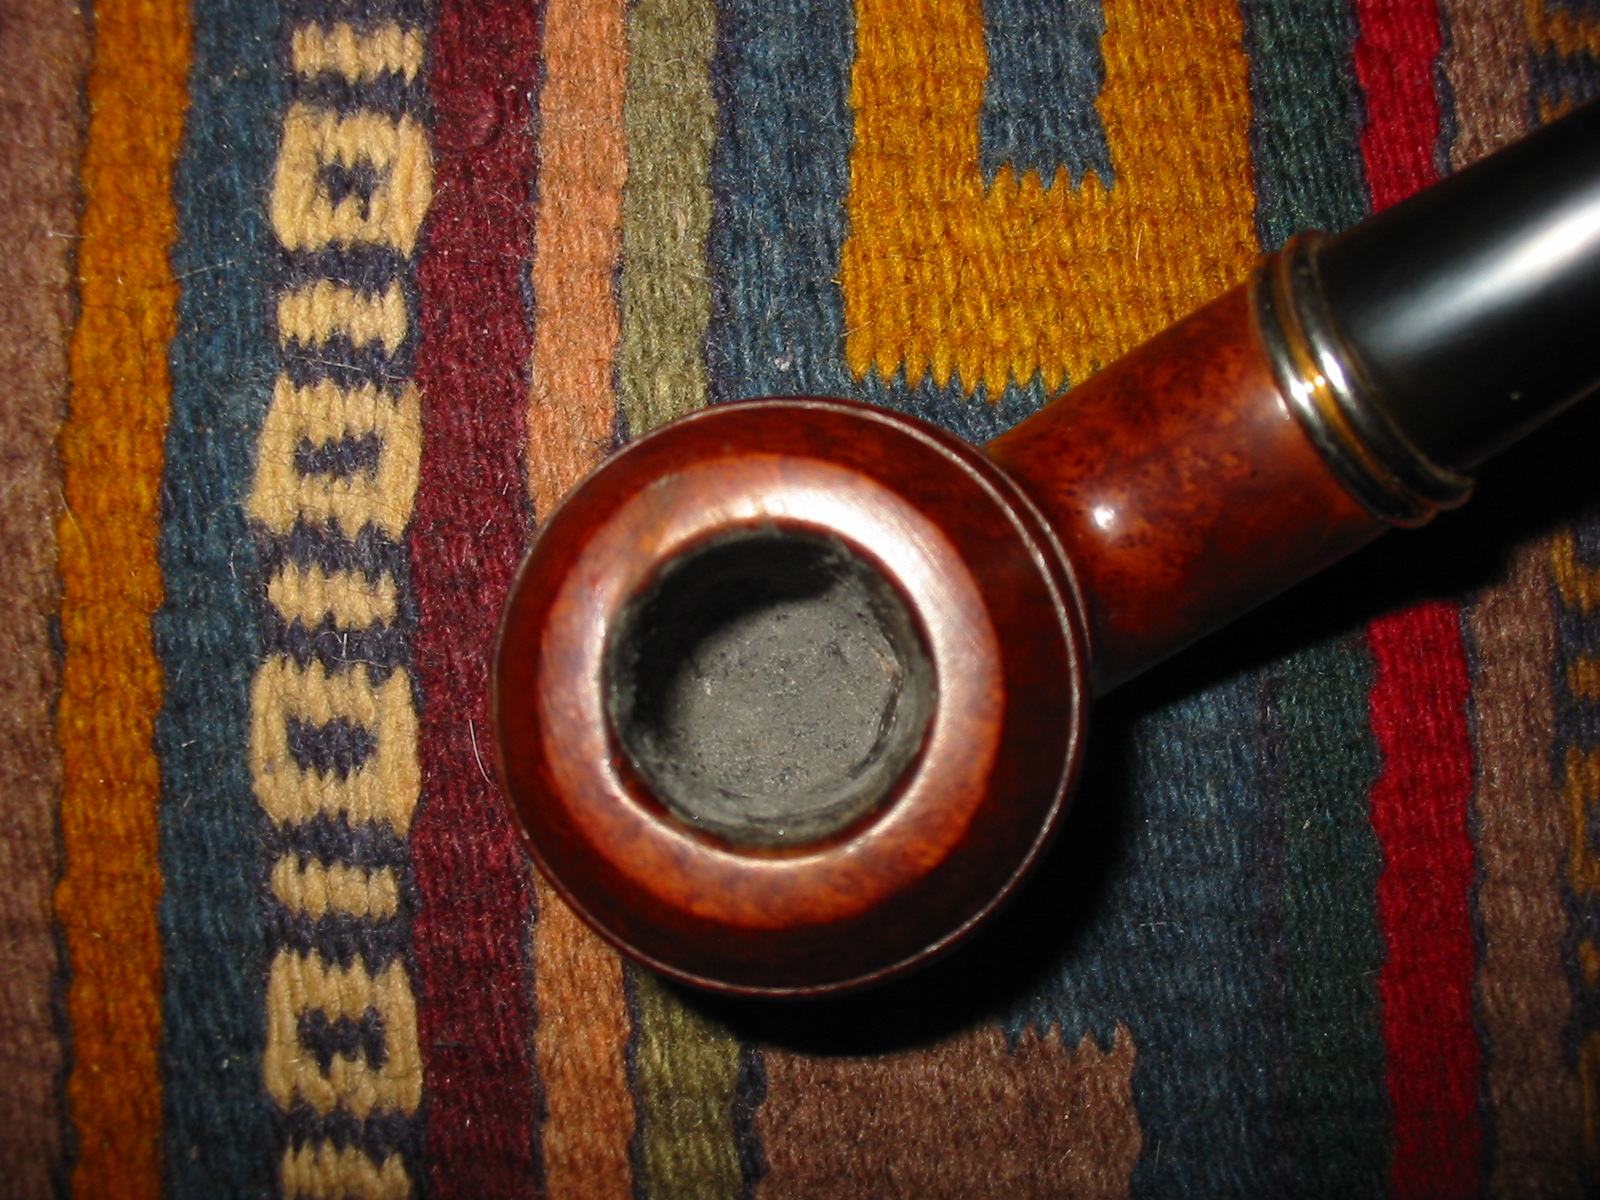
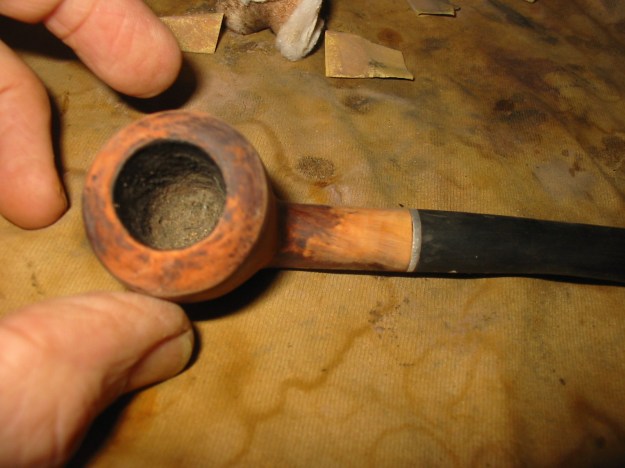
The bowl was in great shape with a light build up of cake that was the right thickness. There was no heavy smell of aromatics clinging to the pipe. The shank was clean and the metal insert in the mortise was also clean and in good shape. The thread pattern and the look of the metal fitment looked exactly like a Dr. Grabow set up.


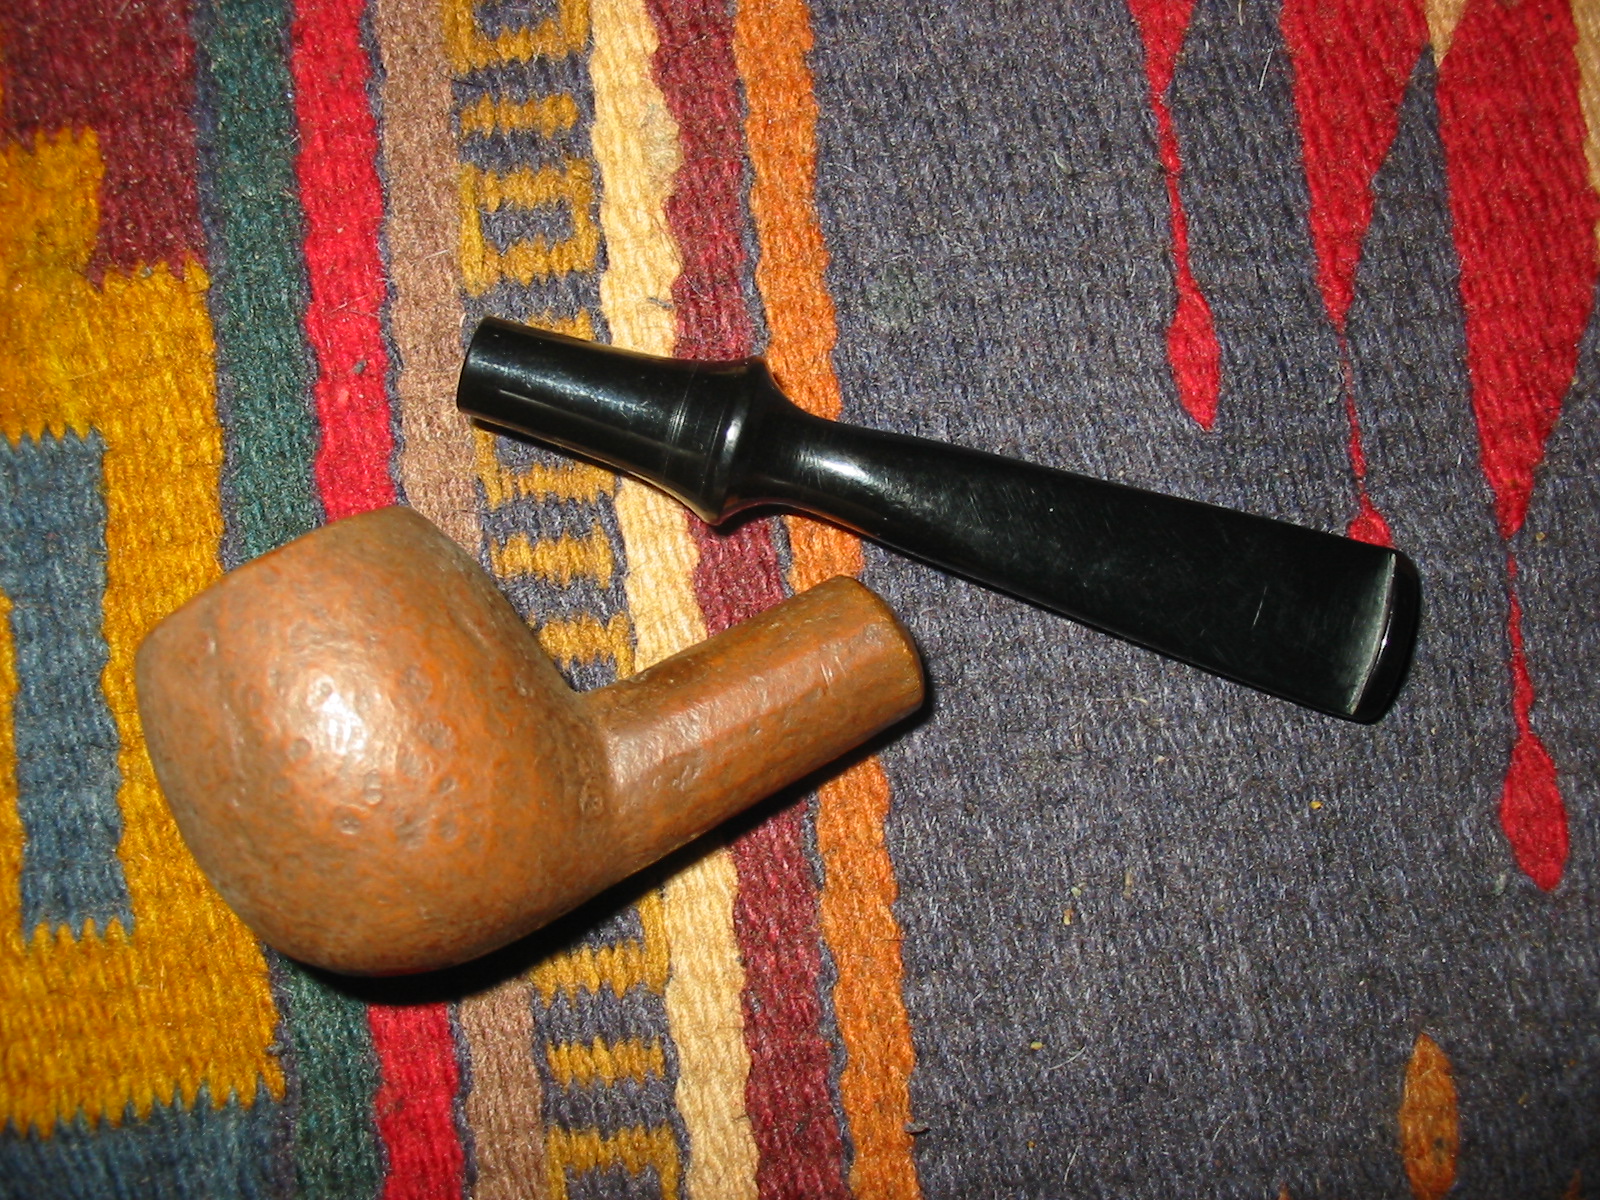
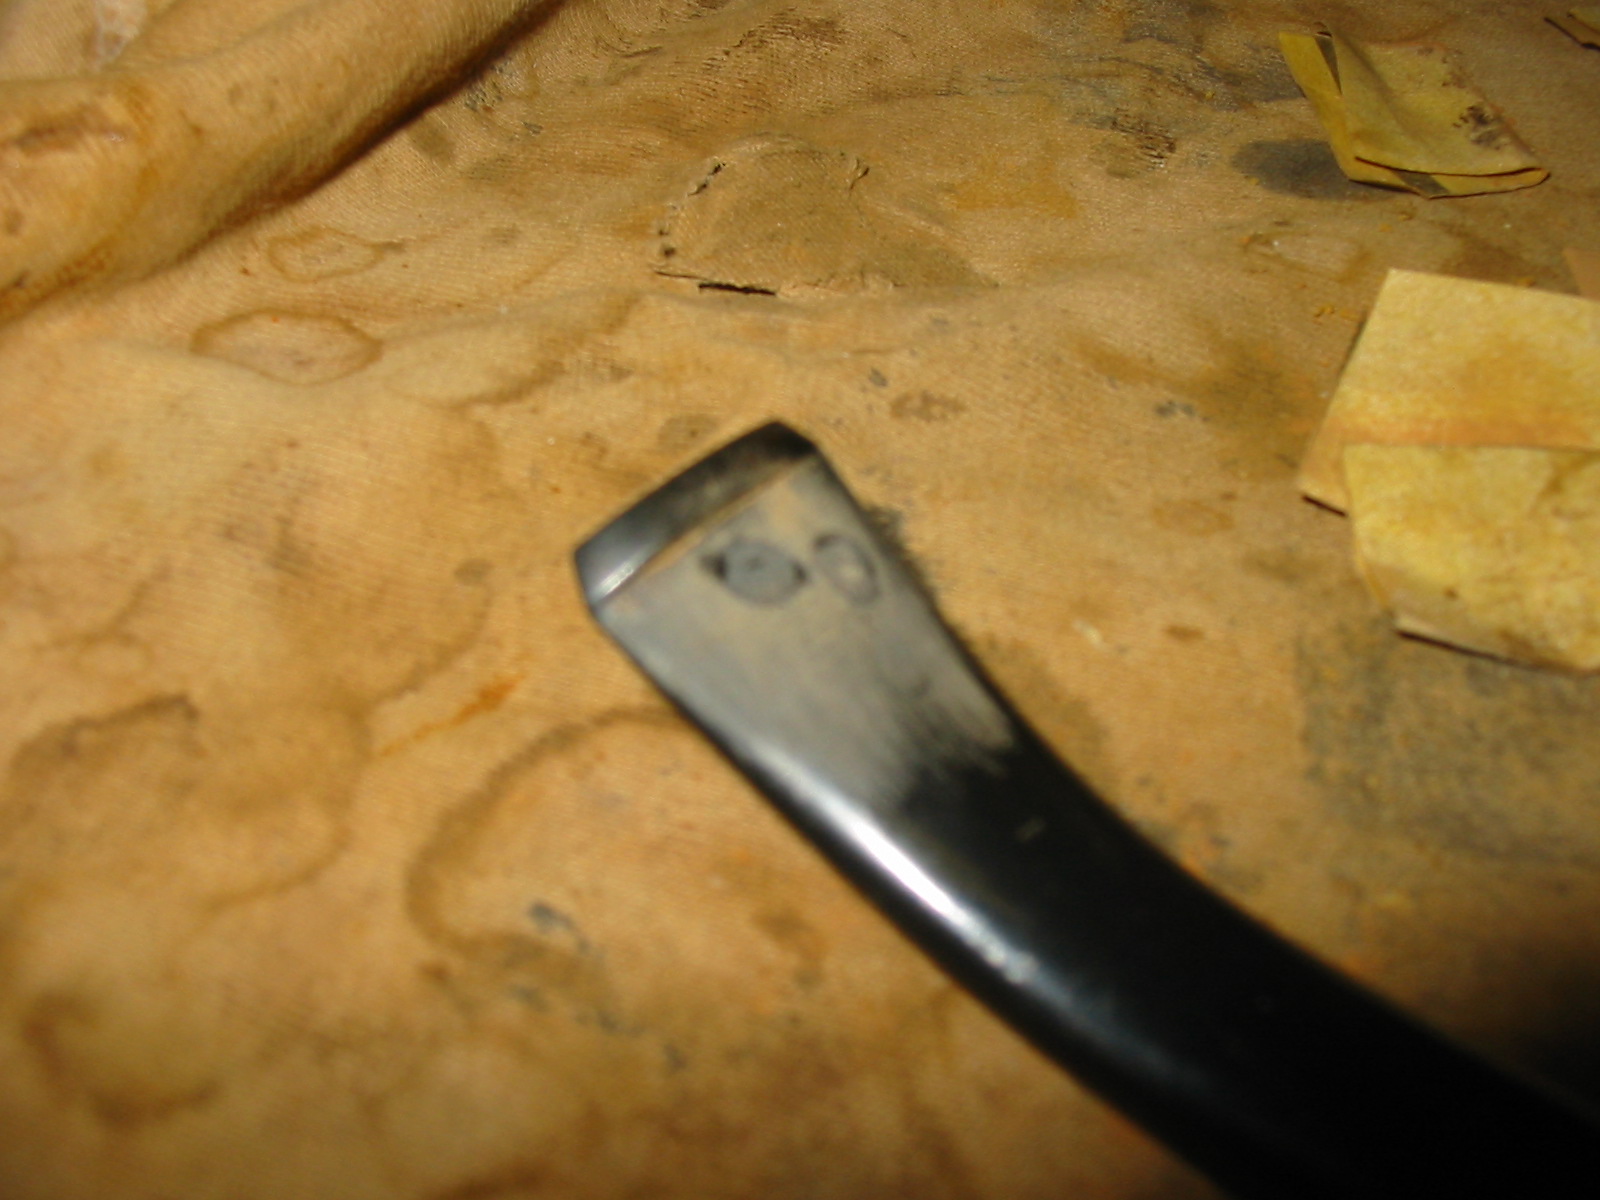
I had an old Dr Grabow stem here that was missing the stinger apparatus but the threaded tenon was in working order. I took it from the can of stems I have and gave it a try on the shank. It threaded in perfectly. It was overturned but it fit. This added some objective evidence to my assumption that this pipe had some connection to Dr. Grabow.

Back Story of Brewster Pipes (If you get bogged down in the history you can skip ahead to the section on the refurbishing process).
At that point in the process I slowed down the cleanup and went to the computer. I was hooked and wanted to see what I could find out about the Dr. Grabow connection to Brewster, if there was one. I wanted to know who made the pipe so I did some research on the web and in some of my books to see what I could find out about the brand. From the book Who Made that Pipe I learned that the brand was Italian made followed by the words unknown maker. I looked on Pipedia and there found much the same information – Italian made followed by question marks as to the maker. After working the web with Google and other search engines the most I could find out was that slight information – the pipe was an export brand of an unknown Italian company.
I decided to take a different tack. I found the Grabow Company site online and wrote an email to their information centre seeking information on the brand. I decided to follow-up on my hunch from the stamping and the metal insert in the shank that somehow this pipe was related to Dr. Grabow pipes. I had no clue how but it certainly had the signs so I went to the Dr. Grabow forum on-line and posted my questions http://drgrabows.myfreeforum.org/index.php . I also did some reading on the forum of back posts and found one series of posts on the brand. I read the following and immediately had more questions. The Grabow connection was not clear but I had found that the pipe may have been a promotional item. Here is the quote that gave me the information”
“A couple months back, I scored a Brewster off eBay for five bucks. Research on this forum and the wild, untamed internet tells me the Brewster pipes were all made in one batch in 1964 as a promotional item for Sir Walter Raleigh.”
Last evening while relaxing, my iPhone vibrated notifying me of a new email. I picked up the phone and saw that I had a response to the questions that I had posted on the forum. Dave Whitney, author of the book on refurbishing called Old Briar, had responded to my request for information. What he sent me was extremely helpful and a true goldmine of information. His answer affirmed the Grabow connection and gave critical information that I had not been able to find anywhere. I have included that information in part below.
Dave Whitney: Here’s what I have from my accumulated notes on Brewster – much of it looks like it came off this forum, ted/td being one of the early ones to help build this forum and a former Sparta CEO:
All the Brewsters were “made” in about 64’… Brewster… is probably from Fratelli Rossi from 64’… Ted, an older pipe smoker than me, suggested the Brewster pipes are comparable to the Willard pipes, and that Brewsters were often sold either with tobacco, or in a coupon offer. For example Brewster was sold as a redemption offer with Brown and Williamson for Sir Walter Raleigh tobacco.
Further information came from Dr. B… I think (in my feeble state of mind, after today) that Brewster was sold as a redemption offer with Brown and Williamson for Sir Walter Raleigh tobacco. But, Mastercraft in 74 had a LOAD of them left. We (Mastercraft) sold them as closeouts along with several pipes in baskets of 4 dozen at $3.98. We also included a bunch of Mastercraft from F. Rossi at the same price……..Rossi pipes are another story……Remind me of the “sticky lacquer” and I’ll tell it…….ted
Mastercraft was founded by Bernard Hochstein, an Orthodox Jew. Old, White Haired, Santa Claus looking (still alive at 96, last time I knew), and he was REKNOWNED for his ability to “strong arm” the European pipe suppliers into selling pipes to M/C at a bargain. Probably the best (never say nothing) negotiator that I’ve ever met. He sold a business (Mastercraft) to UST for 6 million in STOCK. He’s probably worth 60 million today. Mr. Hochstein could negotiate a peace in the Middle East in a very few days, and talk all parties outta’ their pants in the process.
OK, so Mr H “rapes” the Italian suppliers even up till 1964 when the Surgeon General’s (SG) report comes out. As it turns out, “rape” works both ways. A supplier, Fratelli Rossi, (still in business) took an order in 1963 for over 1 million pipes at 1/2 dollar (US) per pipe. When the SG’s report comes out, Rossi has filled a small part of the order for Hochstein, and had orders for a great many more pipes than Hochstein ordered. Rossi decided to experiment with his lacquer …Whose pipes did he experiment on? Hochsteins.
When I started at Mastercraft we had 1215 cartons of pipes from Rossi…Mastercraft Standard….72 dozen per carton, with lacquer so “tacky” that if you held the pipe as if you were smoking it, you’d have to “shake” it out of your hand. Rossi left out the curing agent. Ever touched wet paint?……..After 10 years they were still STICKY…..after 20 years, they were still STICKY.
We fought these SOB’s for years, when finally Luther Marlow (you’ll see topics about him) concluded that we could re-spray them with the Grabow lacquer and sell em’. We did, and we did. Through a “drive” by the UST salesforce, we sold every one. So if you have a Mastercraft Standard with what looks to be “heavy” lacquer, you are probably right.
Hussar…..Rossi also made Brewster. Better lacquer job though… Brewster was sold as a redemption offer with Brown and Williamson for Sir Walter Raleigh tobacco. But, Mastercraft in 74 had a LOAD of them left. We (Mastercraft) sold them as closeouts along with several pipes in baskets of 4 dozen at $3.98.
When I started with Mastercraft in the early 70’s we had over 400 cartons of pipes from Hully. Each carton contained 60 to 80 dozen, most of which were stamped Brewster or Stetson and these had a base cost (from the 60’s or earlier) of $2.80 /dz. Some of the smaller pipes, called Southern Assortment were $1.90 / dz. May be partly to blame for them going out of business.
That was very helpful information on the brand. It gave a definitive date and origin to the pipe. The Italian connection was also clear. The Dr. Grabow link was also clear in Dave’s answer. Now I wanted to know something about maker, Rossi. Dave kindly included that information in his answer as well. It is as follows:
From approximately 1946 up to the end, Ferdinando Rossi II, a grandchild of the founder, headed the company. But after World War II the world of the pipe changed dramatically. Especially in Italy, where those big pipe factories mainly turned out pipes for the lower priced segments of the international mass markets. The demand for these pipes shrunk considerably as more and more smokers turned to cigarettes. Rossi got into this vortex as well. Little by little the number of pipes produced sank. This evolution was accelerated by the upcoming fame of pipes from Denmark. As well, new Italian brands established after the war like Castello, Brebbia or little later Savinelli operated cleverer and thus were more successful.
So the decline went on through the 1960’s and 1970’s, even though Rossi offered more than 800 possible shapes in dozens of lines and uncounted finishes. Besides the completely machine made pipes there were also some lines of semi-freehands and even quite considerable freehands were made. But all these efforts could not stop the fall anyway. Due to increasing financial difficulties Rossi closed down in 1985, just one year before the 100th anniversary.
In the years around 1870 and still later the bulk of Italian pipes was made by time taking and laboriously manual work. Mainly based on families who sold their pipes to travelling purchasers handing them on to some wholesaler. Most pipes were still made of box or olive wood.
Ferdinando Rossi from Milan was one of the most important wholesalers for tobacco related goods of northern Italy. When he attended one of his pipe suppliers in Saint-Claude in 1880 he got hooked on the idea to establish this manner of industrialised briar pipe production in Italy as well. Rossi went abroad several times to buy the hardware here and there because the special features of machines for pipemaking were secrets – well kept by the French in those days. Many machines and tools had to be modified on Rossi’s defaults.
[From the Catalogue “La Regina della Pipa” (1896)] He acquired a large area of land in Barasso in the province of Varese and founded the Fabbrica di Pipe di Radica Rossi in 1886. For sure there was no lack of skilled workers and Rossi personally recruited 30 craftsmen of different occupations from the environment to get started. After a few years the enterprise had developed well and entered into export trades. In 1892 e.g. the ledgers registered the first pipes shipped to Brazil.
One reason of success was the ultramodern conception of the factory and its equipment at the given time. To give an example: a system of canals invented by Rossi drove water to turbines propelling downstream generators, which supplied the entire machinery with electricity. Also lighting and heating were already electrically operated.
In the first years after 1900 Rossi grew steadily and became one of the ten biggest pipe manufacturers of the world. Rossi’s rapid ascent produced further foundations of pipemaking firms in the area.
I love finding out the old company histories of the pipes that I refurbish. I find that it gives a colour and flavour to the pipe I hold in my hands and rework. It gives me the back story on the pipe and adds another dimension to the work of refurbishing. I have included it here for those who enjoy the same kind of history.
The Refurbishing Process (for those of you who have skipped ahead to see the work here is where it begins.)
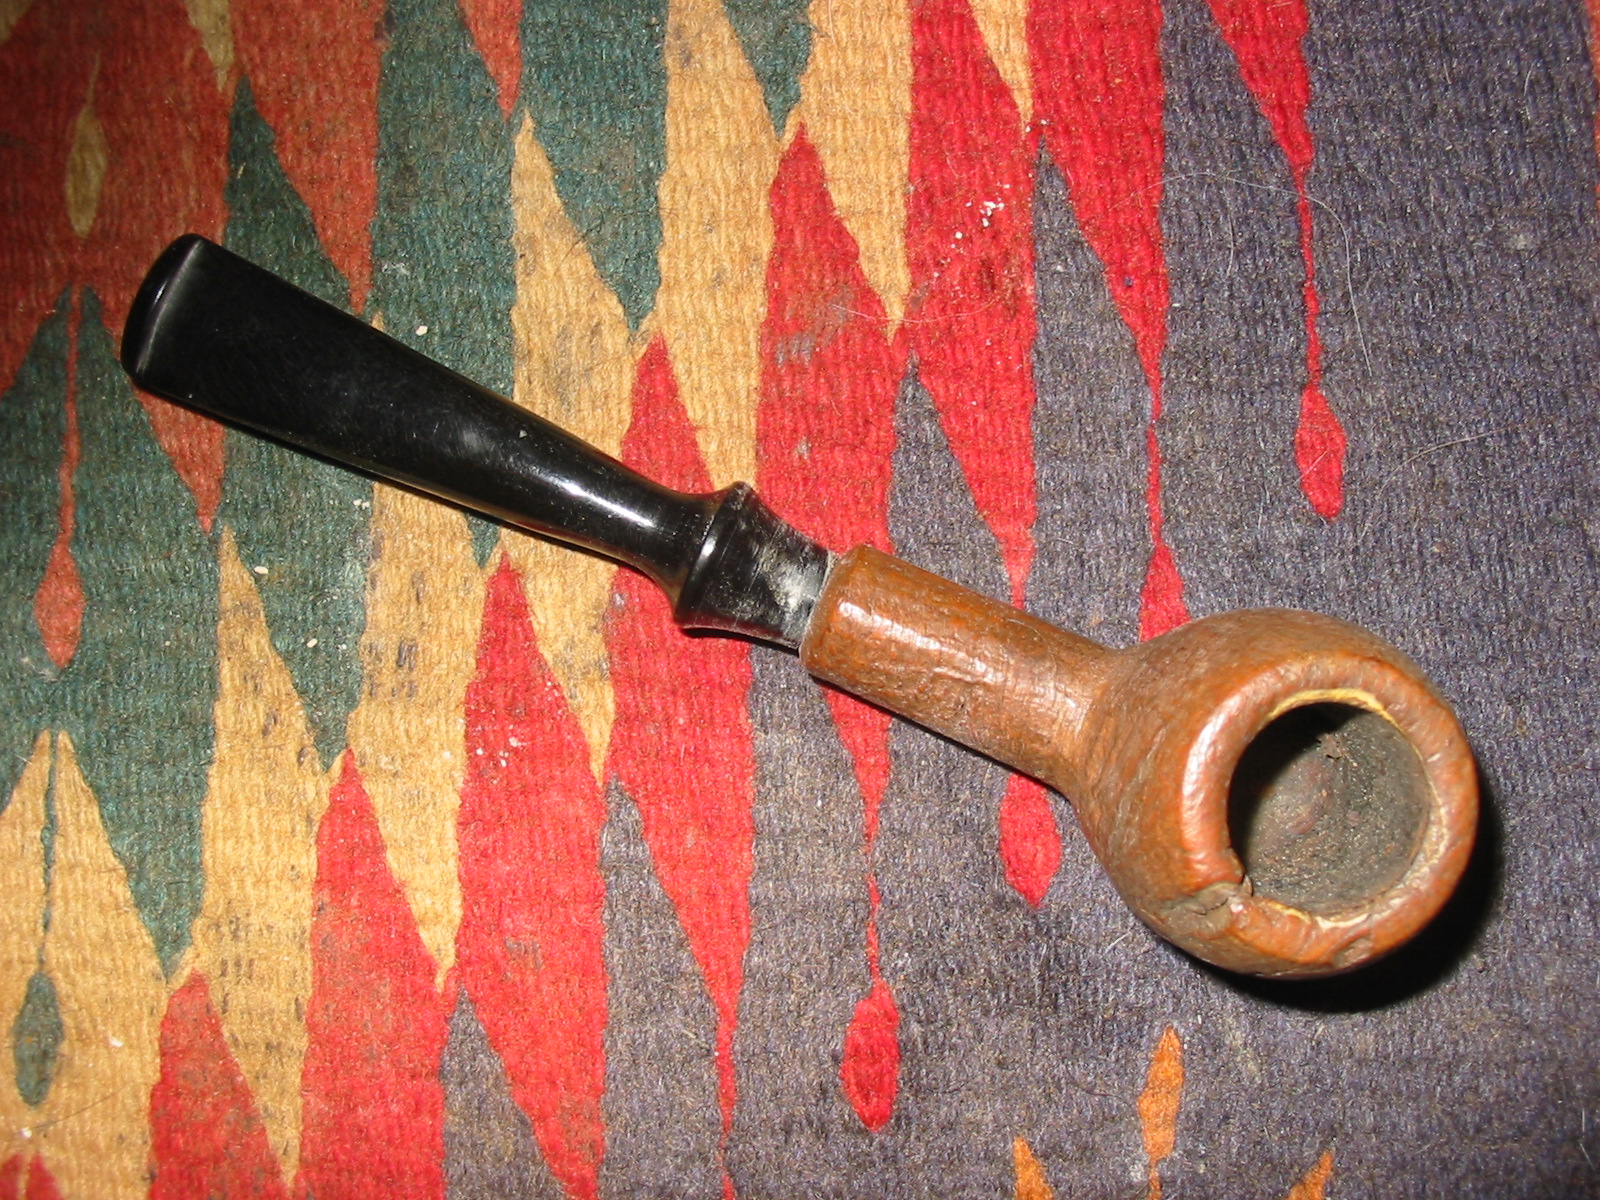
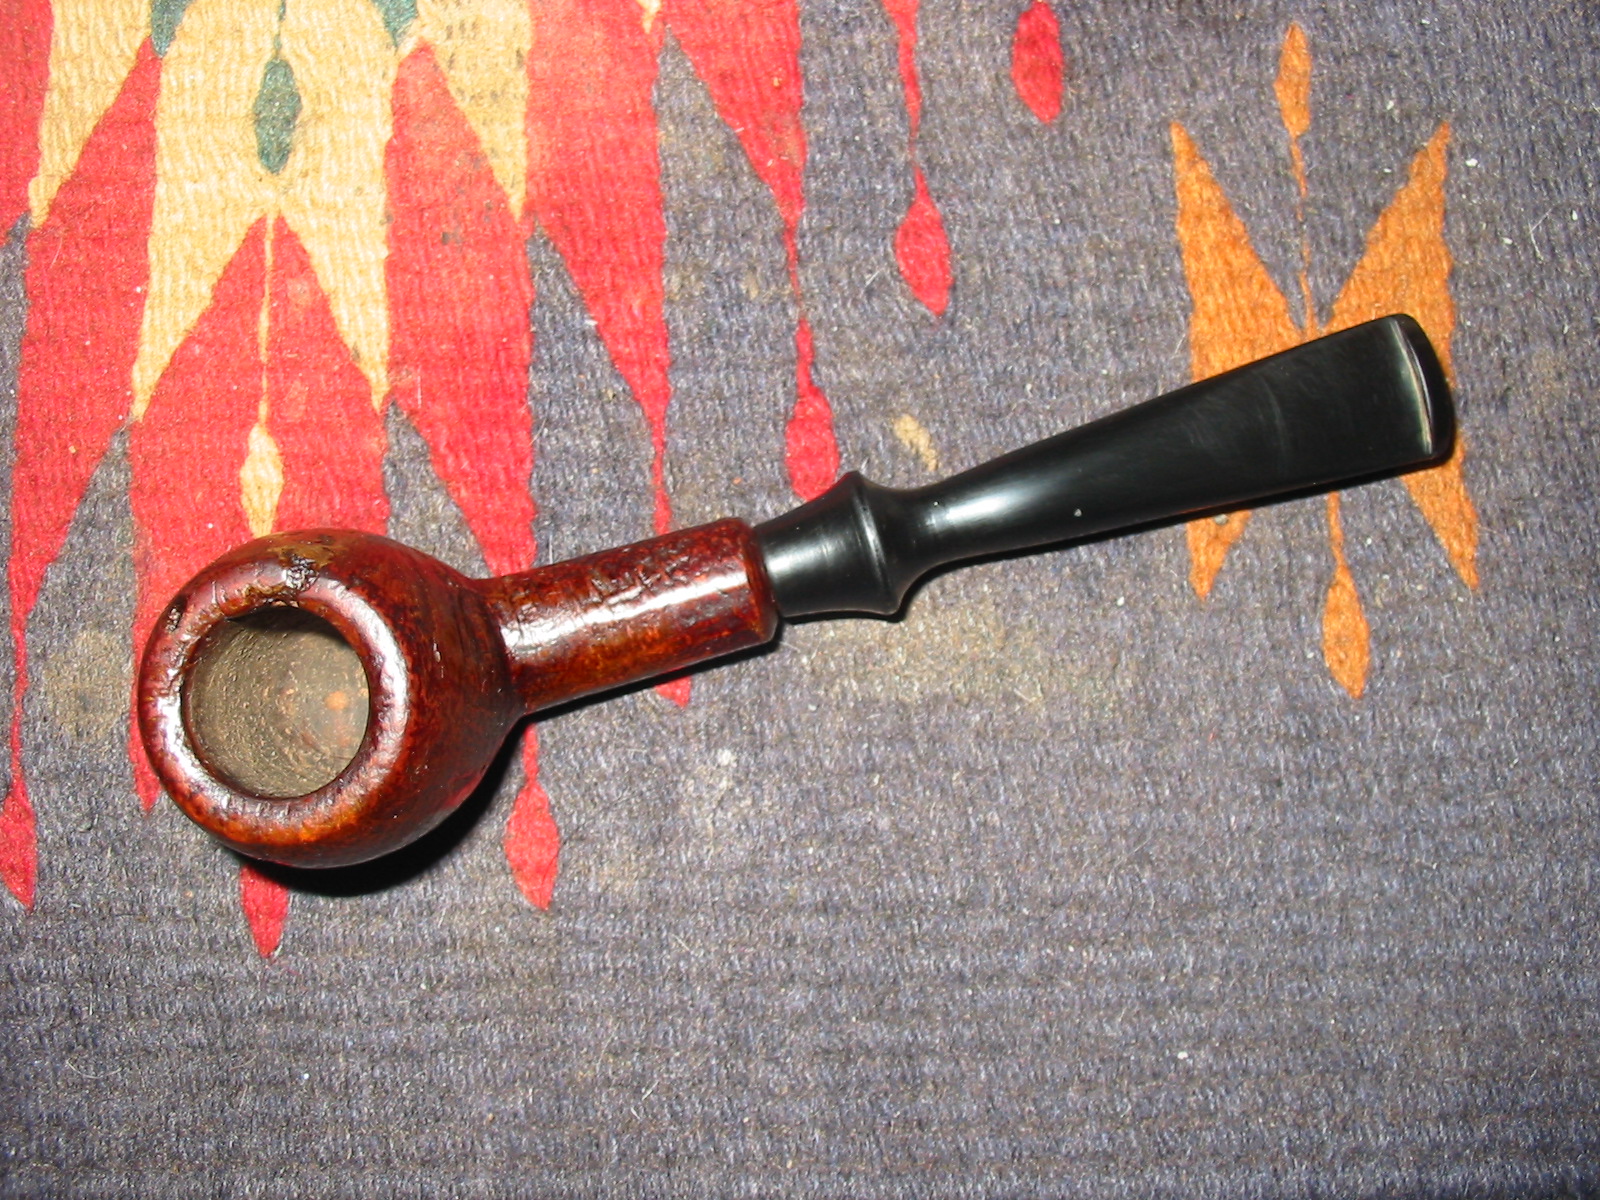
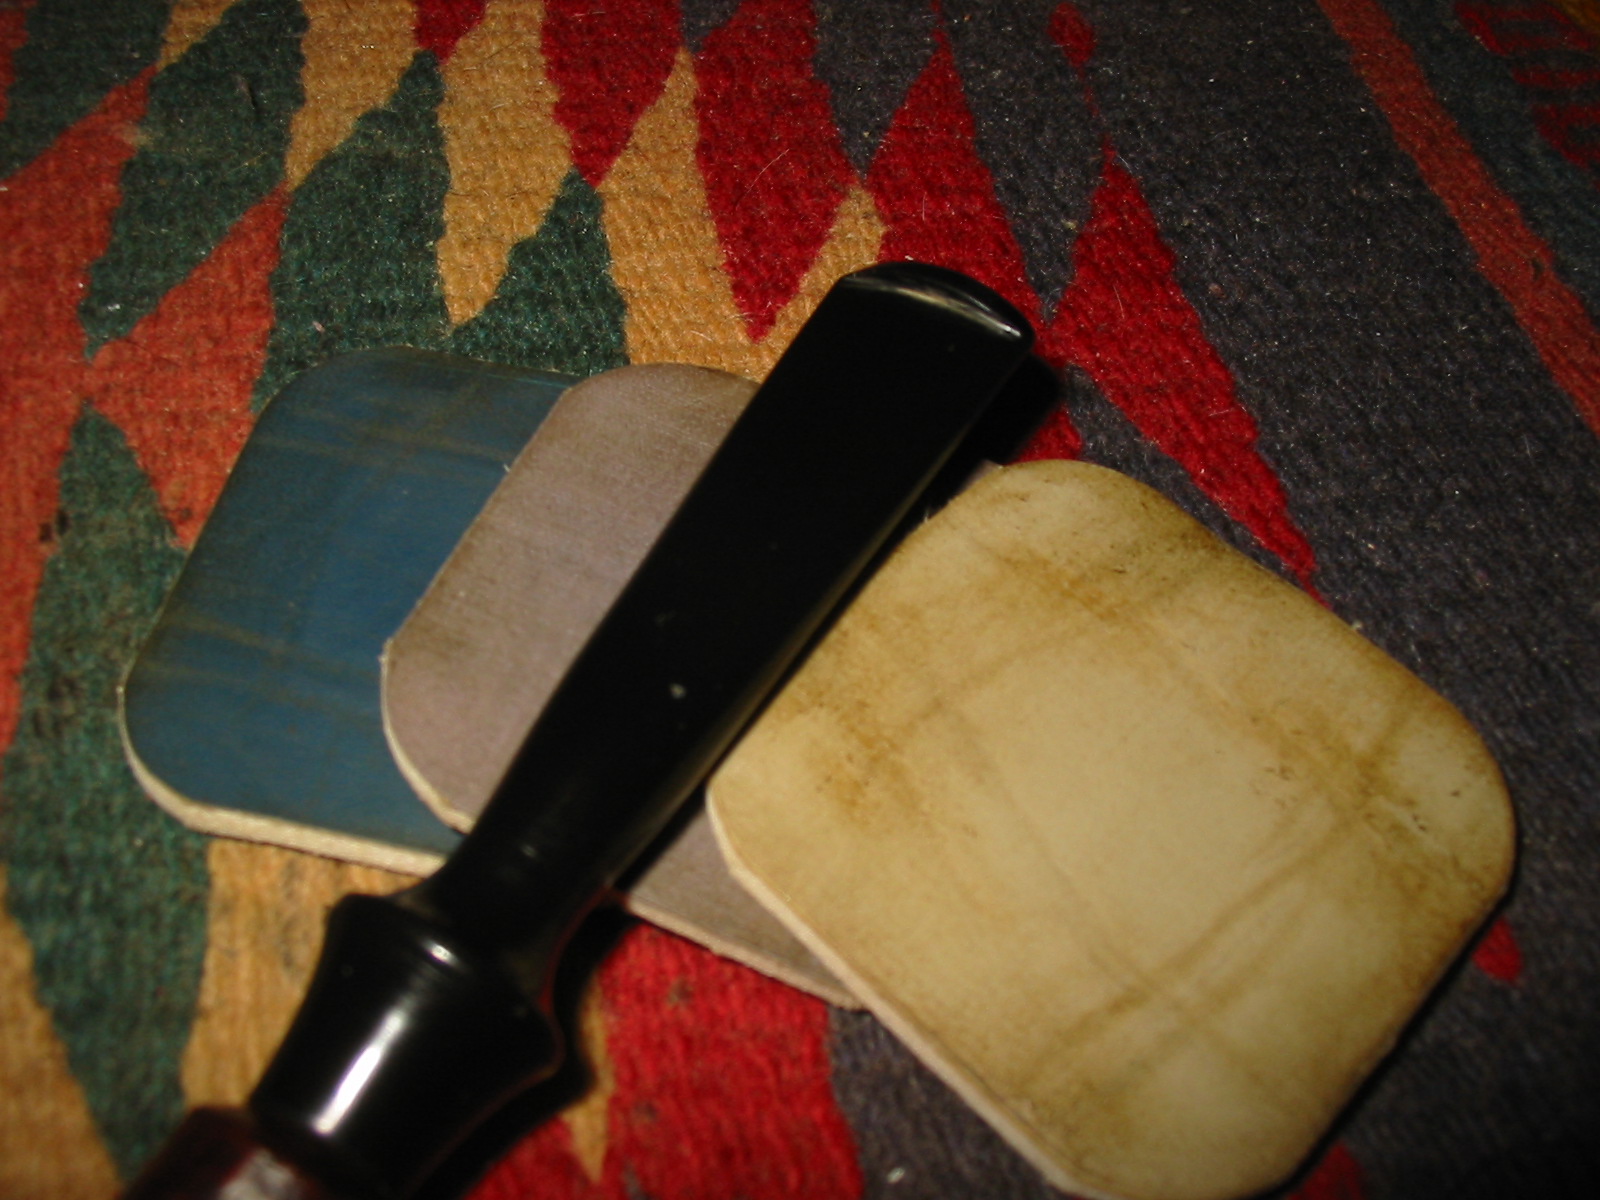
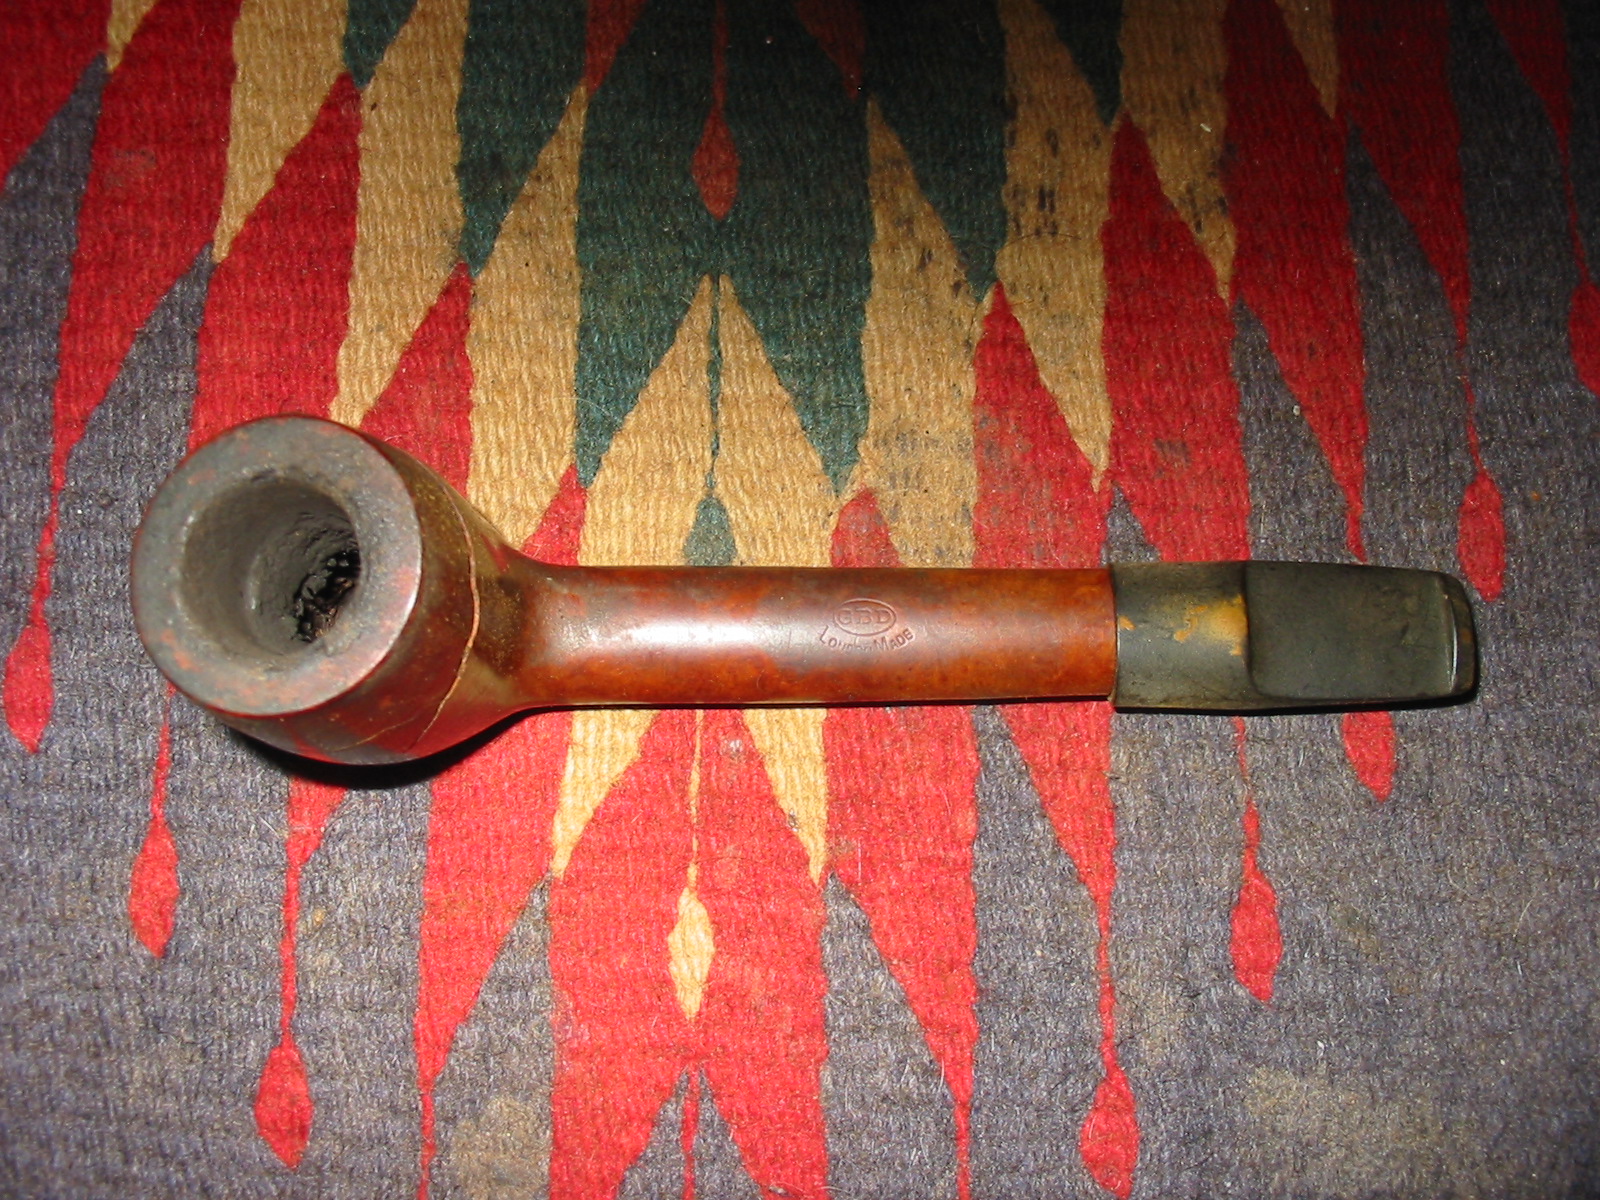
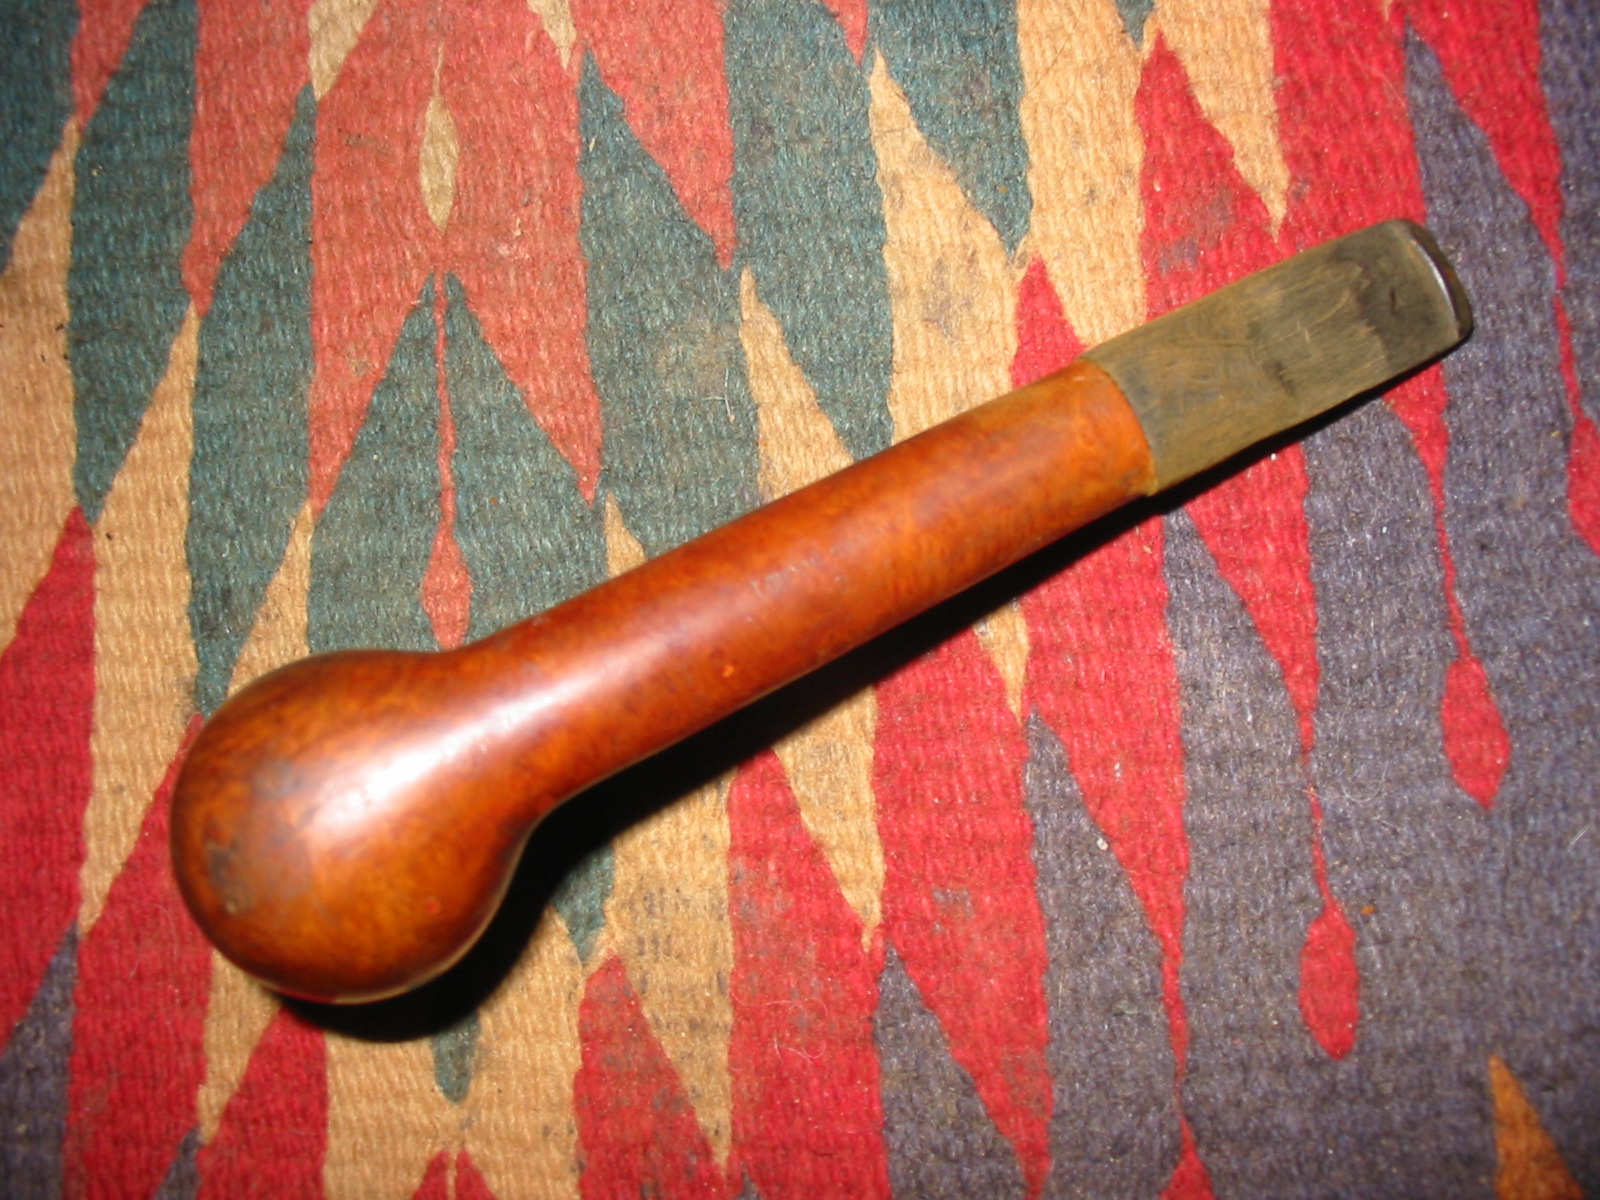
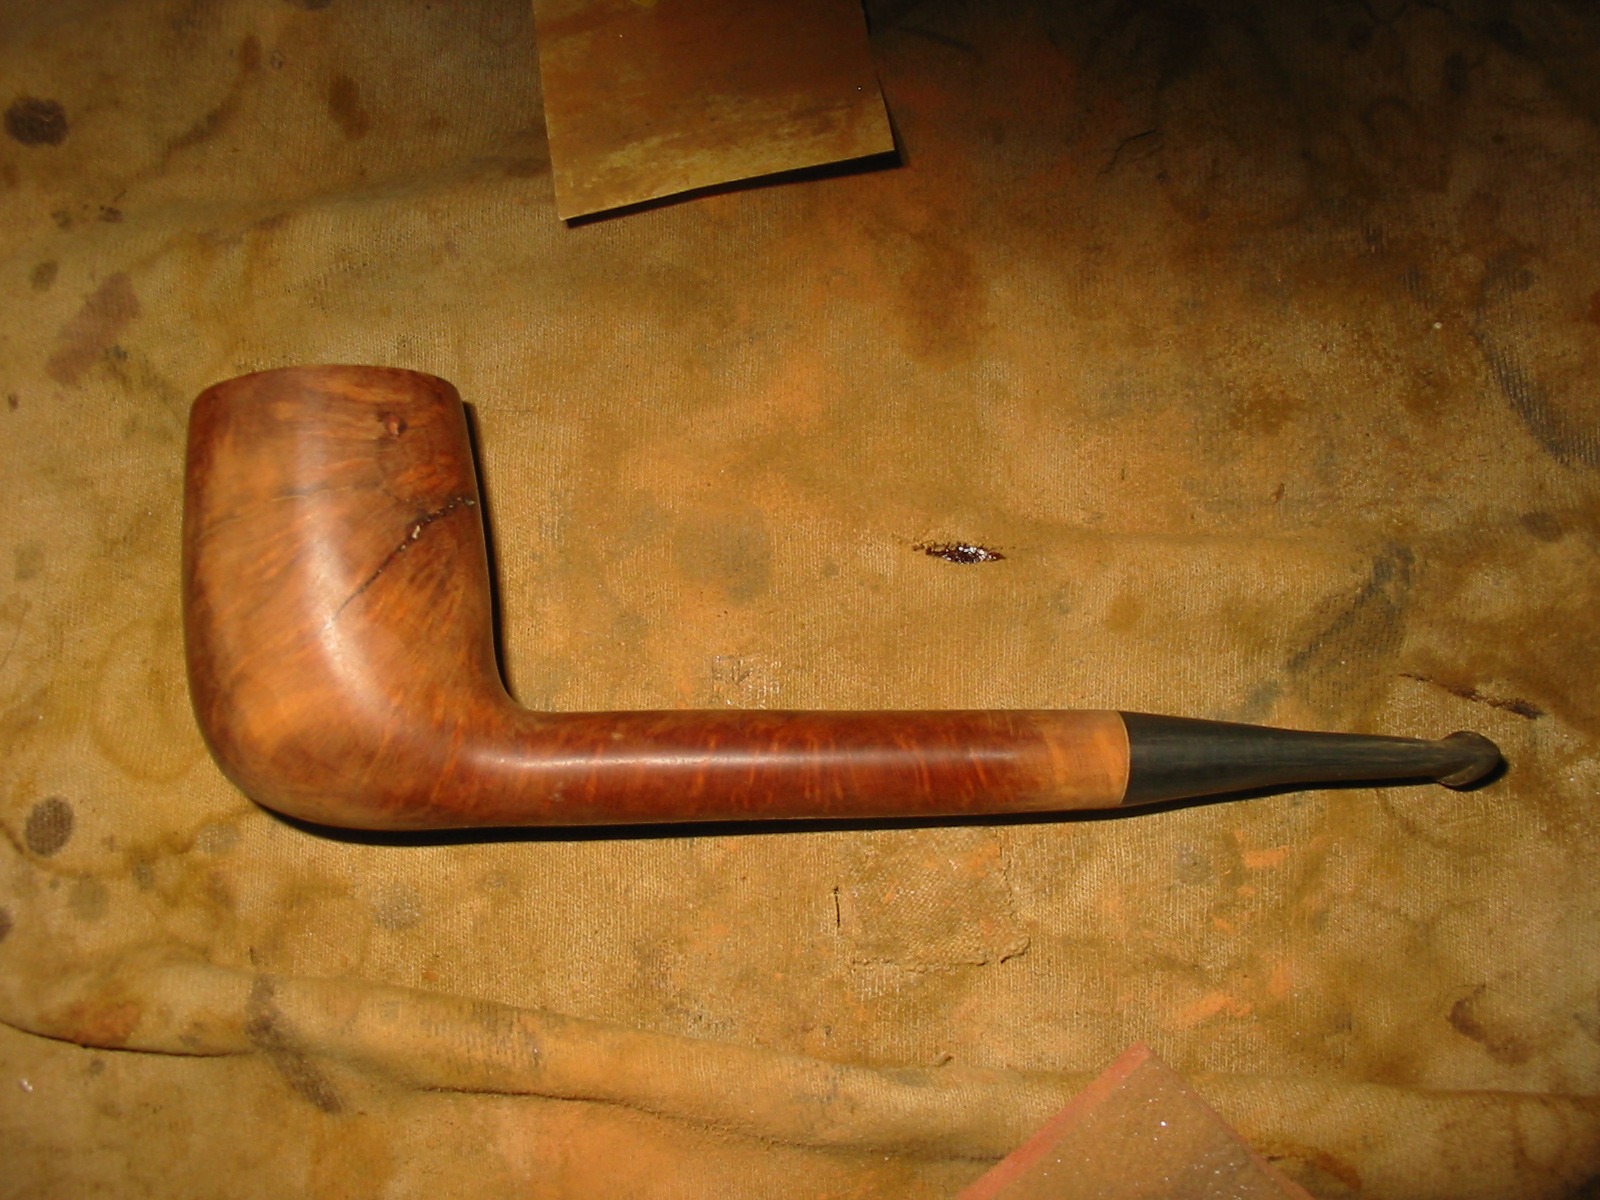
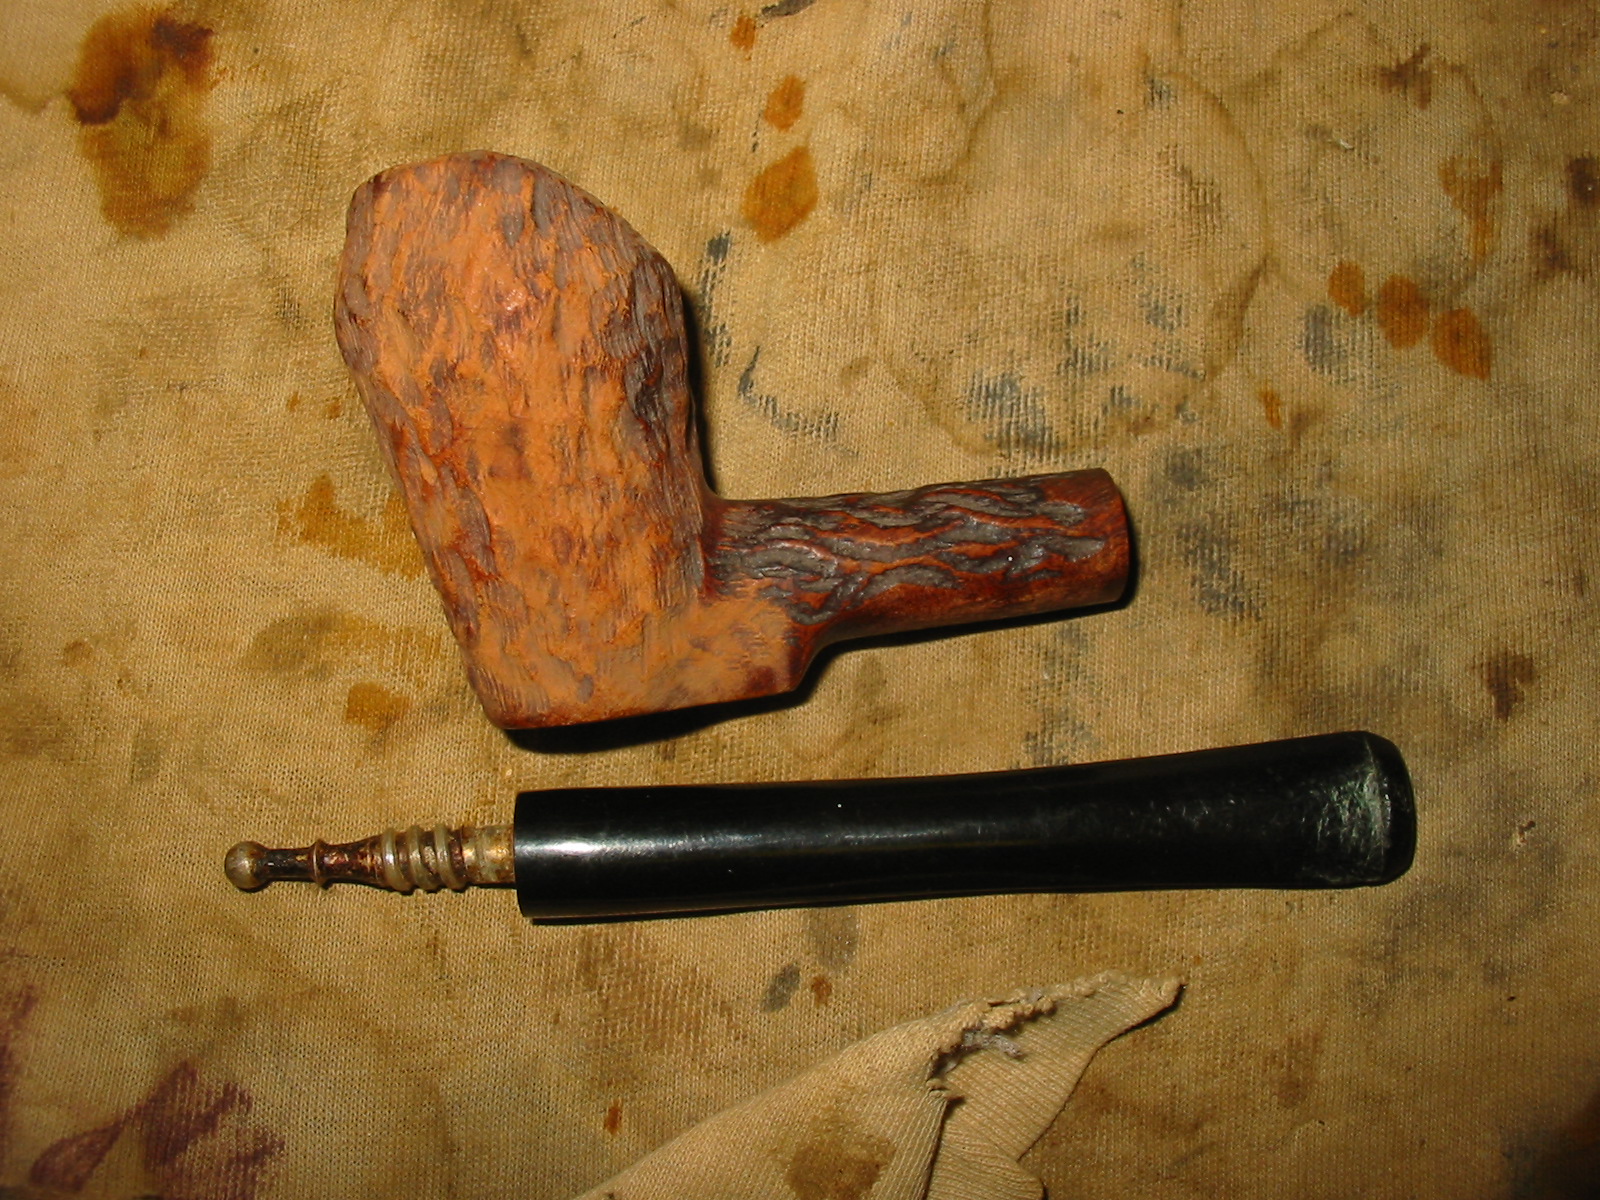
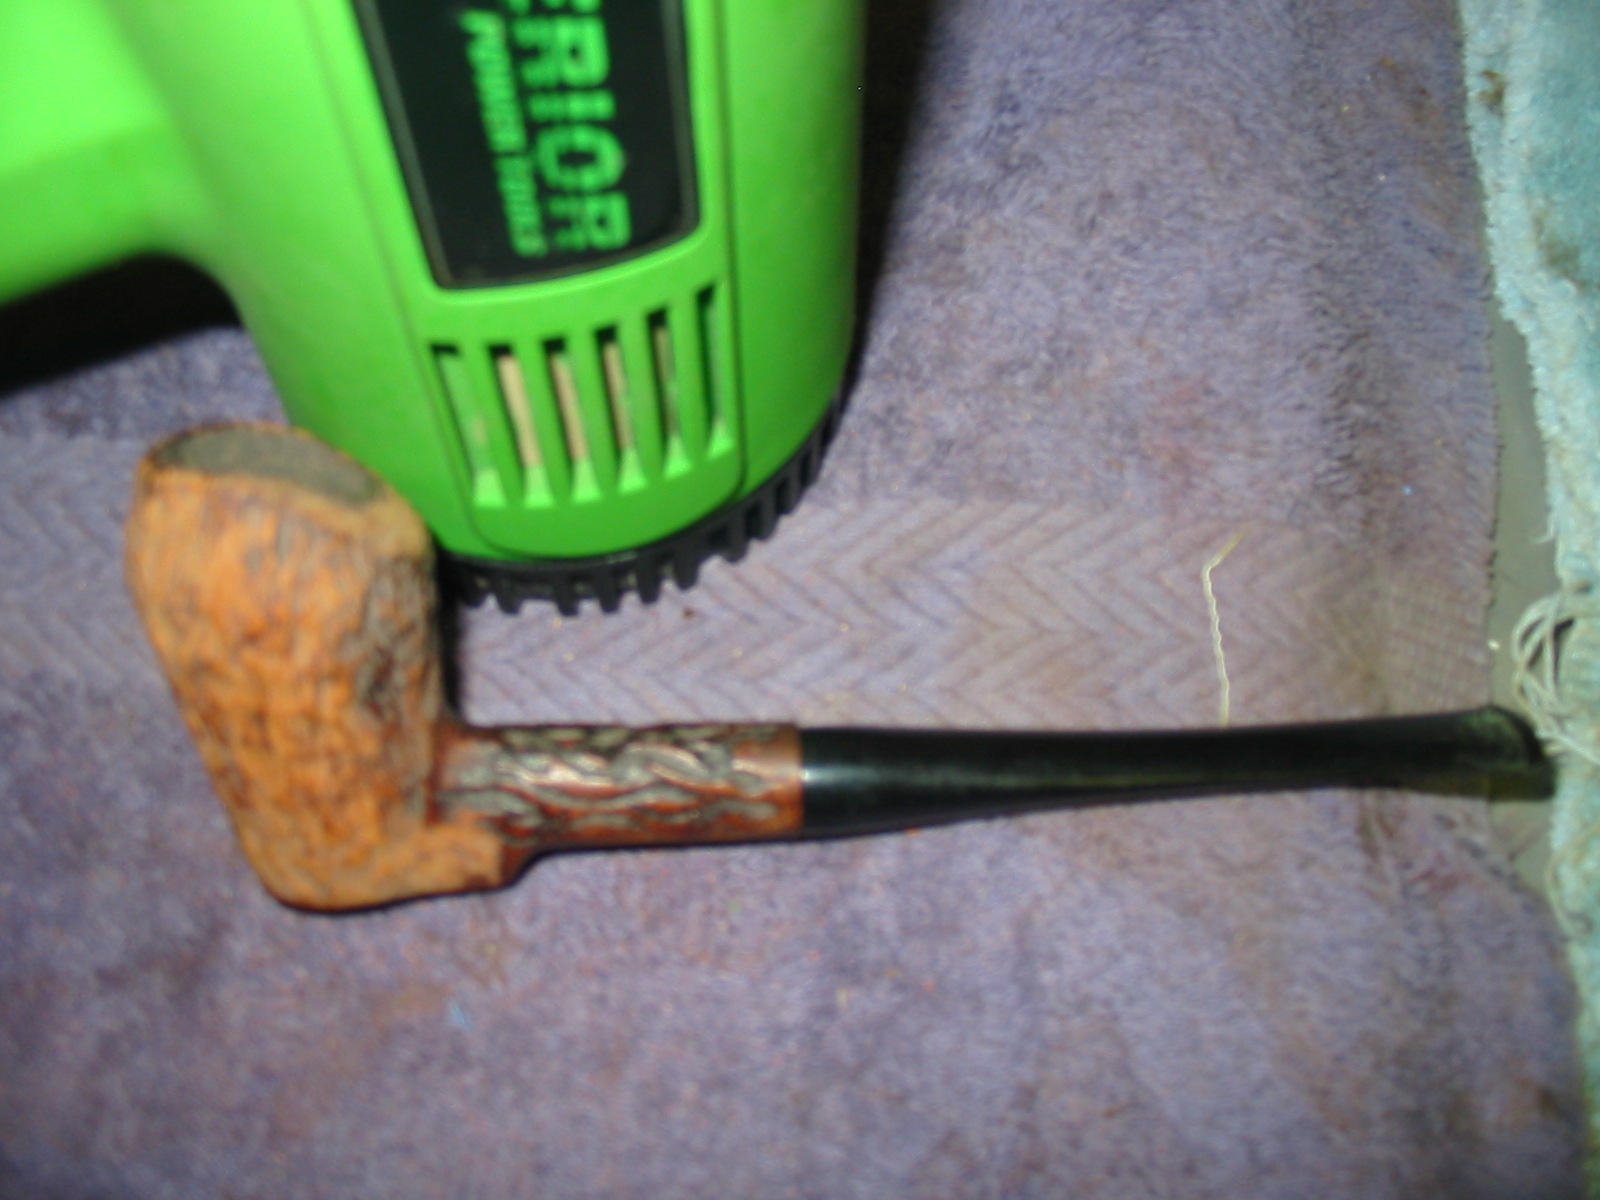
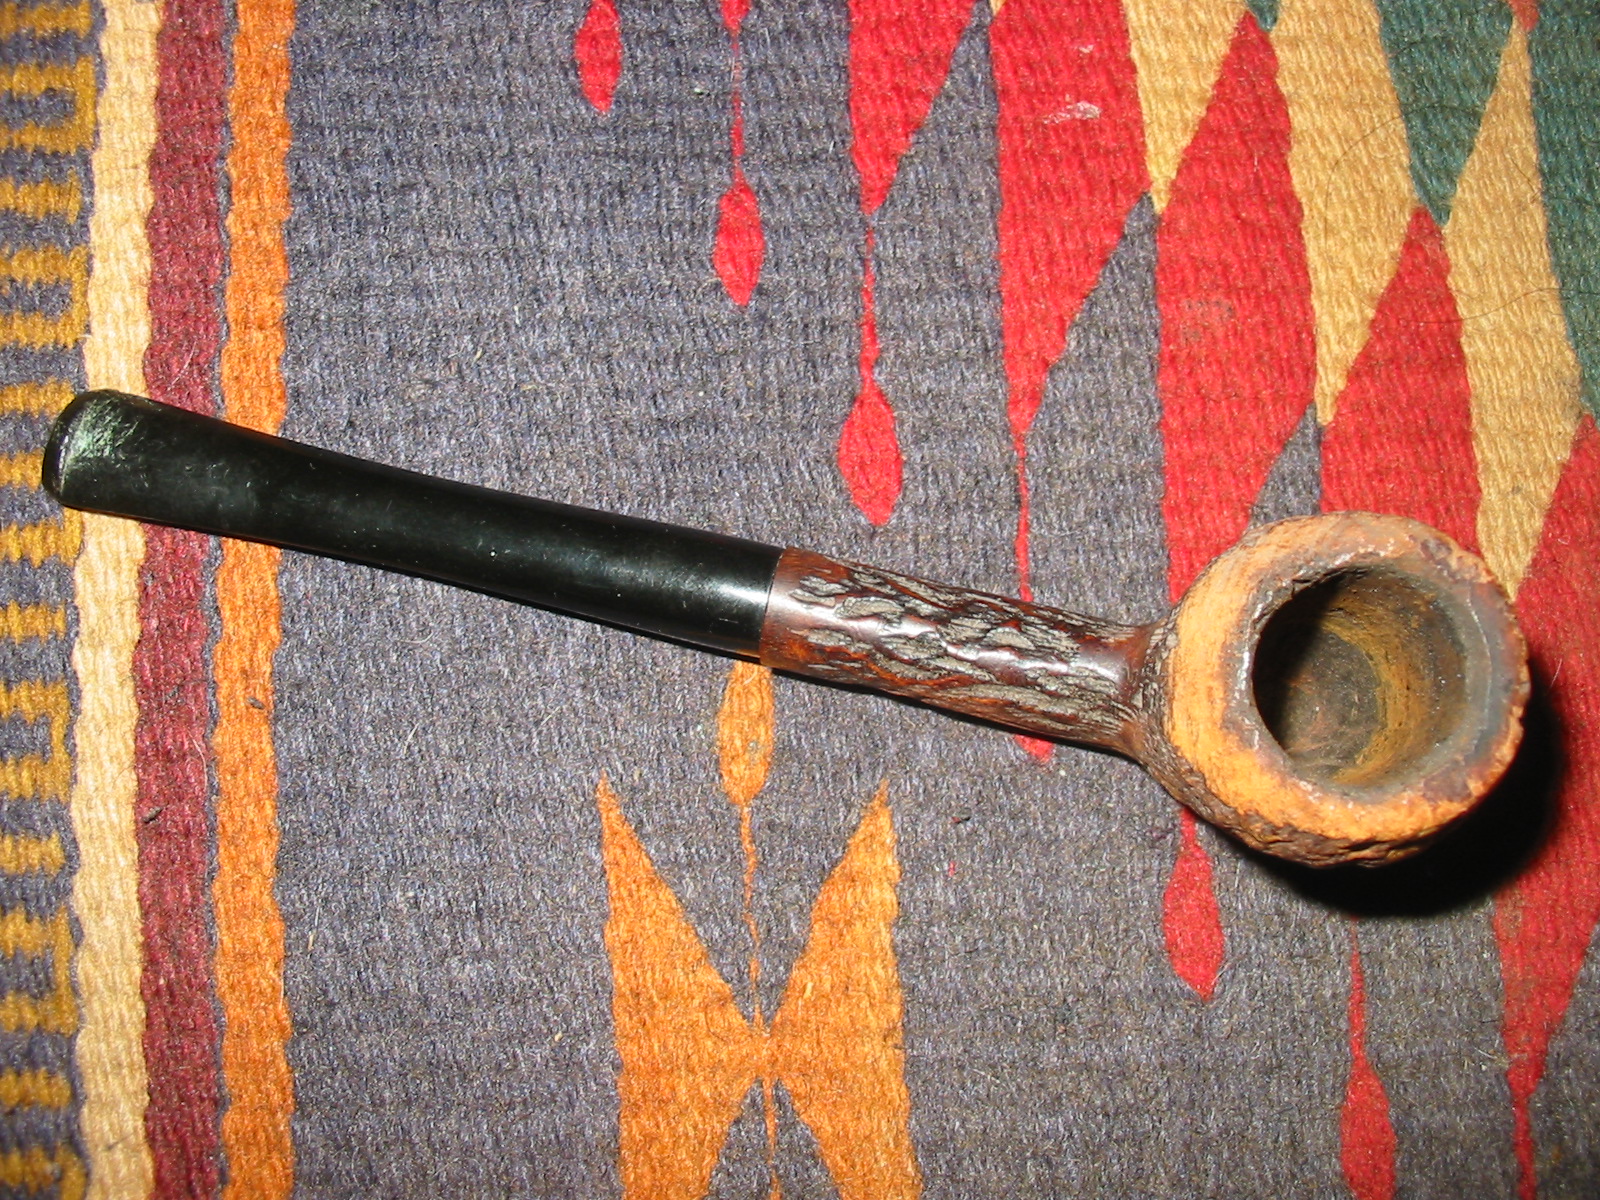
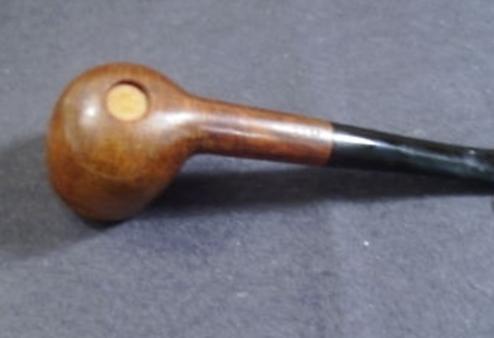
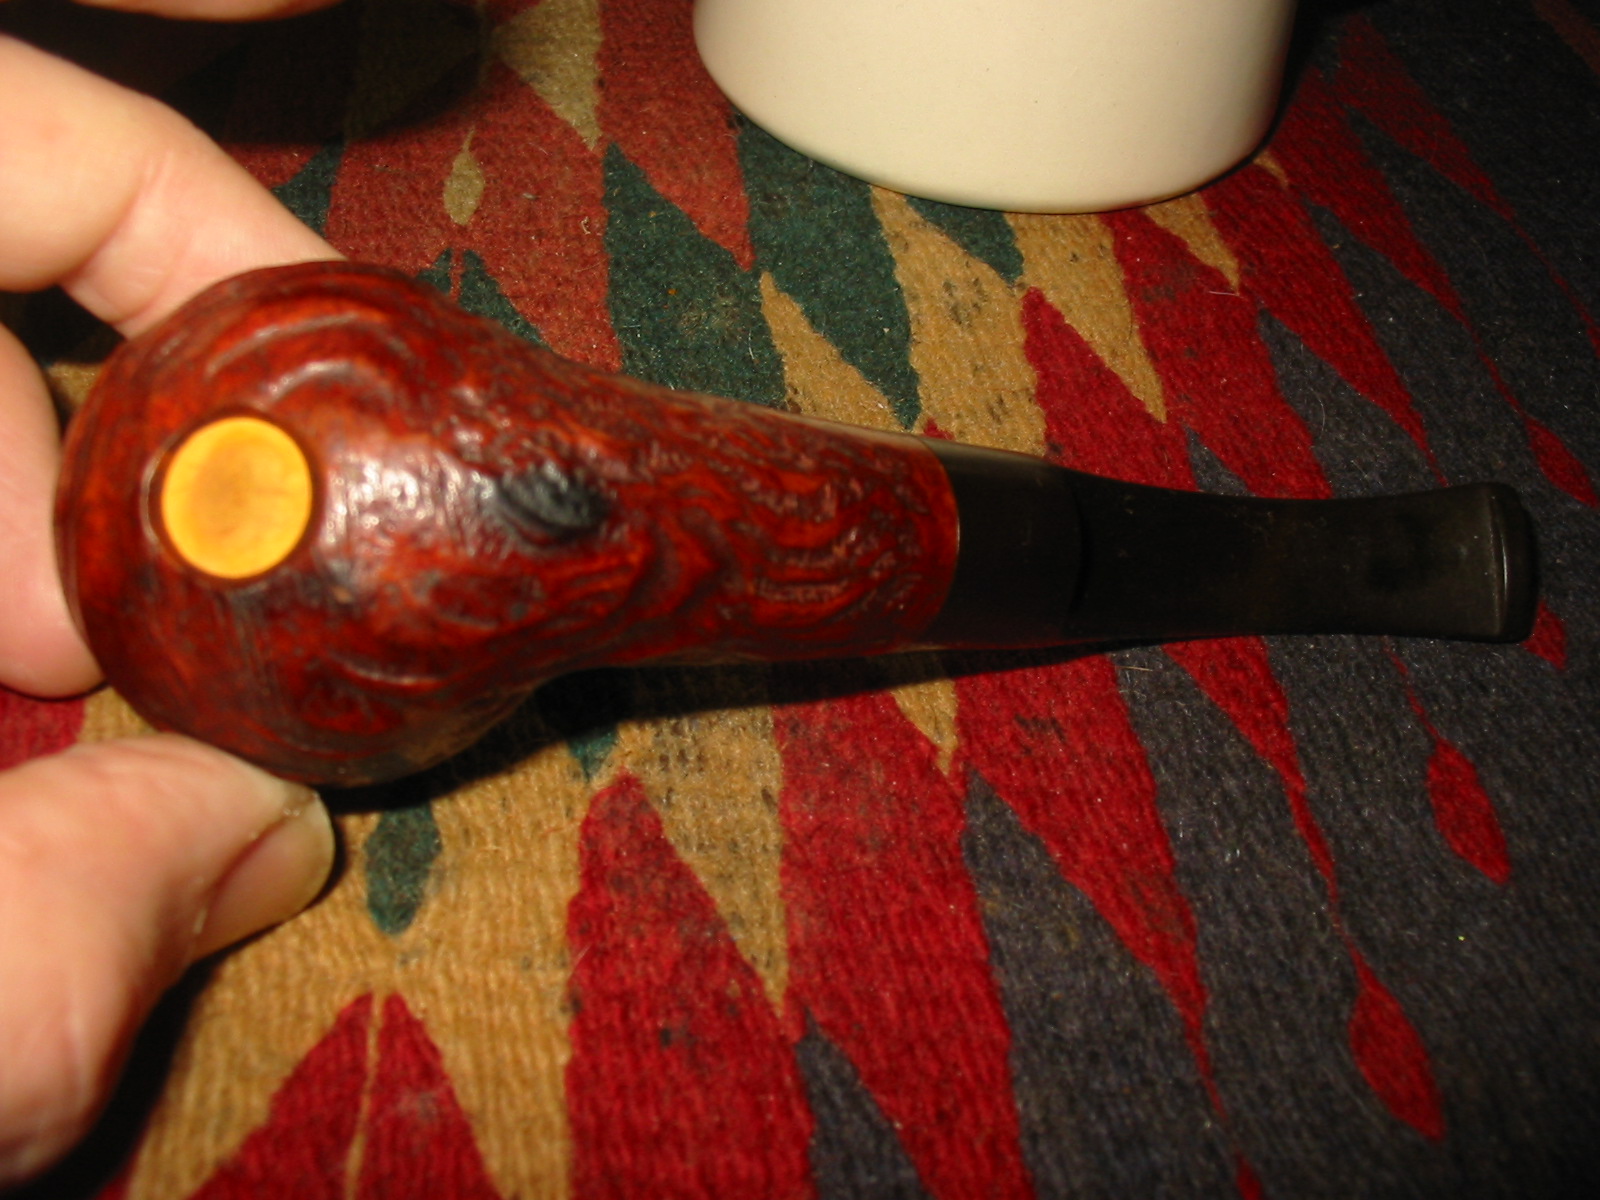
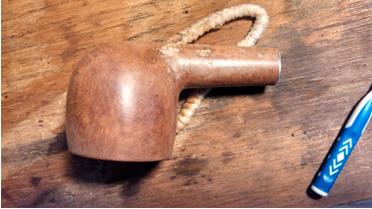
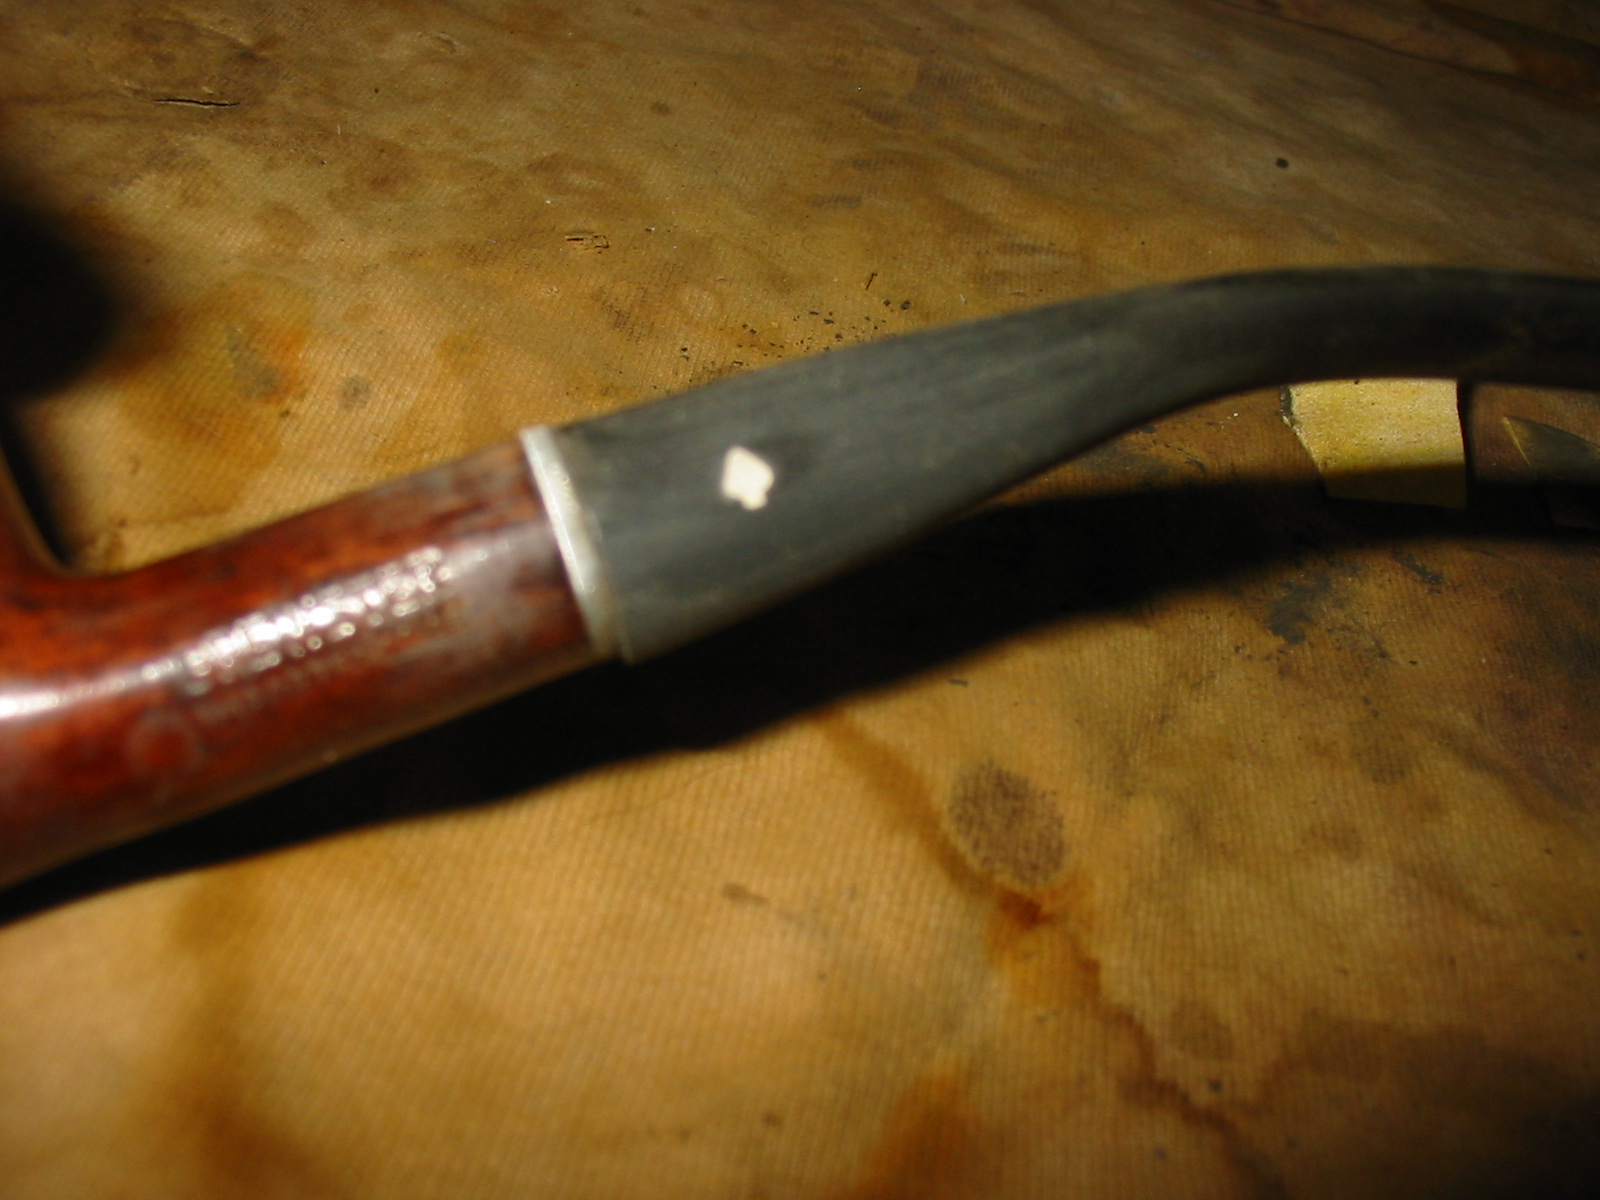
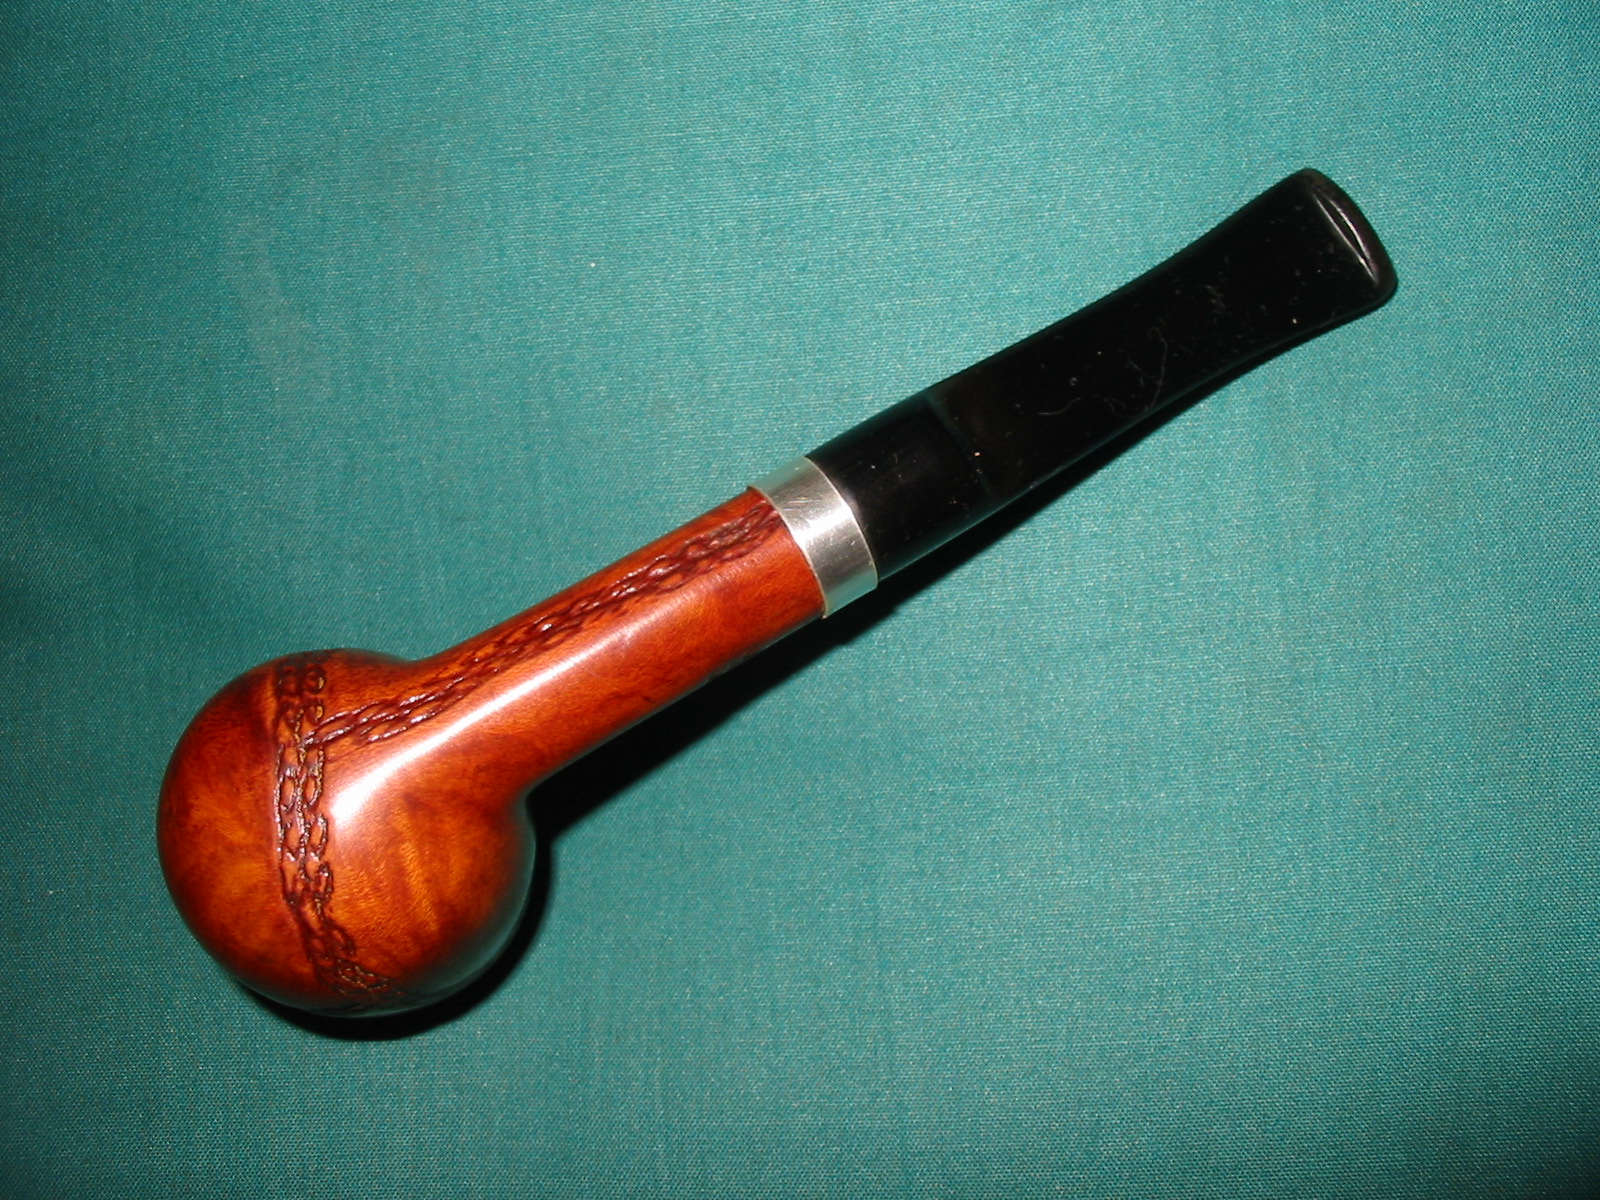
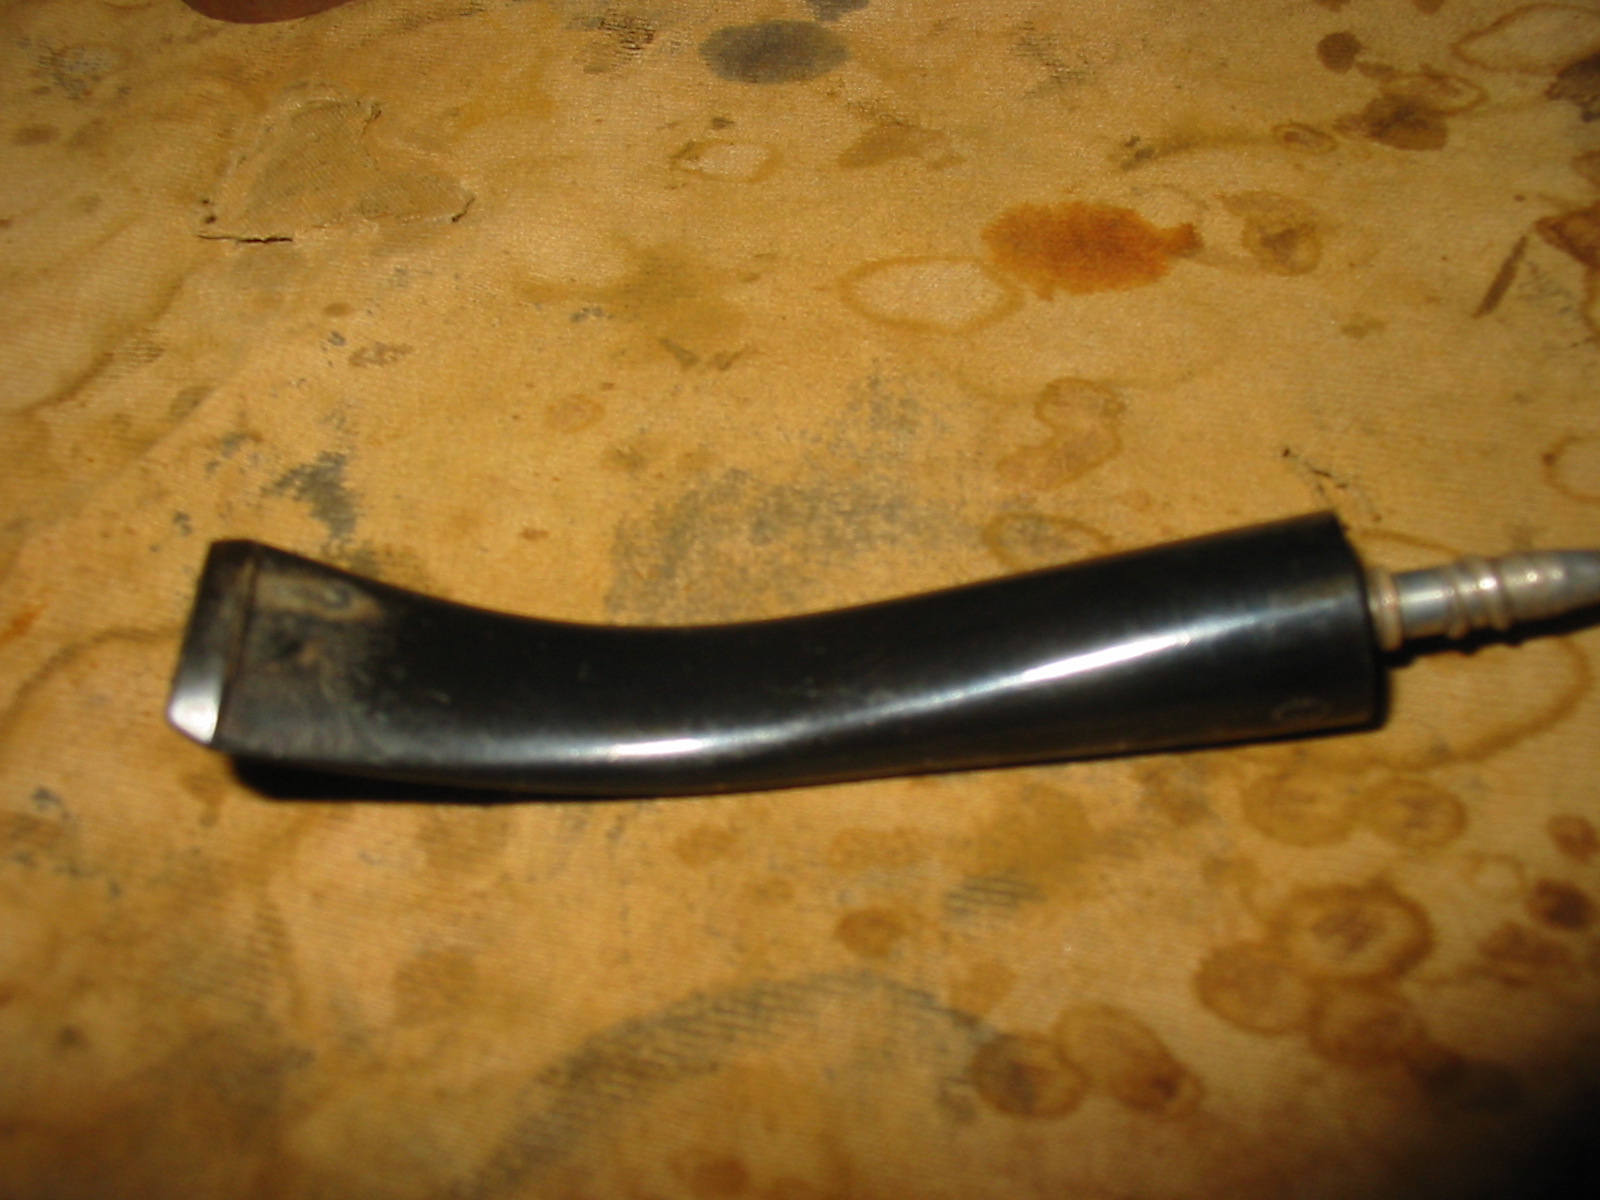
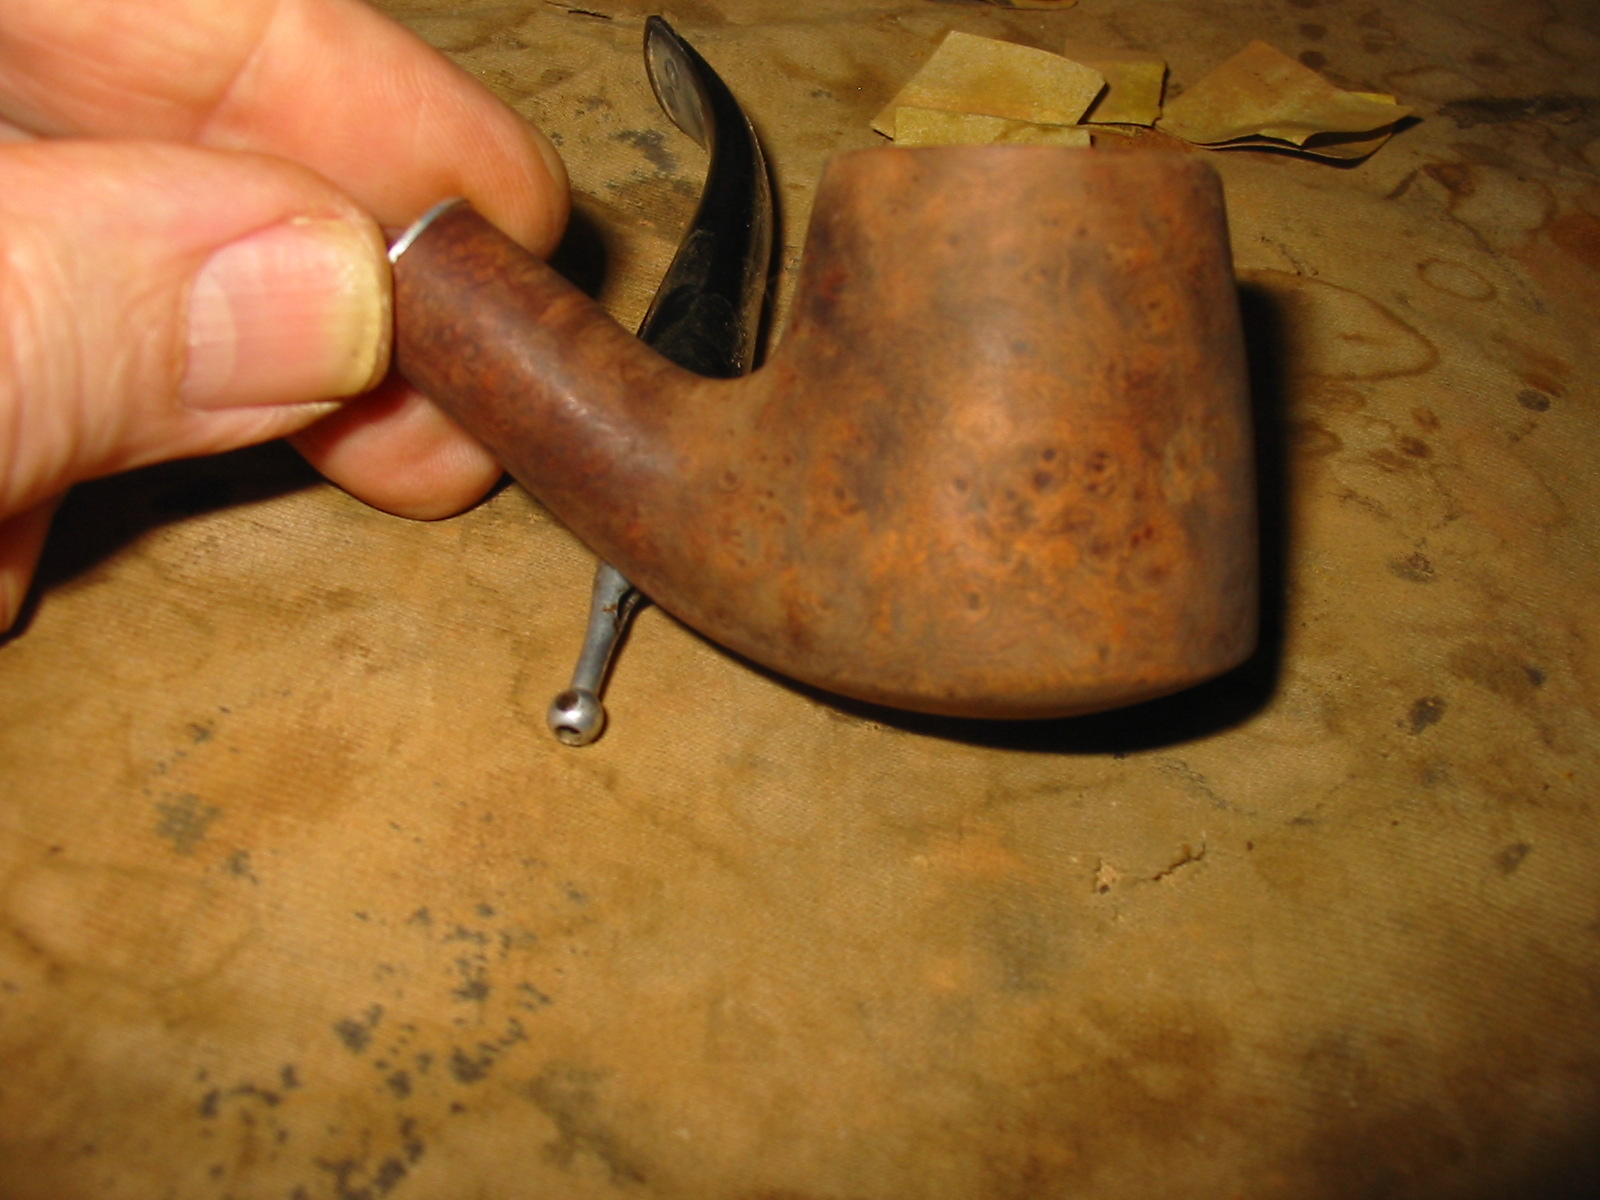
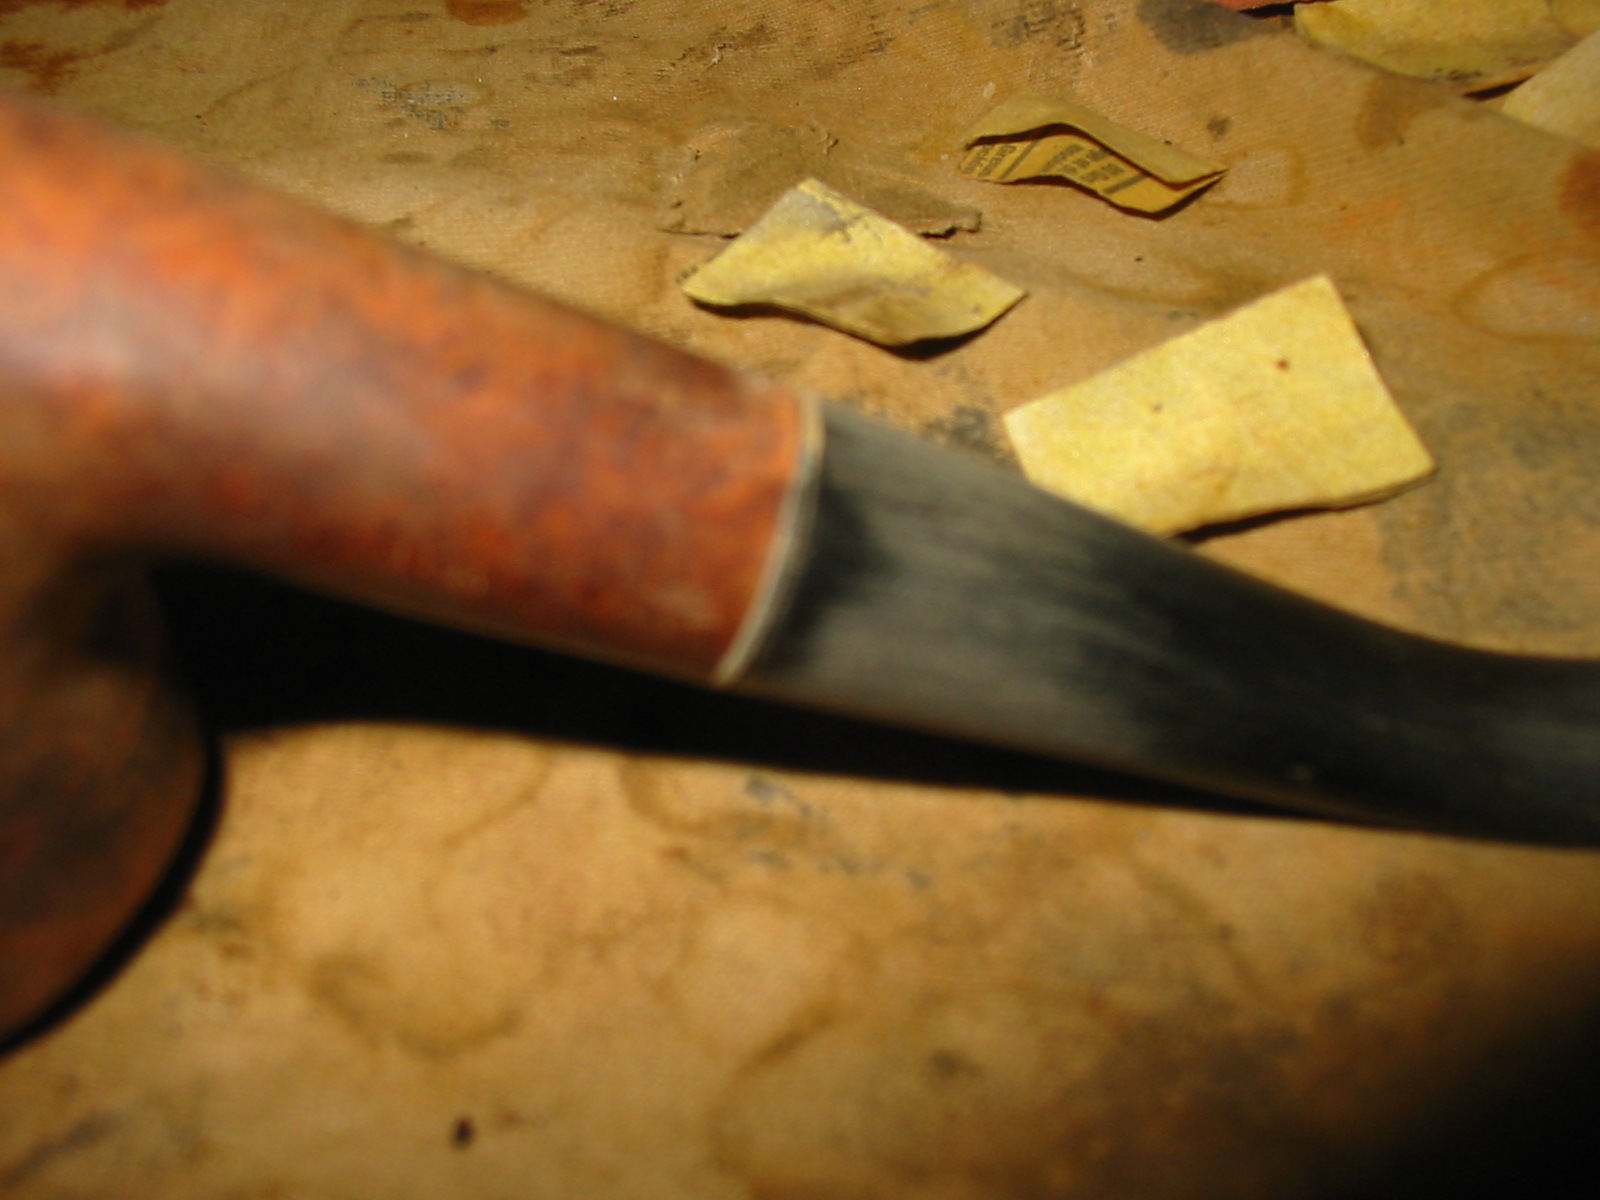
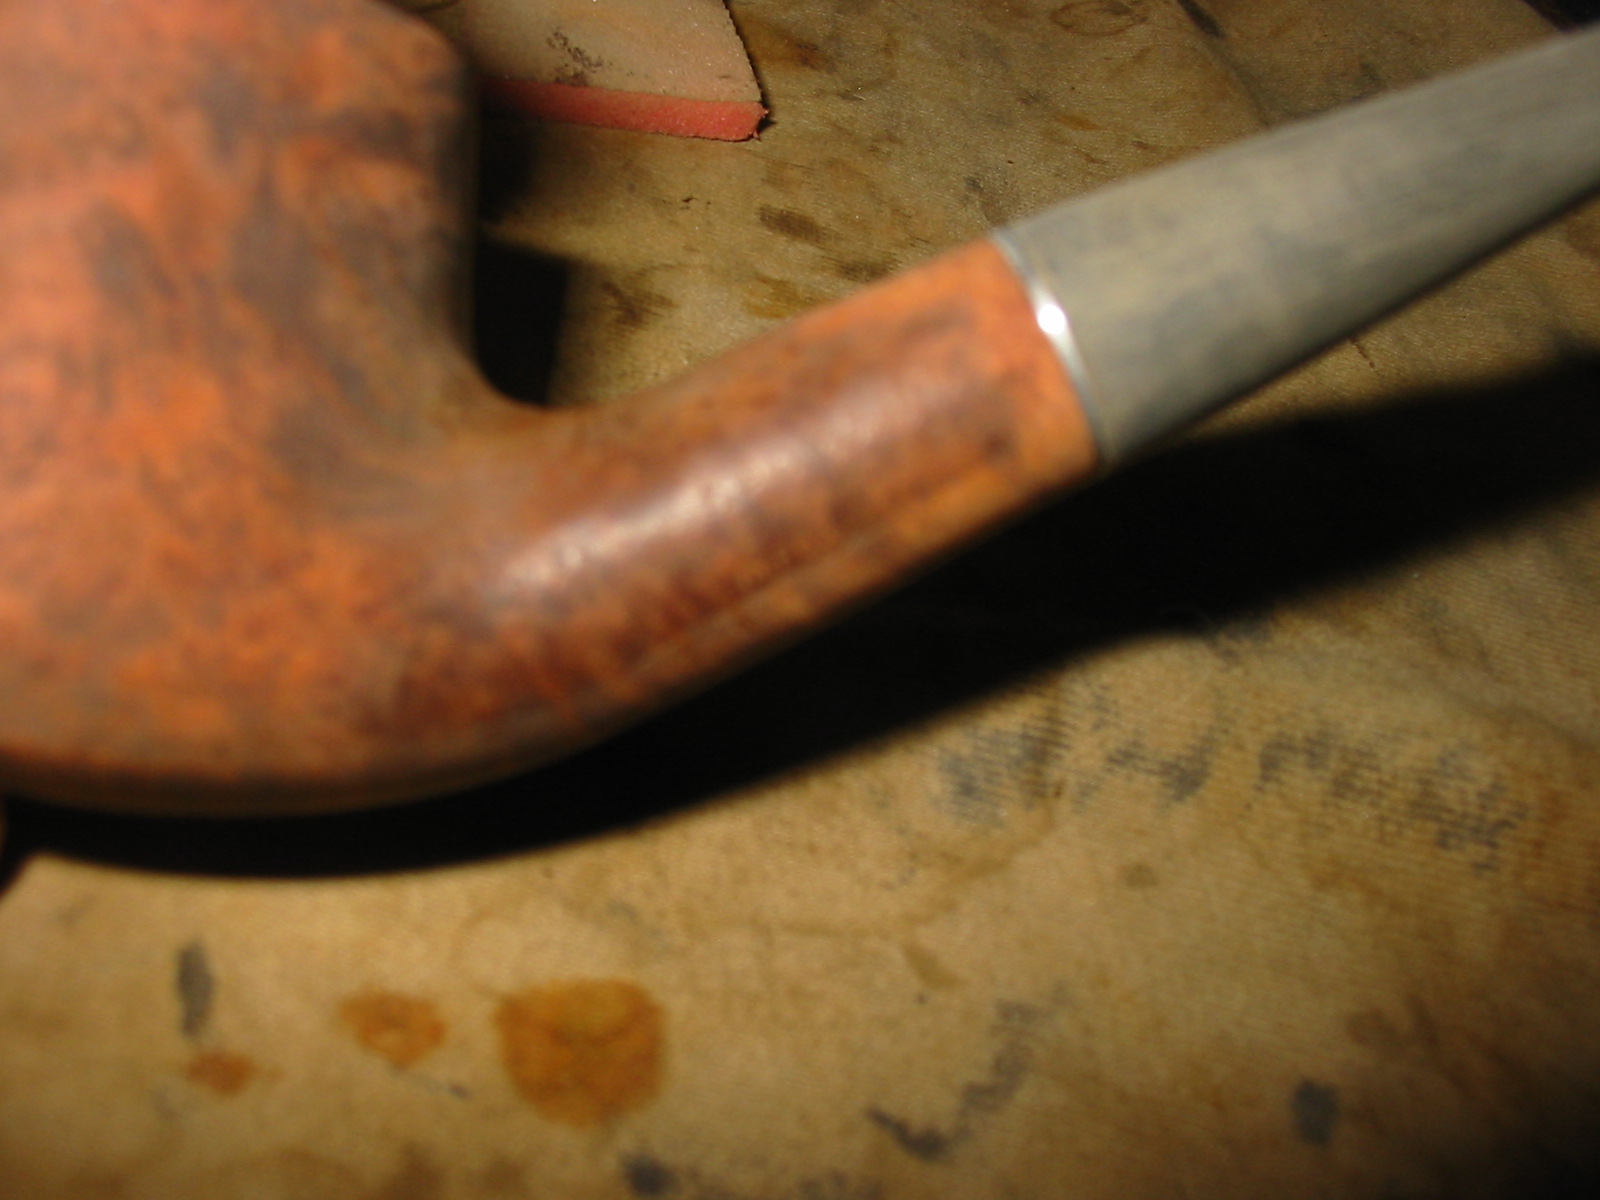
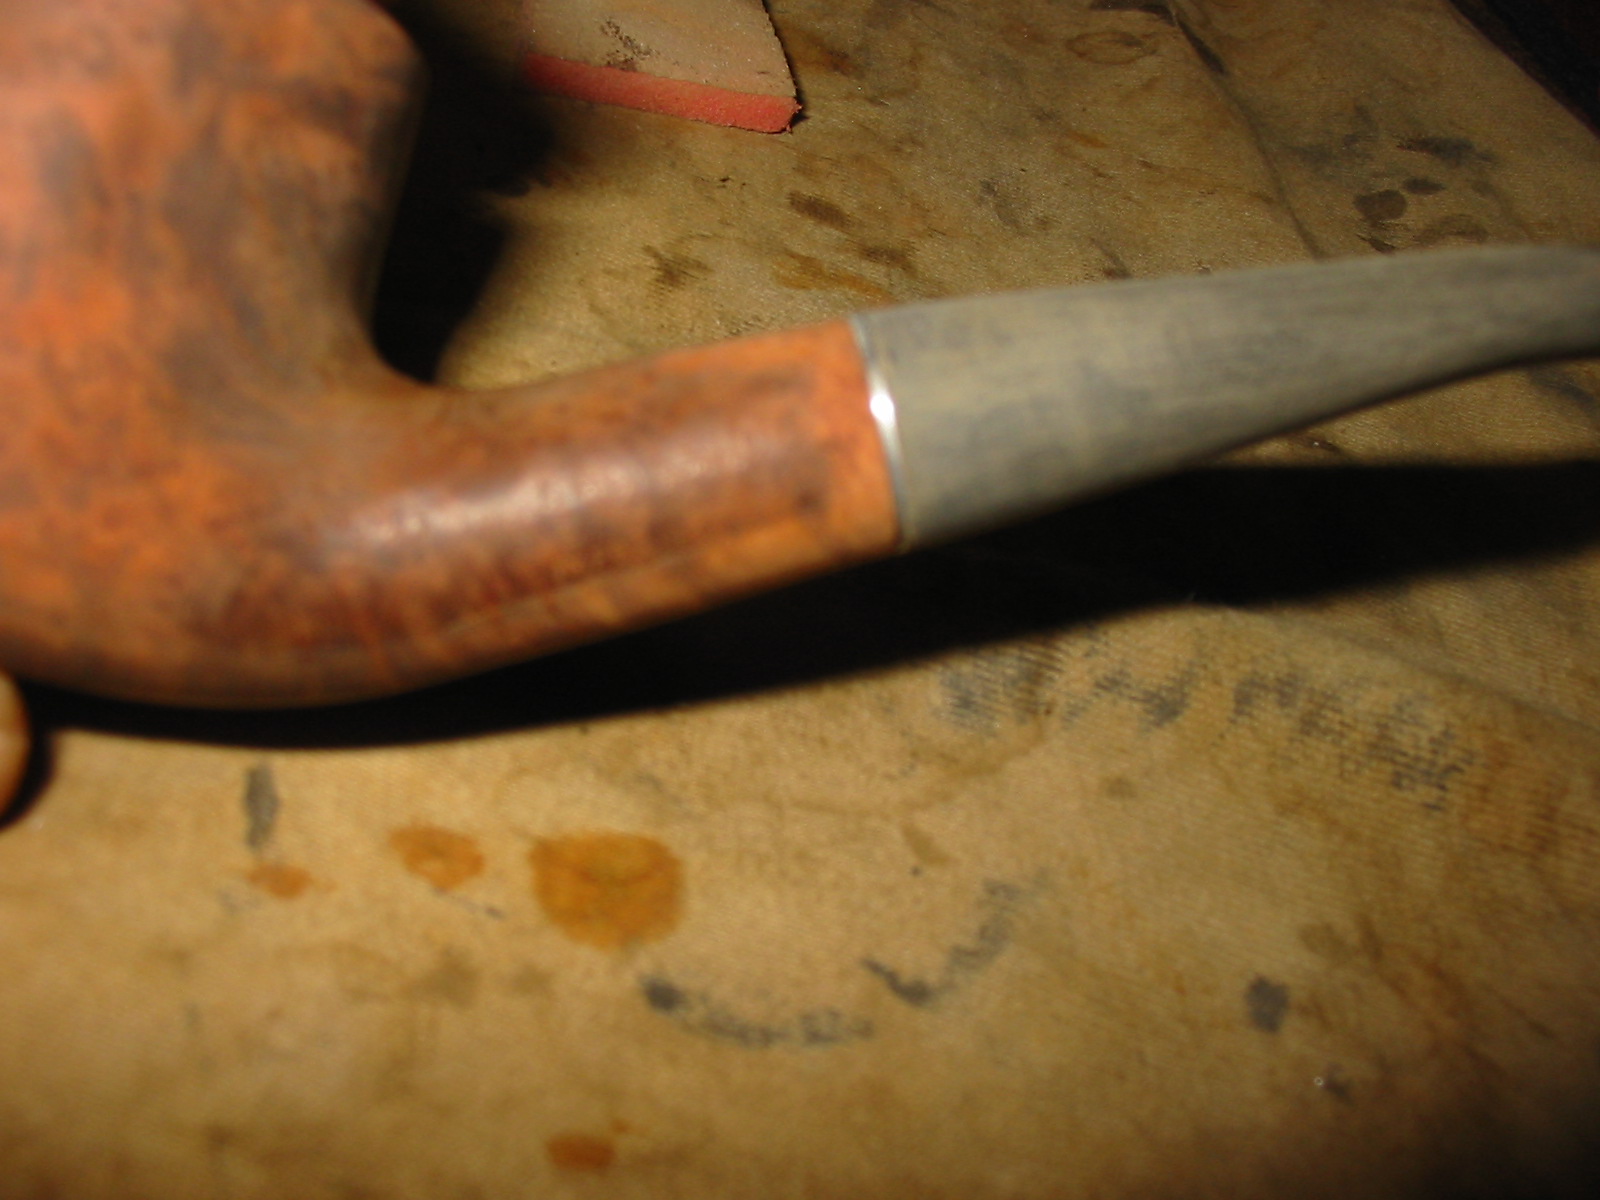
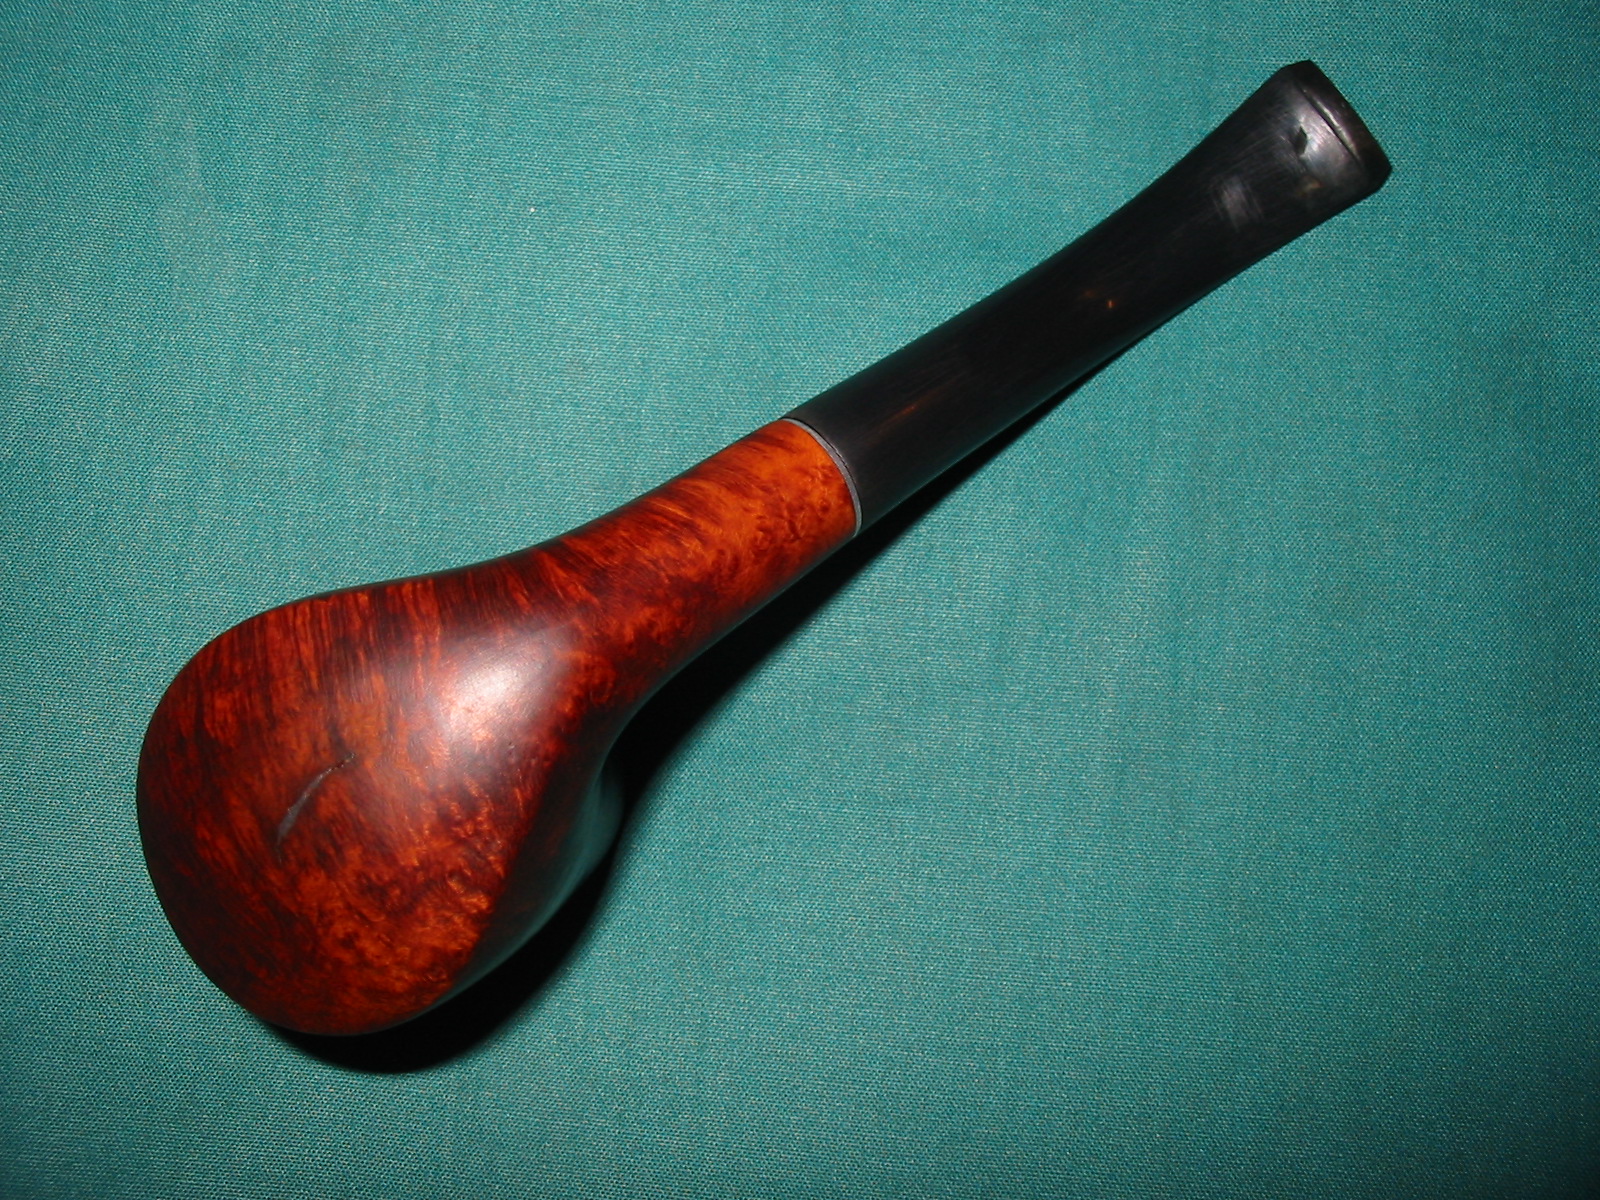
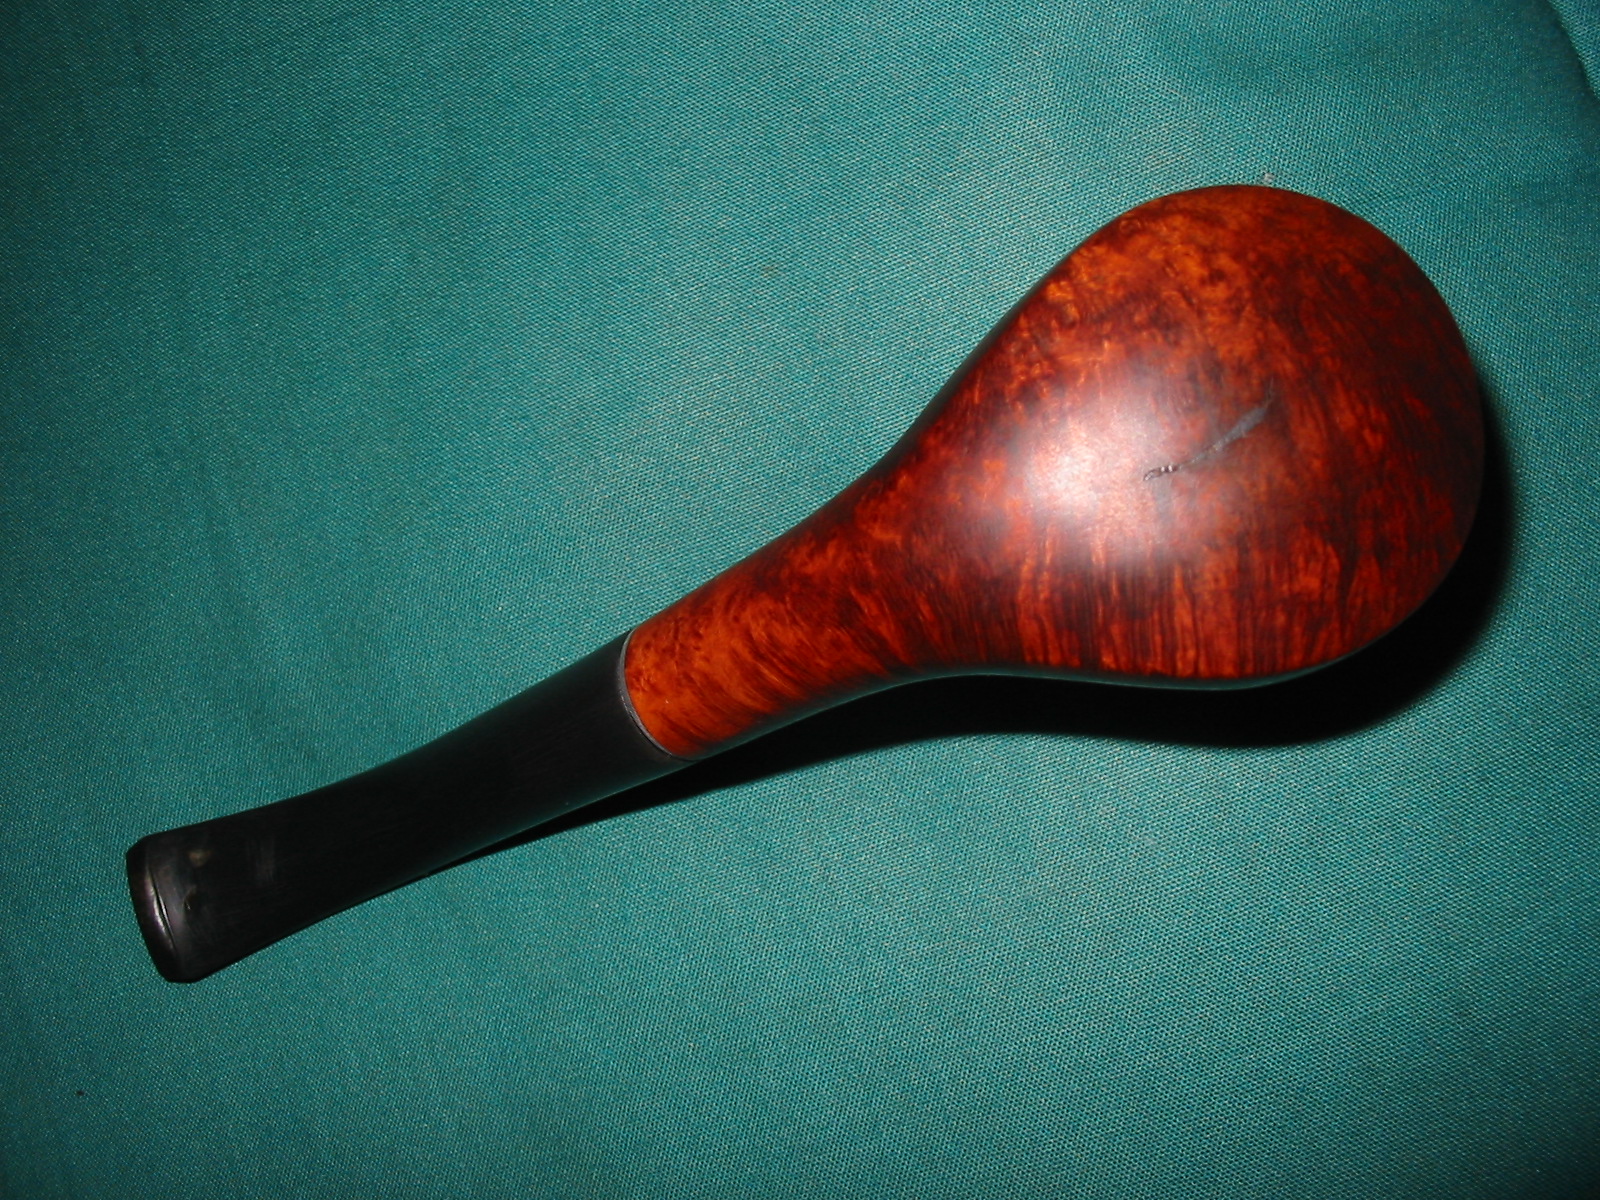
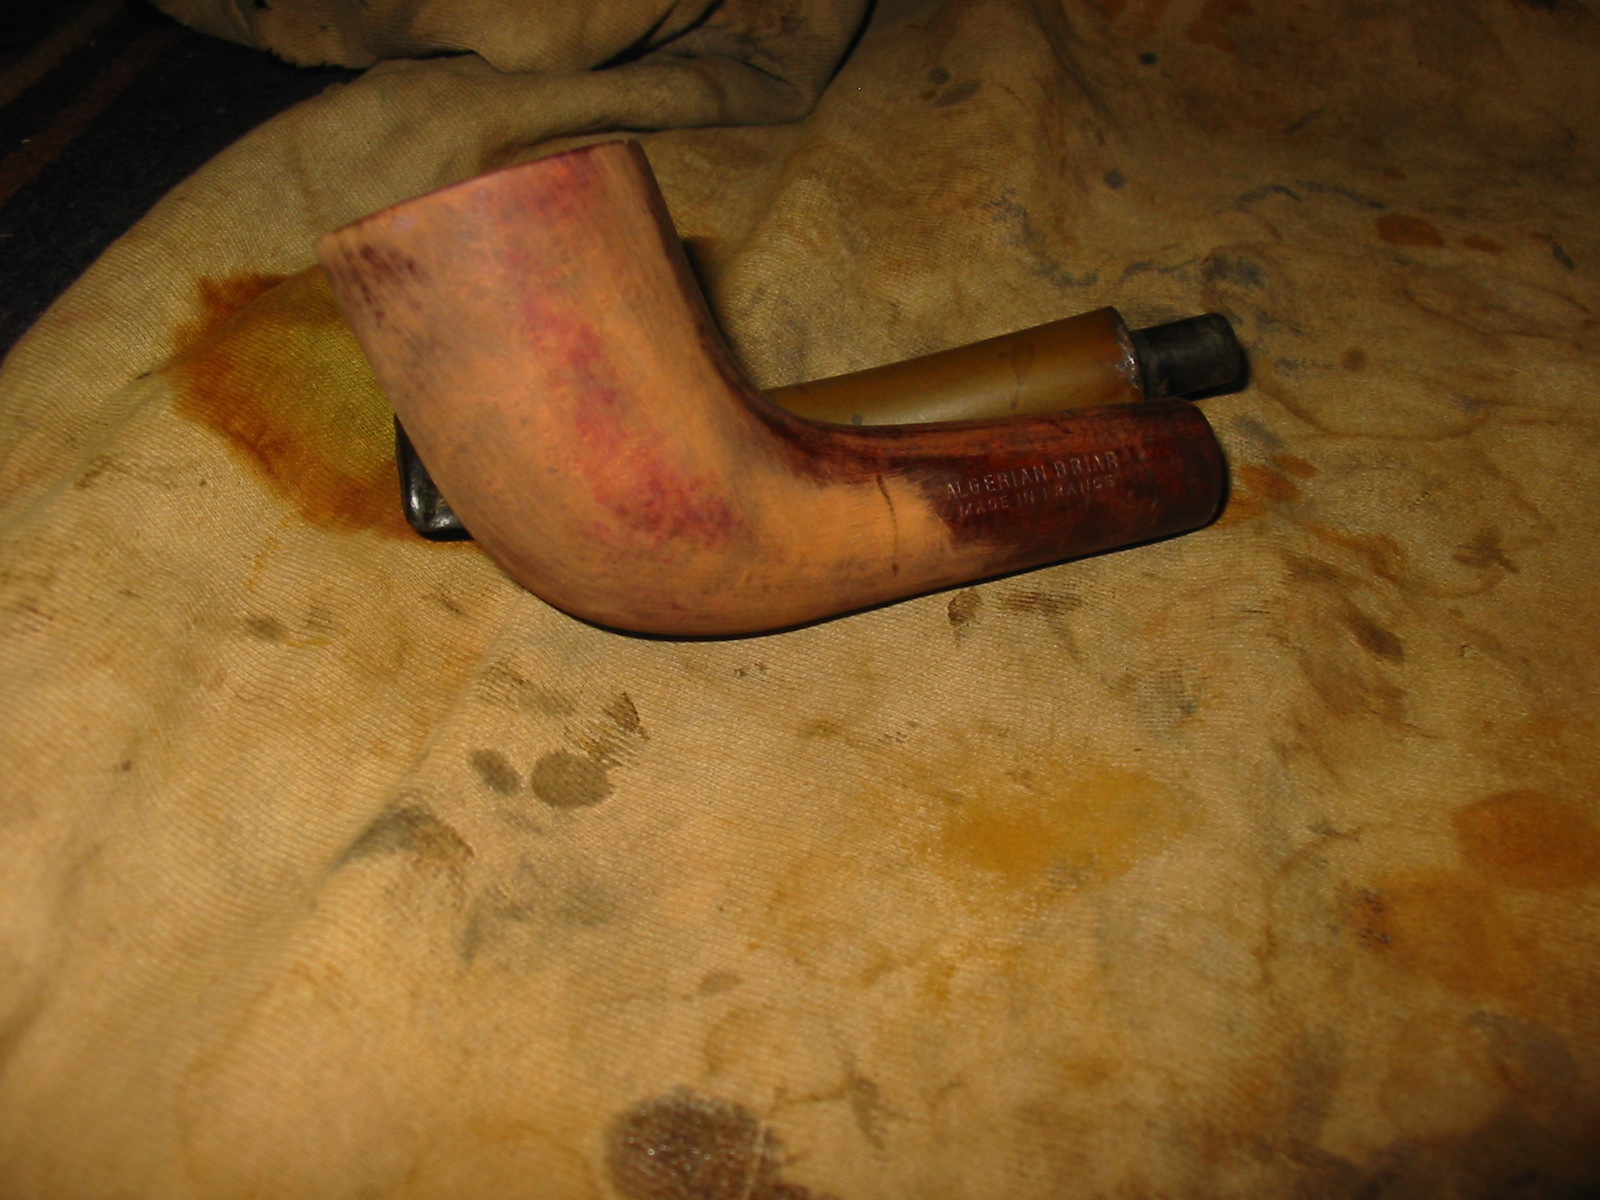
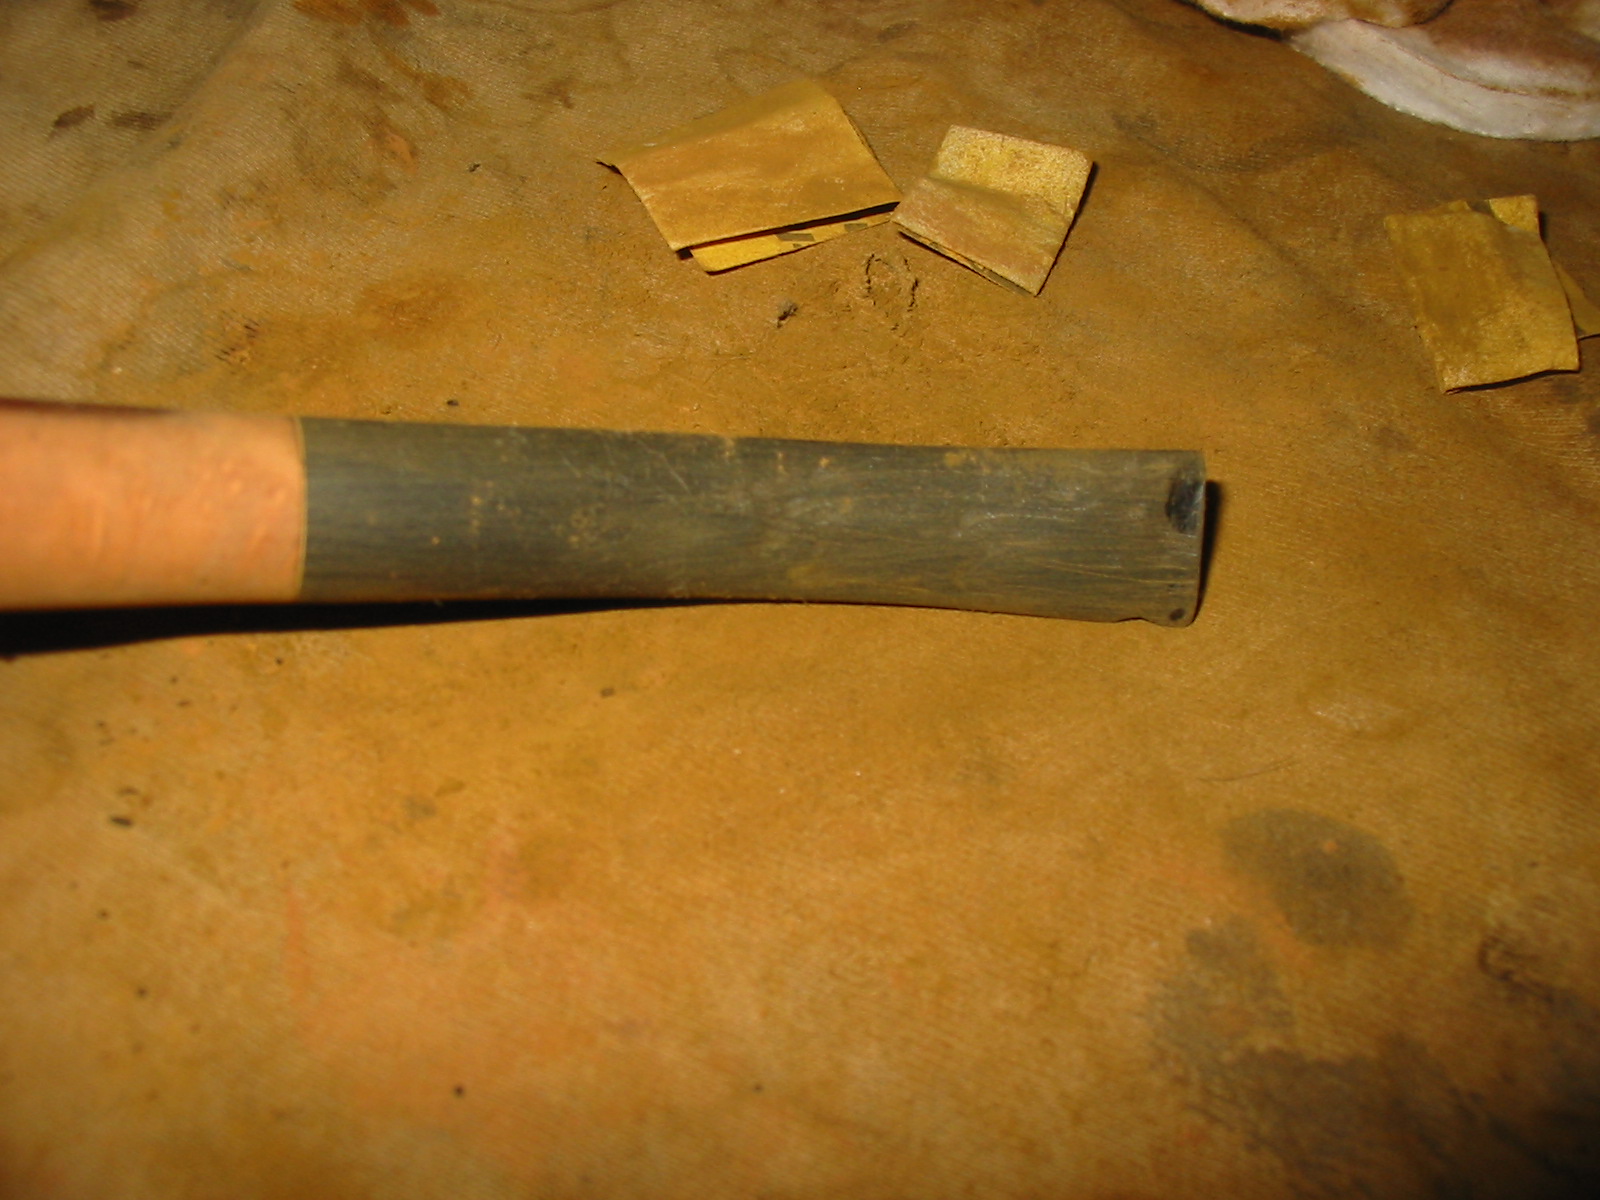
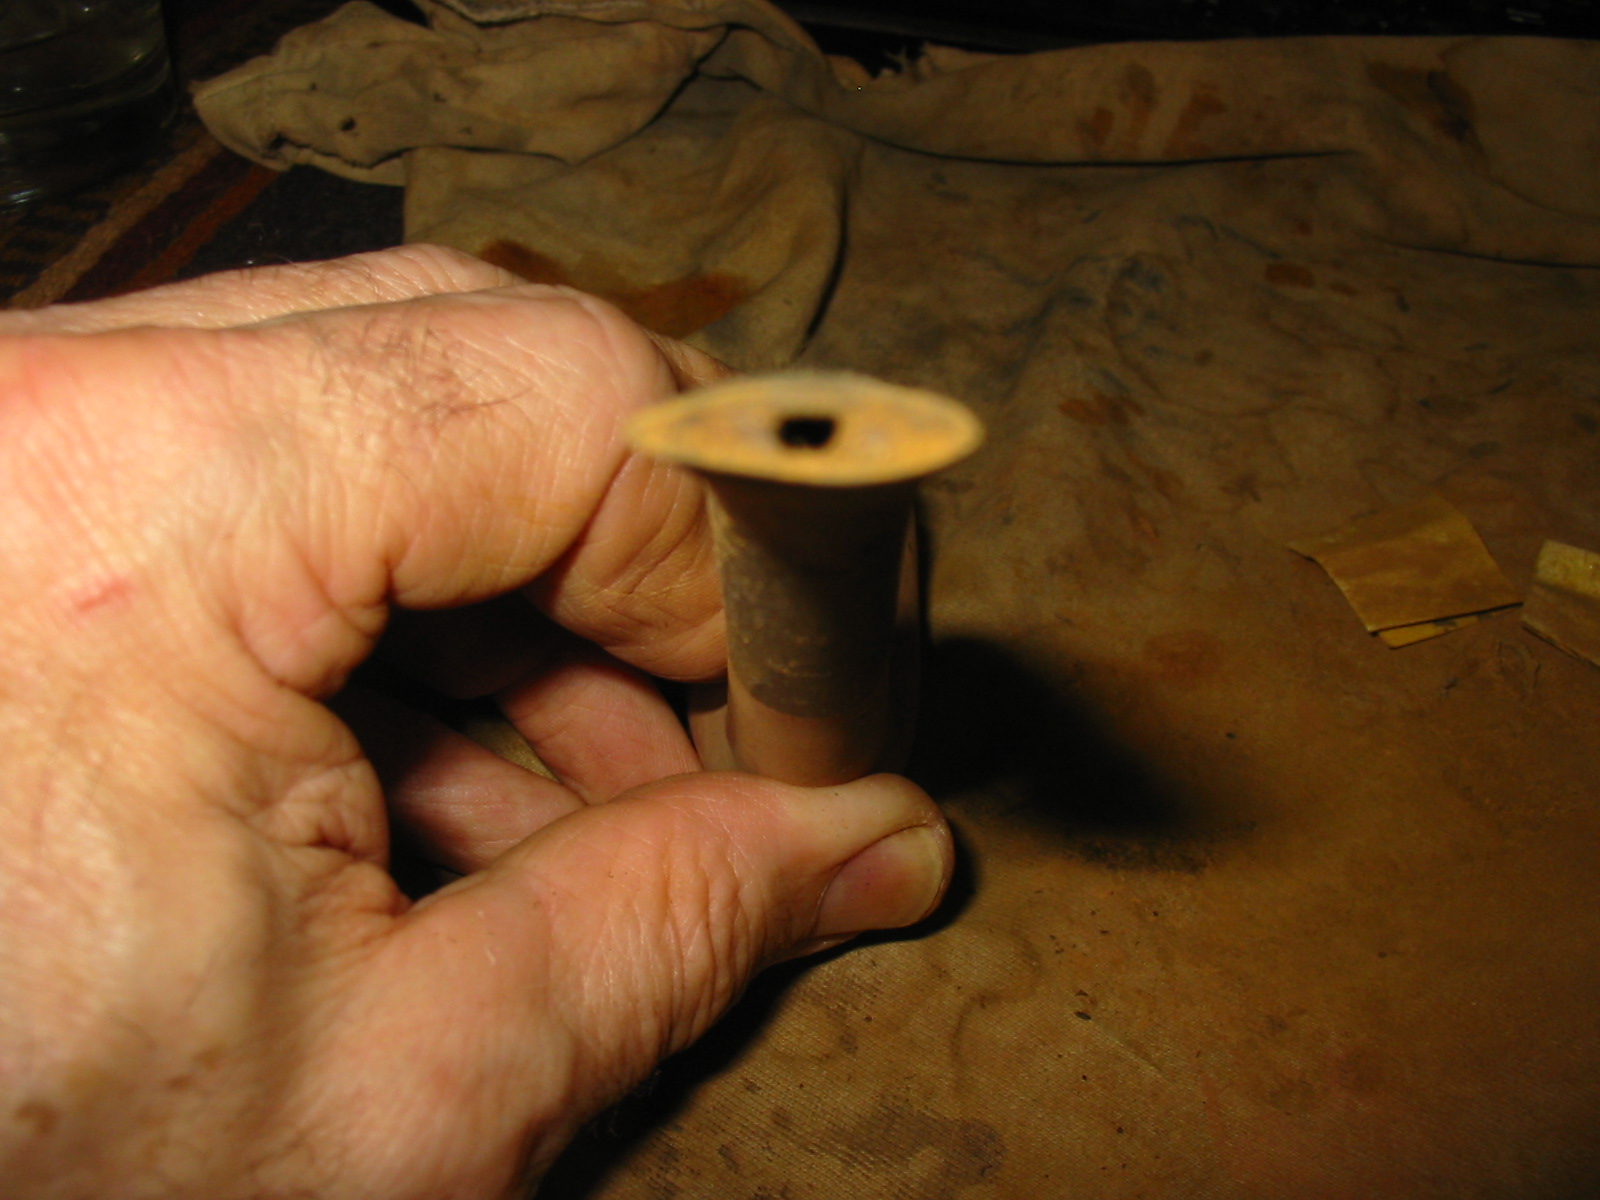
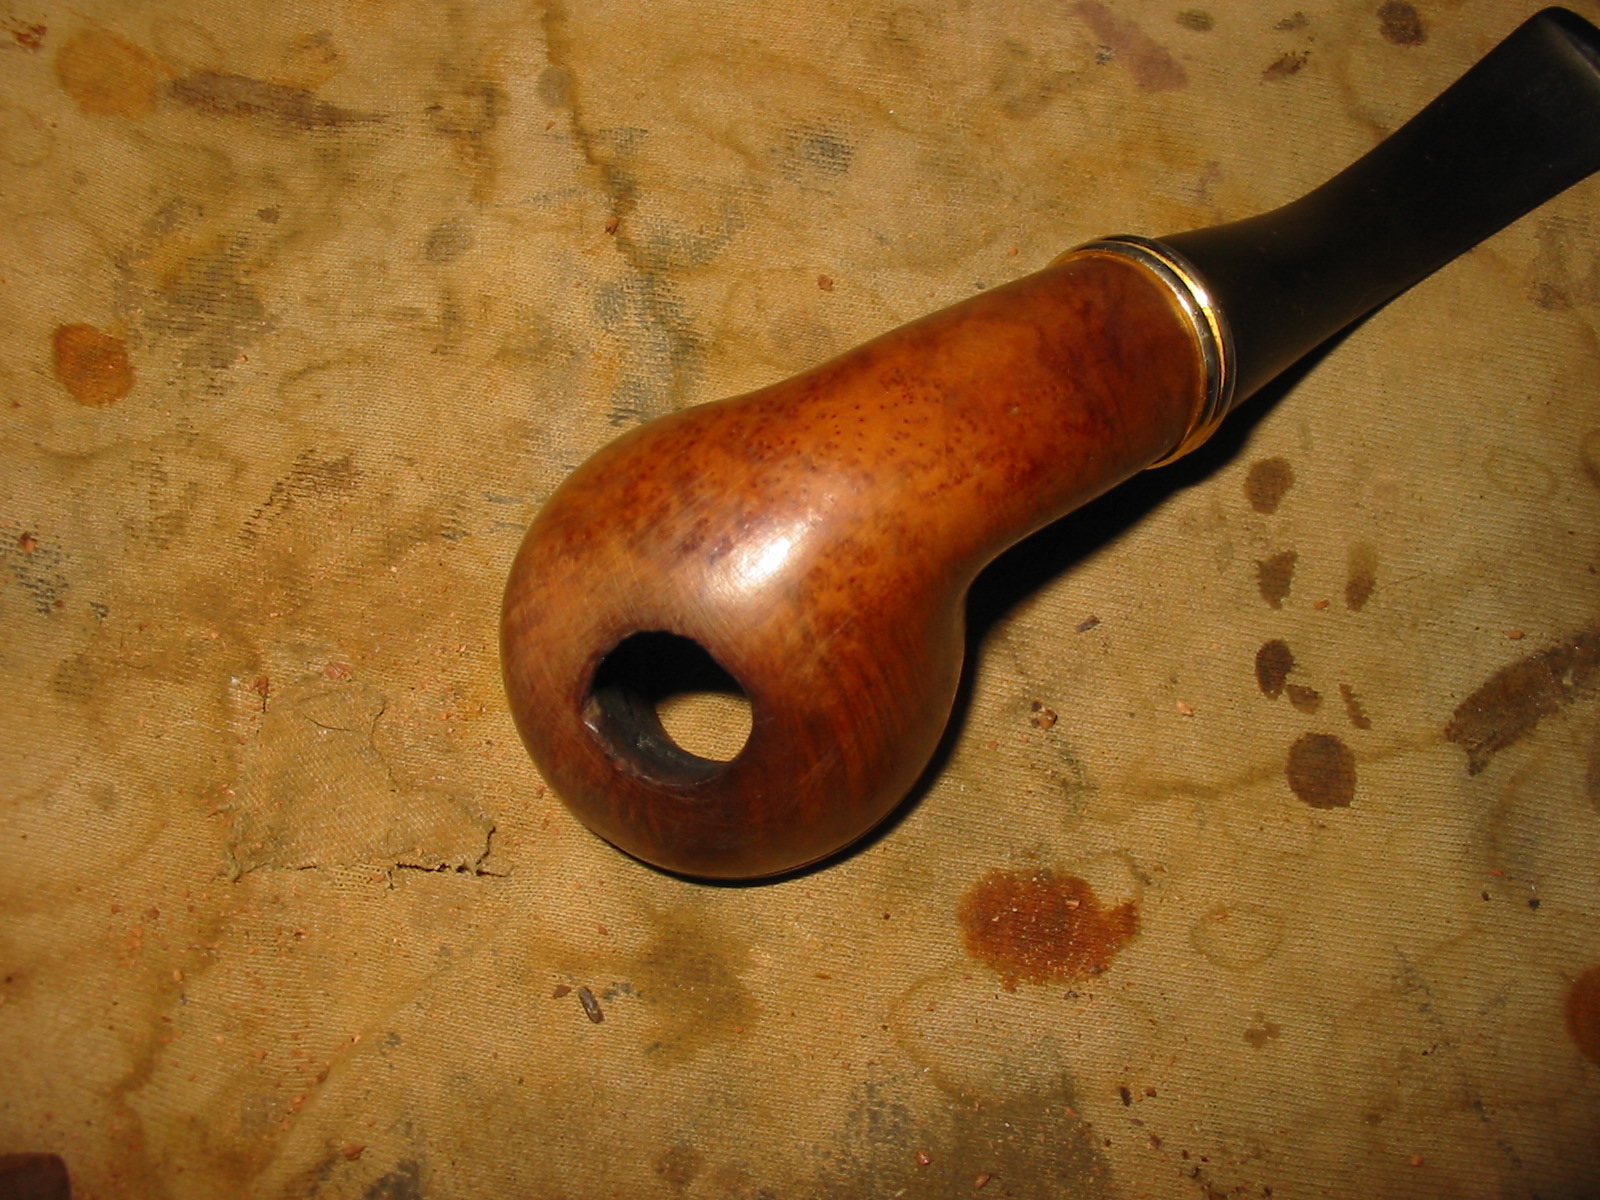
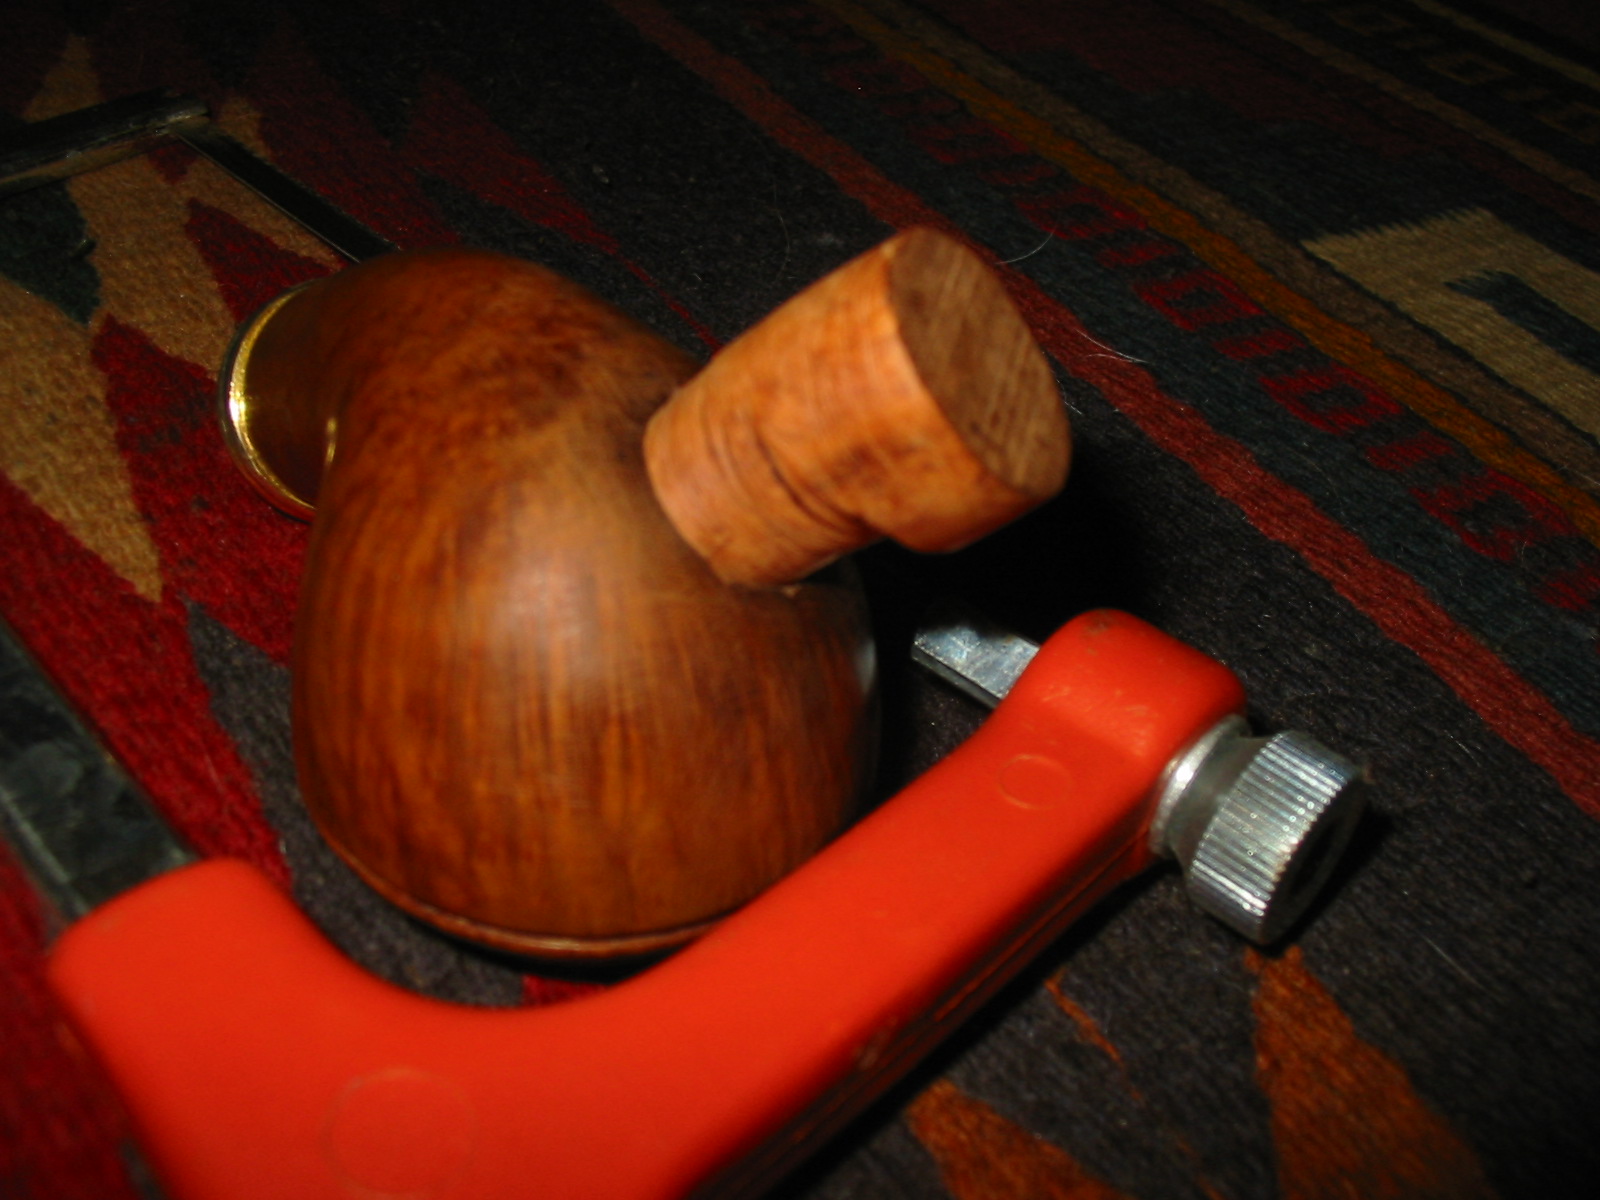
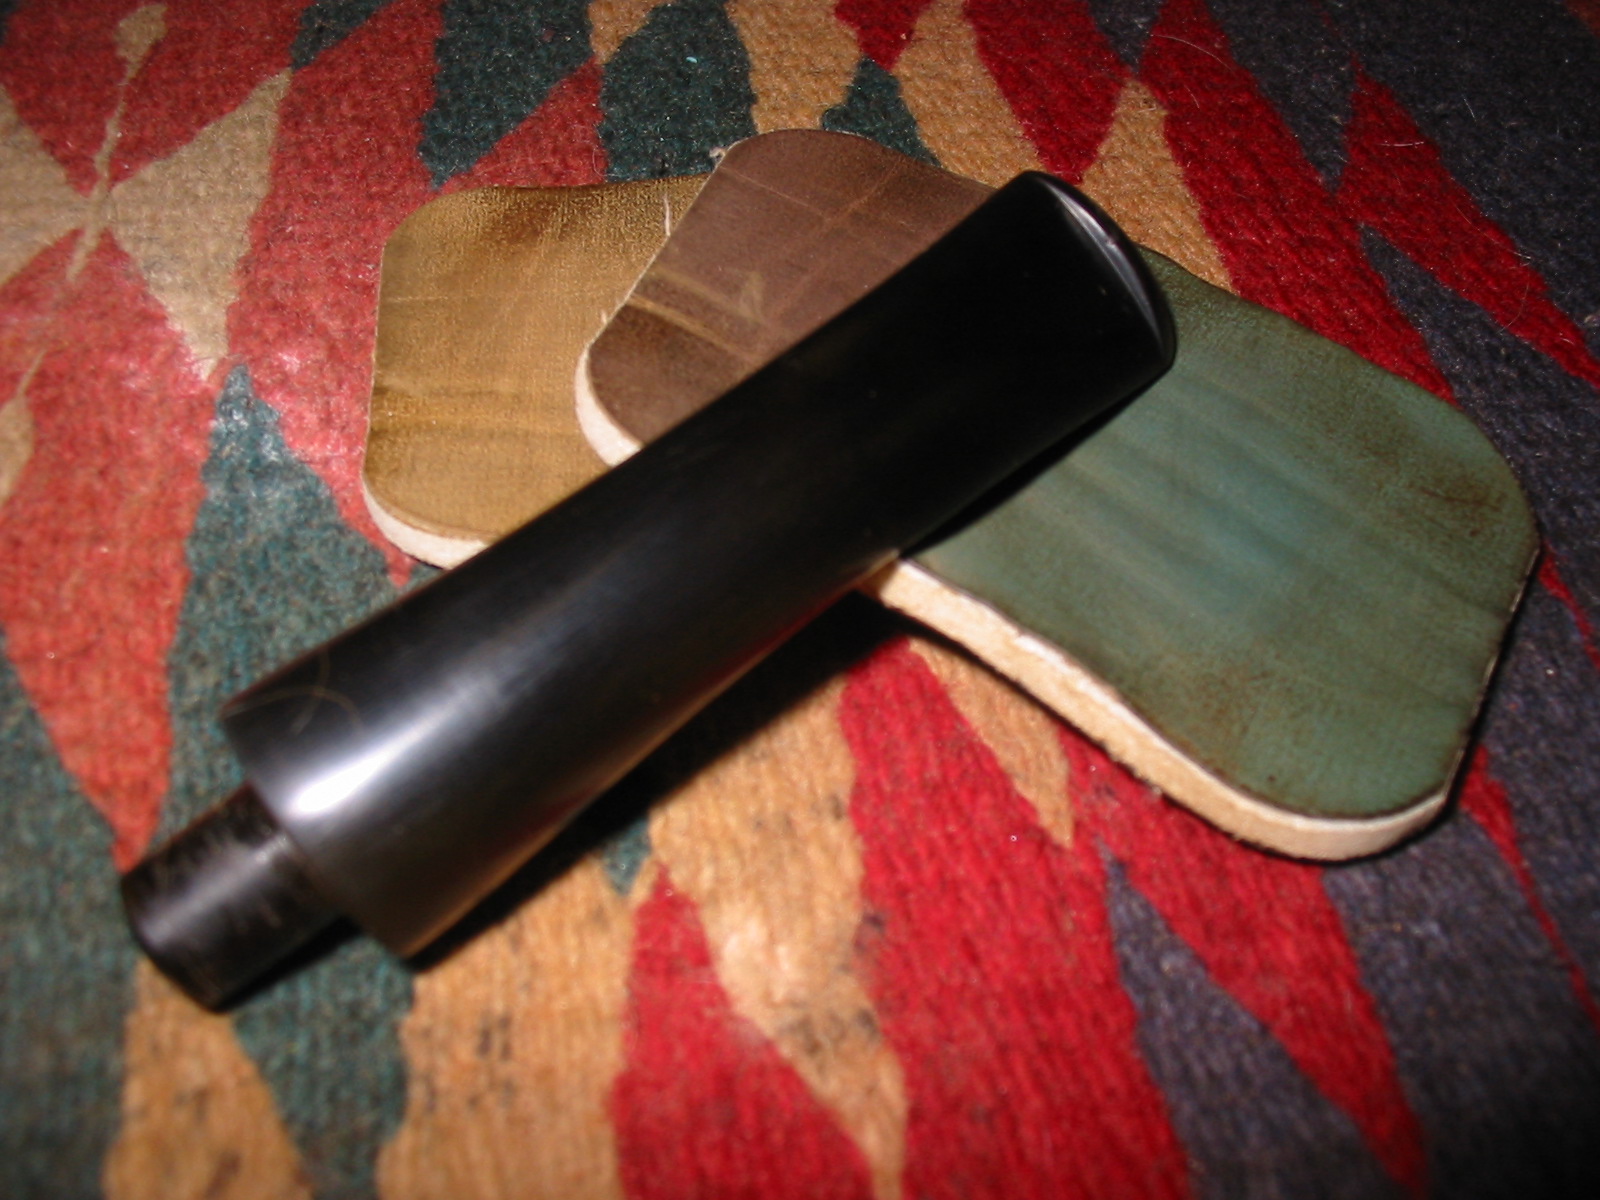
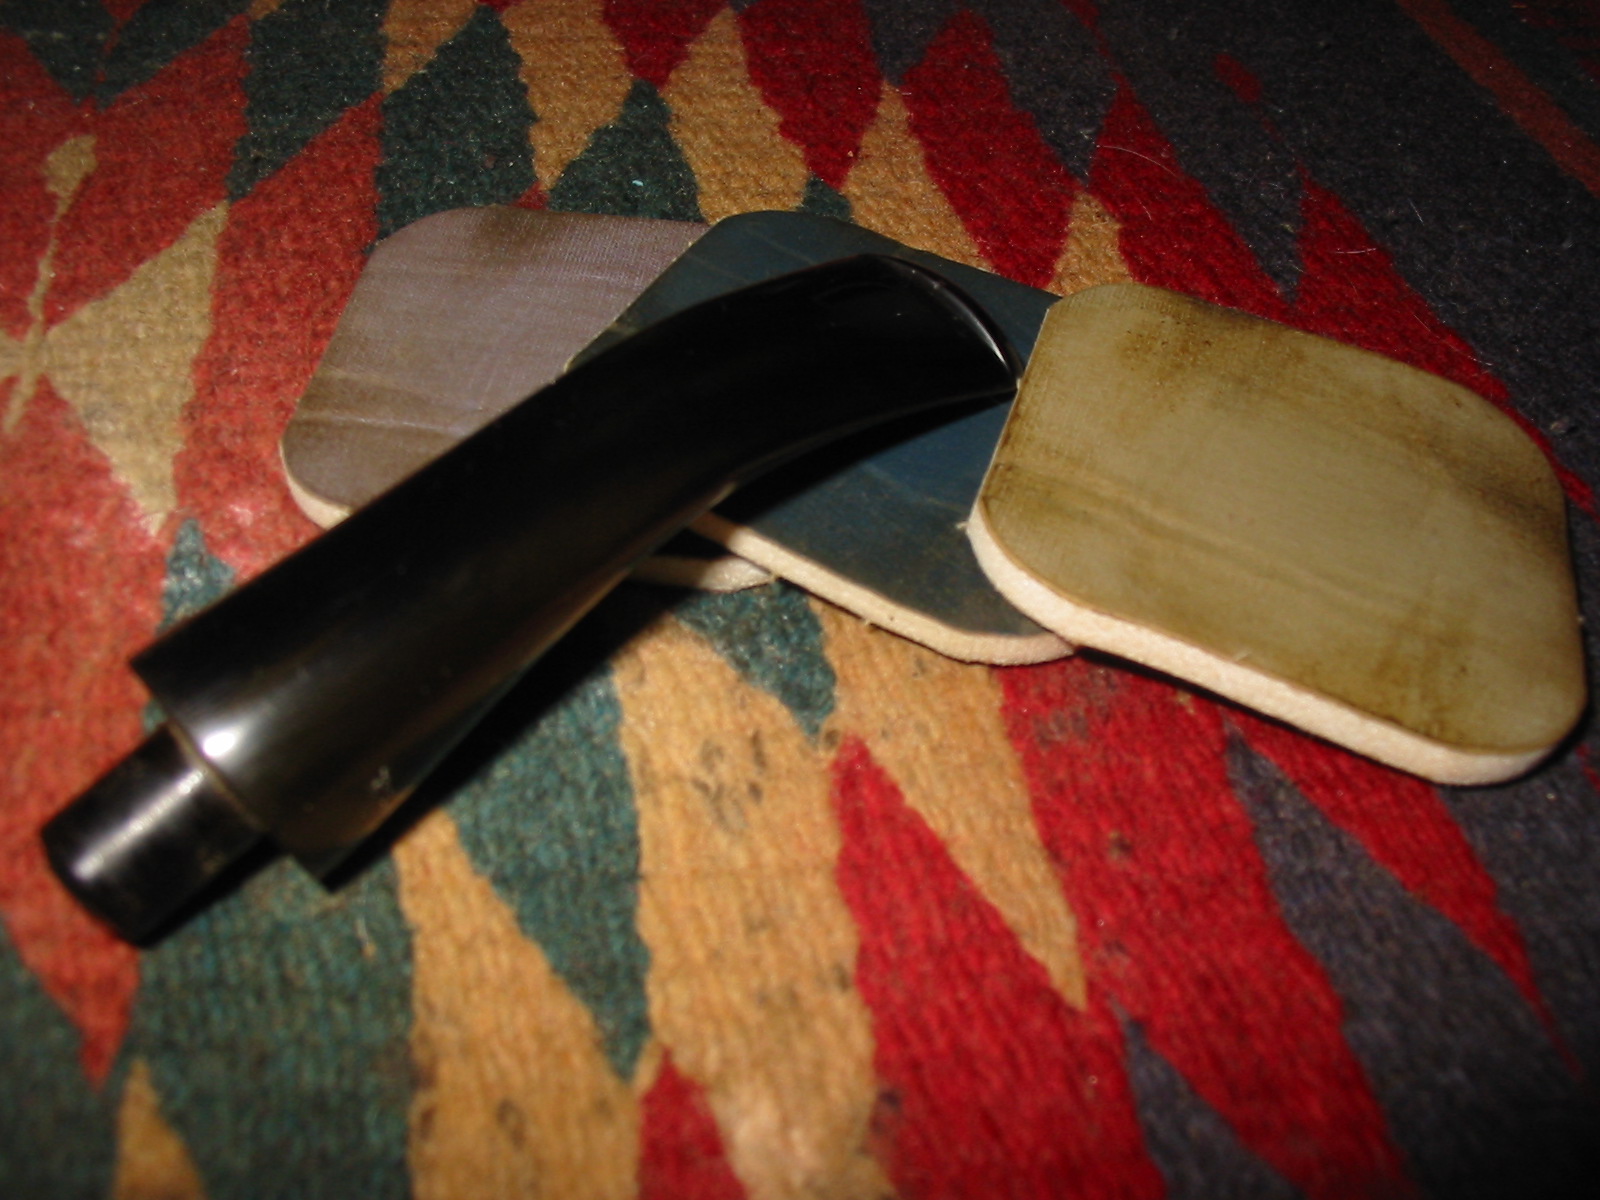
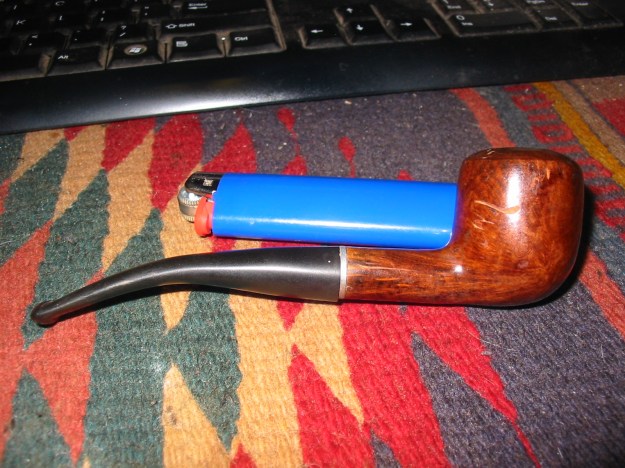
I screwed the old Grabow stem into the mortise fitment and found that it was overturned. I used a Bic lighter to heat the metal tenon in the stem to loosen the glue. I put the stem back in place and tried to turn it straight, to clock it, but it was not loose enough. I reheated and retried until it was loose. I then turned the stem into place and aligned it with the bowl. I then cooled it under cool running water to set the glue. From the photos below it can be seen that the diameter of the stem was off. In looking at it from the tenon end it was also not round. The bottom part of the stem and the sides were wider than the top portion.


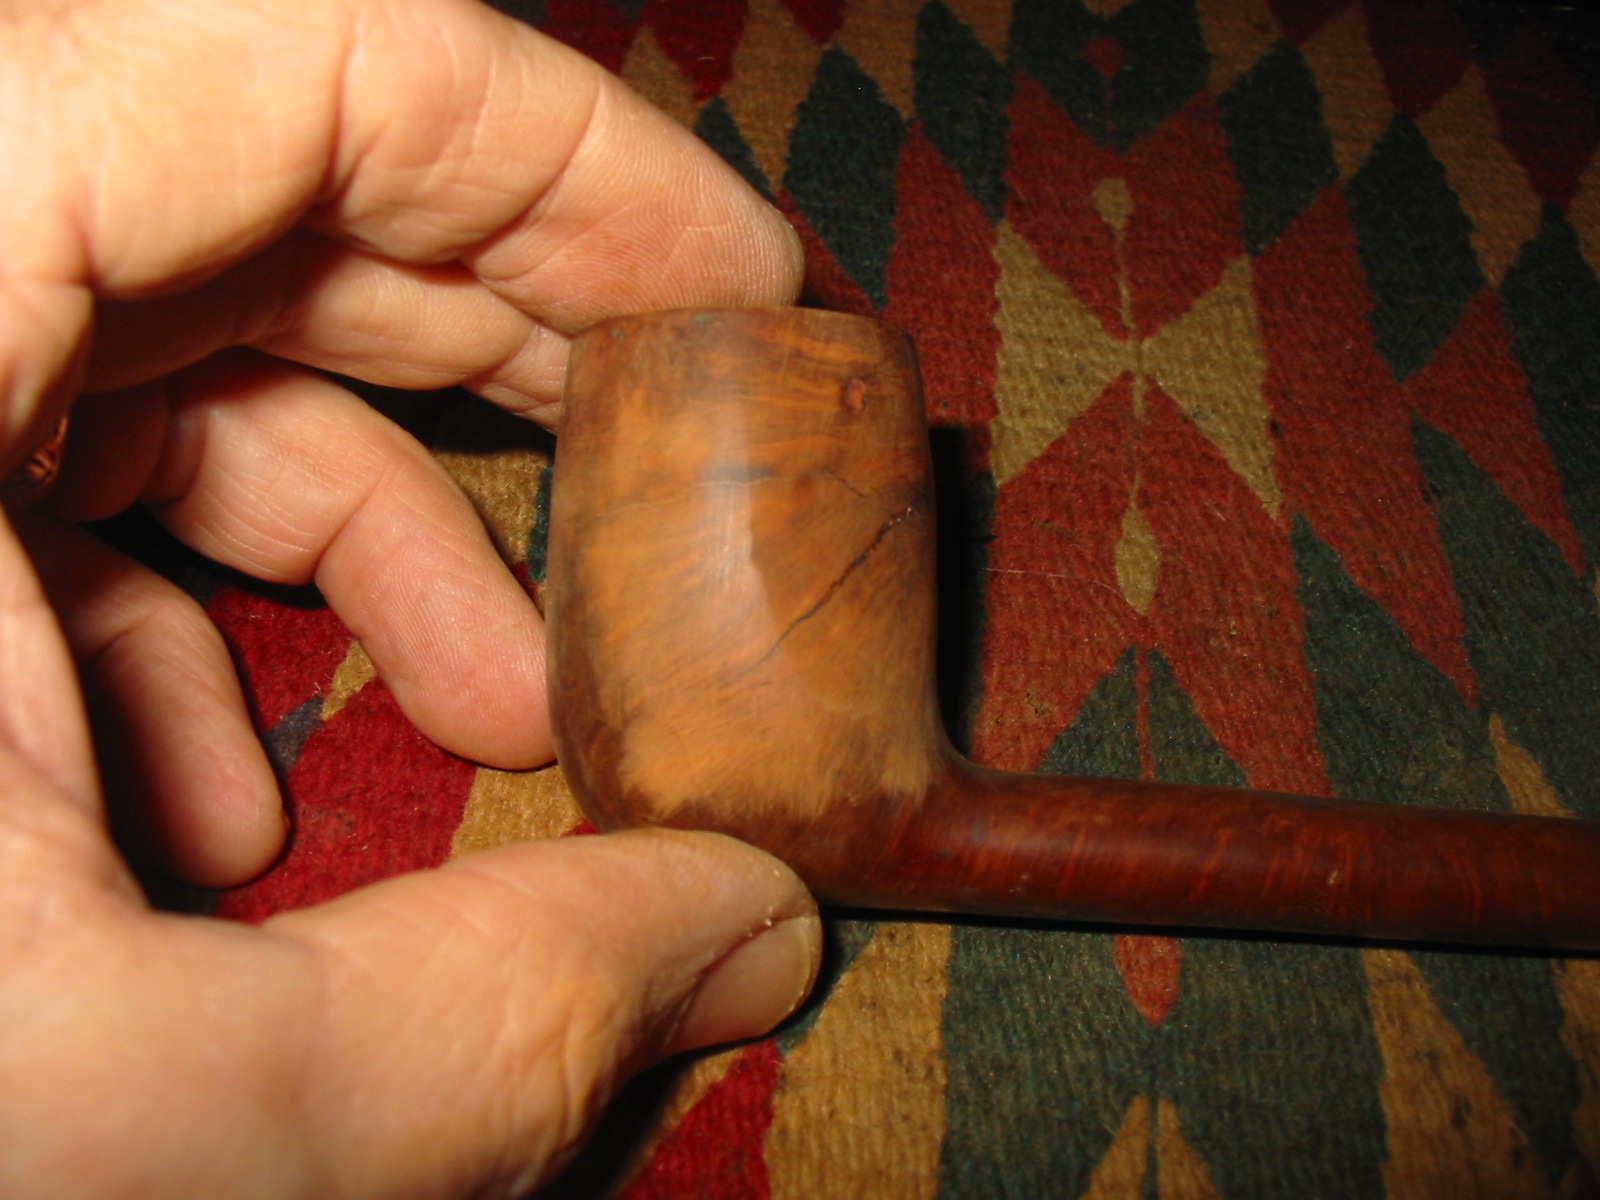
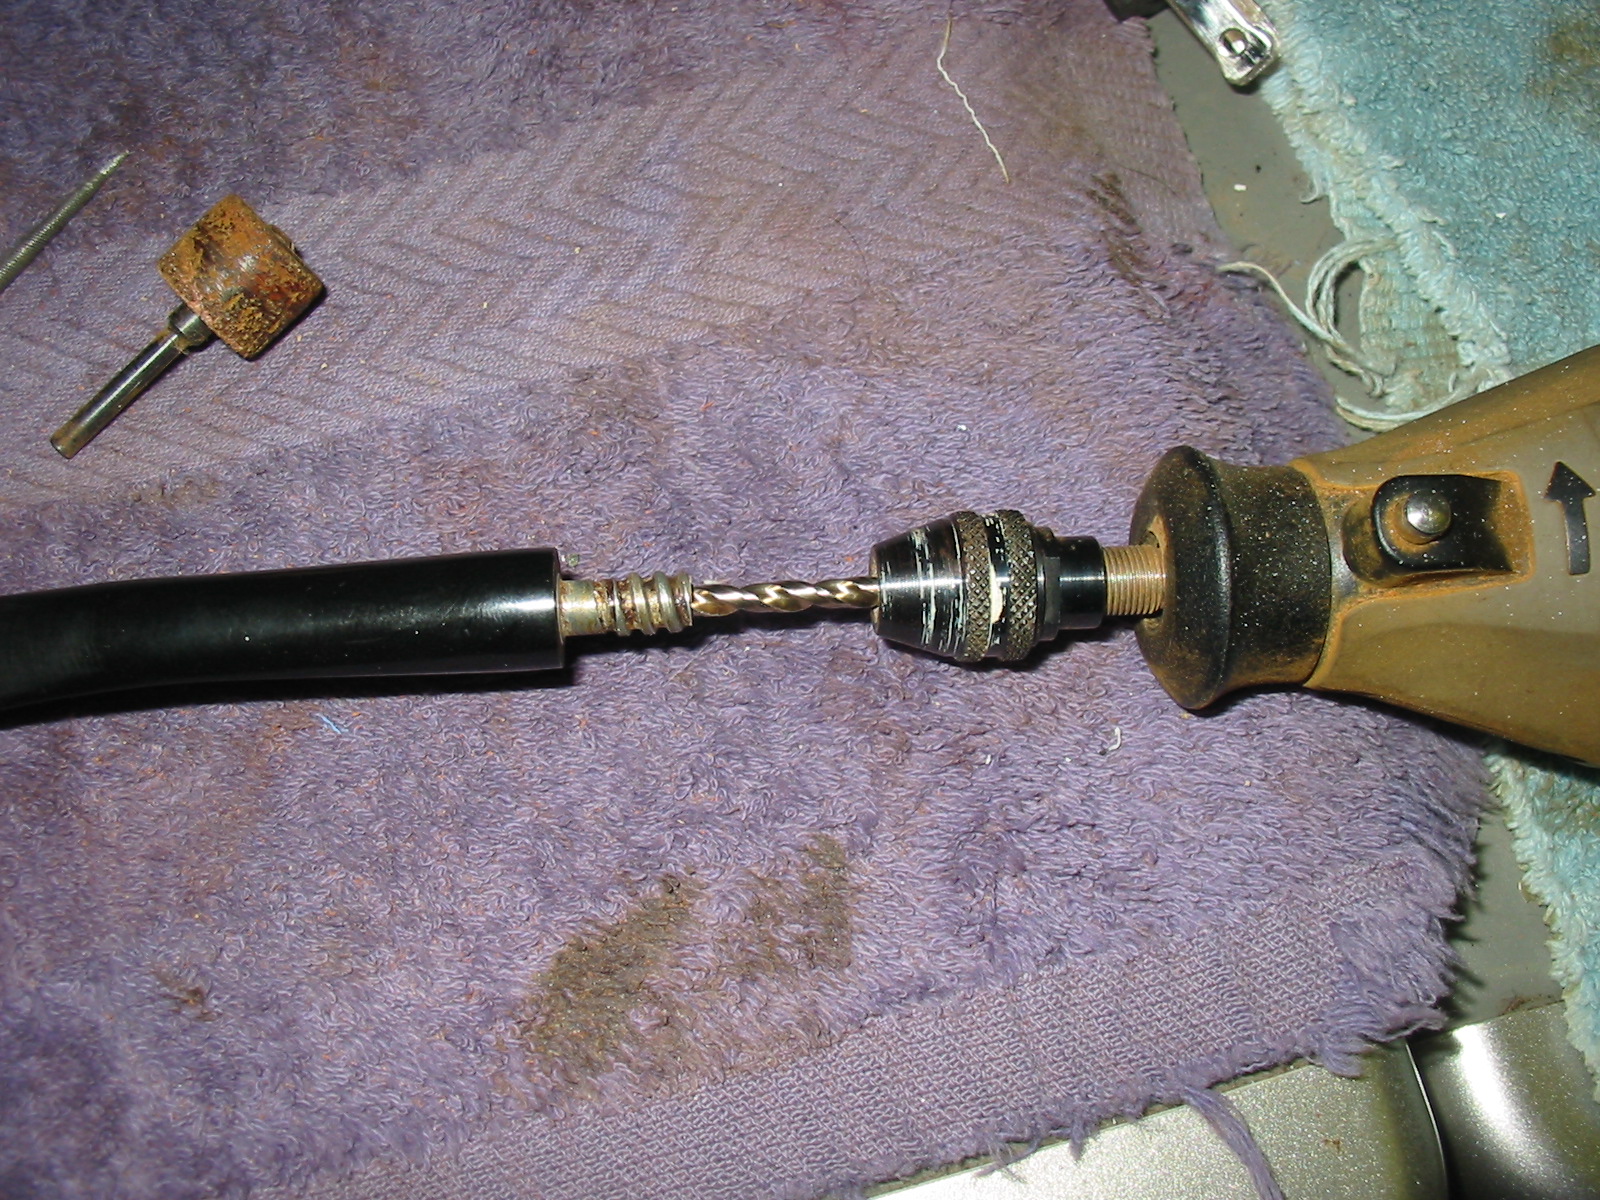
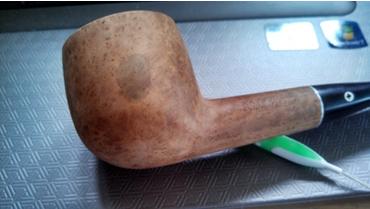
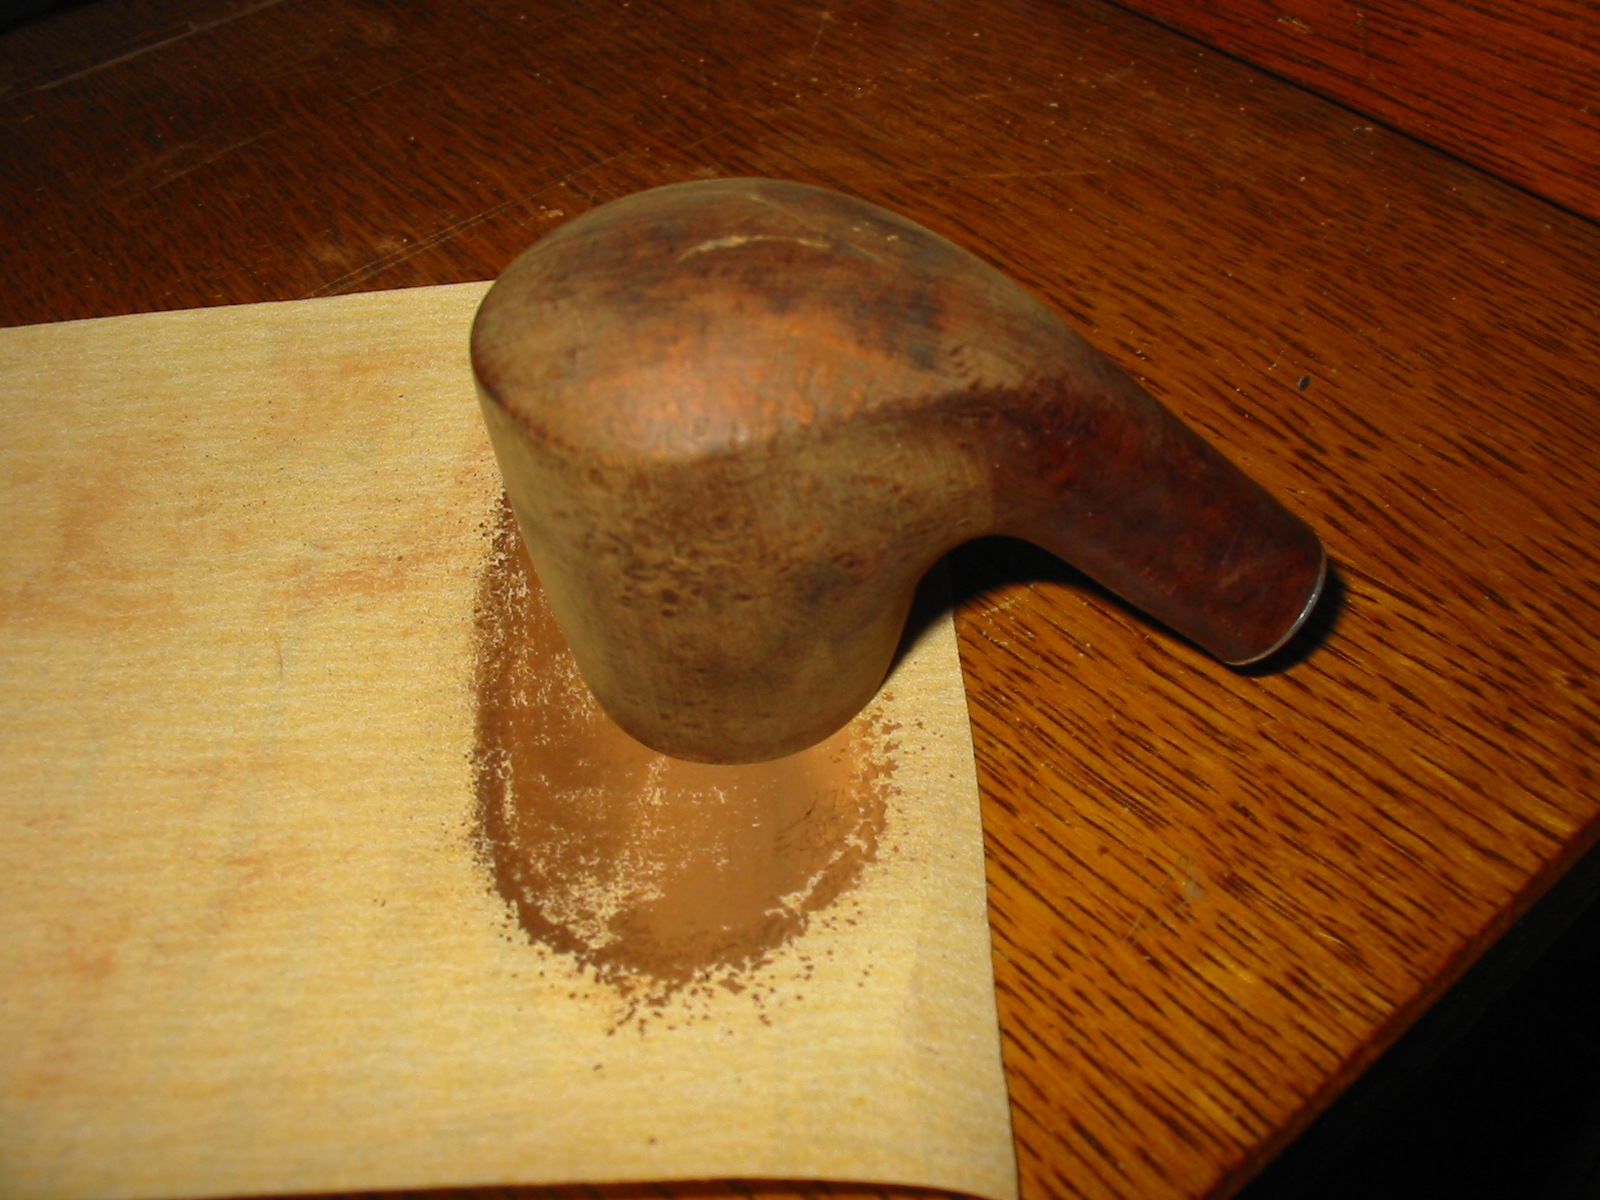
I sanded the stem with 220 grit sandpaper to decrease the diameter but soon grew tired of hand sanding and decided to give myself a head start on the work. I used a Dremel with the sanding drum to remove the excess vulcanite of the stem. I then brought it back to the work table and sanded the shank to make the transition between the shank and the stem smooth and the bowl to remove the lacquer finish.


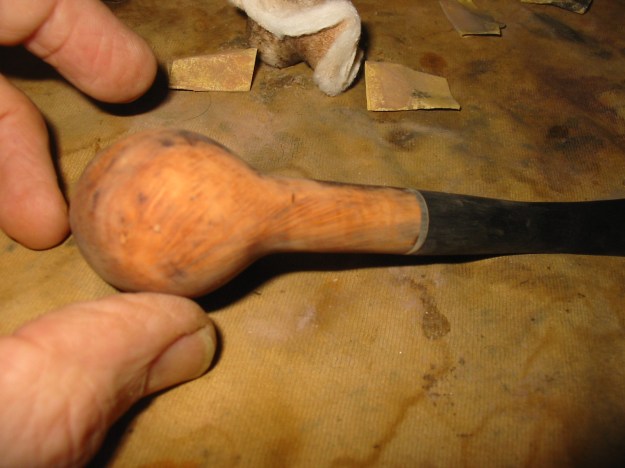
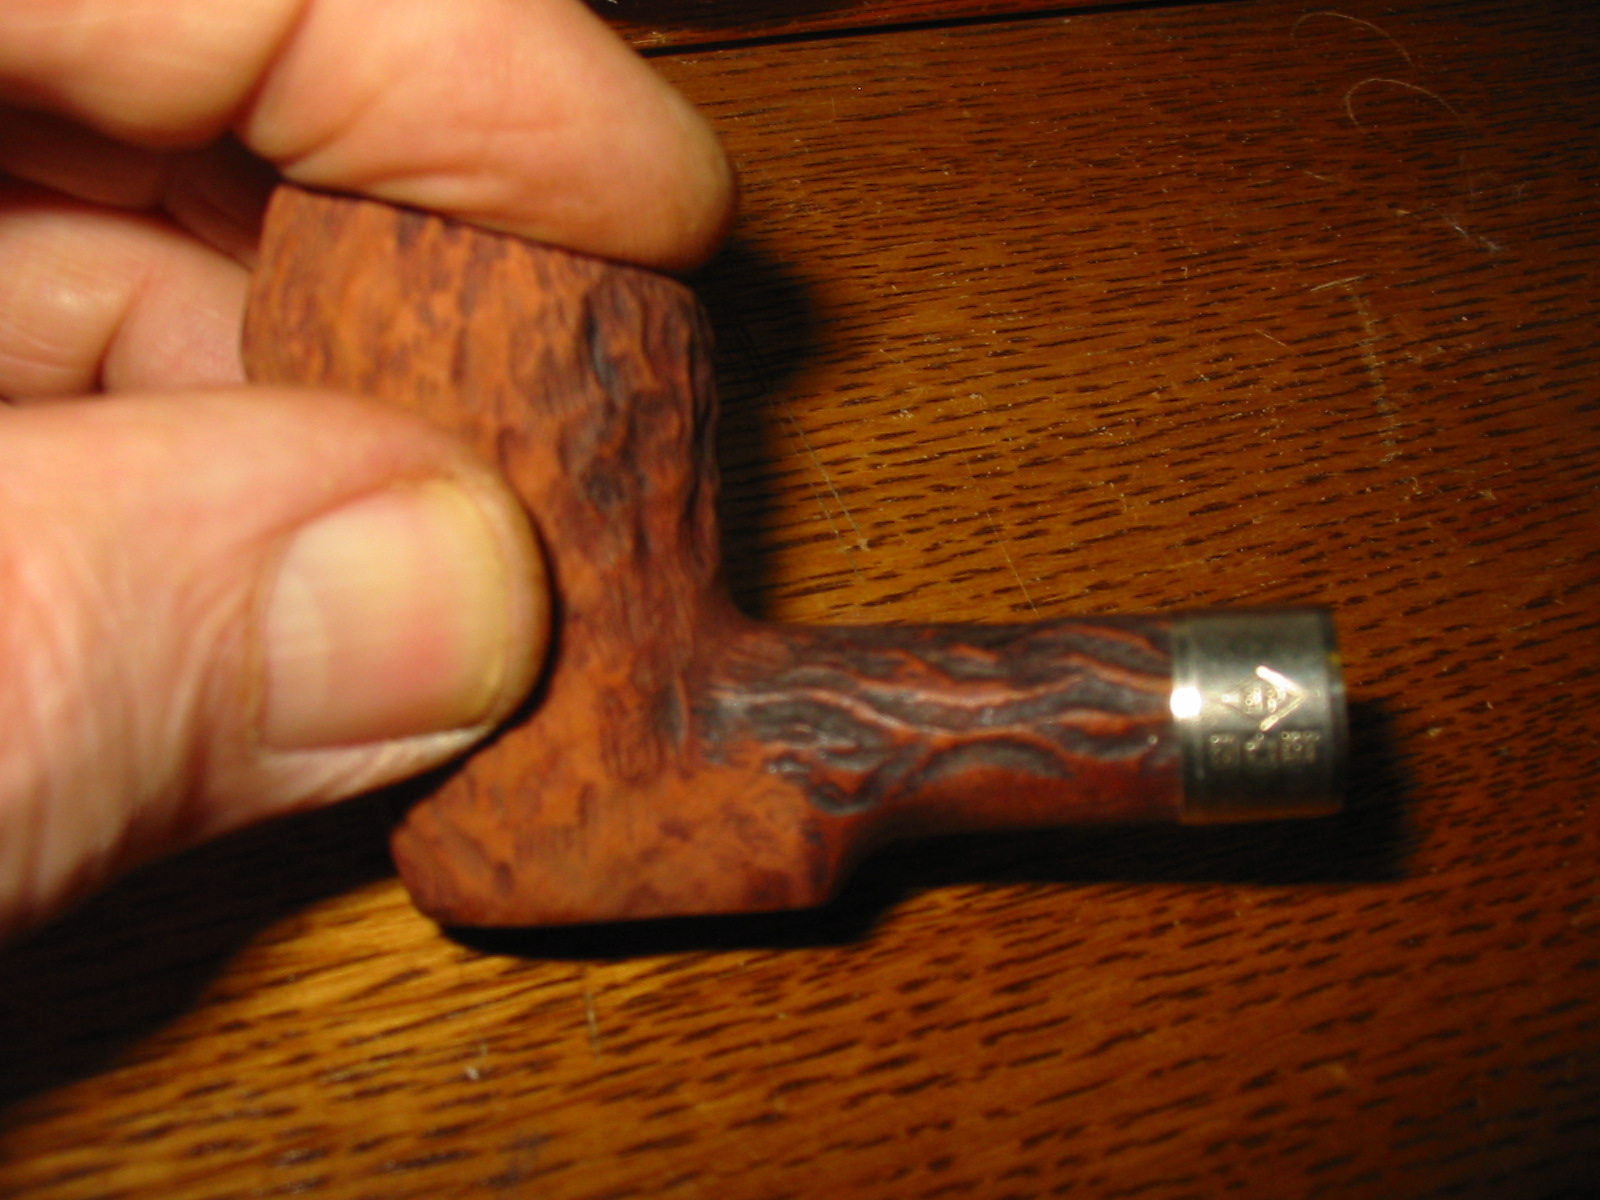
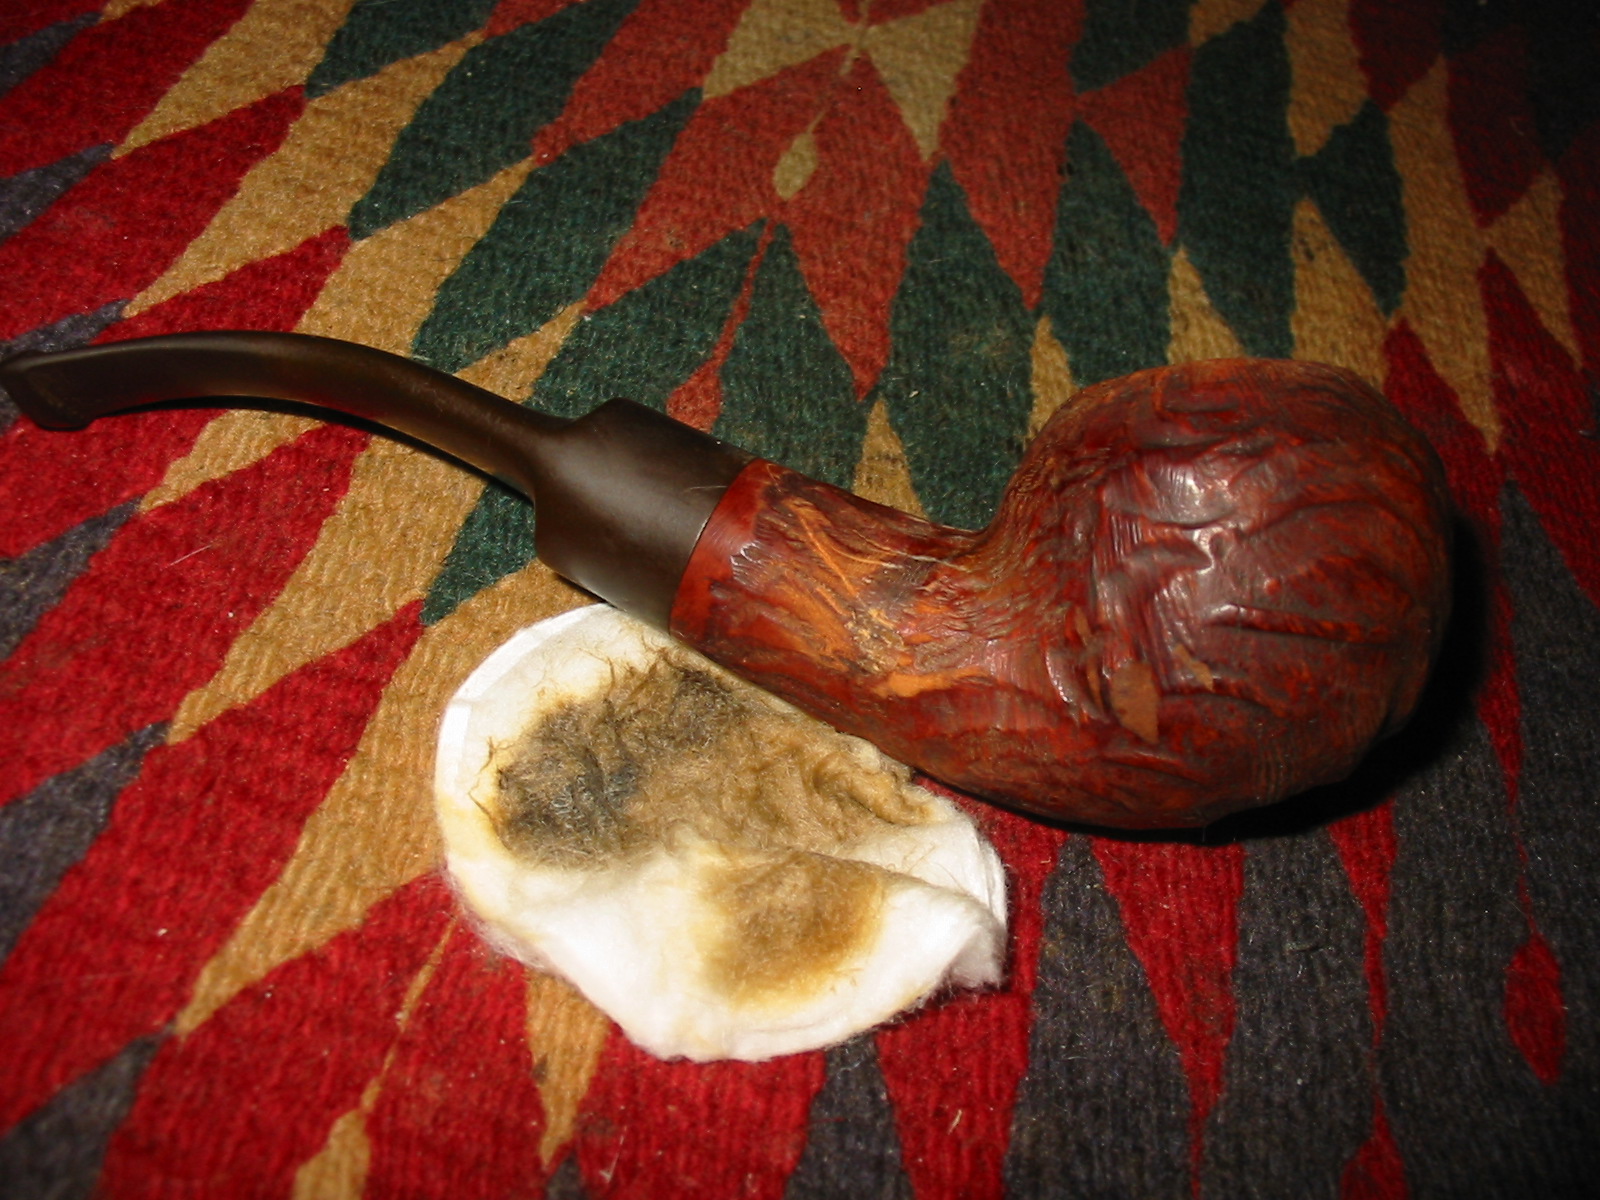
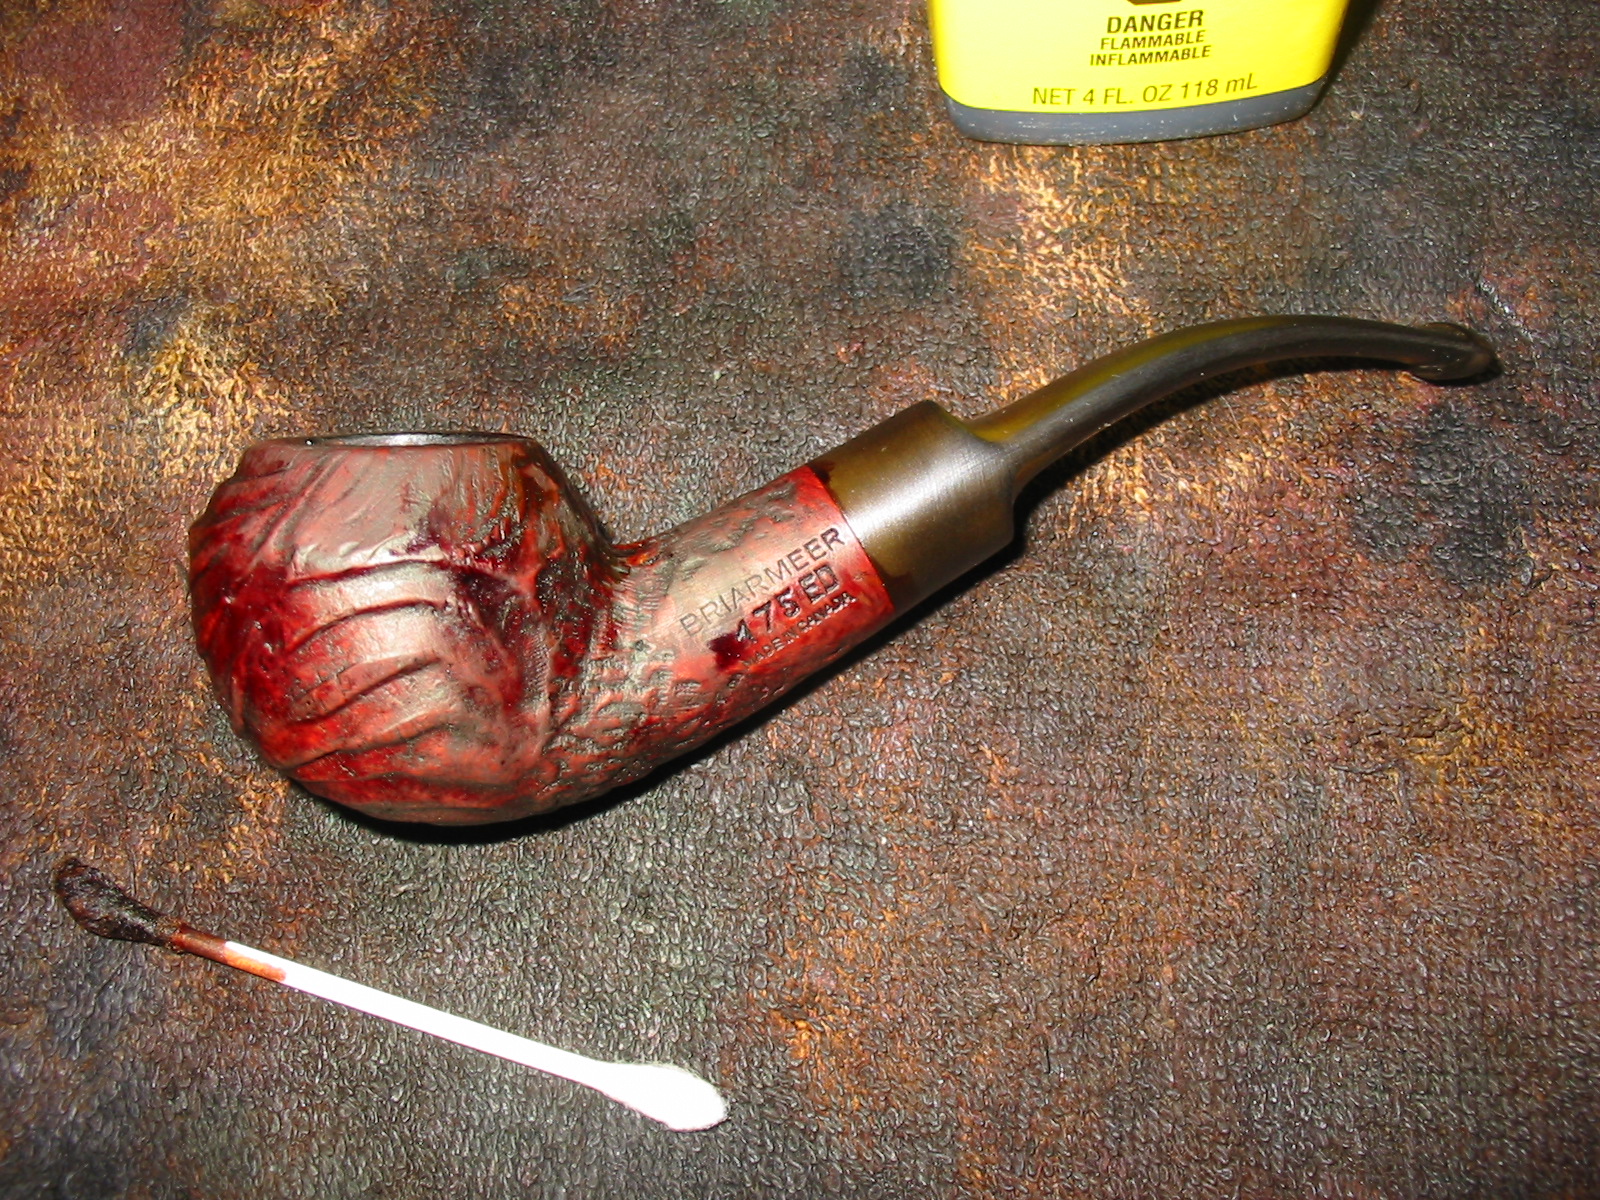
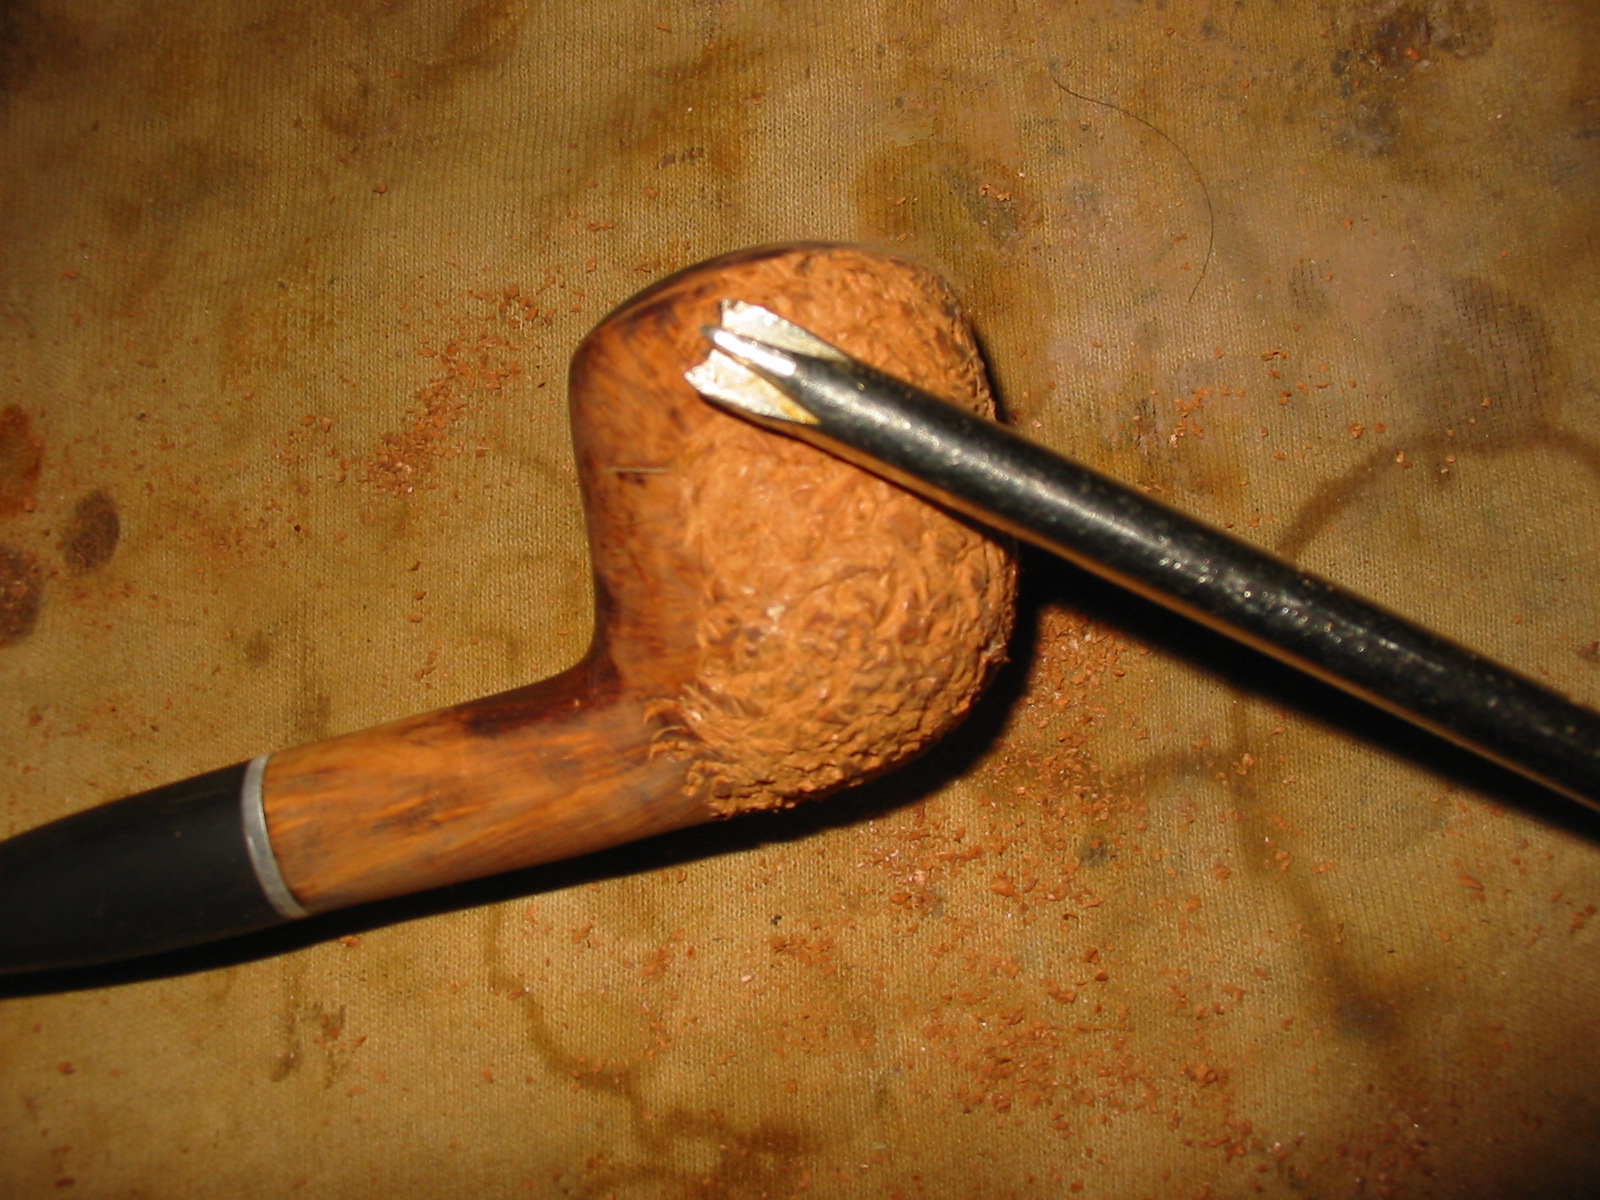
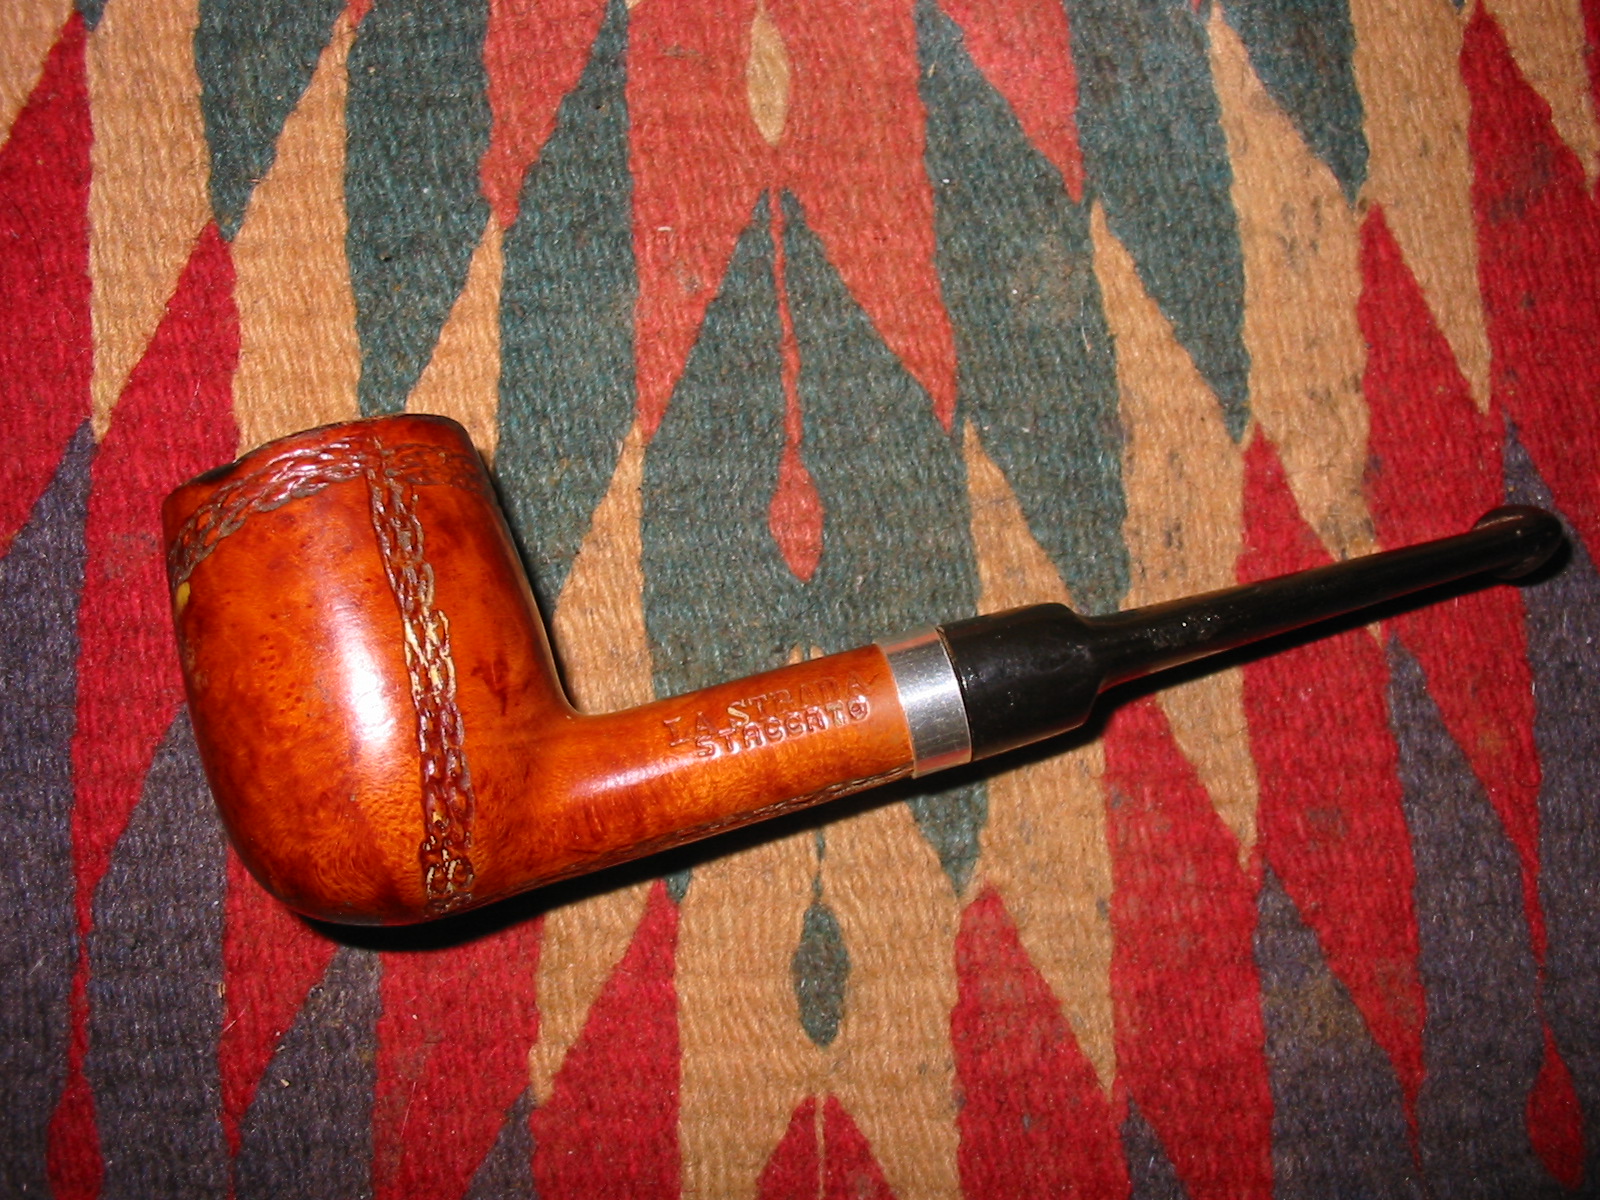
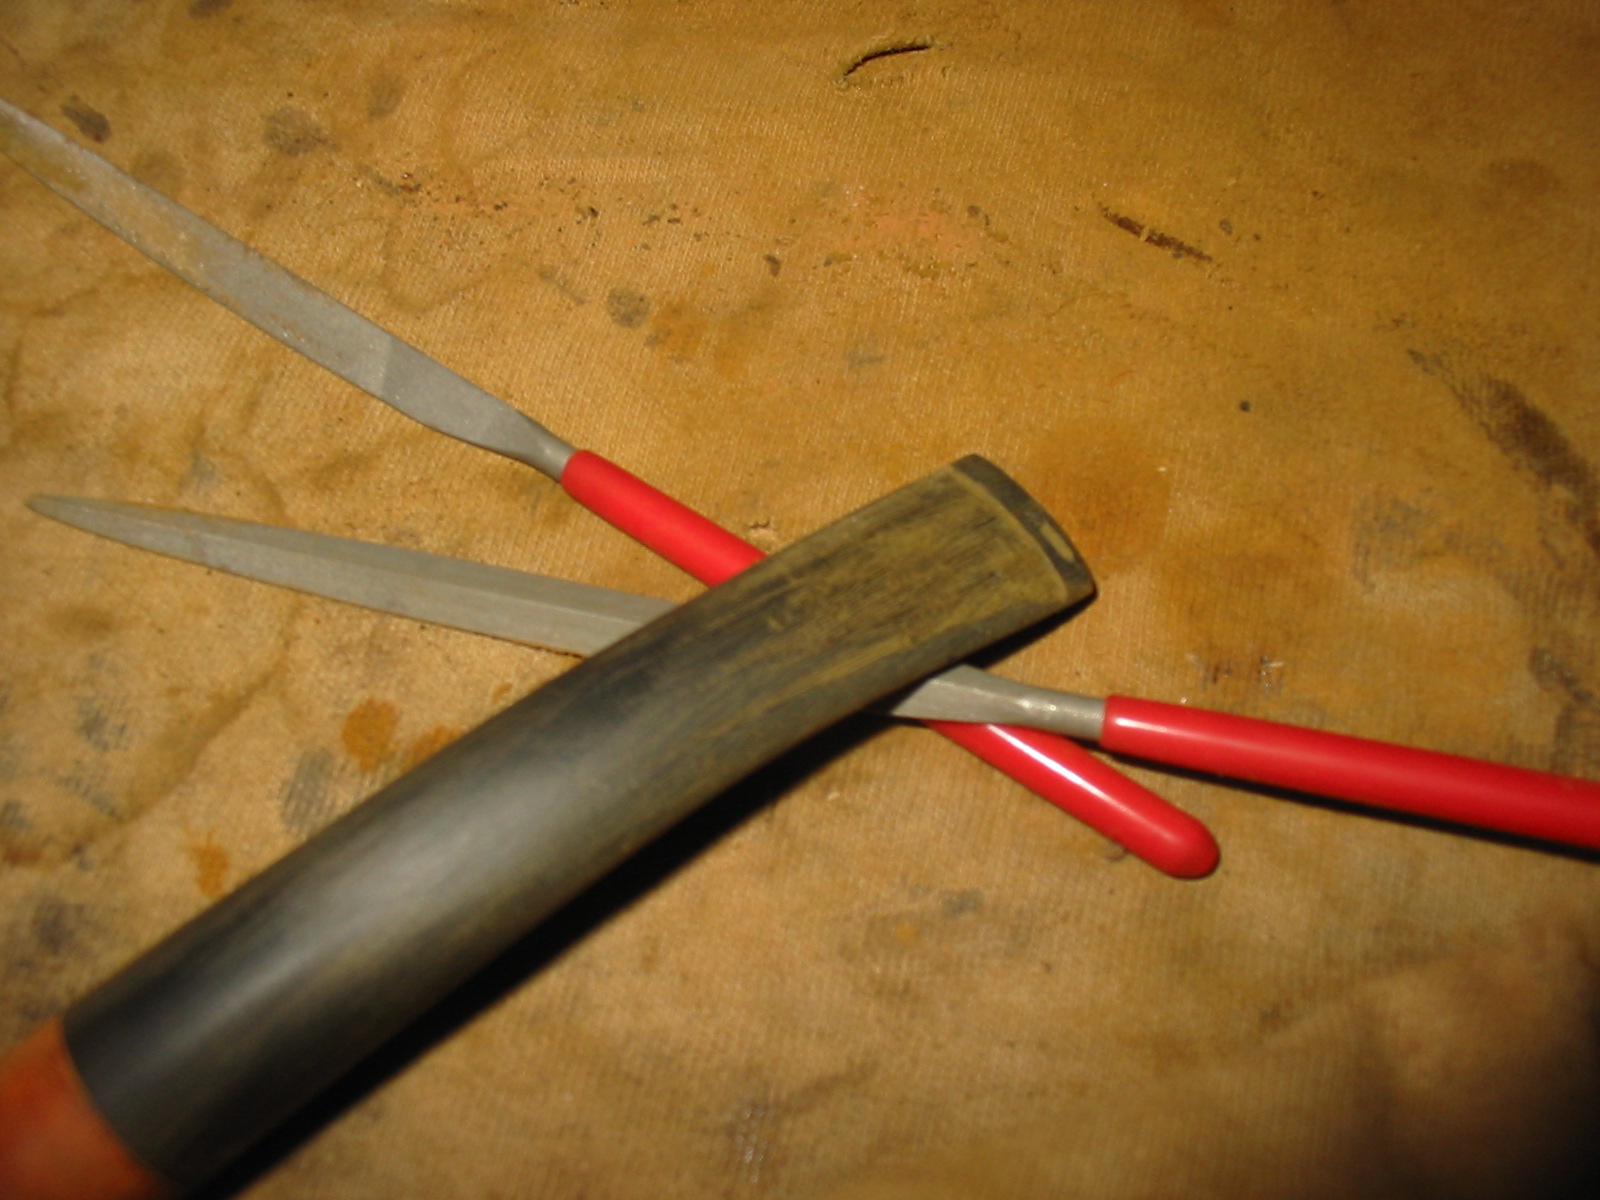
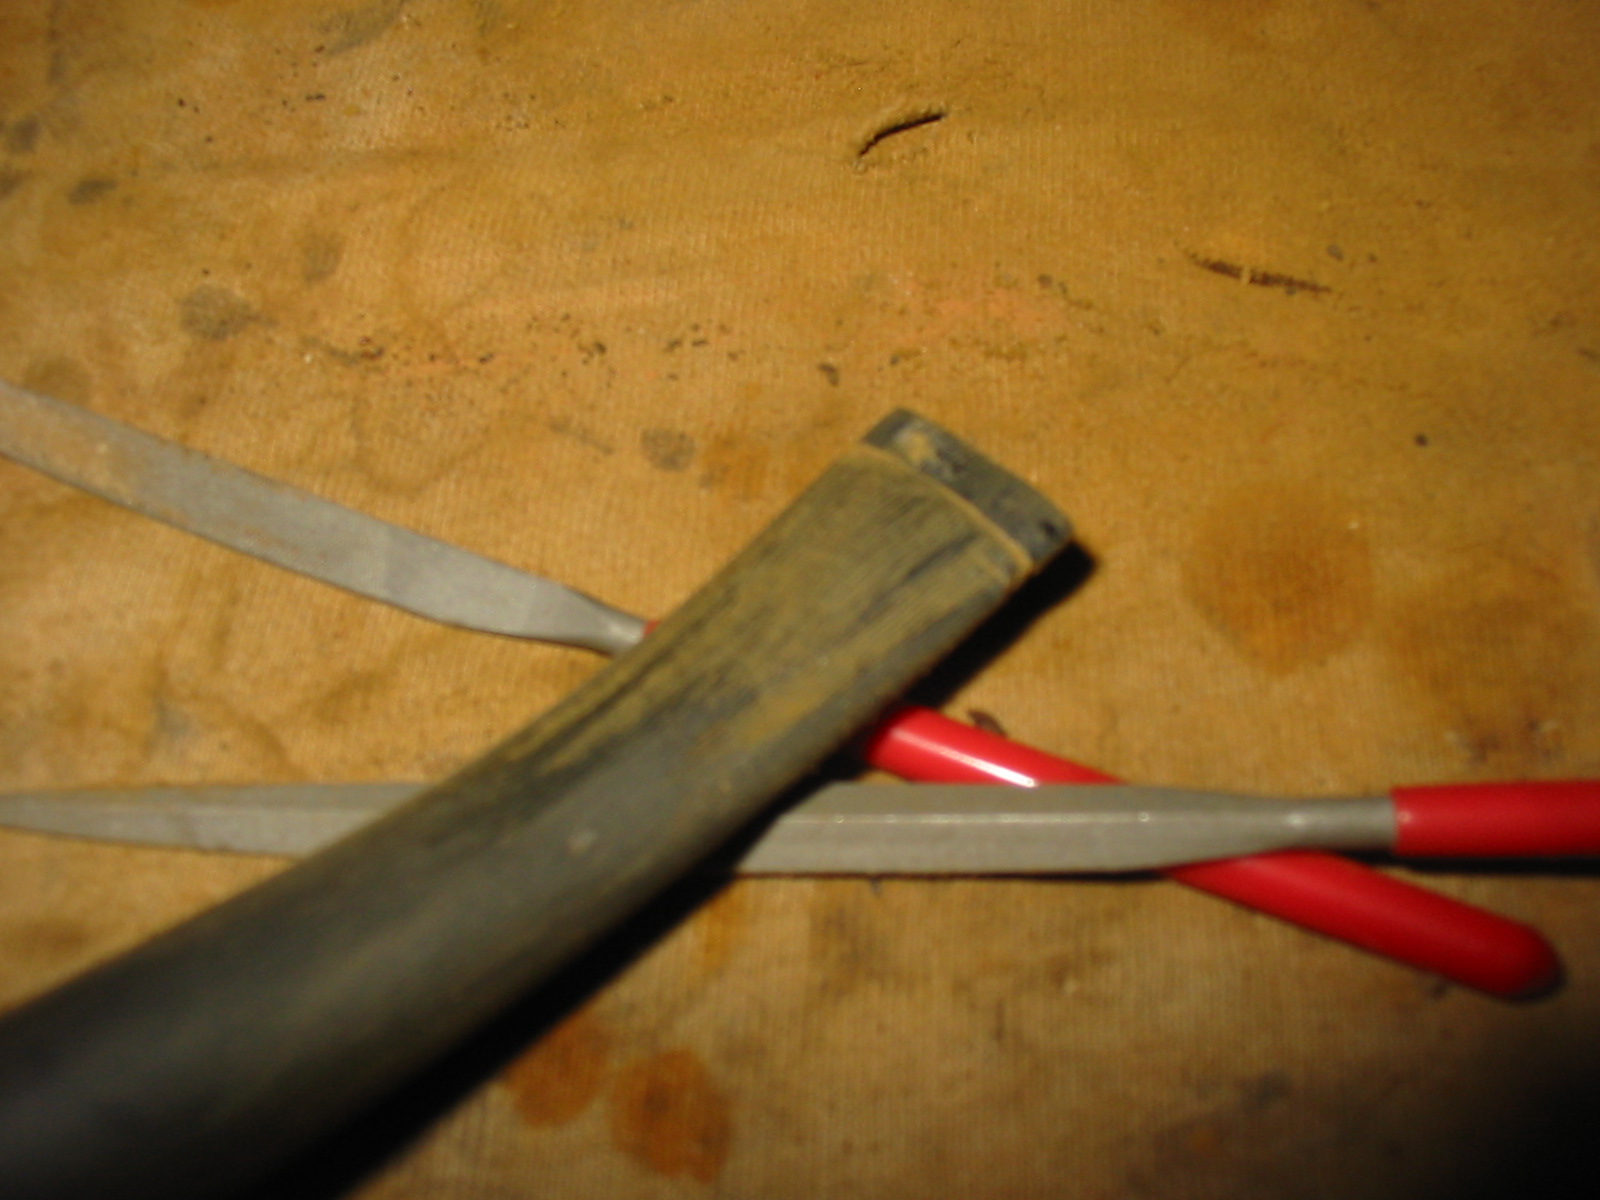
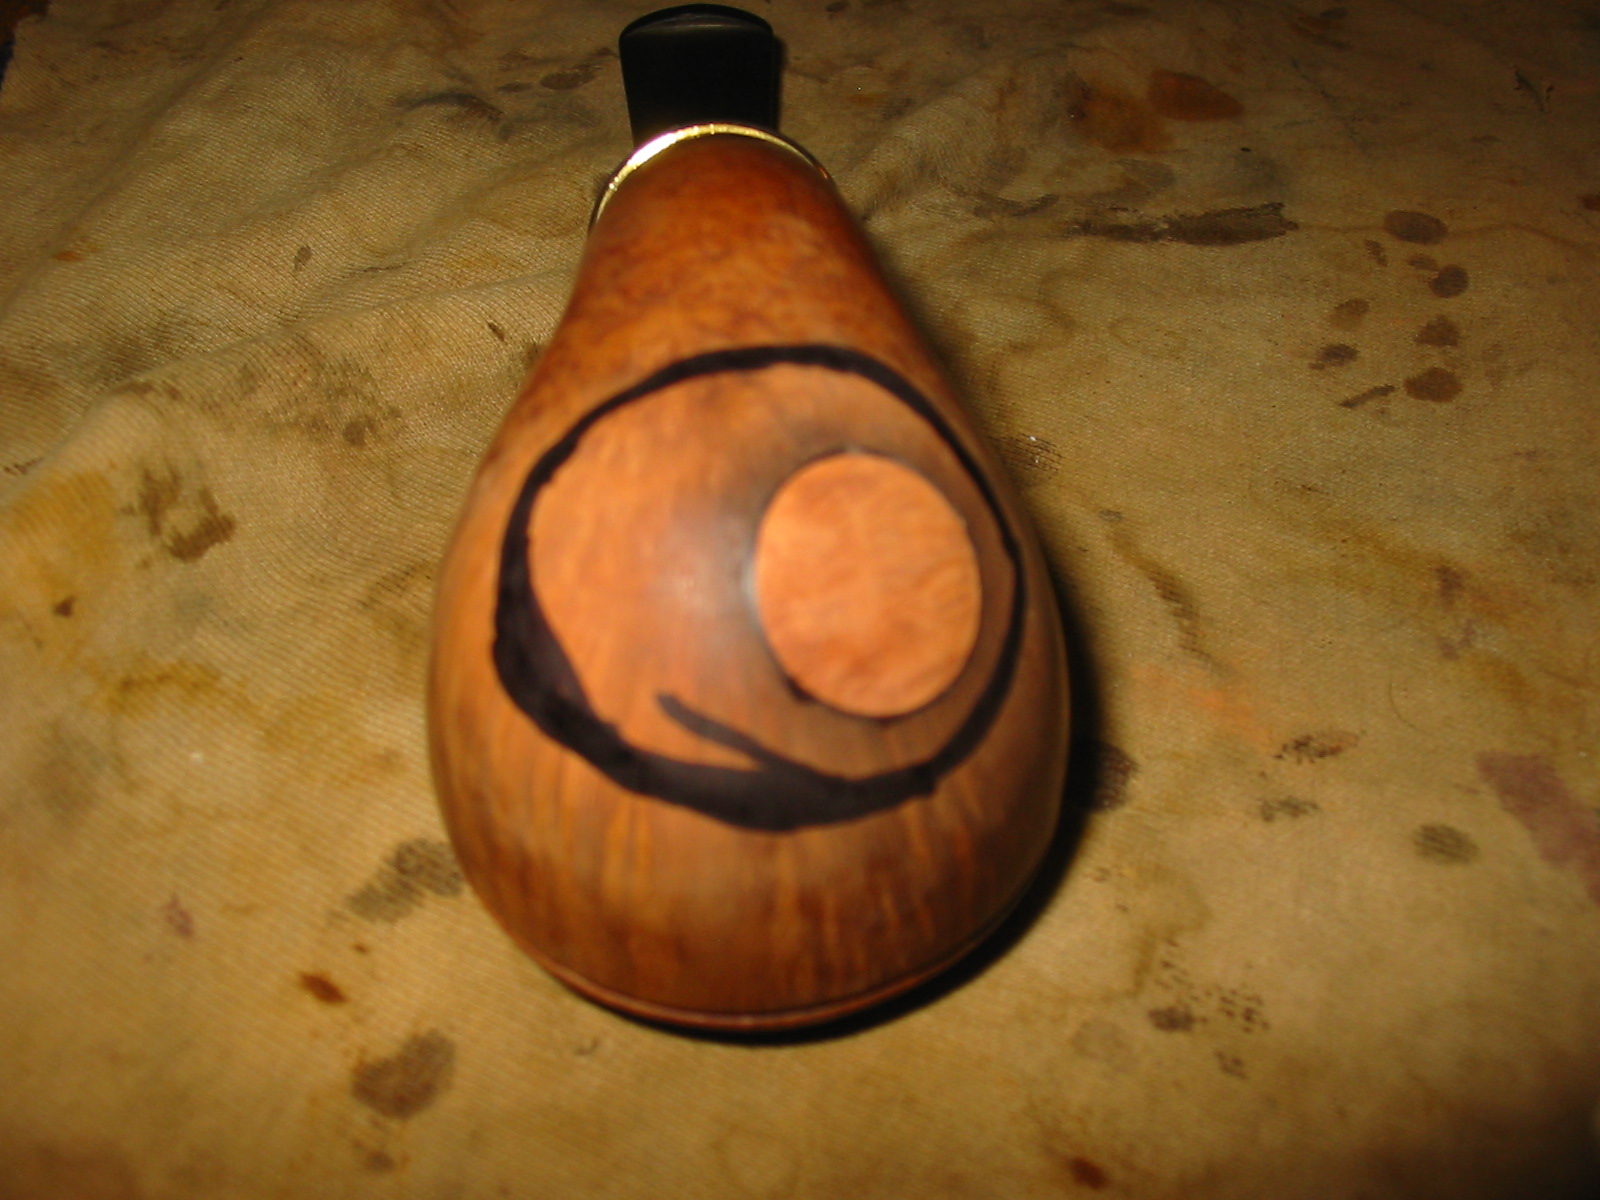
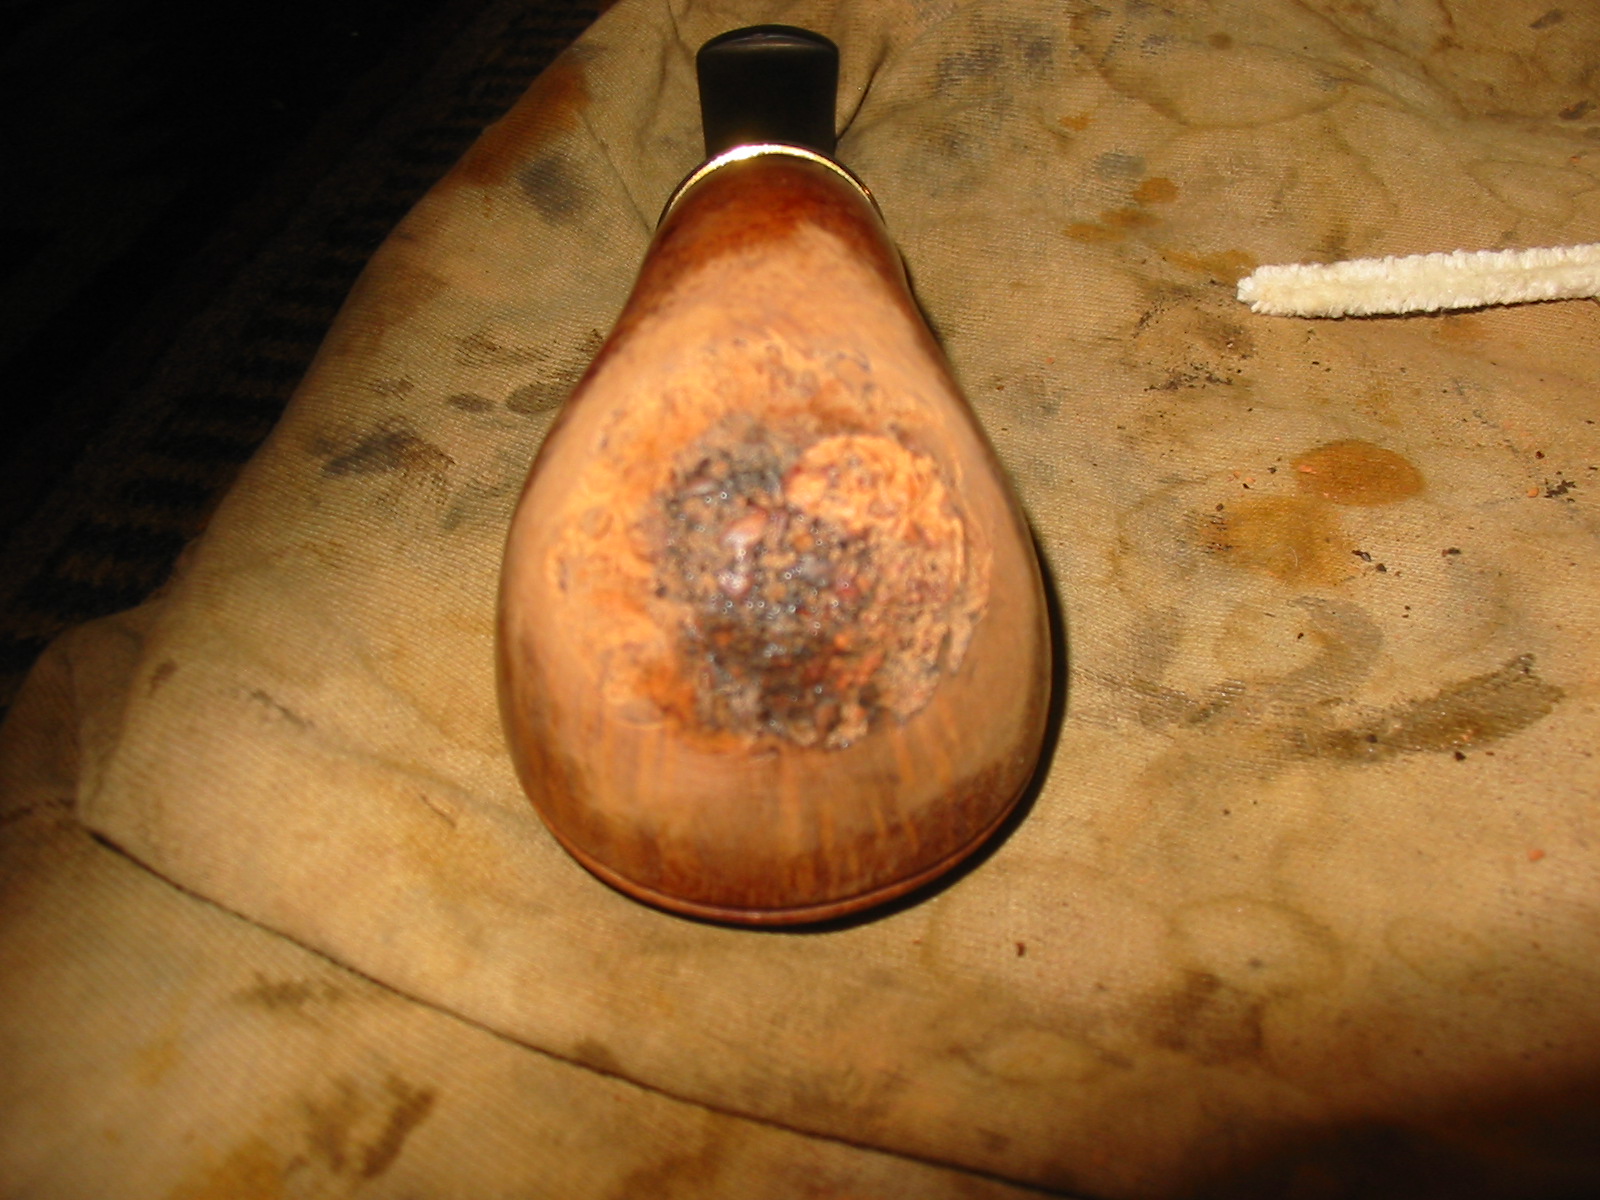
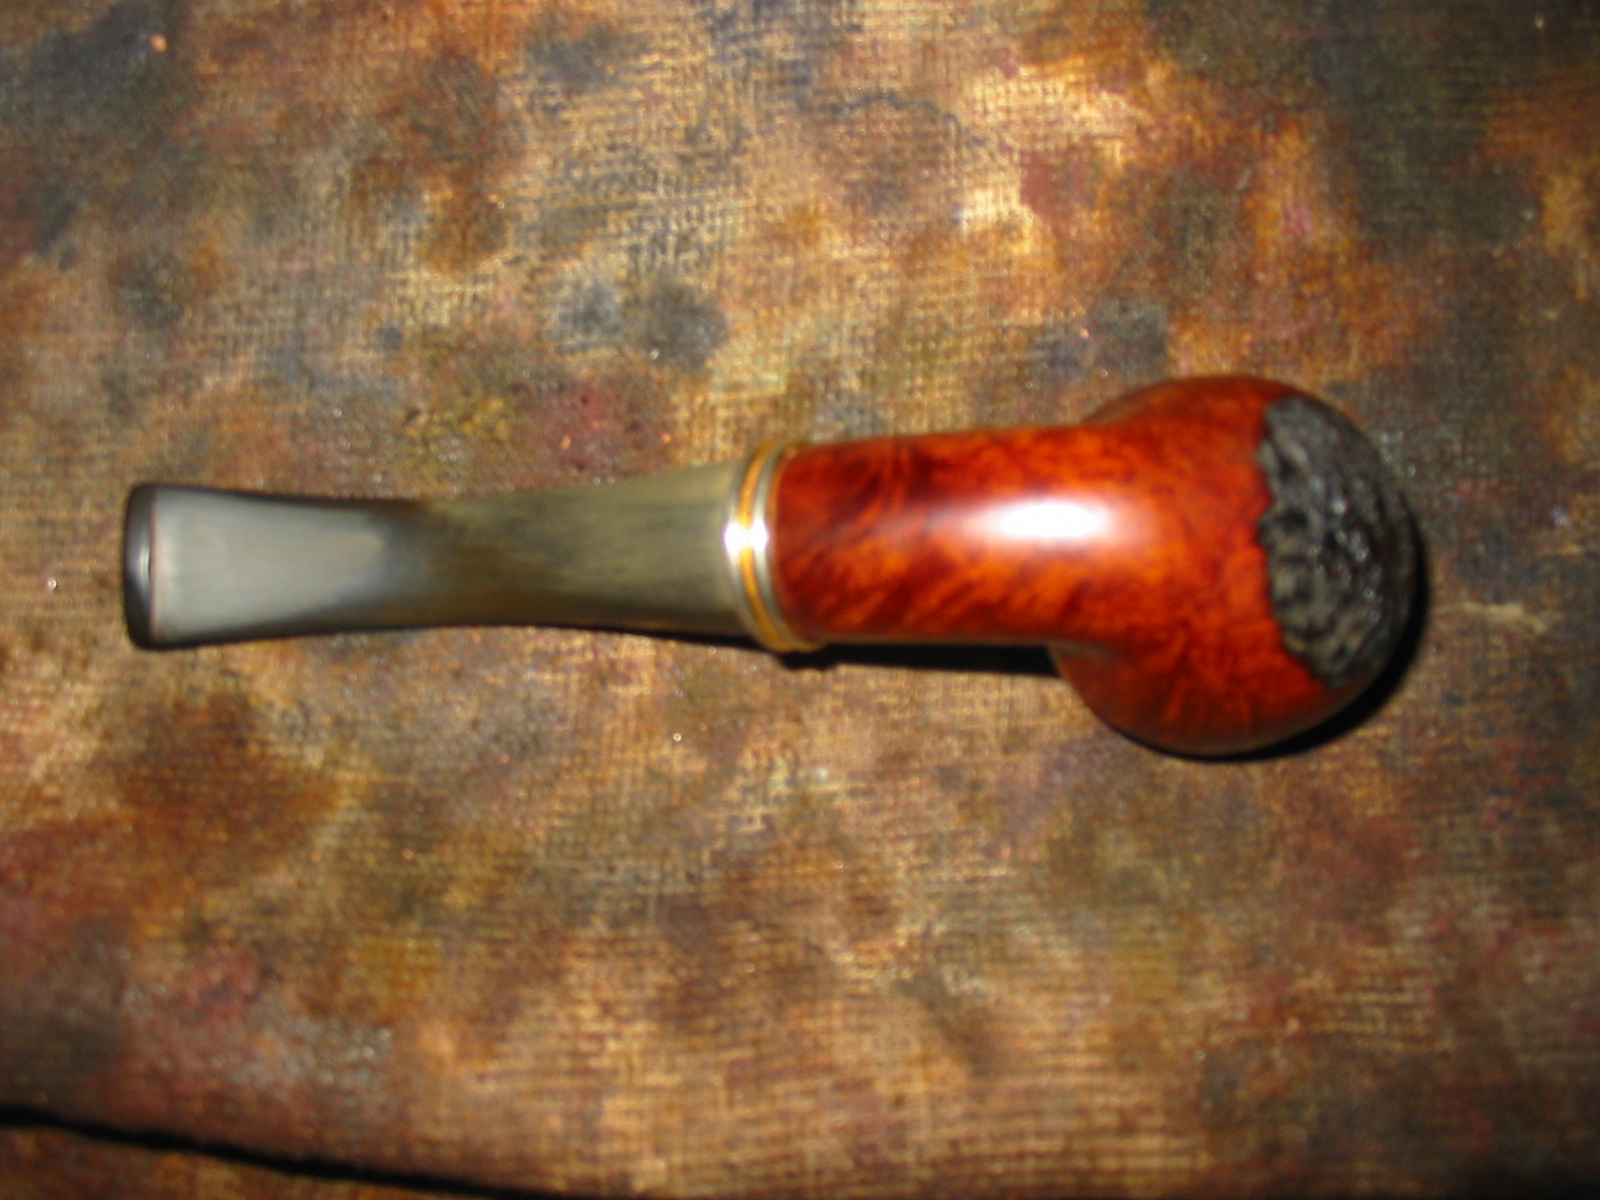
Once I had removed the finish I could see that the number and the size and shape of the fills would make them hard to blend into the new stain. I made a decision to rusticate the bowl at that point in the process. I used the modified Philips screw driver to rusticate the bowl.
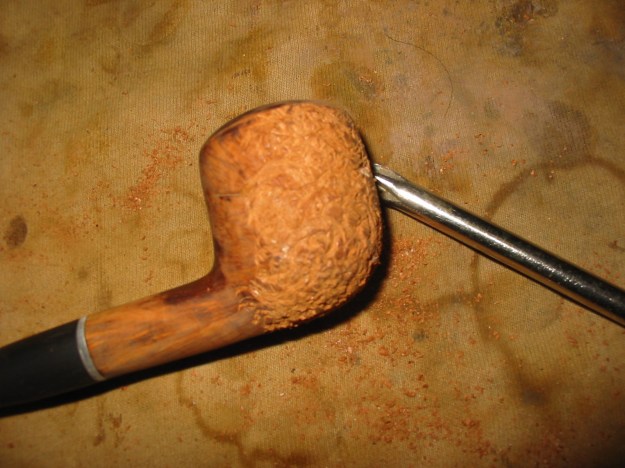

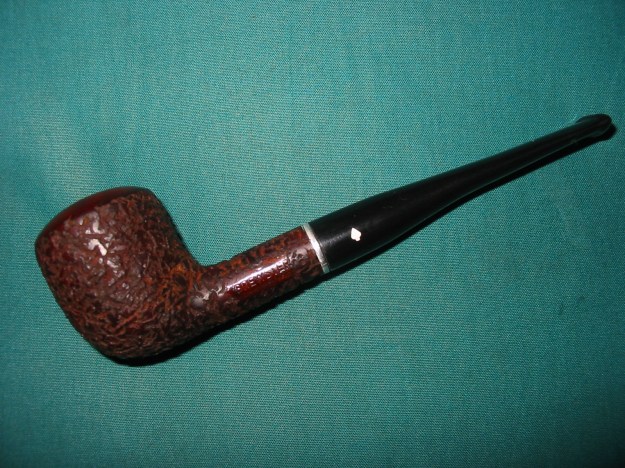
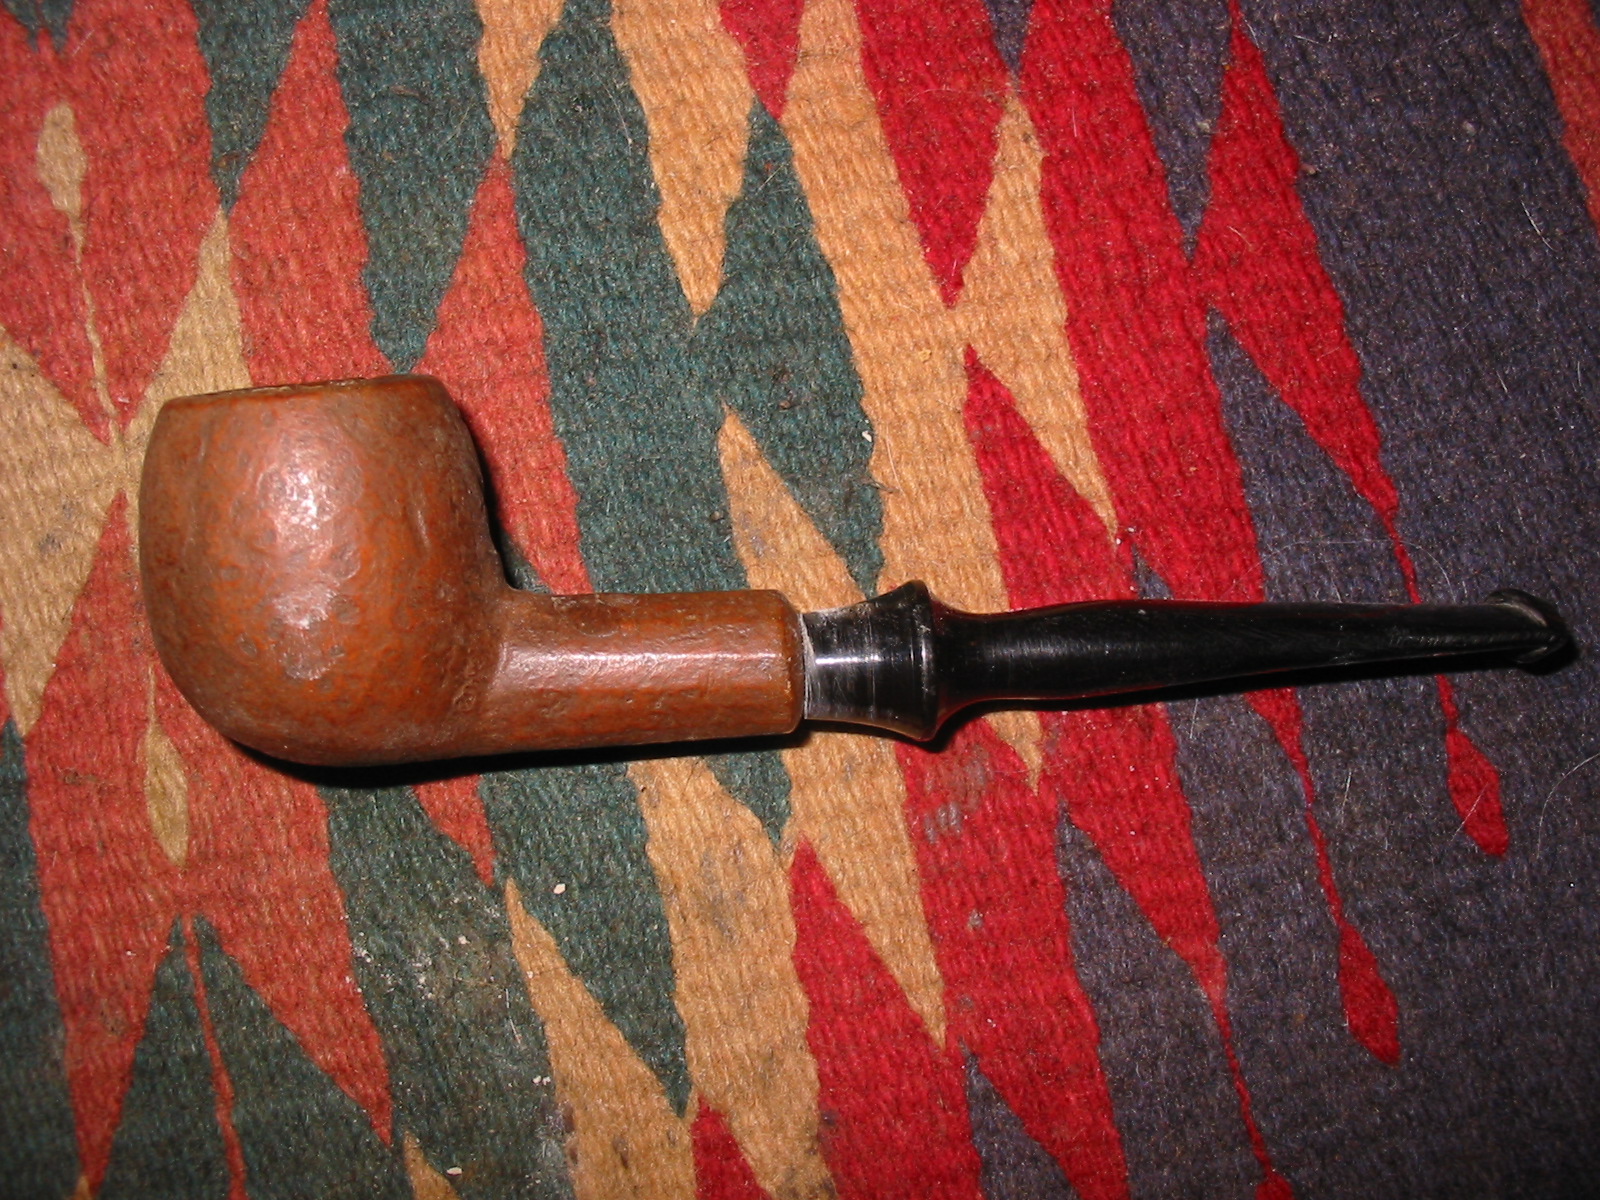
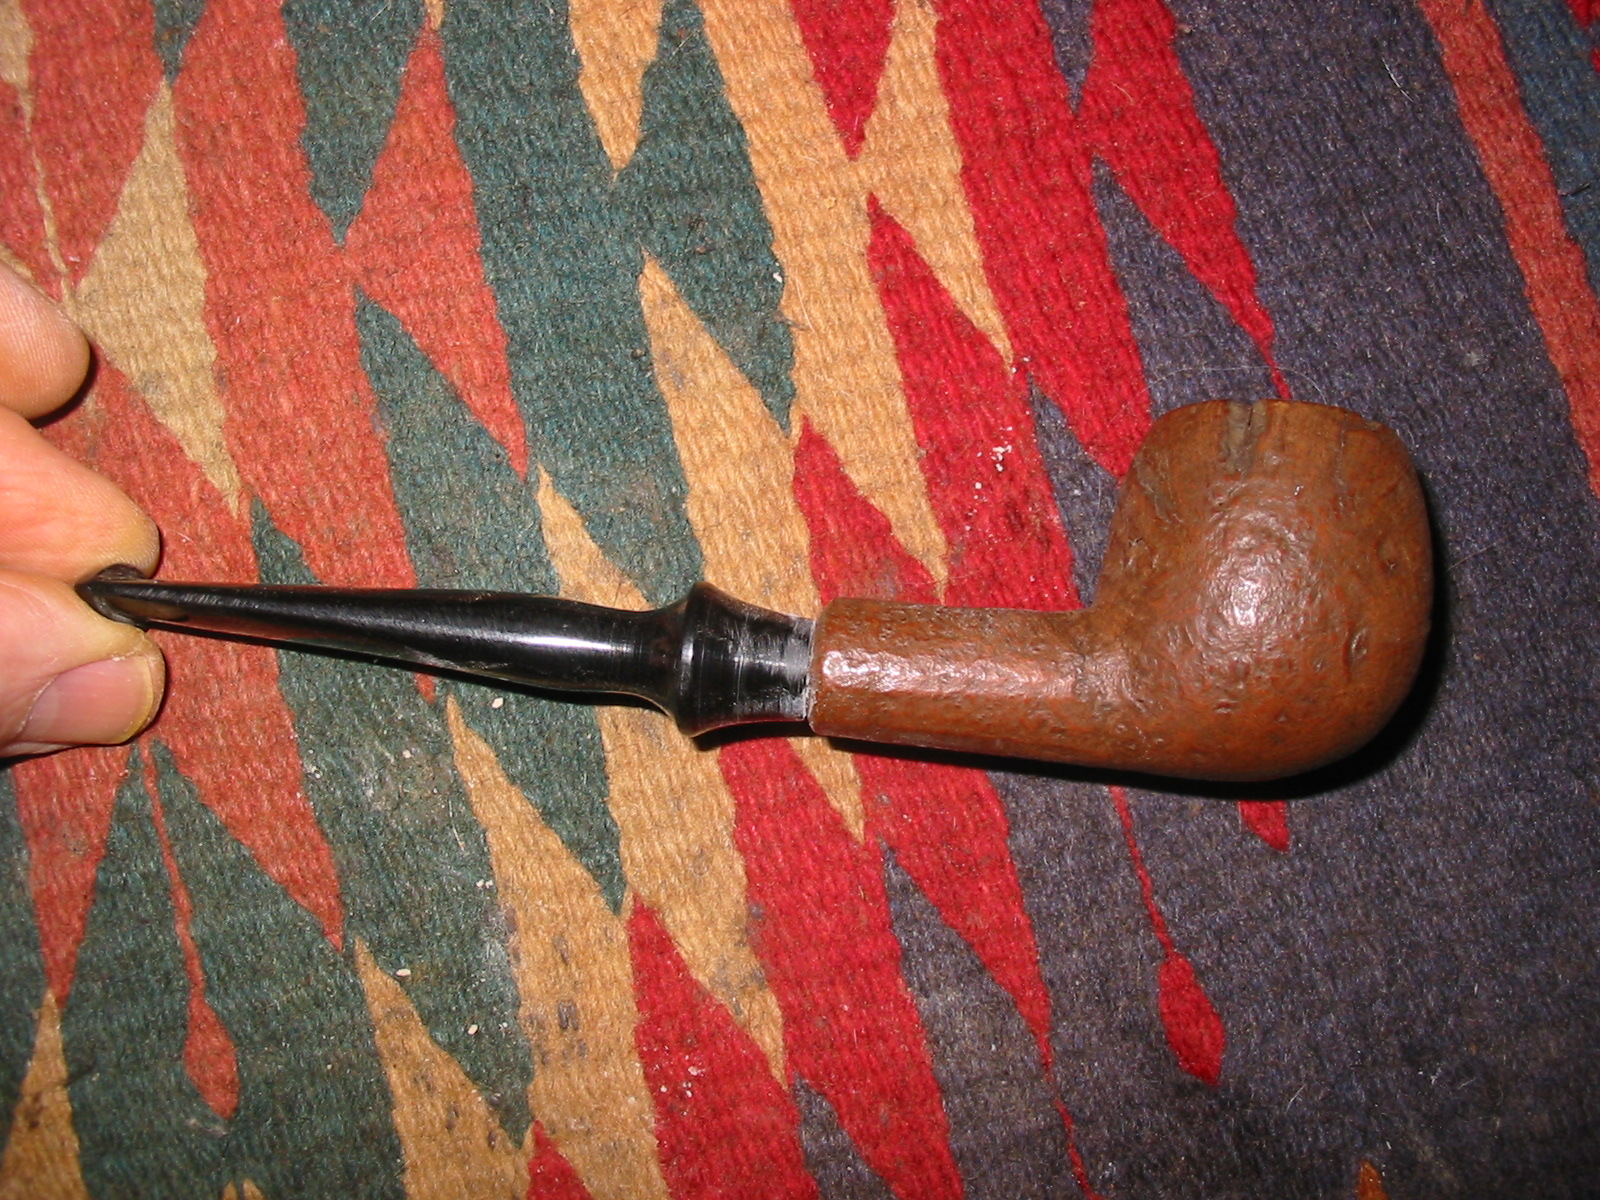
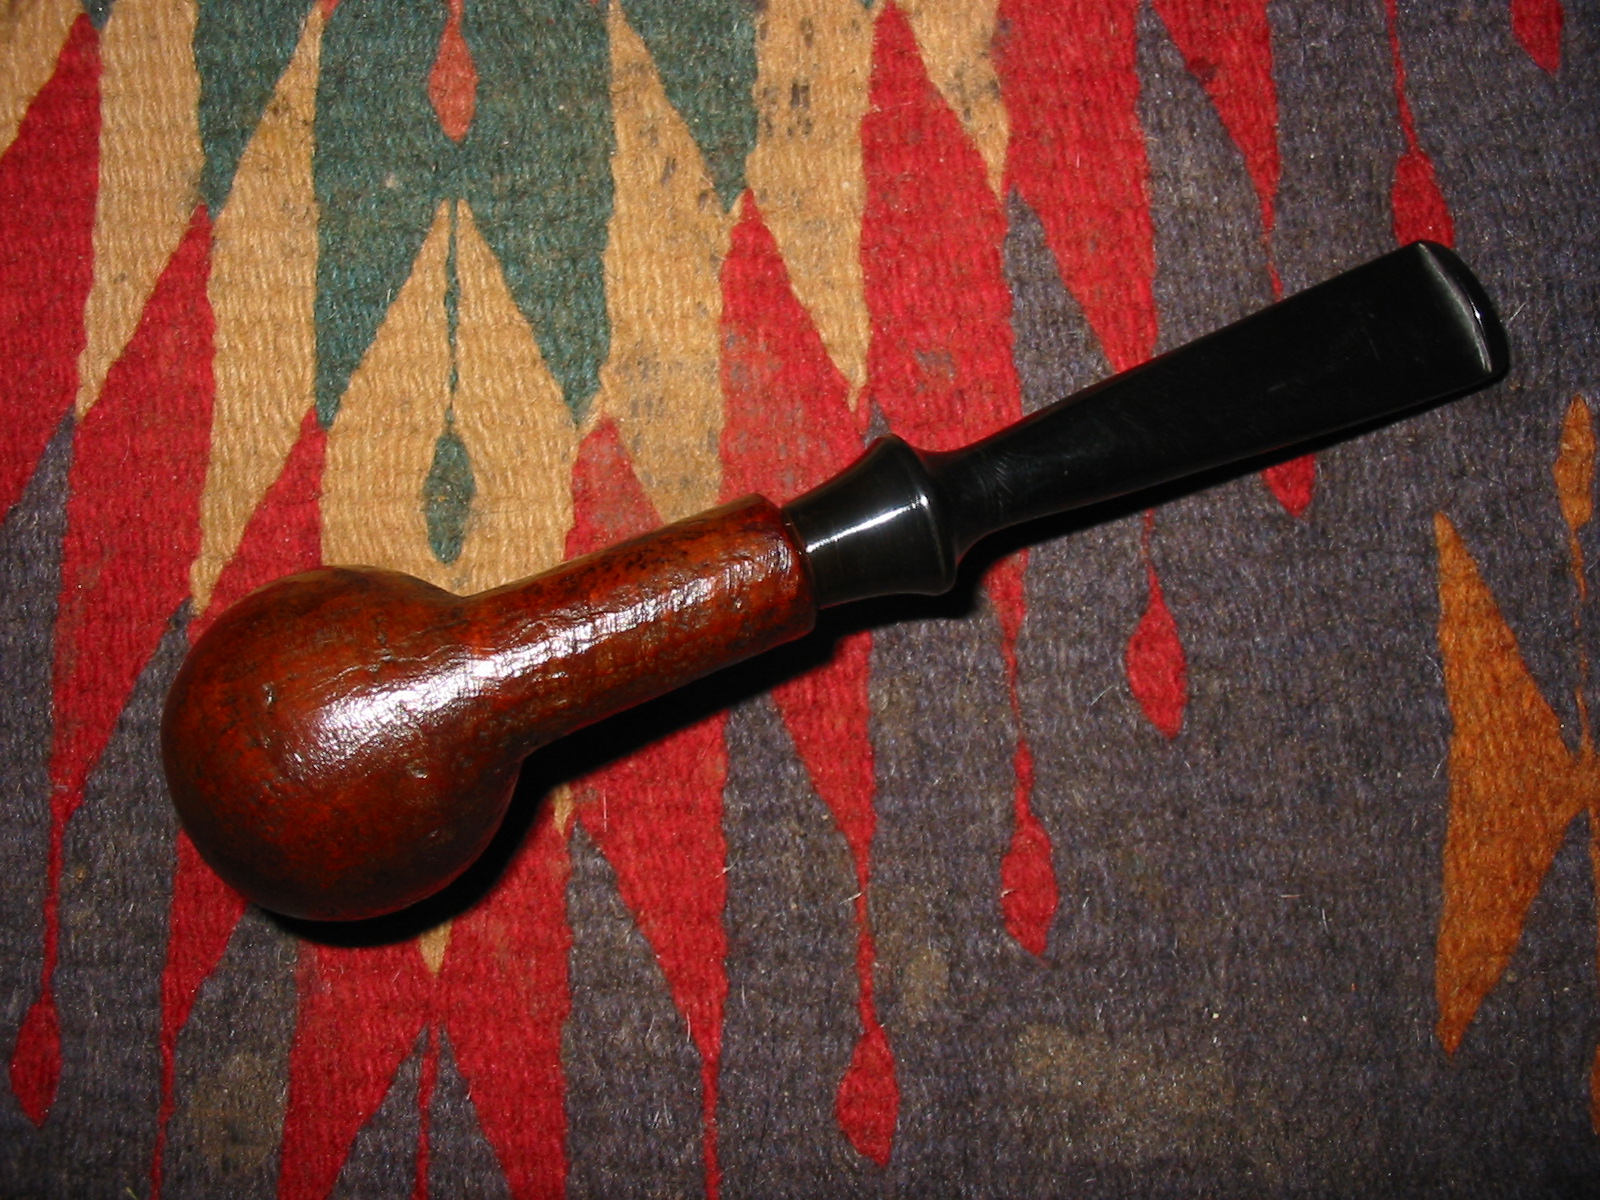
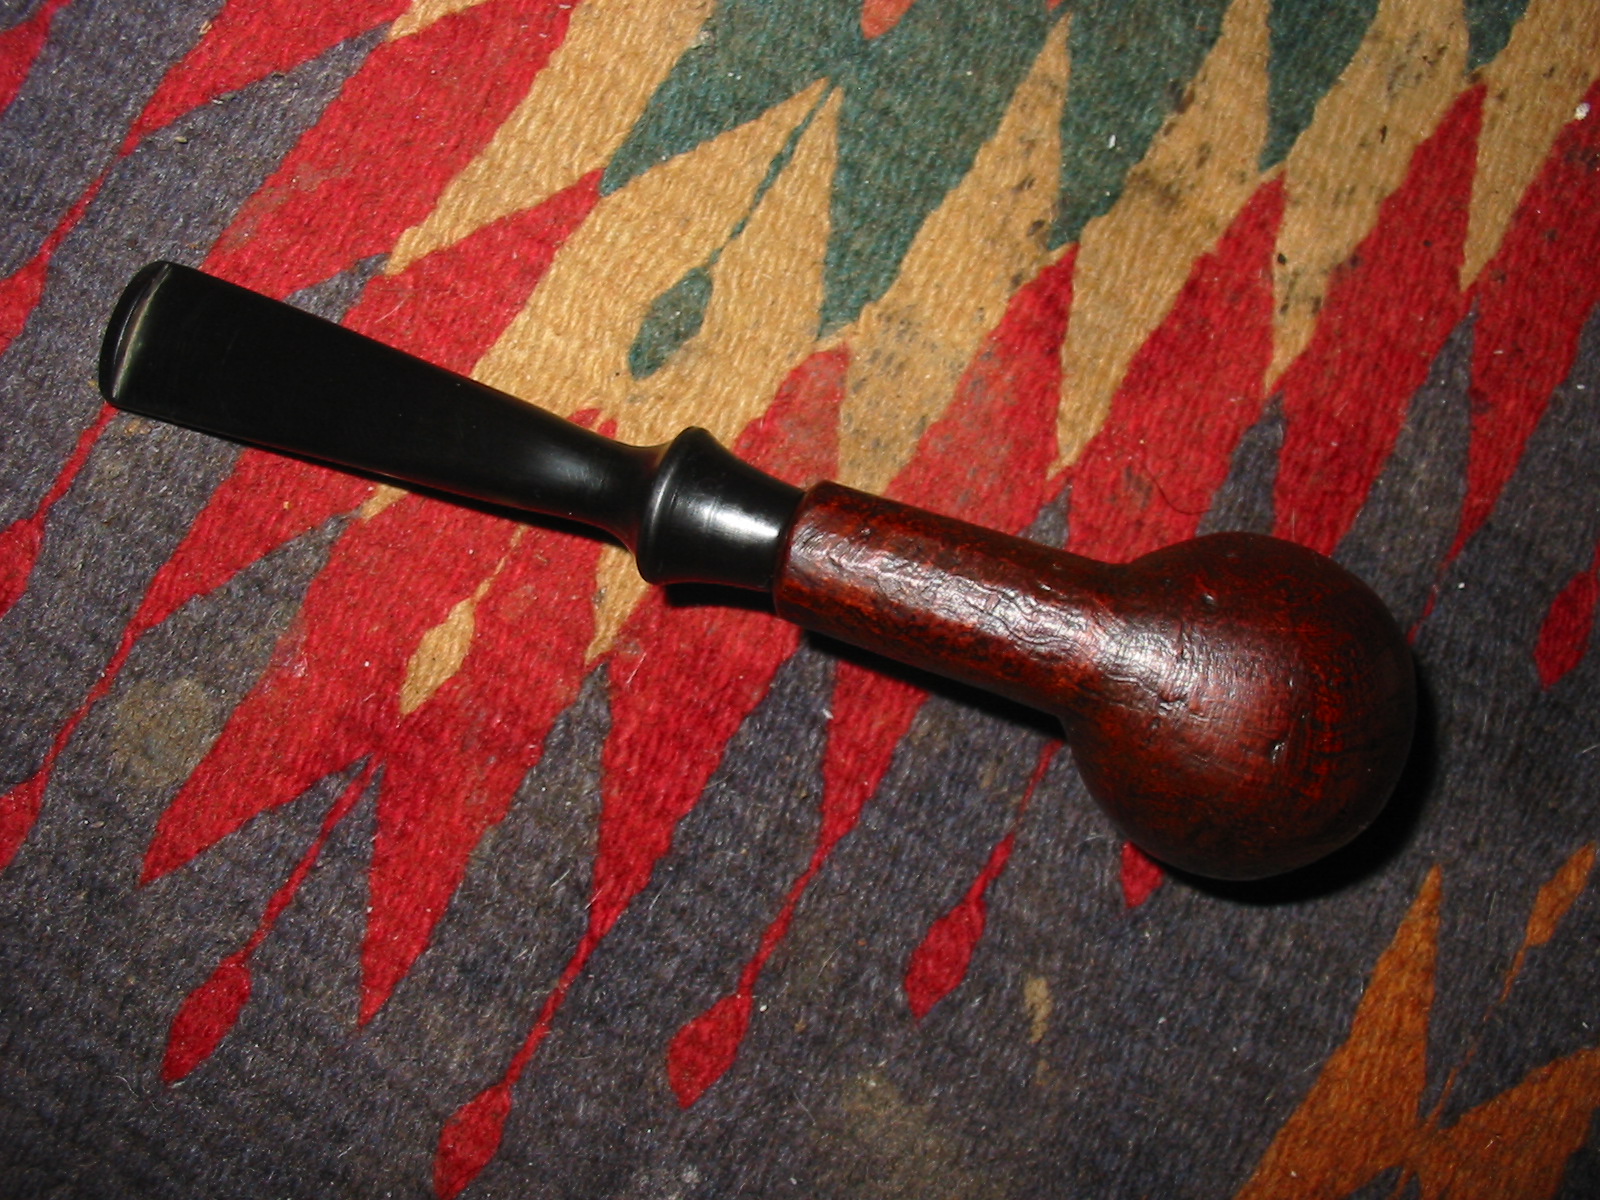
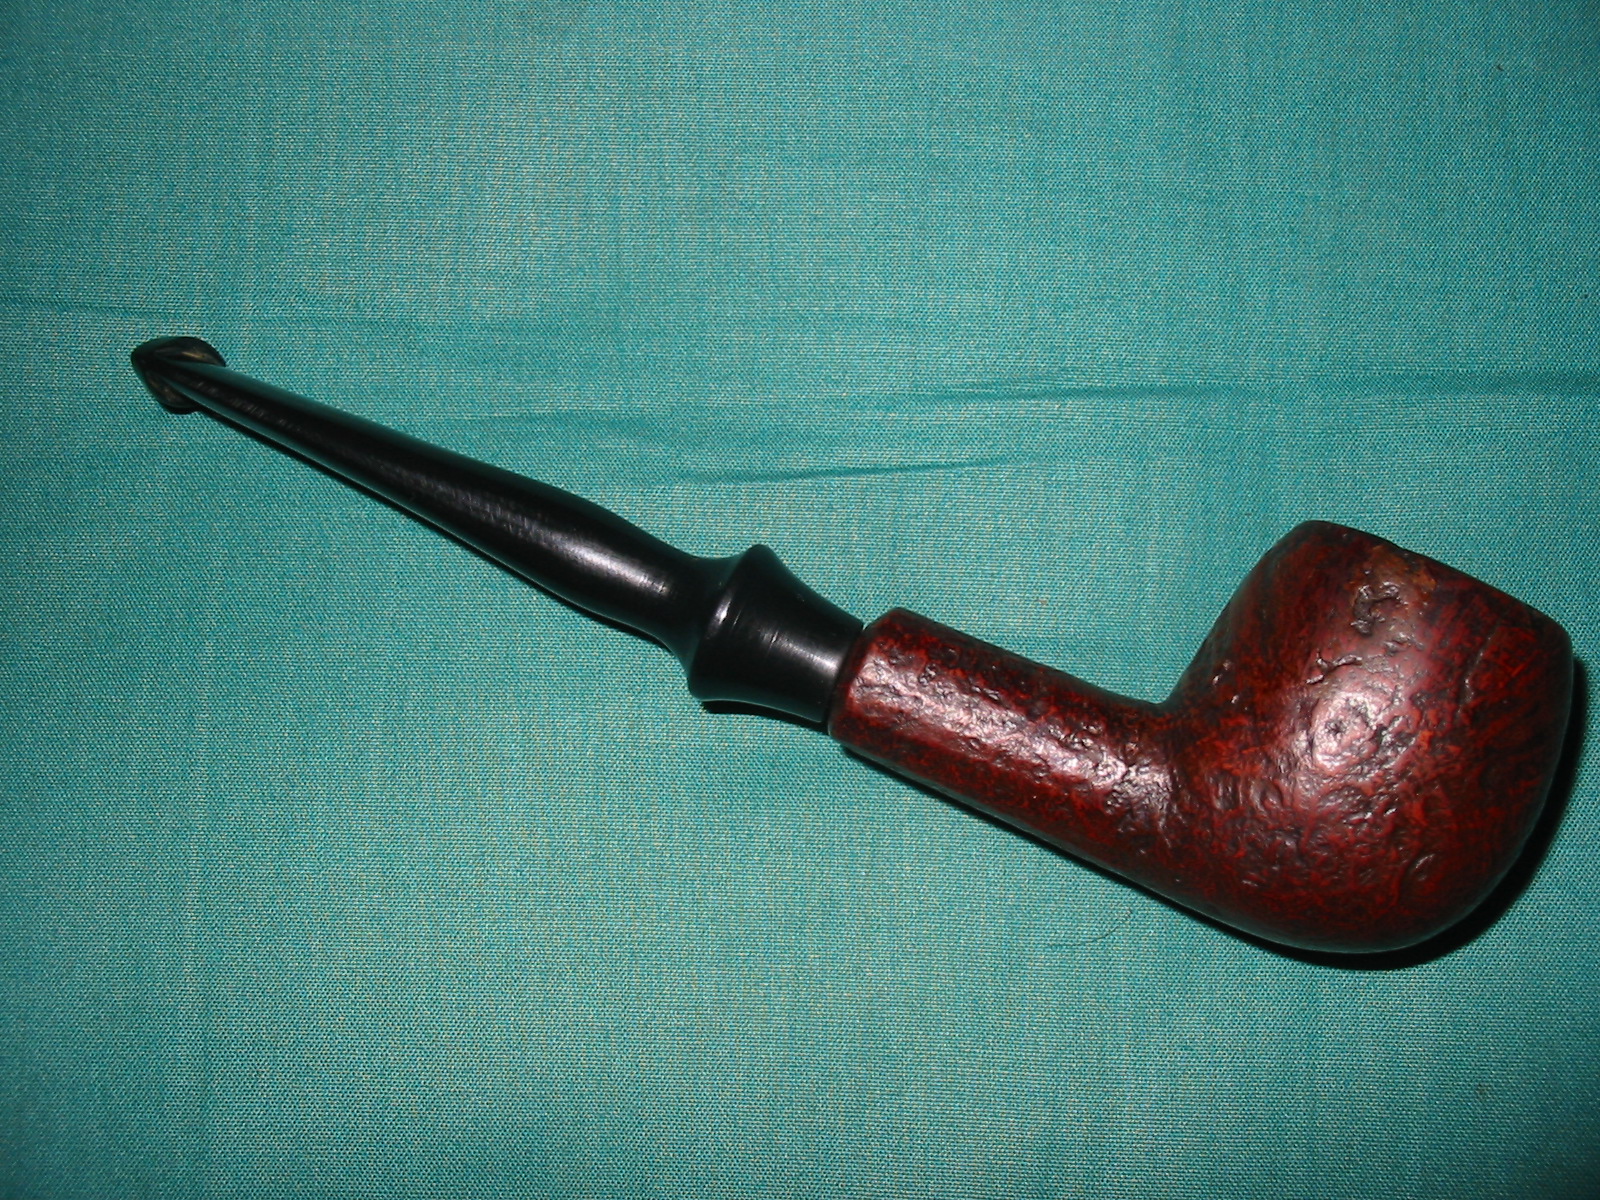
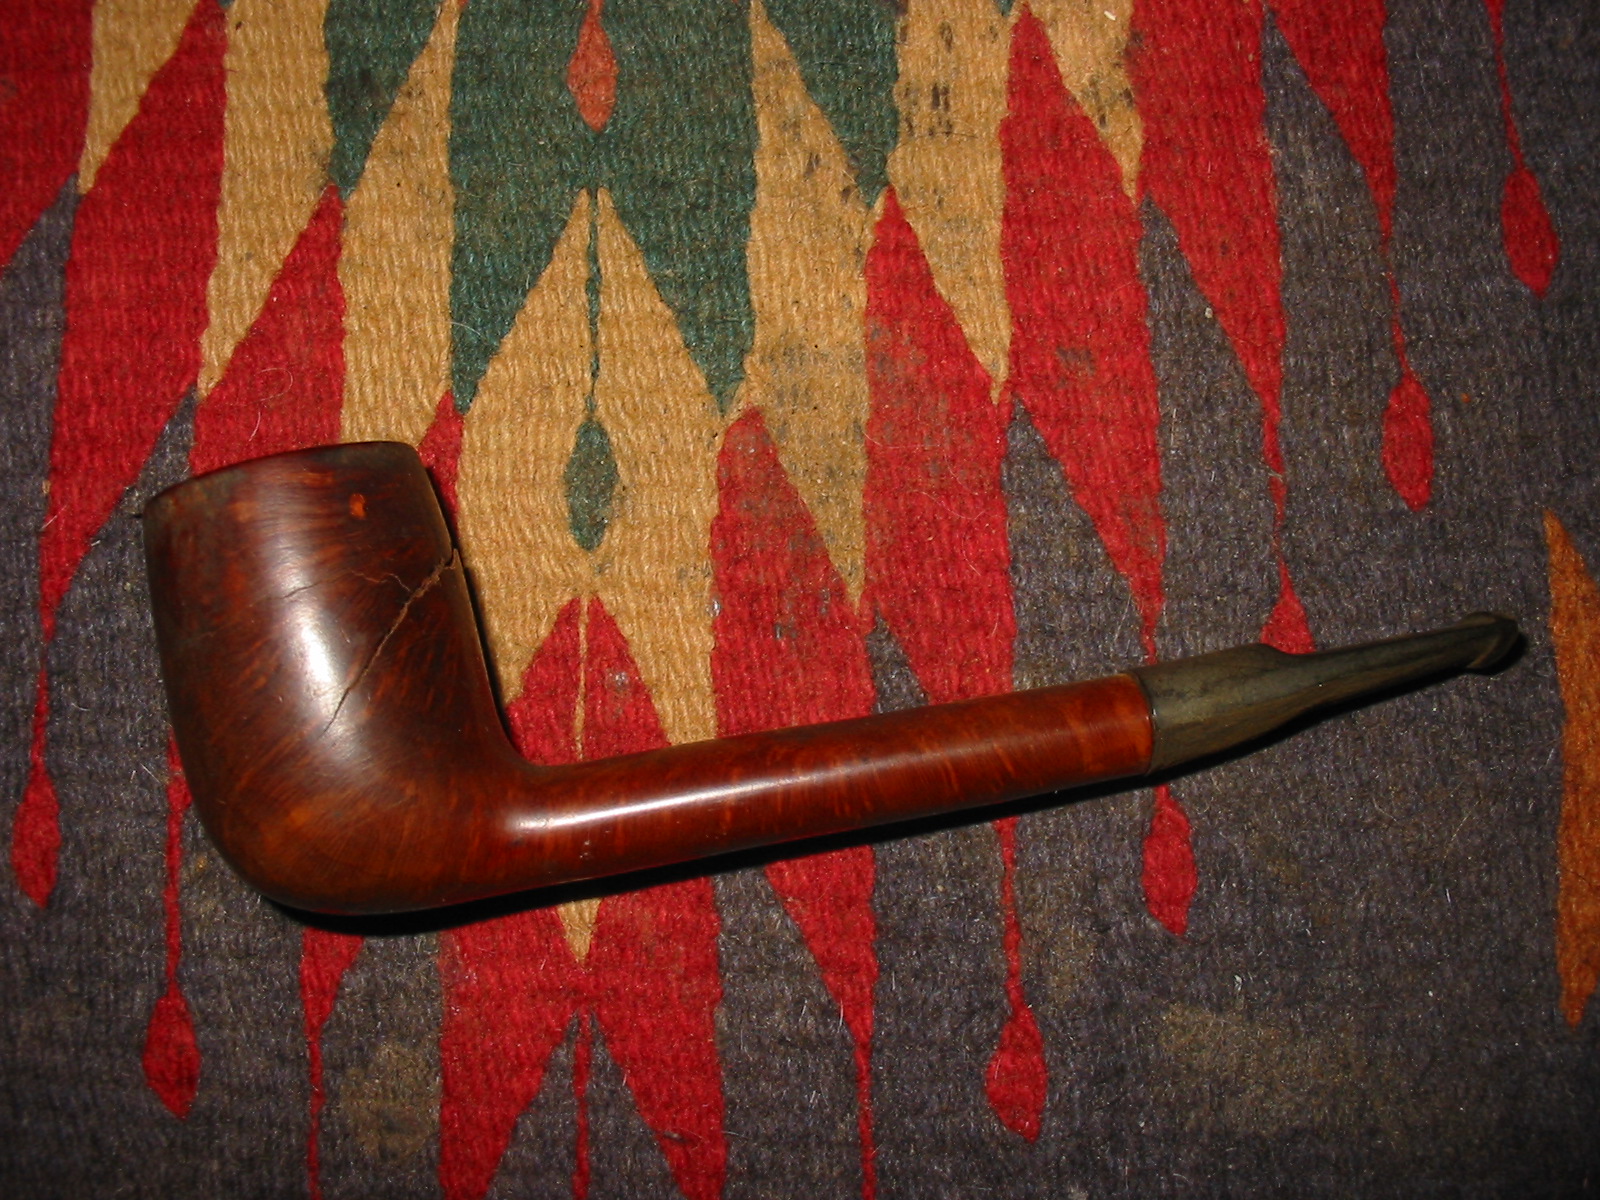
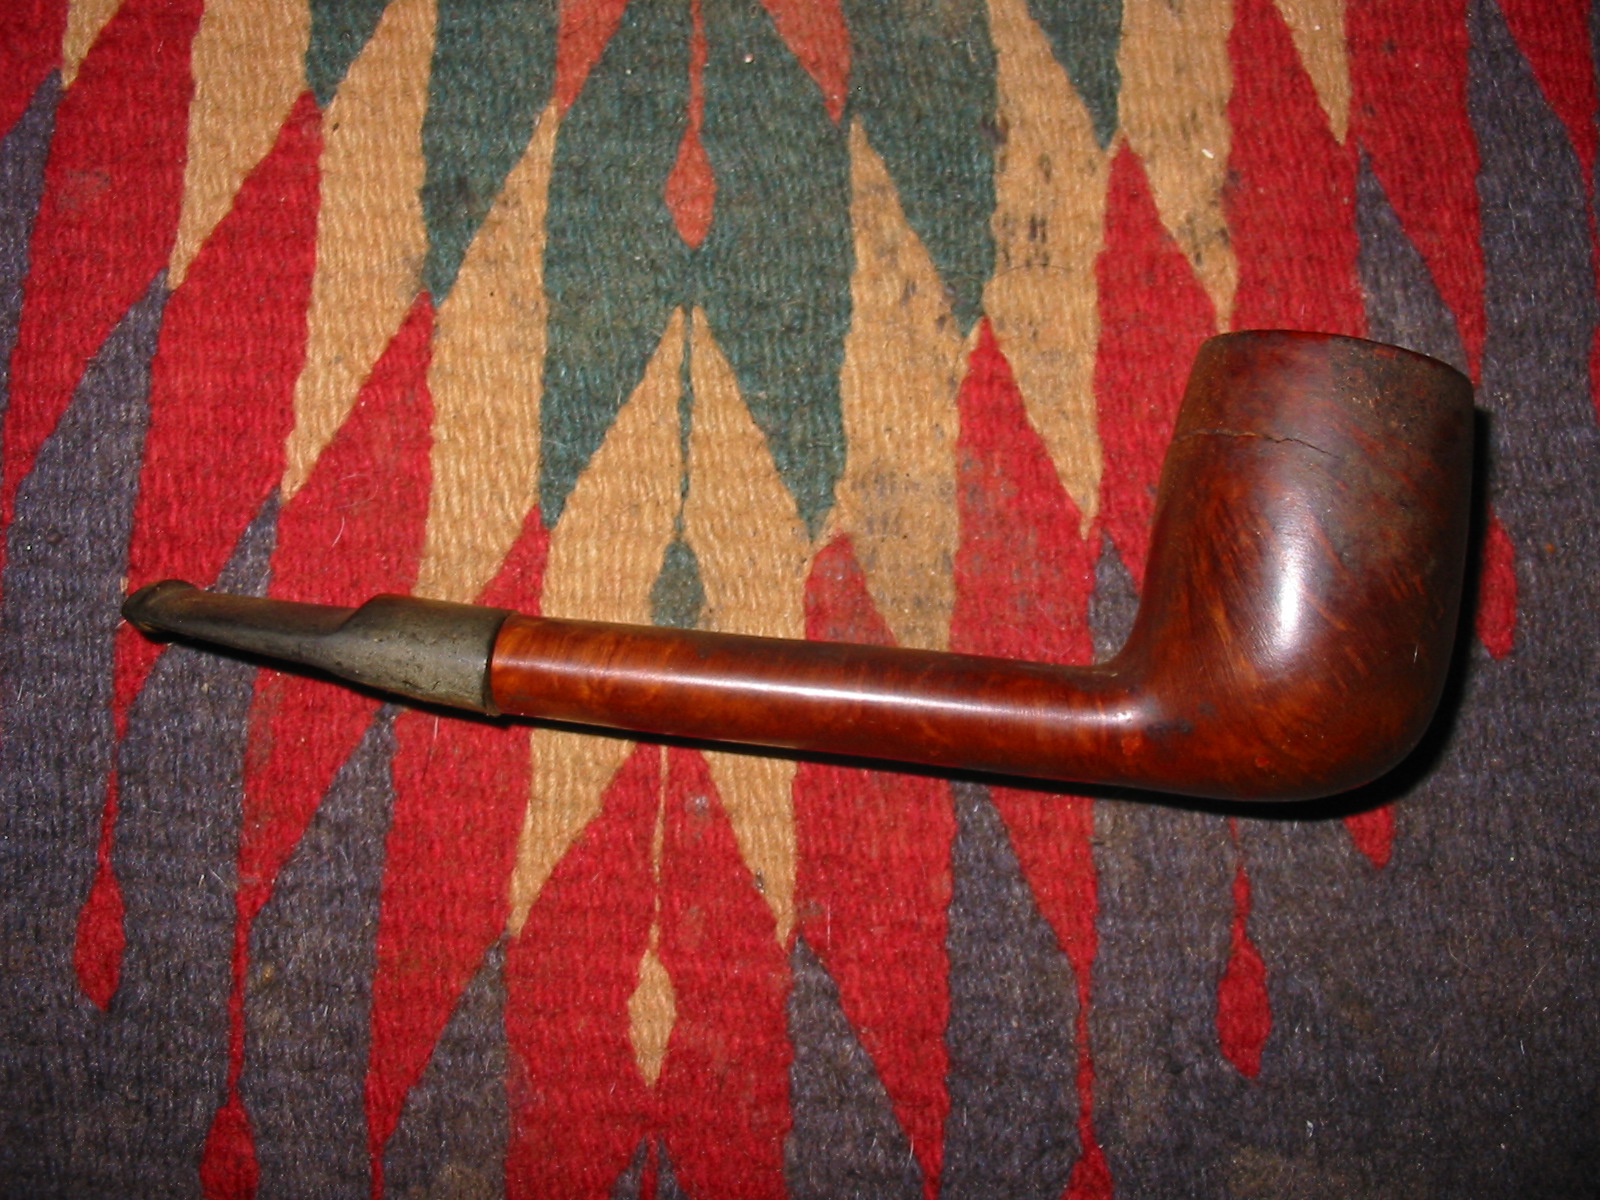
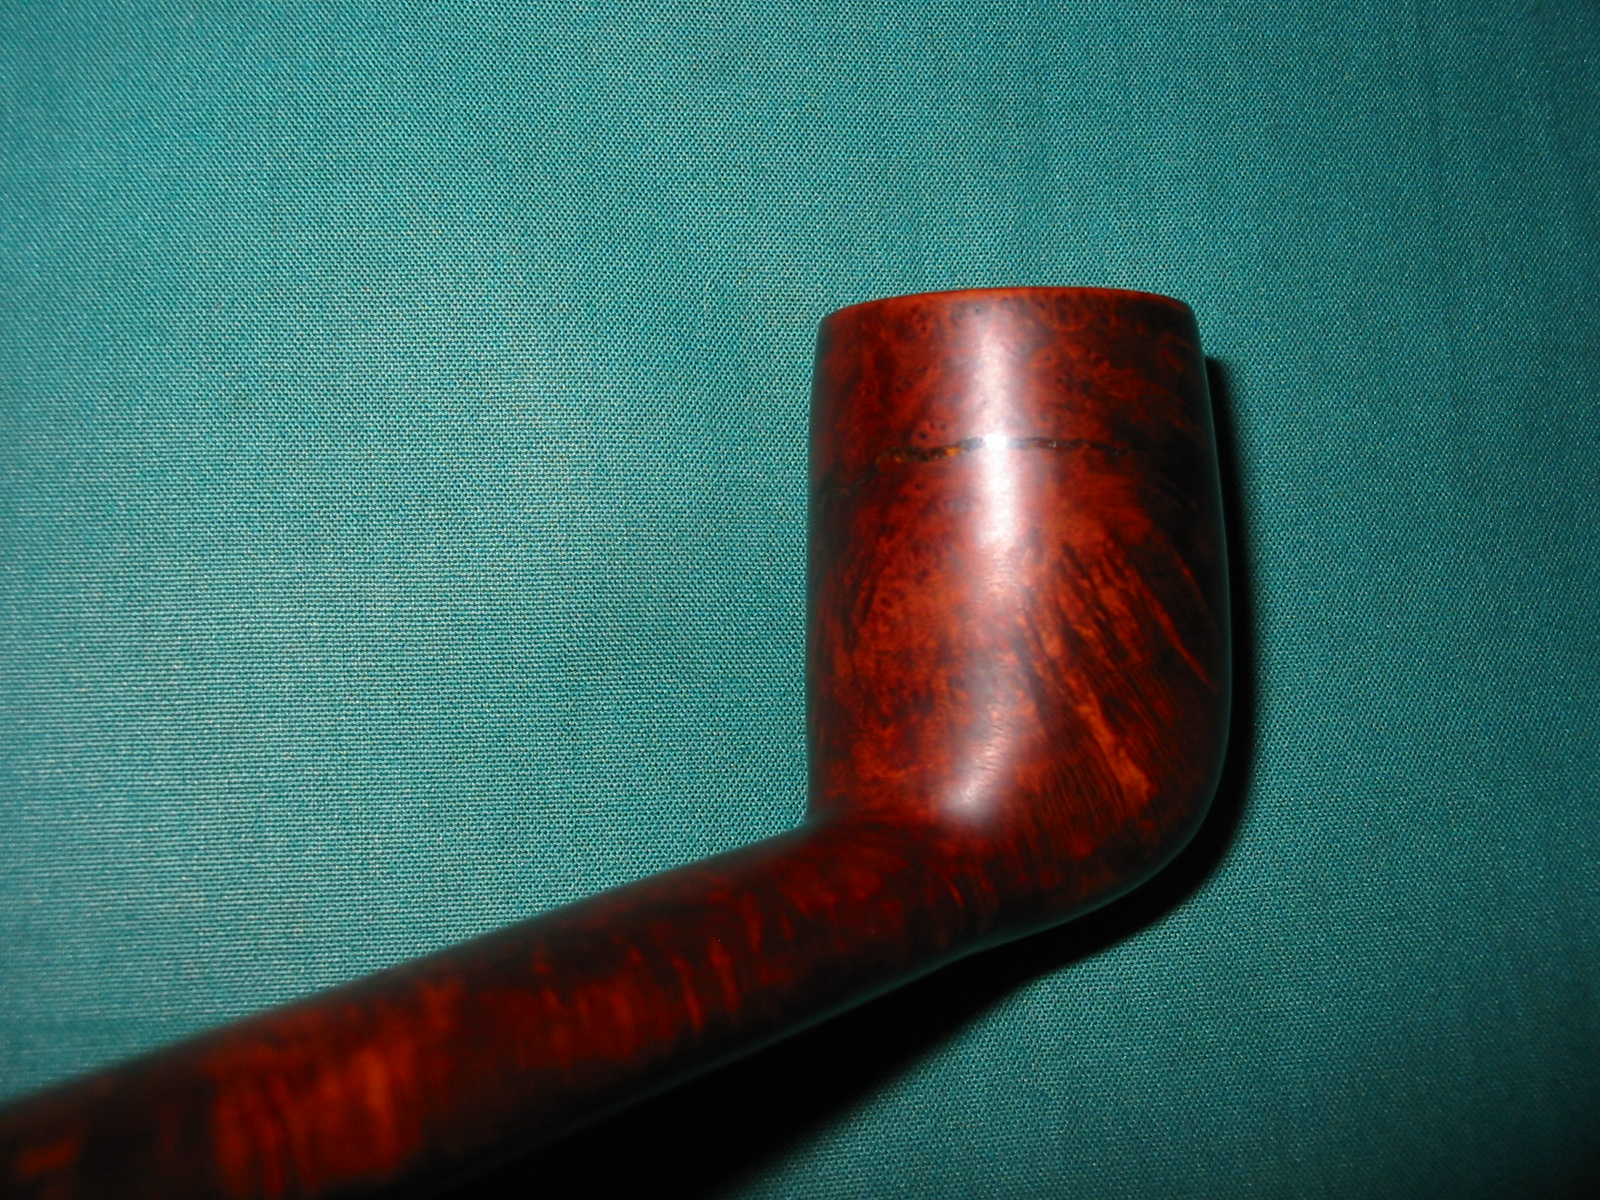
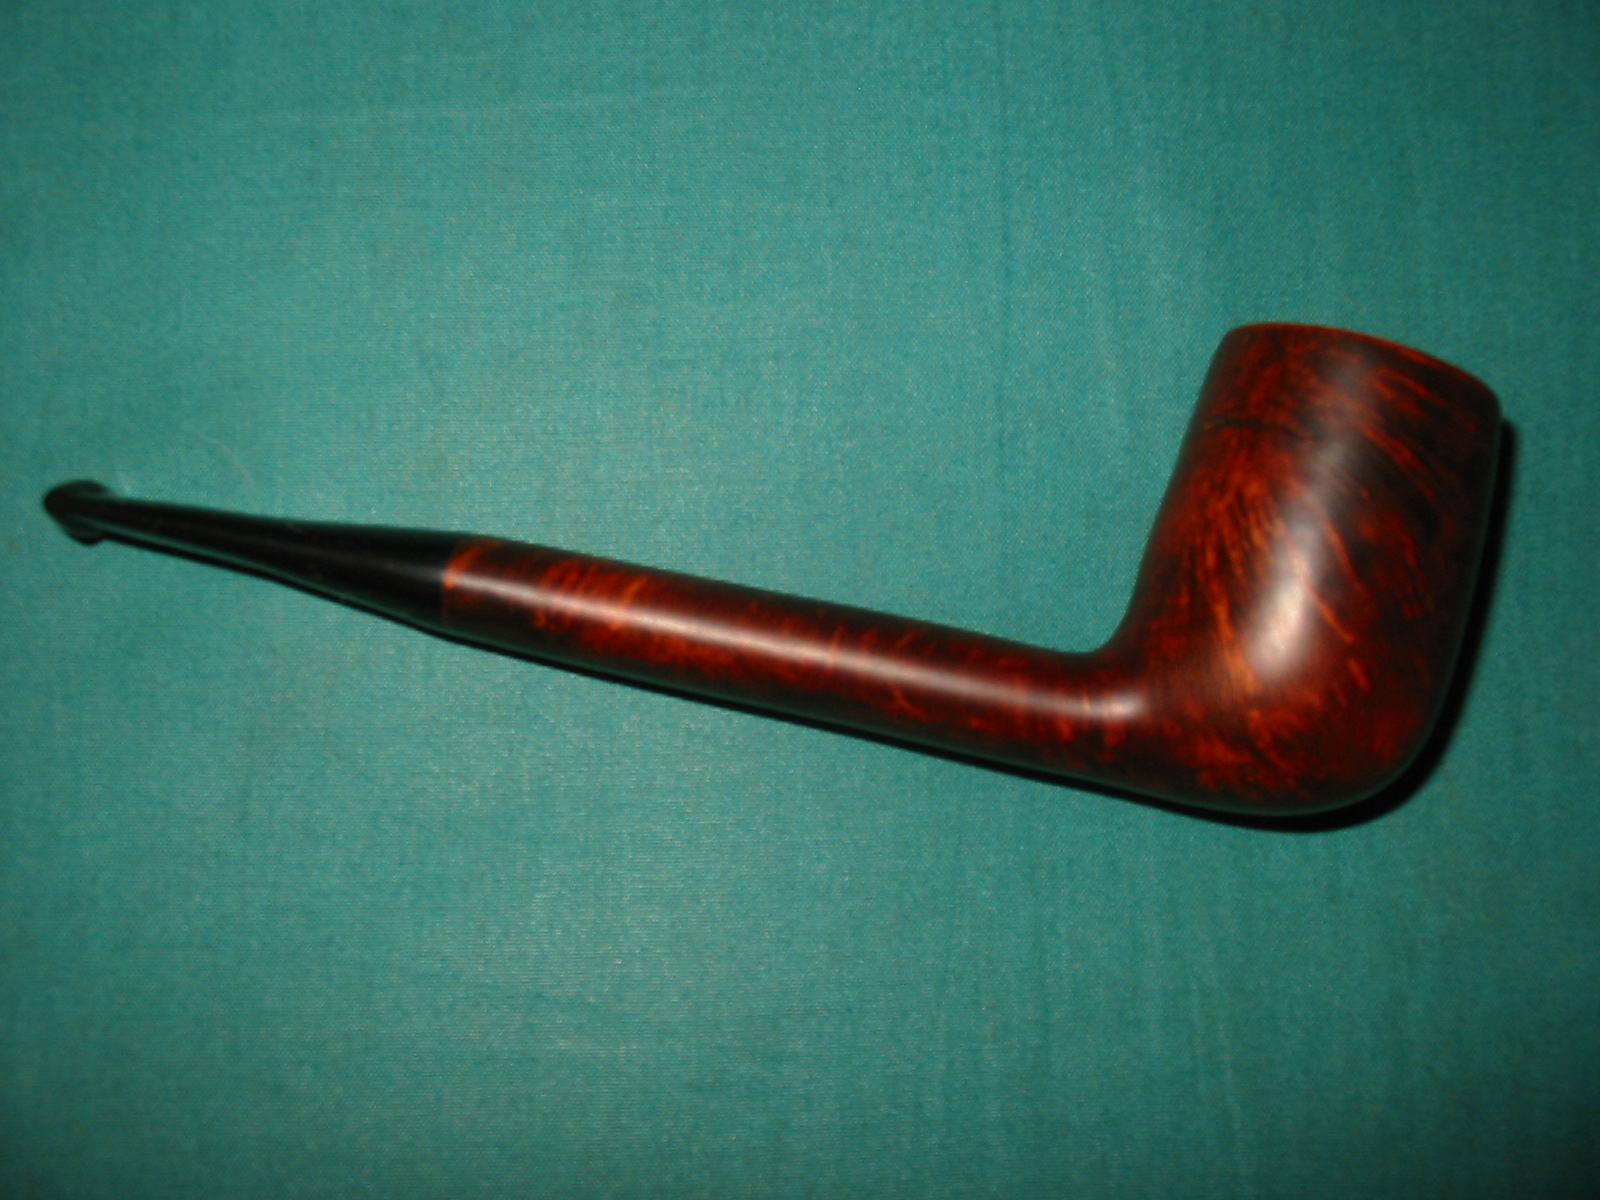
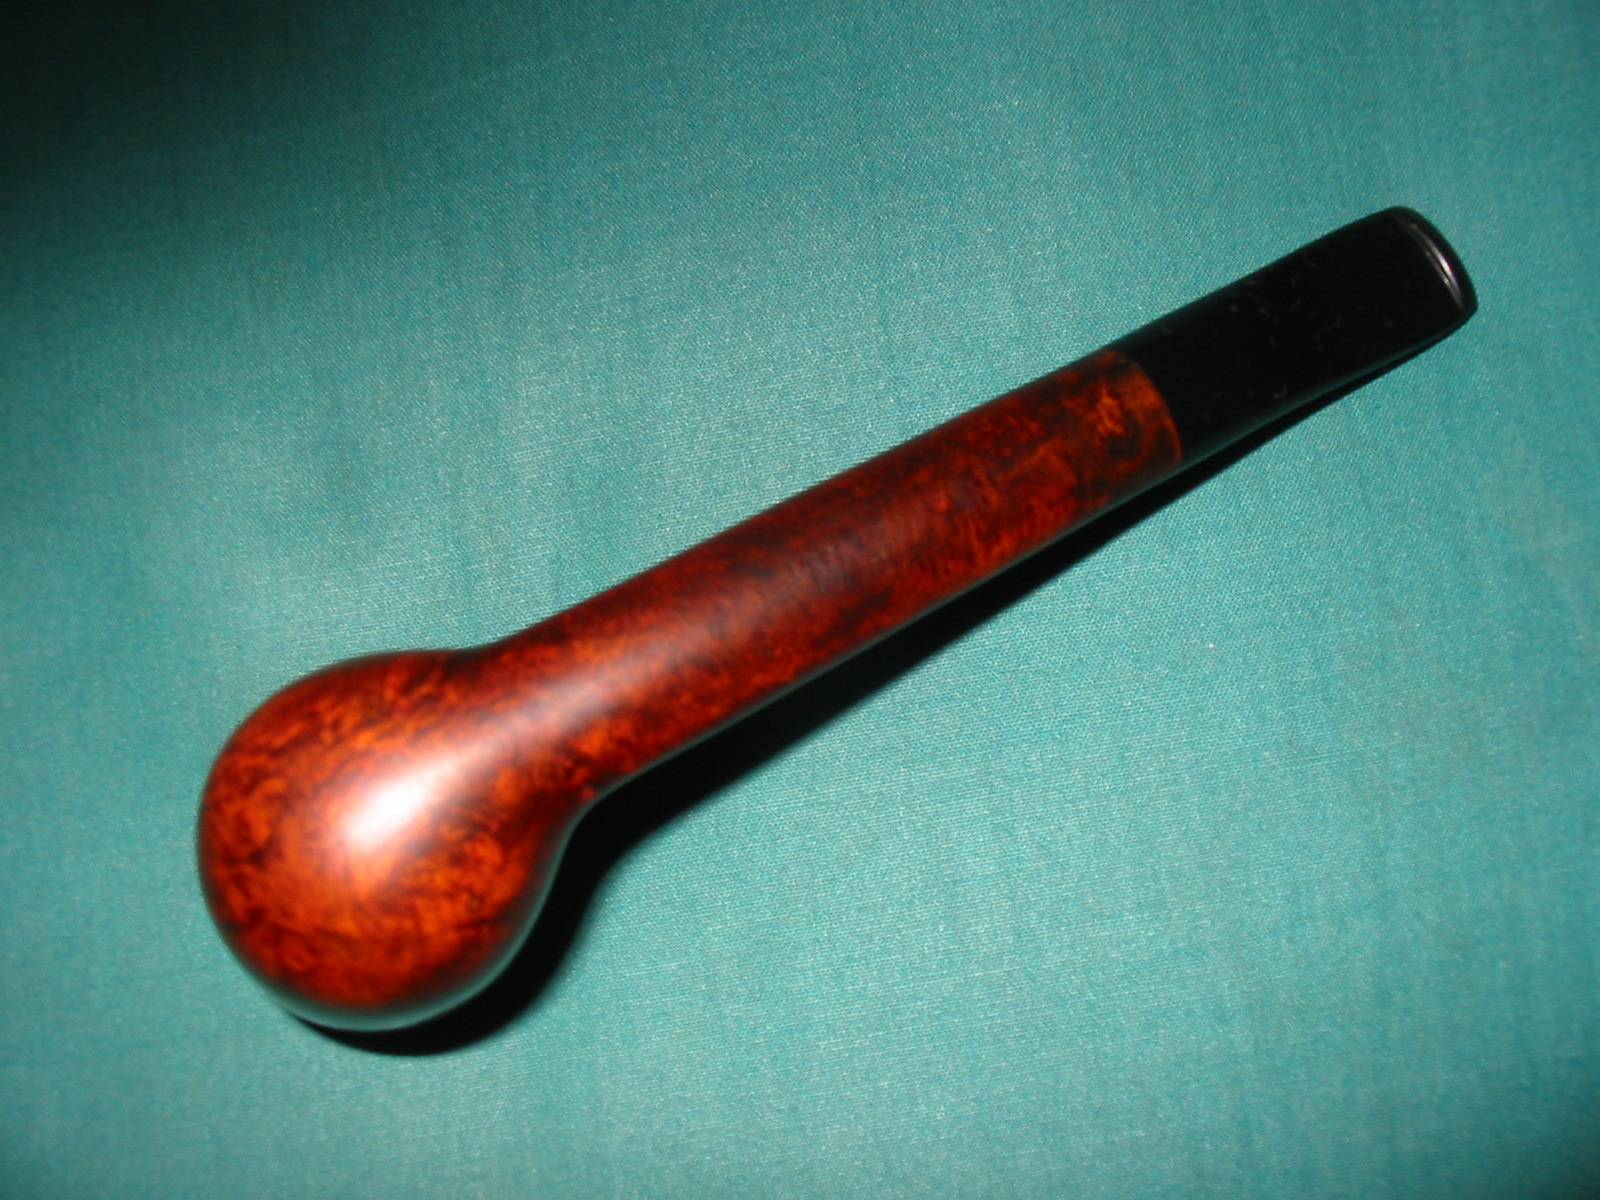
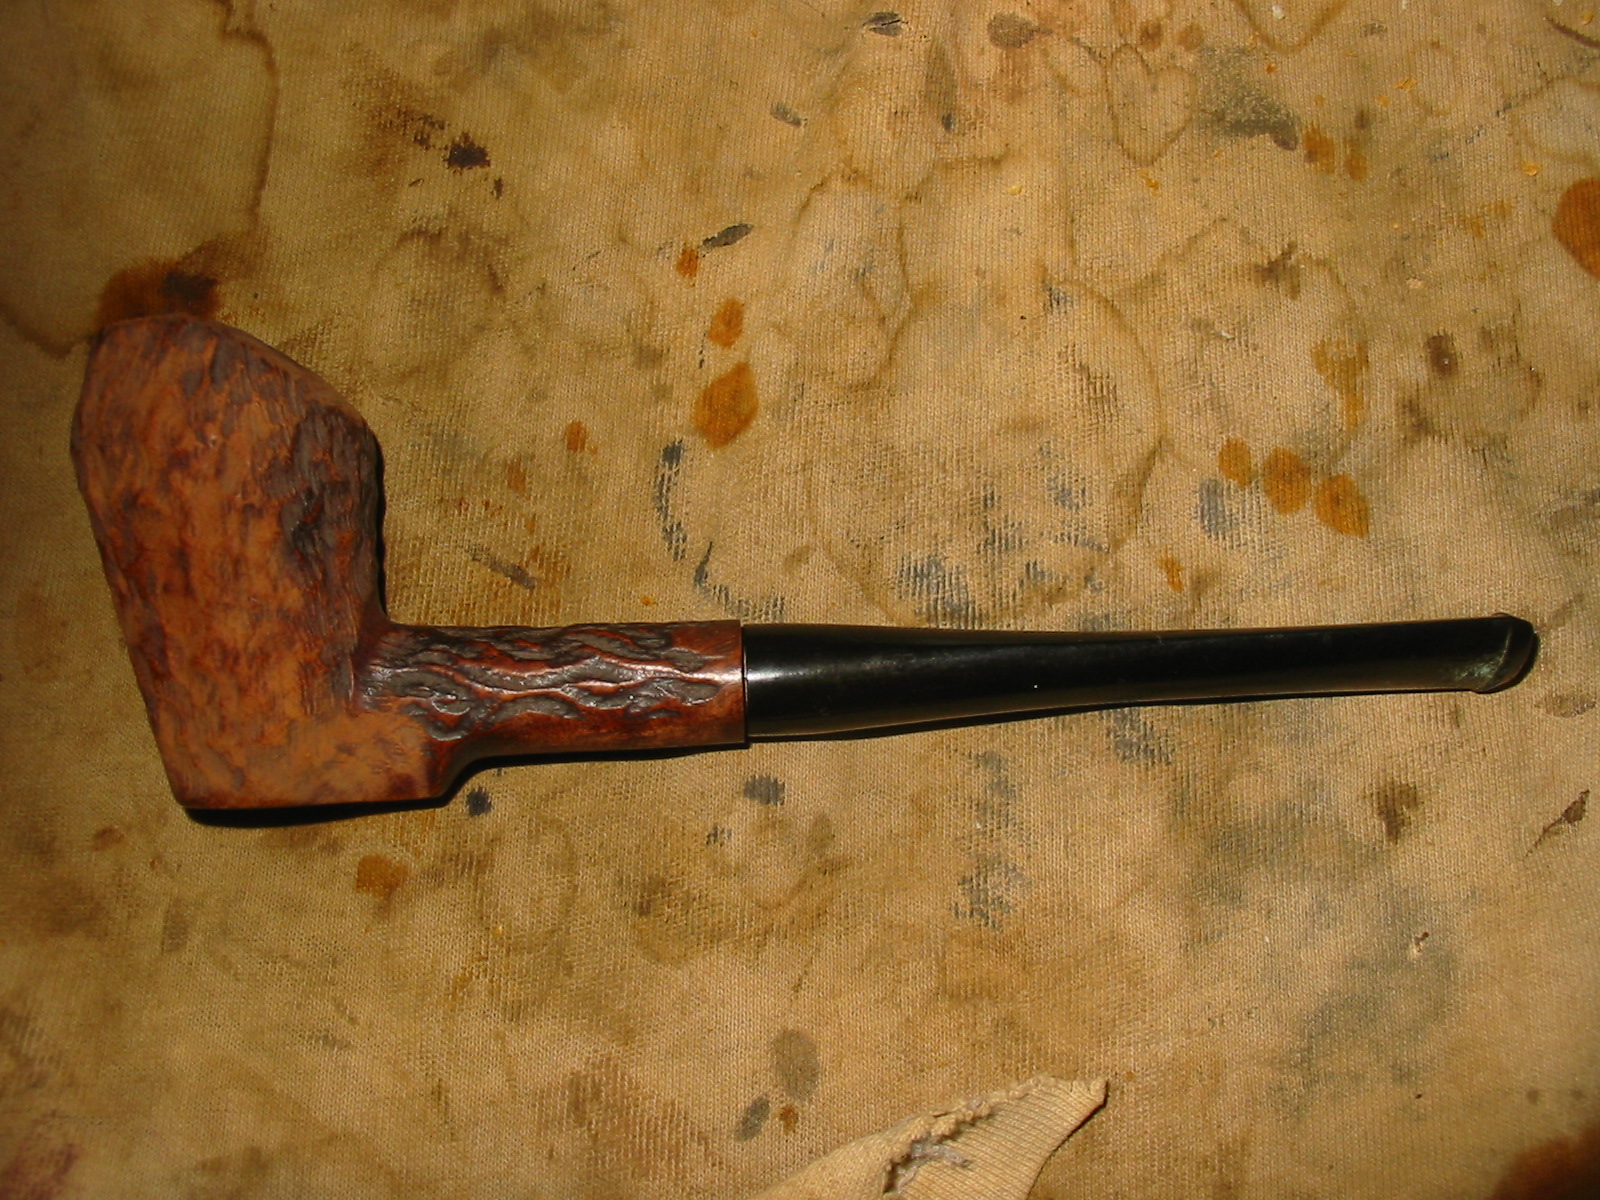
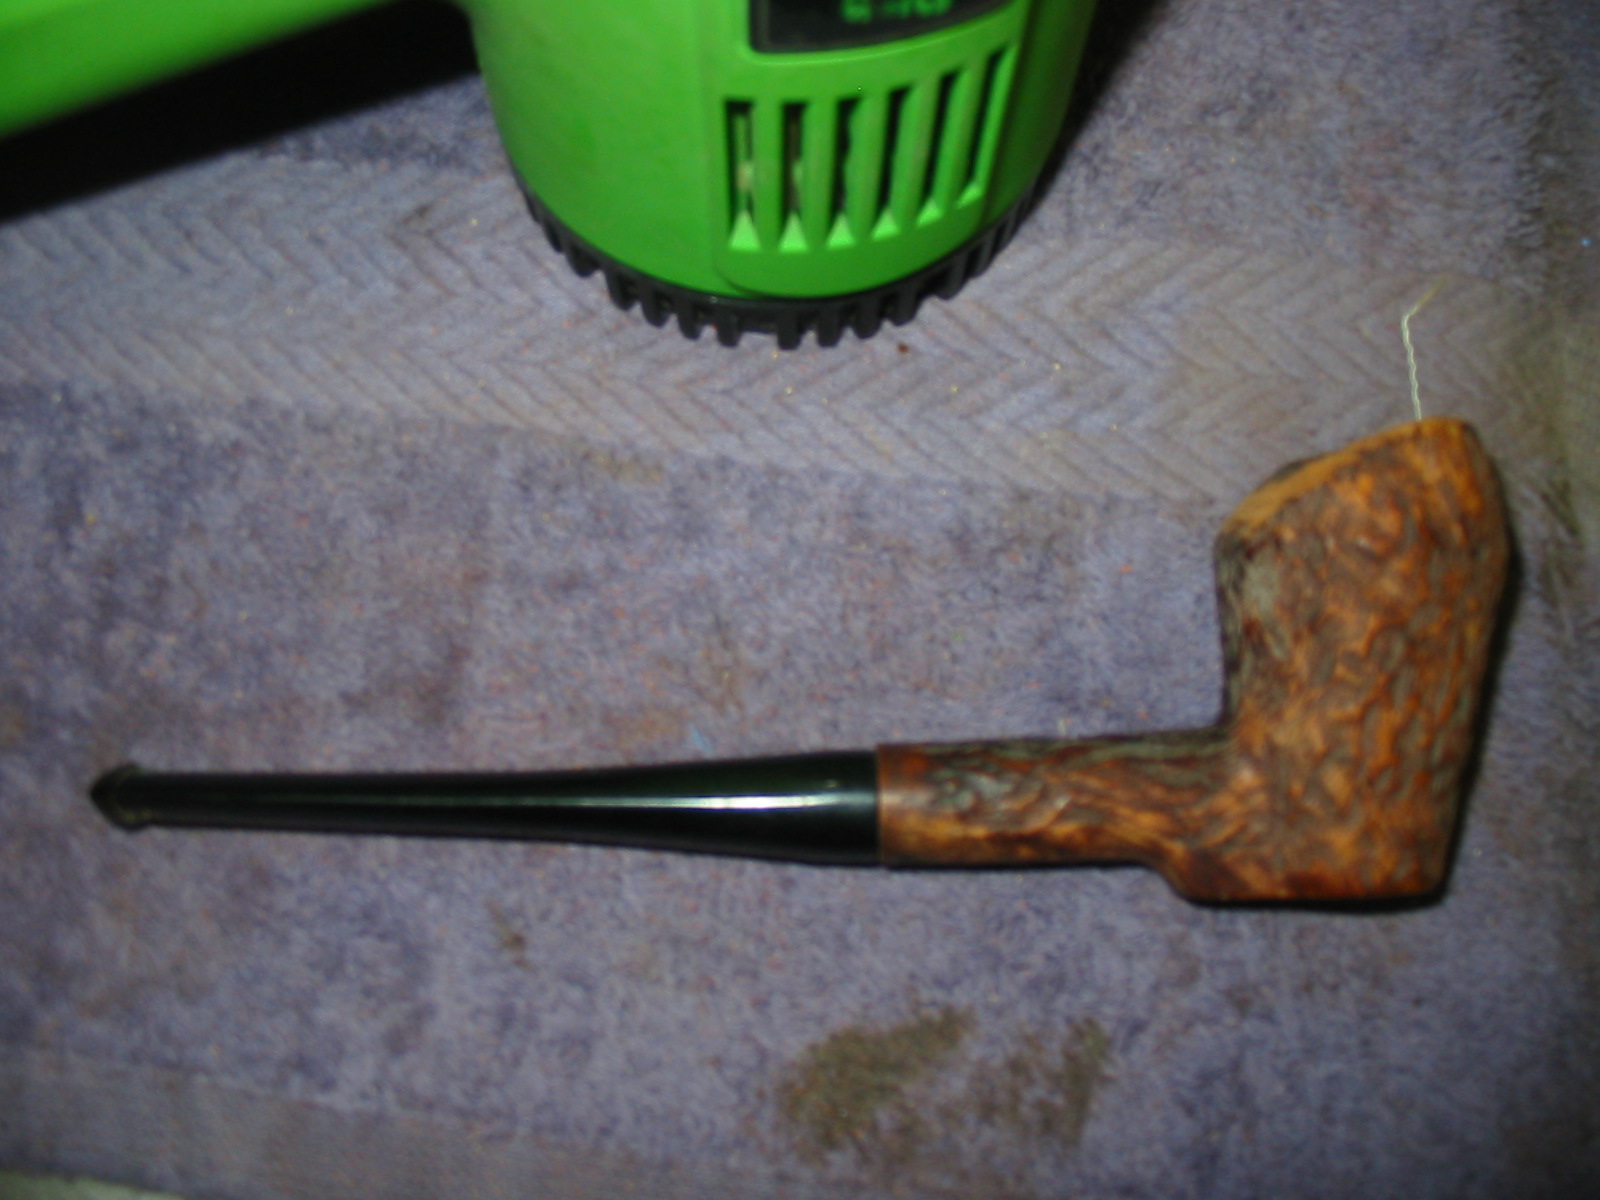
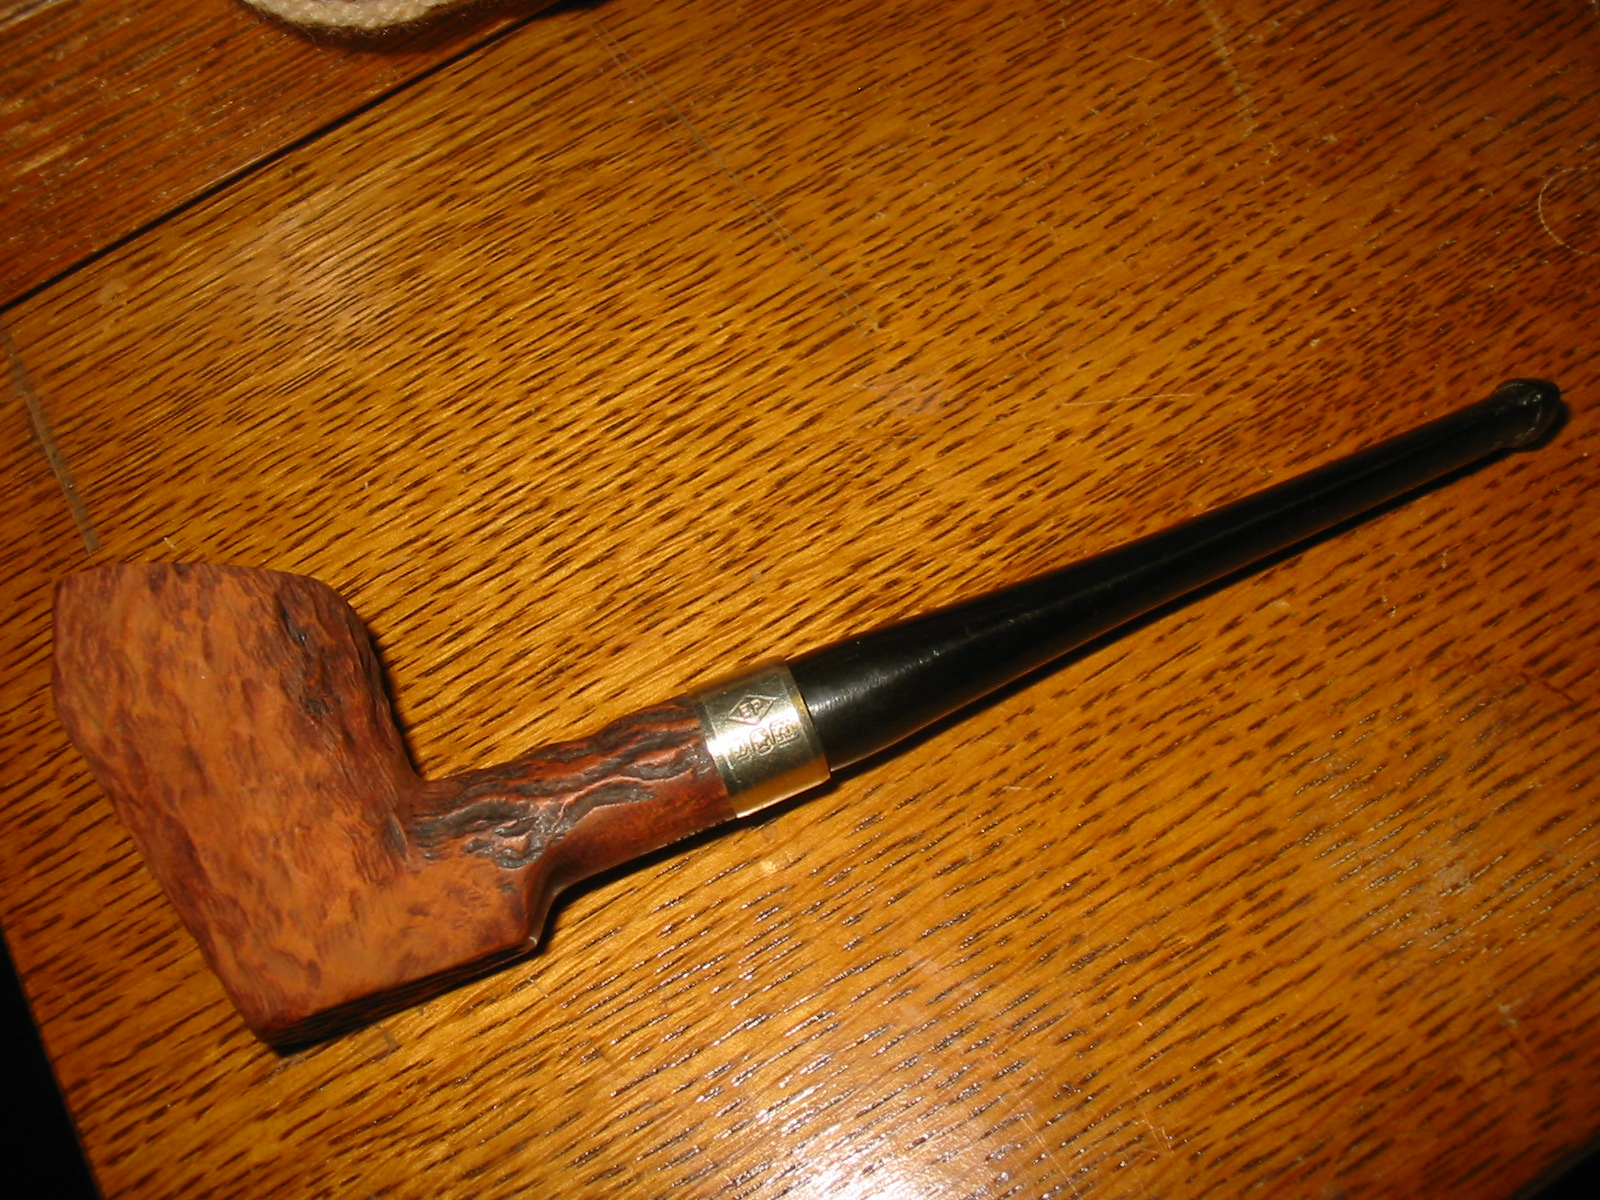
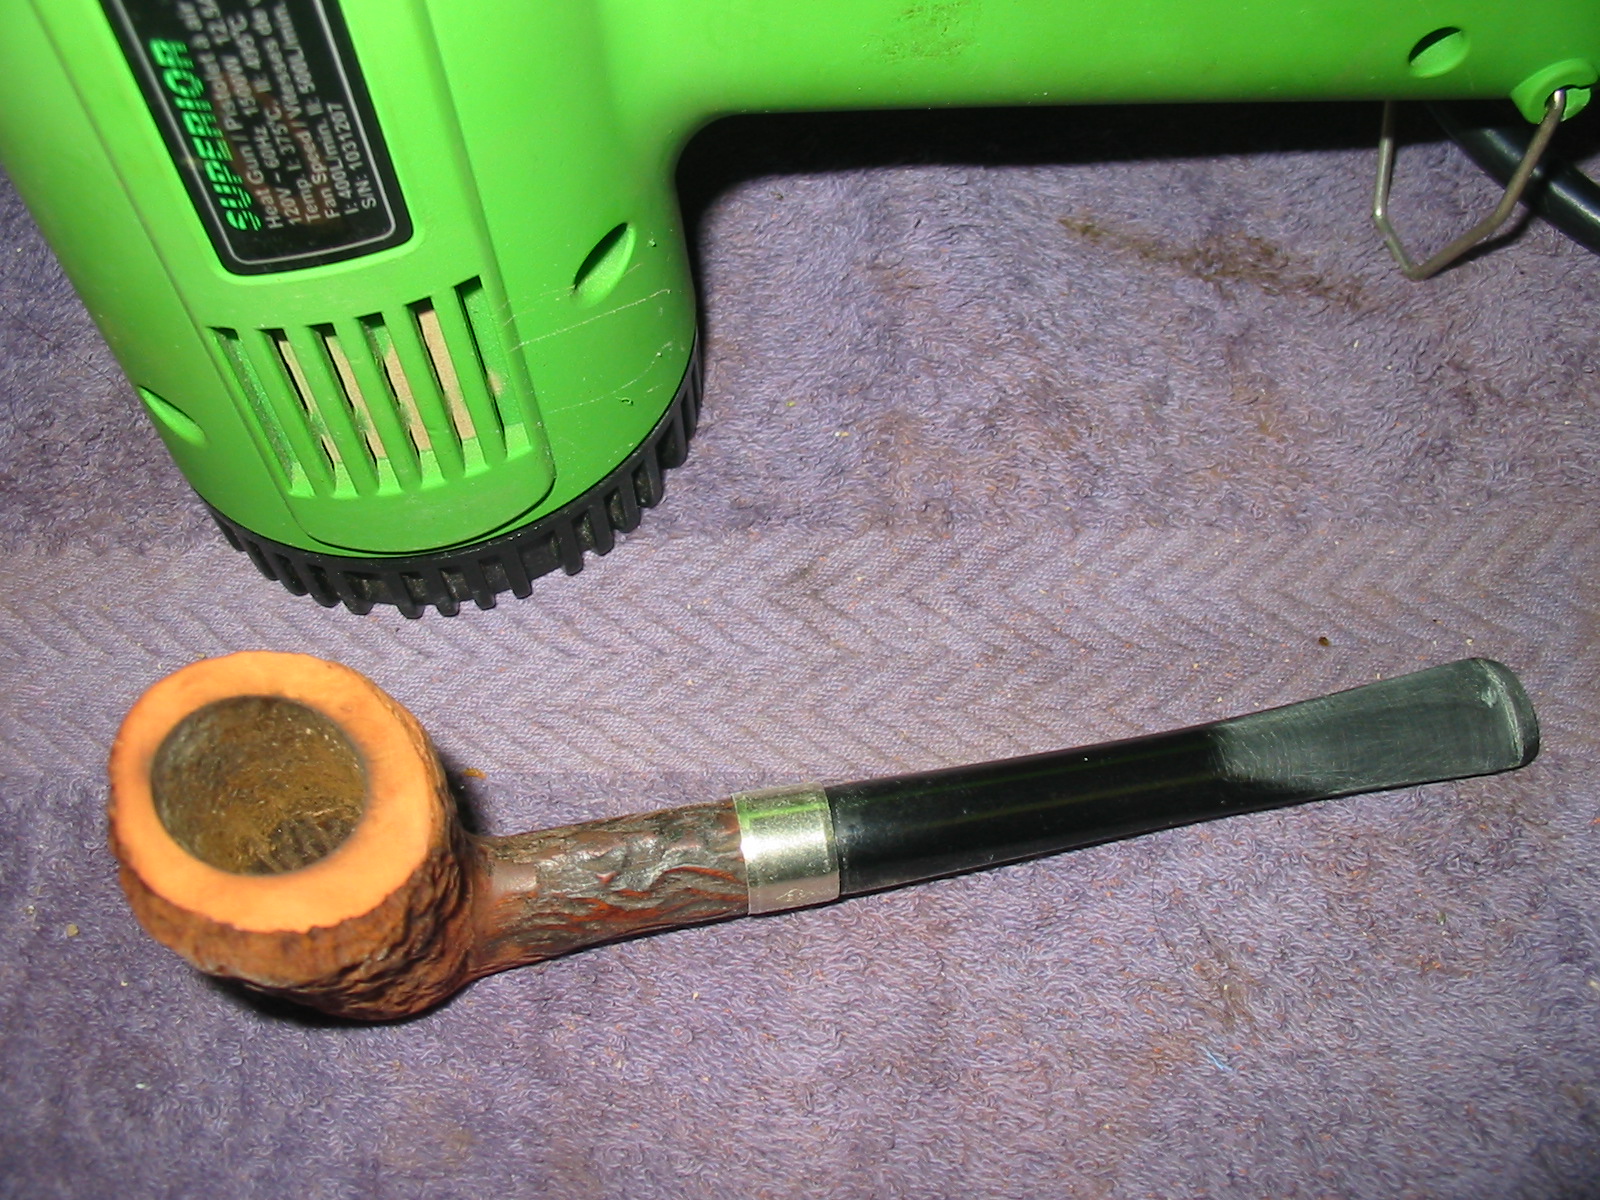
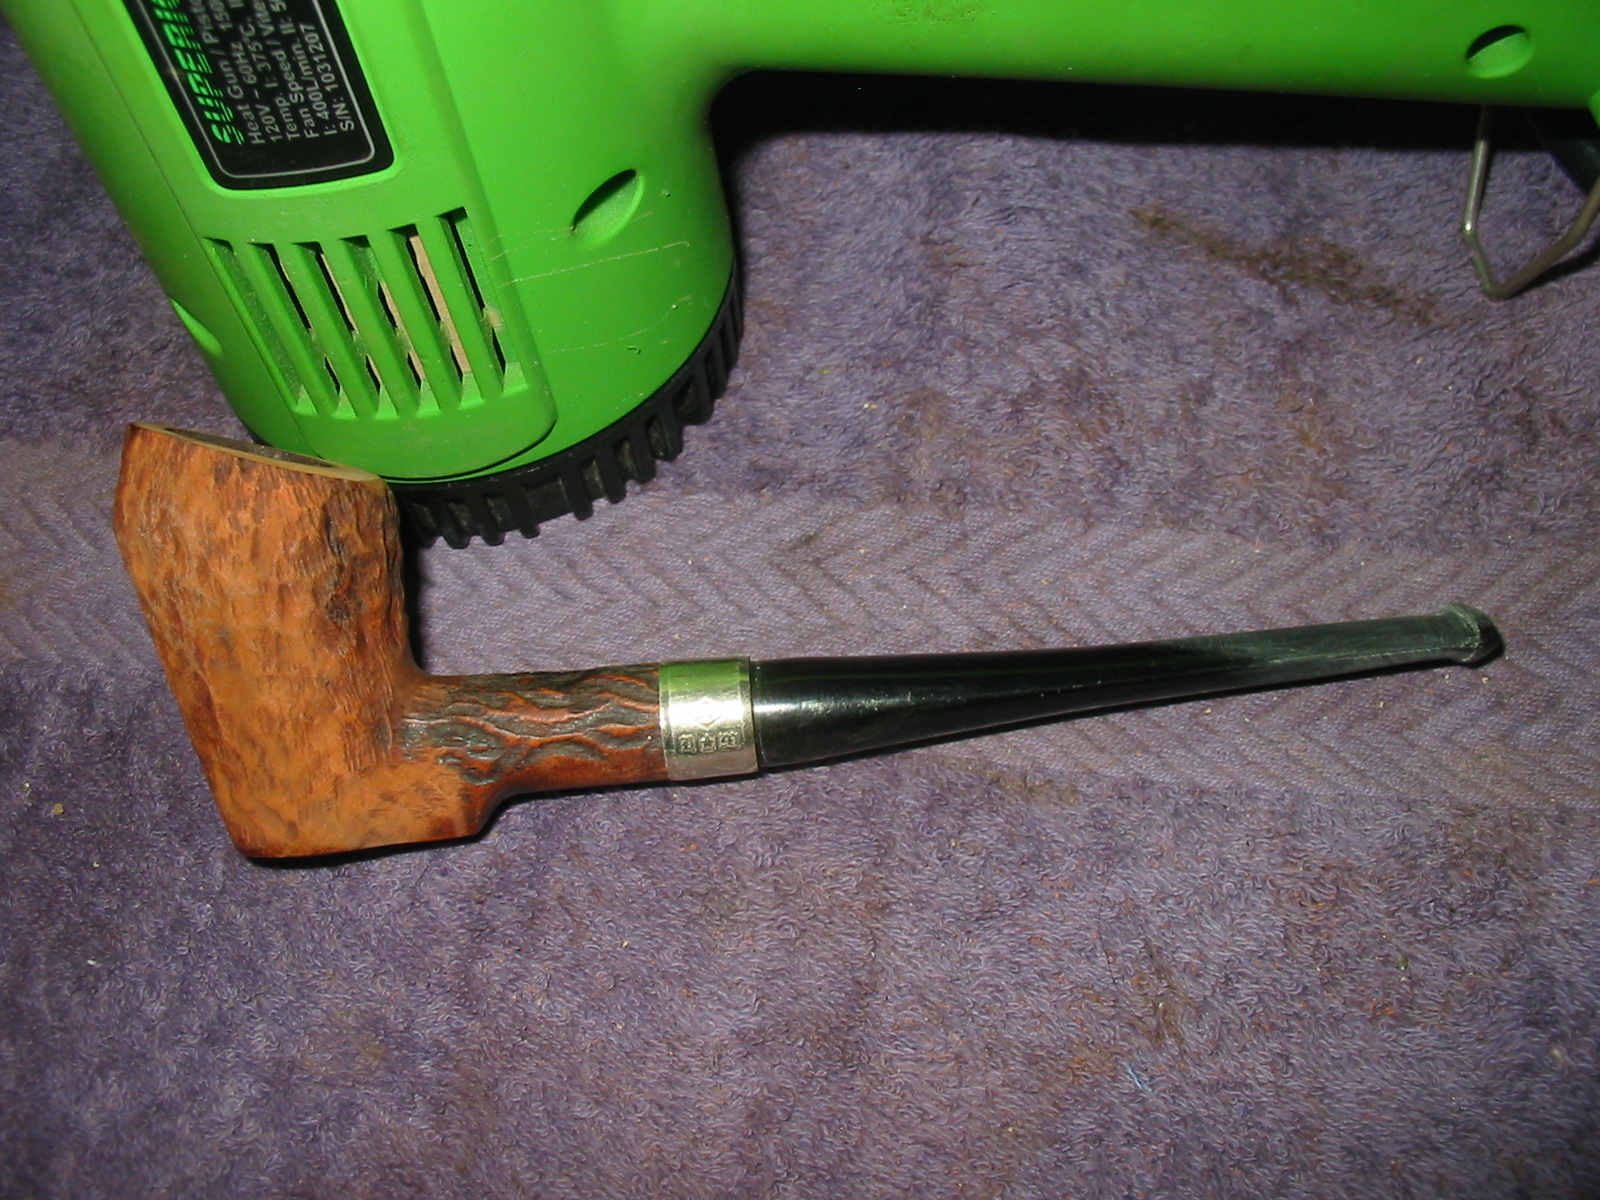
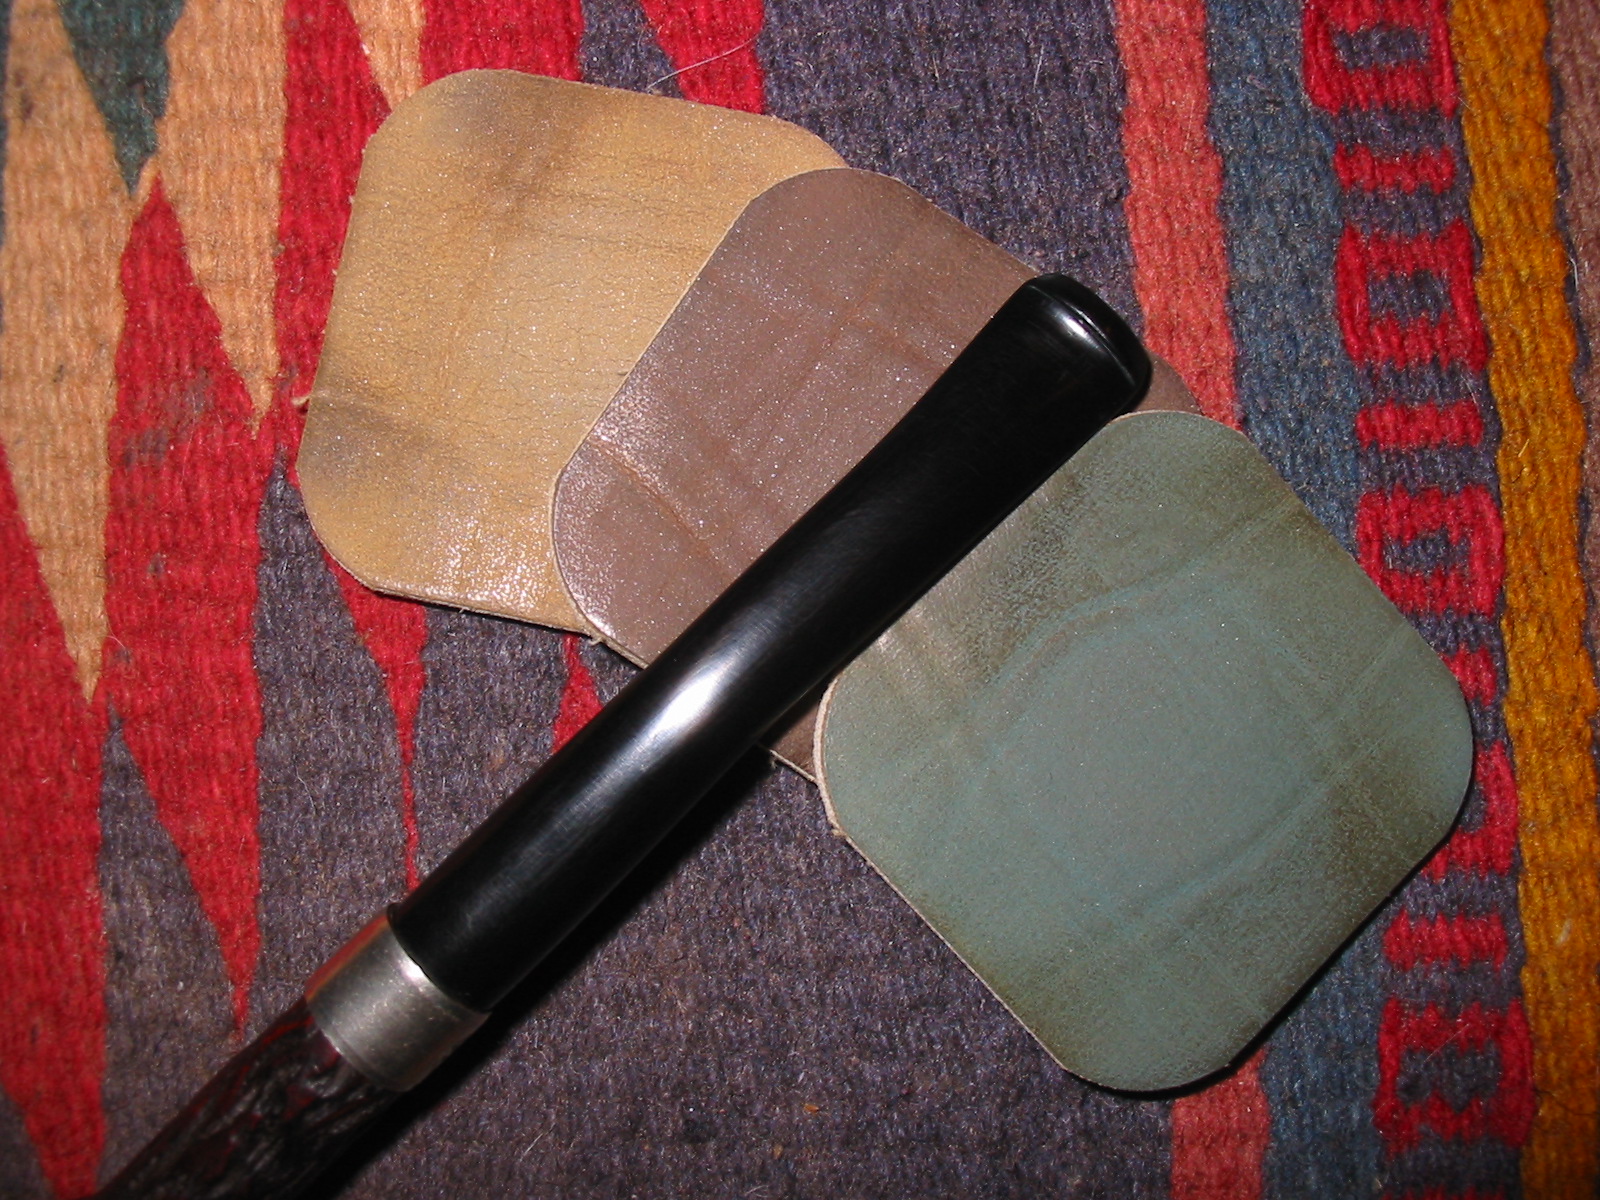
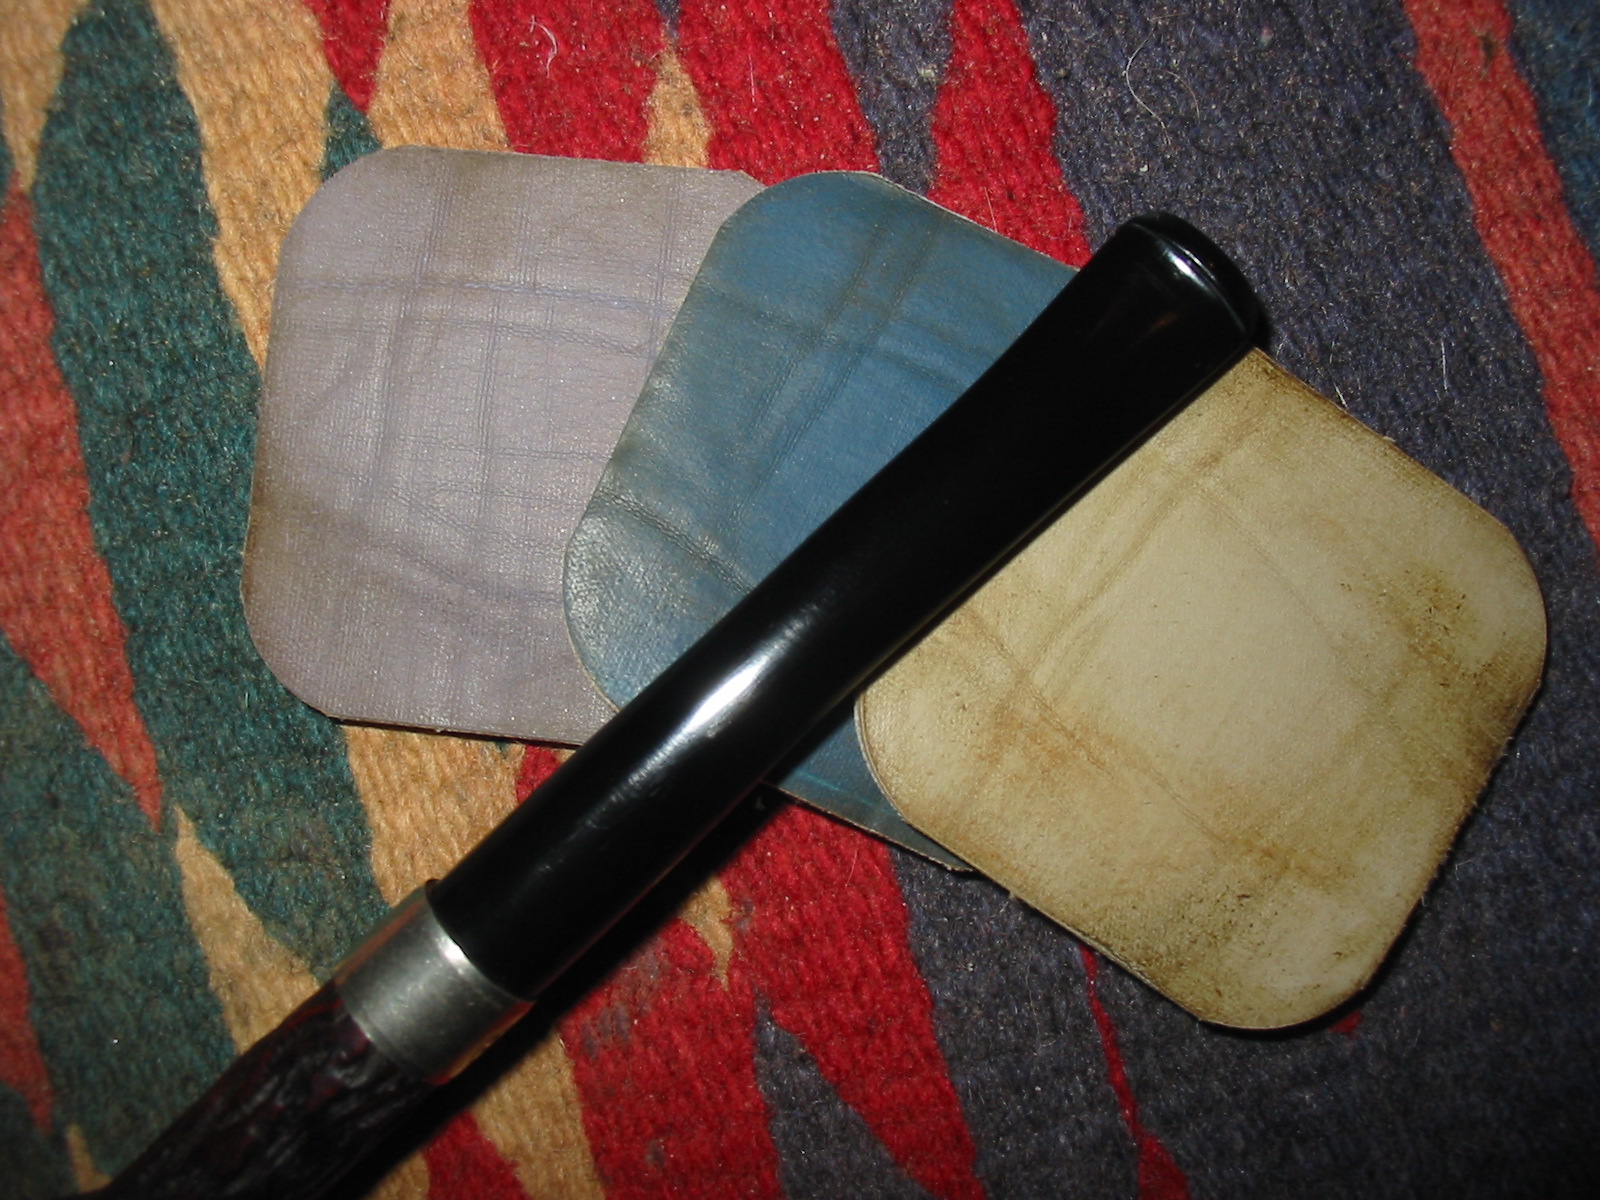
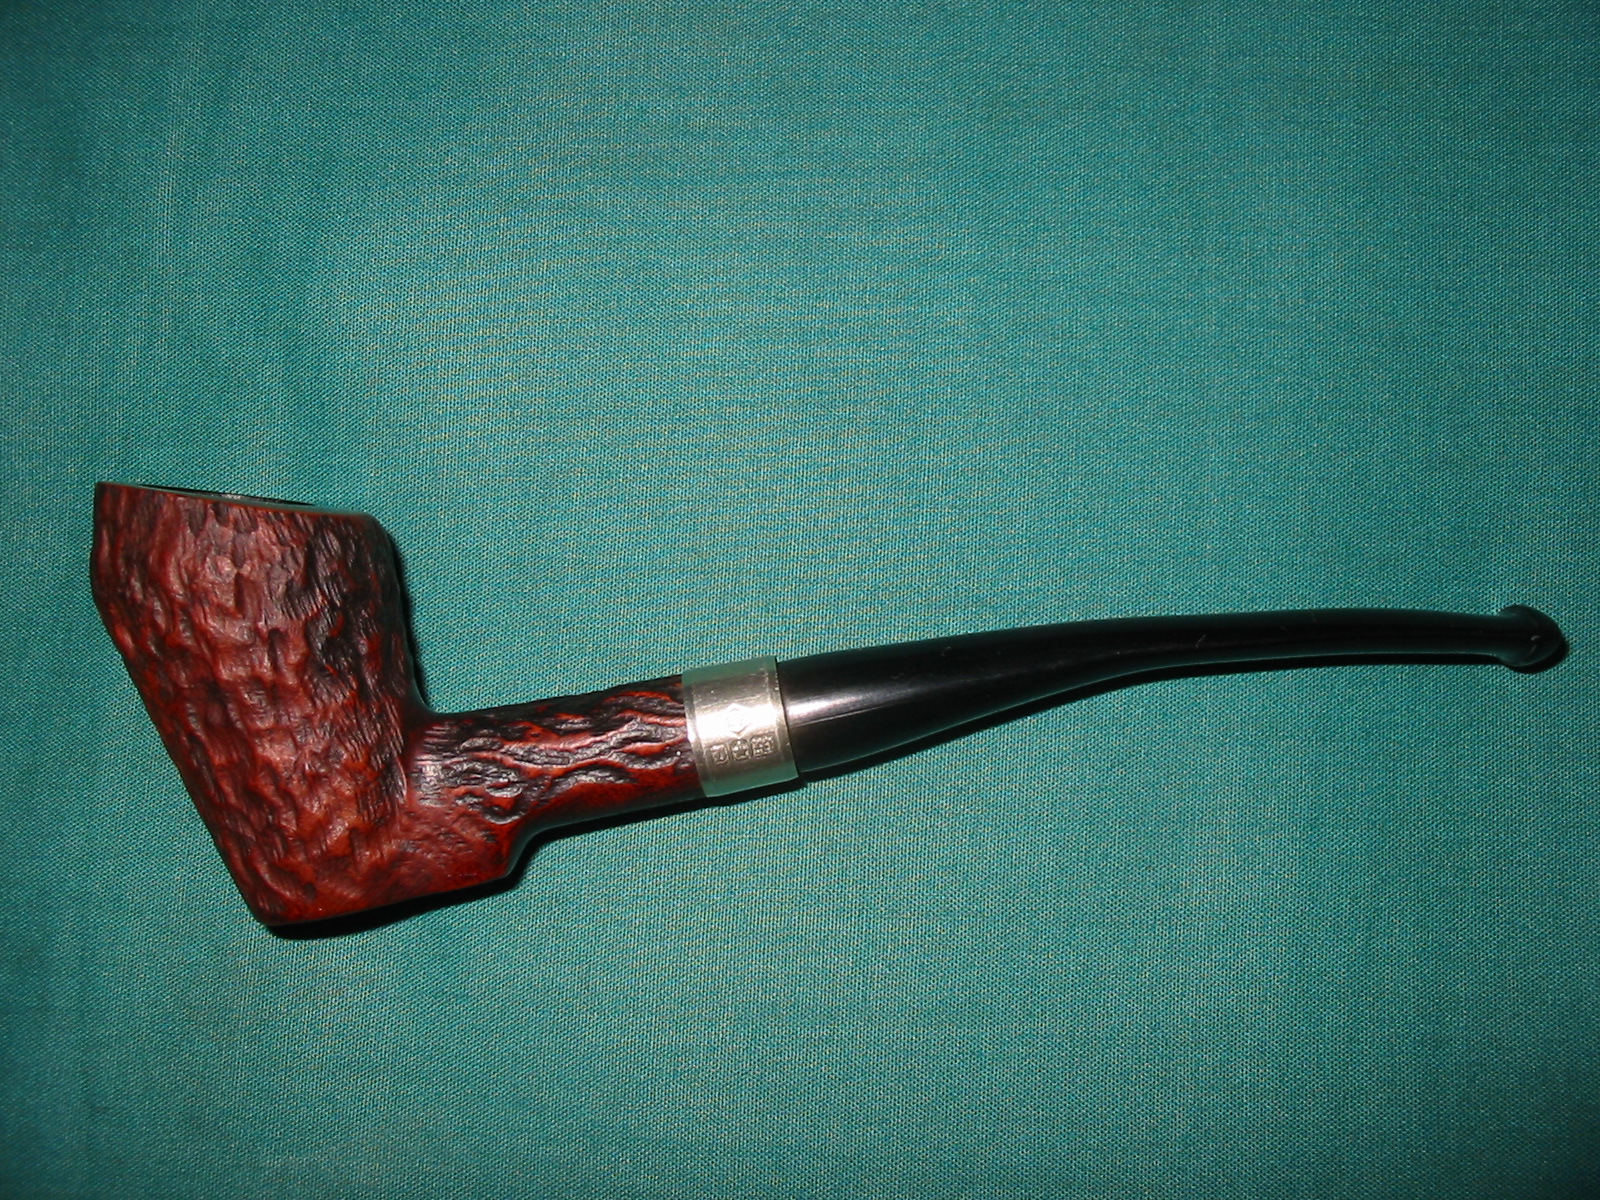
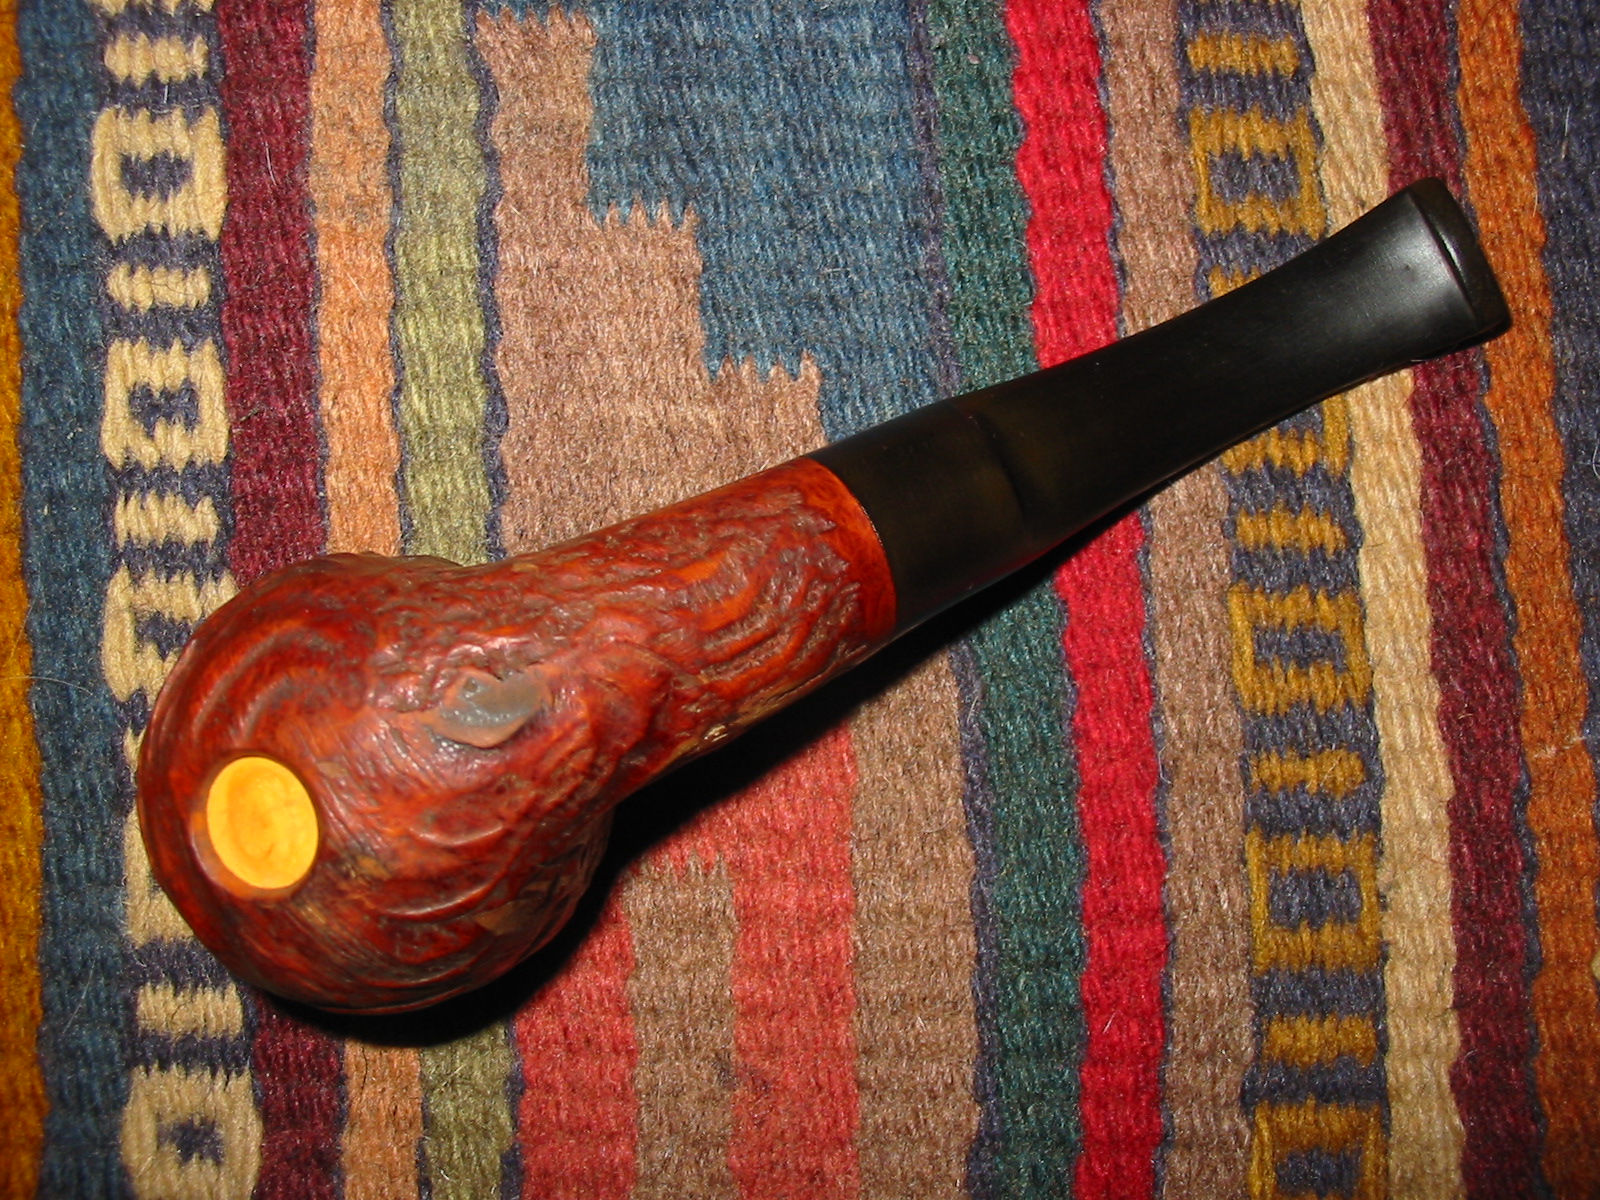
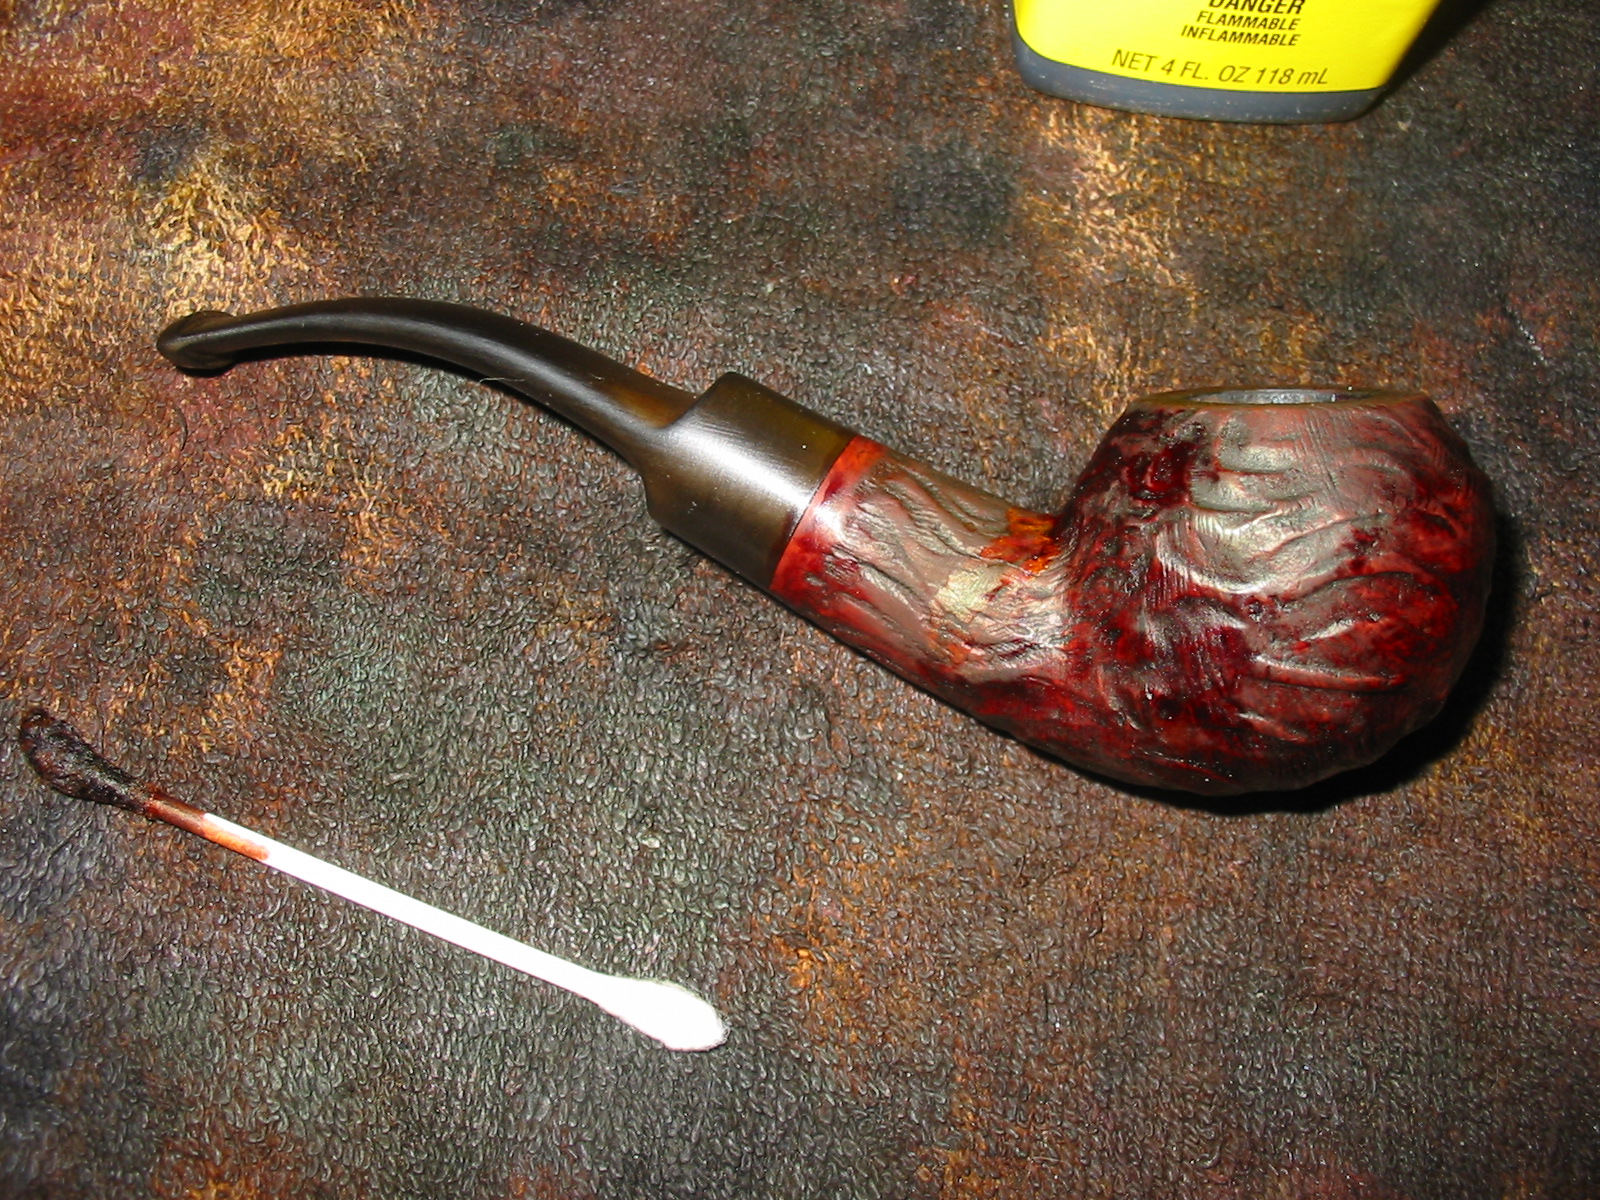
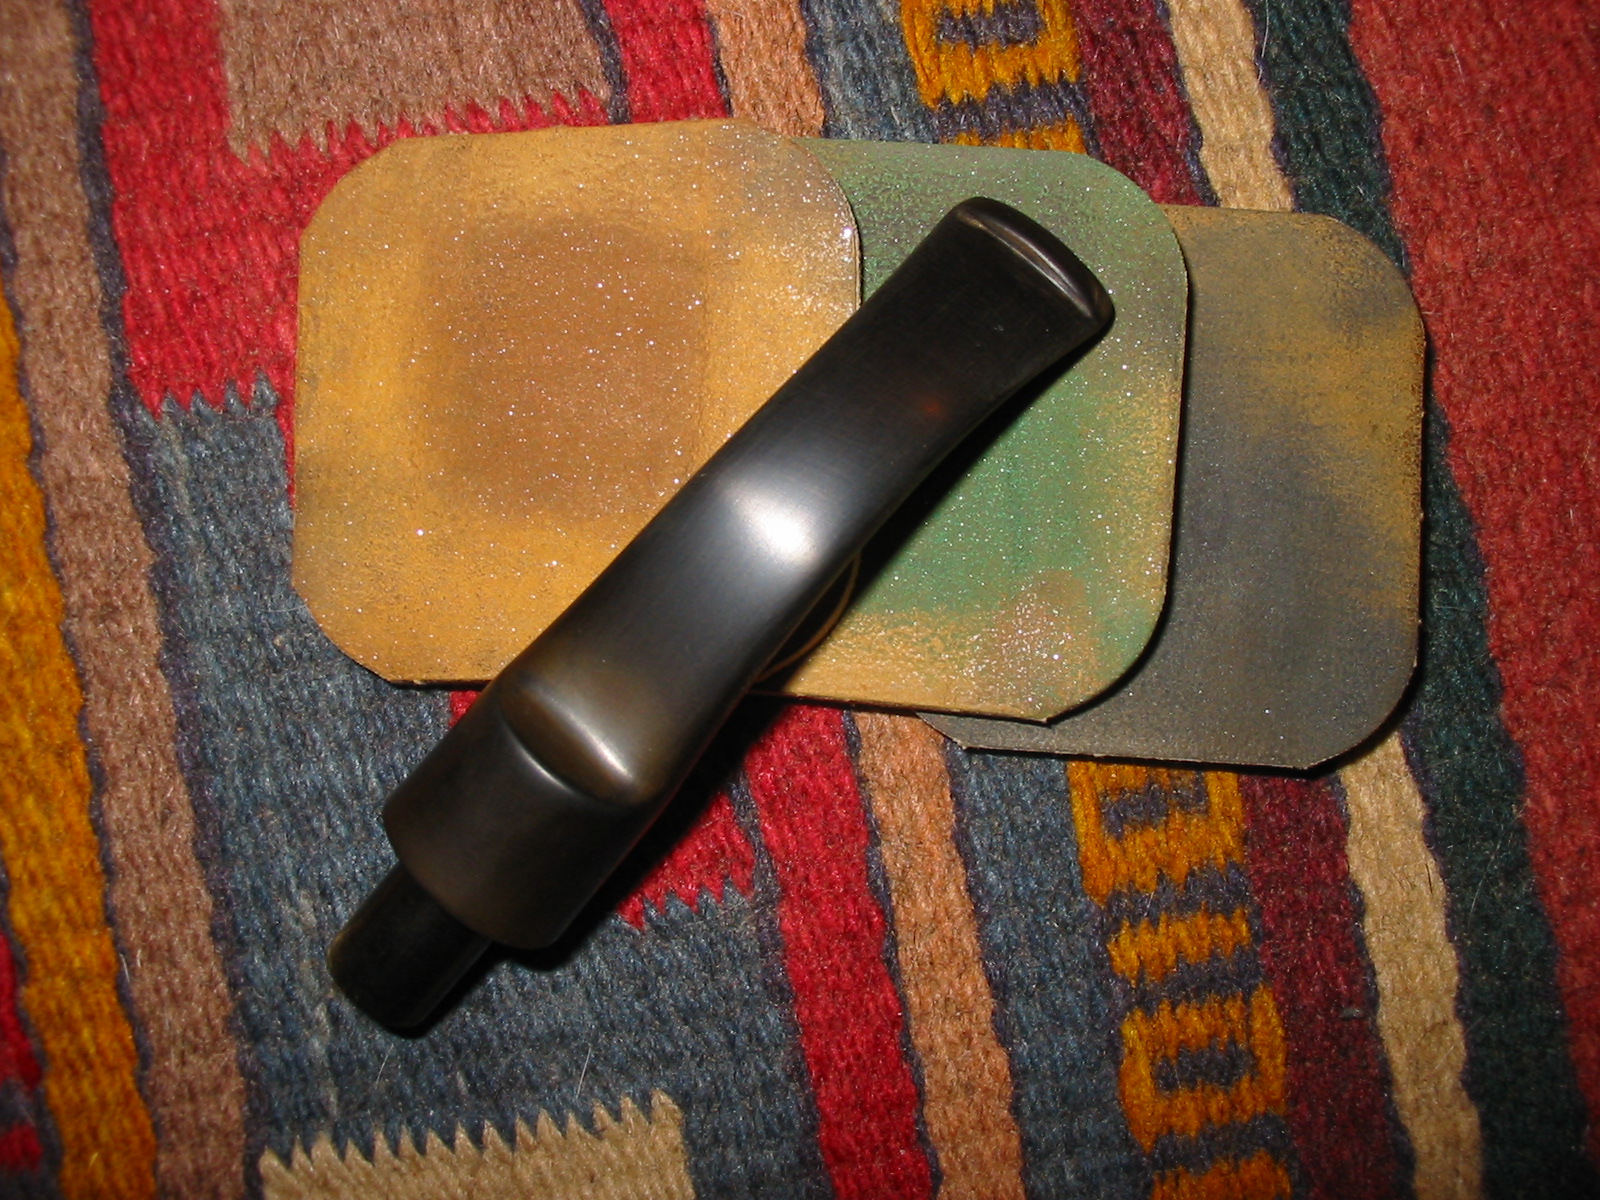
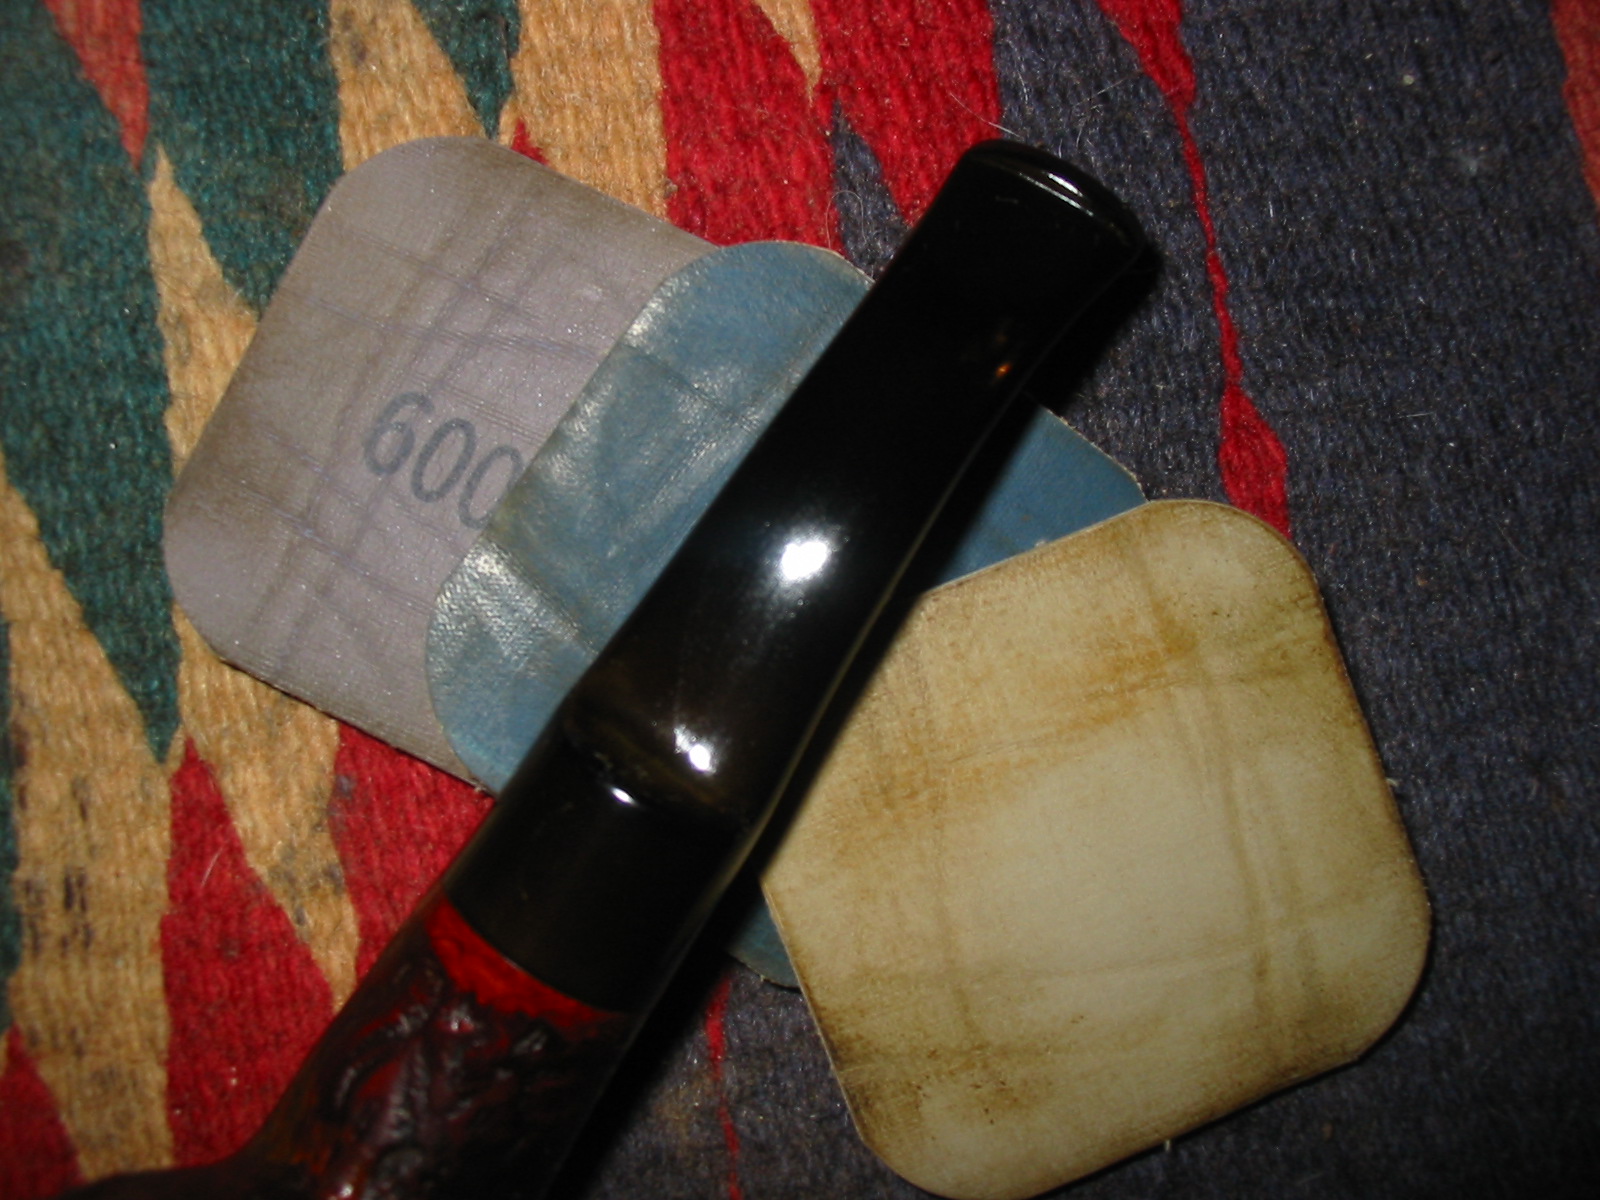
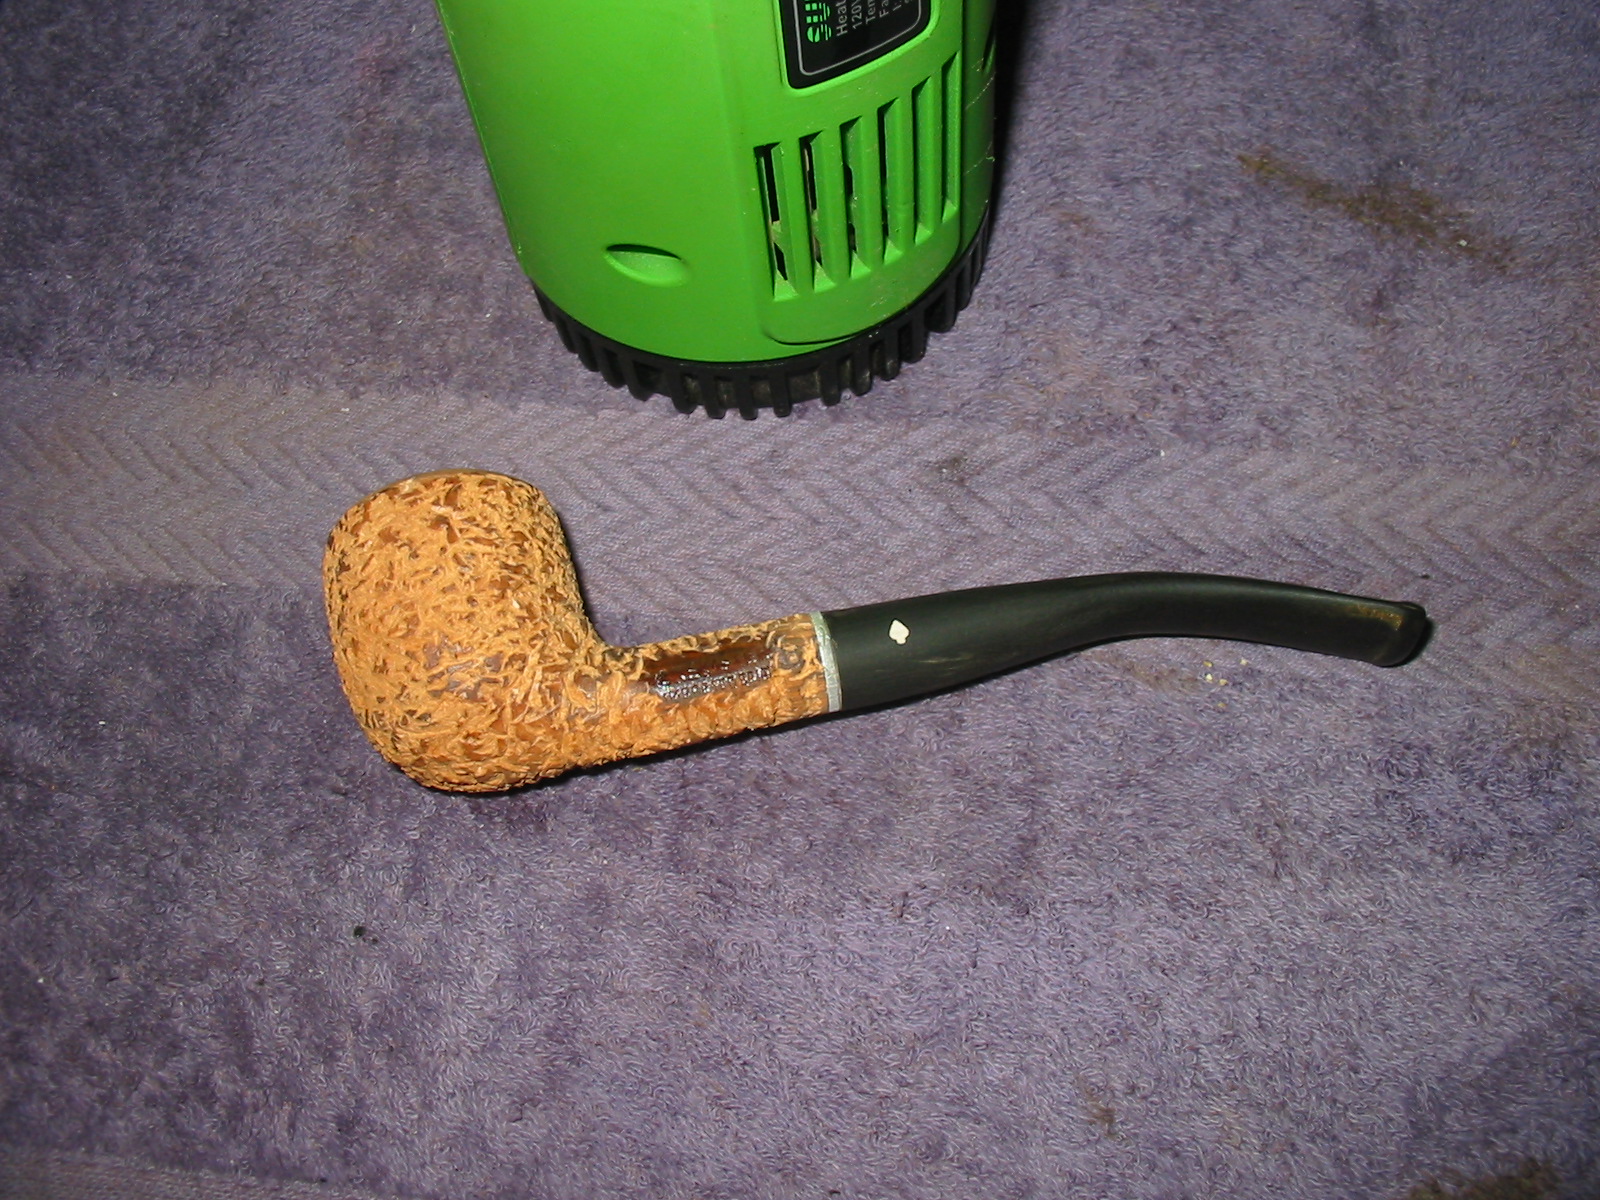
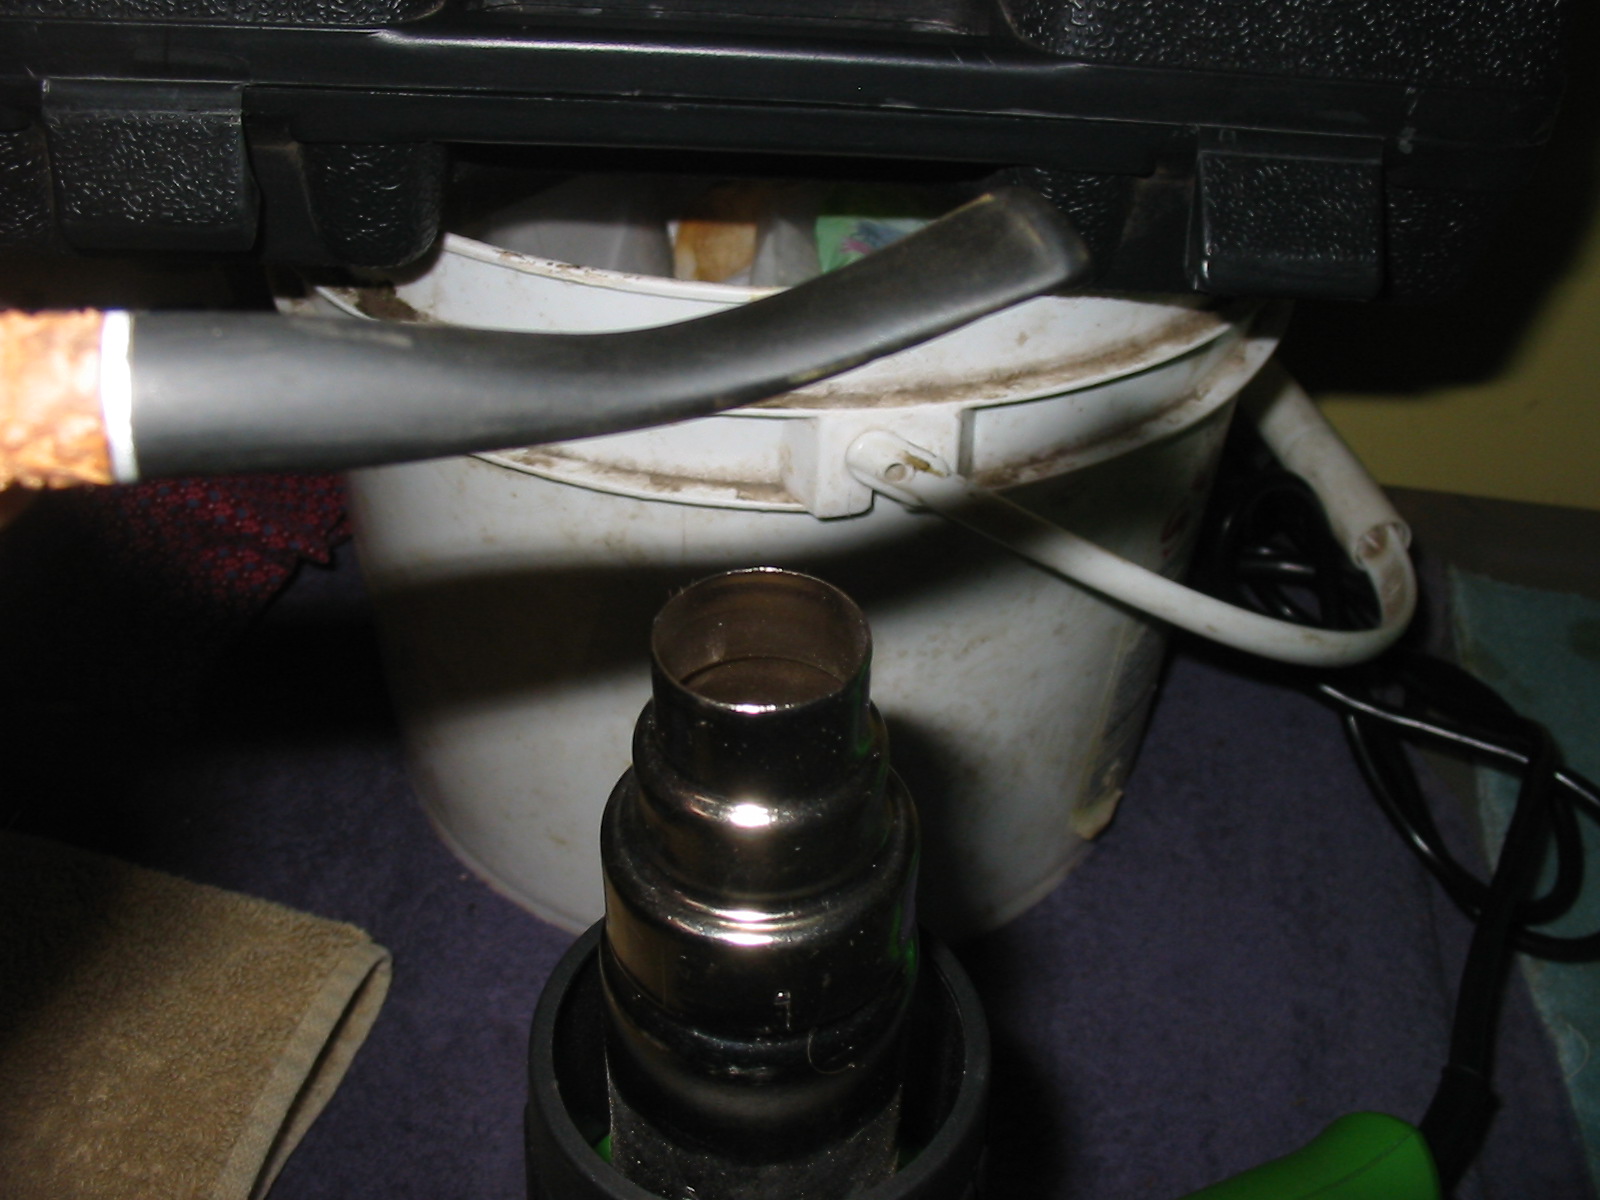
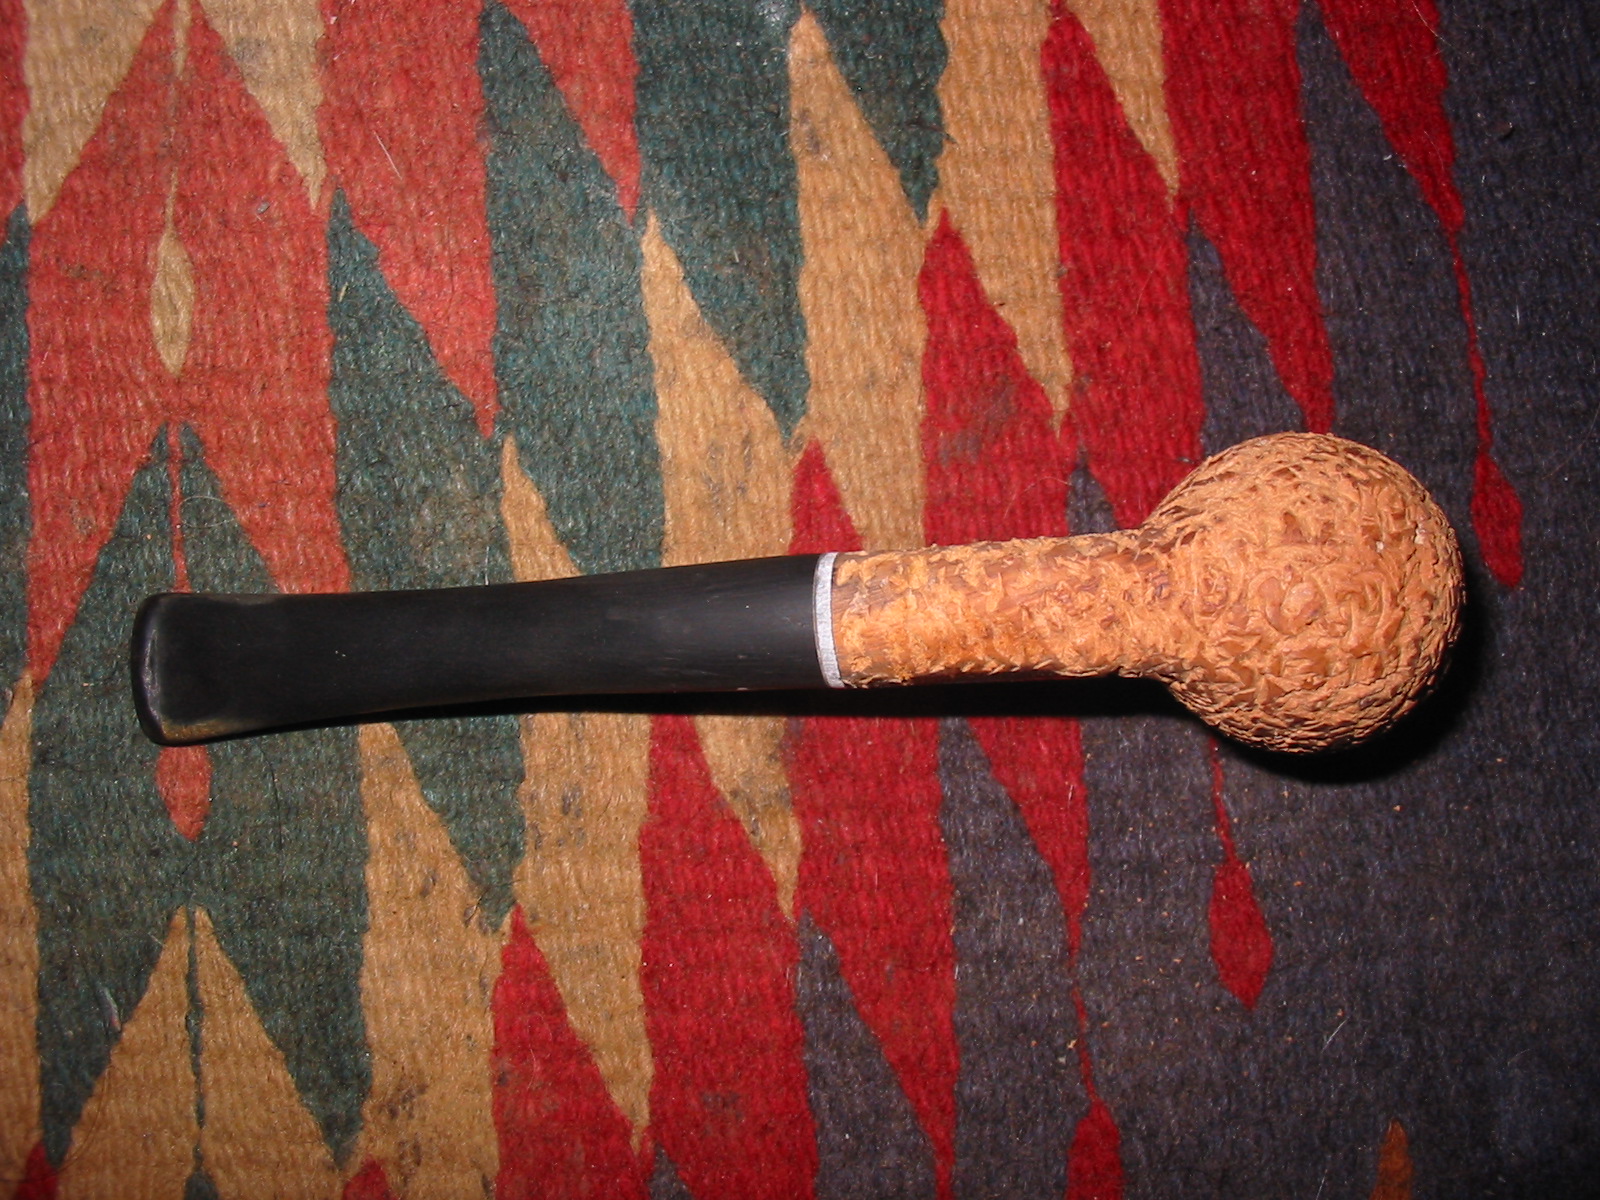
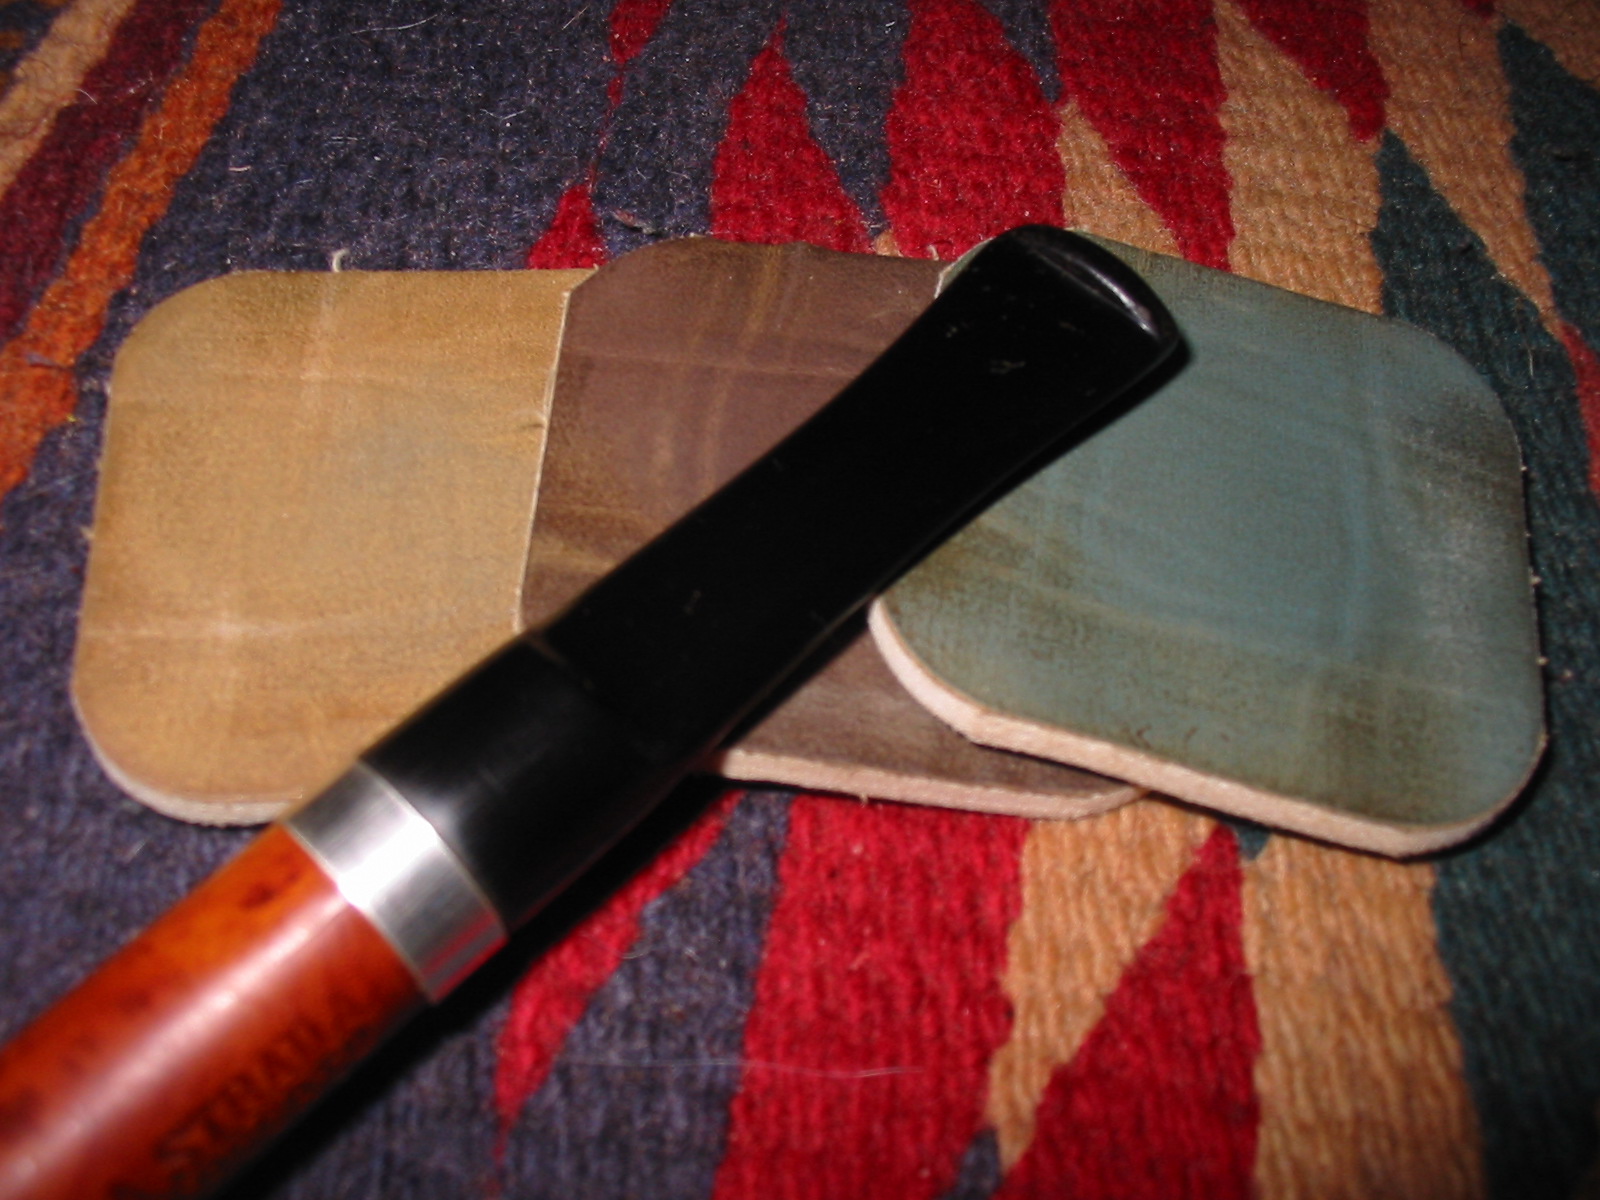
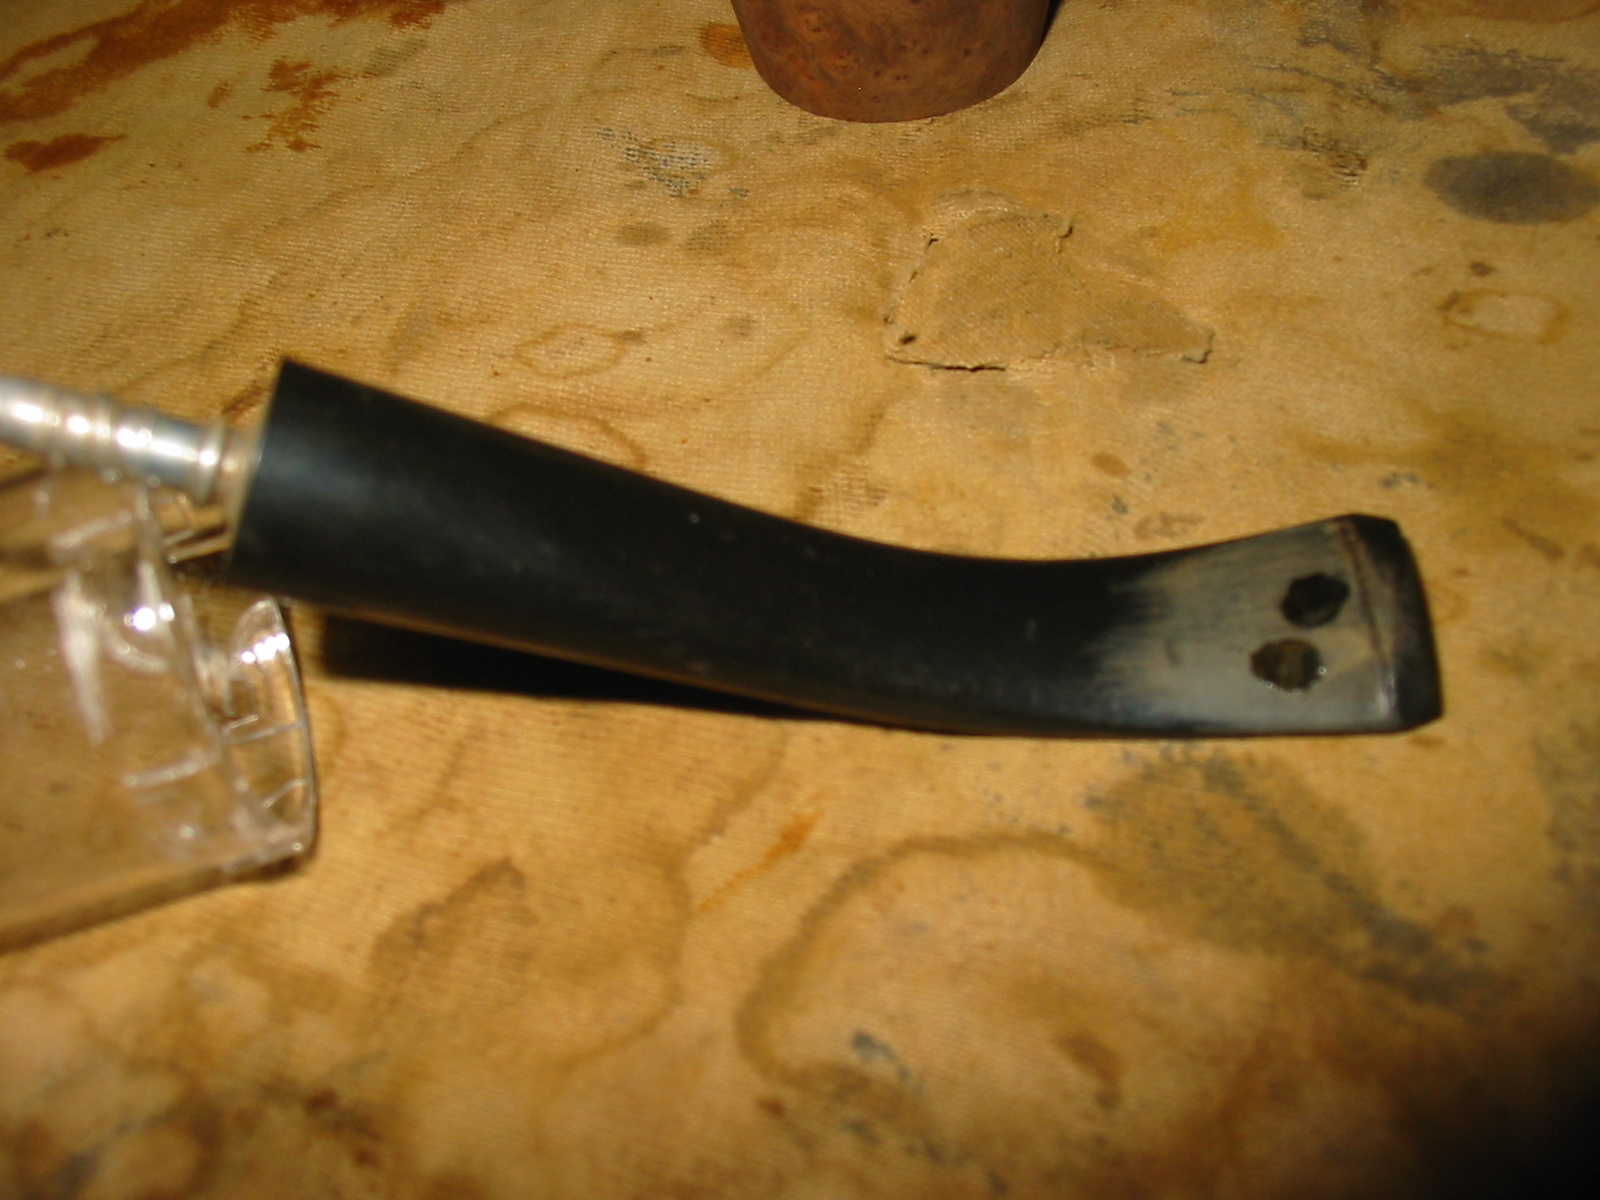
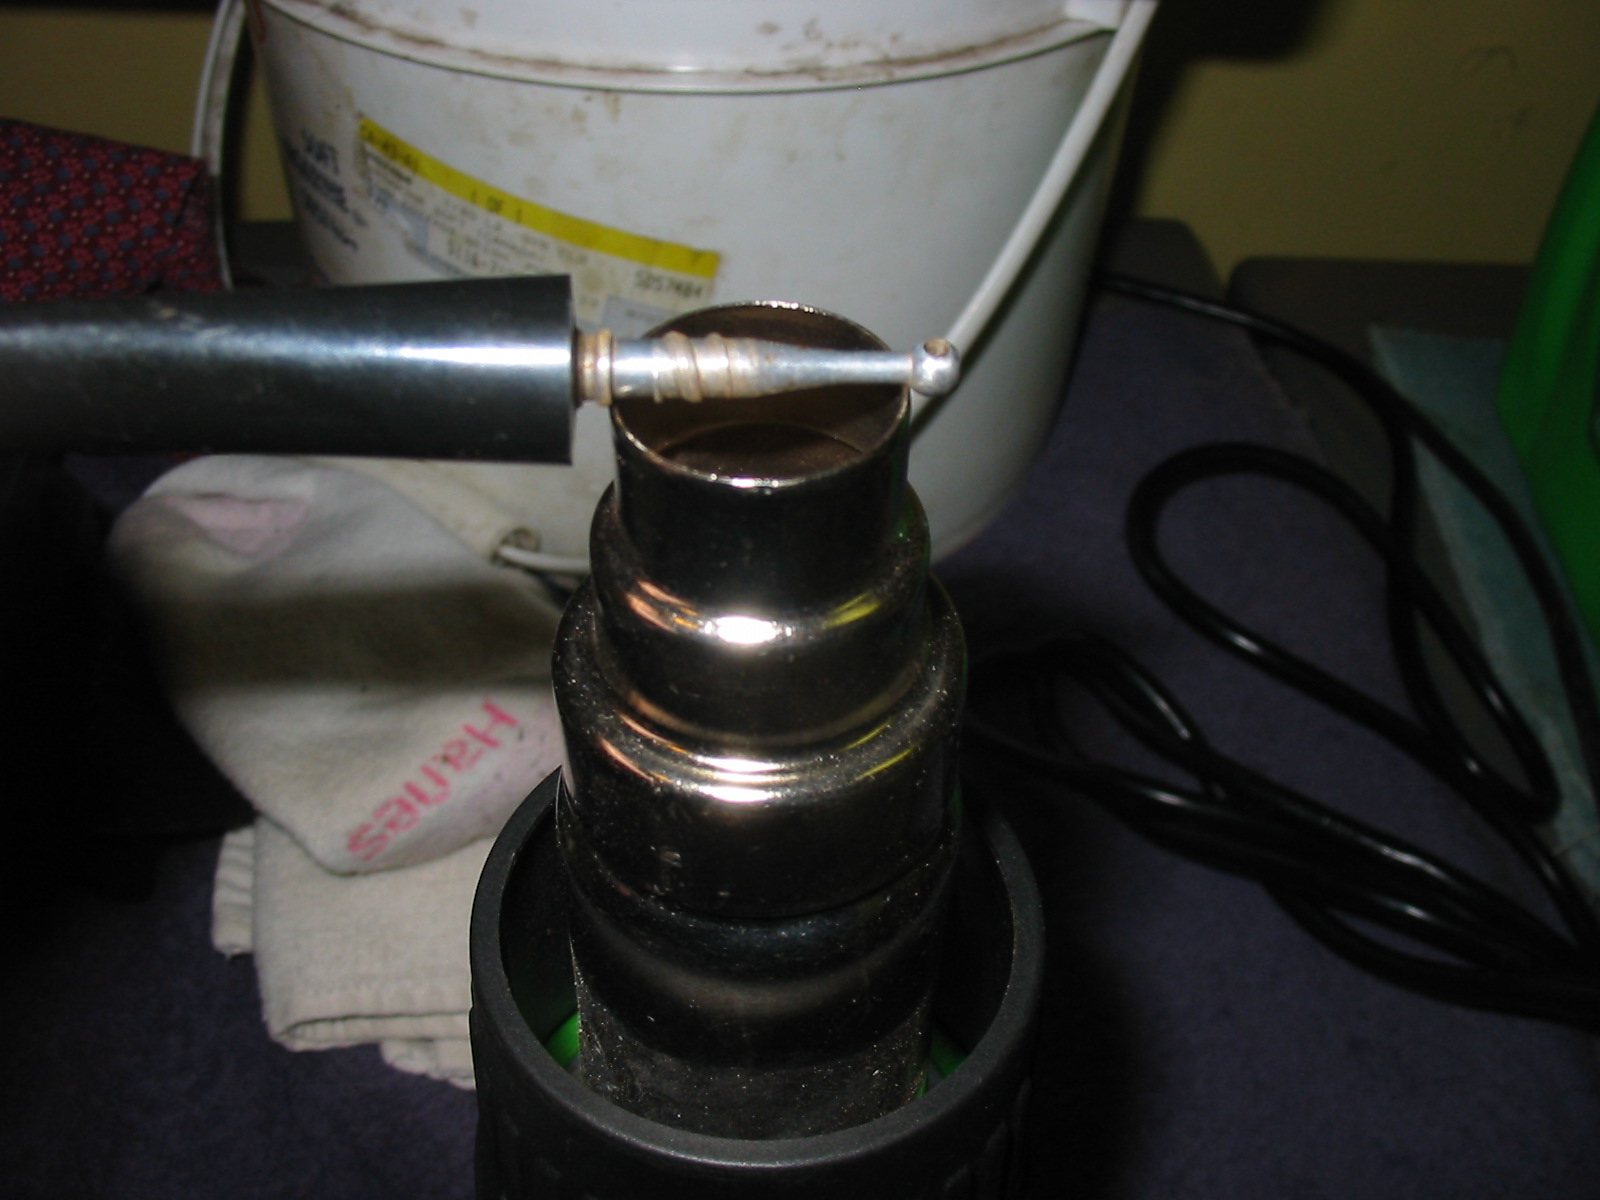
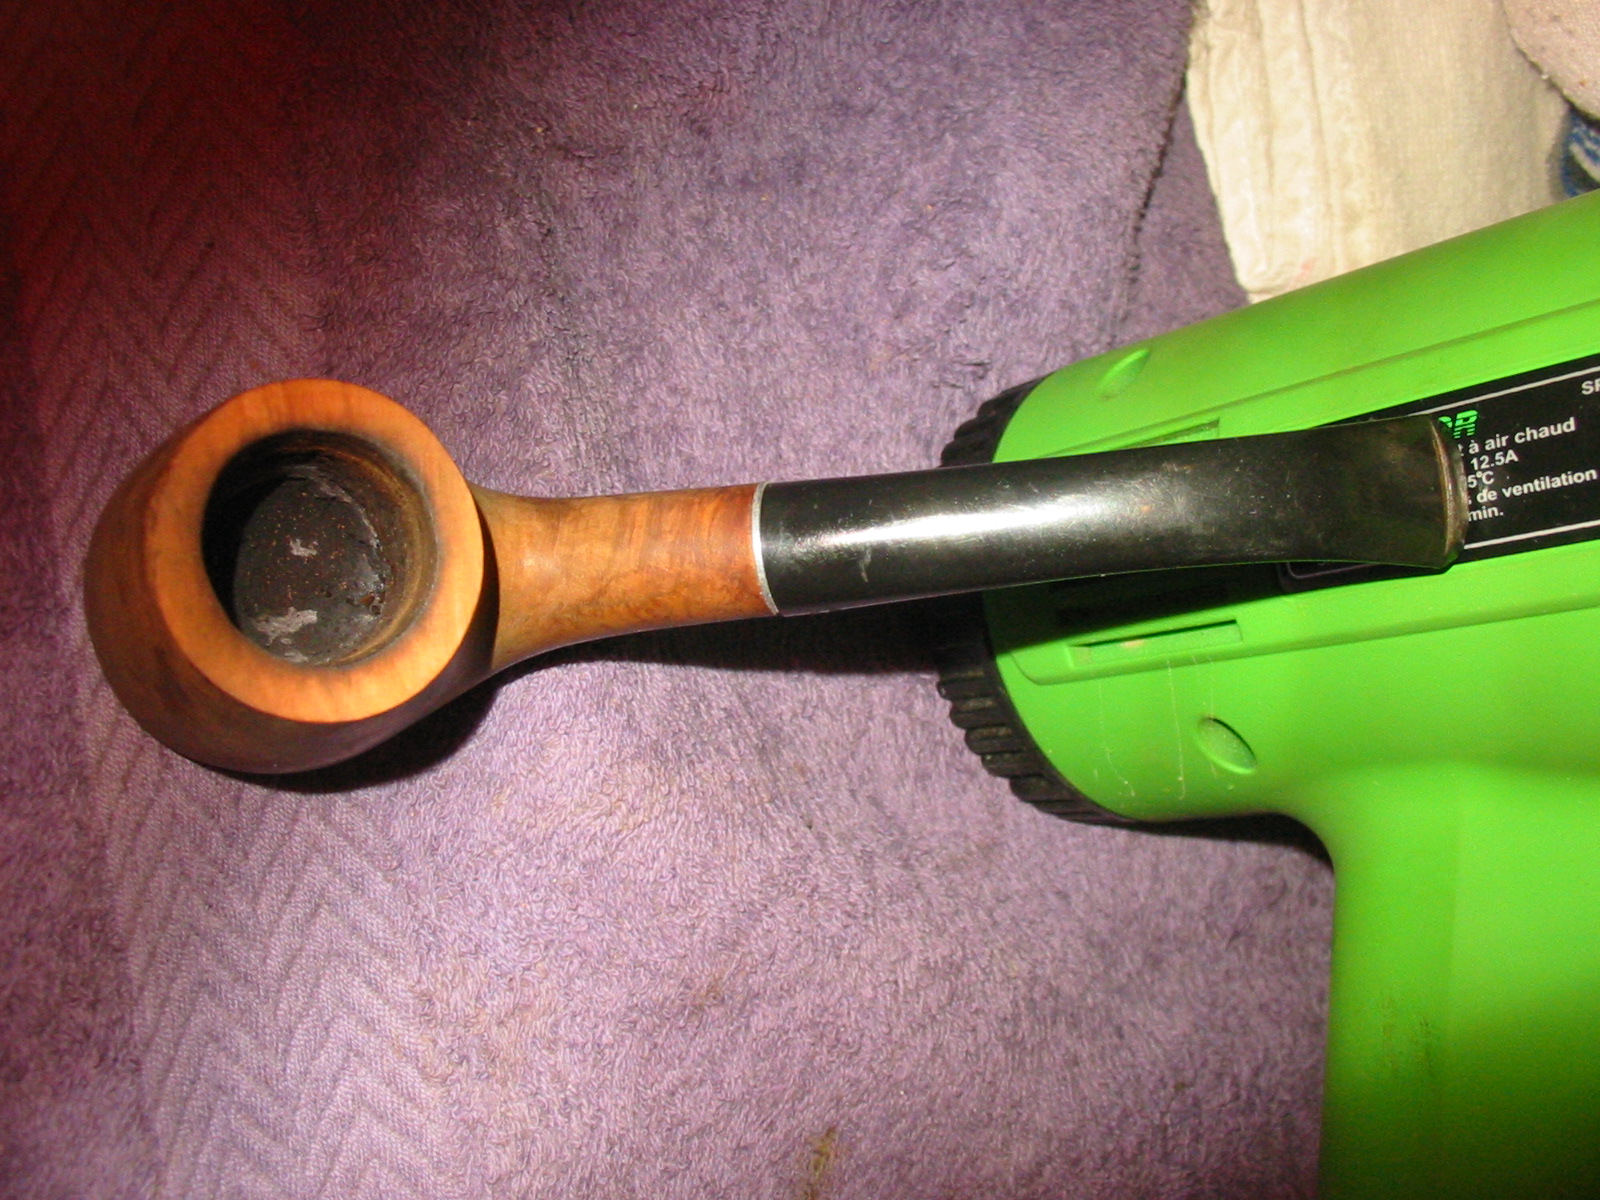
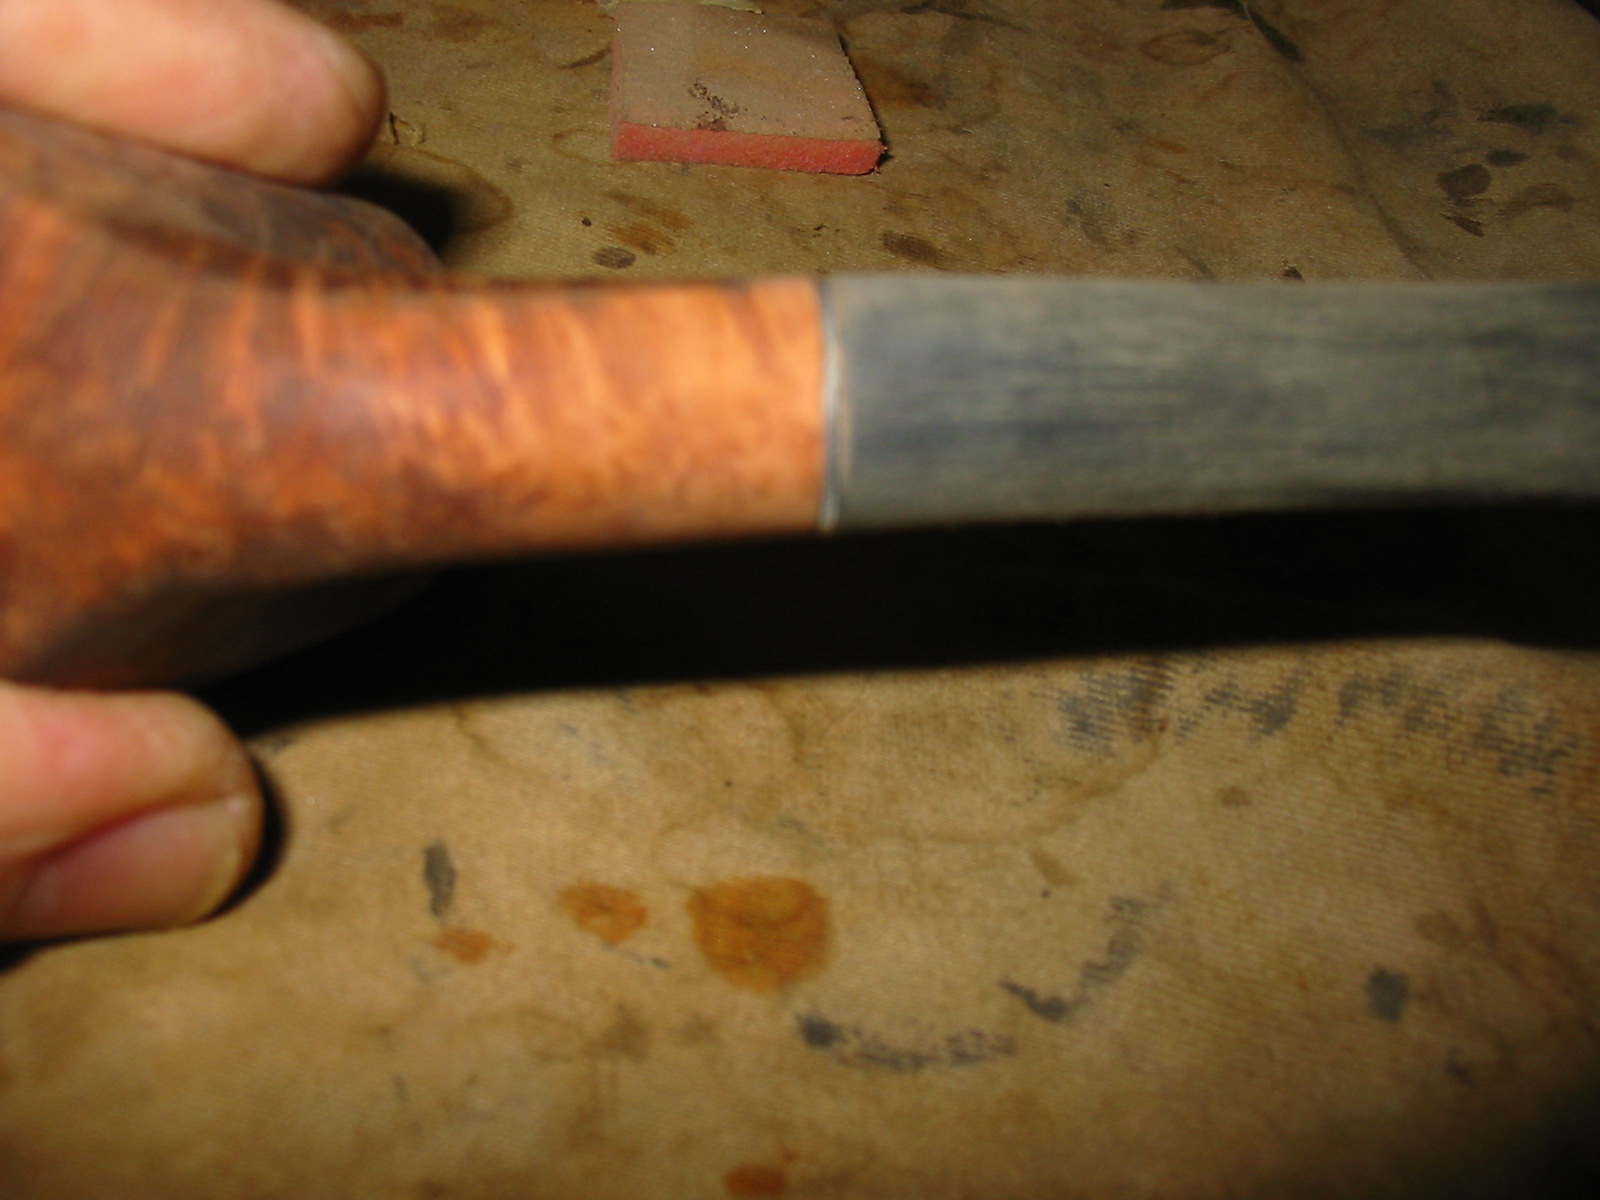
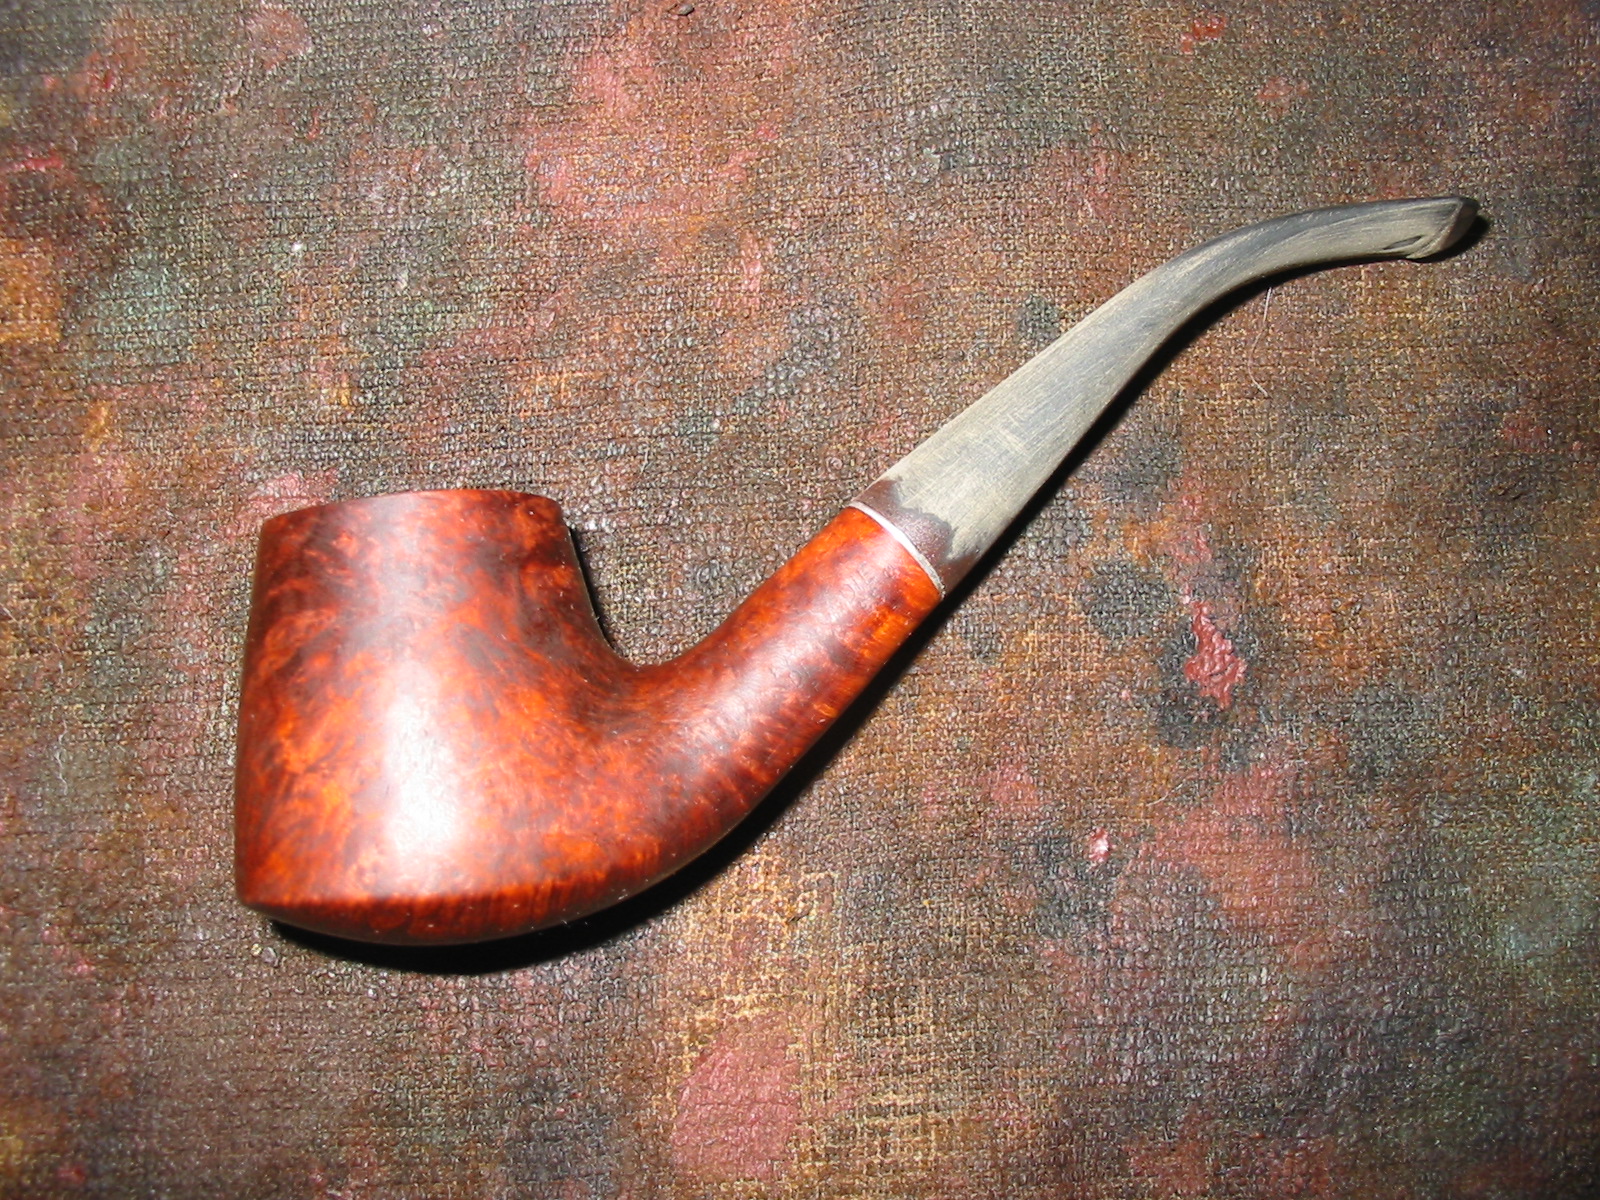
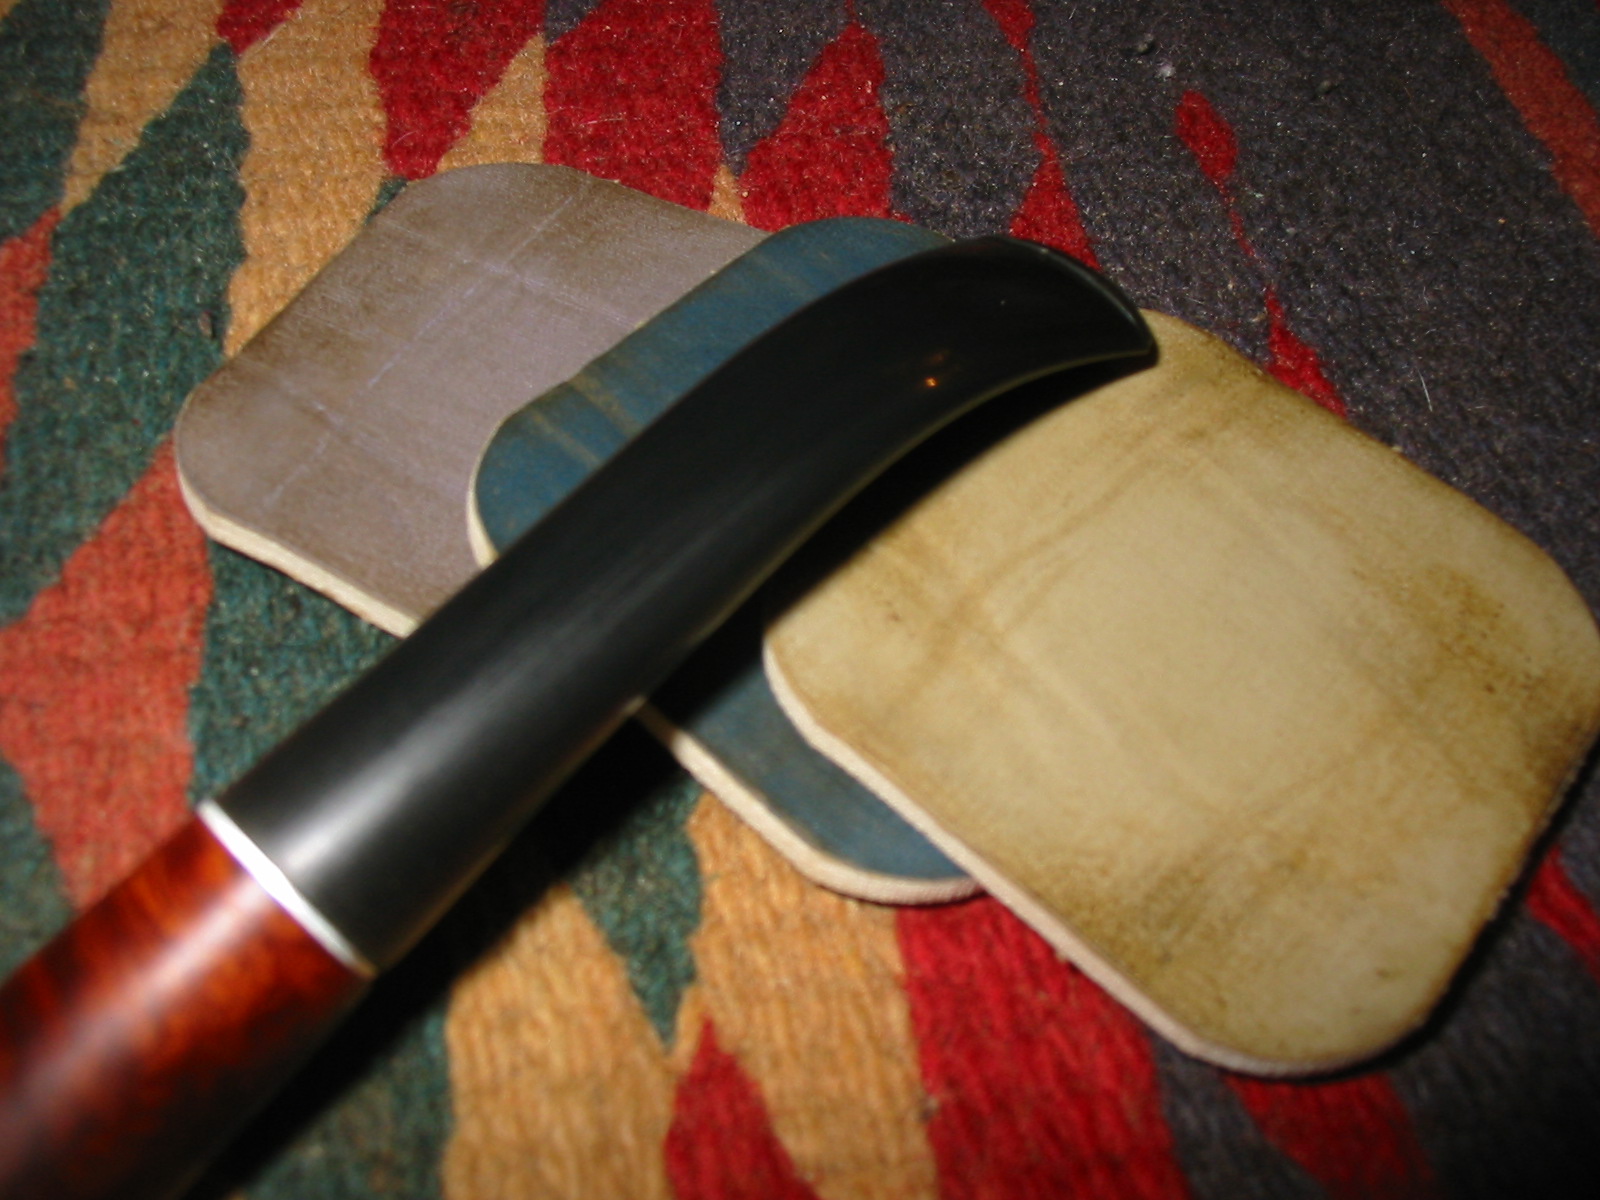
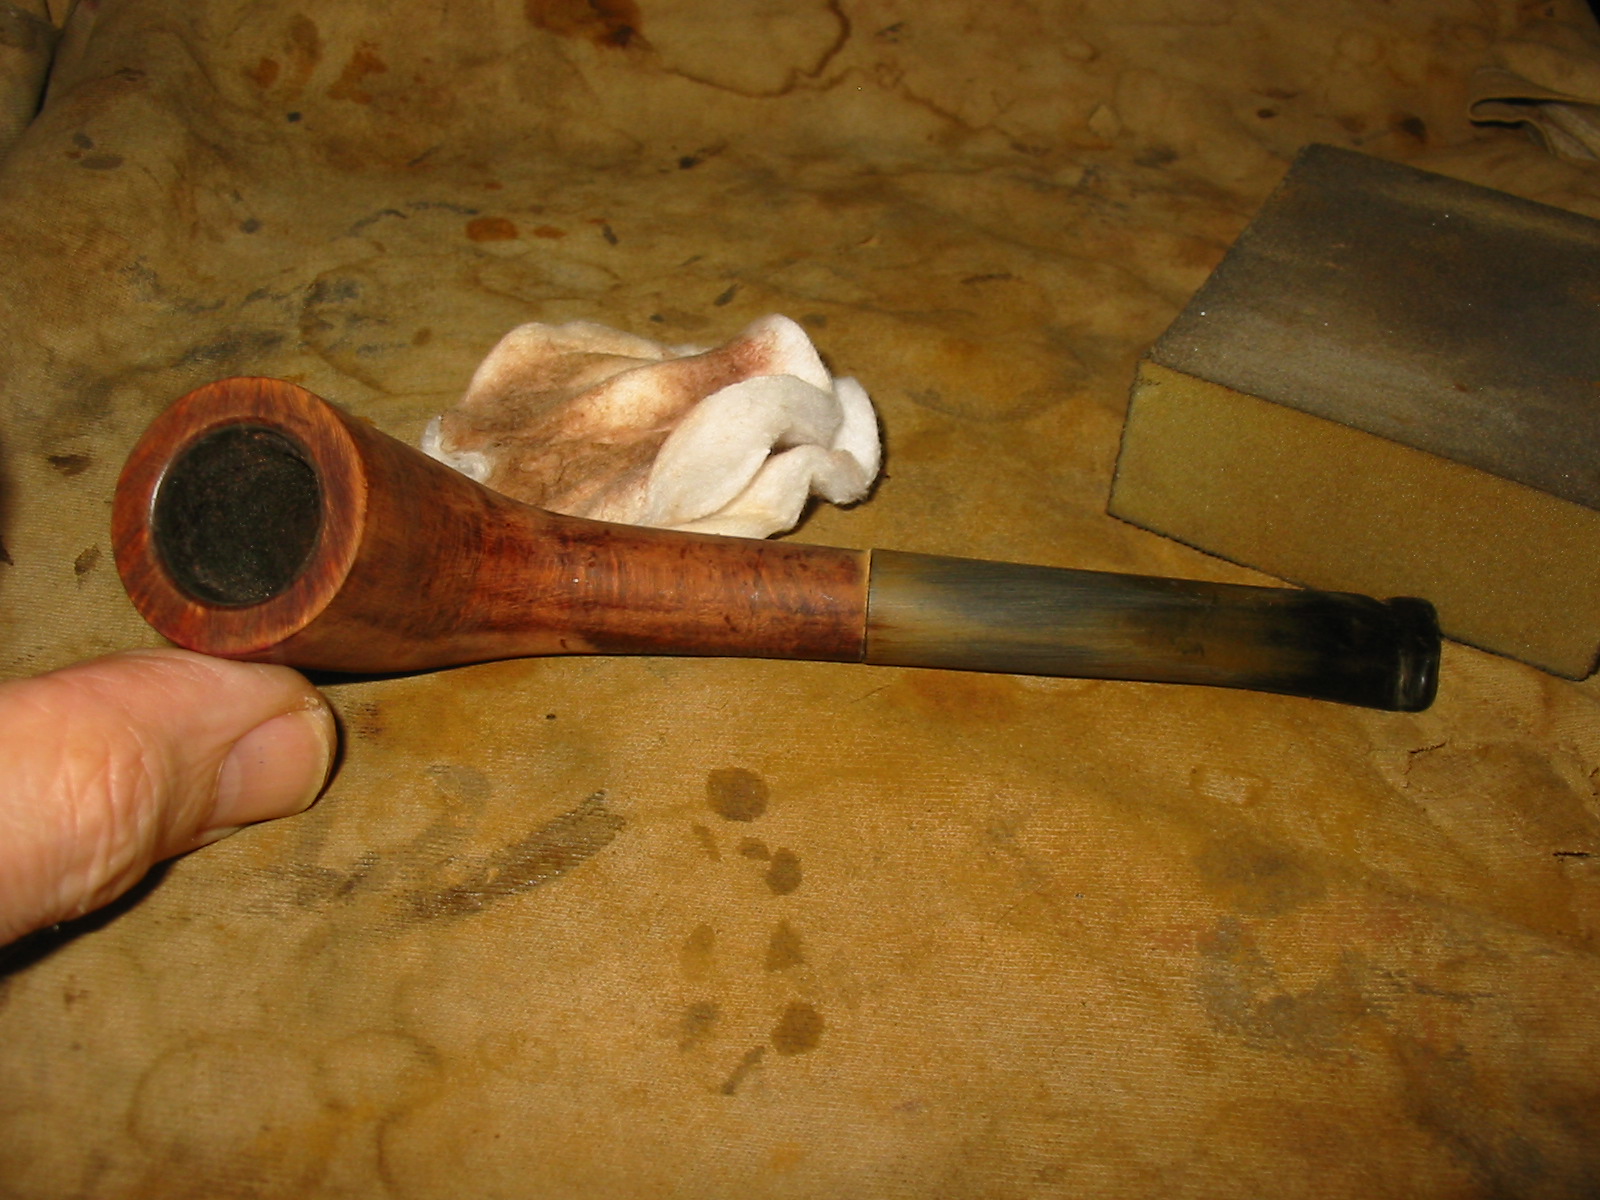
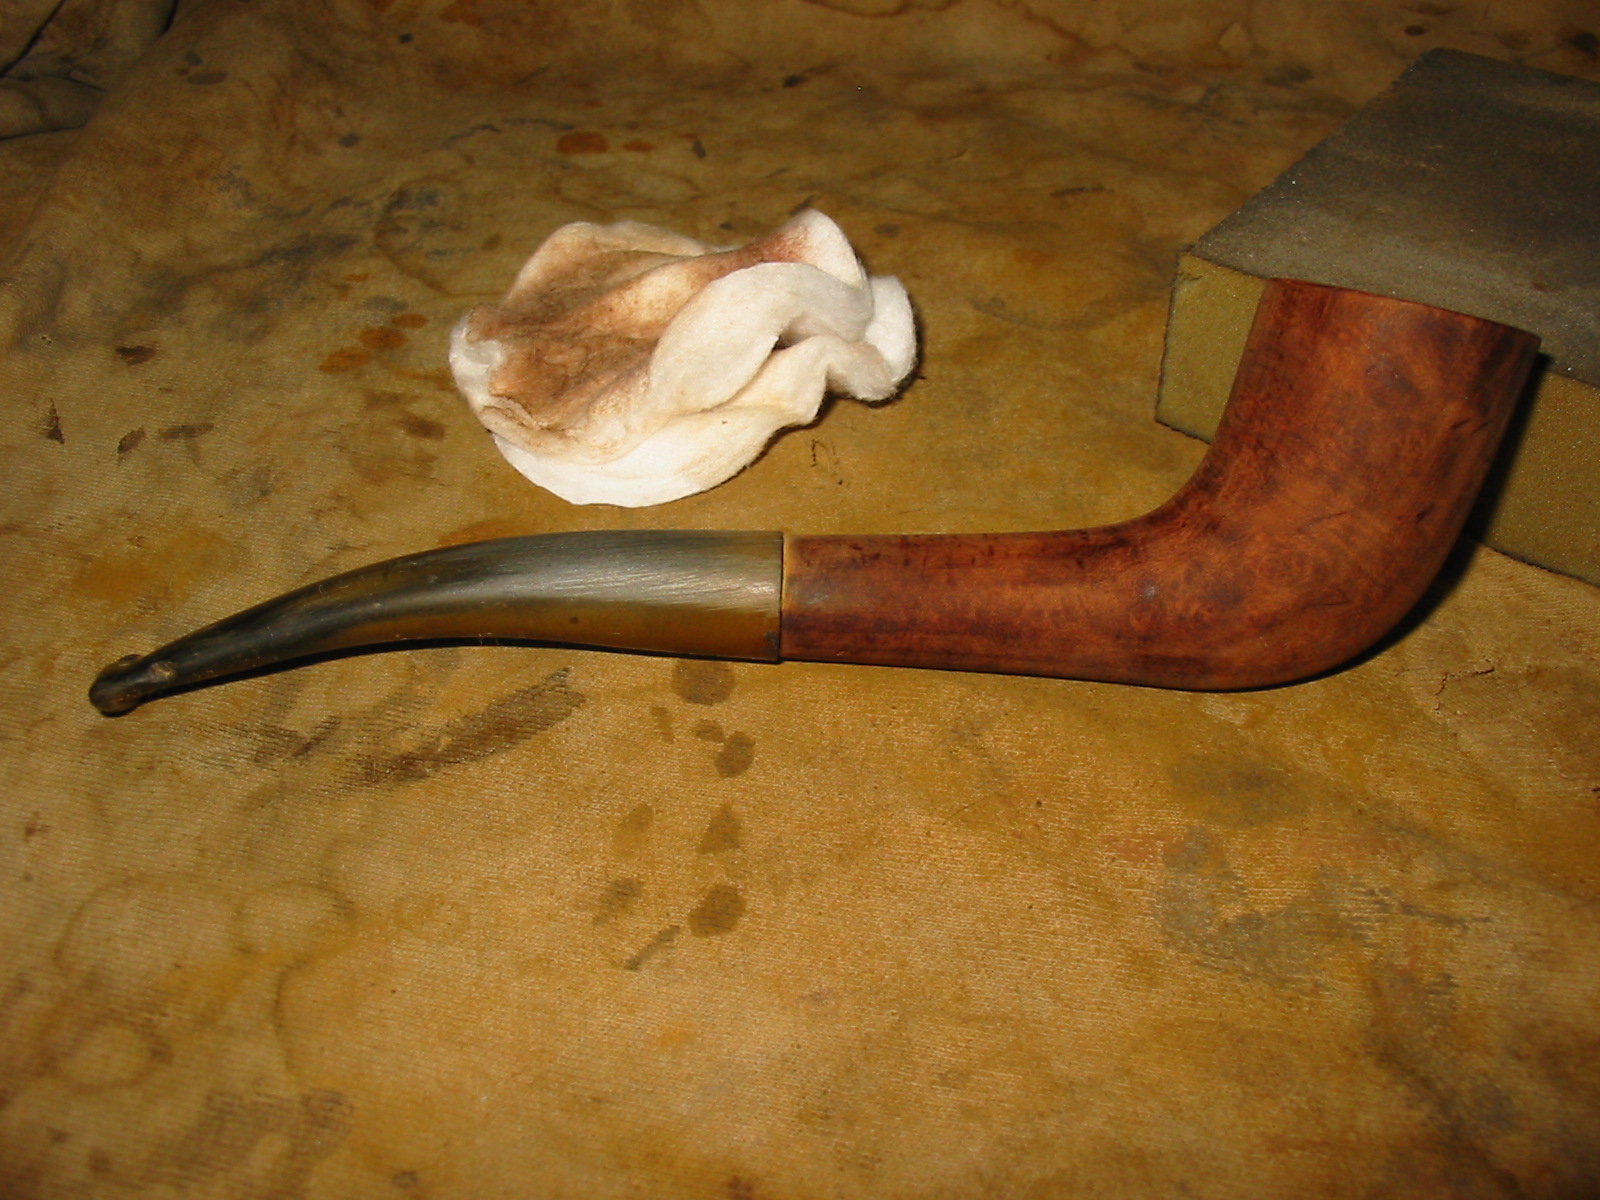
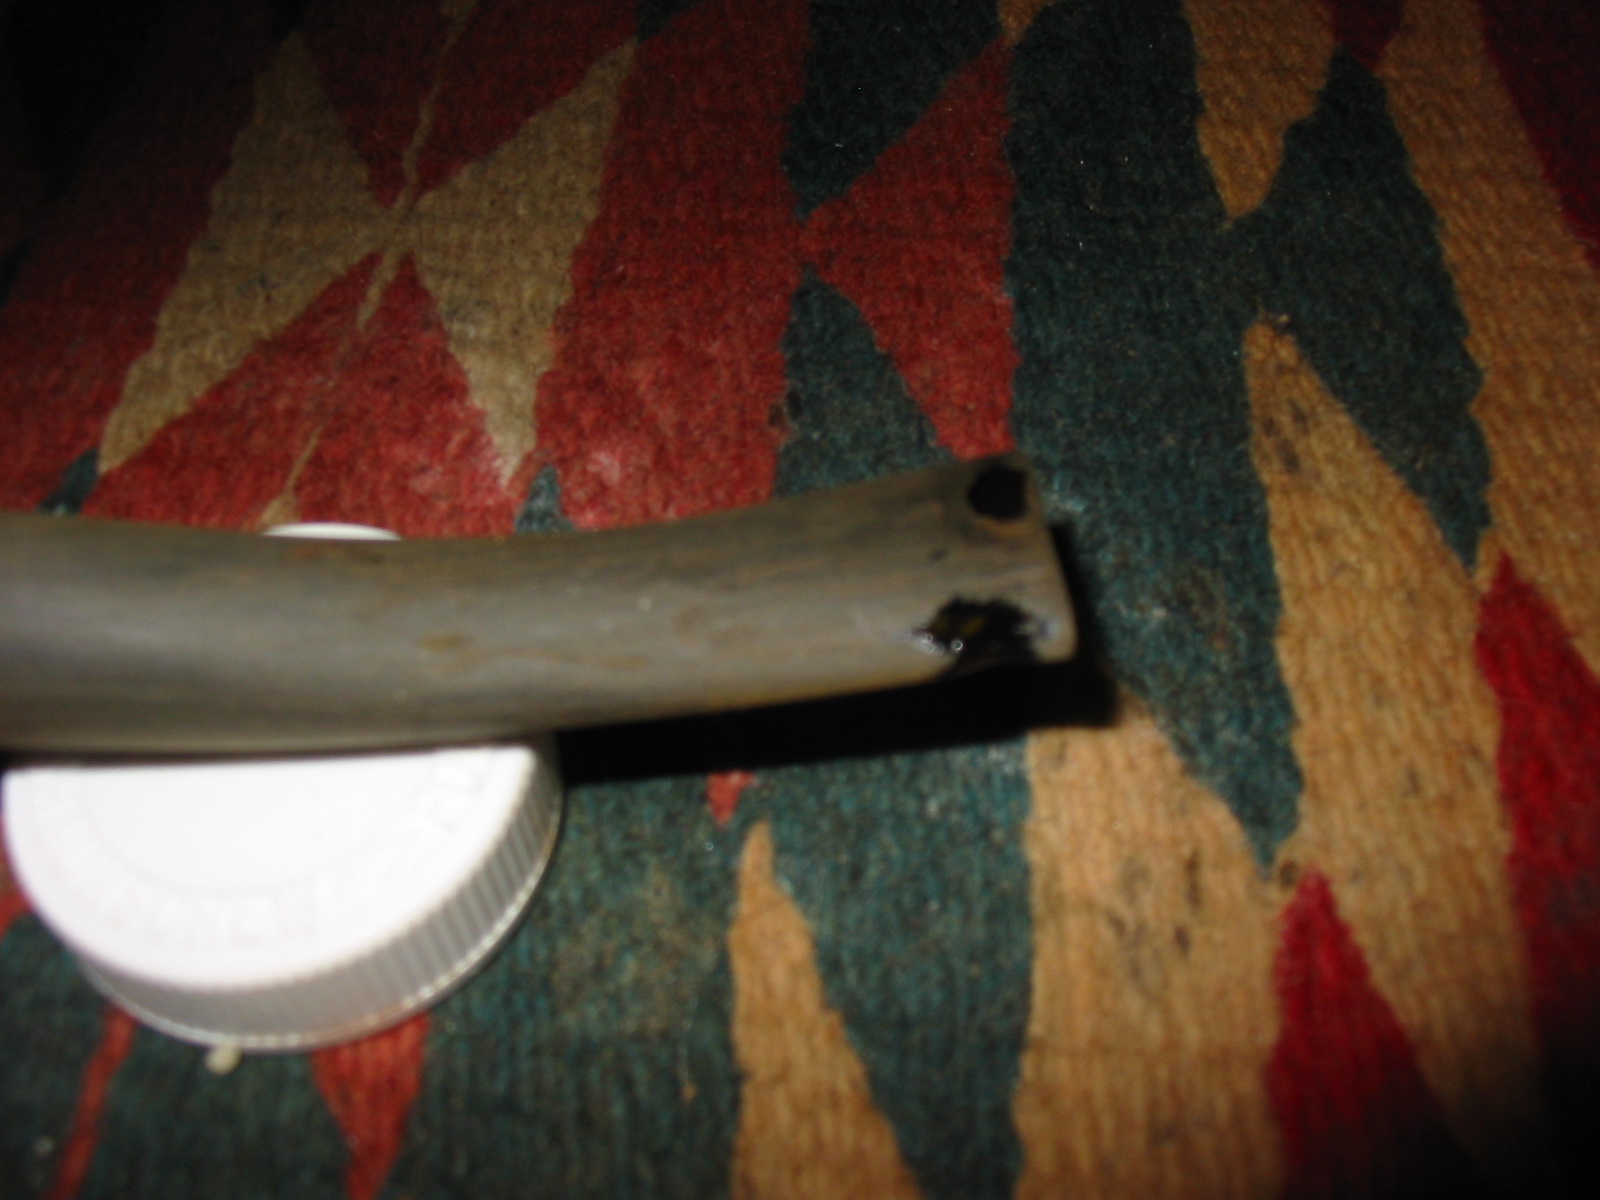
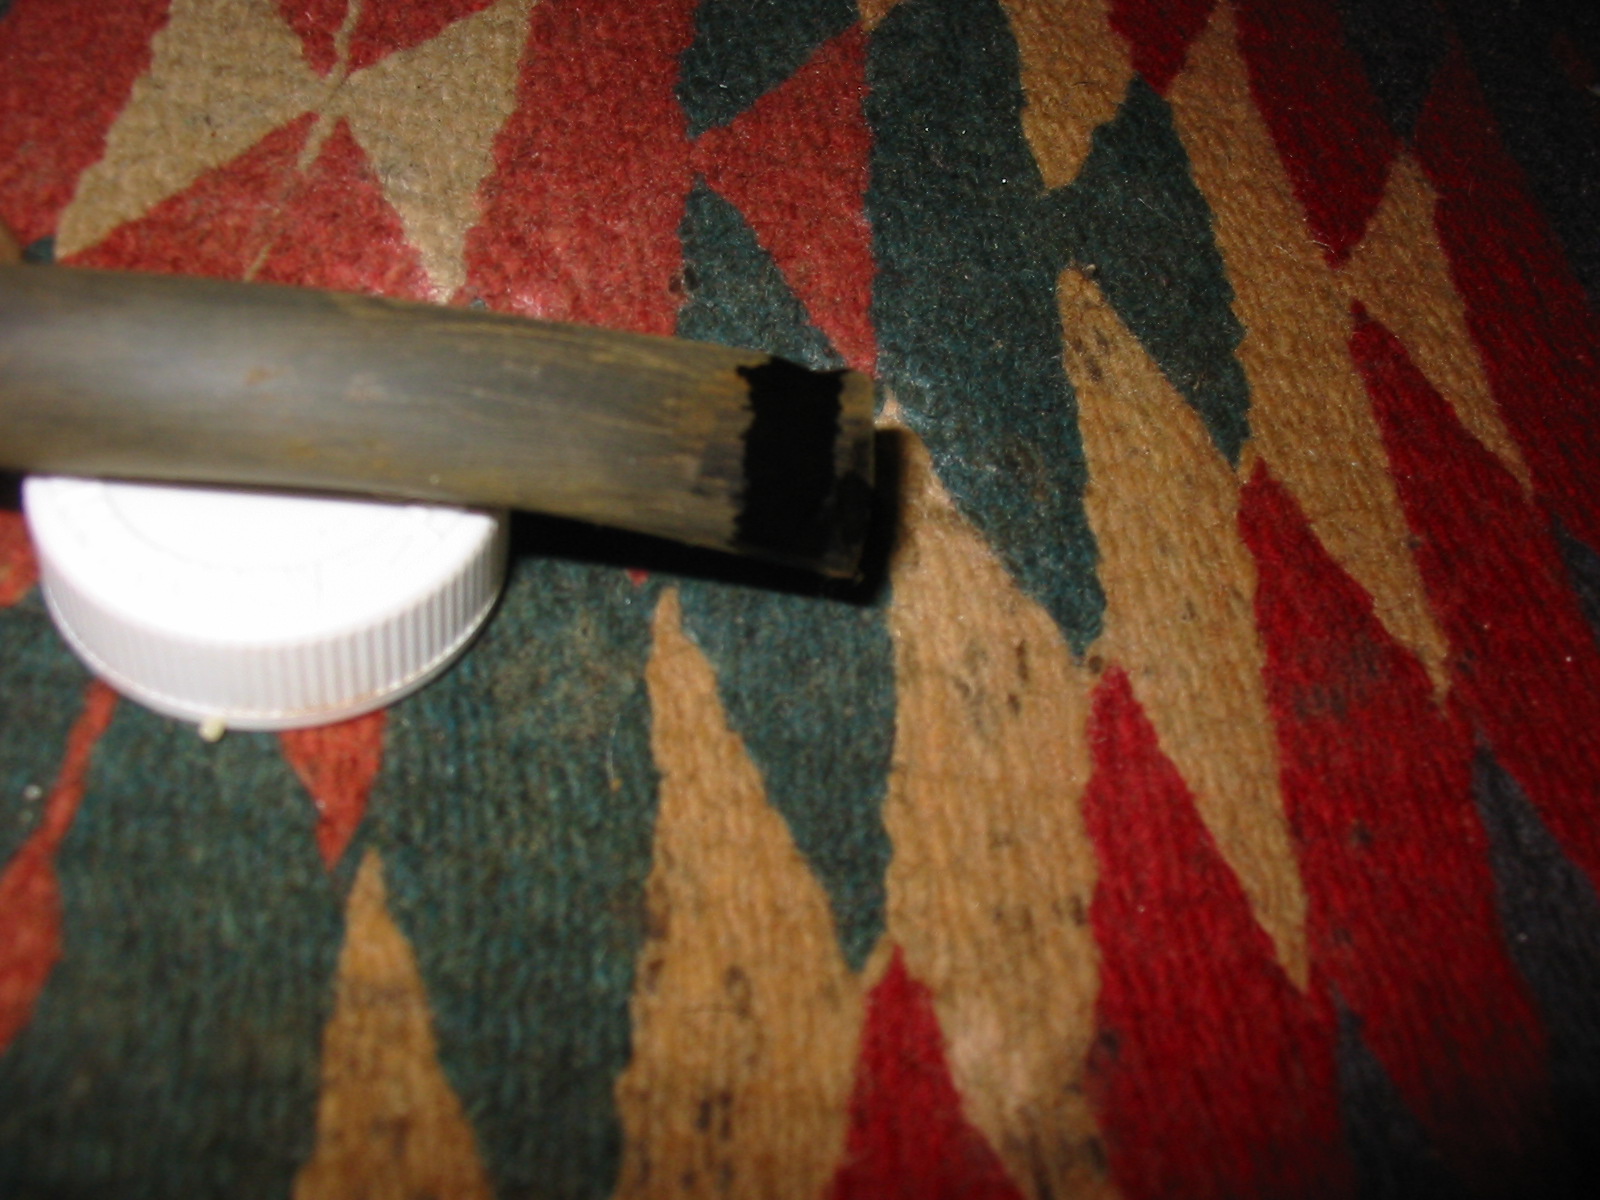
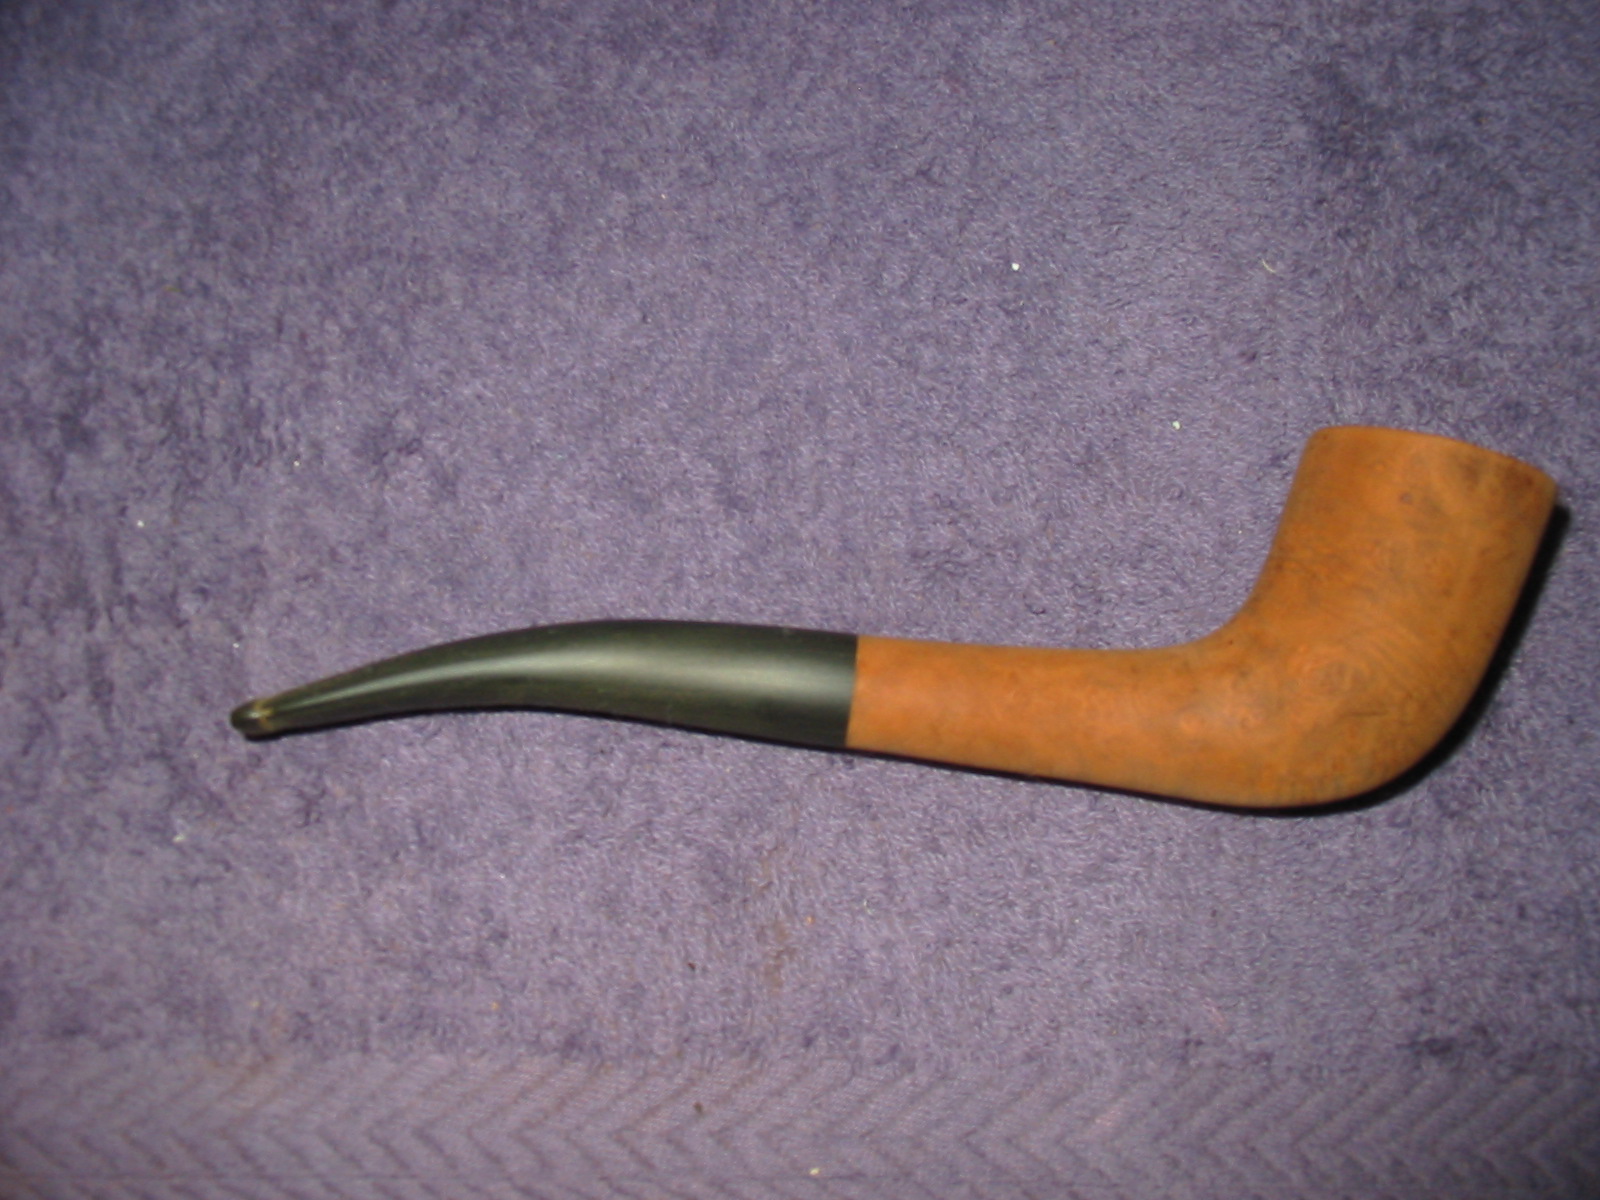
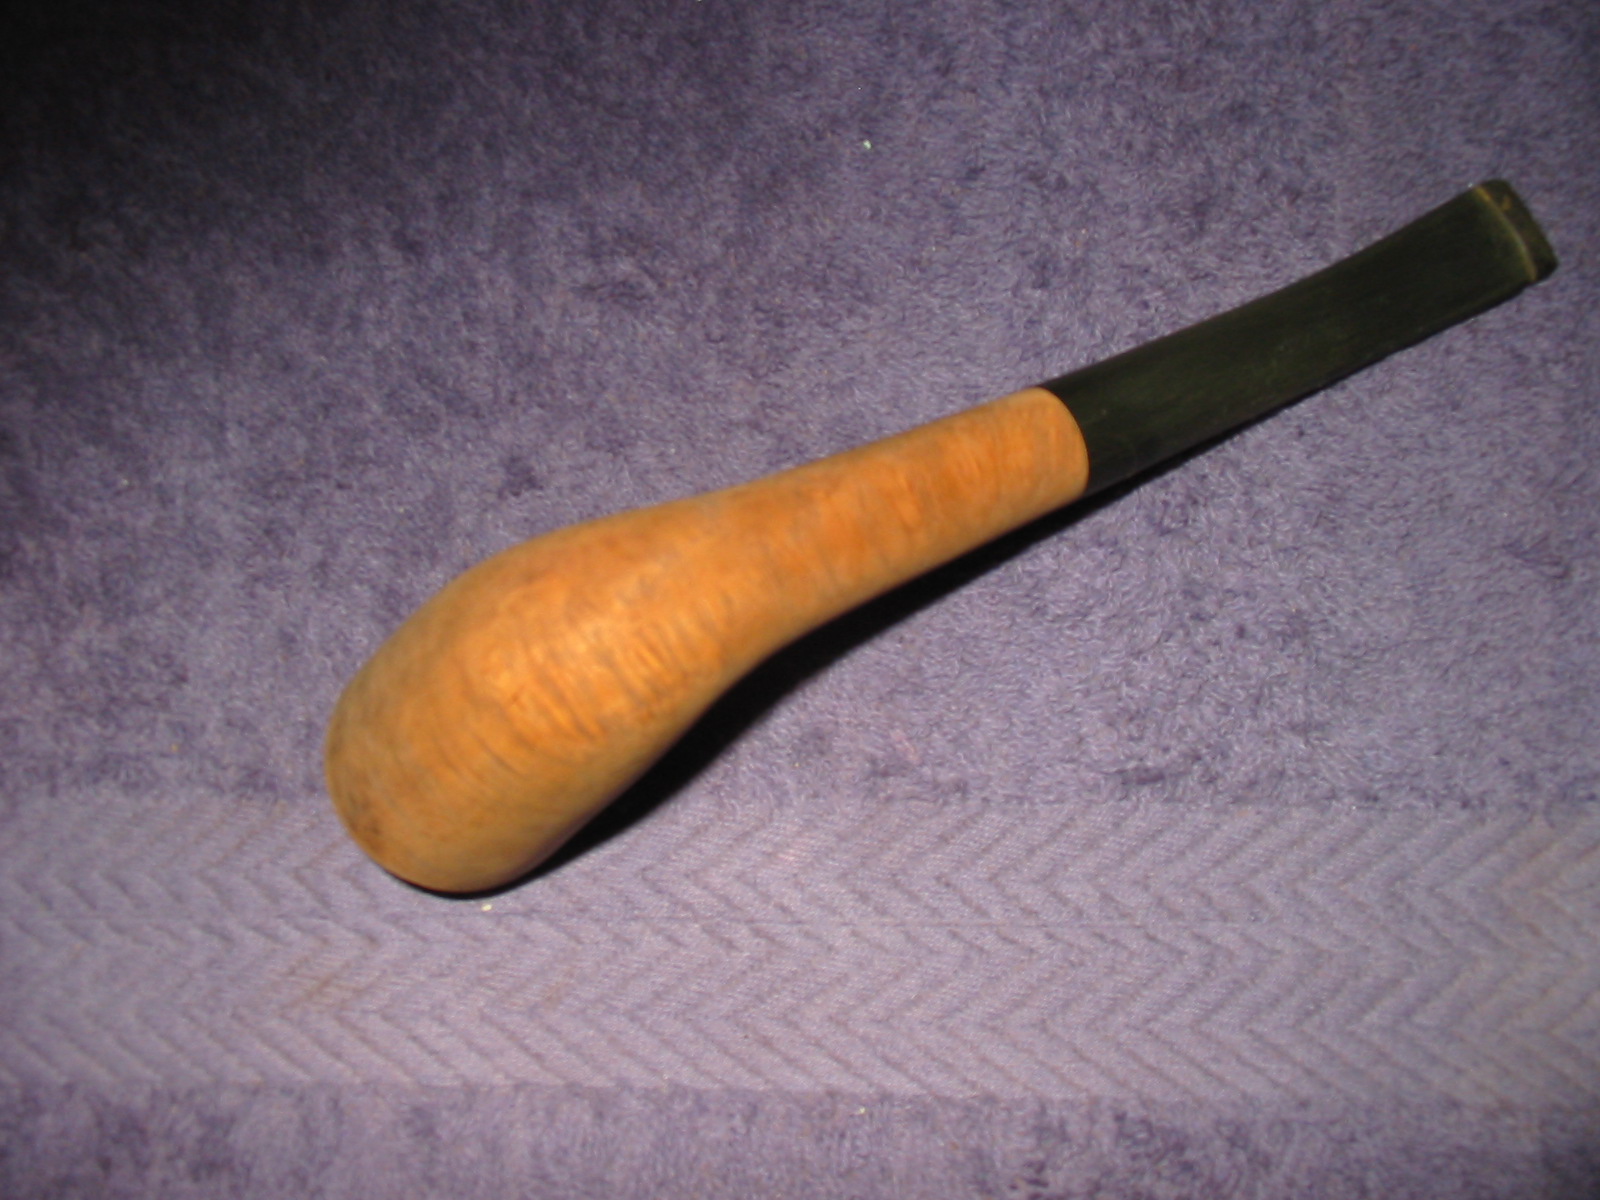
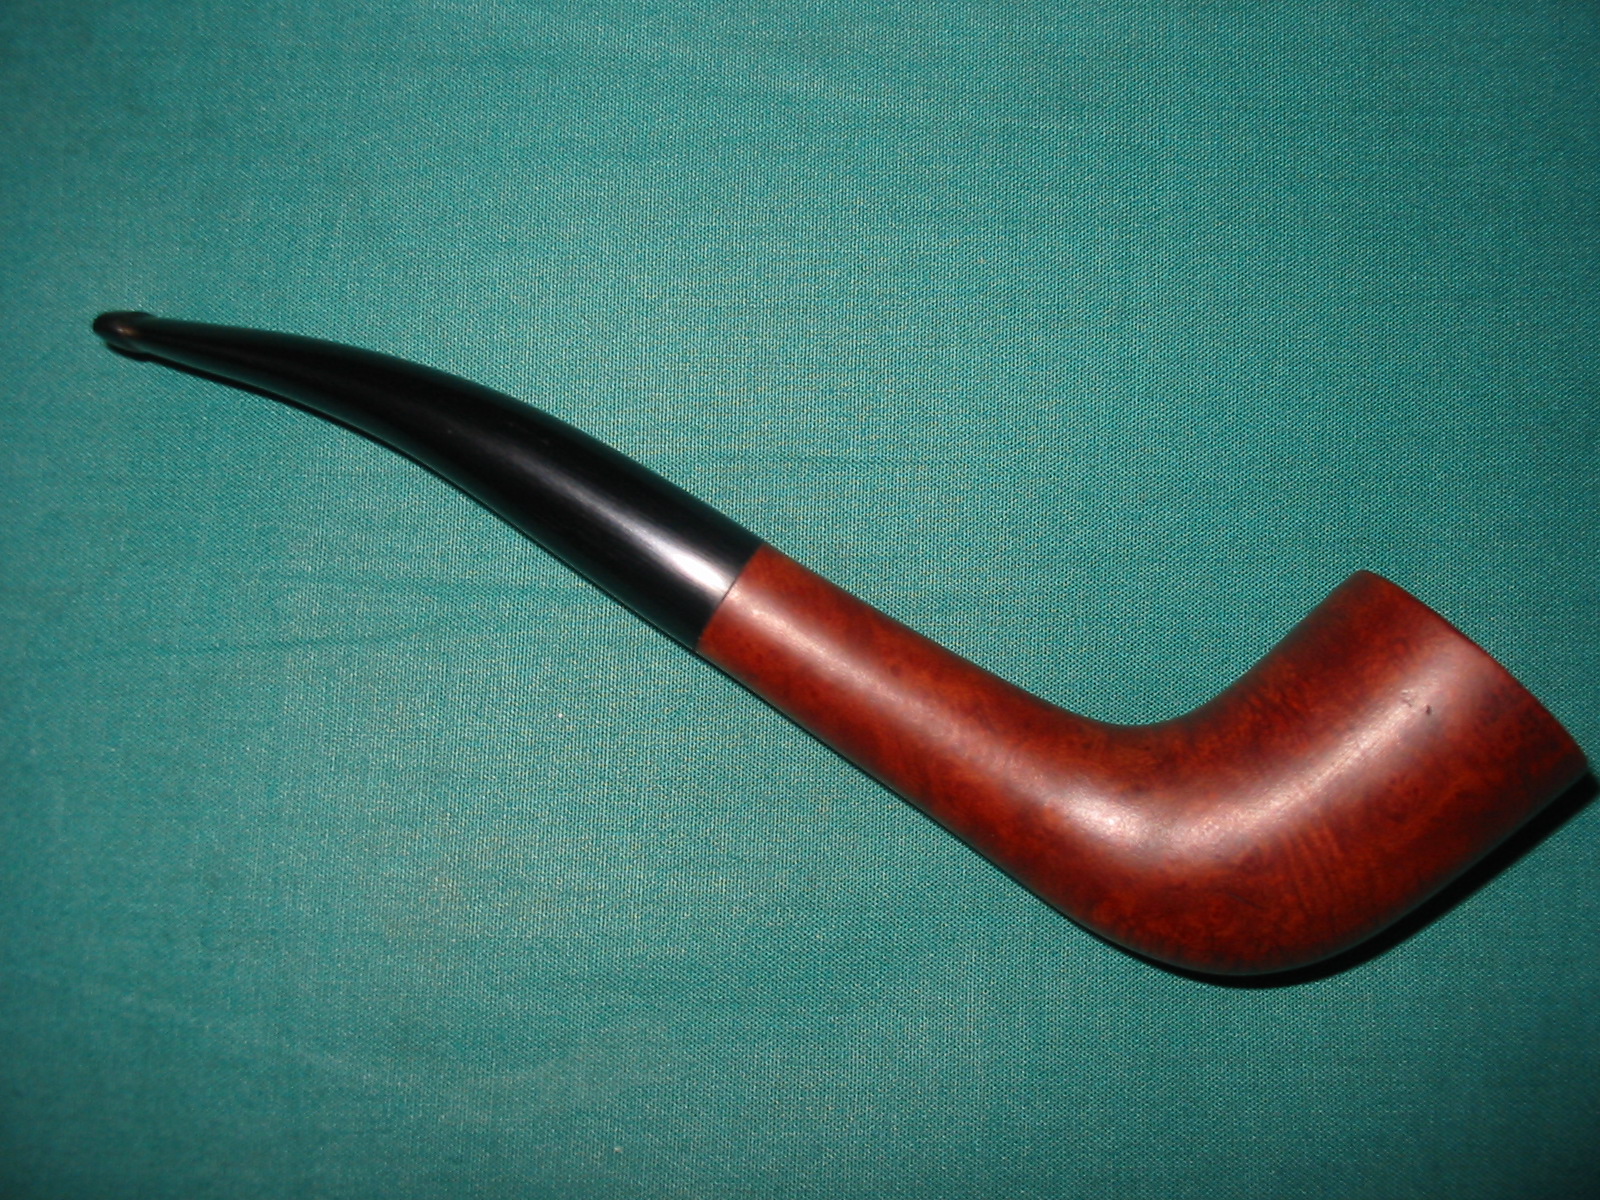
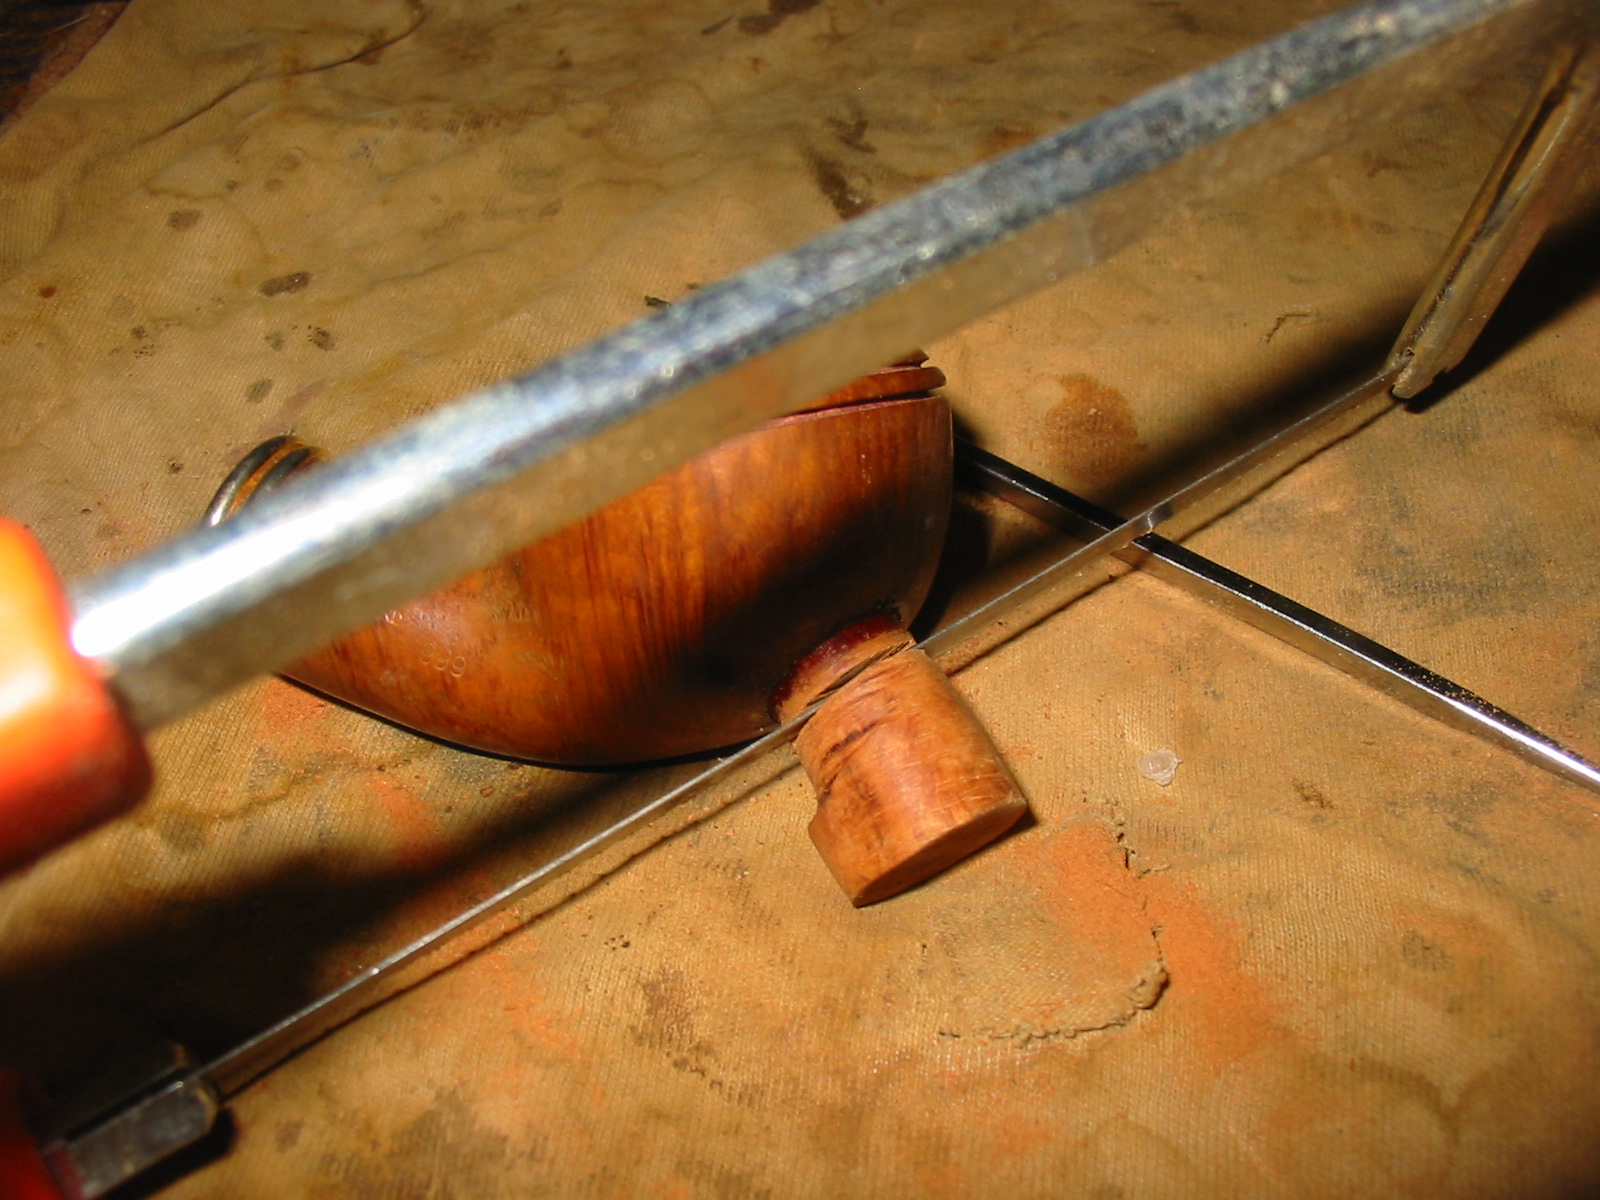
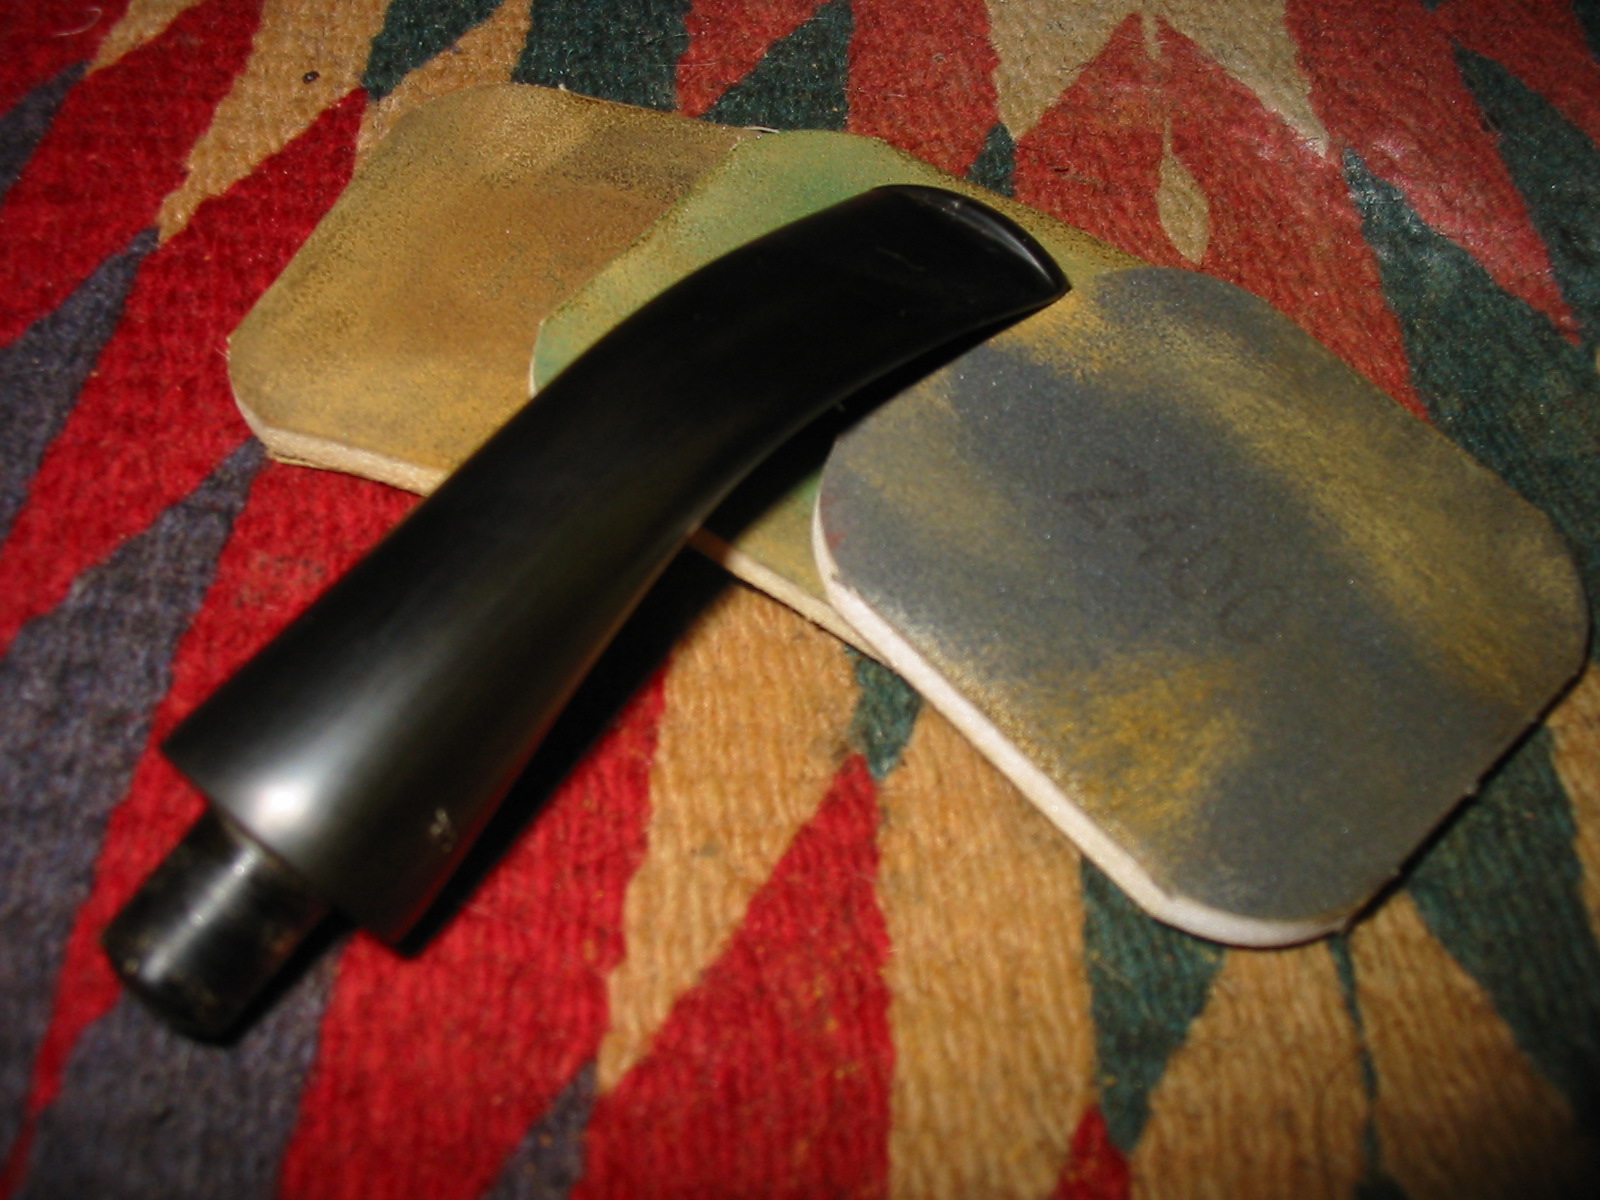
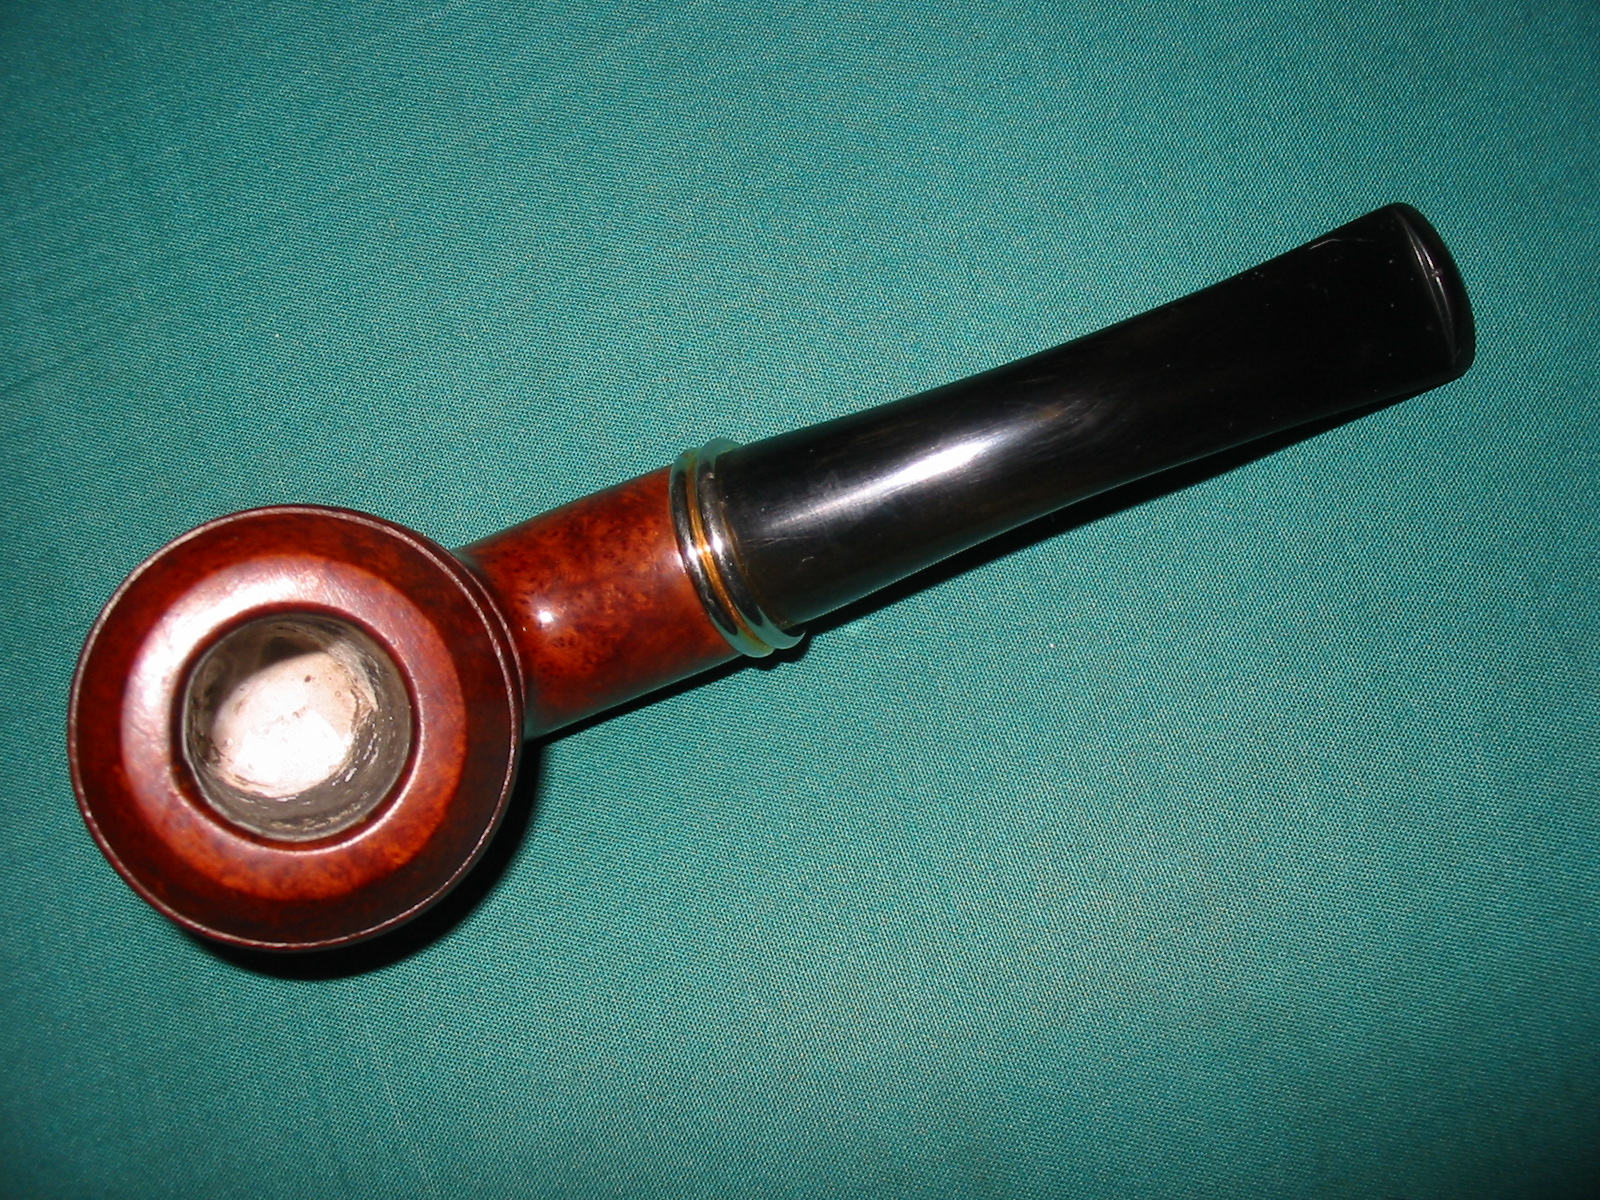
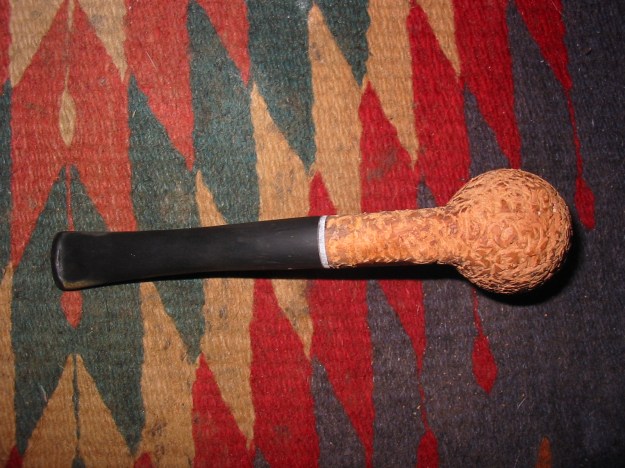
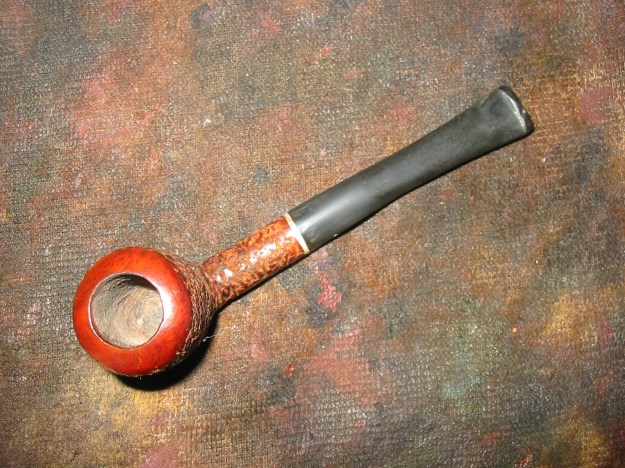
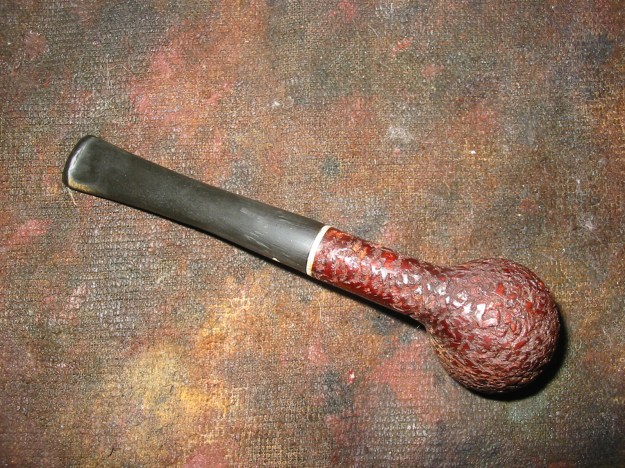
With the bowl rustication finished and the stem fit finished I set up my heat gun and heated the stem to take out the bend. This particular Brewster shape had a straight stem. I held it above the heat gun until the vulcanite softened and the stem began to straighten on its own.


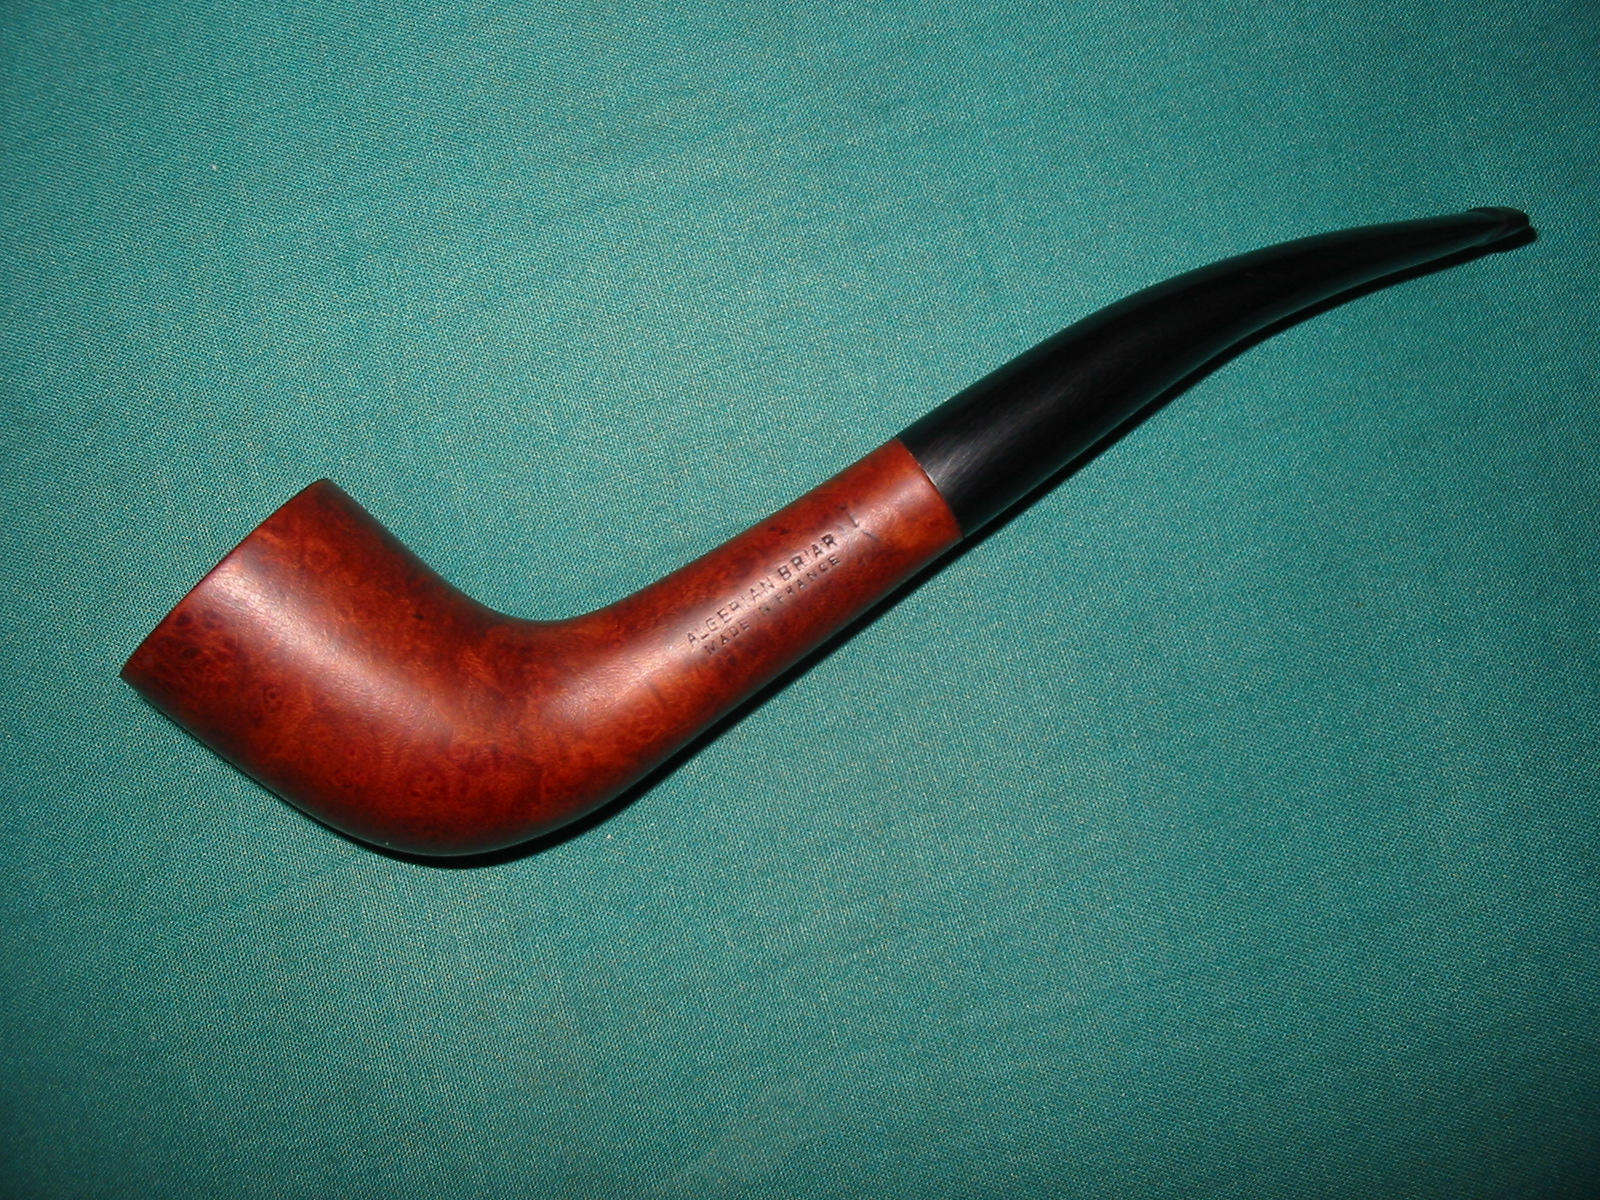
Once it was straight I set the shape by putting it under running water. The straightened stem can be seen in the photo below.
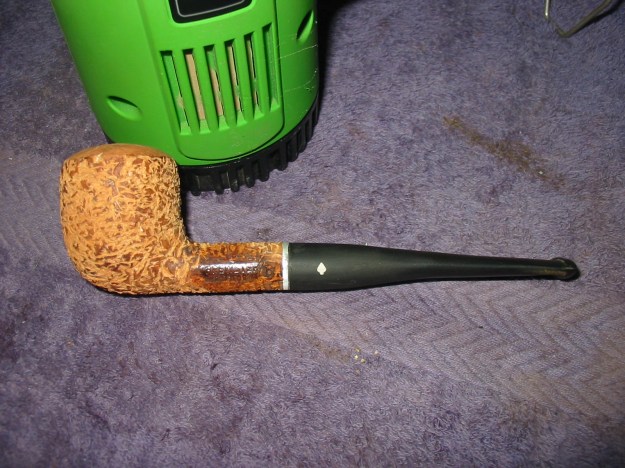
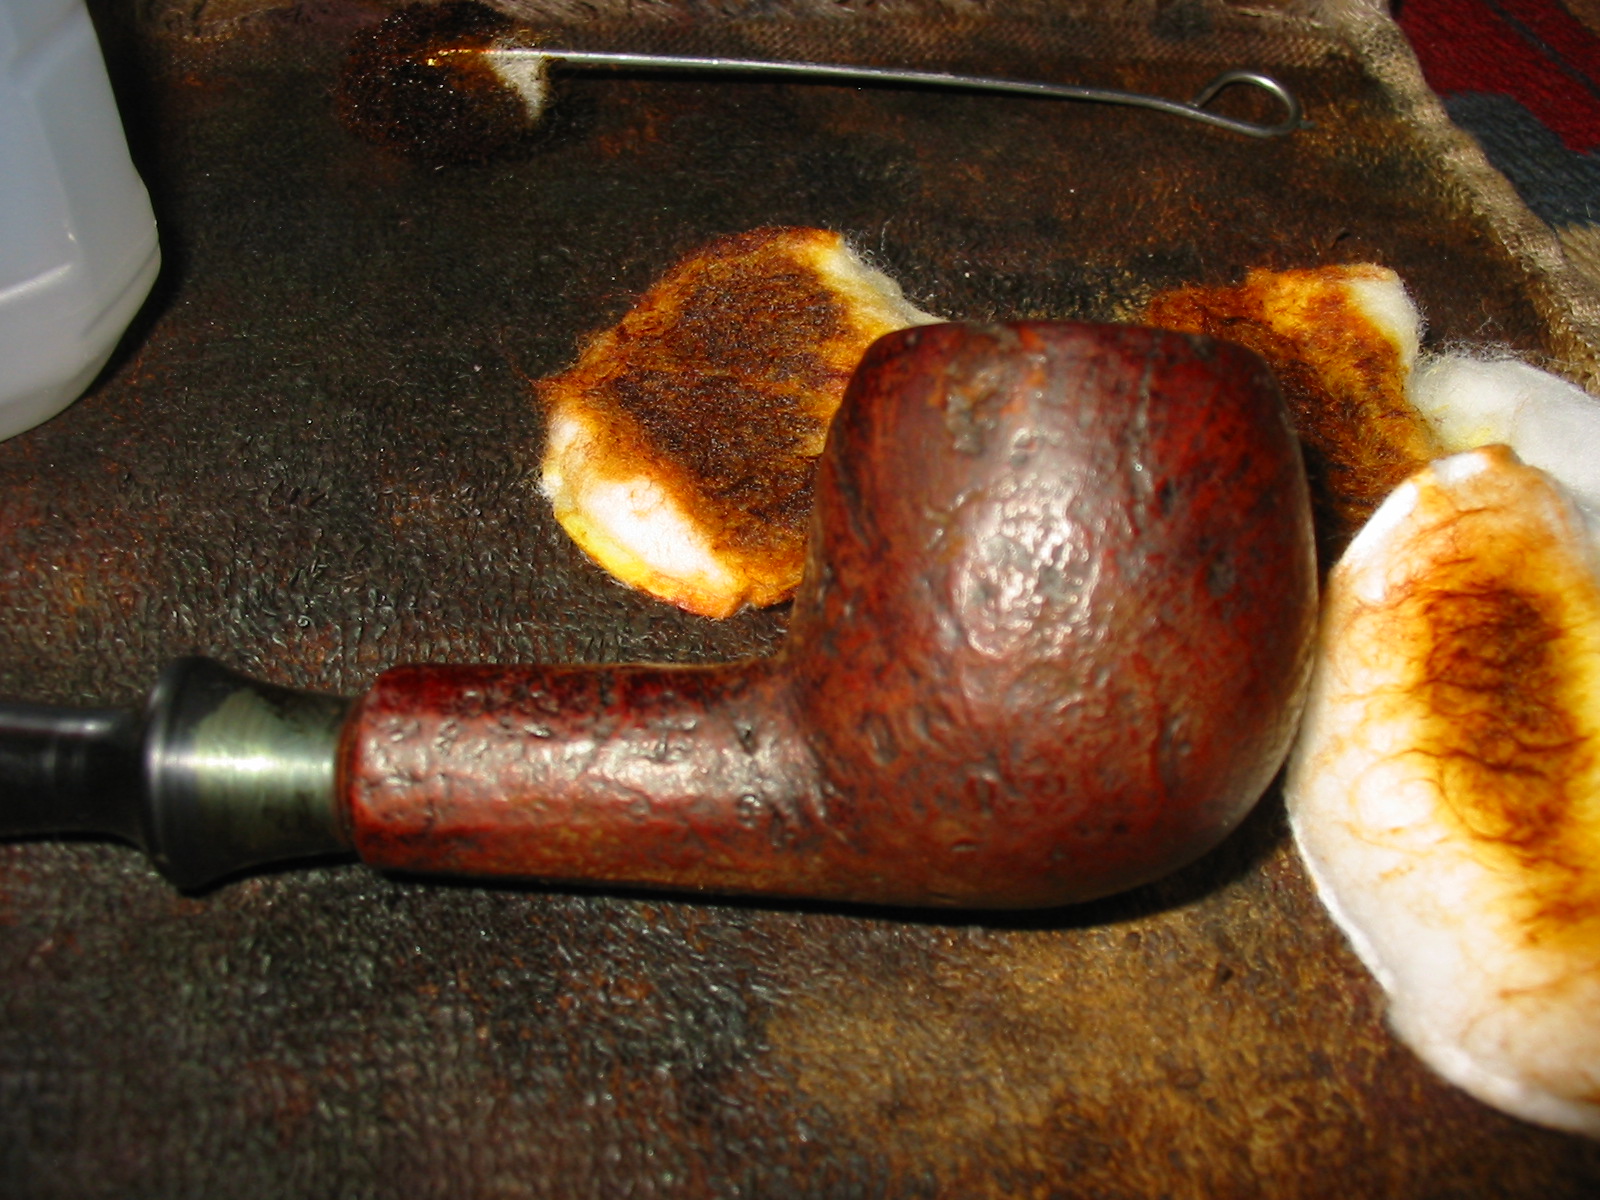
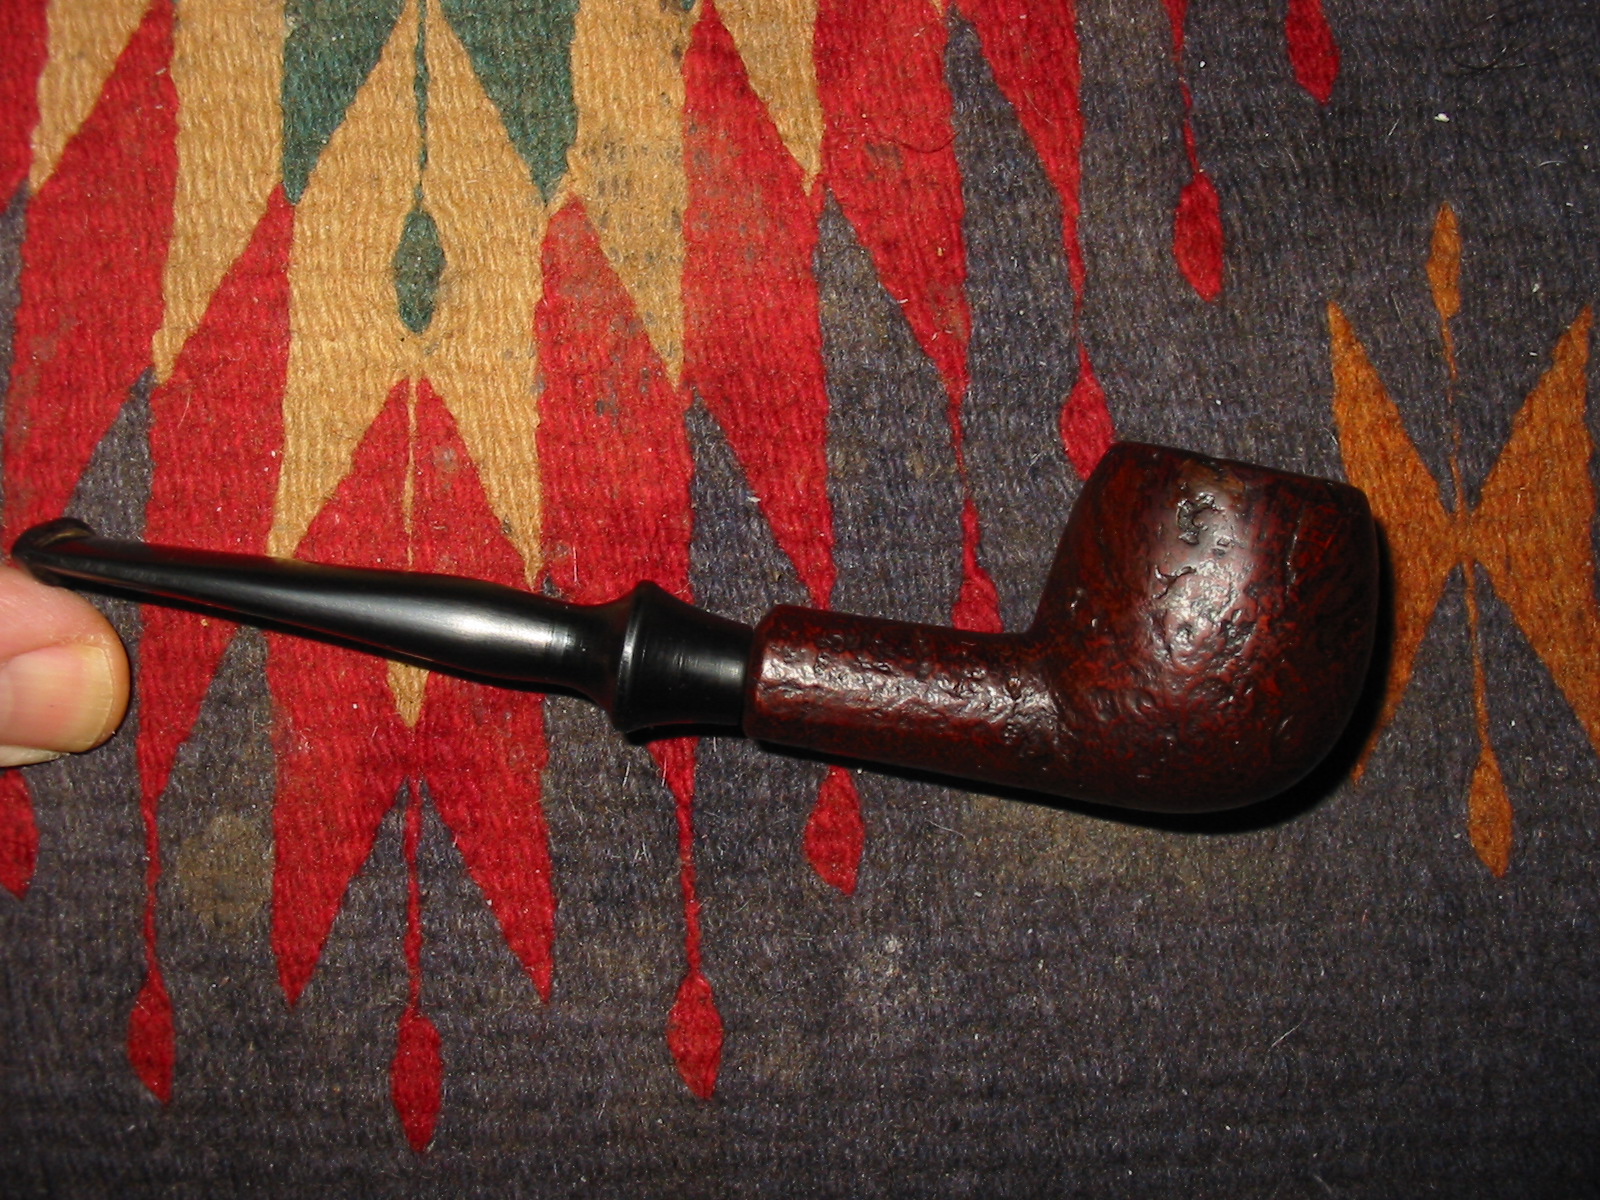
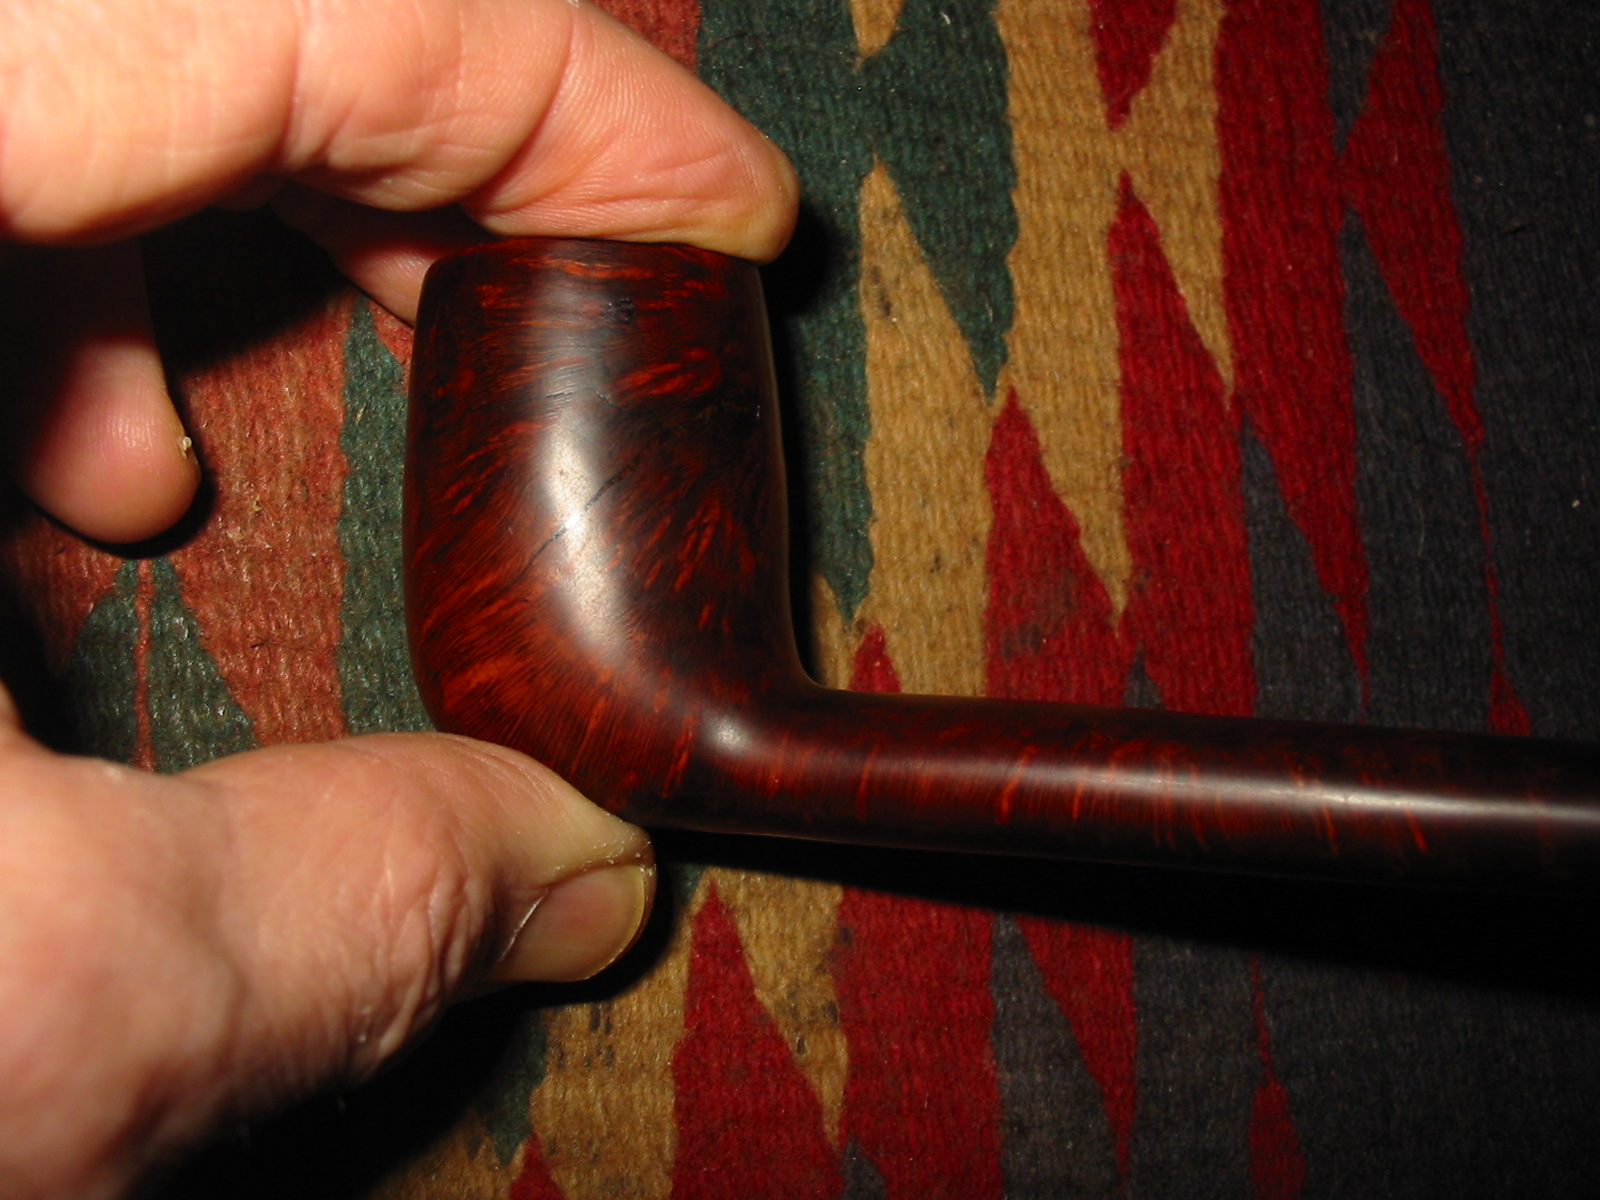
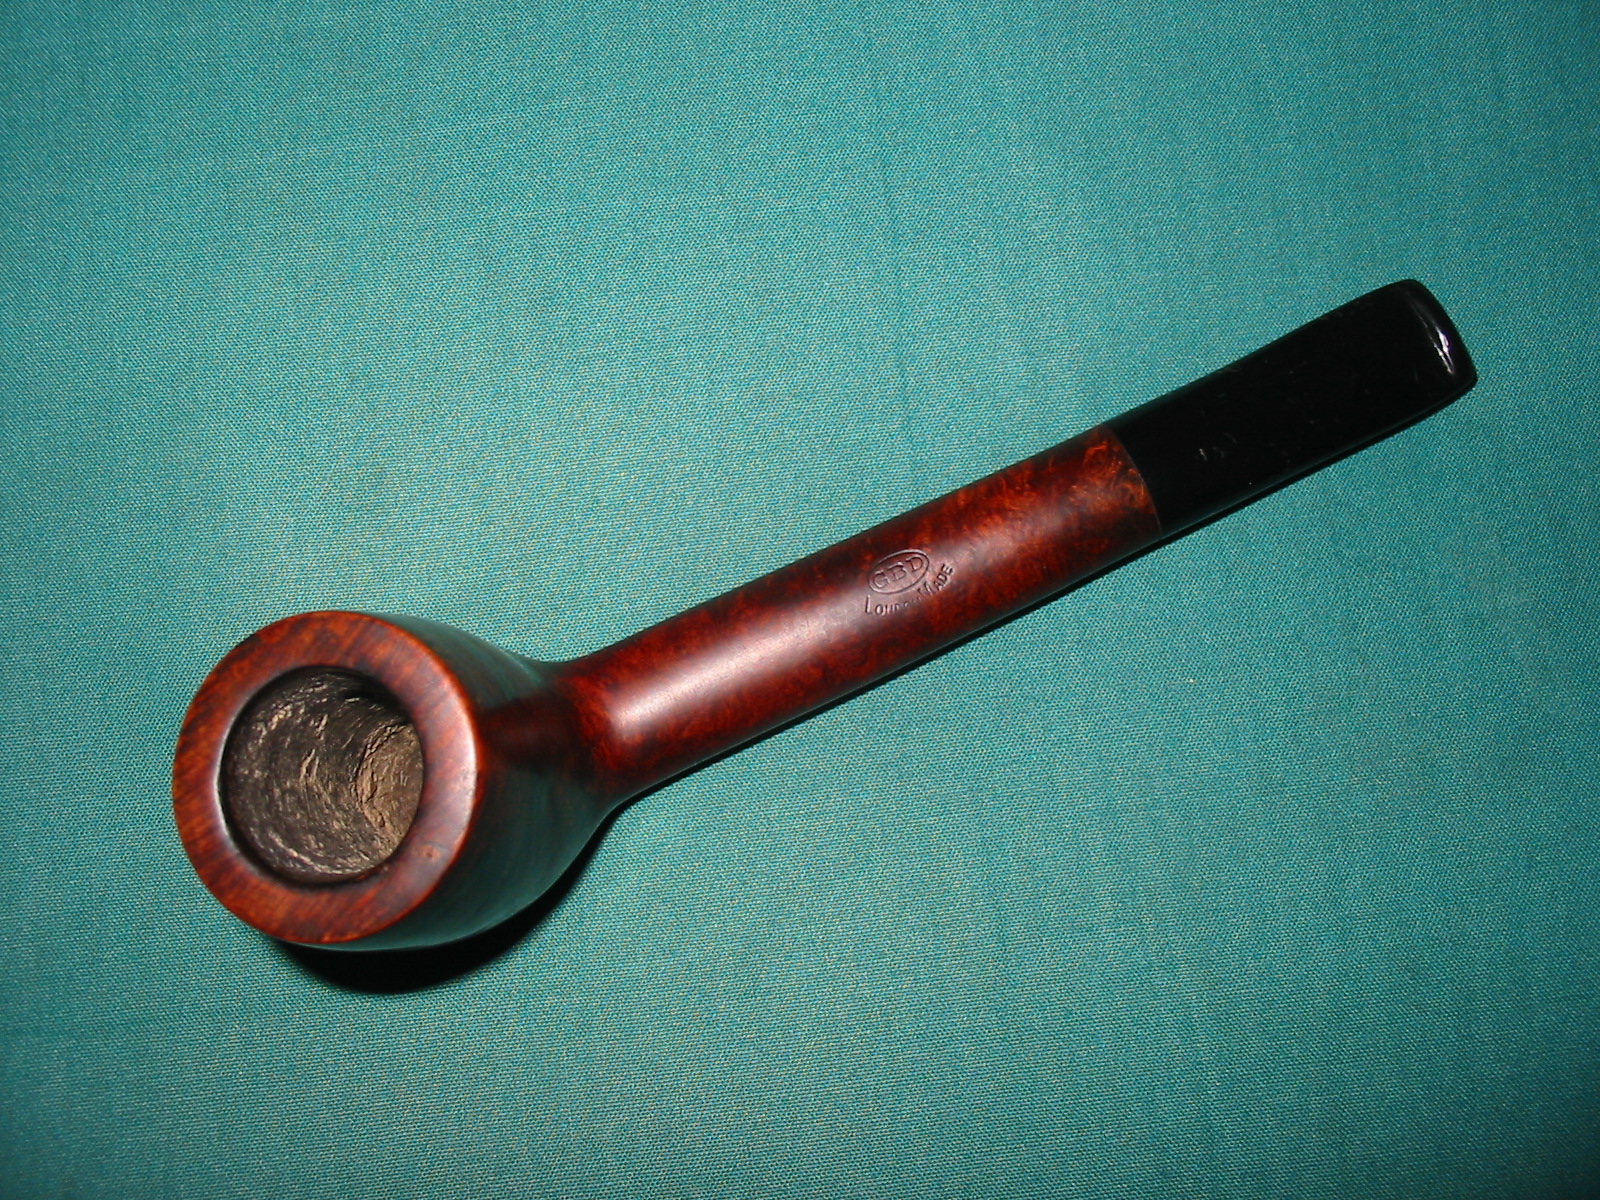
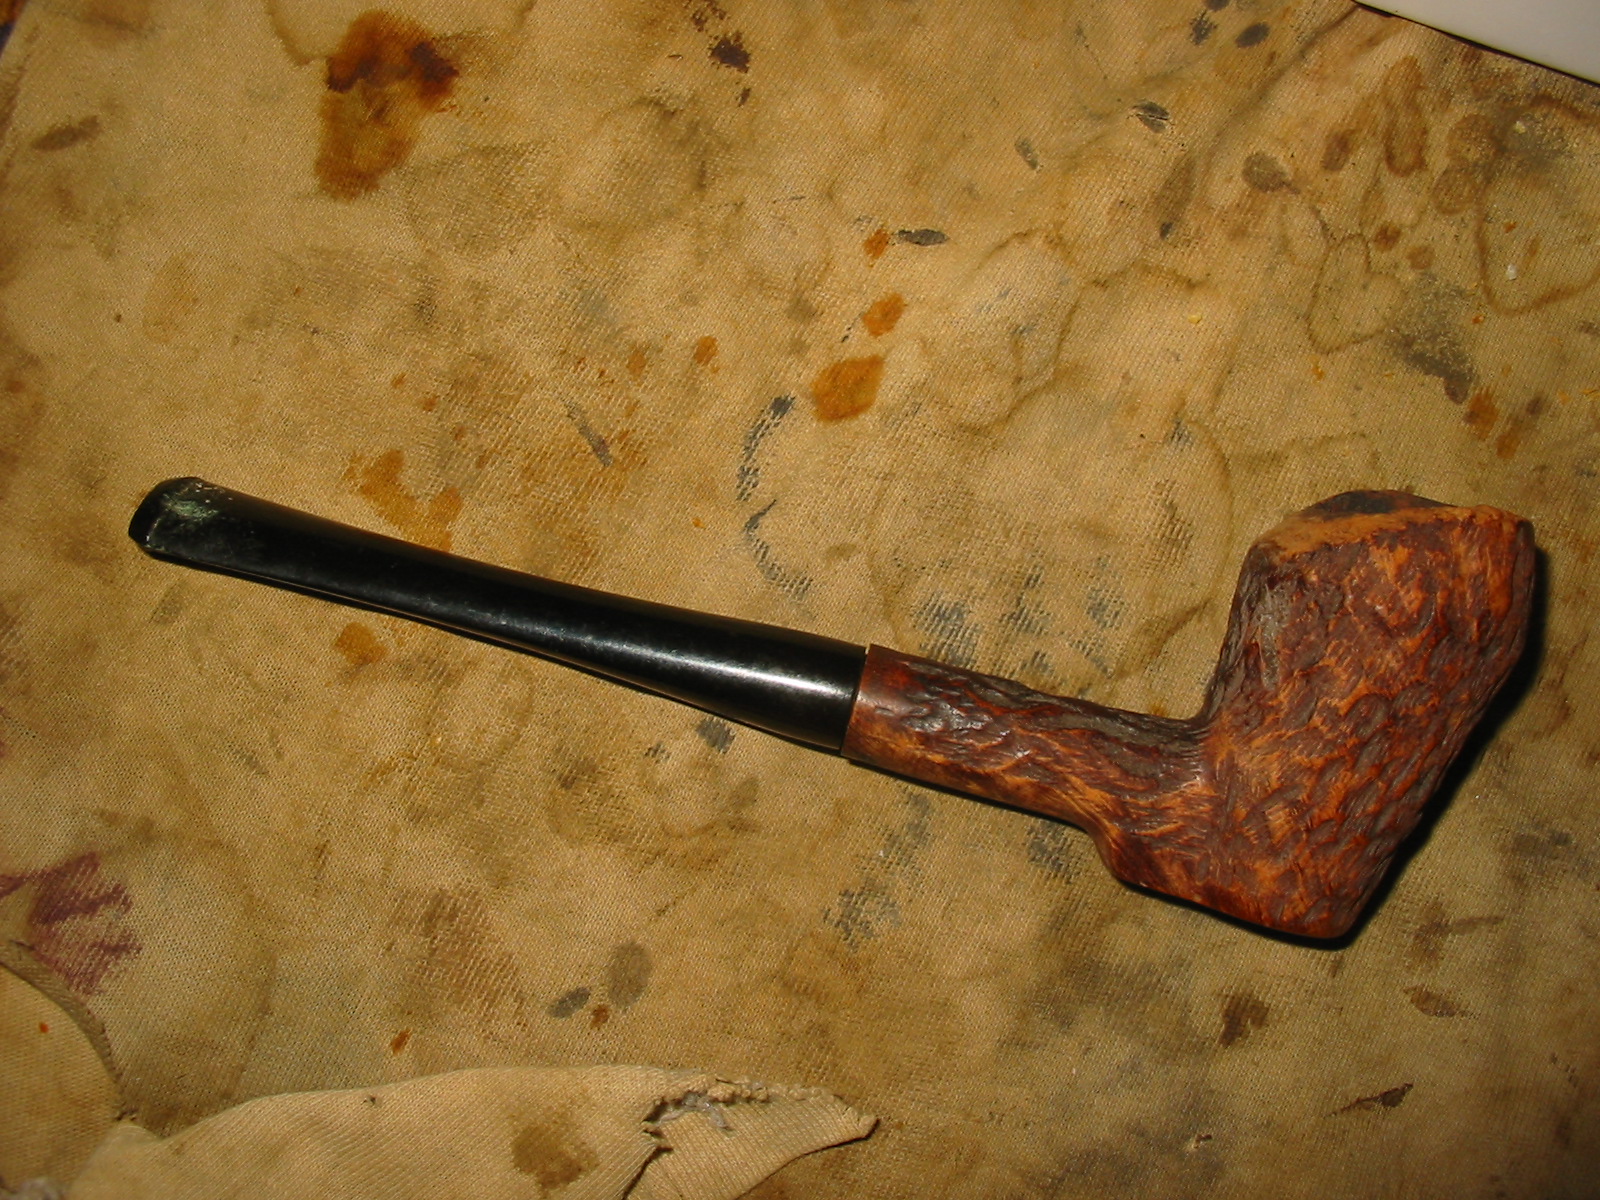
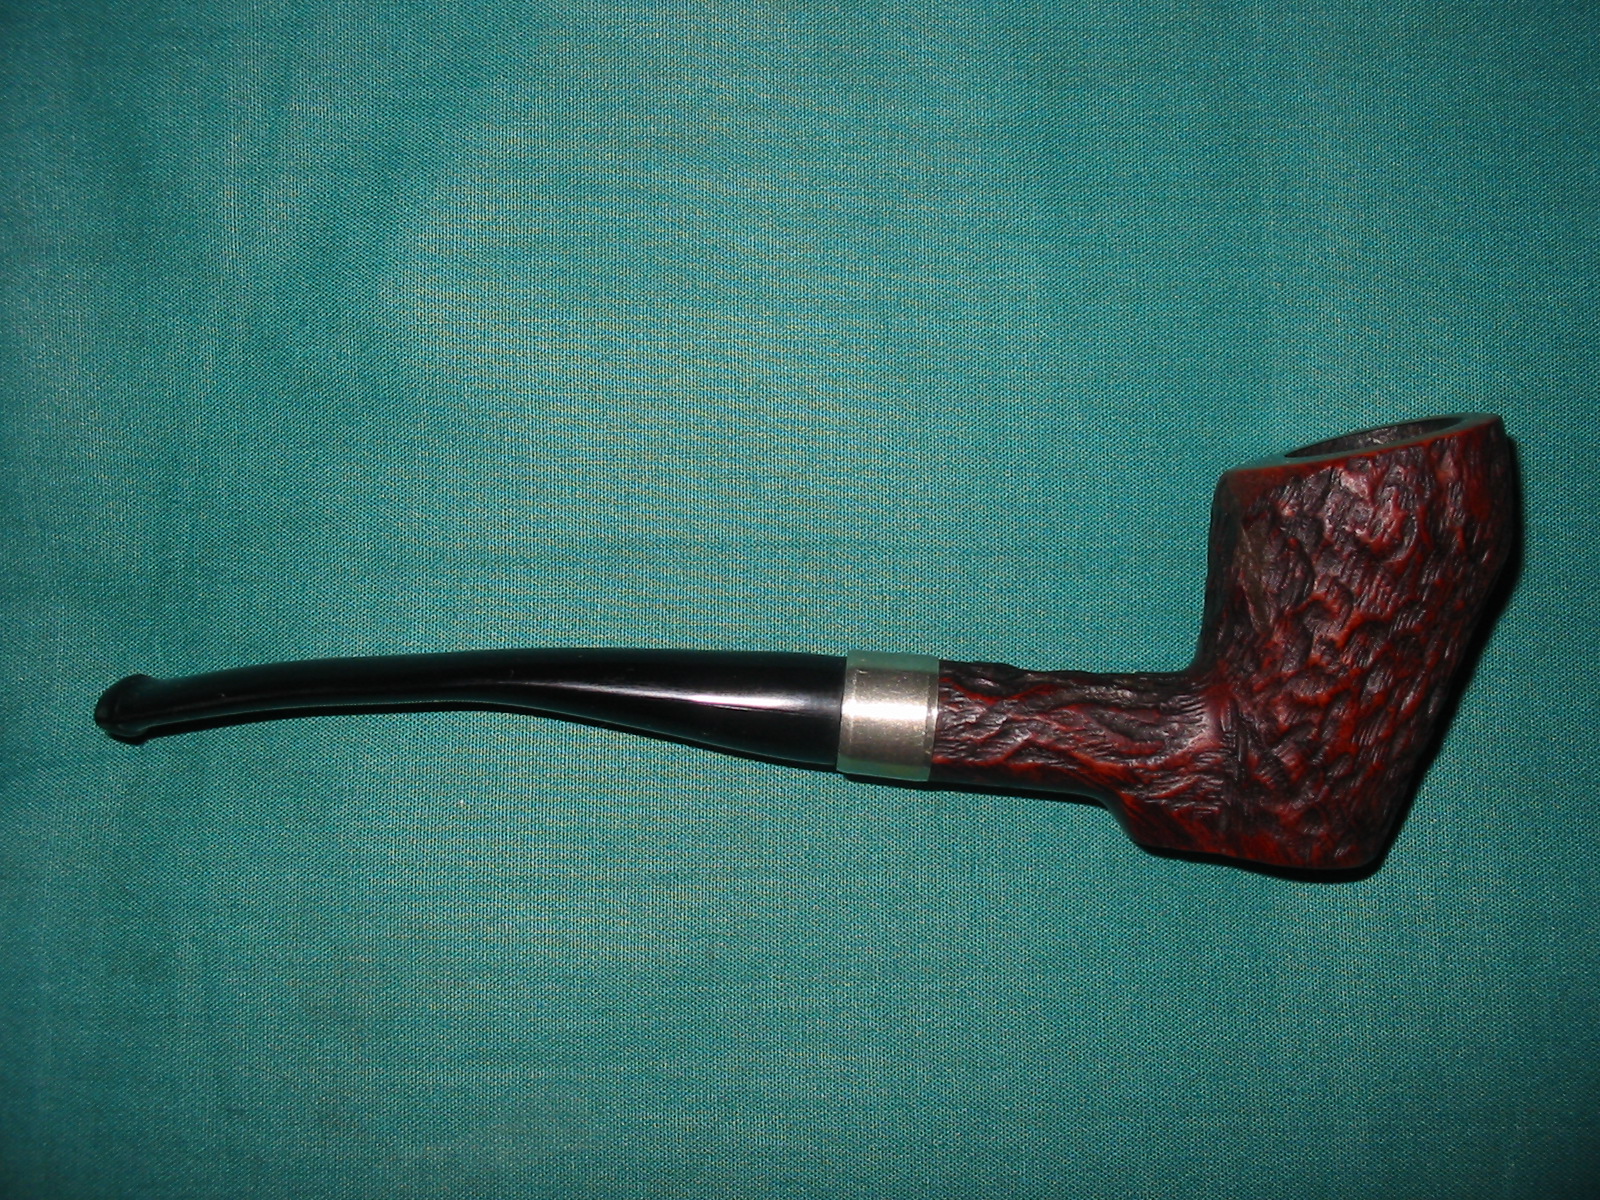
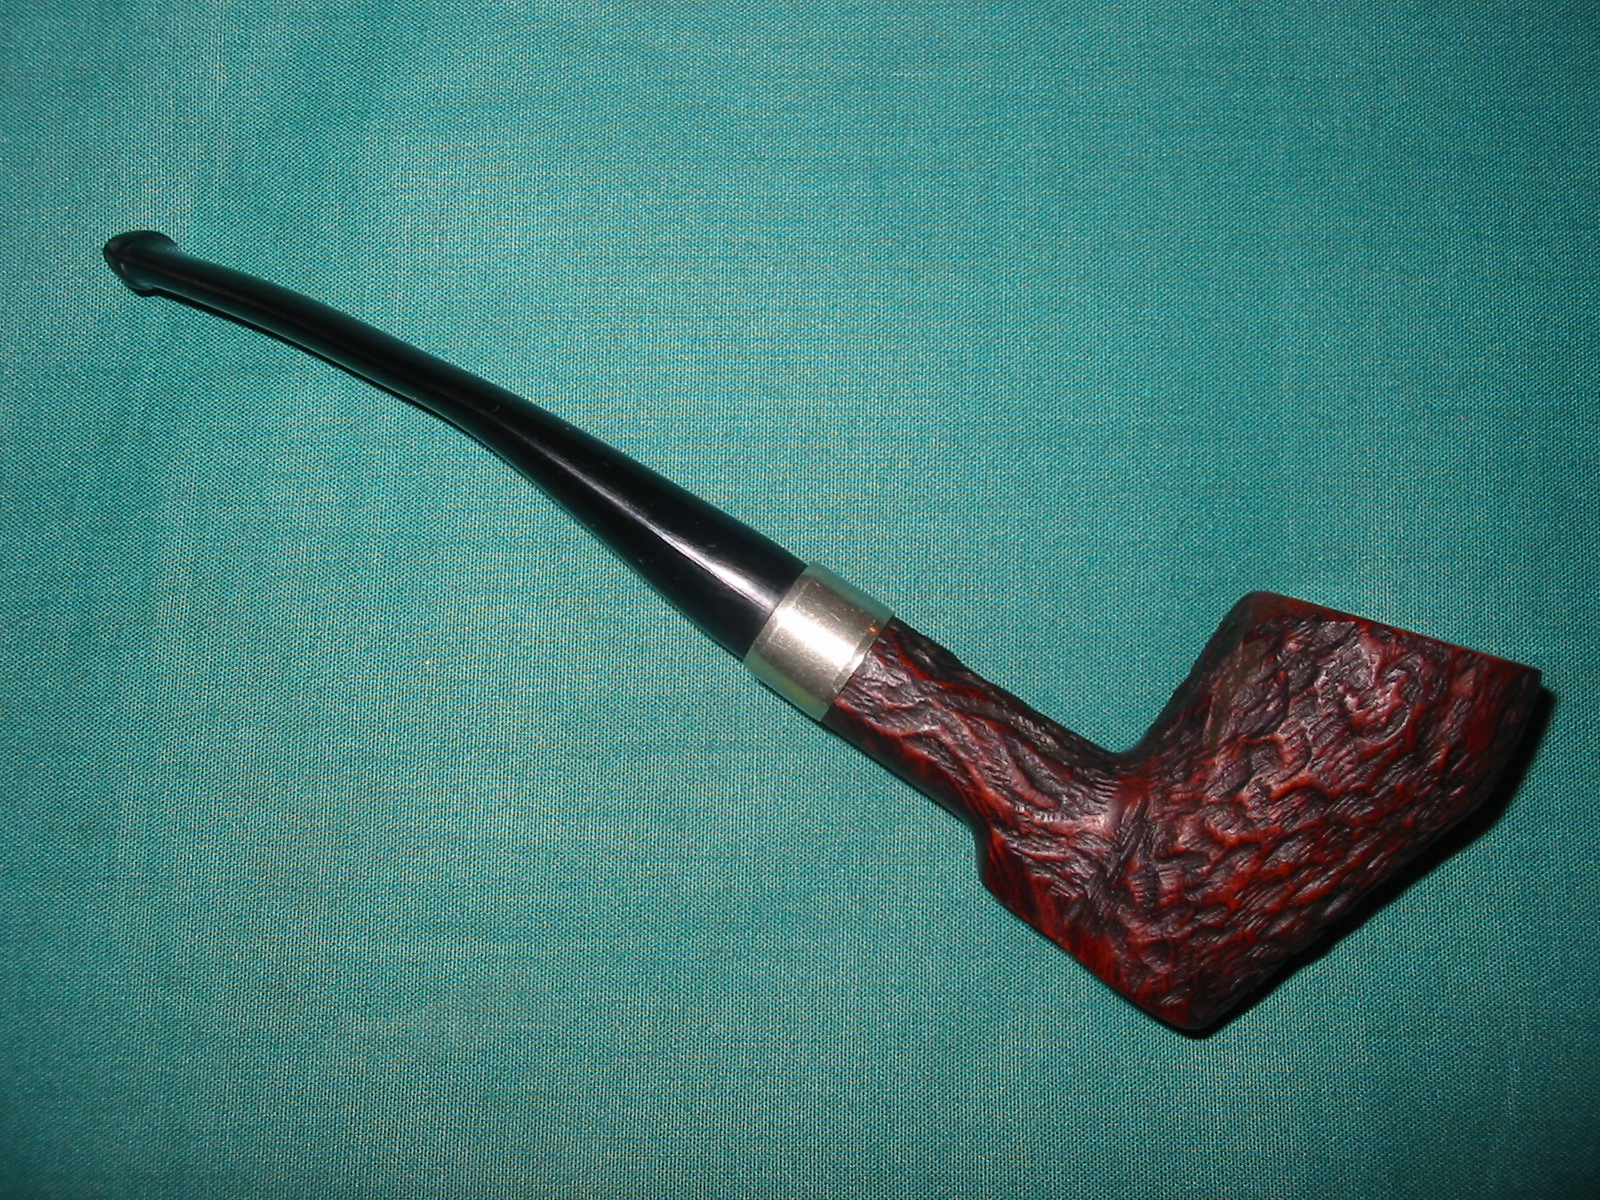
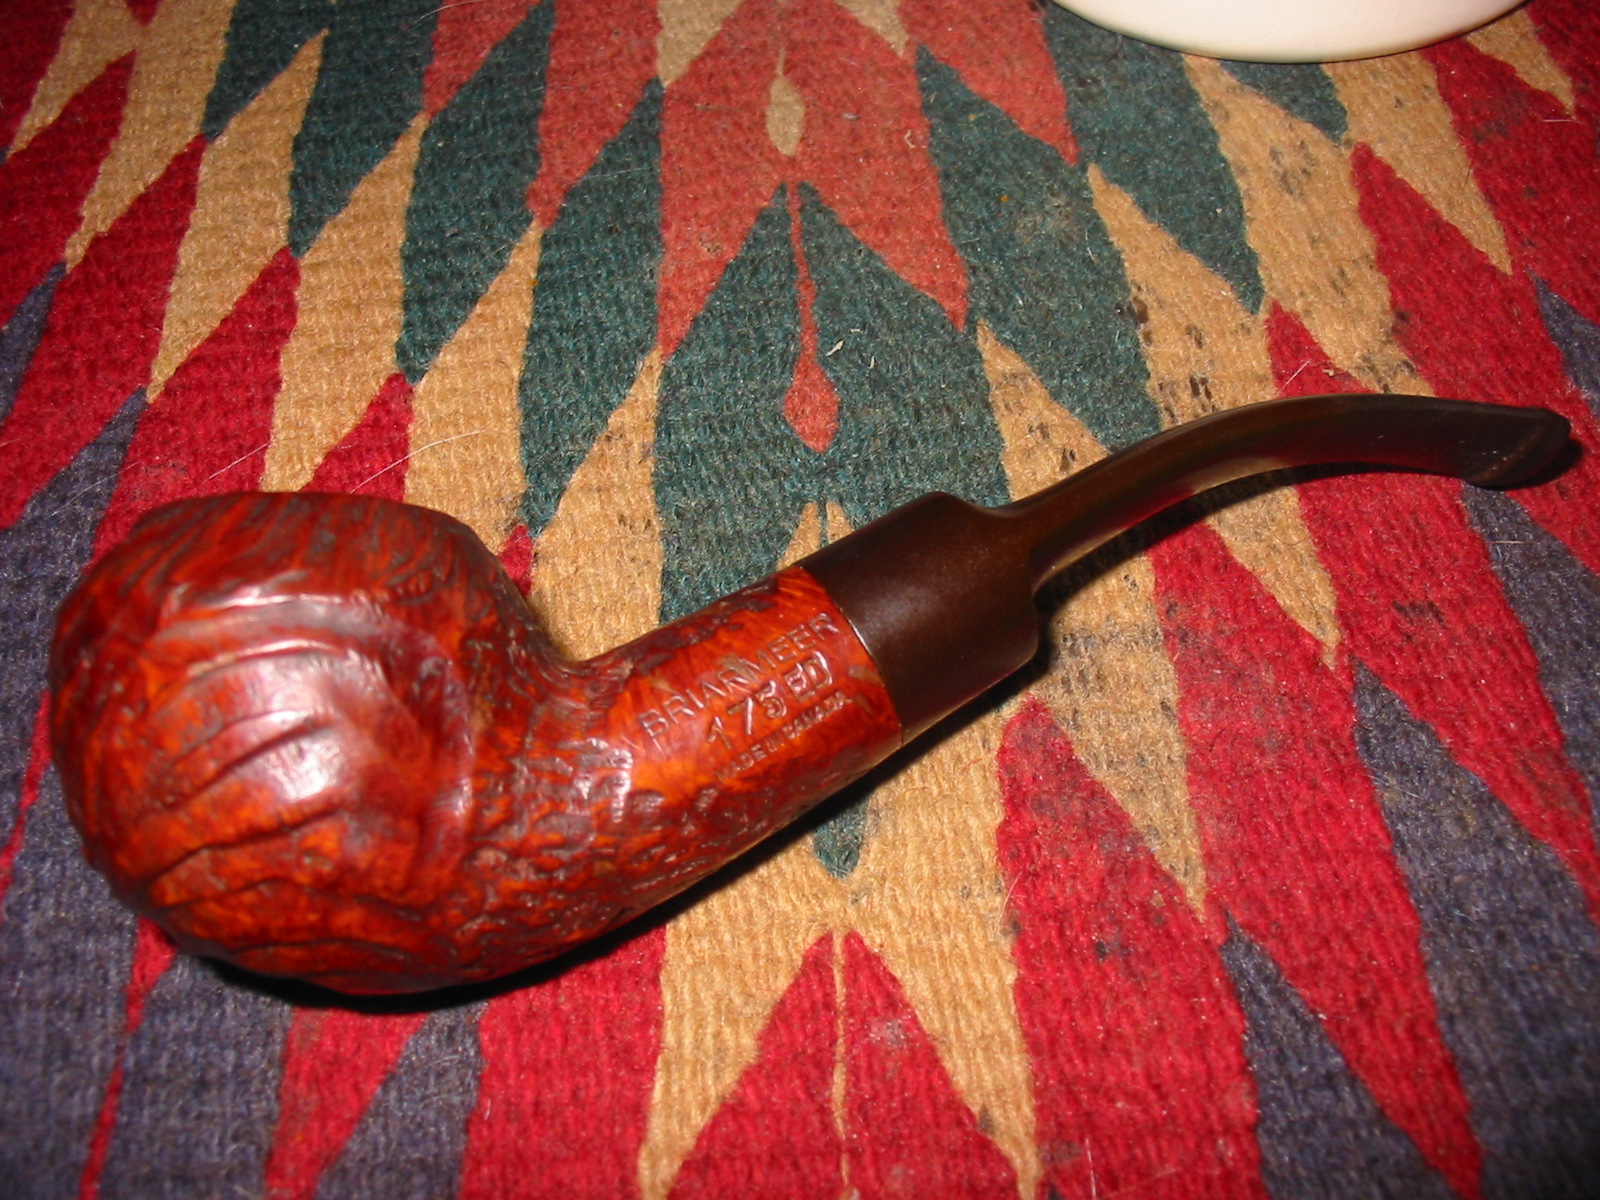
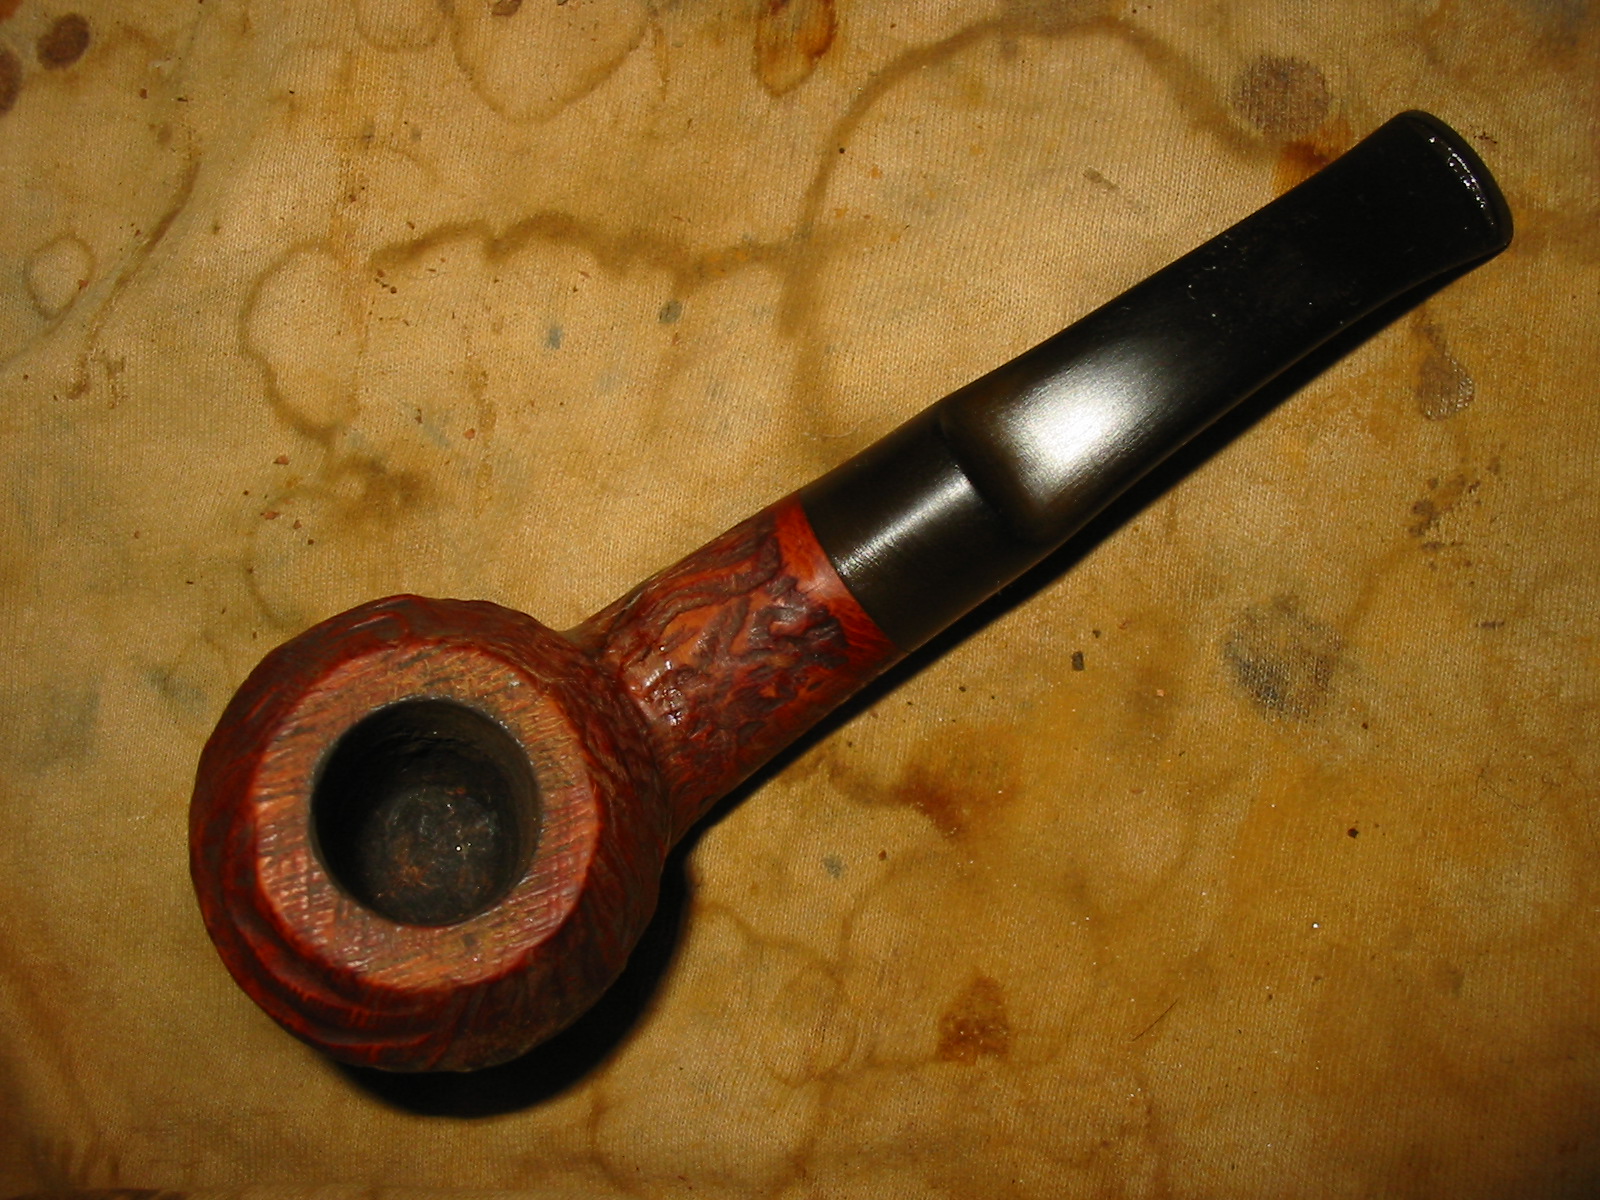
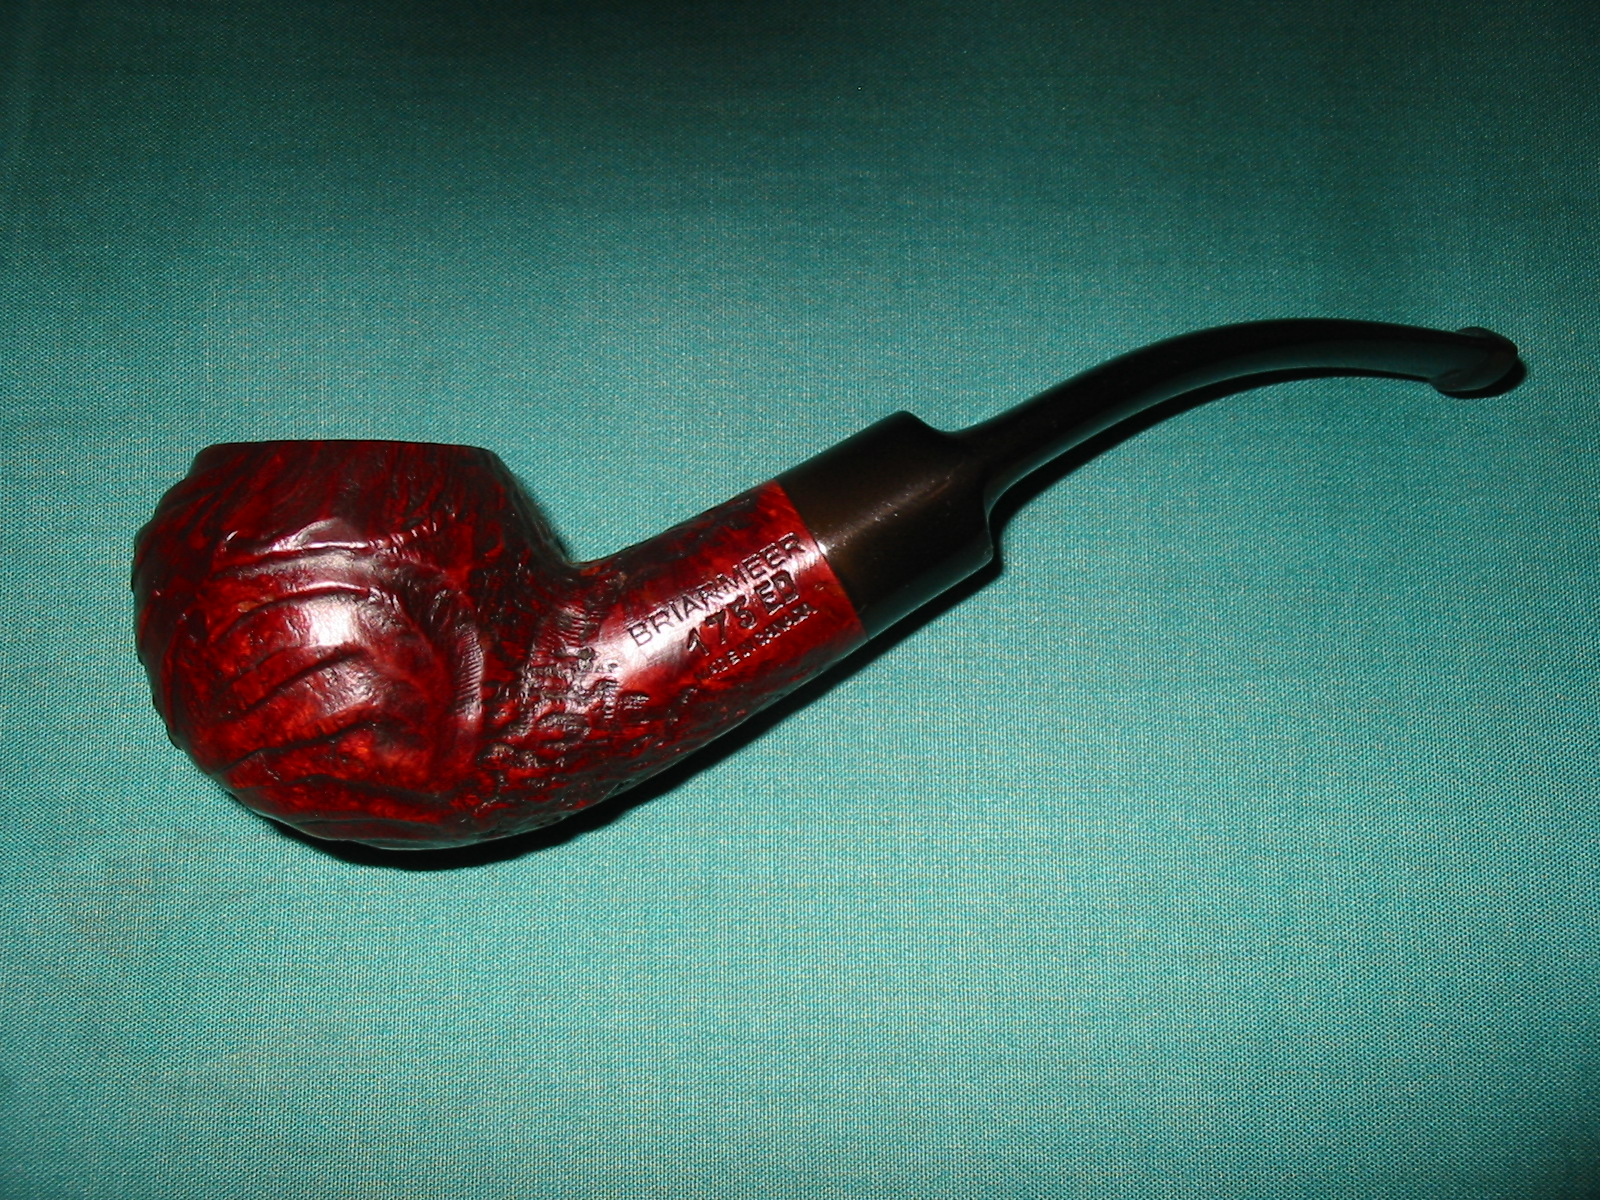
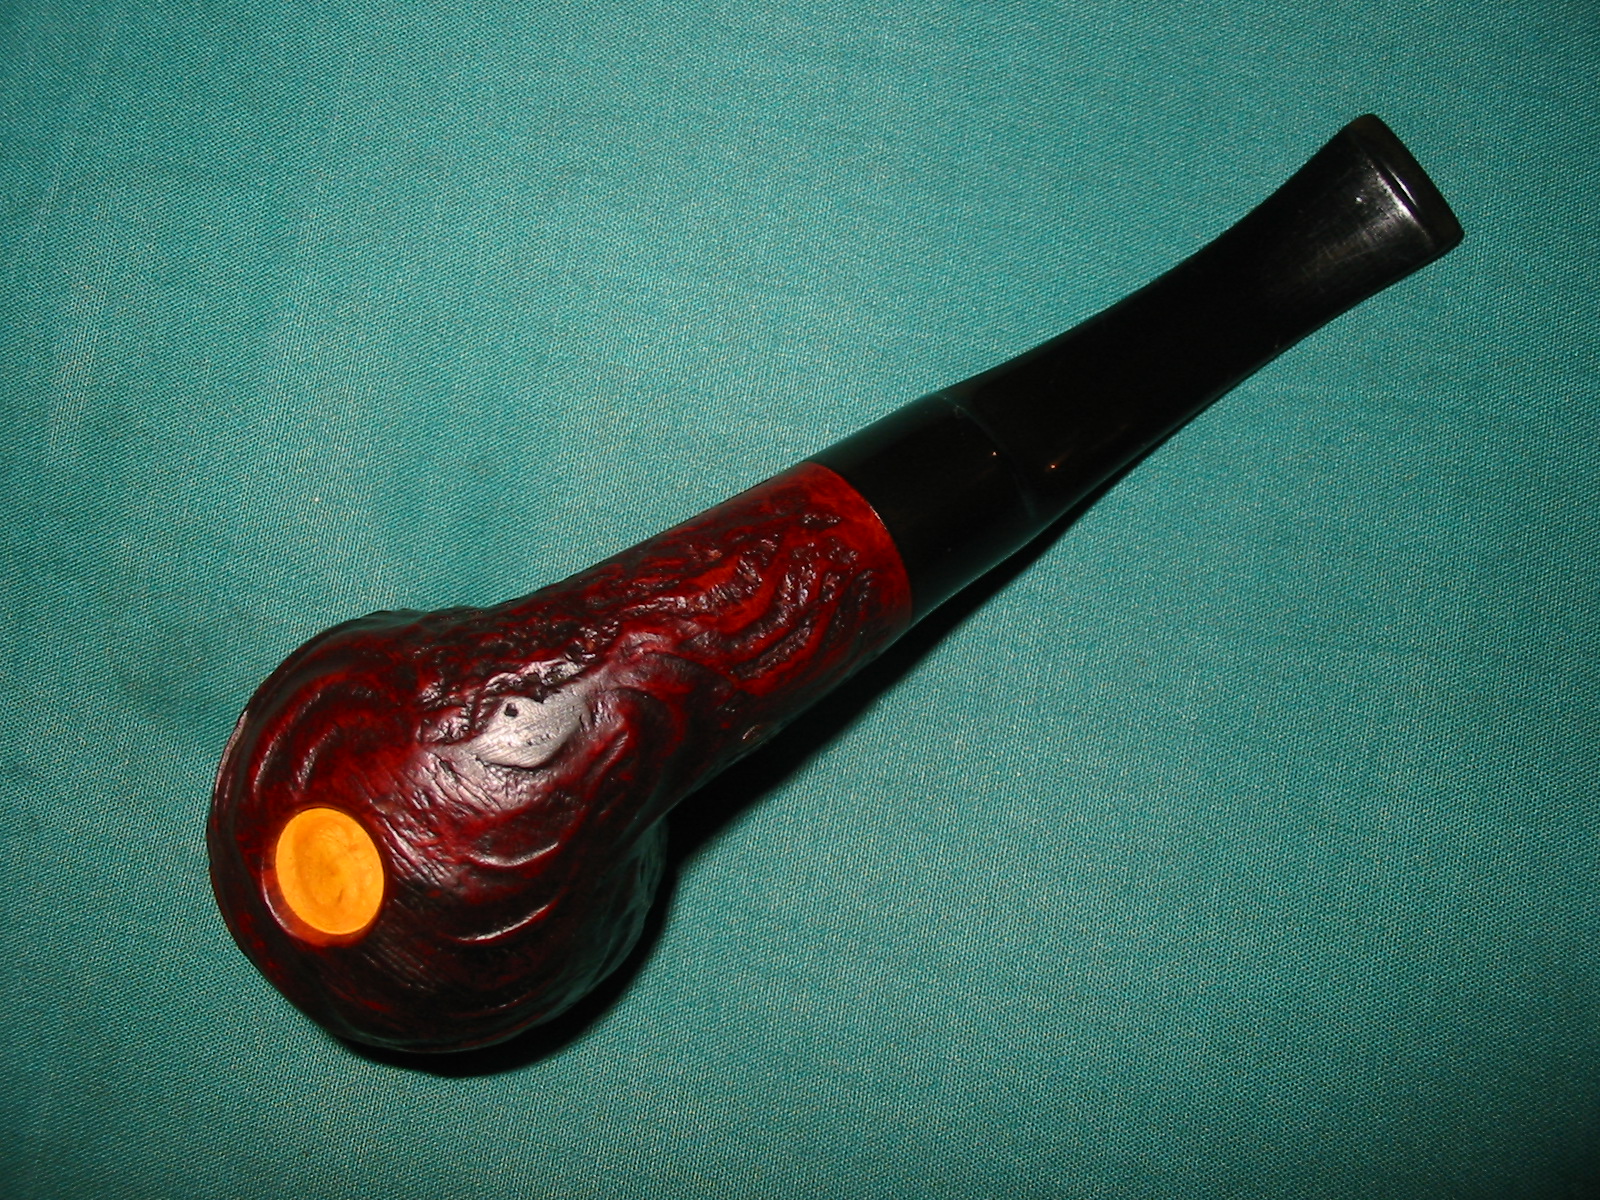
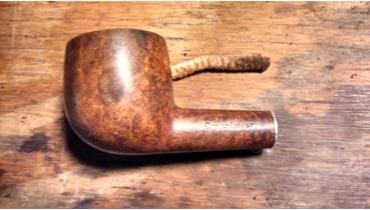
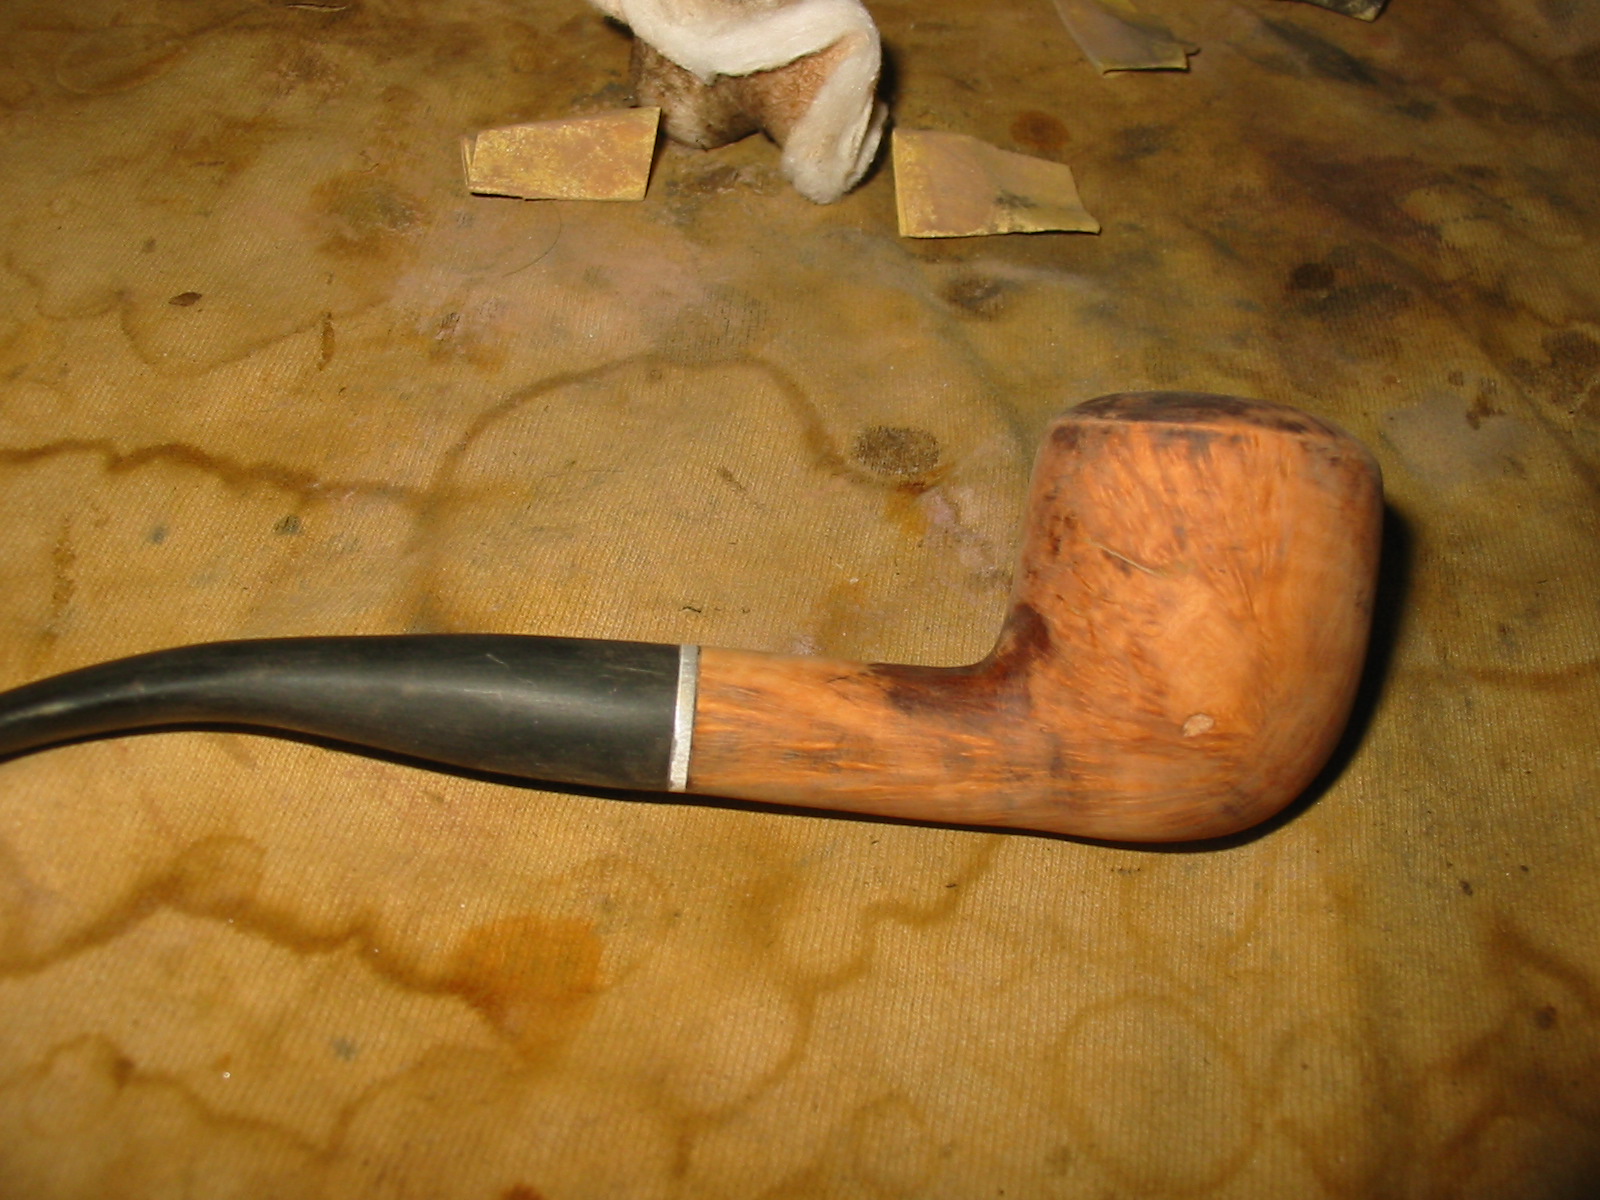
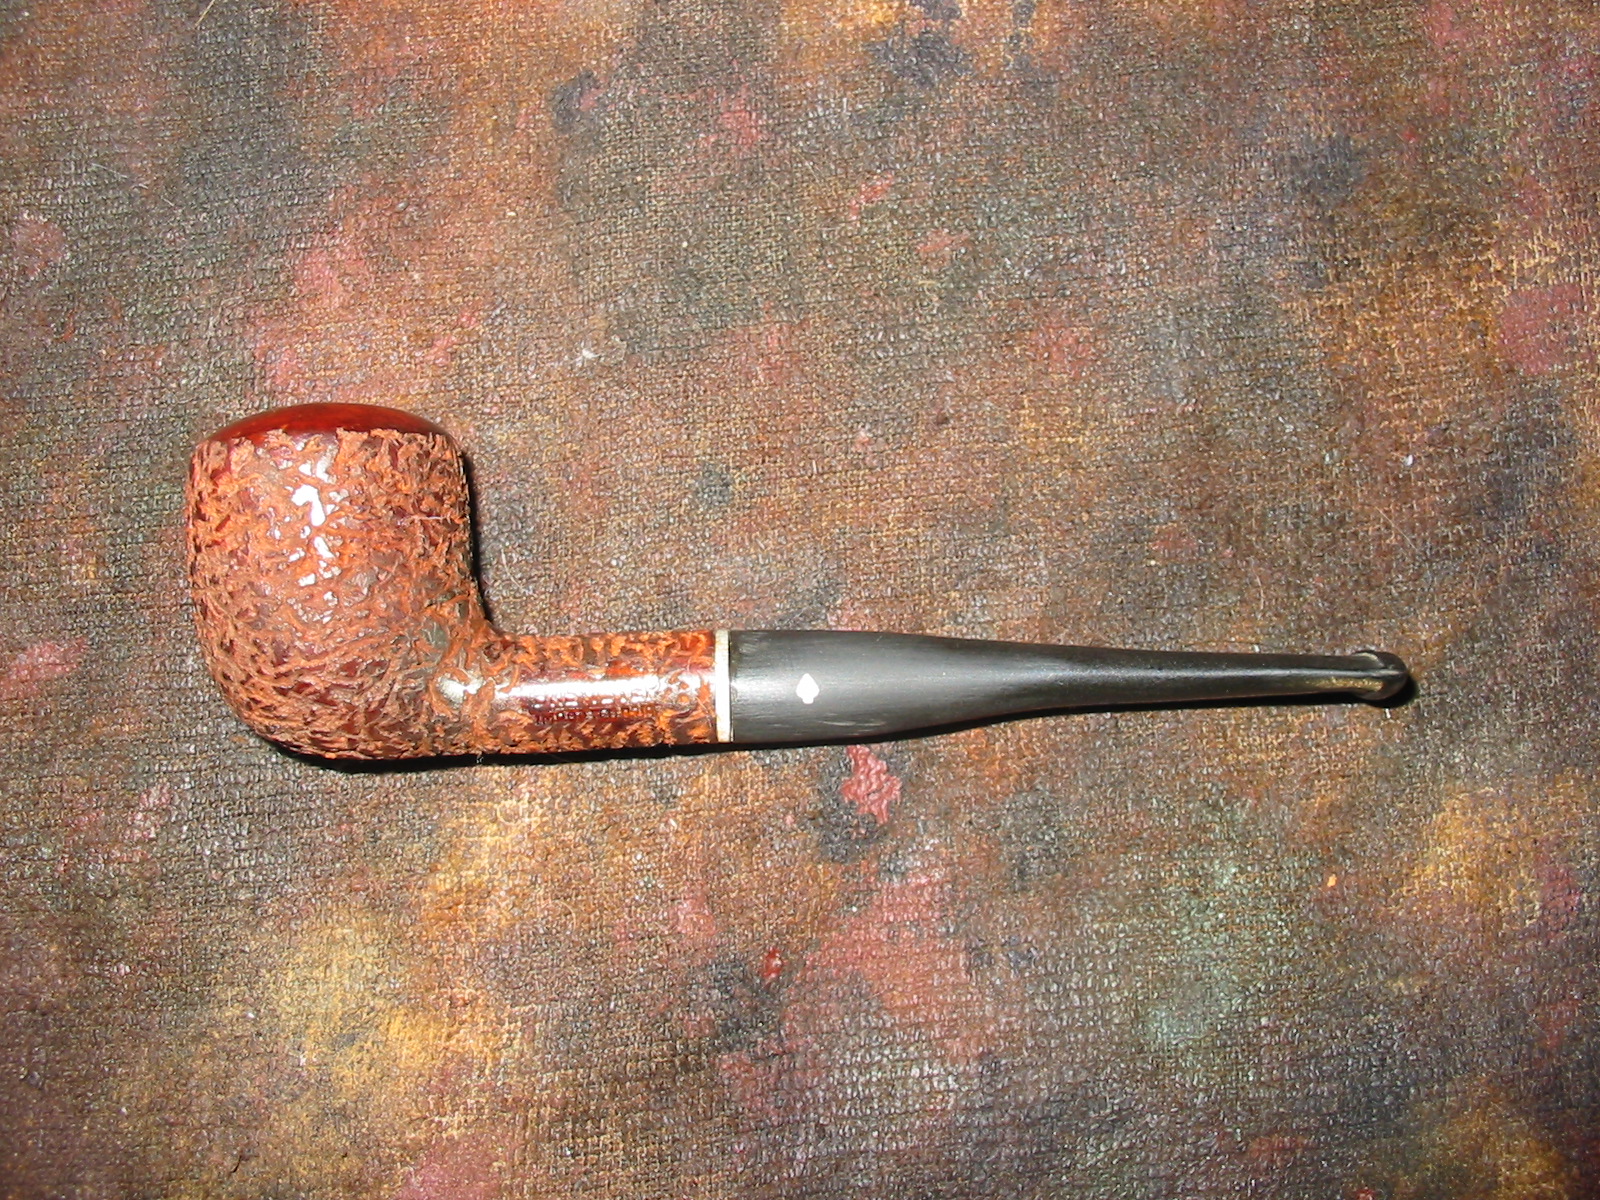
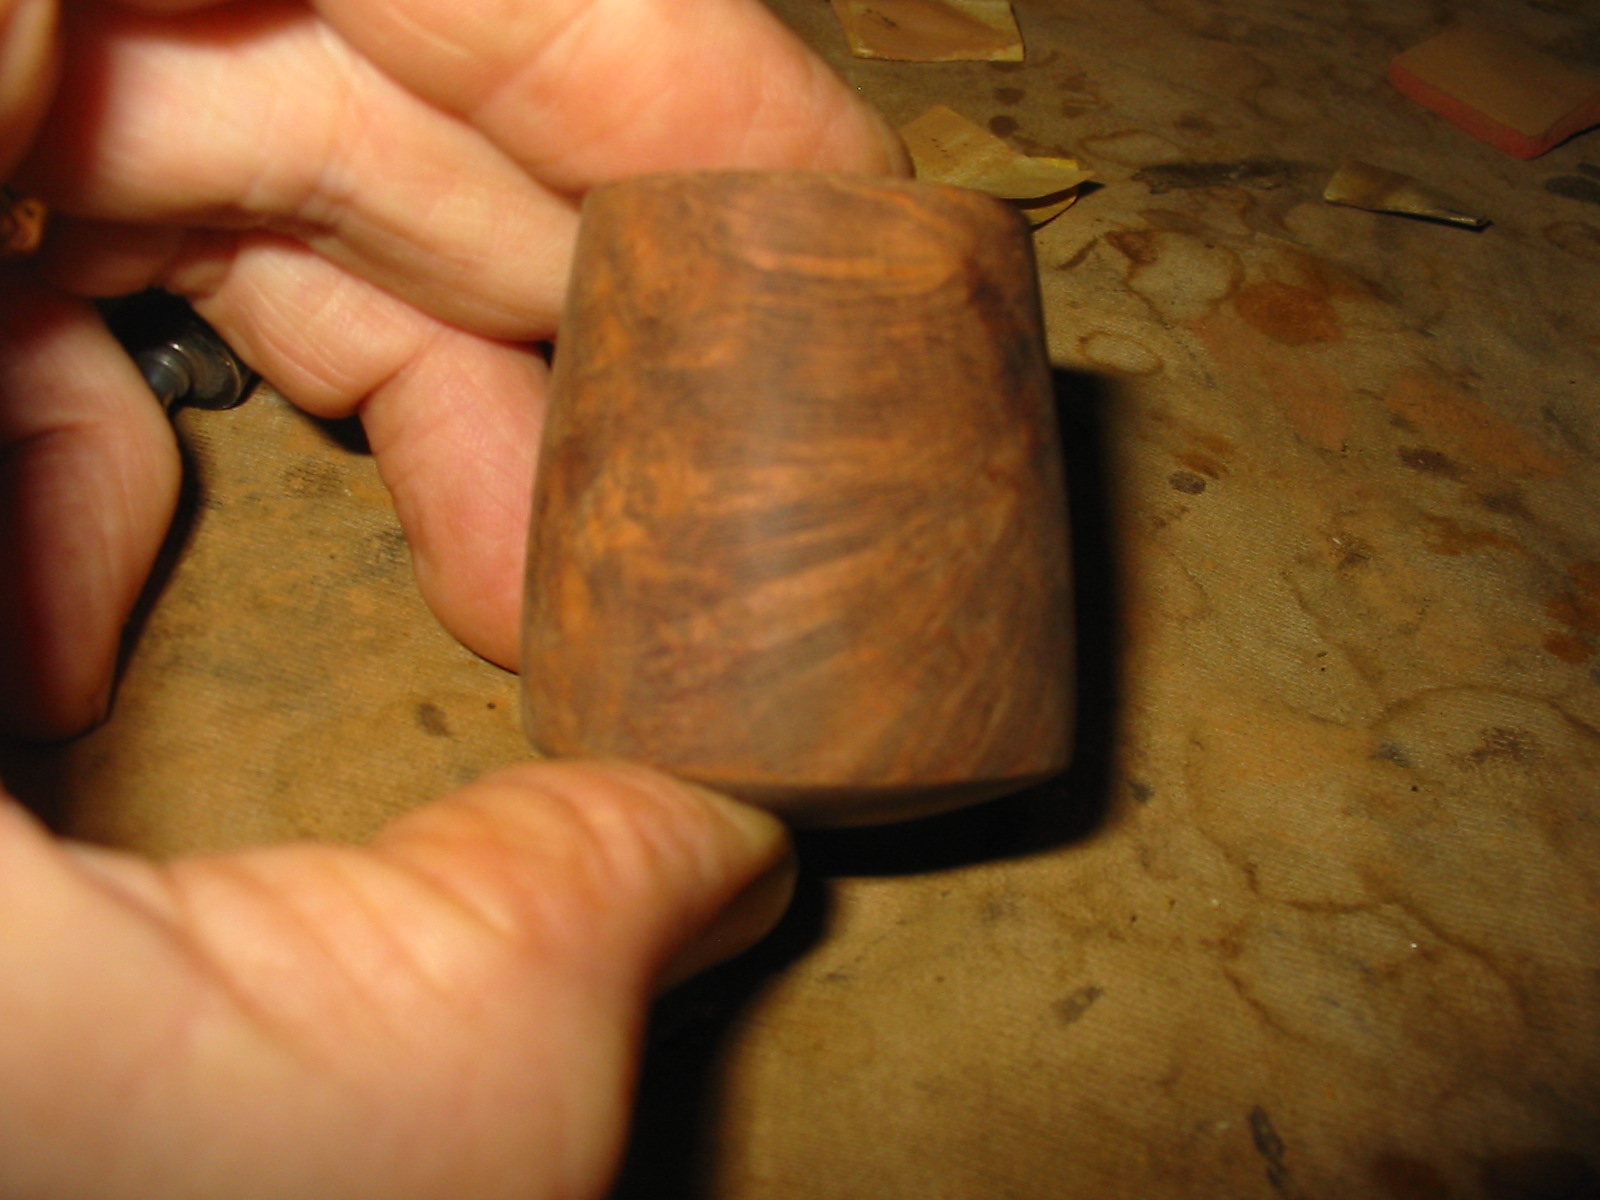
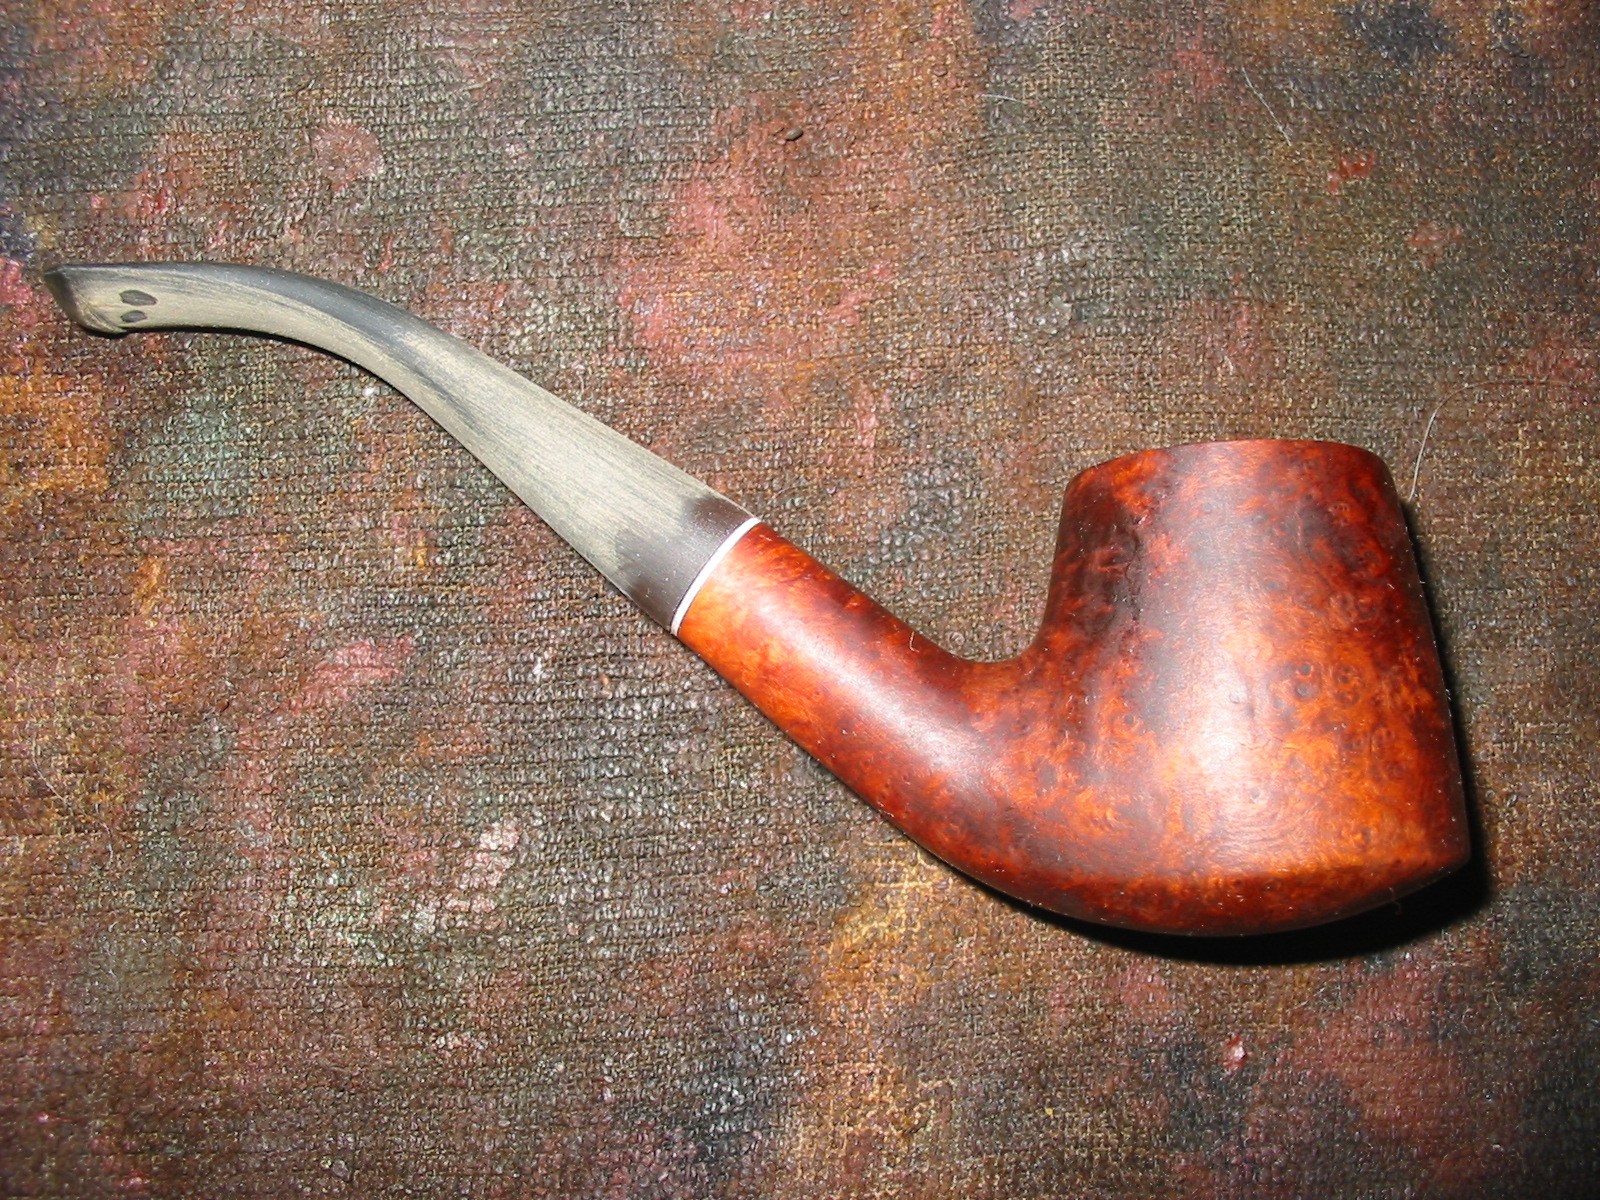
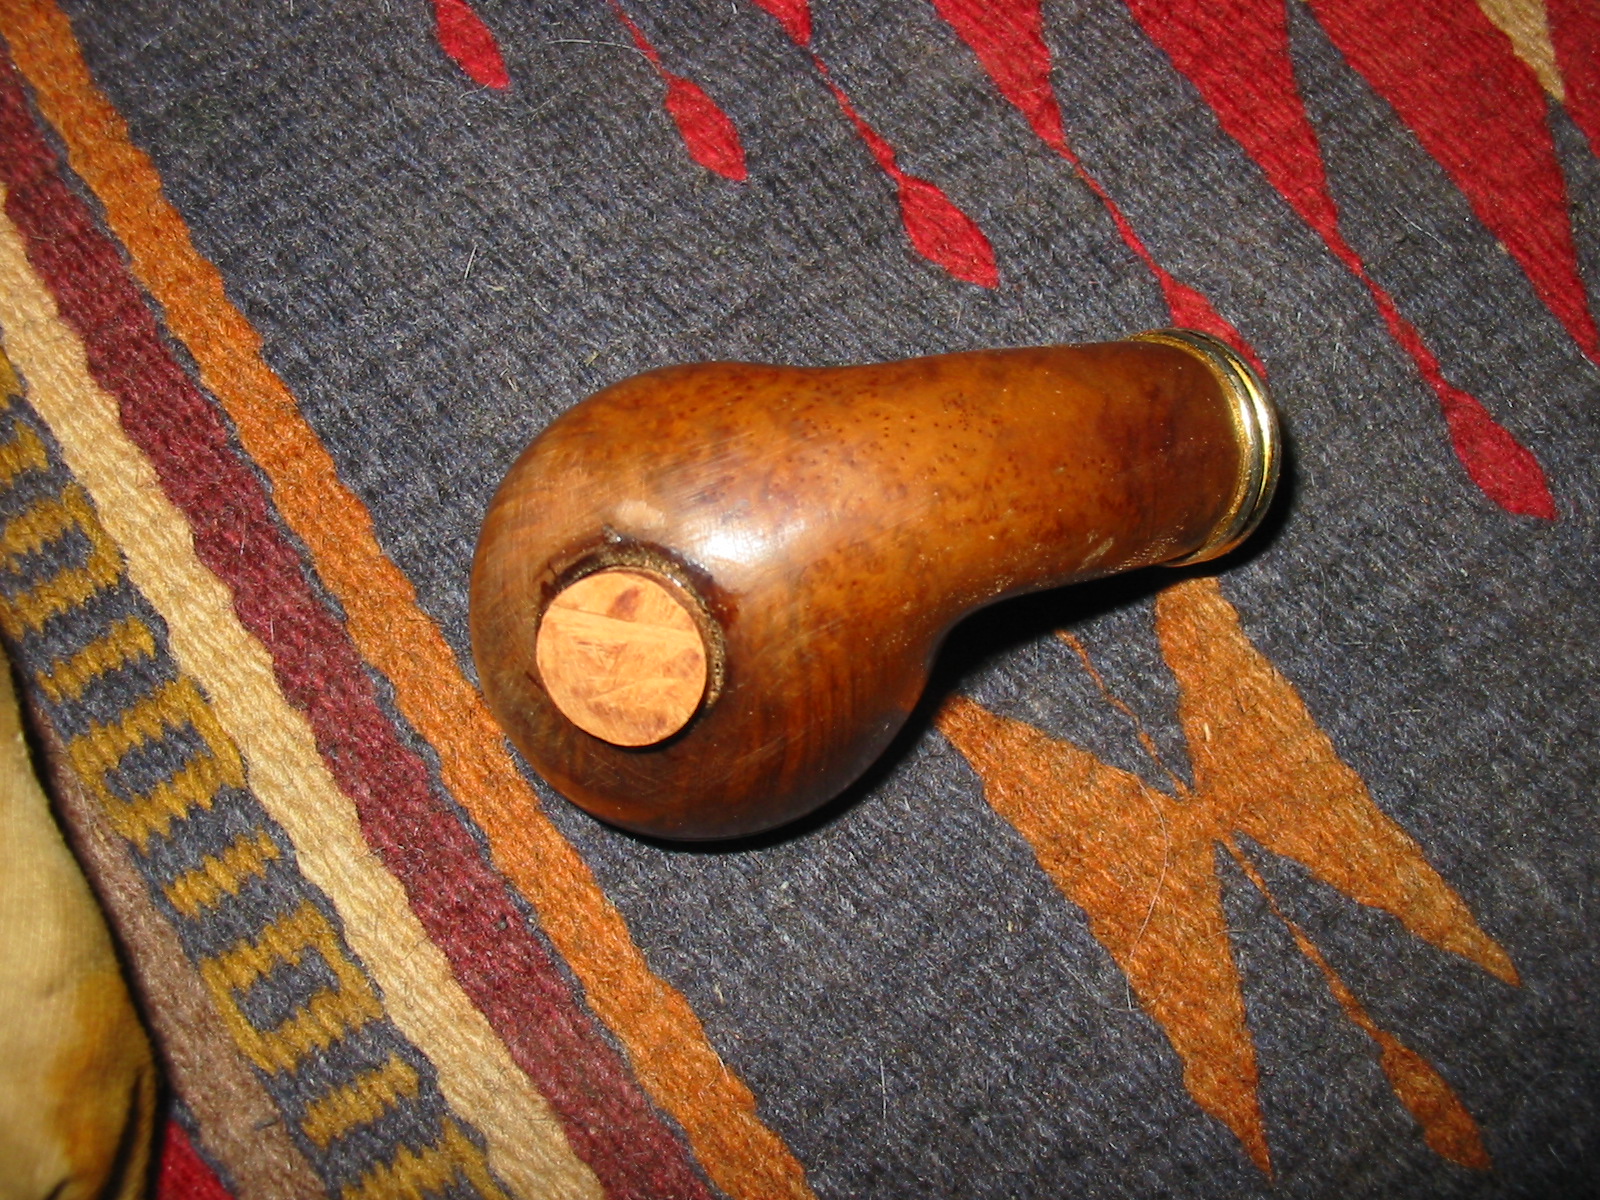
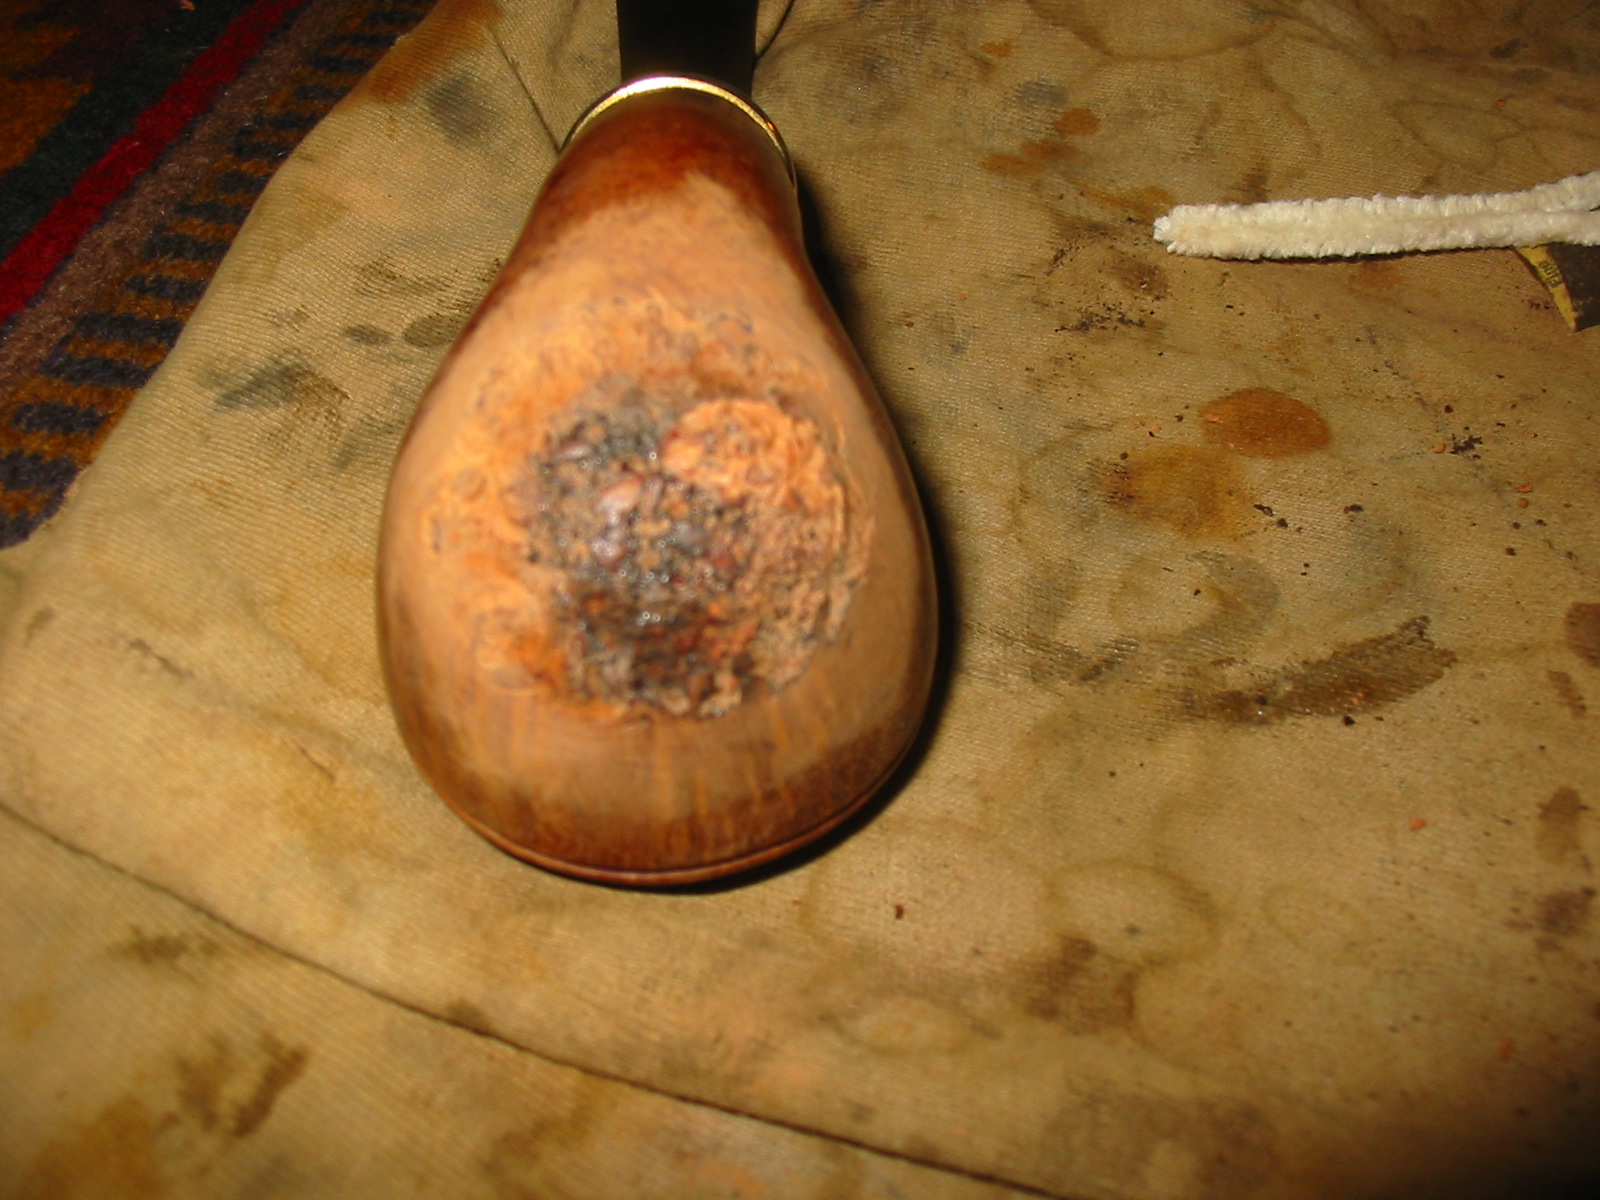
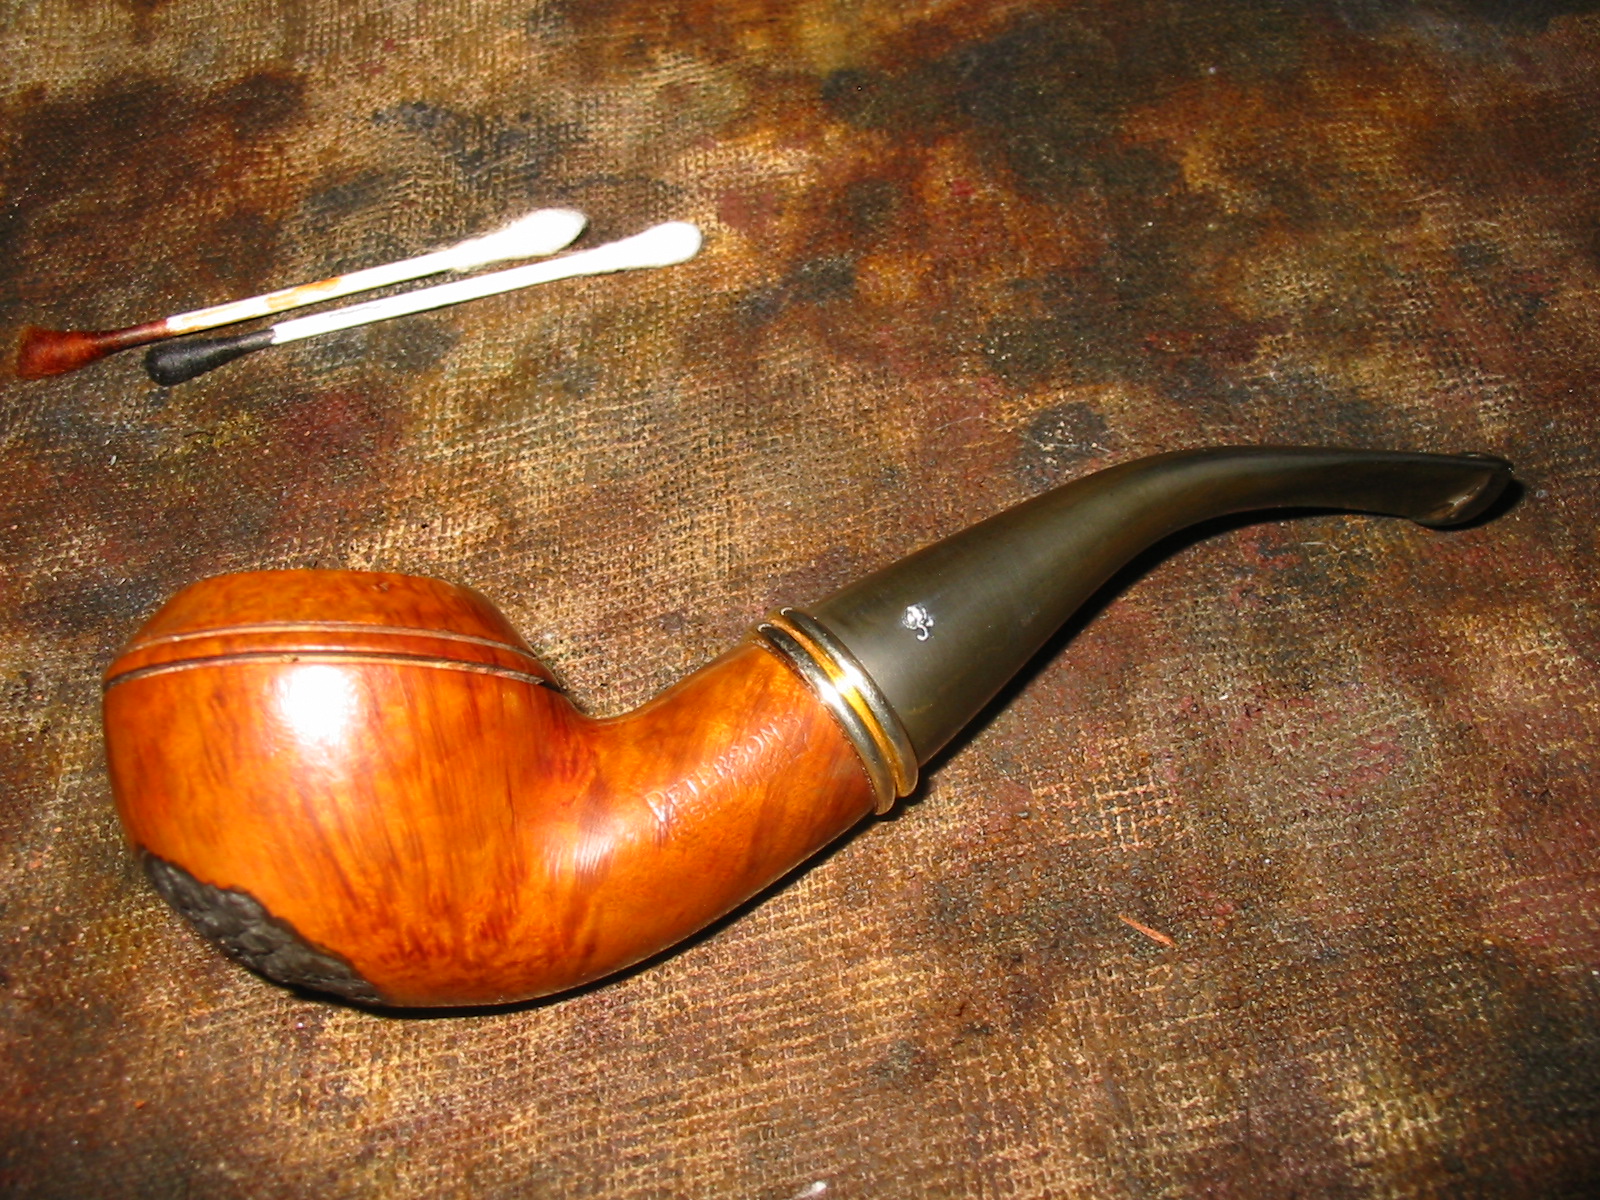
I took the pipe back to my work table and went over the surface with a brass bristle brush to knock off the rough spots on the surface of the bowl. I also buffed it with Tripoli to smooth it out. I took the photos below to show the new look of the Brewster. The stem and the rustication looked good to me. The smooth rim and the patch with the stamping would look good once the pipe was restained.
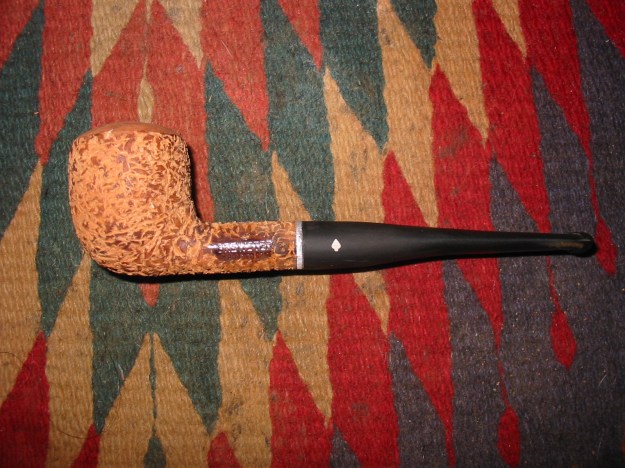
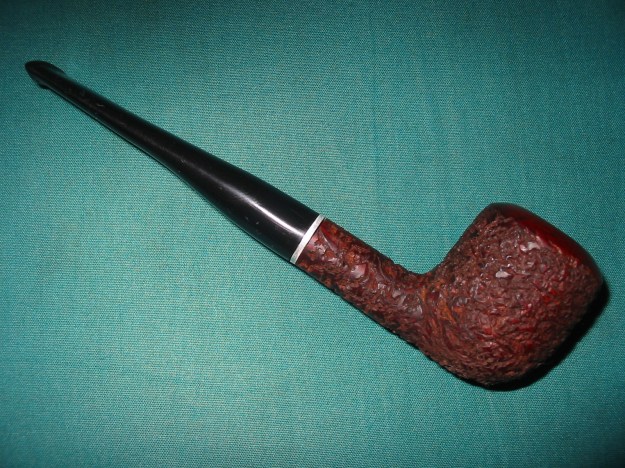
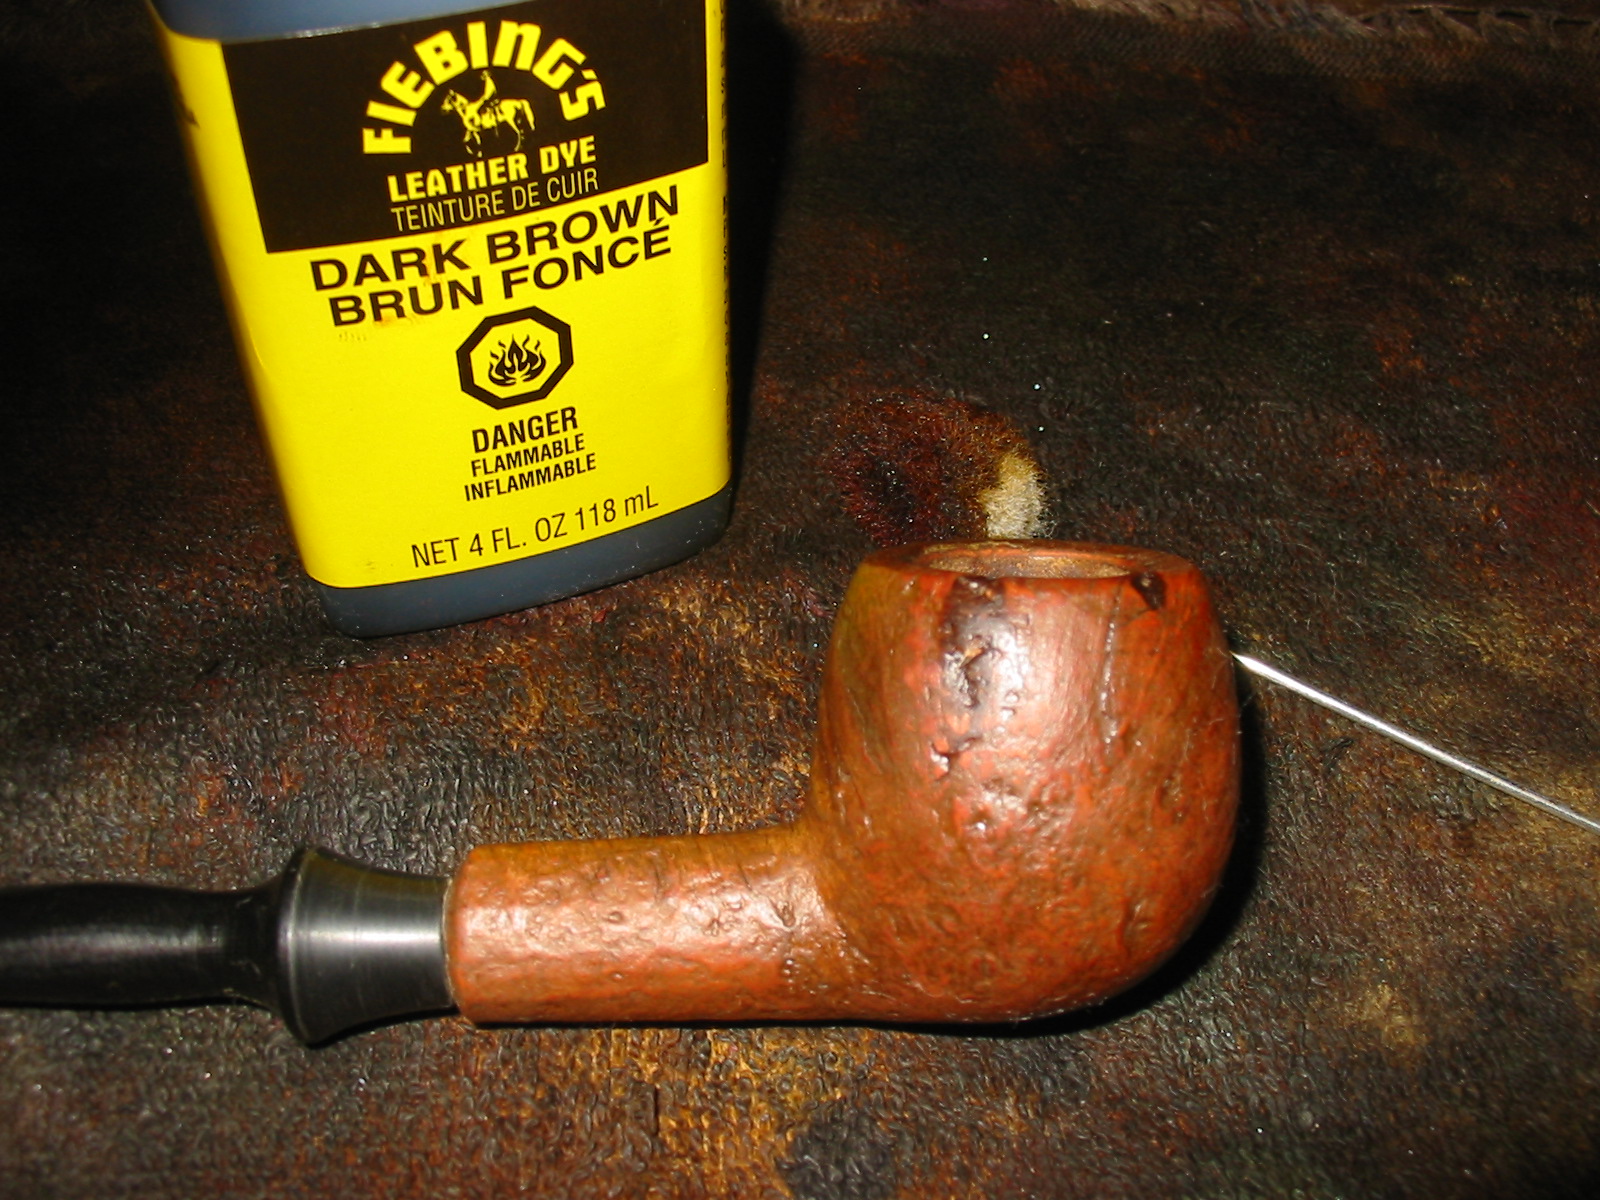
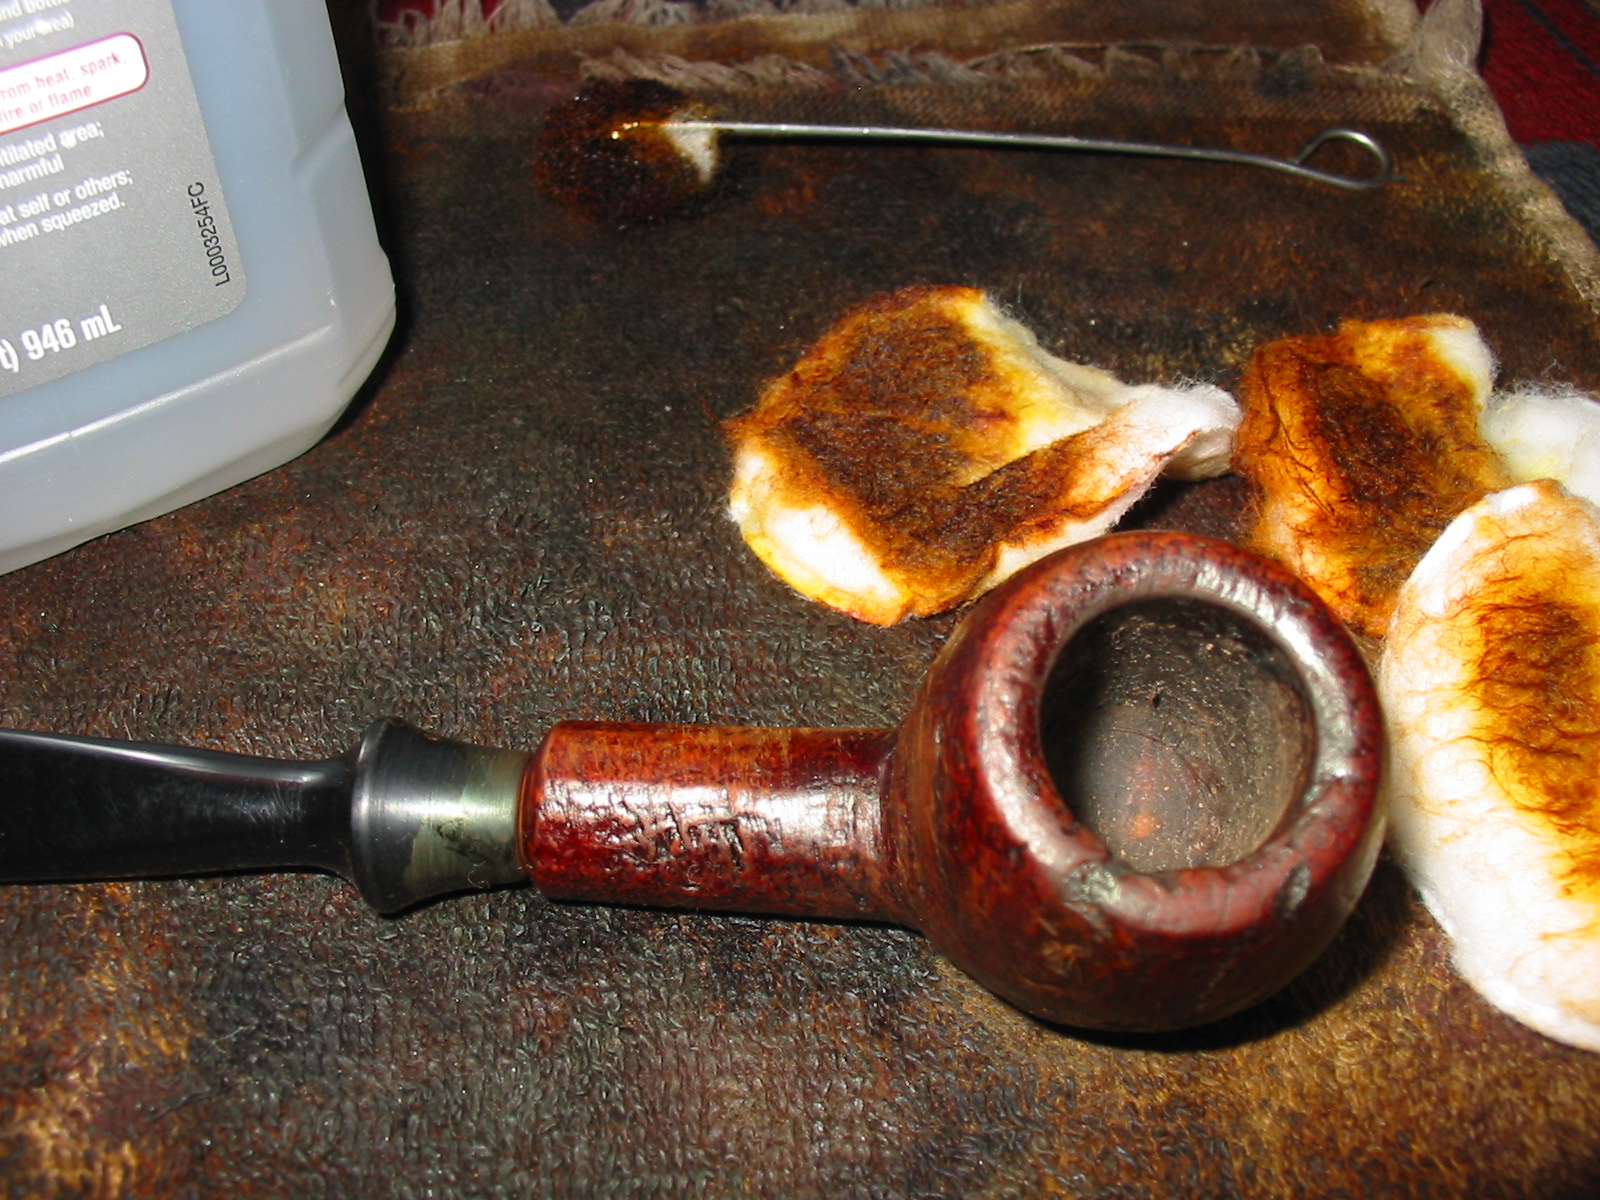
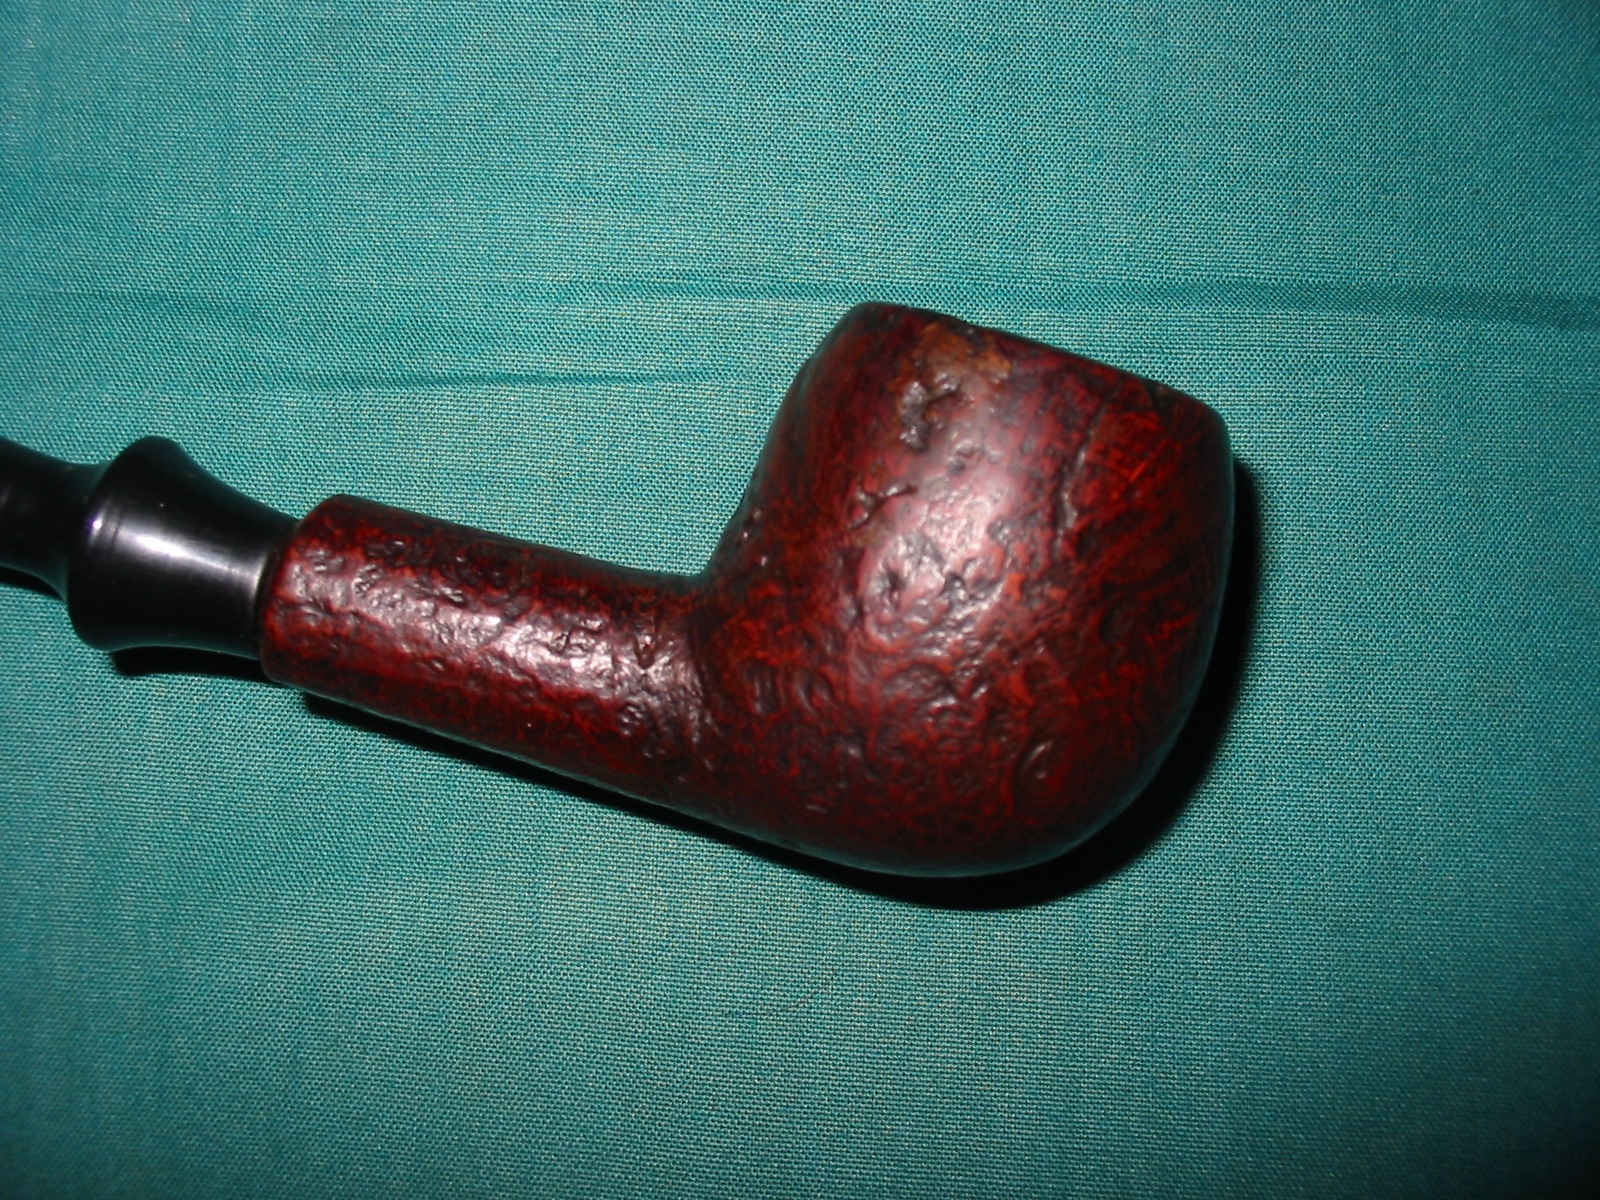
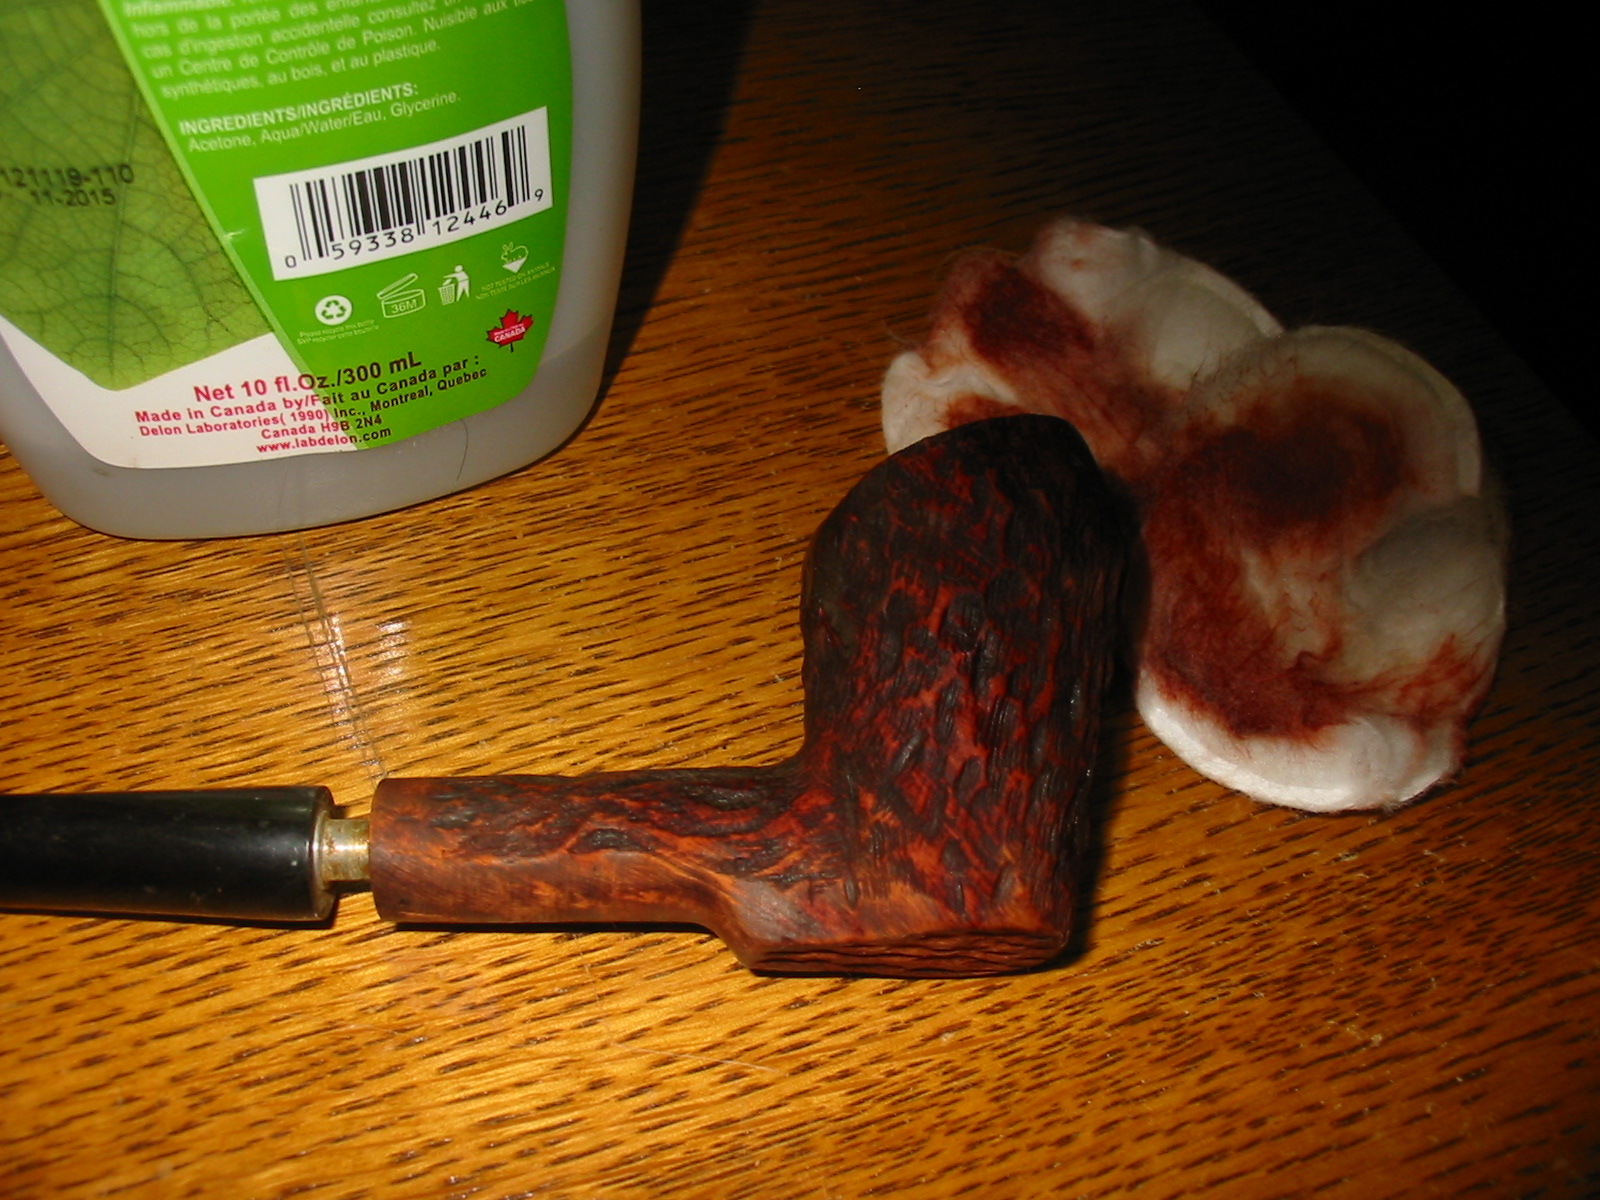
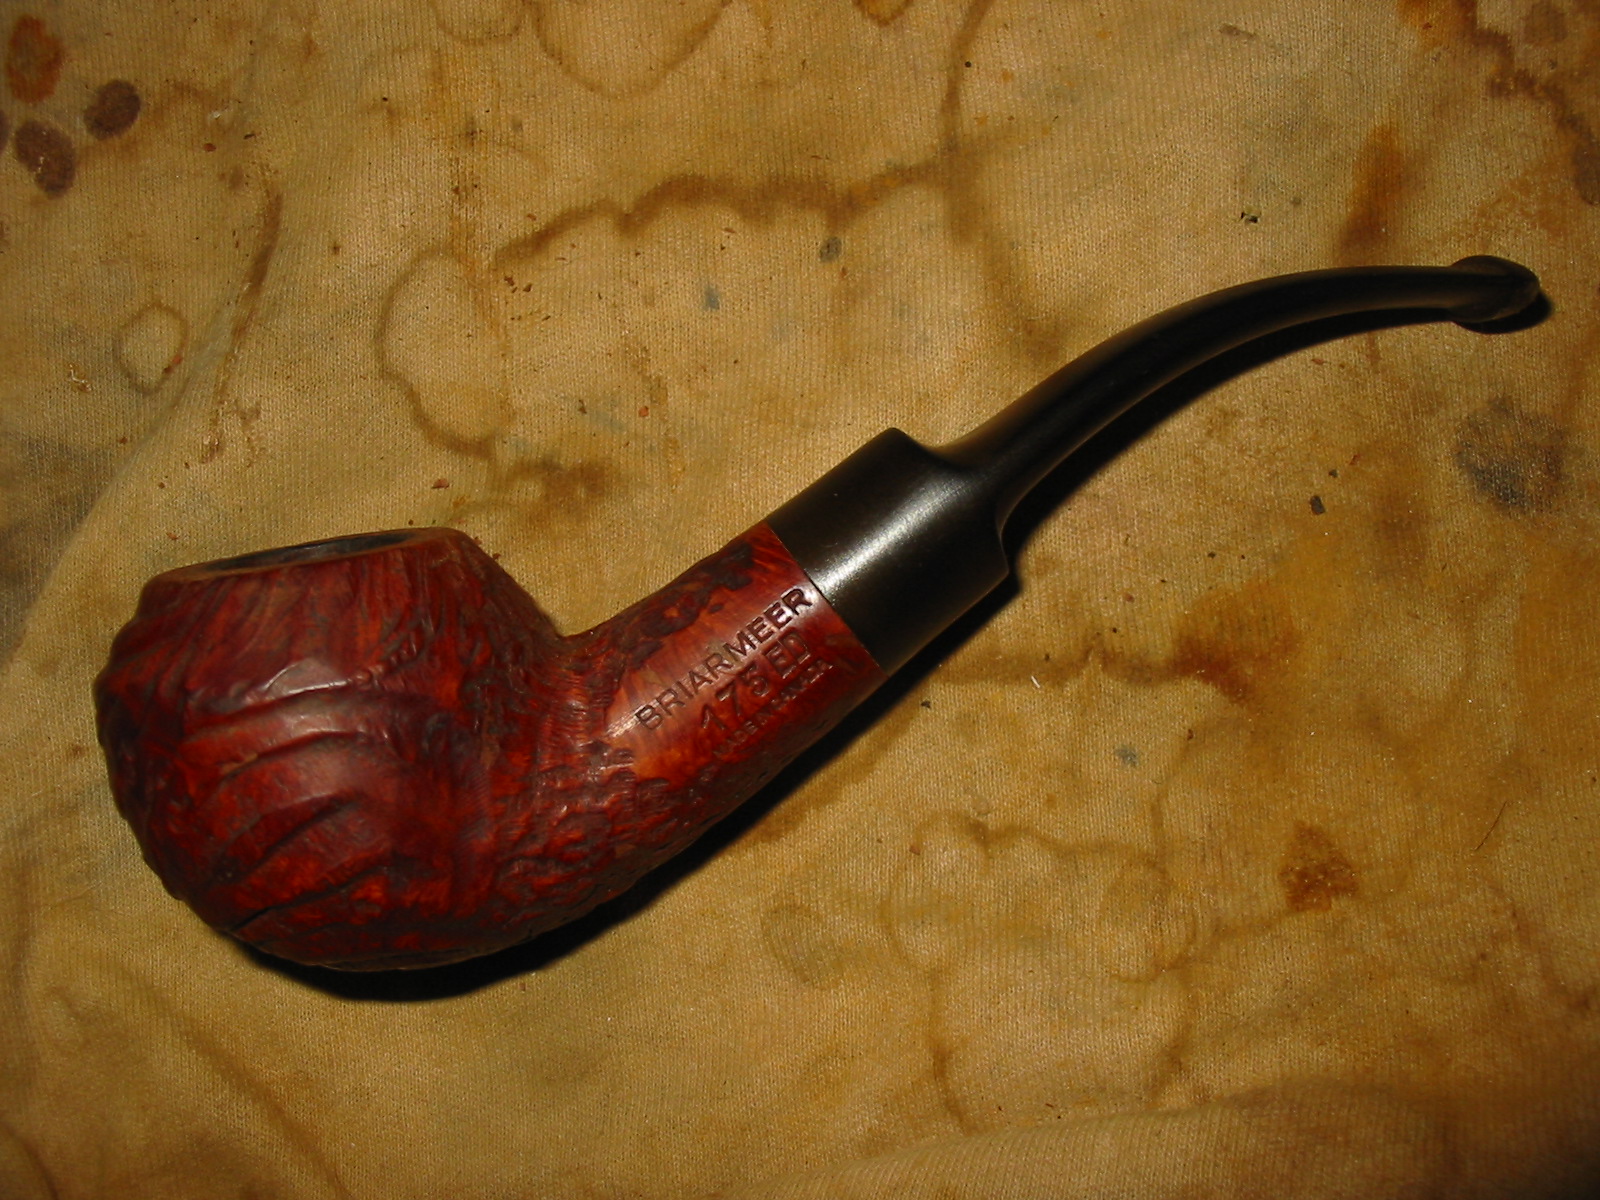
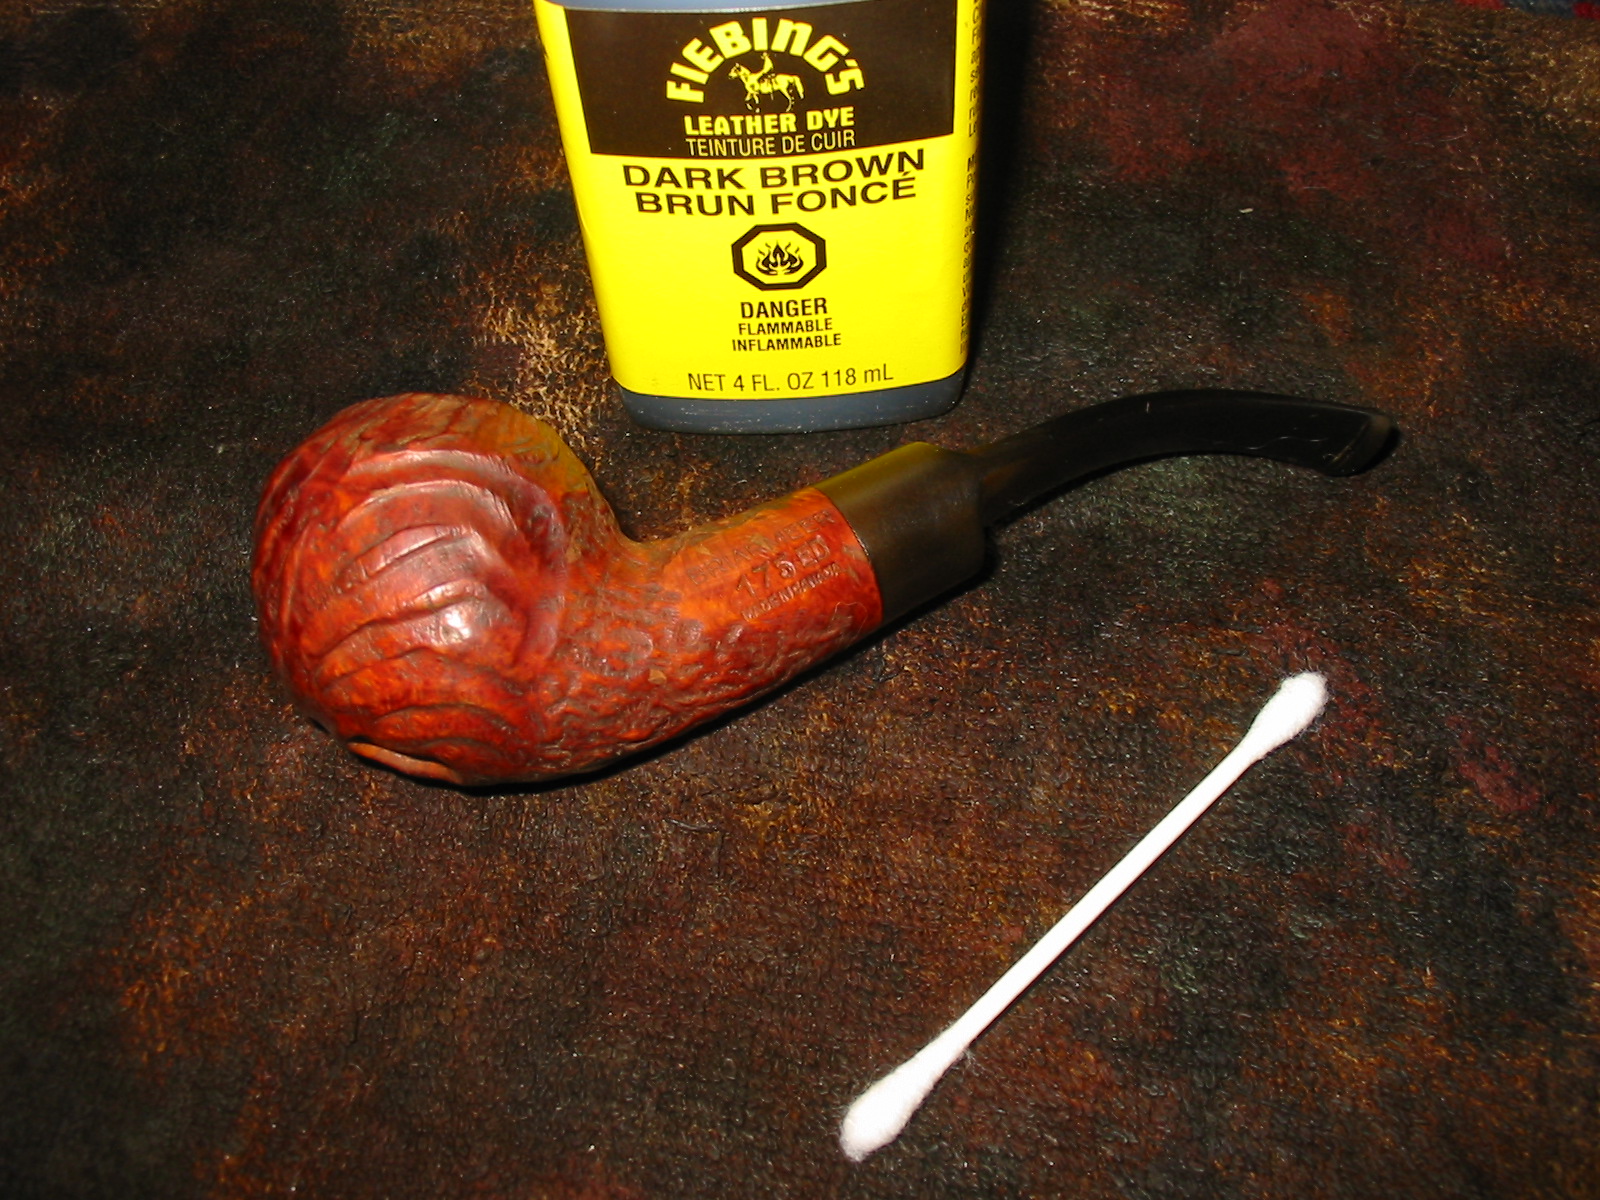
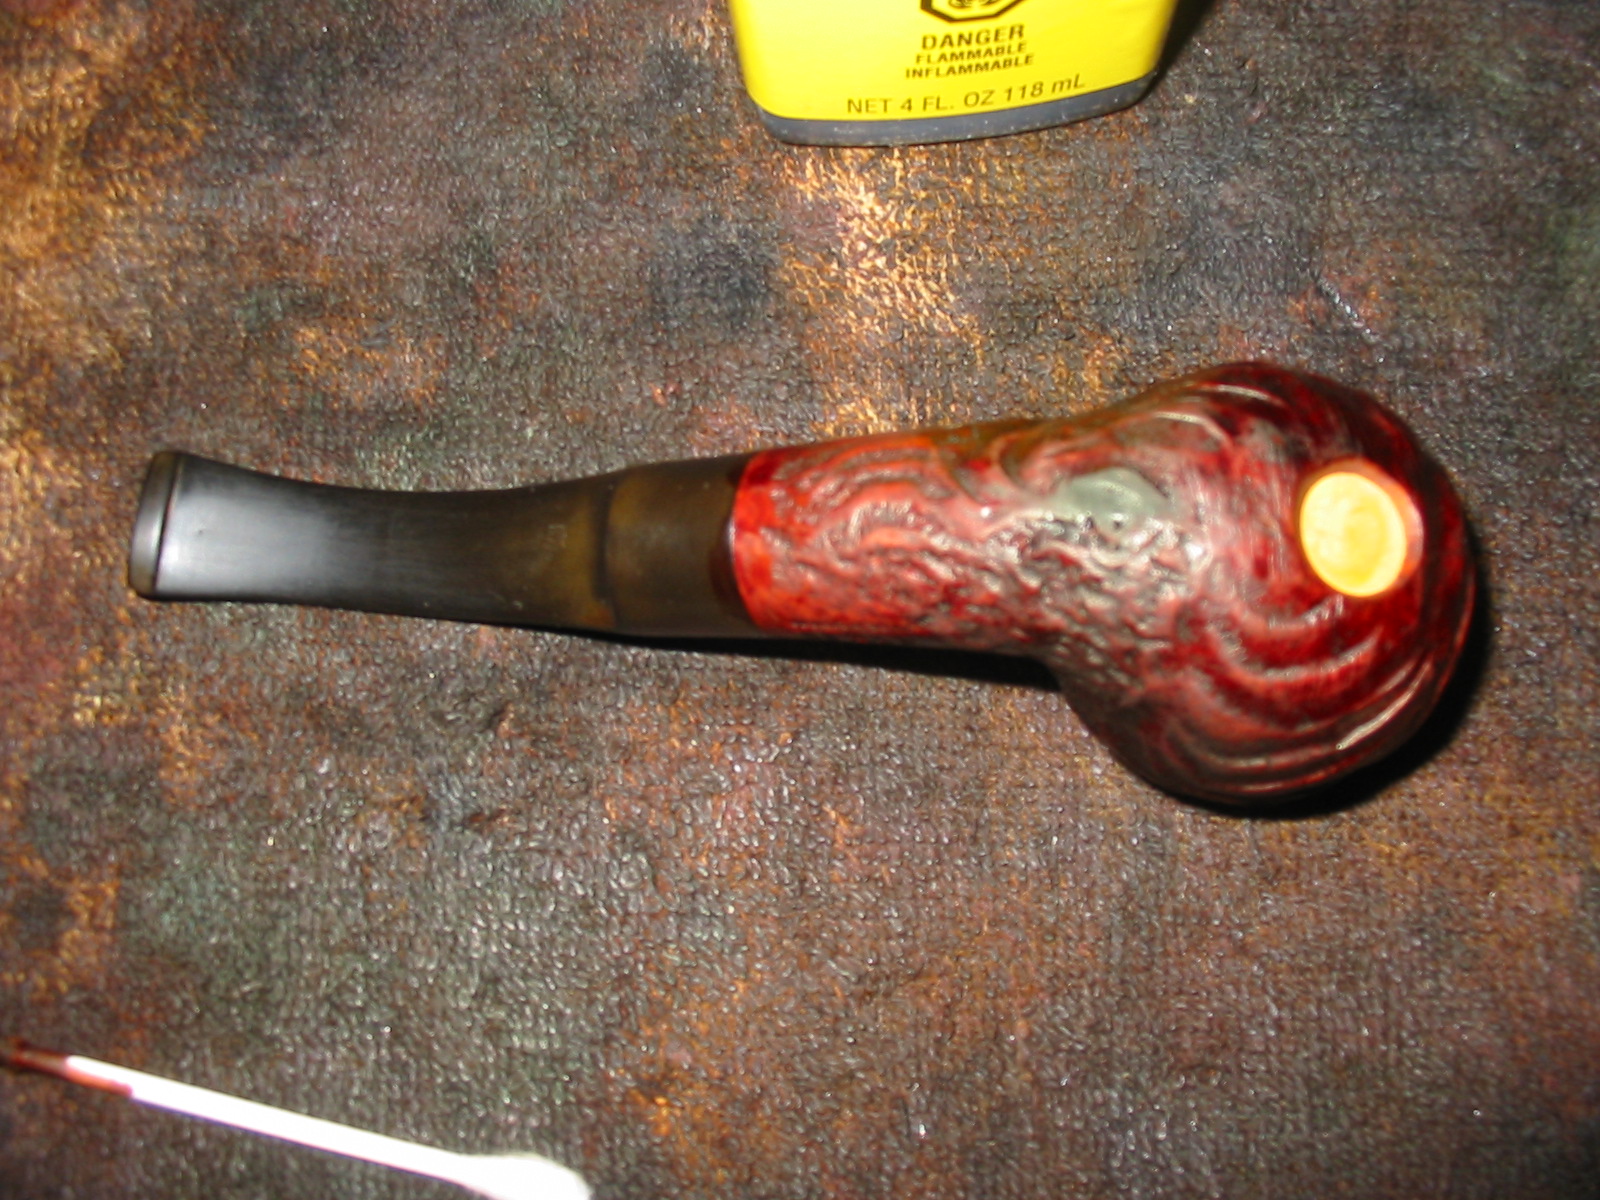
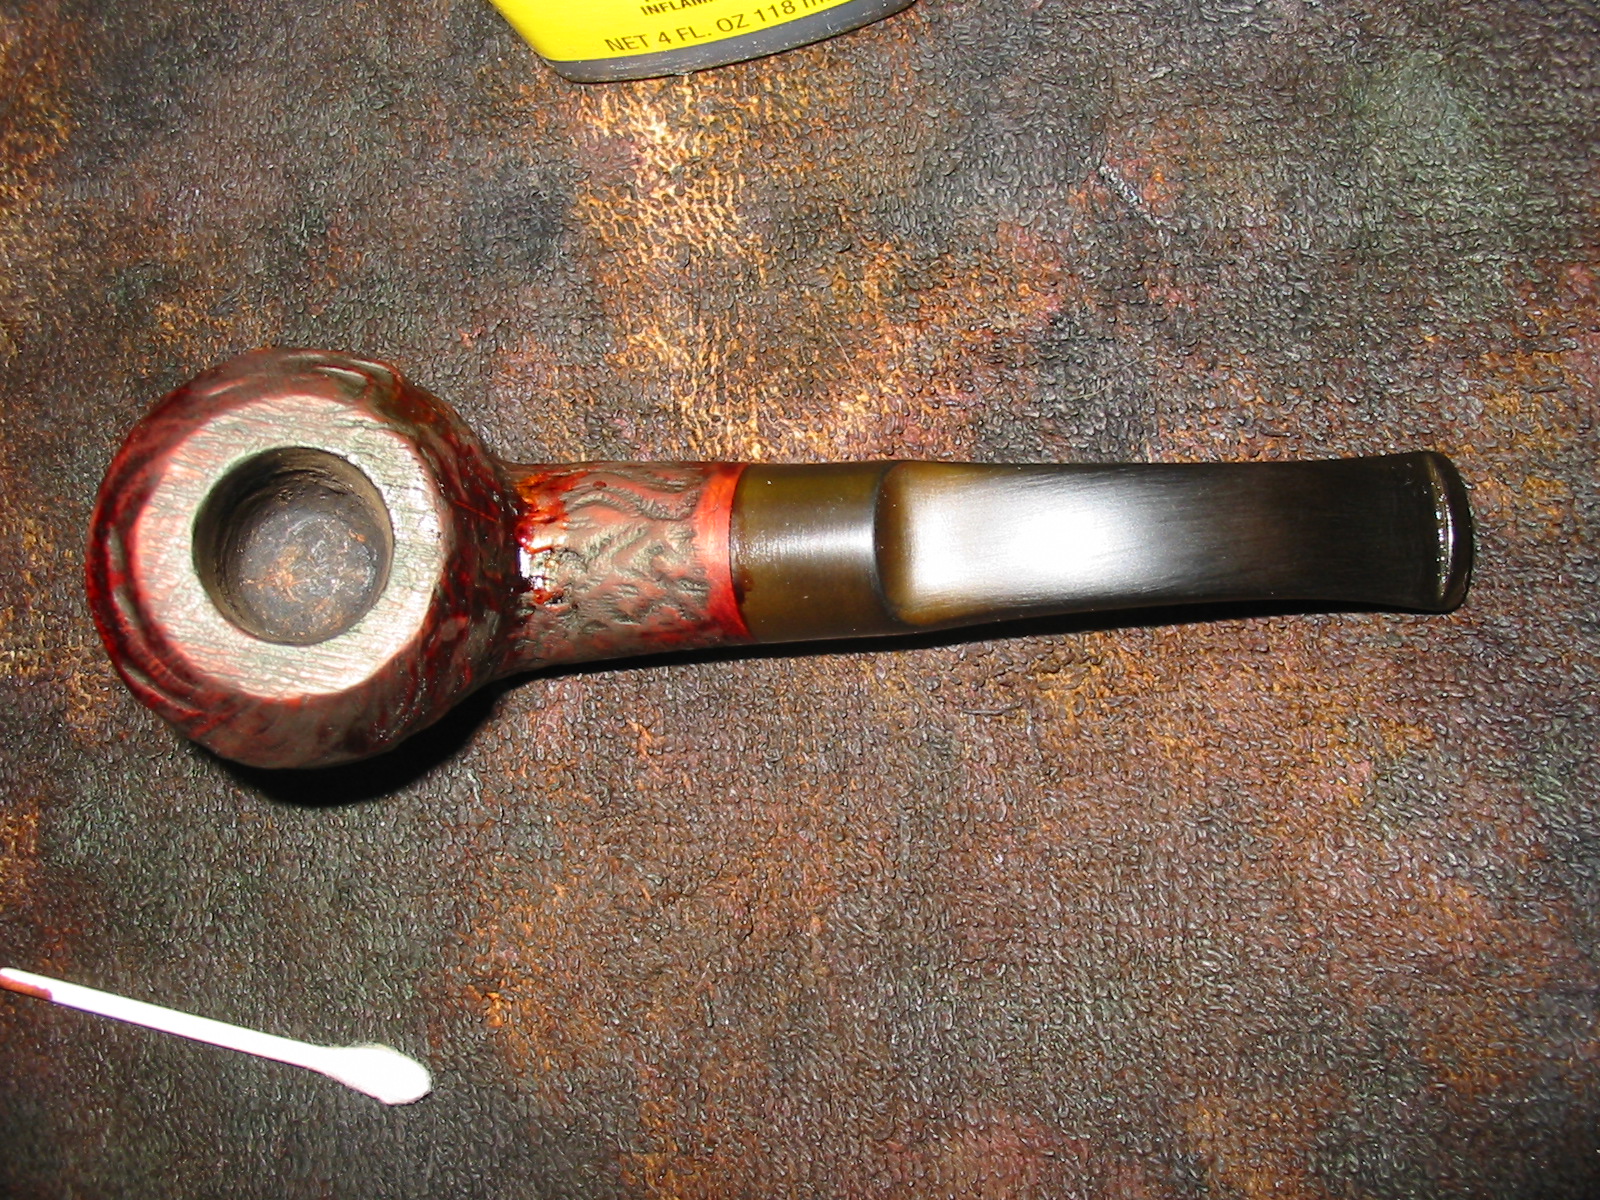
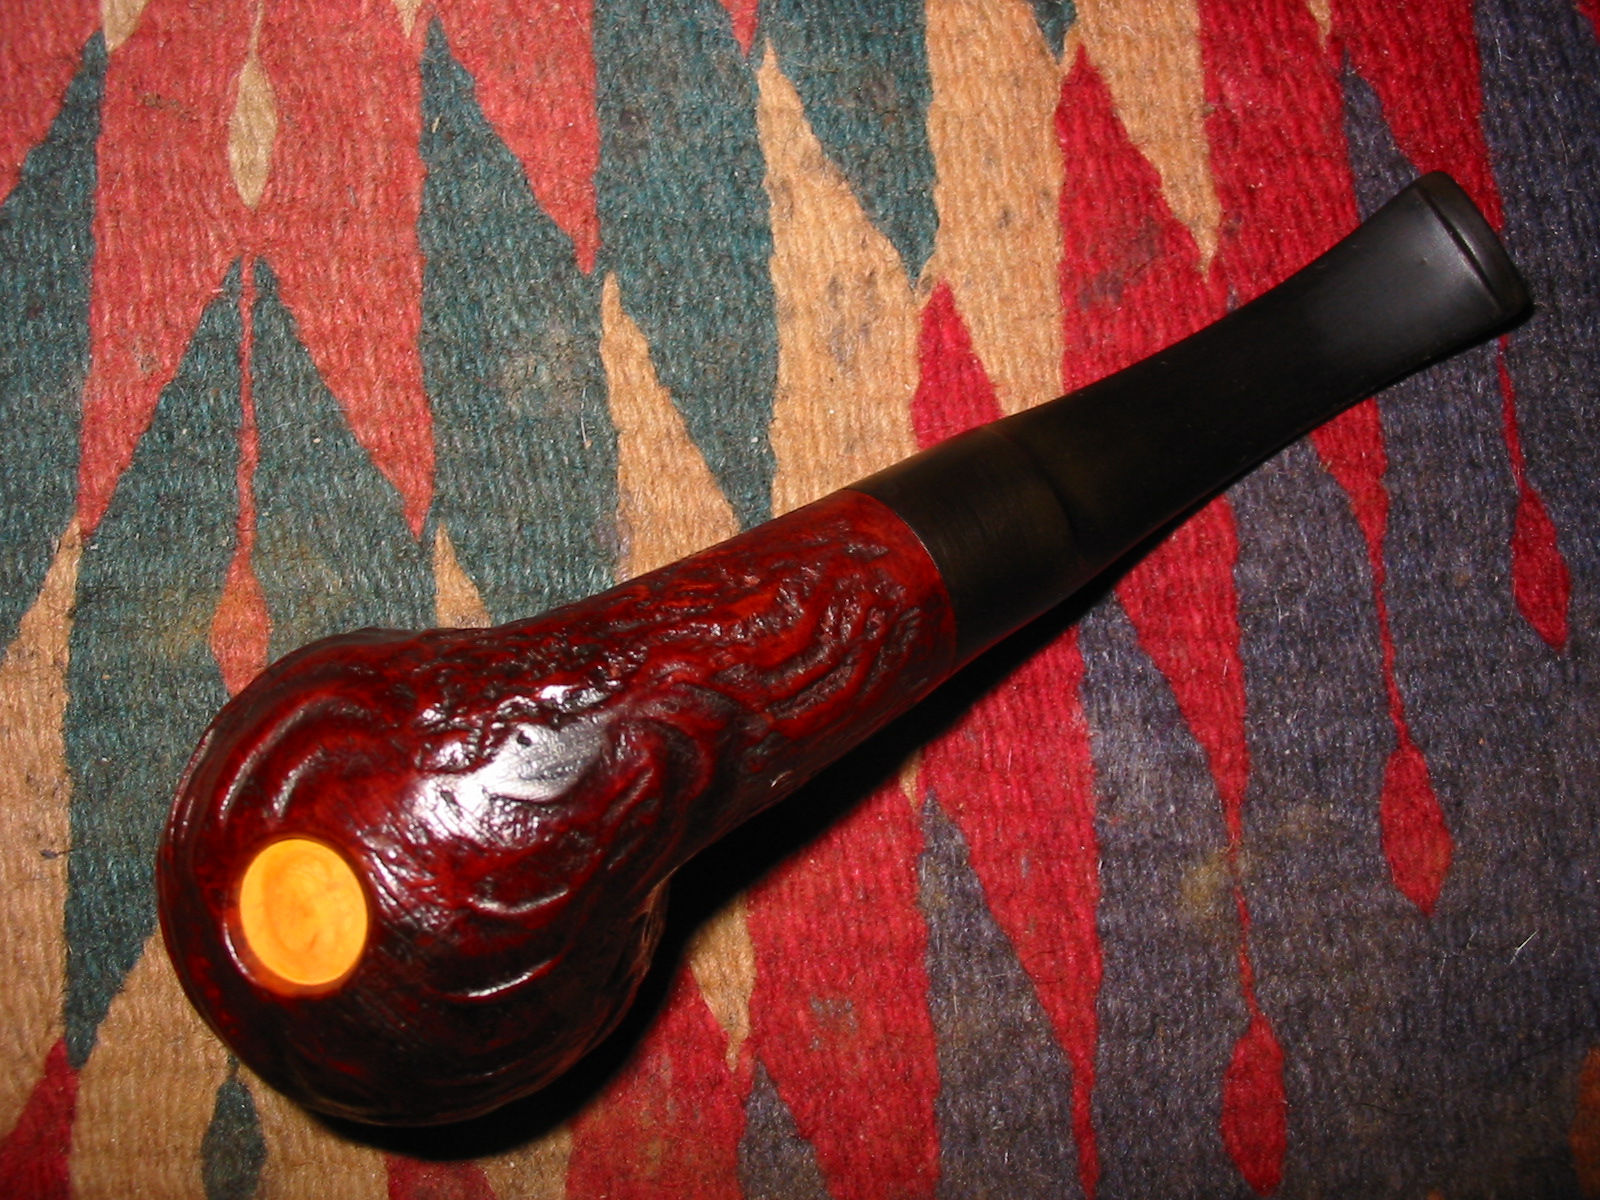
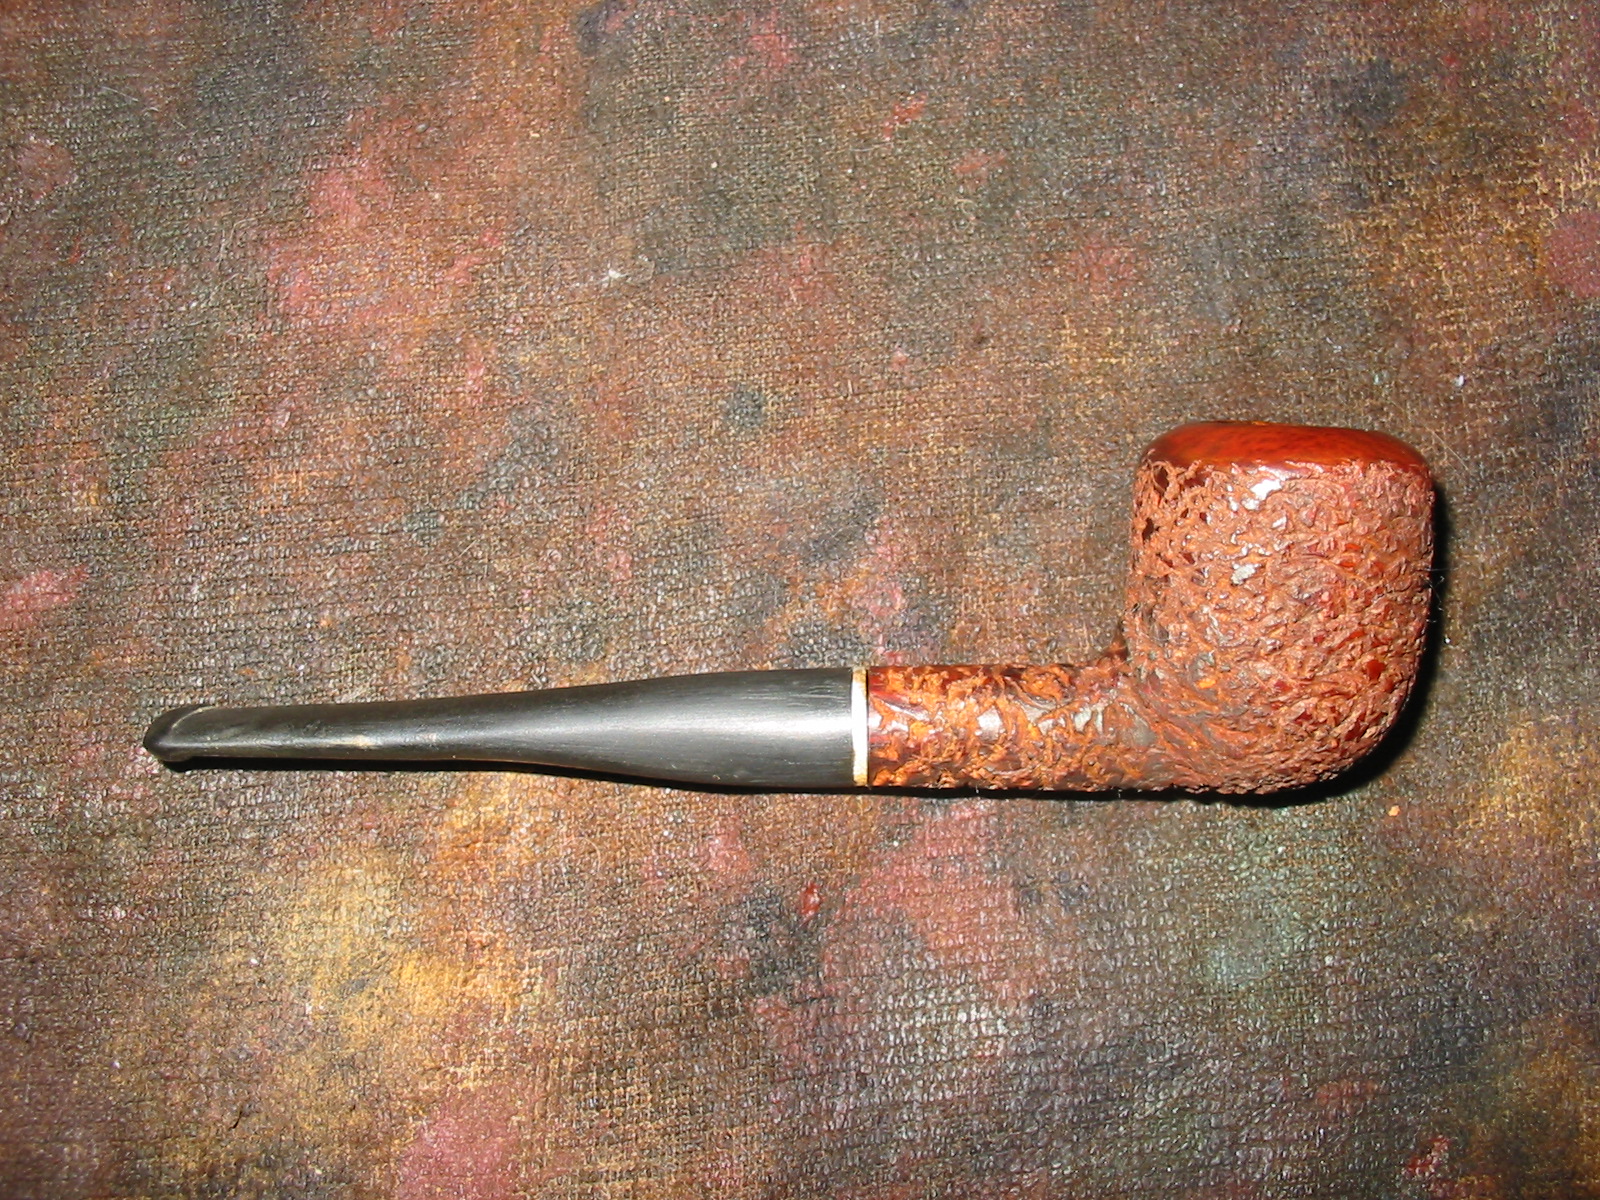
I decided to give the pipe a contrast stain. For the bottom coat I used a dark brown aniline stain. I applied it with a cotton swab and flamed it. I repeated the process until the stain had covered the bowl evenly. The dark brown went deep into the crevices of the rustication.
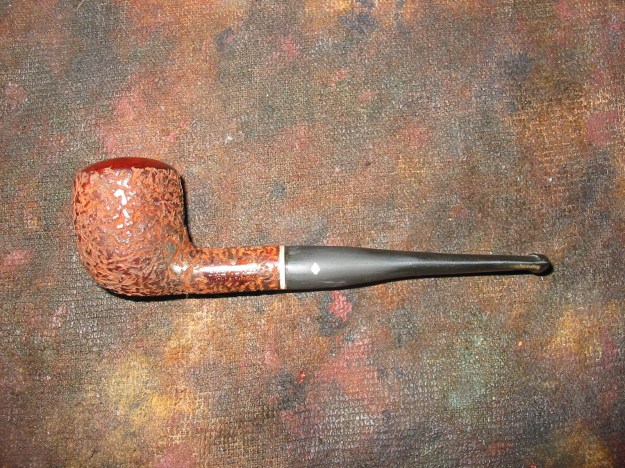

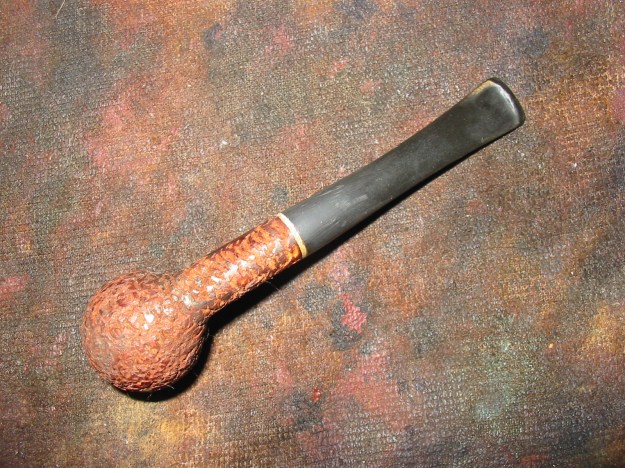
For the topcoat of stain I chose an oxblood aniline stain. I rubbed it onto the high points of the rustication with a cotton pad. My plan was to leave the dark brown in the crevices and the oxblood on the high points. I flamed the stain and then buffed the pipe with Tripoli.

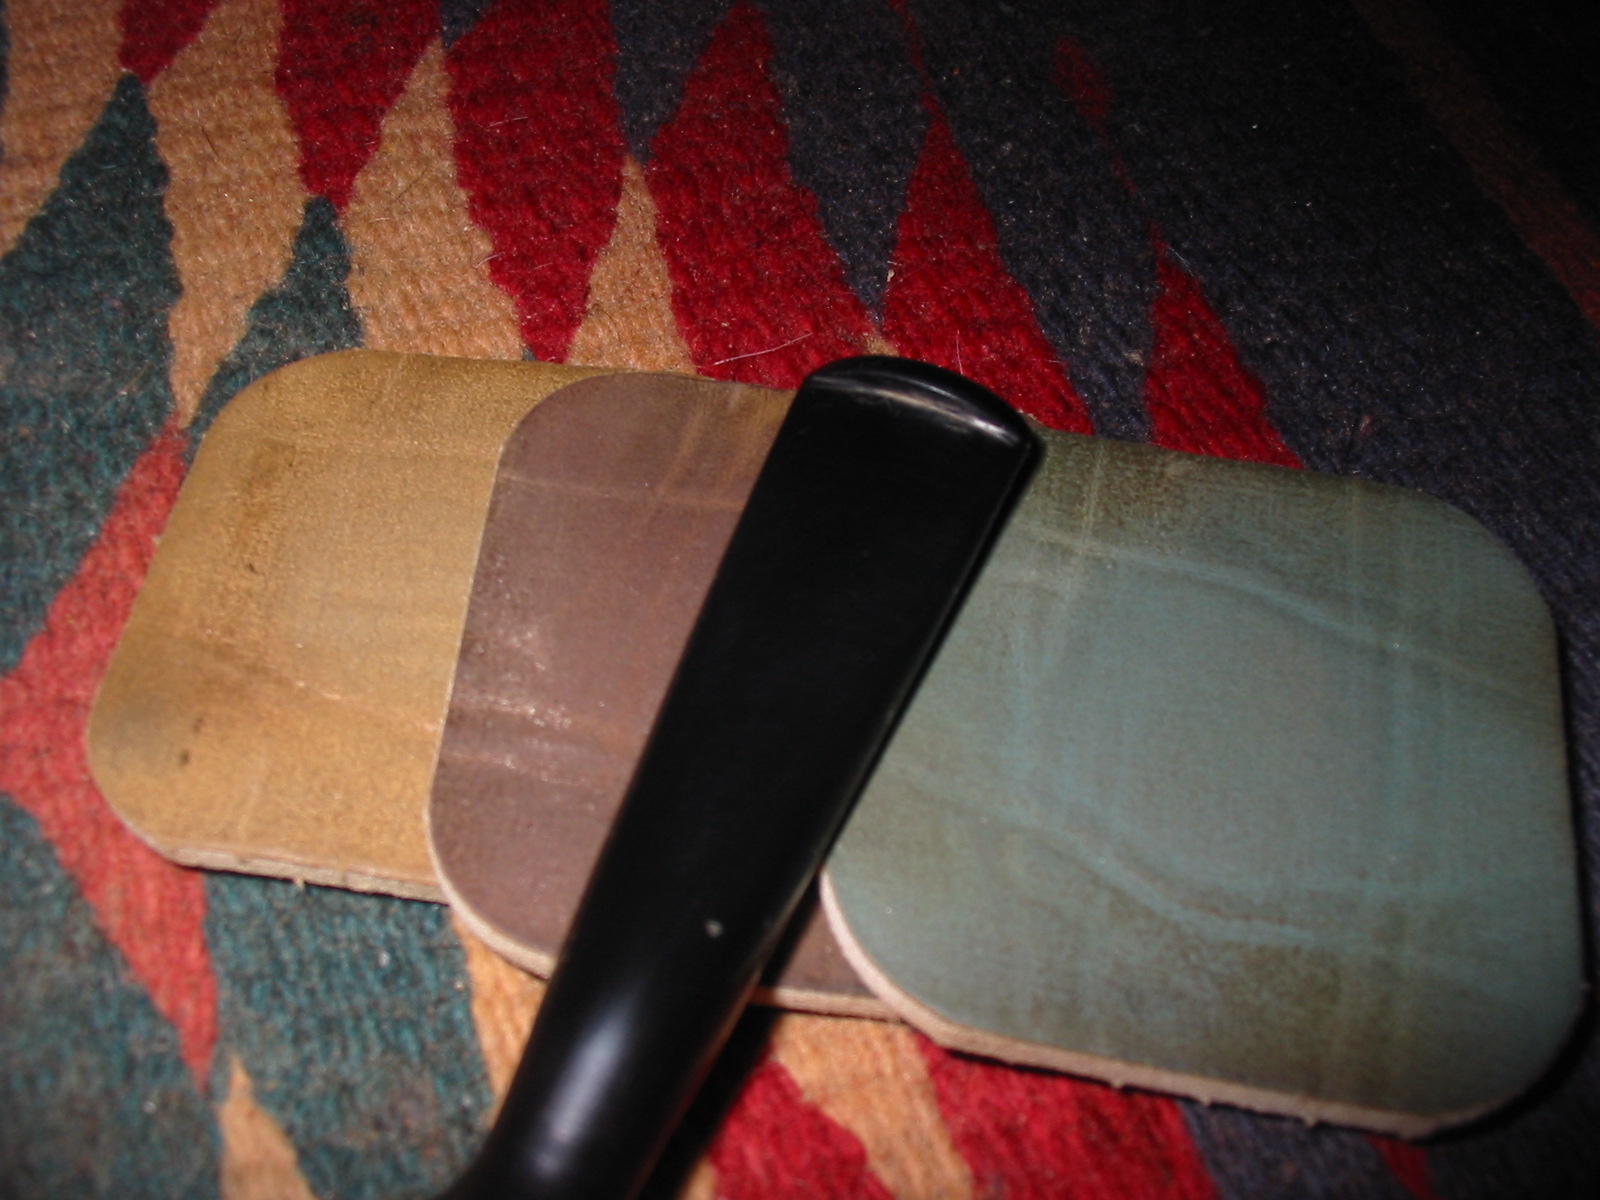
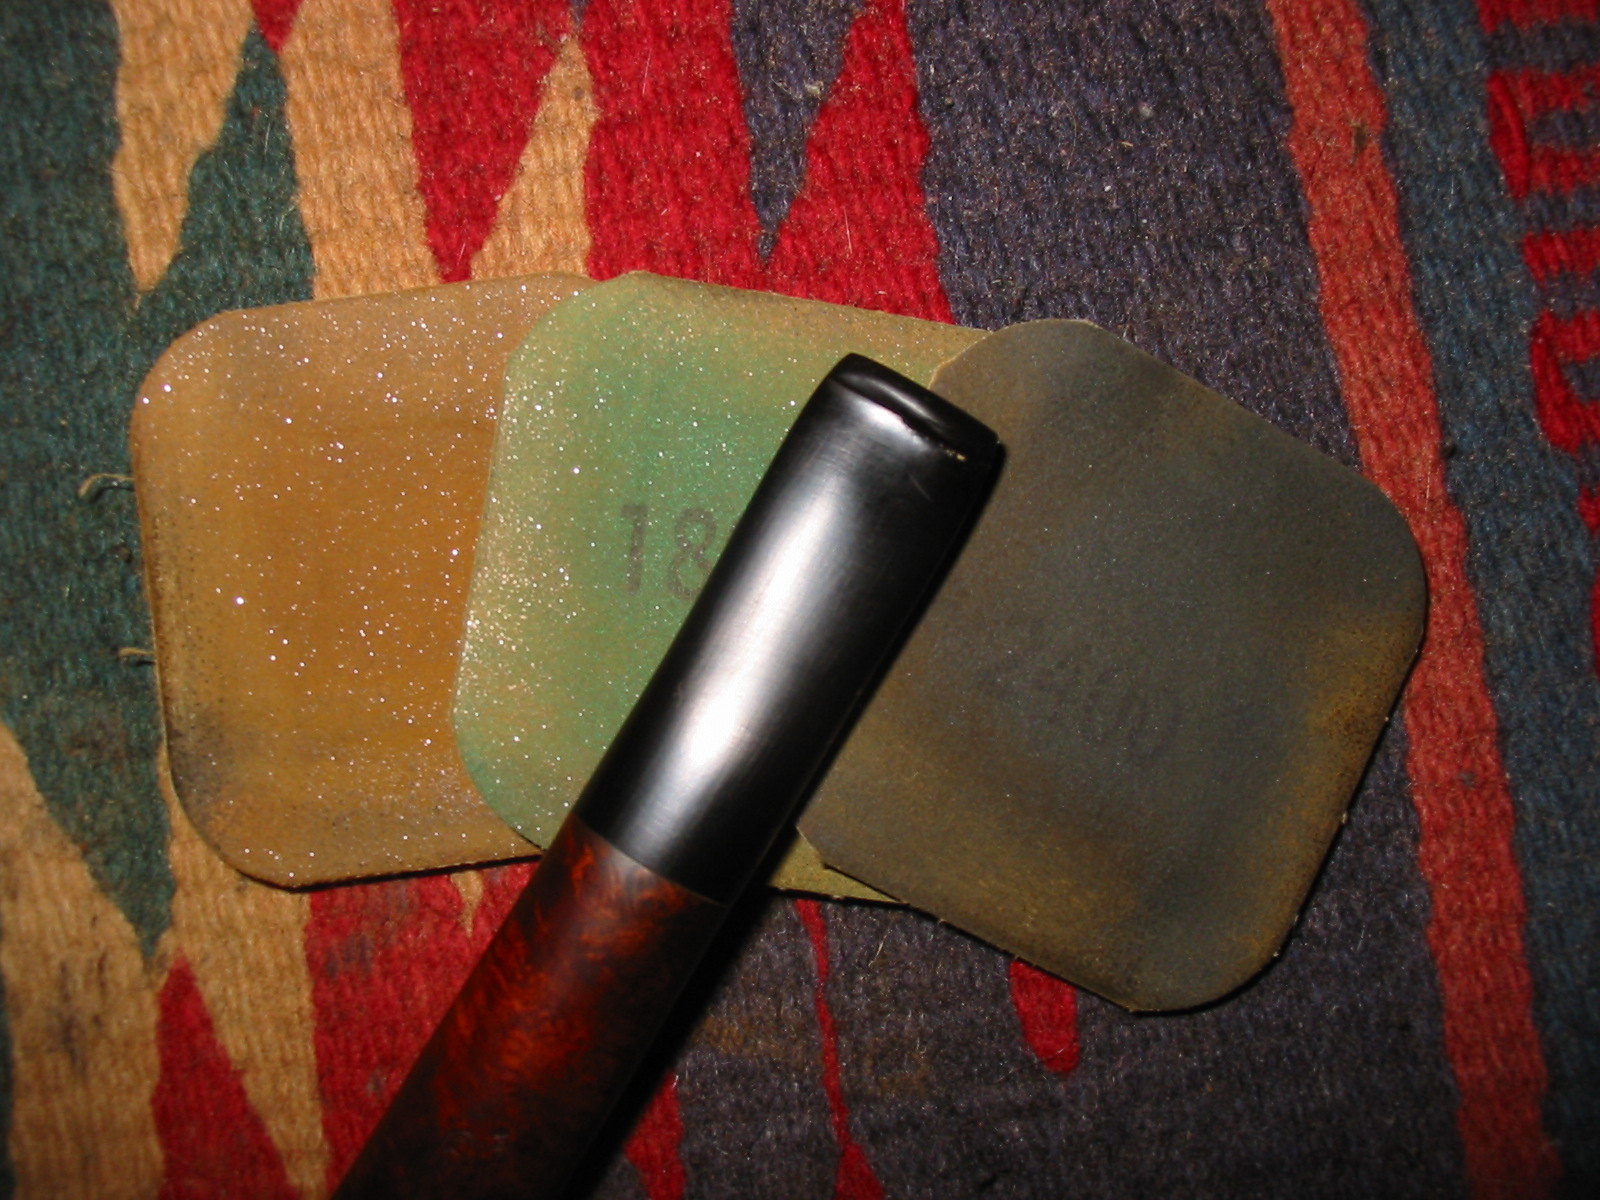
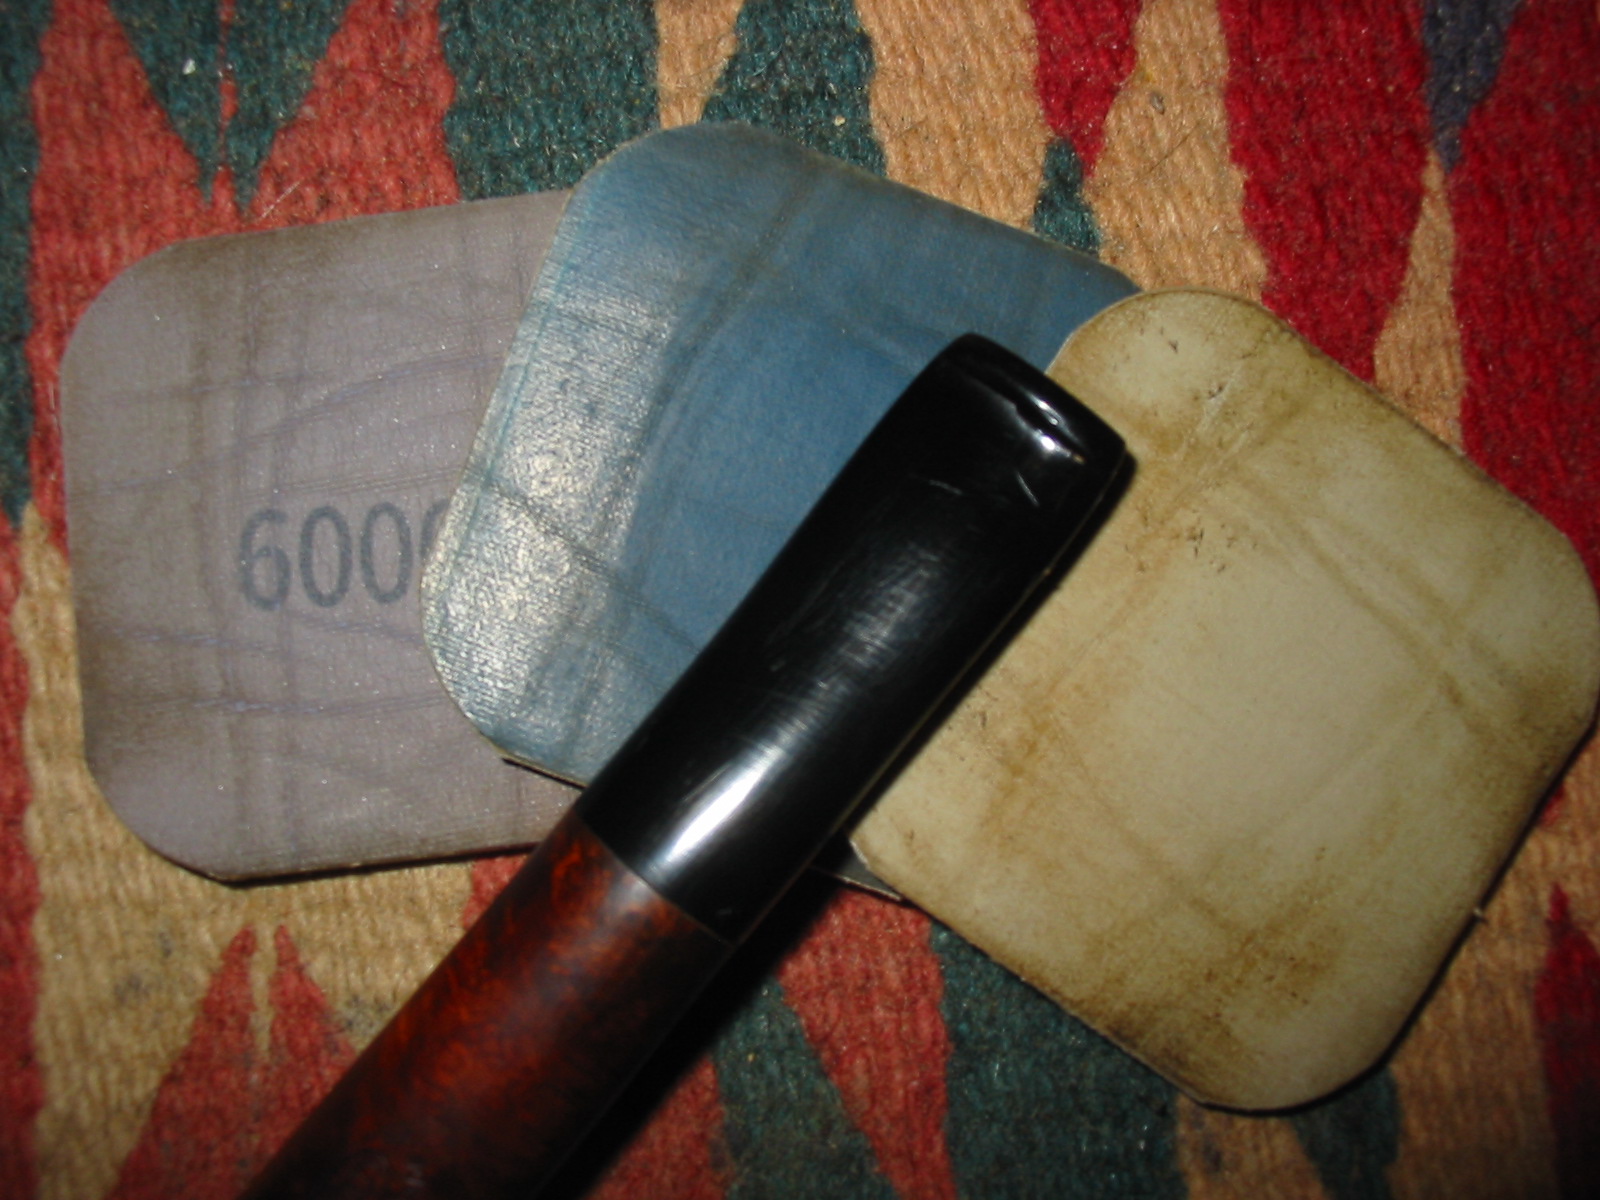
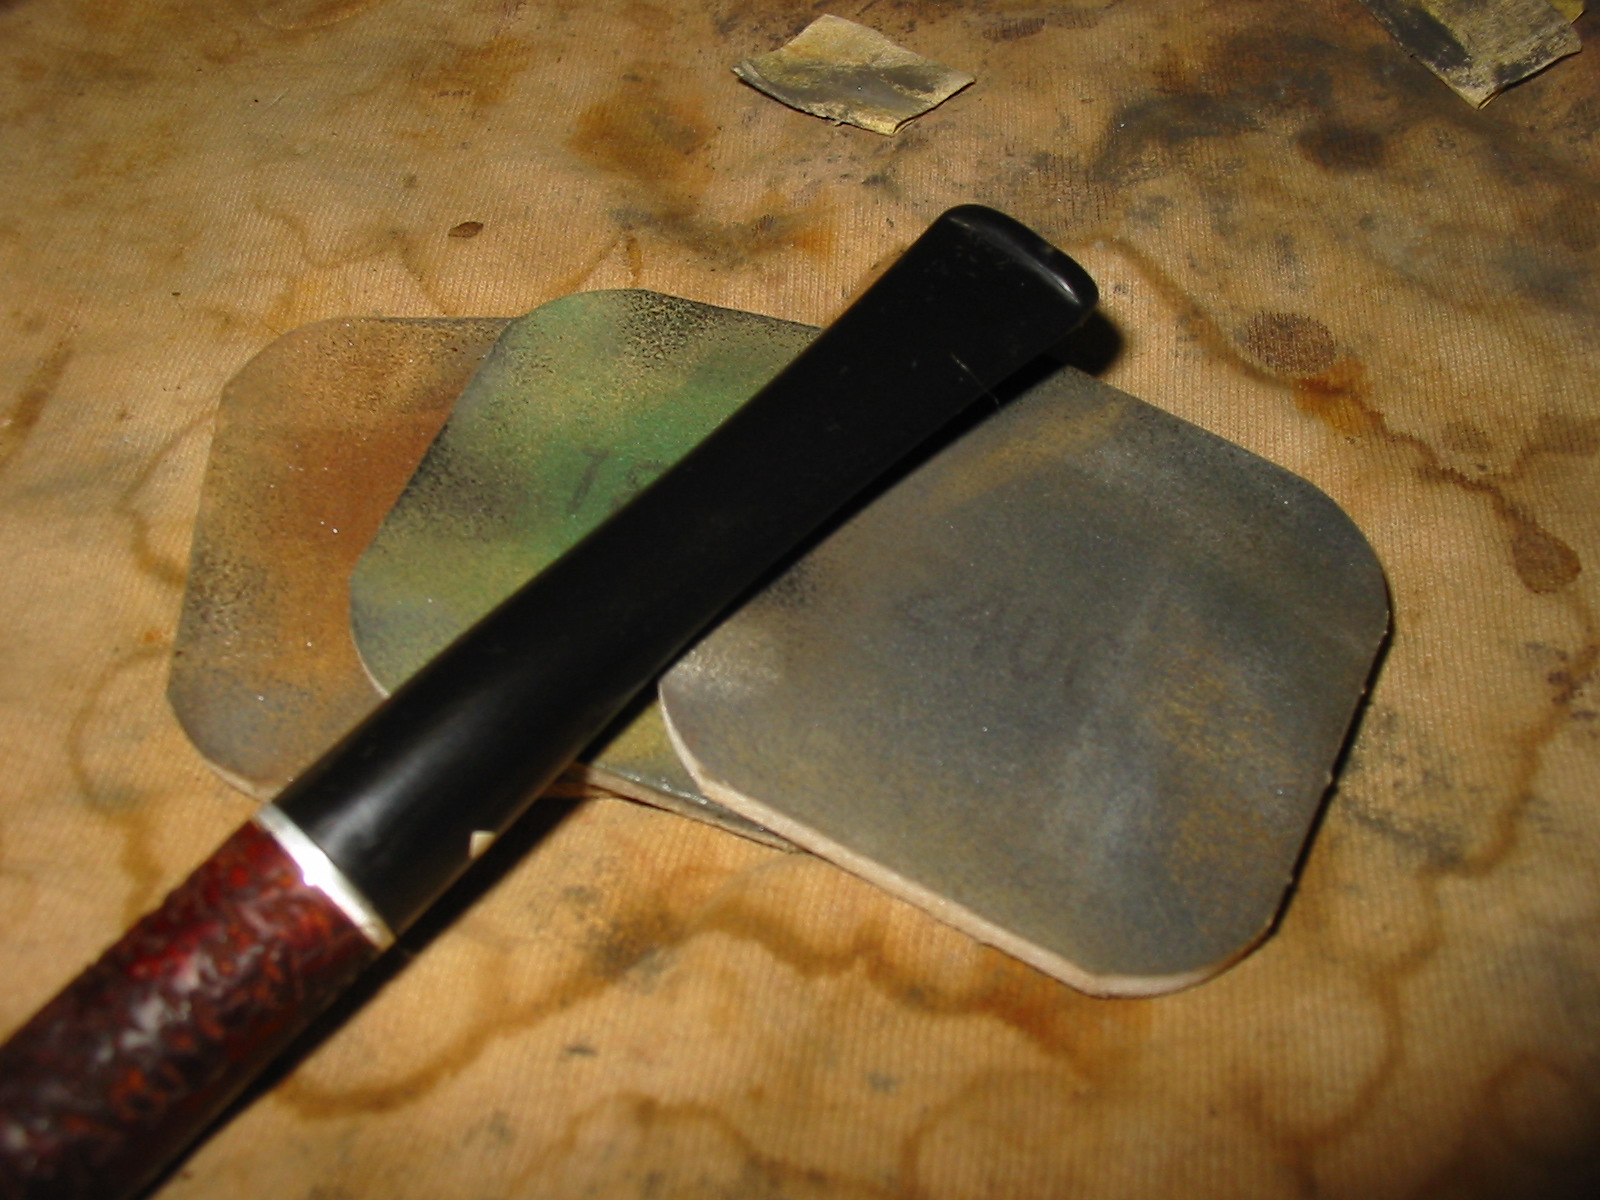
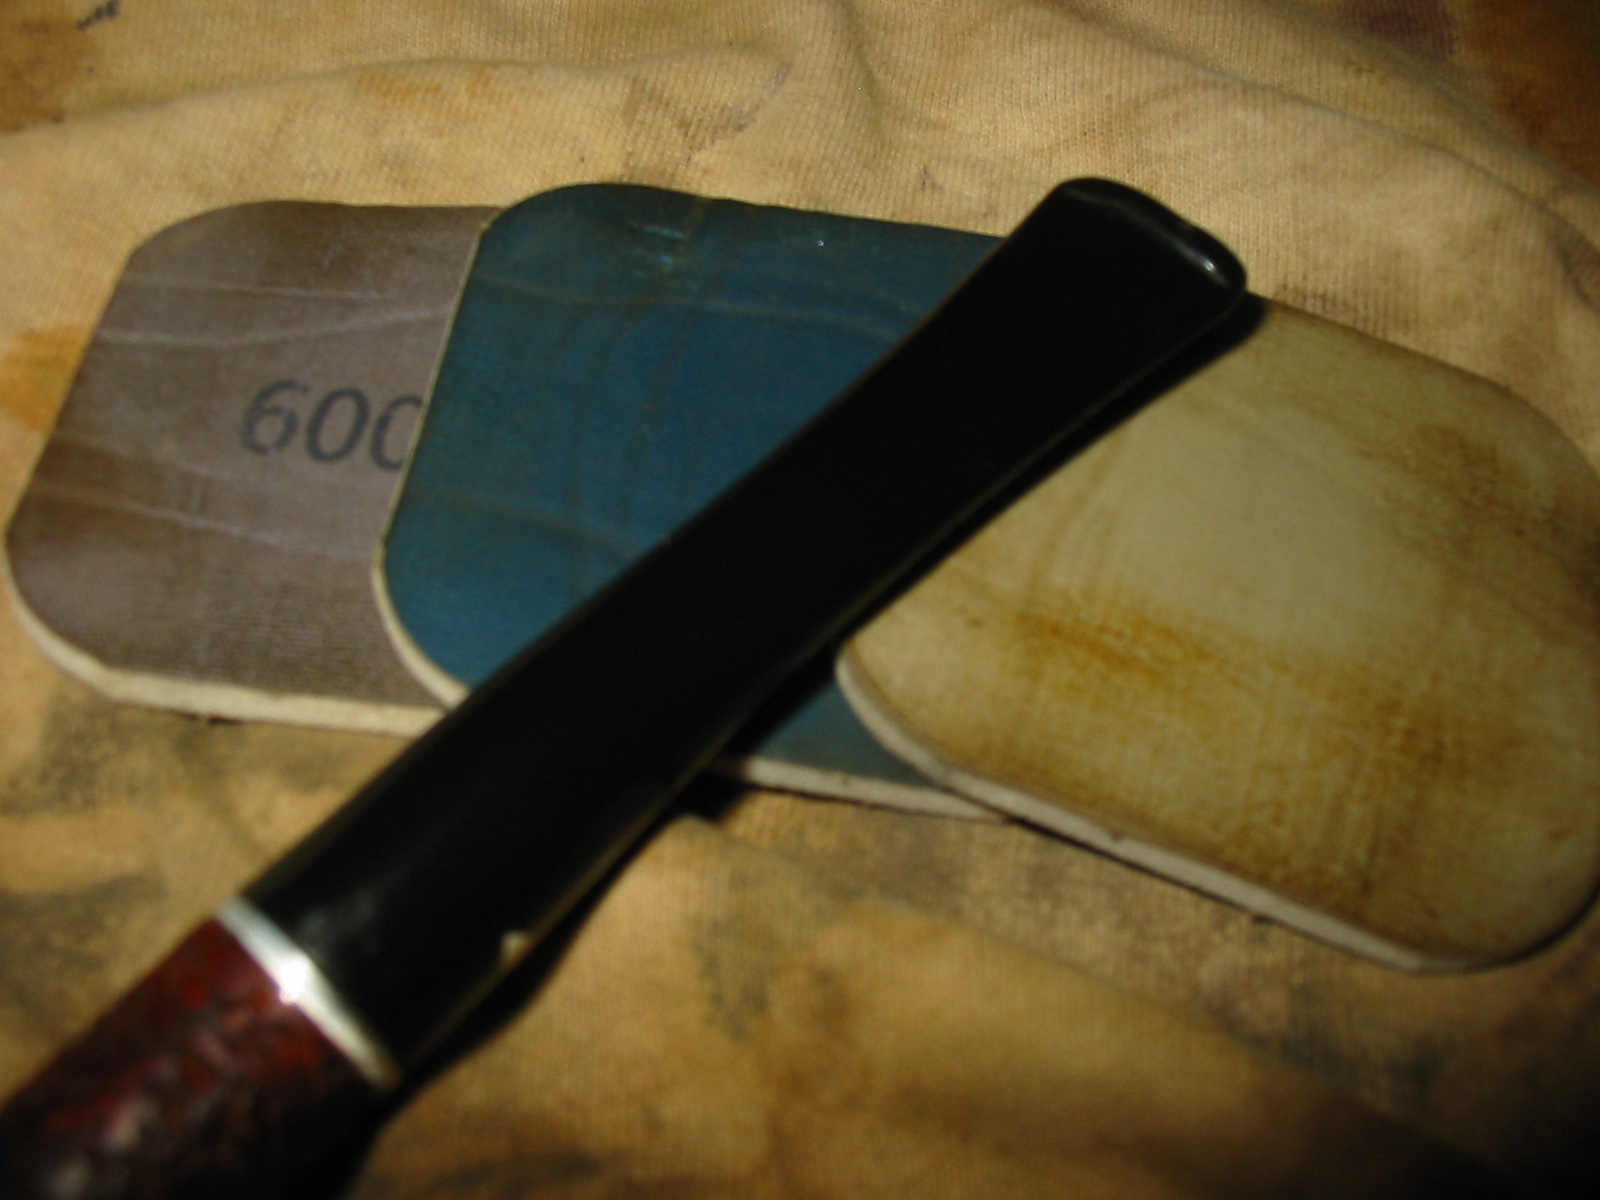
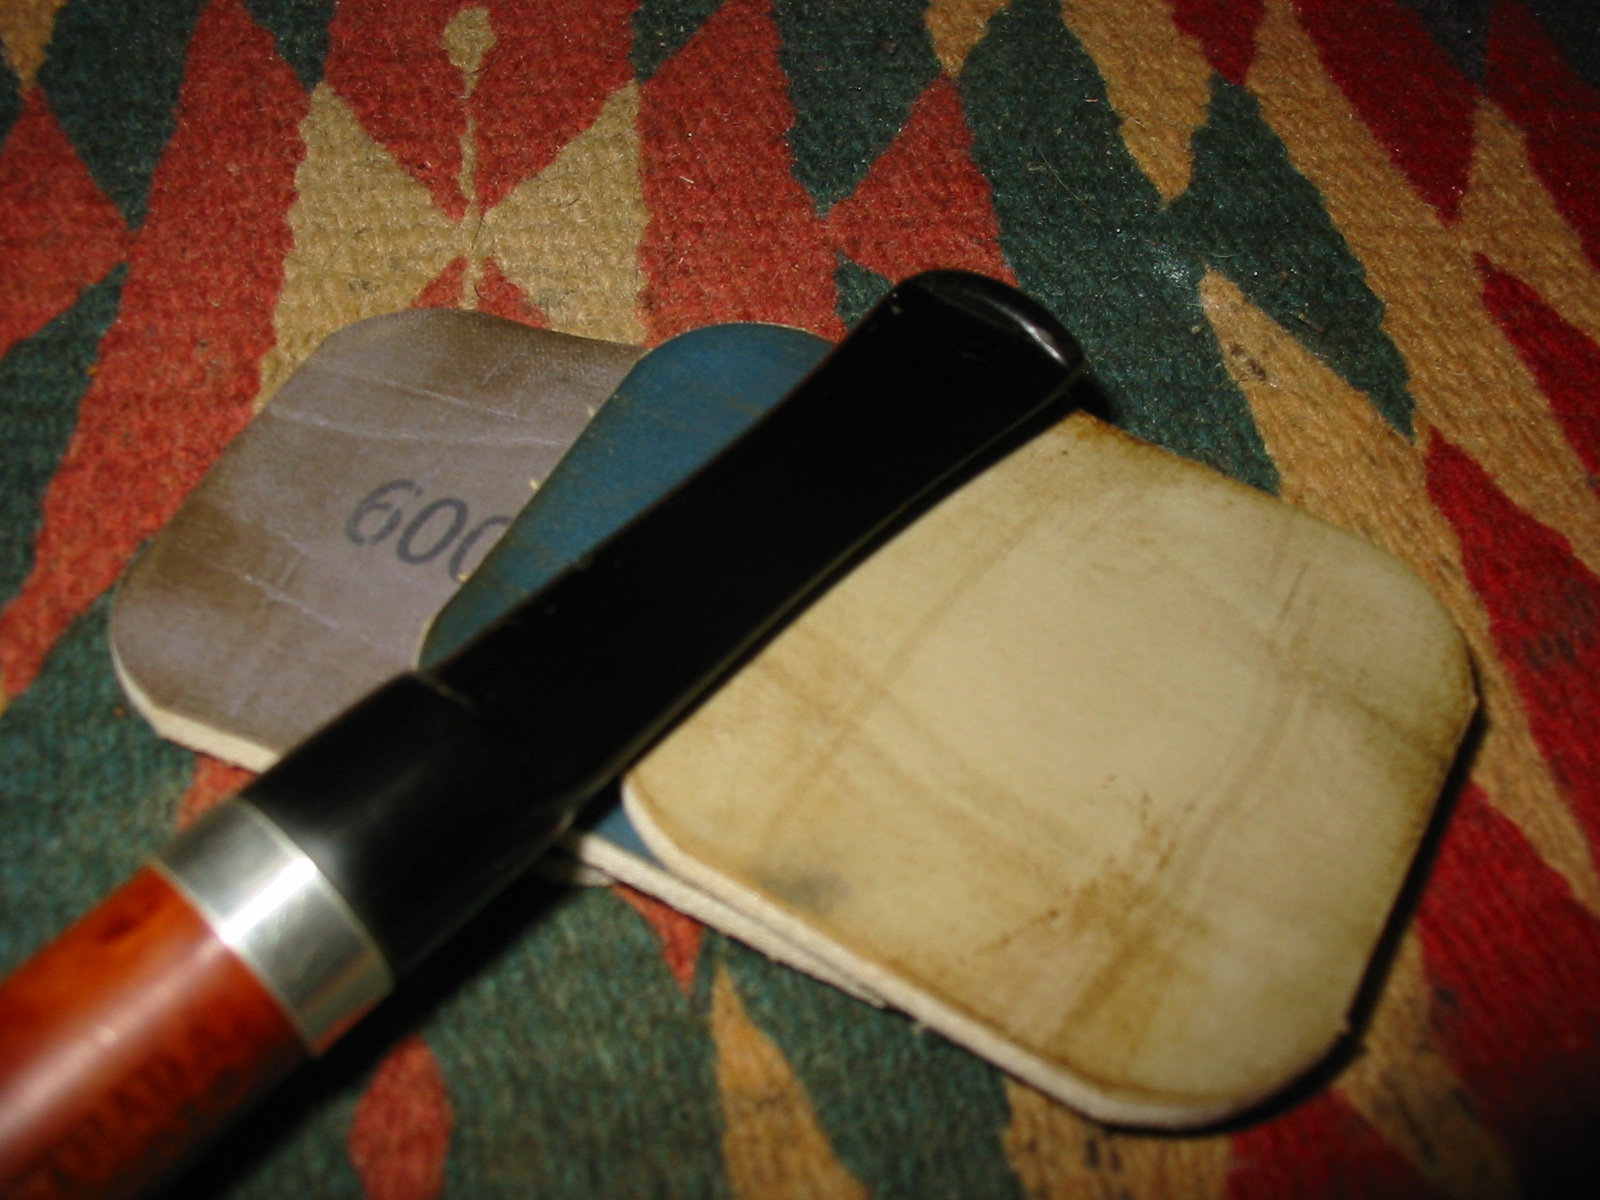
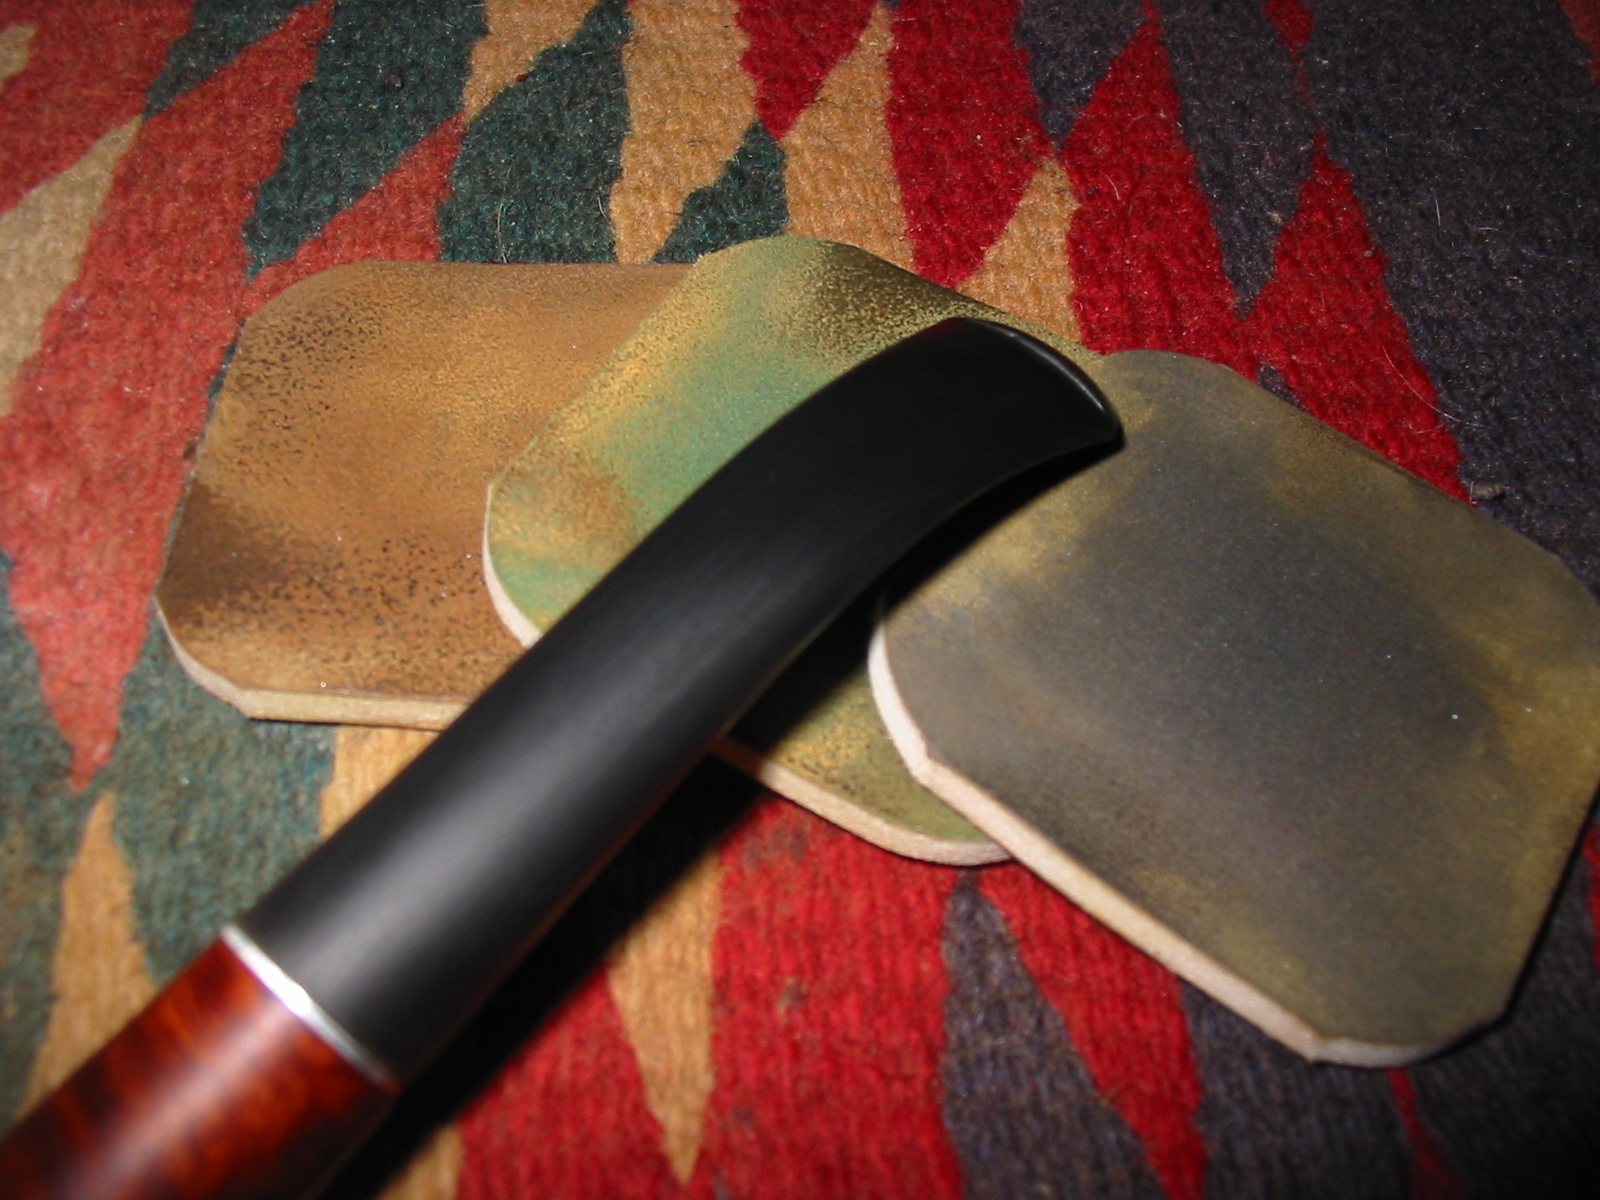
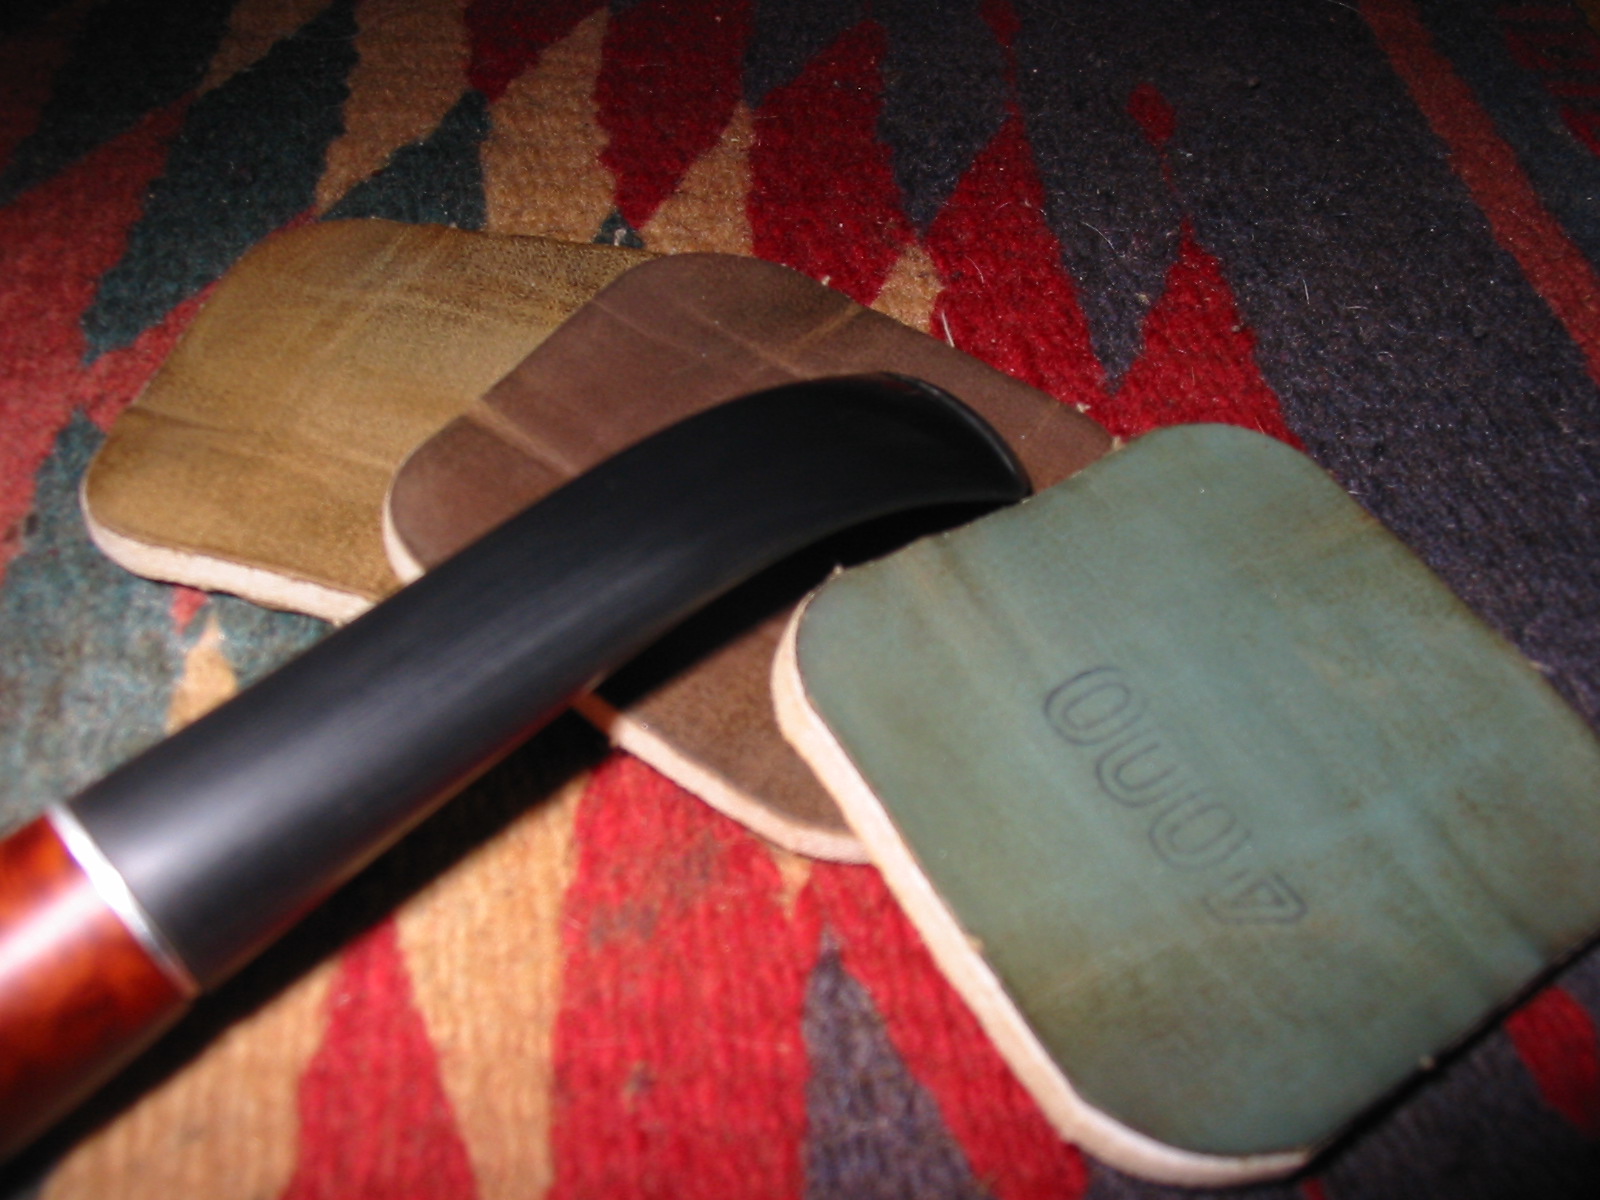
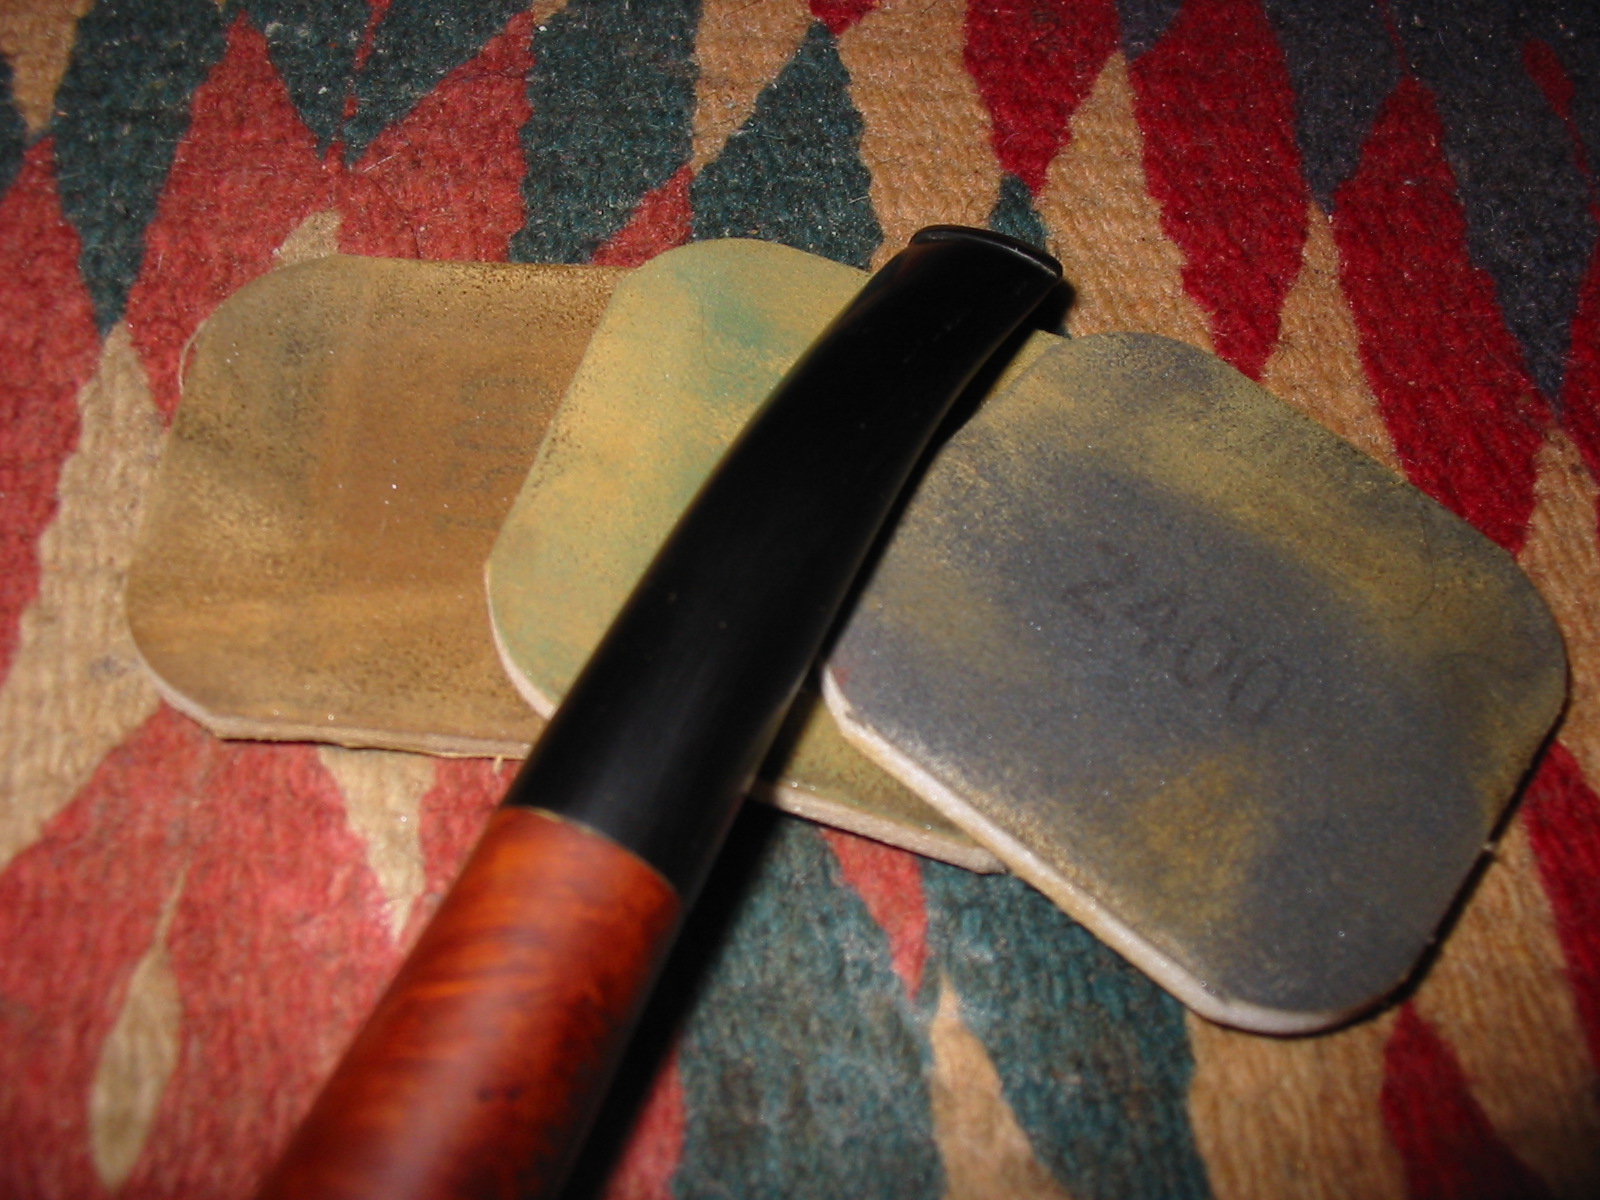
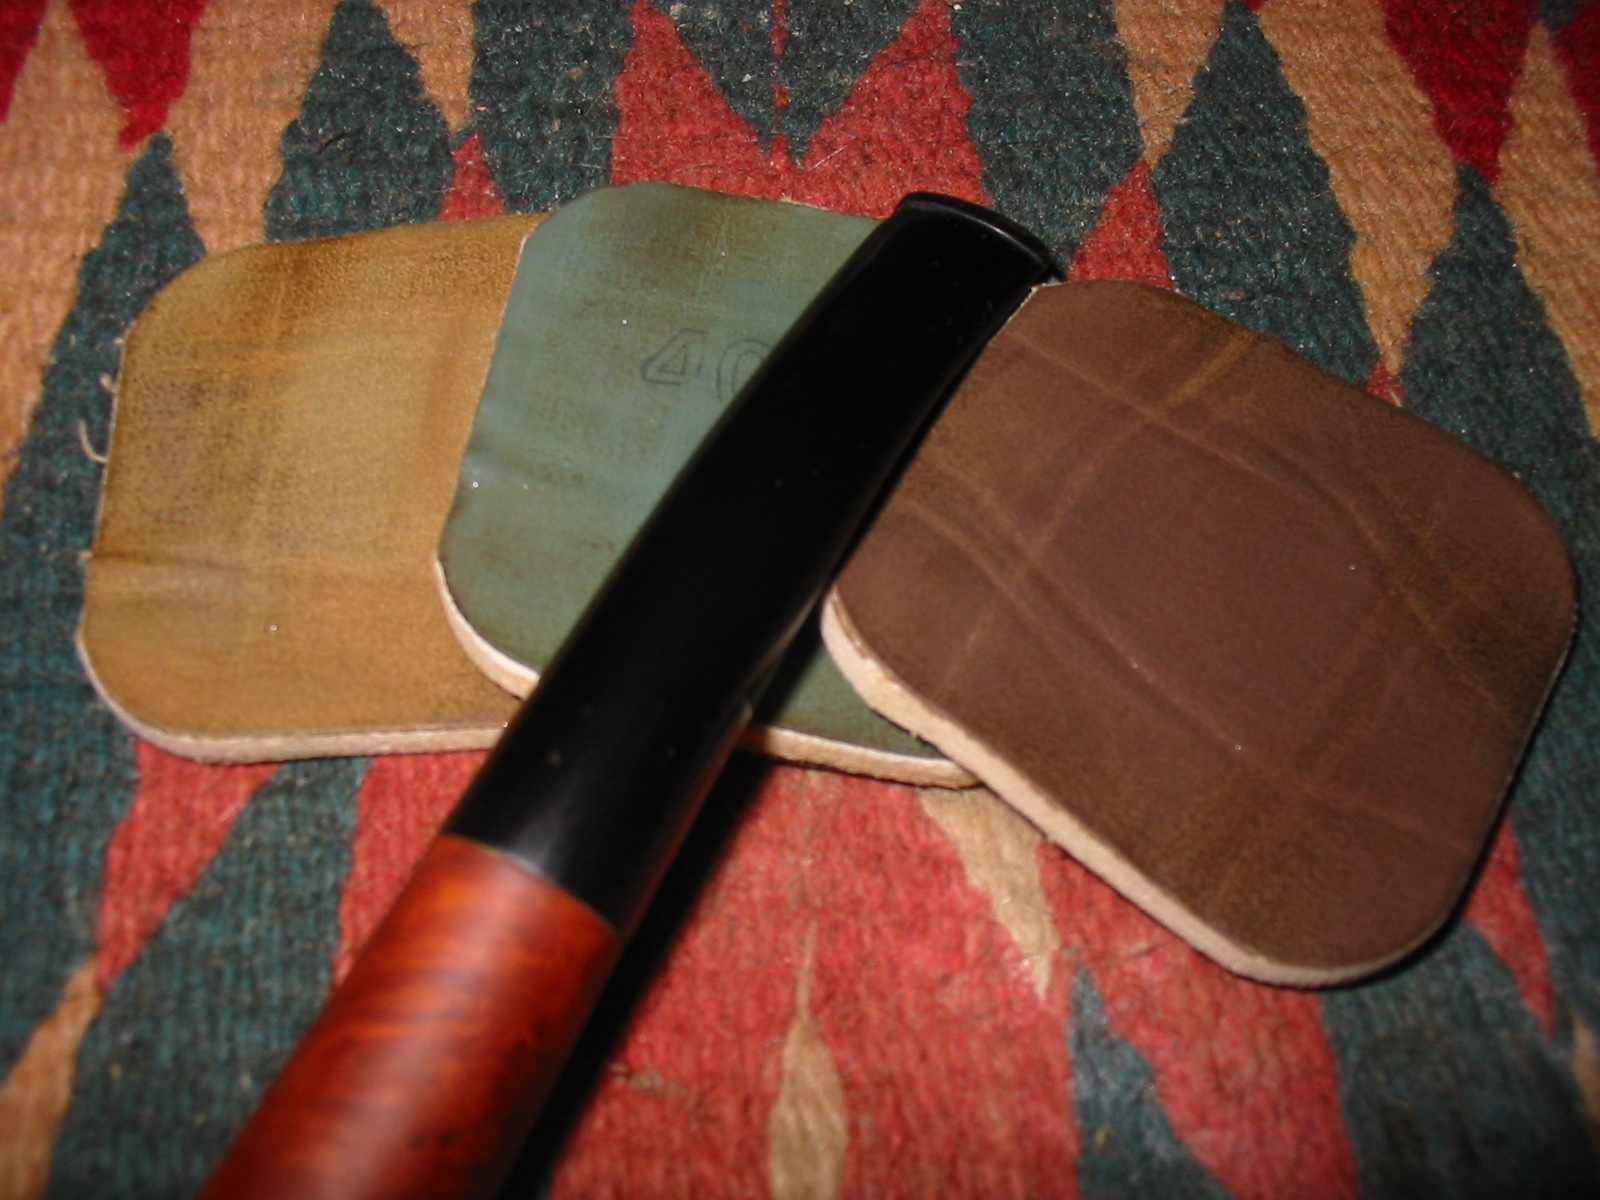
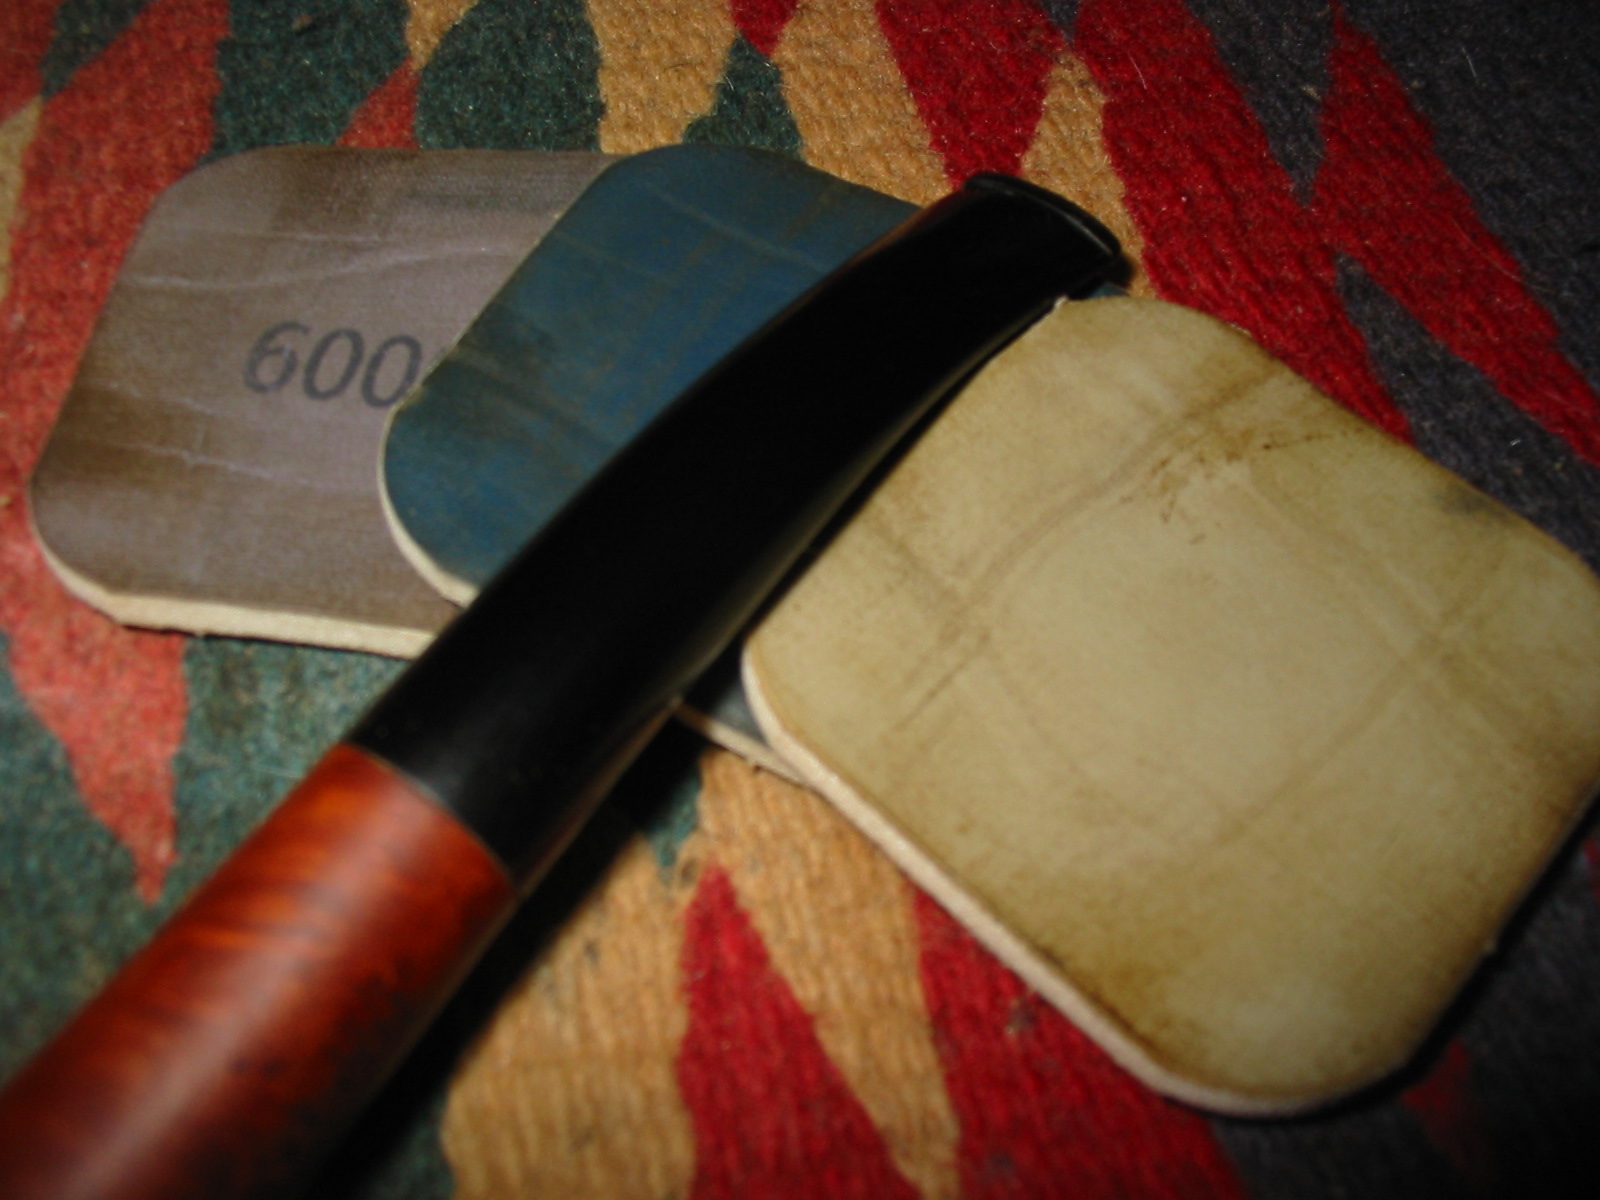
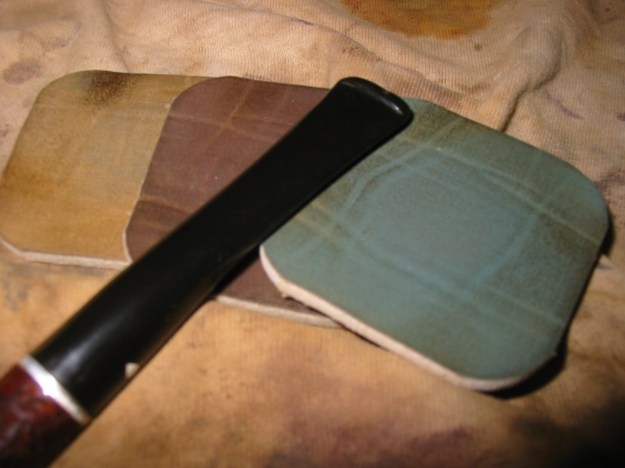
I sanded the stem with 220 grit sandpaper to finish the shaping and then used medium and fine grit sanding sponges to removes the scratches left behind by the sandpaper. I followed that up by sanding the stem with micromesh sanding pads. I wet sanded with 1500-2400 grit micromesh pads and dry sanded with the 3200-12,000 grit pads. I rubbed the stem down with Obsidian Oil and when it was dry buffed the stem with White Diamond.


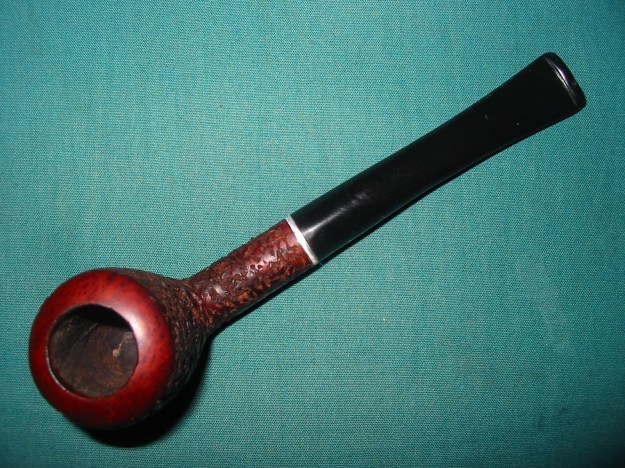
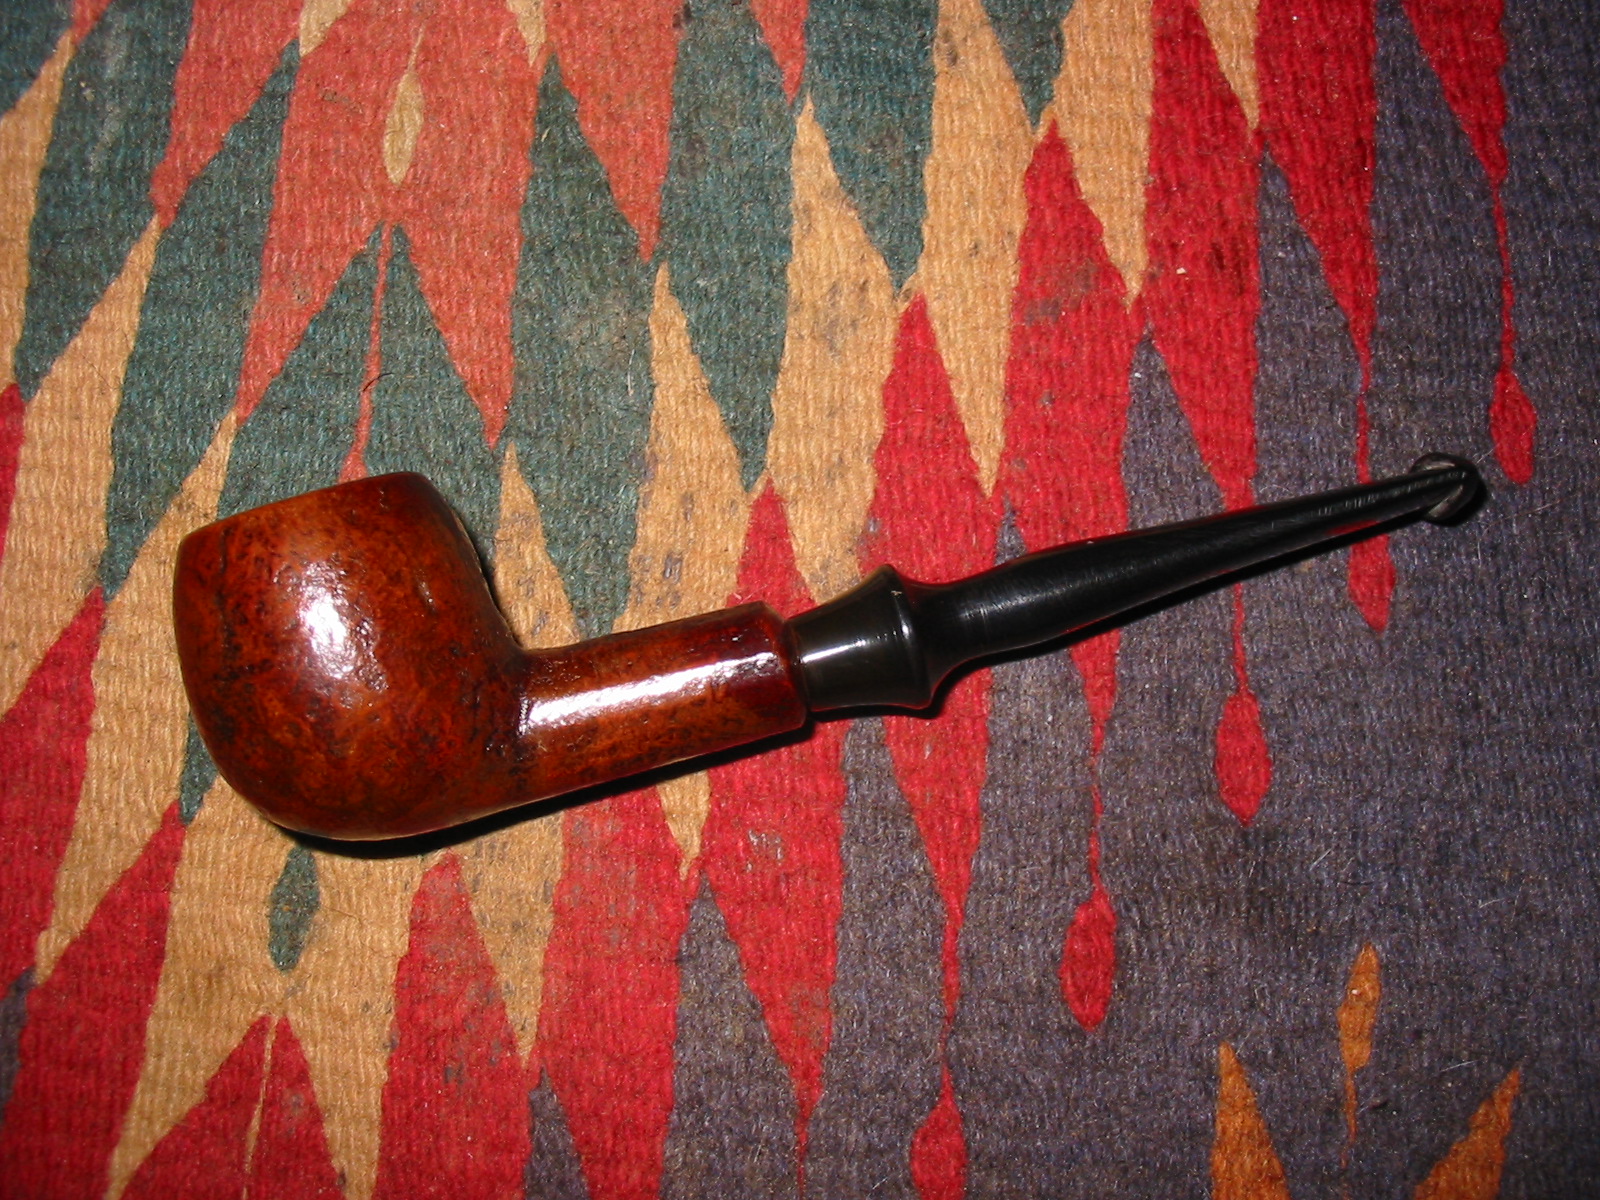
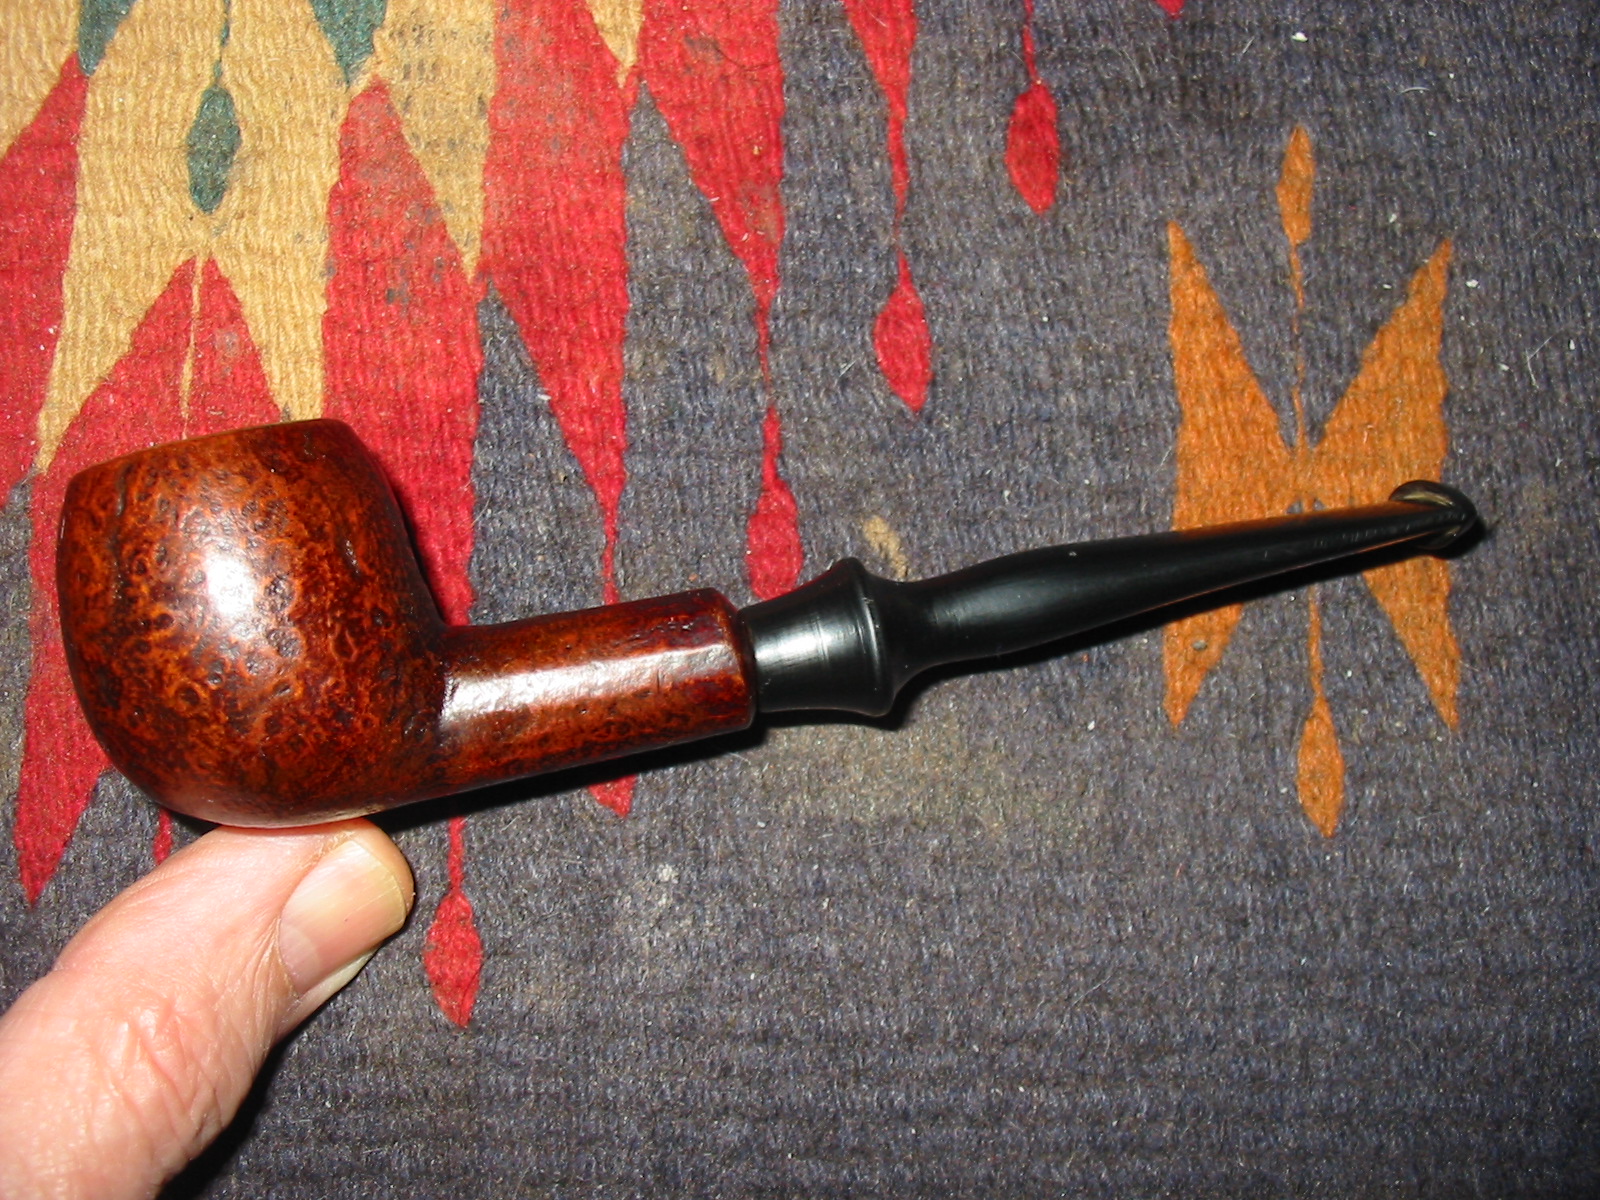
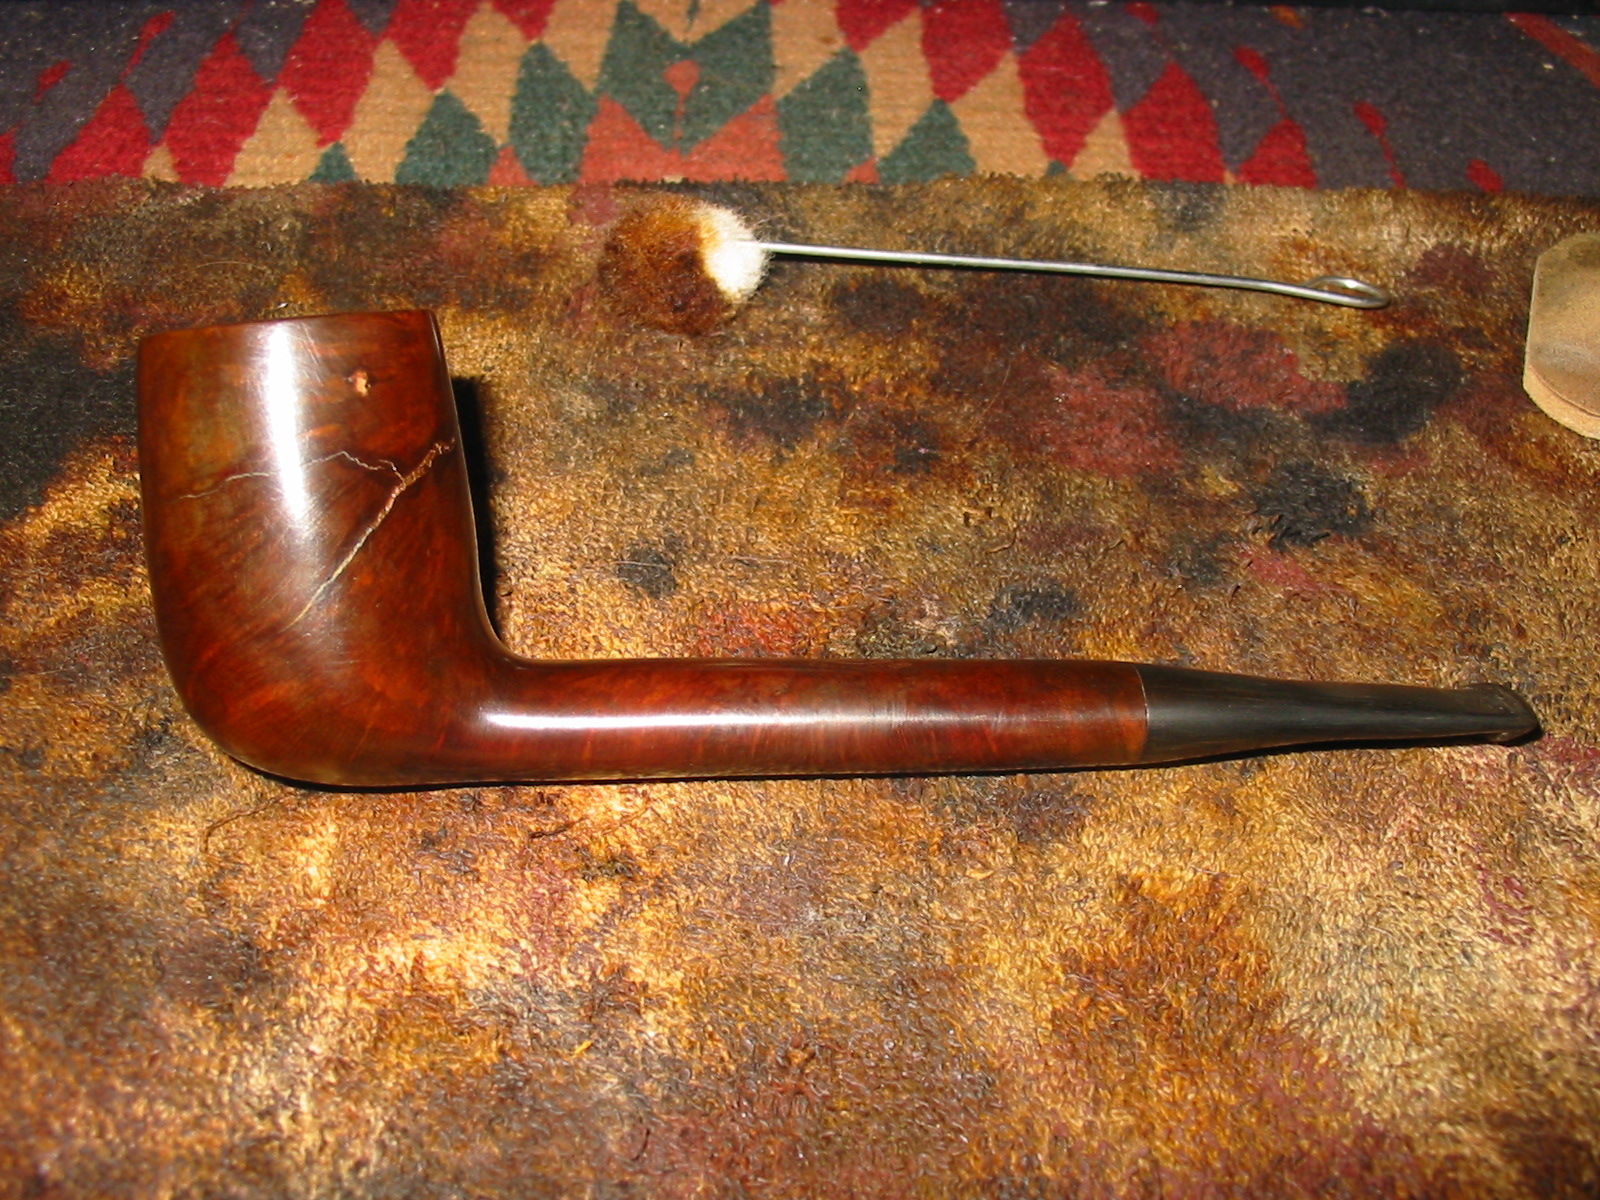
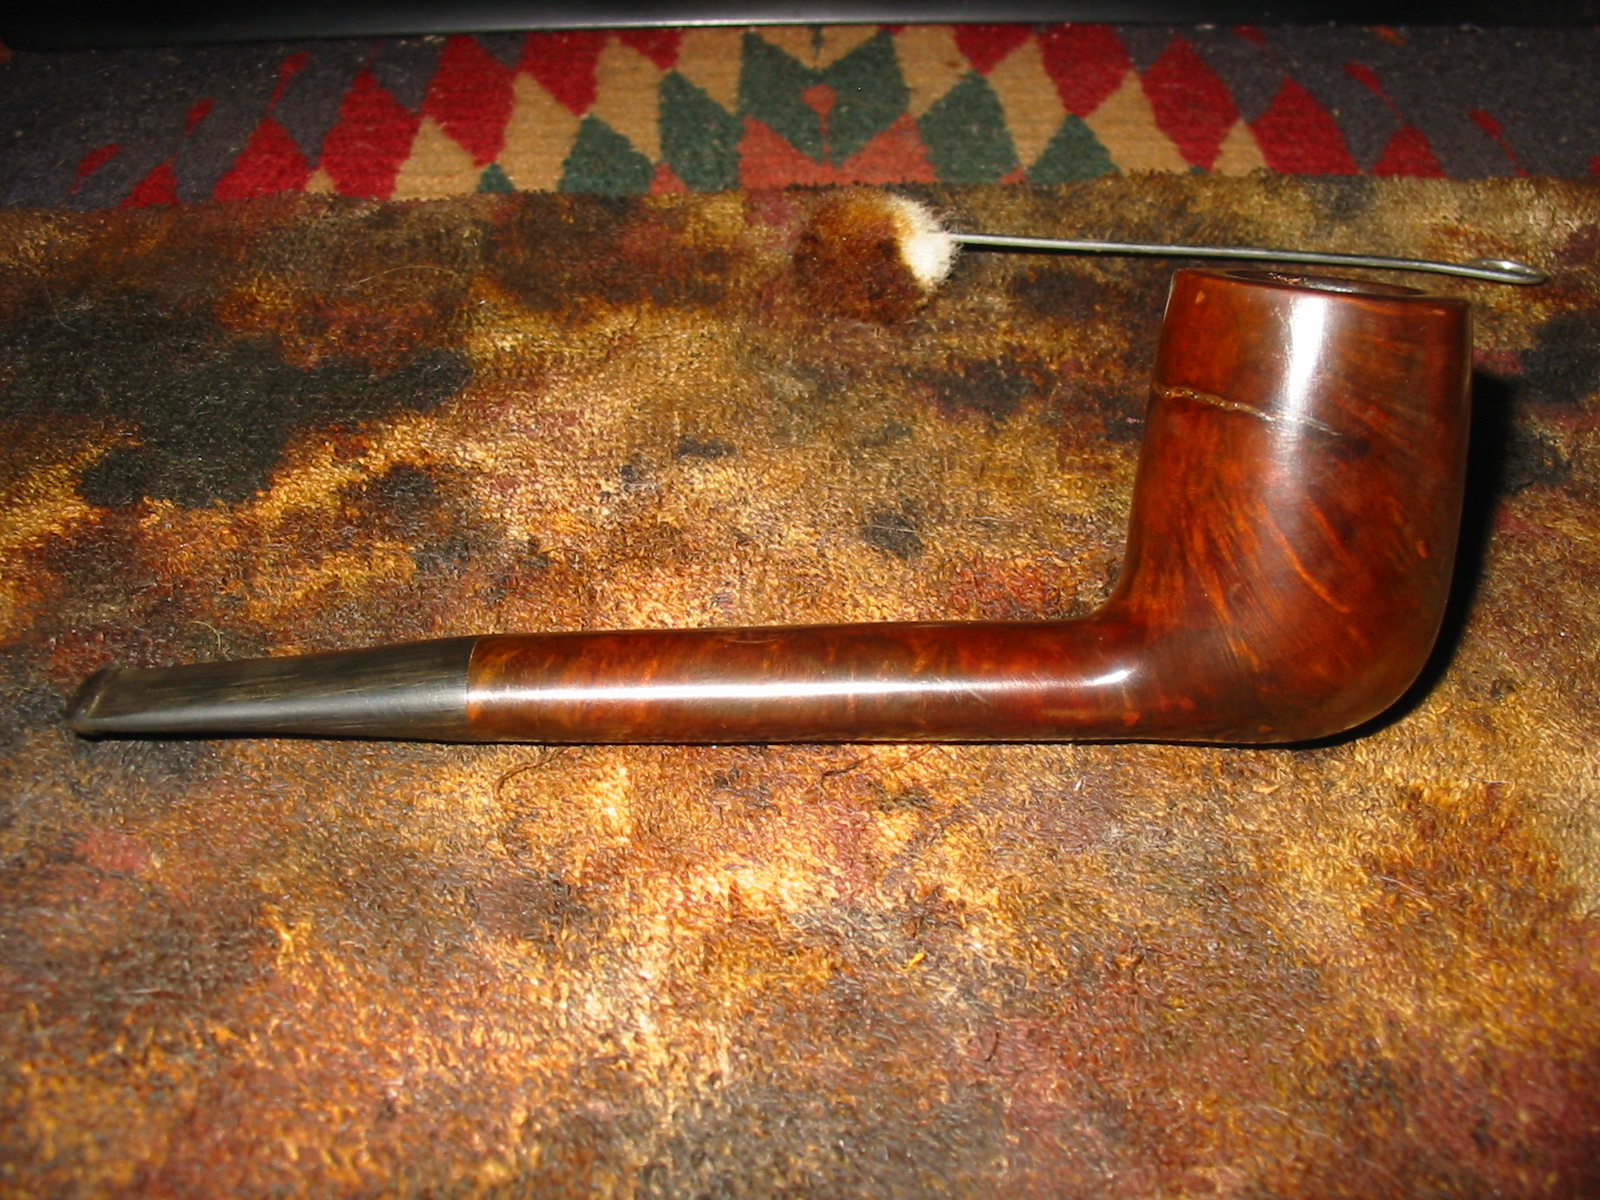
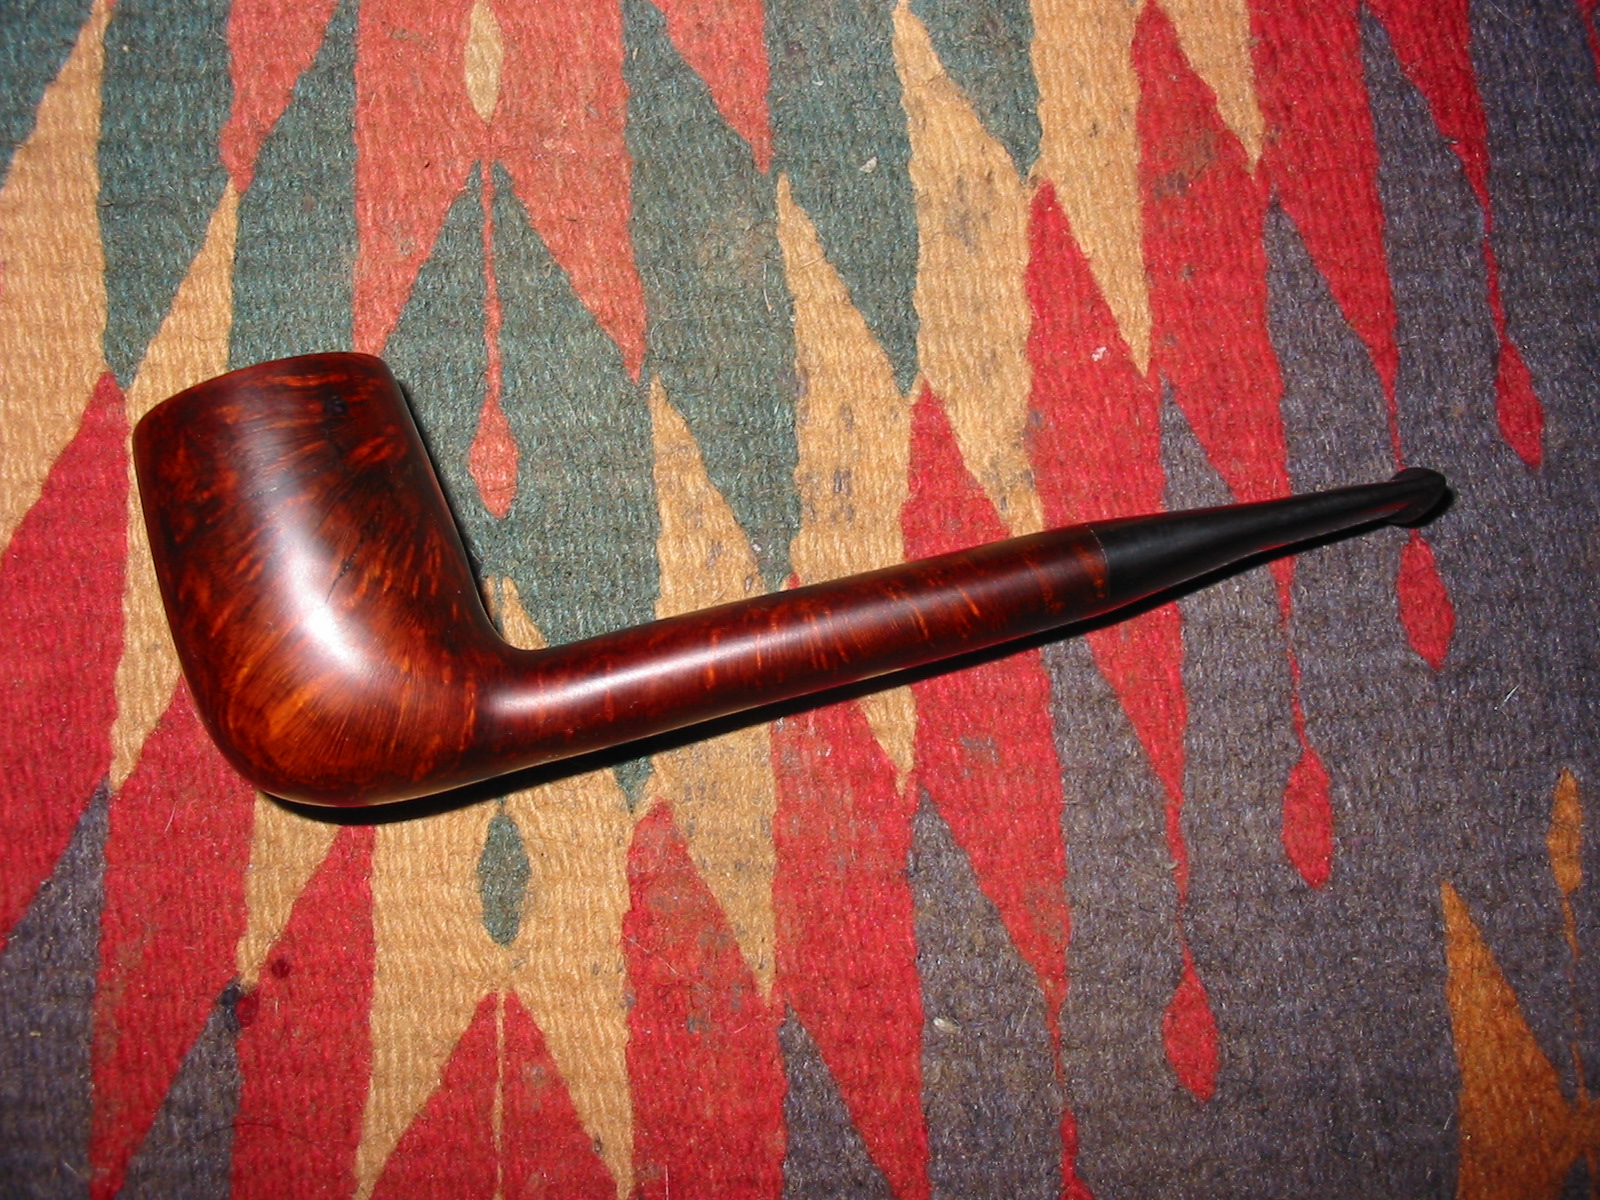
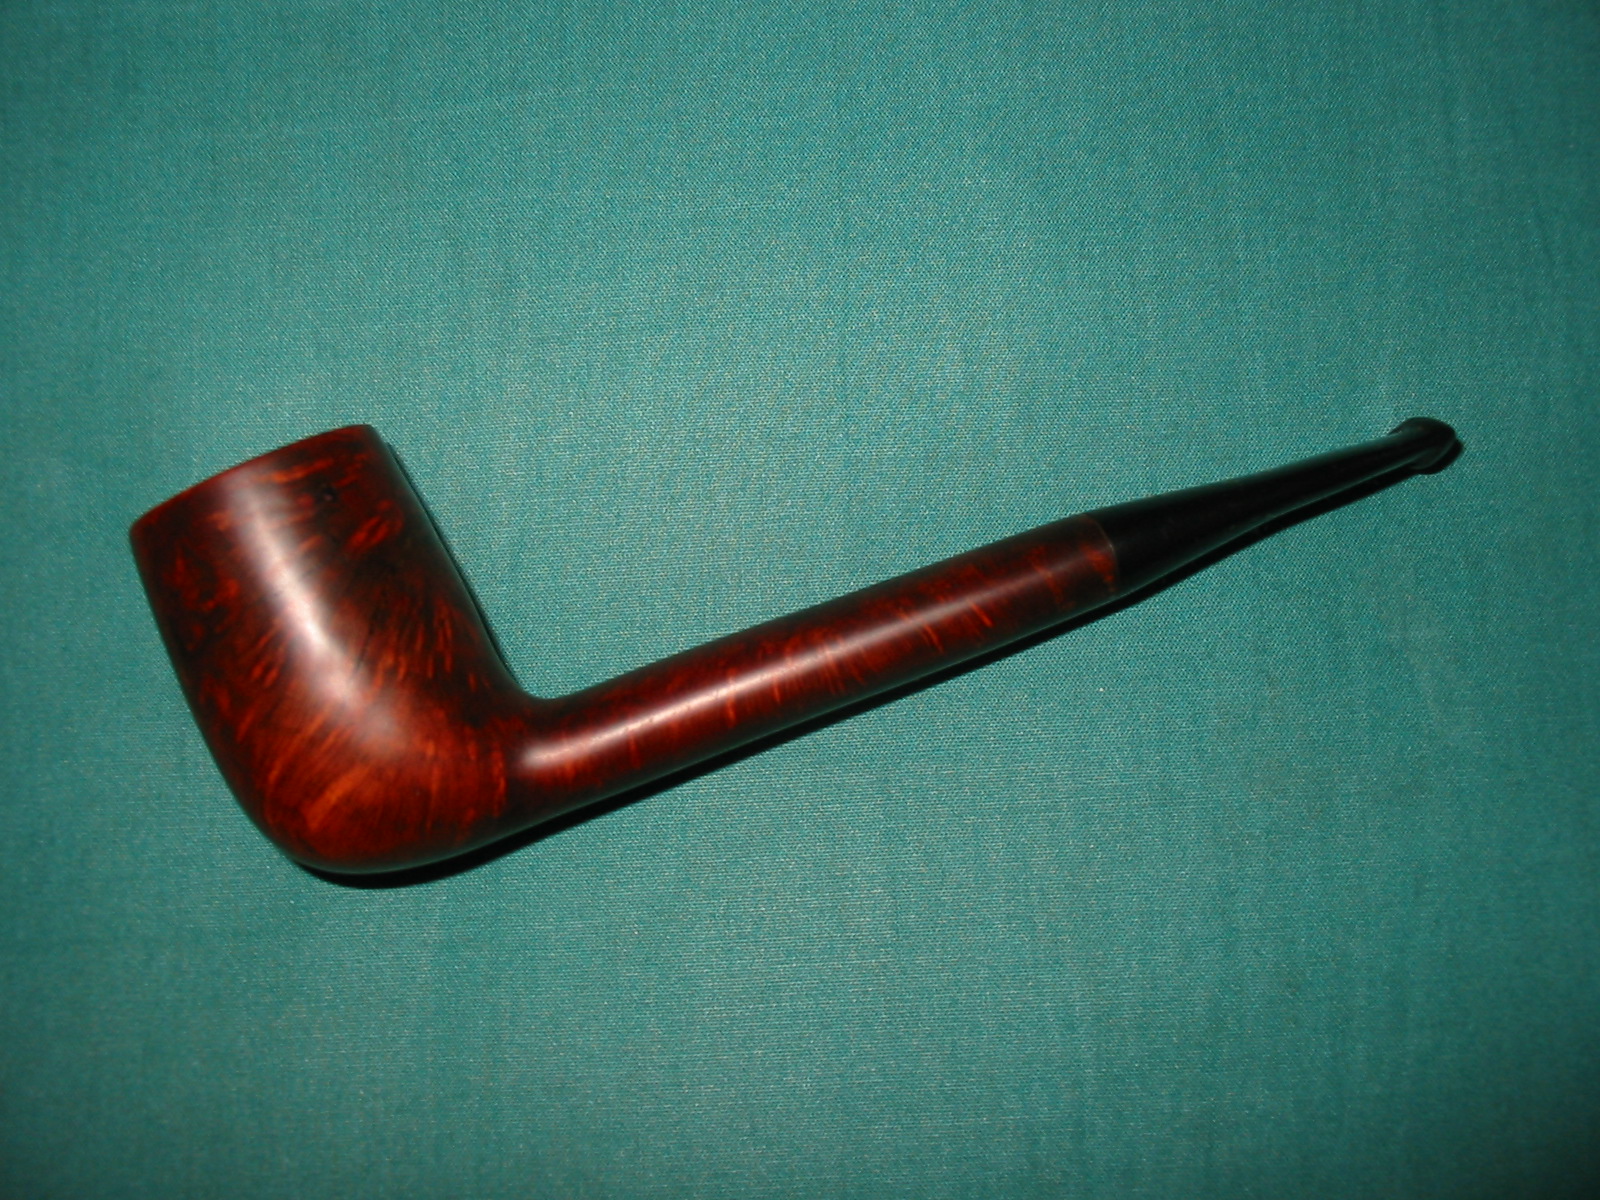
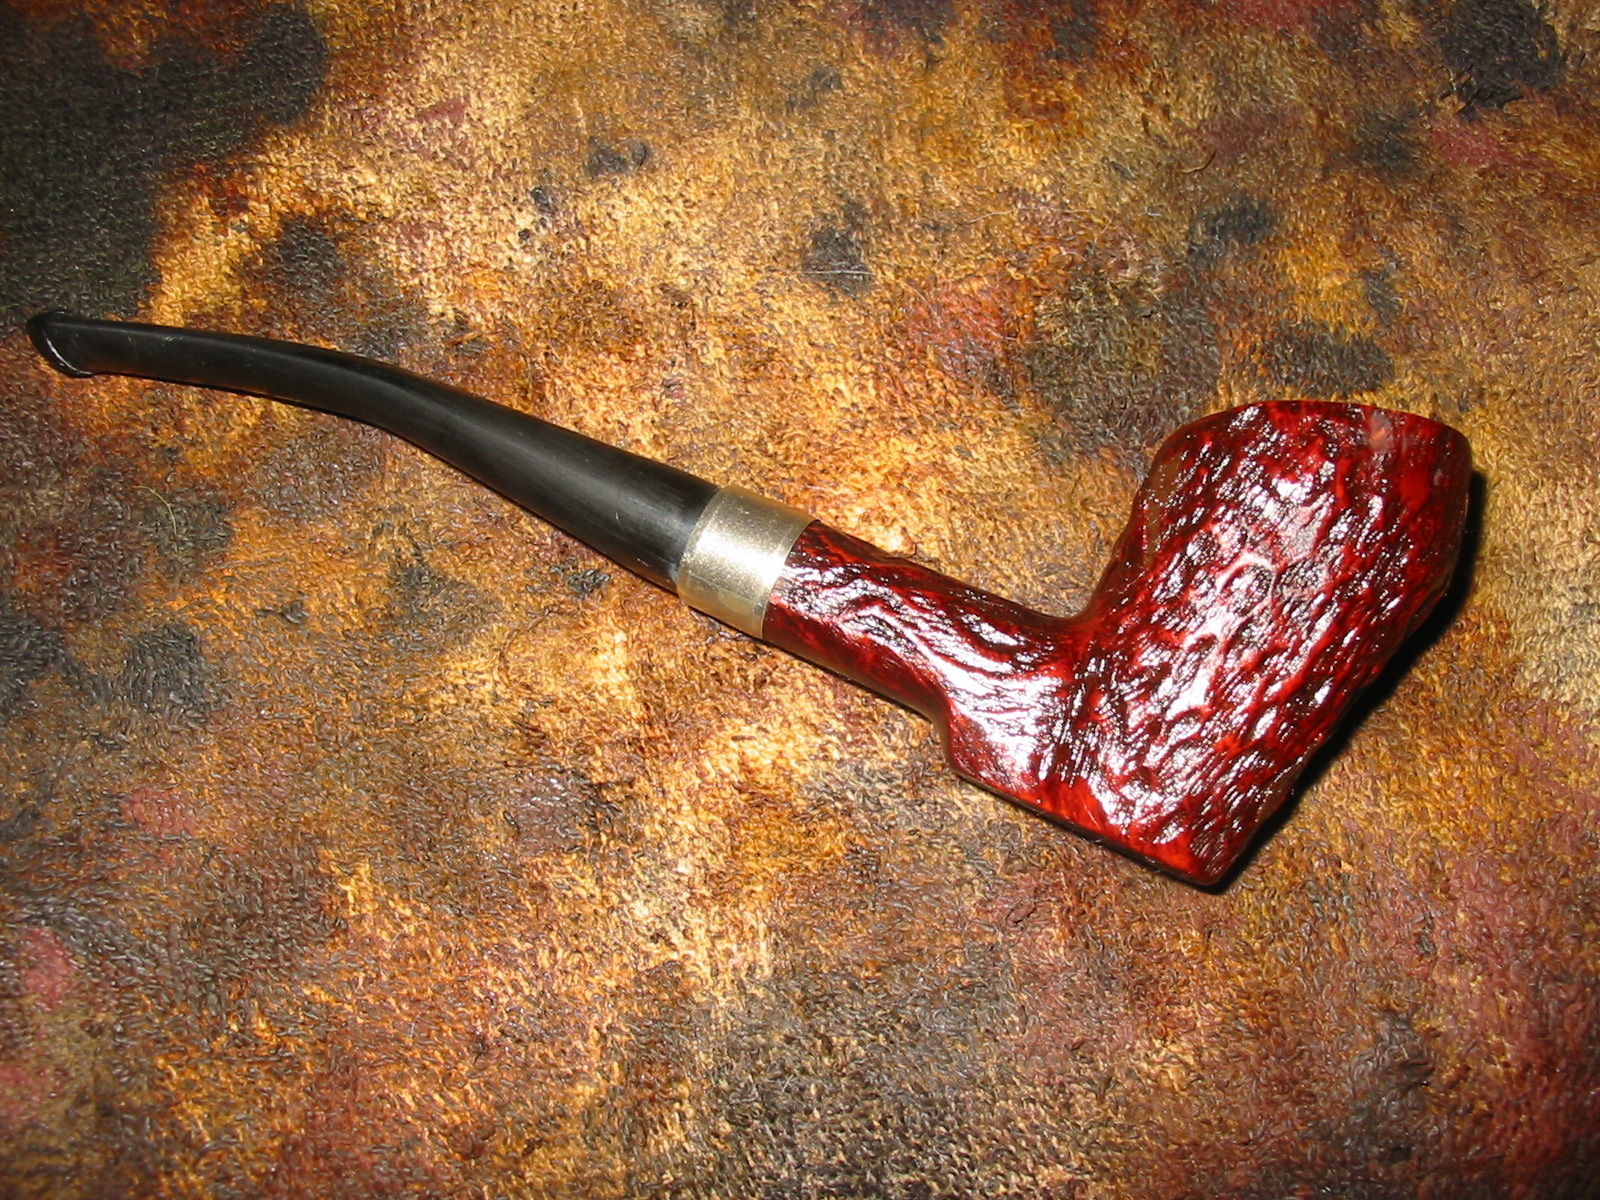
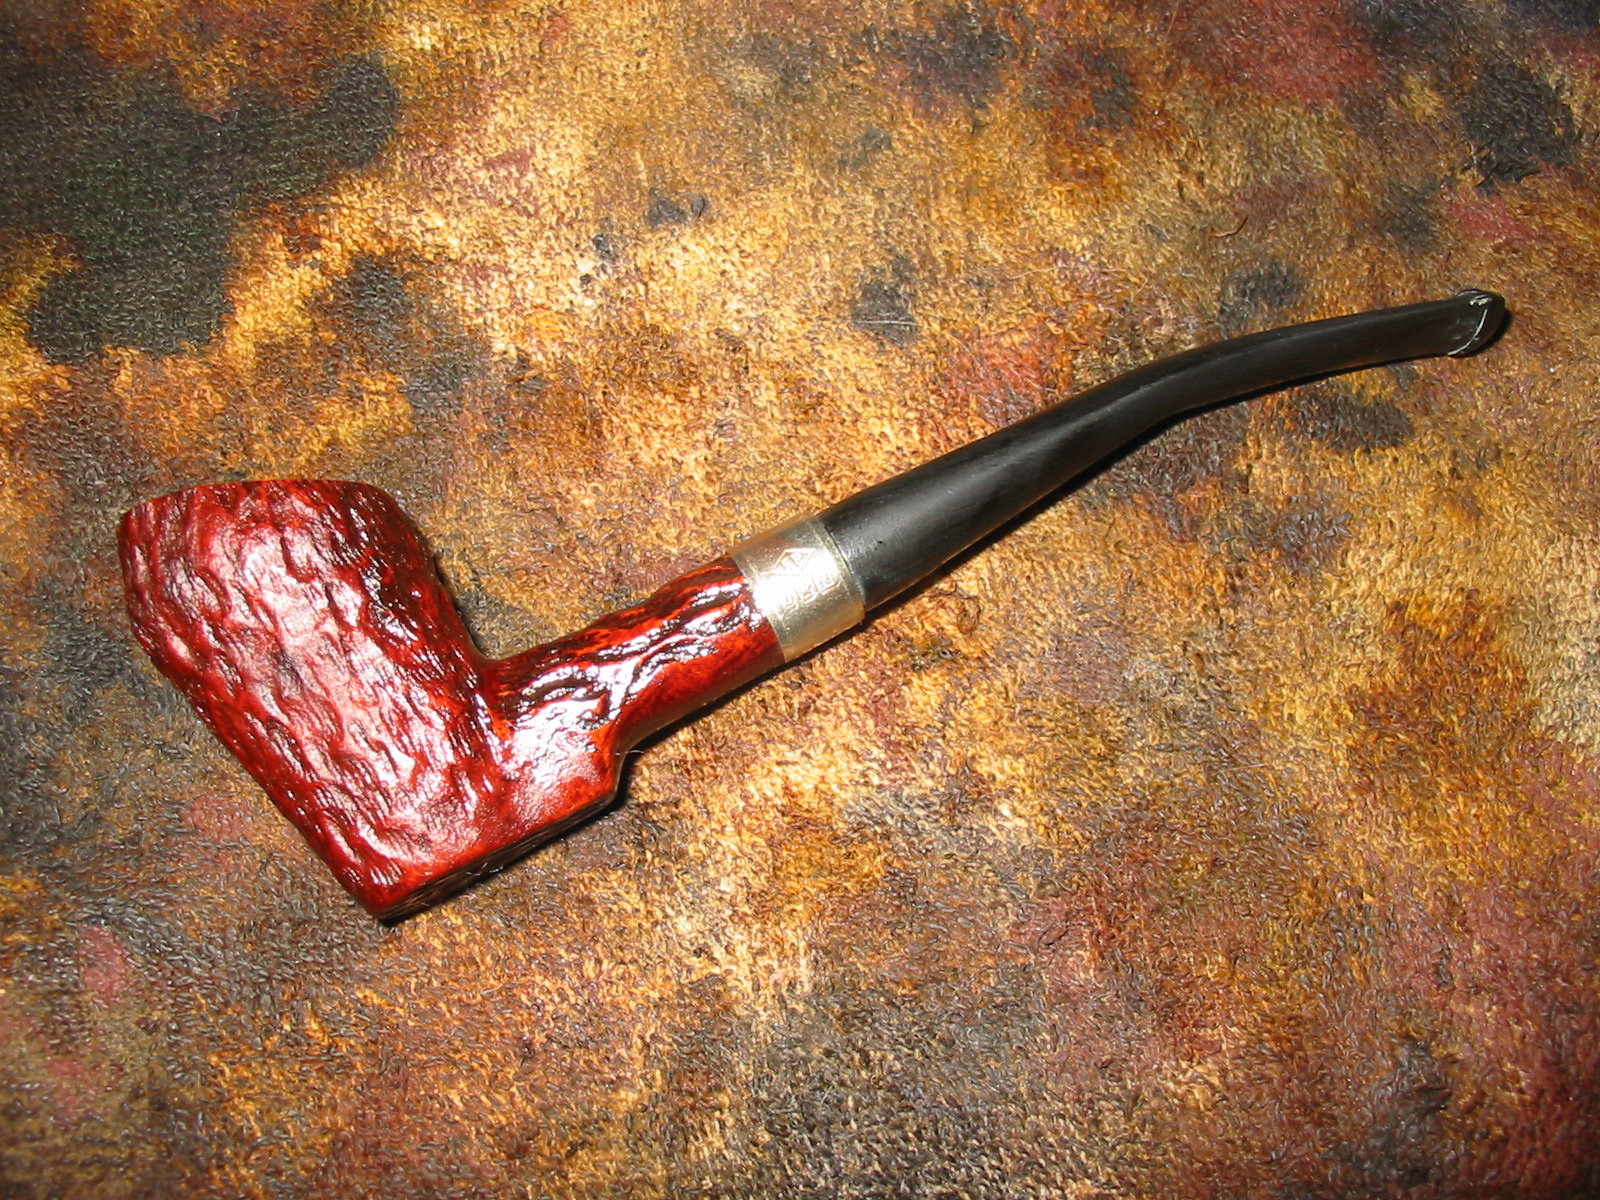
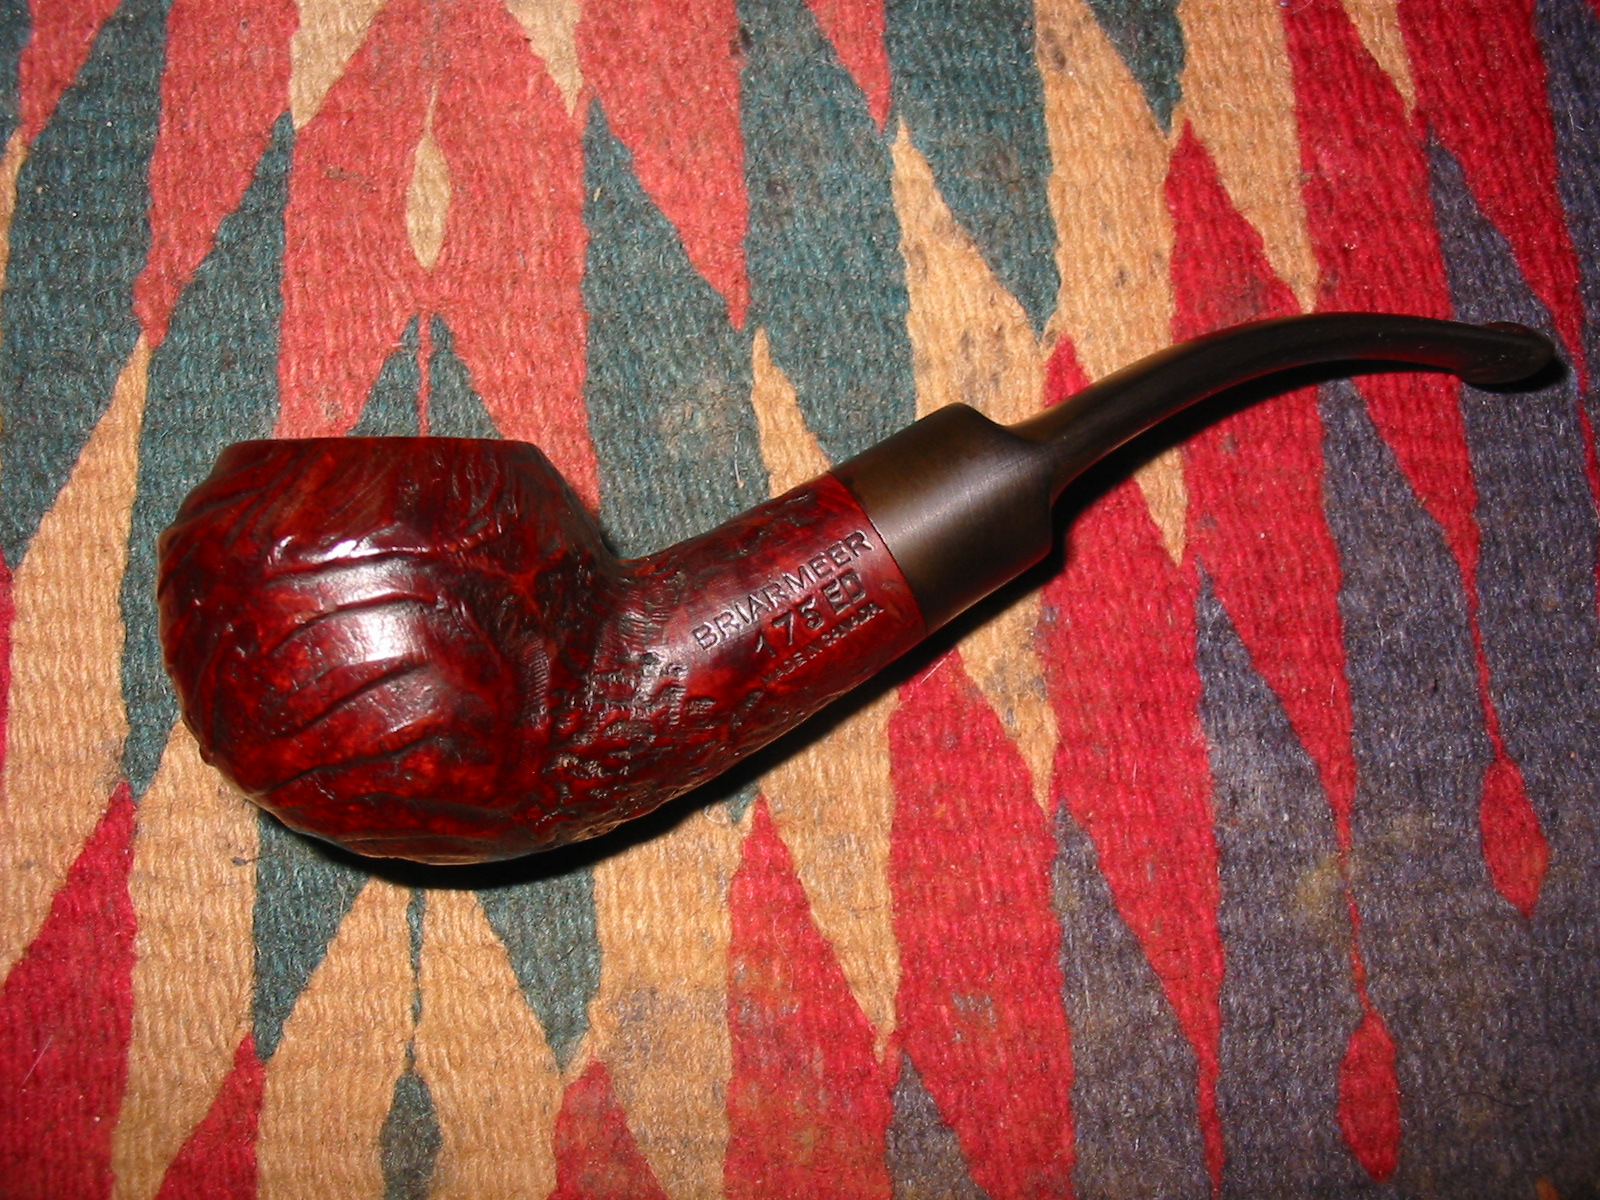
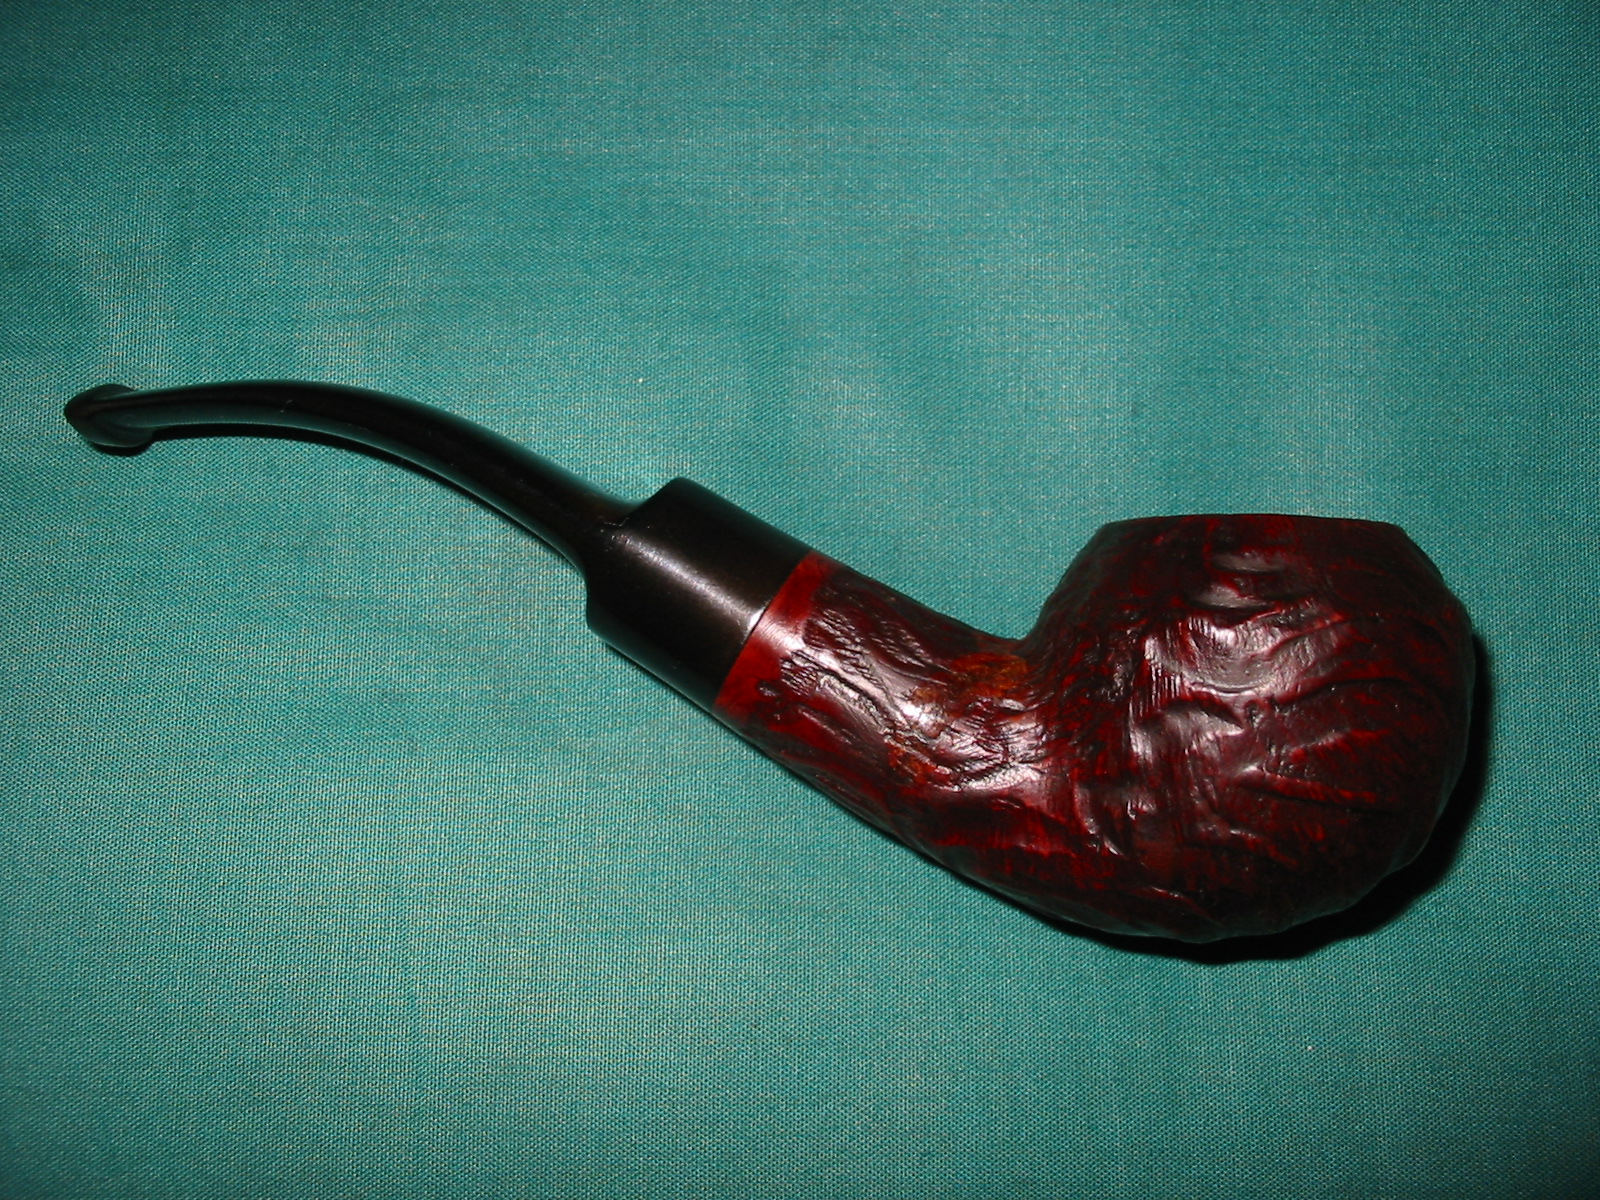
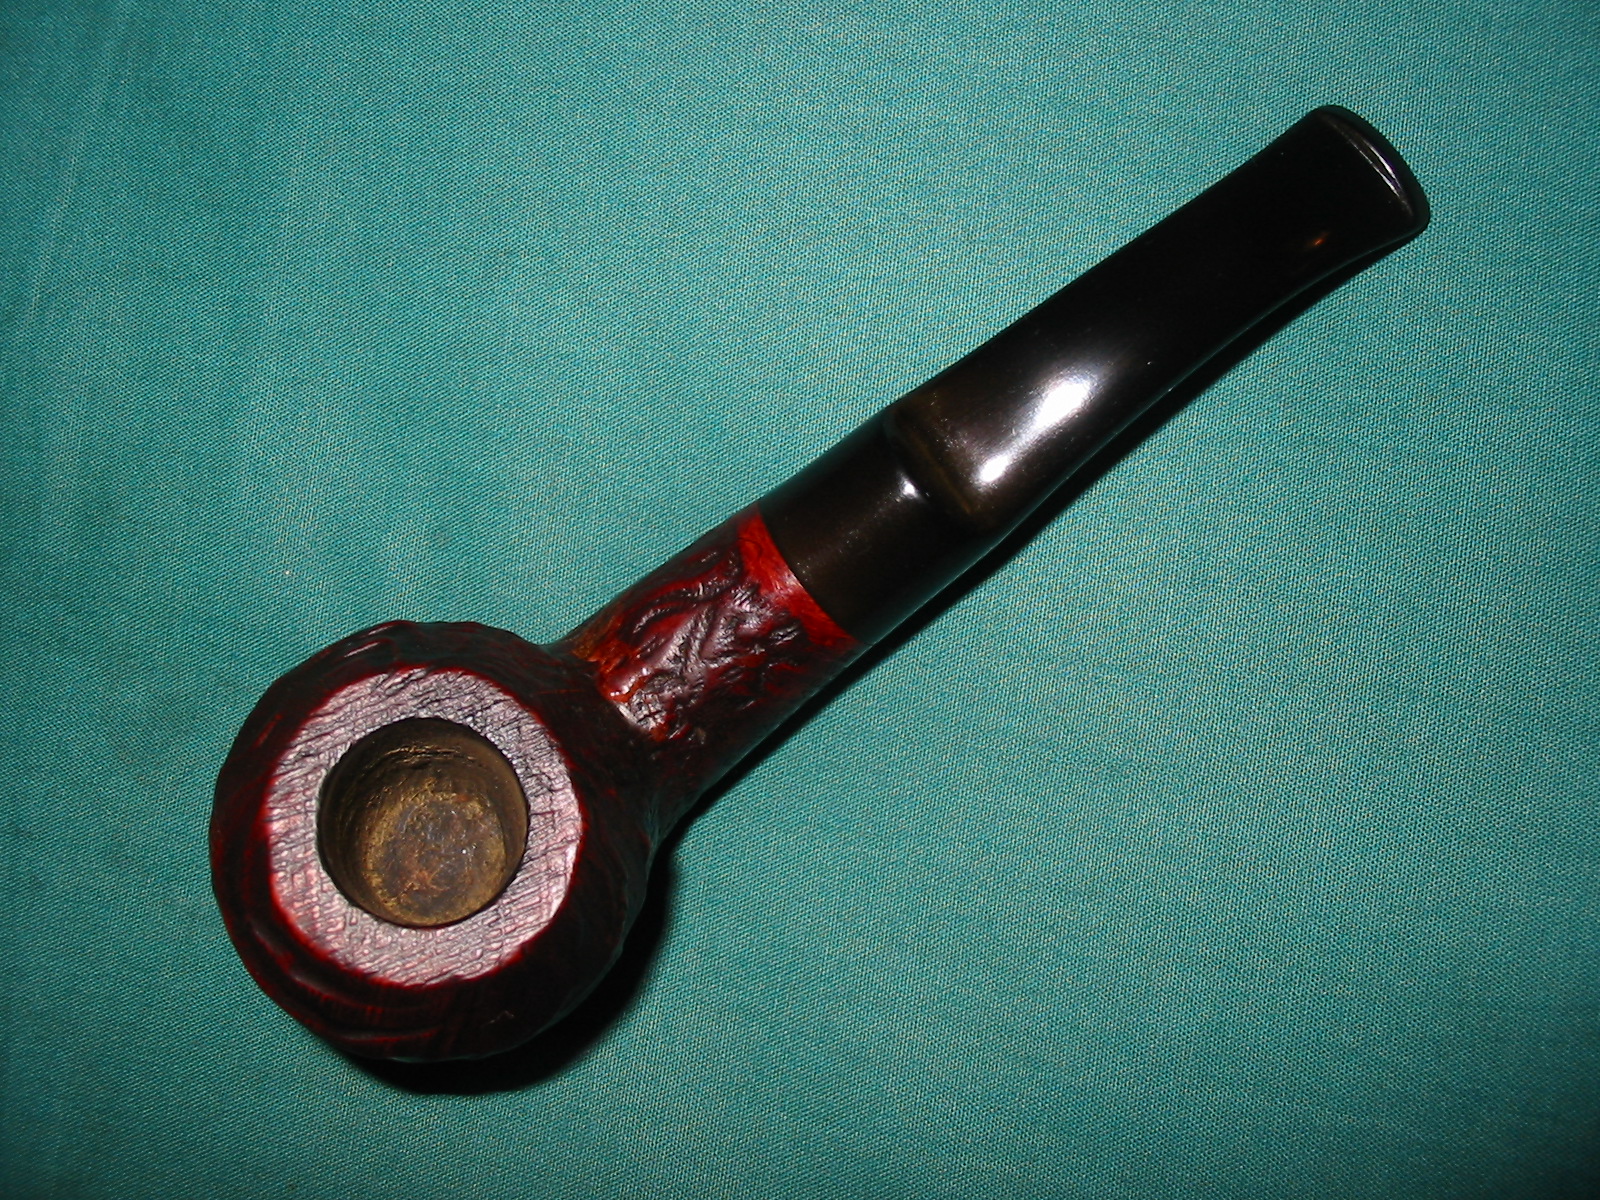
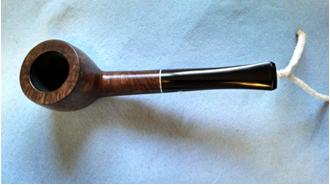
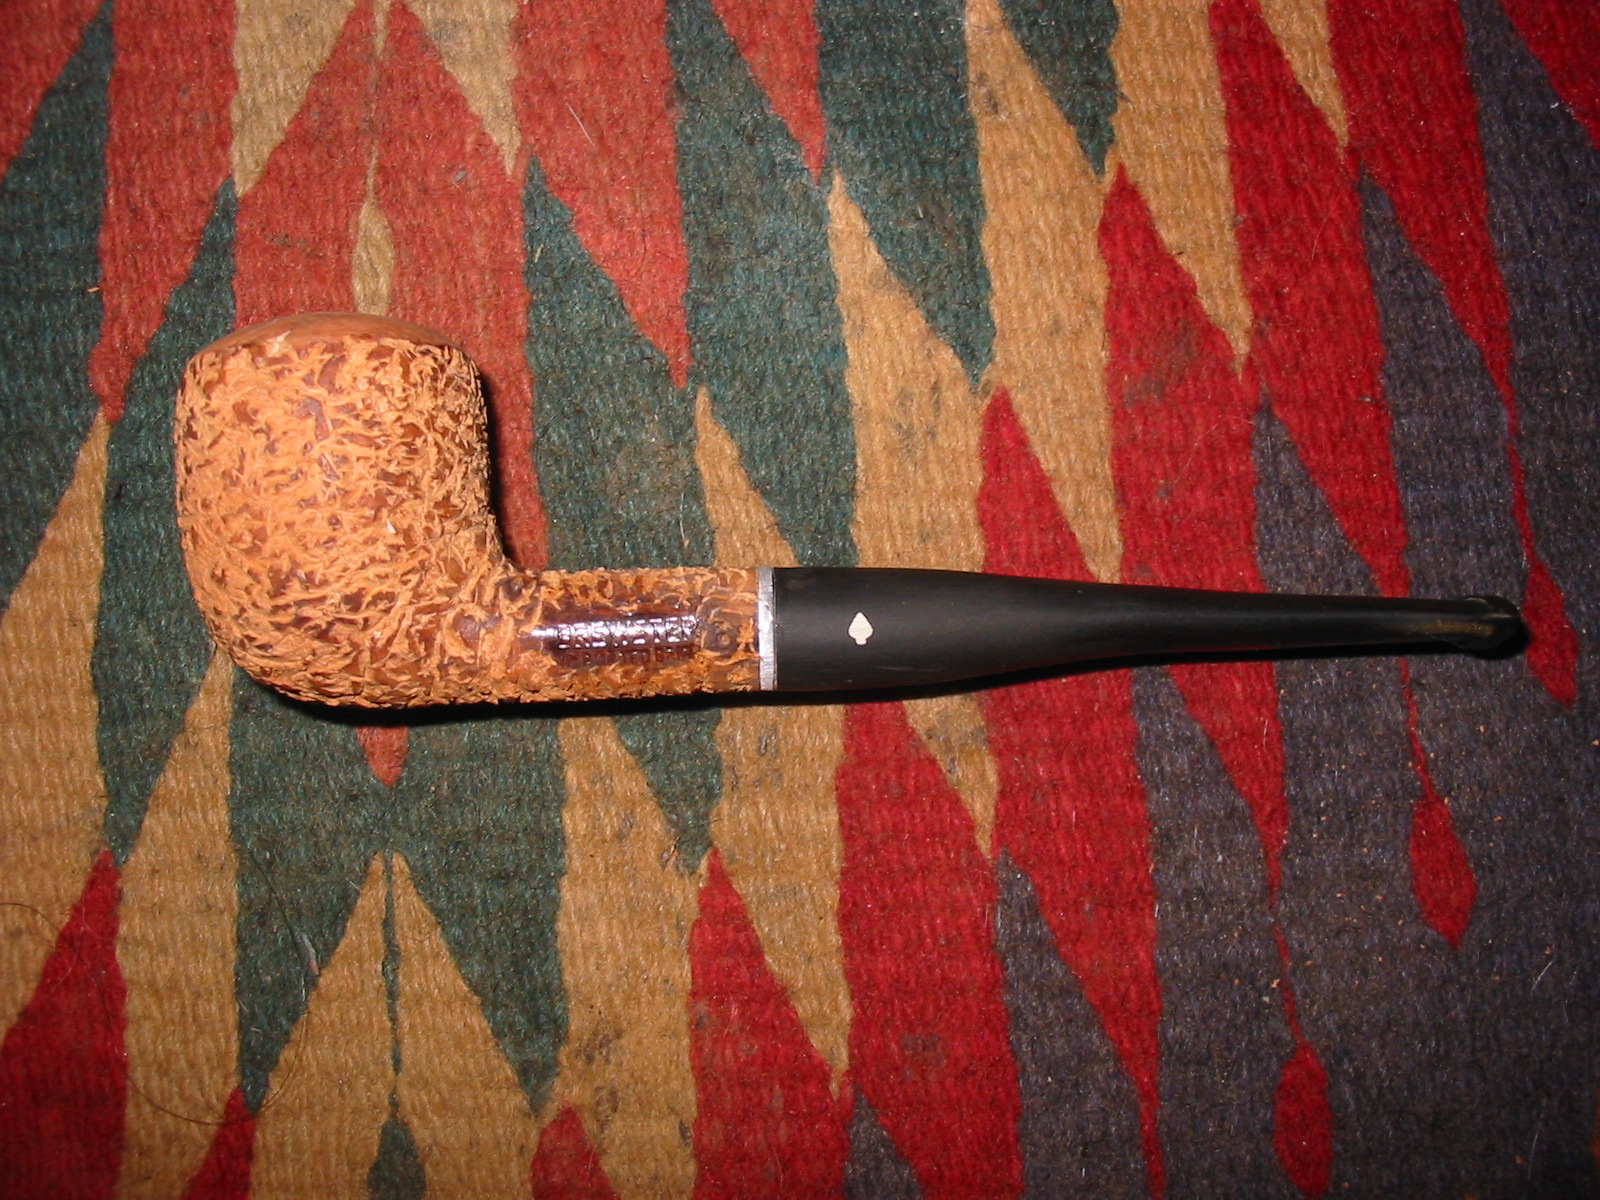
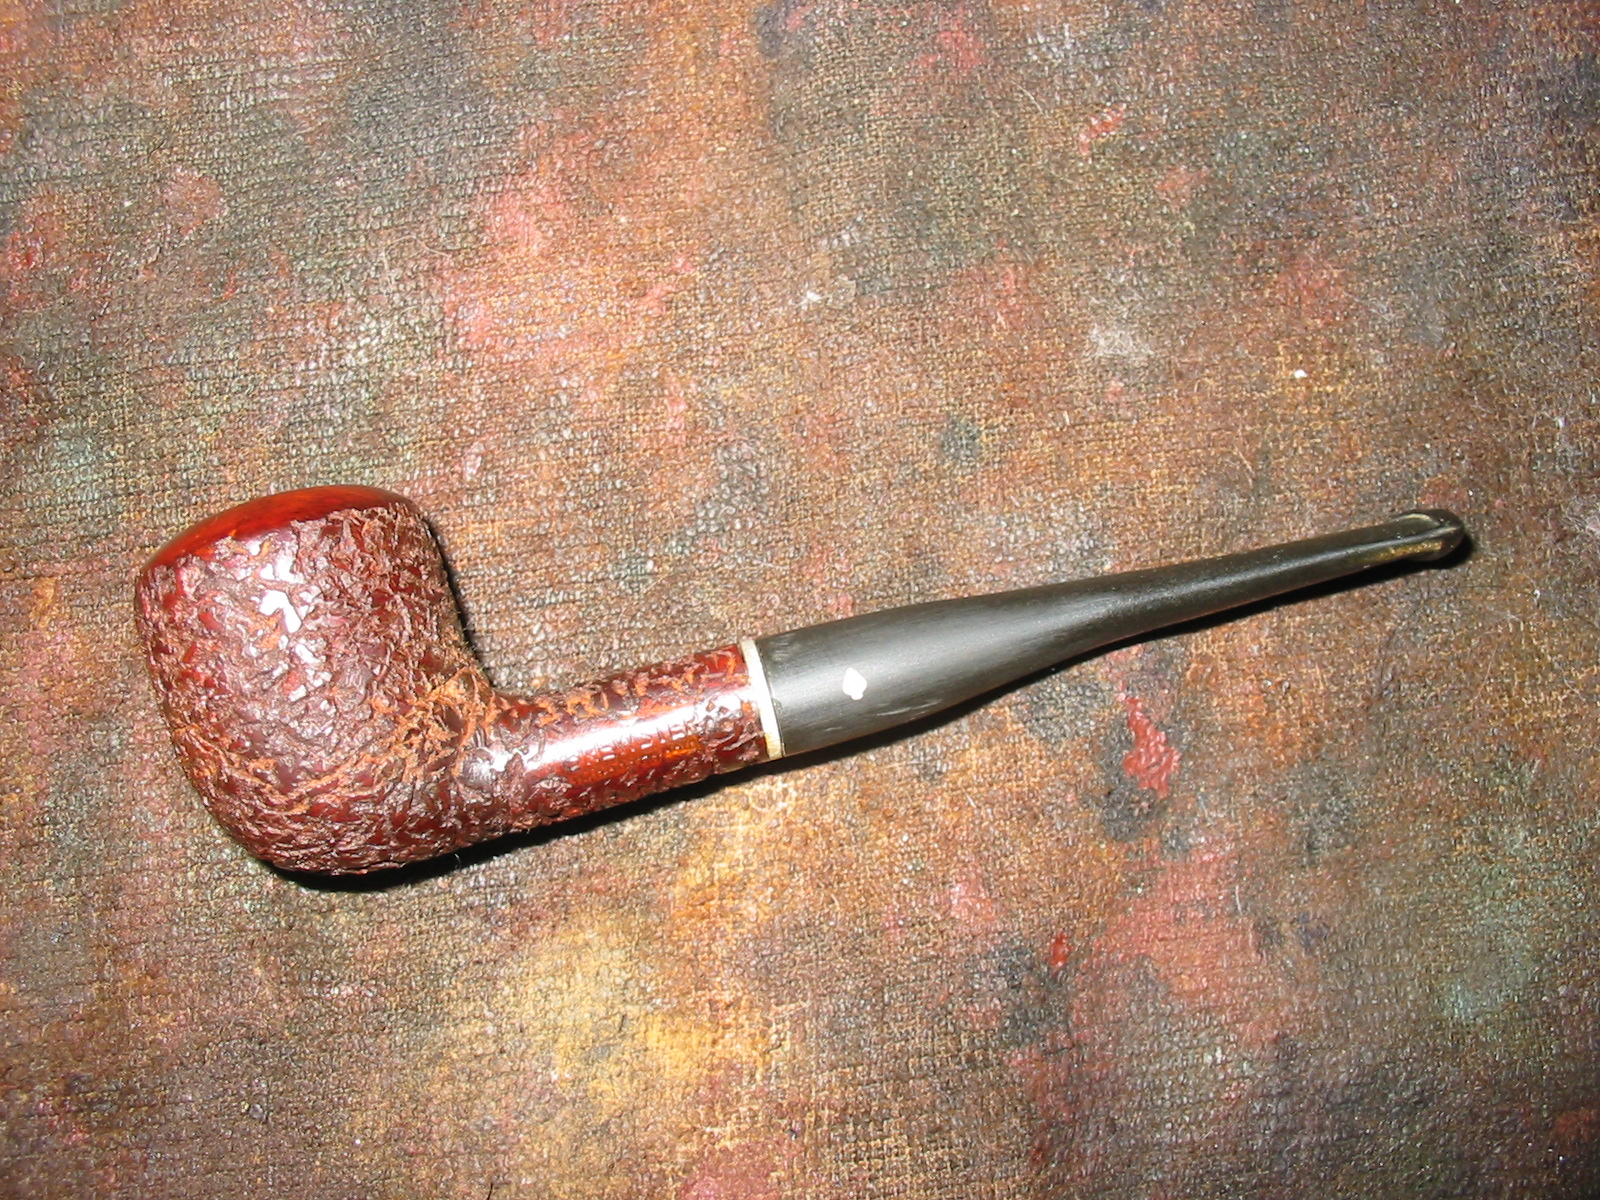
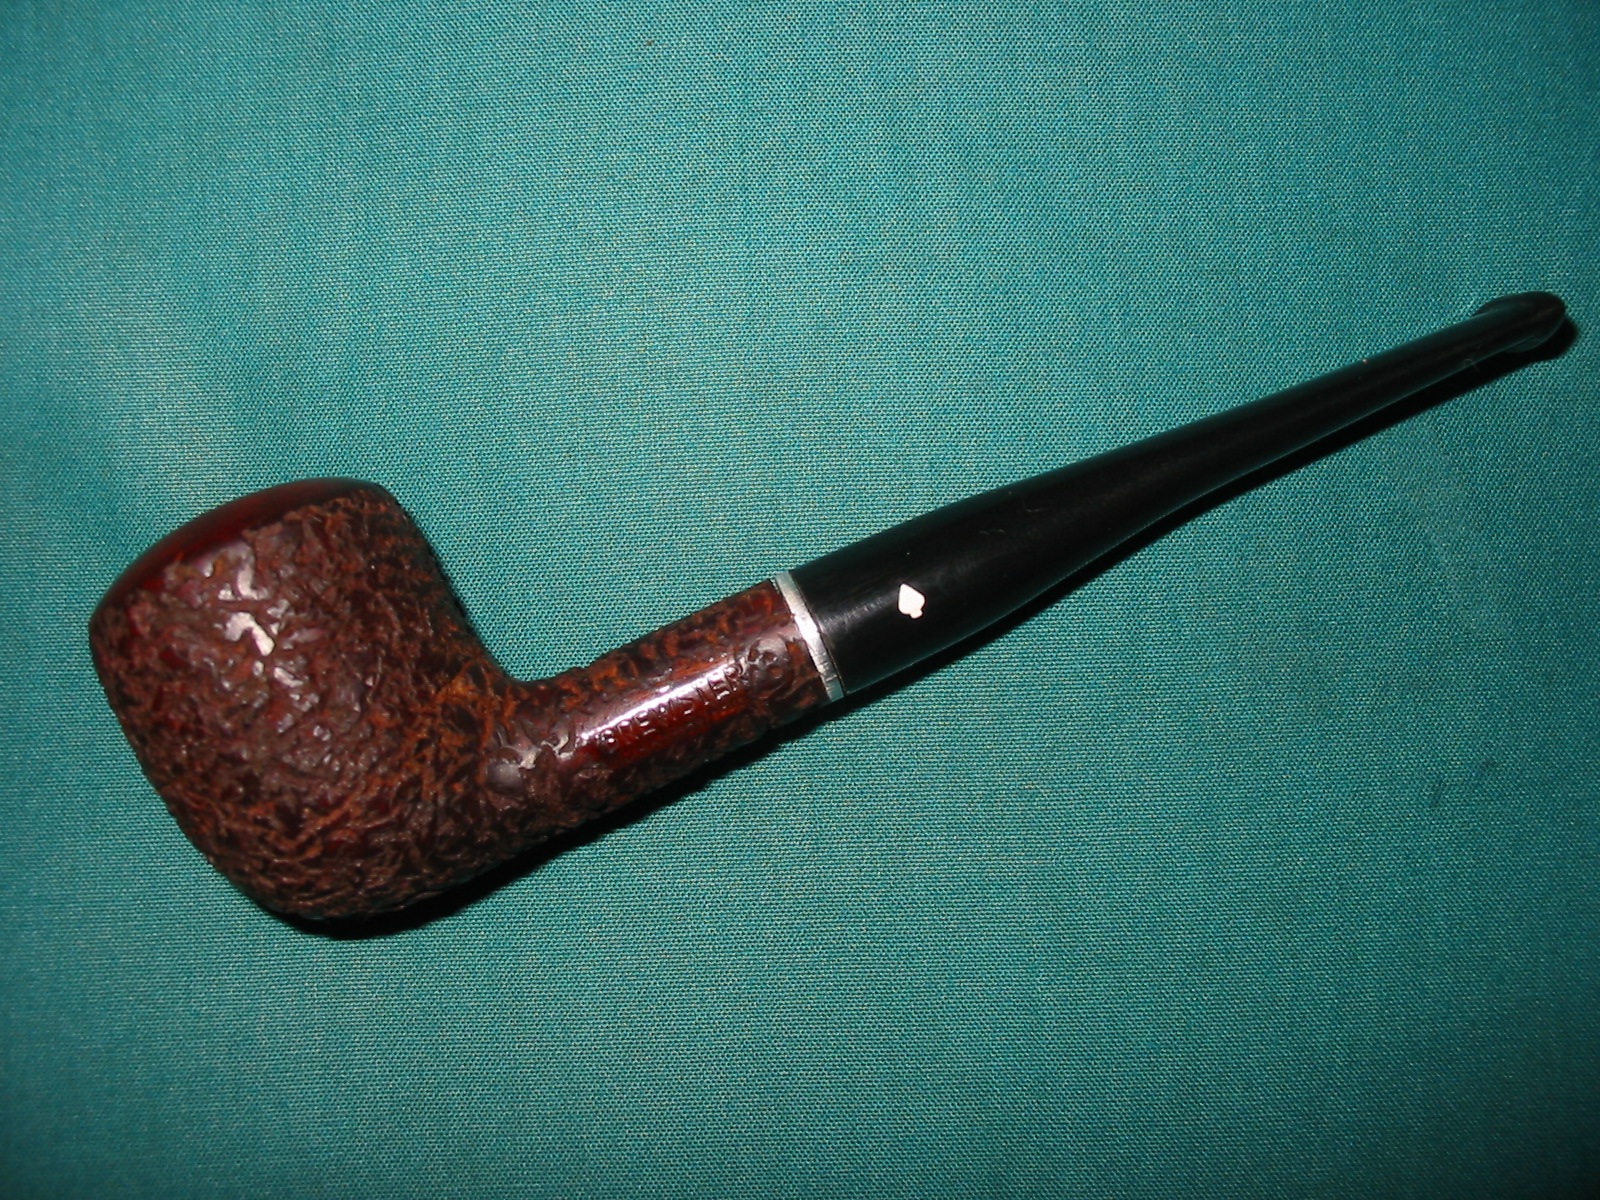
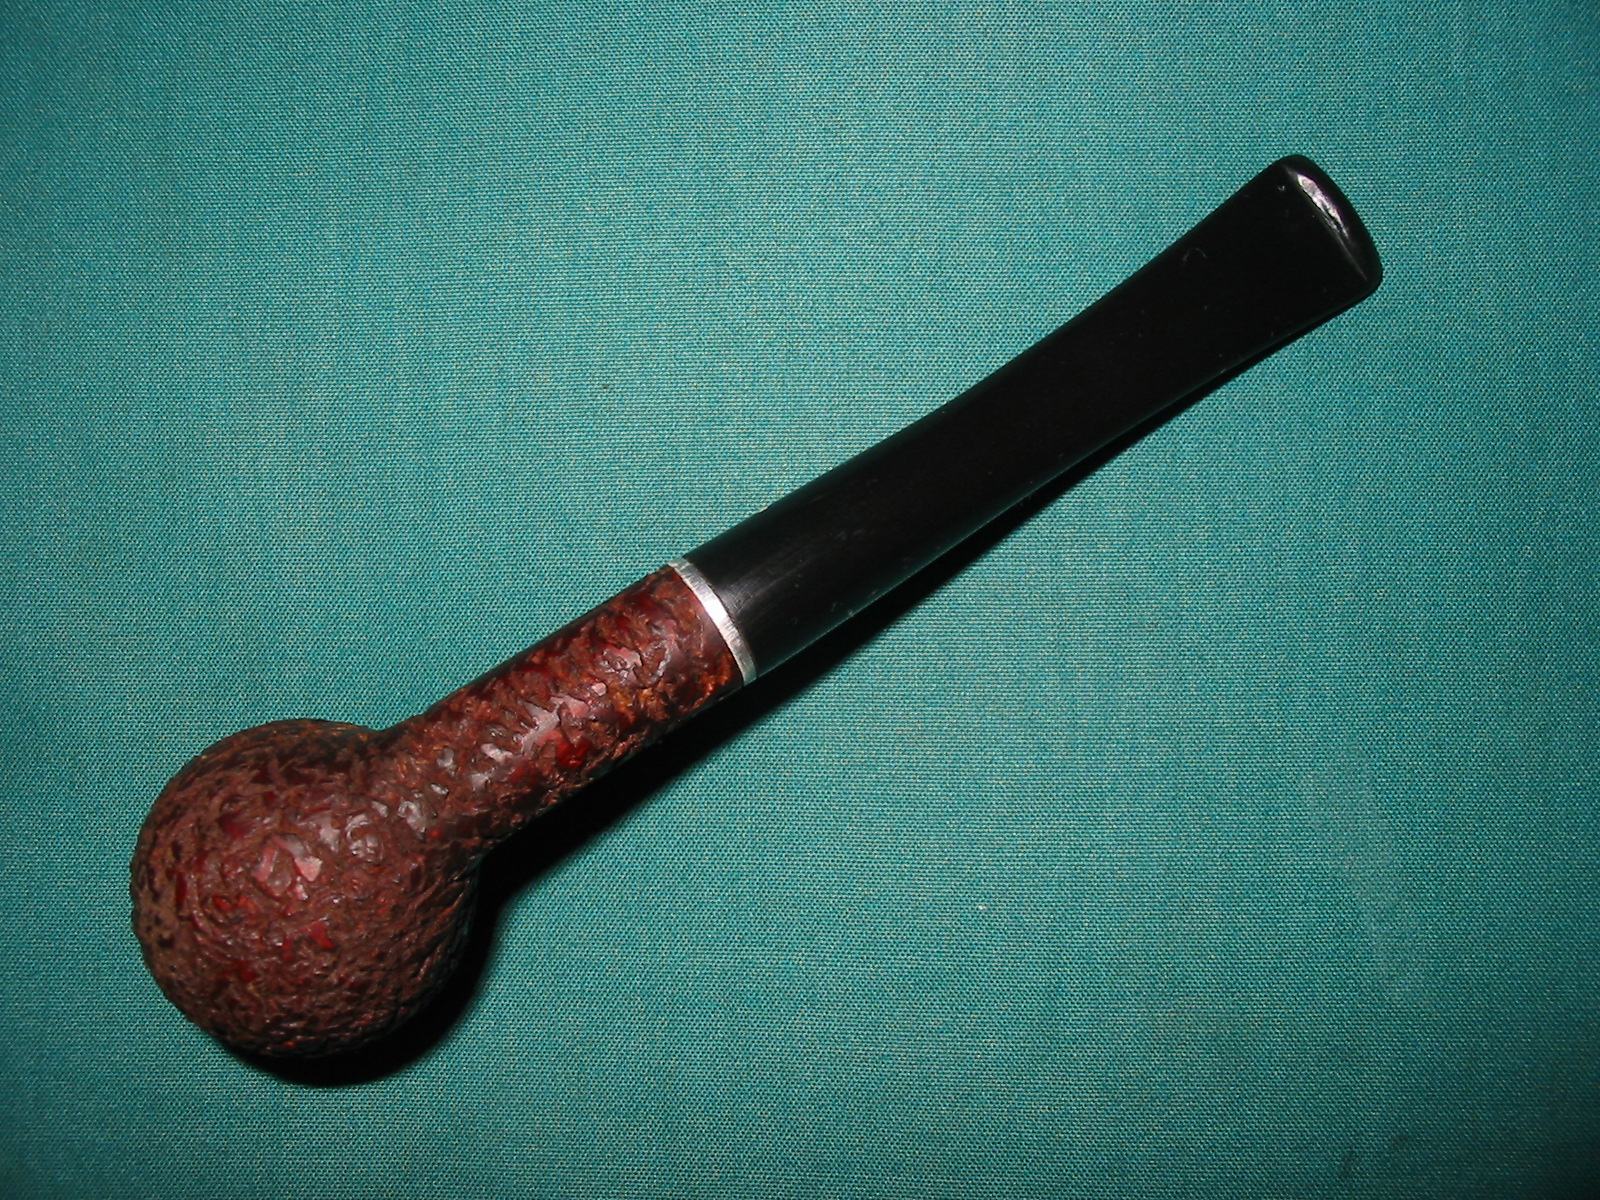
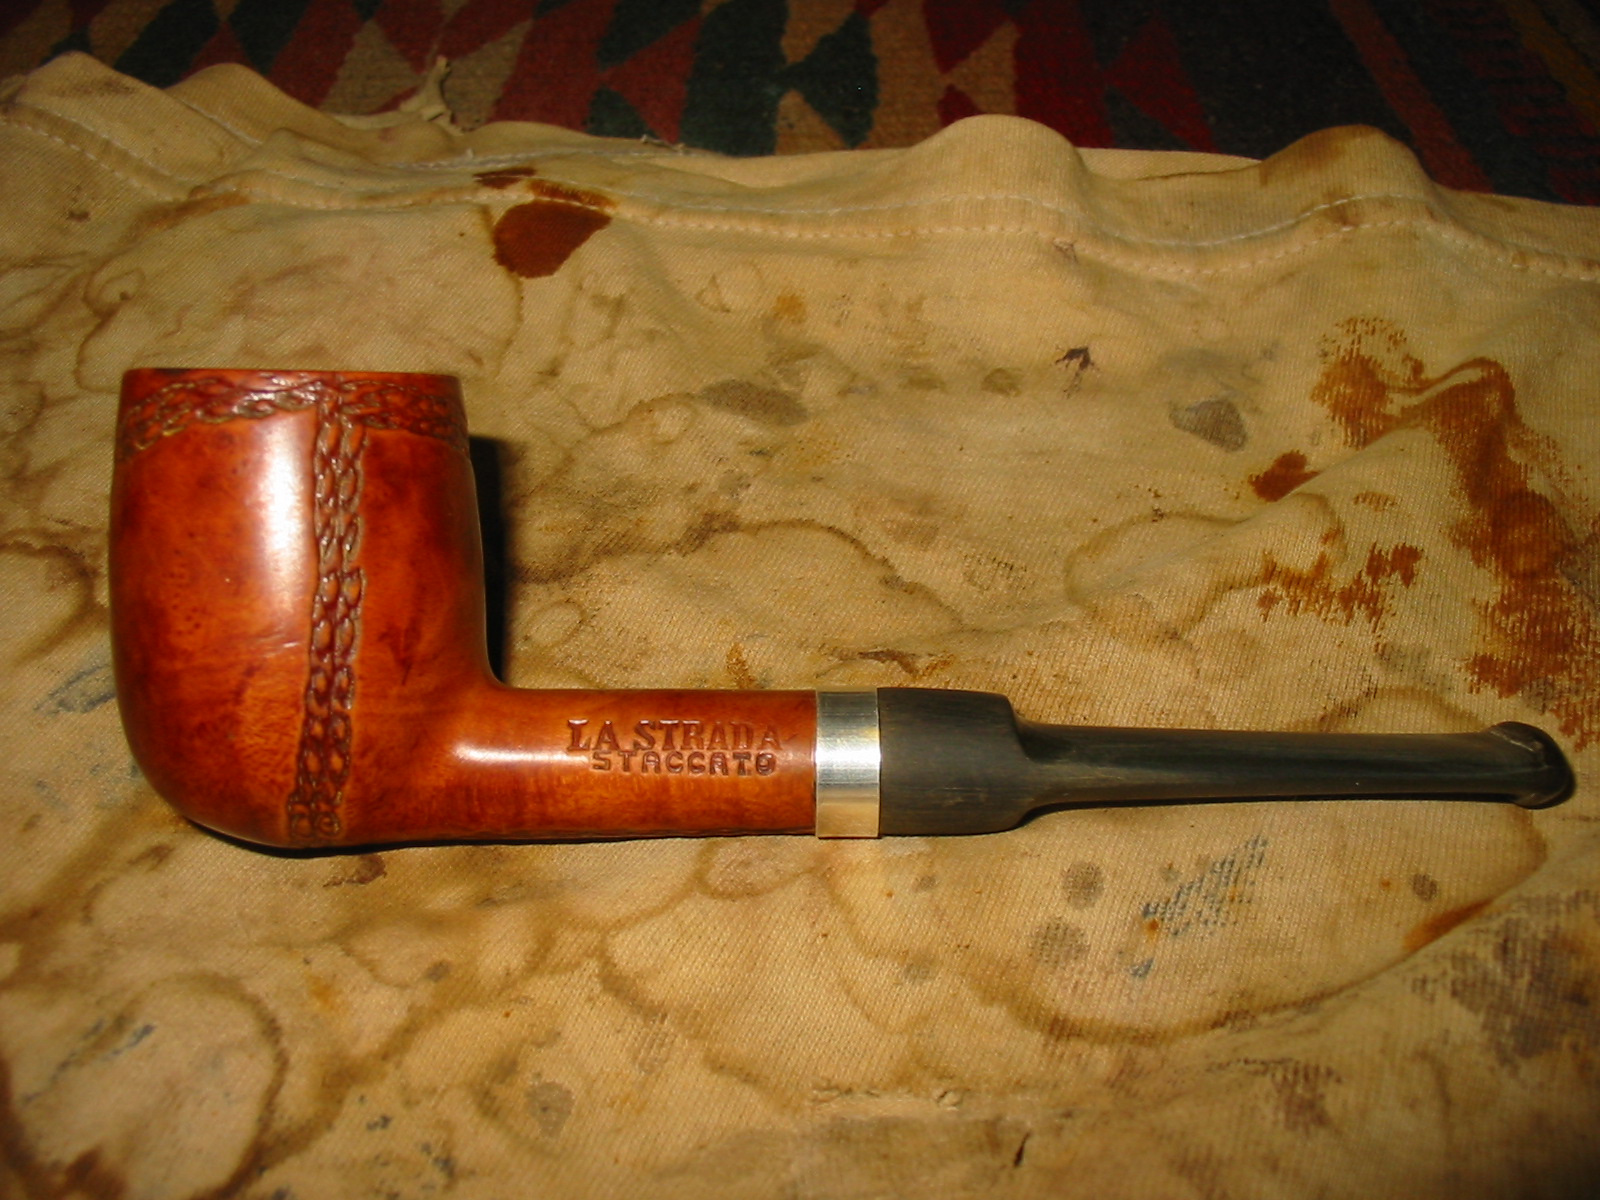
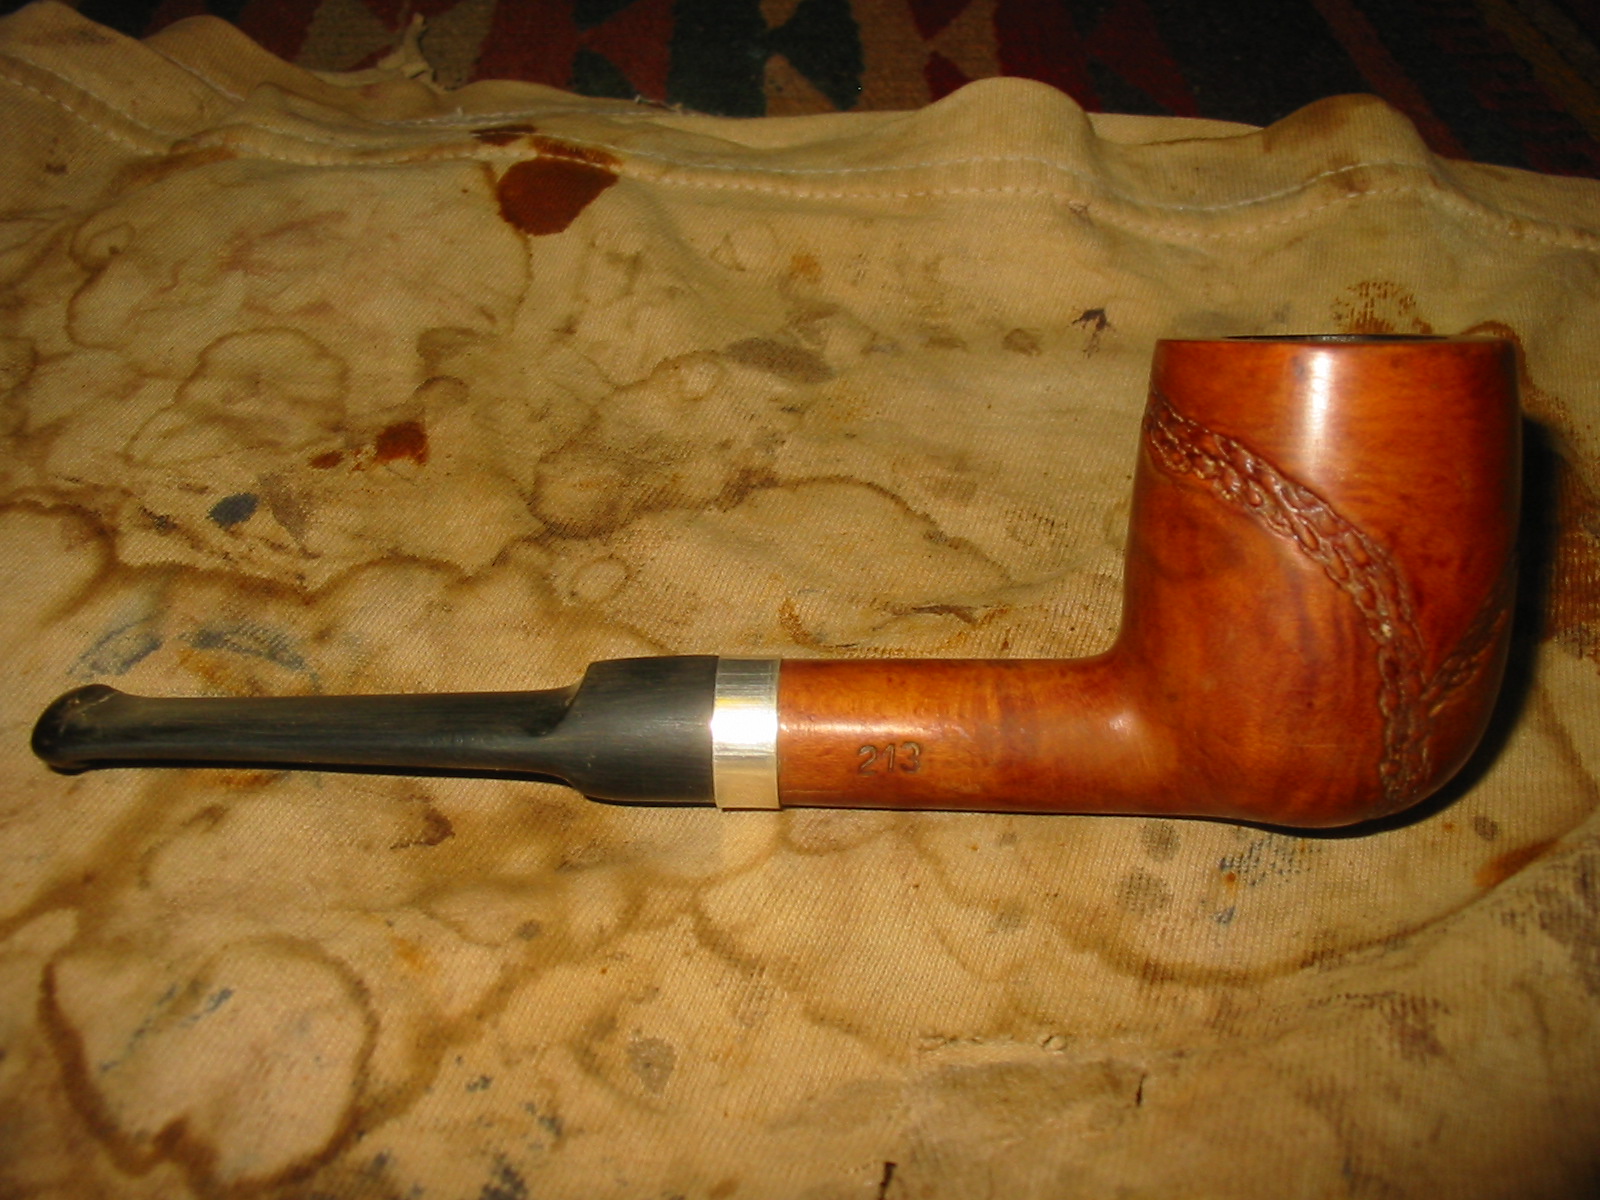
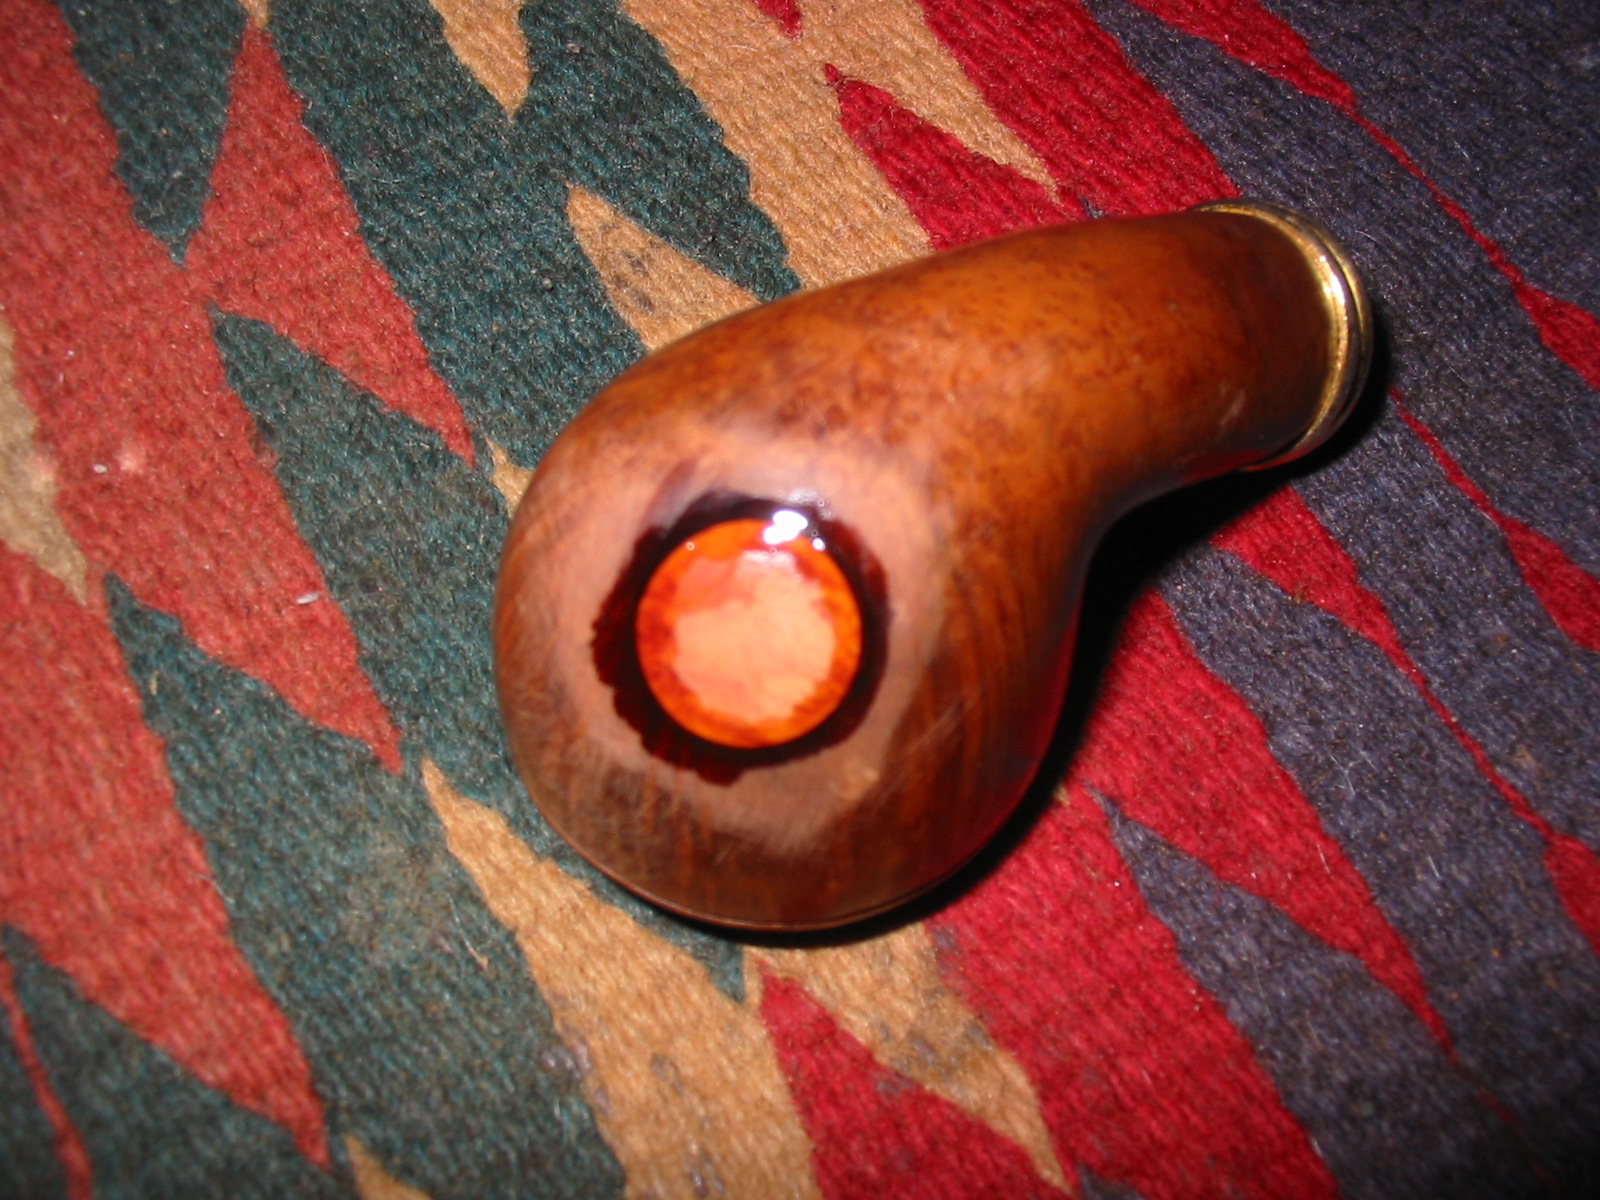
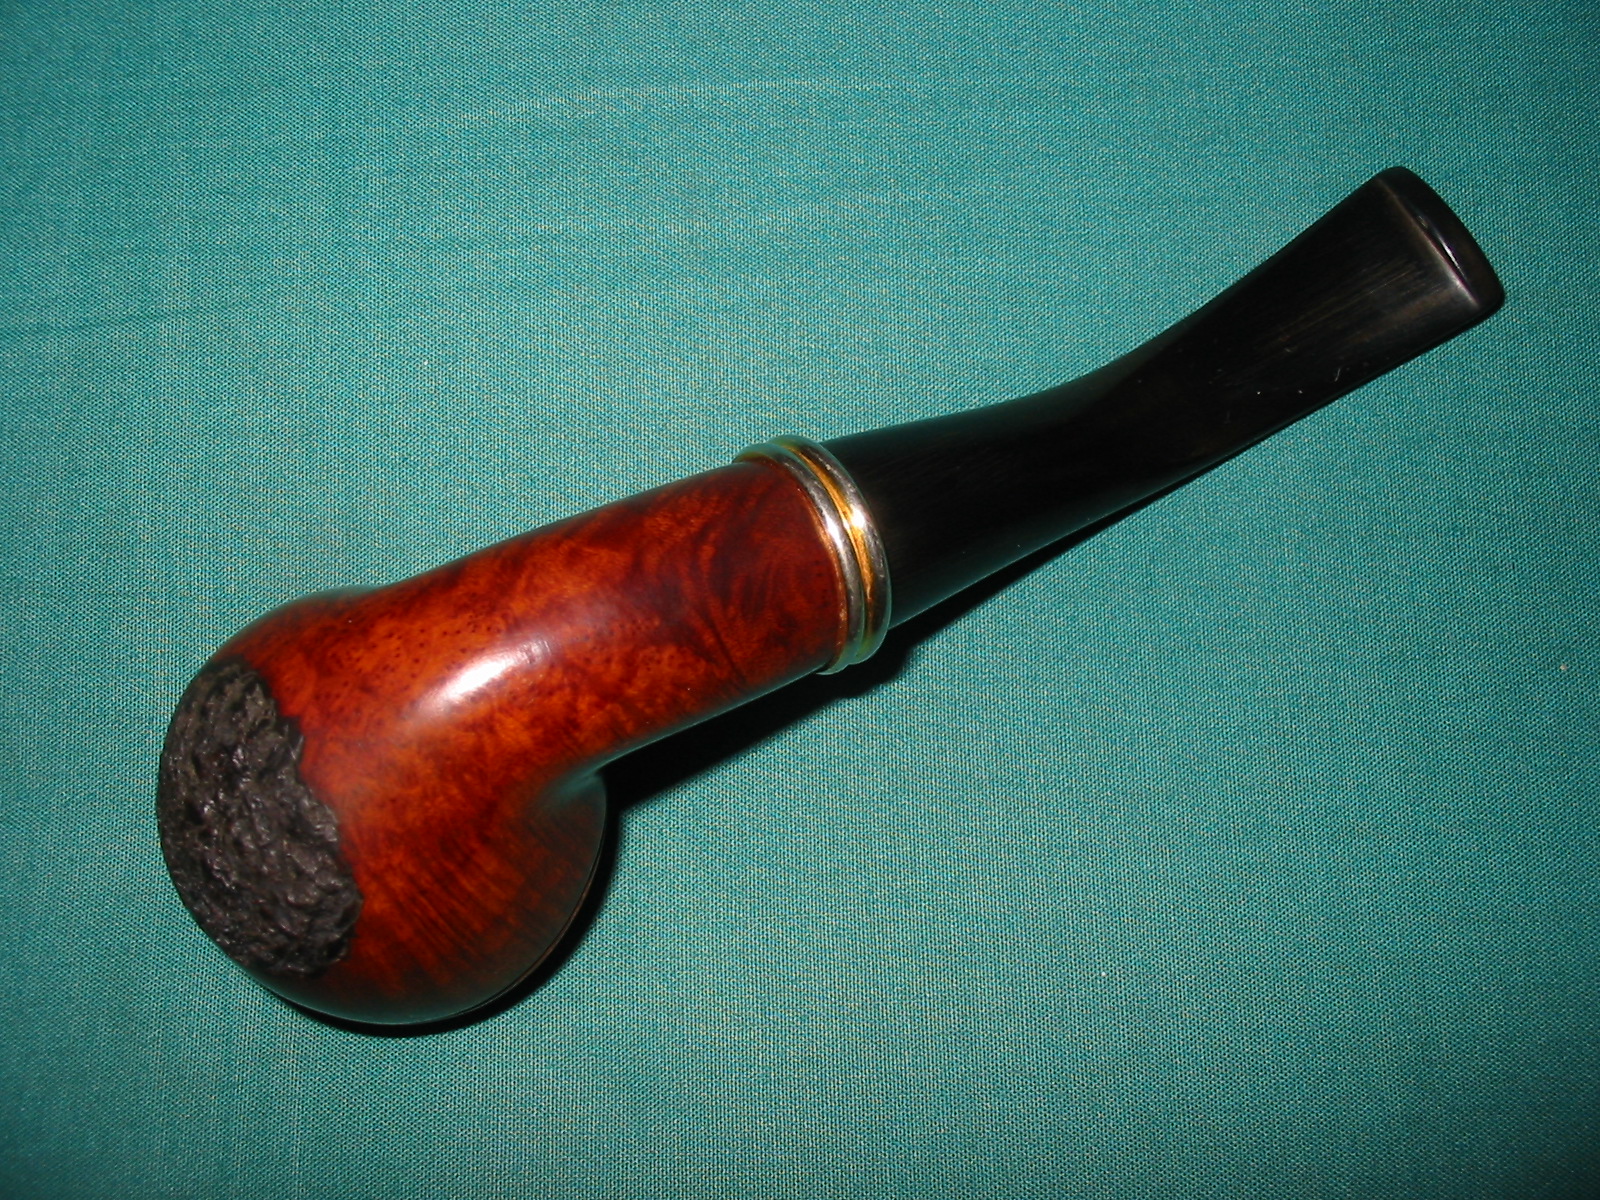
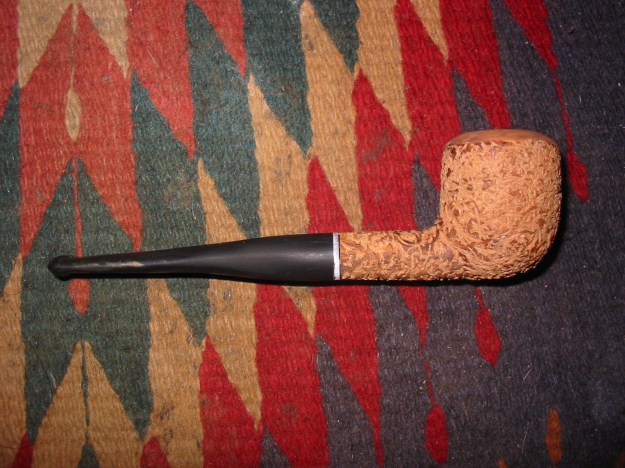
I put the stem back on the bowl and buffed the whole pipe with White Diamond. I then lightly buffed the bowl and buffed the stem with carnauba wax. I wanted to preserve the vulcanite and give it a shine. I also wanted to give a shine to the high points of the rustication on the bowl and also polish the rim. The finished pipe is shown in the pictures below. The old Brewster, with all of its history since 1964, is ready to enter a new phase of its own personal history. The face lift I gave it brings it to a new place. It is my hope that this old timer will give someone a great smoke and endure beyond me. That, after all, is what refurbishing work is all about – extending the life of the old pipes and delivering them intact to the next generation of pipemen.