Blog by Steve Laug
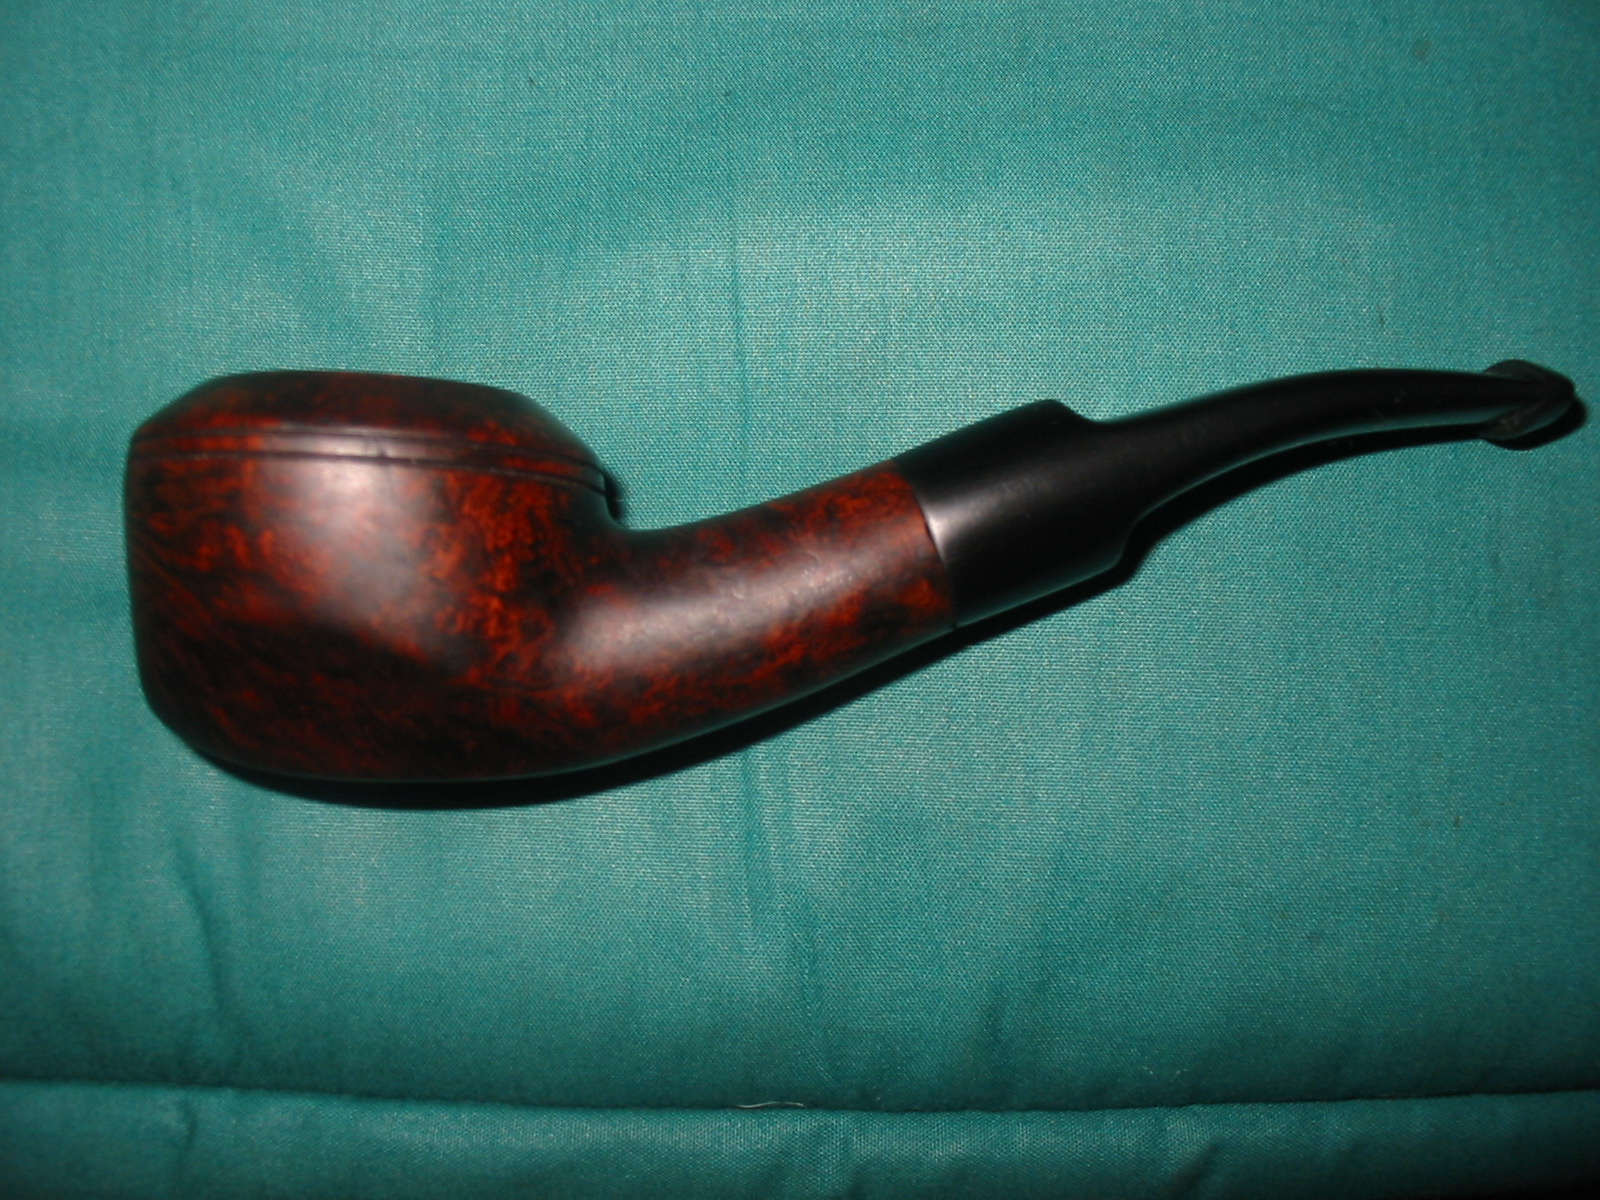
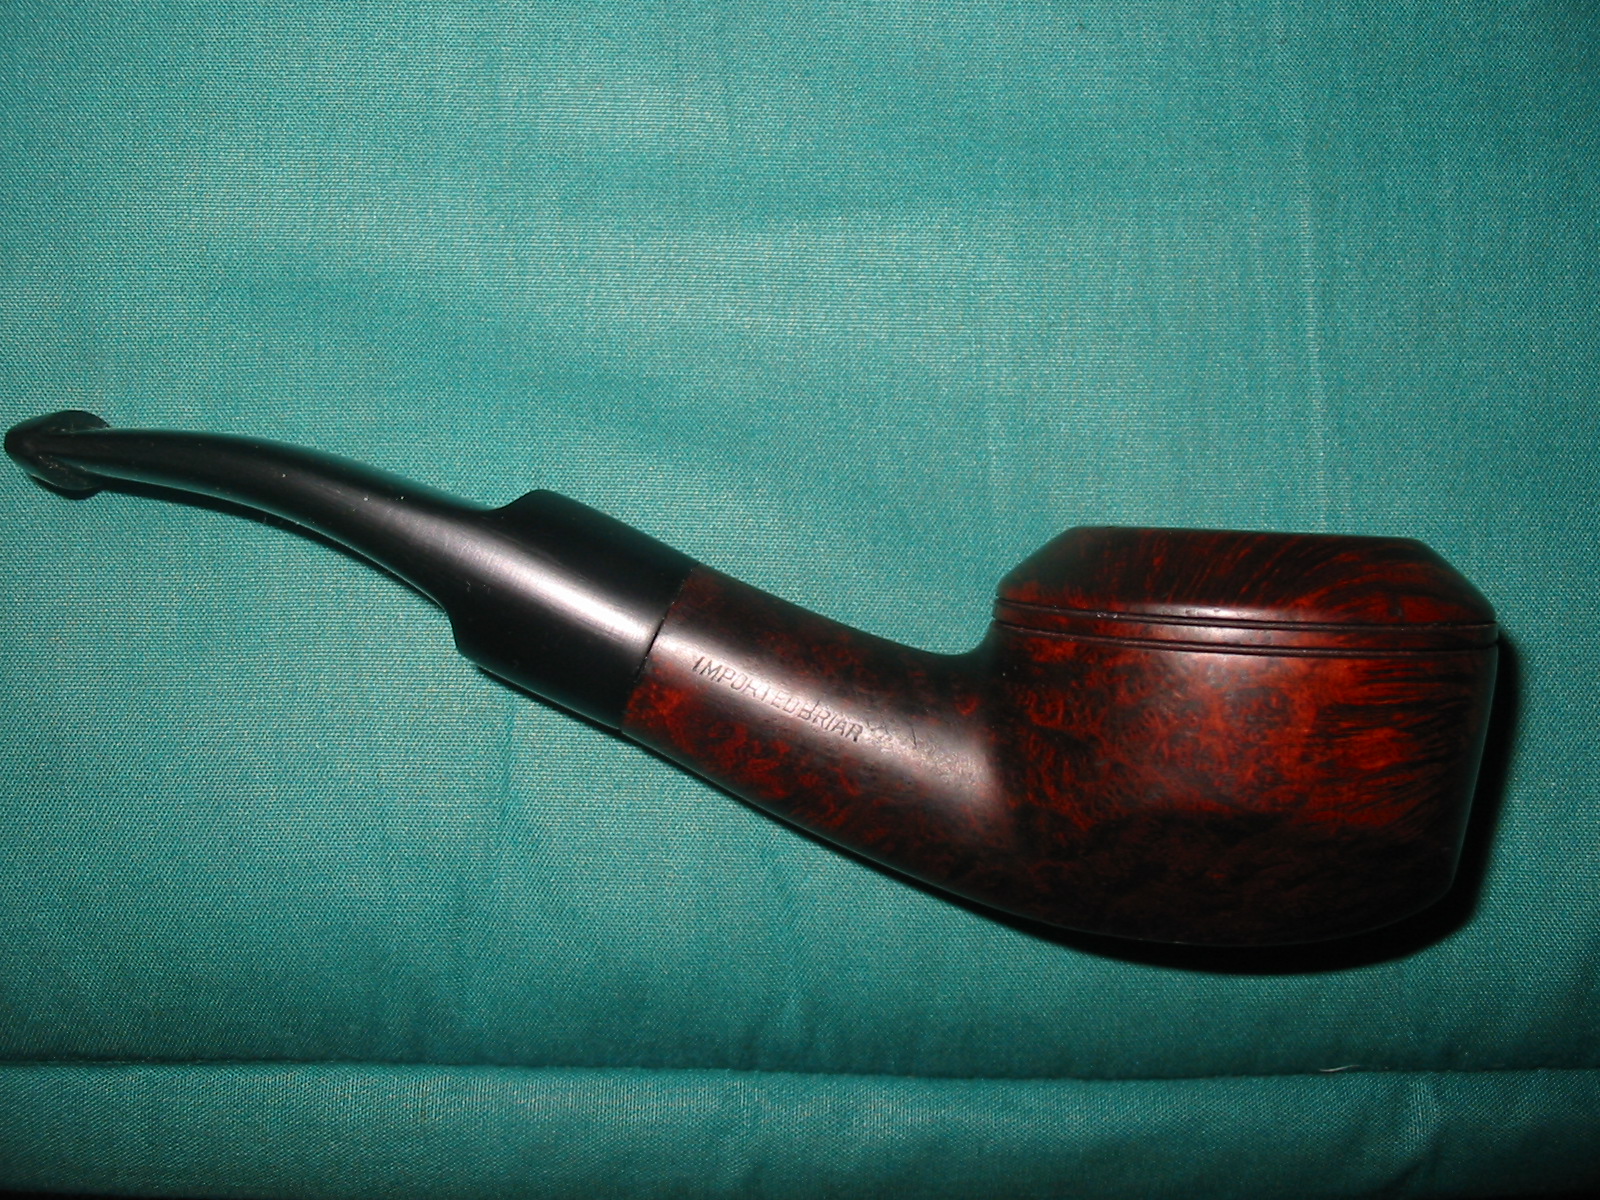
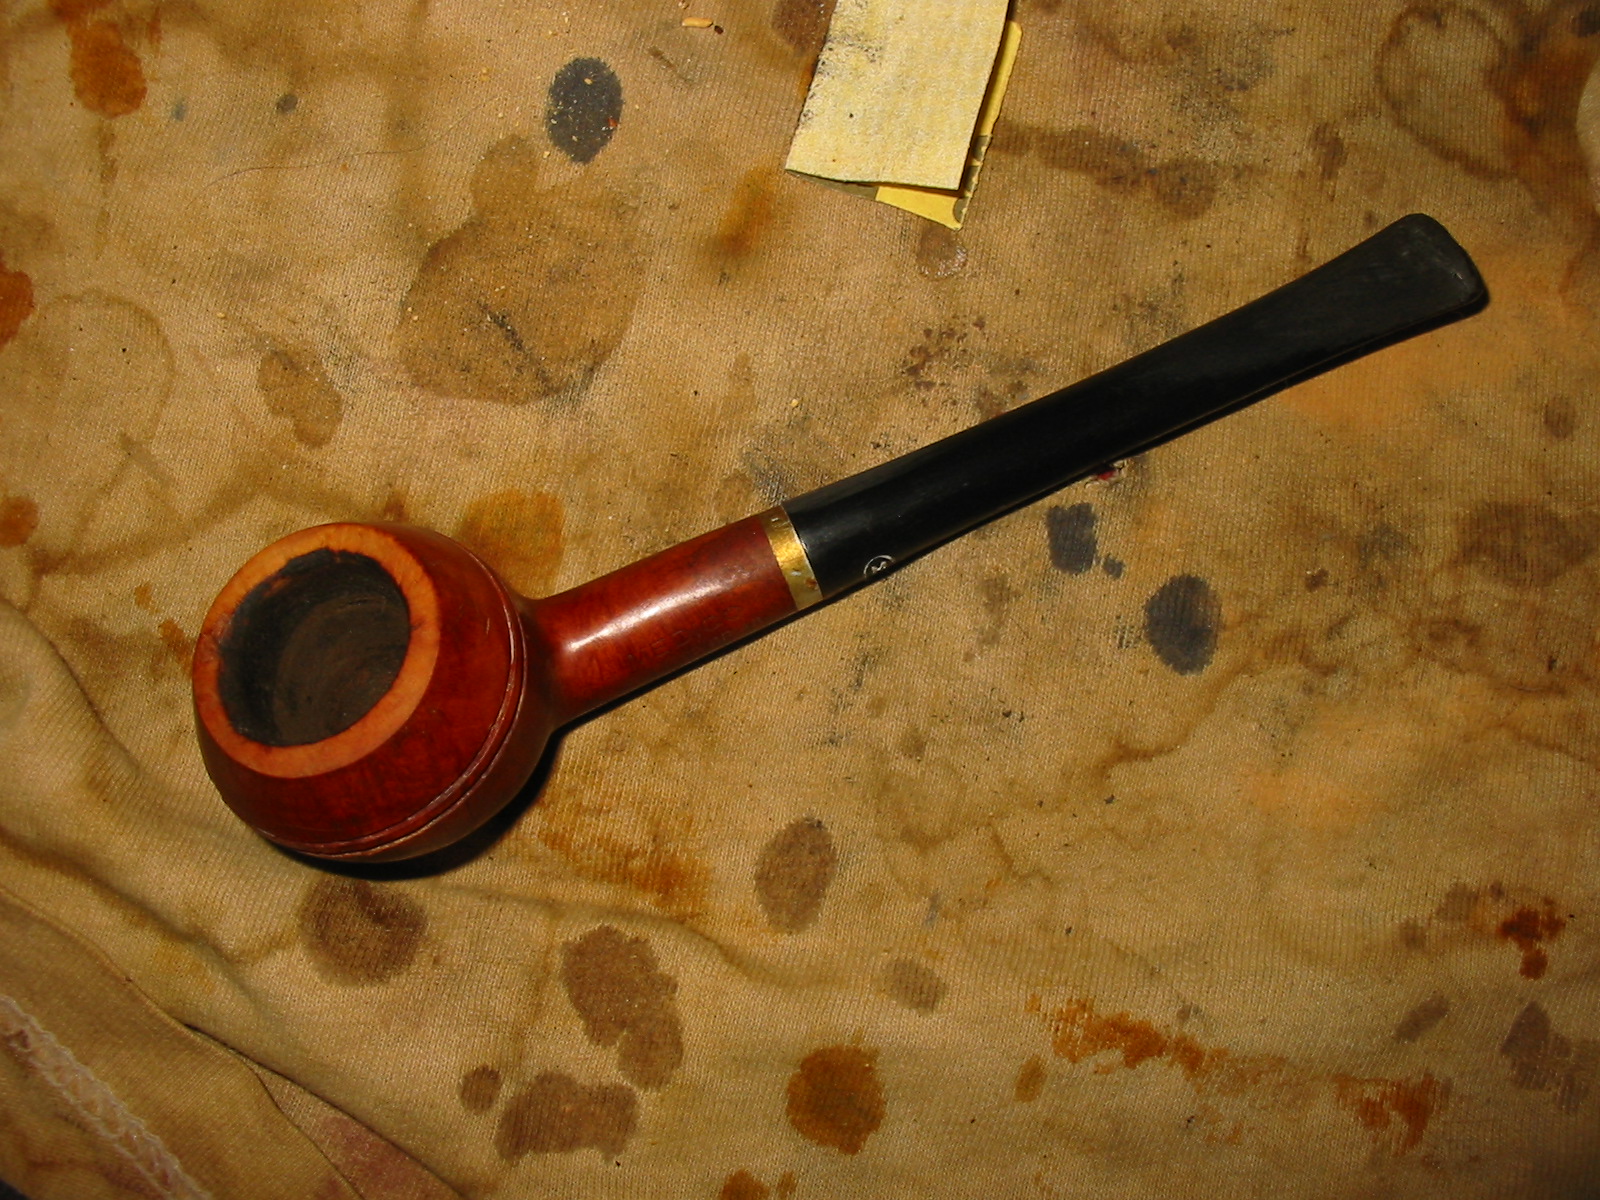
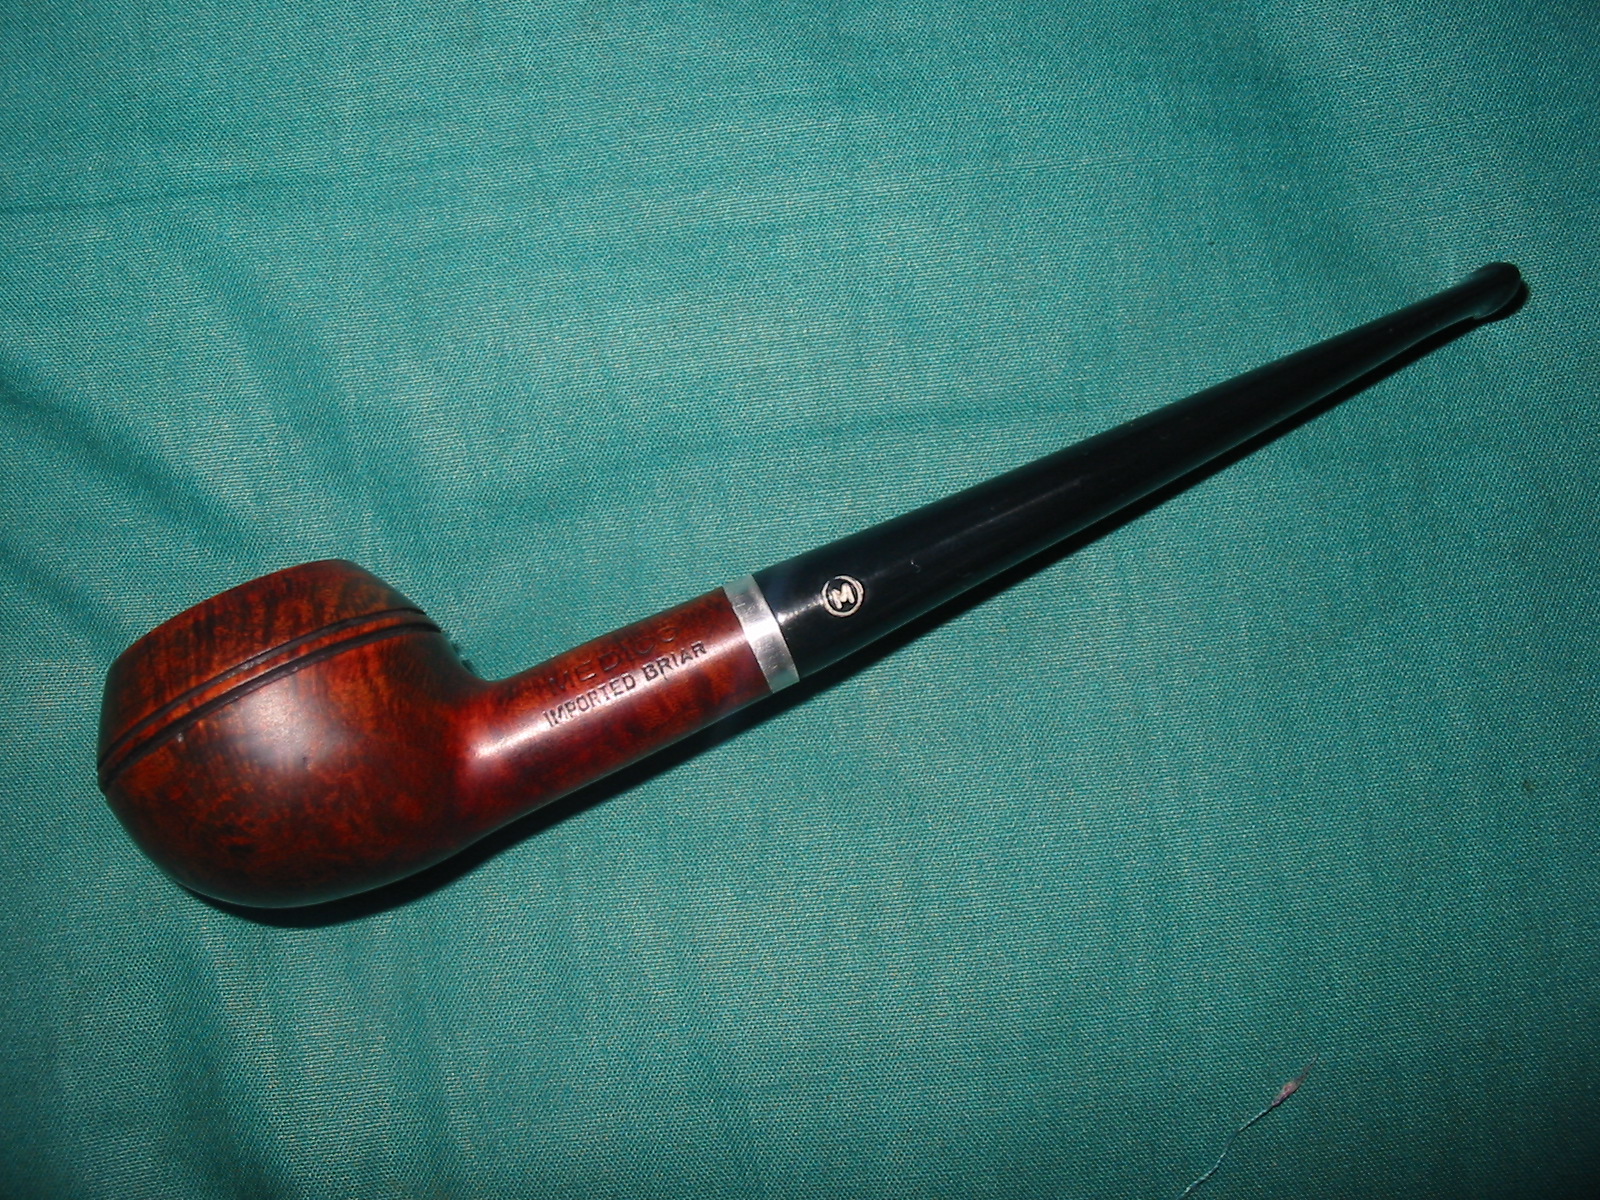
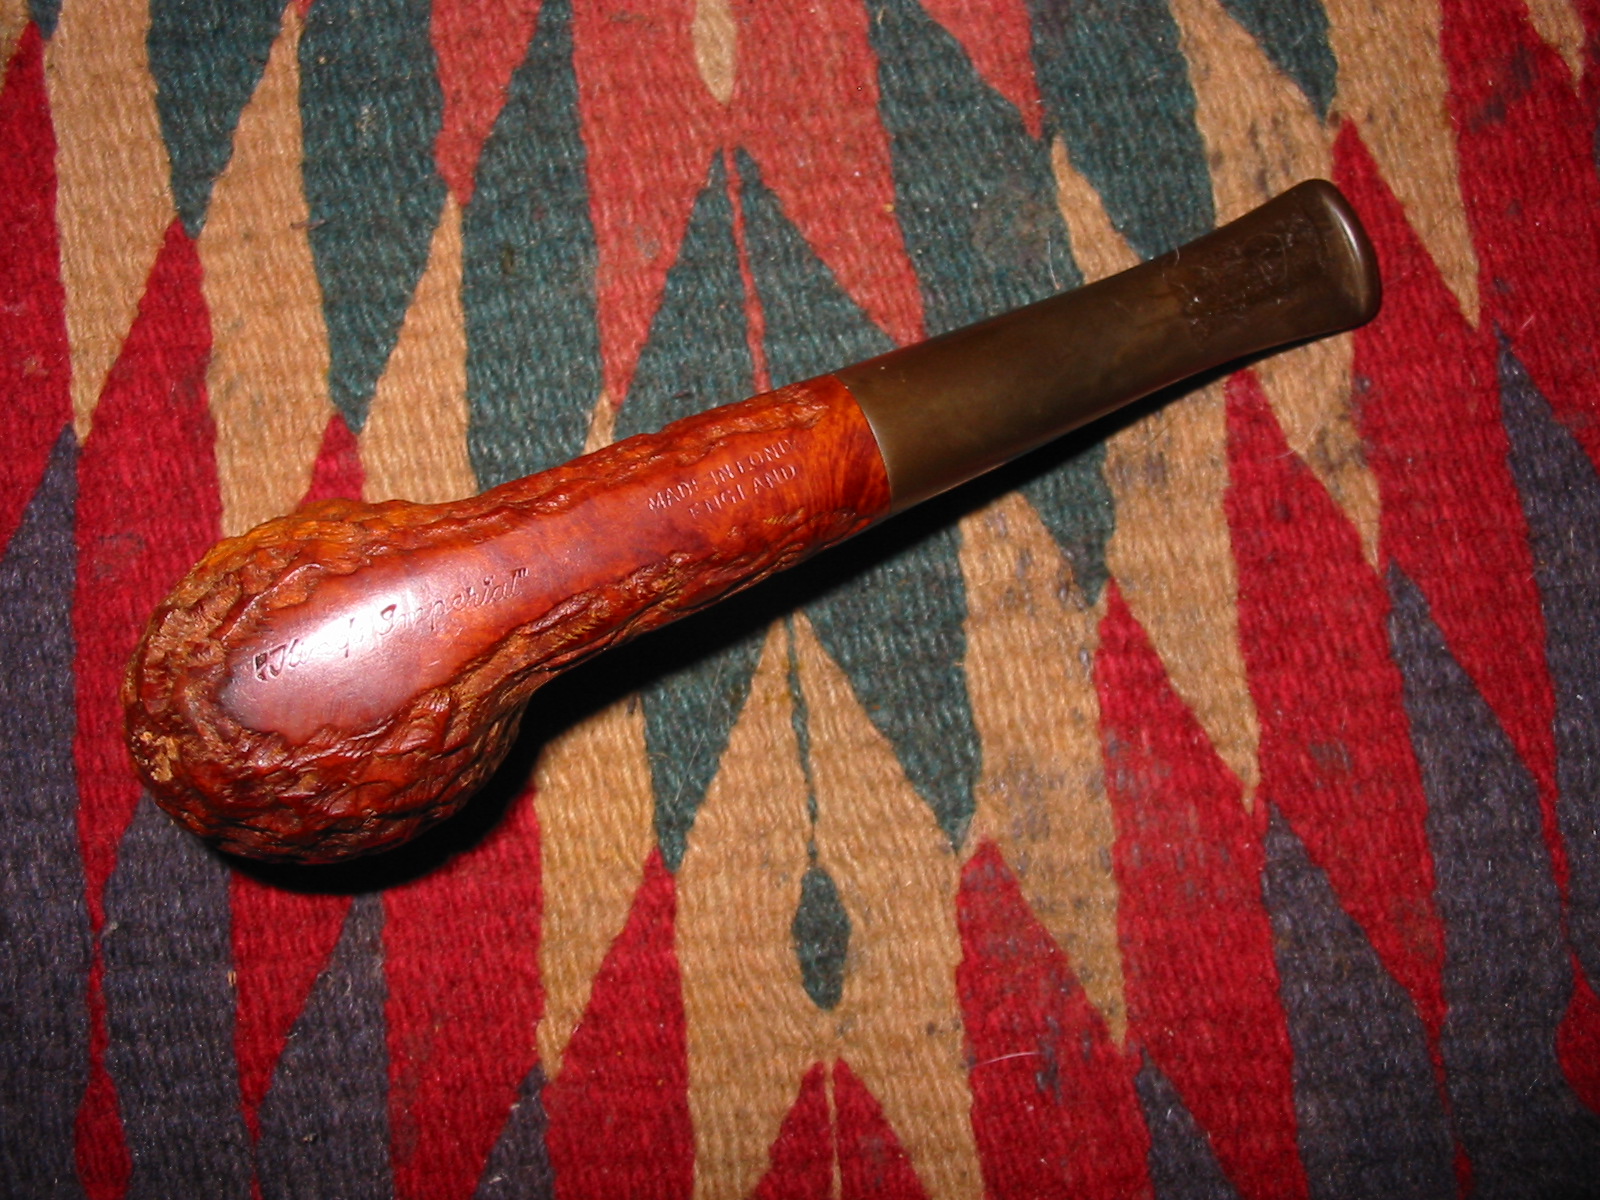
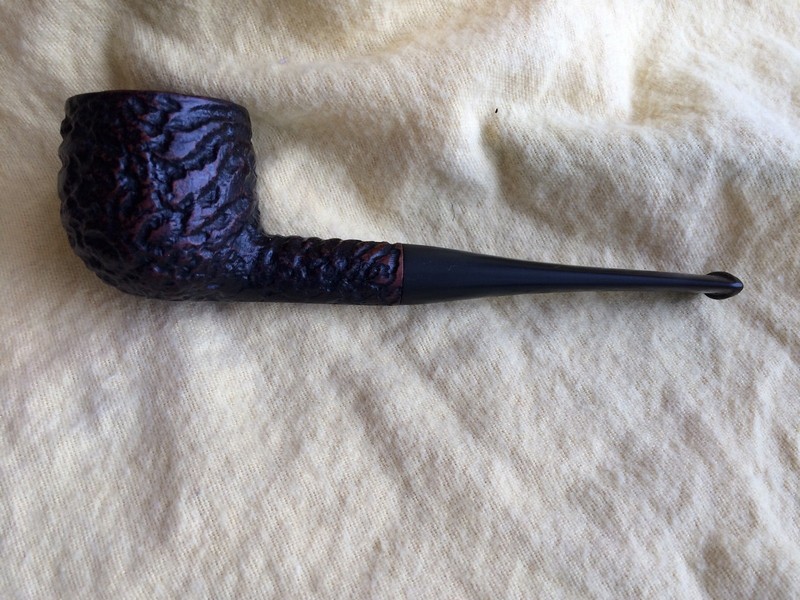
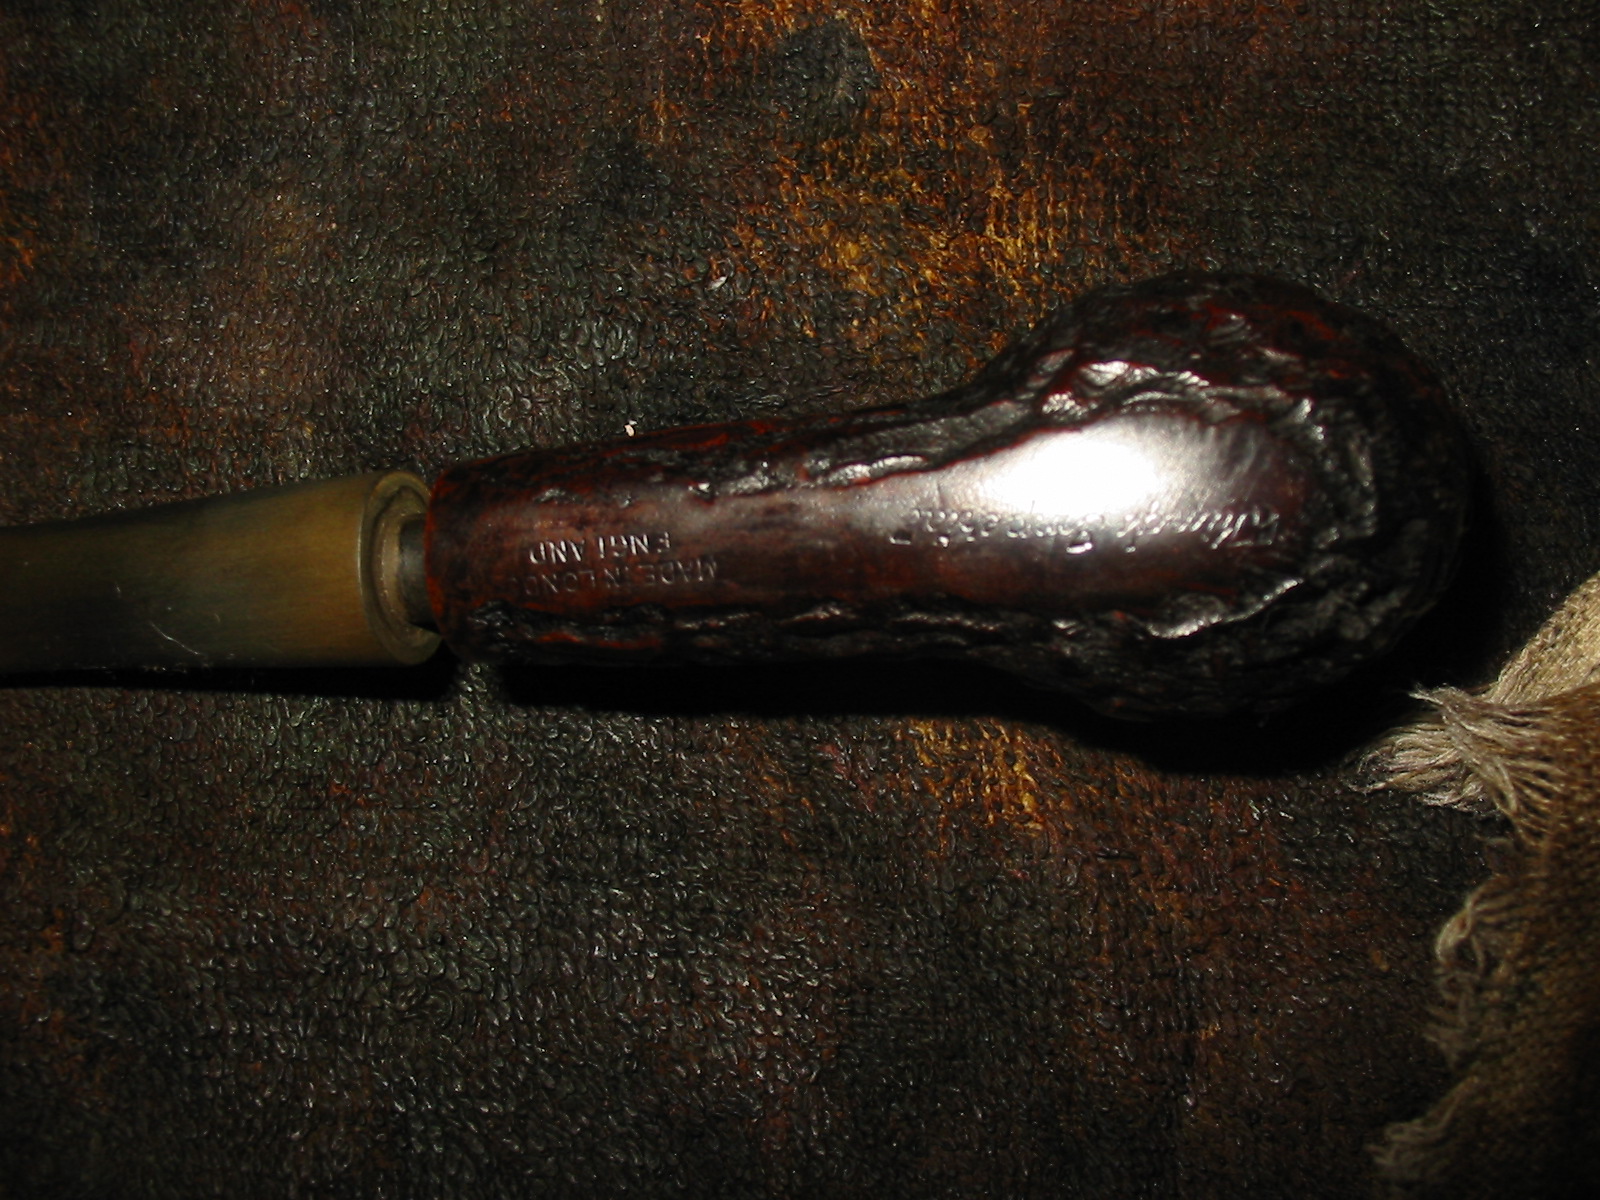
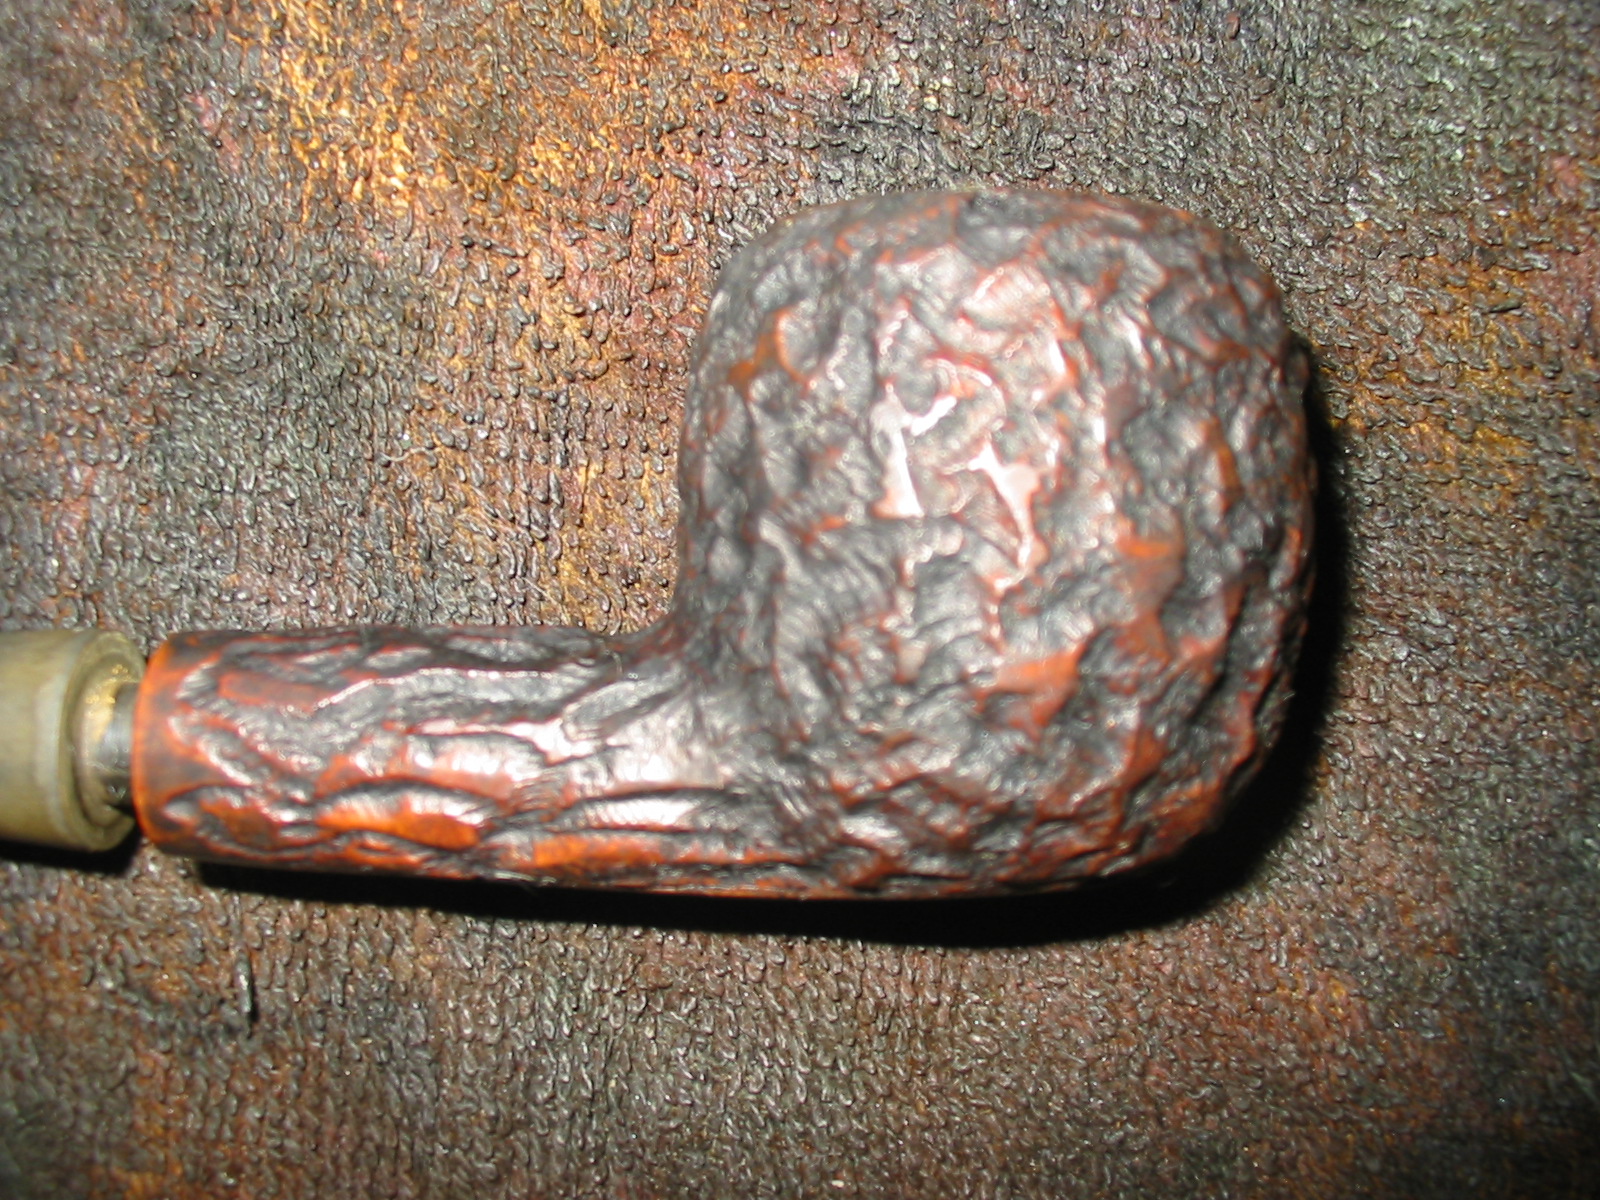
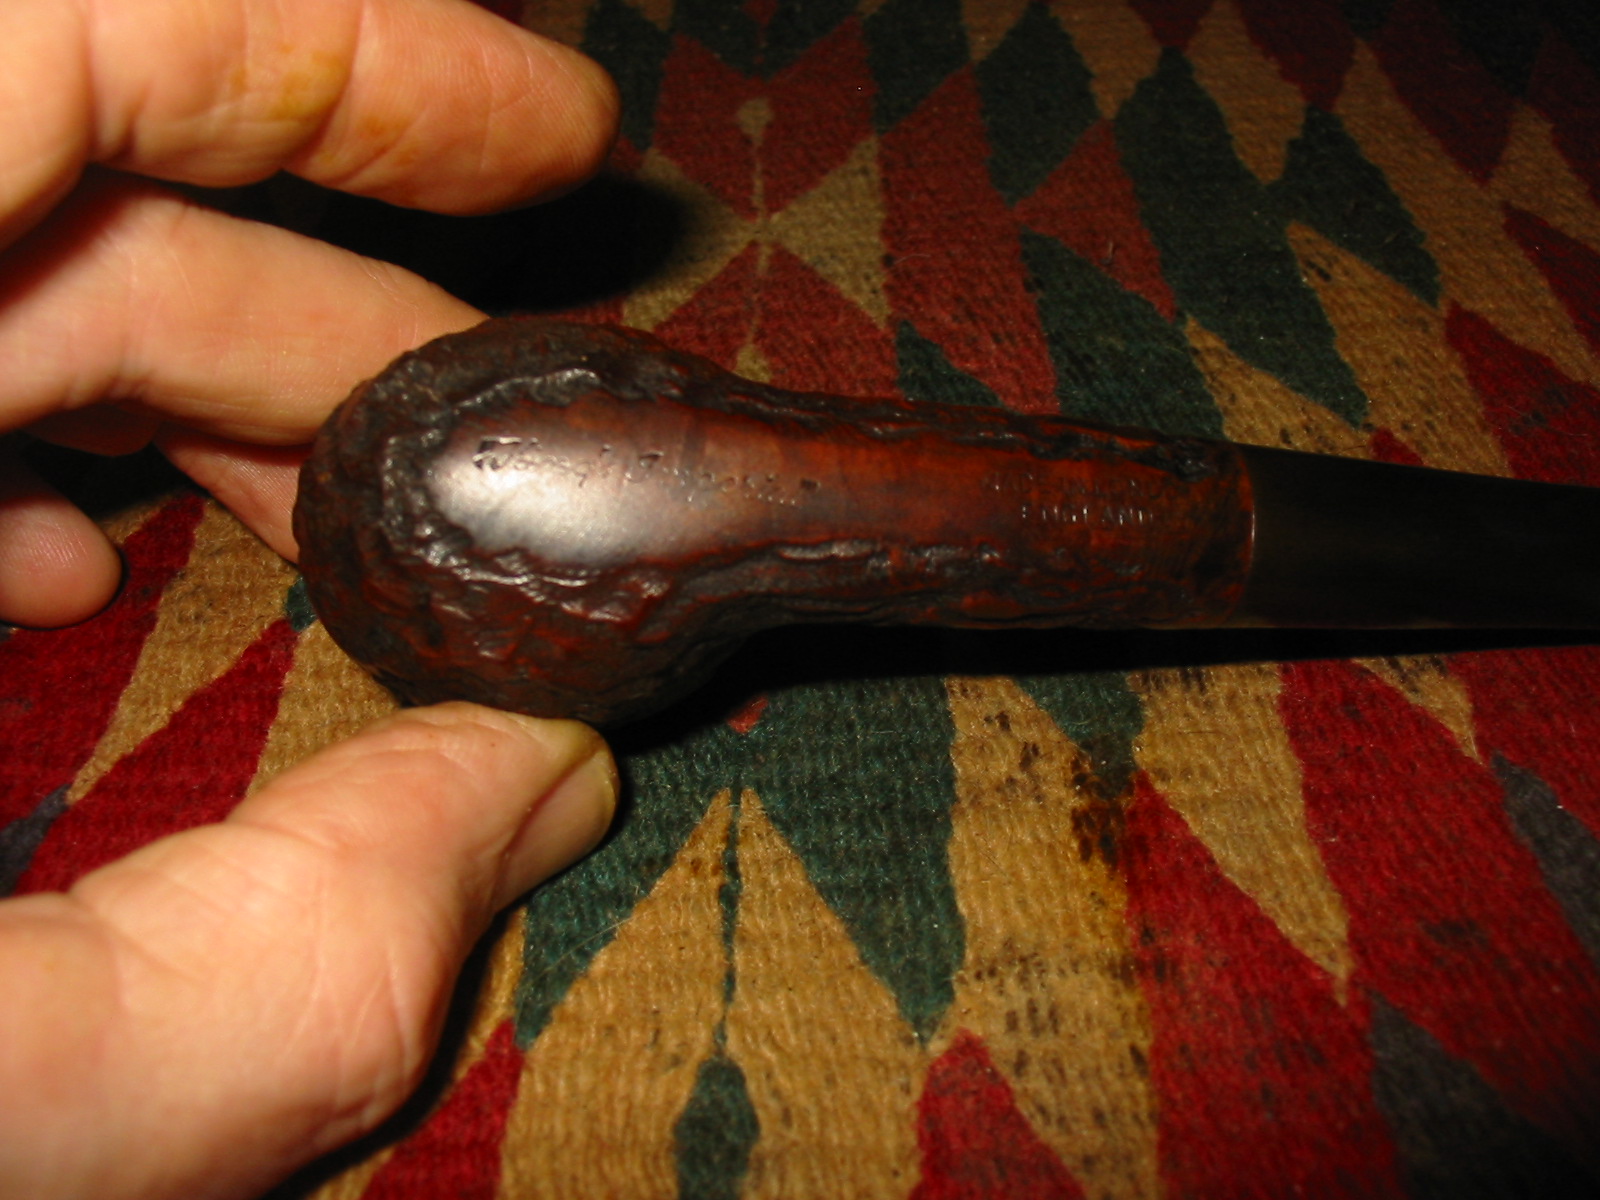
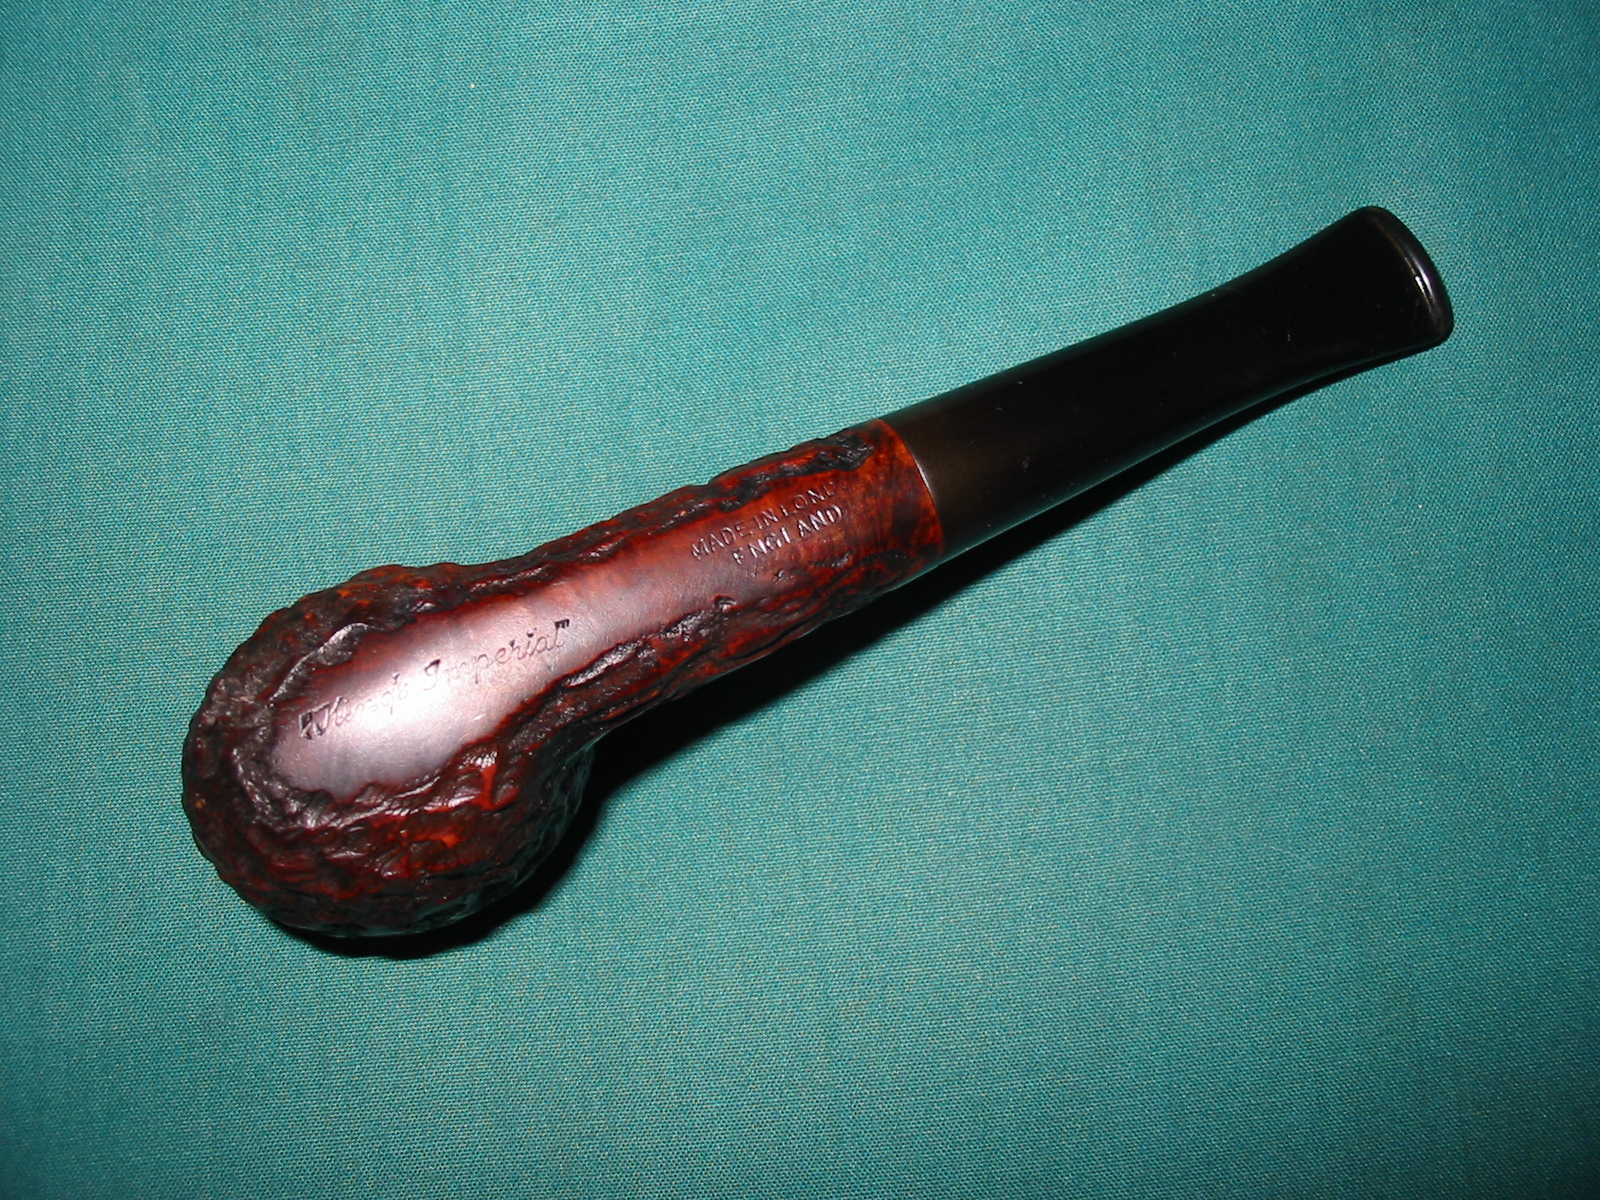
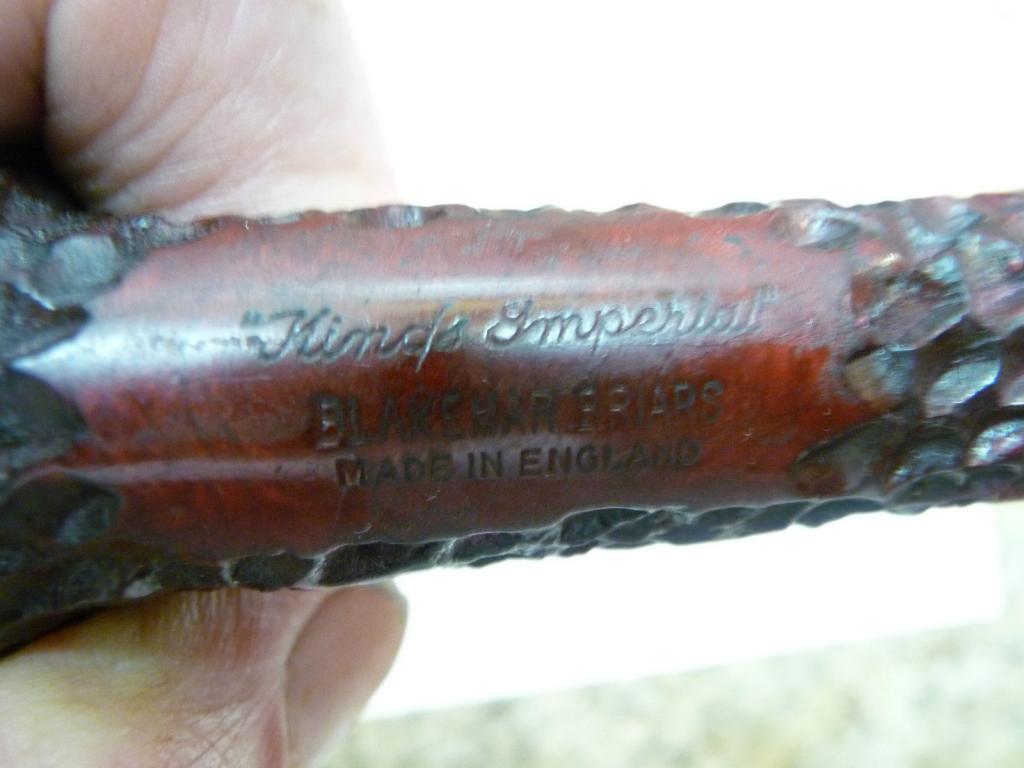
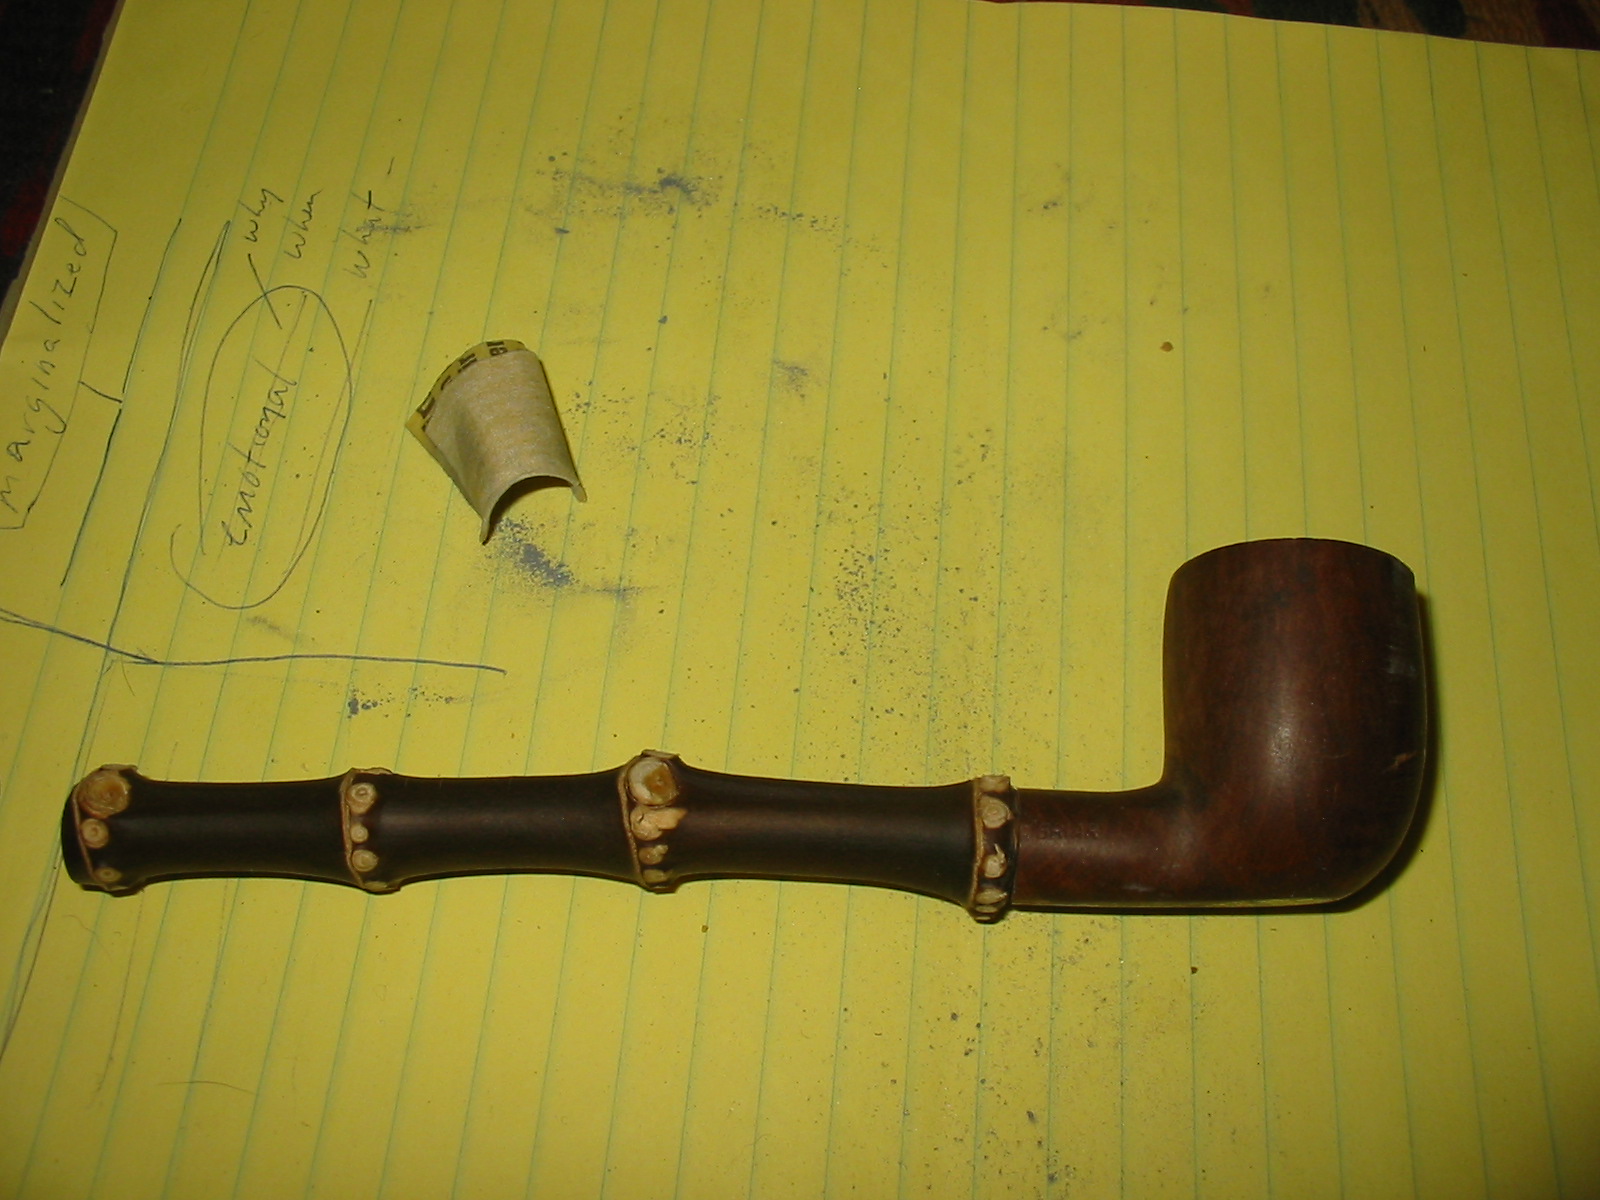
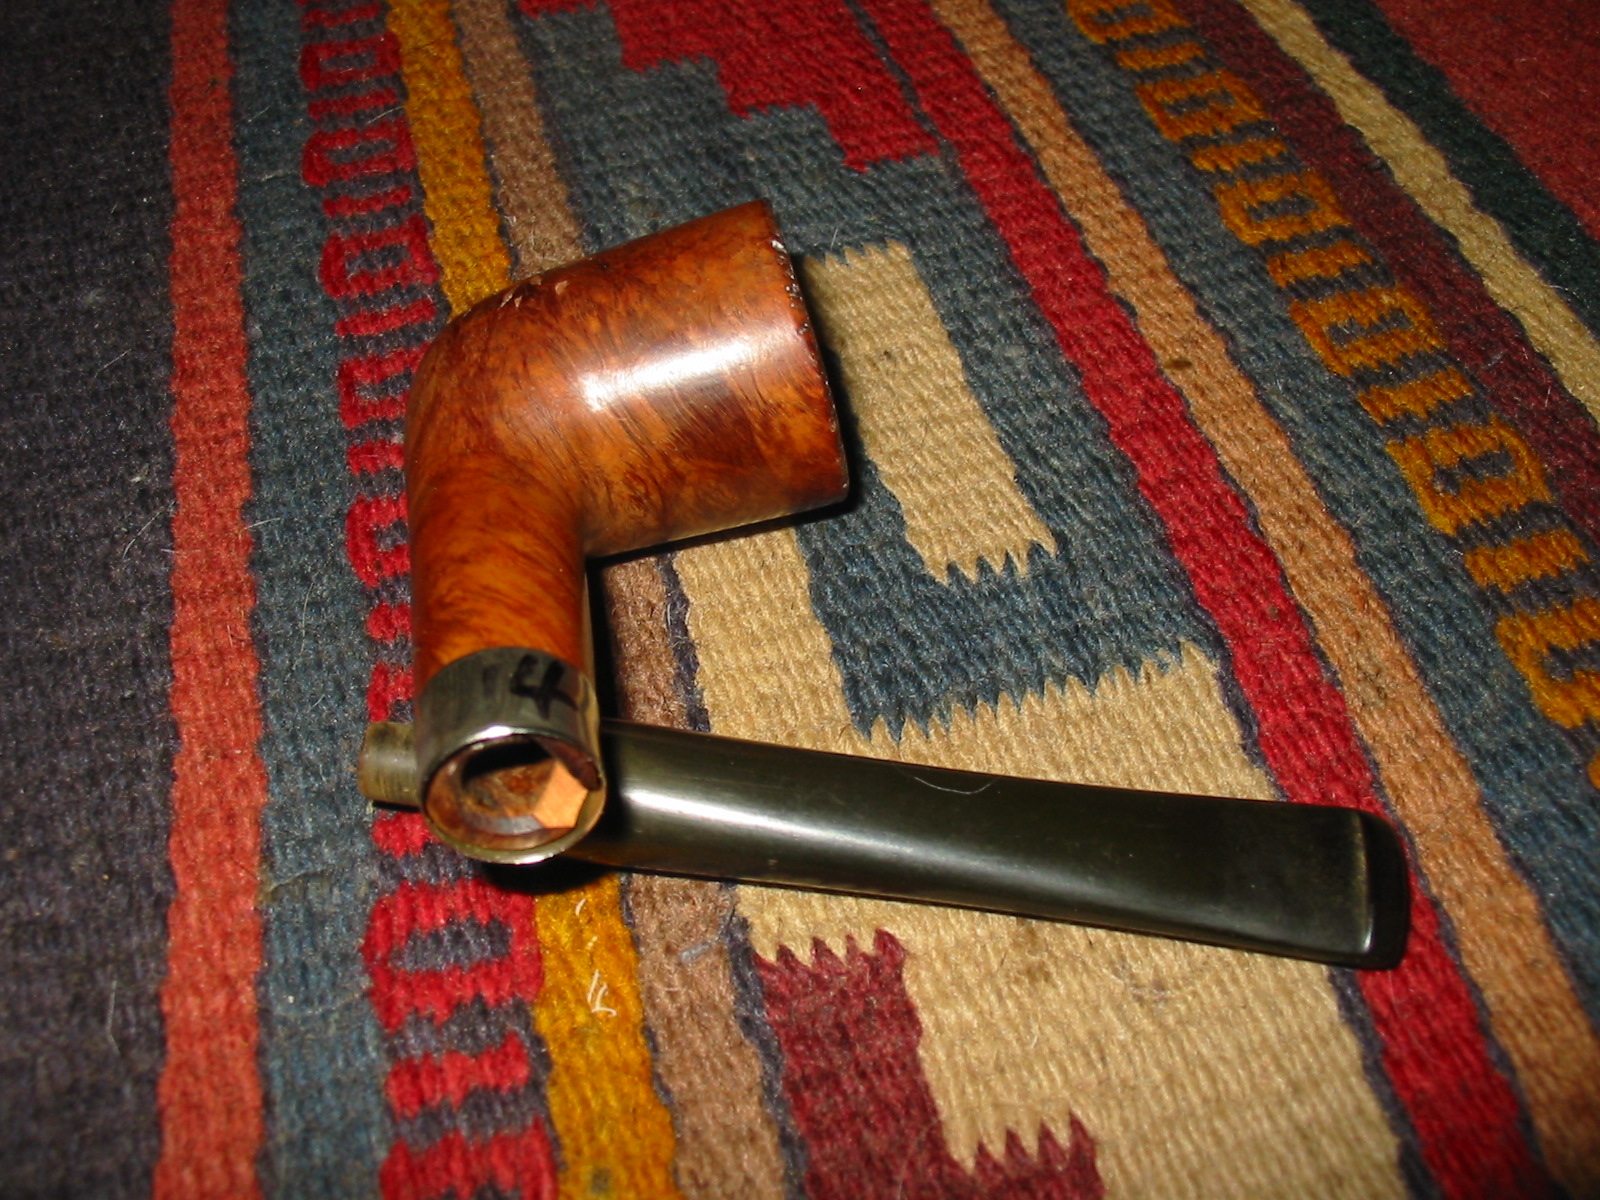
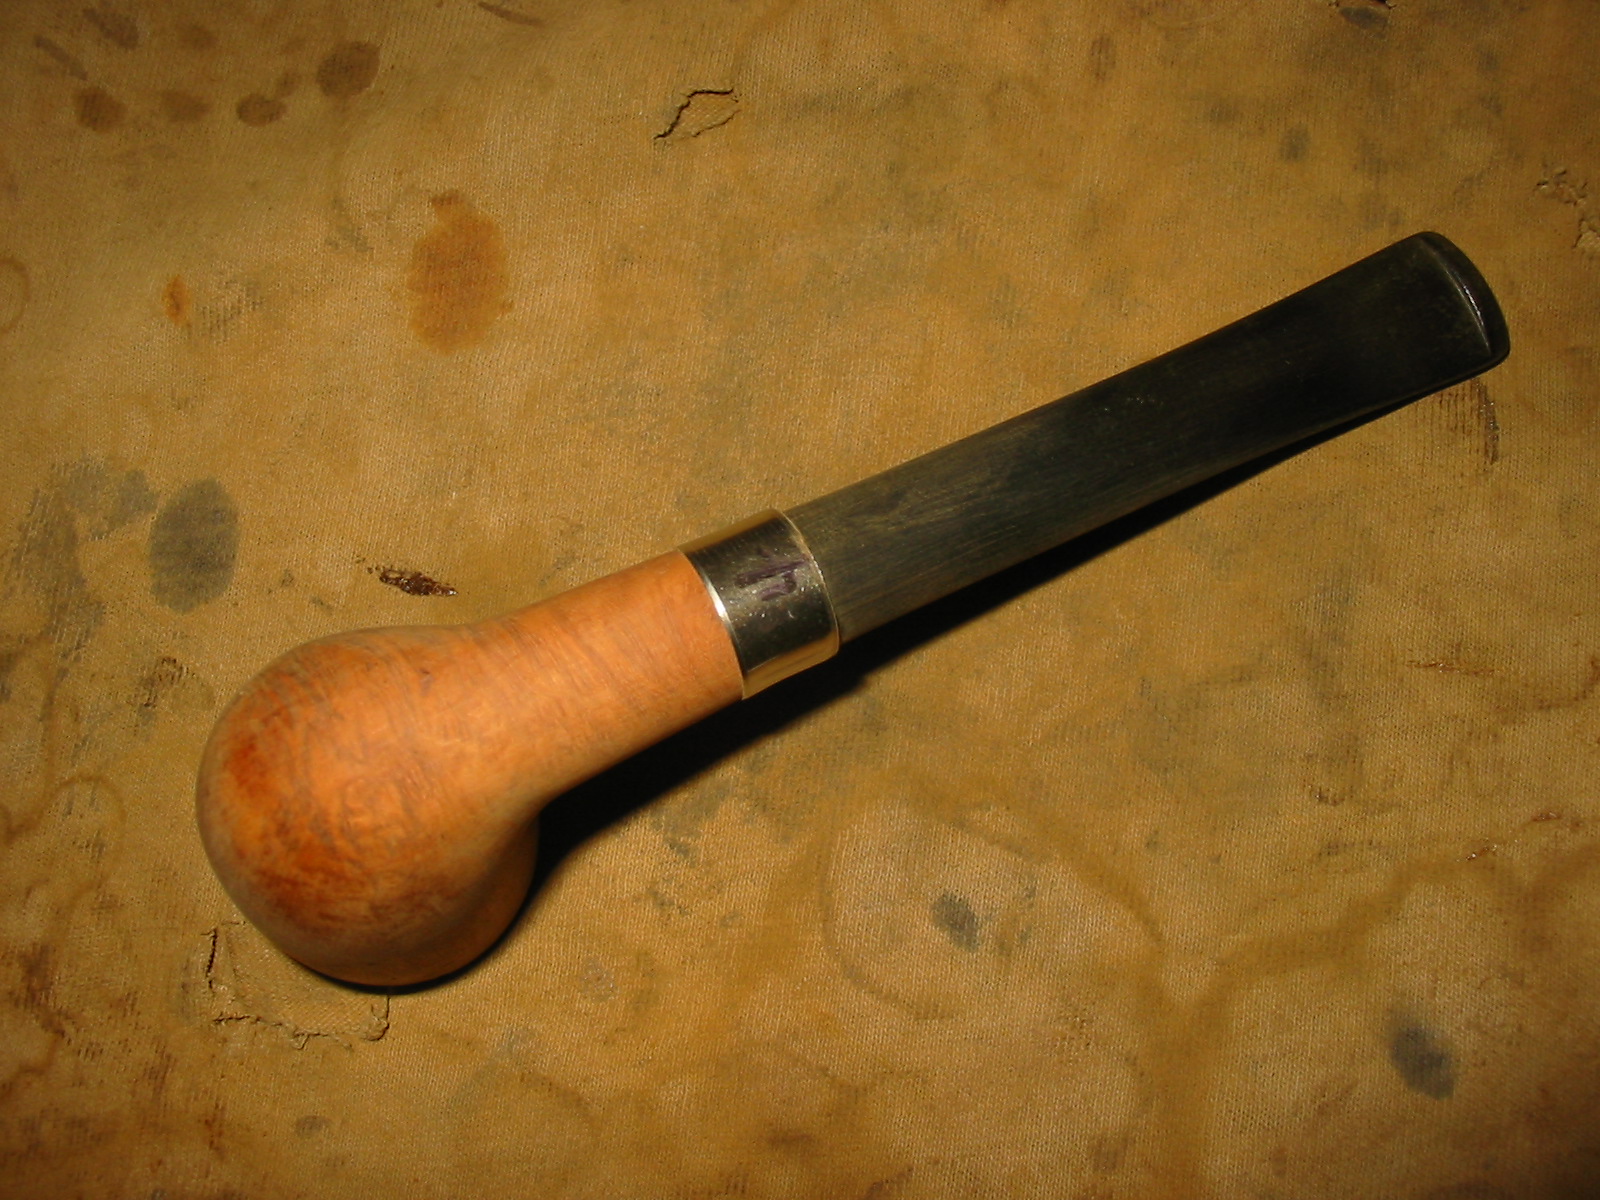
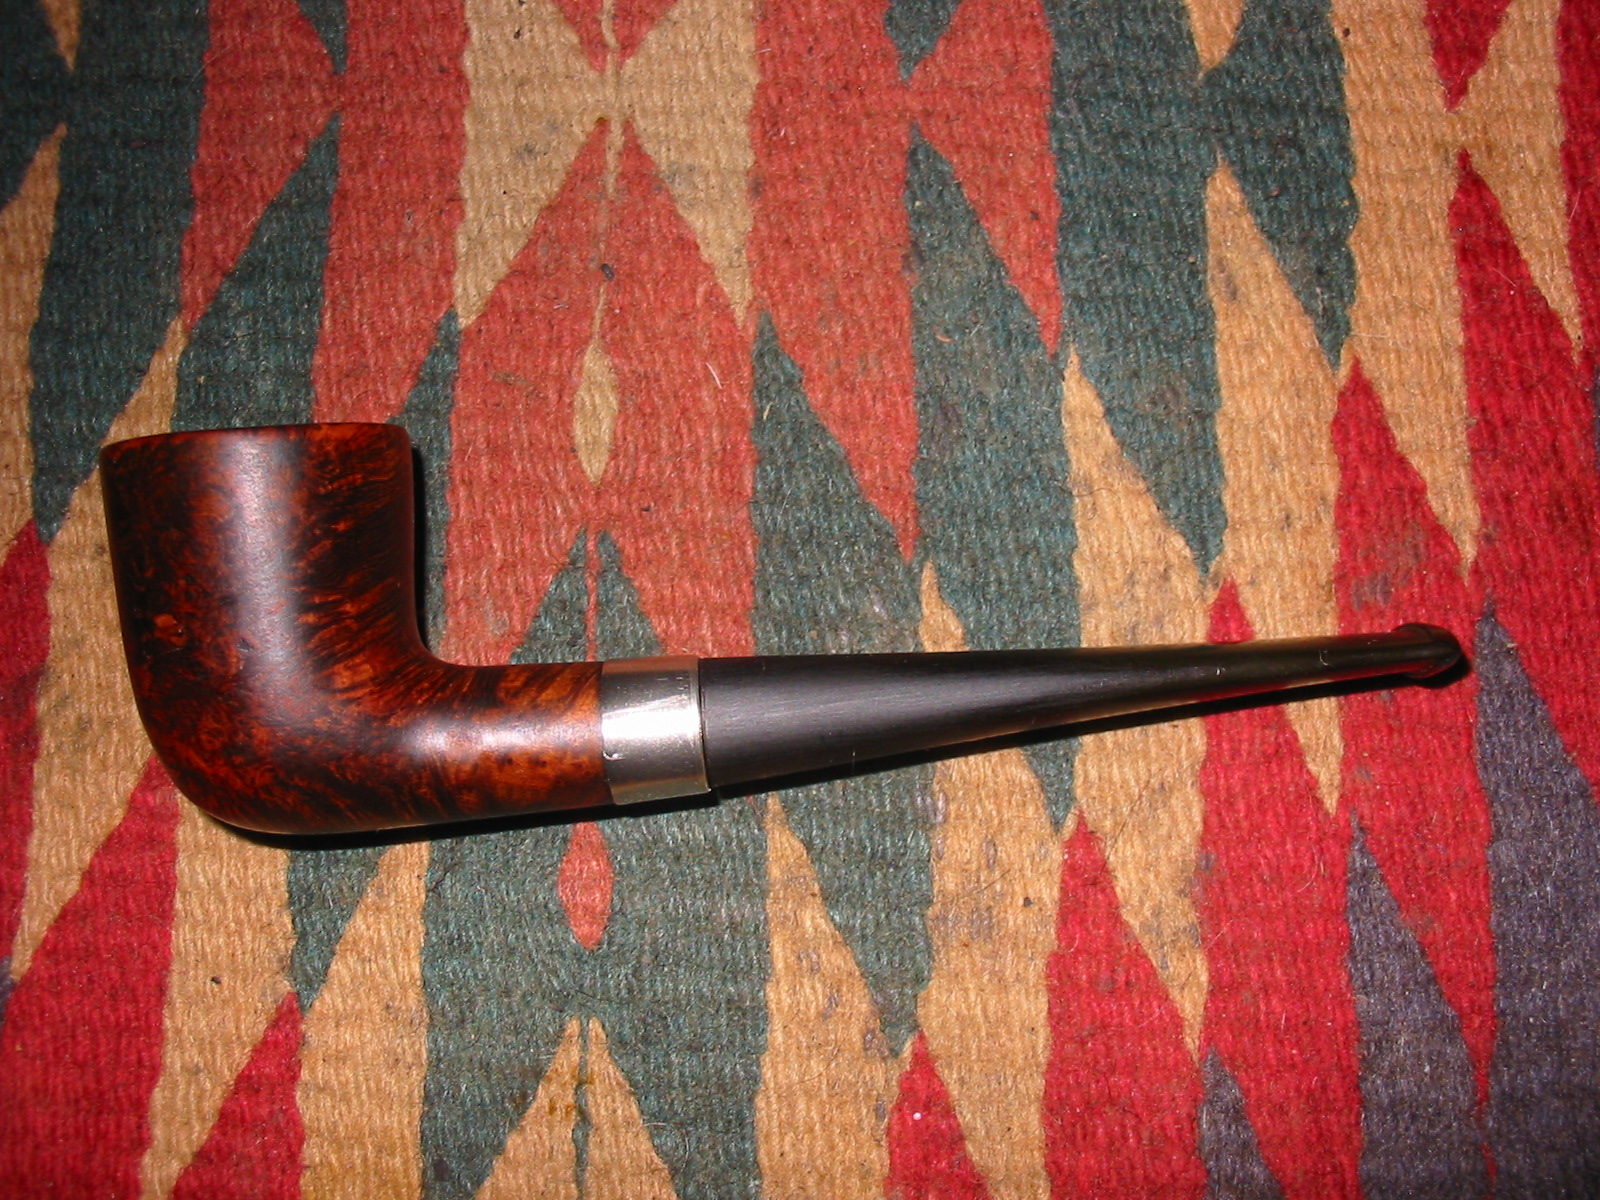
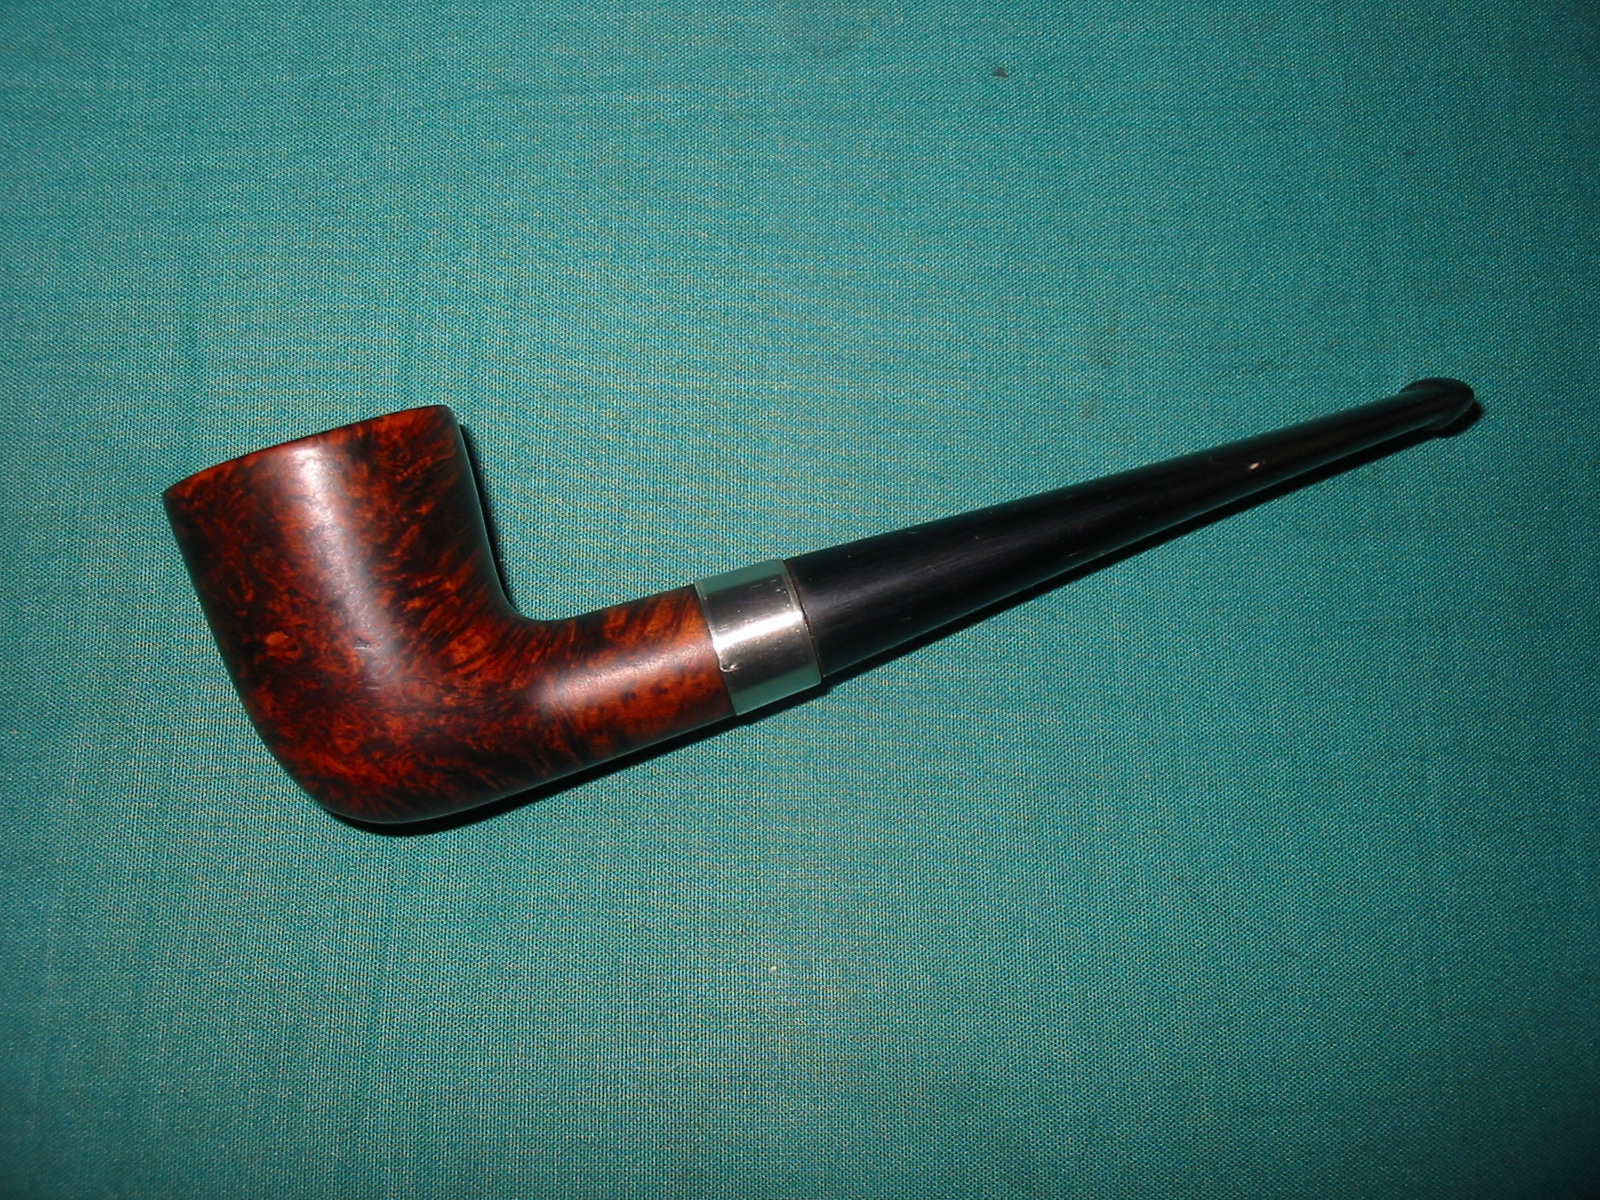
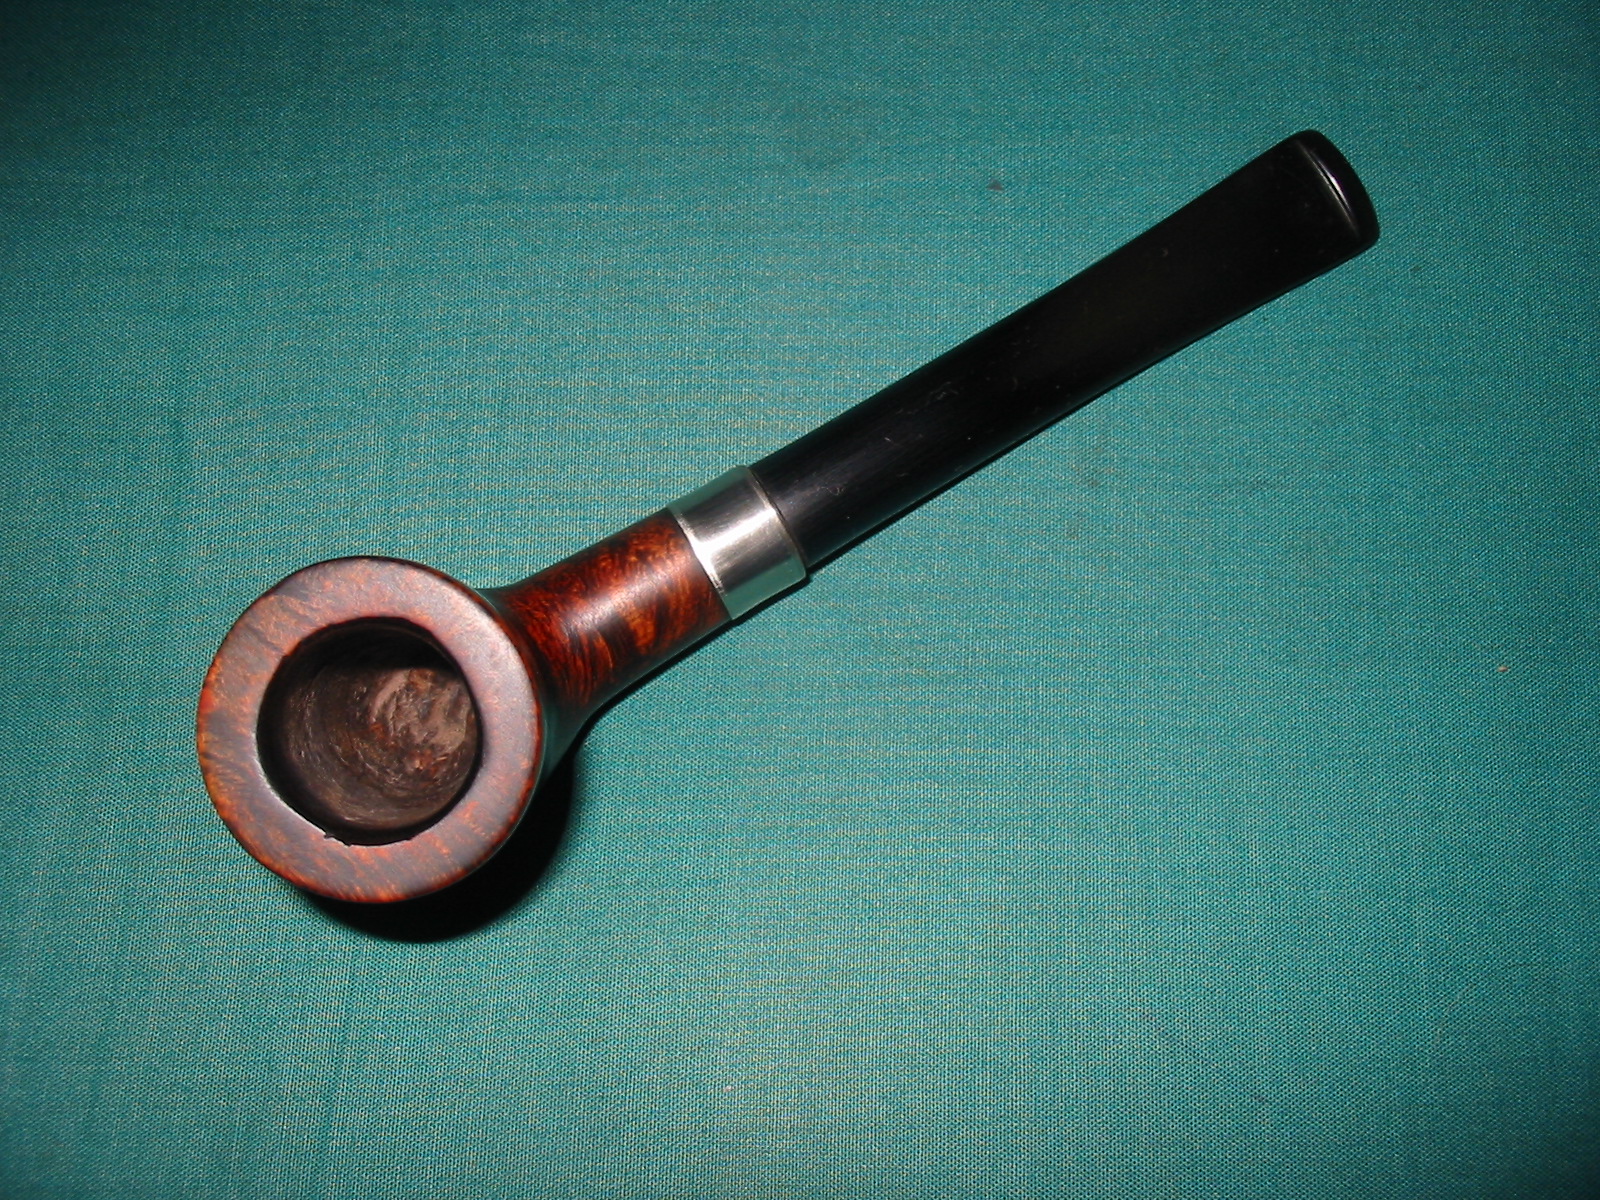
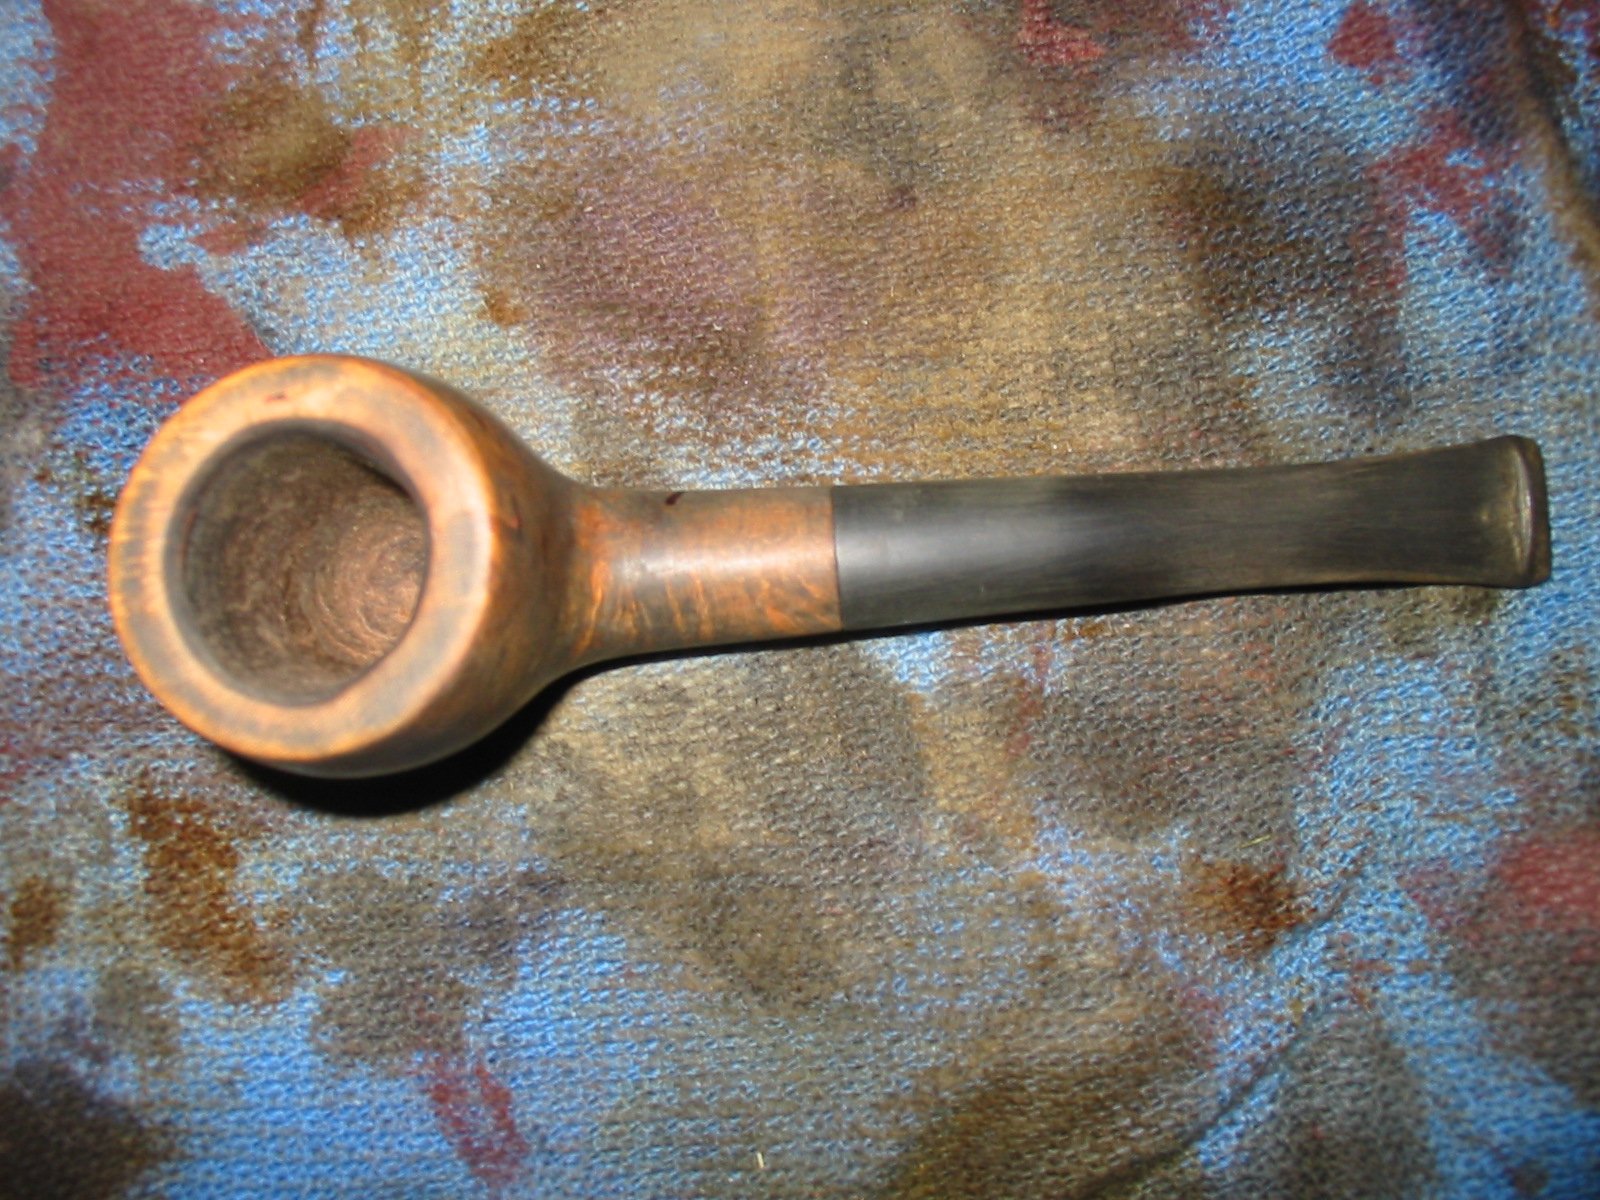
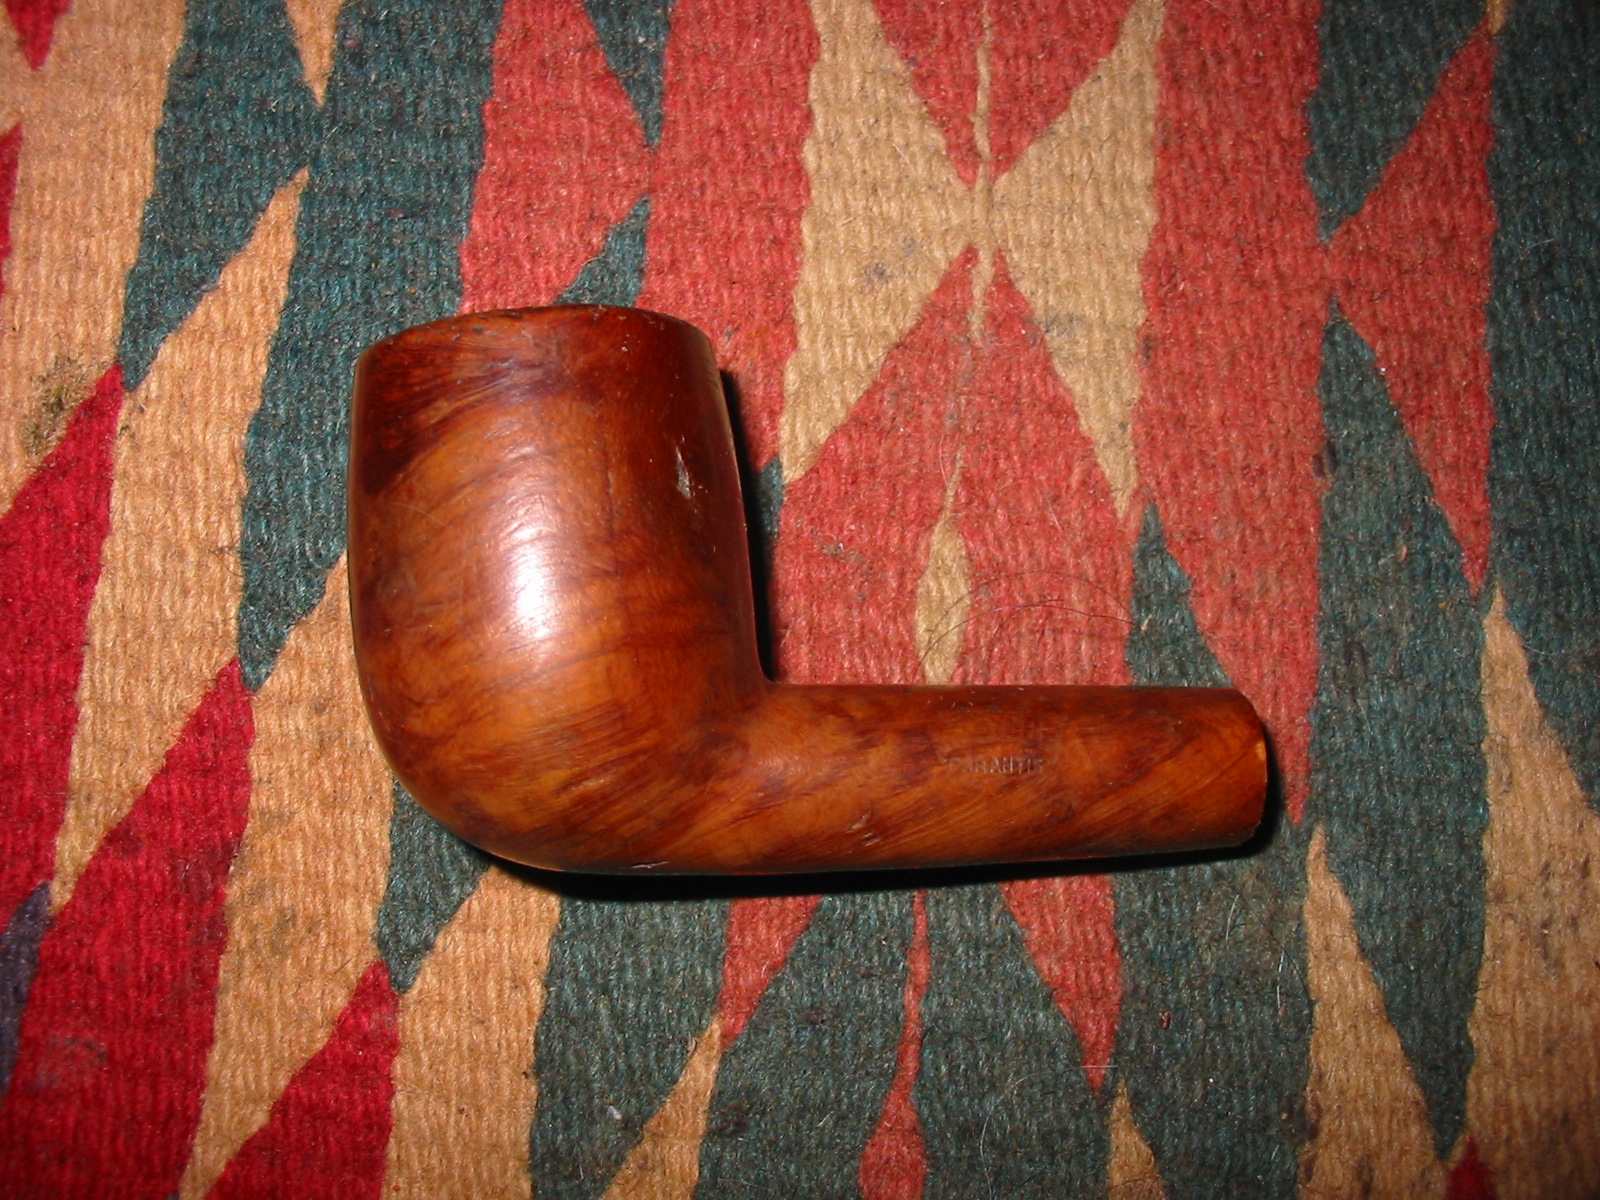
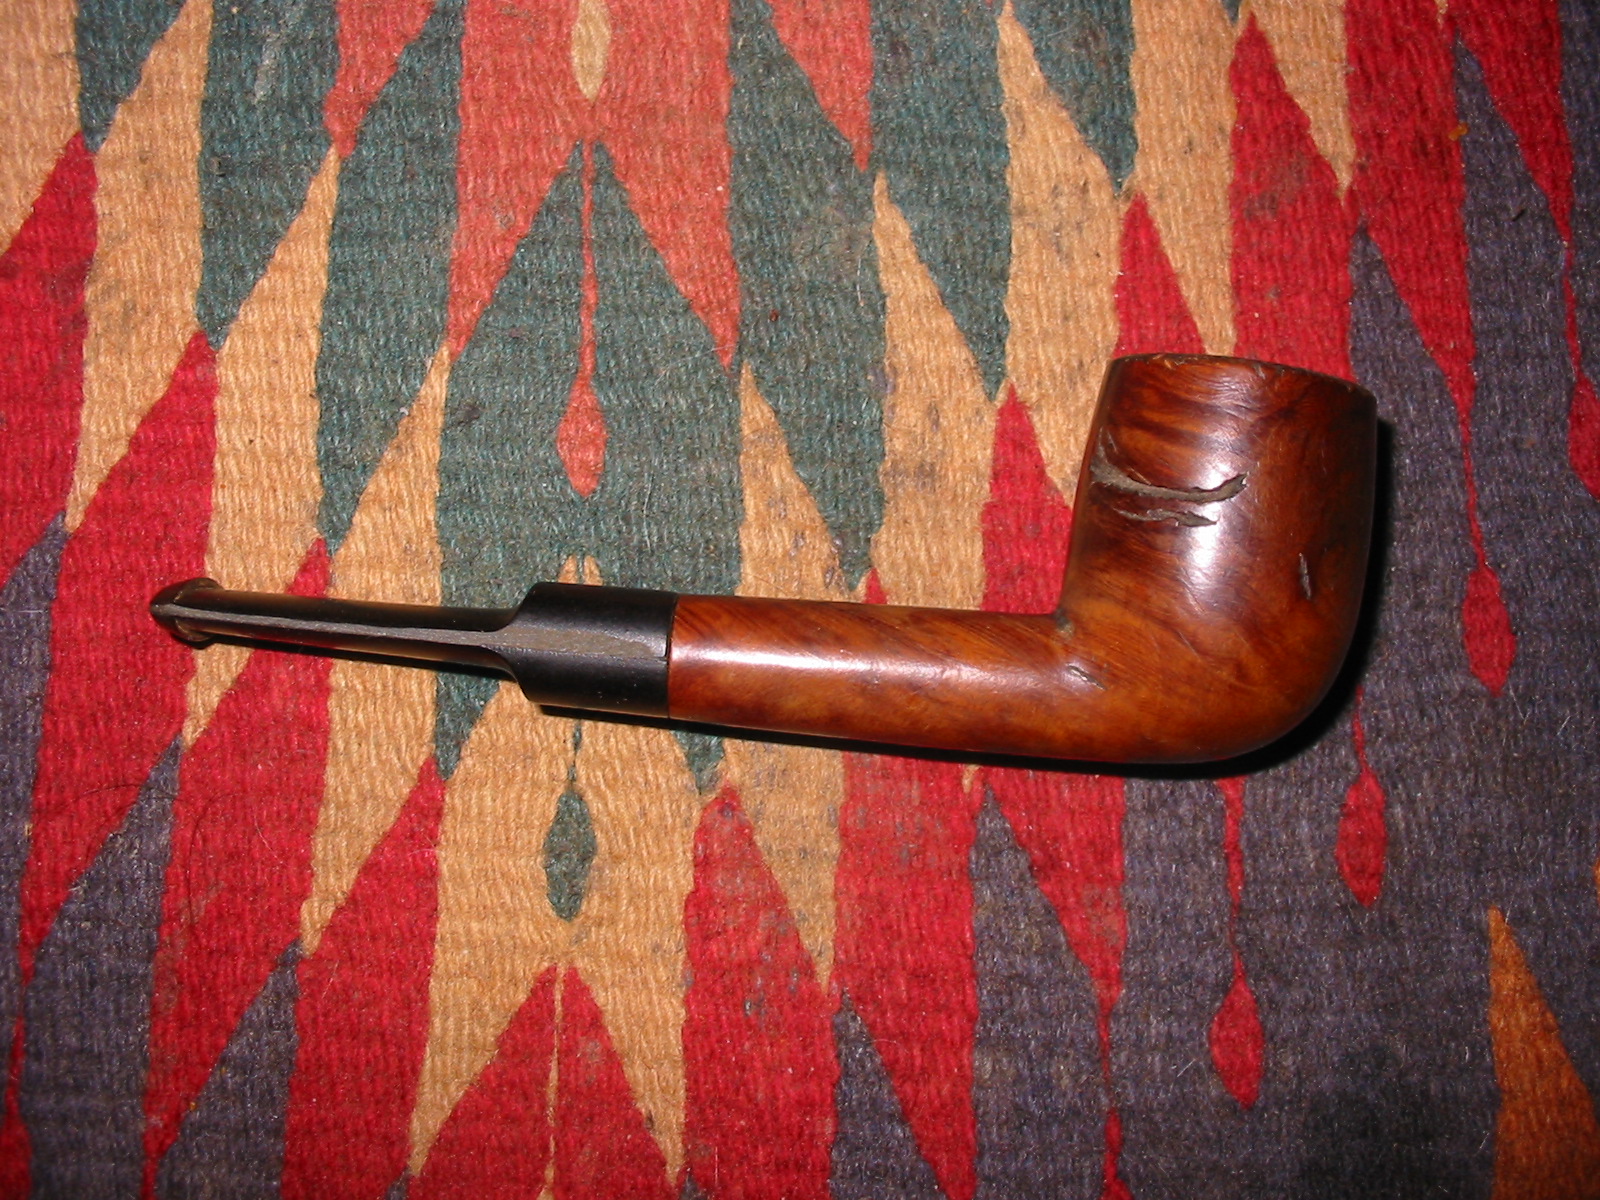
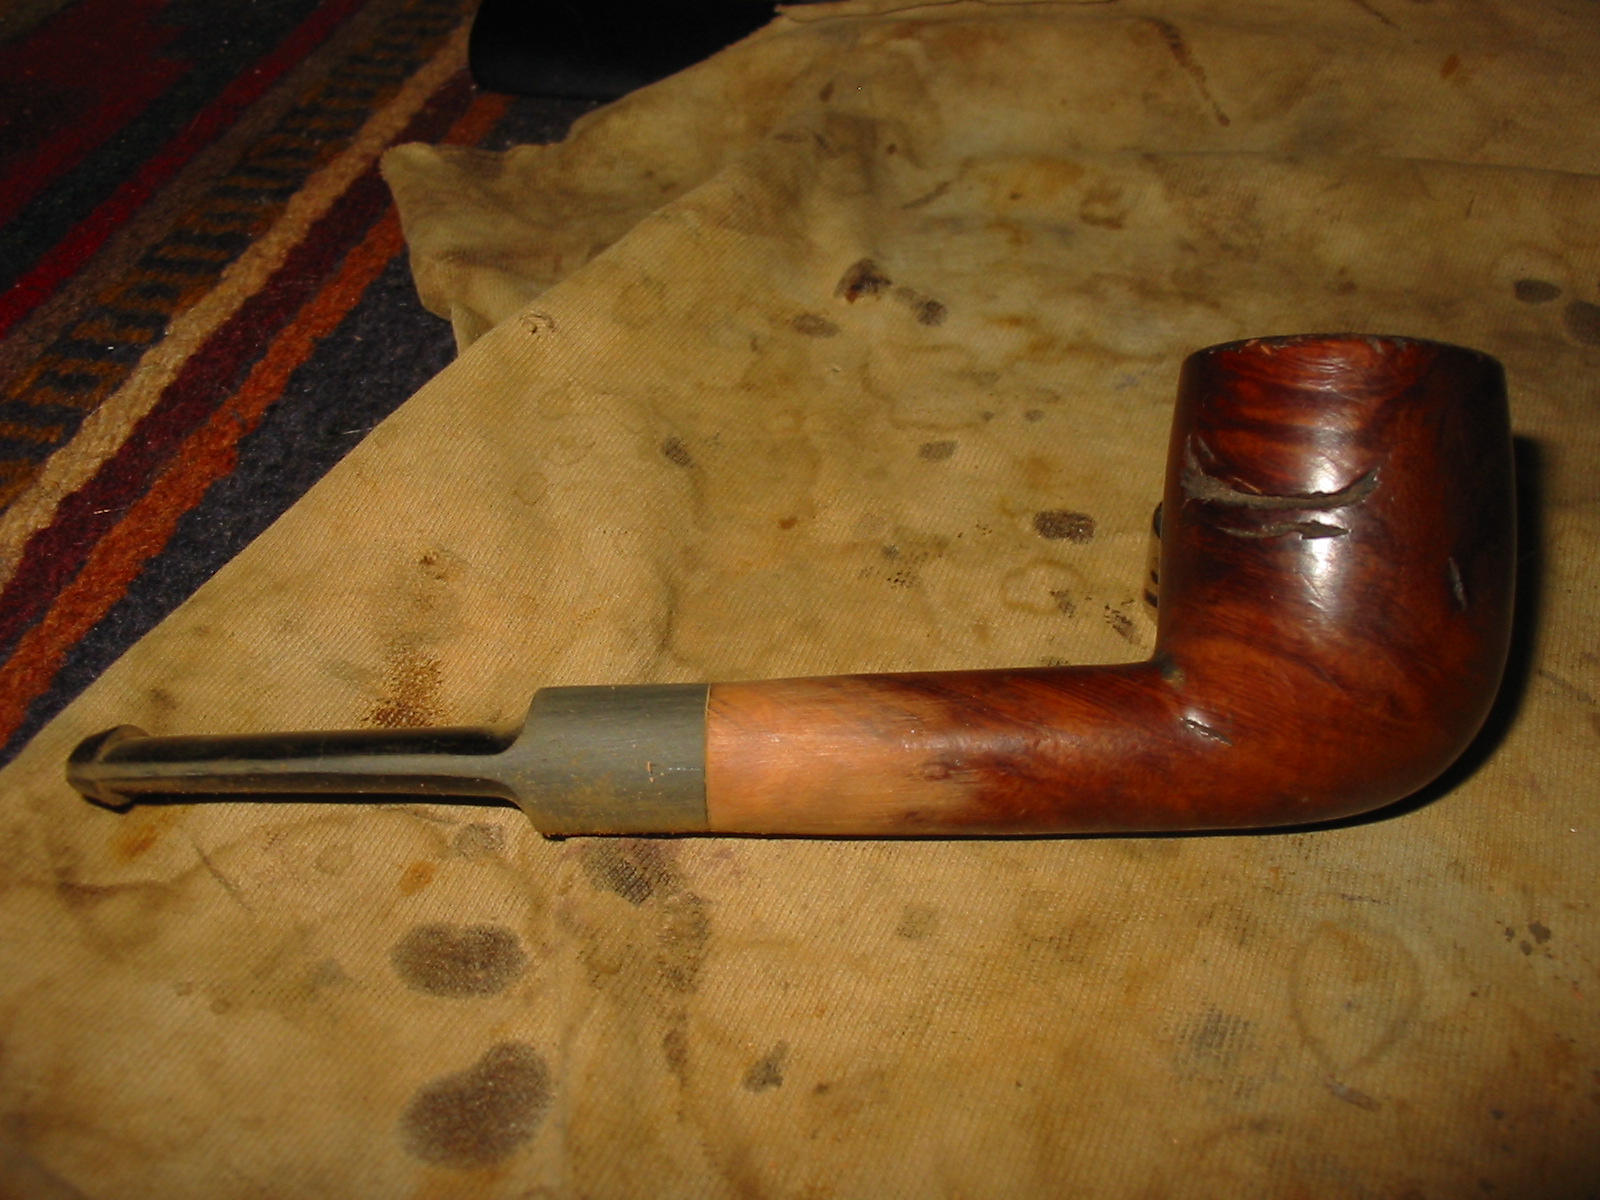
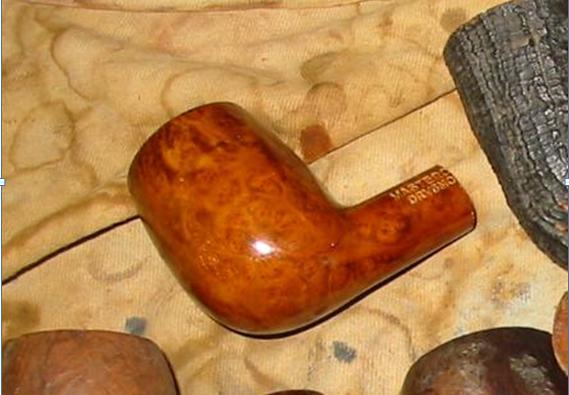
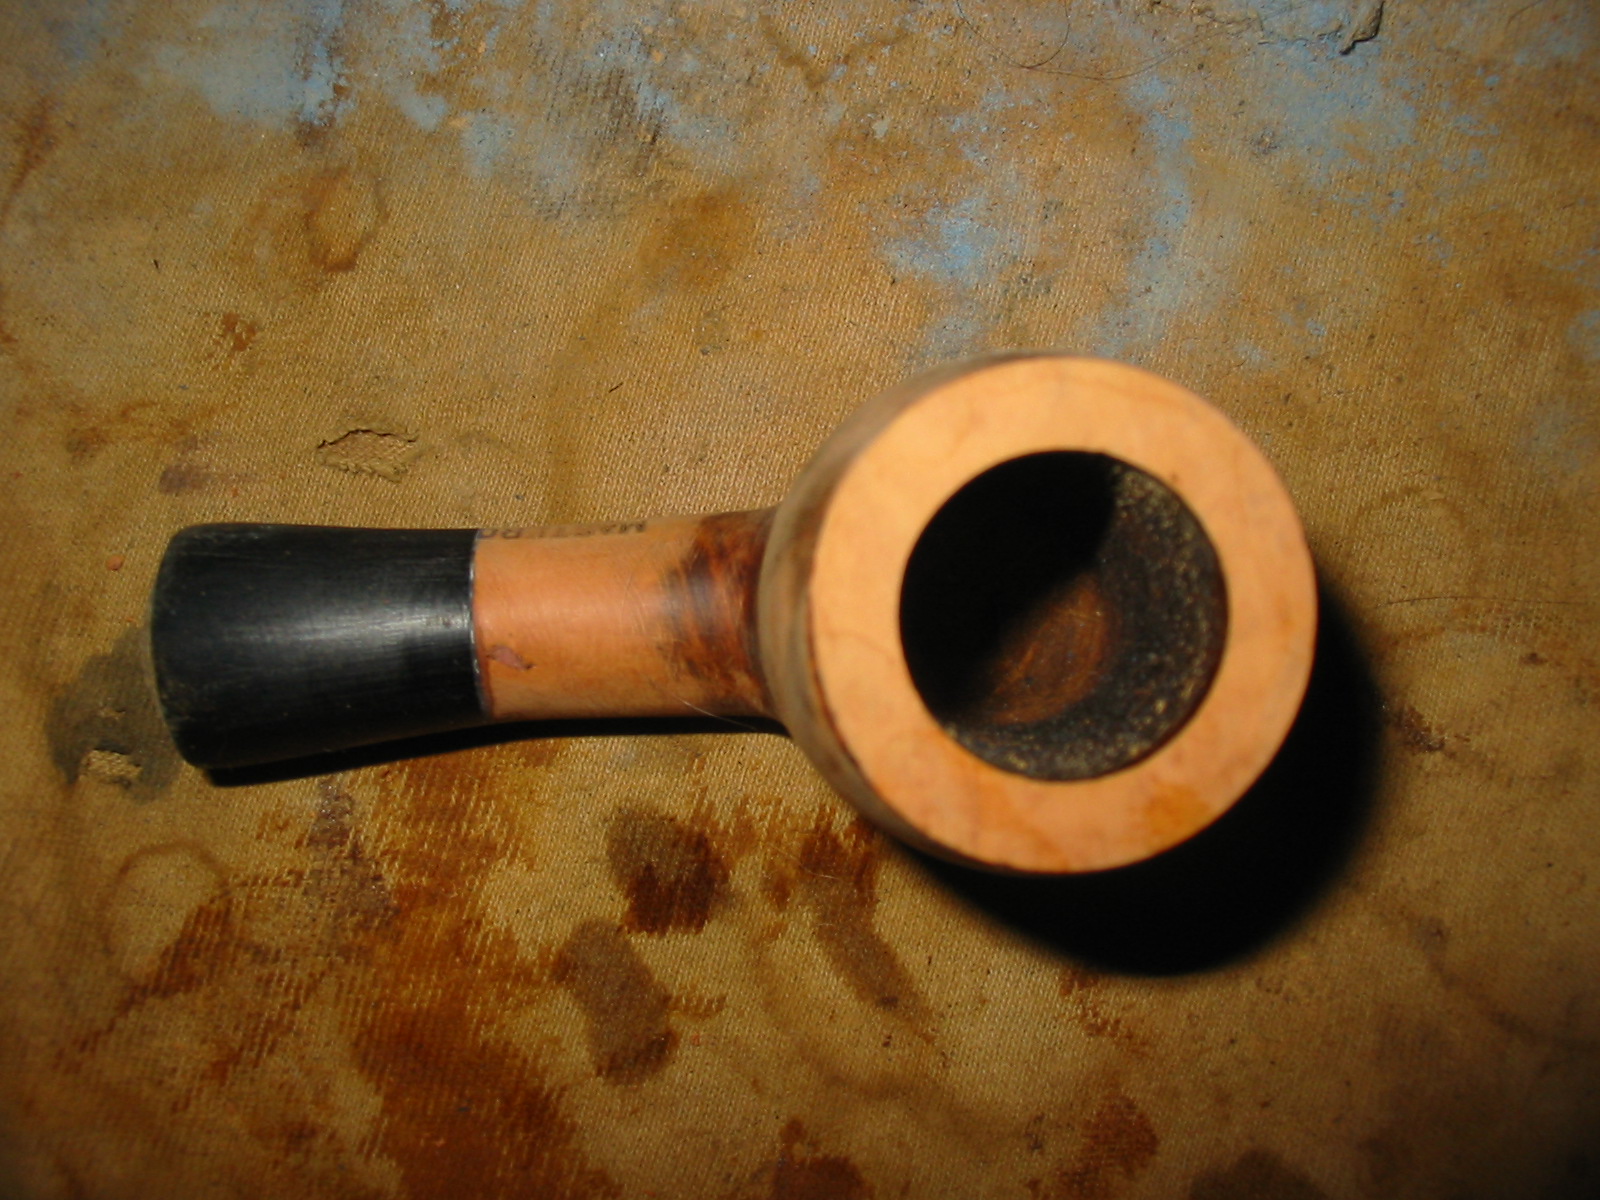
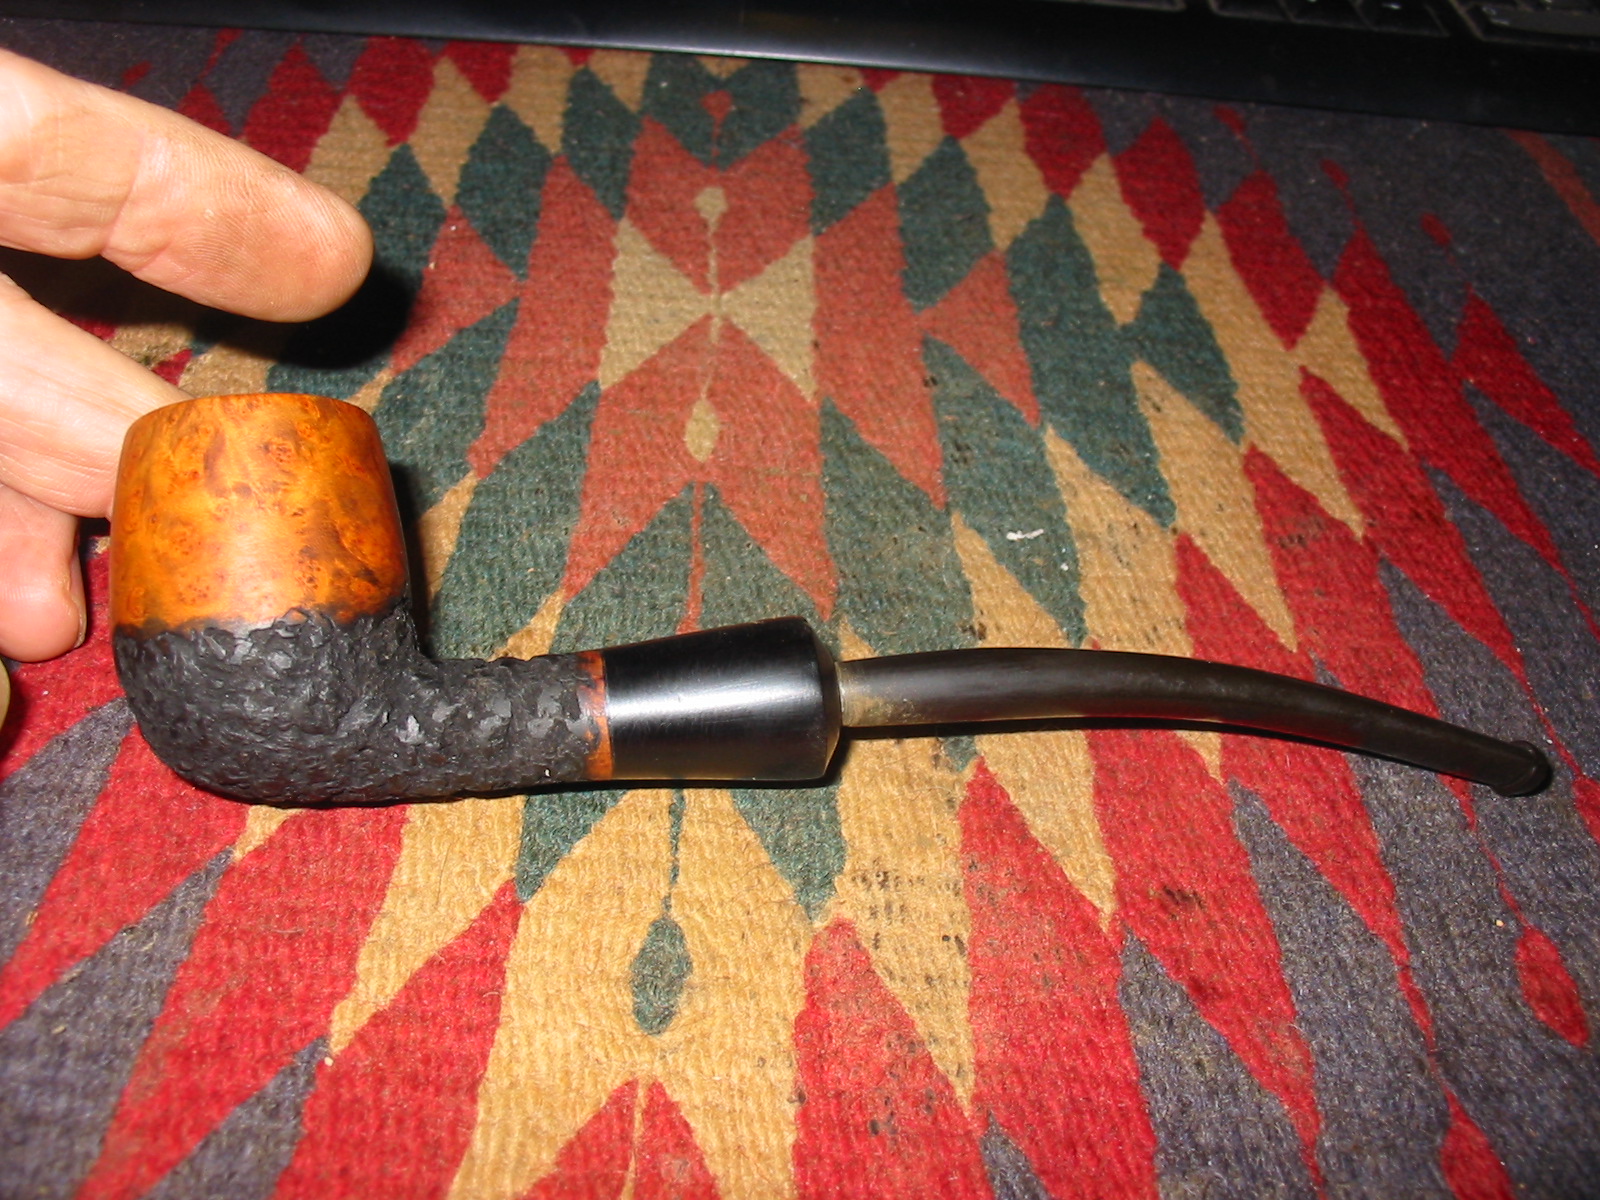
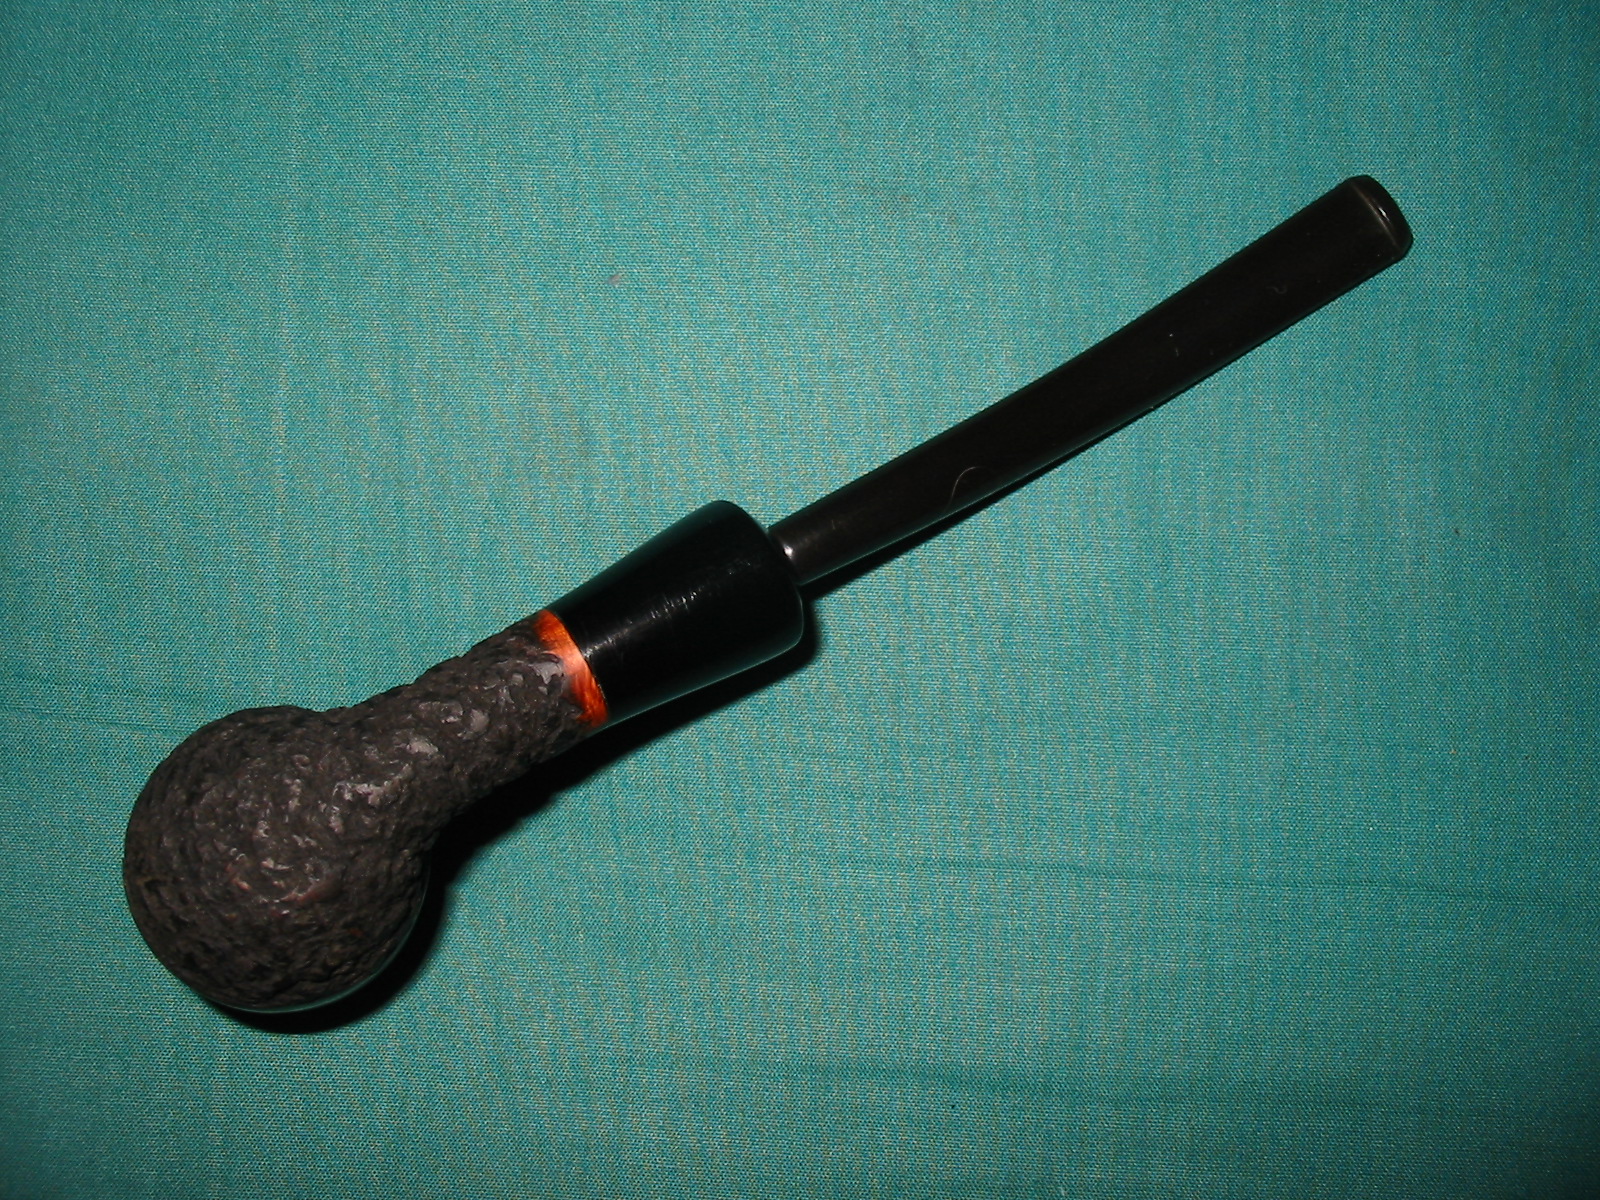
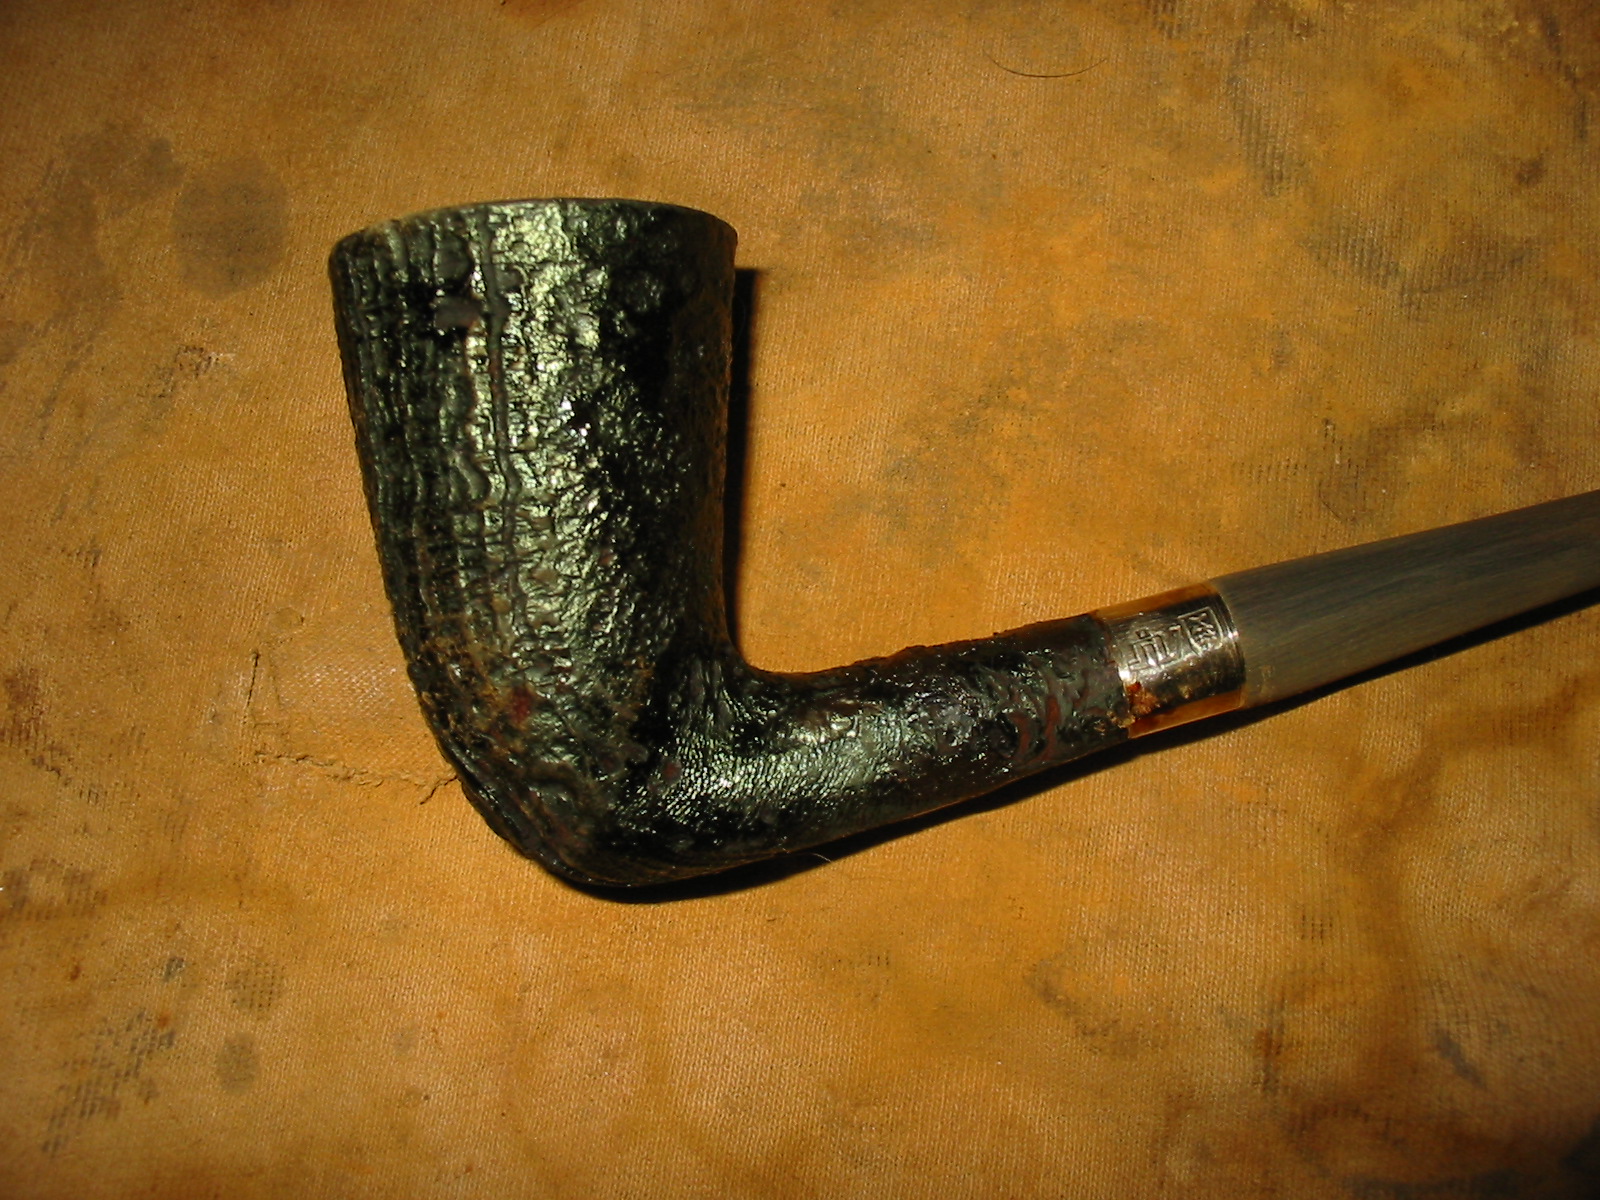
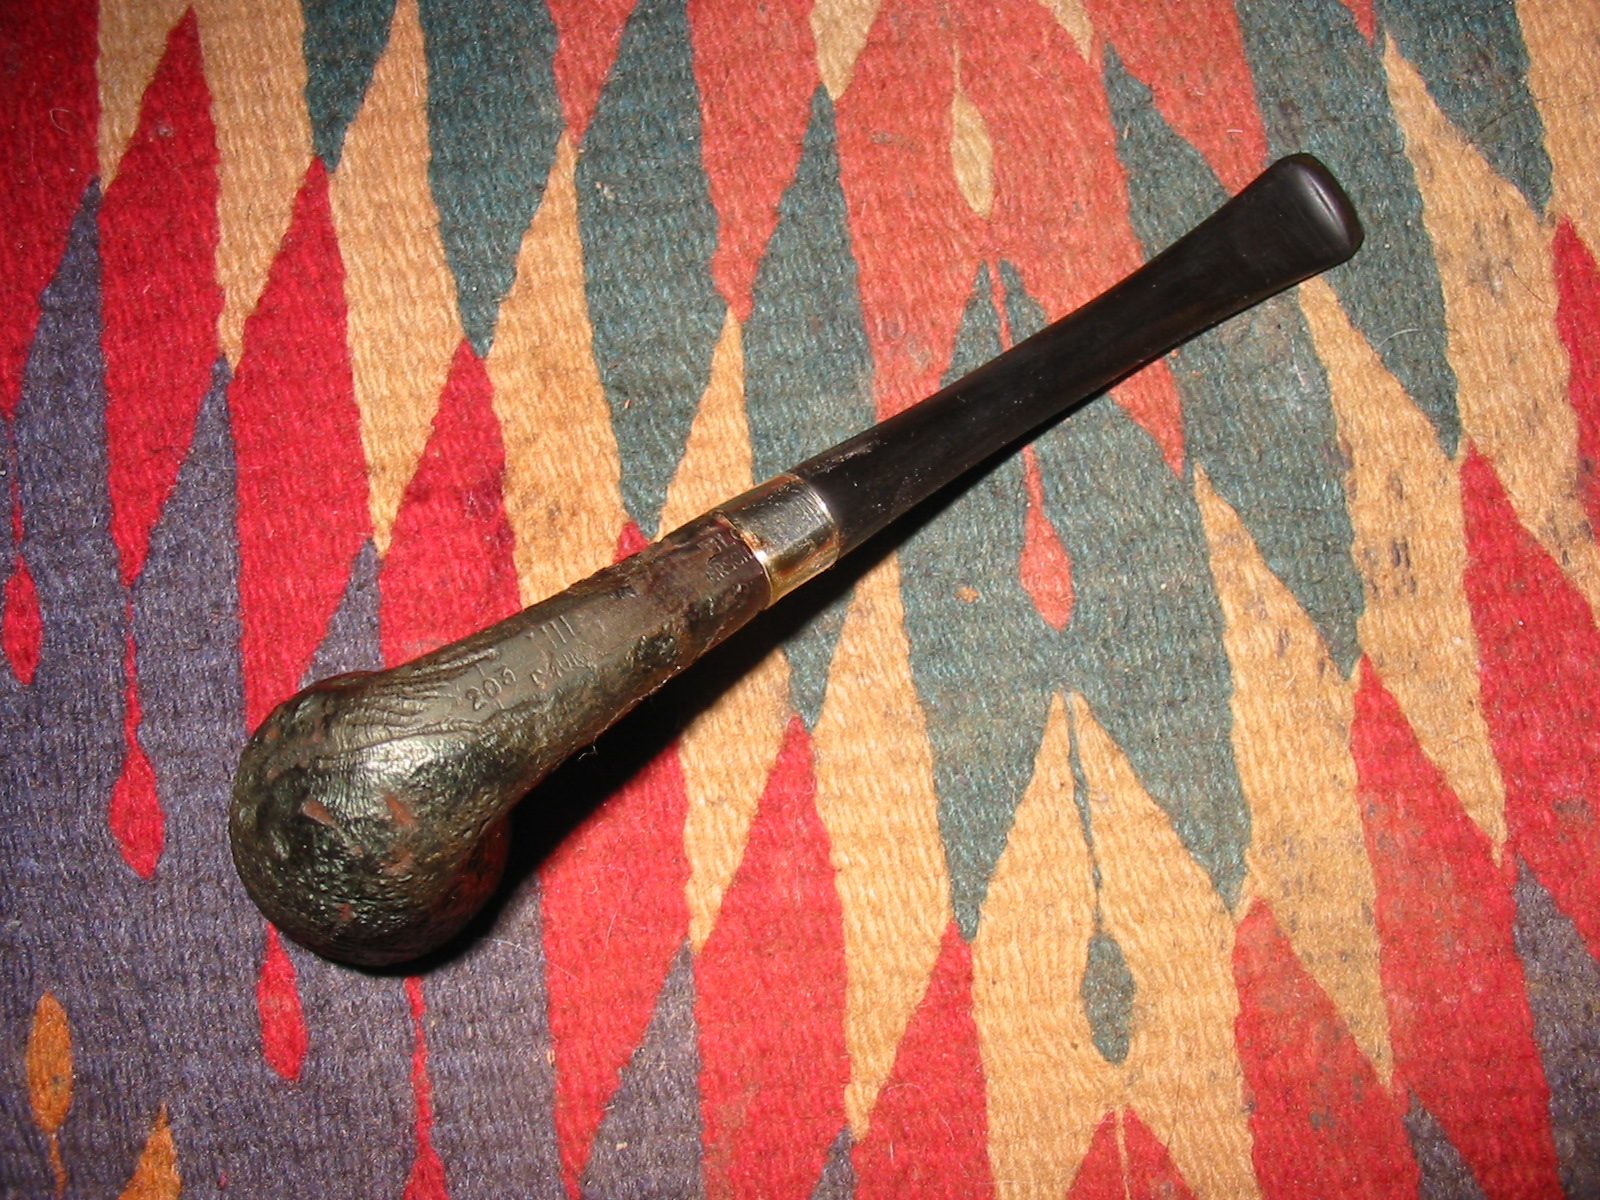
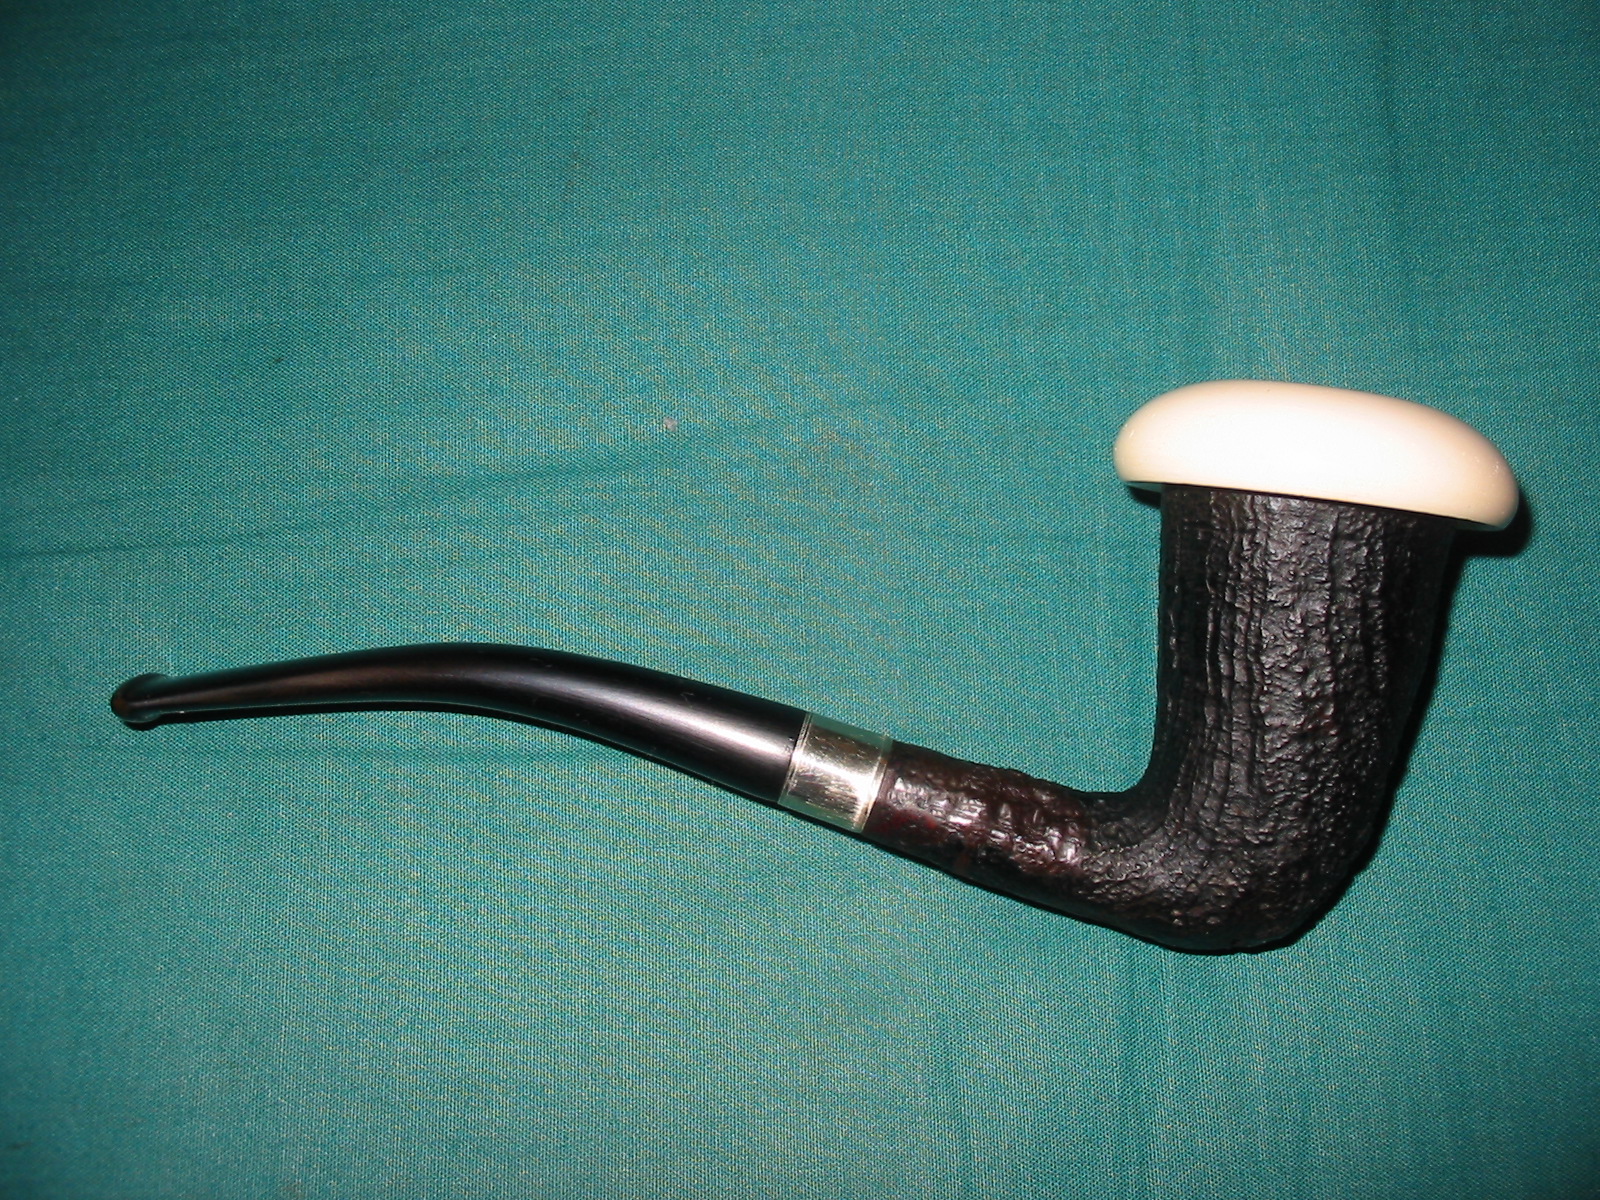
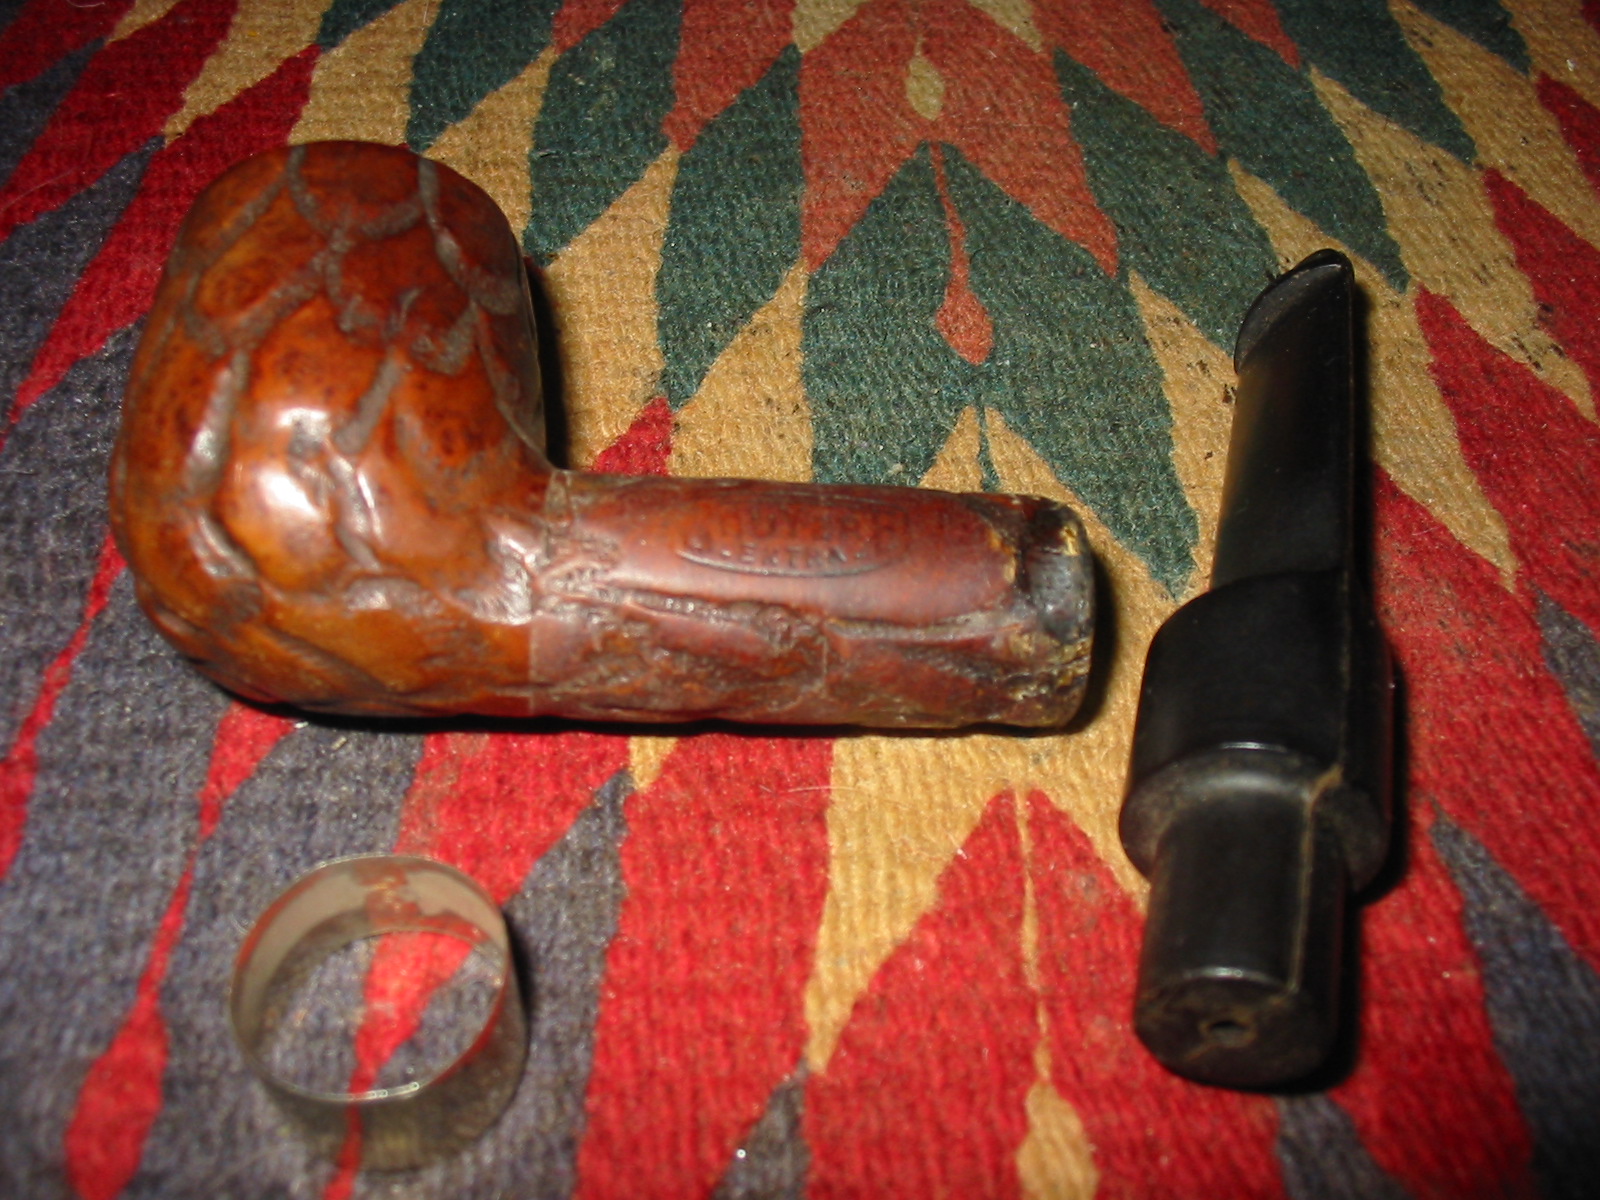
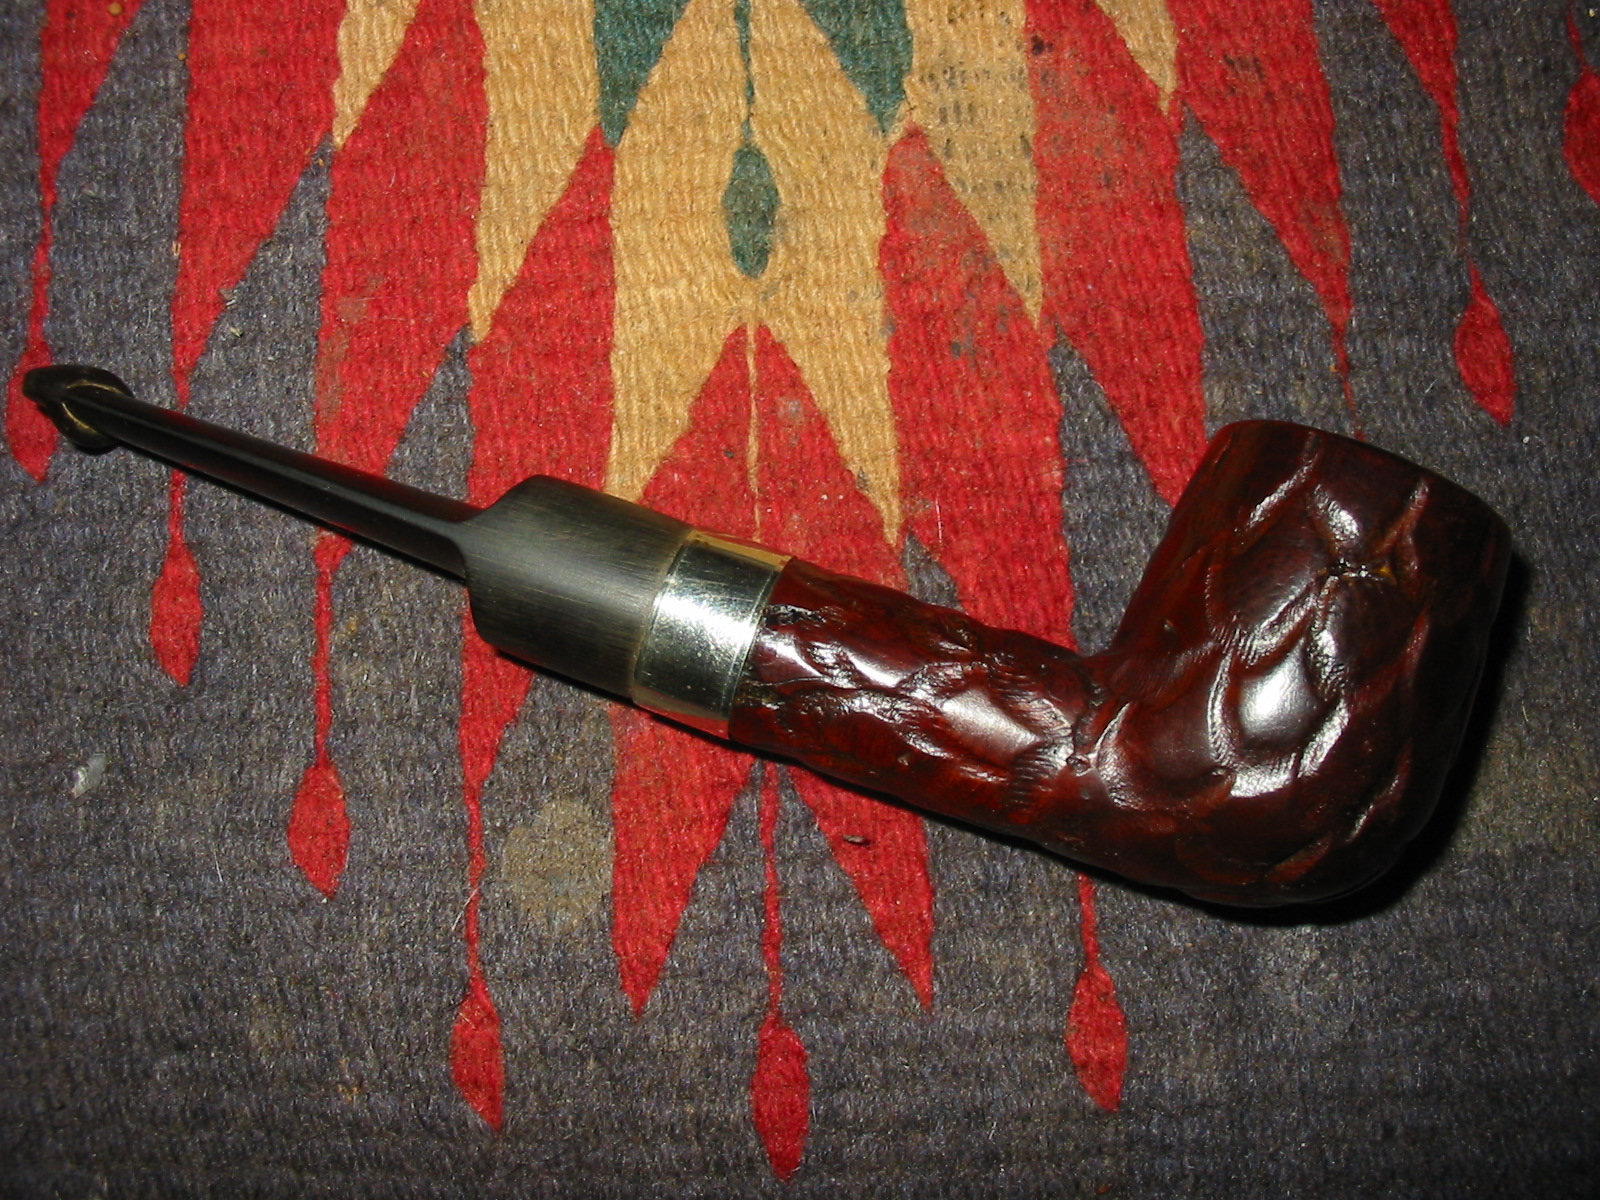
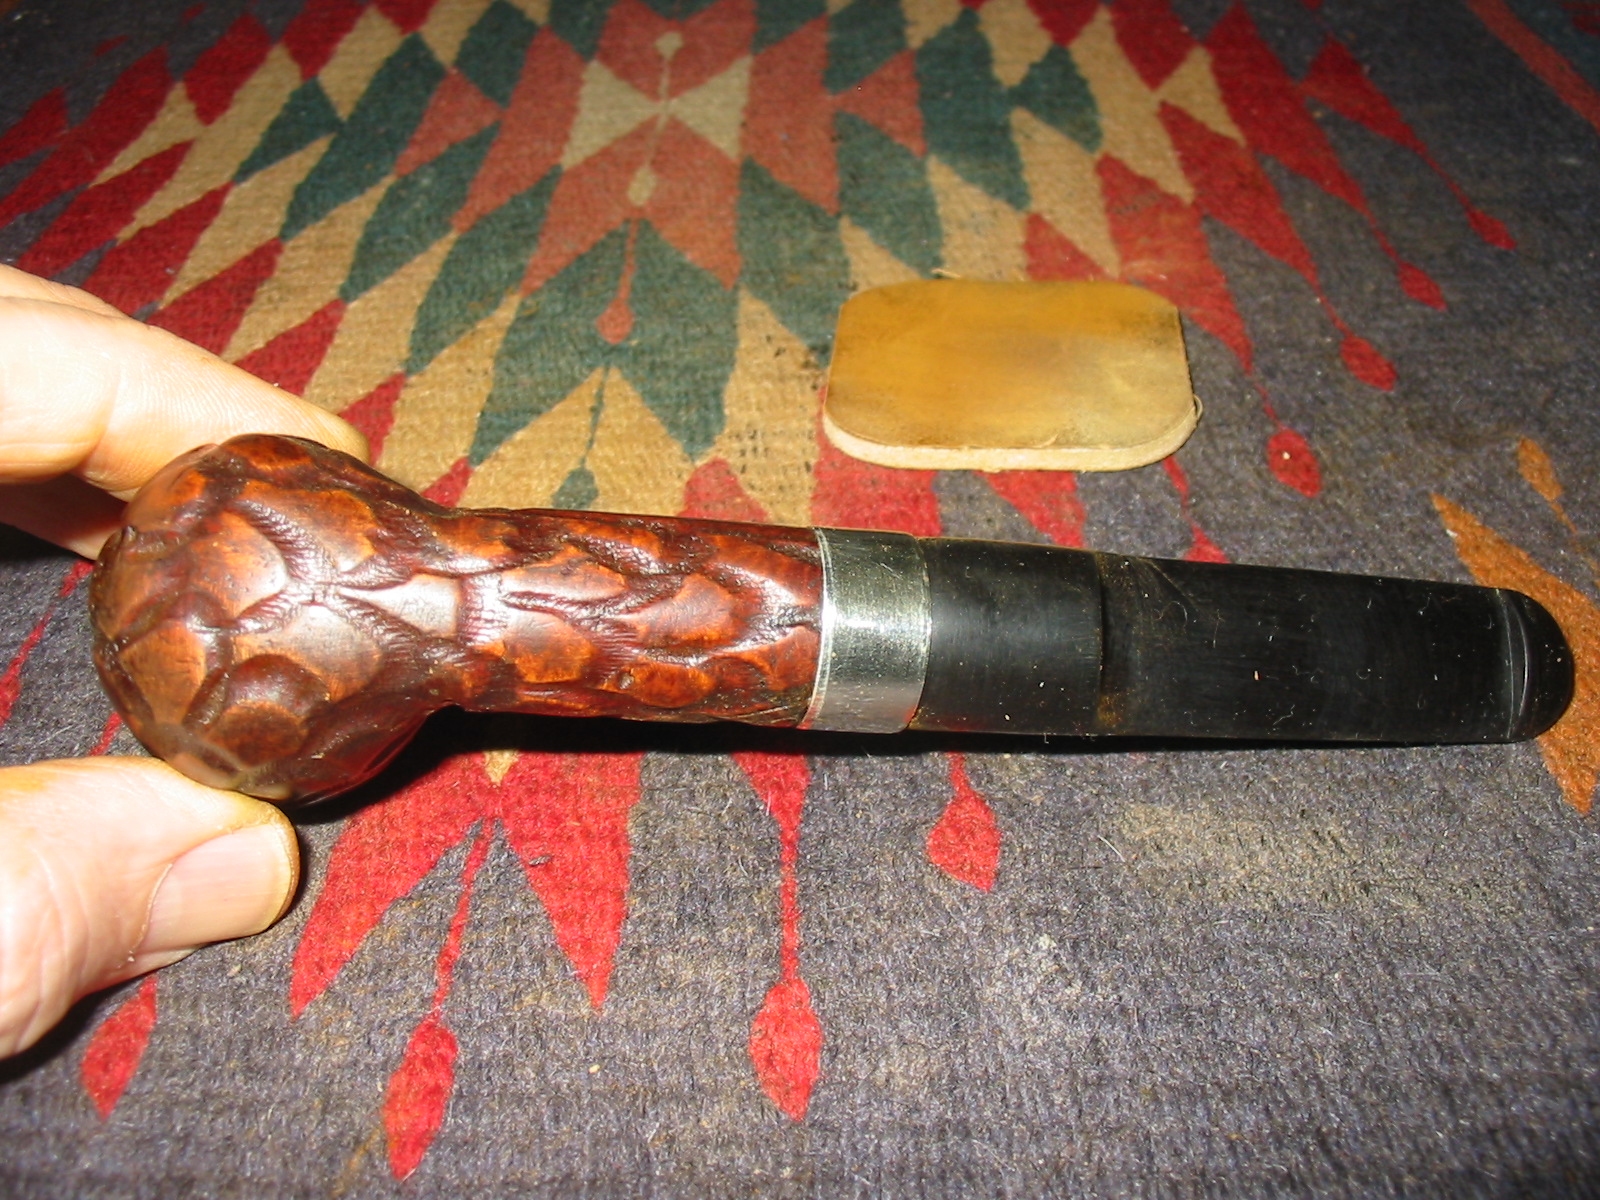
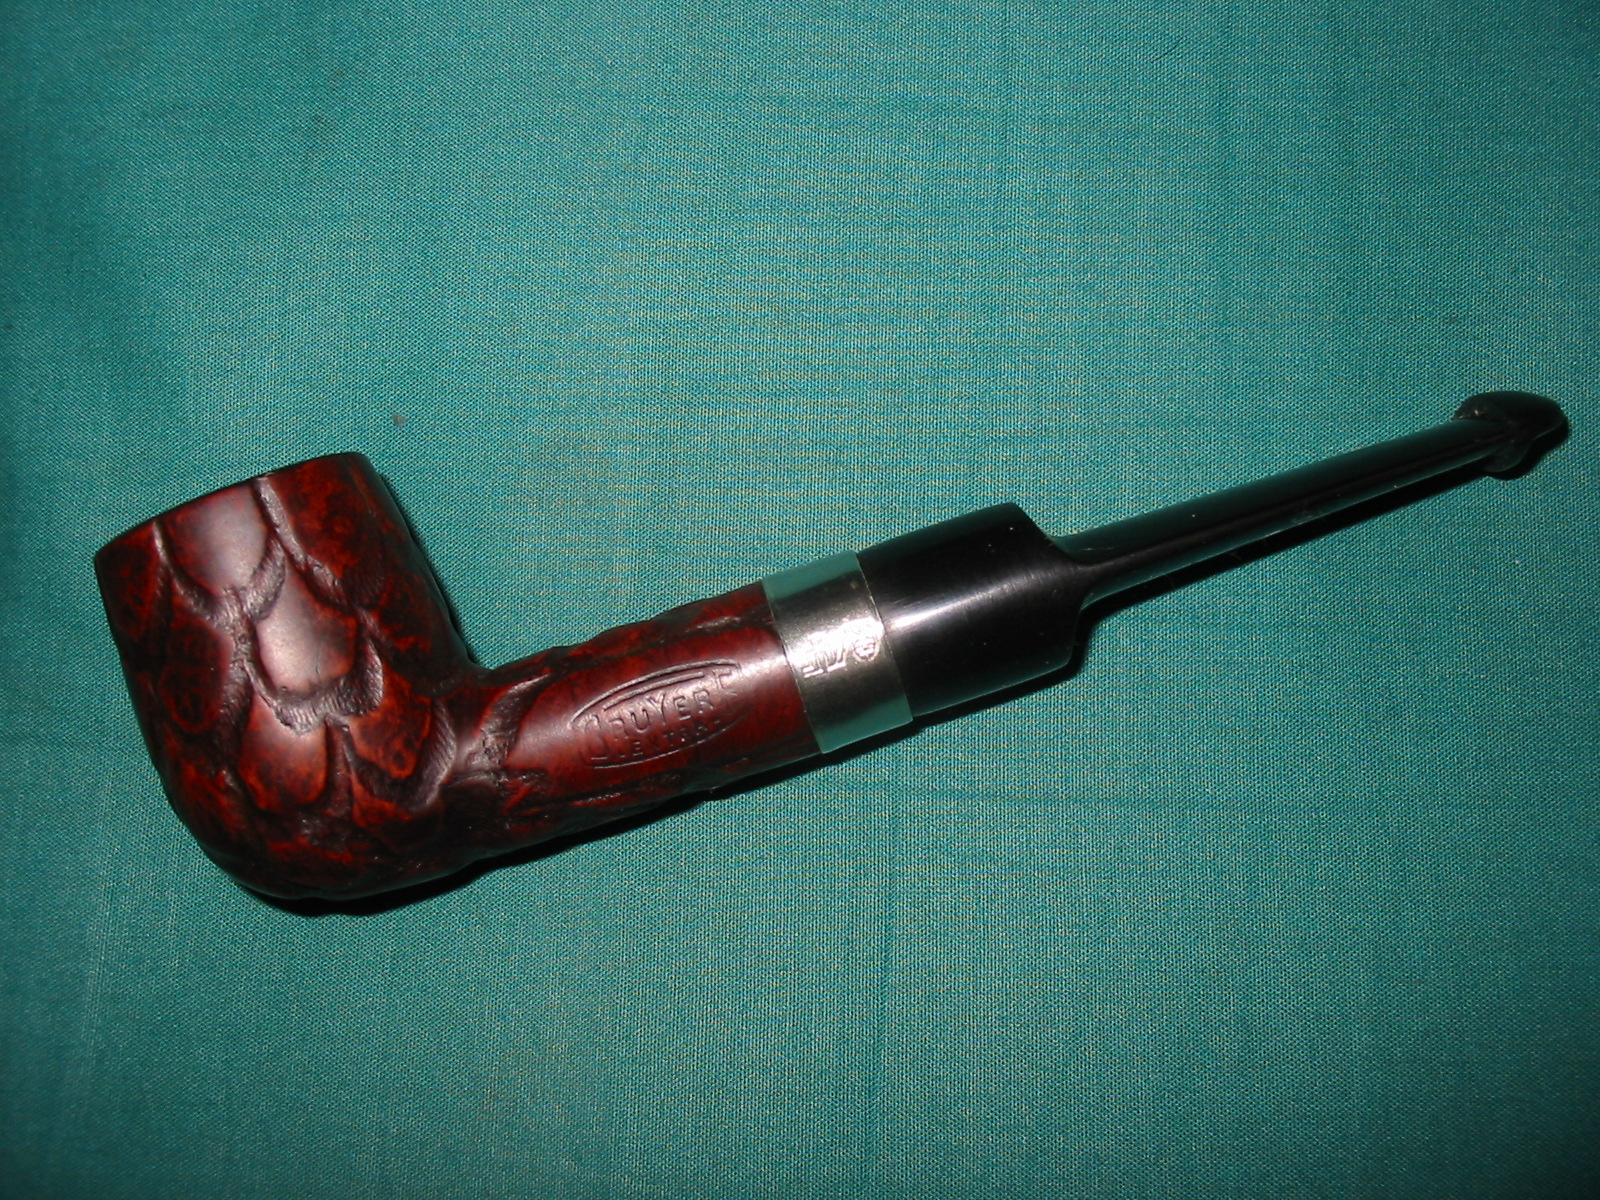
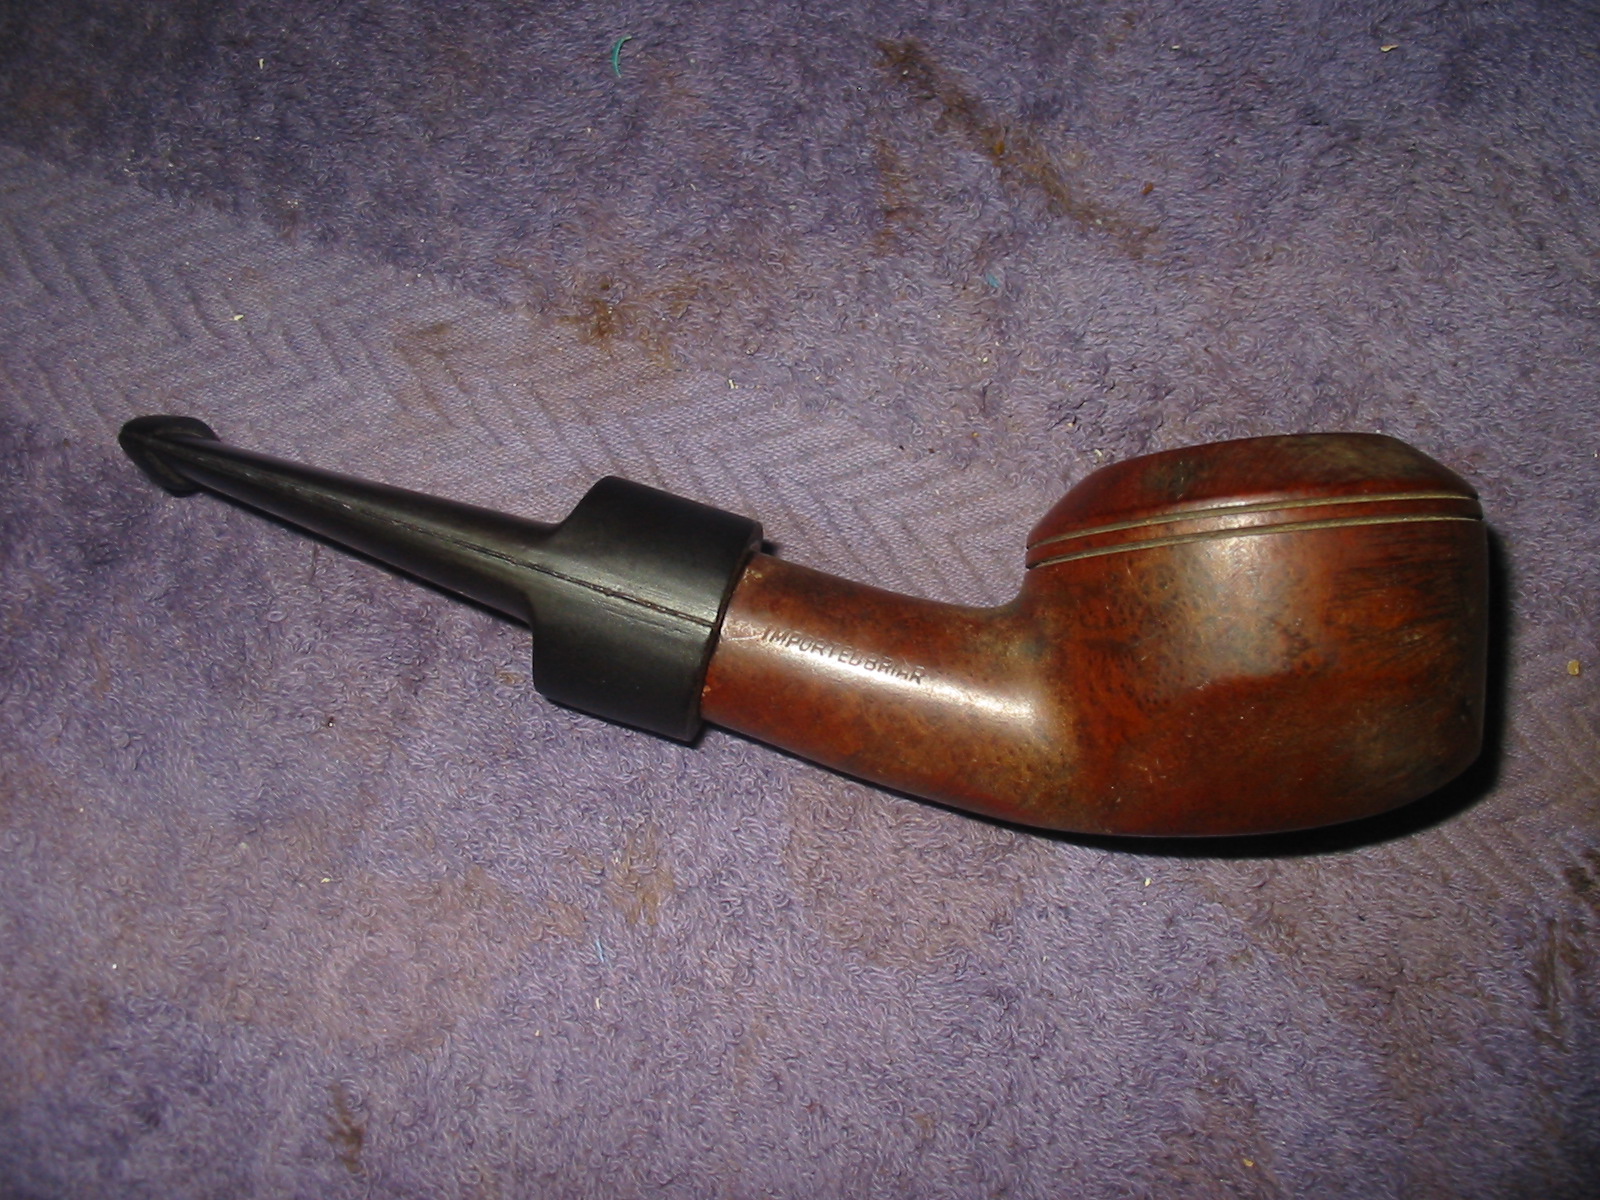
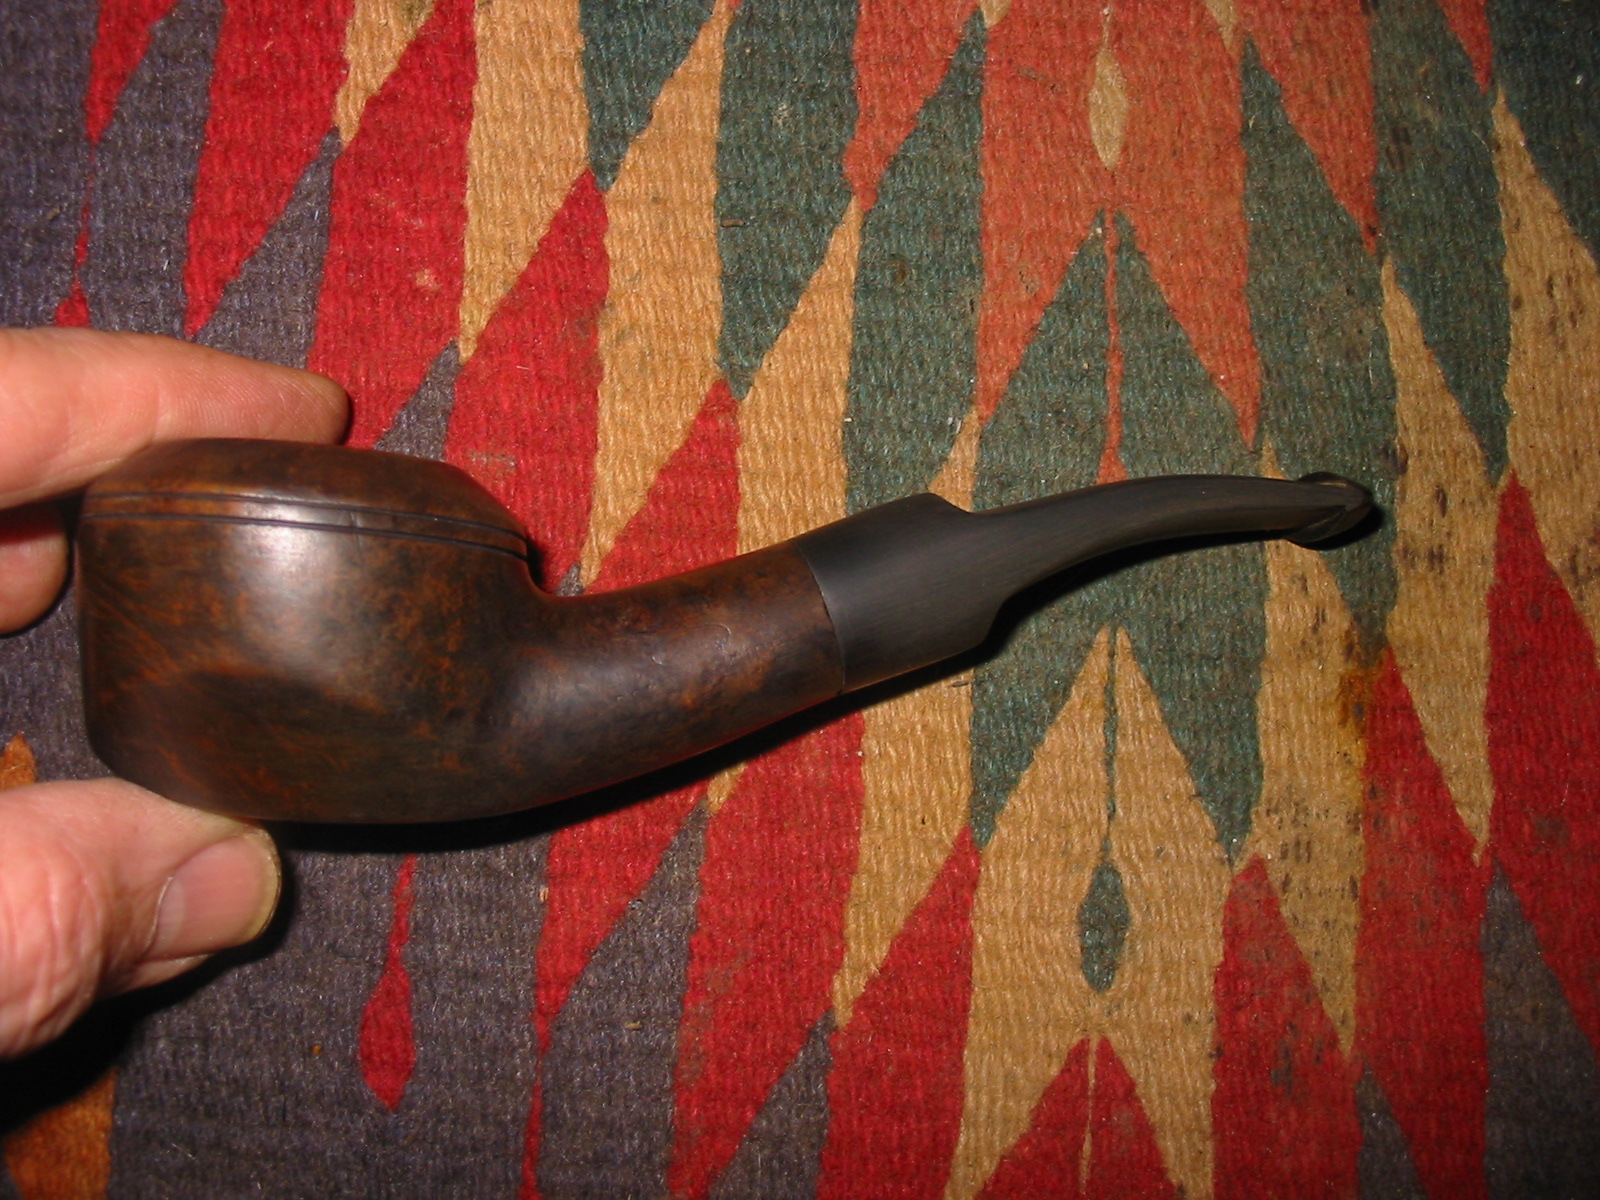
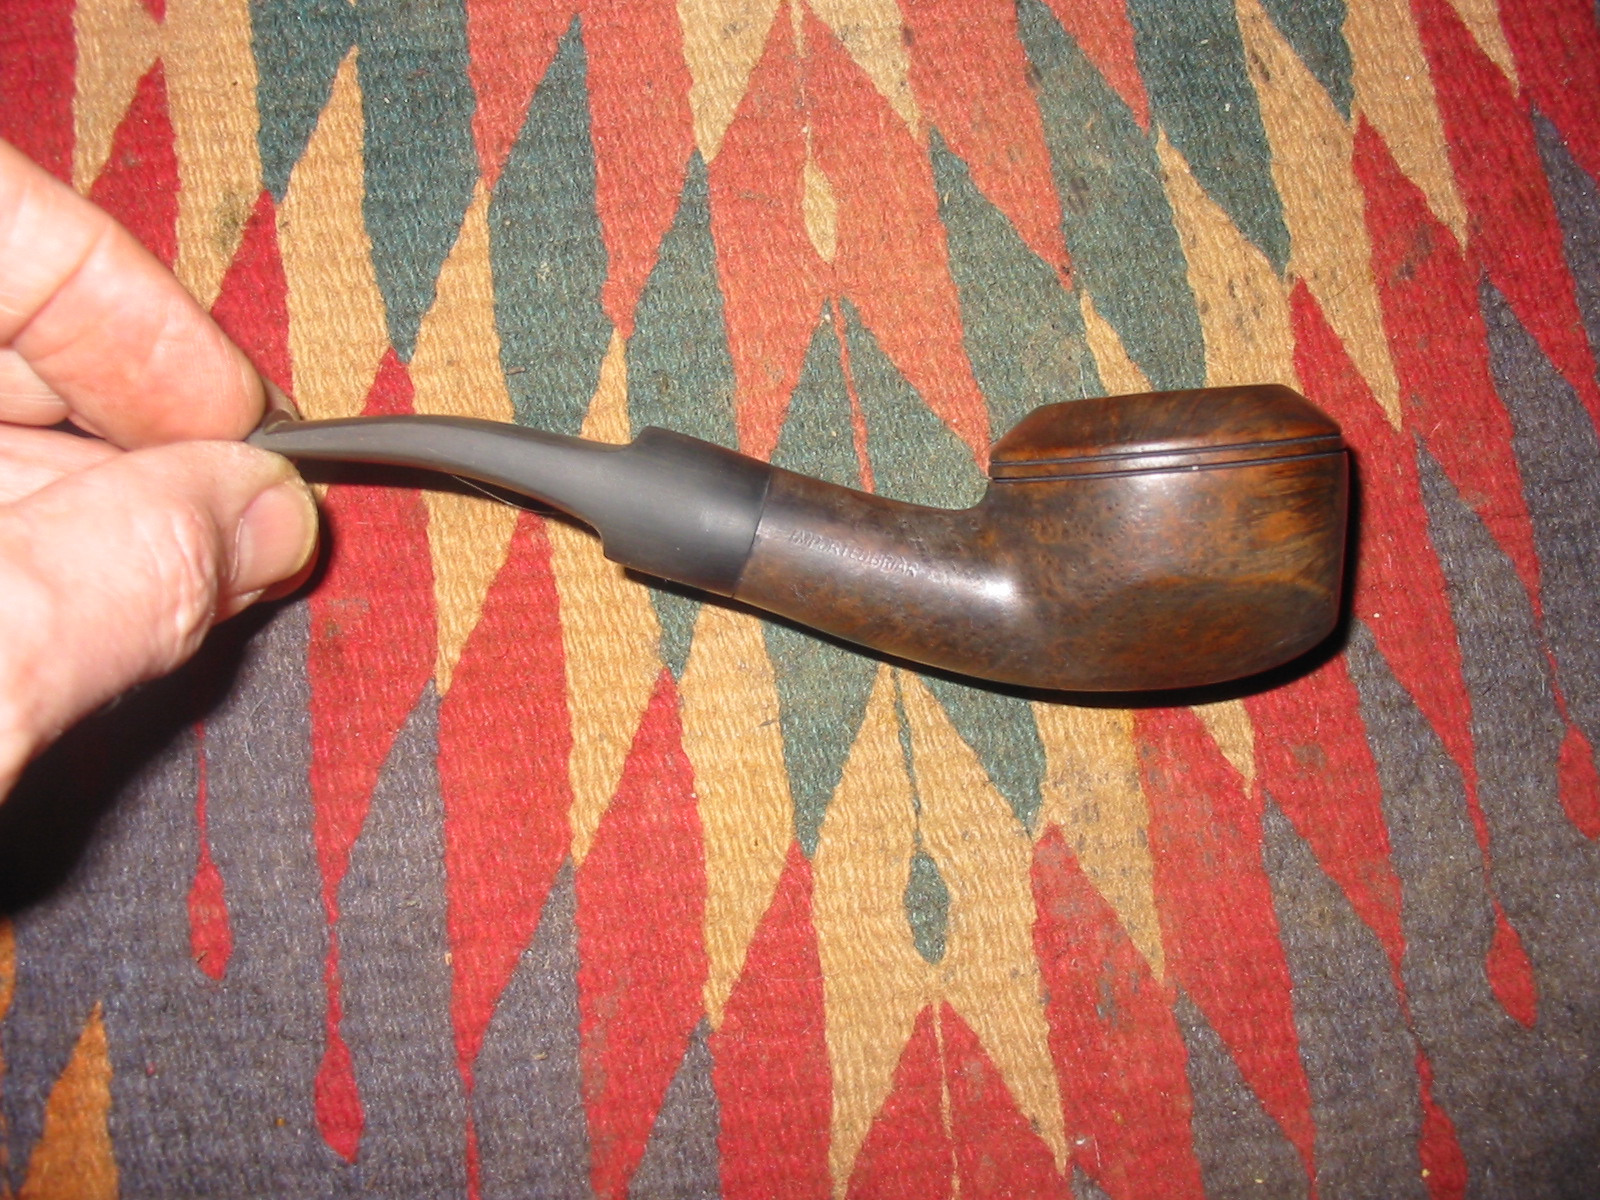
The next pipe on the work table is pictured below. The stamping is faint on the left side of the shank but it reads Weber in and oval over Scoop Junior. On the right side of the shank it is stamped Imported Briar. I decided to do a bit of reading on Weber pipes. I looked on Pipedia and found the following information.
Carl B. Weber was a German from Bavaria. Aged 21 he immigrated to the USA in 1911. In 1938 he established Weber Briars Inc. in Jersey City, New Jersey – later renamed the Weber Pipe Co. The firm grew to be one of the giants of American pipe industry focusing itself in the middle price and quality zone. Trademark: “Weber” in an oval. Beside that Weber – especially in the years after 1950 – was a most important supplier for private label pipes that went to an immense number of pipe shops. In New York alone for example, exactly the same pipes were found at Wilke’s, Barclay Rex, Trinity East, Joe Strano’s Northampton Tobacconist in Ridgewood, Queens, Don-Lou in Bensonhurst, Brooklyn. Nearly all pipes for Wilke were unstained and many models, for example the “Wilke Danish Bent”, could hardly deny originating of Weber. Among others well reputed pipemaker Anthony Passante worked for Weber.
Weber Pipe Co. owned and manufactured Jobey pipes – when mainly sold in the USA by The Tinderbox from 1970’s – 80’s. In addition Jobey / Weber bought Danish freehands from Karl Erik (Ottendahl). These pipes were offered as Jobey Dansk. Ottendahl discontinued exports to the United States in 1987 and in the very same year – obviously only as a ghost brand – Jobey was transferred to Saint-Claude, France to be manufactured by Butz-Choquin. Carl B. Weber is the author of the famous book “Weber’s Guide to Pipes and Pipe Smoking”.
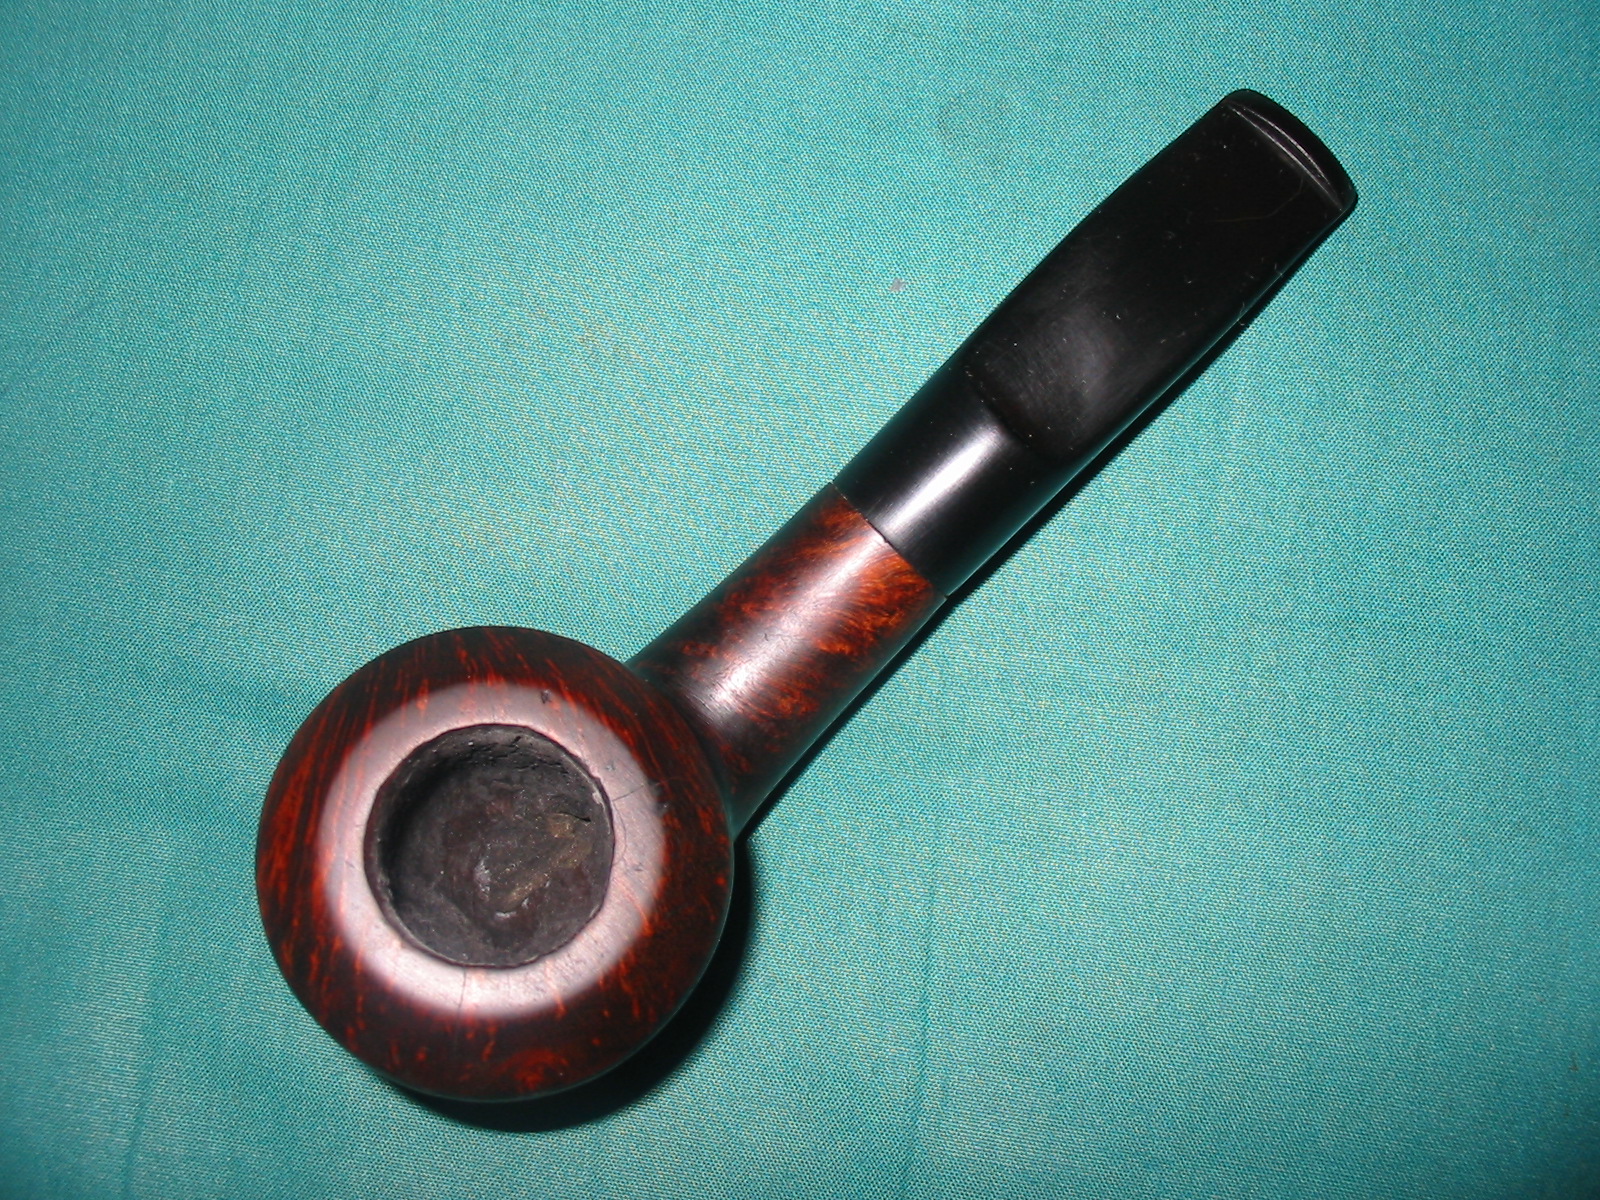
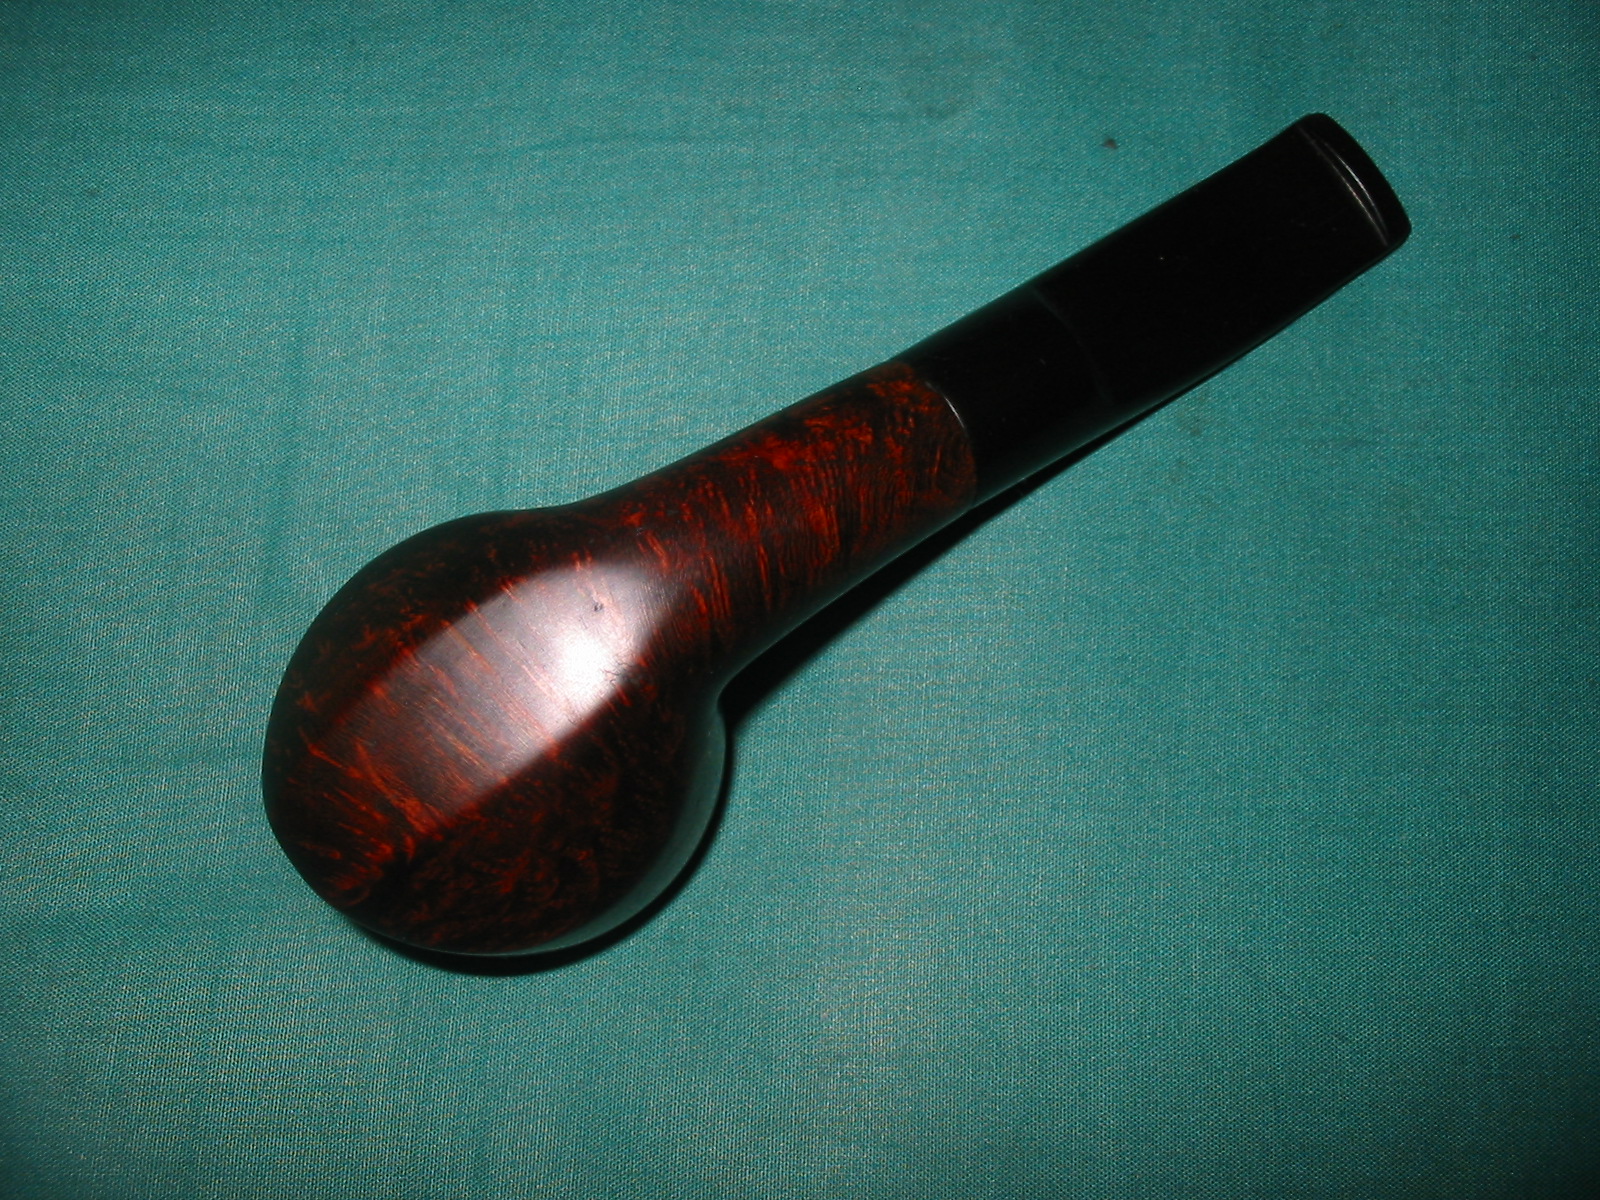
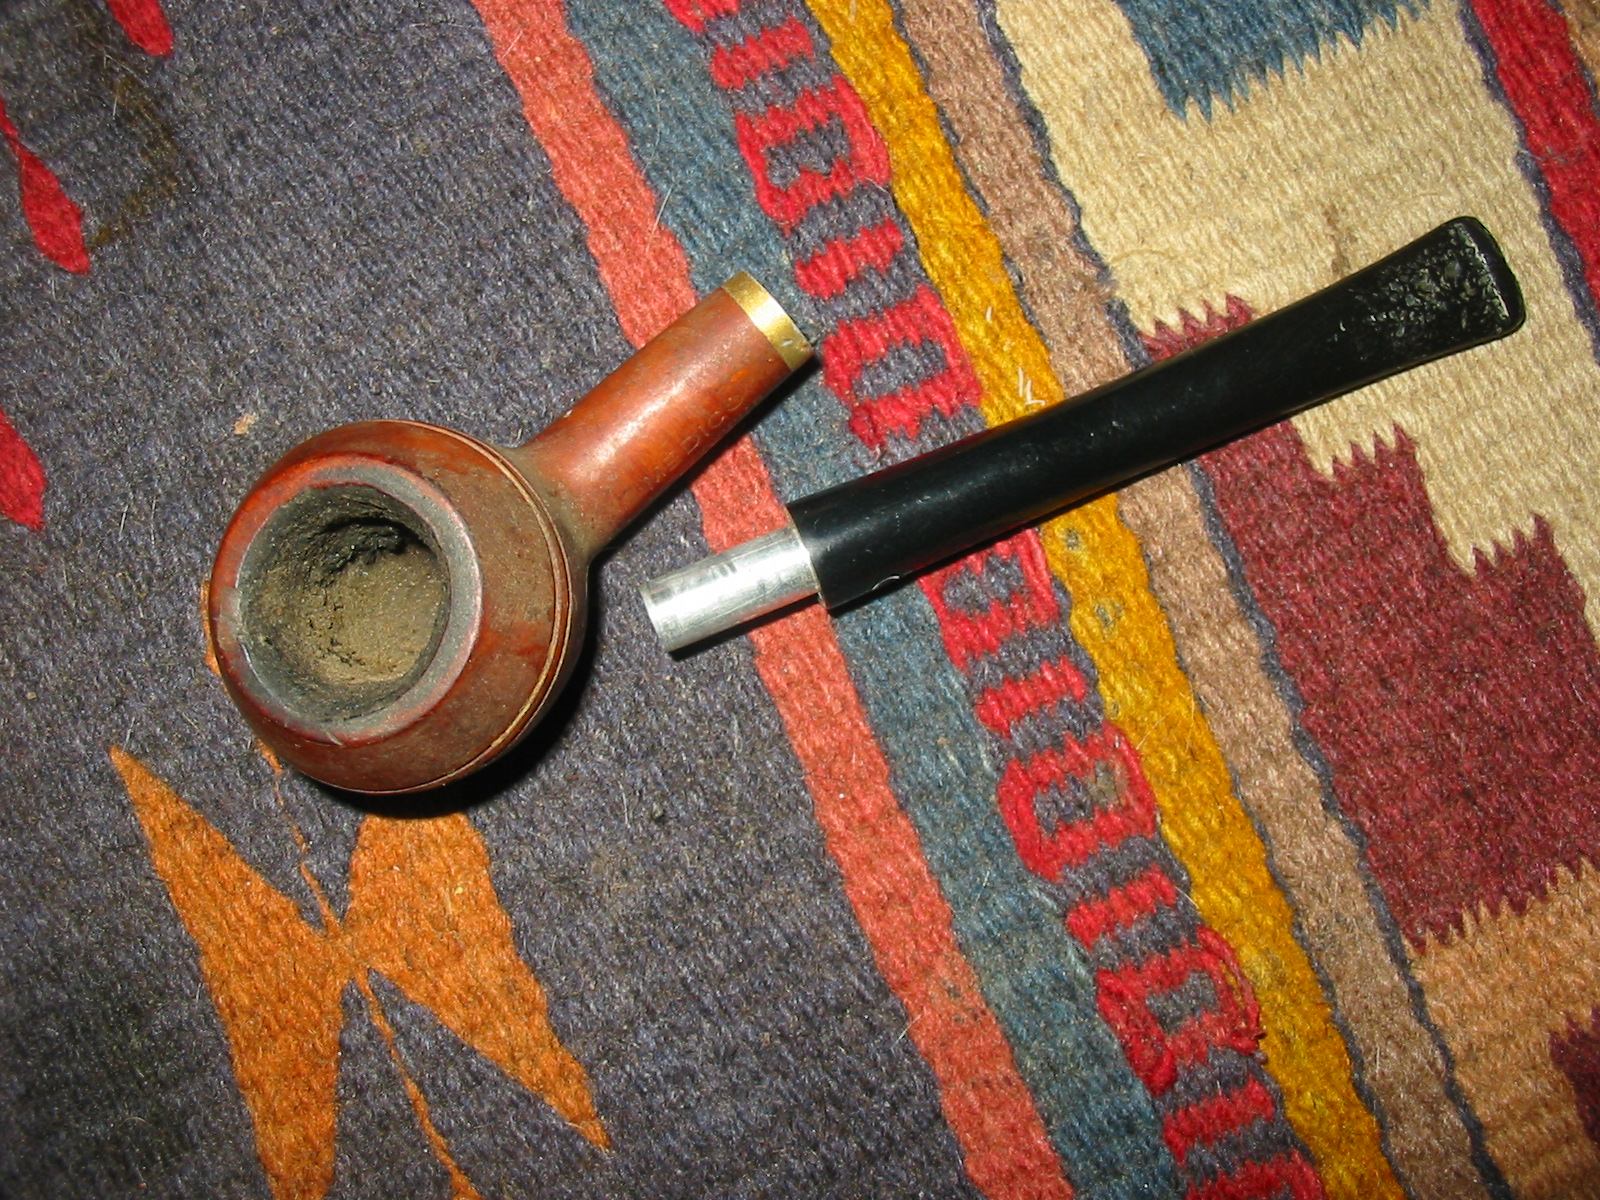
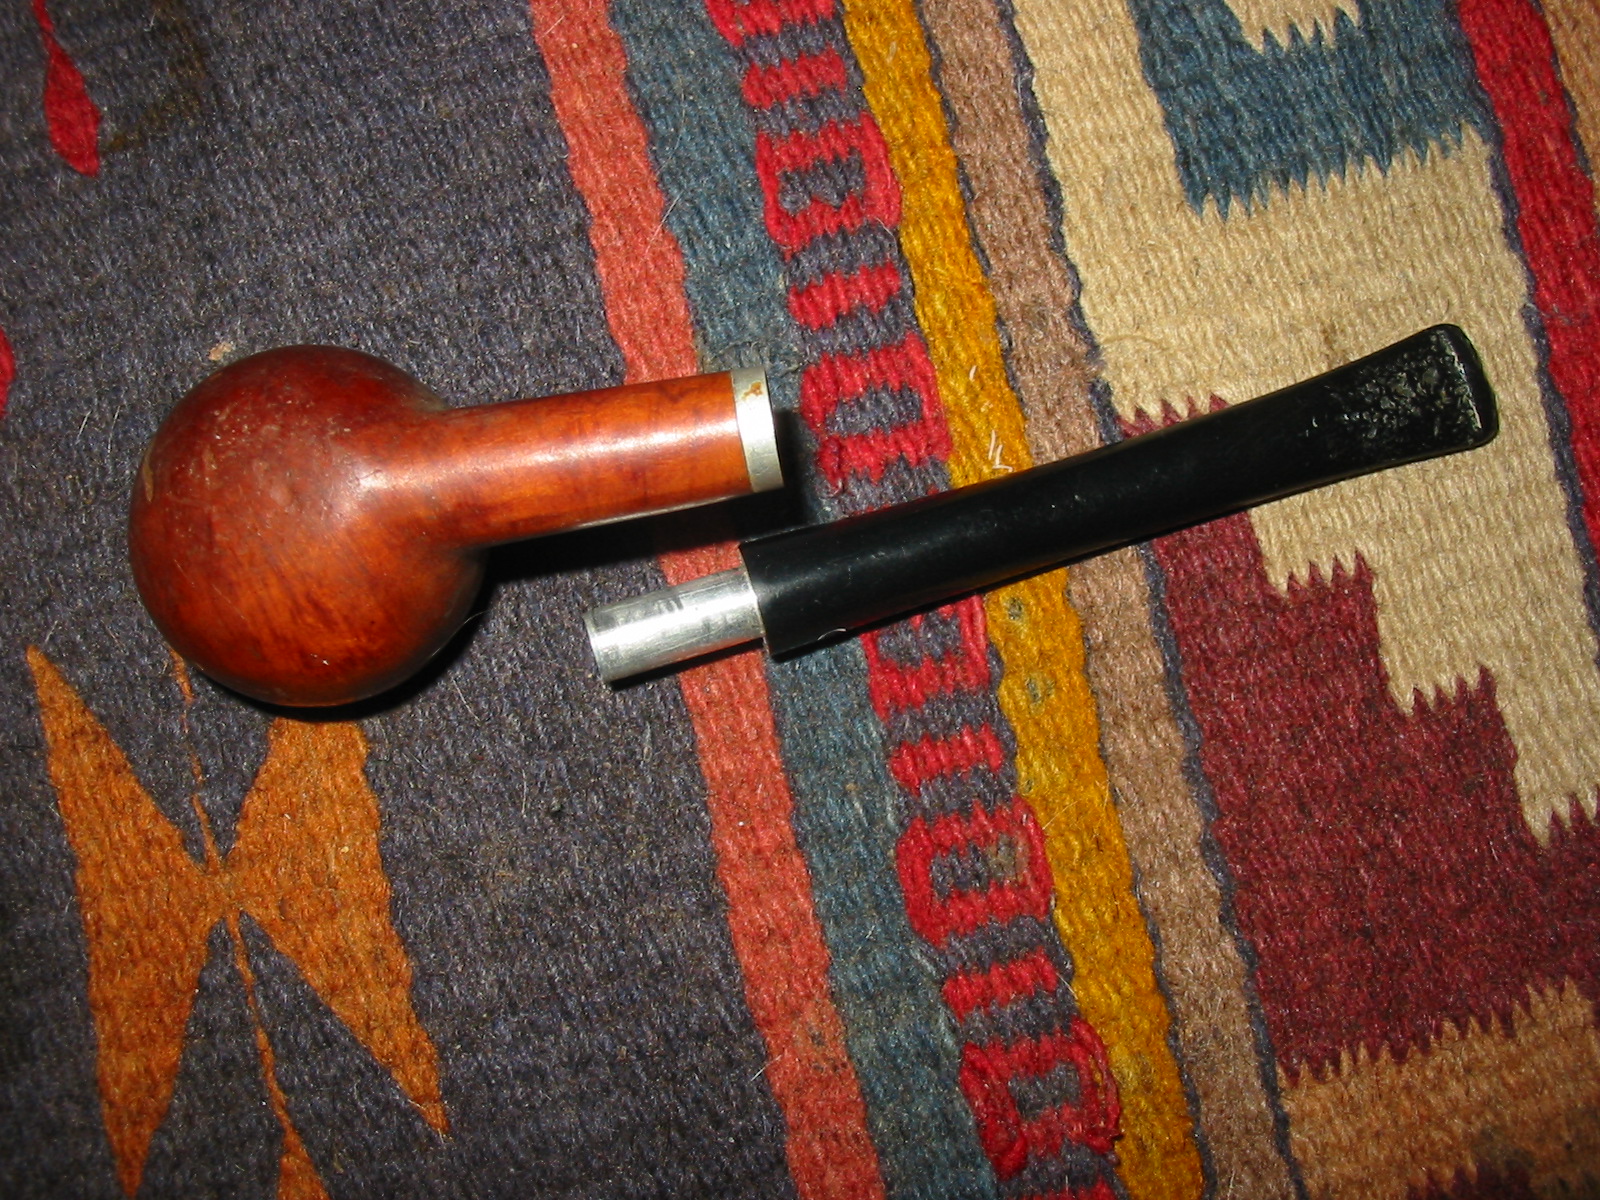
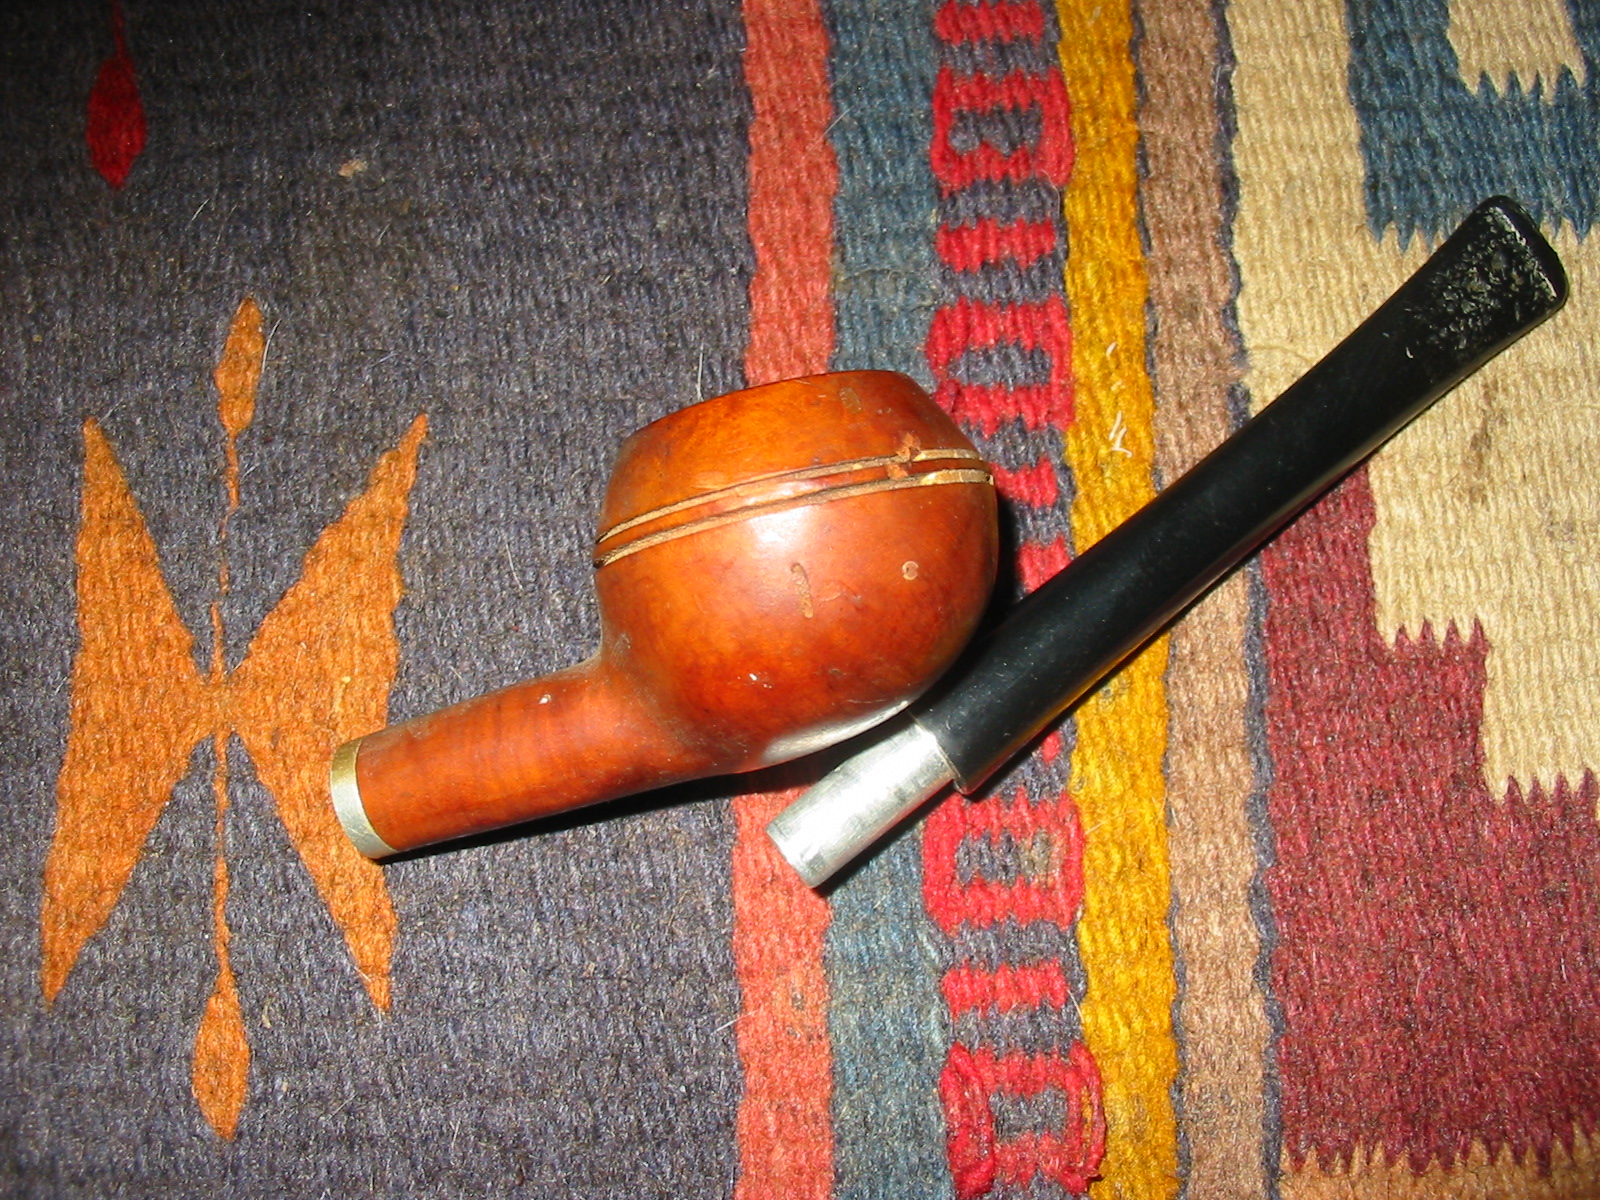
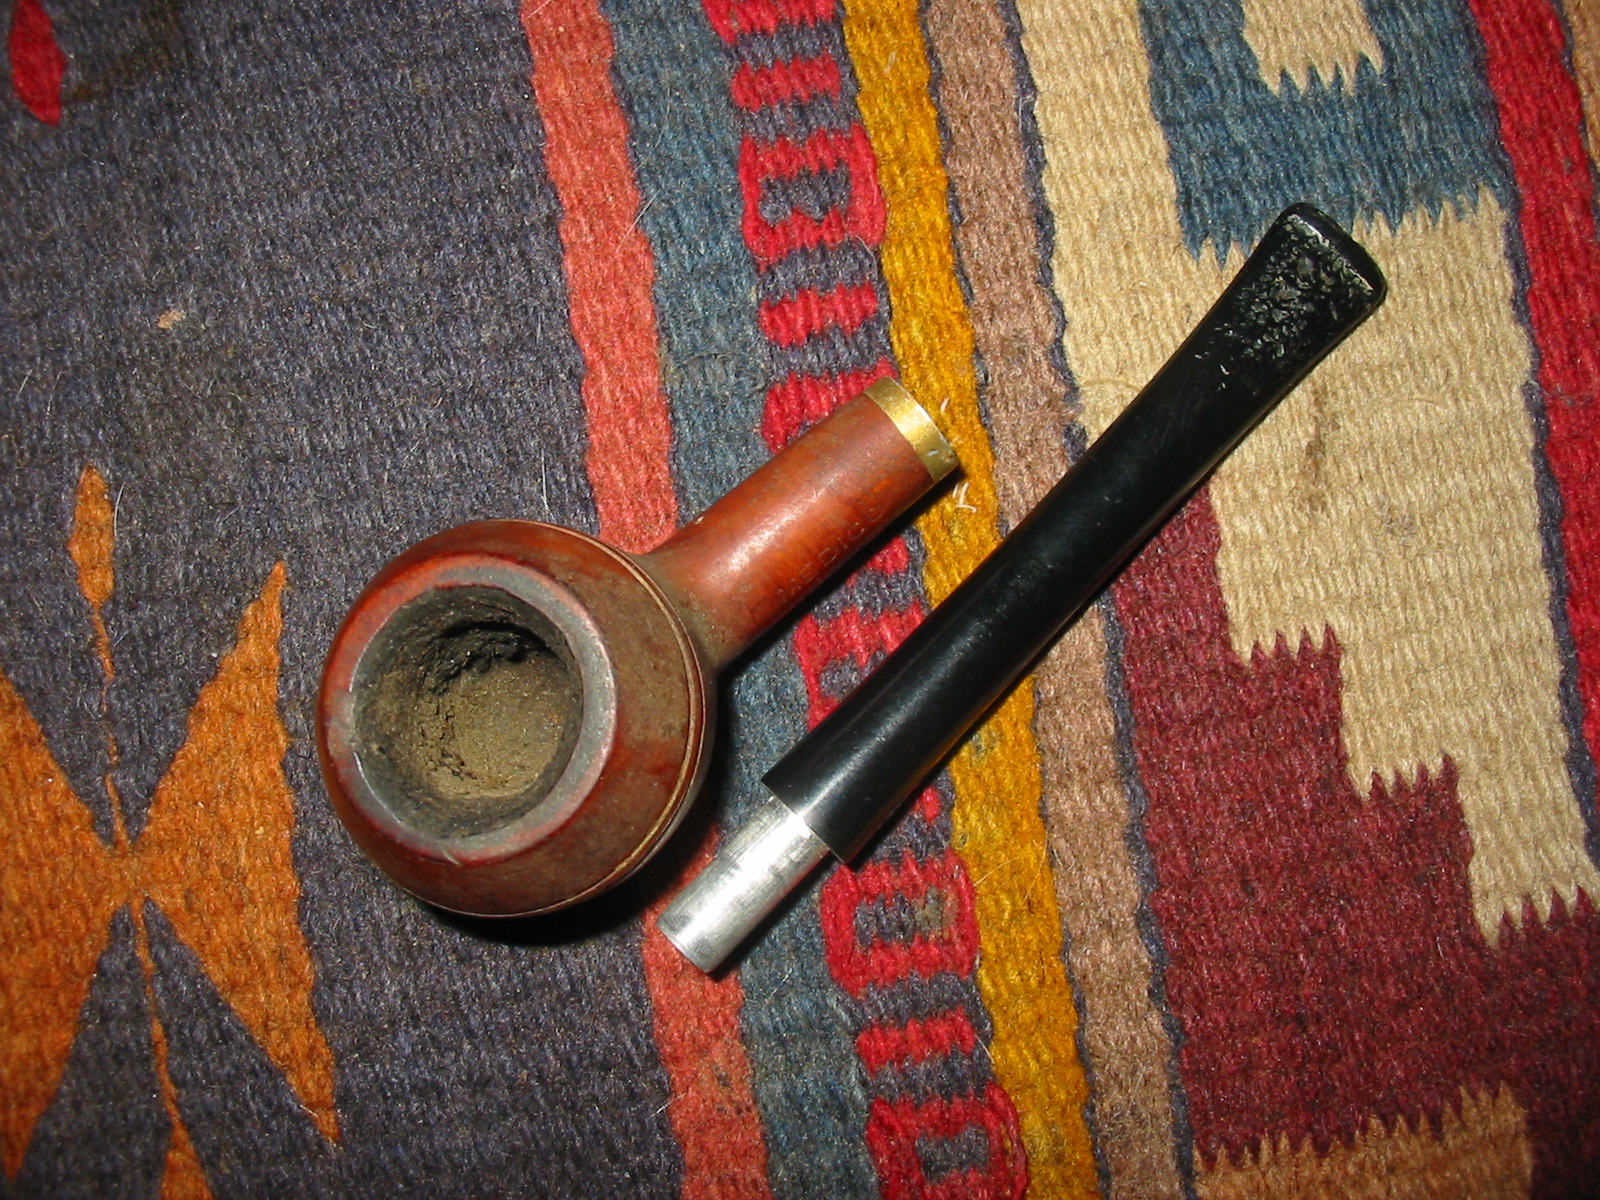
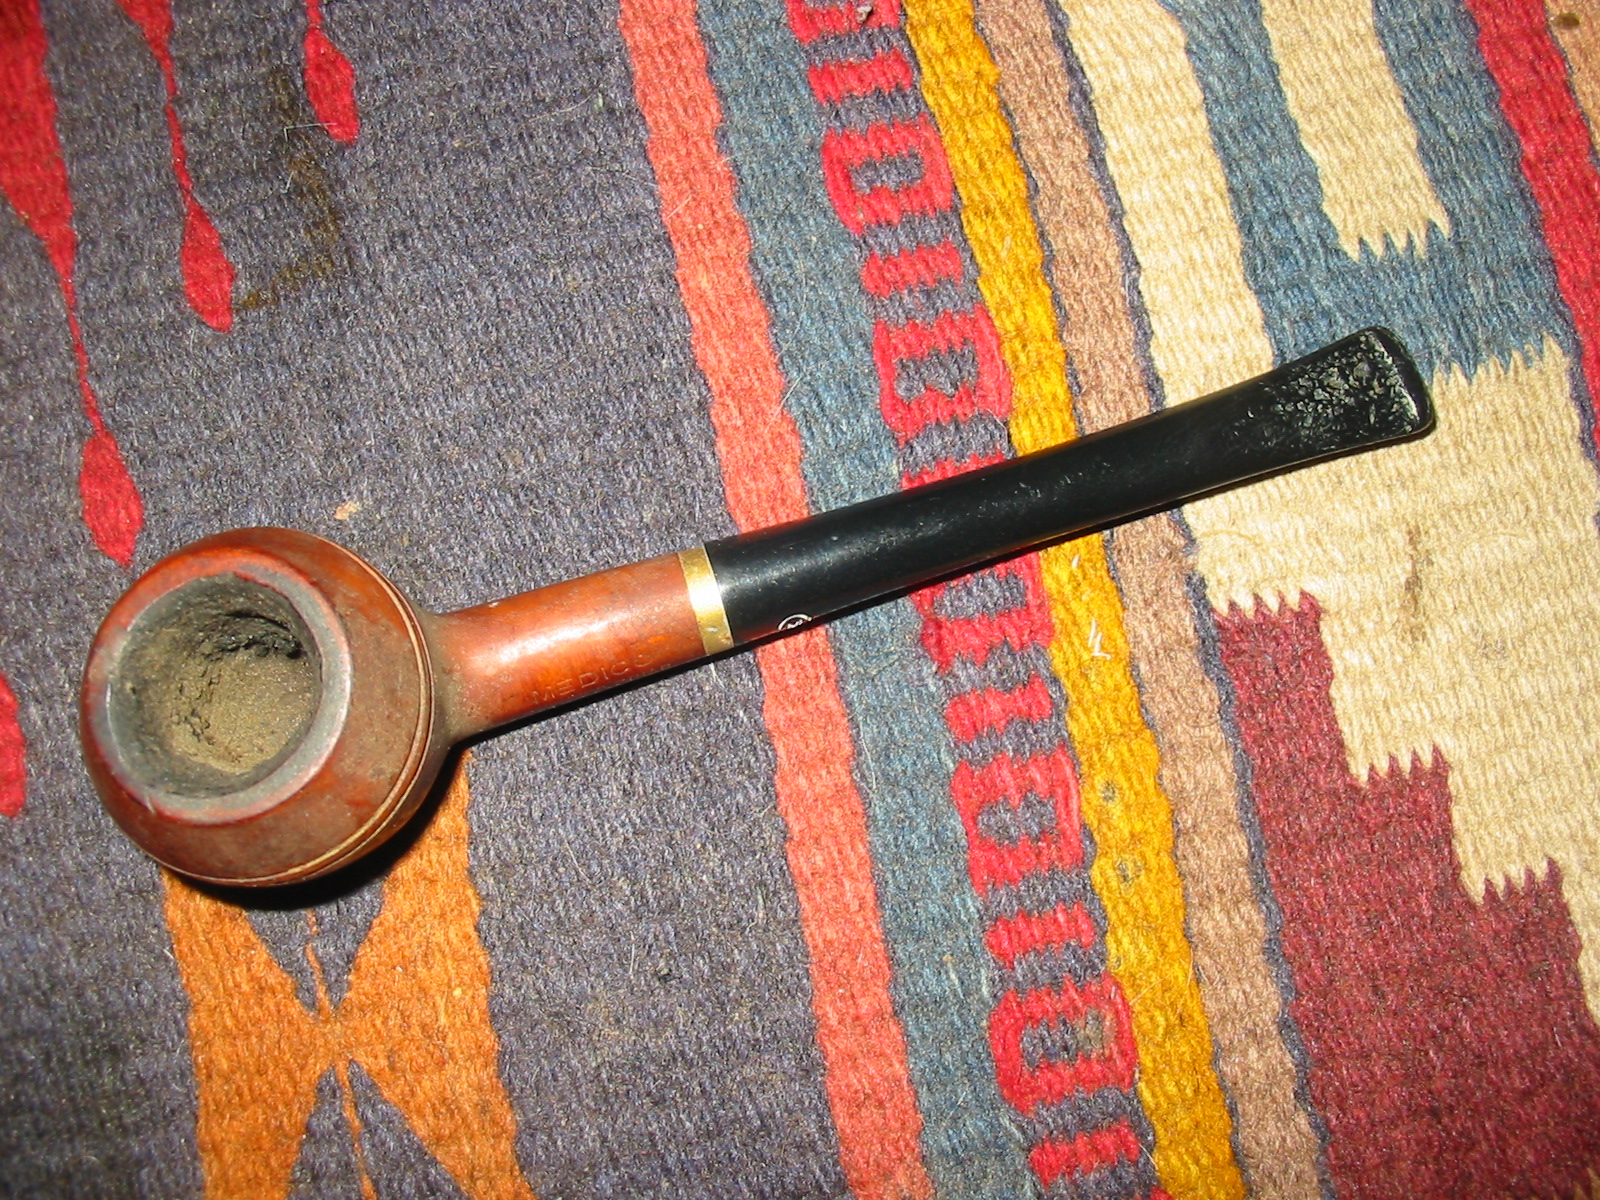
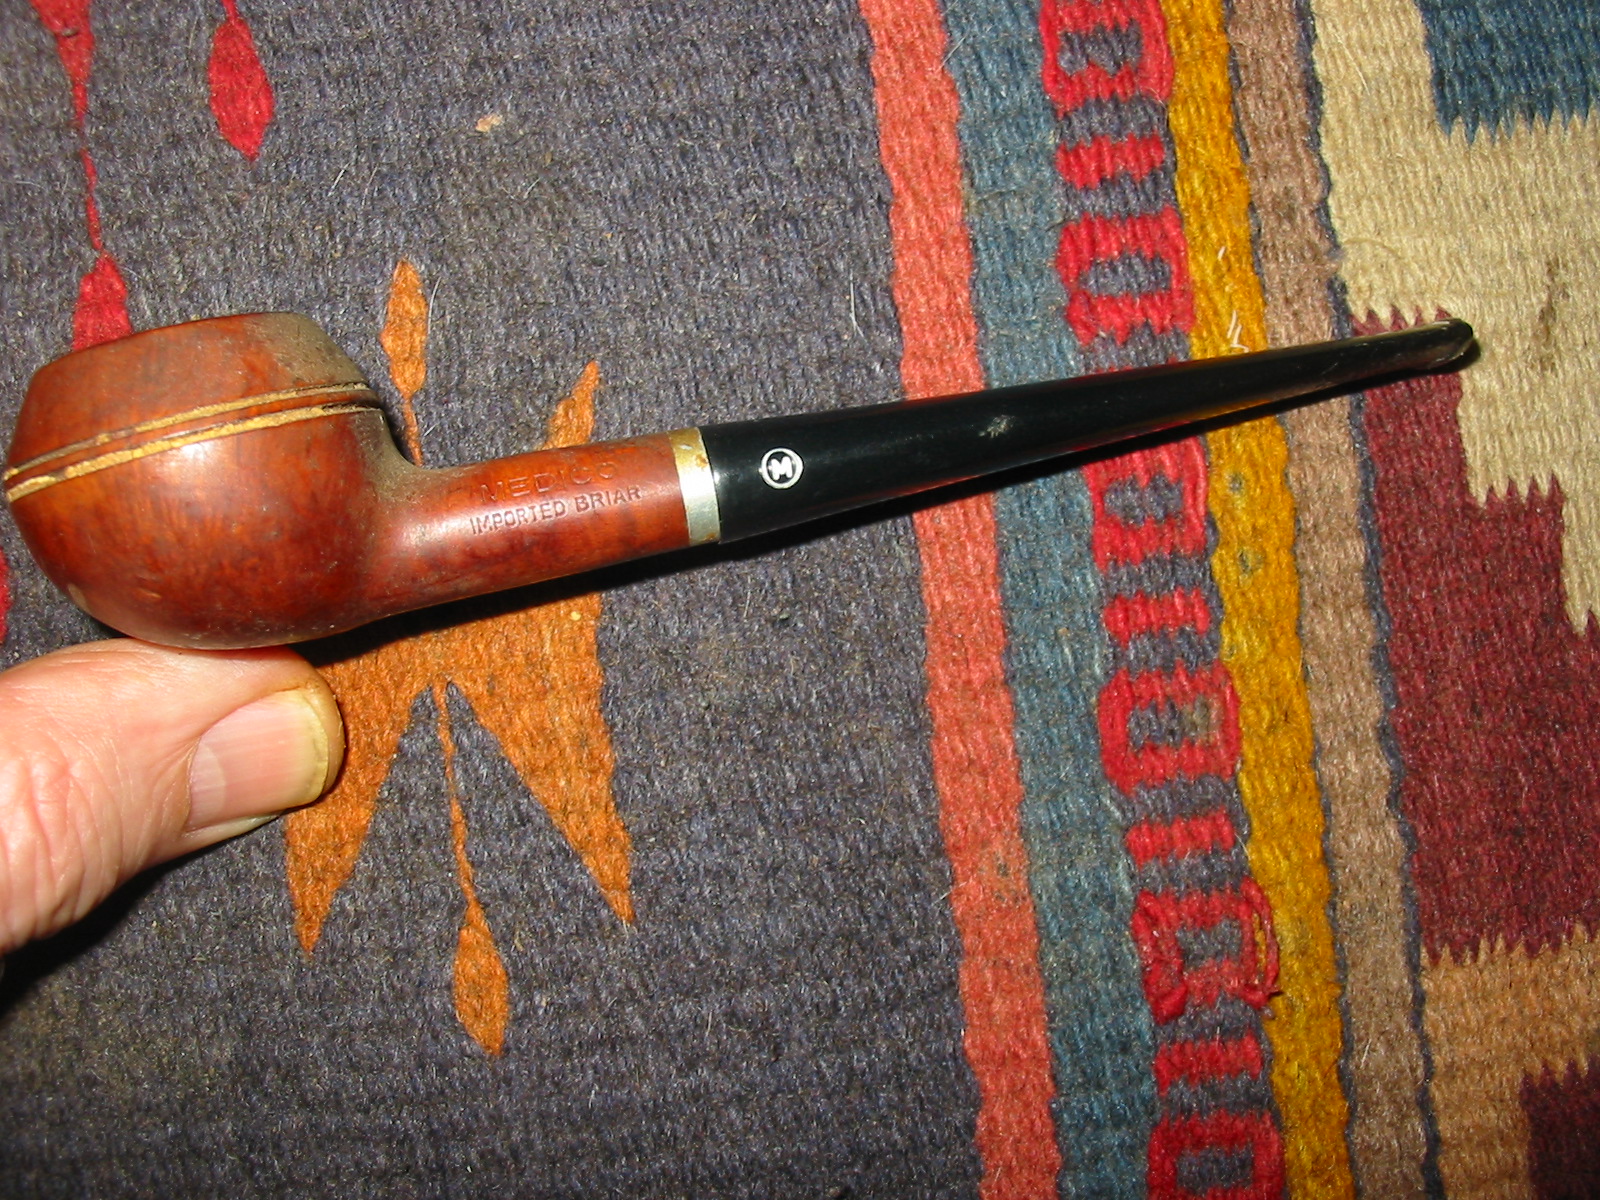
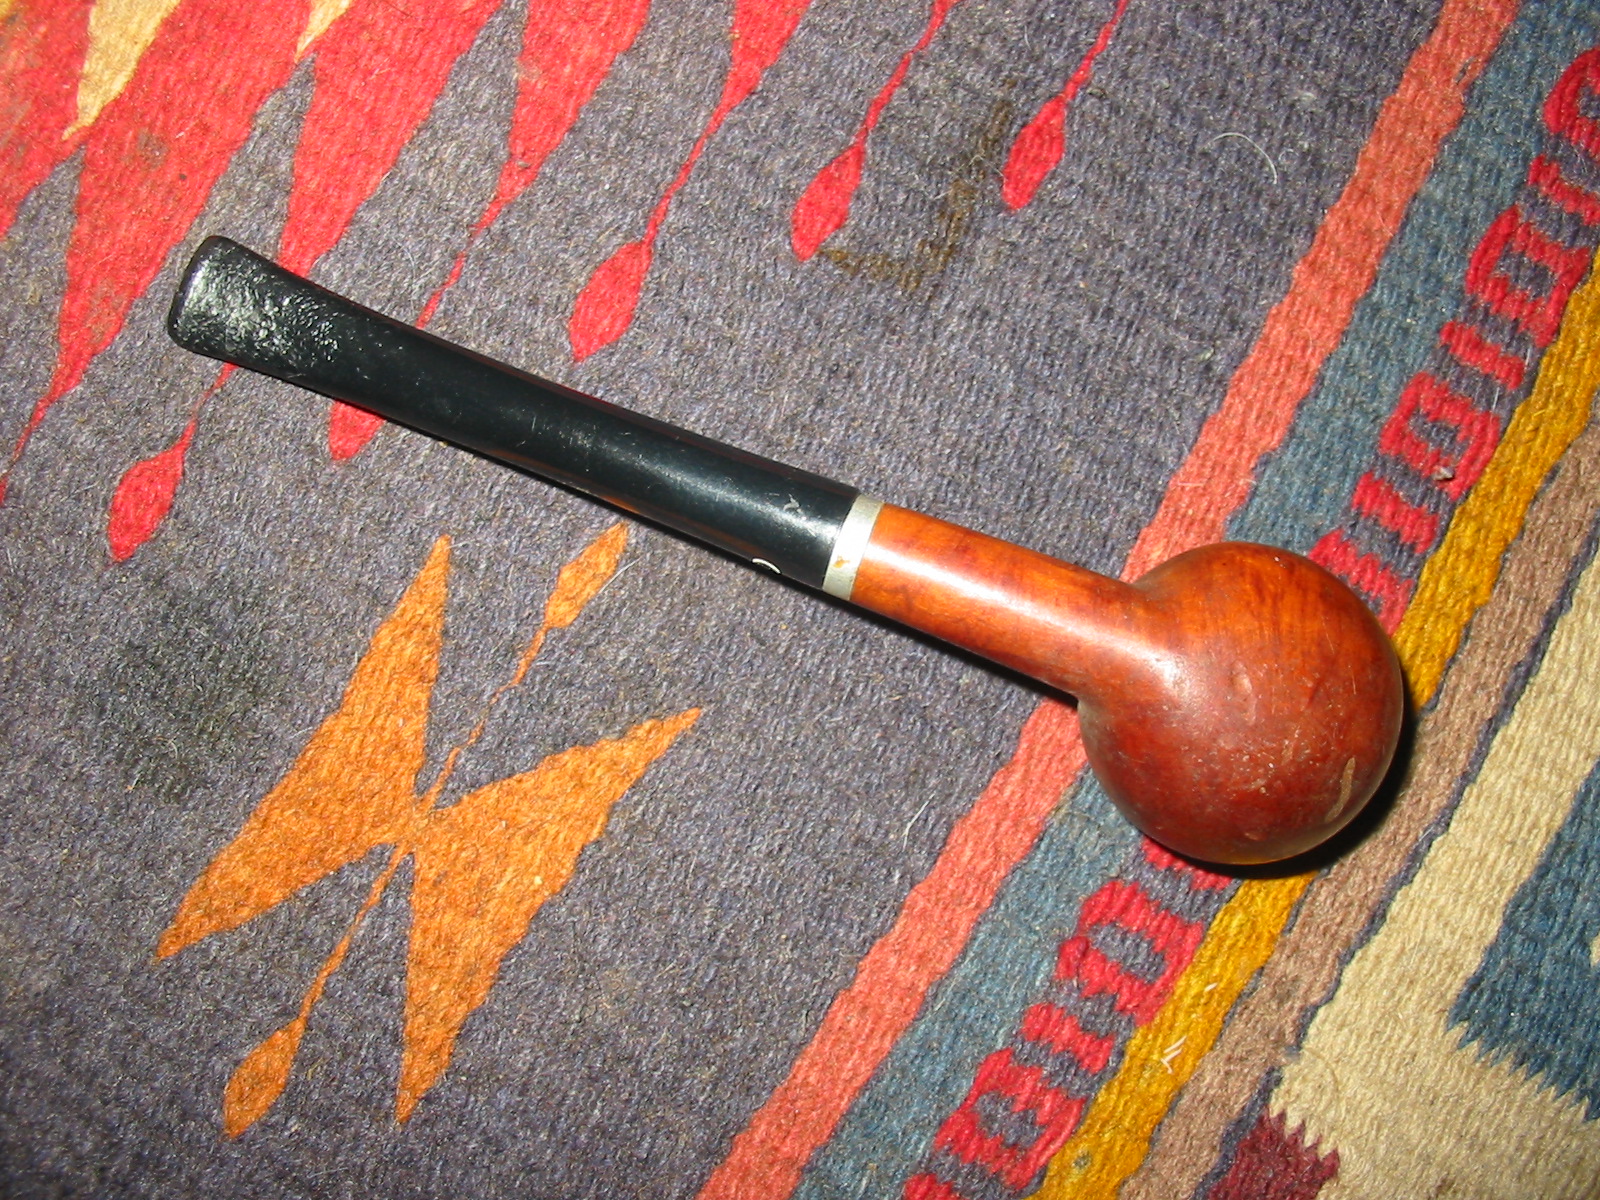
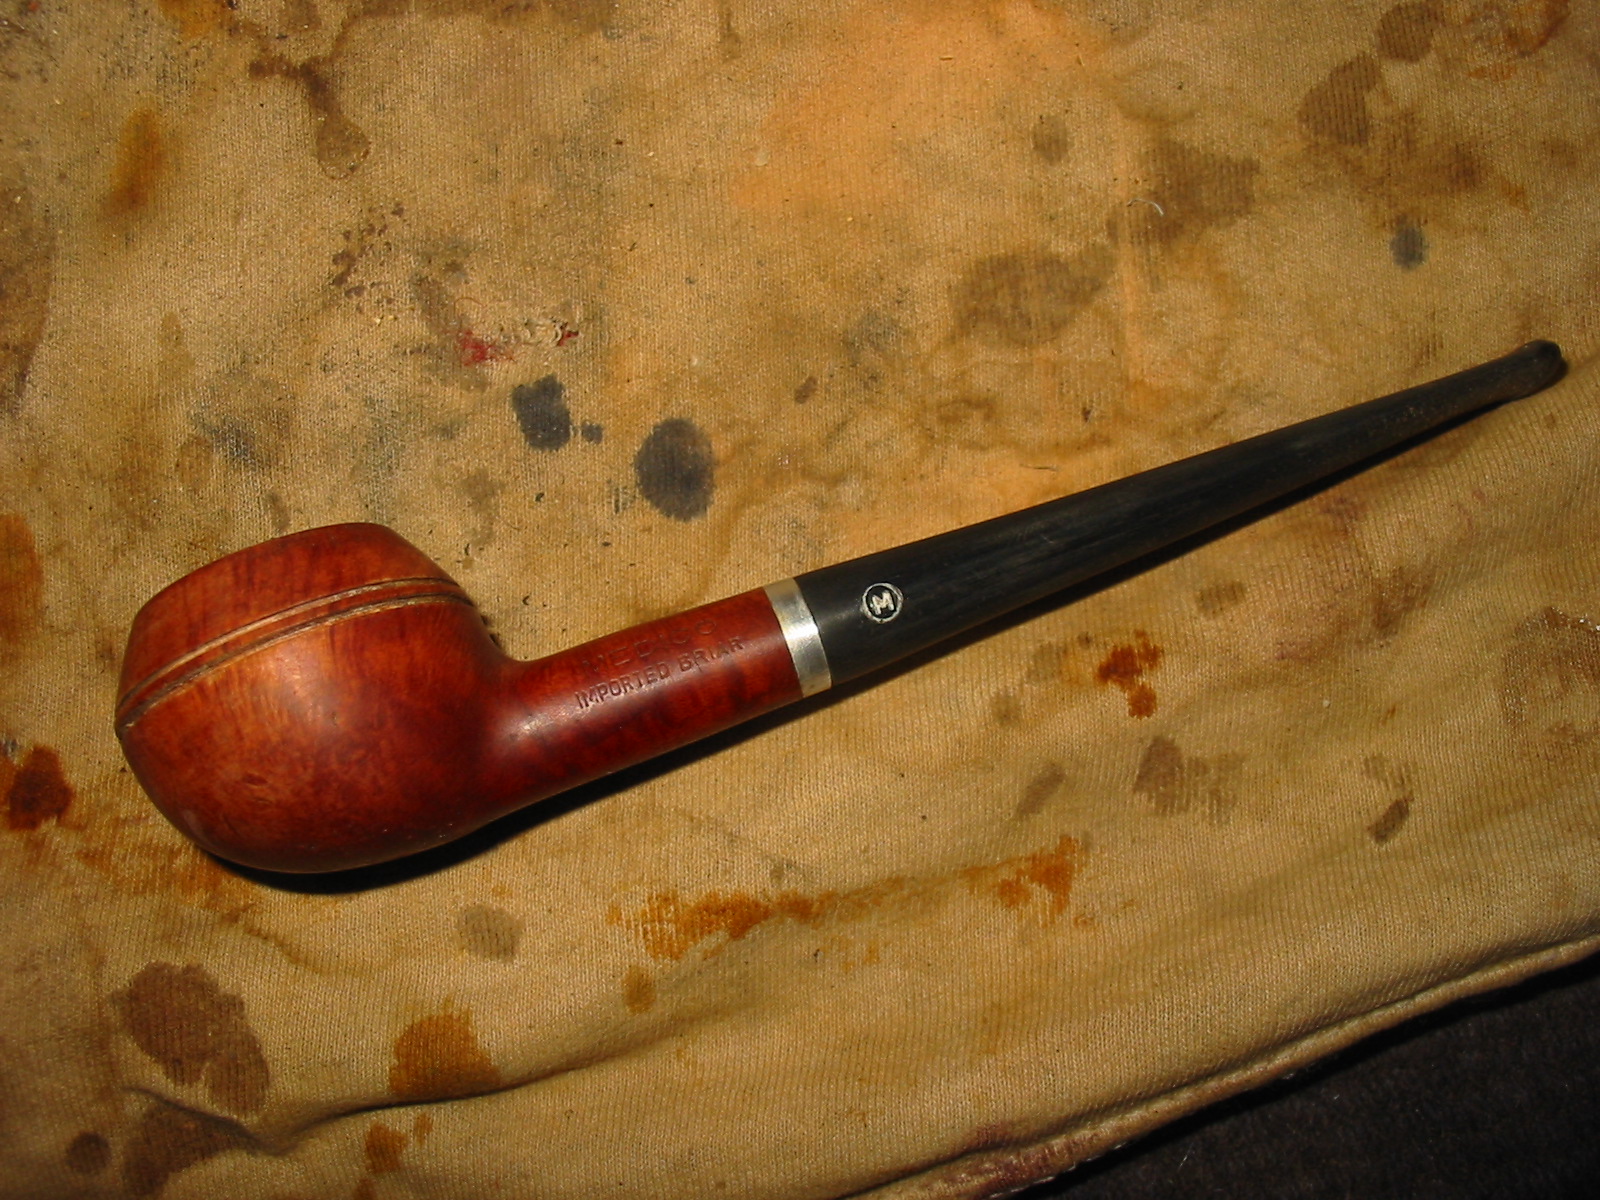
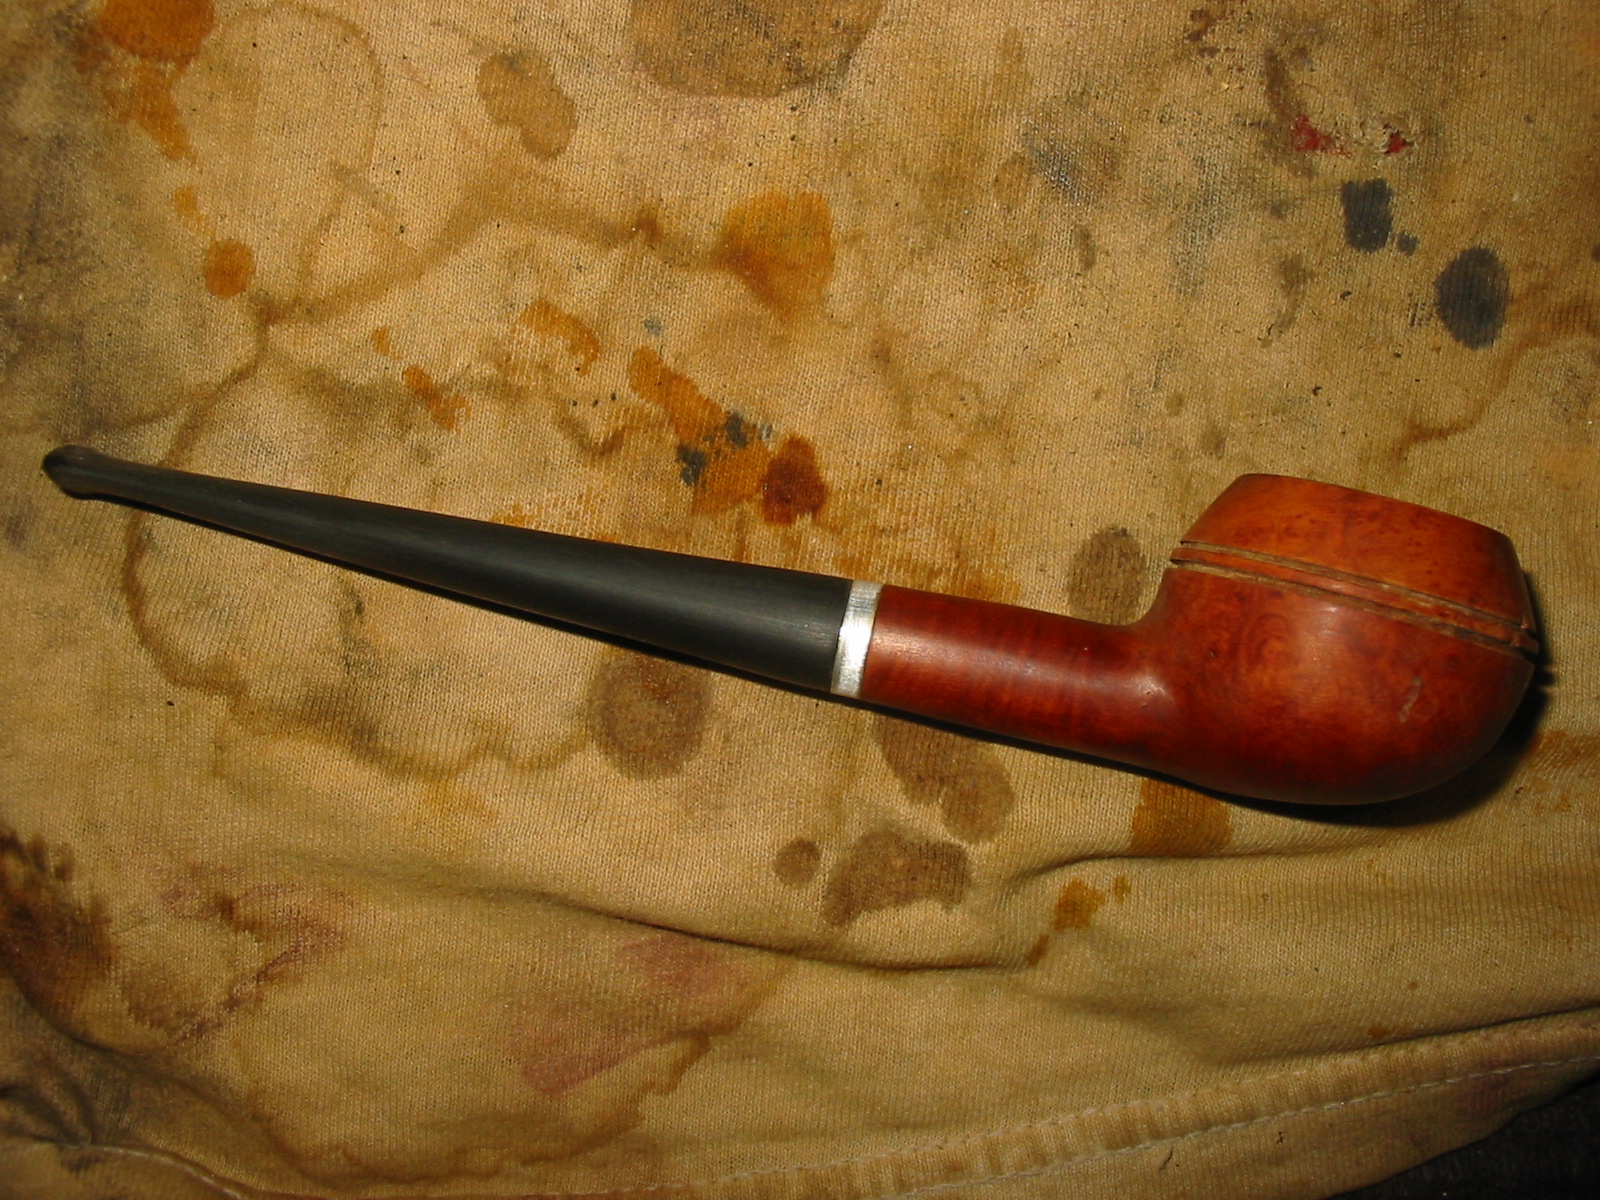
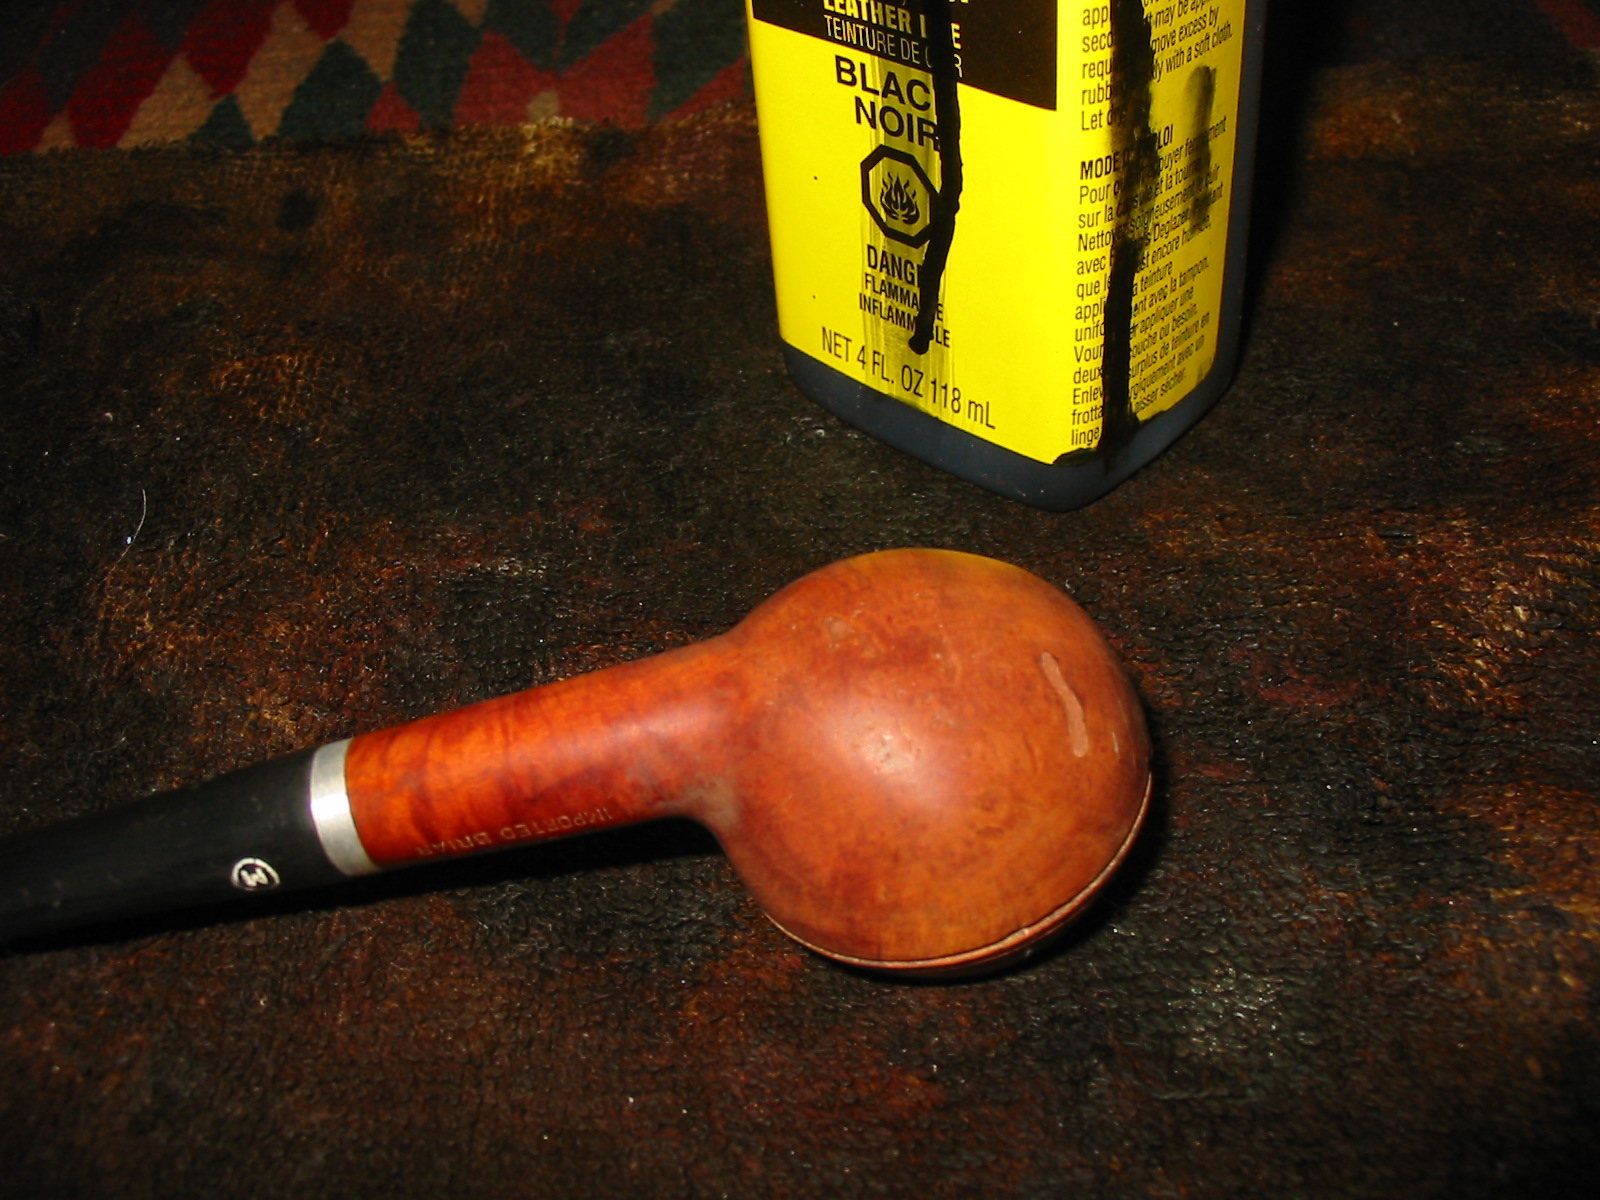
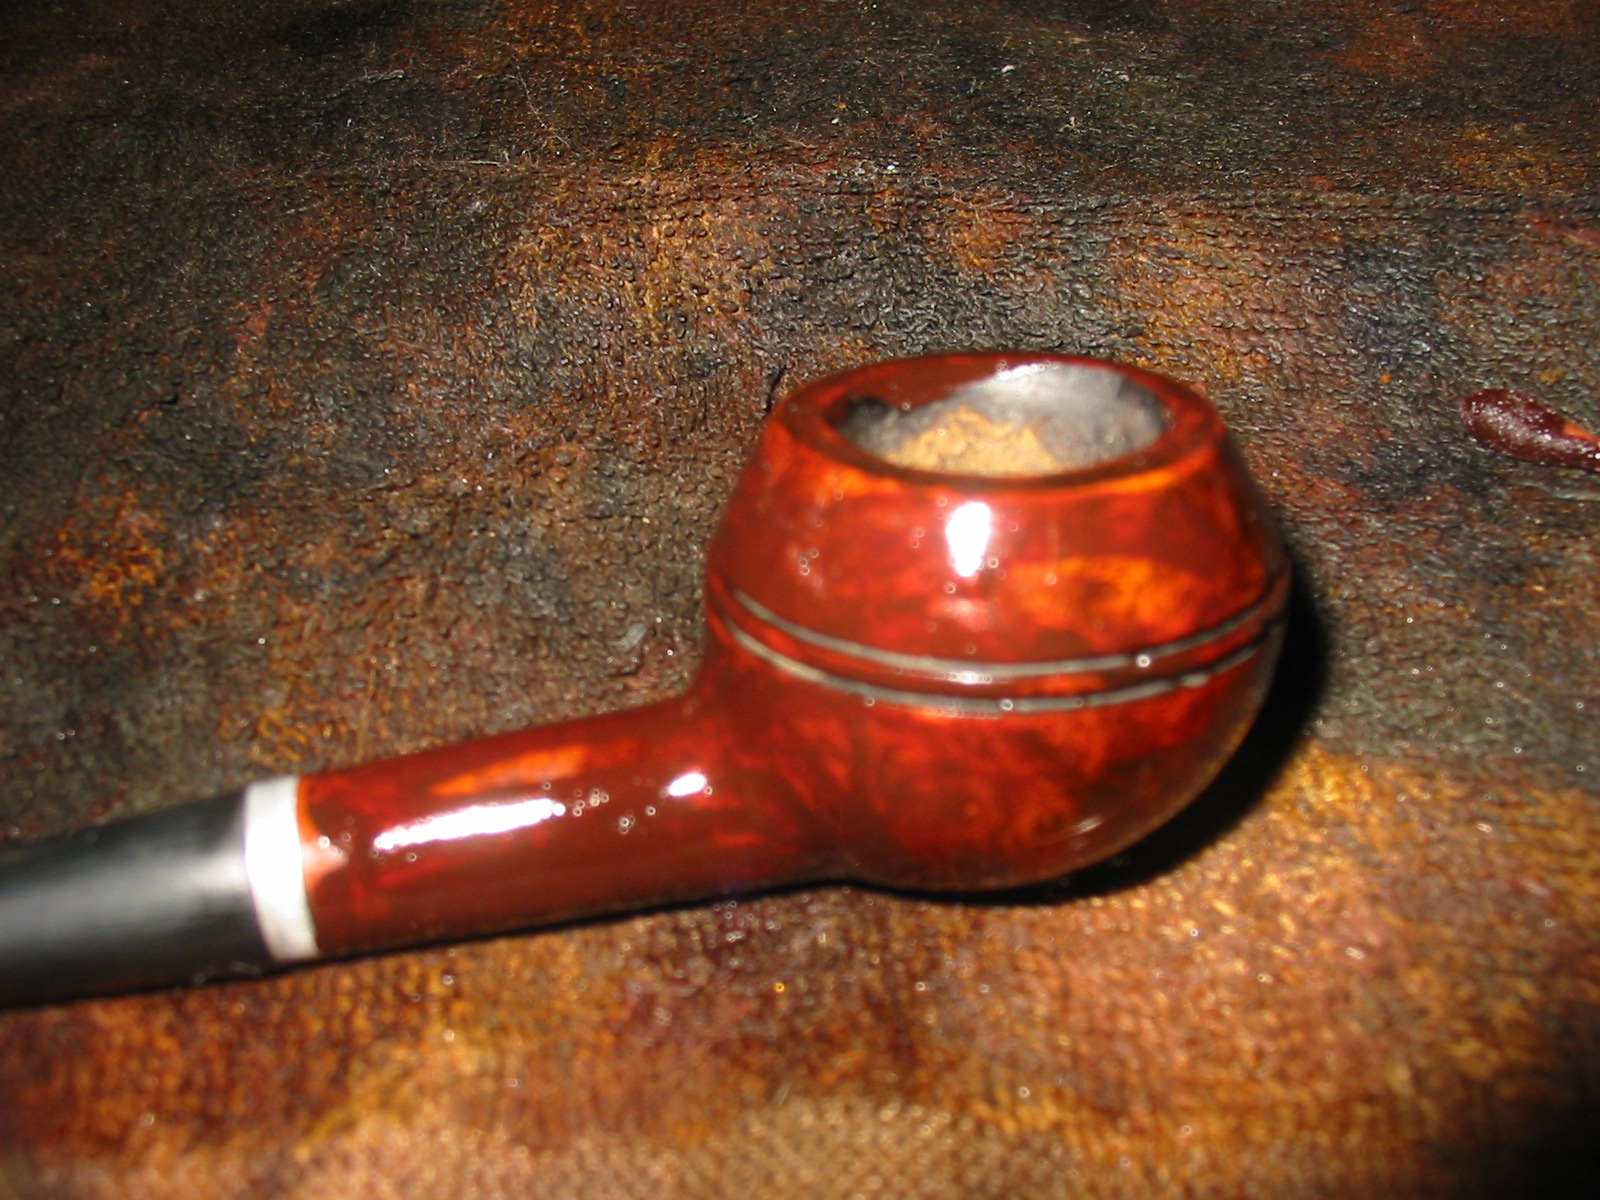
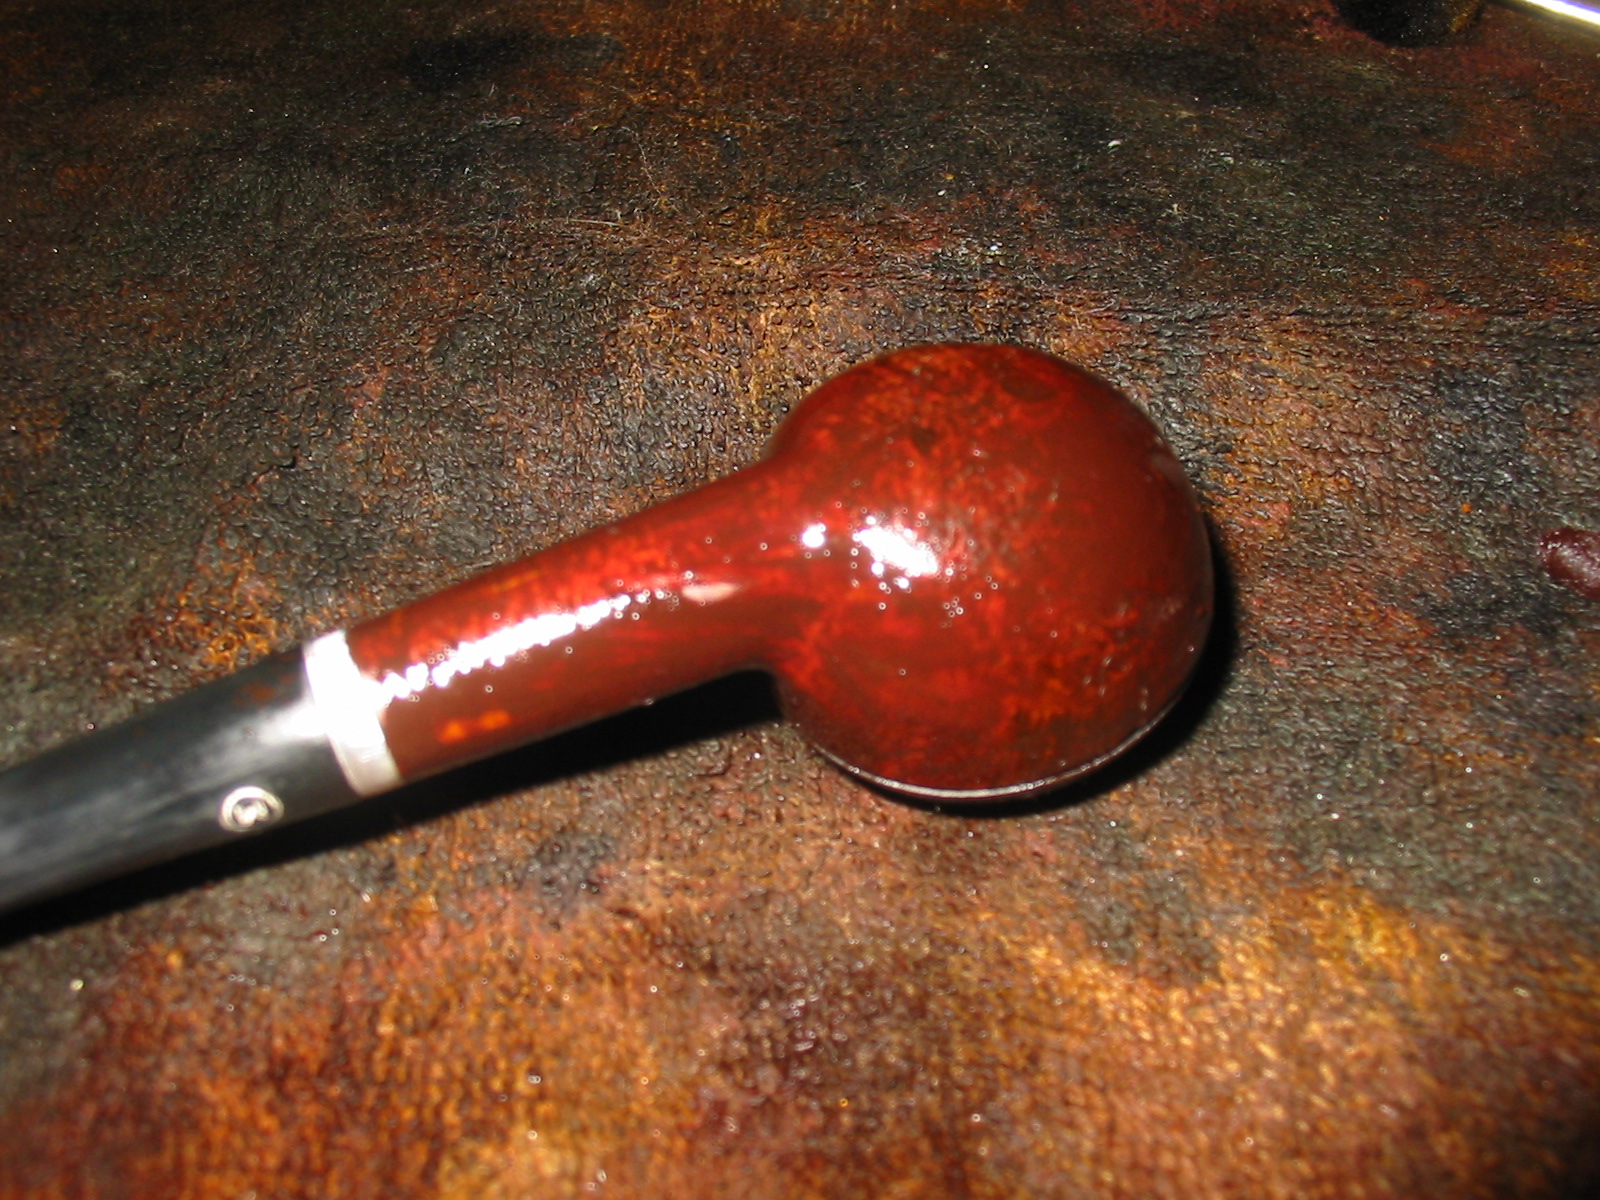
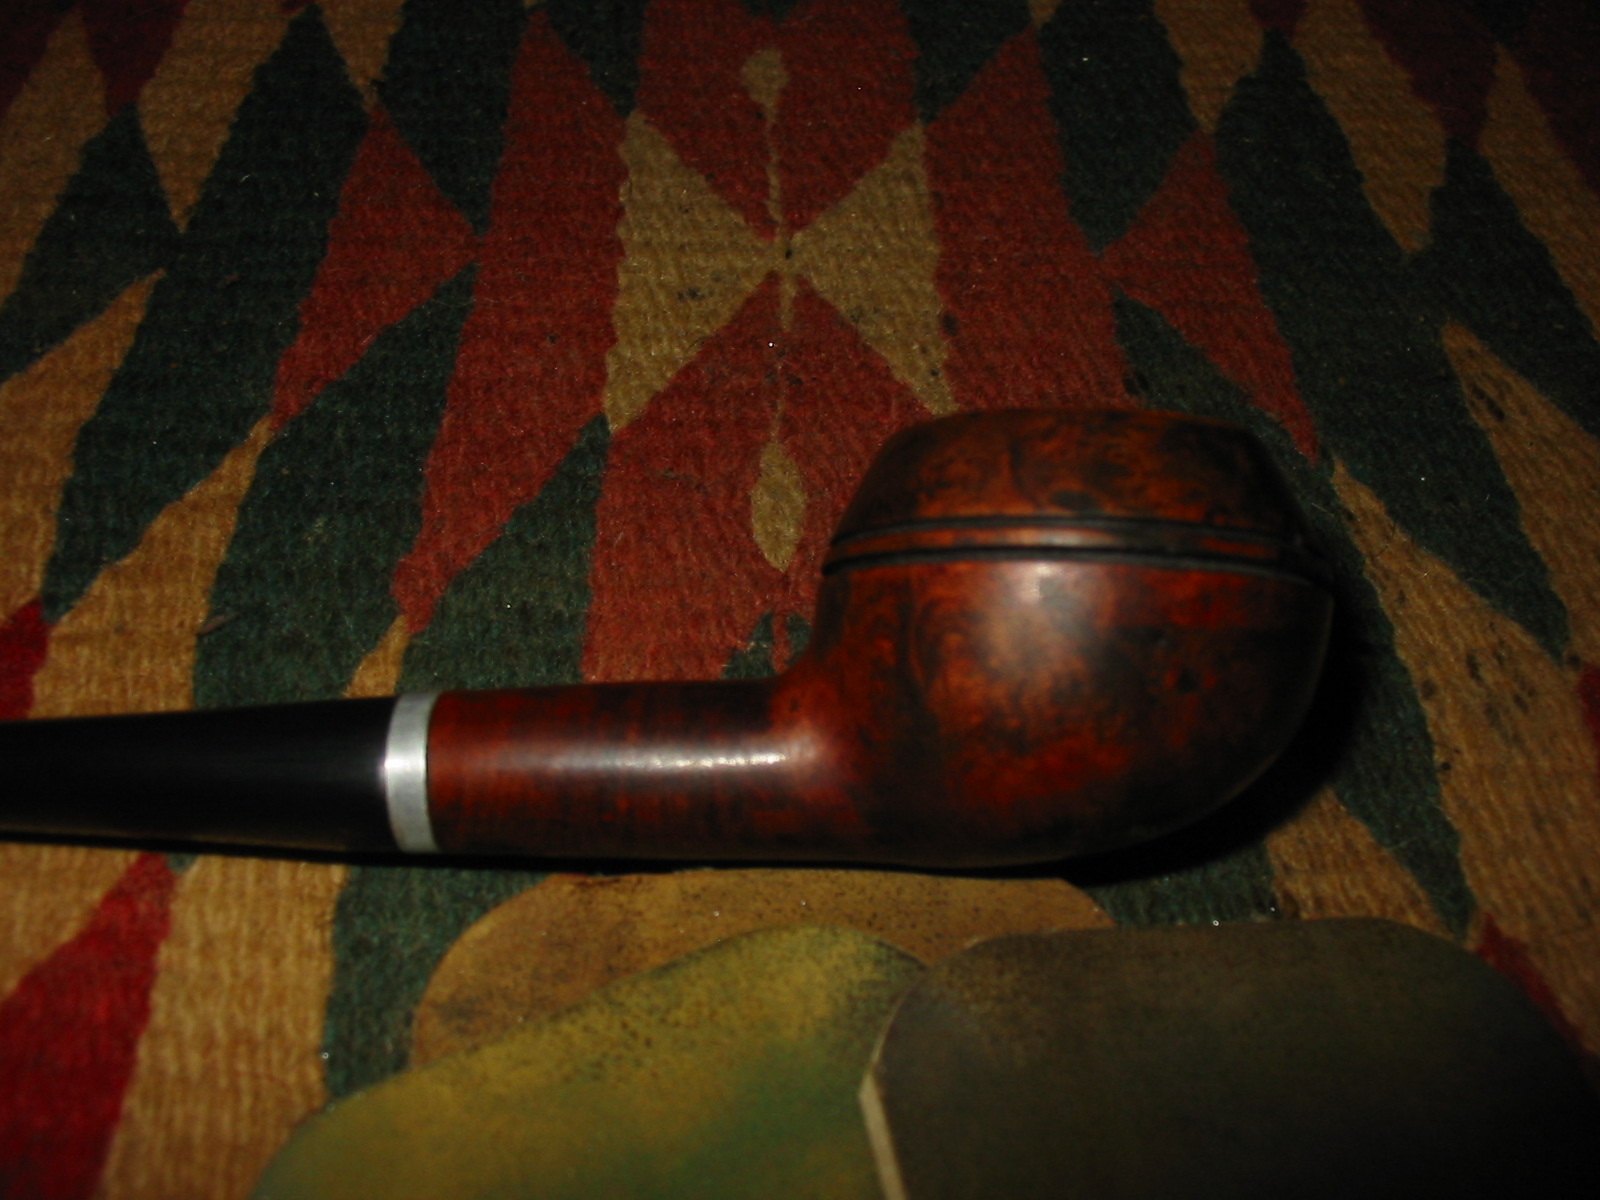
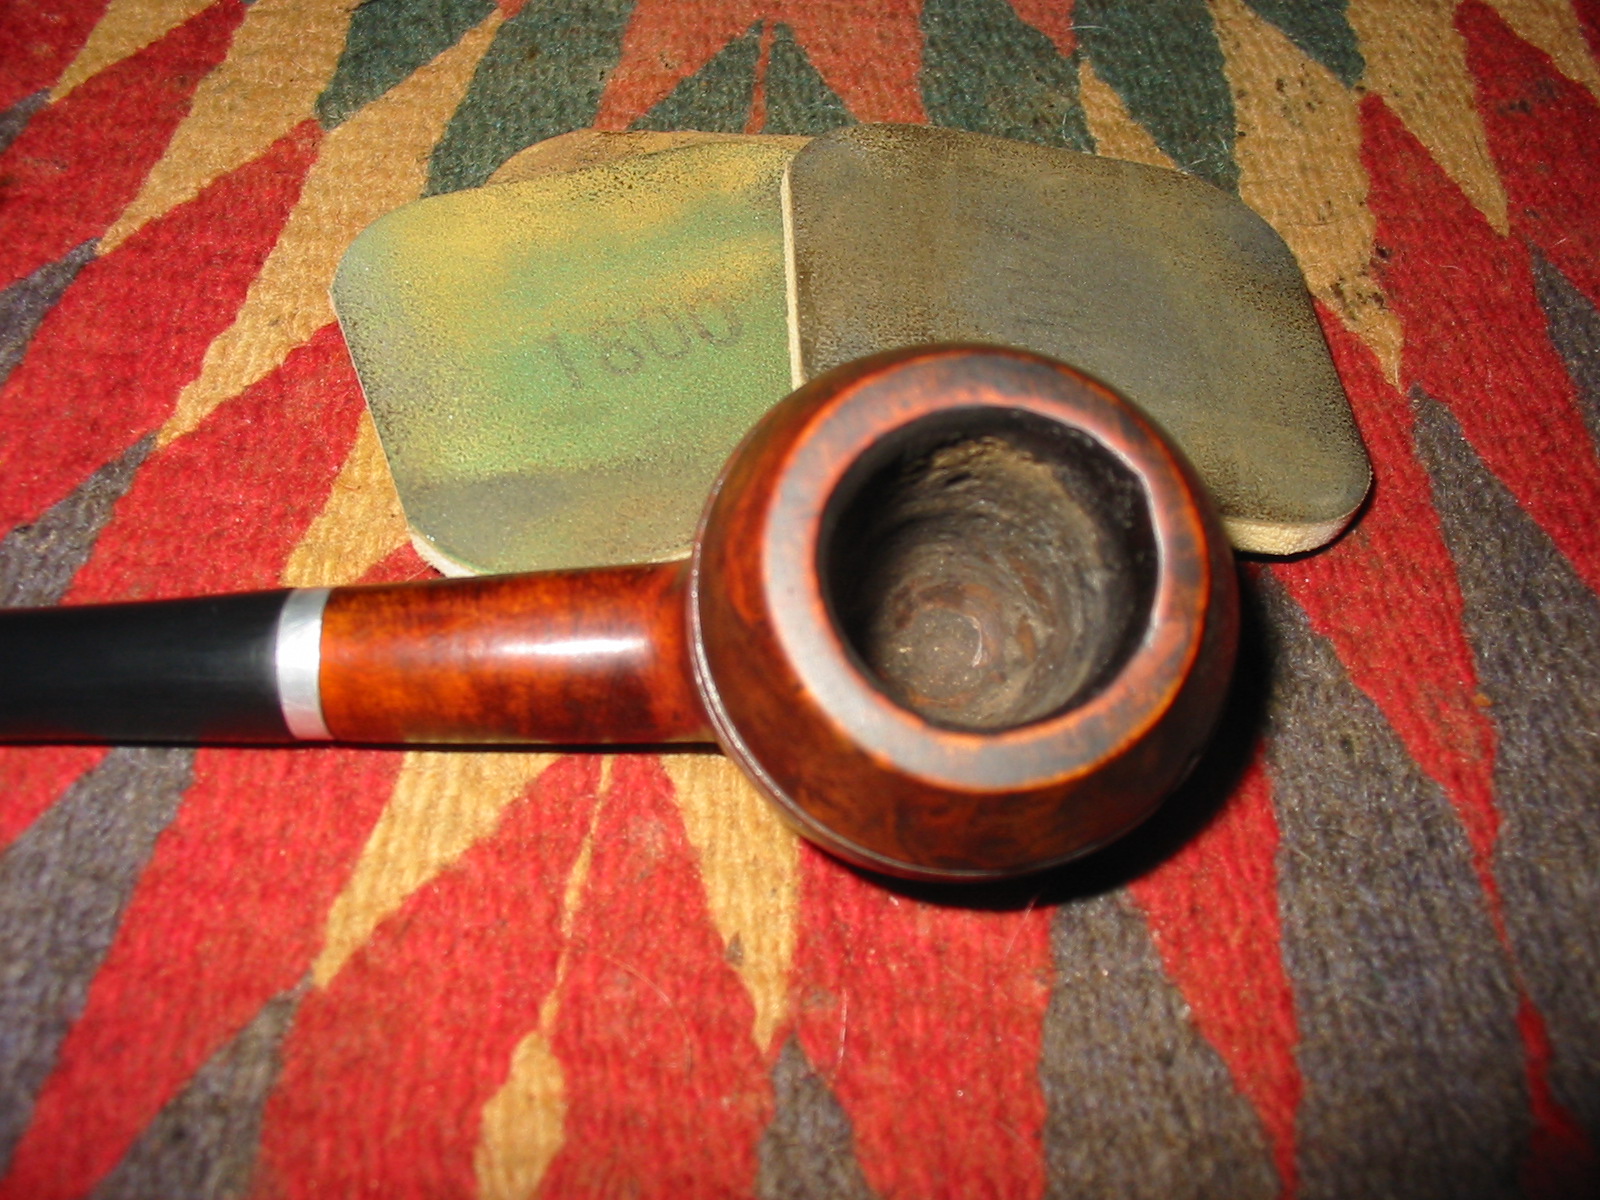
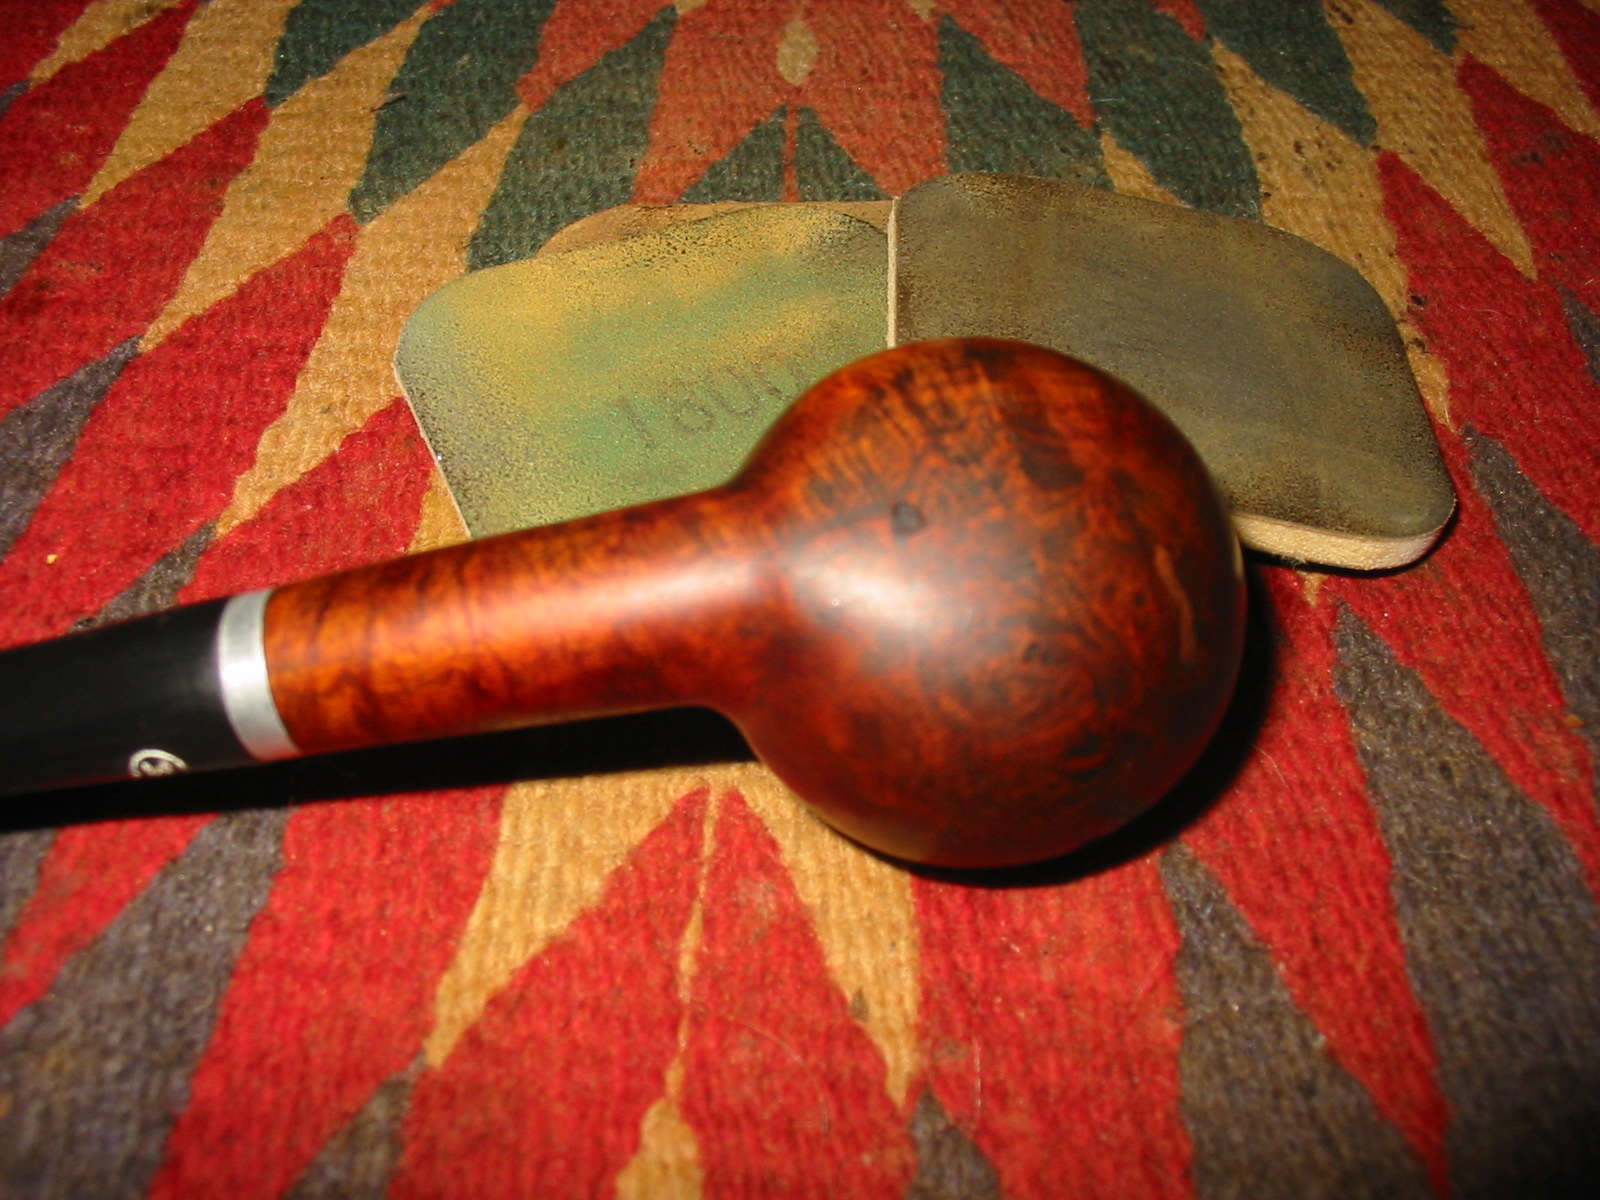
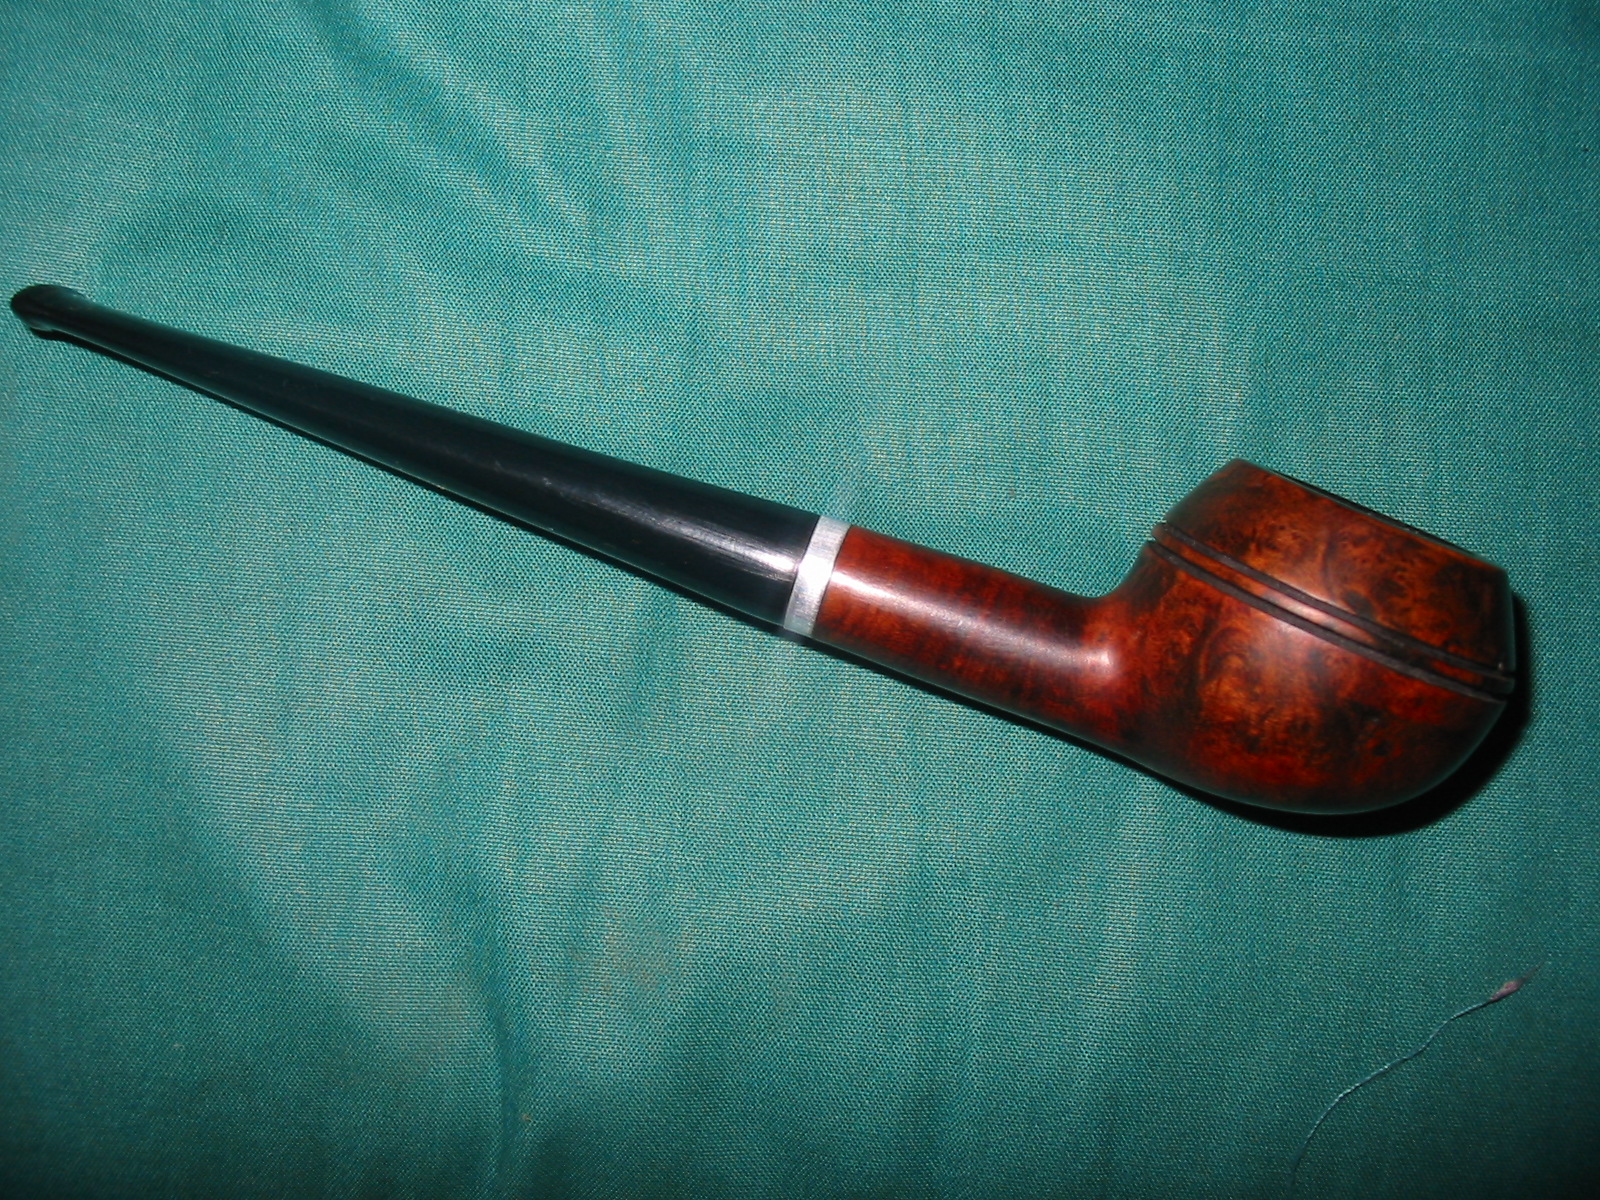
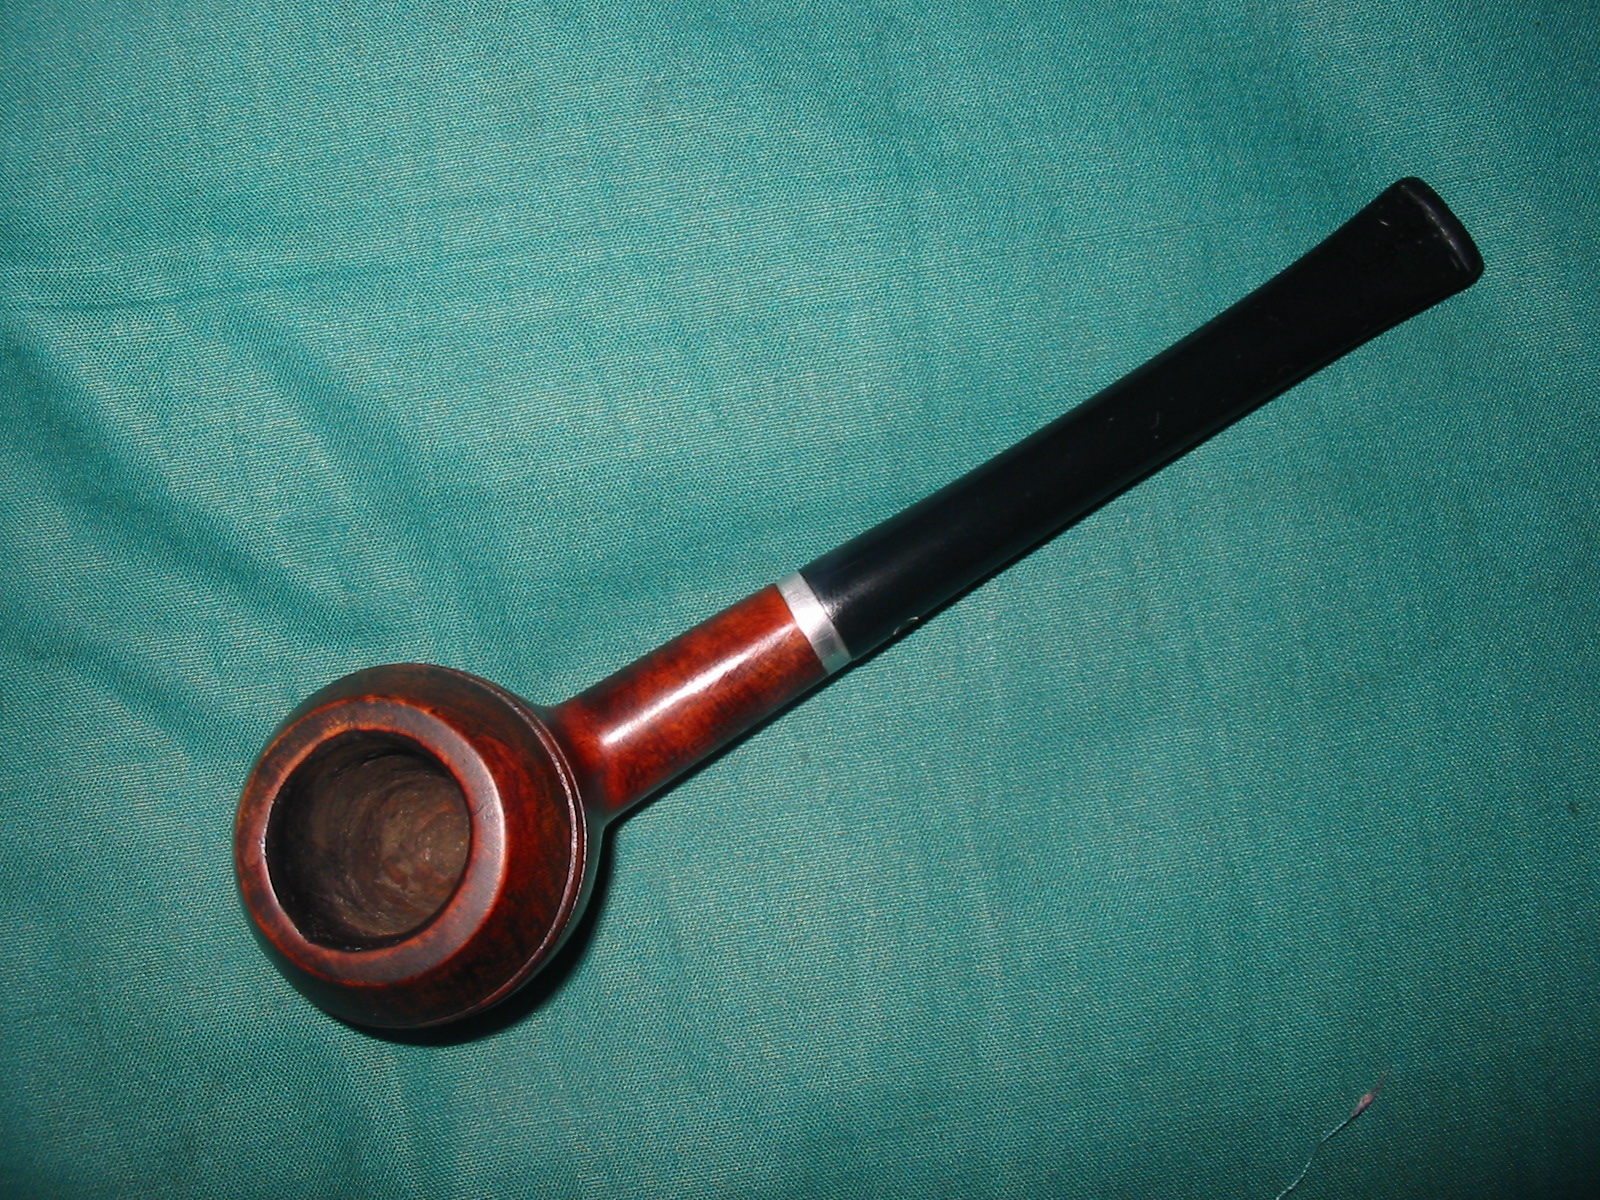
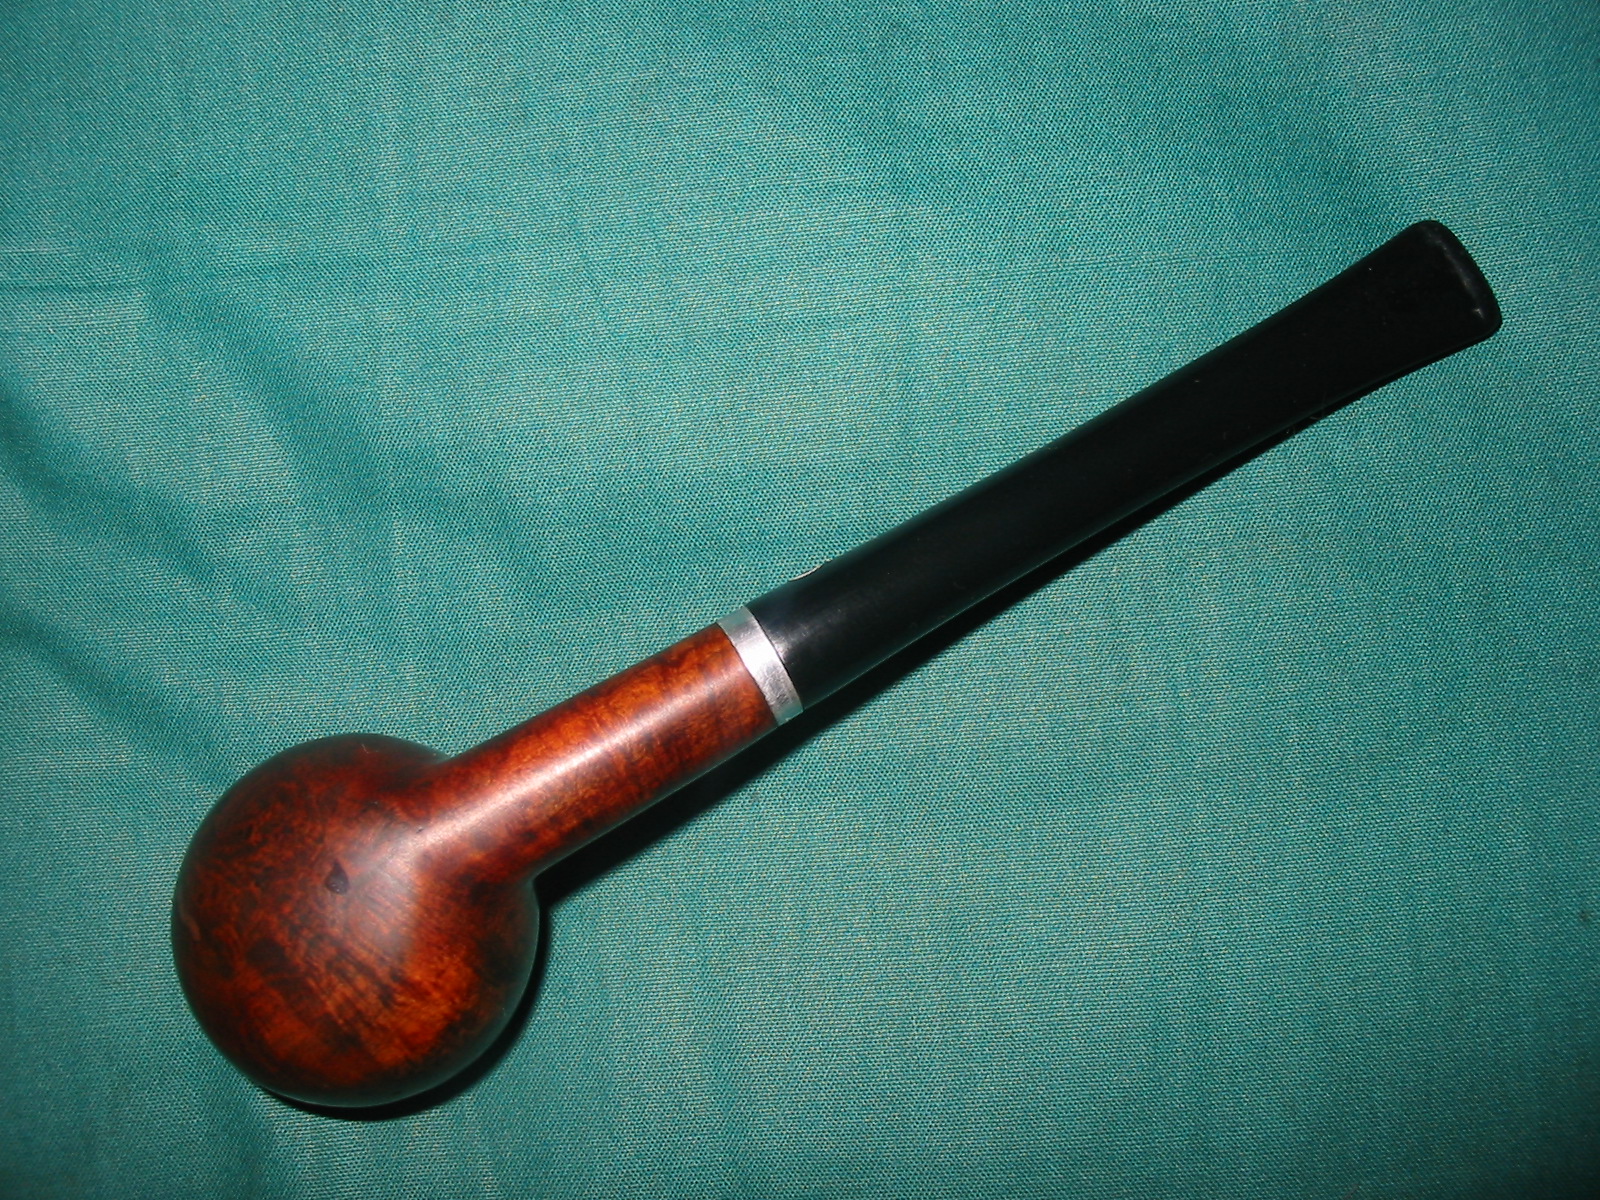
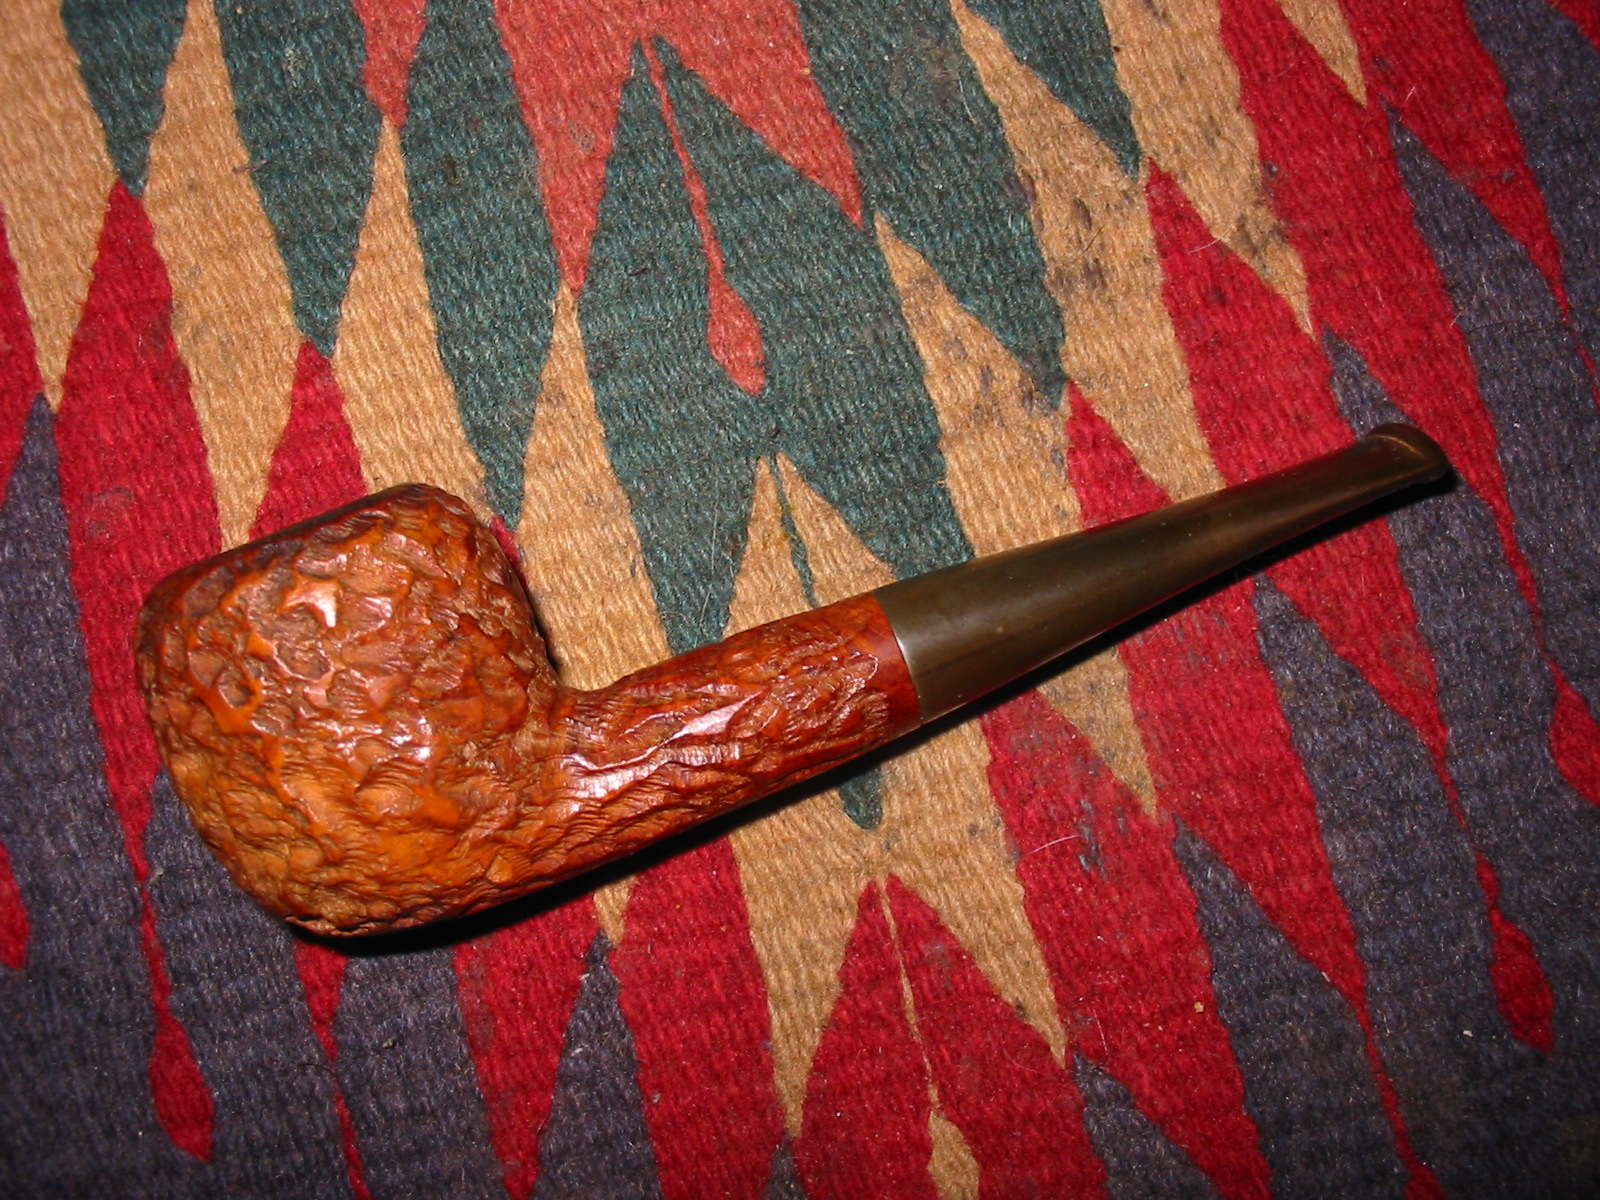
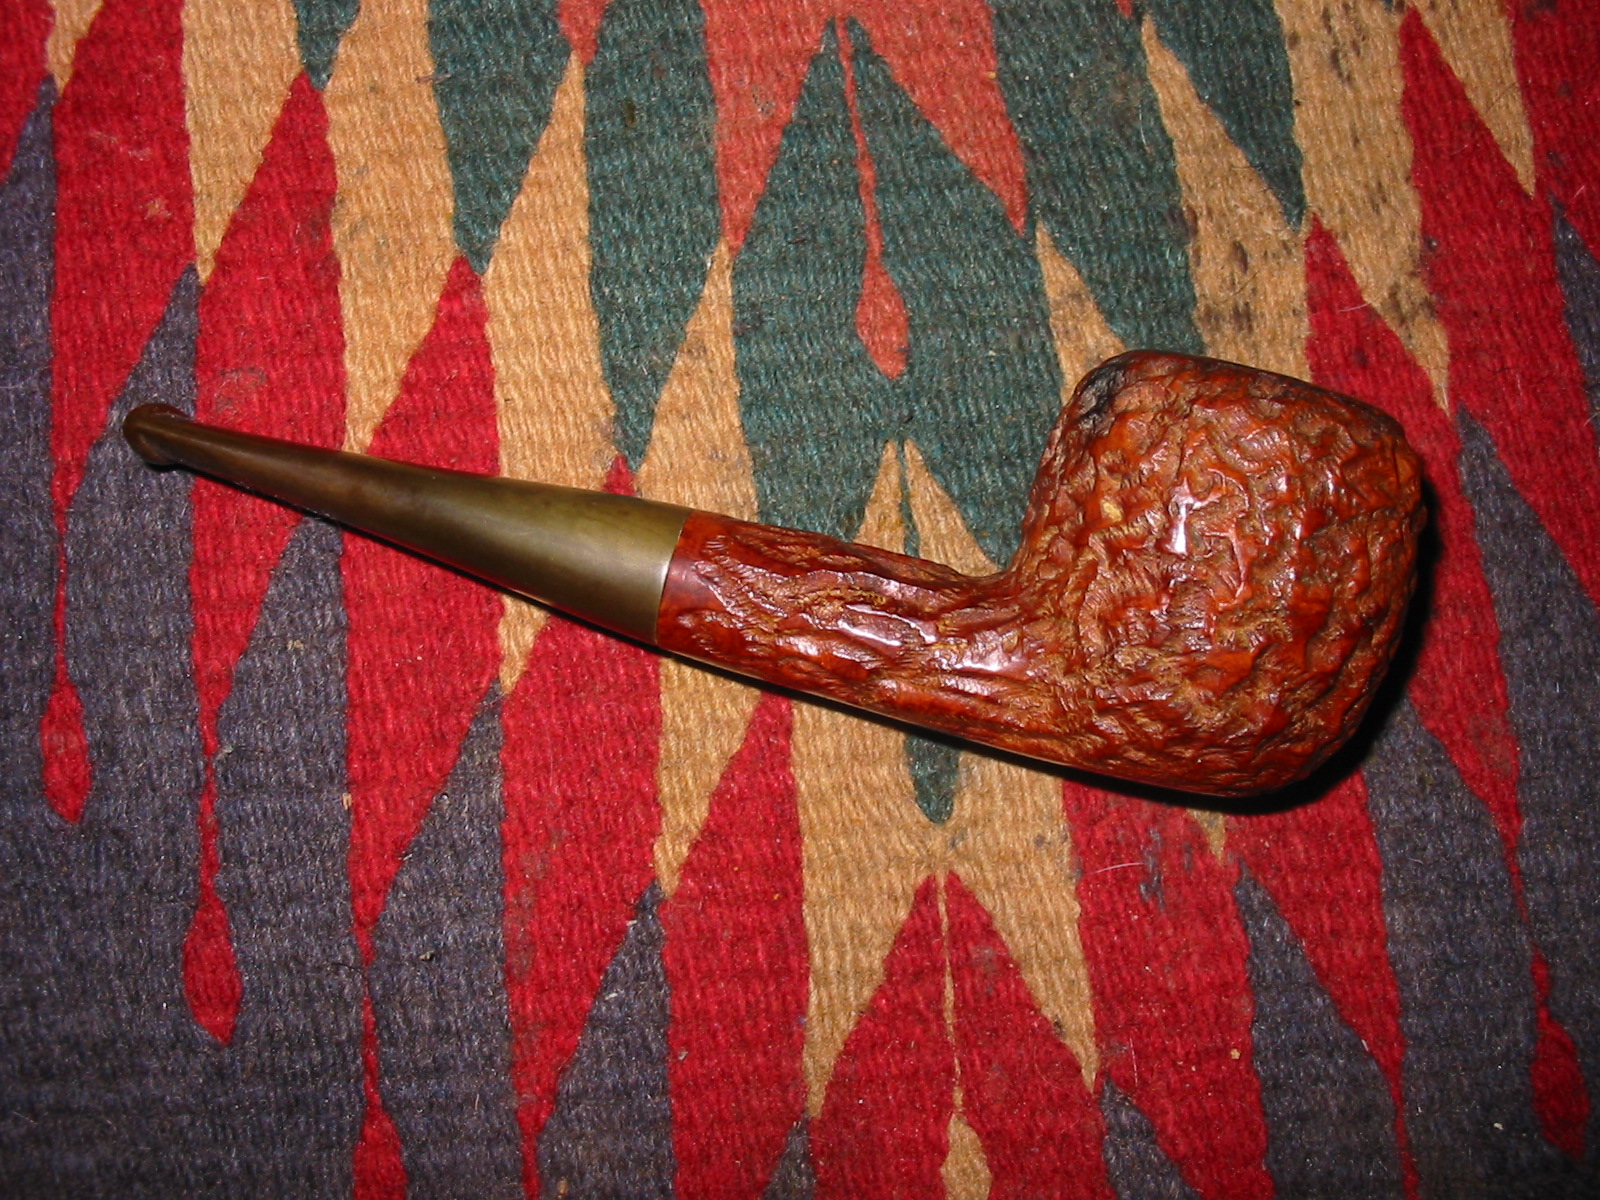
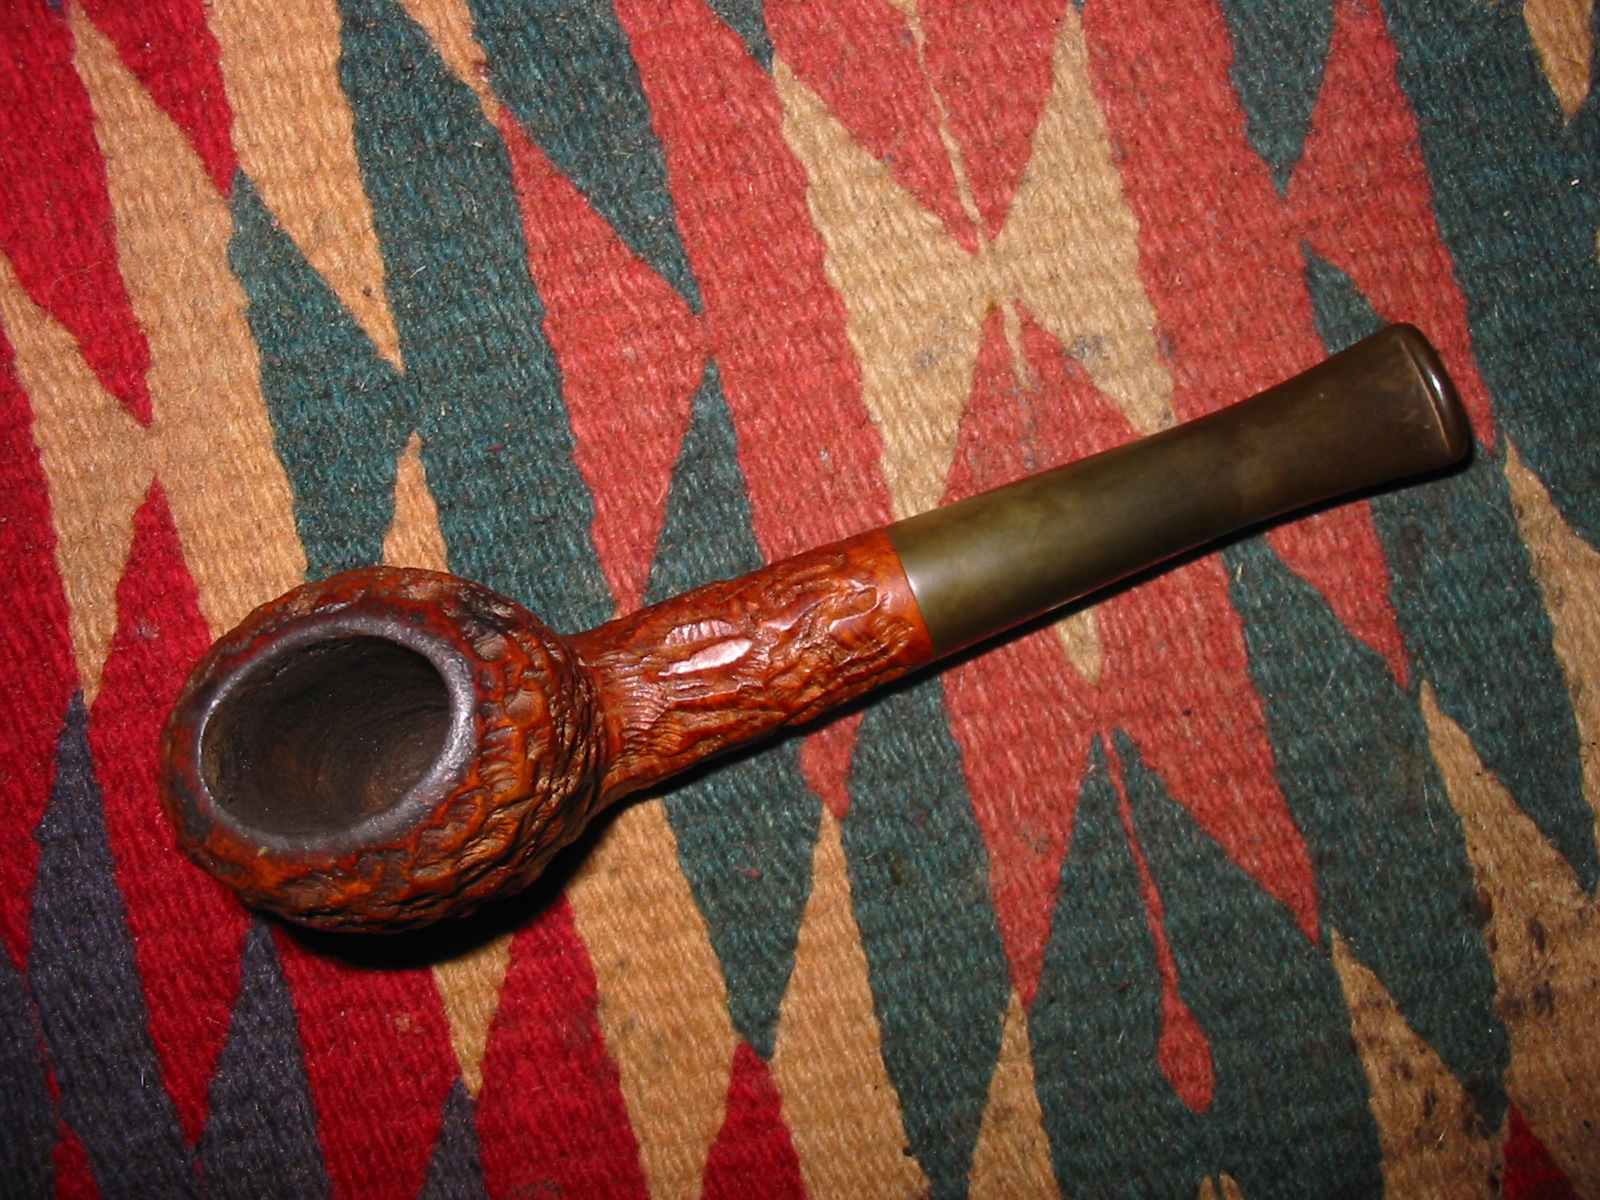
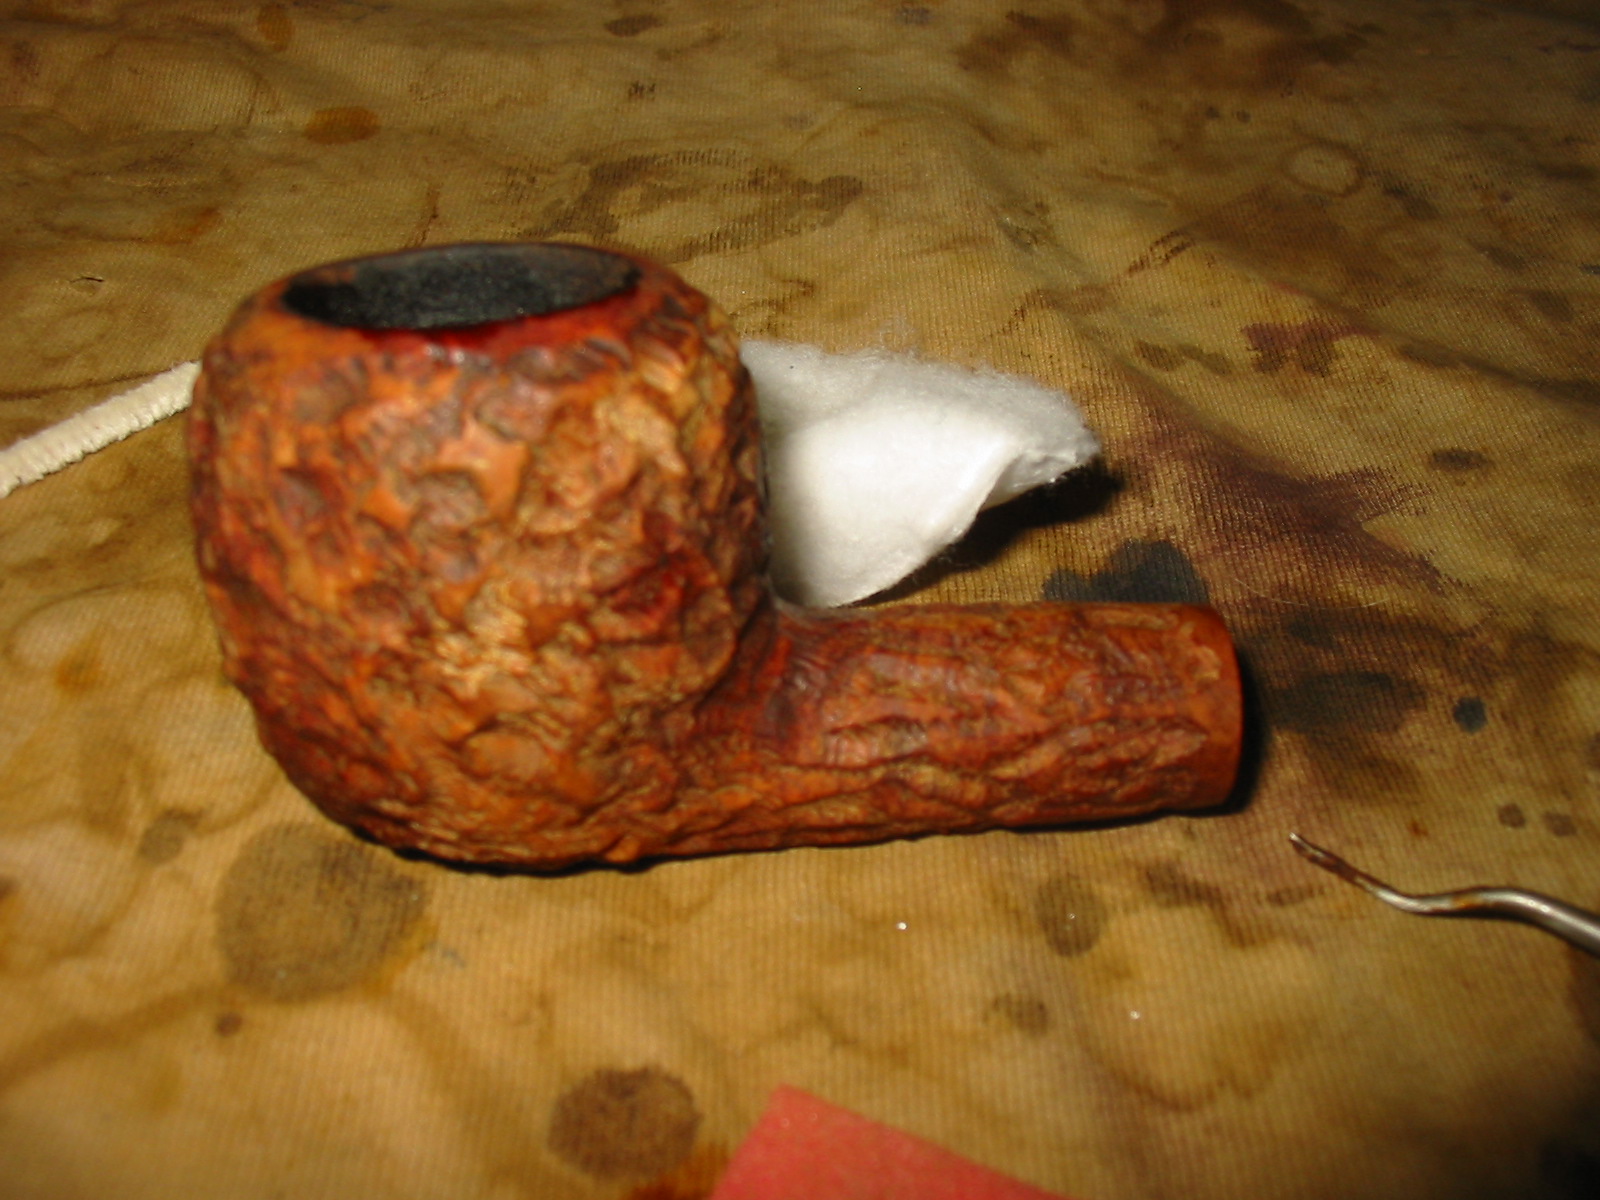
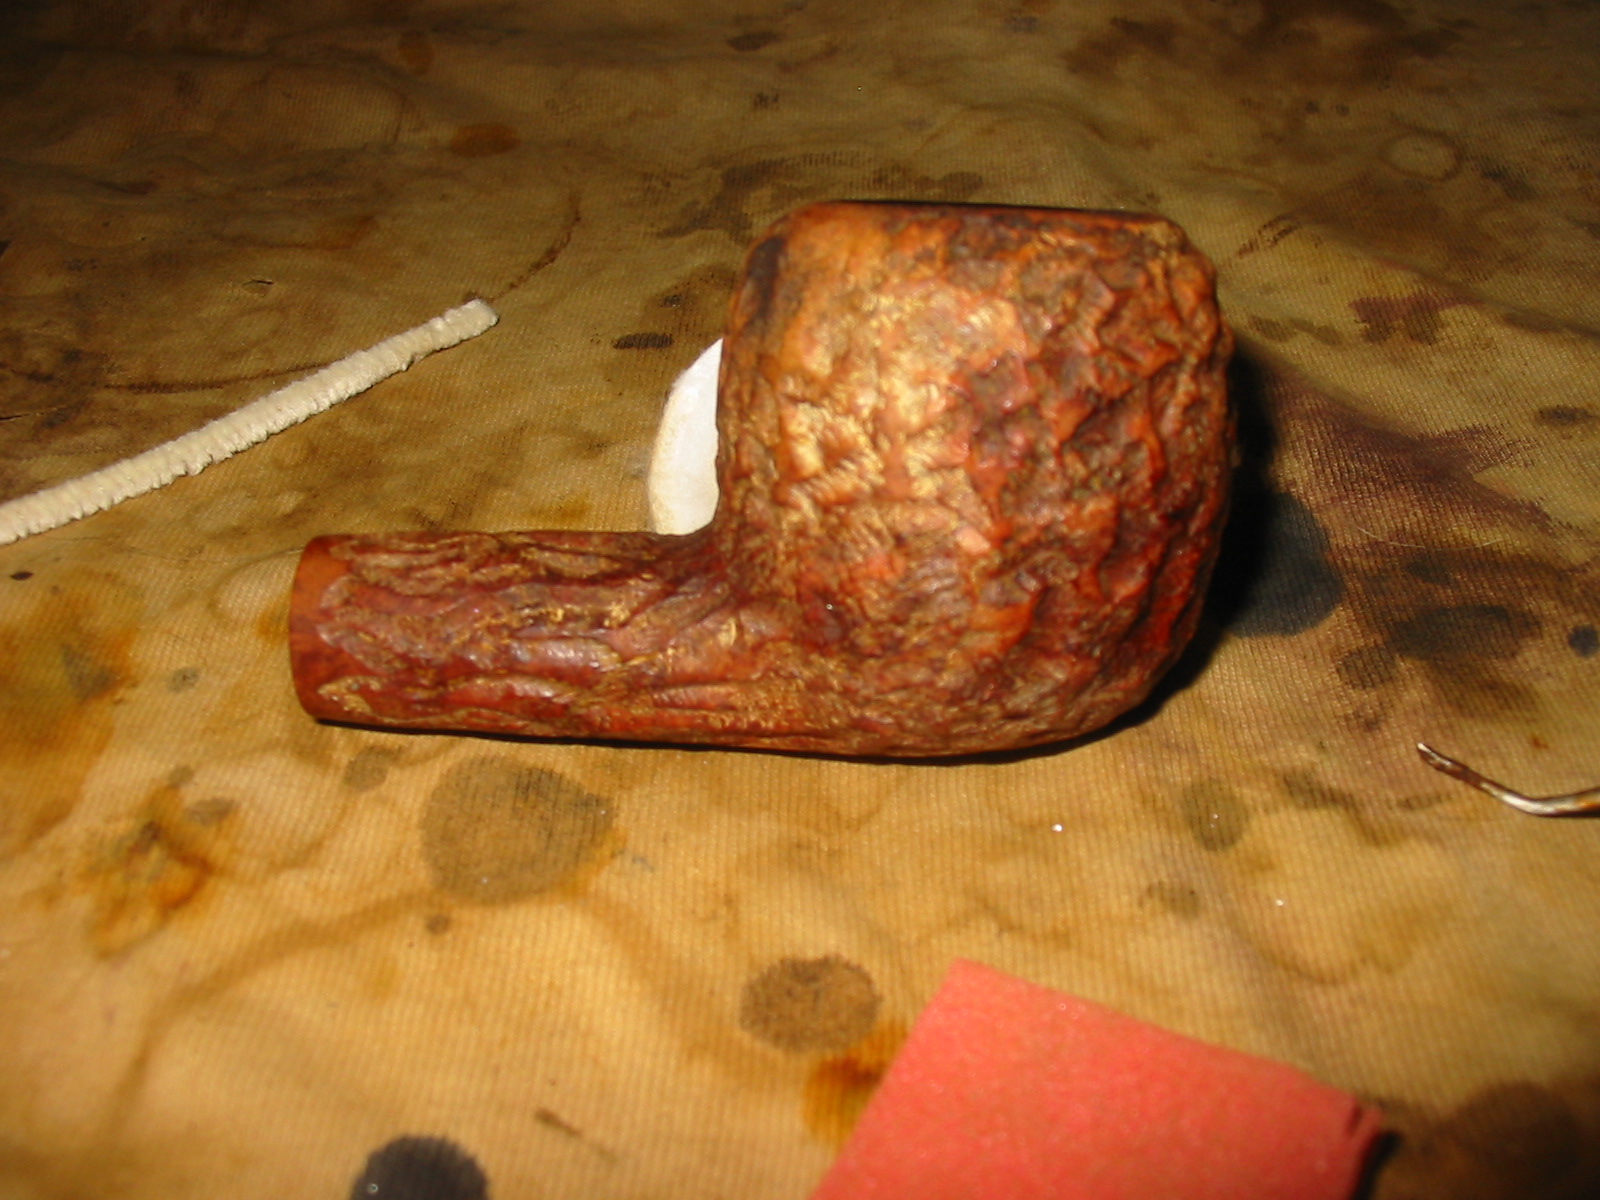
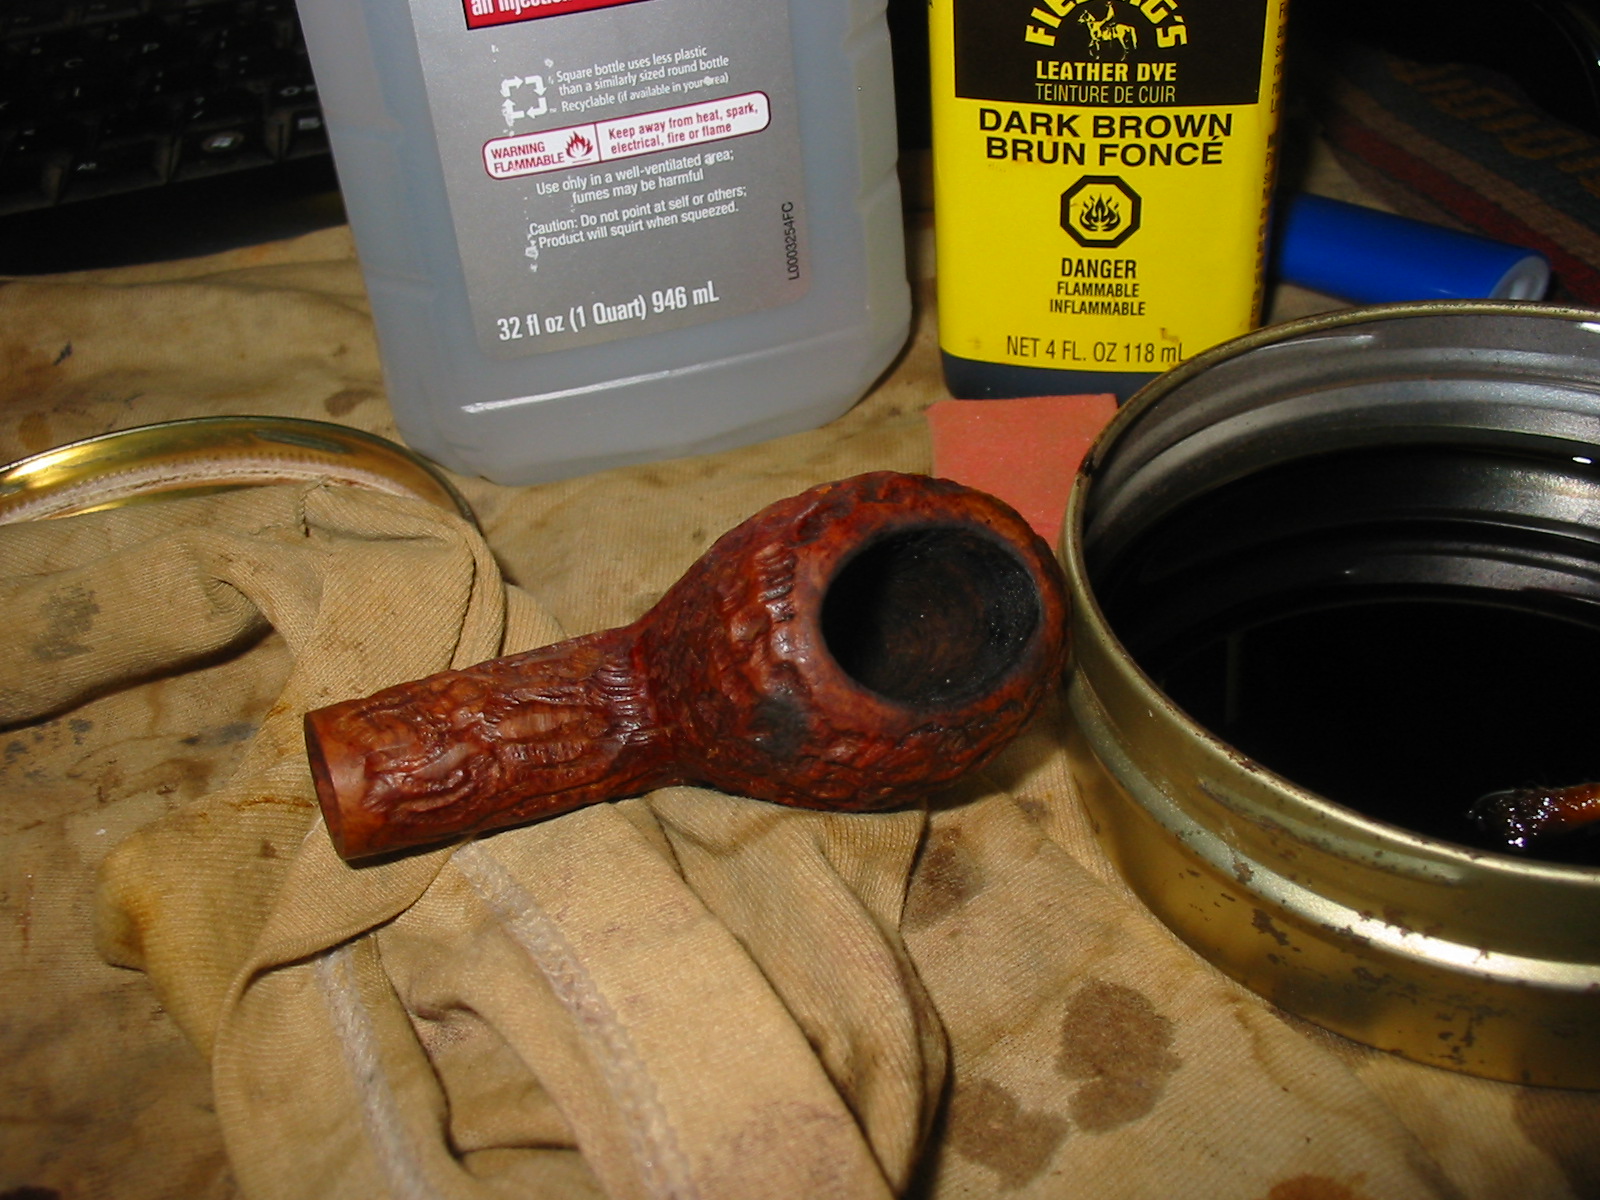
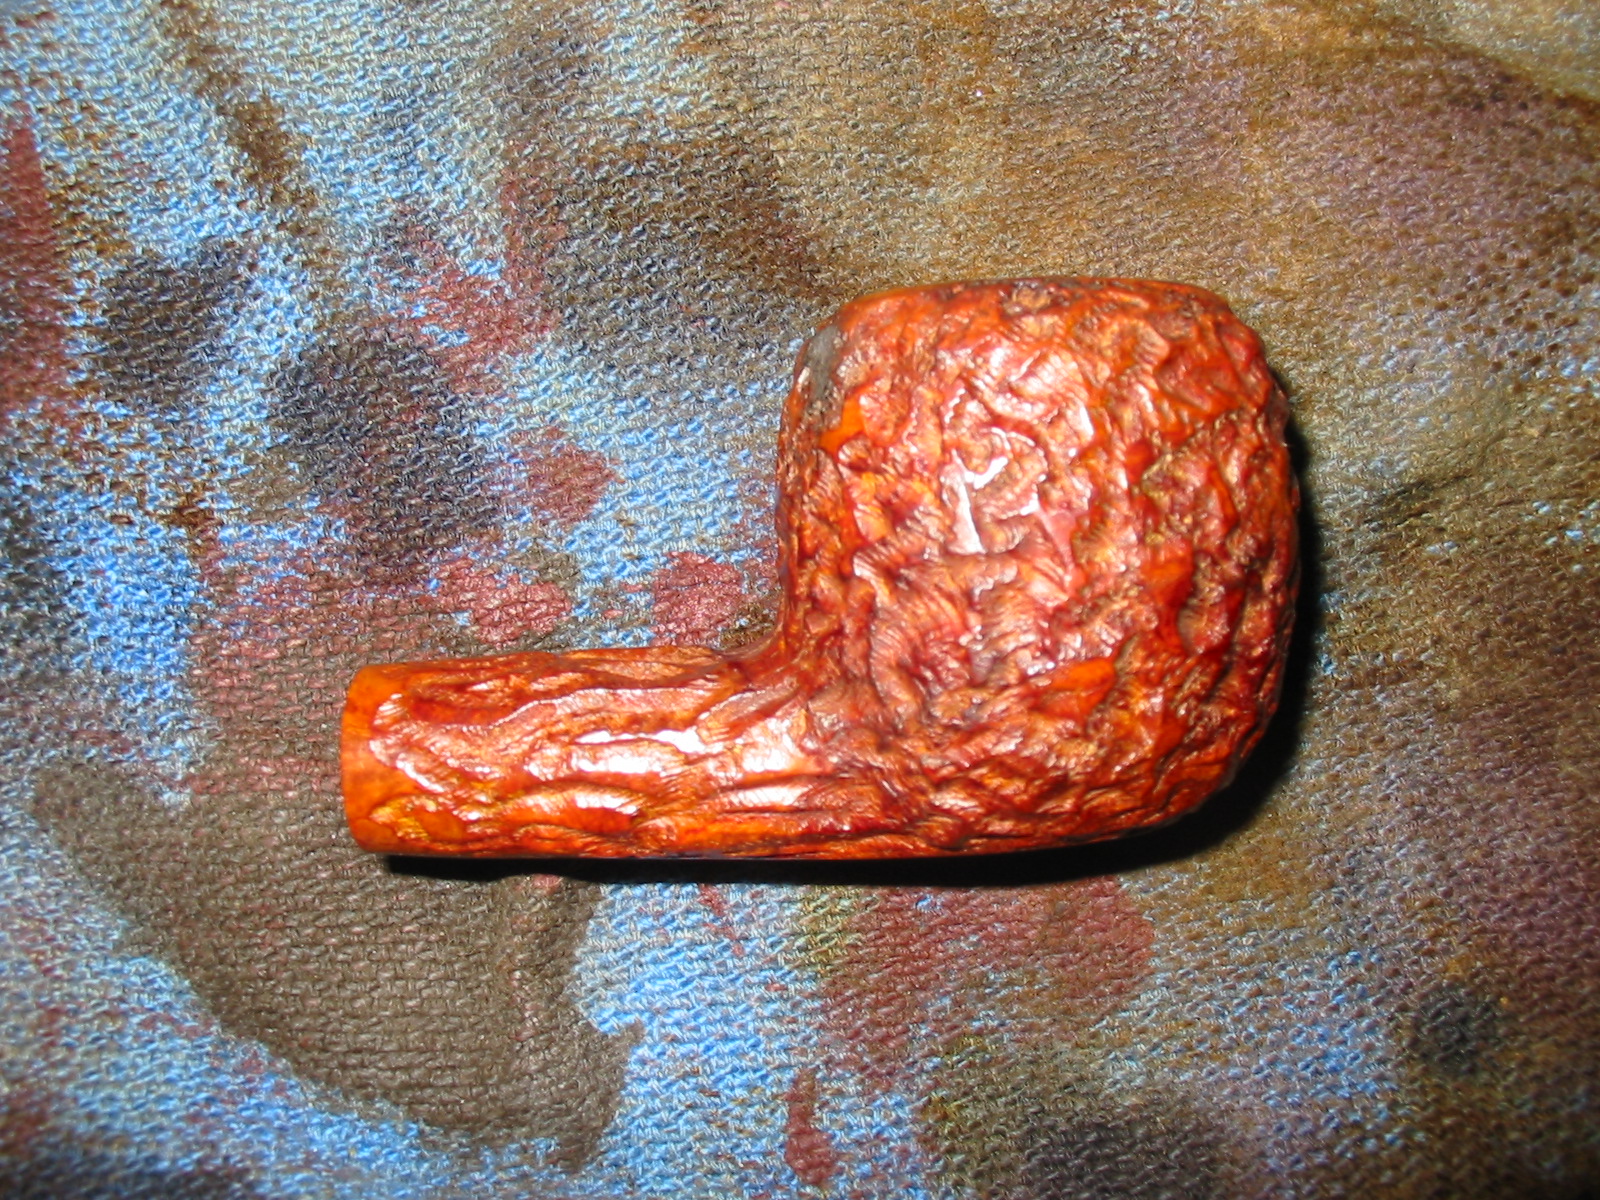
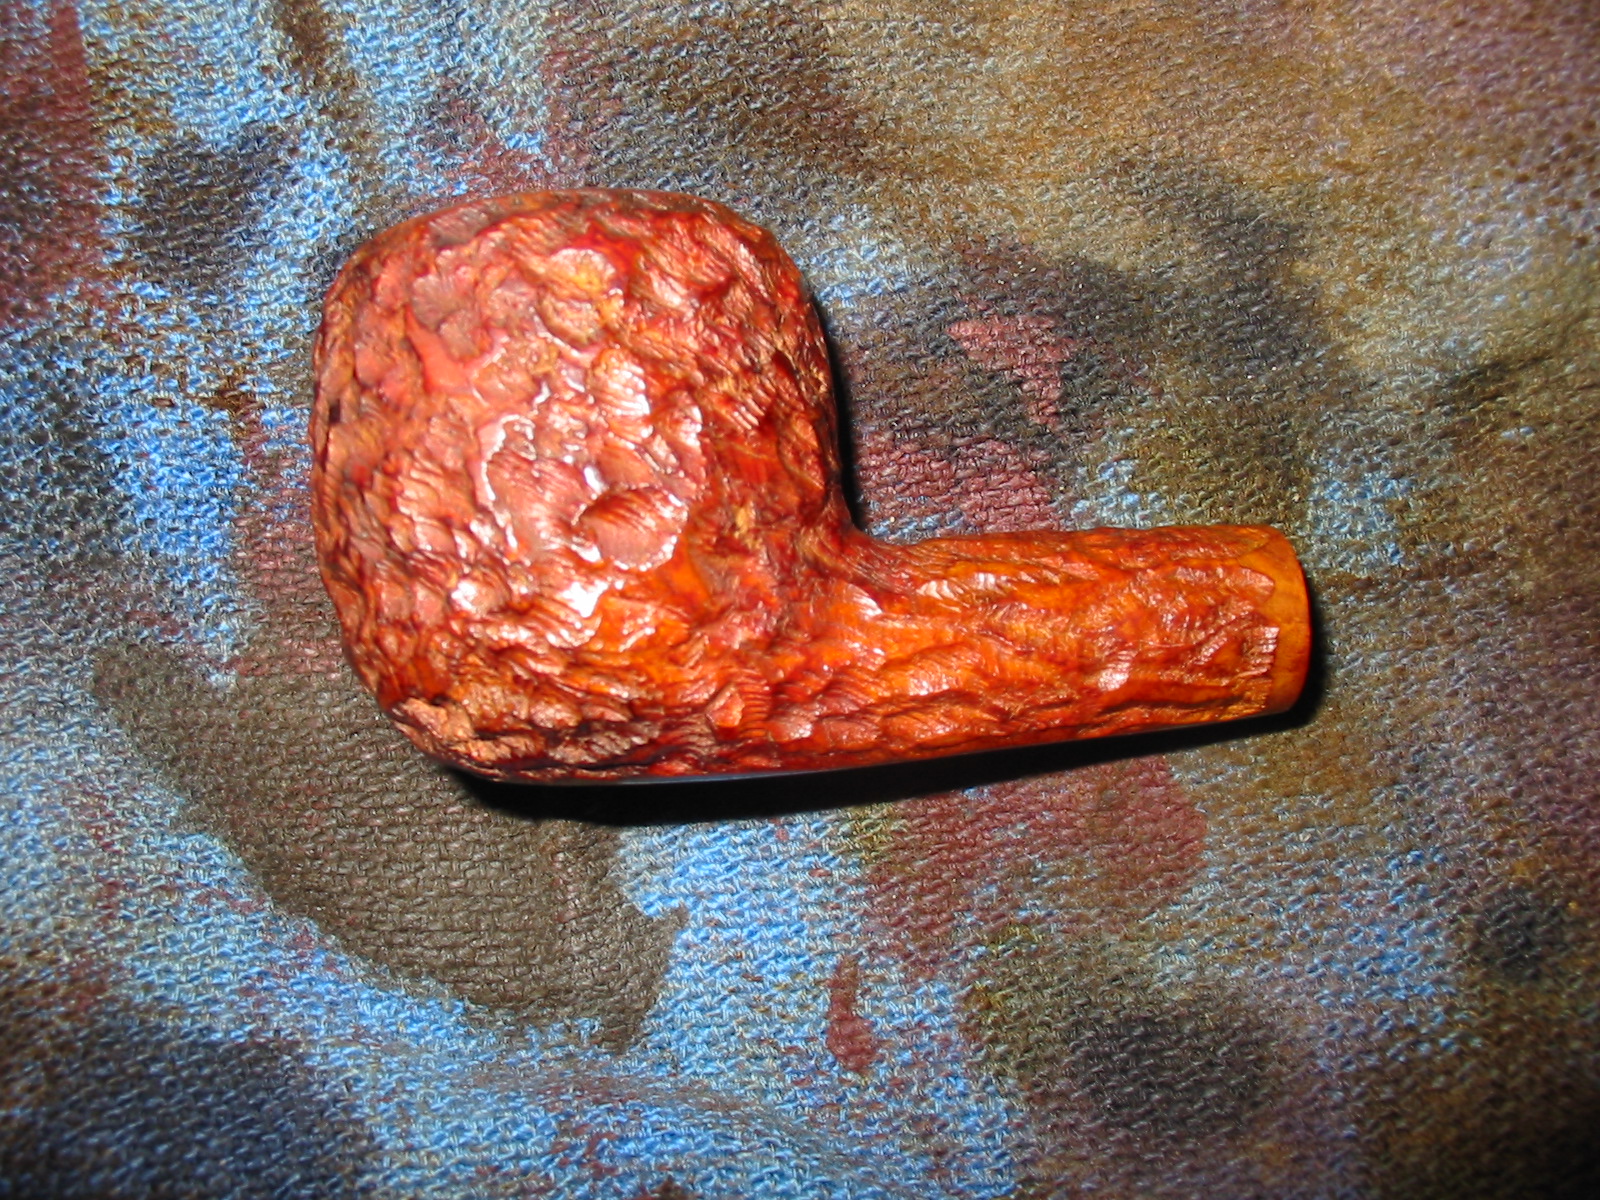
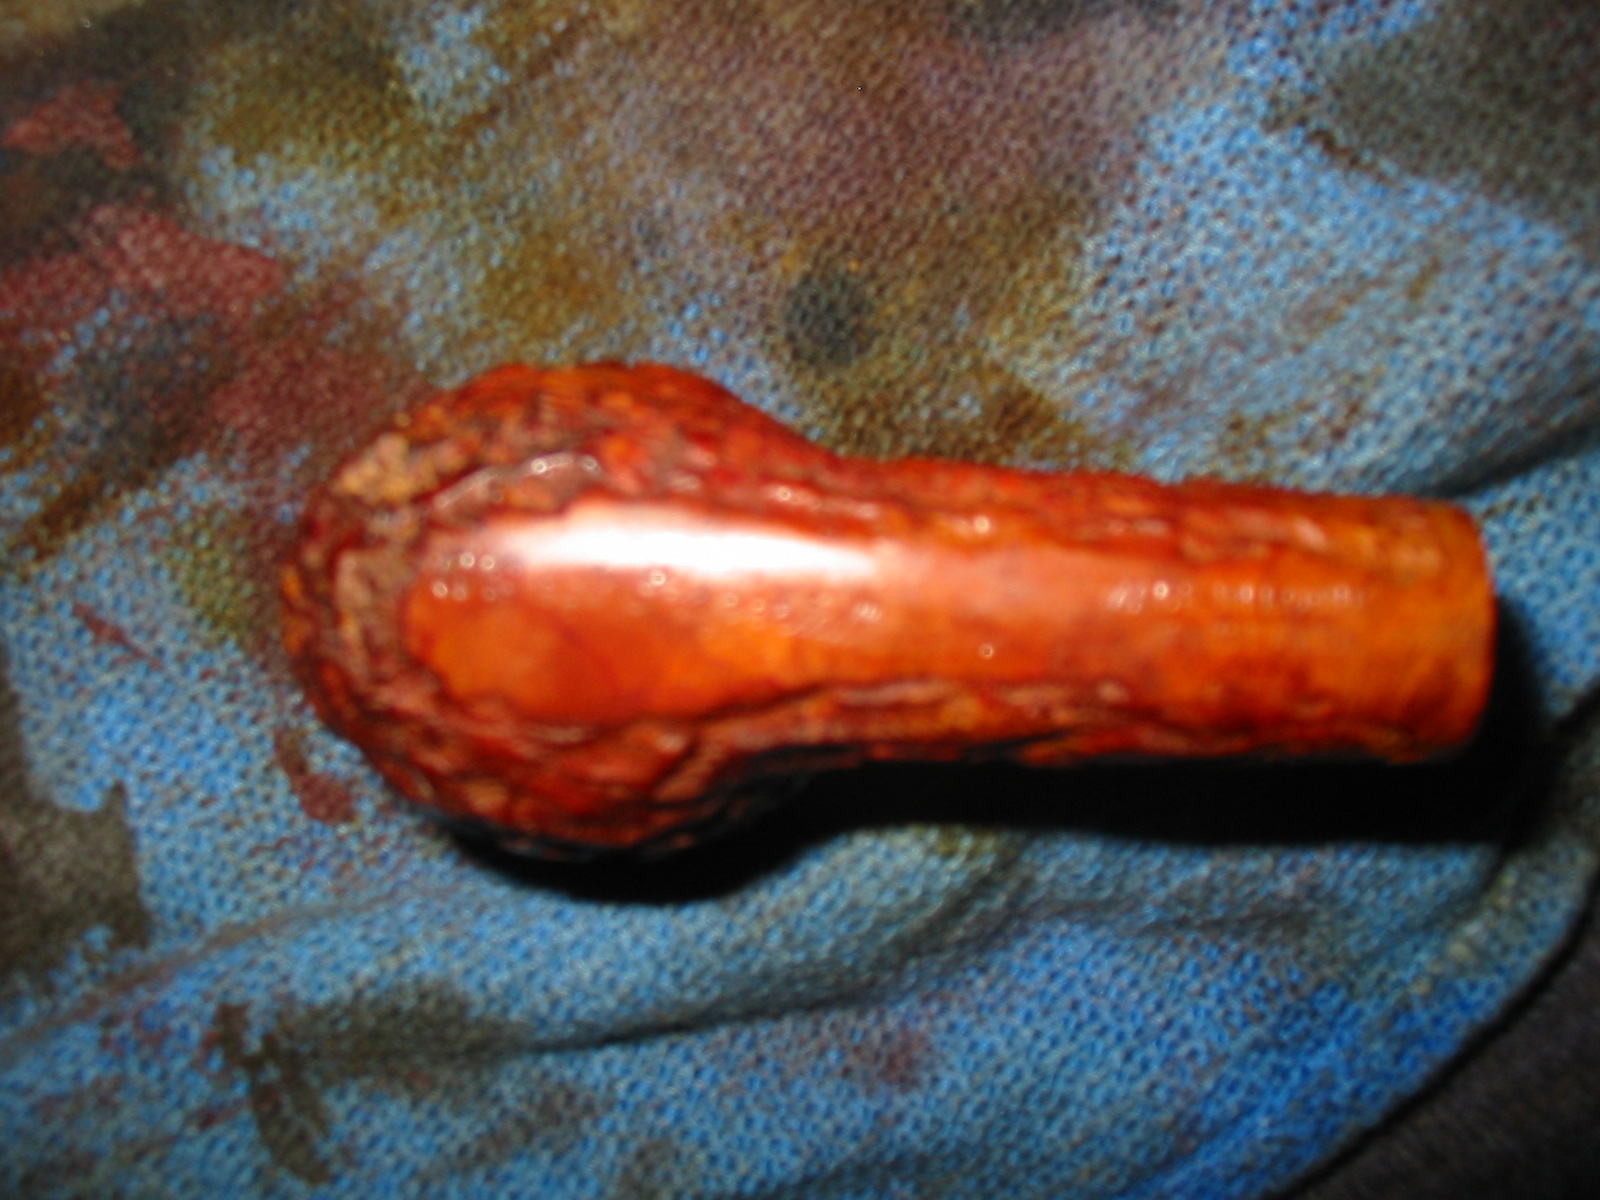
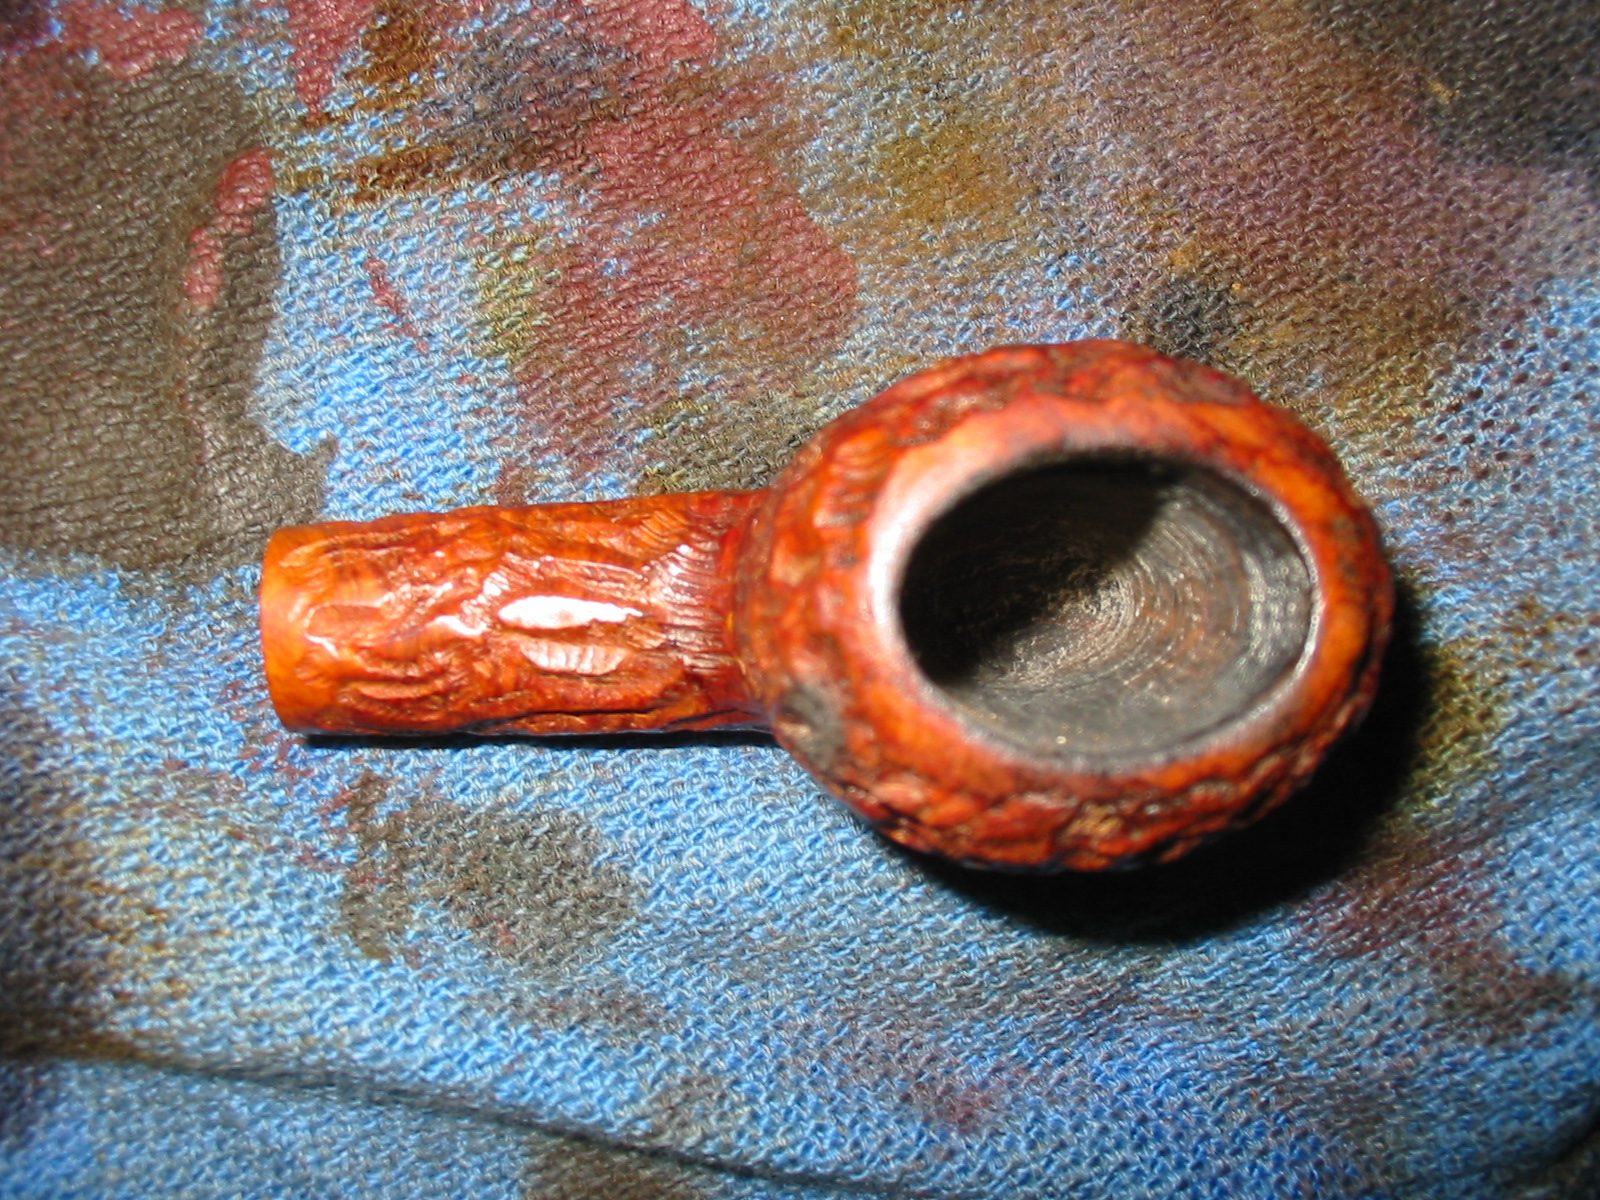
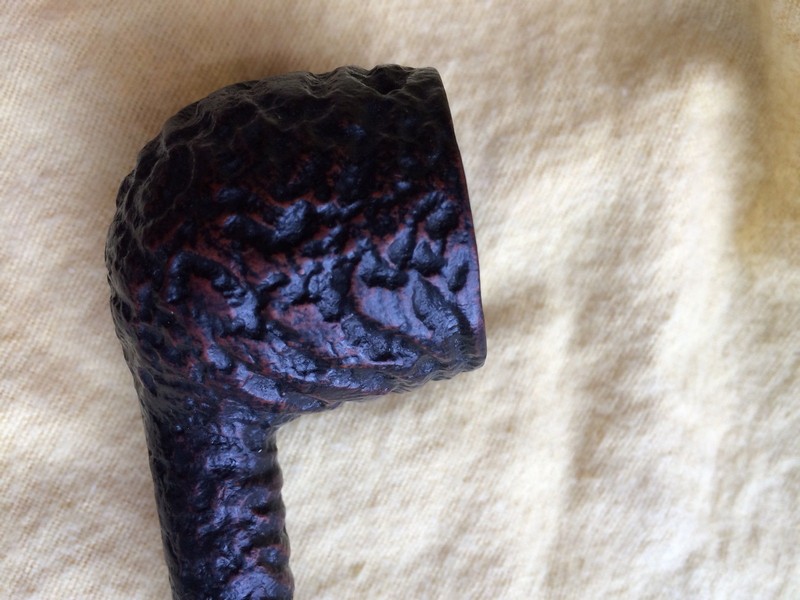
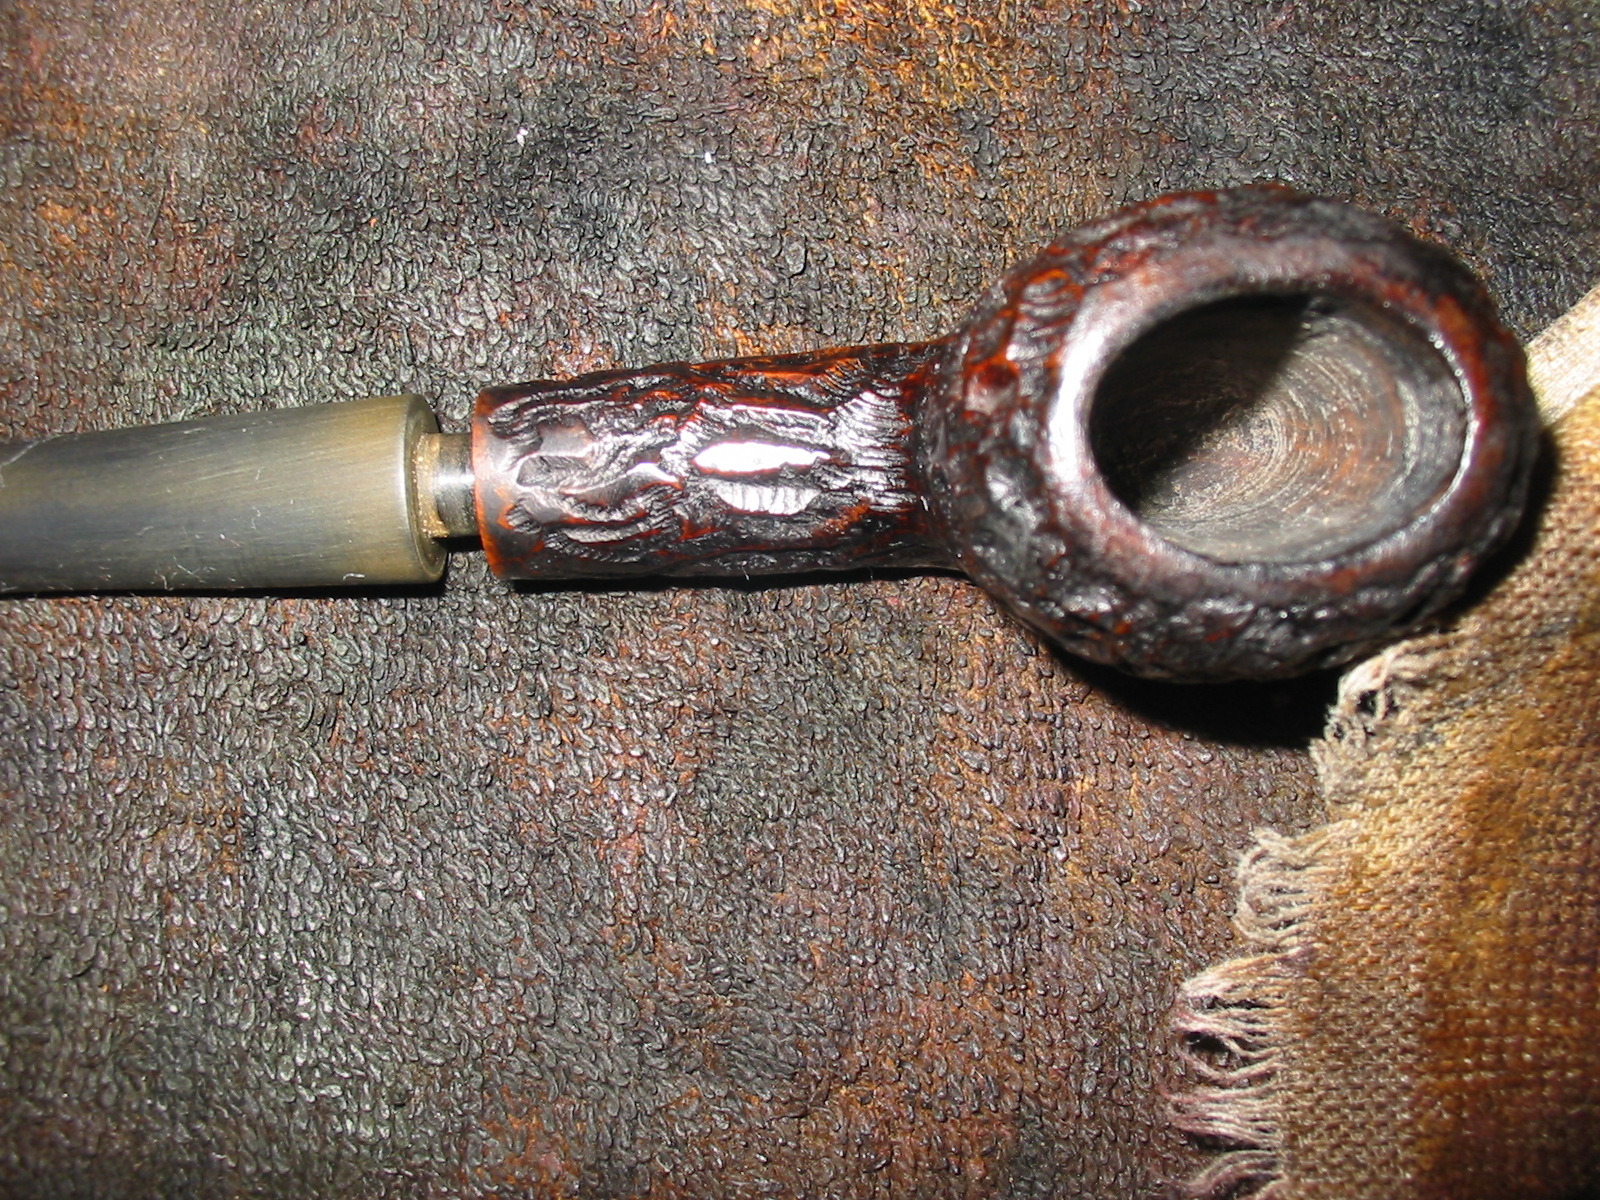
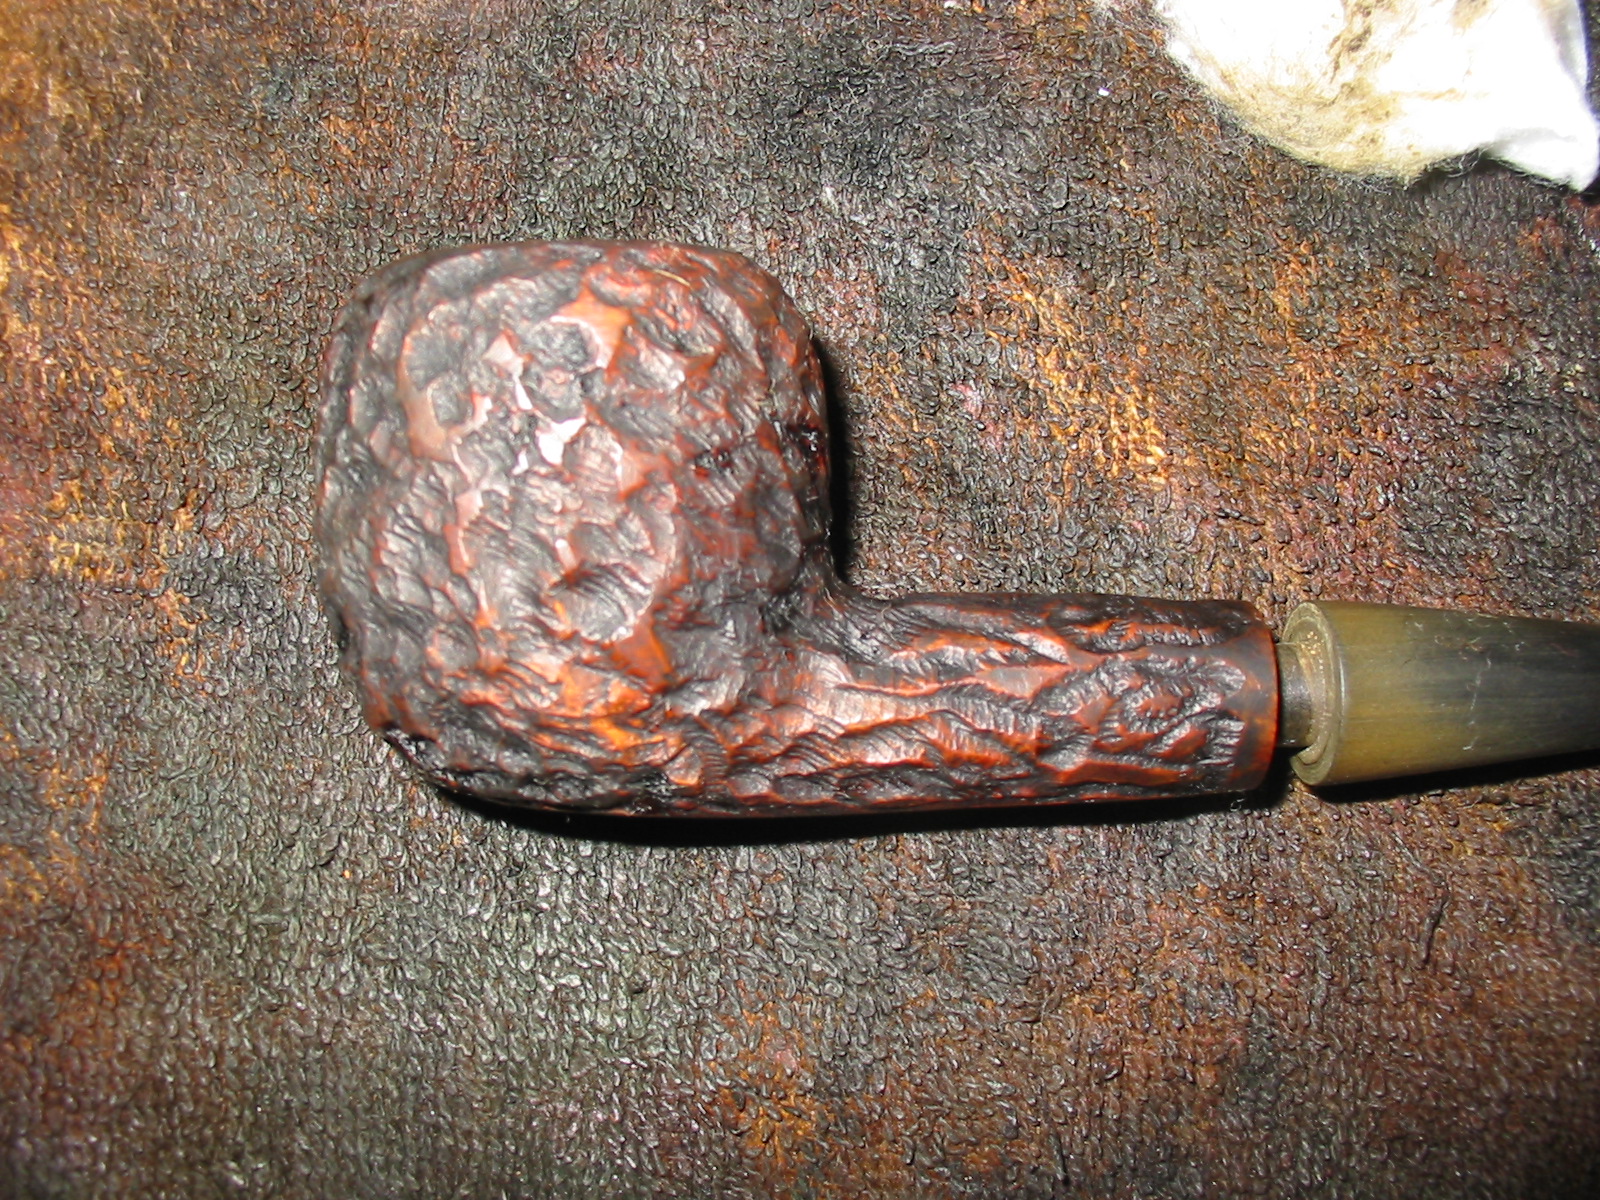
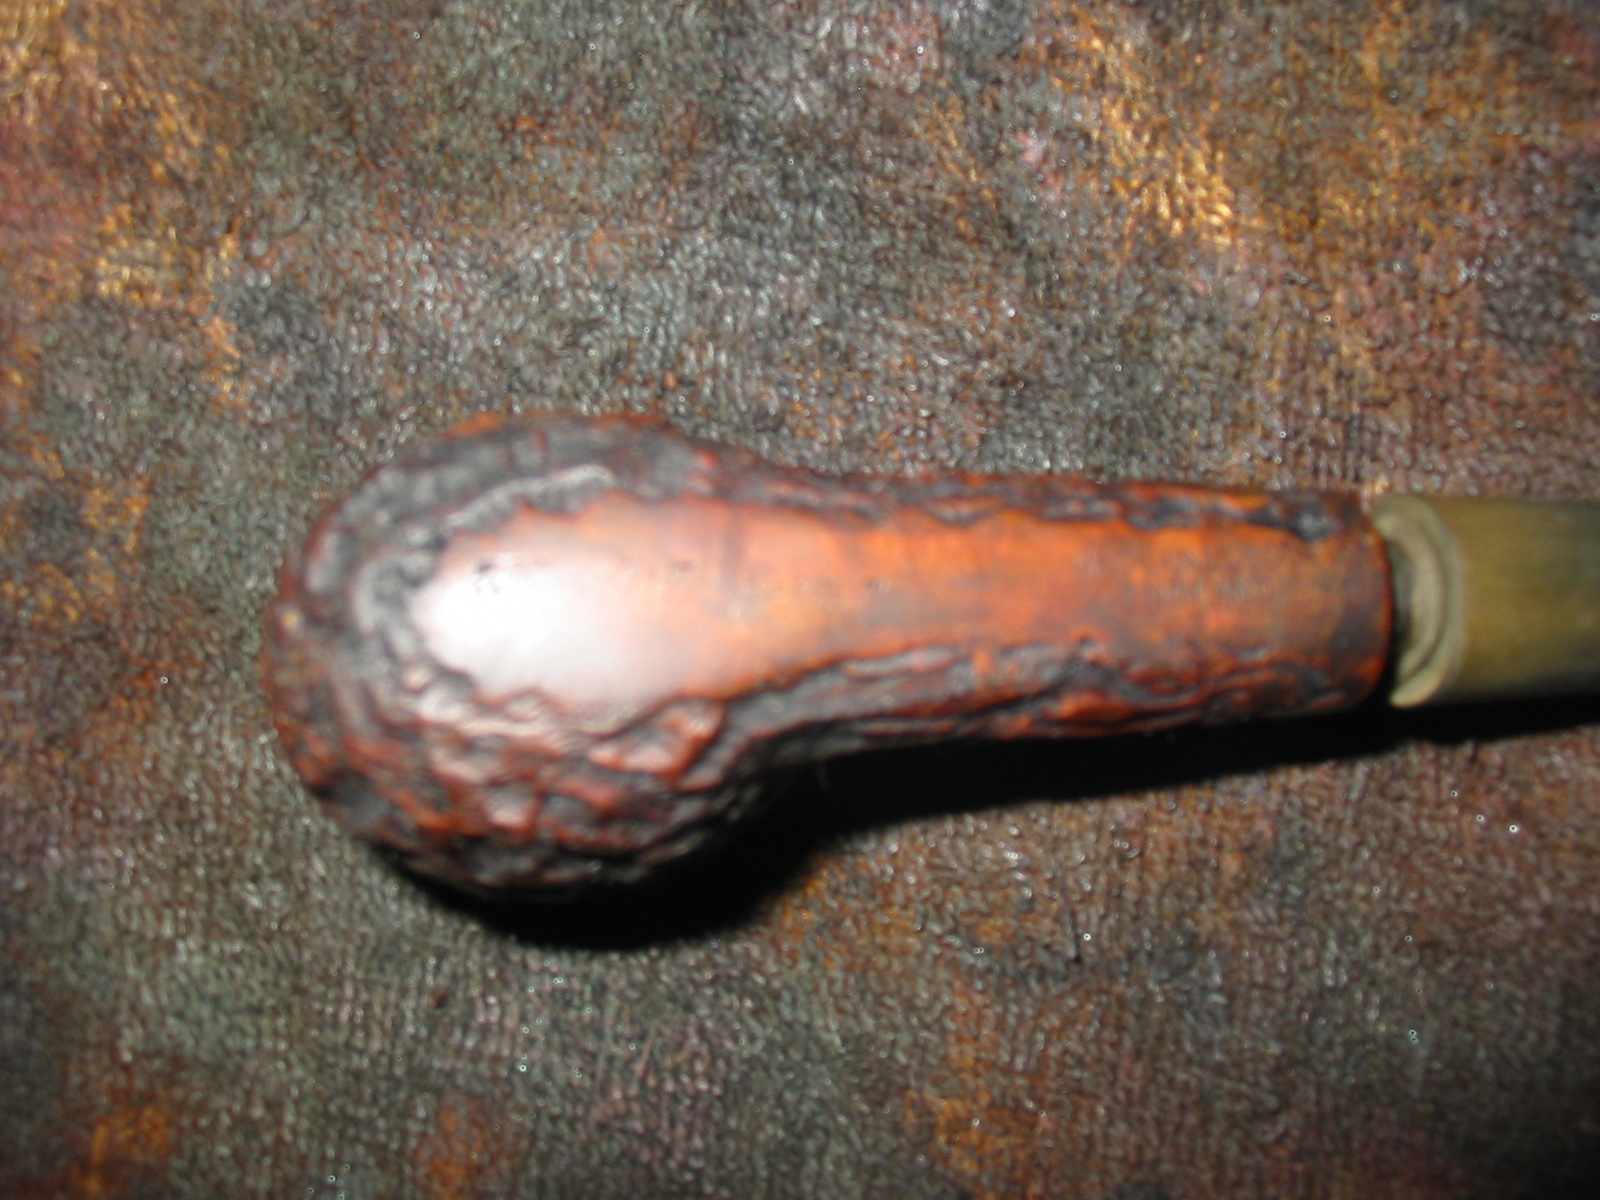
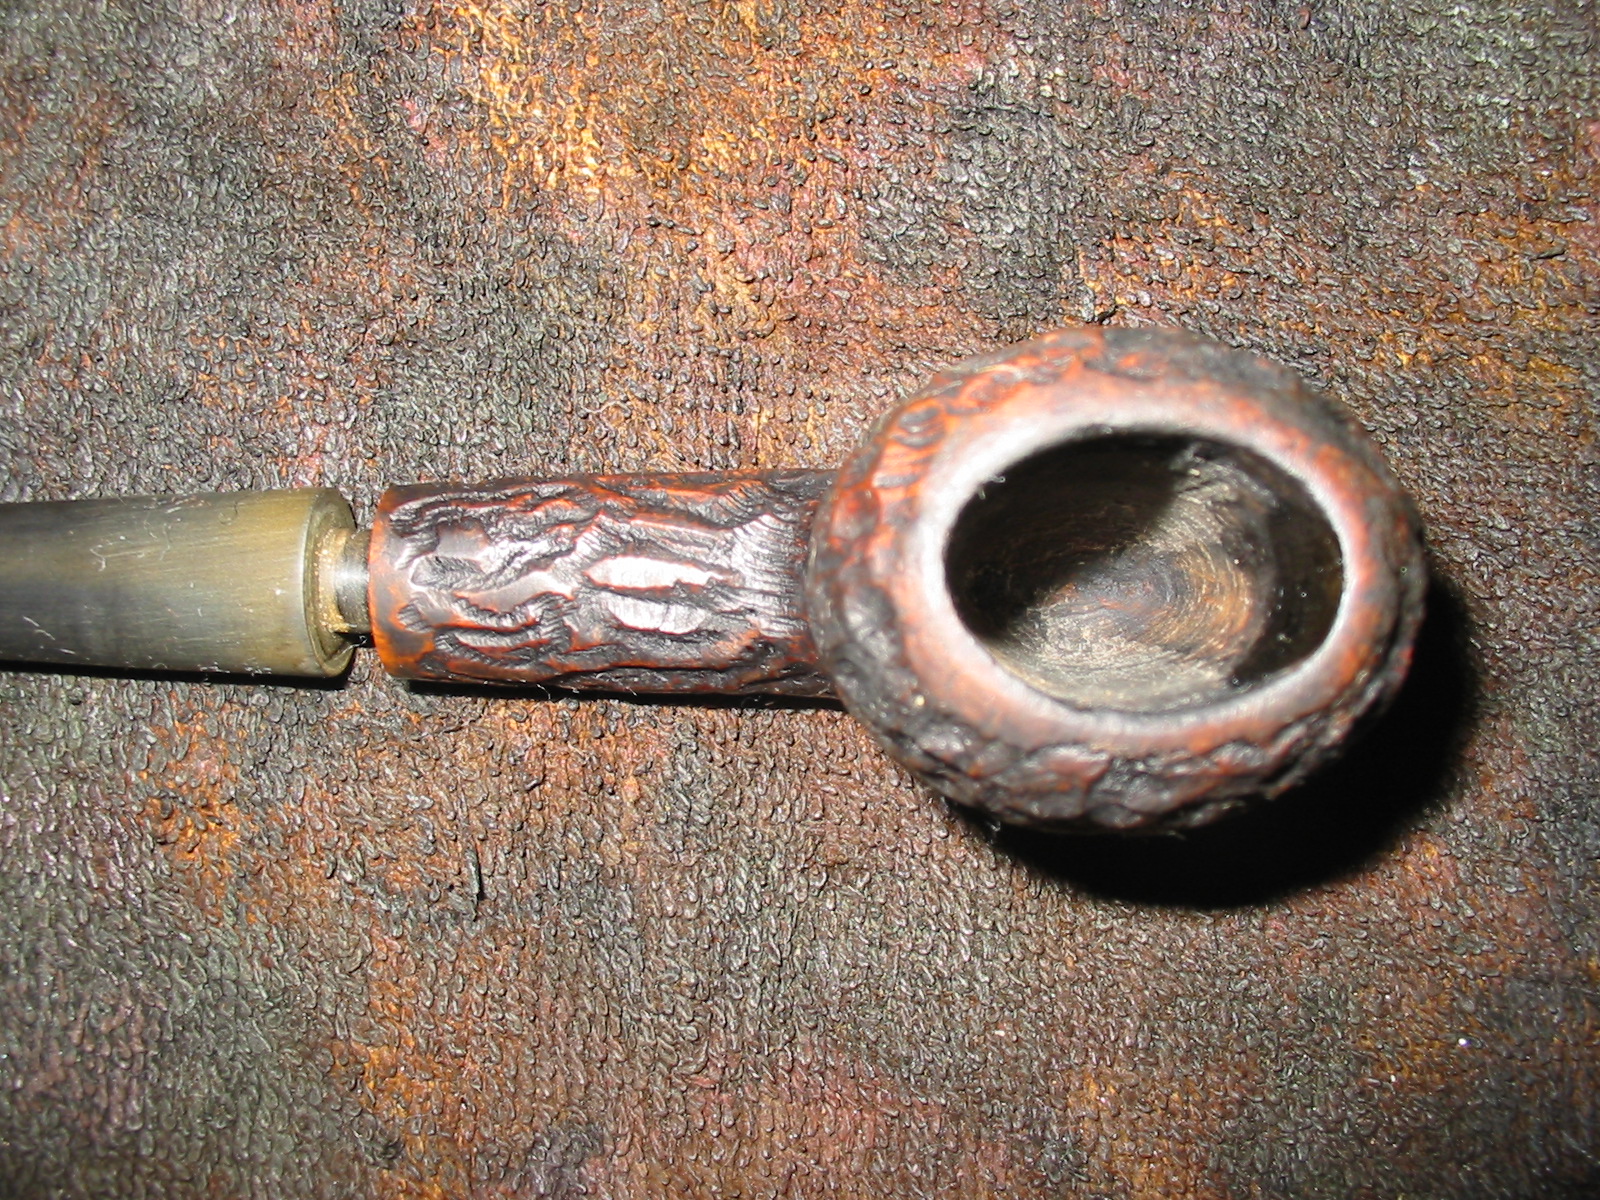
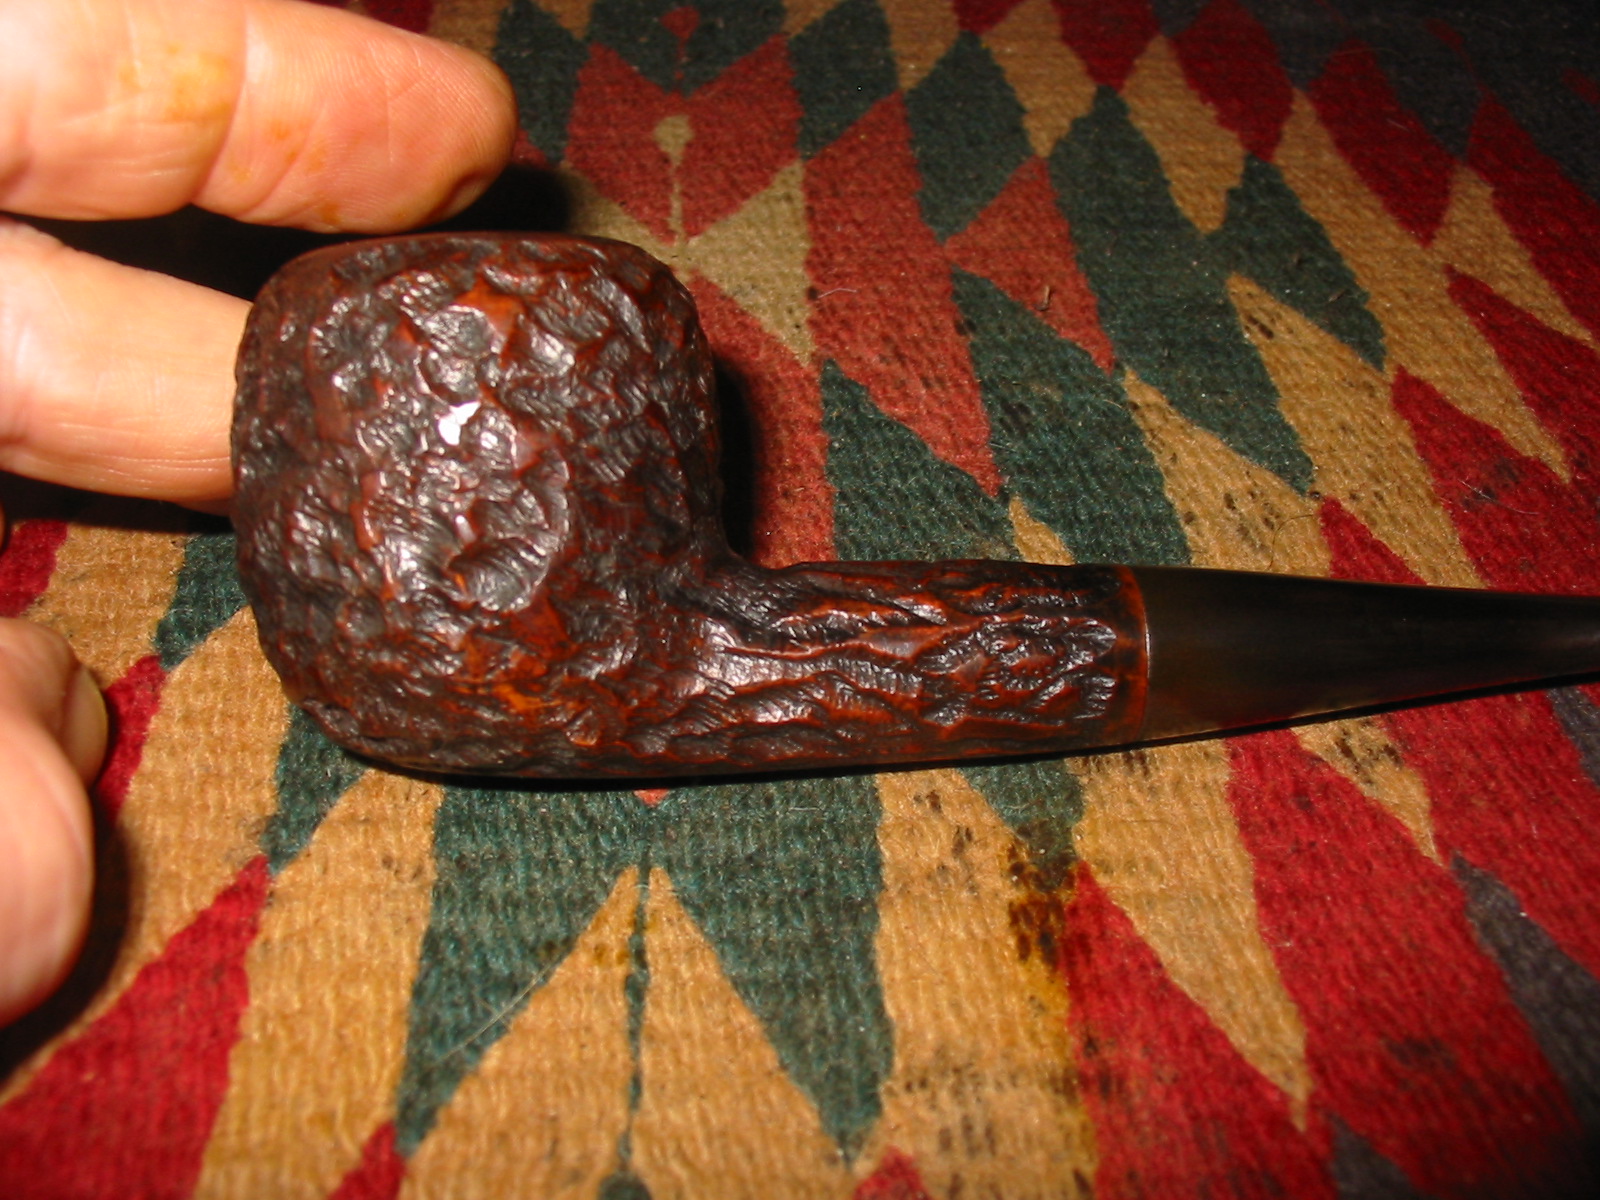
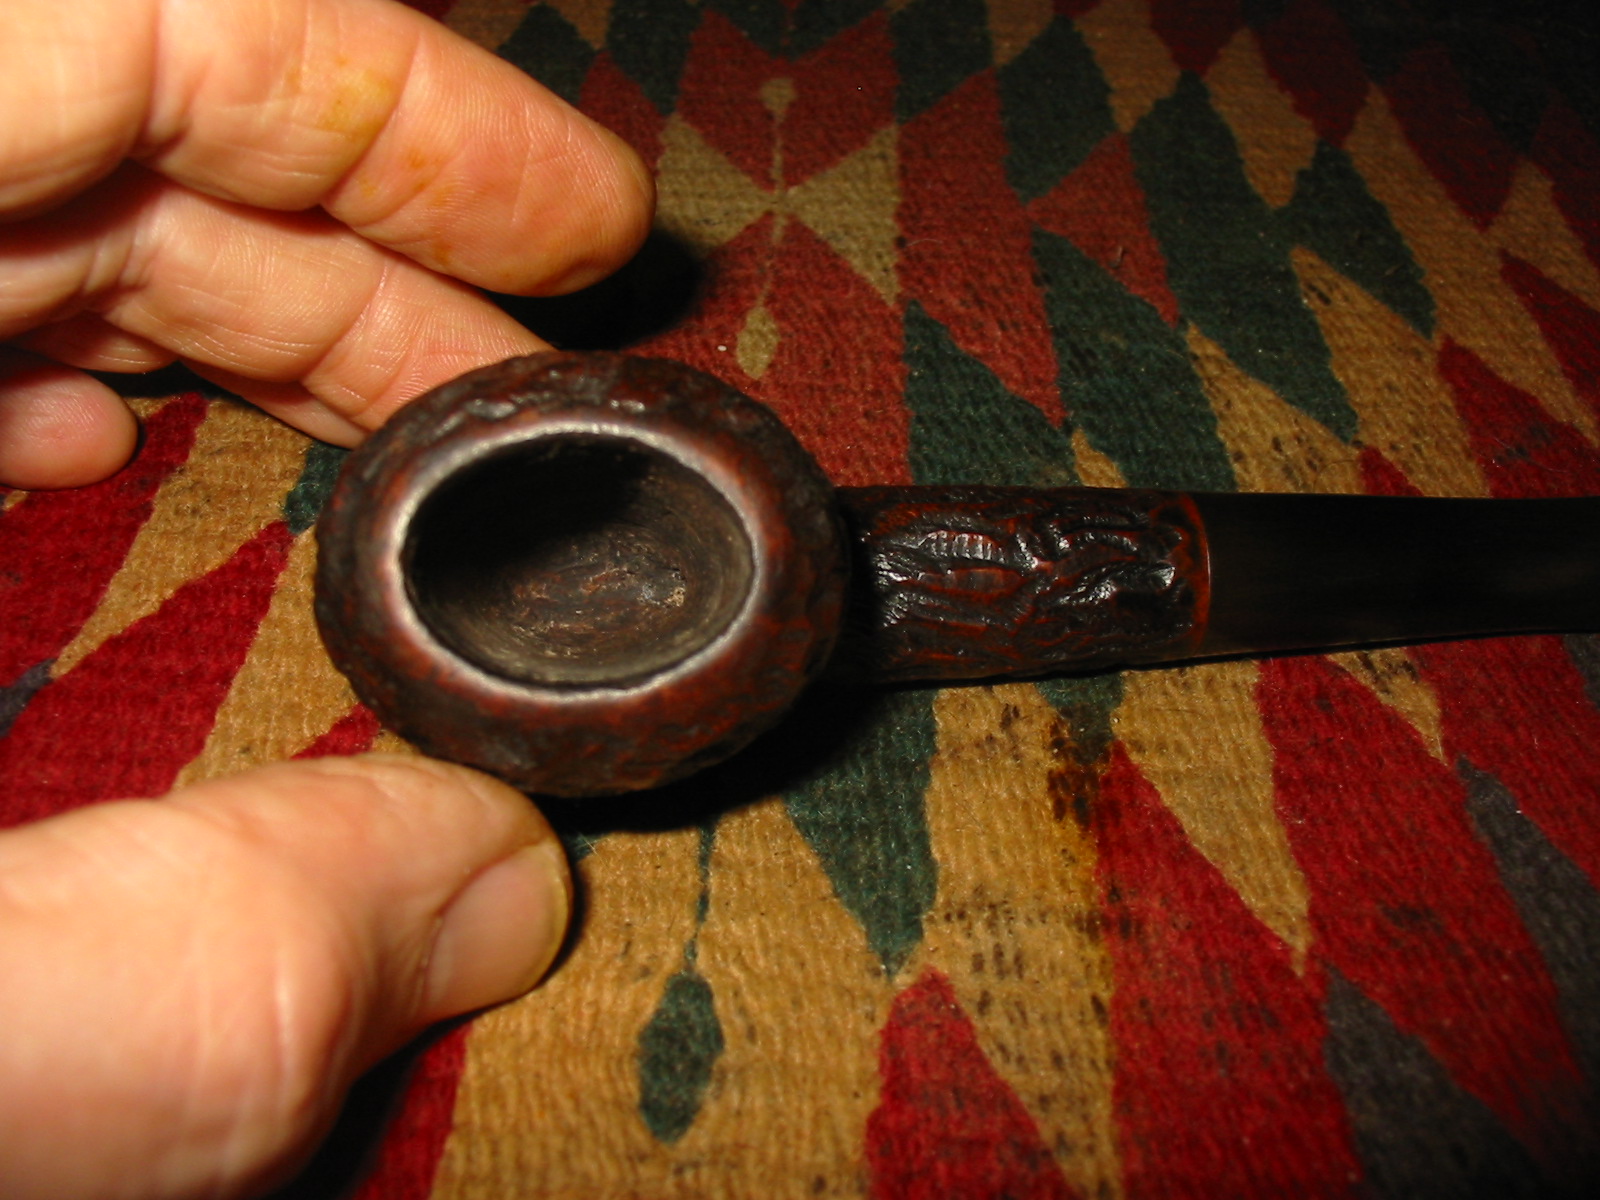
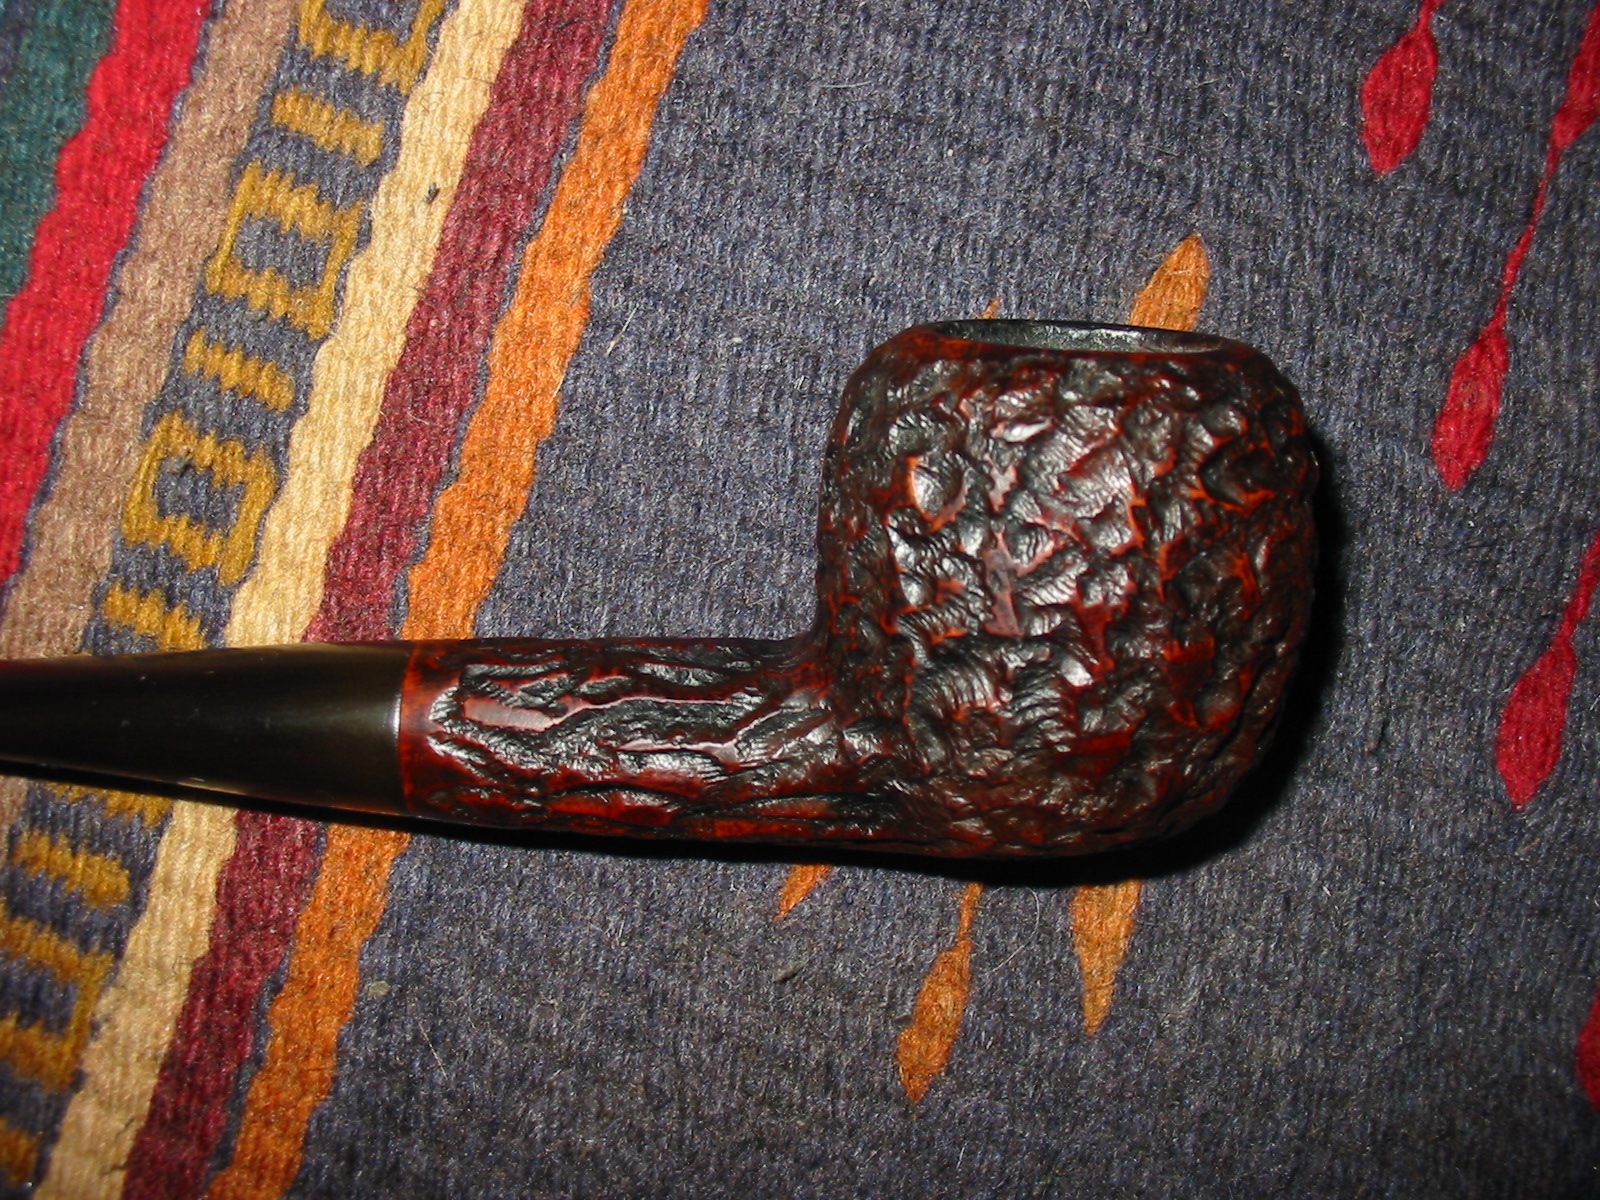
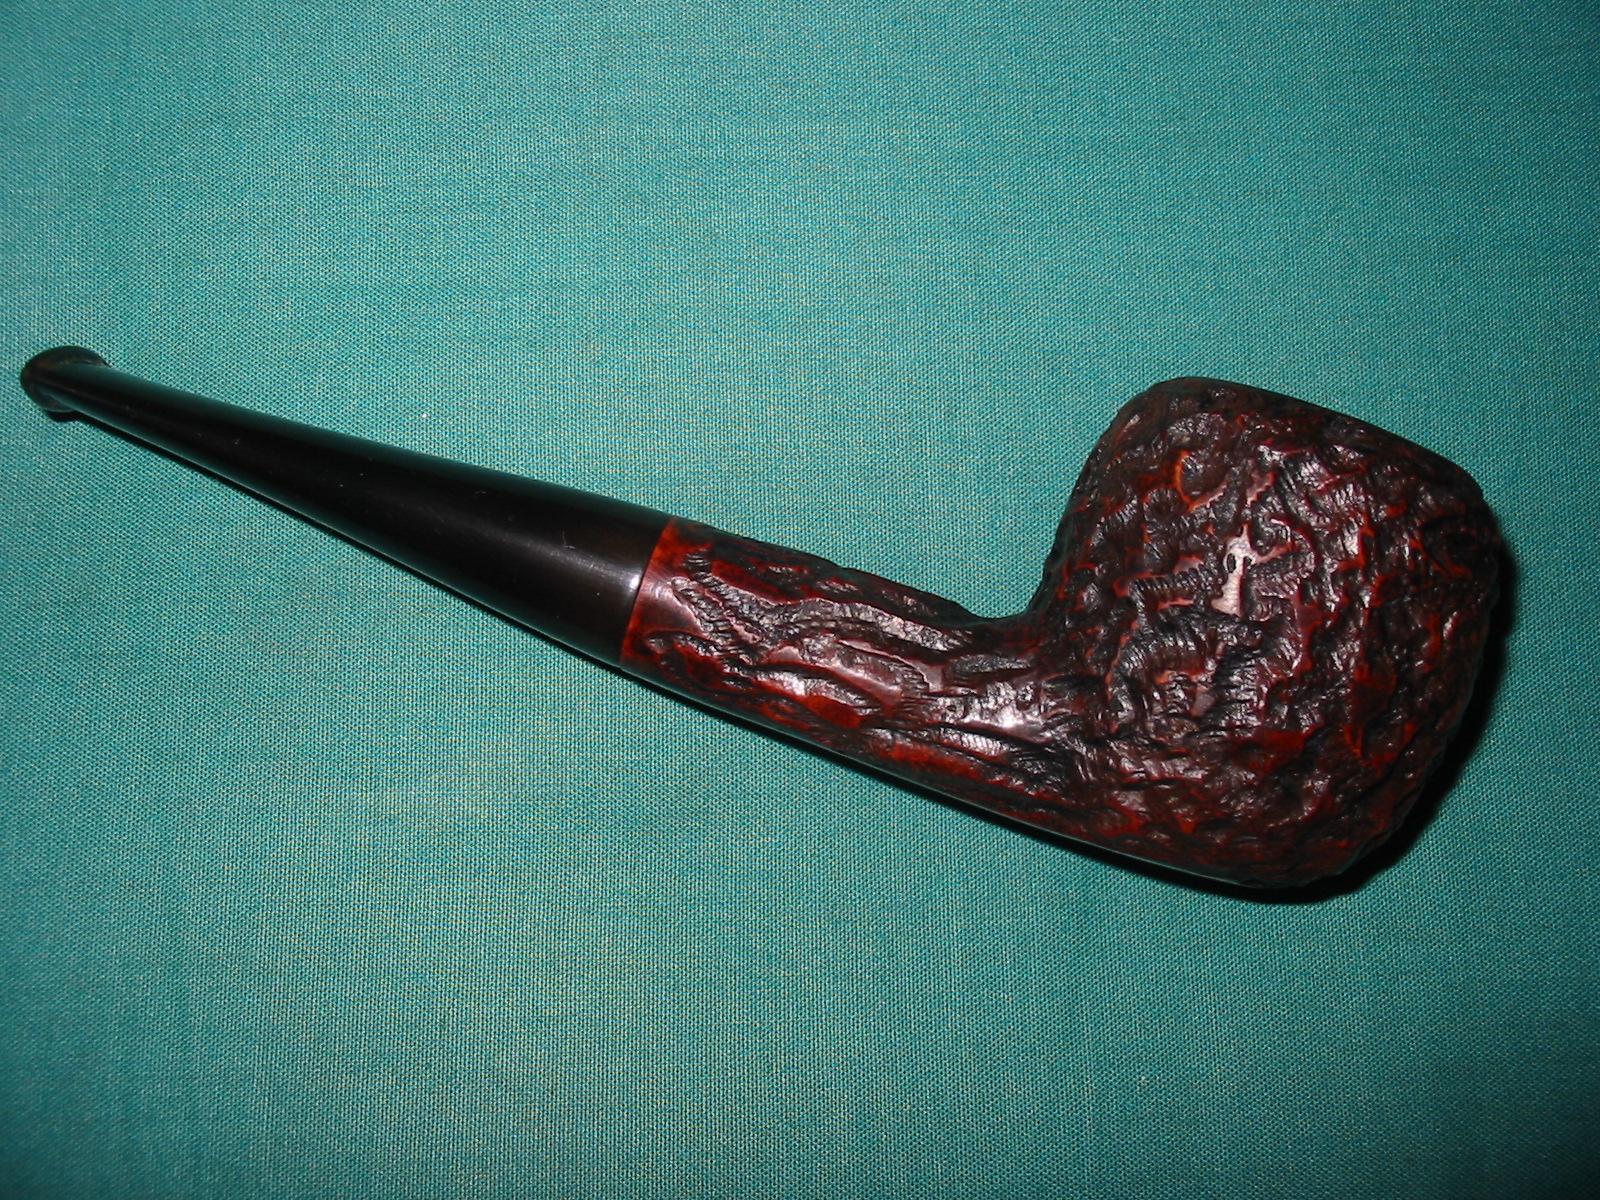
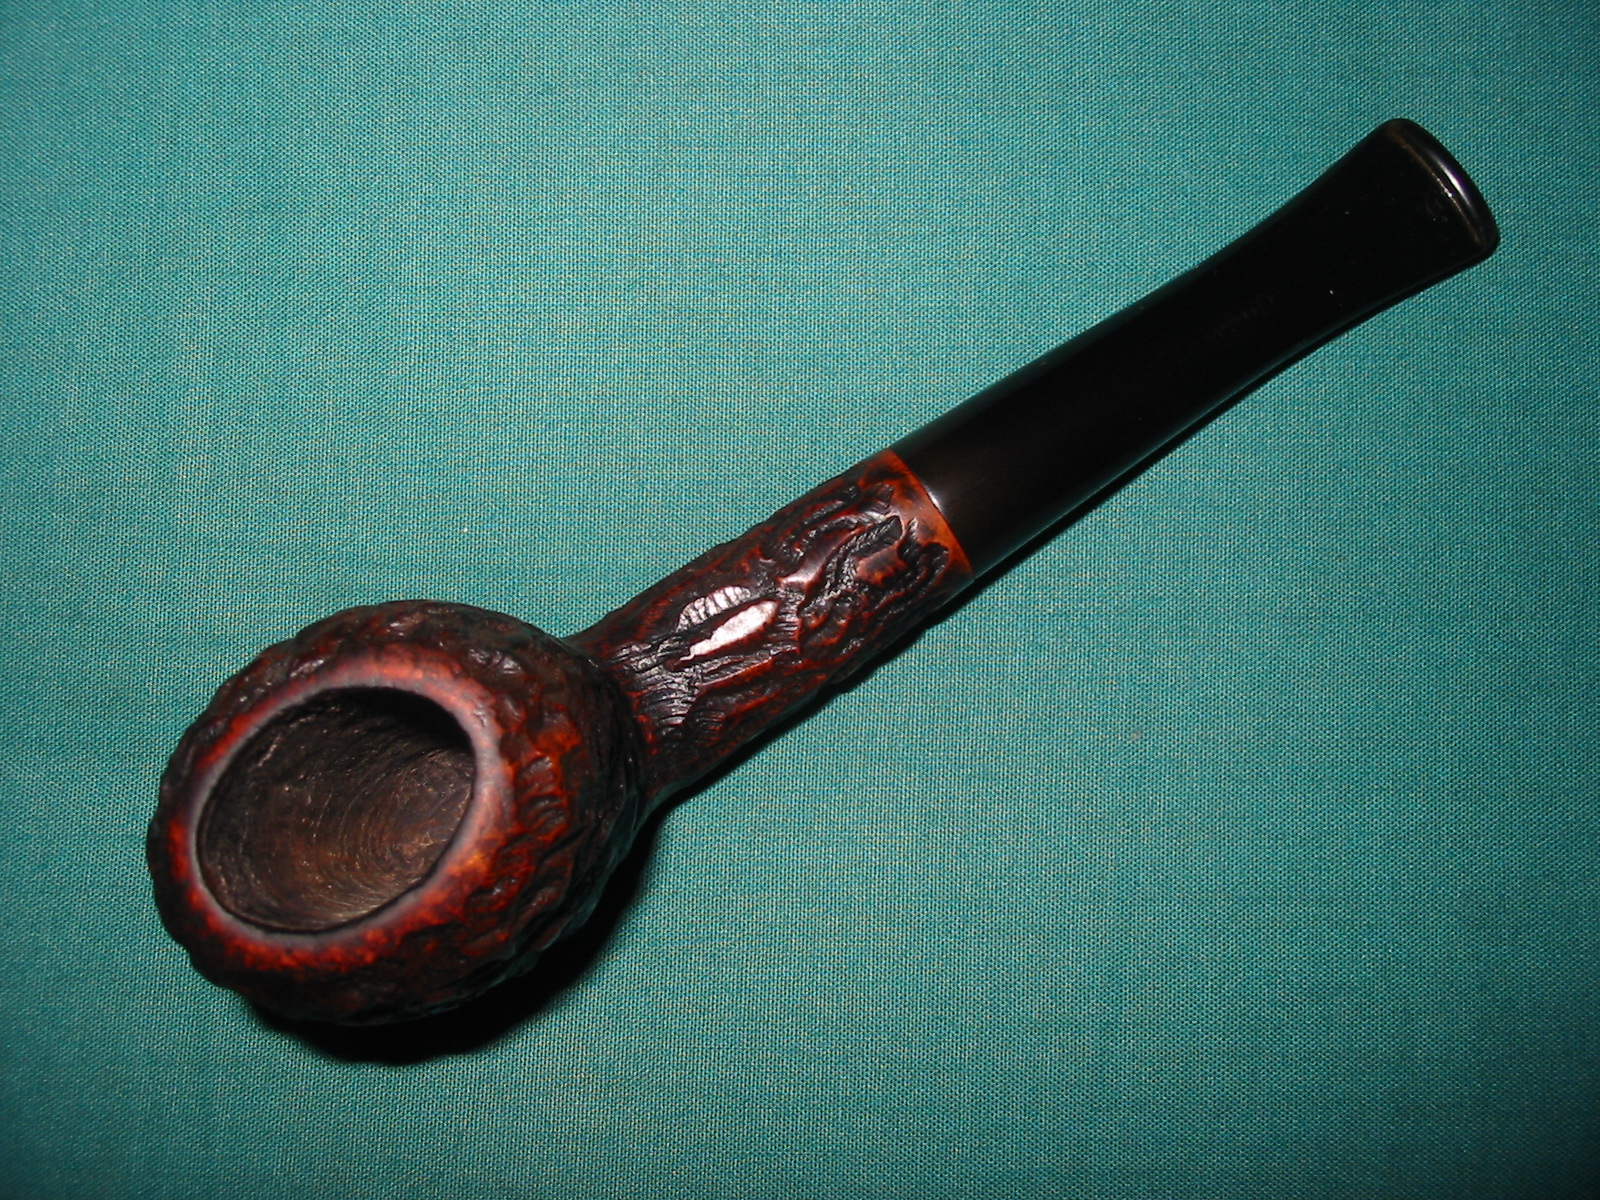
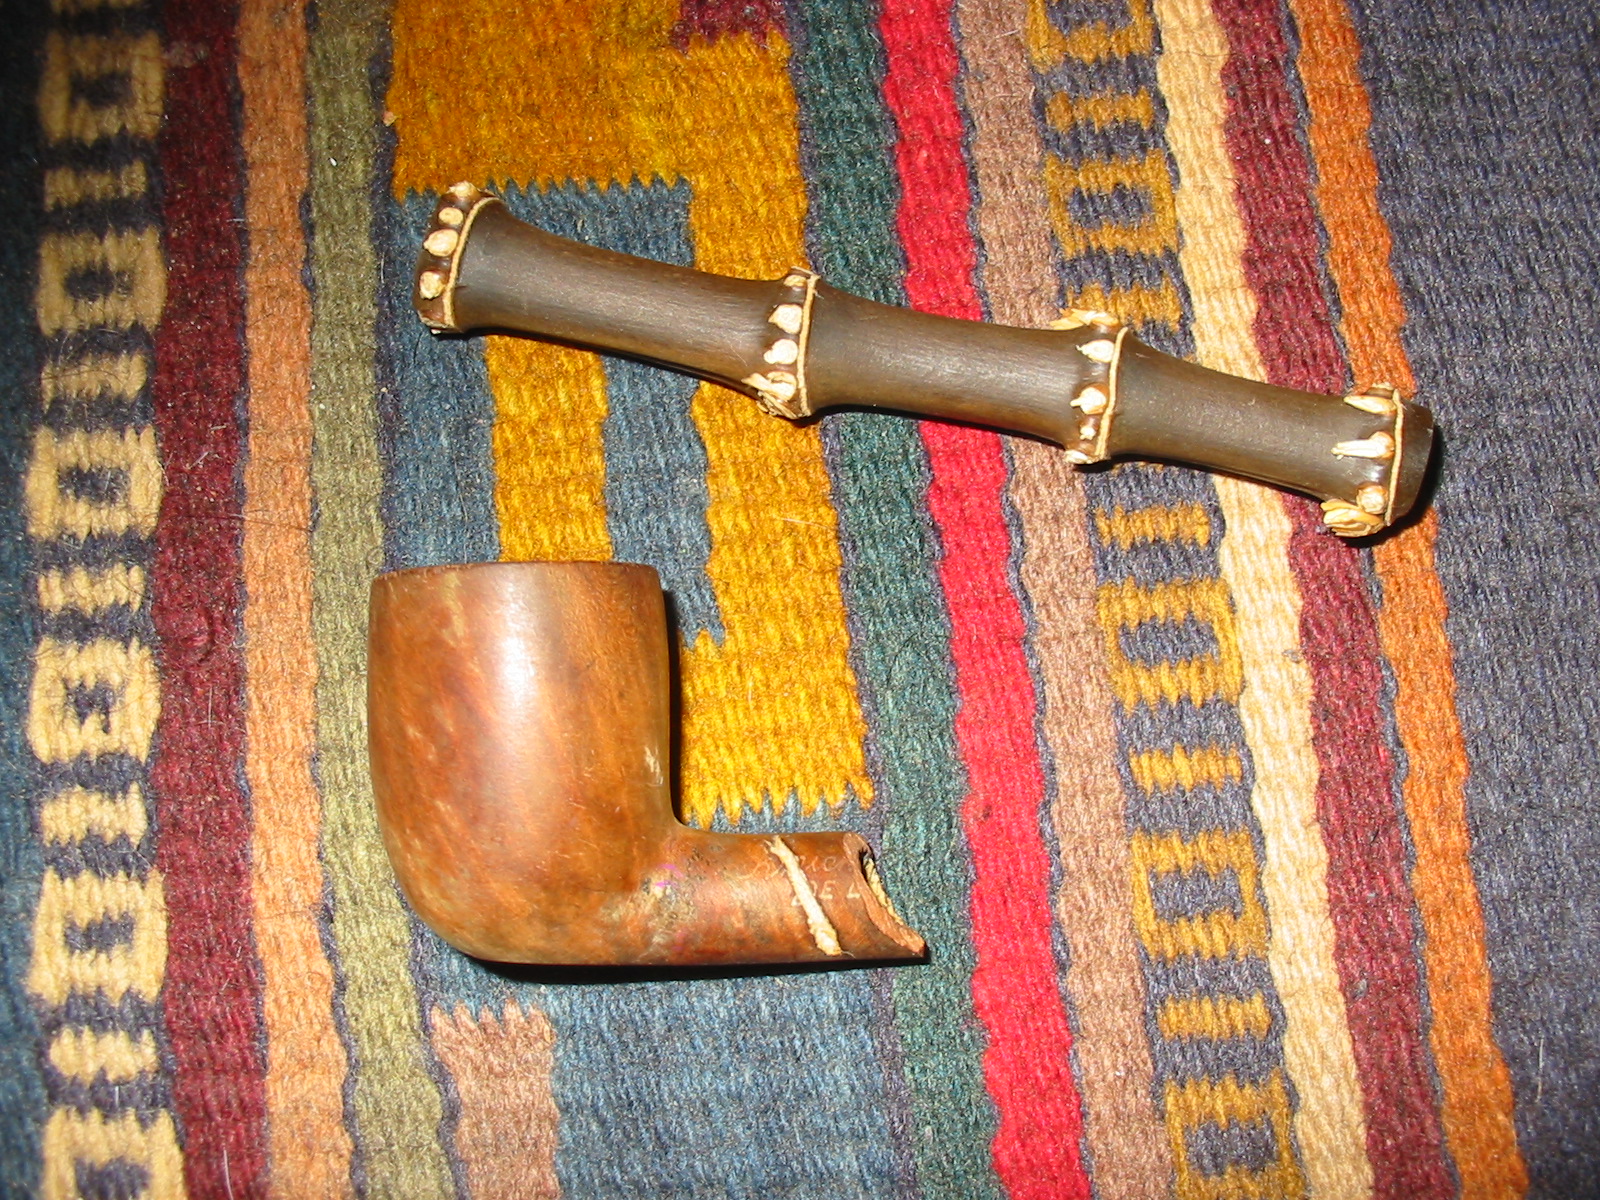
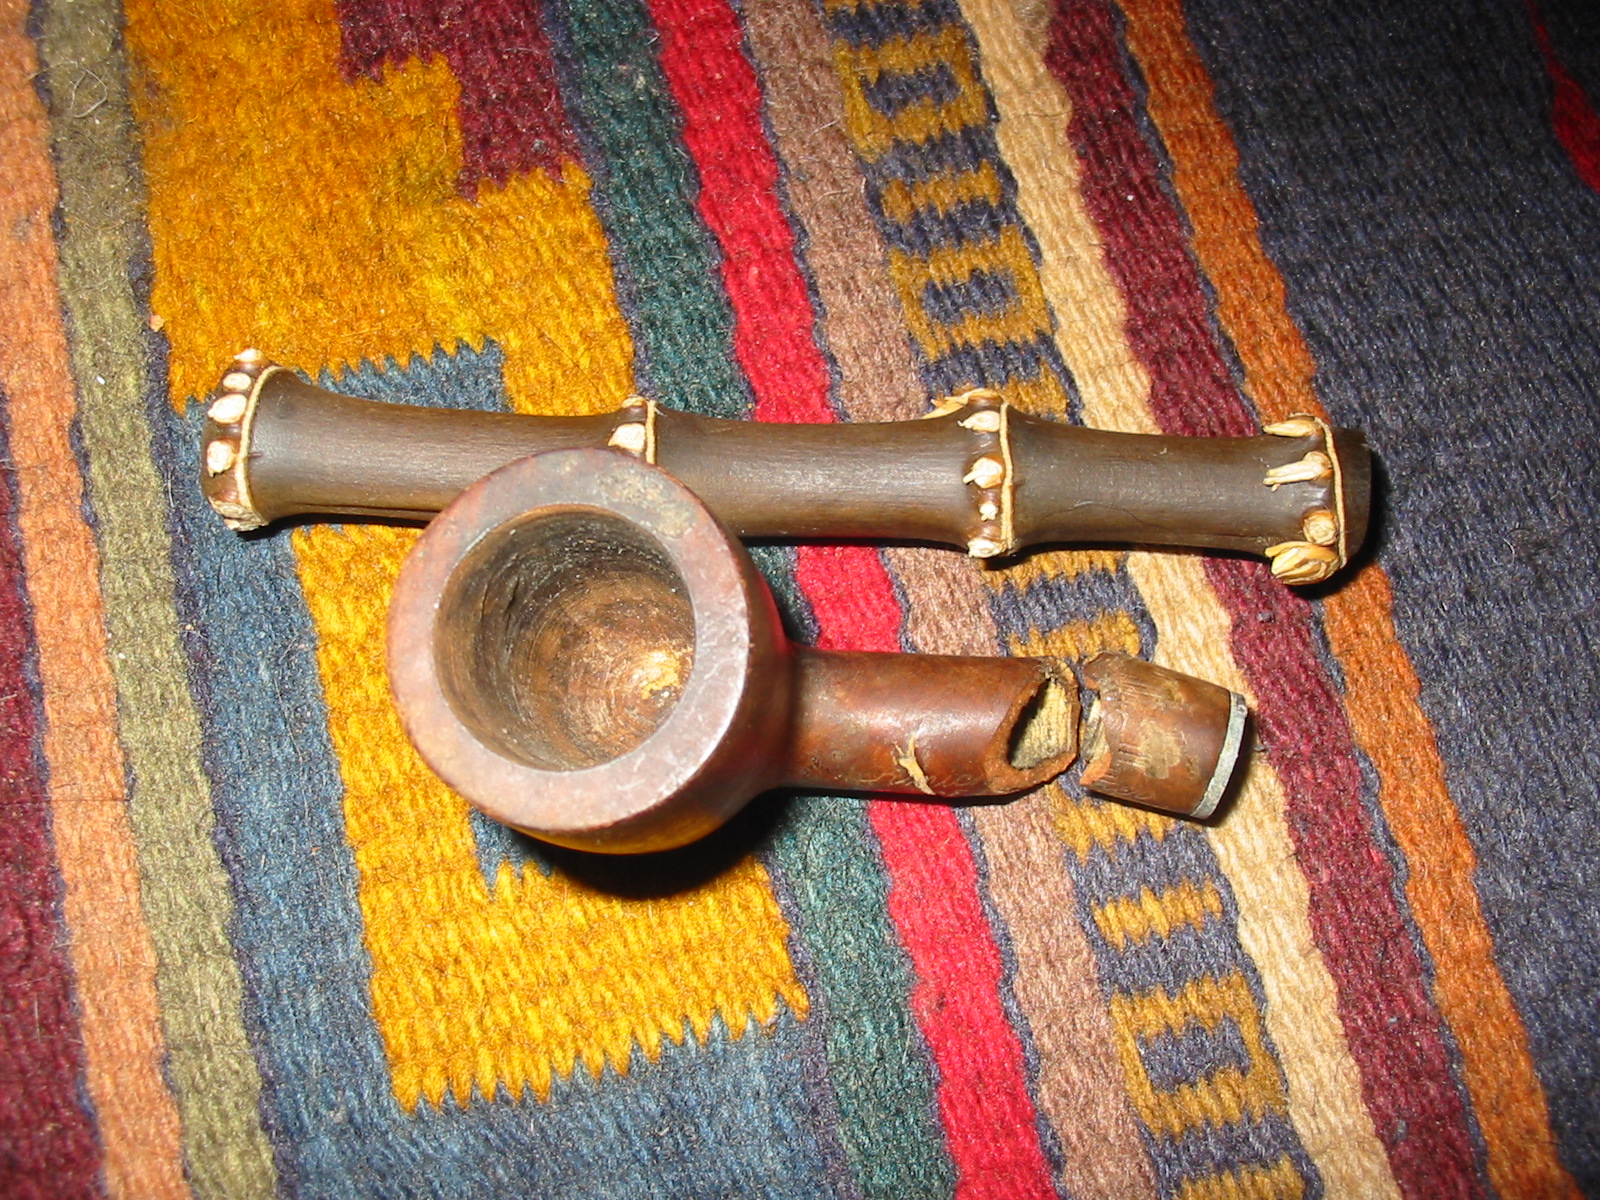
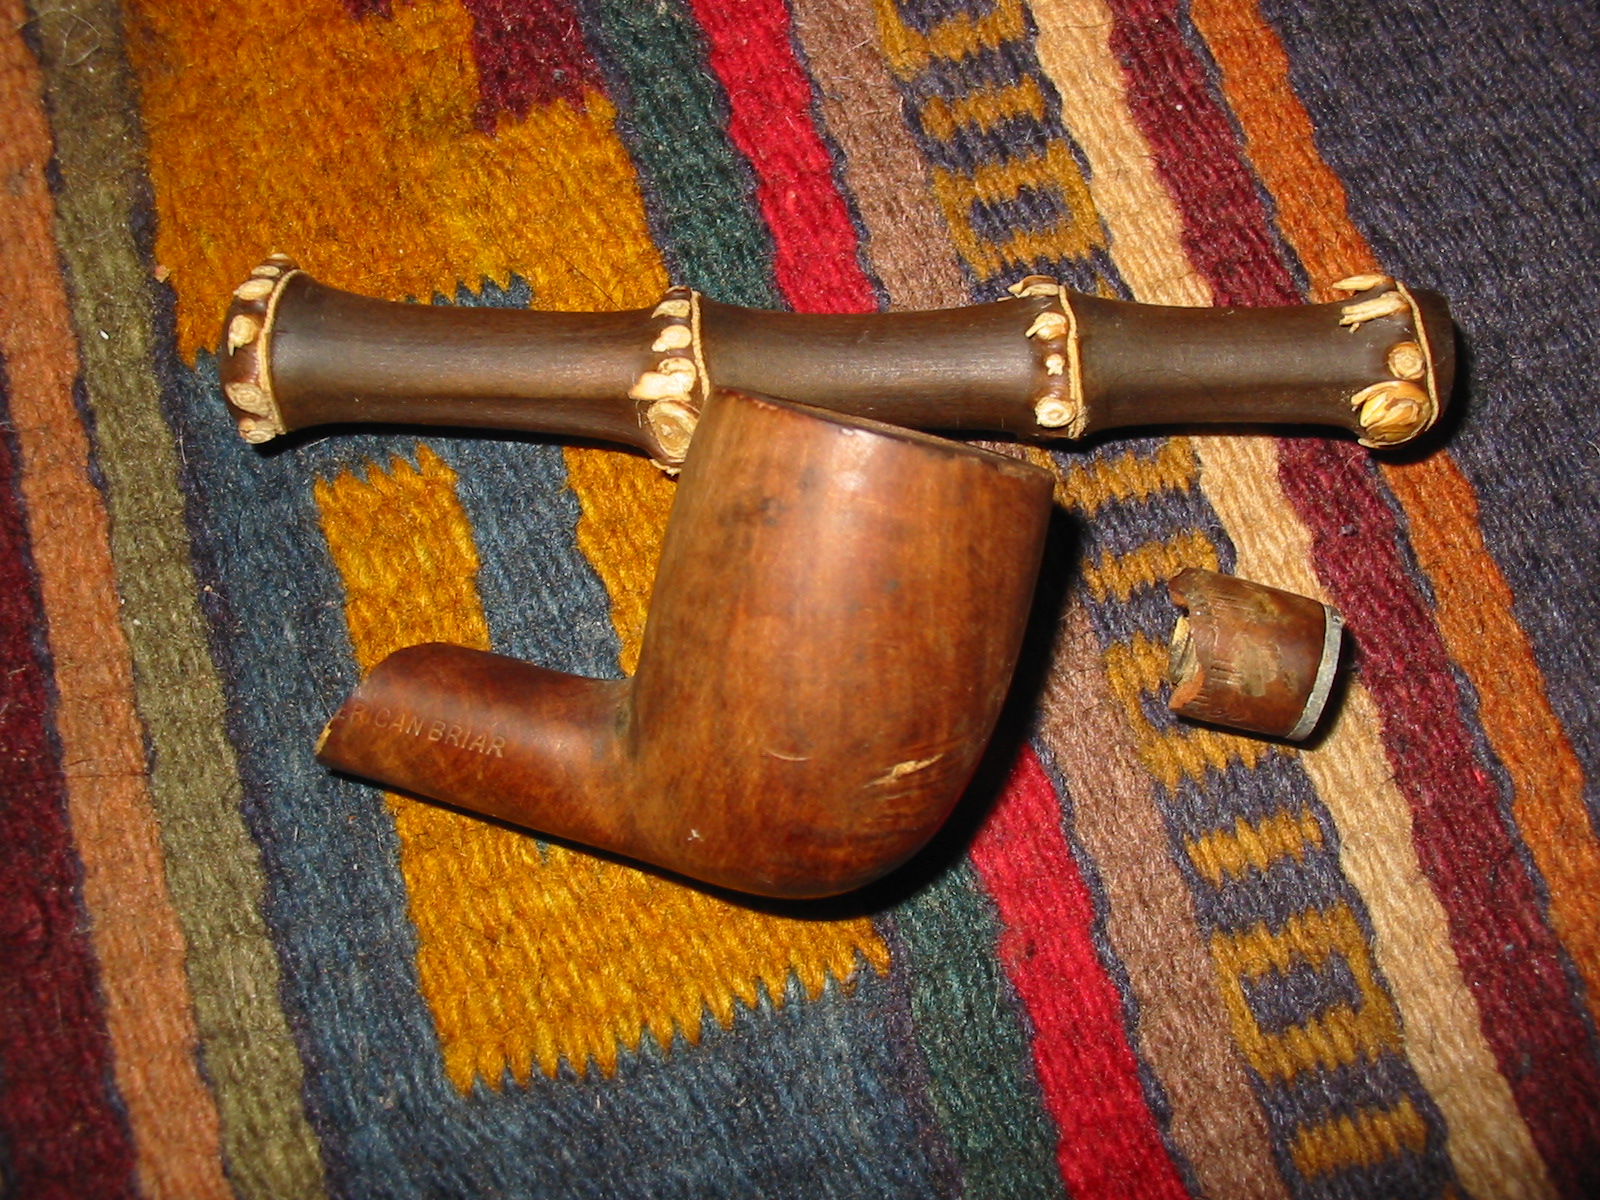
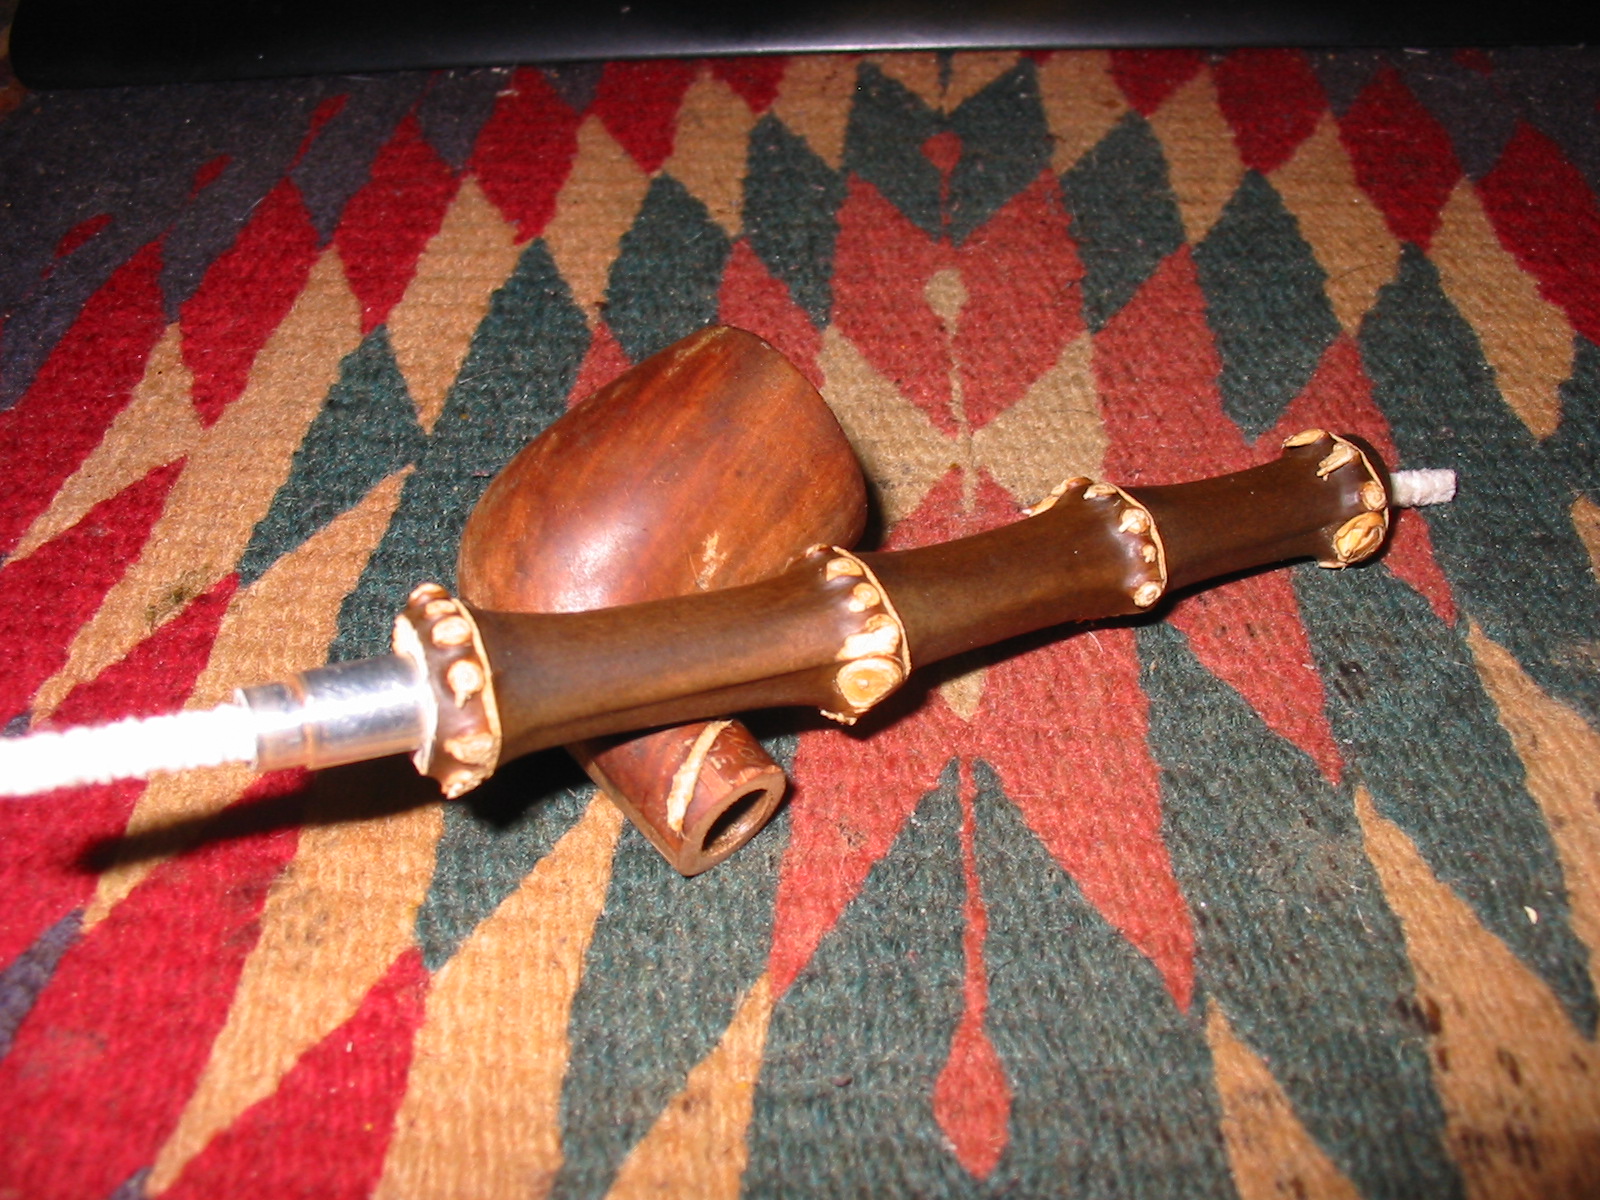
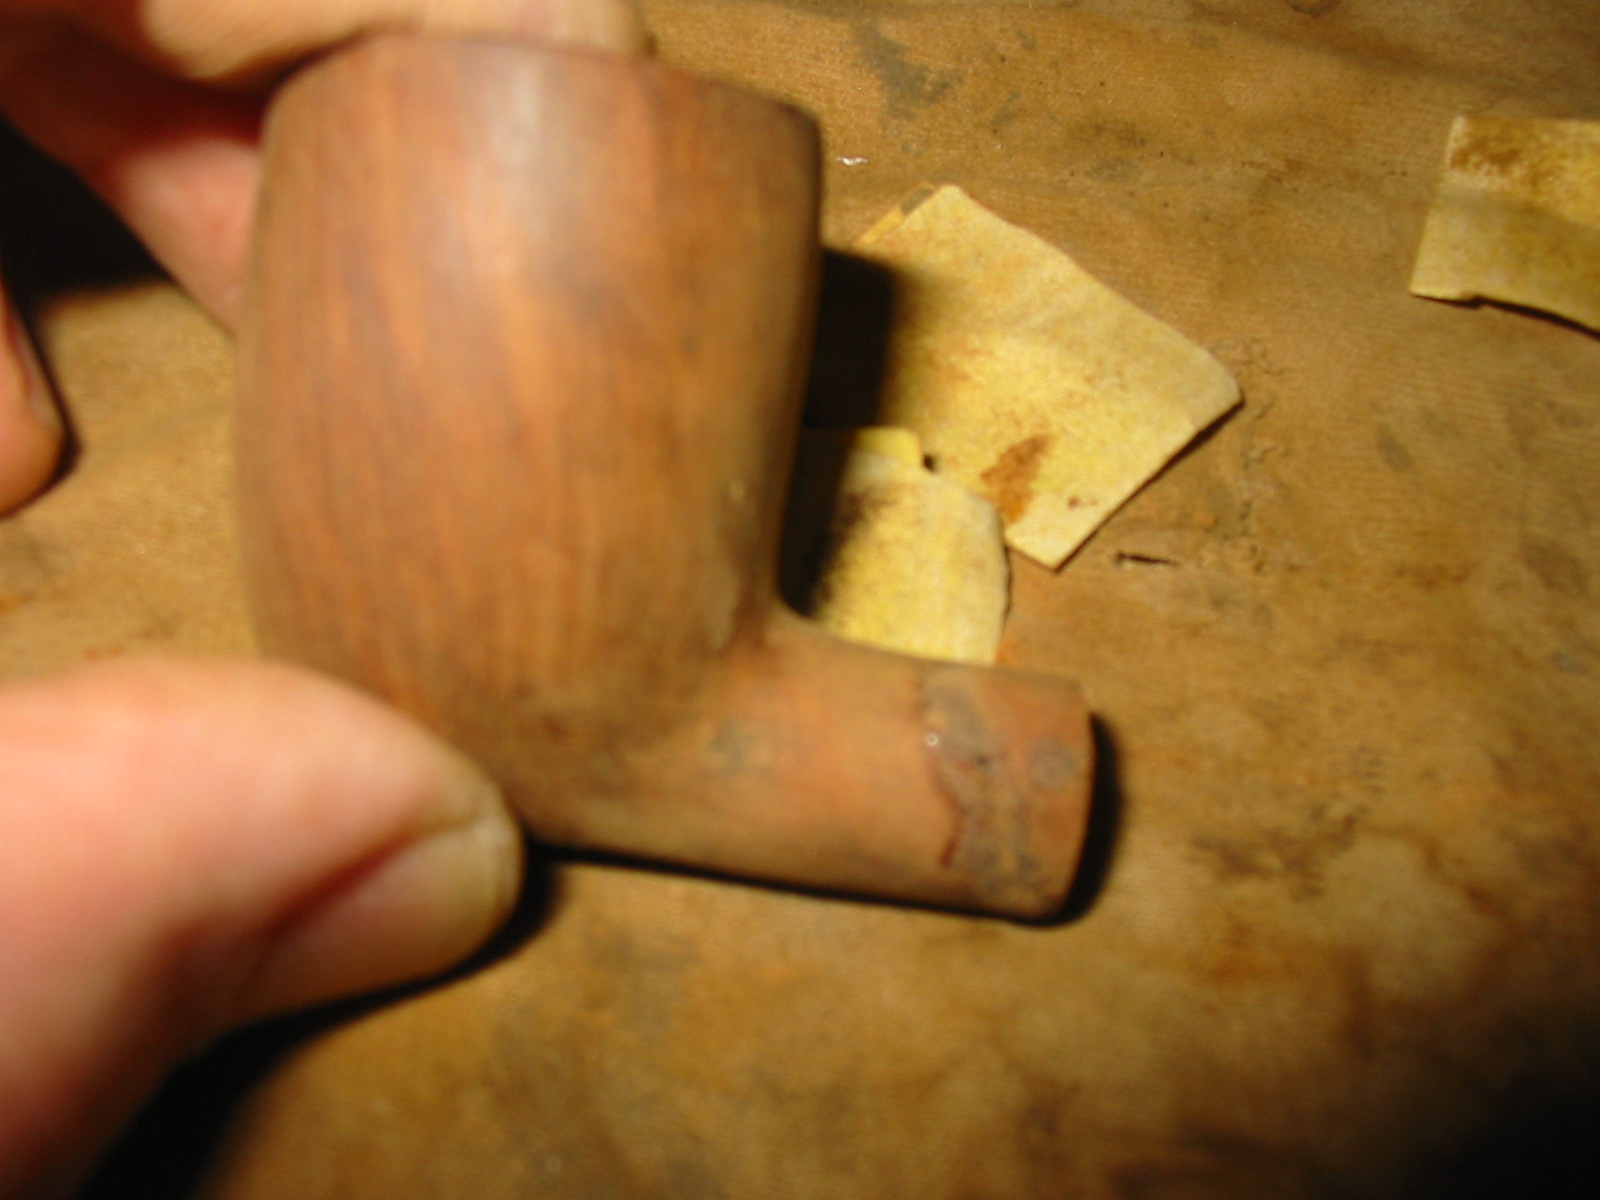
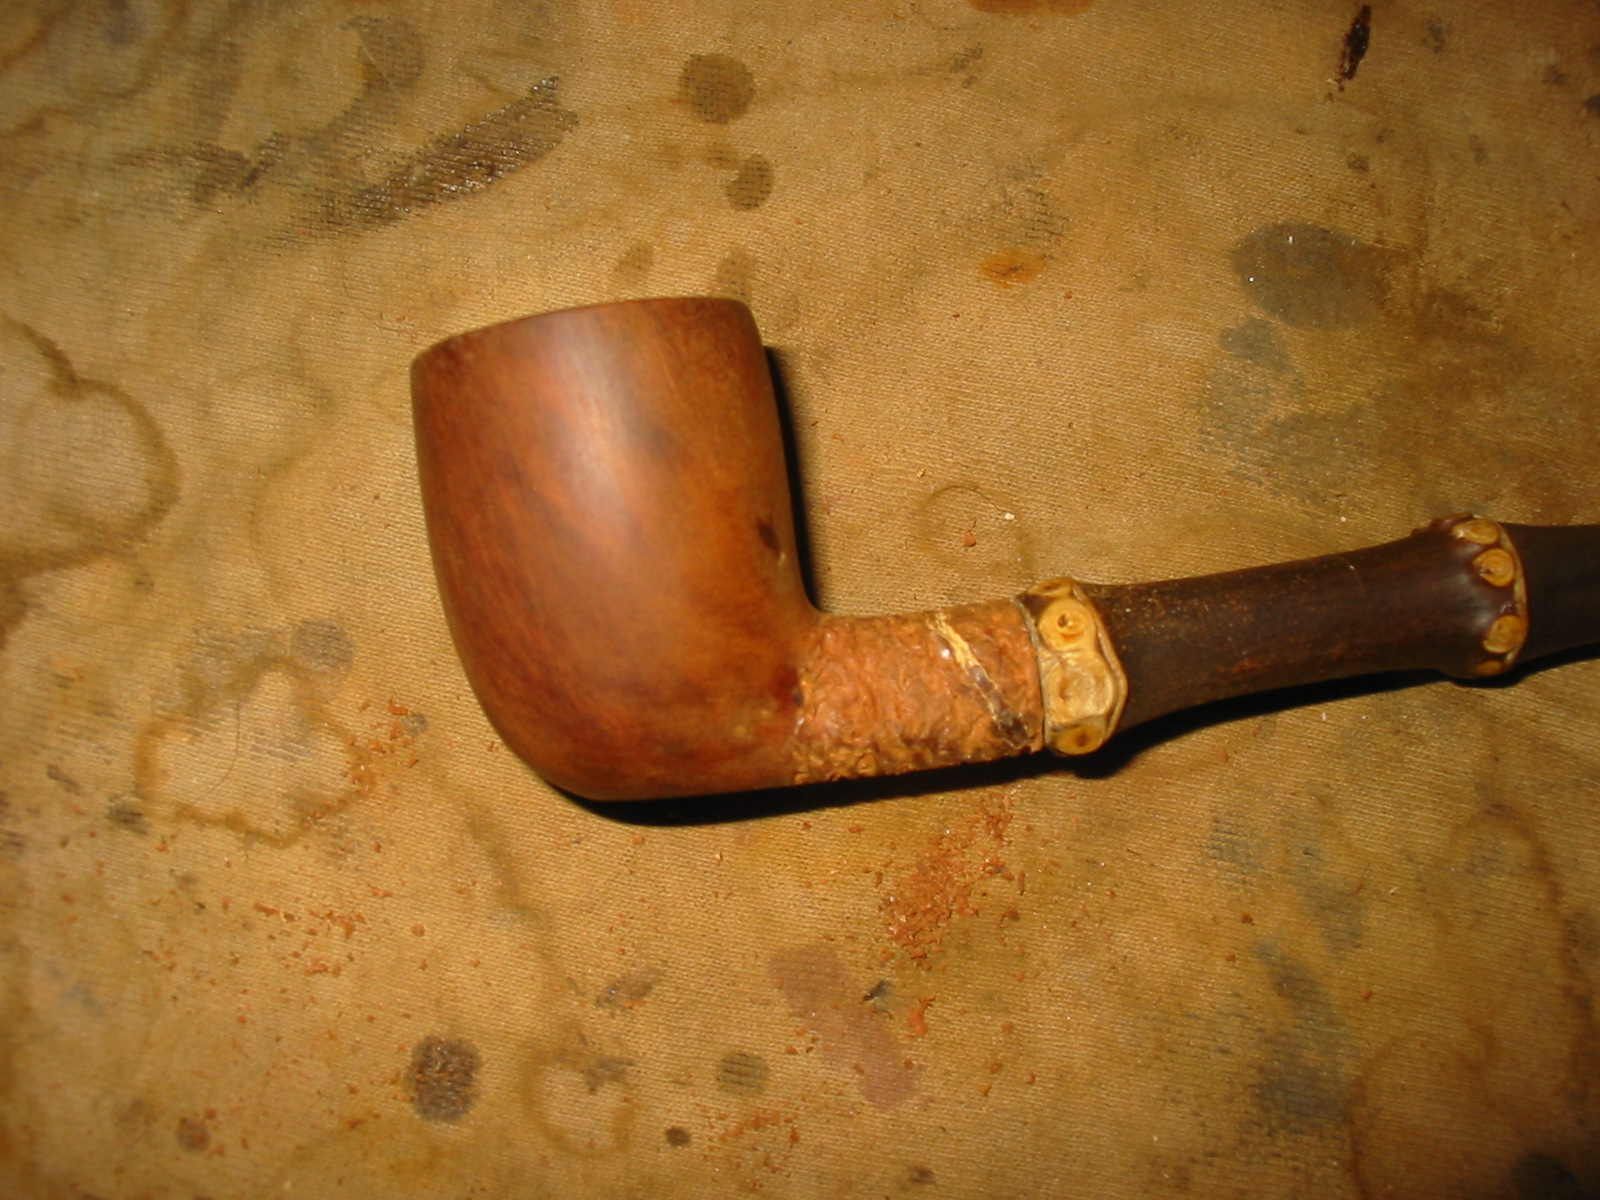
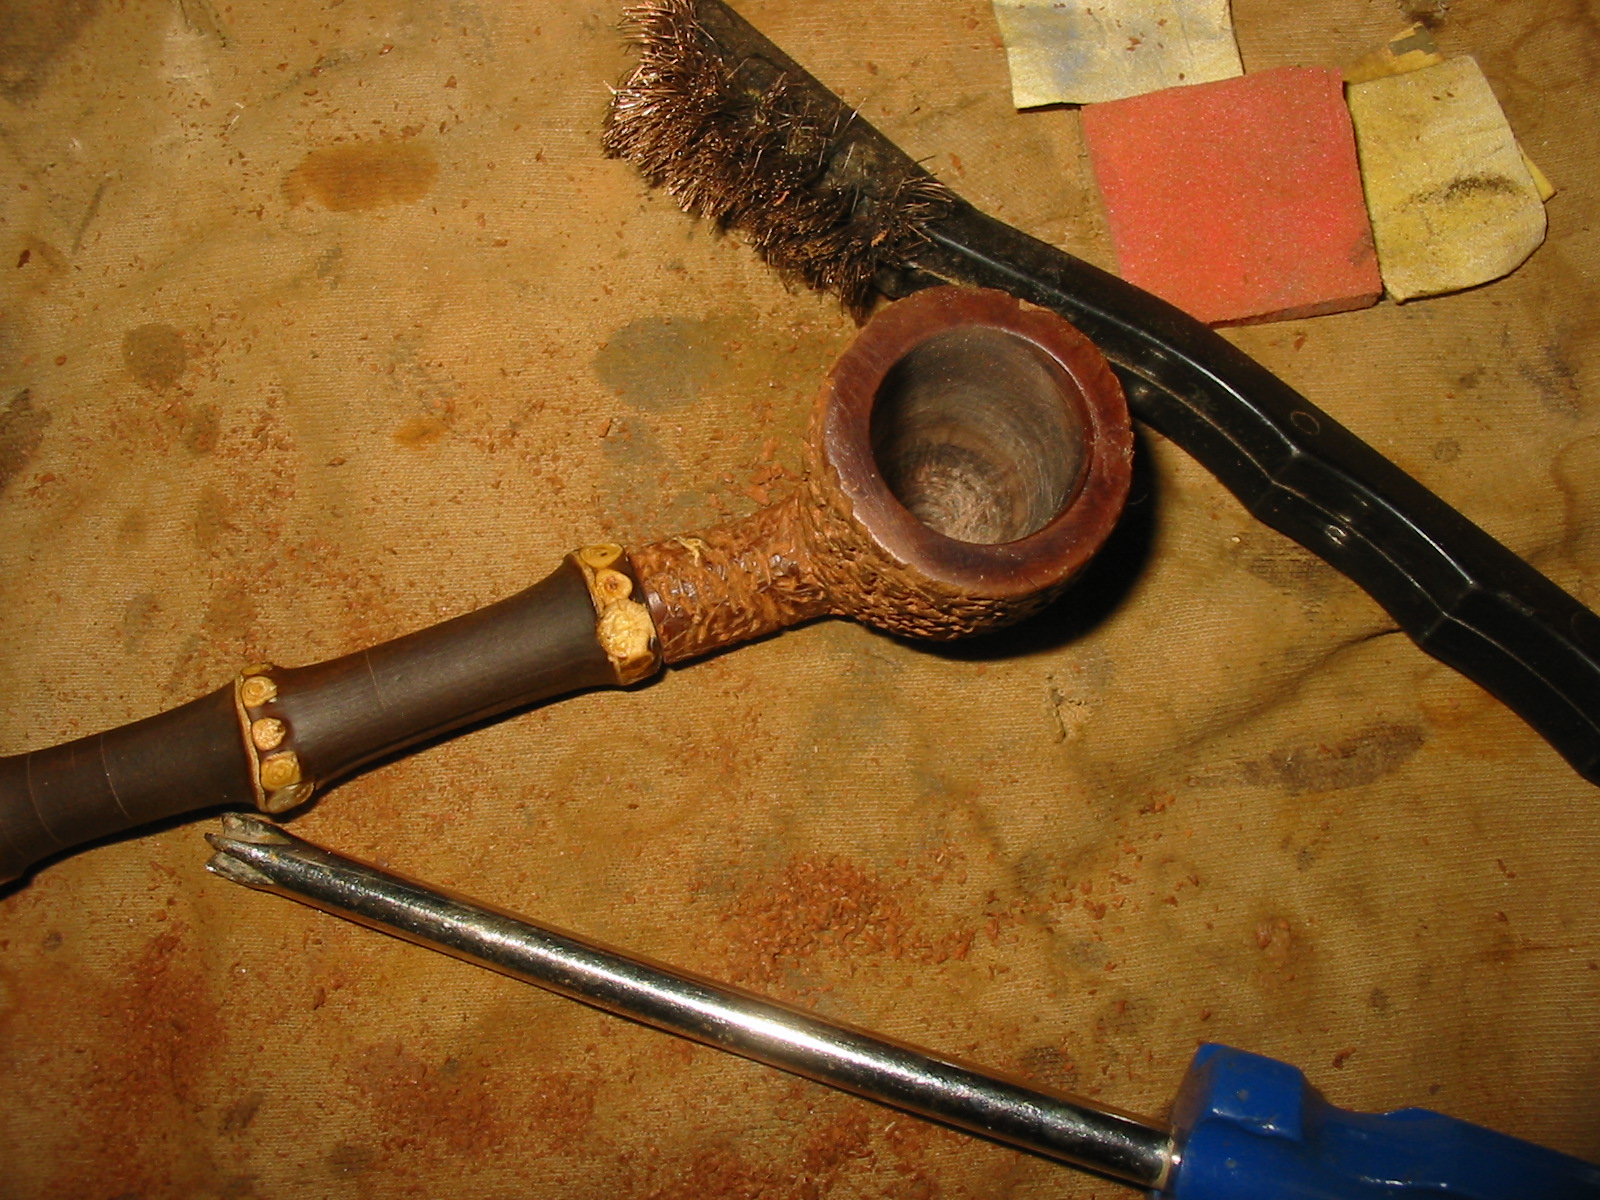
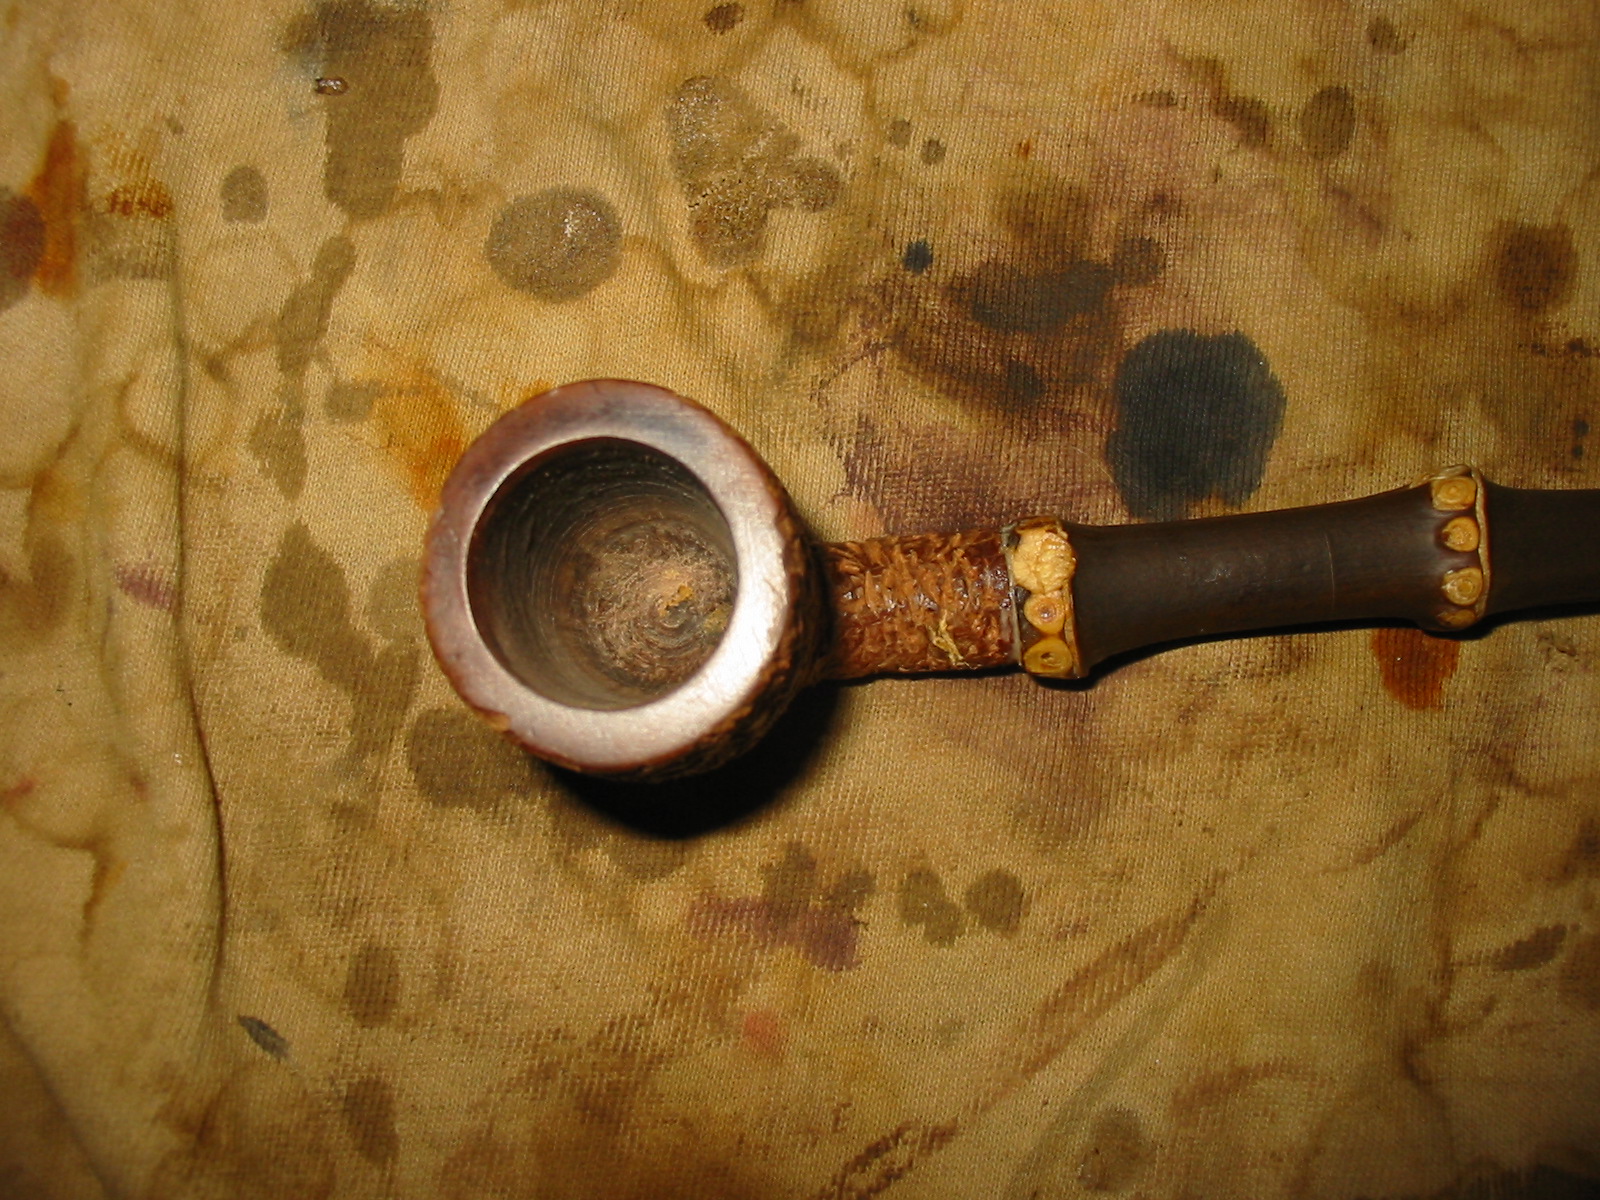
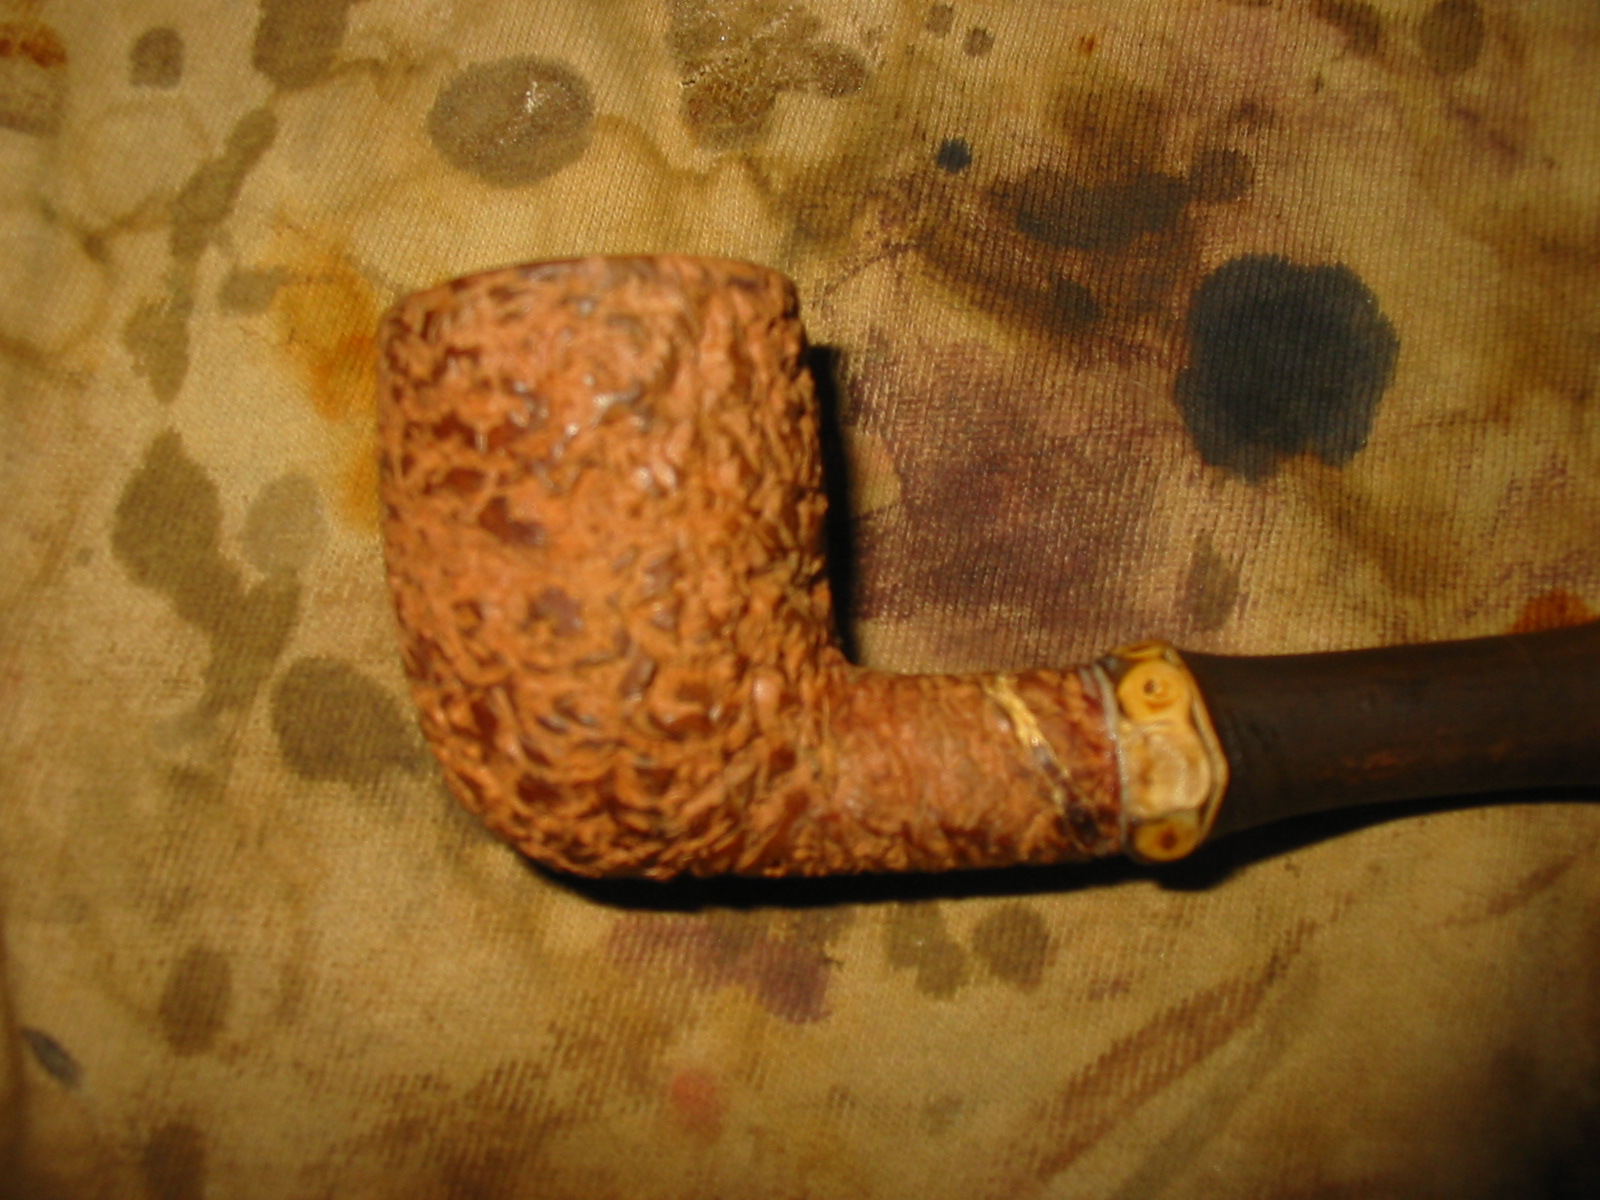
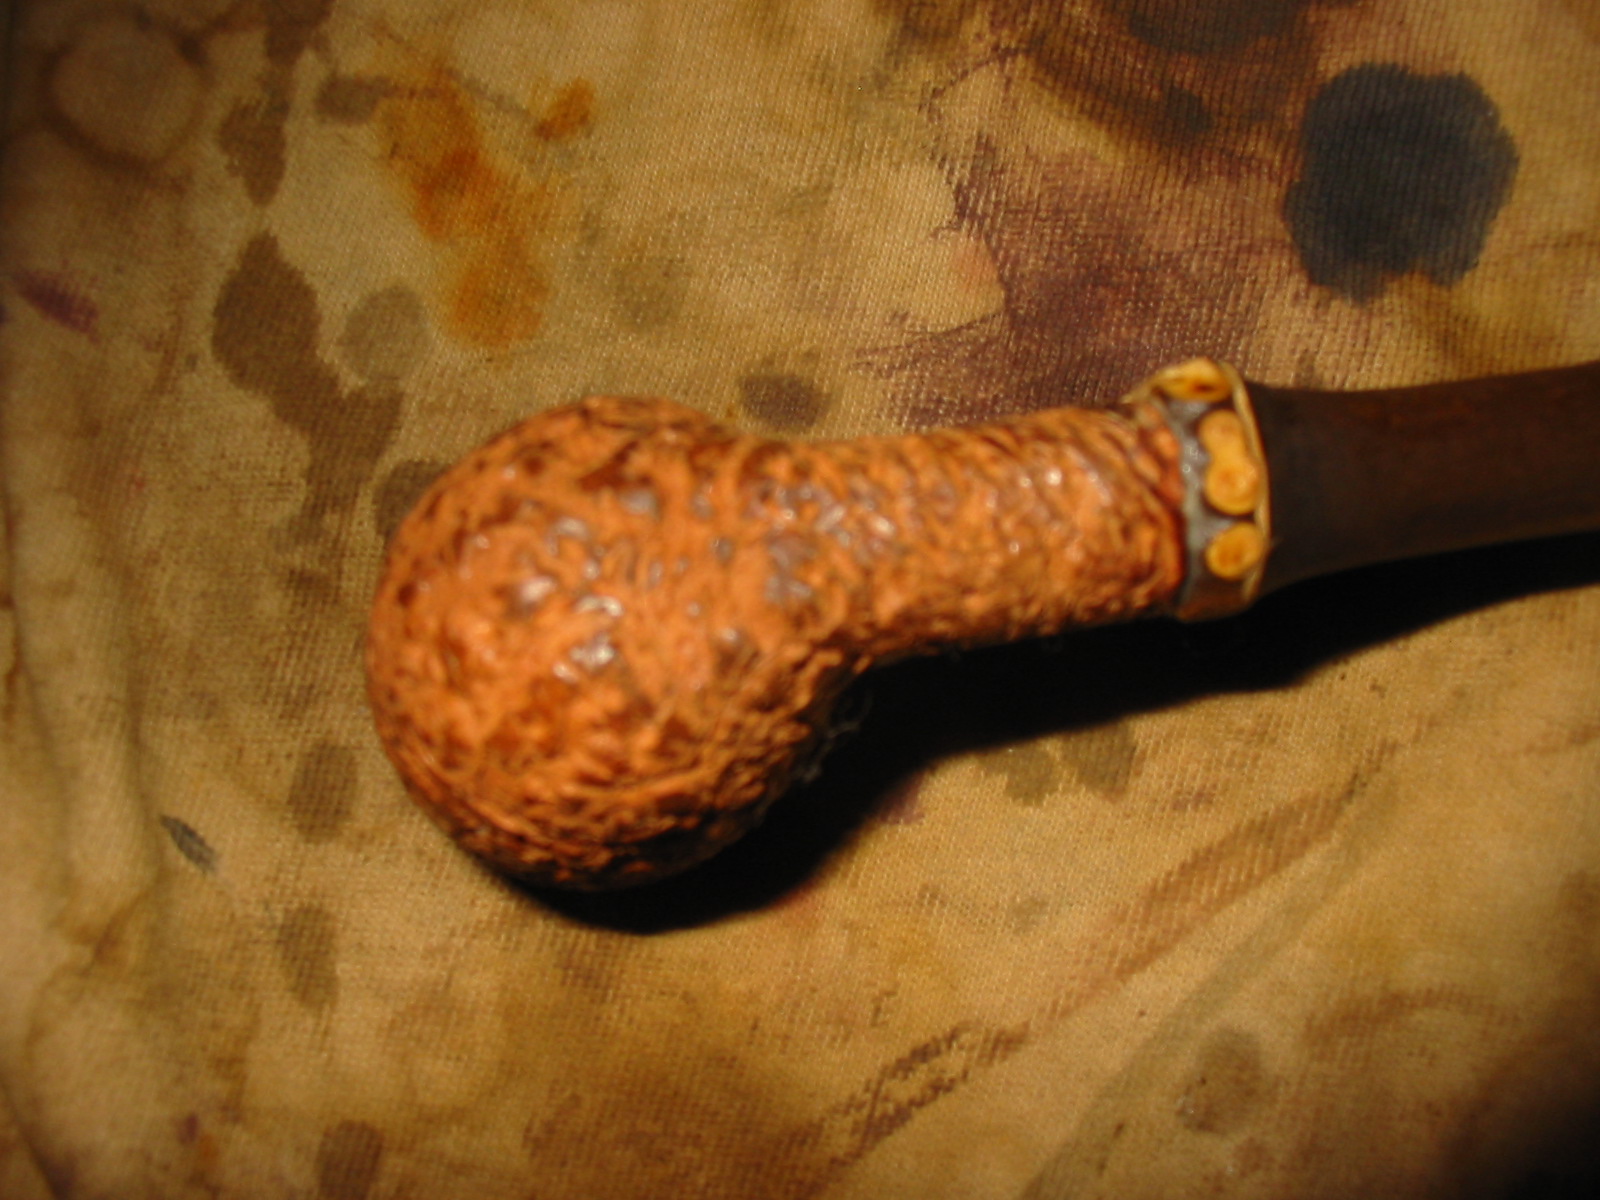
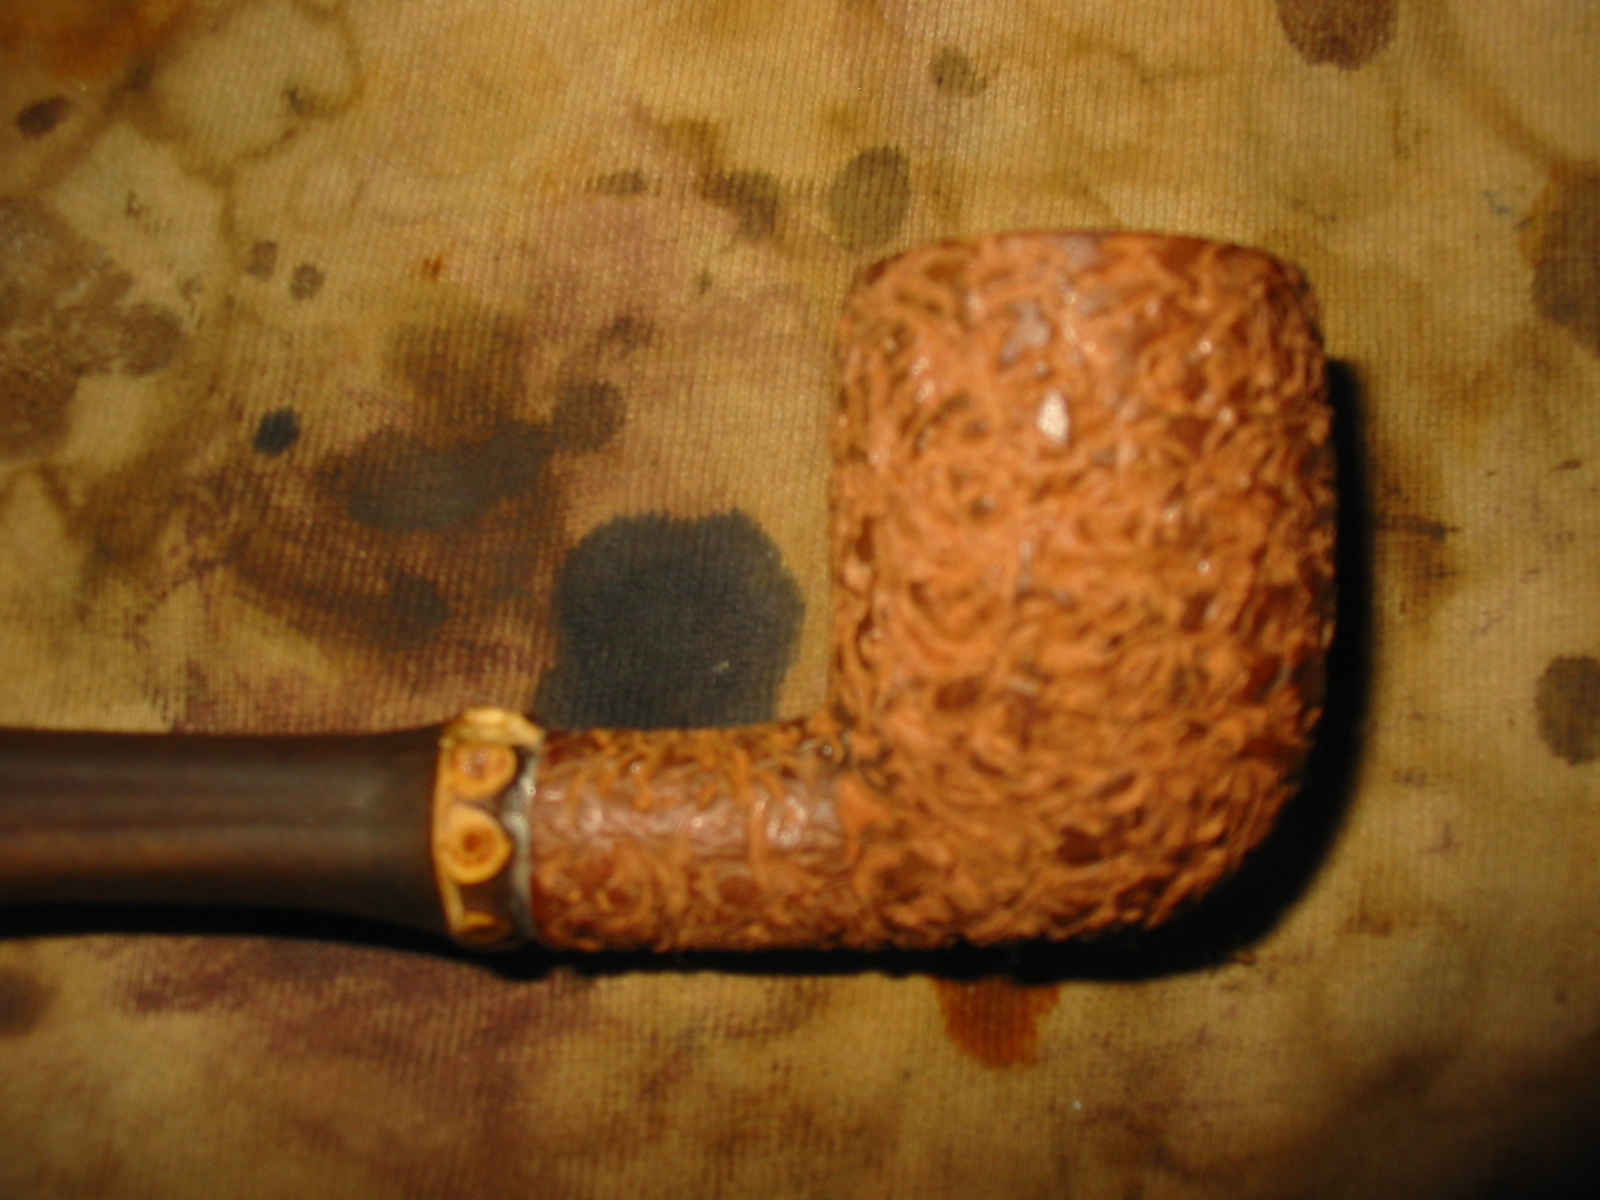
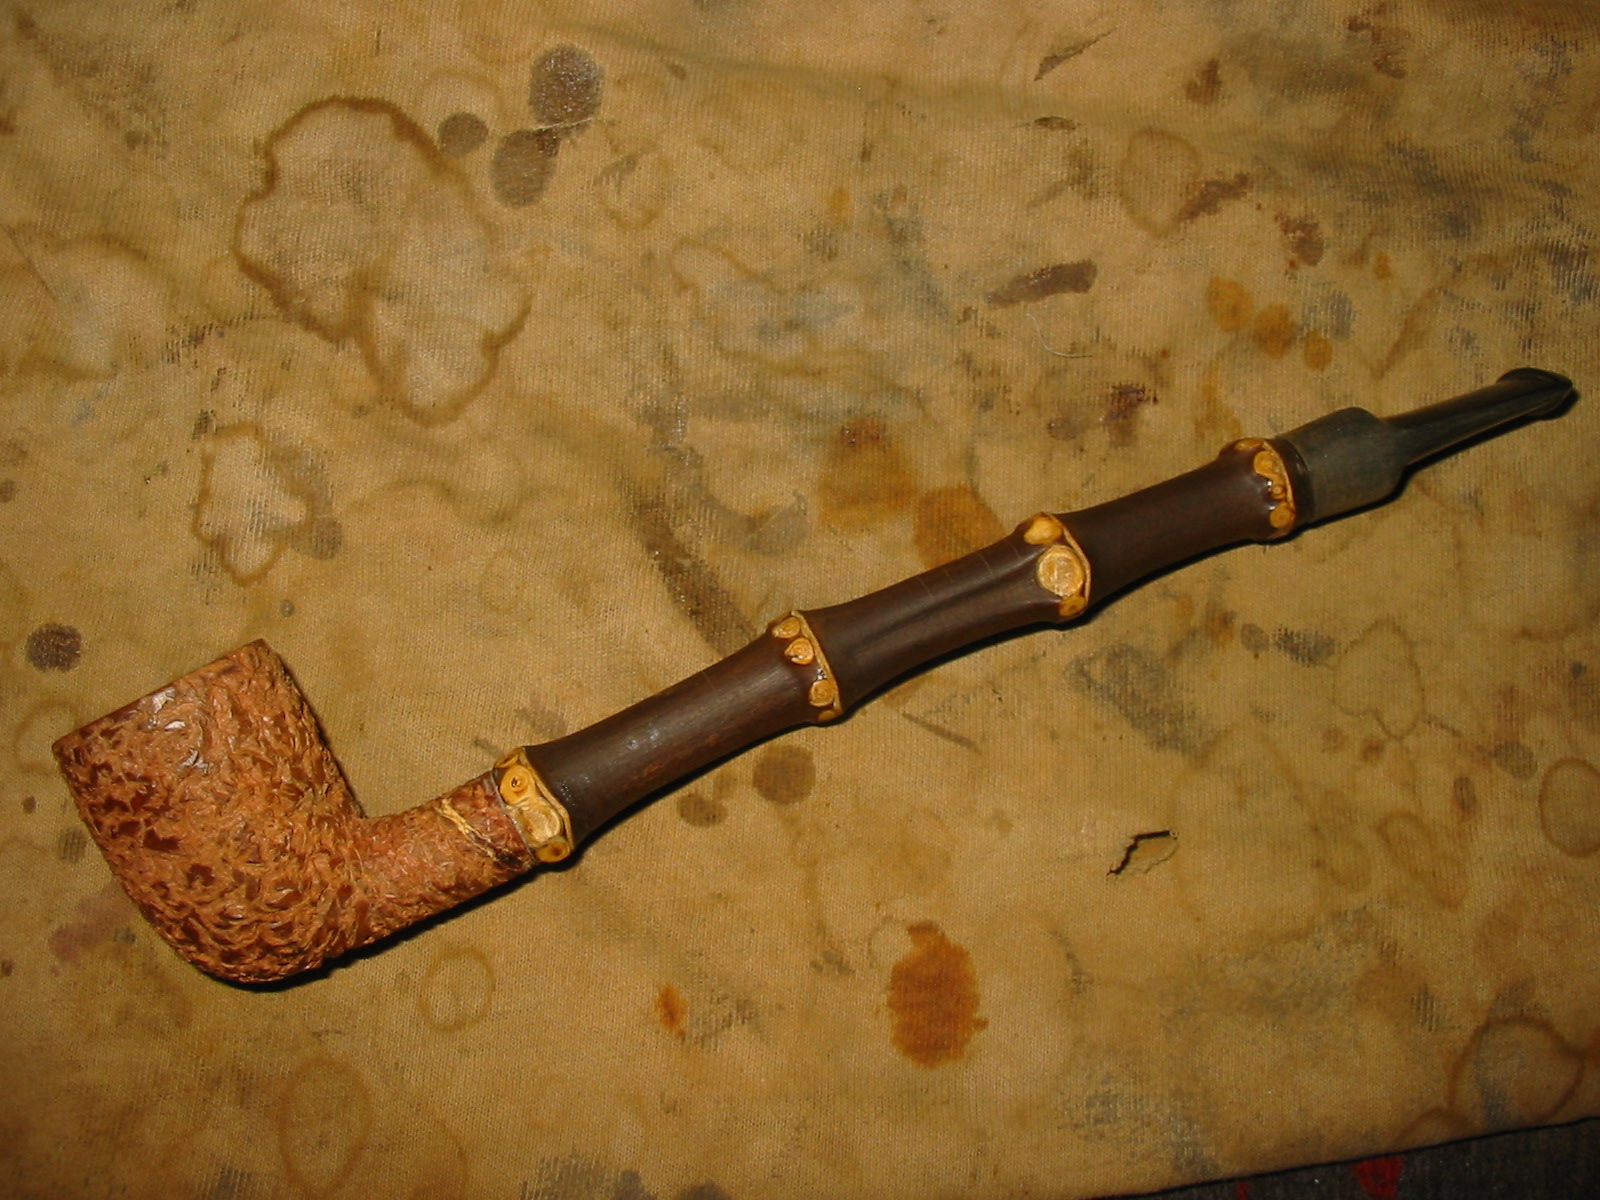
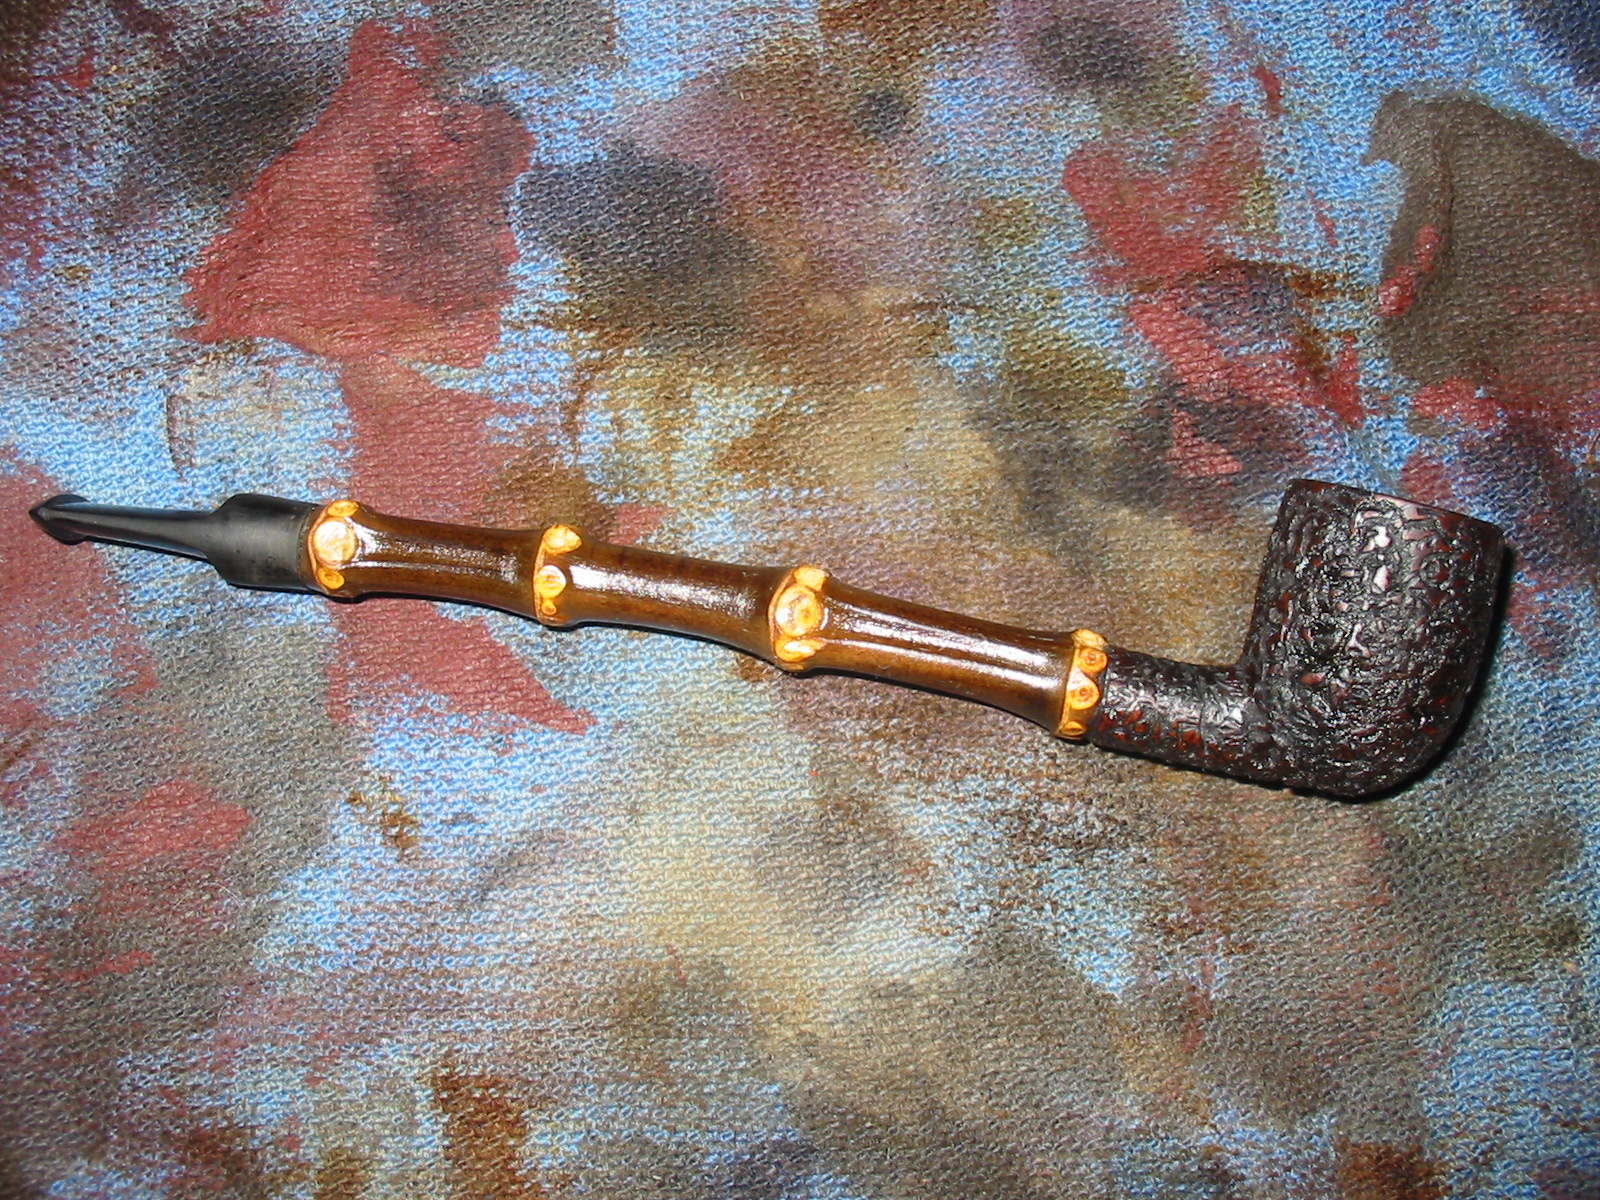
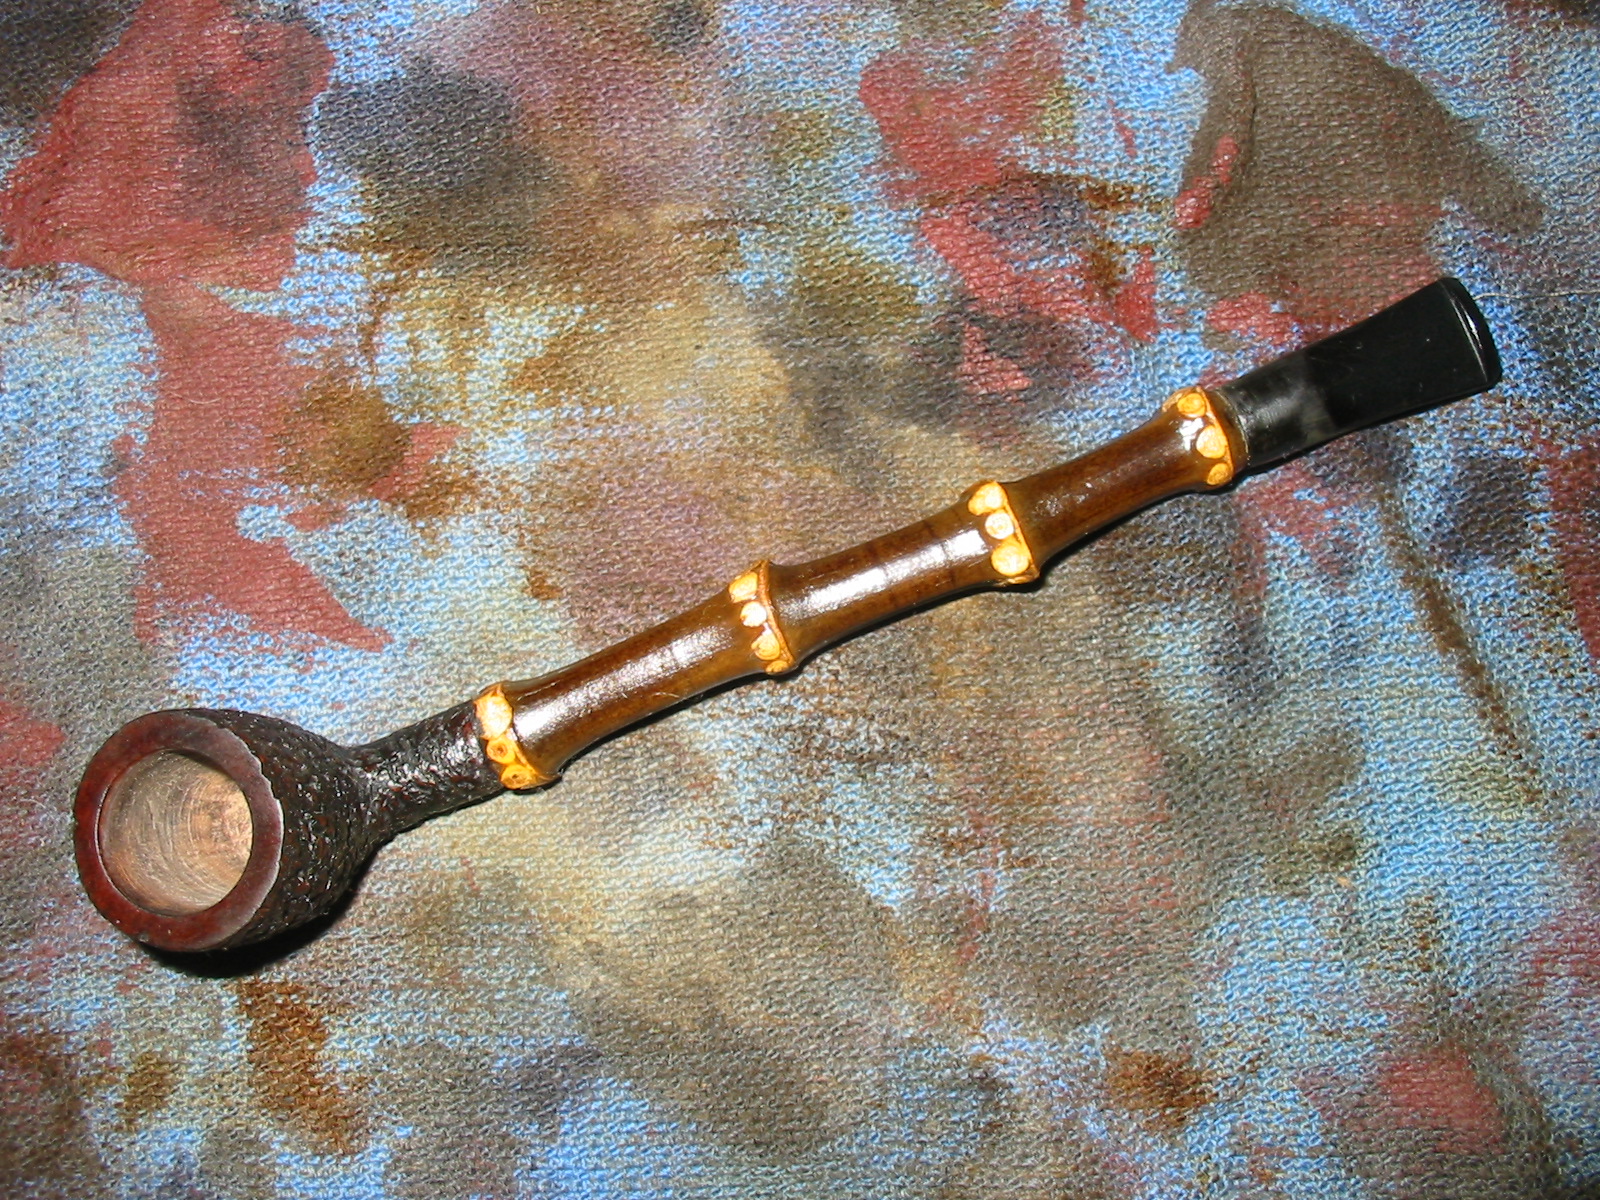
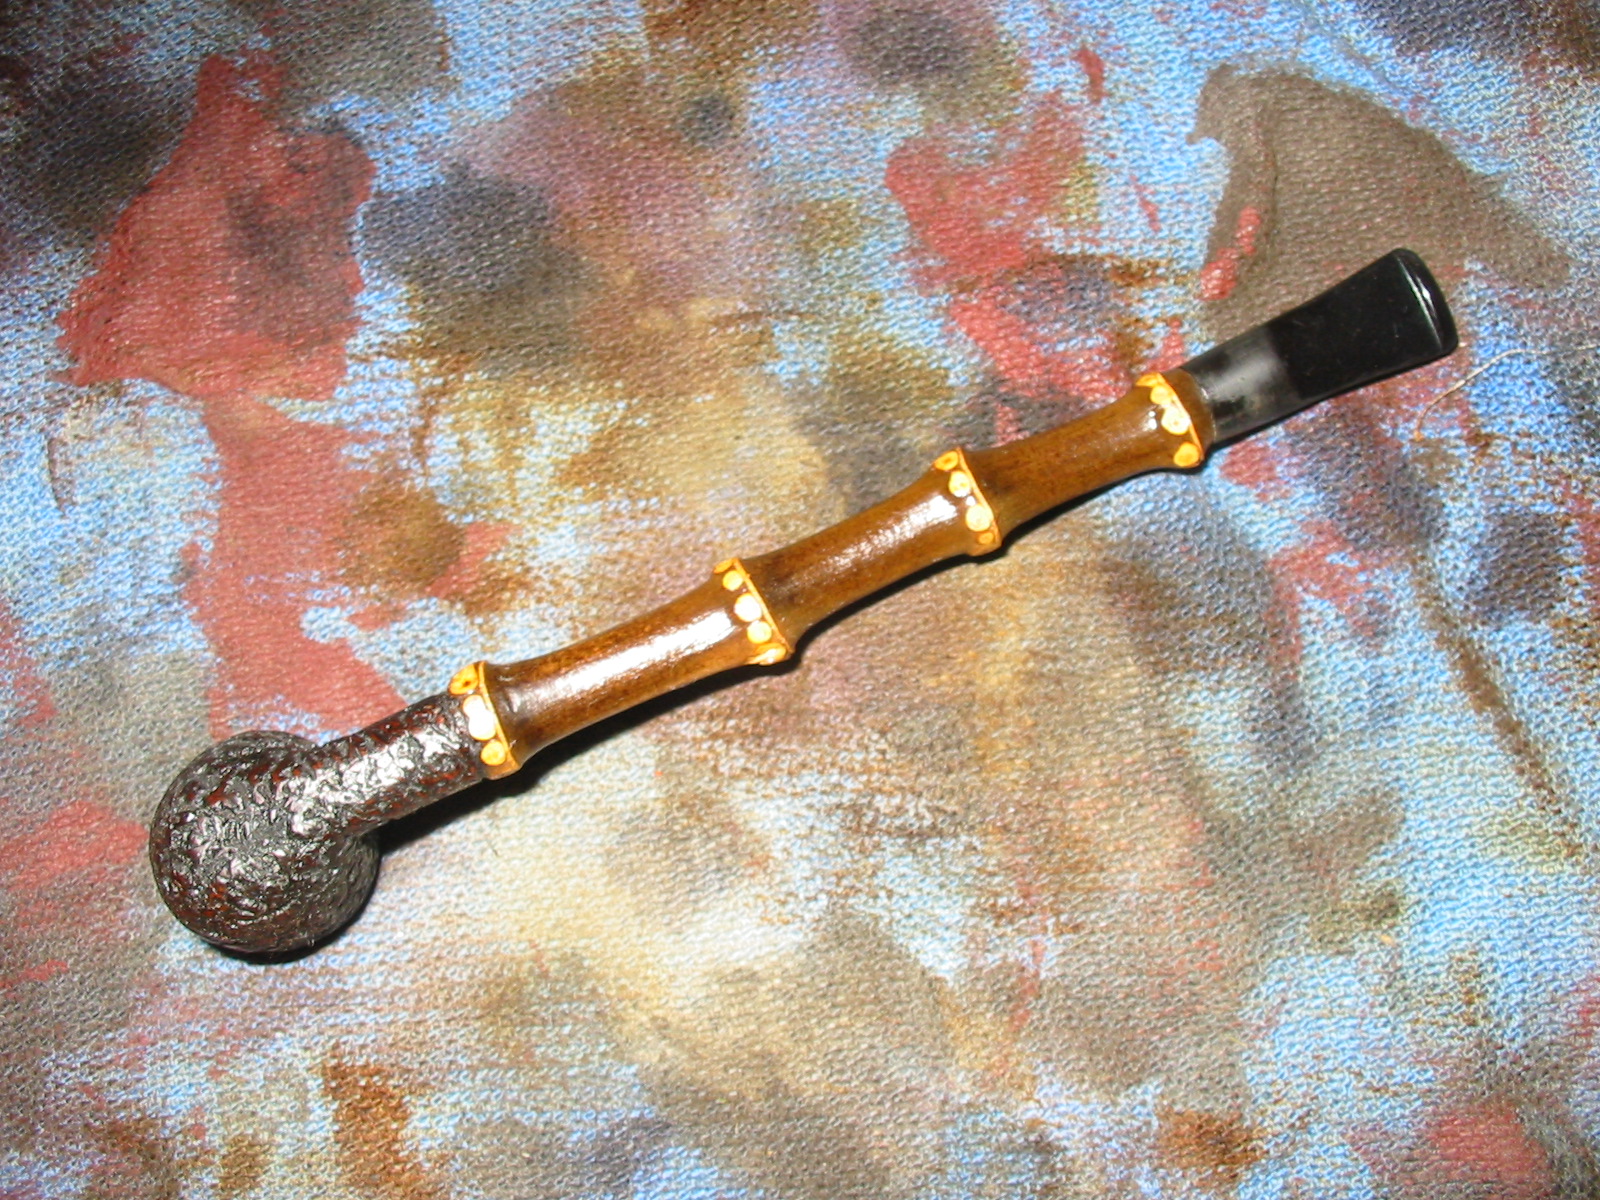
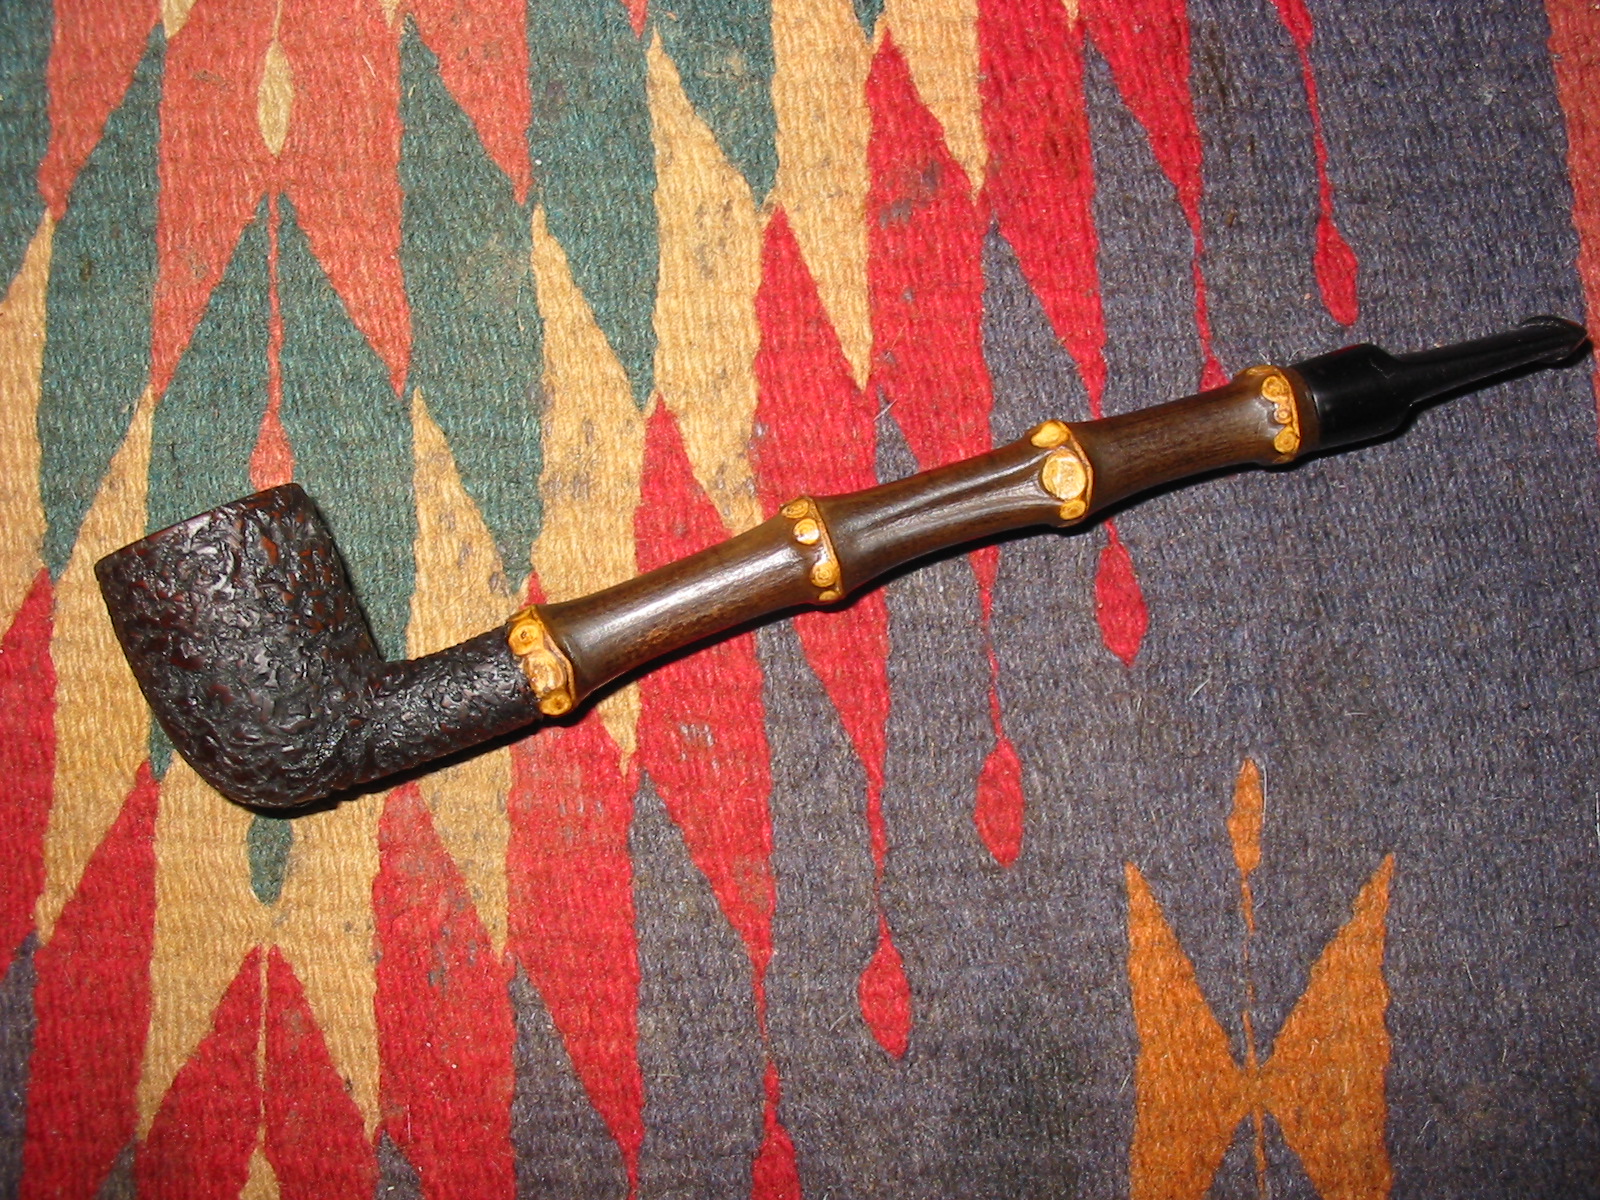
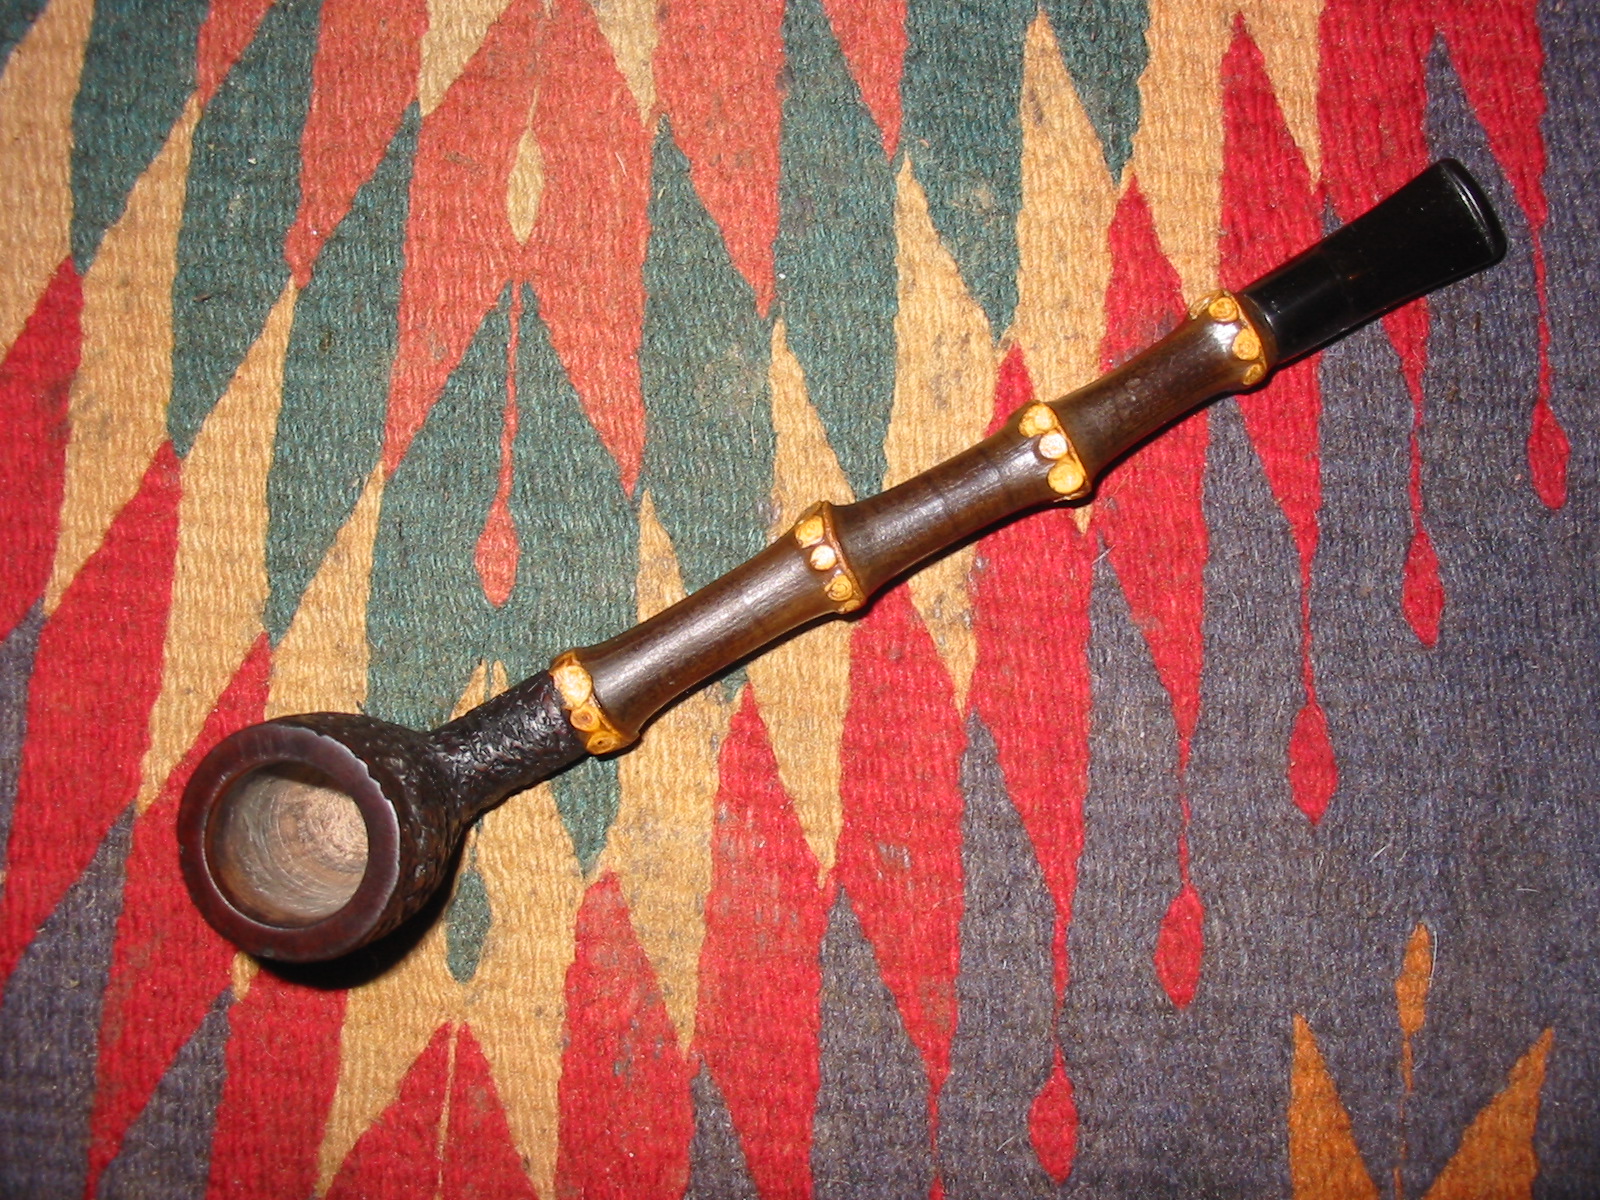
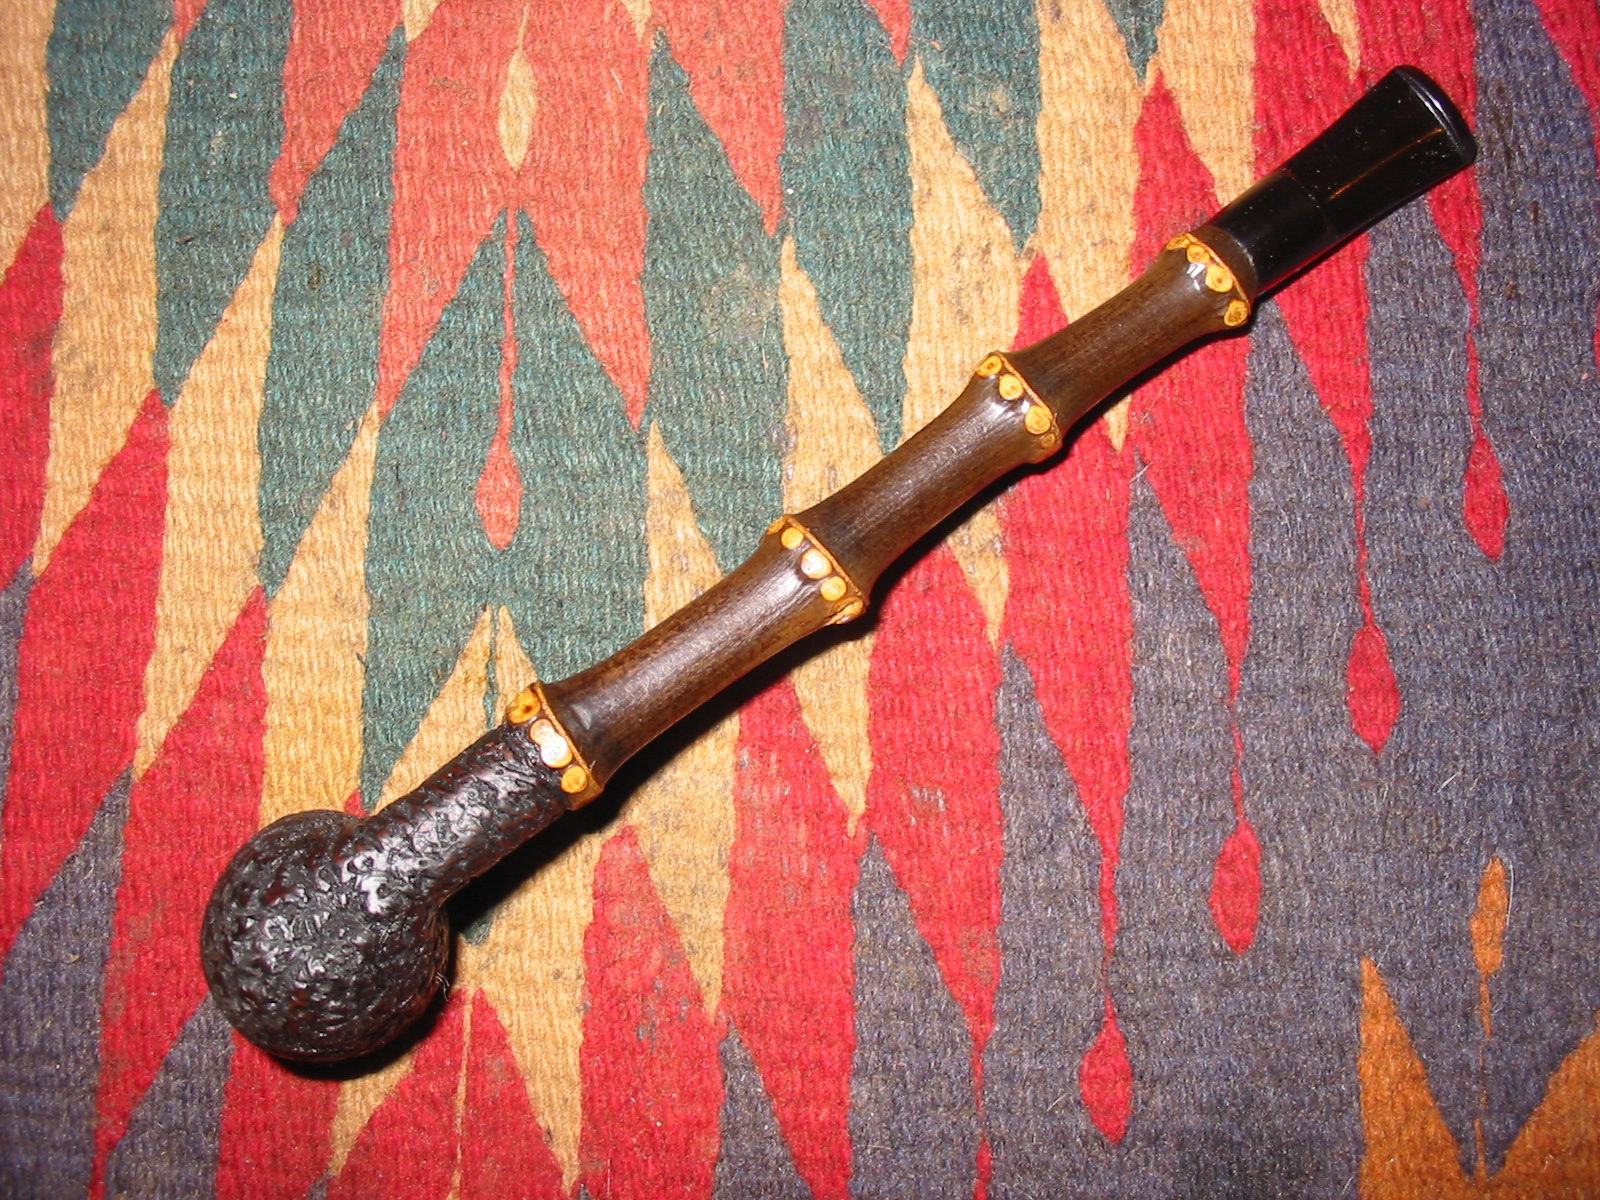
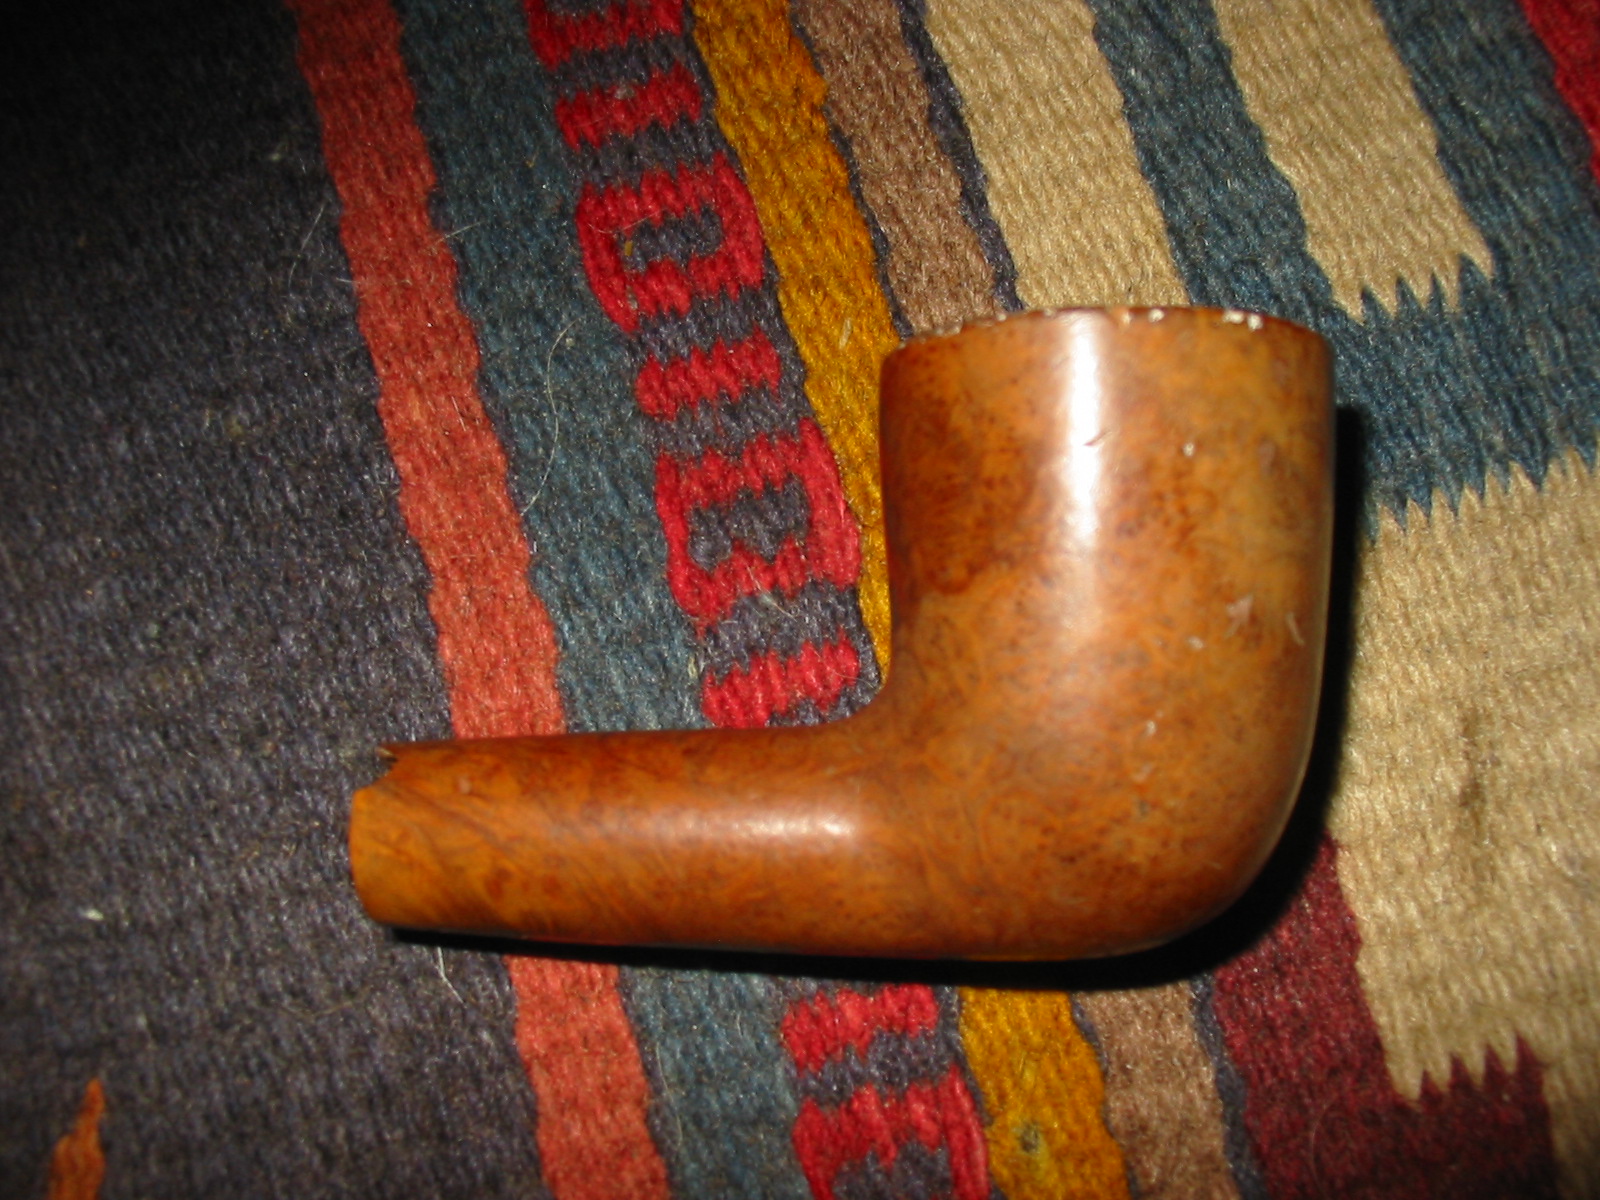
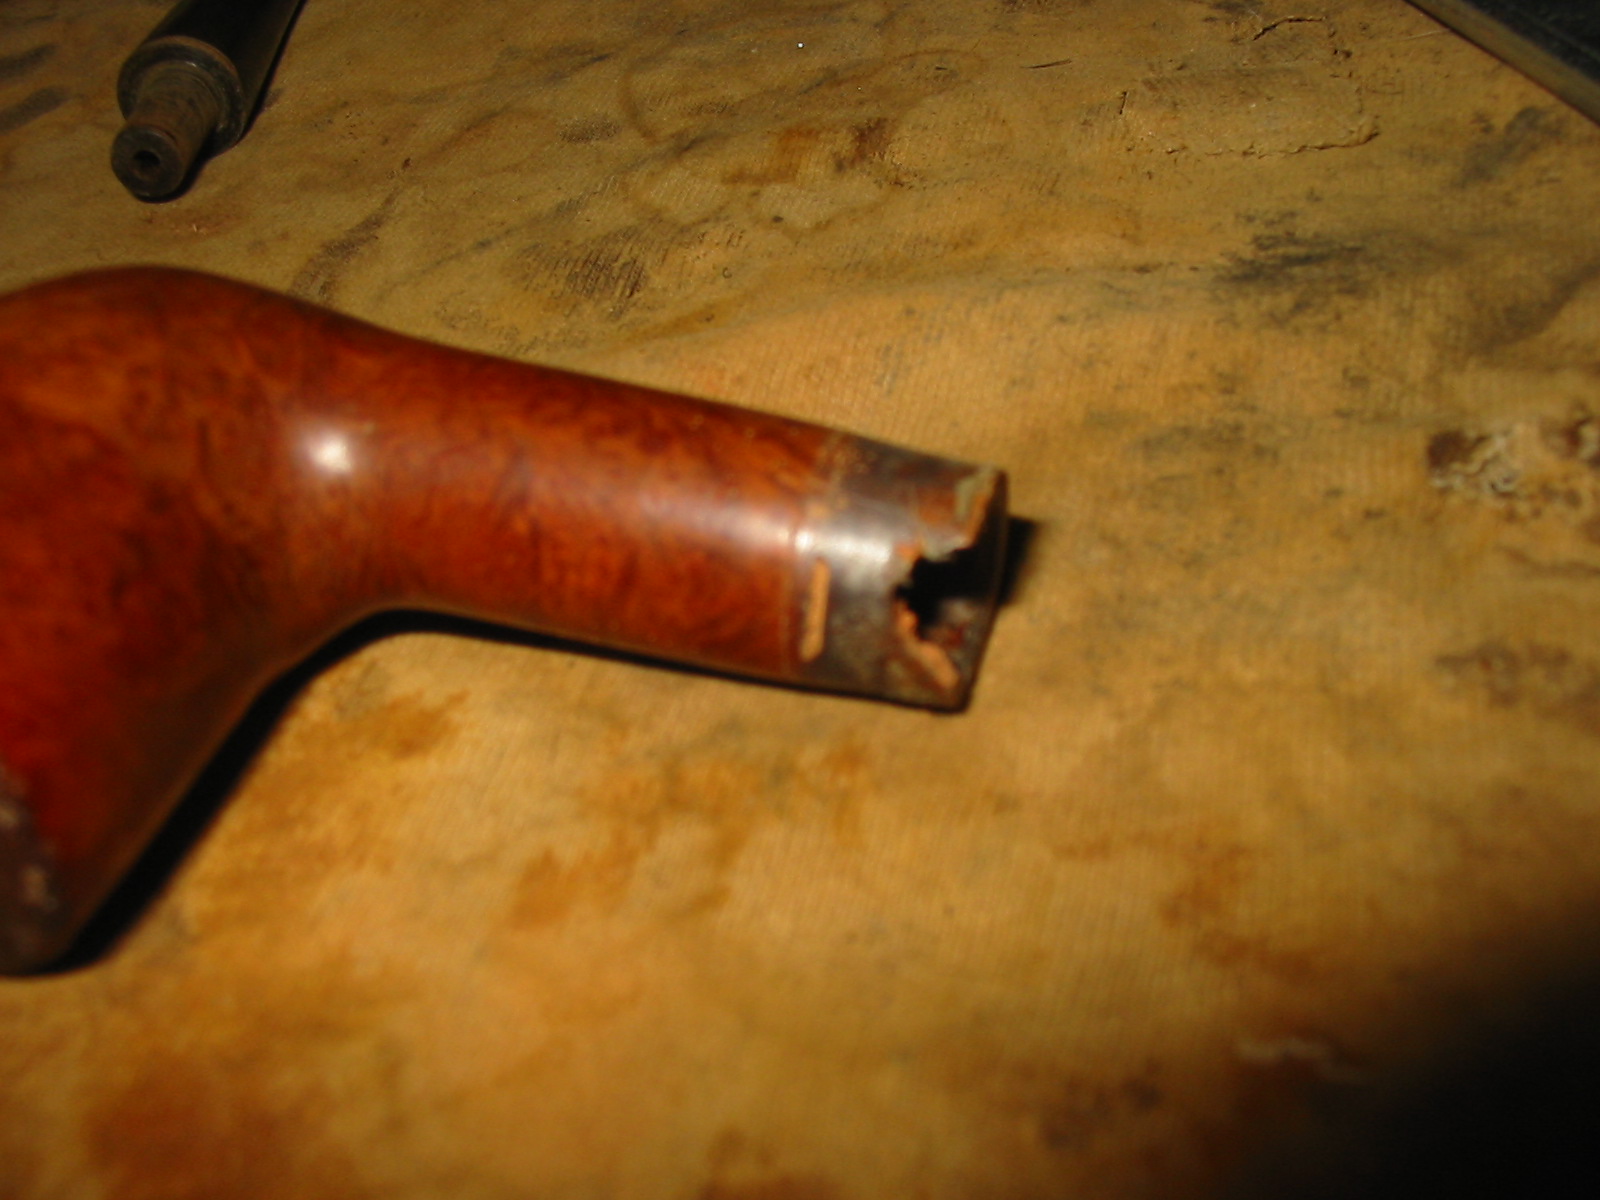
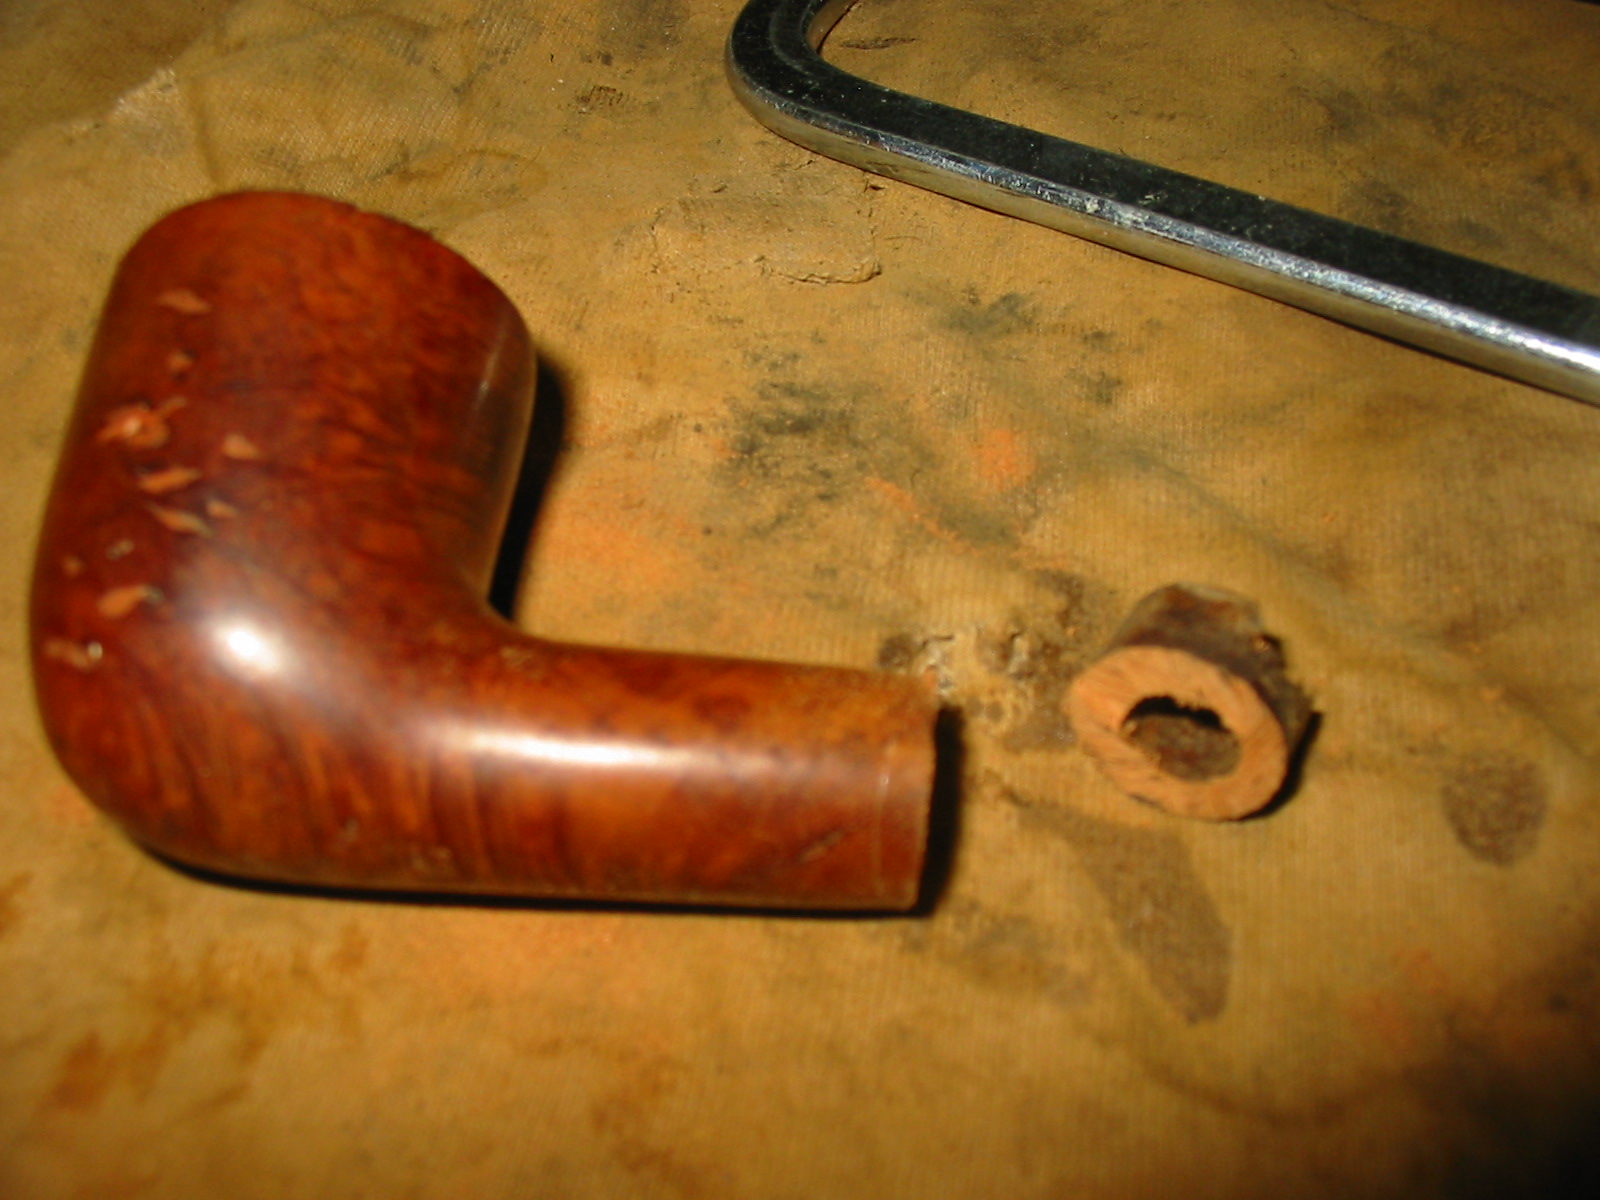
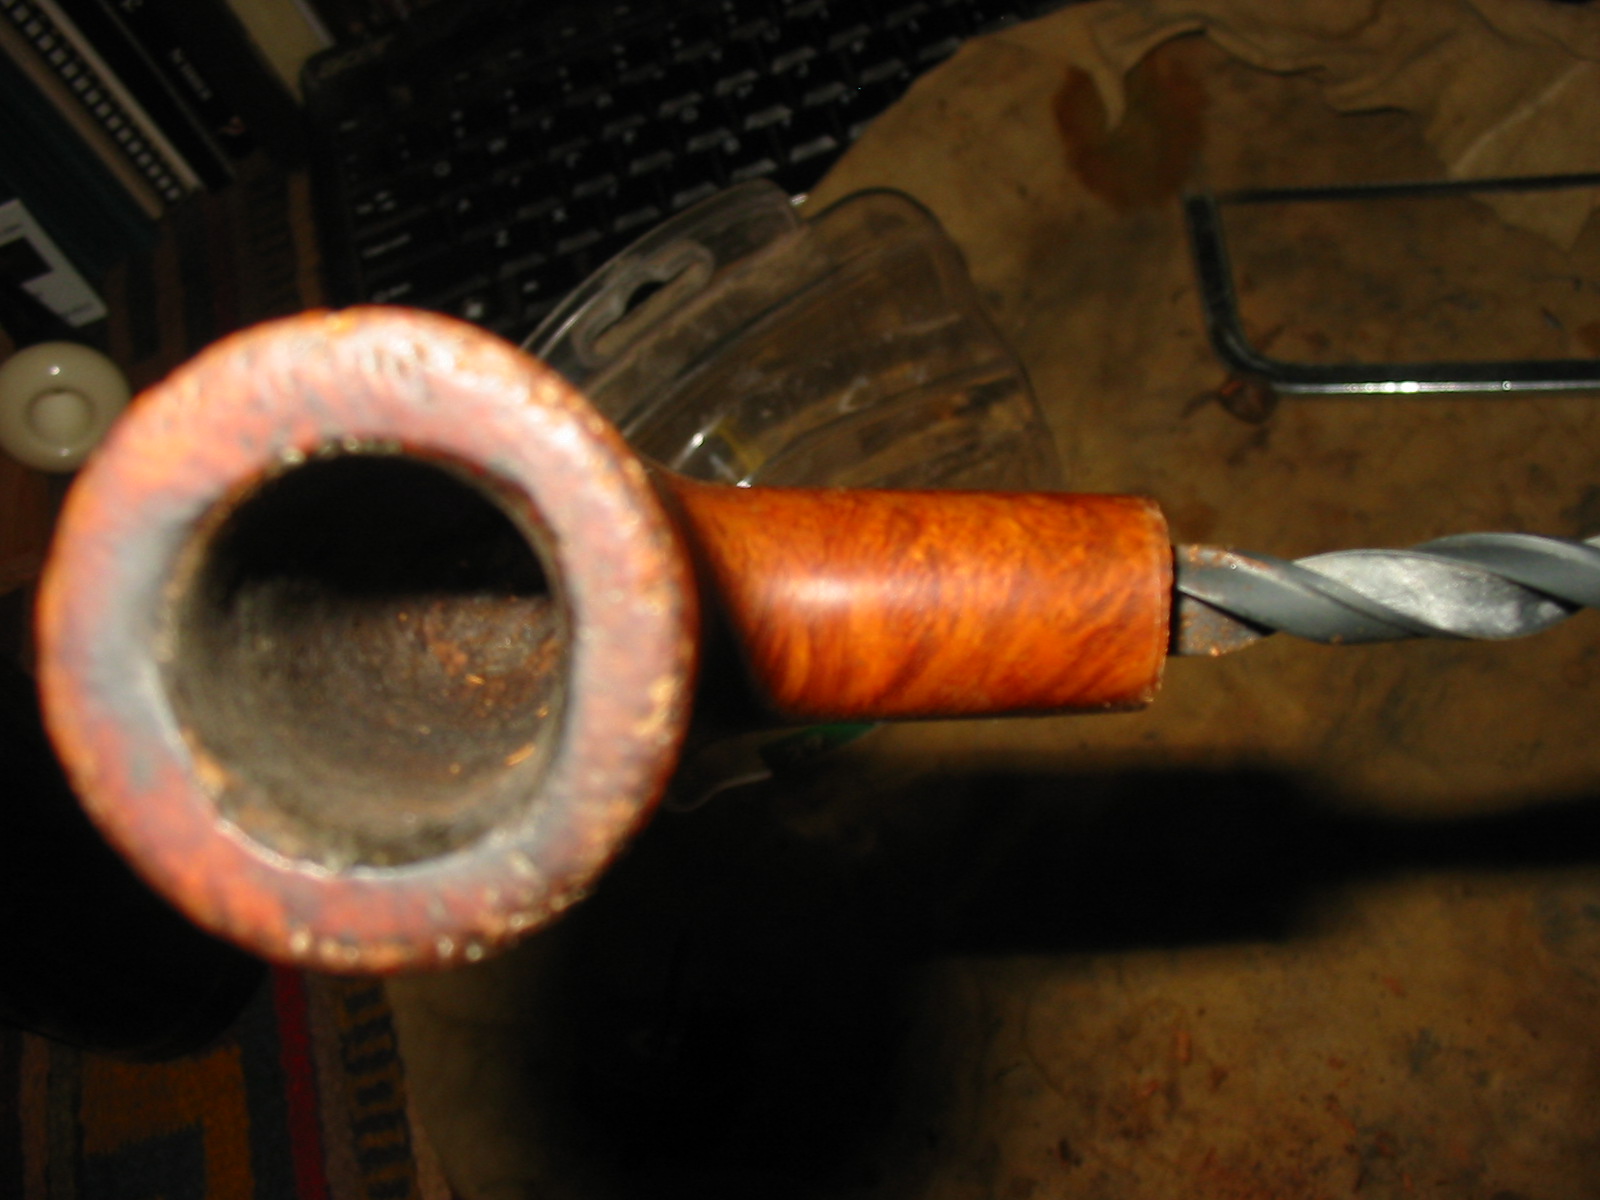
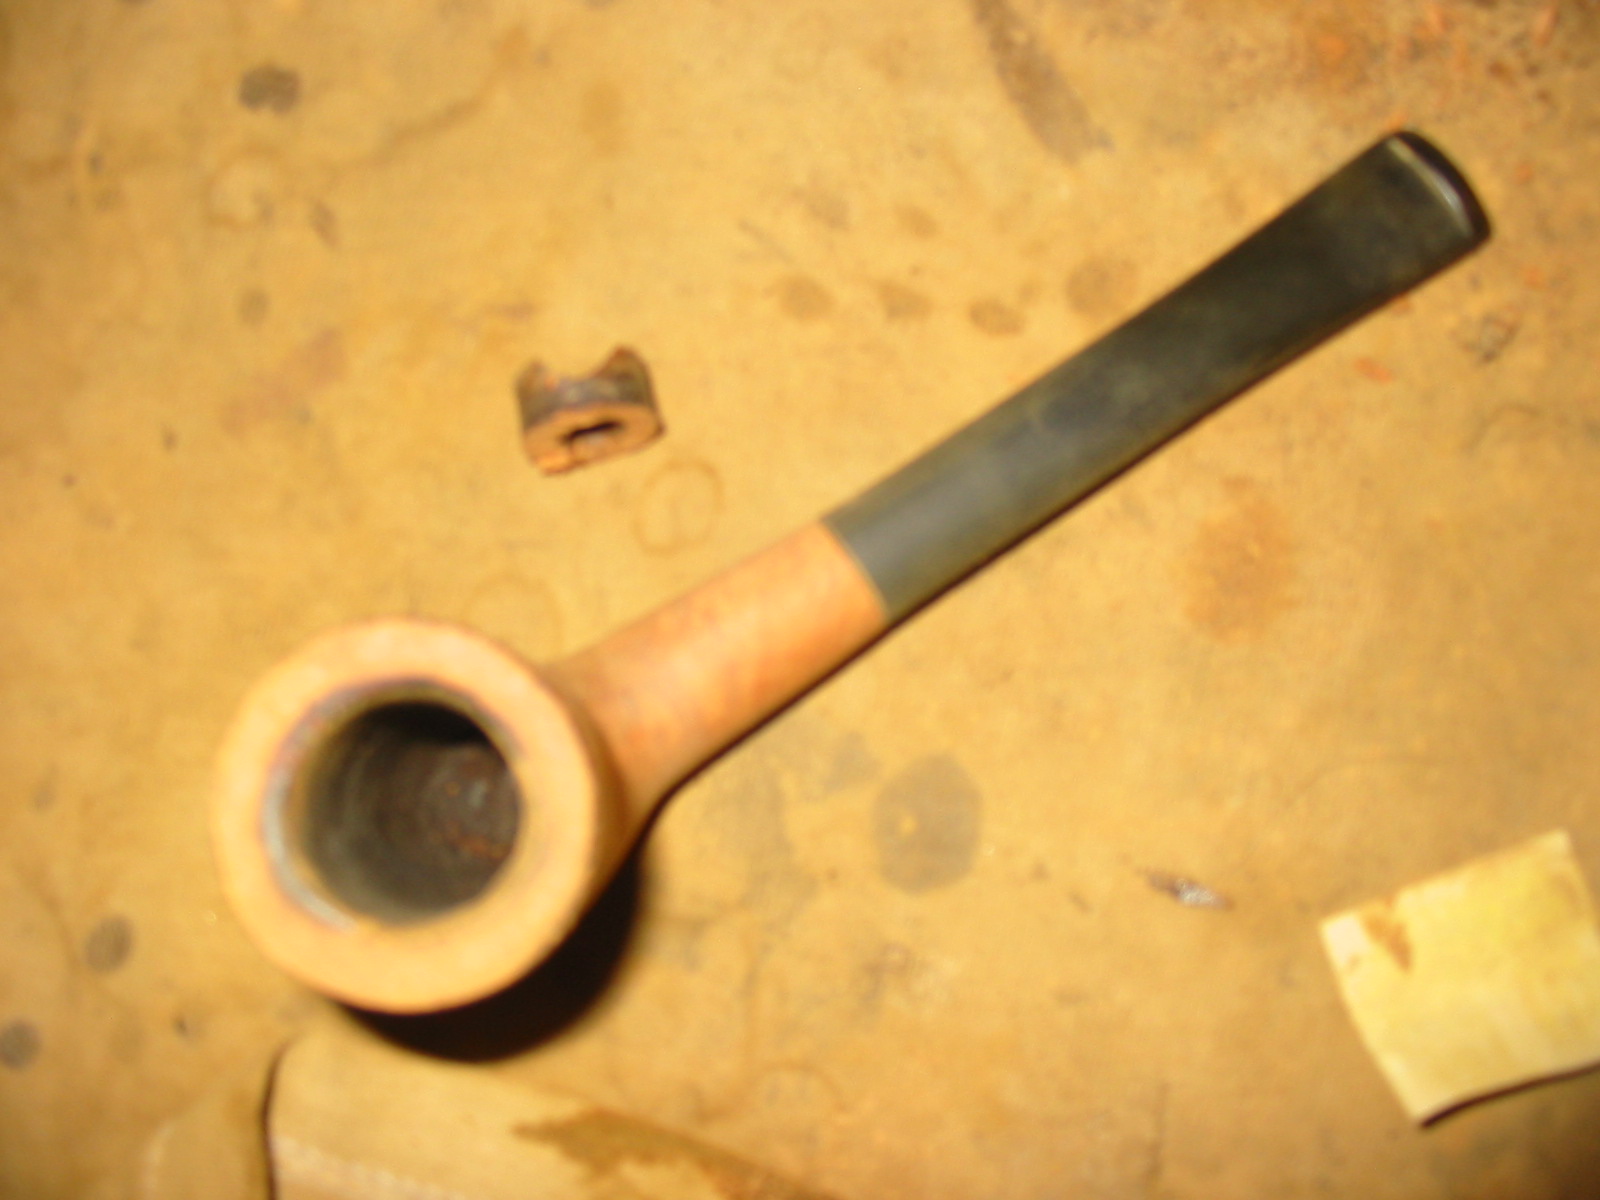
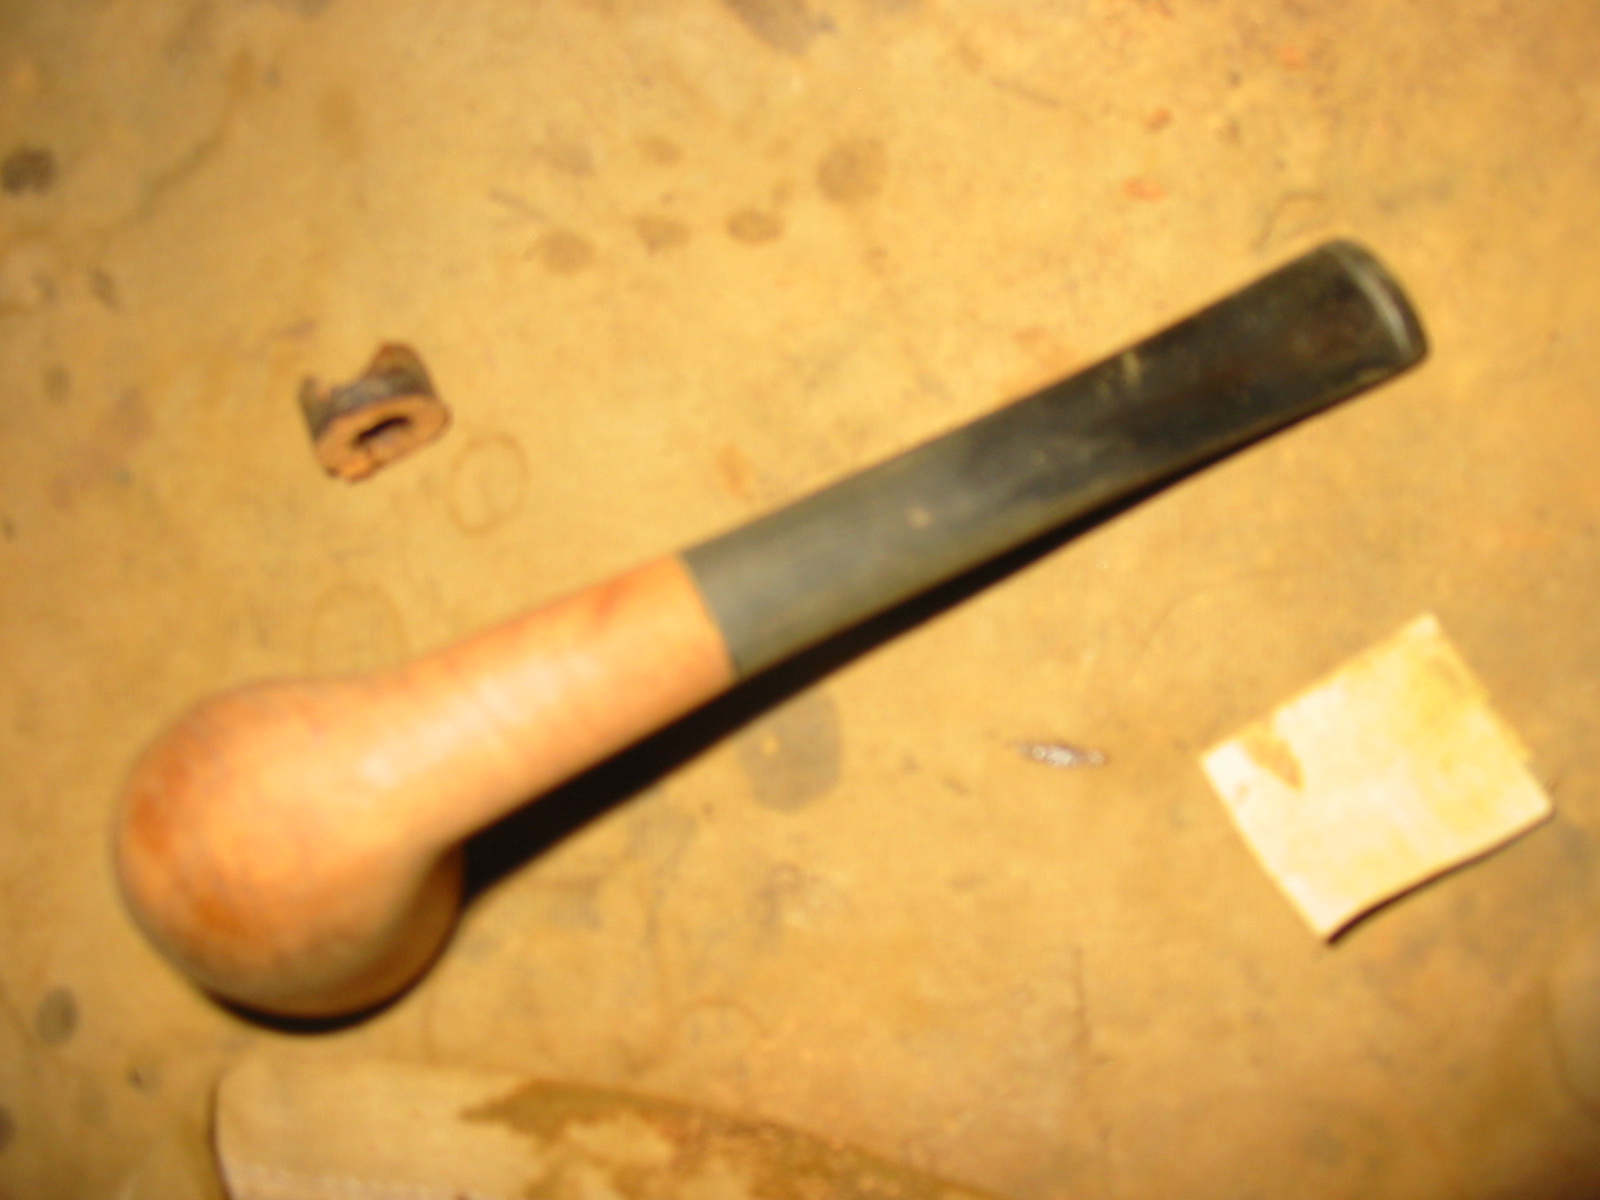
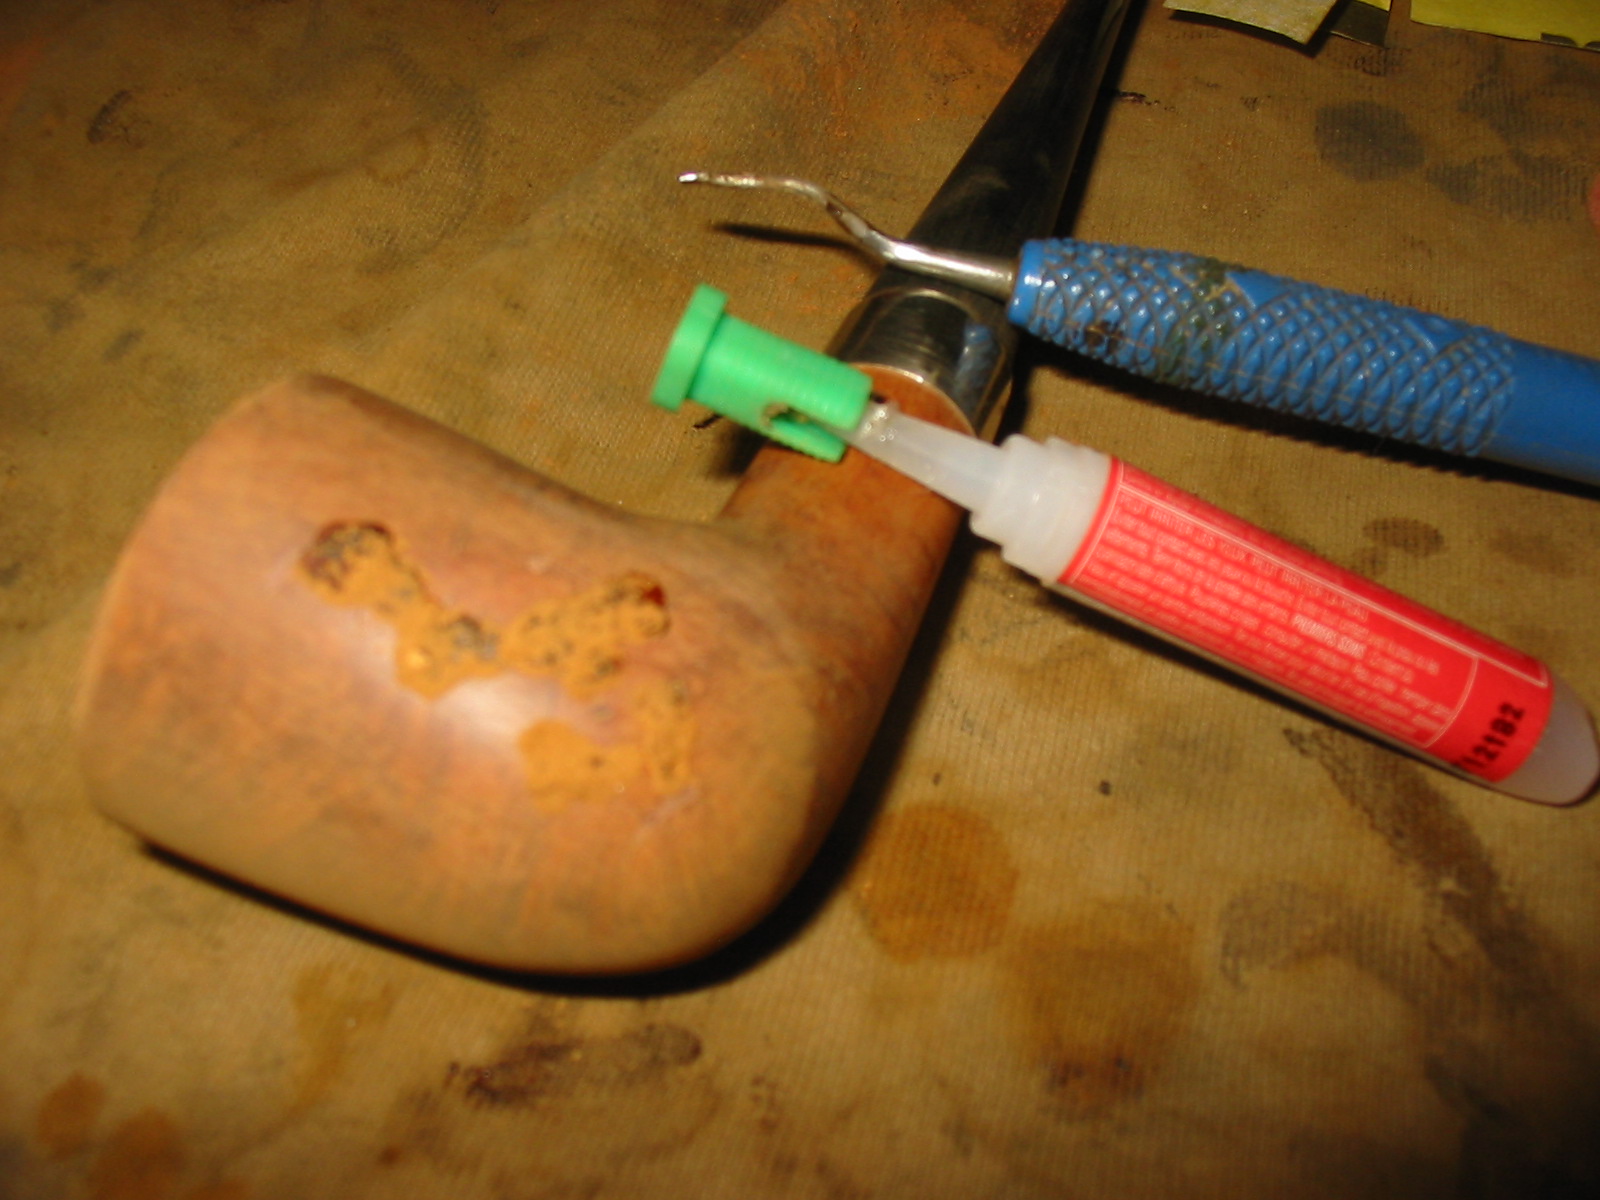
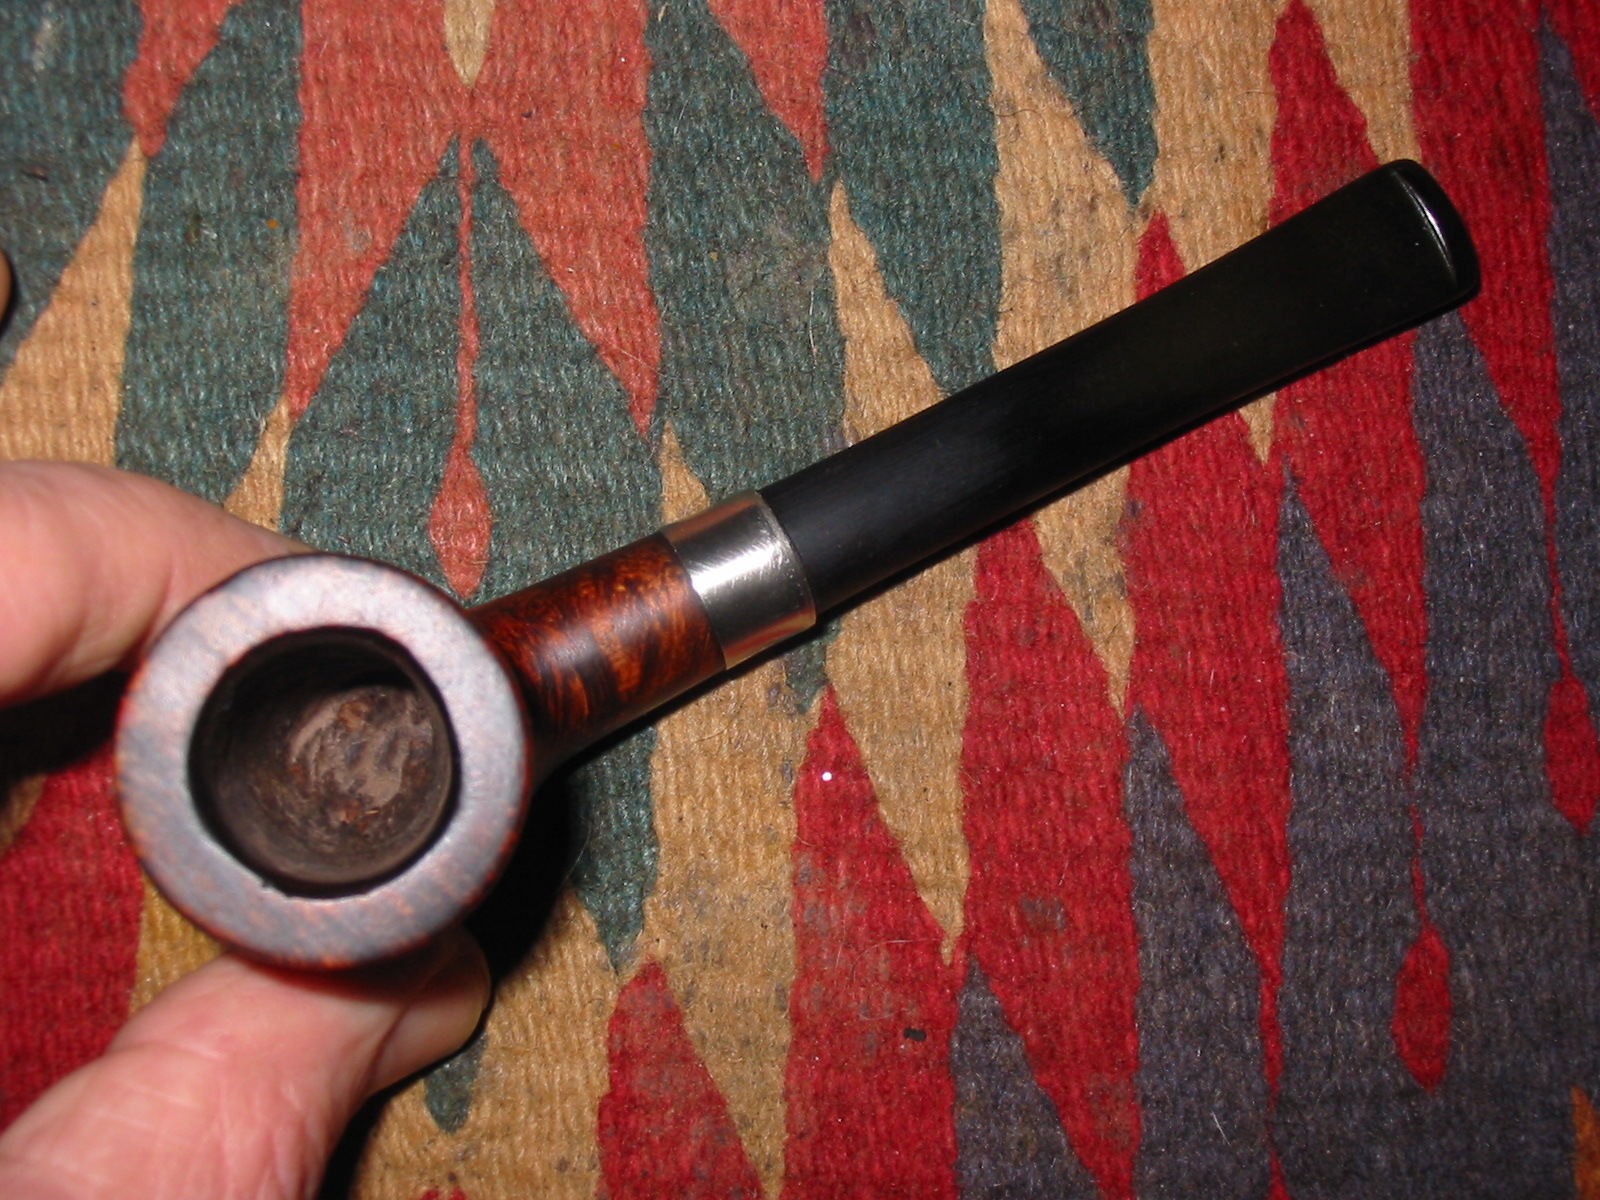
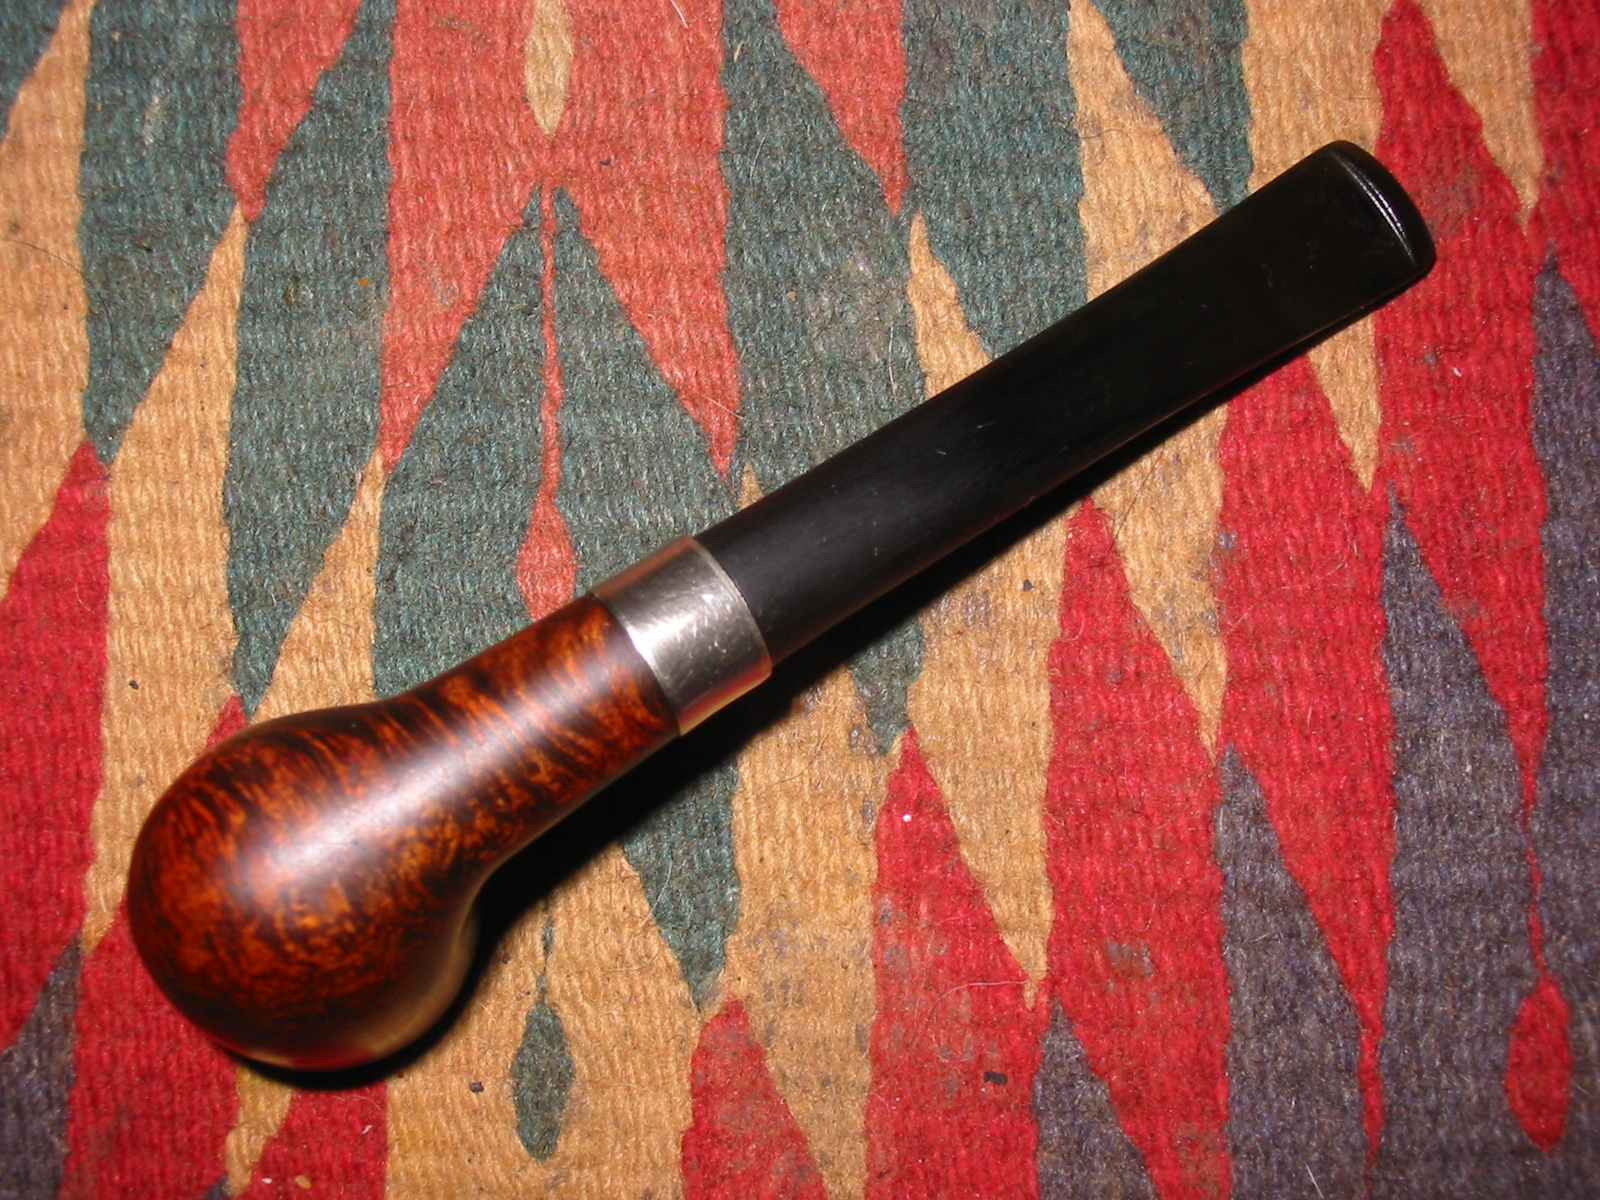
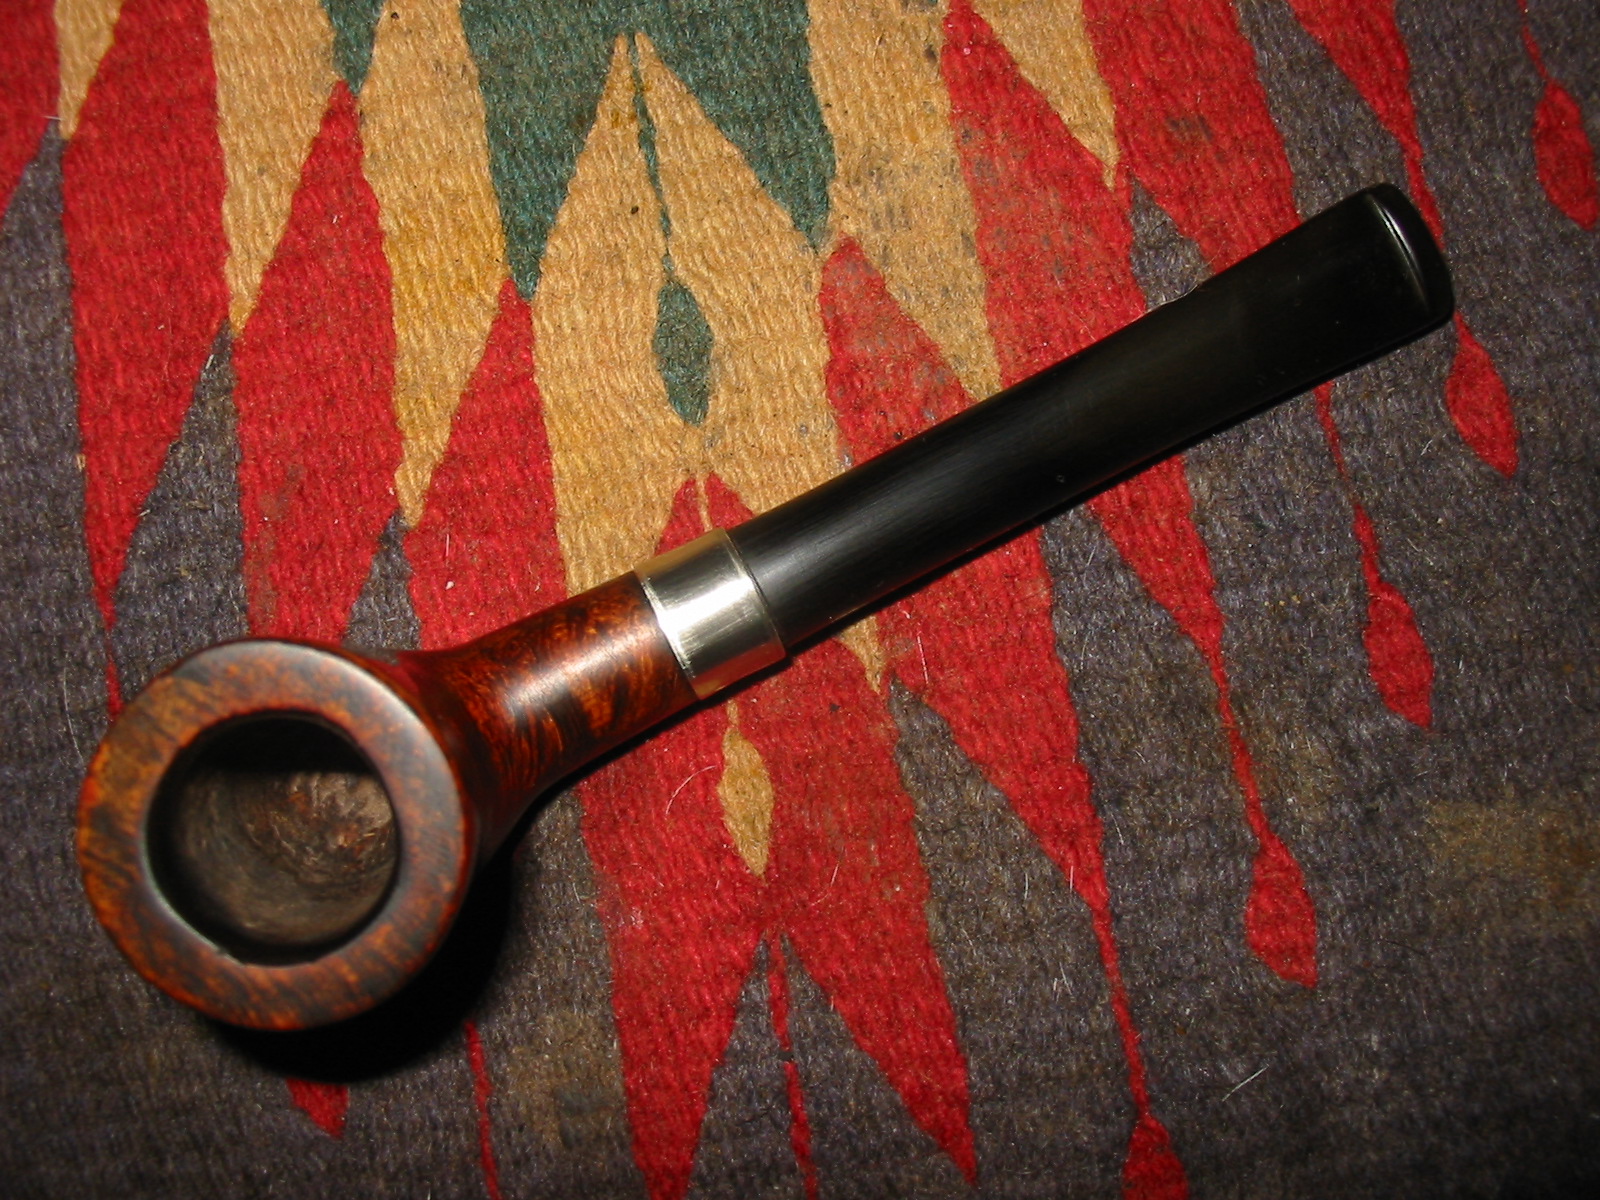
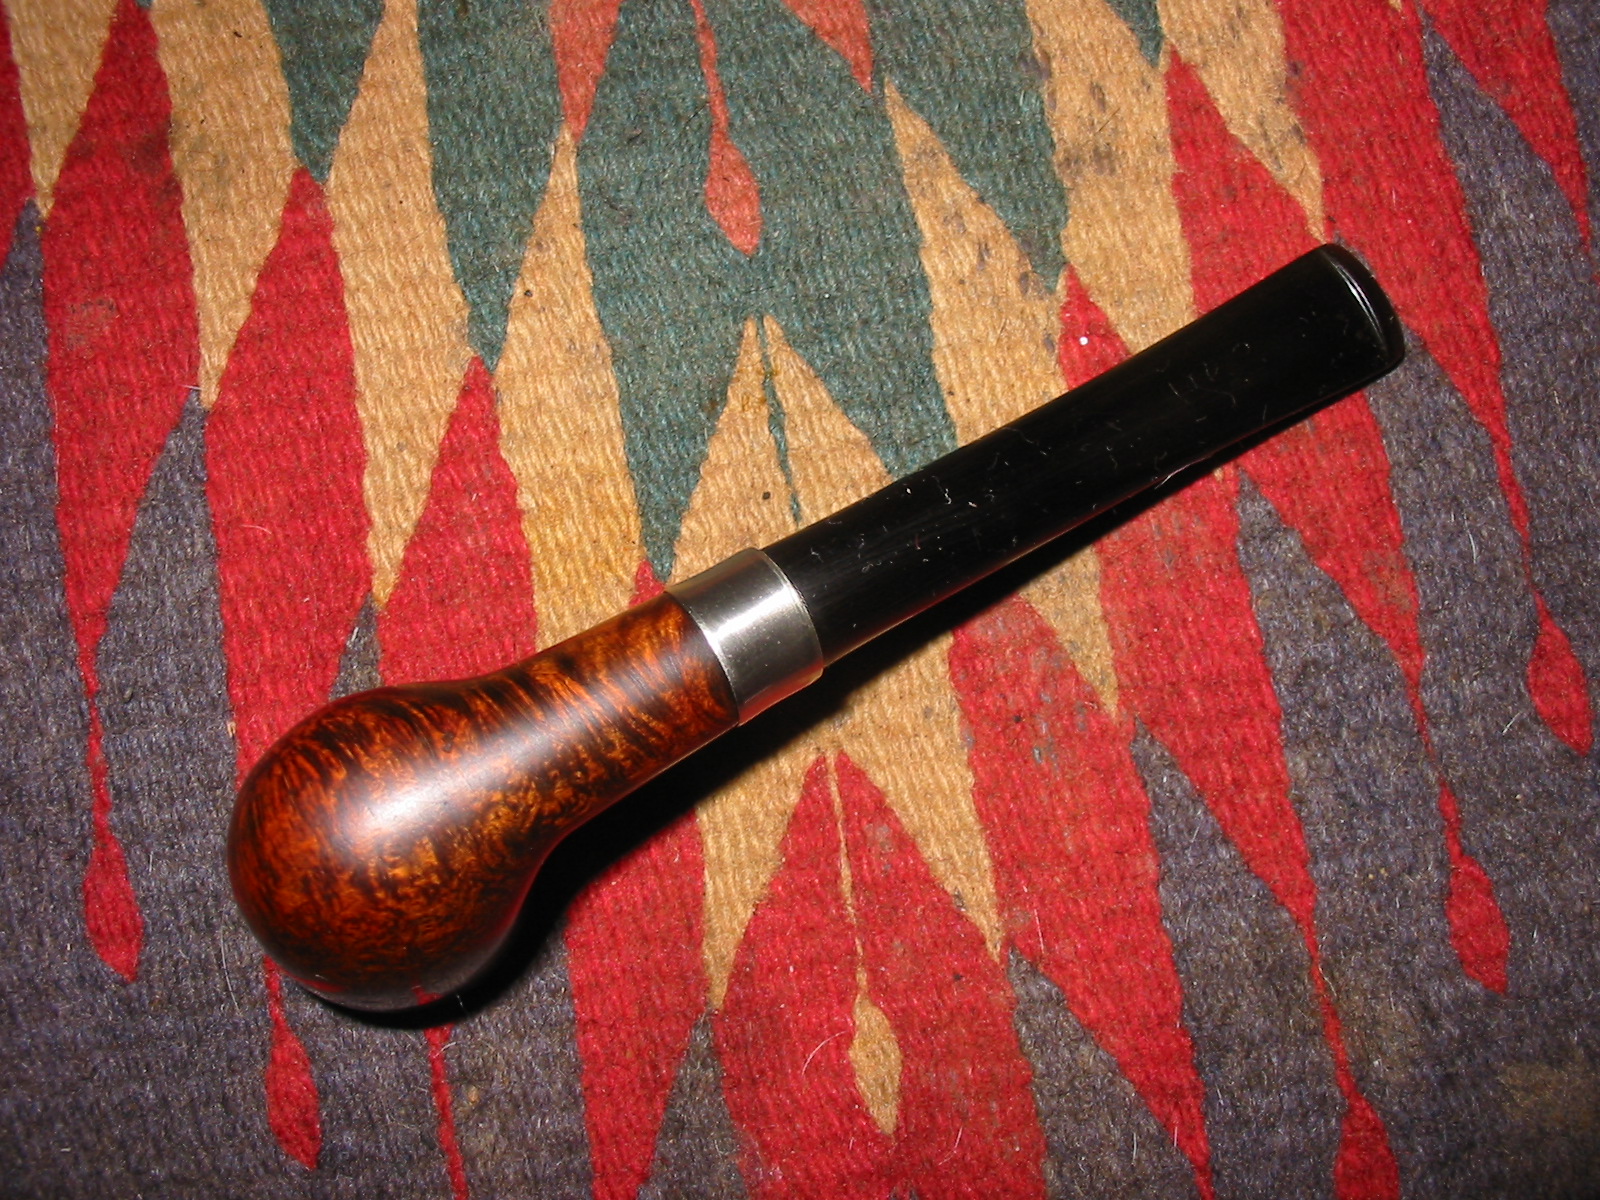
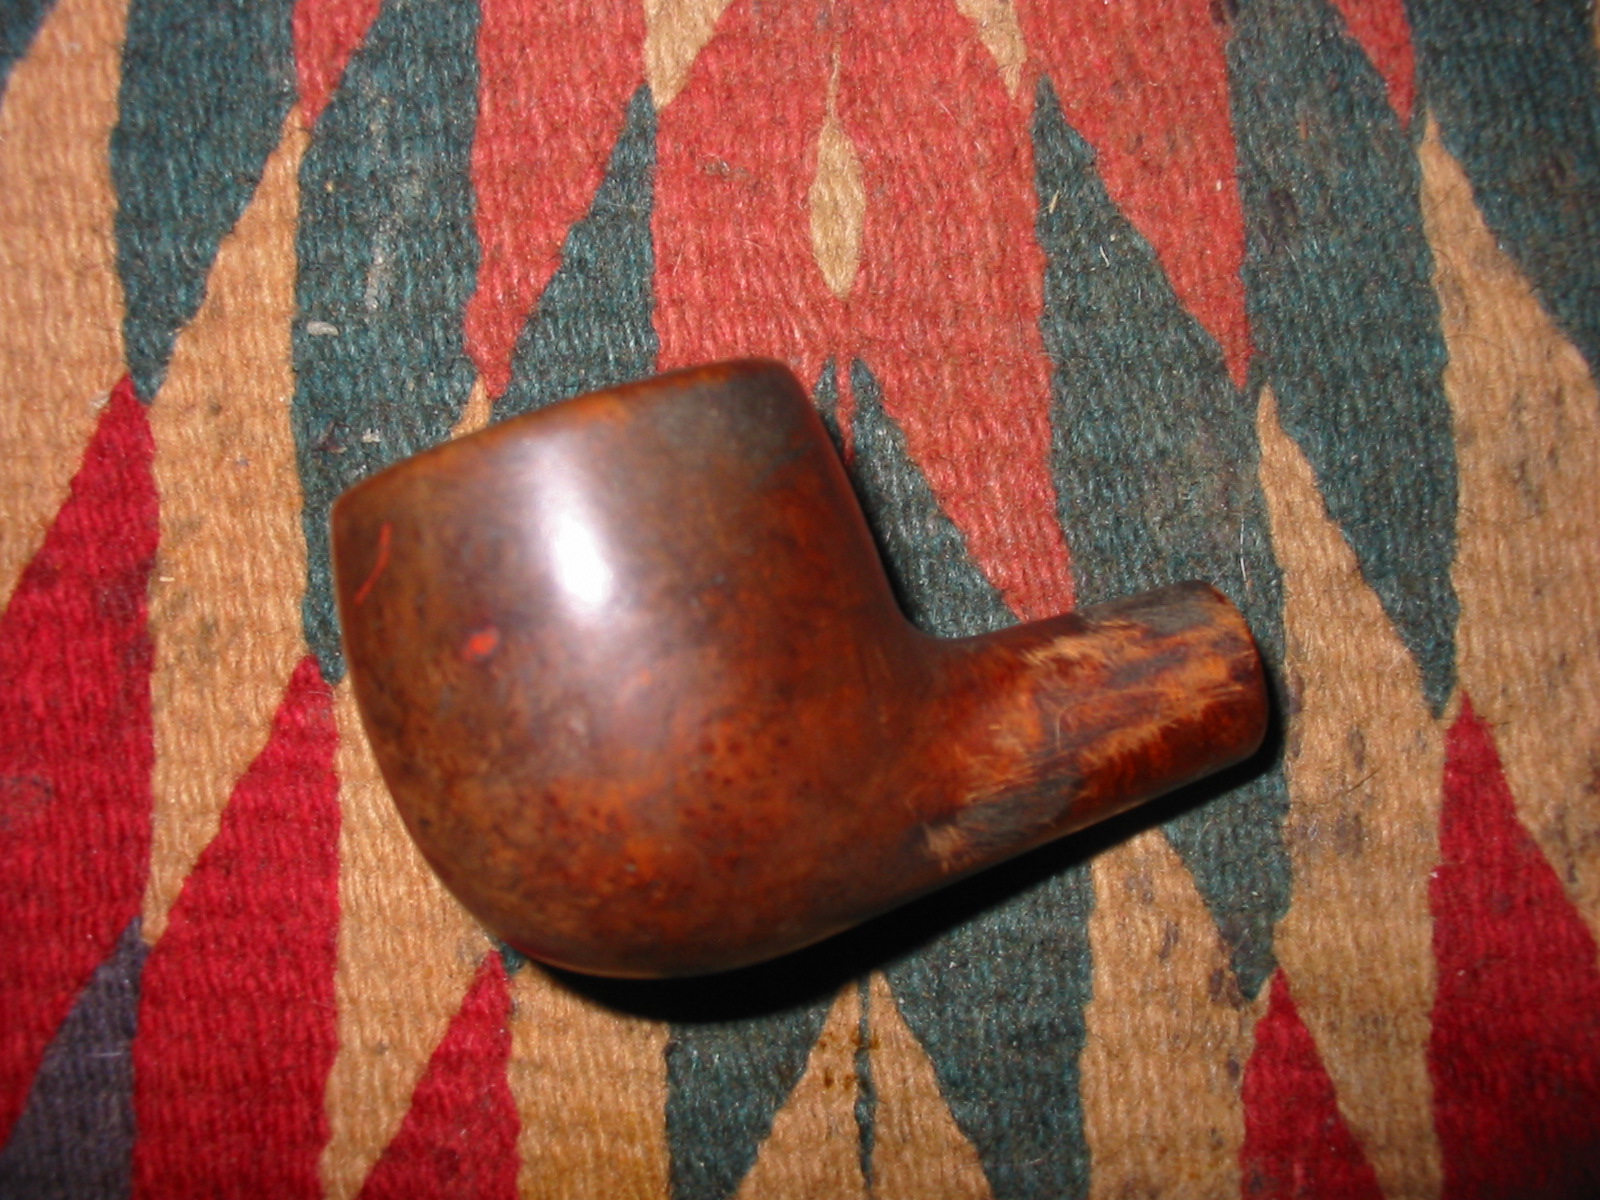
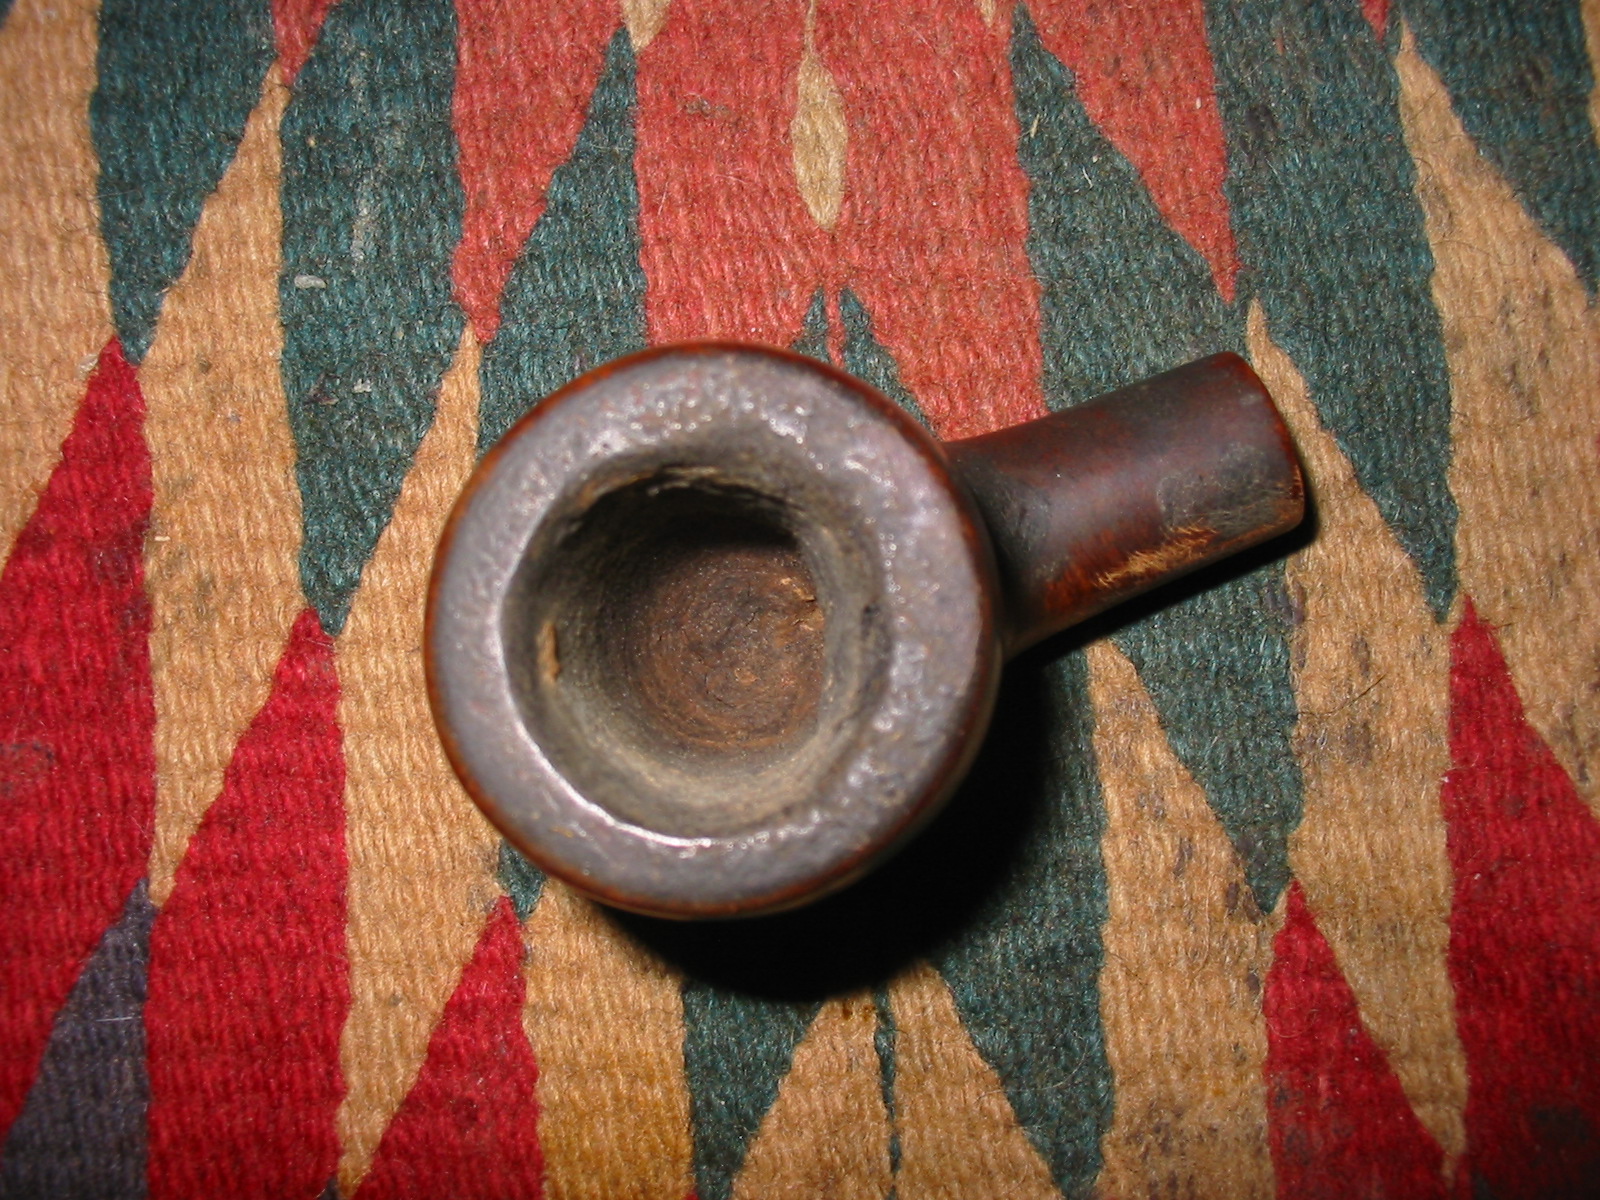
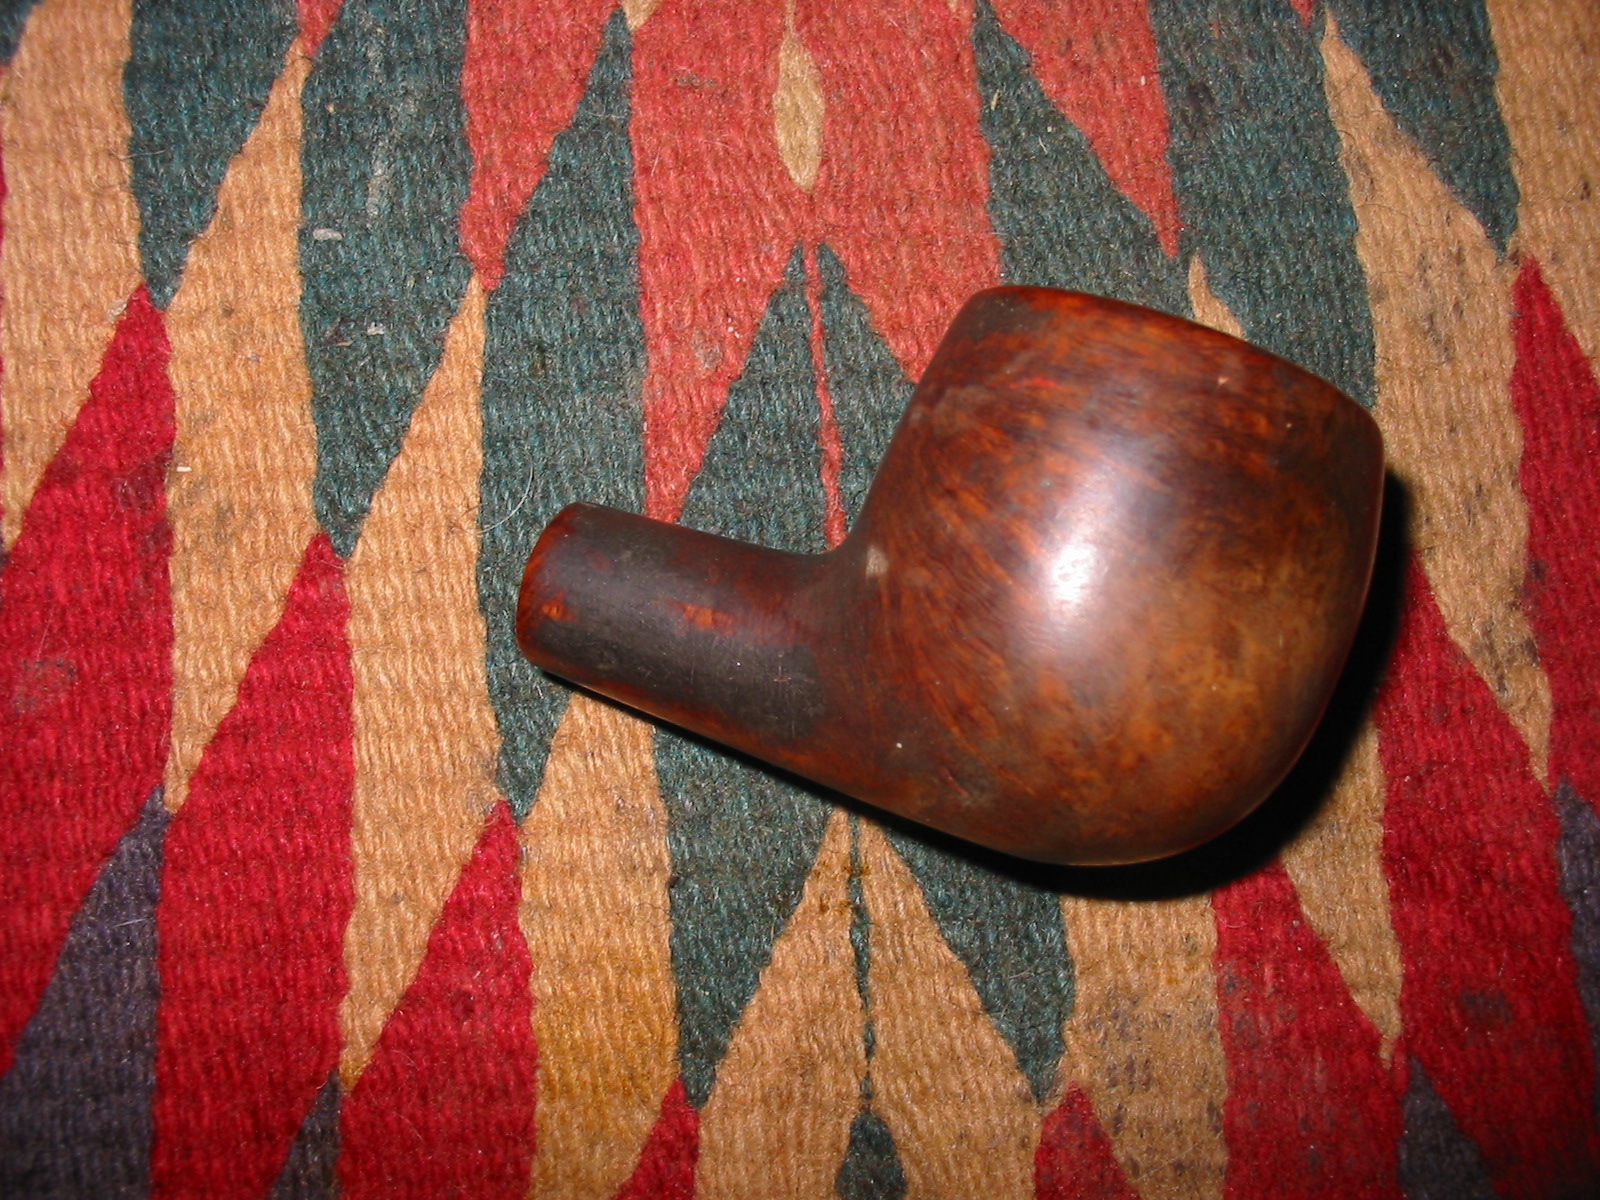
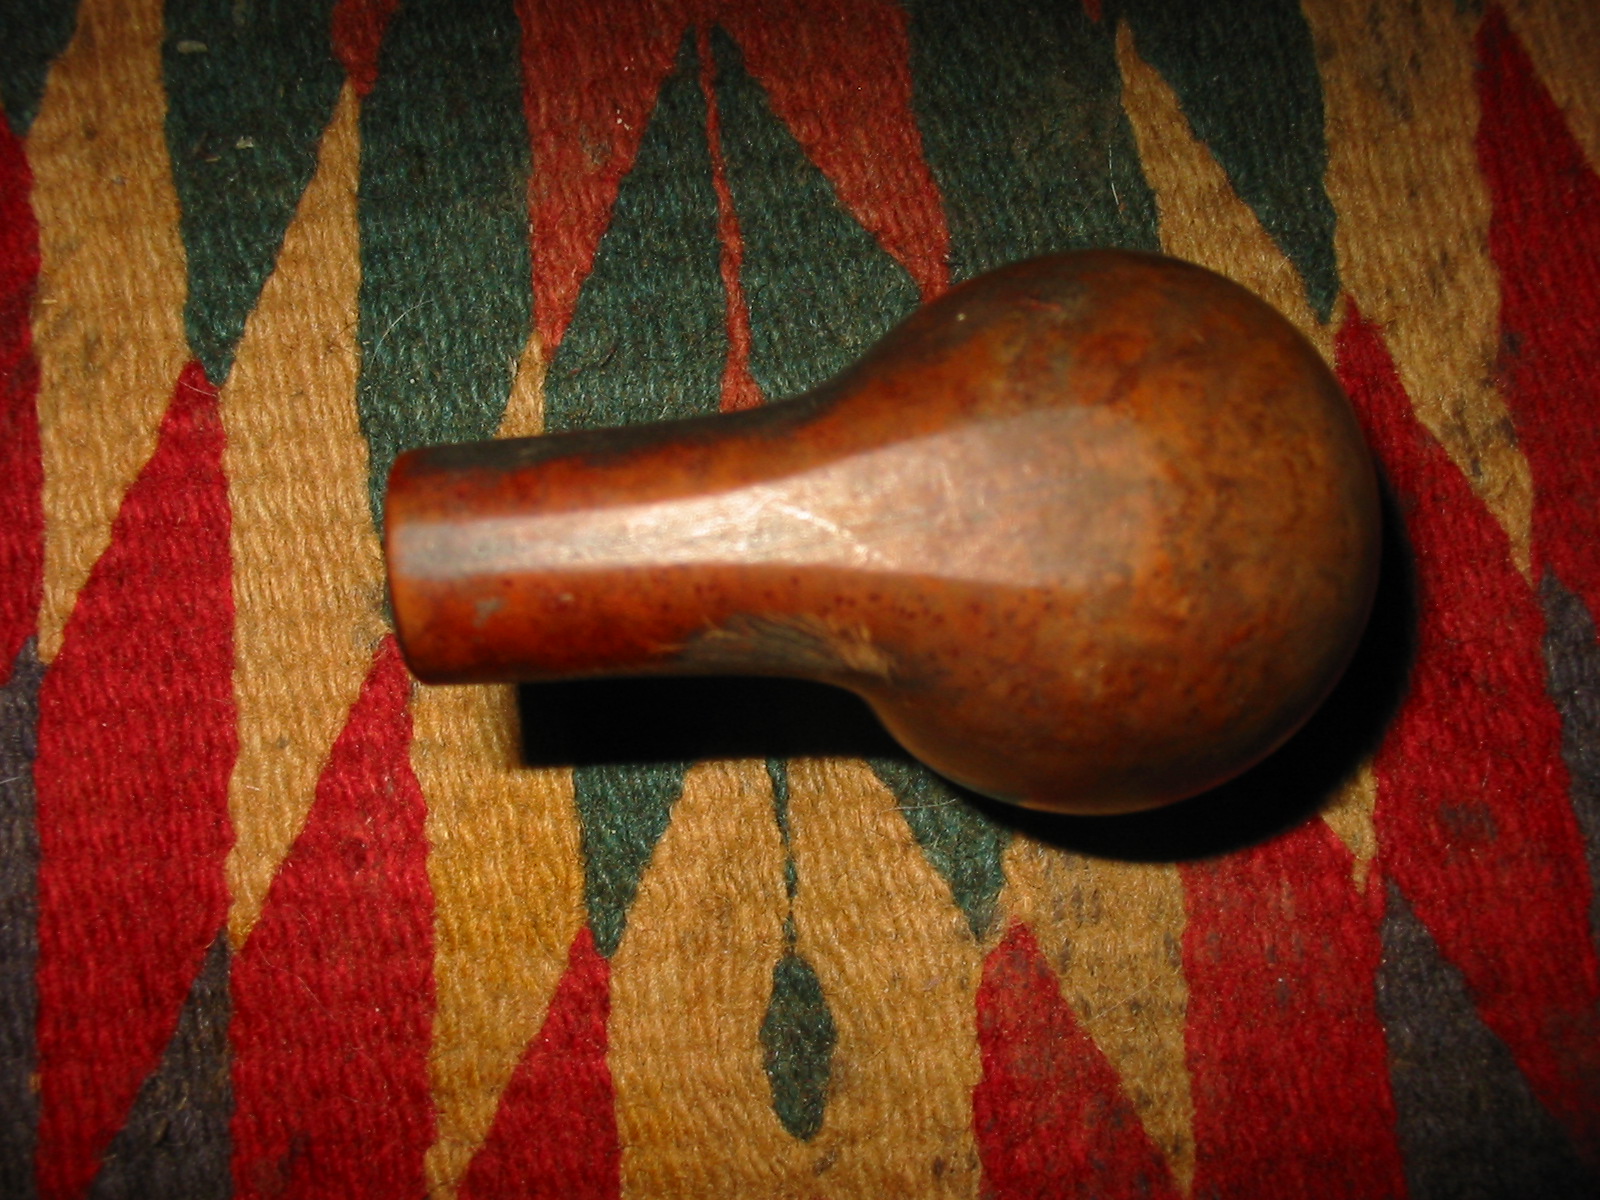
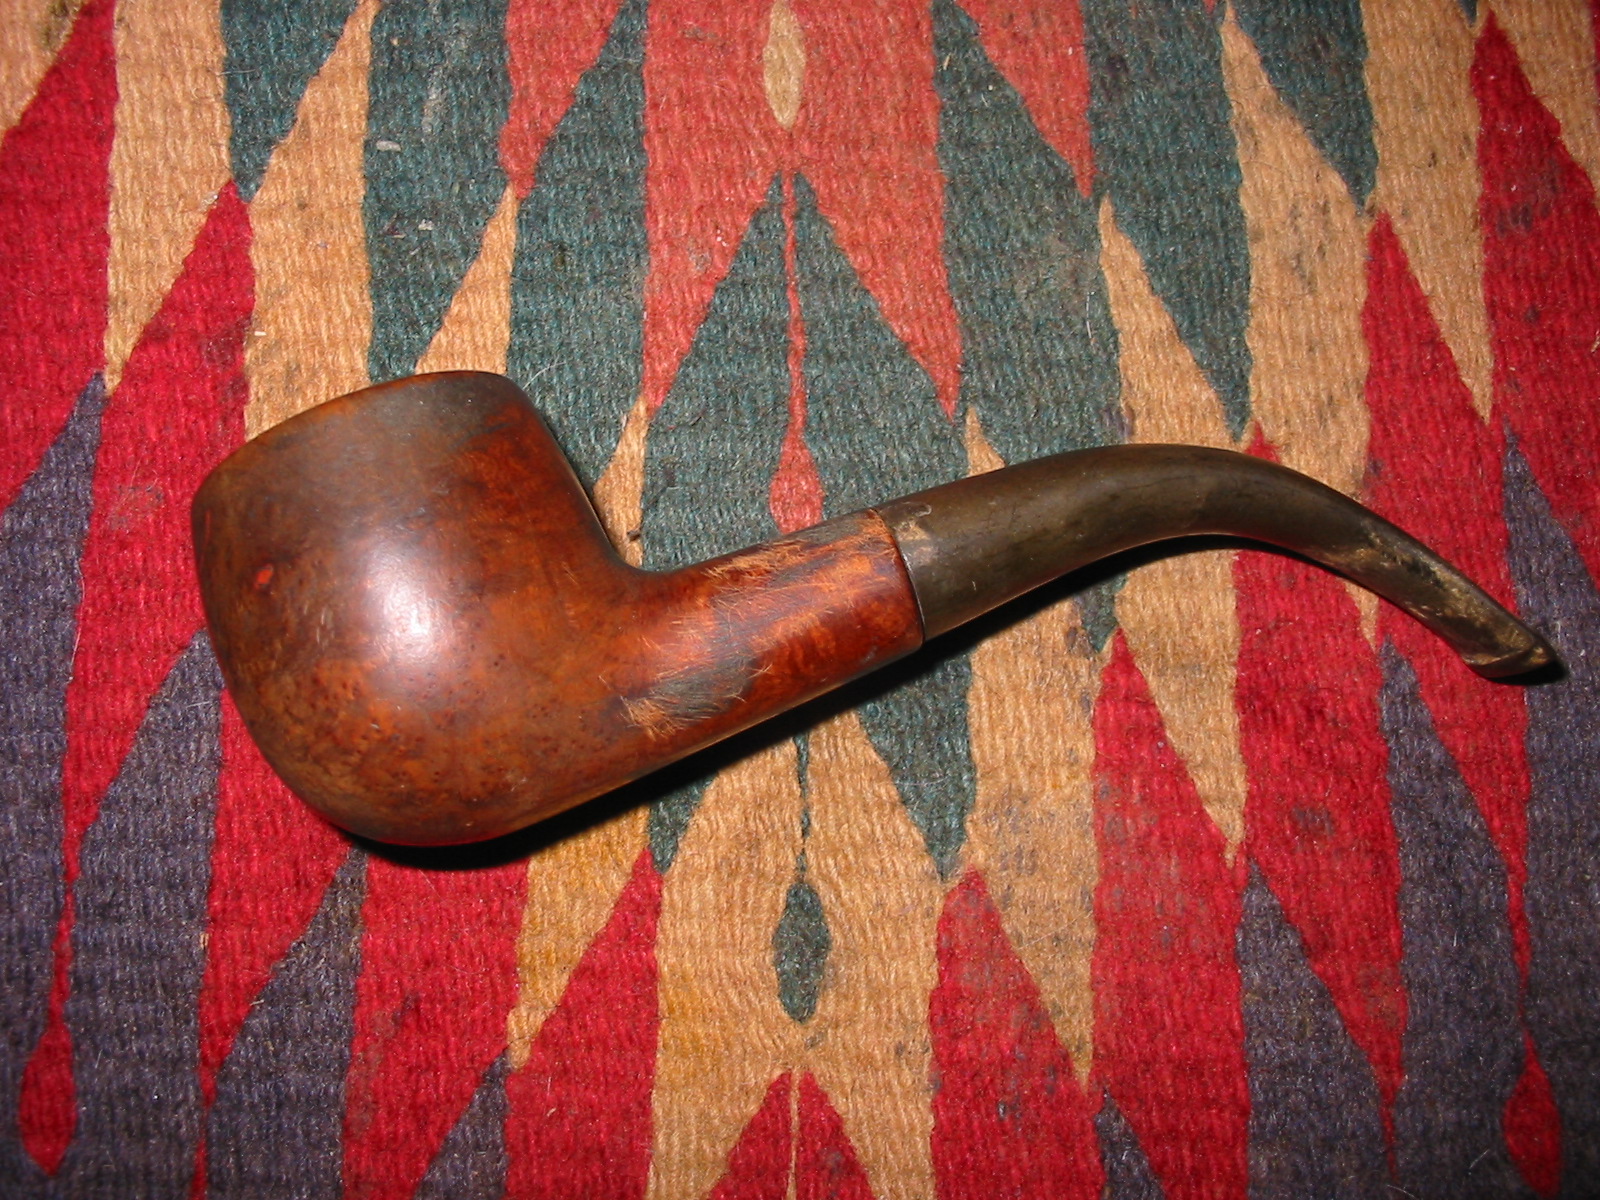
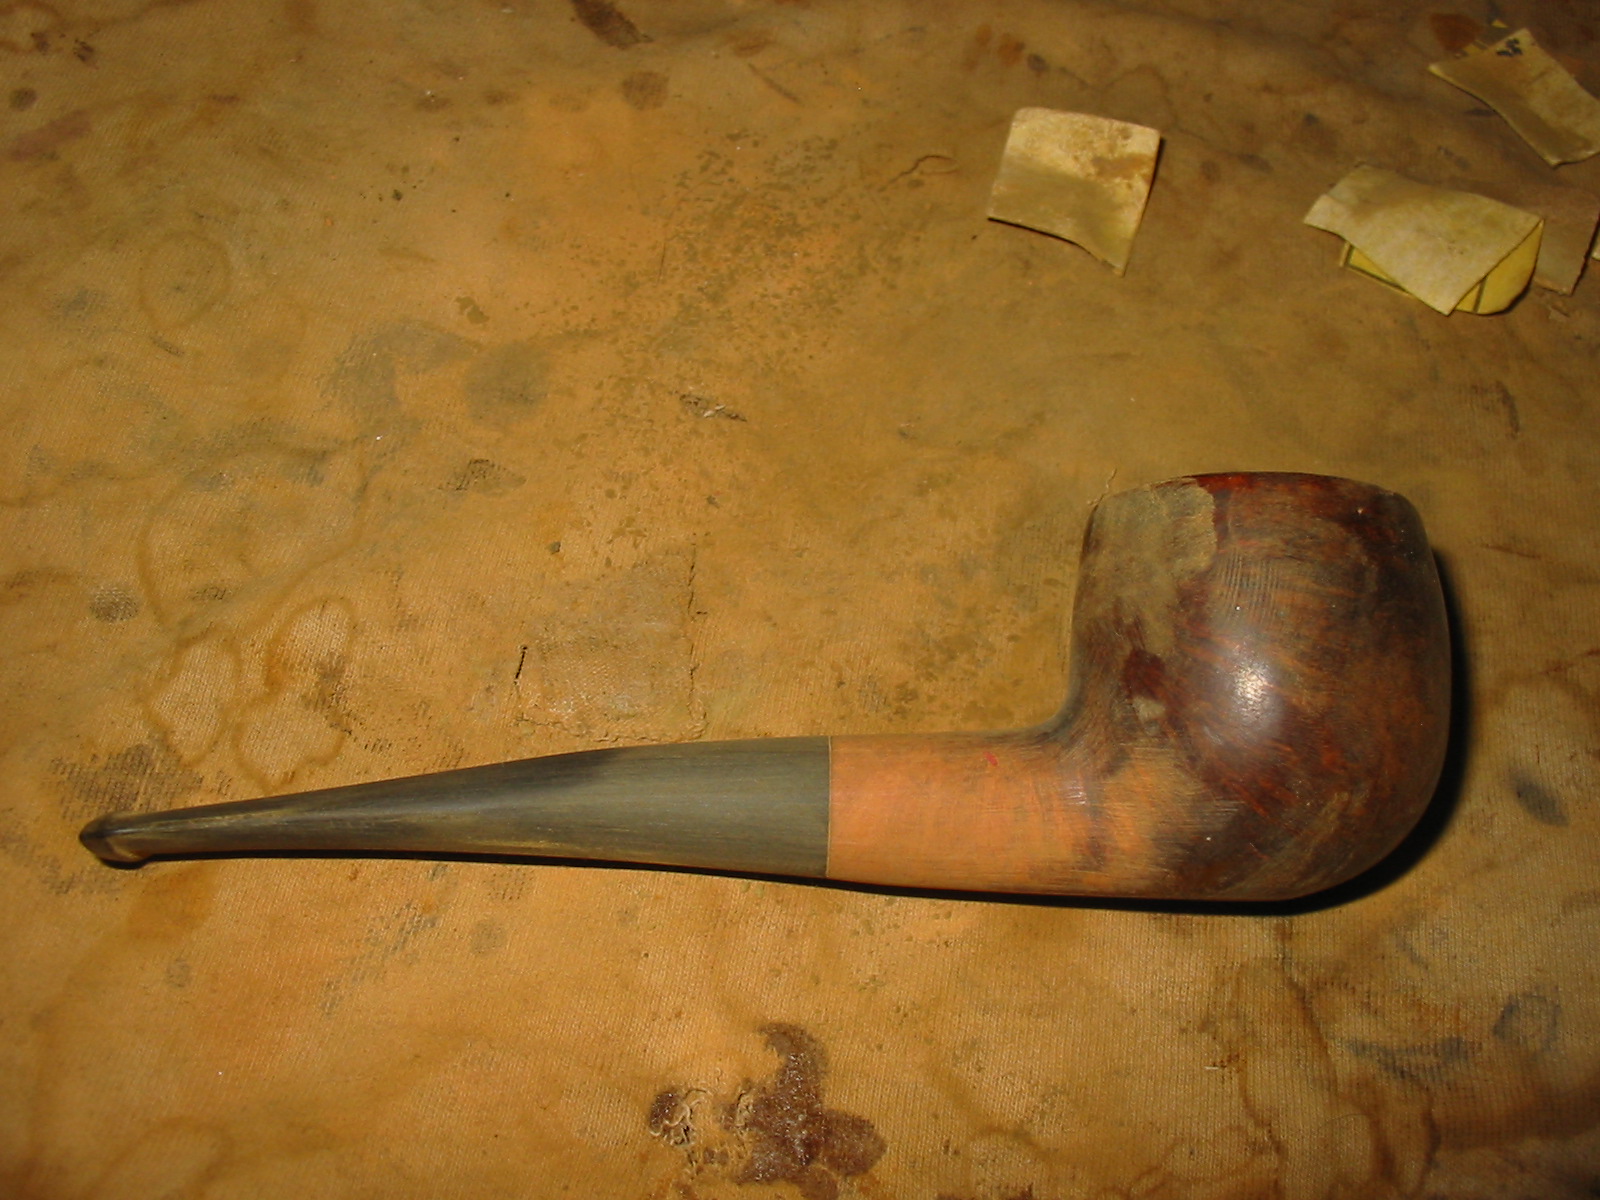
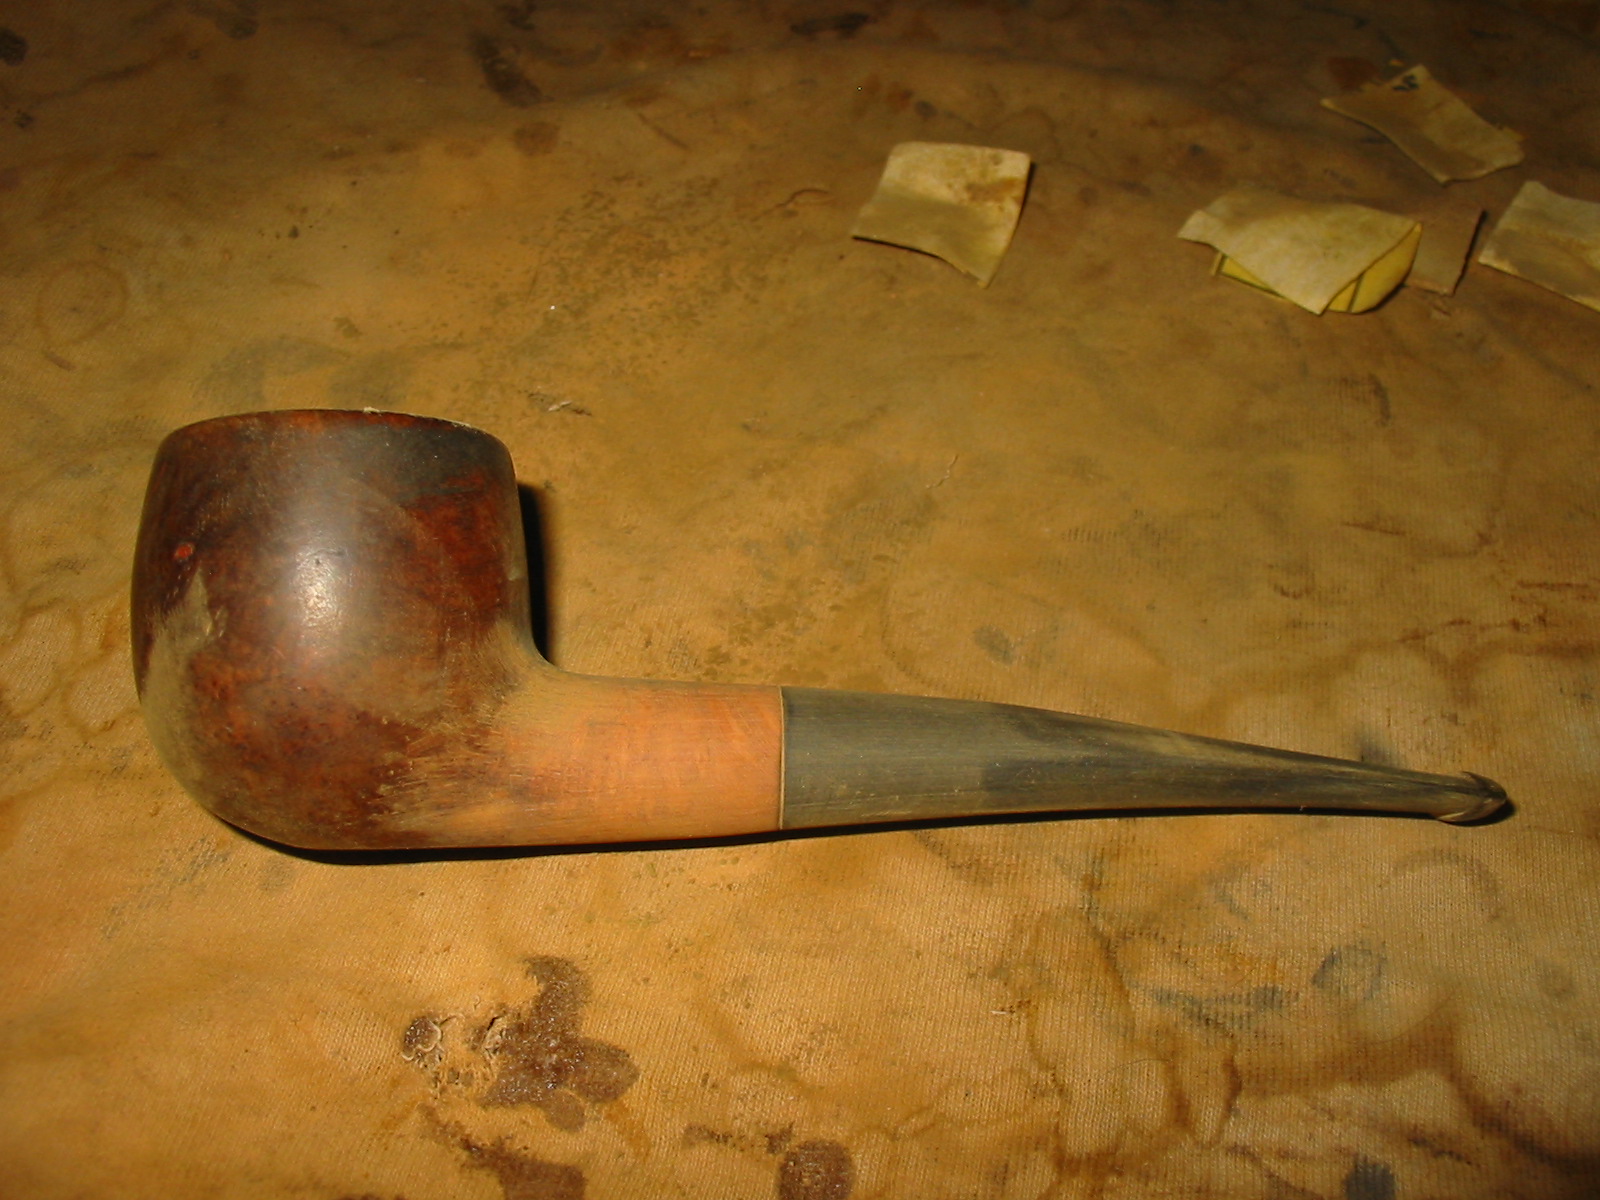
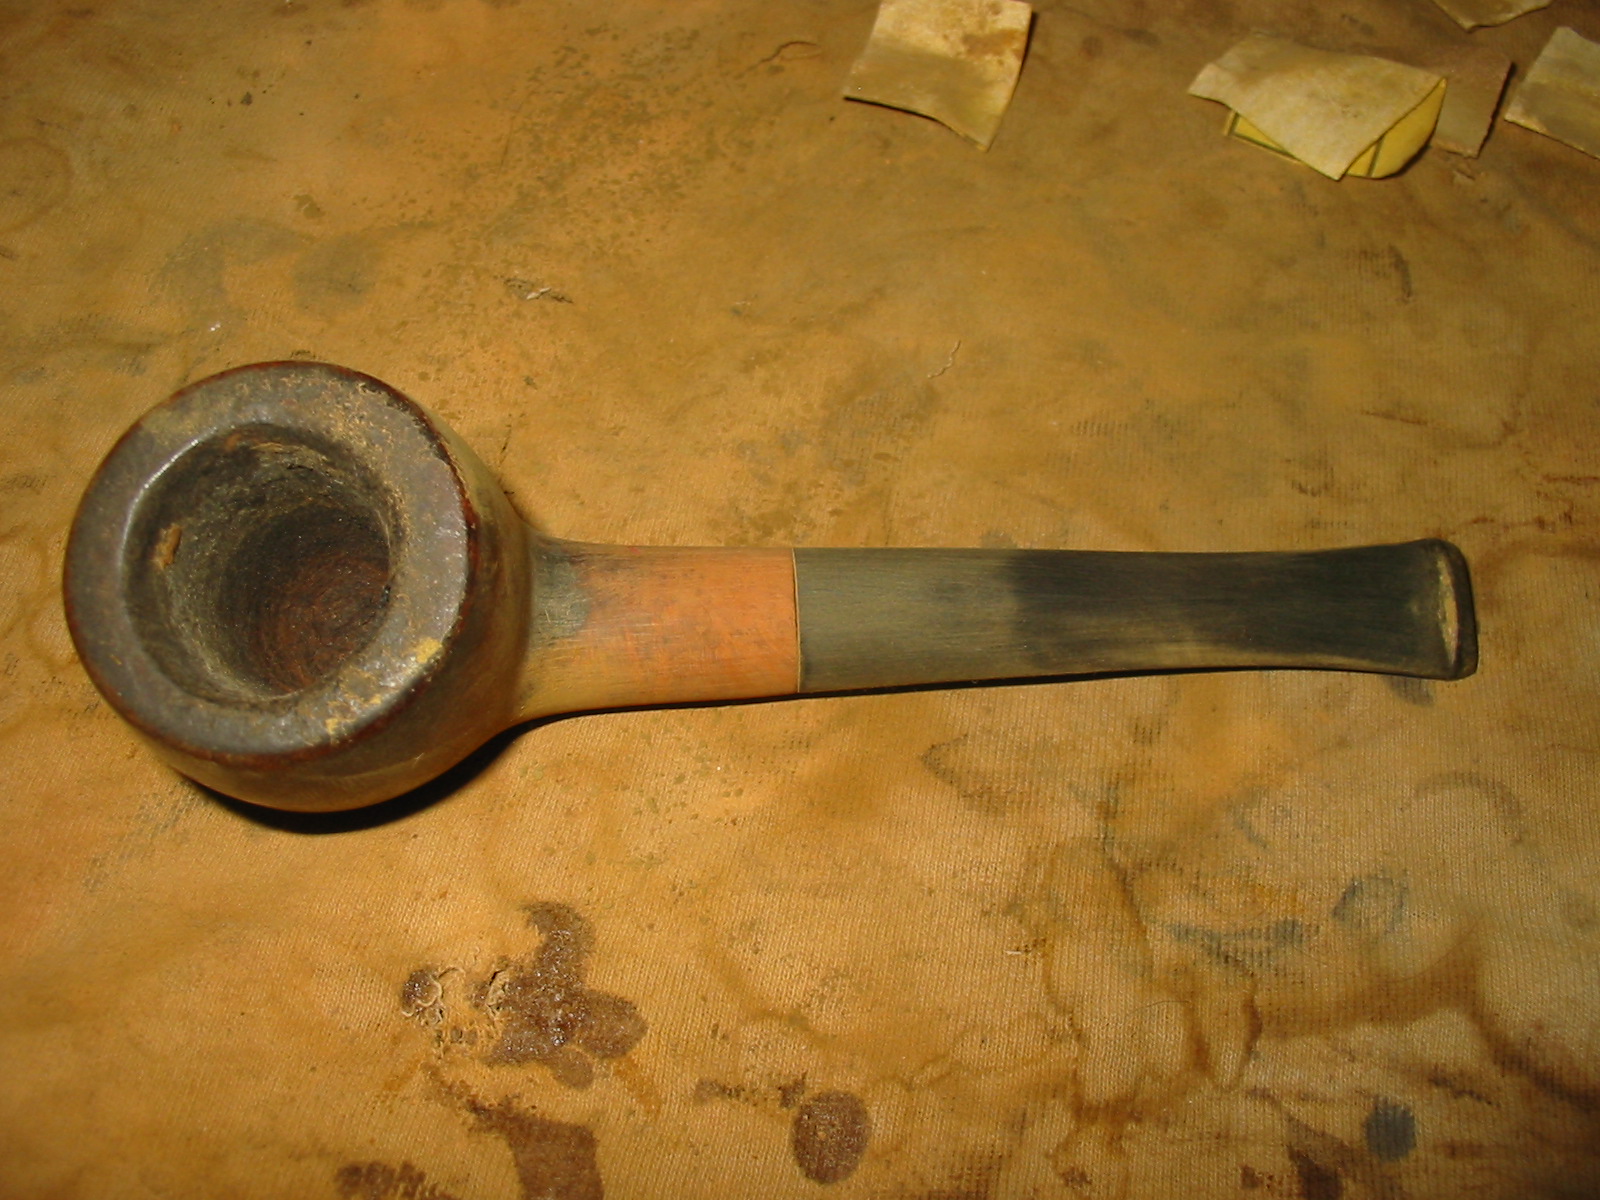
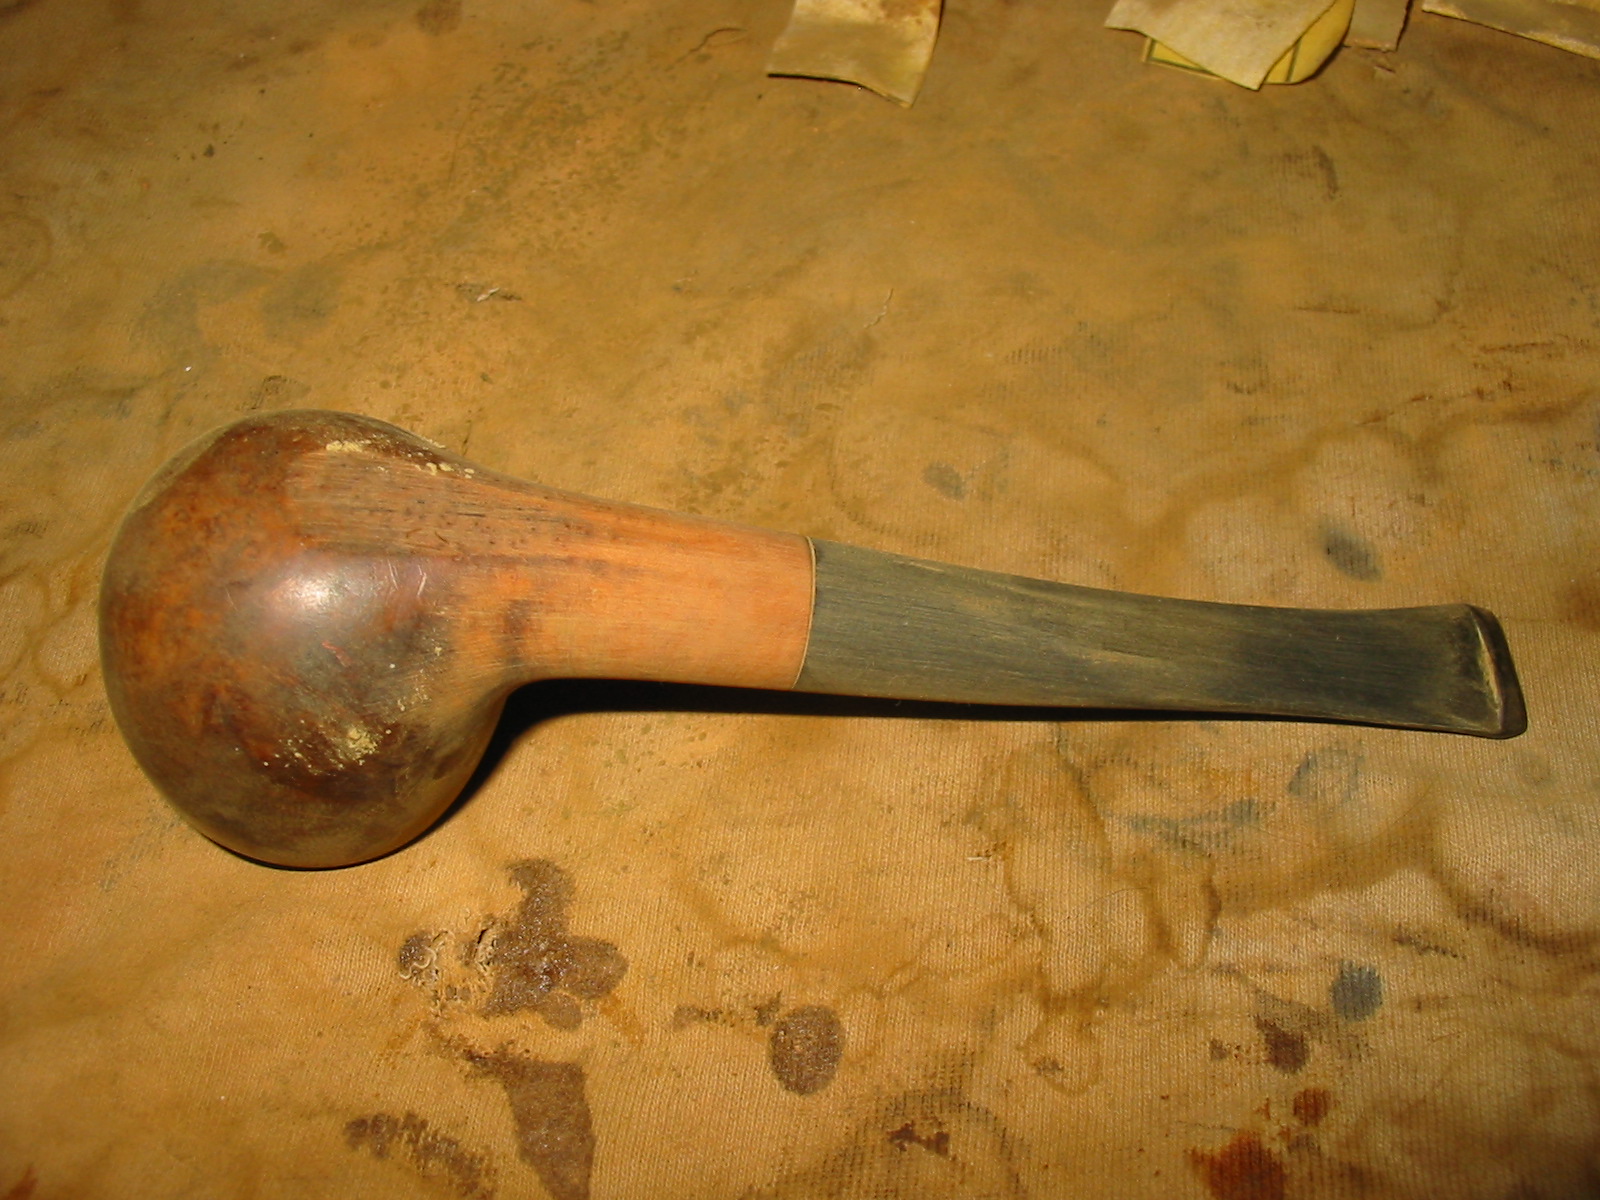
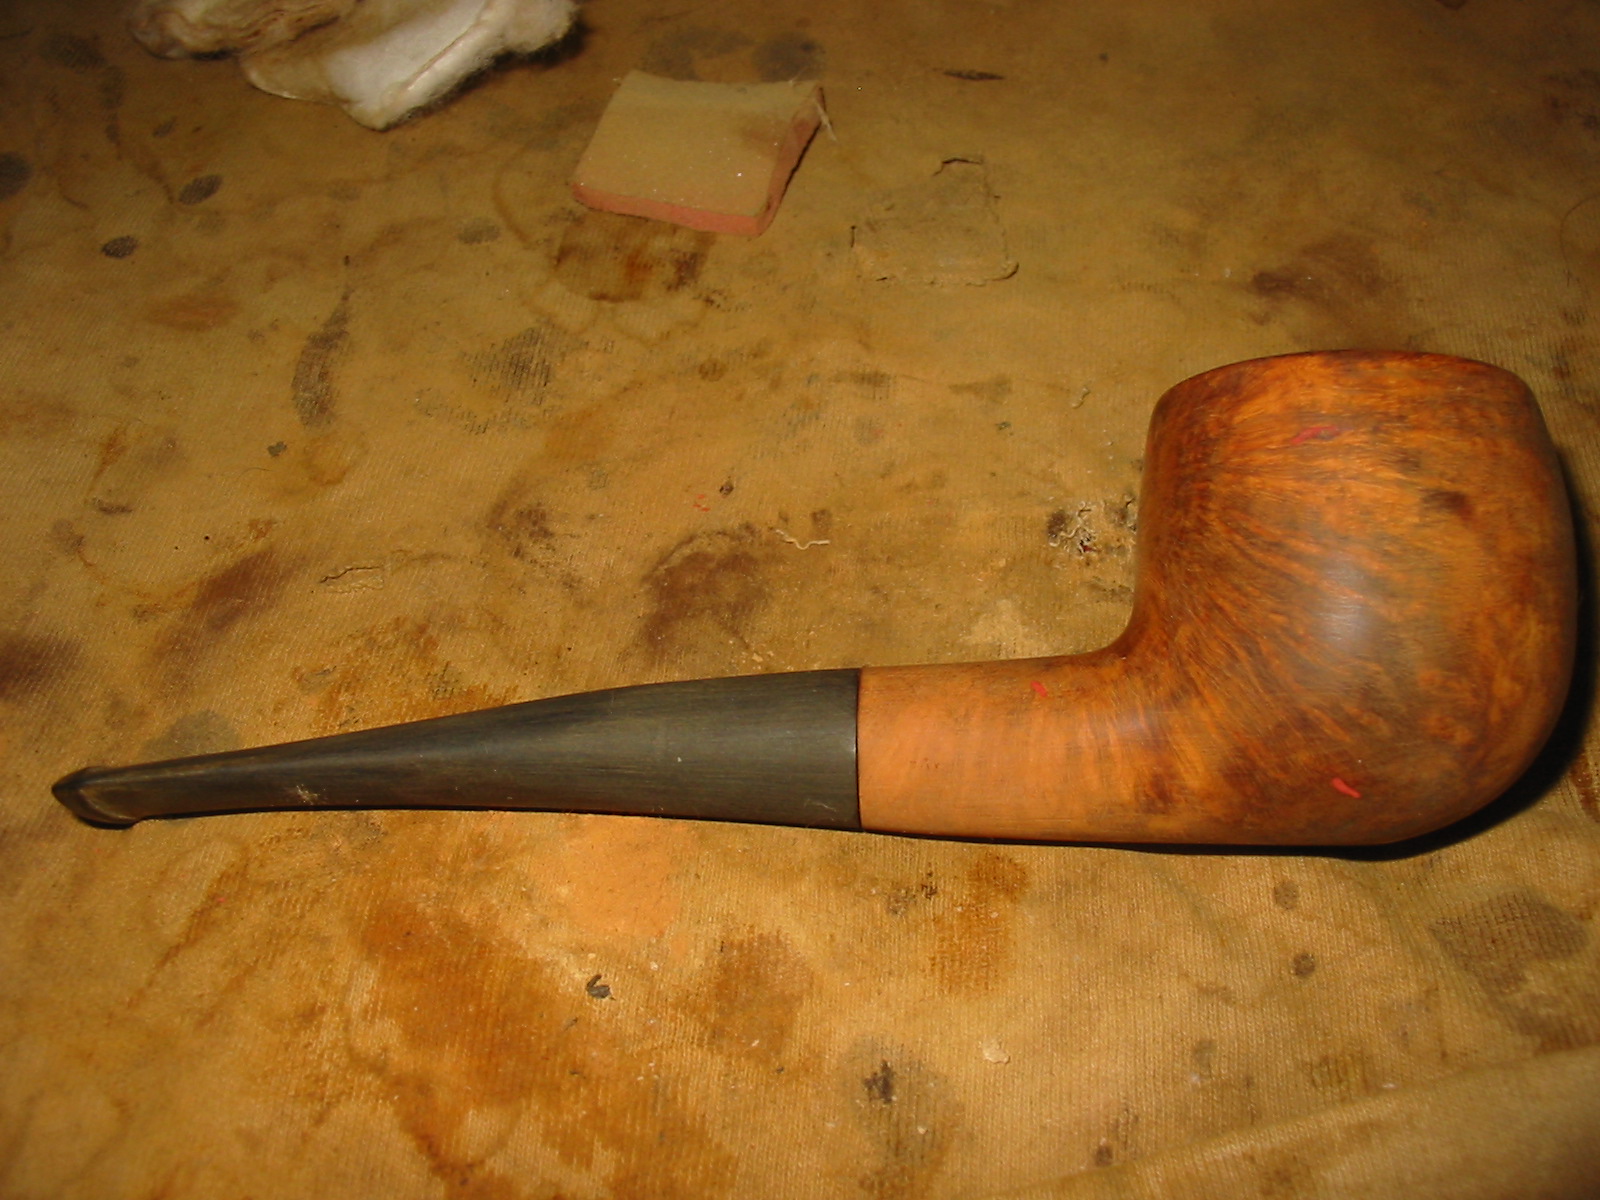
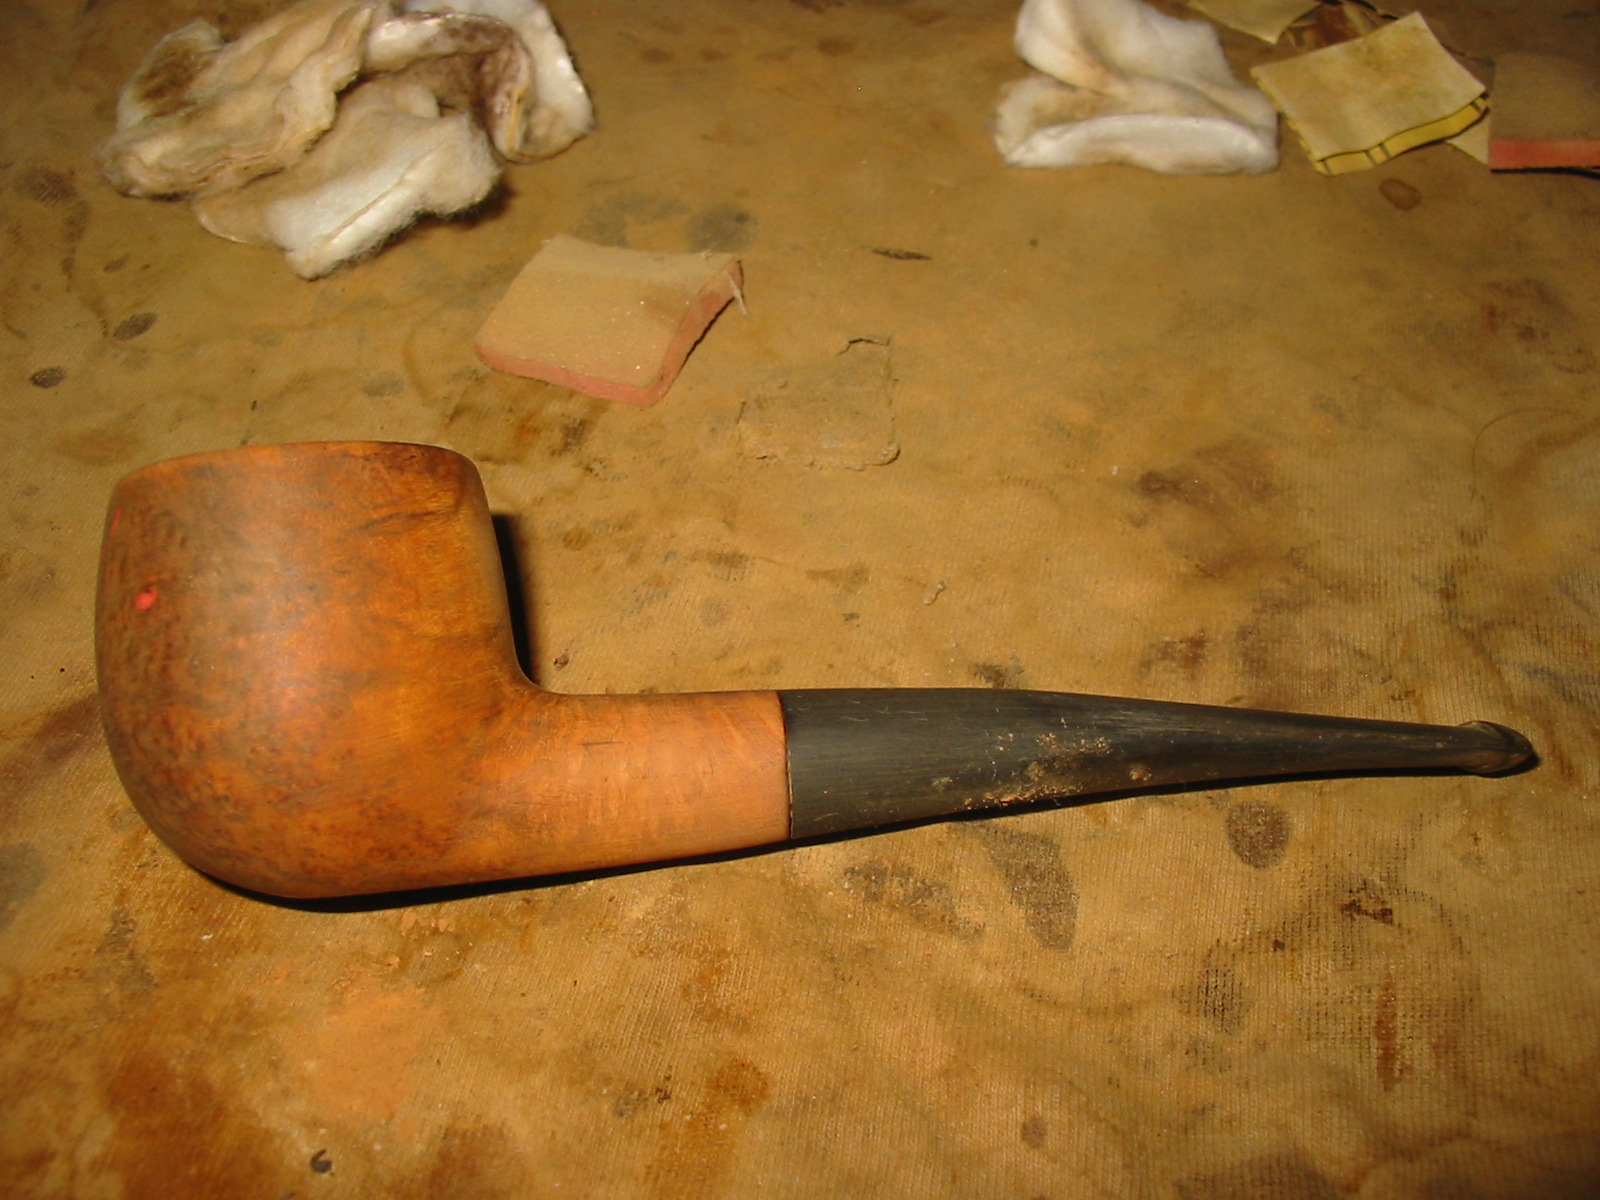
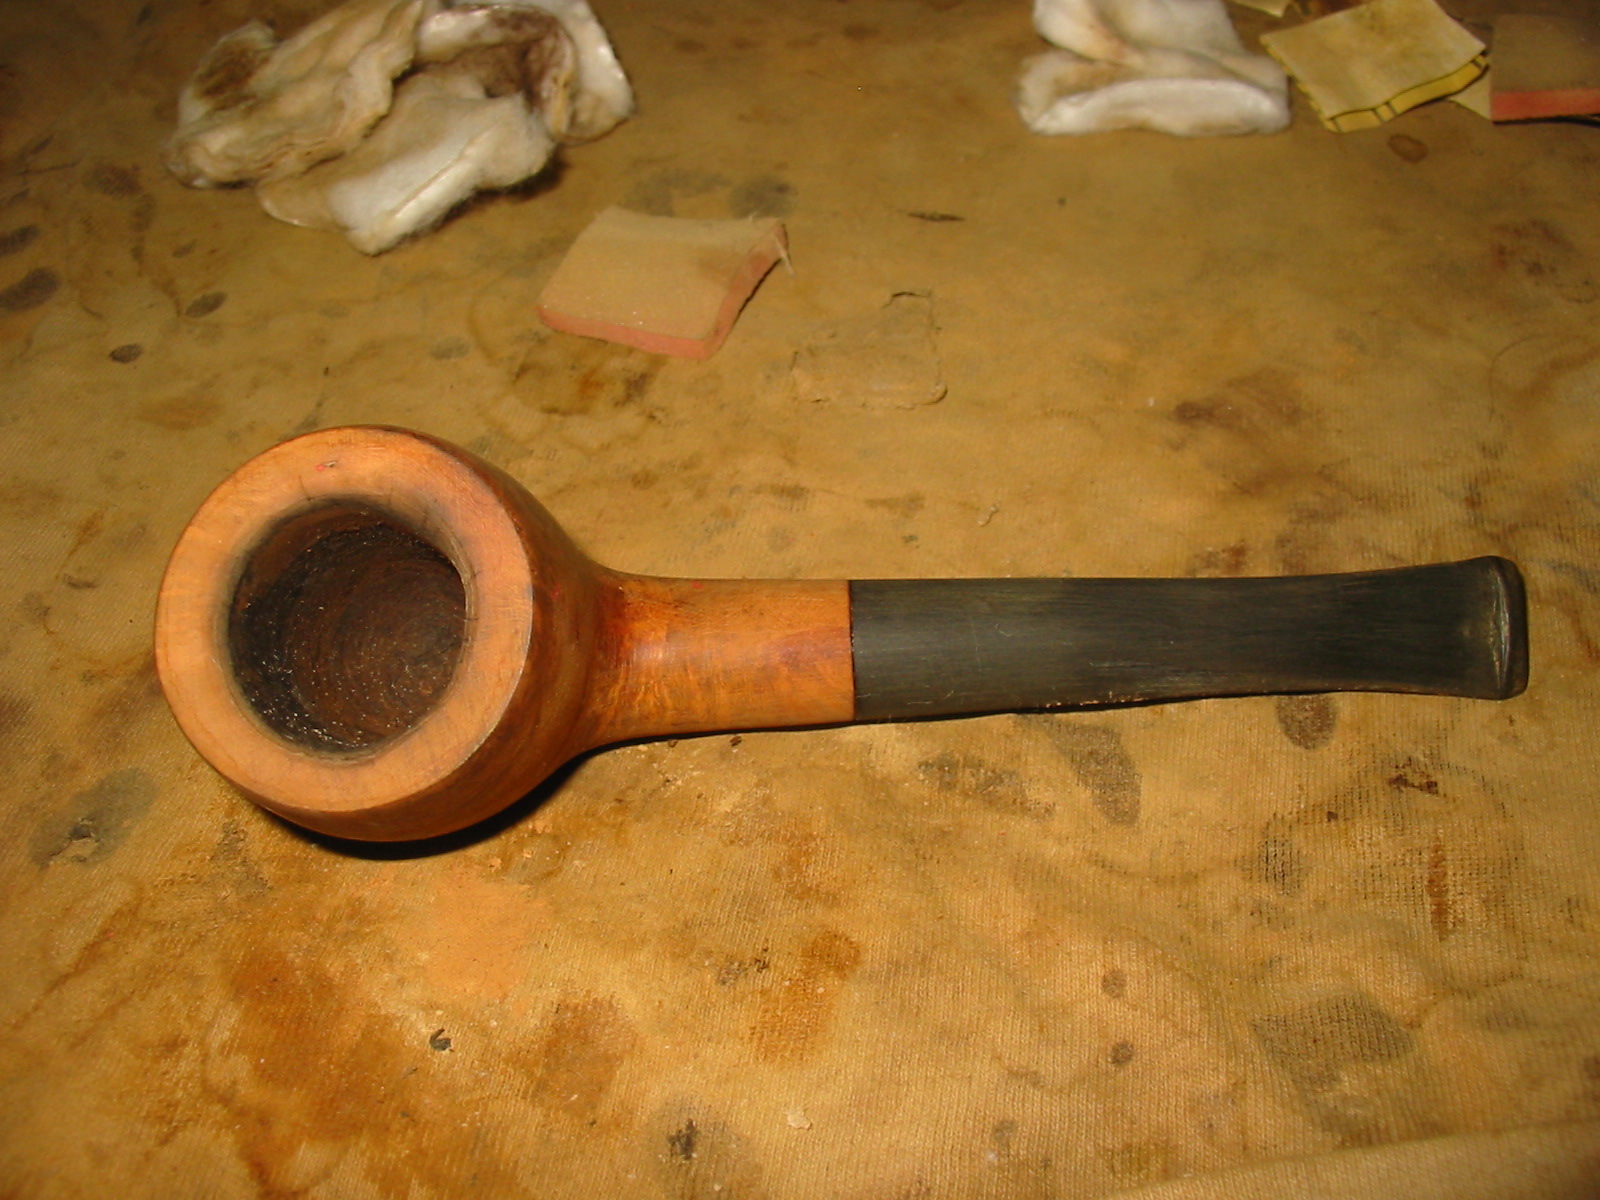
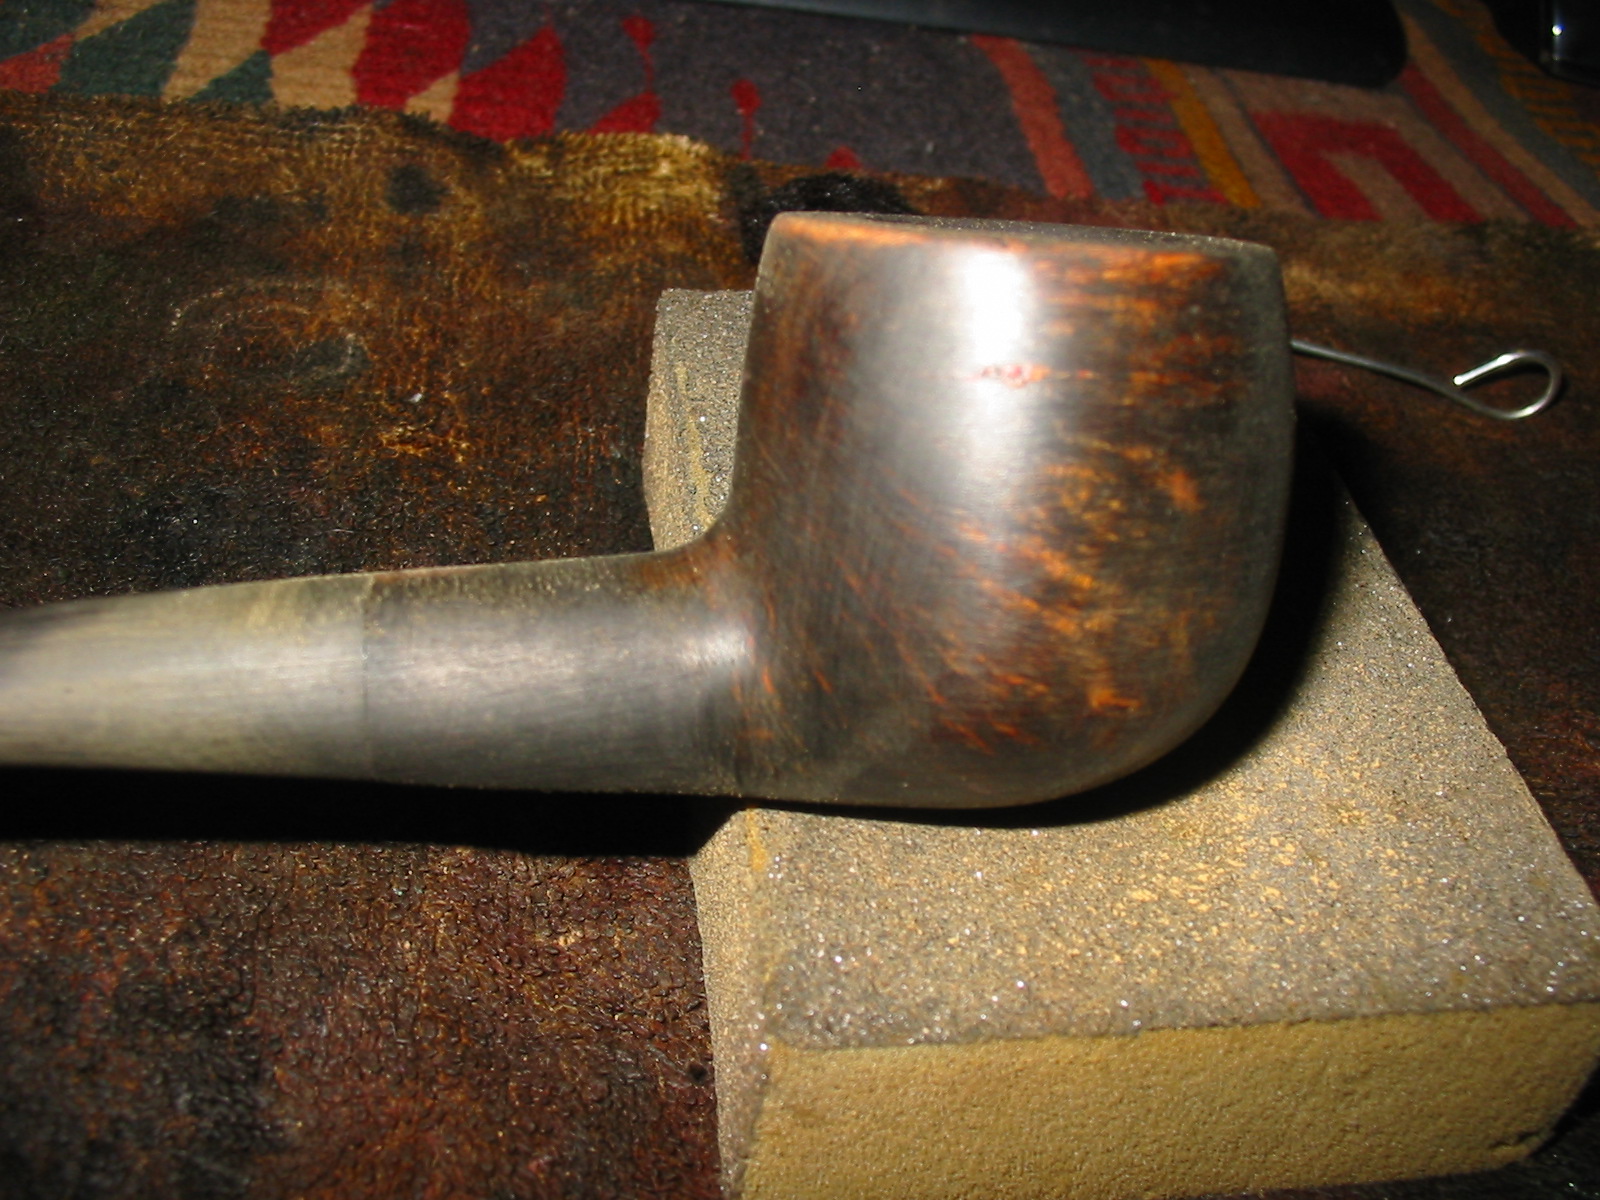
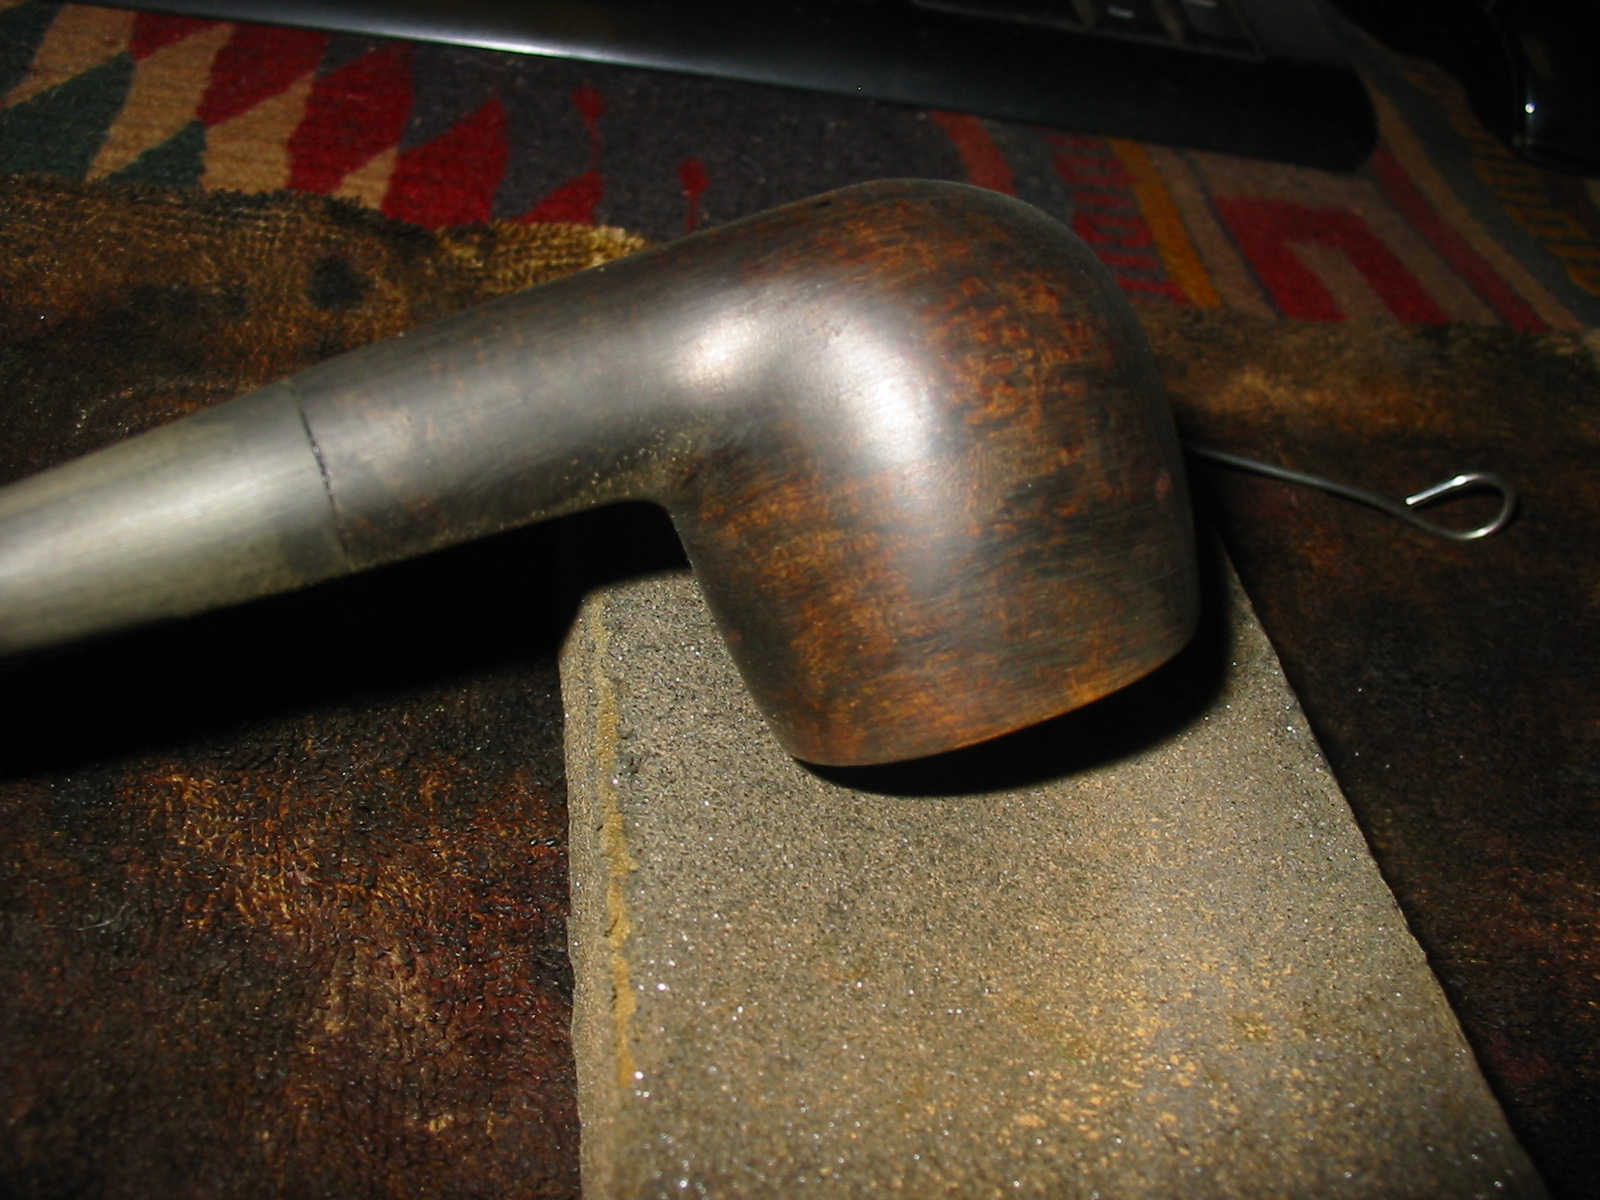
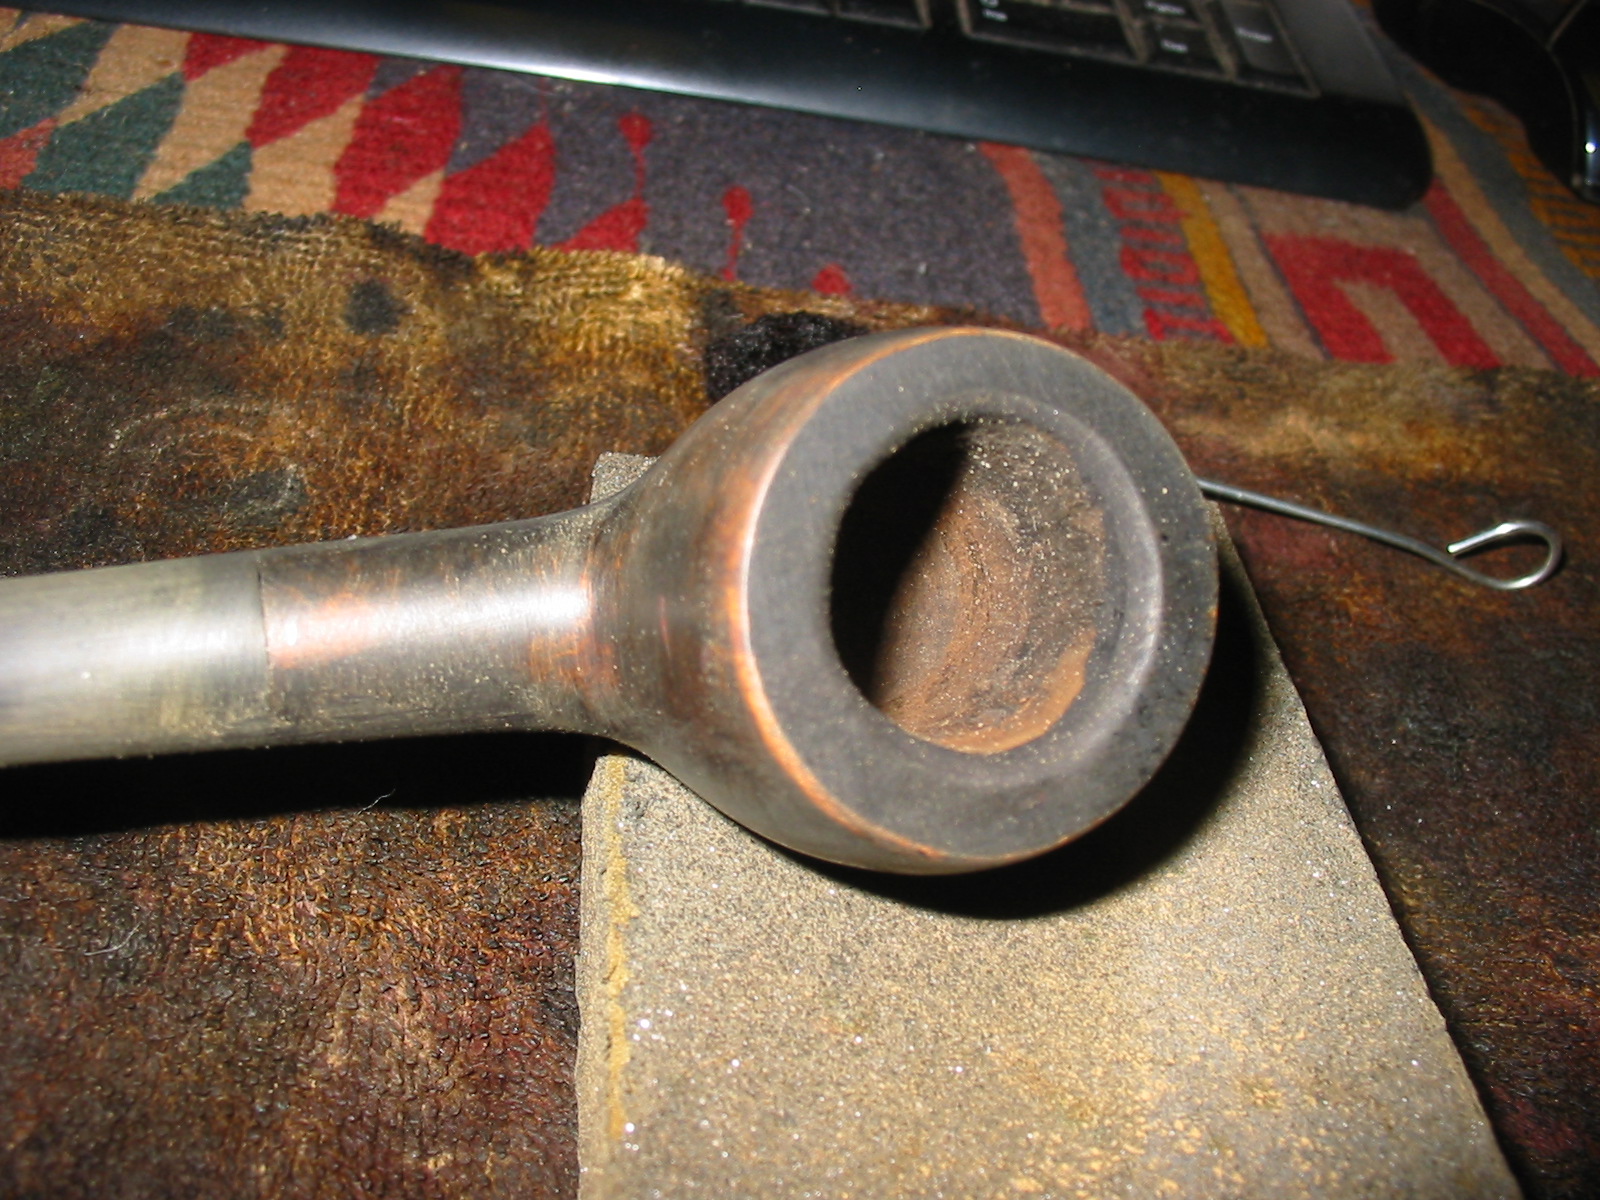
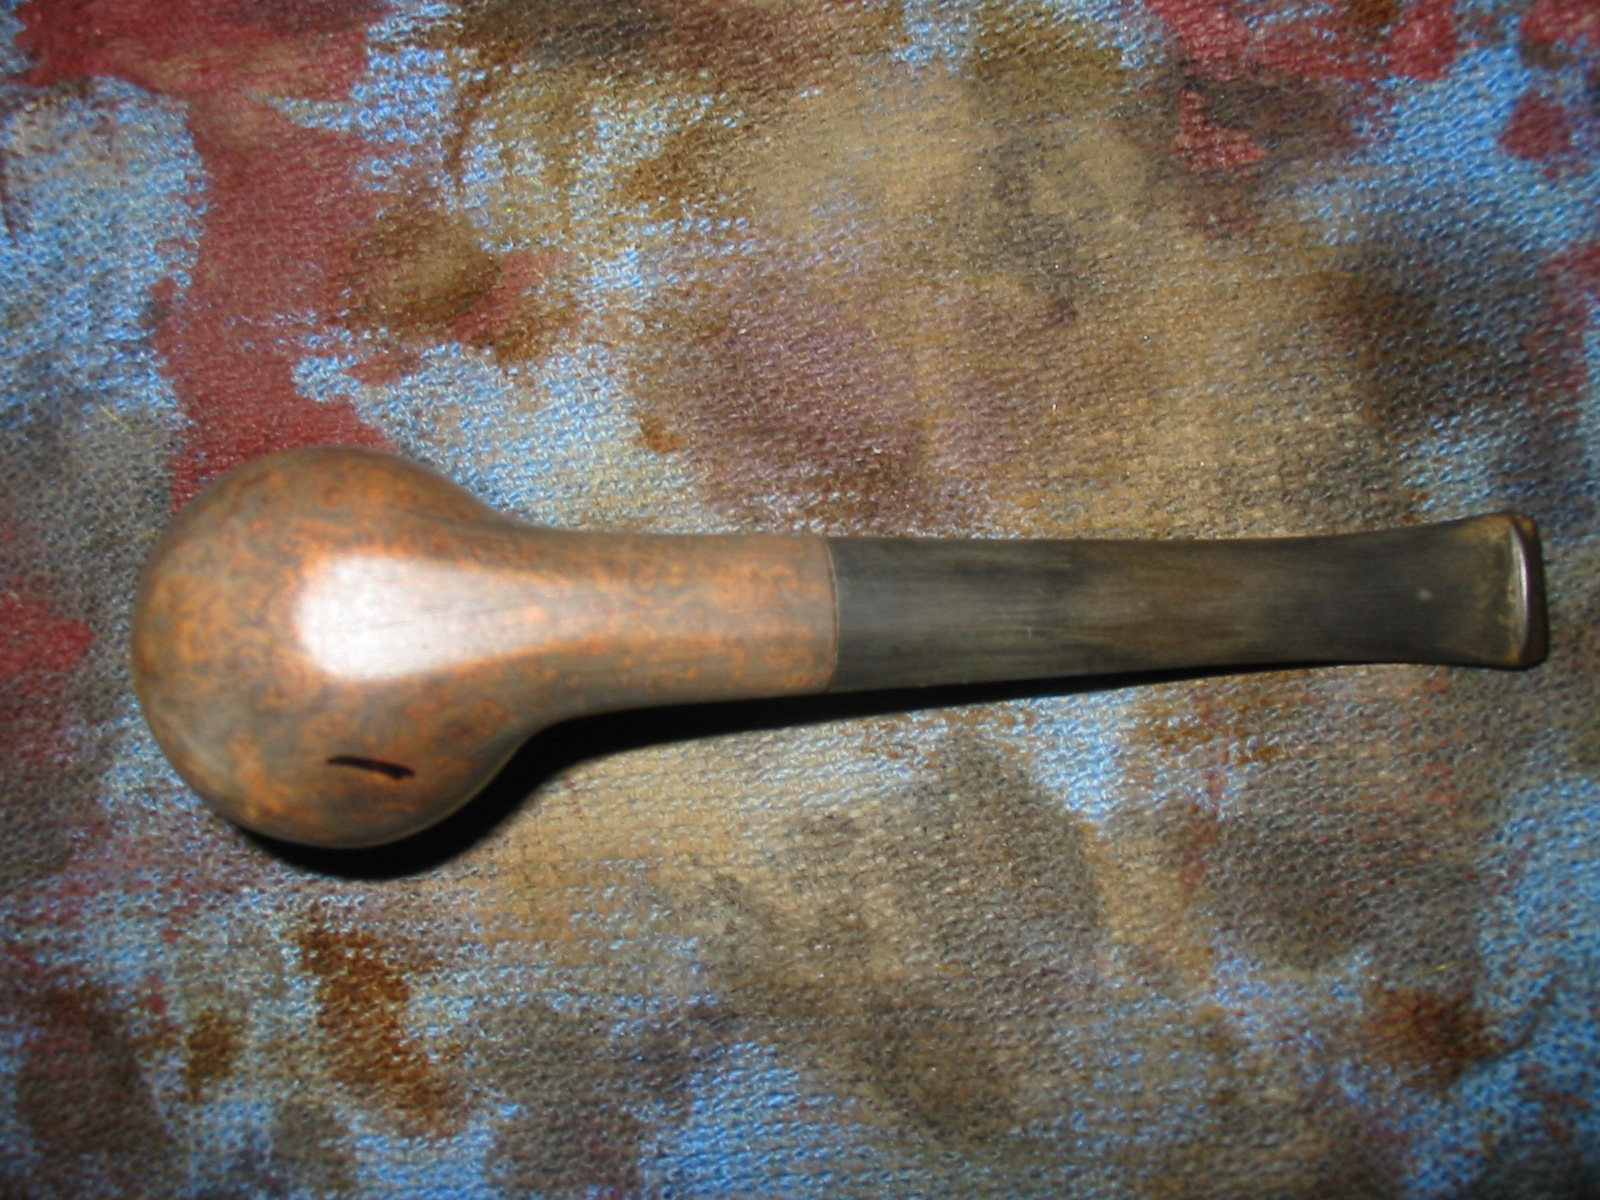
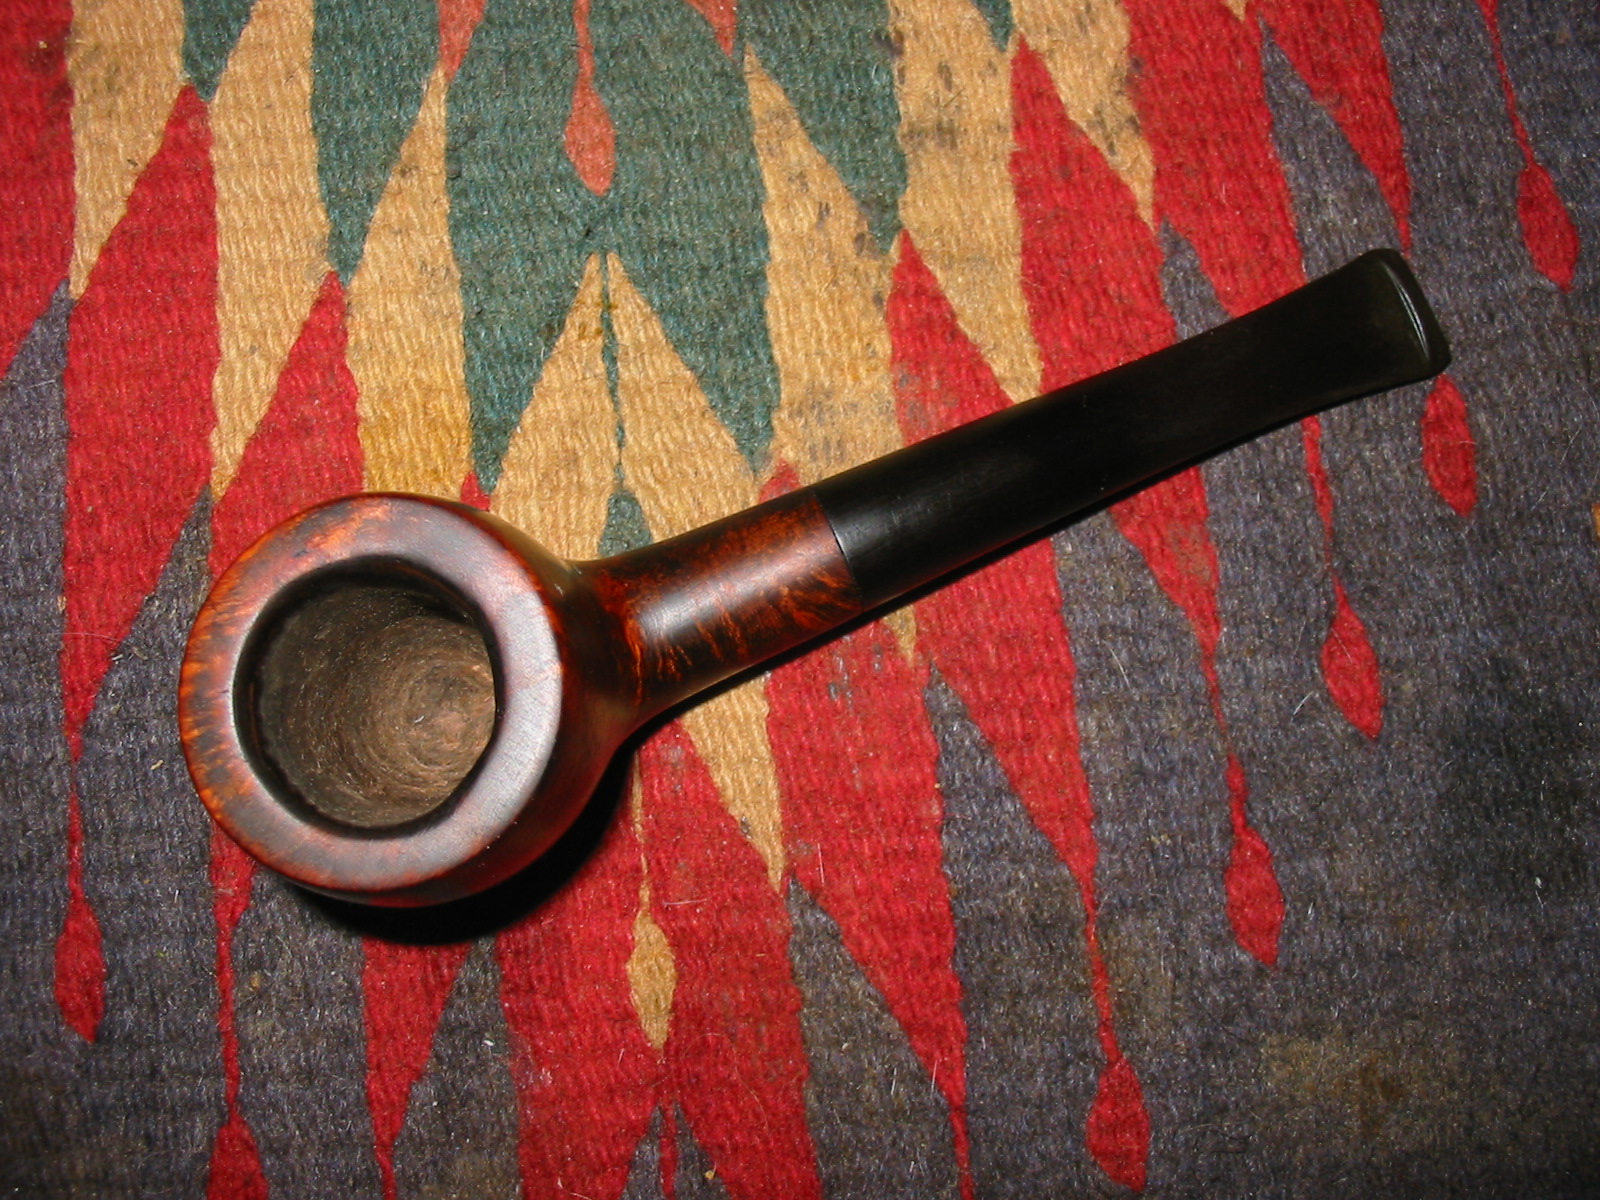
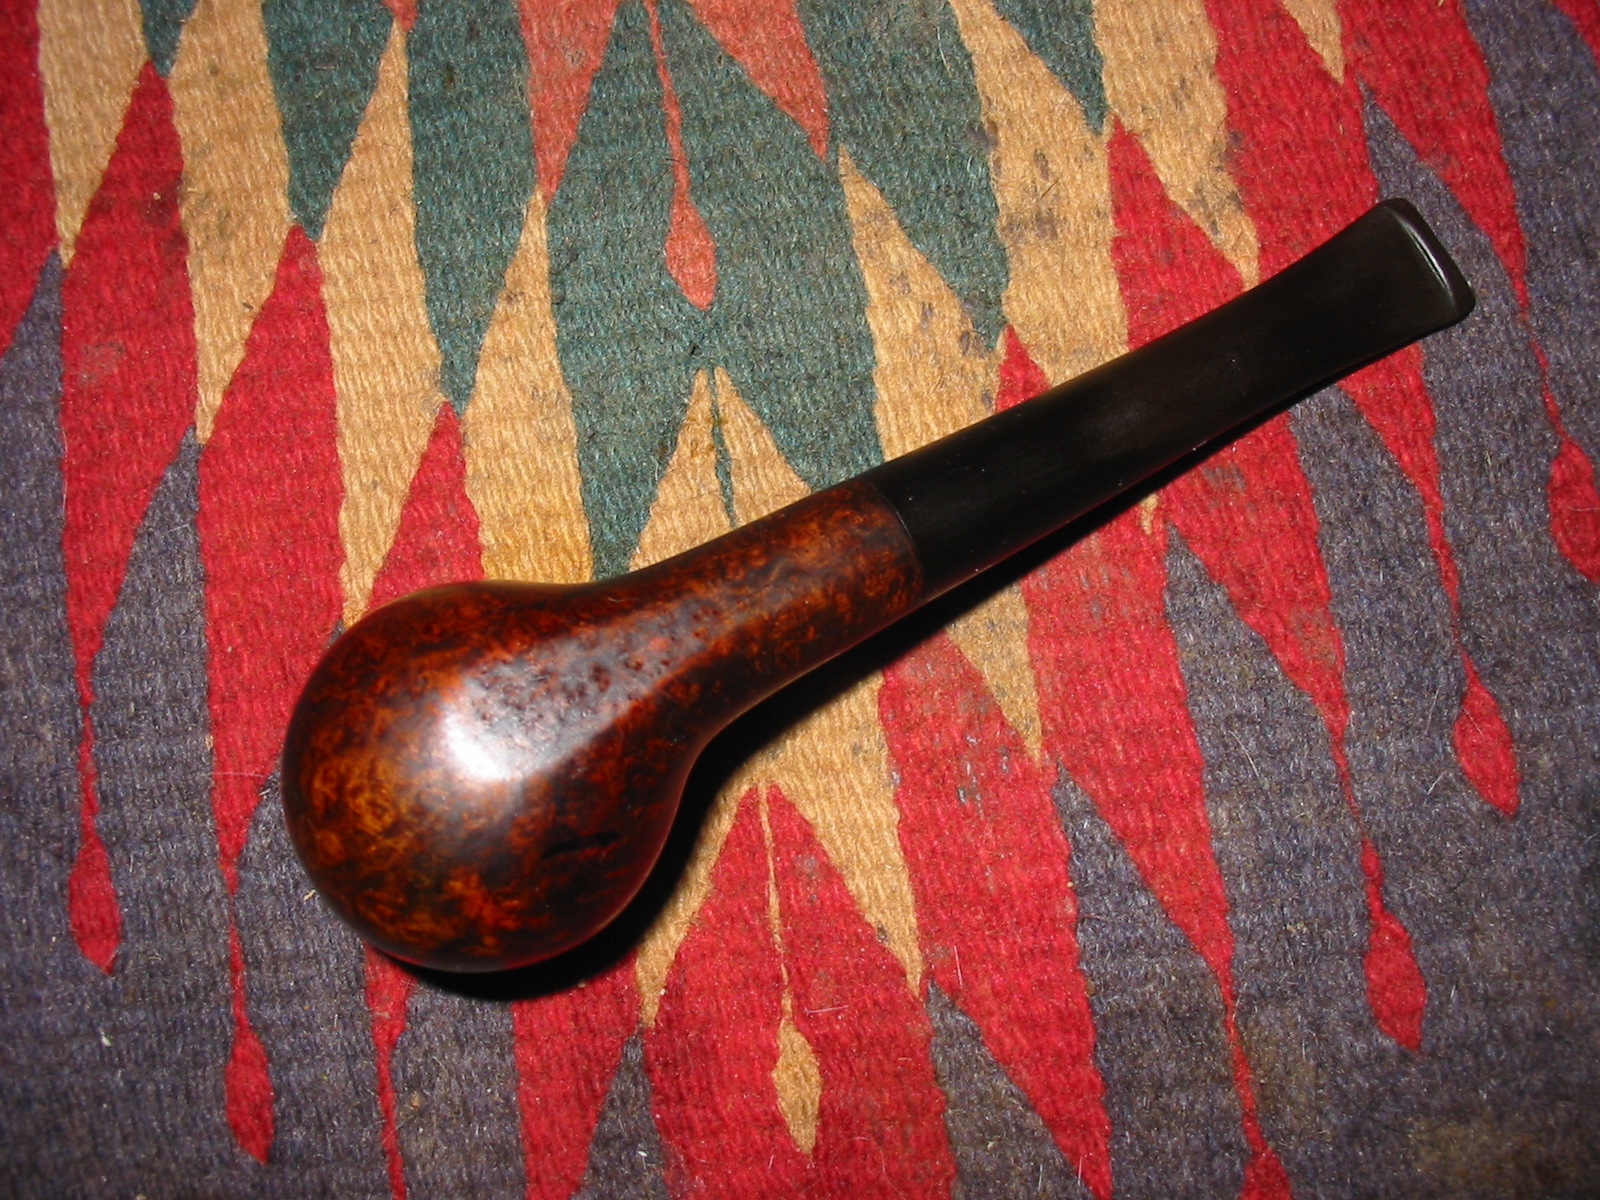
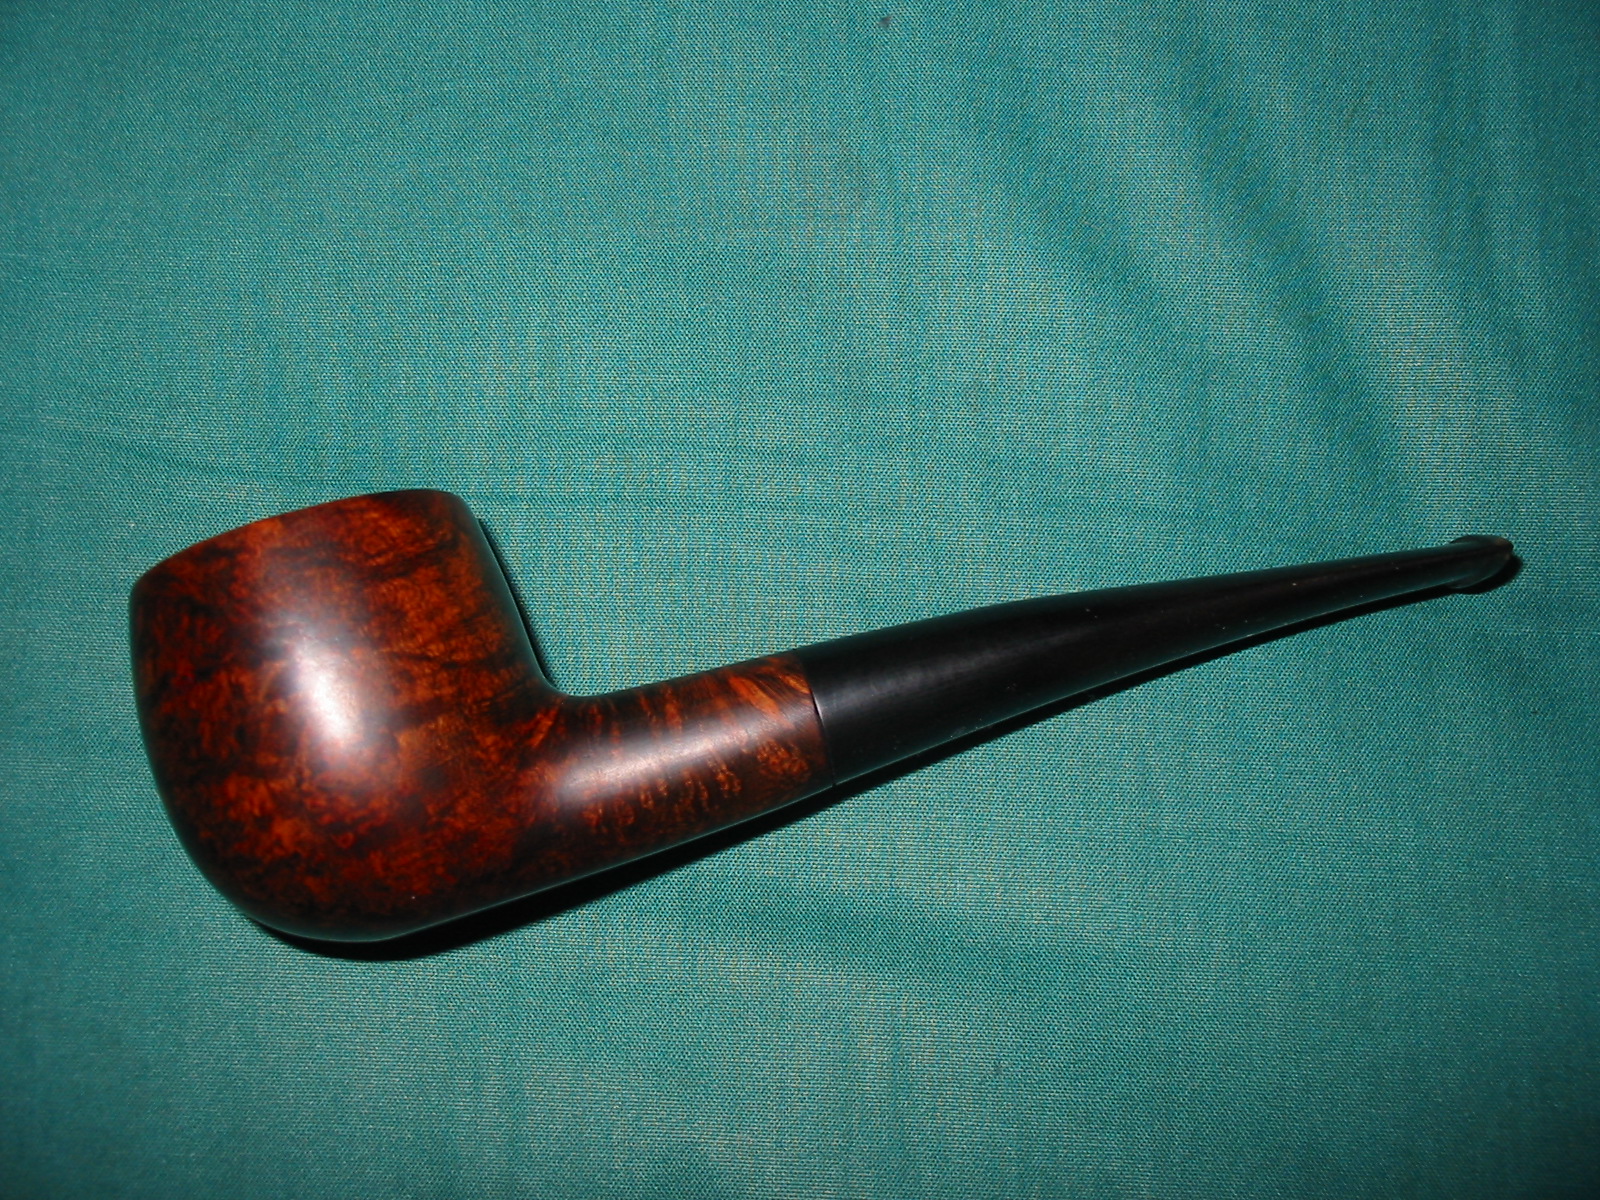
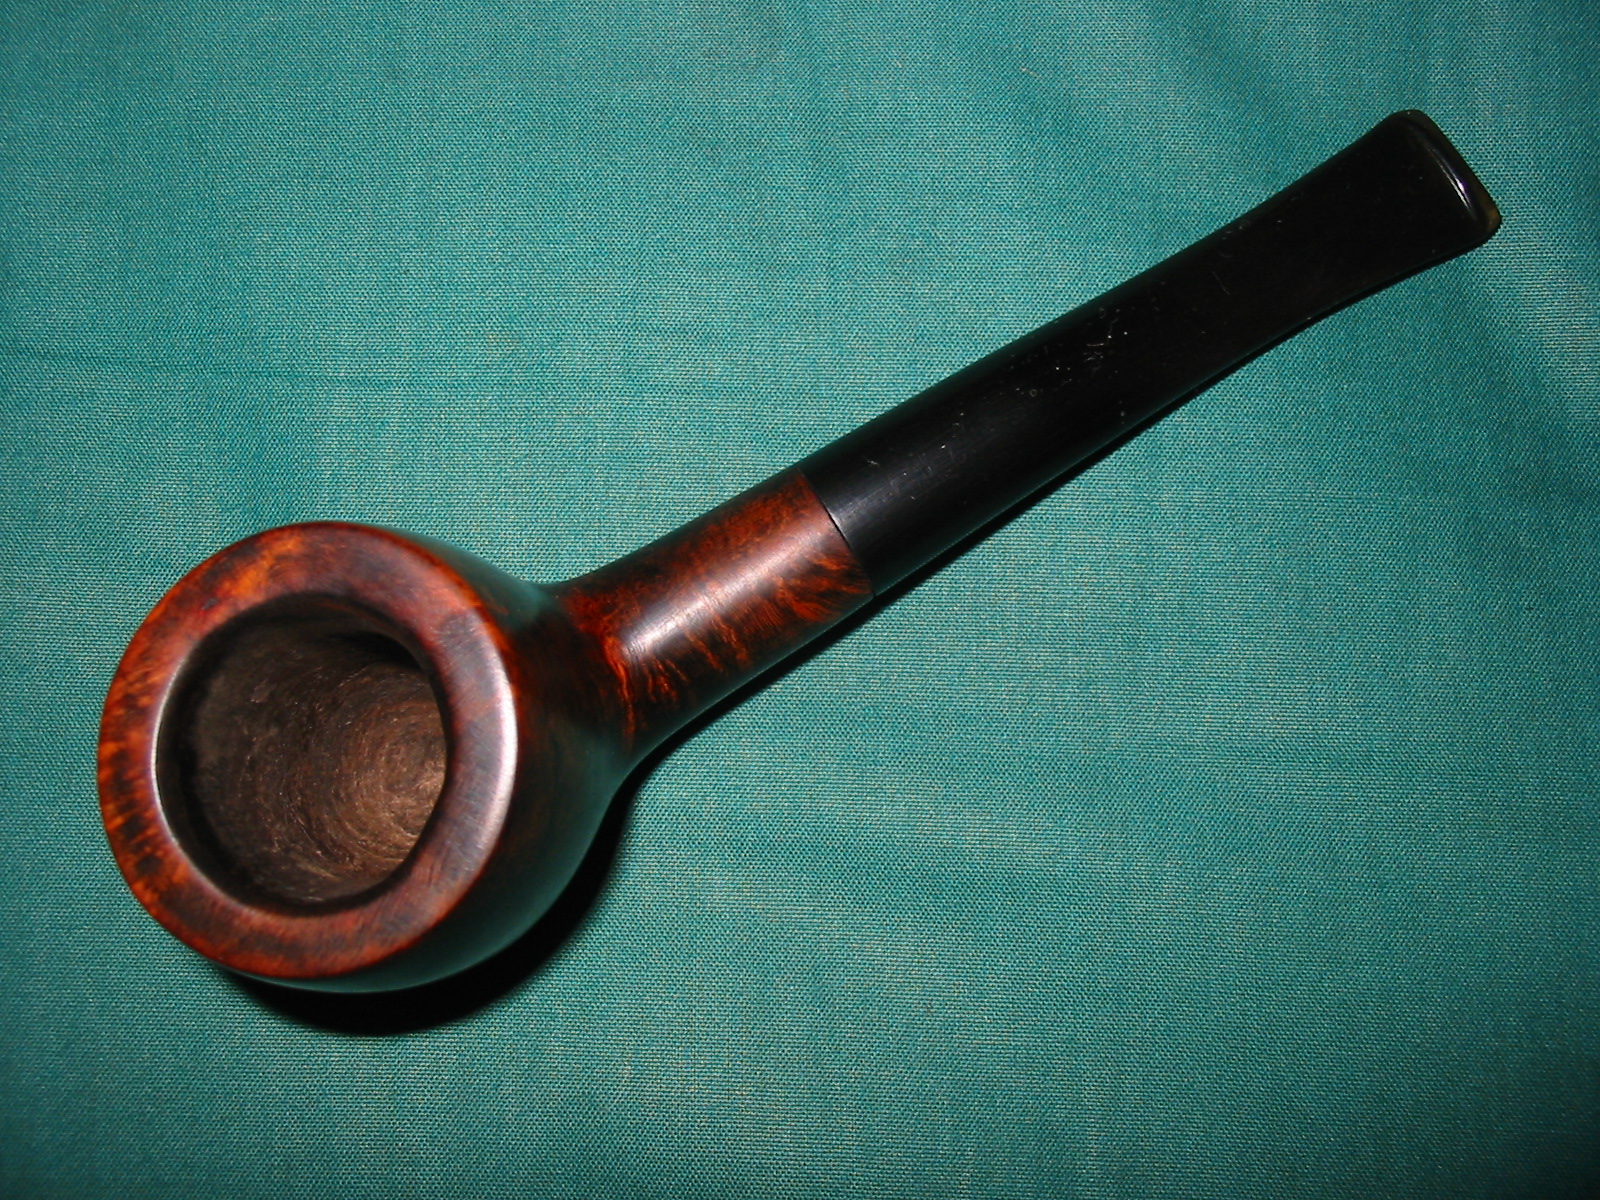
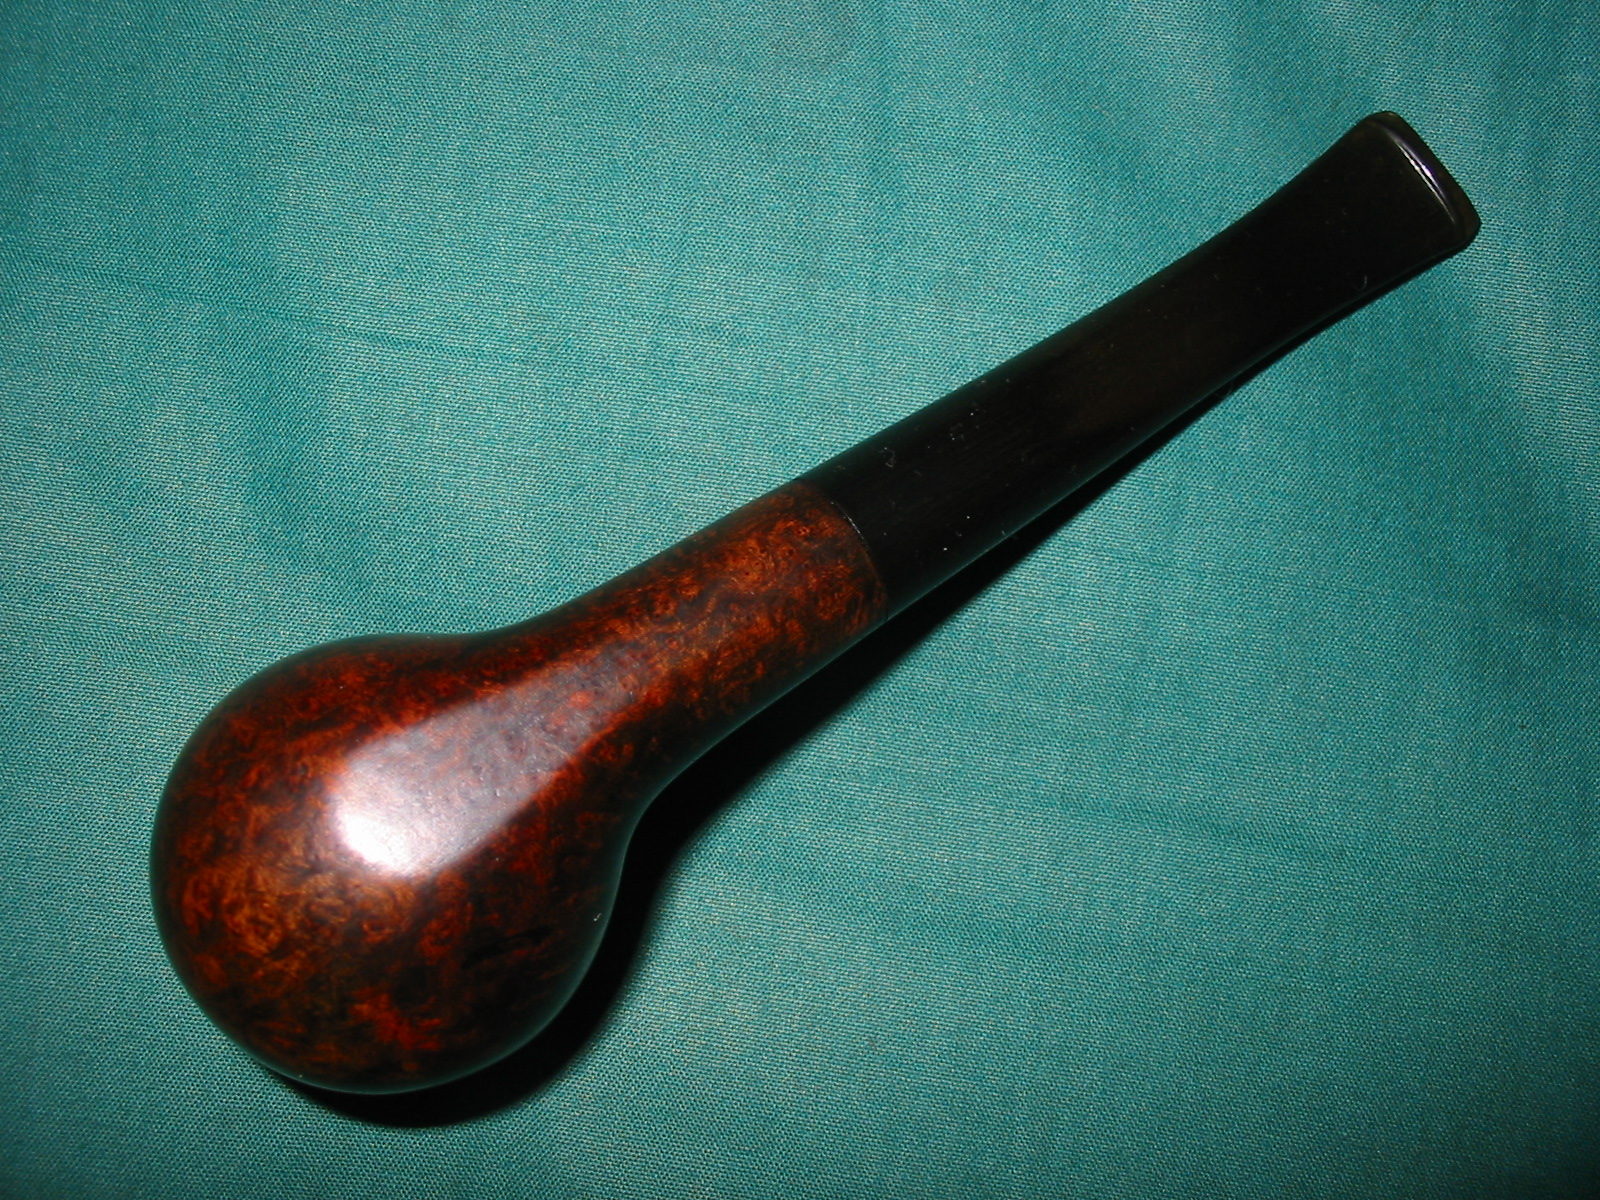
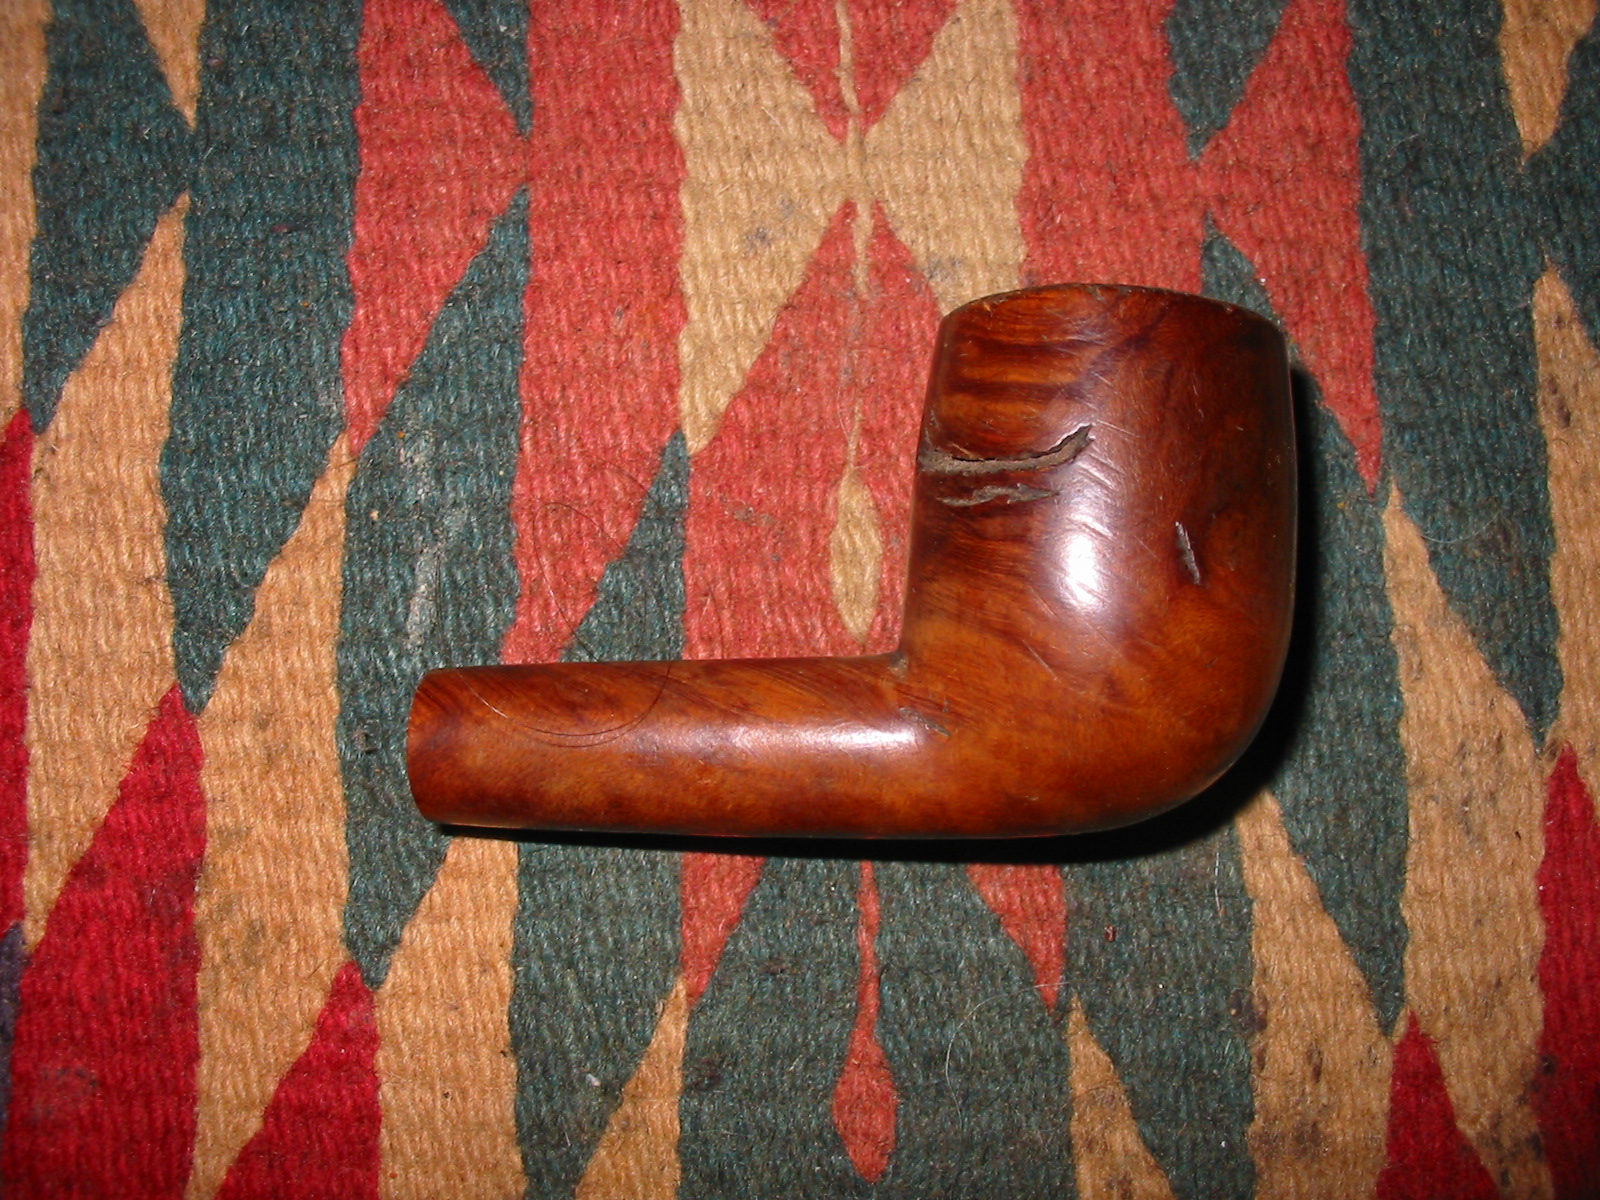
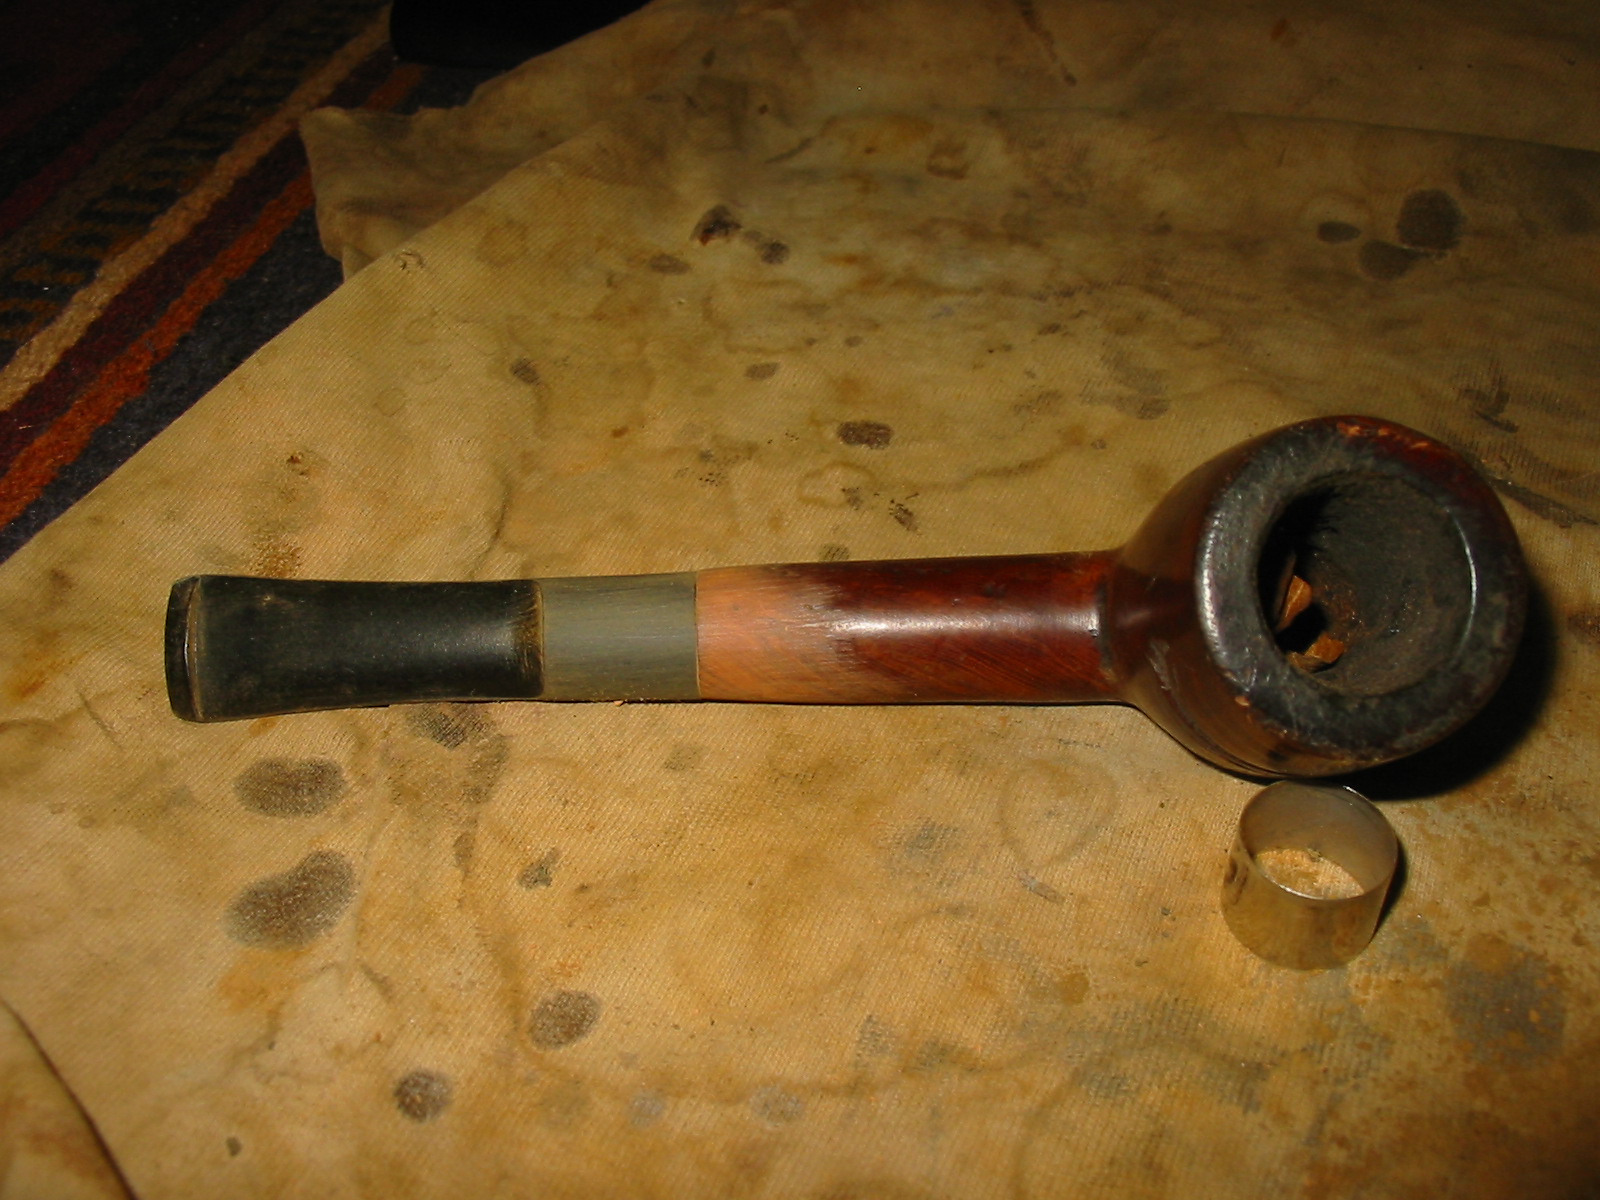
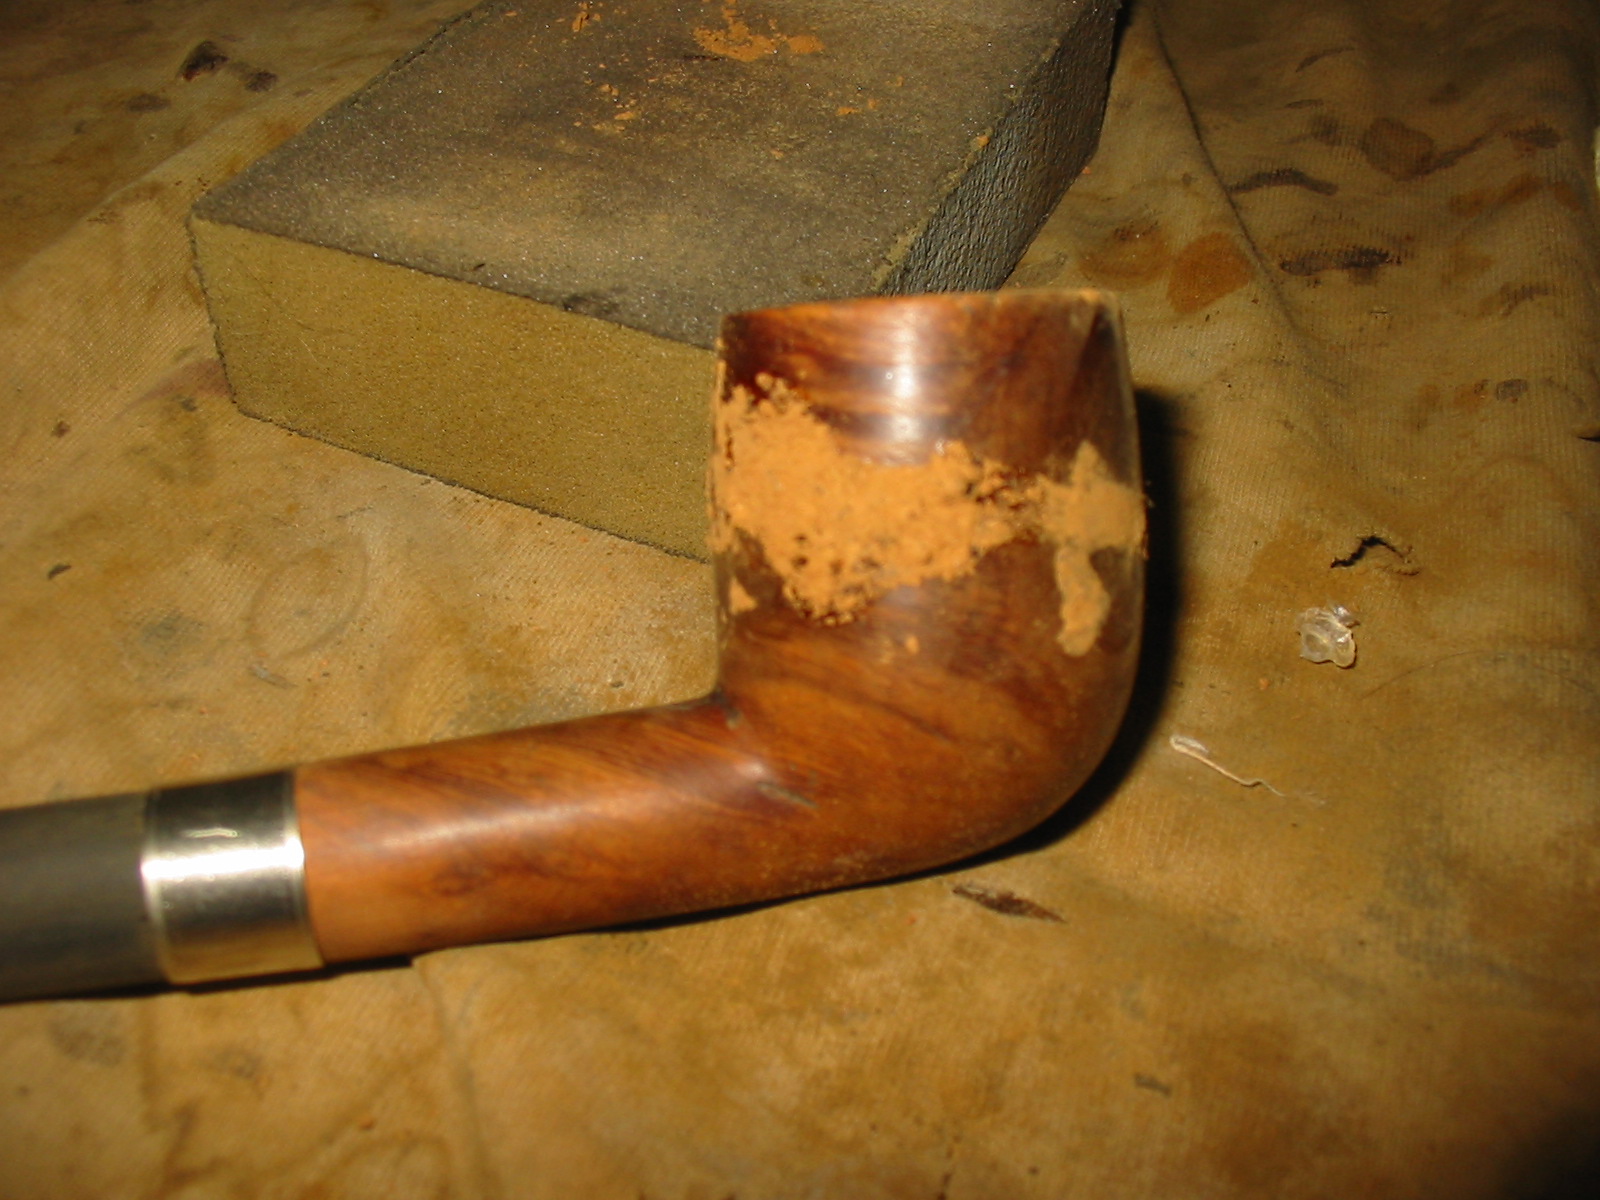
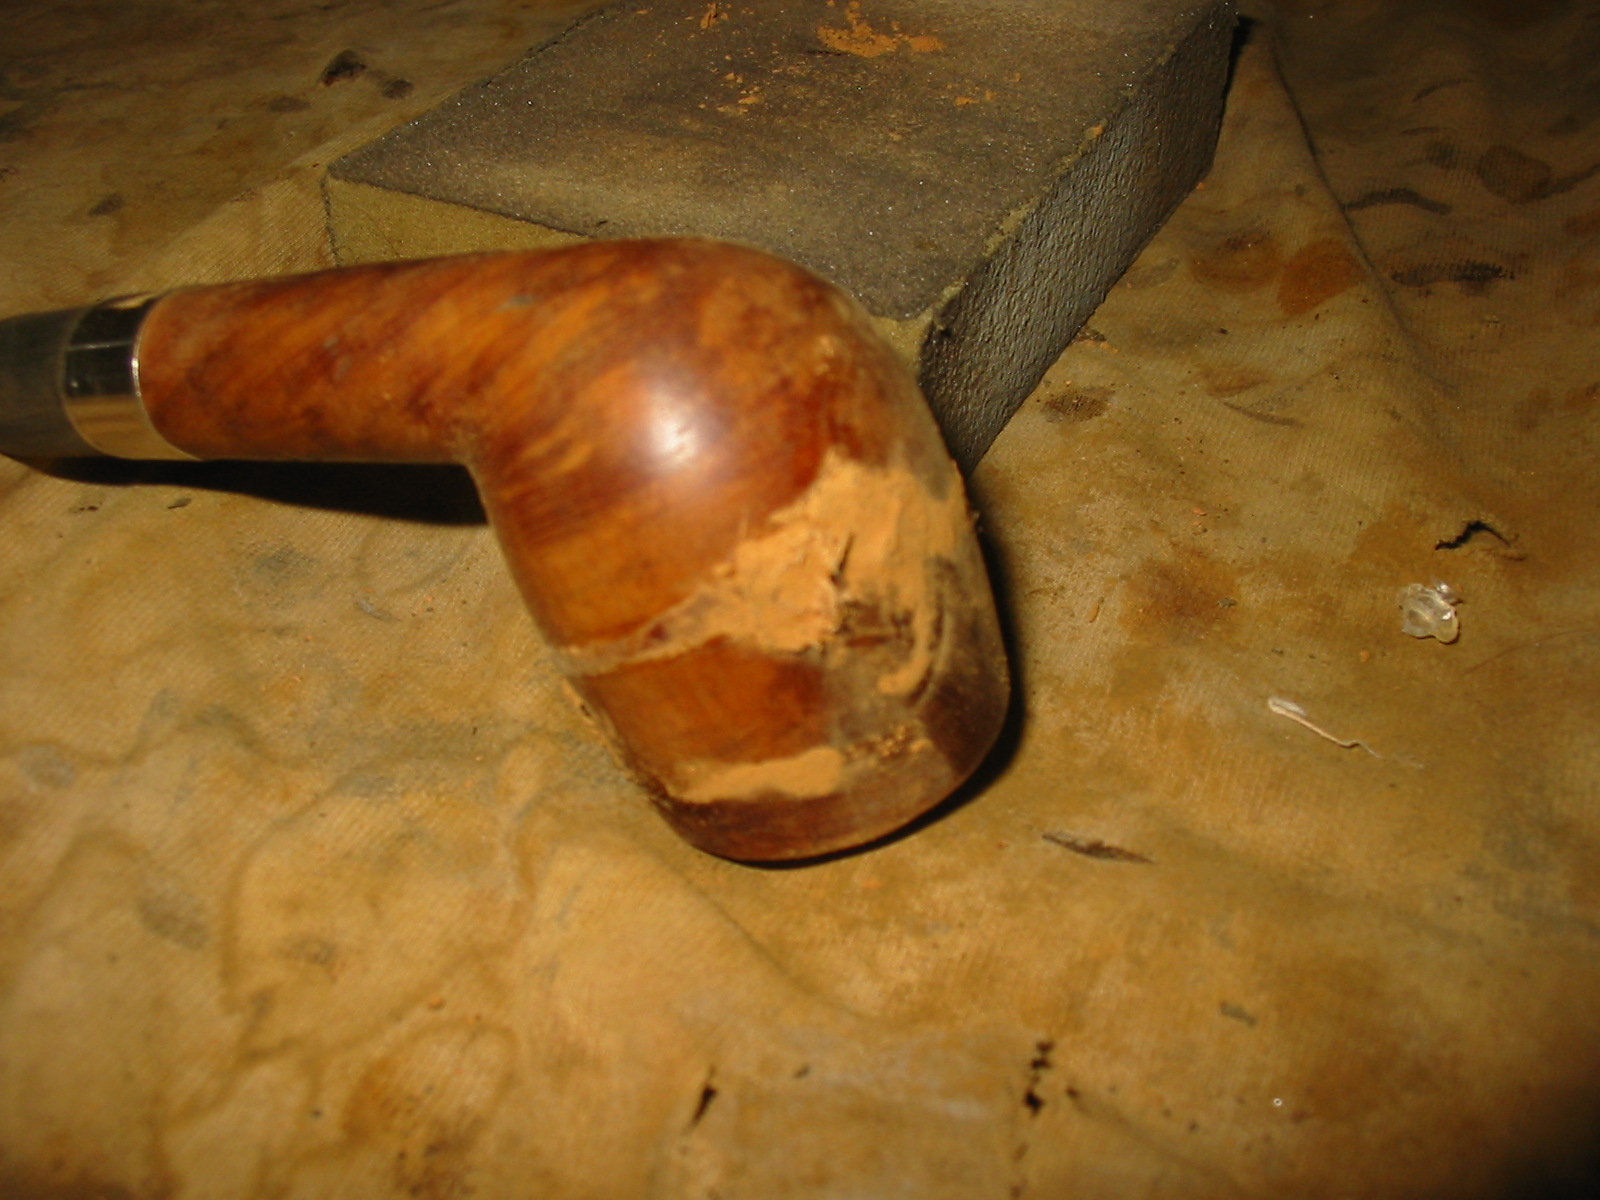
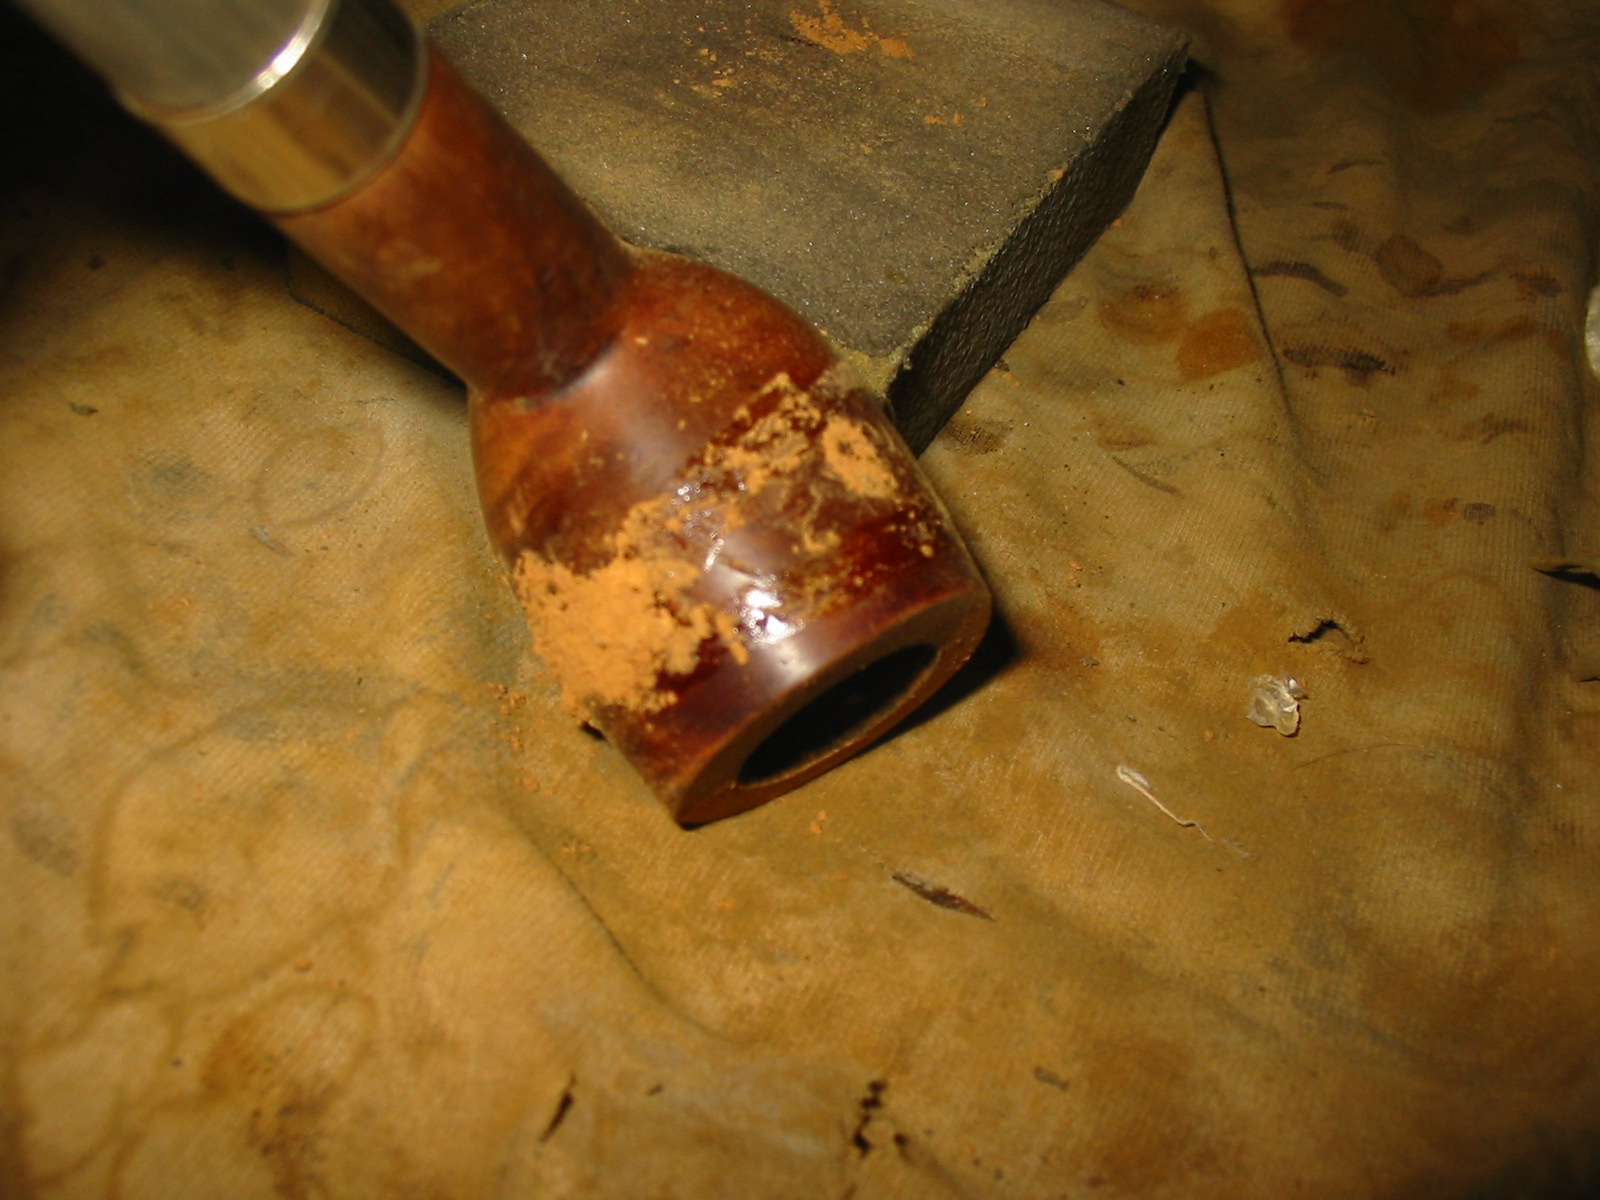
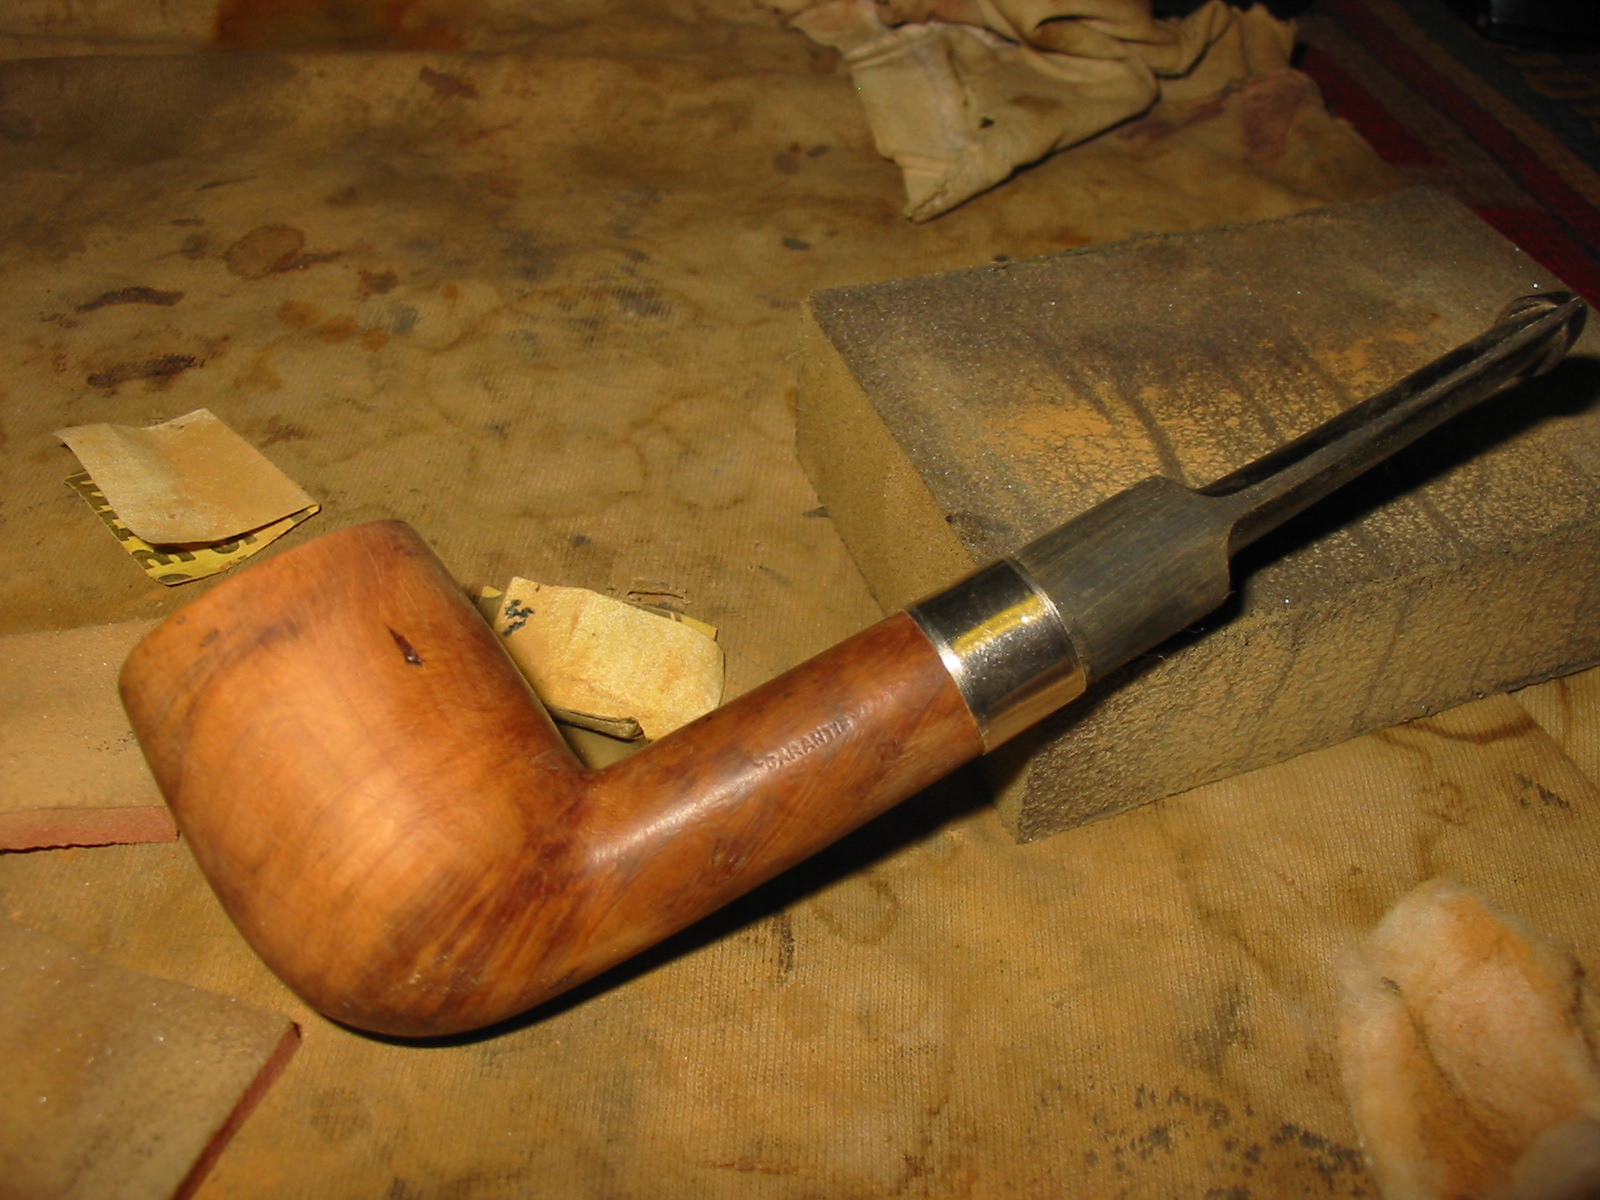
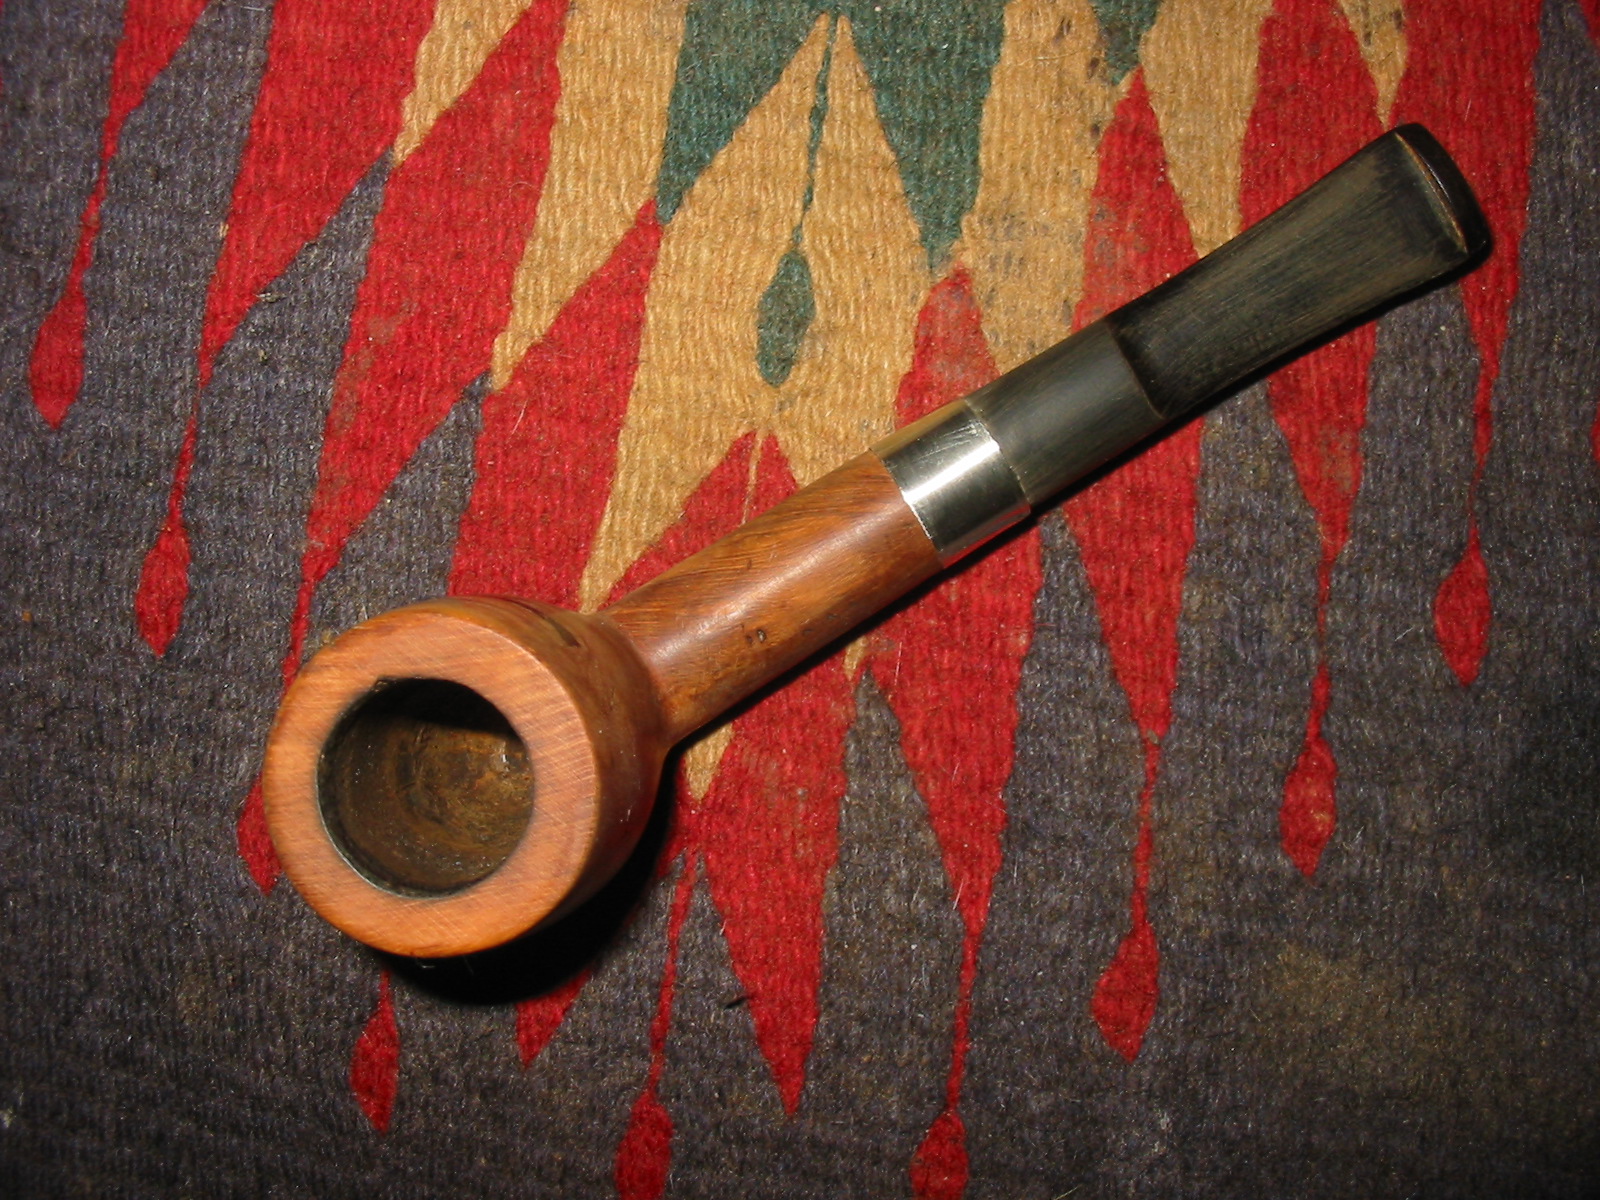
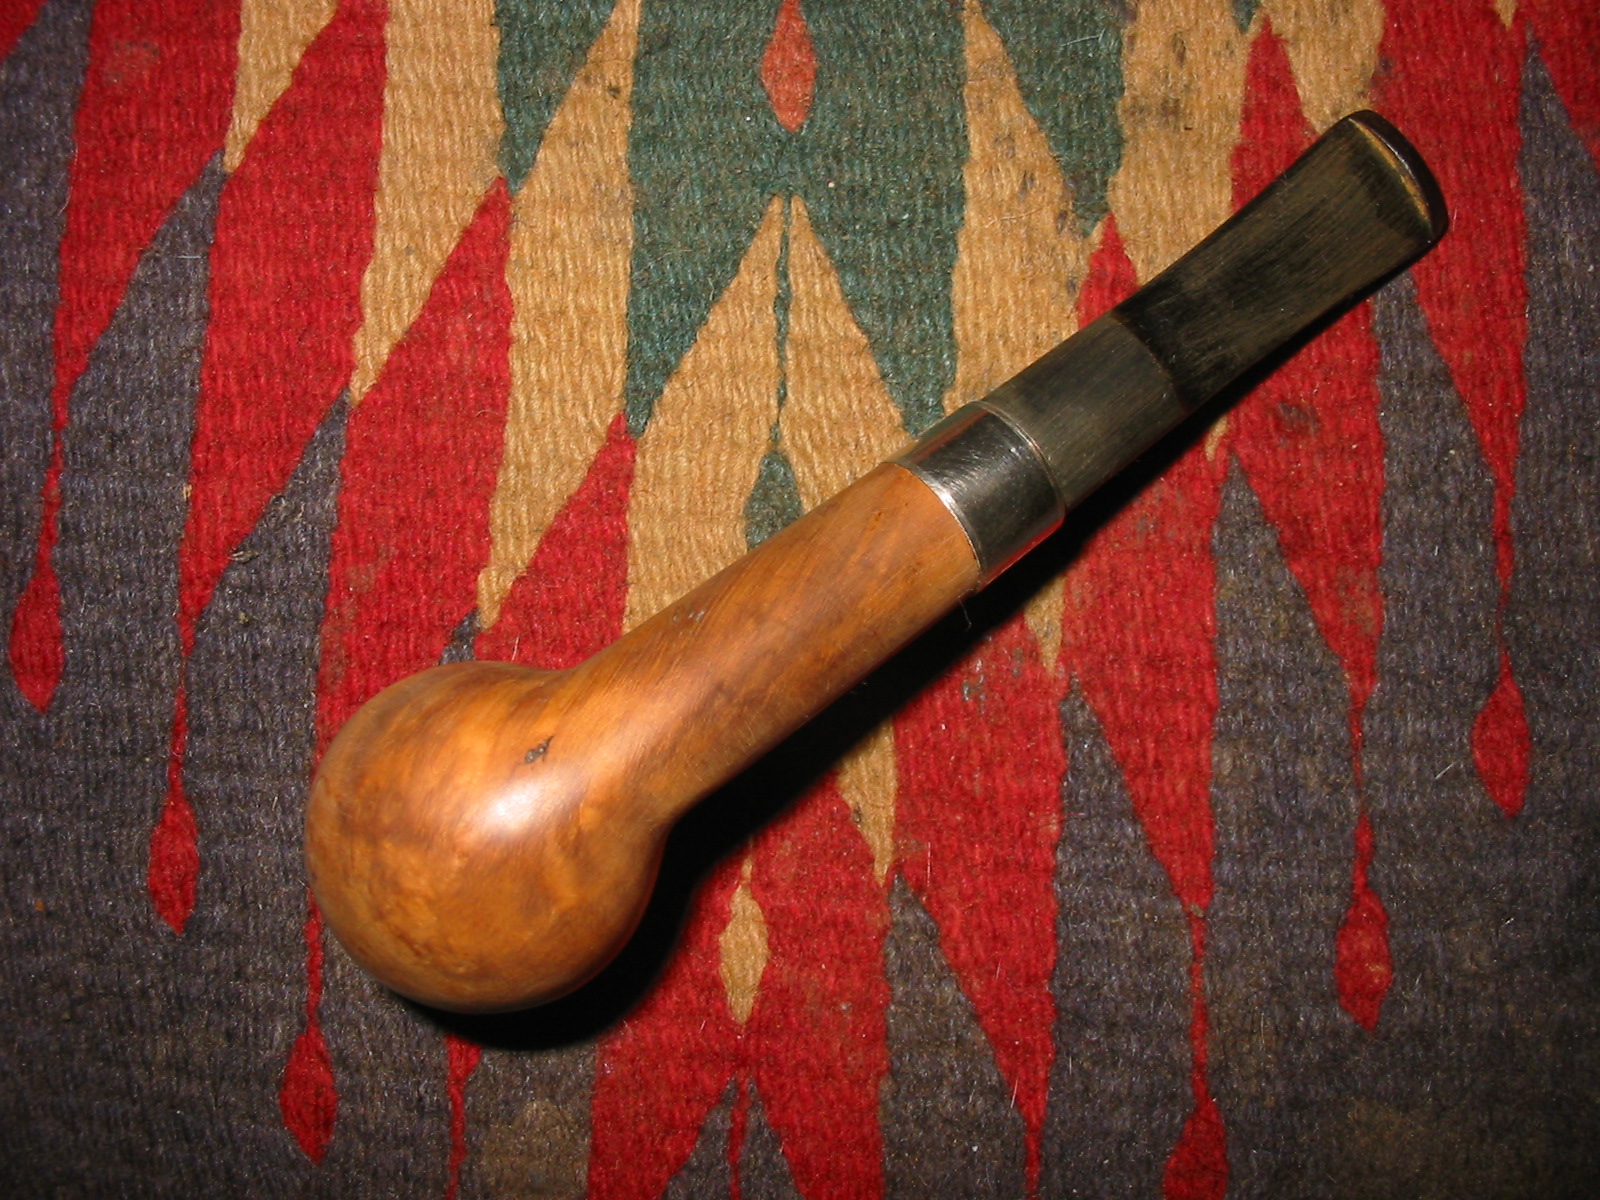
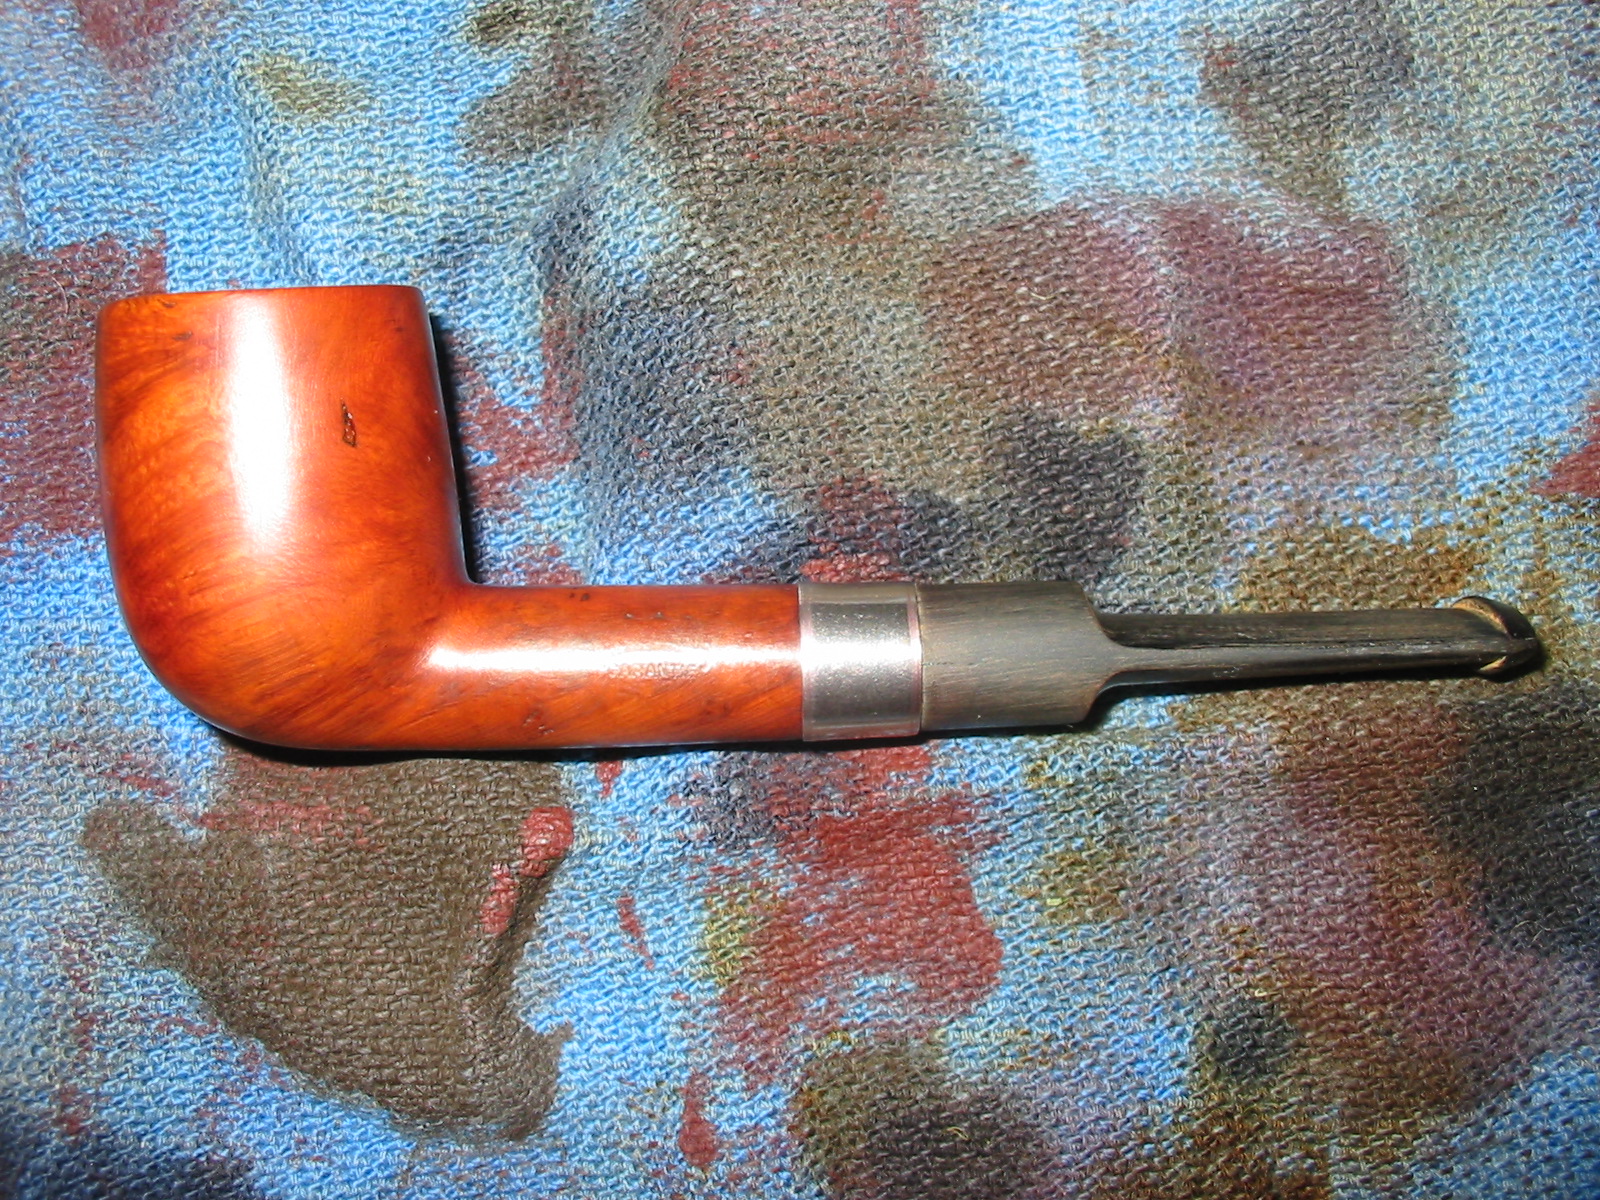
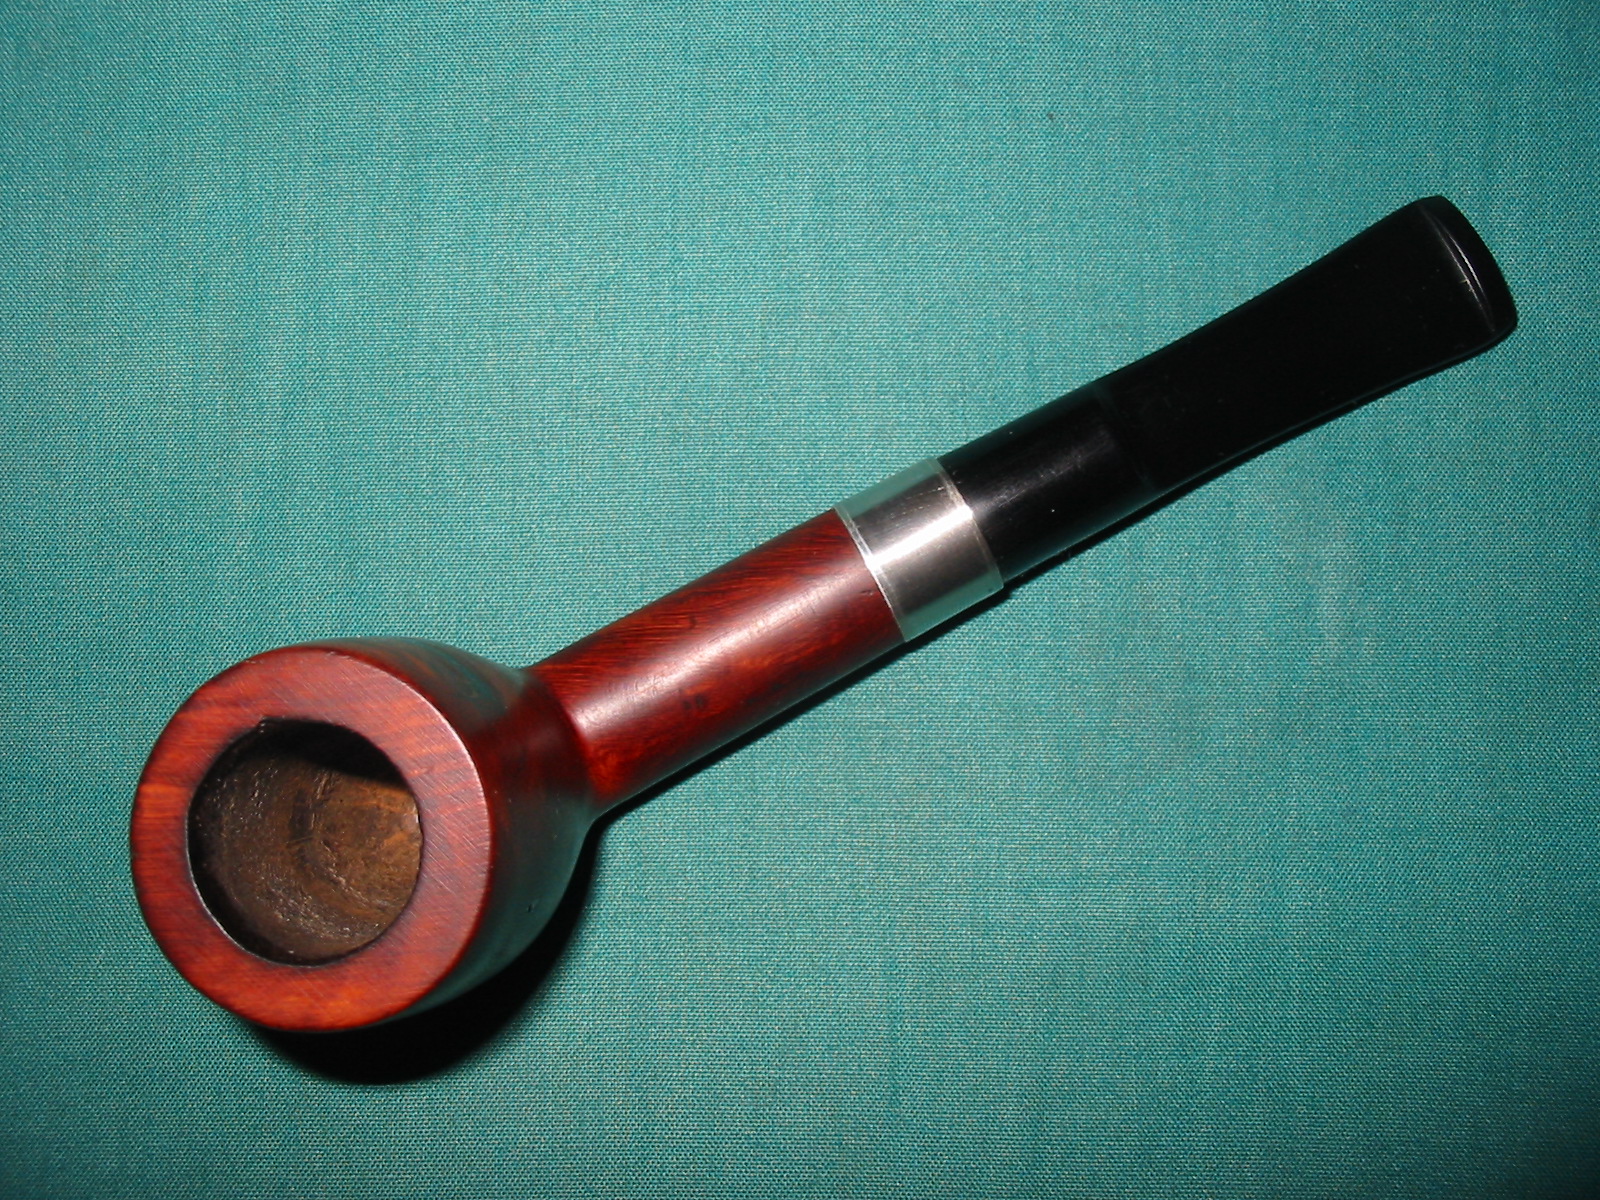
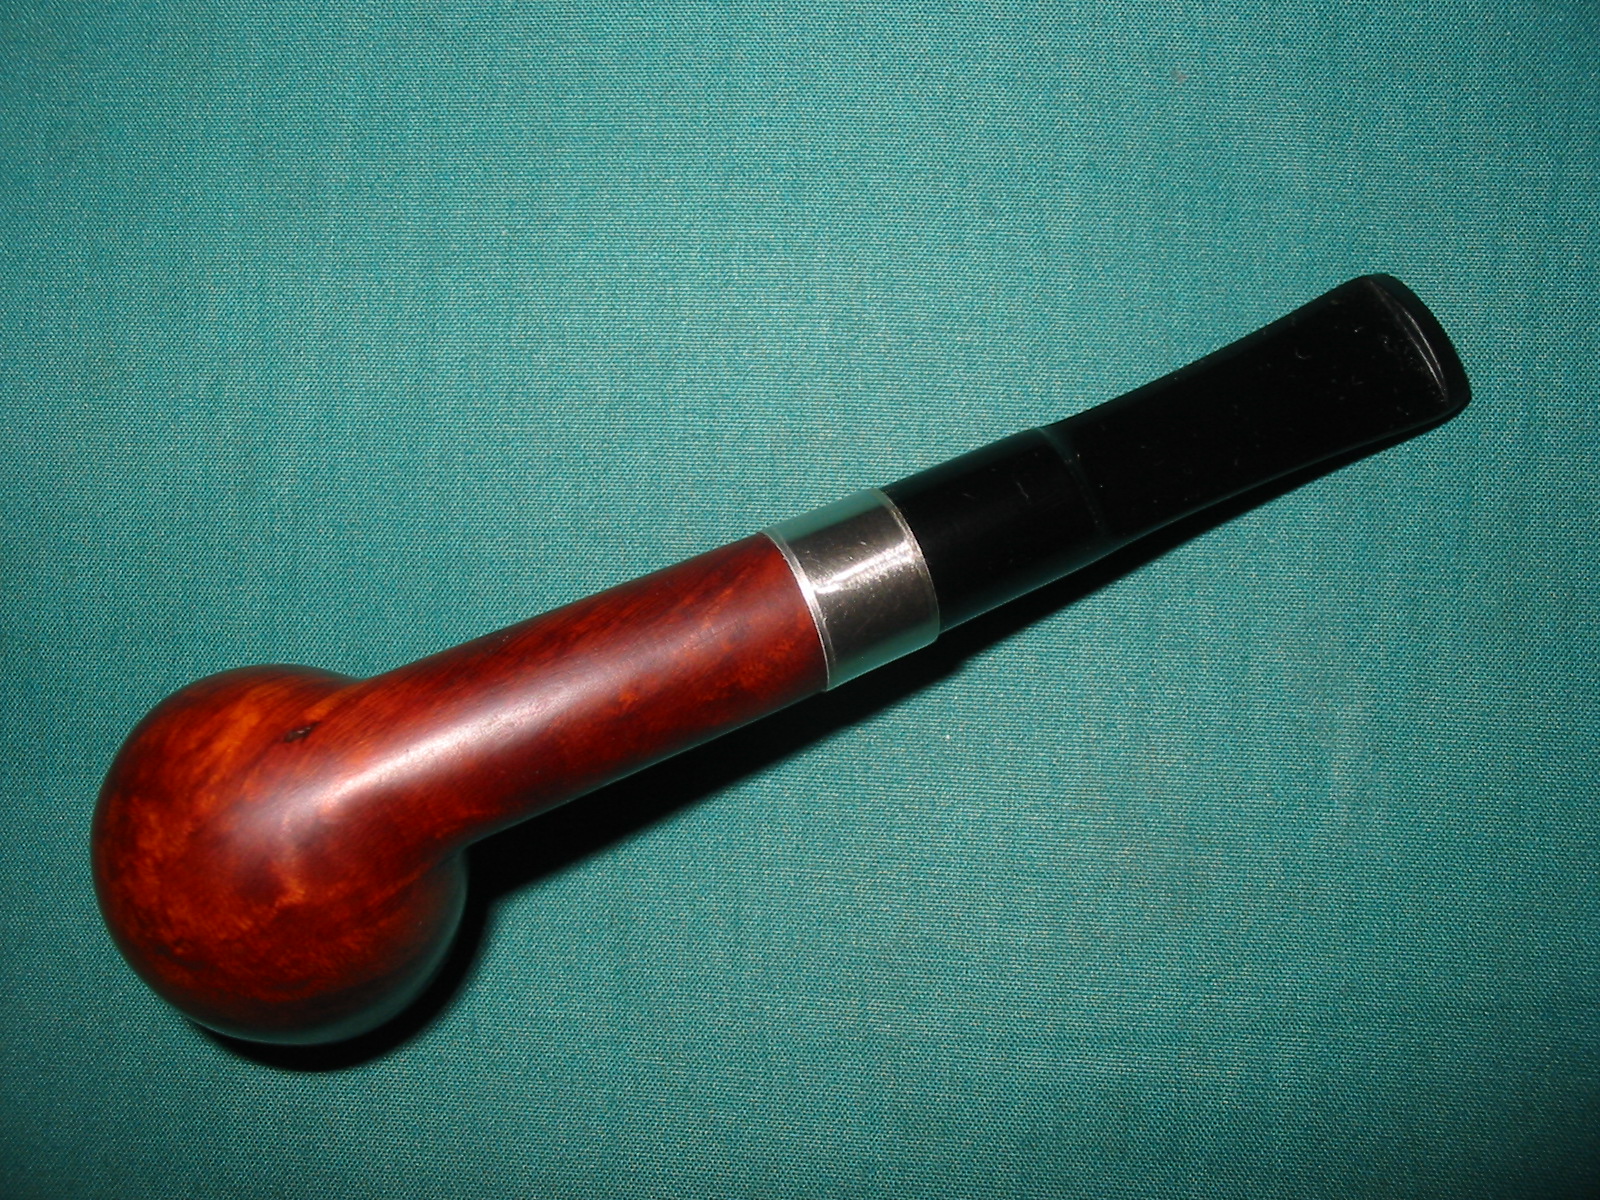
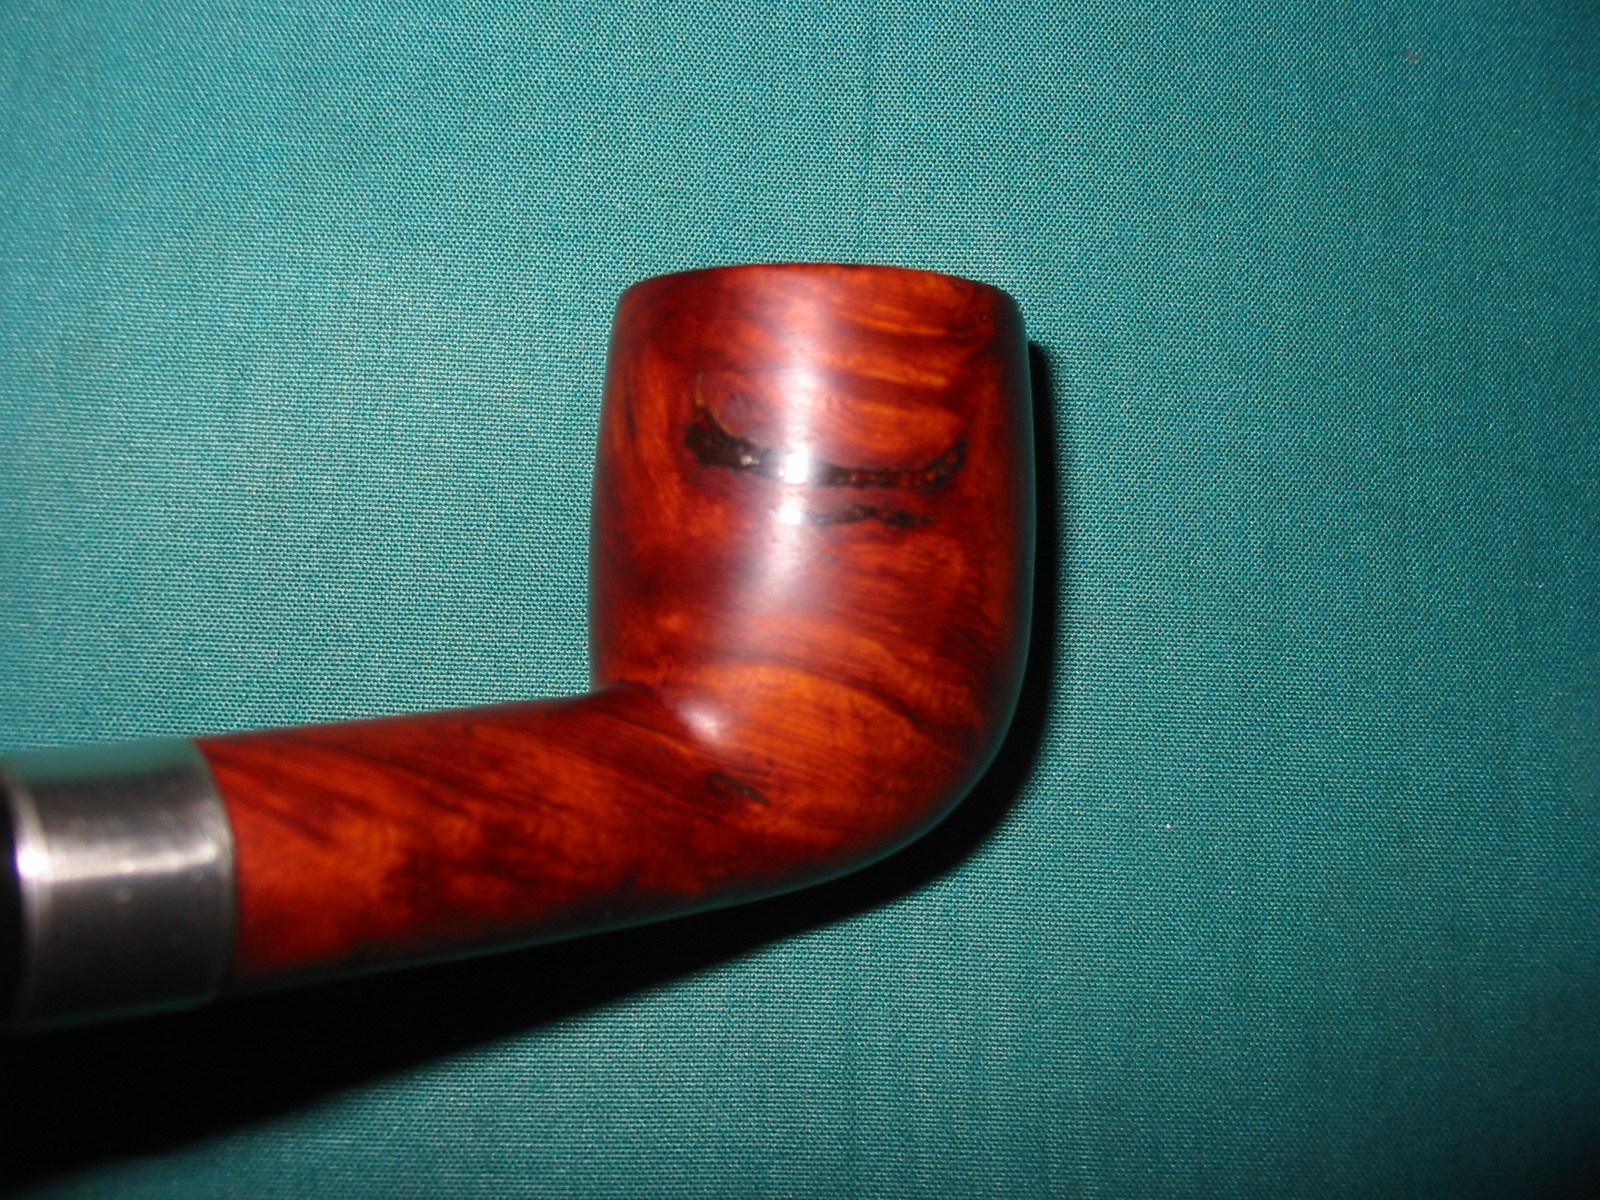
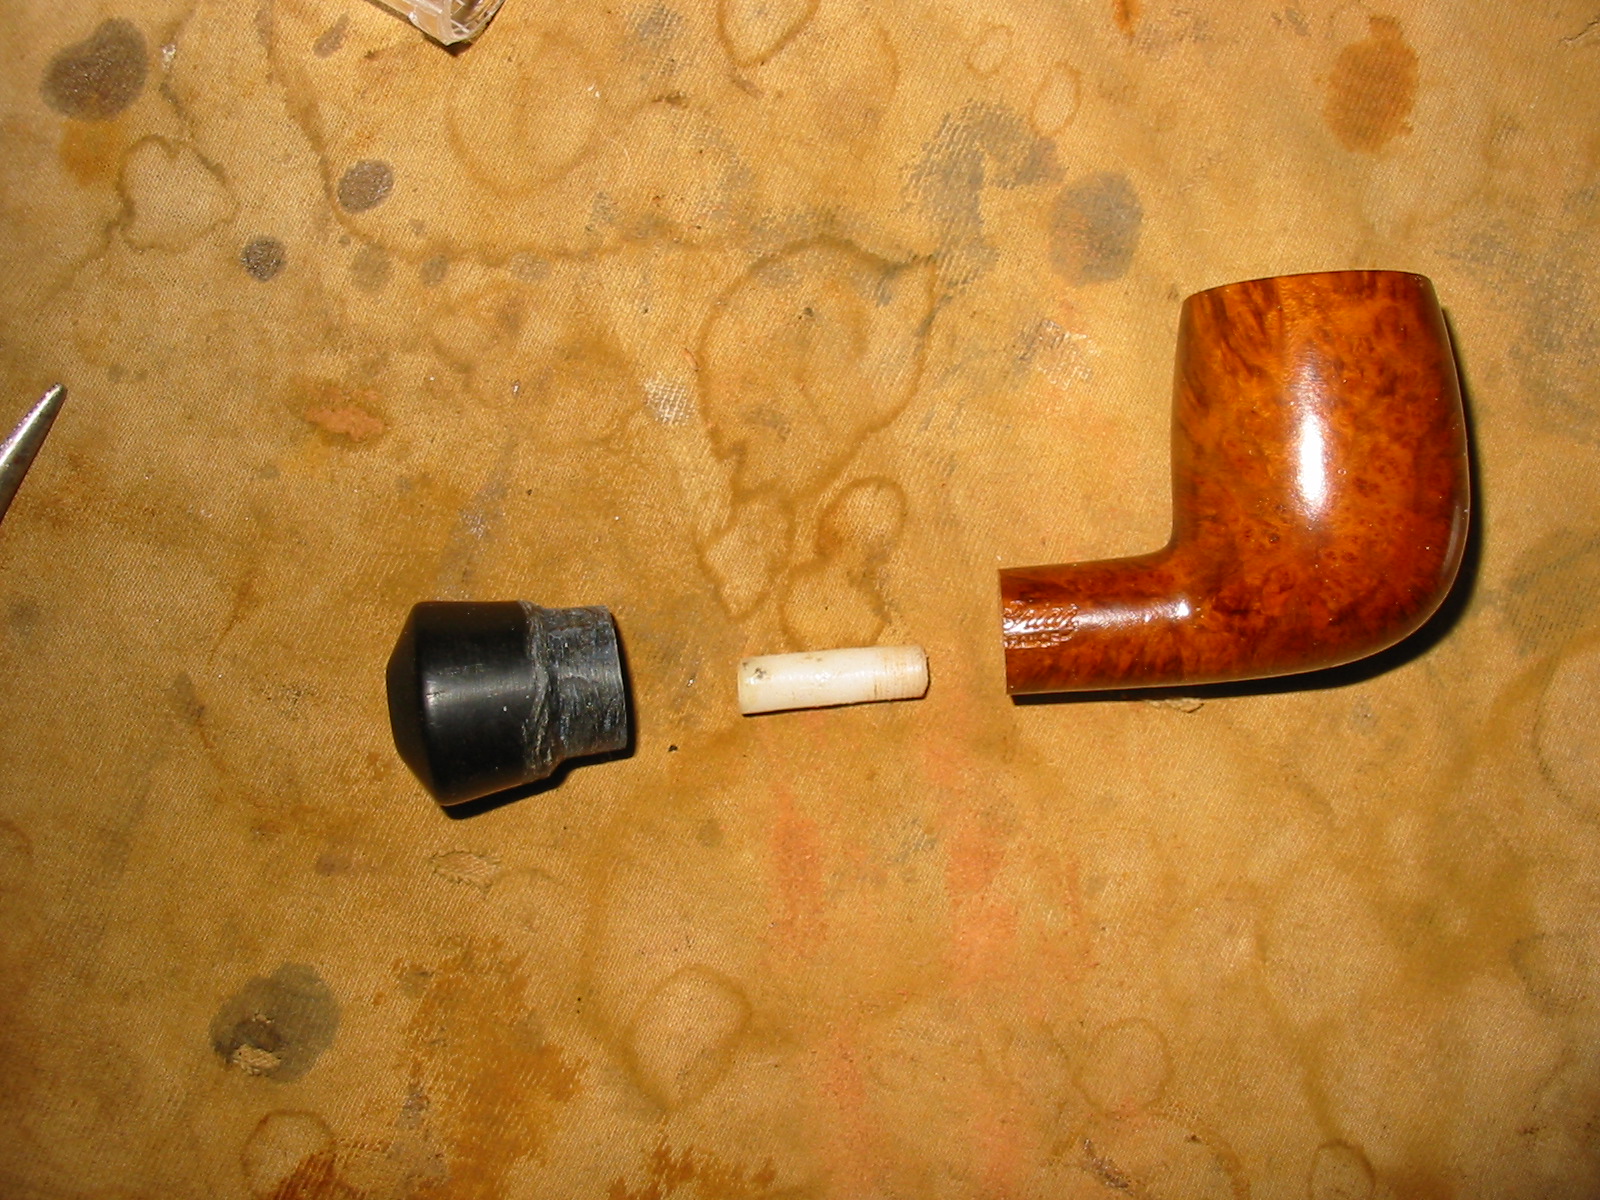
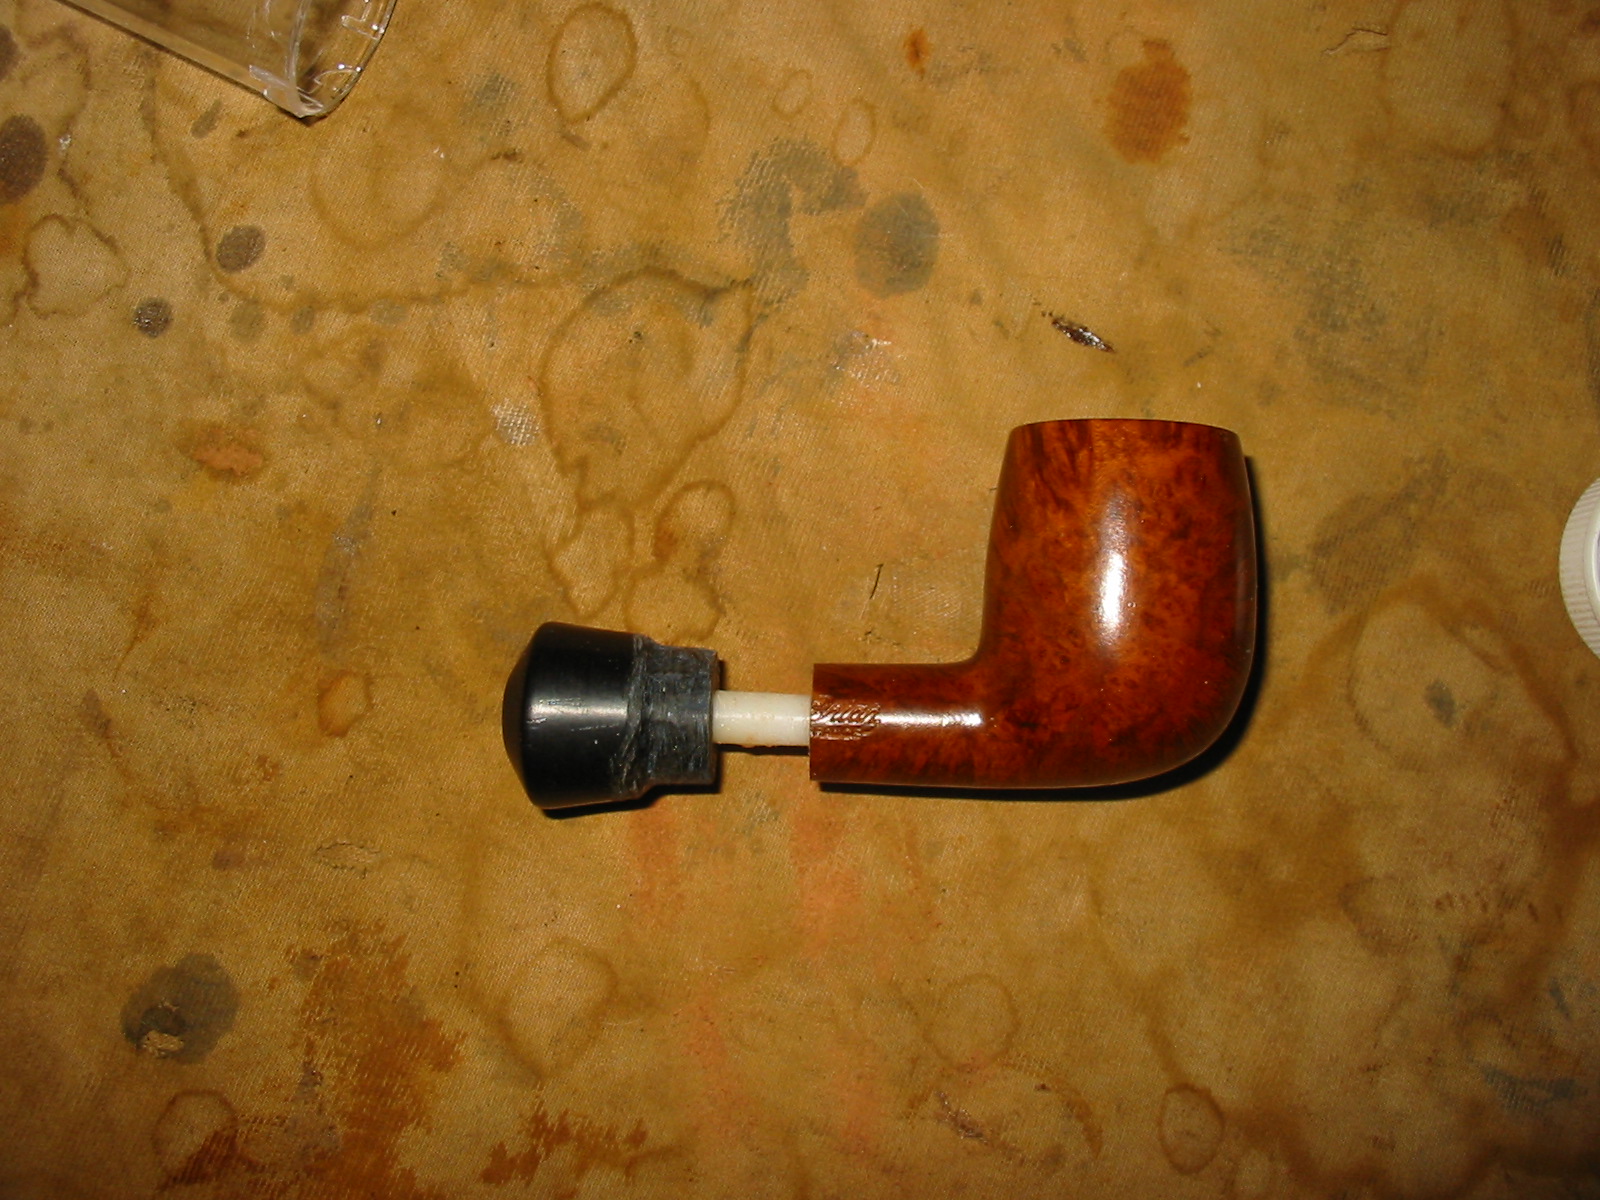
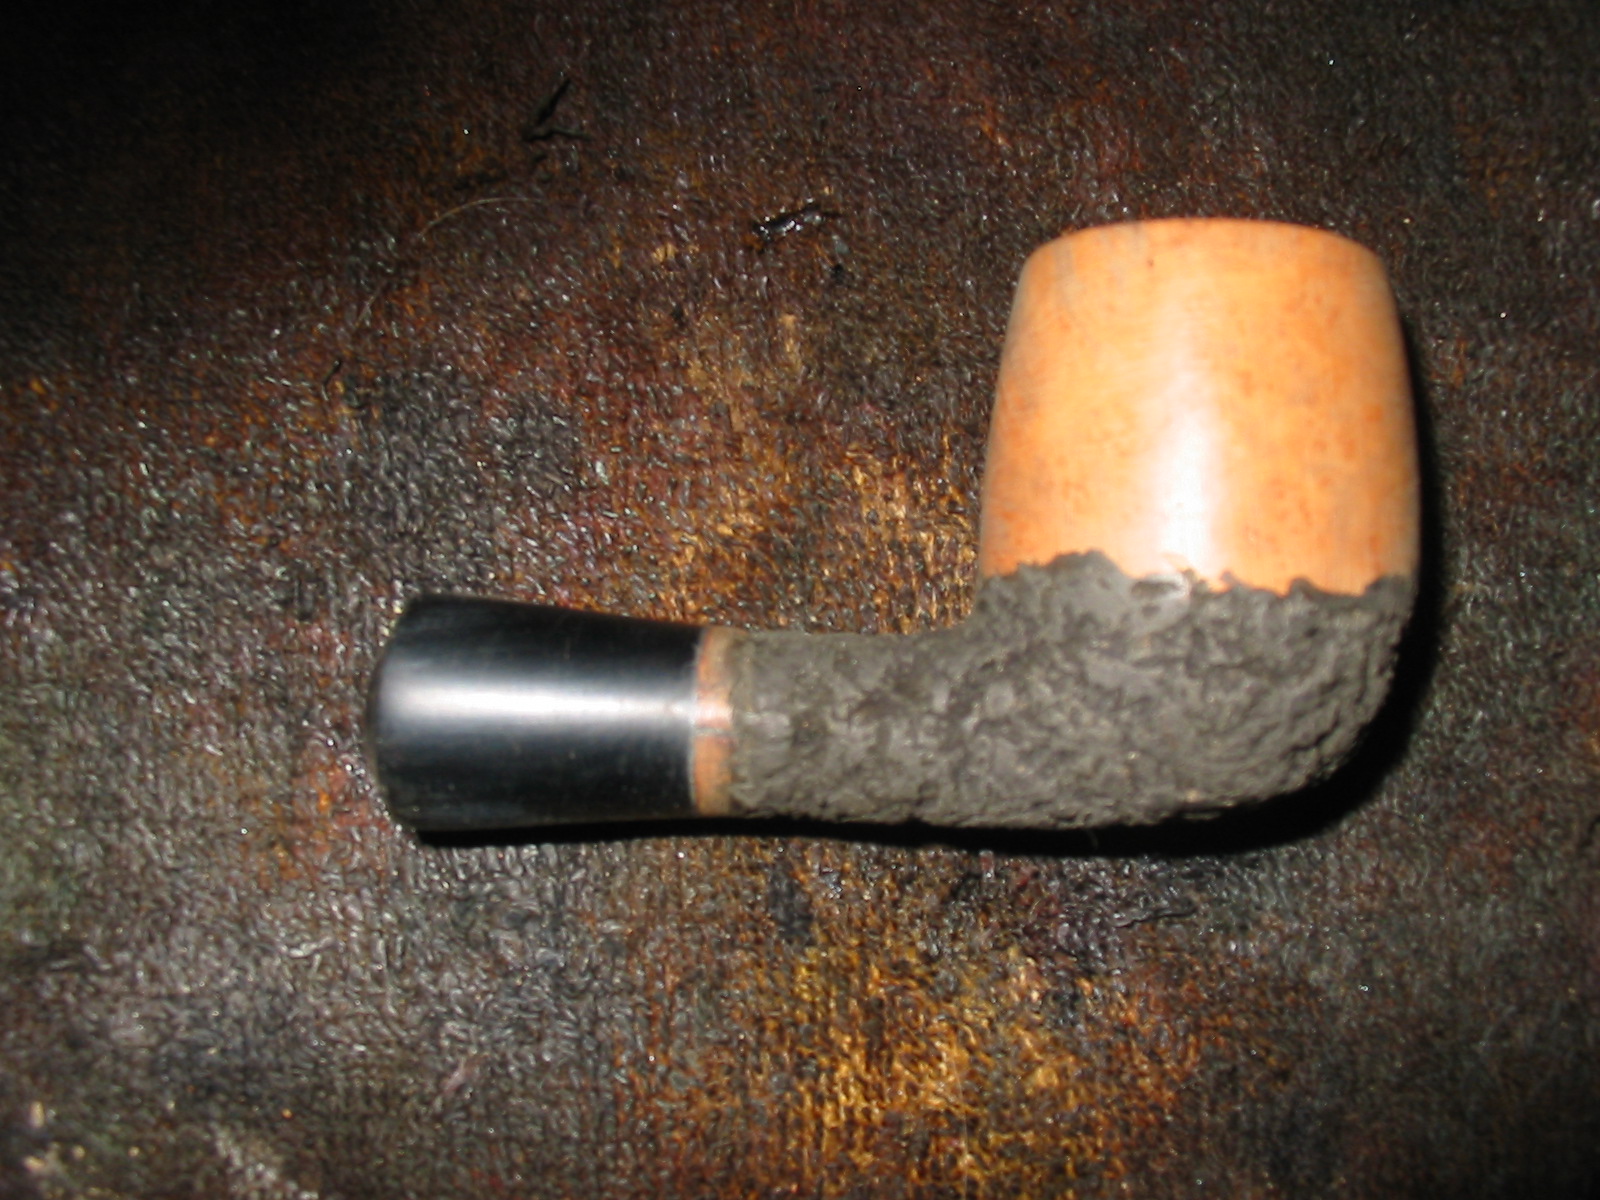
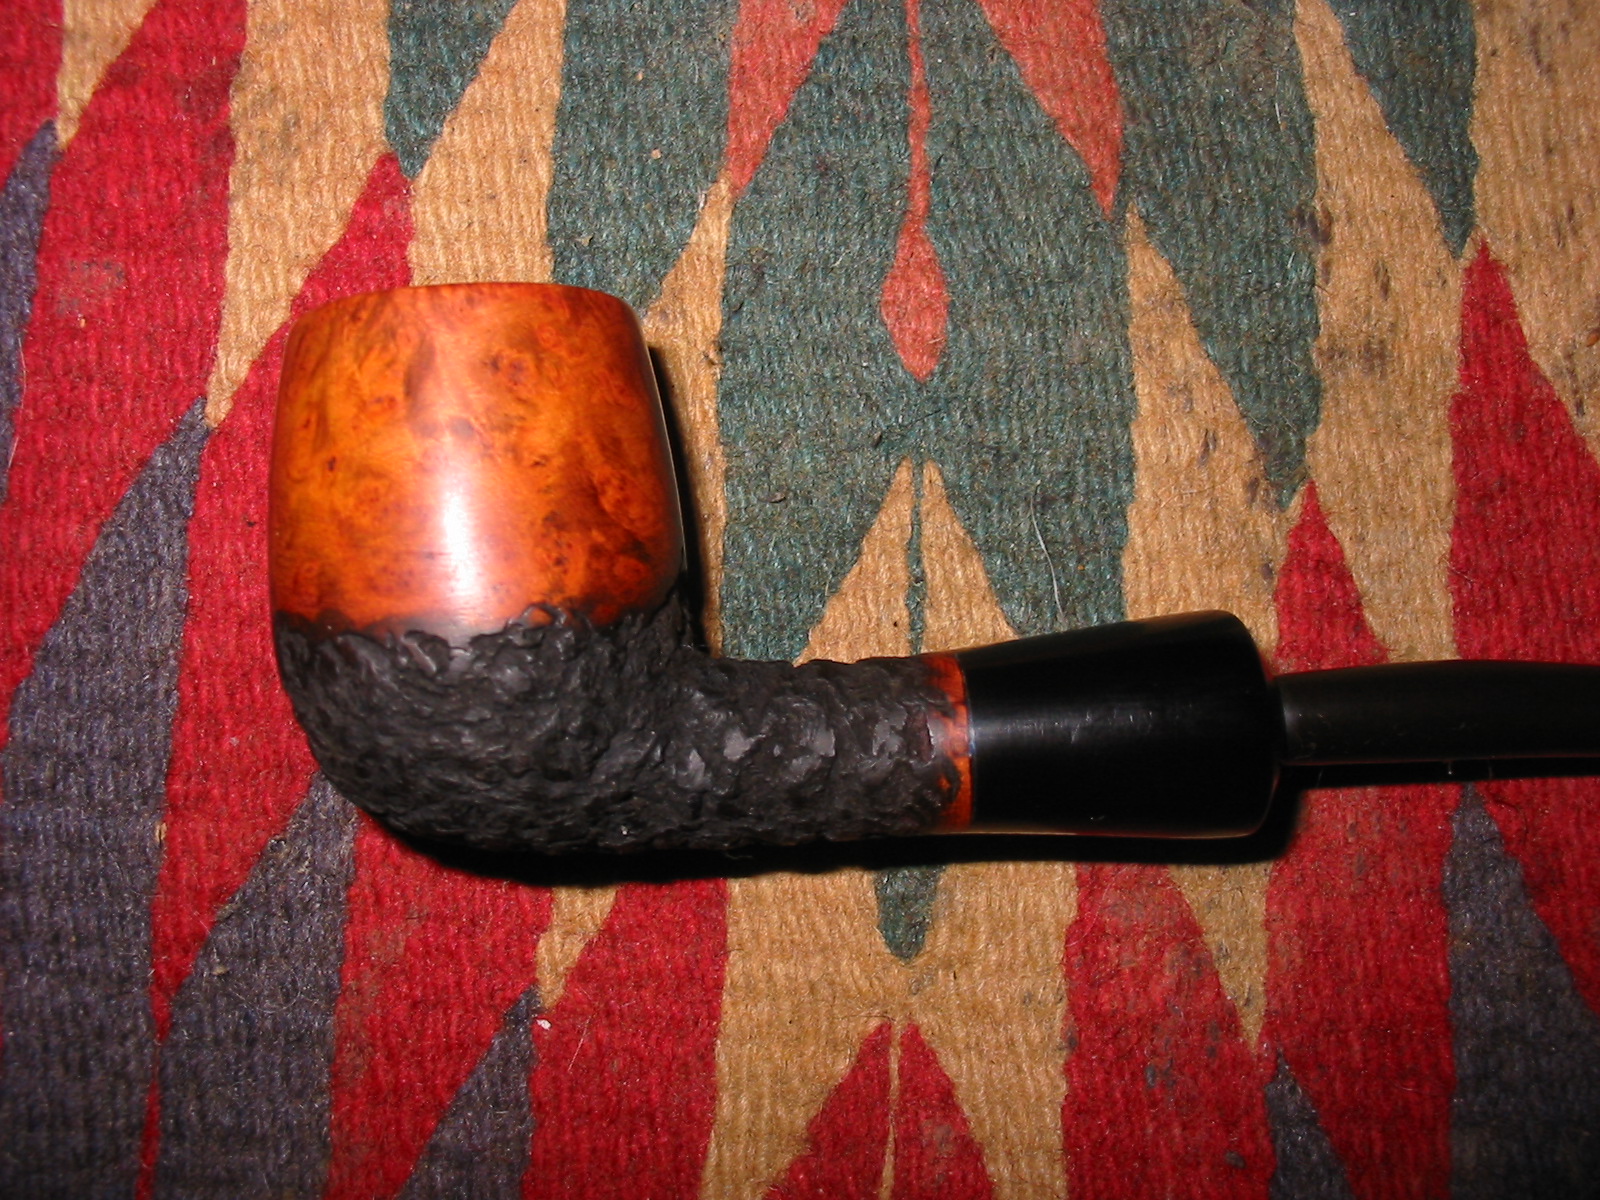
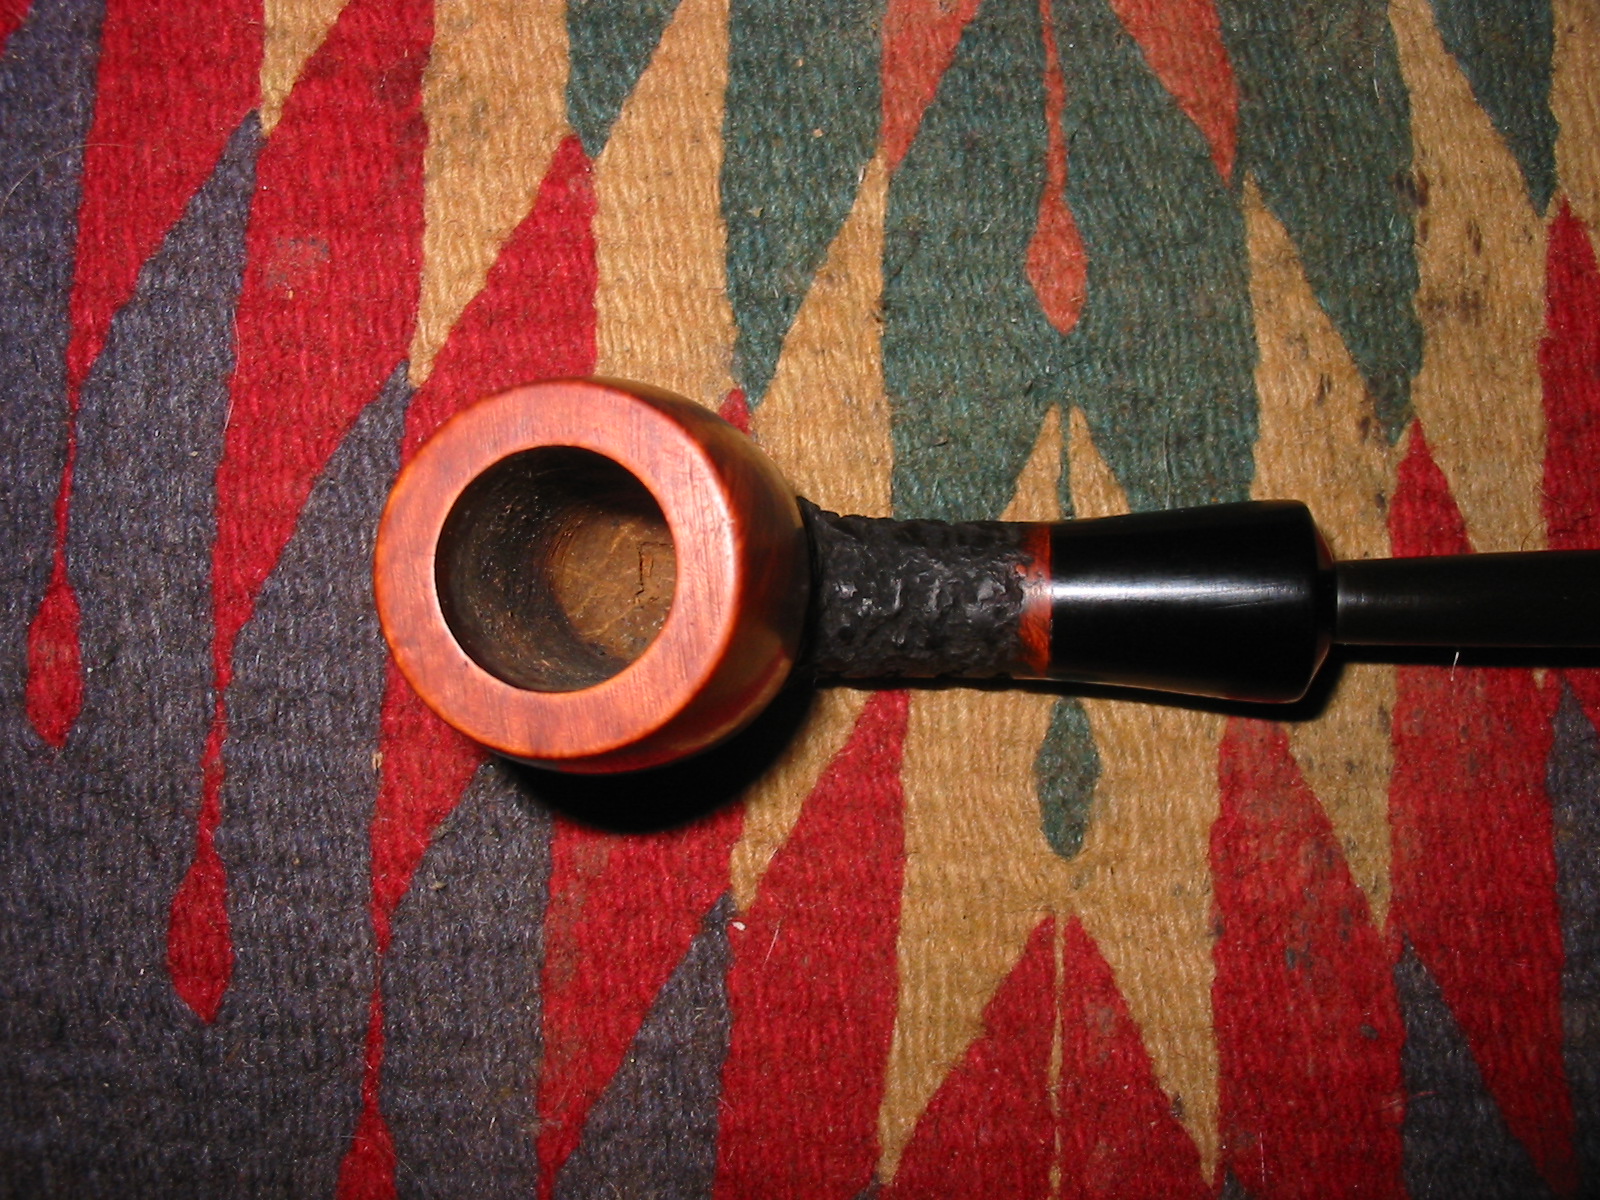
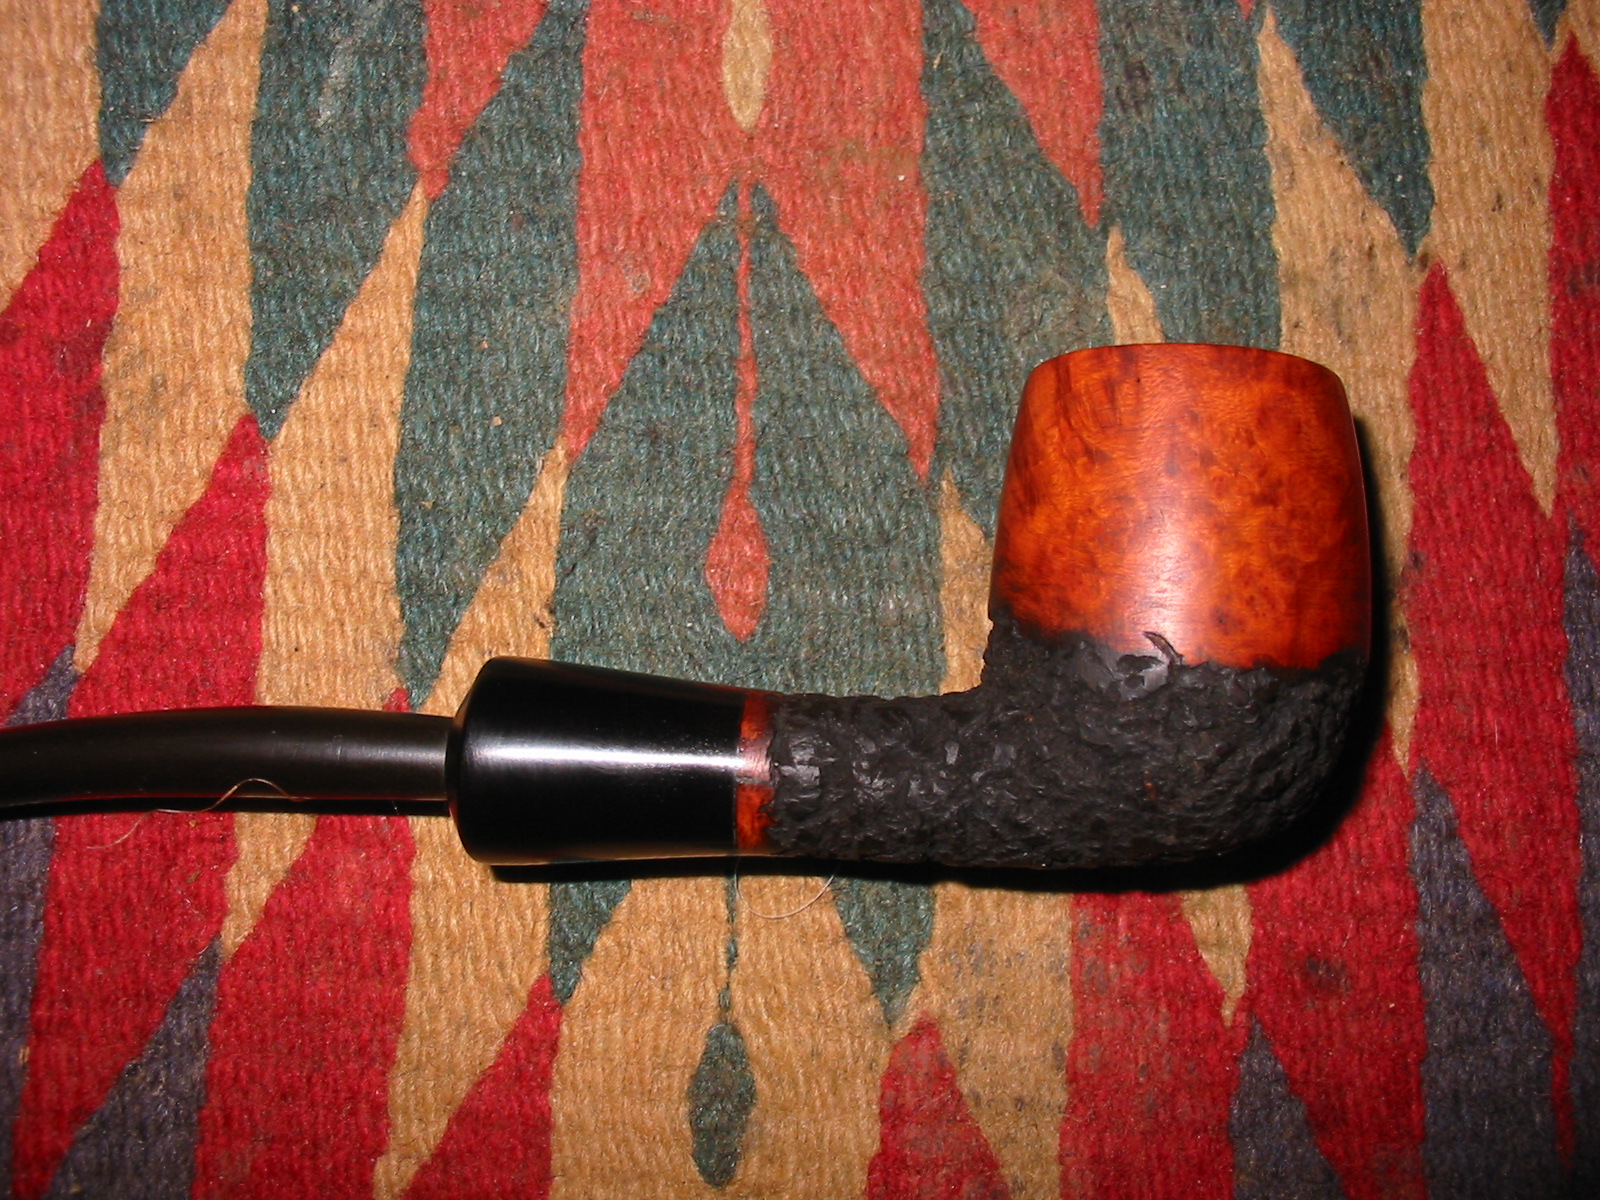
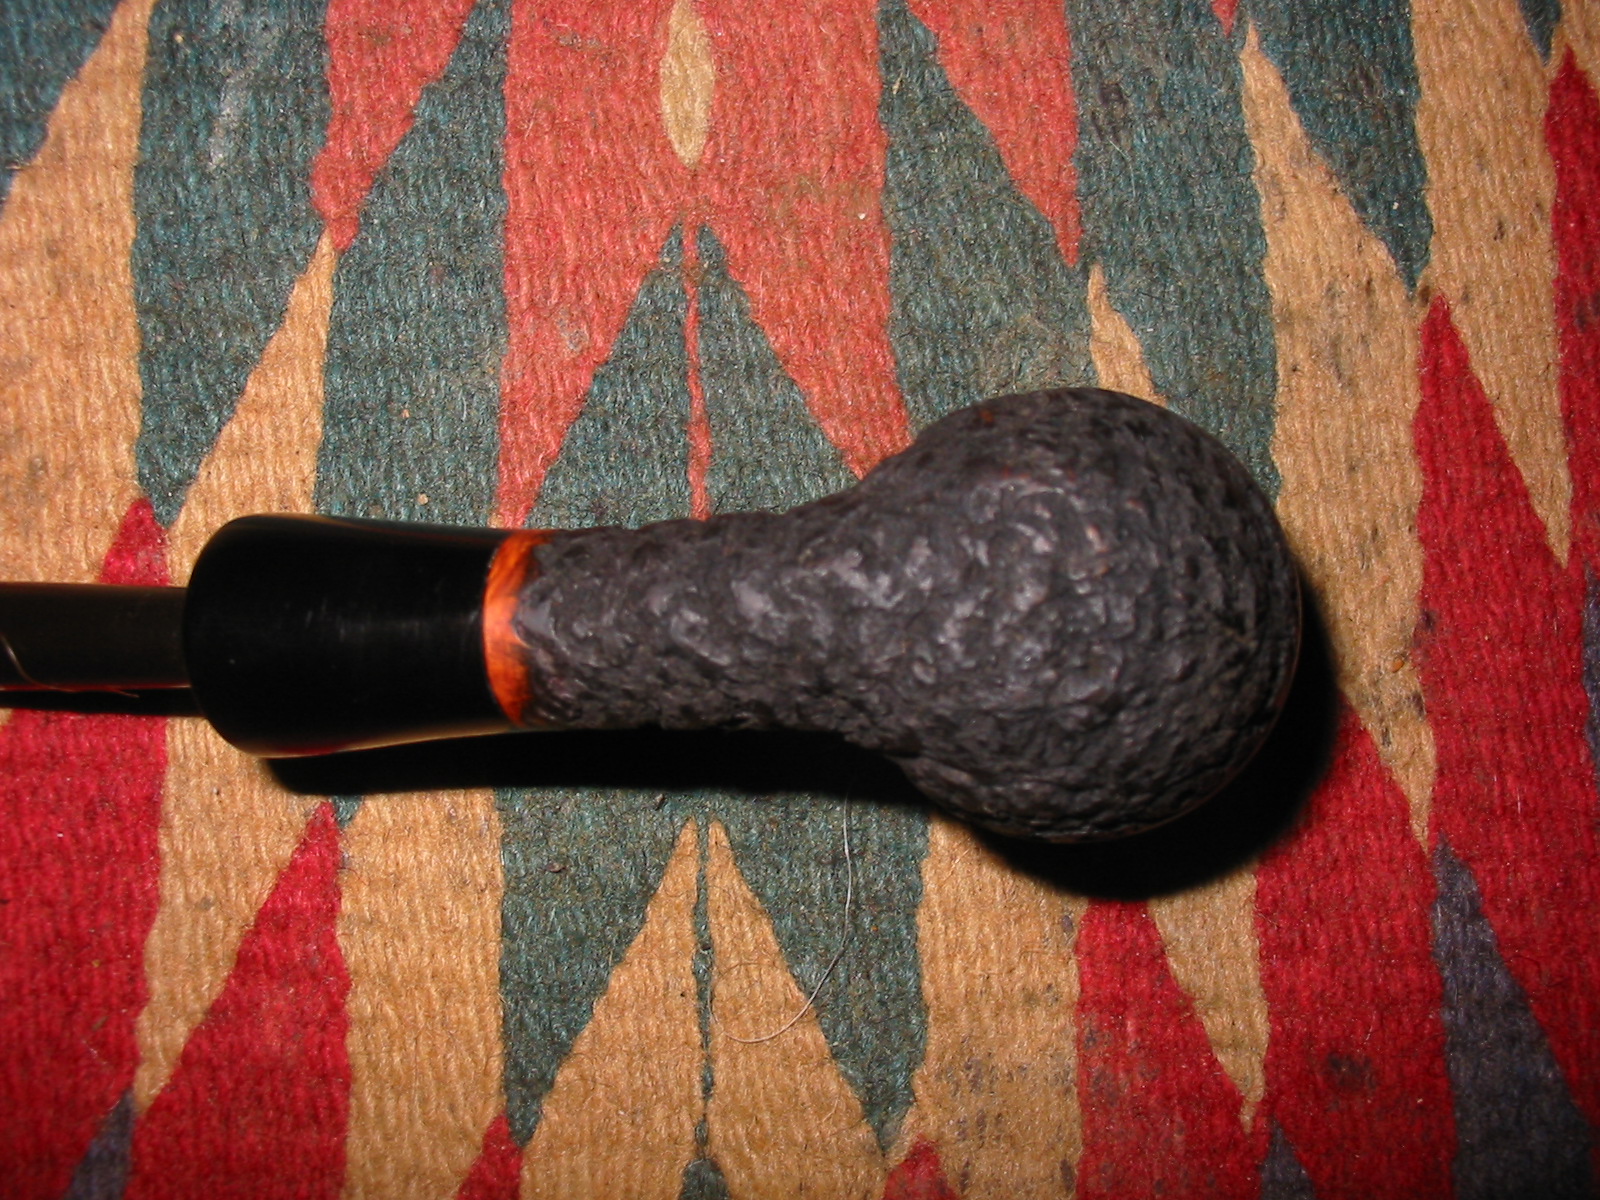
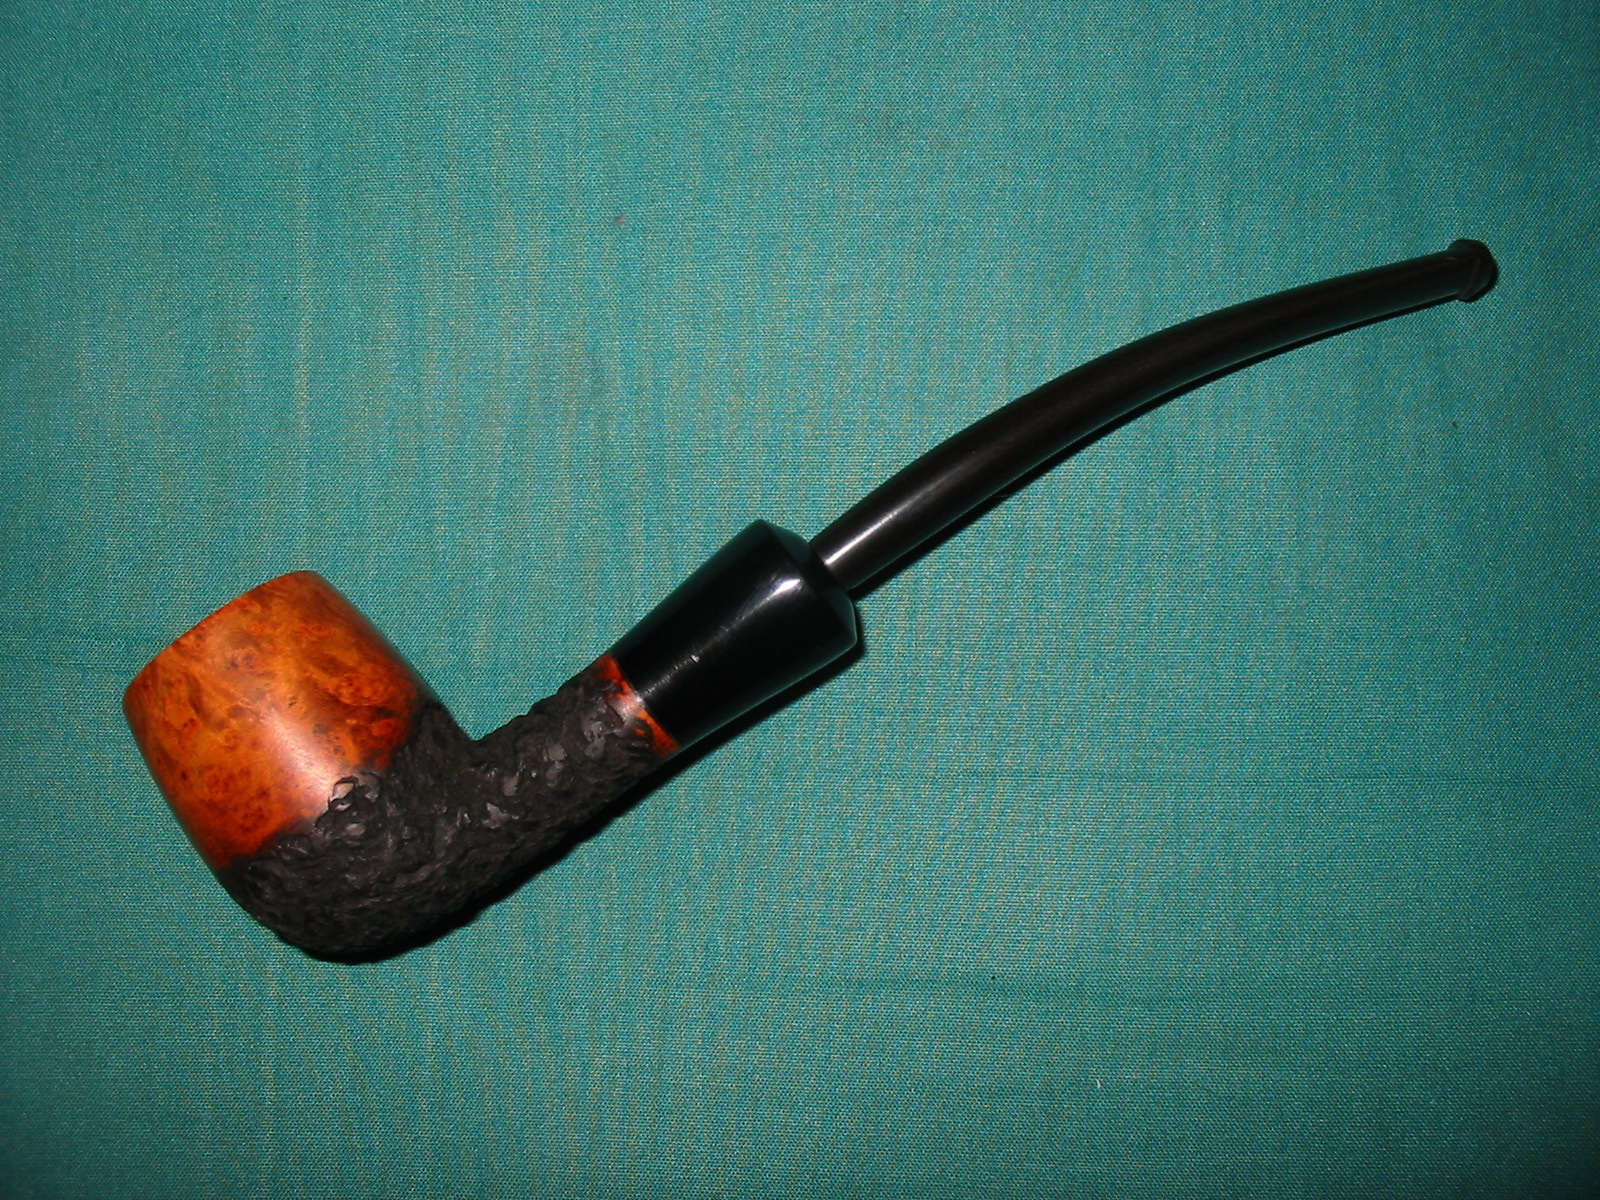
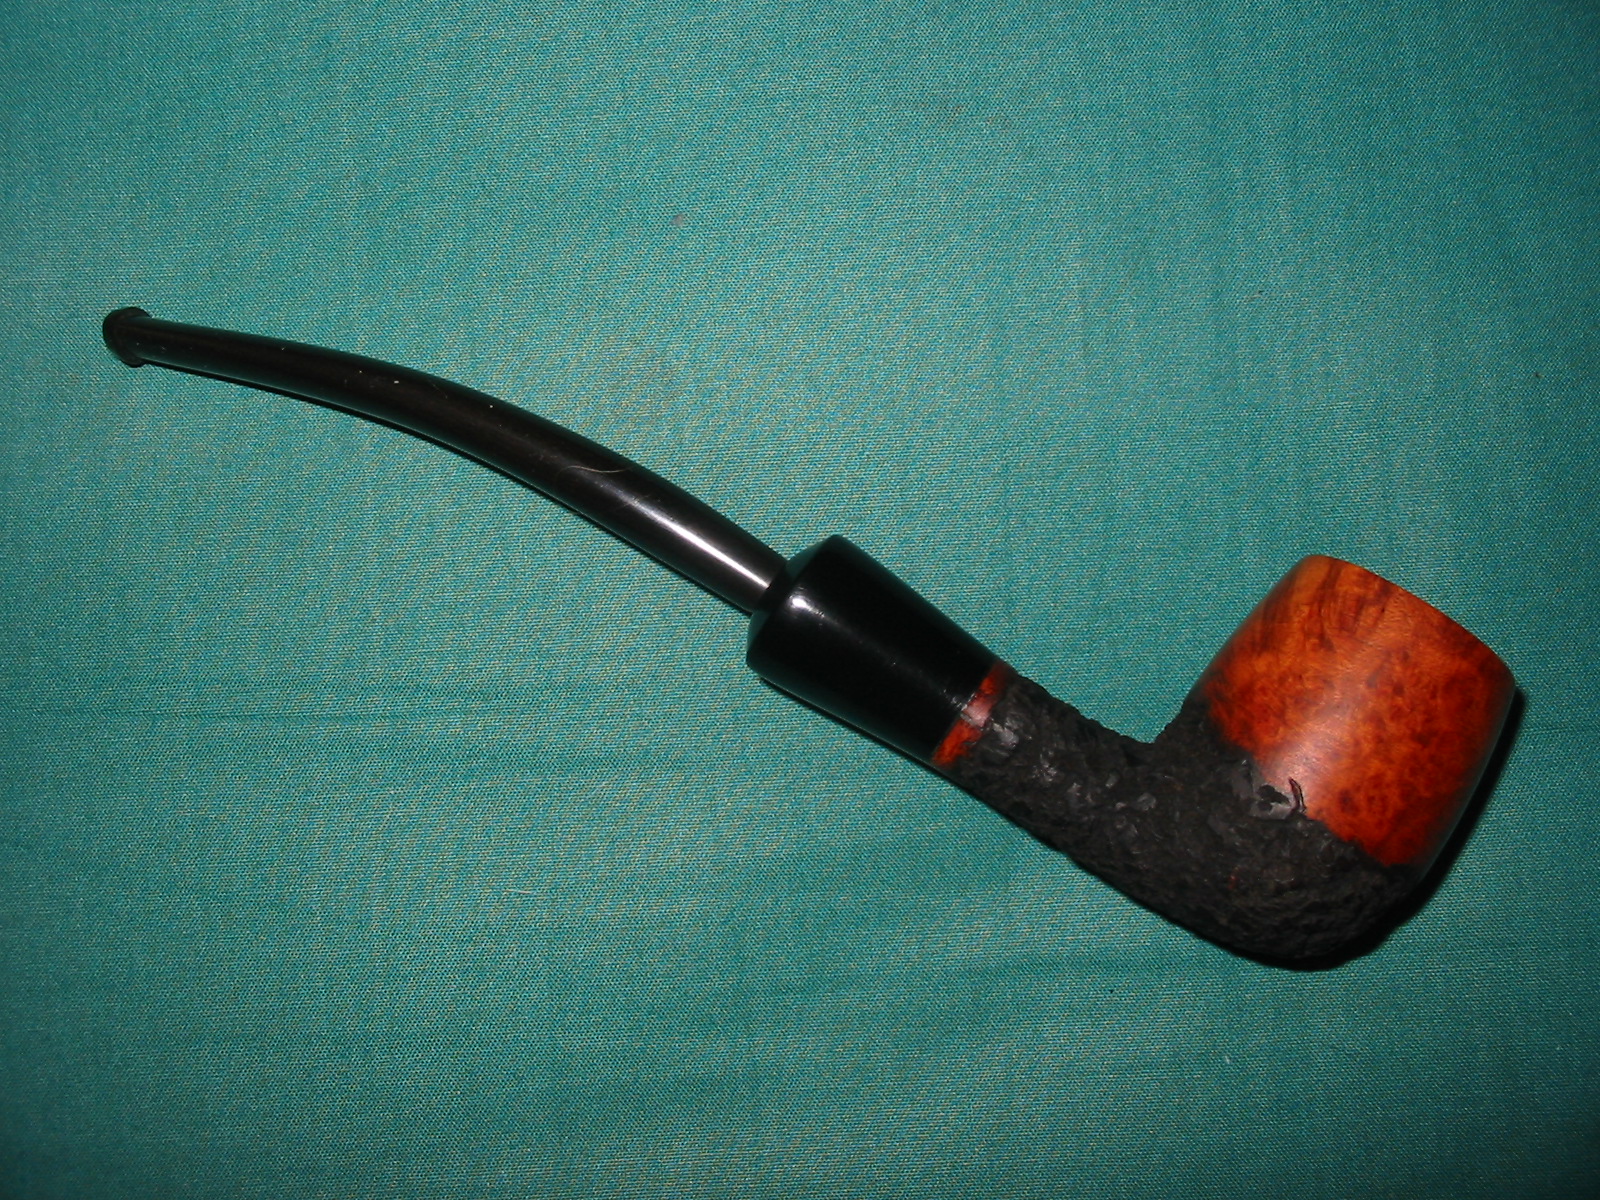
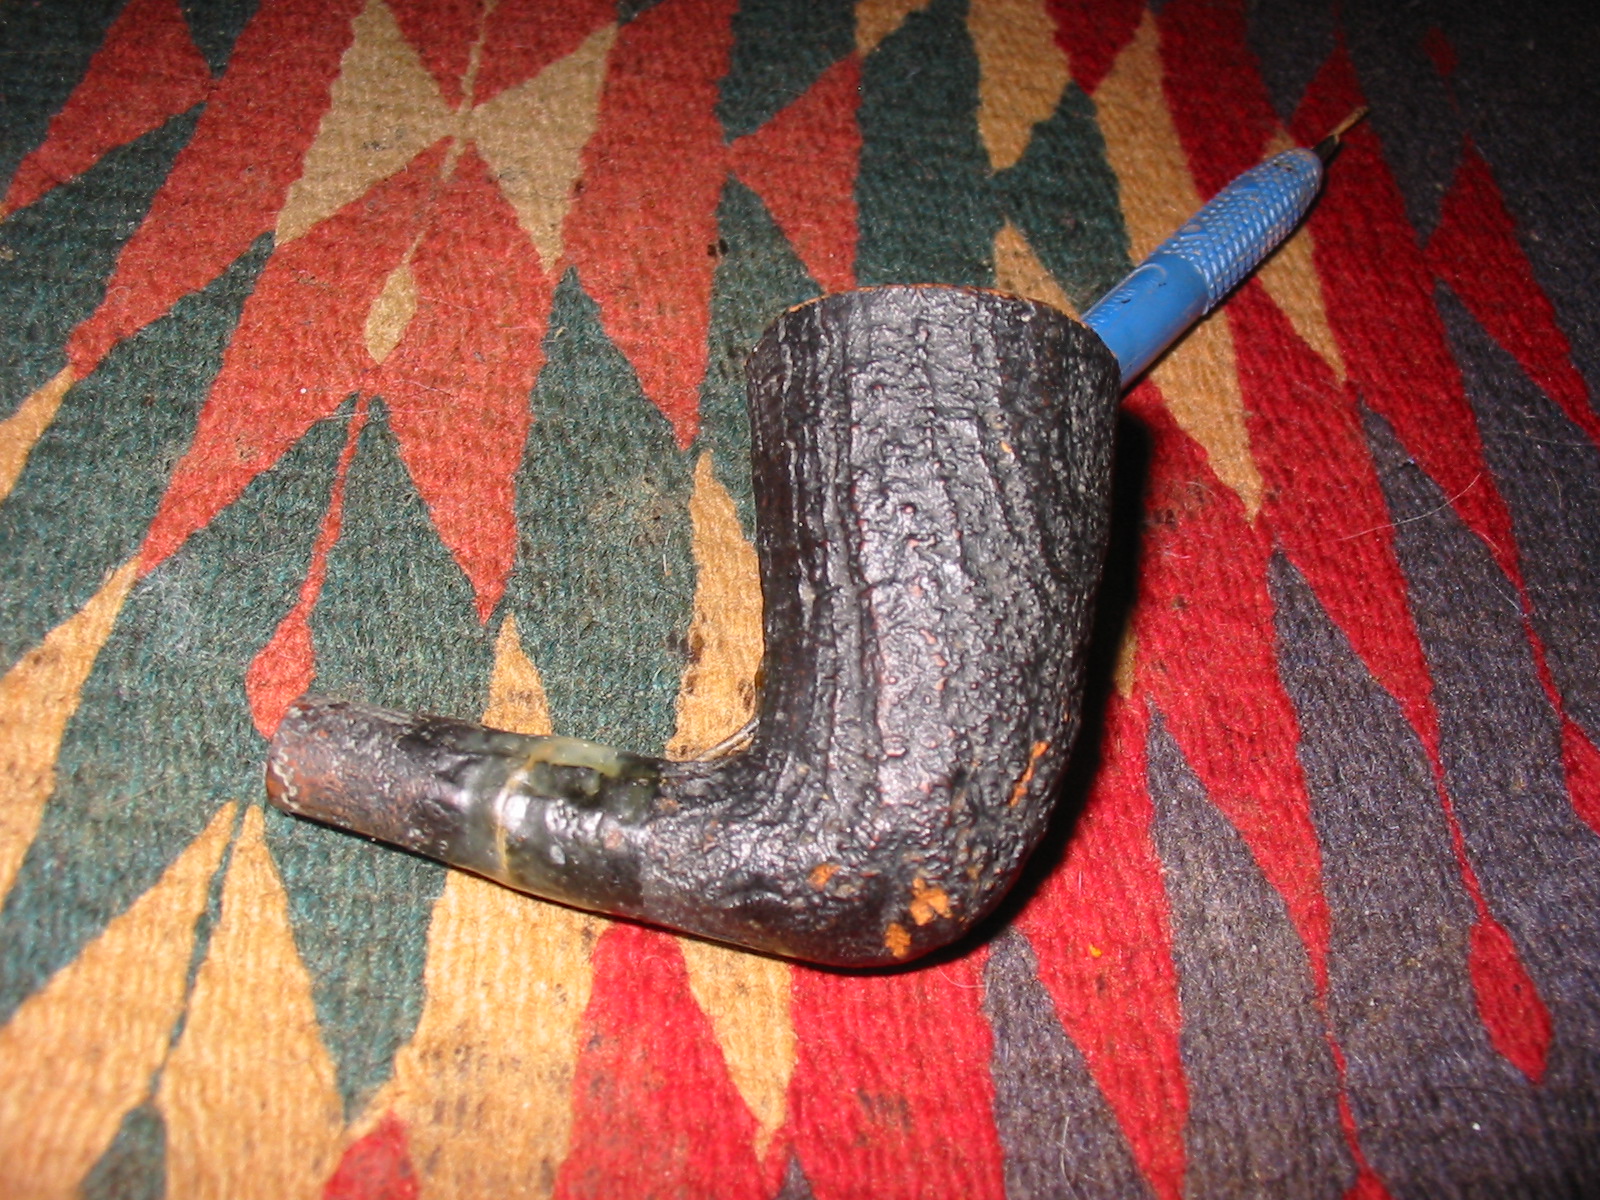
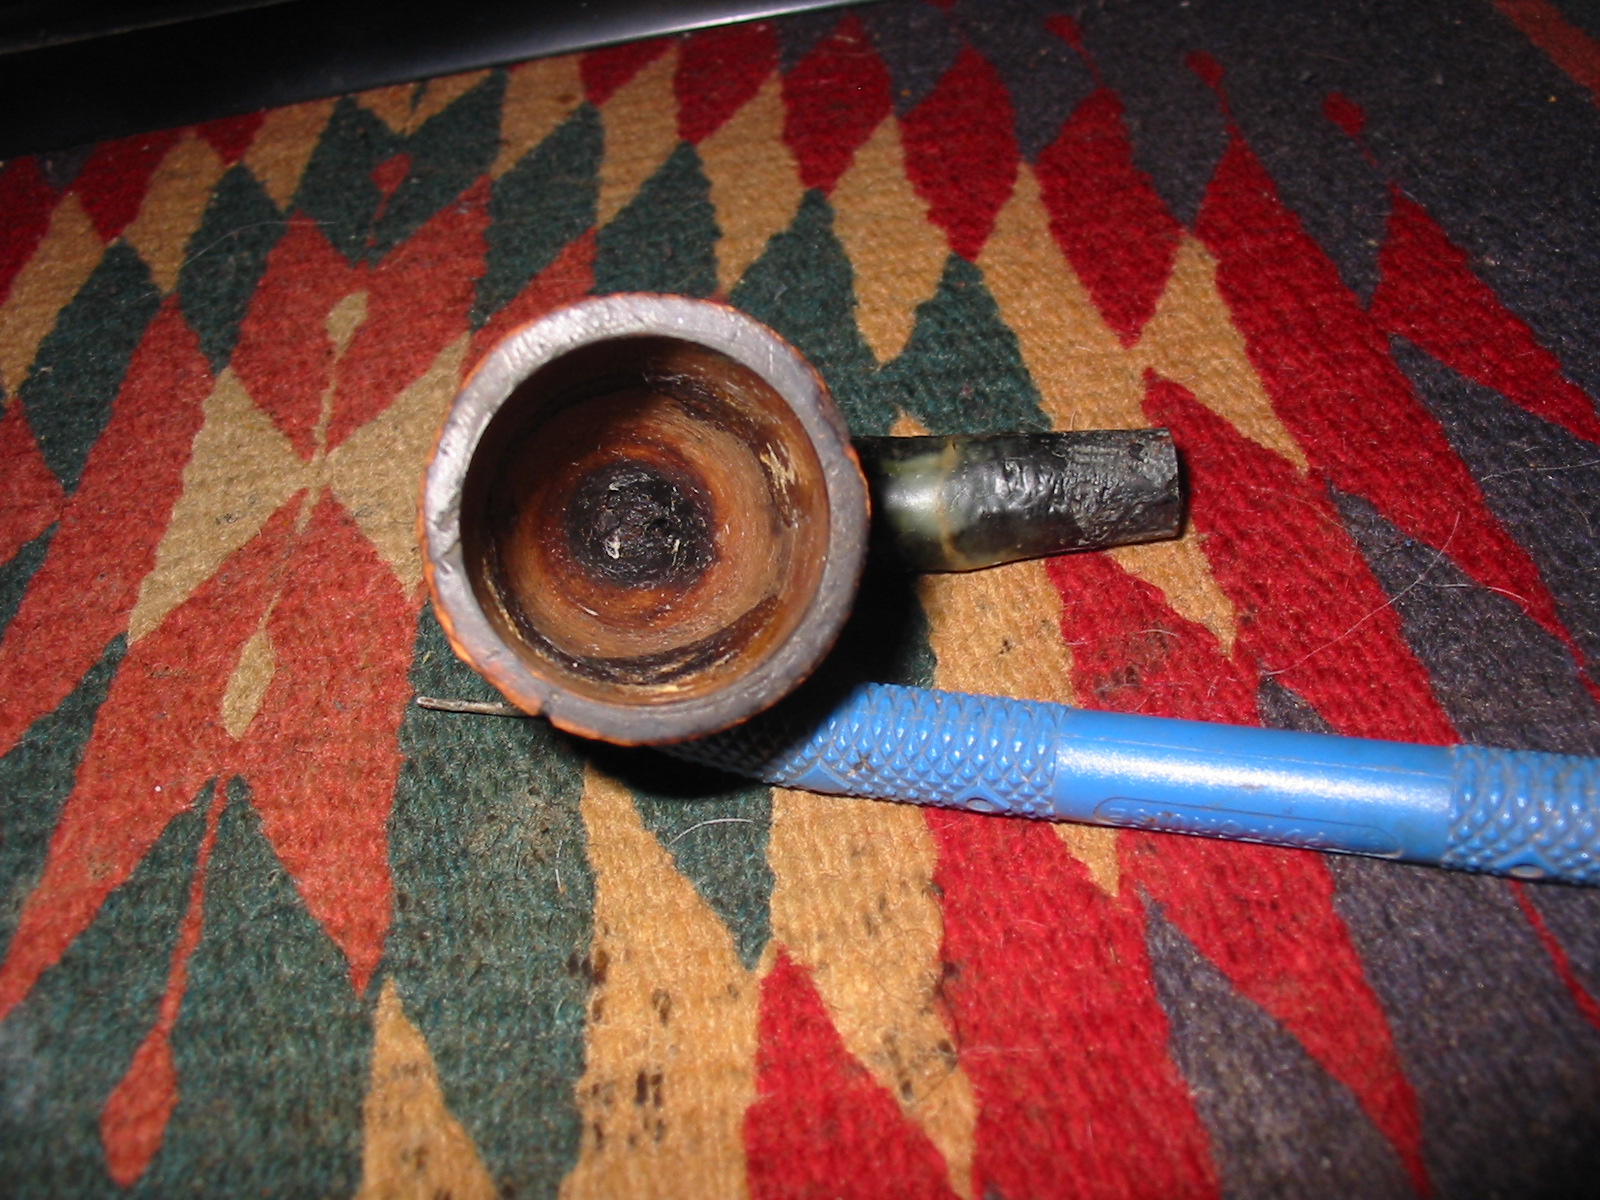
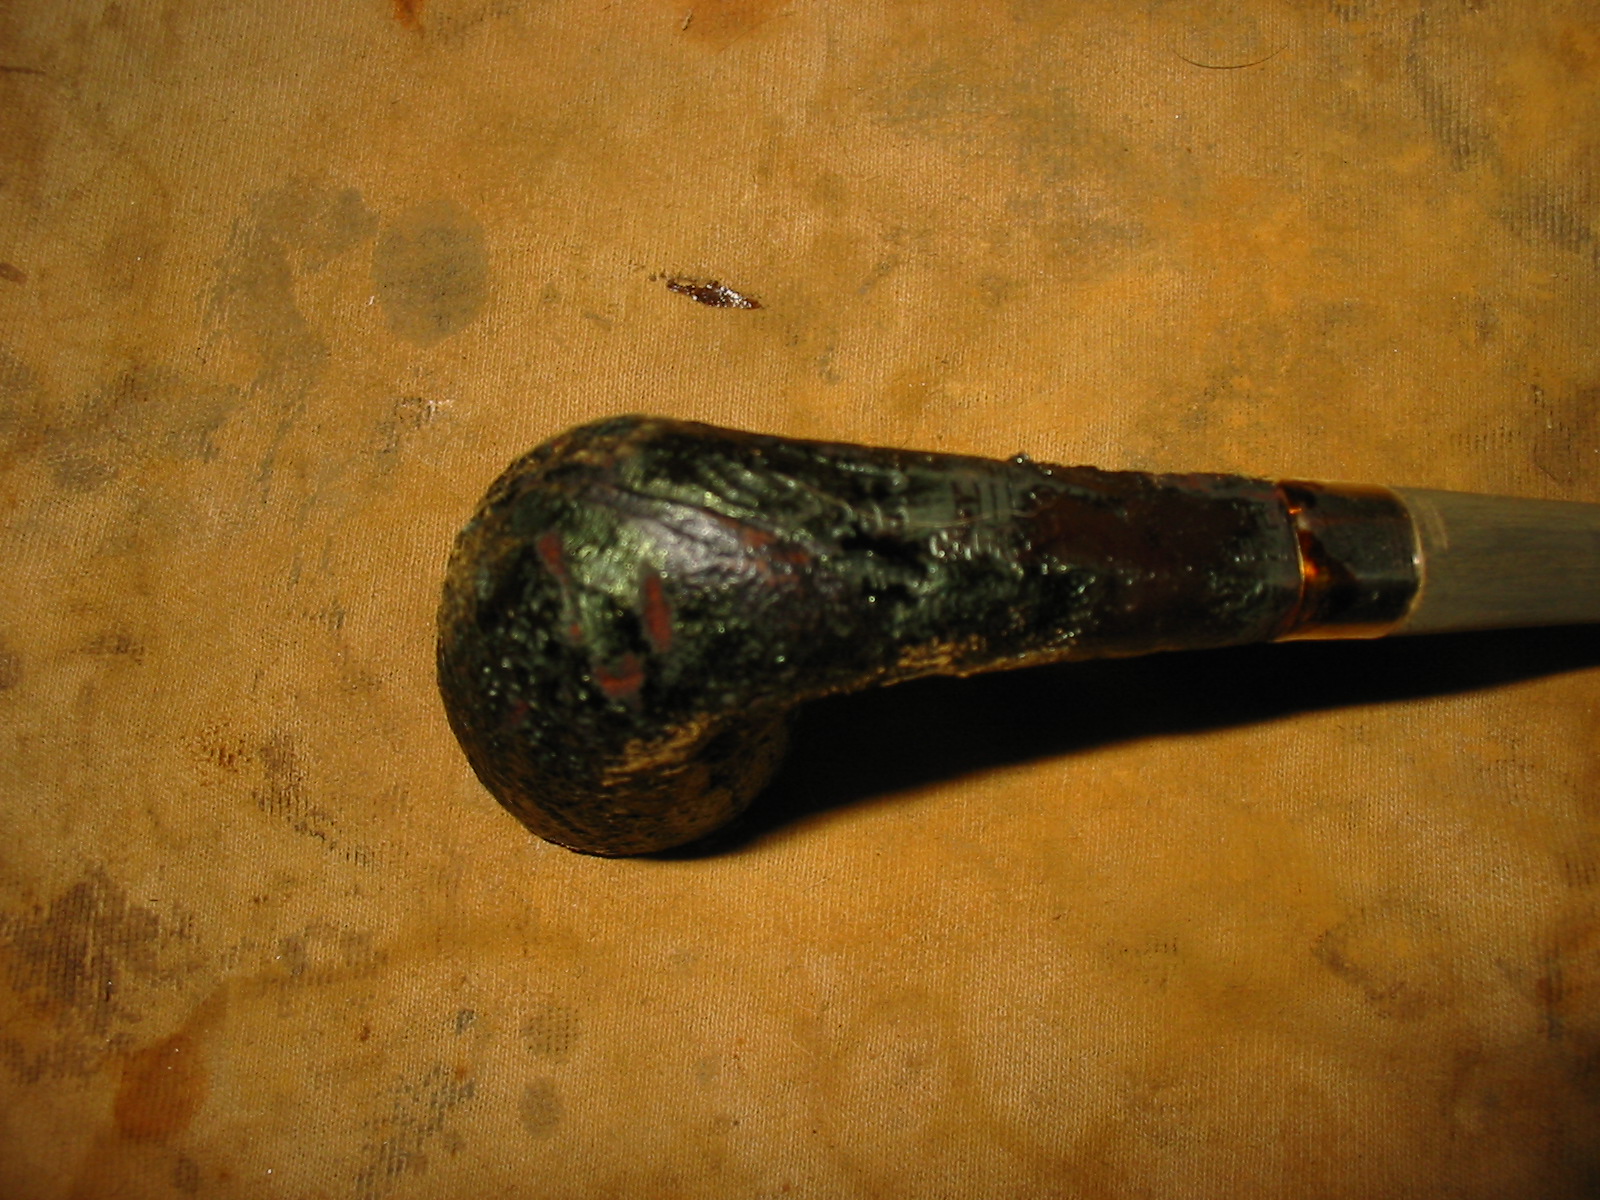
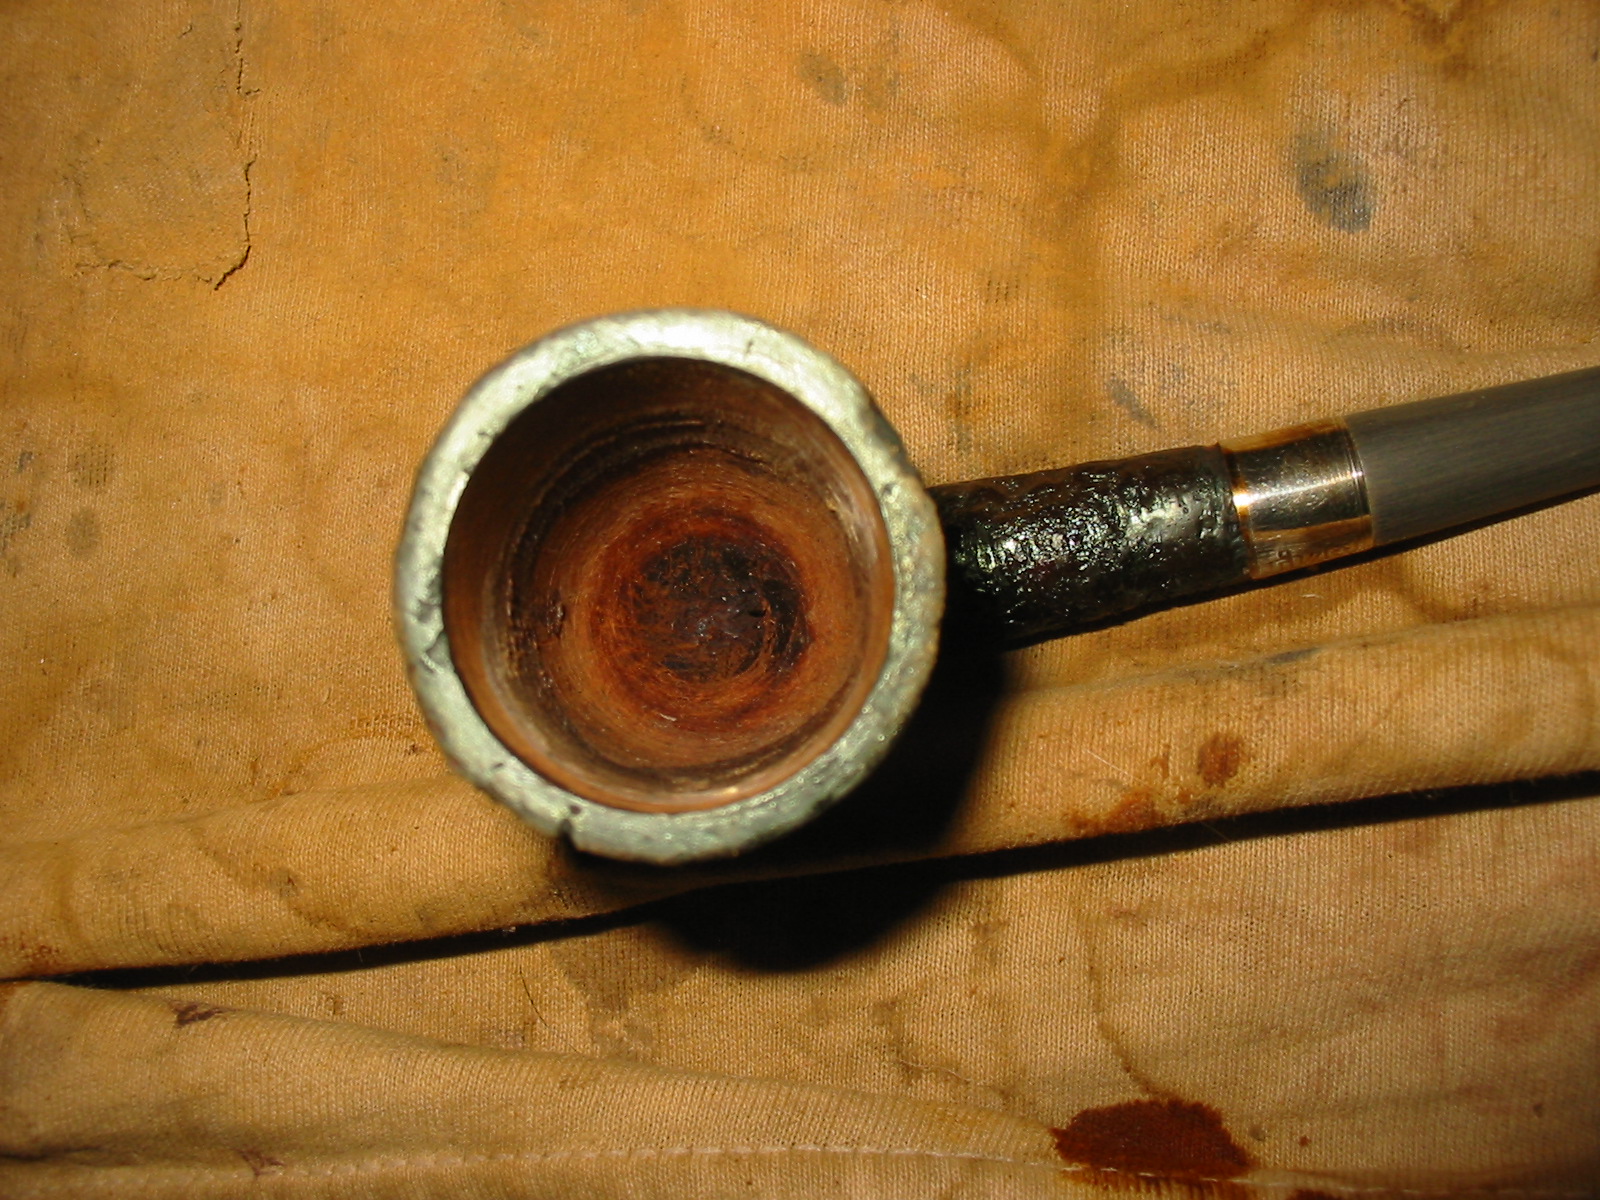
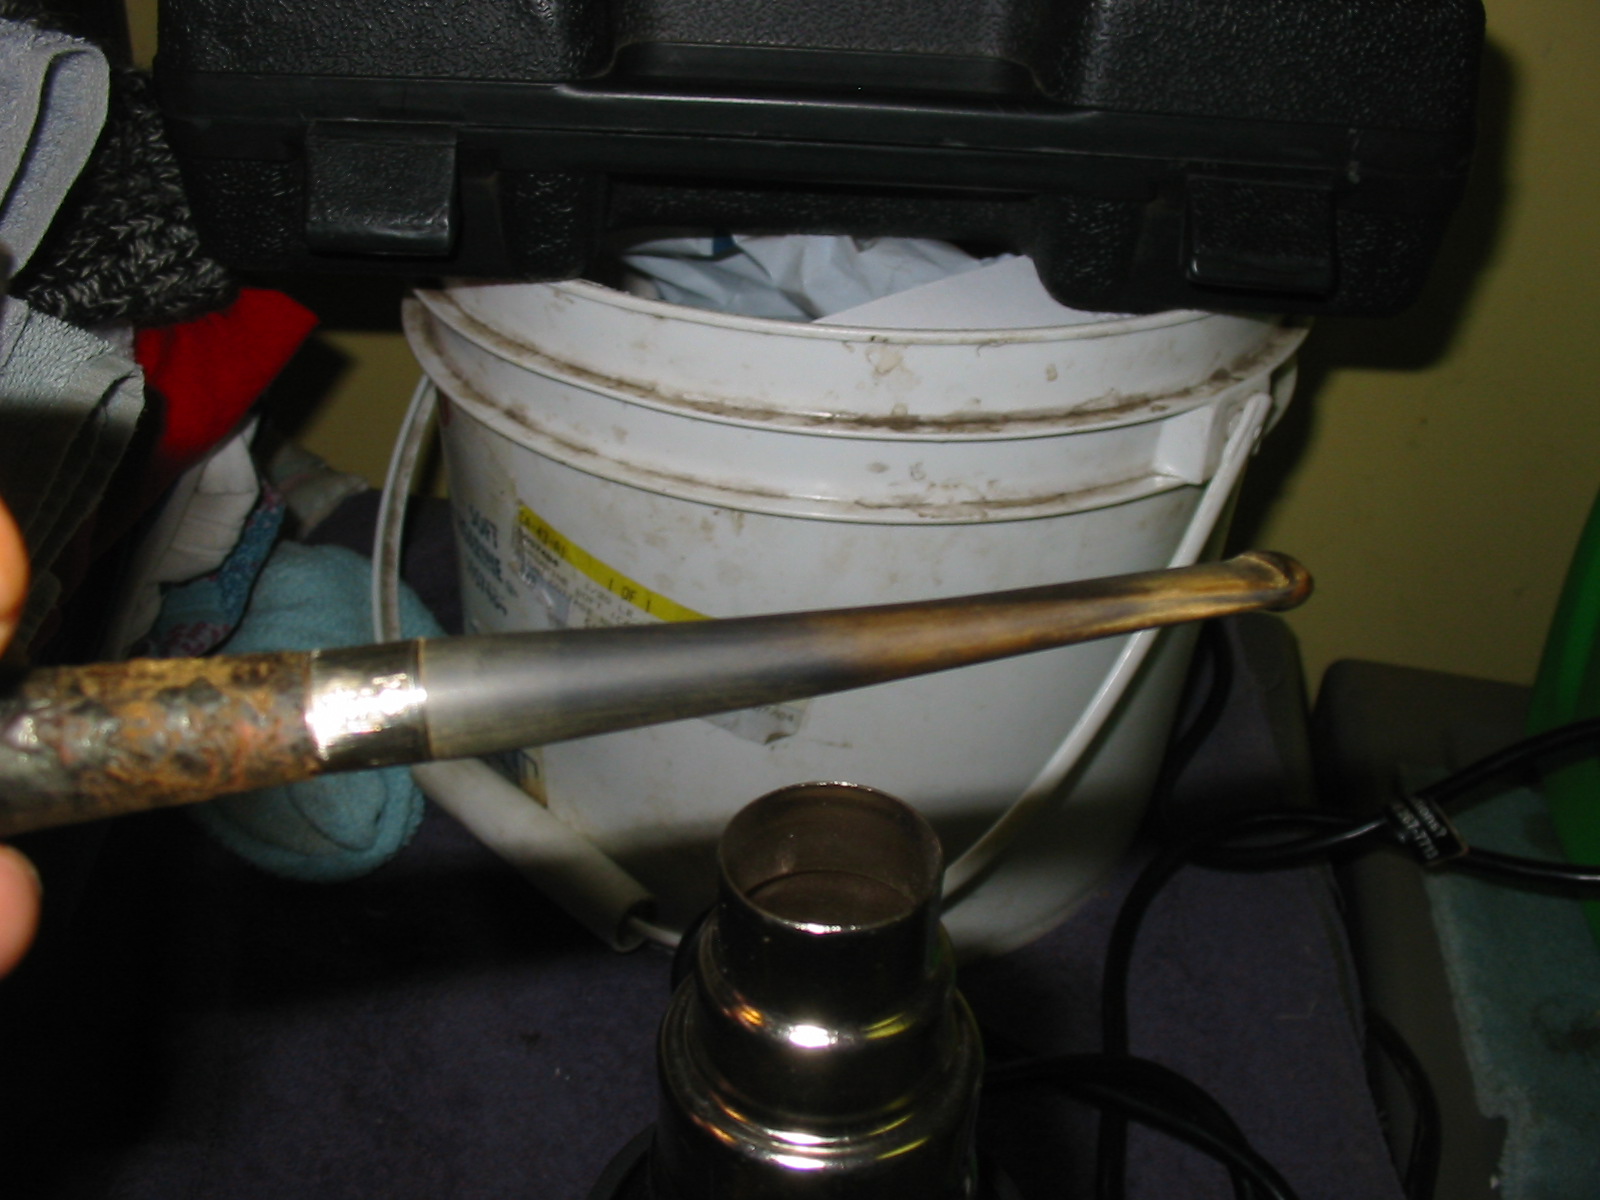
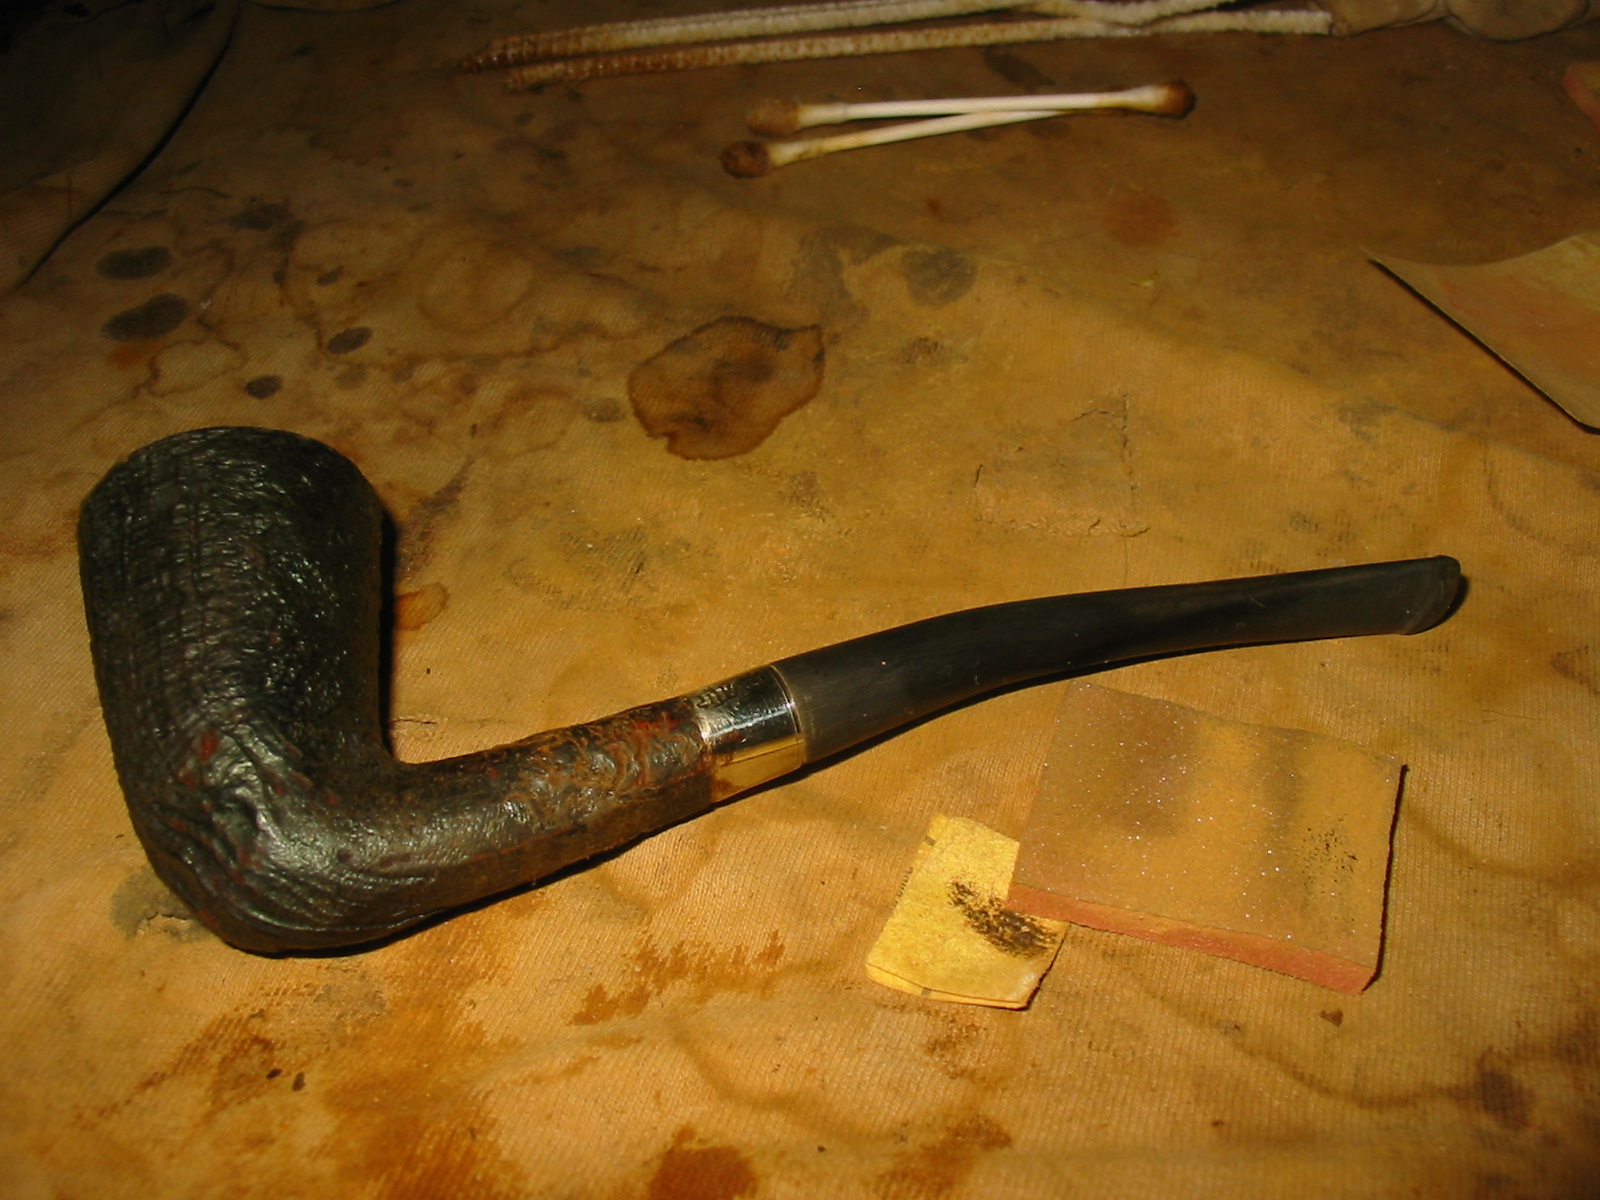
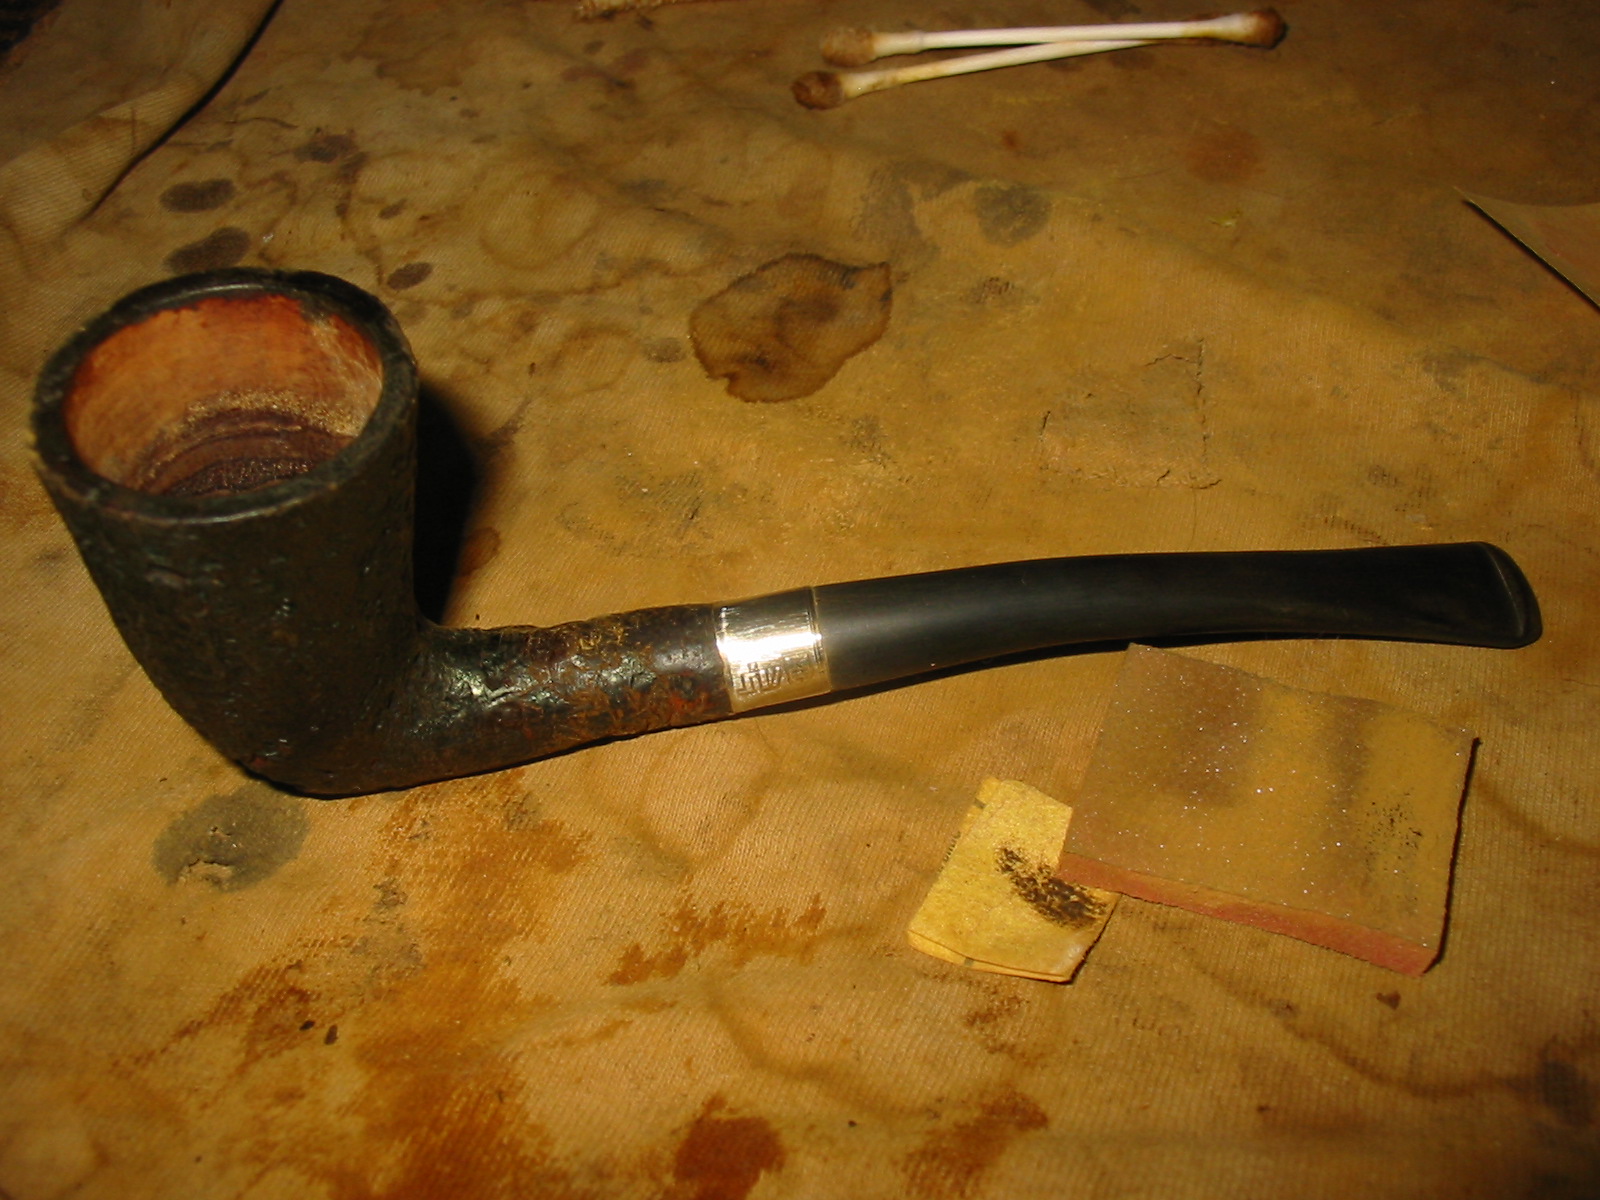
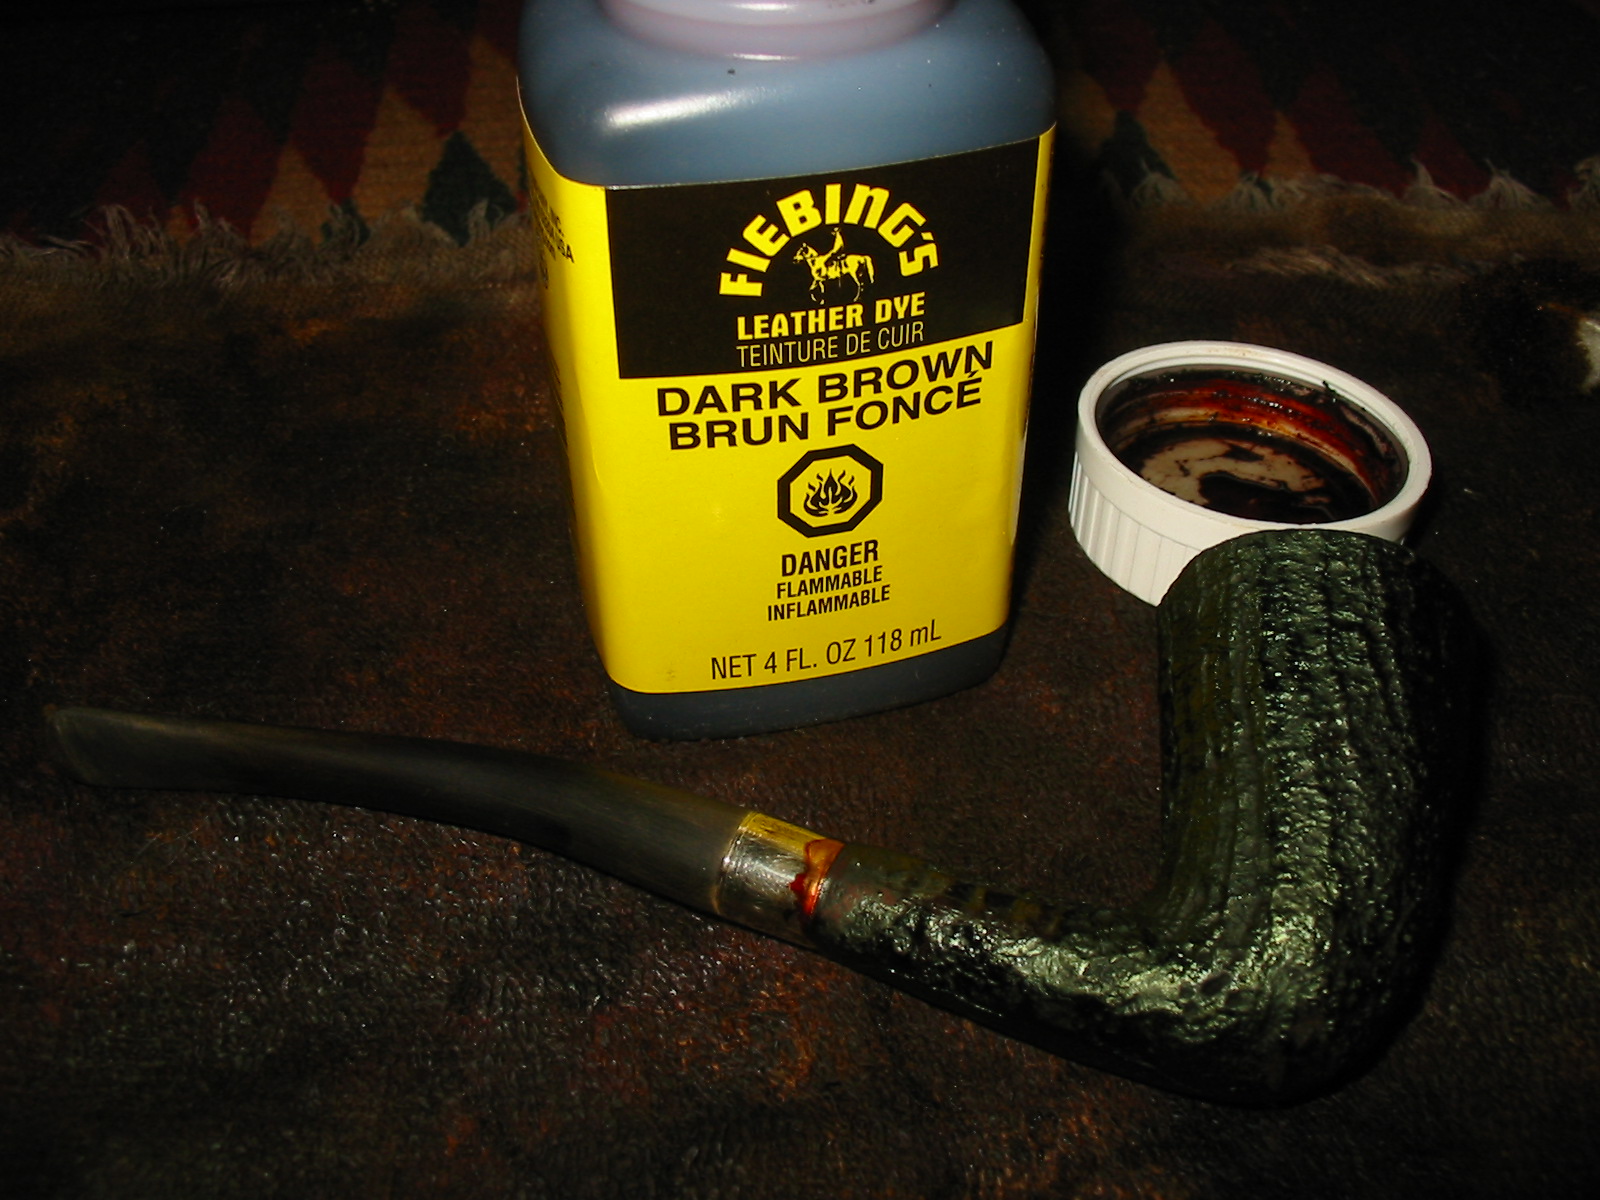
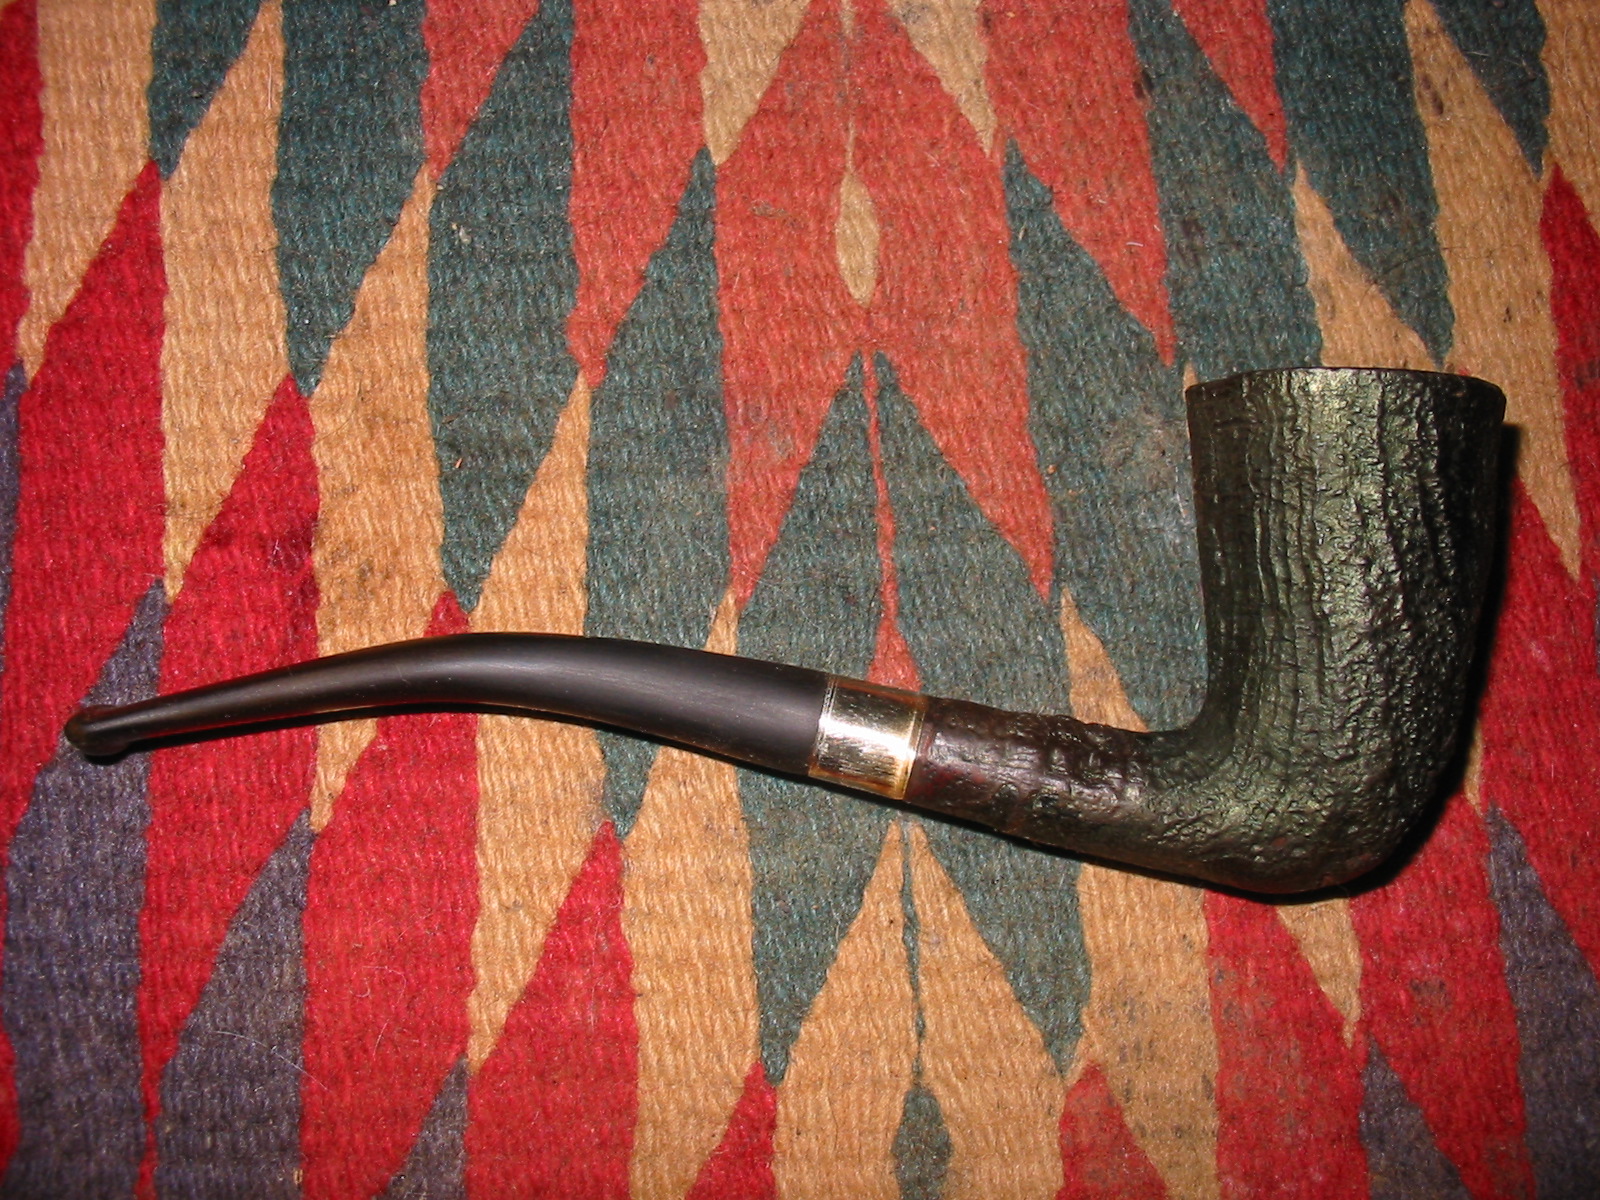
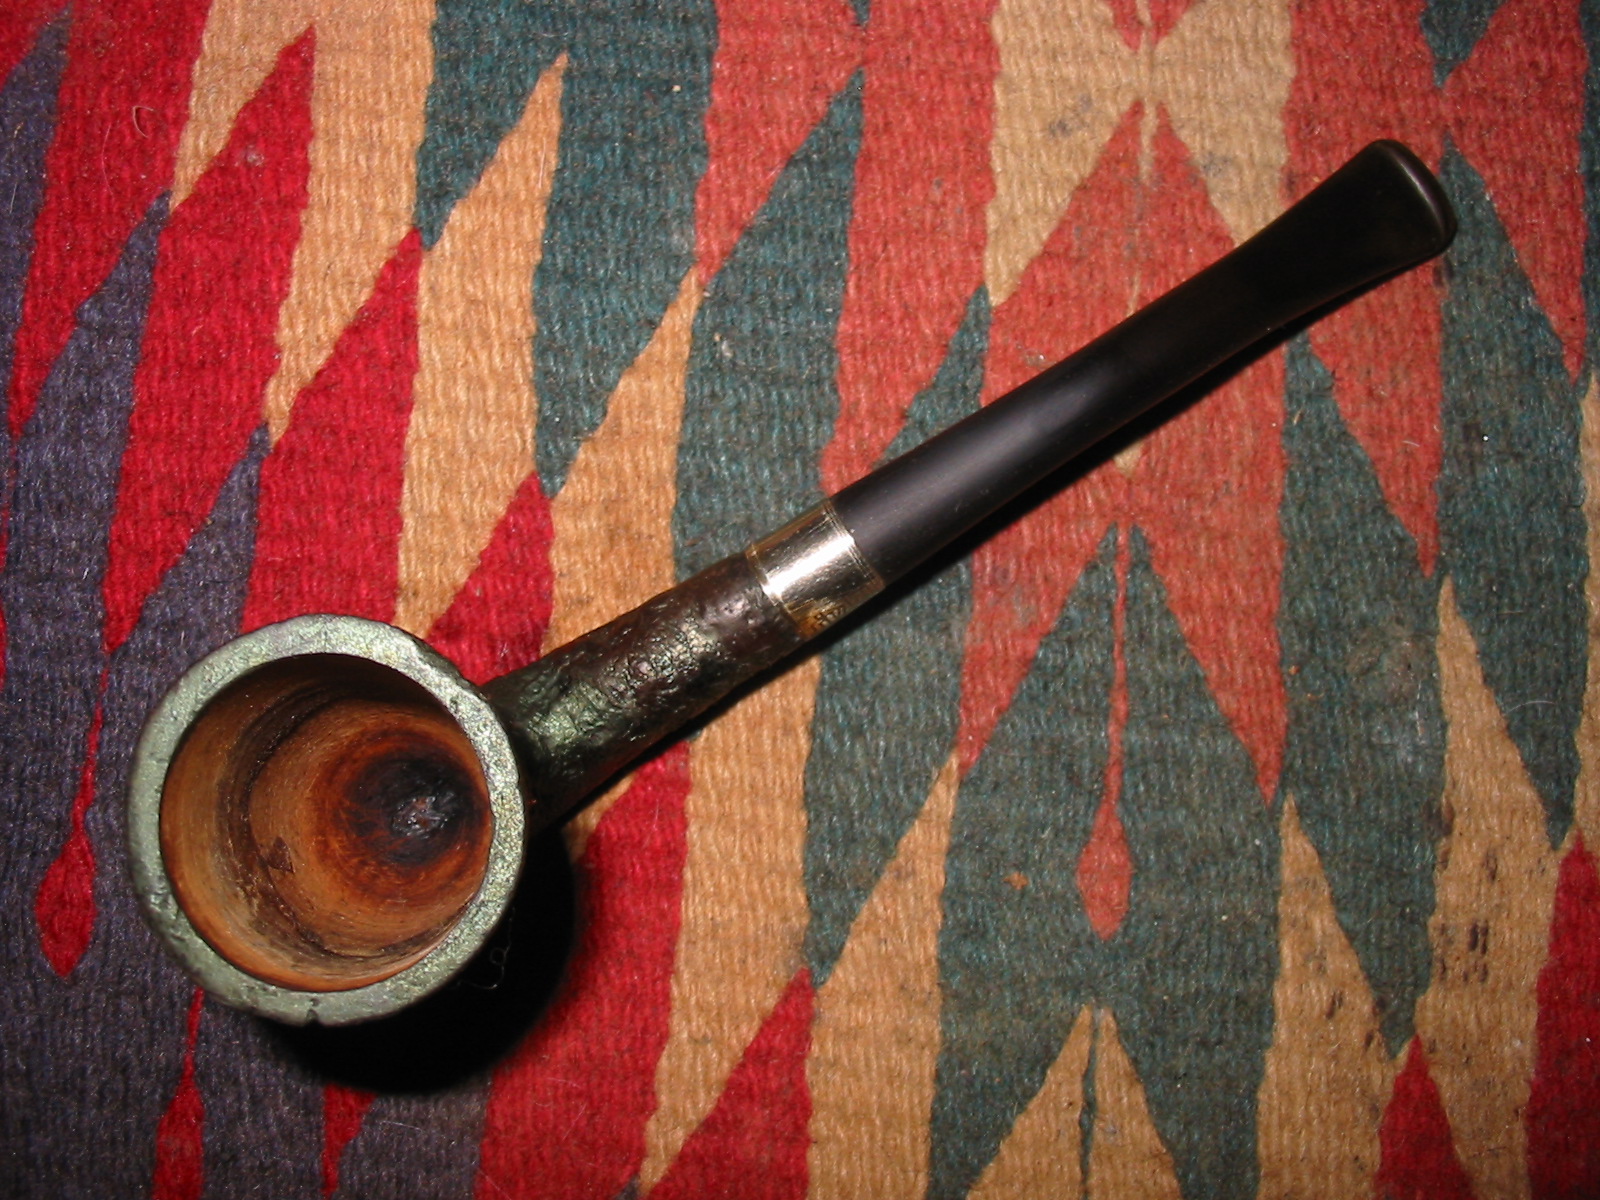
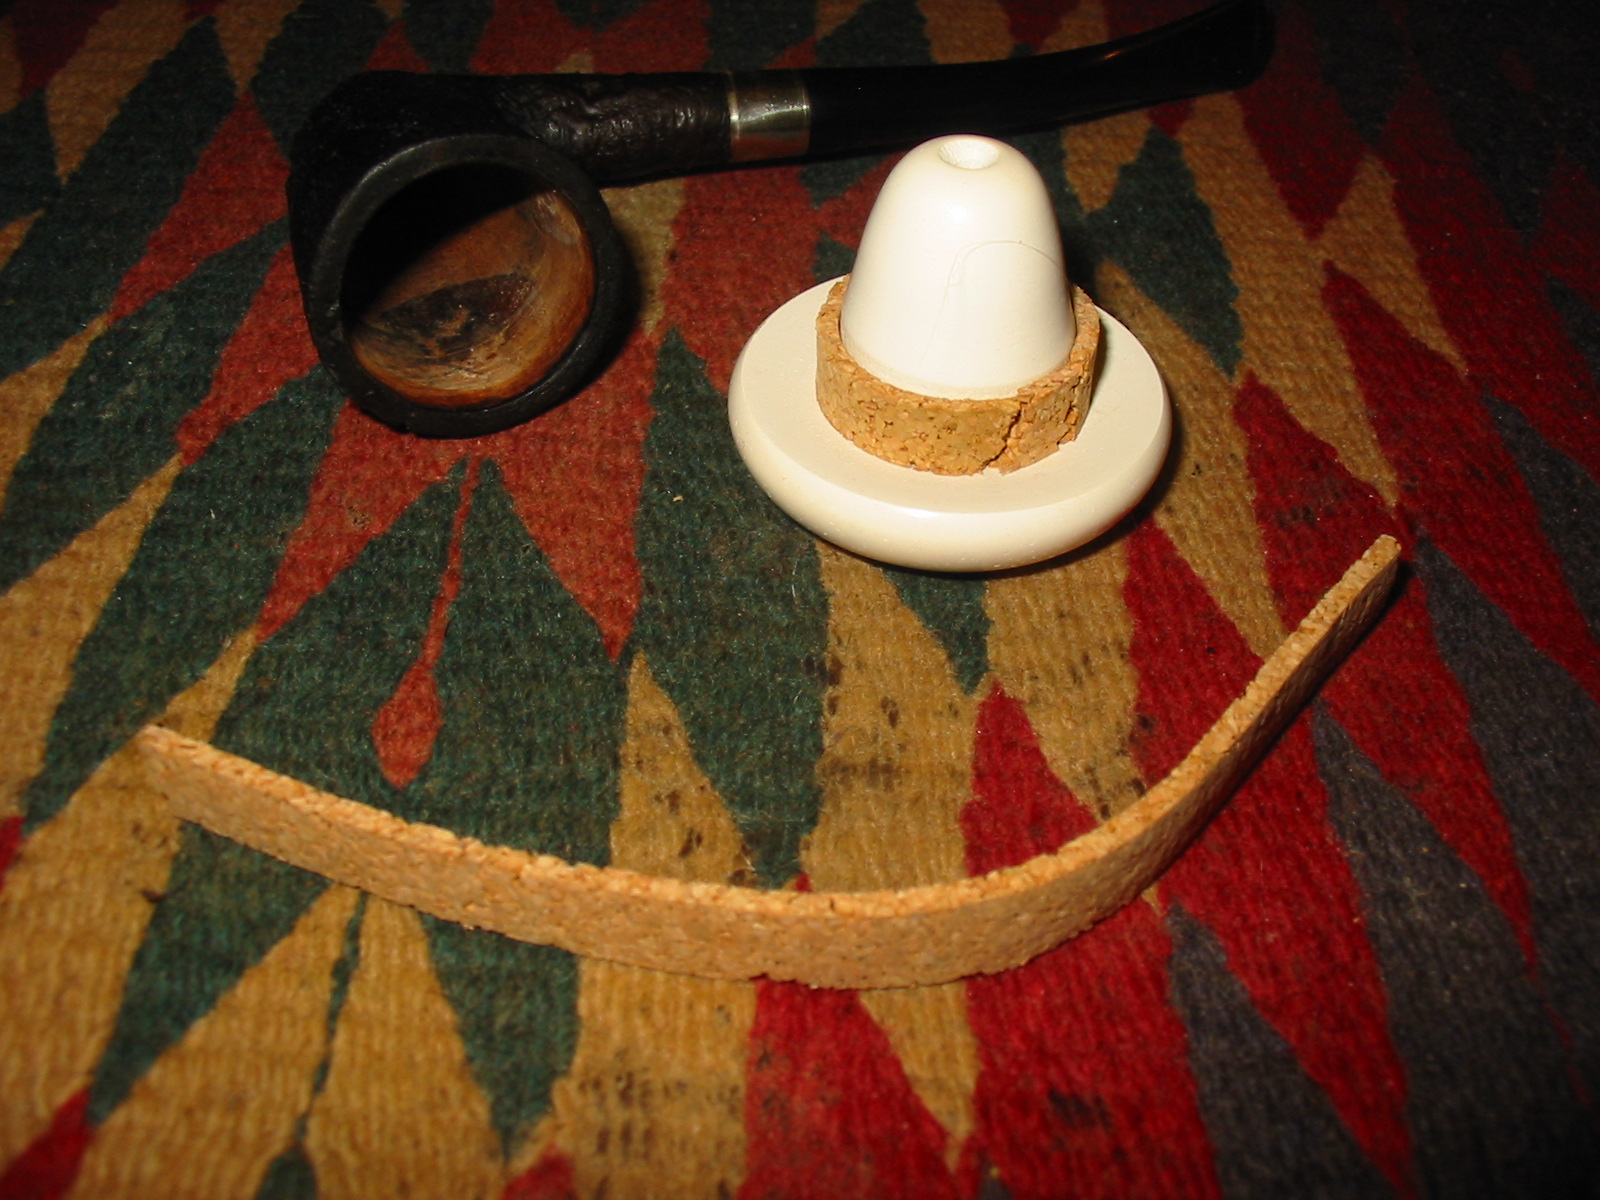
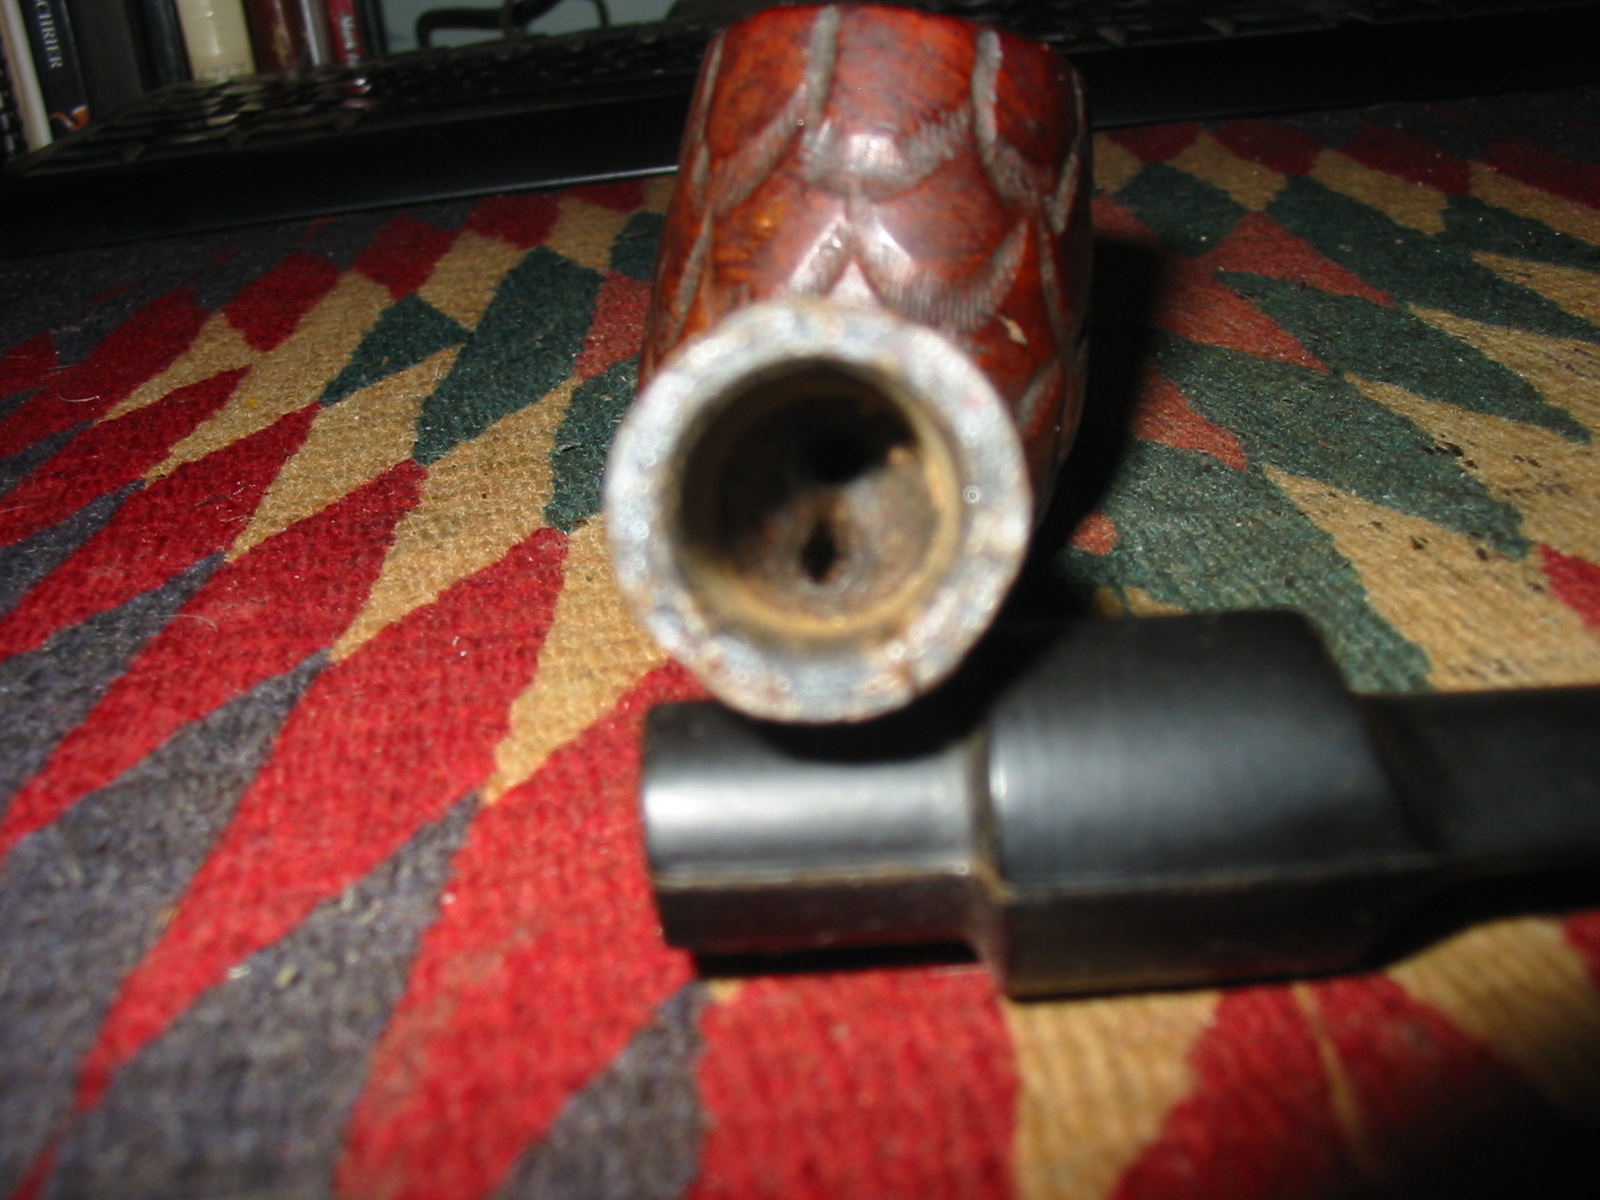
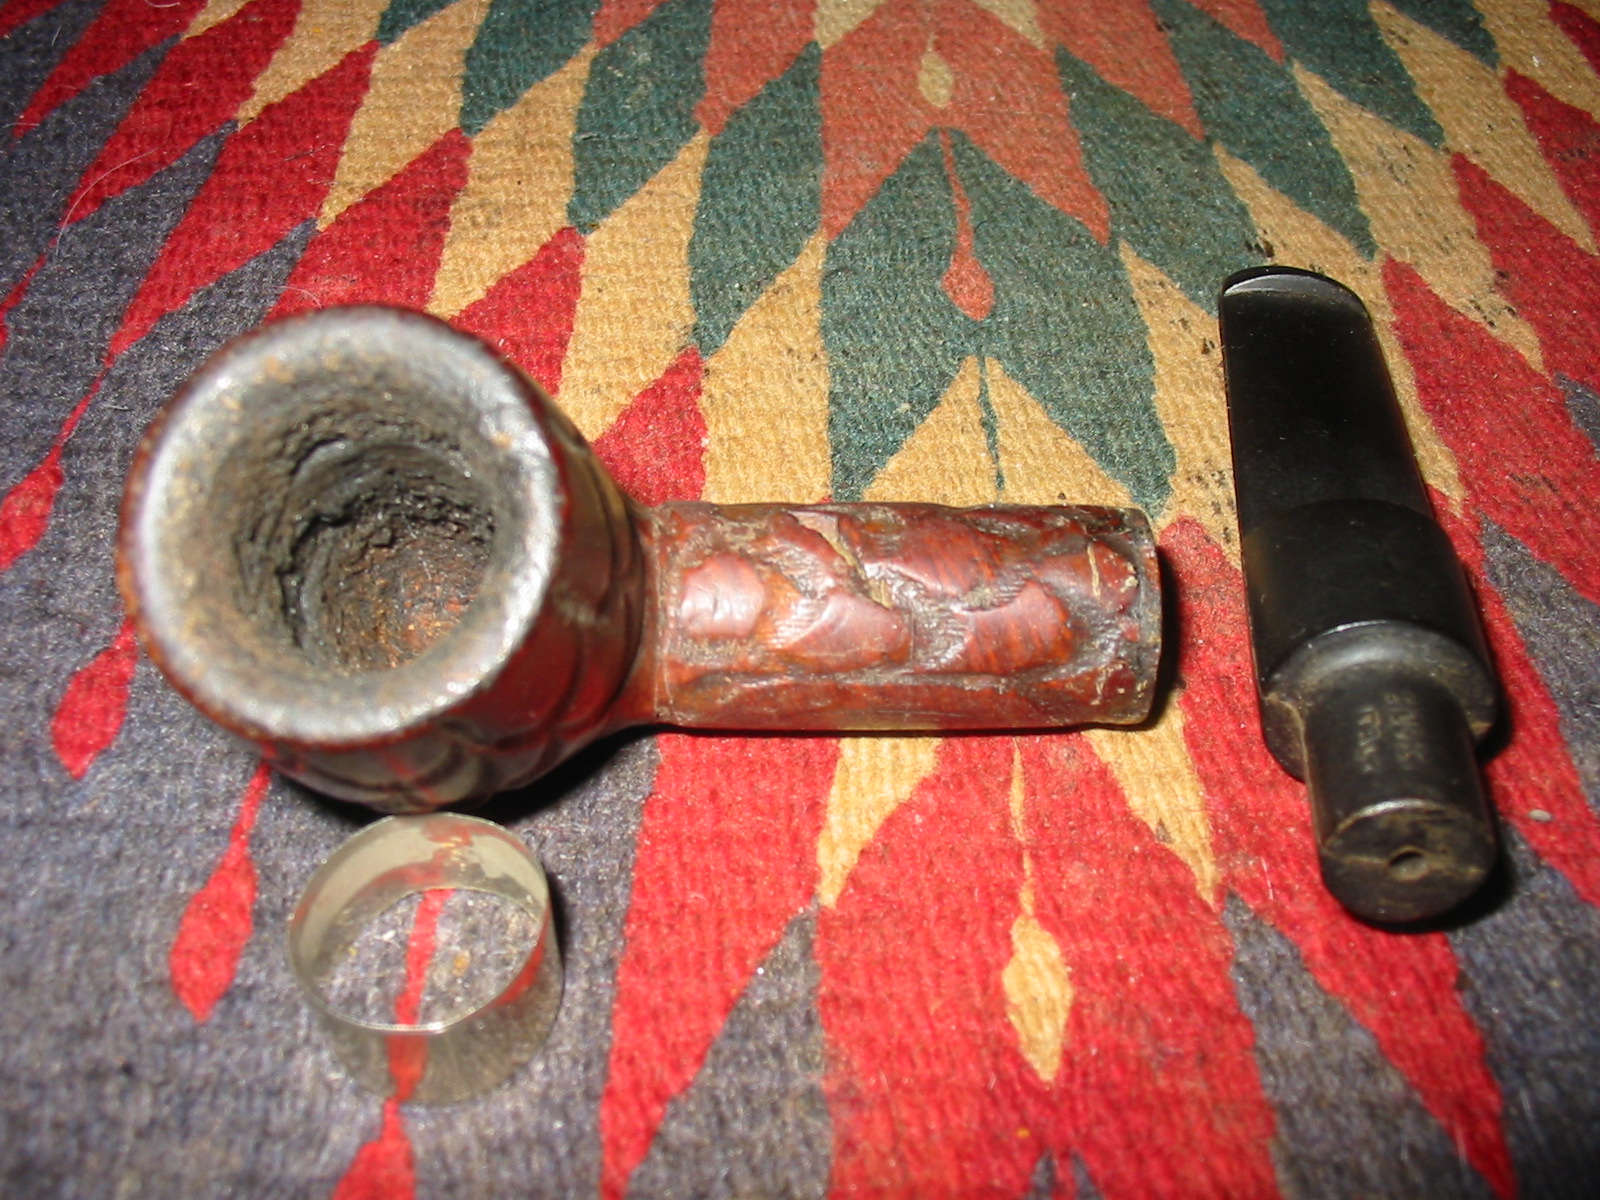
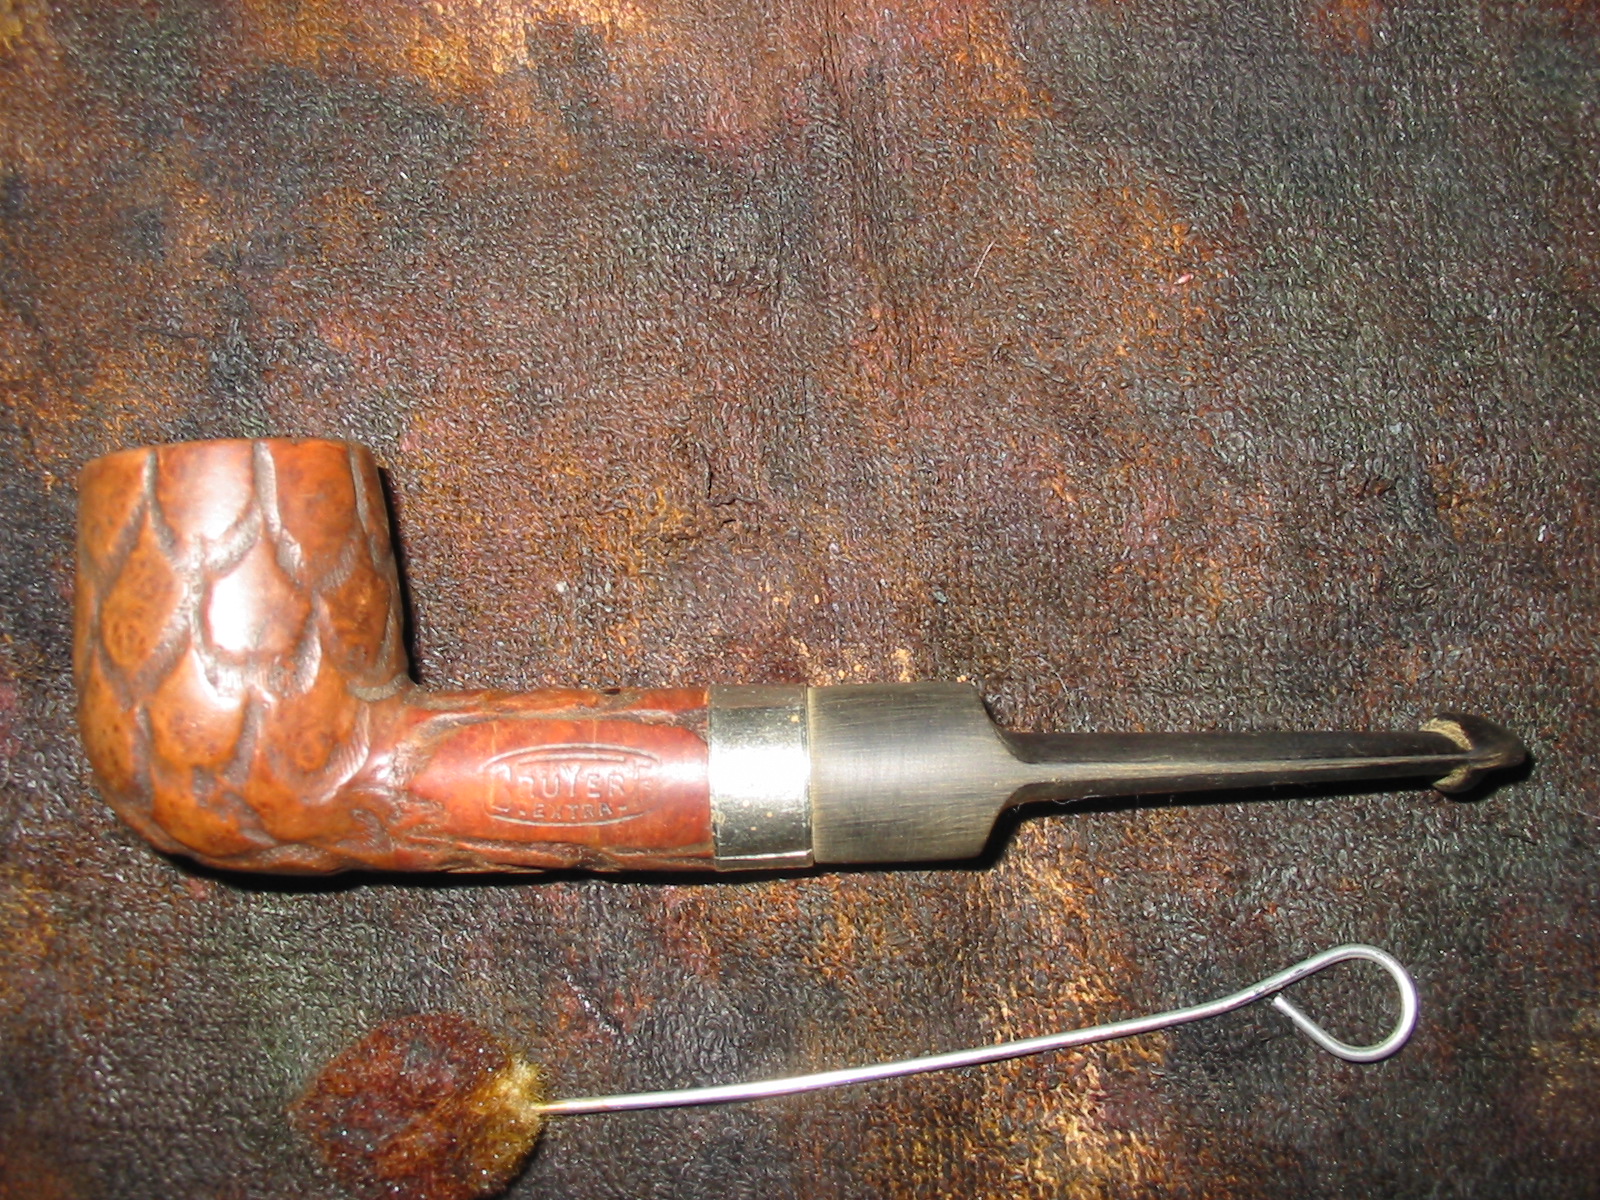
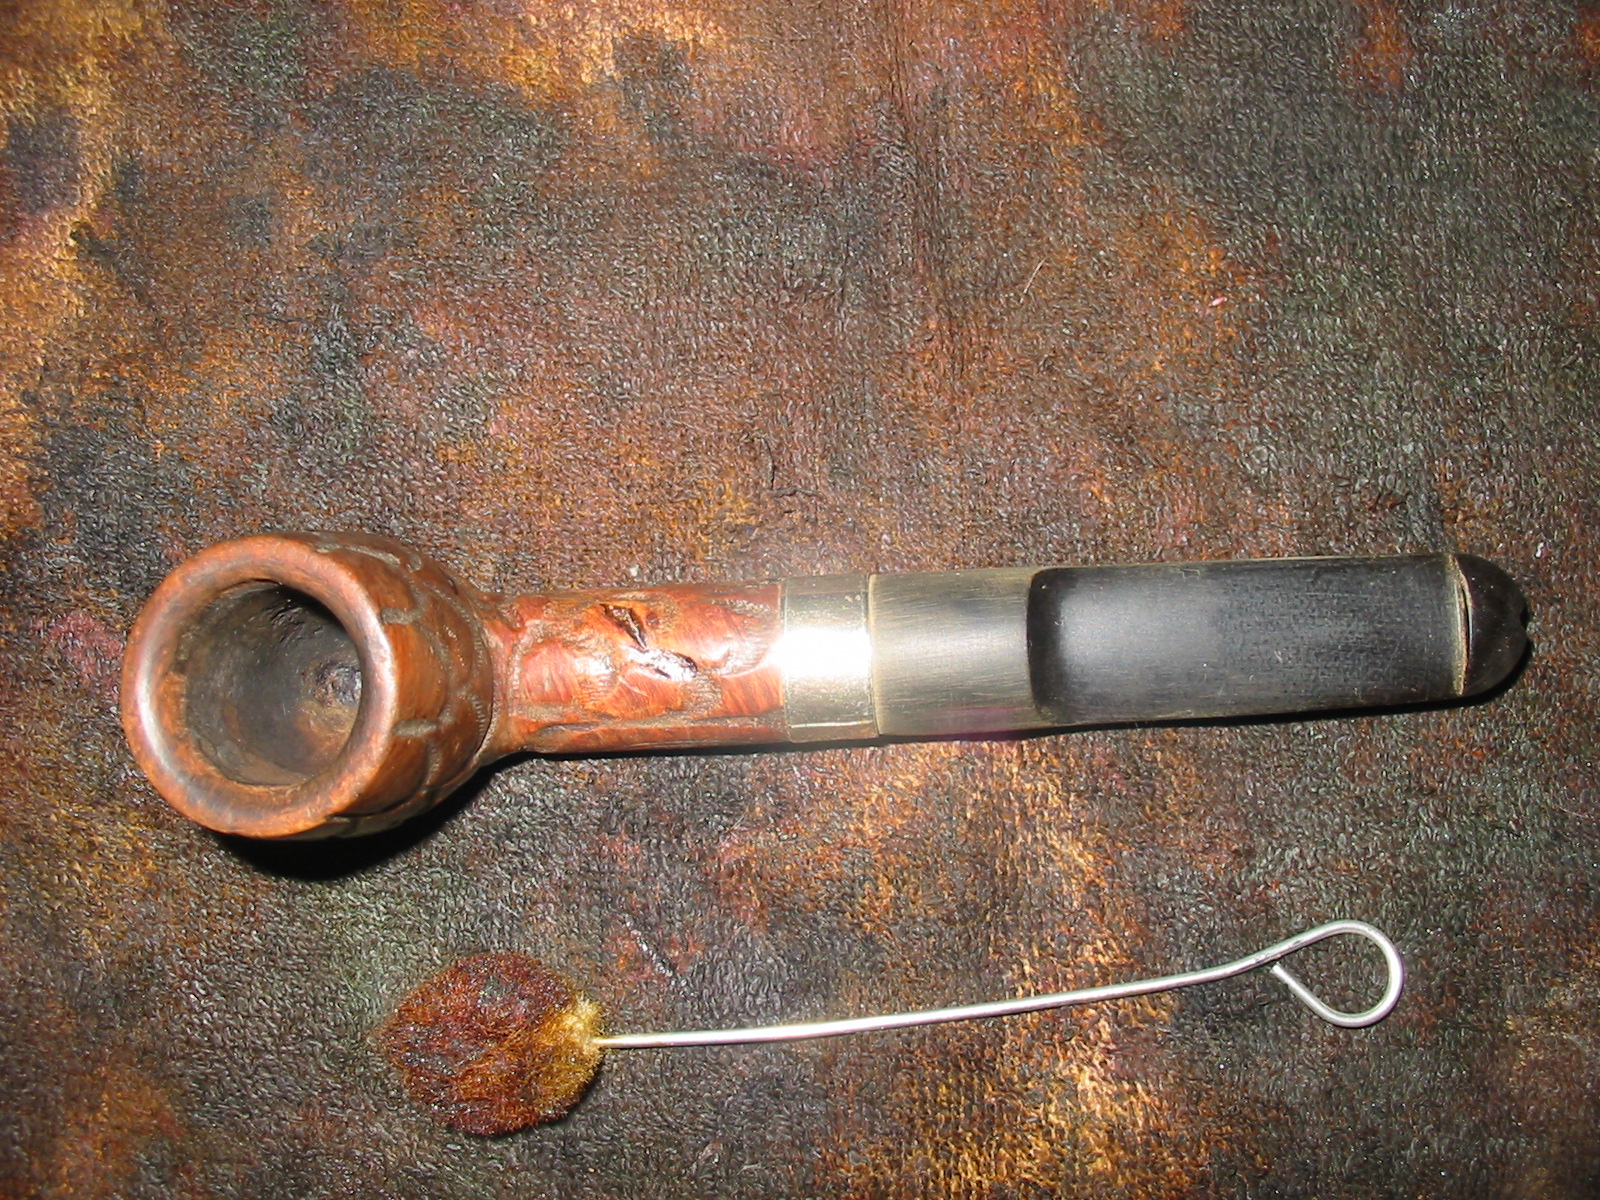
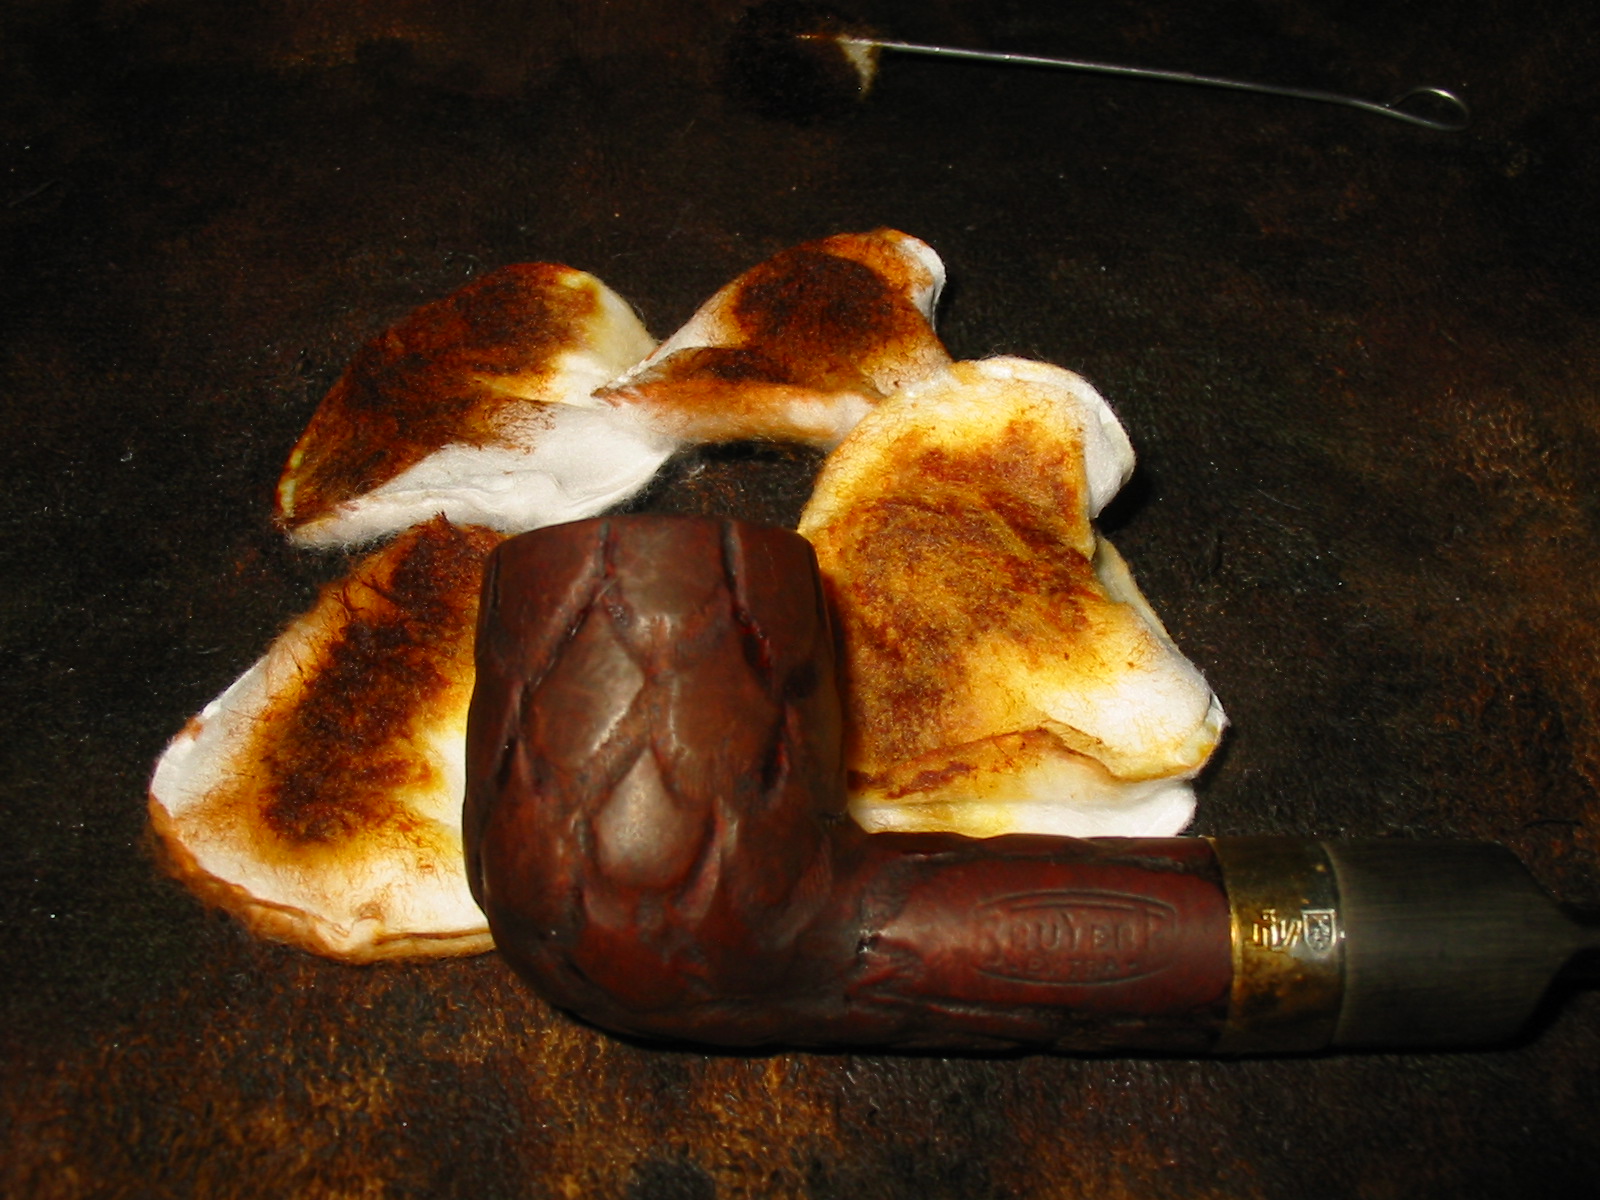
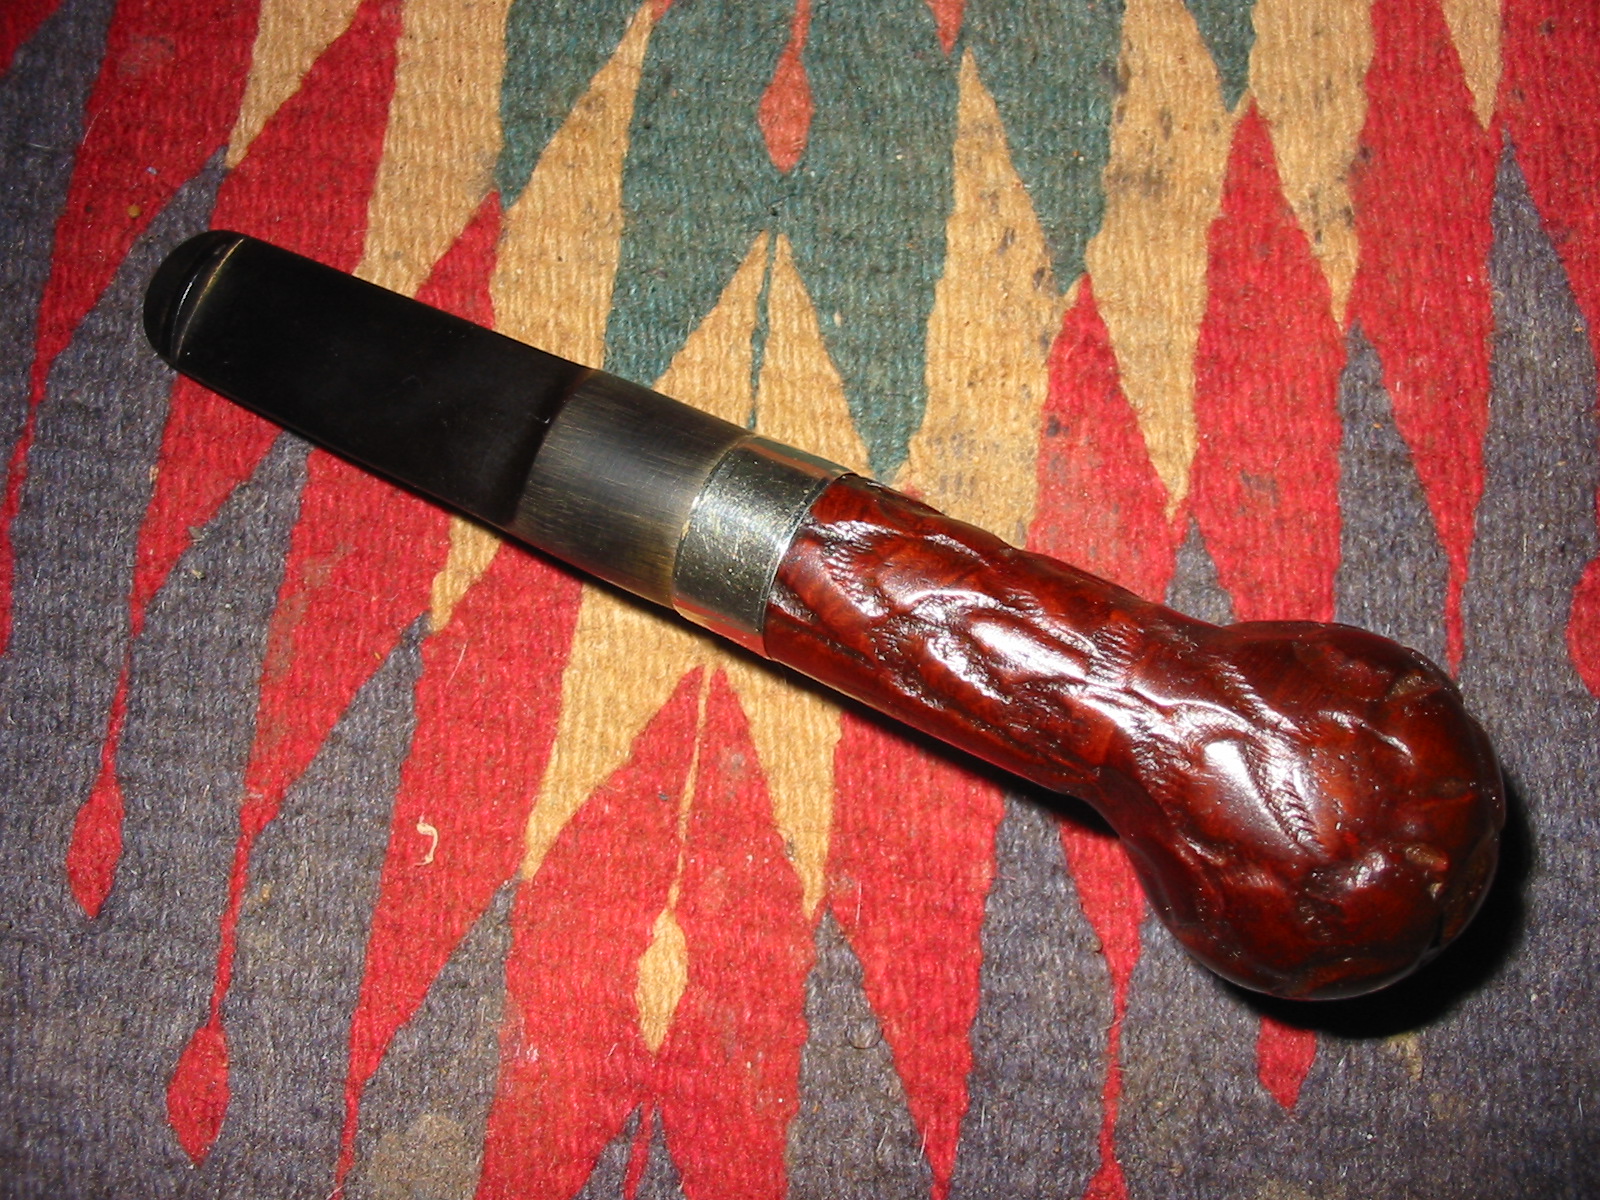
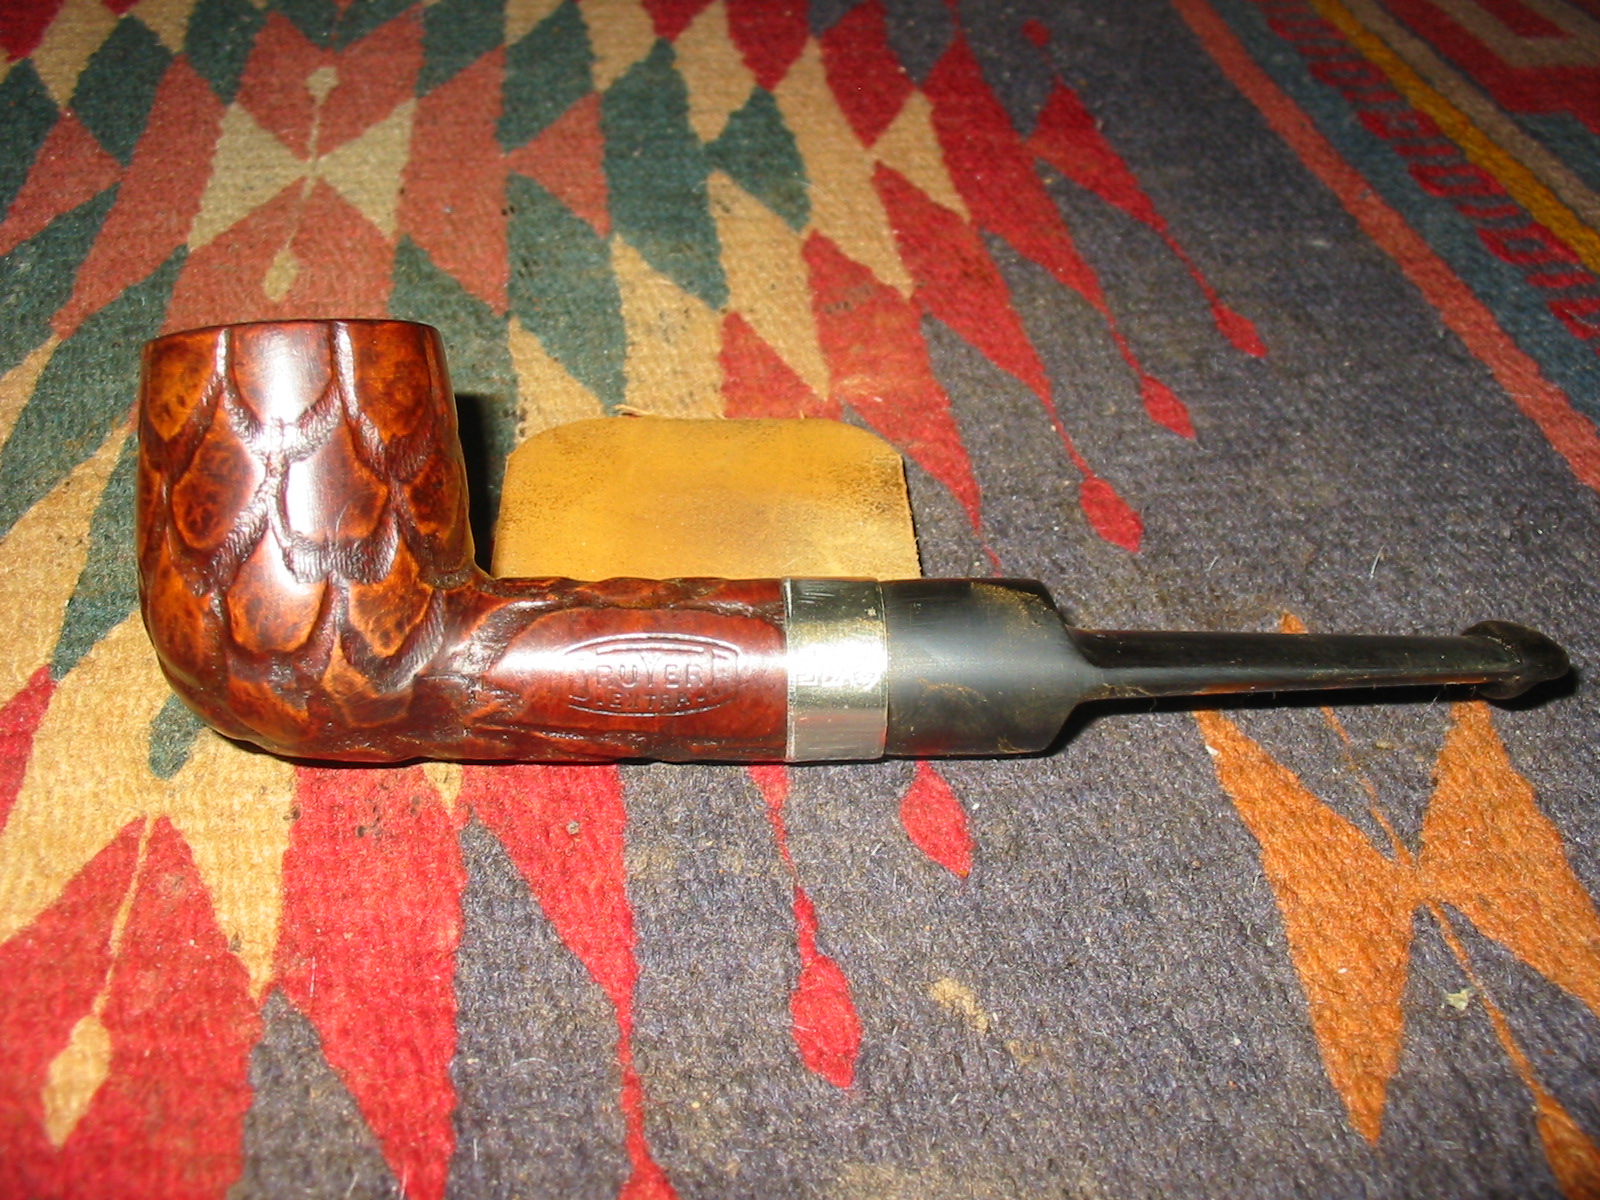
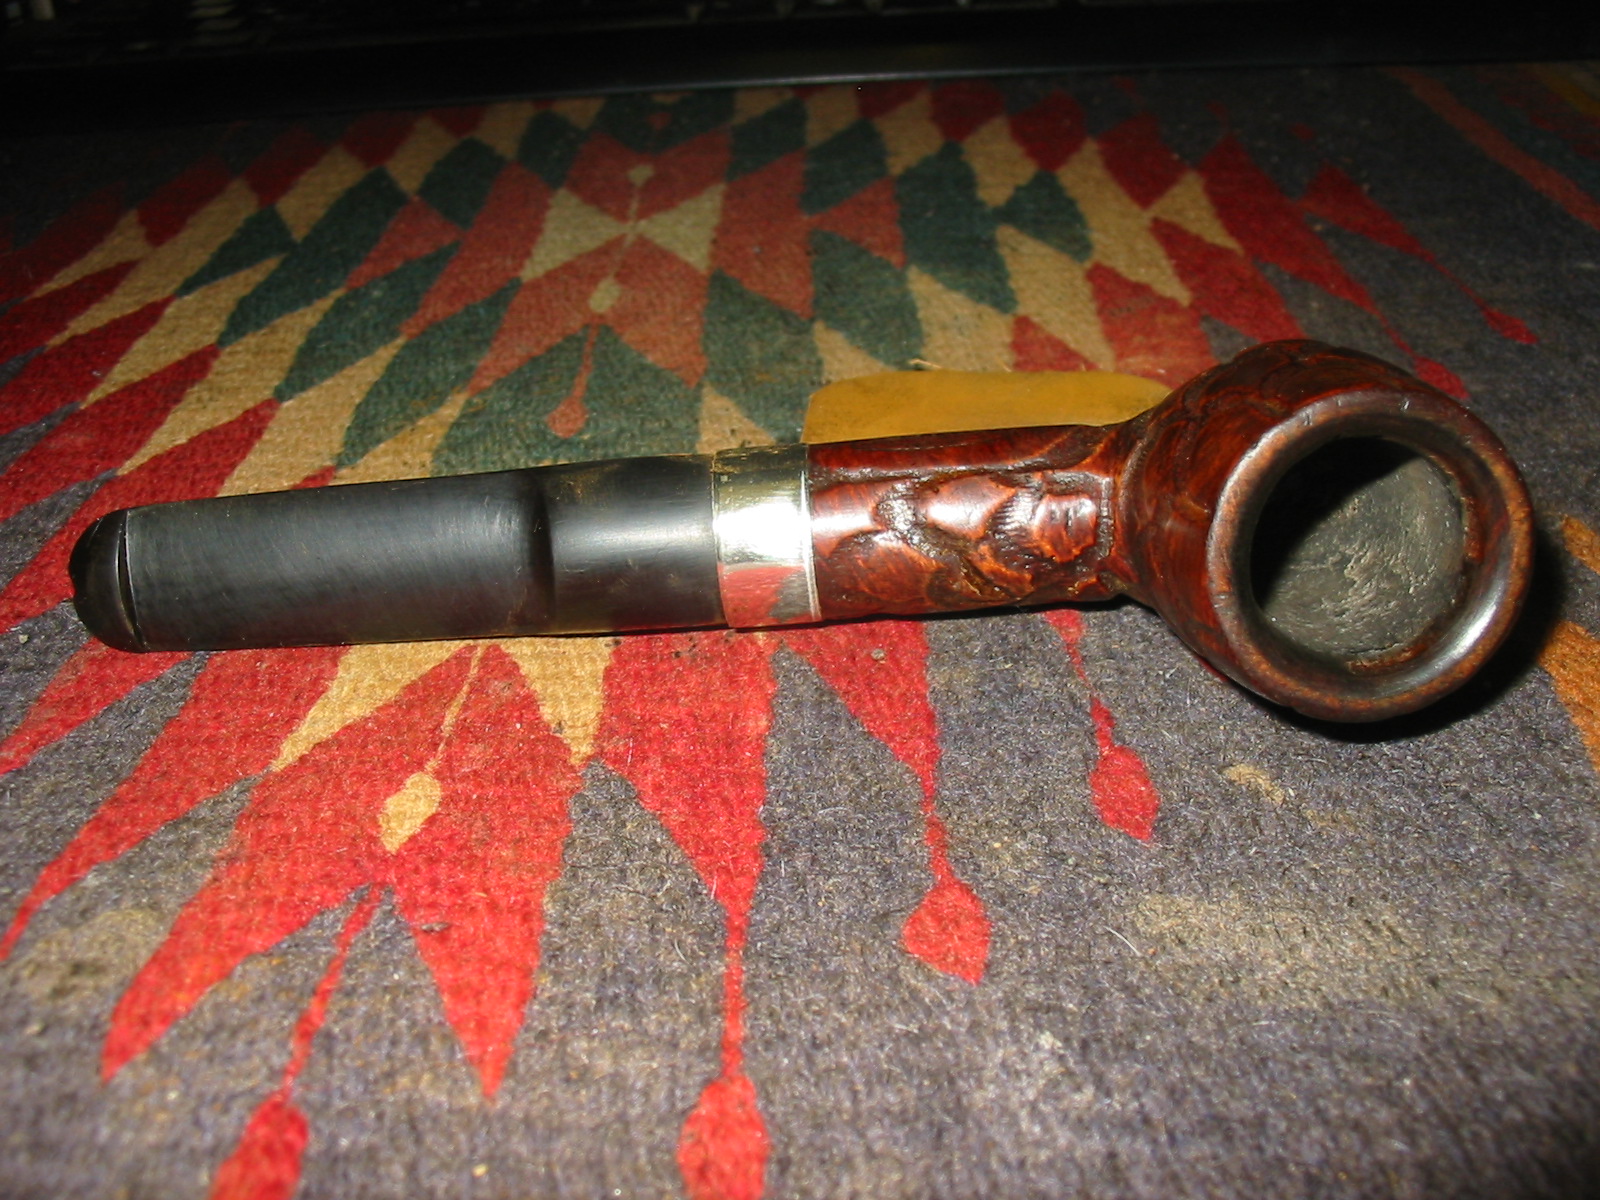
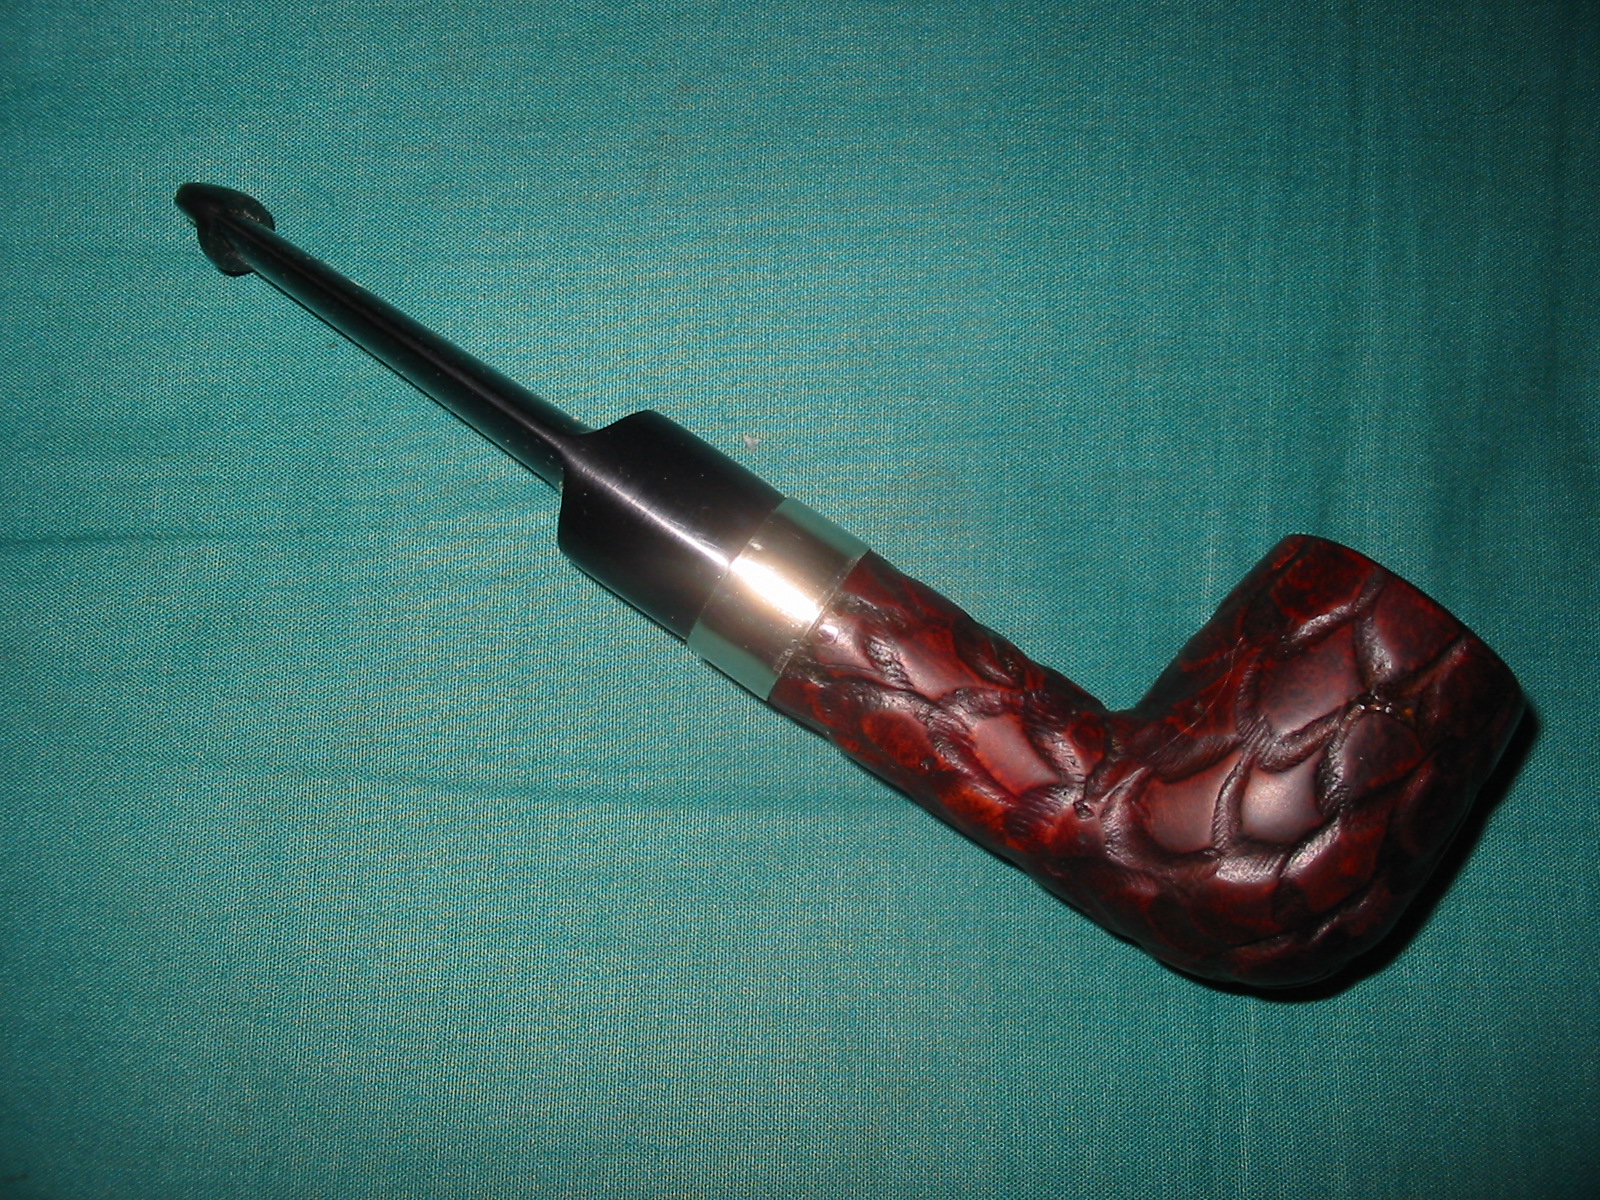
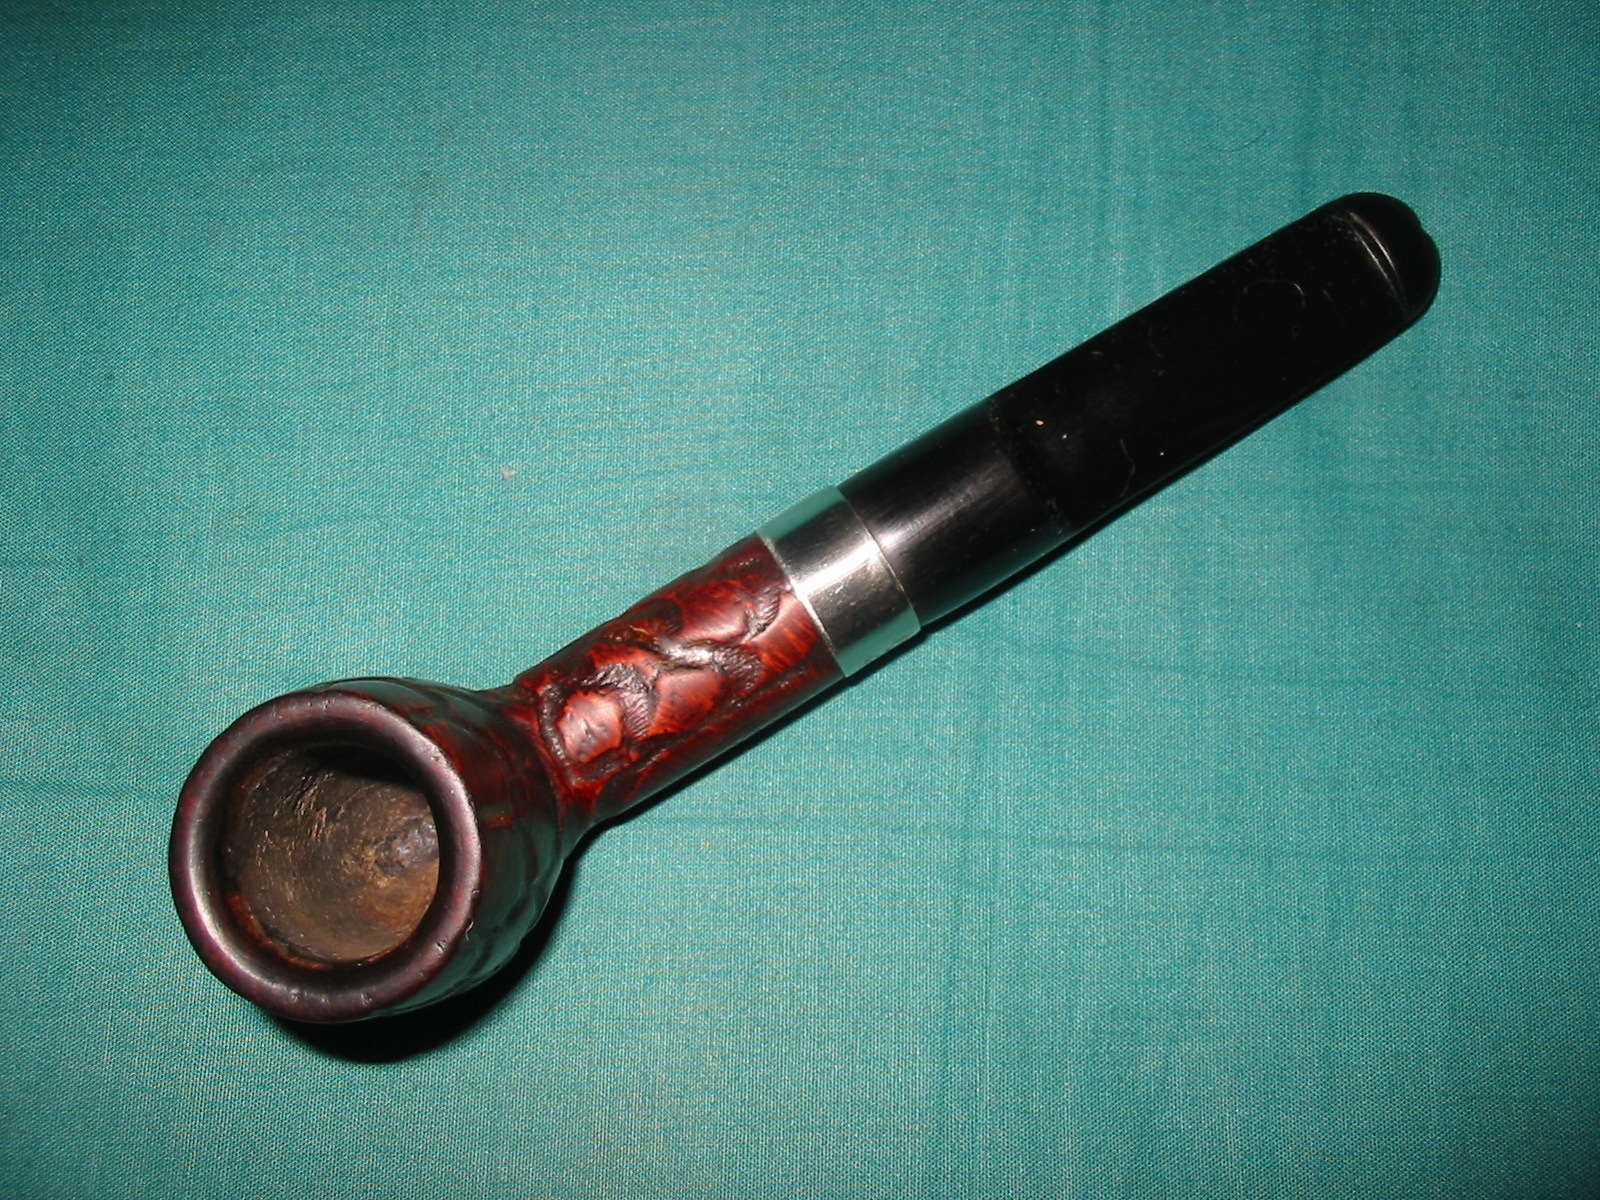
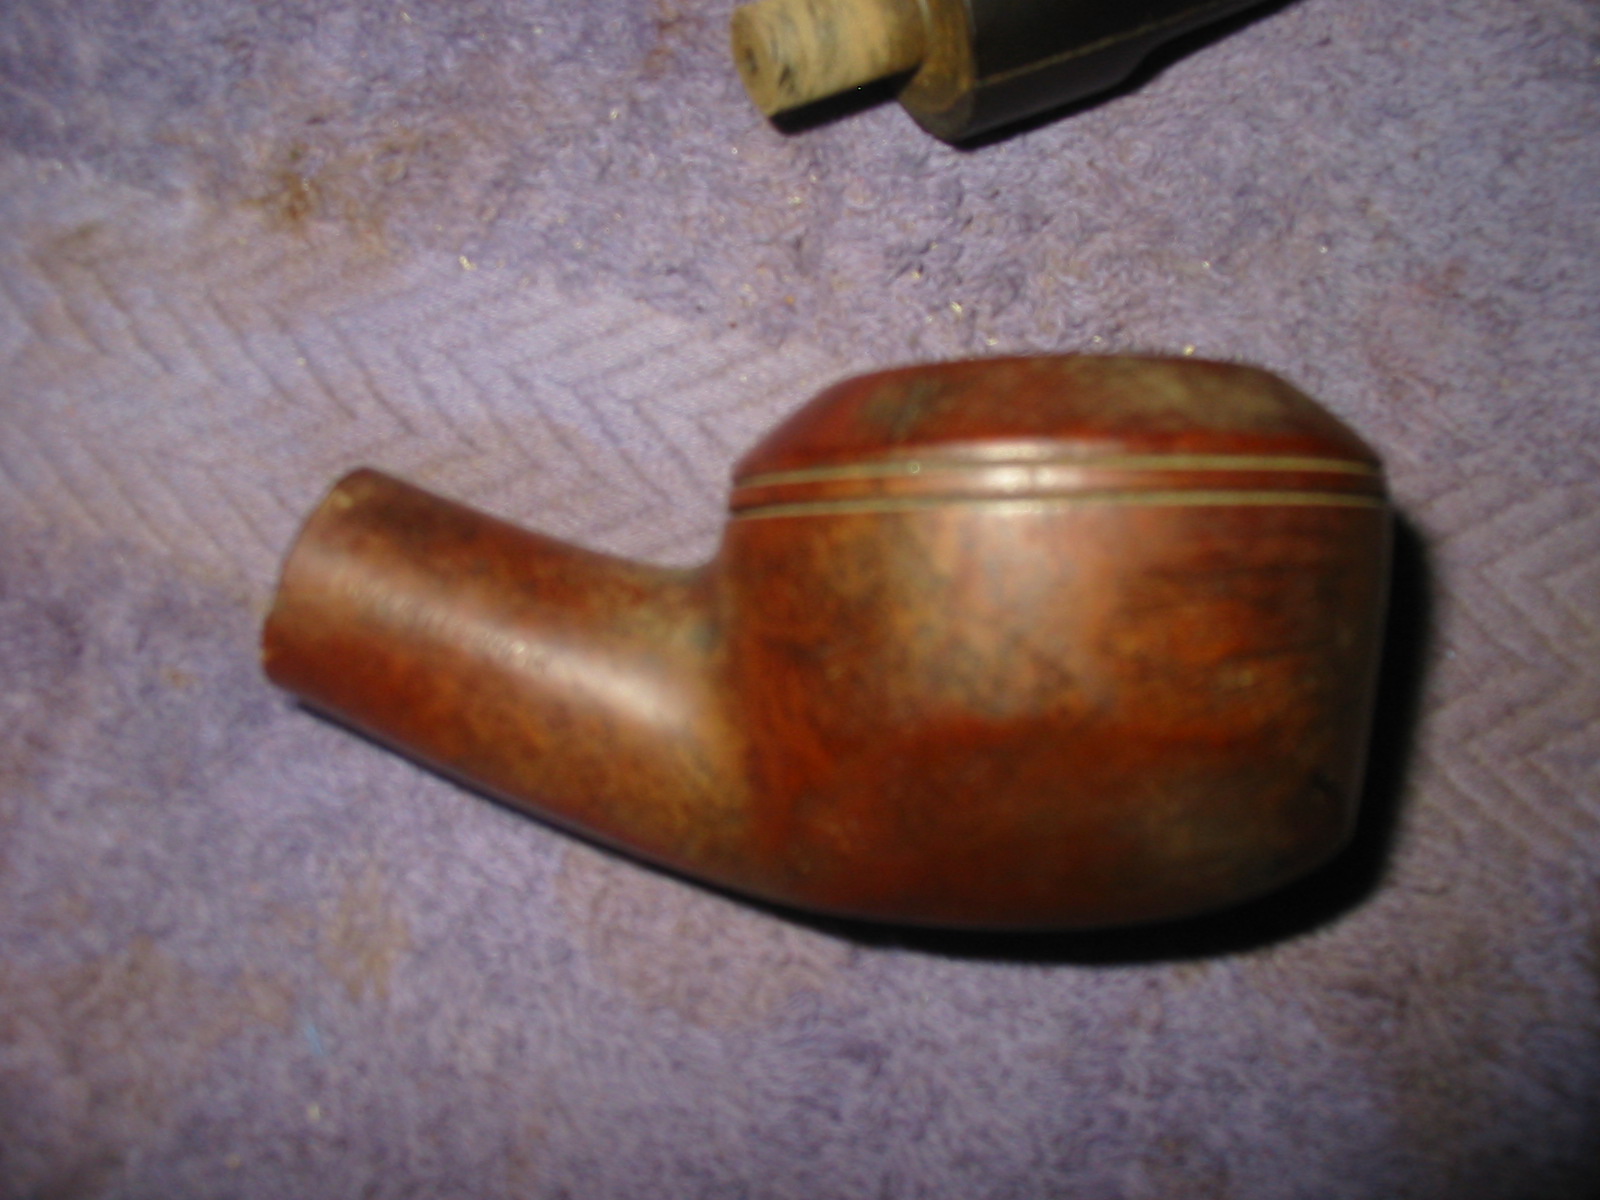
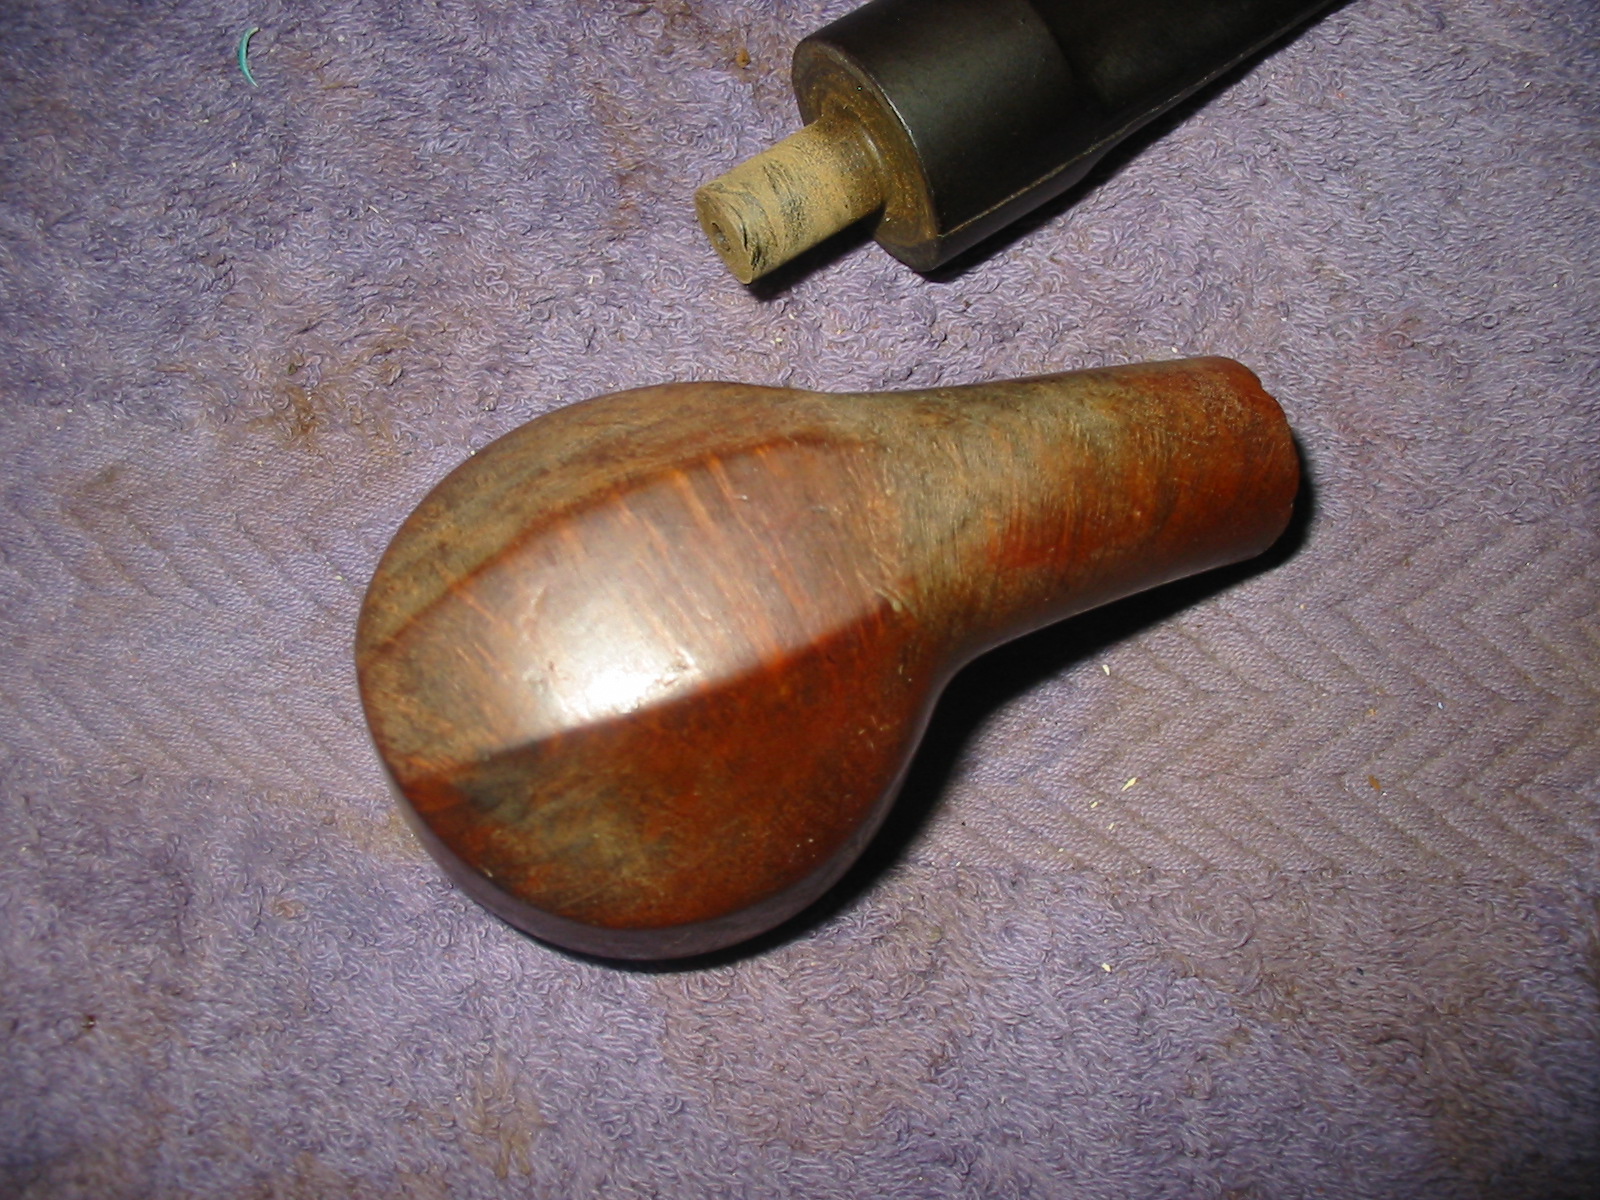
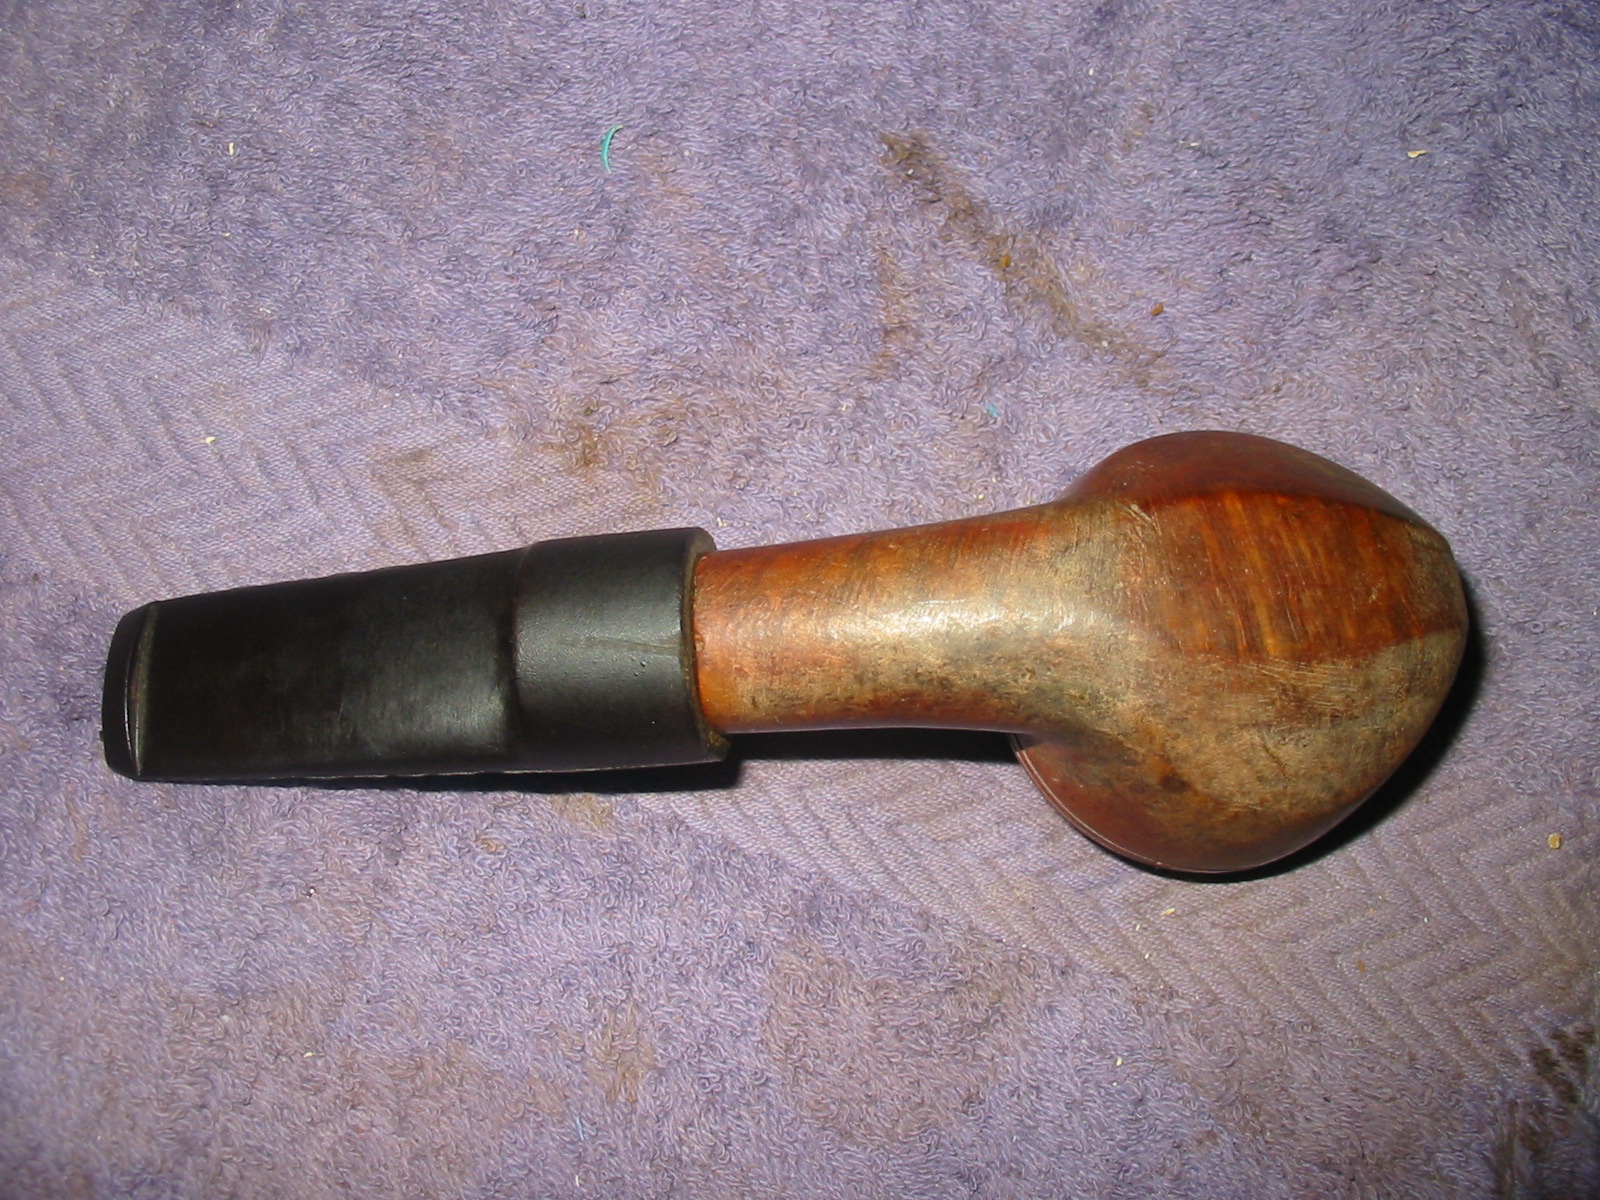
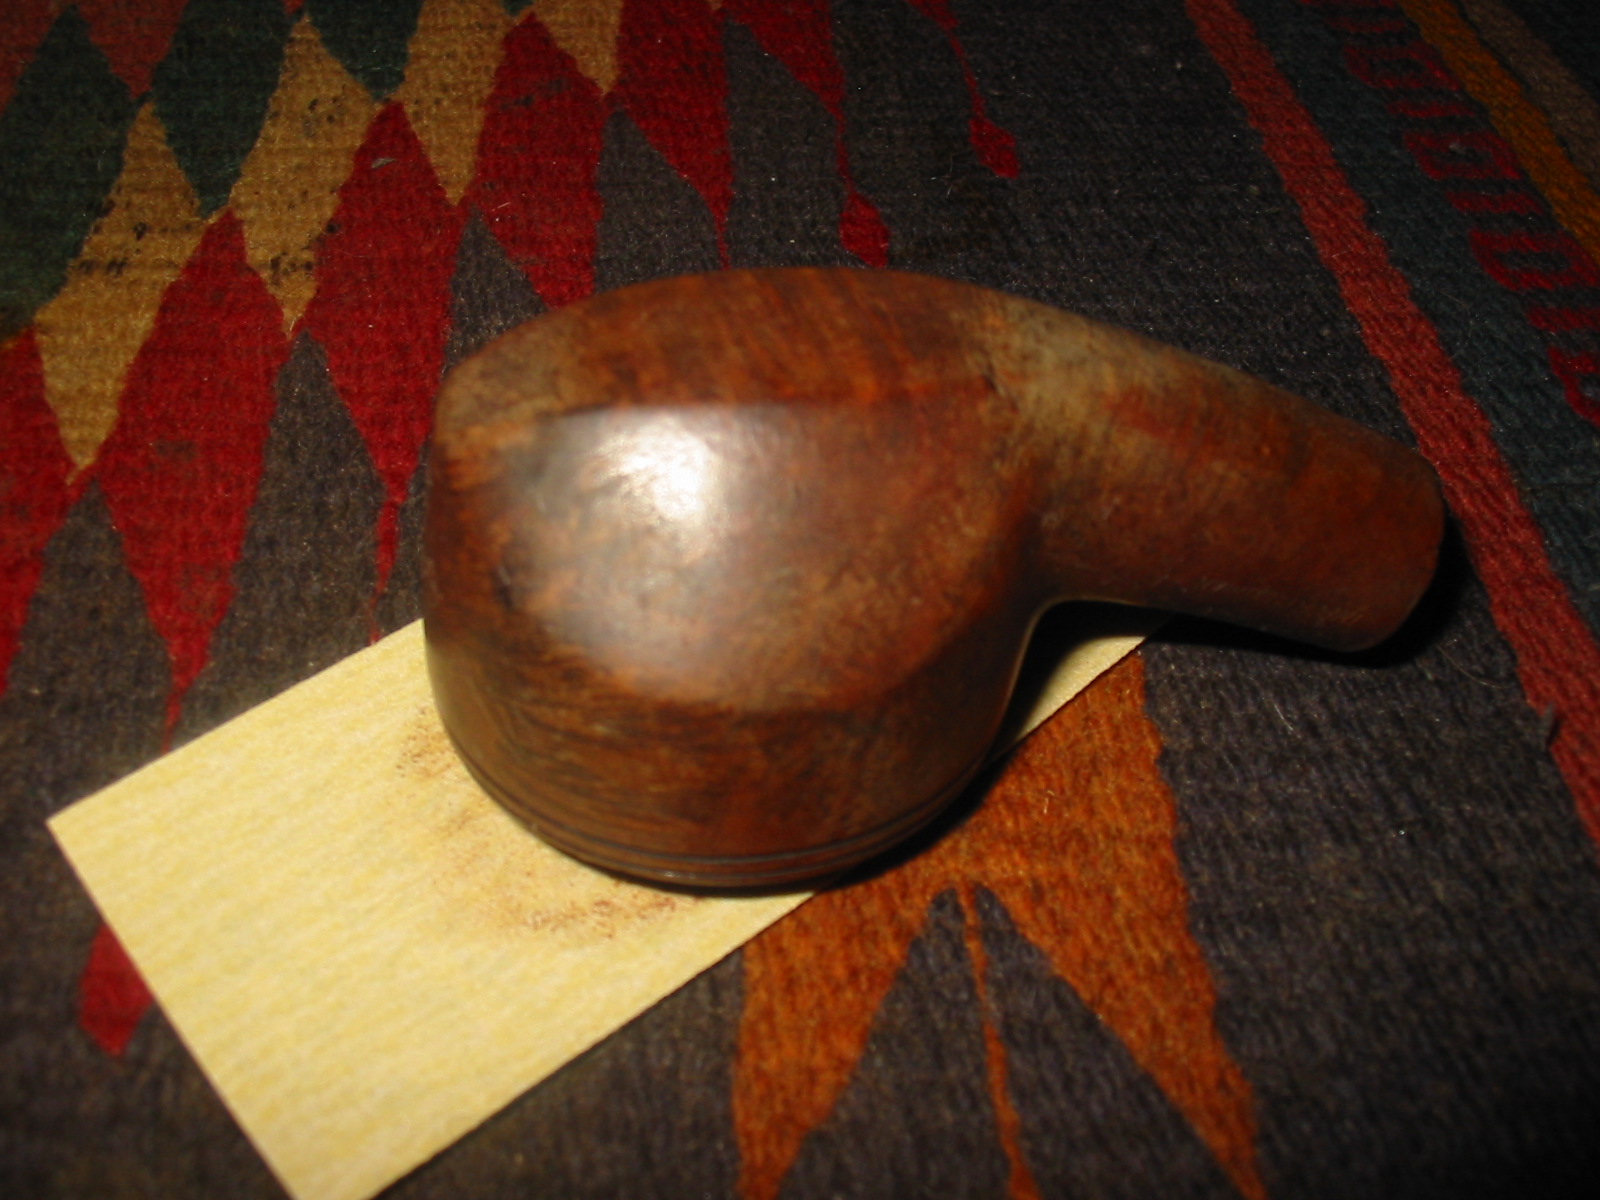
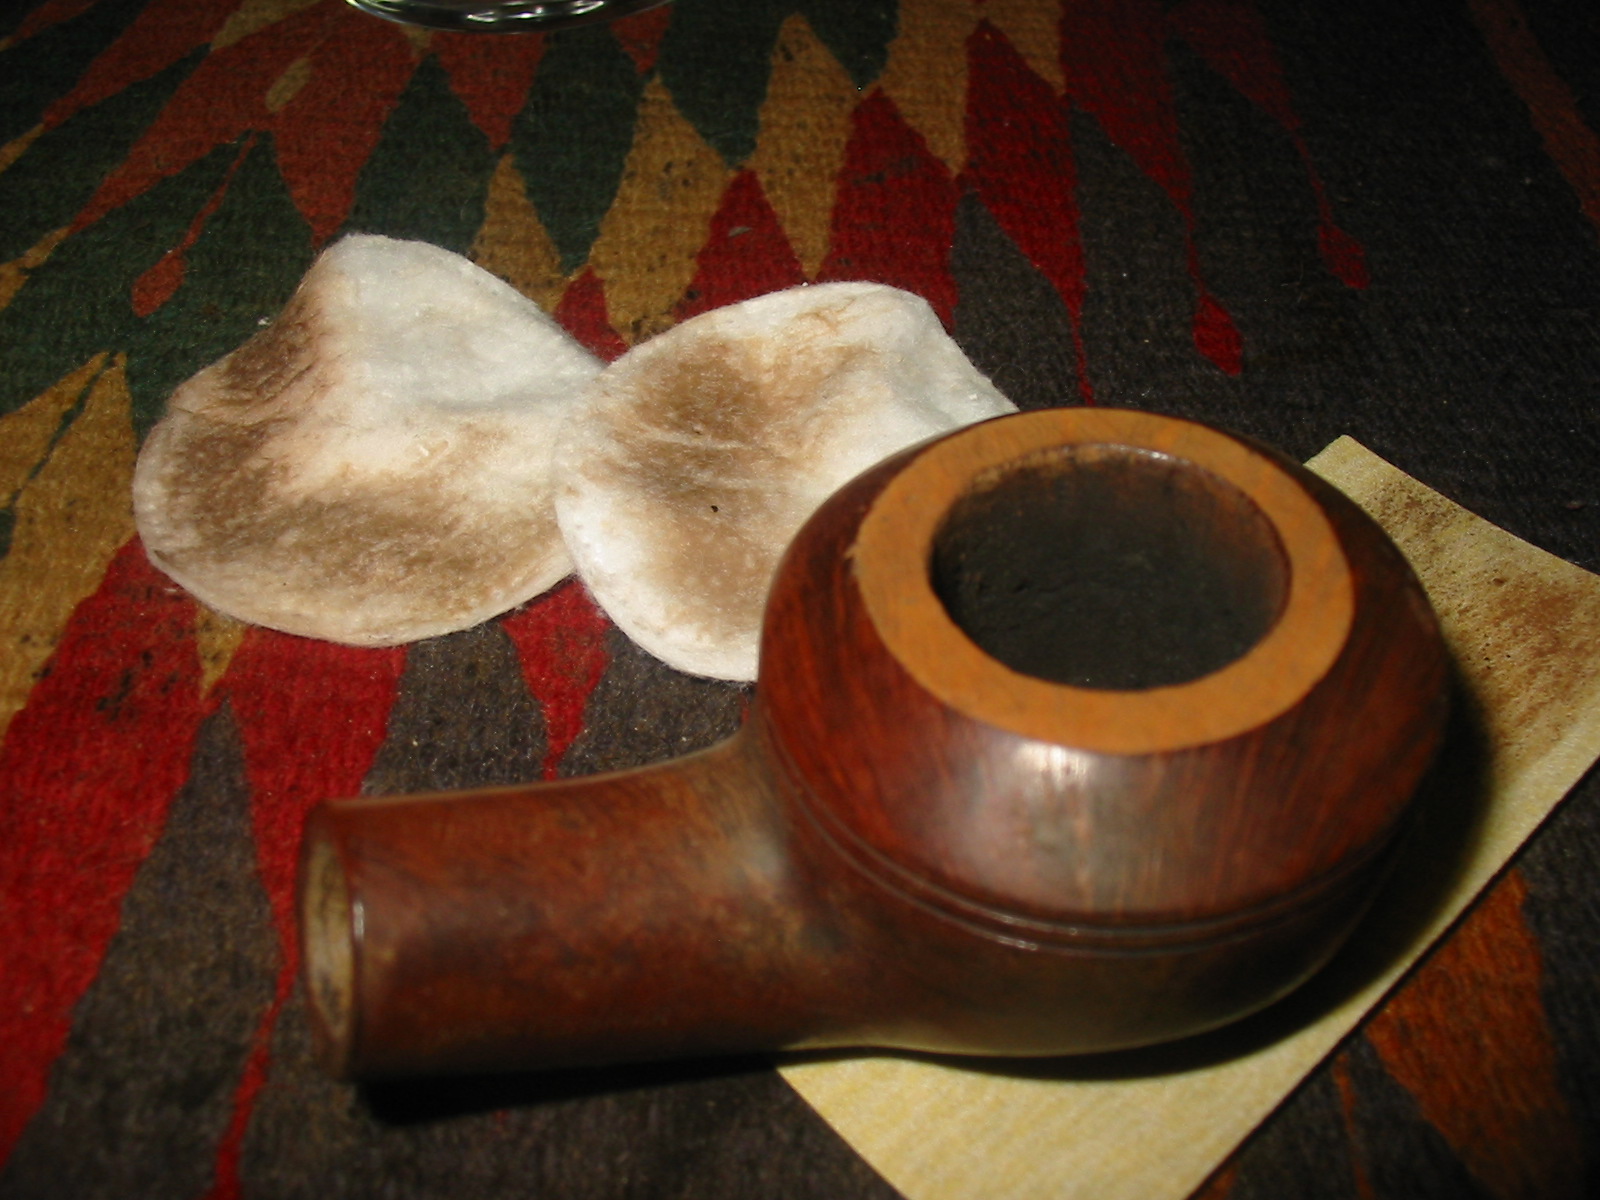
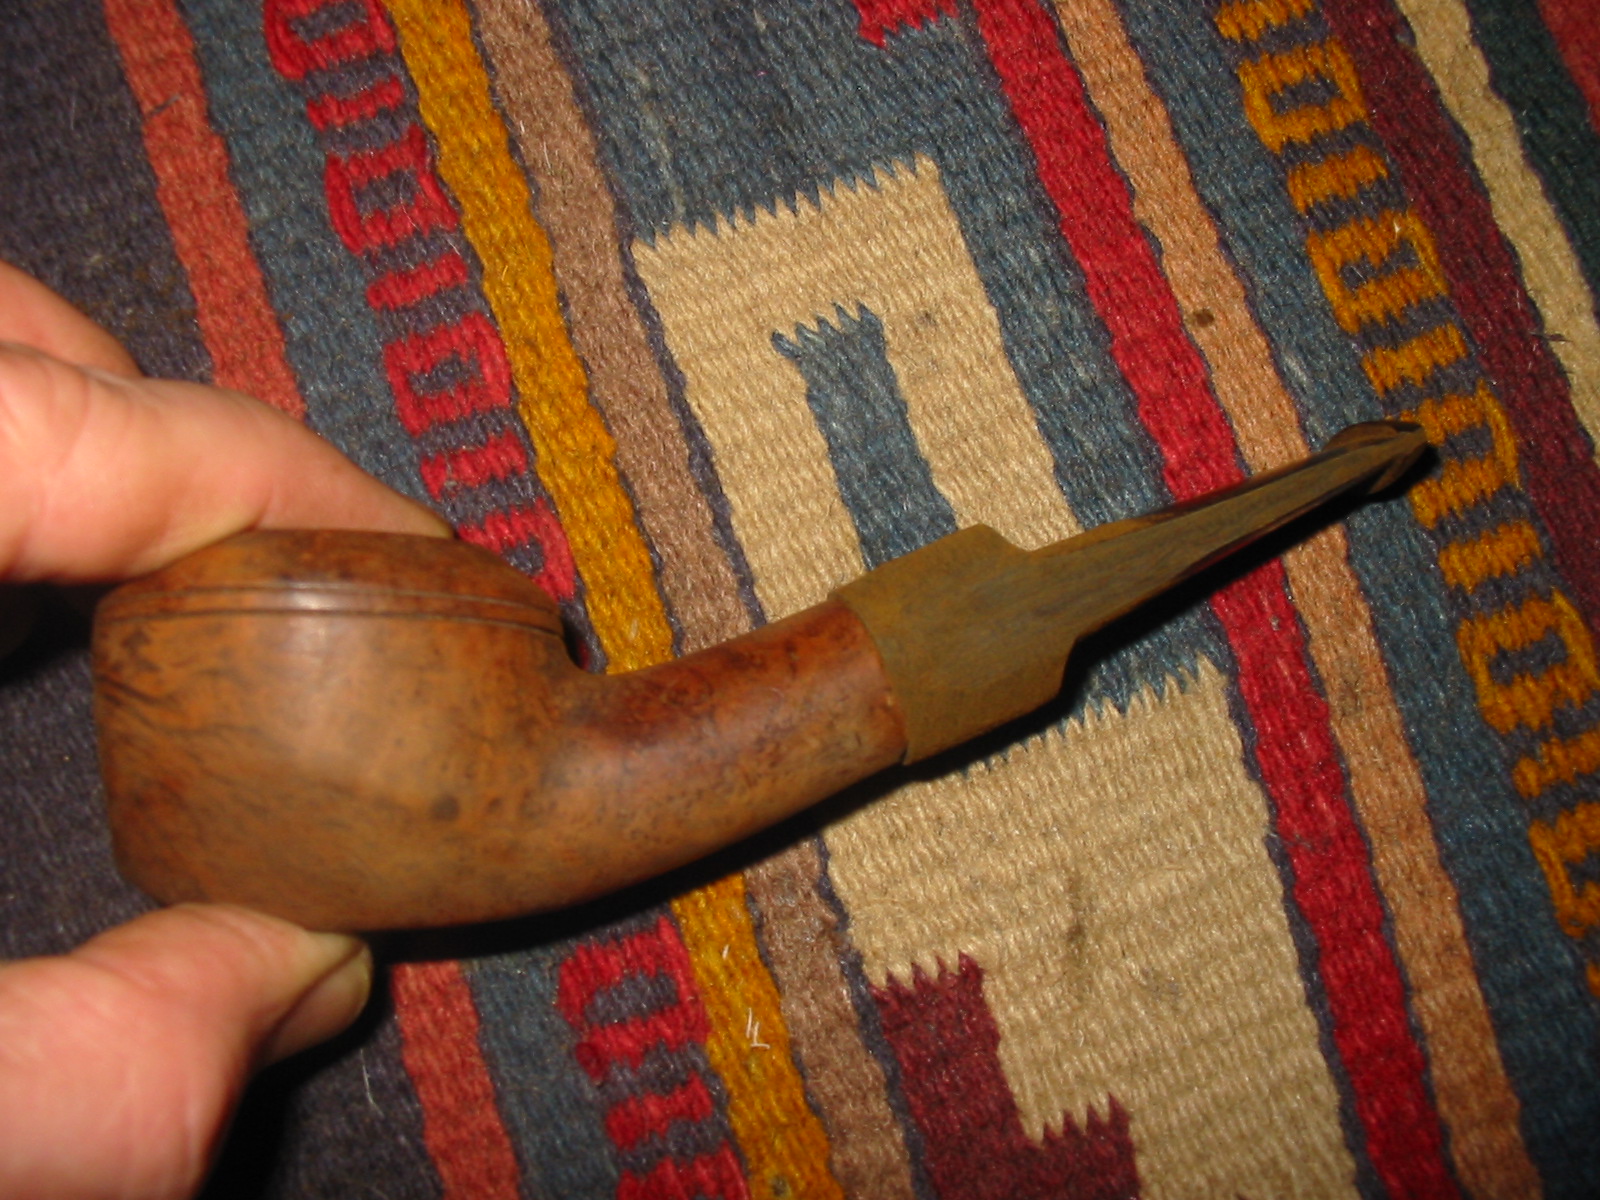
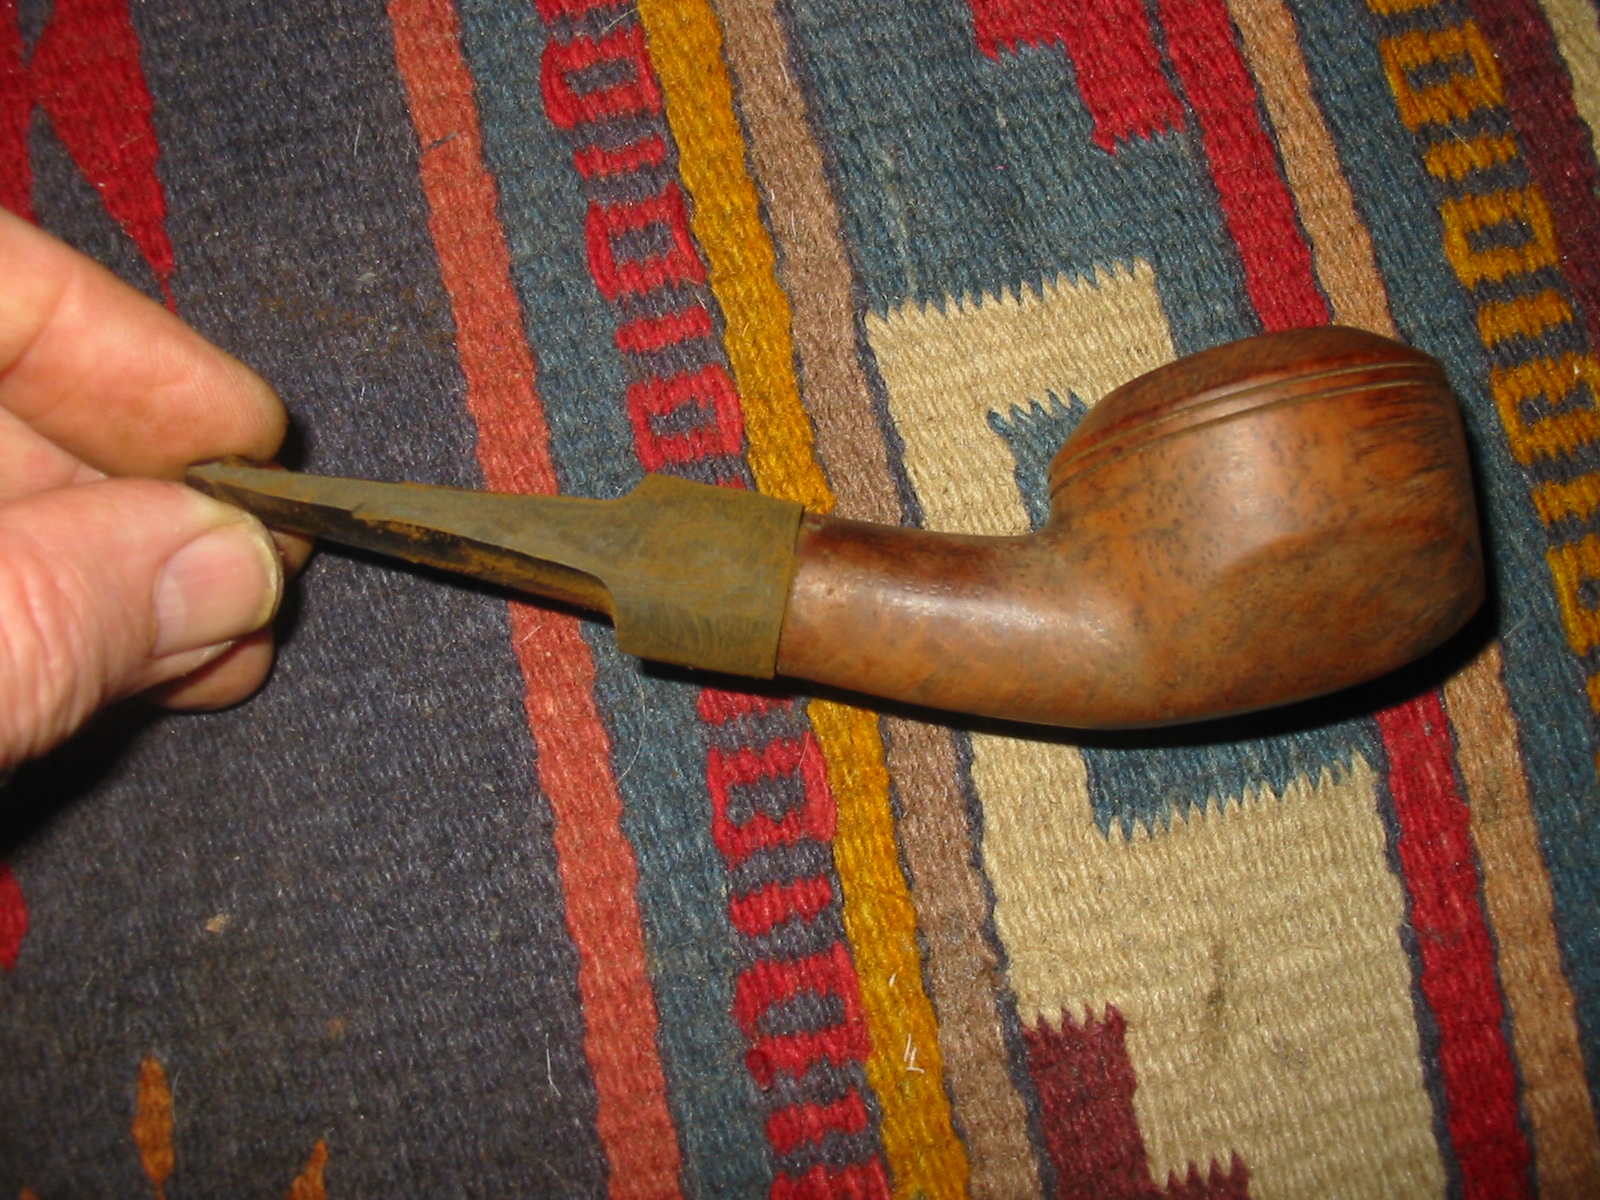
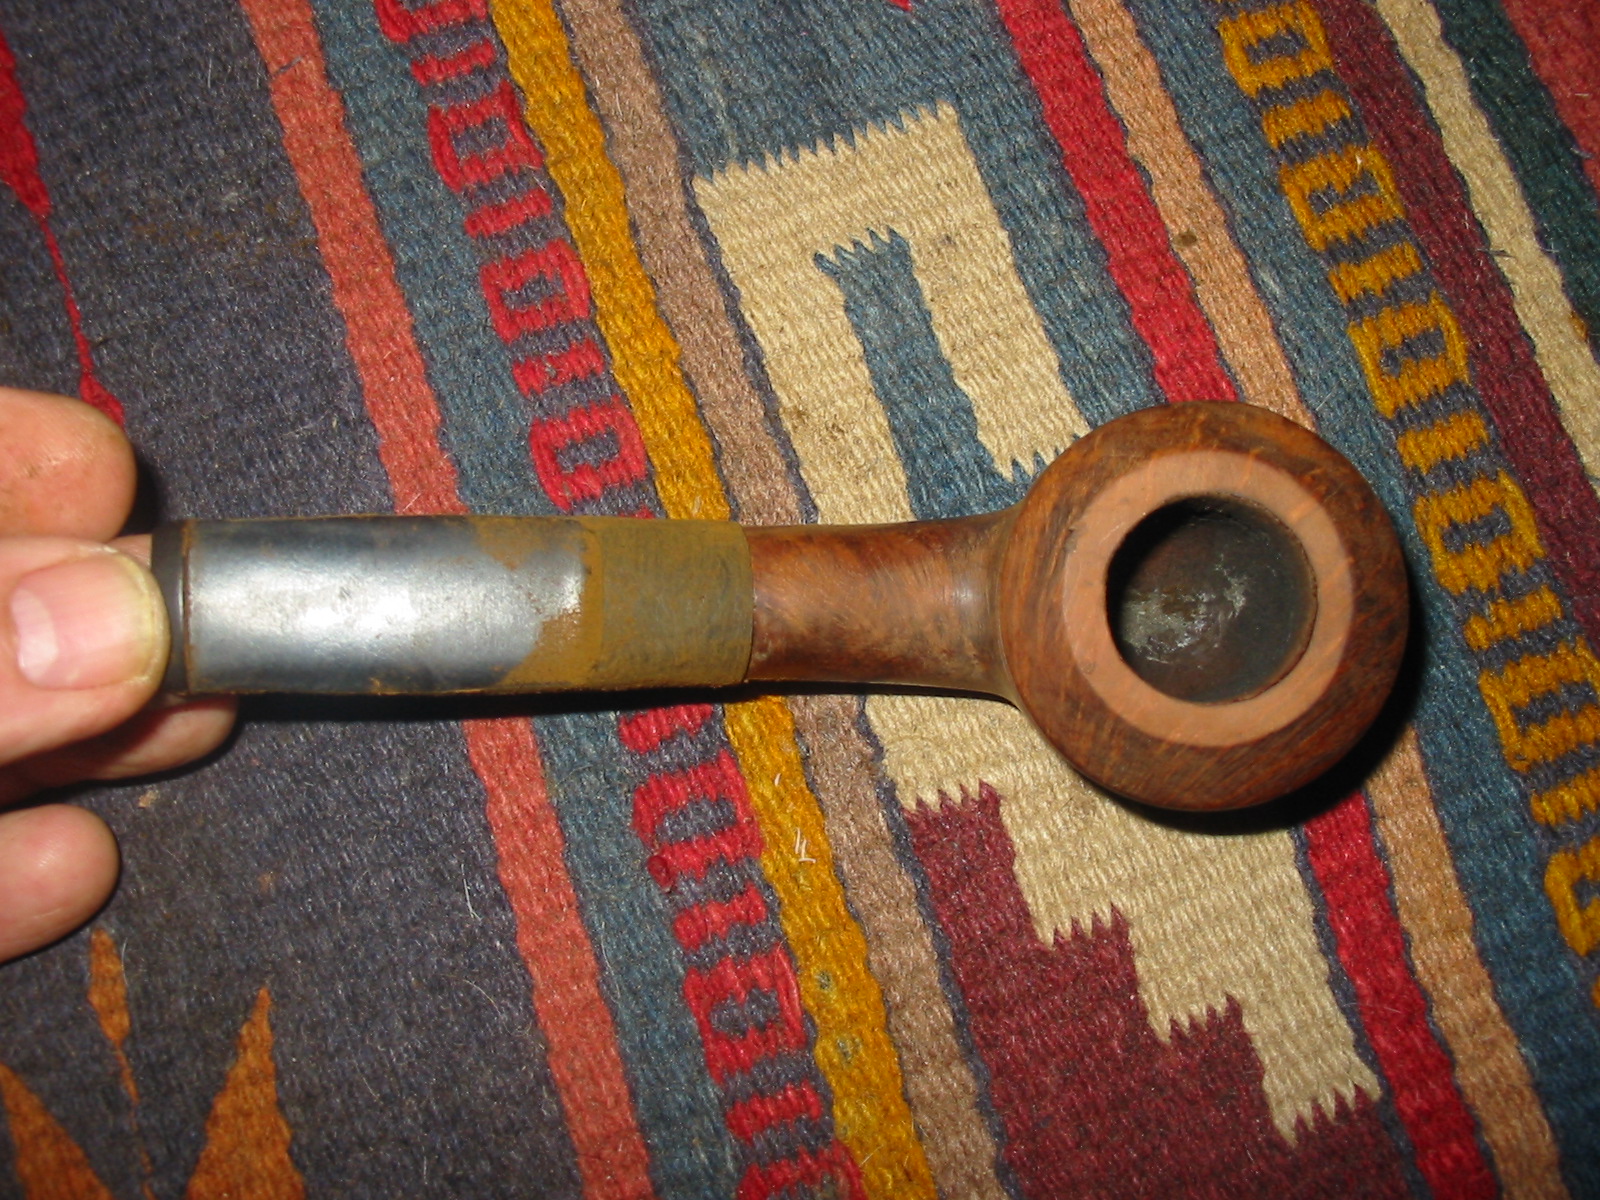
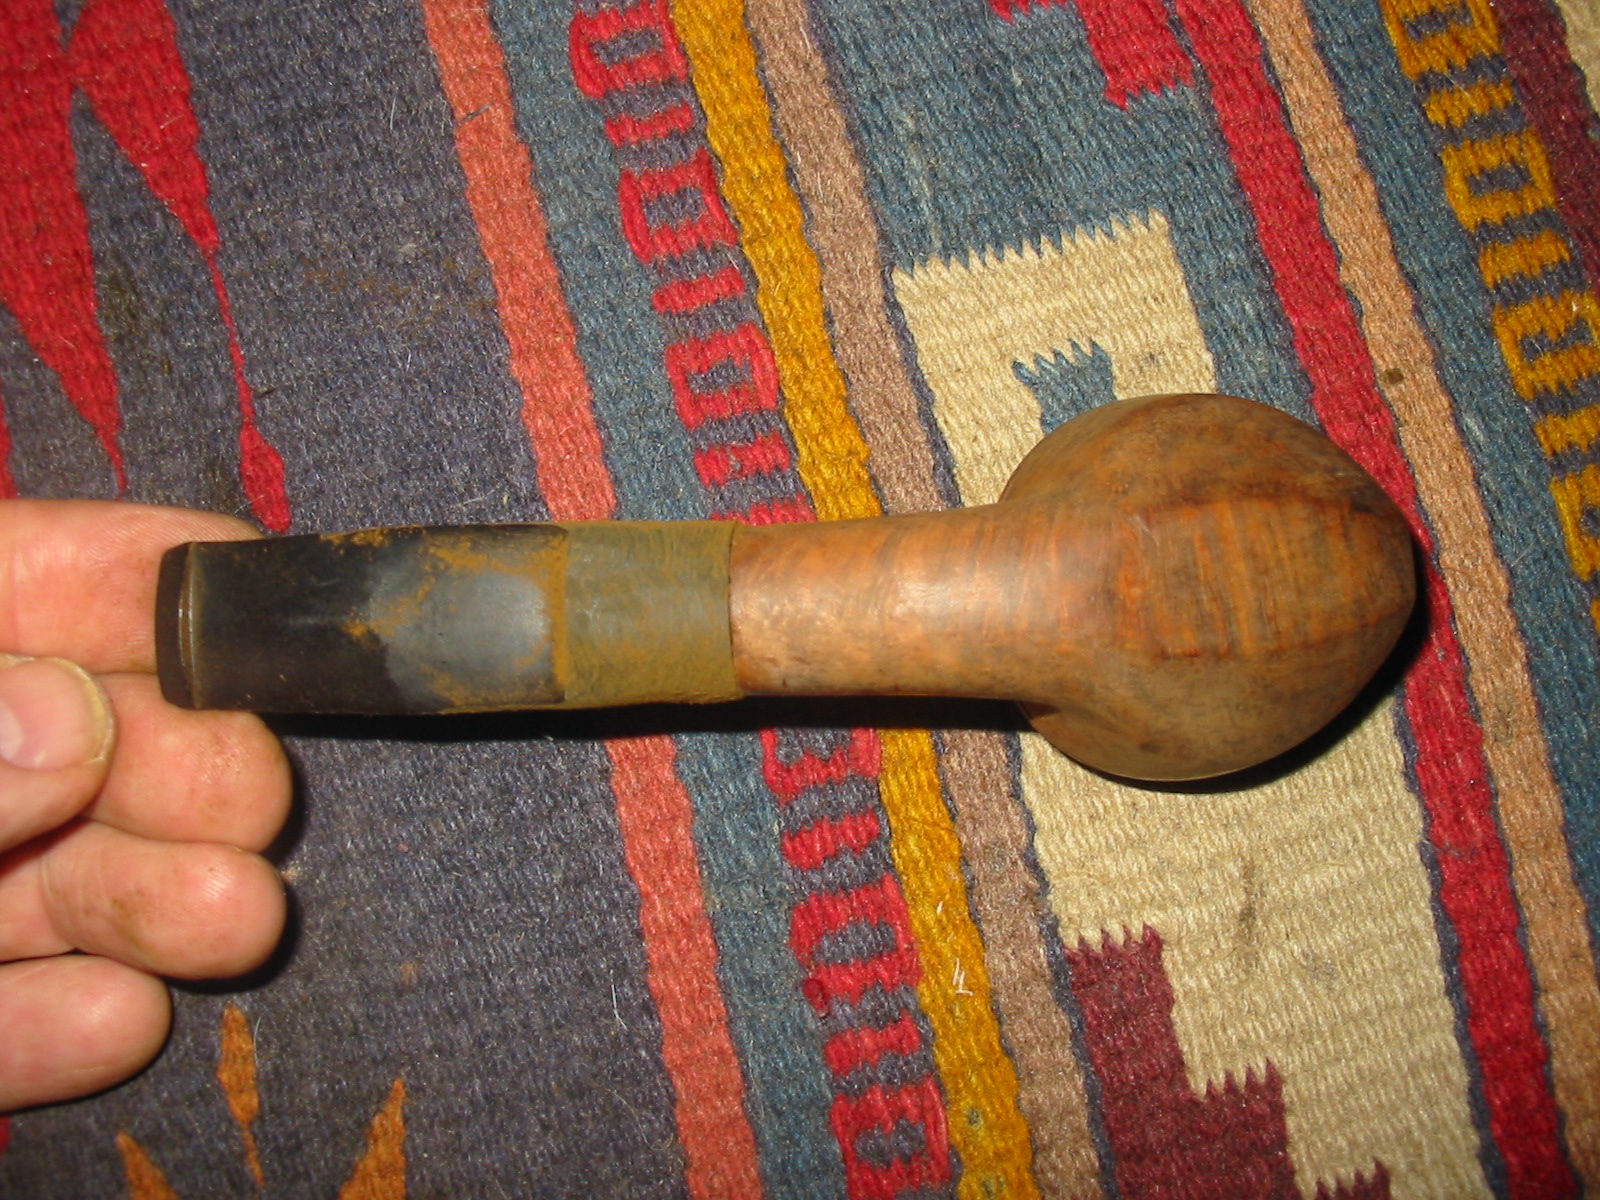
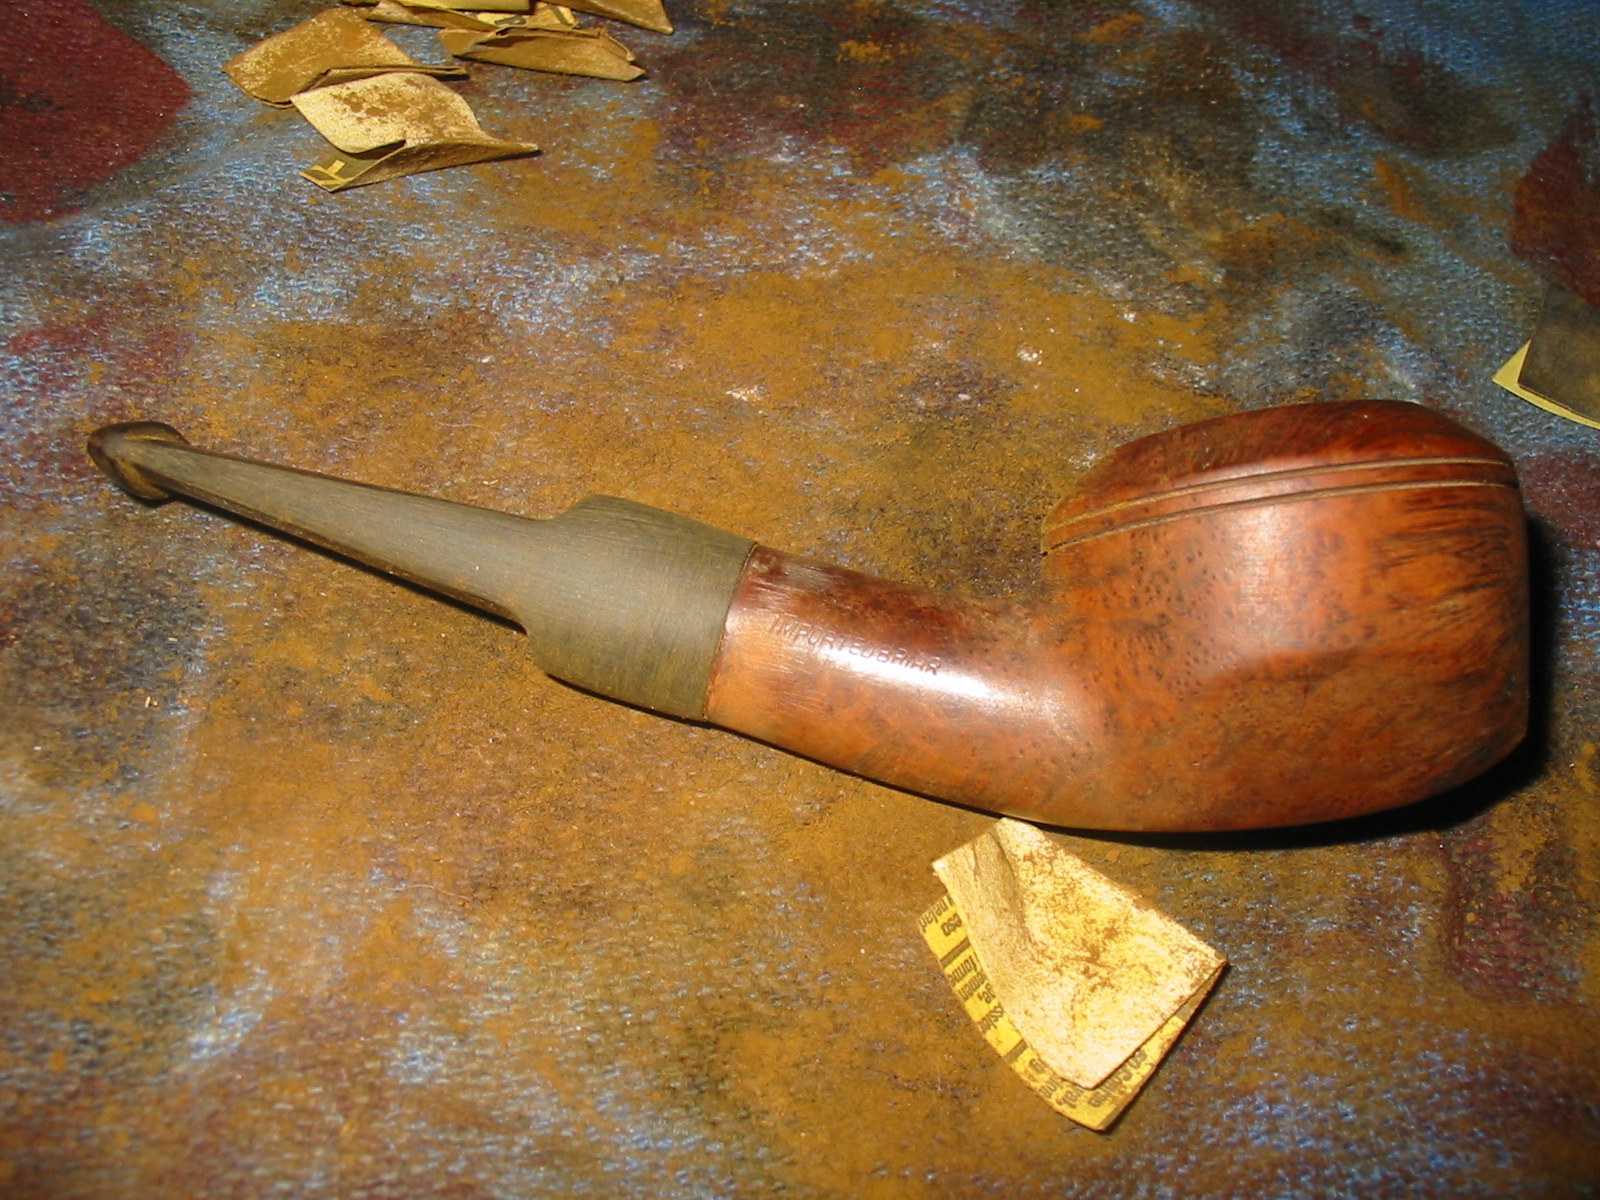
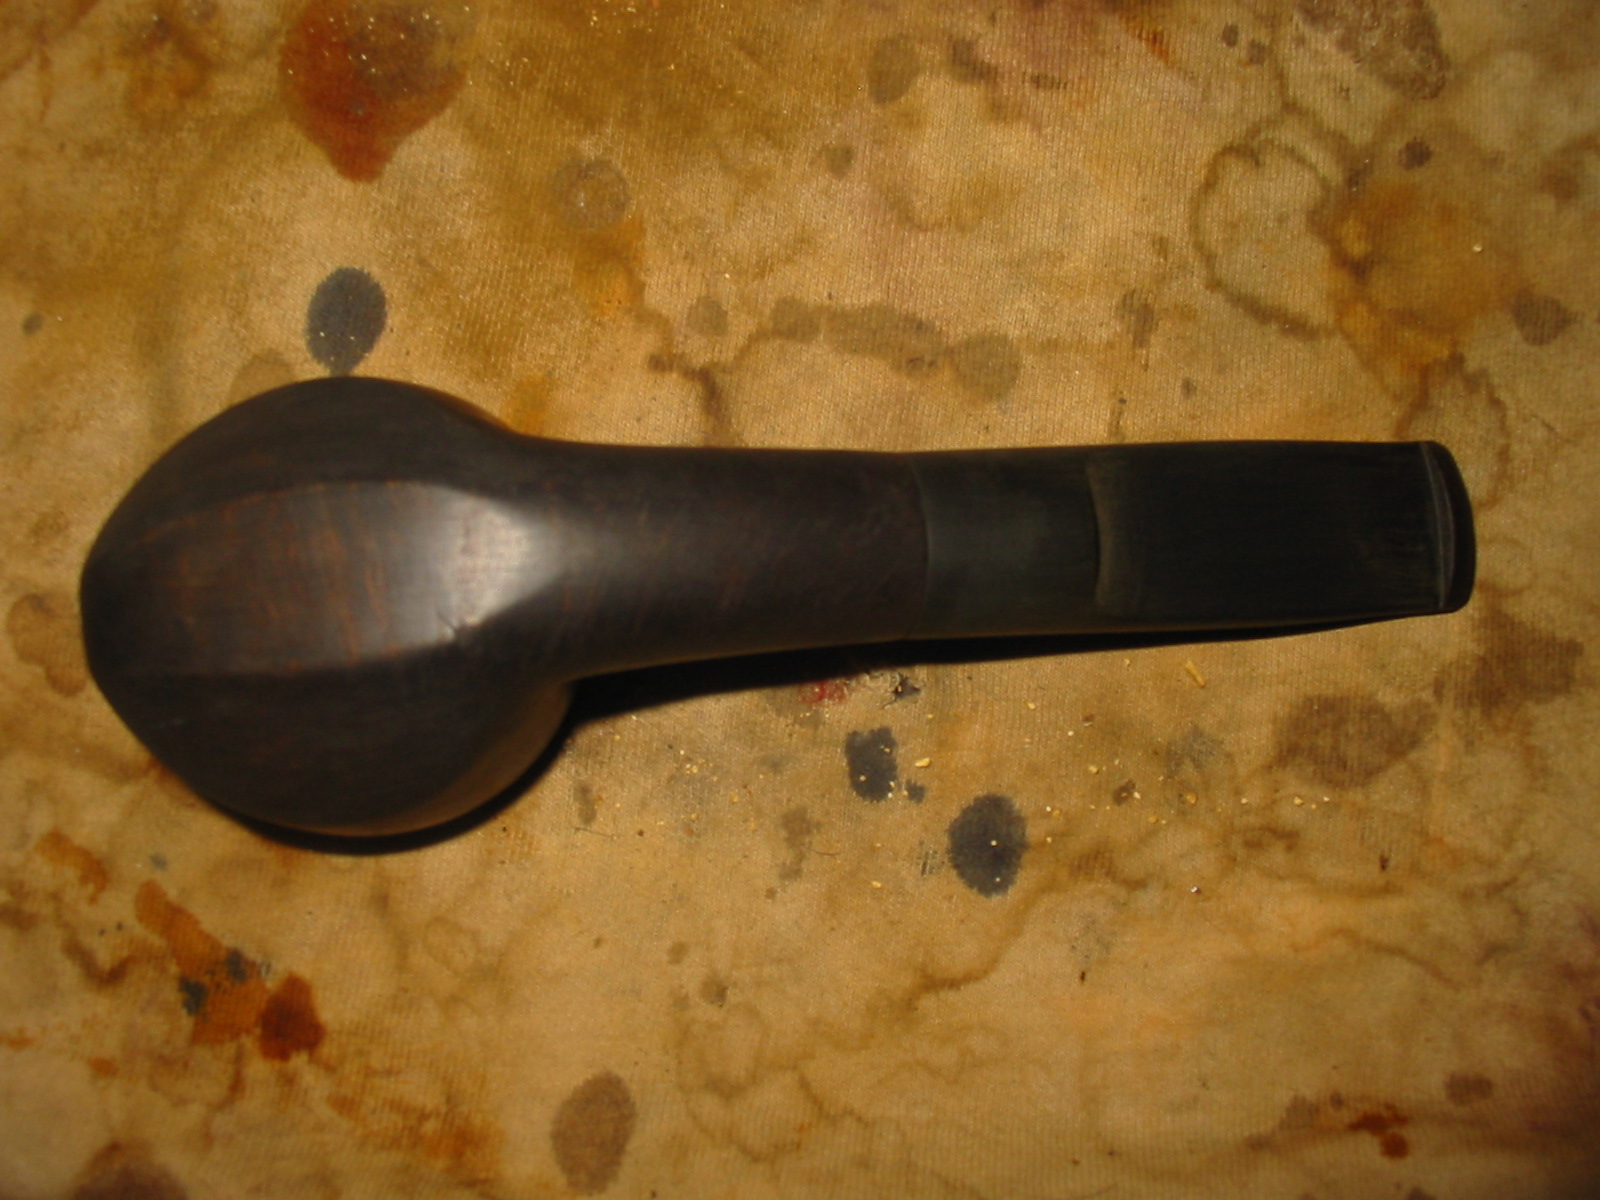
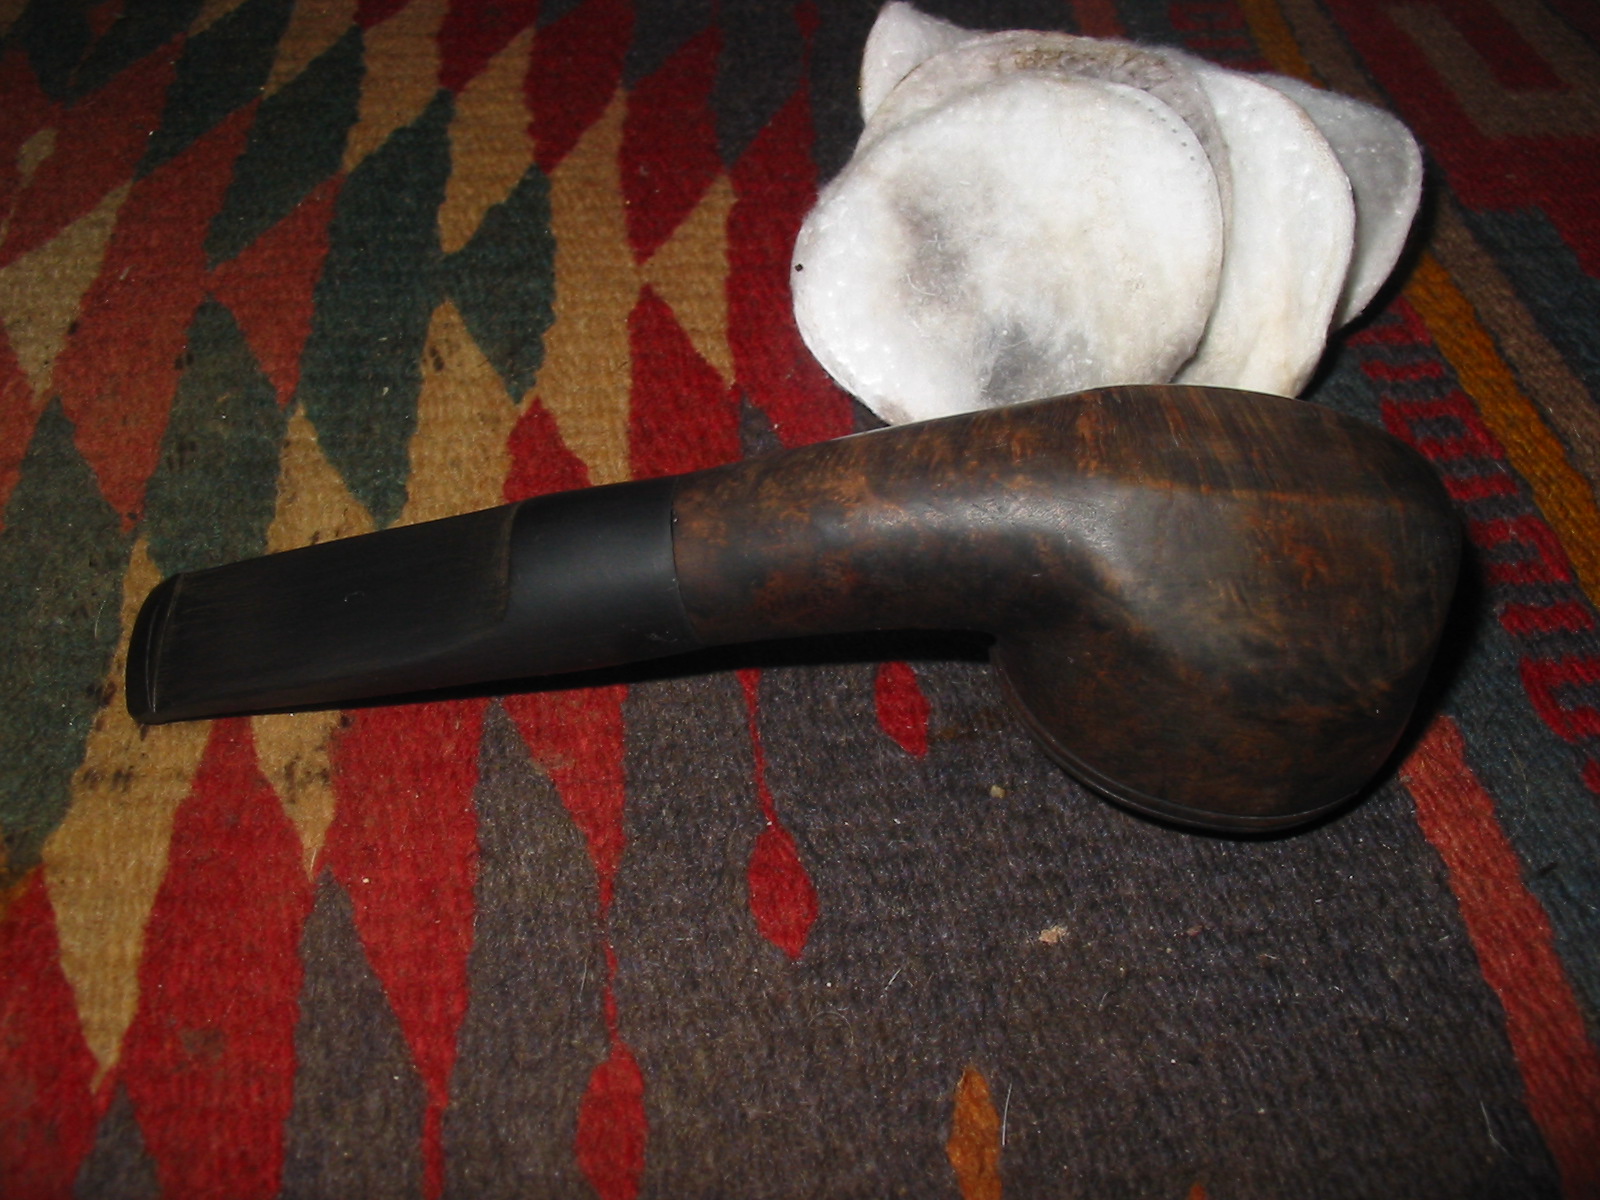
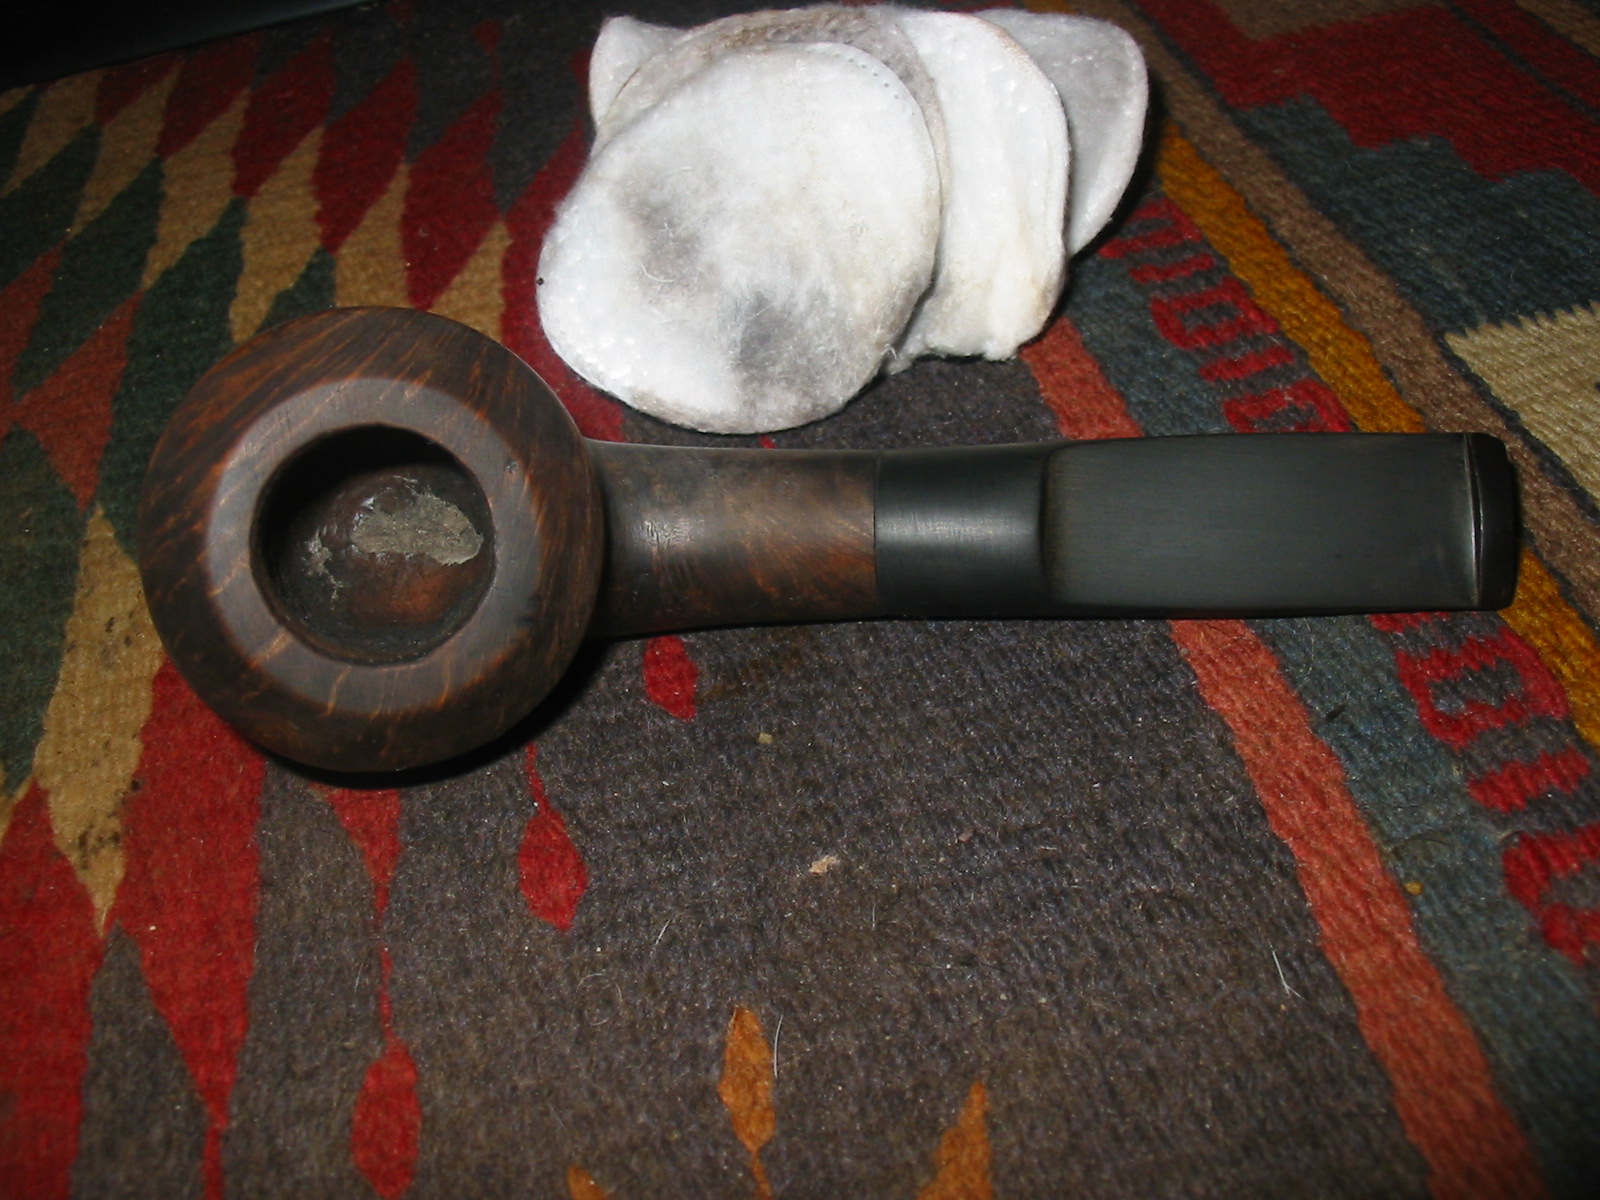
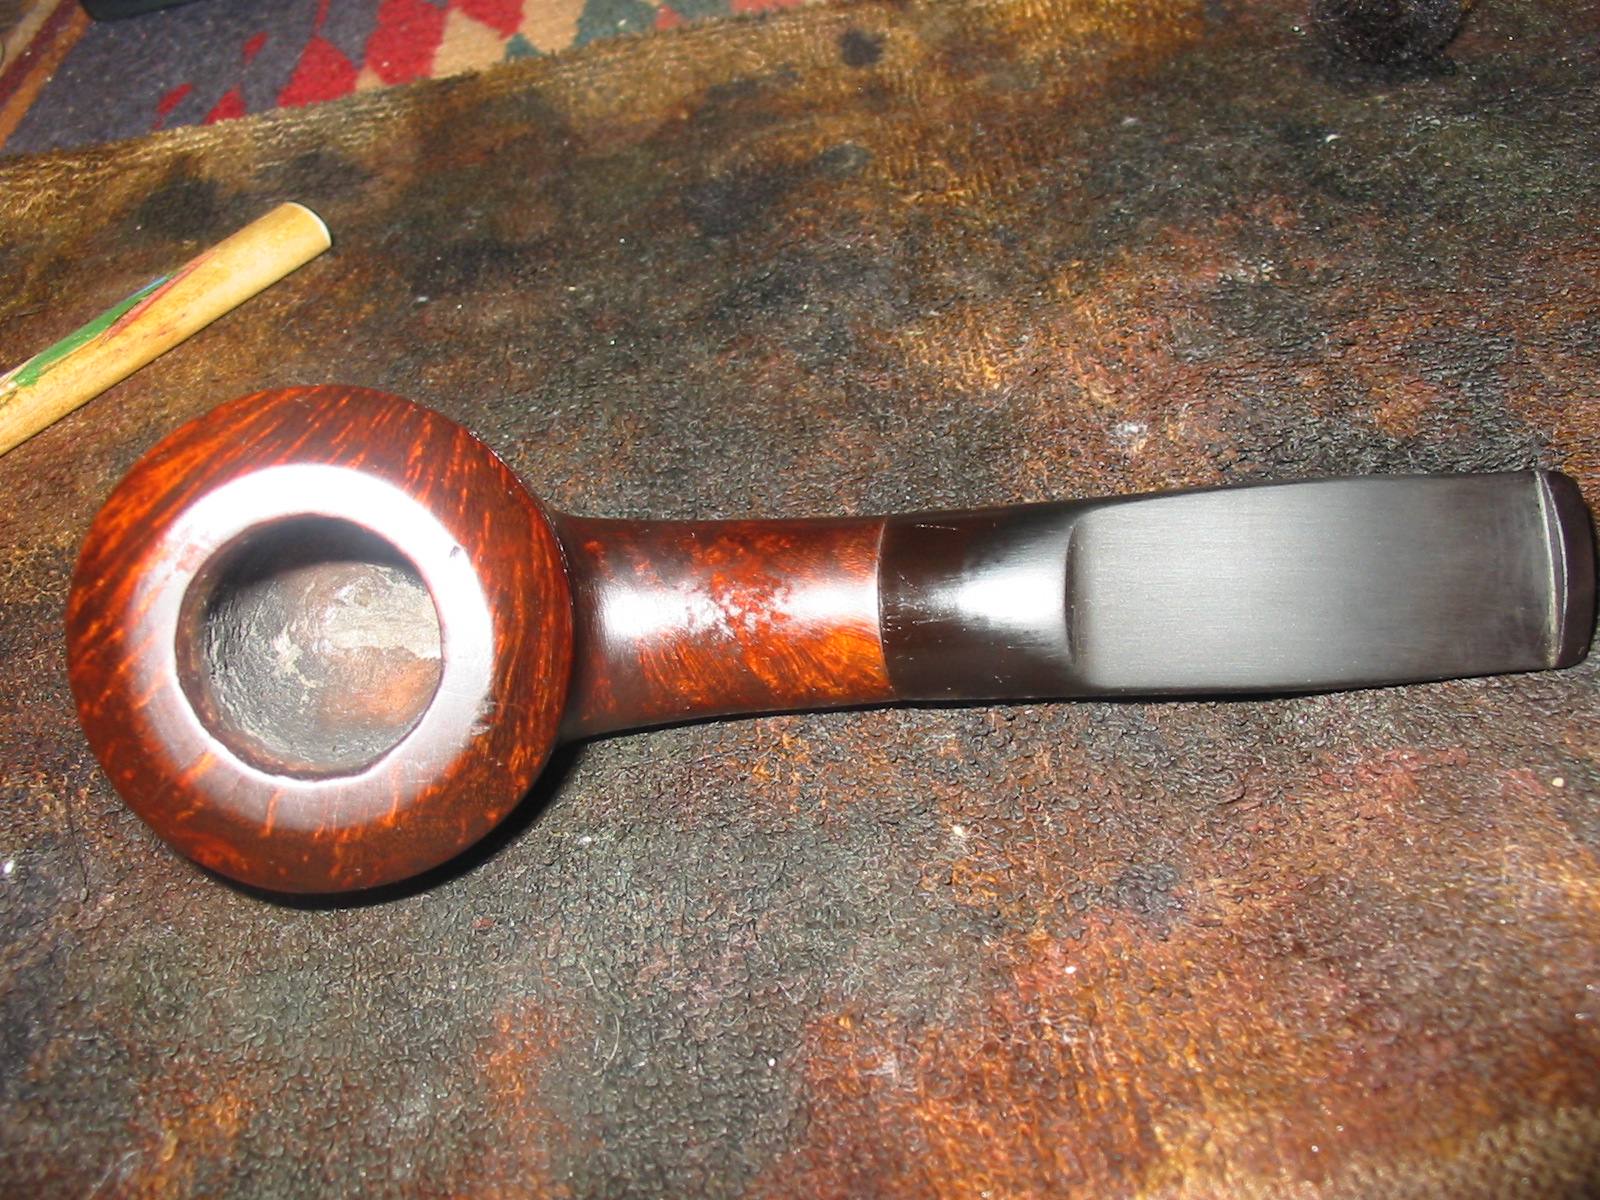
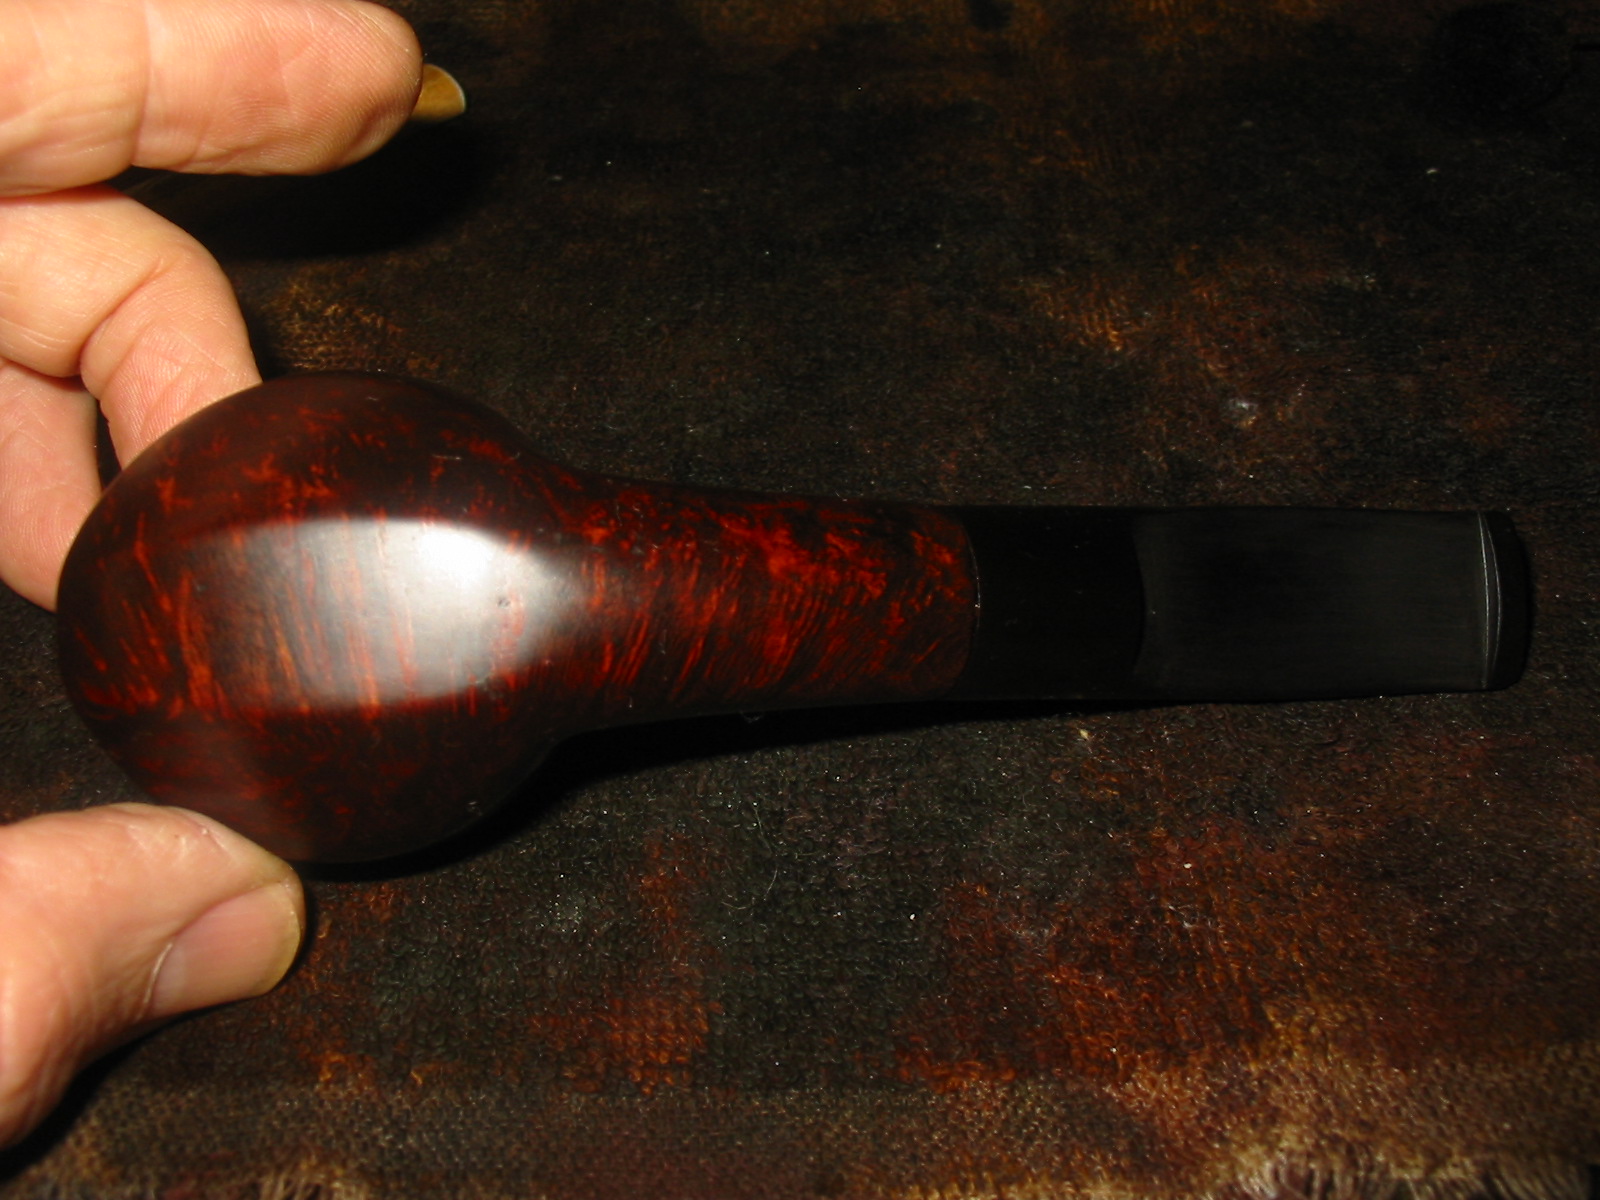
This particular Weber was a shape that he made famous. I have had several different version of this pipe – mostly straight or ¼ bent and all were rusticated with Weber’s recognizable rustication. This one was different – it was smooth, with no fills and very interesting grain. The bottom of the bowl and shank was beautiful cross grain; the sides were a mix of grain and some stunning birdseye. The finish was shot and the briar was weathered and dry. There were two fine cracks on the rim at 7 and 11 but they did not extend into the bowl – more like hairline cracks. The flat rim and the crowned portion above the parallel lines encircling the bowl was almost tiger striped. The parallel lines were filled with dust and grime. It had a broken cake in the bowl and had been repaired at some point in its history with pipe mud to build up the bottom of the bowl at the airway. The end of the shank had some small nicks on both sides and the bottom edge that would make lining up a stem for a tight fit difficult but not impossible. The bowl did not come with a stem so a stem would have to be fit and shaped.

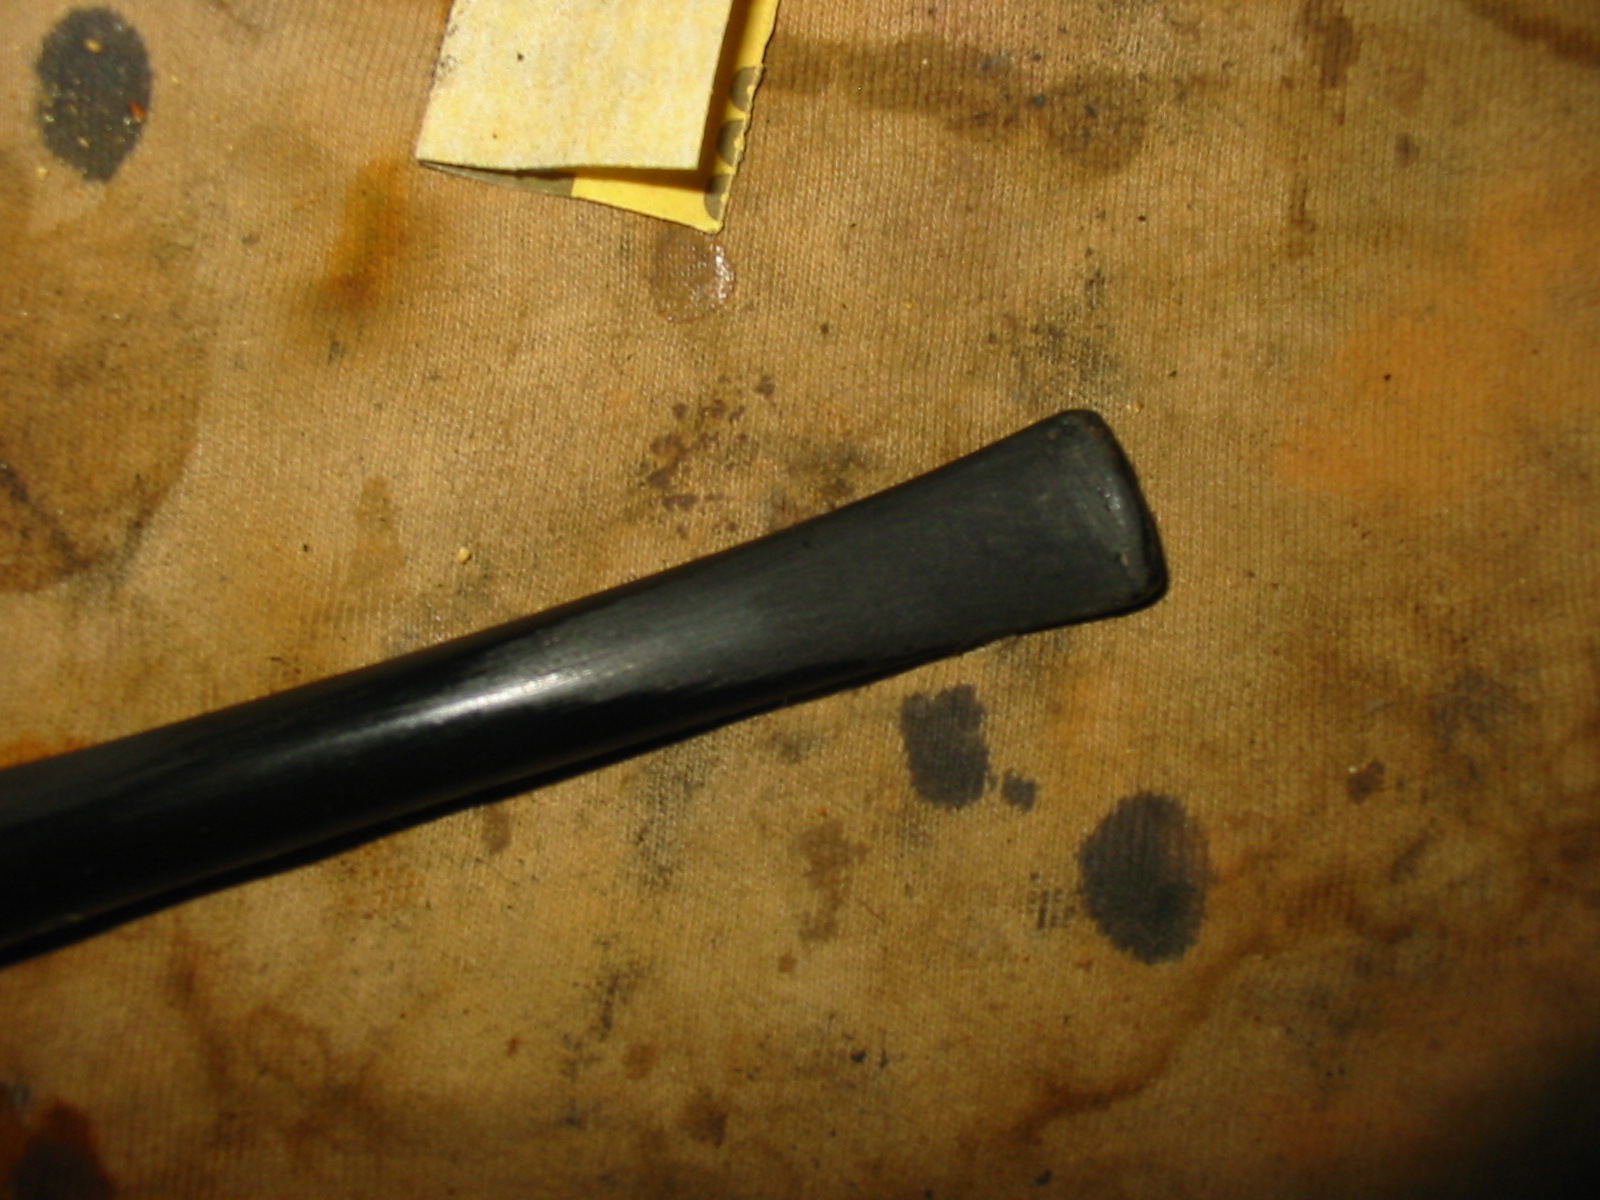
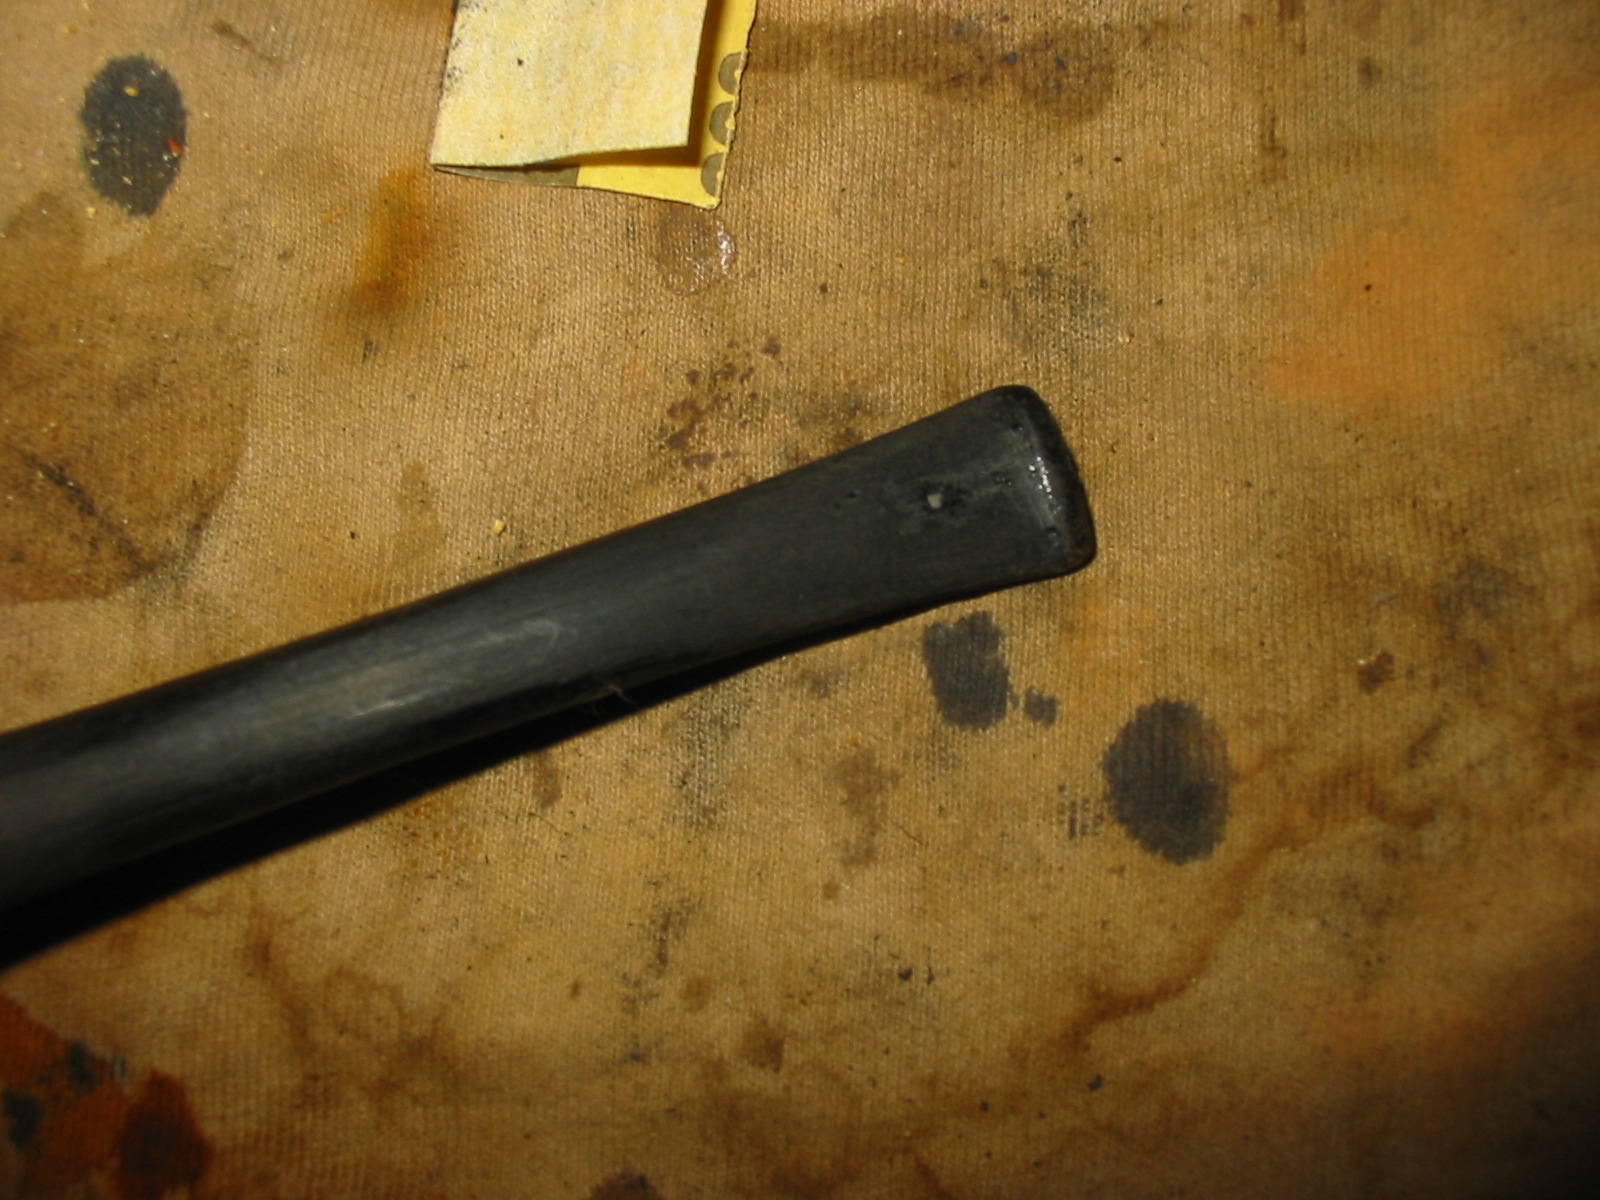
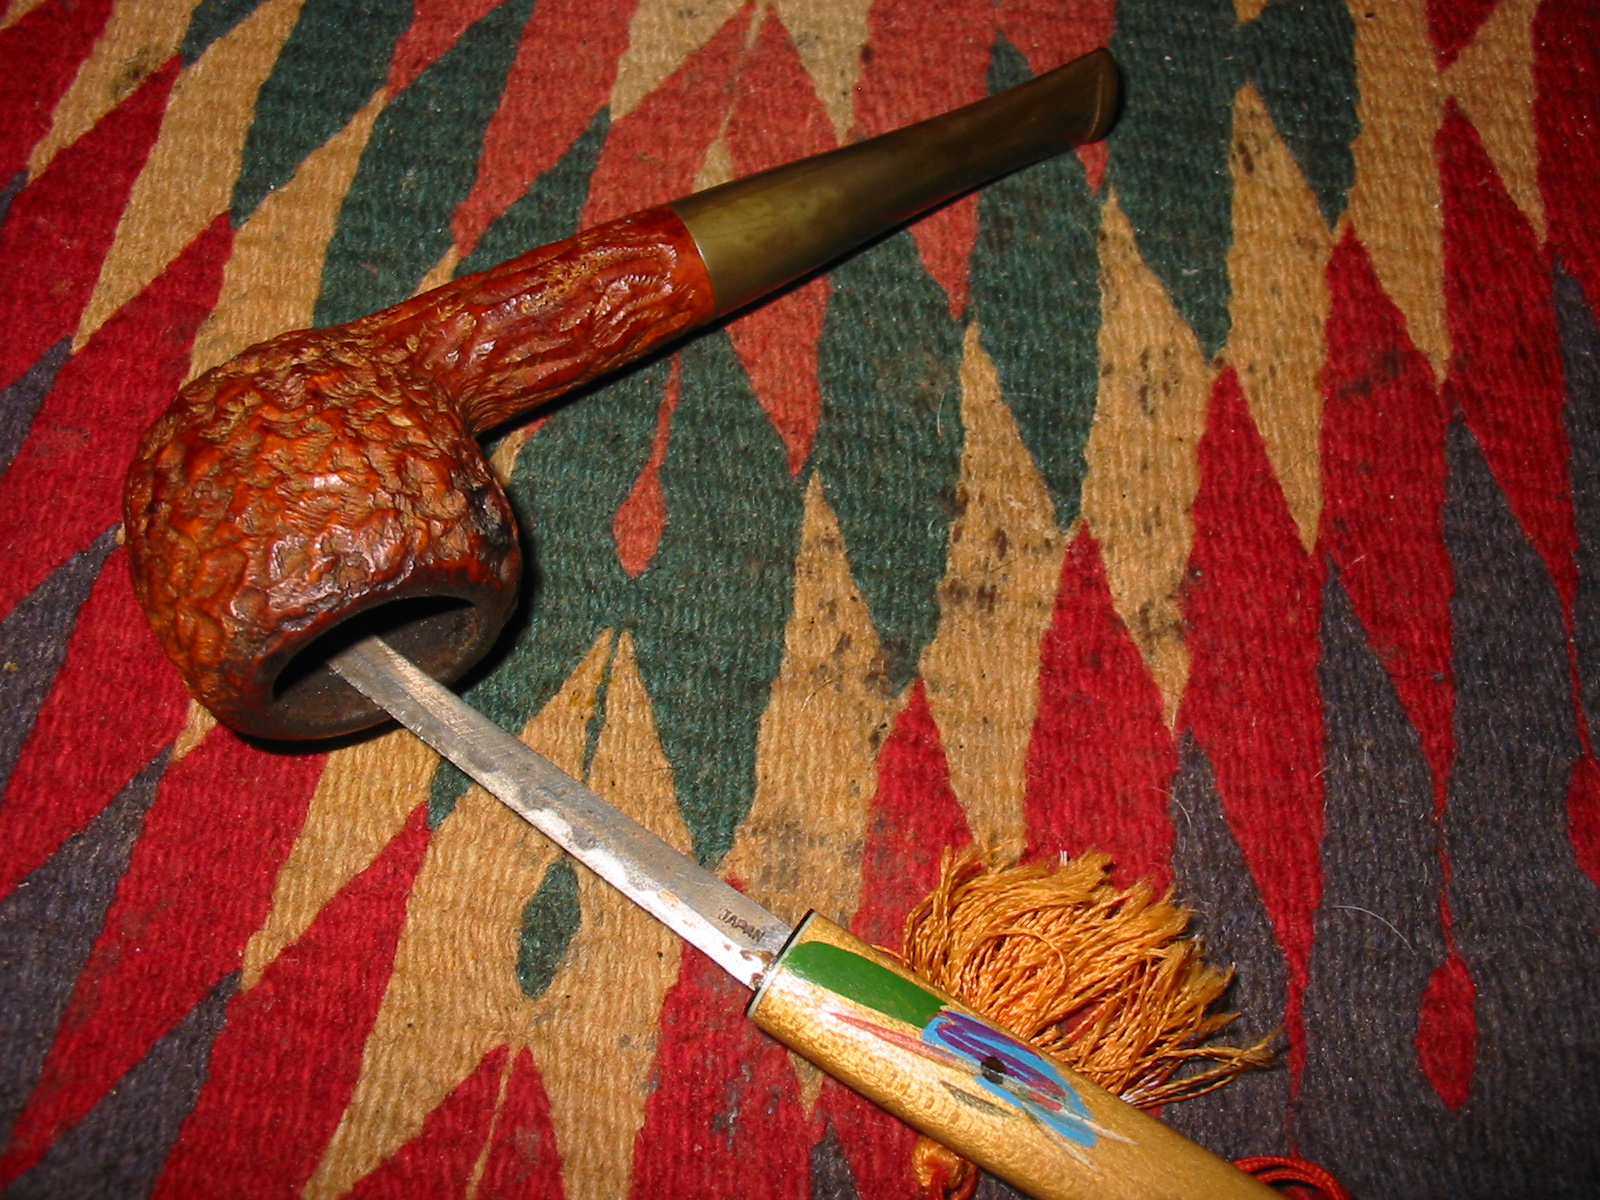
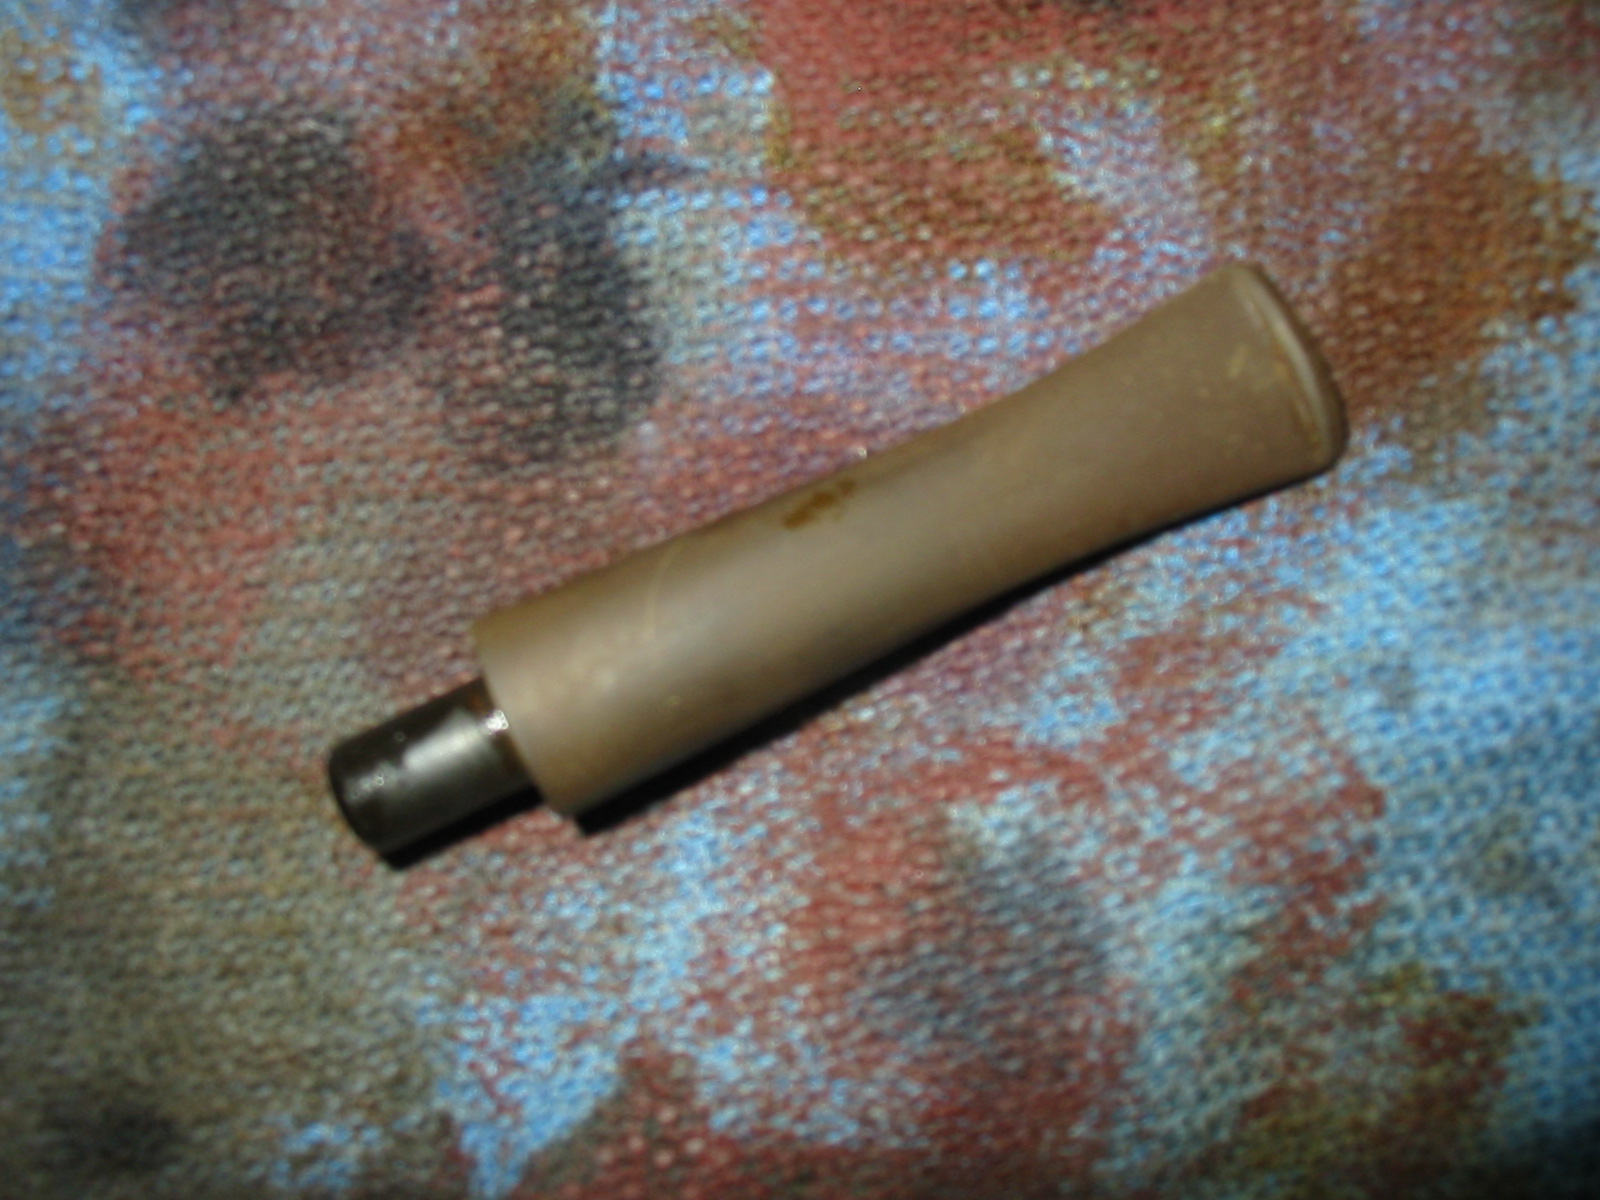
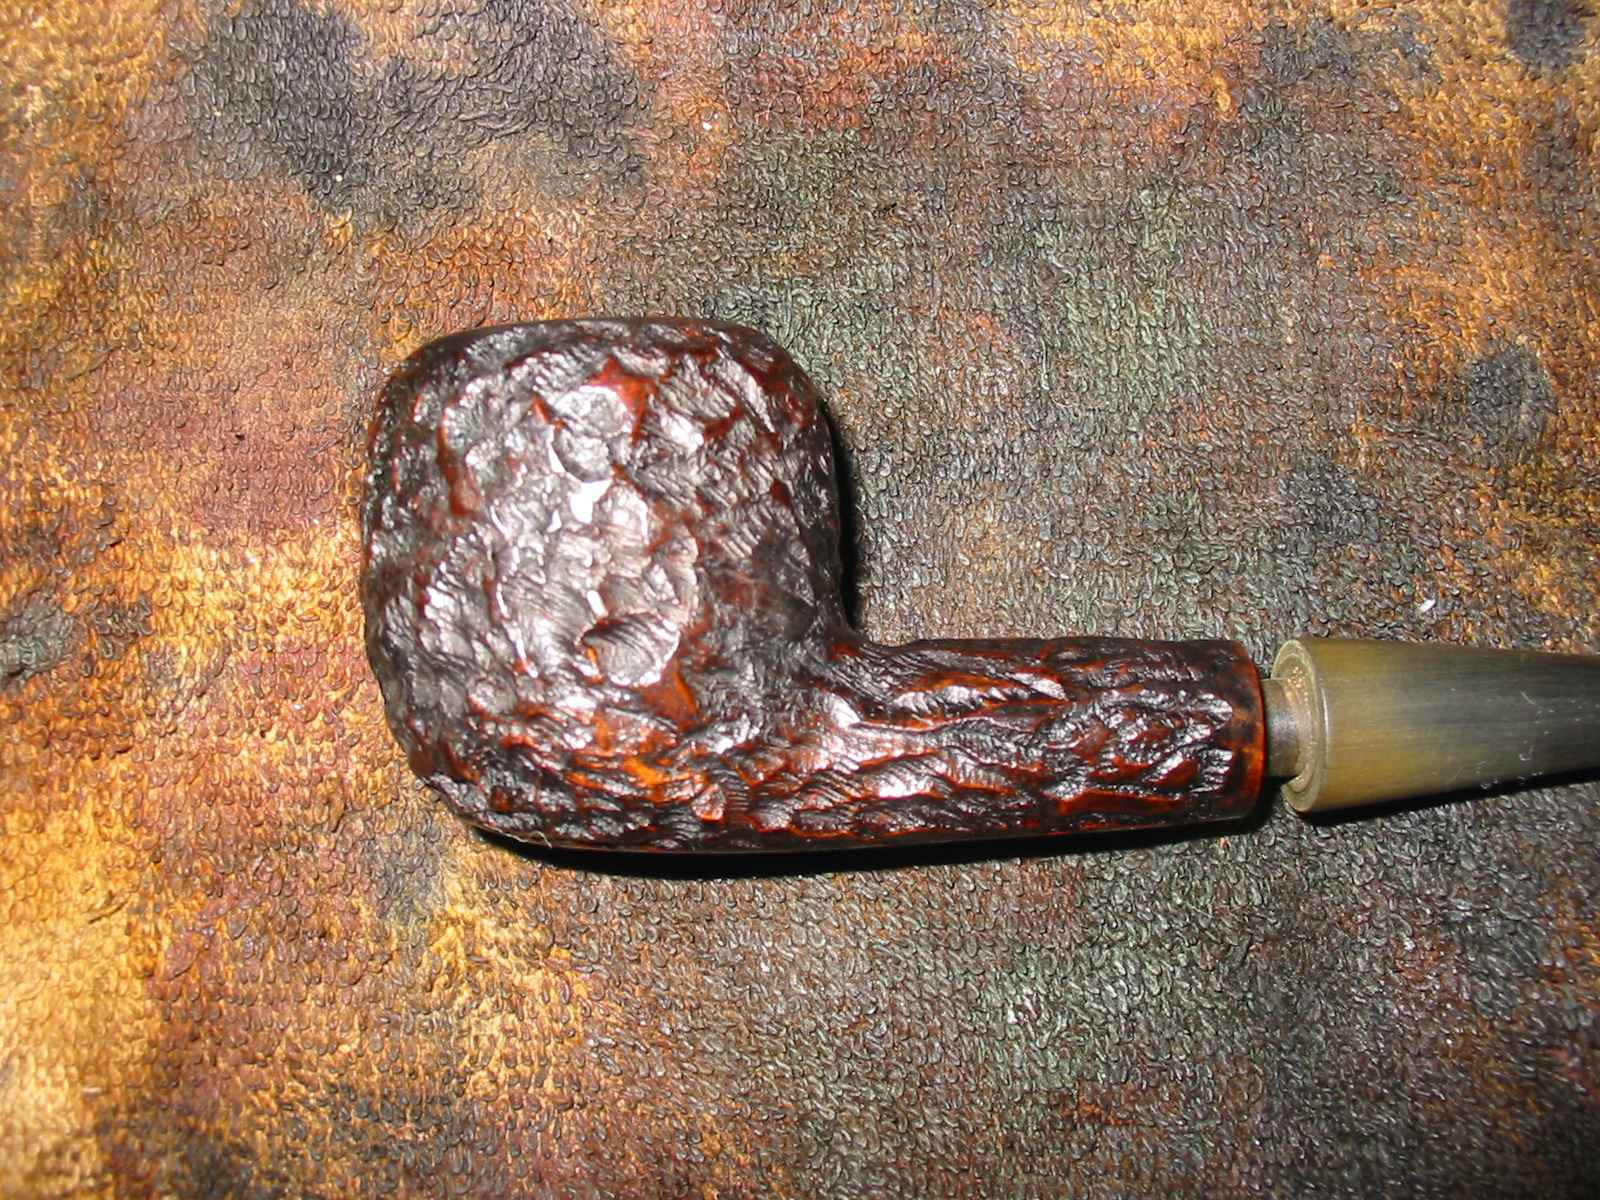
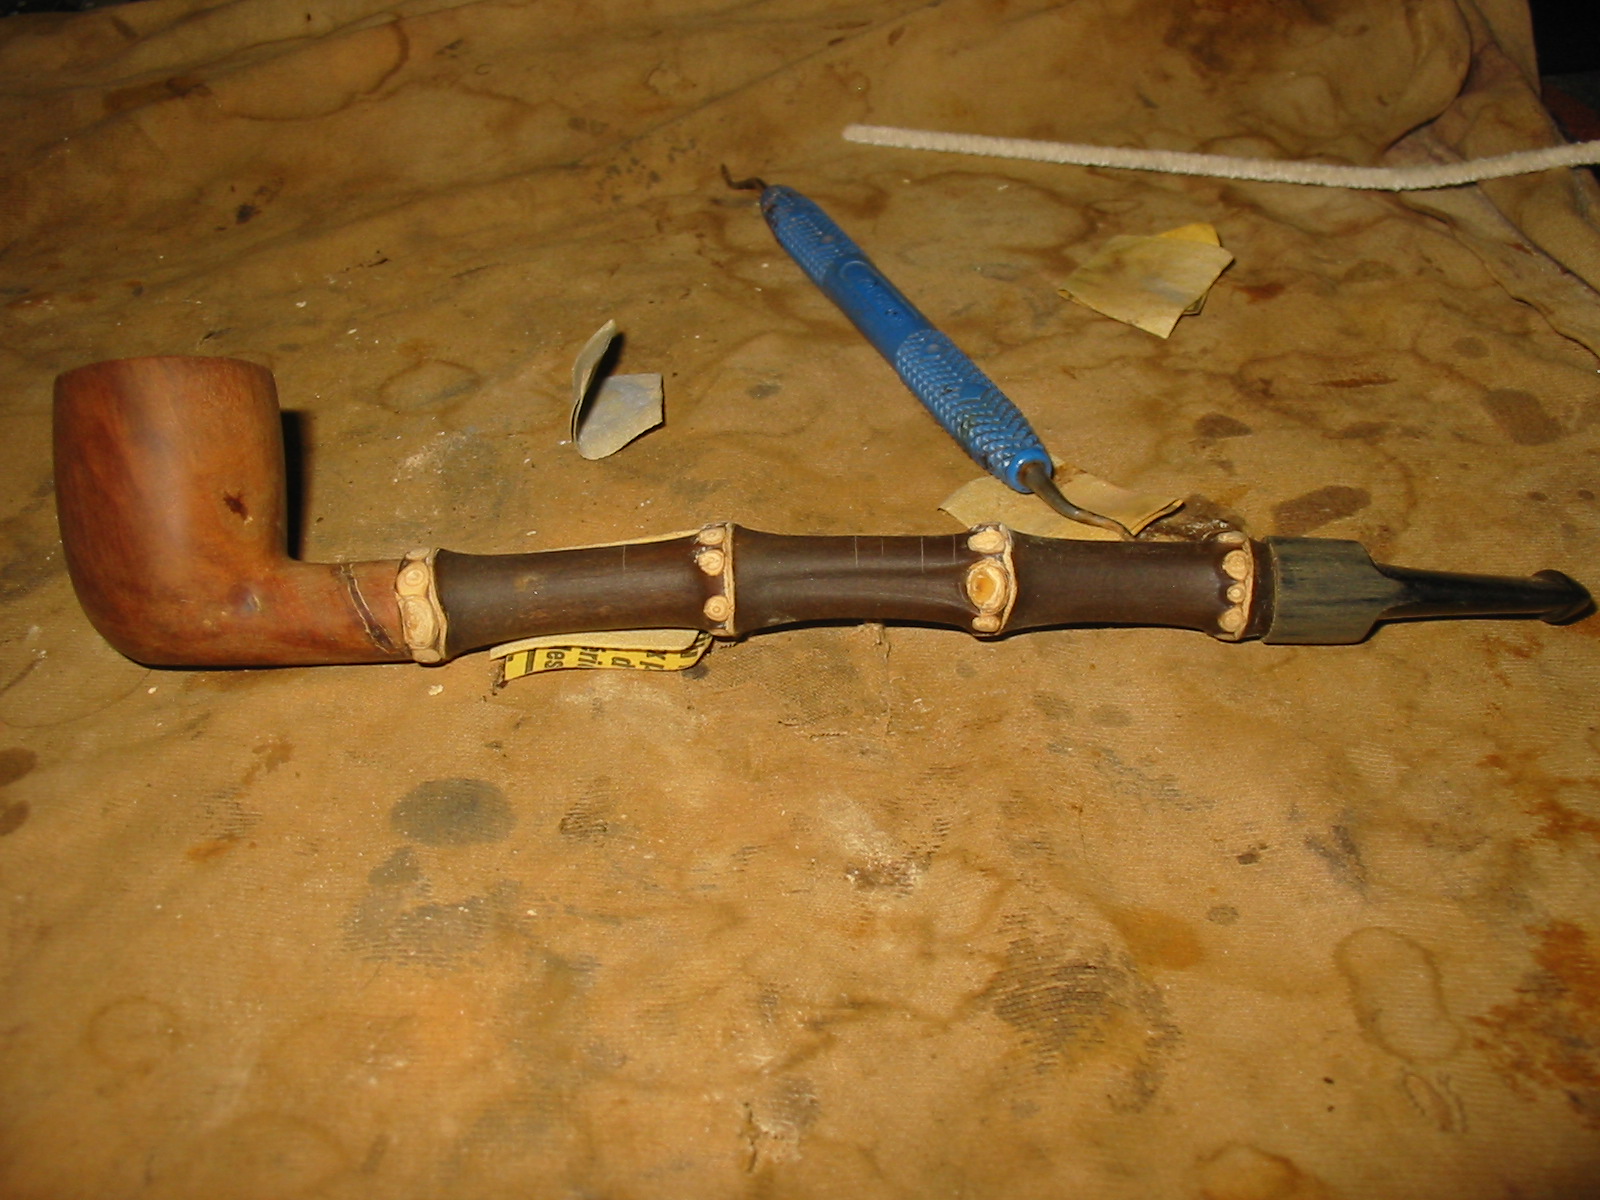
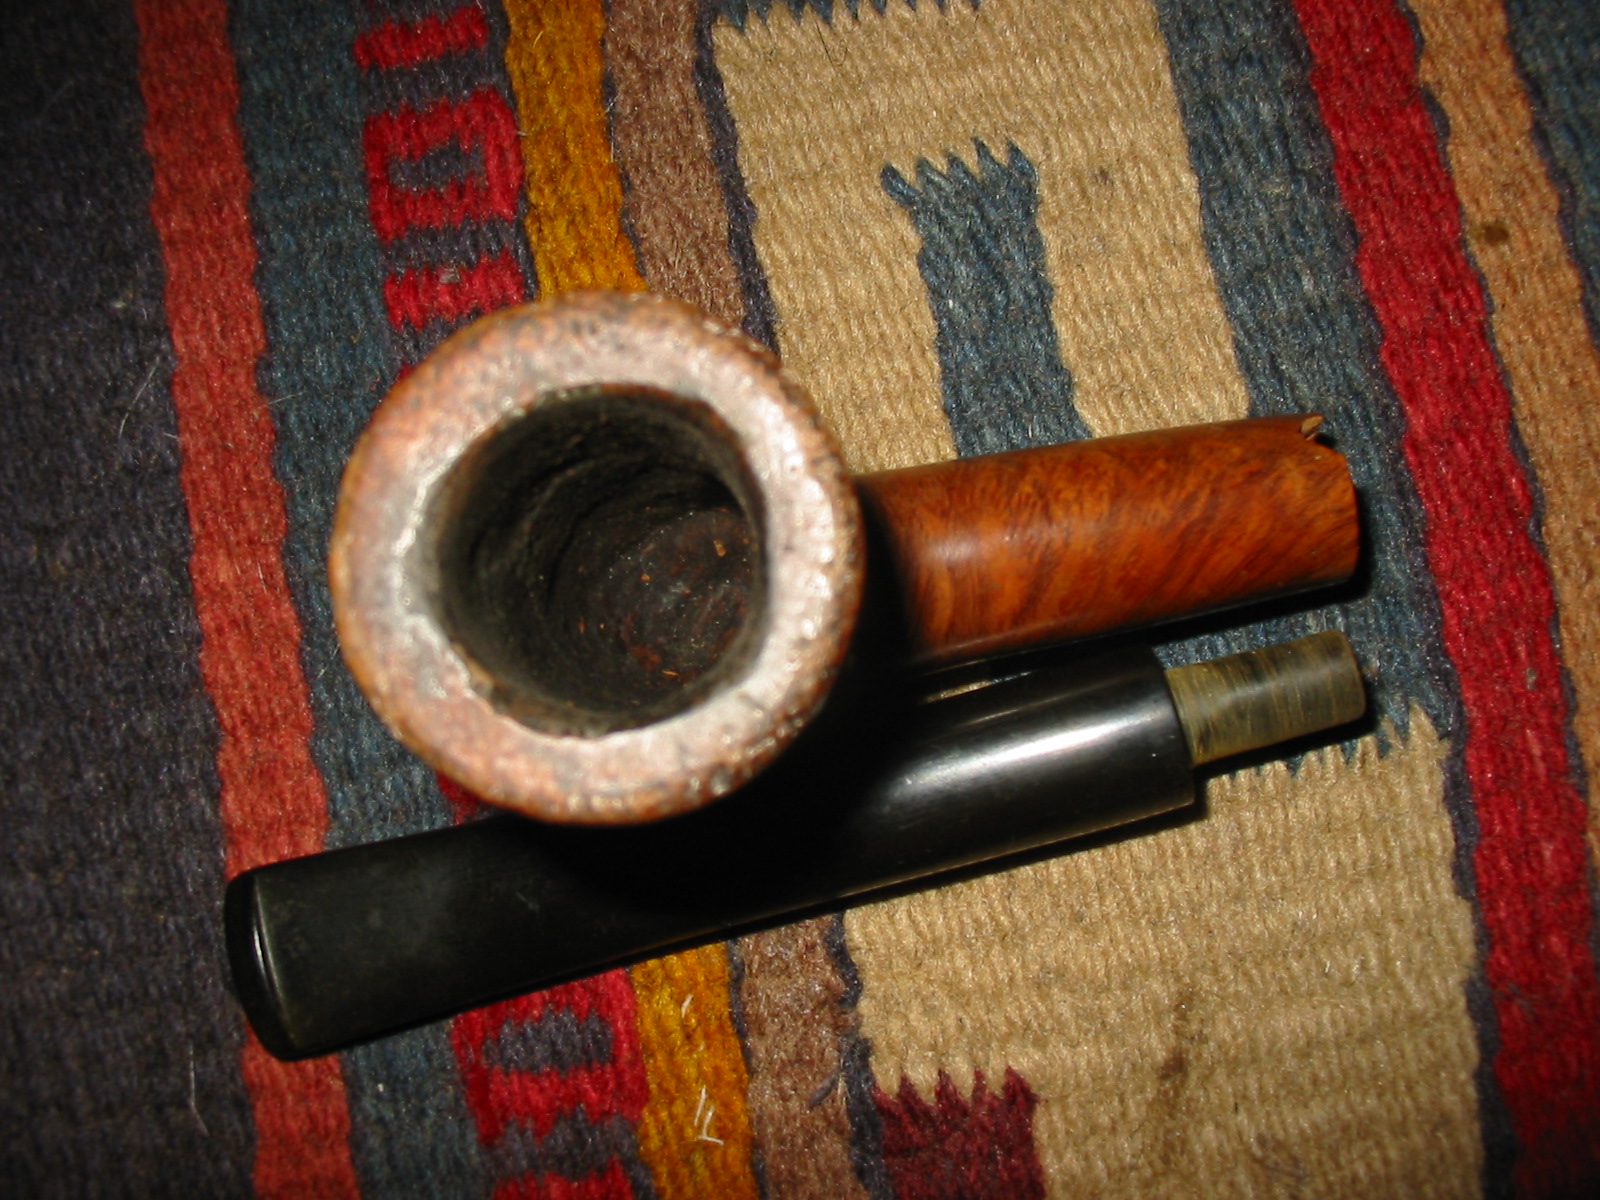
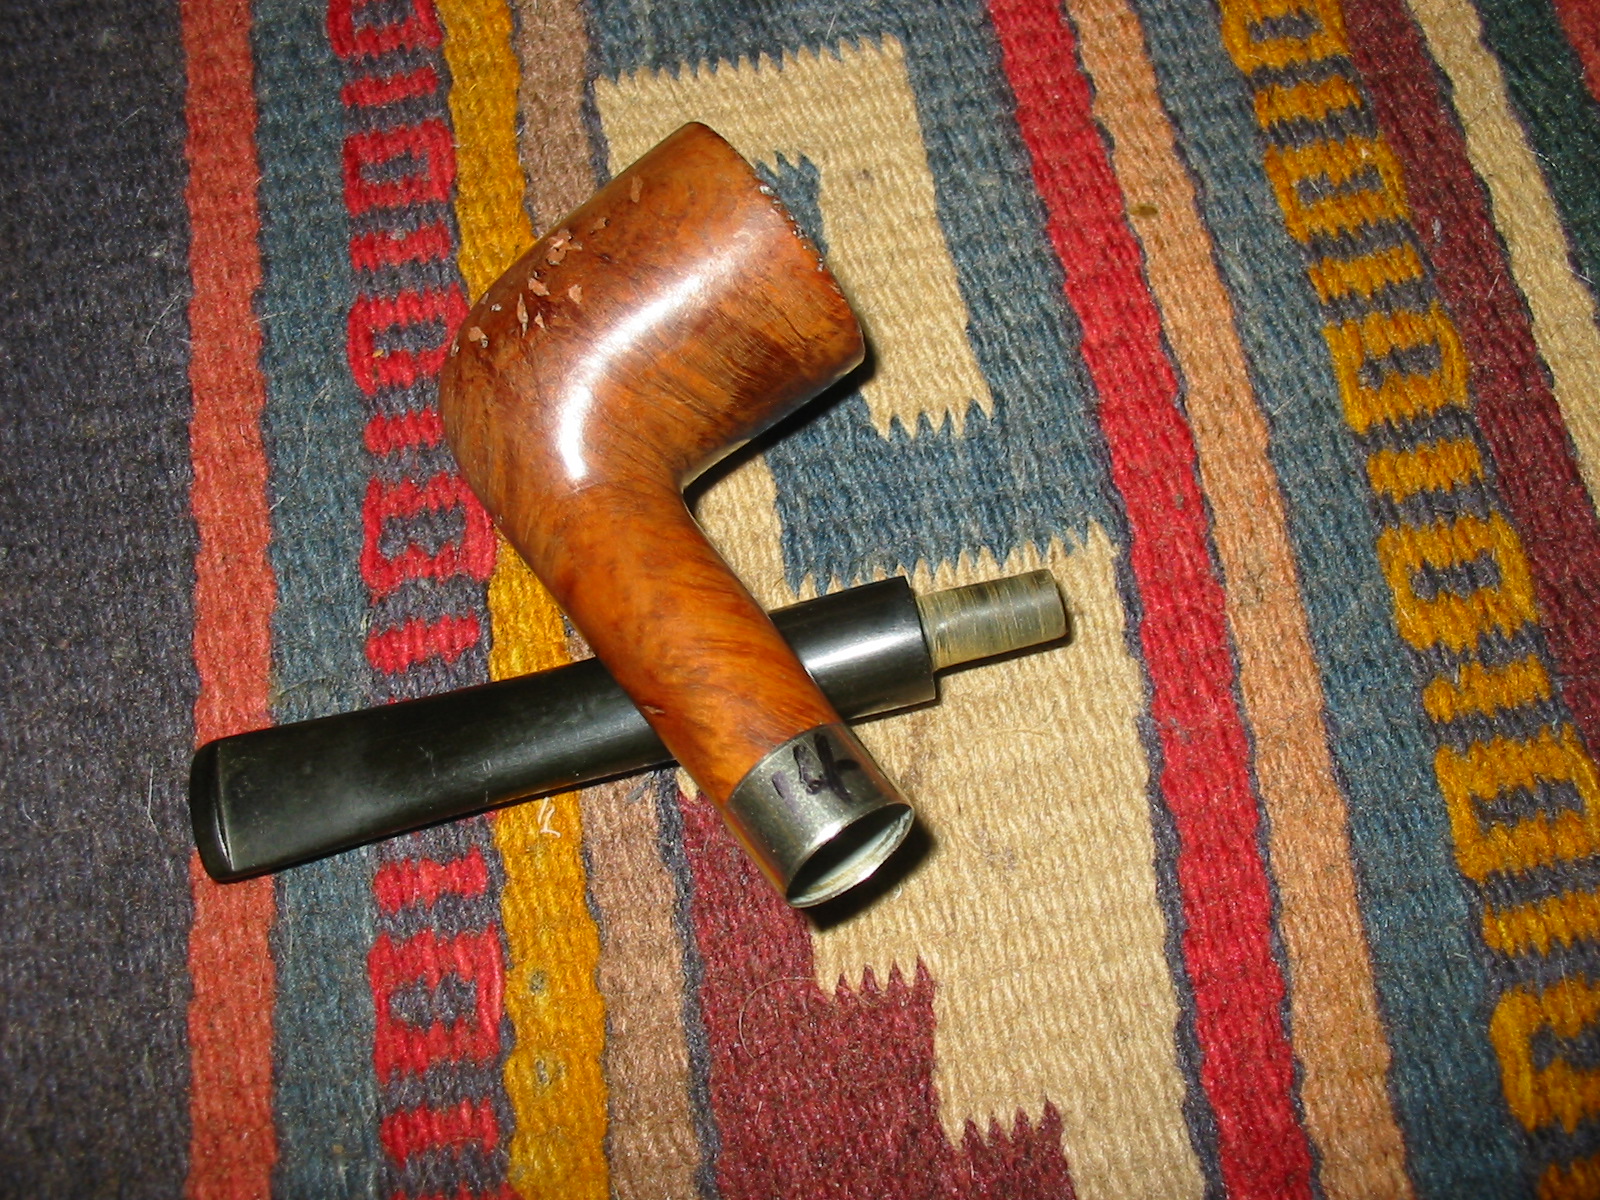
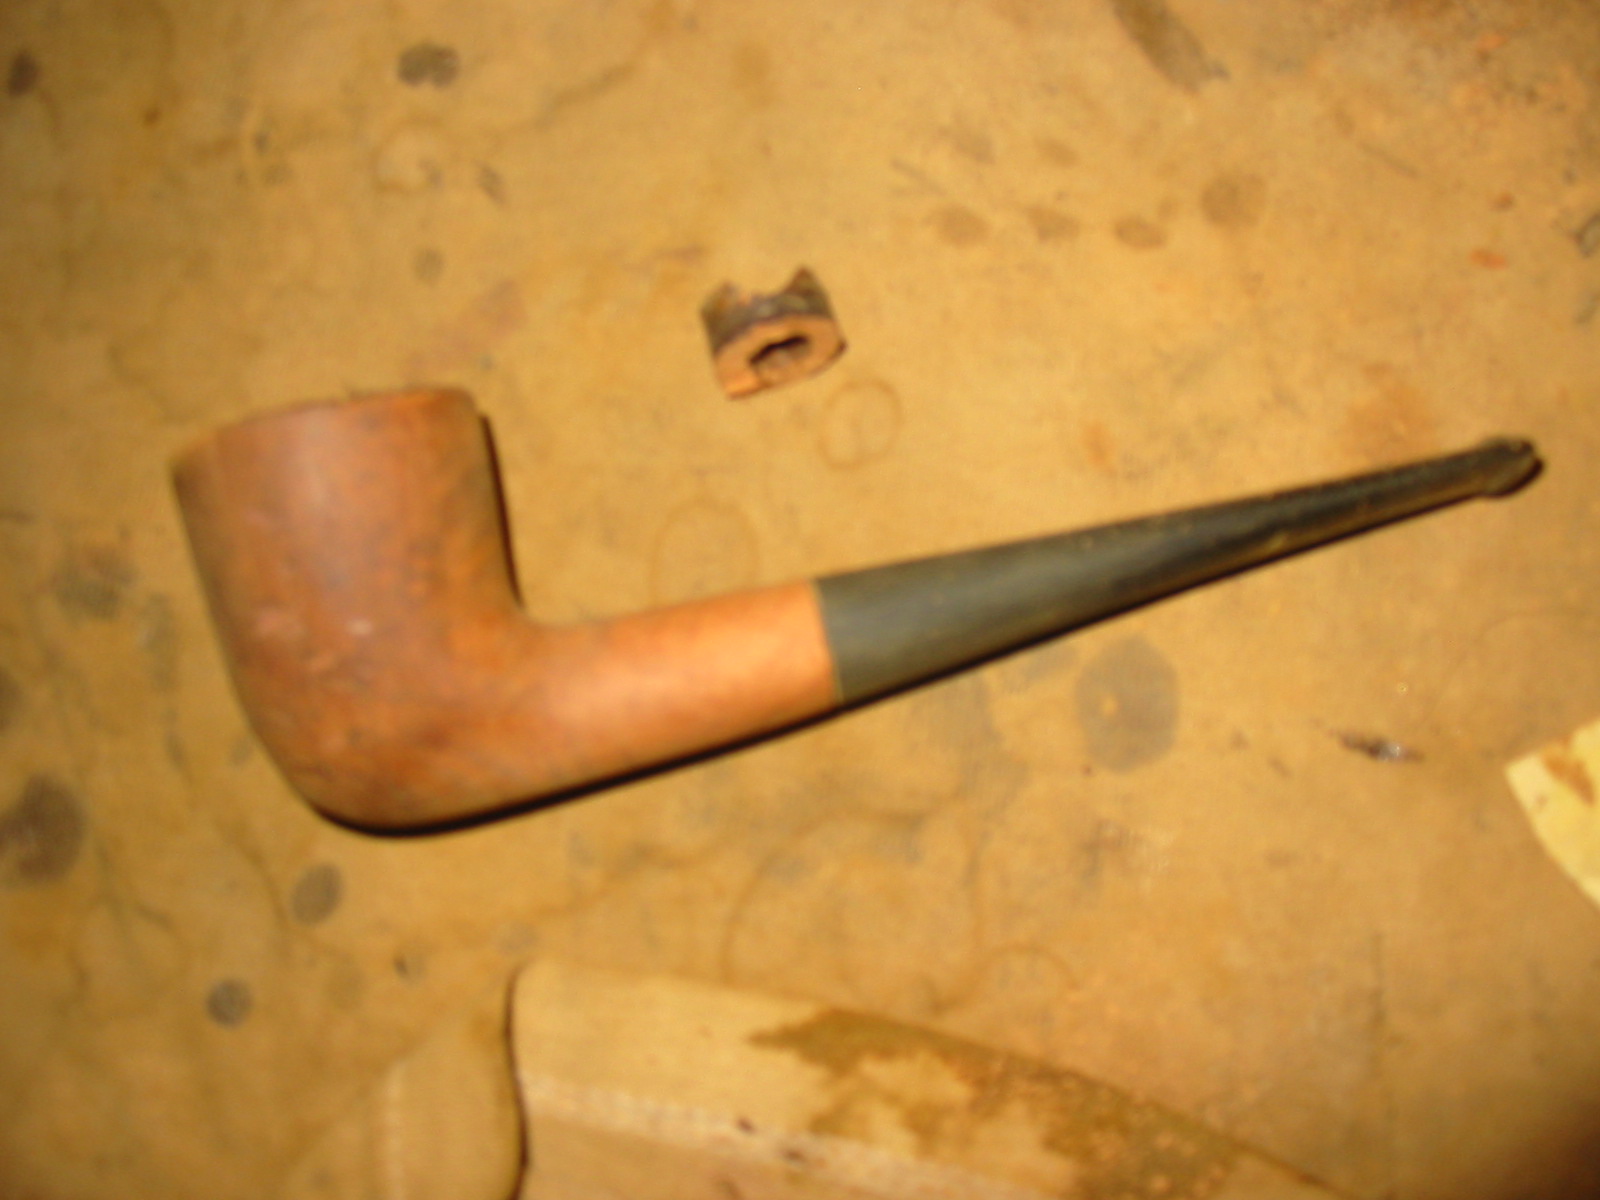
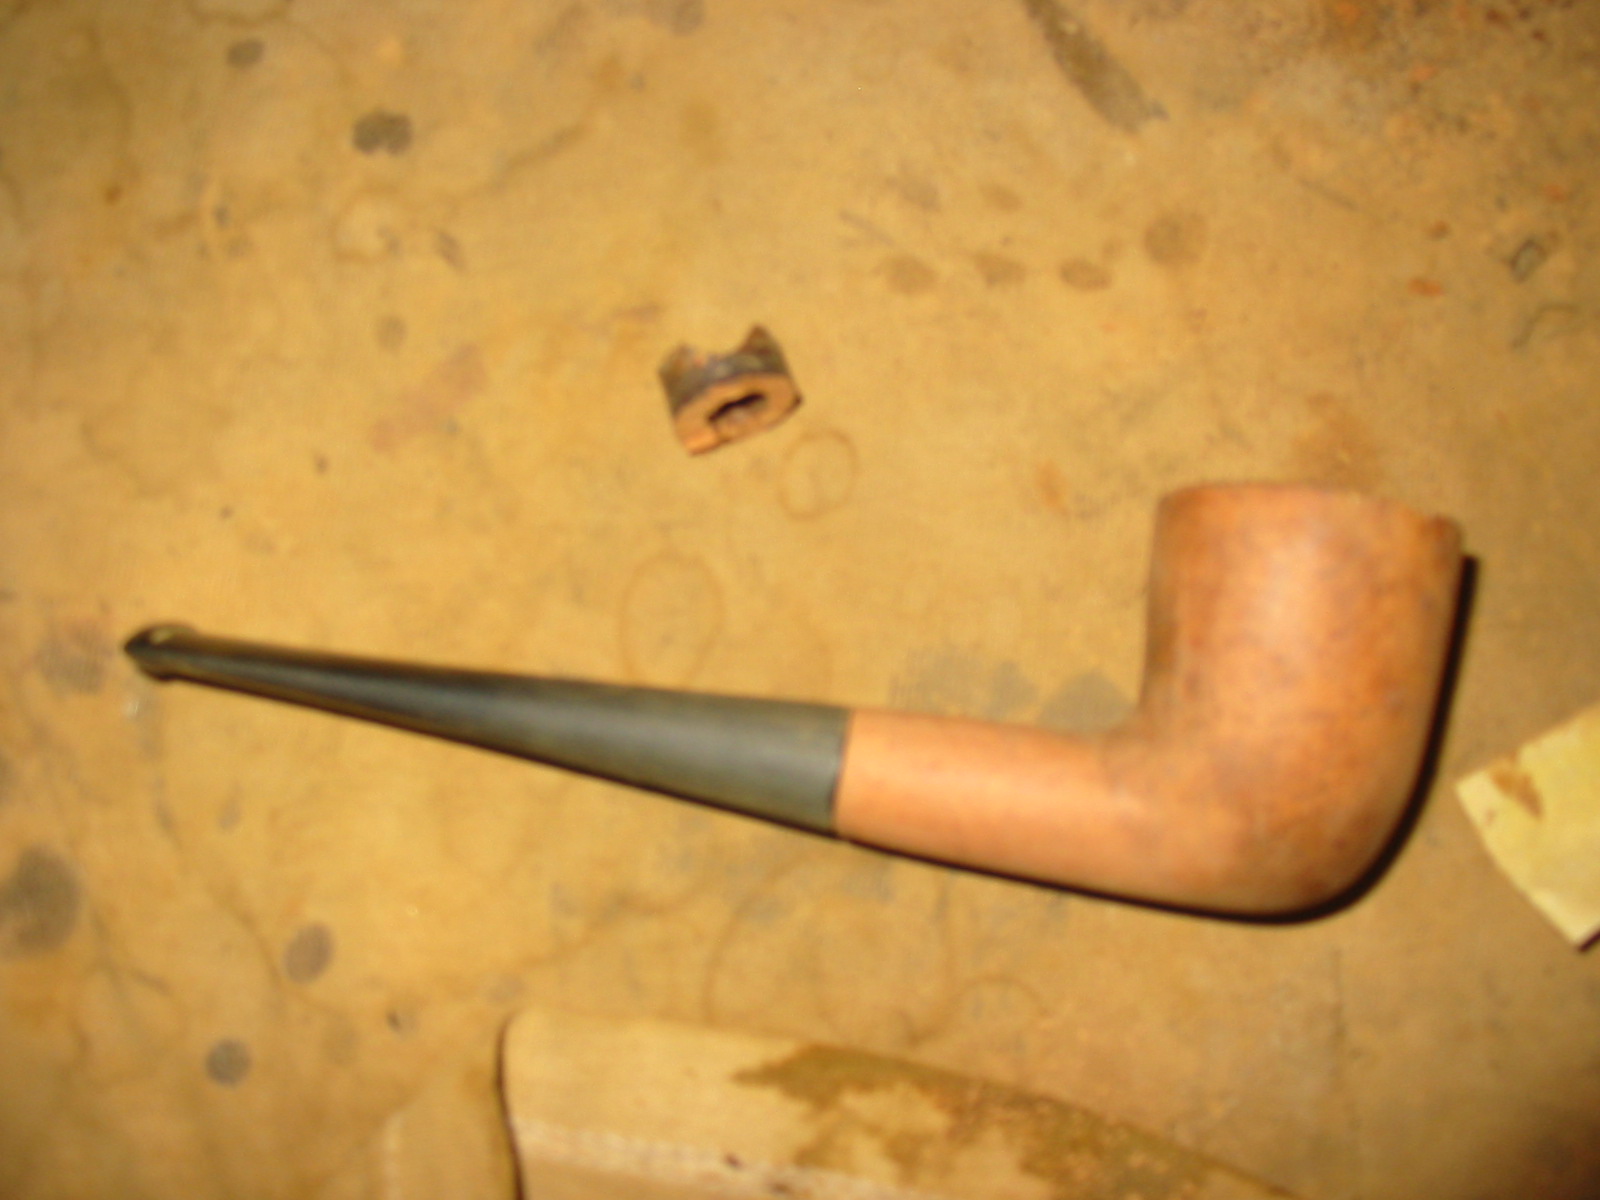
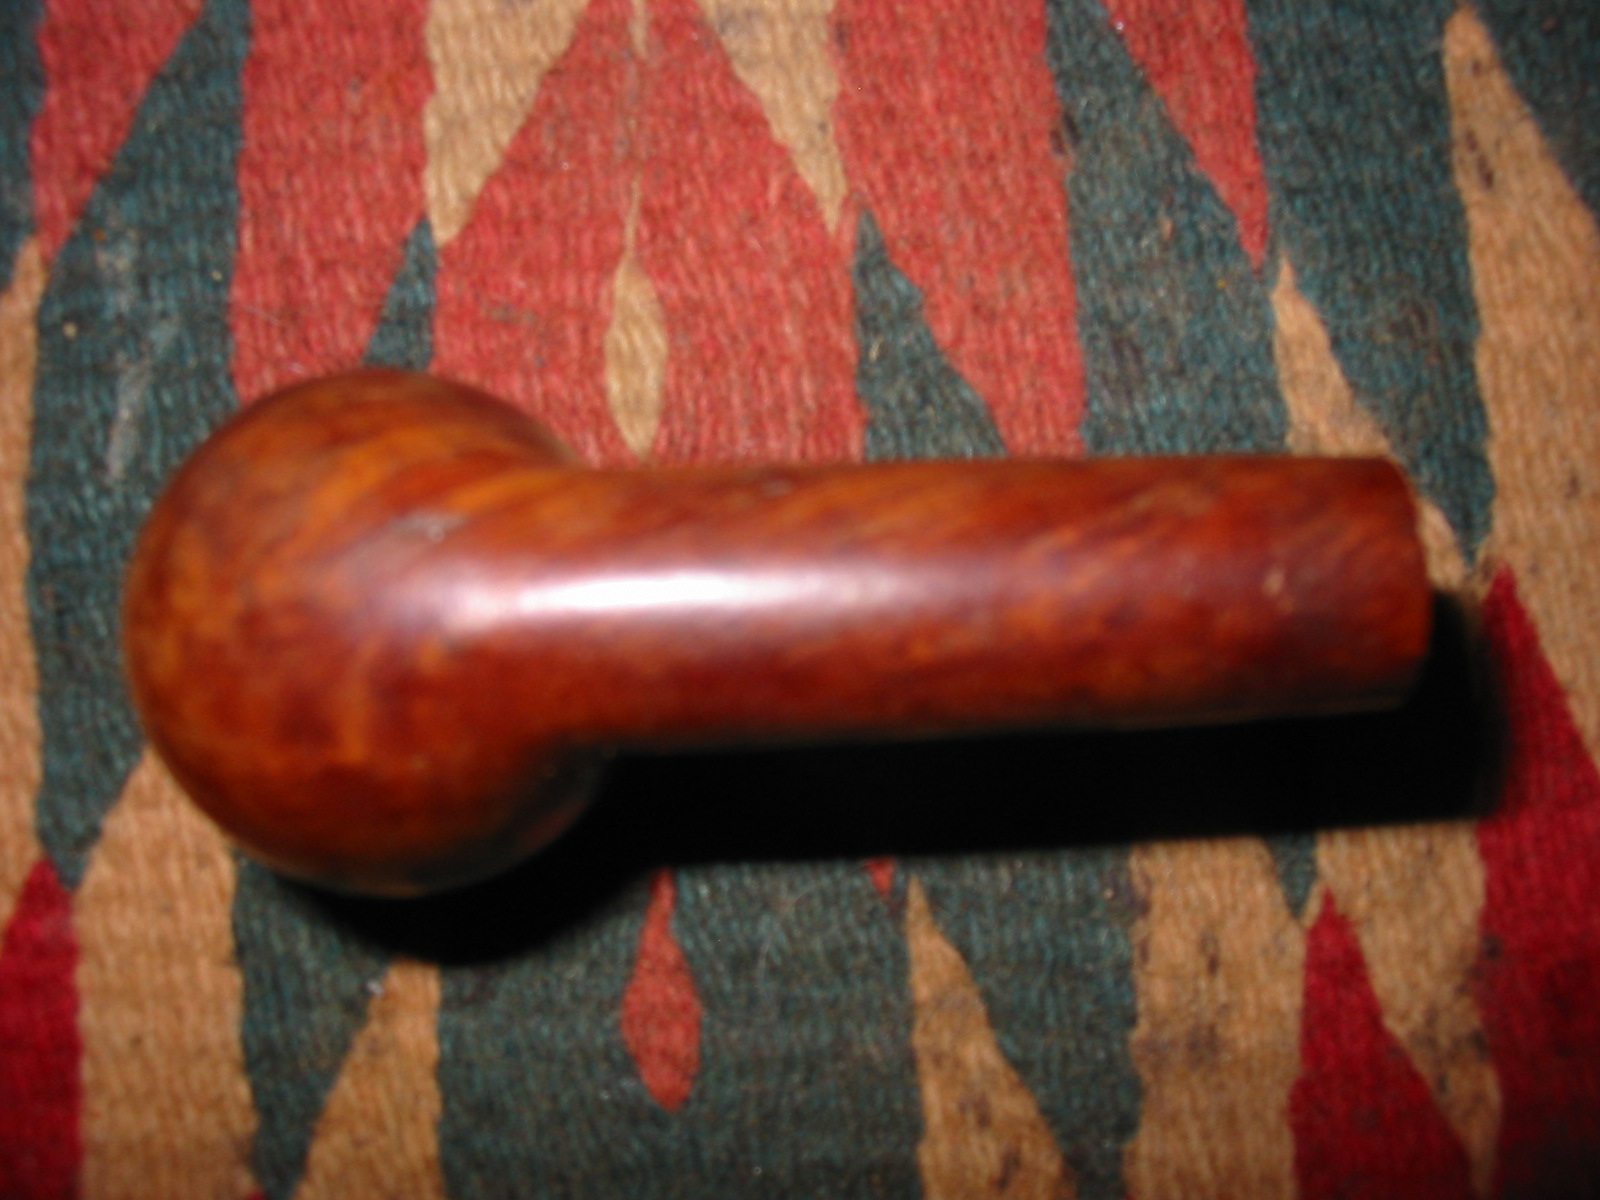
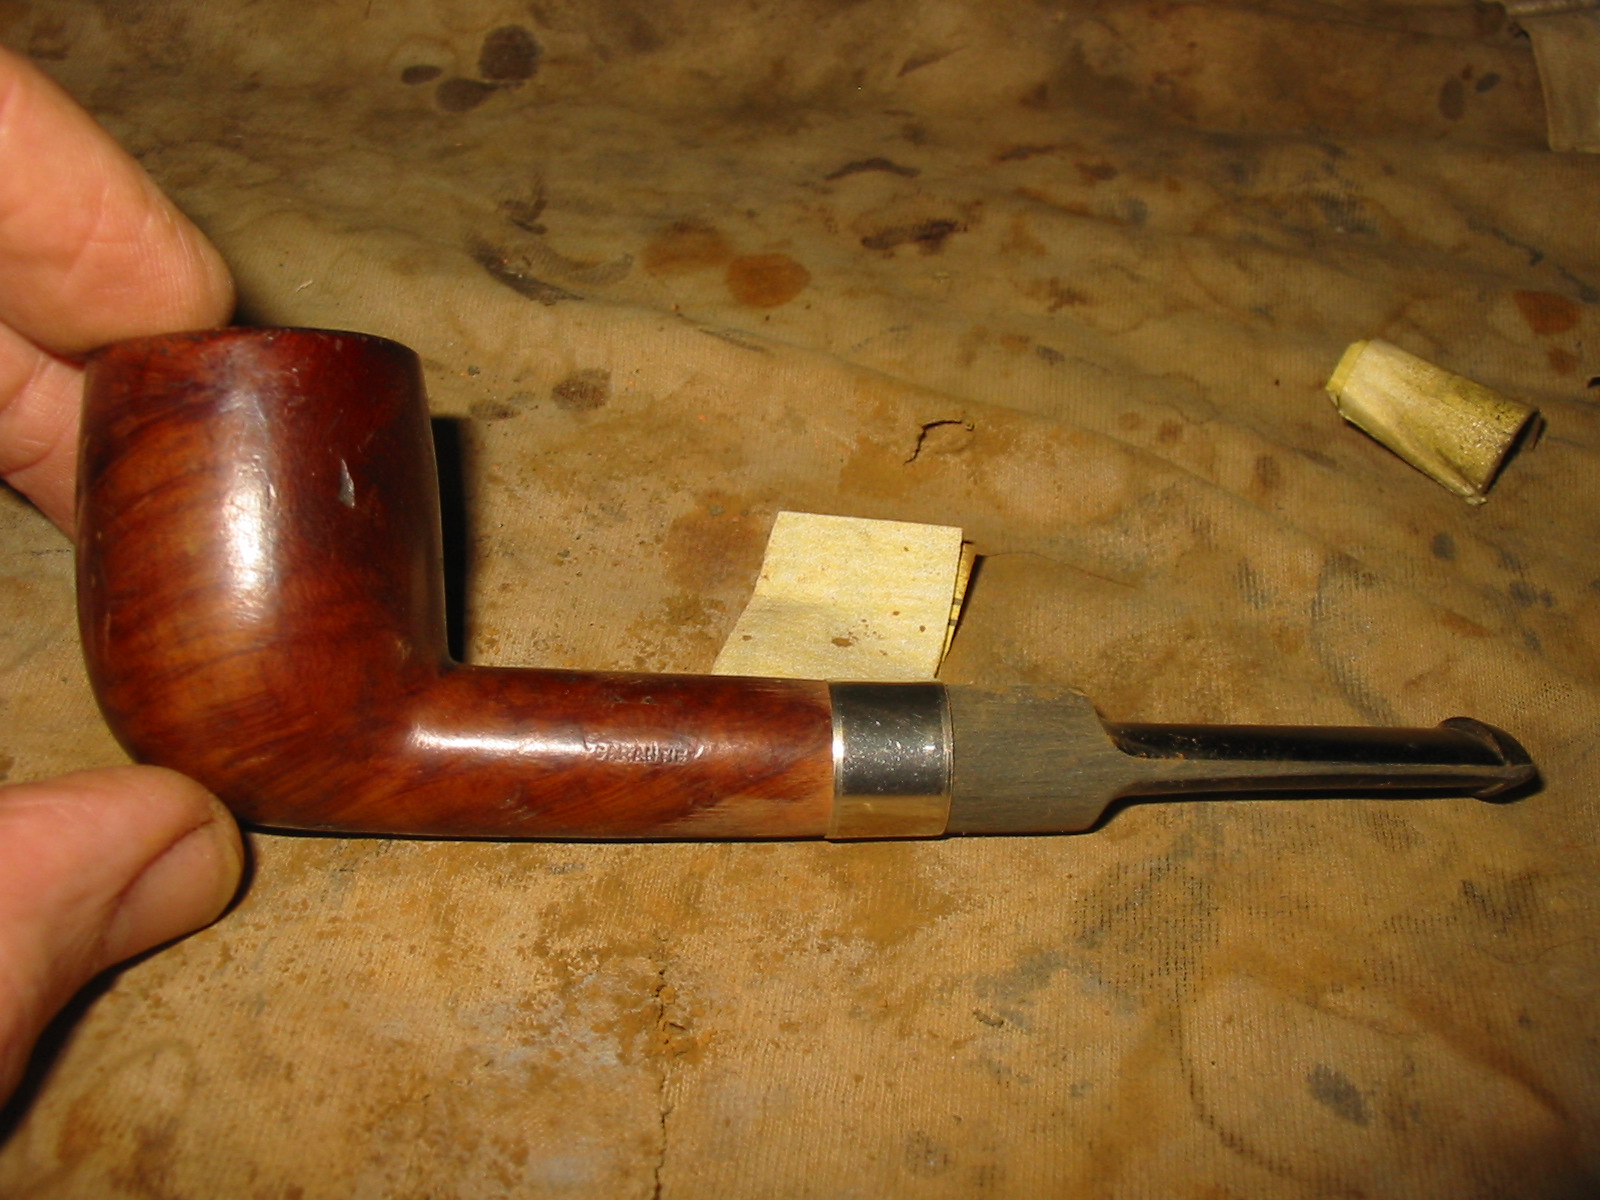
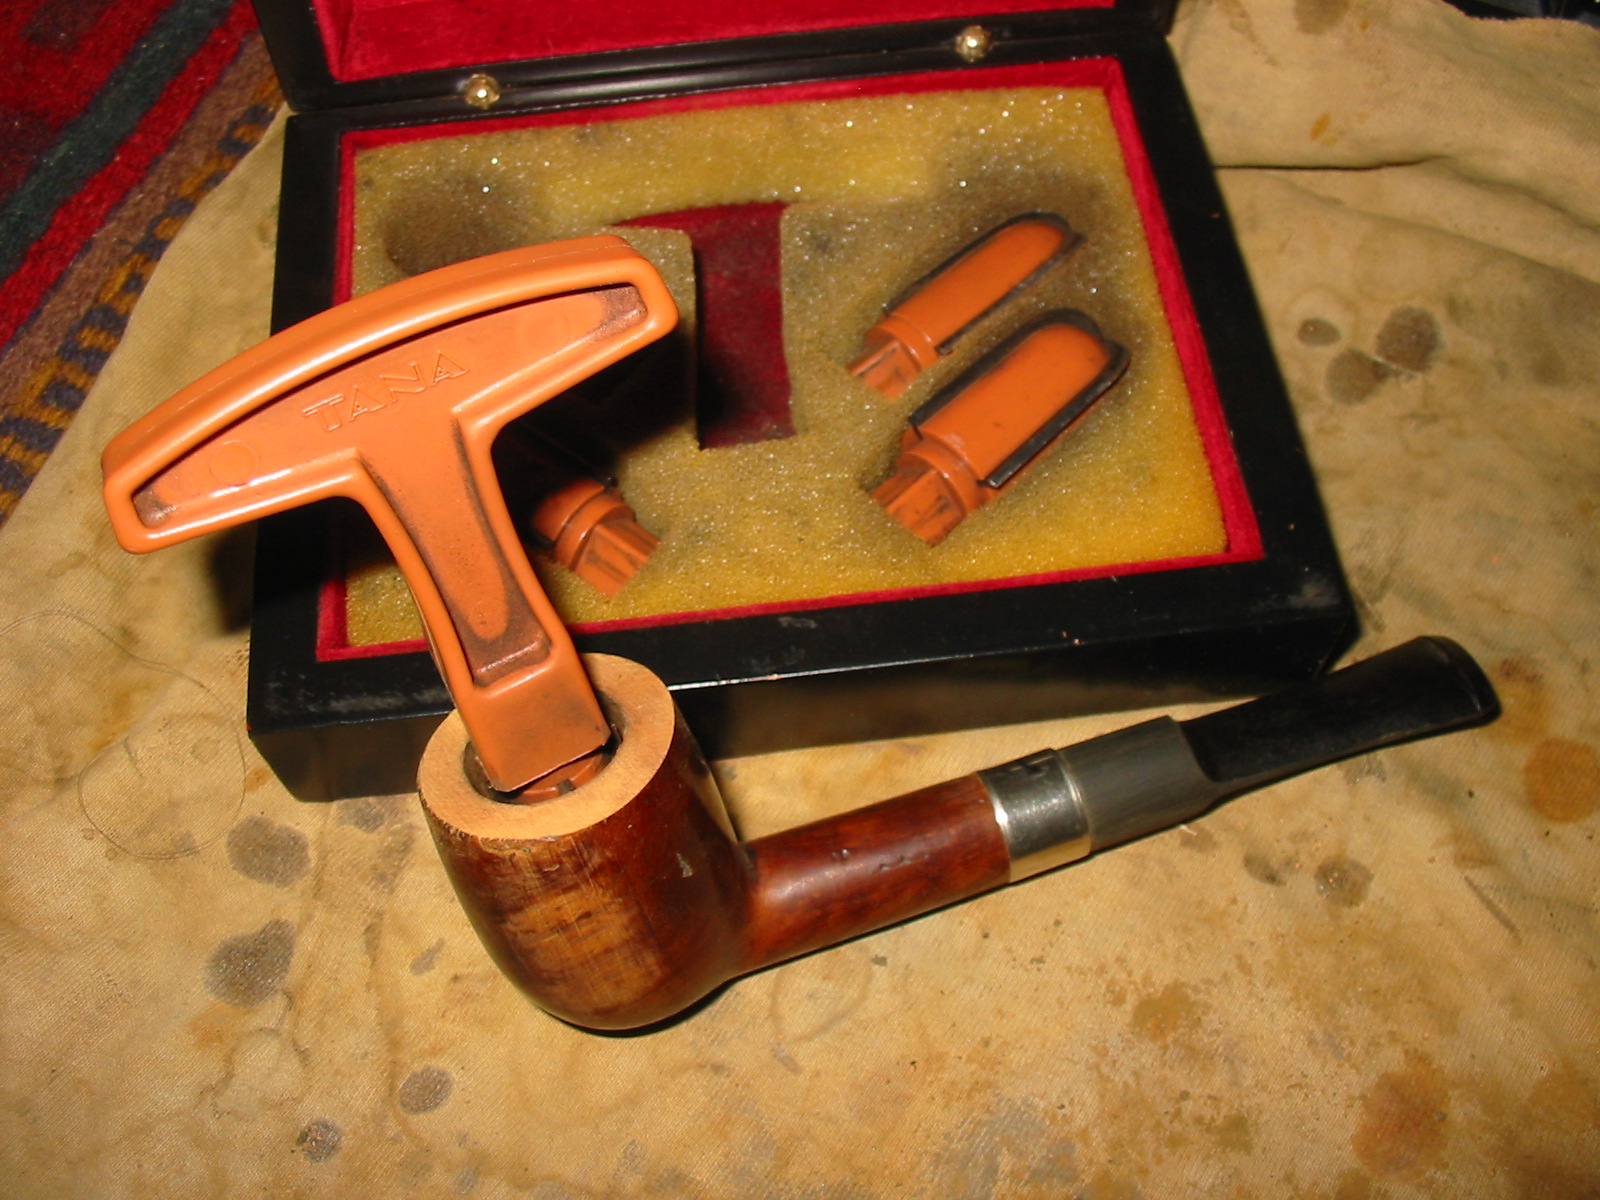
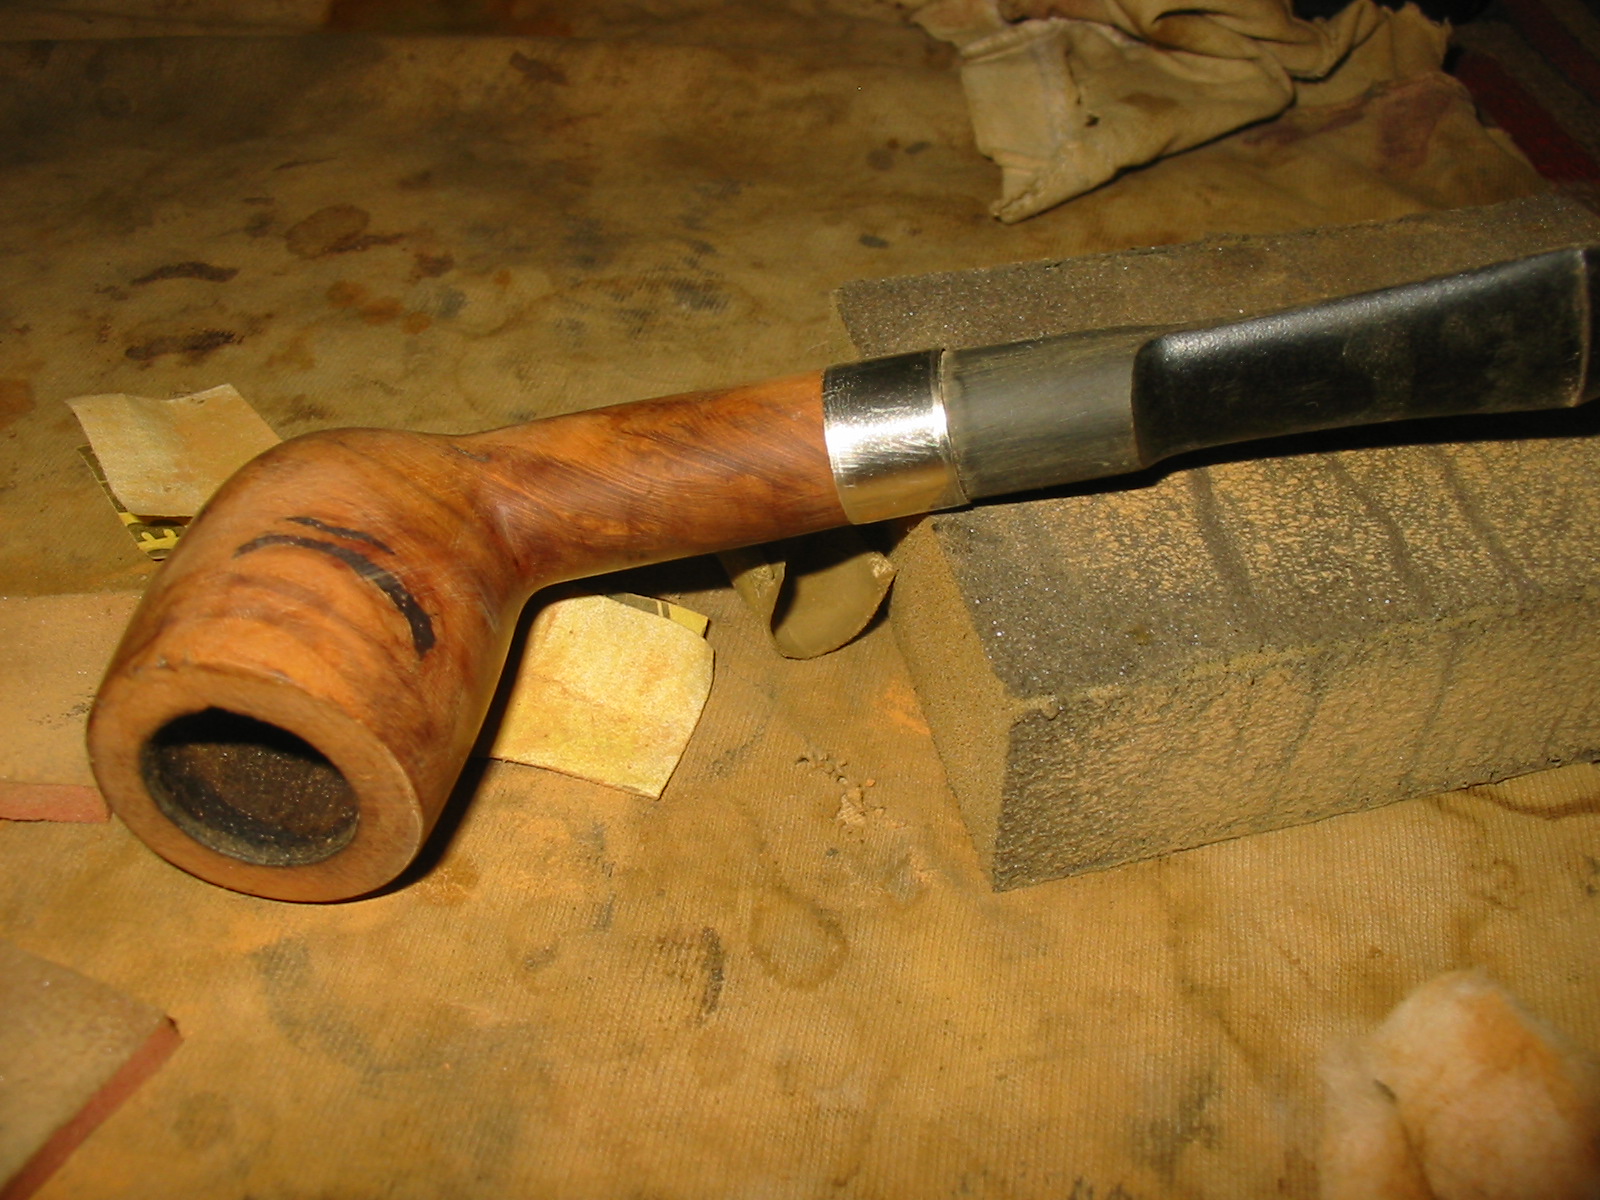
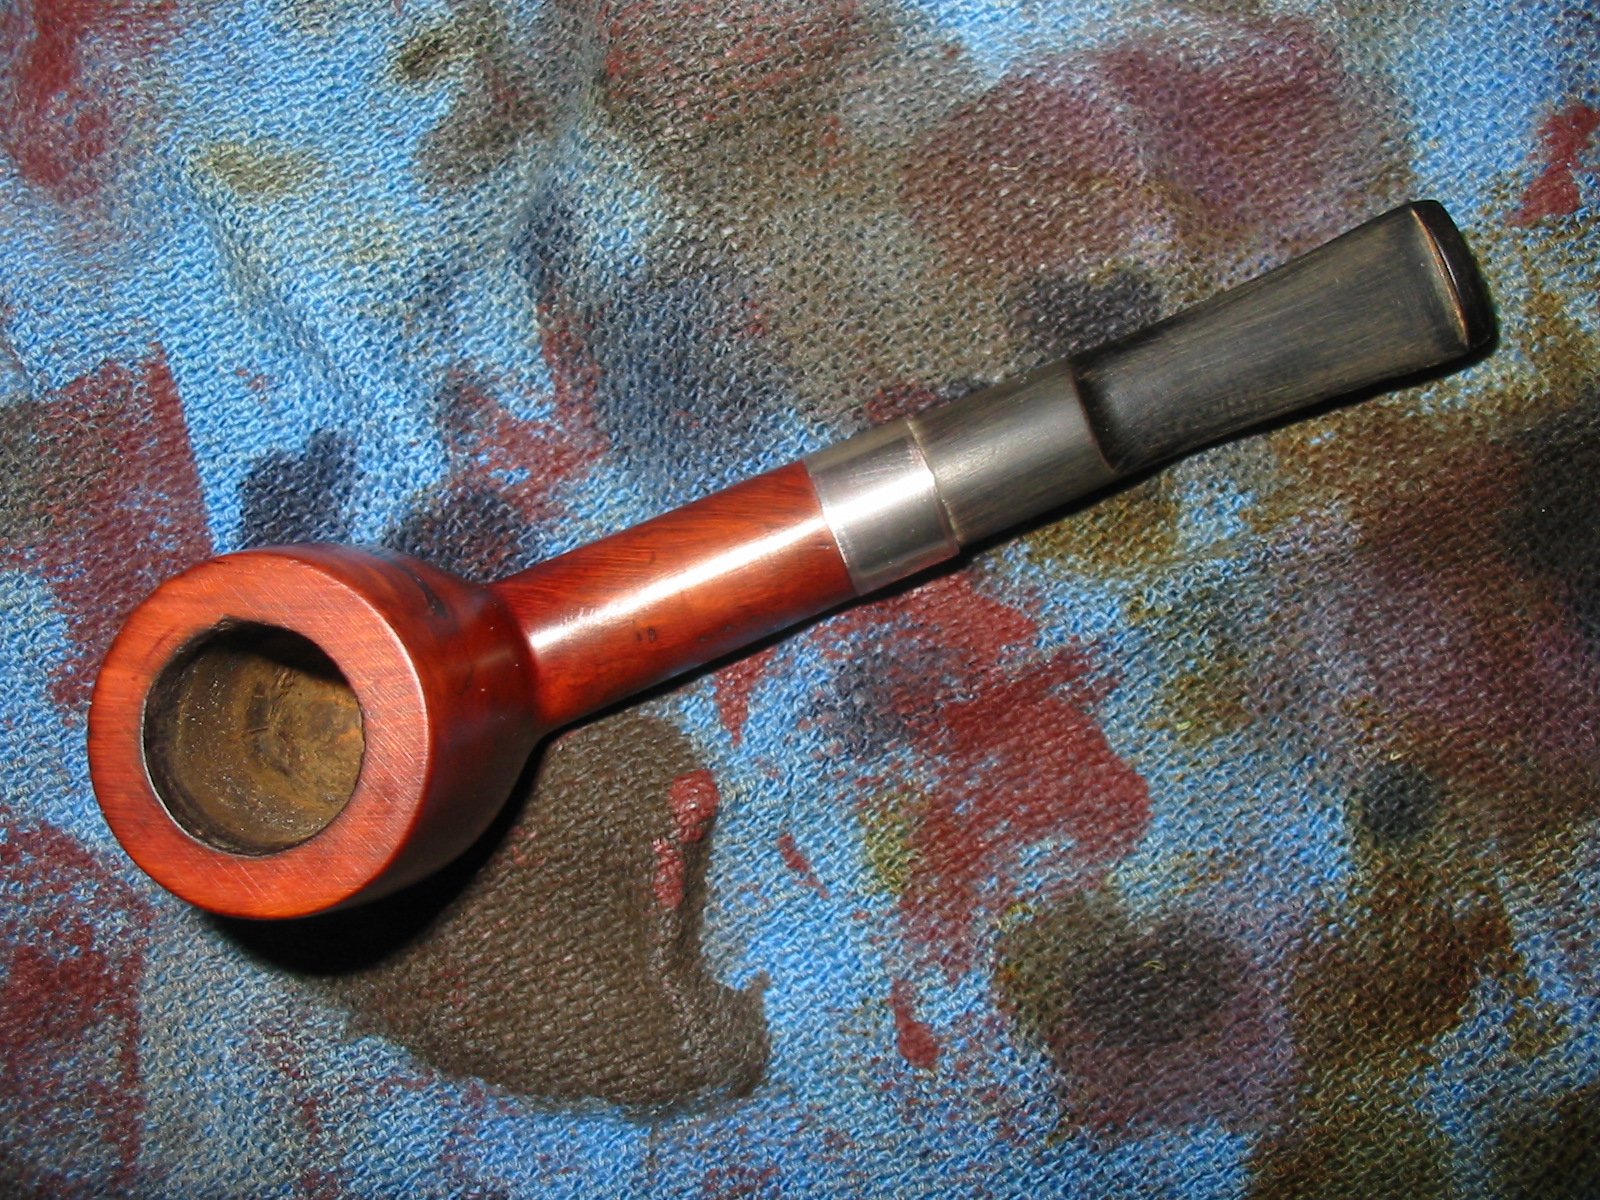
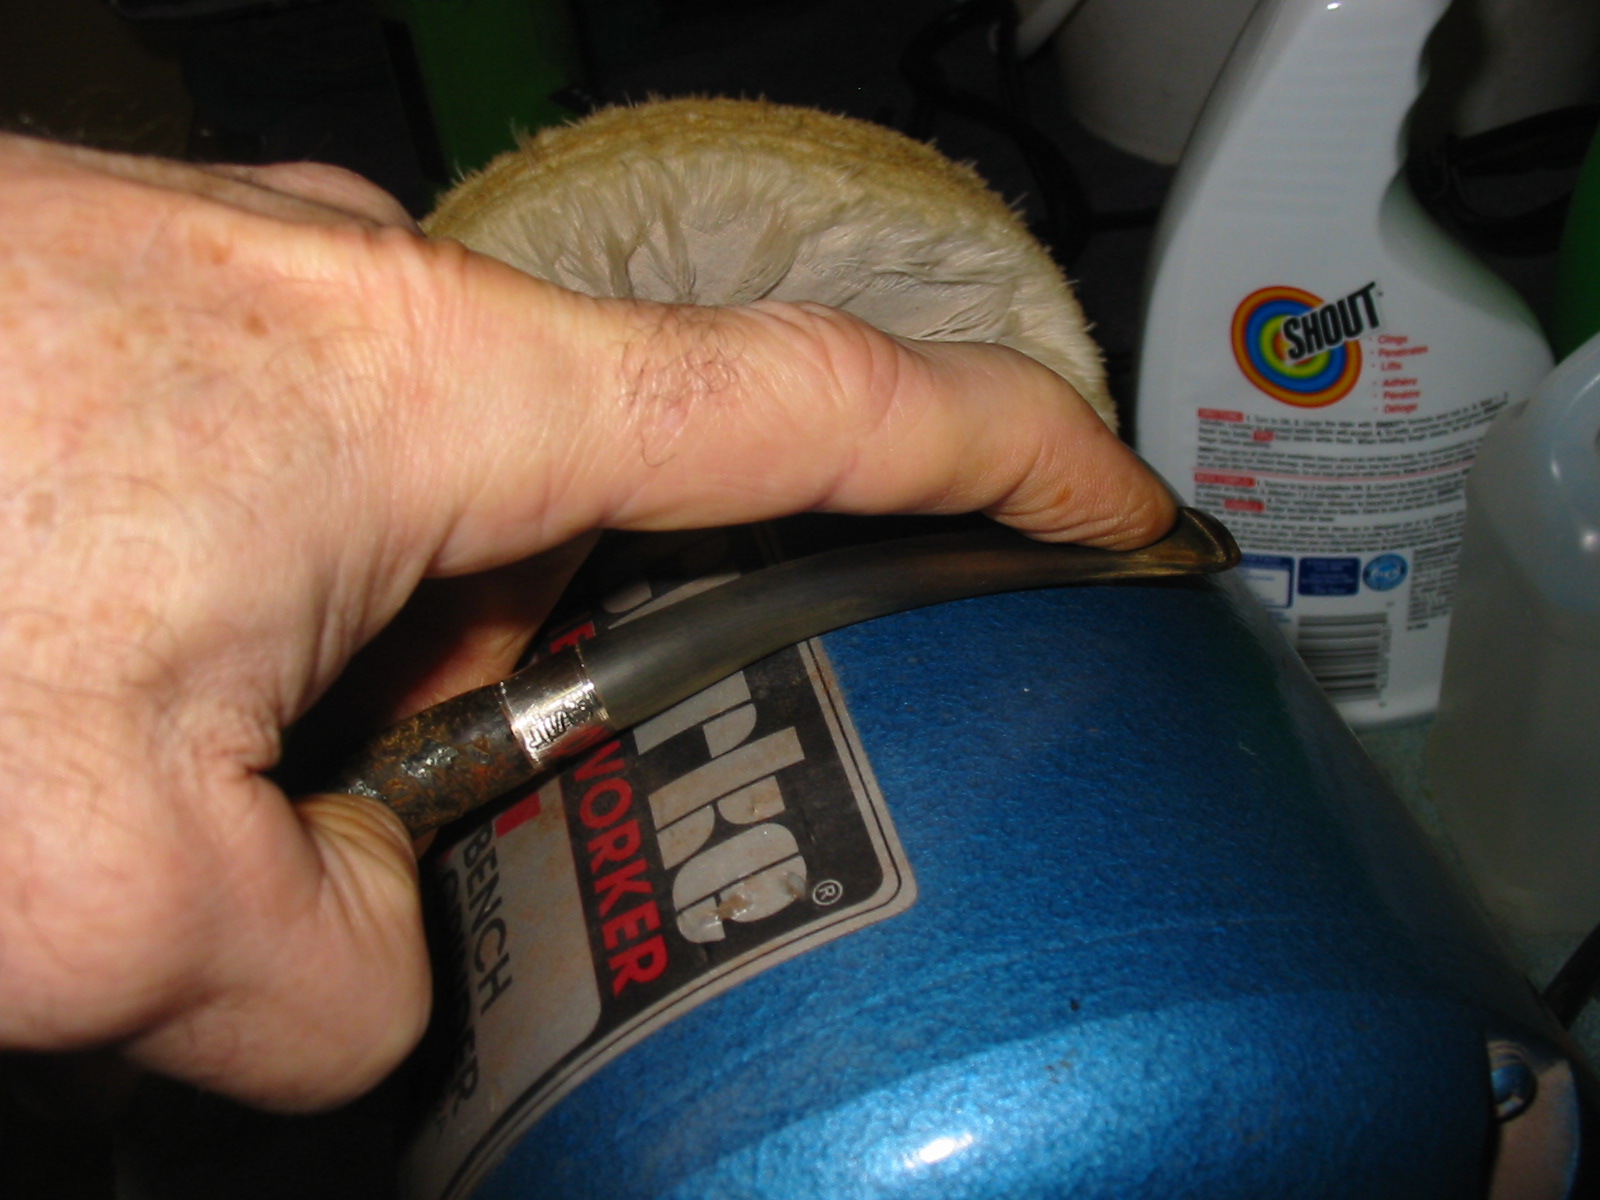
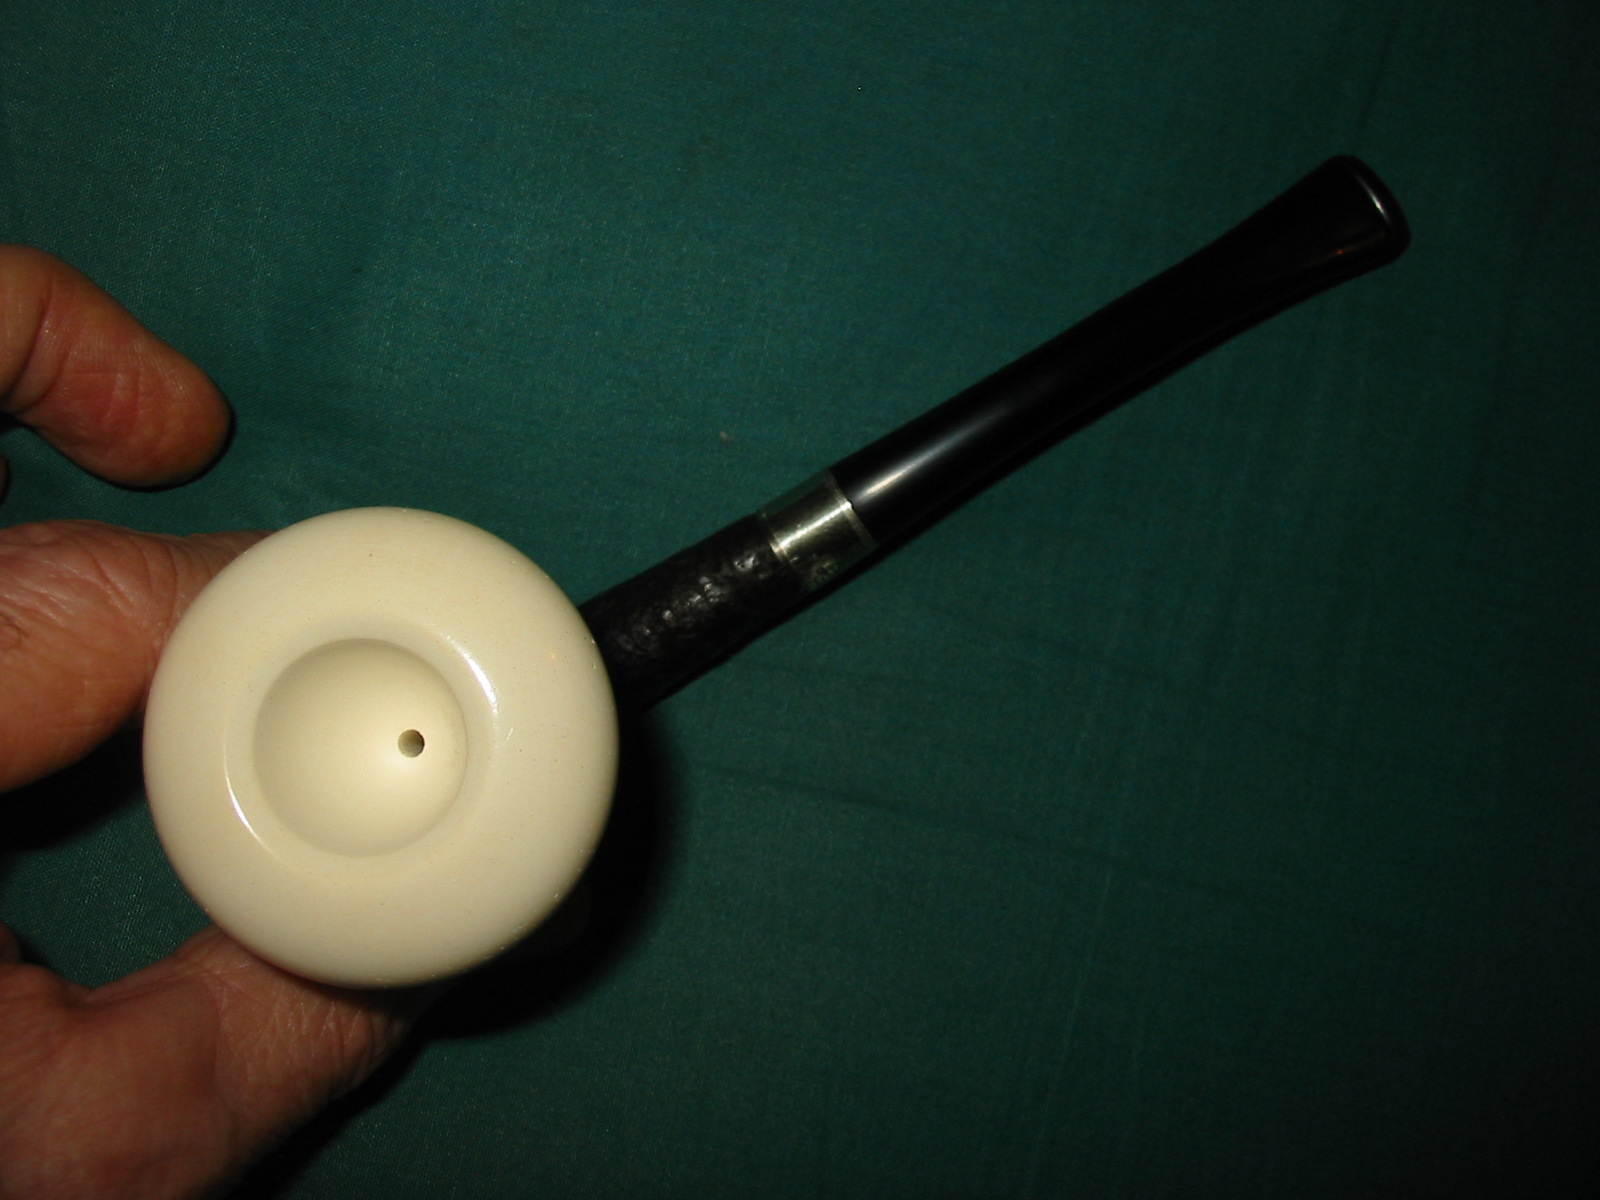
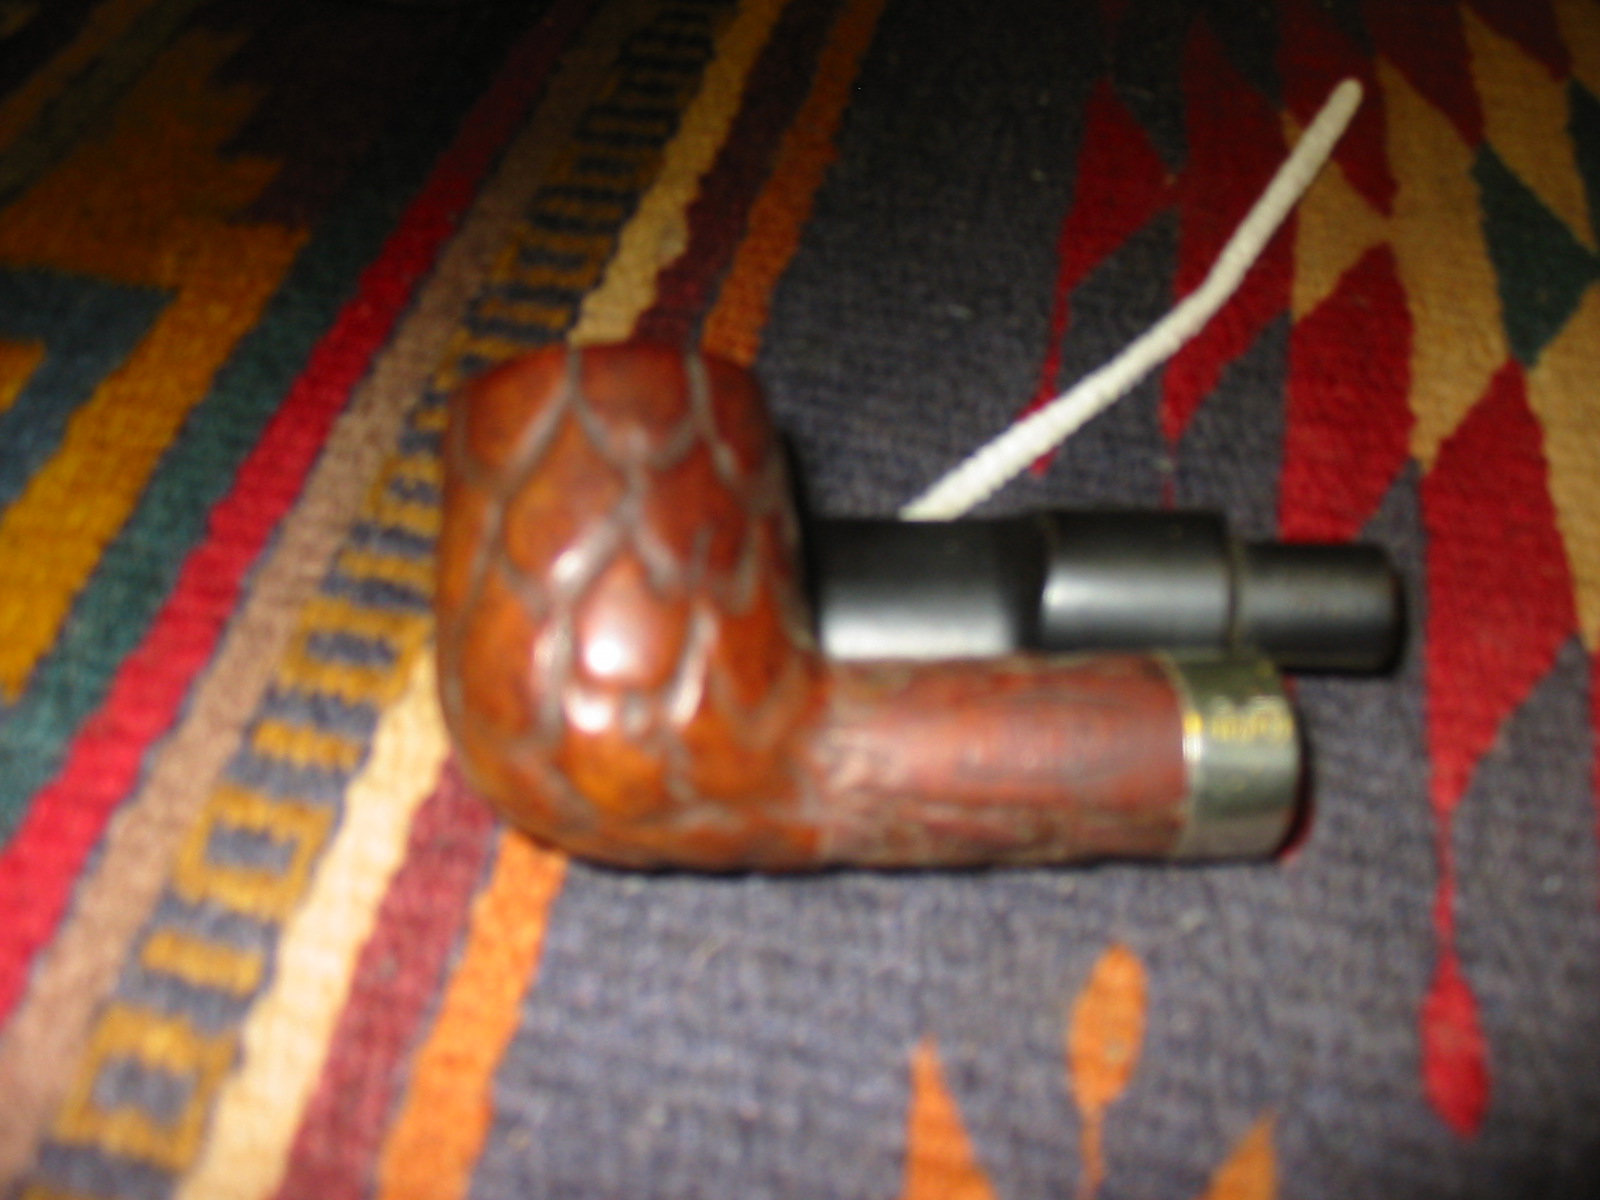
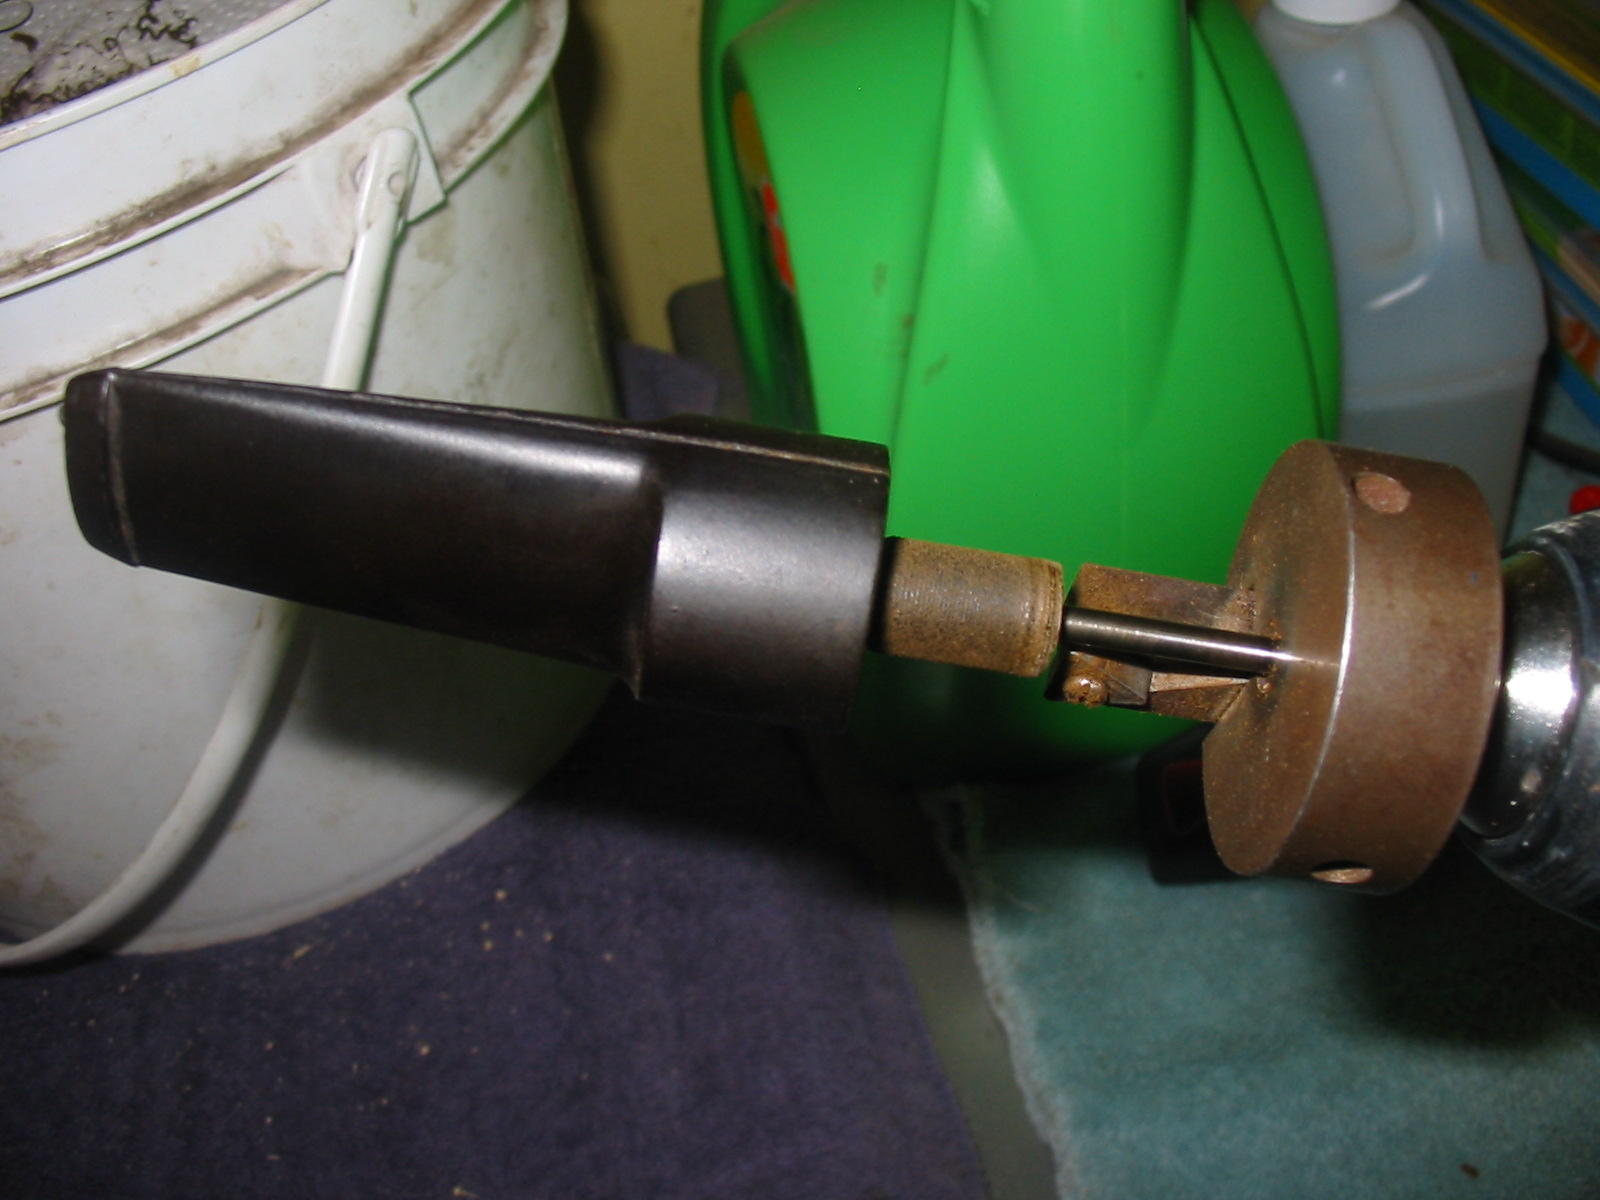
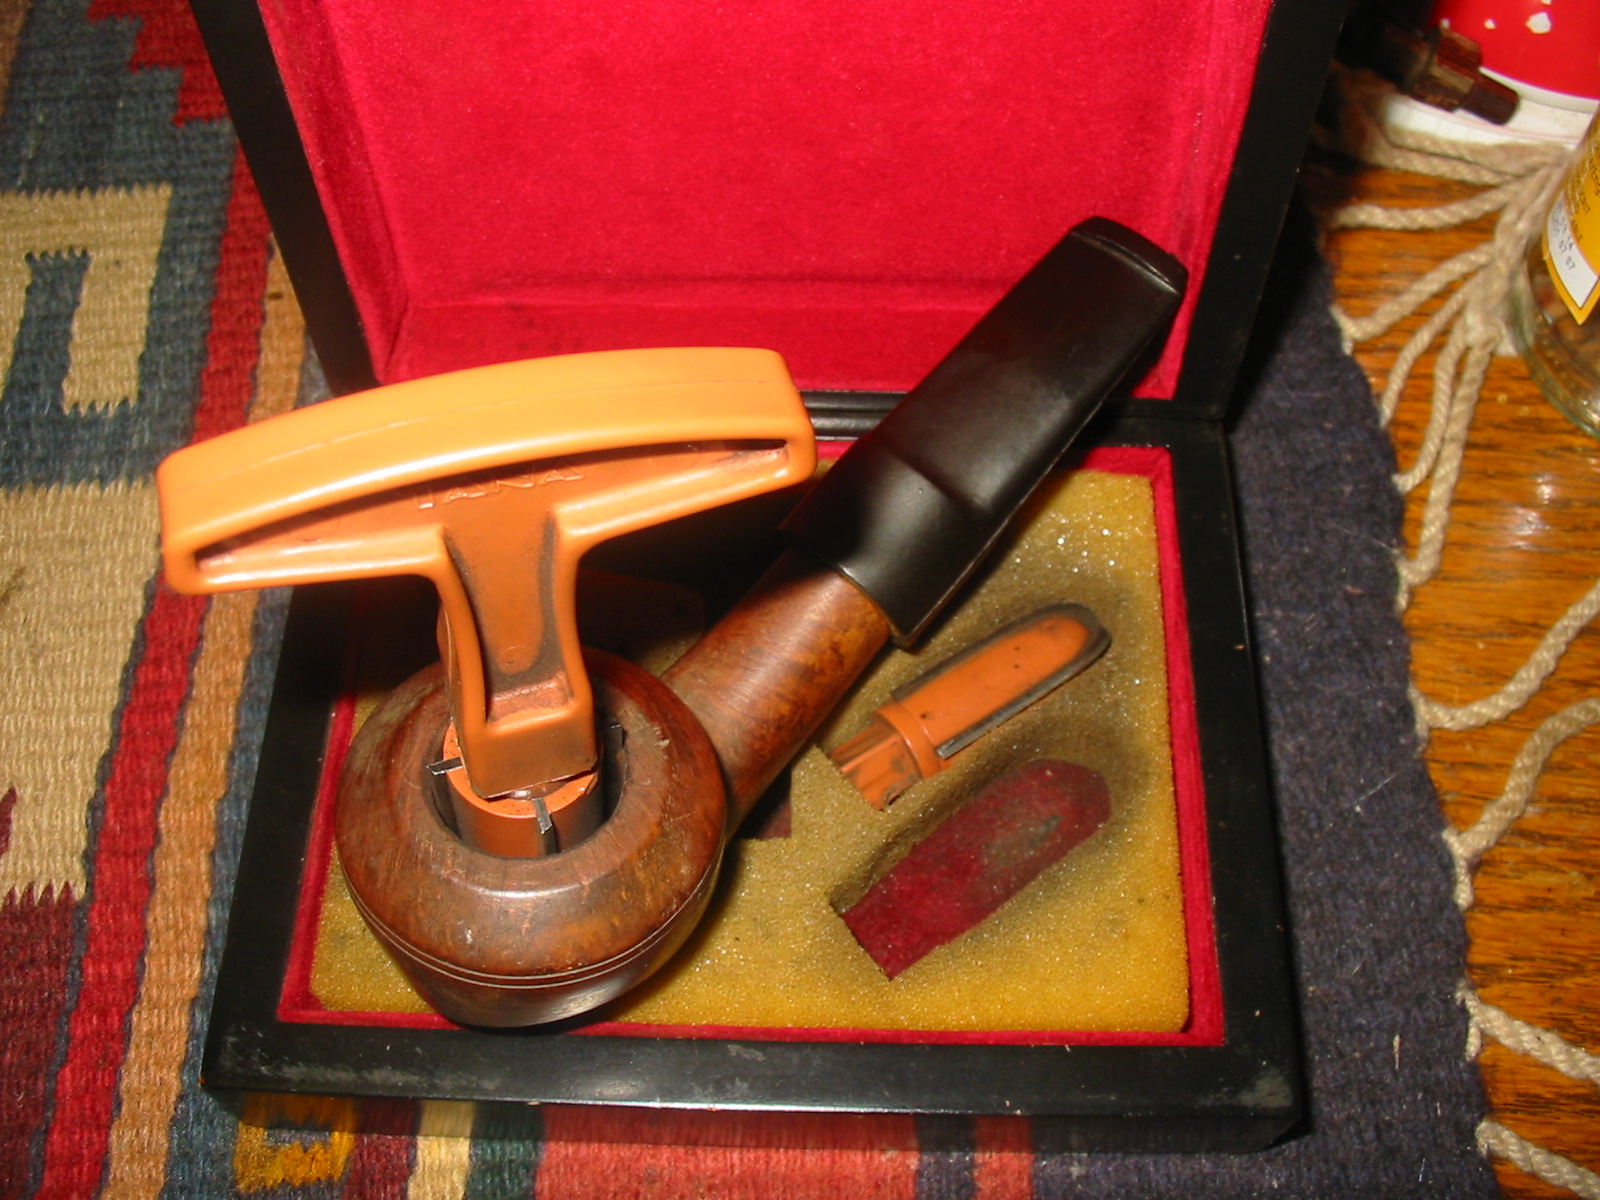
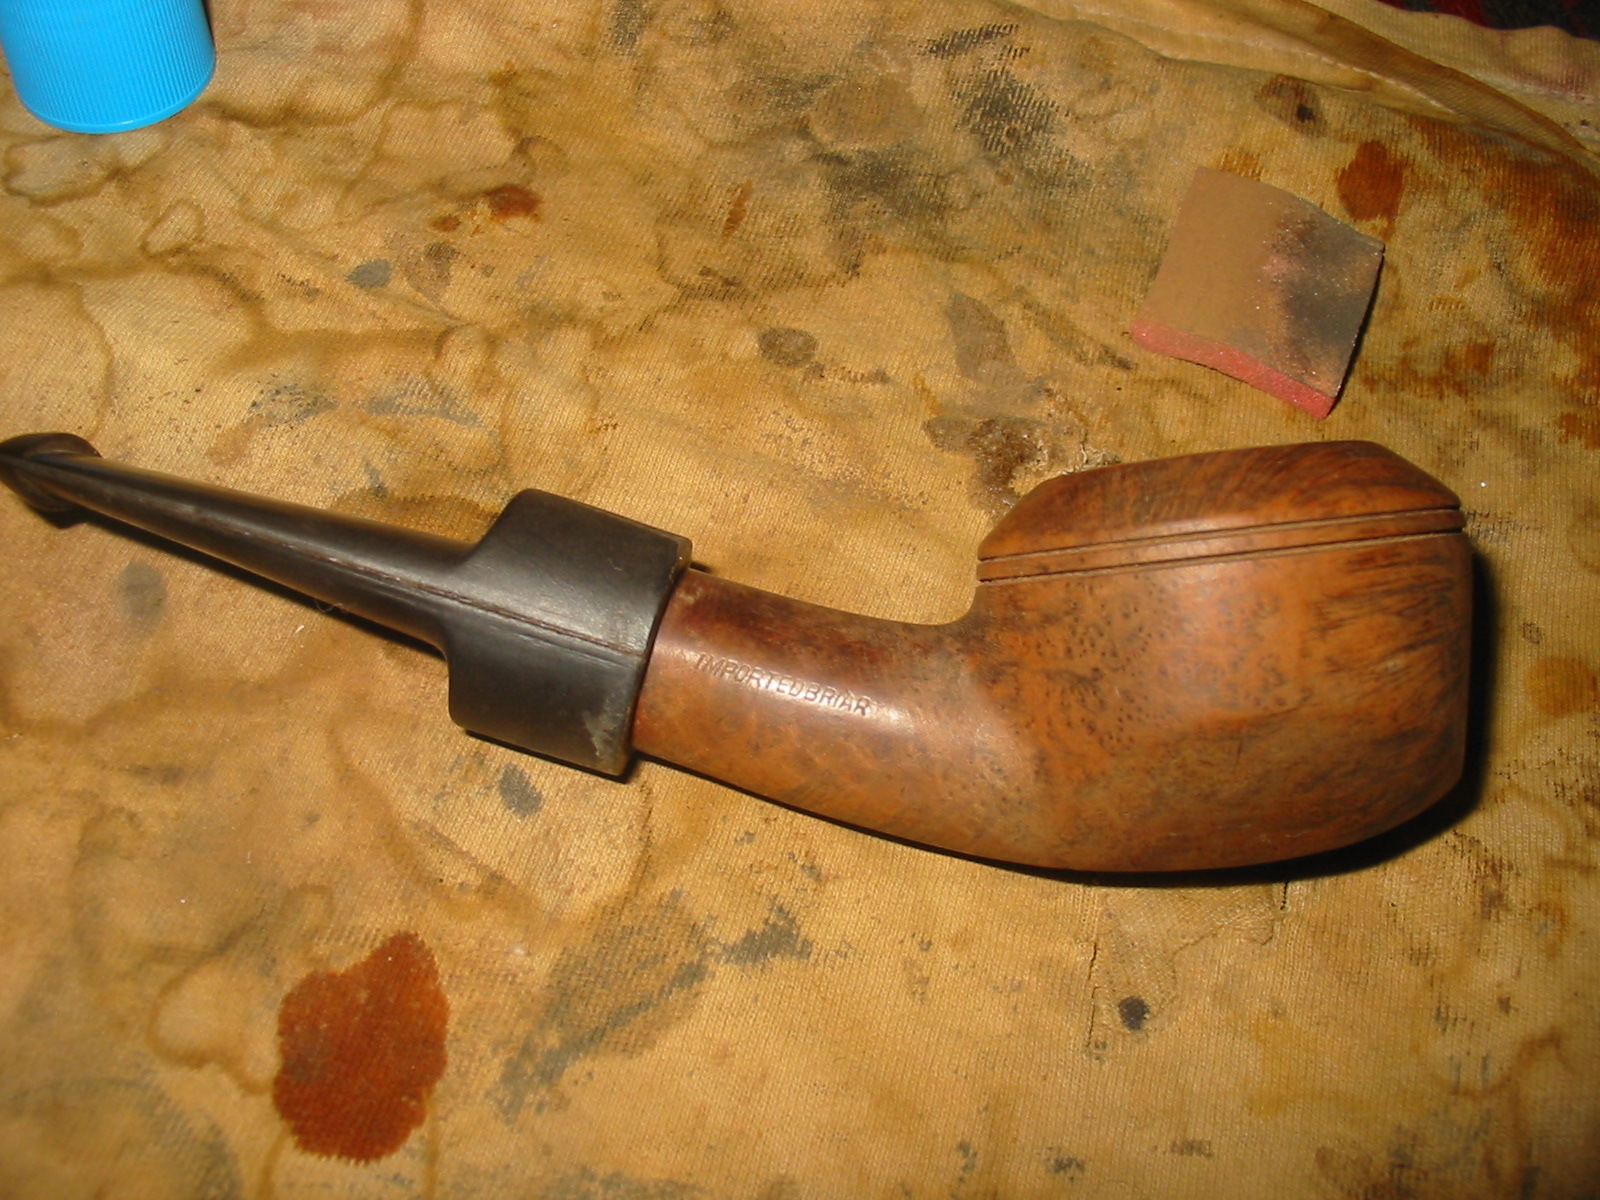
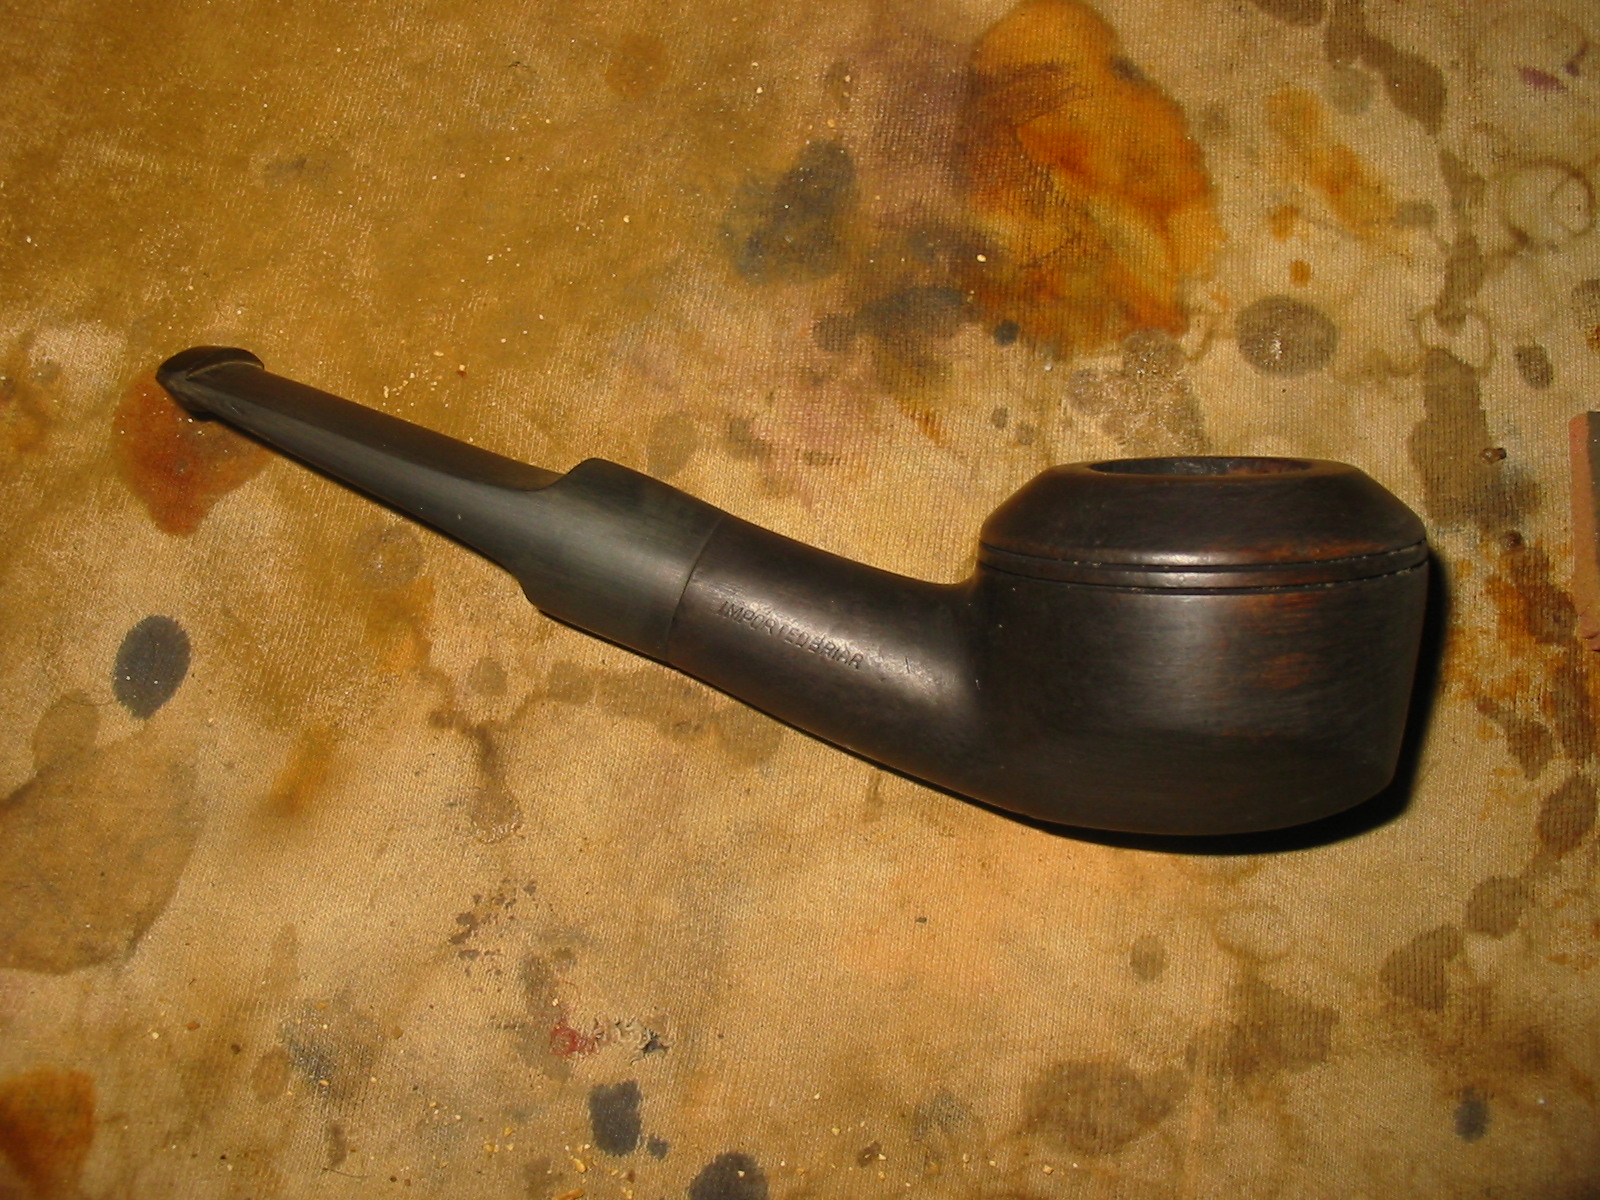
The only stem I had in my box of stems was a chunky saddle bit that would work but would need to have major adjustments in terms of diameter. I turned the tenon on a PIMO tenon turning tool until the stem fit snuggly in the shank of the pipe.
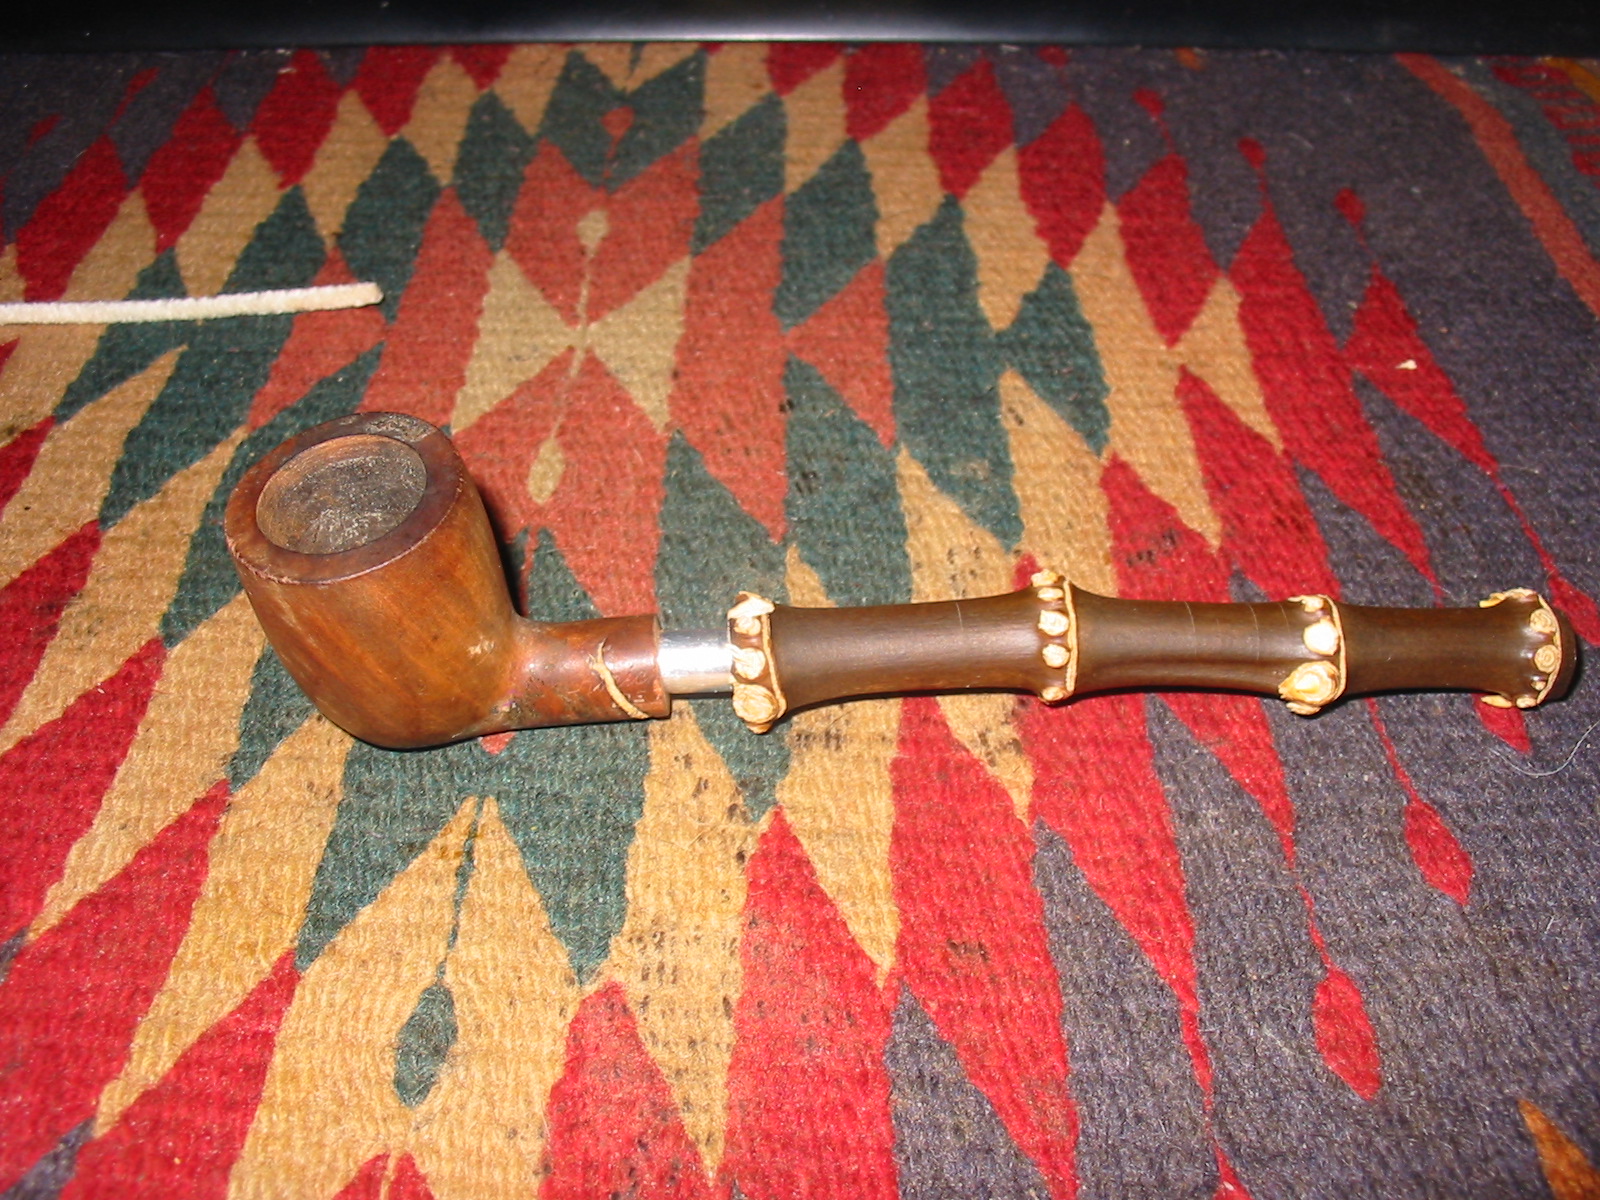
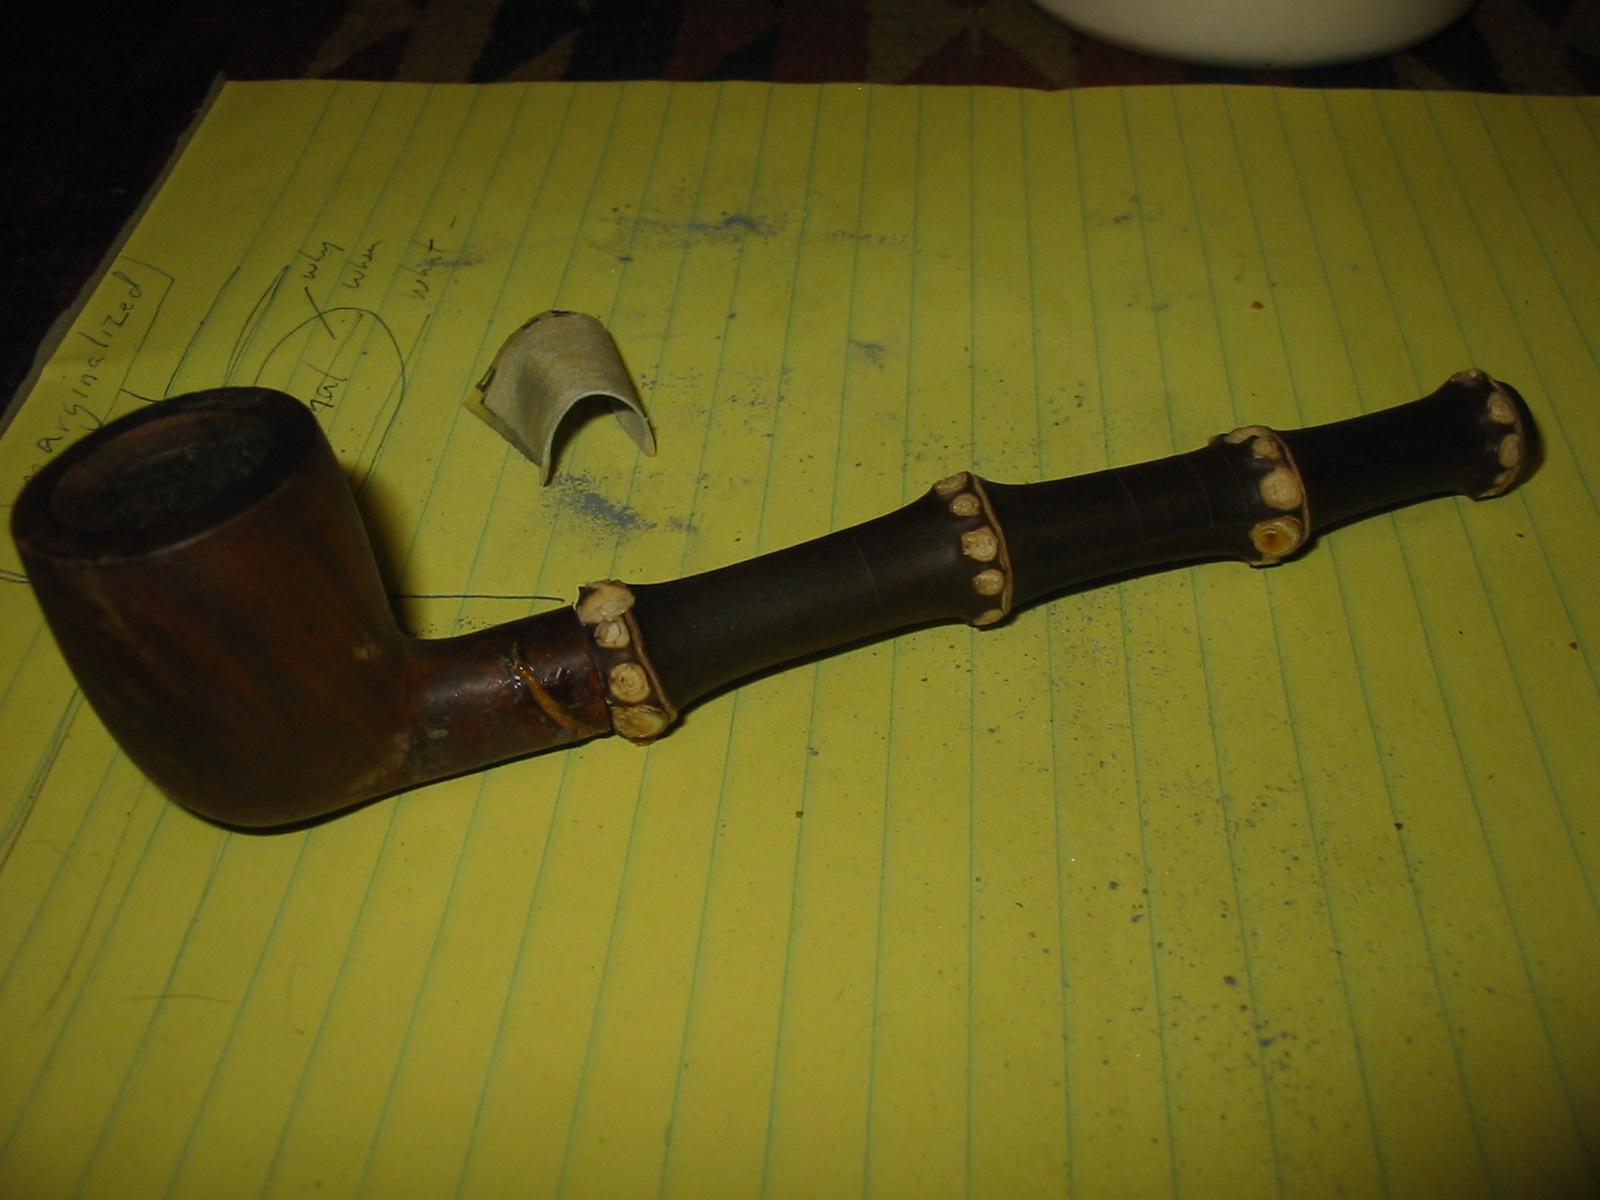
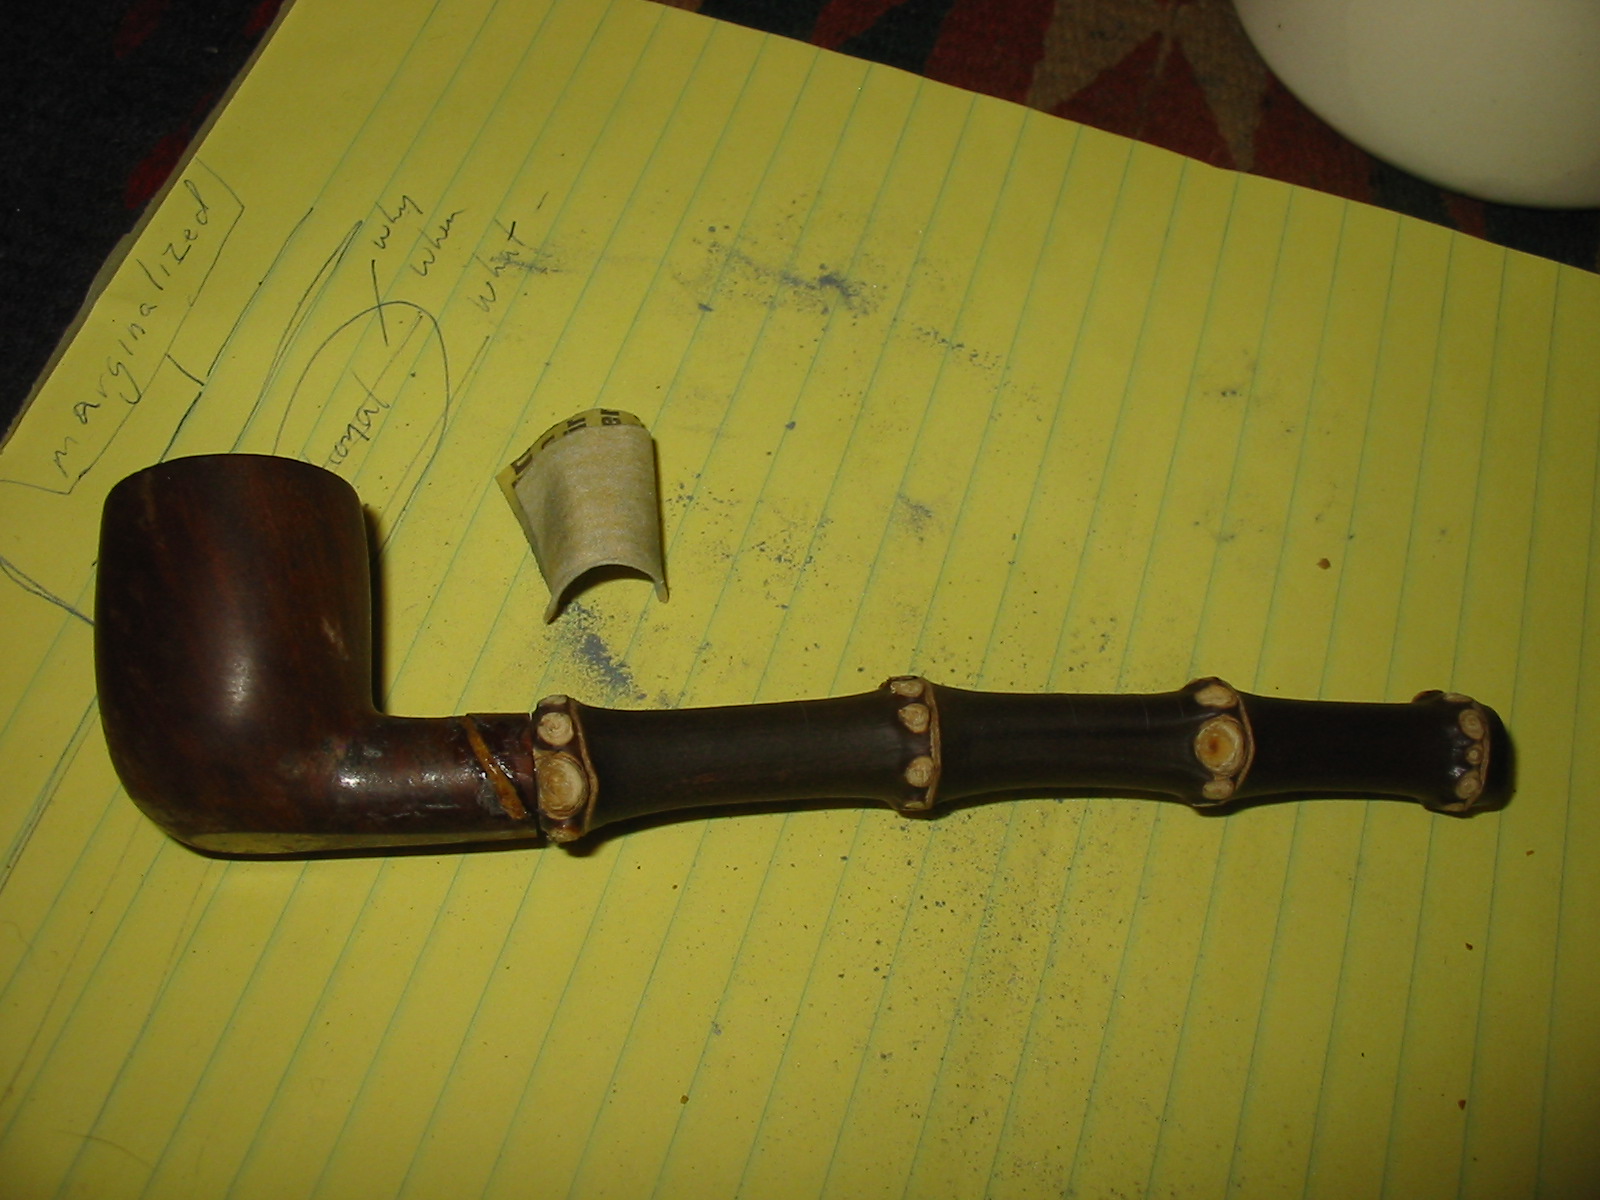
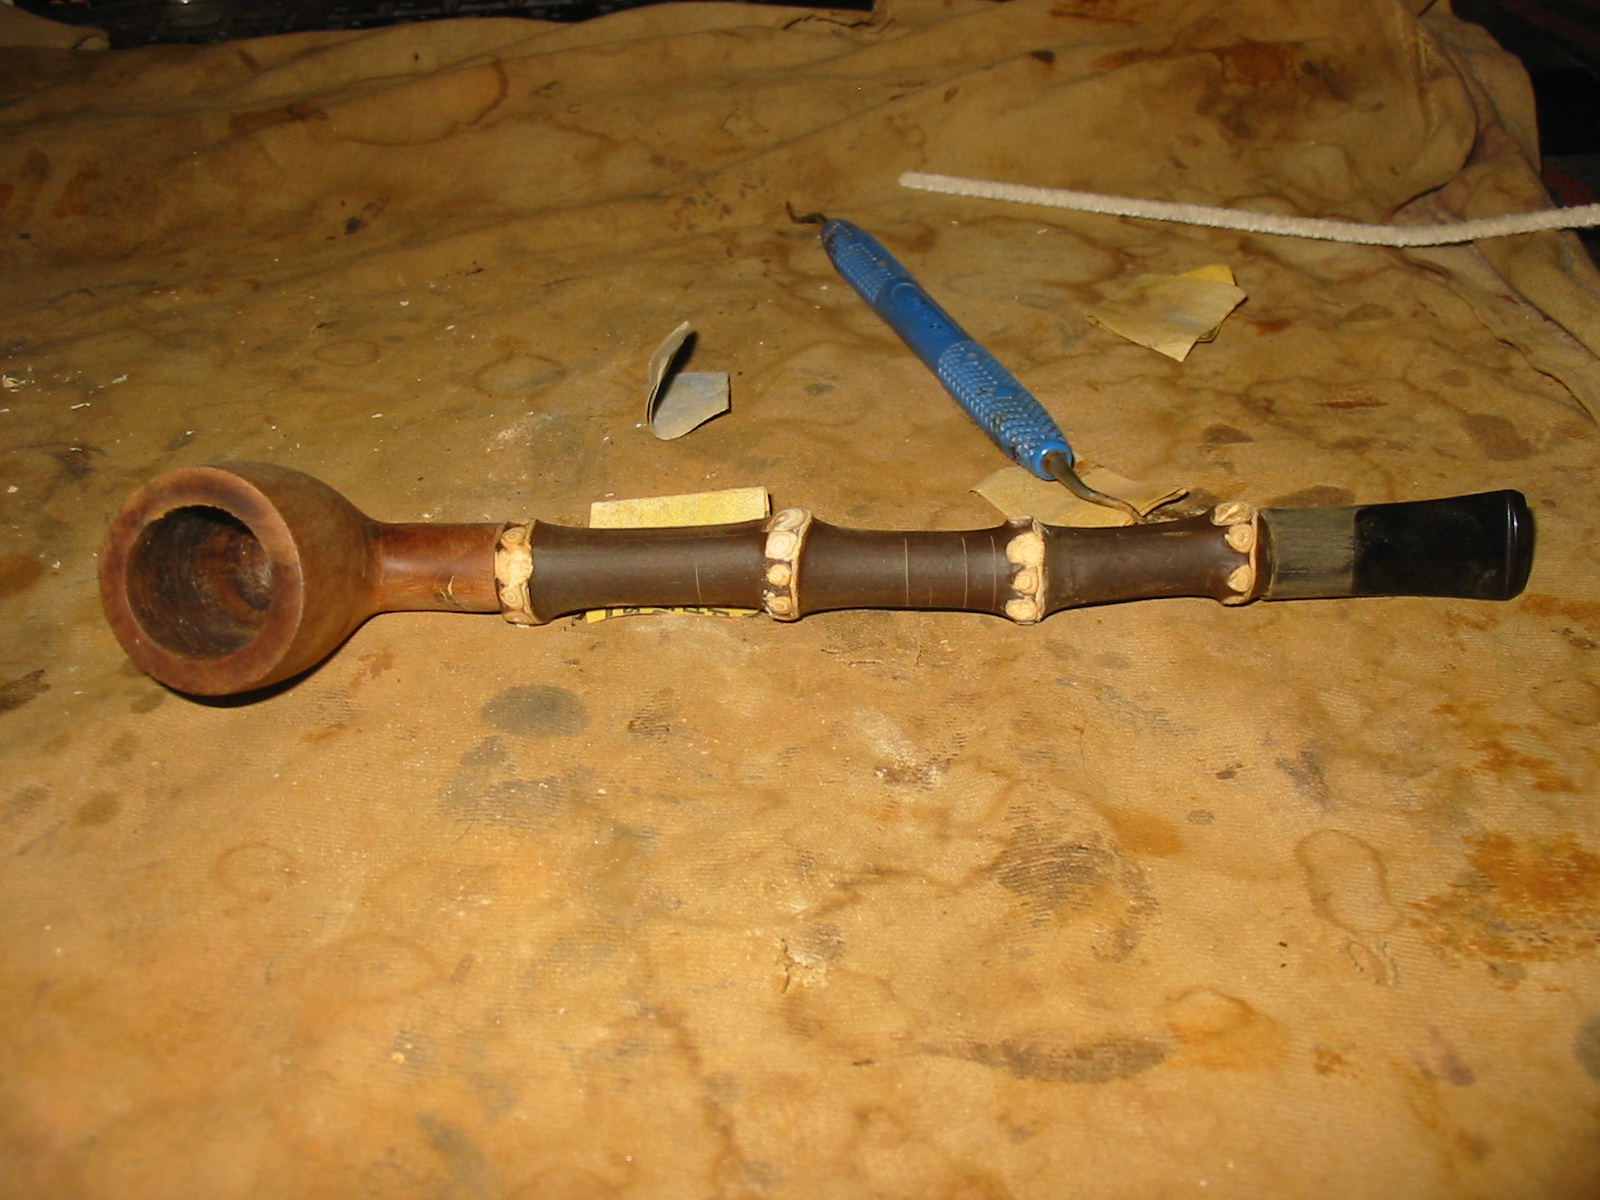
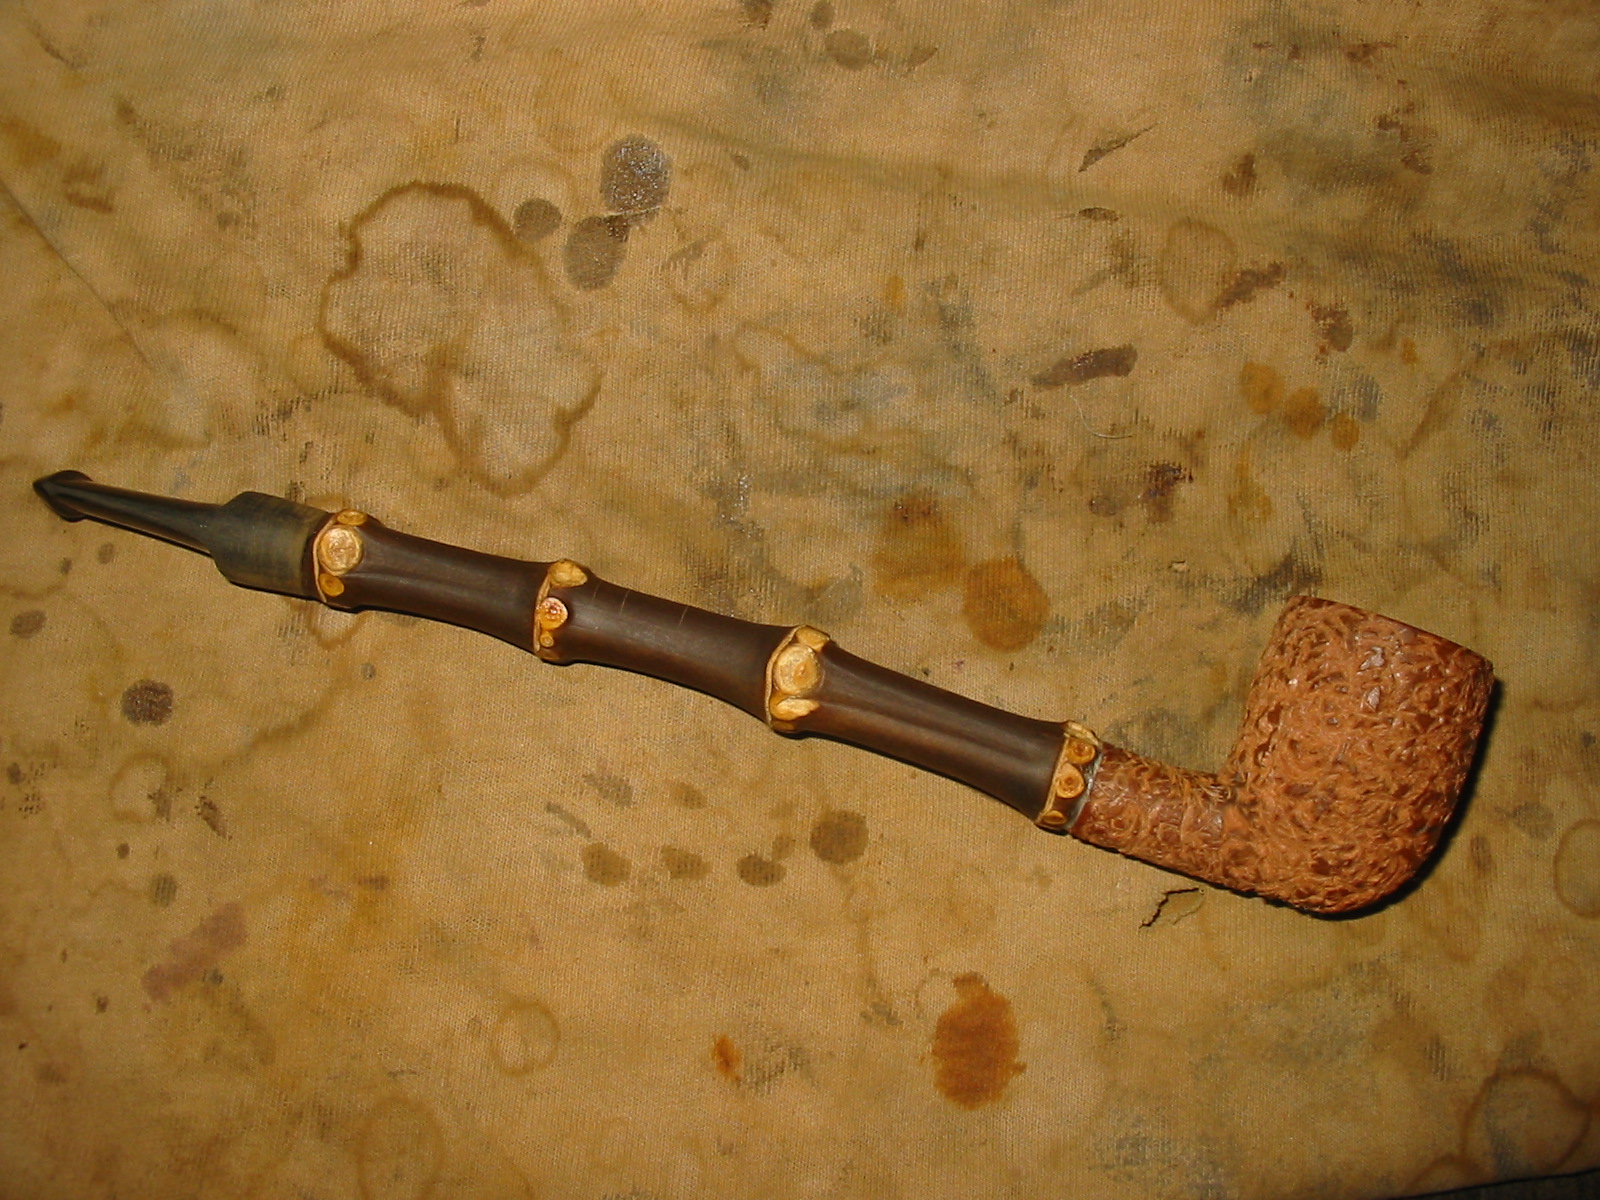
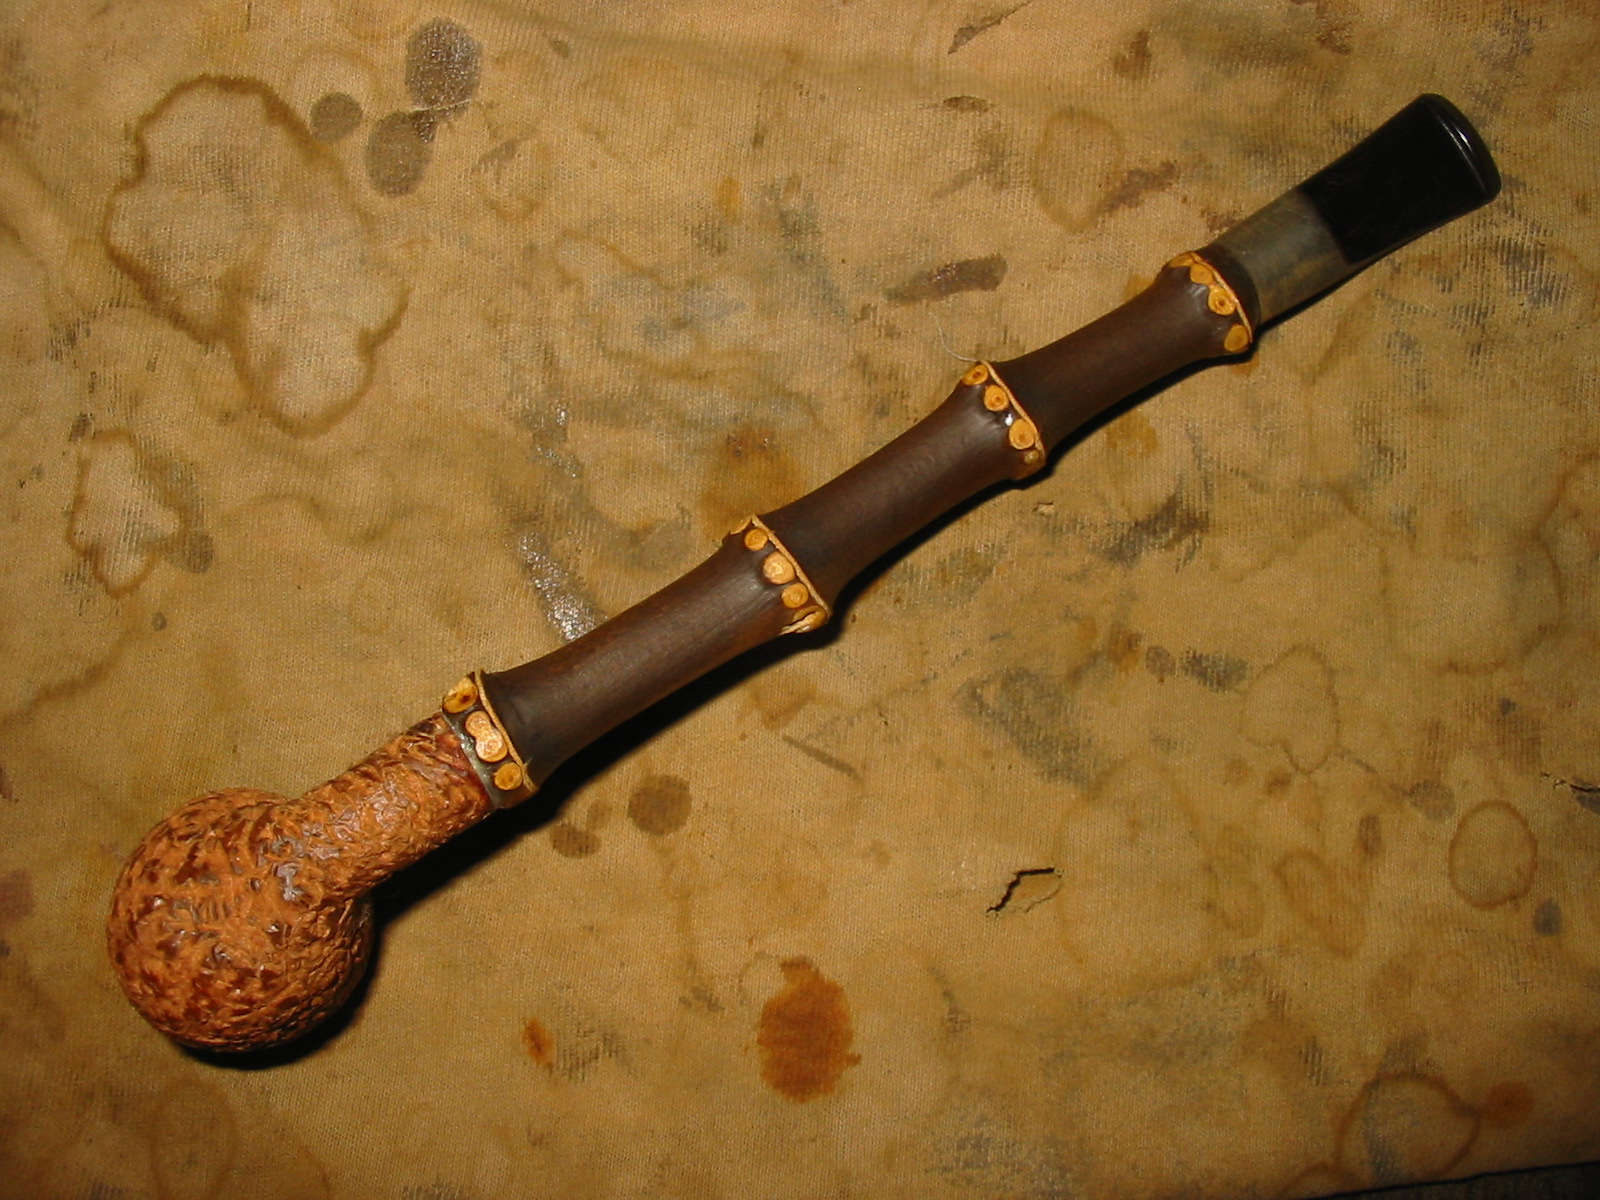
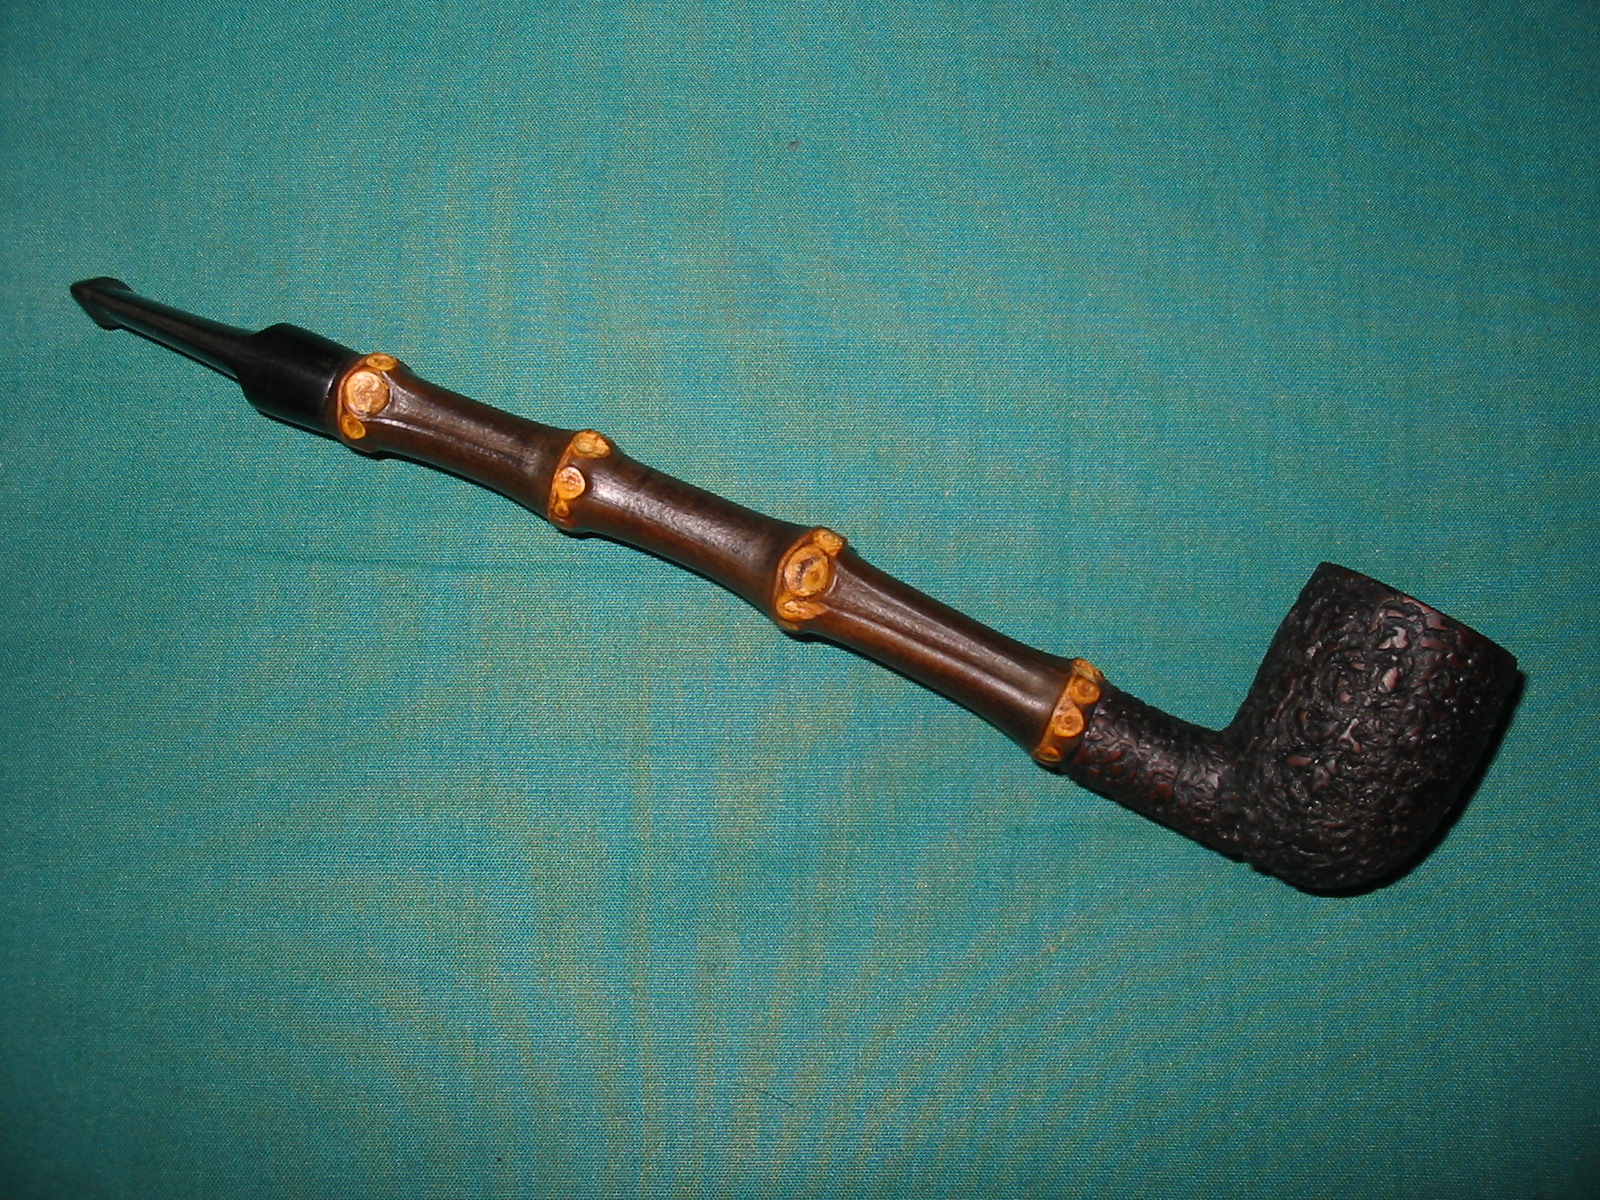
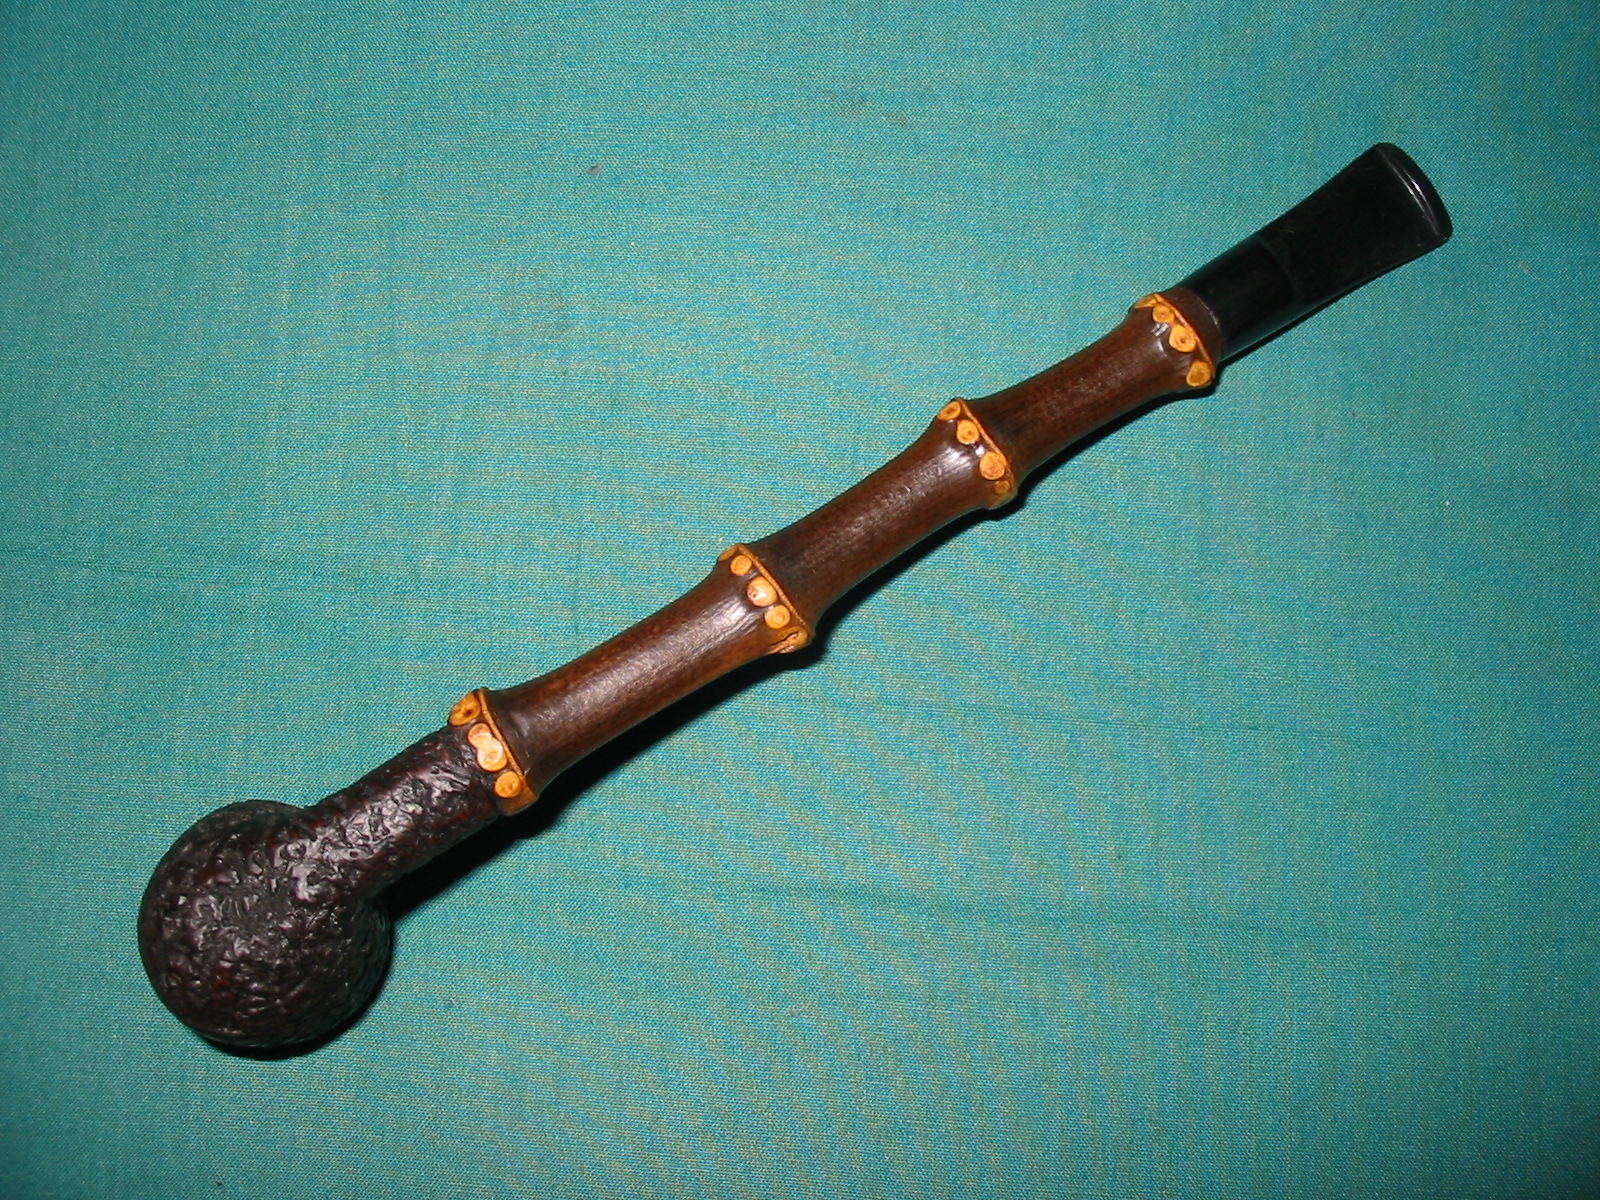
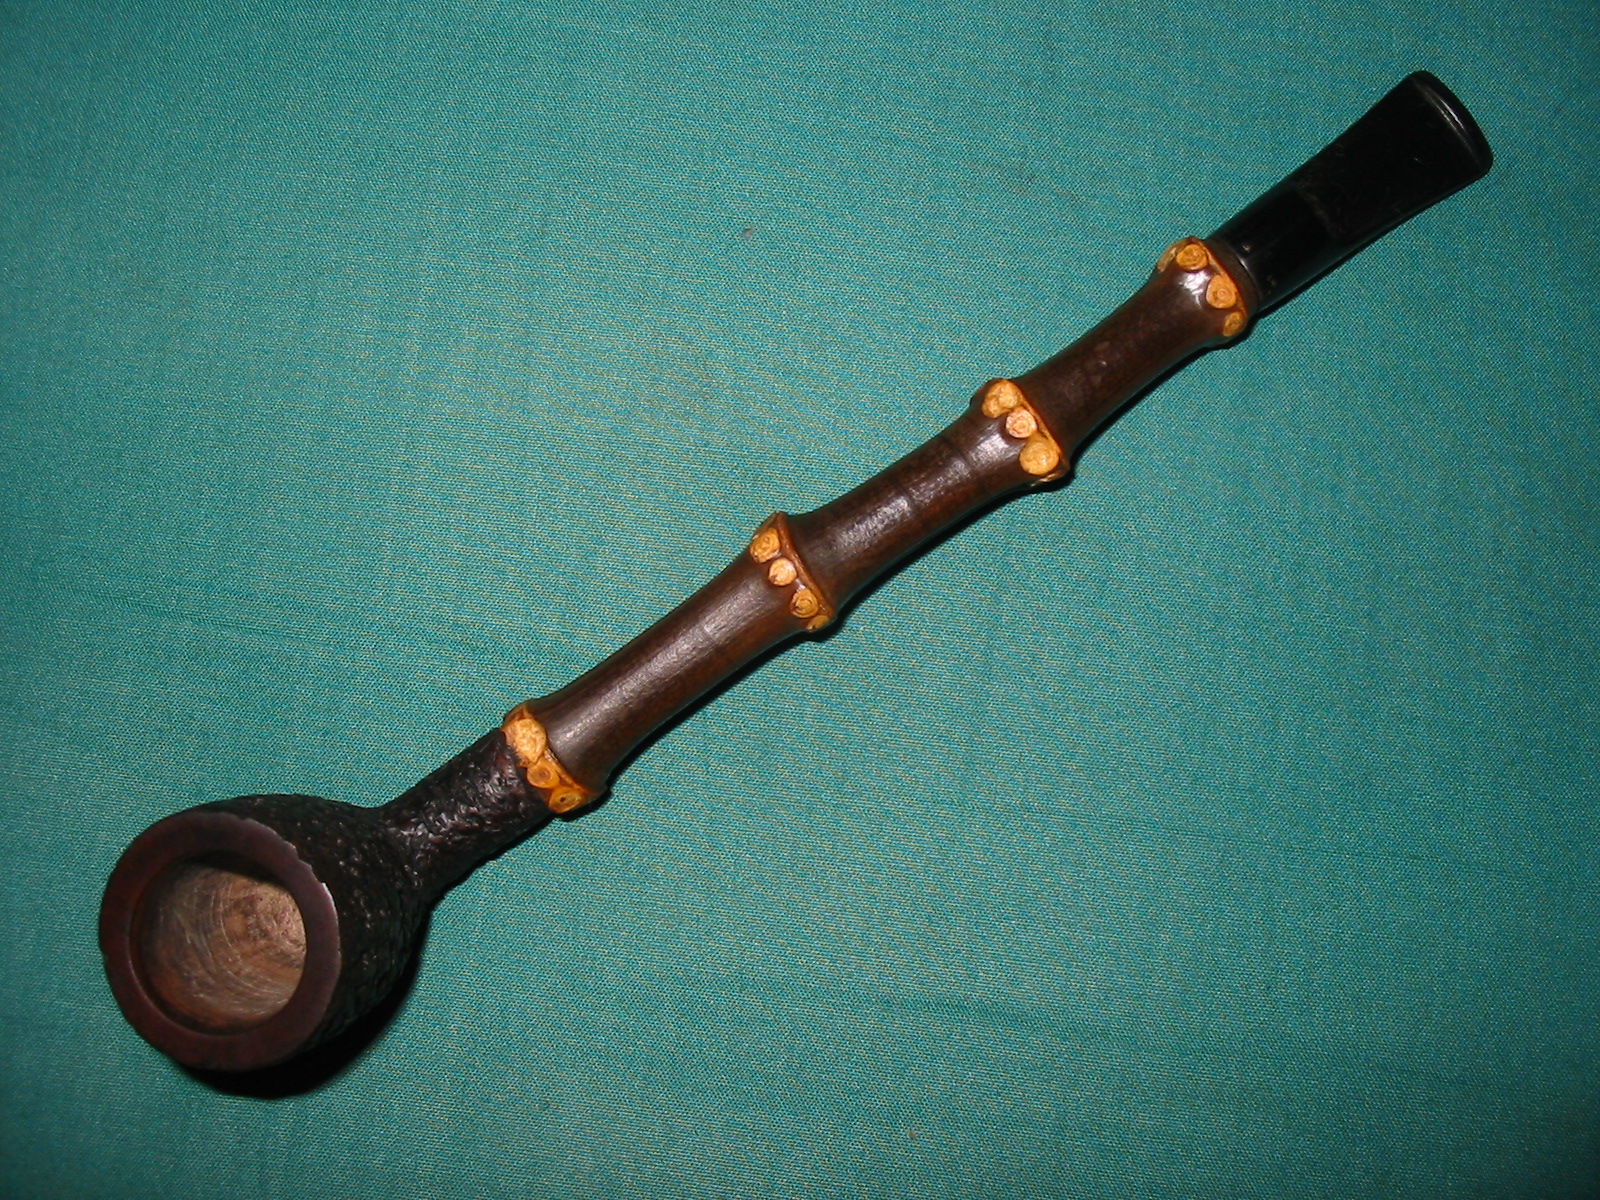
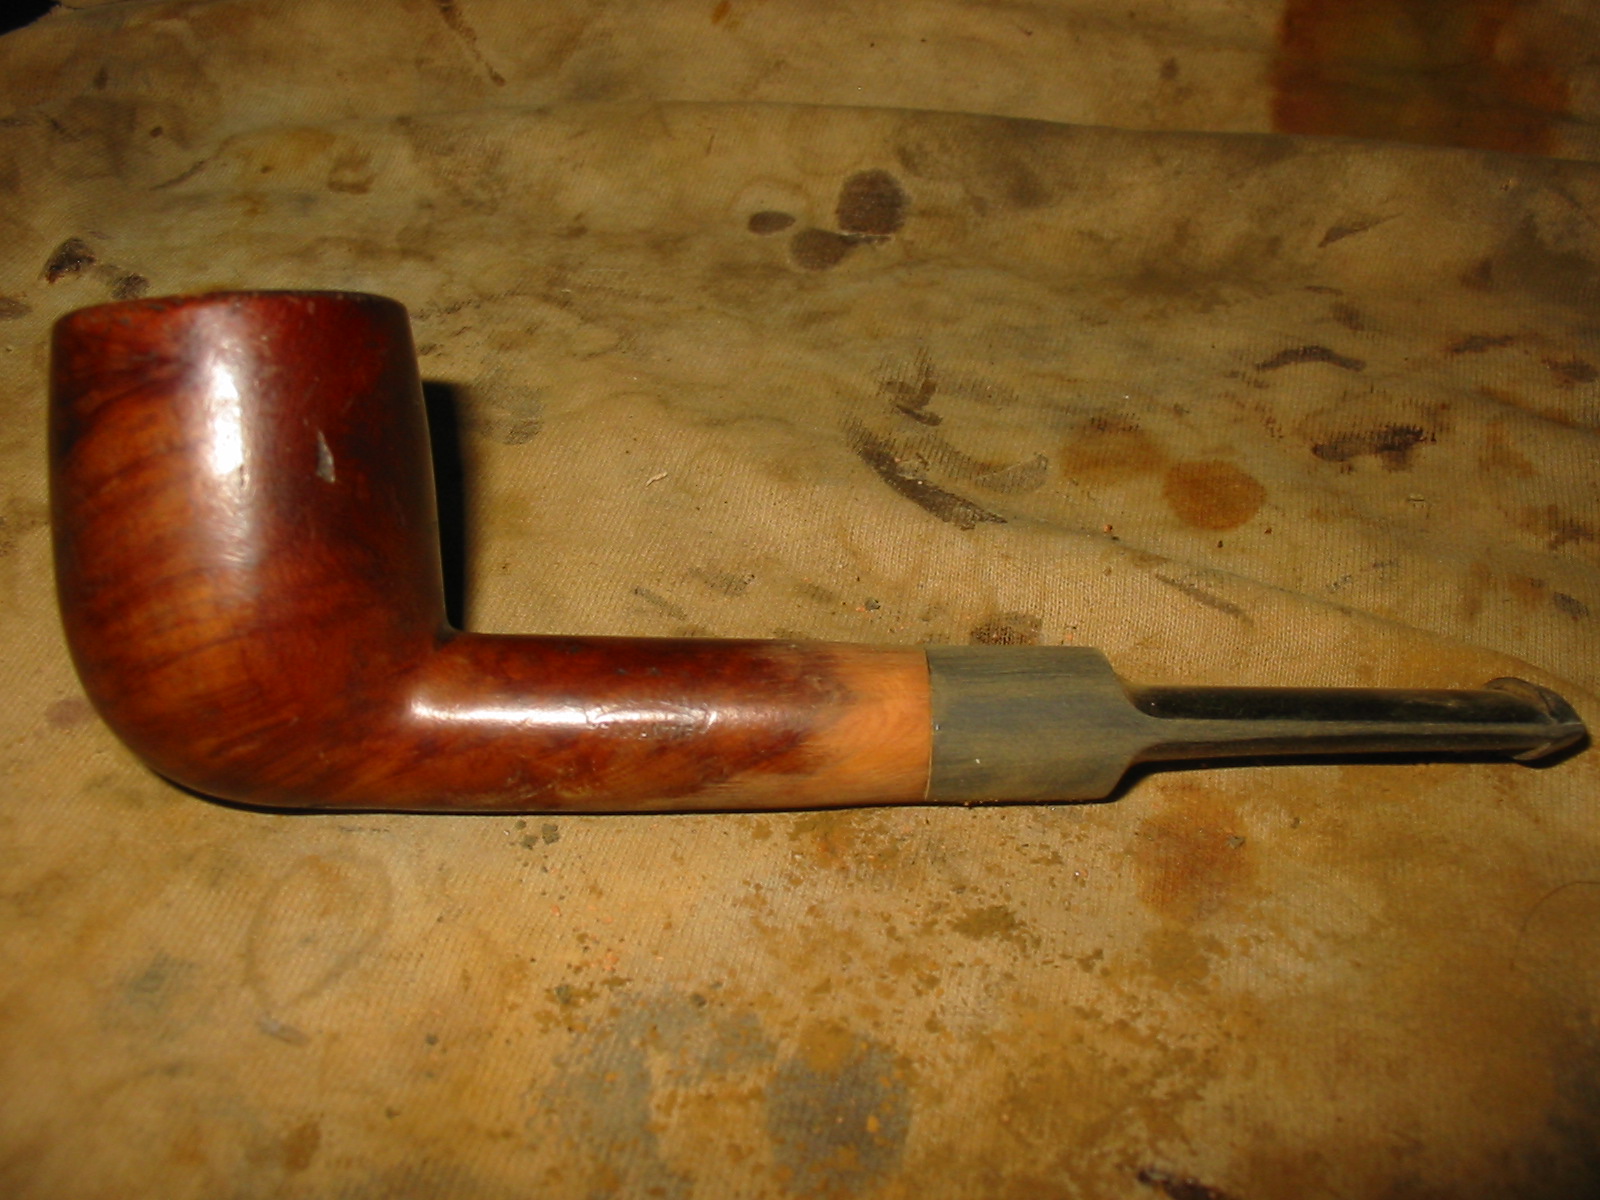
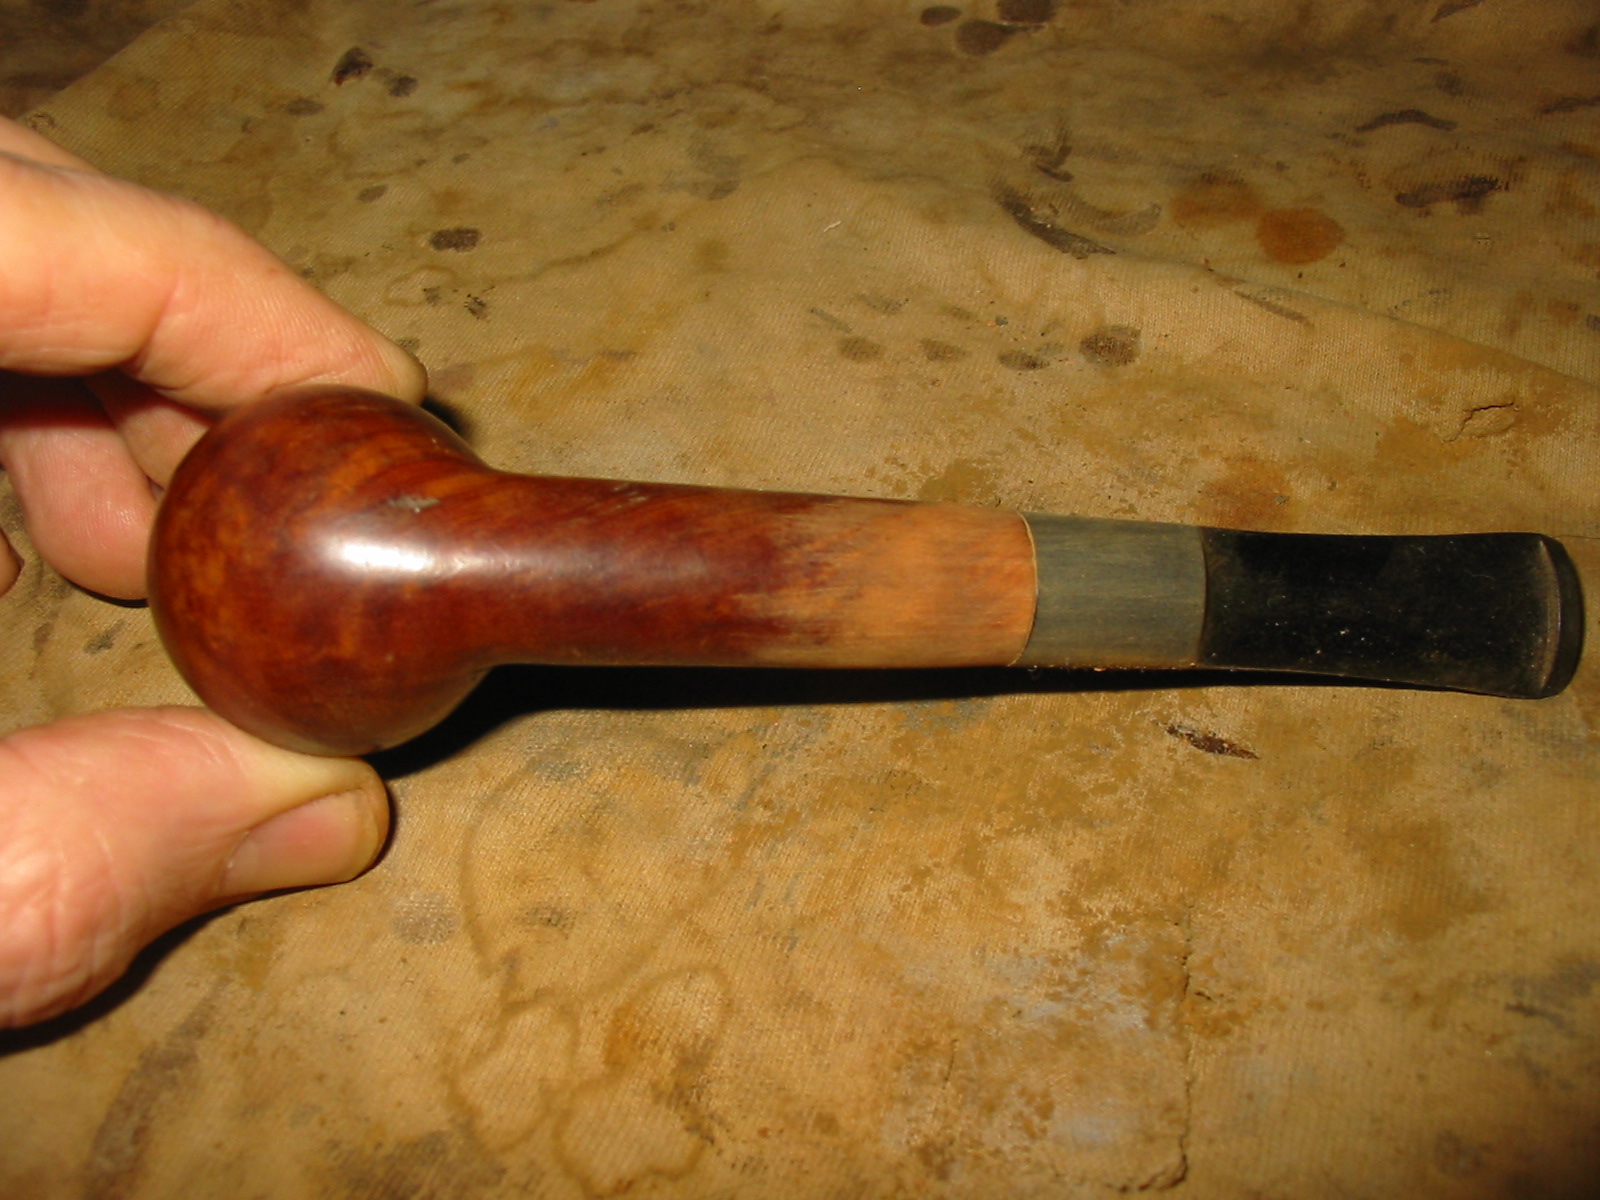
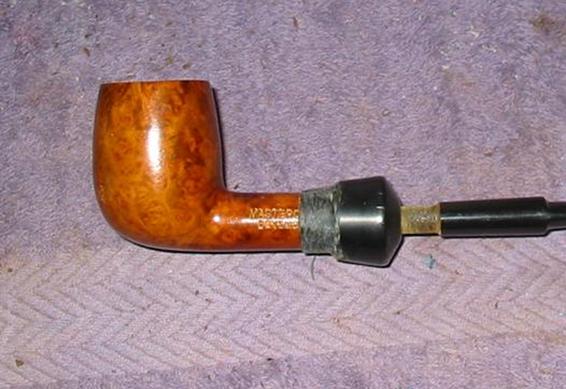
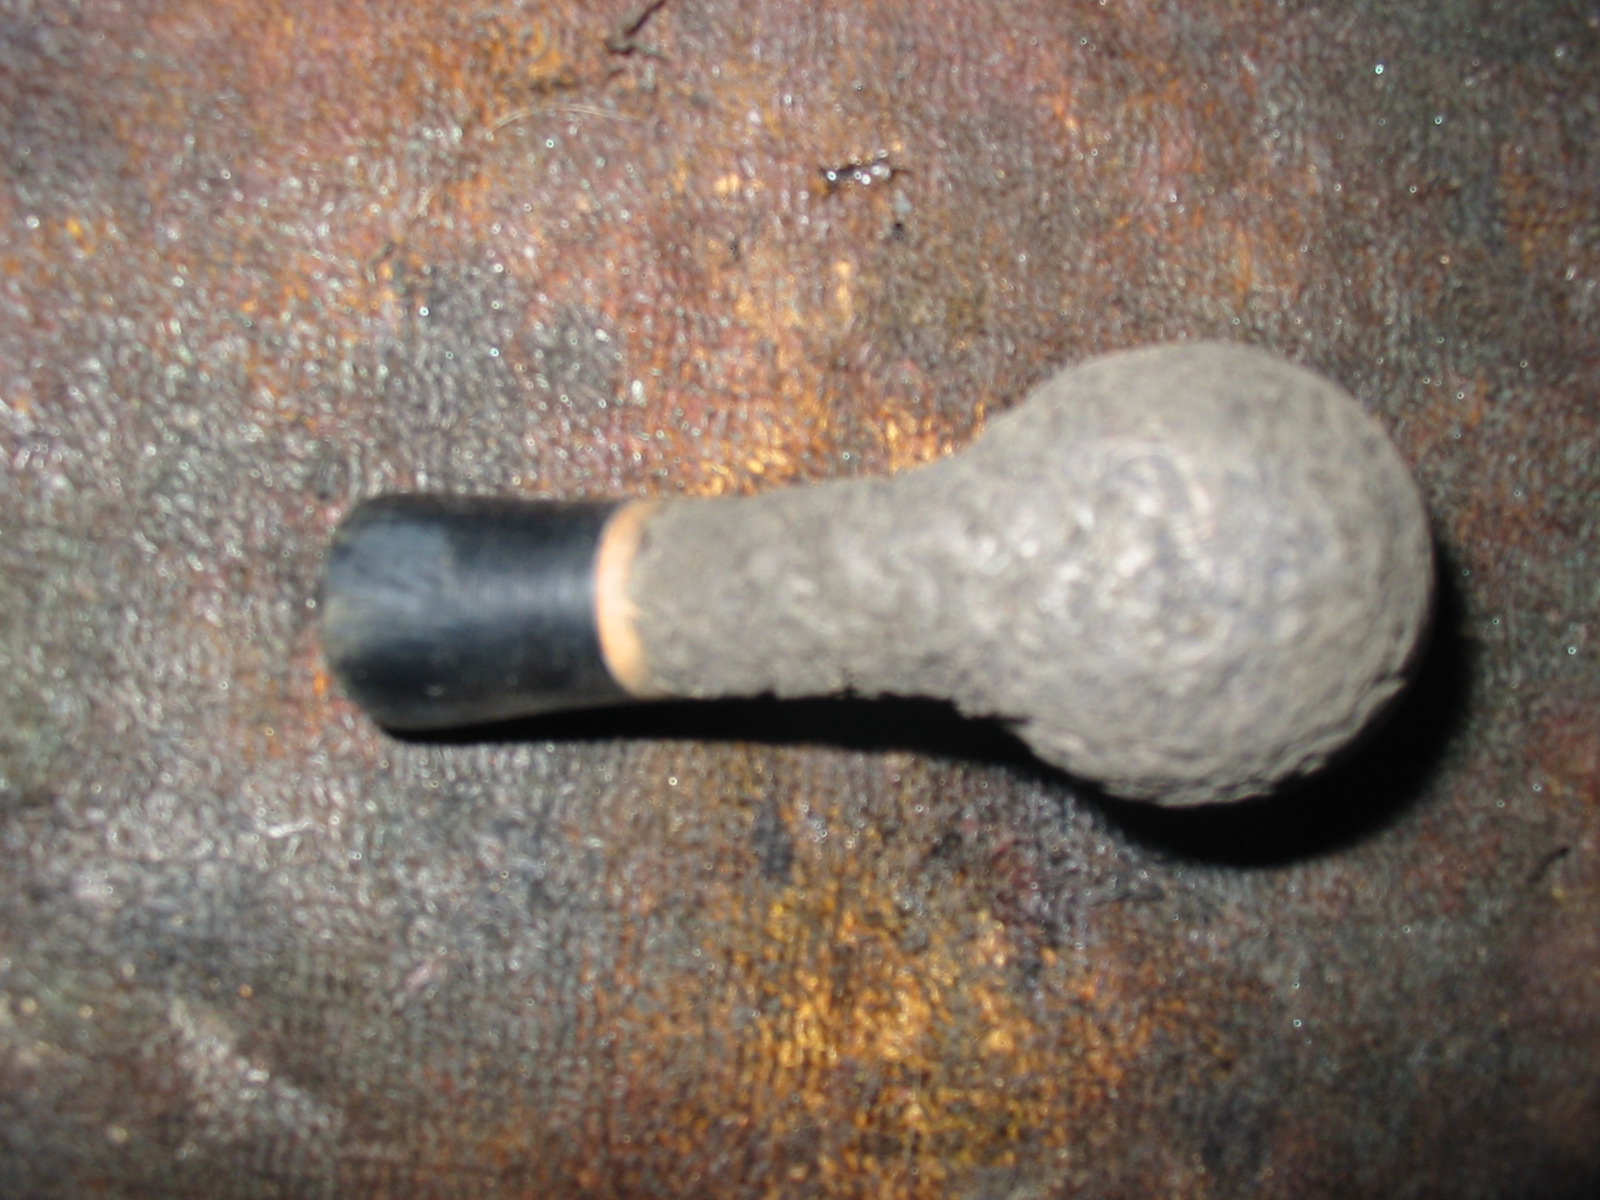
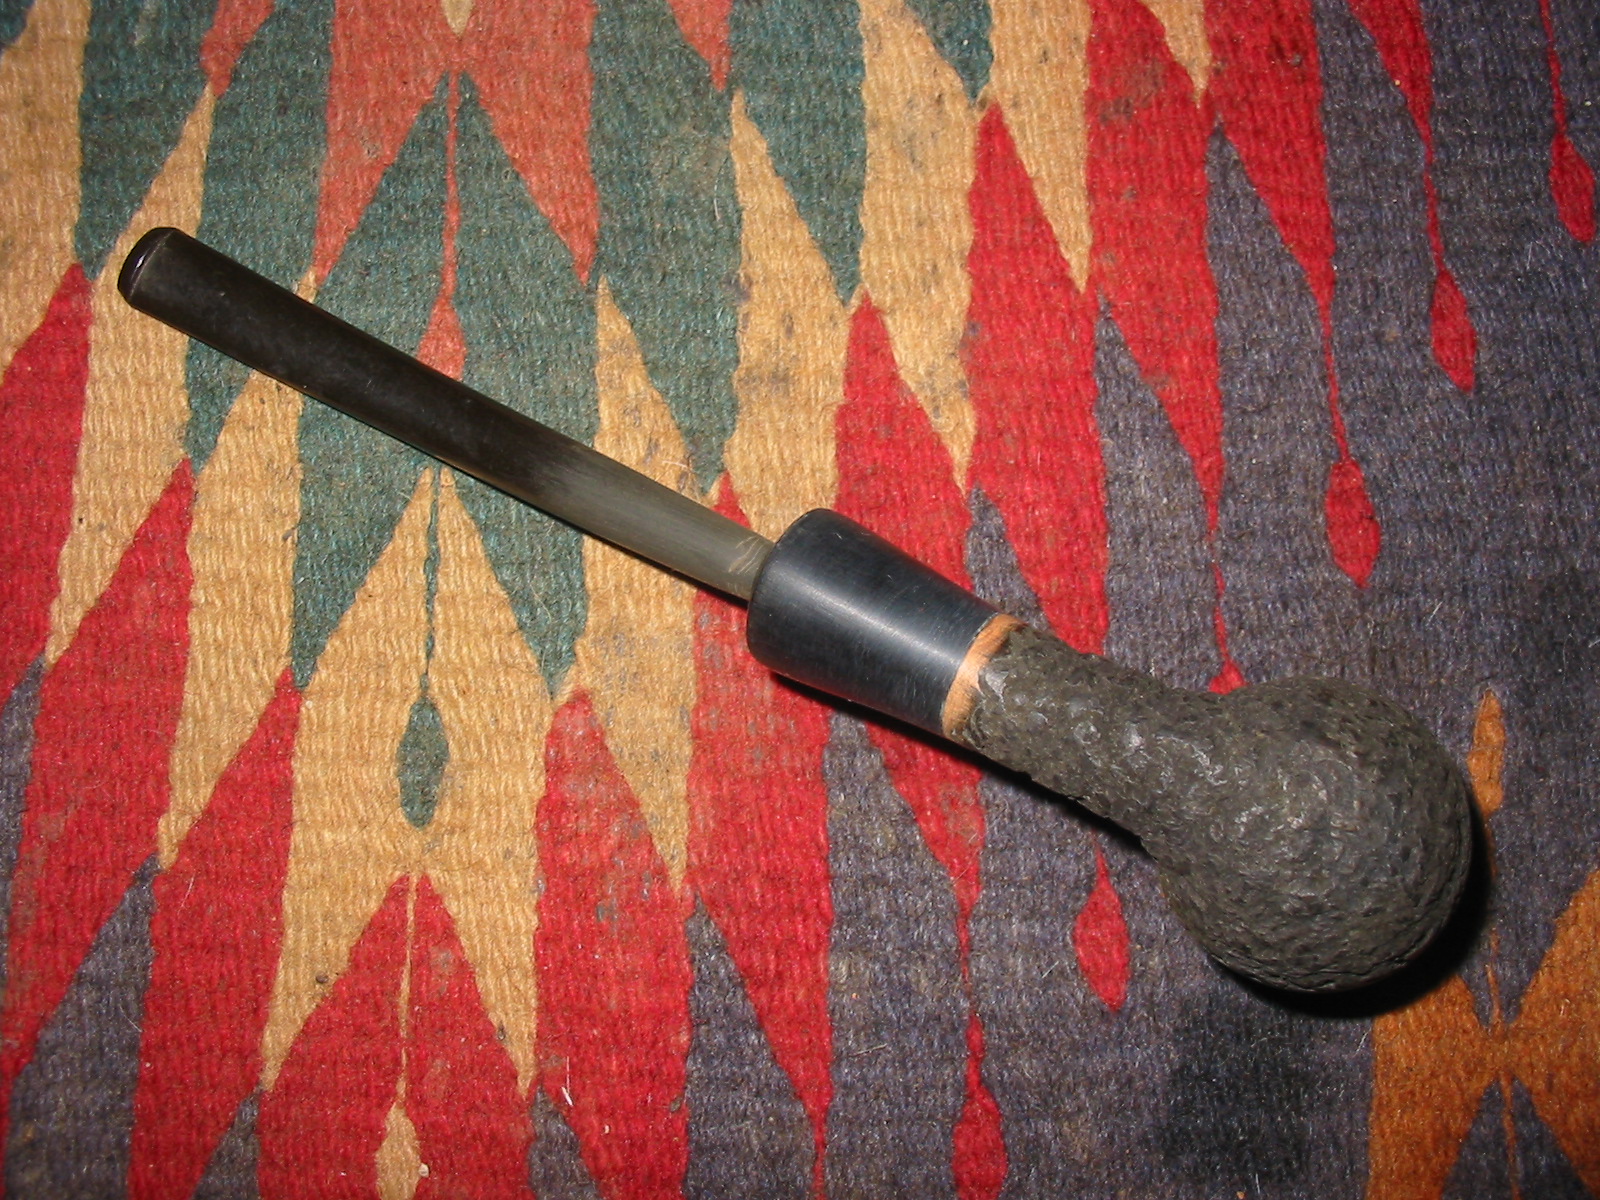
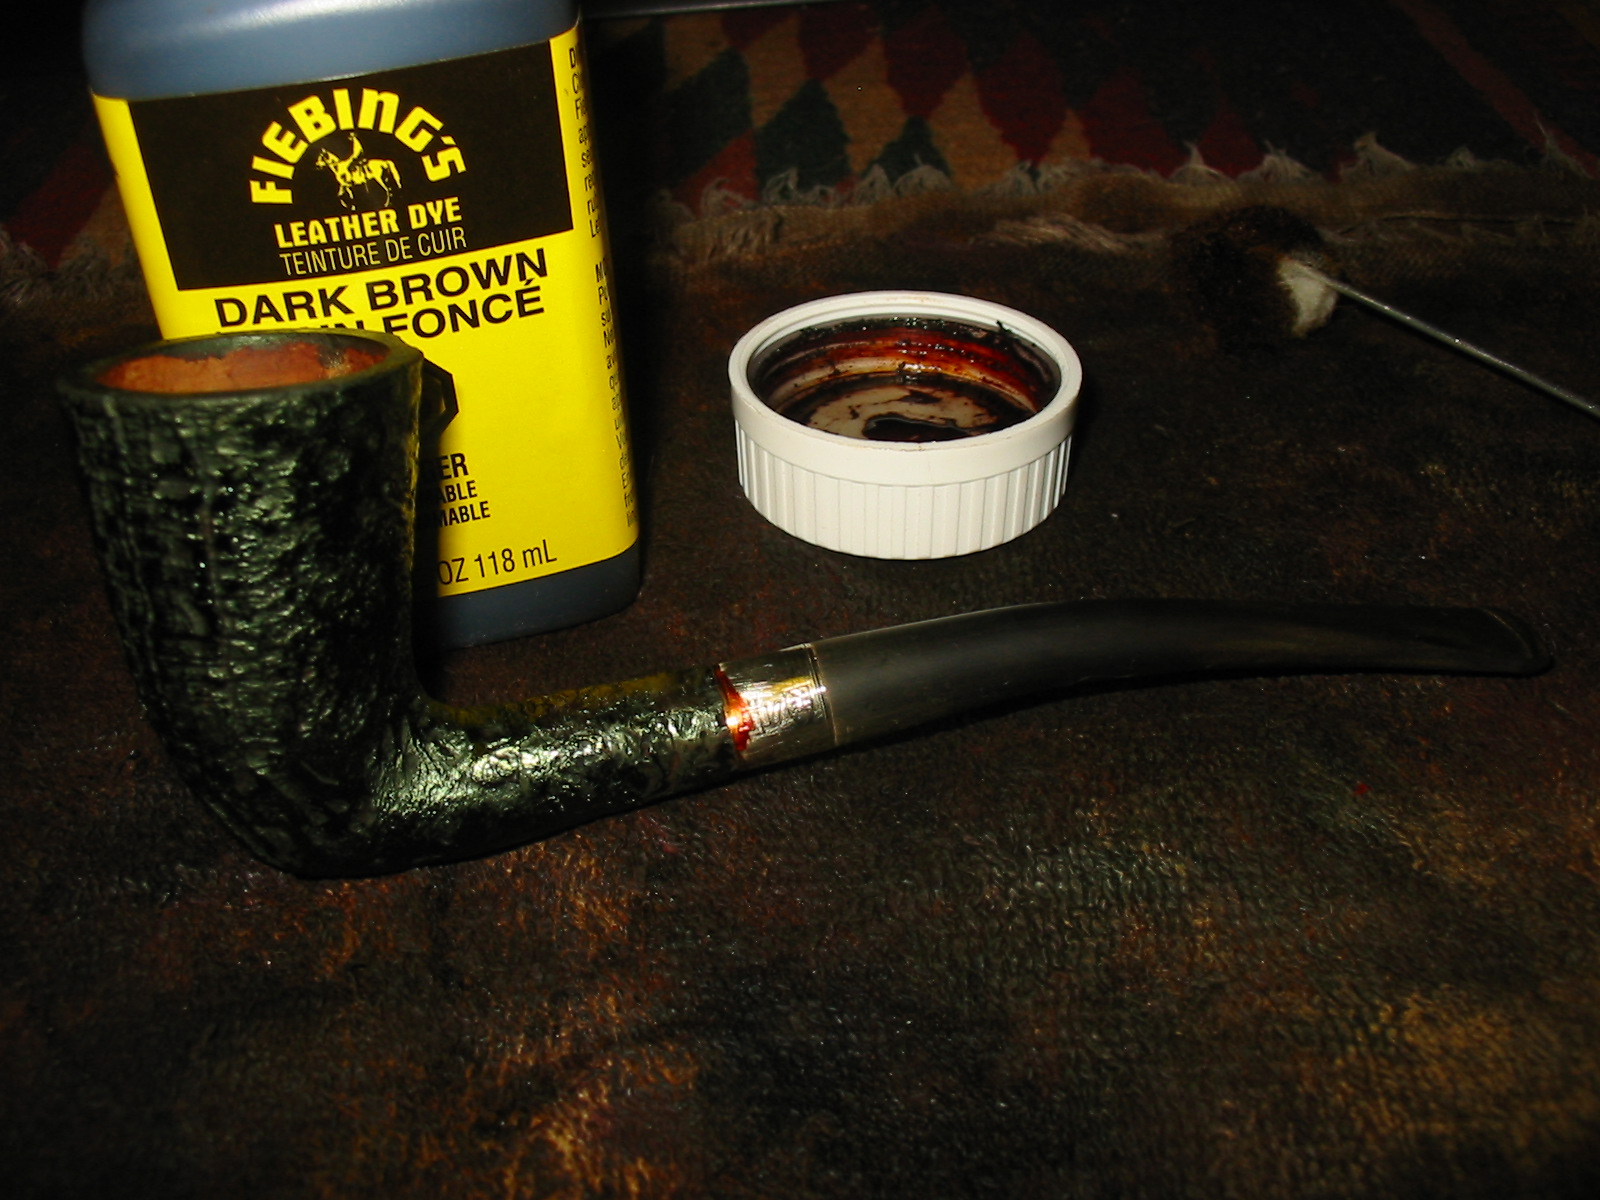
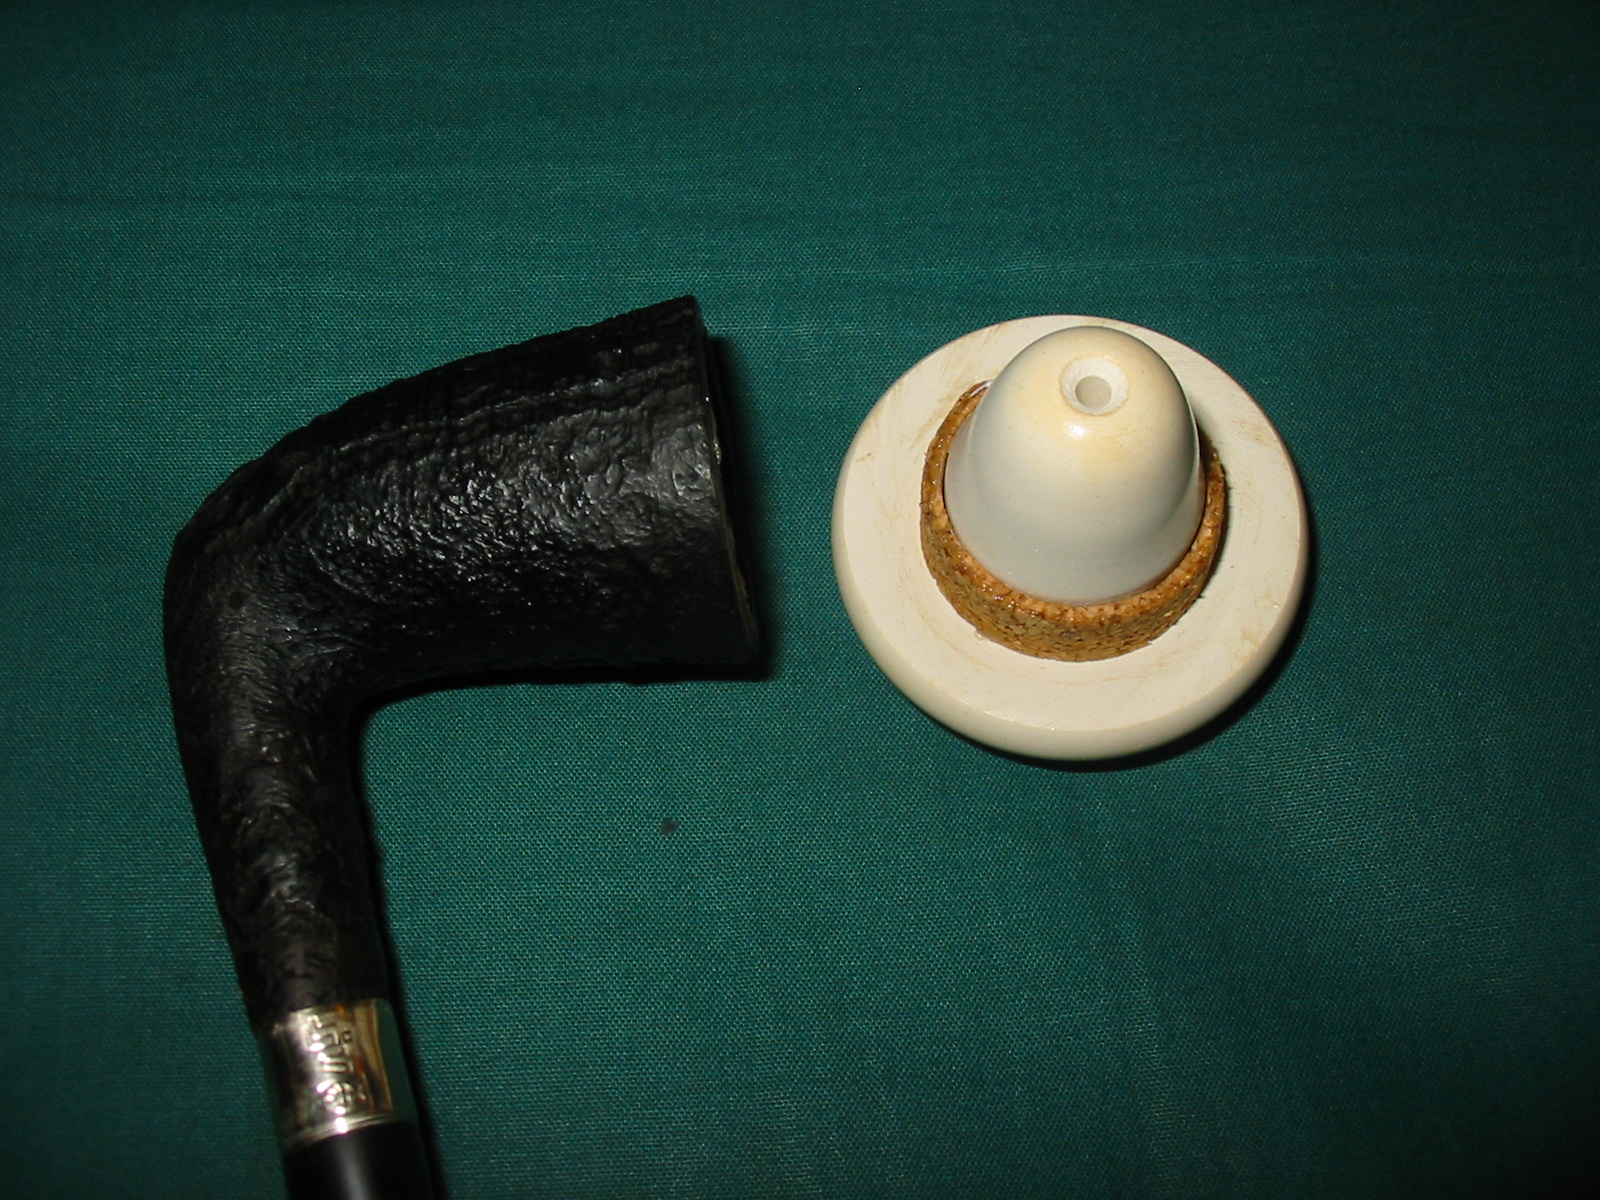
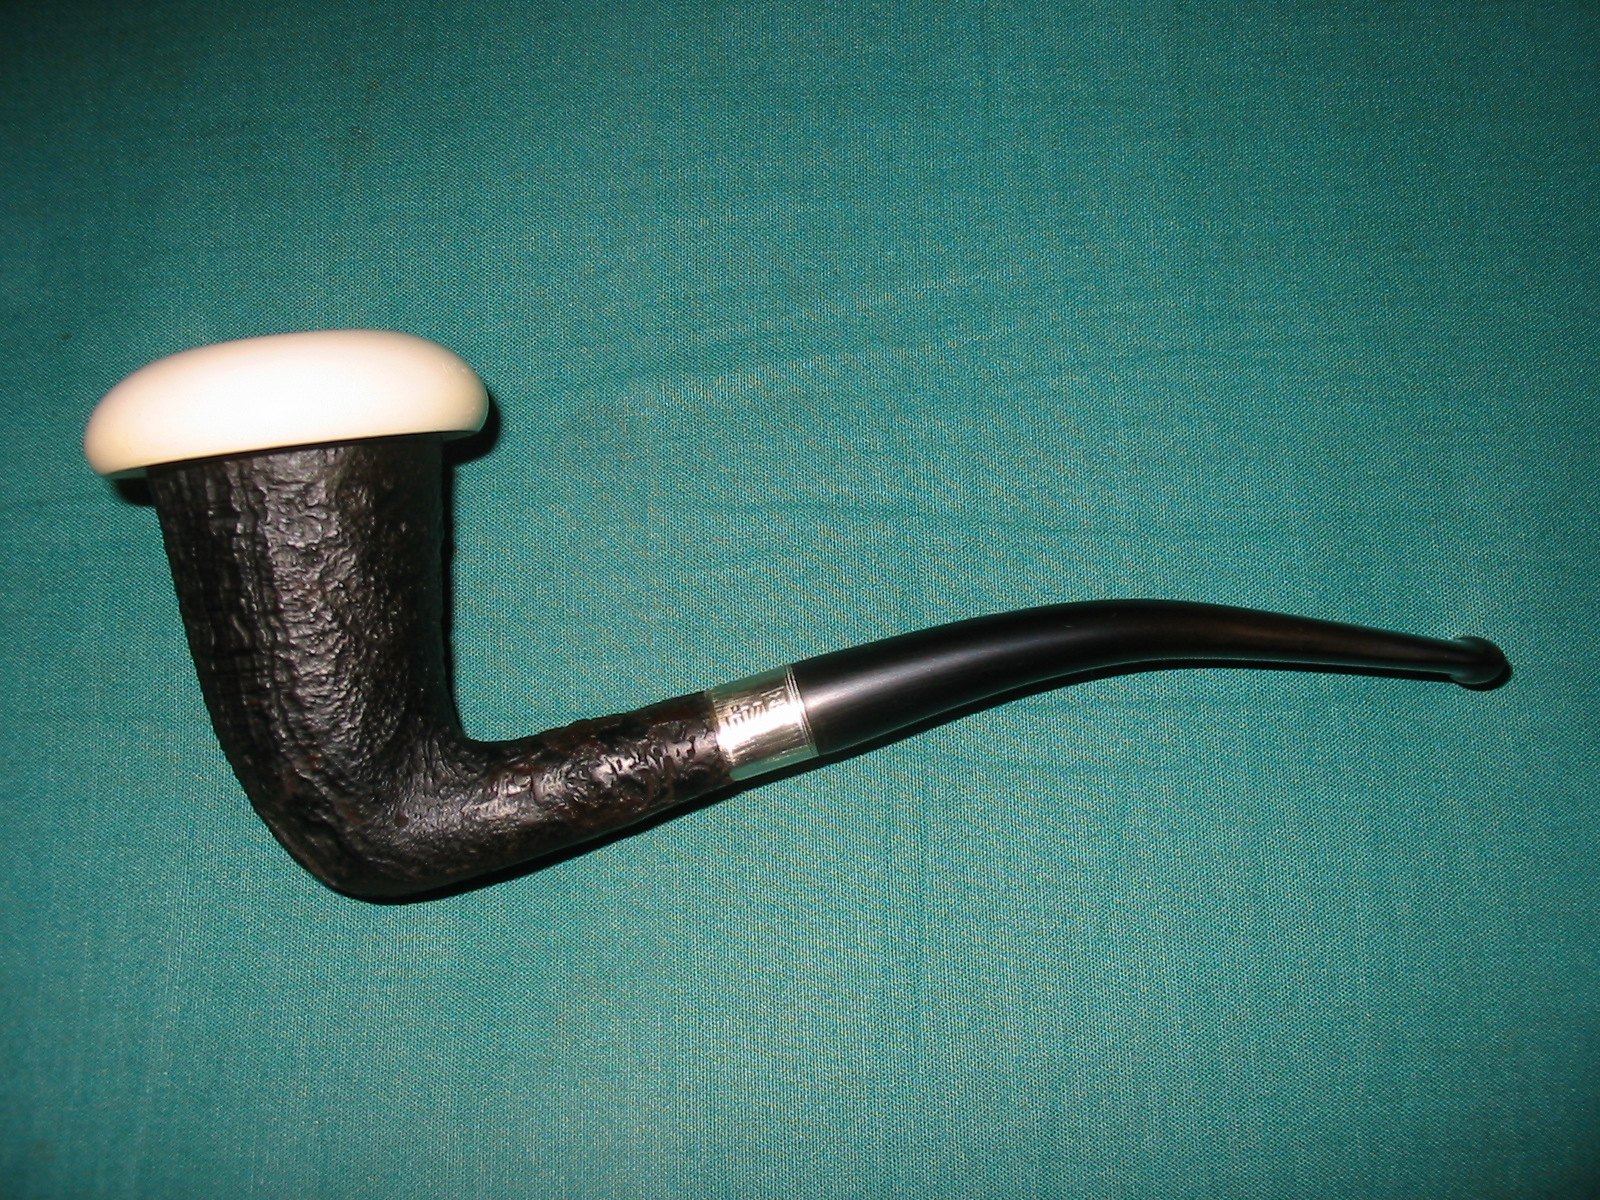
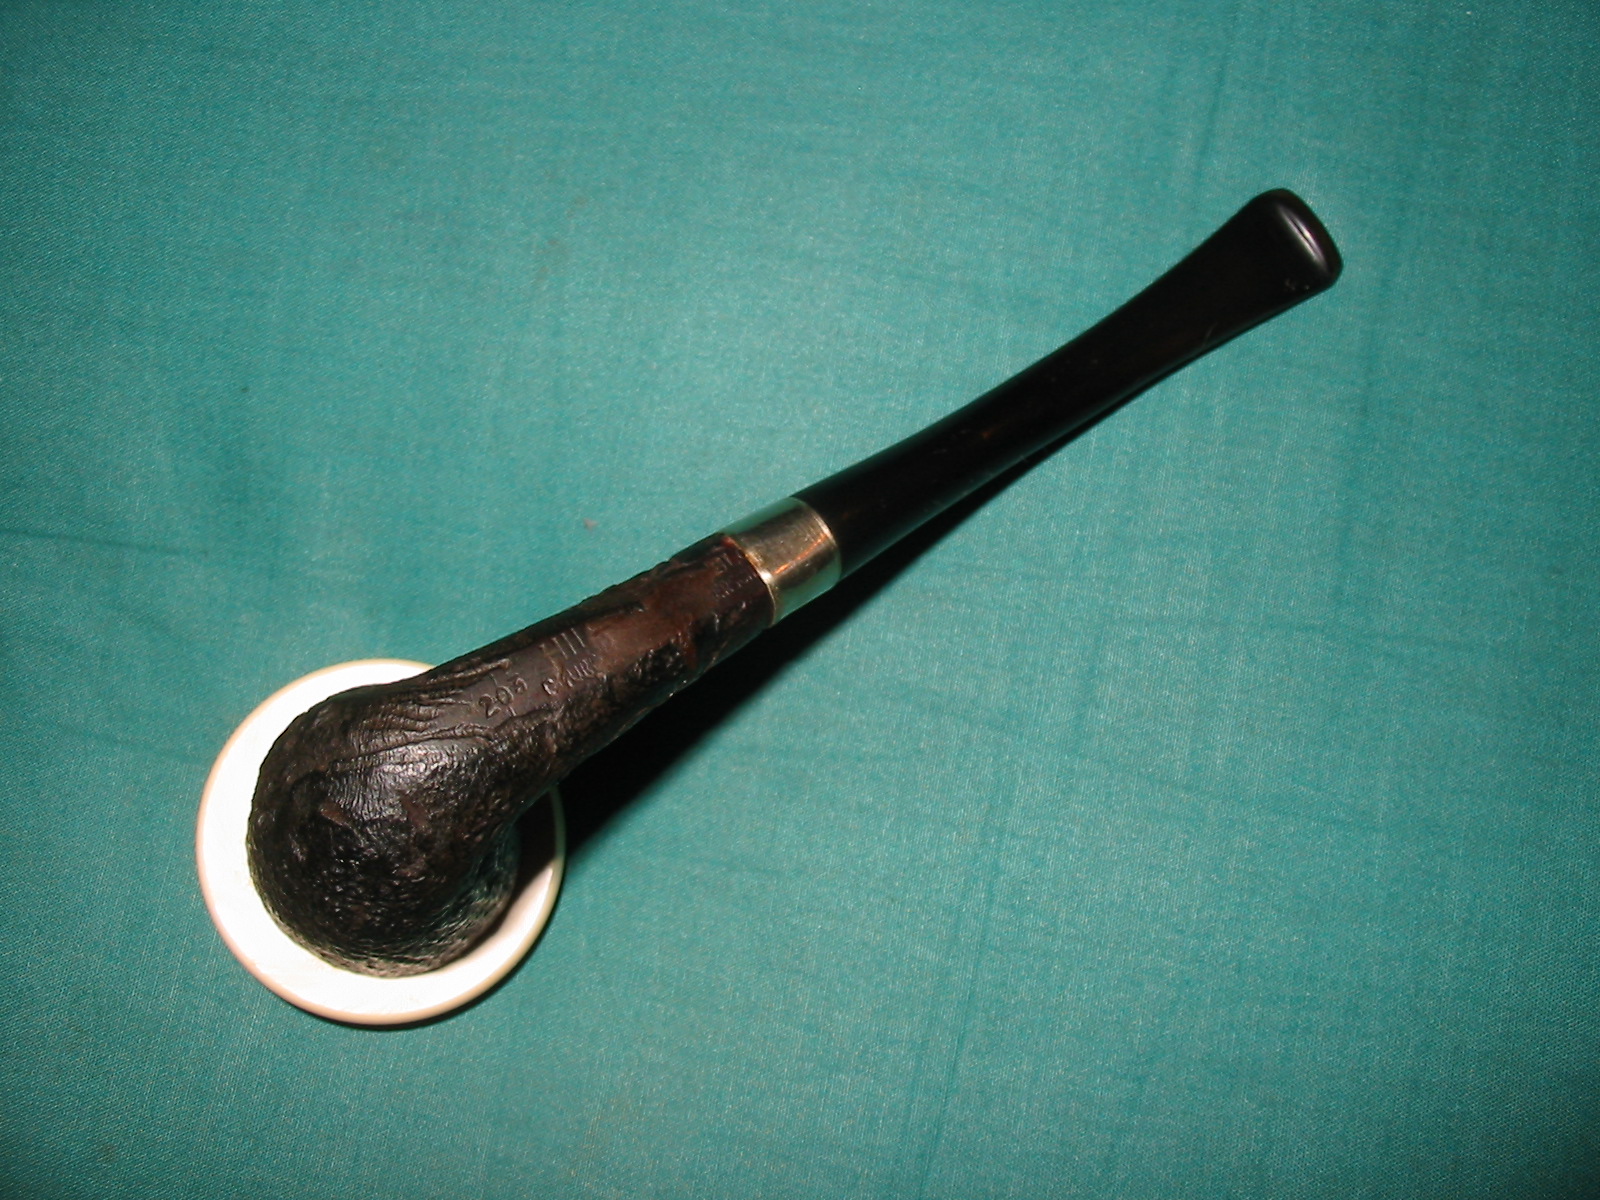
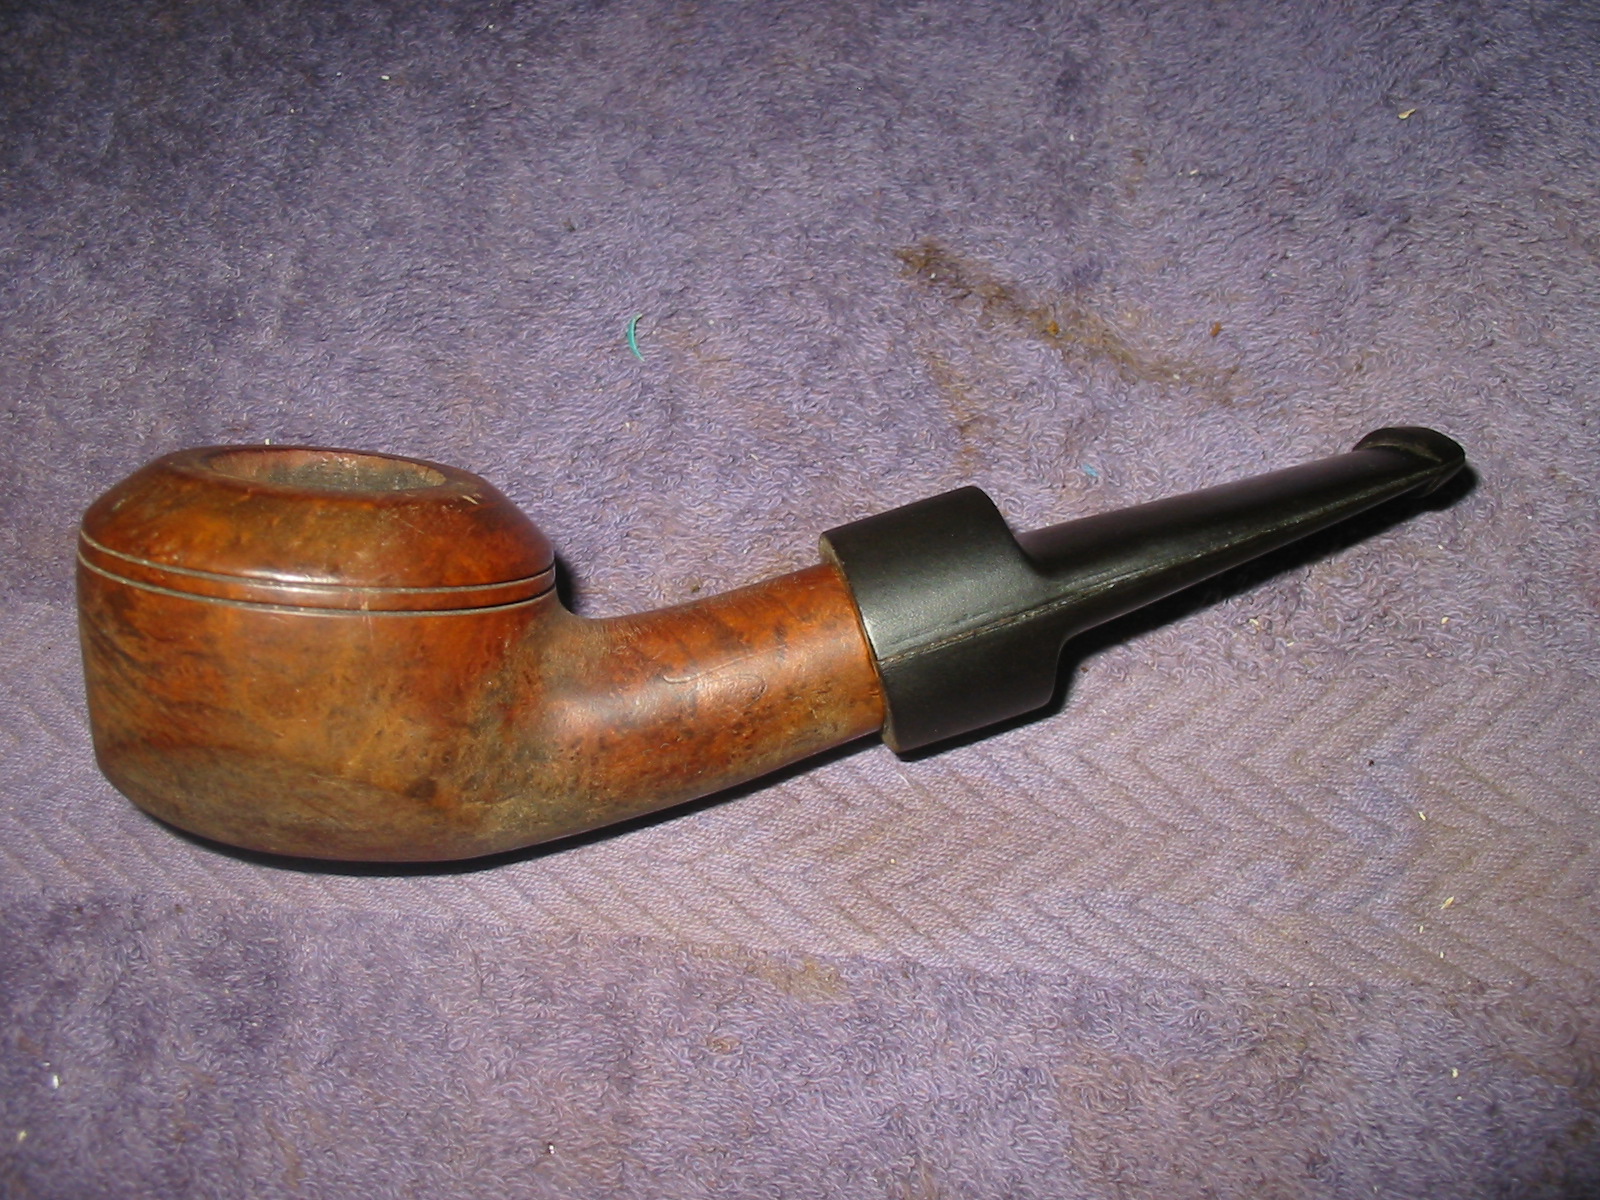
You can see from the next series of photos that the stem was far too wide in diameter and would need to be trimmed to size for a good fit against the shank.
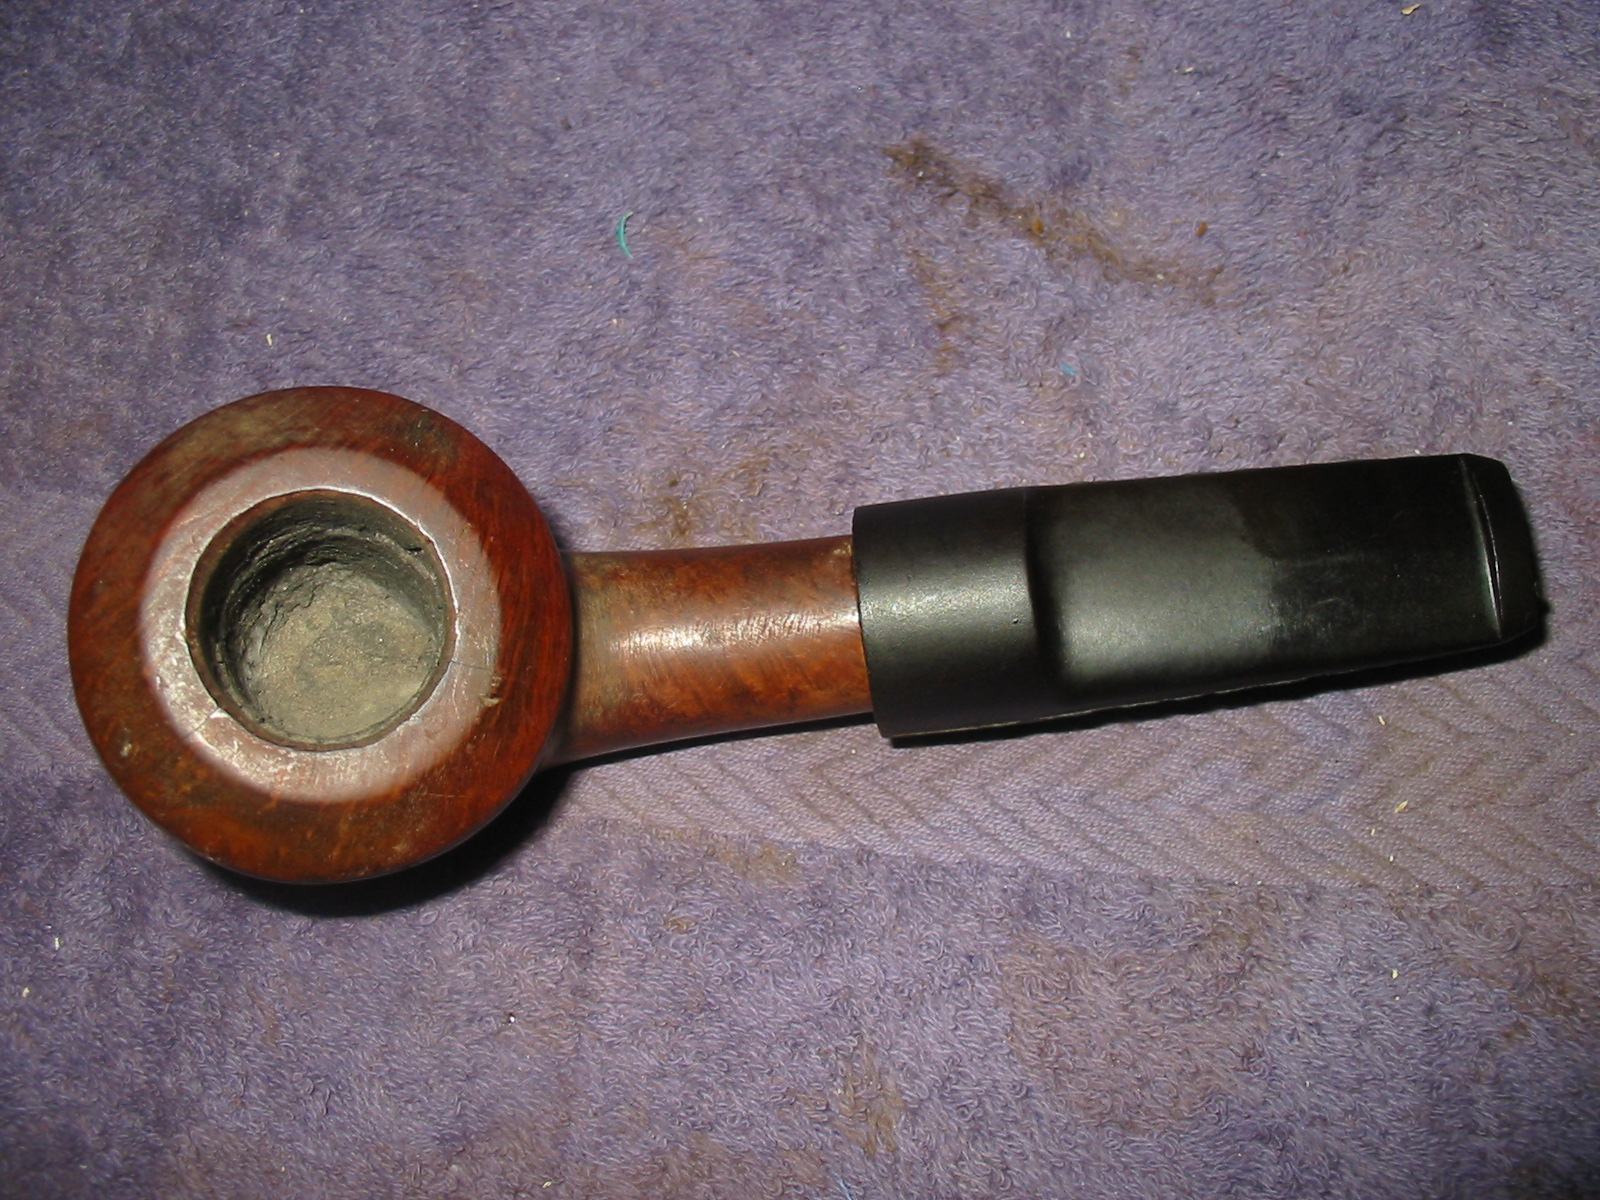
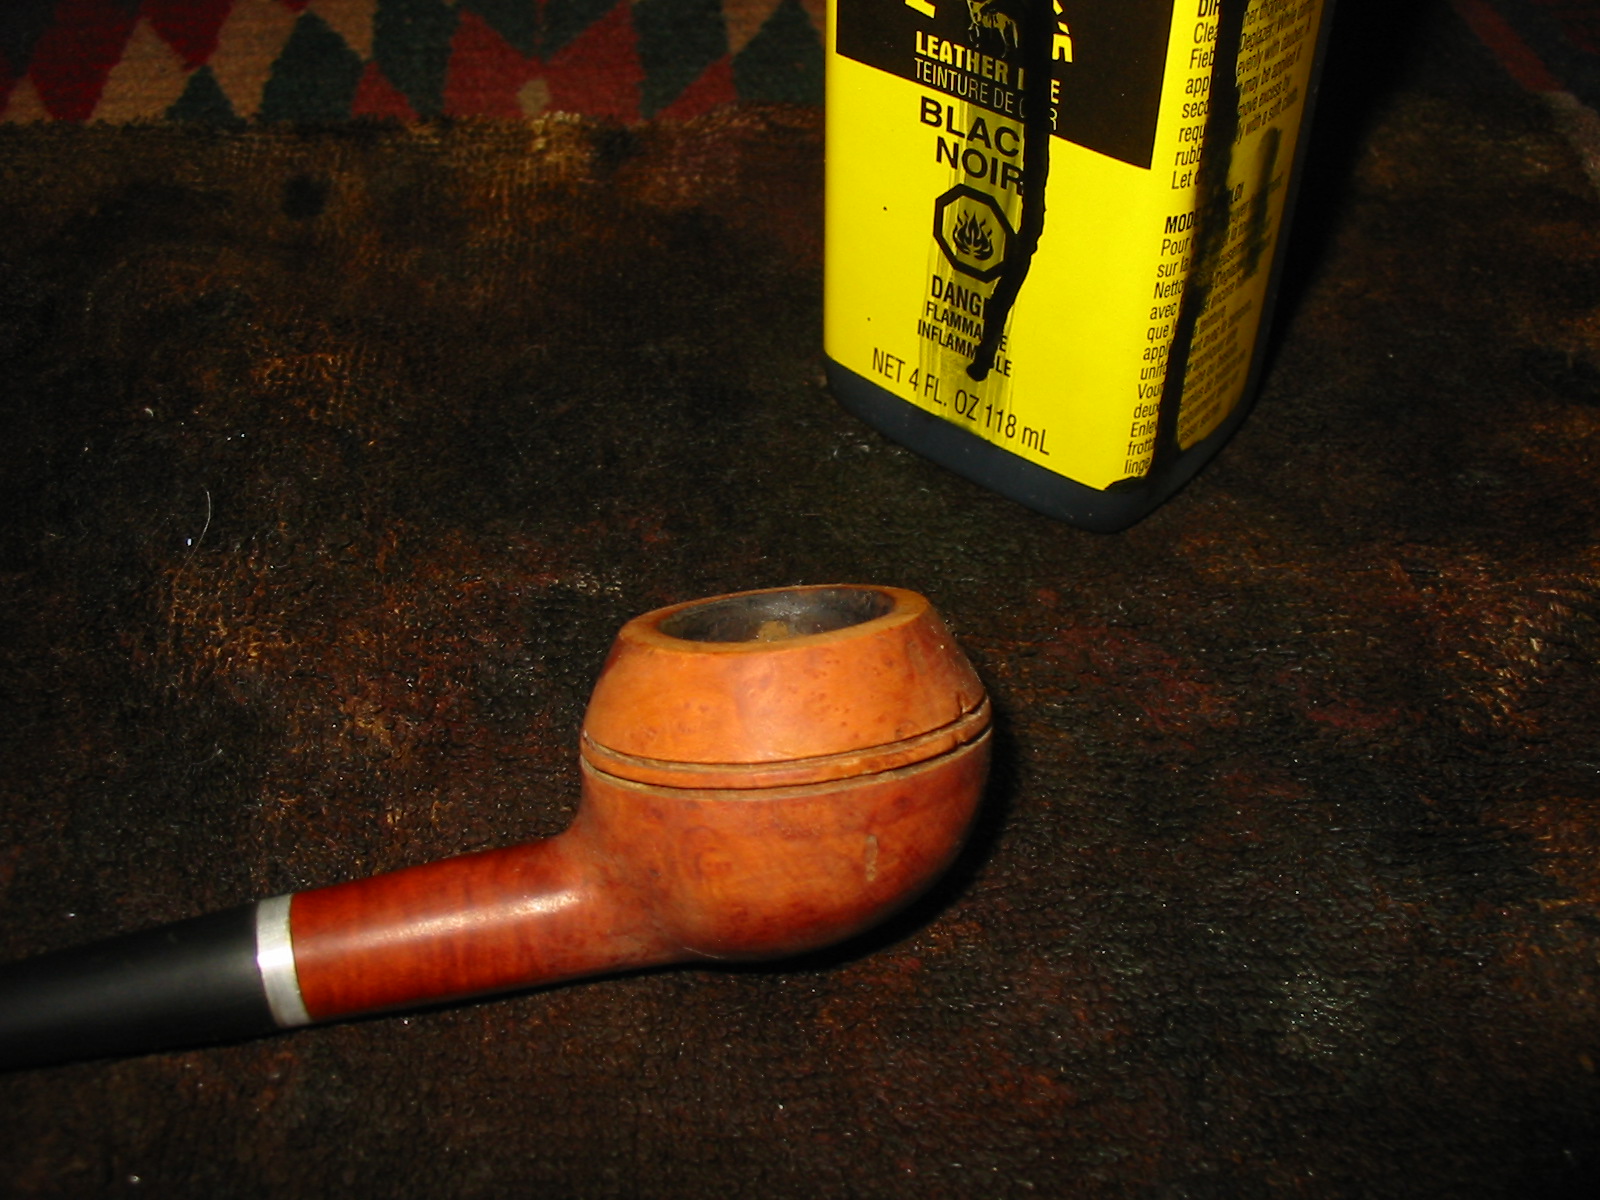
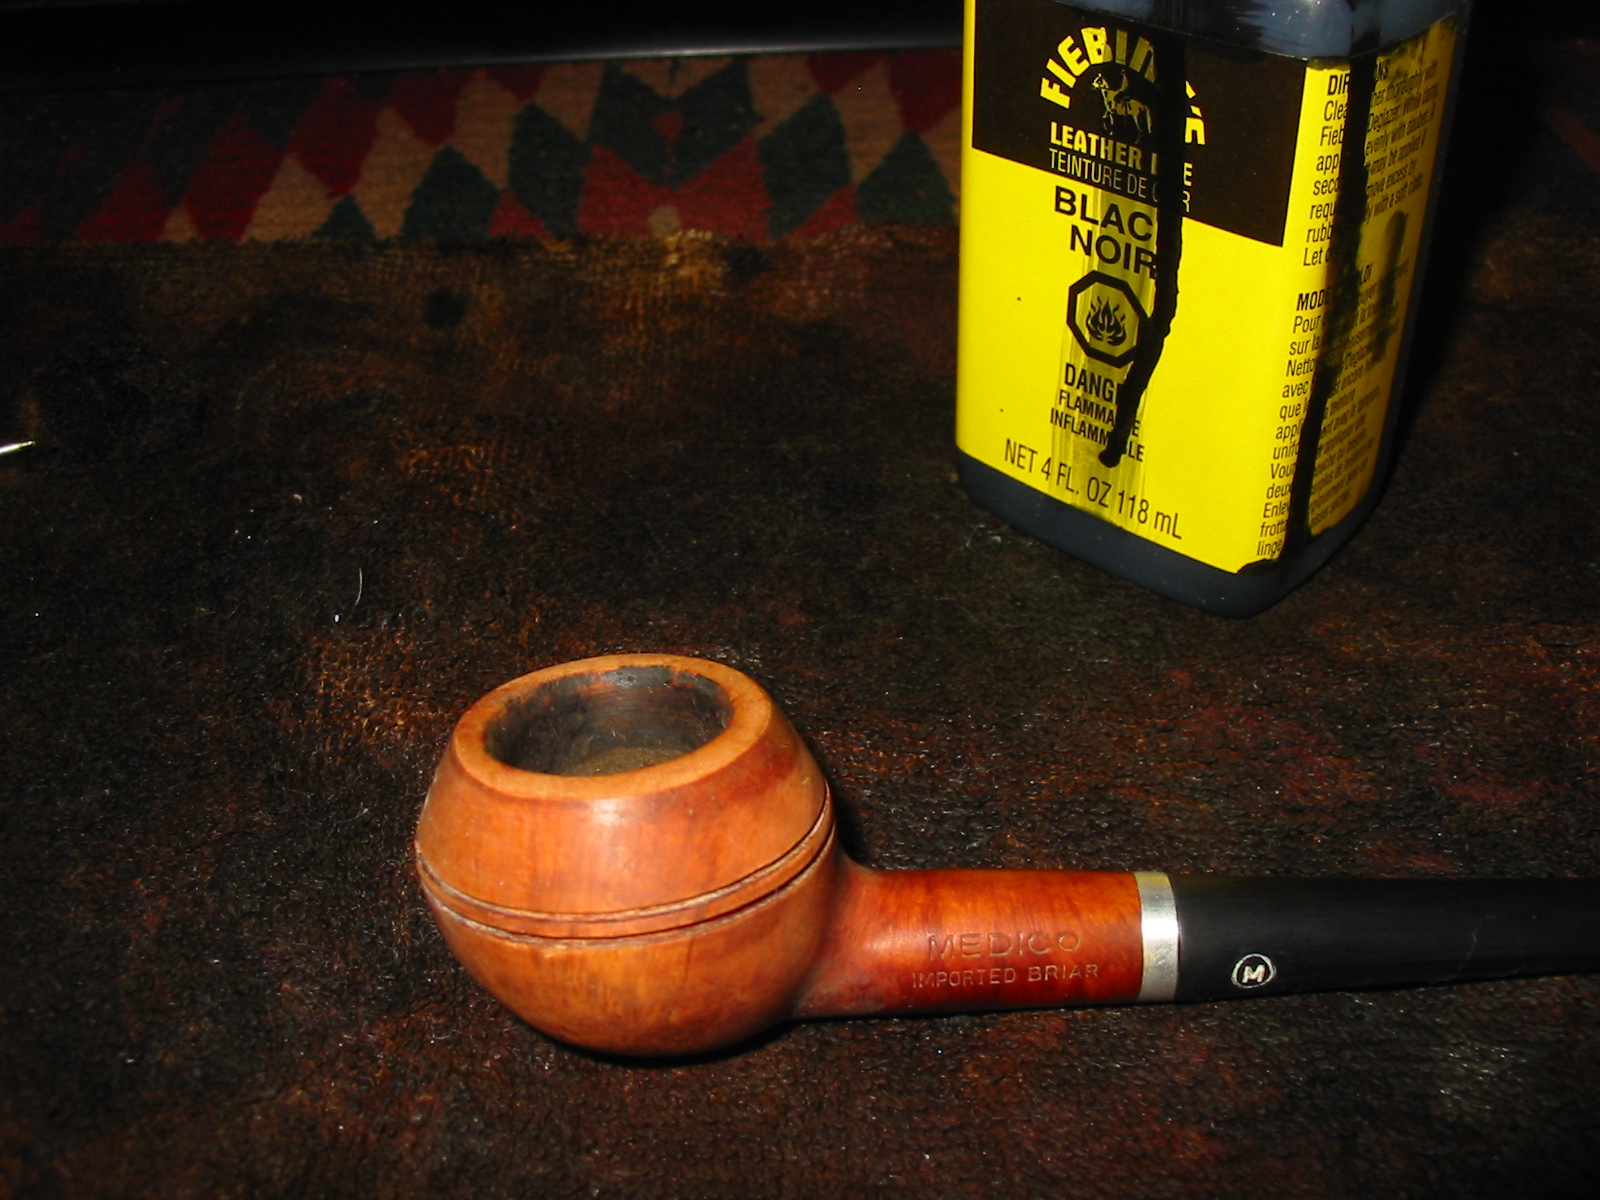
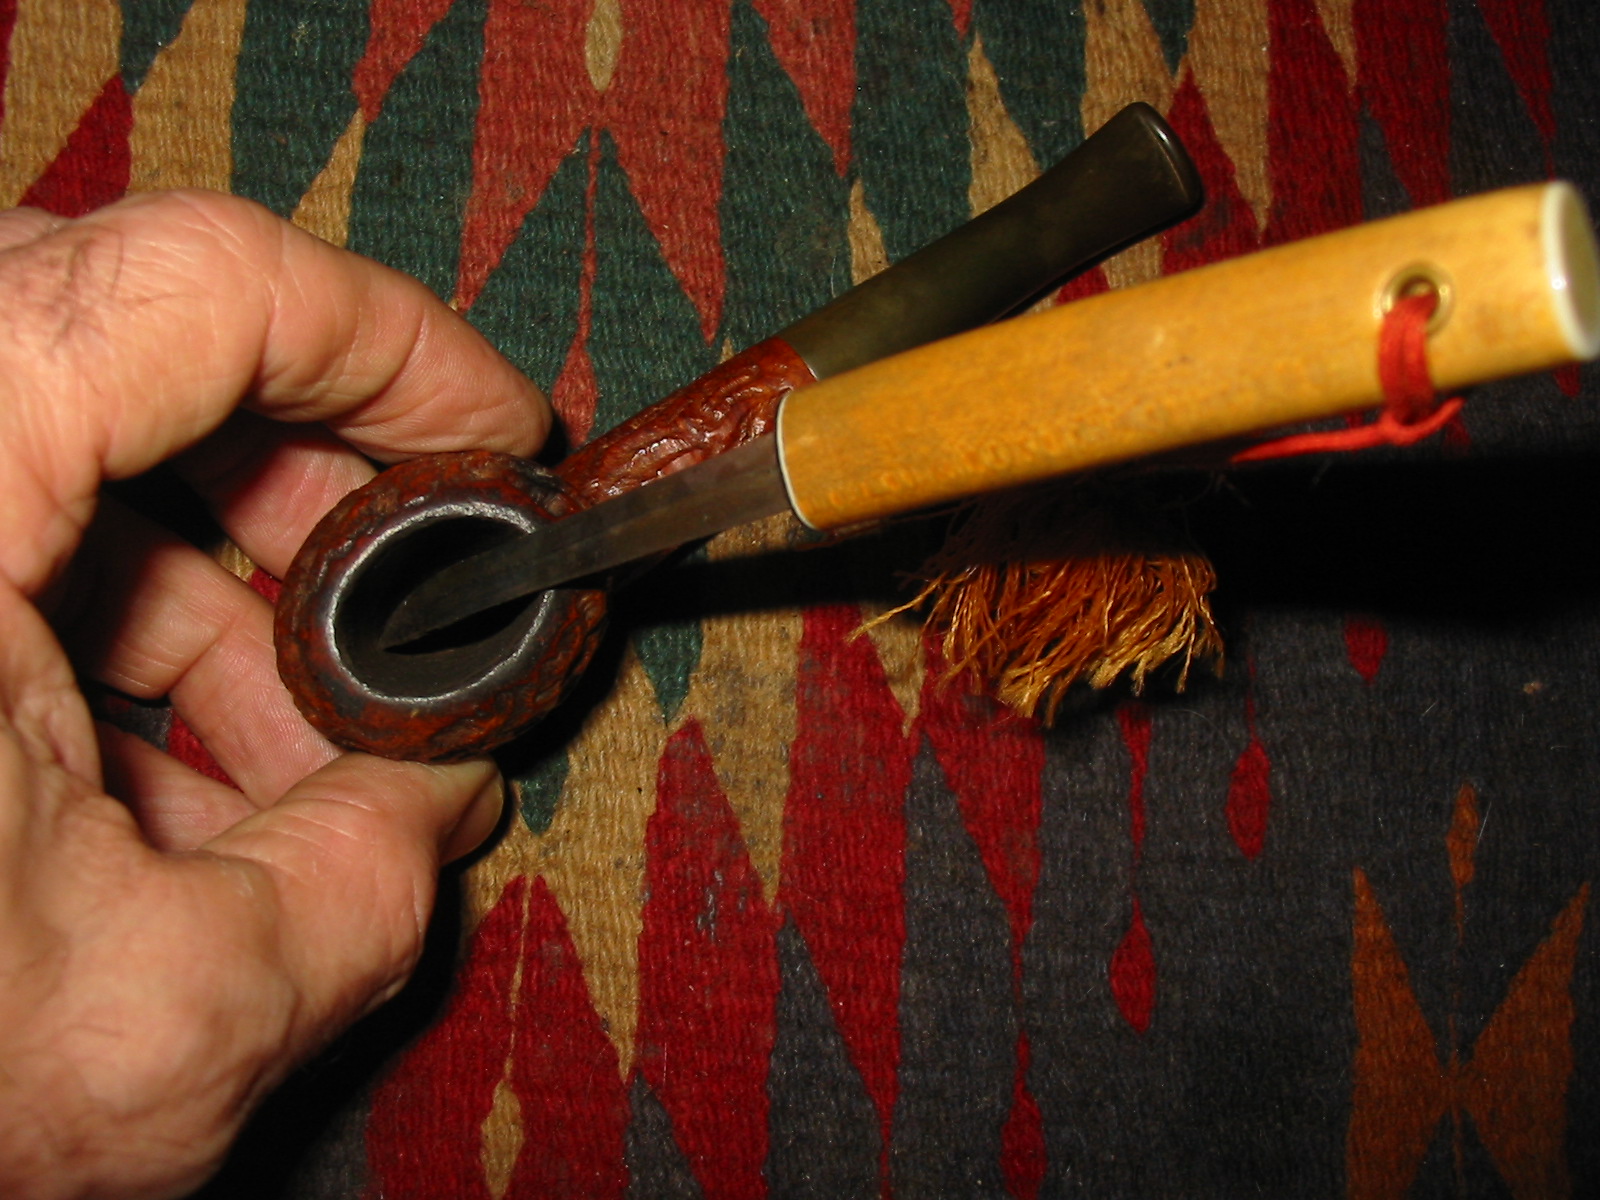
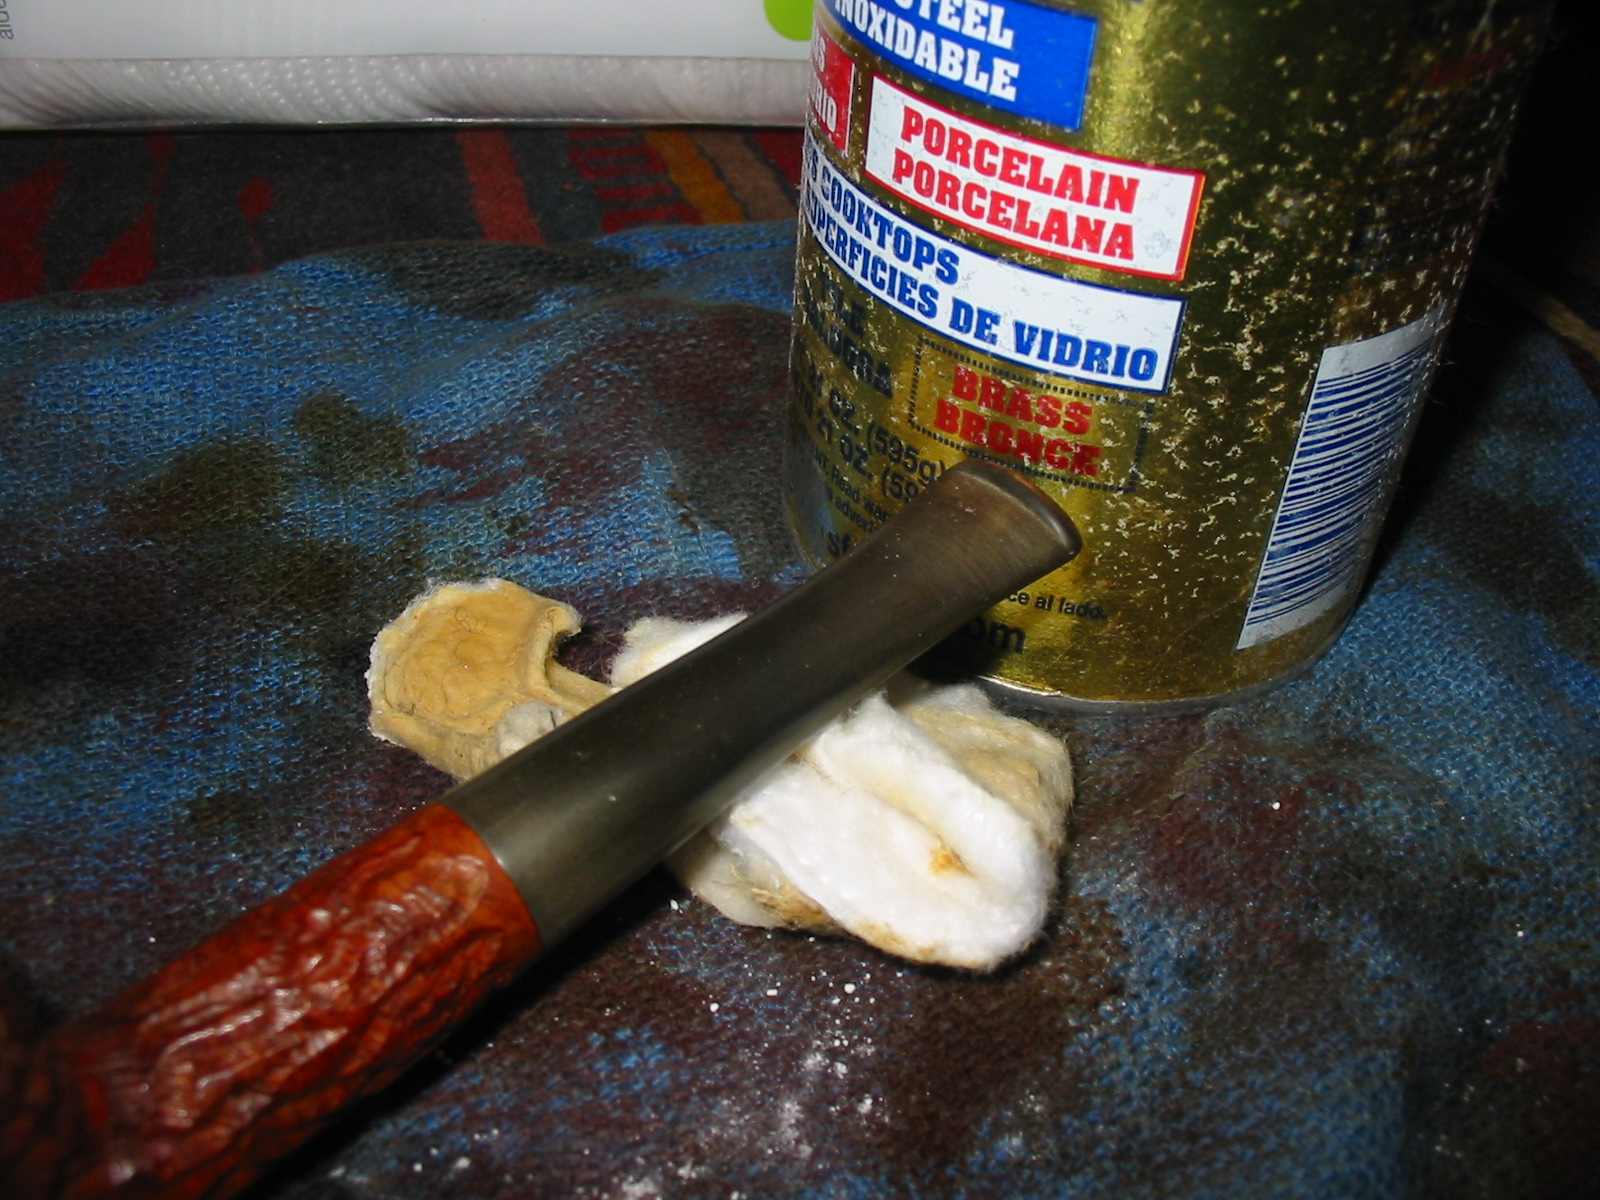
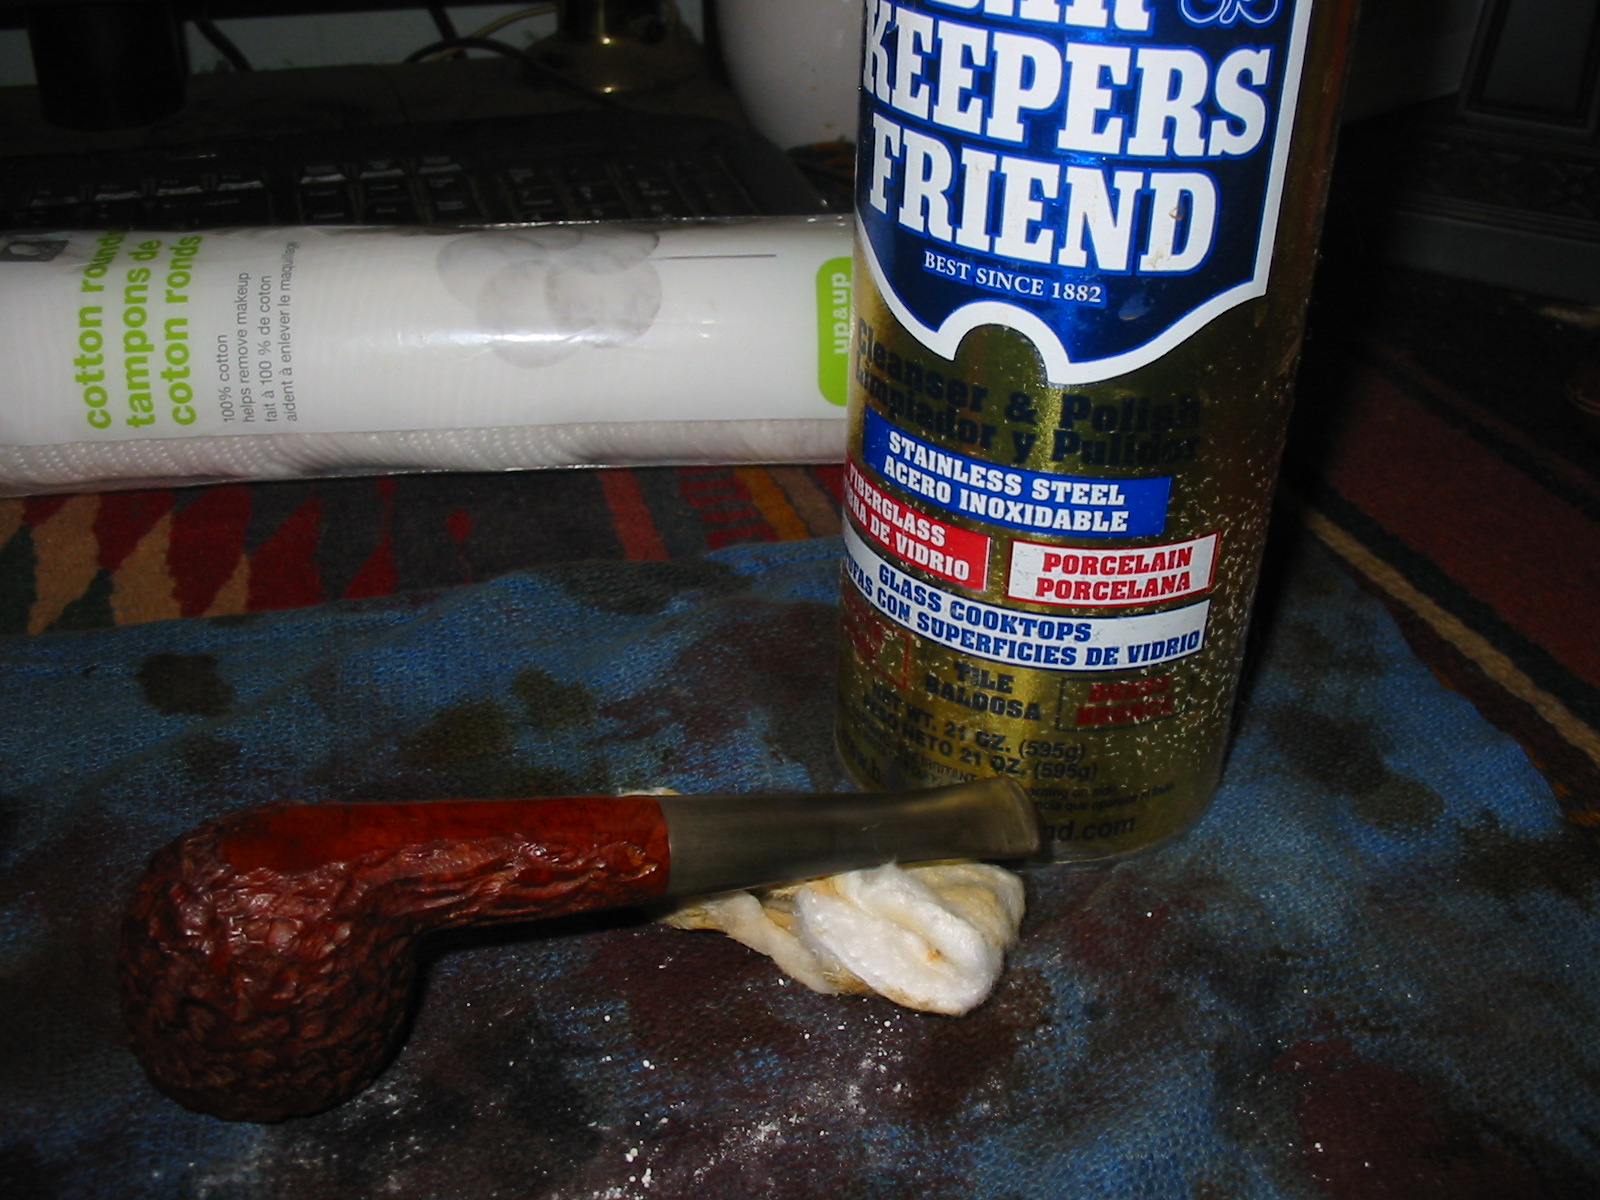
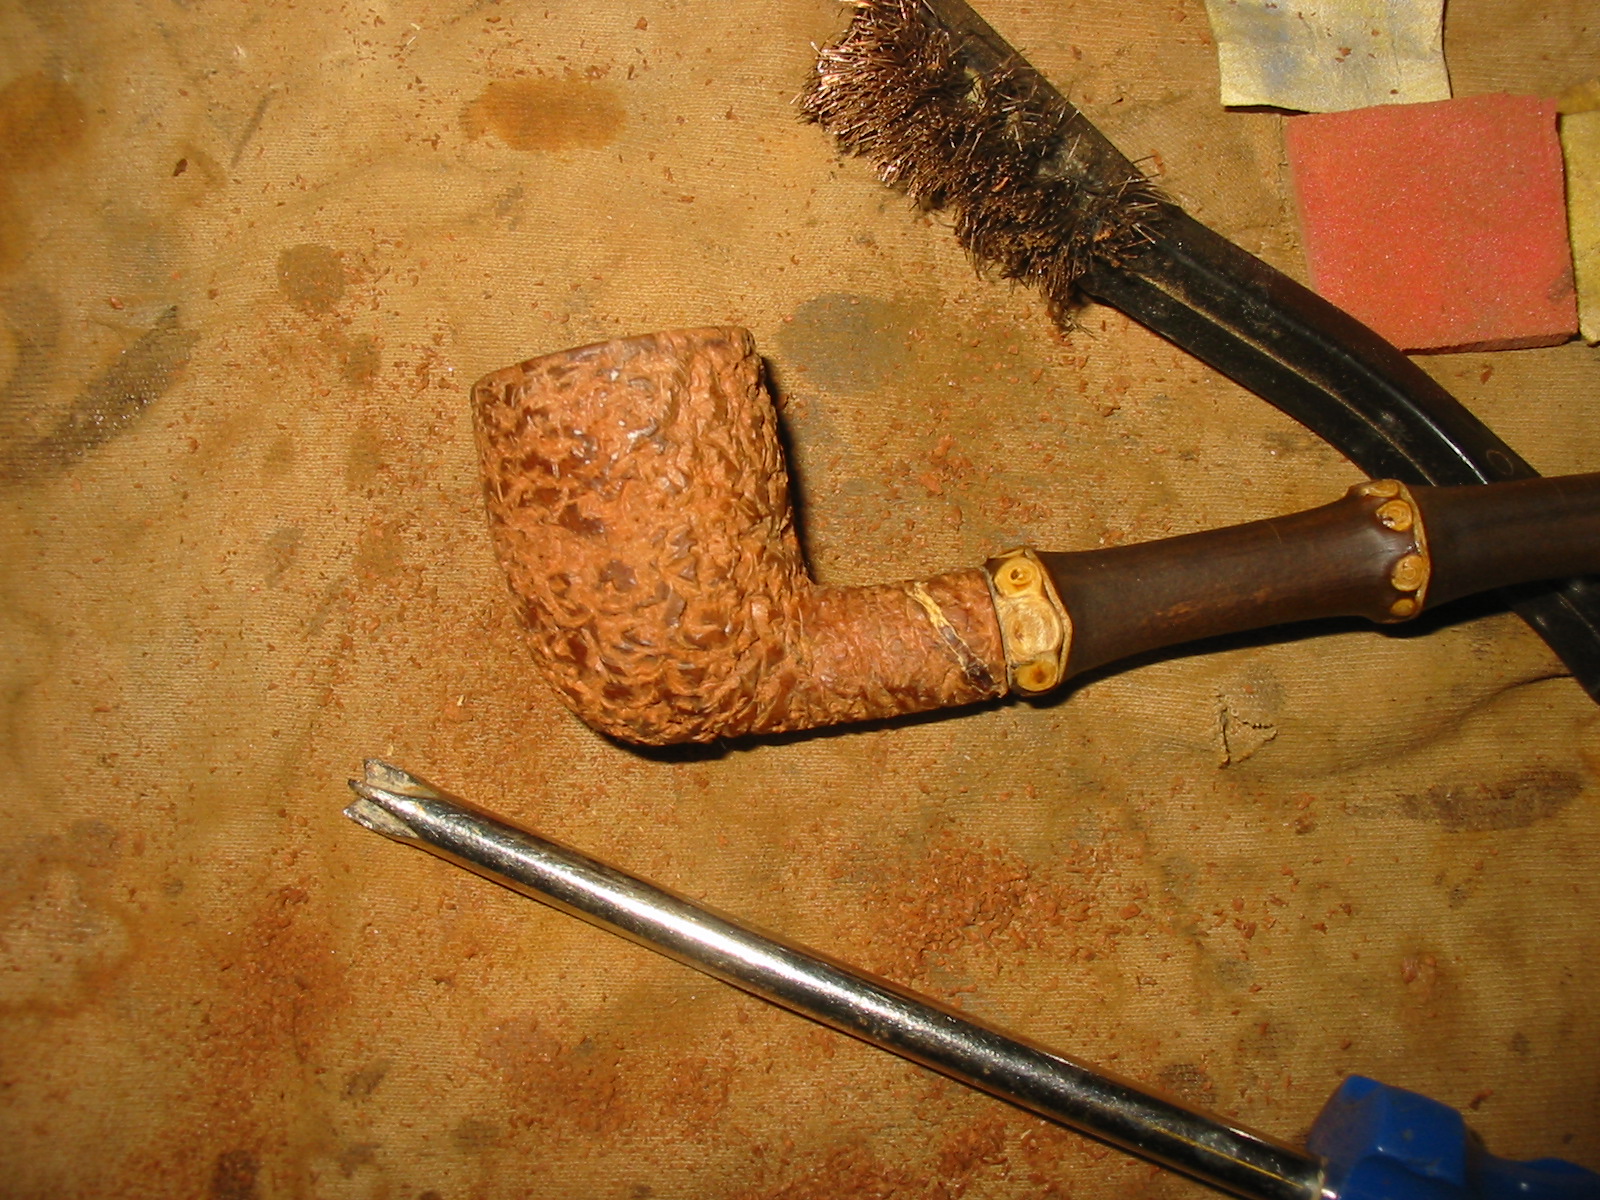
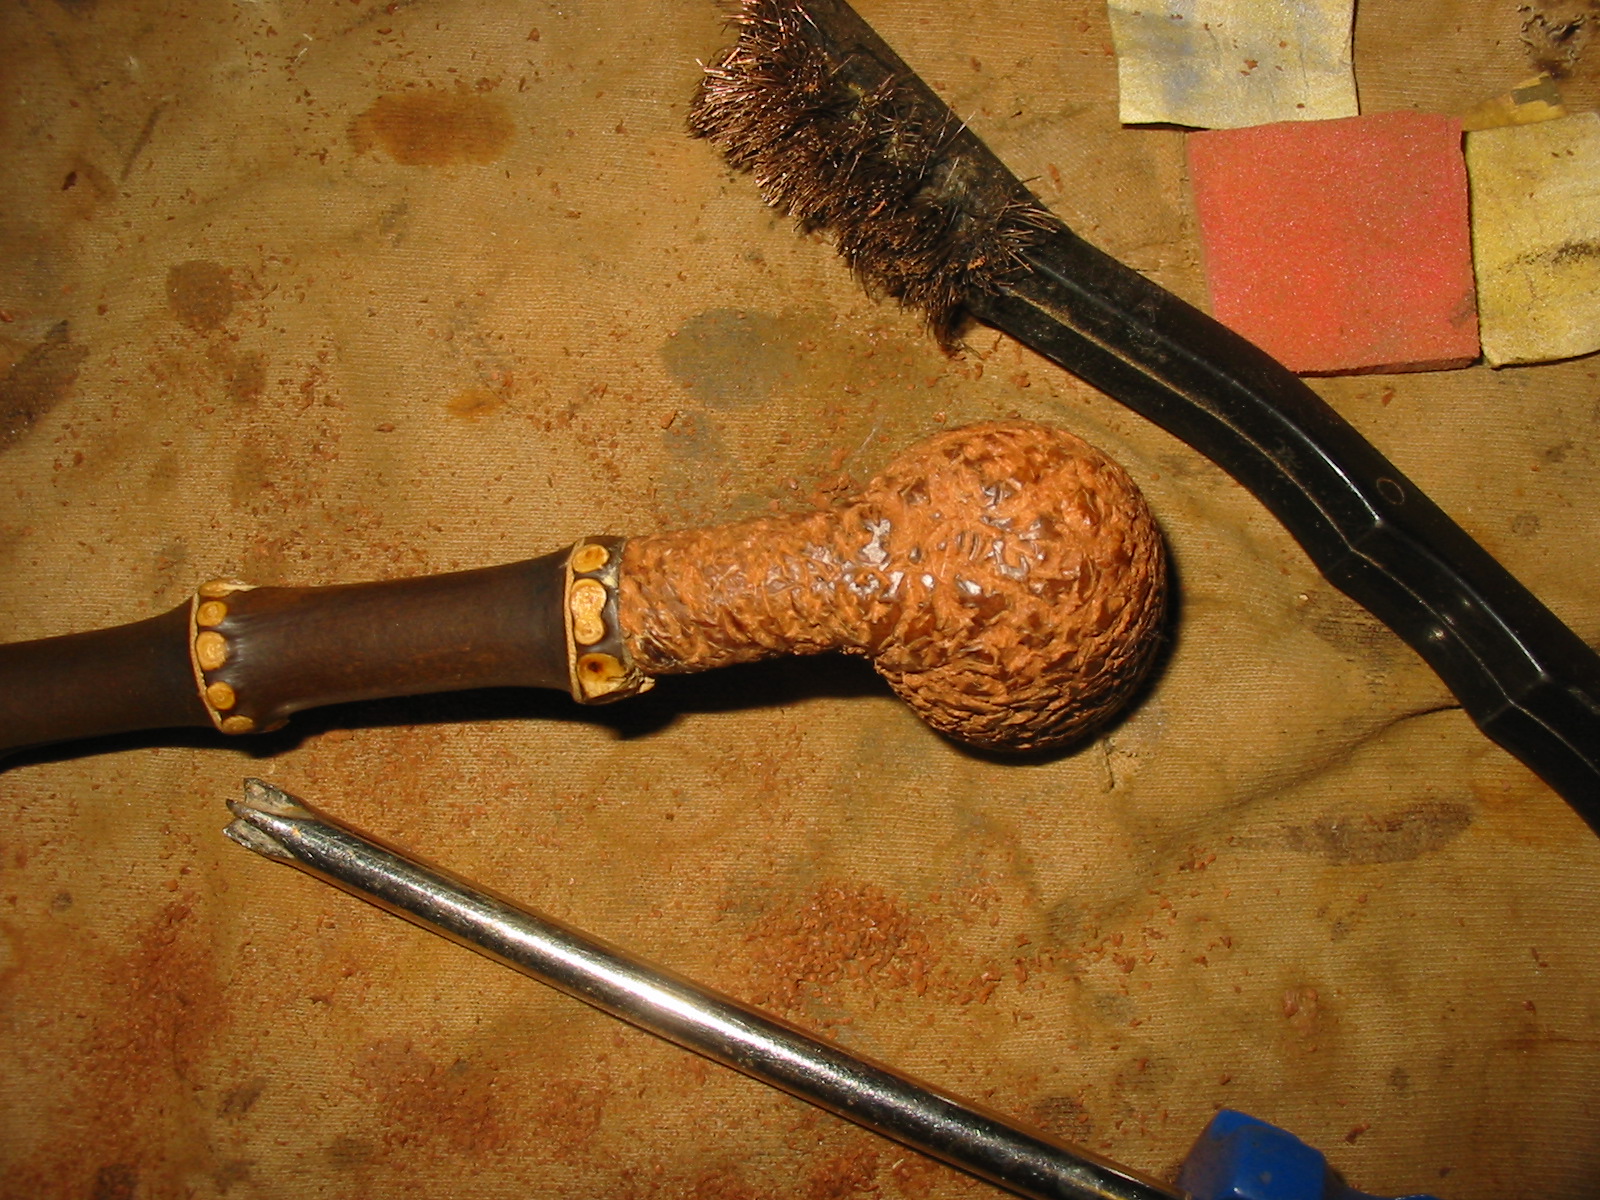
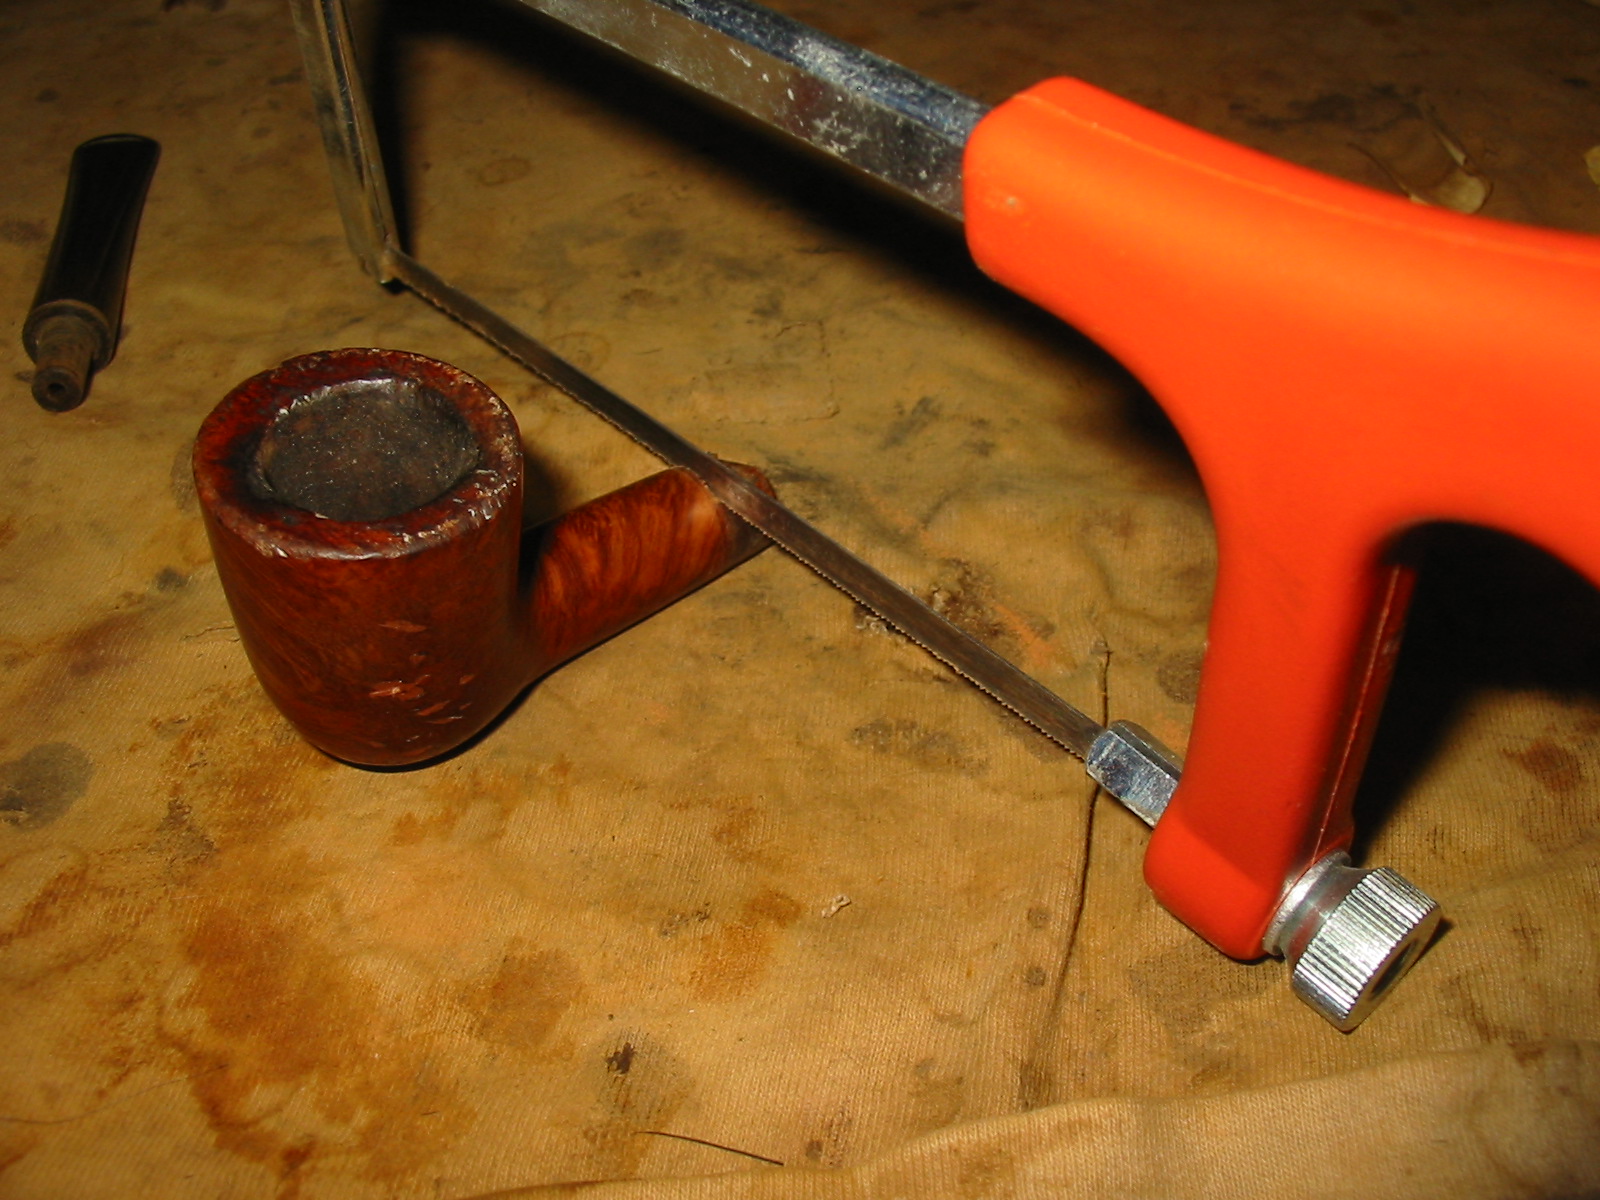
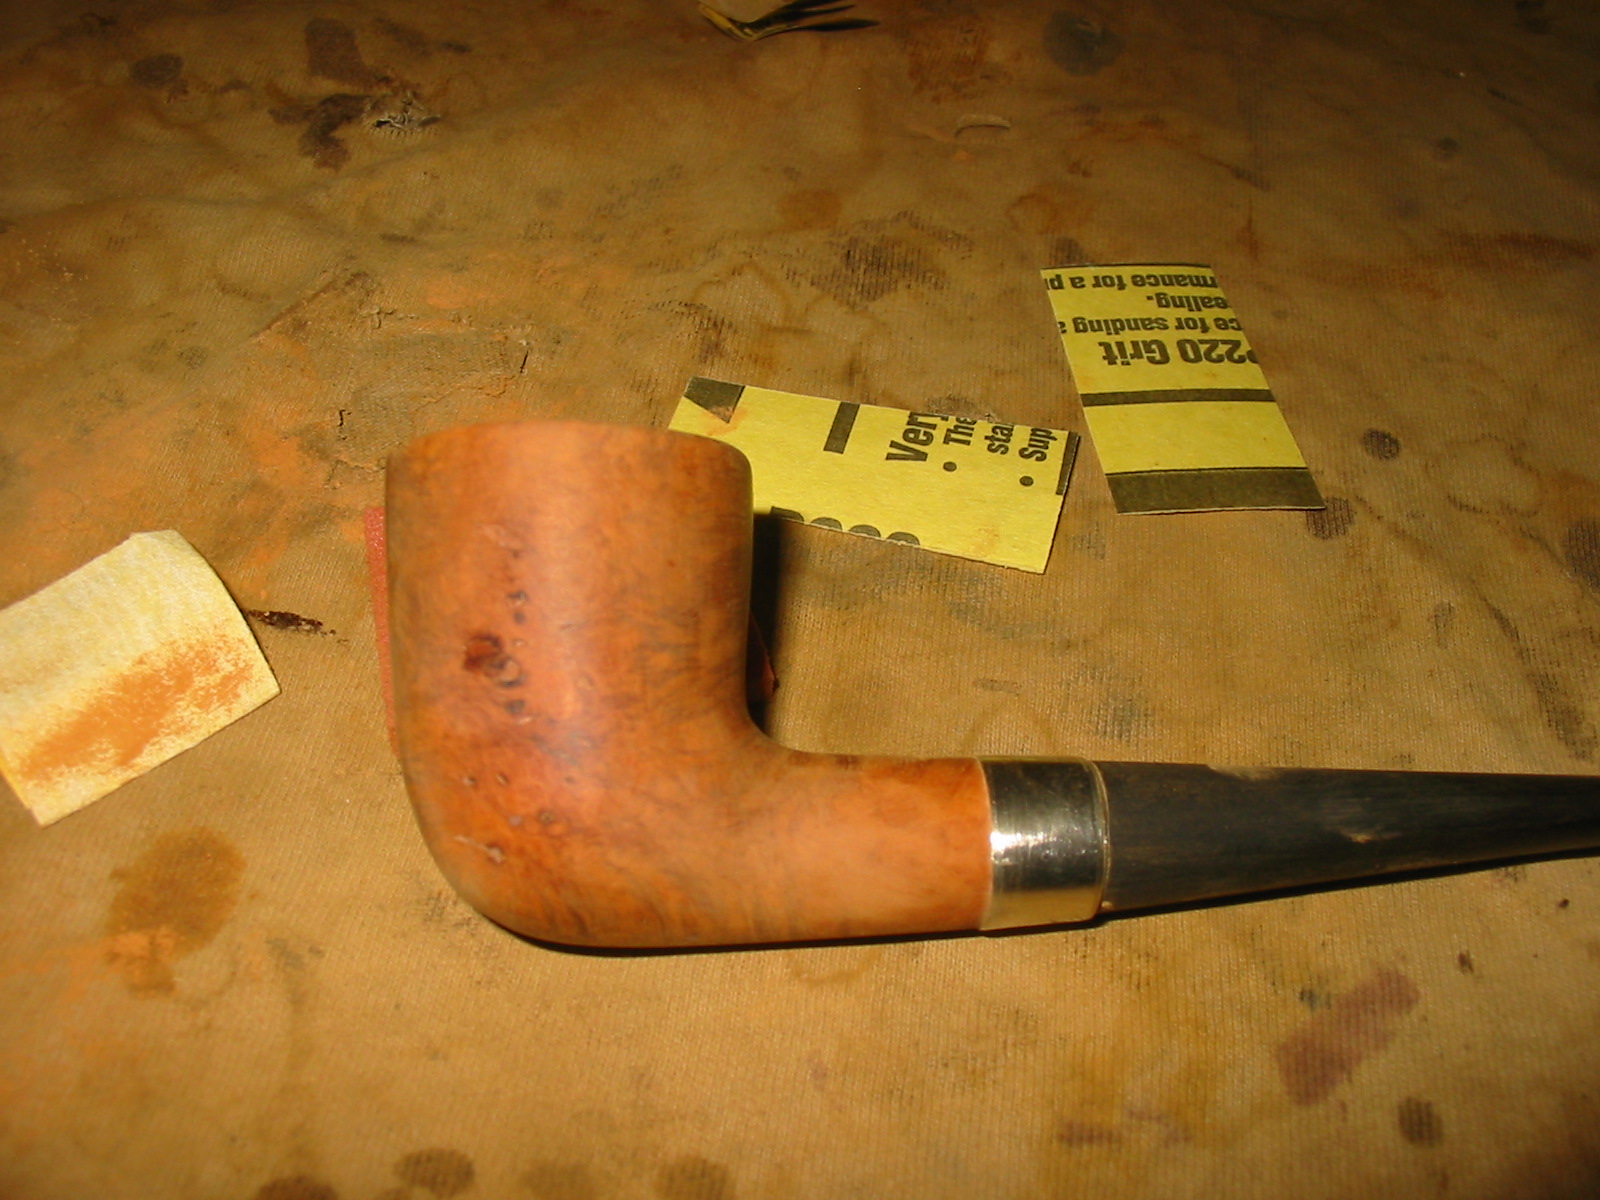
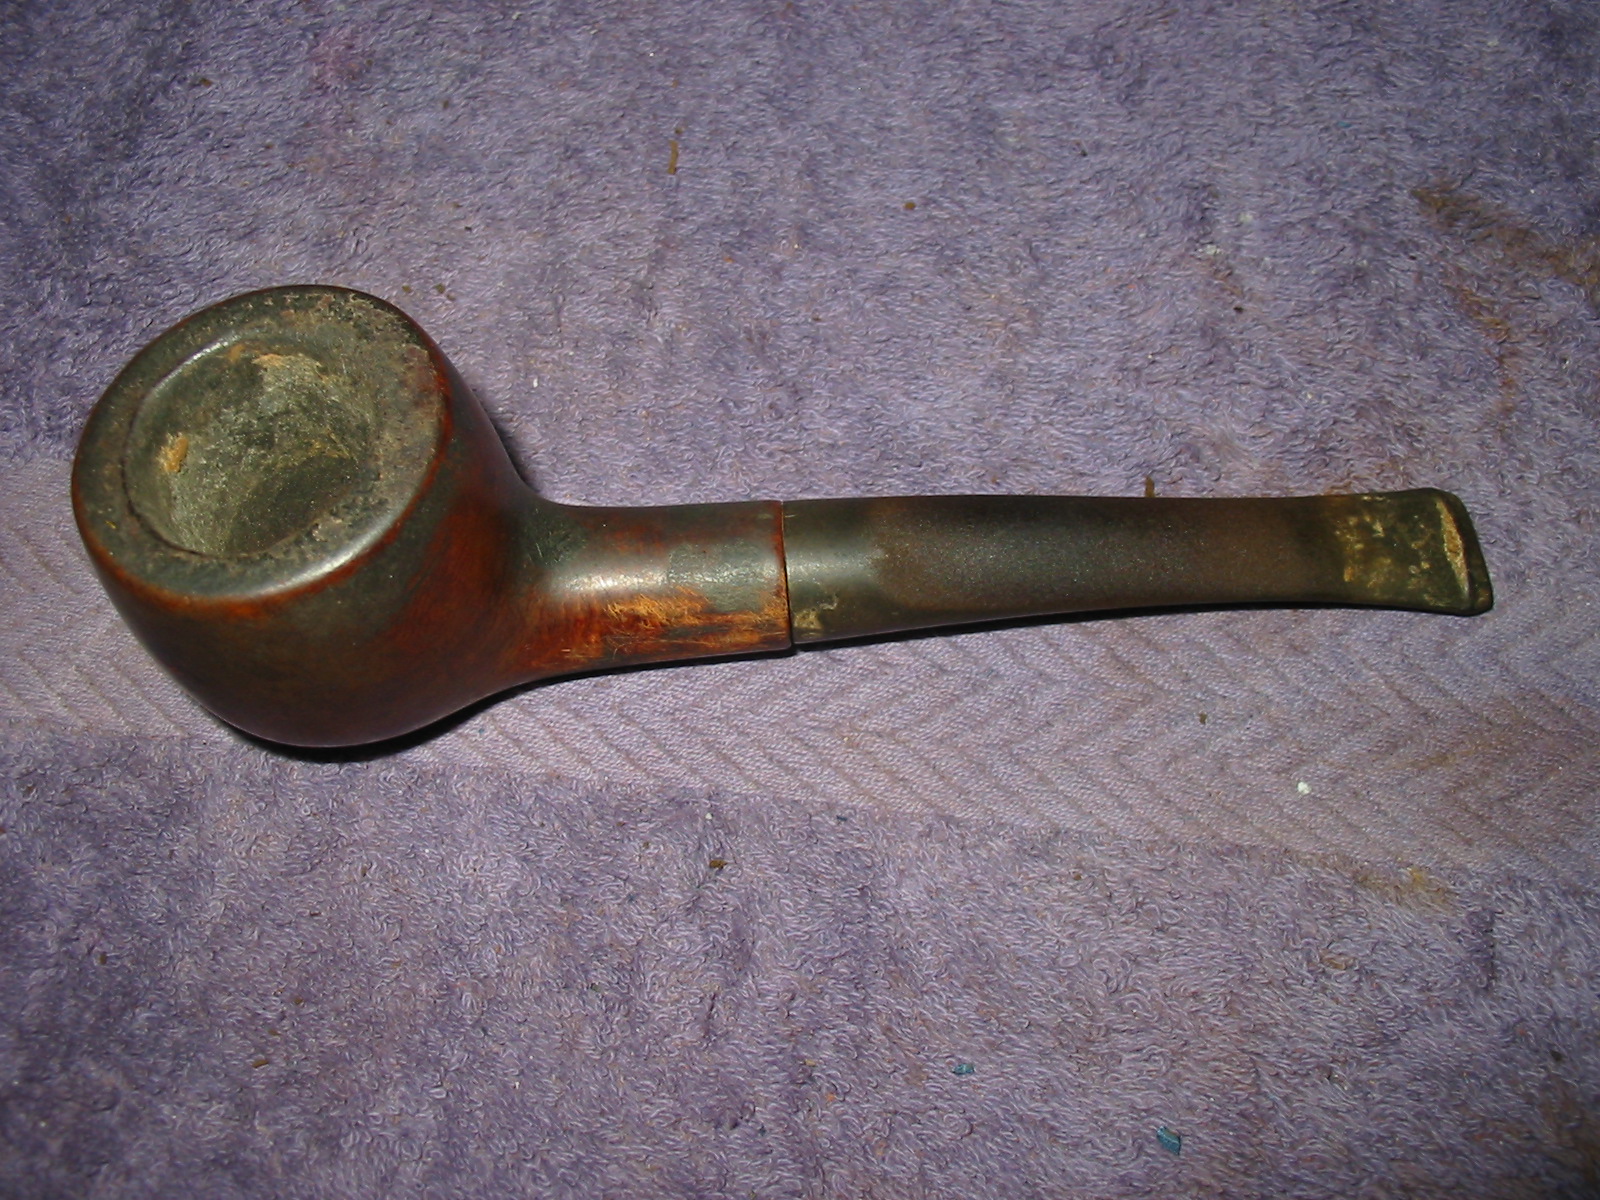
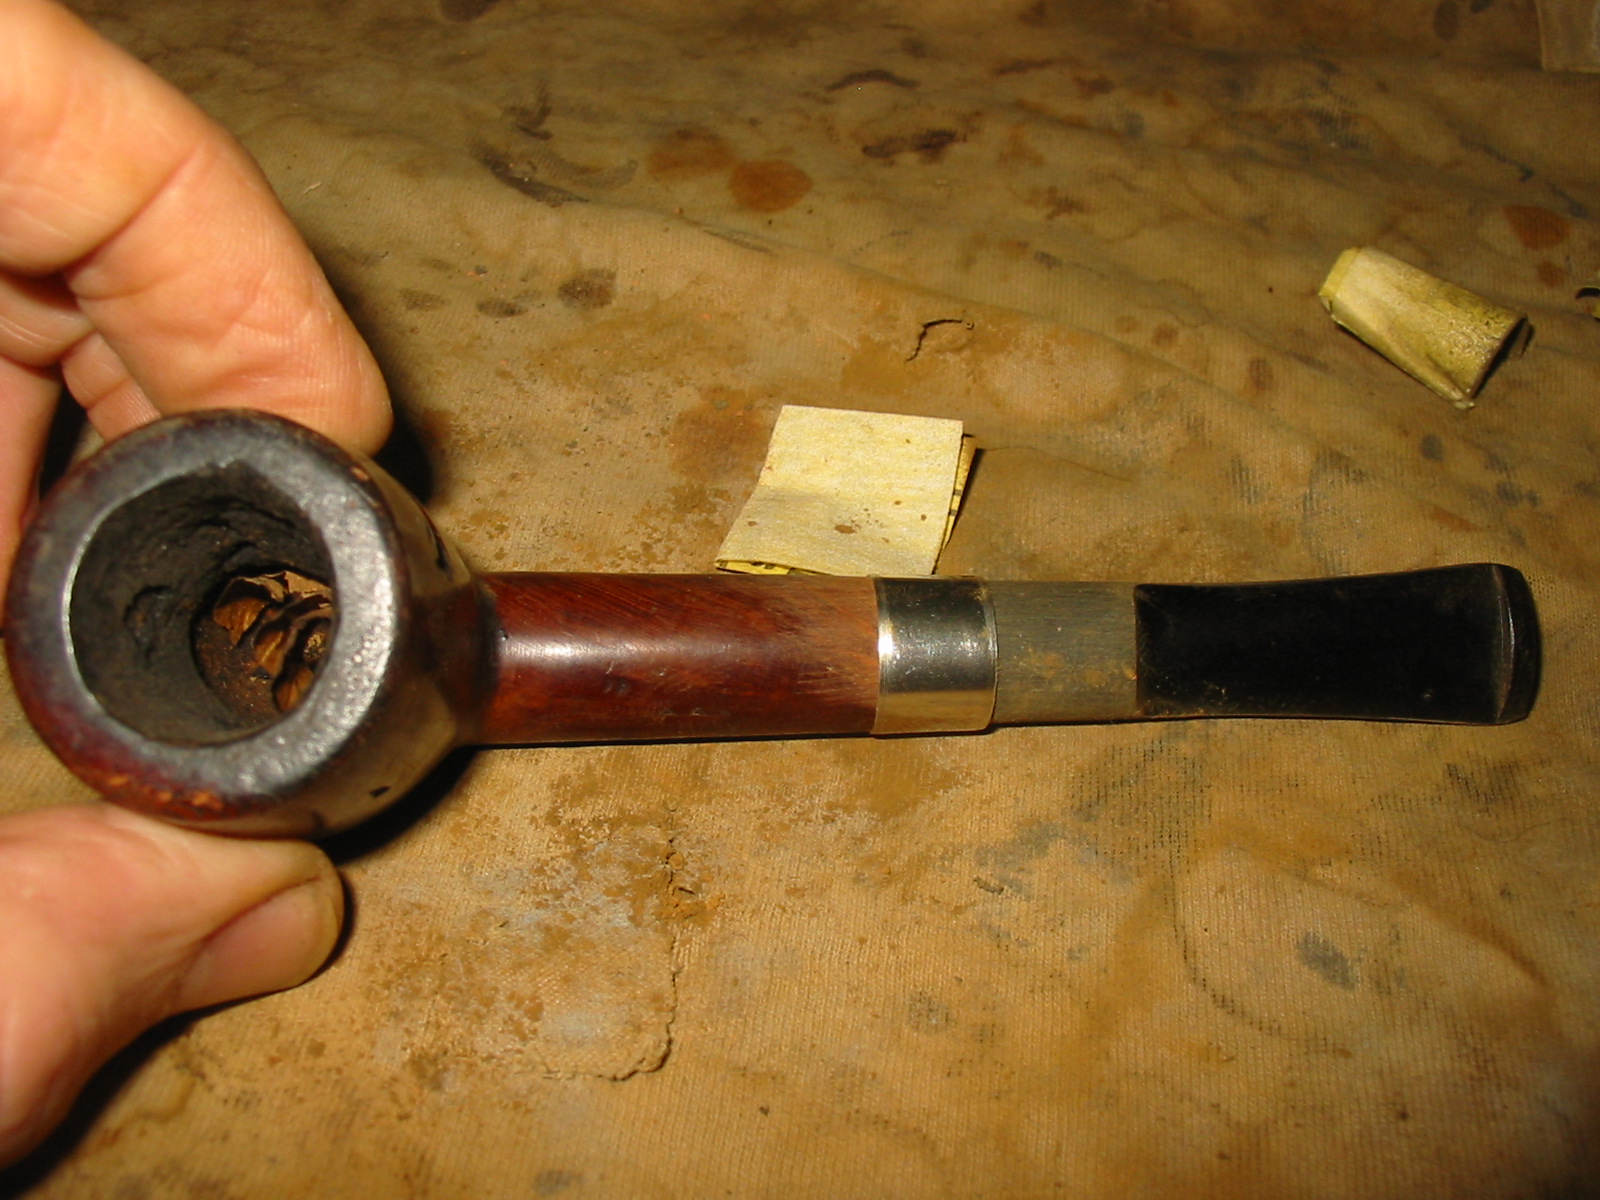
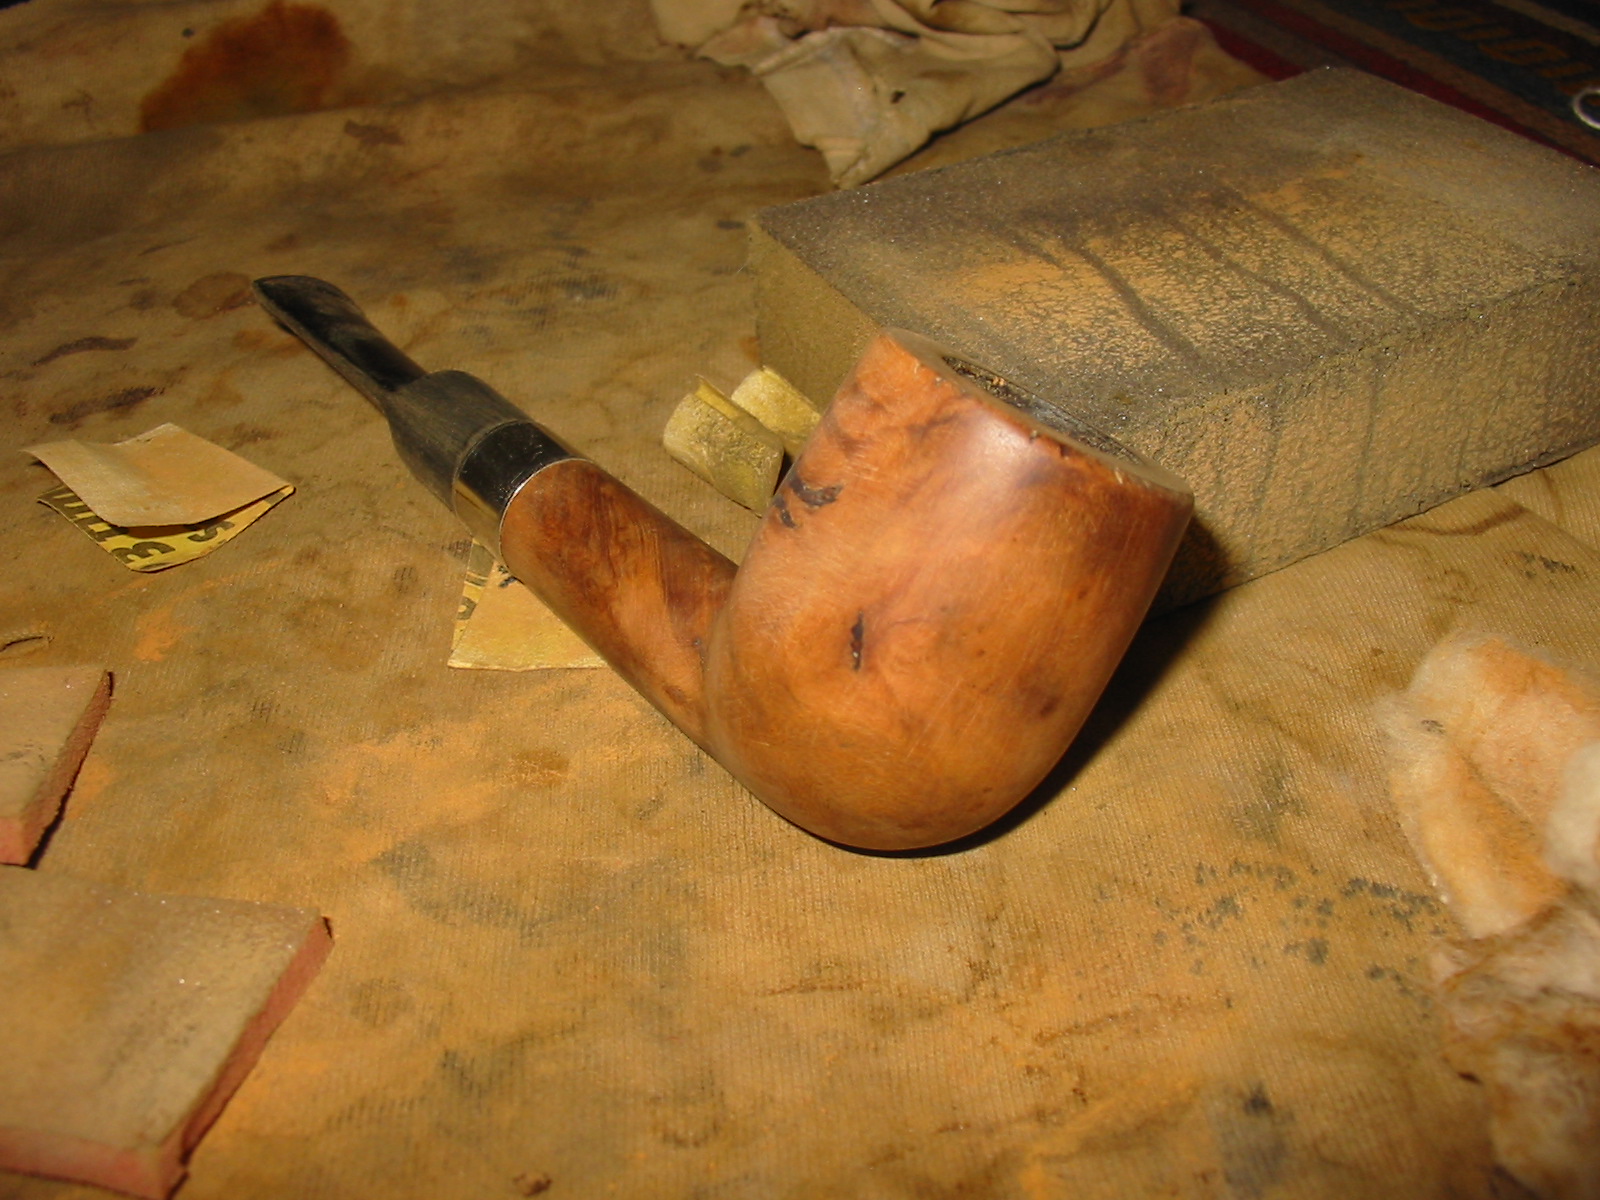
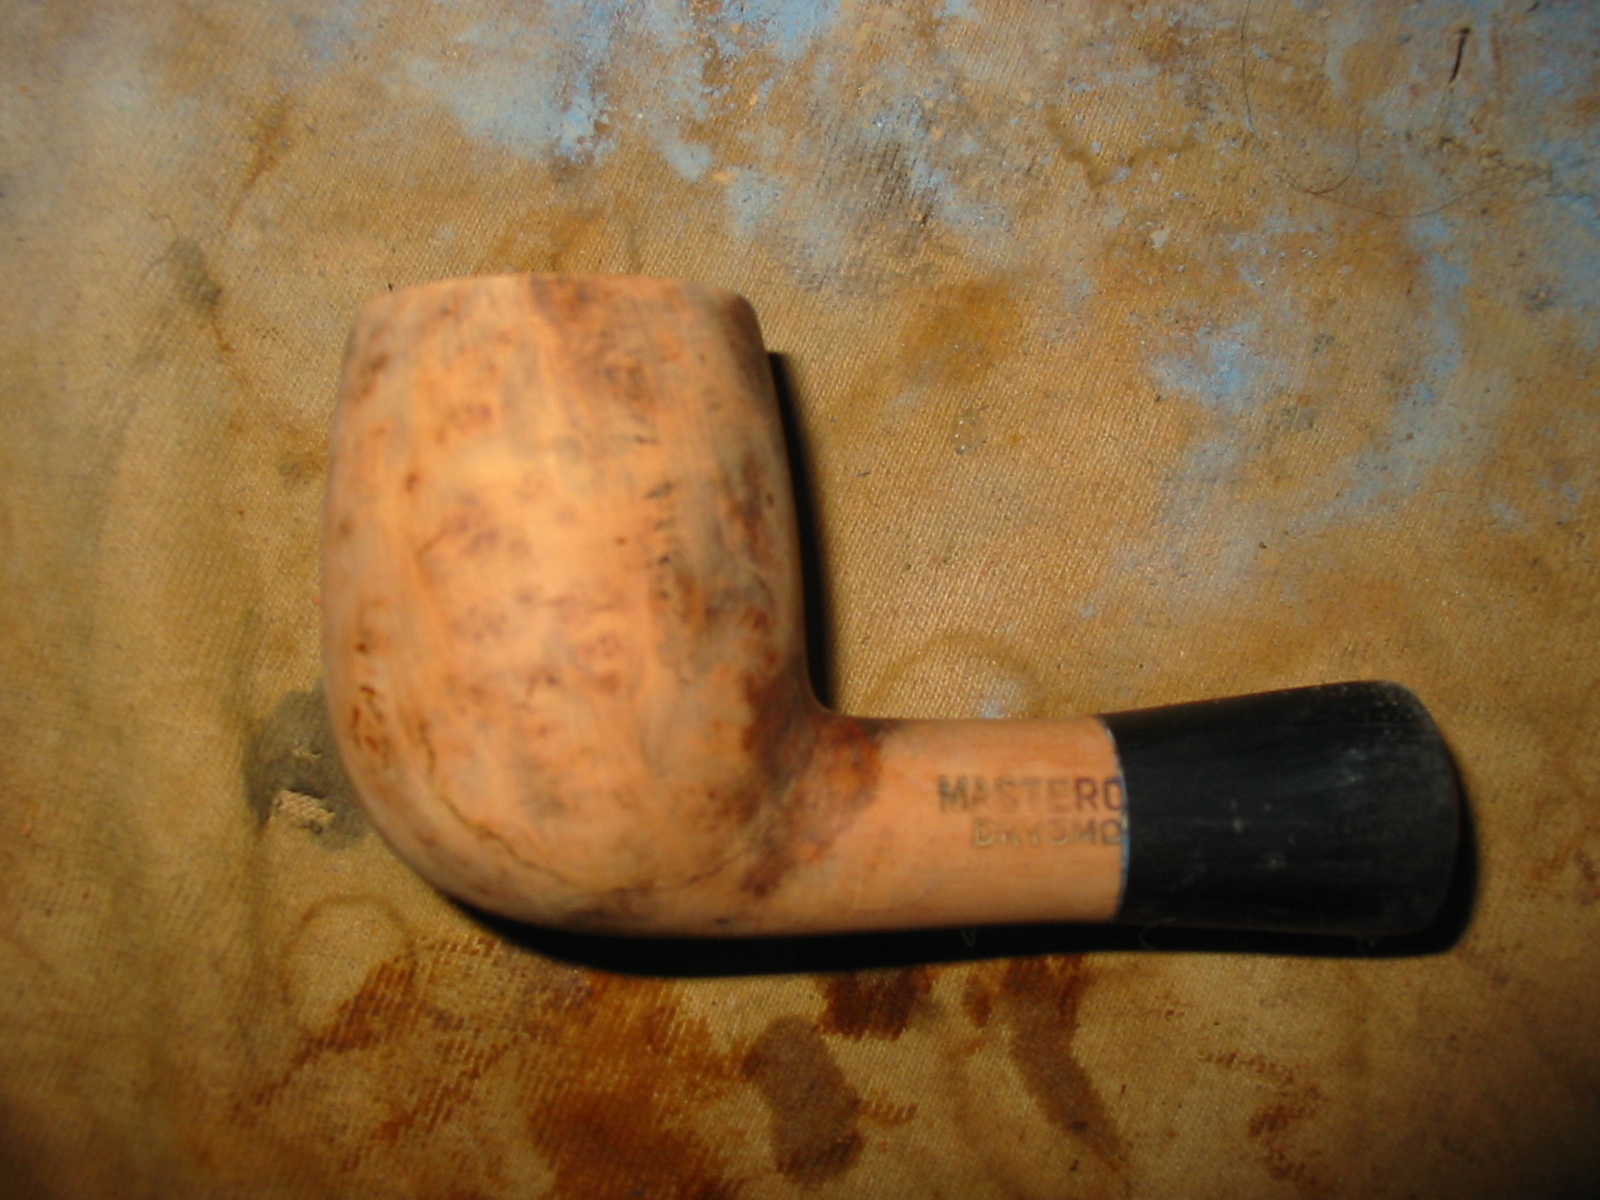
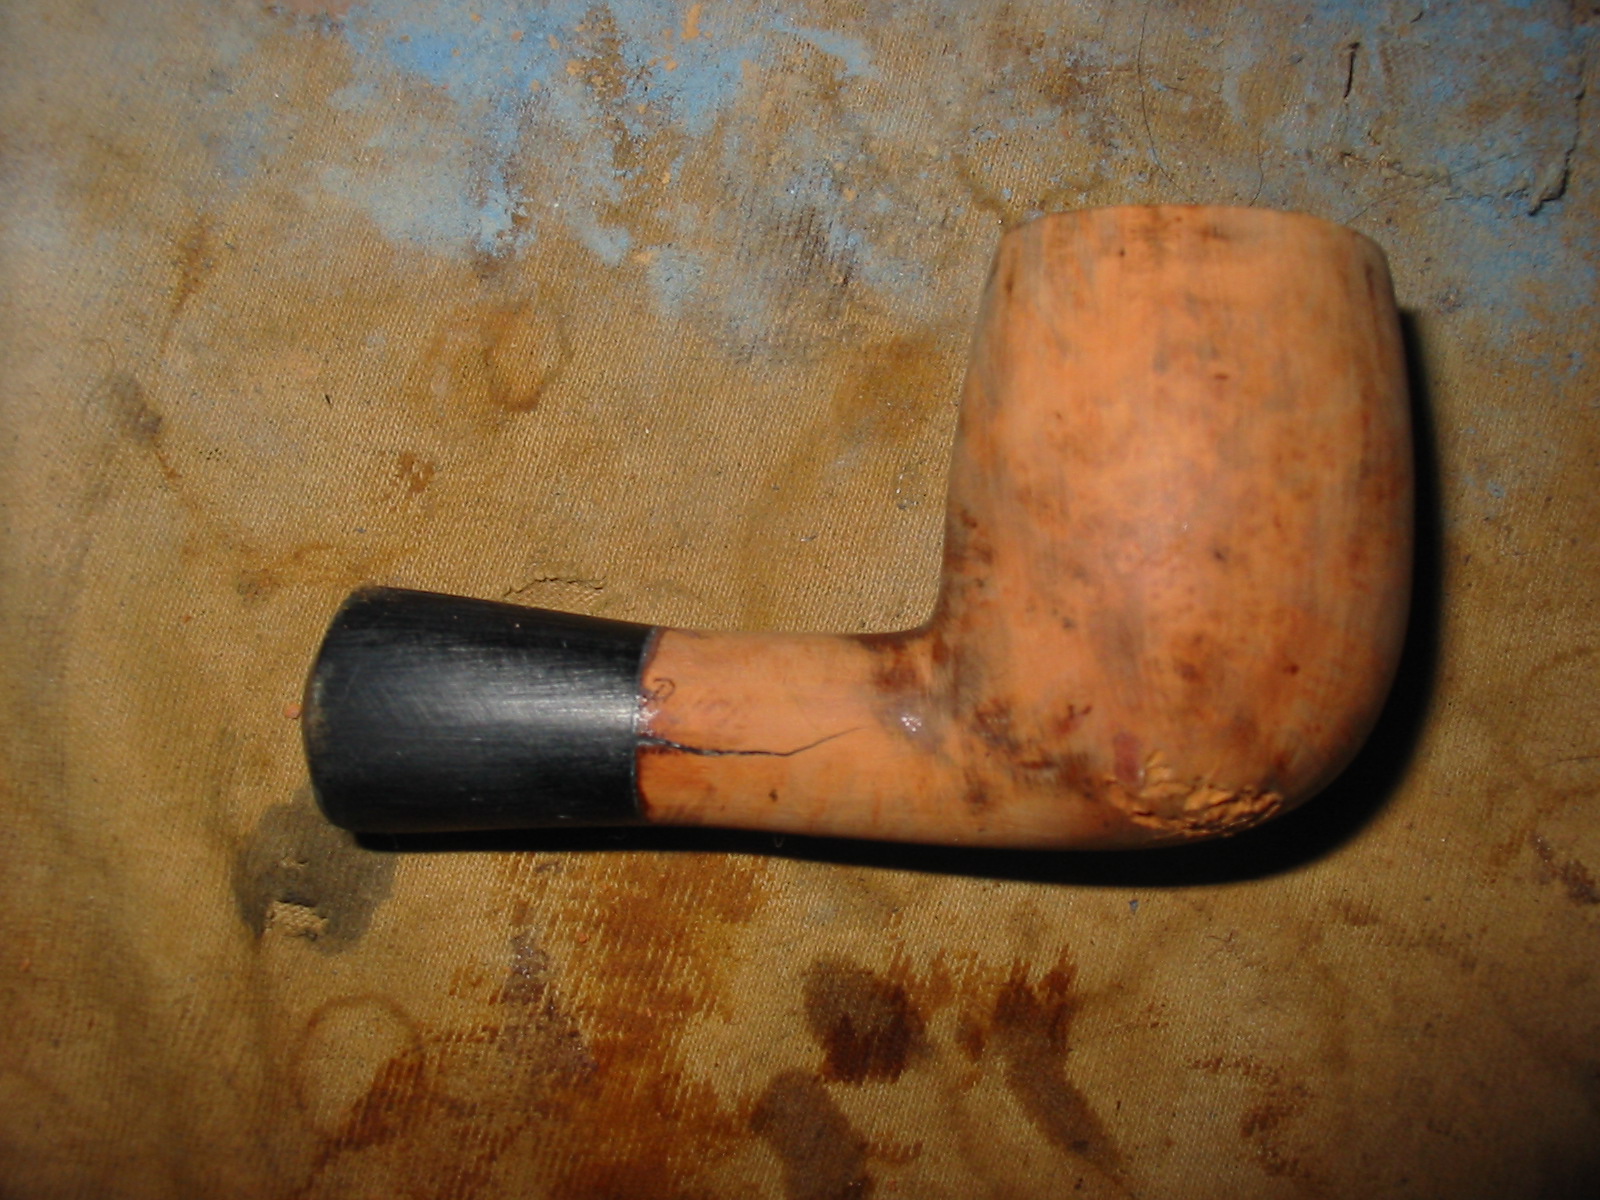
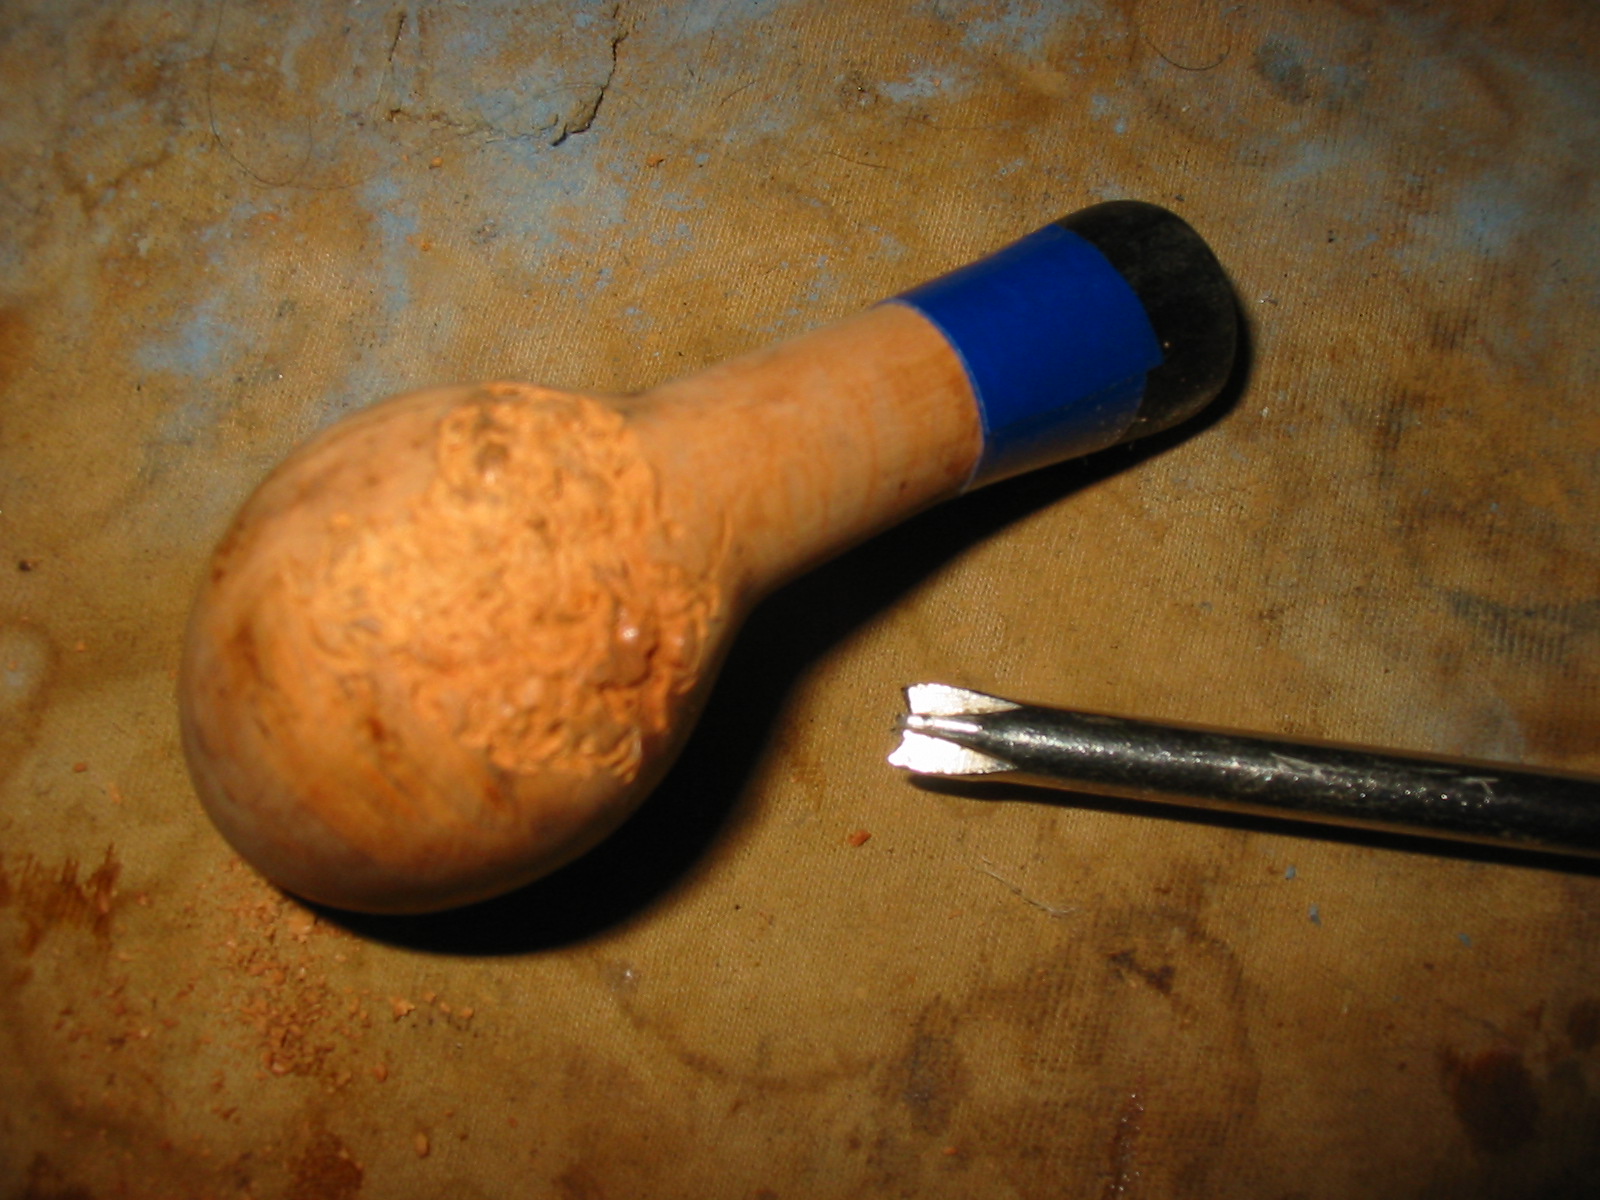
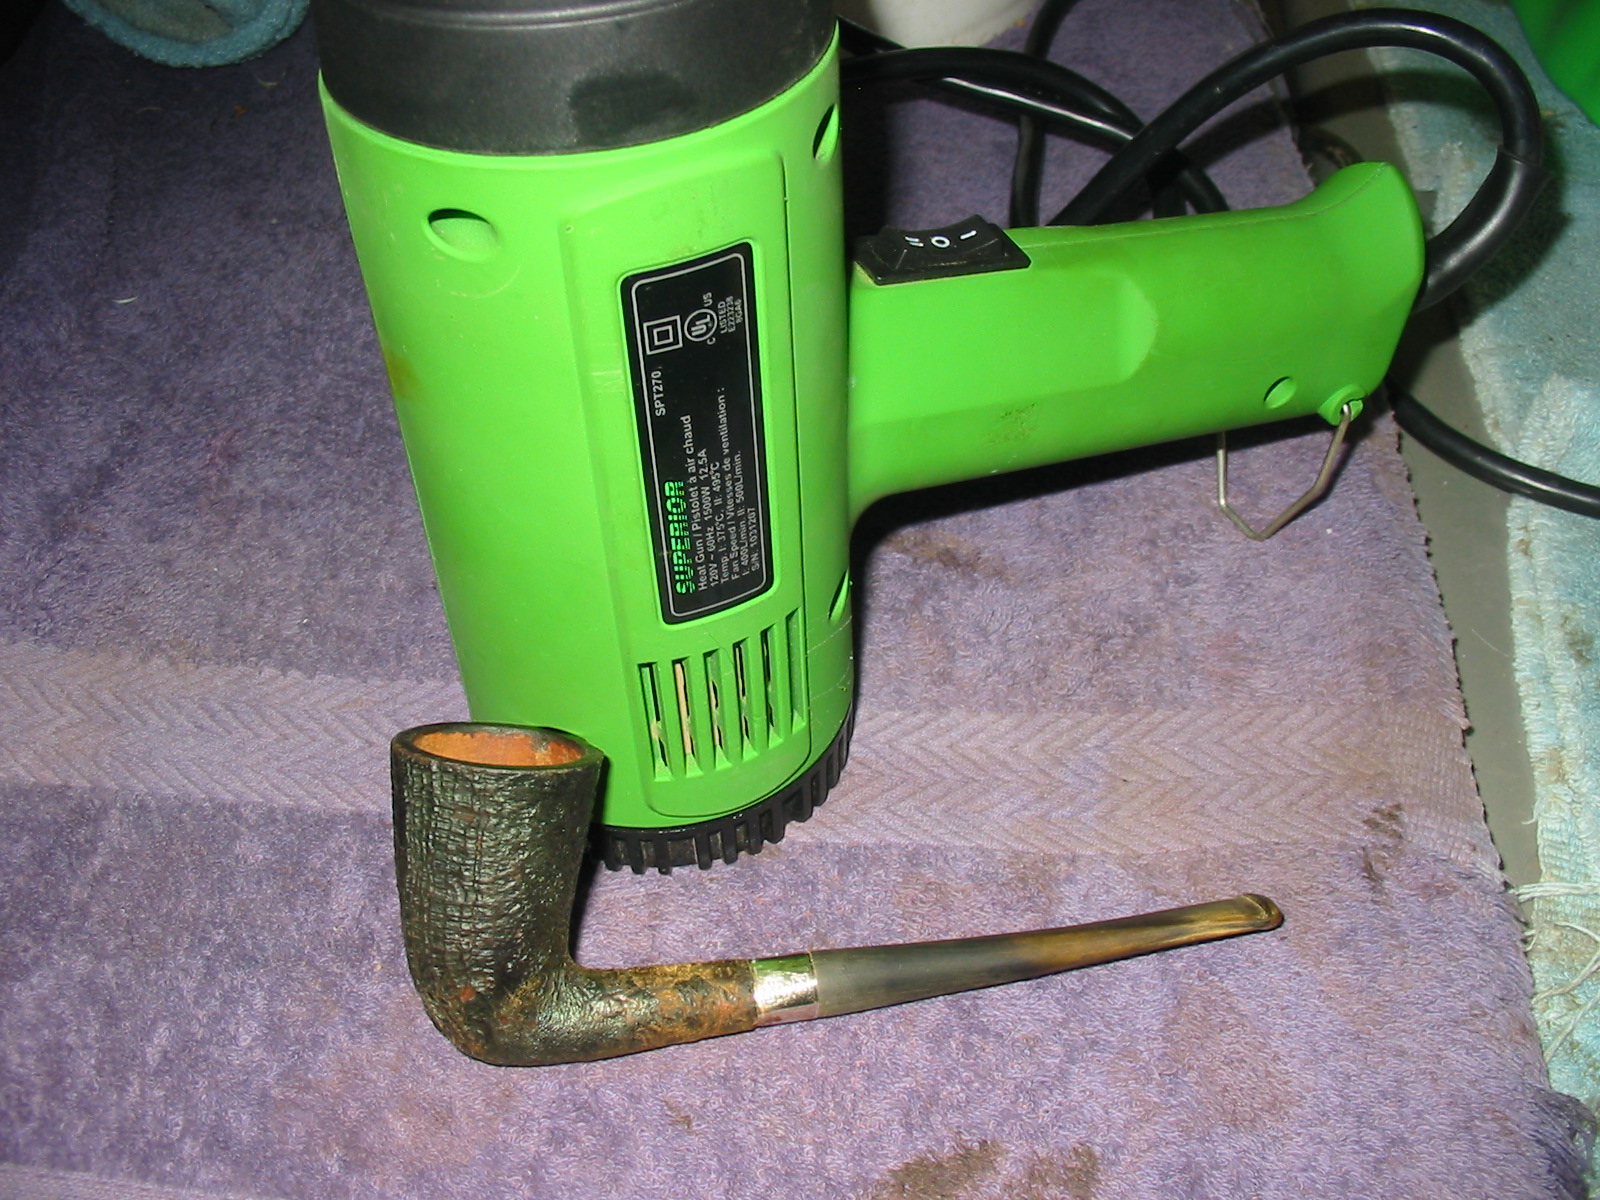
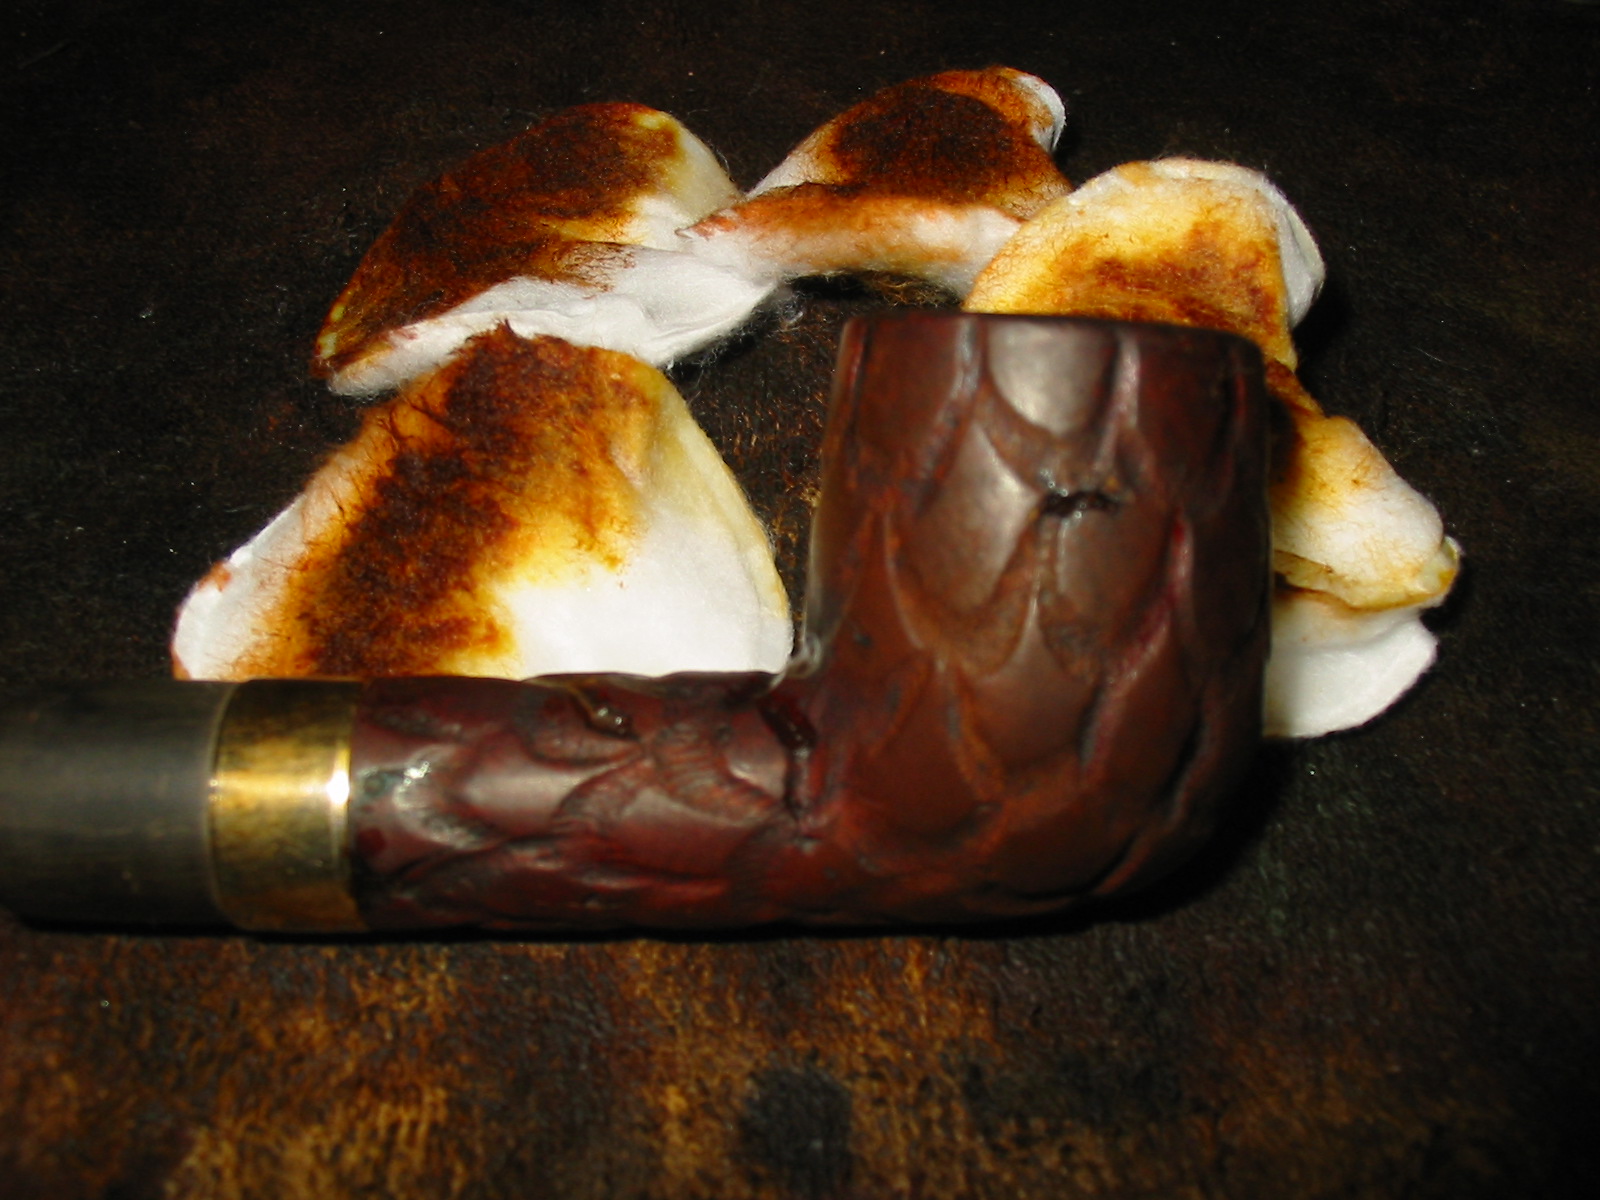
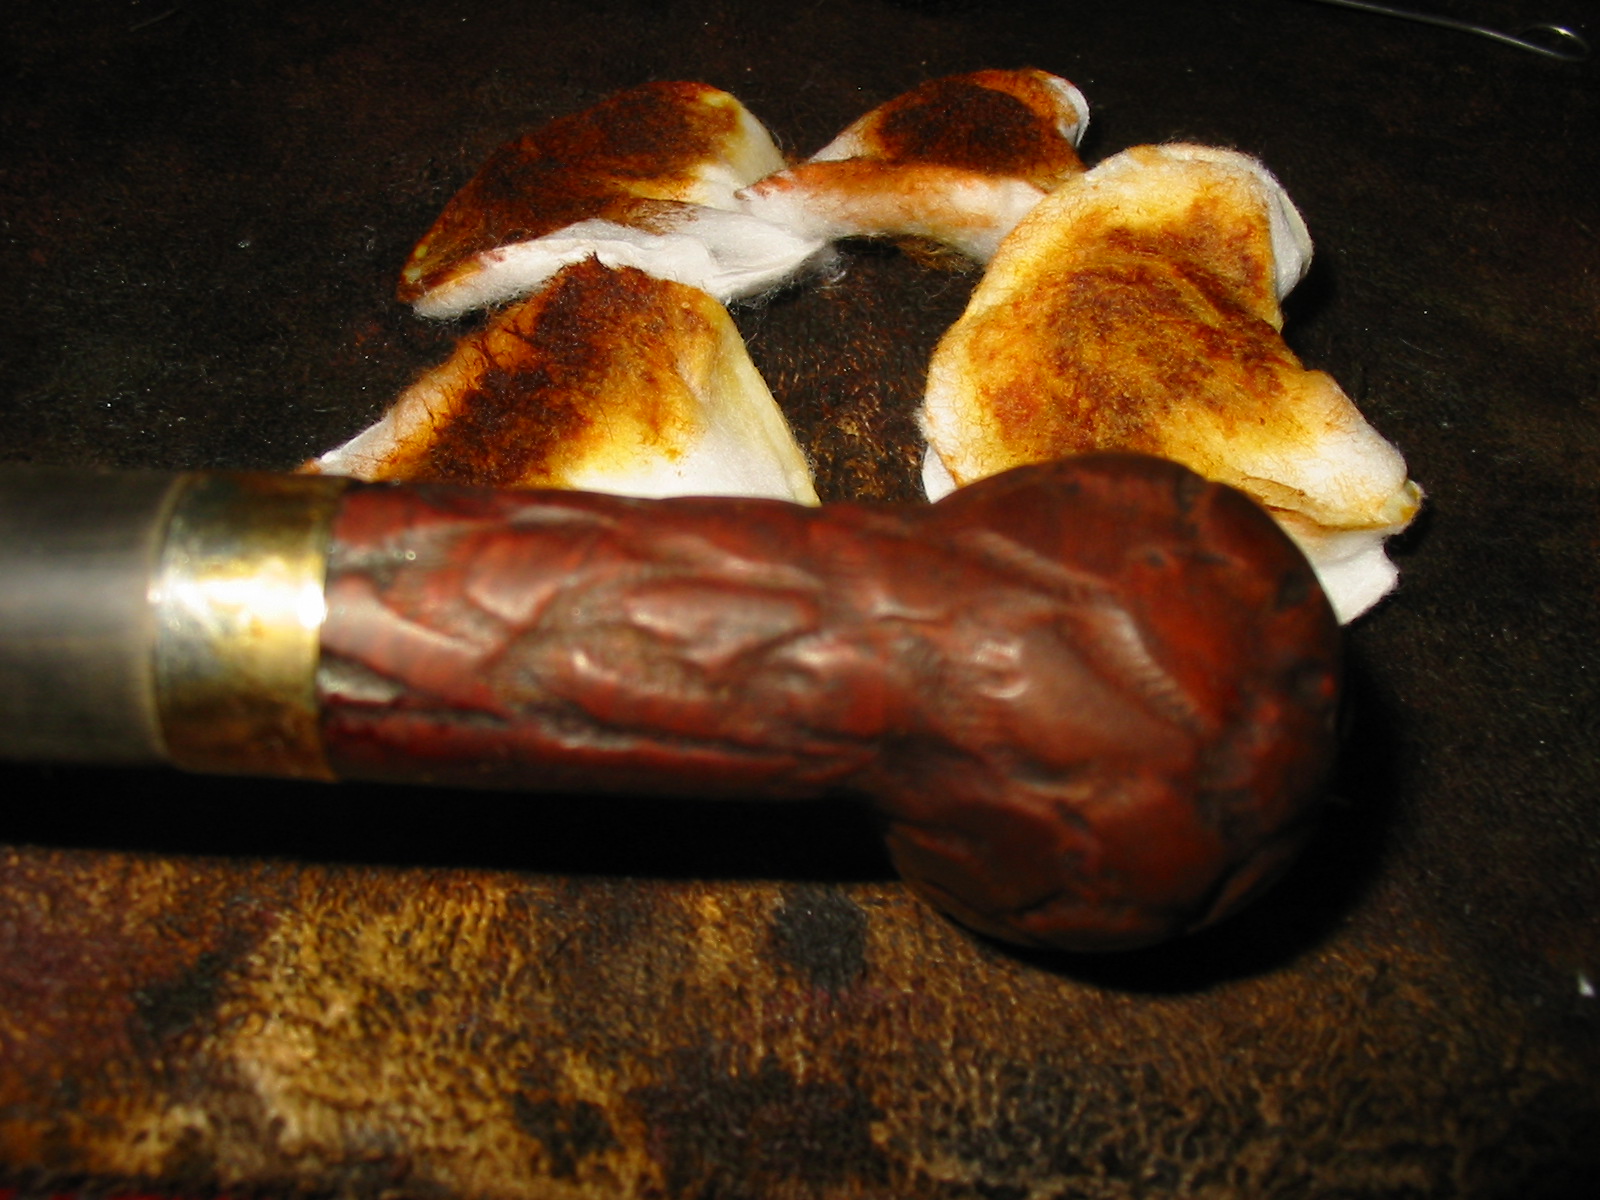
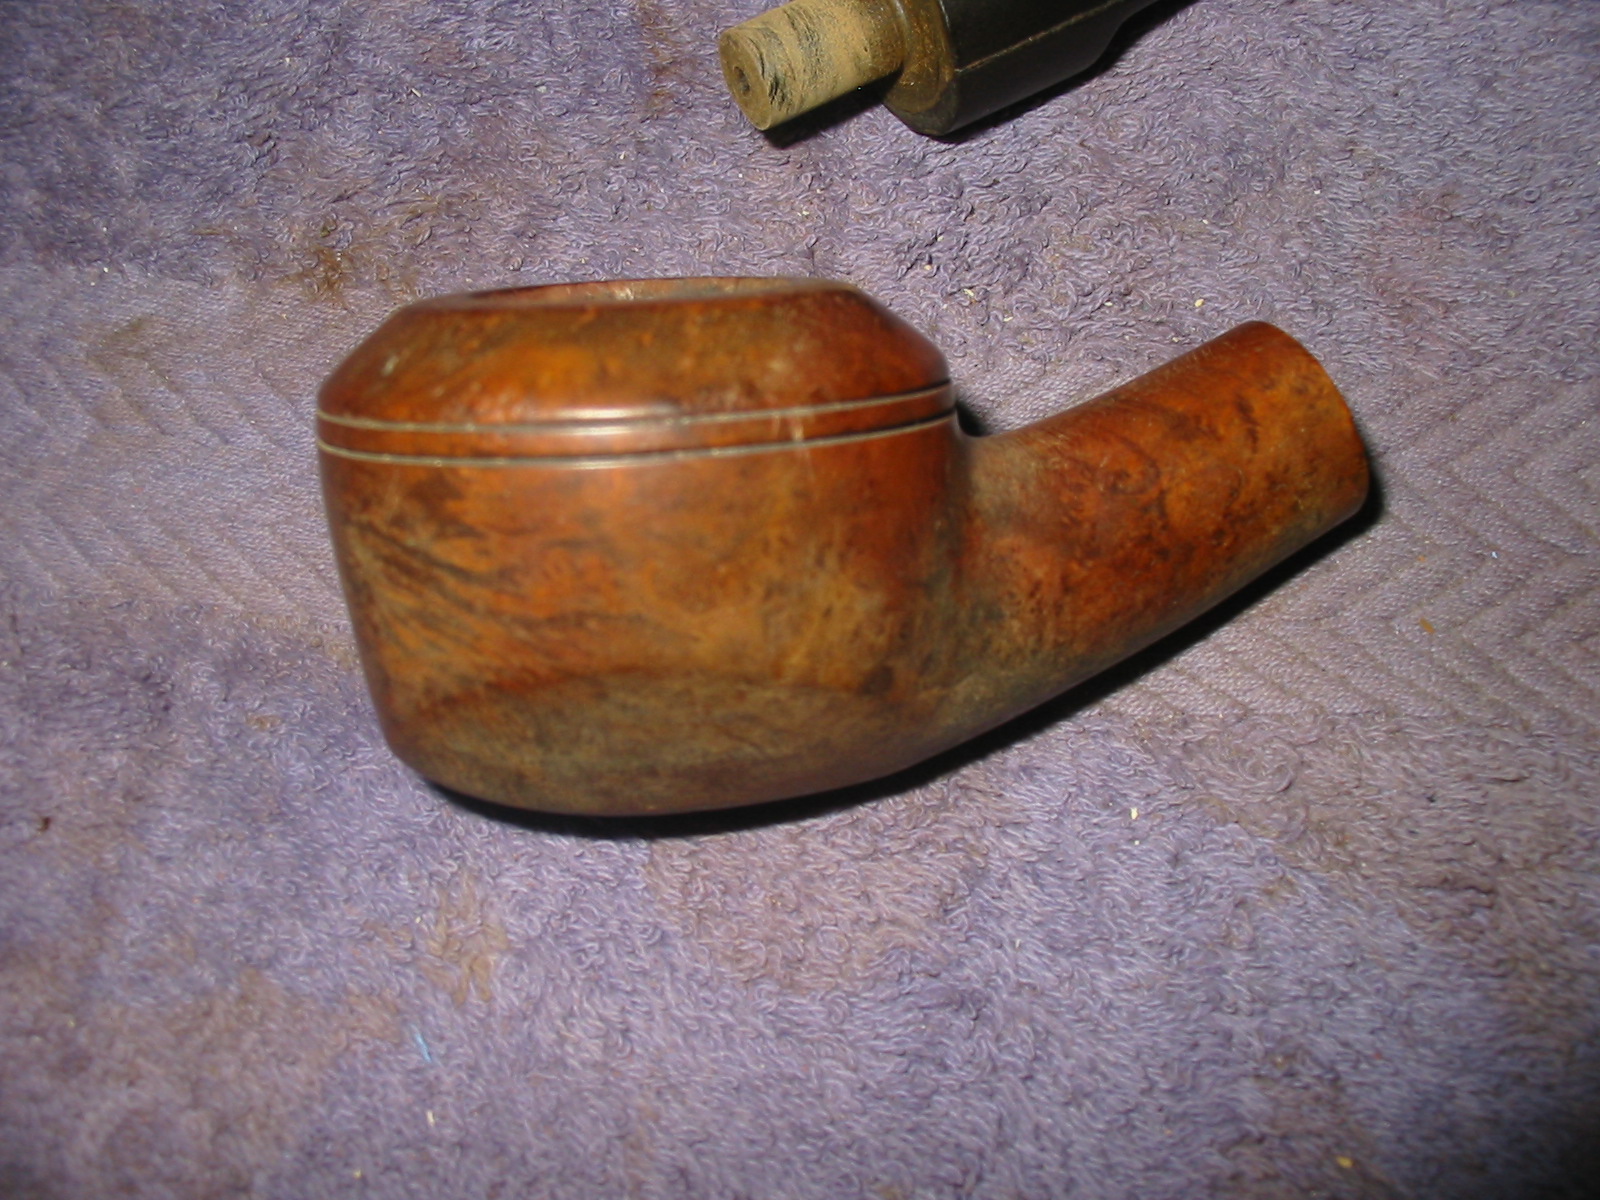
Before I worked on the stem I decided to do a bit of clean up on the bowl. I quickly reamed the bowl with a PipNet pipe reamer. I used the largest cutting head to ream the bowl.
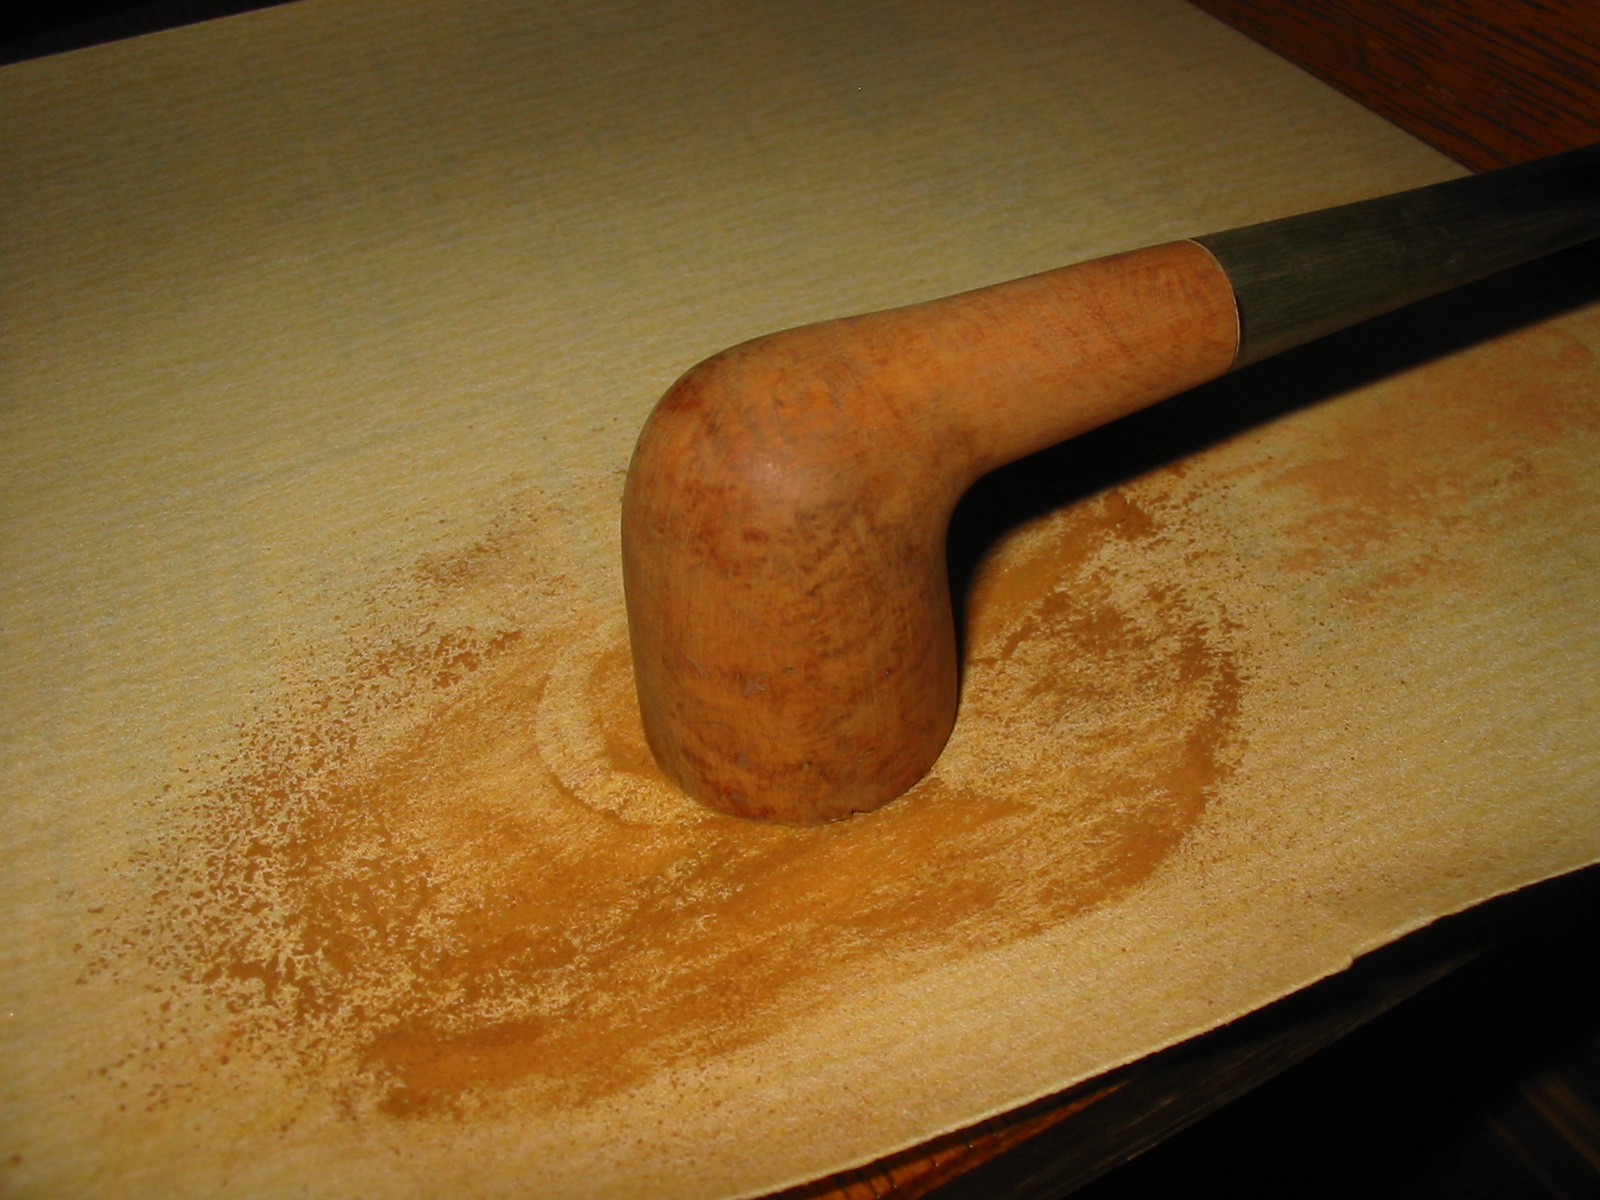
I lightly topped the bowl on a piece of sandpaper to remove the damage and the hard buildup on the surface of the rim.
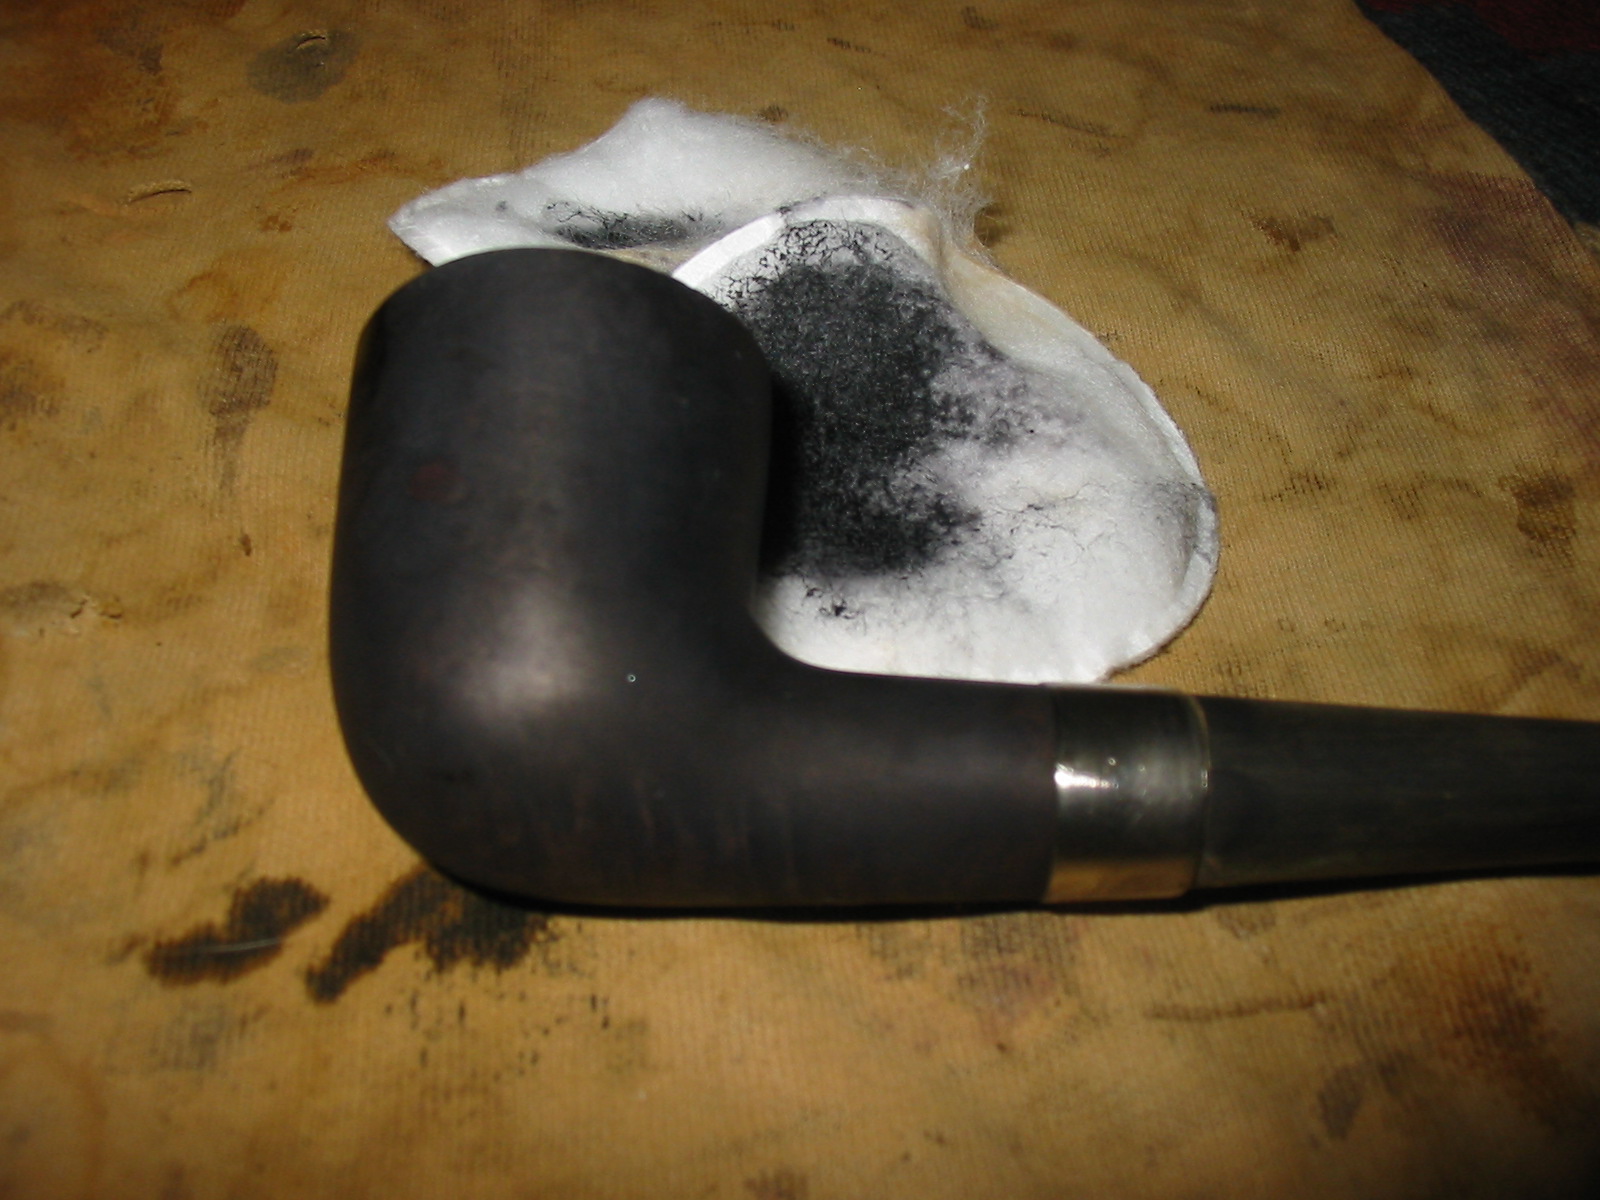
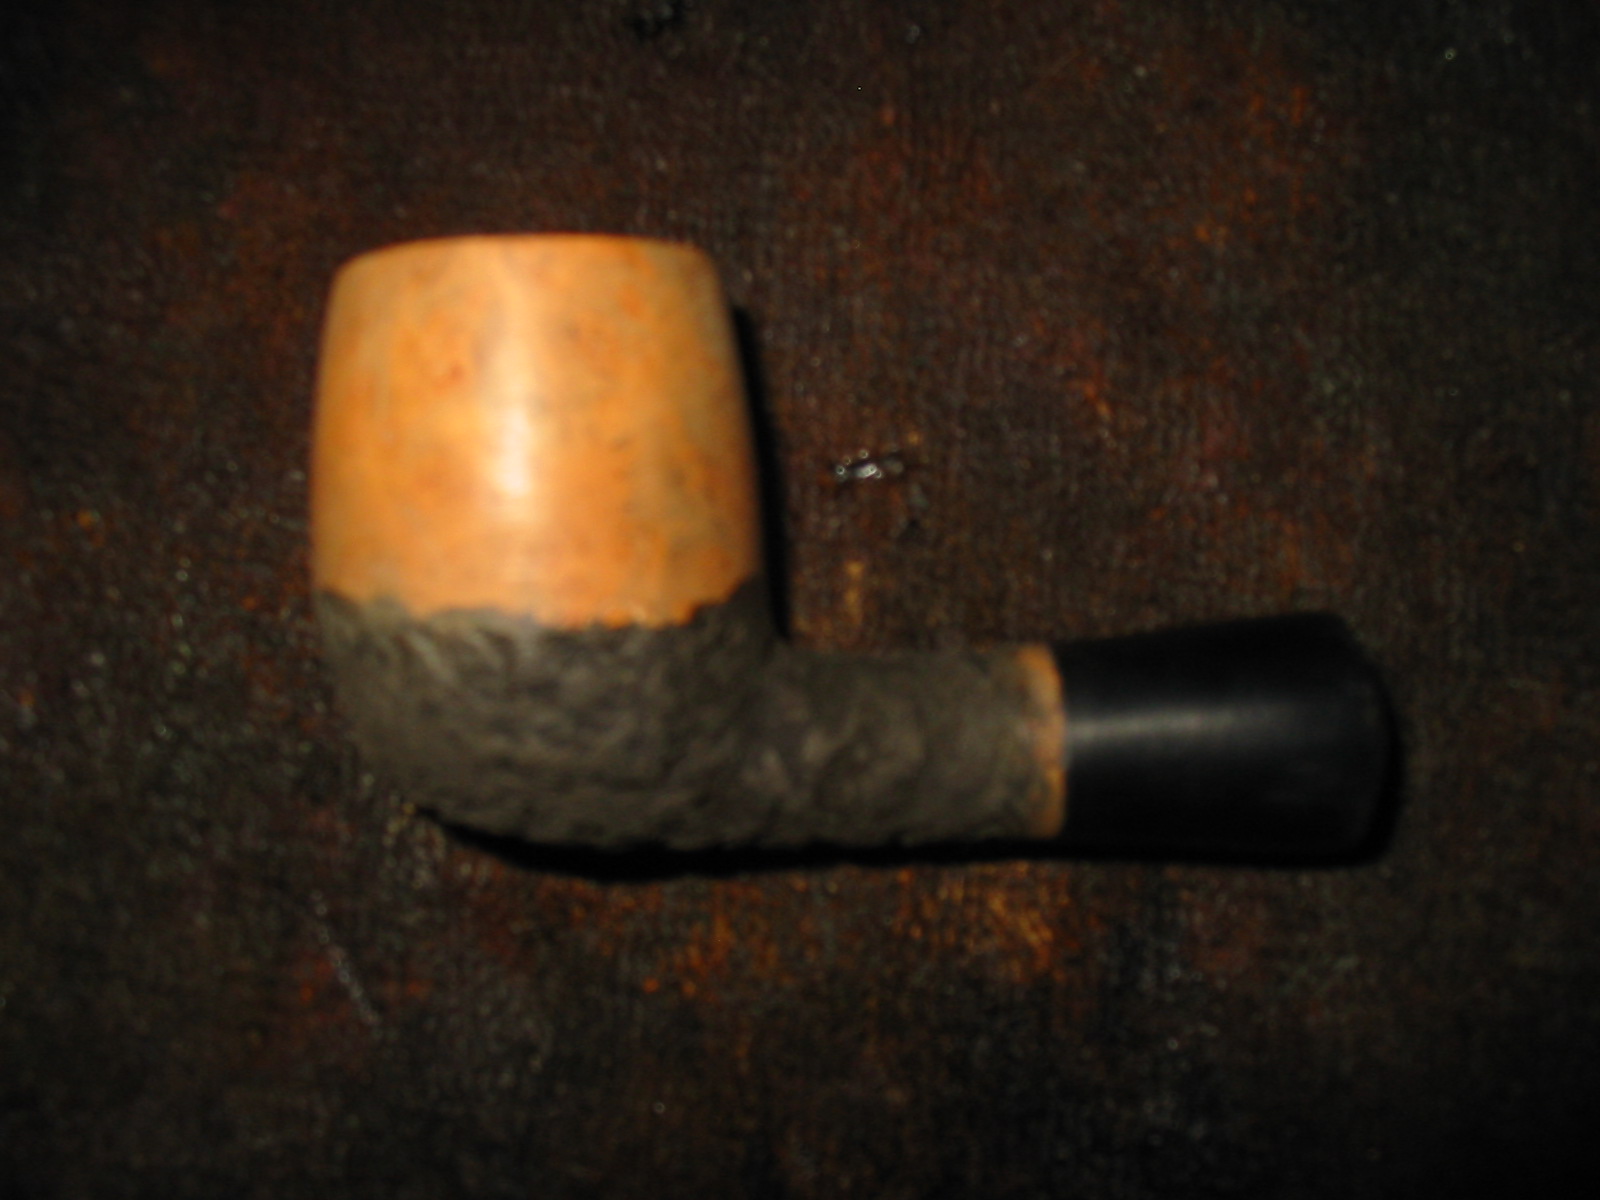
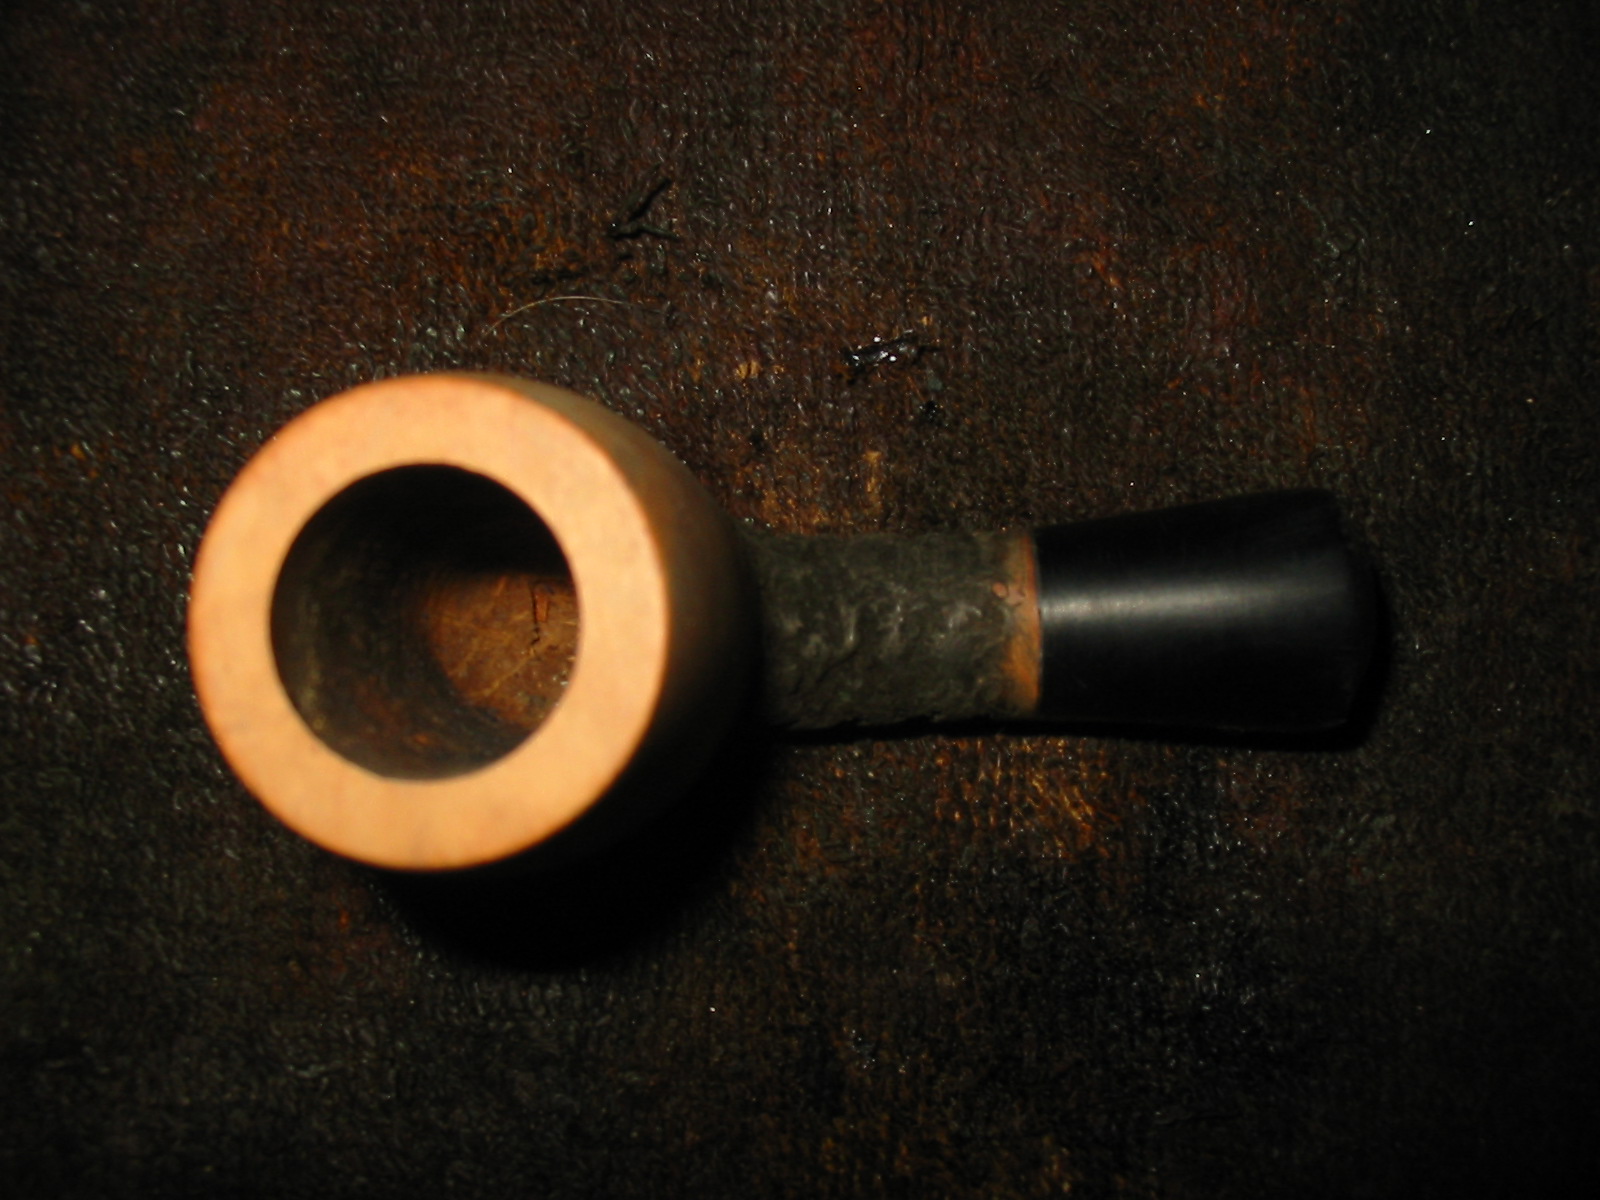
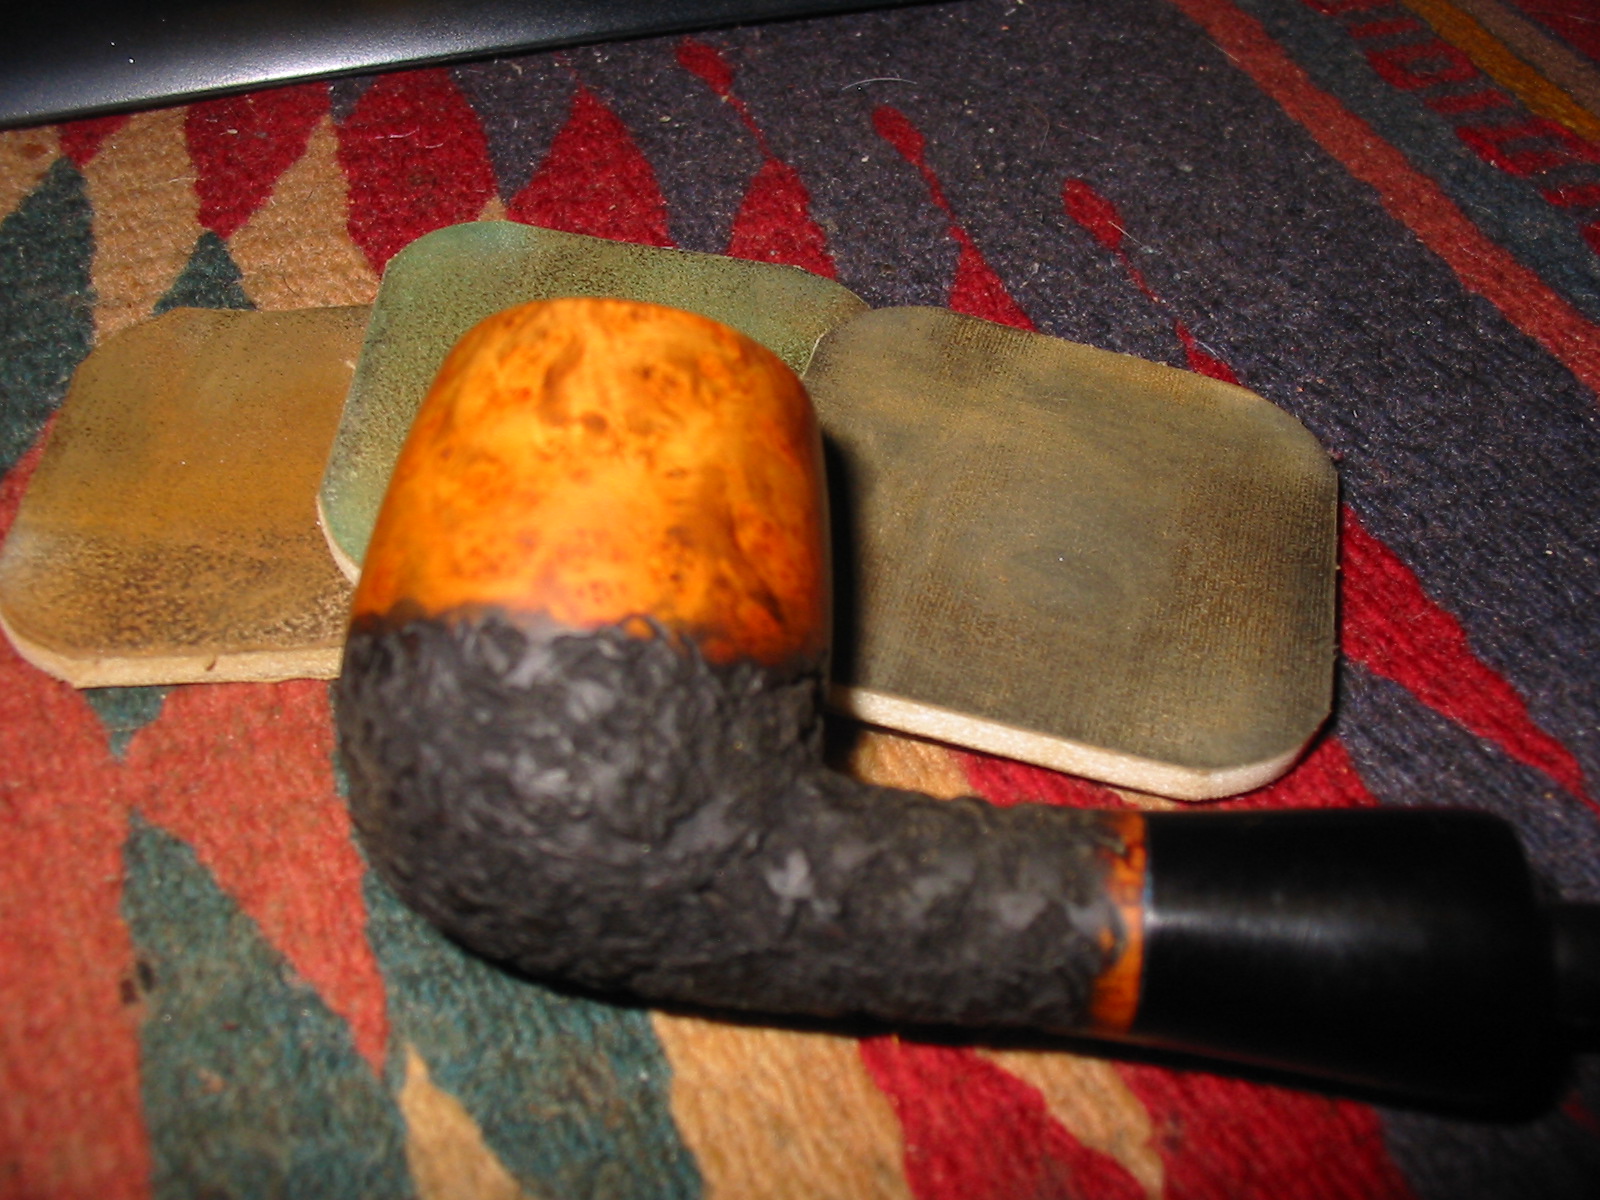
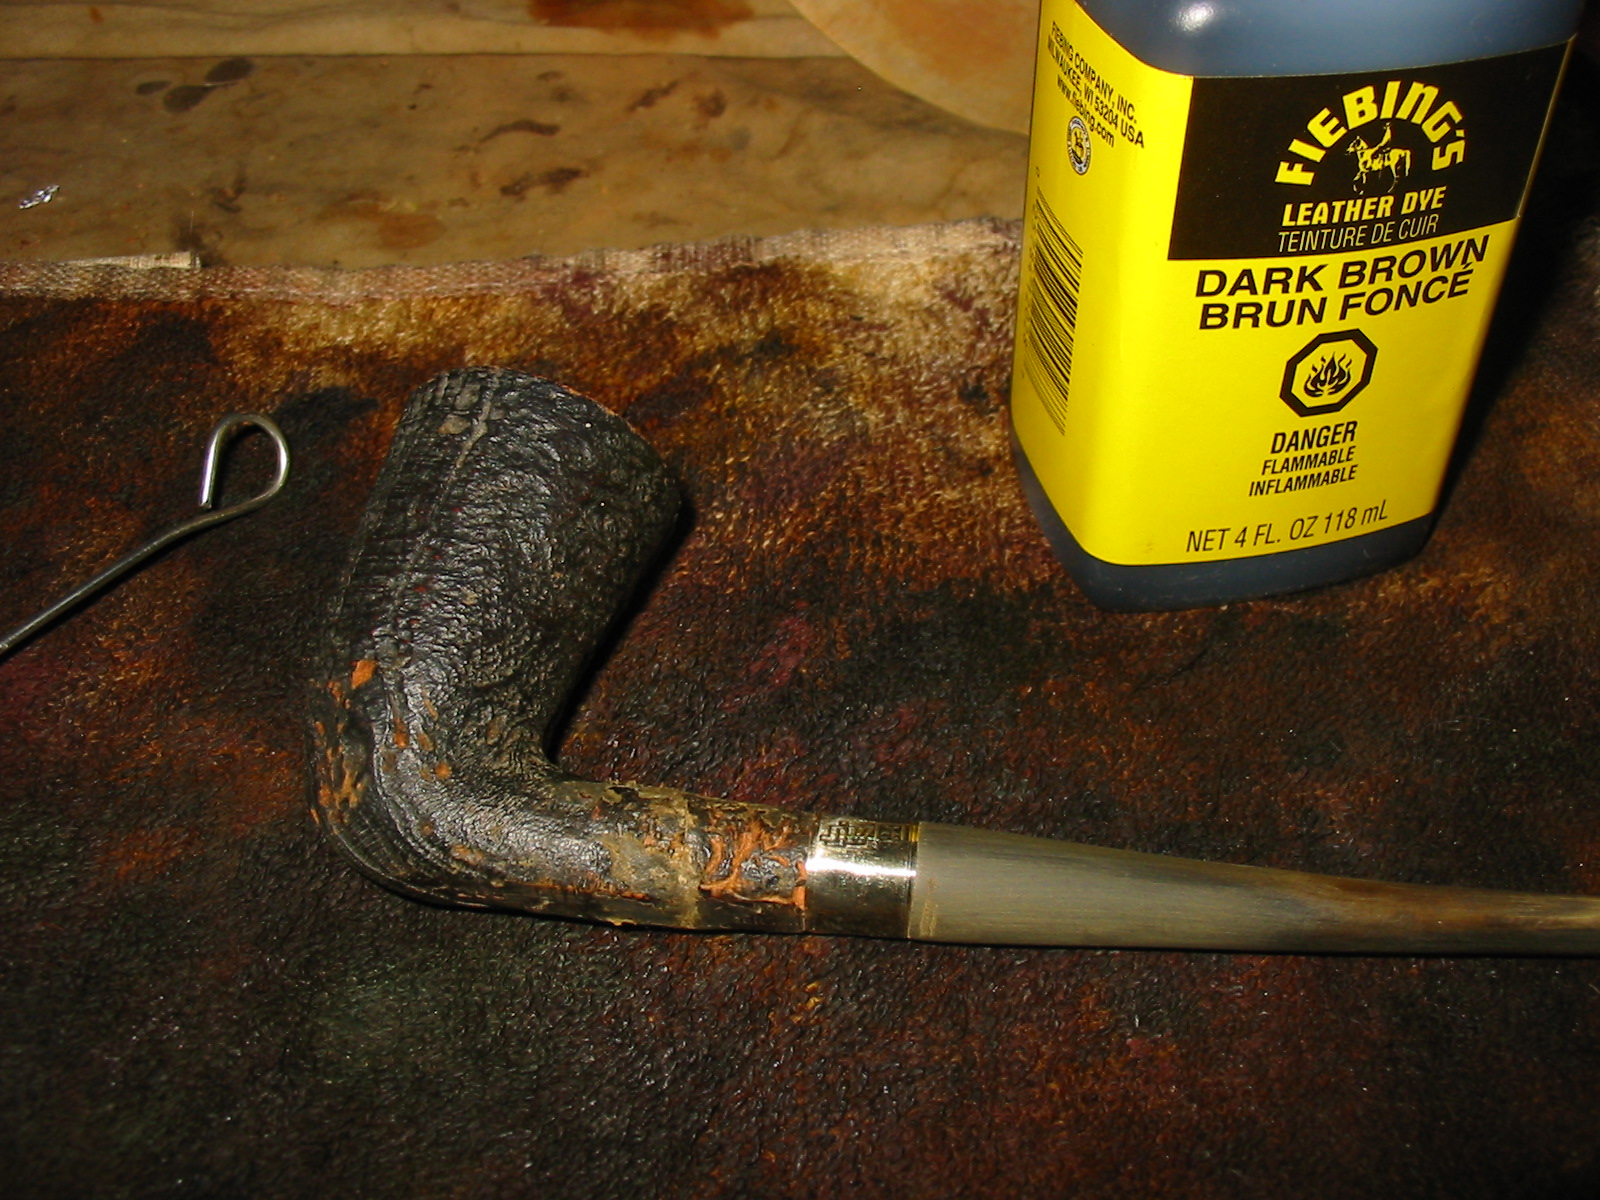
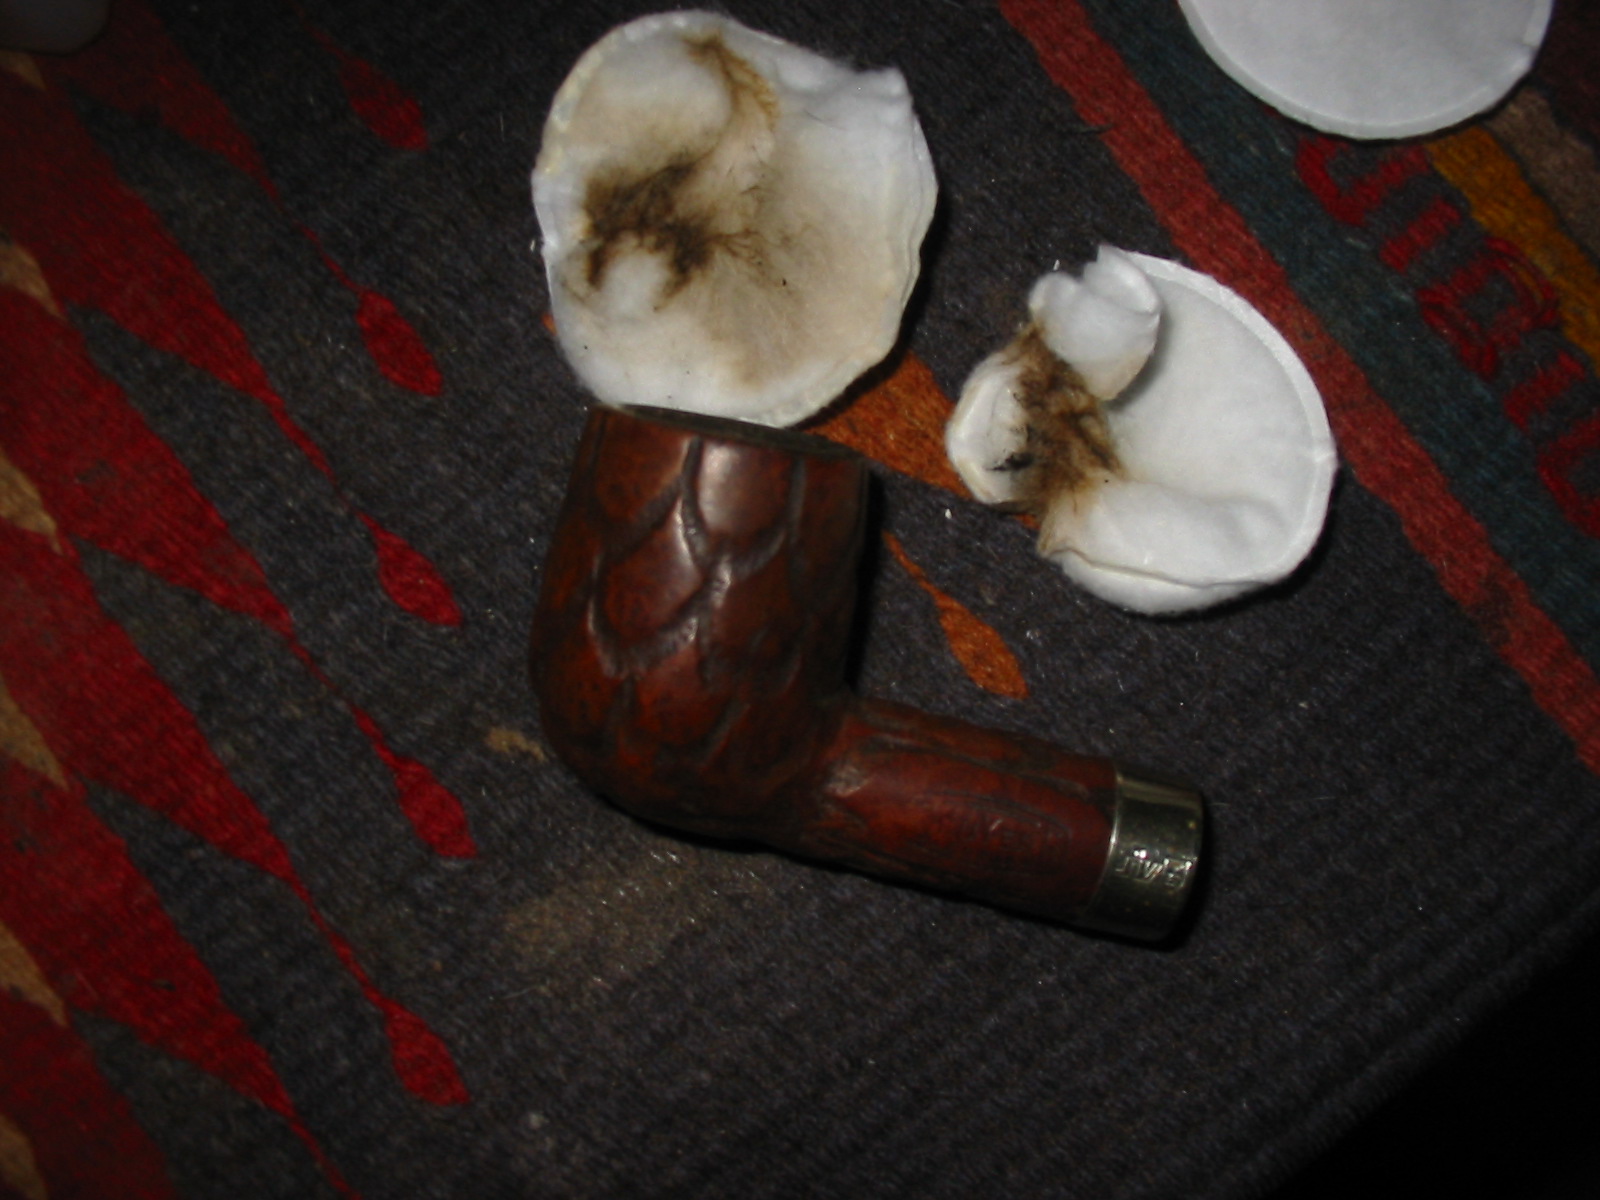
I wiped the bowl down with acetone on cotton pads to remove the damaged finish. I sanded the bowl with a medium and a fine grit sanding sponge to smooth out the rough spots on the bowl and to further remove the finish.
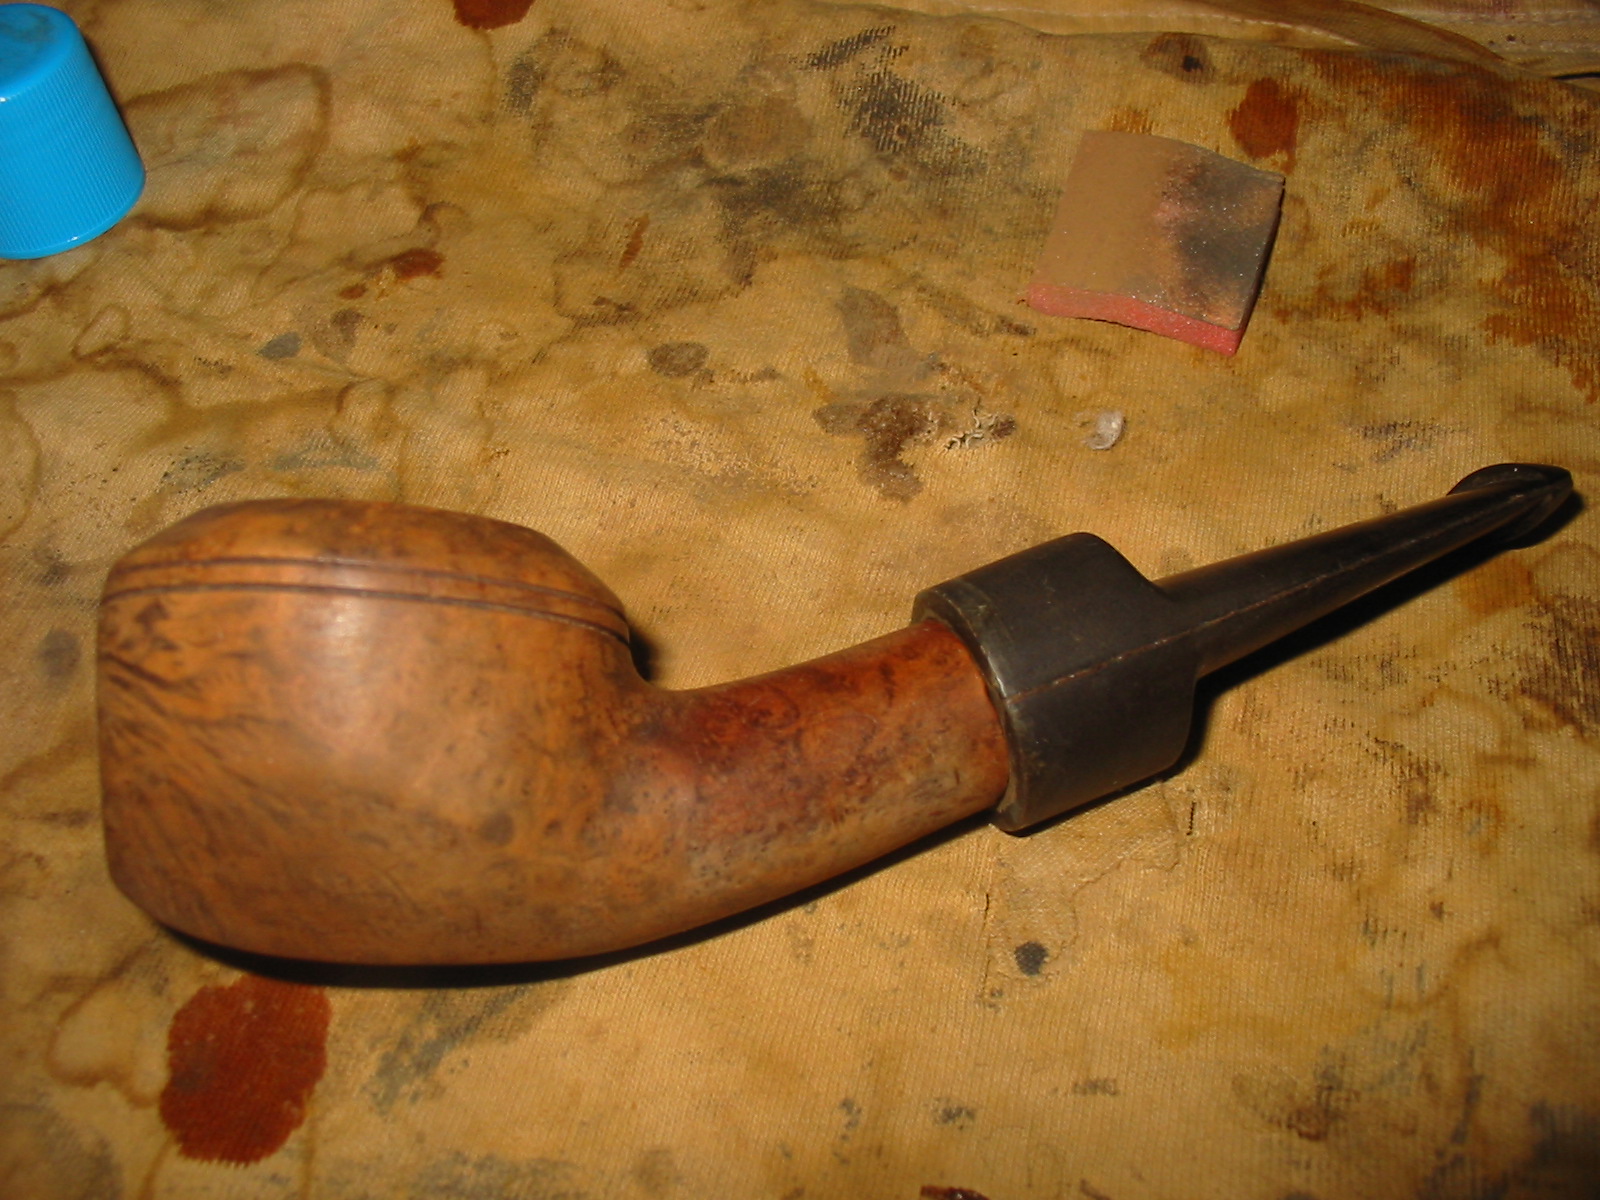


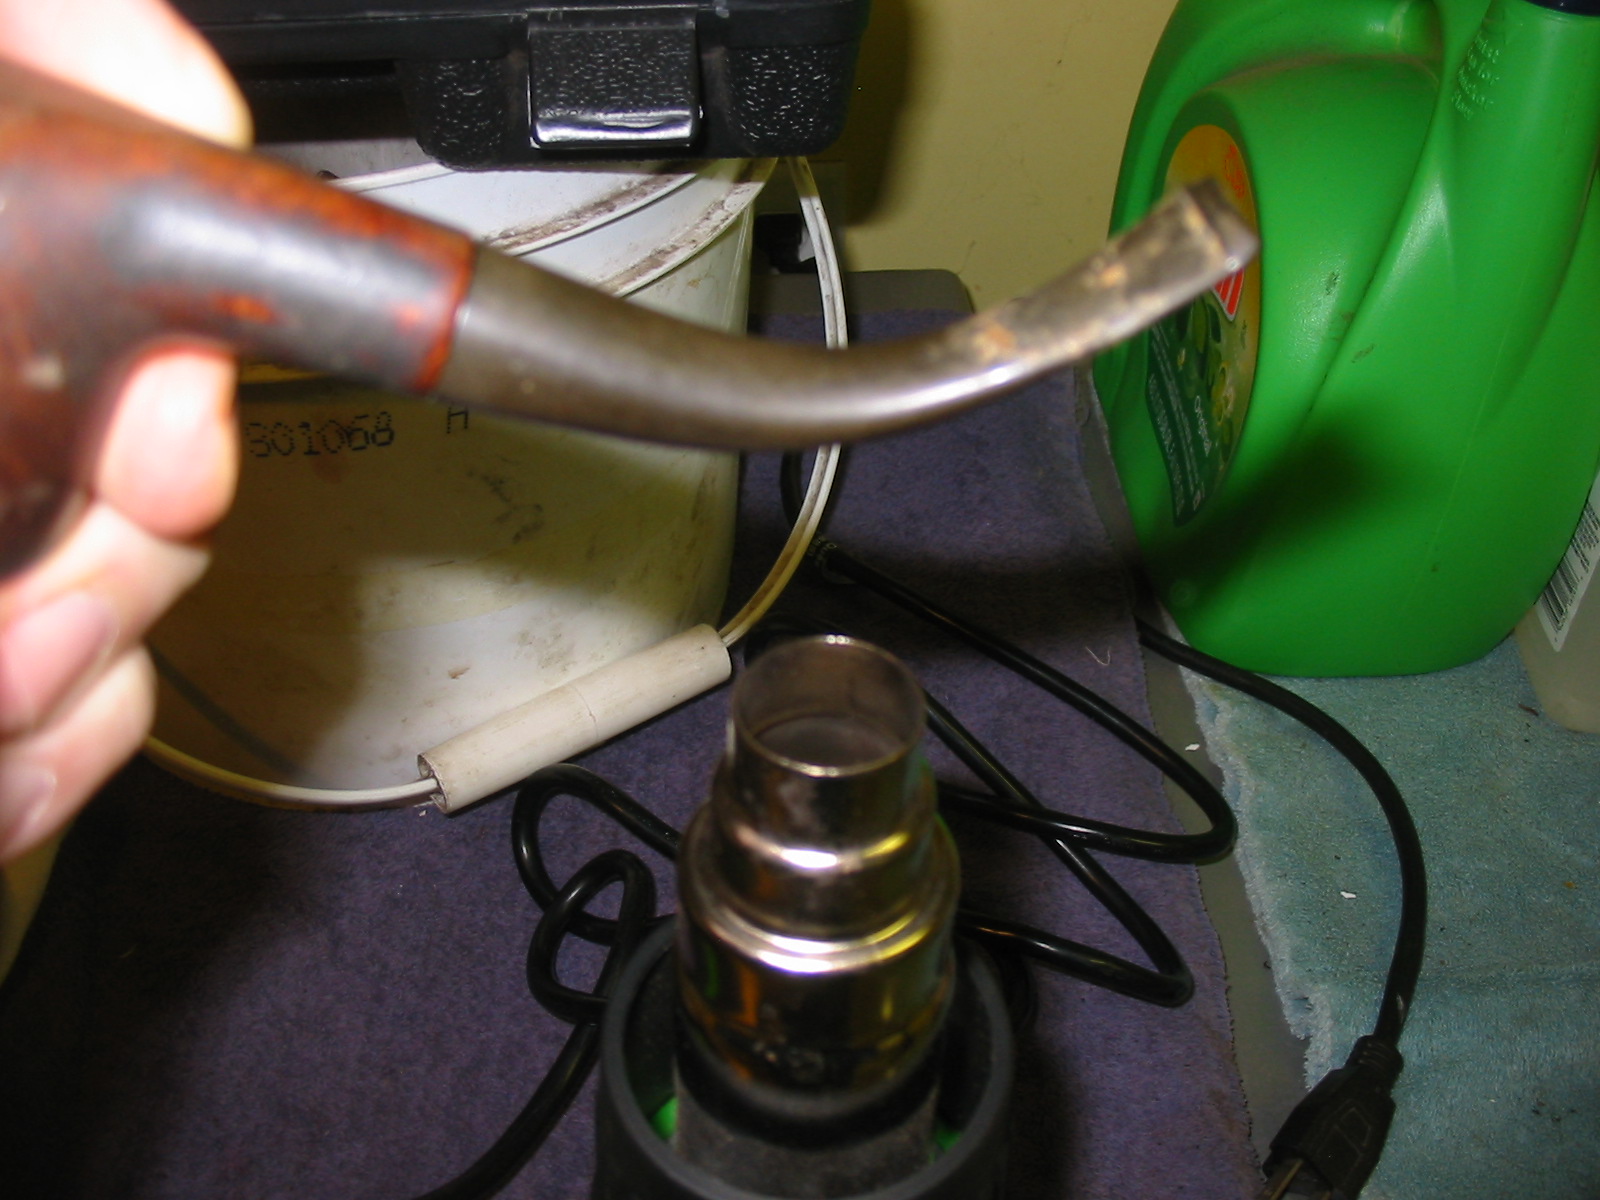
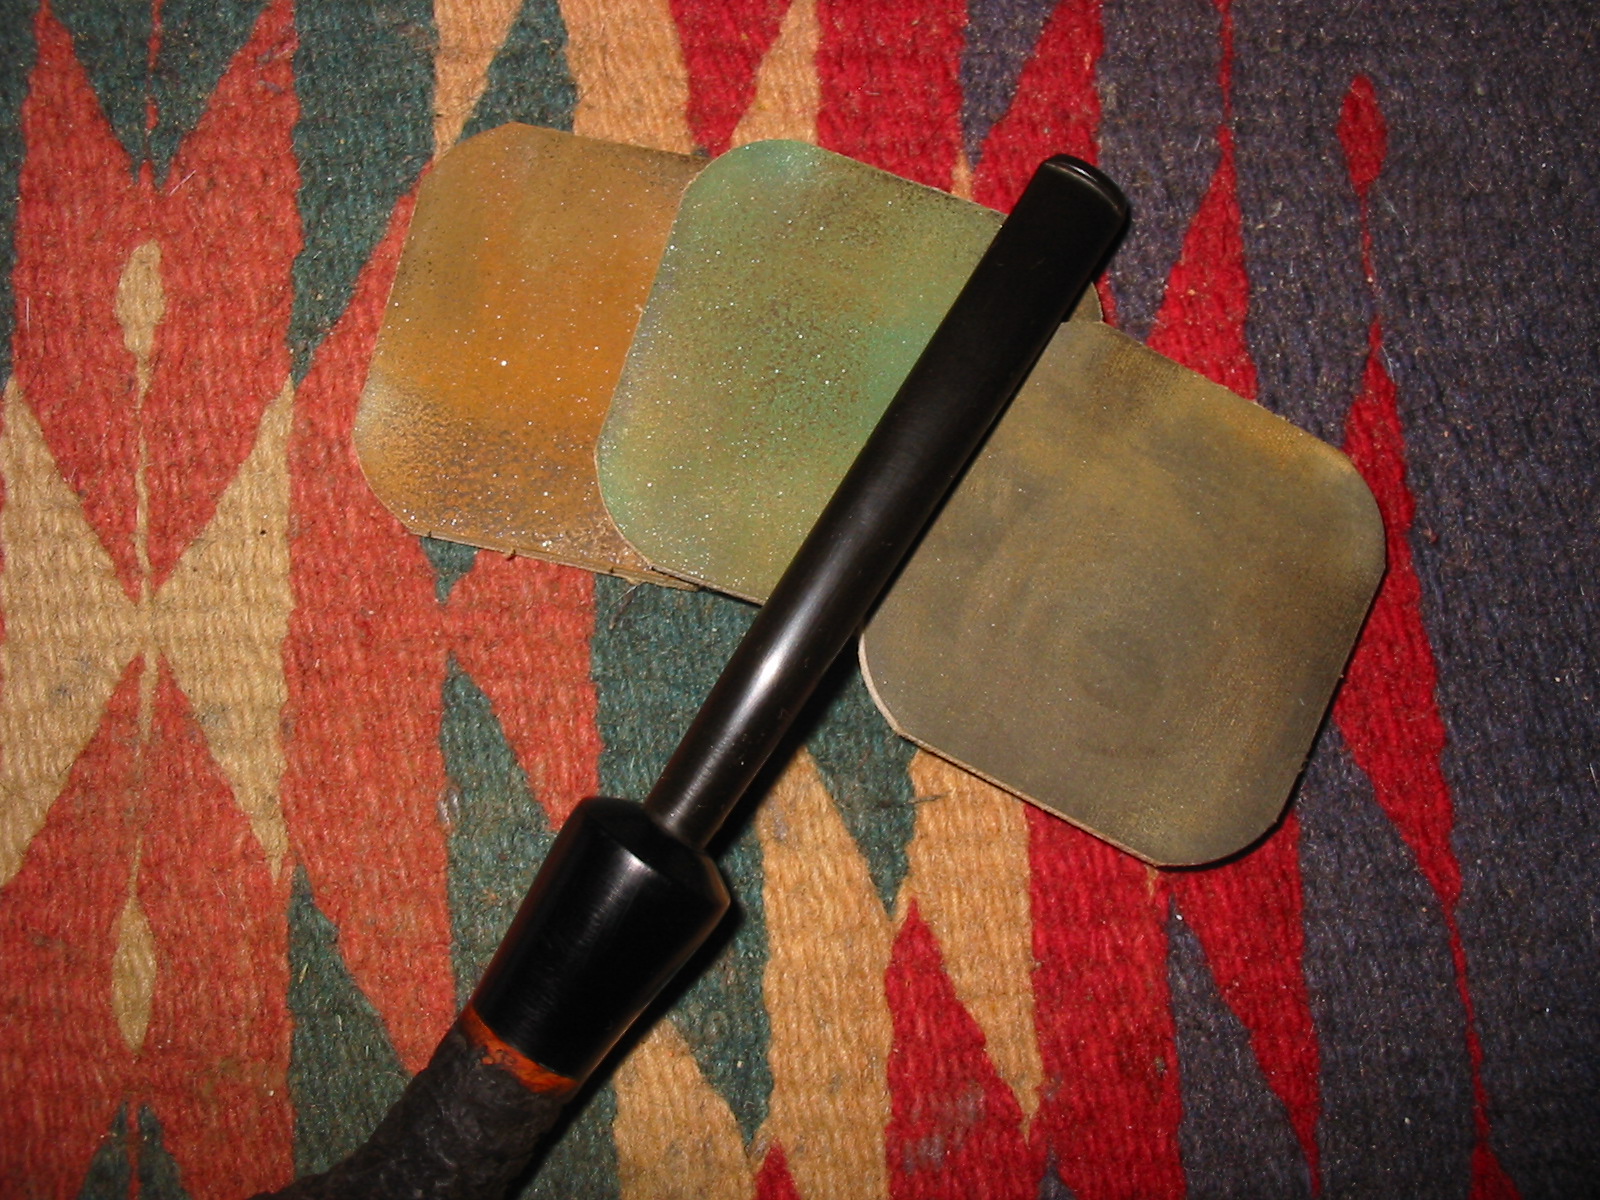
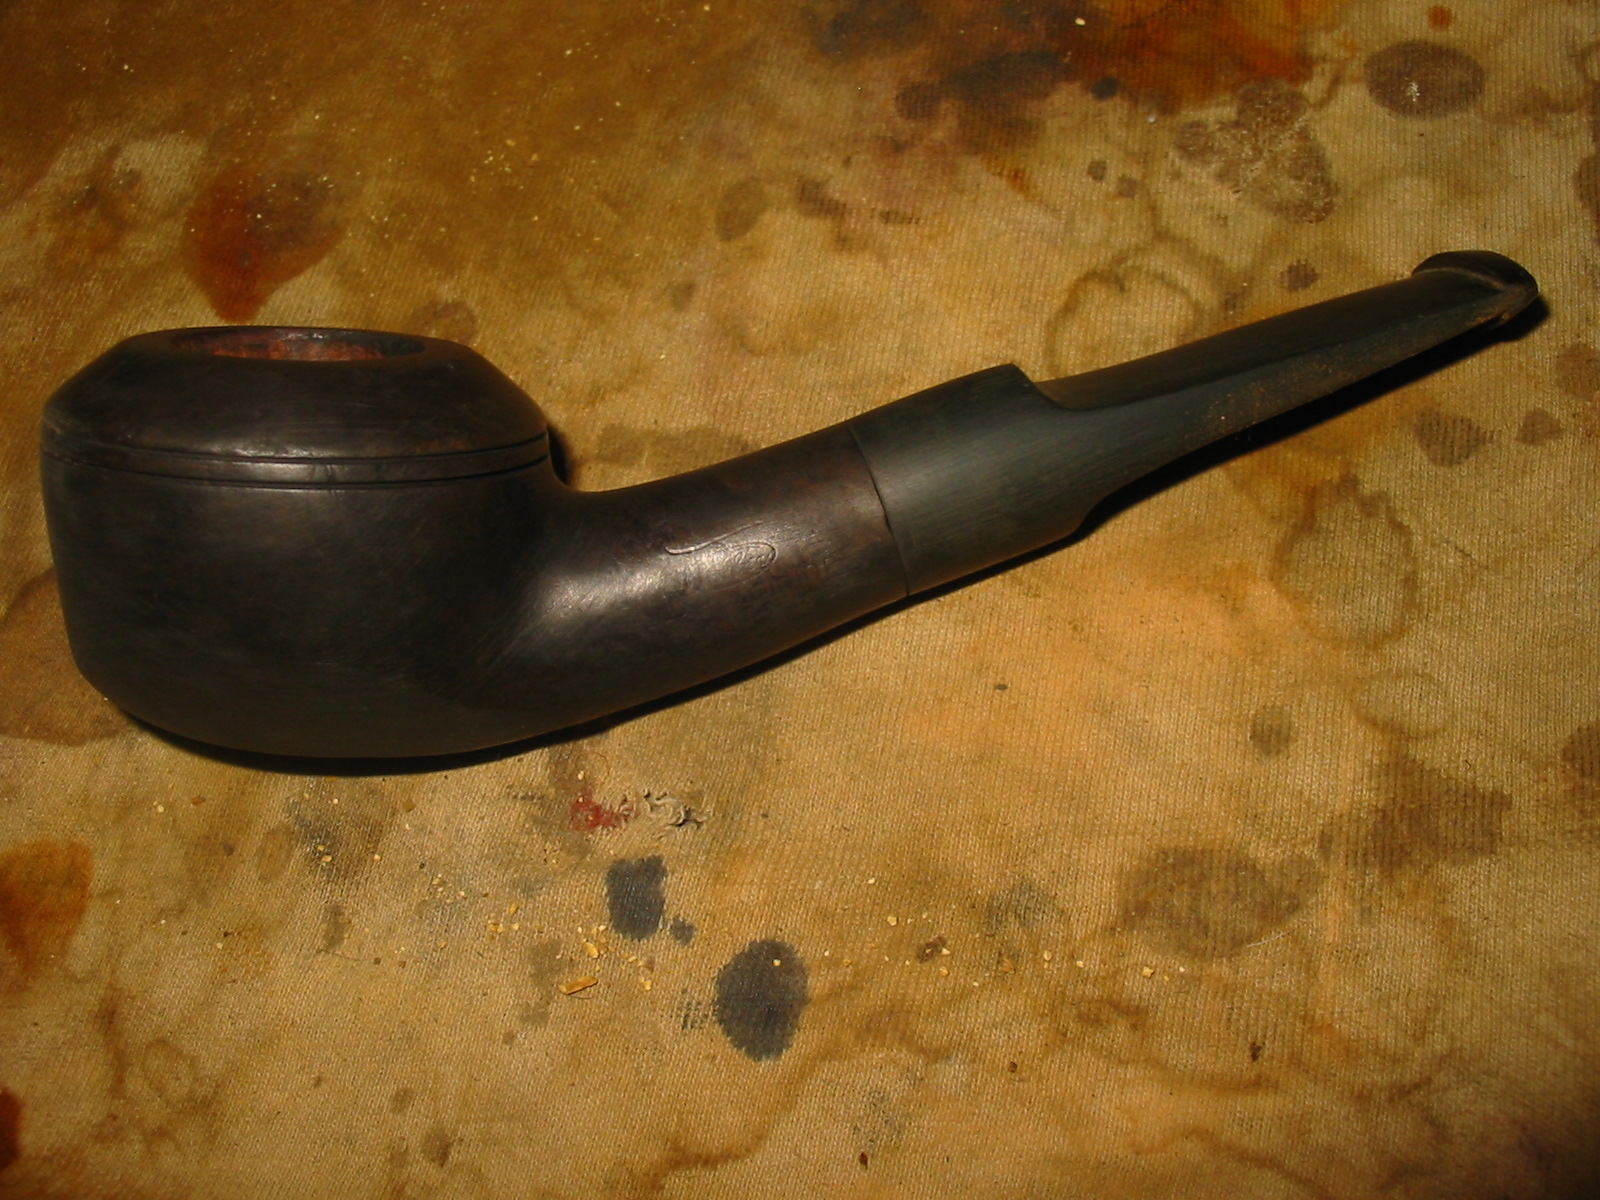
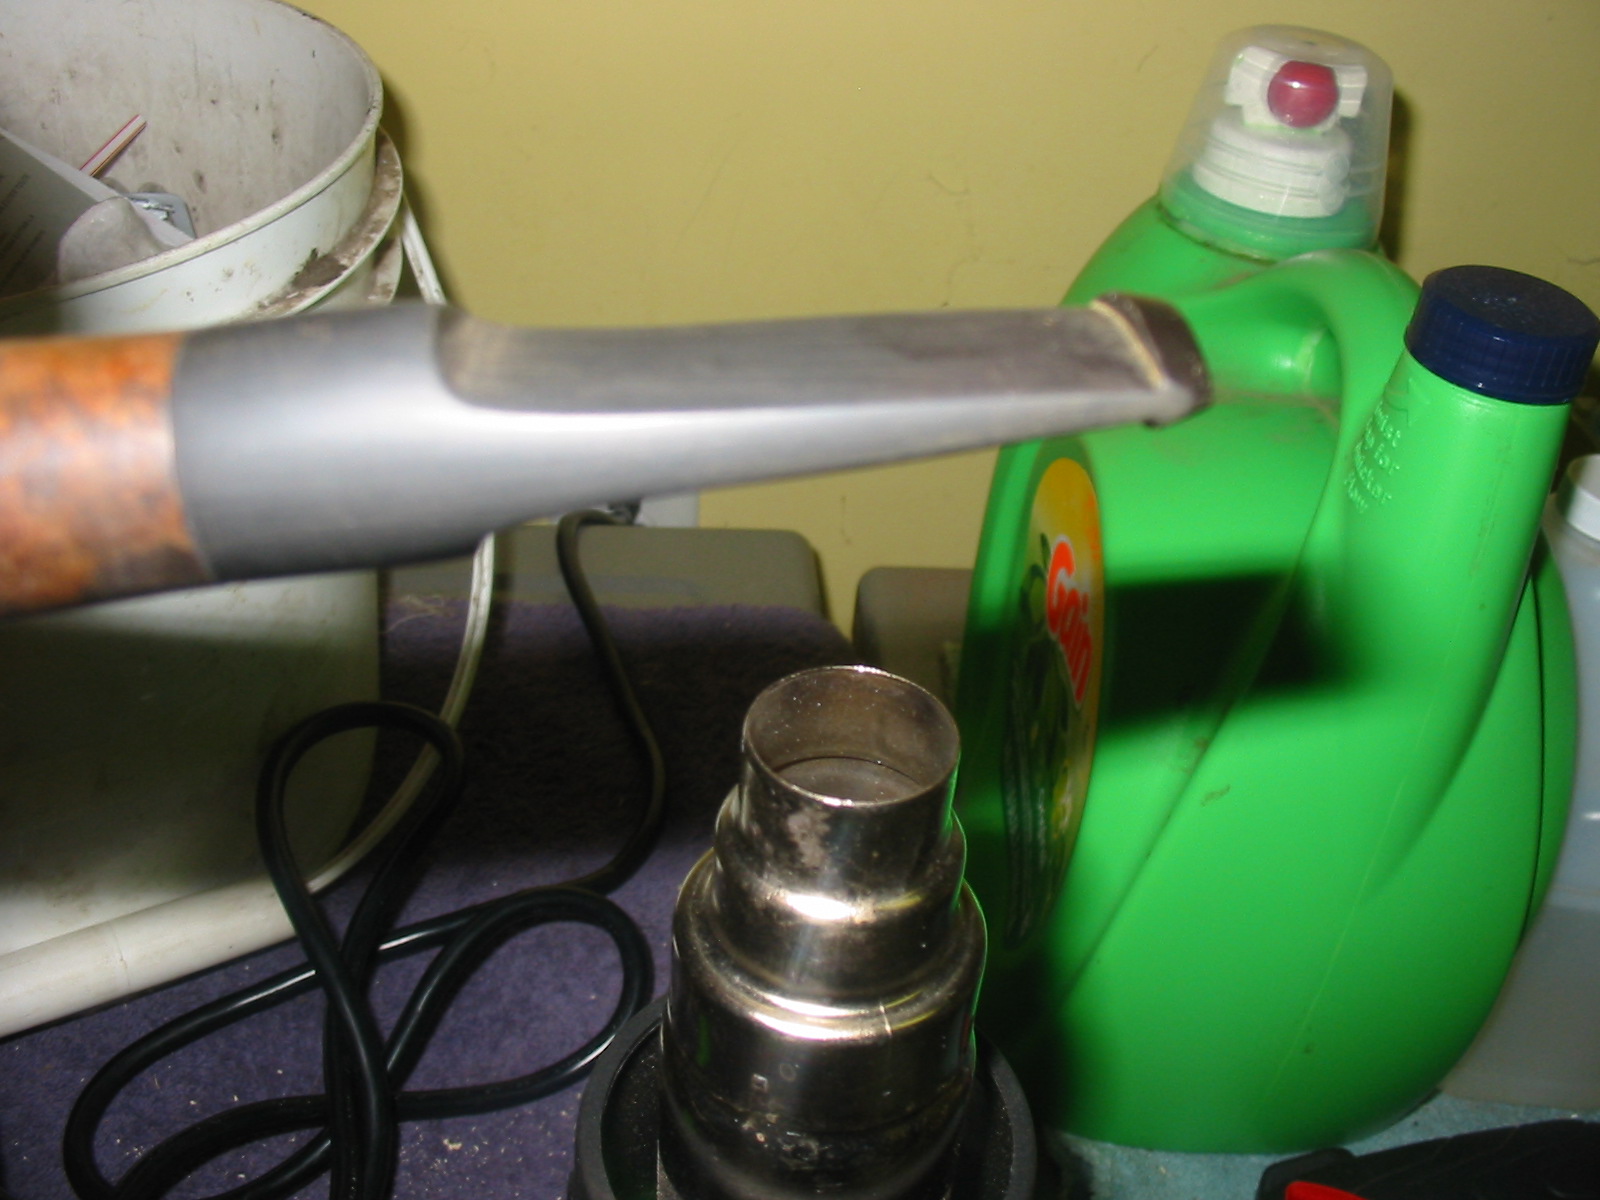
I trimmed the diameter of the stem with a sanding drum on a Dremel. A steady hand is essential in doing this to get close to the shank of the pipe but not nick it with the fast moving drum. I generally do this in several stages to get it even and the alignment with the sides and top of the shank correct. I also take as much off as possible with the Dremel so that the hand sanding is really fine tuning the shape of the stem.
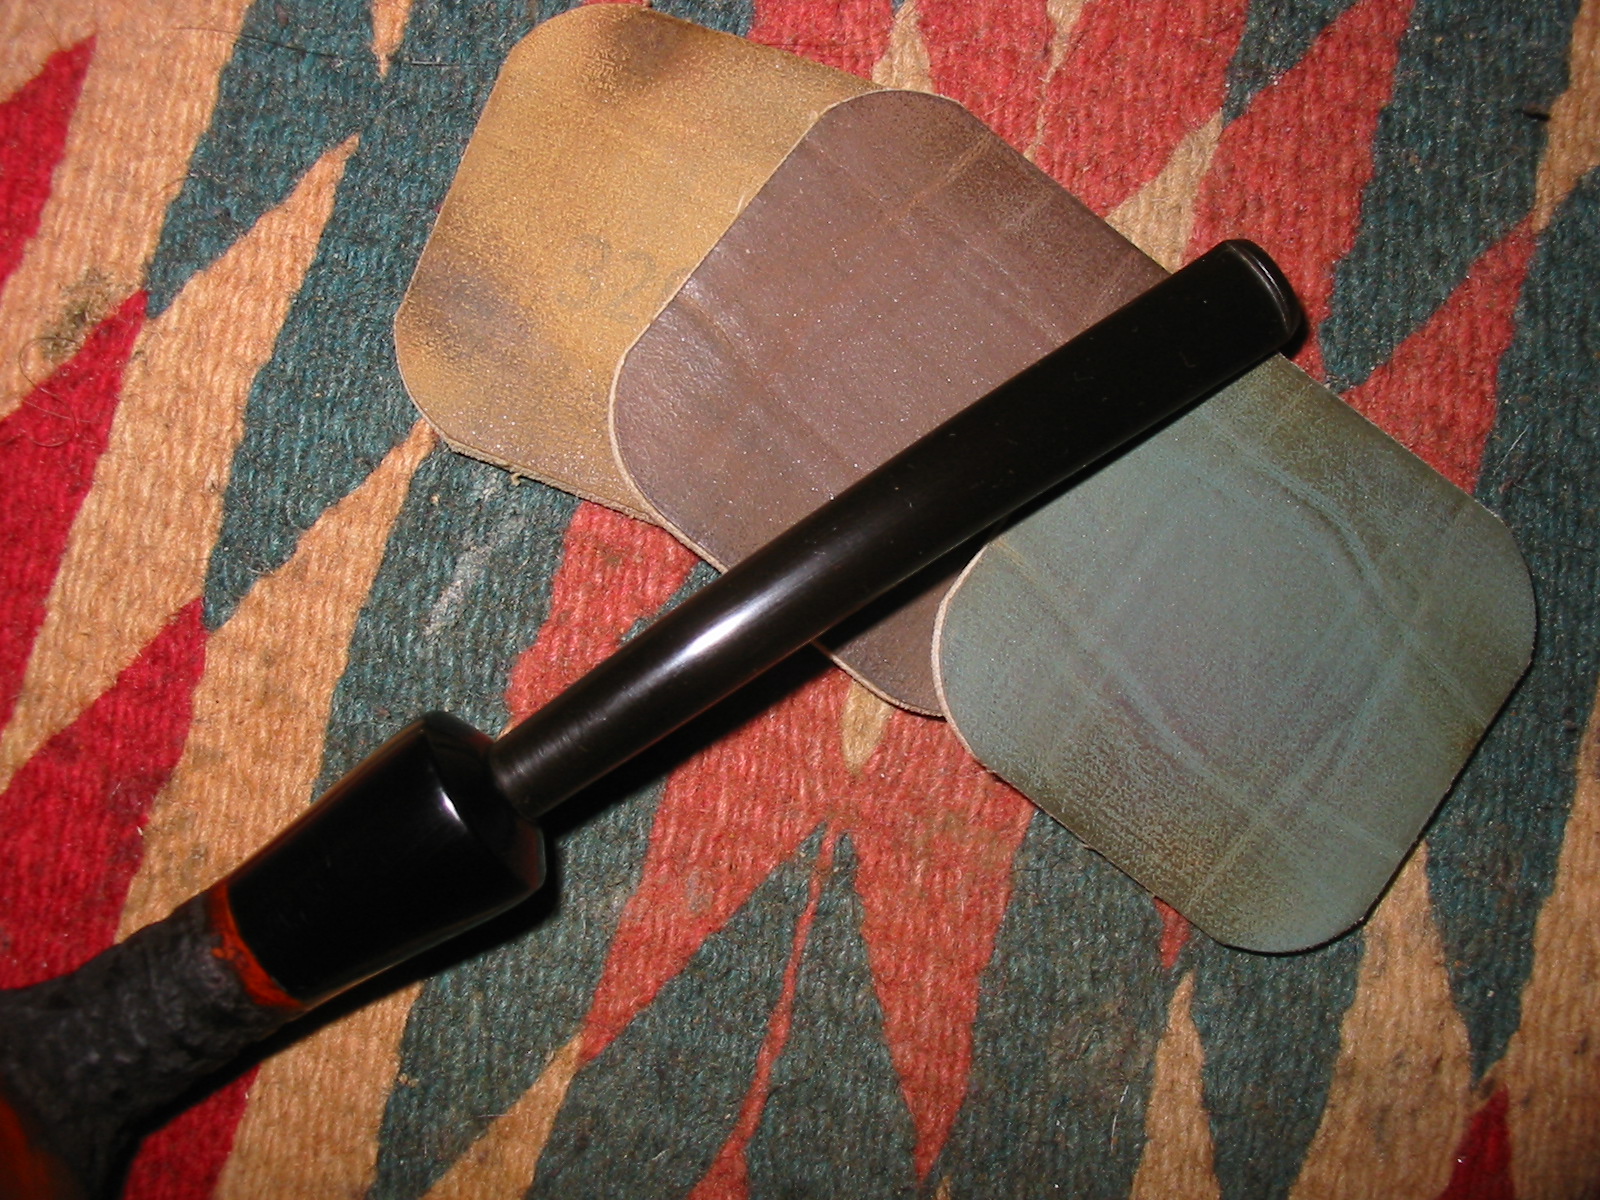
When the majority of the excess material has been removed with the Dremel I continue shaping the stem with 220 grit sandpaper squares. I sand until the marks from the Dremel are gone and the sides of the stem align with the line of the shank on each side. I want a good flow between the shank and the stem. I also sand the junction of the shank and stem until the flow is also correct. It takes a lot of sanding to get it to the place where the transitions are smooth and the old round chunky stem is a thing of the past.

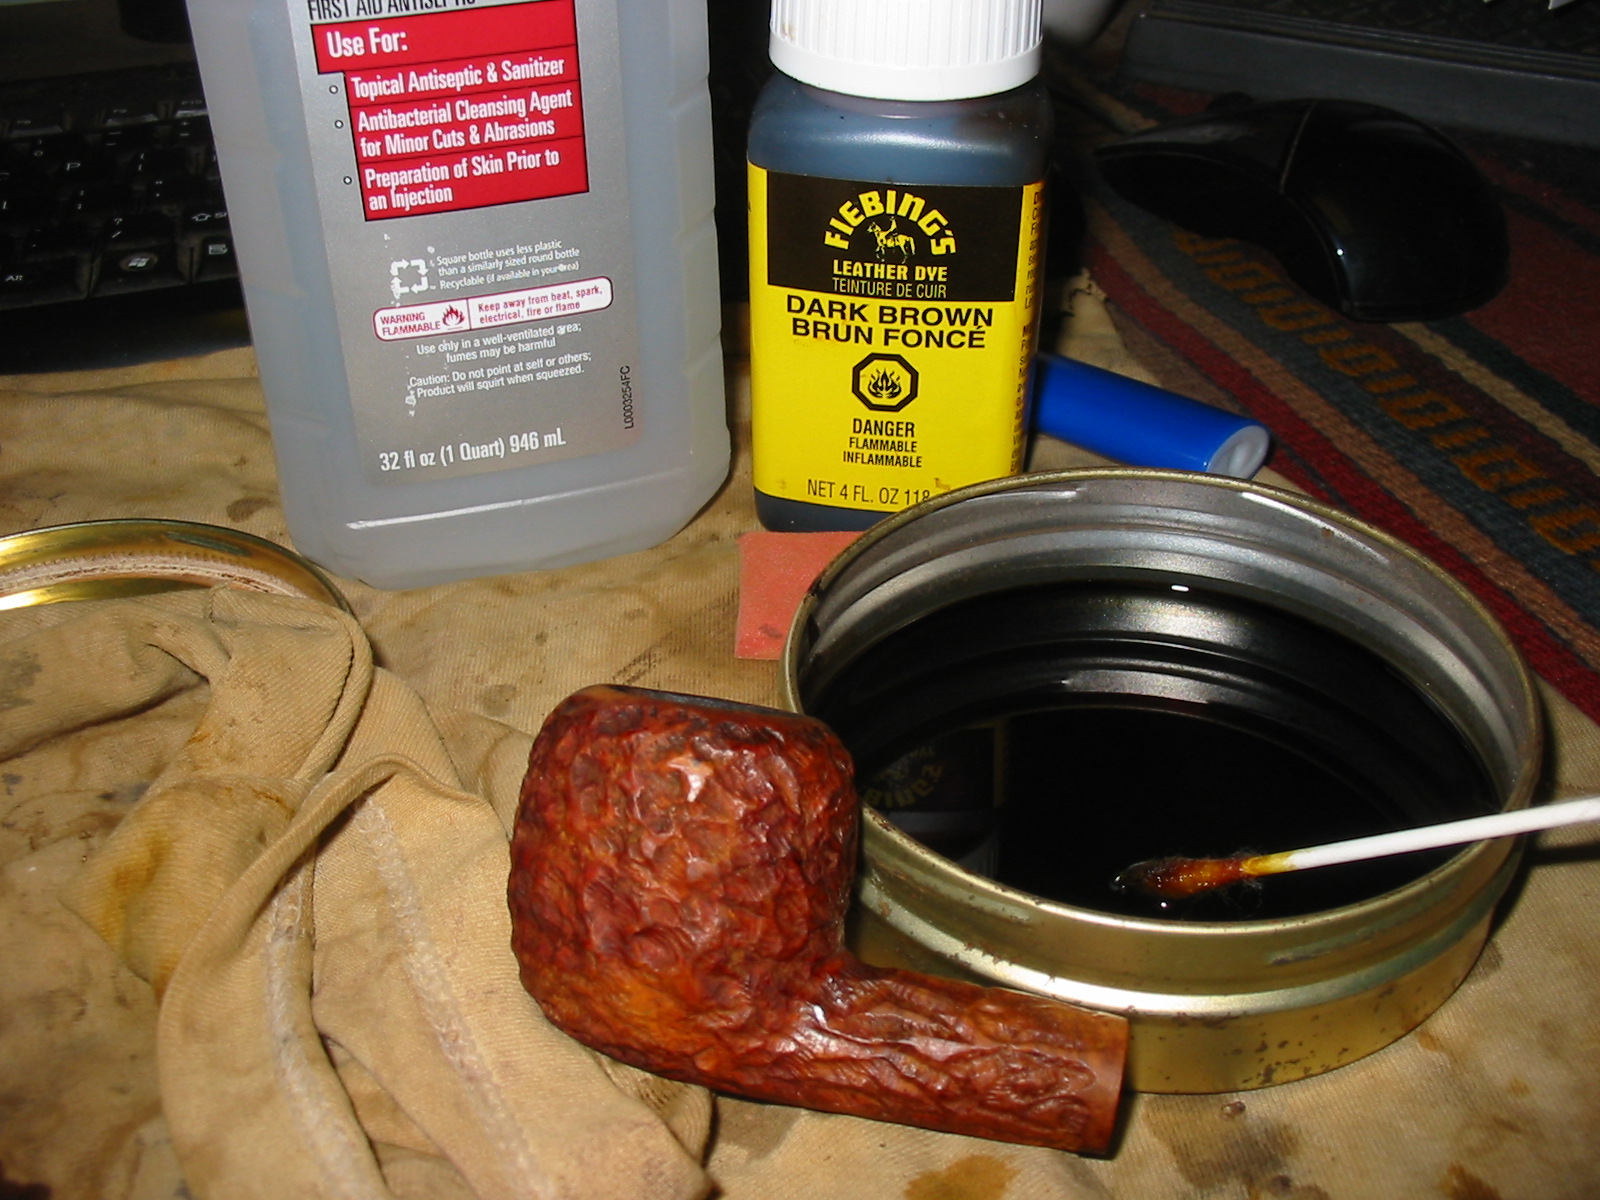
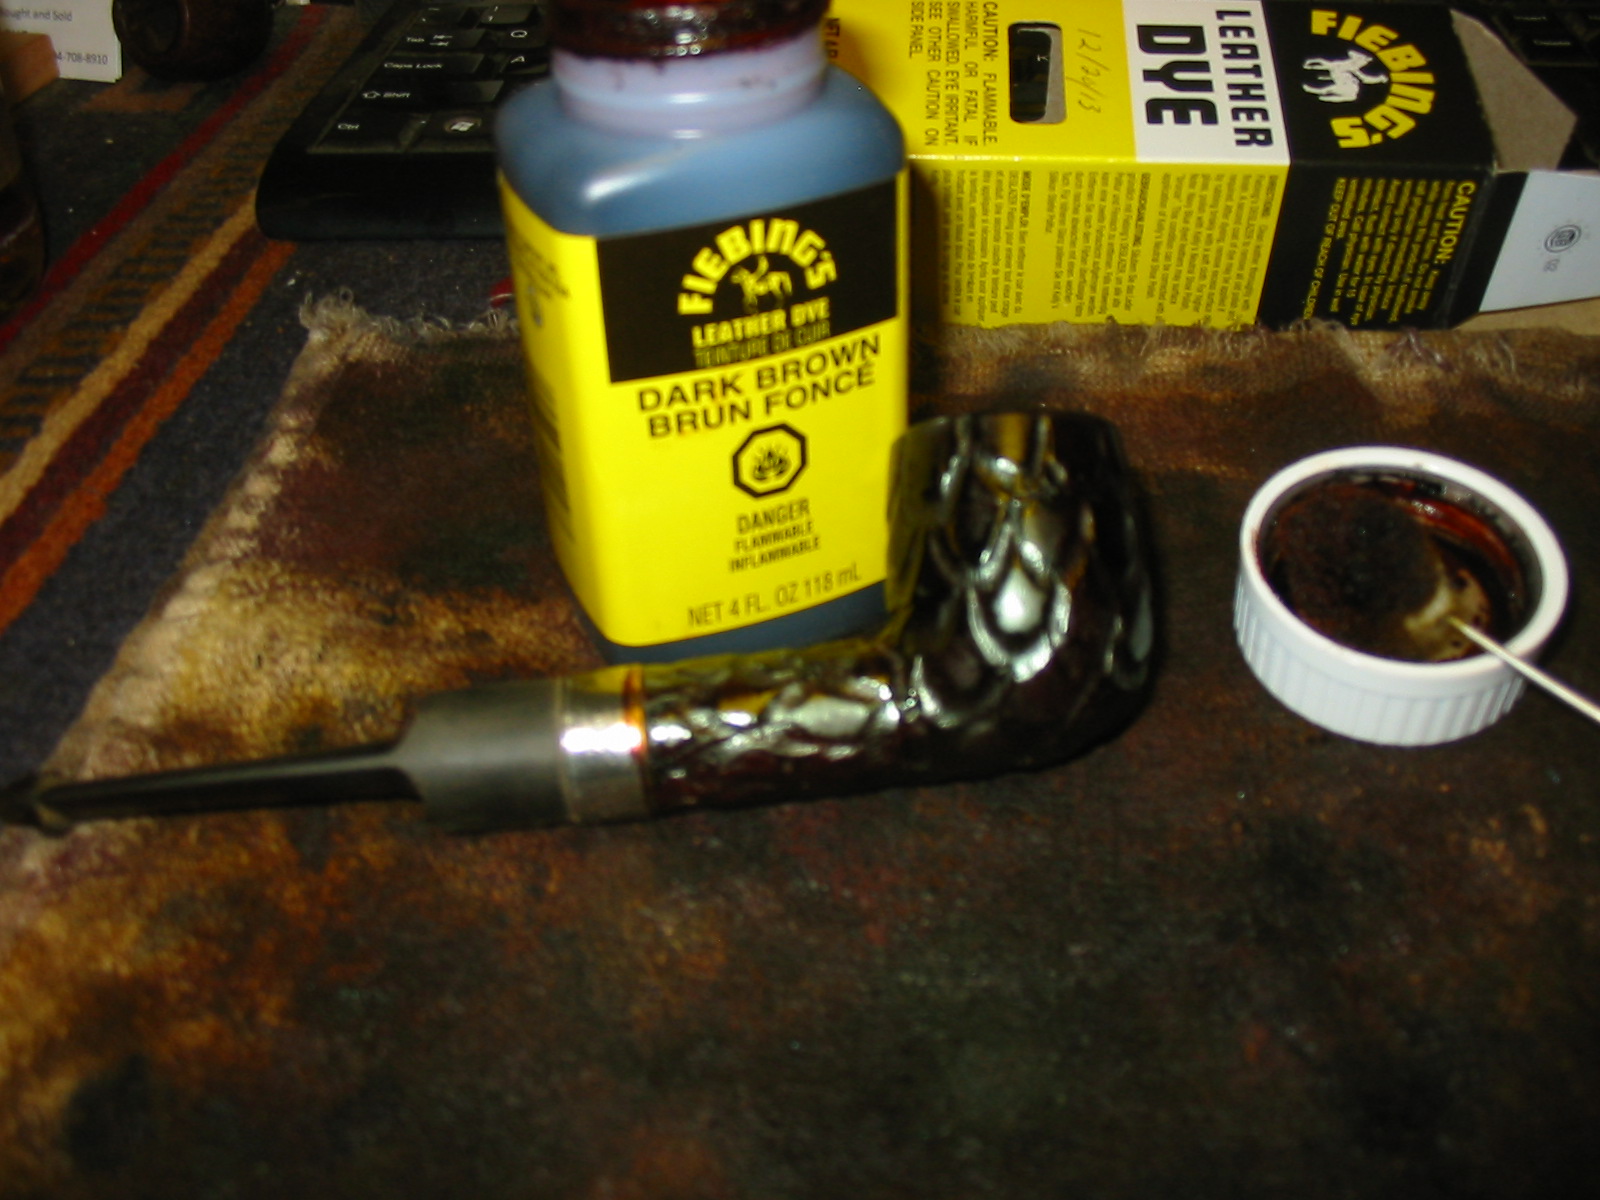
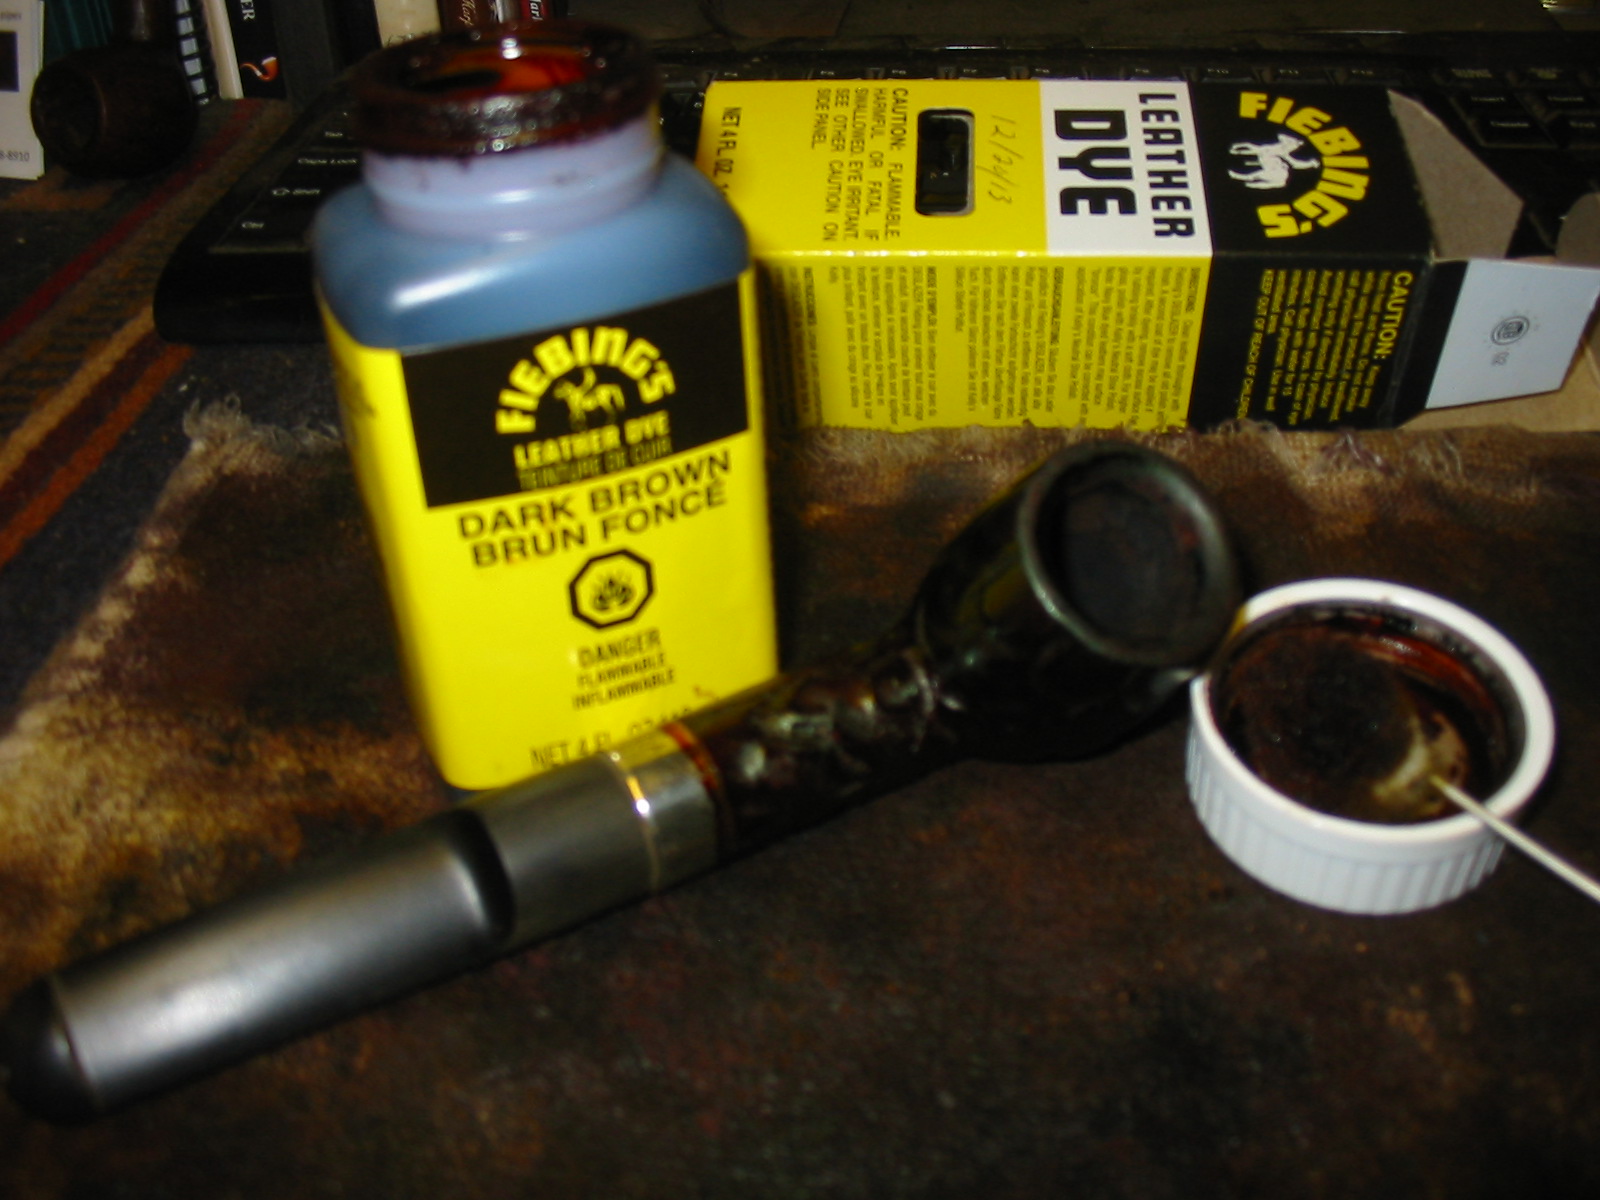
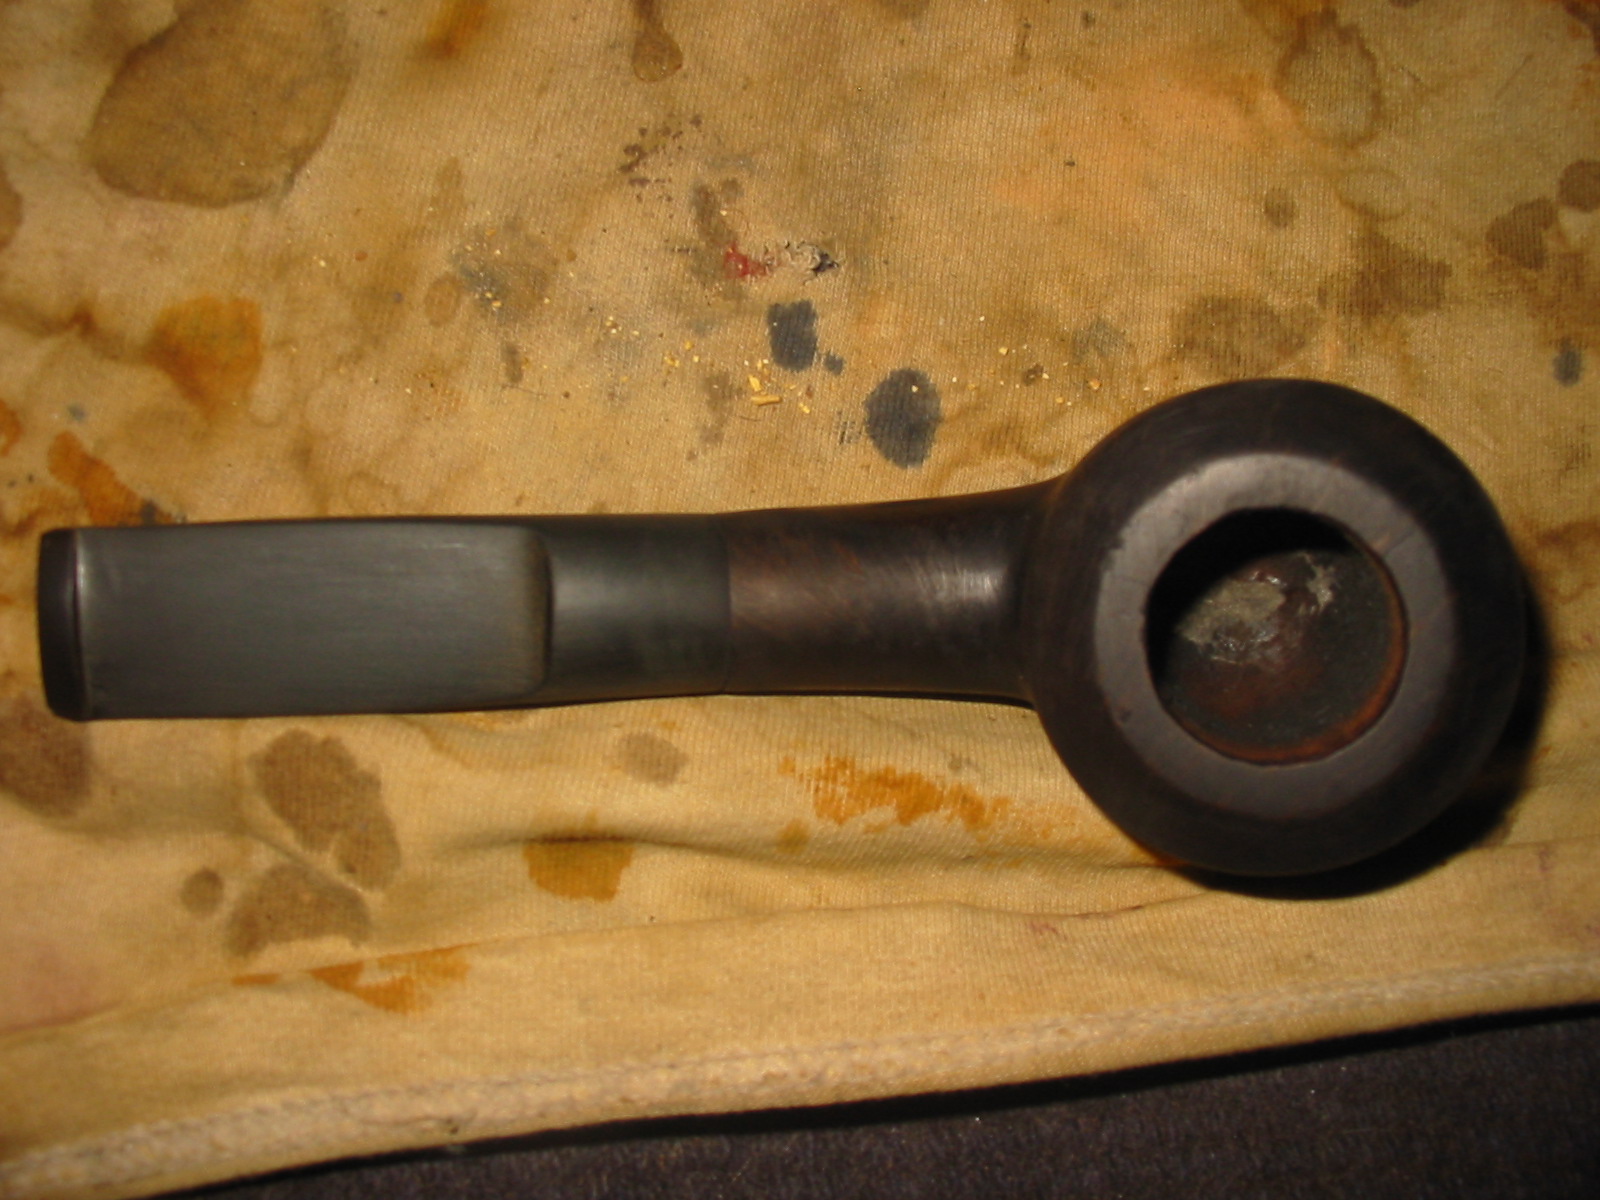
Once I had the stem fitted there was still fine tuning to do to it. There were still scratches and marks on the saddle and the sides of the stem. The sides of the stem were too thick and needed to be thinned and shaped. However, I decided to change my pace a little and stain the bowl with a black aniline stain undercoat. I applied it and flamed it several times until the coverage was even.
When the stain was dry I wiped the bowl down with acetone on a cotton pad to remove some of the top black stain, while leaving it deep in the softer parts of the briar – the grain. I repeated the process until much of the black top coat was gone and the grain began to stand out on the bowl. It still would require some sanding and buffing to remove all that I wanted to remove before I applied a second coat of stain – an oxblood colour that would really set off the grain in this pipe.


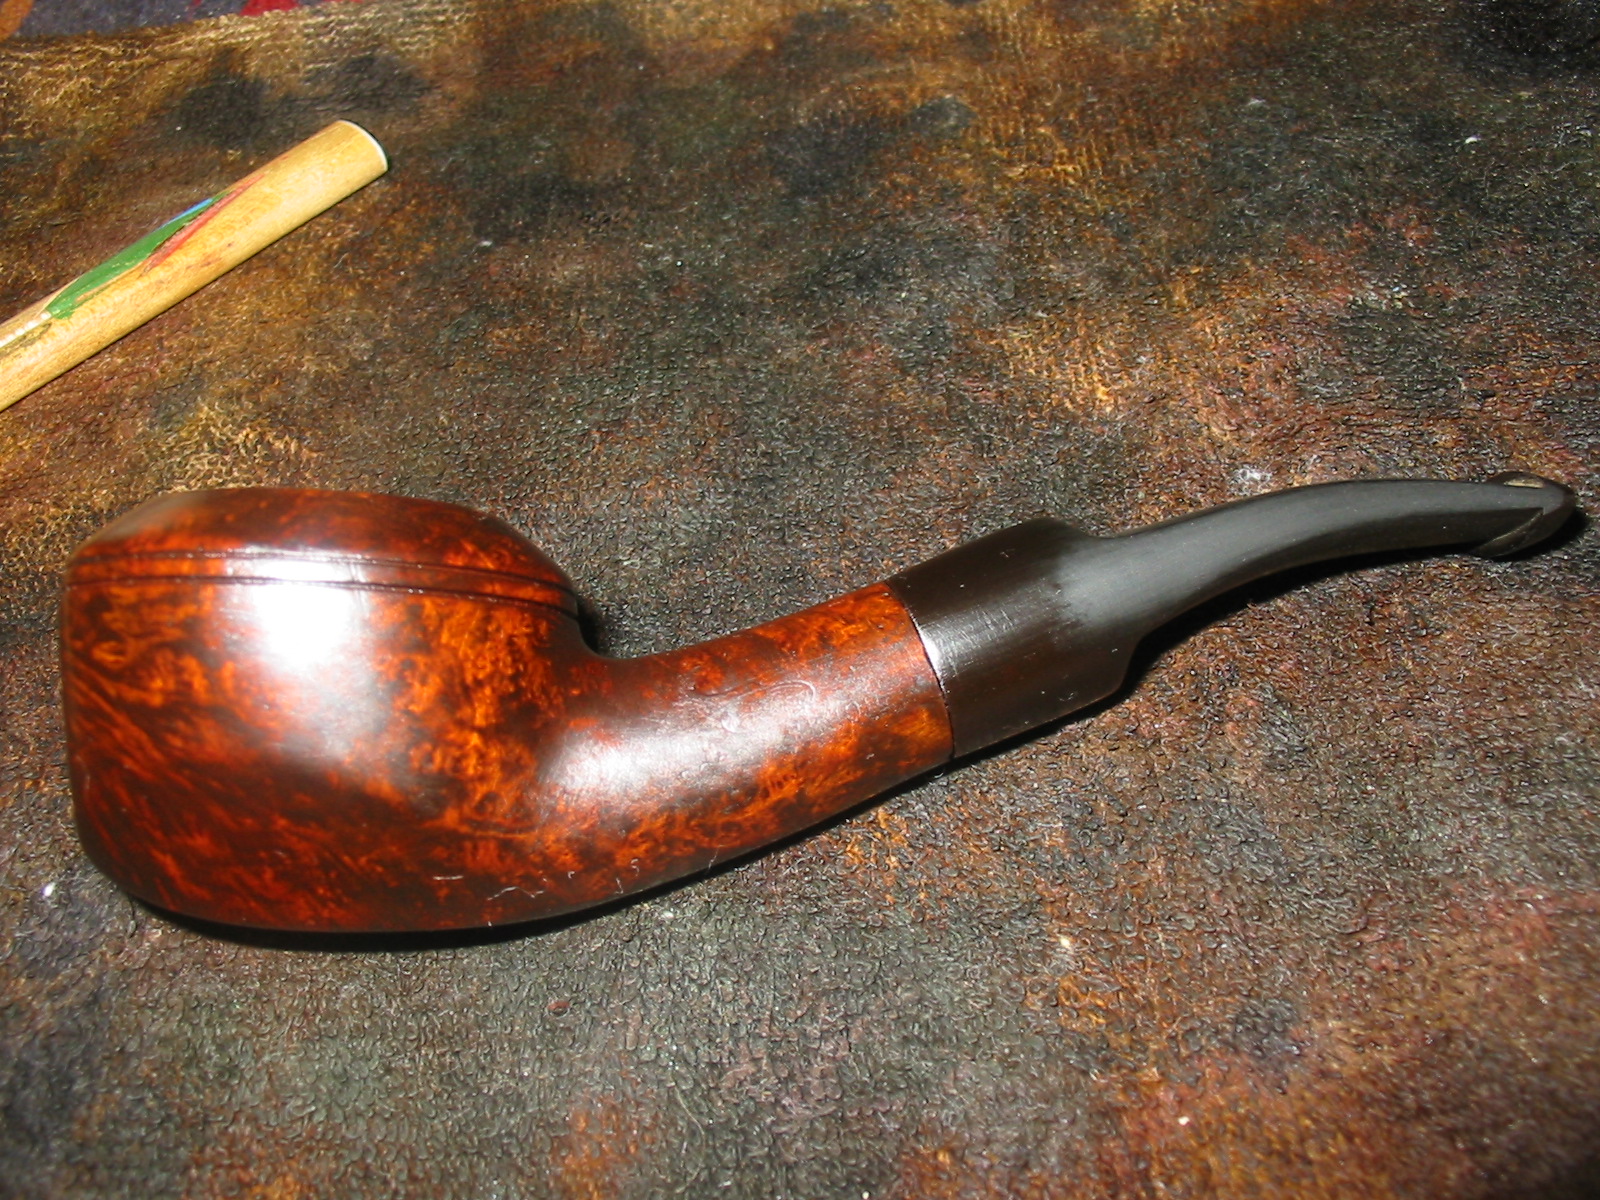
Before calling it a night I decided to bend the stem so I set up a heat gun and heated the stem until the vulcanite was pliable. Once it was soft I bent it over a wooden rolling pin that I use to keep the bend even. In this particular case because the stem was quite thick it took several reheatings until I got the bend the way I wanted it.
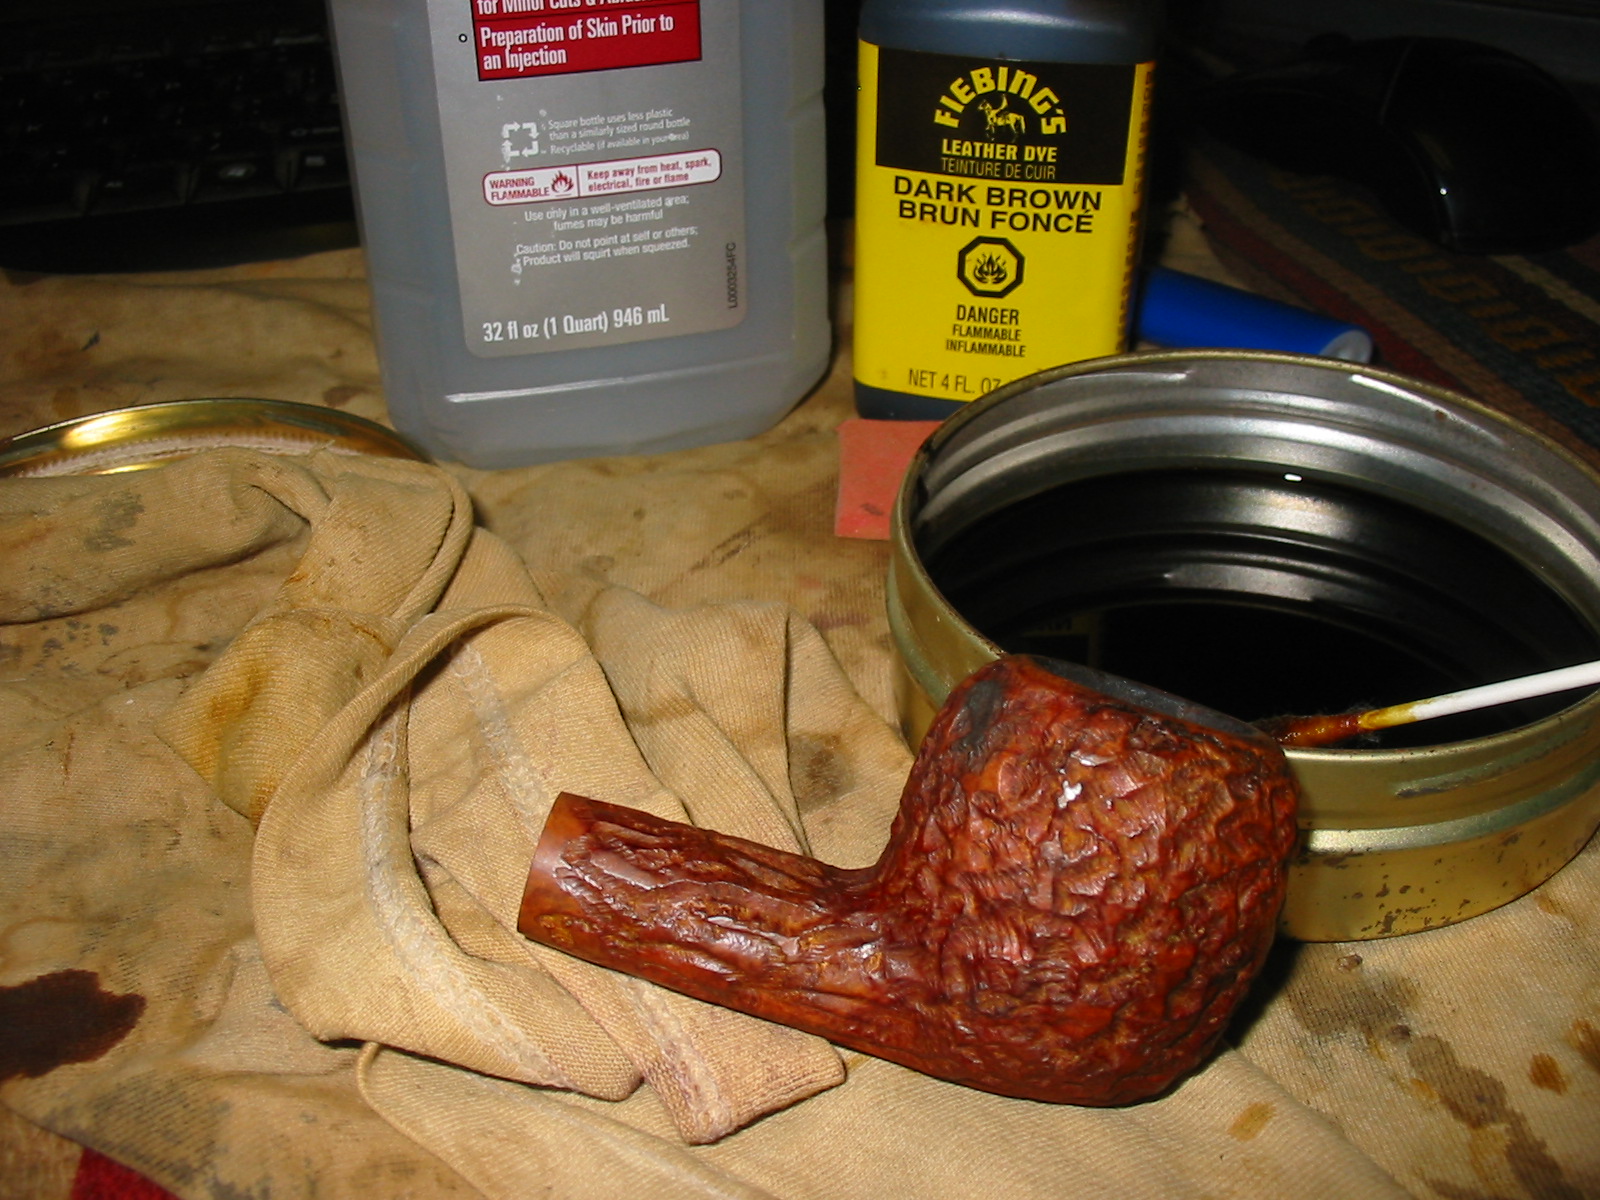
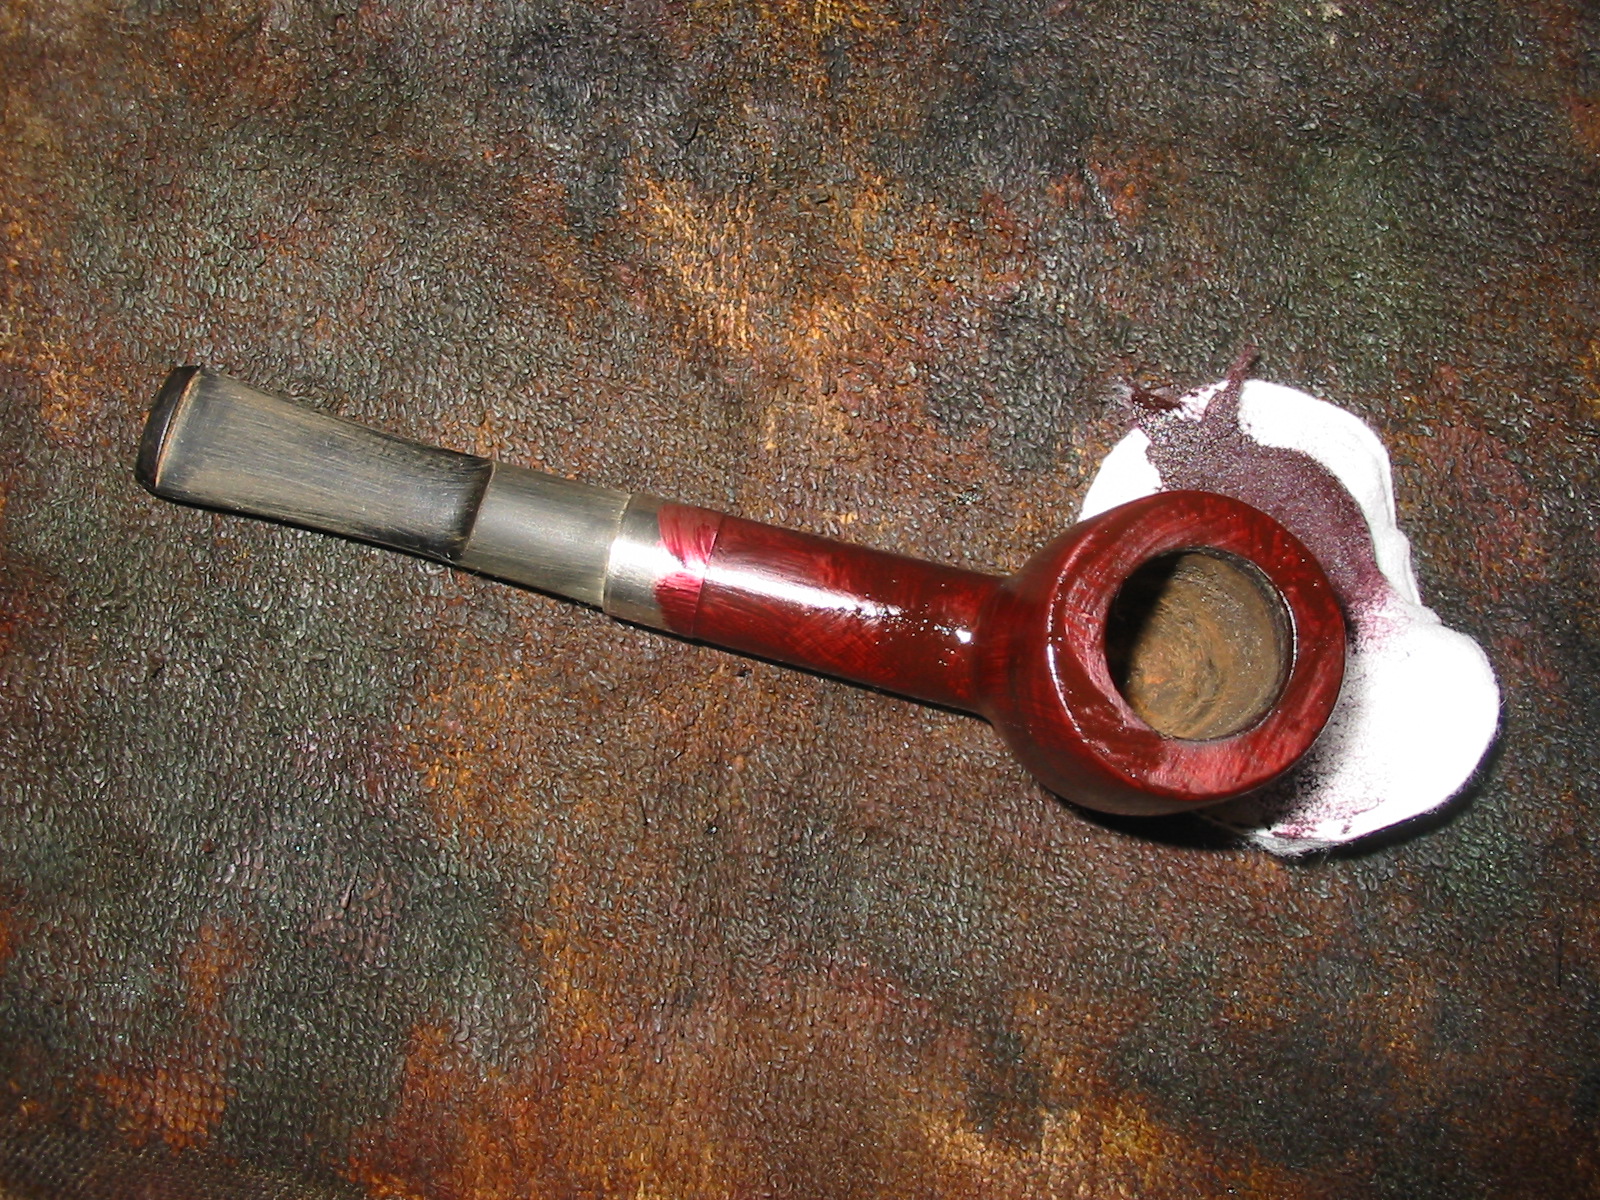
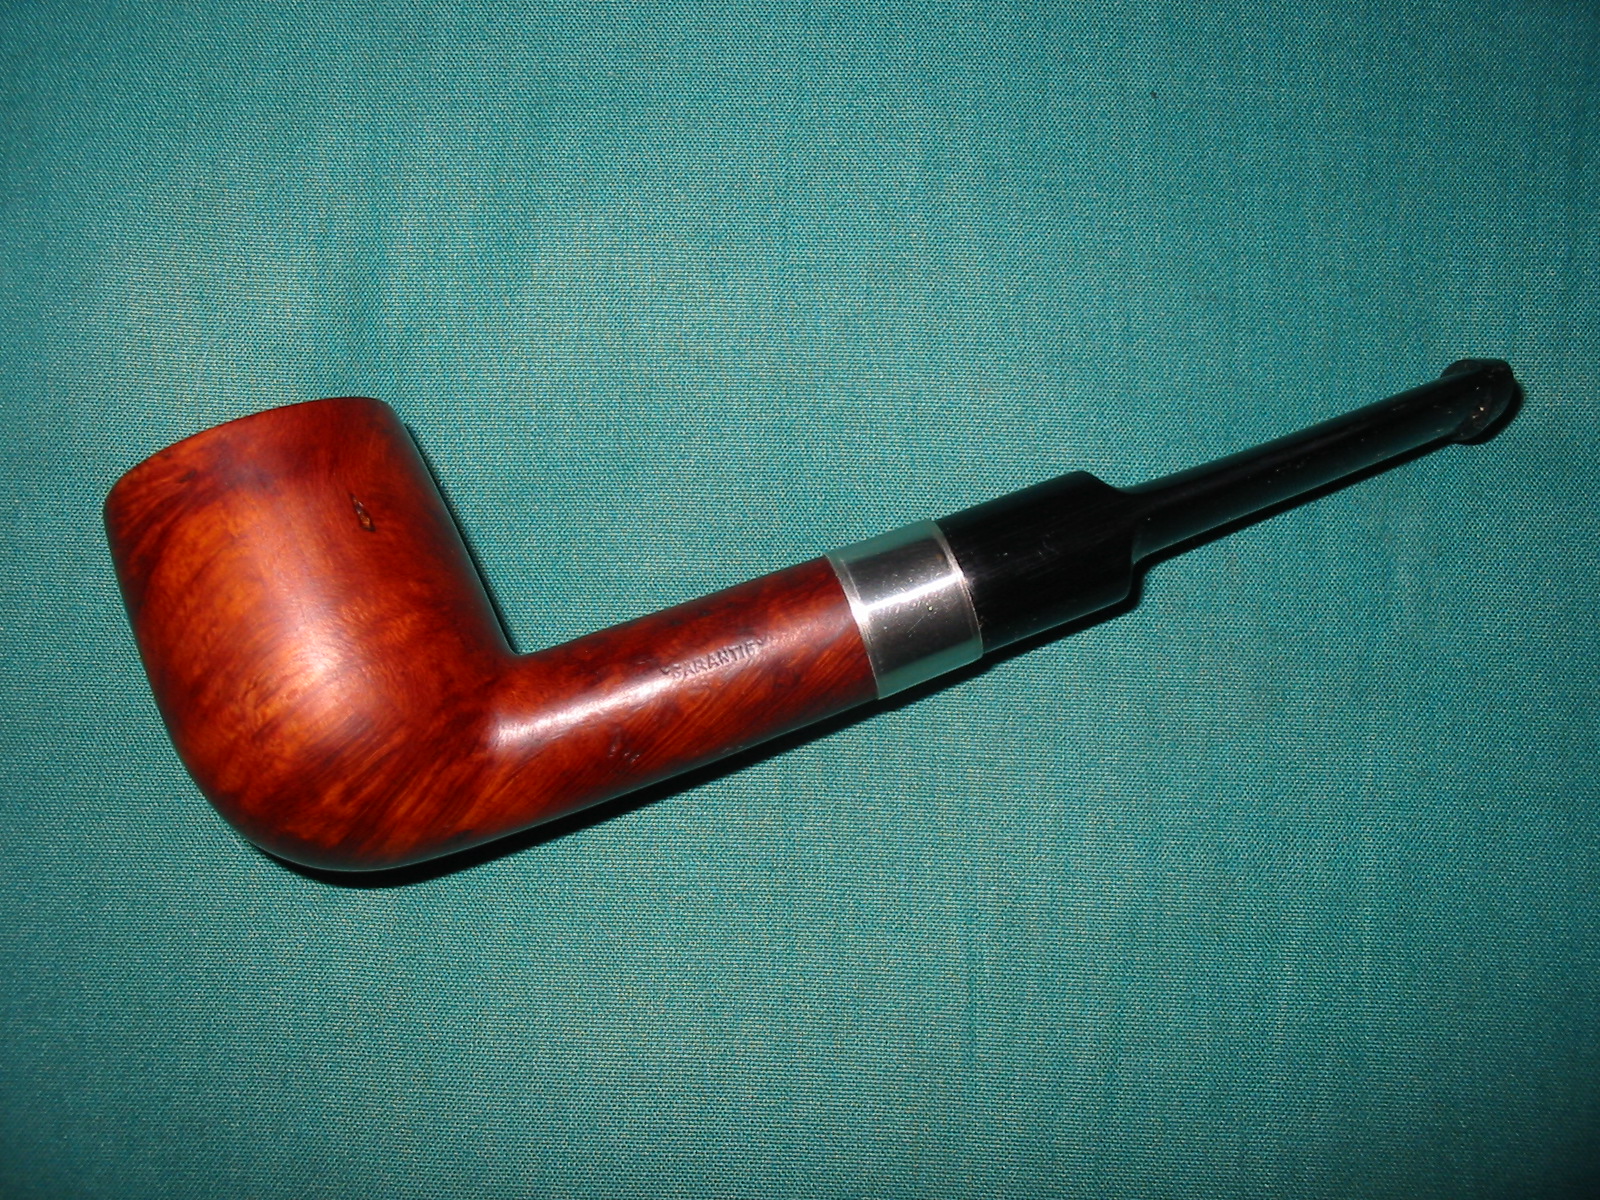
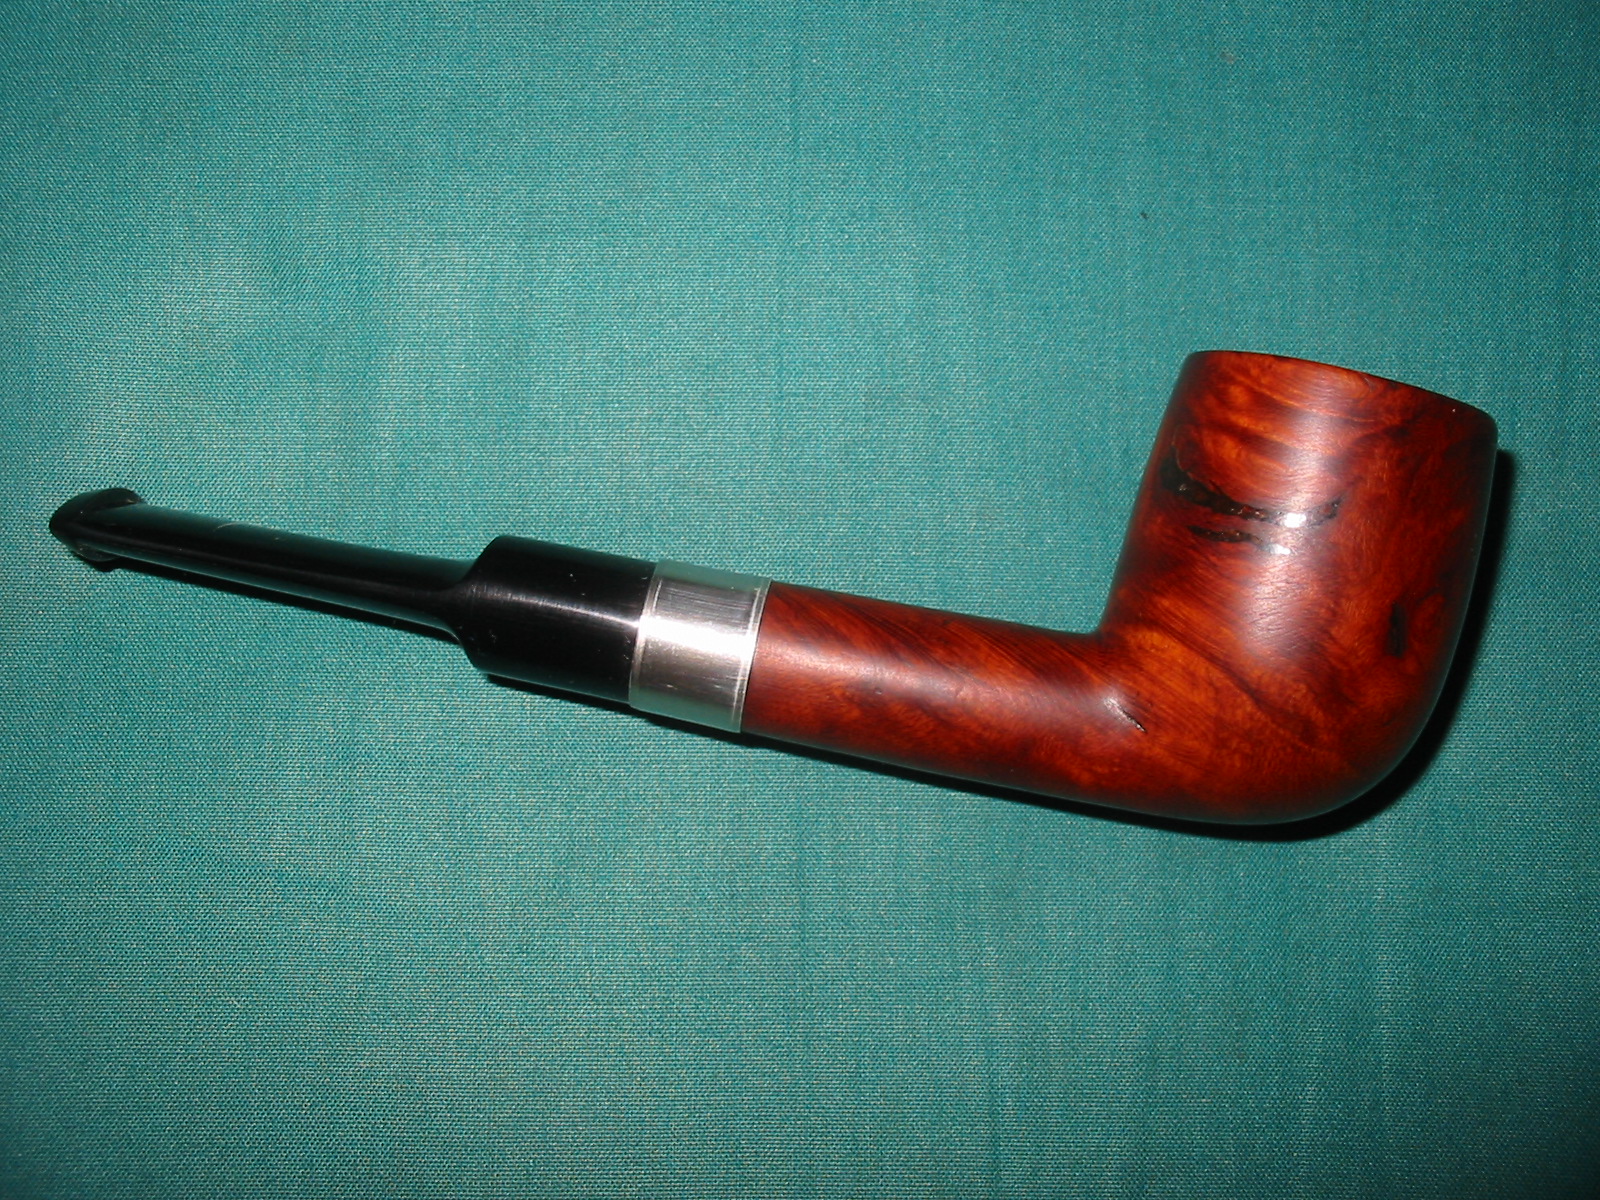
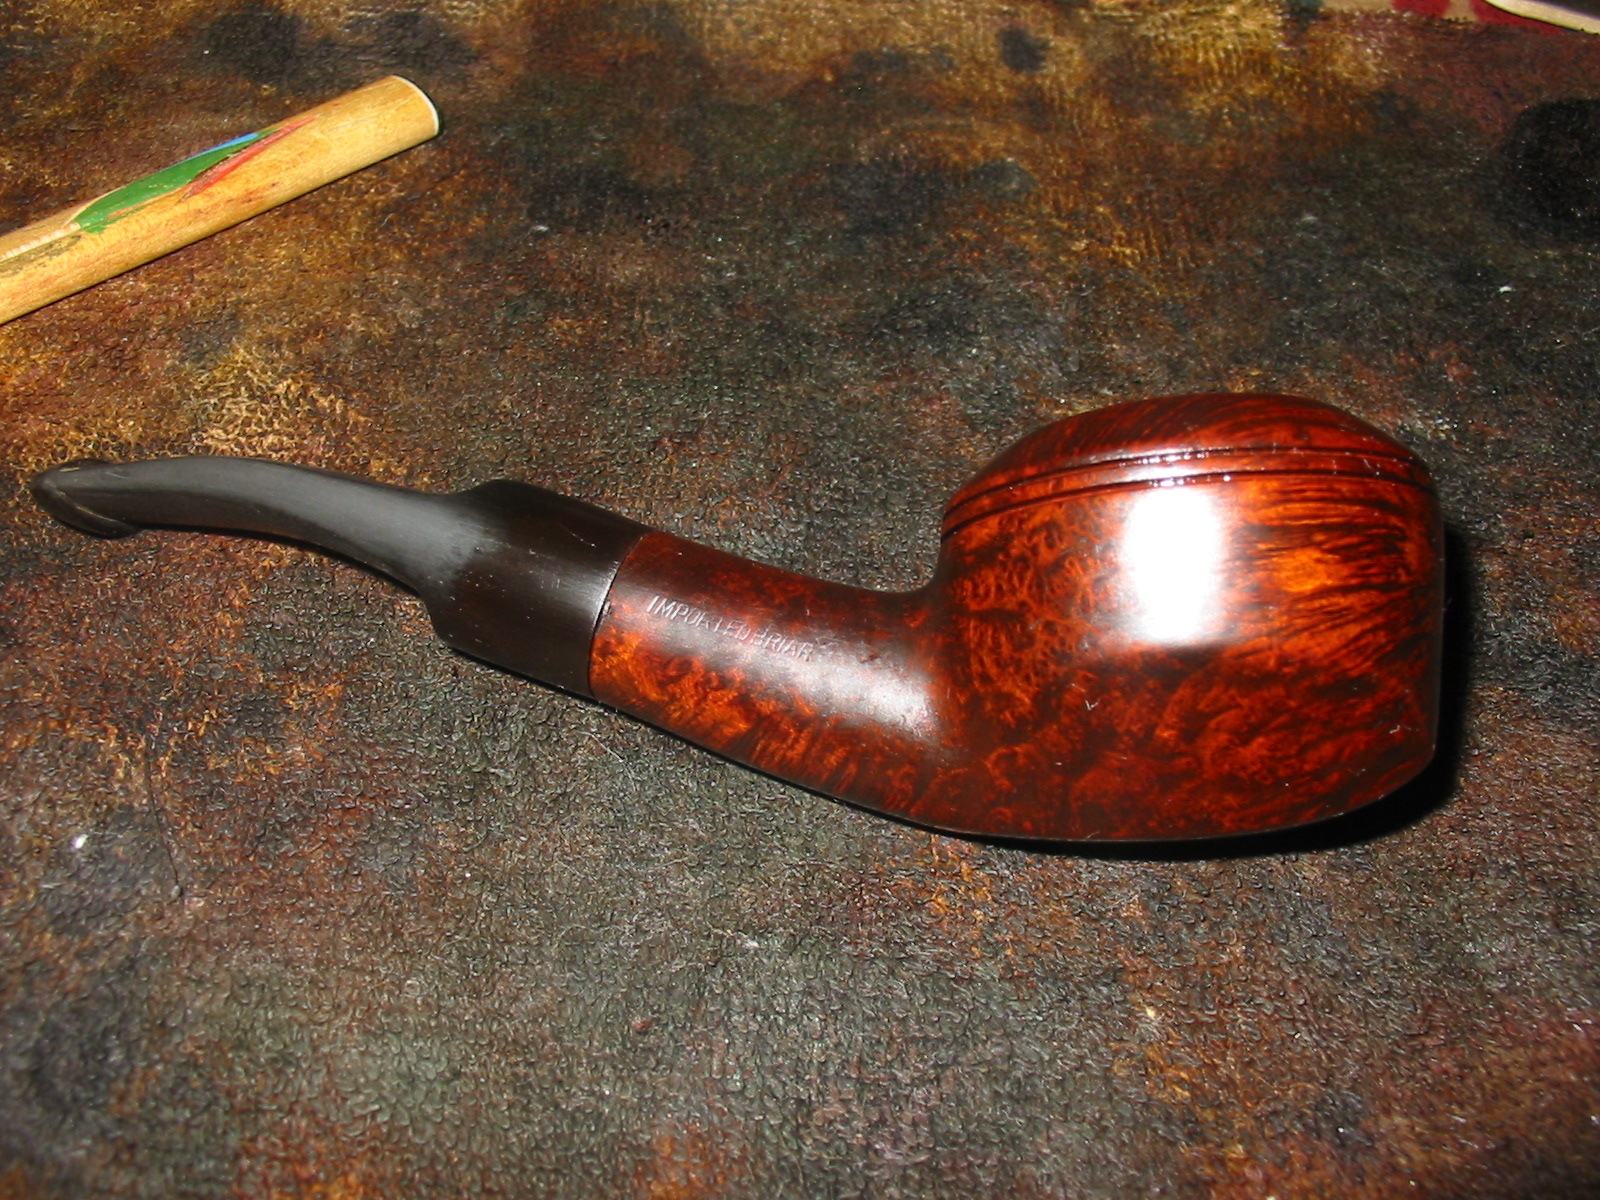
In the morning when I got up I went down to the work table and gave the bowl its top coat of stain. I used an oxblood stain for the top coat as I thought the contrast between the black undercoat and the red would look good with this particular pipe.
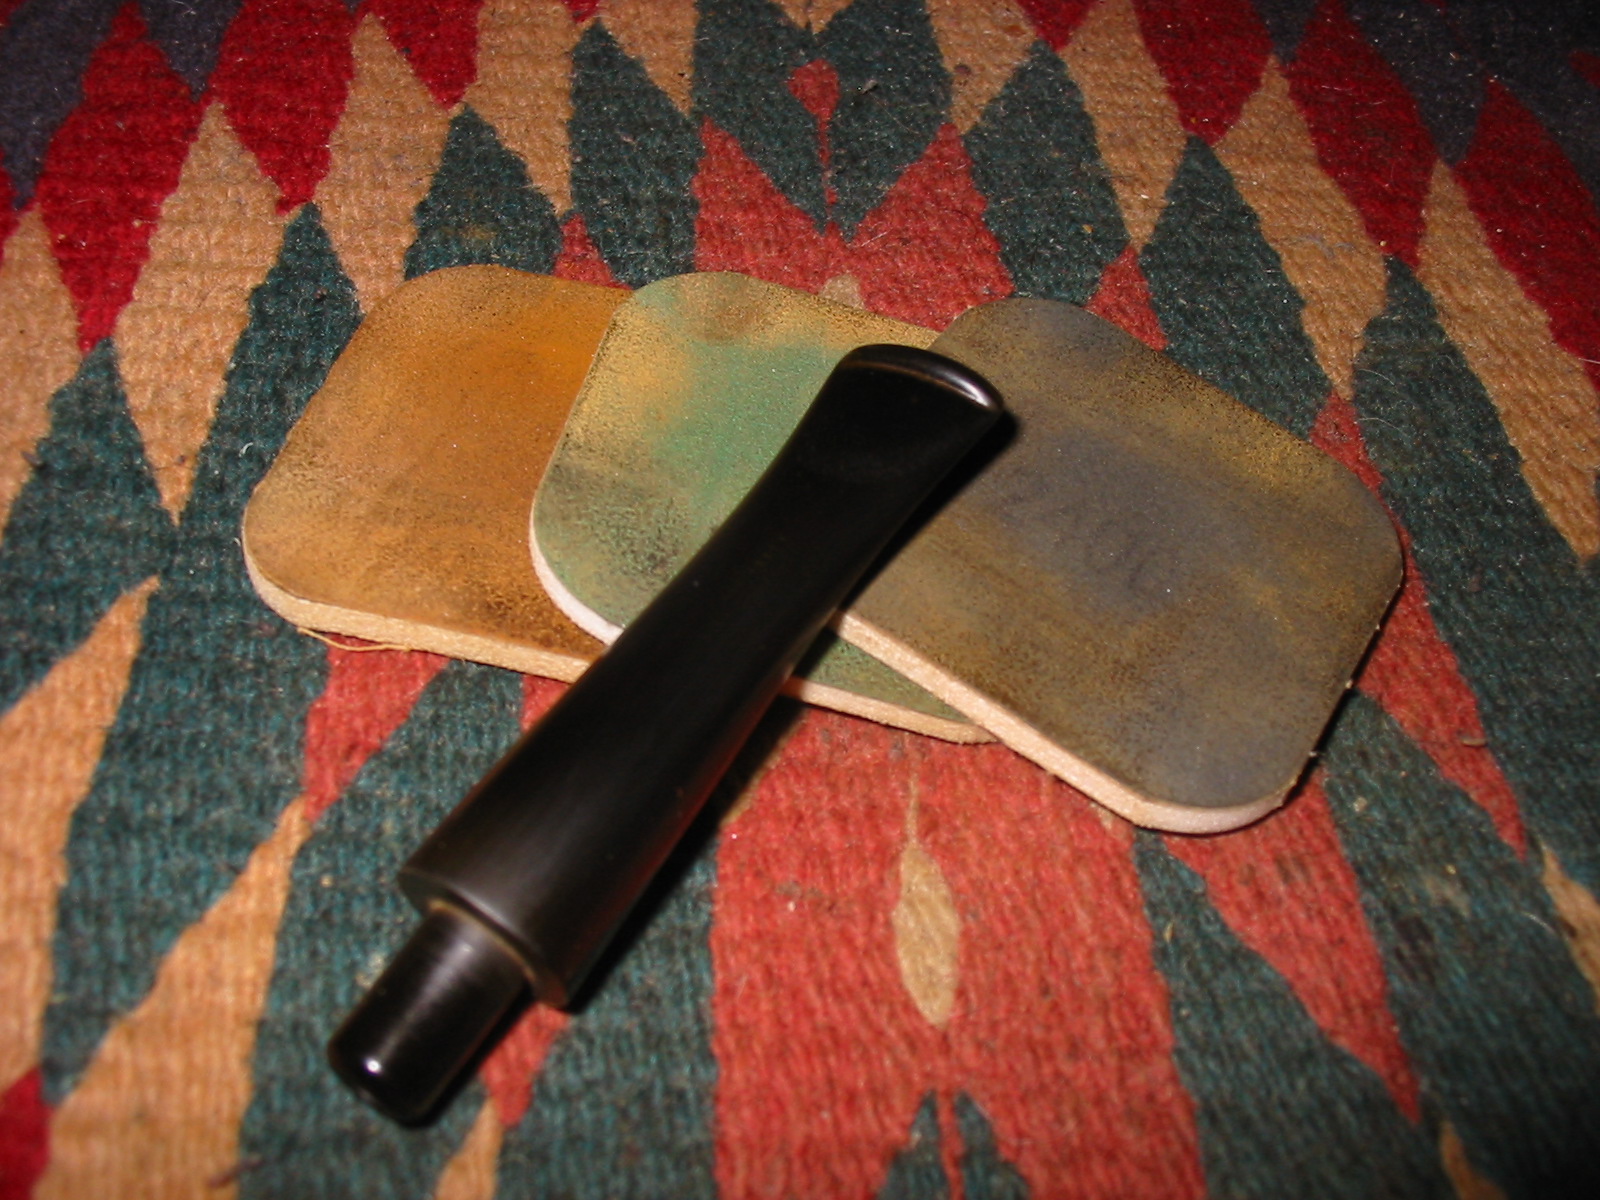
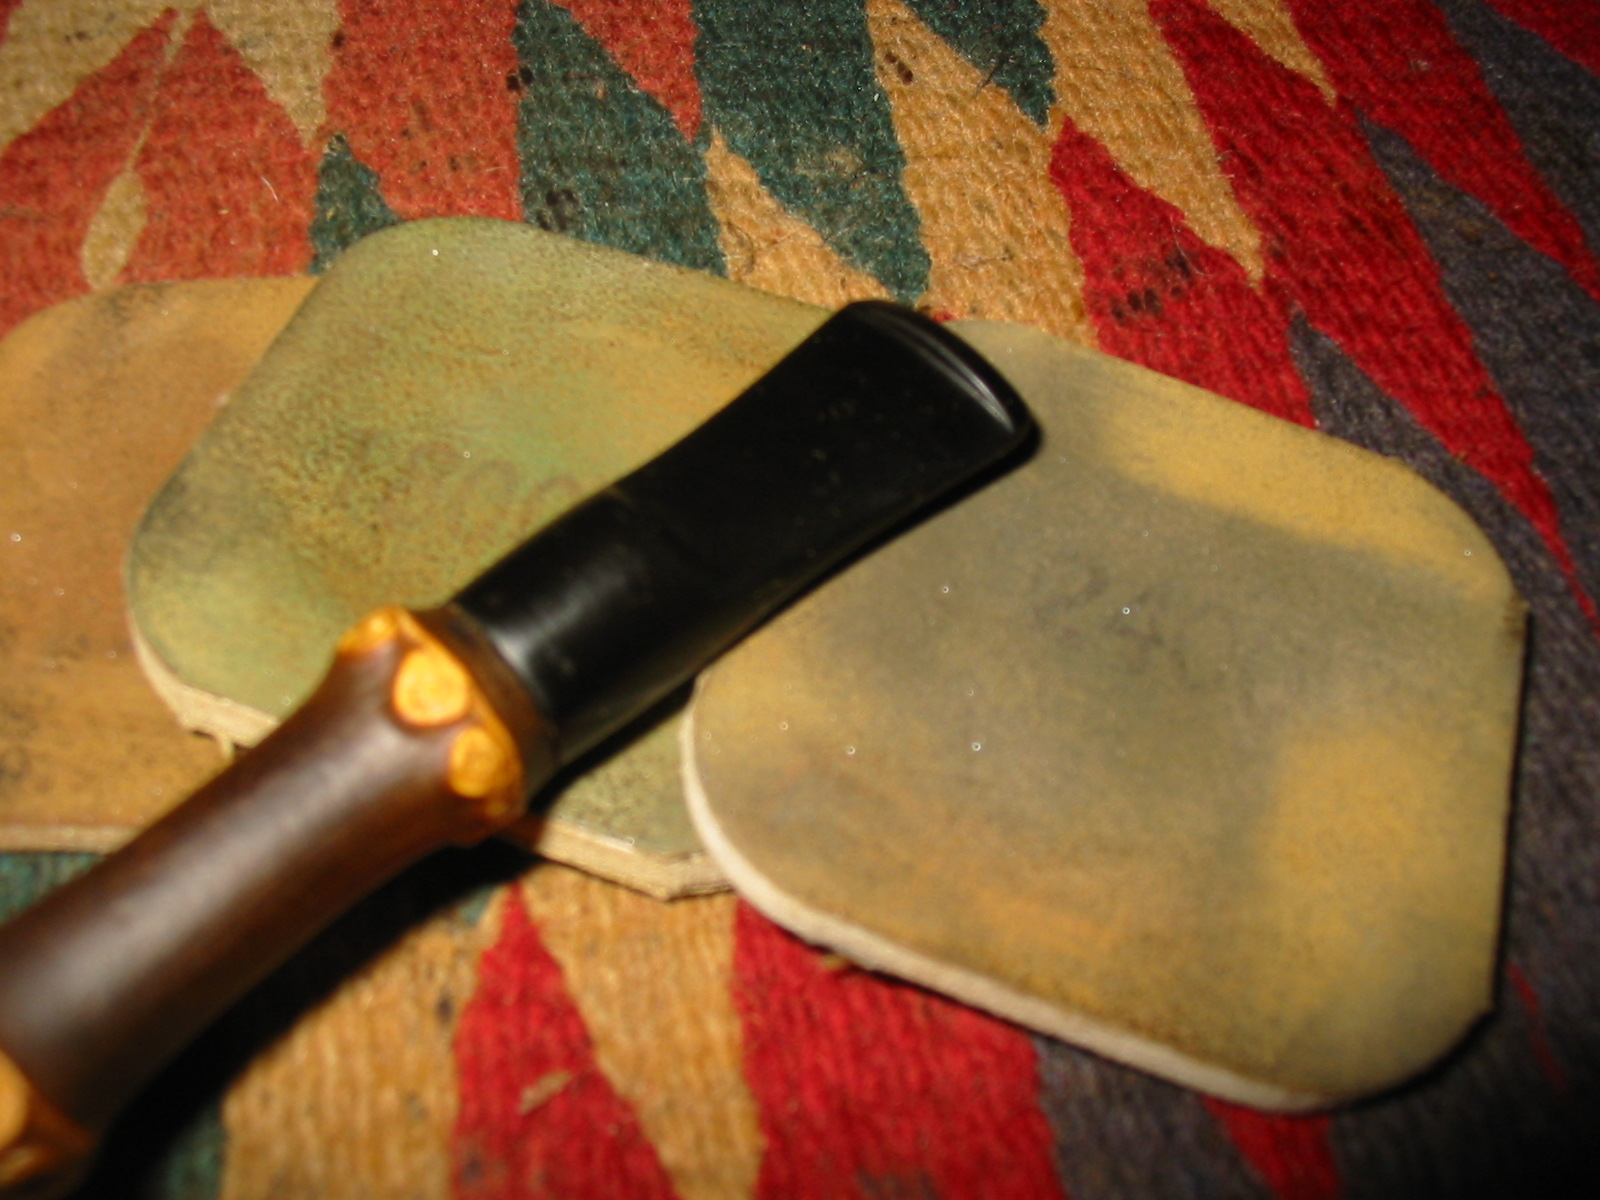
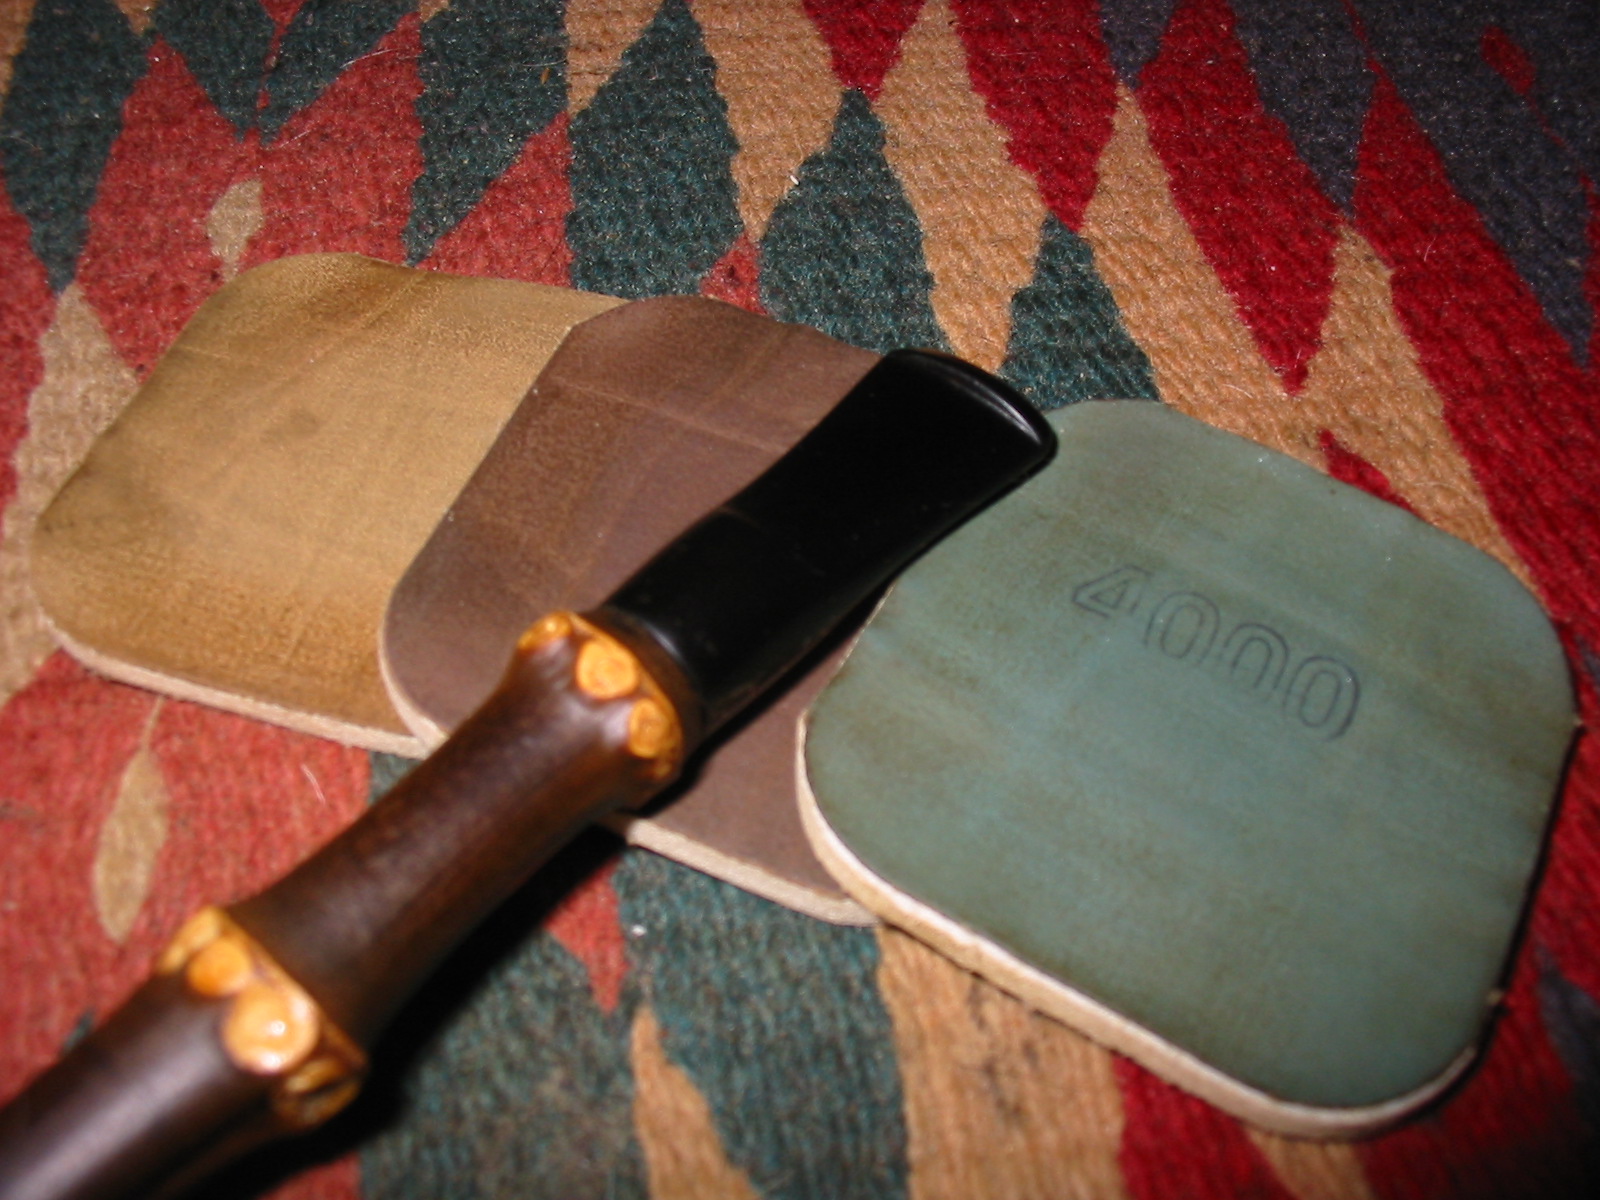
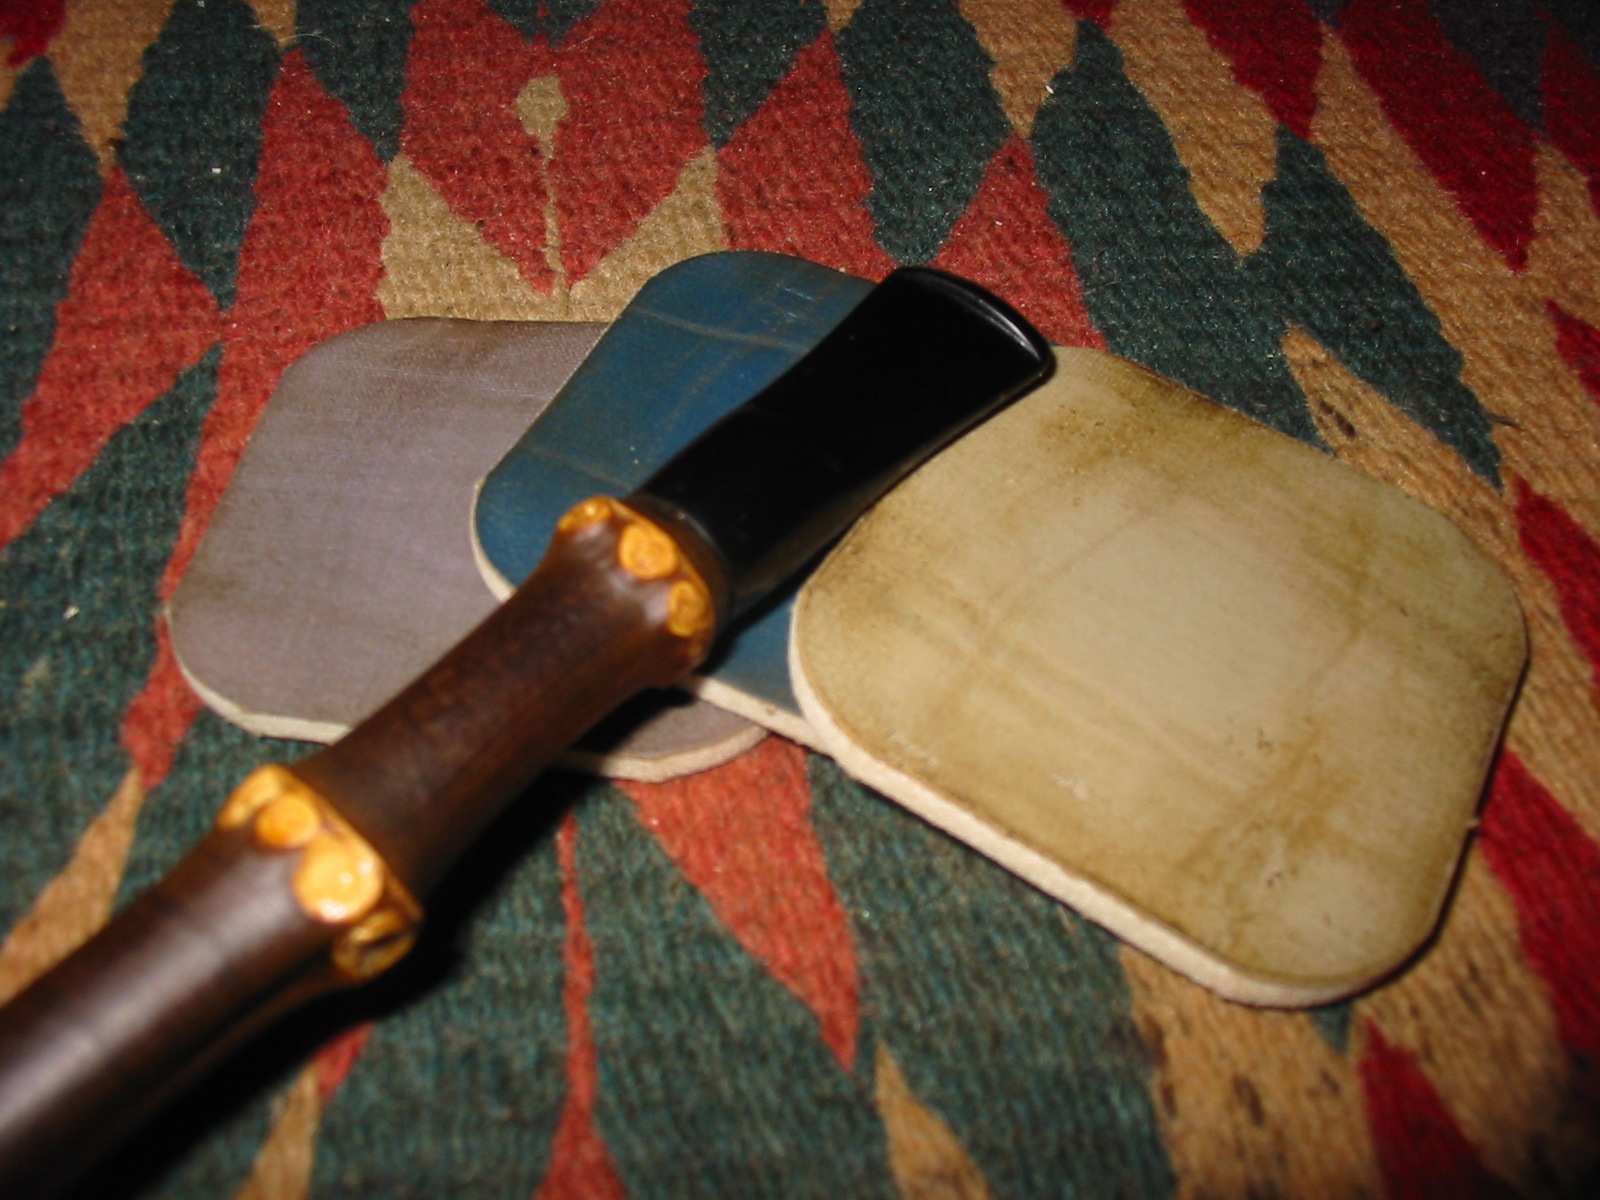
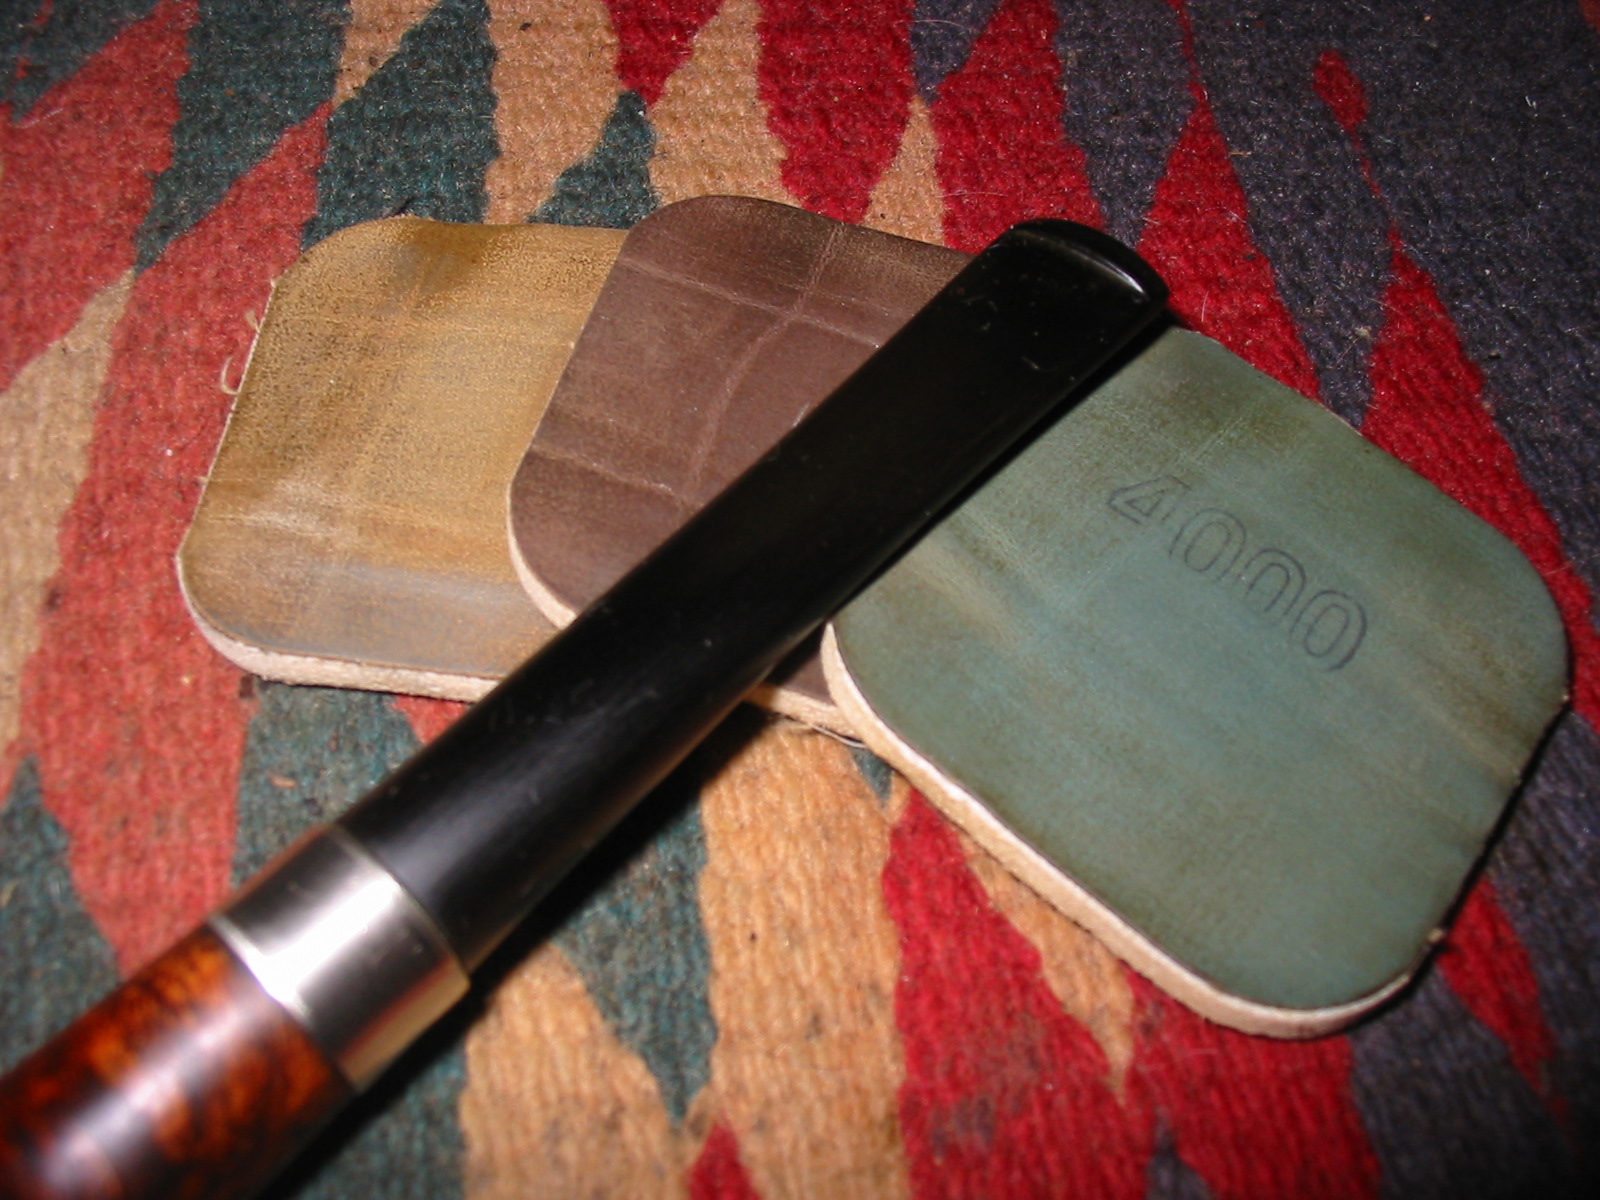
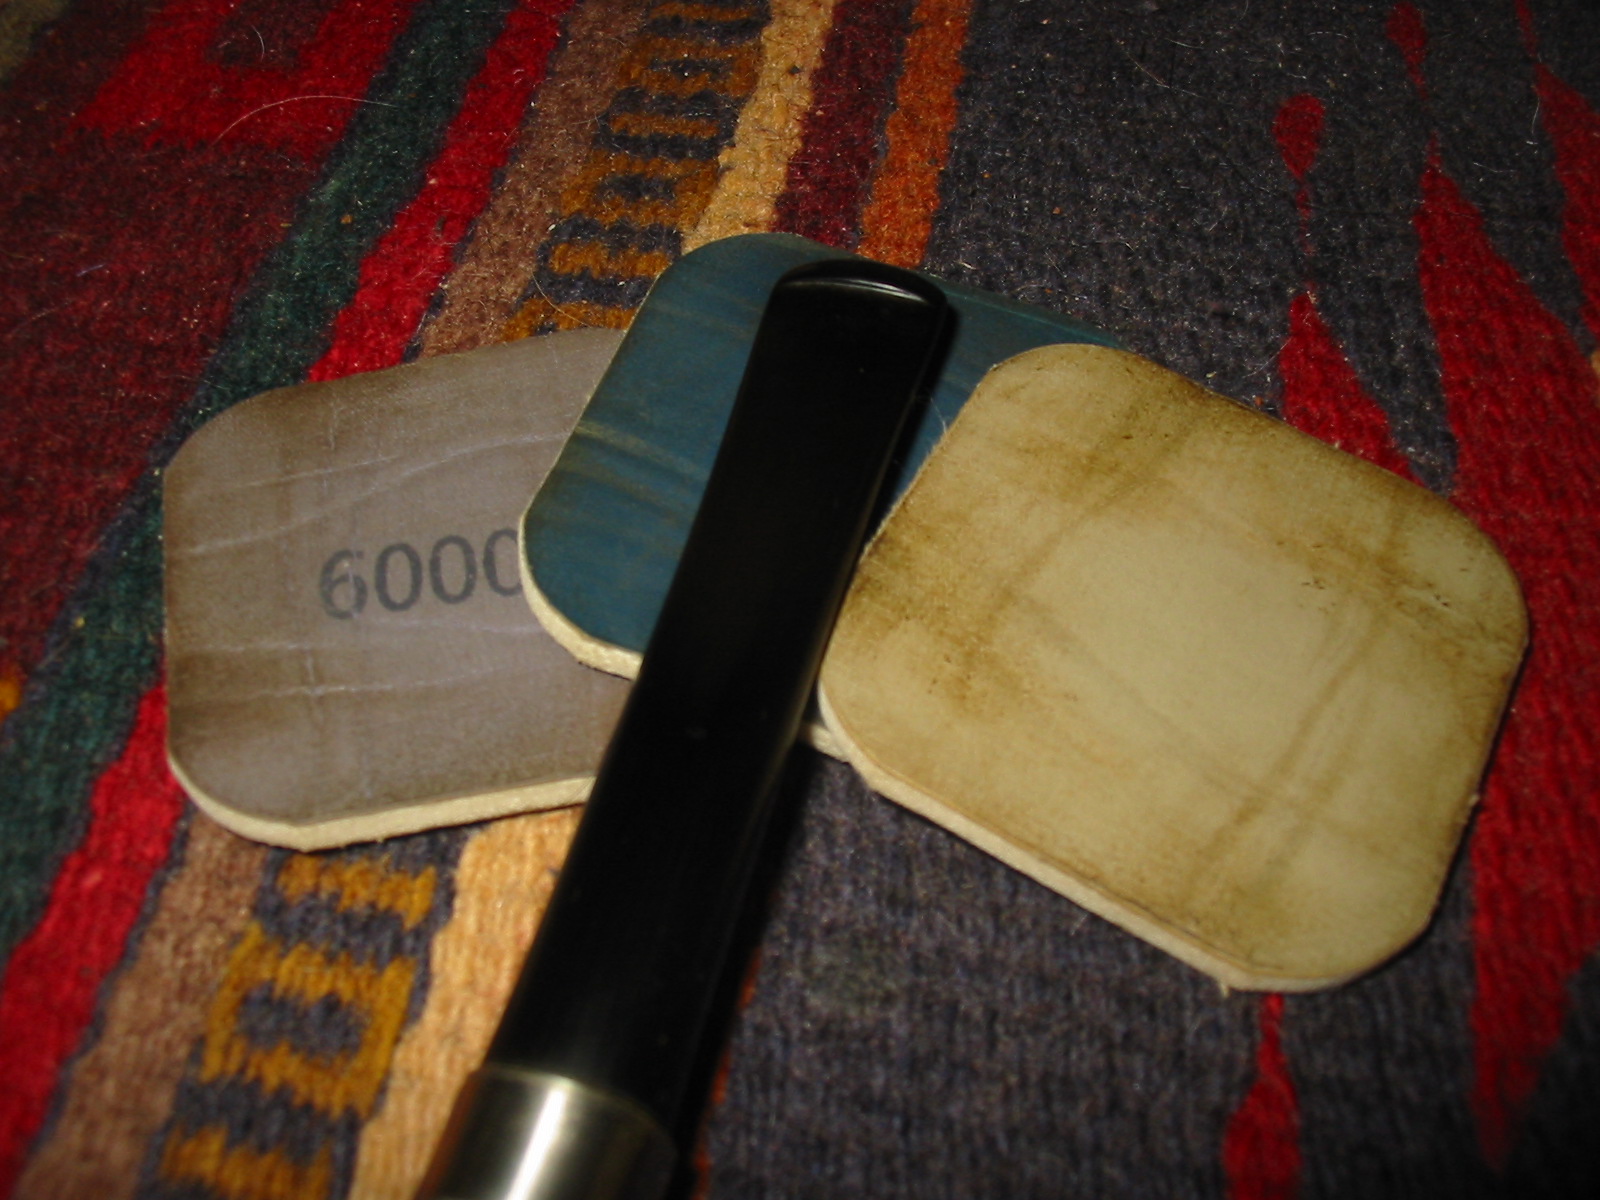
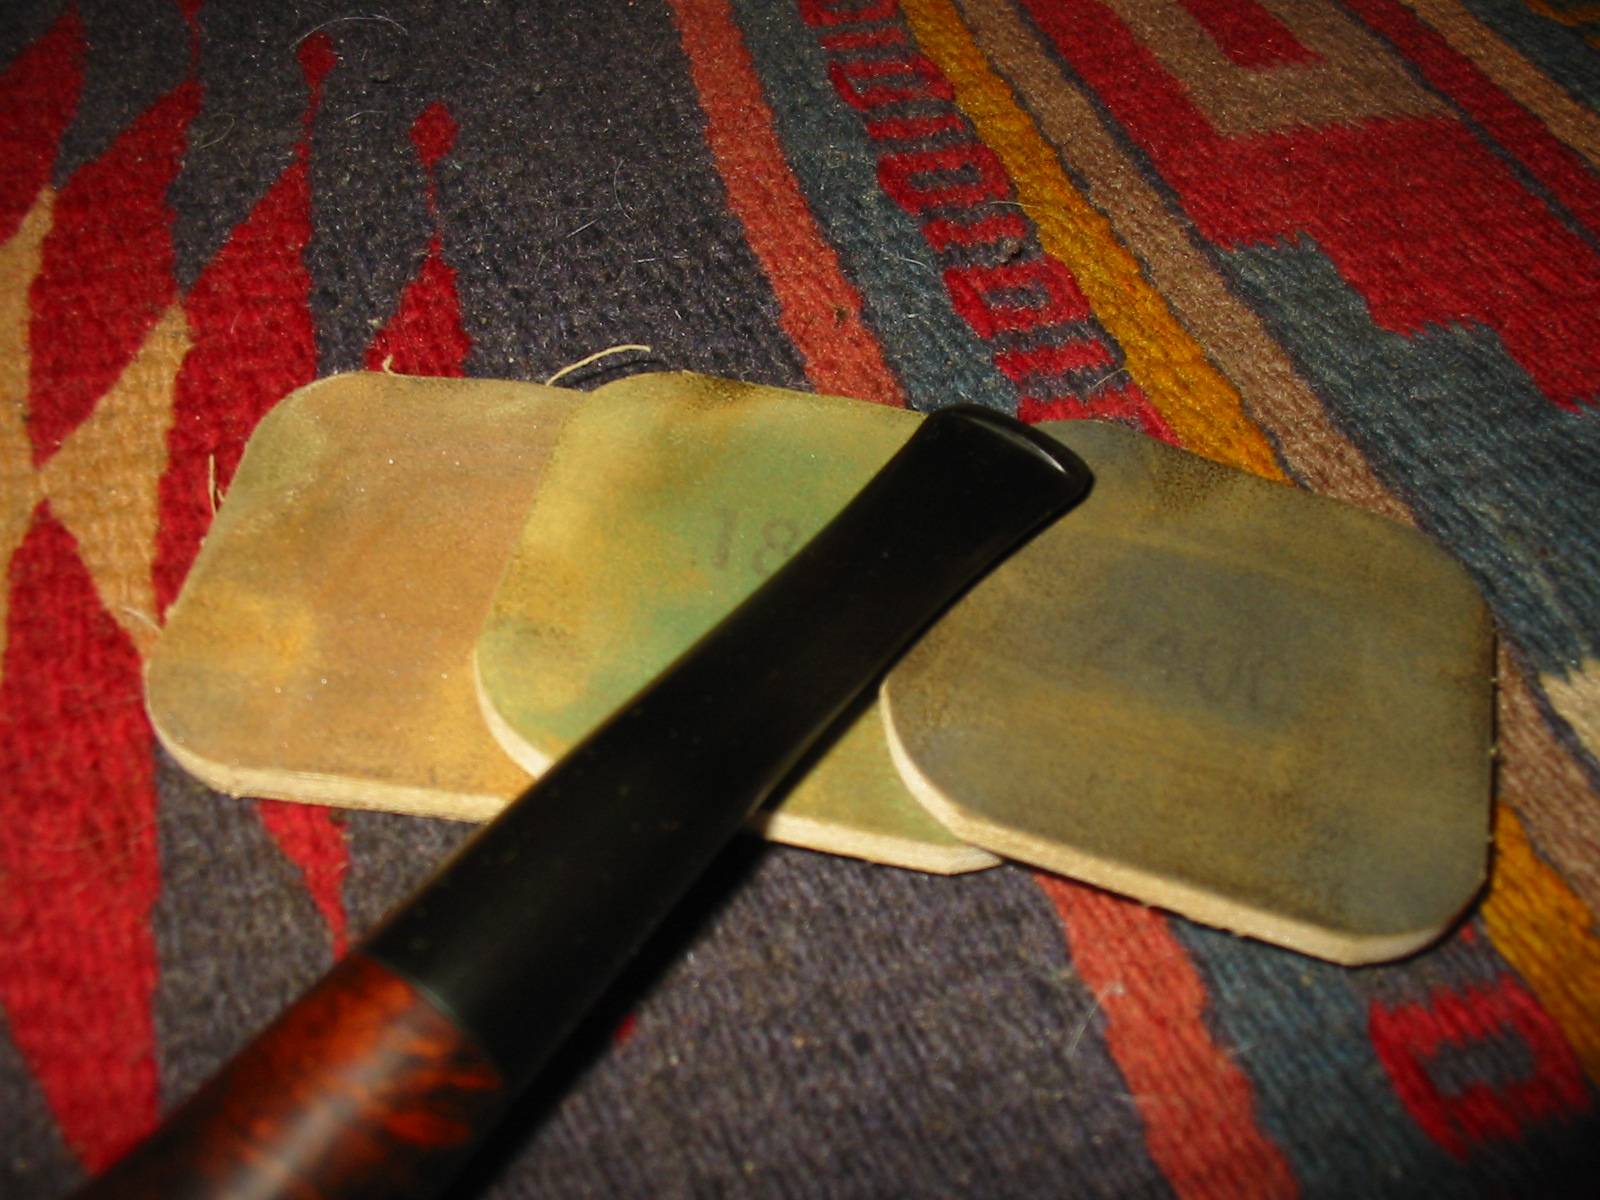
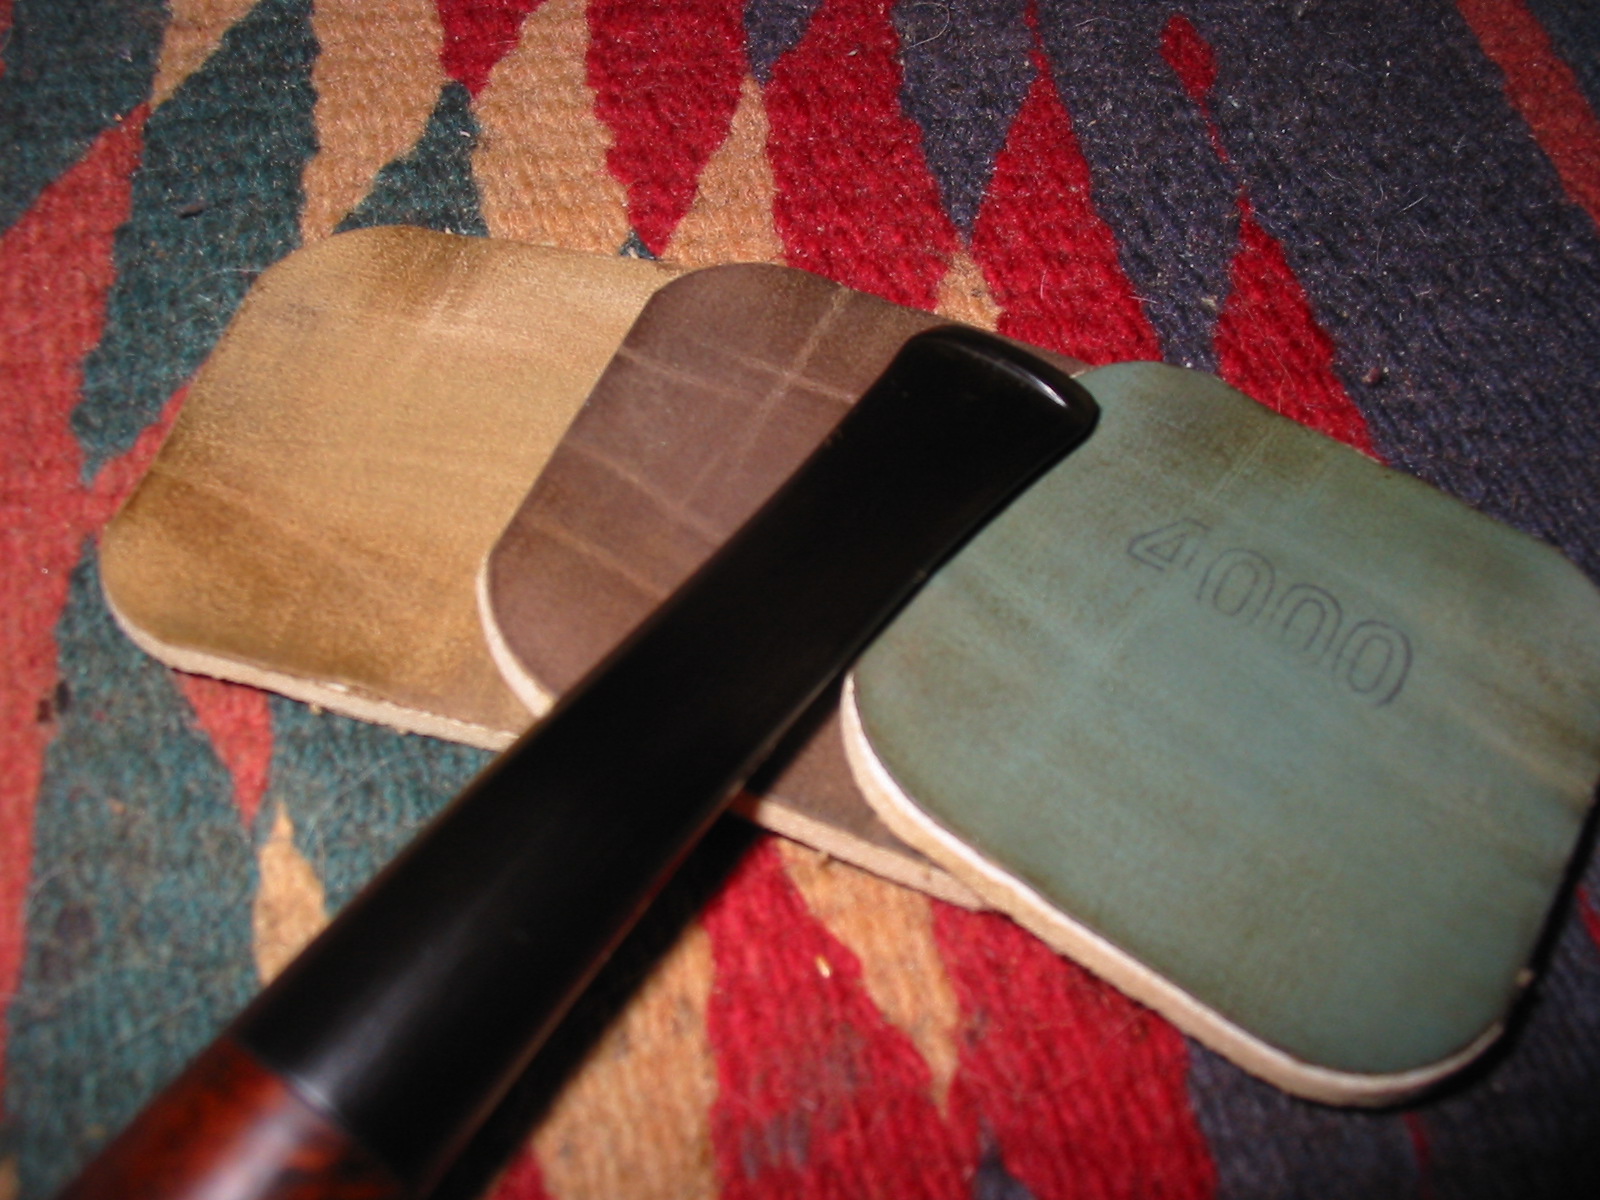
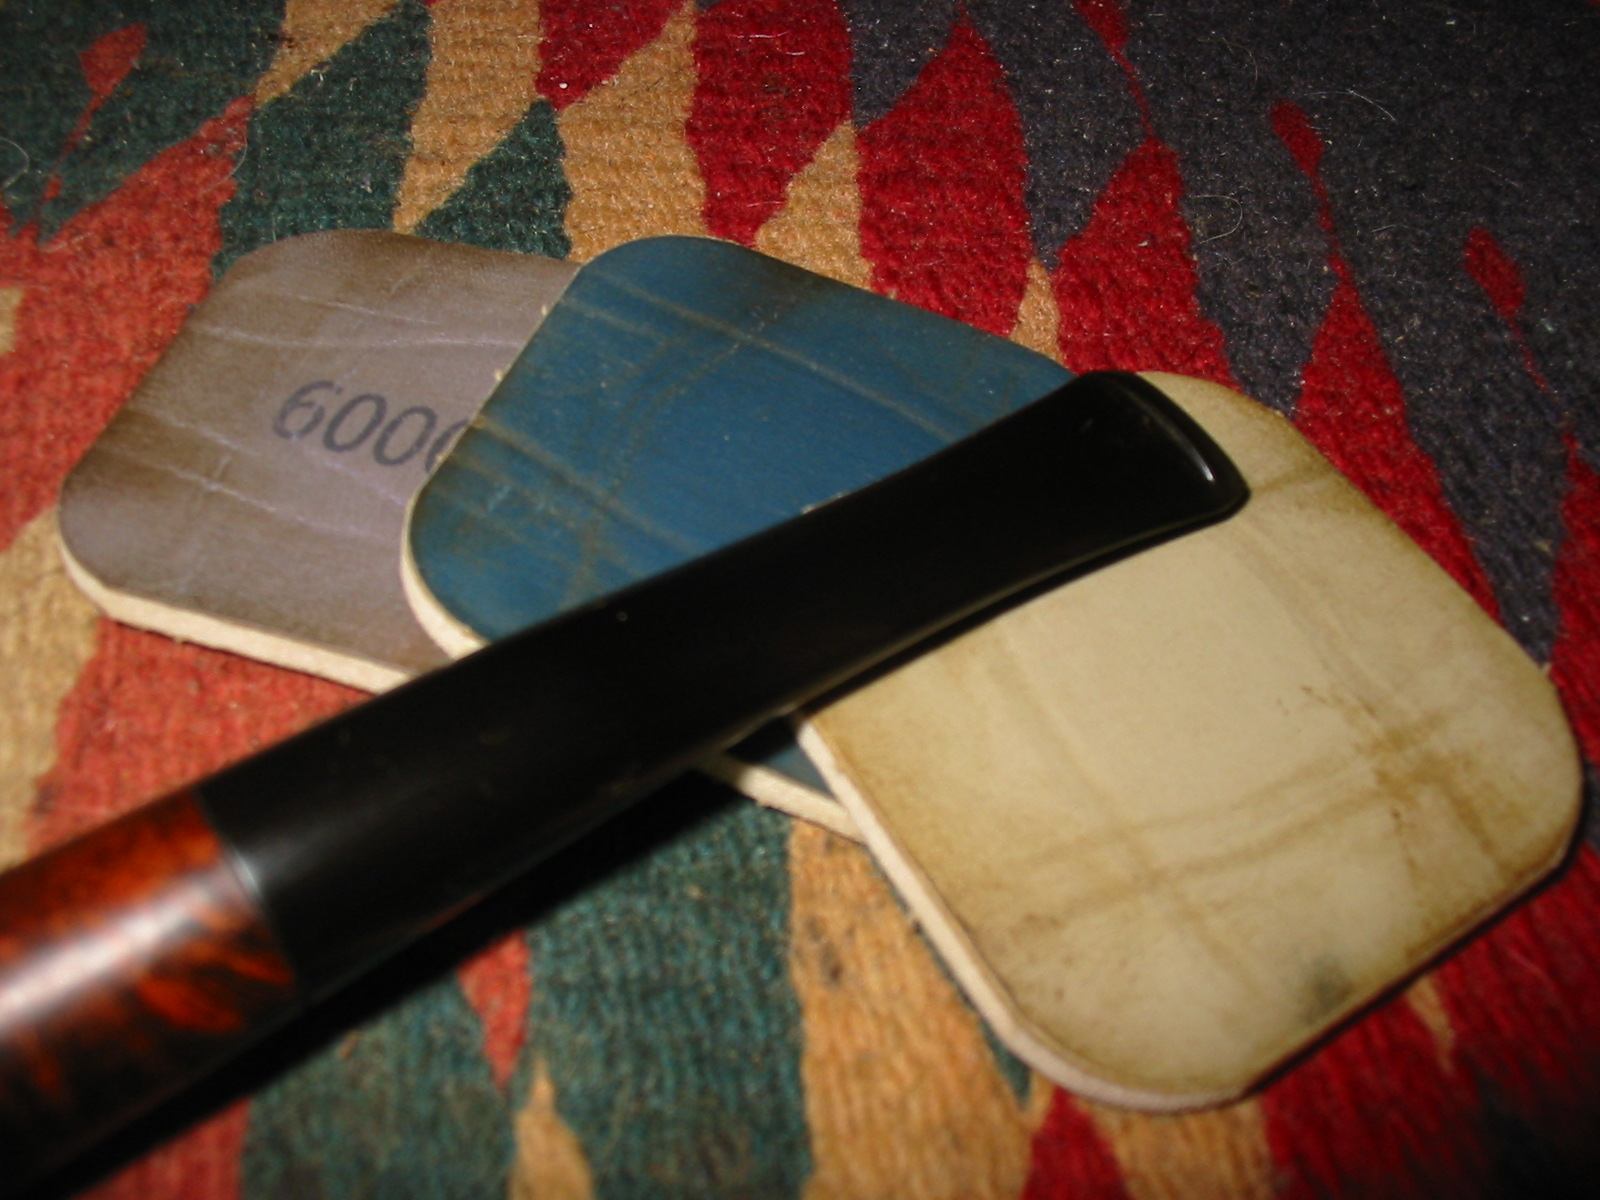
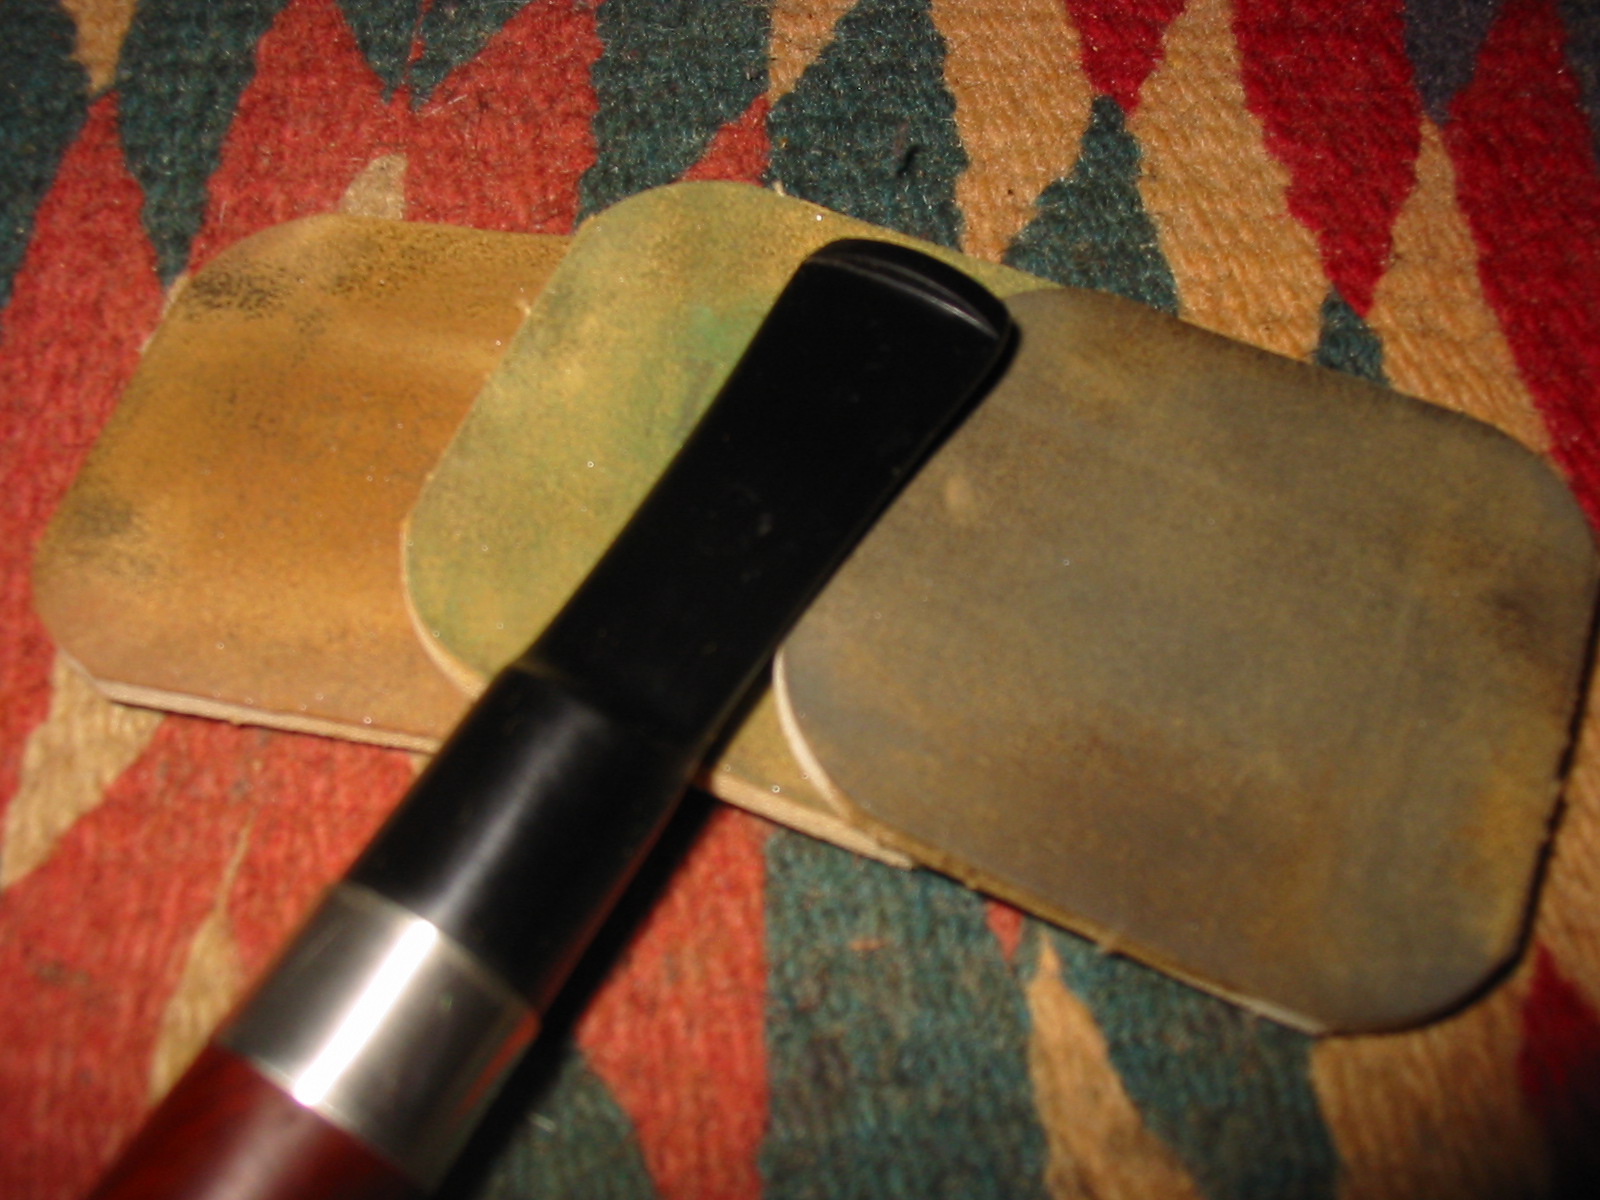
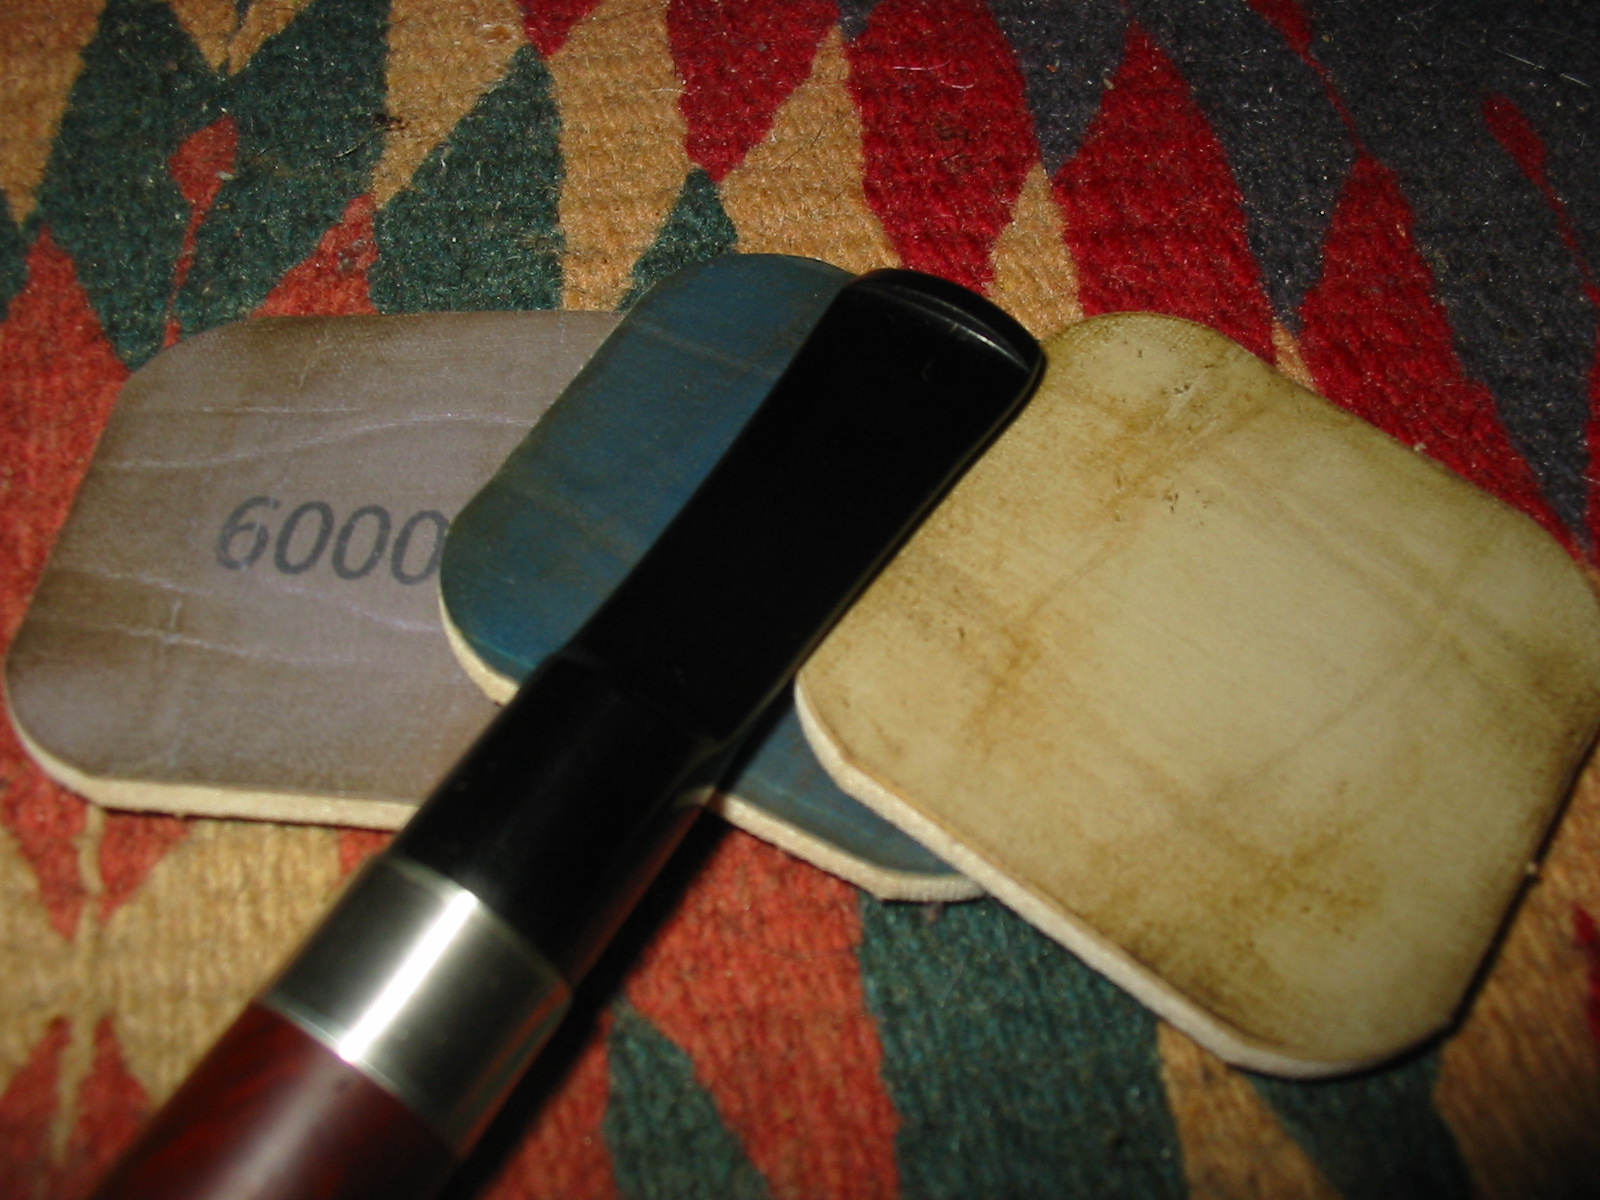
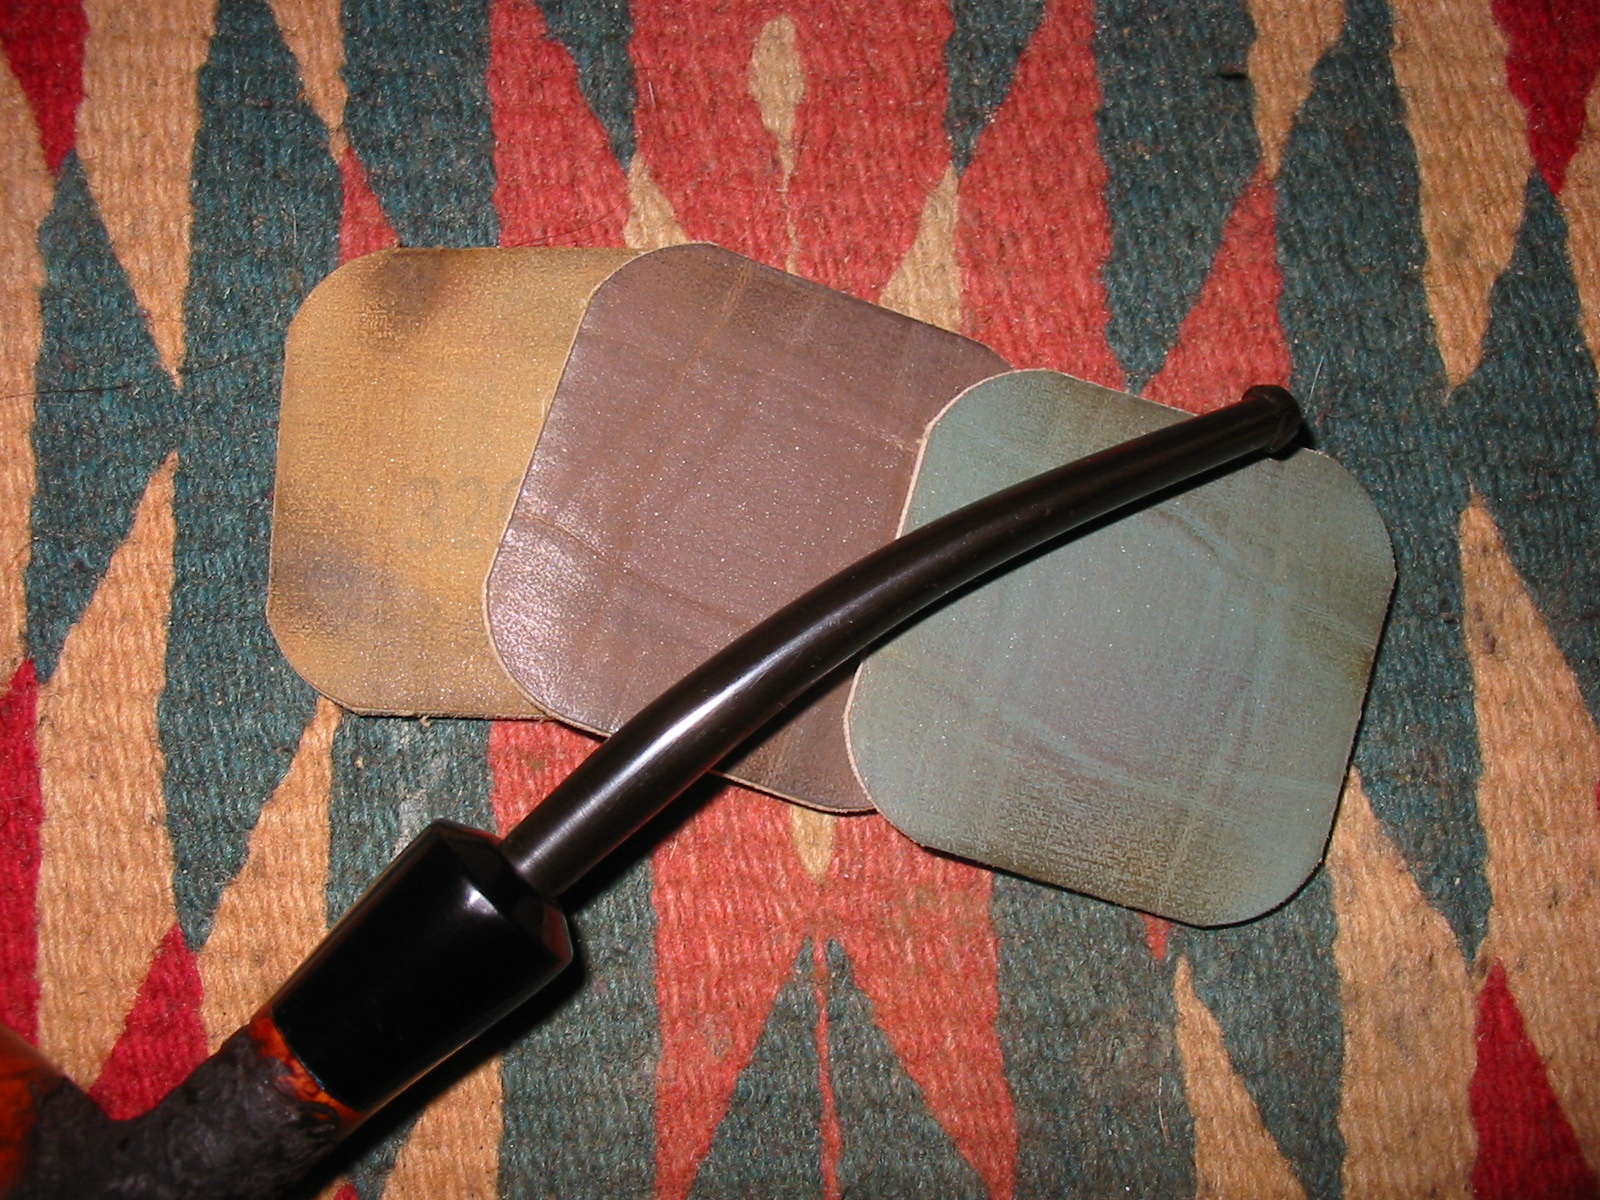
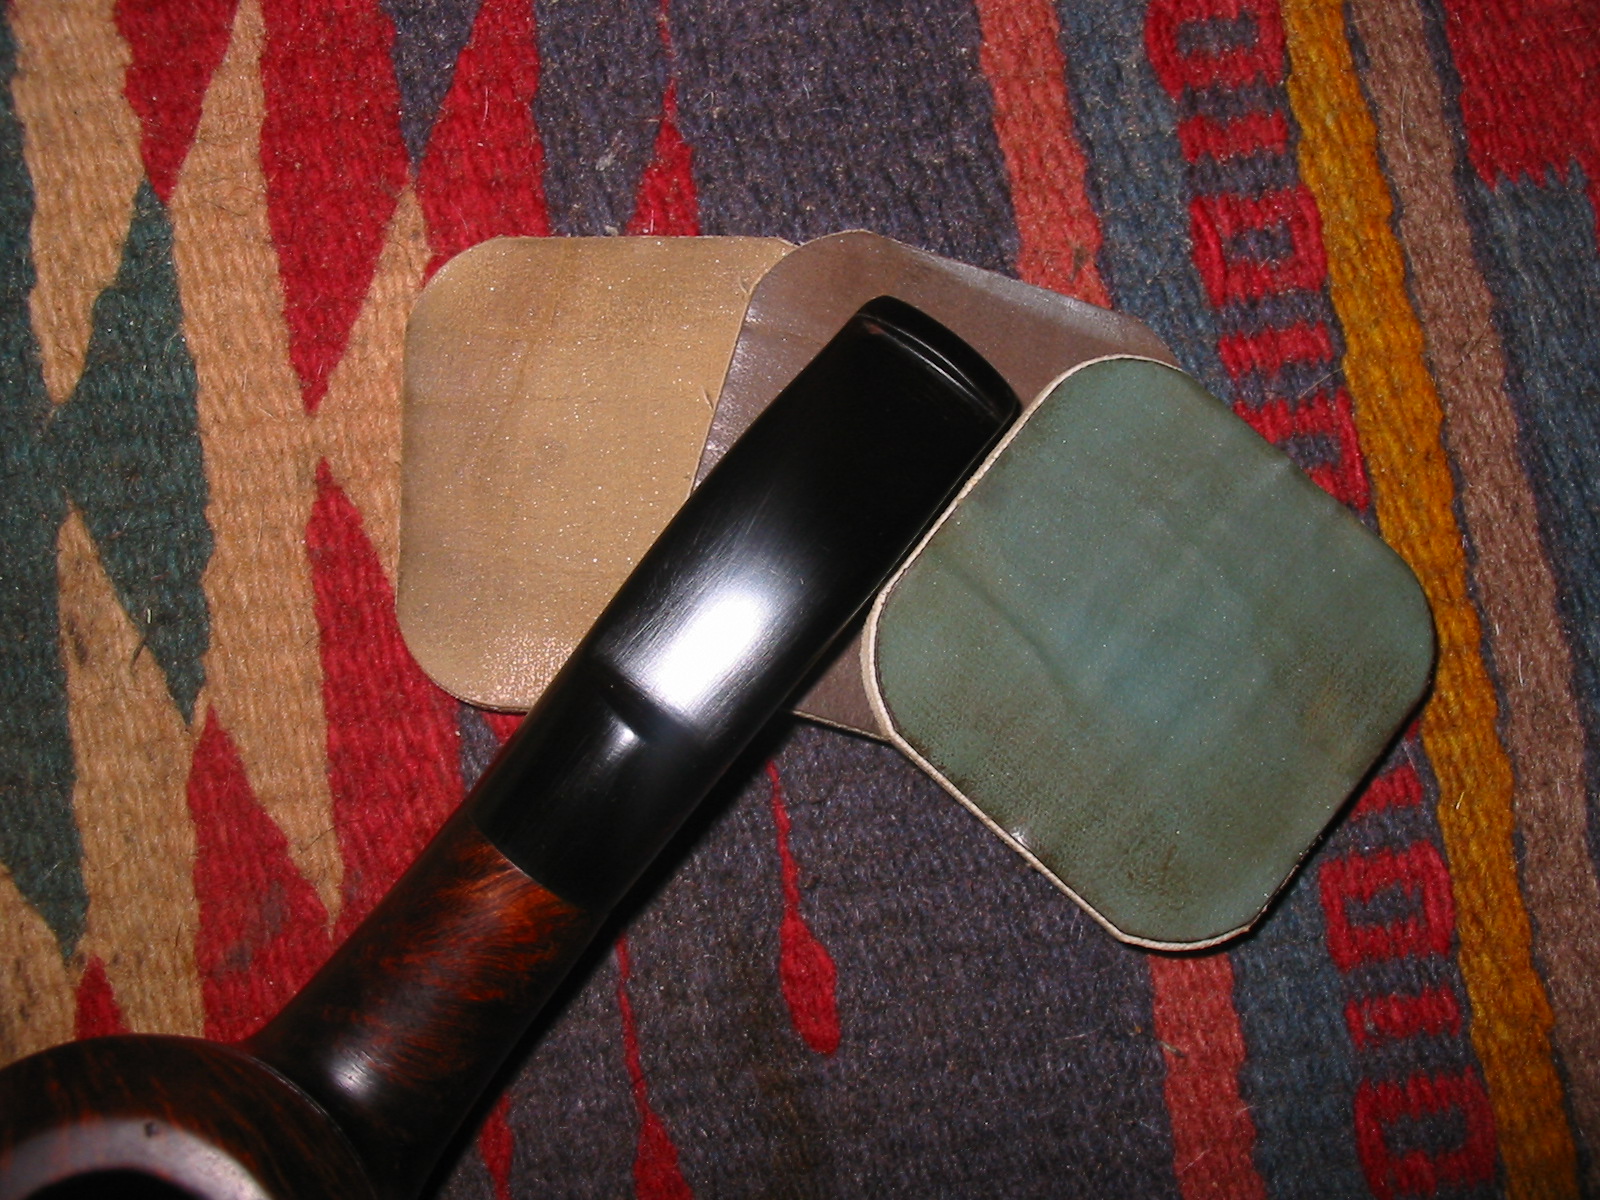
I set the bowl aside and went to work, letting it dry for 8 or more hours. When I returned home in the evening I worked on the shaping of the stem. I sanded it with 220 grit sandpaper to thin it down and shape the edges on the blade. I also worked on the fit of the saddle to the shank to make sure the transition was smooth and as seamless as possible. Once I had the fit correct I sanded it with medium and fine grit sanding sponges and then my usual array of micromesh pads. I wet sanded with 1500-3200 grit pads and dry sanded with 3600-12000 grit pads.
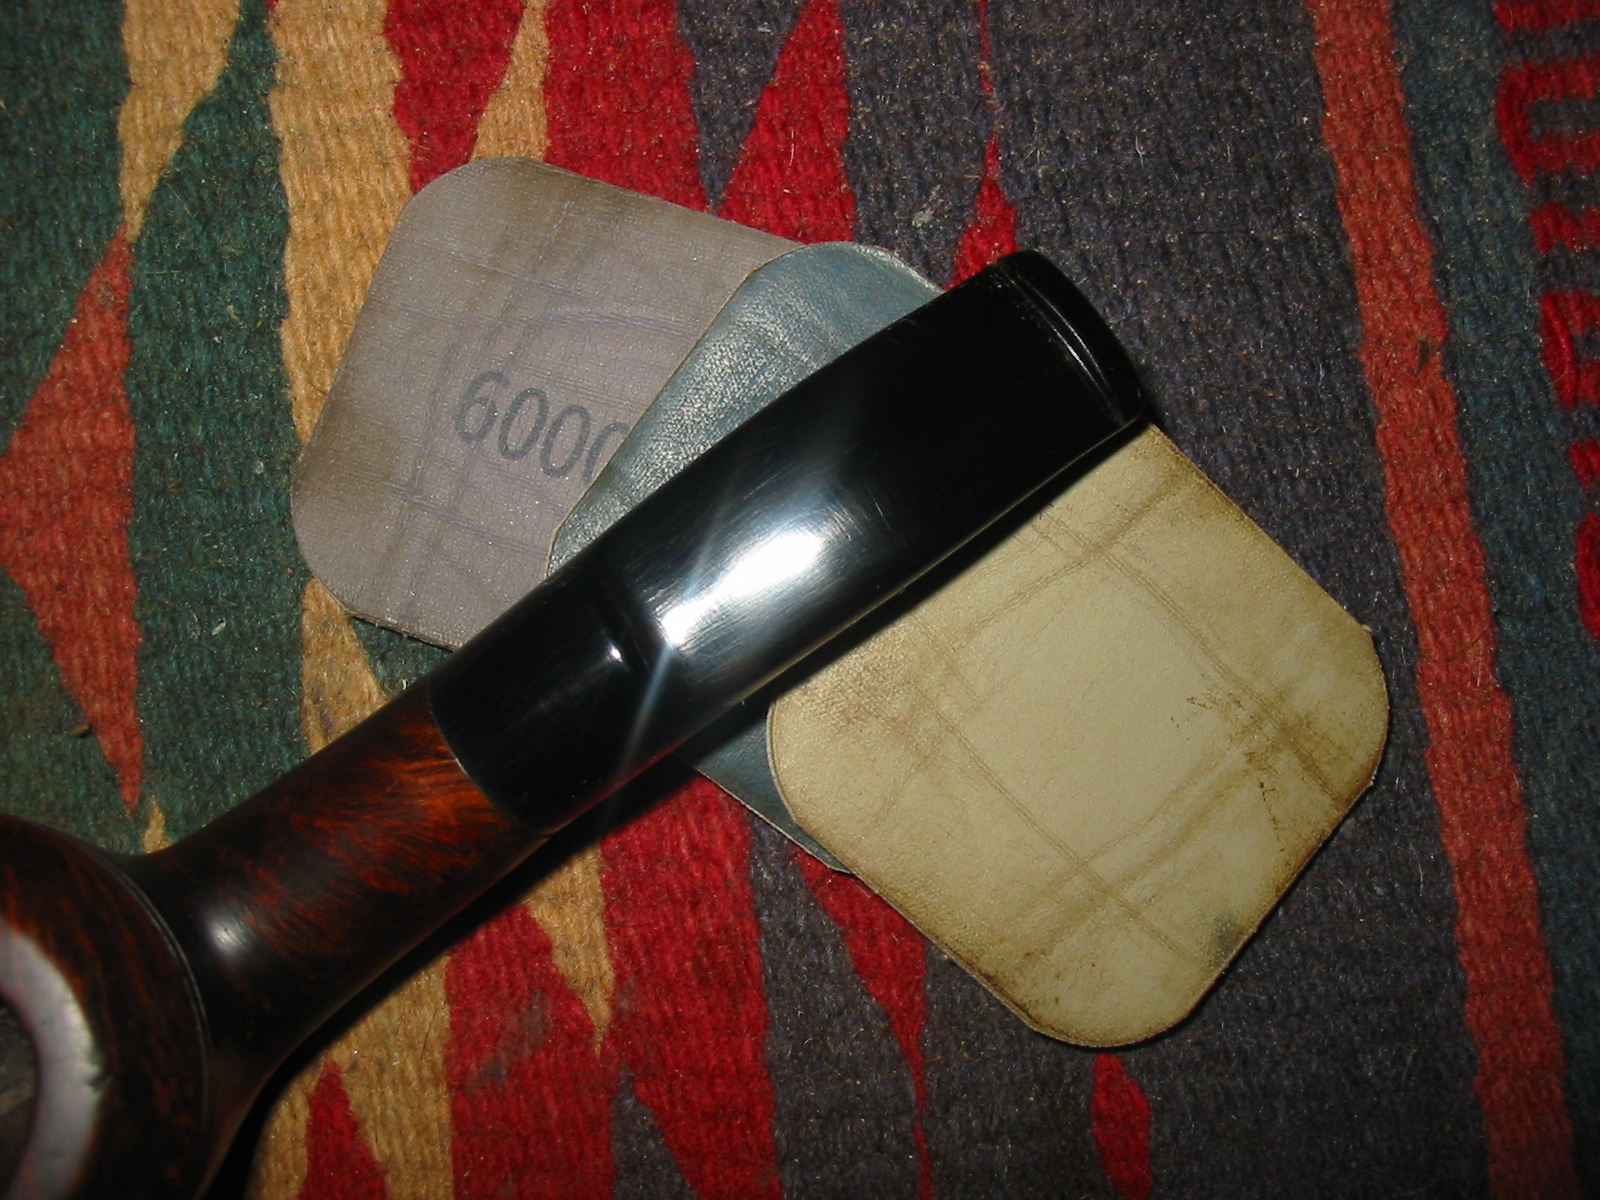
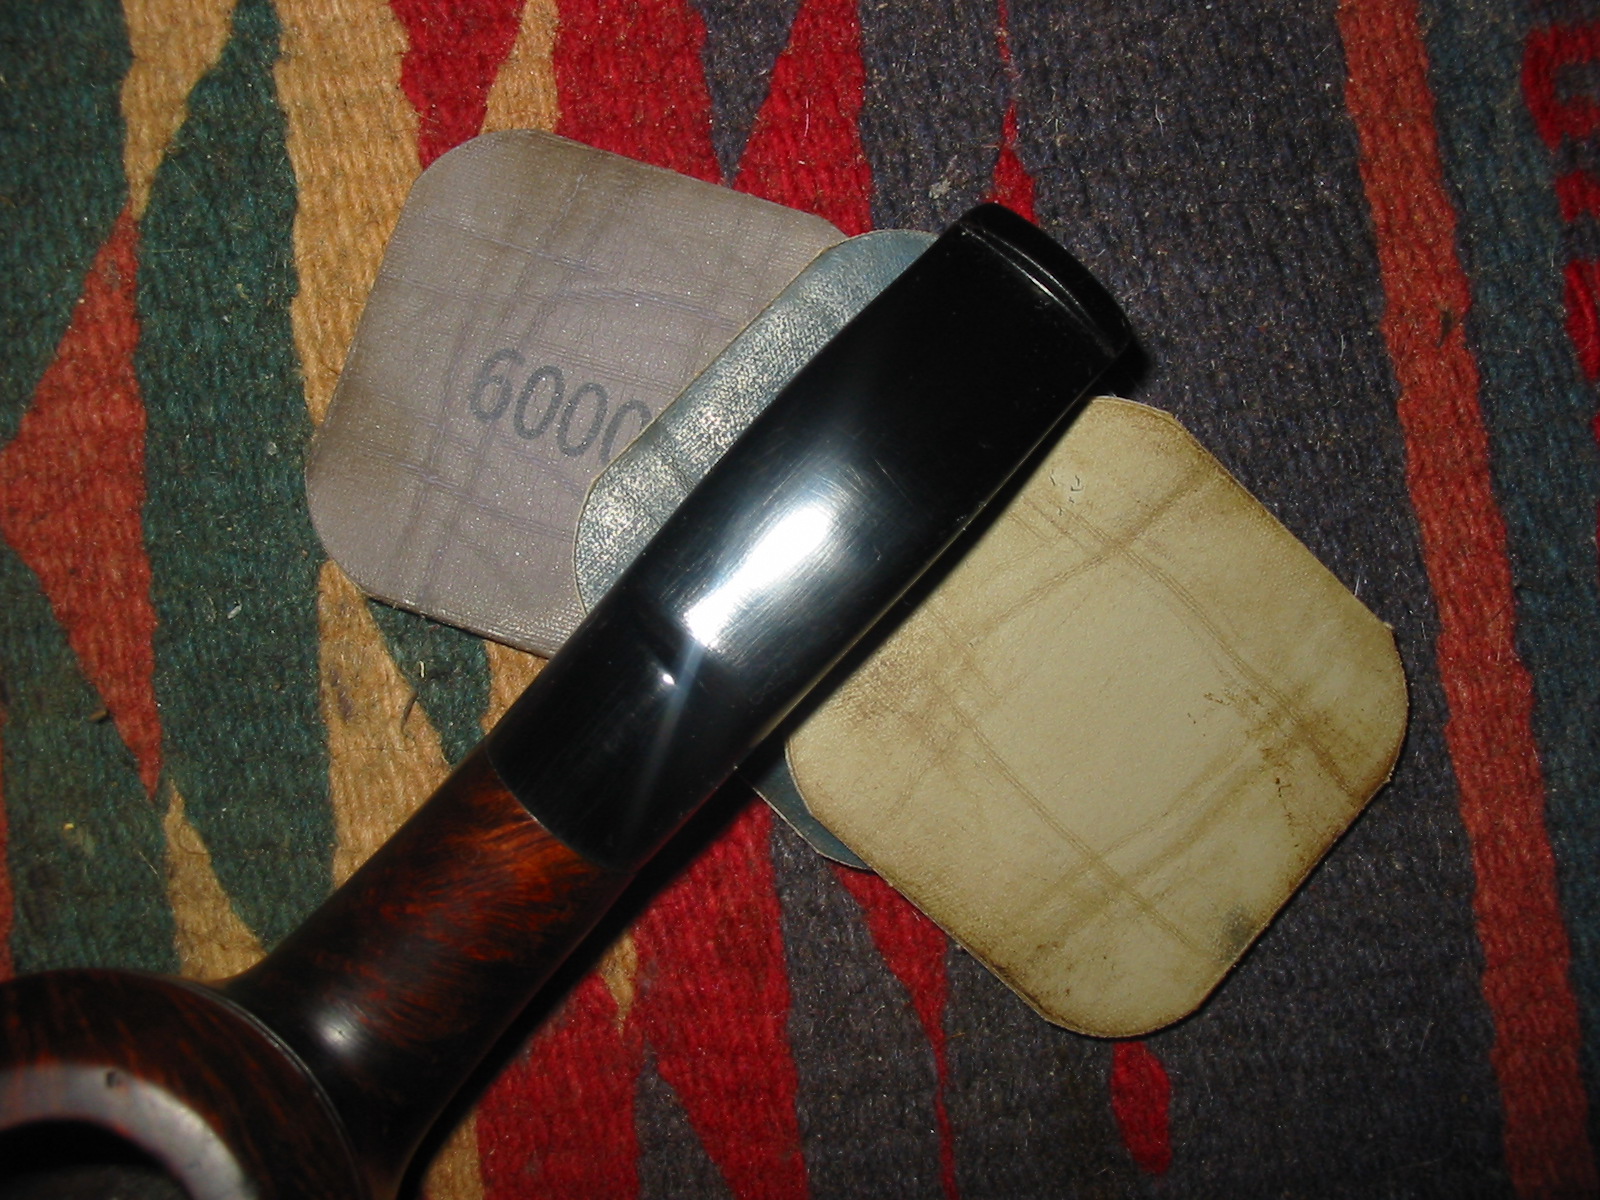
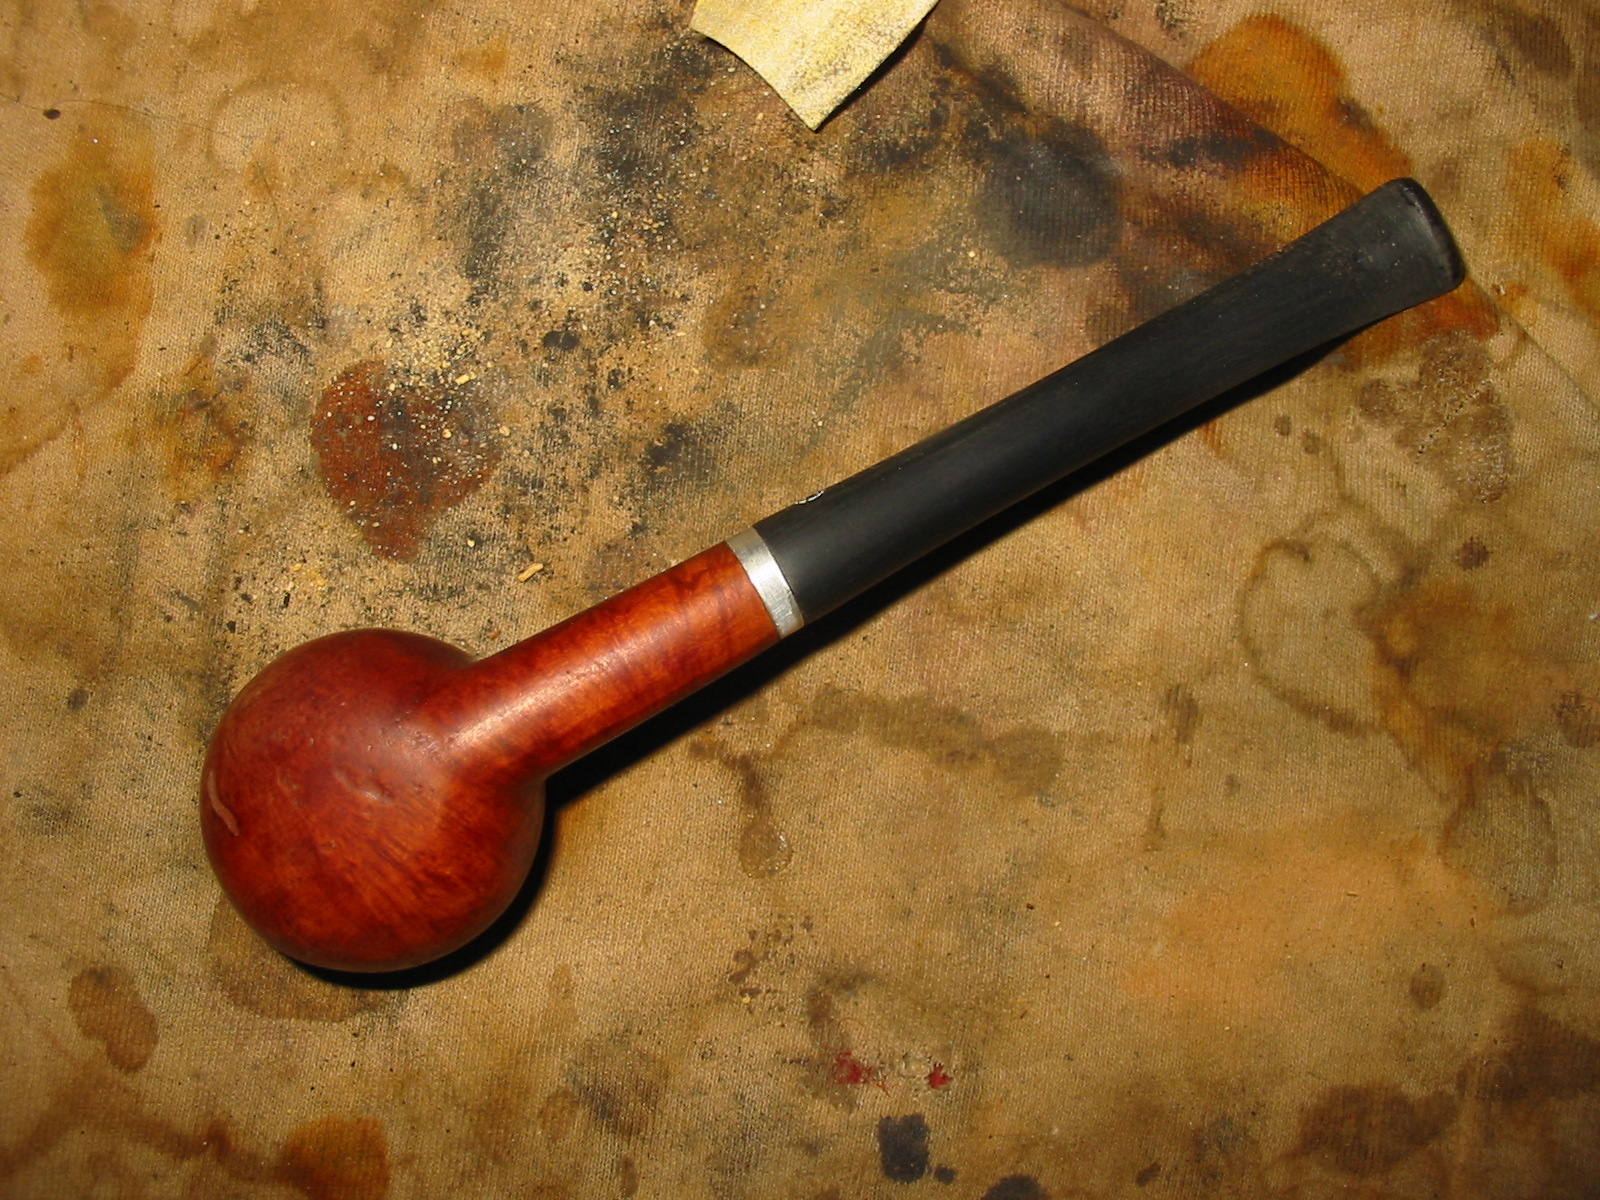
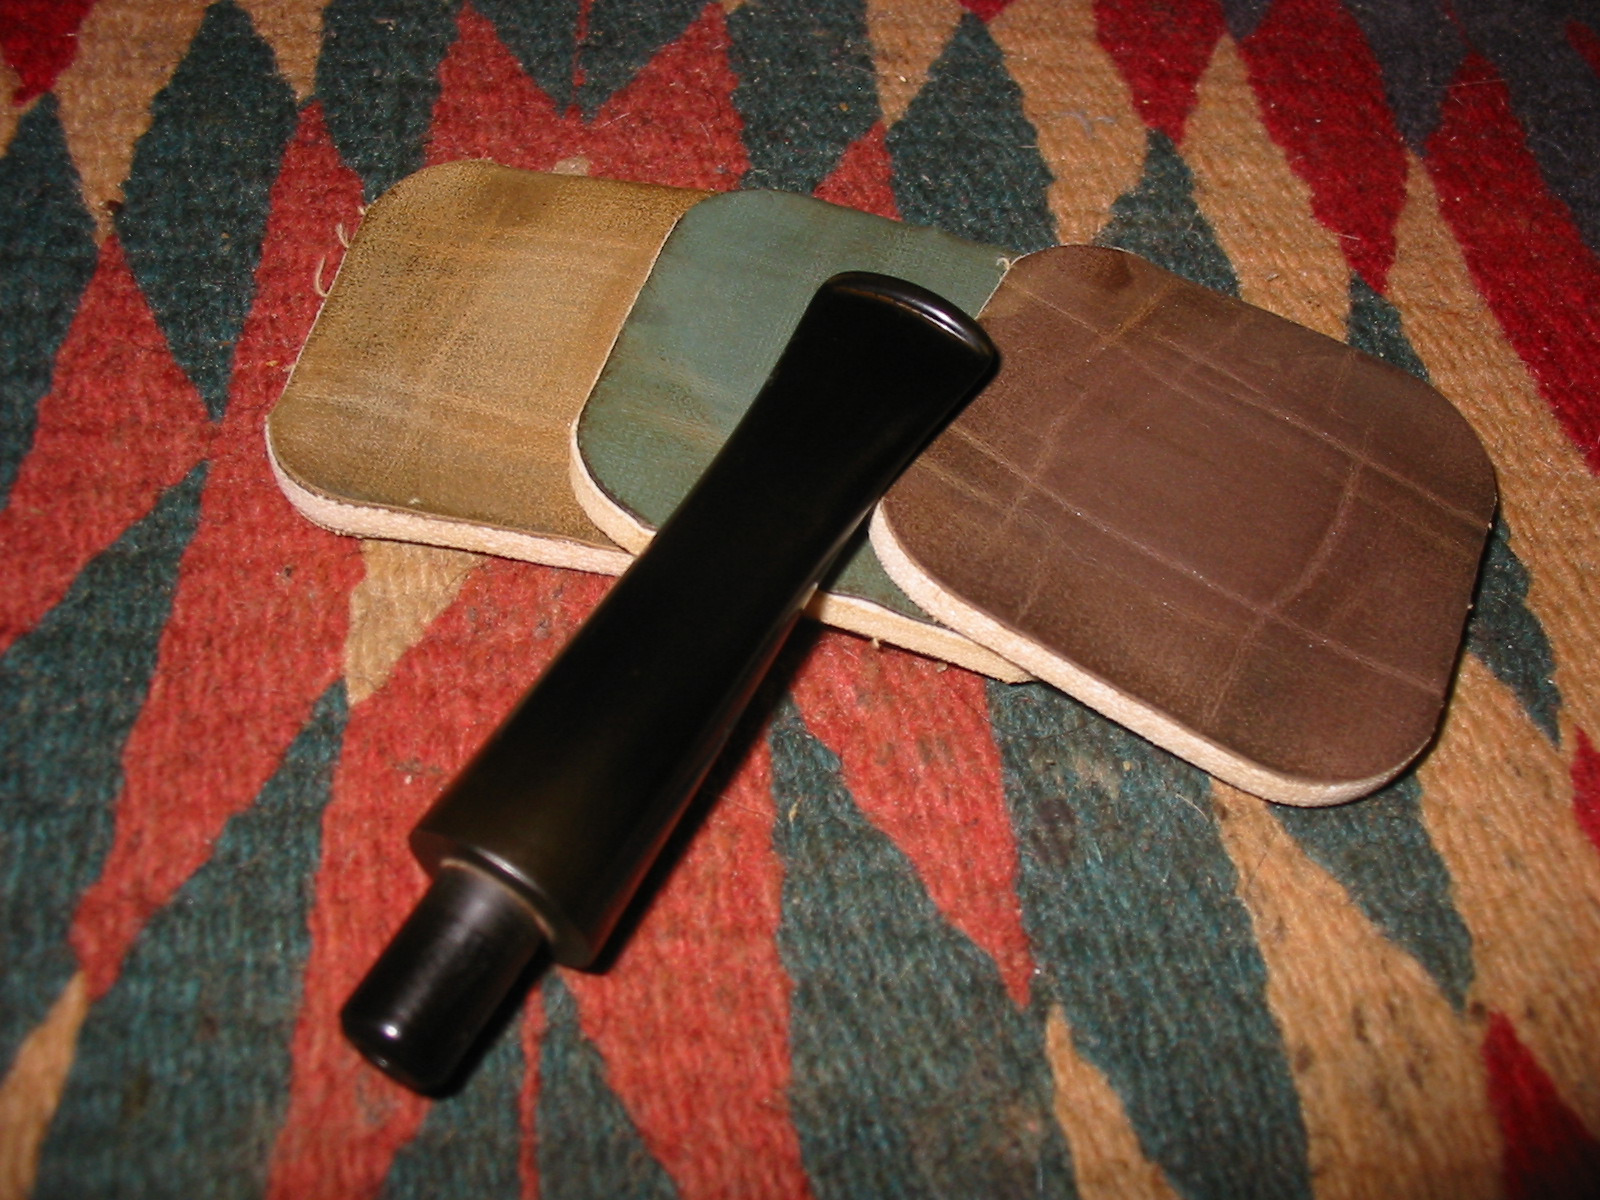
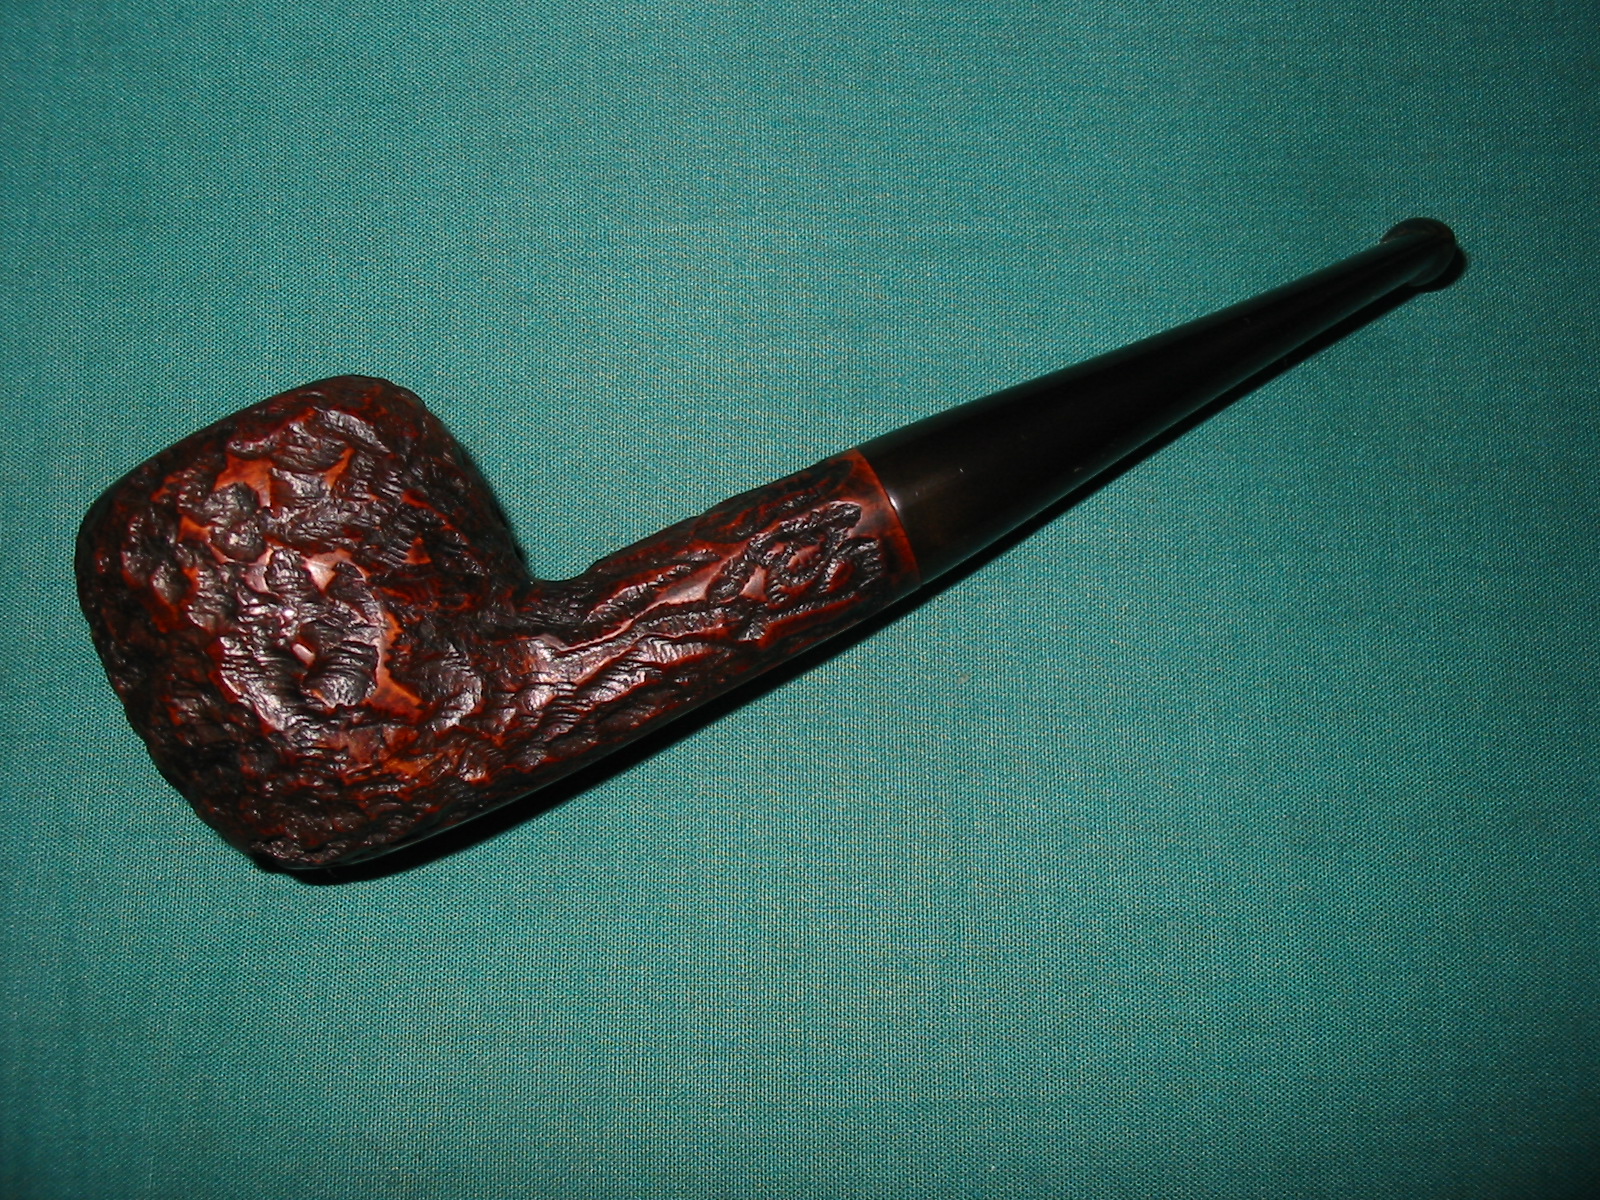
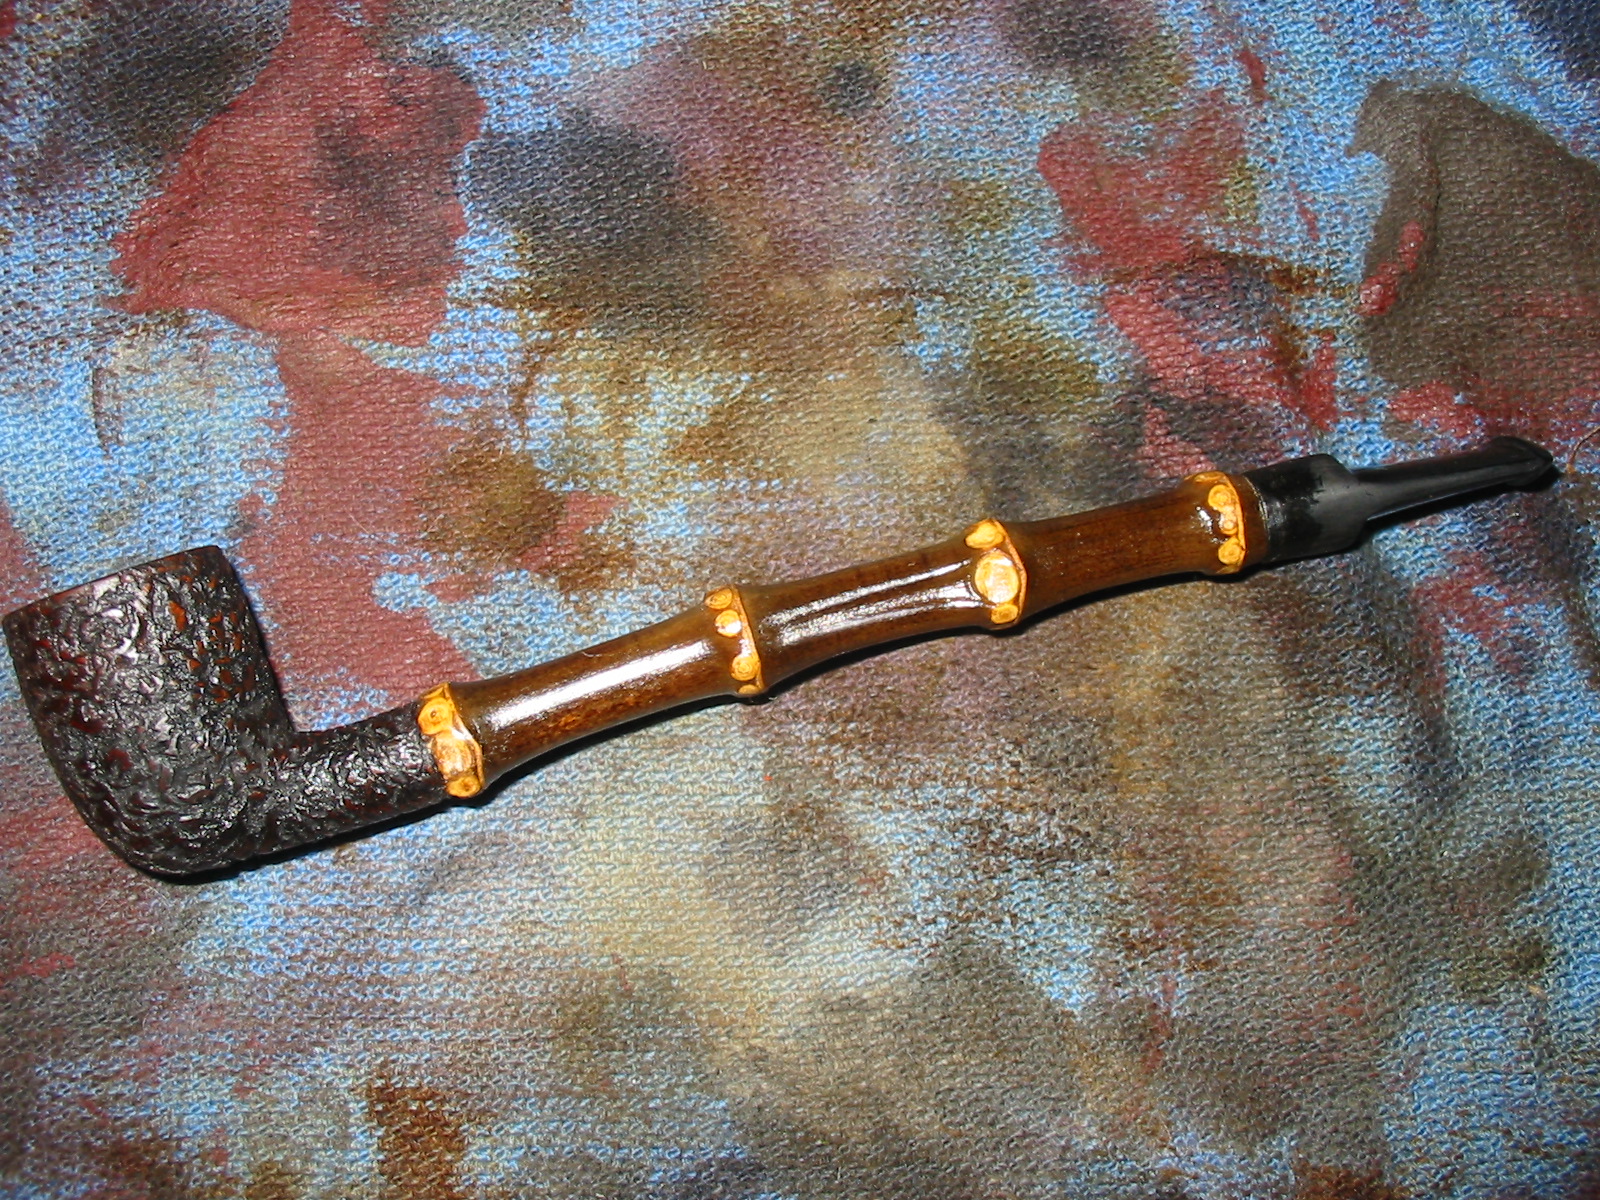
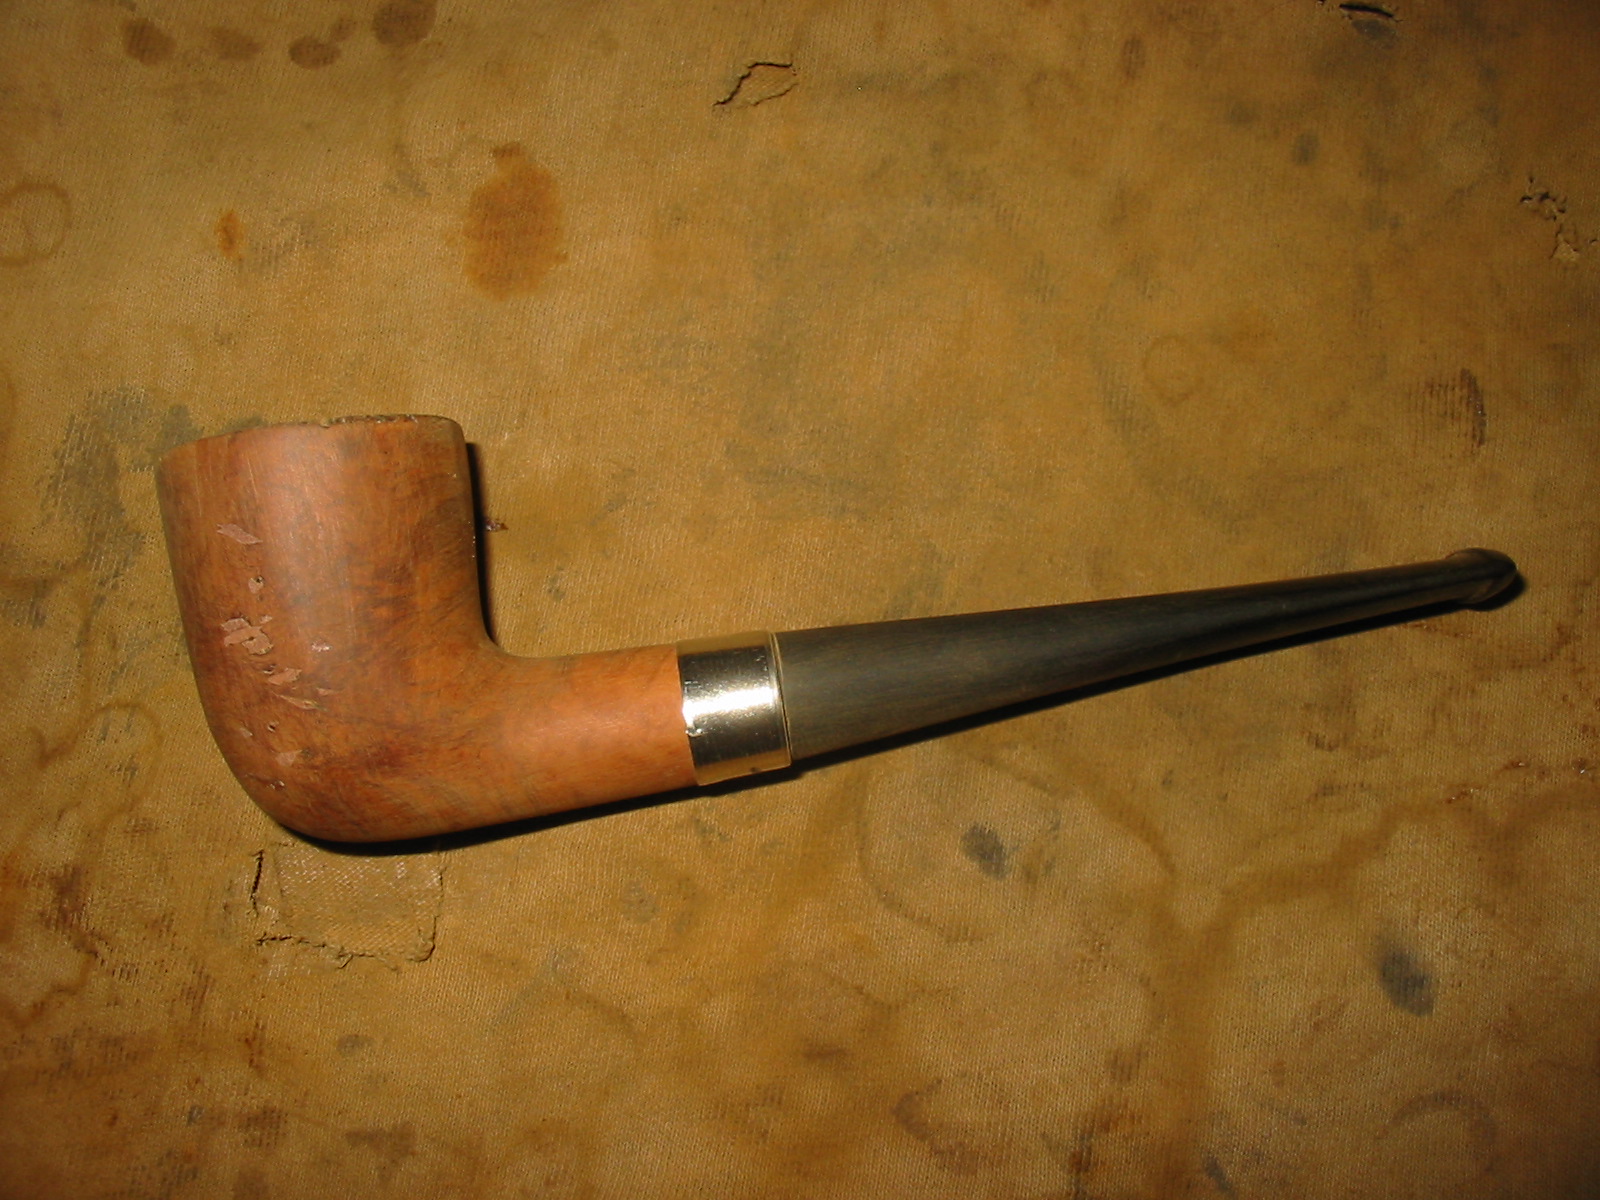
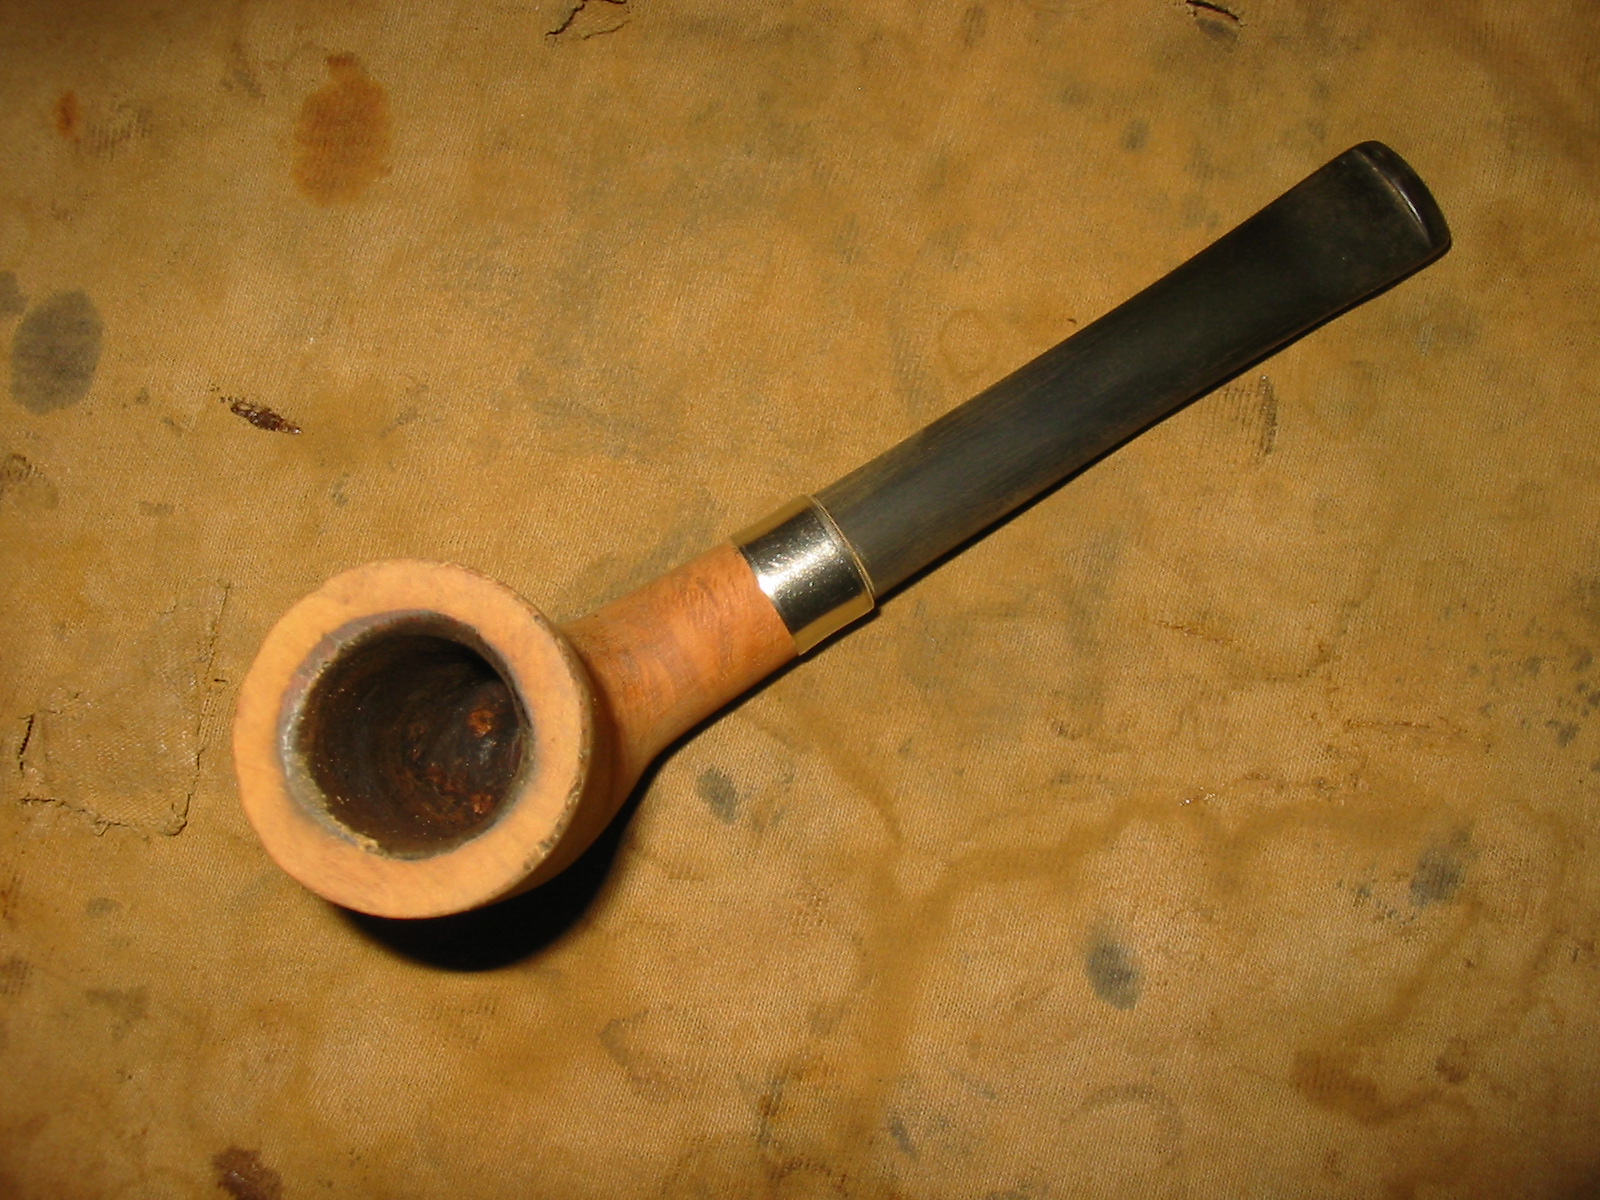
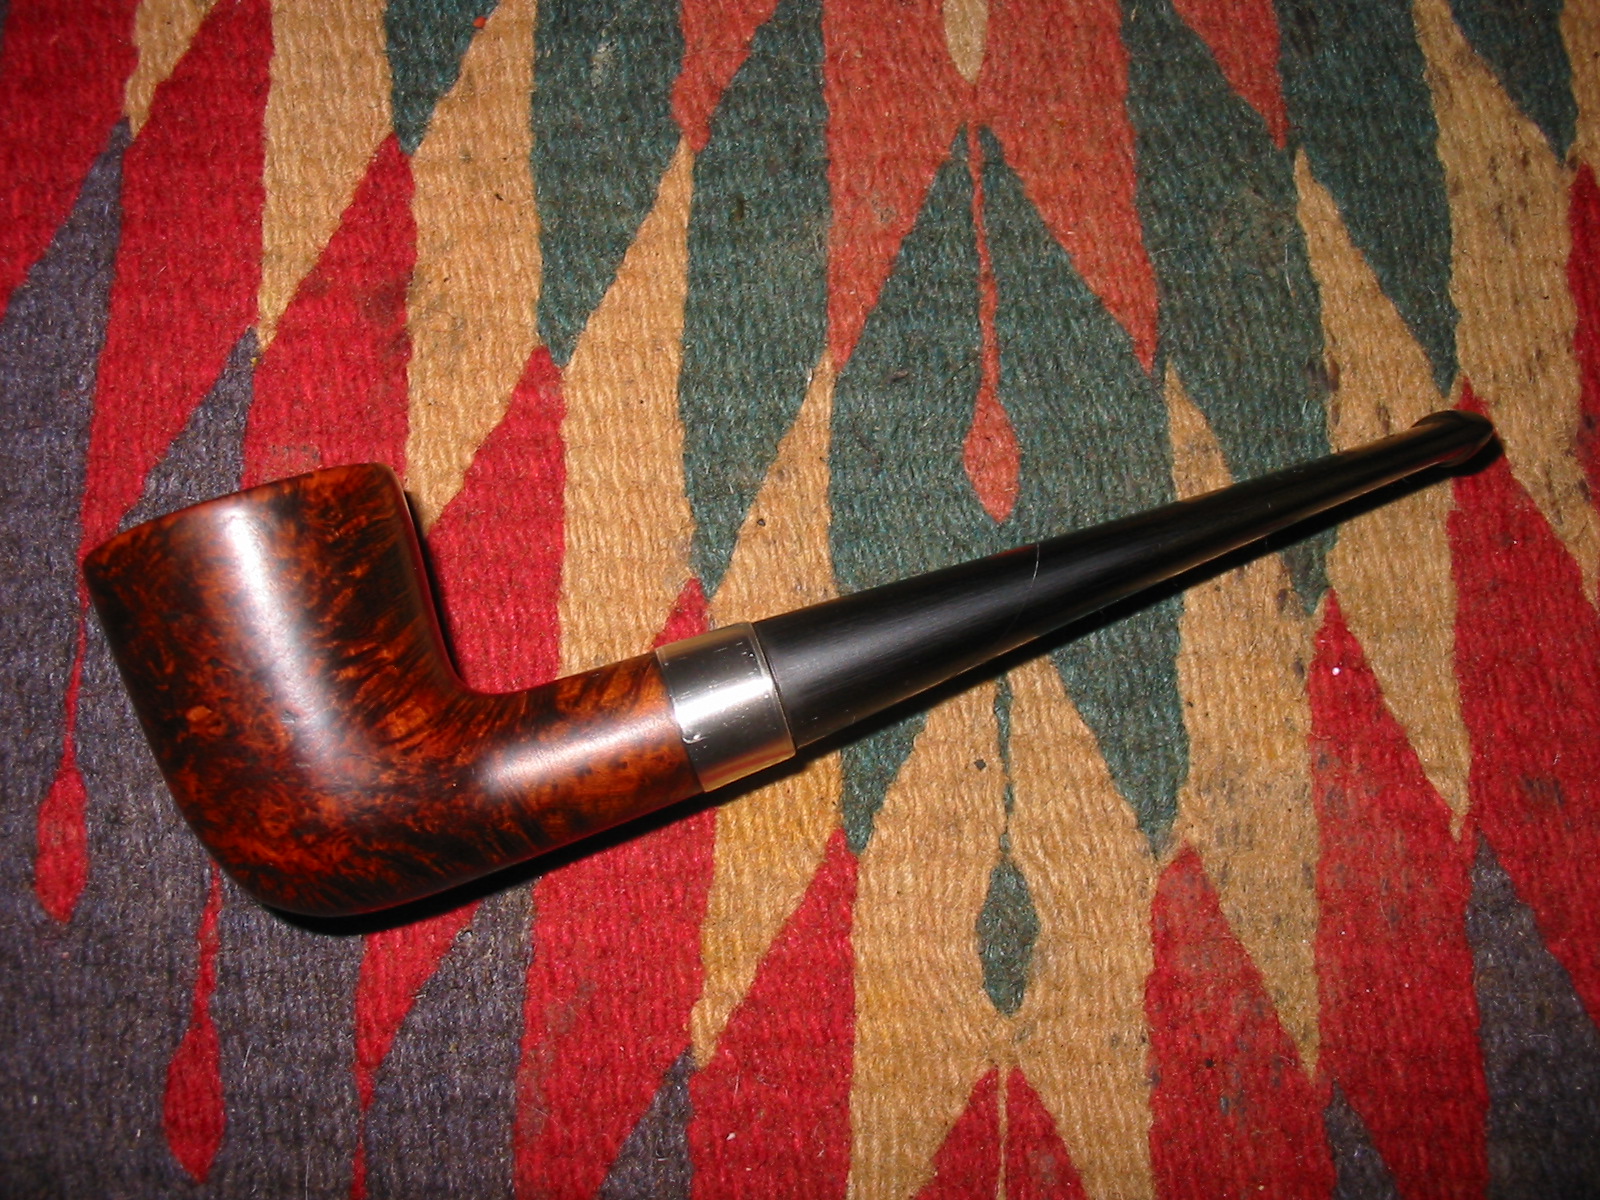
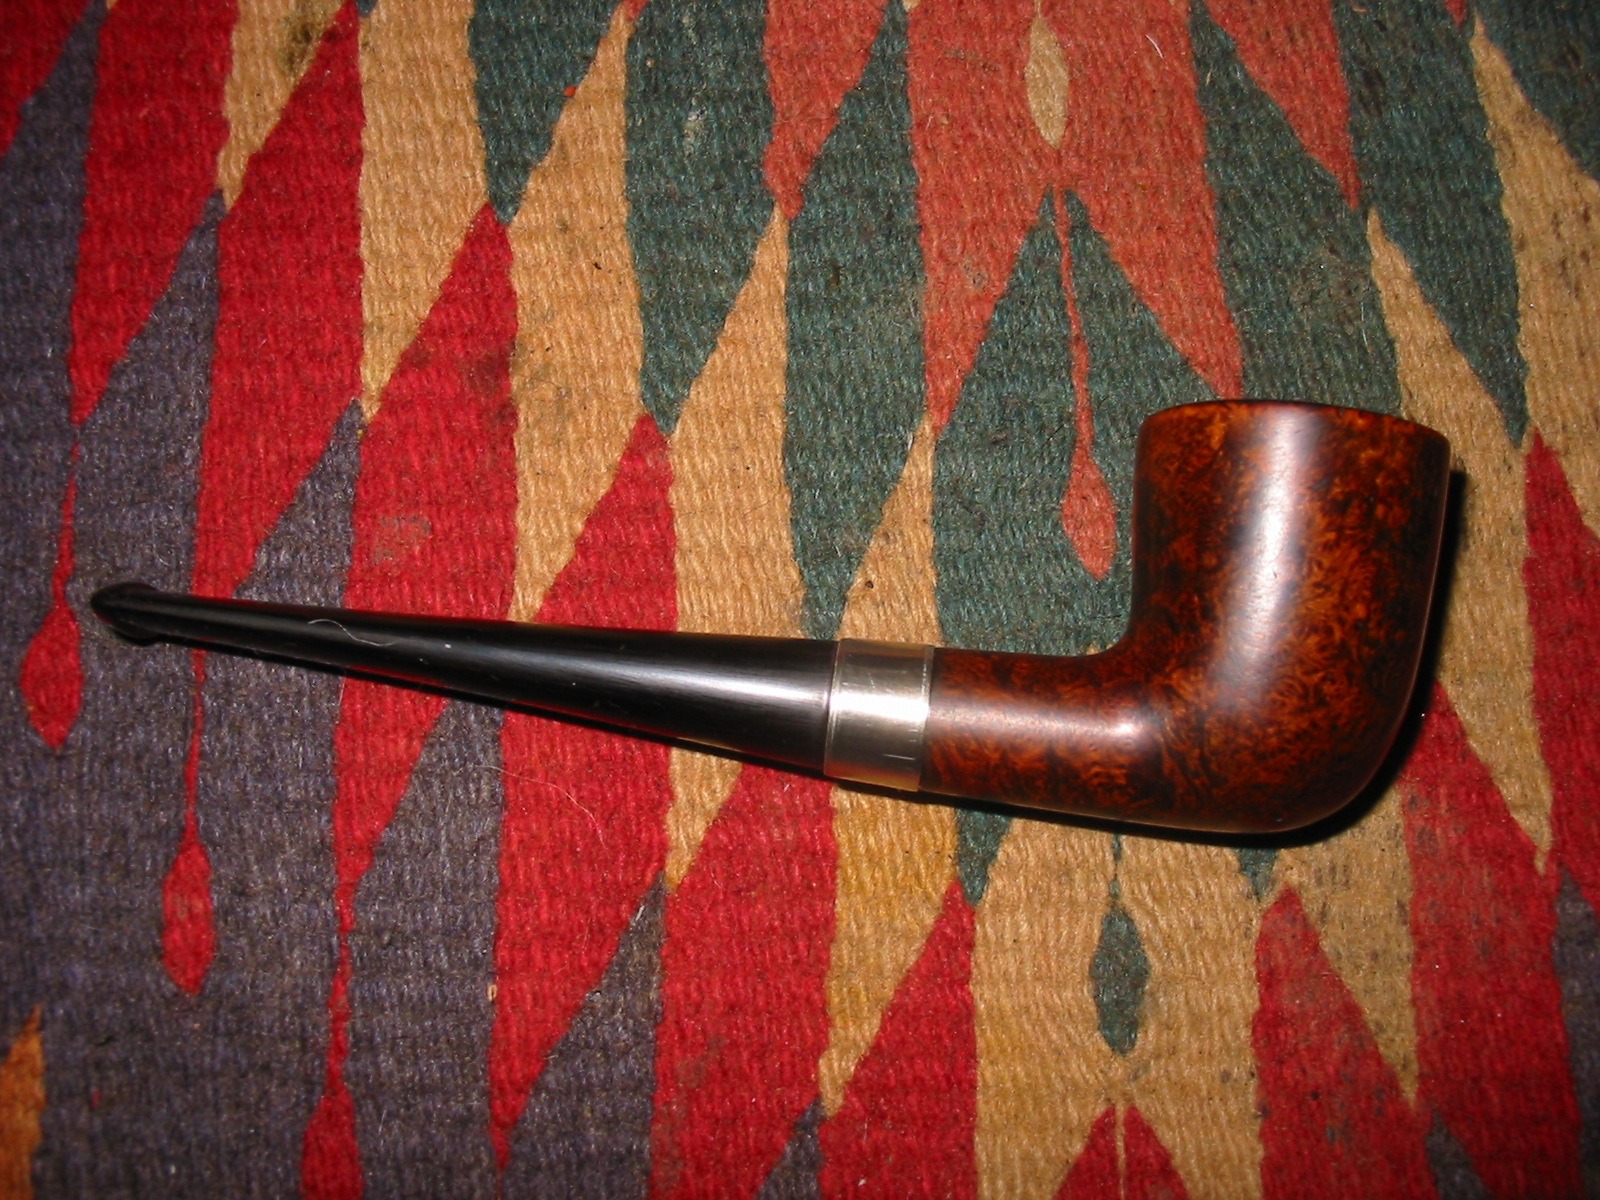
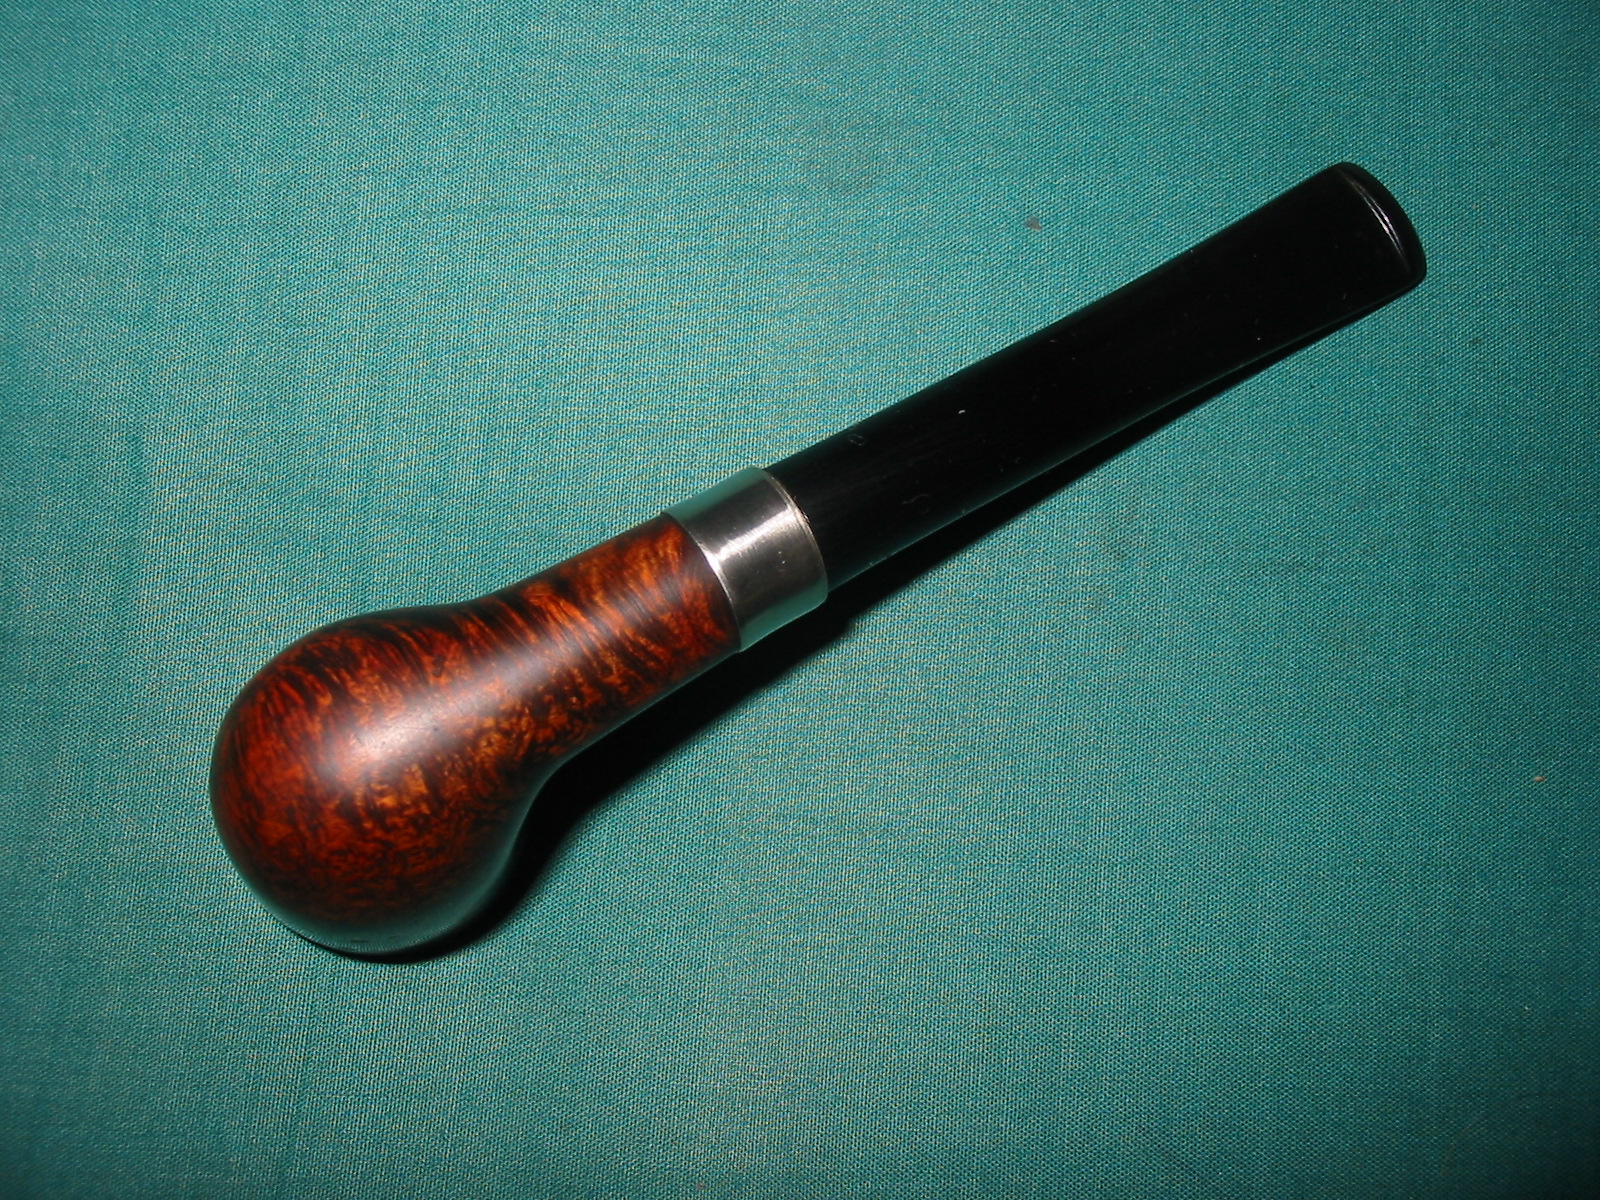
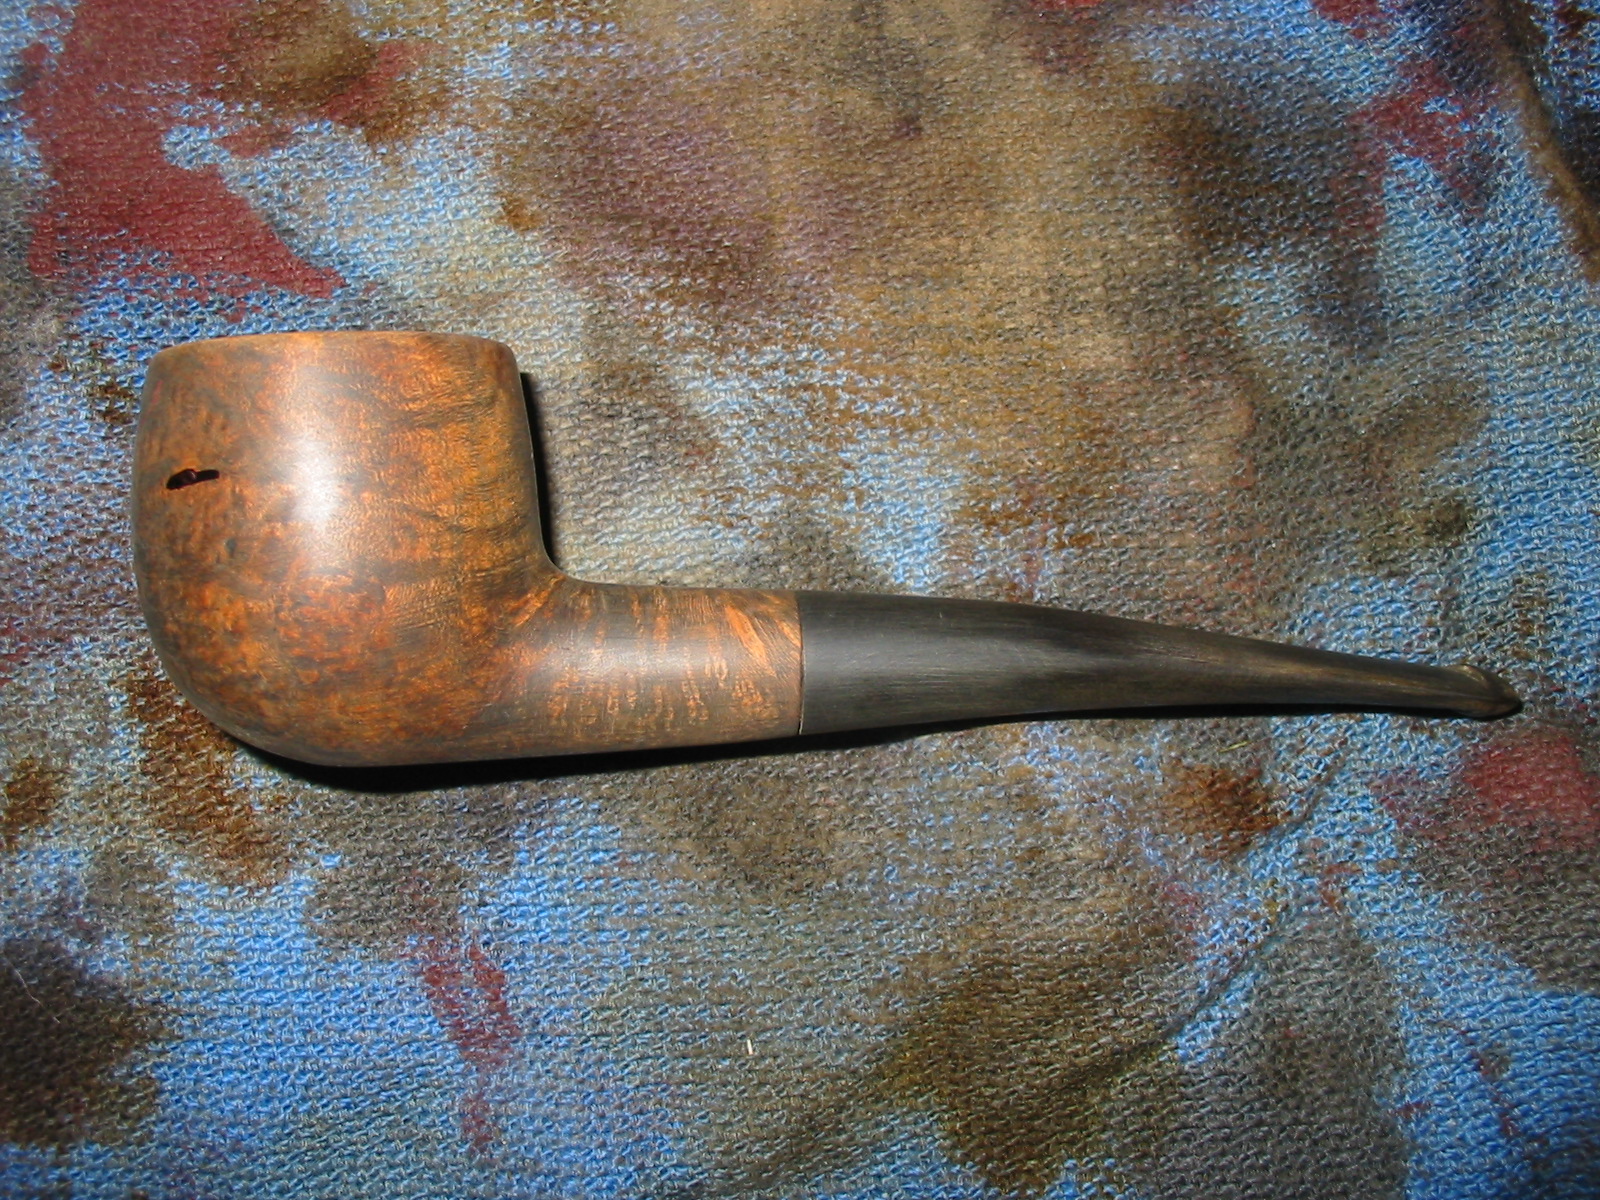
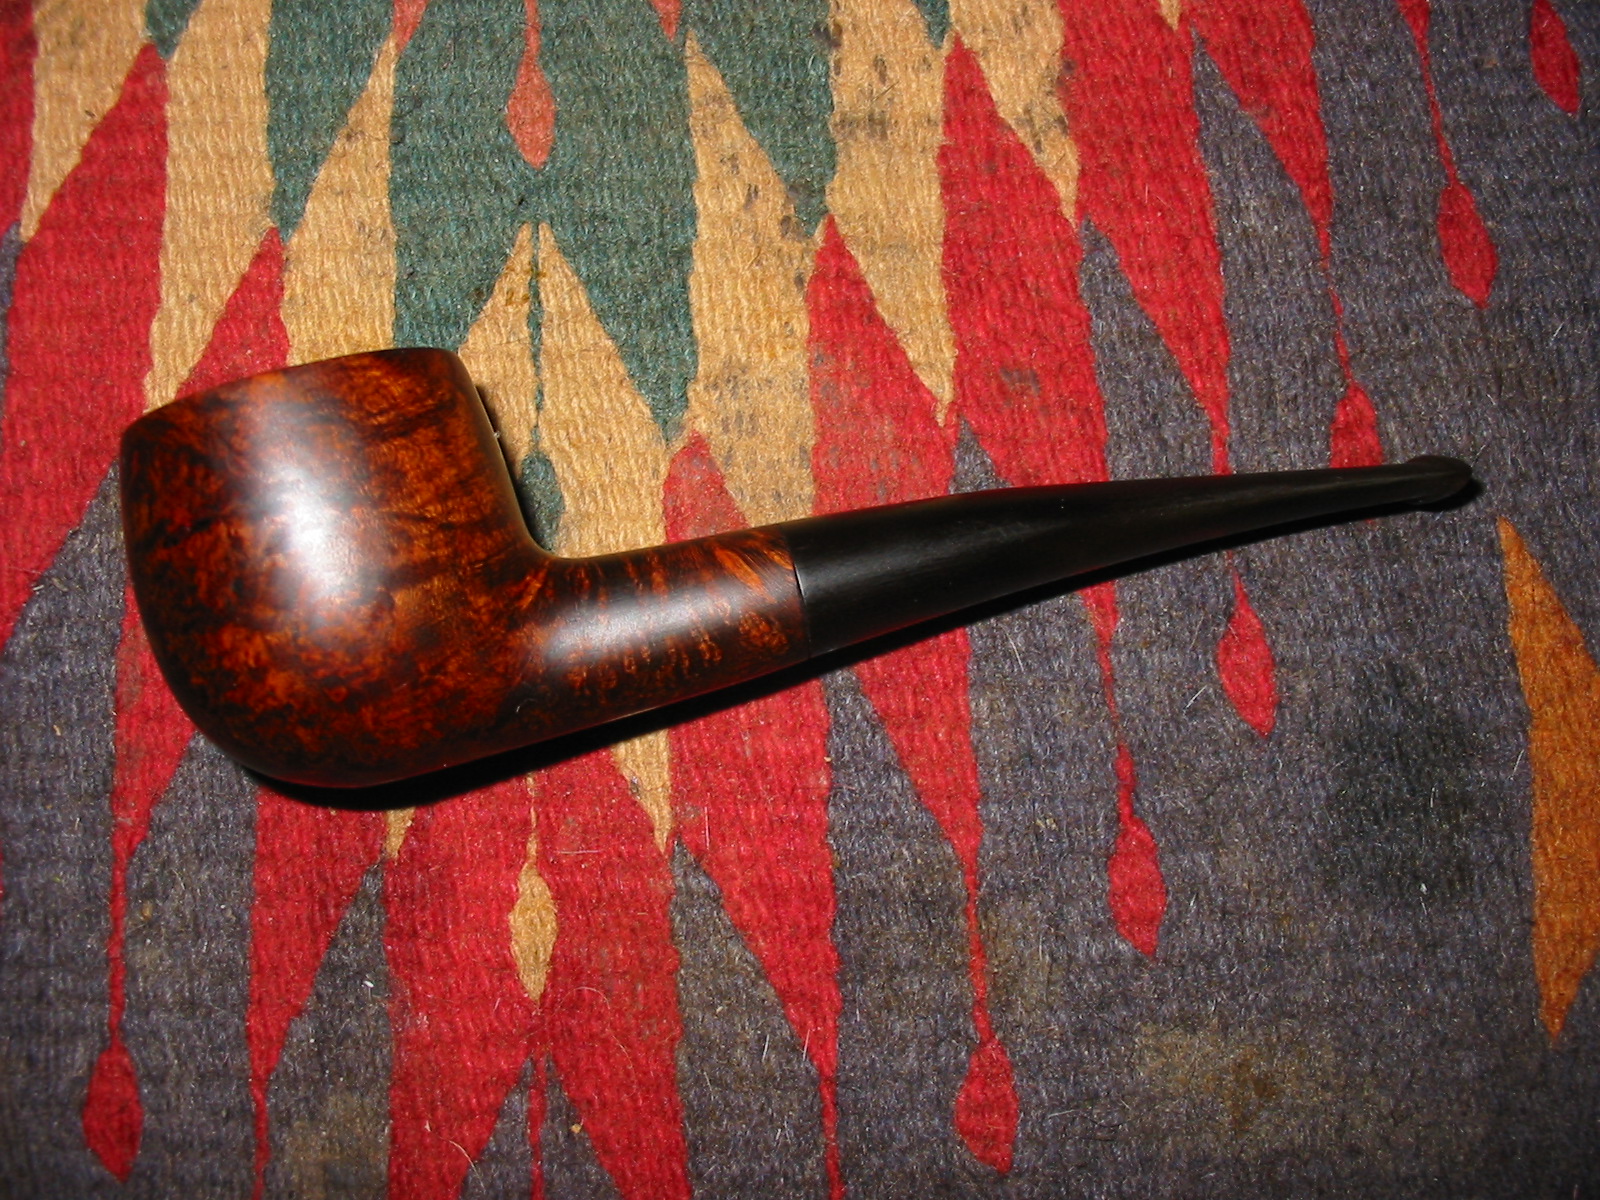
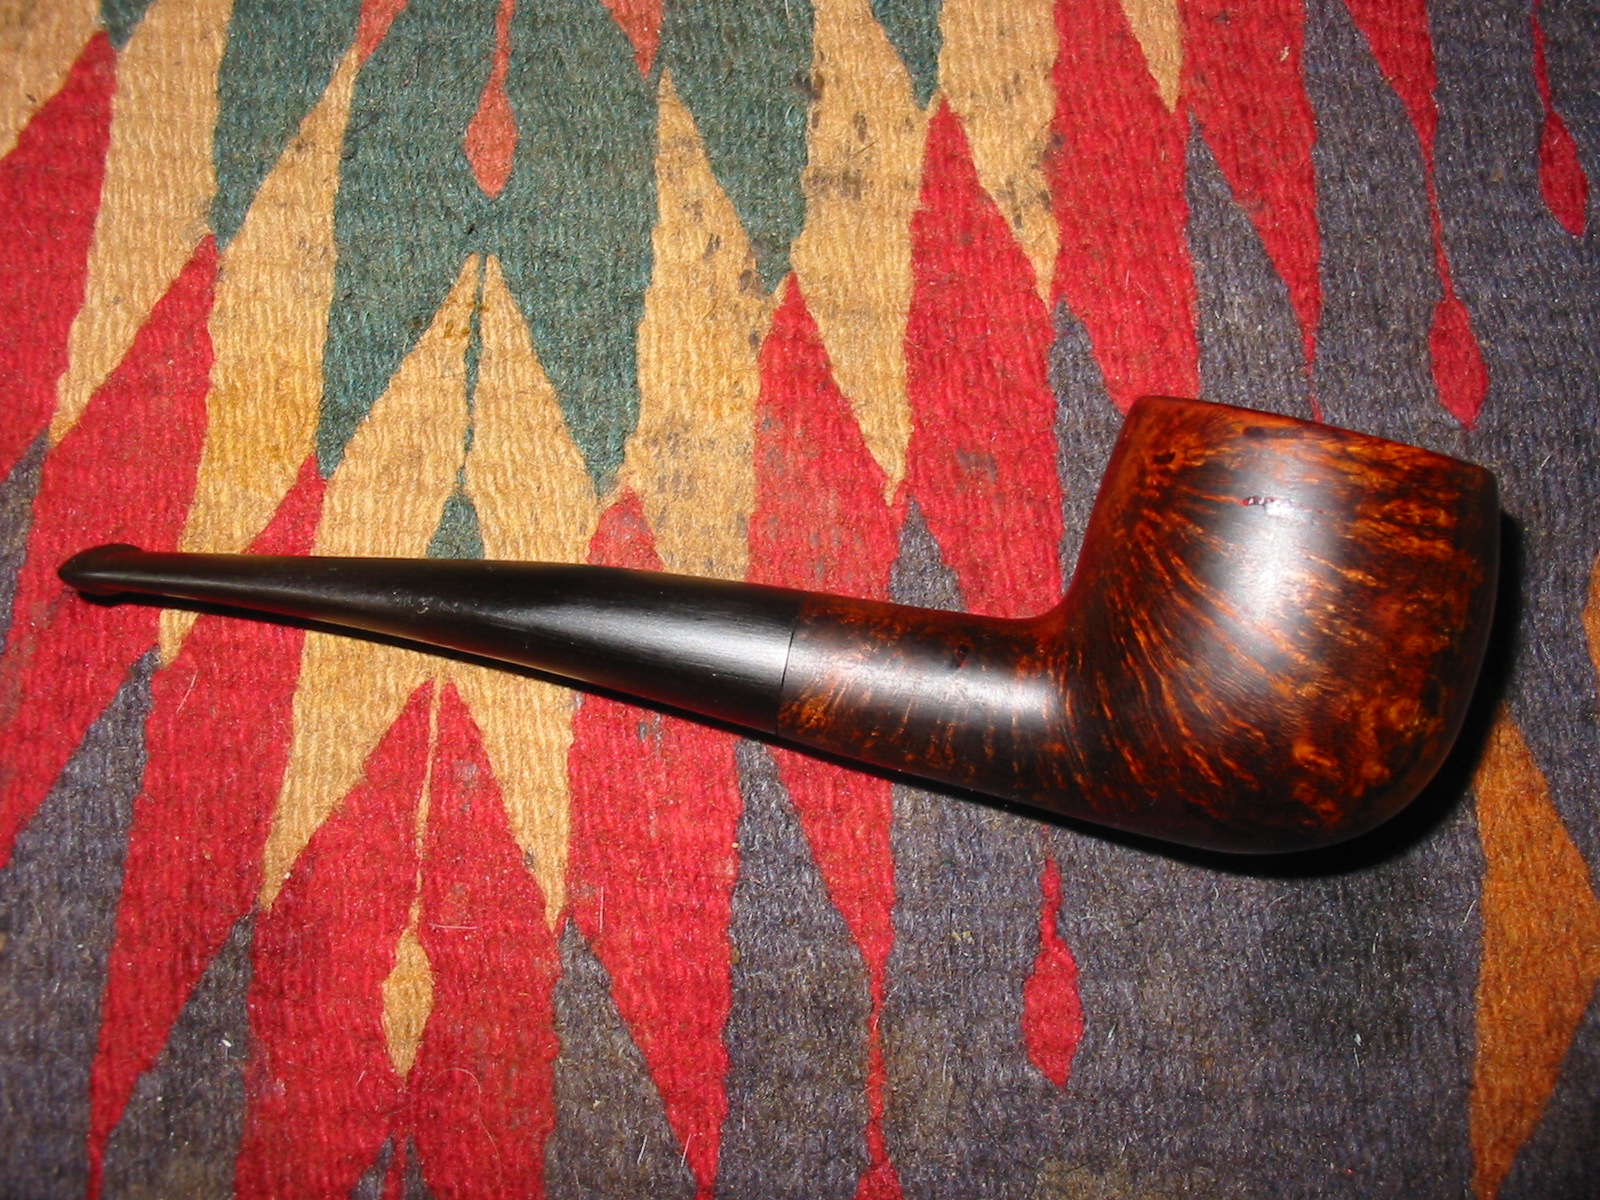
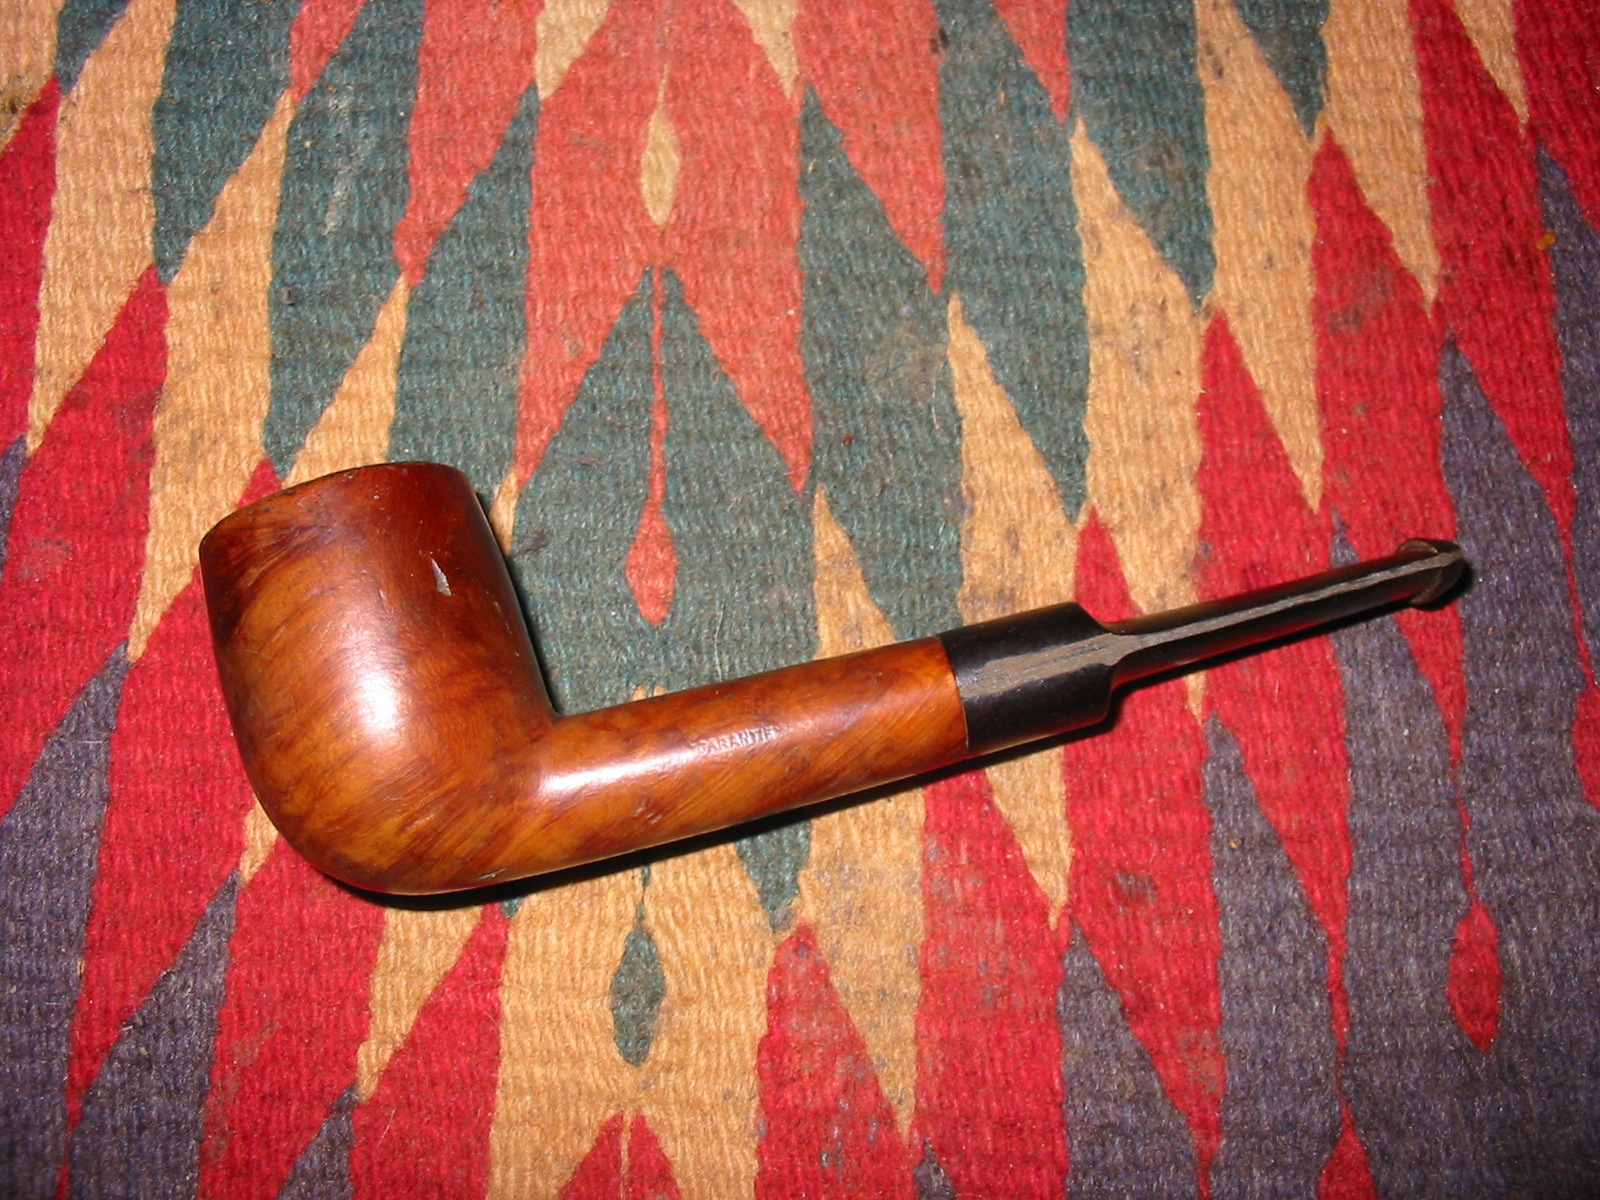
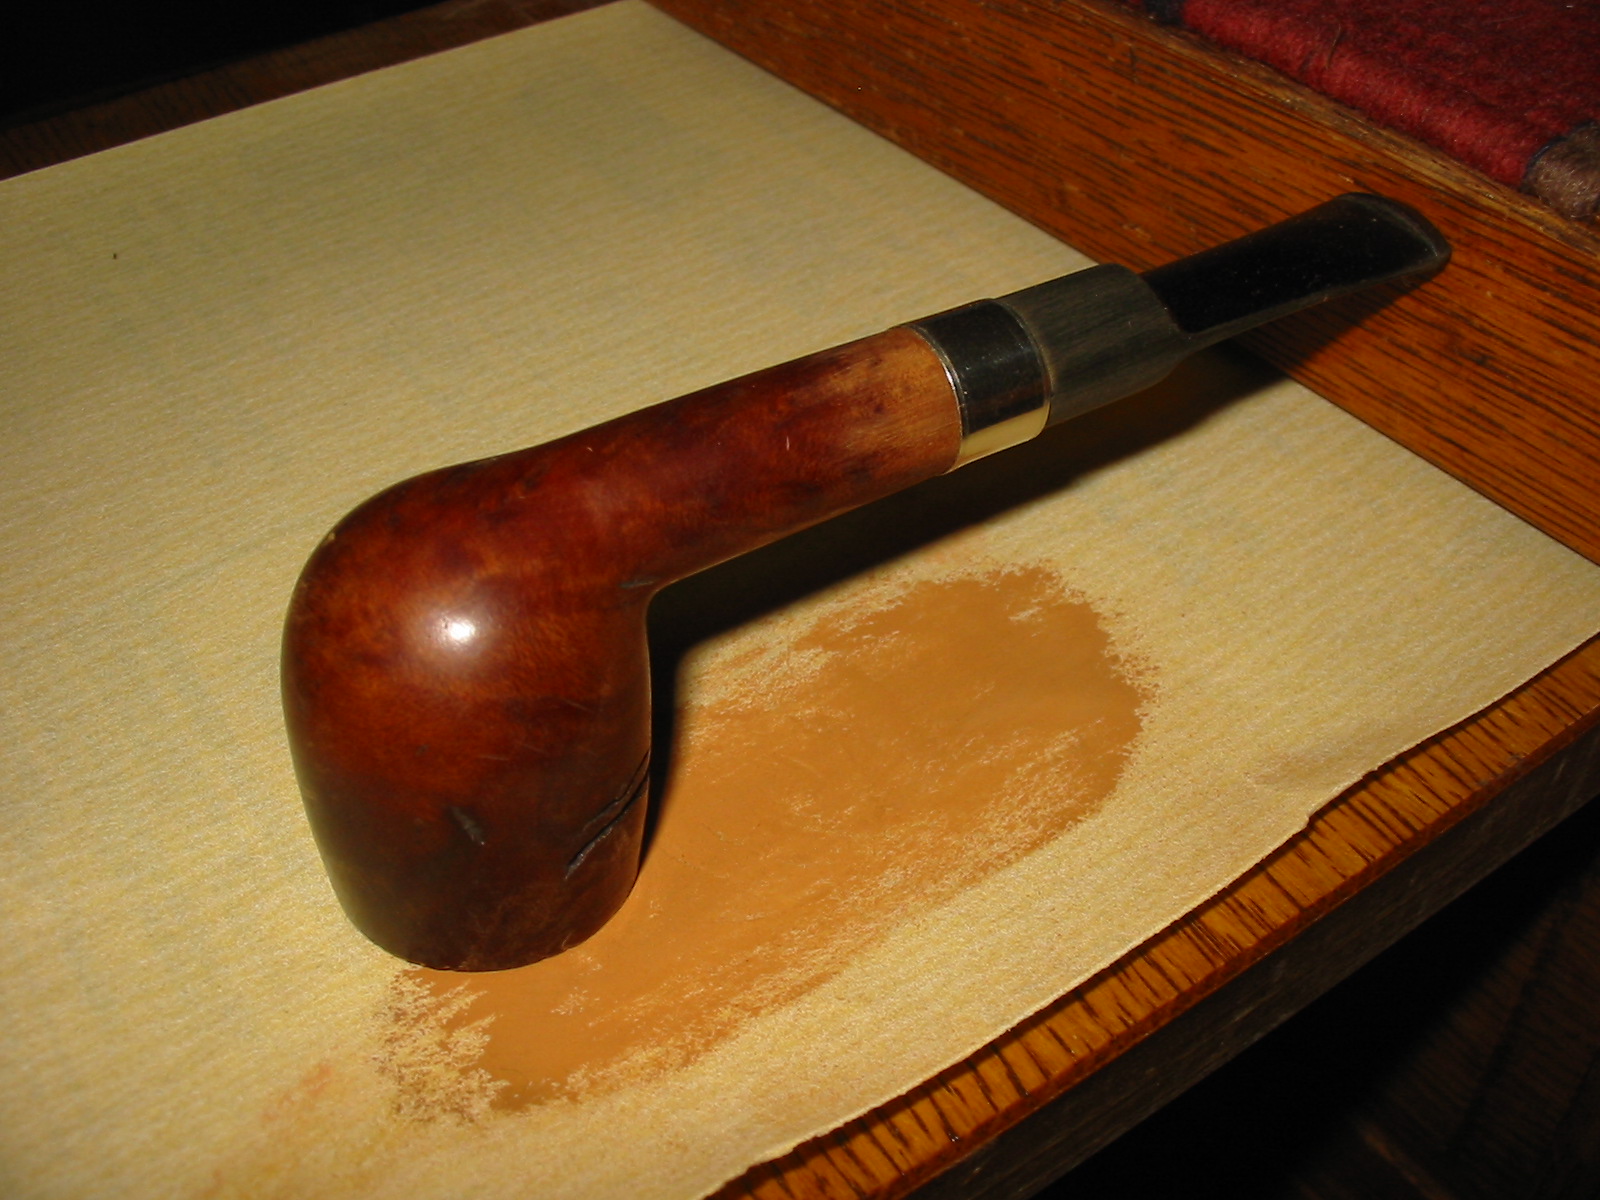
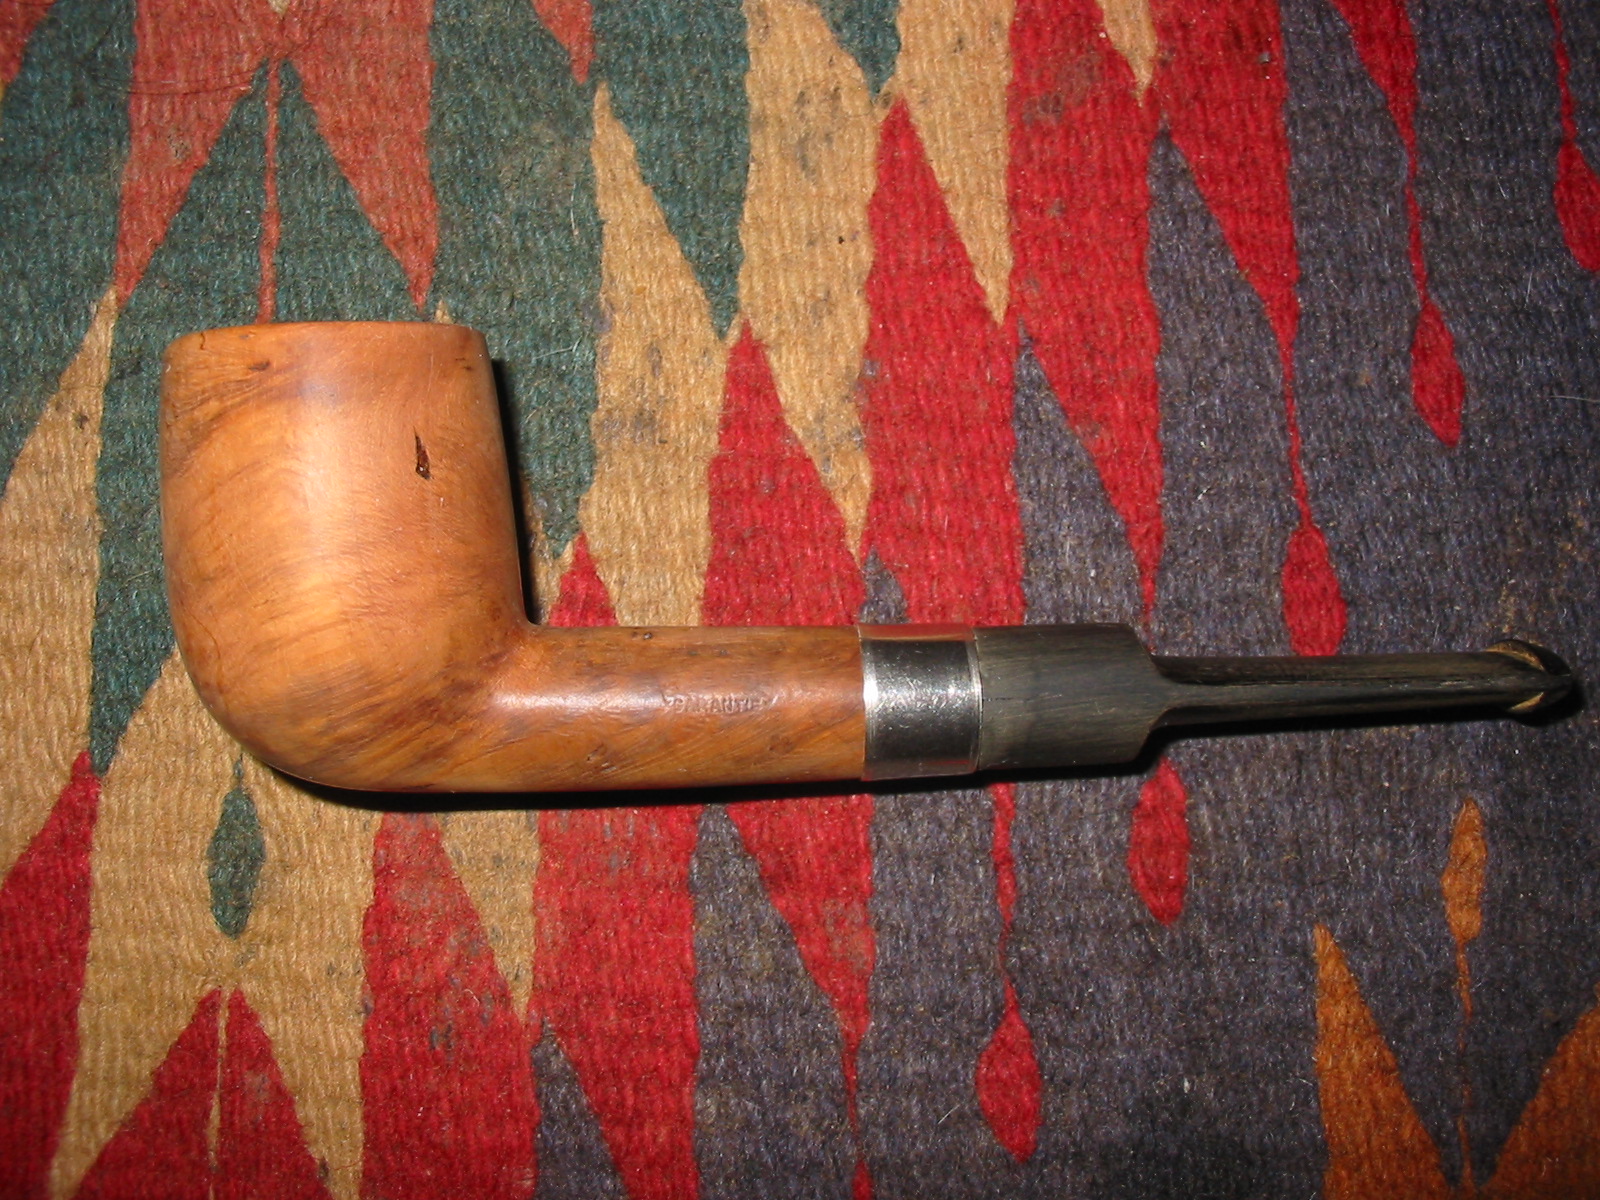
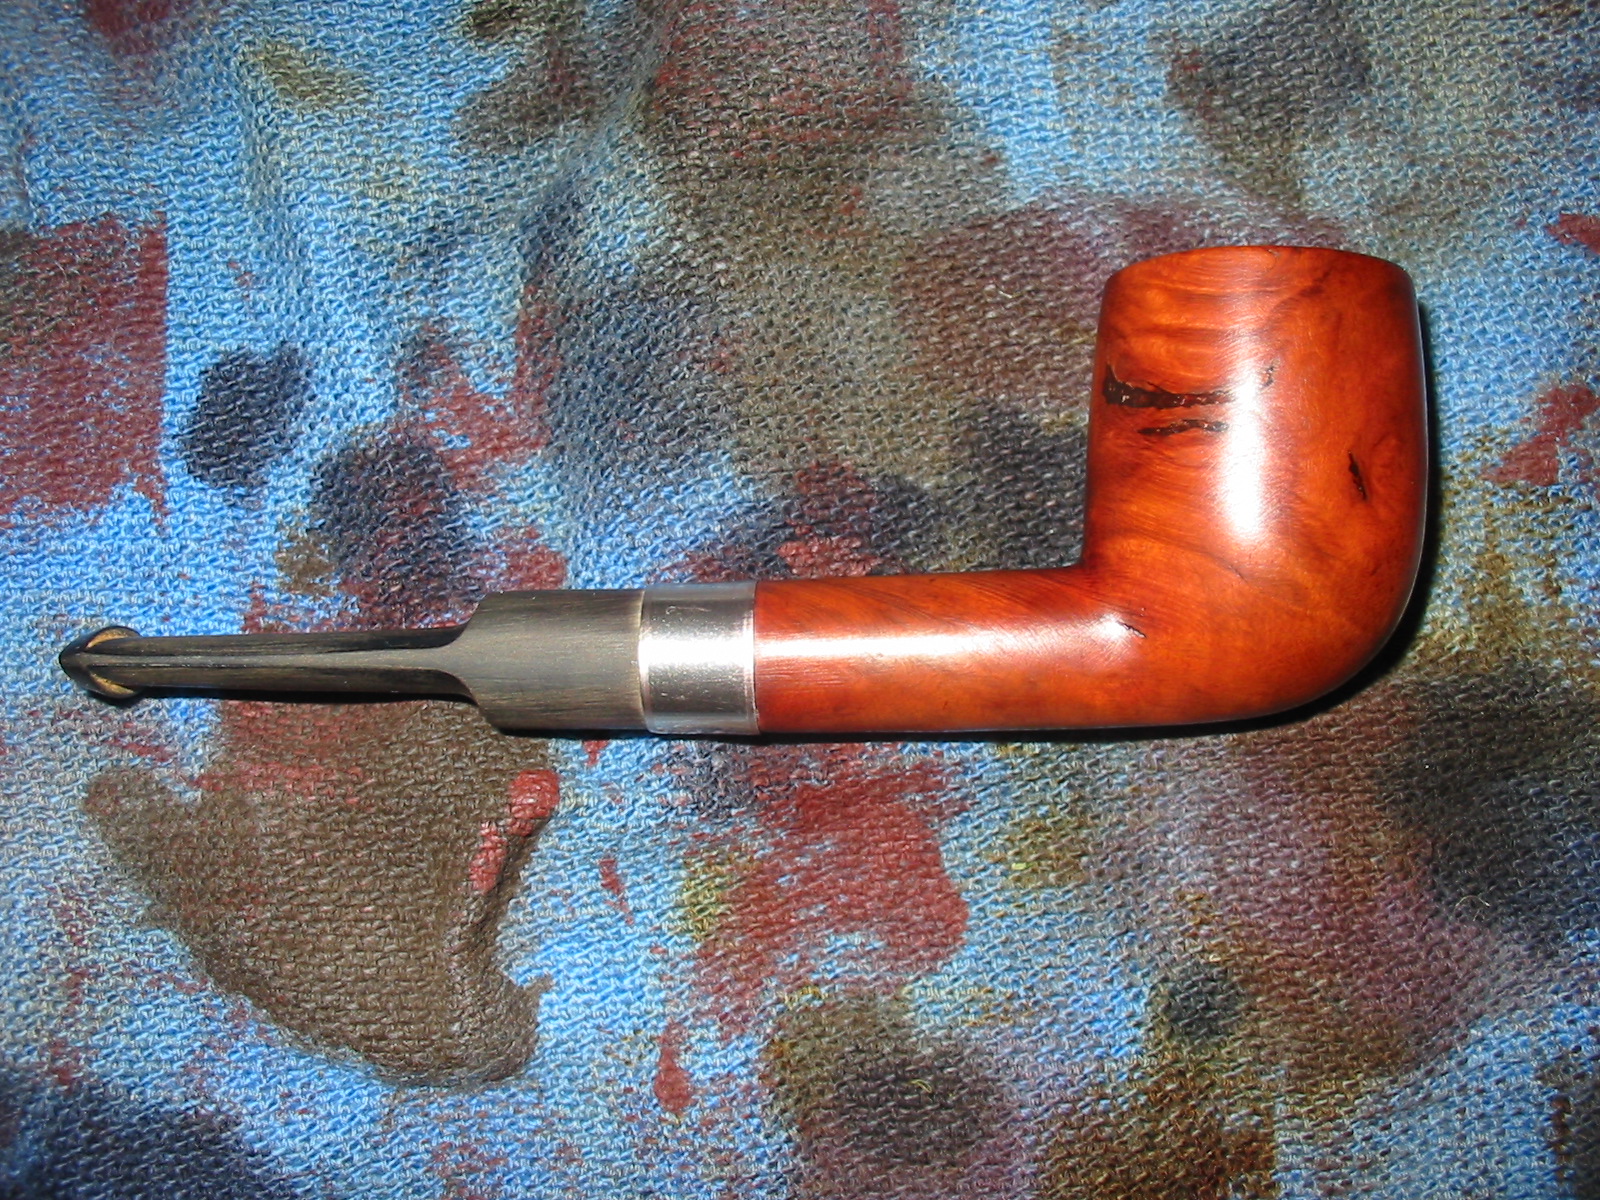
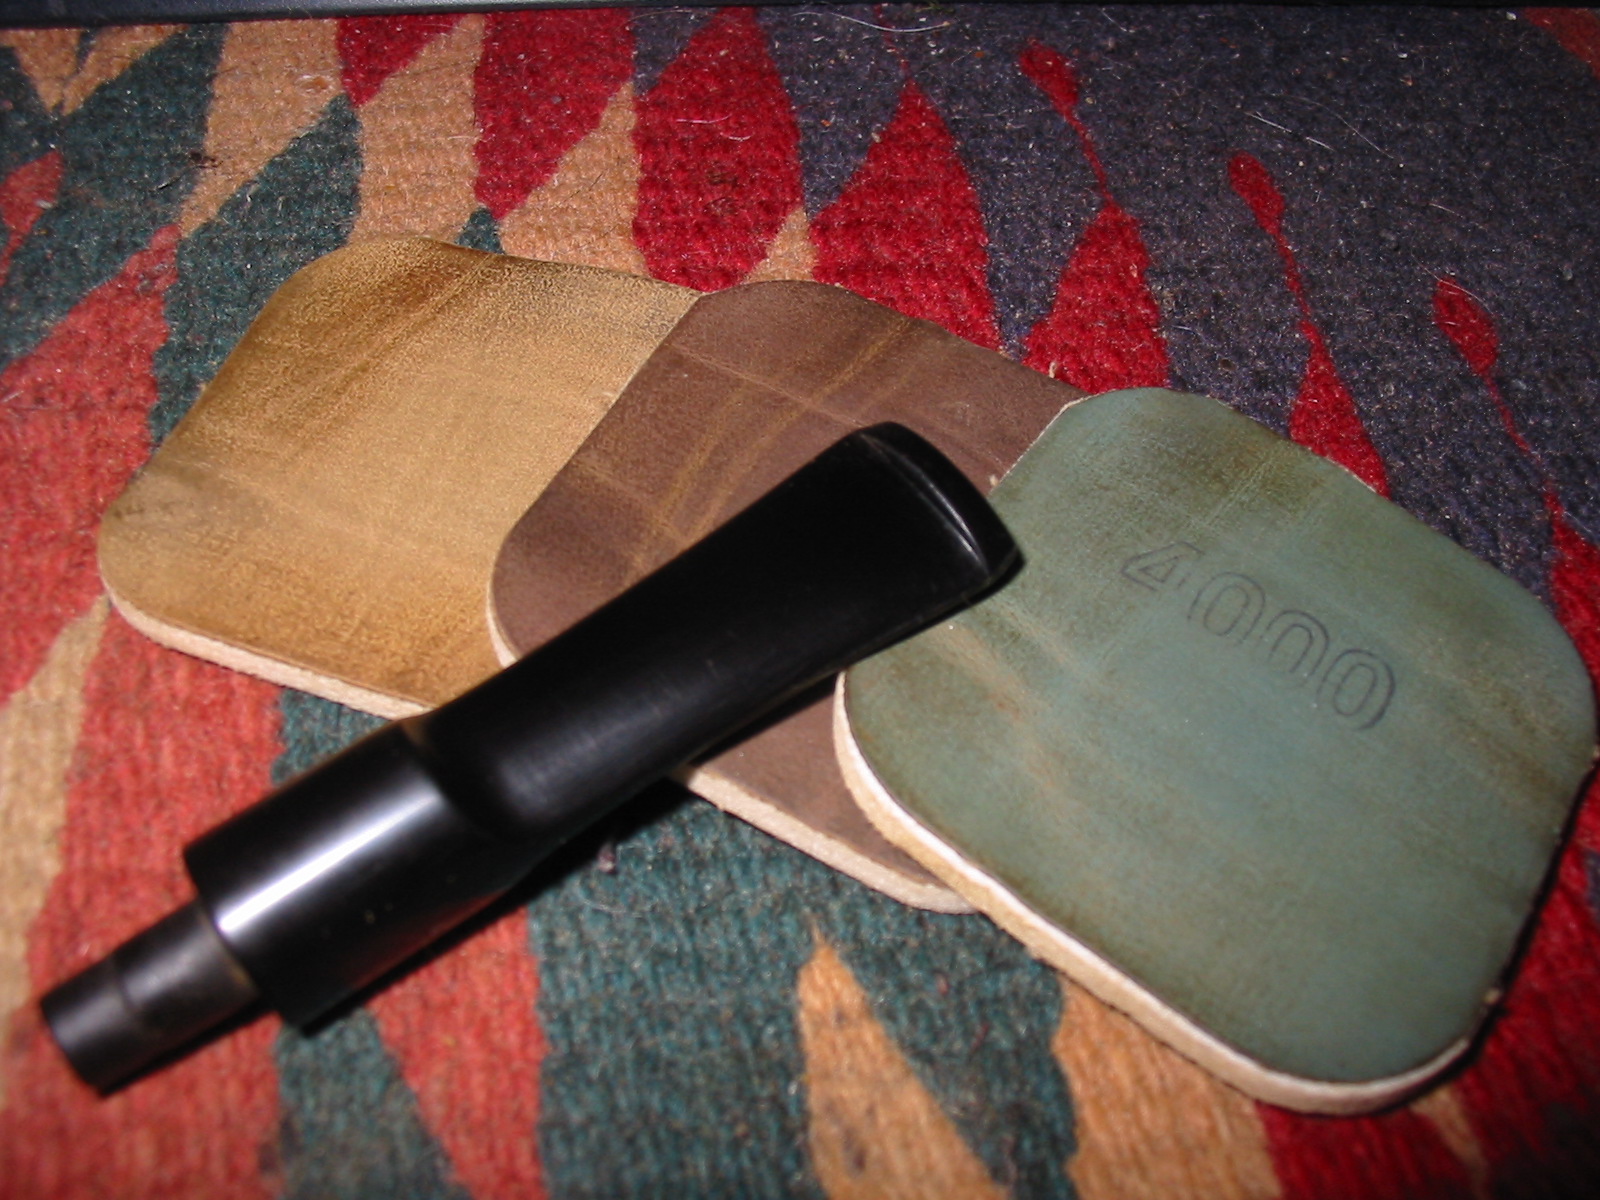
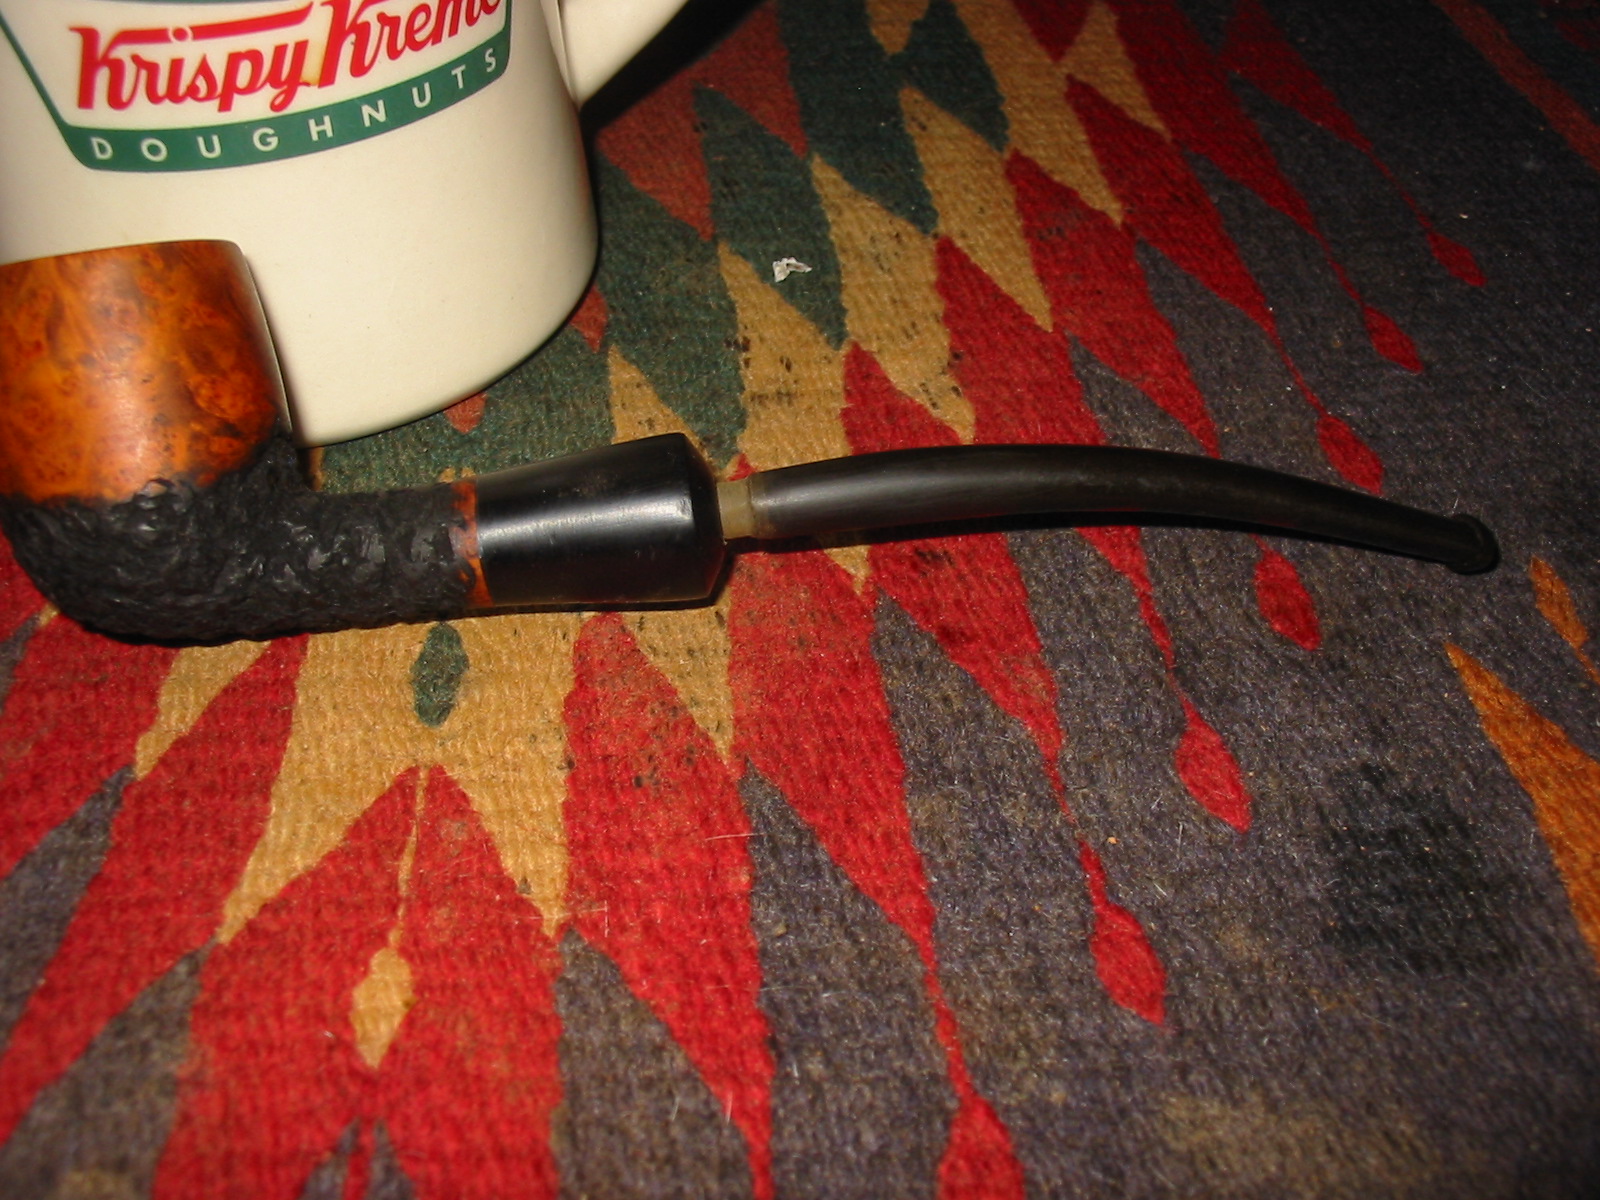
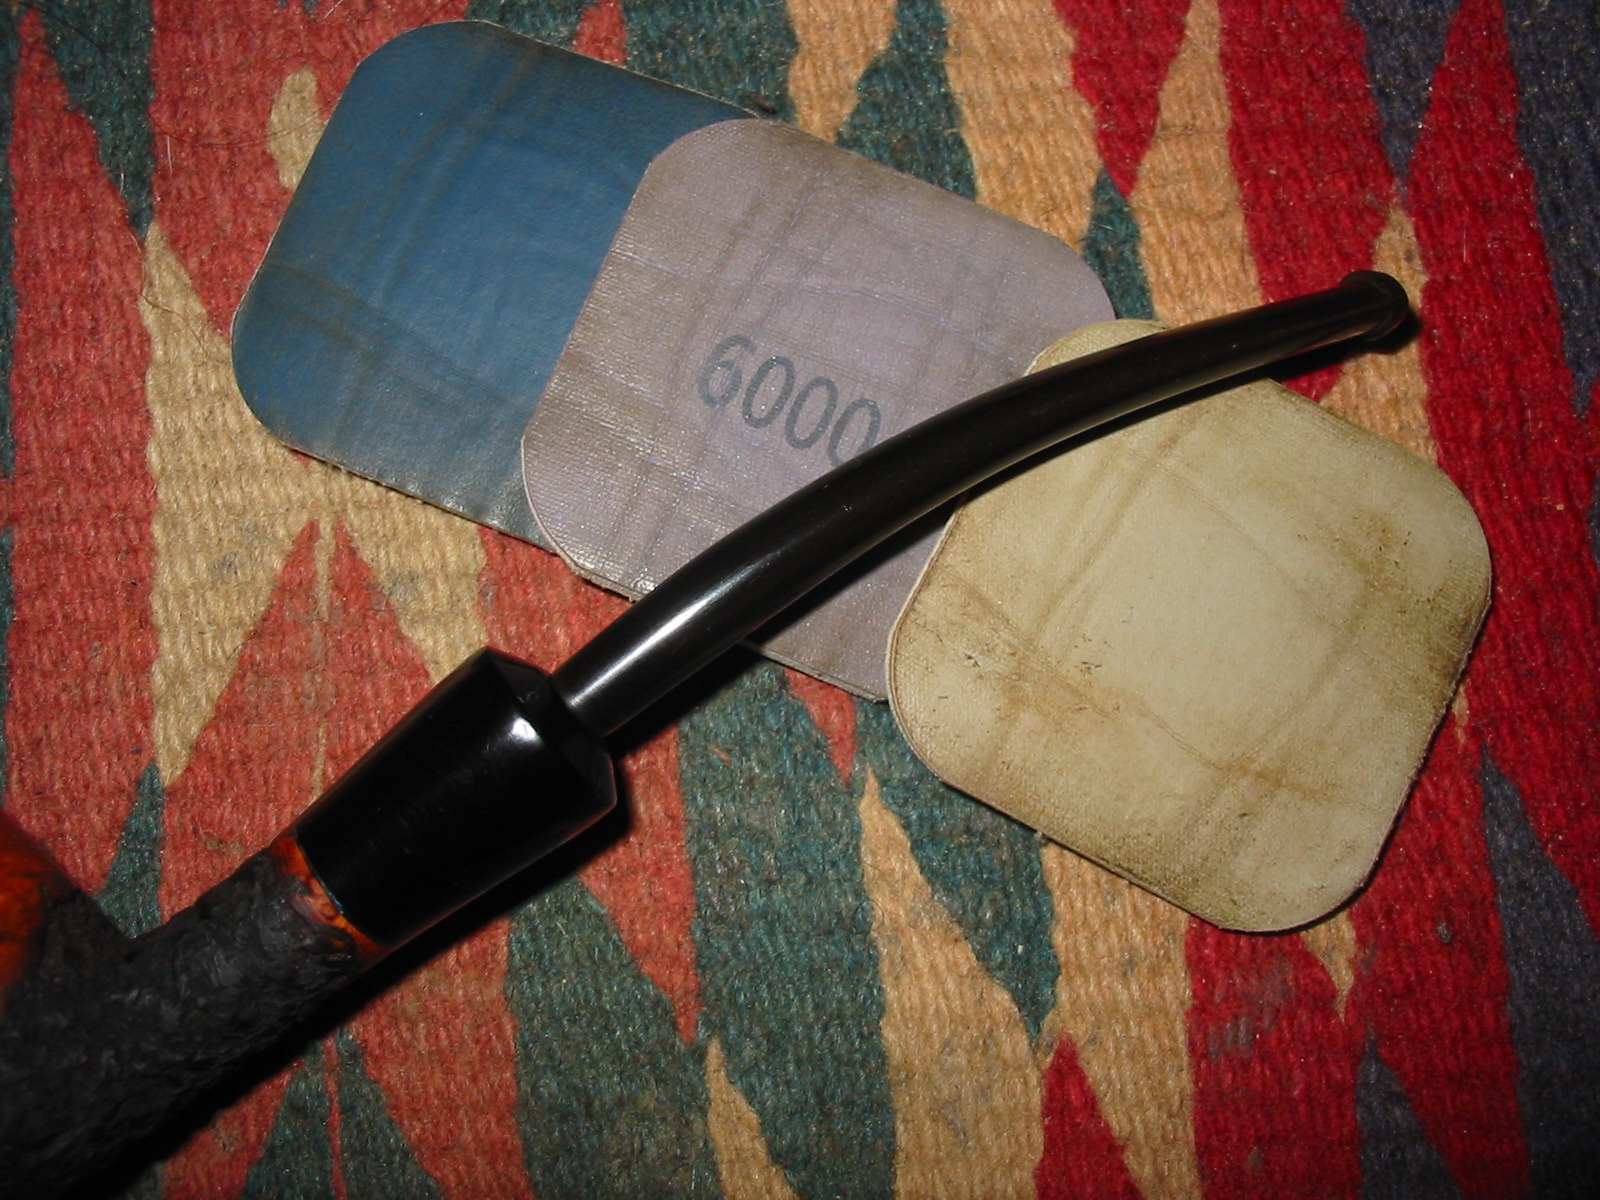
Once the stem was polished with the pads I buffed it with White Diamond on the wheel to further polish it and then gave it a final sanding with the last three grits of micromesh pads – 6000-12000 grit pads. I was not happy with the finish on the stem as it still showed scratches in the first batch of finished photos so I resanded it with the medium and fine grit pads to remove the scratches and then went through the micromesh pads again. I rubbed the stem down with Obsidian Oil and when dry buffed the pipe with White Diamond and gave it multiple coats of carnauba wax. The finished pipe is picture below. The finish came out quite nice. The contrast stain highlights the great grain on the pipe and makes the finish interesting to look at while smoking it.