Blog by Steve Laug
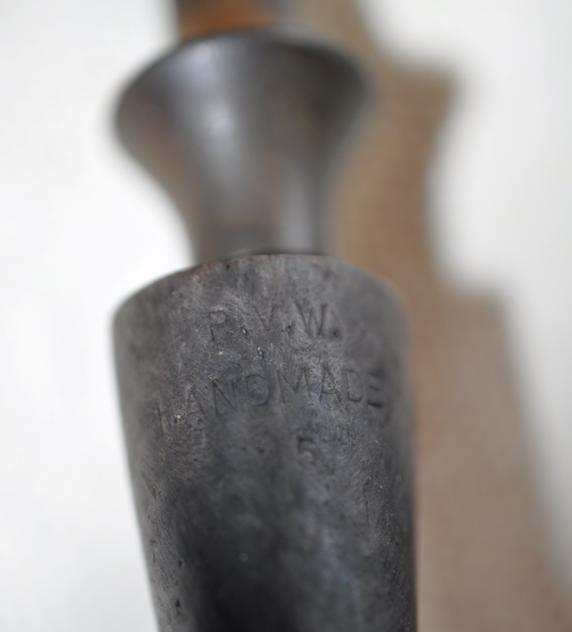
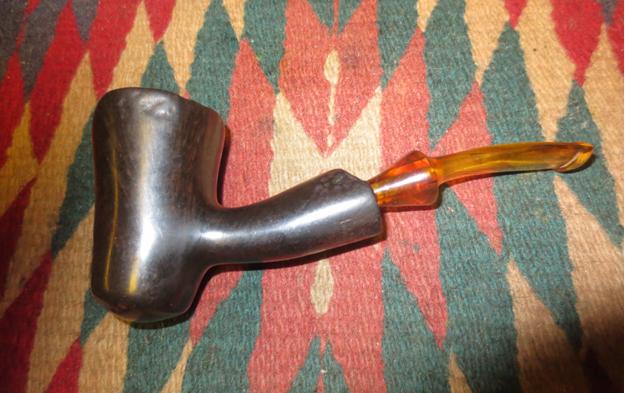
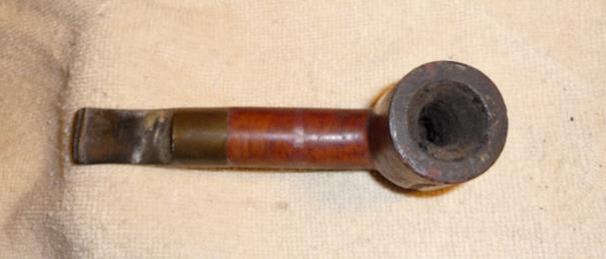
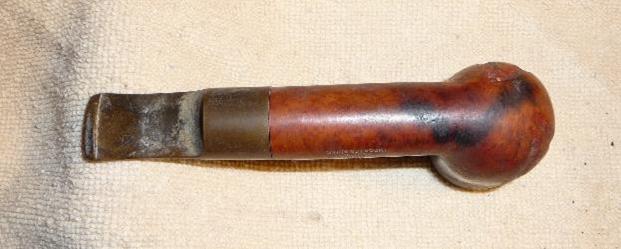
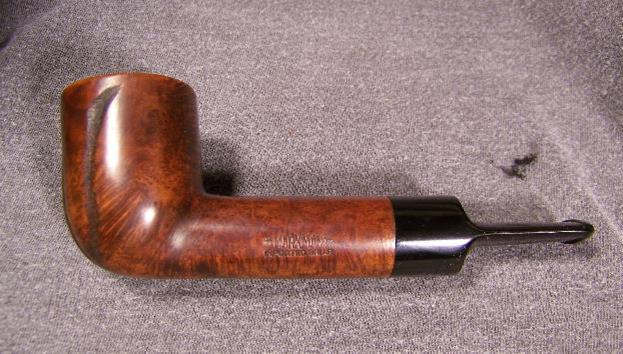
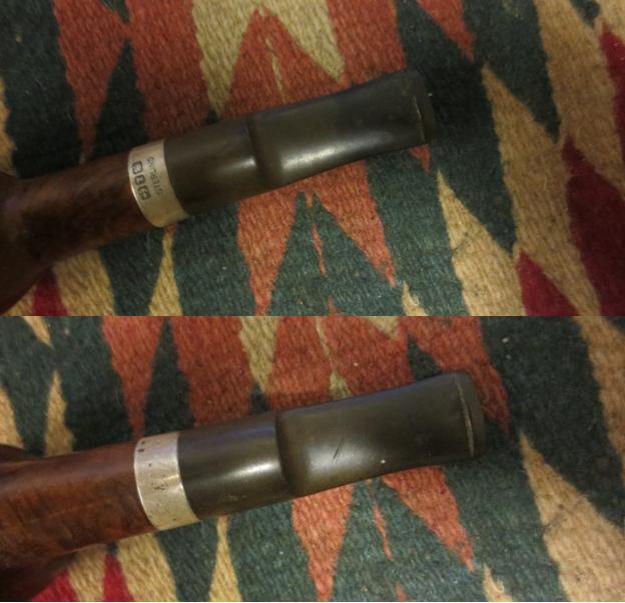
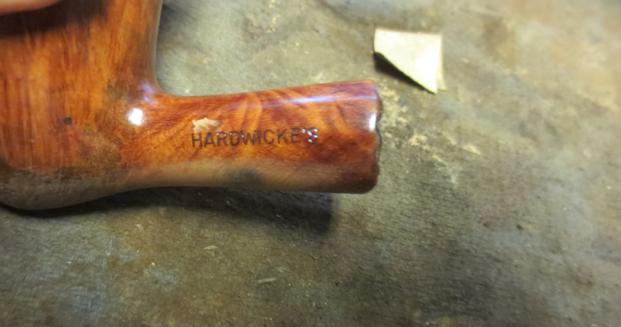
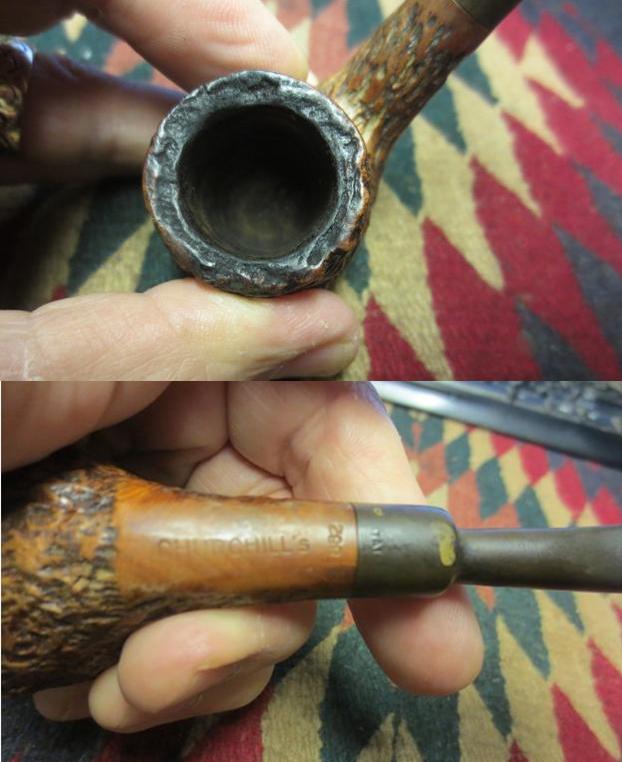
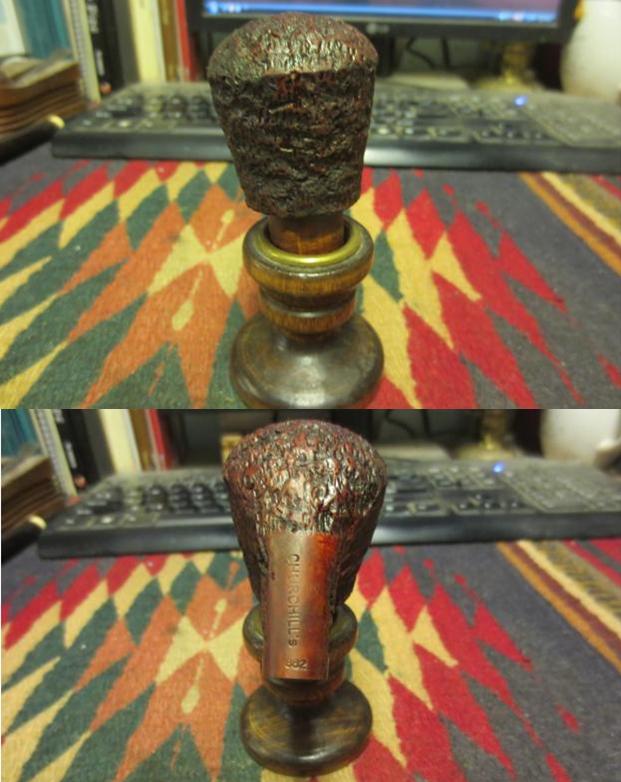
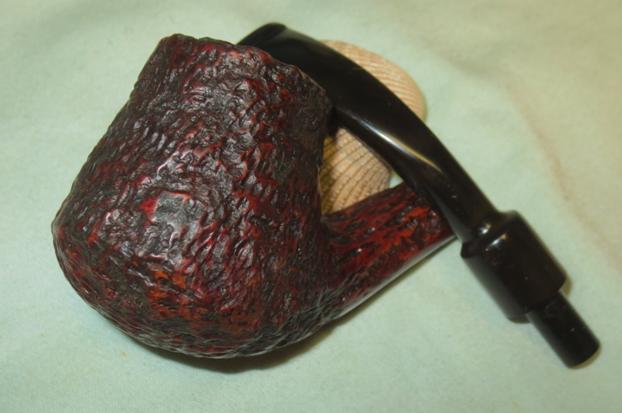
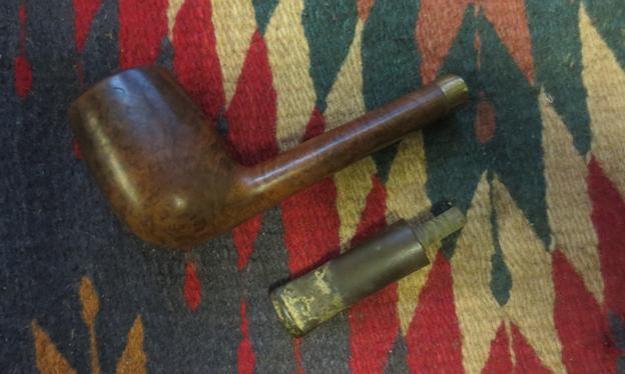
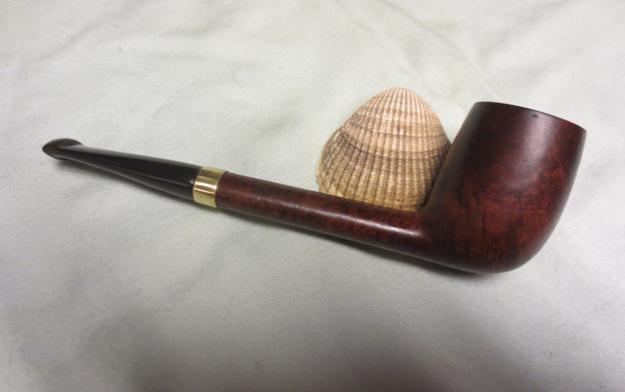
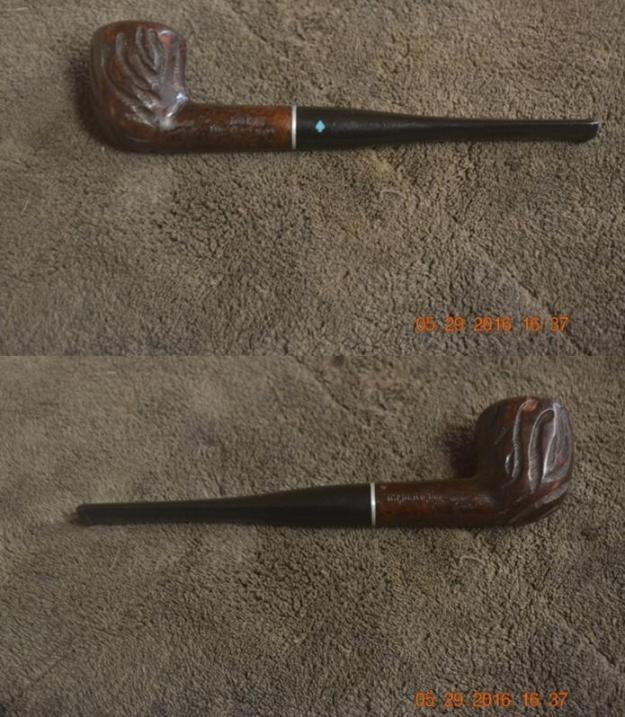
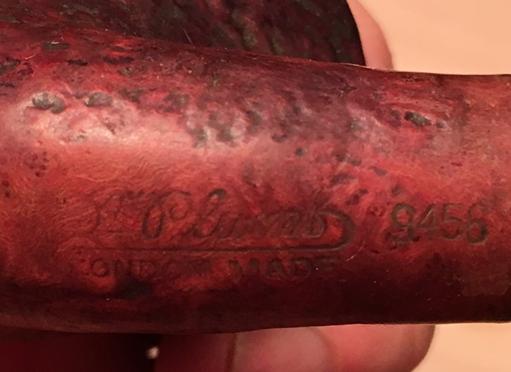
My brother sent me pictures of a pipe he found on eBay that grabbed his attention. It was not so much the pipe but the story of the pipe that caught his eye. He sent me the link and I had a look but was not sold on picking up the pipe. But he wanted it so he threw in a bid and won the pipe. He wrote to the seller and asked about it. He received a reply that the pipe had been found in Northern Michigan, US in a mud bank on the Rifle River – farm country in the middle of nowhere. They had no more information. The pipe was dark and looked like the mud bank it had been found in to my eye. The stem looked too long and the flow of the pipe did not work for me.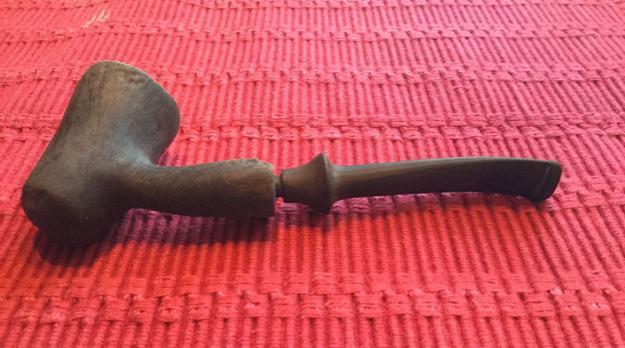 The stamping on the pipe was pretty clear which surprised me. On the underside of the shank it read R.V.W over Handmade and then a 5 underneath that. That piqued my interest a bit so I decided to wait and reserve judgment until I saw the pipe.
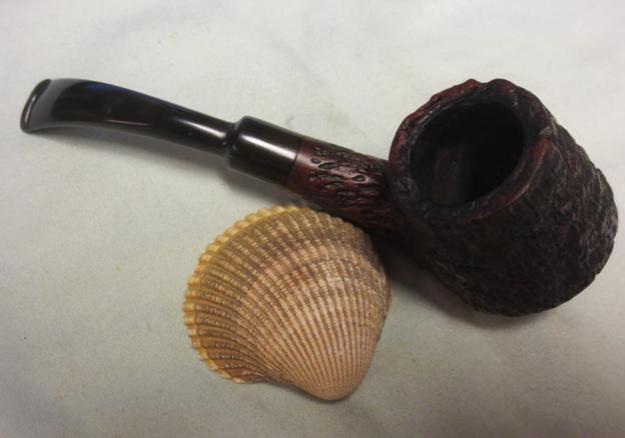
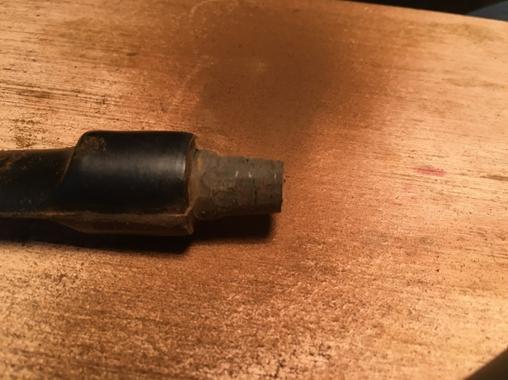
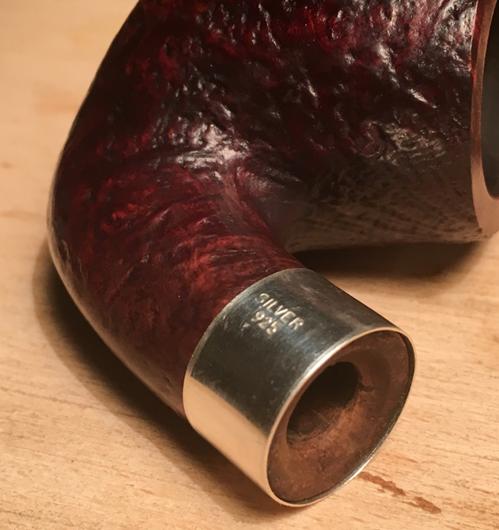
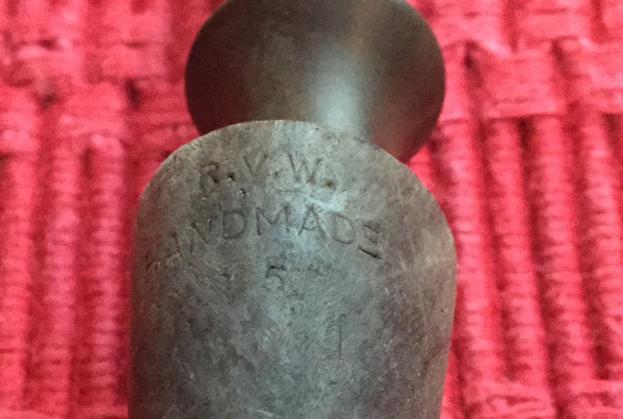
 While I waited I did a bit of research and found out the pipe was made by Randy Wiley. I Googled to find his website and was directed to his Faceboook page. The link follows: https://www.facebook.com/wileypipes?__mref=message_bubble. I sent him a message on Facebook and related the story that my brother told me. I also included the above photos of the pipe supplied by the eBay seller. The next day I received a message back from Randy. Here is what he wrote: “Hi Steve, Wow, Glad there wasn’t a body with it. I’ll bet it was dropped while fishing. I’ve heard many stories. One day someone will find a pipe while scuba diving. I know the owner. This pipe is a second, RVW. It retails today for around $105.00”
When I first read his response I missed the part about him knowing the owner. This morning I read his response again as I was working on this blog and wrote Randy back regarding that line. I wonder if the original owner would want the pipe returned. We shall see.
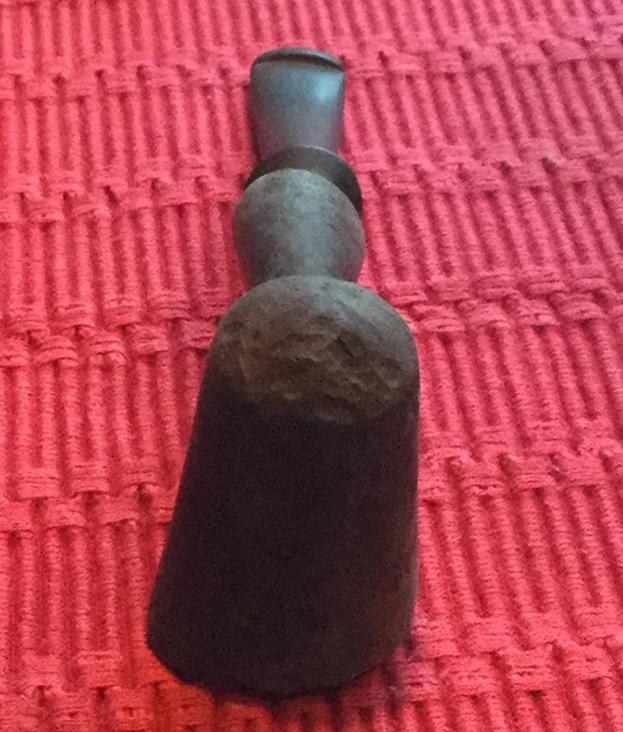
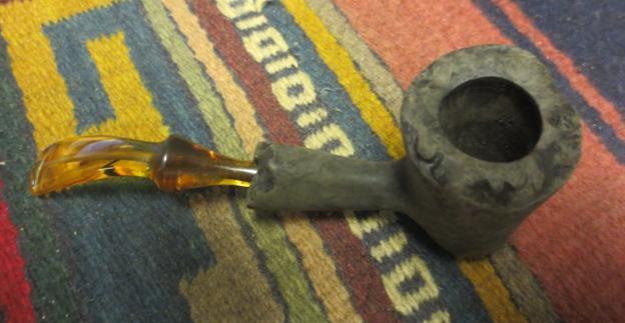
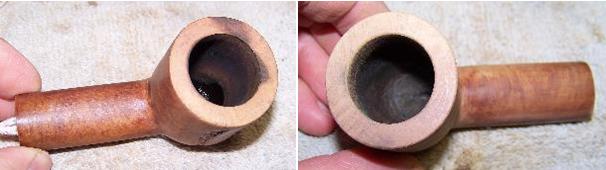
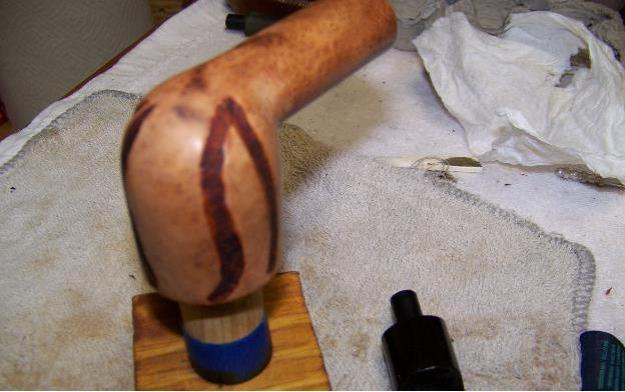
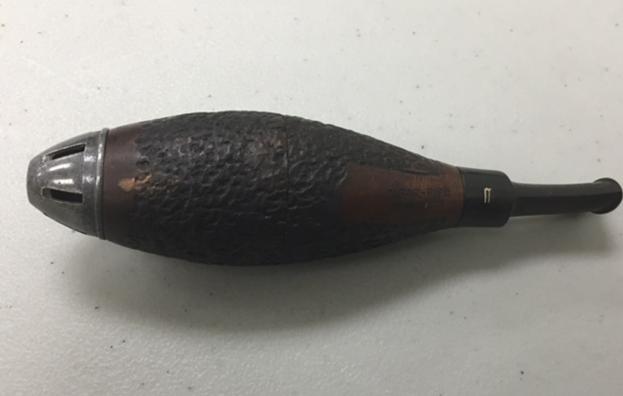
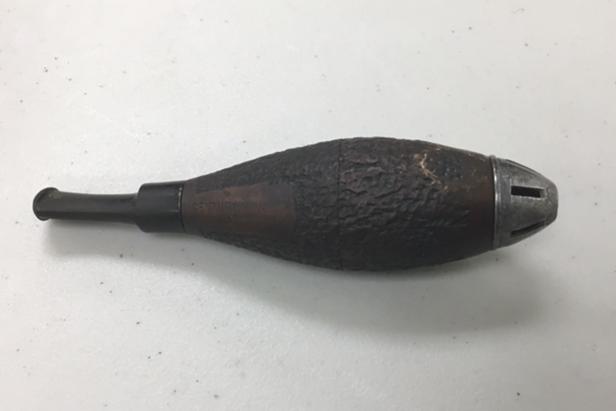
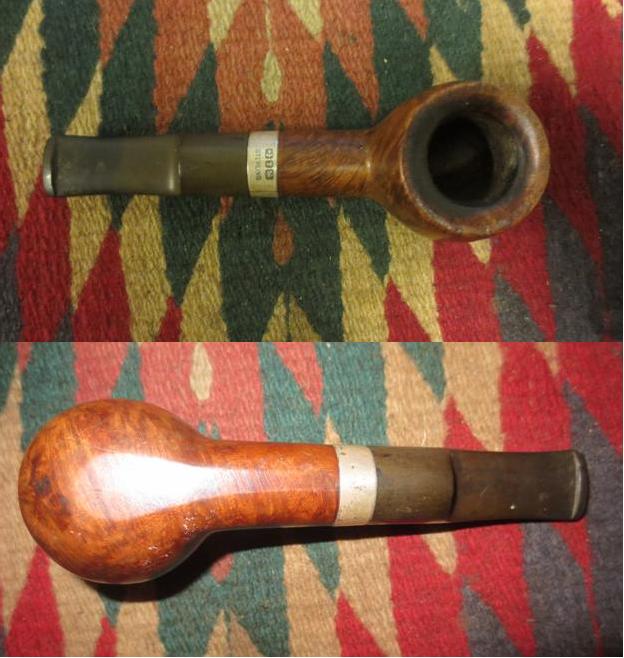
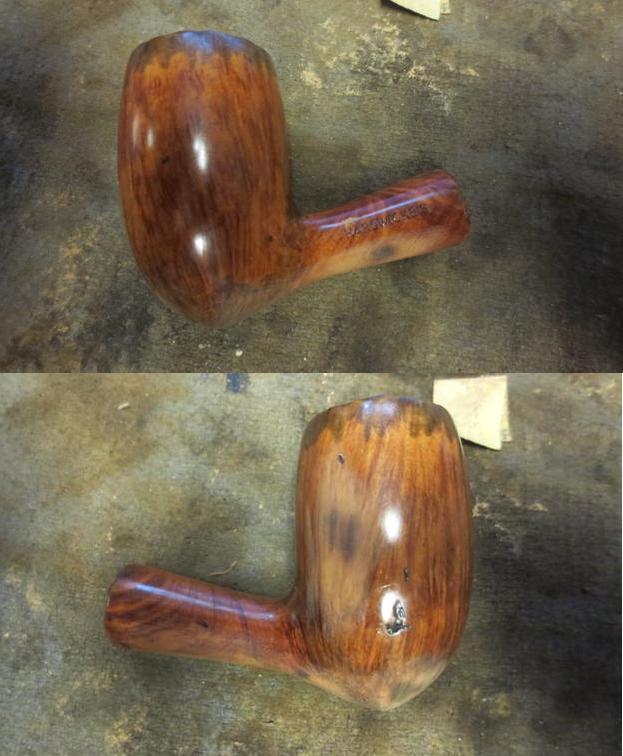
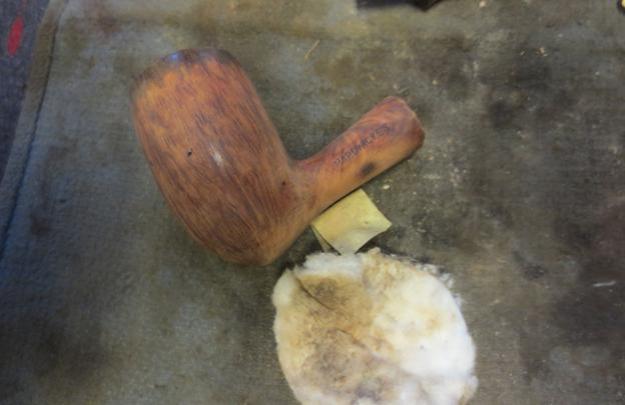
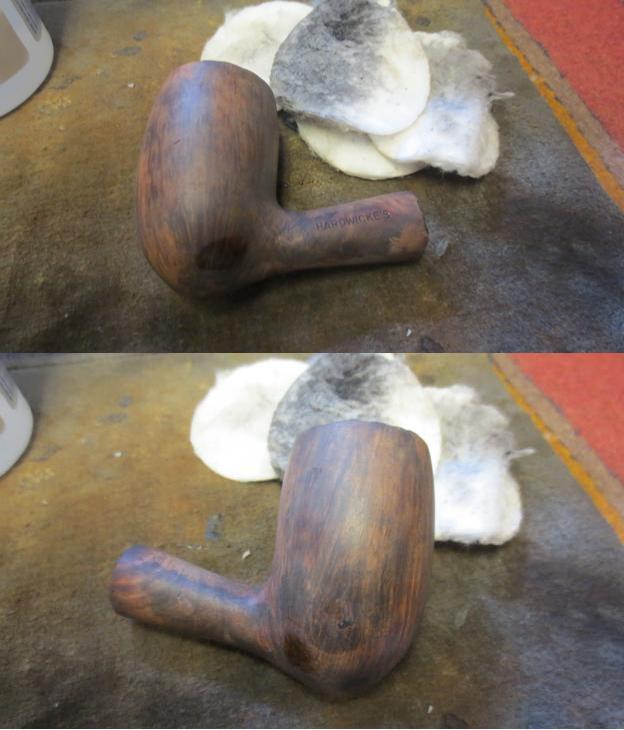
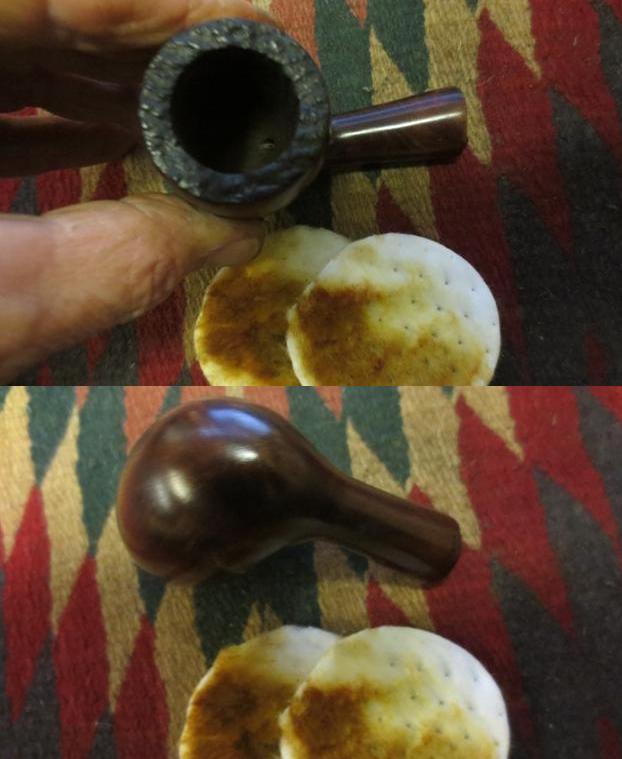
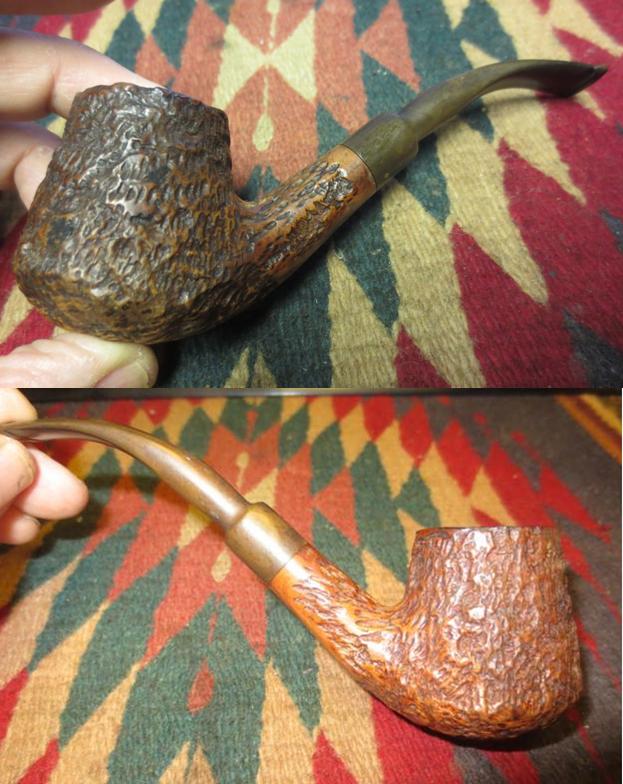
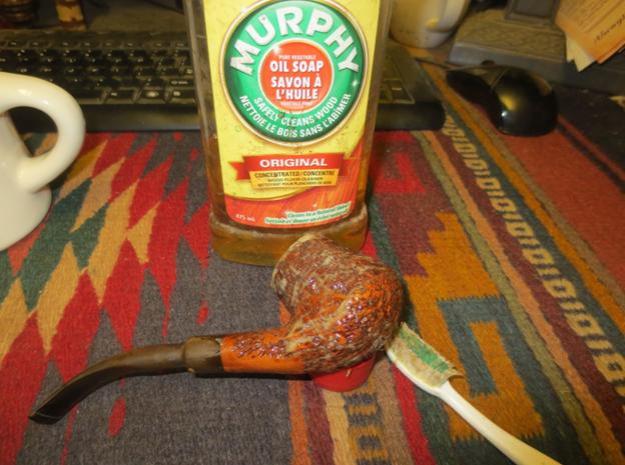
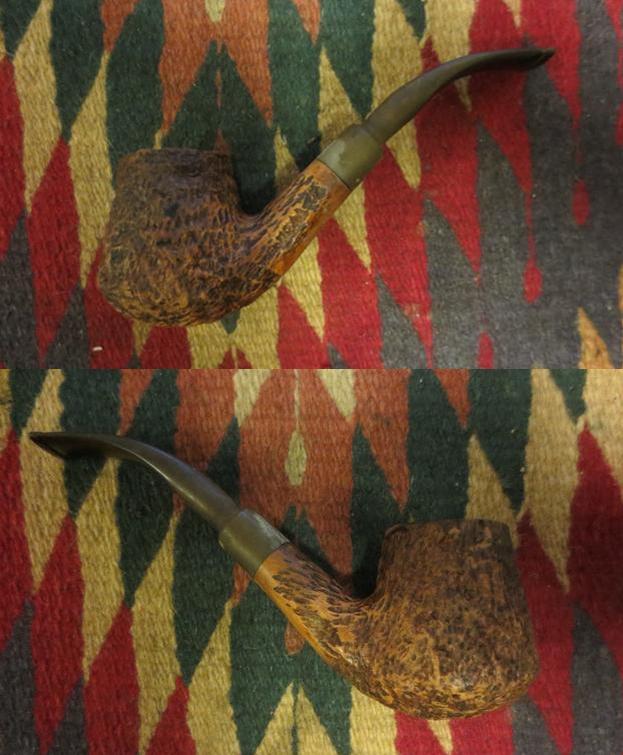
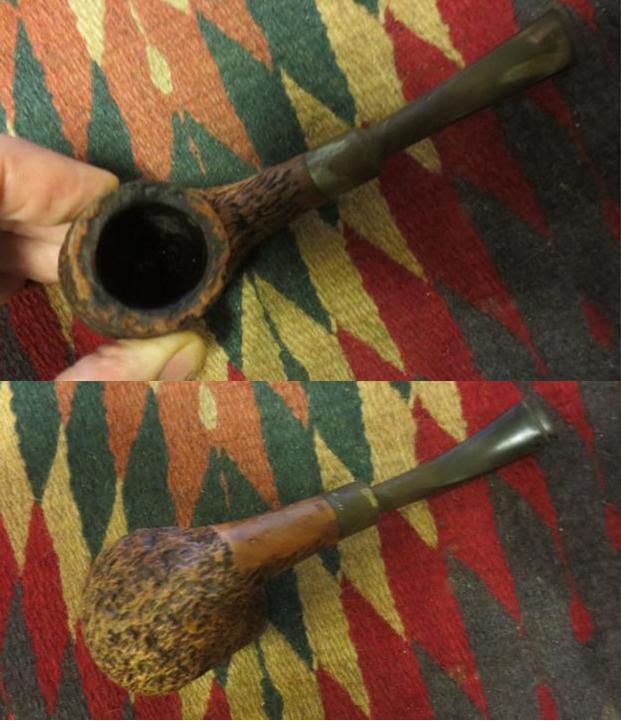
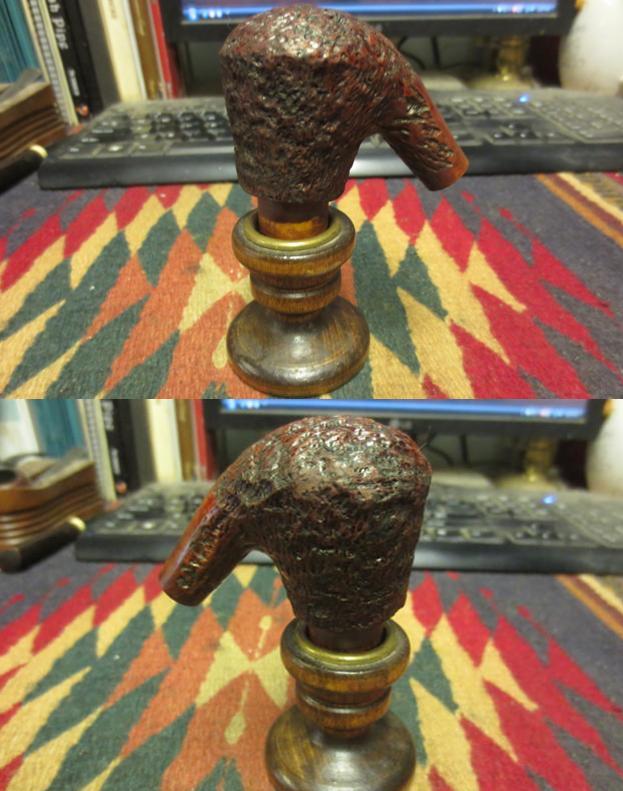
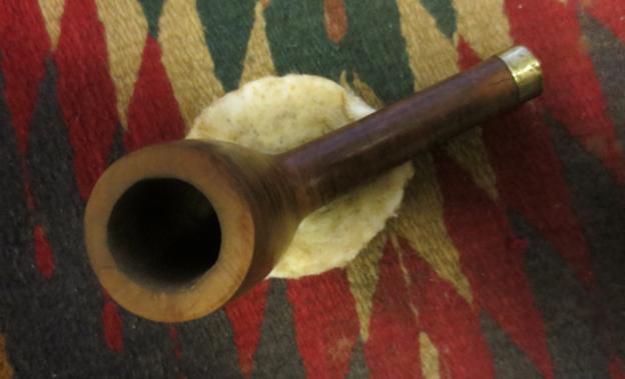
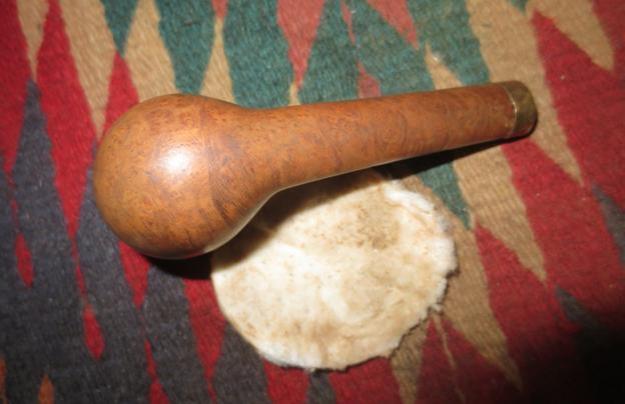
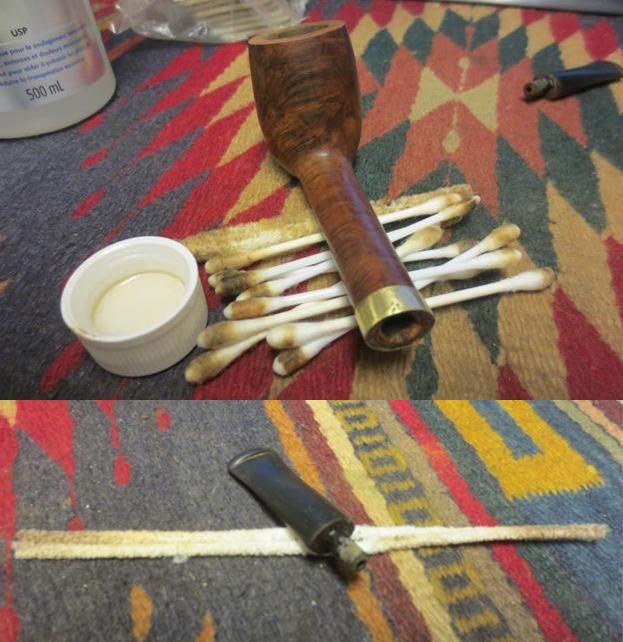
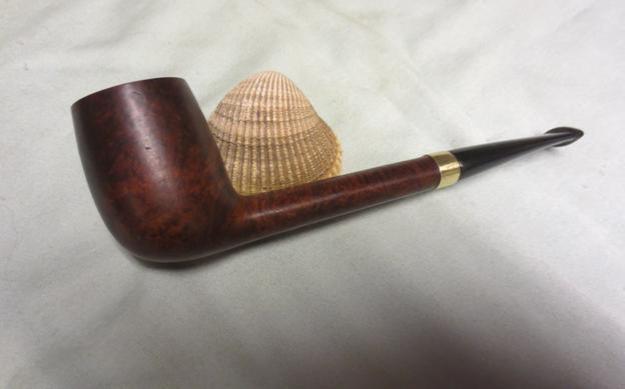
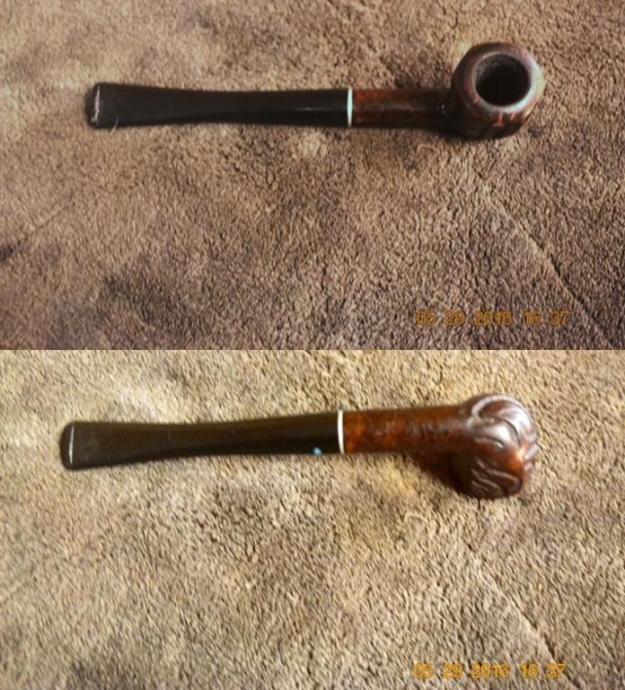
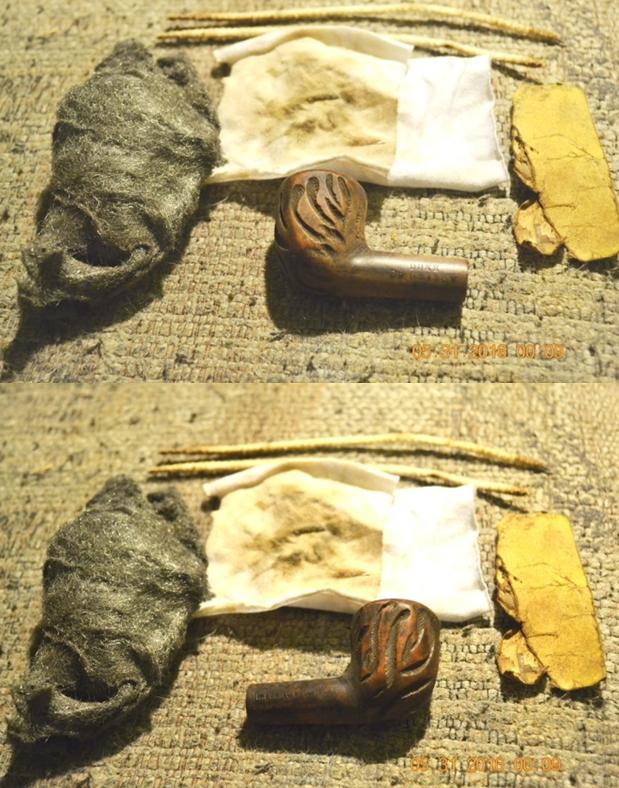
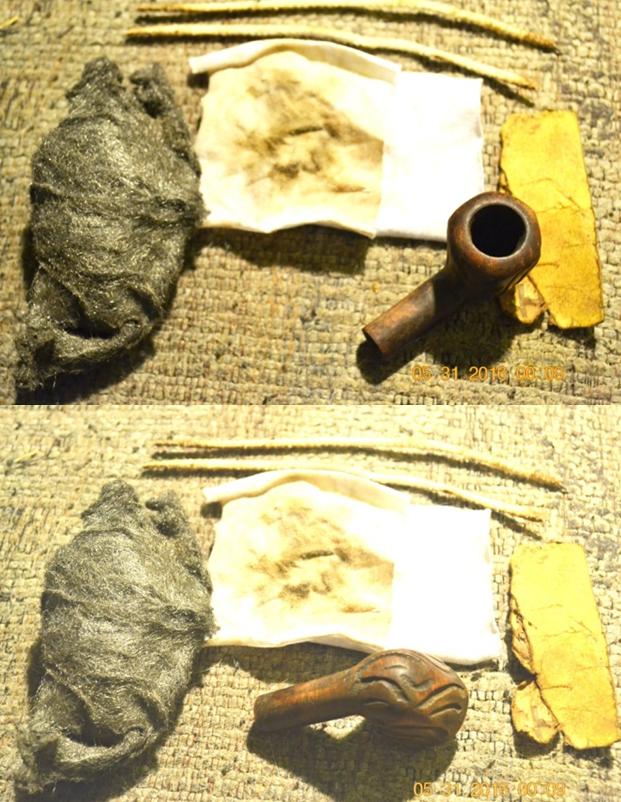
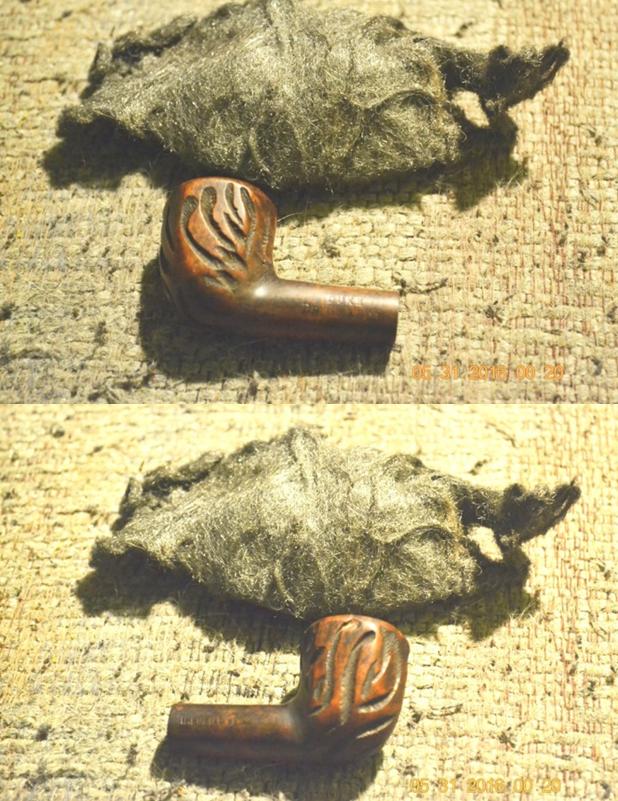
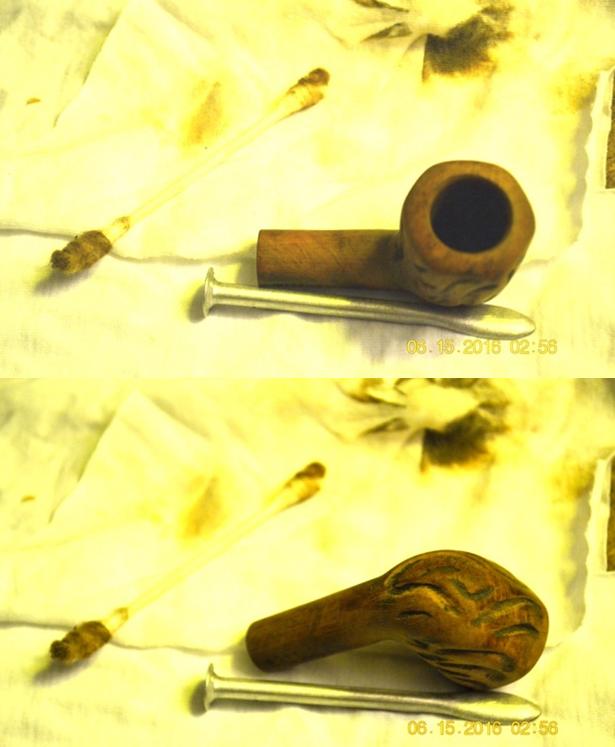
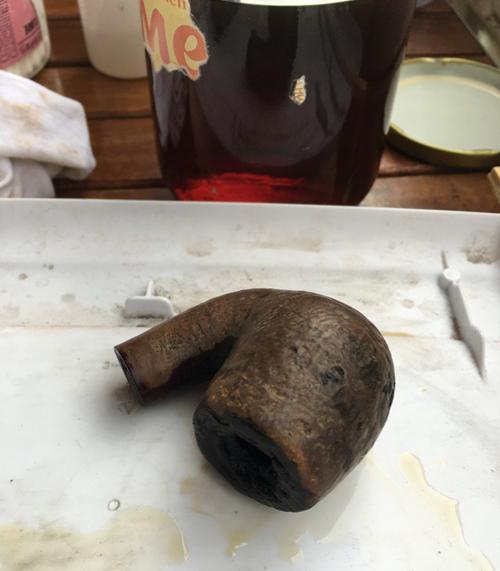
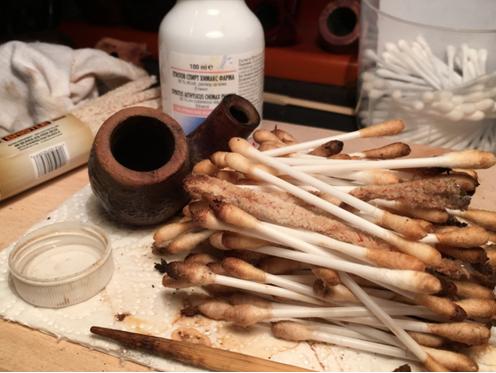
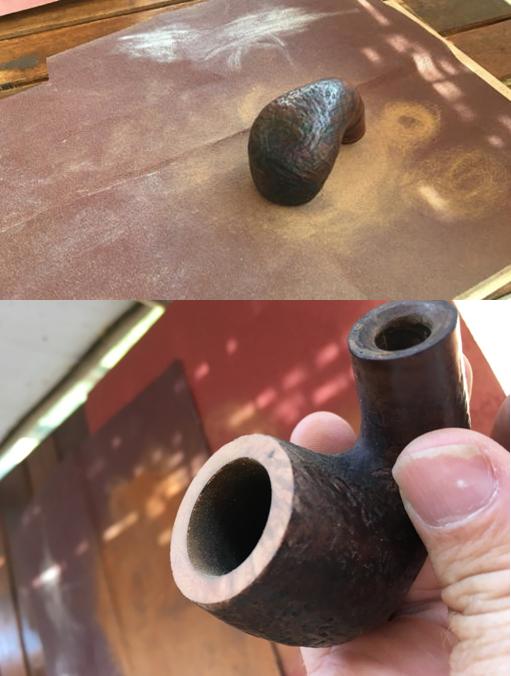
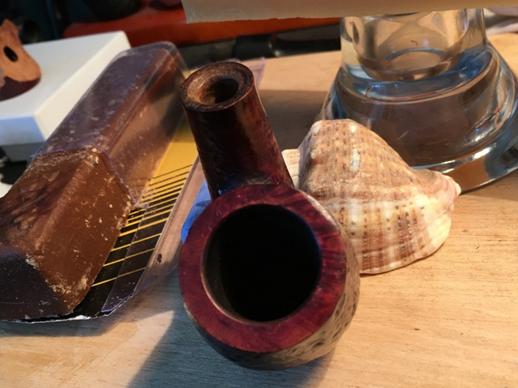
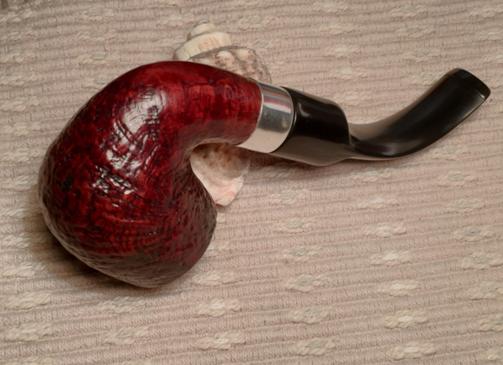
When I was in Idaho I taught my brother to do the initial clean up on the pipes. It has been a real help for me. With the box of pipes to be refurbished filling up on this end it is really nice to have him work on them ahead of time. When I get them they have been reamed and the internals all cleaned so it makes my work much quicker. Because this one attracted his attention he really liked the cleanup of it. He reamed and cleaned the bowl and shank as well as the airway in the stem with pipe cleaners, cotton swabs and alcohol. He scrubbed the exterior of the bowl with a tooth brush and Murphy’s Oil Soap to remove the debris left behind by the mud bank. He took the following photos to show the pipe after his cleanup work. The straight grain on the left side, back and front of the bowl and the birdseye on the right side are beginning to show through.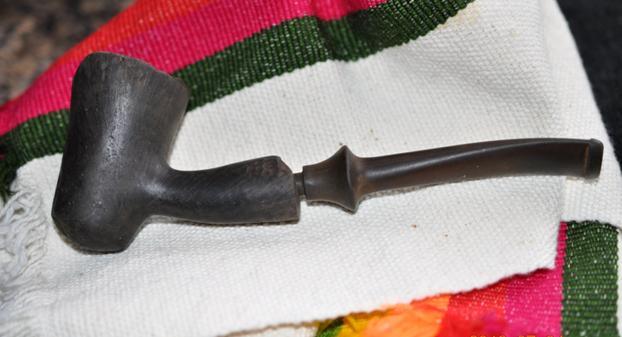
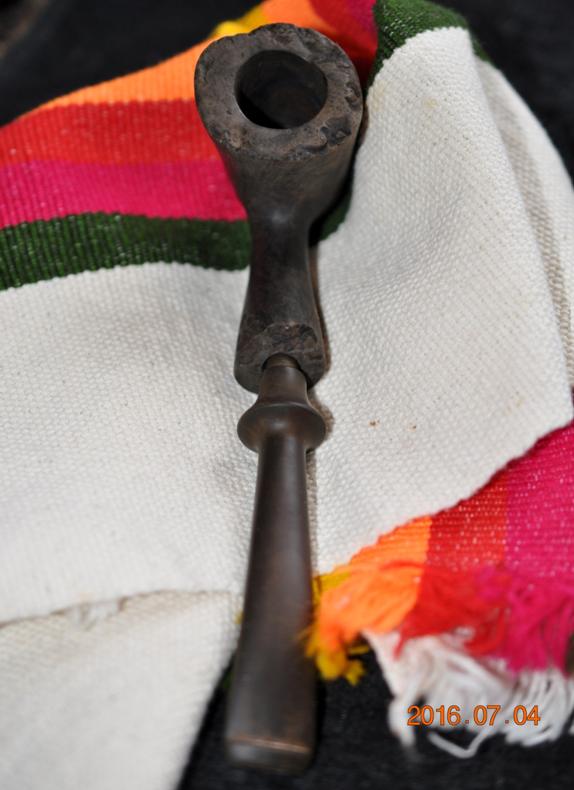
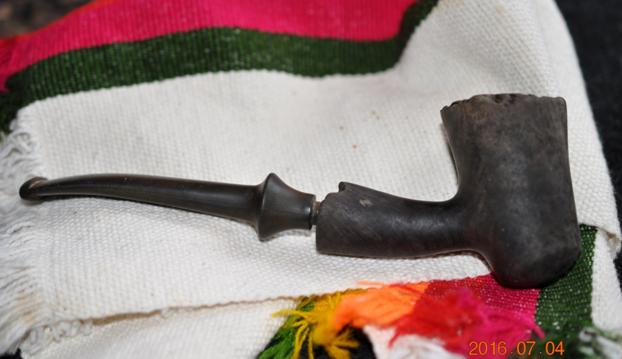
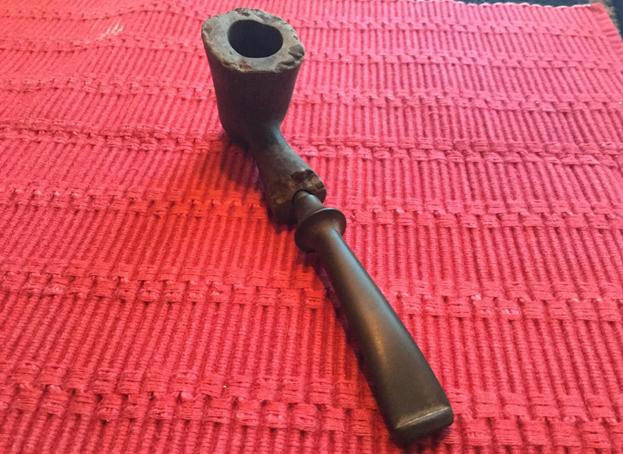
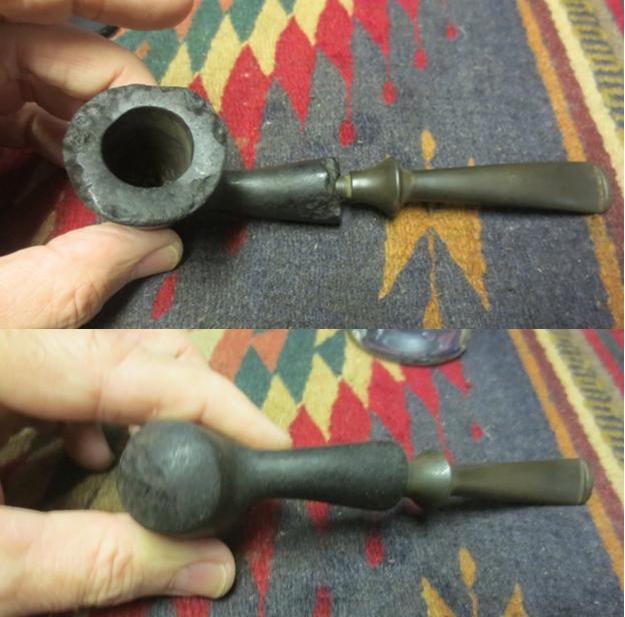
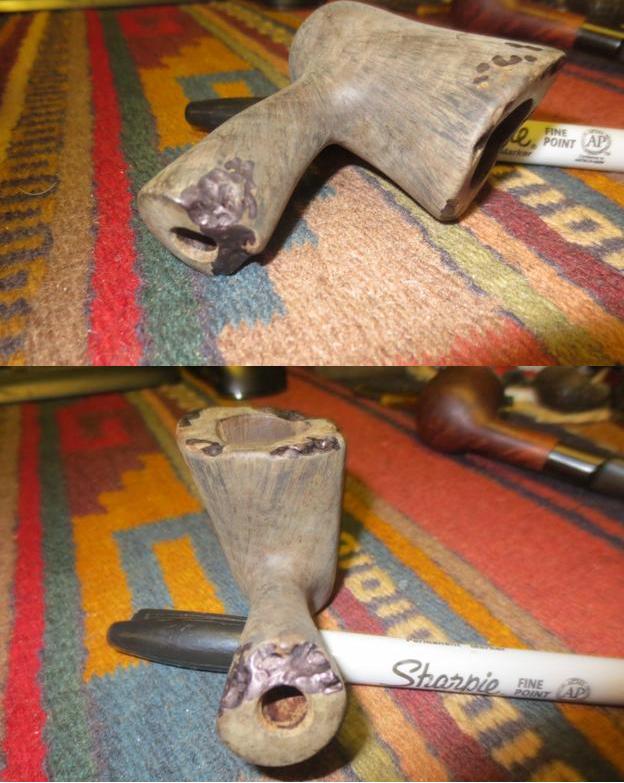
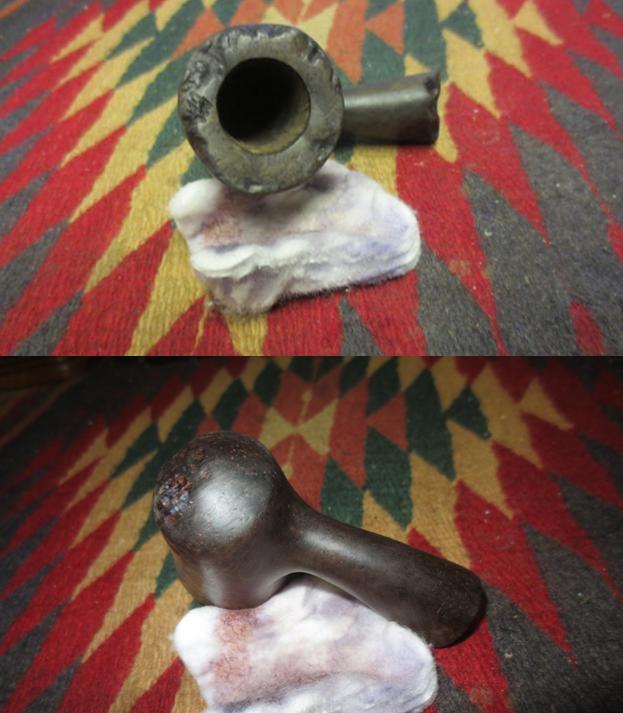
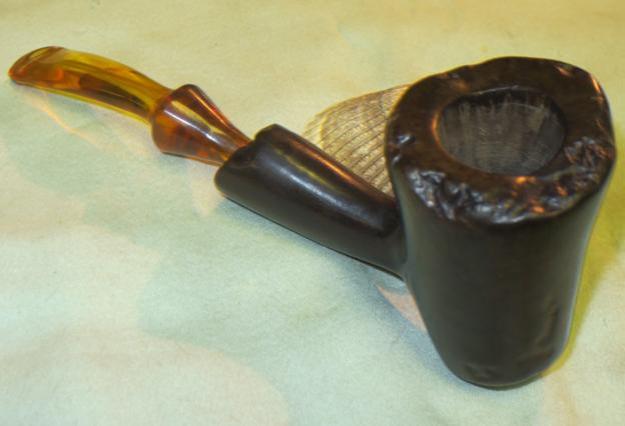
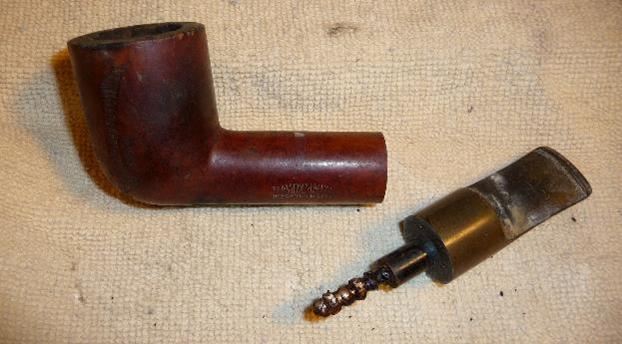
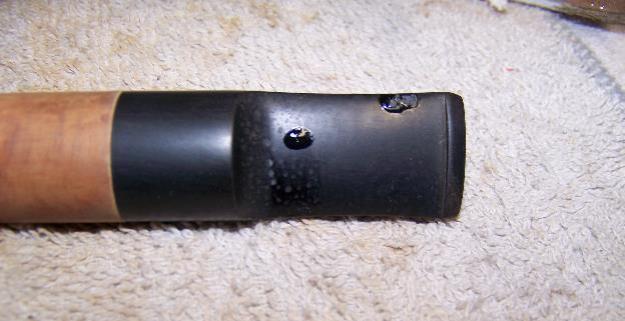
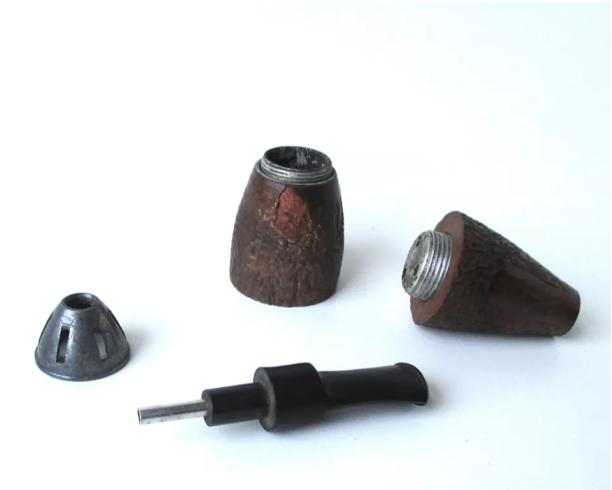
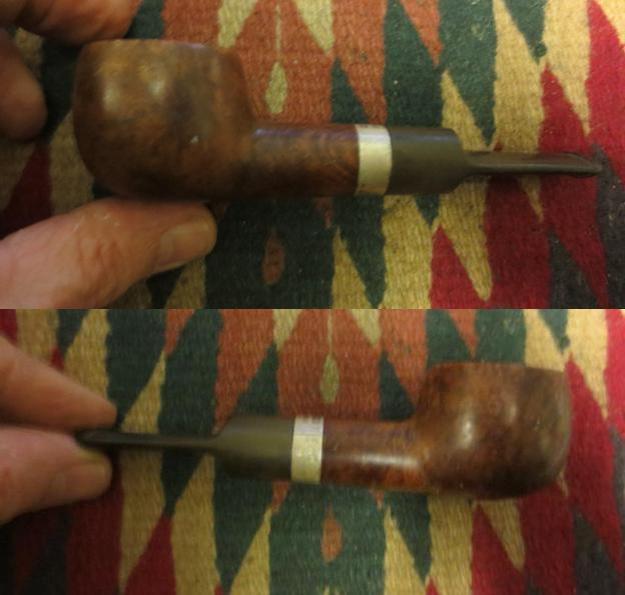
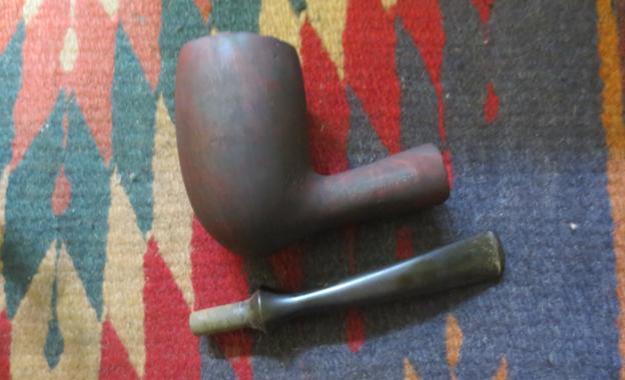
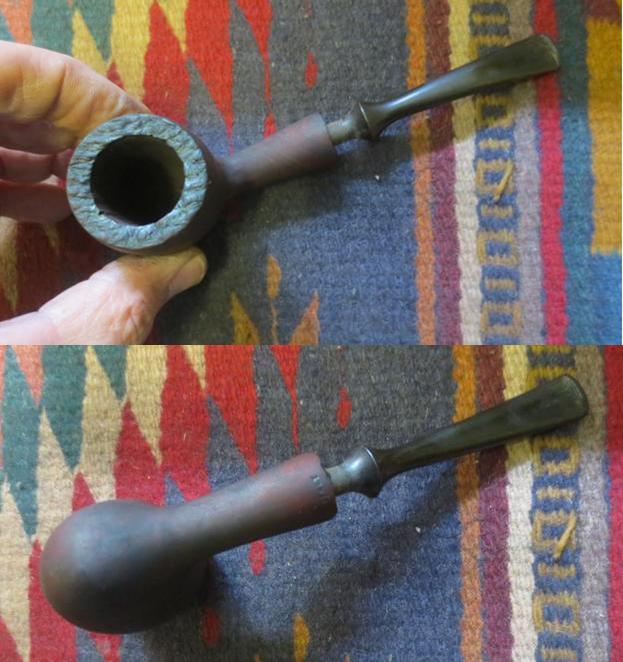
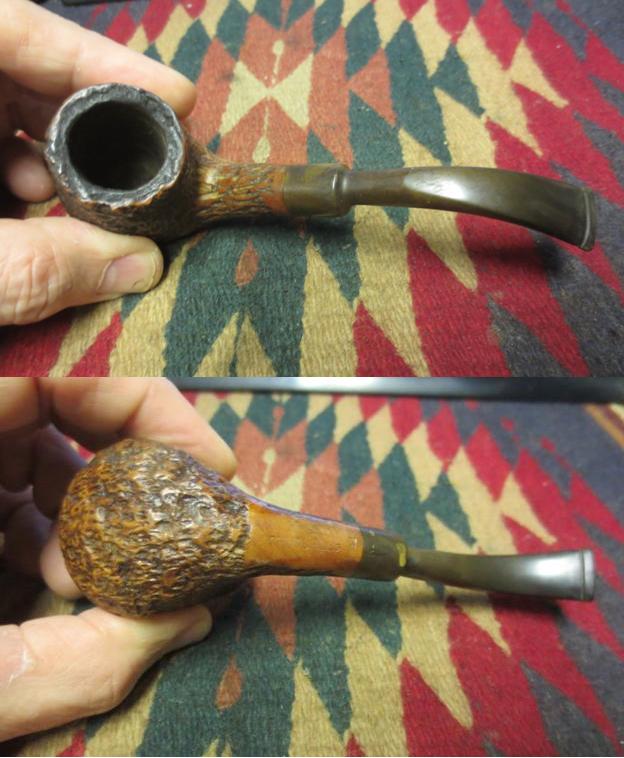
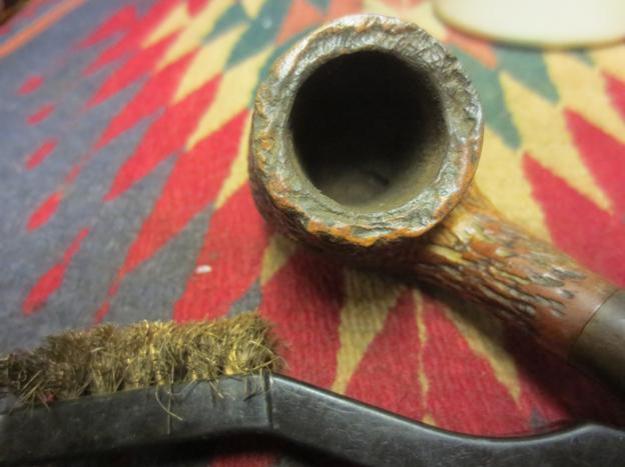
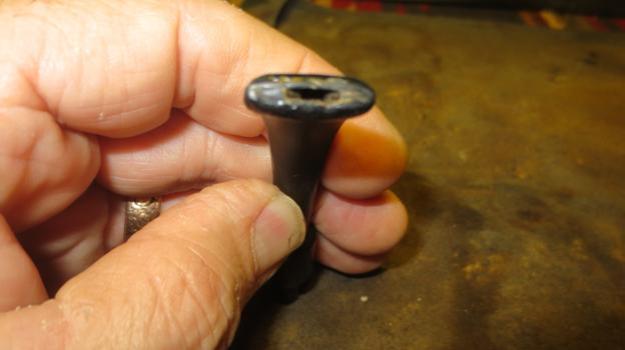
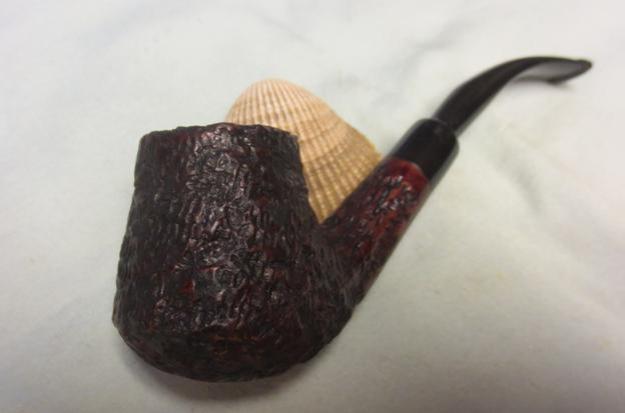
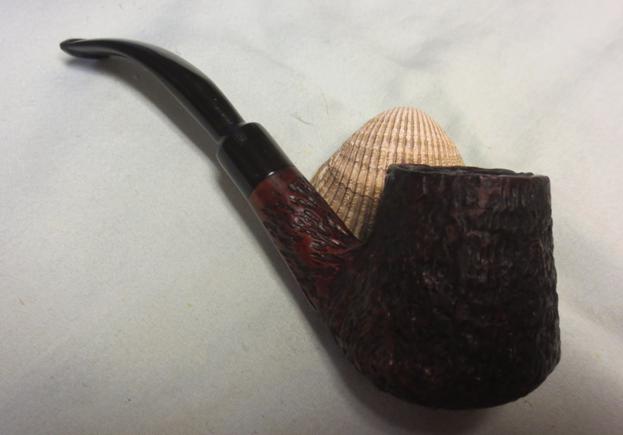
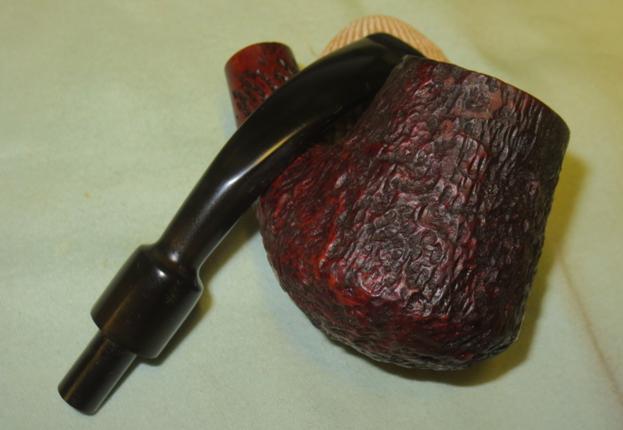
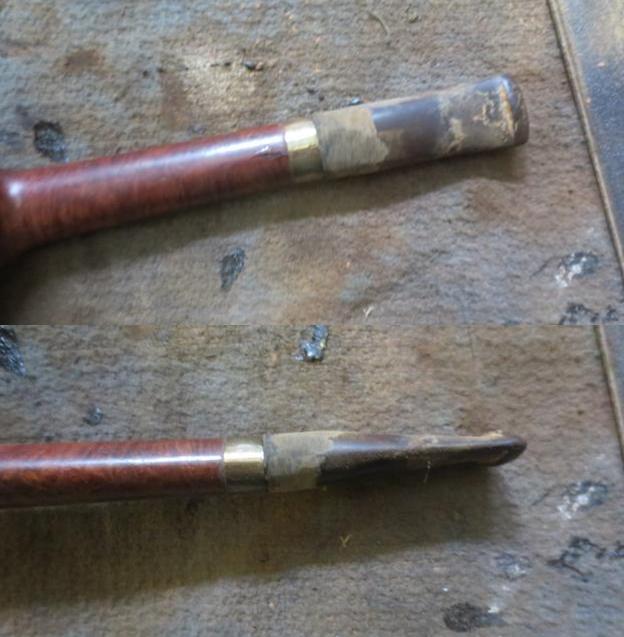
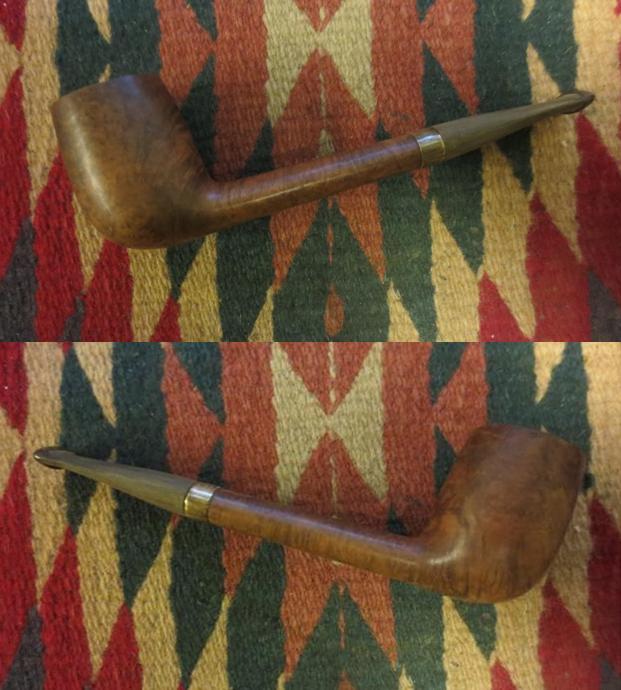
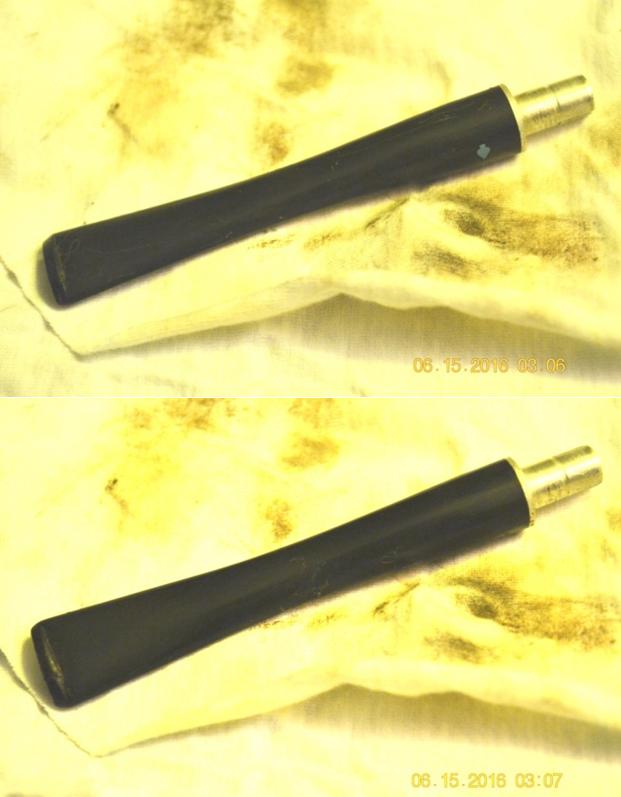
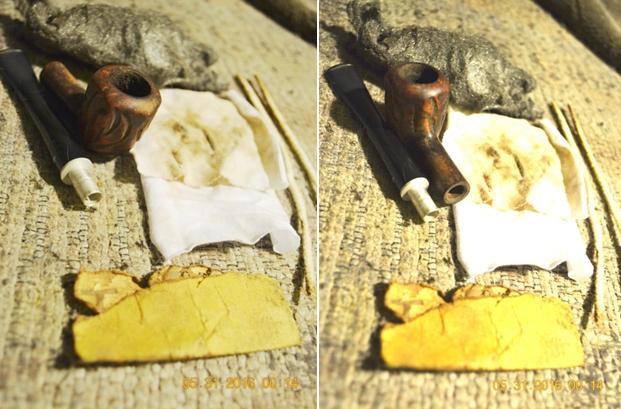
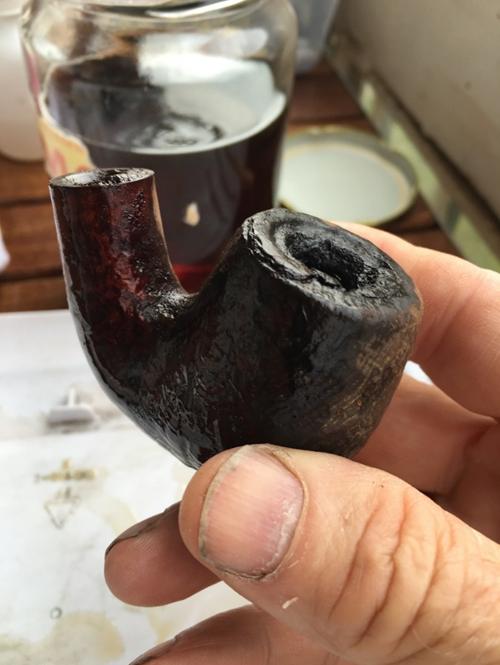
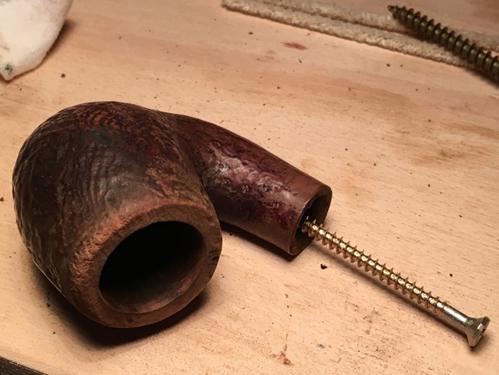
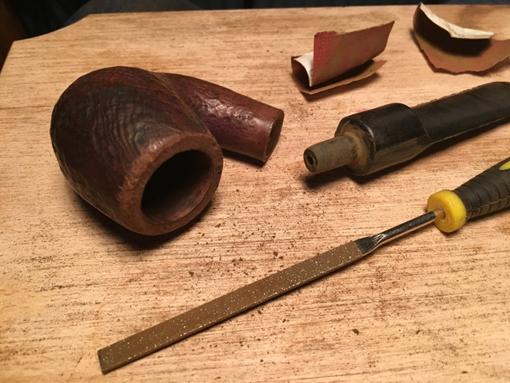
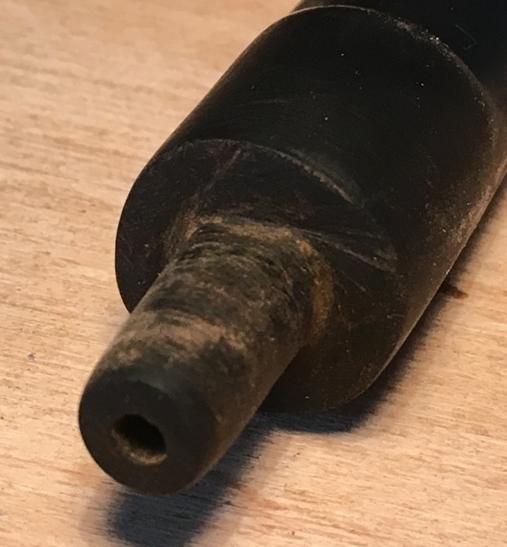
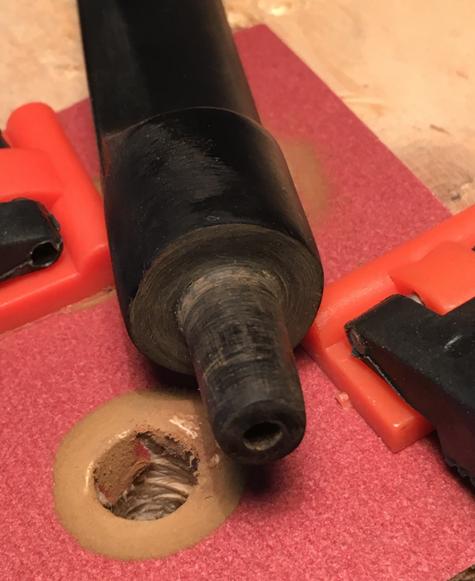
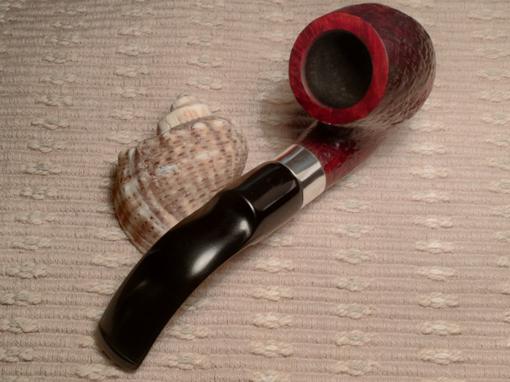
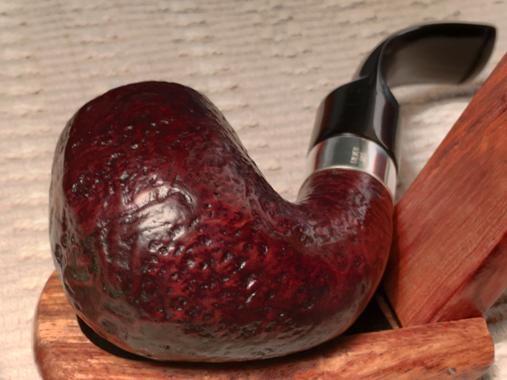
 When I received the pipe I brought it to the worktable and took some photos of it before I began to work on it. While the grain was showing through it was still too dark to my liking. There were also many tiny nicks and pits in the surface from time spent in the mud by the river. These would need to be sanded out. The rusticated portions on the bowl sides and edges were also in need of deeper cleaning. The heel of the pipe had been knocked around and had many nicks and pits. The combination of smooth and plateau on the rim also needed deeper cleaning. The stem still seemed too long to me and if I end up either keeping the pipe or selling it I think I will make a second stem that is more proportional to the pipe in my opinion. The stem was oxidized but did not have any tooth marks or chatter.
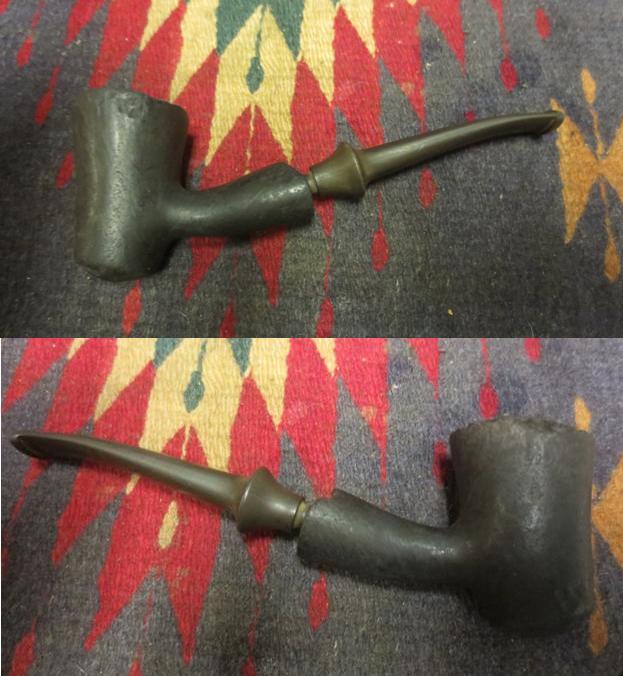
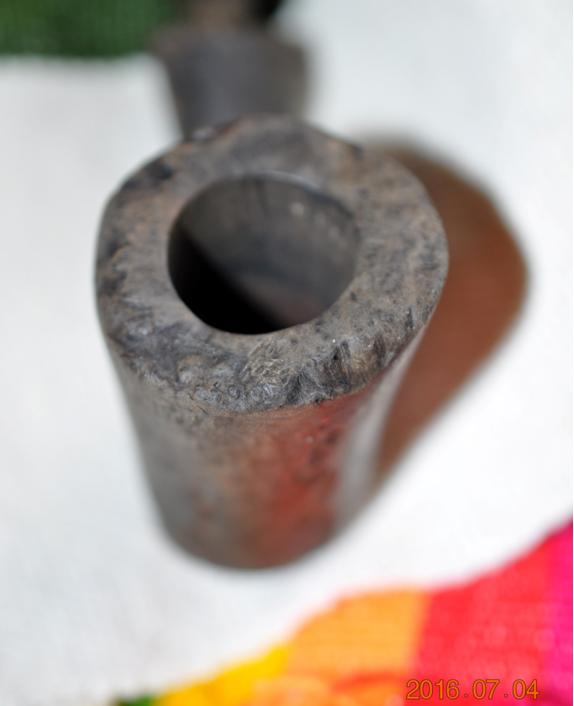
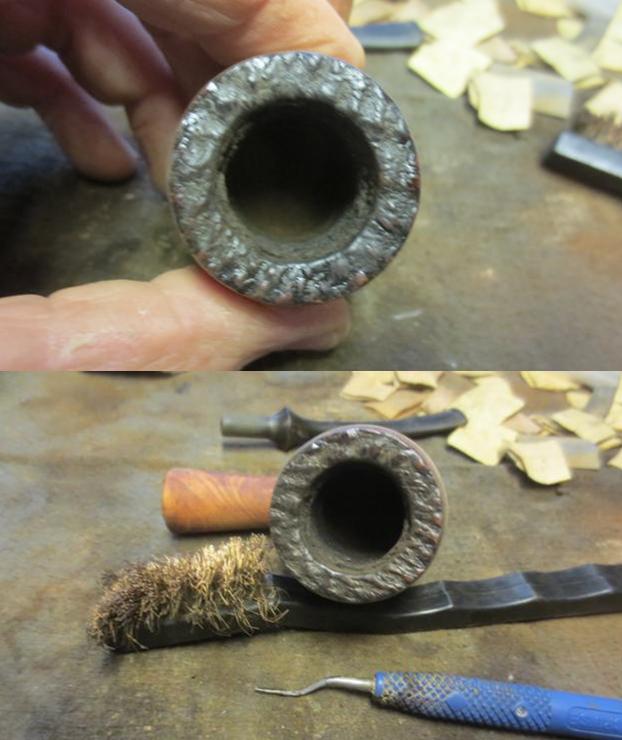
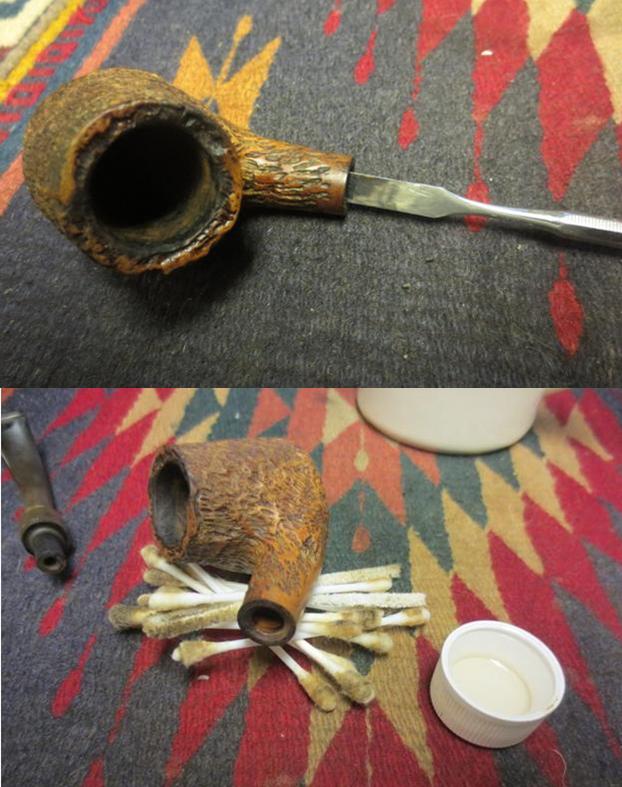
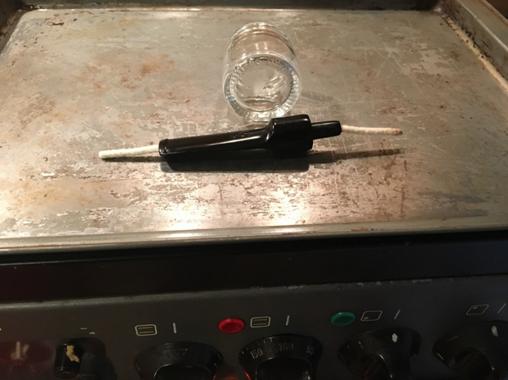
 I ran the Savinelli Pipe Knife around the inside of the bowl out of habit with little effect because my brother had done a great job reaming this one.
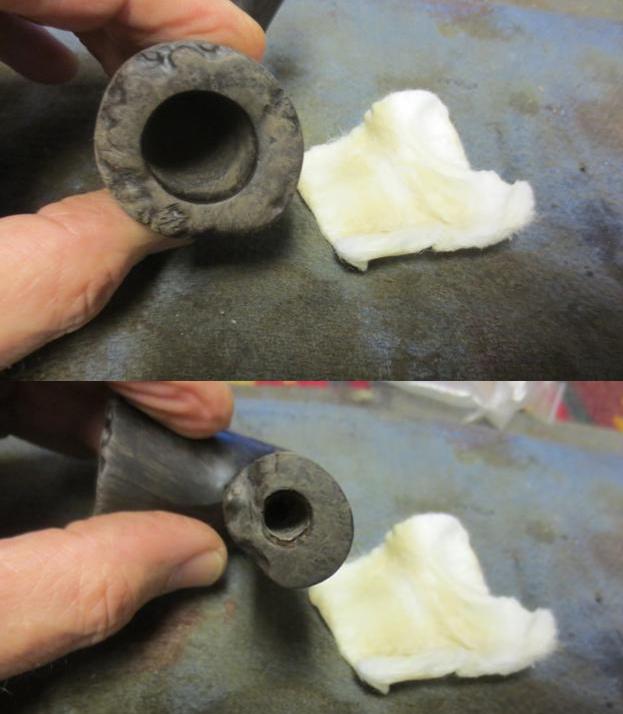
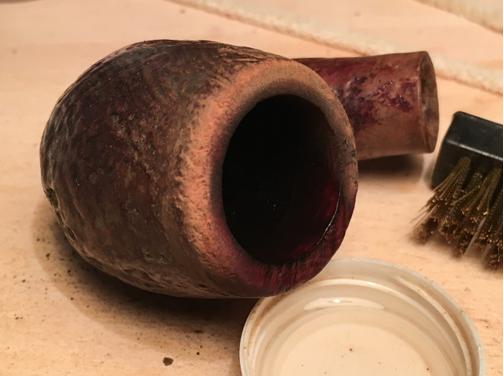
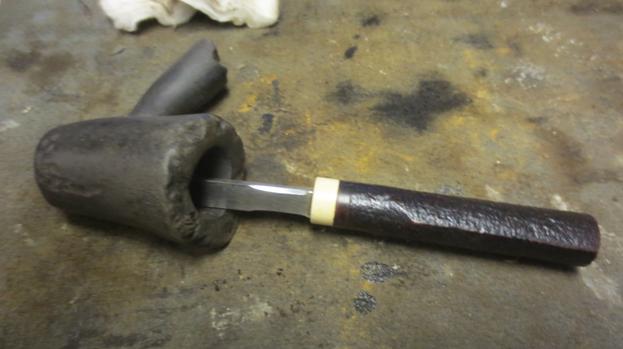 The bowl had some white debris in the bottom which I think was water marks from its time in the mud. I used alcohol pipe cleaners and cotton swabs to remove that debris. I scrubbed the exterior of the bowl and shank to remove more of the dark stain with acetone on cotton pads and was able to remove some more dark stain. There was more work to be done in this area but I would keep trying.
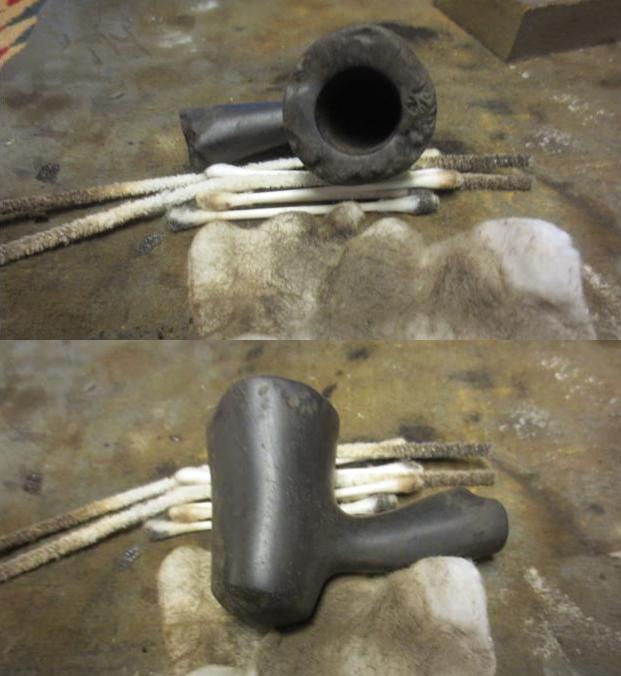
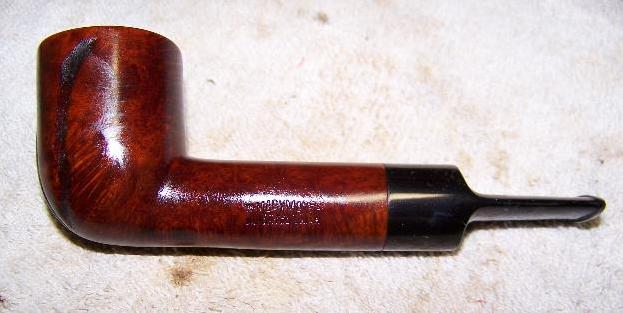
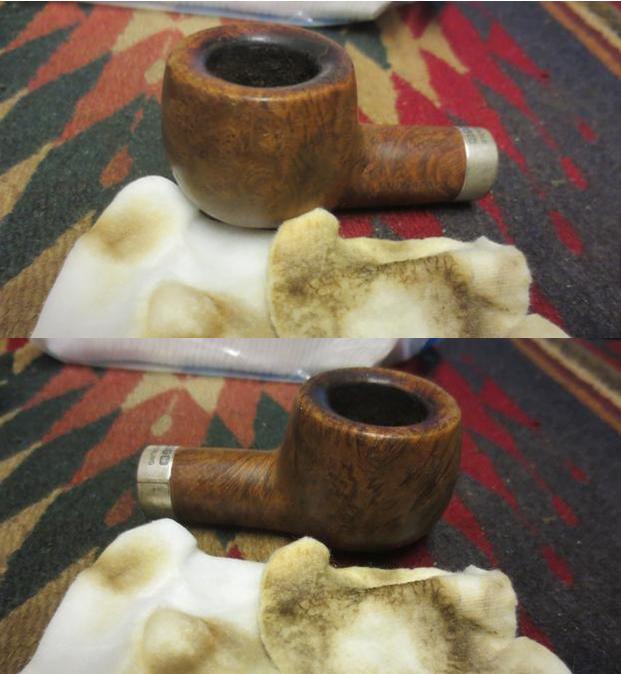
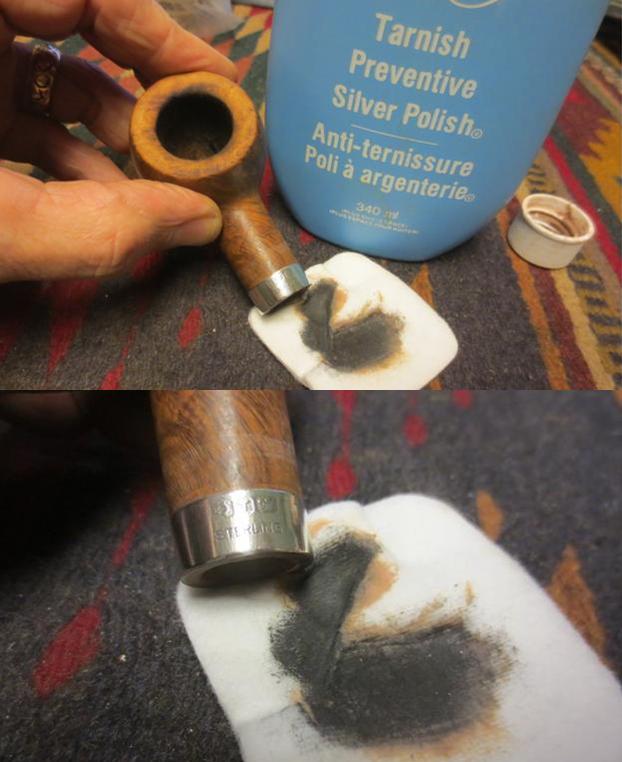
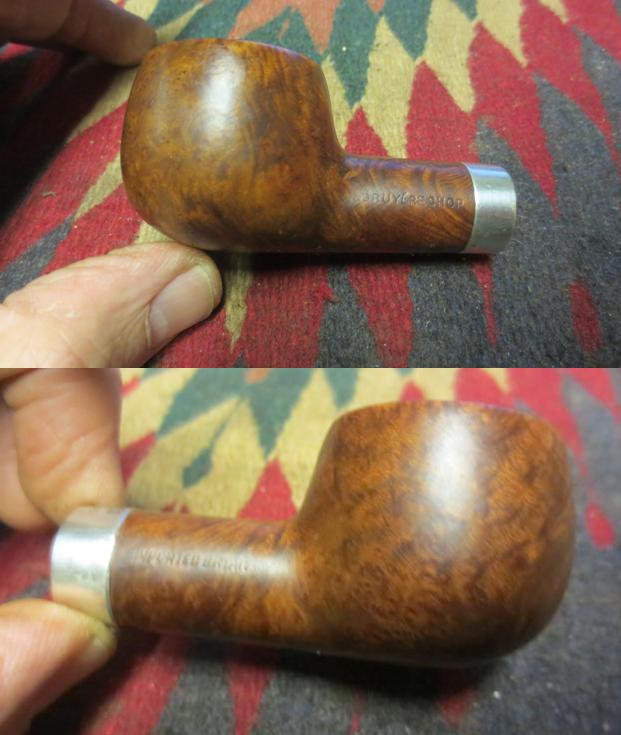
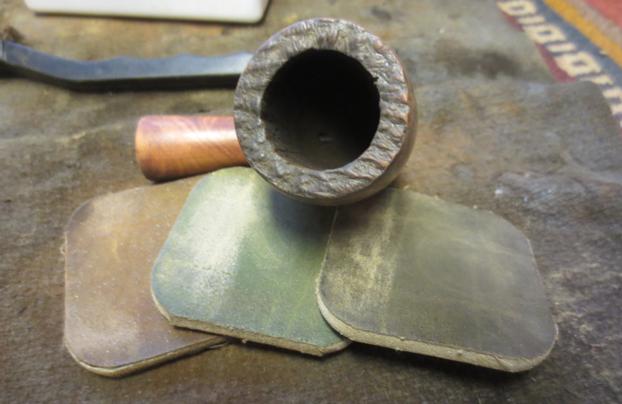
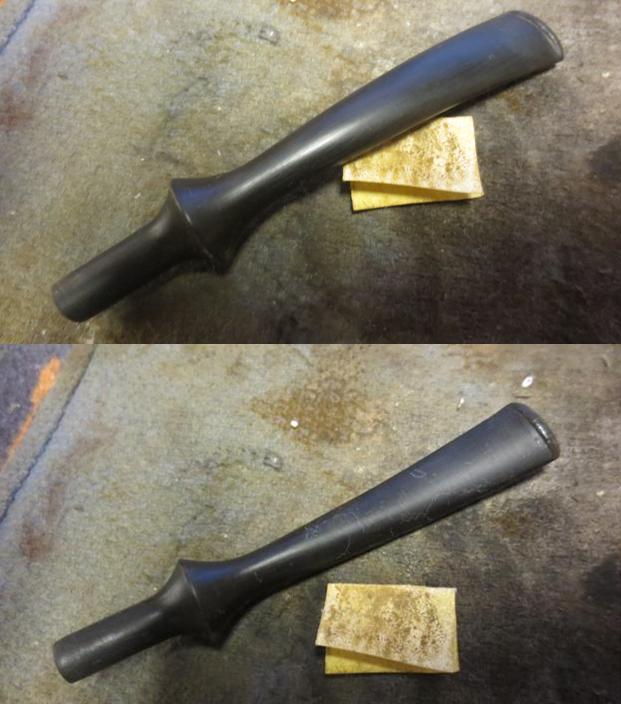
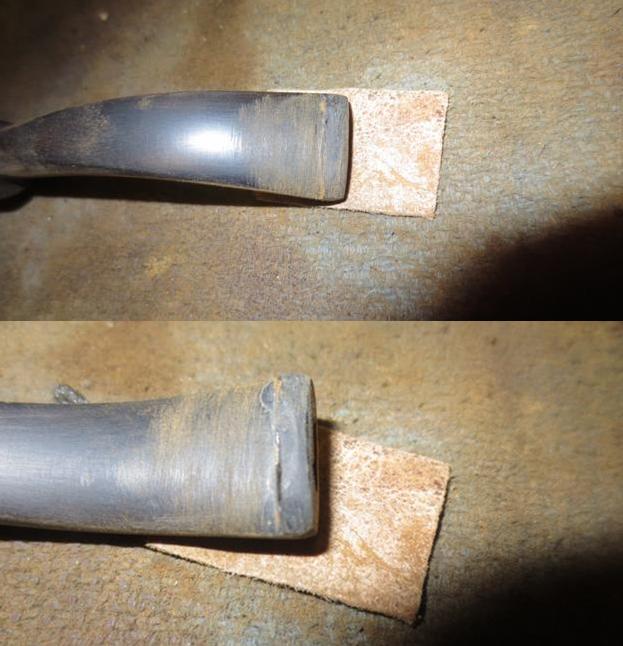
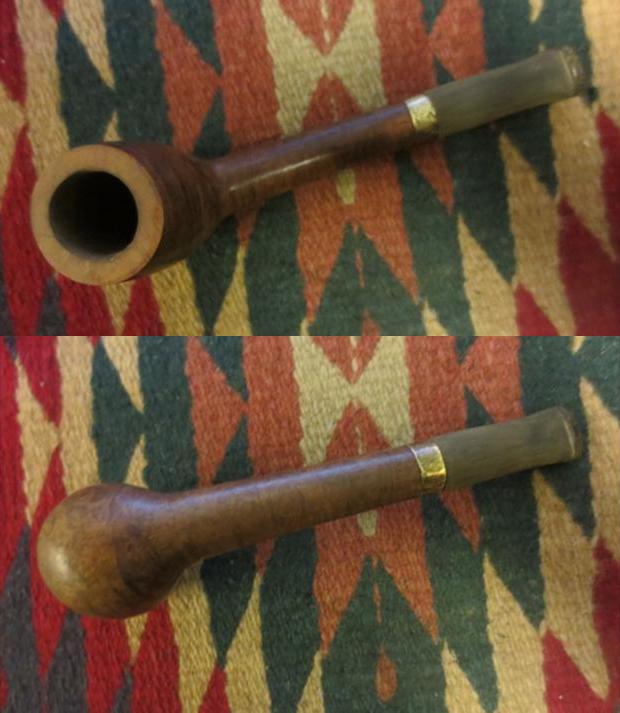
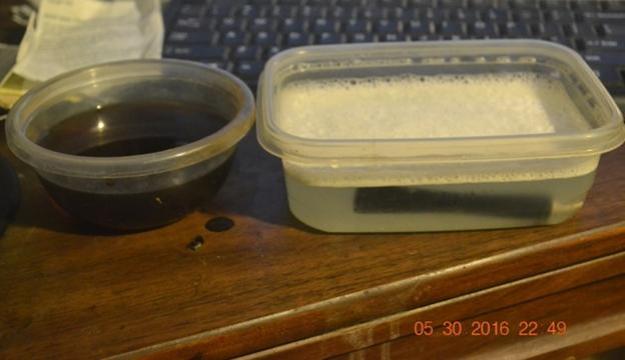
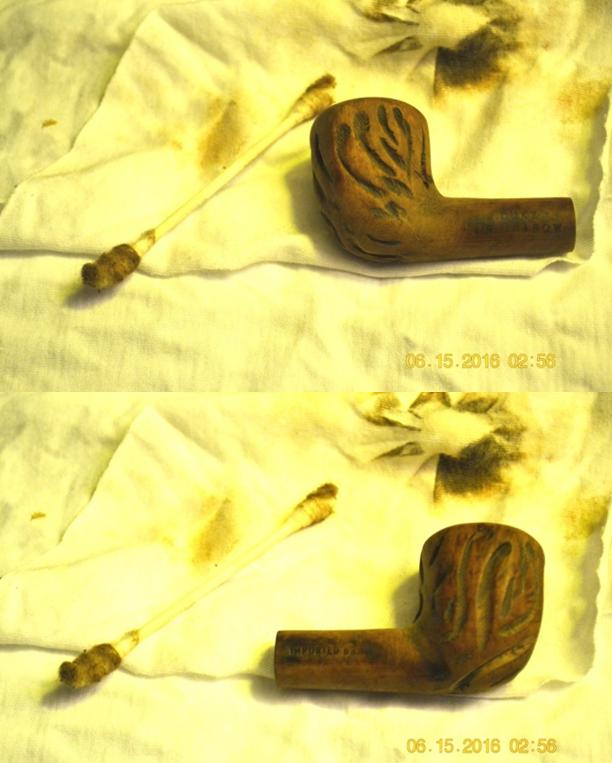
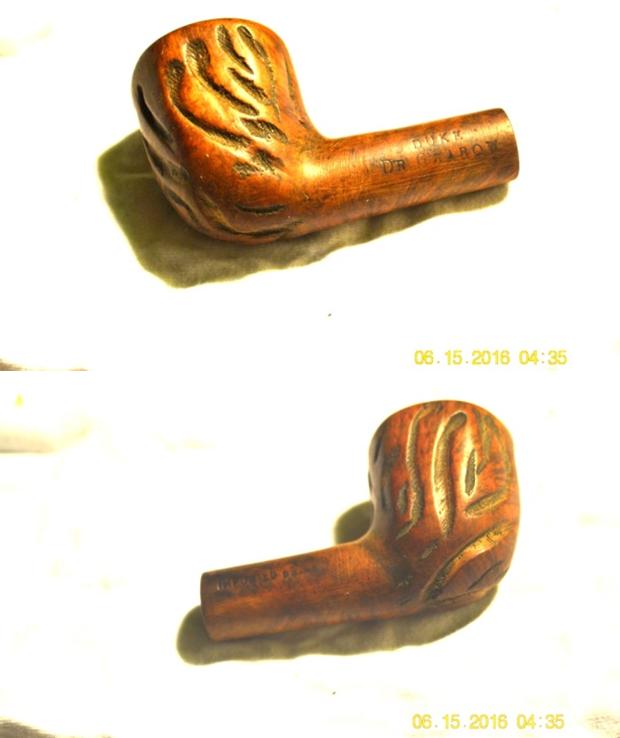
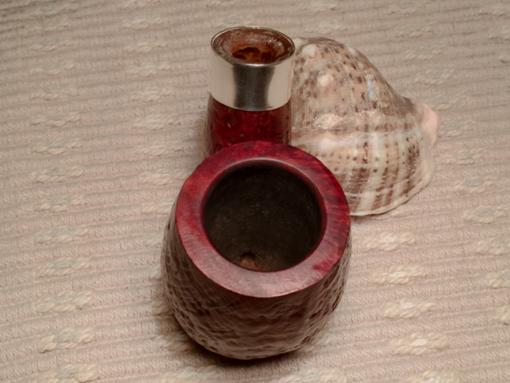
 I scrubbed the exterior with a bleach mixture to further remove the stain. The next photos show the effect of the bleach on the stain. The grain is beginning to show.
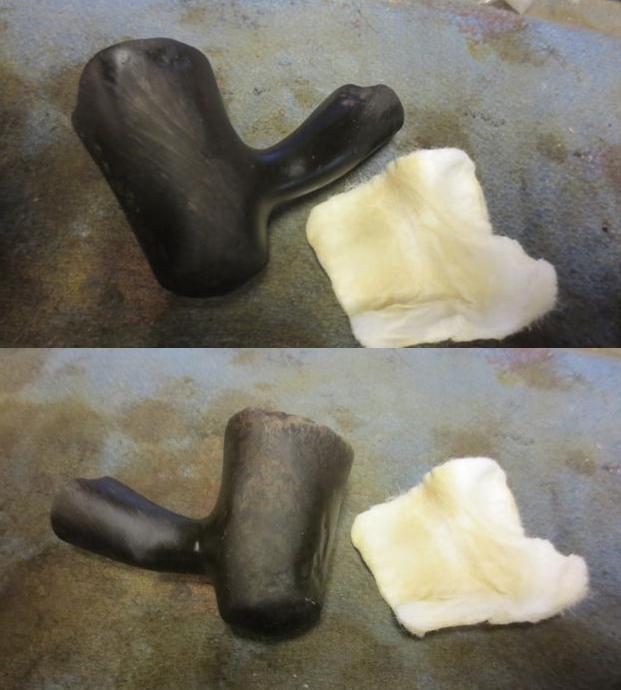
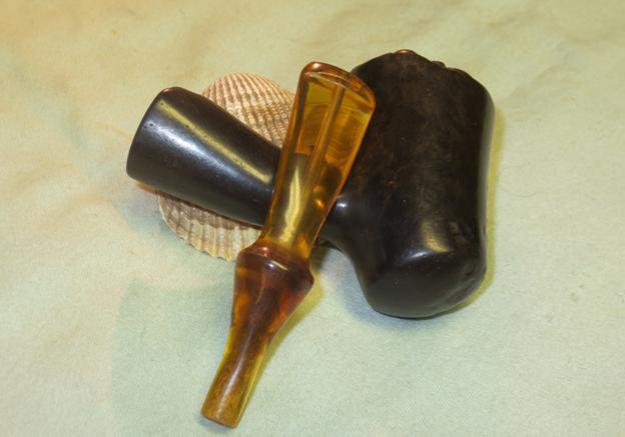
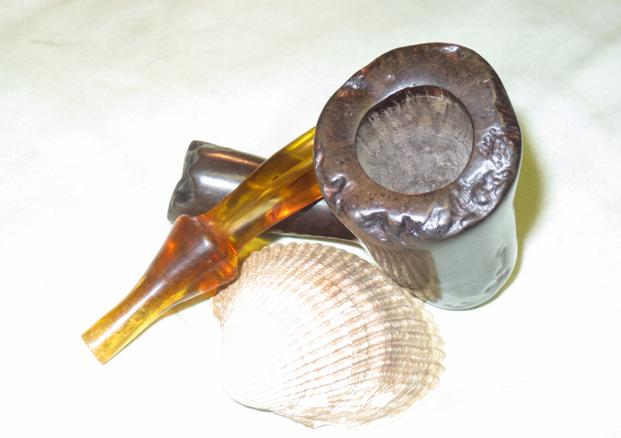
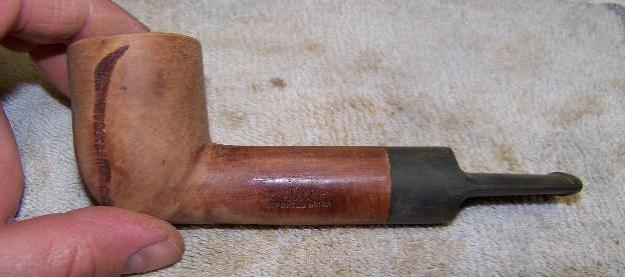
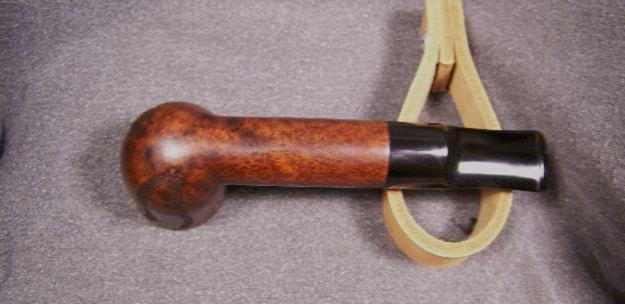
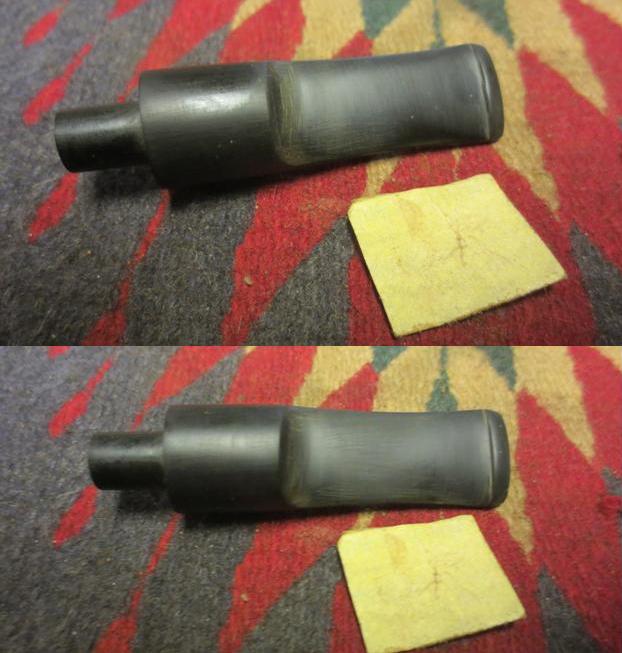
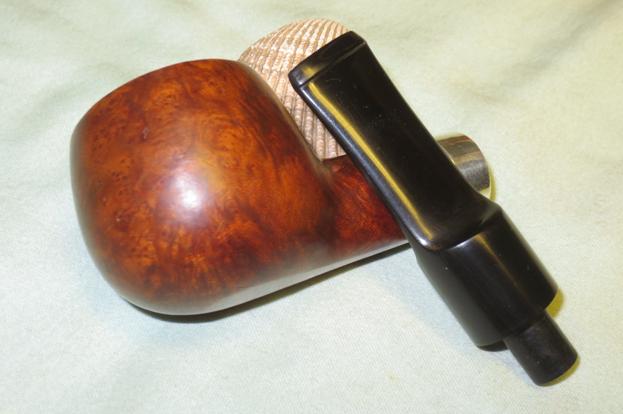
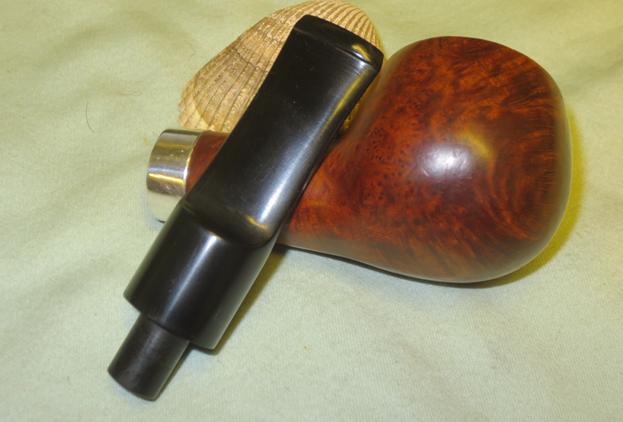
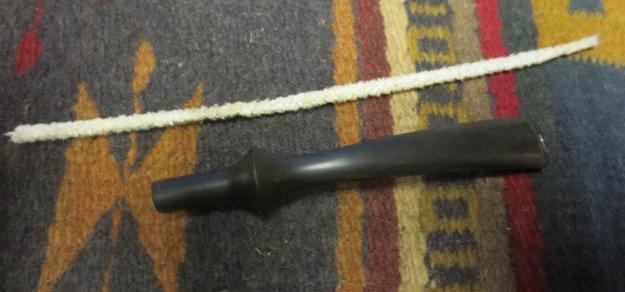
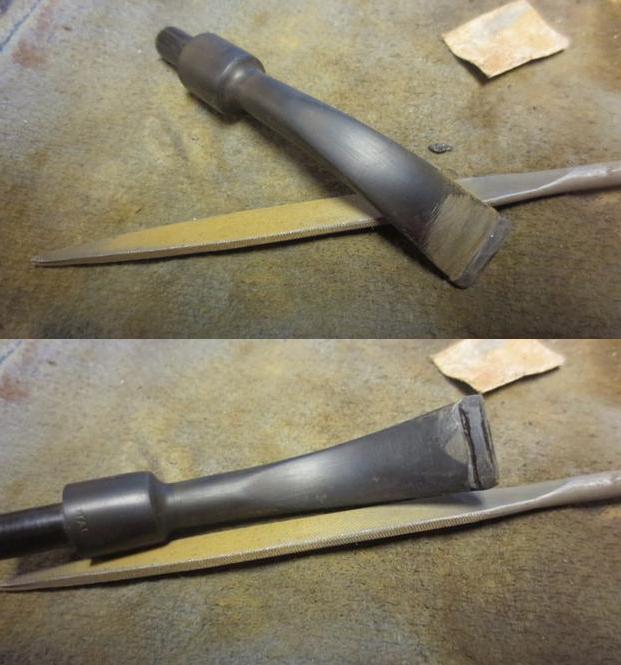
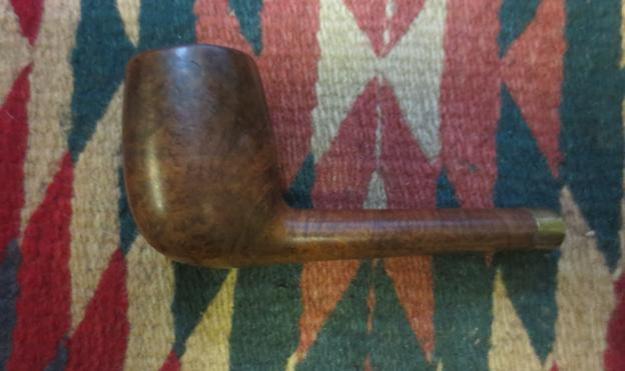
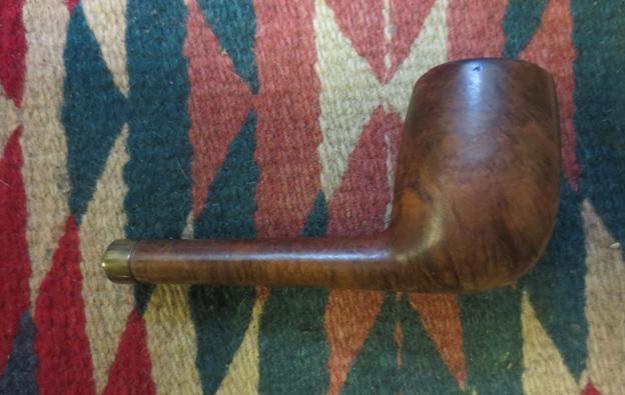
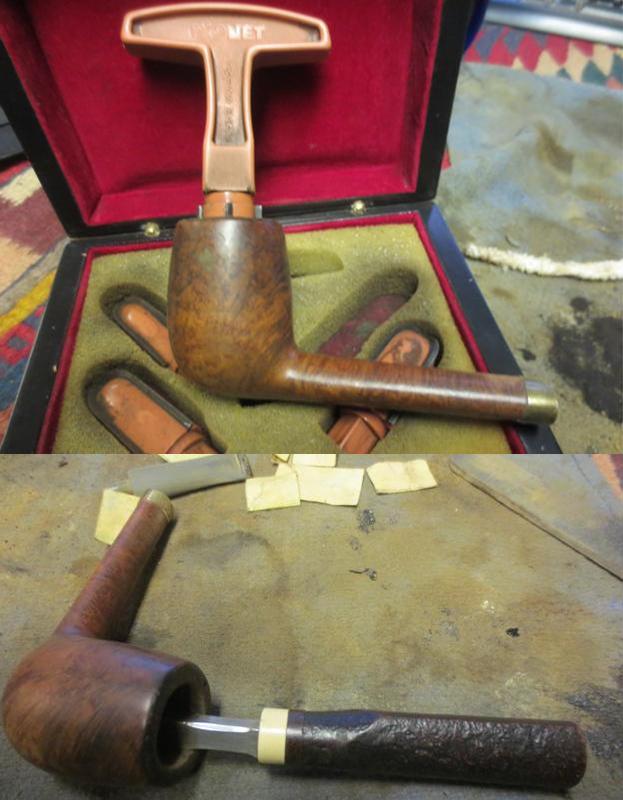
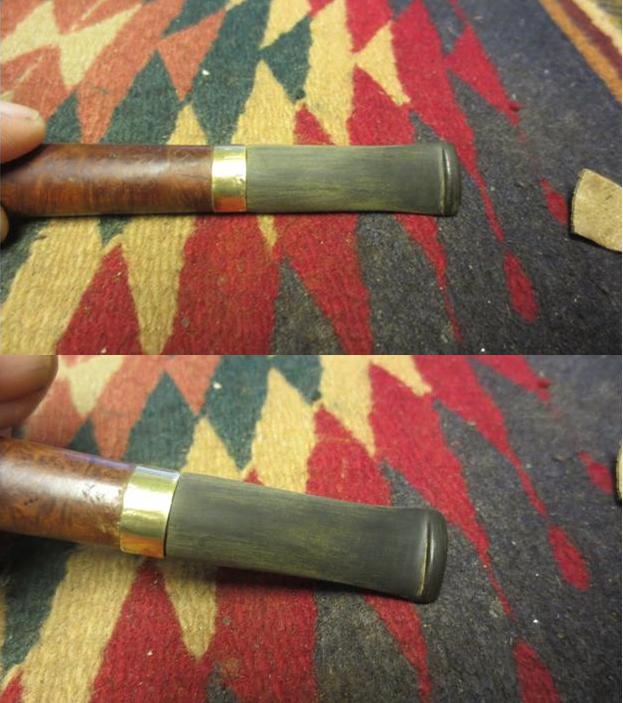
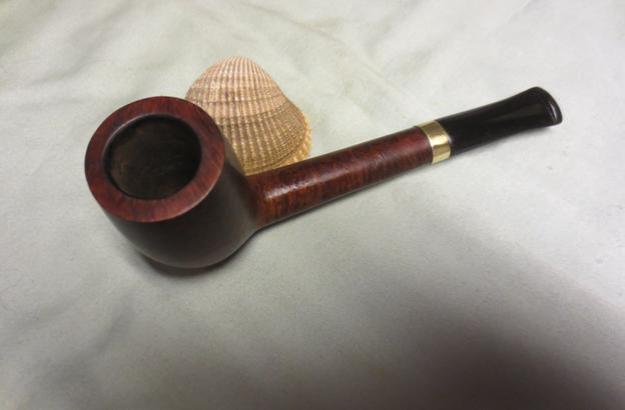
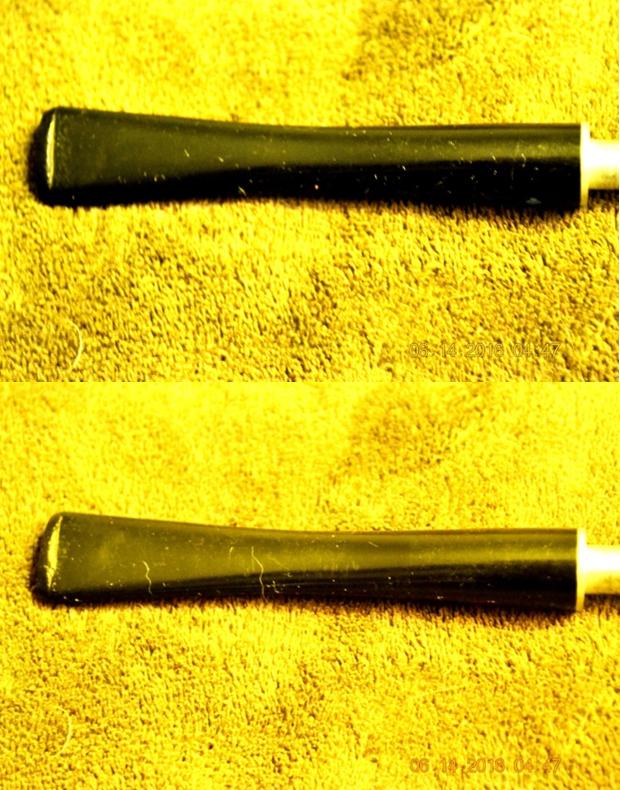
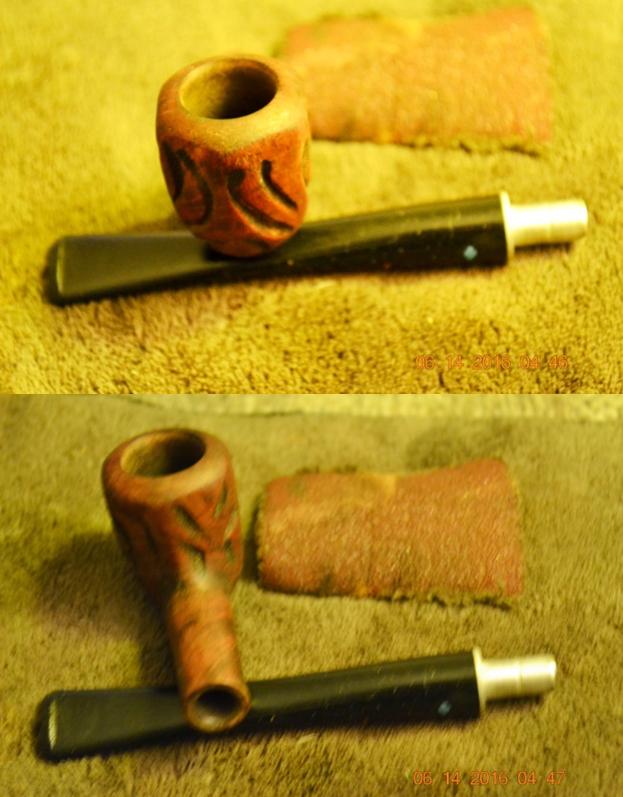
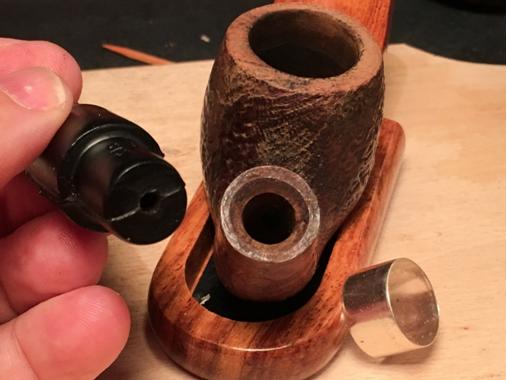
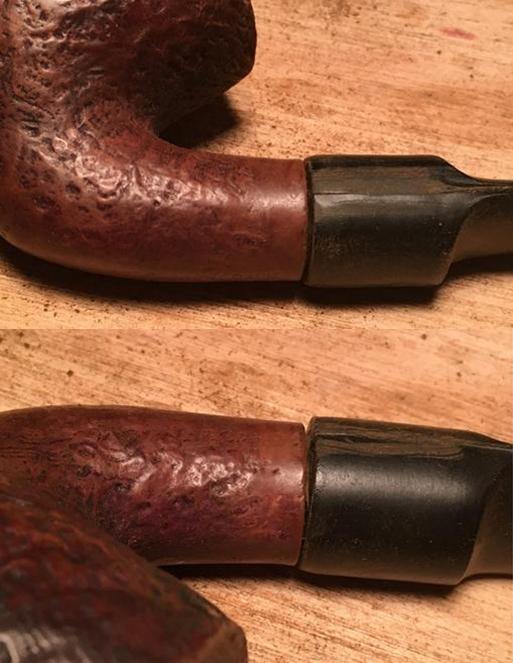
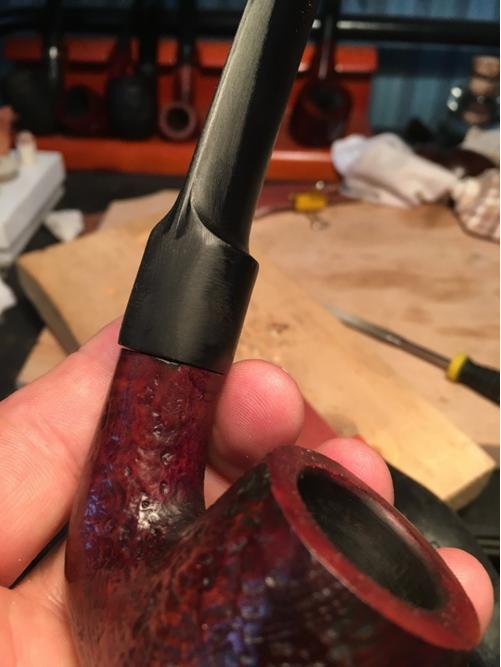
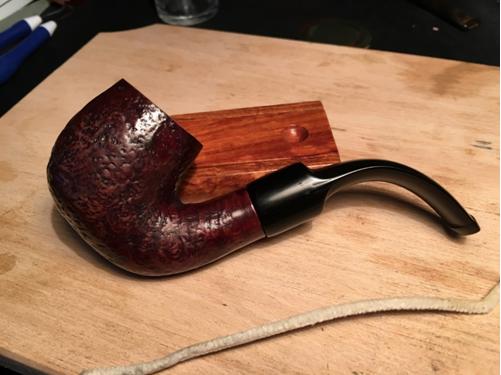
 I went through my stem can and found a nice amber Lucite stem that was the right length to my eye and would be a great contrast with the bowl. I did not have to do any fitting or tenon work as the stem fit in the mortise perfectly from the start. The stem was bent too much and would need to be straightened and bent to match the flow of the bowl. You can see in the photo below that the new stem is about an inch shorter than the one that came with it when I got it. I put the stem in place and took some photos to get an idea of how the pipe looked with the stem. You can also see the effect of the bleach on lightening the stain on the bowl in these photos.
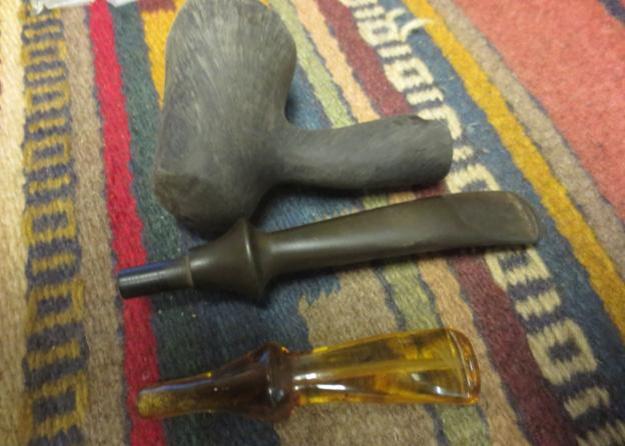
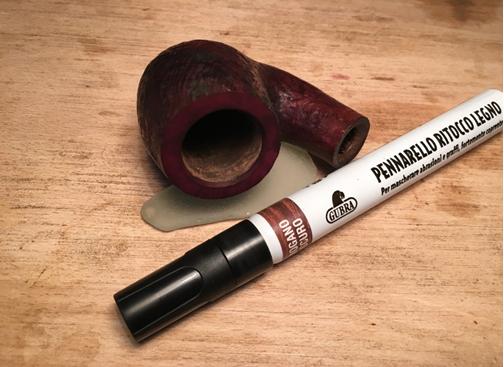
 I used a Sharpie pen to darken the plateau areas on the end of the shank and the top of the bowl. I also used it on the rustications down the bowl sides and front.
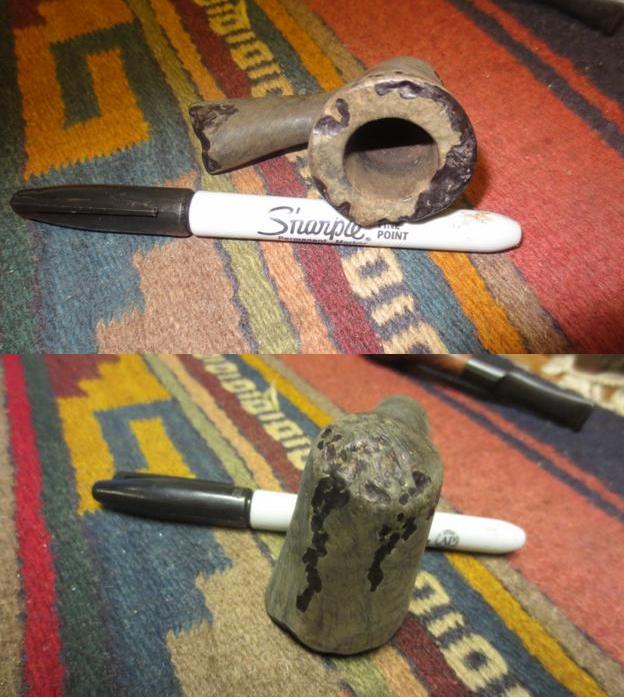
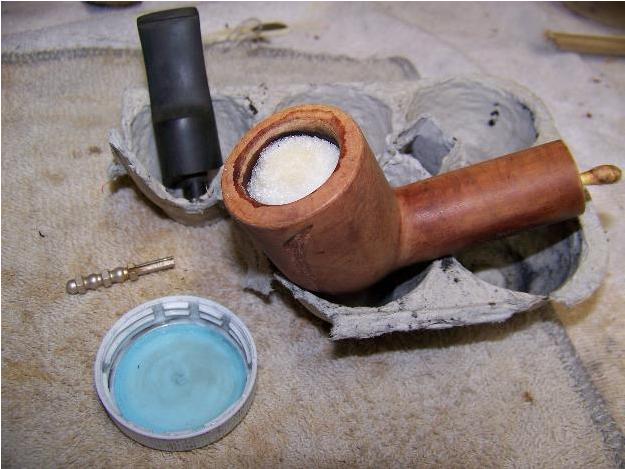
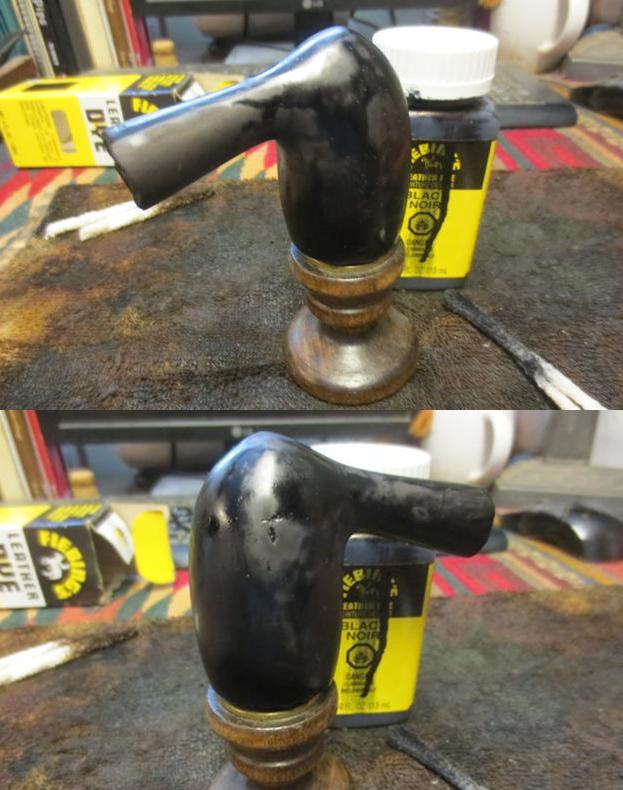
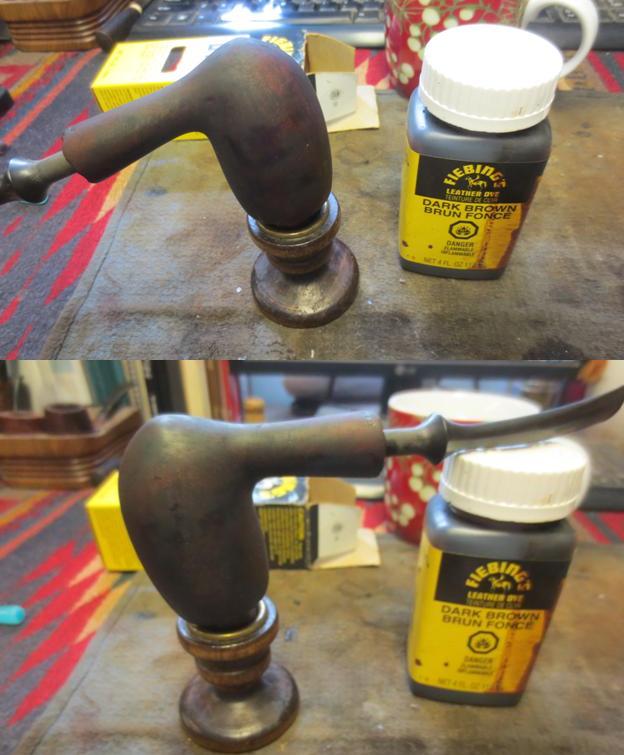
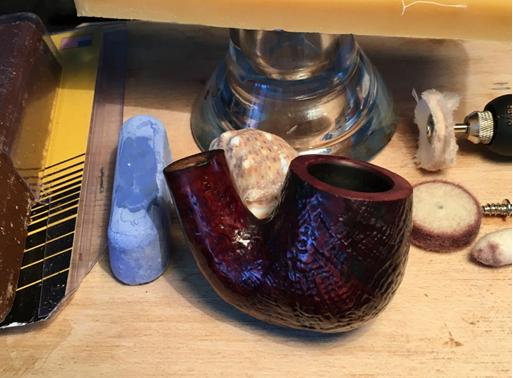
 I used Watco’s Danish Oil with a Cherry Stain to stain the bowl. It is an oil based product and as it dries on the surface it darkens to a black cherry. I applied the stain with a cotton pad and let it absorb into the warm briar.
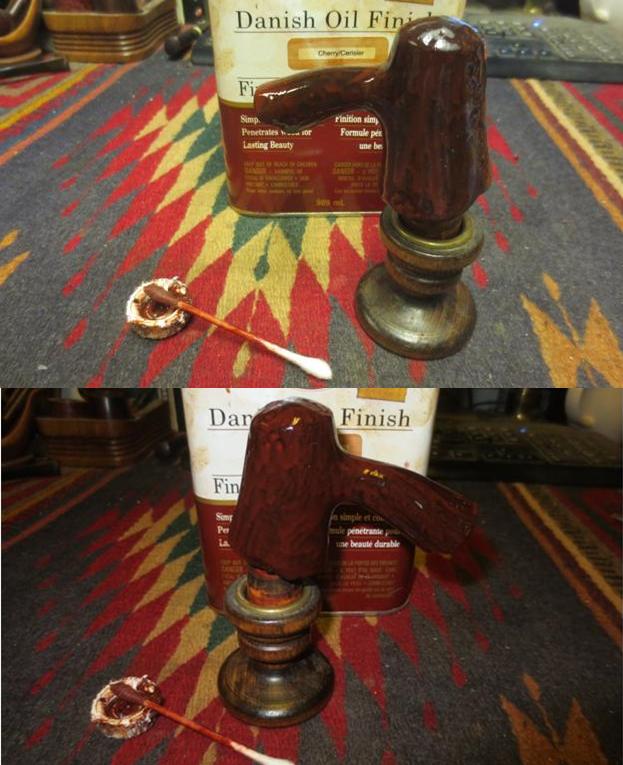 When it had dried I buffed it off. The stain had darkened and with the natural darkening that had happened as the pipe lay in the mud the overall appearance almost a rich charcoal grey with red undertones.
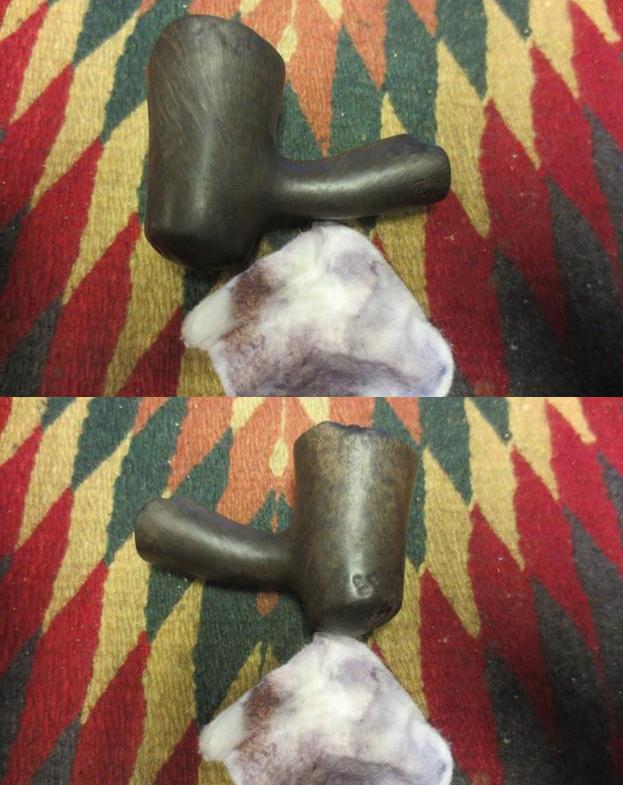
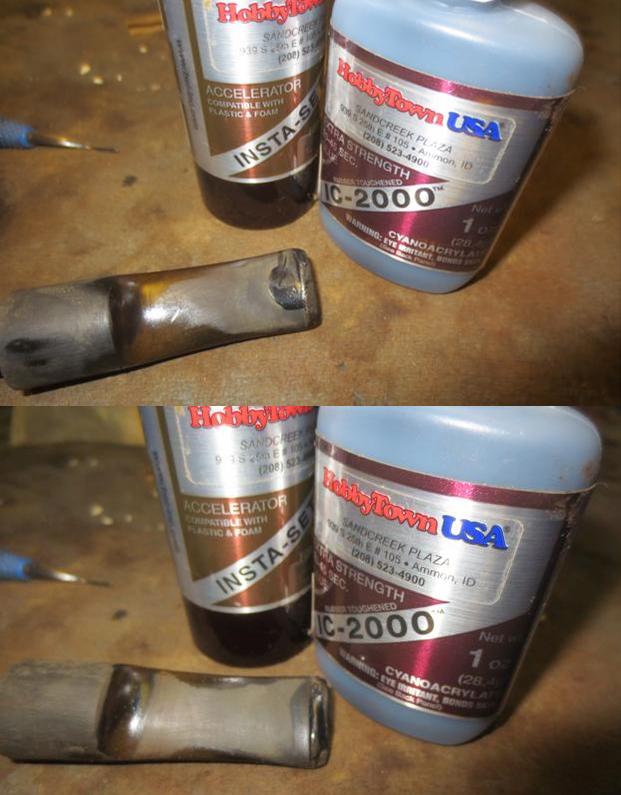
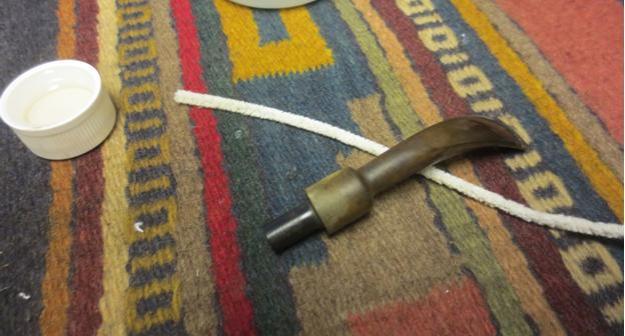
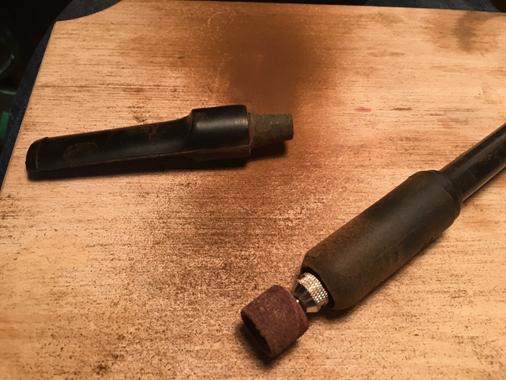
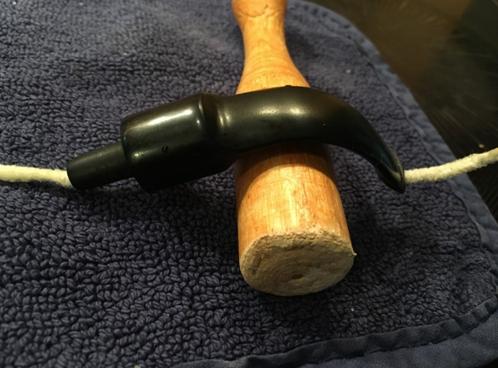
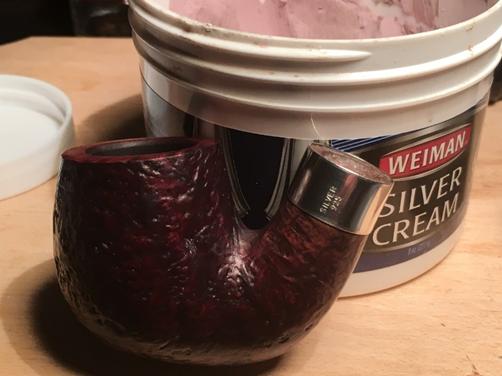
 I forgot to take photos of the process of rebending the stem but what I did was boil water in the microwave in a cup and then heated the stem until it was flexible in the hot water. I inserted the tenon in the mortise and then bent the stem to match the flow of the bowl. I held the stem under cool water to set the new bend. There was some tobacco stains in the stem from a previous pipe it had graced. I cleaned it out with pipe cleaners and cream cleanser/soft scrub cleanser until all of the stains were gone.
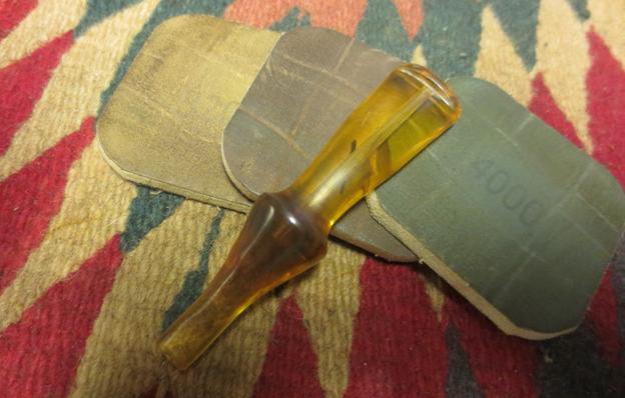
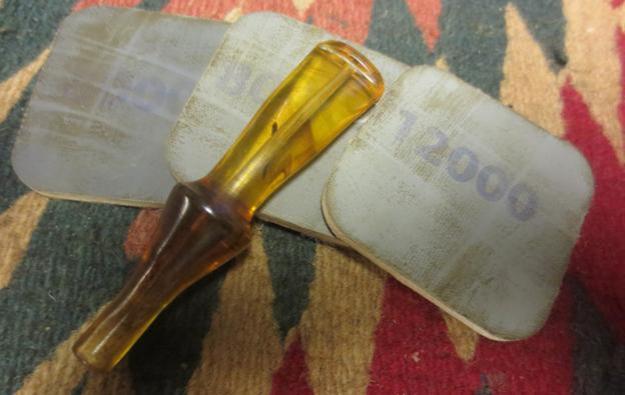
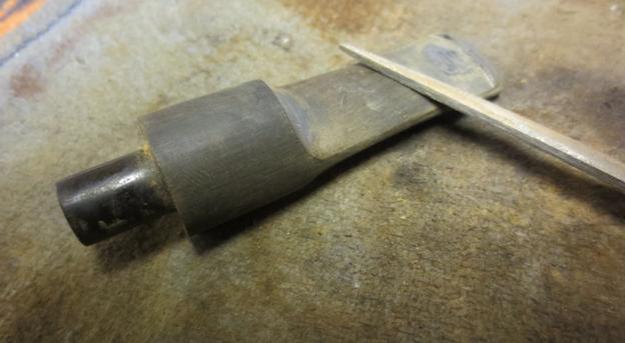
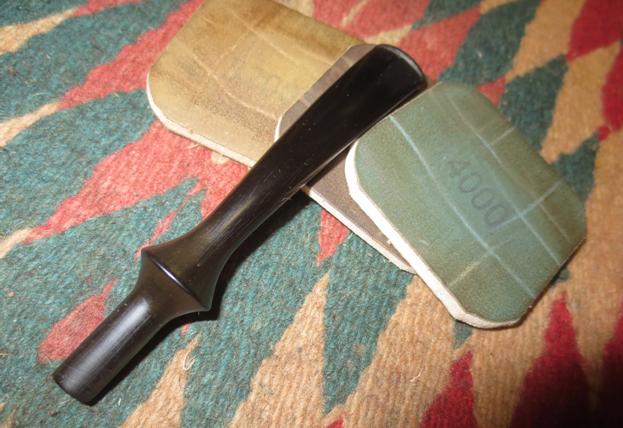
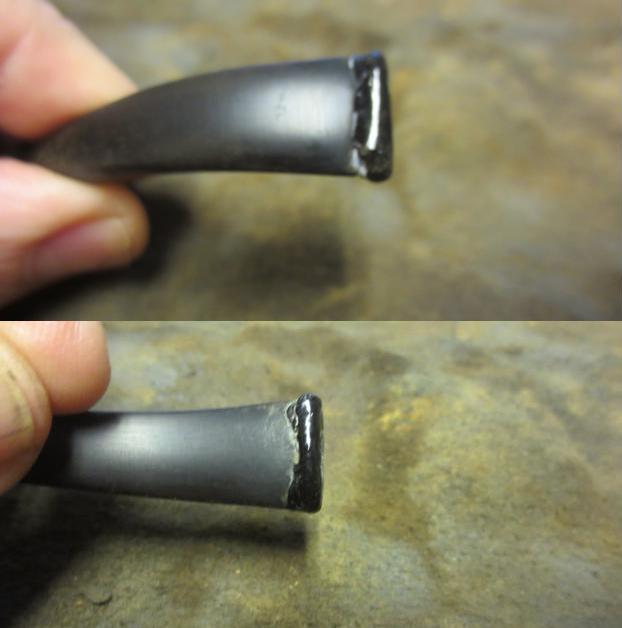
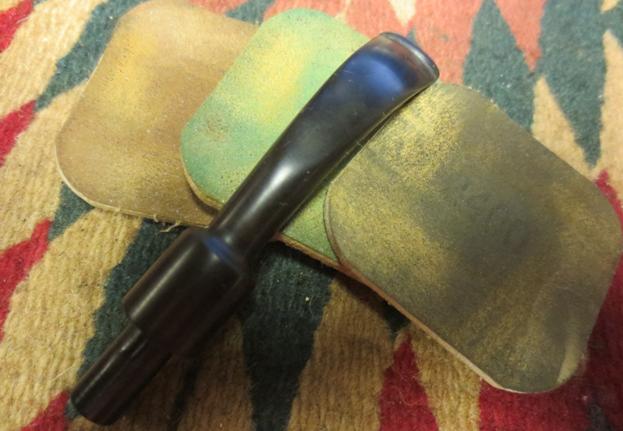
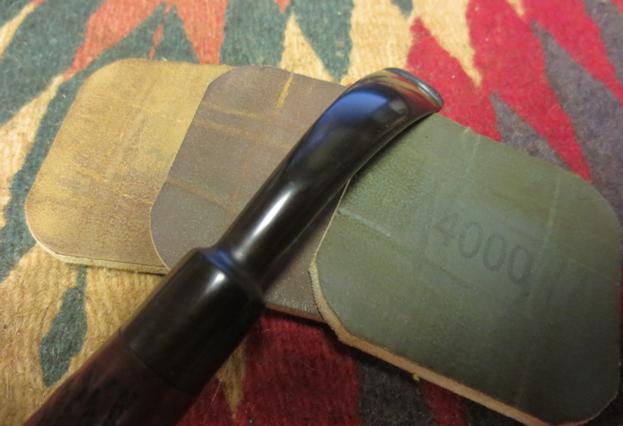
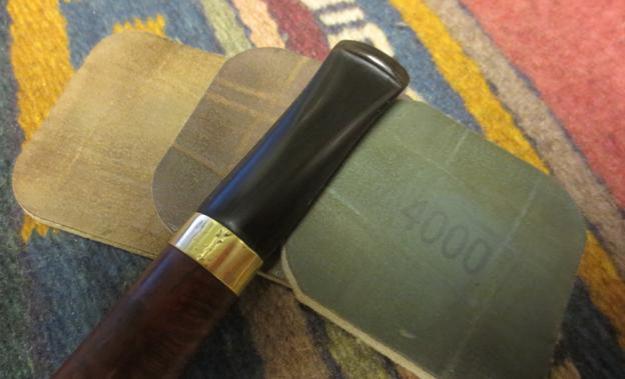
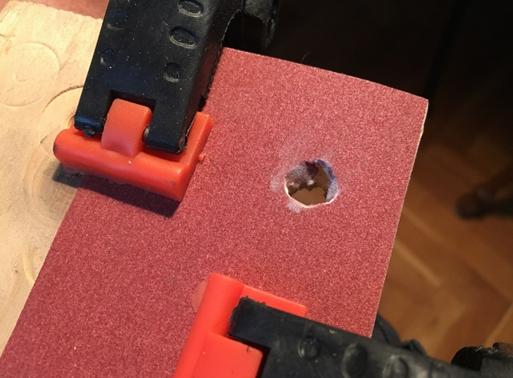
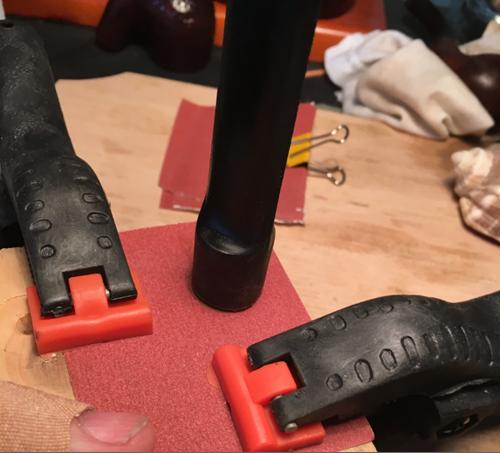
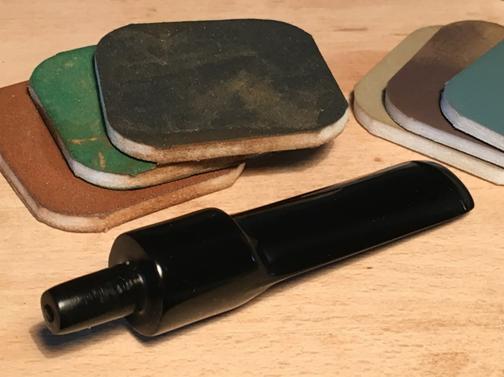
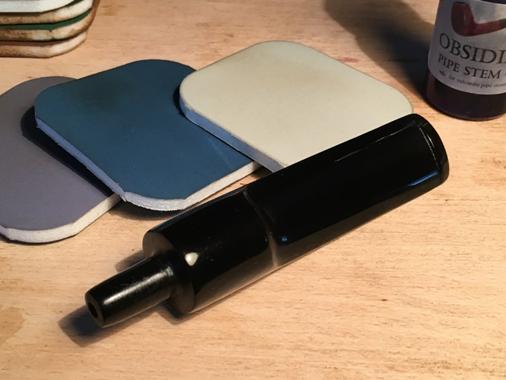
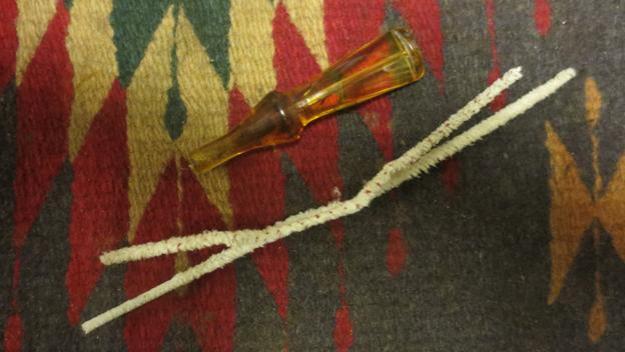 There was a groove in the stem on the top side about a ¼ inch from the saddle that I sanded out with 220 grit sandpaper. I worked over the stem with micromesh sanding pads – wet sanding the stem with 1500-2400 grit pads and dry sanding with 3200-12000 grit pads.
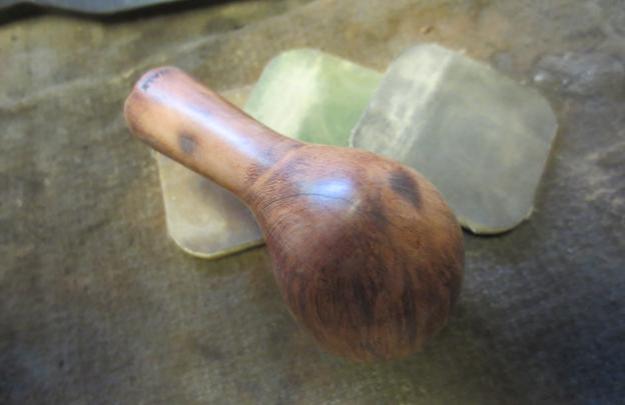
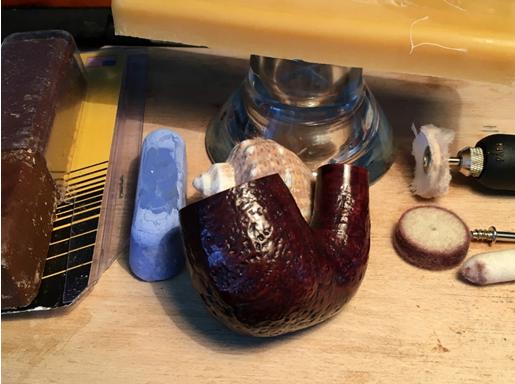
 I sanded the bowl with micromesh sanding pads to try to lighten the dark cherry colour of the stain. I finished sanding it with 6000-12000 grit pads to polish the briar.
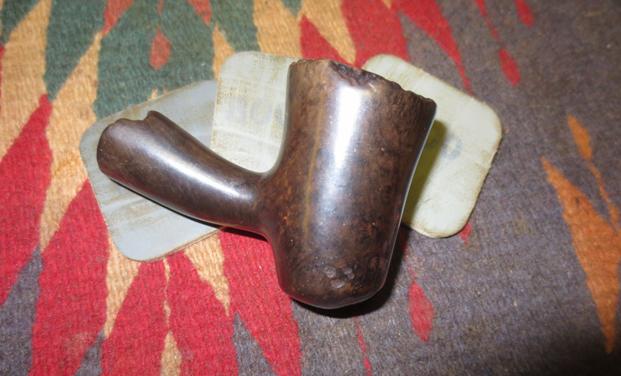 While I was finishing polishing the pipe, I received an message from Randy regarding the previous owner of the pipe. He said that he had confused it with one that had been lost while scuba diving. So he could not remember who had purchased this one. I had also asked whether the stem was original and he was not certain.I actually found that to be good news as I did not like the stem that it came with.
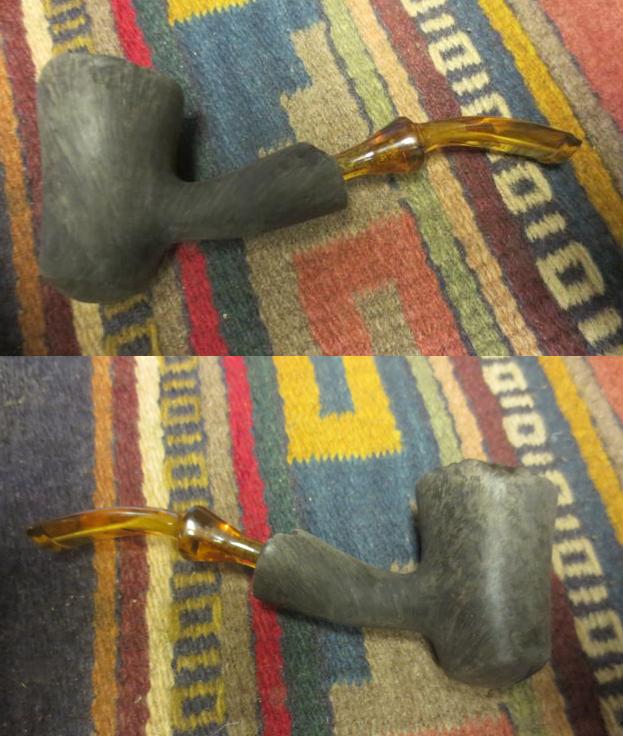
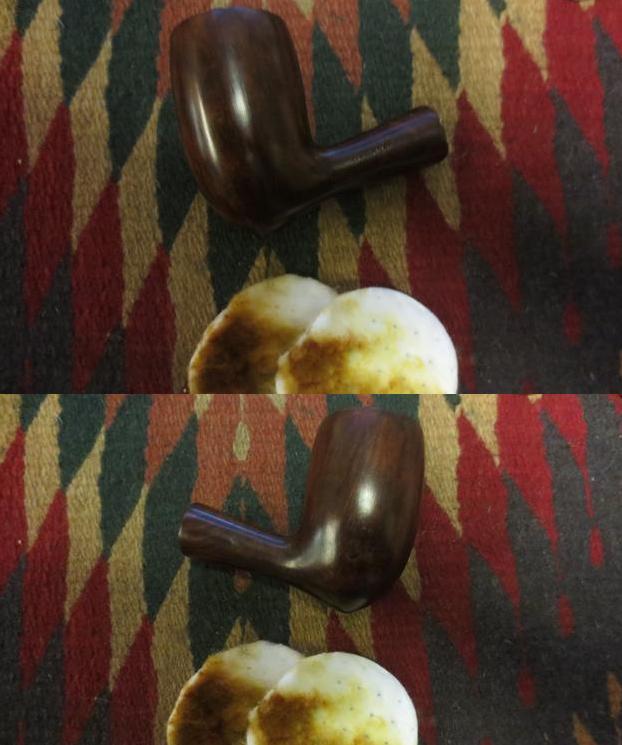
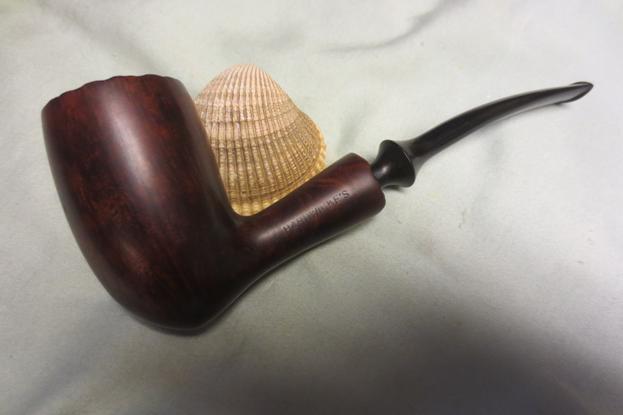
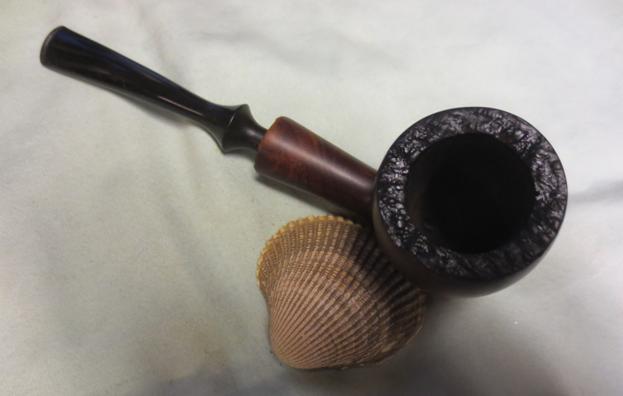
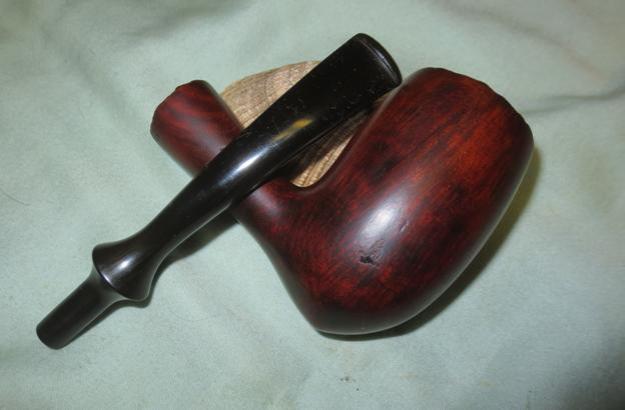
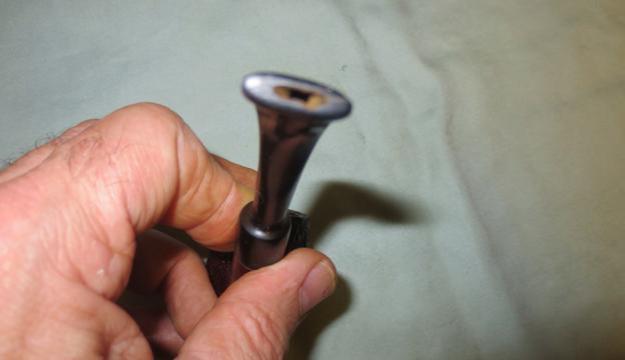
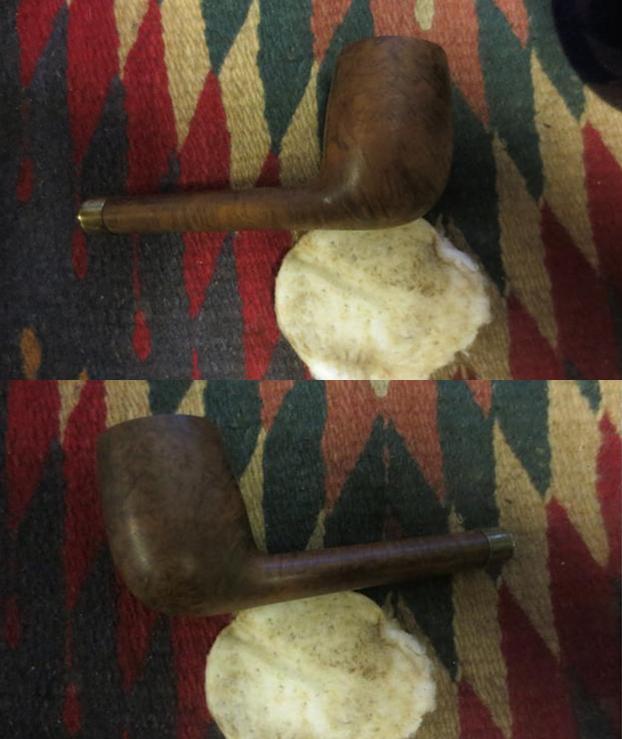
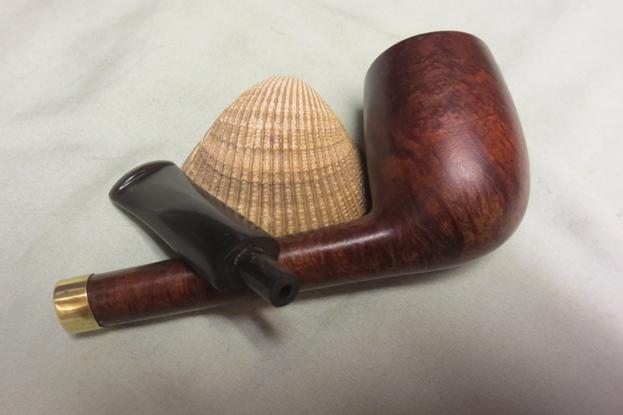
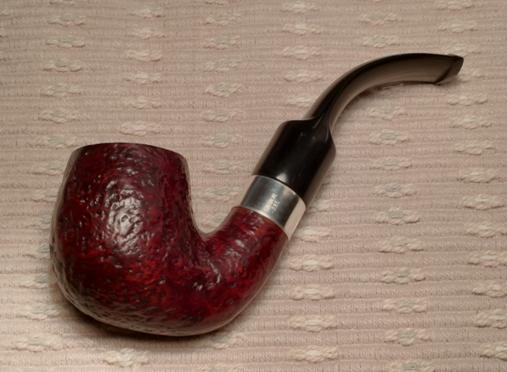
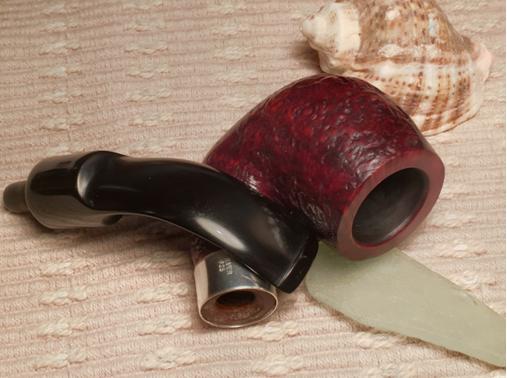
I took the pipe to the buffer and buffed the pipe with Blue Diamond and then gave it several coats of carnauba wax. The briar has many small pits in the surface that I am convinced came from its time spent in the mud alongside the river. Part of me wanted to sand them out and remove them but another part, the part that won decided to leave them to bear witness to the shadow life this pipe had before it was found. I took the next photos with the blanket background as it seems to allow the grain to stand out a bit.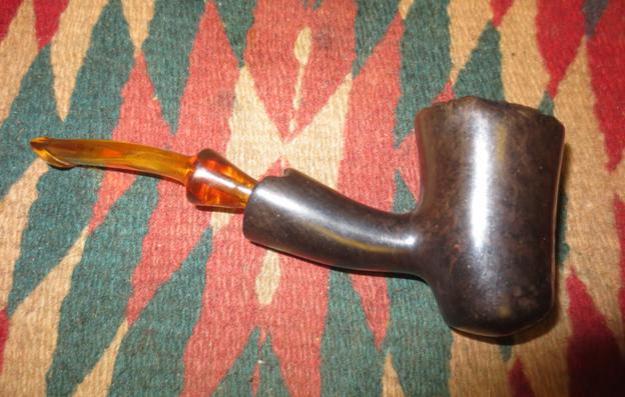

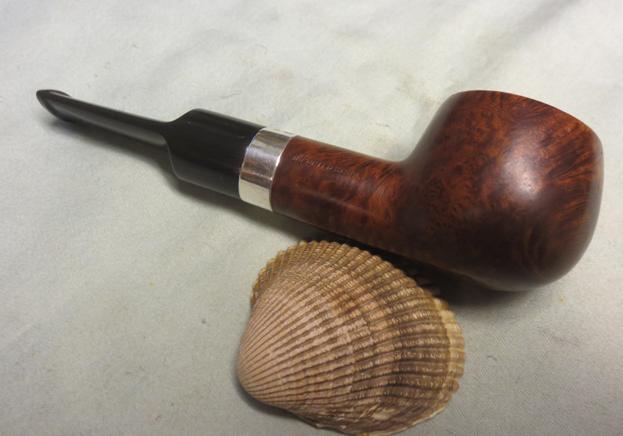
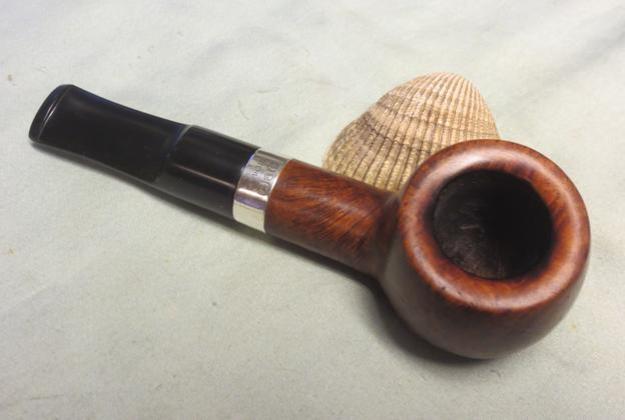
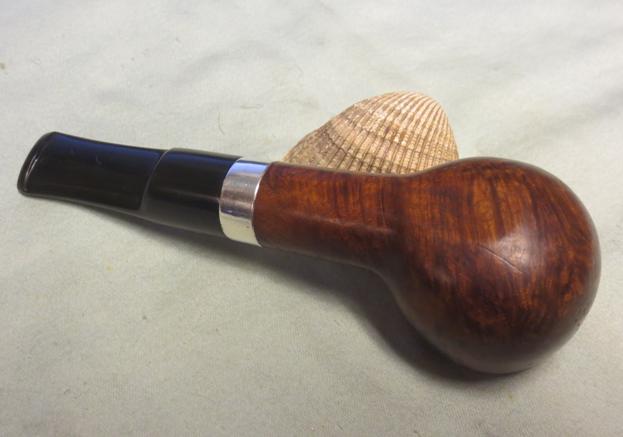
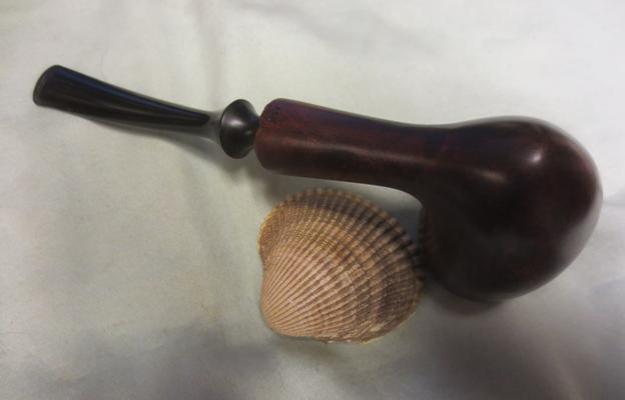
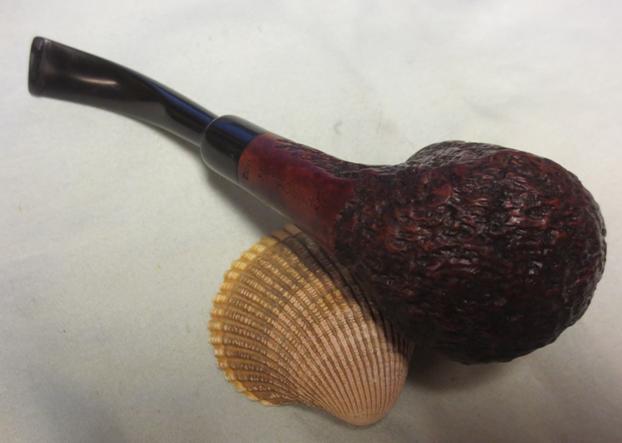
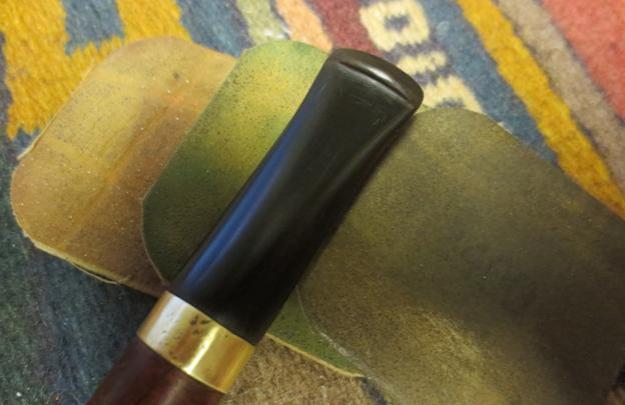
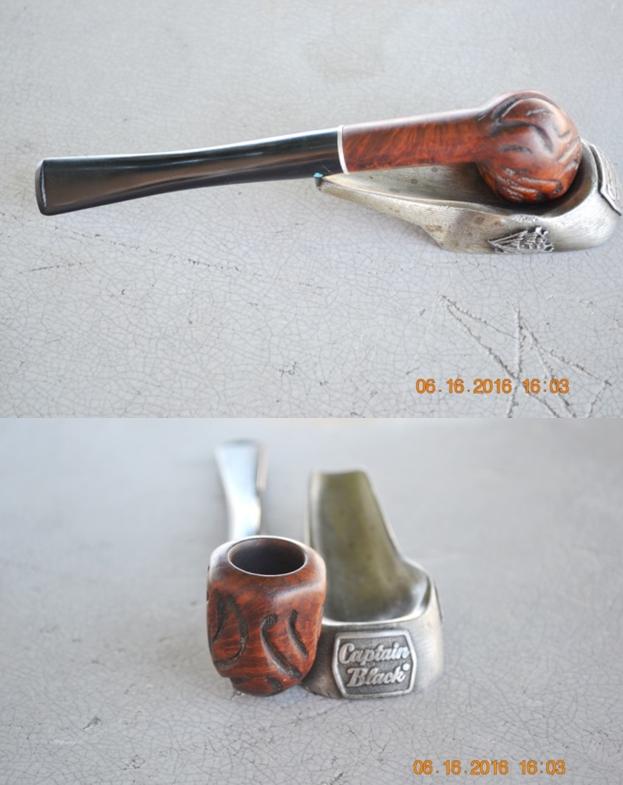
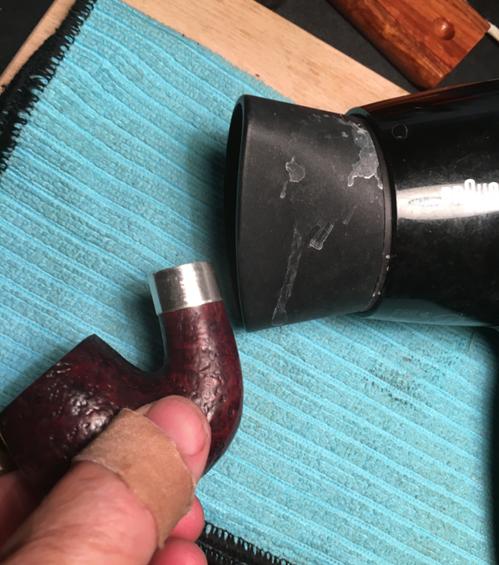
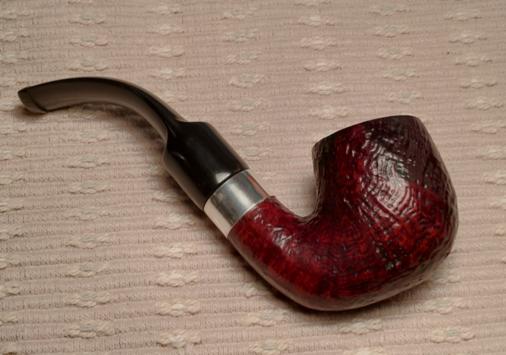
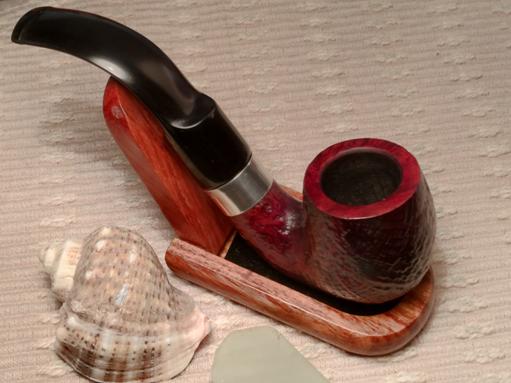
 The next photos I took against a light blue backdrop to show the contrast between the amber stem and the dark cherry stain. Thanks for looking.
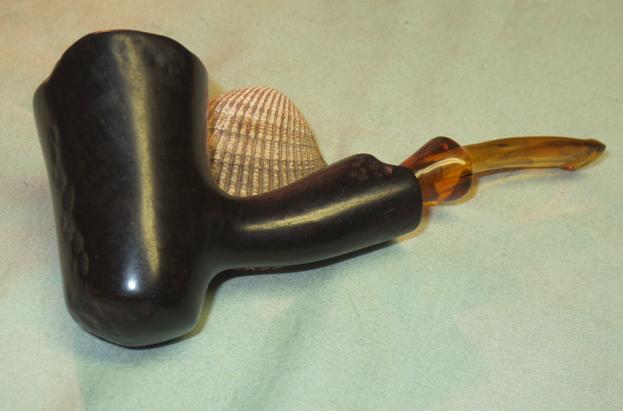


