by Steve Laug
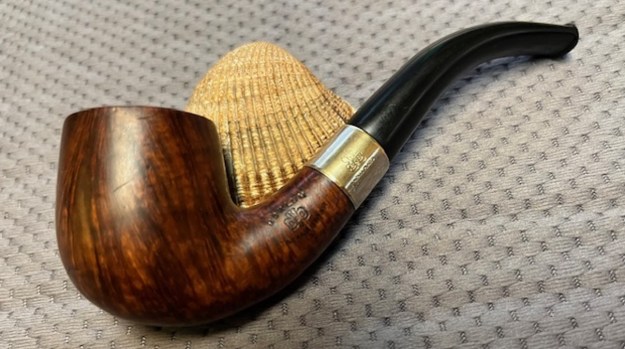
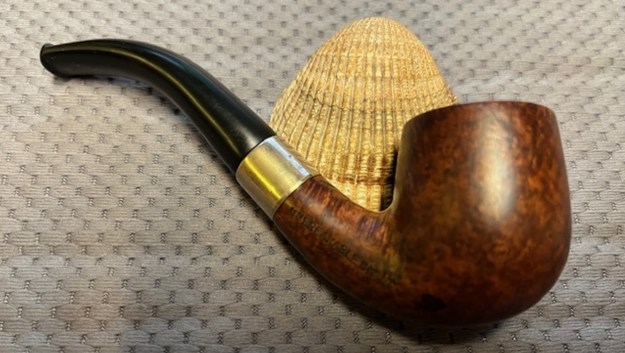
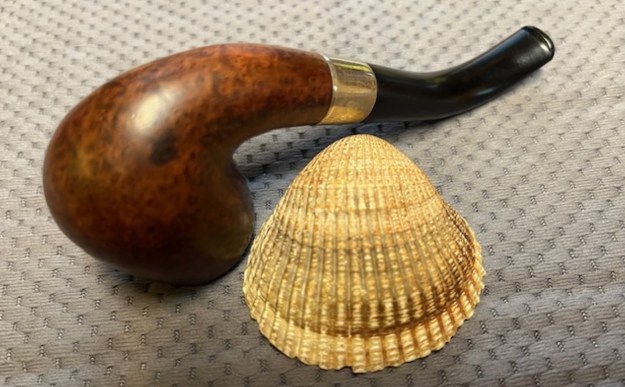
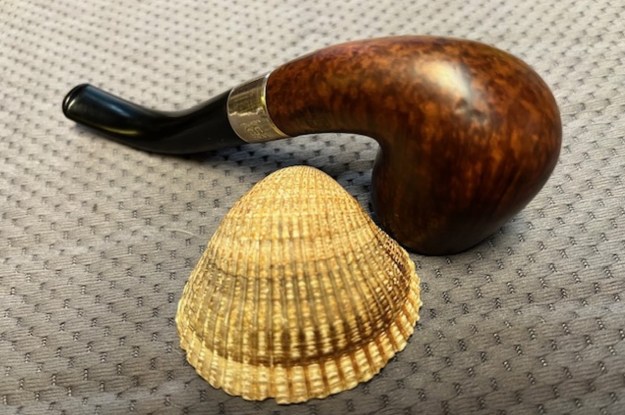
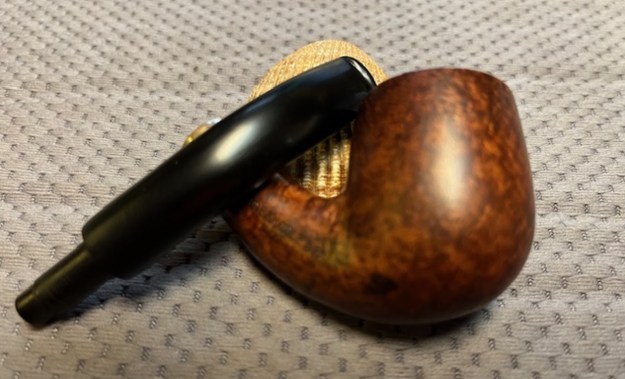
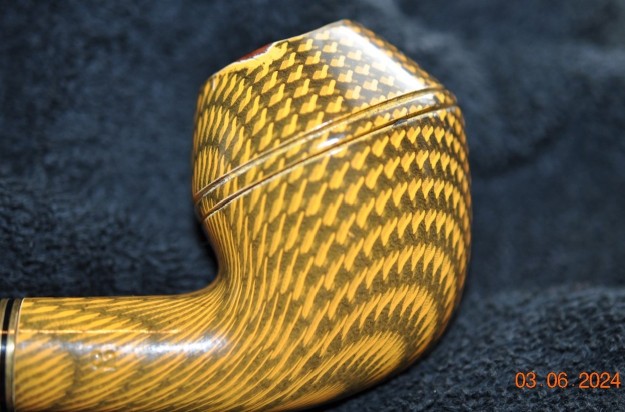
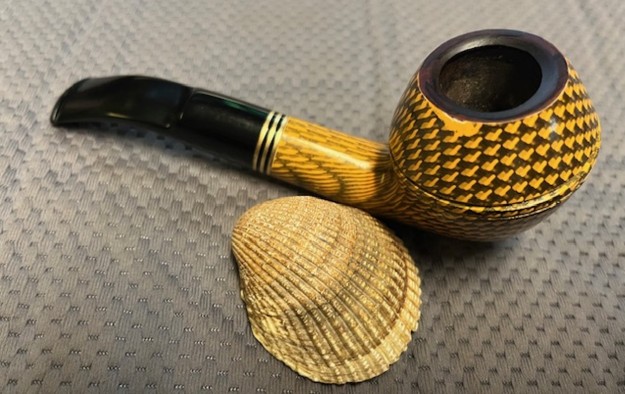
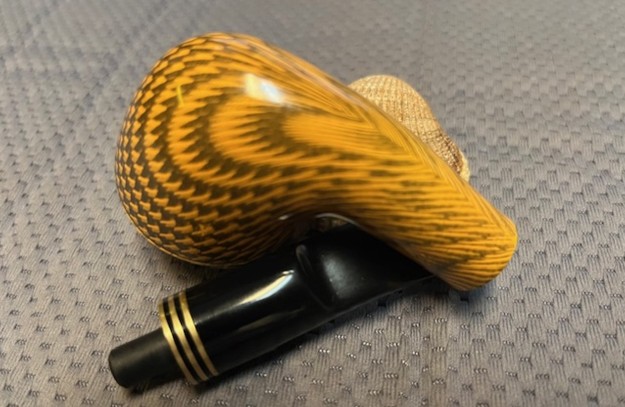
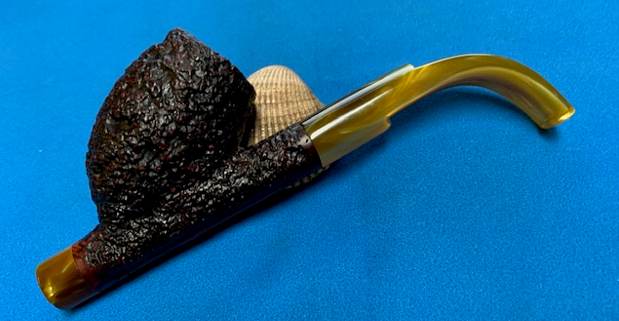
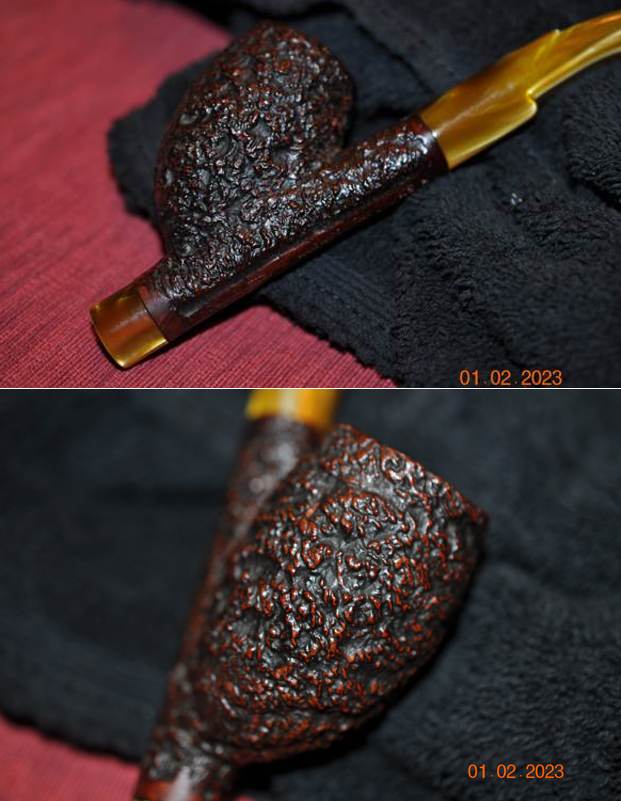
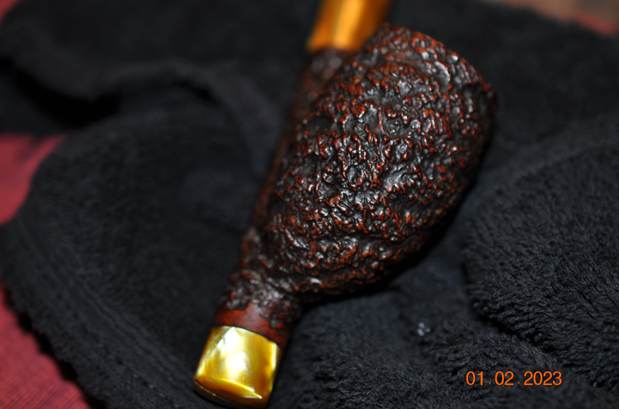
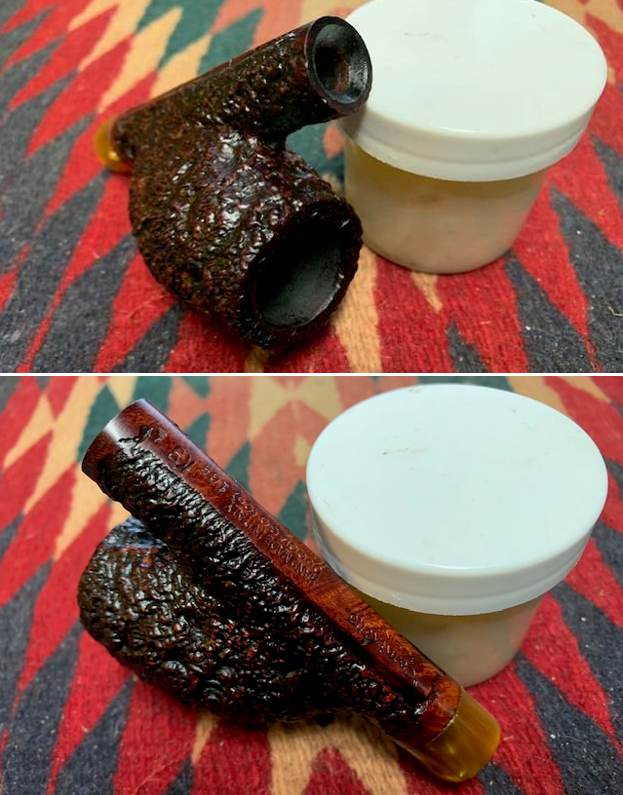
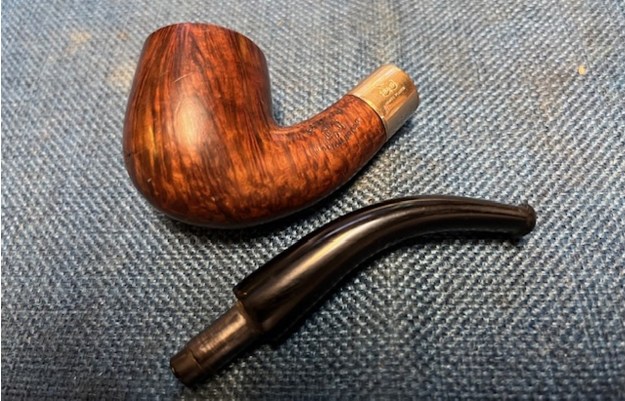
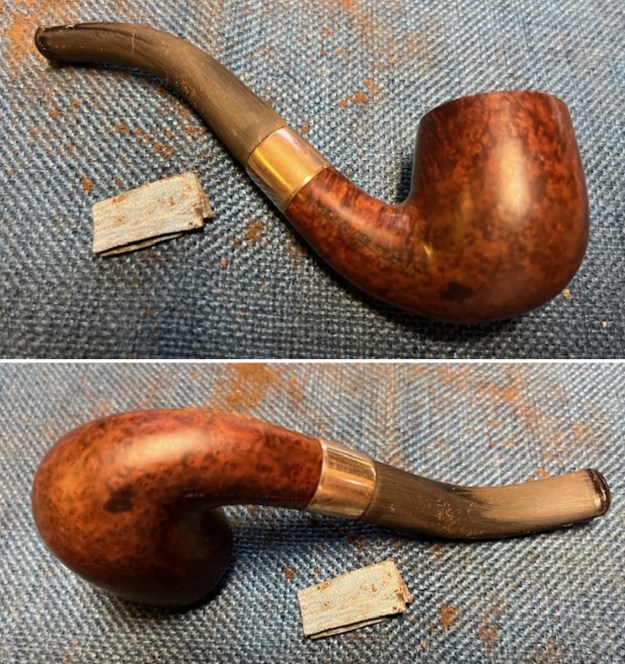
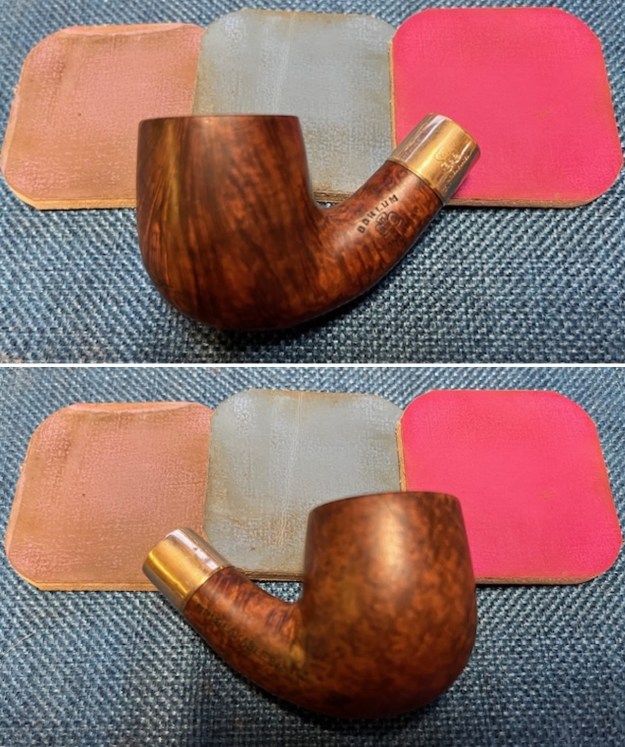
A month or so ago I received an email from a fellow in Japan who had some pipes he wanted to sell. We came to an agreement and he sent me a few. One of them was this interesting smooth finish Bent Billiard. This pipe is stamped on the left side of the shank with the words BORLUM in an arc over KB&B in a cloverleaf. Underneath that it is stamped ITALIAN BRIAR in a reverse arc. On the right side of the shank it is stamped UNBREAKABLE BIT. The stamping was clear and readable. The band on the shank is cosmetic and original and reads KB&B in a cloverleaf [over] Nickel Plated. The bowl had been reamed and the pipe cleaned. The shank is very clean inside and the pipe smelled very clean. It was so clean that I don’t think the pipe had been smoked since the fellow in Japan picked it up. The rim top was clean though there were some scratches and darkening and the inside edge of the rim showed some nicks. There was no damage to the outer edges. The finish around the bowl was in decent condition with great grain under some of the grime and scratching. The stem looked good, though it was not centred on the shank. The diameter of the stem extended beyond the band on the right side and a little above the top and underside. I would need to reduce the stem diameter to fit the shank band. There were some light tooth marks and chatter on the top and underside ahead of the button. Overall, I am happy with it but I will need to rework the stem fit to the shank and clean up the rim top and edges. I took photos of the pipe before I started my work on it. 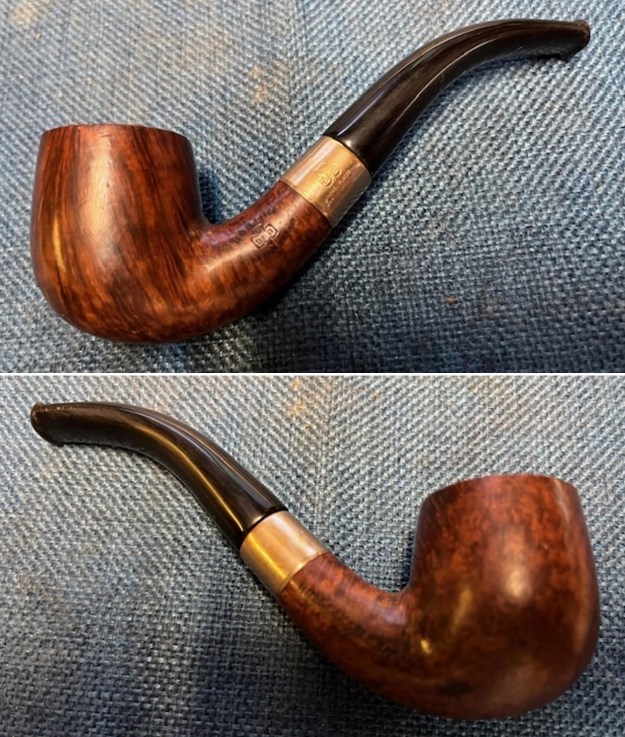
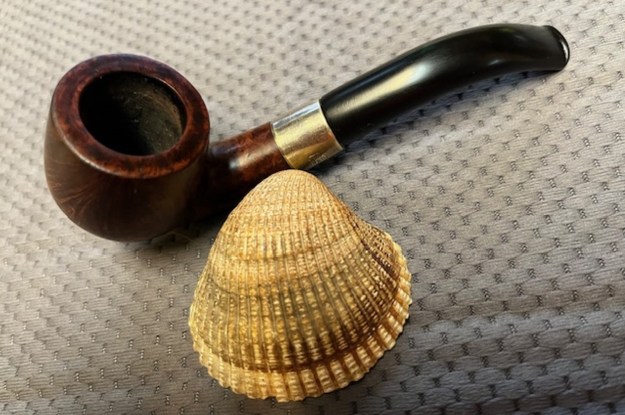
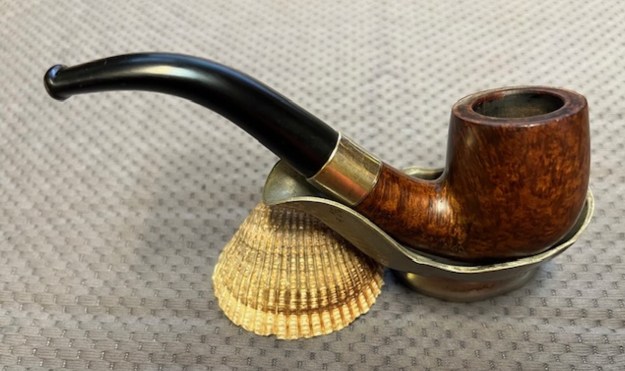
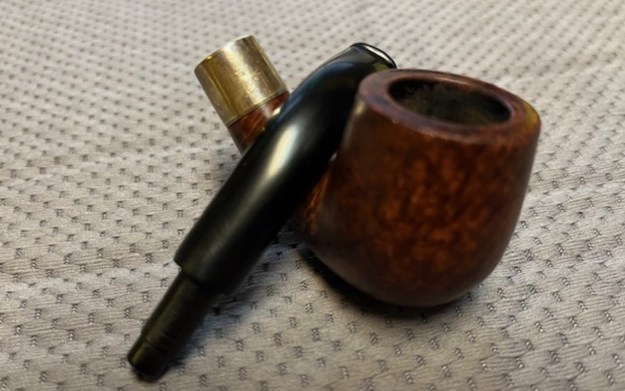
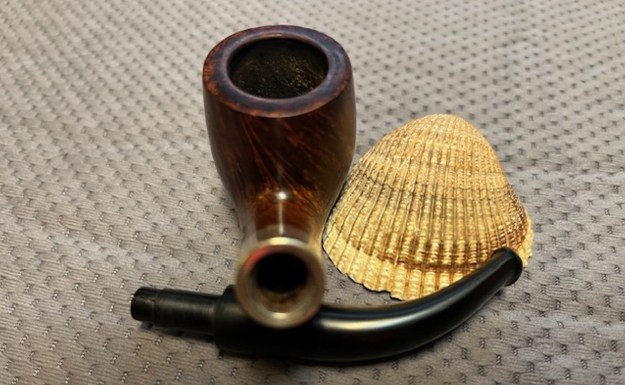
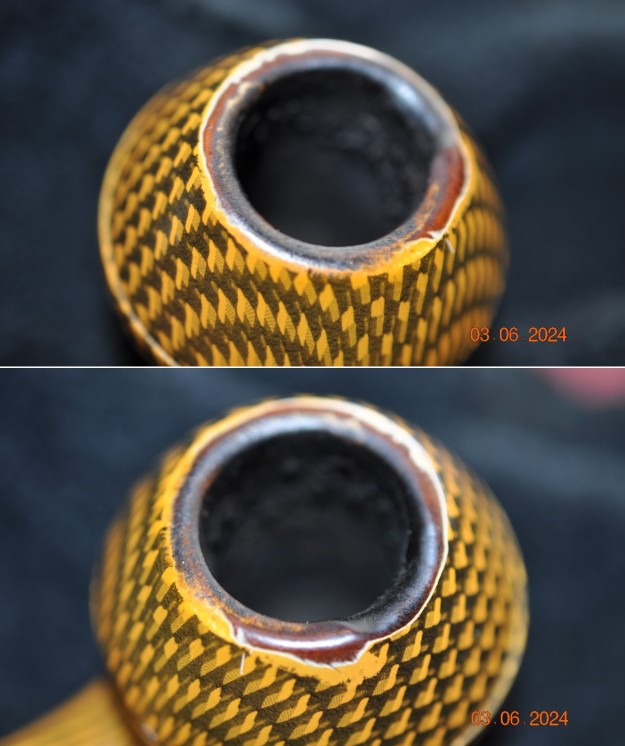
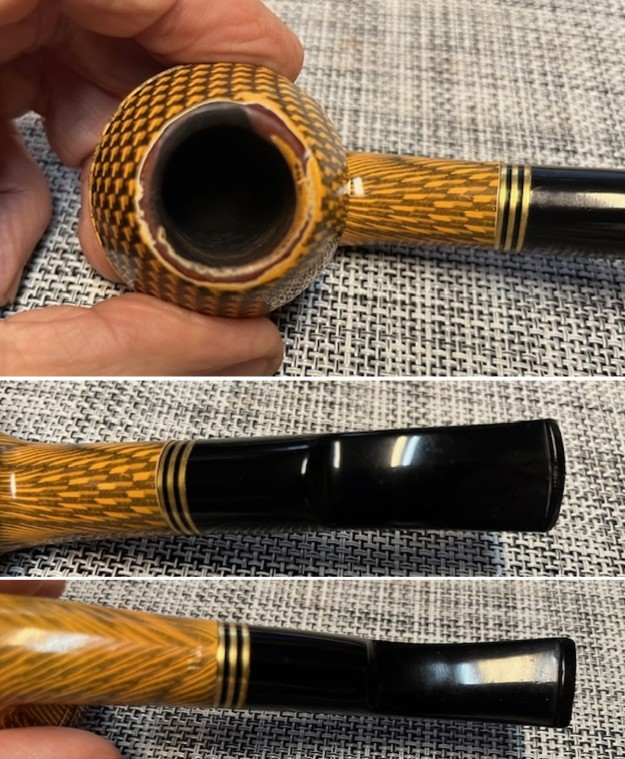
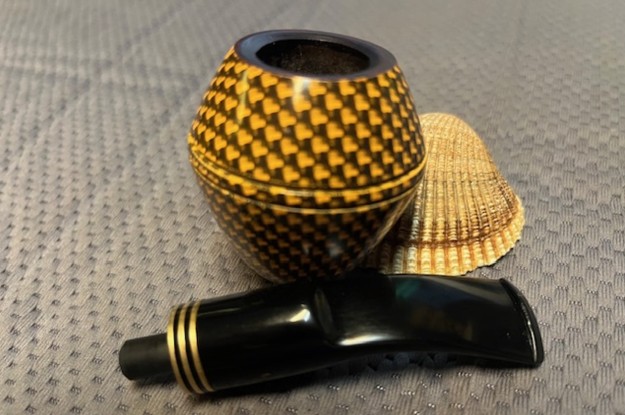
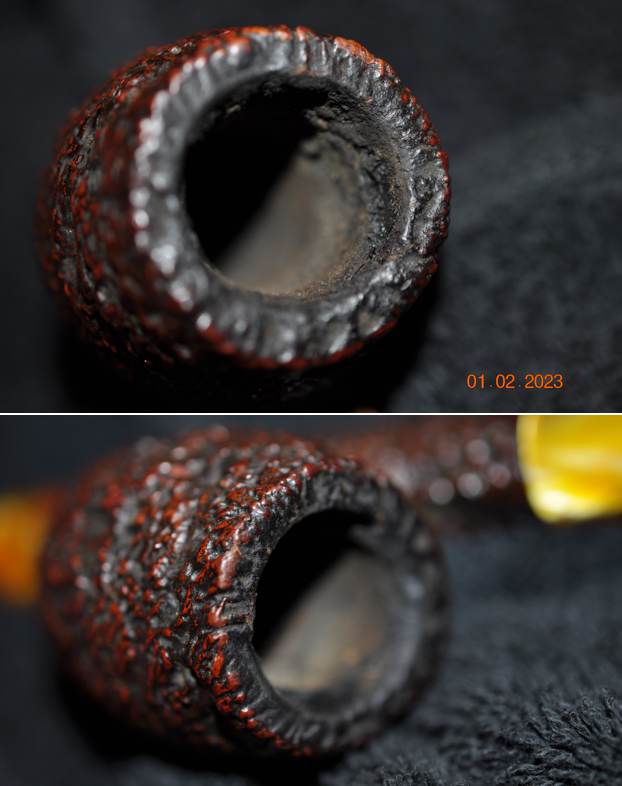
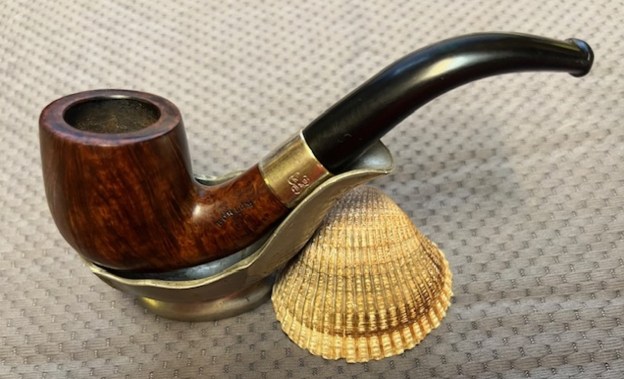
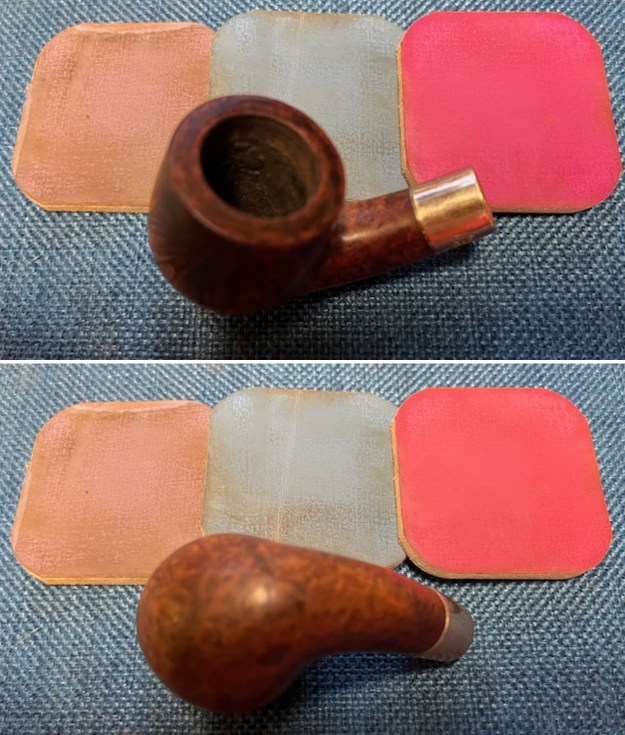
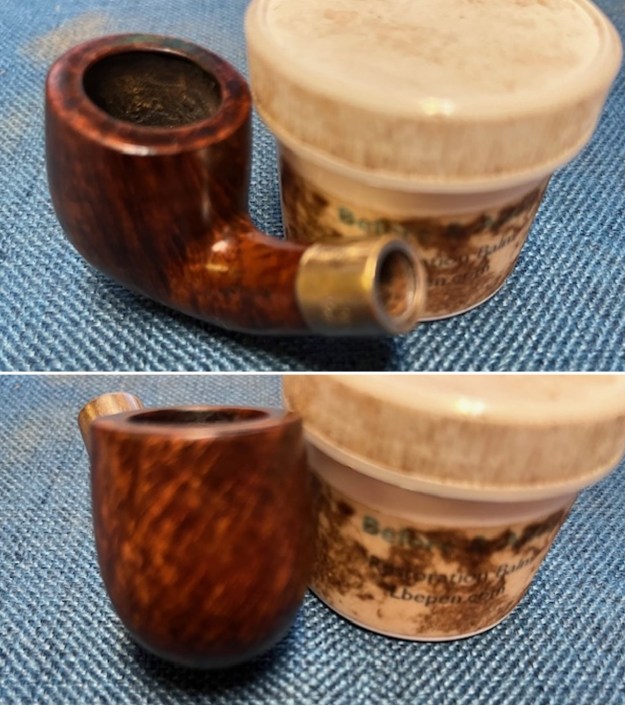
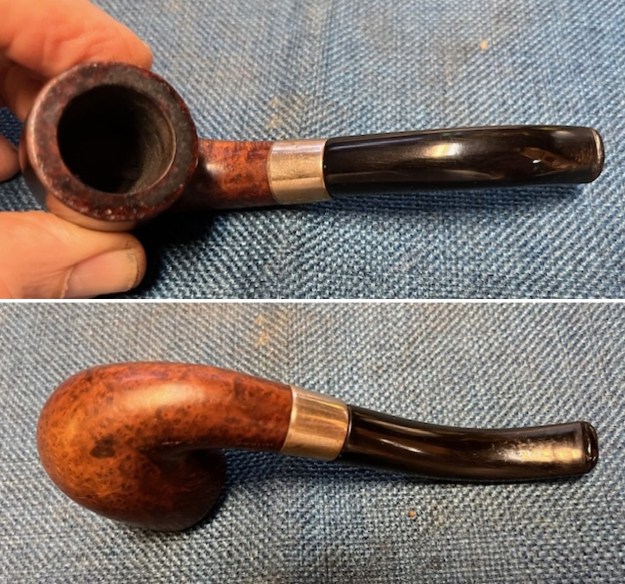 I took a photo of the rim top to show the condition of the bowl and the top. You can see clean bowl and marks on the rim top. The inner edge is slightly out of round. The stem looks good with light tooth damage and no oxidation on the surface of the hard rubber. It will look much better once I trim down the top, underside and the right side of the stem.
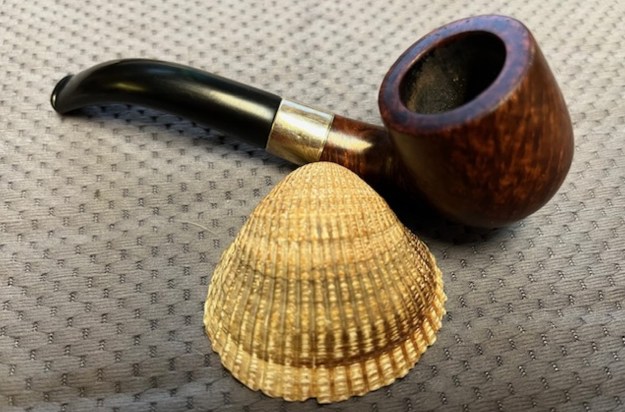
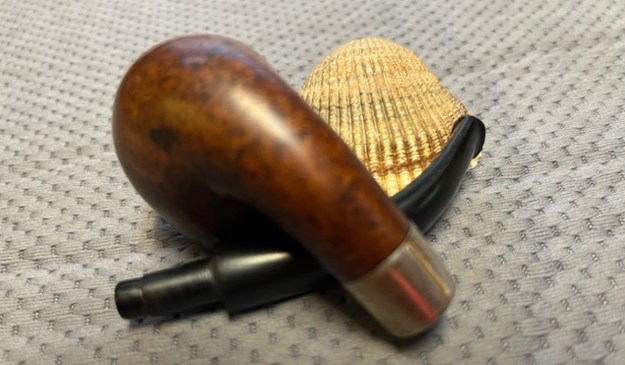
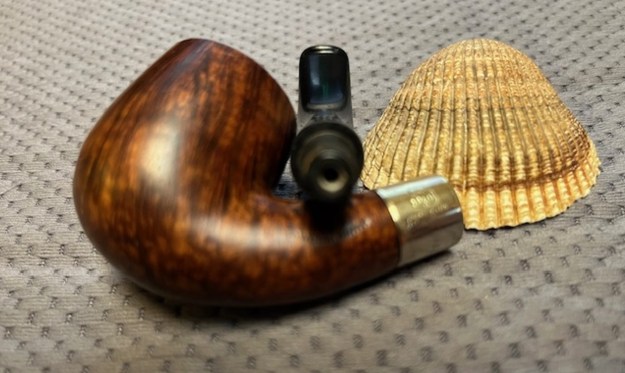
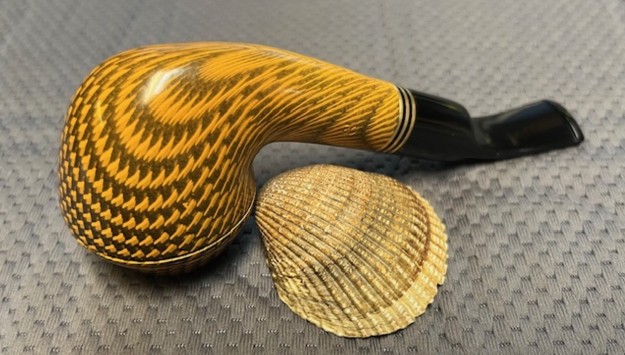
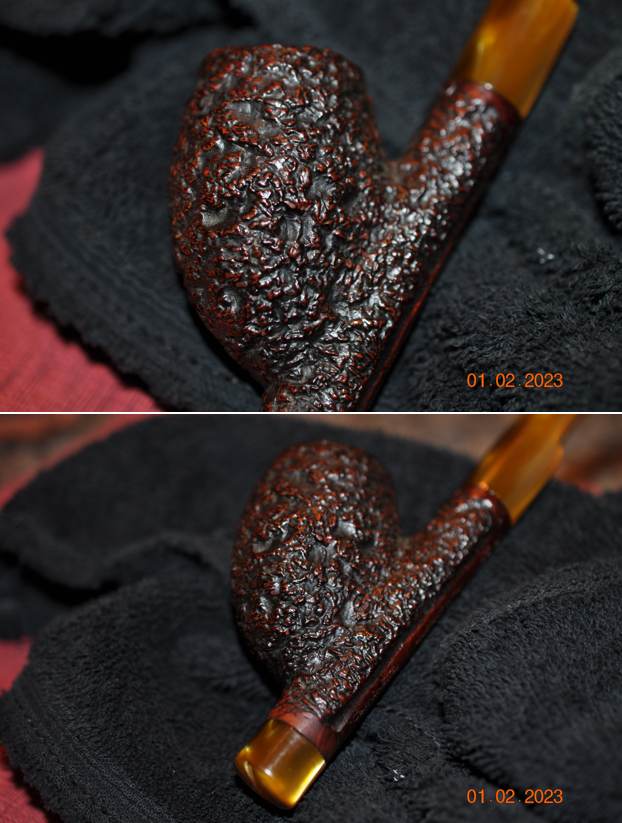
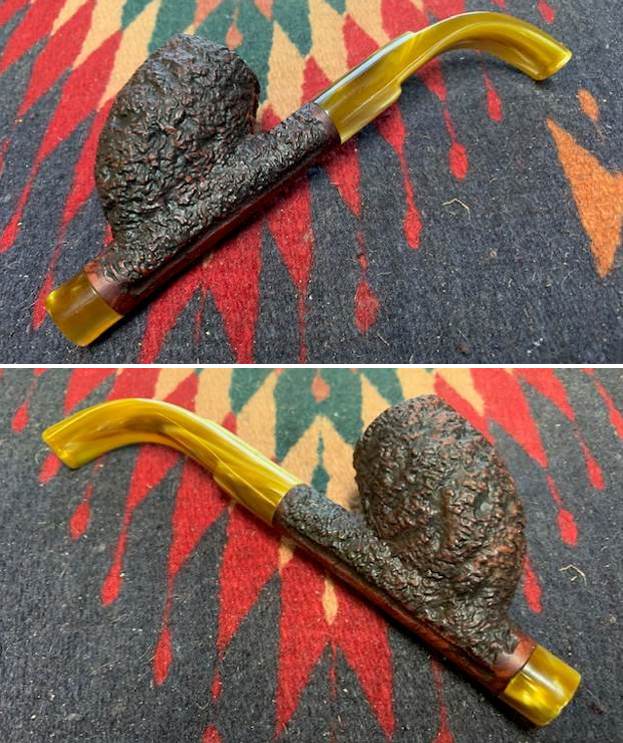
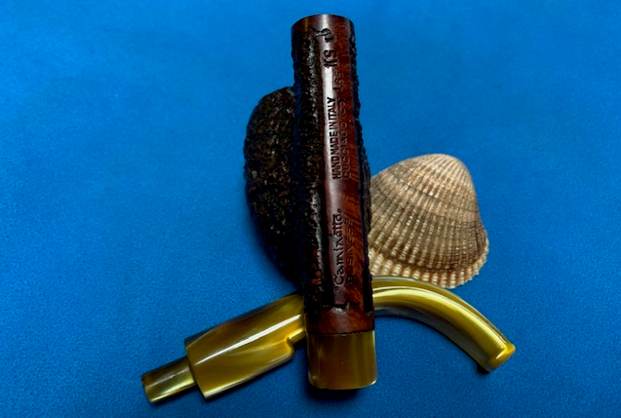
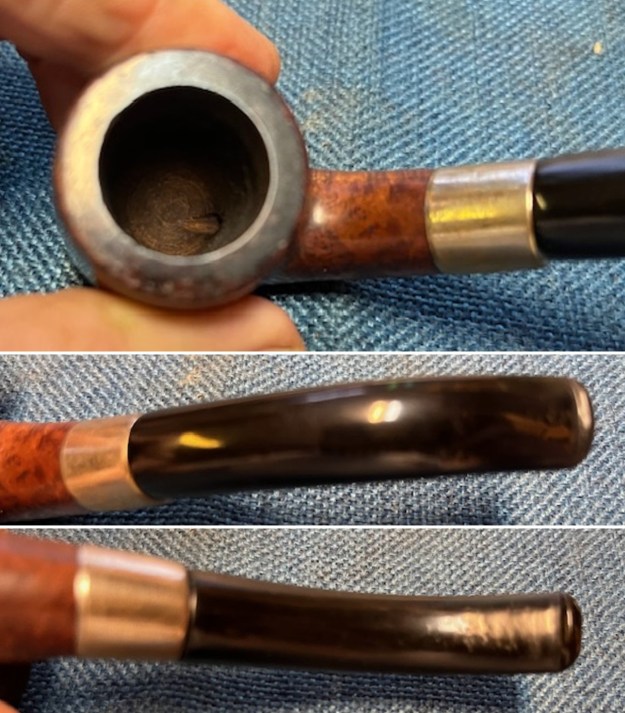 I took photos to show the stamping on the sides of the shank and the nickel band. It is clear and readable as noted above. You can also see the fit of the stem to the shank on the top and the right side. I took the stem off and took a photo of the pipe to show its condition.
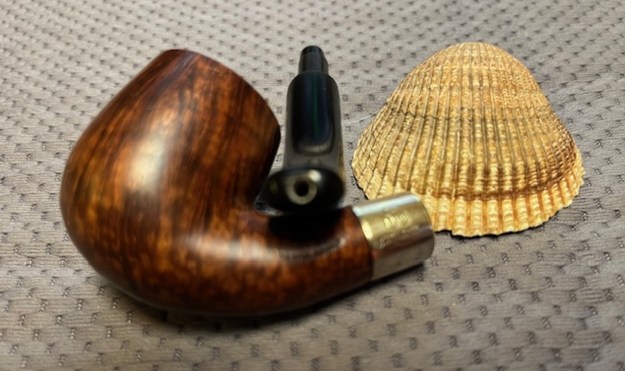
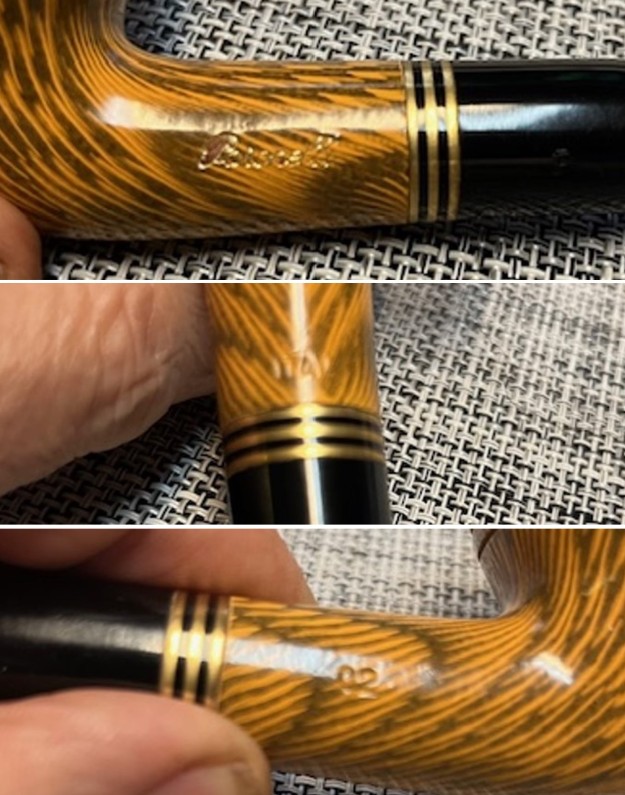
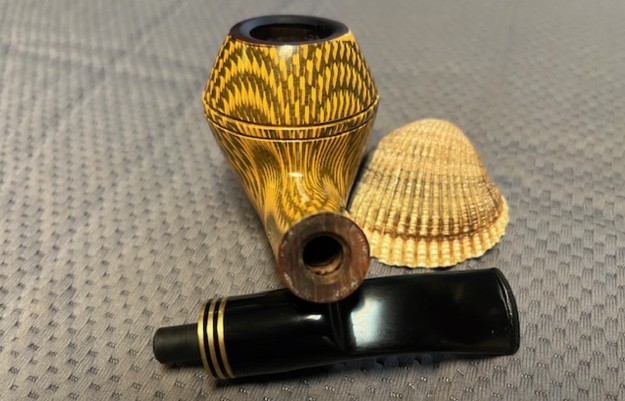
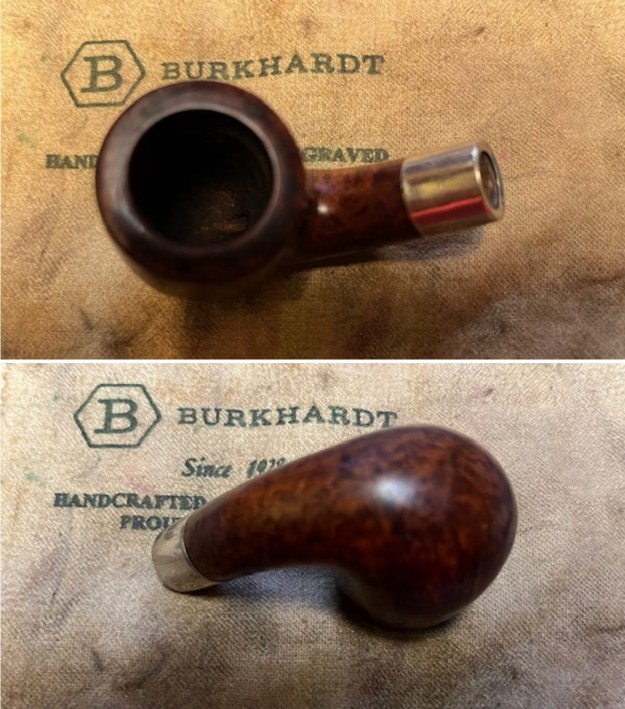
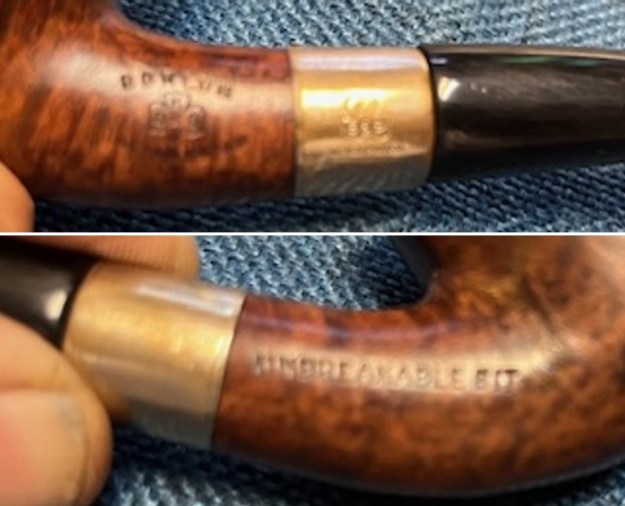
From an earlier Borlum pipe that I had refurbished back in 2014, I had learned a lot about the background of the manufacturer of the brand. I quote from that blog to summarize the historical background of the pipe (https://rebornpipes.com/tag/kbb-borlum-pipes/). The italicized portions of the text come from the blog with minor edits.
I already knew that Kaufmann Brothers and Bondy was the oldest pipe company in the USA, established in 1851. The Club Logo predated Kaywoodie with the “KB&B” lettering stamped within the Club, and a multitude of KB&B lines were in production long before “Kaywoodie” first appeared in 1919. Therefore, I knew that the pipe I had was a pre-1919, pre-Kaywoodie KB&B Made BORLUM.
As noted above, this particular pipe is stamped on the left side of the shank with the words BORLUM in an arc over KB&B in a cloverleaf. Underneath that it is stamped ITALIAN BRIAR in a reverse arc. On the right side of the shank it is stamped UNBREAKABLE BIT. As stated above it was made before Kaywoodie became the flagship name for pipes from Kaufman Brothers & Bondy (KB&B). It was made before the Kaywoodie invention of the “Stinger” was added, and even before shank logos, model stamps and other features invented by Kaywoodie came to be standards of the pipe making industry. It comes from a time when names like Ambassador, Heatherby, Melrose, Suez, Rivoli, Cadillac and Kamello dominated the pre-Kaywoodie scene. Borlum is one of those names.
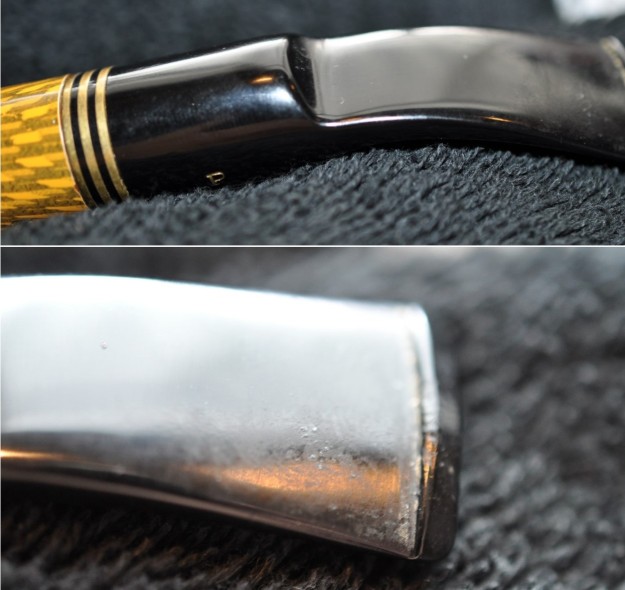
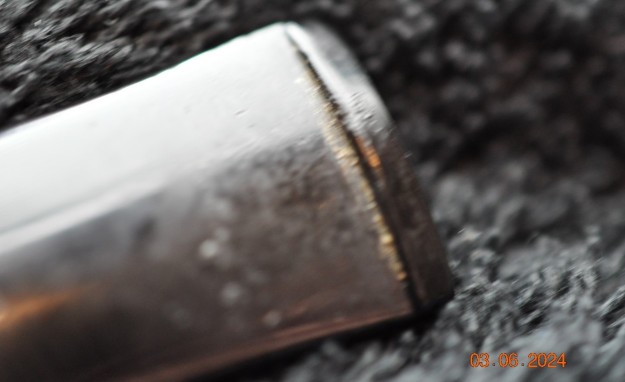
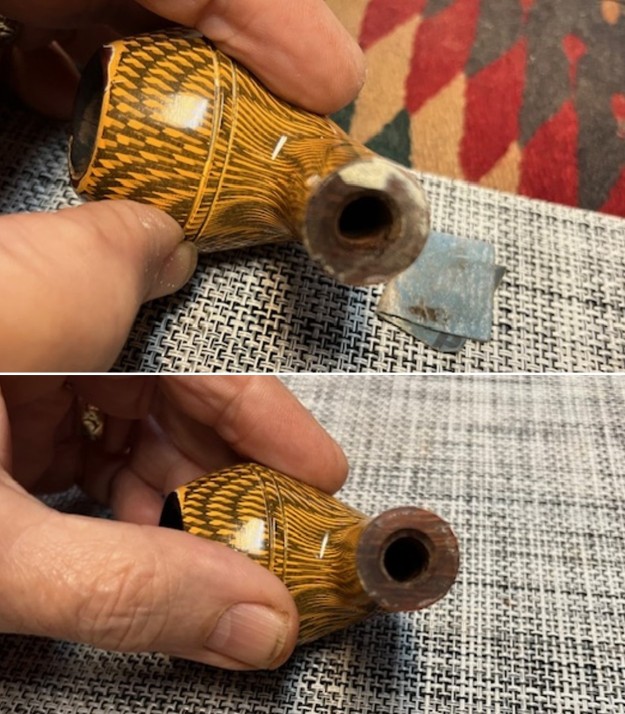
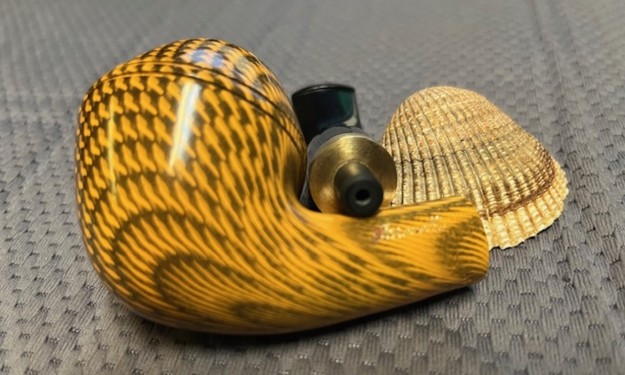
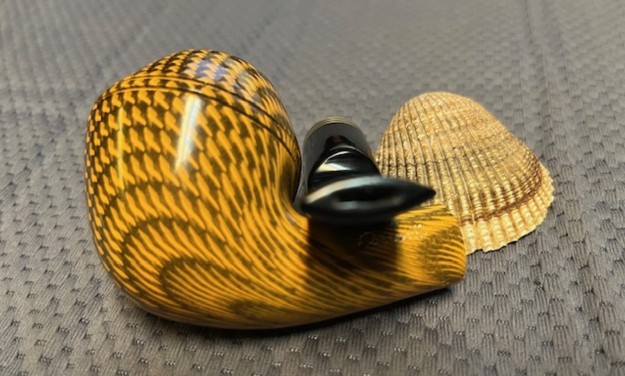
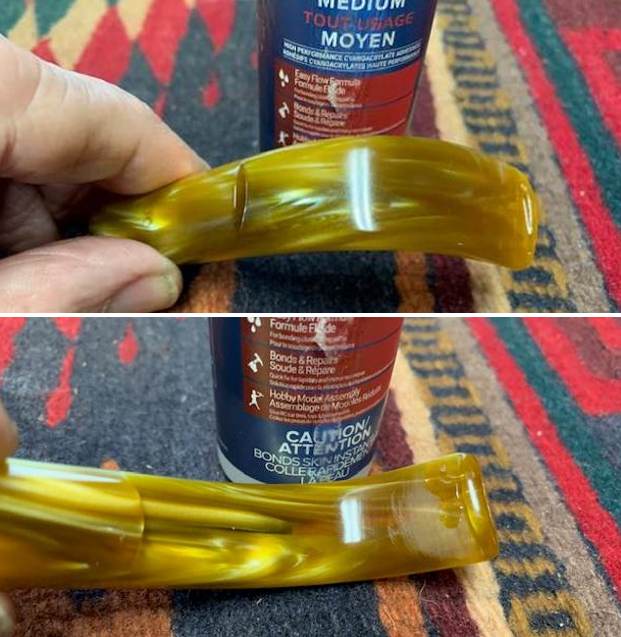
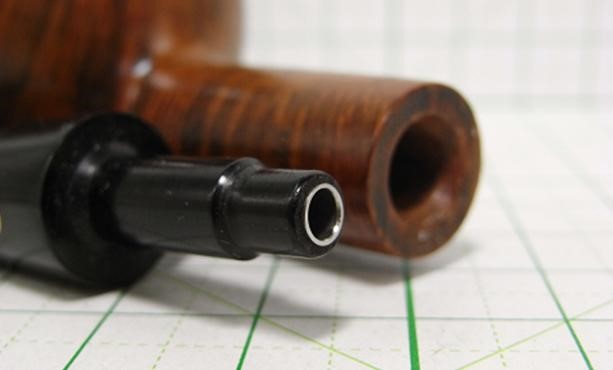
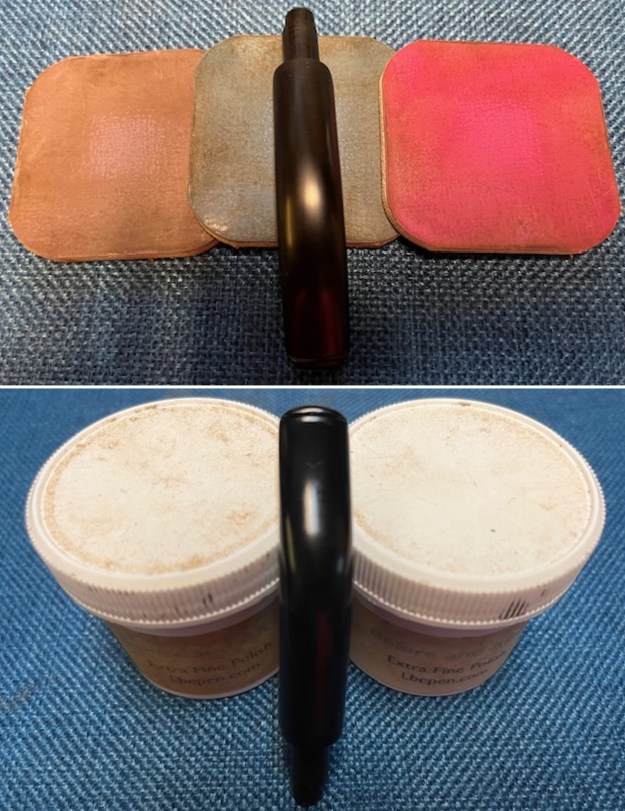
I learned while researching for that blog and rediscovered while working on this one that the Borlum pipe featured some innovations that were new for the time but commonplace to us. These included (1) a solid rubber bit (vulcanite, ebonite), (2) an aluminum inner-tube construction in the stem that stabilized and strengthened the stem explaining the stamping of “Unbreakable Bit” on the right side of the shank, (3) a standard nickel-plated band (marked KB&B) to strengthen the shank connection for the stem. The stem features the older style more rounded bit tip/orific button, and you can see the aluminum inner-tube fitting just inside the tip.
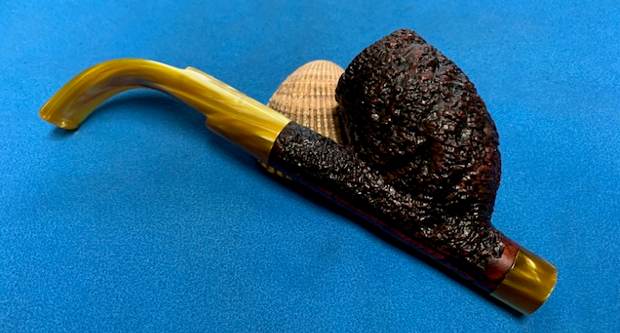
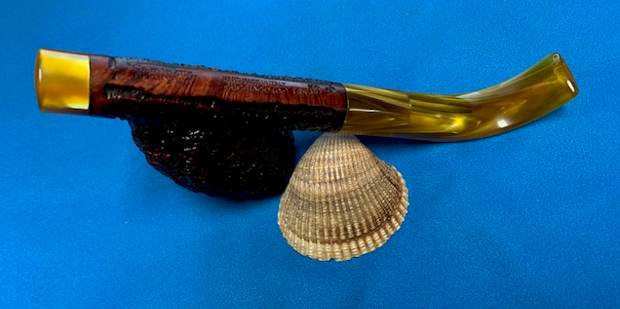
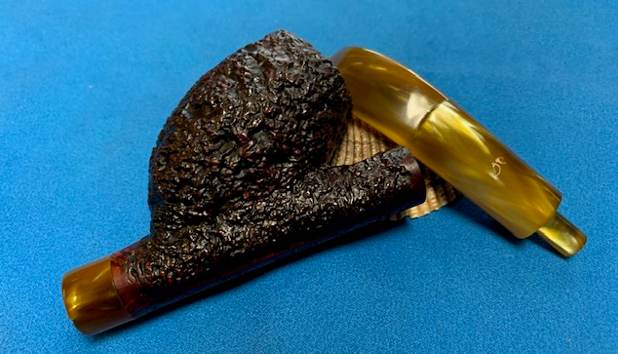
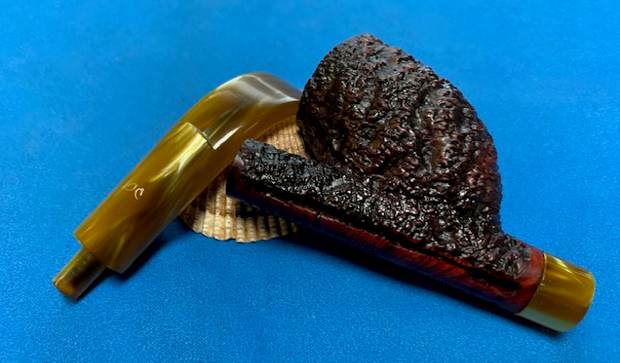
I have included several pictures that I found on the internet that show the unique stem tube in the Borlum that gives rise to the claim that it has an Unbreakable Bit. The first photo shows the bent stem, third from the left with the same metal tube showing at the button. The second photo shows the other end of the tube in the tenon in the Borlum stem.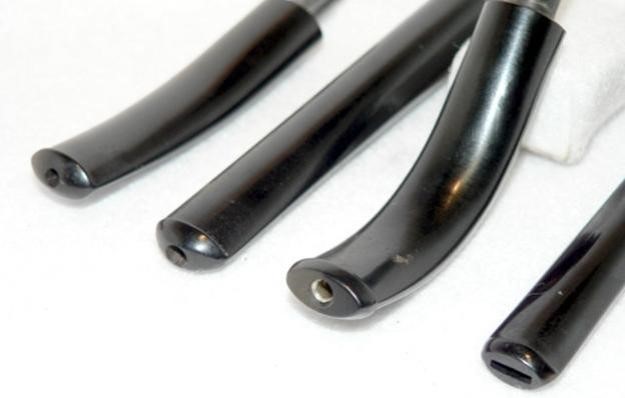
 That told me that the pipe I had was made after 1851 and before 1919. I am guessing that because of the other pipes in this lot dating in the late 1890s to about 1905 this one is probably from that same era. Not too bad for a 100+ year old pipe. During the hunt for information, I also found the next photo of a Borlum display and sales card. What is particularly interesting to me is the diagram at the top of the card showing the interior of the stem in place in the shank. It also includes the claim, “Guaranteed against Breakage”. I love the advertisements and sales brochures of these old pipes. The descriptive language that promises so much and the prices the pipes sold for are a nostalgic journey to the past. Note the $1 and up price tag on the sales card. The pipe that I am working on presently is identical to the bottom pipe on the right side of the photo. I have circled it in red. It has the identical shape, curved shank but has a nickel-plated band like mine. It has the hard rubber stem with an orific button. It is more rounded than the modern flat stem but it is still a comfortable feeling stem in the mouth.
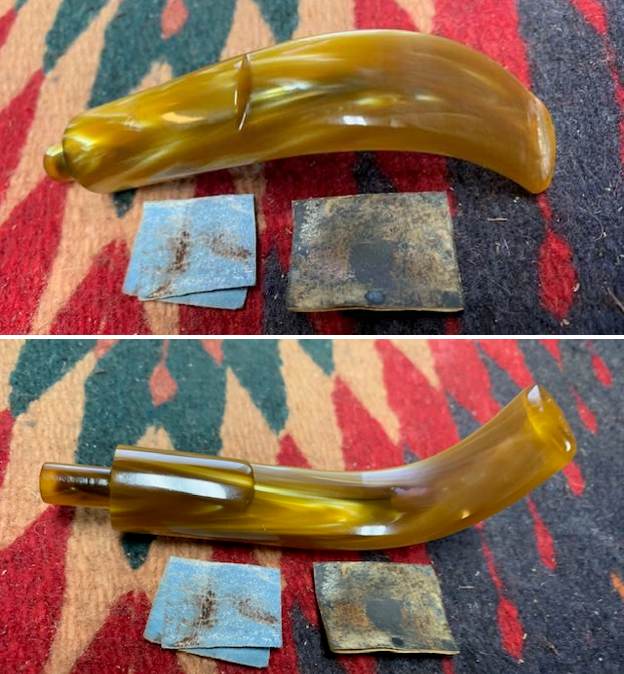
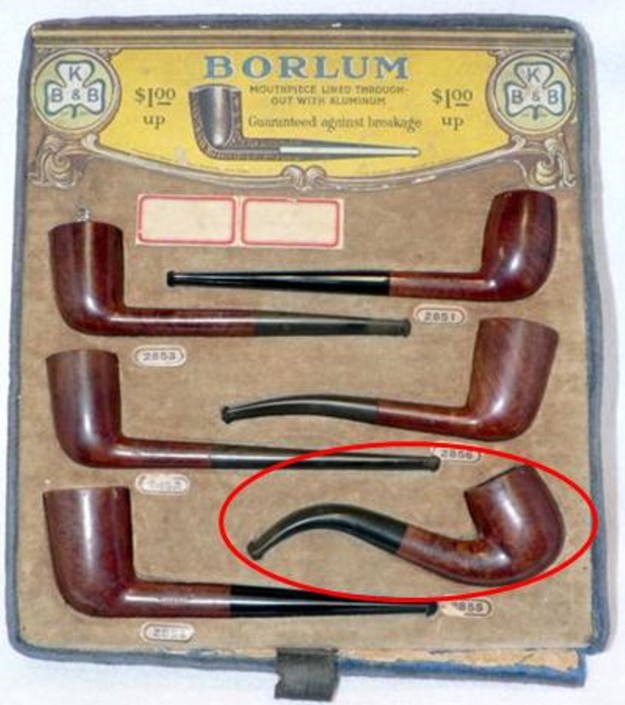 Now it was time to work on the pipe. I decided to deal with the diameter of the stem against the shank first. I used a folded piece of 220 grit sandpaper to take off the extra diameter of the stem on the right side and the top and bottom. I also sanded the tooth marks and chatter on the stem surface. It was a lot of handwork and fussing to get the fit correct. Once finished it looked much better.
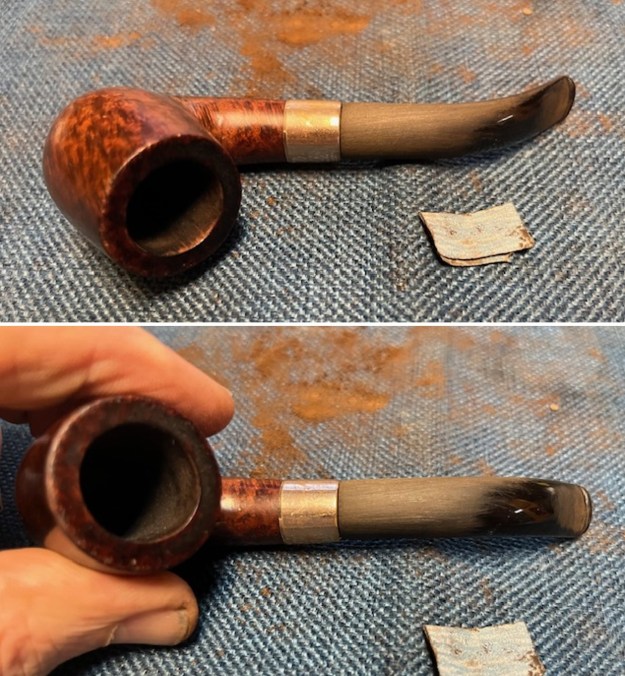
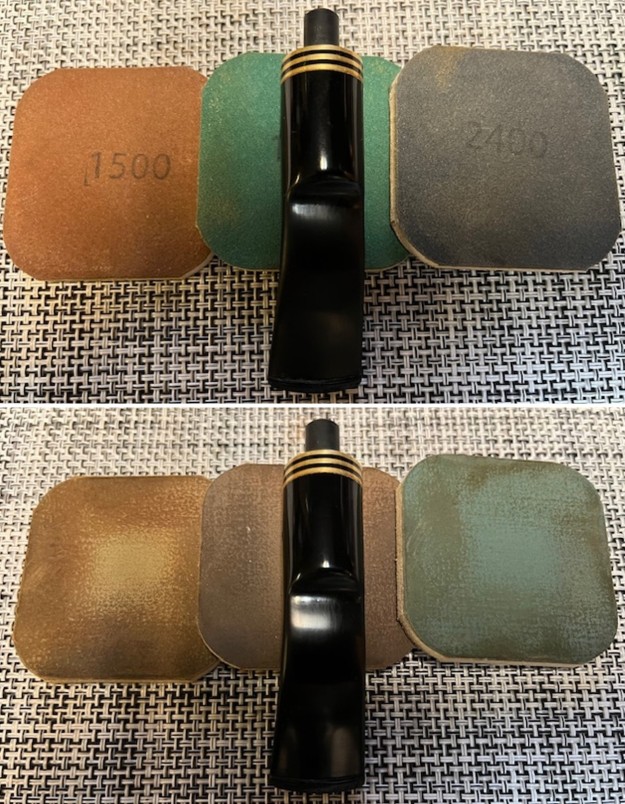
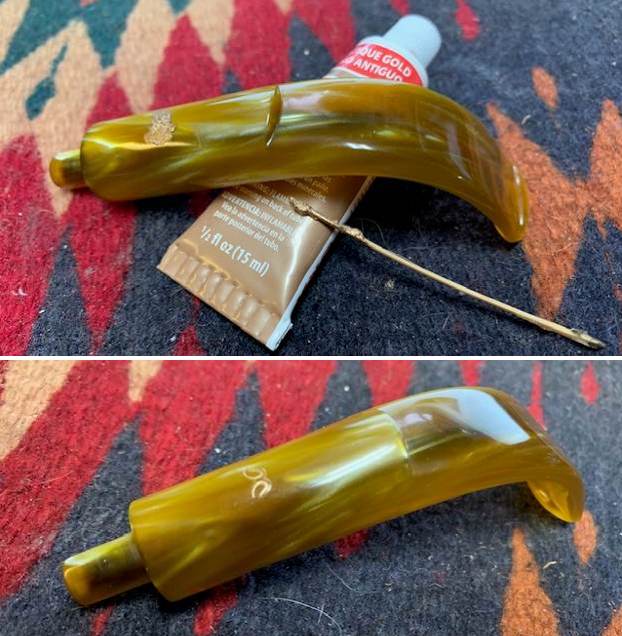
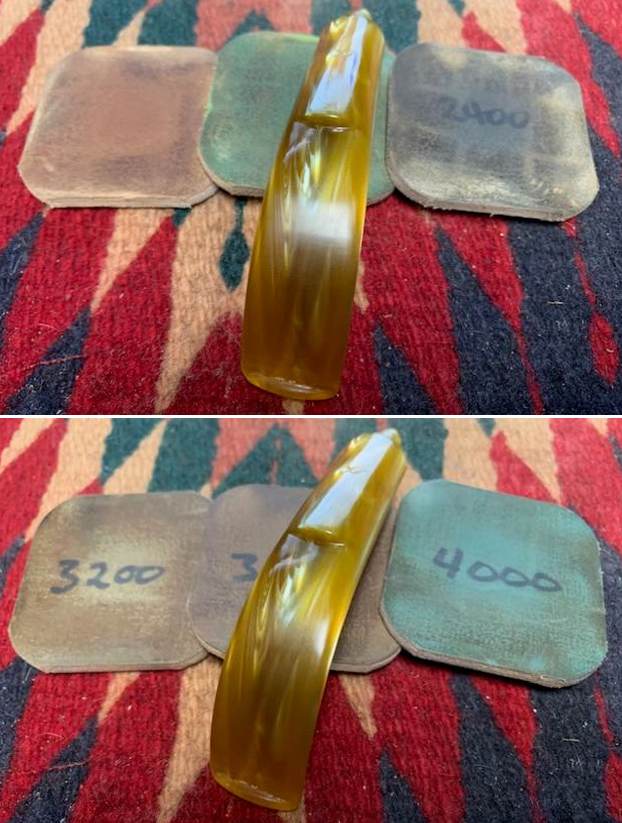
 I worked over the stem with 320-3500 grit sanding pads to smooth out the scratches left in the hard rubber surface of the stem. Once finished the stem had a deep shine and really looked much better.
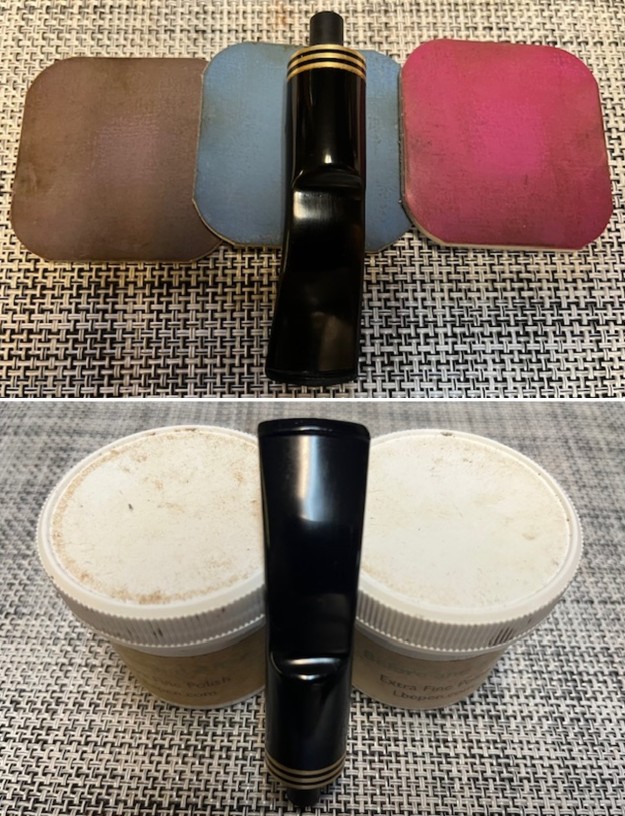
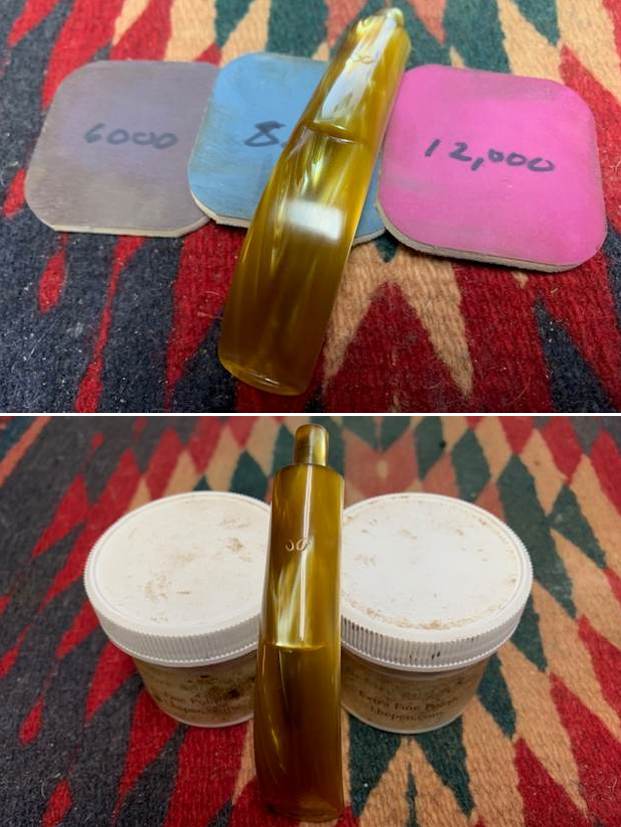
 I polished the stem surface with micromesh sanding pads. I dry sanded it with 1500-12000 grit pads. I wiped it down between pads with an Obsidian Oil impregnated cloth. I finished polishing it with Before & After Pipe Stem Polish – both Fine and Extra Fine. It looked much better.
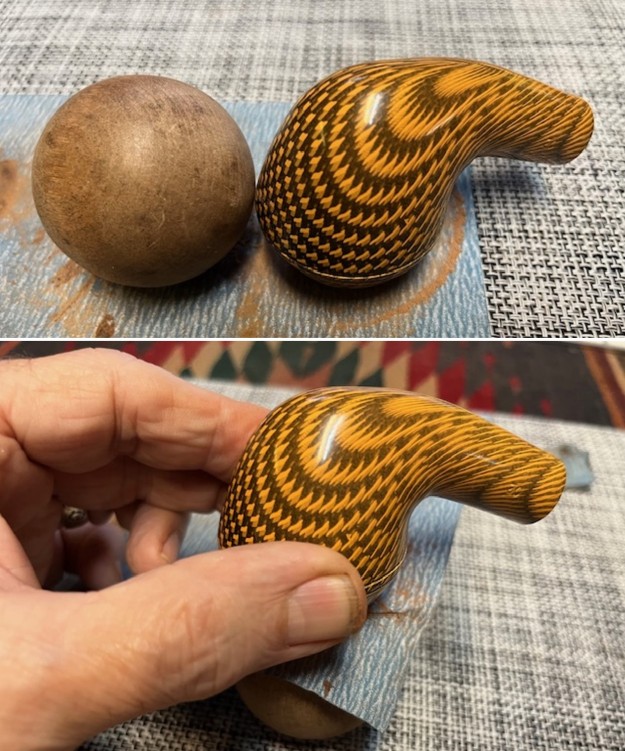
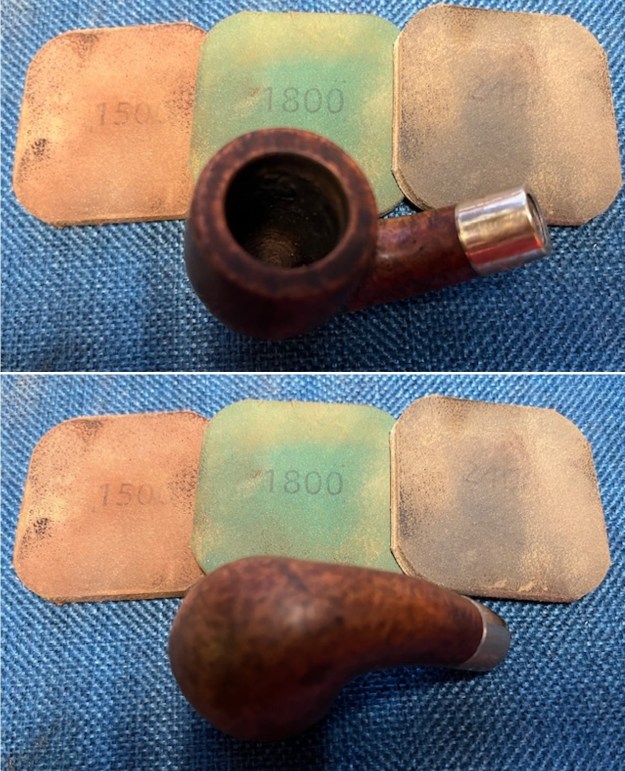
 I set the stem aside and turned my attention to the bowl. I smoothed out the damaged inner edge of the bowl with a folded piece of 220 grit sandpaper. It looked much better. I started polishing out the damage on the rim top with the 220 grit sandpaper. It looked much better.
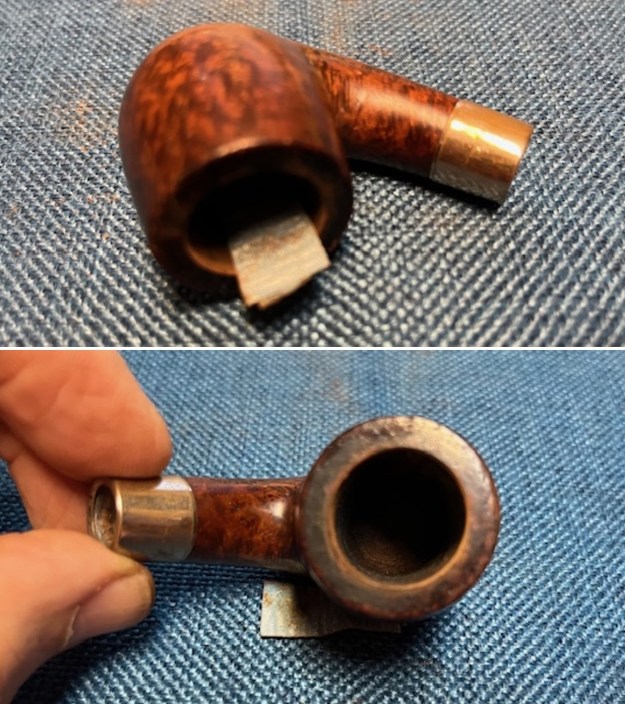 I wiped the bowl down with isopropyl alcohol on a cotton pad to remove the shiny wax or shellac coat on the bowl surface. It cleaned up very well.
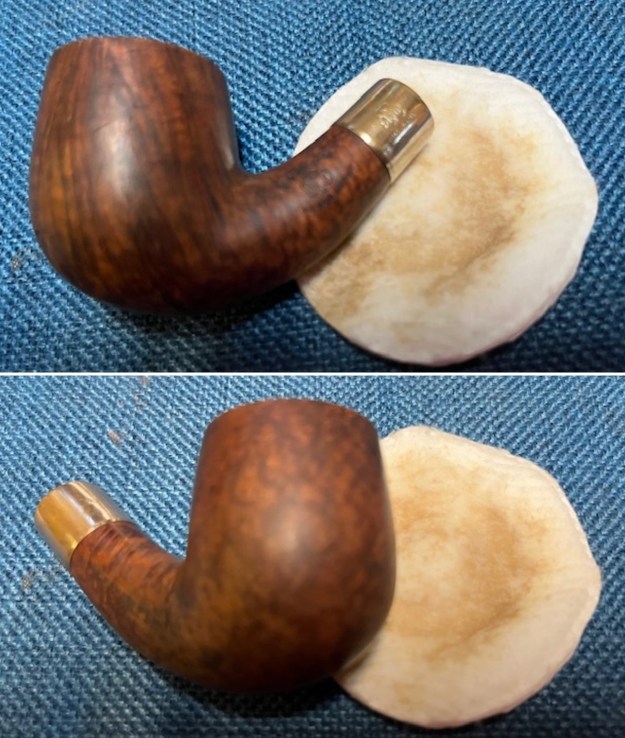
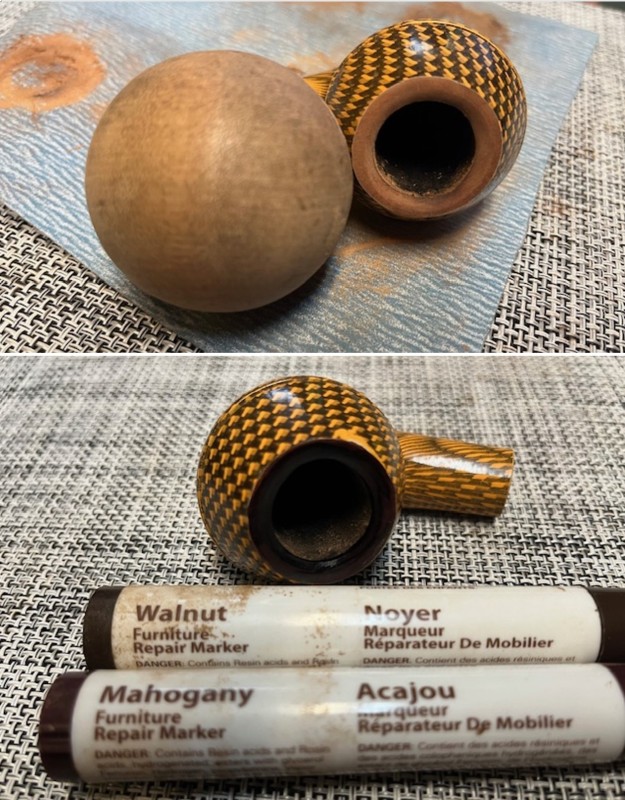
 There was a deep sandpit/flaw on the lower front left side of the bowl. I filled it in with a combination of CA glue and briar dust. I sanded the repair with 220 grit sandpaper and smoothed it out into the surrounding briar.
 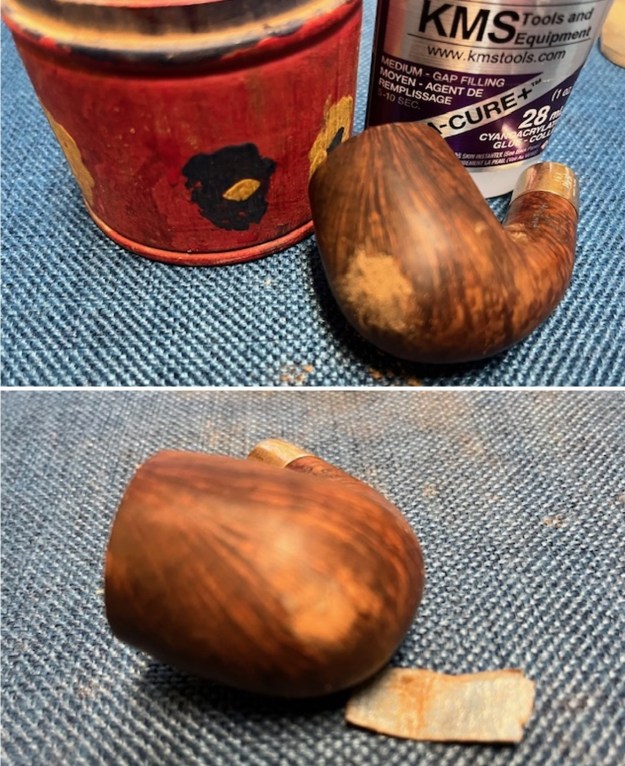 I touched up the sanded spot on the bowl front with a Walnut stain pen. It matched the rest of the bowl surface. Once I polished it some it would blend in very well.
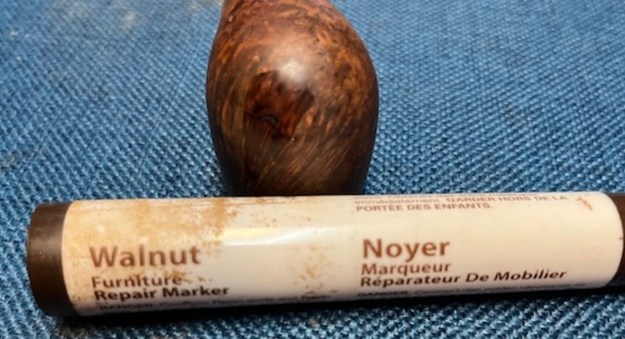 I polished the bowl and the shank with 1500-12000 grit micromesh sanding pads. I dry sanded with each pad and wiped the briar down with a damp cloth after each pad.
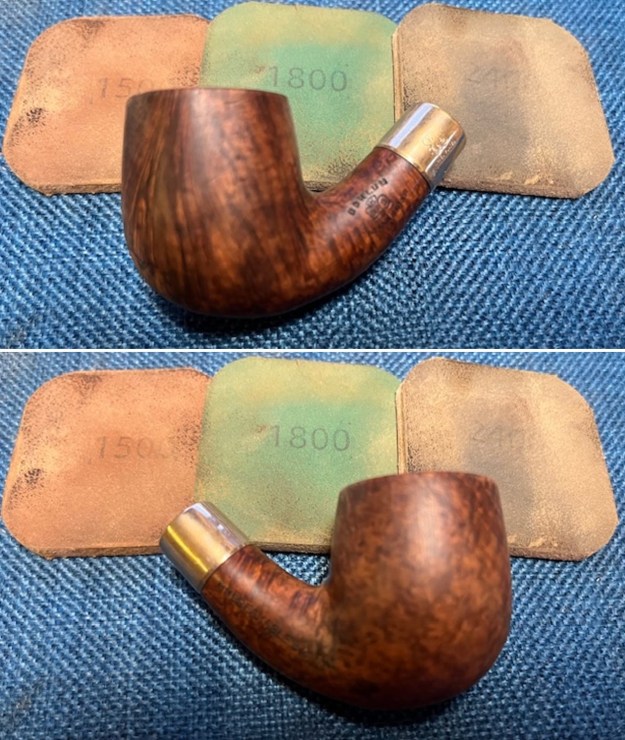
 I paused the polishing and touched up the stain on the bowl front and the rim top. It really was looking much better at this point. Once it cured I went back to polishing with the micromesh.
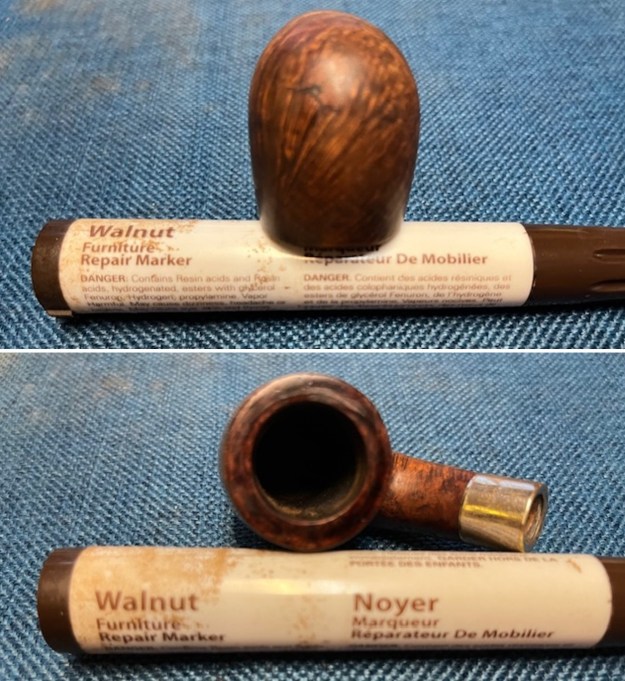
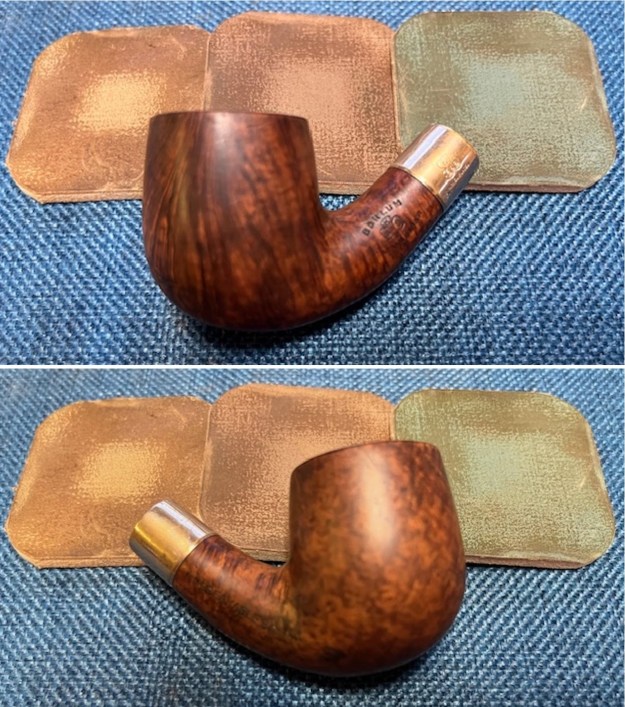
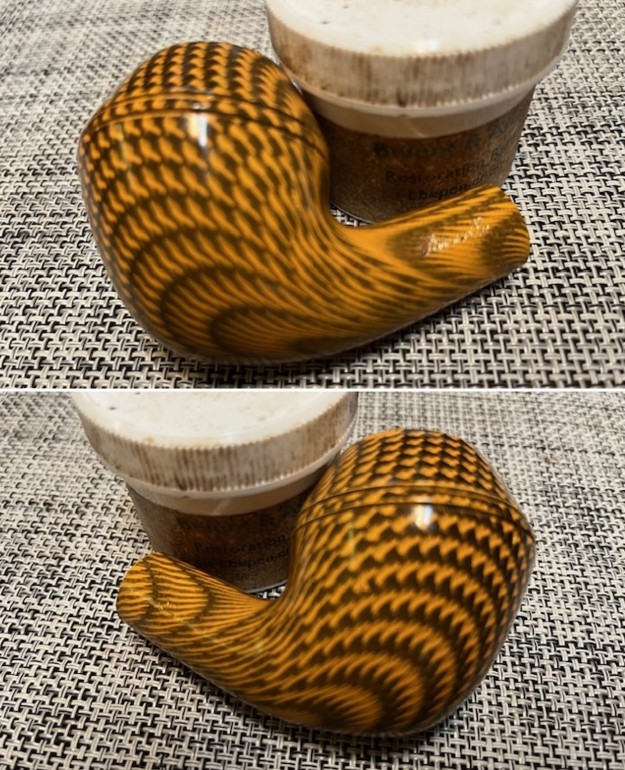
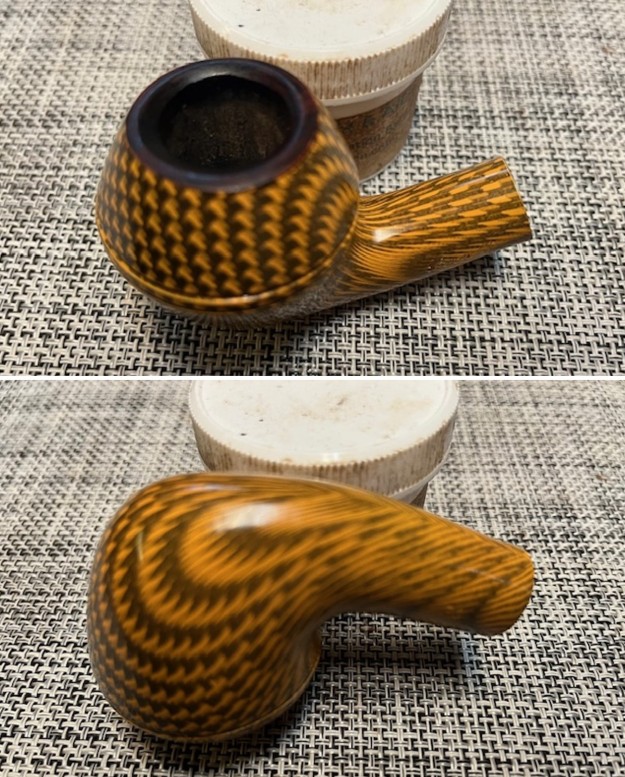
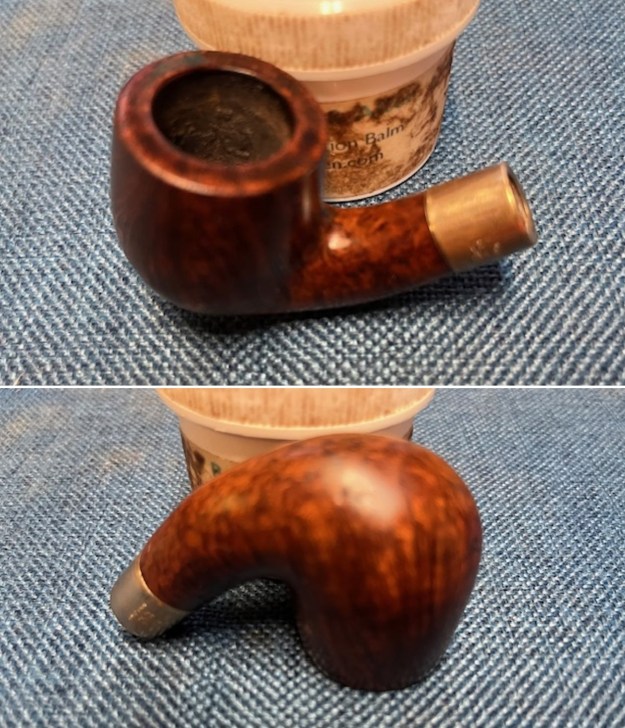
 I worked some Before & After Restoration Balm into the finish of the bowl, rim top and shank with my fingertips and a shoe brush to get it in to the crevices and valleys. The product works to clean, enliven and protect the briar. I find that the balm really makes the briar come alive again. I let the balm sit for 15 minutes and then buffed with a cotton cloth to raise the shine. The bowl really looks good at this point.
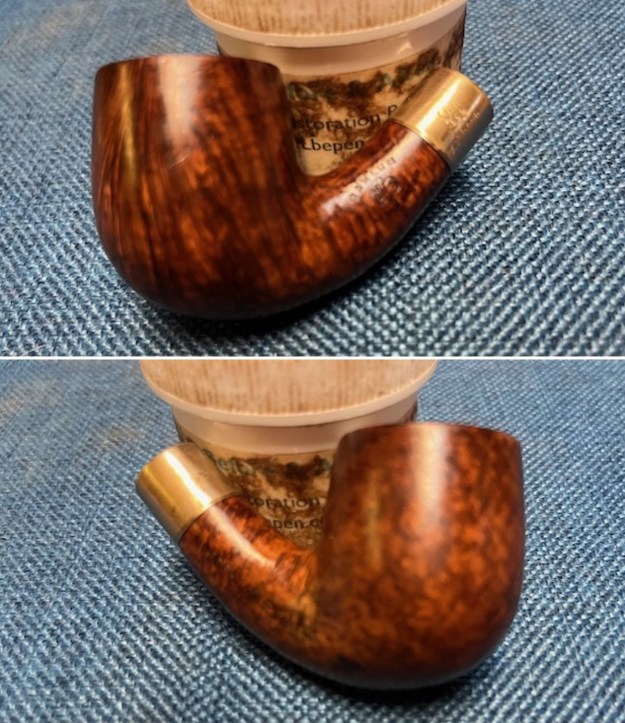
 I polished the nickel ferrule on the shank end with a jeweller’s cloth. It works to polish and protect the metal from further oxidation. It is a great looking addition to the pipe.
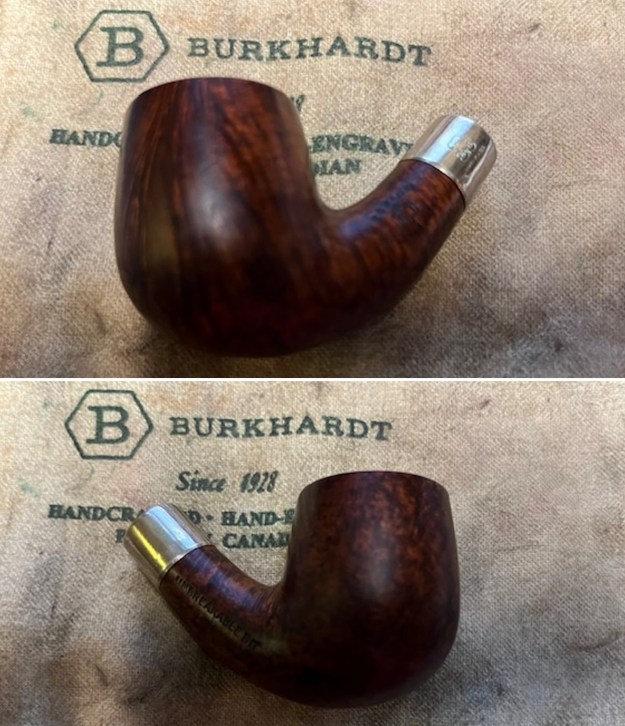
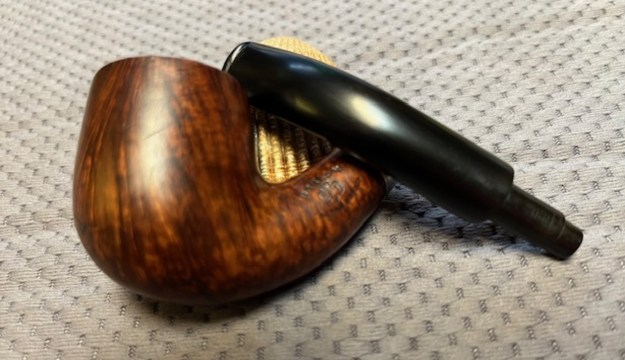
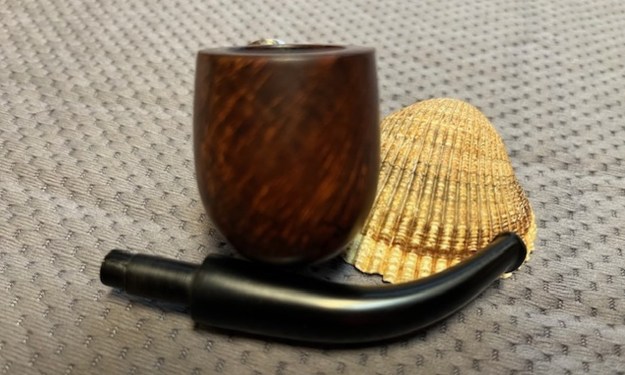
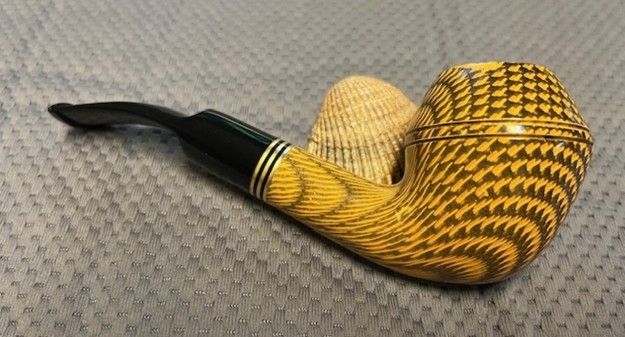
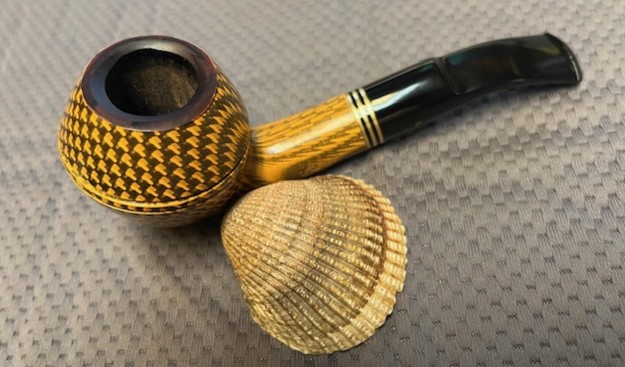
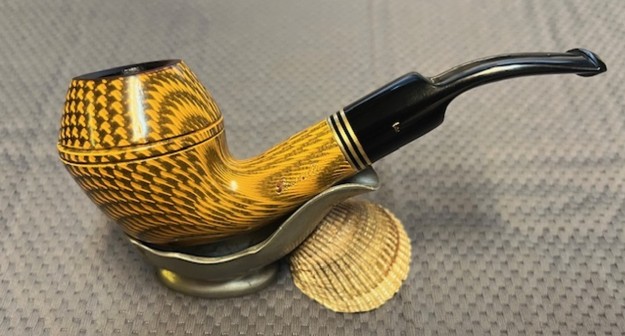
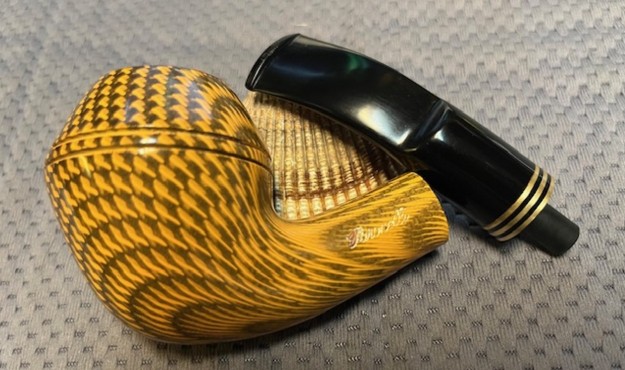
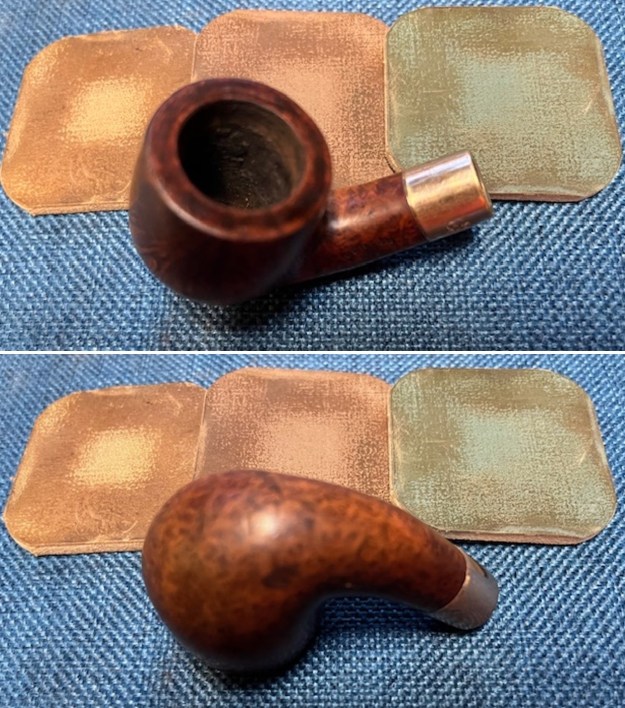
 With the bowl and the stem finished I put the Borlum KB&B Italian Briar Bent Billiard with an unbreakable stem back together and buffed it on the wheel using Blue Diamond to give it a shine. I gave the bowl and the stem multiple coats of carnauba wax on the wheel. I buffed it with a clean buffing pad to raise the shine. I hand buffed it with a microfiber cloth to deepen the shine. It really is a great looking pipe. The dimensions of the pipe are – Length: 4 ½ inches, Height: 1 ½ inches, Outside diameter of the bowl: 1 1/8 inches, Chamber diameter: ¾ of an inch. The weight of this large pipe is 1.20 ounces /33 grams. This Borlum KB&B Italian Briar Bent Billiard is another great looking pipe. It is much more beautiful in person than these photos can capture. I will be putting it in my older American Pipe Collection to enjoy in the future. This is another pipe that has the possibility of transporting the pipe man or woman back to a slower paced time in history where you can enjoy a respite. Thanks for walking through the restoration with me.