Tag Archives: repairing tooth marks

Refurbishing A “Real Cherry Foreign” Pipe From Estate Lot Of 40


Blog by Paresh Deshpande

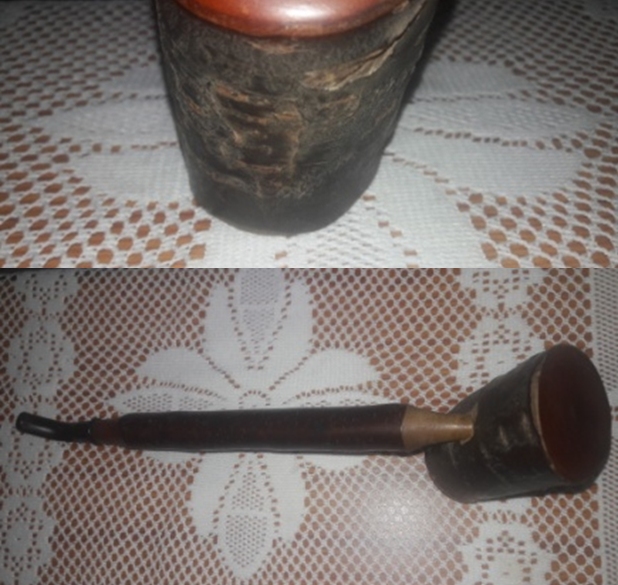
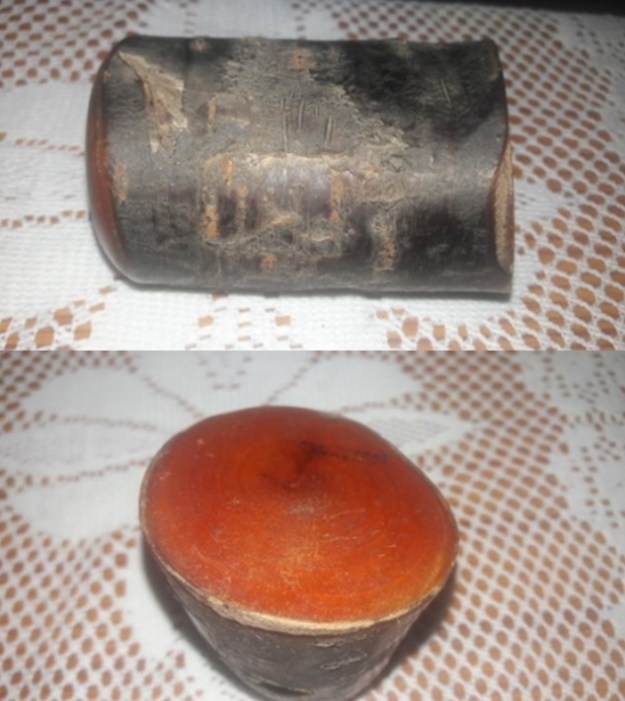
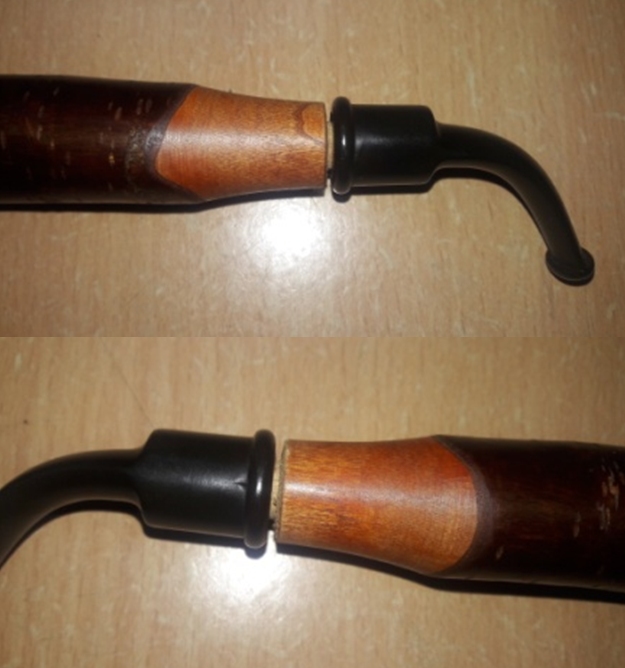
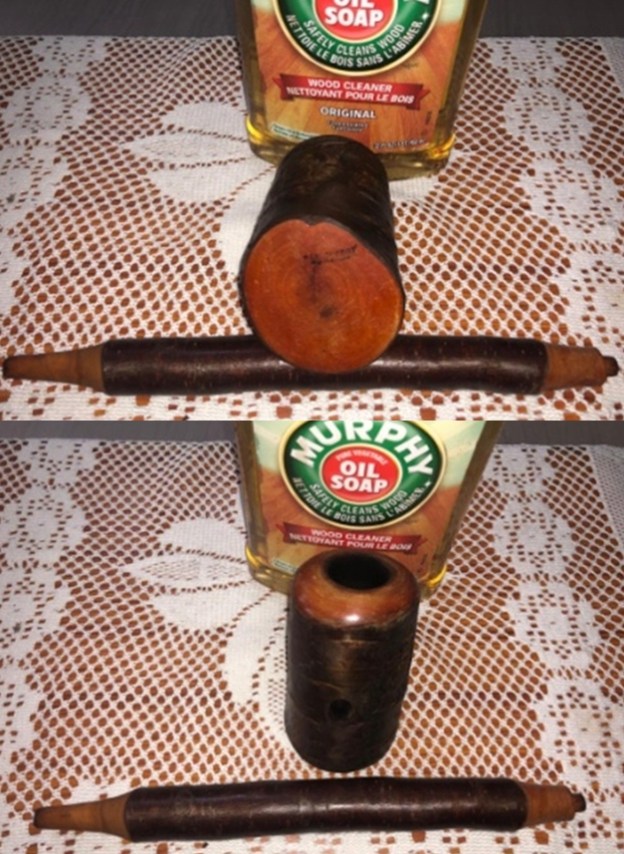
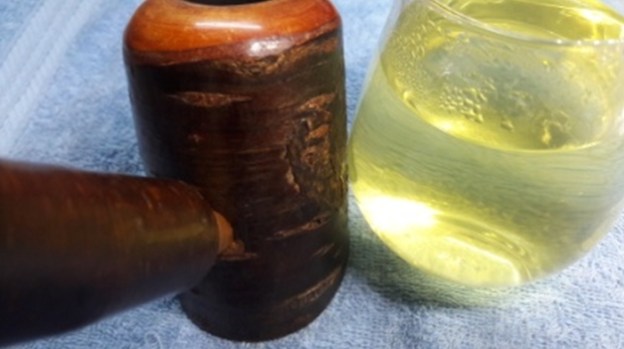
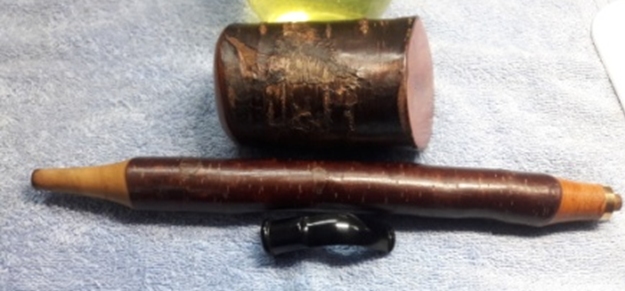
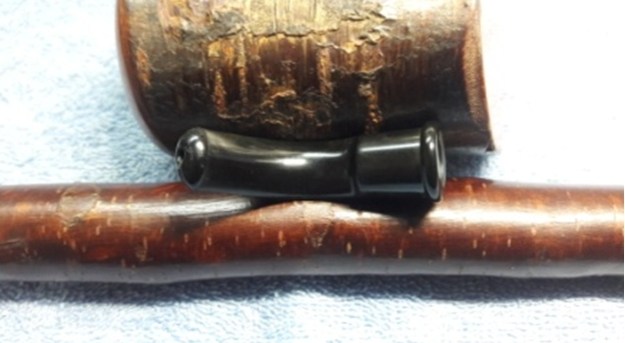
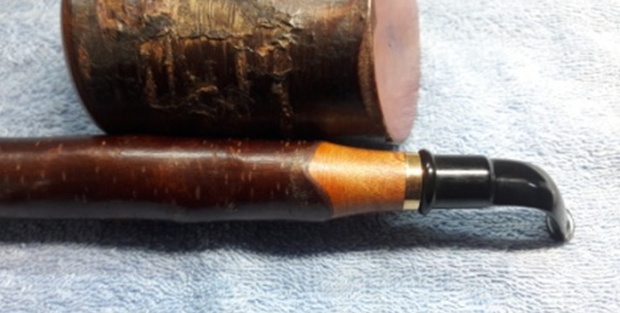
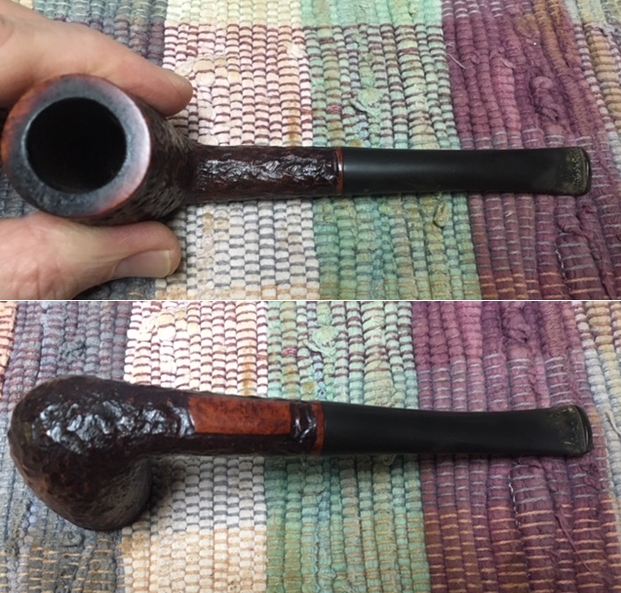
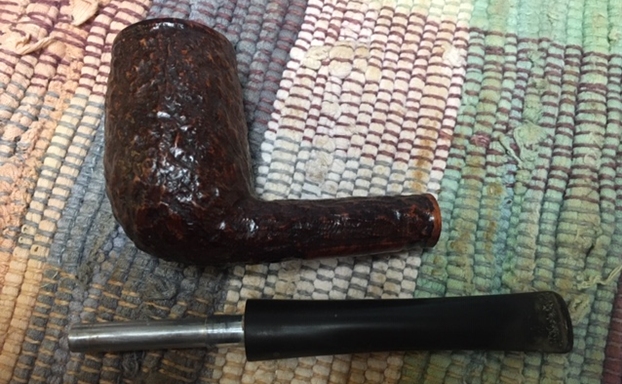
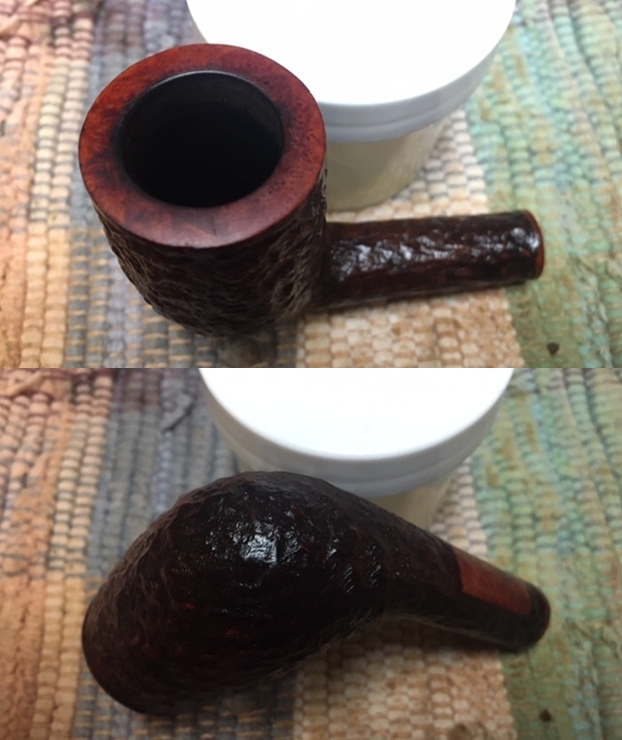
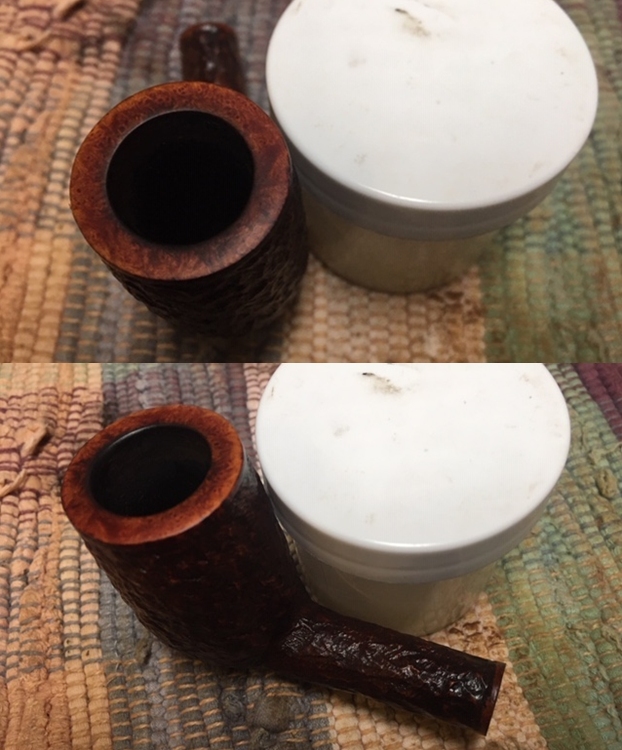
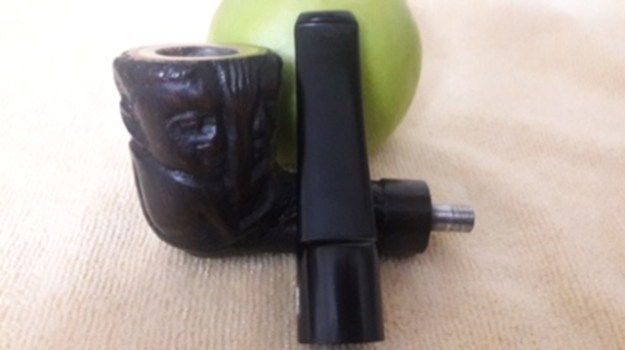
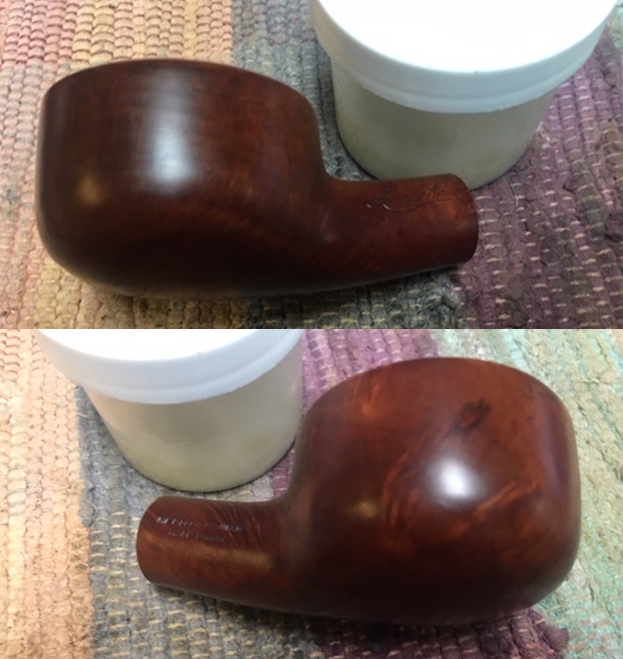
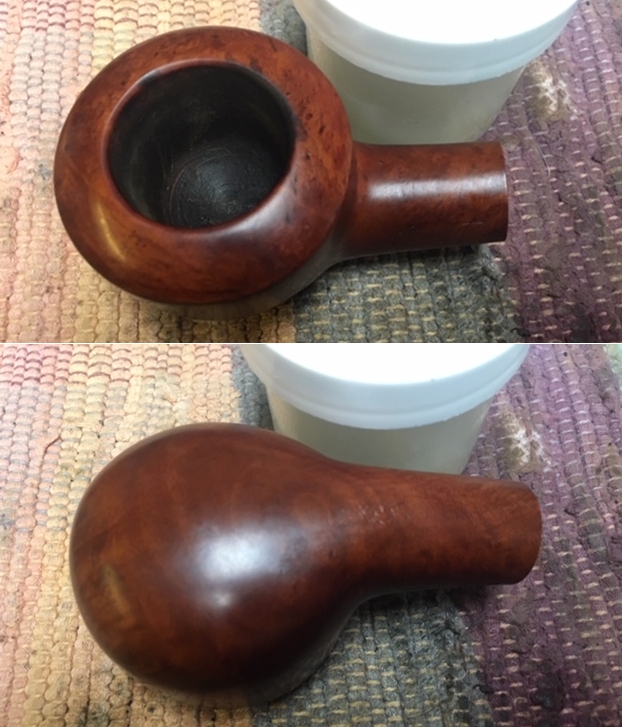
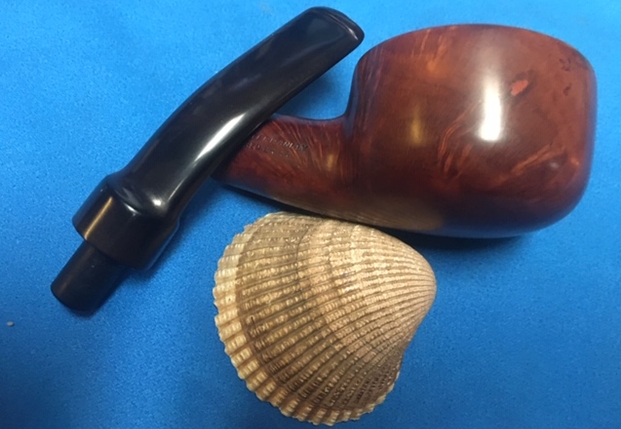
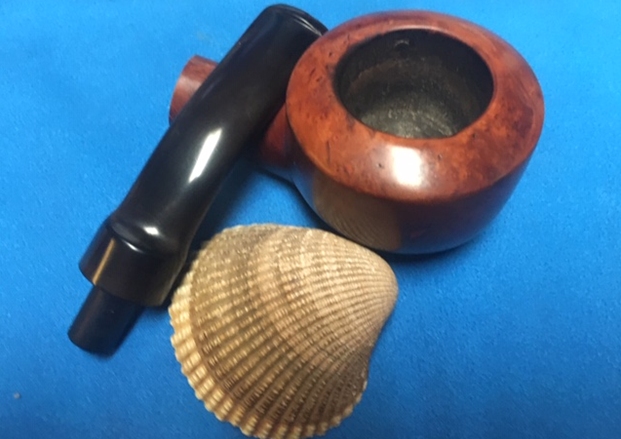
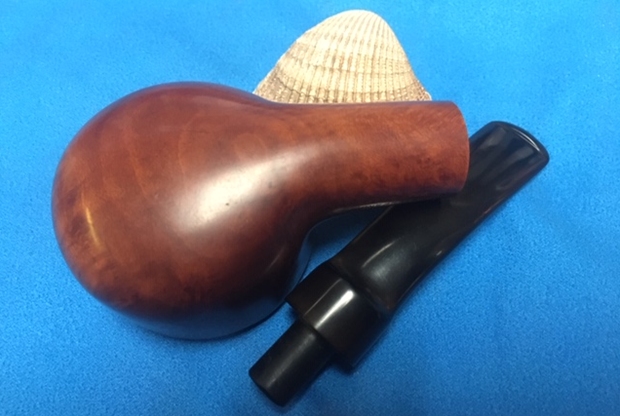
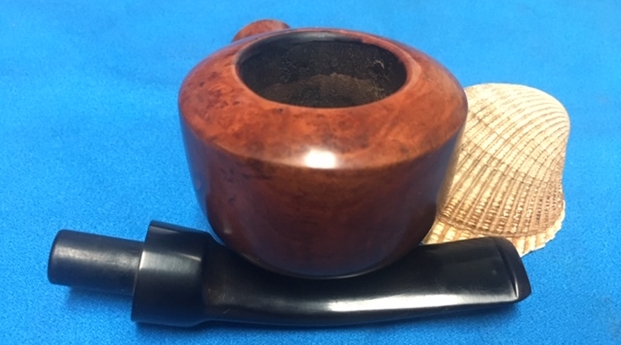
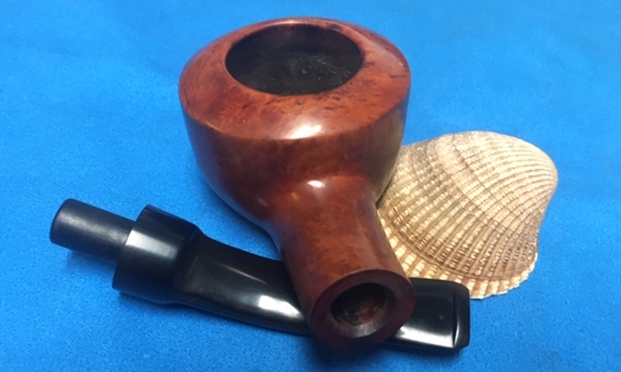
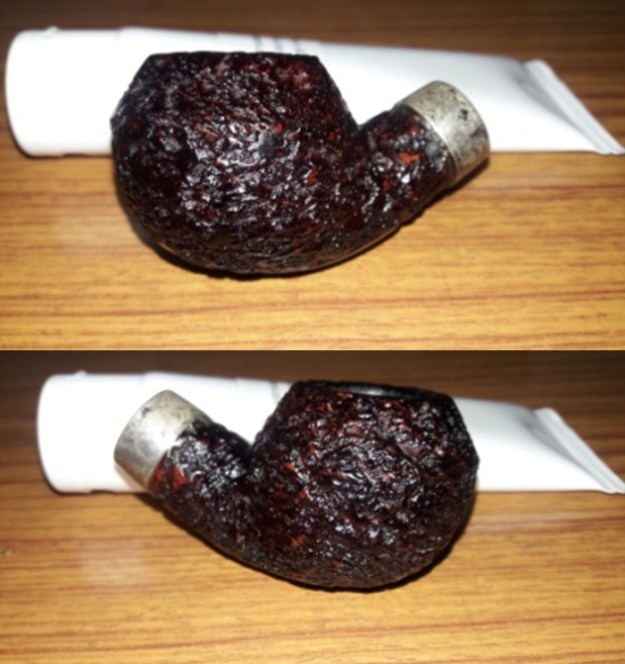
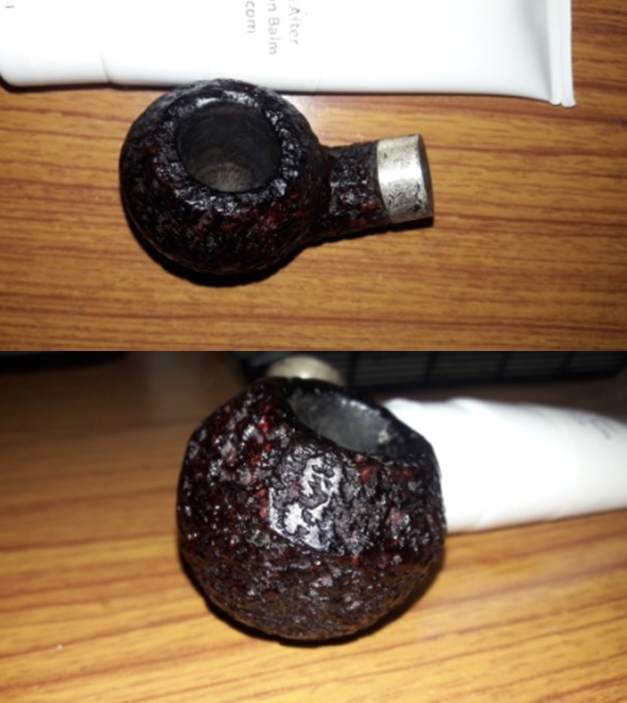
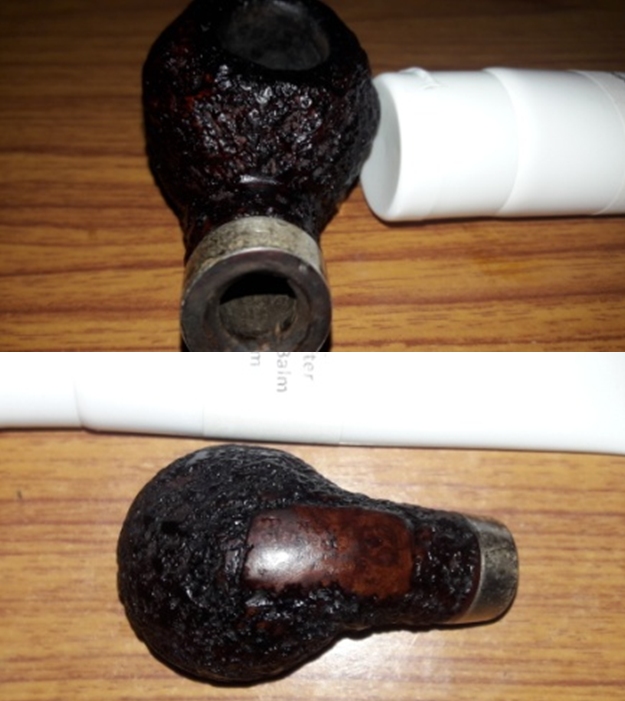
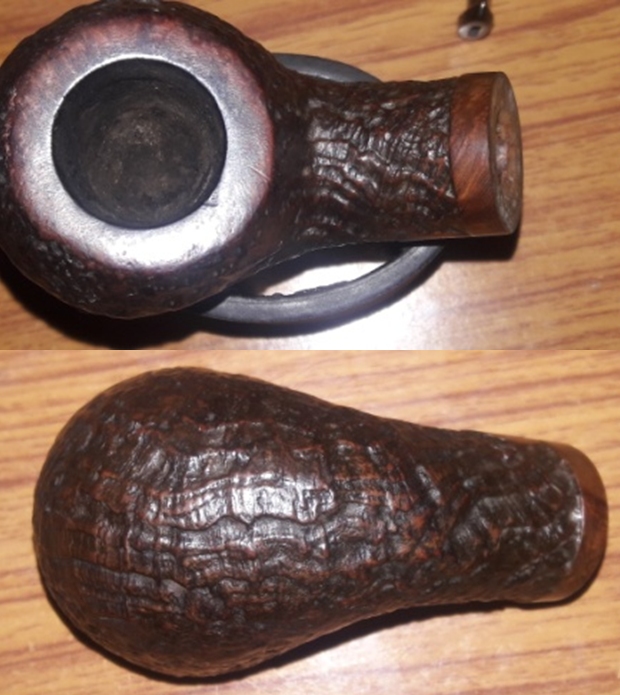
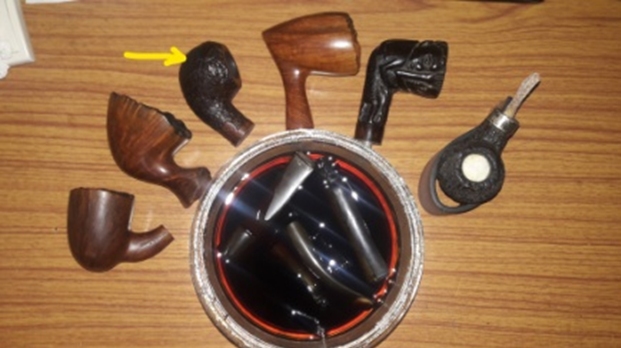
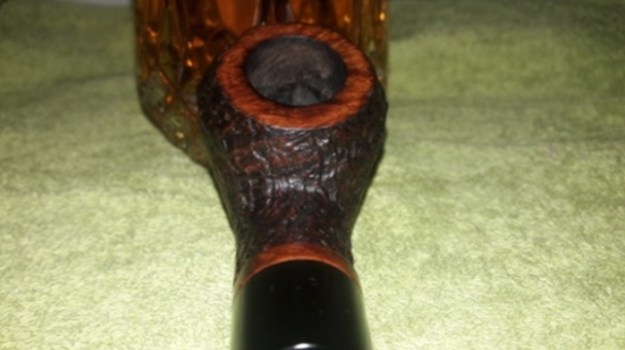
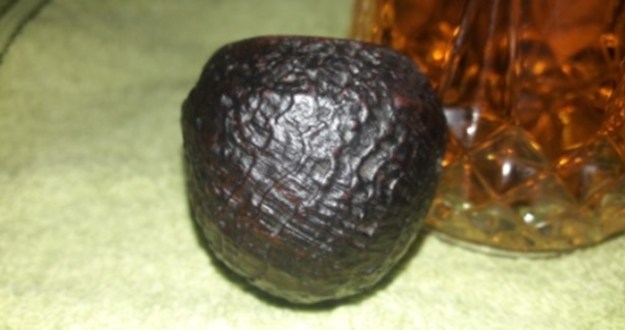
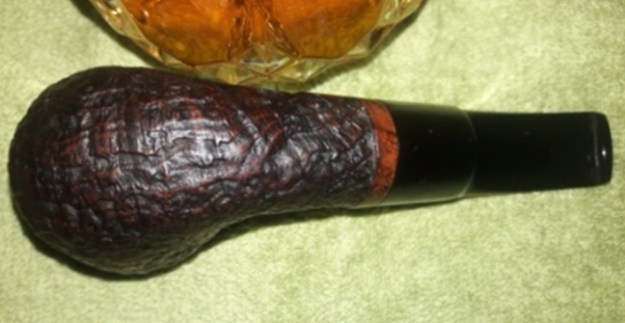
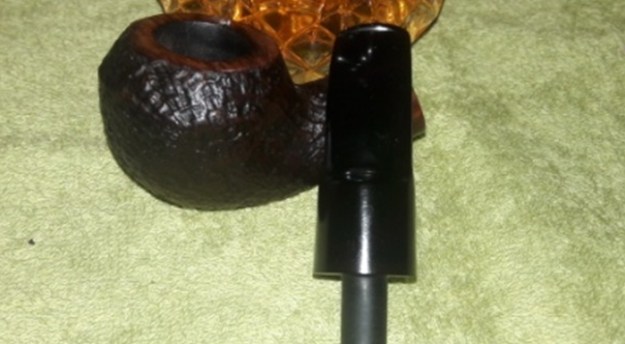
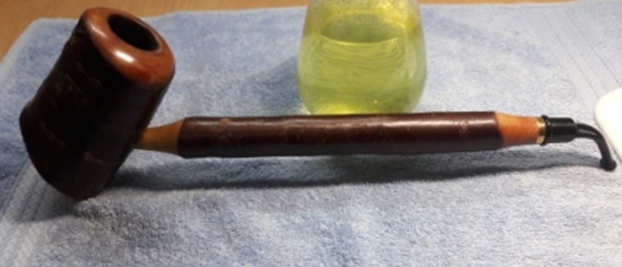
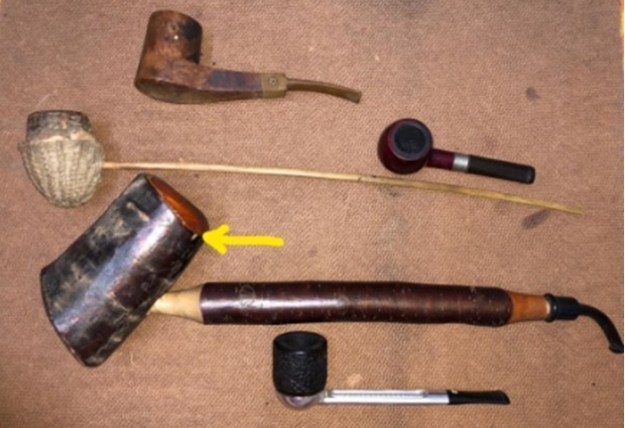
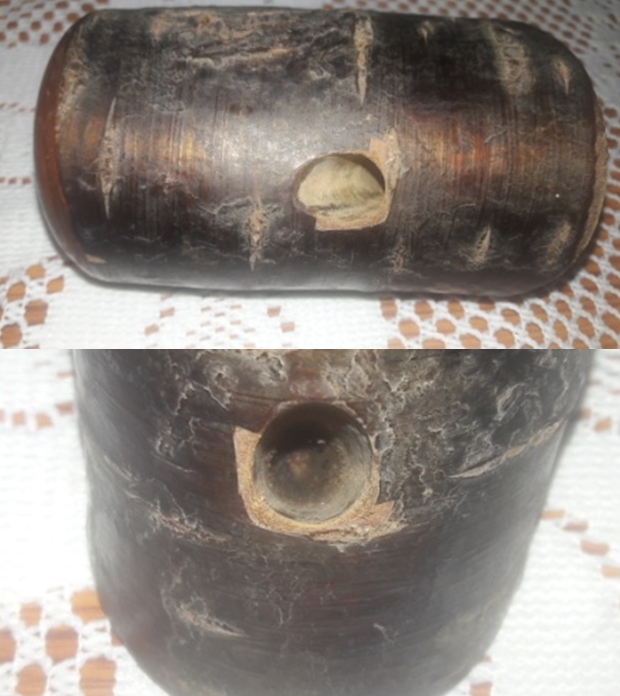
I had read about Etsy.com in various piper communities that I have subscribed to and on various blogs. My curiosity was thus stoked and I visited the site. True enough, I came across a lot of 40 pipes from an estate pipe seller. We struck a deal and about six months ago, this lot reached at my door step. Abha, my wife, though not very enthusiastic about the condition of a few pipes that were in the lot, was supportive enough to have chronicled each pipe and taken pictures of the entire lot. This lot did contain a few pipes that were worth adding to my personal collection and few that are, prima facie, not even worth attempting a restoration. However, on such pipes, I shall take a call as and when I get them on my work table (I hate discarding pipes in any condition!!). The pipe currently on my work table, from this lot, is humongous Cherry wood pipe with a thick removable cherry wood shank extension. This pipe is marked with a yellow arrow in the picture below and readers will also get a general idea about the size of this pipe.This sitter pipe has an intact bark all around the stummel and shank extension. The smooth bottom surface is at an angle which helps in weight distribution, making it a perfect sitter. The rim top, like the foot, is smooth. I wouldn’t exactly classify this pipe as beautiful, but it is definitely rugged looking with its own charm. Here are the pictures of the pipe as it sits on my work table. The pipe is stamped on the foot of the stummel as “REAL CHERRY” over “FOREIGN”, all in capital letters. The stampings are crisp and easily readable. However, there is no COM stamp anywhere on the pipe that would help me in establishing the provenance of this pipe. The vulcanite stem is devoid of any stampings.With no COM stamp, I am stonewalled in my quest to accurately ascertain the maker/ carver and in dating this pipe. I visited Reborn pipes, pipedia.org and pipephil.eu and from the write ups, pictures and information posted on these sites, my calculated guess is that this pipe would have been made in the ROPP factory for a retailer outside. From the perfectly round slot, I presume this to be a very early period, though, I am not very sure.
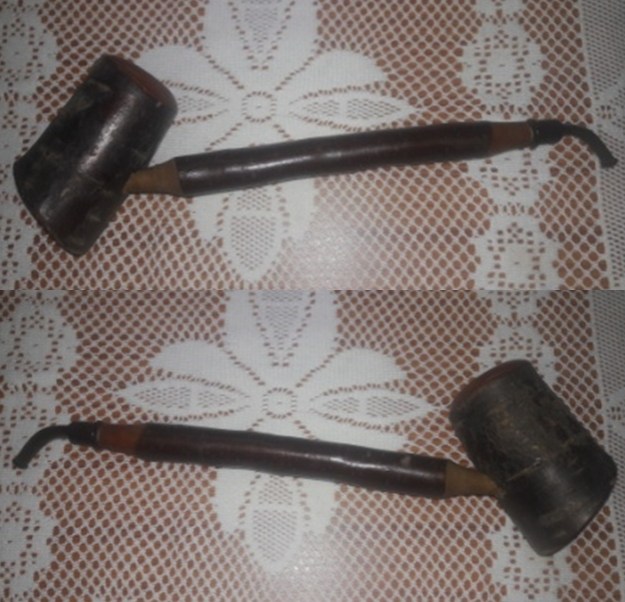
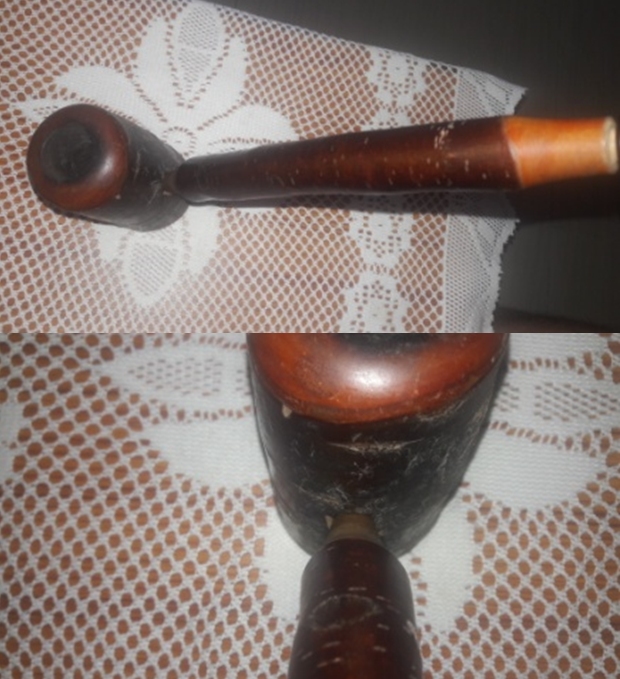
Any clarification/ confirmed inputs on this pipe are requested from all the learned readers of this write up!!

Initial Visual Inspection
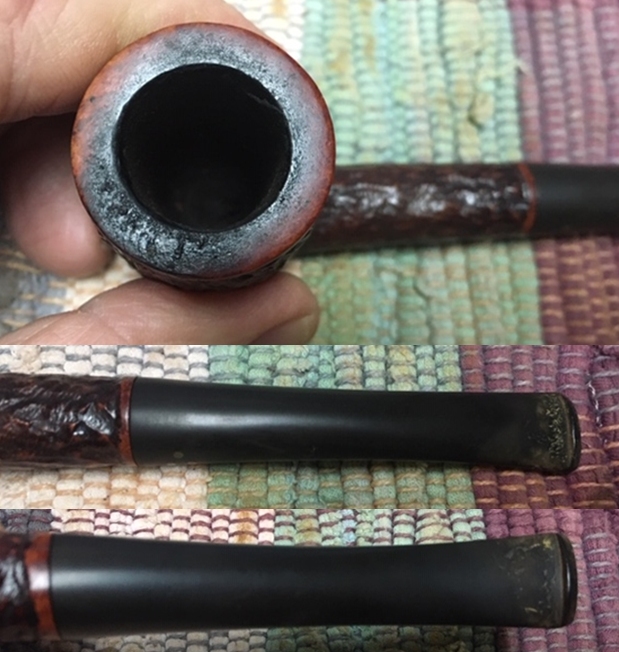
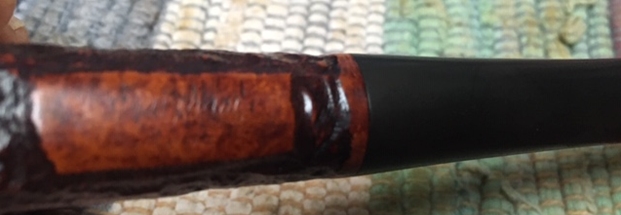
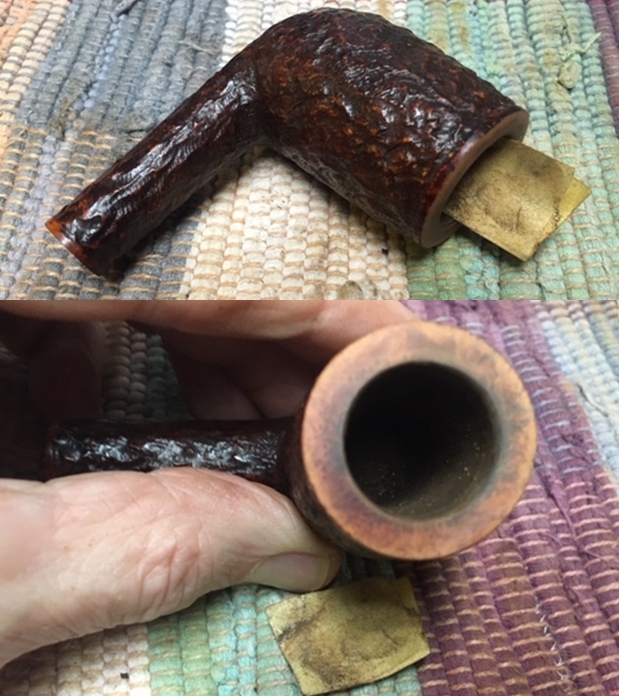
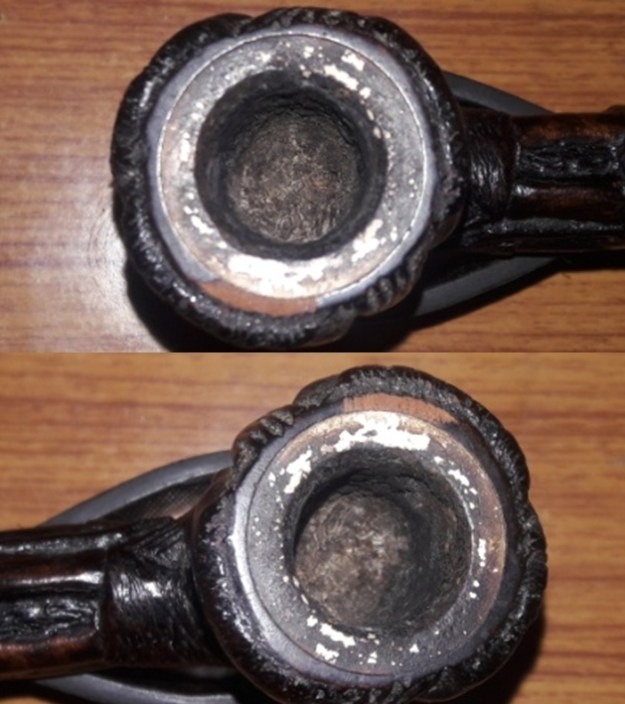
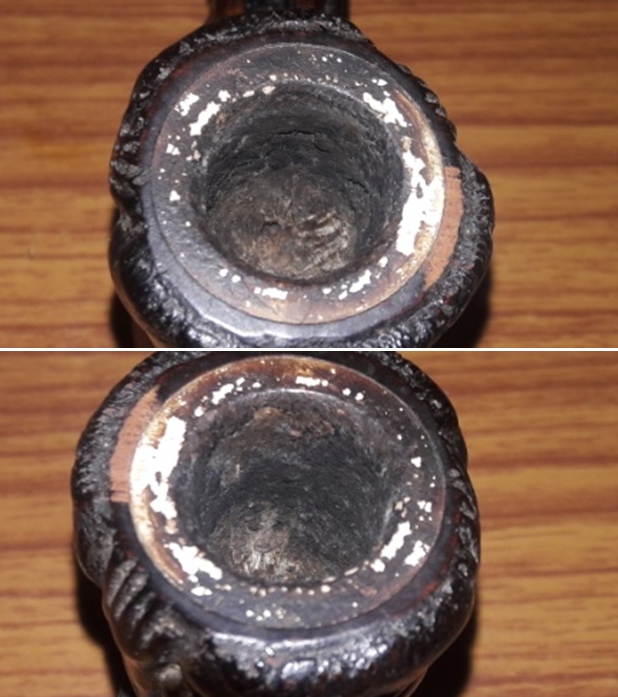
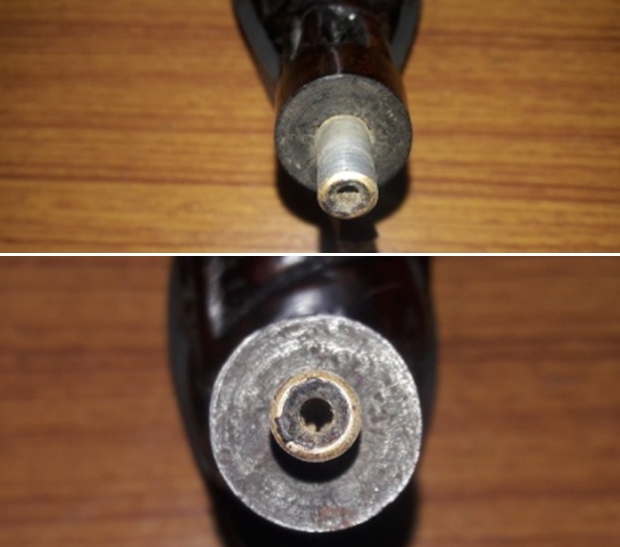
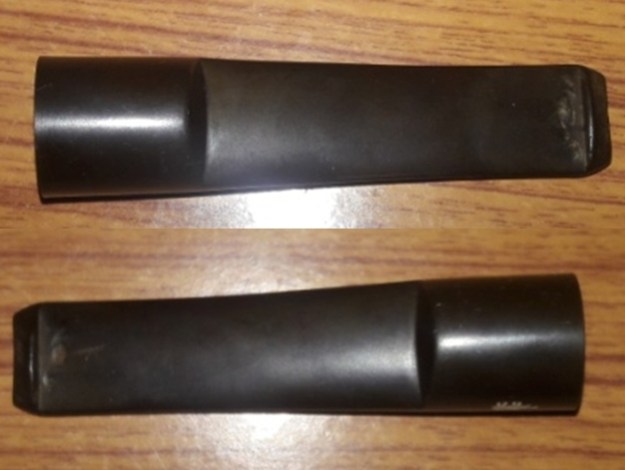
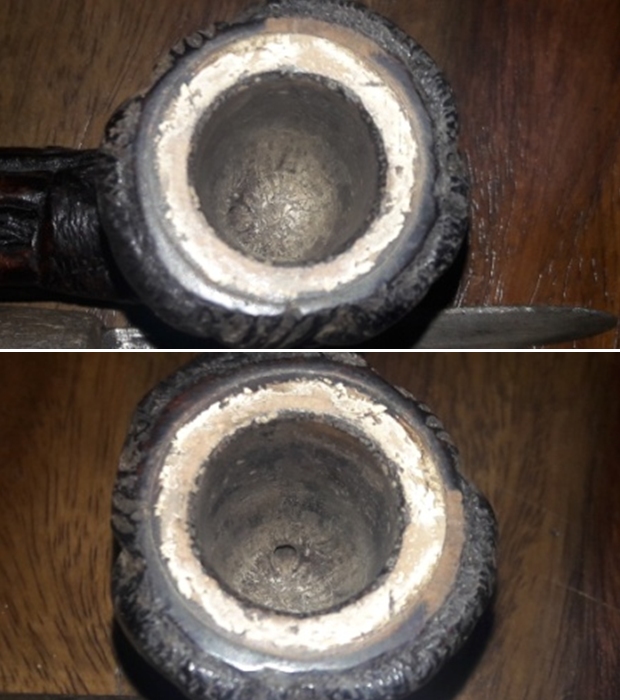
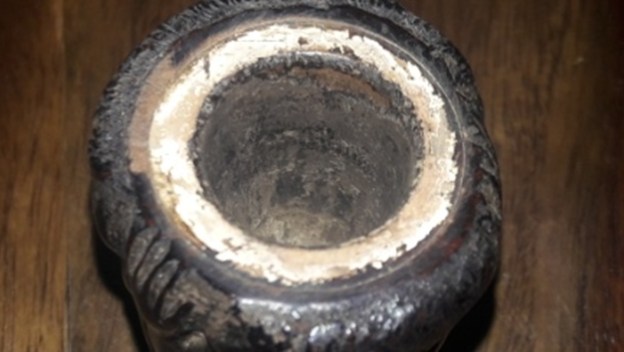
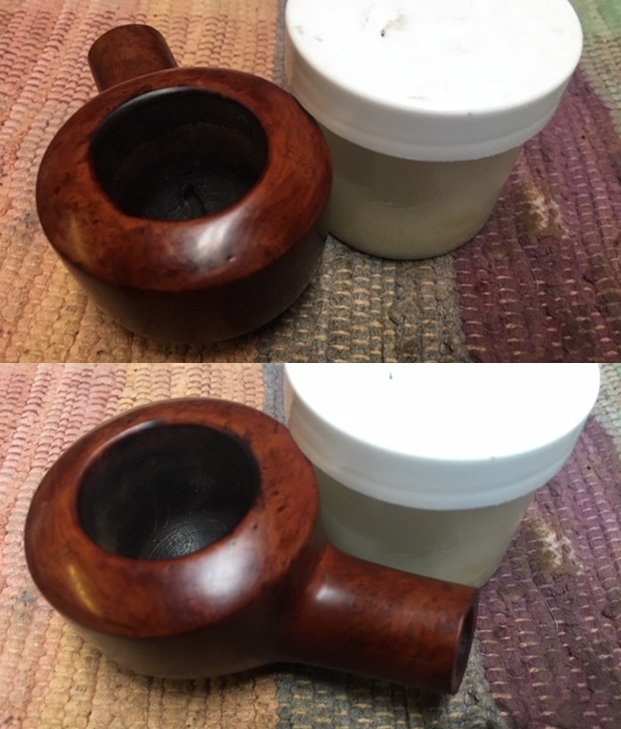
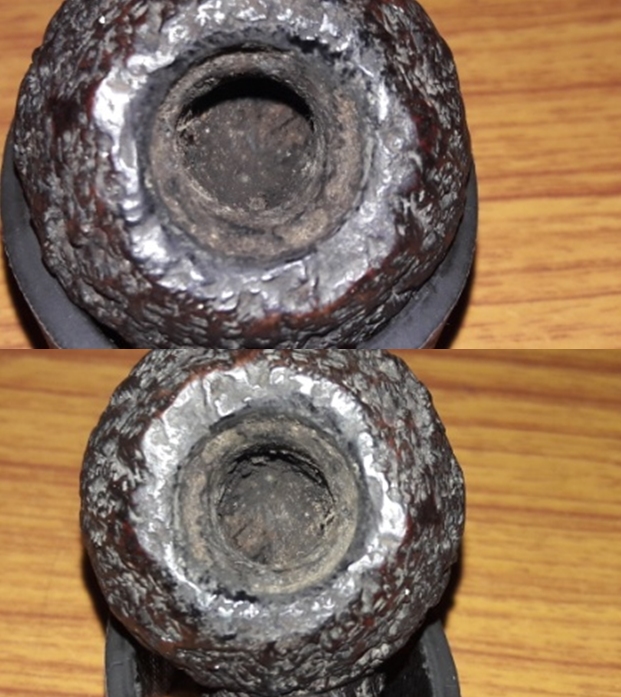
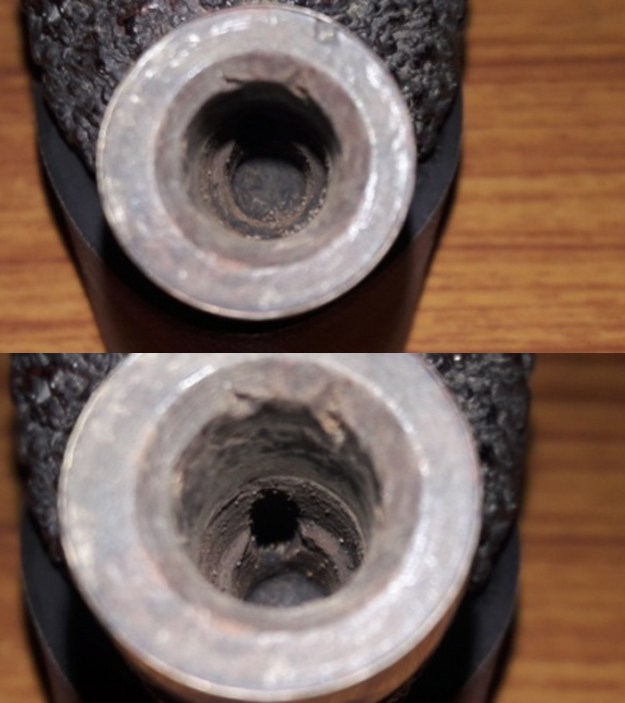
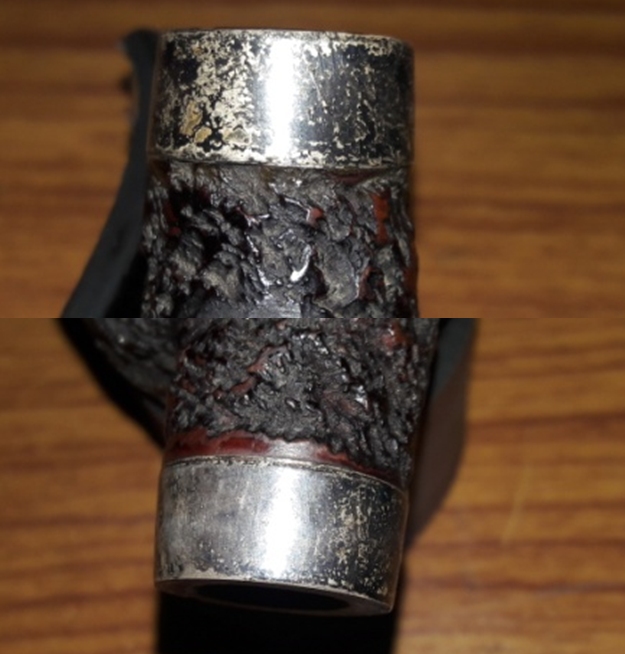
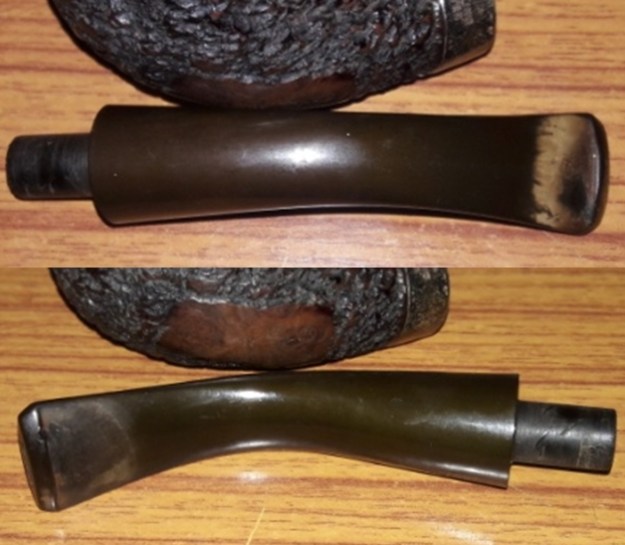
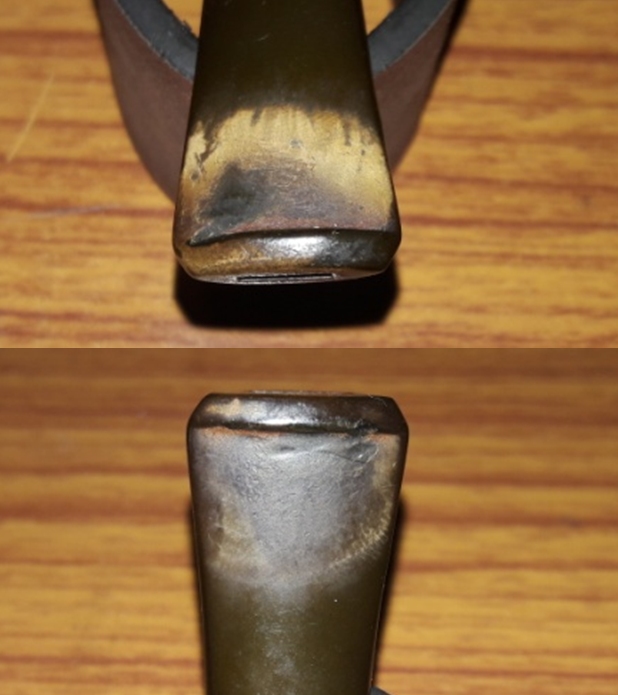
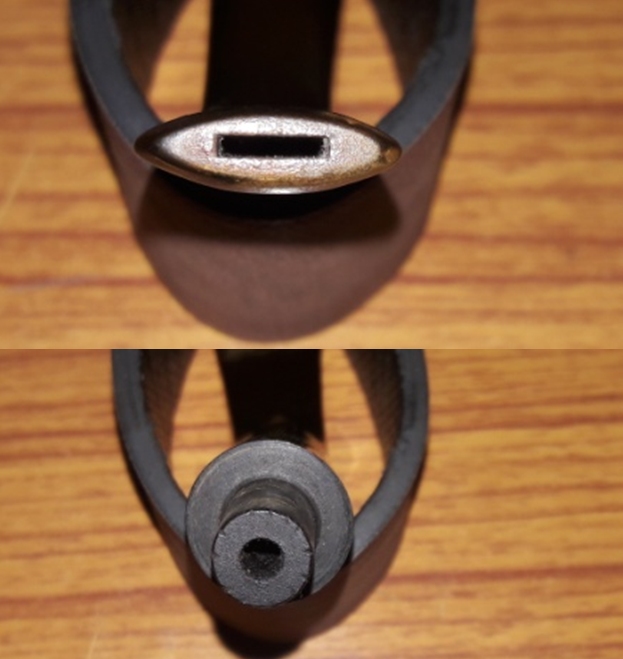
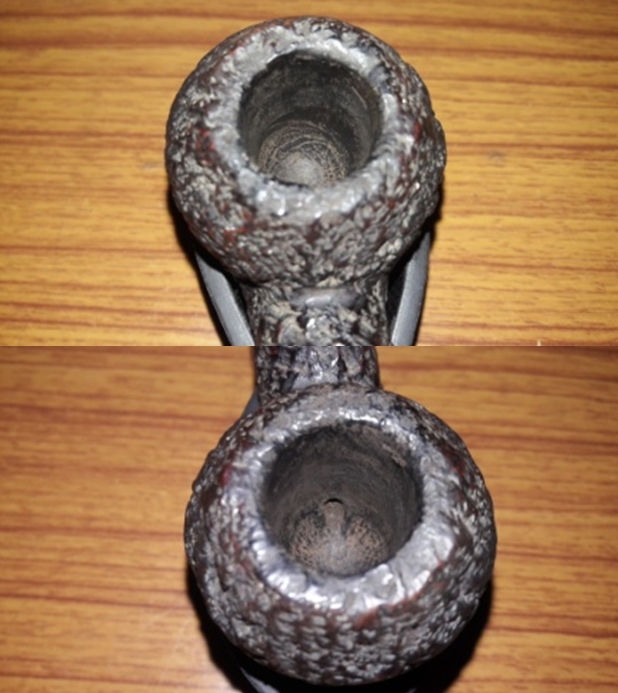
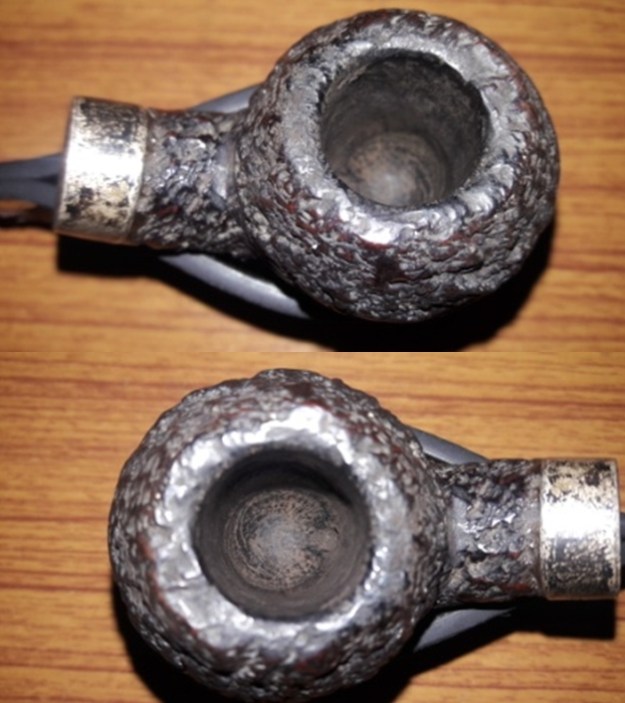
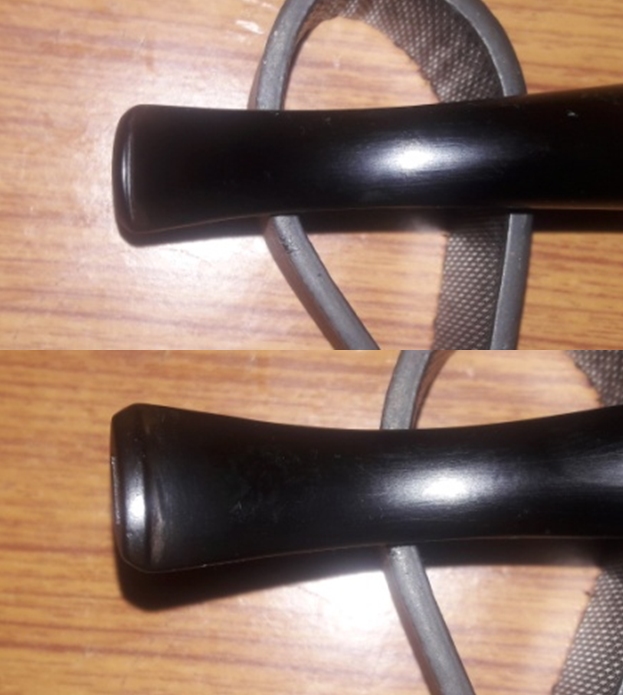
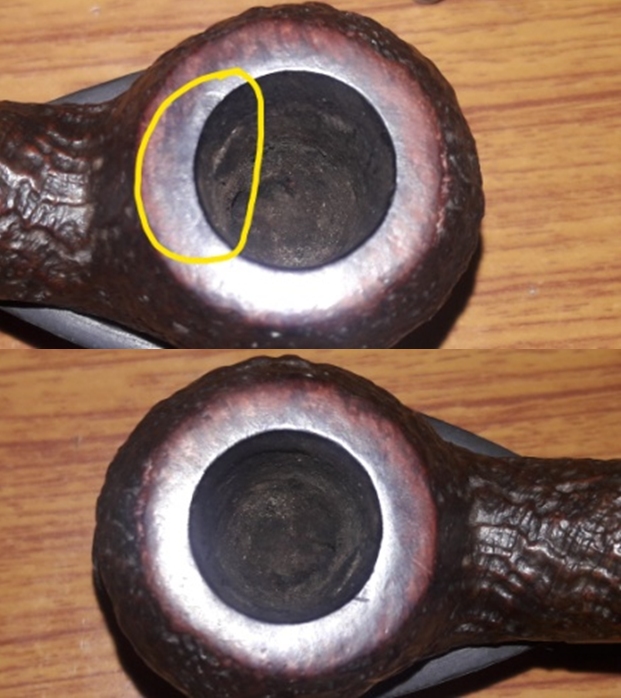
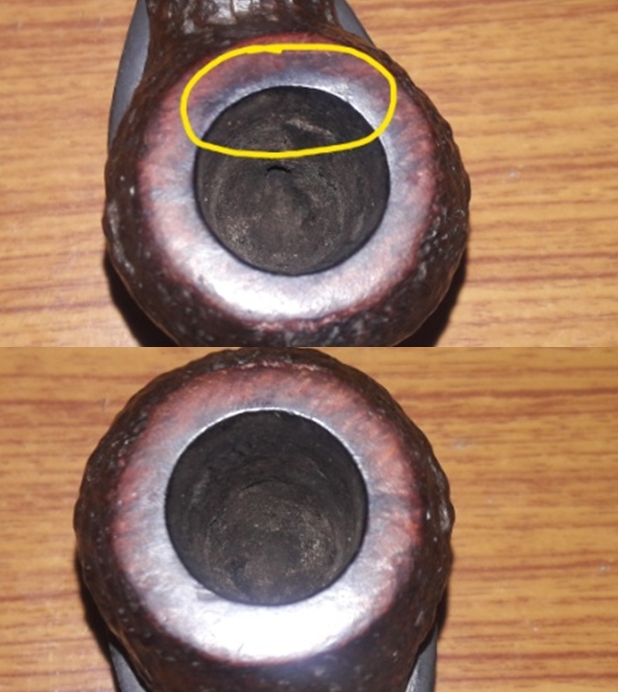
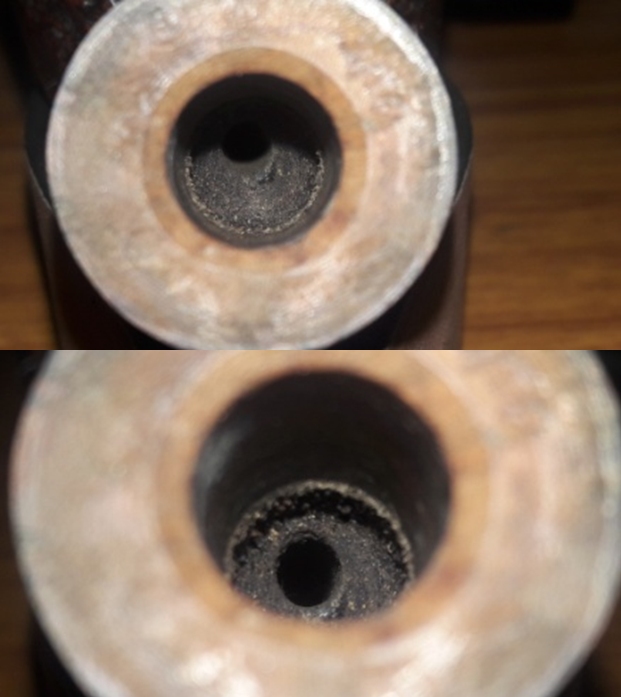
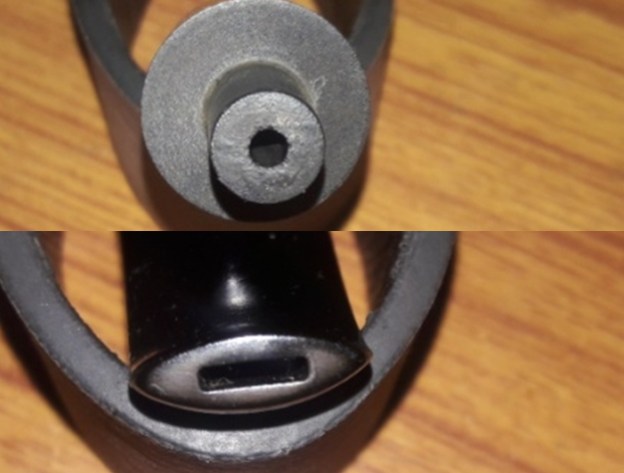
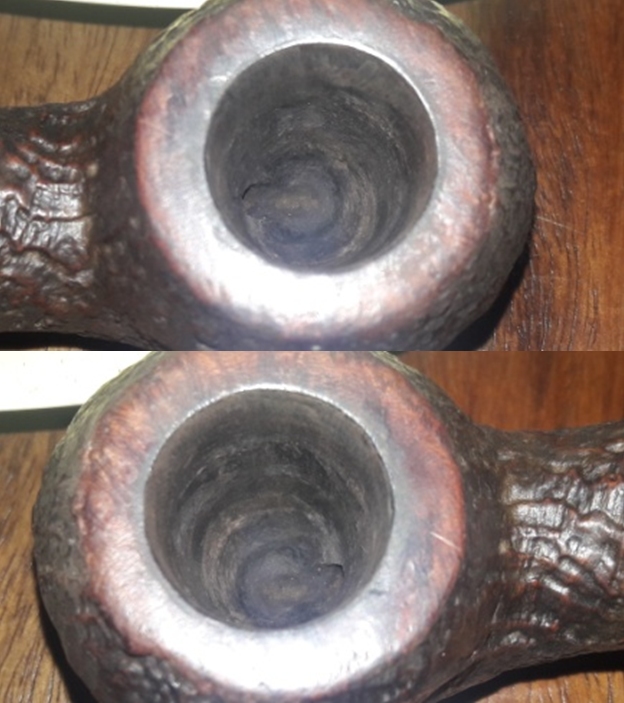
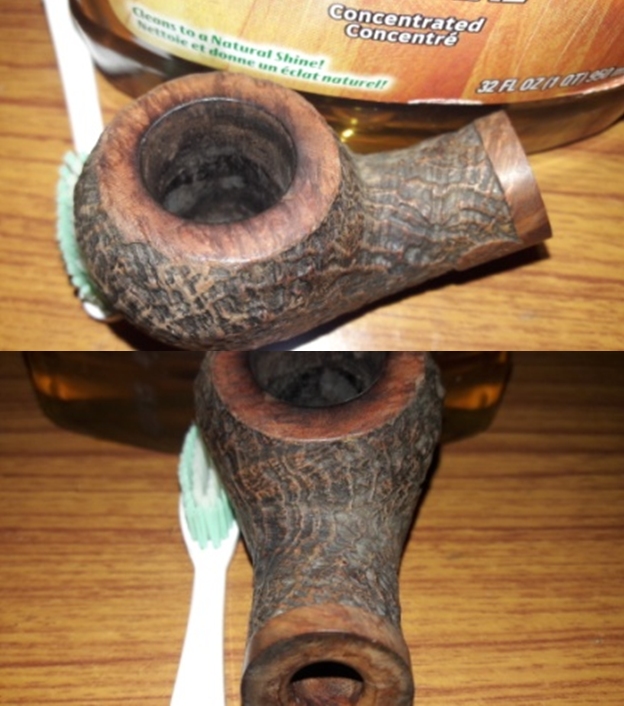
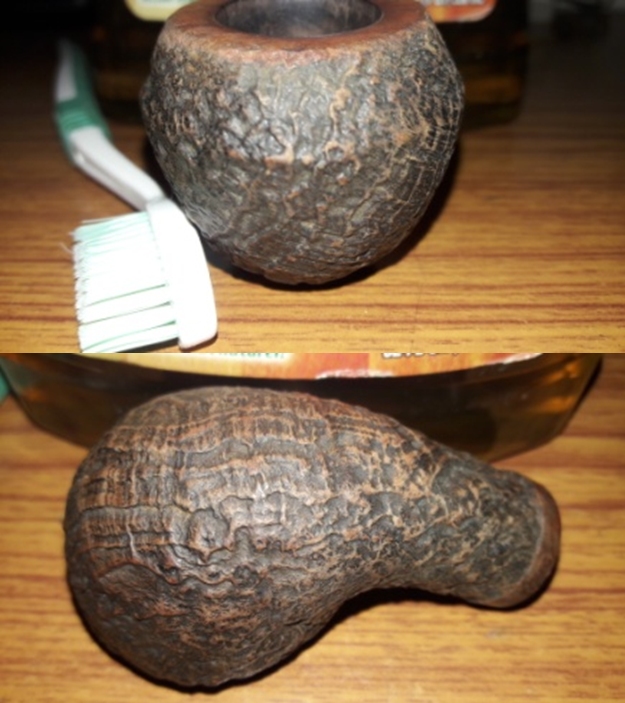
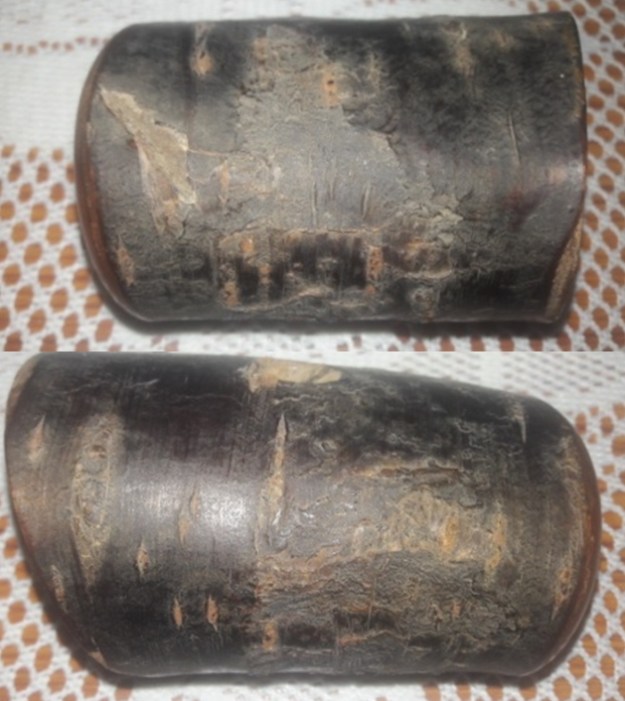
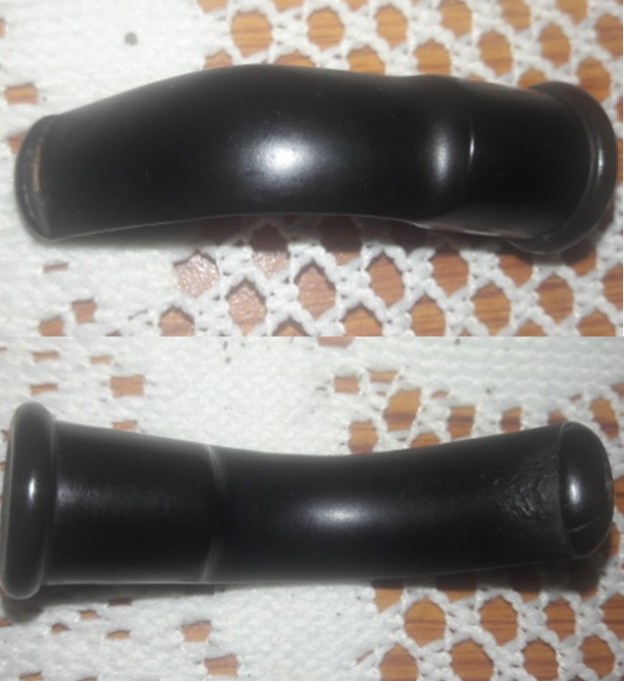
The chamber has a thin and even layer of dry and hard cake with little overflow of lava on to the smooth rim top surface. The outward sloping rim top surface is stained a nice bright orange and is covered in places with overflowing oils and tars, but there are no signs of charring to the inner rim edge. The condition of the inner walls of the chamber can be checked and ascertained only after the cake has been taken down to the bare wood. The stain on the rim top surface should contrast beautifully with the rest of the dark colored bark of the stummel.The stummel has cherry bark all around which is covered in dust and grime. The bark is, however, intact. The Old bark has aged well and is beautiful in its patchy and scaly texture and color. There are signs of the beginnings of the process of exfoliation at the front of the stummel. The open area under the air hole at the bottom of the bowl and which houses the thick shank, shows minor accumulation of dried oils and crud. The flat bottom of the stummel, like the rim top surface, is stained bright orange. The long and thick cherry wood shank is tapered at both ends with a threaded stem end. The push fit tapered shank end that seats in to the stummel is uneven and covered in dust and grime. The cherry wood bark on the shank is intact and undamaged. The fit of the shank in to the stummel is snug and remains firmly attached. The thick rimmed full bent vulcanite saddle stem is lightly oxidized and is peppered with deep tooth chatter/ indentations on lower surface of the stem. The perfectly rounded slot of the stem has a number of cracks radiating outwards from the slot. The button edges on either surface have worn down slightly and will need to be sharpened. The wide chambered and threaded shank end of the stem shows accumulated dried dust and dirt. The seating of the stem over the the threaded shank is not flush and an irritating gap is clearly visible. It is likely that the issue will be addressed once the stem has been cleaned. The Process
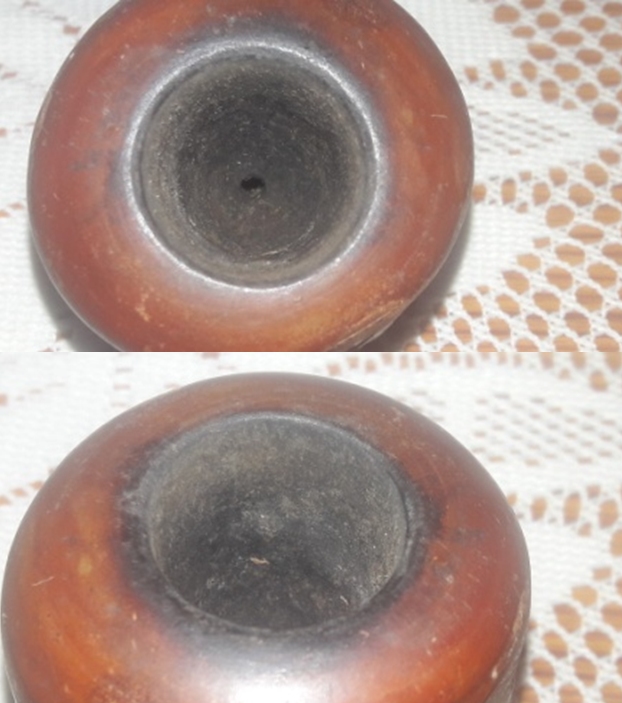
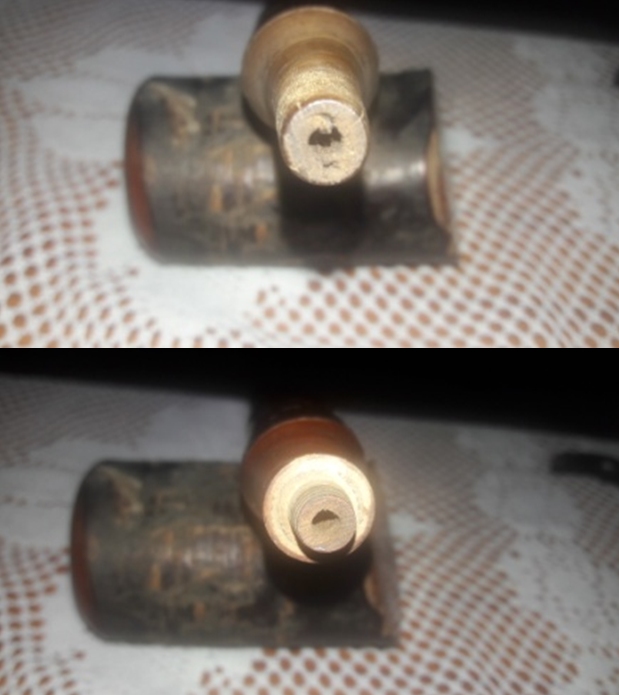
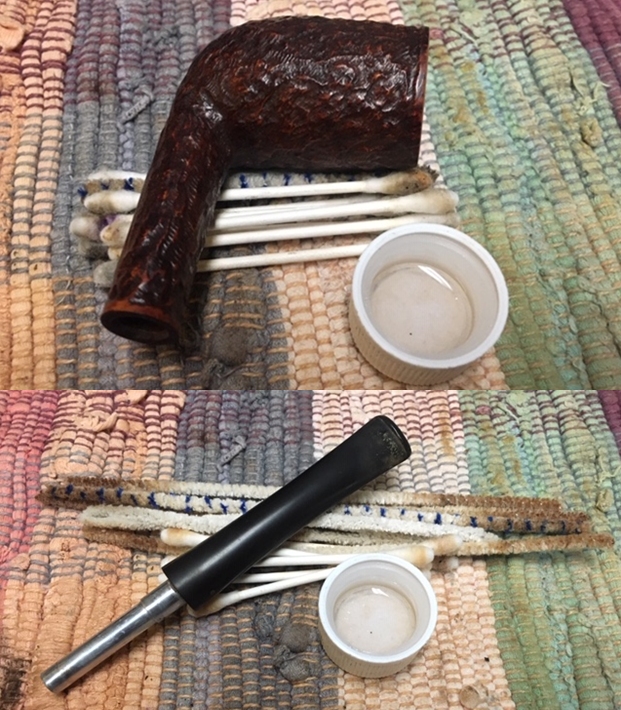
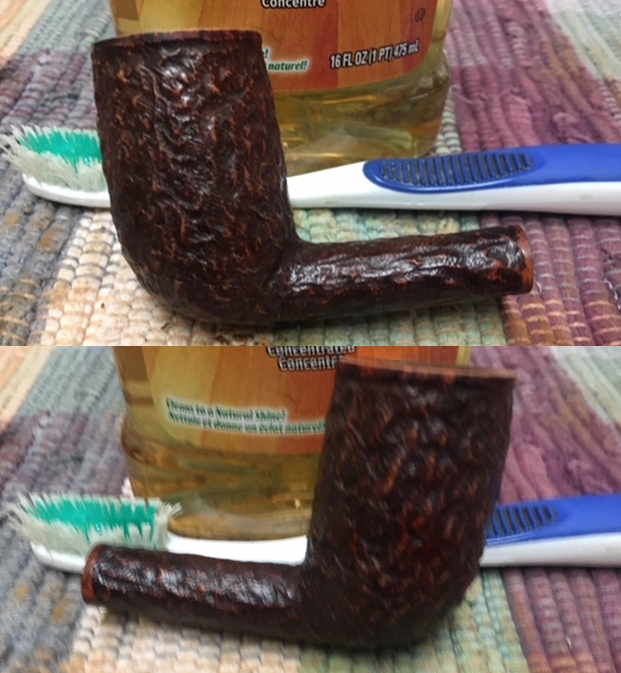
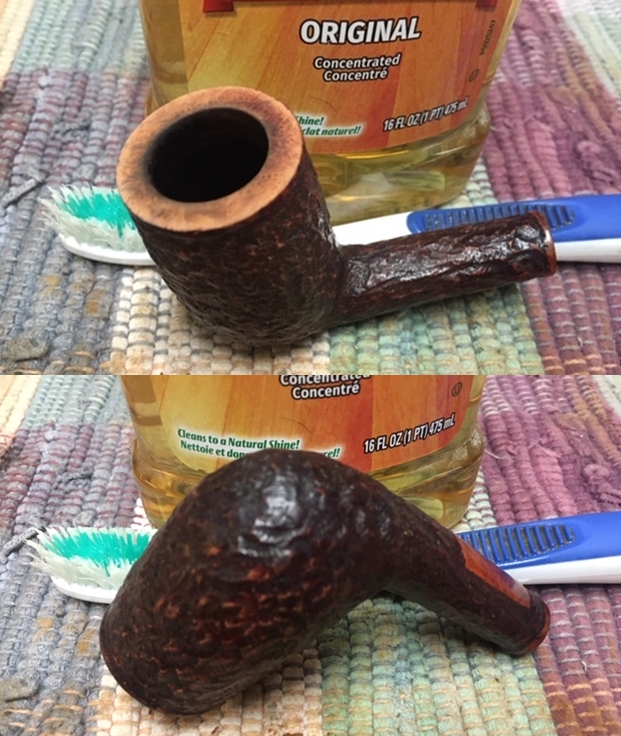
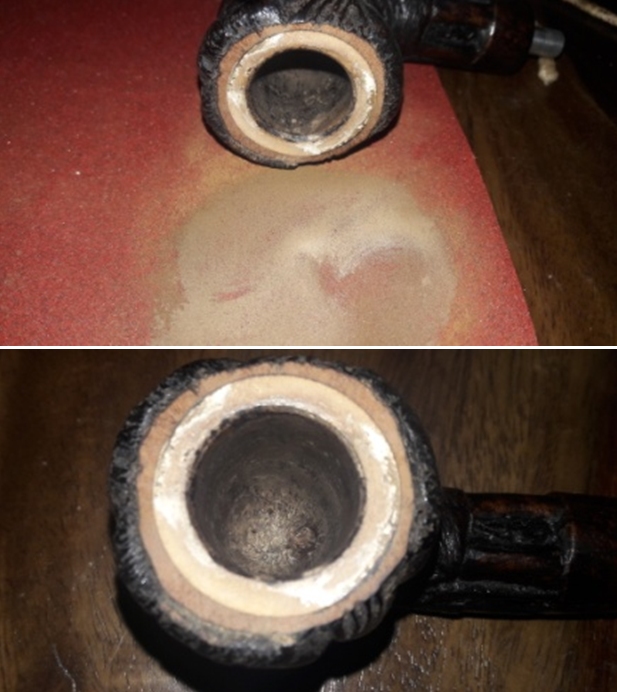
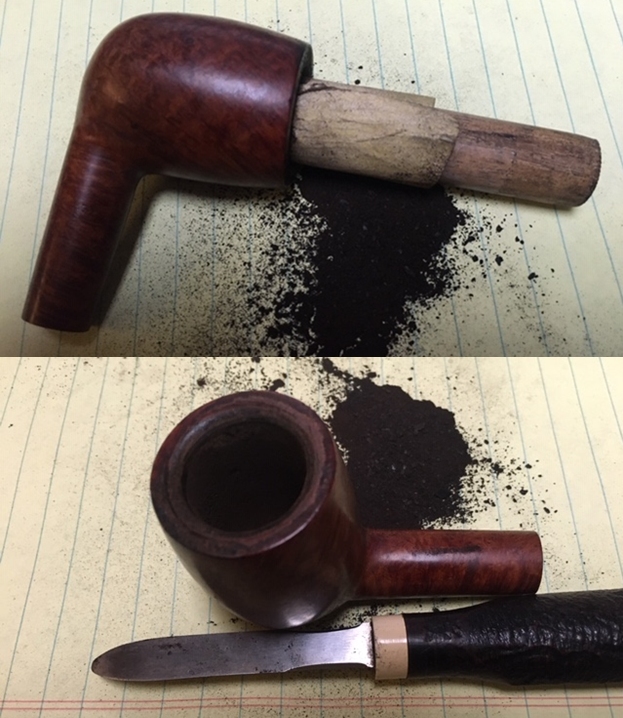
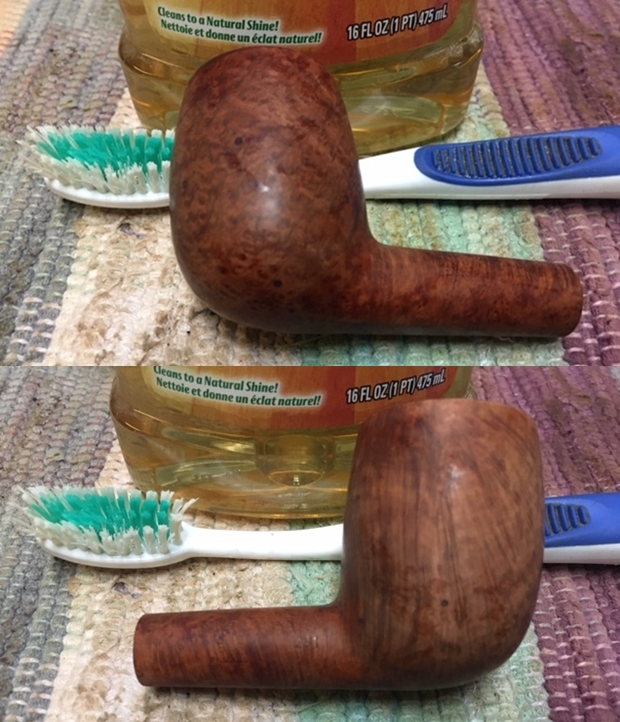
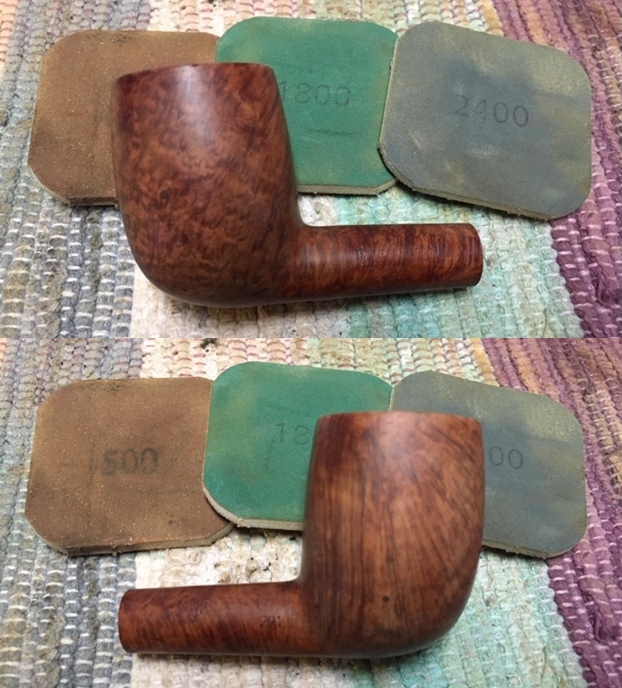
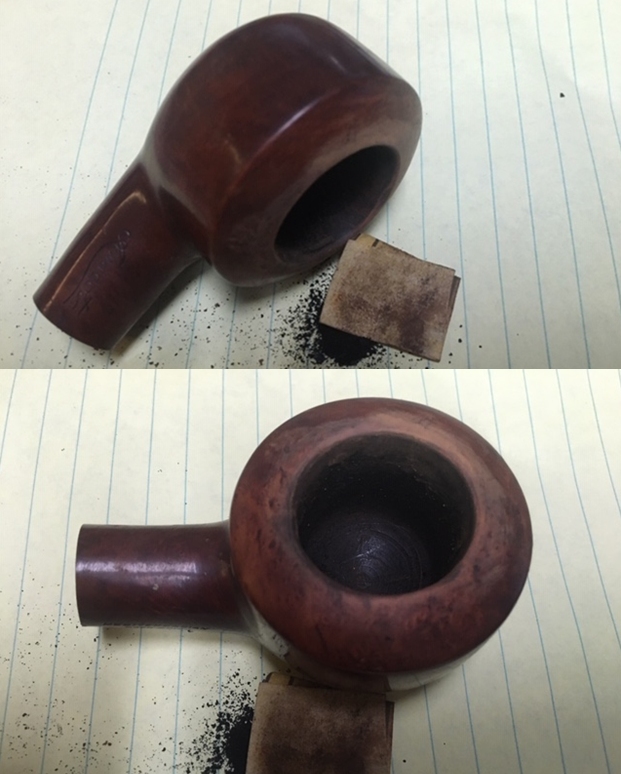
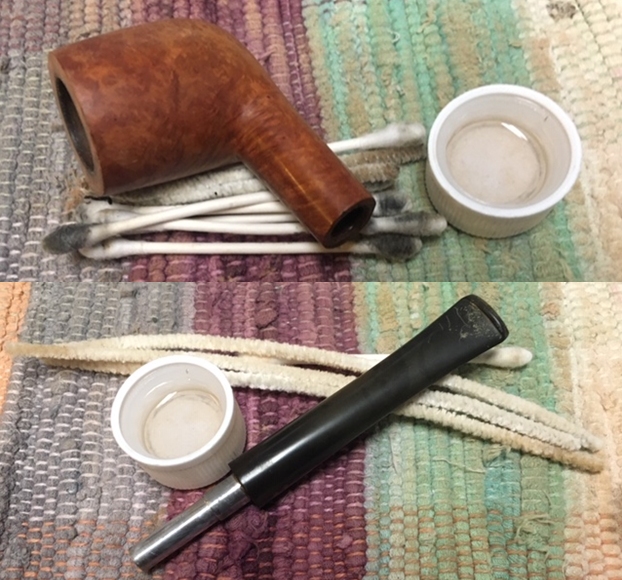
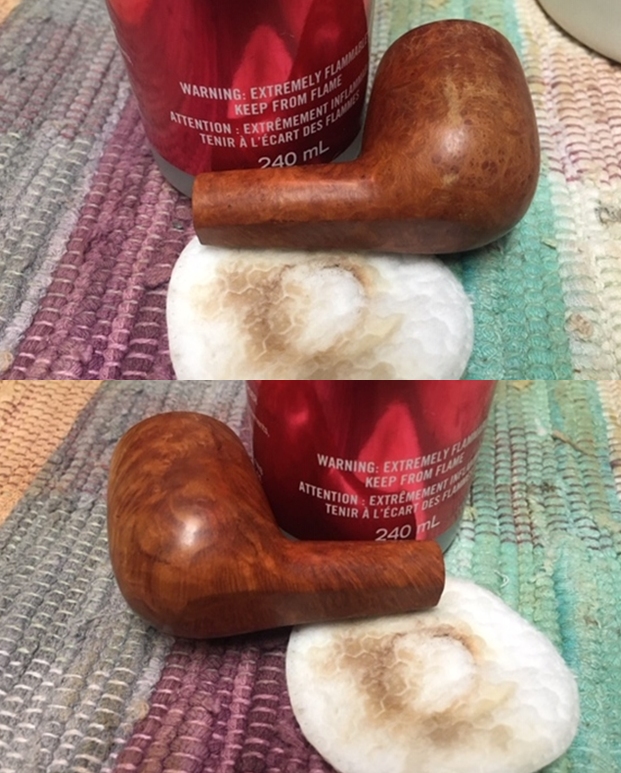
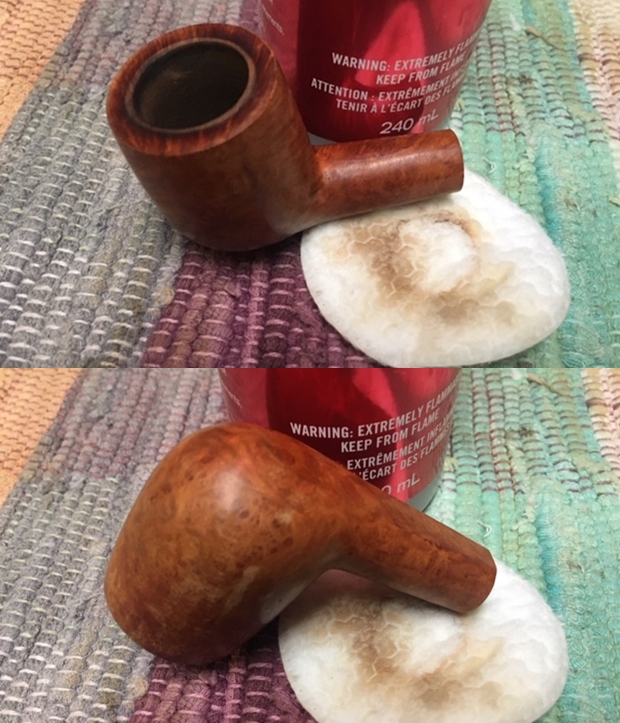
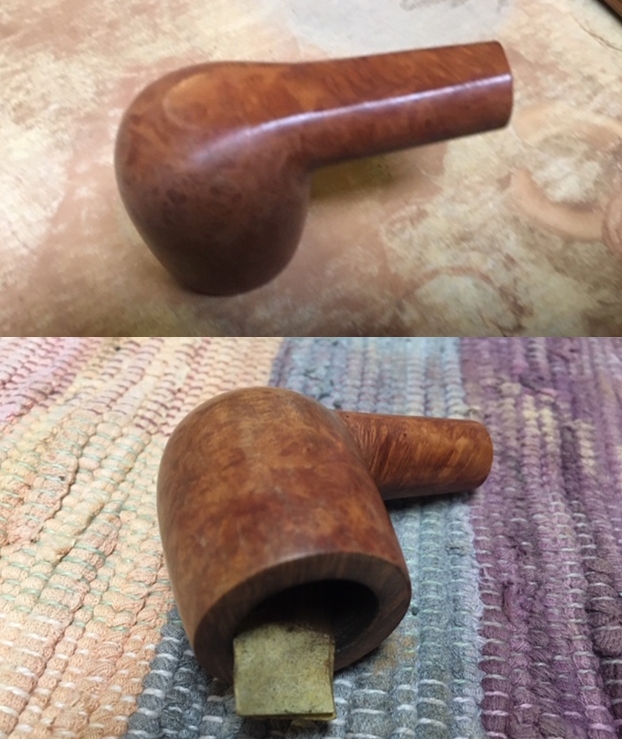
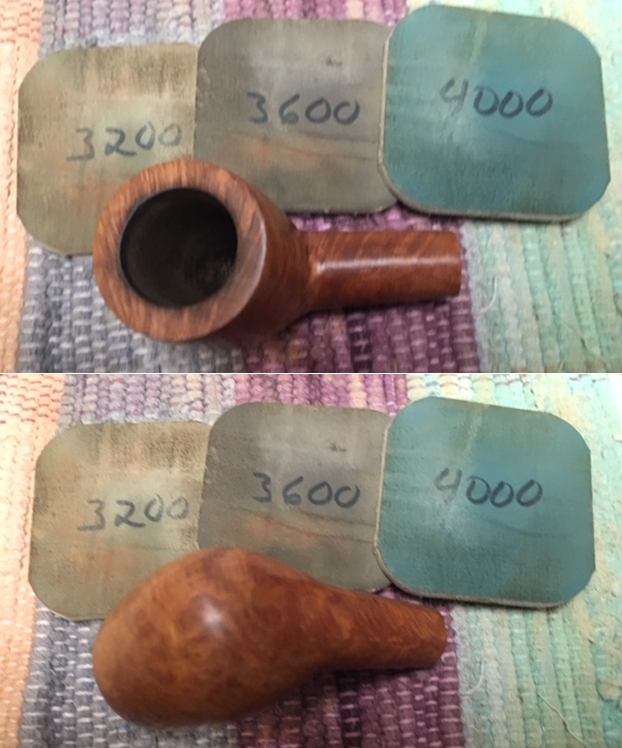
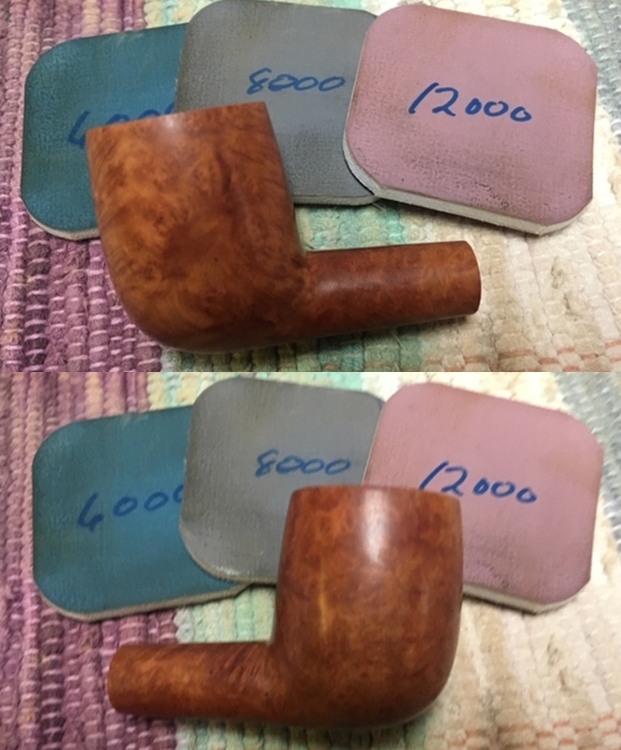
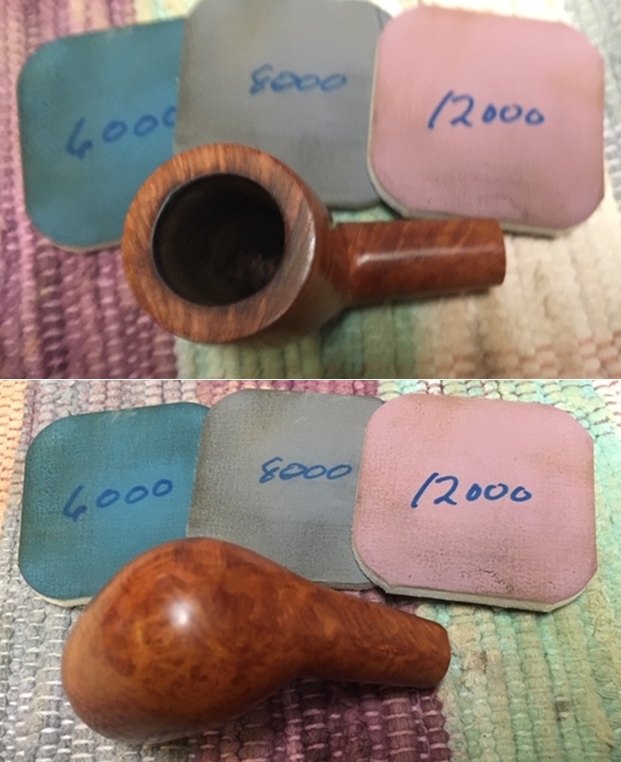
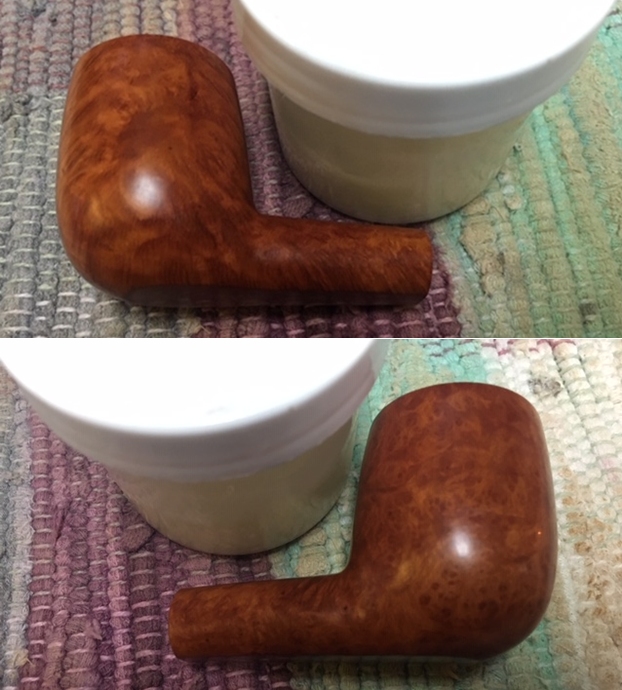
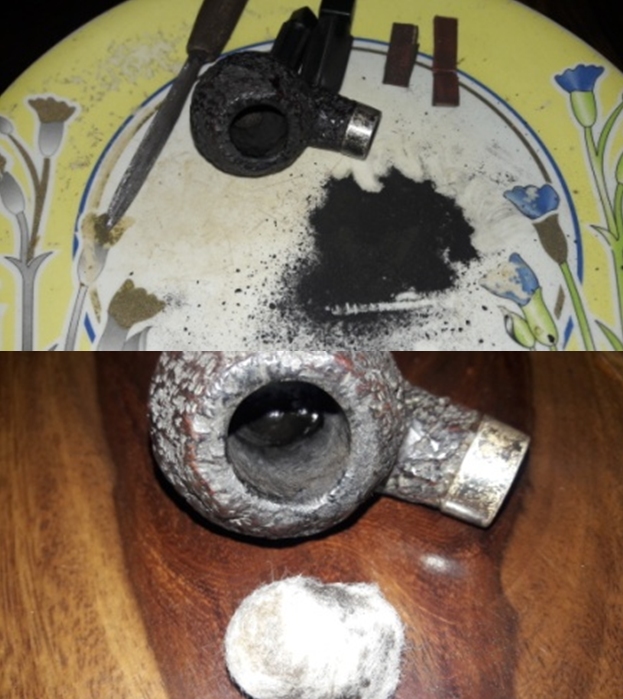
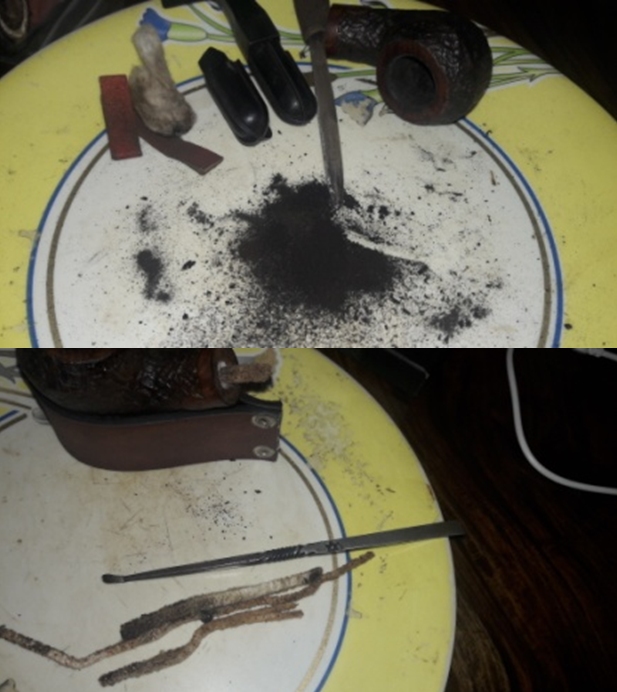
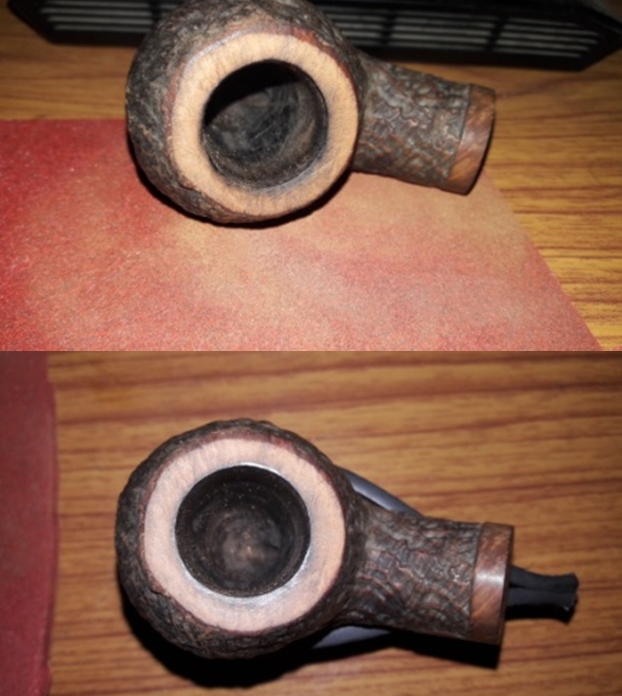
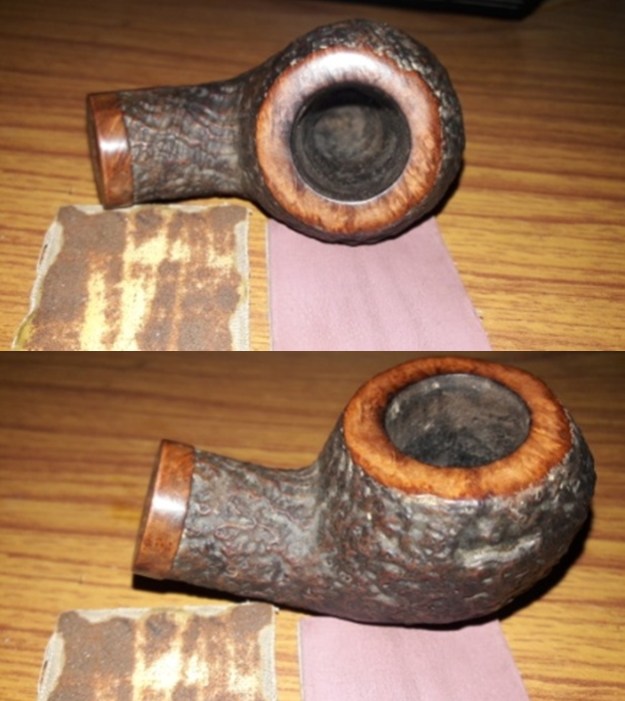
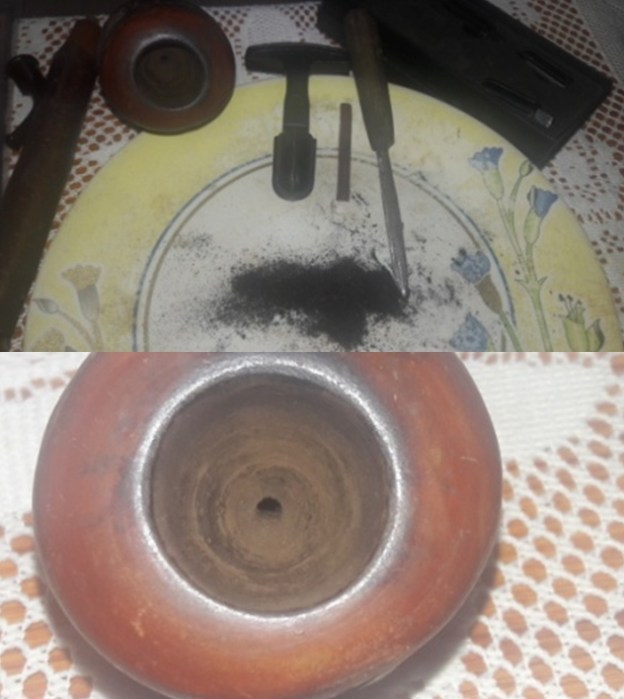
I began the process of refurbishing this pipe with reaming the chamber with a Castleford reamer tool, using the size four head of the tool. Using my fabricated knife; I further took the cake down to the bare wood. With a 150 grit sand paper, the walls of the chamber were rid of all the remnants of the cake, revealing smooth and solid chamber walls. I further wiped the chamber with a cotton swab wetted with isopropyl alcohol to completely remove the sanding dust. Next, I cleaned up the interior of the shank and open area under the air hole in the bottom of the bowl with alcohol, pipe cleaners and cotton swabs. I was surprised at how little dirt, tar and oil had built up there. The shank internals cleaned up nicely with a smooth and full draw.I scrubbed the external surface of the bowl and shank with undiluted Murphy’s oil soap and hard bristled tooth brush and dried it using paper towels and soft cotton cloth. I deliberately cleaned the smooth rim top to clean the entire lava overflow from the surface. The stummel and shank cleaned up nicely. I set them aside to dry out naturally. Staying with the stummel restoration, I polished the rim top surface and foot of the stummel with micromesh pads, wet sanding with 1500 to 12000 pads. I wiped the surface with a soft cloth at the end of the micromesh cycle. Both the surfaces look amazing with a deep shine. I rubbed a small quantity of “Before and After Restoration Balm” in to the cherry wood stummel and shank to enliven and protect it. I rubbed this balm deep in to the patchy/ scaly surfaces of the stummel, smooth rim top, foot and shank with my fingers and let it rest for a few minutes. The balm almost immediately works its magic and the wood now has a nice vibrant appearance with the dark brown hues of the bark contrasting with the deep orange stain of the rim top and foot. I further buff it with a horse hair shoe brush. Unfortunately, I completely missed out on taking pictures of this process and the results. I set the stummel aside.
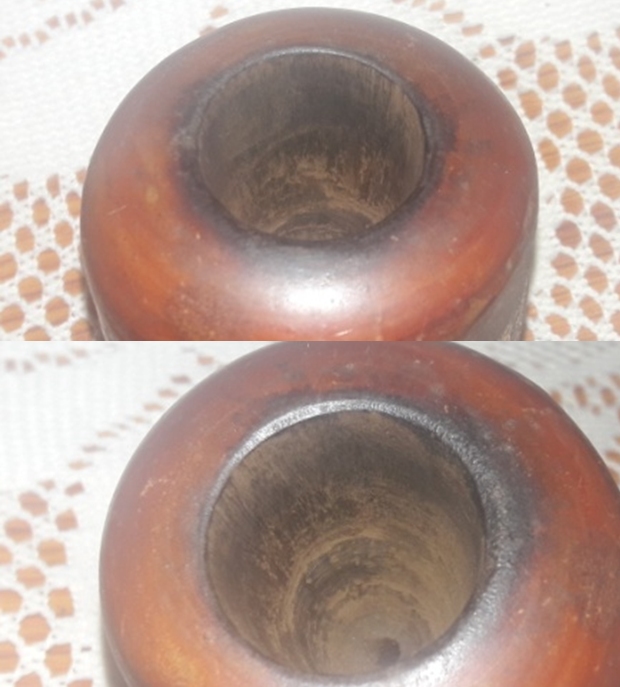
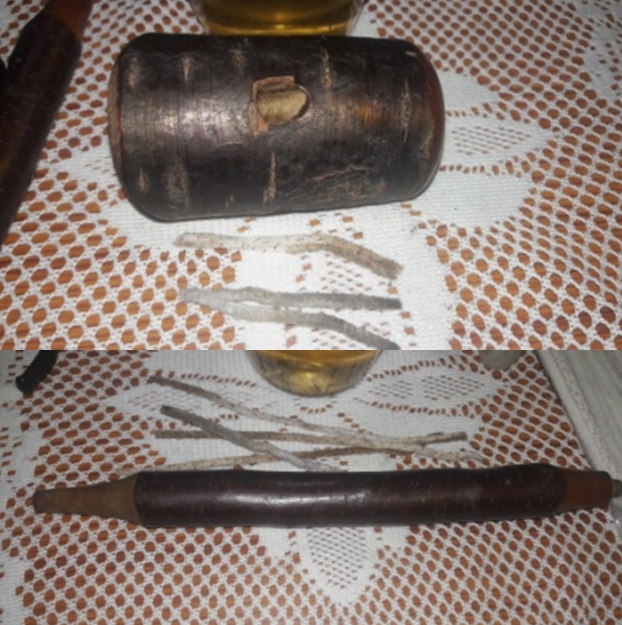
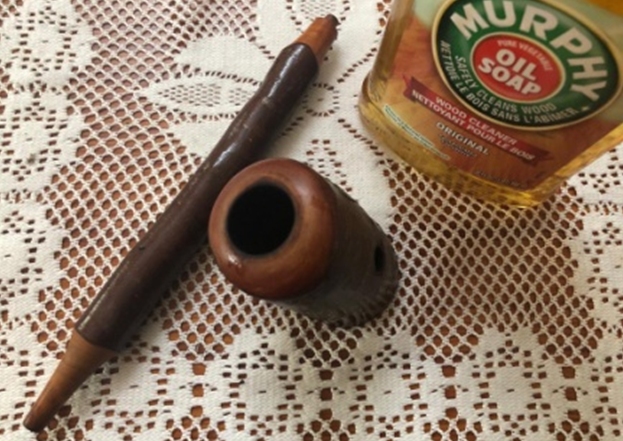
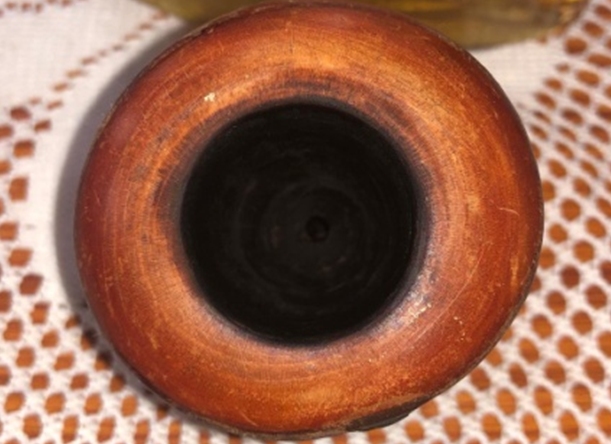
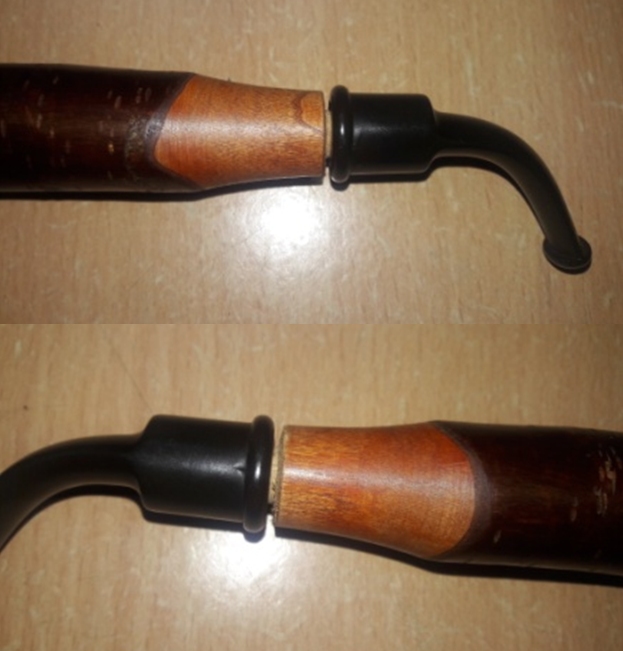
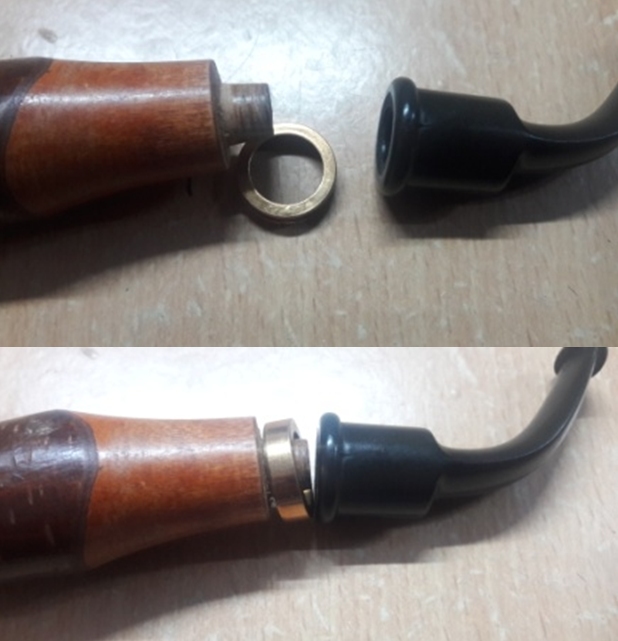
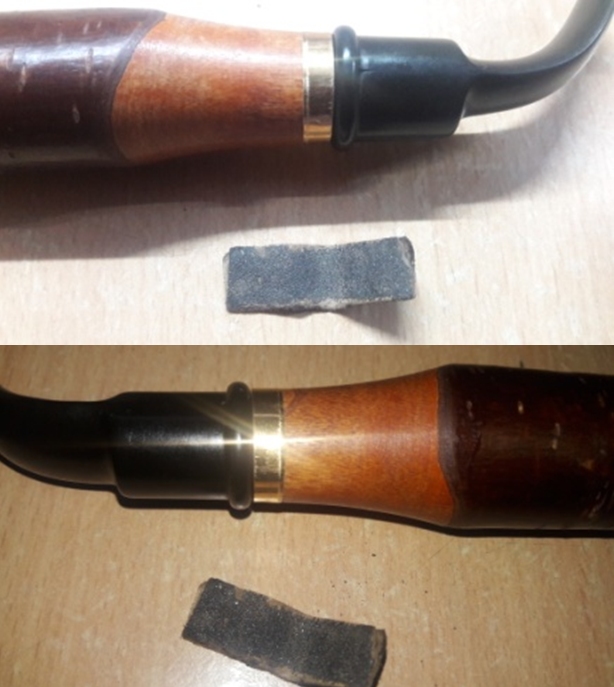
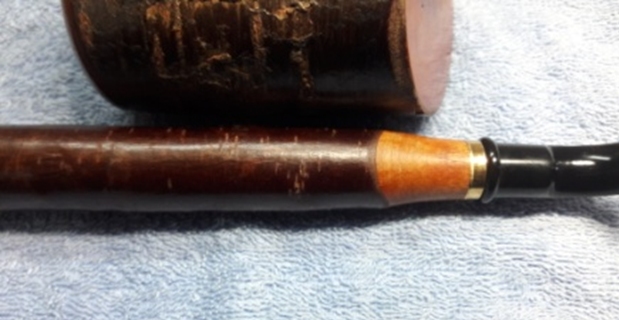
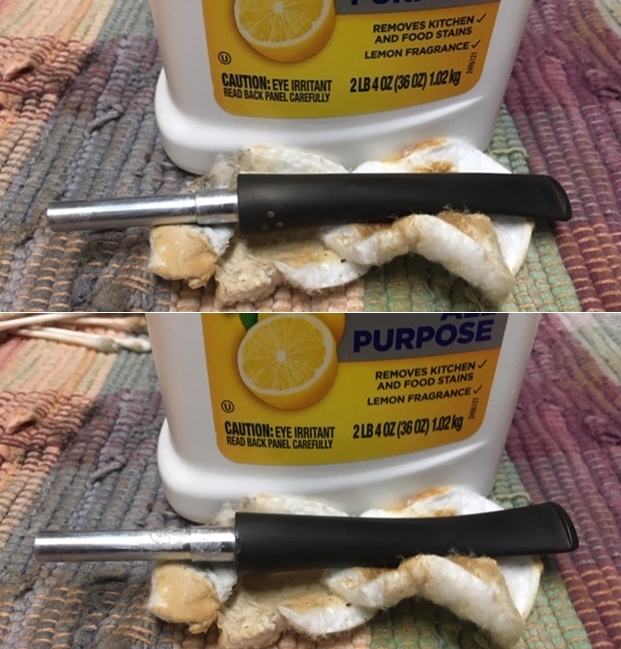
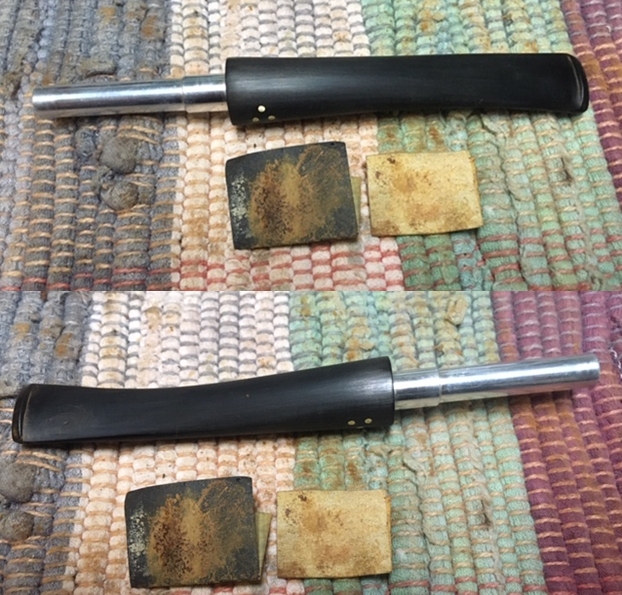
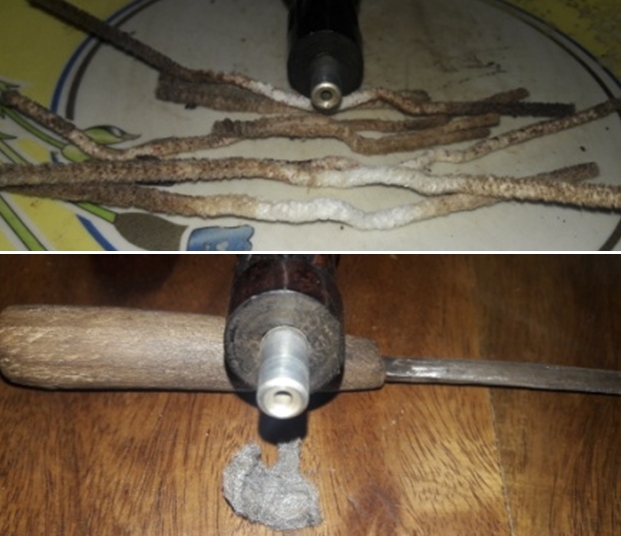
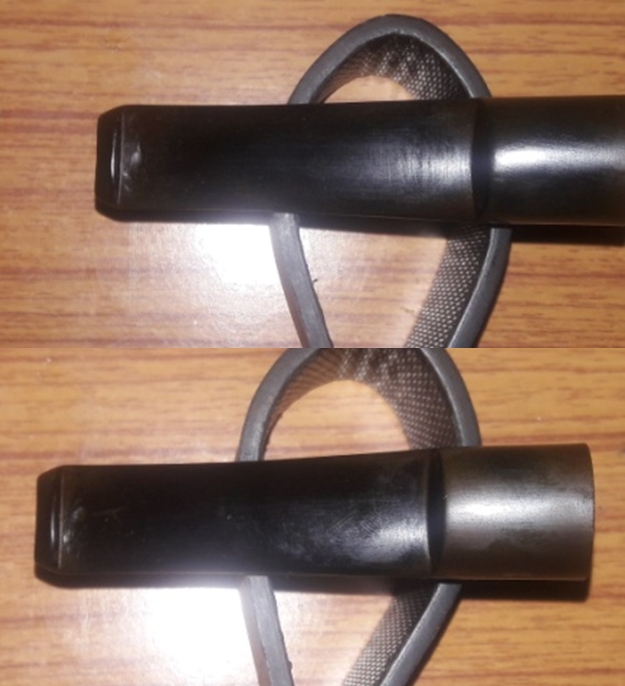
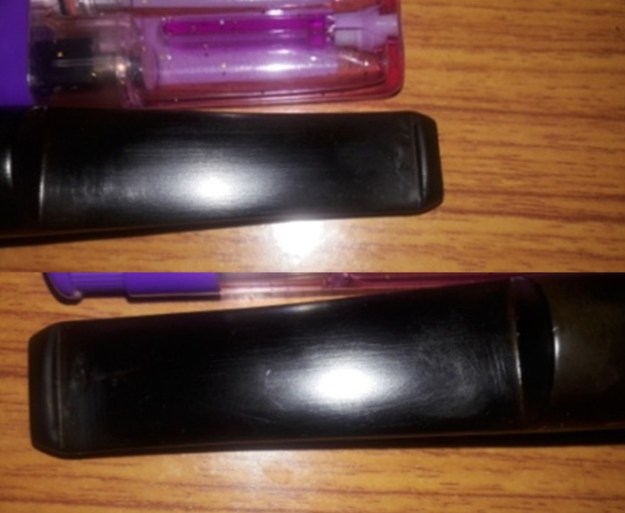
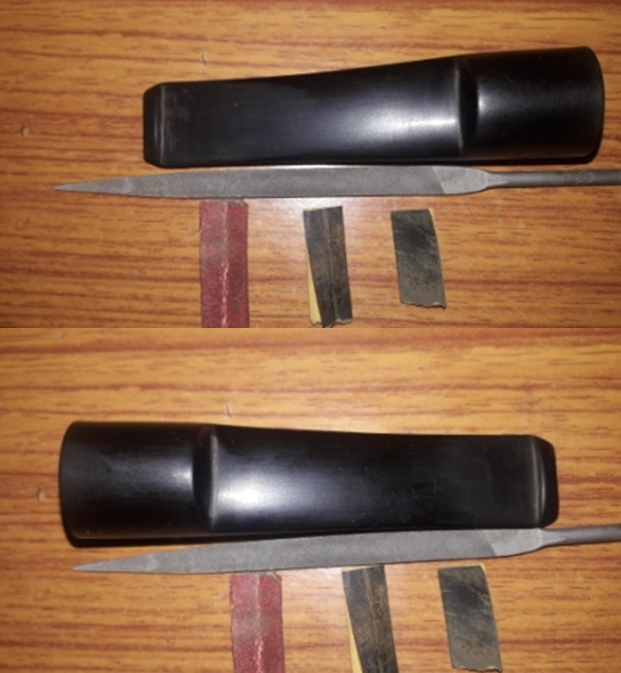
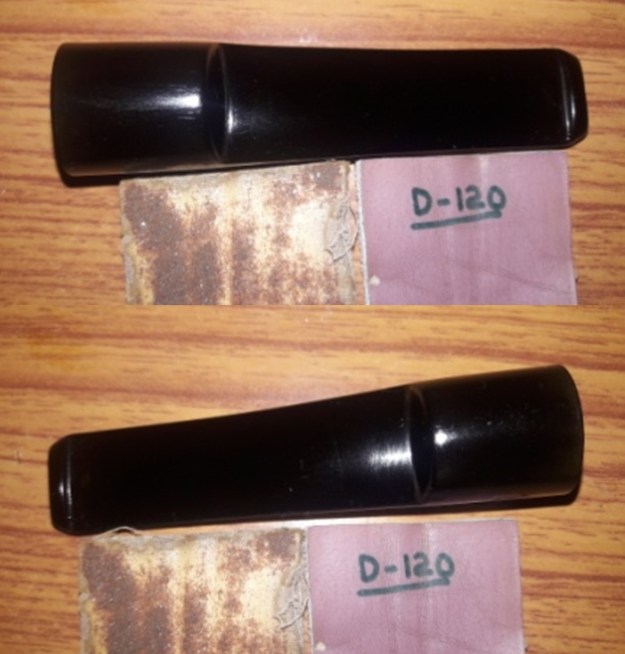
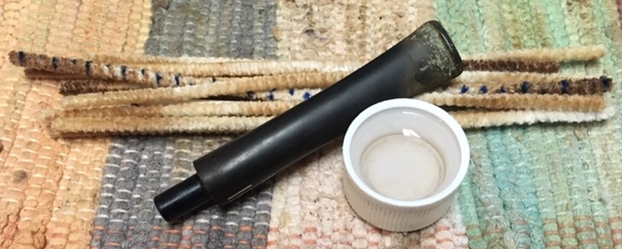
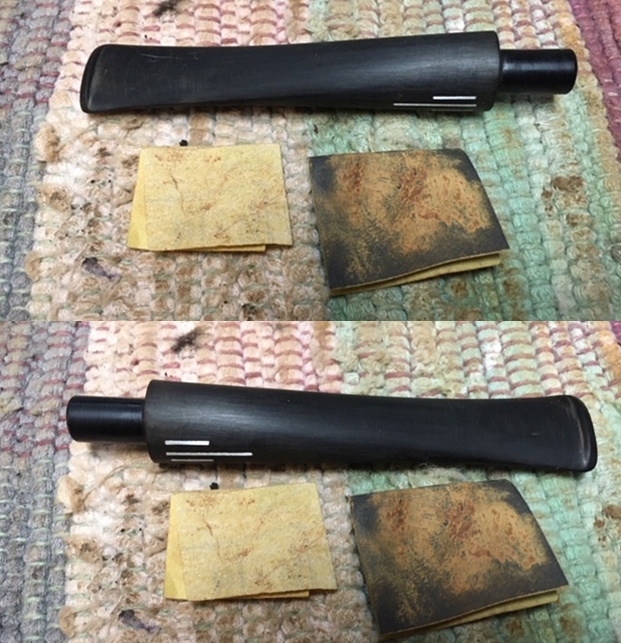
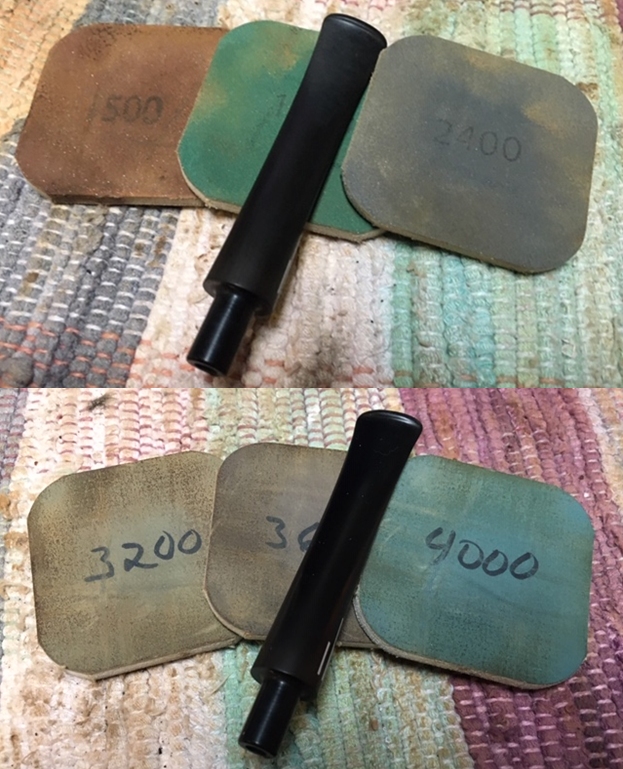
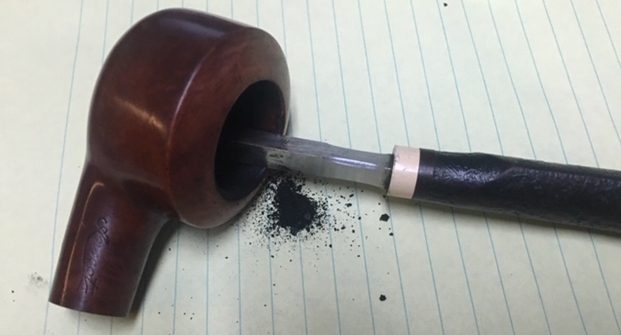
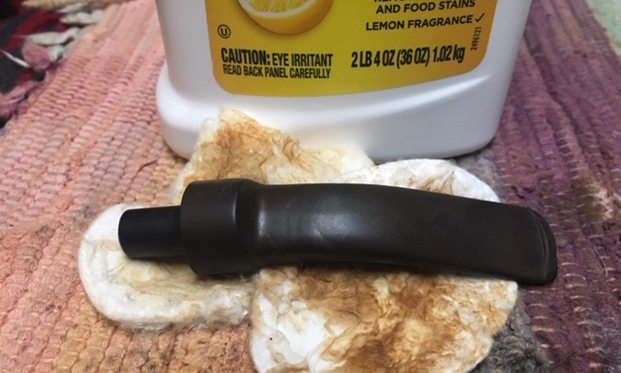
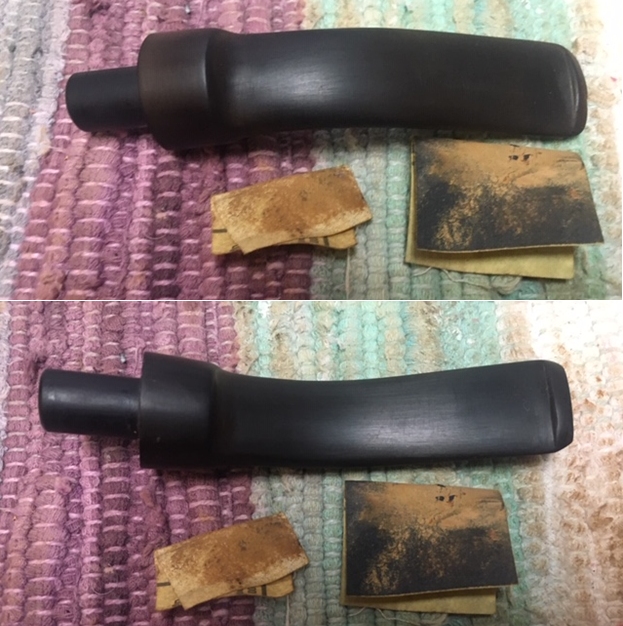
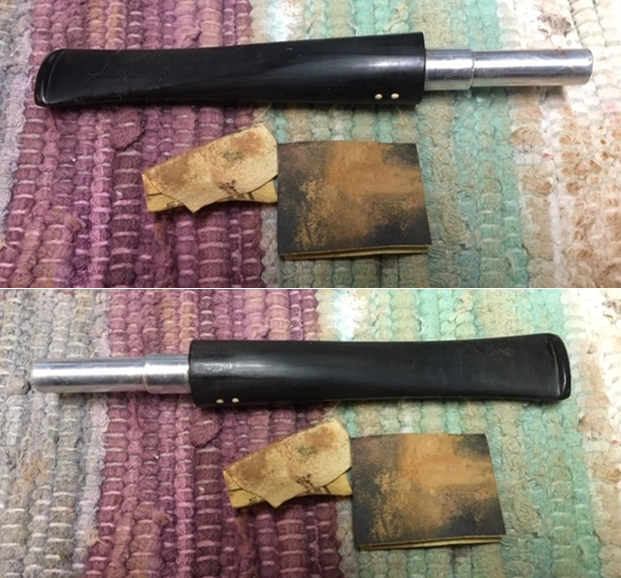
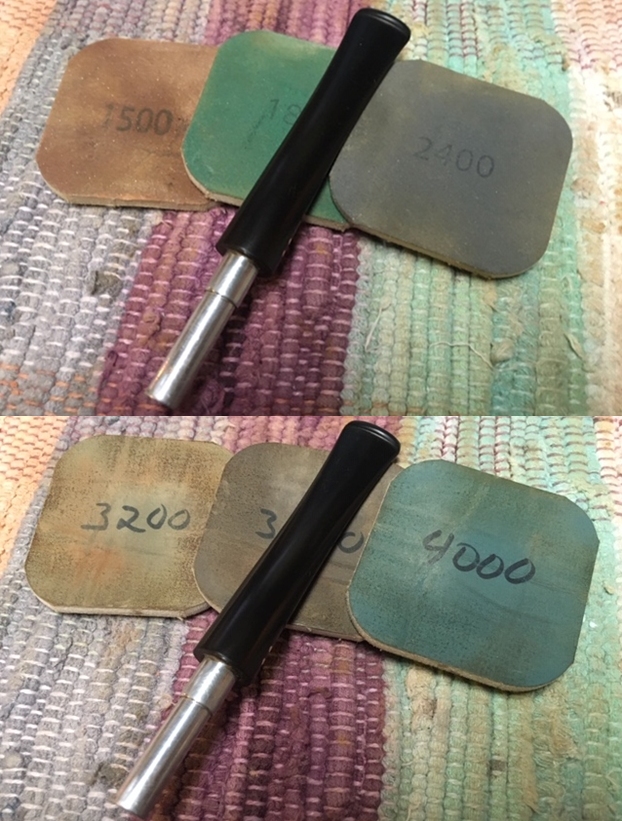
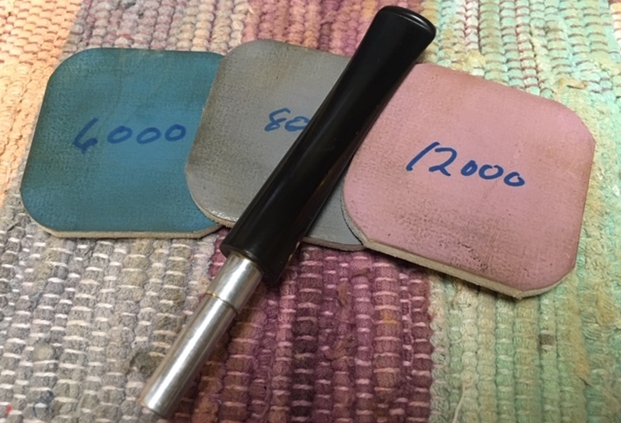
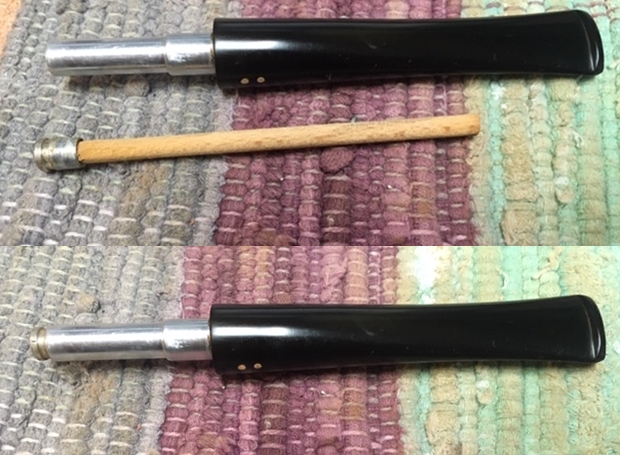
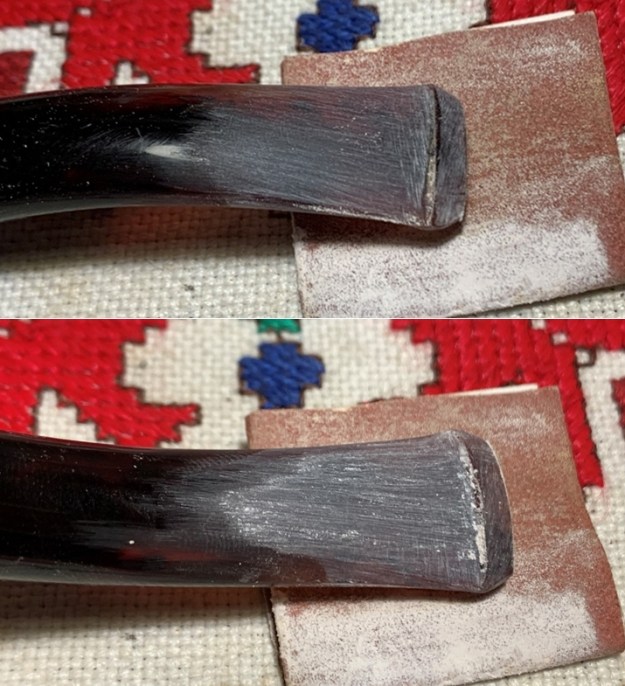
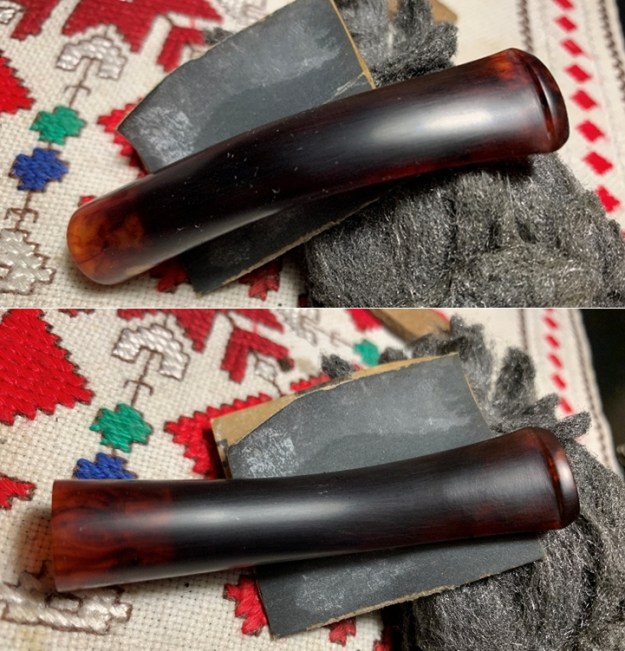
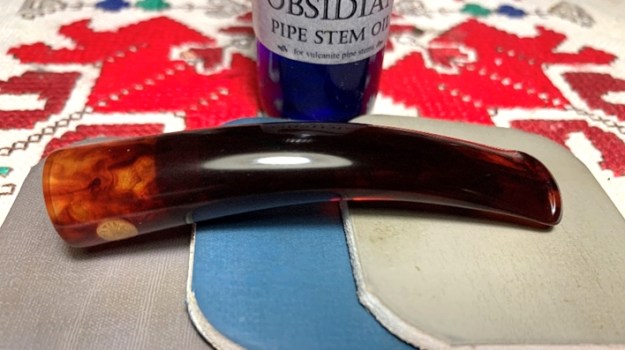
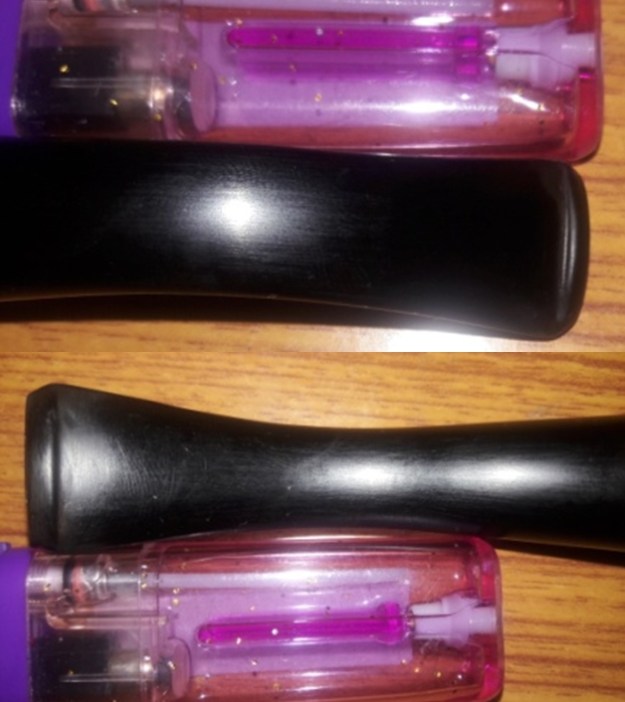
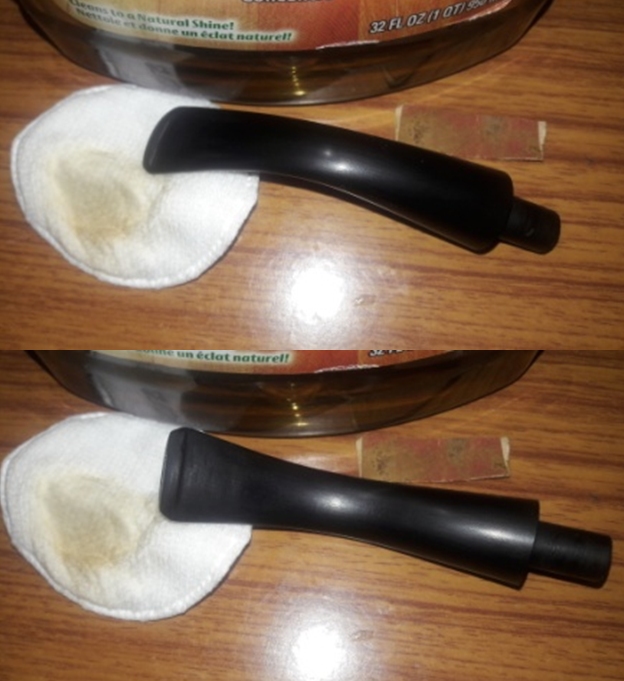
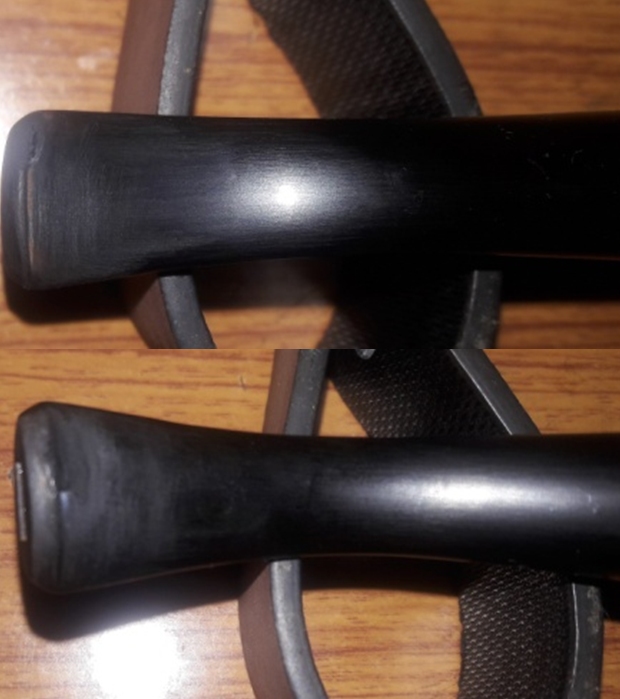
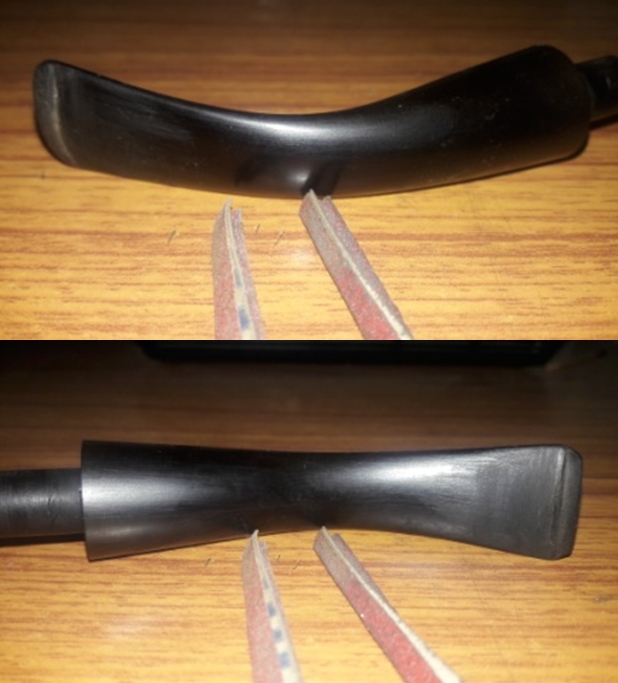
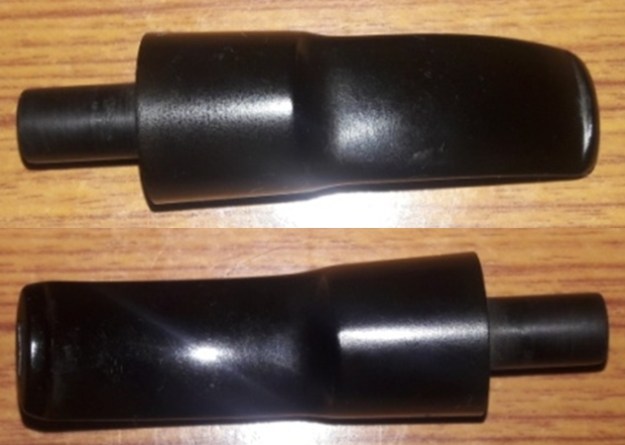
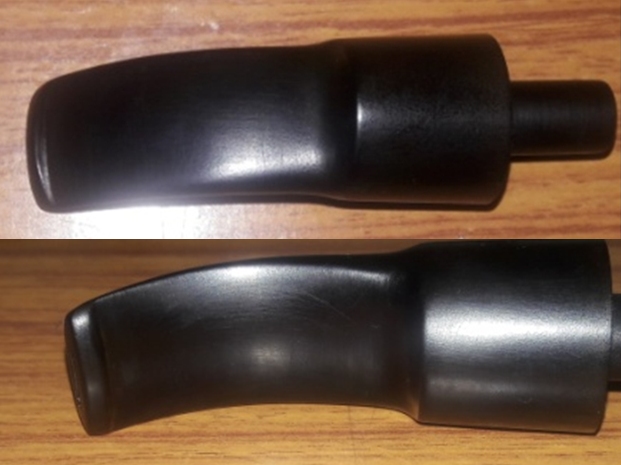
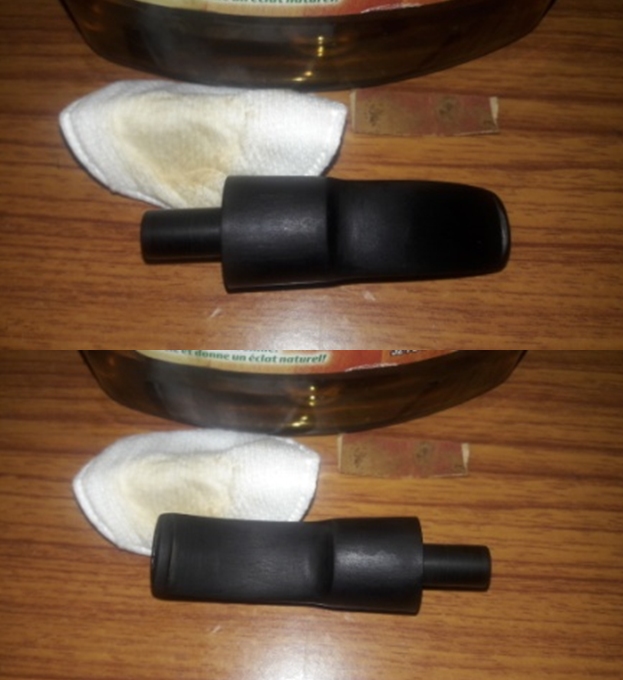
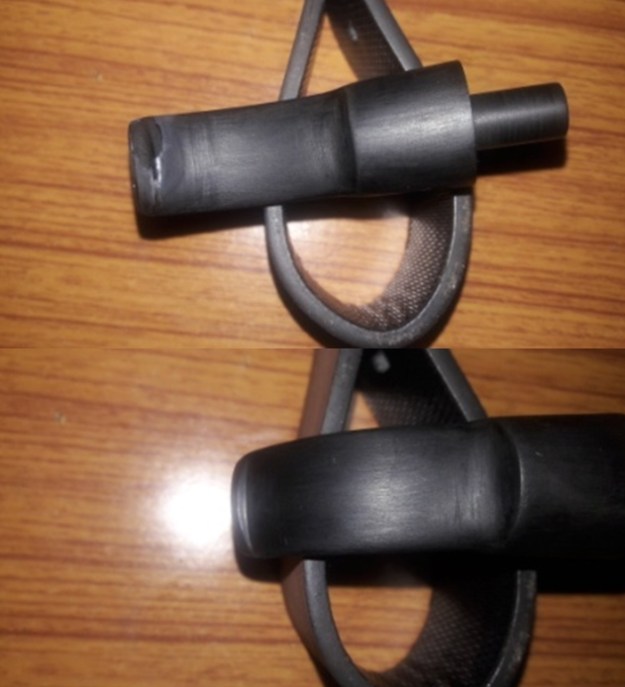
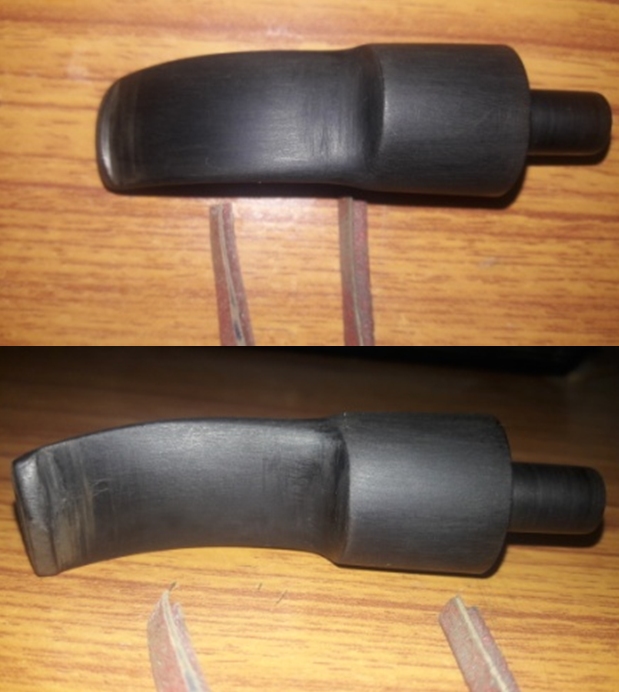
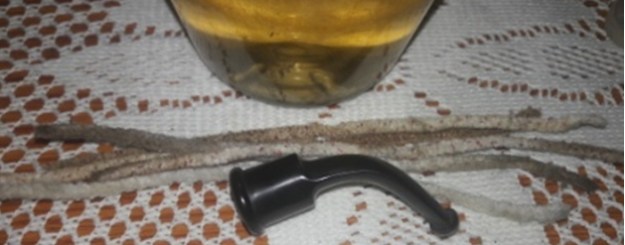
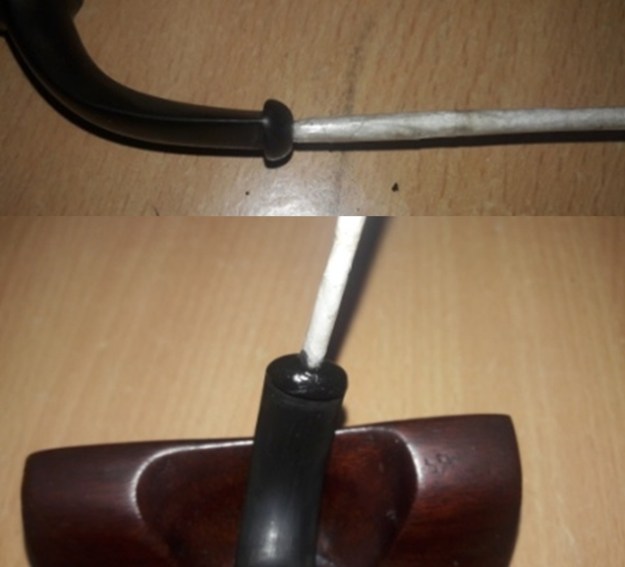
Getting down to the stem repairs, I began with cleaning the stem air way and the threaded wide chamber. I painted both surfaces of the stem with the flame of a lighter to raise the tooth indentations to the surface. This also helps in loosening minor oxidation from the stem surface. I sand the entire stem surface with a folded piece of a 220 grit sand paper to even out the raised tooth chatter and the tooth indentations to a degree and also to remove the loosened oxidation. I wiped the stem with a cotton swab and Murphy’s oil soap to further remove the oxidation. Most of the tooth chatter has been addressed by heating the damaged stem portion with the flame of a lighter; the minor tooth chatter visible on the lower surface in the bite zone should be completely eliminated during further sanding by sandpaper. At this stage in stem repairs, I now had a clear idea as to the extent of the repairs required by the stem. I tightly wound a scotch tape around the thin end of a tapered pipe cleaner and inserted it through the rounded slot. This prevents the fill from pouring down in to the slot and blocking the stem air way. I filled the cracks radiating outwards from the round slot with a mix of activated charcoal and CA superglue and set it aside for the fill to cure. Once the fill had cured sufficiently, with flat needle file I sanded the fills to match with rest of the button end. With the same file, I sharpened the button edge on both the upper and lower surface. I fine tuned the blending of the fill with the rest of the surface using a 220 grit sand paper and also sanded down the entire stem to remove the stubborn residual oxidation. I further sand the stem with 600 and 800 grit sand paper and wiped the stem with cotton pad dipped in alcohol to remove the resultant dust. I further smooth the fill and polished the entire stem with a 0000 grade steel wool. I rubbed some extra virgin olive oil in to the stem and set it aside to be absorbed in to stem. There was an issue of gap in the seating of the stem over the threaded shank end. I had hoped that after cleaning the stem internals this issue would be resolved. However, this did not happen. There was no other way, that I could think of to address this issue, but mask it (The Purist, though, may not agree with me on this thought process)!! I decided to mask this gap with a brass ring at the stem end of the shank. I selected a ring that was a tad smaller in diameter than the shank end. With a 220 grit sand paper, I carefully sand the very stem end of the shank, checking frequently for the seating of the ring. Once I had achieved the desired seating, I aligned the shank, ring and the stem. The assembled parts matched perfectly with no gap between the shank and stem and looked really nice. I glued the ring in to place with CA superglue and set it aside. I polished the stem with micromesh pads, wet sanding with 1500 to 12000 grit pads. I rubbed a little extra virgin olive oil in to the stem at the end of the micromesh pads polishing cycle. I rubbed “Before & After Extra Fine” polish that has been developed by my friend, Mark Hoover, in to the stem surface. This removes minor oxidation and scratches from the surface. I completed the polishing regime of the stem by rubbing a small quantity of Paragon wax and giving it a final polish with a soft cotton cloth. The stem is now nice, smooth and shiny.To apply the finishing touches, I mount a cotton cloth buffing wheel on to my hand held rotary tool and apply a coat of Blue Diamond to the stem to polish out the minor scratches. With a cotton buffing wheel that I use for carnauba wax, I apply a coat of carnauba wax to the stummel and stem and continued to work on it till the complete coat of wax had been polished out. I mount a clean cotton cloth buffing wheel and gave the entire pipe a once over buff. I finished the restoration by giving the entire pipe a rigorous hand buffing using a microfiber cloth to deepen the shine further. The finished pipe is shown below. P.S. – This is in no way a beautiful pipe, but a rugged and rustic looking with such a solid construction that it is capable of lasting for ages!! It has its own charm and the addition of the shiny brass ring at the stem end of the shank has given it some bling, breaking the monotony of cherry wood and how!!
Thanks for your patience and looking forward to inputs on the write up and any information on this pipe. Cheers…

Breathing Life into a Can Pat Brigham Exclusive Tall Stack


Blog by Steve Laug

Not too long ago I received an email from a fellow in Kitchener, Ontario regarding some pipes he needed cleaned up. He had been referred to me by my local pipe and cigar shop. While I am not currently adding more pipes to my queue of repairs I have made a commitment to the shop to work on pipes for their customers. Generally they have one or two pipes that need a bit of work. This fellow sent me the following email:

I just came across my smoking pipes that I’ve had in storage for about 40 years. I’m wondering what you’d charge to have them refurbished. There are 17 in total (11 are Brighams and 6 are various).

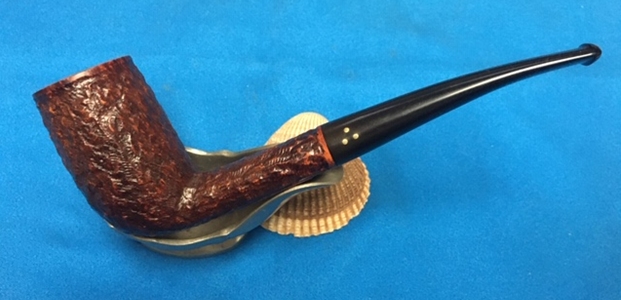
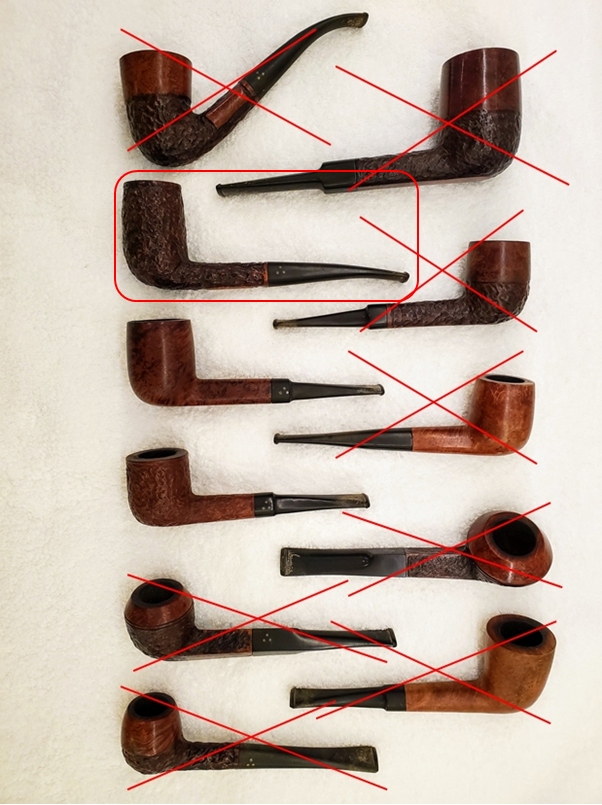
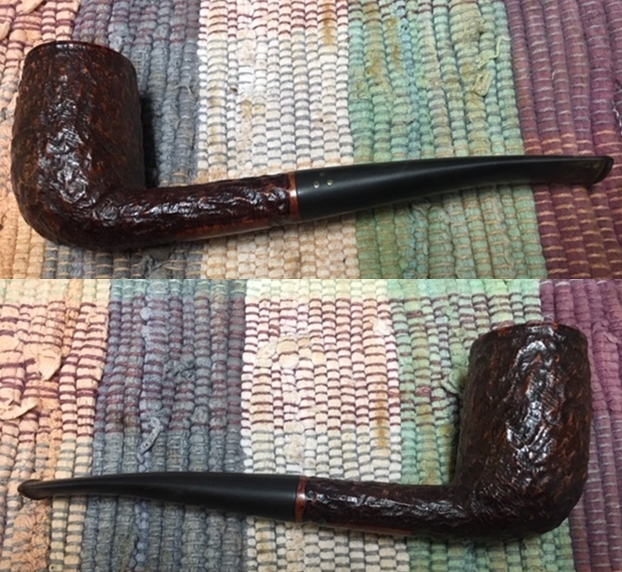
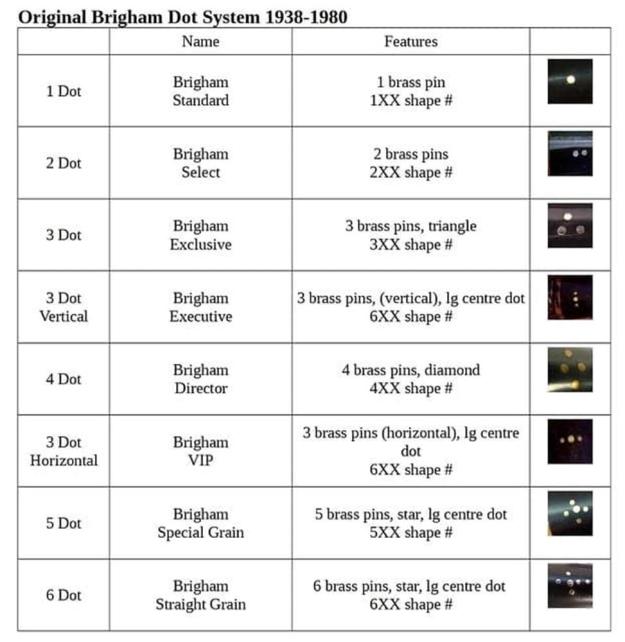
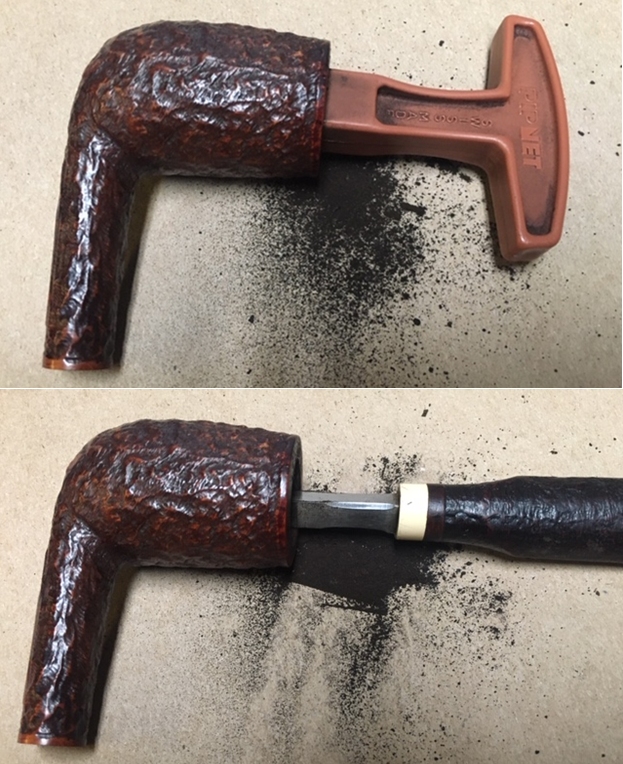
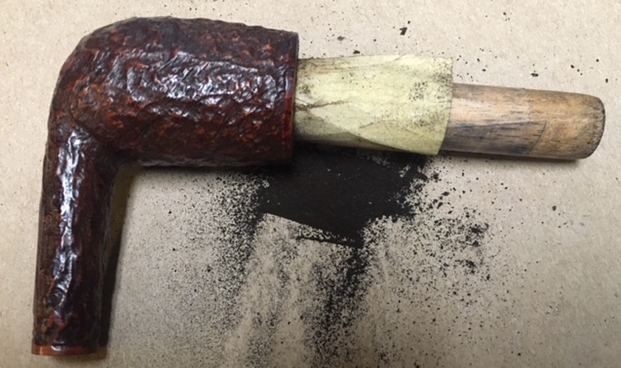
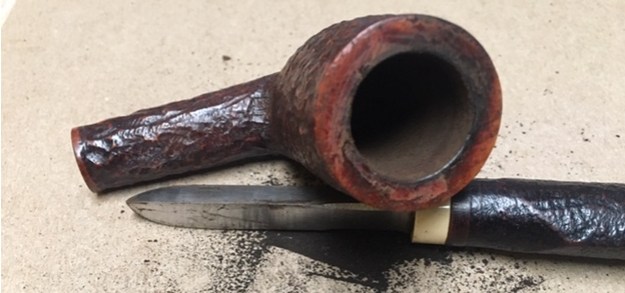
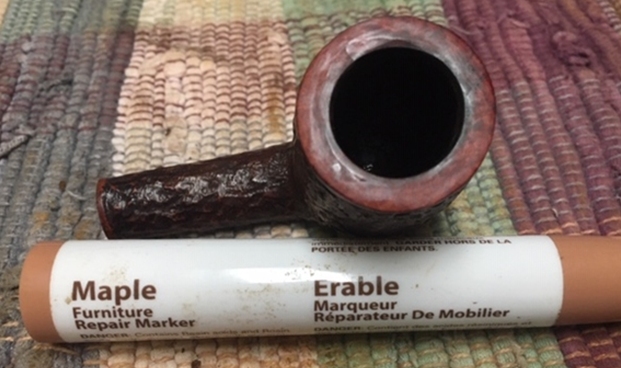
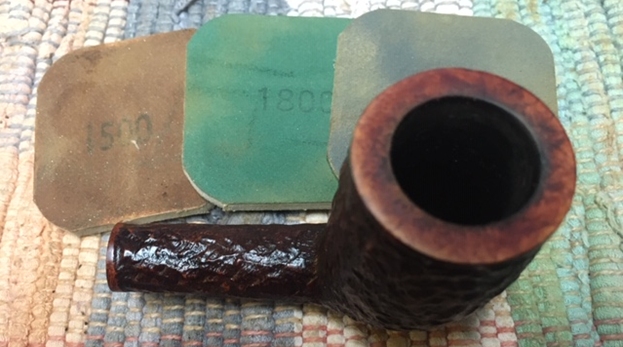
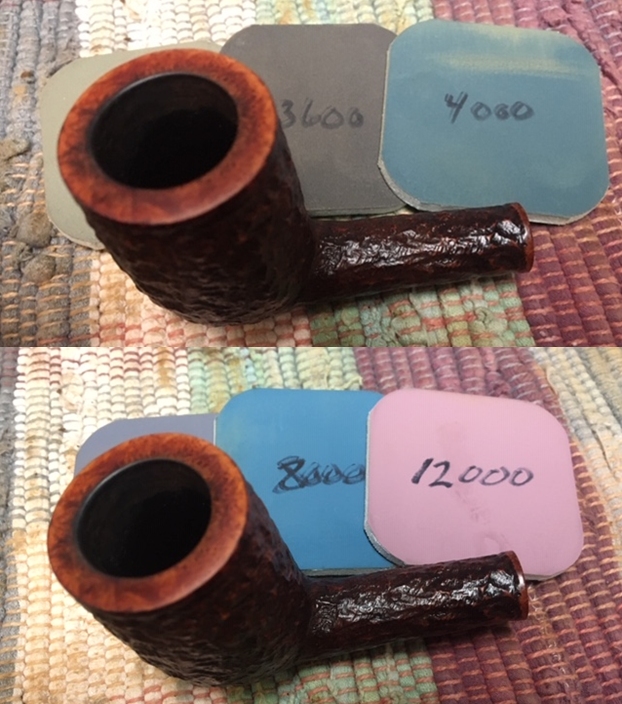
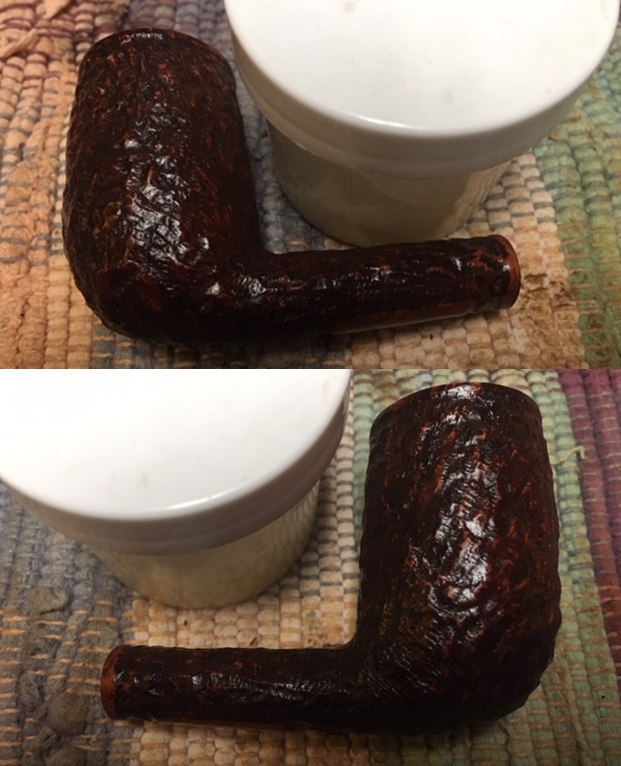
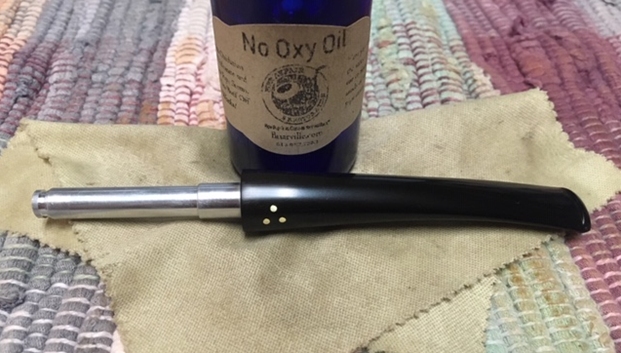
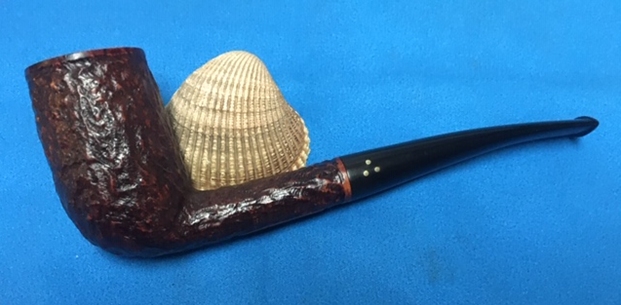
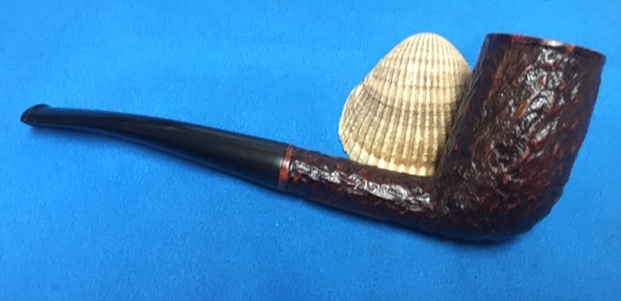
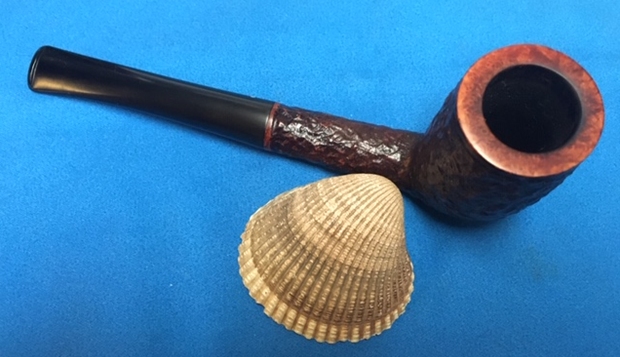
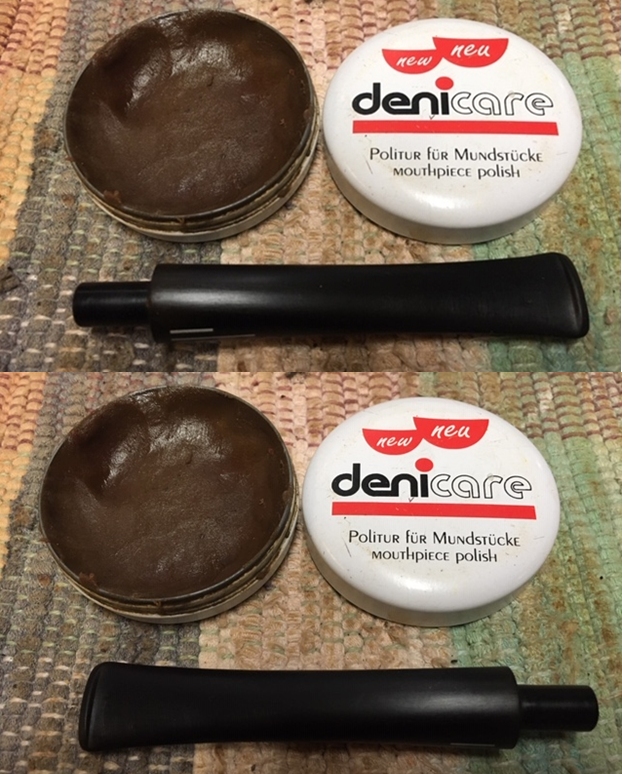
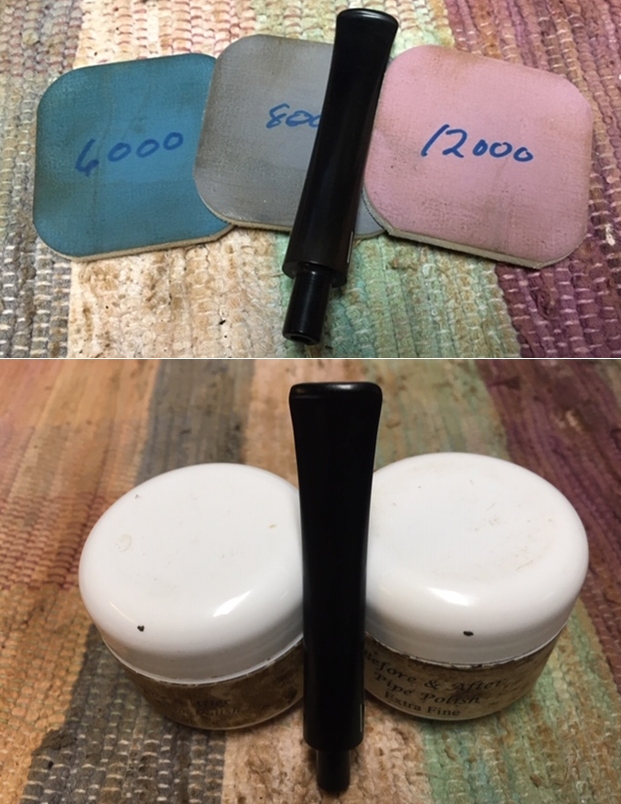
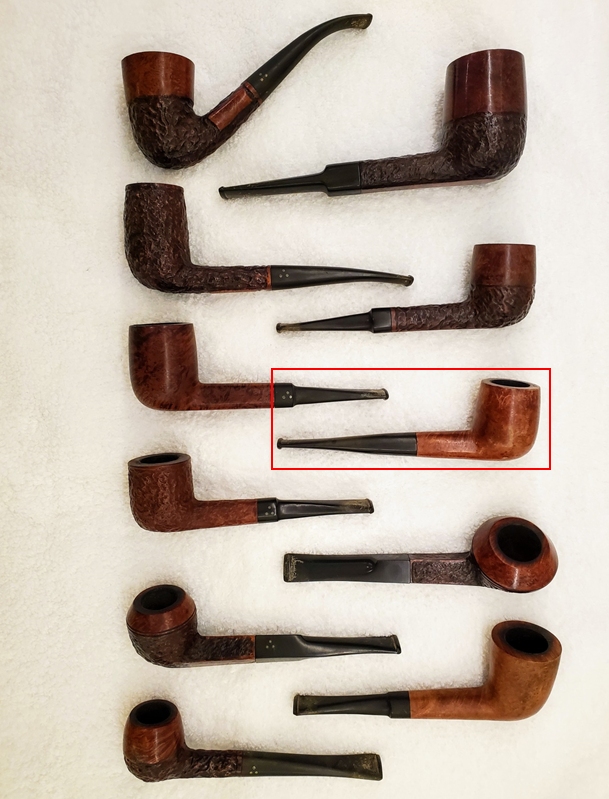
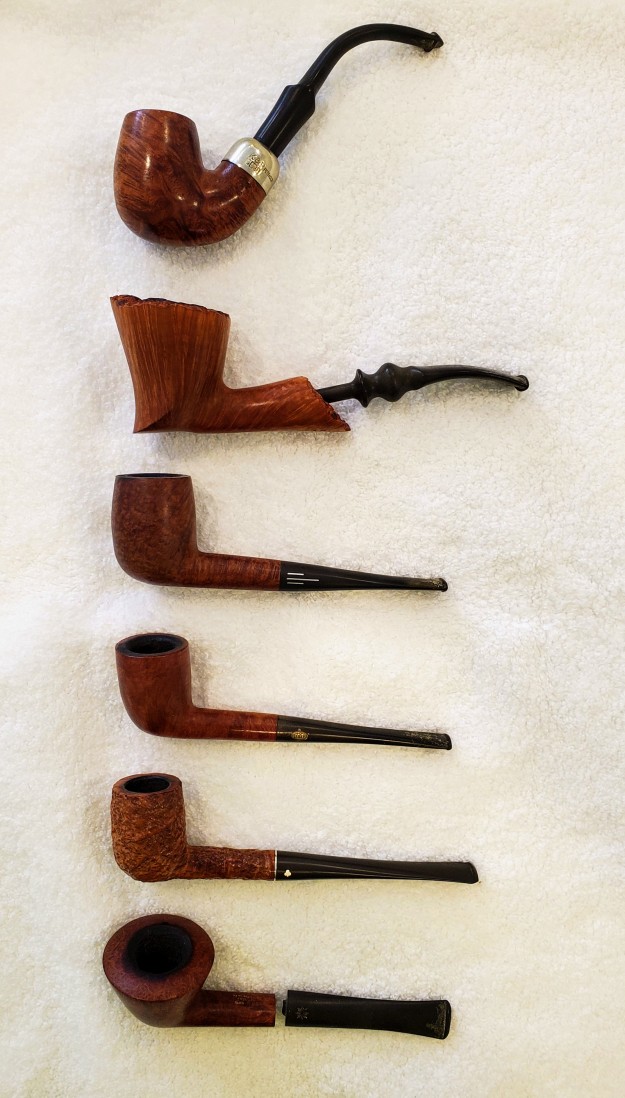
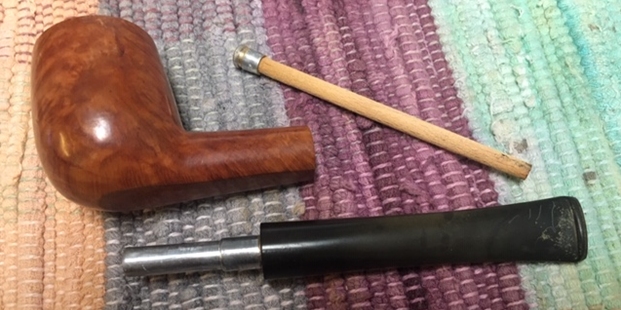
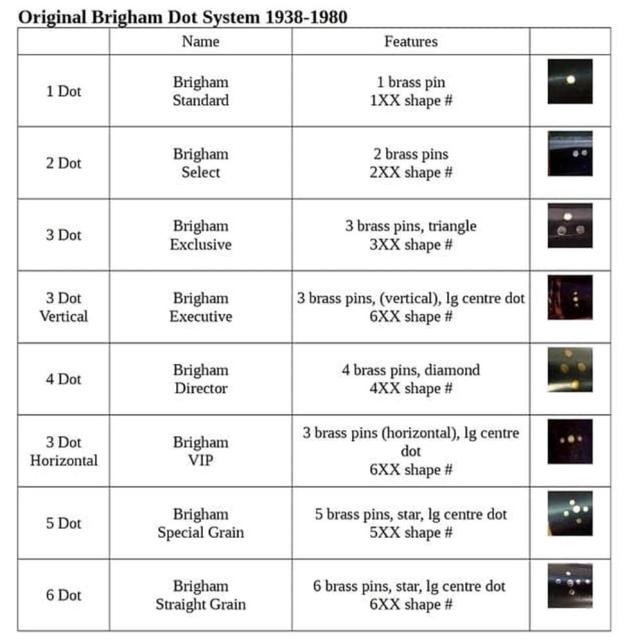
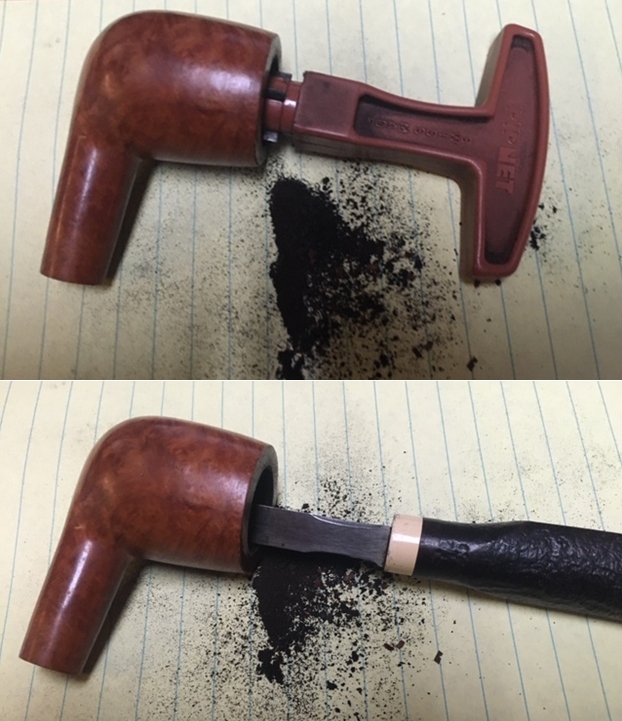
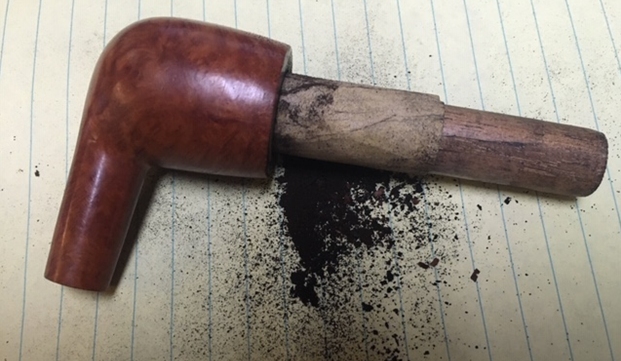
It turns out he said he had 17 pipes. That was certainly more than I expected but I communicated that there was a large queue ahead of him and I would have to fit them in as I could. He was fine with whatever time it took. He sent me the following photos of his collection that he wanted restored. The first photo shows his eleven Brigham pipes – all very interesting shapes. The second photo shows the six various pipes in the collection – A Republic Era Peterson’s System 1312 (Canadian Import), A Bjarne Hand Carved Freehand, a Comoy’s Everyman London smooth billiard, a GBD Popular Dublin 12, an English made Kaywoodie Rustica 72B, a Kriswill Bernadotte 60 with a broken tenon. When the box arrived there were two additional pipes included for a total of 19 – a Ropp 803 Deluxe Cherrywood Poker and a Comoy’s Sandblast Everyman Canadian 296. It was a lot of pipes! I have been randomly choosing the next pipe to work on and chose the Brigham that I have drawn a red box around in the photo below.When I unwrapped it the pipe it was a tall Stack. It was stamped on the smooth underside of the shank. The stamping is faint but part of it was readable. There is no shape number to identify the pipe. Where it would have been it is followed by the Brigham Script over Can. Pat. 372982. It had a rusticated bowl and shank with a smooth rim top. The rim top had a lava overflow from the medium cake in the bowl. The bowl was in decent condition, slightly out of round on the inner edge. There was some darkening around the top and inner edges of the bowl. It was a dirty pipe but the finish appeared to be in okay condition under the grime. The 3 Dot tapered stem was oxidized and had tooth marks and chatter near the button on both sides. There was also some calcification for about an inch up the stem. I took close up photos of the bowl and rim top to show the condition of the bowl and damage to the rim edge as well as the cake and lava overflowing onto the rim top. I also took close up photos of the stem to show its condition as mentioned above.     I took a photo of the faint stamping on the underside of the shank to show what I was speaking about above. It is very clear and readable. It reads Brigham in script over Can Pat. 372982.I removed the stem from the shank to reveal the aluminum tube/tenon that held the Rock Maple Distillator. The distillator was missing and the tube was very dirty. It will need to be replaced. Before starting my clean up work on the pipe I turned to a chart that Charles Lemon of Dad’s Pipes sent to me on the patent era Brighams. There were made from 1938-1980. As the pipe I am working on is a Patent pipe, it’s more accurate to refer to its grade by name (the post 1980 grading scheme refers to Dots). Here is the  chart that Charles sent me. The pipe I am working on is thus a Brigham Exclusive with the 3 brass pins arranged in a triangle. With this pipe I am returning to work on another Can Pat Brigham pipe from the nineteen pipe installment. I went to work on it immediately. I reamed the bowl with a PipNet pipe reamer using the second and second cutting head to take the cake back to bare briar so I could inspect the walls. I cleaned up the remnants with a Savinelli Fitsall Pipe Knife. I sanded the bowl walls with 220 grit sandpaper on a piece of dowel to smooth them out and further examine them. I was happy that the walls looked very good. I worked on the darkening on the rim top and the rough inner edge of the bowl by first scraping it with the edge of the Fitsall reamer and the sanding it with a folded piece of 220 grit sandpaper. I was able to remove the darkening and smooth out the inner edge of the bowl. I cleaned out the mortise area and airway to the bowl and the interior of the metal tube and airway in the stem with pipe cleaners, cotton swabs and alcohol. The aluminum tube was dirty because it was missing the distillator and had been smoked sans filter.   I scrubbed the surface of the bowl with undiluted Murphy’s Oil Soap and a tooth brush to remove the grime and grit as well as the remnants of the shiny finish on the smooth portions of the bowl.         With the rim top cleaned off and the inner edge restored and the darkening gone the rim was lighter than the smooth underside of the shank. I stained it with a Maple Stain pen. I don’t worry too much about the evenness of the coverage at this point as I plan on polishing it with micromesh sanding pads.I wet sanded the rim top and edges of the bowl with micromesh sanding pads – 1500-12000 grit sanding pads. I wiped the bowl surface down with a damp cloth after each sanding pad to remove the sanding dust. Once I finished the bowl looked good. I rubbed the bowl and shank down with Before & After Restoration Balm. I worked it into the surface of the briar with my fingertips to clean, enliven and protect it. I let the balm sit for a little while and then buffed with a cotton cloth to raise the shine. Mark Hoover’s Balm is a product that I have come to appreciate and one I use on every pipe I have been working on. It really makes the grain stand out on this pipe.    I set the bowl aside and turned my attention to the stem. I rubbed the stem down with Soft Scrub on with a cotton pad and it removed the oxidation and the calcification build up. It looked a lot better.       I sanded out the tooth marks, chatter and oxidation with 220 grit sandpaper and started the polishing with 400 grit wet dry sandpaper. I rubbed down the stem with Denicare Mouthpiece Polish and a cotton pad to remove the remnants of oxidation and to blend in the sanding. The polish is a red gritty paste that works wonders on removing stubborn remnants of oxidation in the crease. The stem is starting to show promise at this point in the process.     Before I finished the polishing stem I decided to fit it with a new Rock Maple Distillator.   I polished the stem with micromesh sanding pads – wet sanding it with 1500-12000 grit pads. I wiped the stem down after each sanding pad with a cotton pad to remove the sanding debris.  I finished polishing the stem with Before & After Pipe Stem Polish – both fine and extra fine. I finished by wiping it down with Briarville’s No Oxy Oil and buffing it to a shine.   I am excited to finish another of the lot as it moves me one pipe closer to being finished. I put the pipe back together and buffed it with Blue Diamond on the buffing wheel. I gave the bowl and the stem multiple coats of carnauba wax. I hand buffed the pipe with a clean buffing pad to raise the shine. It is fun to see what the polished bowl looks like with the grain popping through on the rim top and the rustication coming to life. Added to that the polished black vulcanite stem with the shining brass pins was beautiful. This mixed smooth and rusticated finish Brigham Exclusive Stack is nice looking and feels great in my hand. It is light and well balanced. Have a look at it with the photos below. The dimensions are Length: 6 inches, Height: 2 ¼ inches, Outside diameter of the bowl: 1 ¼ inches, Chamber diameter: ¾ of an inch. This is the 15th of the 19 pipes sent to me from Eastern Canada for restoration. Once again I am looking forward to what the pipeman who sent it thinks of this restoration. Lots more to do in this lot! Thanks to each of you who are reading this blog. Remember we are not pipe owners; we are pipemen and women who hold our pipes in trust until they pass on into the trust of the next pipeman or woman.

Restoring An African Themed Large Billiard Countryman With Hand- Carved Figurines


Blog by Paresh Deshpande

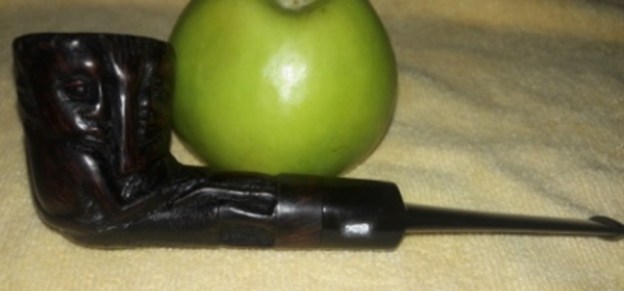
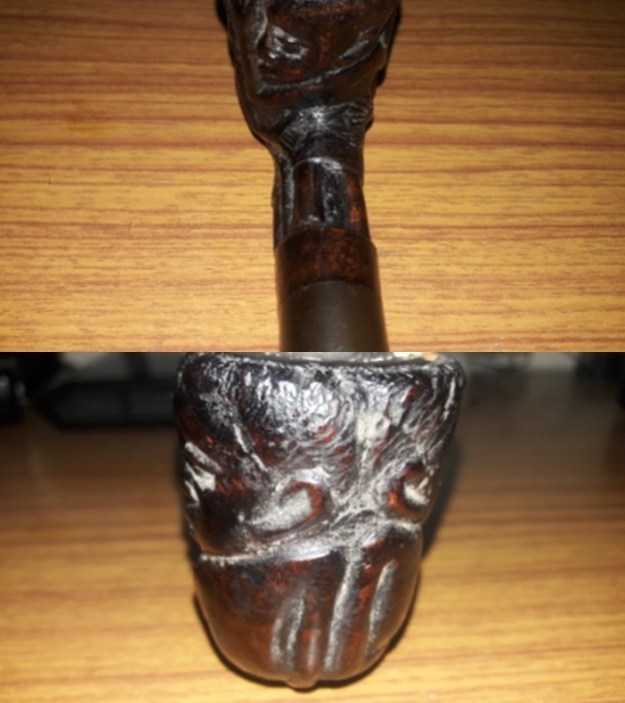
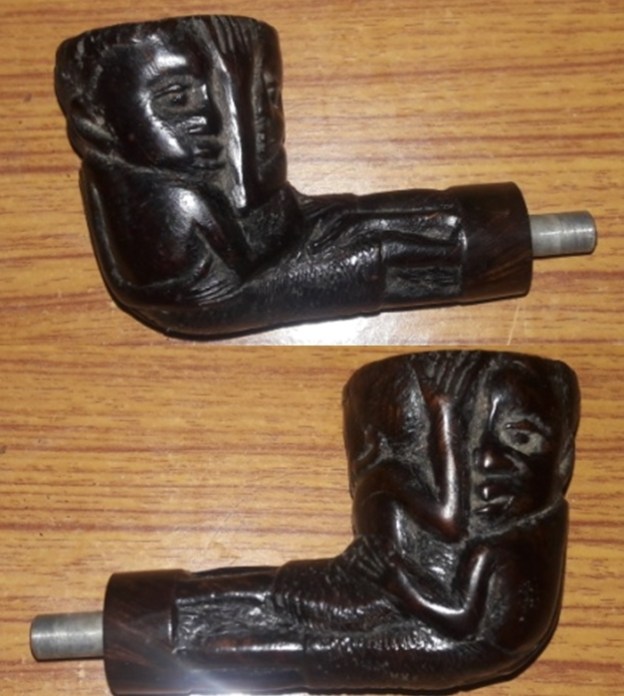
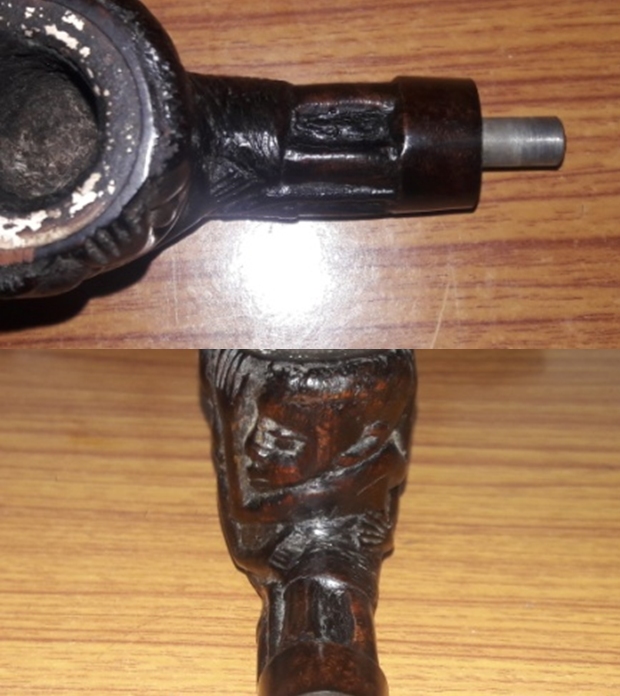
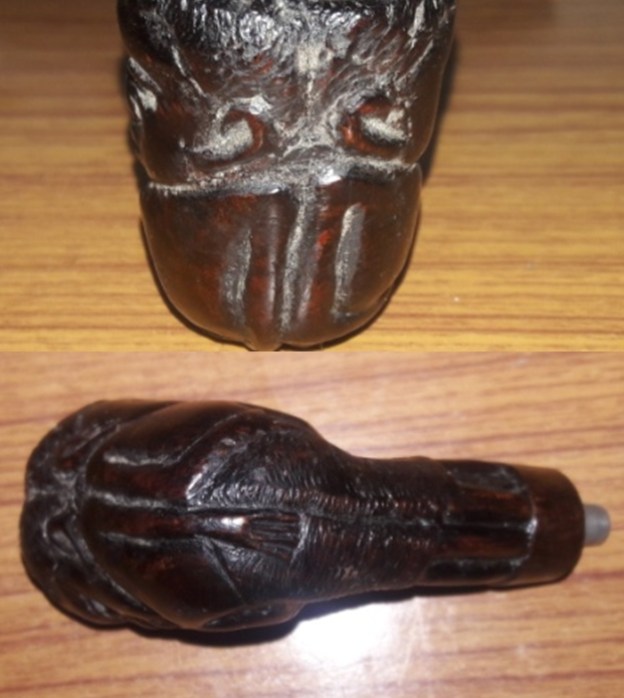
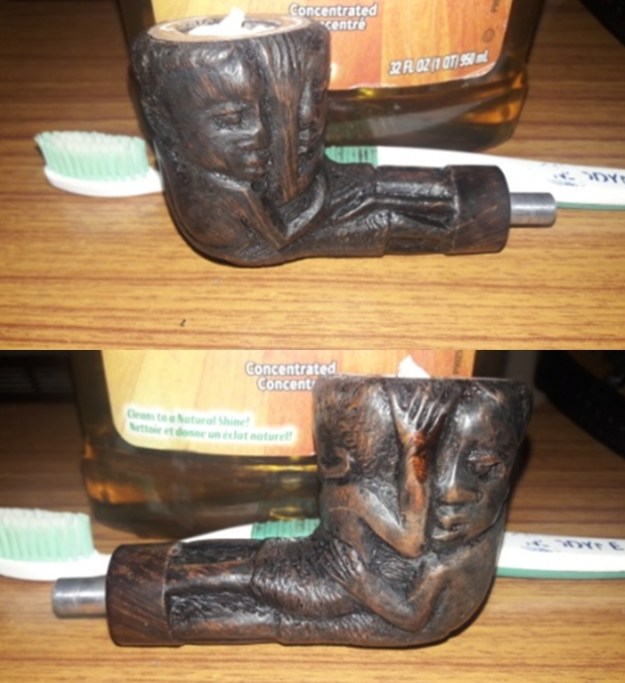
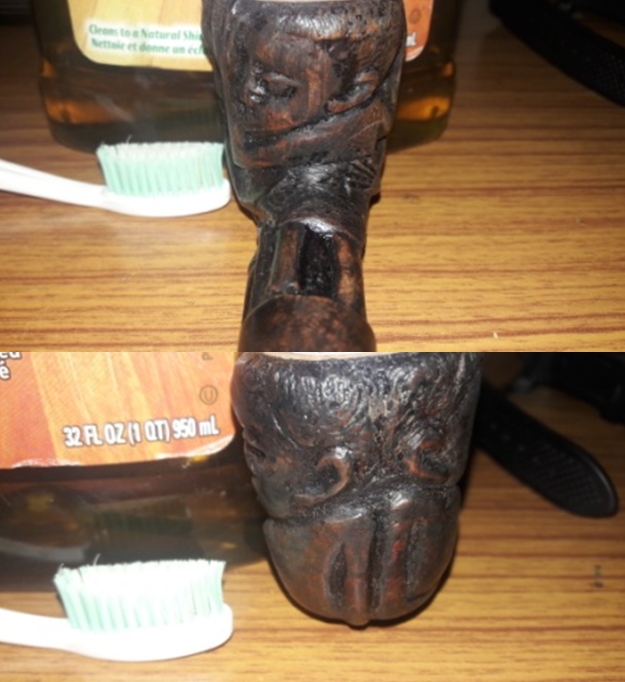
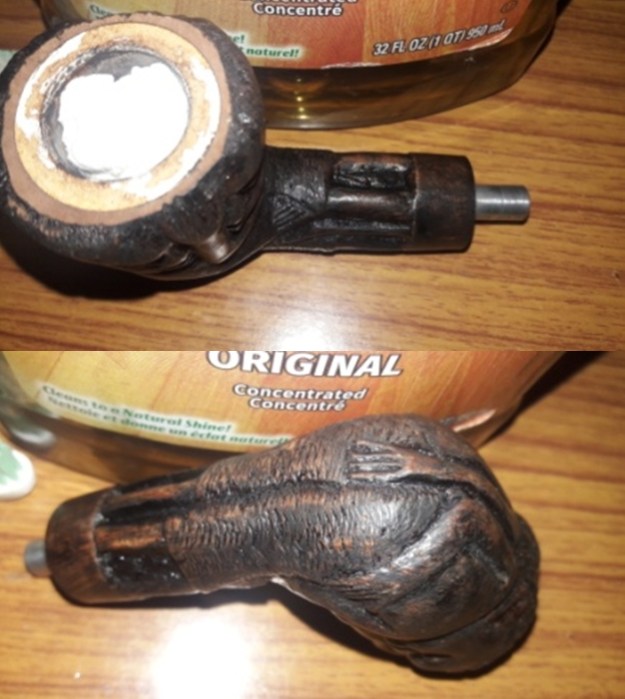
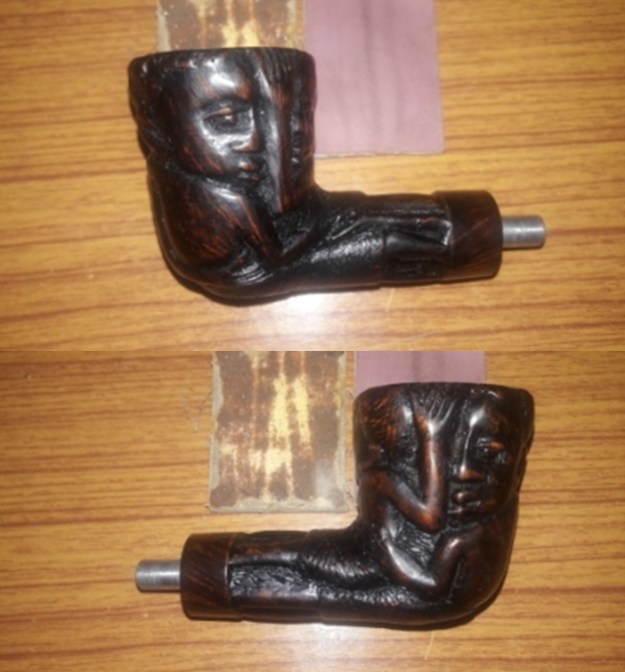
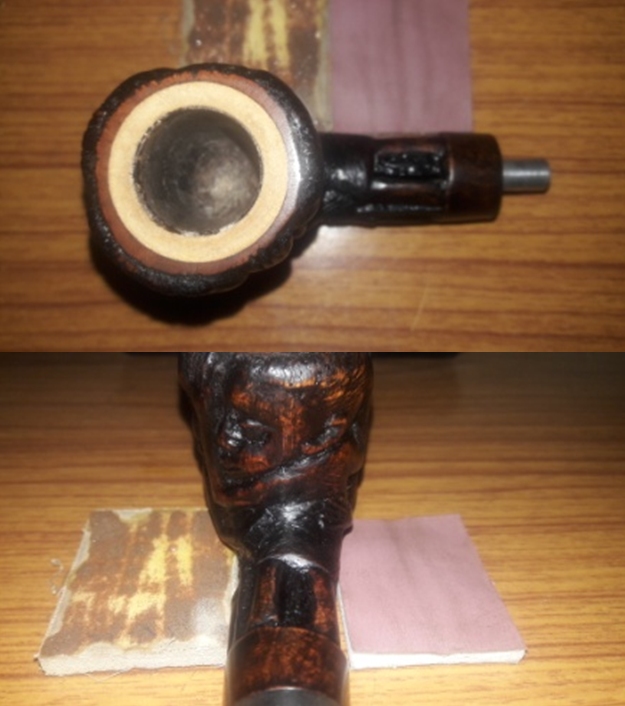
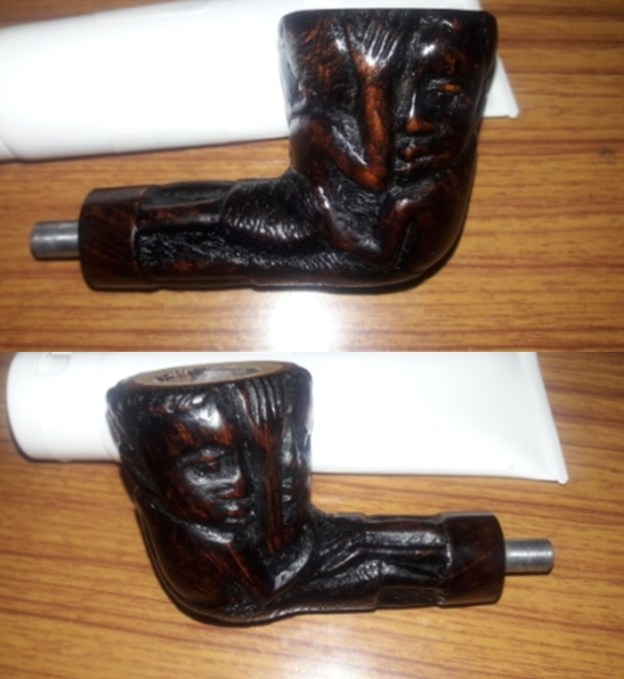
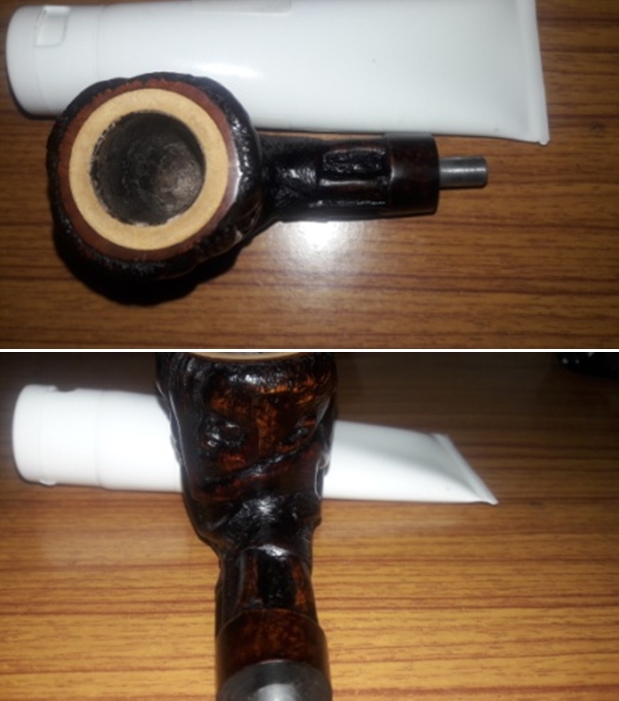
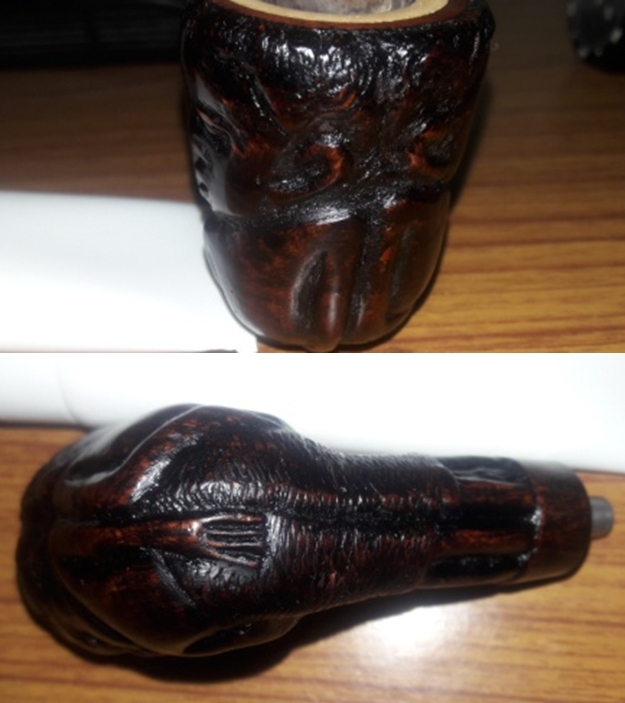
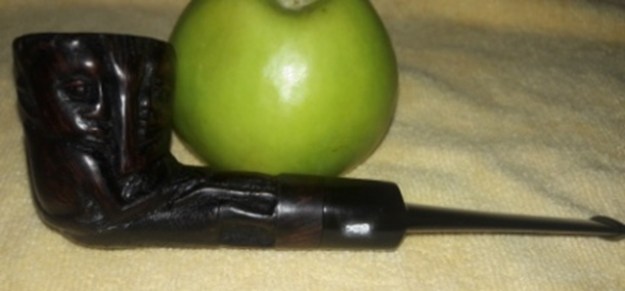
While surfing eBay for pipes a long time ago, I came across a pipe that was a large sized billiard and meerschaum lined. Well, upfront I wish to be candid and confess that I am not a big fan of meerschaum lined bowls and this pipe did not boast as being carved by any of my favorite makers! Yet I went ahead and made an offer which I feverishly hoped the seller would turn down, being ludicrously low from the asking price. However, the seller accepted my offer and a few weeks later, the pipe reached Abha. Surprisingly, she liked the pipe!! What attracted both of us to this large pipe was the hand carved figurines over the stummel surface. These figurines looked like to be that of an African mother holding her child (or is it just a figment of my imagination??).

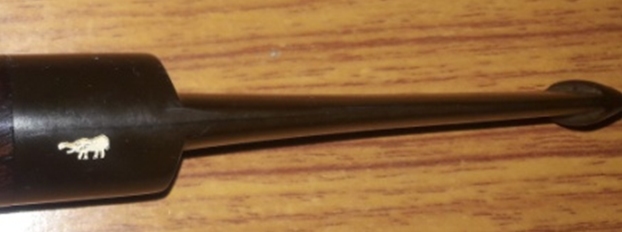
The pipe is devoid of any stampings. The only clue as to the origins of this pipe came in the form of a stem logo of an Elephant on the left side of the stem saddle.I was keen to know more about the maker and hence turned to pipephil.eu and searched for stem logo under Animal- Mammals!! True enough, it was an easy find. It identified this pipe as Countryman, a brand of Tanganyika Meerschaum Corporation from Amboseli Pipes.

Thereafter I visited Reborn pipes for further information. Here is the link to the write up and it makes for an interesting read. (https://rebornpipes.com/2013/10/13/refurbed-a-tanganyika-meerschaum-prince/).

Kiko, meaning “pipe” in Swahili-Kiswahili to English translation, is probably the best known of the various brands of meerschaum pipes from there. In East Africa Meerschaum is found in Tanganyika, once known as German East Africa, and since 1964 part of the United Republic of Tanzania. The main deposit comes from the Amboseli basin surrounding the Lake Amboseli. Tanganyika Meerschaum is normally stained in shades of brown, black and yellow, and is considered to be inferior to Meerschaum from Turkey. Even though, the raw material is mined by the Tanganyika Meerschaum Corporation and to a large extent used for pipe making. Uncounted pipe makers throughout the world were supplied with Amboseli Meerschaum, preferentially used for Meerschaum lined briars or leather-clad pipes. In Tanganyika the Kilimanjaro Pipe Company Ltd. produced the following brands: Caveman, Countryman (Elephant logo), Kiko (Elephant logo), Kikob (Elephant logo), Kilimanjaro (Rhinoceros logo), Kudu (Giraffe Logo), Makonde (Rhinoceros logo), Merlin (Flying bird or Antelope logo), Sportsman (Elephant logo), Tembo, Townsman, Twiga (Giraffe Logo), White elephant (Elephant logo).

Initial Visual Inspection

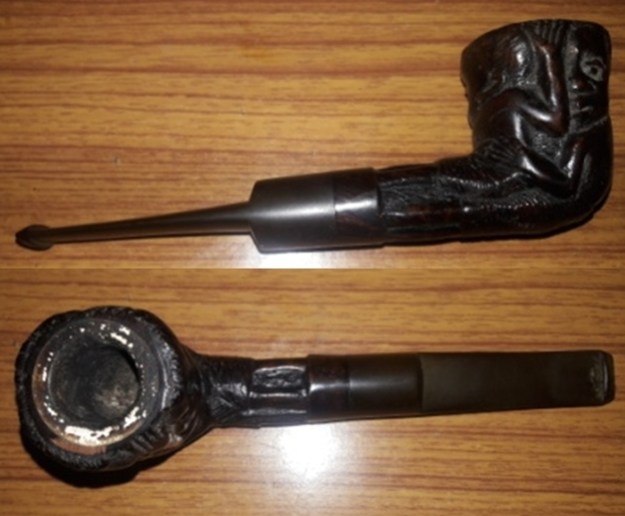
The pipe, as it sits on my work table, is dirty with decent layer of cake, covered in dust and grime with a heavily oxidized stem. Here are a few pictures of the pipe before I proceed with a detailed visual inspection of each part of the pipe. The creases formed by the hand carved figurines over the stummel surface on this pipe are covered in a thick layer of dust and grime. The stummel appears dull and lackluster. However, the rich brown hues of the raised portions of the figurines contrast beautifully with the darker hues of the stummel and would look more appealing once the stummel has been cleaned and polished. The long and carved shank has a nice thick band of smooth briar. Once polished, this briar band should further enhance the beauty of this pipe. An aluminum tube/ mortise extension is fixed inside of the mortise over which the stem is seated.    The meerschaum lined rim top is surrounded by briar wood and is covered in dust, lava overflow, grime and will need to be cleaned and polished. This lava overflow is chipped at places revealing an intact white meerschaum layer. The briar surrounding the inner meer layer is chipped on the left side of the rim top in the 9 o’clock direction. The chamber has an even layer of thin cake that is dry and crumbling. The condition of the meerschaum lined walls of the chamber will be ascertained once the existing cake has been completely removed. The inner meerschaum layered rim edge appears intact, however, the same will be ascertained once the cake and lava overflow from the chamber and rim top is removed. The end of the aluminum tube which extends out from the shank end is darkened with a thick layer of dried oils and tars. The insides of this tube is clogged making the draw laborious. The surface of the tube is dull and lackluster.The straight tapered vulcanite saddle stem that sits atop the aluminum mortise extension is heavily oxidized and is peppered with deep tooth chatter/ indentations on either surface of the stem. The horizontal slot end of the stem is heavily oxidized to a dark brown coloration while the insides of the tenon end is covered in dried oils and tars. This should be a relatively simple repair and cleaning up job of the stem. The Process
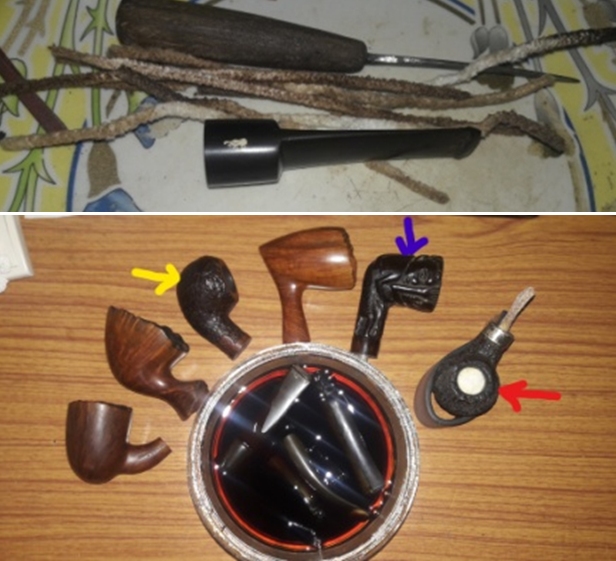
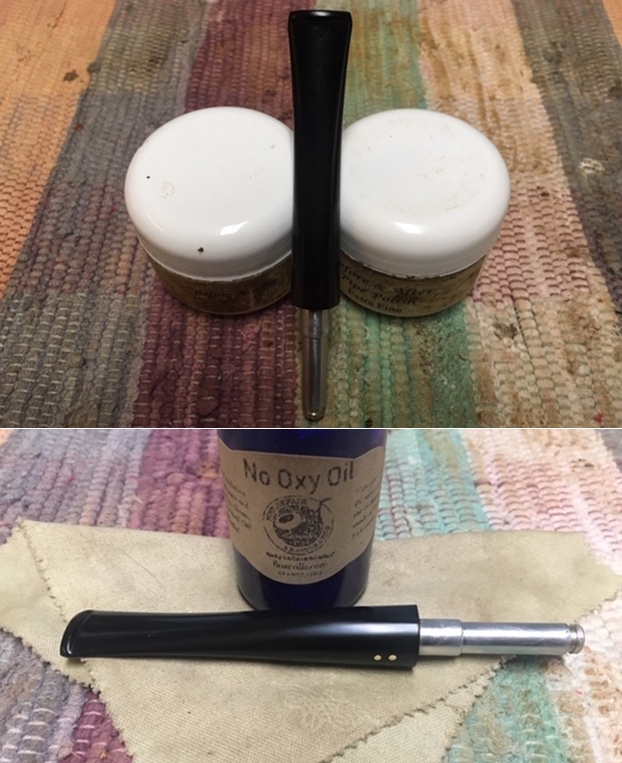
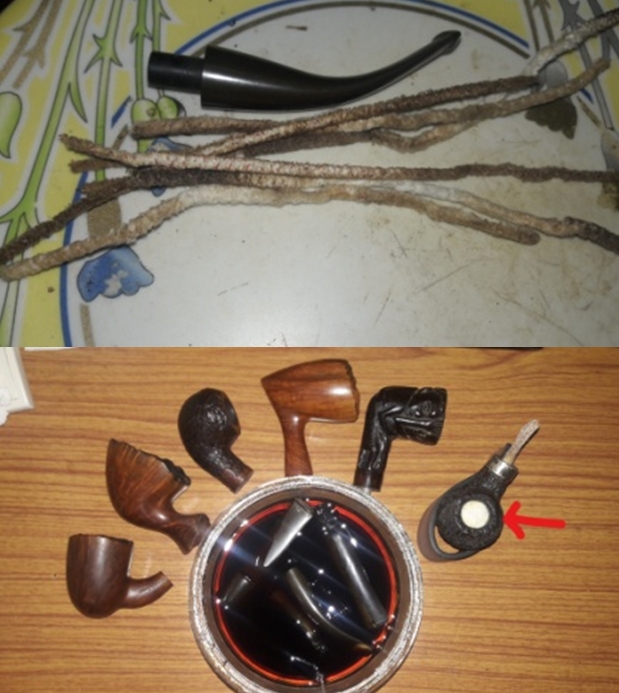
I began the process of refurbishing this pipe with cleaning the internals of the stem using pipe cleaners with isopropyl alcohol (99.9% pure) and dunking the stem in to “Before and After Deoxidizer” solution developed by my friend Mark Hoover. The solution helps to draw out heavy oxidation to the surface making its further removal a breeze, while the minor oxidation is eliminated to a very great extent. I usually dunk stems of 5-7 pipes that are in-line for restoration and this pipe is marked in blue arrow. I generally allow the stems to soak in this solution overnight for the solution to do its work.With the stem soaking in the deoxidizer solution, I worked the stummel, reaming the chamber with a Castleford reamer tool, using only the second head. I was very gentle and diligent while using the reamer head by applying minimum force to avoid cracking the meerschaum lining. Using my fabricated knife; I further took the cake down to the meerschaum layer. With a 150 grit sand paper, the walls of the chamber were rid of all the remnants of the cake, revealing smooth meer lined chamber walls. I further wiped the chamber with a cotton swab wetted with isopropyl alcohol to completely remove the sanding dust. I gently scraped off the entire lava overflow from the rim top with a sharp knife blade. The inner rim edge has numerous very tiny dings all around which is not a big concern as these could be easily addressed either by topping or using a sand paper. I carefully scraped the aluminum shank extension with a fabricated tool to remove all the crud that had accumulated on the surface and further cleaned the shank internals with bristled and regular pipe cleaners dipped in isopropyl alcohol. I further polished the aluminum extension with a 0000 grade steel wool. Next I addressed the issue of numerous dings to the inner rim edge. As mentioned above, I had an option of either using a folded piece of 220 grit sand paper and even out the tiny dings or topping the rim top on a topping board. I decided to follow the later path as it would also address the issue of the chipped briar on the rim top in the 9 o’clock direction. I topped the rim on a piece of 220 grit sand paper, frequently checking the progress as I did not want to sand too much and cause any damage to the carved figurines.I scrubbed the external surface of the bowl with undiluted Murphy’s oil soap and hard bristled tooth brush and dried it using paper towels and soft cotton cloth. The light brown hues of the carved surfaces of the figurines contrast beautifully with the rest of the dark stummel. I set the stummel aside to dry out naturally. I packed the chamber with paper towels to absorb any water and moisture that may have inadvertently seeped in to the meerschaum. I wanted to further highlight the figurines from the rest of the stummel surface and to achieve the desired results; I polished the raised surfaces of the carved figurines, the rim top surface and the briar band at the shank end with micromesh pads, dry sanding with 1500 to 12000 grit pads. I really like the way the figurines stand out from the rest of the stummel surface and also the rim top surface. I rubbed a small quantity of “Before and After Restoration Balm” in to briar. I rubbed this balm deep in to the nooks and crannies formed by the carved figurines with my fingers and let it rest for a few minutes. The balm almost immediately works its magic and the briar now has a nice vibrant appearance with the light brown hues of the raised carvings contrasting with the dark stummel surface. I further buff it with a horse hair shoe brush. As mentioned in the write up on refurbishing S & R and Donegal Rocky # 999, I had worked on all the stems that had been soaking in the deoxidizer solution overnight. I fished out the stems and cleaned them under running warm water and scrubbed the raised oxidation from the stem surface using scotch brite pad. I further removed the oxidation by scrubbing the stems with 0000 grade steel wool and applied a little olive oil to rehydrate the stems and set them aside for the oil to be absorbed. Unfortunately, I did not click any pictures of these stems at this stage.

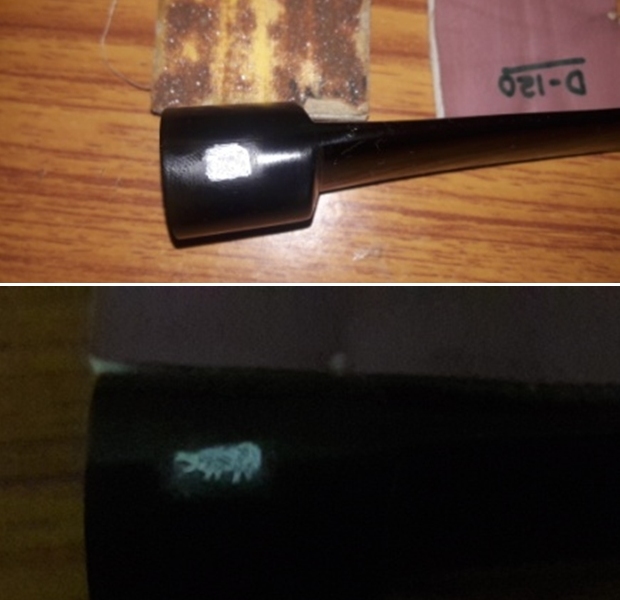
This is how the stem of this pipe came out after the stem cleaning described above. Some traces of oxidation are still visible at the base of the button edges on both surfaces and on the saddle which needs to be removed using more invasive methods. A few tooth indentations are visible on the top button edge and at the base of the button edge on both the surfaces. I painted both surfaces of the stem with the flame of a lighter to raise the tooth indentations to the surface. This also helps in loosening minor oxidation from the stem surface. I sand the entire stem surface with a folded piece of a 220 grit sand paper to remove the loosened oxidation. I wiped the stem with a cotton swab and Murphy’s oil soap to further remove the oxidation. Even though the most of the minor tooth indentations have been eliminated by heating the damaged stem portion with the flame of a lighter, couple of deeper indentations is still visible on both upper and lower surface in the bite zone. However, I am happy with the way this stem appears at this stage and also with the deoxidizer solution. I filled the tooth indentation in the button edge on both lower and upper stem surfaces with a mix of activated charcoal and CA superglue and set it aside for the fill to cure. Once the fill had cured sufficiently, with flat needle file I sanded down the fill to match with rest of the stem surface. With the same file, I sharpened the button edge on both the upper and lower surface. I fine tuned the blending of the fill with the rest of the stem surface using a 220 grit sand paper and also sanded down the entire stem to remove the stubborn residual oxidation. I further sand the stem with 600 and 800 grit sand paper and wiped the stem with cotton pad dipped in alcohol to remove the resultant dust. I rubbed some extra virgin olive oil in to the stem and set it aside to be absorbed in to stem.I polished the stem with micromesh pads, wet sanding with 1500 to 12000 grit pads. I rubbed a little extra virgin olive oil in to the stem at the end of the micromesh pads polishing cycle. I finish the polishing of the stem by rubbing a small quantity of Paragon wax and giving it a final polish with a soft cotton cloth. The stem is now nice, smooth and shiny. I refreshed the stem logo by masking the logo with a whitener correction pen. Once the whitener had dried, I gently wiped the excess whitener away. The stem logo now looks prominent.To apply the finishing touches, I mount a cotton cloth buffing wheel on to my hand held rotary tool and apply a coat of Blue Diamond to the stem to polish out the minor scratches. With a cotton buffing wheel that I use for carnauba wax, I apply a coat of carnauba wax to the stummel and stem and continued to work on it till the complete coat of wax had been polished out. I mount a clean cotton cloth buffing wheel and gave the entire pipe a once over buff. I finished the restoration by giving the entire pipe a rigorous hand buffing using a microfiber cloth to raise the shine further. The finished pipe is shown below. P.S. – Most discerning Readers would have noticed that after I had topped the rim top surface, I have not stained the briar portion of the rim top to blend in with the rest of the stummel.  Well, truth be told, Abha, my wife, liked the play of contrasts between the meerschaum lining, the brown hues of the surrounding briar and the very dark brown stummel. I too liked her suggestion and hence left it without staining. Though this pipe has neither any collector’s value or high resale value, but still I shall add it to my collection because of its uniqueness and it’s no less beautiful to boot.

Thanks for your patience and looking forward to input about the write up. Cheers…

Another Change of Pace – The Everyman London Pipe 291 Smooth Billiard


Blog by Steve Laug

I decided to work on another pipe from the fellow in Kitchener, Ontario who sent me some pipes he needed cleaned up. He had been referred to me by my local pipe and cigar shop. While I am not currently adding more pipes to my queue of repairs I have made a commitment to the shop to work on pipes for their customers. Generally they have one or two pipes that need a bit of work. This fellow sent me the following email:

I just came across my smoking pipes that I’ve had in storage for about 40 years. I’m wondering what you’d charge to have them refurbished. There are 17 in total (11 are Brighams and 6 are various).

It turns out he said he had 17 pipes. That was certainly more than I expected but I communicated that there was a large queue ahead of him and I would have to fit them in as I could. He was fine with whatever time it took. He sent me the following photos of his collection that he wanted restored. The first photo shows his eleven Brigham pipes – all very interesting shapes. The second photo shows the six various pipes in the collection – A Republic Era Peterson’s System 1312 (Canadian Import), A Bjarne Hand Carved Freehand, a Comoy’s Everyman London smooth billiard, a GBD Popular Dublin 12, an English made Kaywoodie Rustica 72B, a Kriswill Bernadotte 60 with a broken tenon. When the box arrived there were two additional pipes included for a total of 19 – a Ropp 803 Deluxe Cherrywood Poker and a Comoy’s Sandblast Everyman Canadian 296. It was a lot of pipes! I have been randomly choosing the next pipe to work on and chose The Everyman London Pipe 296 Canadian that was not included in the photos of the collection that he sent me. It was a surprise when it arrived.

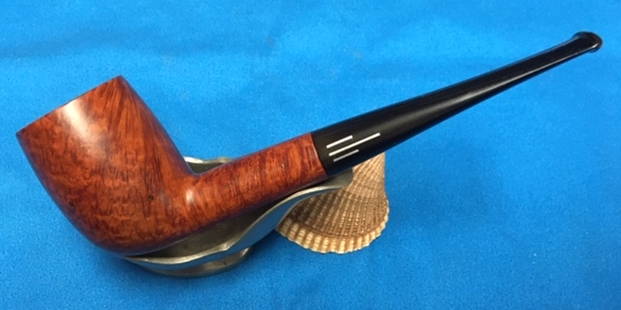
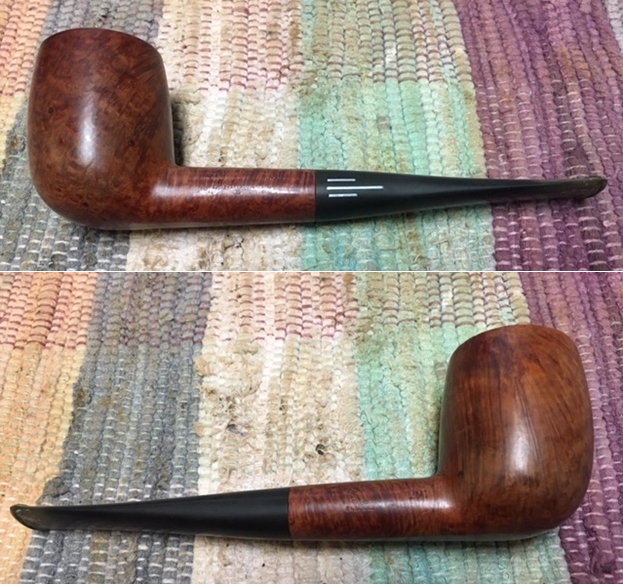
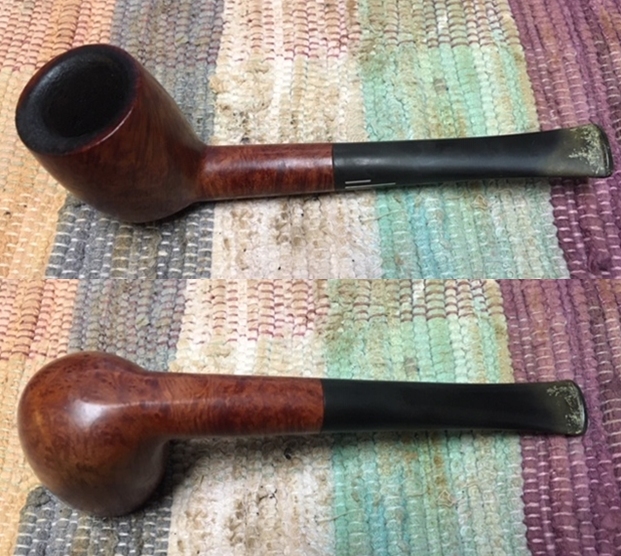
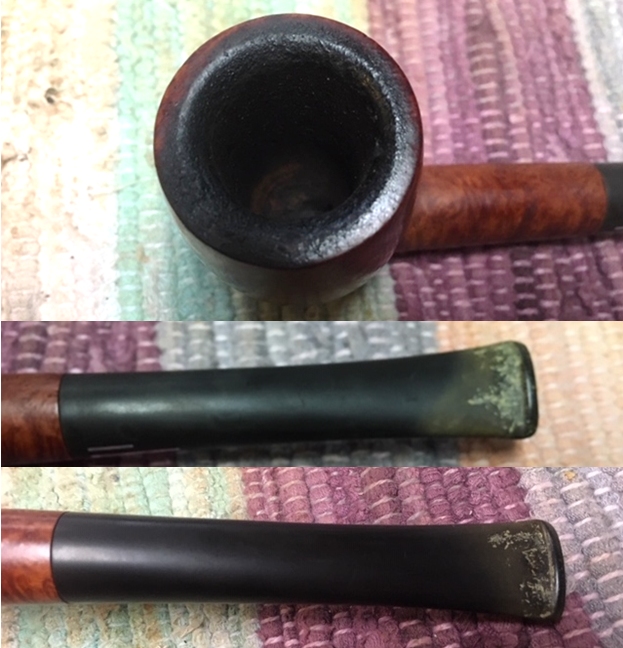
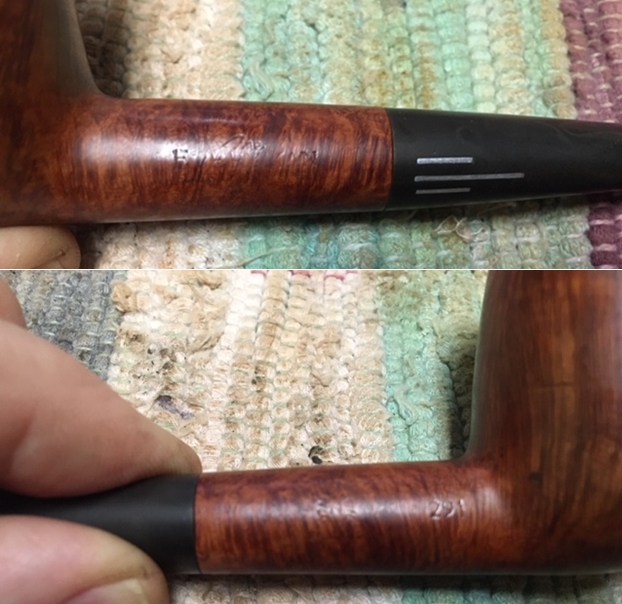
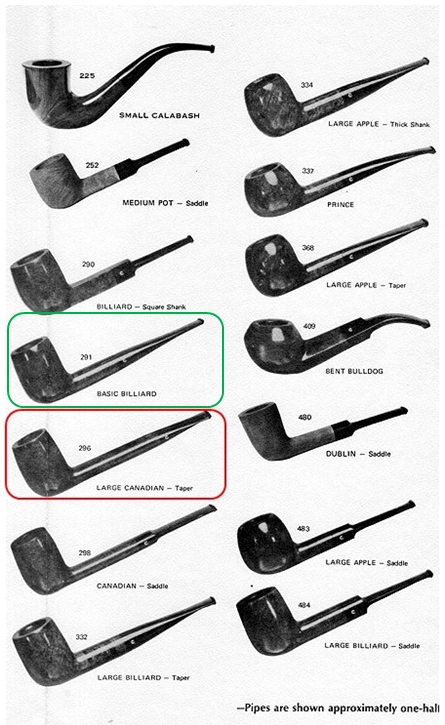
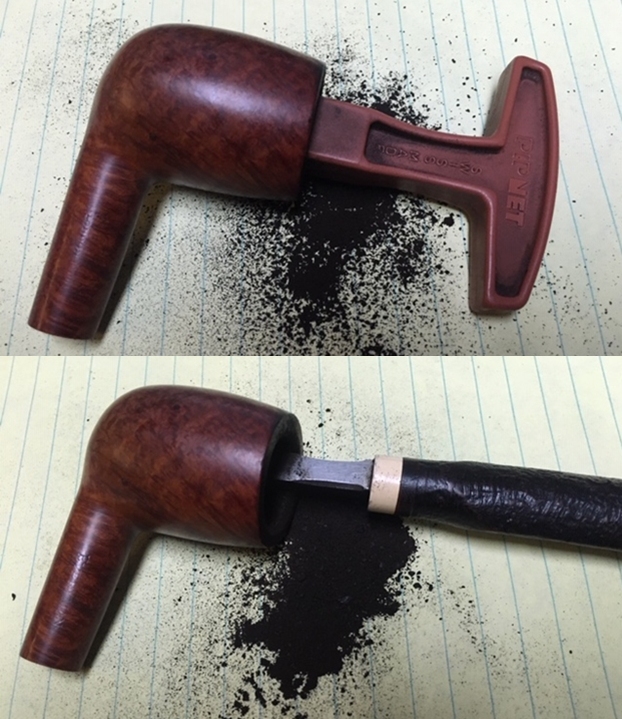
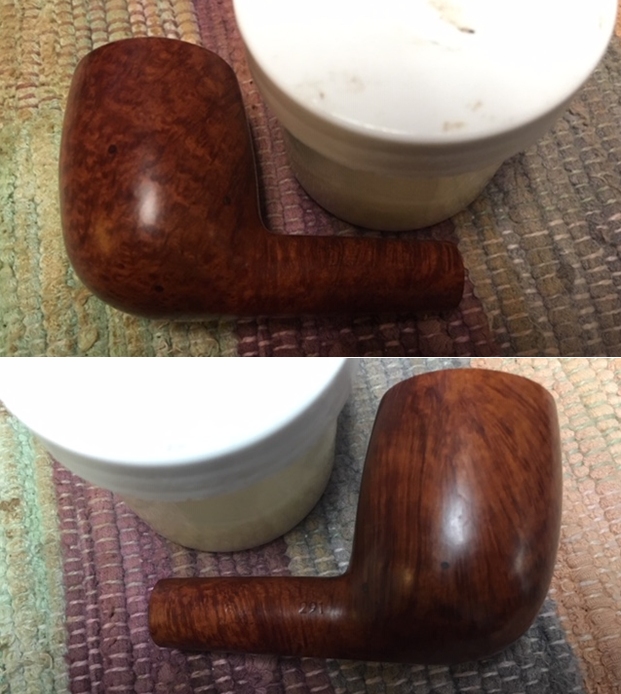
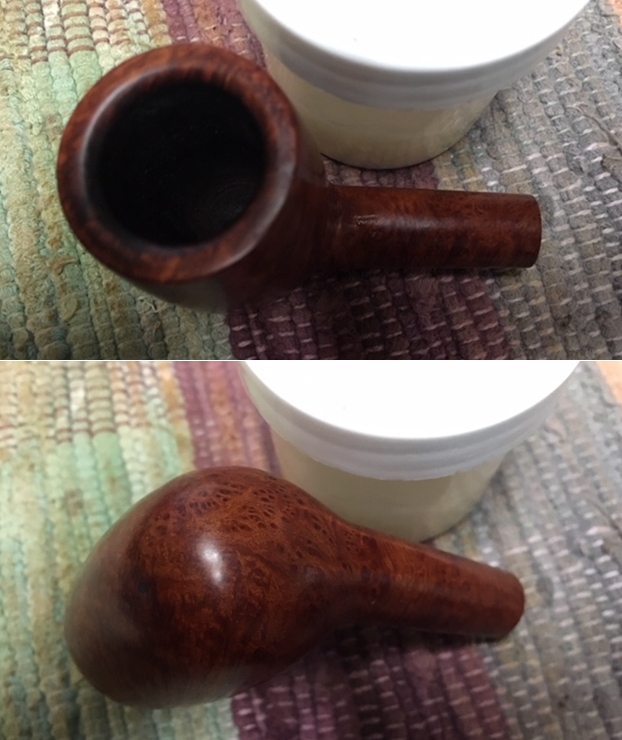
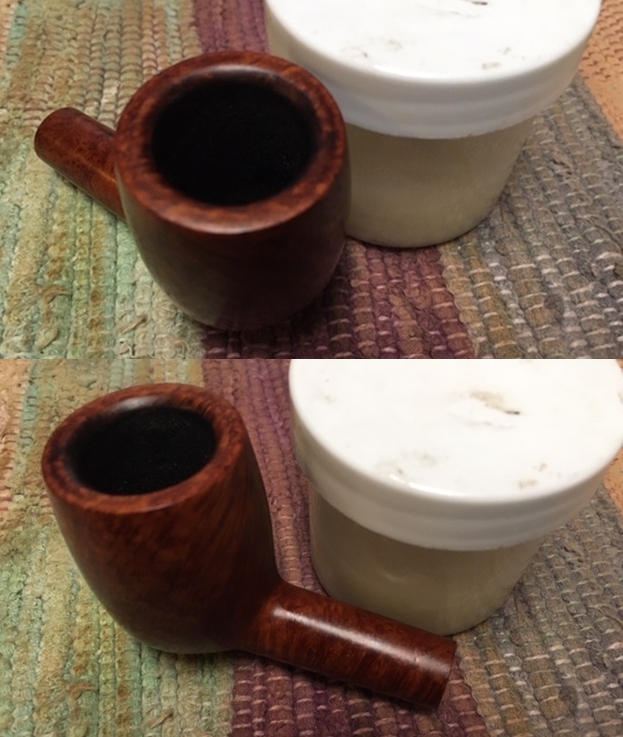
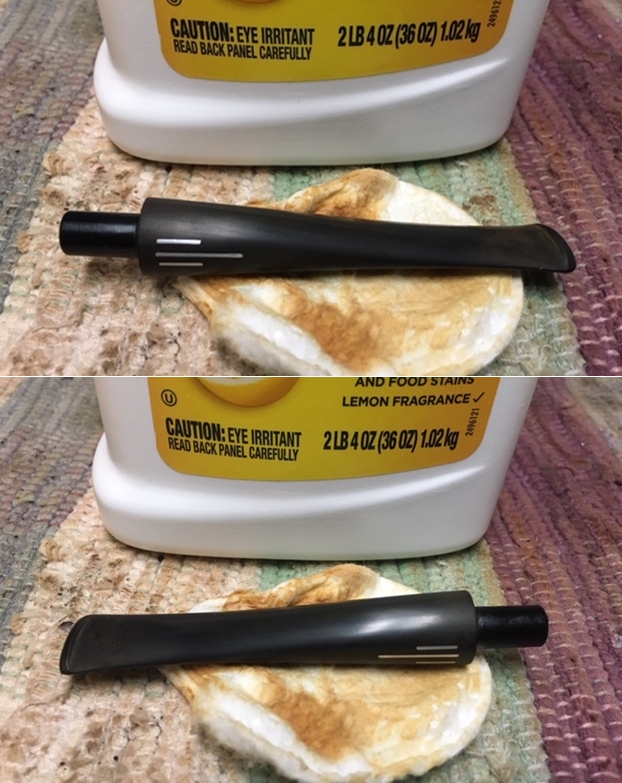
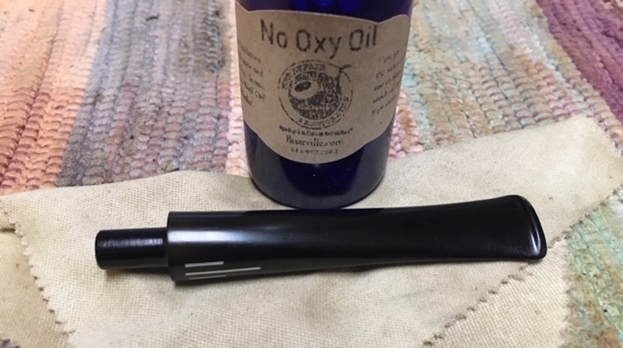
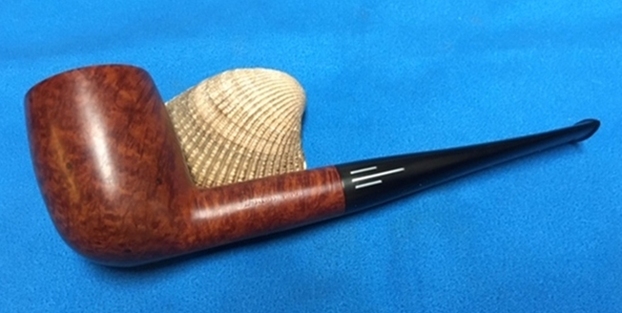
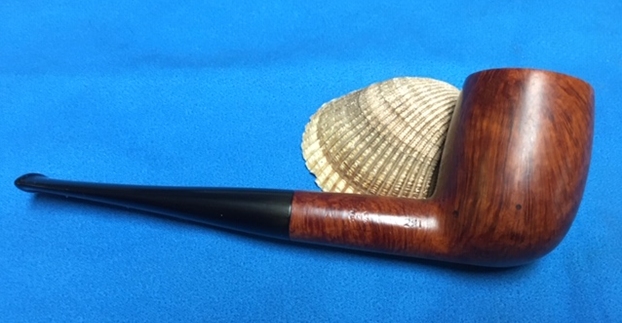
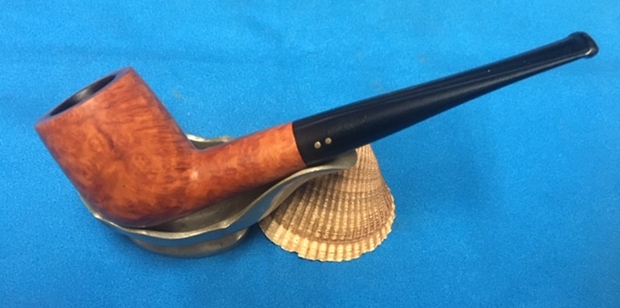
When I unwrapped it the pipe it was a smooth finish Billiard. It was stamped on the left side of the shank and read The Everyman London Pipe. On the right side of the shank it was stamped with the circular Made in London England COM stamp. Near the shank bowl junction on the right side it also had the shape number 291. The finish was dull and dirty looking but had nice grain under the grime. The rim top had some darkening on the top and the beveled inner edge. There was also a lava overflow from the cake in the bowl. The tapered stem was oxidized and had tooth marks and chatter near the button on both sides. There was also some calcification for about an inch up the stem. The stem also had the standard Everyman three silver bars on the left side.     I took close up photos of the bowl and rim top to show the condition of the bowl and thick lava on the top and the beveled rim edge as well. You can also see the cake in the bowl. It is hard and quite thick. I also took close up photos of the stem to show its condition as mentioned above.      I took photos of the stamping on the sides of the shank to show what I was speaking about above. It is very faint but readable. It reads The Everyman London Pipe on the left side and Made In London, England in a circular COM Stamp on the right. That is preceded by the shape number 291. There is some nice grain around the bowl and shank.    I am including the information I also included on the sandblasted Canadian I just finished (https://rebornpipes.com/2020/03/06/time-for-a-change-of-pace-the-everyman-london-pipe-296-canadian/). I turned my favourite go to sites on background of brands. The first is Pipephil’s site ( http://www.pipephil.eu/logos/en/logo-e4.html). There I looked up the Everyman brand and confirmed what I remembered about it being made by Comoy’s. From there I turned to Pipedia (https://pipedia.org/wiki/Comoy%27s). I went directly to the section on Comoys pipes. I found this shape chart. The shape number 291 is shown as a Basic Billiard. I  have drawn a green rectangle around it in the photo below. (The red boxed pipe in the photo below was The Everyman London Pipe Canadian that I had finished prior.With this pipe I am working on another of this pipe man’s non-Brigham pipes from the nineteen pipe installment. I went to work on it immediately.I reamed the bowl with a PipNet pipe reamer using the second and third cutting head to take the cake back to bare briar so I could inspect the walls. I cleaned up the remnants with a Savinelli Fitsall Pipe Knife. I sanded the bowl walls with 220 grit sandpaper on a piece of dowel to smooth them out and further examine them. I was happy that the walls looked very good.  I also scraped off the lava on the rim top and edges with the Fitsall Knife to begin the cleaning process. I scrubbed the surface of the bowl with undiluted Murphy’s Oil Soap and a tooth brush to remove the grime and grit from the briar.      I cleaned out the mortise area and airway to the bowl and shank as well as the airway in the stem with pipe cleaners, cotton swabs and alcohol. I scraped it with a dental spatula and followed up with the cleaners. It was obvious that this had been another one of his favourite pipes as it was heavily smoked.  I used a folded piece of 220 grit sandpaper to clean up the darkened rim top and beveled rim edge. I was able to remove the darkening and the remaining lava.     I polished rim top and sides of the bowl with micromesh sanding pads – wet sanding with 1500-12000 grit pads. I wiped the bowl down after each sanding pad to remove the dust and debris from the sanding. The bowl was looking very good after the final polishing pad. I rubbed the bowl and shank down with Before & After Restoration Balm. I worked it into the surface of the briar with my fingertips and a horse hair shoe brush to clean, enliven and protect it. I let the balm sit for a little while and then buffed with a cotton cloth to raise the shine. Mark Hoover’s Balm is a product that I have come to appreciate and one I use on every pipe I have been working on. It really gives depth to the sandblasted finish on the briar. I set the bowl aside and turned my attention to the stem. I rubbed the stem down with Soft Scrub on with a cotton pad and it removed the oxidation and the calcification build up. It looked a lot better. I sanded out the remaining tooth chatter and oxidation with 220 grit sandpaper and started the polishing with 400 grit wet dry sandpaper.      I rubbed down the stem with Denicare Mouthpiece Polish, a red gritty paste and a cotton pad to remove the remnants of oxidation and to blend in the sanding. The stem is starting to show promise at this point in the process.      I polished the stem with micromesh sanding pads – wet sanding it with 1500-12000 grit pads. I wiped the stem down after each sanding pad with a cotton pad to remove the sanding debris.  I finished polishing the stem with Before & After Pipe Stem Polish – both fine and extra fine. I finished by wiping it down with Briarville’s No Oxy Oil and buffing it to a shine.   I finally feel like I am making progress on this 19 pipe lot from Eastern Canada. With the completion of this one I have finished 12 of the pipes. I put The Everyman London Pipe Billiard back together and buffed it with Blue Diamond on the buffing wheel. I gave the bowl and the stem multiple coats of carnauba wax. I hand buffed the pipe with a clean buffing pad to raise the shine. It is fun to see what the polished bowl looks like with the grain on both sides and rim standing out with stark clarity. Added to that the polished black vulcanite stem with the shining silver coloured bars was beautiful. This nicely grained The Everyman 291 Billiard is nice looking and feels great in my hand. It is another light and well balanced pipe. Have a look at it with the photos below. The dimensions are Length: 5 ¾ inches, Height: 1 7/8 inches, Outside diameter of the bowl: 1 ¼ inches, Chamber diameter: ¾ of an inch. Once again I am looking forward to what the pipeman who sent it thinks of this restoration. Only 7 more of these pipes to do in this lot! Thanks to each of you who are reading this blog. Remember we are not pipe owners; we are pipemen and women who hold our pipes in trust until they pass on into the trust of the next pipeman or woman.

New Life for an Anscot Bullmoose


Blog by Steve Laug

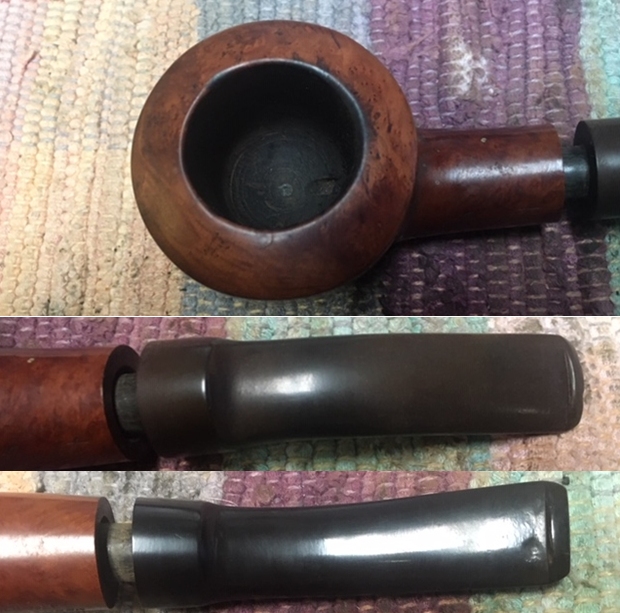
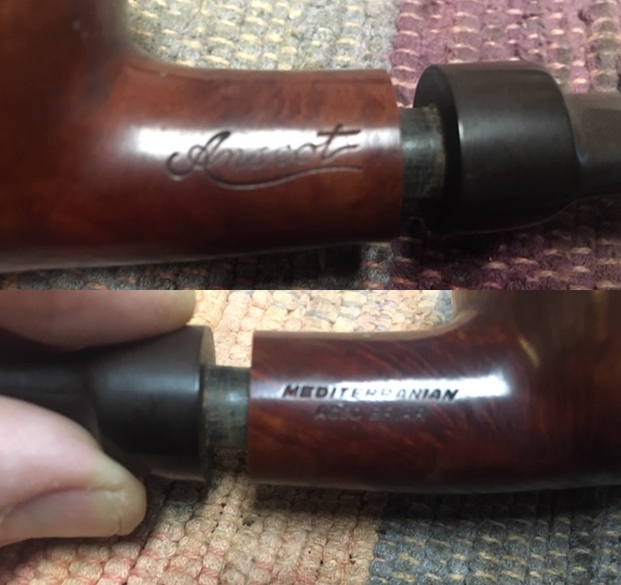
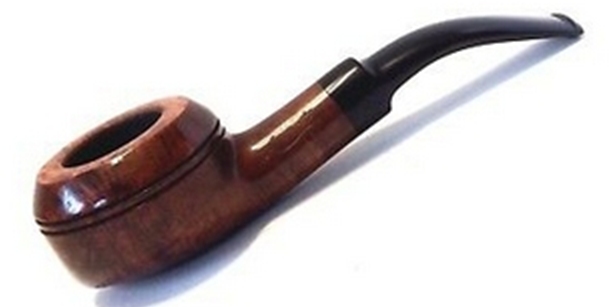
I just finished working on the Marxman Jumbo Bench Made Poker for the fellow in Quebec. I wrote a blog about it (https://rebornpipes.com/2020/02/28/restoring-an-obstinate-marxman-jumbo-war-club/). When he sent the Marxman he included another pipe that he wanted to donate for the support of the SA Foundation. I am always glad to work on those and pass them on to others who not only want a good pipe but want to donate to a worthy cause – the restoration and recovery of women and children who have escaped sexual exploitation and trafficking. It’s a large pipe stamped on the left side of the shank in script and read Anscot. On the right side it is stamped Mediterranean Aged Briar. The stamping is clear and readable. The stem did not seat in the shank completely and was very tight. The finish was shiny and dirty like it had been coated with varnish or shellac. There was one large fill on the front of the right side mid-bowl. The bowl had been cleaned and there was a small bit of cake in the base of the chamber near the entrance of the airway. The rim top had some burn damage on the inner edge of the bowl toward the front of the bowl. The inner edge of the chamber was out of round and damaged. The stem was high quality vulcanite and had tooth chatter and marks on both sides near the button. The stem would not seat against shank. The photos show what I saw as I examined the pipe. I took close up photos of the rim top and the stem. The photos confirm the condition of the pipe that I described in the paragraphs above. You can see the darkening on the inner edge of the rim top. There were also scratches and nicks all around the rim top. The stem is also lightly oxidized and has some deep tooth marks on the top and underside near the button.I took a photo of the stamping on the left side of the shank. It is stamped Anscot in script with the leg of the A extended in a swirl under the whole word. On the right side of the shank it is stamped Mediterranean Aged Briar.I looked up the brand on Pipephil and found nothing there. I did a search for the brand and found a link to a connection between Abraham & Straus, Inc. to Anscot in Brooklyn, New York. There was also a link to picclick (https://picclick.com/Superb-Lh-Stern-anscot-Large-Bull-Moose-Vintage-302658878312.html) where the author linked the brand to LH Stern. That link was tenuous as the photo on the link showed the same stamping that I showed in the photos above.

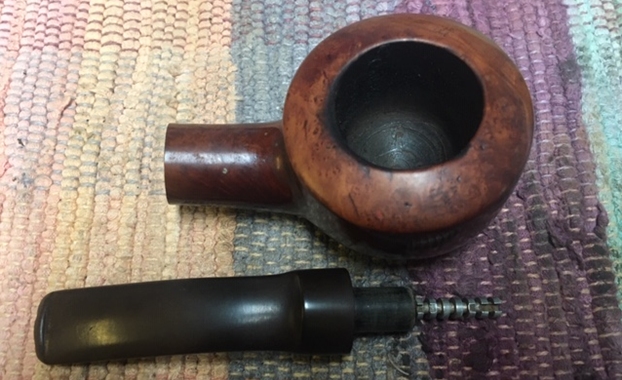
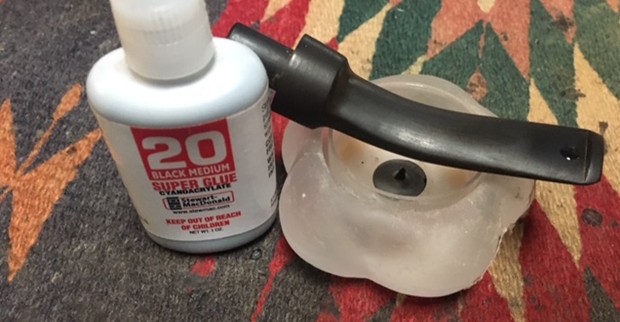
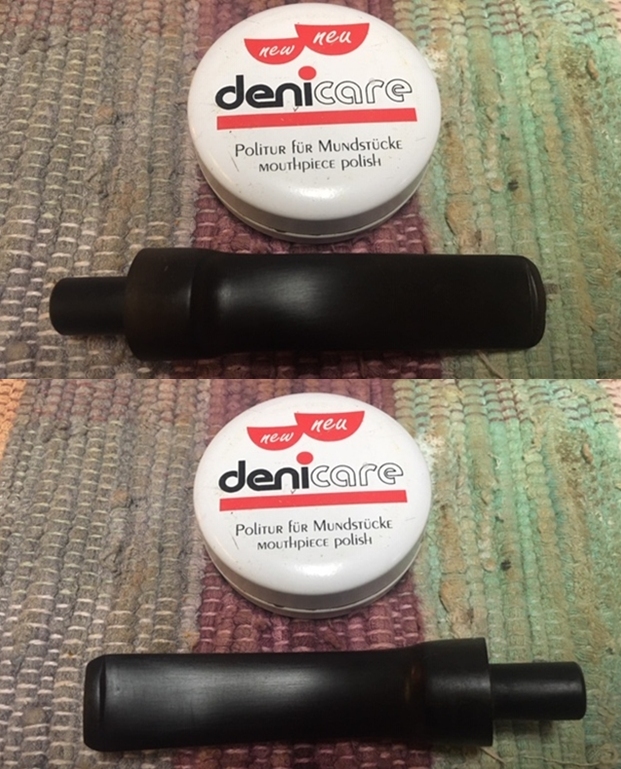
From the search I did the most I could find out was the link to the pipe shop in Brooklyn, New York. The tie to LHS was not reliable as I could not see any link to the LHS Company. I looked up LH Stern on Pipedia and read through that article but there was no link to Anscot. So the mystery remains. Now it was time to clean up the pipe and restore it. I removed the stem from the shank and saw an interesting stinger inserted in the shank. I took a photo of the pipe at this point.I took the bowl to the work table and reamed it. I used a Savinelli Fitsall Pipe Knife to clean up the light cake in the bowl. I cleaned up the inner edge of the rim with a folded piece of 220 grit sandpaper. I was able to remove the damage to the inner edge and the top of the bowl.I wiped the bowl down with acetone on a cotton pad to break through the thick varnish coat on the bowl. It took a bit of scrubbing but it looked far better. I cleaned the interior of the shank/mortise and the airway in the shank and the stem with pipe cleaners, cotton swabs and alcohol. I removed the stinger from the tenon so that I could clean the airway in the stem. The airway in both and the mortise were dirty and after I had scoured them the pipe was clean and smelled better. With that finished I moved on the polishing the bowl and the rim top with micromesh sanding pads. I polished them with 1500-12000 grit sanding pads and wiped the bowl down with damp cloth to remove the sanding dust. I used a Maple stain pen to touch up the sanded rim top and edges. Once the stain had dried I polished the rim top with micromesh sanding pads to blend it into the rest of the bowl. I rubbed the bowl down with Before & After Restoration Balm. I worked it into the finish with my fingertips. I set it aside to absorb into the briar for ten minutes. Once it had been sitting I polished the bowl surface with a soft cotton cloth. At this point in the process the briar is looking very good. I set the bowl and I turned my attention to the stem. I scrubbed the stem with Soft Scrub and a cotton pad to remove the oxidation and debris on the stem surface. The tooth marks were clearer and the chatter was ready to be polished out.The tooth marks on the top were light and would sand out later. There was one deep tooth mark on the underside of the stem. I cleaned it out with alcohol and a cotton swab. I filled it in with black super glue and let it cure.Once the glue repair cured I sanded it with 220 grit sandpaper to blend it into the surface of the vulcanite. I sanded out the tooth chatter and marks on both sides with 220 grit sandpaper and 400 grit wet dry sandpaper.I polished the stem with Denicare Mouthpiece Polish to remove the light scratching and the light oxidation on the stem surface. The product is a red paste that is gritty and when rubbed with a cotton pad it removes many of the scratches and remaining oxidation.I polished the stem with micromesh sanding pads – polishing it with 1500-12000 grit micromesh sanding pads. I wiped it down with cloth between each sanding pad. I polished it with Before & After Pipe Stem Polish – both Fine and Extra Fine. I gave it a rub down with Briarville’s No Oxy Oil to protect the stem from oxidizing. It was looking very good at this point.   I was looking forward to this part of the restoration when all the pieces are put back together so I can send a photo back to the fellow in Quebec. I put the pipe back together and buffed it with Blue Diamond on the buffing wheel. I gave the bowl and the stem multiple coats of carnauba wax. I hand buffed the pipe with a clean buffing pad to raise the shine. It is fun to see what the polished bowl looks like with the polished black vulcanite stem. This Anscot Mediterranean Aged Briar Bullmoose looks far better than it did when I started. The fill on the right side is present but has blended in very well. The rim top looks much better than when I began. The stem fits well in the shank. The pipe is nice looking and feels great in my hand. The pipe is a sitter so that it can be laid down on a desk top while the pipeman is working on something else. Have a look at it with the photos below. The dimensions are Length: 6 inches, Height: 1 ½ inches, Outside diameter of the bowl: 2 inches, Chamber diameter: 1 1/8 inches. This old Anscot is a beauty and I look forward to what the pipeman buys it thinks of it. Thanks to each of you who are reading this blog. Remember we are not pipe owners; we are pipemen and women who hold our pipes in trust until they pass on into the trust of the next pipeman or woman.

New Life for a Patent Era Brigham Select Billiard Sitter


Blog by Steve Laug

Not too long ago I received an email from a fellow in Kitchener, Ontario regarding some pipes he needed cleaned up. He had been referred to me by my local pipe and cigar shop. While I am not currently adding more pipes to my queue of repairs I have made a commitment to the shop to work on pipes for their customers. Generally they have one or two pipes that need a bit of work. This fellow sent me the following email:

I just came across my smoking pipes that I’ve had in storage for about 40 years. I’m wondering what you’d charge to have them refurbished. There are 17 in total (11 are Brighams and 6 are various).

It turns out he said he had 17 pipes. That was certainly more than I expected but I communicated that there was a large queue ahead of him and I would have to fit them in as I could. He was fine with whatever time it took. He sent me the following photos of his collection that he wanted restored. The first photo shows his eleven Brigham pipes – all very interesting shapes. The second photo shows the six various pipes in the collection – A Republic Era Peterson’s System 1312 (Canadian Import), A Bjarne Hand Carved Freehand, a Comoy’s Everyman London smooth billiard, a GBD Popular Dublin 12, an English made Kaywoodie Rustica 72B, a Kriswill Bernadotte 60 with a broken tenon. When the box arrived there were two additional pipes included for a total of 19 – a Ropp 803 Deluxe Cherrywood Poker and a Comoy’s Sandblast Everyman Canadian 296. It was a lot of pipes! I have been randomly choosing the next pipe to work on and chose the Brigham that I have drawn a red box around in the first photo below. When I unwrapped the next pipe it was a flat bottomed Brigham Billiard sitter without clear number stamp. The smooth finish looked like it had a varnish coat and that was spotty around the sides of the bowl. There is a faint Made in Canada with Brigham in a script on the flat bottom of the shank. It looked like it could also have had the Can. Pat. stamp but I could not read it for sure. The rim top has some darkening, nicks and the inner edge is out of round. There is a light cake in the bowl. The 2 Dot tapered stem is oxidized and has tooth marks and chatter near the button and some calcification. I took close up photos of the bowl and rim top to show the condition of the bowl and rim. I also took close up photos of the stem to show its condition as mentioned above.   I took a photo of the stamping on the underside of the shank to try and capture what I was speaking about above.I removed the stem from the shank to reveal the aluminum tube/tenon that held the Rock Maple Distillator. The distillator was was missing in this pipe so I would need to replace it with a new one once I had cleaned it. Before starting my clean up work on the pipe I turned to a chart that Charles Lemon of Dad’s Pipes sent to me on the patent era Brighams. There were made from 1938-1980. As the pipe I am working on is a Patent pipe, it’s more accurate to refer to its grade by name (the post 1980 grading scheme refers to Dots). Here is the  chart that Charles sent me. The pipe I am working on is thus a Brigham Select with two brass pins.It is helpful having this chart and getting a quick picture of where the pipe fits in the Brigham line. Now it was time to work on the pipe.

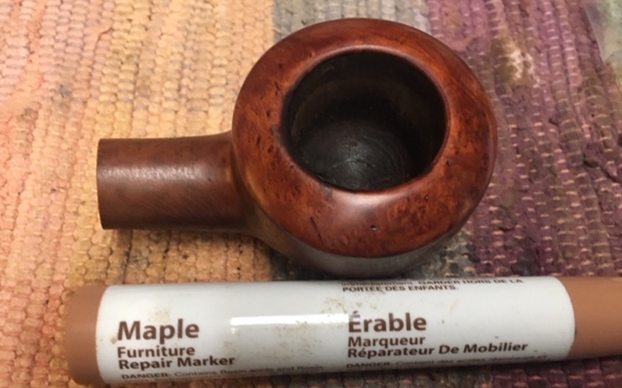
I reamed the bowl with a PipNet pipe reamer using the first and second cutting head to take the cake back to bare briar so I could inspect the walls. I cleaned up the remnants with a Savinelli Fitsall Pipe Knife. I sanded the bowl walls with 220 grit sandpaper on a piece of dowel to smooth them out and further examine them. I was happy that the walls looked very good. I cleaned out the mortise area and airway to the bowl and the interior of the metal tube and airway in the stem with pipe cleaners, cotton swabs and alcohol. I scrubbed the surface of the bowl with acetone to remove the varnish coat from the bowl. When I had finished it looked far better.   I worked on the darkening on the rim top and the rough inner edge of the bowl by first lightly topping the bowl with 220 grit sandpaper. I used a folded piece of 220 grit sandpaper to remove the darkening and smooth out the inner edge of the bowl. I wet sanded the rim top and the smooth portions on the bowl sides with micromesh sanding pads – 1500-12000 grit sanding pads. I wiped the bowl surface down with a damp cloth after each sanding pad to remove the sanding dust. Once I finished the bowl looked good. I rubbed the bowl and shank down with Before & After Restoration Balm. I worked it into the surface of the briar with my fingertips and a horsehair shoe brush to clean, enliven and protect it. I let the balm sit for a little while and then buffed with a cotton cloth to raise the shine. Mark Hoover’s Balm is a product that I have come to appreciate and one I use on every pipe I have been working on. It really makes the grain stand out on this pipe. I set the bowl aside and turned my attention to the stem. When I was in the US visiting Jeff and his wife I picked up some Soft Scrub. Jeff swears by this stuff as the first tool to use to remove a lot of the oxidation on the stem. I rubbed it on with a cotton pad and sure enough it removed the oxidation and the calcification build up. It looked a lot better.    I cleaned out the marks with alcohol and a cotton swab. I filled them in with clear super glue and set the stem aside to cure.    I smoothed out the repairs and sanded out the remaining oxidation with 220 grit sandpaper and started the polishing with 400 grit wet dry sandpaper. I polished the stem with micromesh sanding pads – wet sanding it with 1500-12000 grit pads. I wiped the stem down after each sanding pad with a cotton pad to remove the sanding debris.   Before I finished the last polishing touches on the stem I decided to fit it with a new Rock Maple Distillator.  I finished polishing the stem with Before & After Pipe Stem Polish – both fine and extra fine. I finished by wiping it down with Briarville’s No Oxy Oil and buffing it to a shine.  I always look forward to this part of the restoration when all the pieces are put back together. I put the pipe back together and buffed it with Blue Diamond on the buffing wheel. I gave the bowl and the stem multiple coats of carnauba wax. I hand buffed the pipe with a clean buffing pad to raise the shine. It is fun to see what the polished bowl looks like with the polished black vulcanite stem and the shining brass pins. This Brigham Select Billiard sitter is nice looking and feels great in my hand. The pipe is one that is light enough that it could be clenched and smoked while doing other things as it is very light weight and well balanced. Have a look at it with the photos below. The dimensions are Length: 5 ½ inches, Height: 1 5/8 inches, Outside diameter of the bowl: 1 ¼ inches, Chamber diameter: ¾ of an inch. This is the sixth of the pipes sent to me from Eastern Canada for restoration. Once again I am looking forward to what the pipeman who sent it thinks of this restoration. Lots more to do in this lot! Thanks to each of you who are reading this blog. Remember we are not pipe owners; we are pipemen and women who hold our pipes in trust until they pass on into the trust of the next pipeman or woman.

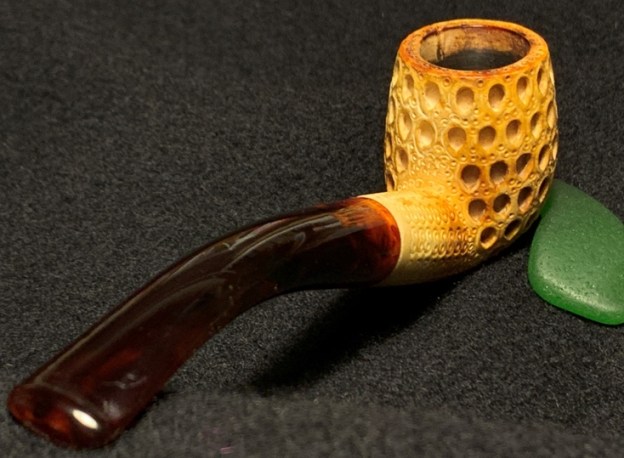
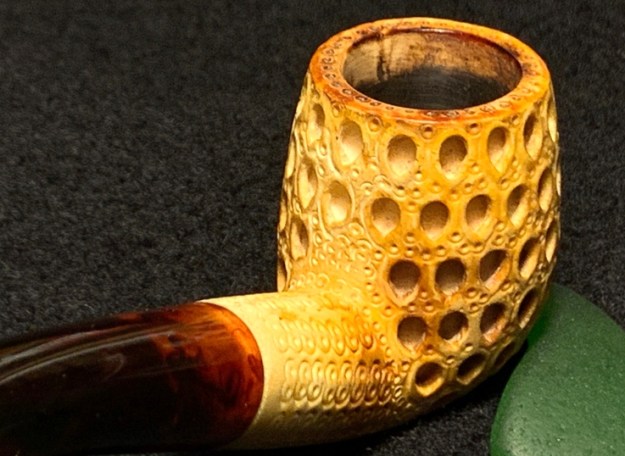
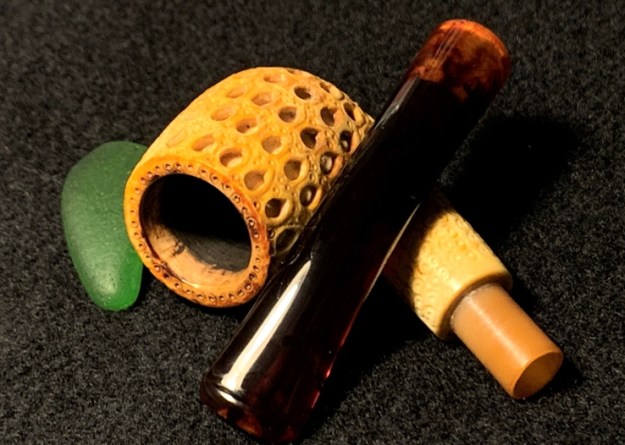
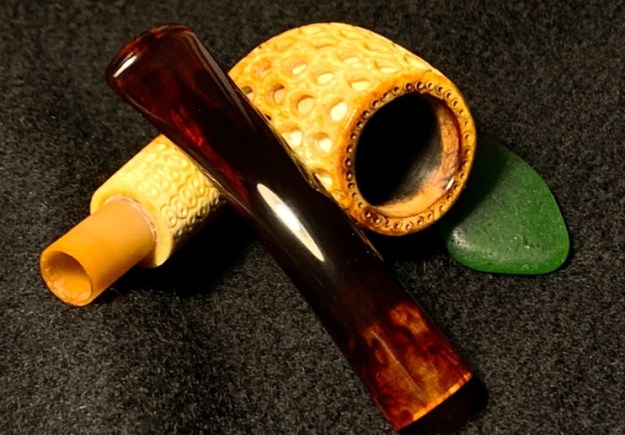
Another Black Sea Coast Treasure – An Altinay Lattice Tear Drop Meerschaum


Blog by Dal Stanton

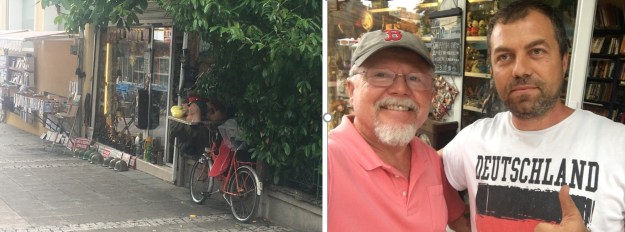
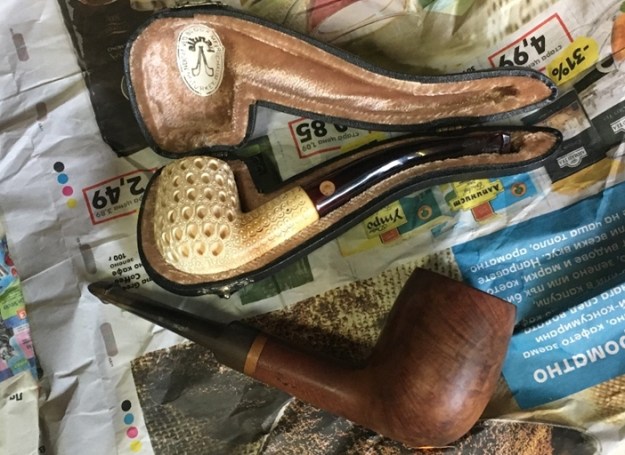
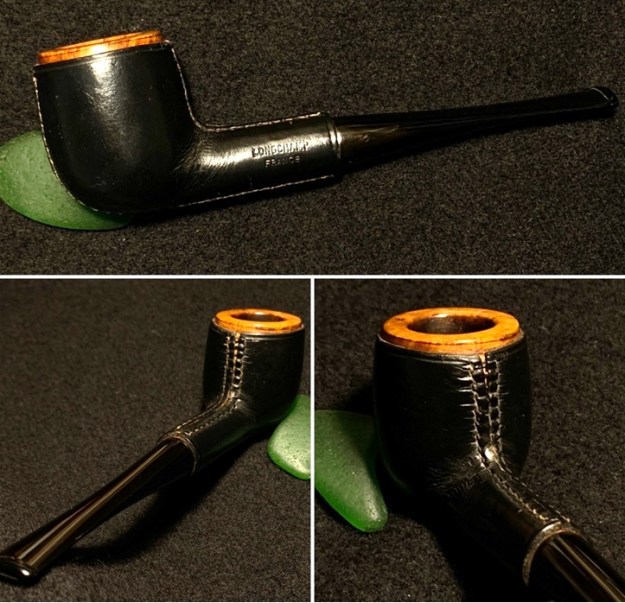
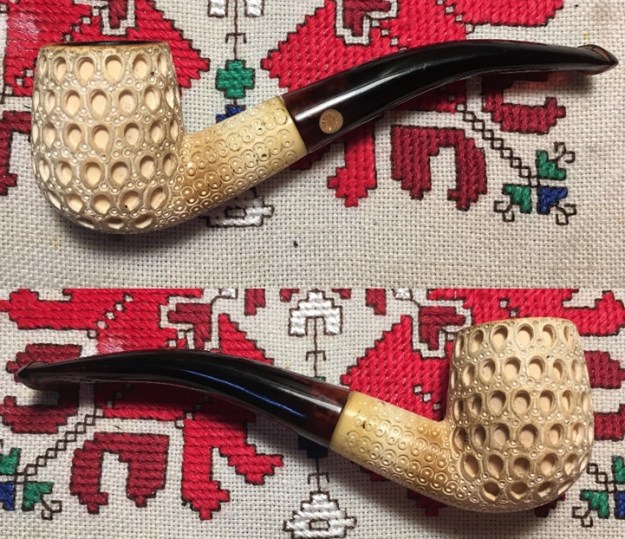
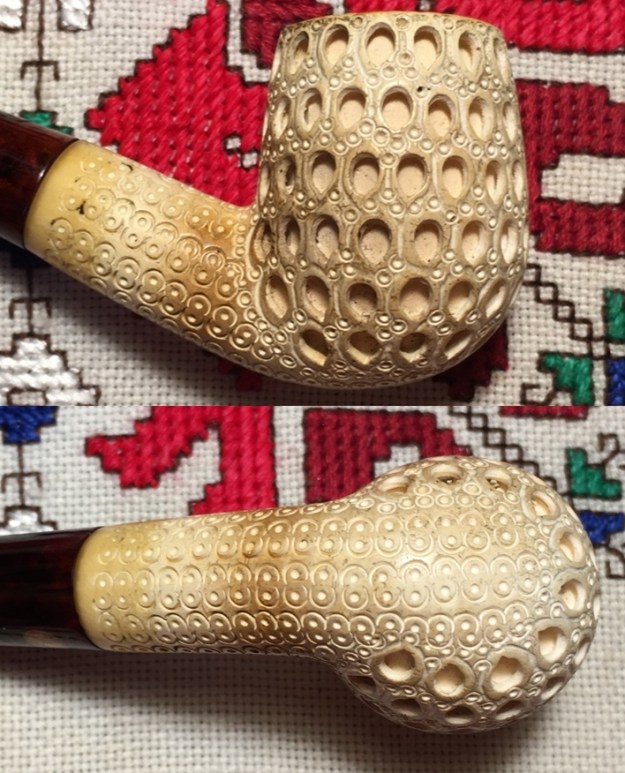
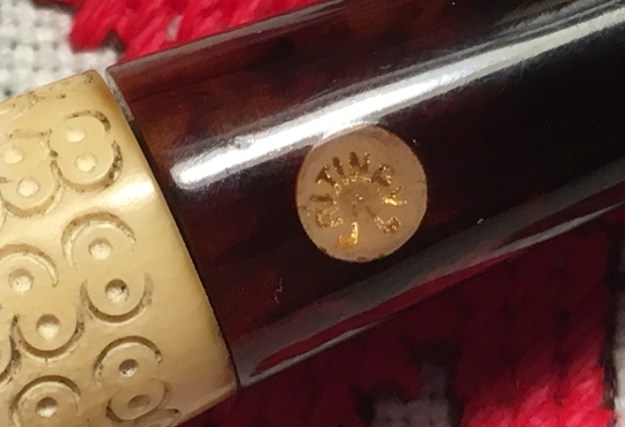
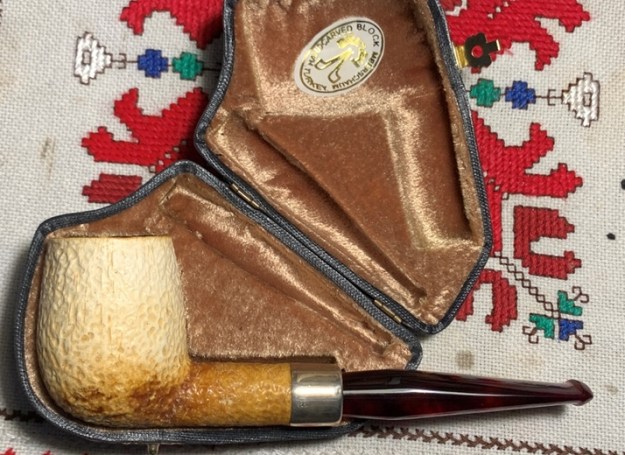
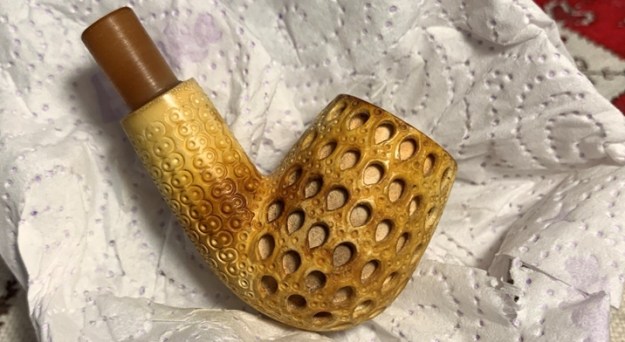
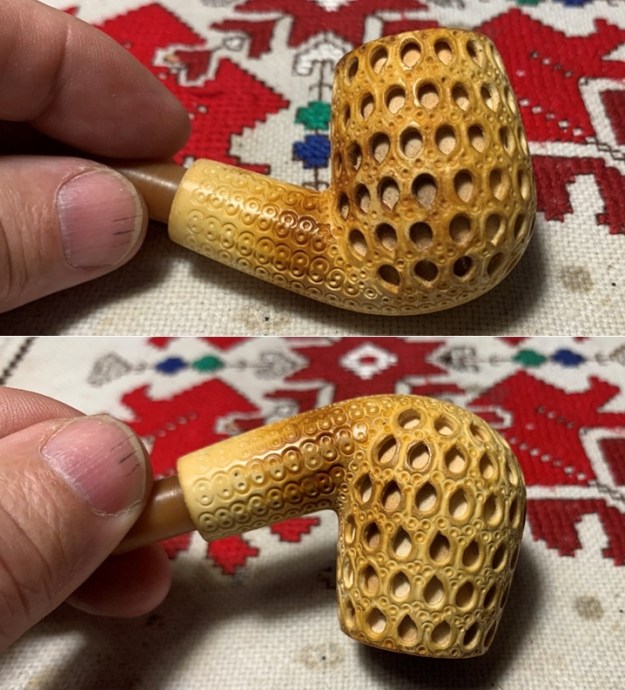
I love pipe picking especially in ‘hole in the wall’ treasure hunts on the Black Sea.  My wife and I were on summer holiday enjoying Bulgaria’s Black Sea venues.  I discovered this ‘hole in the wall’ antique shop on previous trips to the city of Burgas and on this return, I was not disappointed.  I purchased 7 pipes waiting to be adopted after negotiating with Kaloyan, the shop owner.  His mother was also there watching over things and she called Kaloyan on her cell phone when I asked about the pipes that I had found displayed.  He must have been down the street perhaps at a café taking a break and a smoke because his arrival in a matter of seconds commenced the negotiations for the 7 and a friendship emerged as a byproduct!  After taking my phone number he assured me if more treasures came his way that he would call.  As my wife and I were leaving, shaking hands with Kaloyan and grandmotherly mom, a look of shocked wonder came over Kaloyan’s face – he told us to wait and he ran back into the shop returning with two other pipes that were not in view that he had almost forgotten.  He reemerged with treasures in hand, a Vauen 6294 EX Billiard Saddle Stem (still available to be commissioned in For “Pipe Dreamers” Only!  Basket 3) and the Altinay now on my worktable.  I was immediately drawn to the exquisite detailed carving of the Altinay, a name I’m very familiar with among Meerschaum pipe carvers in Turkey.  The Altinay was petite but the detail amazingly complex and tight.  It also had developed some of the valued patina at the shank/bowl junction – the normal area.  Added as frosting on the Altinay cake was the original case – each carrier box is hand crafted for each pipe because each pipe is uniquely different being hand-carved.  The negotiations commenced for a second time adding the Vauen and Altinay to my growing Black Sea treasure trove.The entire Burgas Black Sea lot made it back to Sofia with us and eventually became available to be commissioned online in virtual “Help Me!” baskets in my For “Pipe Dreamers” Only! collection benefiting the Daughters of Bulgaria – women and girls who have been trafficked and sexually exploited.  This is where Jason found the Altinay and a French Leather Clad Longchamp which he commissioned.  The Longchamp came out great and now the Altinay awaits attention.I took these pictures of the Altinay Meerschaum on my worktable to get a closer look. The stem has the inlaid Altinay roundel marking its provenance.  The carrier box gives additional information: Altinay – Handcarved Block Meerschaum – Turkey.  Altinay’s website (https://www.altinaypipes.com/) is a quality presentation of their craftsmanship.  The ‘About’ tab on their site gives this information:

ALTINAY TURKISH COMPANY PRODUCING BEAUTIFULLY DESIGNED AND HANDMADE MEERSCHAUM PIPES AT OUR OWN MANUFACTURING FACILITY IN ESKISEHIR, TURKEY.

TIME BEGAN FOR ALTINAY IN 1964, WHEN WE EMBARKED ON A JOURNEY TO MAKE BEAUTIFULLY DESIGNED PIPES OF EXCEPTIONAL QUALITY. INSPIRED BY A LOVE OF CARVING MASTERPIECE PIPES WE ACHIEVED TO HAVE DISTRIBUTORS IN EACH EUROPEAN COUNTRY, USA, RUSSIA AND CHINA.

AND NOW, OUR PIPES ARE THE MOST POPULAR AND MOST WANTED MEERSCHAUM PIPES WORLDWIDE. WE DESIGN AND HAND CARVE TOP QUALITY PIPES BY USING FINEST QUALITY BLOCK MEERSCHAUM.

EACH PIPE IS DESIGNED TO APPEAL TO THOSE WHO SHARE OUR PASSION FOR – AND APPRECIATION OF – MASTERY BEHIND A BEAUTIFUL MEERSCHAUM PIPE. WE HOPE YOU ENJOY THE SAME SATISFACTION WHEN YOU TRY AN ALTINAY PIPE, AS WE DO IN CREATING ONE.

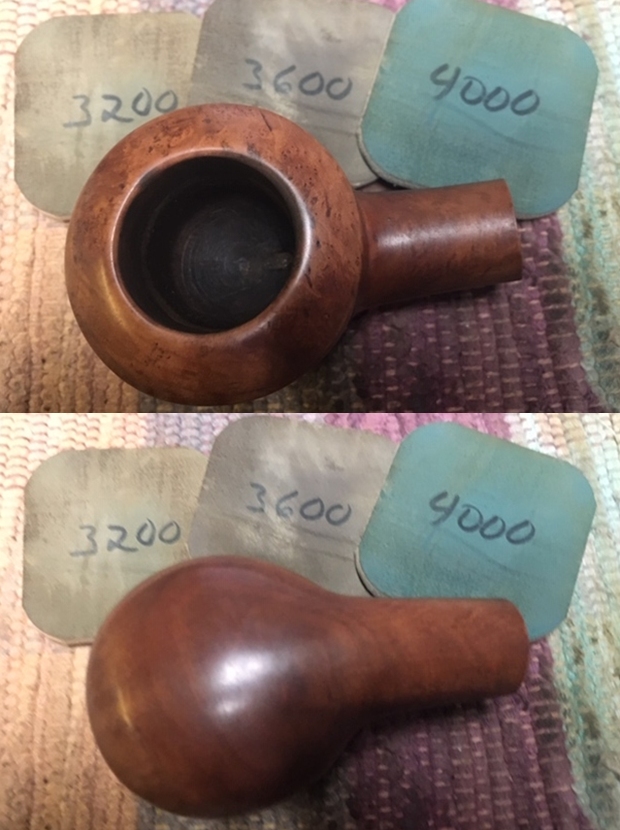
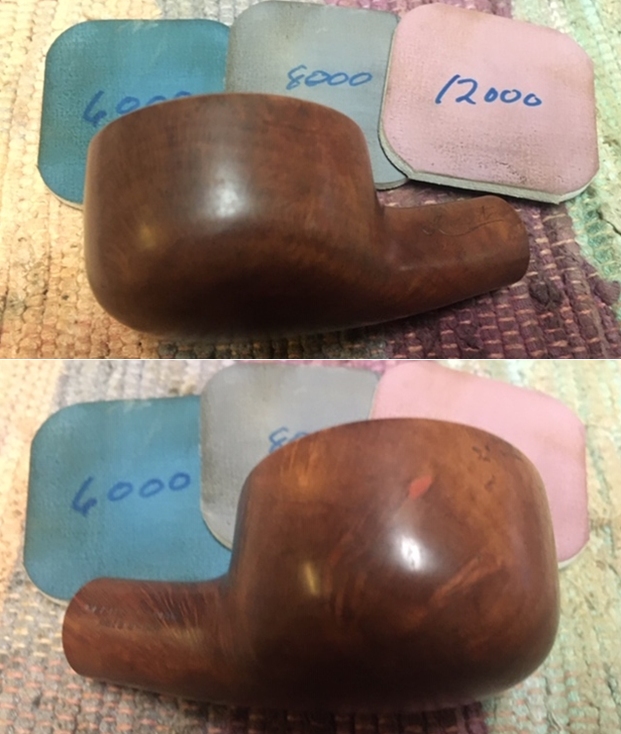
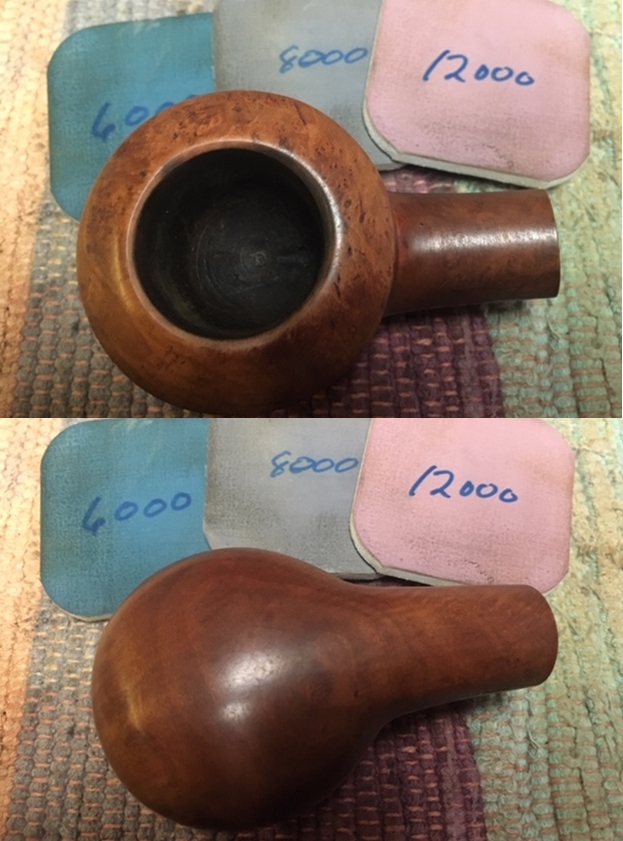
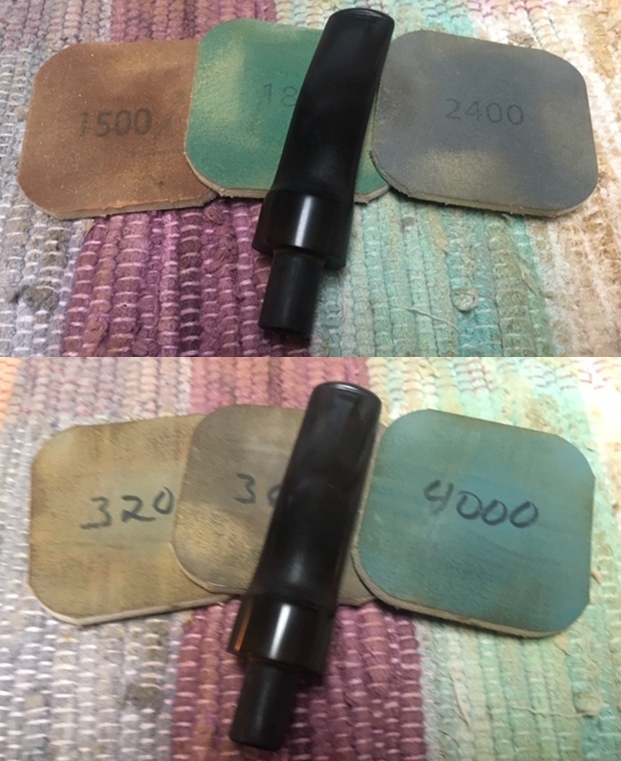
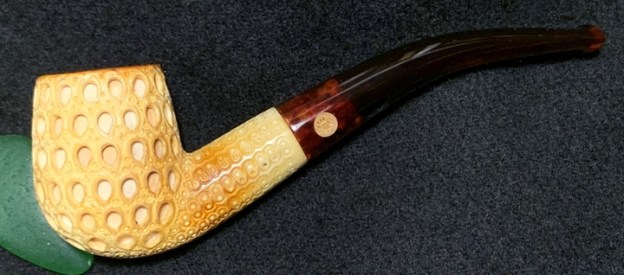
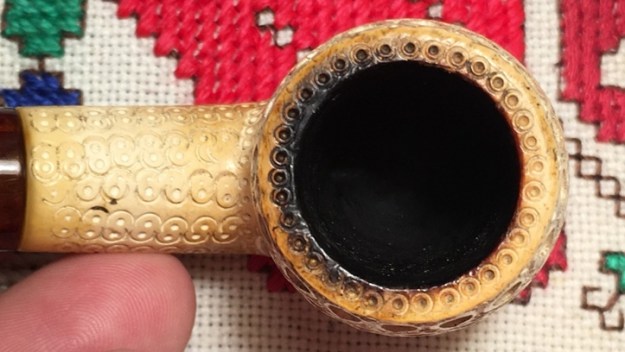
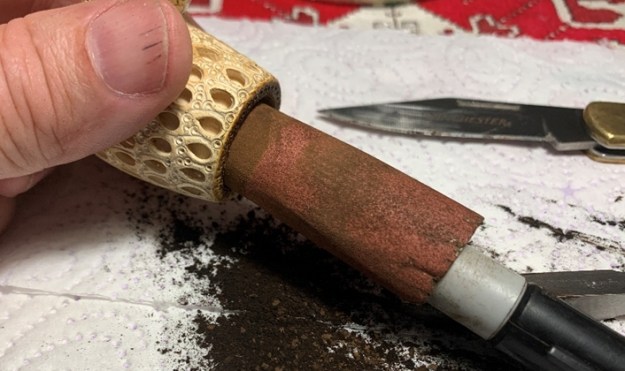
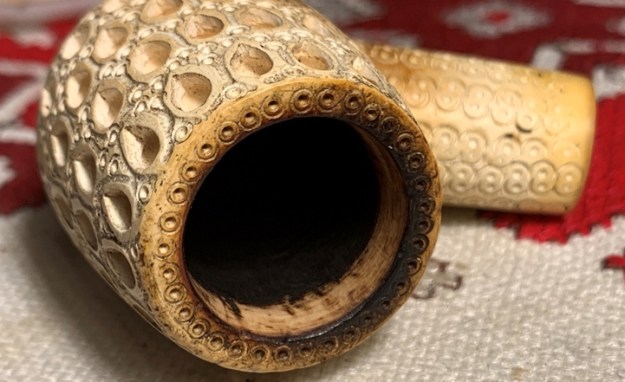
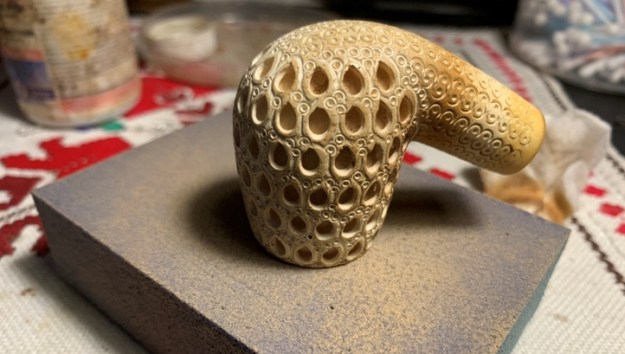
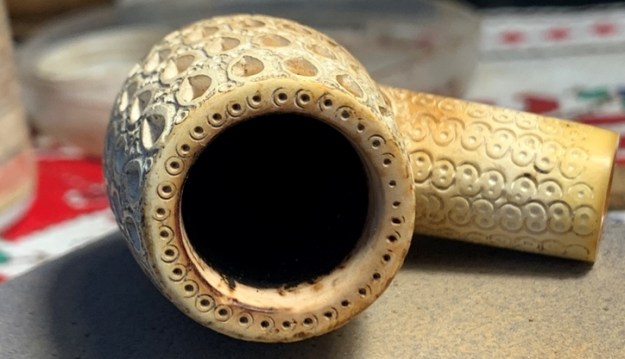
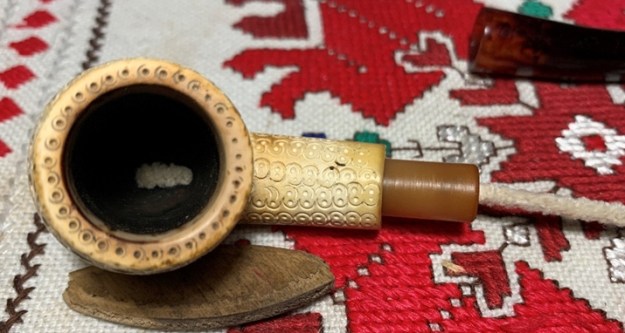
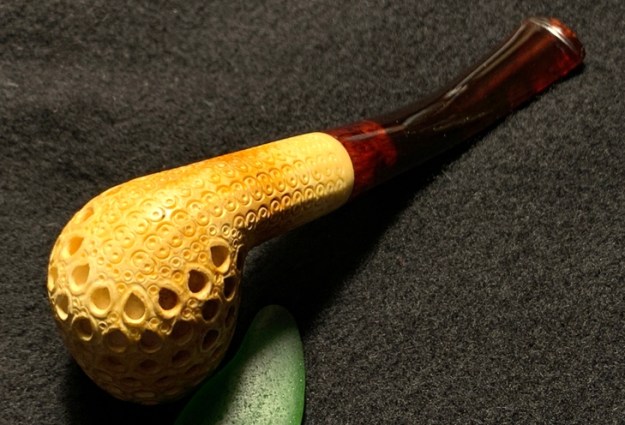
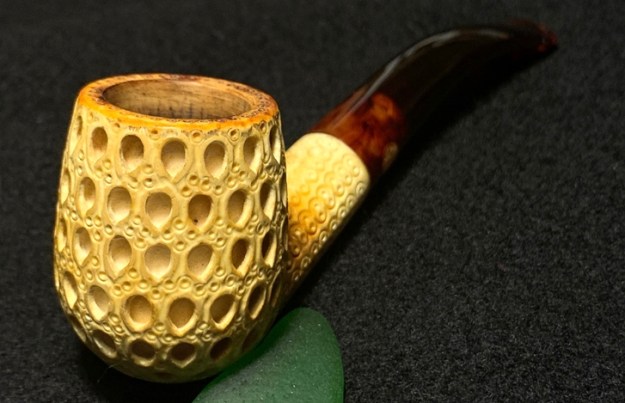
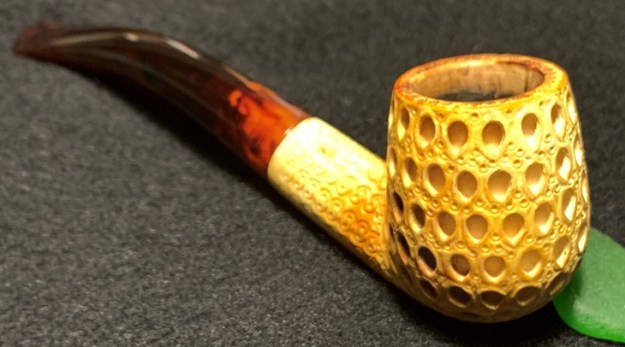
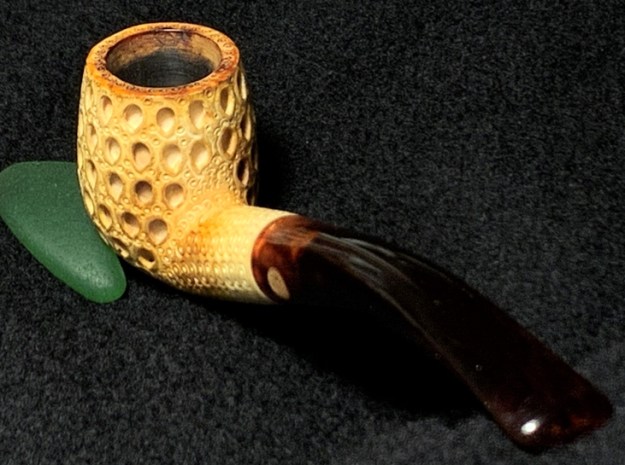
Another tab offers testimonials which I could add to.  I added an Altinay Meerschaum to my personal collection on a trip to Istanbul only last summer.  I found my Altinay Dimpled Billiard at the Grand Bazaar in Istanbul.  After looking at literally 100s of Meerschaums in the various shops in the bazaar maze, and all the carvings that characterize the Meerschaum genre, I settled on this classic shaped Altinay.  It now reveals the growing patina as the honey brown color expands on what started as a snow-white Meer surface.The Altinay on my worktable is in good shape regarding the condition of the Meerschaum lattice tear drop bowl.  It needs cleaning and the rim has lava darkening especially on the aft quadrant.  As you would expect with a healthy Meerschaum, there is very little cake build up in the chamber.  A Meer pipe needs/wants no cake build up to protect the chamber as with briar bowls. Another unique feature of Meerschaum pipes is that they do not need to rest.  They can be reloaded immediately and another bowl of one’s favorite blend can be enjoyed.The acrylic stem shows tooth chatter on the upper and lower bit which should sand out easily.Structurally, the only challenge is the lose 9mm filter tenon pictured below.  When I first unlinked the stem and the bowl and the plastic tenon was loose, I wasn’t sure which direction the threaded part of the plastic tenon was supposed to go – was it screwed into the mortise or into the stem?  I tested both directions and the only configuration that allowed the stem to seat with the shank was with the threaded part inserted into the mortise.  Yet, the threads would not grip anything revealing that the threads had been stripped. For now, I put this issue aside and start on the cleaning of the Altinay Meerschaum.  I first clean the acrylic stem airway using pipe cleaners wetted with isopropyl 95%.  The filter cavity is cleaned using cotton buds.Turning now to the Meer chamber, the carbon build-up is light, but I address it first by carefully scraping the chamber walls with the Savinelli Fitsall tool.  Using a reaming kit with blade heads is not a good idea with Meerschaum as the torque required could possibly crack the Meerschaum and that would not be a good thing.  The Savinelli tool works well to scrape evenly as well as to reach into the lower contour’s angles with the end of the tool being gently curved.  I scrape a little with a Winchester pocketknife and transition to sanding the walls with 240 grade paper wrapped around the Sharpie Pen. After wiping the bowl out with a cotton pad wetted with isopropyl 95% to remove carbon dust, the following picture shows that the lower chamber remains darkened, but it is clean by the touch and looks good.  I move on.The pictures above and below show well the blackened state of the rim resulting from lighting.  The condition of the Meerschaum will never again be the snow white that Meerschaums start with emerging from the factory or carver.  My desire is to remove as much of the charring from the rim without damaging the ornate carving on the rim.  My hope is to soften the contrasting coloring and then later, after applying a bee’s wax treatment, which helps color the Meerschaum toward the sought for patina which increases the value of the pipe.  The bee’s wax will help blend the hues in the Meerschaum.I use a cotton pad wetted with alcohol and work on the rim – working to break up the charring.I do a very gentle topping on a sanding sponge to encourage the charring to break up.  The medium sanding sponge is a very mild abrasive.The results are good.  The charring is removed in large measure.The plastic filter sheath is placed in alcohol to soak to see if it will help clean up the plastic – to lighten it or to lessen the stain. To clean the external Meer lattice surface, I mix a small portion of Murphy’s Oil soap in hot water.  It is a very diluted mixture.  I want the benefits that the agents that the soap has but I don’t want to saturate the surface with soap.  I use a bristled toothbrush to apply the soap water to the bowl and scrub the tear drop windows of the lattice work.  The mild soap removes the dirt and grime but does not remove the growing patina on the shank.I damp rinse with a dry cotton pad that draws out the moisture.  I set the stummel aside to allow it to fully dry.Shifting to the internals, using pipe cleaners and cotton buds wetted with isopropyl 95%, the internal cavity is clean in short order.The plastic filter sheath was soaking in alcohol and after fishing it out, I clean the internal cavity with cotton buds to remove the leftover gunk as well as to lighten the stained surface.  I used needle files on the end of the sheath to smooth it on the external threaded side as well as to open the air hole.  The brass bristled brush was also helpful to clean the caked crud in the threads and on the end.Switching now to the stem, the tooth chatter on the upper and lower bit is addressed with 240 sanding paper to erase the chatter. Following the 240 paper, the entire stem is wet sanded with 600 grade paper followed by applying 000 steel wool,Going directly to the micromesh regimen, using pads 1500 to 2400 the stem is wet sanded.  Following this, dry sanding continues the process using pads 3200 to 4000 and 6000 to 12000.  I like the way the micromesh pads have brought out the glassy pop of the acrylic stem. I’m at the point now, before moving to applying bees wax to the bowl, I want to fix the filter sheath – to reattach it.  Several months ago I reached out to the general email address I found on the Altinay website (altinaypipes.com).  I wanted to find out more information and I was hopeful that I might get a response.  I wrote with this question:

Greetings, I have one of your pipes.  The problem is that in the mortise insert that the filter tenon screws into is missing. So, now the tenon does not screw in to hold the stem firmly in place. Do you have replacement tenon systems? It is a 9mm filter tenon. This is a beautiful pipe and I’m hoping to put it back into action. Thank you.

I was surprised to see this response from Said whose last name is ‘Altinay’ arrive so quickly.

Dear Stanton

Of course we have replacement systems but even if you replace it with a new one, it will not be what you want.

While removing the mouthpiece if the pipe still hot, tenon can become stripped. It’s related to shank not tenon.

The method to be applied at this stage is fixing tenon with epoxy or etc..  Can you send me the photos of the pipe?and tenon?

Kind Regards

Said Altınay

I responded with pictures and this note and Said’s helpful reply:

Said,

Thank you so much for your response.  Yes, I understand what you are saying.  The internal shank insert is stripped – all that remains that I can see is the ‘skin’.  I’ve included pictures.  I look forward to hearing back from you.

Regards,

Dal Stanton

Dear Stanton

As I guess, there is no problem at tenon screw. Internal shank is stripped. As I said it needs to be fixed with epoxy or adhesive etc. If you want we can make the maintenance of this pipe….

Kind Regards

Said

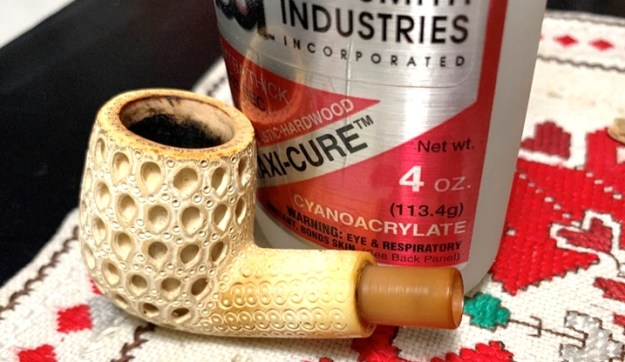
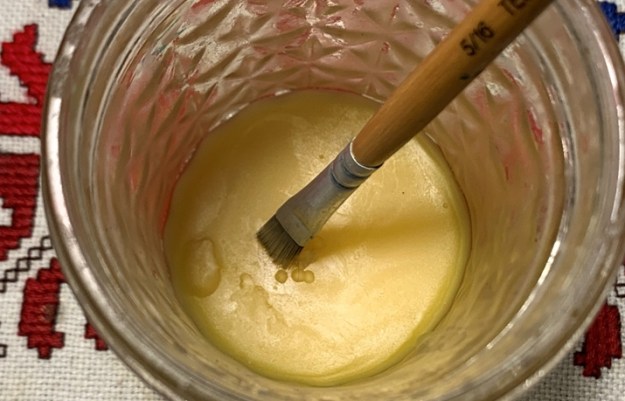
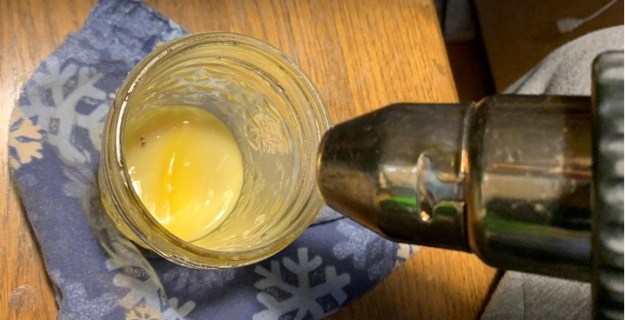
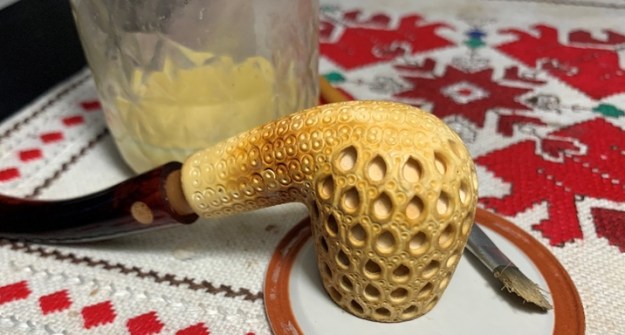
I like to record interchanges like this and my appreciation for Said Altinay’s response to my questions.  With his information, I was able to confirm that the problem is with the shank and that the threads are stripped.  What was especially helpful was what would be his approach to repair – he would use an epoxy glue to reattach the filter holder.  I was unclear on this because gluing back into place create a more permanent repair – not like a screw in attachment.  So, if the expert whose name is Altinay says he would repair it this way, well… I first start with a test fitting and run a pipe cleaner through to make sure that the path from the insert to the draft hole was in alignment.  I had no problem finding the draft hole with the pipe cleaner.After the test fitting, I then apply BSI Maxi-Cure Extra Thick CA glue around the perimeter of the lower plastic filter sheath or tenon.  I then carefully insert the tenon and seat it well in the mortise.After the CA glue sets, I rejoin the stem and Meer stummel to look.  I like what I see.  The stem’s alignment is perfect.Applying bees wax helps to protect the Meerschaum as well as to help cultivate the coloring or the patina. The bees wax is readily available in the outdoor markets here in Bulgaria where honey is sold.  I have a mason jar of wax that has already been heated and melted.  I use a paint brush, not with synthetic hair which will melt in the heat, to apply the liquefied wax to the stummel.I warm the congealed wax with the hot air gun until it liquefies.After heating the Meer stummel as well with the hot air gun, I use the brush to paint the liquefied bees wax onto the Meer surface.  I’m not able to take a picture of the process because I don’t have enough hands! I keep the hot air gun on while on my lap (not burning me) and keep it aimed at the Mason jar on the stool in front of me between my legs.  I do the painting over the top of the Mason jar so that I’m not traveling too far with the brush and the hot air continues to keep the wax liquefied and the stummel warm.  This helps the wax to absorb into the porous Meerschaum surface and not to congeal in clumps on the surface.After I apply the wax with the brush thoroughly over the surface, including in the tear drop lattice windows, I allow the Meer stummel to cool down and after cooled, I first wipe the surface with a paper towel.  I do this to remove the thick areas of the wax sitting on the surface that wasn’t absorbed.  I then follow this by buffing the stummel with a microfiber cloth – not pictured.  You never know quite how the Meerschaum will receive the bees wax treatment.  This Altinay block of Meerschaum darkened a great deal as it soaked in the wax.  Nice!After rejoining stem and stummel, I mount the Dremel with a cotton cloth buffing wheel and with the speed set at about 40% full power, Blue Diamond compound is applied to the acrylic stem.  After this, after changing to another cotton cloth buffing wheel, a few coats of carnauba wax is applied to the stem at the same Dremel speed.  I finish this restoration by giving the pipe a rigorous hand buffing to raise the shine.

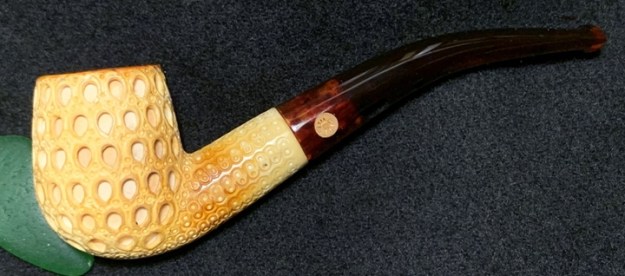
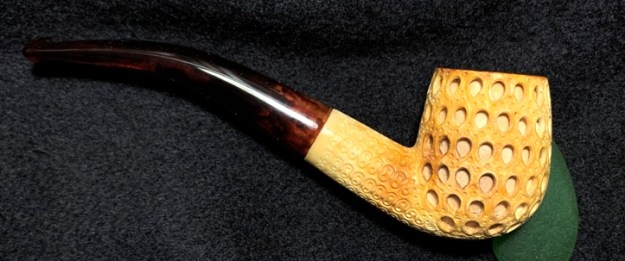
The patina that the bees wax treatment teased out of the Meerschaum is an added value to the collectability of this pipe.  Altinay is known for the quality of its Meerschaum block.  This petite bent Latticed Tear Drop Meerschaum is no exception.  The tightly carved intricacy of this classic Meerschaum genre is a great one to add to the collection and the addition of the custom made Altinay case completes the ensemble.  Jason has the first opportunity to add this commissioned pipe from The Pipe Steward Store to his Longchamp which benefit the Daughters of Bulgaria.  Thanks for joining me!

Refurbishing An Inherited Pete Donegal Rocky # 999 Rhodesian Pipe.


Blog by Paresh Deshpande

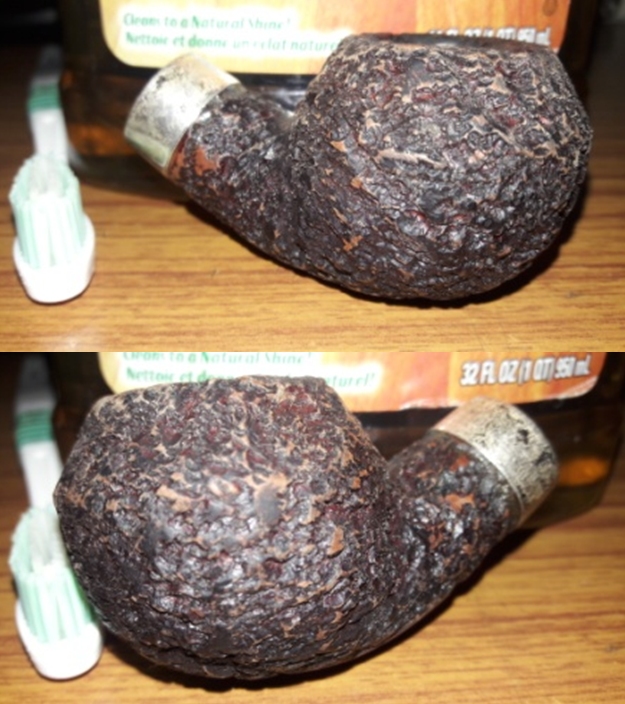
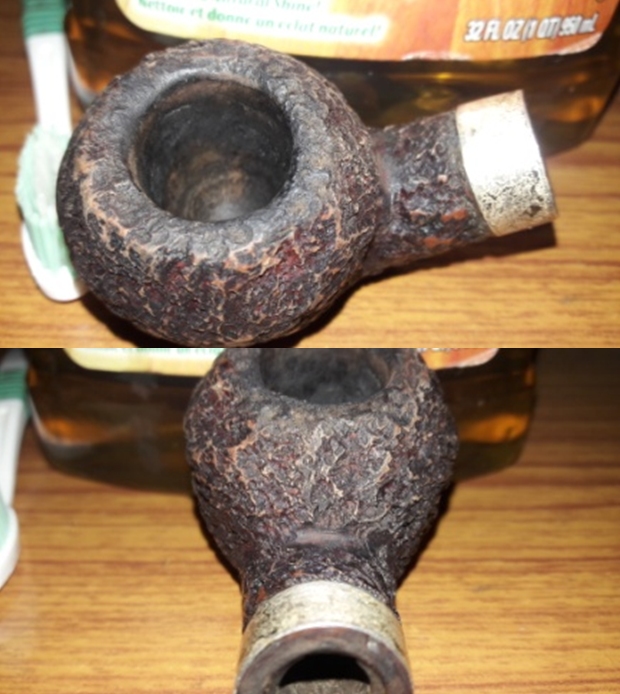
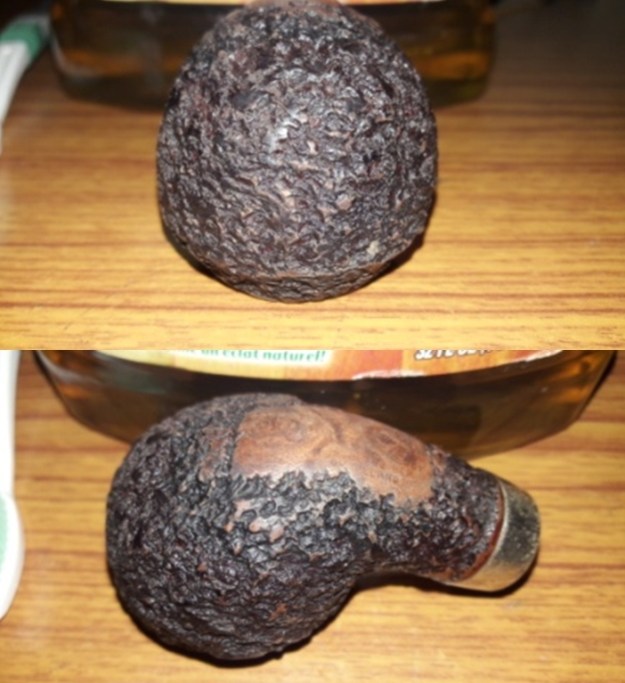
Having just completed the refurbishing of S & R Rhodesian pipe with a chubby shank, I decided to work on another classic iconic shaped pipe from Peterson’s; a Donegal Rocky # 999. This pipe came to me from a huge lot of inherited pipes that were once loved by my beloved Grandfather. I selected to line up this pipe for restoration as this time around I wanted to add Rhodesian shaped pipes to my rotation and preferably with a small chamber as I am slightly low on my stock of tobacco what with the government banning import of all forms of tobacco!!

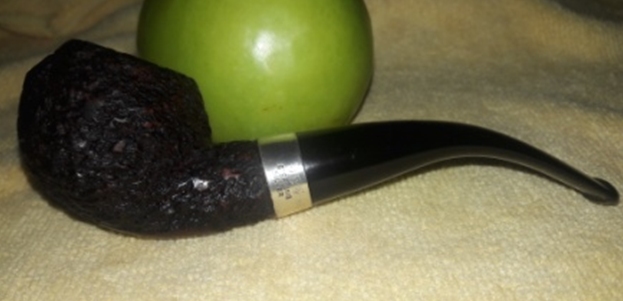
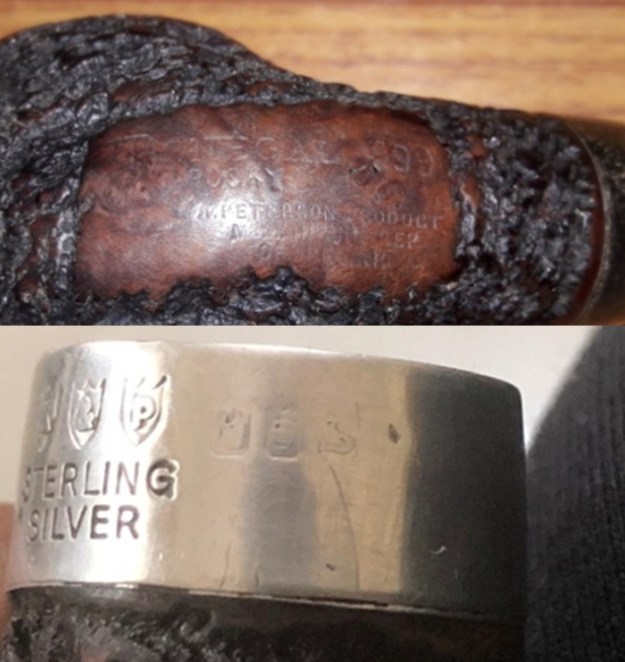
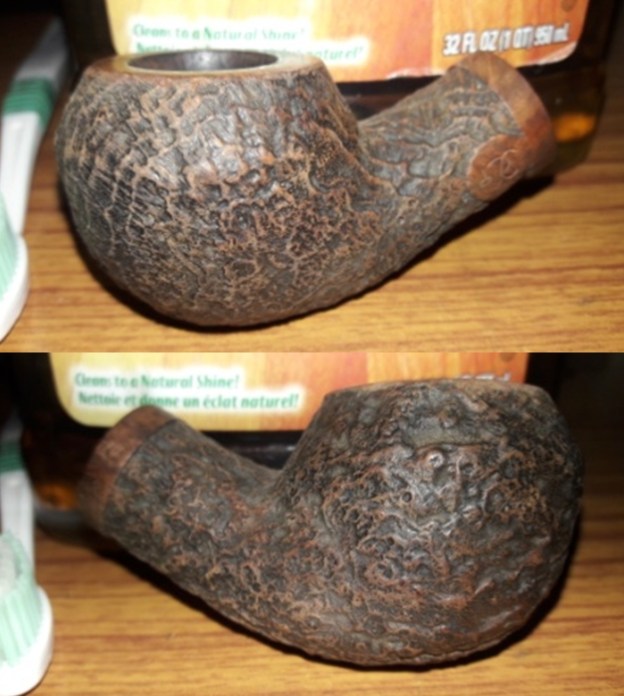
The stummel of this pipe has beautiful scraggy rustications and it sure does feel good to run your fingers over the surface of the stummel. There is a patch of smooth briar surface starting at the foot of the bowl and ending half way off the shank end and bears the stampings on this pipe. It is stamped towards the foot end as “DONEGAL” over “ROCKY” over “A PETERSON’S PRODUCT” over “MADE IN THE REPUBLIC” over “OF IRELAND” and finally in the right hand top corner towards the shank end is the shape code “999”. The shank end is adorned with a sterling silver band. The silver band bears a group of three hallmarks marks, each in an escutcheon; the first is a seated Hibernia denoting Dublin Ireland, the second is a harp denoting the silver fineness, and the third is a fancy letter “S” denoting the year. The hallmarks are slightly worn out but discernible under high magnification under bright white light. Further to the left of these hallmarks are three cartouche each bearing, from left to right, letters “K” “&” and “P” over “STERLING” over “SILVER”.  Having had the good fortune of researching and working on a few early Peterson’s pipes, I had read that the Donegal Rocky is Peterson’s classic range, primarily the basic entry level pipes from the brand. However, what interested me was the letter denoting the year of production. I forwarded a picture of the hallmarks to my friend and mentor, Steve Laug who promptly confirmed that the letter denotes the year 1960!!

Knowing the fact that the K & P factory sends hundreds of such sterling silver bands to the Dublin essay office for hallmarking that are to be used over a period, still dates this pipe to early 1960s.

INITIAL VISUAL INSPECTION
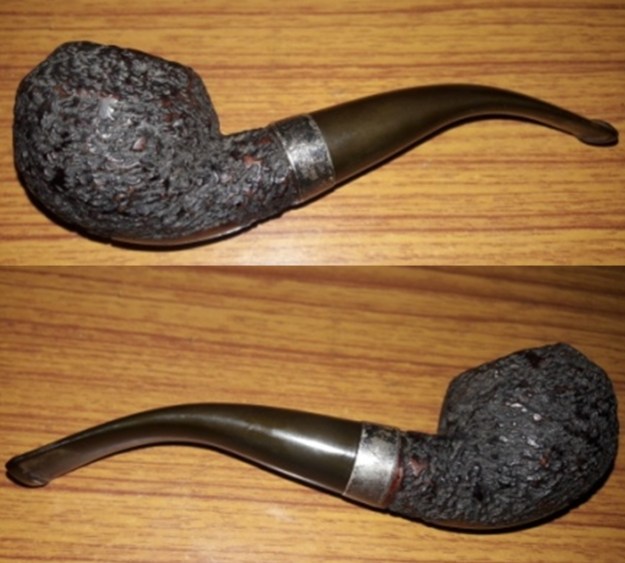
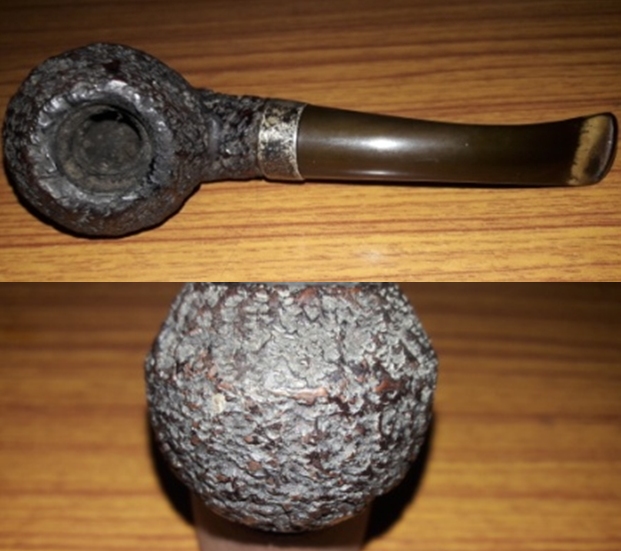
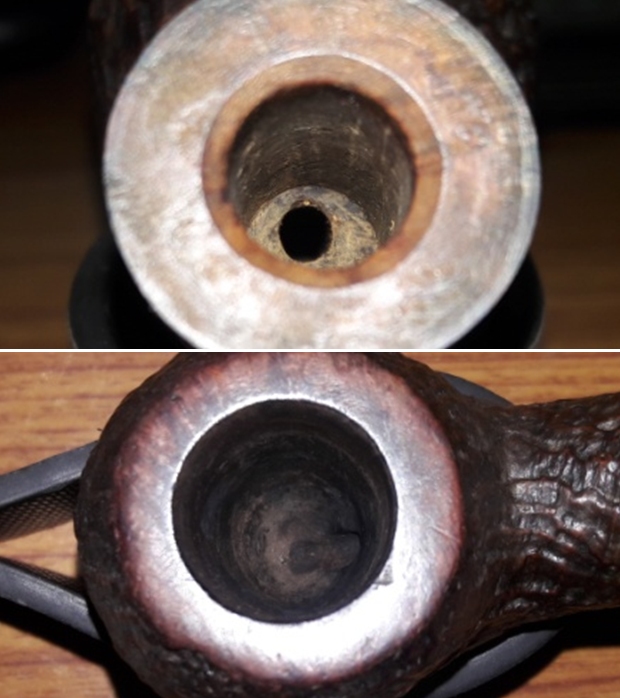
The pipe, as it sits on my work table, is dirty with a thick layer of cake in the chamber while the stummel is covered in dust and grime with a heavily oxidized stem. Here are a few pictures of the pipe before I proceed with a detailed visual inspection of each part of the pipe. The rusticated stummel on this pipe is covered in a thick layer of dust and grime of nearly 58 years of use and uncared storage. The stummel appears dull and lackluster. The rusticated rim top surface is also covered in dust, lava overflow and will need to be cleaned and polished. The rich brown hues of the raised portions of the rustications contrast beautifully with the darker hues of the stummel. The stummel has a very subtle, yet discernible outward flaring rim cap which lends it its classical shape. There is a very strong smell to the cake which, perhaps, may reduce appreciably after the chamber has been cleaned. The chamber has a thick cake, which I have come to expect from all my inherited pipes, with lava overflow on the rusticated rim top surface. The cake is thick enough to prevent my little finger from going in to the chamber. The condition of the inner walls of the chamber will be ascertained once the existing cake has been taken down to the bare briar. The rusticated rim top surface has thick, dried and crumbling overflow of lava. The inner and outer rim edges appear to be in good condition, however, the same will be ascertained once the cake and lava overflow from the chamber and rim top is removed. The mortise is filled with oils and tars and specks of dried ash and tobacco is seen on the walls of the mortise. The sump is filled with dried oils, tars and gunk. Though the draught hole is open, the draw is restricted and should improve further once the shank internals and the mortise is thoroughly cleaned out. The shank face shows some nicks and chips. I shall subsequently take a call on its repairs since this damage does not, in anyway, affect the aesthetics and functionality of the pipe.The sterling silver band at the shank end is, characteristically blackened due to heavy oxidation. The saving grace is that it is intact and undamaged.The fishtailed smooth vulcanite stem is heavily oxidized with hardened calcification in the bite zone. Surprisingly, there are only a few tooth indentations on the button edge and chatter on either surfaces of the stem. The horizontal slot end of the stem is heavily oxidized to a dark brown coloration while the tenon end is covered in dried oils and tars. The tenon end also shows a number of mysterious nicks which do not affect the seating of the tenon in to the mortise and as such will be left as it is. This should be a relatively simple cleaning up job of the stem. THE PROCESS
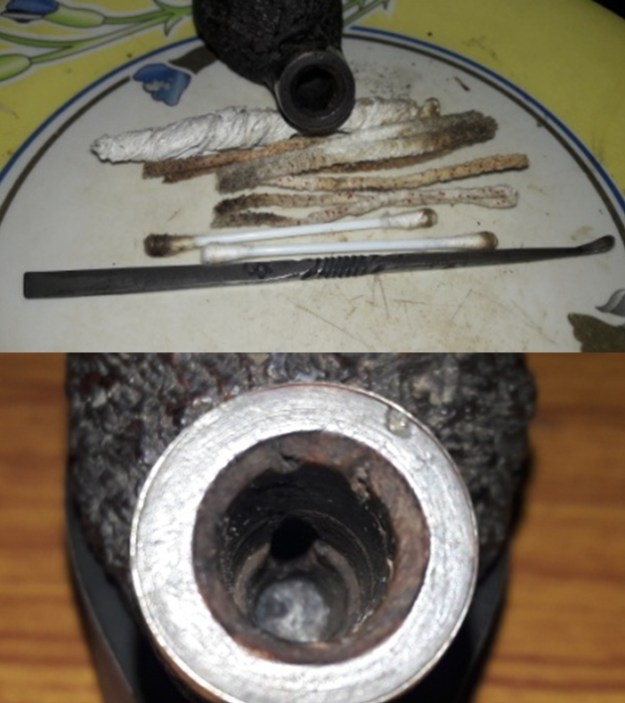
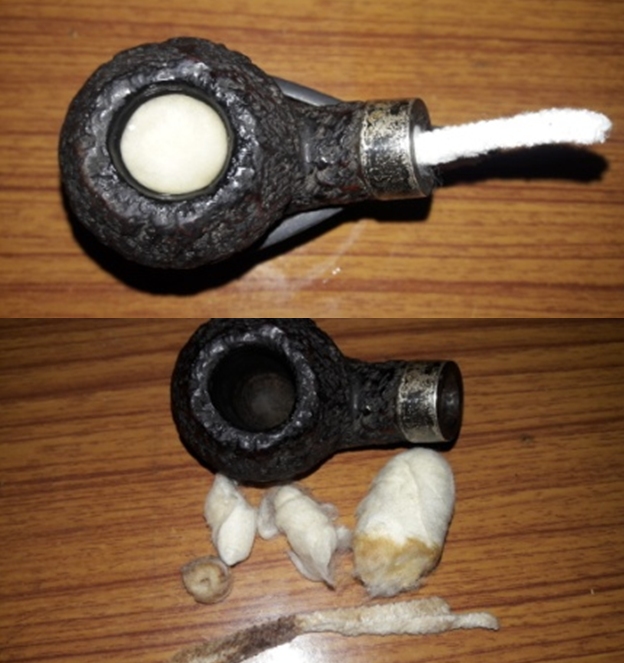
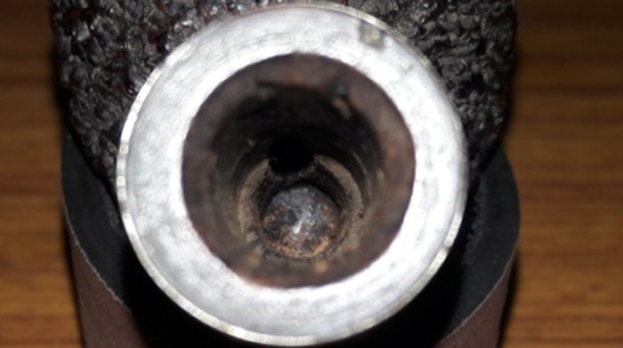
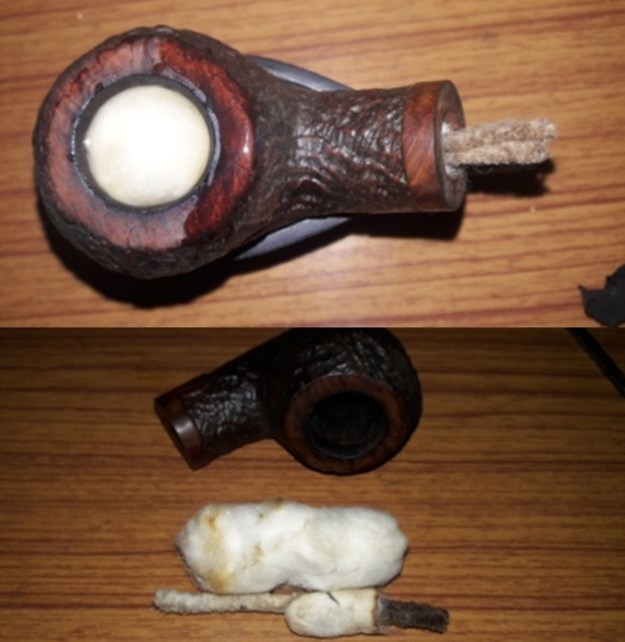
I began the process of refurbishing this pipe by reaming the chamber with a Castleford reamer tool, using the first, second and third head. Using my fabricated knife; I further took the cake down to the bare briar. With a 150 grit sand paper, the walls of the chamber were rid of all the remnants of the cake, revealing smooth chamber walls. I further wiped the chamber with a cotton swab wetted with isopropyl alcohol to completely remove the residual carbon dust. The inner rim edge is in good condition. I scraped the shank internals with a fabricated tool to remove all the crud that had accumulated along the shank walls and further cleaned it with bristled and regular pipe cleaners dipped in isopropyl alcohol. The sump was cleaned using q-tips wetted with isopropyl alcohol. I also cleaned the sump with rolled paper napkins. A few hours later and after a lot of patience, elbow grease and q-tips, the sump is finally cleaned to a great extent. I shall further draw out all the residual oils, tars and gunk by subjecting the chamber and the shank to a salt and alcohol bath.I continued the cleaning of the chamber and shank internals with a salt and alcohol bath. I use cotton balls which is an at par substitute as I have realized over the years. I draw out a wick from the cotton and along with a folded regular pipe cleaner; insert it in to the mortise and through the draught hole in to the chamber. Thereafter, I packed the chamber with cotton balls to about quarter of an inch below the rim inner edge and soaked the cotton balls with isopropyl alcohol up to the brim. About half an hour later, the level of alcohol had gone down, having being absorbed by the cotton. I topped it up once again and set it aside overnight. By next afternoon, the cotton and alcohol had drawn out all the remaining oils and tars from the chamber and mortise, fulfilling its intended task. I removed the cotton balls and ran pipe cleaners through the mortise to clean out all the loosened tars and gunk. Using my fabricated tool, I scraped out the entire loosed gunk from the sump and further cleaned it with alcohol and q-tips. The chamber now smells clean and fresh. I set the stummel to dry out naturally. While the chamber was soaking in the salt and alcohol bath, I worked the stem, starting with cleaning the internals of the stem using pipe cleaners with isopropyl alcohol (99.9% pure) and dunking the stem in to “Before and After Deoxidizer” solution developed by my friend Mark Hoover. The solution helps to draw out heavy oxidation to the surface making its subsequent removal a breeze, while minor oxidation is eliminated to a very great extent. I usually dunk stems of 5-7 pipes that are in-line for restoration and this Donegal Rocky #999 is marked in red arrow. I generally allow the stems to soak in this solution overnight for the solution to do its work.Now that the internals of the stummel were cleaned, I scrubbed the external surface of the bowl with undiluted Murphy’s oil soap and hard bristled tooth brush. I deliberately cleaned the rim top surface with a soft bristled brass wire brush to remove the entire lava overflow and dried it using paper towels and soft cotton cloth. The light brown hues of the raised rustications contrast beautifully with the rest of the dark stummel. I set the stummel aside to dry out naturally. I rubbed a small quantity of “Before and After Restoration Balm” in to briar. I rubbed this balm deep in to the sandblasts with my fingers and let it rest for a few minutes. The balm almost immediately works its magic and the briar now has a nice vibrant appearance with the light brown hues of the raised rustications contrasting with the dark stummel surface. I further buff it with a horse hair shoe brush. As mentioned in the write up on refurbishing S & R, I had worked on the stems that had been soaking in the deoxidizer solution overnight. I fished out all the stems and cleaned them under running warm water and scrubbed the raised oxidation from the stem surface using Scotch Brite pad. I further removed the oxidation by scrubbing the stems with 0000 grade steel wool and applied a little olive oil to rehydrate the stems and set them aside for the oil to be absorbed. Unfortunately, I did not click any pictures of these stems at this stage.

This is how the stem of this pipe came out after the stem cleaning described above. Some traces of oxidation are still visible at the base of the button edges on both surfaces which needs to be removed using more invasive methods. A few minor tooth indentations are visible on the top button edge and at the base of the button edge on the lower surface. I painted both surfaces of the stem with the flame of a lighter to raise the tooth chatter and bite marks to the surface. This also helps in loosening minor oxidation from the stem surface. I sand the entire stem surface with a folded piece of a 220 grit sand paper to remove the loosened oxidation. I wiped the stem with a cotton swab and Murphy’s oil soap to further remove the oxidation. Even though the most of the tooth indentations have been eliminated by heating the damaged stem portion with the flame of a lighter, one deep indention is seen on upper and lower surface in the bite zone. However, I am happy with the way this stem appears at this stage and also with the deoxidizer solution. I filled the tooth indentation in the button edge on lower and upper stem surface with a mix of activated charcoal and CA superglue and set it aside for the fill to cure. Once the fill had cured sufficiently, with a tightly folded piece of 220 grit sand paper, I sanded down the fill to match with rest of the stem surface. With the same piece of sand paper, I sharpened the button edge on the upper surface.I further sand the stem with 600 and 800 grit sand paper. I wiped the stem with cotton pad dipped in alcohol to remove the resultant dust. I rubbed some extra virgin olive oil in to the stem and set it aside to be absorbed in to stem. I polished the stem with micromesh pads, wet sanding with 1500 to 12000 grit pads. I rubbed a little extra virgin olive oil in to the stem at the end of all the micromesh pads. I finish the polishing of the stem by rubbing a small quantity of Paragon wax and giving it a final polish with a soft cotton cloth. The stem is now nice, smooth and shiny. I cleaned the Sterling Silver shank band with a local compound that Abha, my wife, uses to polish her silver and gold jewelry and cutlery. This compound is a very fine powder and is least abrasive with fantastic results. The results were appreciated by Steve during his visit to India. The band is now a nice shining piece of silver and provides a nice contrast to the shining black stem and the dark brown stummel. Unfortunately, I missed out on taking pictures as I was keen to finish this pipe and enjoy a bowl!
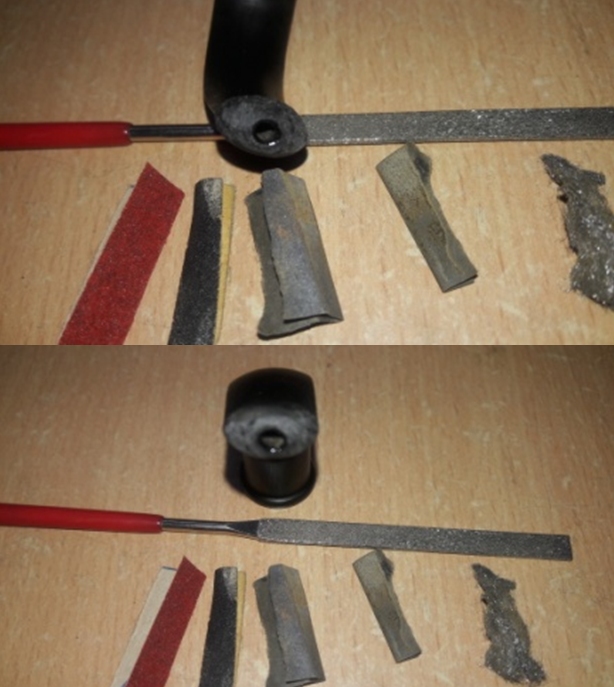
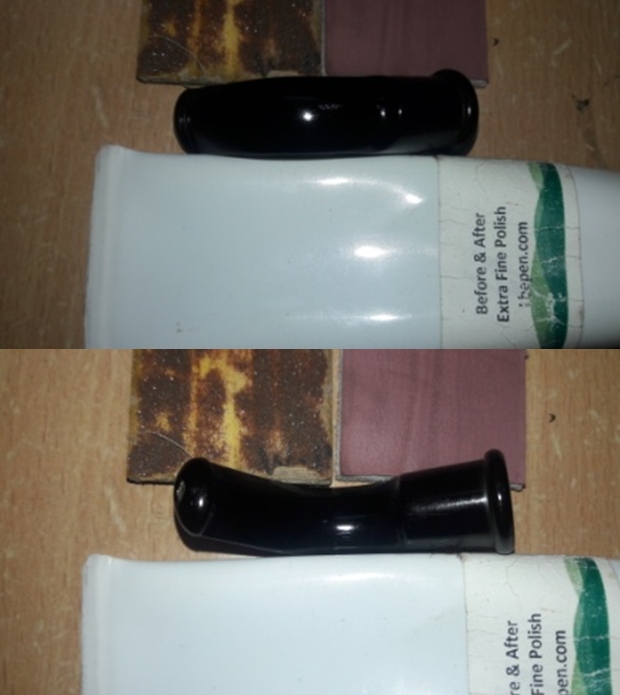
To apply the finishing touches, I mount a cotton cloth buffing wheel on to my hand held rotary tool and apply a coat of Blue Diamond to the stem to polish out the minor scratches. With a cotton buffing wheel that I use for carnauba wax, I apply a coat of carnauba wax to the stummel and stem and continued to work on it till the complete coat of wax had been polished out. I mount a clean cotton cloth buffing wheel and gave the entire pipe a once over buff. I finished the restoration by giving the entire pipe a rigorous hand buffing using a microfiber cloth to raise the shine further. The finished pipe is shown below. P.S. – Since the completion of this restoration, I have smoked this pipe and included it in my rotation. Believe you me; this pipe smokes perfect with a nice, smooth draw right to the end. No wonder then that this pipe would have been one of my grandfather’s favorite given the thick cake and calcified stem!! I am really privileged to have had an opportunity to carry forward the trust that my grandfather had posed in his pipes. Thanks for your patience and looking forward to inputs about the write up. Cheers…
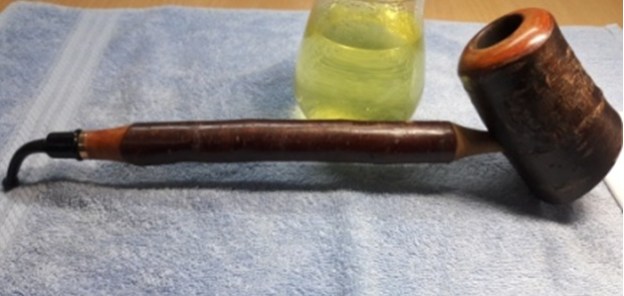
Refurbishing a “S & R” Chunky Rhodesian Pipe


Blog by Paresh Deshpande

One of my favorite shapes is the Rhodesian and a Rhodesian with a thick chubby shank, if at all I come across one, has to find its way in to my personal collection!!!! A while ago when surfing eBay, I came across one such pipe which the seller had simply advertised as “USED BRIAR PIPE IN EXCELLENT CONDITION”. There were a few pictures with no particular emphasis on the stampings and no description whatsoever. The only stamping that I could make out was some complicated design with the highlight being a pipe shape distinctly seen within the design. There were only a few minutes for the auction to end with just three bidders and the pipe seemed to be in great condition. Another aspect that I confirm when buying on eBay is the cost of shipping. In this case it was very reasonable. With all these positives, I could not refrain from placing my bid. A month later and the pipe had reached Abha.

She clicked a couple of pictures and sent them to me as requested, one with clear image of the stamping. She, to my complete relief, confirmed the pipe to be in excellent condition. Here are the pictures that she had sent me. There was no COM stamp to help me identify this beautiful pipe.I could not contain my curiosity to find out more about this pipe and turned to pipephil.eu to identify this pipe. I searched the site for this pipe in their index for stampings with a pipe, but came out cropper. Next I tried to search by country with no success. Thereafter, I turned to pipedia.com. Hours later, I could find a perfect match for the stamping under the COM “USA”. Here is the link. https://pipedia.org/wiki/S%26R_Pipes

I reproduce the information gleaned from the site.

Stephen and Roswitha Anderson of S&R Pipes, also known as S&R Woodcrafters, have become pipe makers renowned throughout the world as talented carvers of high-grade briar pipes. They have been featured in several trade publications and magazines such as Pipes and Tobaccos and PipeSmoker, and have several pieces on  display in museums in Europe and the United States.

They are the first American pipe carvers honored with induction into the Conferee of Pipe Makers of St. Claude, France; the very place where the carving of briar pipes became a world-wide industry. Sadly, Steve passed away in March of 2009. Roswitha is still carving S&R pipes and carrying on with the shop with help from her “guys” David, Marty, and Tony.

Steve and Roswitha began carving pipes in the 1960’s. They travelled to pipe shows and arts and crafts shows throughout the country and Europe selling their pipes and built up quite an extensive loyal customer base. Eventually, it became time to offer their pipes to the retail fraternity of pipe smokers.

Pipes & Pleasures had its grand opening in a distinct red brick house on Main Street in Columbus, Ohio in 1977. The front section of the house was converted into a traditional tobacco shop selling pipe tobacco, cigars, and pipes manufactured by well known companies such as Dunhill, Charatan, and Savinelli as well as the high-grade S&R pipes that Steve and Roswitha carved. A workshop was set up in the back section of the house.

When the cigar boom hit in the ’90’s, the shop was expanded by building a large computer controlled walk-in humidor. It’s no secret throughout the country that Pipes & Pleasures has the best maintained cigars in the Columbus area as well as the best selection of premium cigars available in the area including the much sought-after Davidoff line.

Soon after the boom began, Steve and Roswitha moved their pipe making workshop to their farm and converted that space into a large smoking lounge for their many customers. The lounge features comfortable easy chairs, a television set, a stereo, a library of books and magazines about every aspect of tobacciana, a chess table, and a couple of card tables. The lounge is populated daily with long-time loyal customers and newcomers to the enjoyment and relaxation of cigar and pipe smoking. It’s also the room where several cigar tastings and samplings are held every year by representatives from cigar companies such as Davidoff and La Flor Dominicana.

I was fortunate to own this Stephen and Roswitha Anderson carved pipe. That this pipe moved up the pile of pipes to be restored is not surprising, it is such a beautiful pipe.

INITIAL VISUAL INSPECTION
The sandblasted stummel on this pipe is covered in dust and grime and appears dull and lackluster. The smooth rim top surface and the band at the shank end are also covered in dust and grime and will need to be cleaned and polished. The rich brown hues of the raised portions of the rustications contrast beautifully with the darker hues of the stummel and the sandblast patterns on the stummel are eye catching, to say the least. The stummel has a very subtle, yet discernible outward flaring cap ring which lends it its classical shape. There is a very strong sweet smell to the cake, which perhaps may vanish after the chamber has been cleaned. The chamber has a nice even cake with specks of lava overflow on the smooth rim top surface. The condition of the inner walls of the chamber will be ascertained once the existing cake has been taken down to the bare briar. The smooth rim top surface has numerous minor dents and dings that are an eye sore. I suspect that the inner rim edge is charred at the back side of the rim top (marked in yellow circle). The extent of the char will be ascertained once the rim top surface has been cleaned off the lava overflow. The transition of the outer edge of the rim in to the stummel is sans any damage. Accumulation of oils and tars and specks of dried ash and tobacco is seen on the walls of the mortise. Though the draught hole is open, the draw should improve further once the shank internals and the mortise is thoroughly cleaned out.The stem surface, though not heavily oxidized, is rough and uneven and the edge of the lip on the lower surface has minor tooth indentations. The button edge on the upper stem surface is intact and just needs to be sharpened a bit. The tenon end is covered in dried oils and tars which will need to be cleaned. The slot and stem air way is clean. THE PROCESS
I began the process of refurbishing this pipe by cleaning the internals of the stem using pipe cleaners with isopropyl alcohol (99.9% pure) and dunking the stem in to “Before and After Deoxidizer” solution developed by my friend Mark Hoover. The solution helps to draw out heavy oxidation to the surface making its further removal a breeze, while the minor oxidation is eliminated to a very great extent. I usually dunk stems of 5-7 pipes that are in-line for restoration and this S & R pipe is marked in yellow arrow. I generally allow the stems to soak in this solution overnight for the solution to do its work.While the stem was in the soak, I reamed the chamber with a Castleford reamer tool, using the second and third head. Using my fabricated knife; I further took the cake down to the bare briar. I have realized that the knife is best suited to remove the cake from the bottom of the chamber.  With a 150 grit sand paper, the walls of the chamber were rid of all the remnants of the cake, revealing smooth chamber walls sans any damage. I further wiped the chamber with a cotton swab wetted with isopropyl alcohol to completely remove the sanding dust. The inner rim edges are, save for the minor charring, in good condition. I scraped the shank internals with a fabricated tool to remove all the crud that had accumulated along the shank walls and further cleaned it with bristled and regular pipe cleaners dipped in isopropyl alcohol. I continued the cleaning of the chamber and shank internals with a salt and alcohol bath. I use cotton balls which is an at par substitute as I have realized over the last year or so. I draw out a wick from the cotton and along with a folded regular pipe cleaner; insert it in to the mortise and through the draught hole in to the chamber. Thereafter, I pack the chamber with cotton balls to about quarter of an inch below the rim inner edge. I soak the cotton balls with isopropyl alcohol up to the brim. About half an hour later, the level of alcohol had gone down, having being absorbed by the cotton. I top it up once again and set it aside overnight. By next afternoon, the cotton and alcohol has drawn out all the remaining oils and tars from the chamber and mortise, fulfilling its intended task. I removed the cotton balls and ran pipe cleaners through the mortise to clean out all the loosened tars and gunk. The chamber now smells clean and fresh. I set the stummel to dry out naturally. While the stummel was set aside for the salt and alcohol to draw out all the deep residual oils and tars, I worked on the stems that had been soaking in the deoxidizer solution overnight. I fished out all the stems and cleaned them under running warm water and scrubbed the raised oxidation from the stem surface using Scotch Brite pad. I further removed the oxidation by scrubbing the stems with 0000 grade steel wool and applied a little olive oil to rehydrate the stems and set them aside for the oil to be absorbed. Unfortunately, I did not click any pictures of these stems at this stage.

Once the stummel internals were cleaned, I scrubbed the external surface of the bowl with undiluted Murphy’s oil soap and hard bristled tooth brush. I deliberately cleaned the rim top surface to remove the entire lava overflow and dried it using paper towels and soft cotton cloth.  The cleaned up rim top surface revealed very slight charring to the inner rim edges and minor dents and dings to the surface. I set the stummel aside to dry out naturally. Next, I decided to address the issue of damage to the rim top. I topped the rim surface on a 220 grit sand paper, frequently checking the progress being made. One of the things that I prefer to avoid is topping, as it compromises the shape to an extent while losing briar estate. But this process is a necessary evil while addressing the damage to the rim top surface and I prefer to remain minimalist with it. The rim top is now smooth and the charring on the inner edges is addressed to a great extent. I am at peace with the appearance of the rim top surface at this stage.I polished the rim top and the smooth band at the shank end with micromesh pads, wet sanding with 1,500 to 12,000 grit pads. I wiped the surface with a moist cotton cloth to remove the resulting sanding dust. The rim top and the shank end band looks gorgeous and should provide a nice contrast to the dark brown hues of the stummel sandblasted surface once it is polished further. I rubbed a small quantity of “Before and After Restoration Balm” in to briar. I rubbed this balm deep in to the sandblasts with my fingers and let it rest for a few minutes. The balm almost immediately works its magic and the briar now has a nice vibrant appearance. I further buff it with a horse hair shoe brush. Now that the stummel refurbishing is nearly complete, save for the final wax polish, I turned my attention to the stem repairs. Though most of the oxidation was removed after I had scrubbed the stem with Scotch Brite and 0000 grade steel wool, slight traces of oxidation are still visible on the edges of the saddle at the tenon end. I sand the entire stem surface with a folded piece of a 220 grit sand paper, being especially careful around the saddle edge at the tenon end to avoid causing of the dreaded shouldering effect! I wiped the stem with a cotton swab and Murphy’s oil soap to further remove the visible oxidation. I am happy with the way this stem appears at this stage and also with the deoxidizer solution. I filled the tooth indentation in the button edge on lower stem surface with a mix of activated charcoal and CA superglue and set it aside for the fill to cure. Once the fill had cured sufficiently, with a tightly folded piece of 220 grit sand paper, I sanded down the fill to match with rest of the stem surface. With the same piece of sand paper, I sharpened the button edge on the upper surface. I further sand the stem with 400, 600 and 800 grit sand paper and wiped the stem with cotton pad dipped in alcohol to remove the resultant dust. I rubbed some extra virgin olive oil in to the stem and set it aside to be absorbed in to stem. To impart a nice deep glossy shine to the stem, I polished it with micromesh pads, wet sanding with 1500 to 12000 grit pads. I rubbed a little extra virgin olive oil in to the stem after every three pads. I finished the polishing of the stem by rubbing a small quantity of Paragon wax and giving it a final polish with a soft cotton cloth. The stem is now nice, smooth and shiny.To apply the finishing touches, I mount a cotton cloth buffing wheel on to my hand held rotary tool and apply a coat of Blue Diamond to the stem to polish out the minor scratches. With a cotton buffing wheel that I use for carnauba wax, I apply a coat of carnauba wax to the stummel and stem and continued to work on it till the complete coat of wax had been polished out. I mount a clean cotton cloth buffing wheel and gave the entire pipe a once over buff. I finished the restoration by giving the entire pipe a rigorous hand buffing using a microfiber cloth to raise the shine further. The finished pipe is shown below. P.S. – Since the completion of this restoration, I have smoked this pipe and included it in my rotation. Believe you me; this pipe smokes perfect with a nice, smooth draw right to the end. This leads me to think, is it only necessary to have Dunhill, Barling’s, Comoy’s etc, as fantastic smokers? Thanks for your patience and looking forward to inputs about this brand and the write up. Cheers…
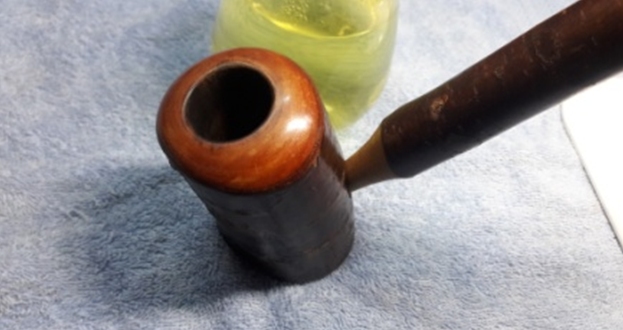
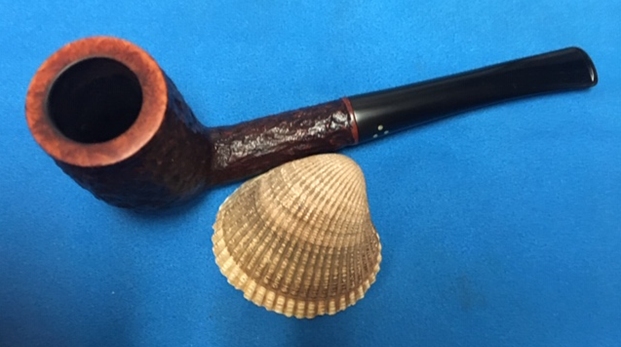
This Interesting Soren Hand Carved Freehand Turned Out to be More Work than Expected


Blog by Steve Laug

On a recent trip that Irene and I took with Jeff and his wife to the Oregon Coast we managed to do some pipe hunting. We found a few interesting pipes. I was in the mood today to work on a couple of them as a break from the restorations I am doing for others. The second of these is a pipe marked Soren over Hand Carved over Copenhagen over Denmark on the underside of the shank. It is a Freehand with a mix of sand blast and smooth finish on the bowl and shank. There is also plateau on the rim top and shank end. The pipe has a pair of fins on the underside of the bowl that allows the pipe to stand on its own. The bowl was a mess with a thick cake and tar overflow filling in the plateau rim top. There was a lot of dust and grim in the sandblast and buildup on the smooth portions. There were some chips missing on the ends of the fins but they did not detract from the unique beauty of the pipe. At first glance the stem was okay though it has some tooth marks and chatter near the button. There was some calcification and heavy oxidation in all of the turnings and smooth parts of the stem. When I removed the stem there was an issue – the tenon was ragged looking and probably half of it was missing. I took this one home as I decided I wanted to work on it. I took photos of the pipe before starting my cleanup work. I took close up photos of the rim top and bowl to show how clean it was. There is some nice cross grain on the rim top. I also took photos of the stem to show their condition. You can see the oxidation and tooth chatter on it but otherwise it is a pretty straight forward cleanup.I took a photo of the stamping on the underside of the shank. You can see it below and it read as noted above. I looked up the brand on Pipephil (http://www.pipephil.eu/logos/en/logo-s10.html) and found that the brand was carved by Søren Refbjerg Rasmussen. Pipes that he made for the European market were mostly stamped “Refbjerg” while those made for the US market were stamped “Soren”. Thus I knew that one I was working on was imported into the US market.

With that information I was clear on the maker of the pipe and I turned to work on the pipe itself. I reamed the bowl with a PipNet pipe reamers using the first three cutting heads to take the cake back to bare briar. I like to have a clear idea of the condition of the inside walls of the bowl before I consider a pipe finished. This one looked very good. I cleaned up the remnants of cake with a Savinelli Fitsall Pipe Knife and sanded the walls with a piece of 220 grit sandpaper wrapped around a dowel. I scrubbed the briar with undiluted Murphy’s Oil Soap, a tooth brush and a wire brush to clean out the grime and dust in the grain of the sand blast and in the plateau on the rim top and shank end. I rinsed soap off the bowl with warm running water and dried off the briar with a soft cloth. I cleaned the surface further with Mark Hoover’s Before & After Briar Cleaner – the Extra strength version. I rubbed it into the surface of the briar with a tooth brush and rinsed it off to remove the grime that it had trapped. I used a folded piece of 220 grit sandpaper to smooth out the damage on the fins. Both sides had small chips in the finish on the end of the fins.I rubbed the briar down with Before & After Restoration Balm. I worked it into the surface of the briar with my fingertips and a horsehair shoe brush. I let it sit for about 10 minutes. I buffed it off with a cotton cloth. You can see how well the product works to clean and enliven the briar and as a bonus it protects it as well. I set the bowl aside and turned my attention to the stem. While I was with Jeff in Oregon I picked up some of the Soft Scrub that he has found very useful in removing oxidation and calcification. I rubbed down the stem with it on a cotton pad. You can see the results on the pads in the photo below.I cleaned out the airway in the shank and stem and the inside of the mortise with pipe cleaners, cotton swabs and alcohol. It was a dirty pipe. The photo of the bowl came out pretty good but the stem photo is out of focus. You get the idea though on how dirty both were.I cleaned off the surface of the stem, painted it with the flame of a lighter to lift the tooth marks and filled in the remaining tooth marks with black super glue. I set the stem aside to let the repair cure overnight. While it cured I mulled over what I was going to do about the short, broken tenon on the stem. I had two options – I could cut off the remaining tenon and replace it or I could replace the stem. I like the fancy stem that was on the pipe so I was more prone to replace the tenon… I would let it sit and make a decision in the morning.When the glue cured and the repair hardened I recut the edge of the button on both sides with a needle file. I gave it more definition and flattened out the repaired areas on the top and underside. I smoothed out top and underside with 180 grit sandpaper.I smoothed out the sanding marks and worked on the oxidation with 220 grit sandpaper. I wiped the stem down afterwards with a damp cloth. Finally I feel like I am making some progress with the stem.I cleaned the stem with cotton swabs, cotton pads and Soft Scrub to remove more of the oxidation on the surface of the rubber. At this point the stem was looking pretty good.I paused at this point and thought about a third option for the tenon – not a replacement and not a new stem. There was another way that I thought might work. I used a needle file to reshape the broken tenon and take away some of the first disk of the turned stem. The photos below show the stem after I had removed some of the material and bought some more length on the tenon. I still need to smooth out the tenon and flatten the end but the fit is much better in the shank and actually looks better. I cleaned up the tenon and the fit is very good now. All that remains is to polish it.I polished the stem with micromesh sanding pads – wet sanding it with 1500-12000 grit pads. I wiped the stem down after each sanding pad with a cotton pad to remove the sanding debris.  I have to tell you I am not sorry to see this restoration come to an end. Generally it is fun to see the part all come together. This time I was glad that I could move on to work on another pipe! I had seen enough of the many issues that came with this pipe. I put the pipe back together and buffed it with Blue Diamond on the buffing wheel. I gave the bowl and the stem multiple coats of carnauba wax. I hand buffed the pipe with a clean buffing pad to raise the shine. It was good to see what the polished bowl looked like with the smooth portions, sandblast portions and the plateau on the rim top and shank end. They contrasted well the polished black vulcanite stem. This Soren Hand Carved in Denmark Freehand is nice looking and feels great in my hand. The pipe has the advantage of being a sitter as well as a Freehand. The fins on the front of the bowl act like legs that hold it upright. It is a very light weight and well balanced pipe. Have a look at it with the photos below. The dimensions are Length: 6 inches, Height: 3 inches, Outside diameter of the bowl: 1 ½ inches, Chamber diameter: 7/8 of an inch. This is a well-traveled pipe – Made in Denmark for an American Market, somehow ending up in Astoria, Oregon in the stall of a seller who bought it at an estate sale and now up to Vancouver, British Columbia in Canada. While the pipe had a lot of challenges they were fun to work on for the most part! Thanks to each of you who are reading this blog. Remember we are not pipe owners; we are pipemen and women who hold our pipes in trust until they pass on into the trust of the next pipeman or woman.