Blog by Steve Laug
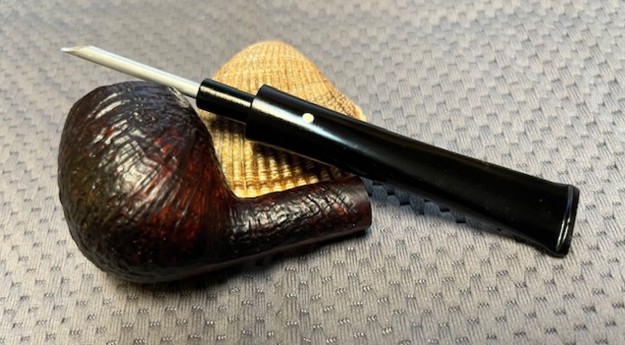
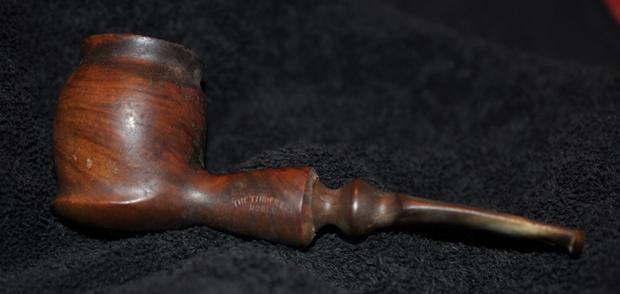
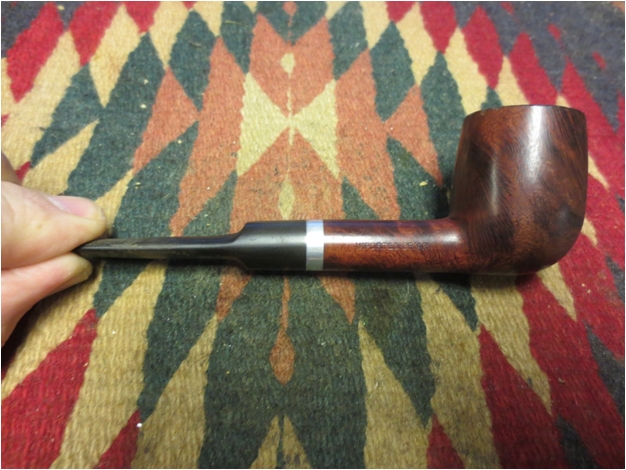
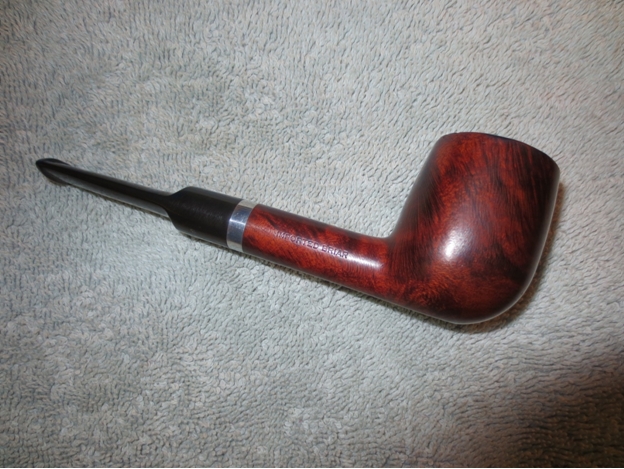
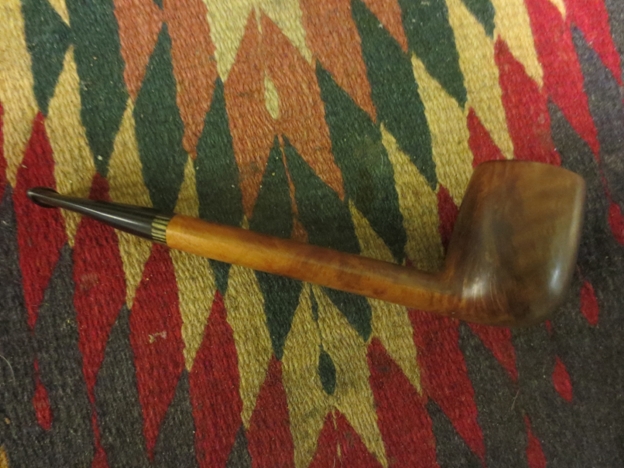
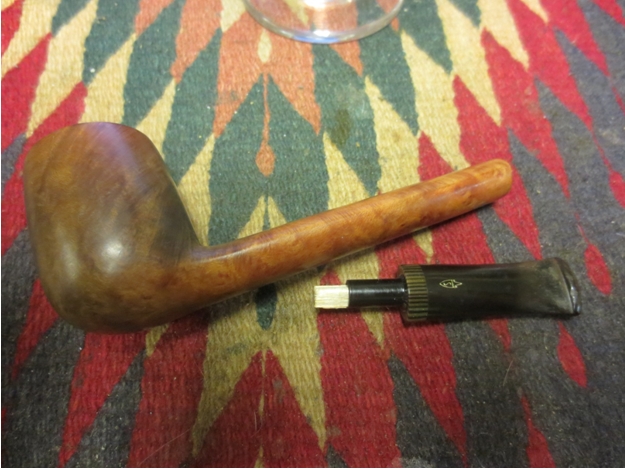
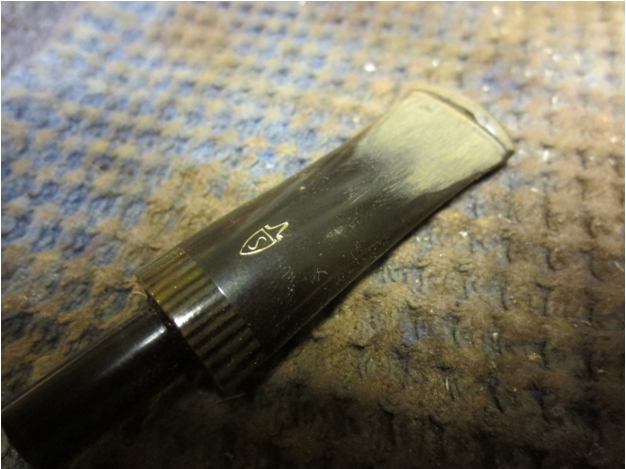
The next pipe on the work table is a lovely Dunhill small sandbast apple shaped briar pipe. We purchased it from our contact in Copenhagen, Denmark on 02/02/2024. It is a classic Dunhill Sandblast Apple shaped bowl. It has a sandblast, rich brown stained bowl that really highlights the grain in the briar. The bowl is dirty with grime in the finish. There is a moderate cake in the bowl and a light lava overflow on the rim top and edges. The stamping on the pipe is clear and readable and on the under side it reads 341 the shape number [followed by] Dunhill Shell [over] Made in England the date number 16 is stamped after the D in England. The stem had a white spot on the top side of the taper. It is oxidized, calcified and has tooth chatter and deep tooth marks on both sides ahead of the button. Jeff took photos of the pipe before he started his cleanup.
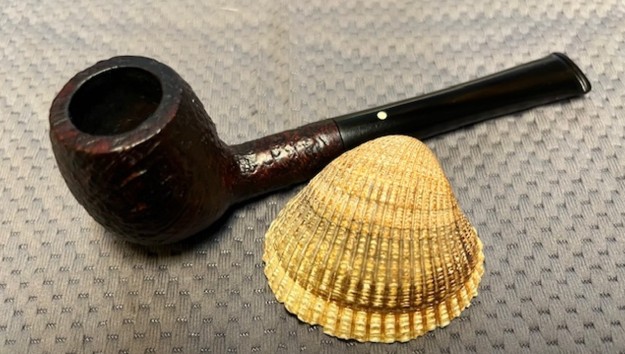
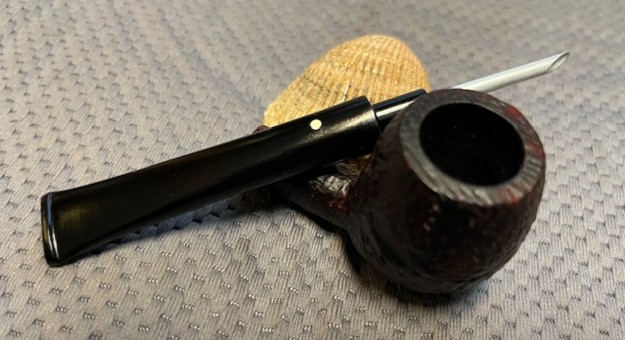
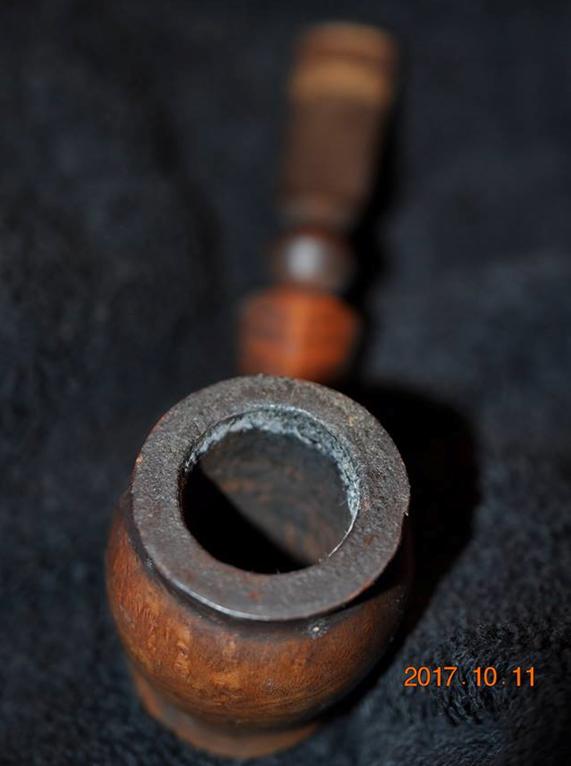
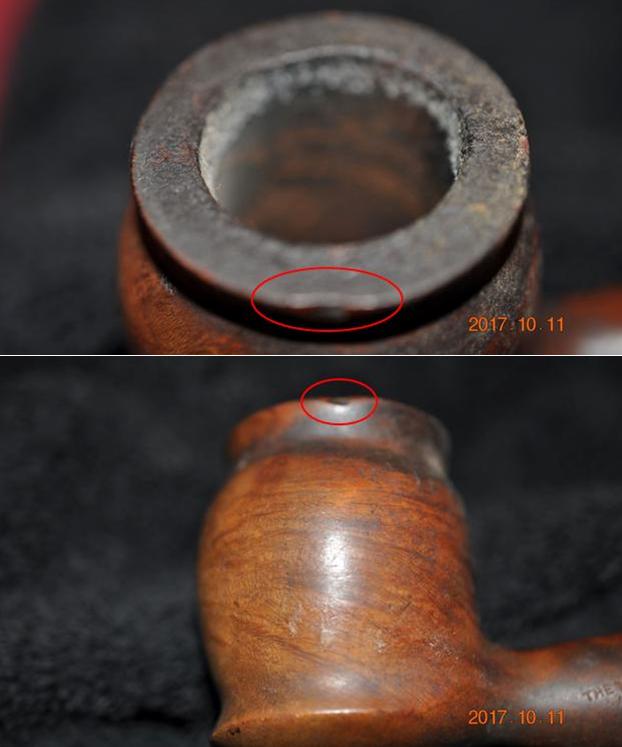
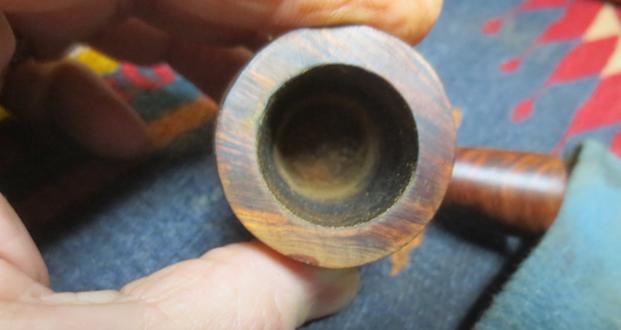
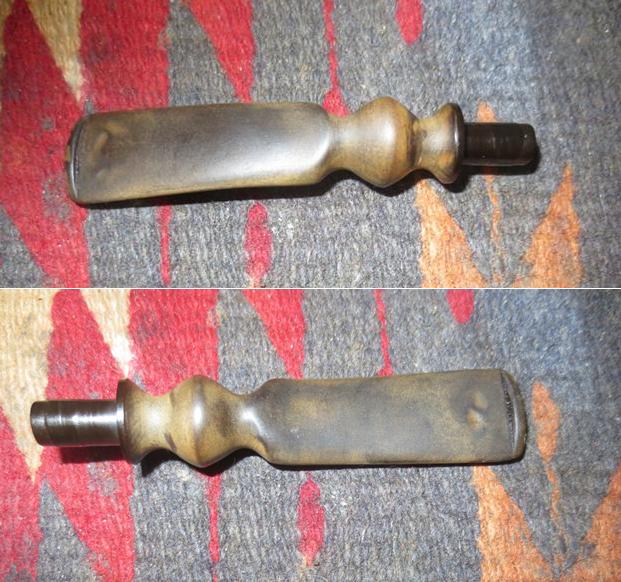
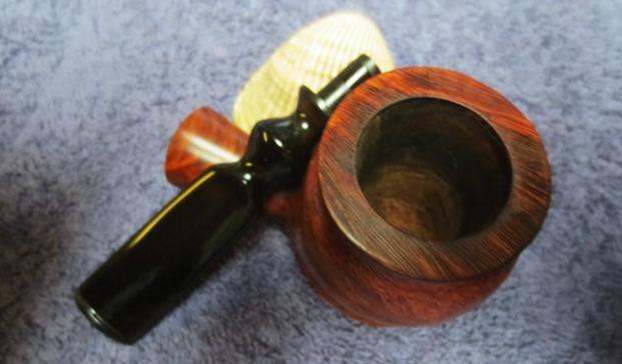
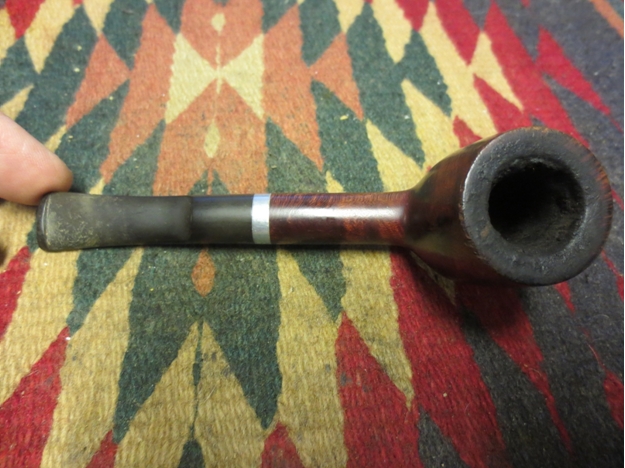
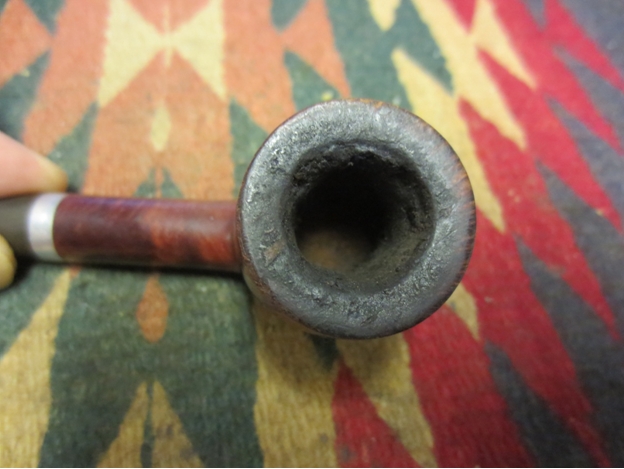
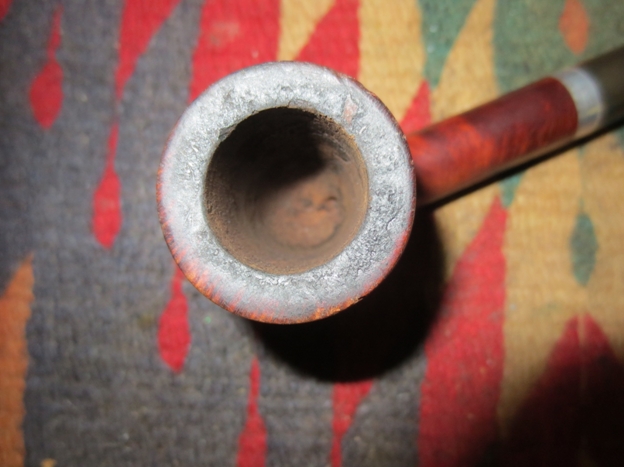
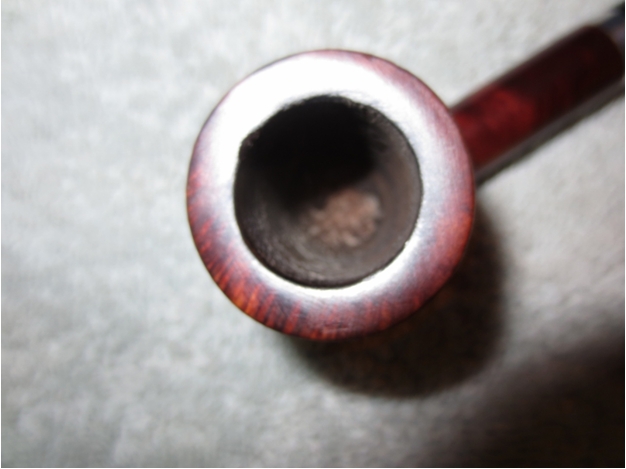
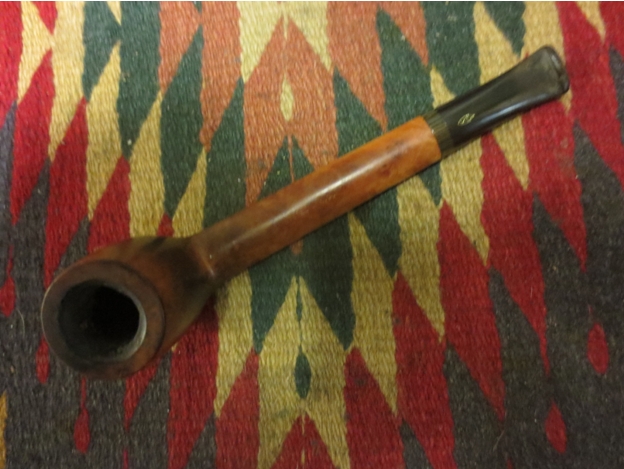
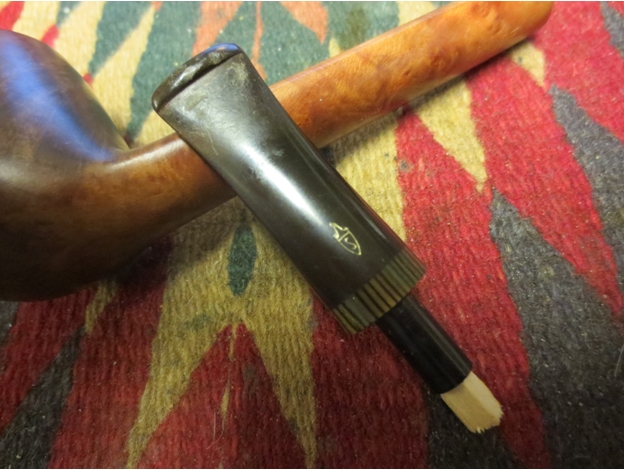
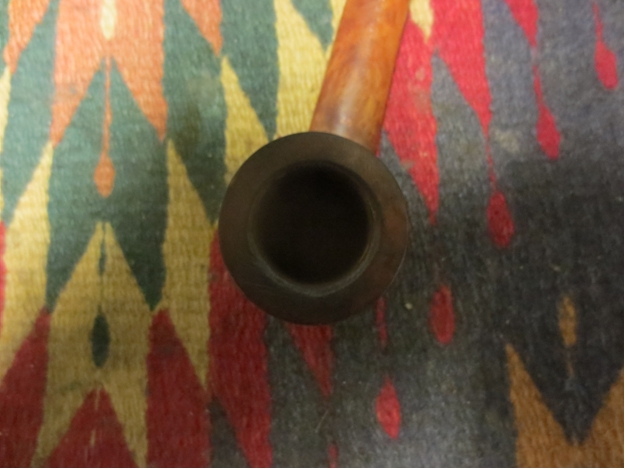
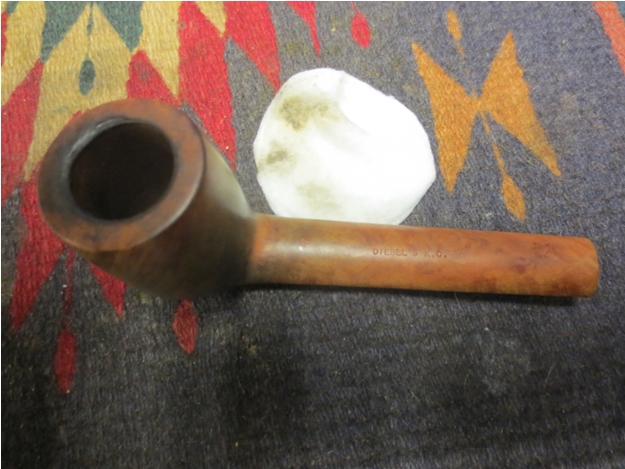
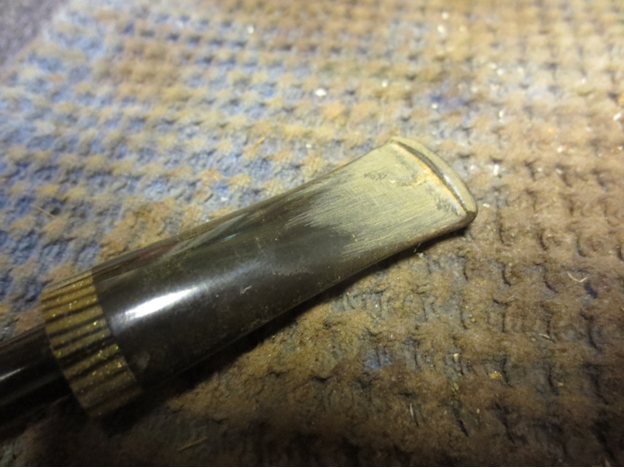
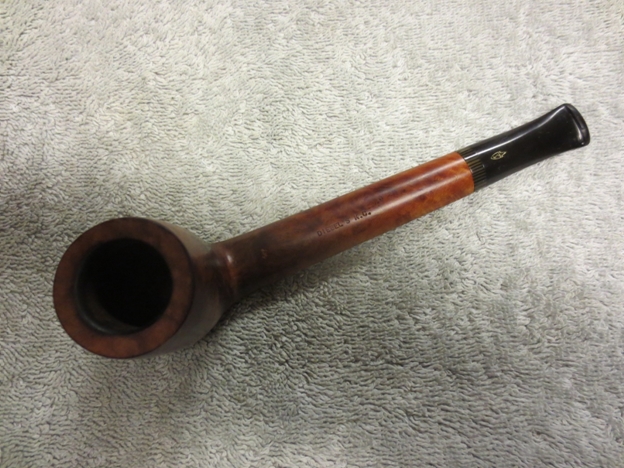
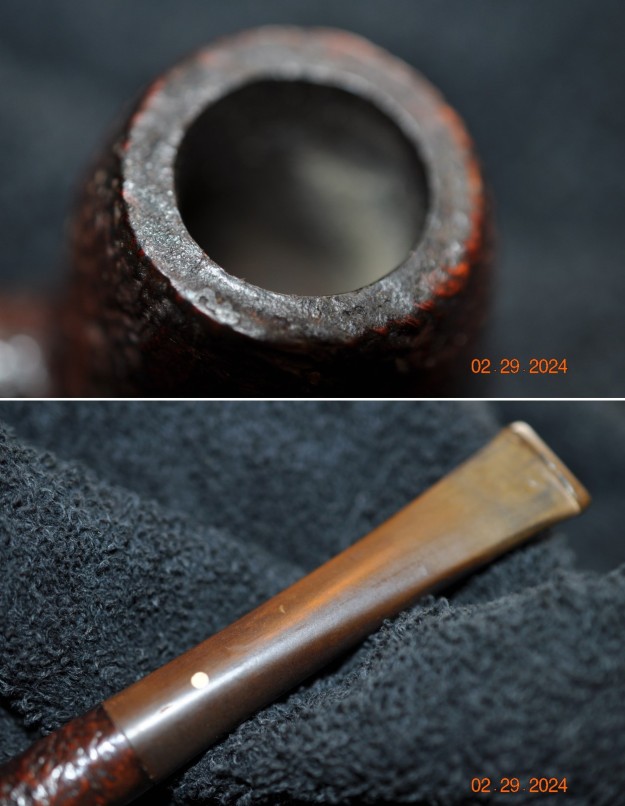
 He took photos of the pipe’s bowl and rim top to show the cake in the bowl and the lava coat overflowing onto the top. It is another dirty pipe. He also took photos to capture the tooth marks on the top and underside of the stem near the button.
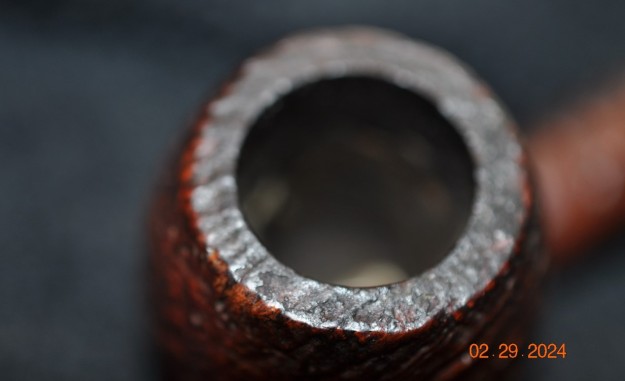
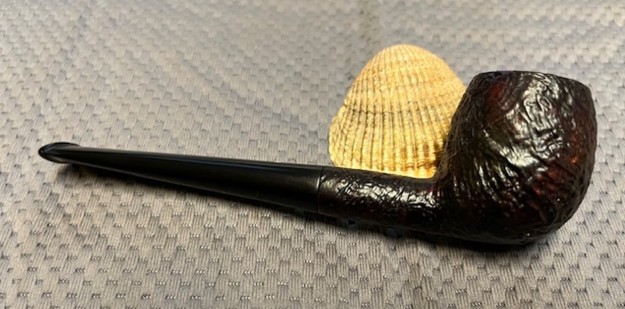
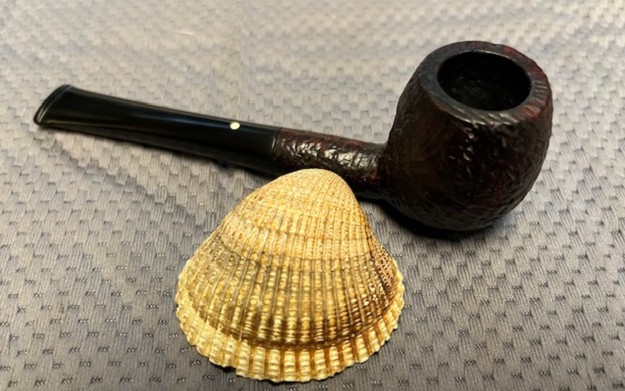
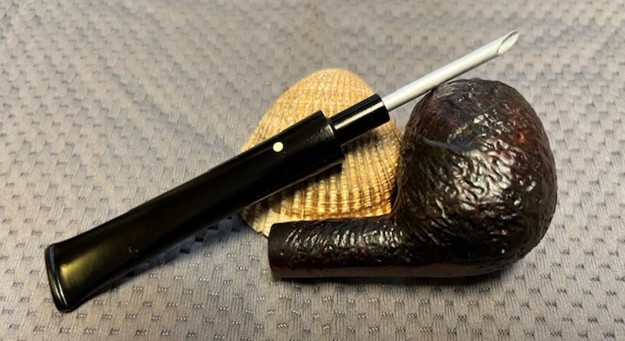
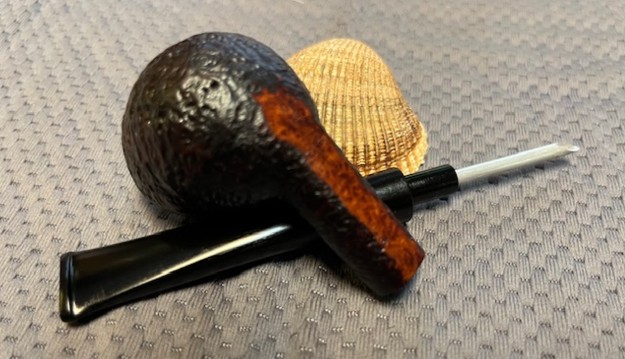
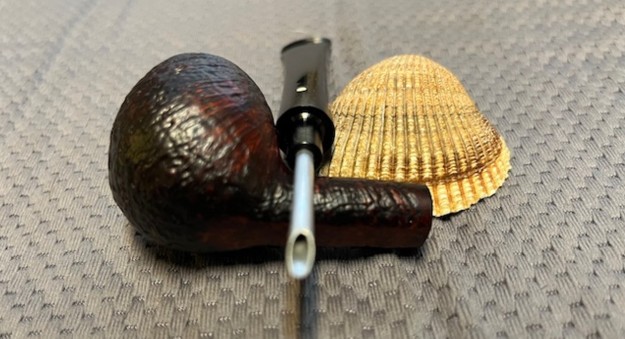
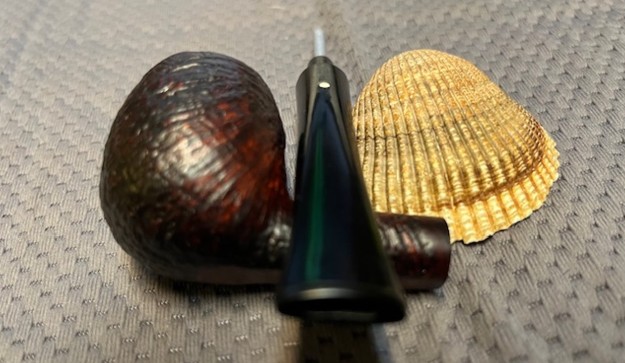
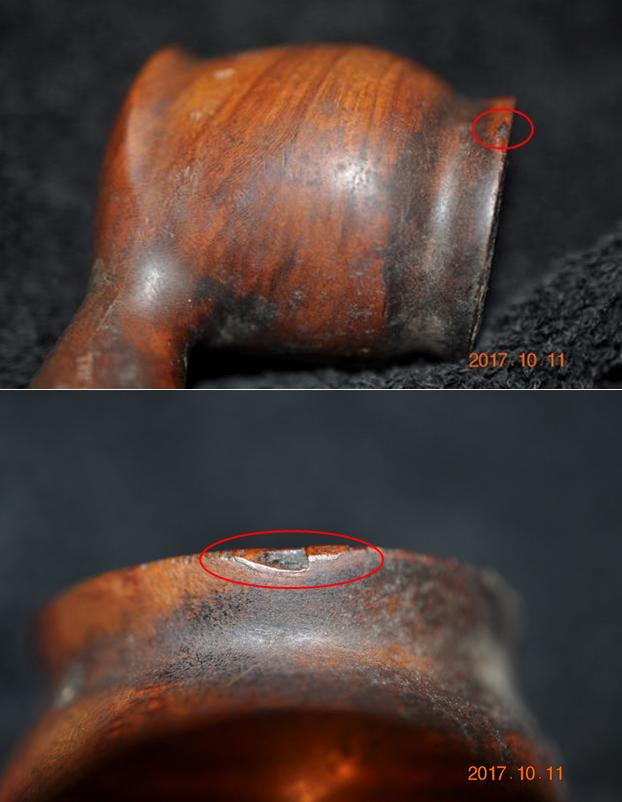
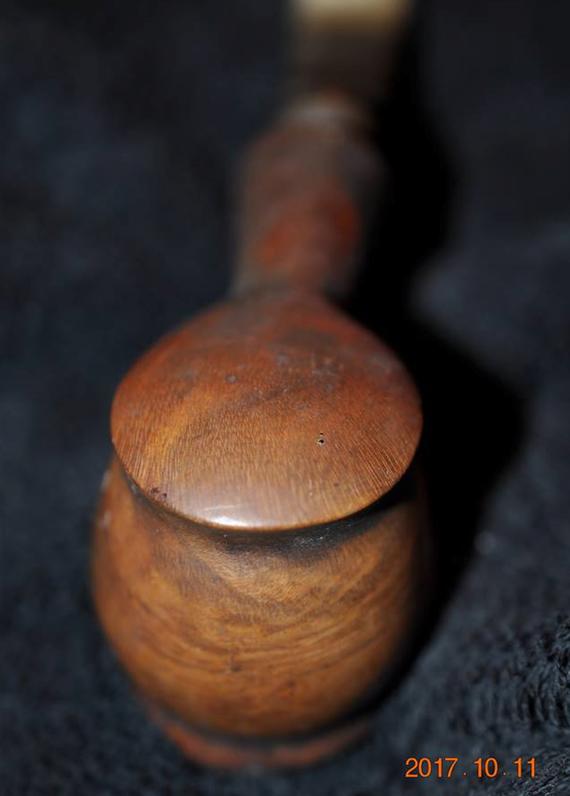
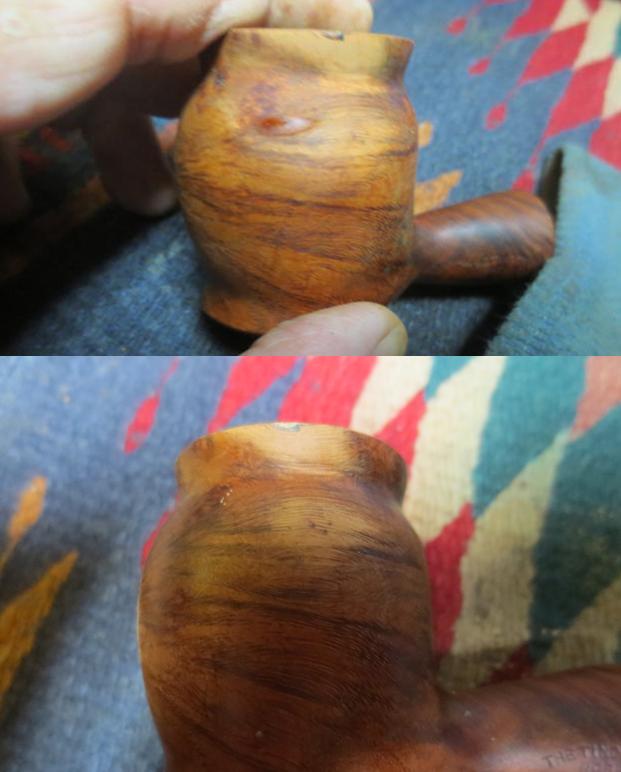
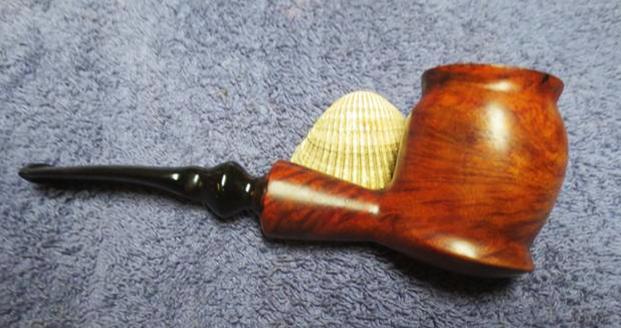
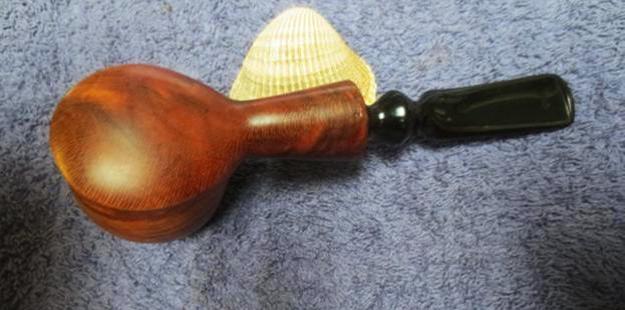
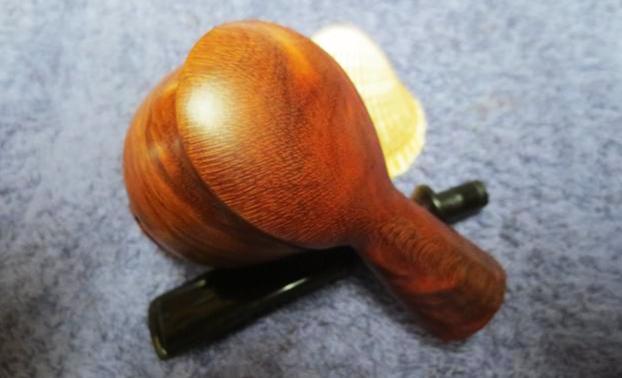
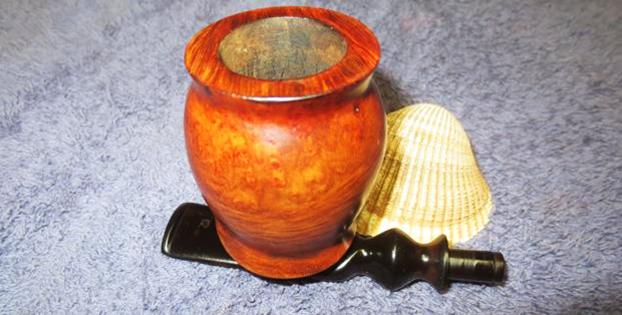
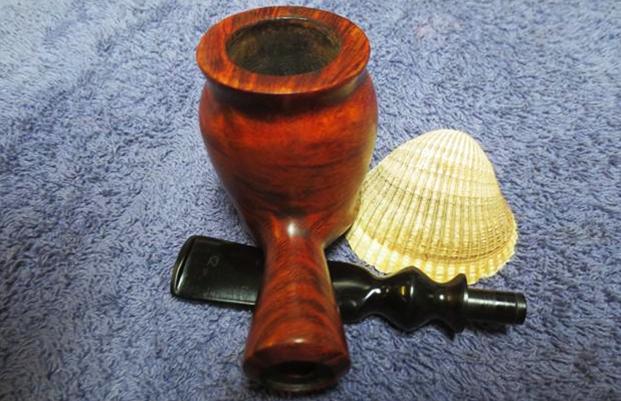
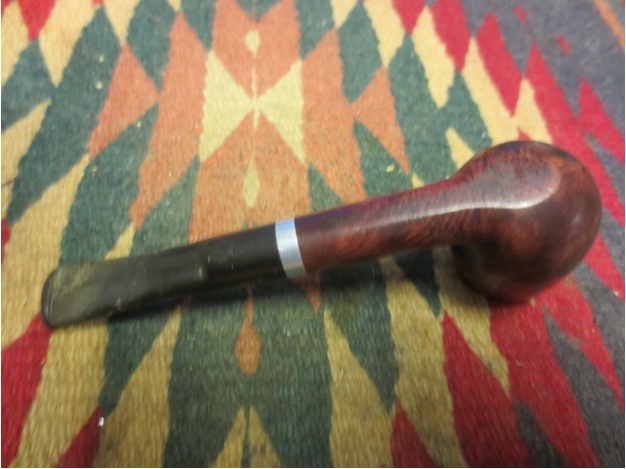
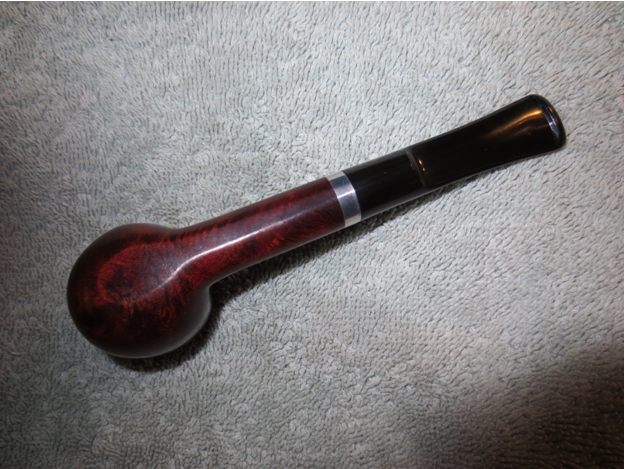
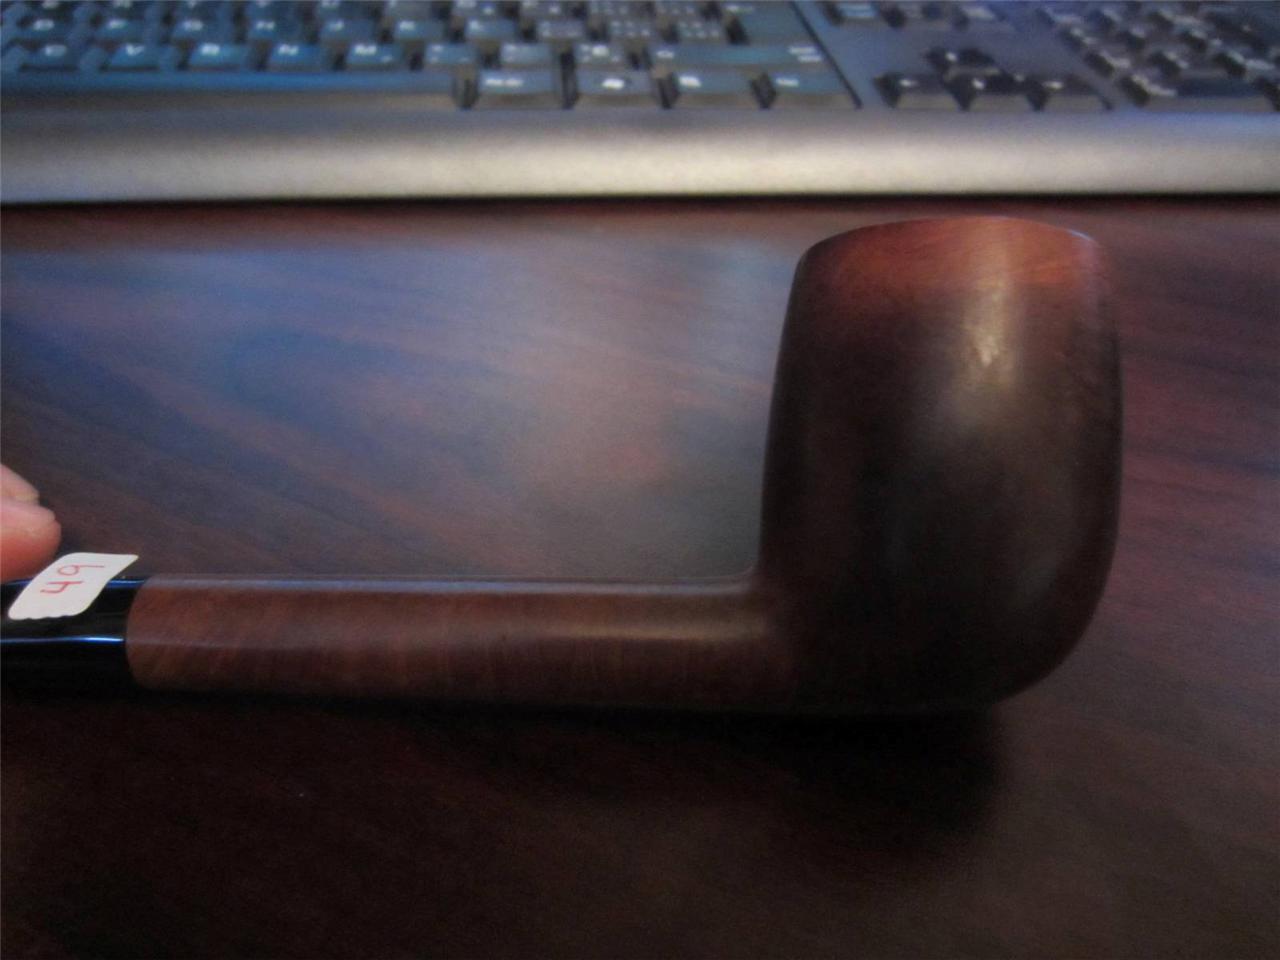
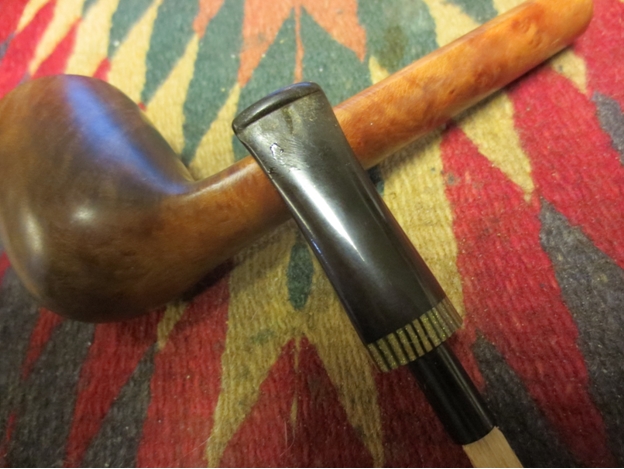
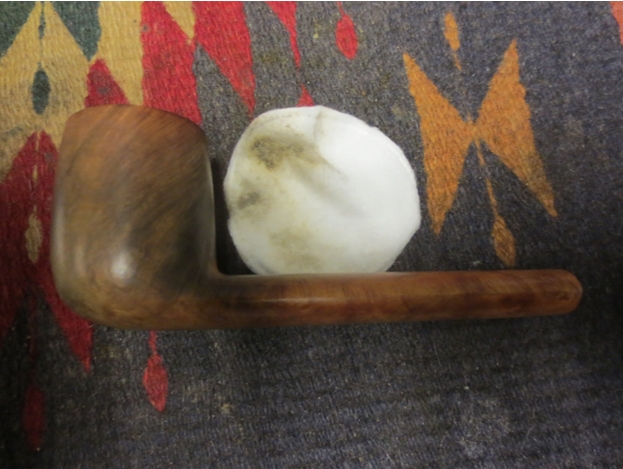
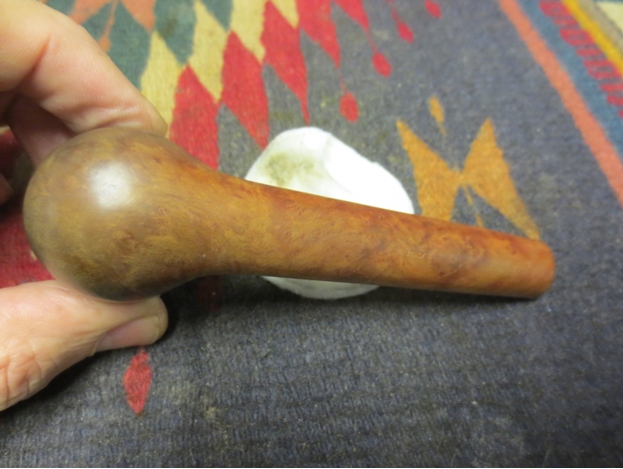
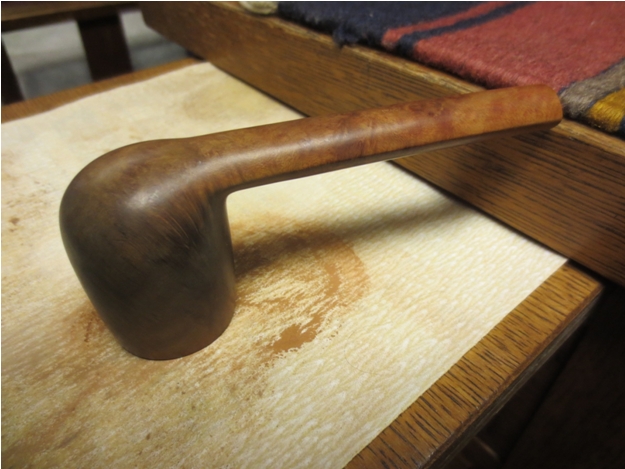
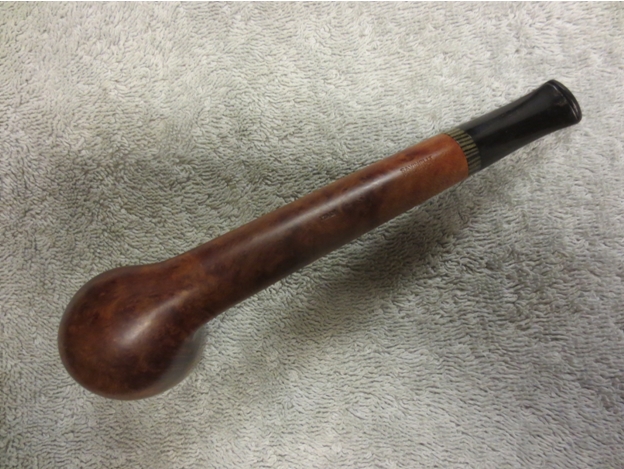
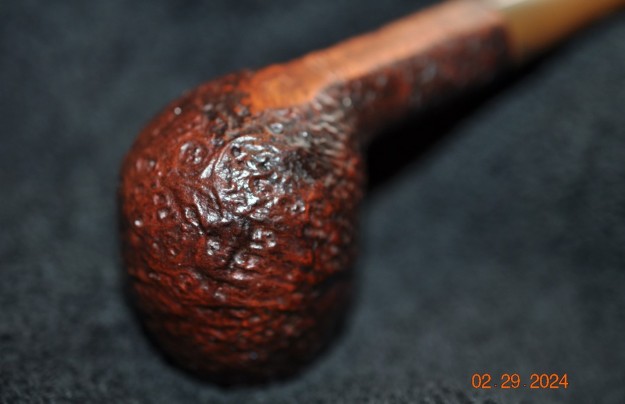
 He took photos of the sides and the heel of the bowl to give a sense of the sandblast finish on this one. Even under the grime in the grooves the blast is quite beautiful.
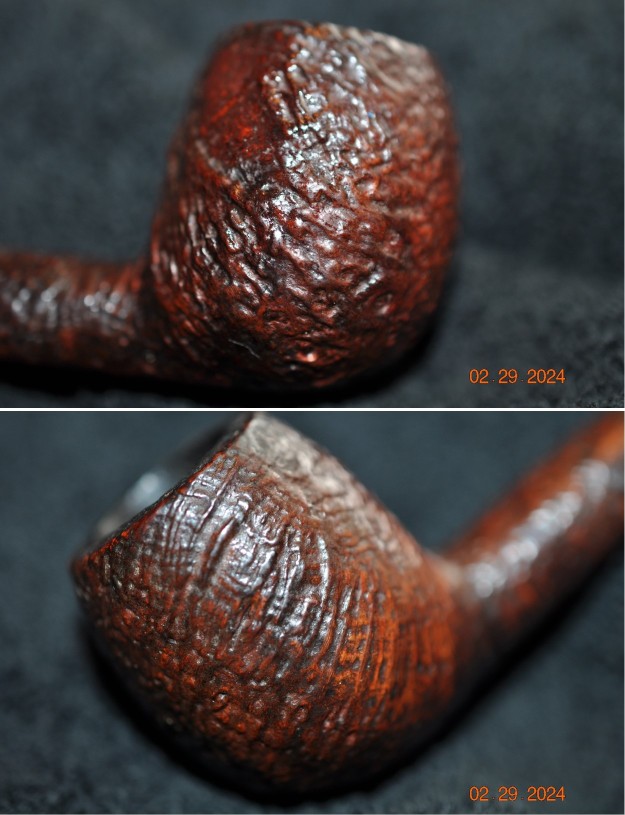
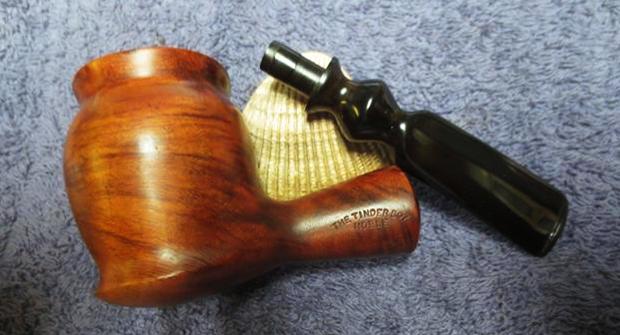
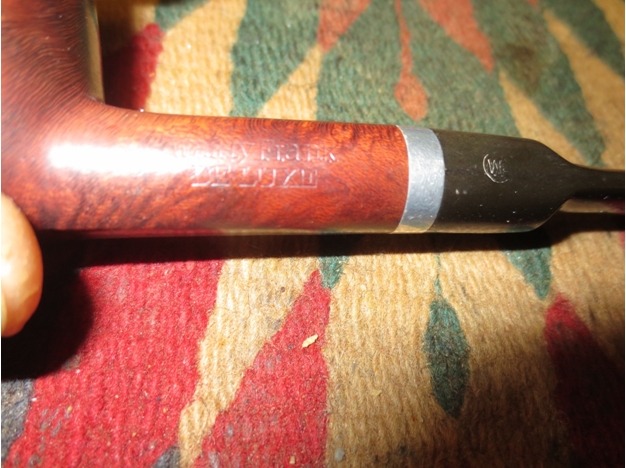
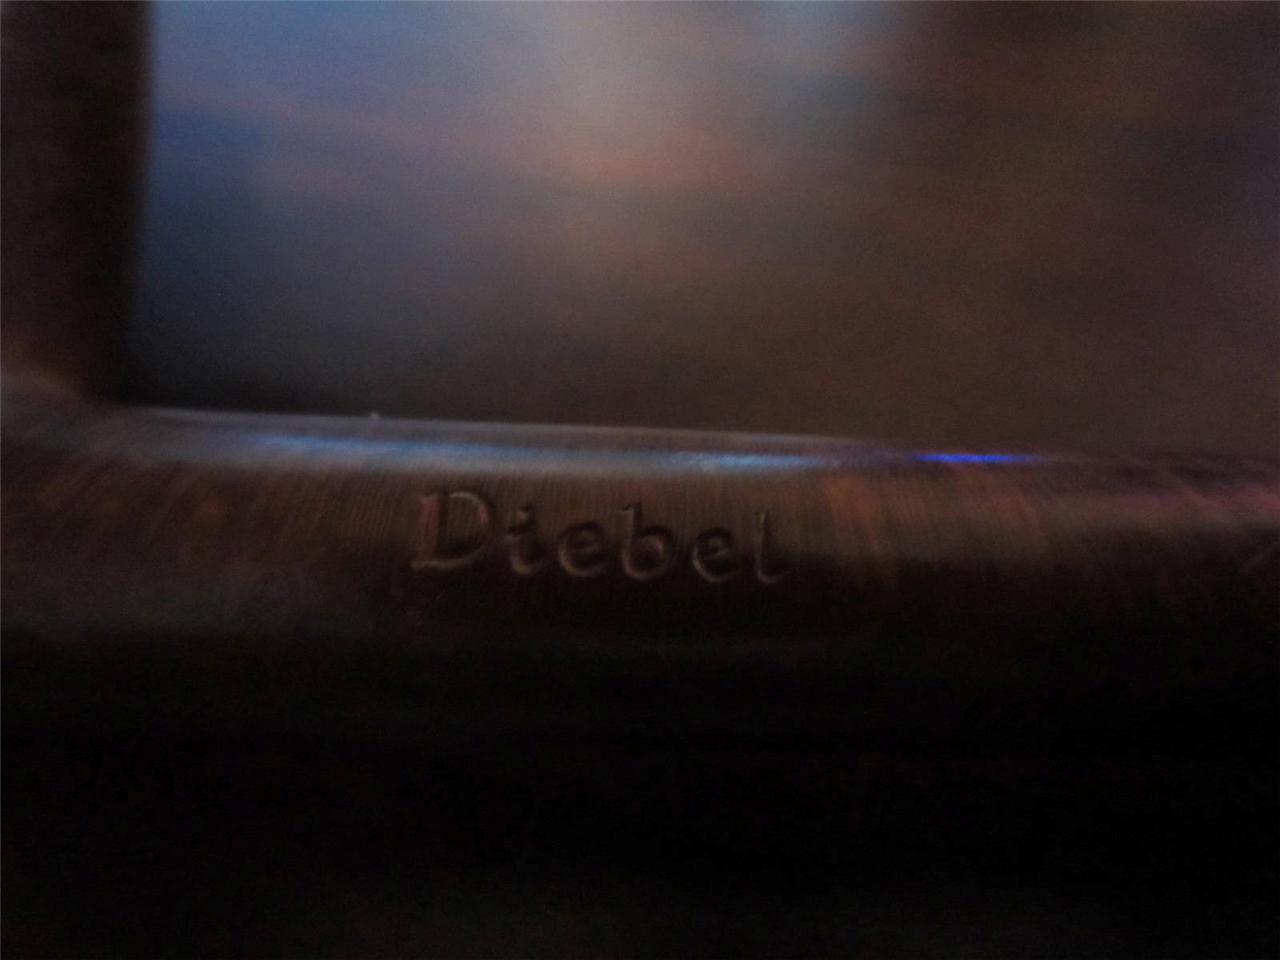
 Jeff took photos of the stamping on the underside of the shank. It is clear and readable though it is faint in some spots.
  I wanted to unpack the Dunhill stamping on the shank and work to understand each element of the stamp. I generally use the Pipephil site to gather as much initial information as possible (http://pipephil.eu/logos/en/dunhill/shell-briar1.html). The stamping is interpreted as follows: The number 341 is the shape number for a taper stem Apple. The Shell Briar stamp refers to the finish. The number 16 following the D of England would give the date the pipe. The photo below is of the stamping on a Don shape but the stamping is similar on this one.
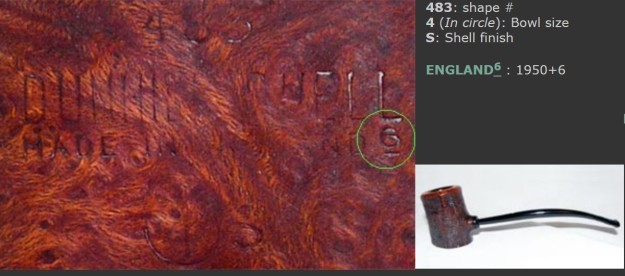 Pipephil also has some helpful dating keys on the site that are basically flow charts that you can walk through to date your pipe (http://pipephil.eu/logos/en/dunhill/cledat-en1.html). I turned to Part 1 of the Dating Key and followed the chart. This pipe has 16 following the D in England. There was no patent number so that took me to the section on the chart below (column one) which instructed me that the pipe could be dated as being made “posterior to 1954”.
 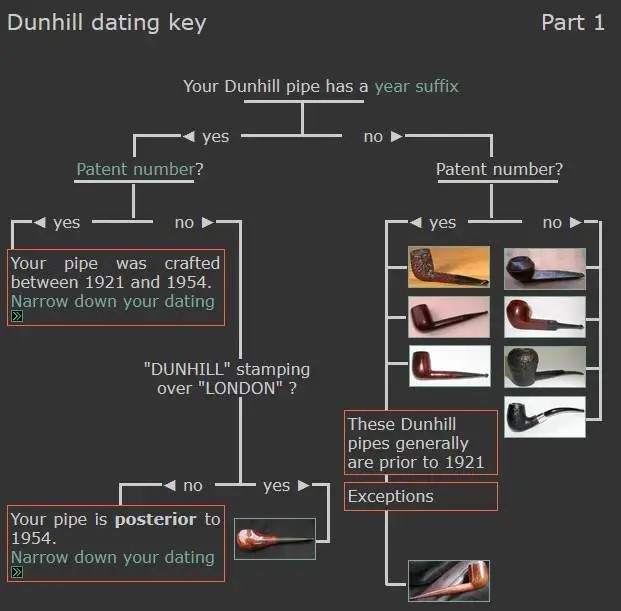 I followed the link under “Your pipe is posterior to 1954. Narrow down your dating”. That took me to Page 2 of the dating key (http://pipephil.eu/logos/en/dunhill/cledat-en1a.html). The second column (suffix 1…4) or (11…39) led me to the section with 16 after the D in England. There was a directive for dating the pipe spelled out as follows: 1960 + suffix 16 which gives the pipe a date of 1976.
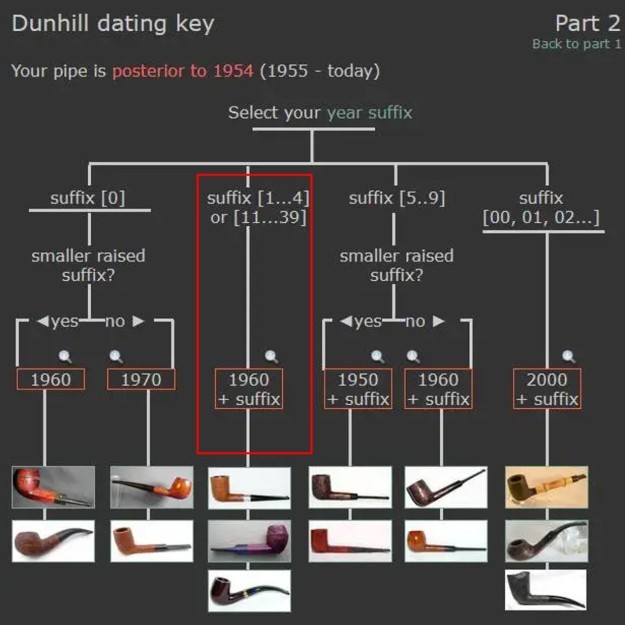 I then turned to Pipedia’s section on Dunhill Shell Briar to get a bit of background on the Dunhill finishes (https://pipedia.org/wiki/Dunhill#Root_Briar). I quote:
Shell
A deep craggy sandblast with a black stain finish (usually made using Algerian briar) – the color of the stain used has varied over the years. Although there is some doubt as to them being the first to sandblast pipes, Dunhill’s Shell pipes, and the sandblasting techniques developed to create them are considered one of Dunhill’s greatest and most lasting contributions to the art of pipe making.
The documented history of Dunhill’s inception of the Shell is largely limited to patent applications — there are no catalogue pages or advertisements promoting blasted pipes at the time. The preliminary work on the English patent (No. 1484/17) was submitted on October 13, 1917. The patent submission was completed half a year later, on April 12, 1918, followed by the granting of the English patent on October 14, 1918. This was less than a month before the end of The Great War on November 11th.
In 1986 Dunhill released a line of premium Shell finish pipes – “RING GRAIN”. These are high-quality straight grain pipes which are sandblasted. Initially only Ring Grain, but now in two different finishes. In 1995 the “Shilling” was introduced with Cumberland finish – it is an extremely rare series. These pipes exhibit a deeper blast characteristic of that of the 1930’s – mid-1960’s (and the limited ‘deep blast’ pipes of the early 1980s) and show a fine graining pattern. These are considered the best new Dunhills by many enthusiasts today and are very rare. The finish is sometimes described as tasting like vanilla at first, with the taste becoming more normal or good as the pipe breaks in.
- See more examples here: Dunhill Shell
- See more about this incredible pipe here: The History of Dunhill’s Shell
- See more about the patents applied here: Shellbriar & Tanshell, Patents 1917-1954
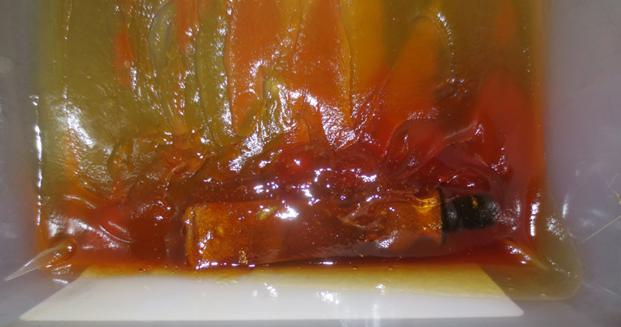
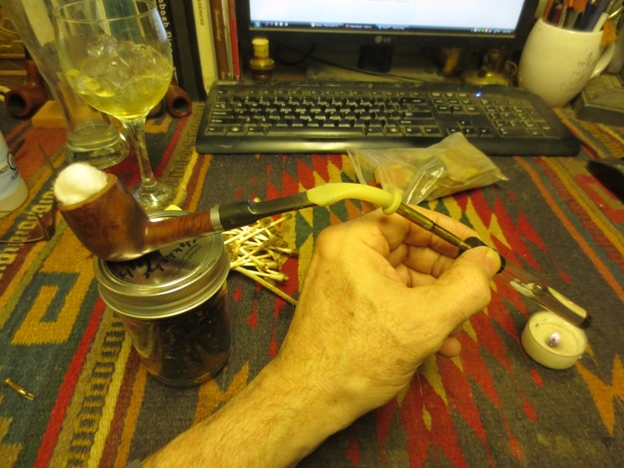
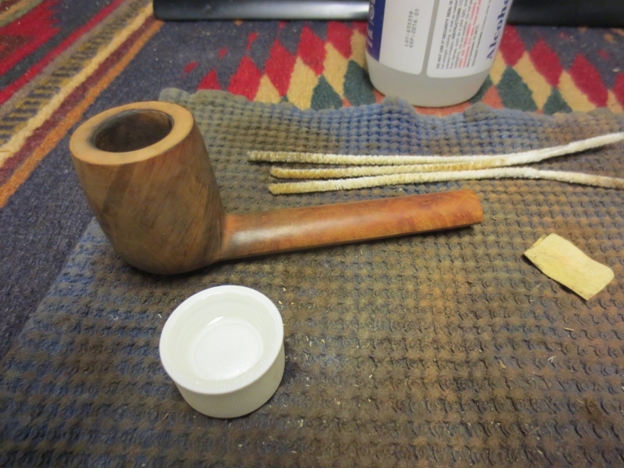
I turned to work on the pipe itself. Jeff had done an amazing cleanup of the pipe. He reamed the cake with a PipNet reamer and cleaned up that with a Savinelli Fitsall Pipe Knife. He scrubbed the internals of the bowl and stem with alcohol, cotton swabs, pipe cleaners and shank brushes. He scrubbed the externals with undiluted Murphy’s Oil Soap and rinsed the bowl off with running water. He soaked the stem in Briarville’s Pipe stem Deoxidizer and once it had soaked rinsed it off with warm water to remove the residual solution. He dried it off and rubbed it down to remove any oxidation that was still on the stem. The pipe looked very good when I received it.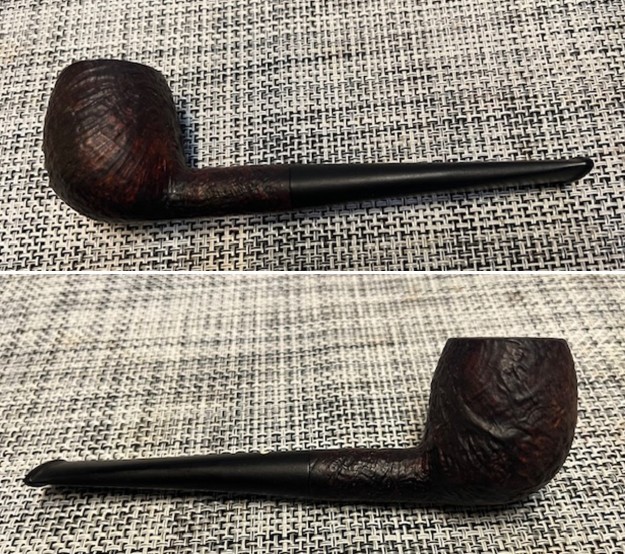
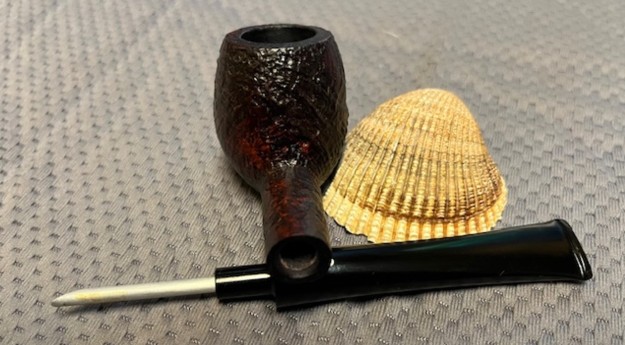
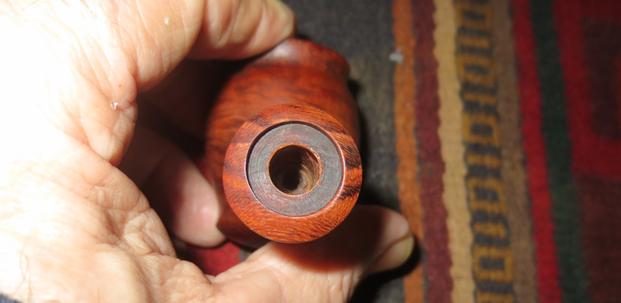
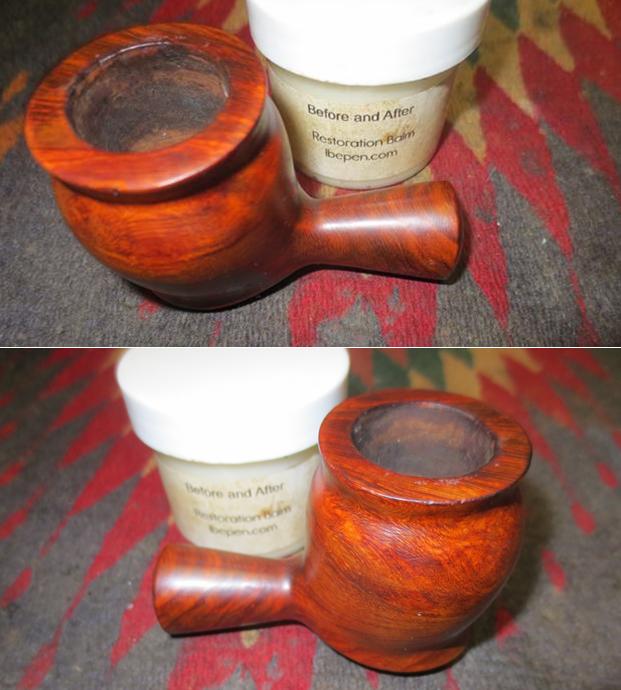
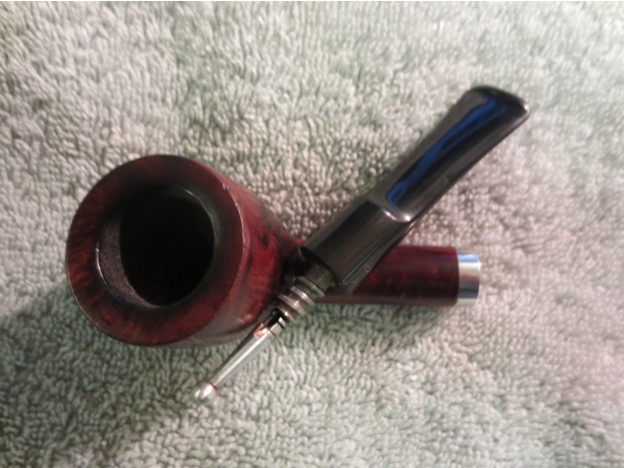
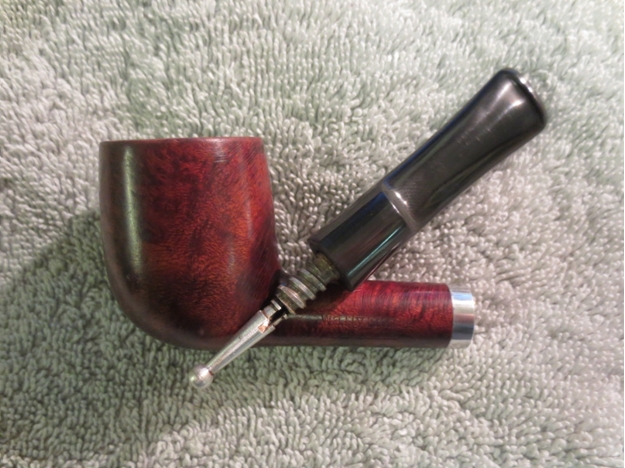
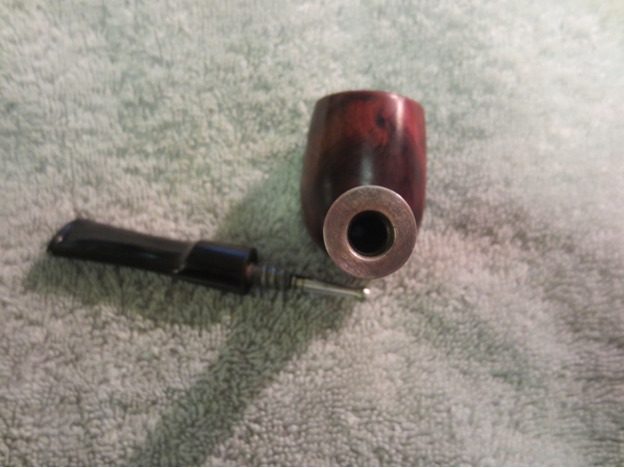
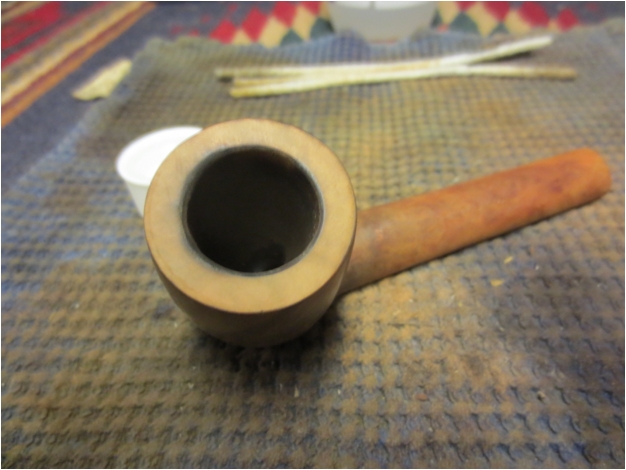
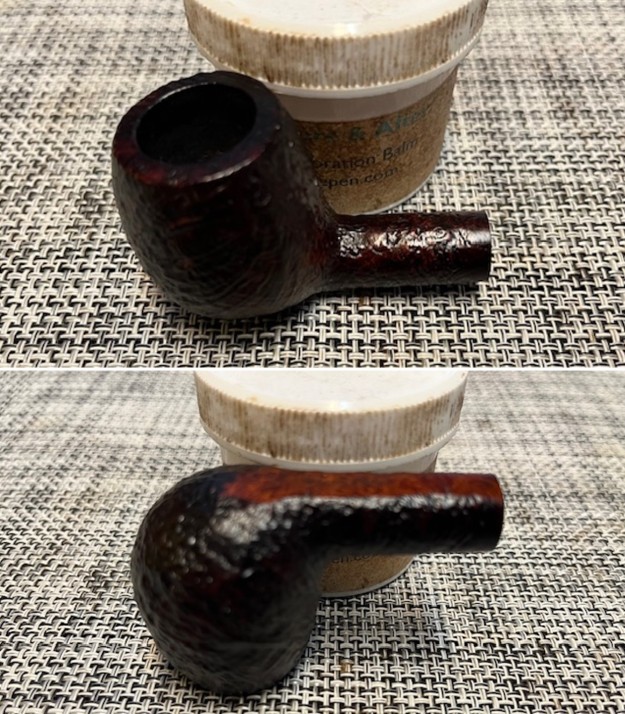
 I took a photo of the rim top to show the condition. It looks good with the tars and oils removed from the rim top. The inner edge of the bowl was in excellent condition. The bowl itself was very clean. The aluminum inner tube can be seen extending into the bowl in the first photo. The stem came out looking quite good with deep tooth marks and chatter on both sides ahead of the button.
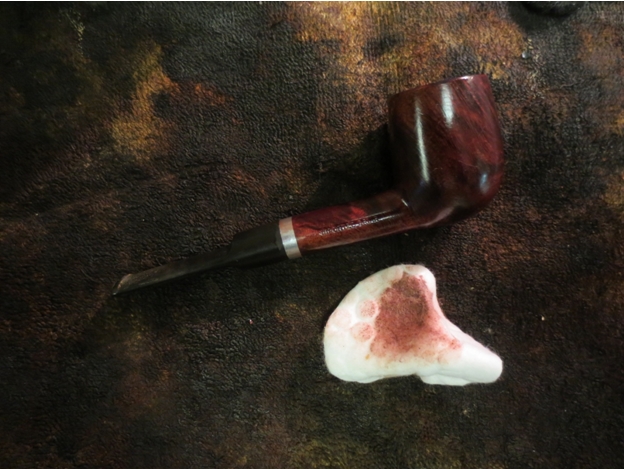
 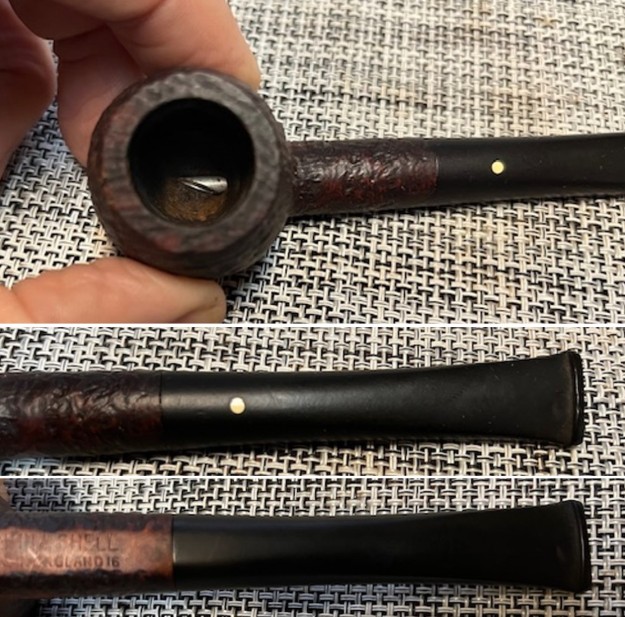 I took a photo of the underside of the shank to show the stamping. The photo shows the stamping and is actually more readable in person. I removed the stem from the shank and took a photo of the pipe parts to show what I was working with. It is a nice looking pipe.
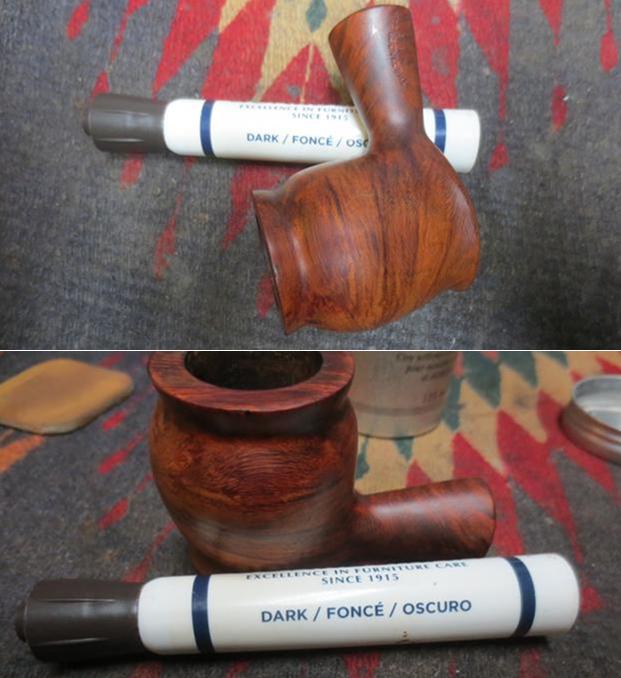
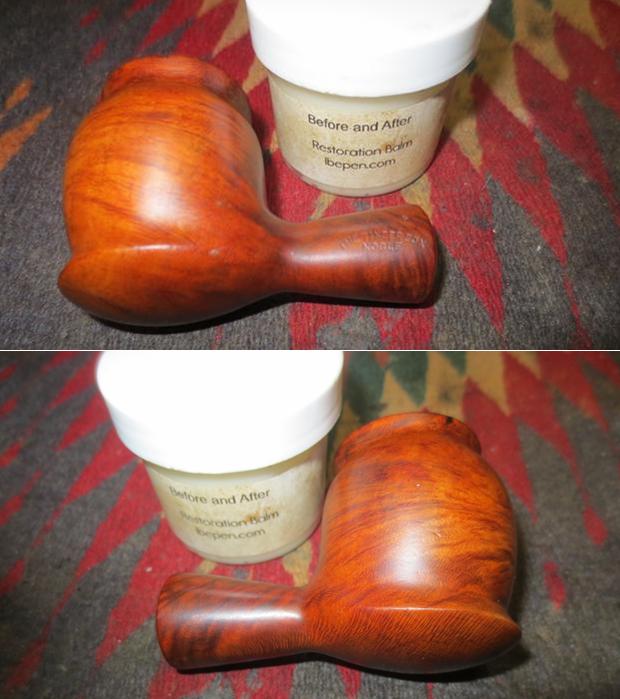
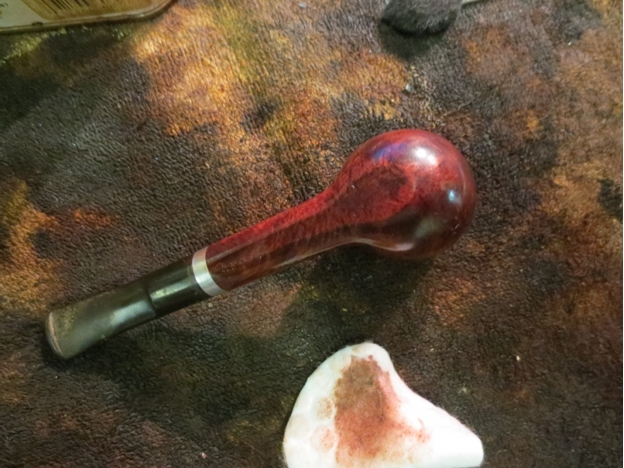
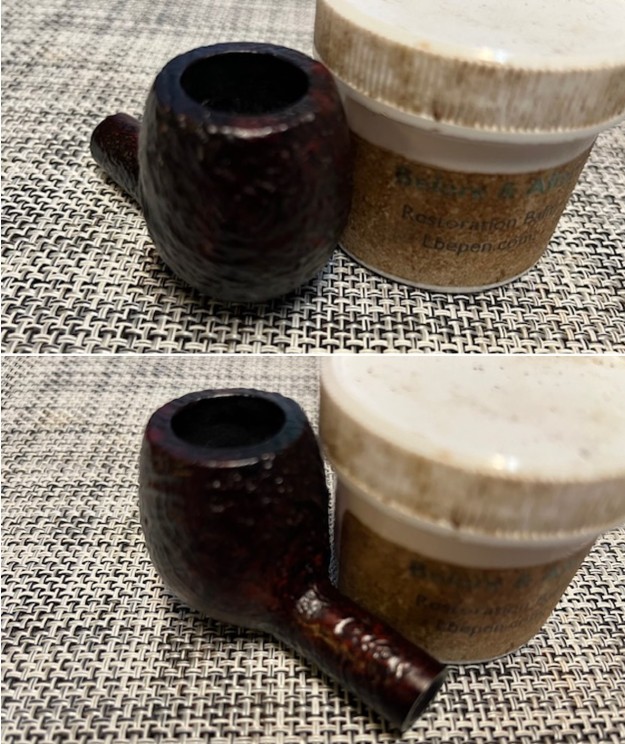
 I rubbed the briar down with Before & After Restoration Balm. I worked it into the surface with my fingertips and a horsehair shoe brush to work it into the nooks and crannies of the sandblast finish. The product works to clean, enliven and preserve the briar. I let it sit for 10 minutes then I buffed it with a cotton cloth to deepen the shine. The pipe really comes alive with the balm.
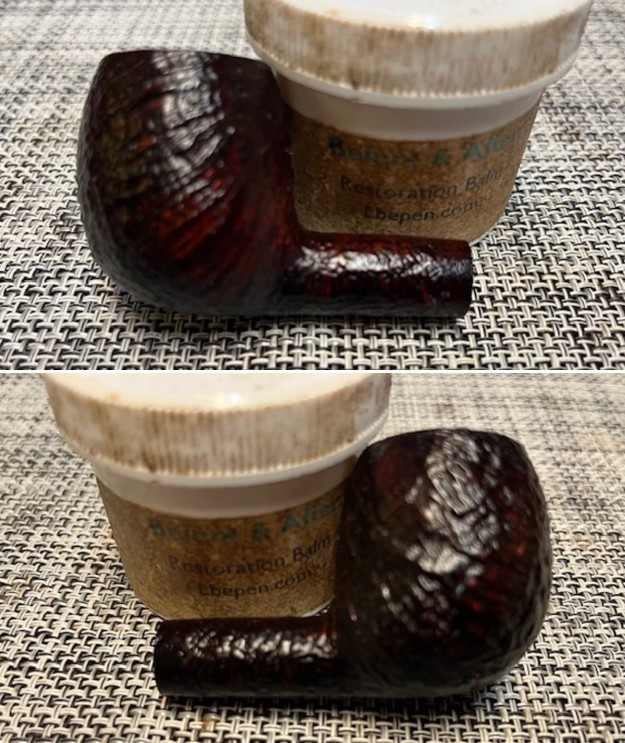
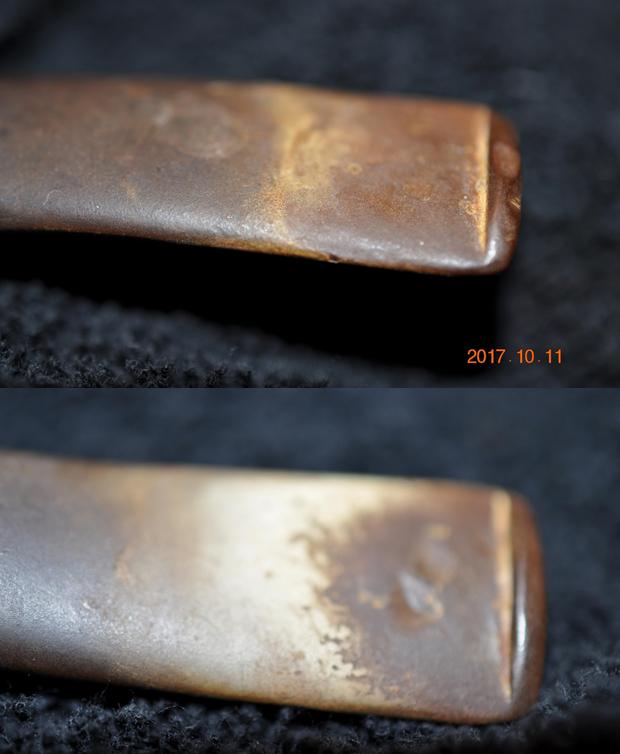
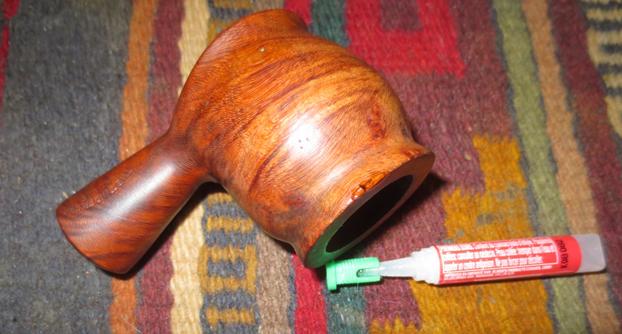
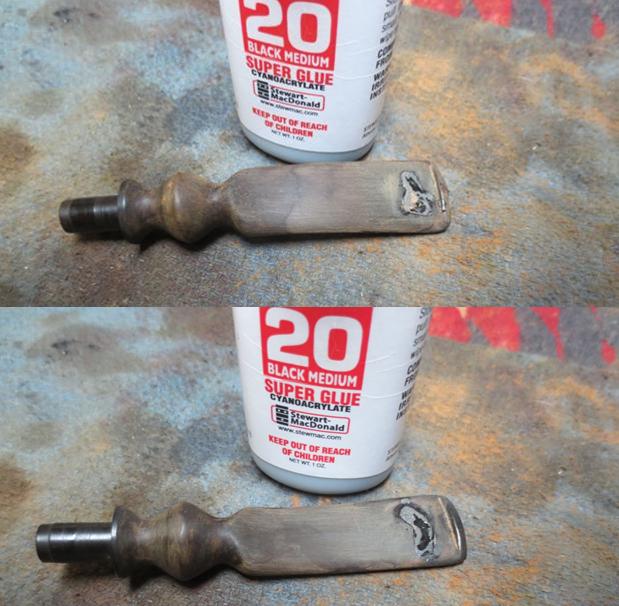
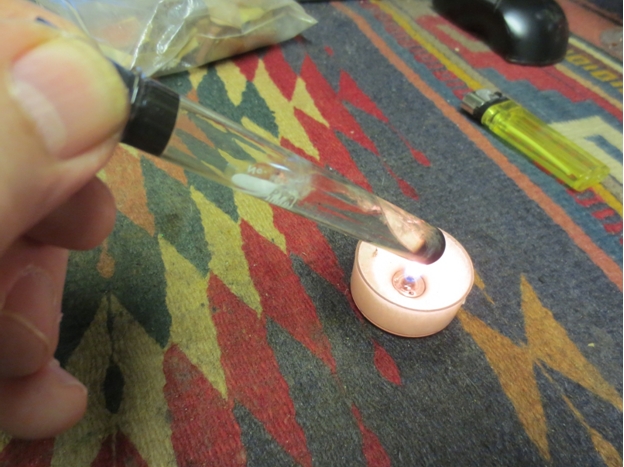
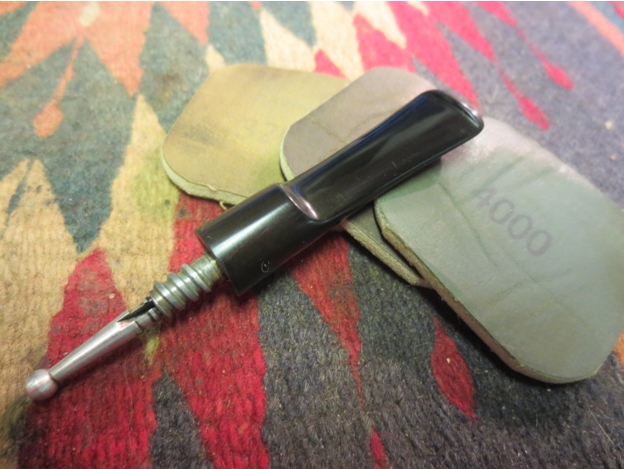
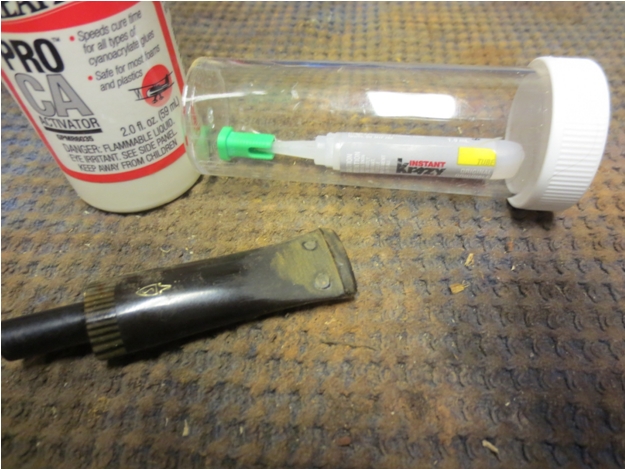
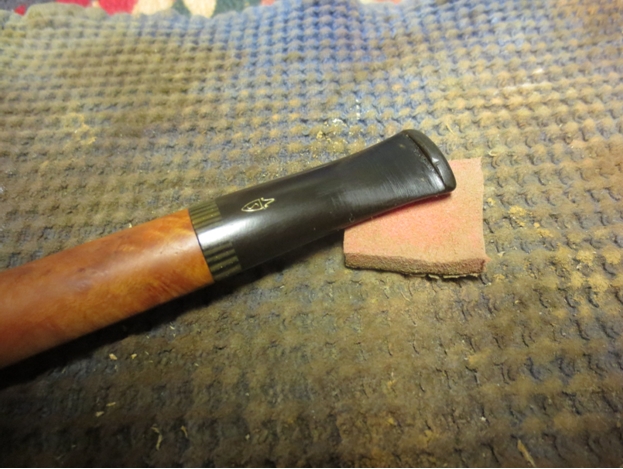
 I set the bowl aside and turned to address the stem issues. I “painted” the surface of the stem with the flame of a Bic lighter. I was able to lift the marks on the stem top leaving light marks but the ones on the bottom side were much deeper and the flame lifted them slightly but they still remained. I filled in the marks that remained with clear CA glue.
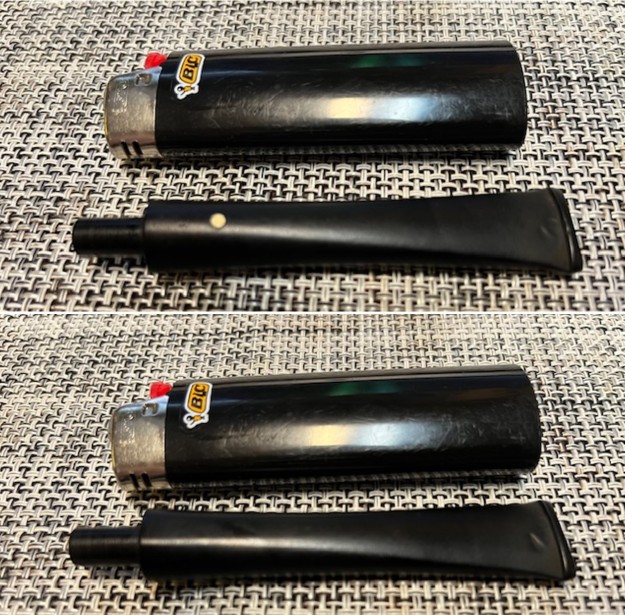
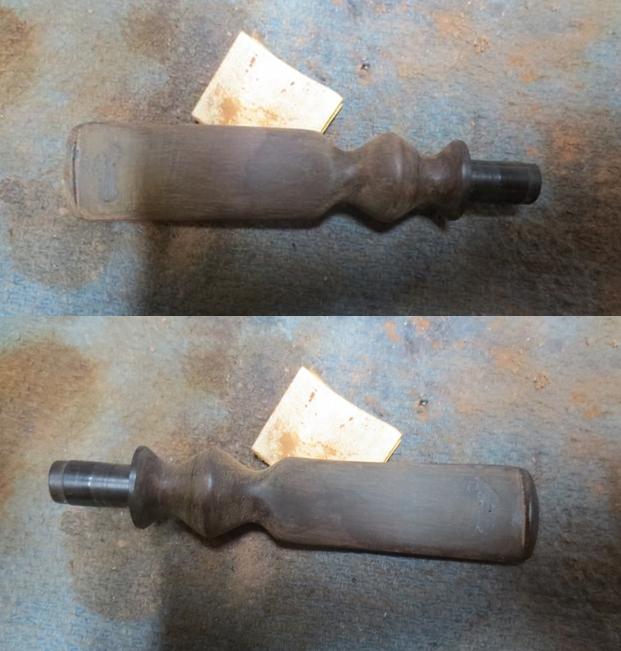
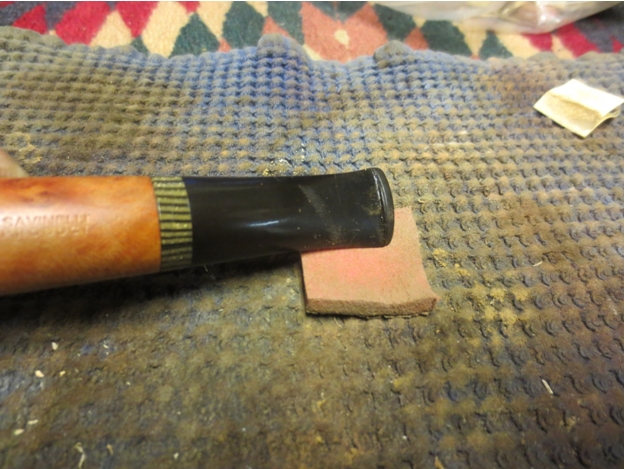
 Once the repair cured I flattened the repair with small files. It looked much better. I cleaned up the repairs with a folded piece of 220 grit sandpaper. I was able to flatten them and blend them in very well with the surface of the vulcanite.
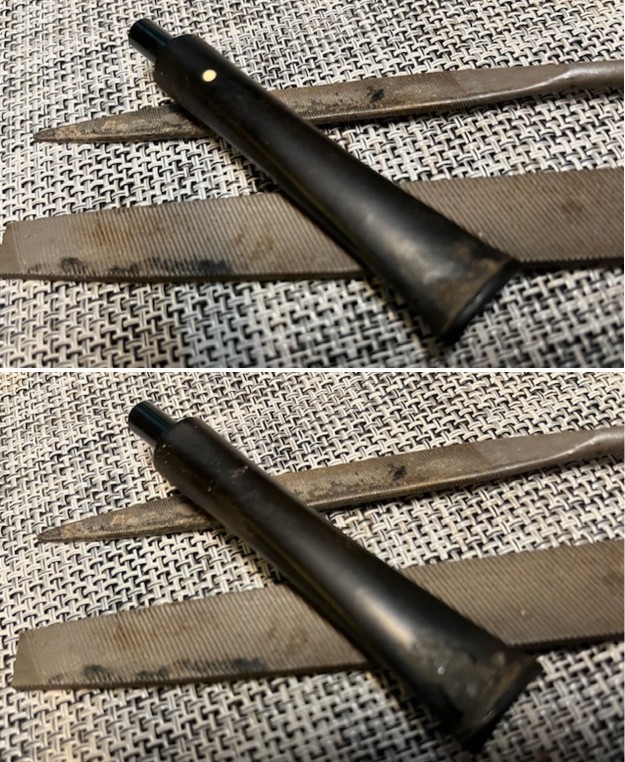
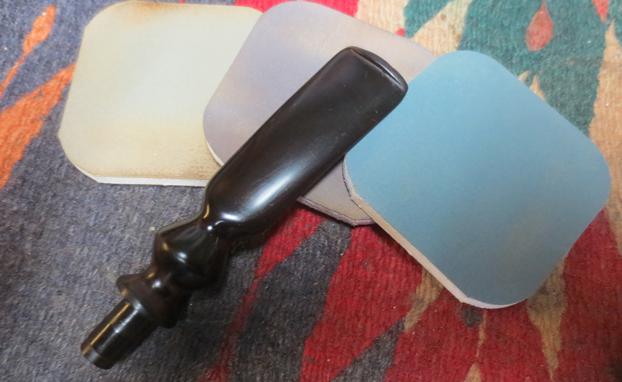
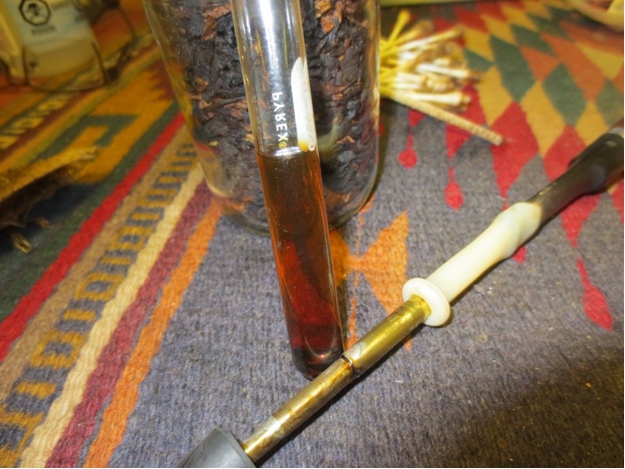
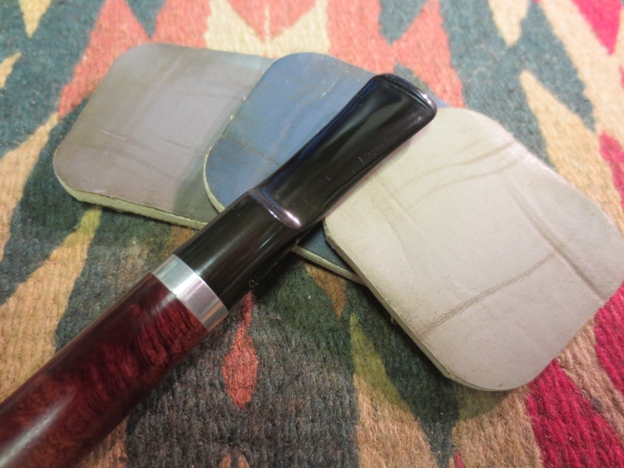
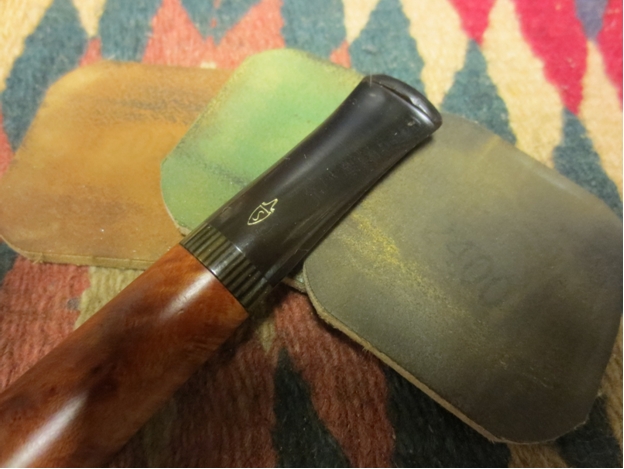
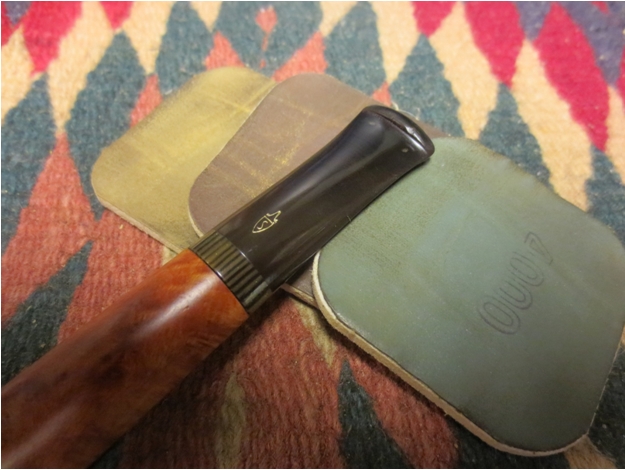
 I sanded the stem with 320-3500 grit sanding pads. I wiped it down after each sanding pad with a damp cloth. By the final 3500 grit sanding pad the stem had a had a shine.
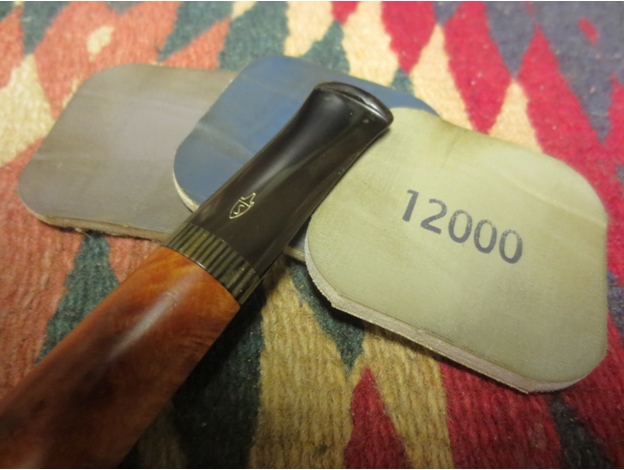
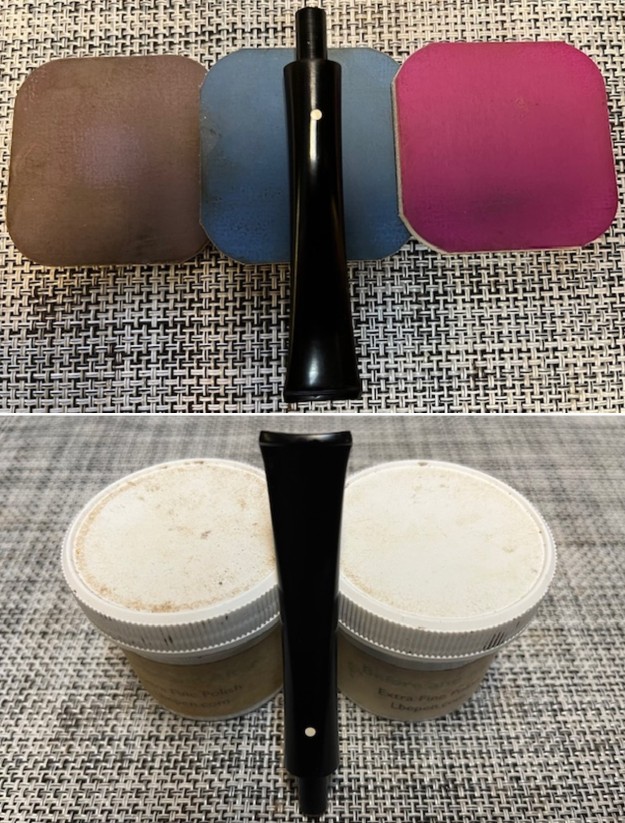
 I polished the vulcanite with micromesh sanding pads – 1500-12000 grit pads. I wiped it down with Obsidian Oil after each sanding pad. I used Before & After Pipe Polish – both Fine and Extra Fine to further polish the stem.
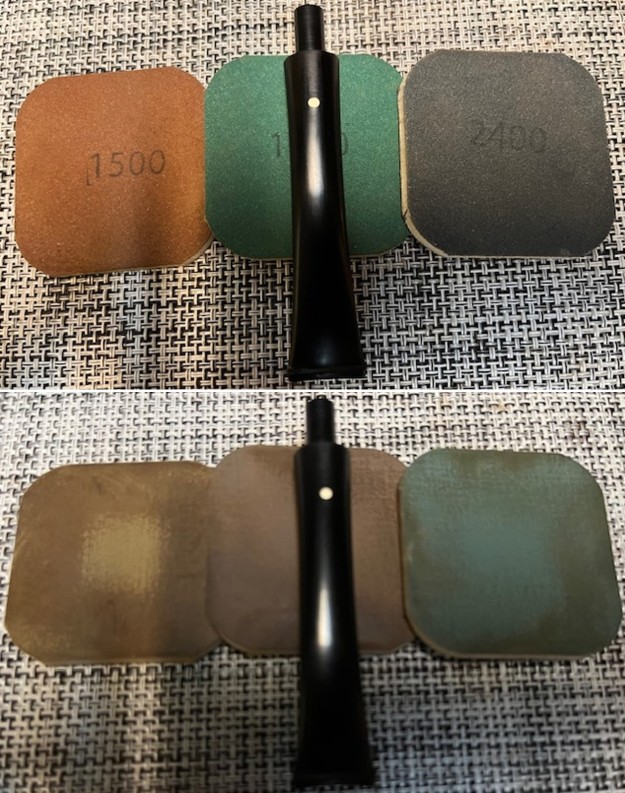
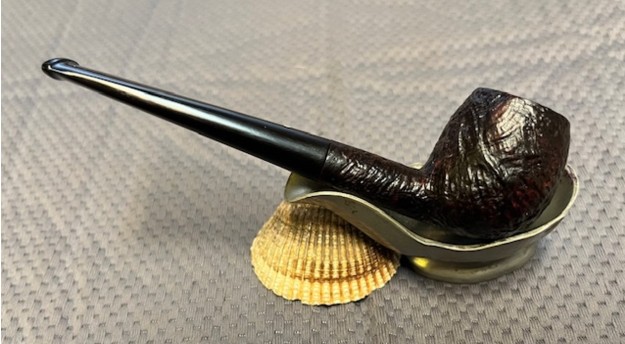
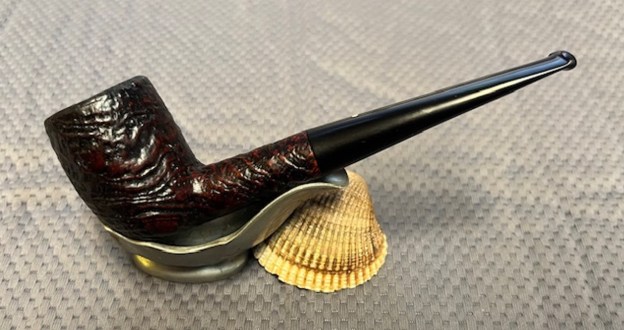
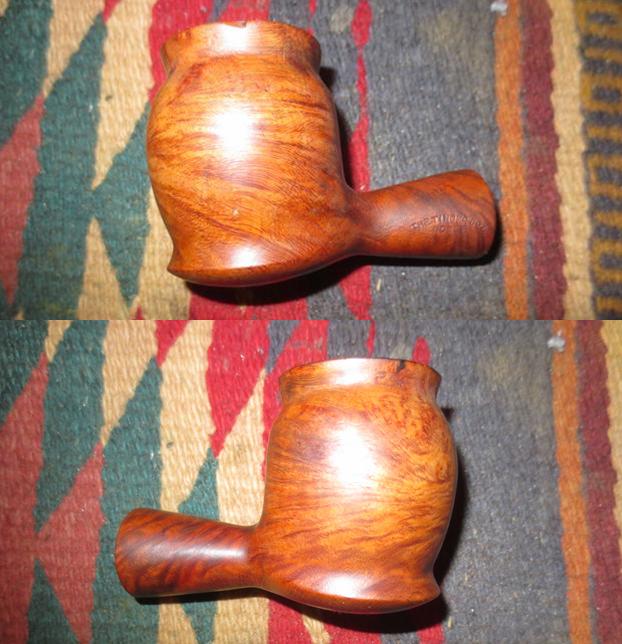
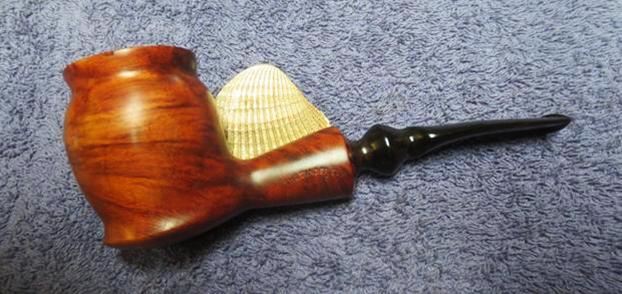
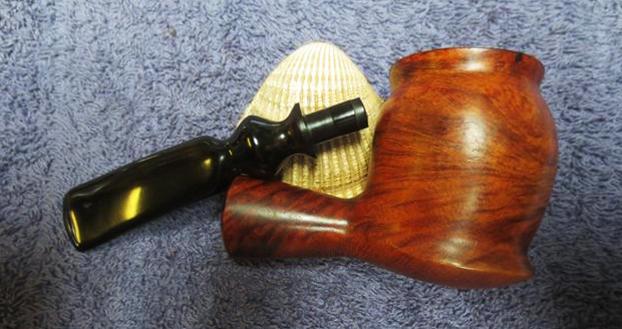
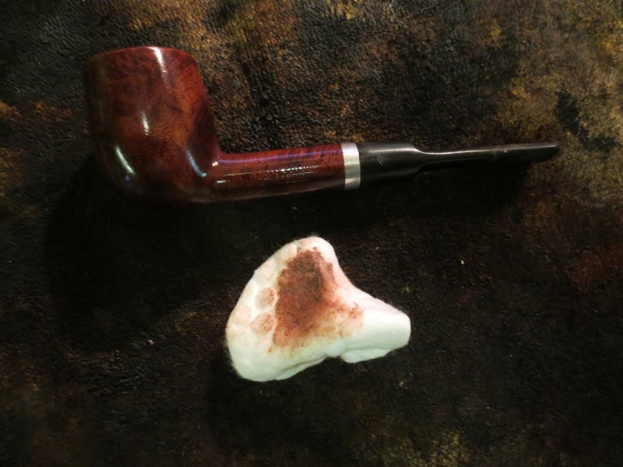
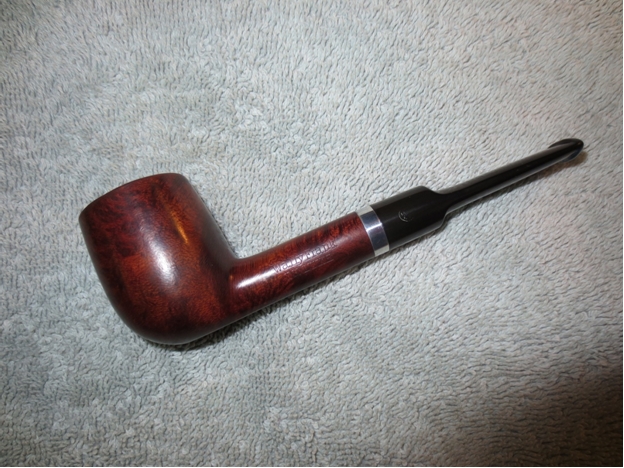
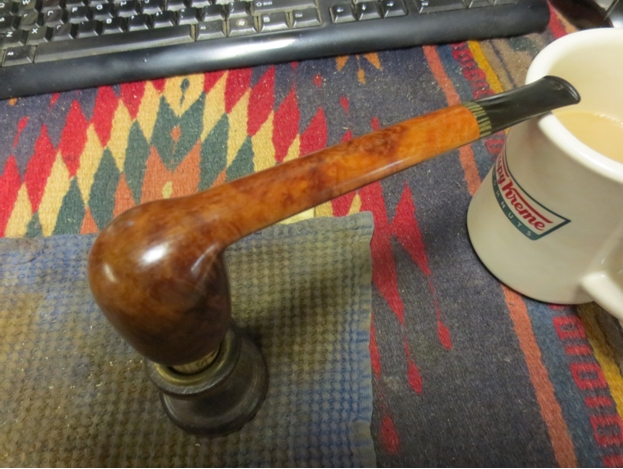
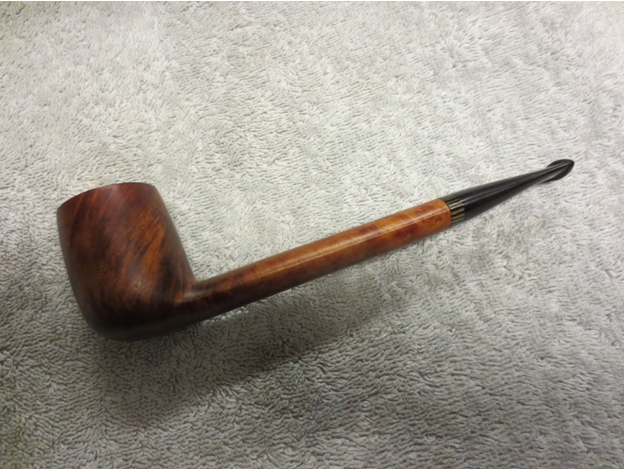
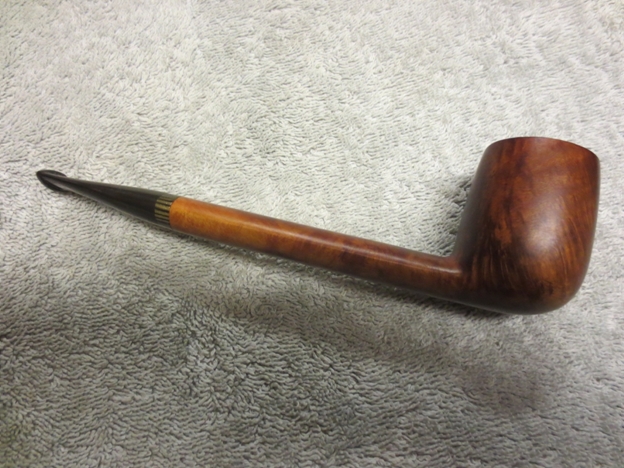
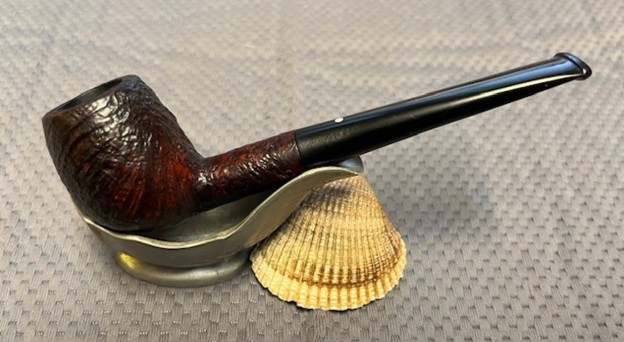
 This 1976 Dunhill Shell Briar 341 Apple with a vulcanite taper stem has a beautiful, unique Dunhill Sandblast finish that is very deep and craggy. The Shell Briar mixed brown finish highlights some great grain around the bowl and shank. It has a unique sandblast that Dunhill specialized in making. The polished vulcanite taper stem adds to the mix. I put the stem back on the bowl and buffed the pipe with Blue Diamond on the buffing wheel being careful to not buff the stamping. I gave the bowl multiple coats of Conservator’s Wax and the stem multiple coats of carnauba wax on the buffing wheel and followed that by buffing it with a clean buffing pad. I hand buffed the pipe with a microfiber cloth to deepen the shine. The finished Dunhill Shell Briar 341 Apple is quite nice and feels great in the hand. Give the finished pipe a look in the photos below. The dimensions of the pipe are Length: 5 ½ inches, Height: 1 ½ inches, Outside diameter of the bowl: 1 inch, Chamber diameter: ¾ of an inch. The weight of the pipe is 1.06 ounces/.30 grams. Thanks for walking through the restoration with me as I worked over another beautiful pipe. This one will be going on the rebornpipes store in the English Pipe Makers Section. Thanks for your time.