Blog by Steve Laug
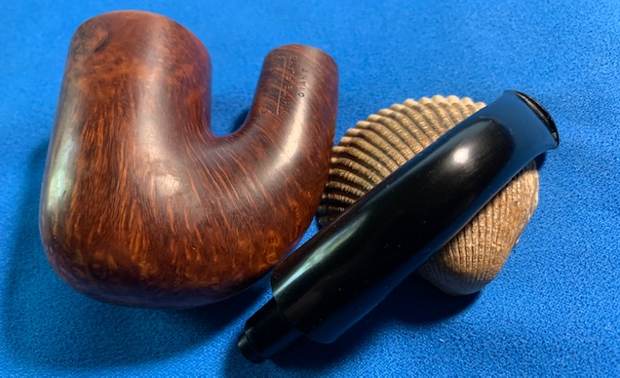
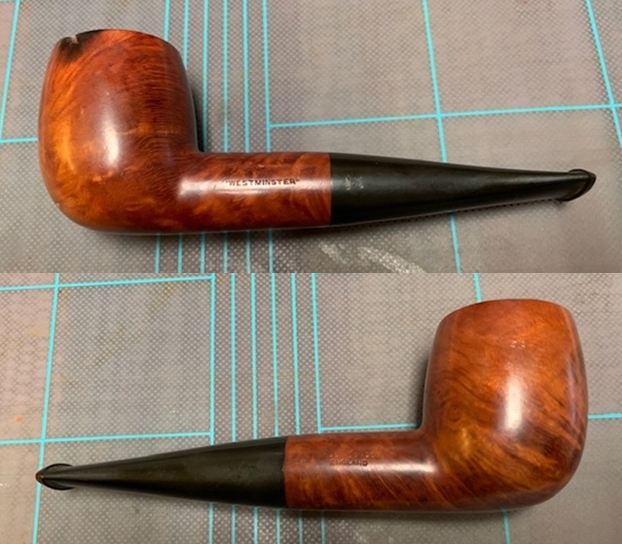
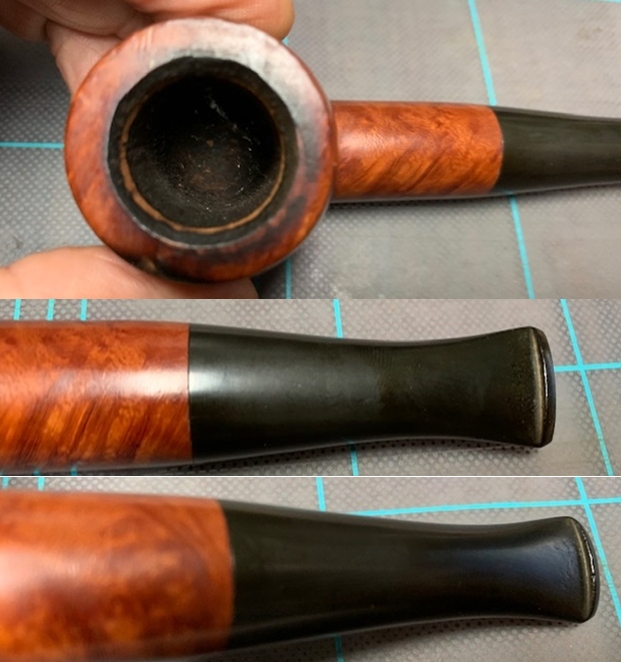
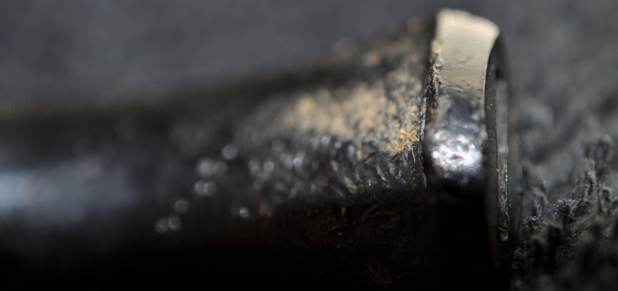
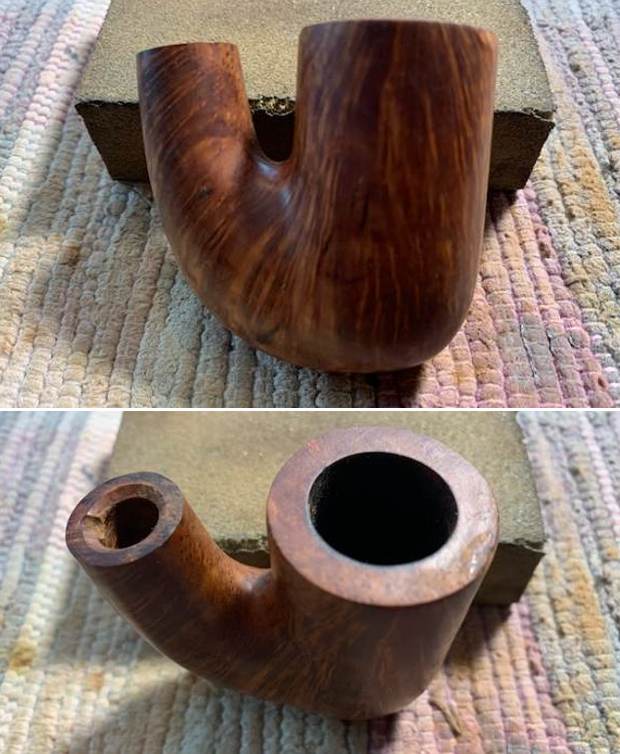
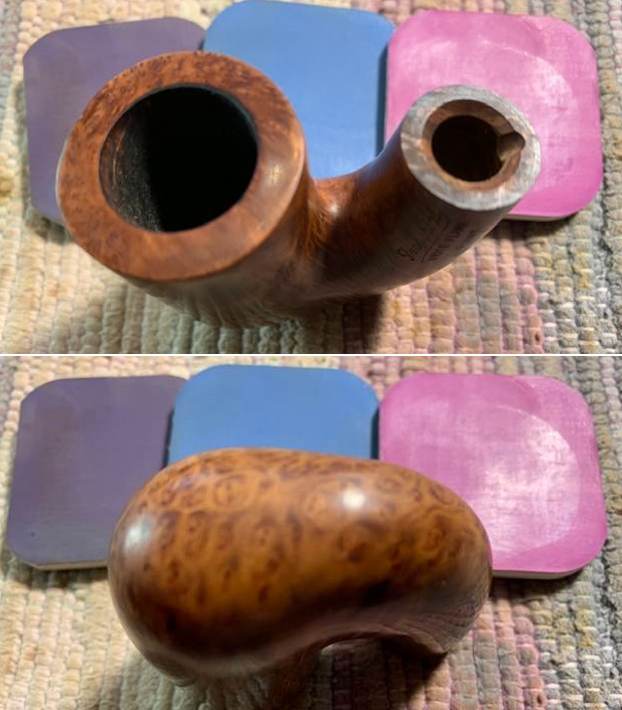
The next pipe on the work table is another pipe that has been here for almost 5 years. Sad that there are some that have sat this long or longer before I got to them. But on the other hand I get to look through my boxes and pick out what turns my crank at the moment. This one was a nice looking Oom Paul with nice grain patterns. We picked it up back in May, 2017 on EBay from Lewisburg, Ohio, USA. It is stamped on the left side of the shank and reads Imperial in script [over] White Flame [over] Giant. On the stem it is also stamped Imperial on the left side and on the underside it is stamped FRANCE. It looks like an older pipe by the shape of the stem and button and the hard rubber stem itself. The smooth finish had some very nice grain but there were also a lot of fills some on the left near the top but more particularly on the right side of the bowl and shank. They were narrow and small so they were not too annoying. The pipe was dirty but is quite nice natural tones of the briar and the black hard rubber taper stem. The bowl was moderately caked with a lava overflow on the rim top, heavier toward the back. The inner edge looked quite good. The stem is lightly oxidized and had some tooth chatter and tooth marks on the top and underside ahead of the button. The pipe showed a lot of promise but it was a mess. Jeff took pictures of the pipe before he did his clean up work.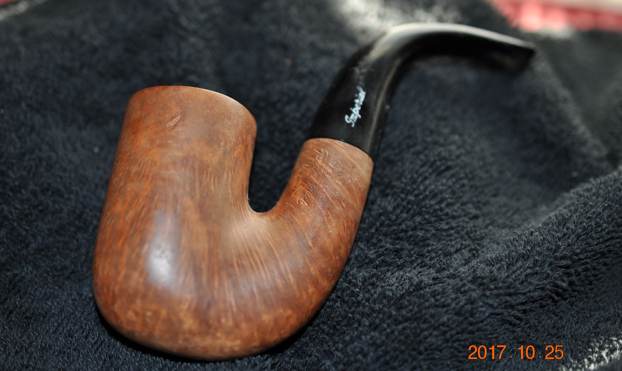 He took photos of the rim top and bowl as well as the stem surfaces to show the condition of the well smoked pipe. You can see the cake in the bowl and the lava on the inner edge and rim top. There is also some roughening on the front outer edge. The stem was oxidized, calcified and had heavy tooth chatter and marks on both sides ahead of the button.
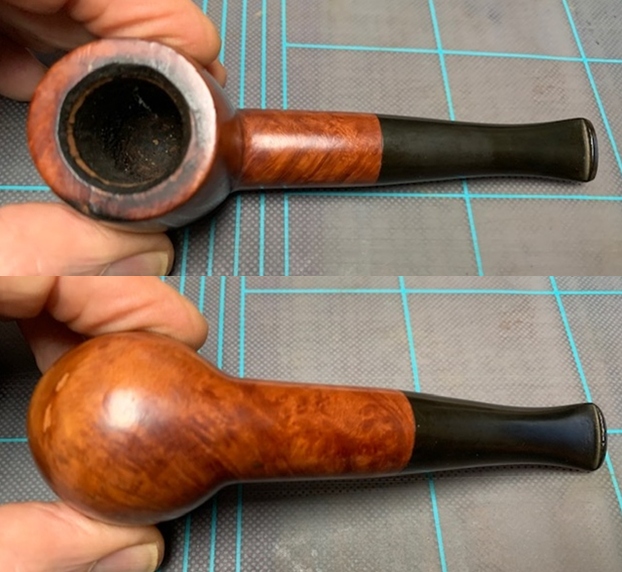
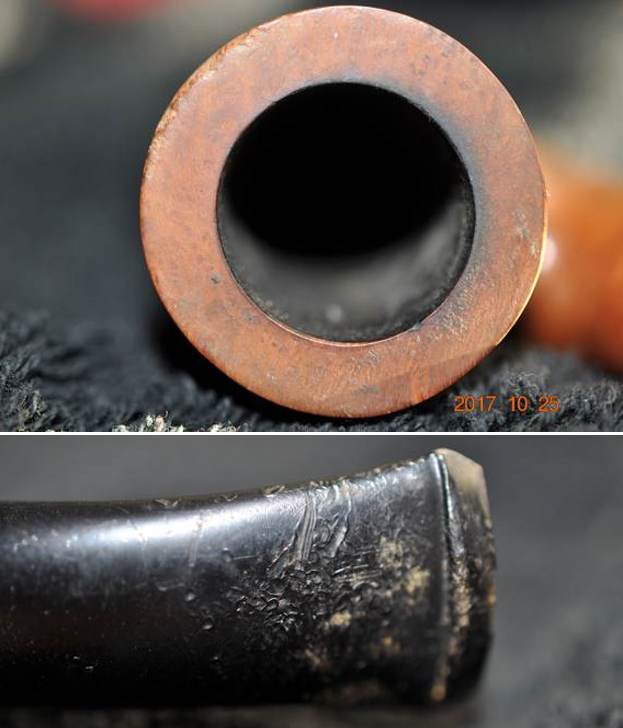
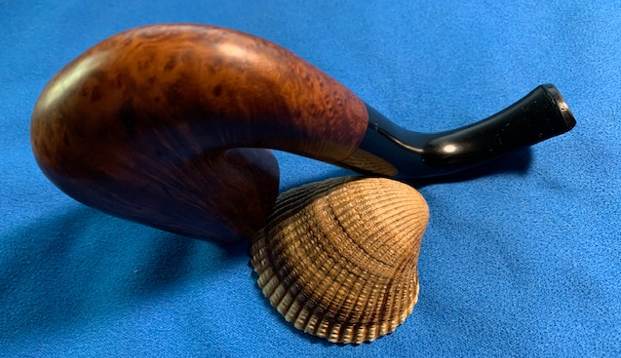
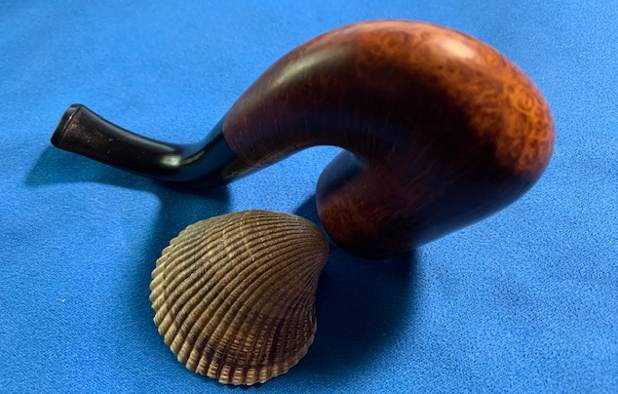
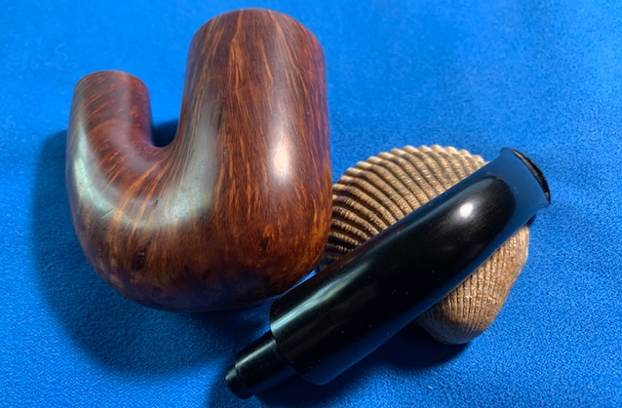
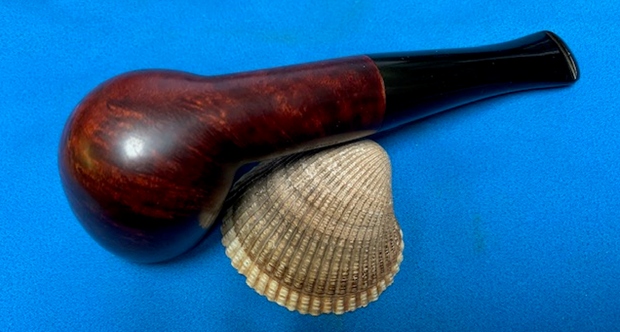
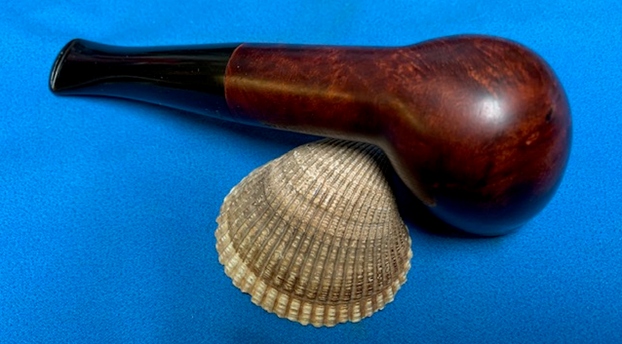
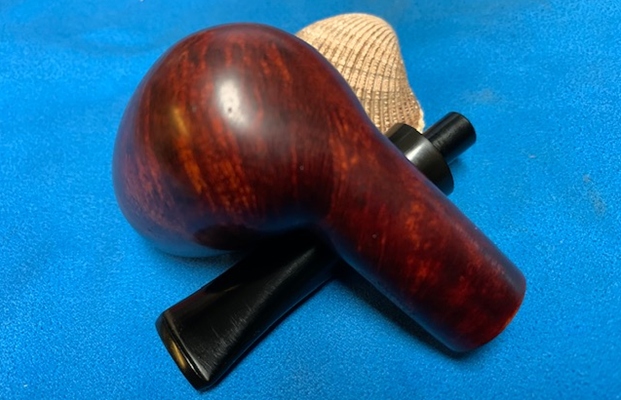
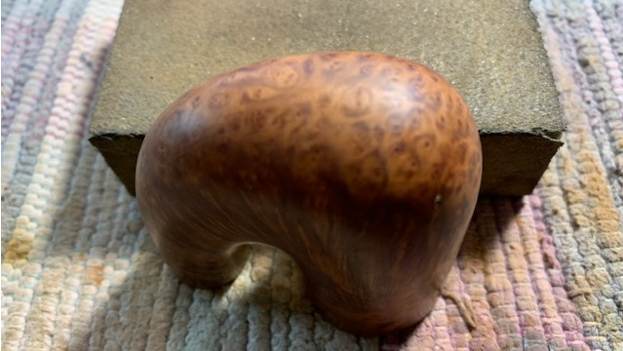
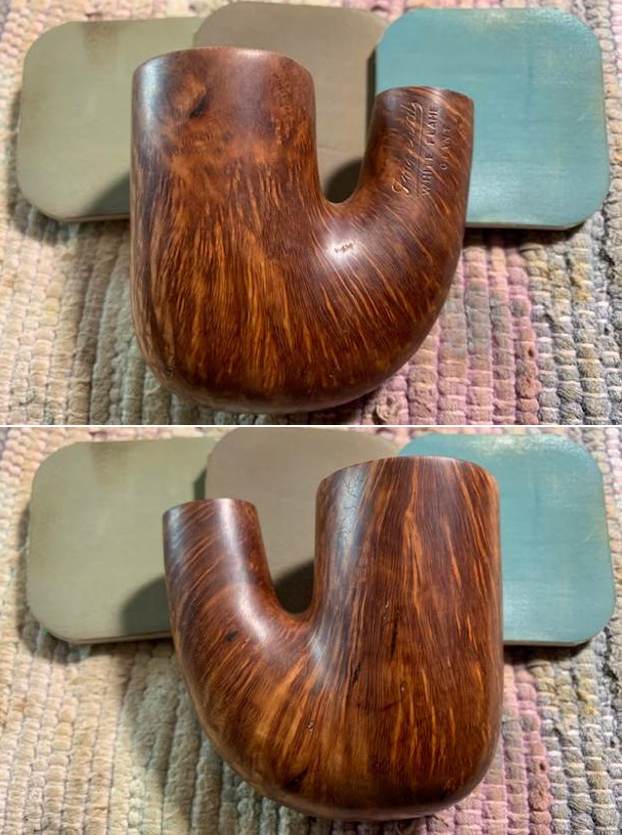
 Jeff took some photos of the heel of the bowl and the side to give a sense of the grain and the location of the fills around this pipe.
 He captured the stamping on the left side of the shank and stem. It is readable as noted above.
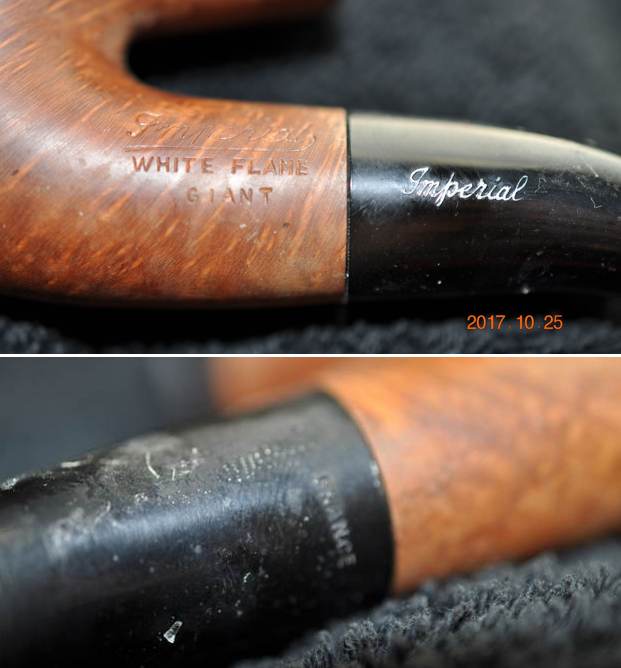 I turned to Pipephil to get a quick overview of the background information on the Imperial brand (http://pipephil.eu/logos/en/logo-i.html). There was no background information on the site this time but the photos below are helpful in terms of the stamping on the shank and the stem.
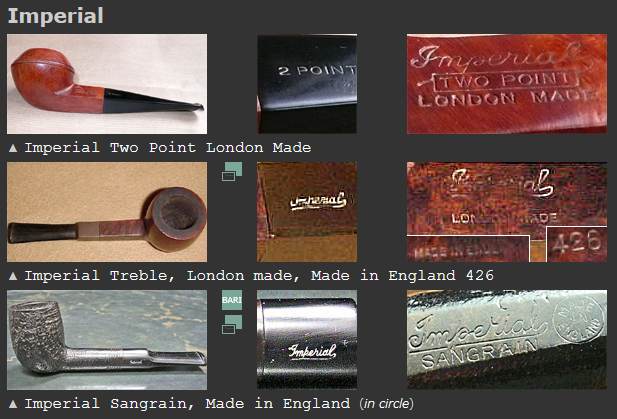 I turned to Pipedia for more information (https://pipedia.org/wiki/Imperial_Tobacco_Co.). I quote the article below.
From Pipes, Artisans and Trademarks, by Jose Manuel Lopés’
The Imperial Tobacco Co. (Imperial Tobacco Ltd.) was founded in 1901 through the merger of several British tobacco companies. In 1902 it went into partnership with the American Tobacco Company to found the British American Tobacco Company.
See also: Civic. Brands involved: Comoy’s, Bewlay, Nording, Ogden’s, Salmon & Gluckstein, and Steel’s
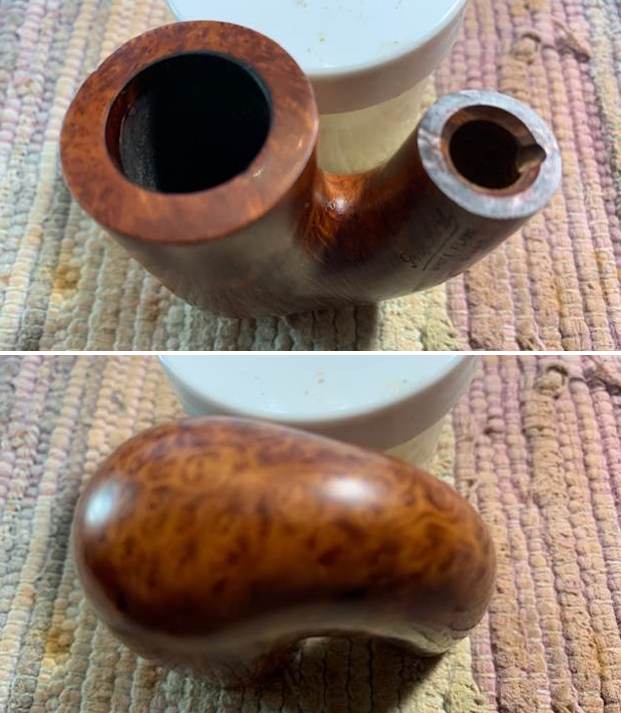
There was a great older advertizement on the link as well that highlighted the age of the brand. I have included that below. Now it was time to look at it up close and personal. Jeff had done an amazing job in removing all of the cake and the lava on the rim top. He had reamed the bowl with a PipNet Pipe Reamer and cleaned up the remnants with a Savinelli Fitsall Pipe Knife. He took the cake back to bare briar so we could check the walls for damage. He scrubbed the exterior of the bowl with Murphy’s Oil Soap and a tooth brush to remove the grime on the bowl and rim and was able to remove the lava and dirt. He cleaned out the interior of the bowl and shank with pipe cleaners, cotton swabs and alcohol until they came out clean. He cleaned the stem with Soft Scrub to remove the grime on the exterior. He cleaned out the airway with alcohol, cotton swabs and pipe cleaners. I took some photos of the pipe before I started my work on it today.
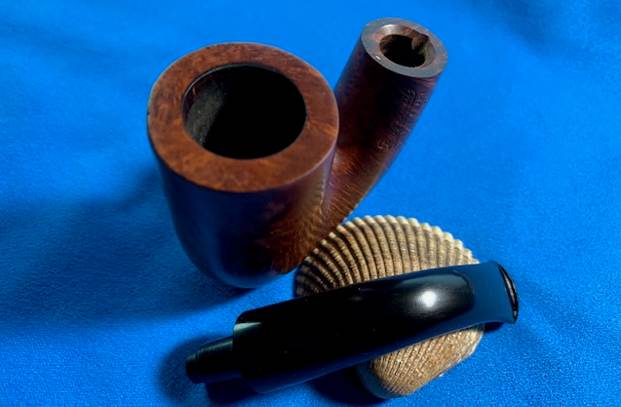
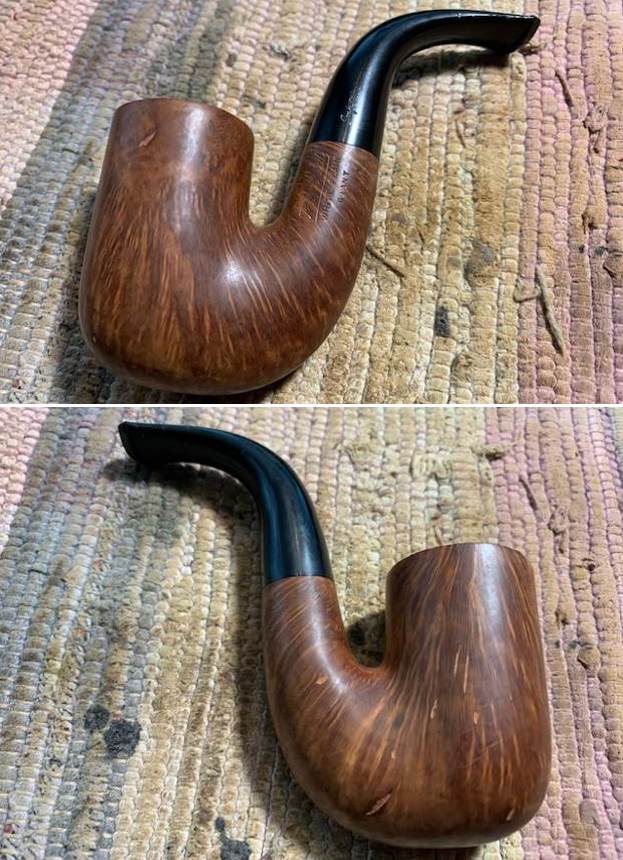
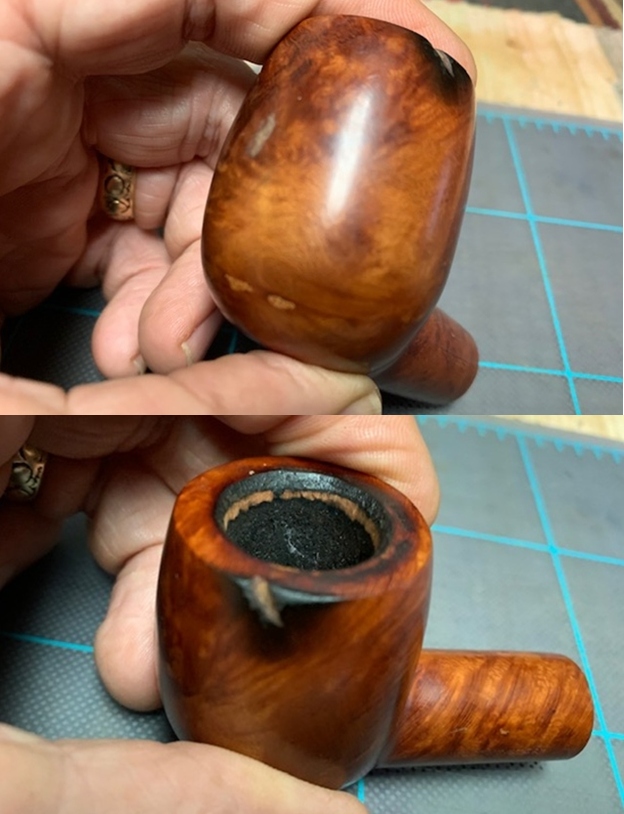
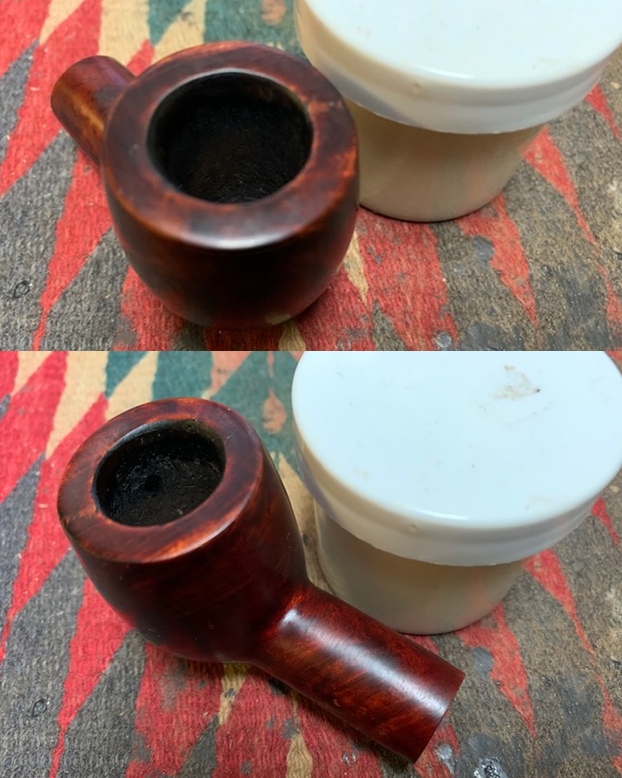
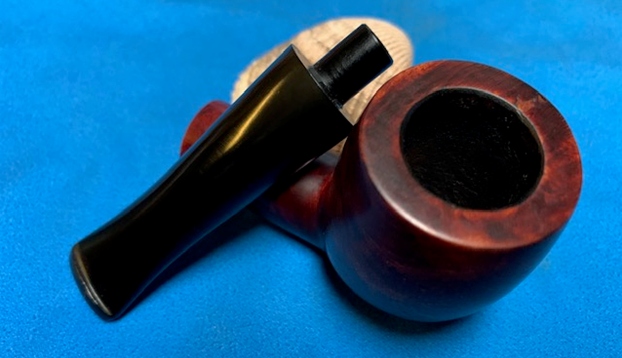
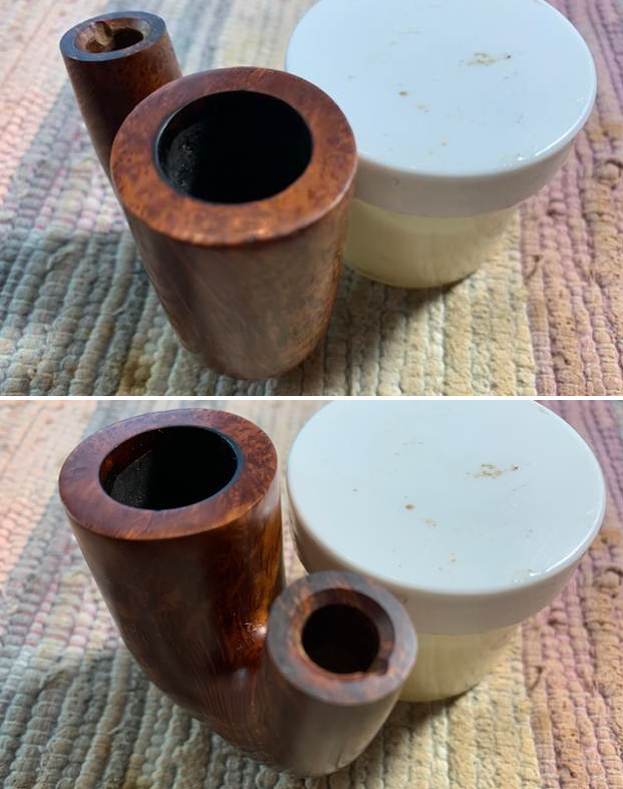
 I took a close up photo of the cleaned up rim top. The rim top and the inner edge look good. The damage on the outer edge of the bowl shows up on the front of the bowl. The bowl is clean and the walls are undamaged. The stem looks good with lots of tooth chatter and marks along the top and underside ahead of the button. The stem is hard rubber which makes the work more difficult on the tooth marks.
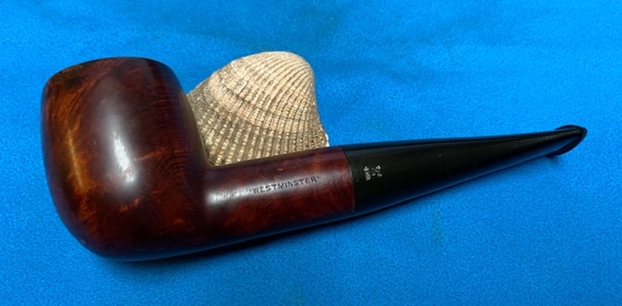
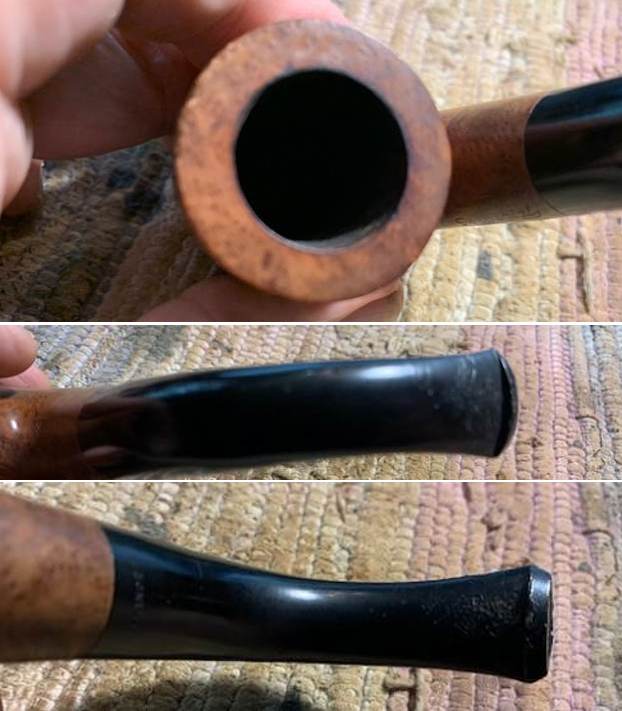 I took a photo of the stamping on the shank side. It is clear and readable as noted above.
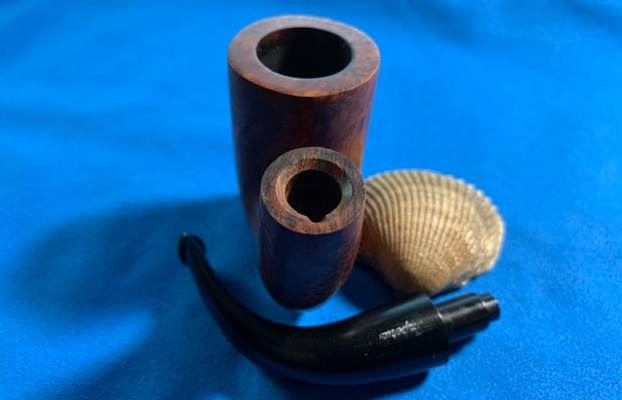
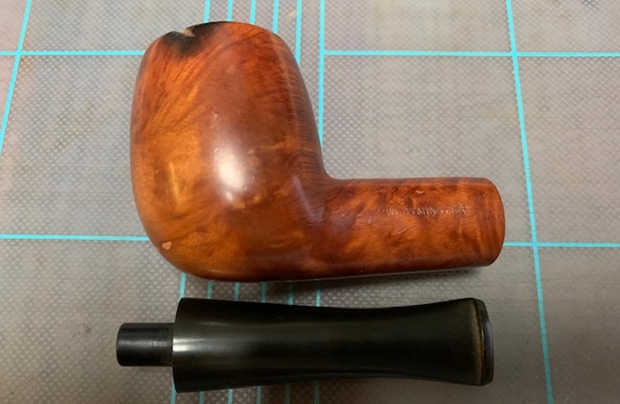
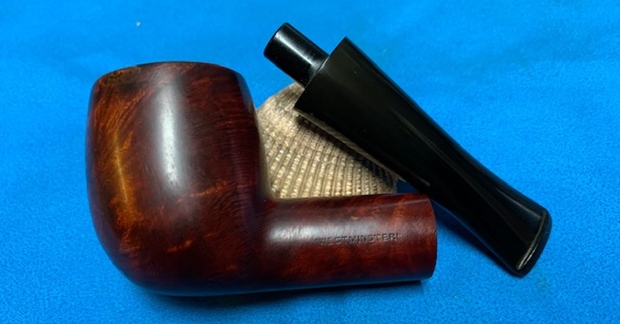
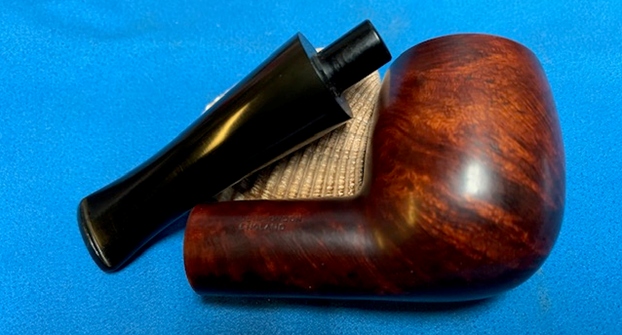
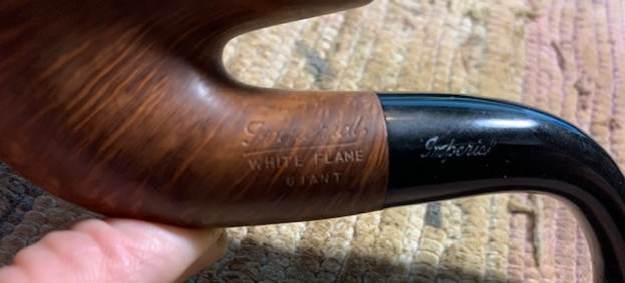 I took the stem off the pipe and took a photo. The Oom Paul is an attractive looking pipe with nice lines. The taper stem shows damage on the sides of the stem.
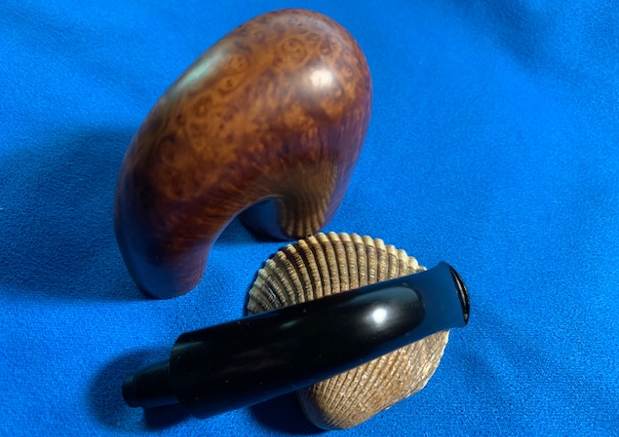
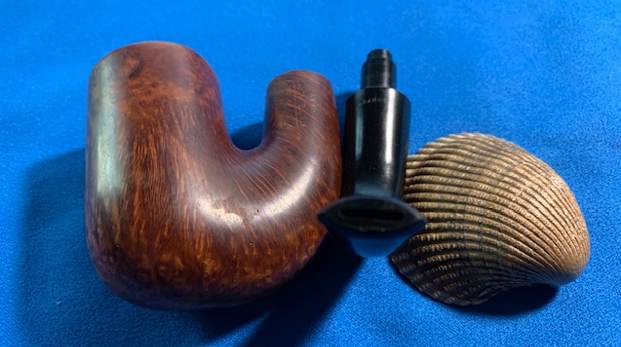
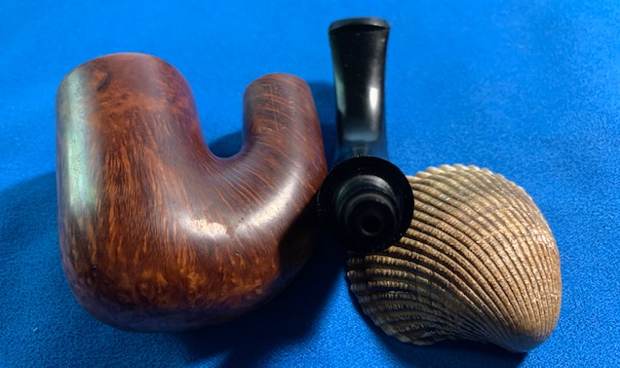
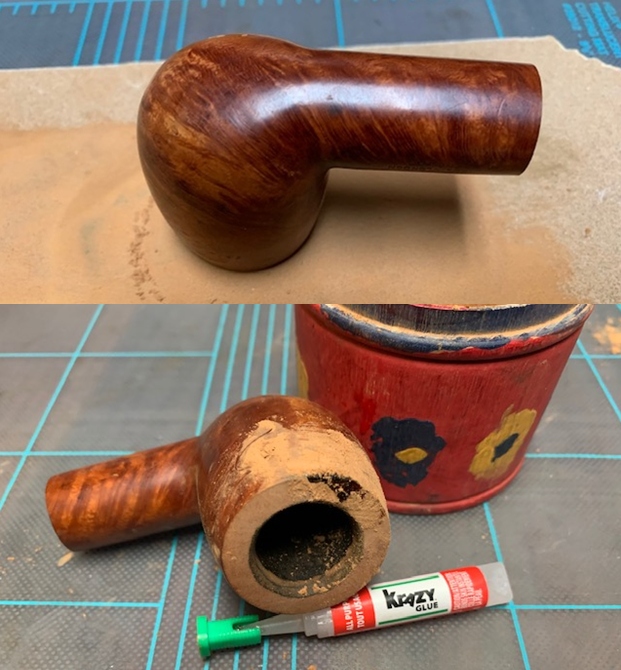
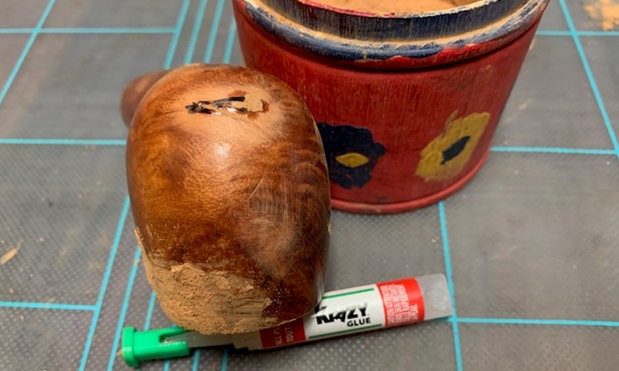
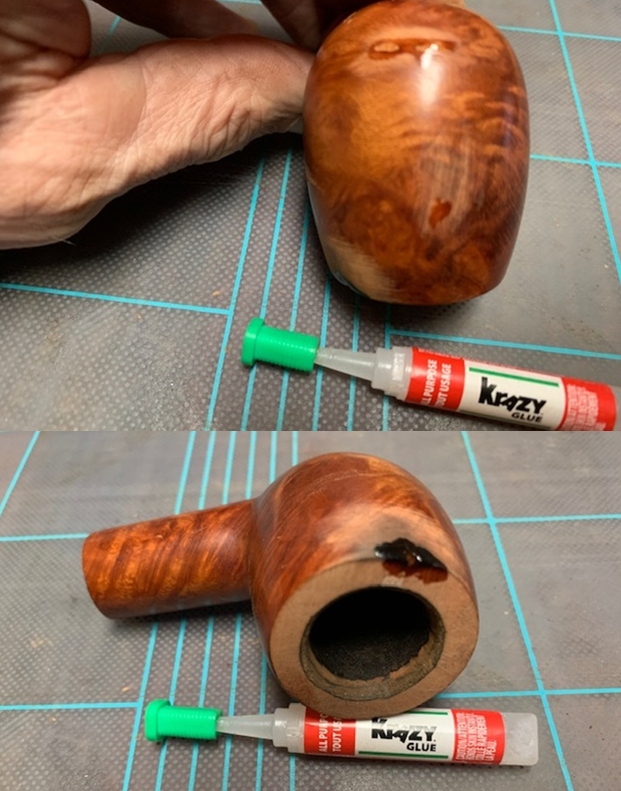
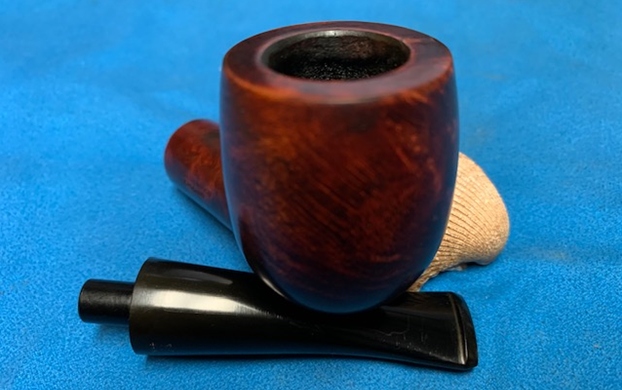
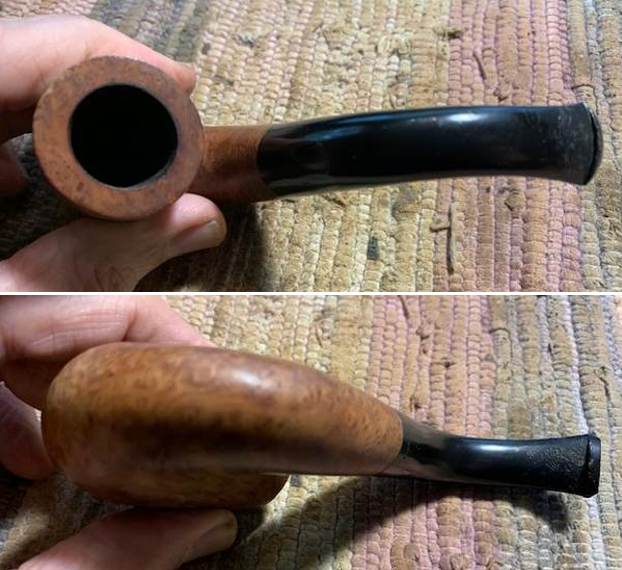
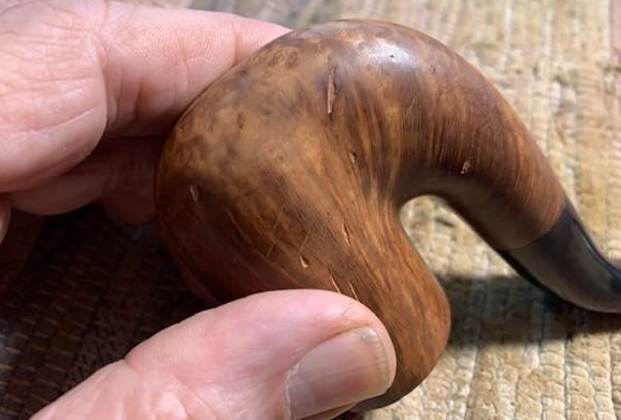
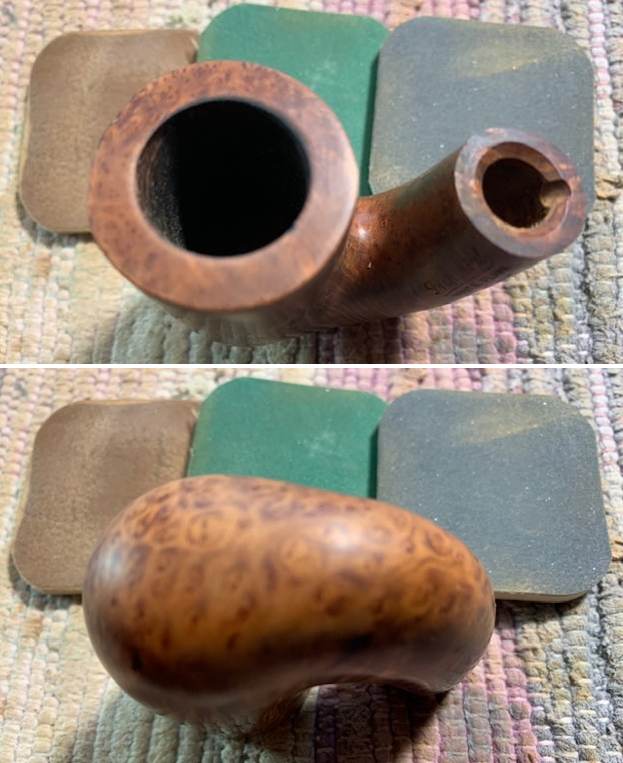
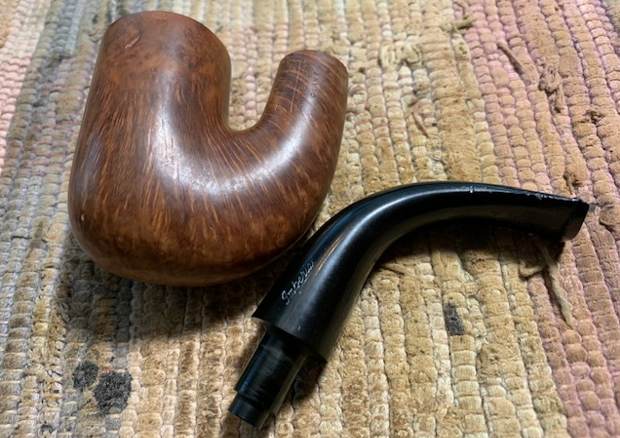 I took photos of the fills on the sides of the bowl. You can see from the photos that they are predominantly on the rights side of the bowl but there are some on the heel of the bowl and on the front and right side as well.
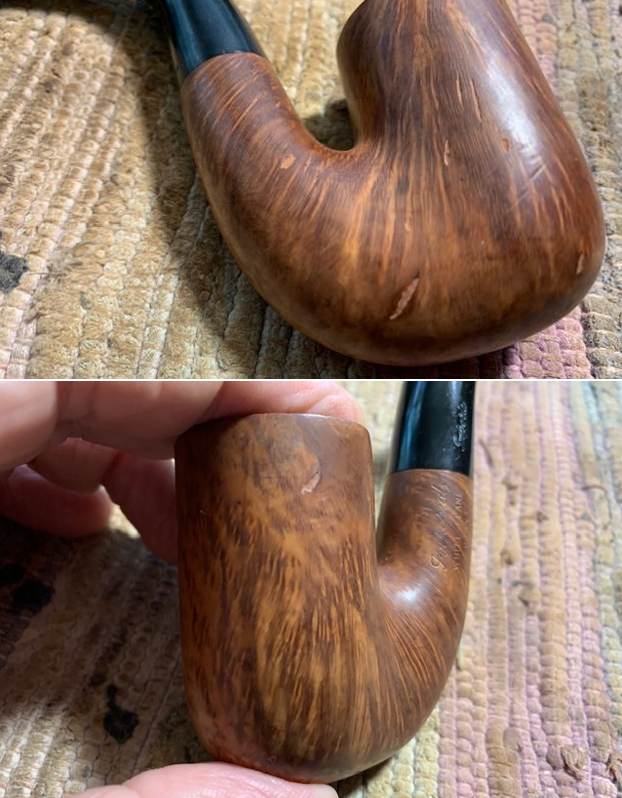
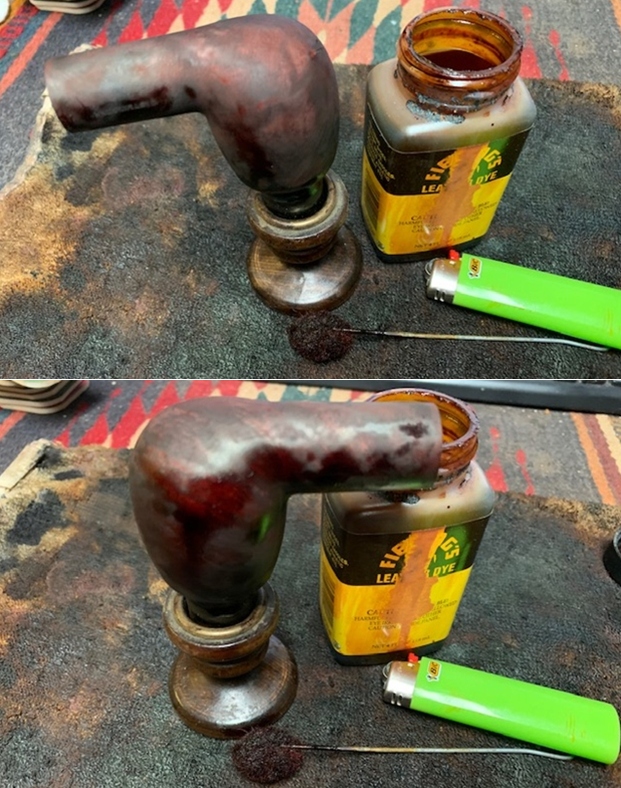
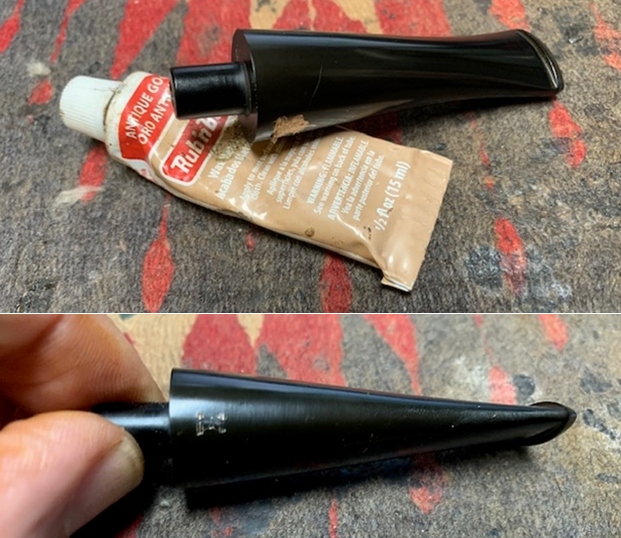
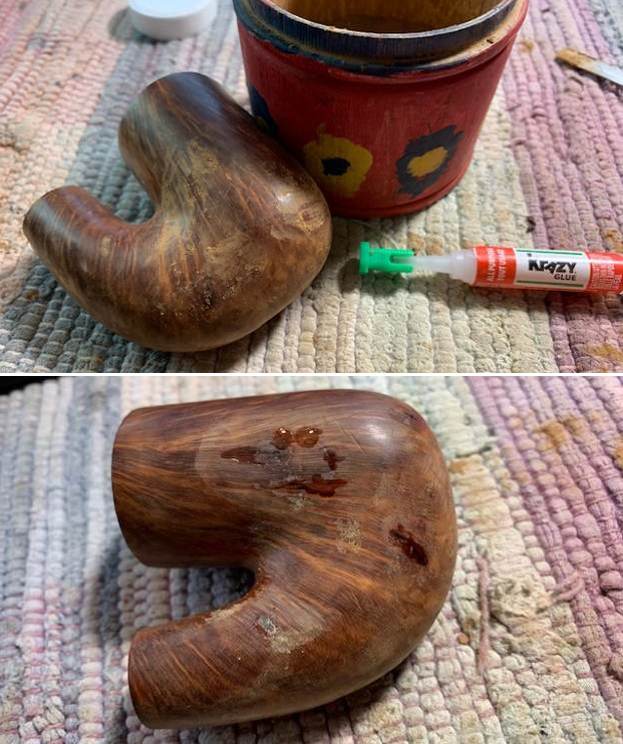
 I decided to start my work on the pipe by addressing all of the loose and damaged fills around the bowl and heel. I filled in the hole with some clear super glue and pressed some briar dust onto the glue repair. I repeated the process until the fills were solid. This took some time as there were many to work on as I turned the bowl. I went over the bowl a second time and topped up the fills with clear super glue as necessary.
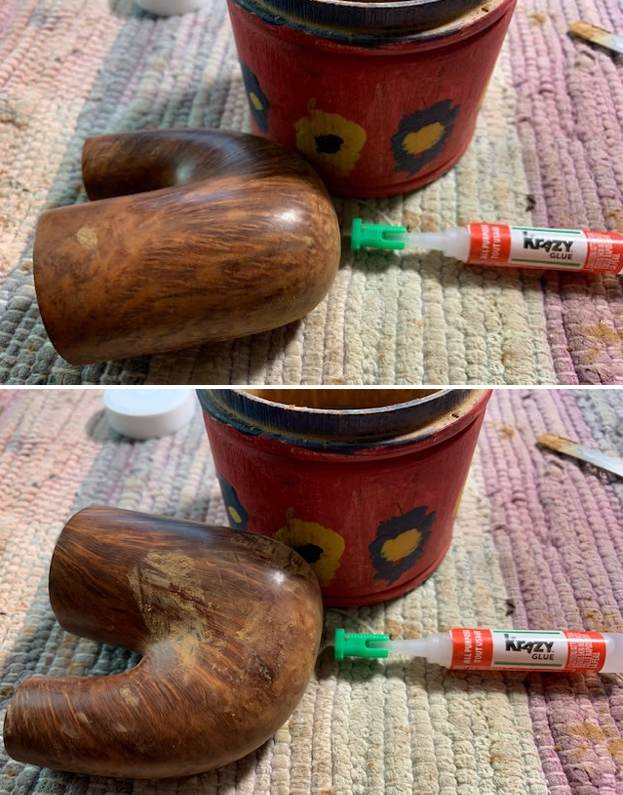
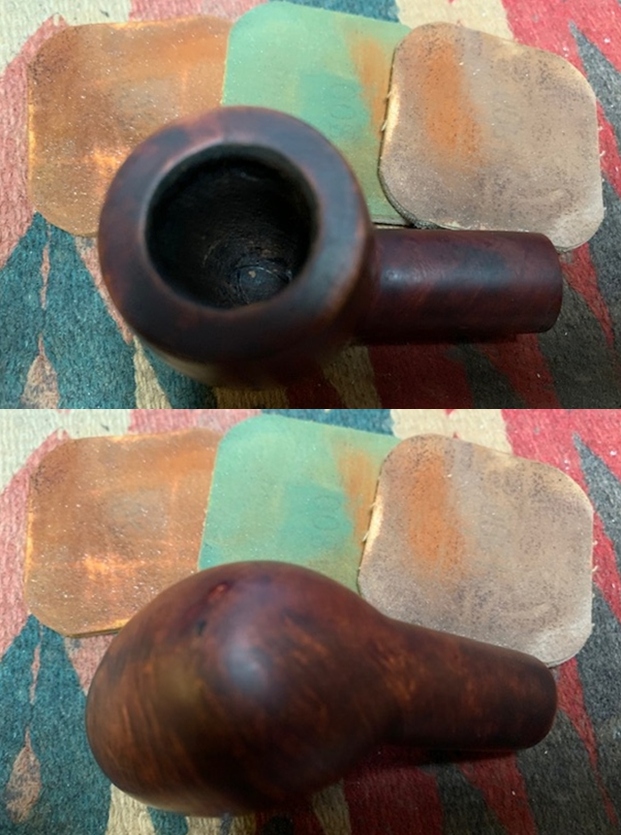
 I sanded the repaired areas with a folded piece of 220 grit sandpaper to smooth them out and make them flush with the bowl surface. I then sanded the entire pipe with a medium and a fine grit sanding sponge to further smooth them out and blend them into the briar. It was beginning to look quite good.
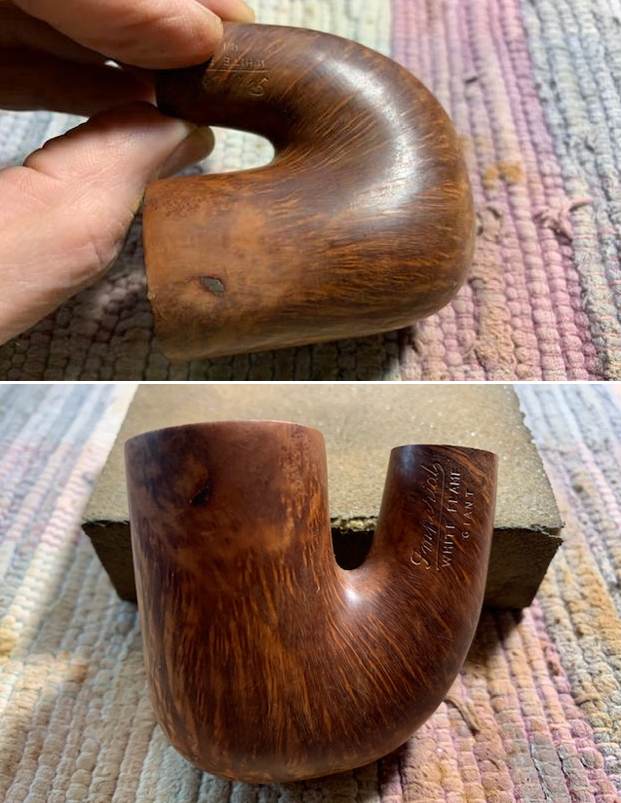
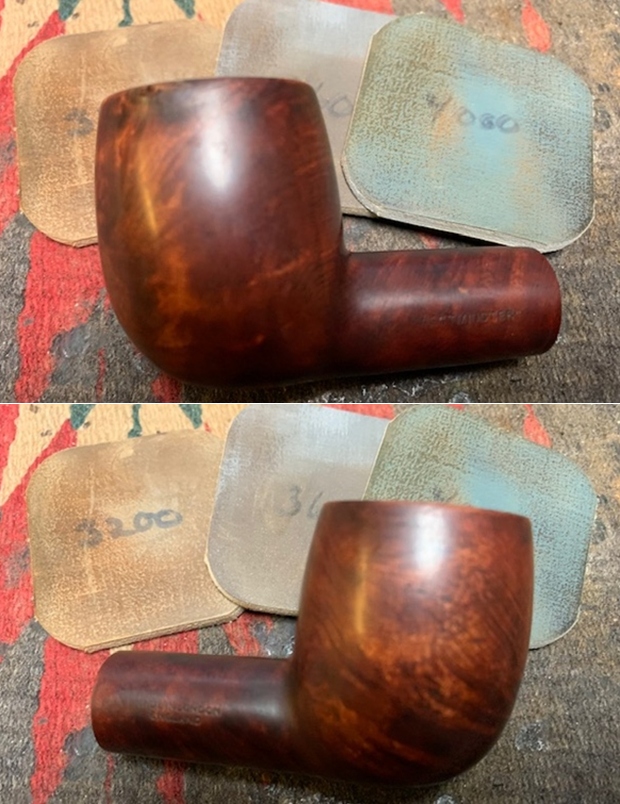
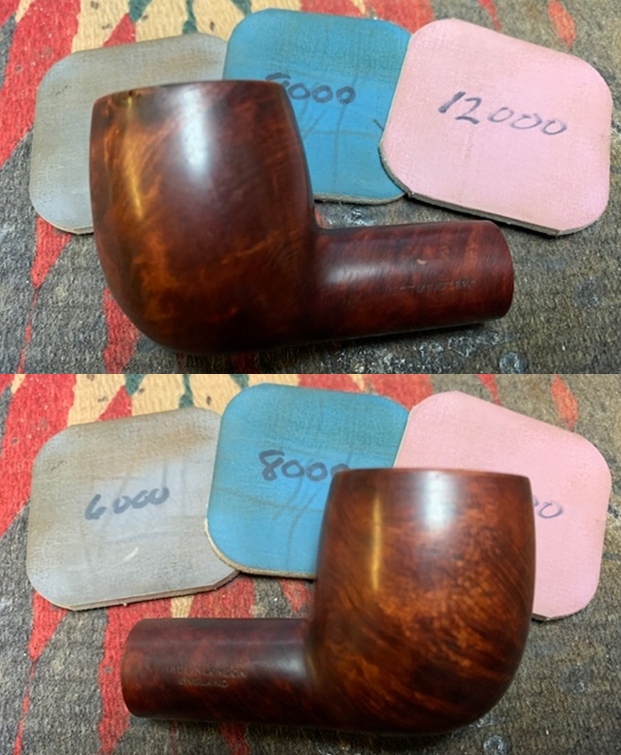
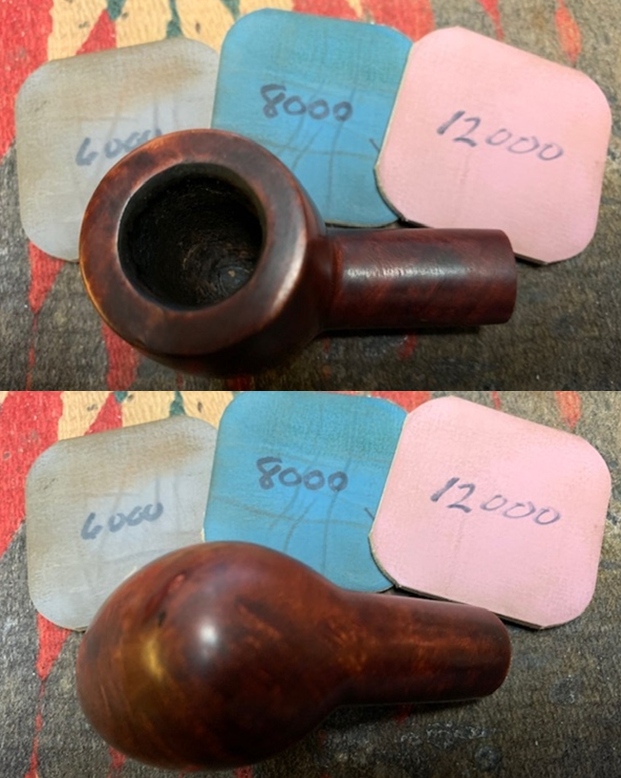
 I polished the smooth rim top and areas on the bowl and shank with micromesh sanding pads – dry sanding with 1500-12000 grit pads. After each pad I wiped the bowl down with a damp cloth to remove the sanding debris. It really took on a shine and the fills were less noticeable by the last three sanding pads.
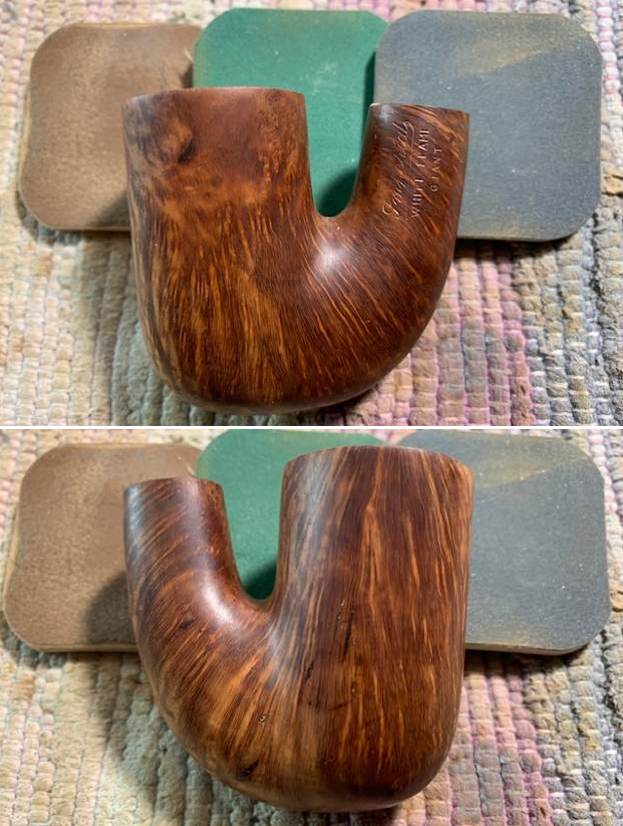


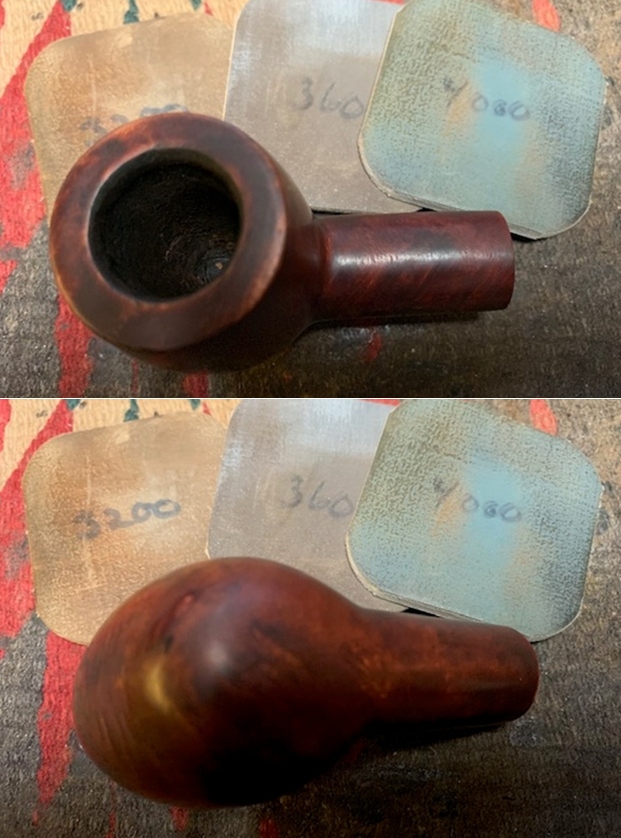
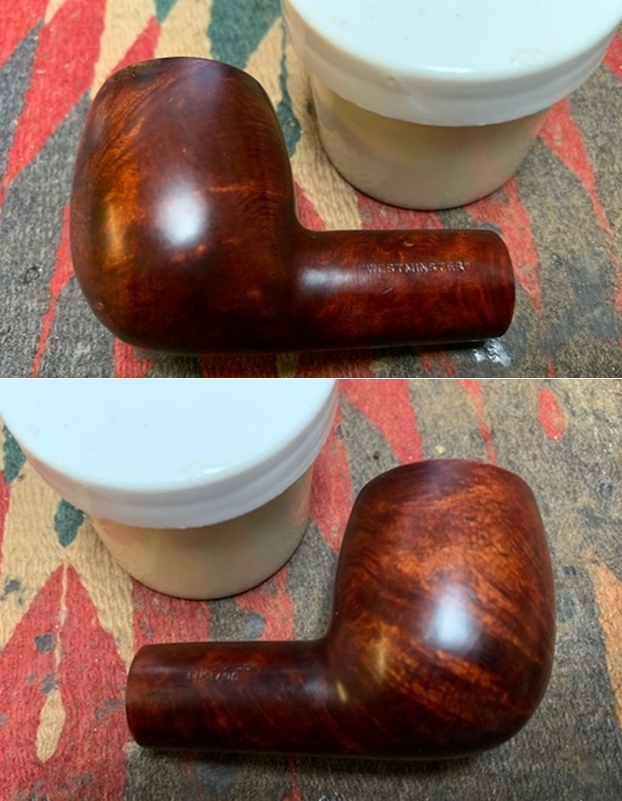
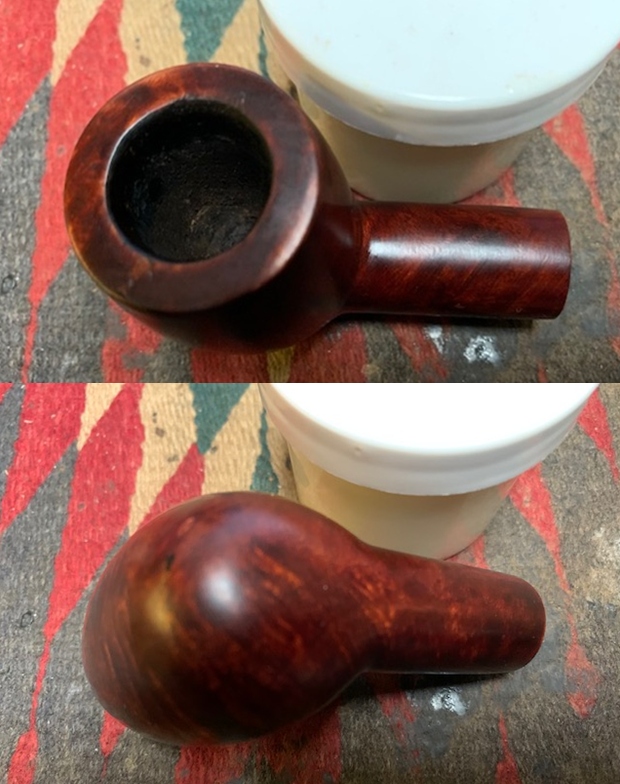
 I rubbed the bowl down with Before & After Restoration Balm. I worked it into the surface of the briar with my fingertips where it works to clean, restore and preserve the briar. I let it do its magic for 15 minutes then buffed it off with a cotton cloth. The pipe looks incredibly good at this point in the process.
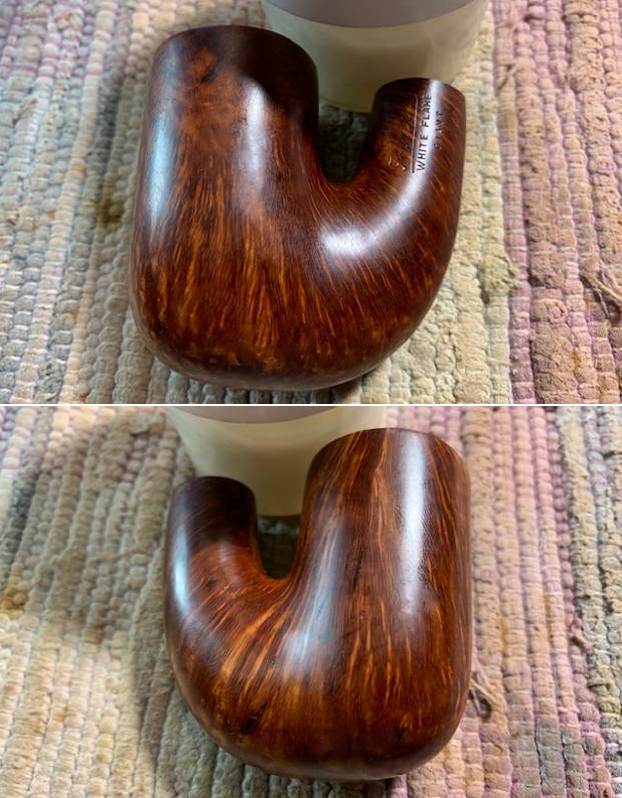
 I set aside the bowl and turned my attention to the stem. I wiped down the stem with some alcohol to remove the dust from the pits and tooth marks. I filled them in with black super glue and set it aside to cure.
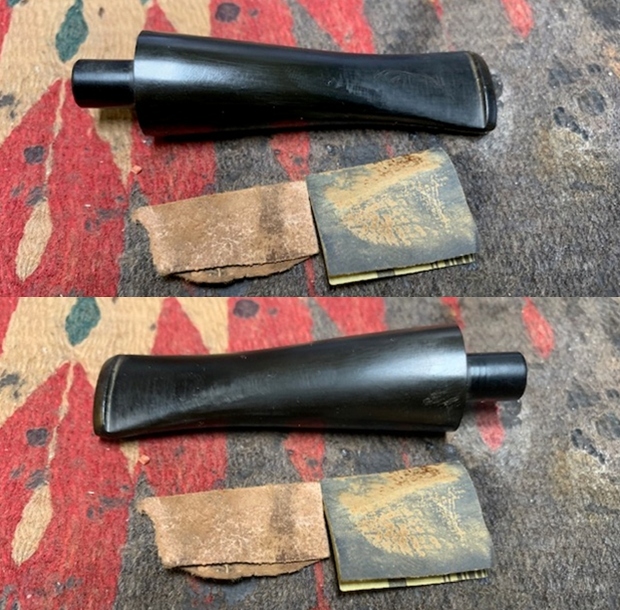
 Once the repairs cured I smoothed them out with a small file. I flattened them against the surface of the hard rubber. I sanded the repairs and the tooth chatter with 220 grit sandpaper and started polishing it with 400 grit wet dry sandpaper. Each step took it closer to the finished look.
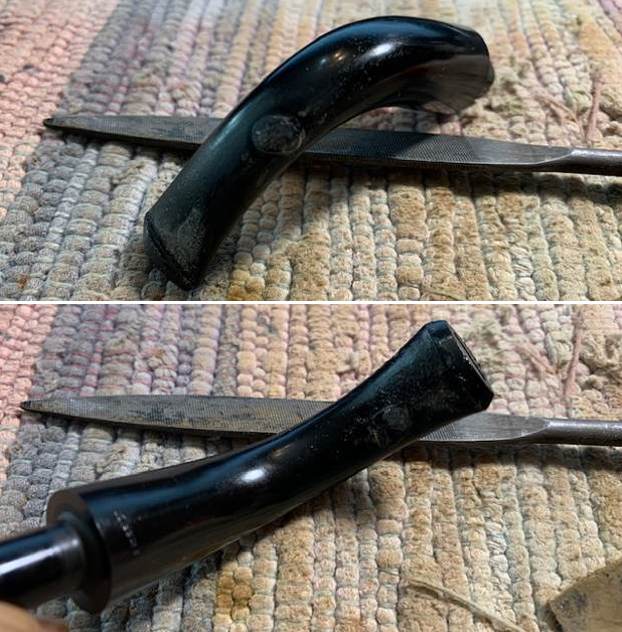
 I touched up the stamping on the left side of the stem with white acrylic fingernail polish and worked it into the stamp with a tooth pick. Once the acrylic had cured I scraped off the excess acrylic with the tooth pick.
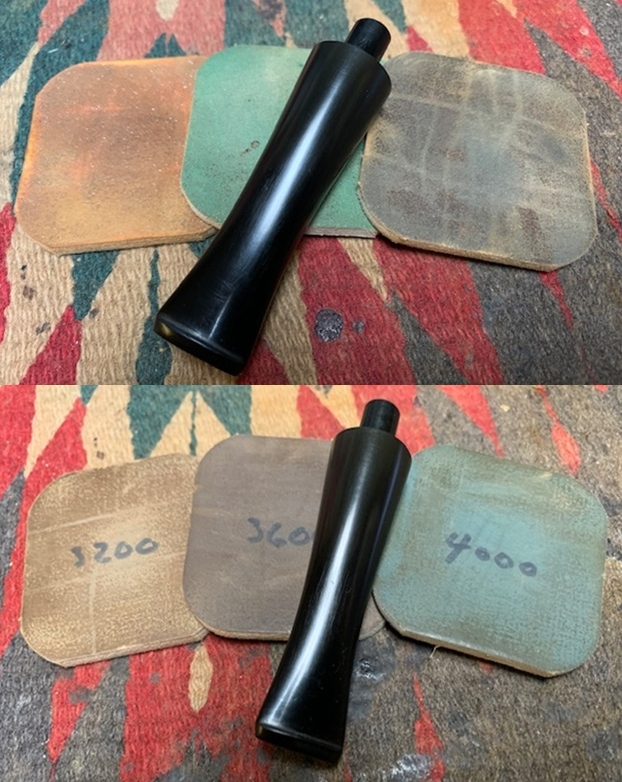
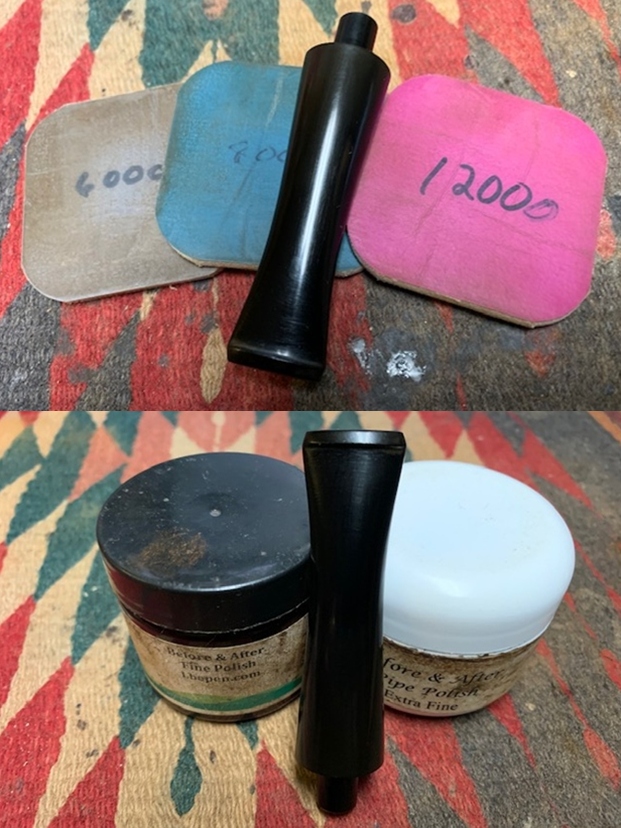
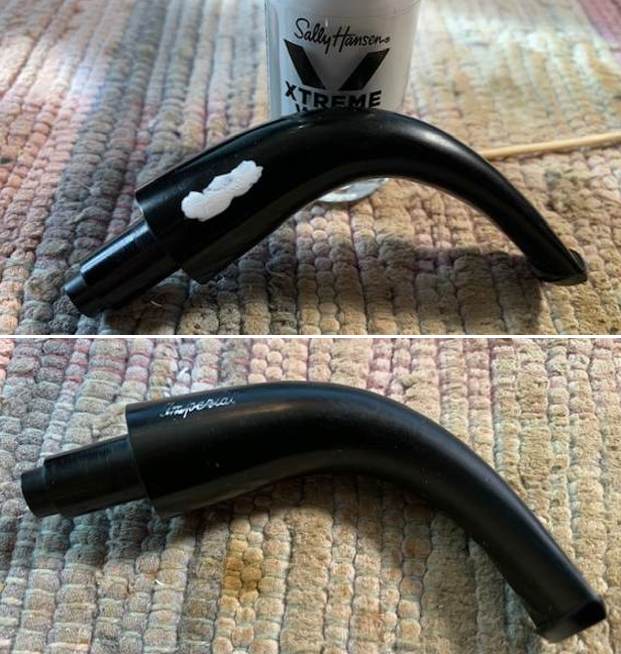 I continued to polish the stem with micromesh sanding pads – wet sanding with 1500-12000 grit sanding pads. I wiped it down after each sanding pad with Obsidian Oil. I polished it further with Before & After Stem Polish – both Fine and Extra Fine. I gave it a final coat of Obsidian Oil and set it aside to cure.
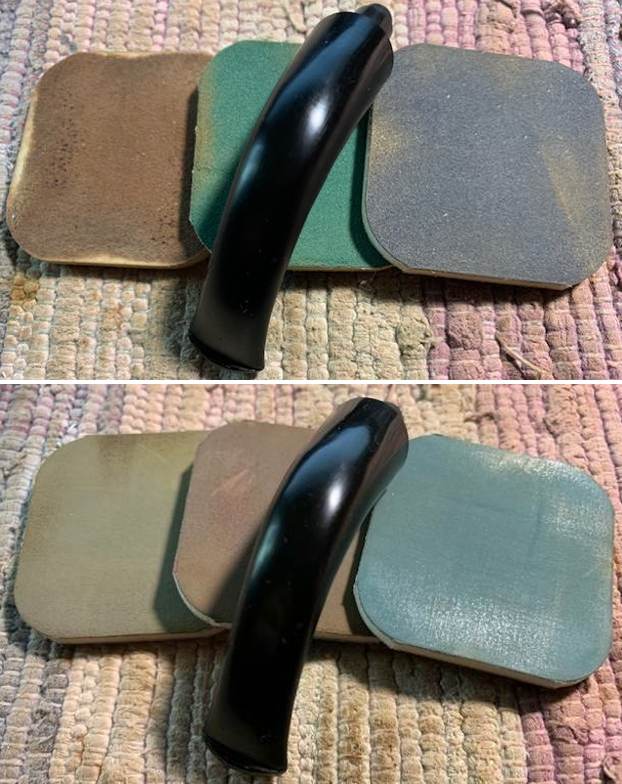
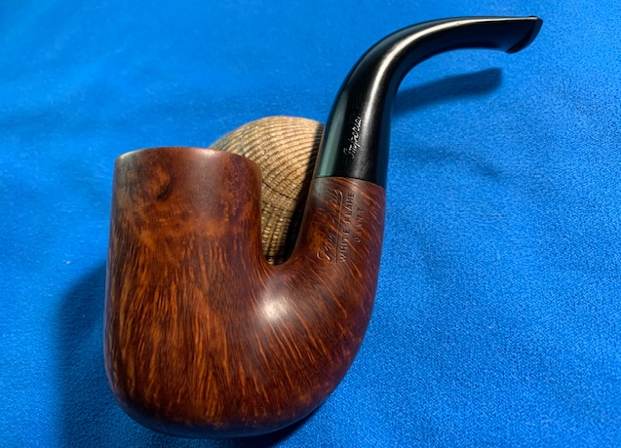
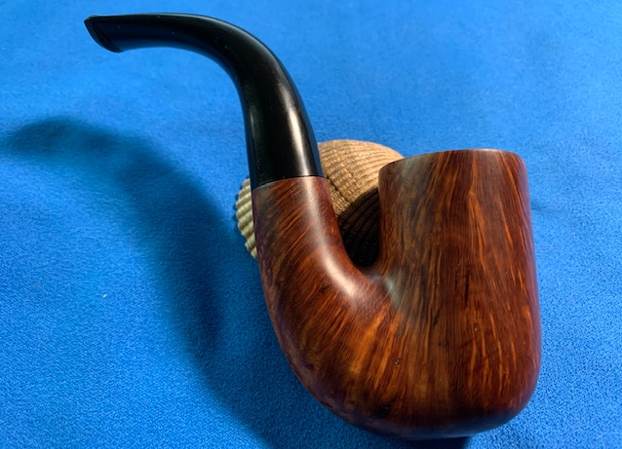
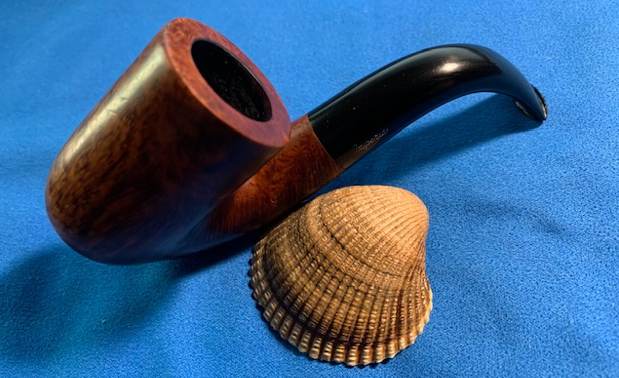
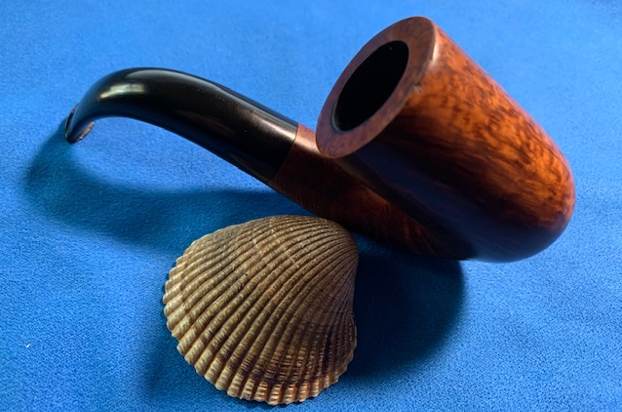
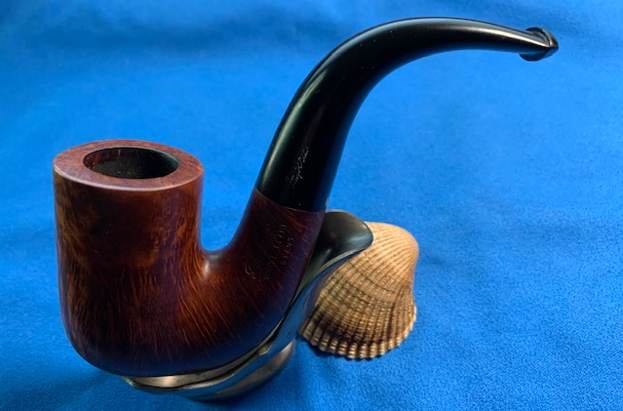
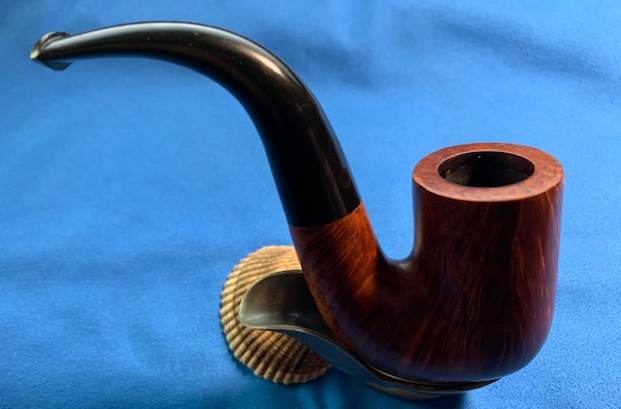
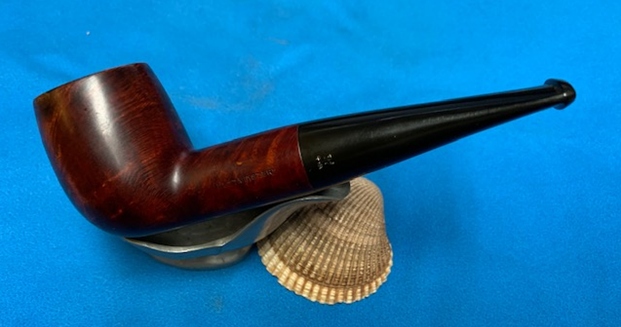
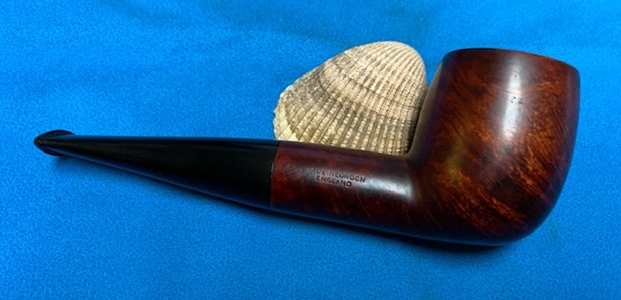
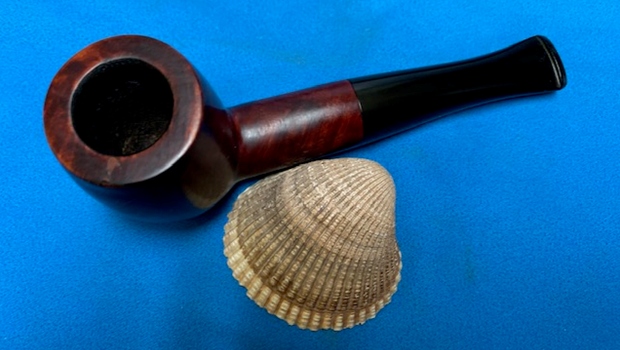
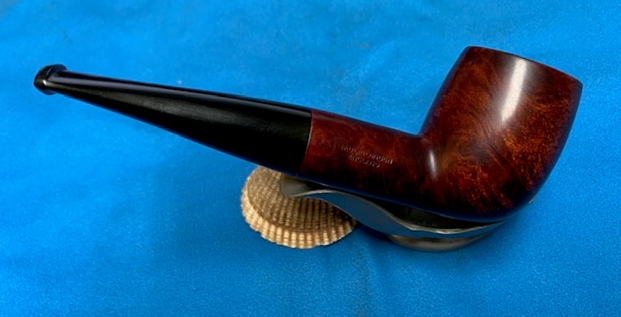
 I am excited to finish this Imperial White Flame Giant Oom Paul. I put the pipe back together and buffed it with Blue Diamond on the buffing wheel. I gave the bowl and the stem multiple coats of carnauba wax. I buffed the pipe with a clean buffing pad to raise the shine and then by hand with a microfibre cloth to deepen it. It is fun to see what the polished bowl looks like with beautiful straight grain all around it. The polished grain on the pipe looks great with the black hard rubber stem. This Imperial Oom Paul is great looking and the pipe feels great in my hand. It is light and well balanced. Have a look at it with the photos below. The dimensions are Length: 4 ½ inches, Height: 2 ¼ inches, Outside diameter of the bowl: 1 ¼ inches, Chamber diameter: ¾ of an inch. The weight of the pipe is 65 grams/2.29 ounces. It turned out to be a beautiful pipe. I will soon be putting it on the rebornpipes store in the British Pipemakers Section. If you are interested in adding it to your collection let me know. Remember we are the next in a long line of pipe men and women who will carry on the trust of our pipes until we pass them on to the next trustee. Thanks for your time reading this blog.