
Blog by Steve Laug
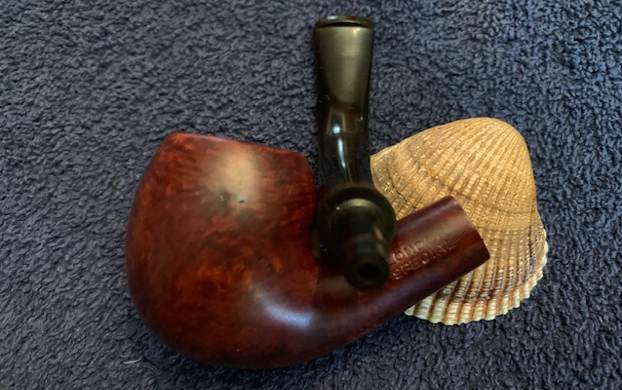
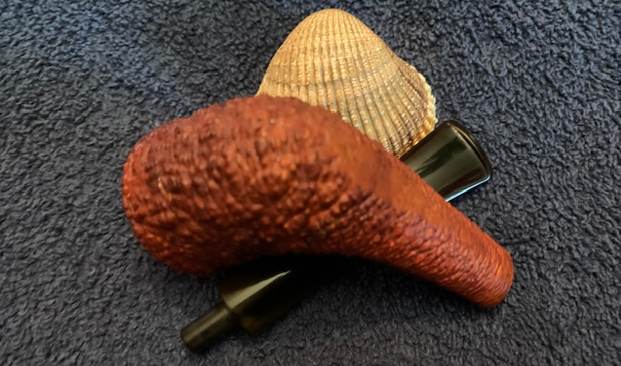
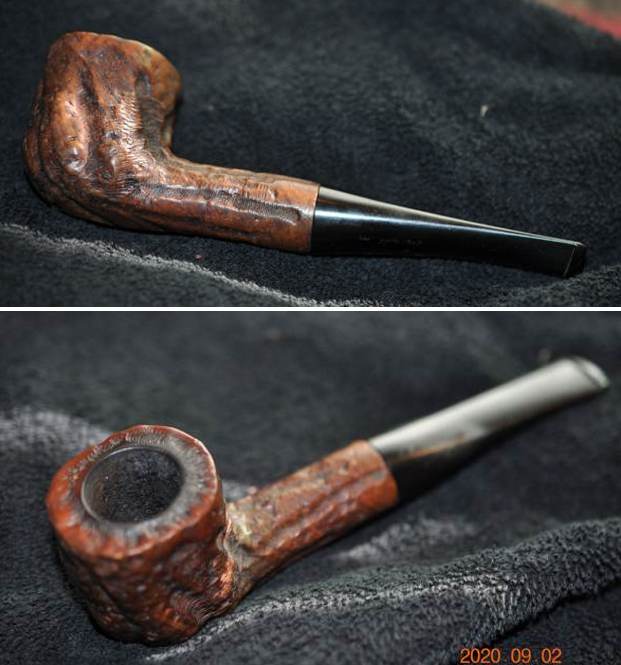
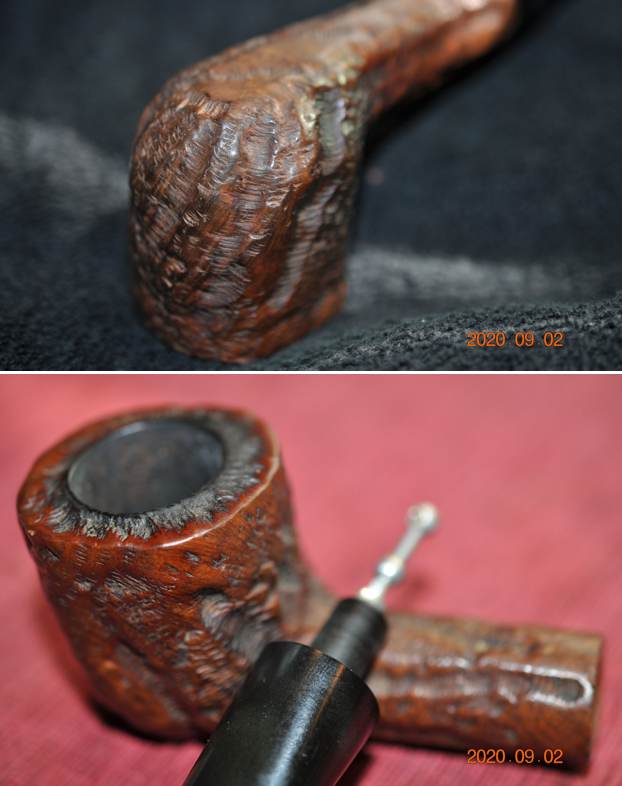
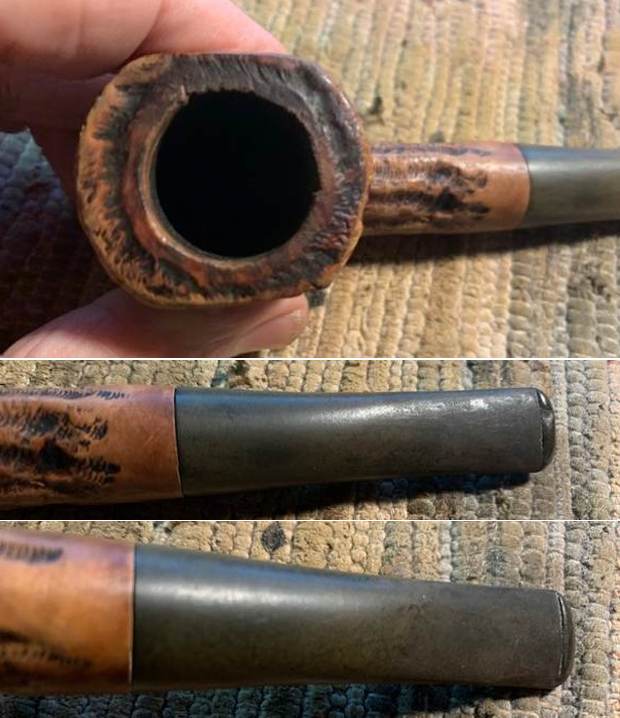
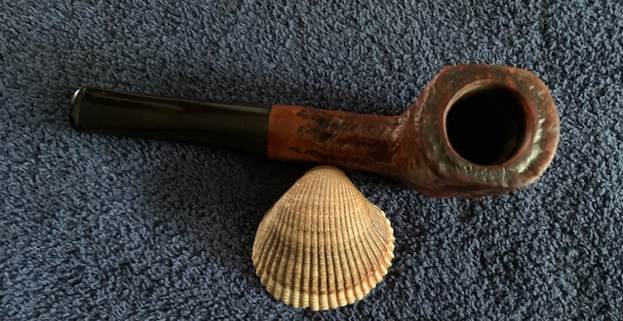
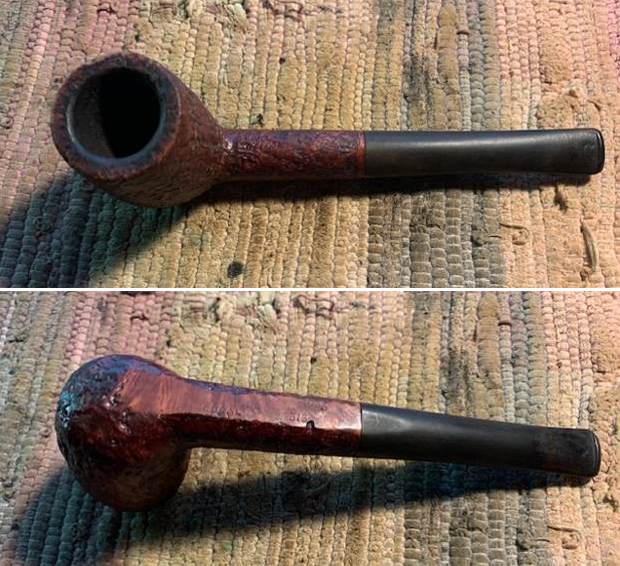
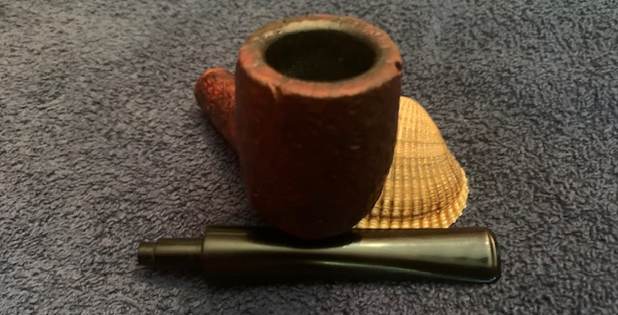
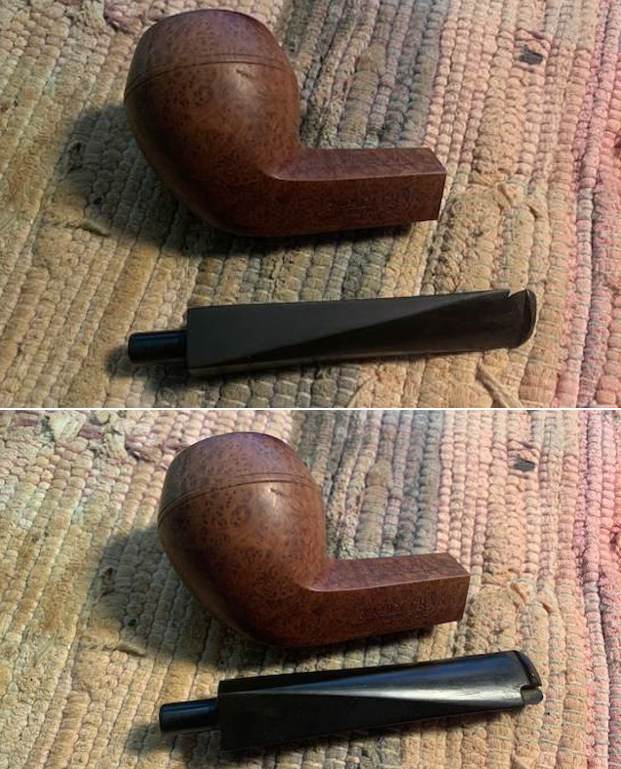
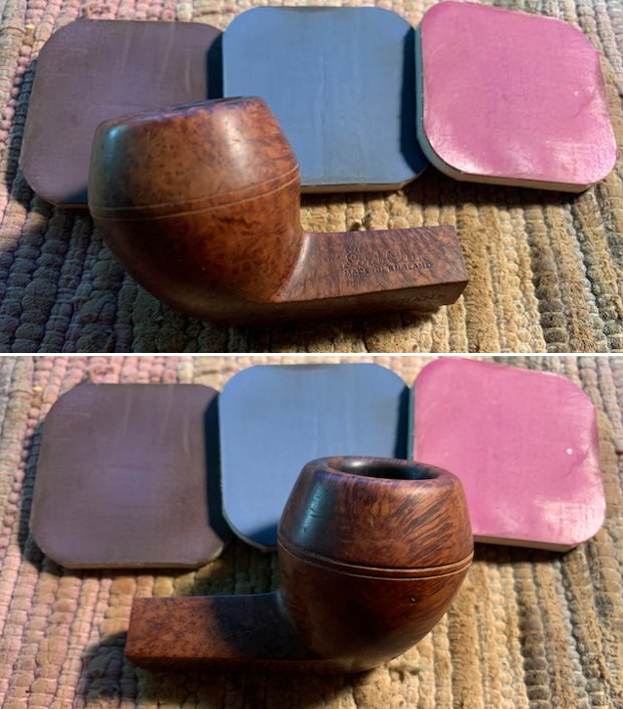
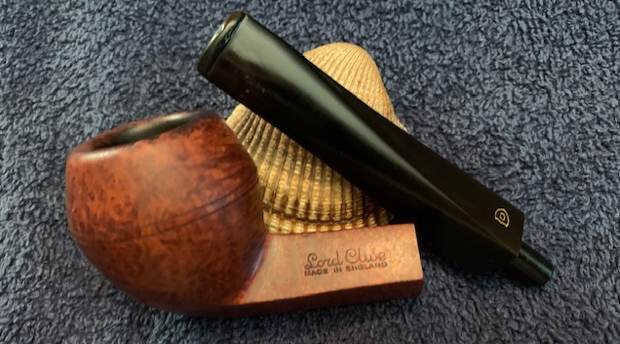
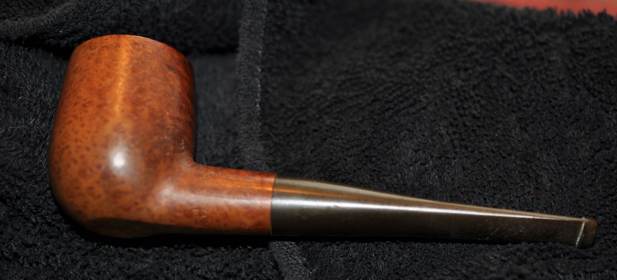
The next pipe on the table is French made Bent Billiard with rugged sandblast that looks like it was helped along by a guided hand. Jeff purchased it on eBay on 04/14/17 from a seller in New Tripoli, Pennsylvania, USA. The shape of it fits well in the hand and has a tactile feel as well. The pipe is stamped on the underside of the shank and reads Butz-Choquin [over] Rocamar. That is followed by St. Claude France [over] the shape number 1319. Rocamar in Spanish means Rocklike and that applies well to the finish on this one. The finish appears to be a rugged sandblast but I am not sure if it is as it appears. The finish is a rich reddish brown colour and it is dirty with grime ground into the grooves of the finish. The bowl had a thick cake in it and a thick overflow of lava spills over the rim top. It is thick enough to make assessing the edges hard to do. The bent taper Cumberland stem was oxidized, calcified and had deep tooth marks and chatter on both sides ahead of the button and on the button surface itself. There was a BC logo encased in a circular, clear acrylic inlay on the left side of the stem. There was a band on the end of the stem composed of twin brass rings and a wafer of briar between them. Jeff took photos of the pipe before he started his work on the clean up.
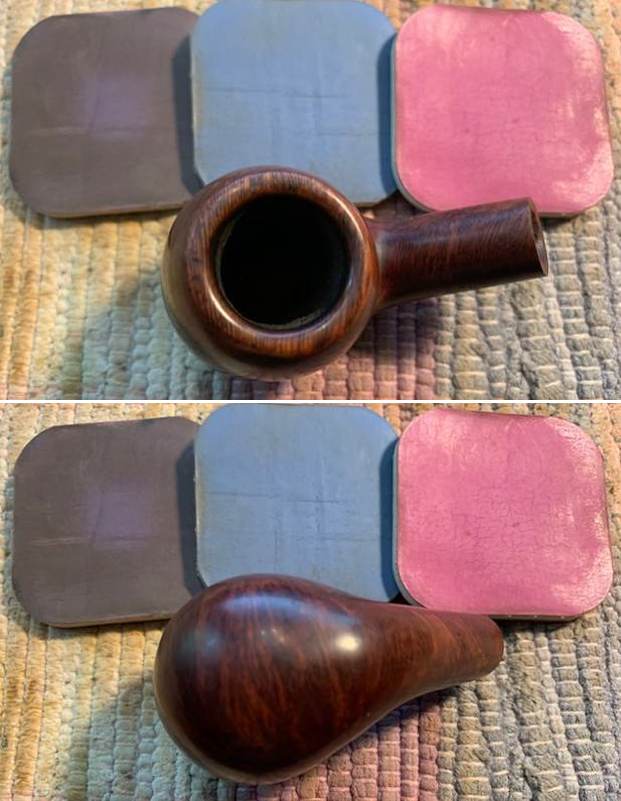
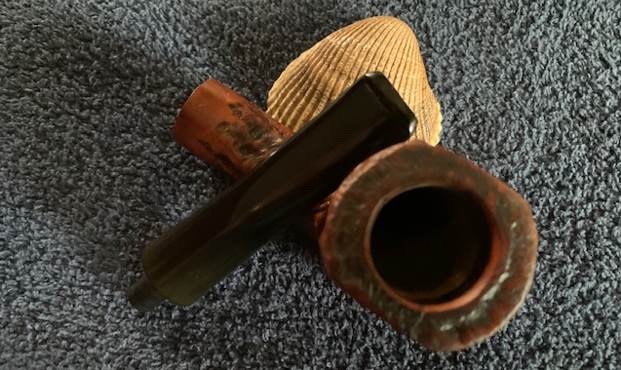
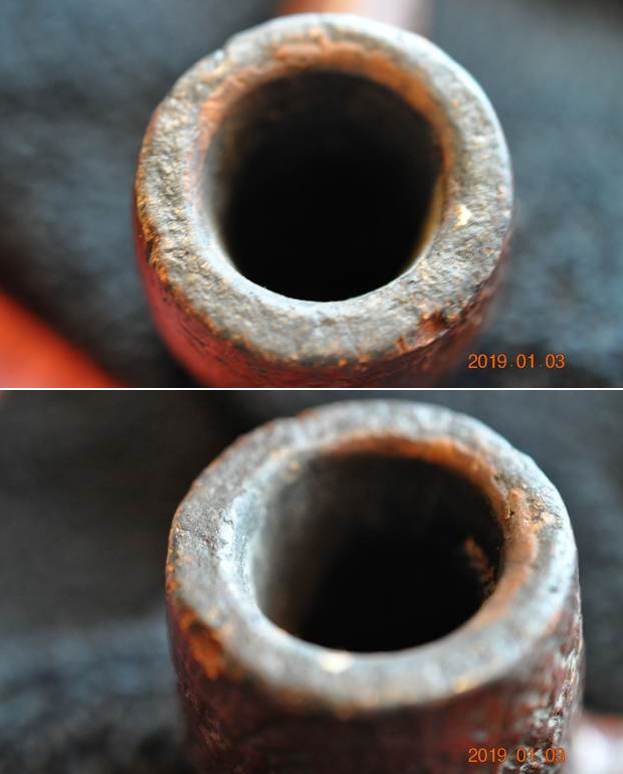
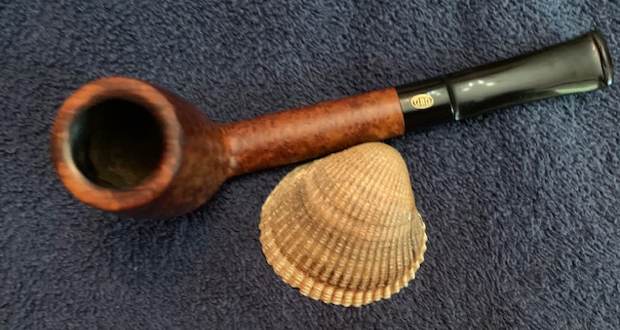
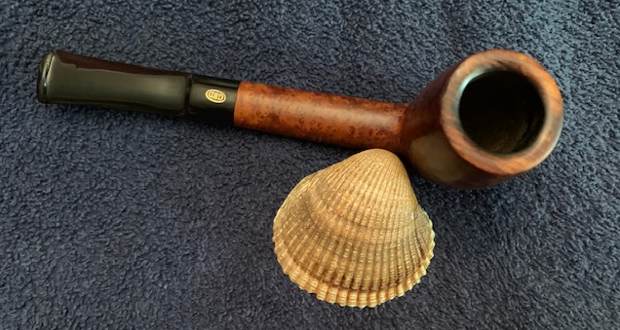
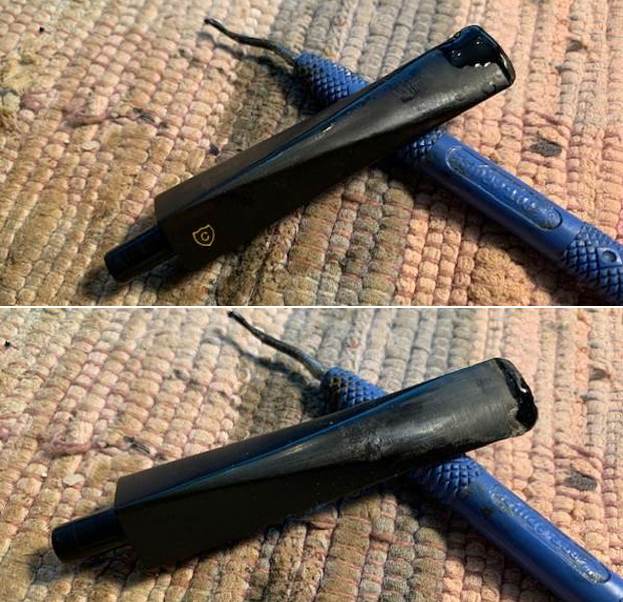
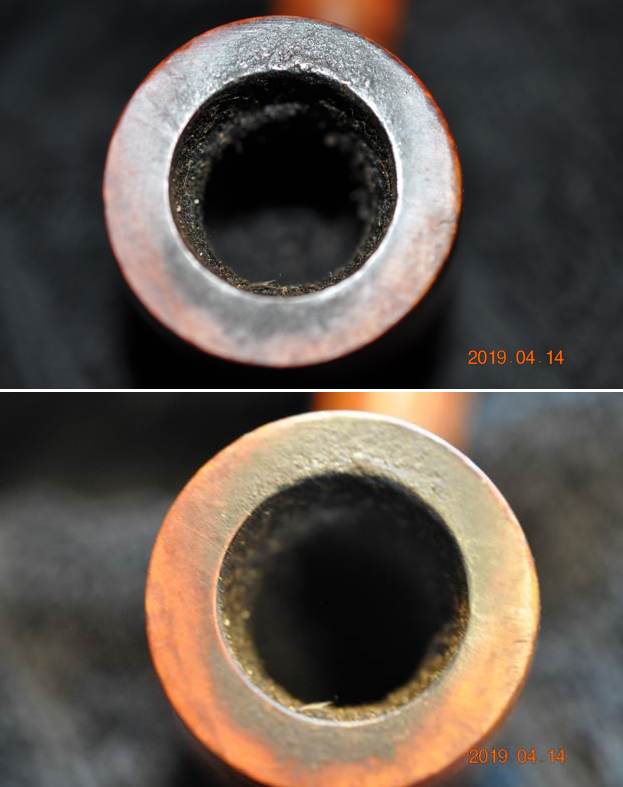
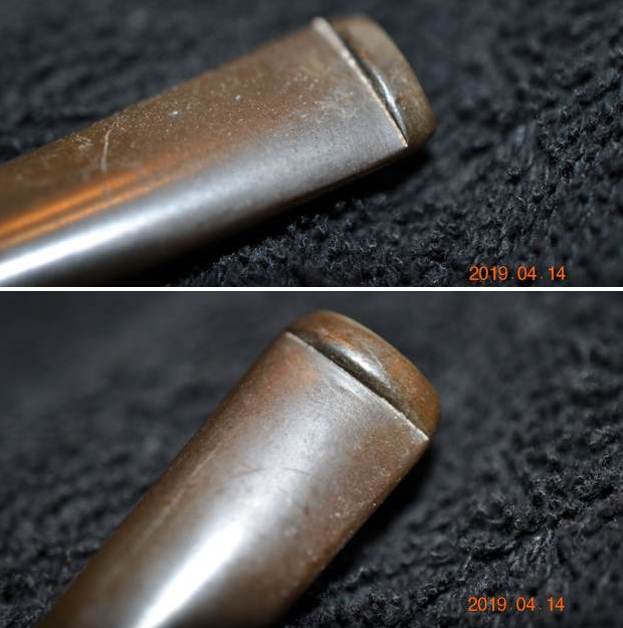
 The exterior of the pipe was very dirty – grime and grit ground into the blasted/carved finish from years of use and sitting. The rim top was covered with a coat of thick lava that overflowed from the thick cake in the bowl. It was hard to know what the rim edges looked like because of the lava. The stem was dirty, calcified and oxidized with tooth chatter and marks on the top and underside of the stem ahead of the button and on the button surface.

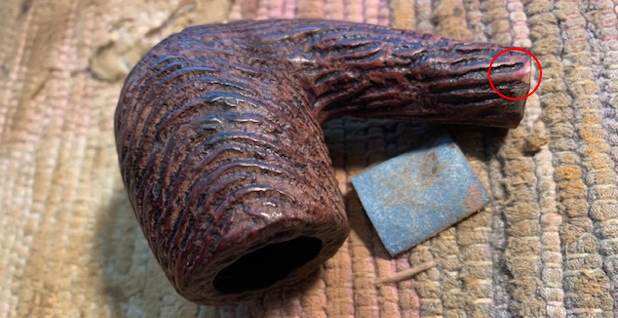
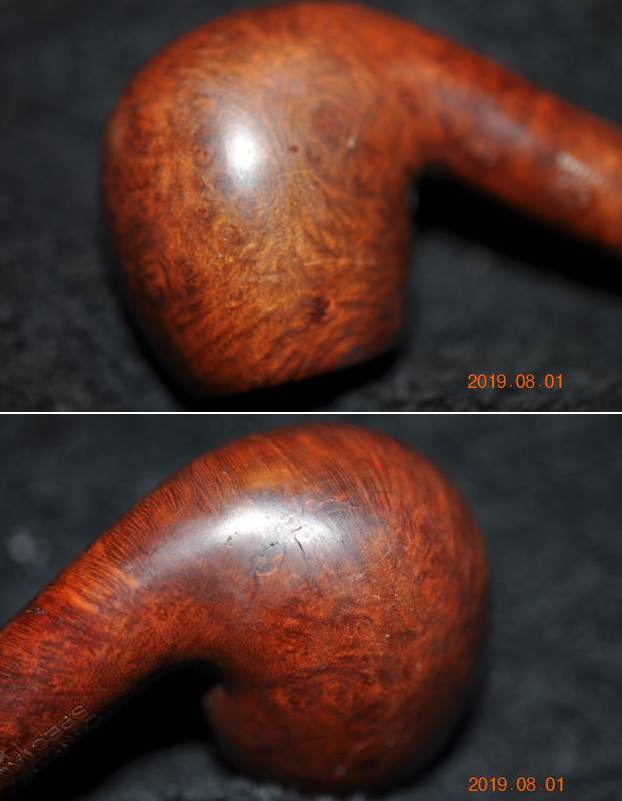
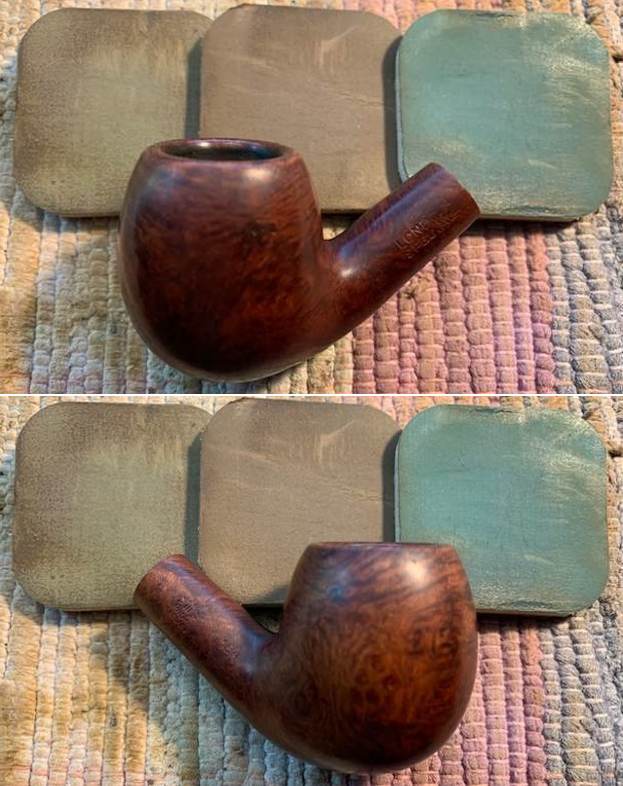
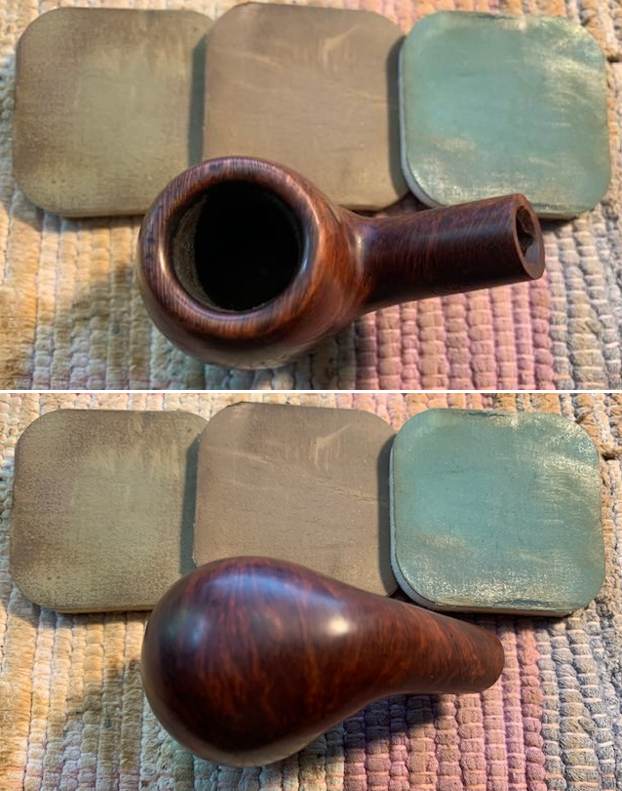
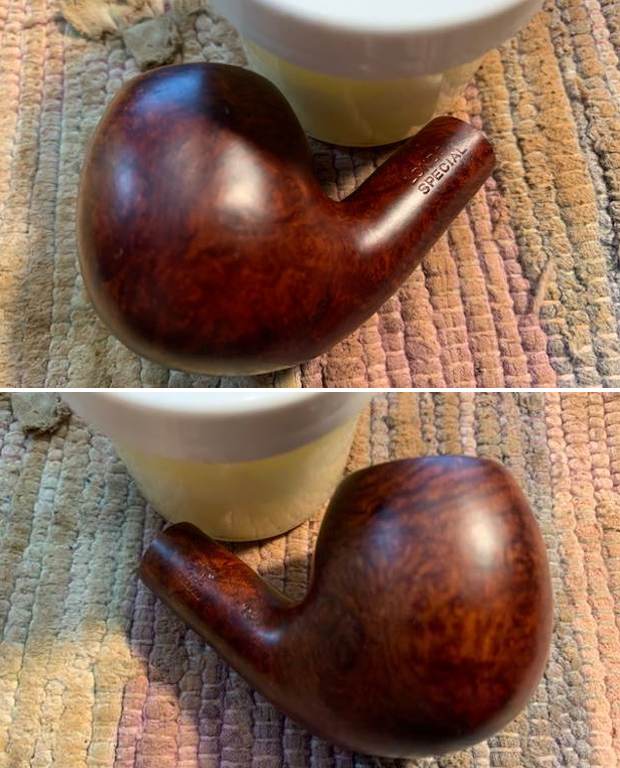
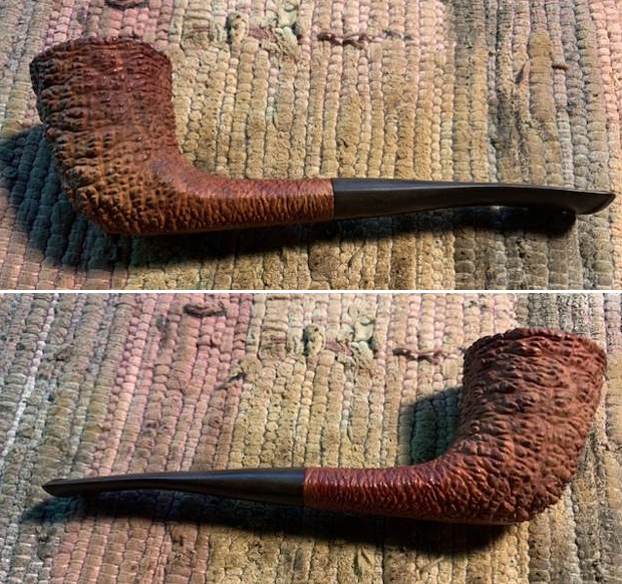
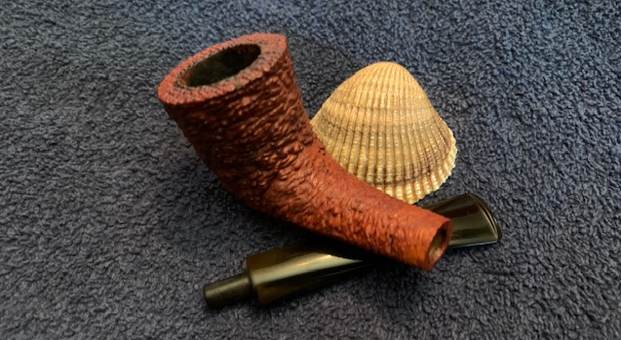
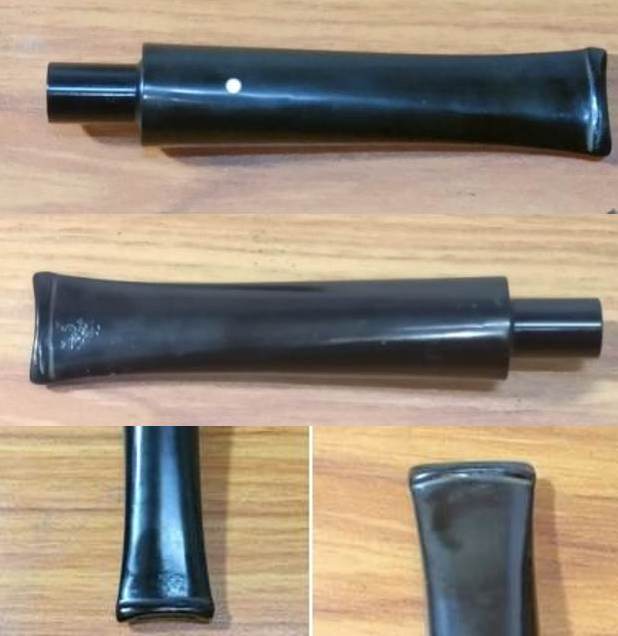
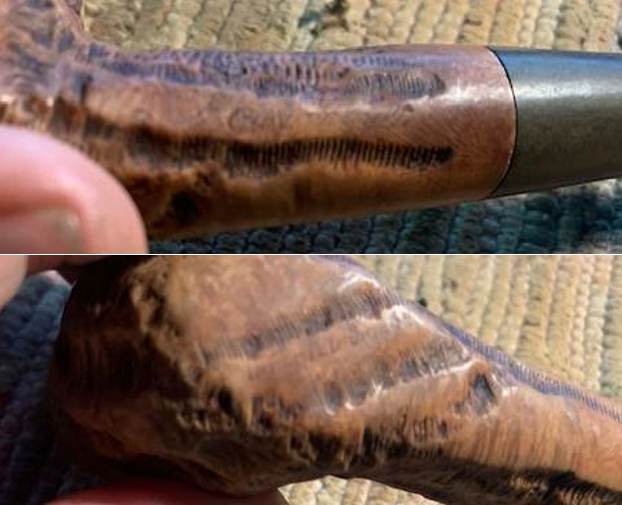
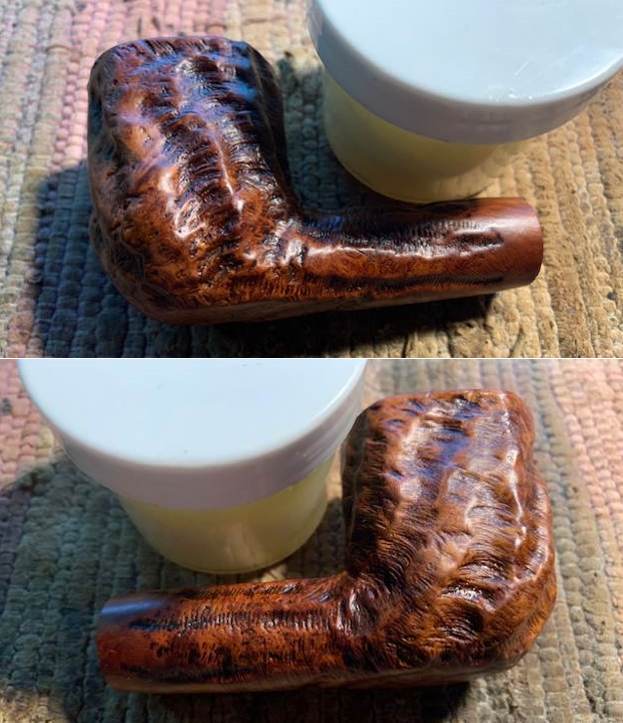
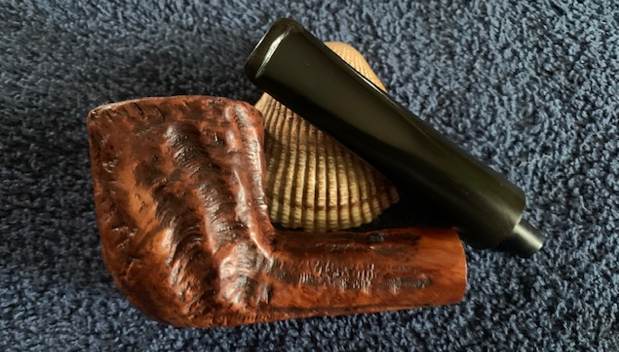
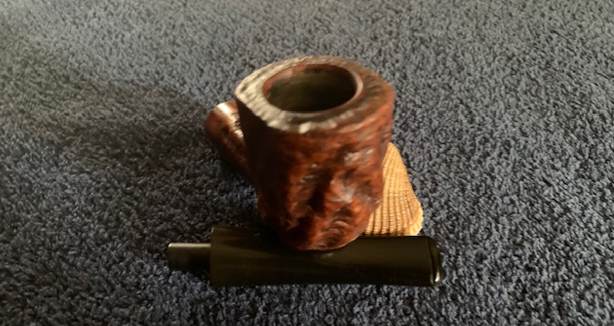
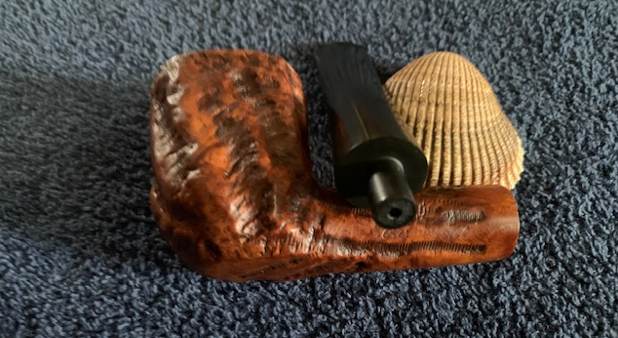
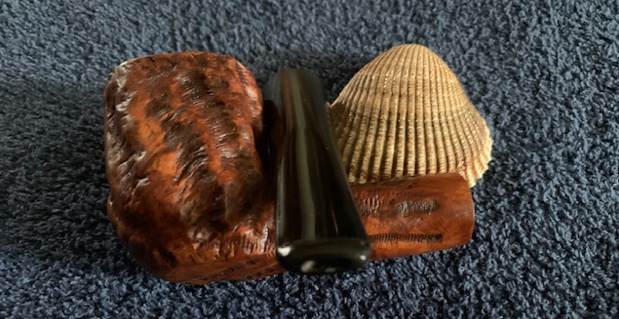
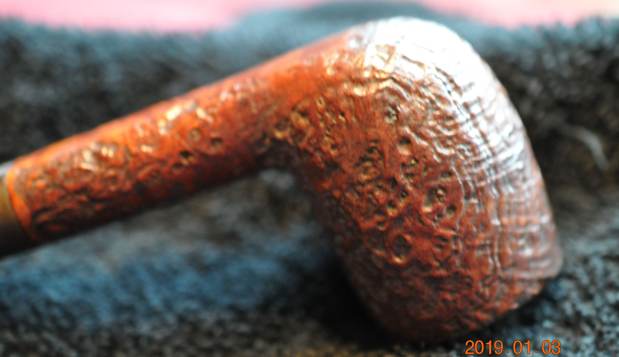
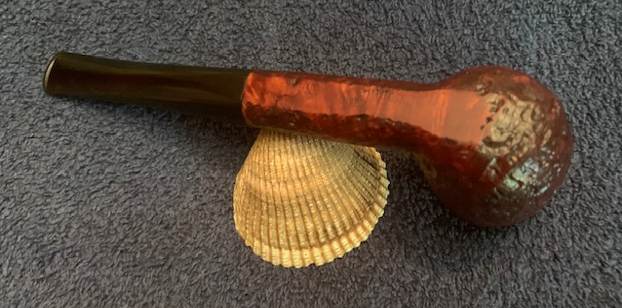
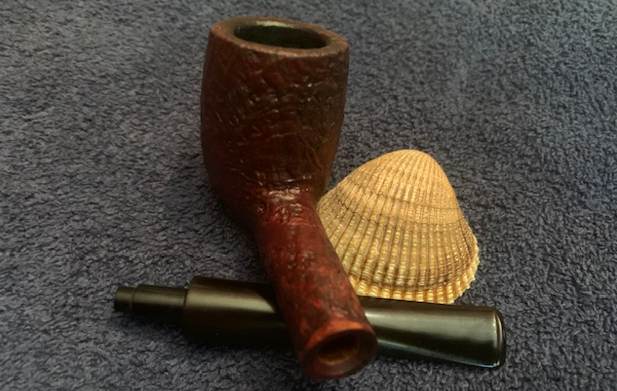
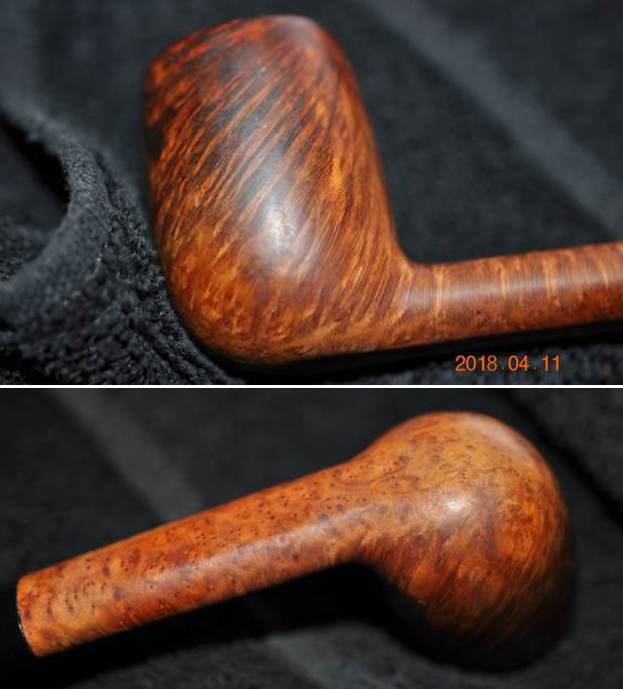
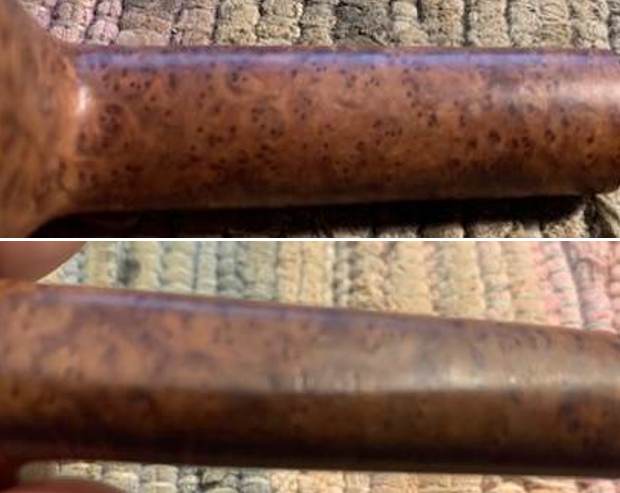
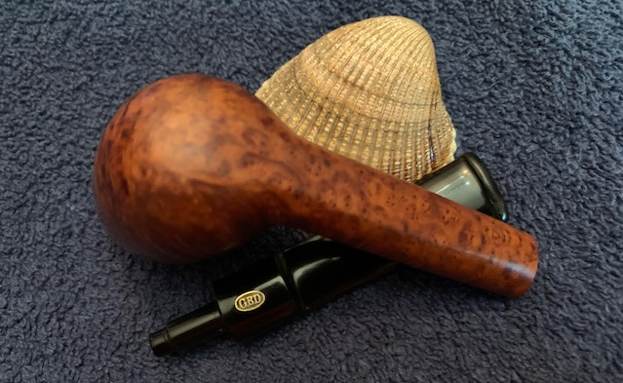
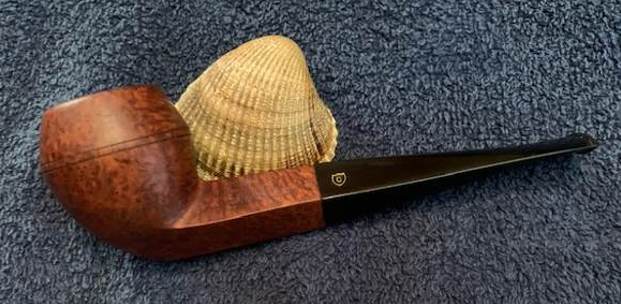
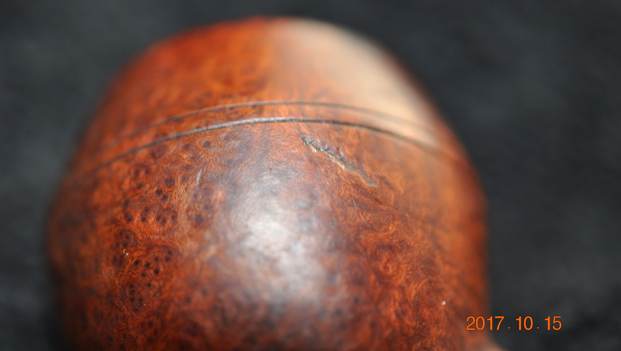
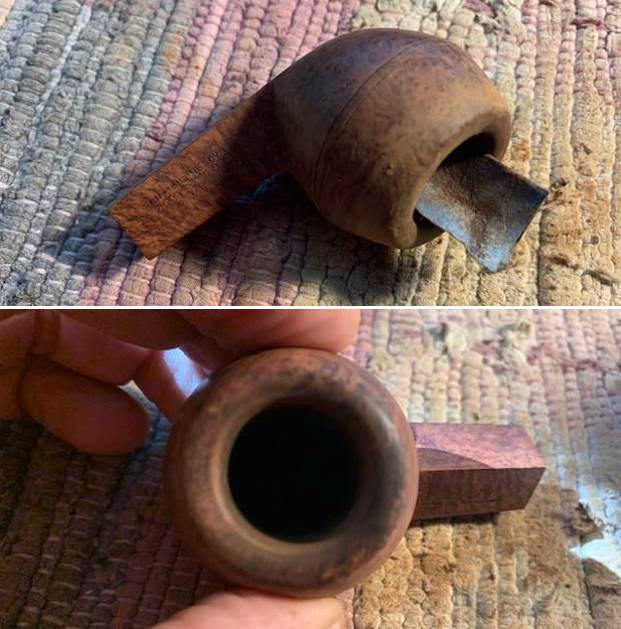
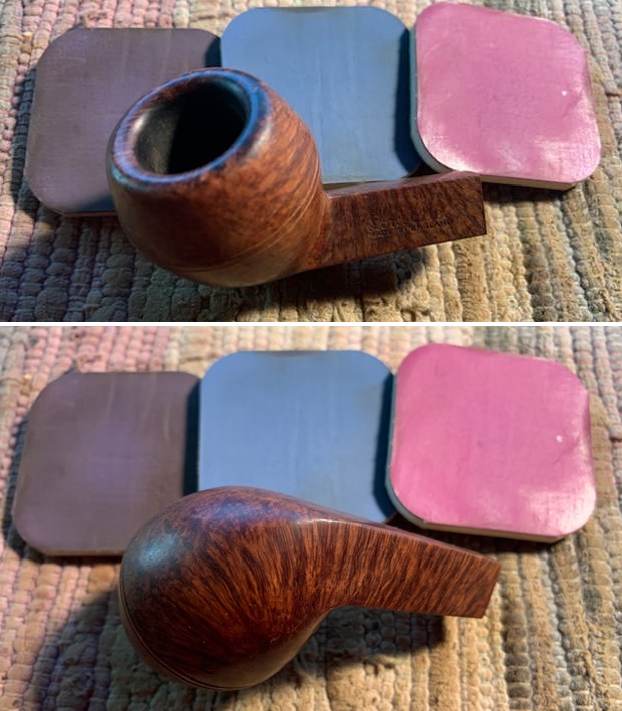
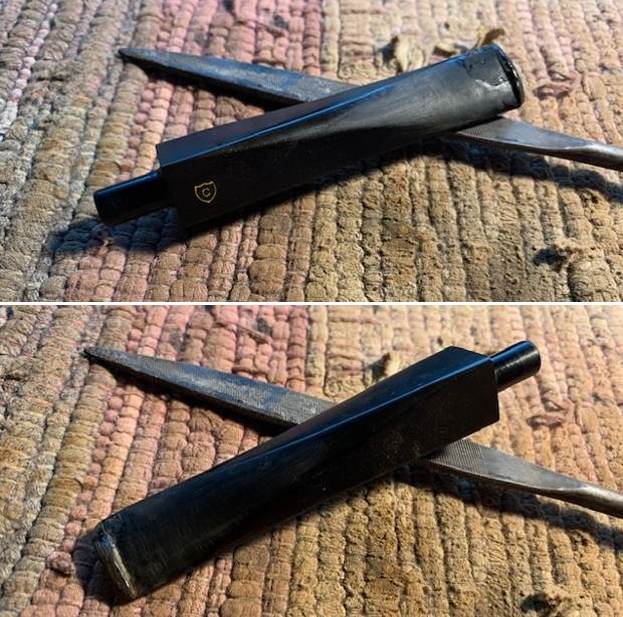
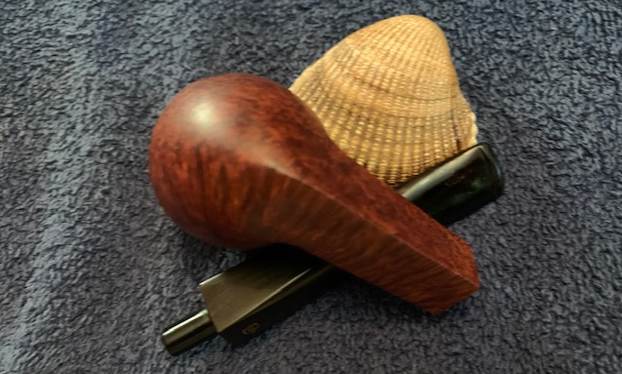
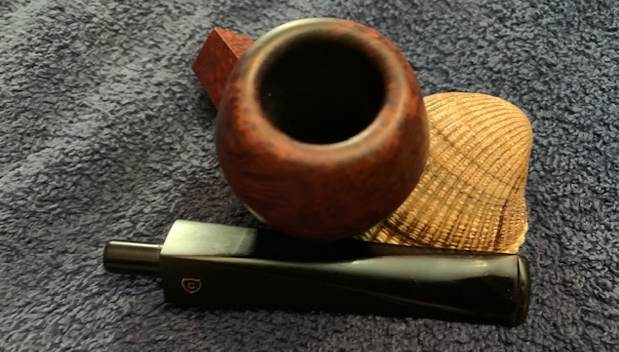
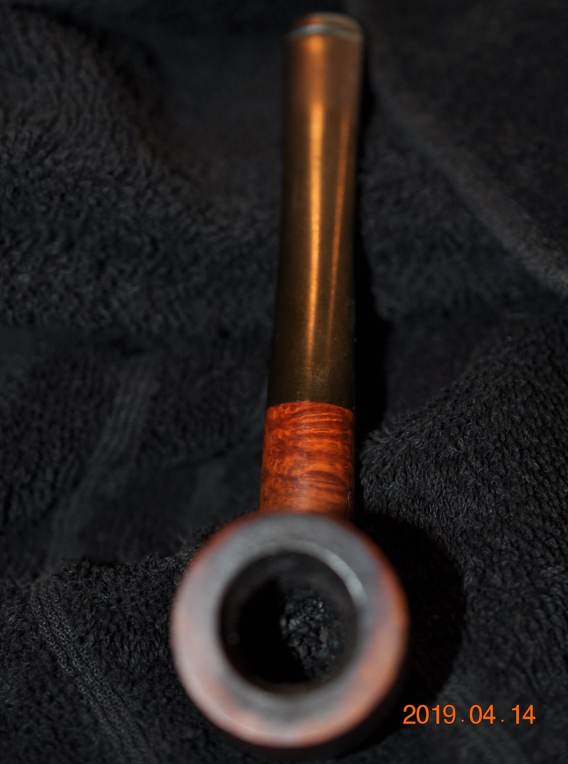
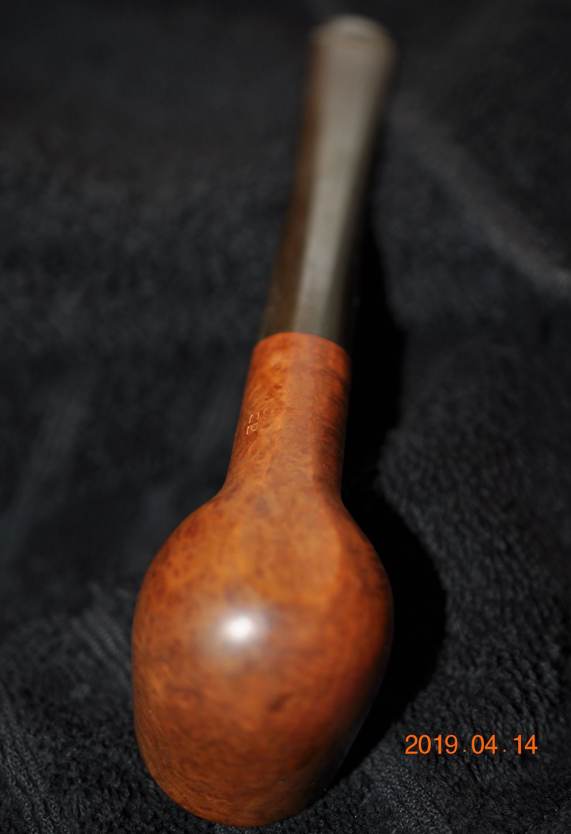
 Jeff took a photo of the side and the heel of the bowl to give a better feel for the condition of the briar around the bowl. It is an interesting finish that has the look of a sandblast but also seems to look like some rustication/carving as well.
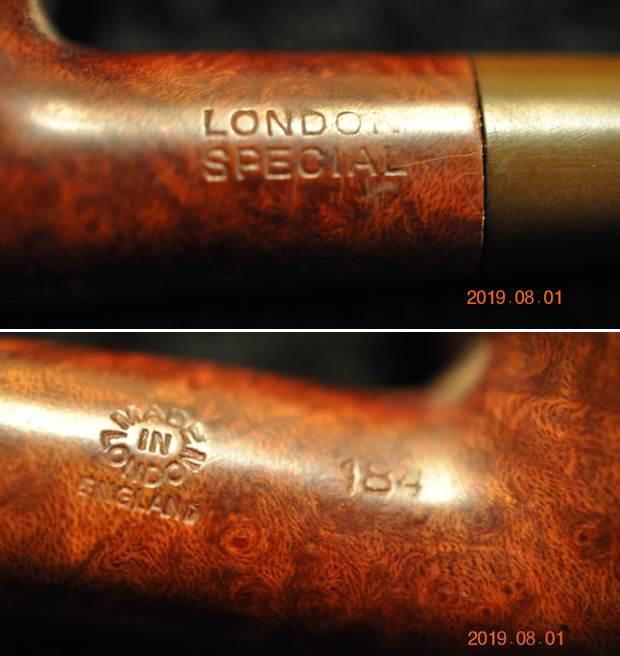
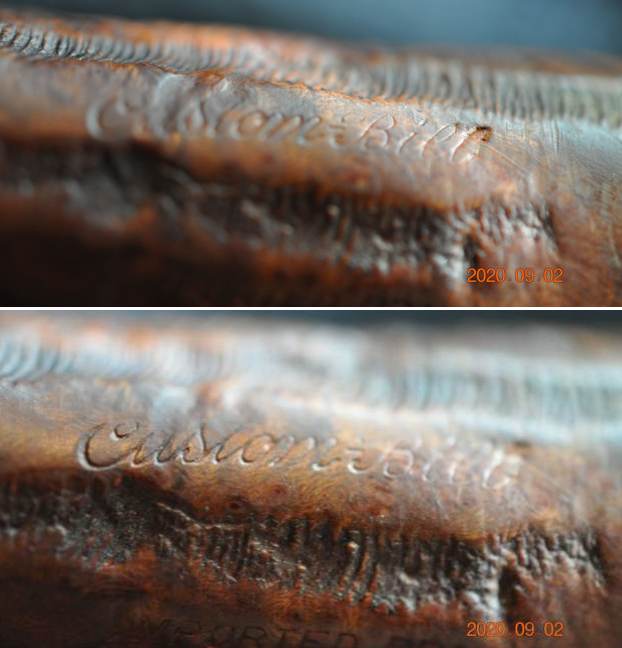
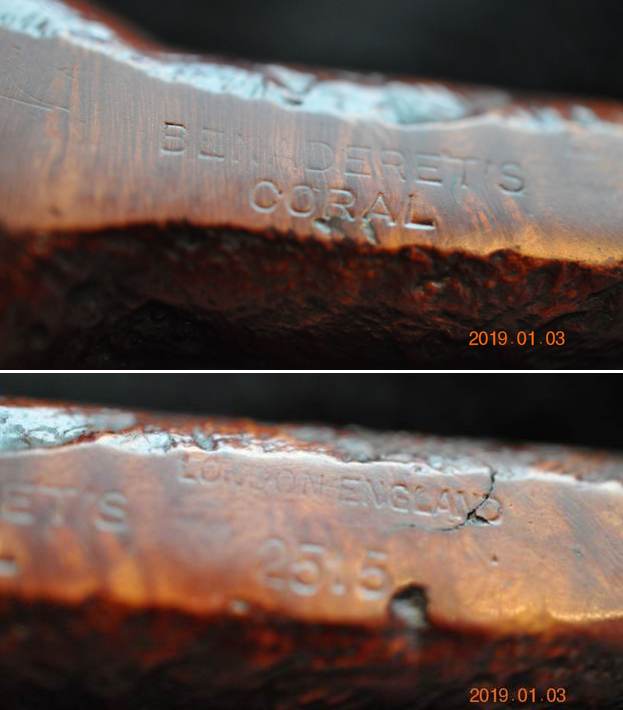
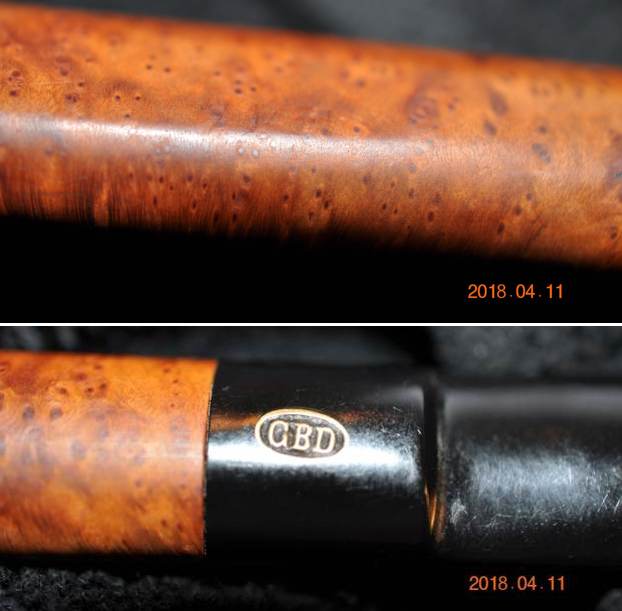
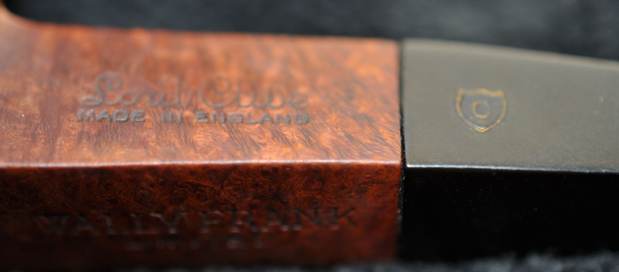
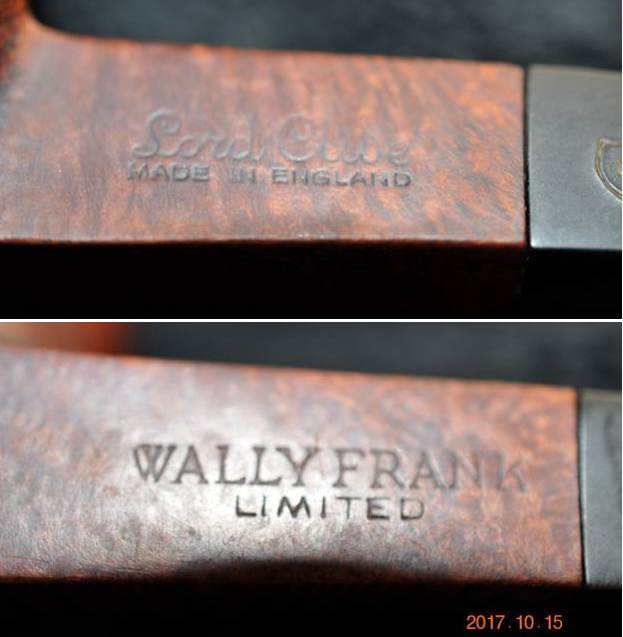
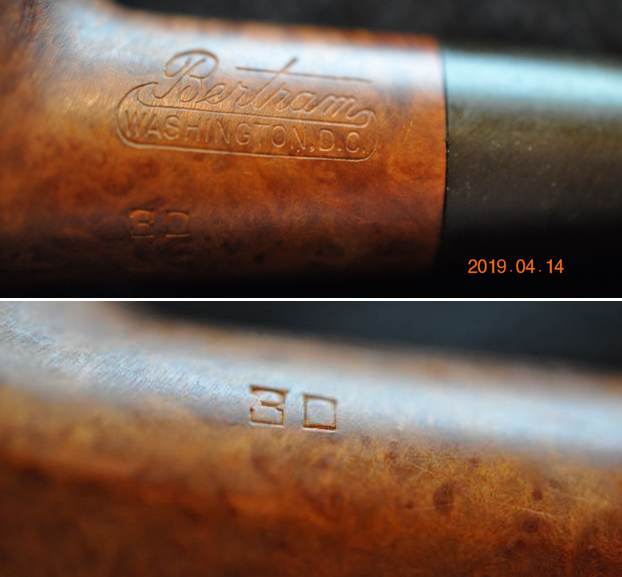
 The next photos show the stamping on the underside of the shank and it is very readable. It reads as noted above.
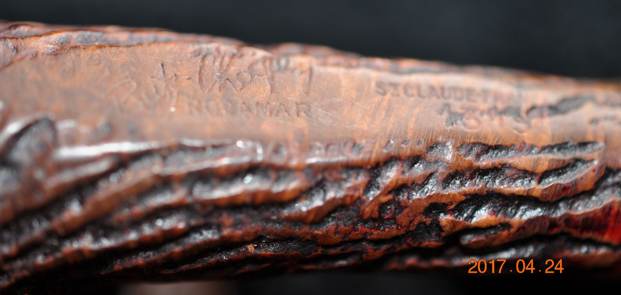

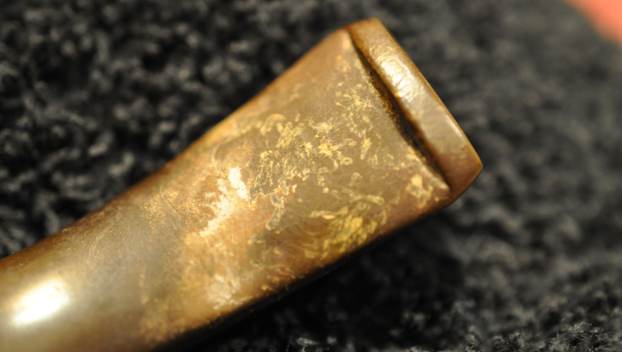
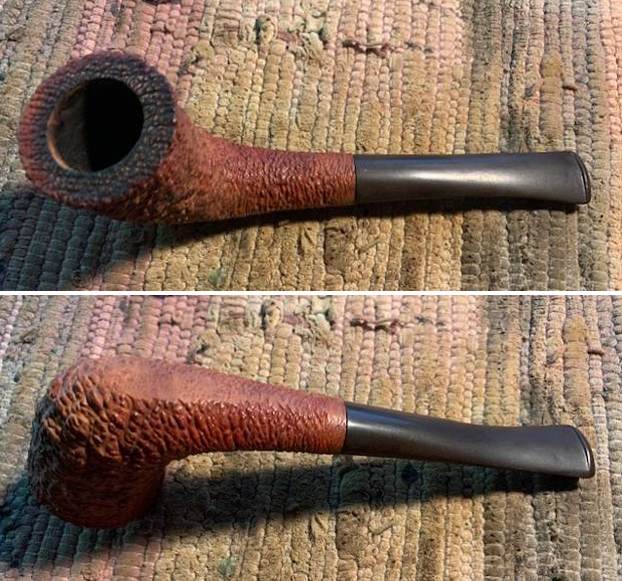
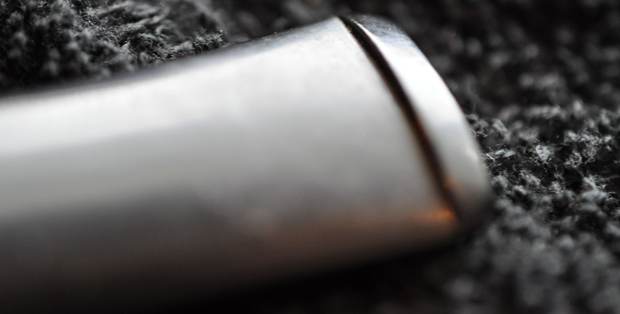
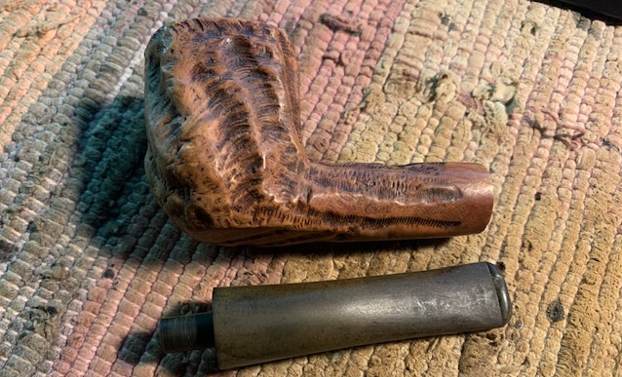
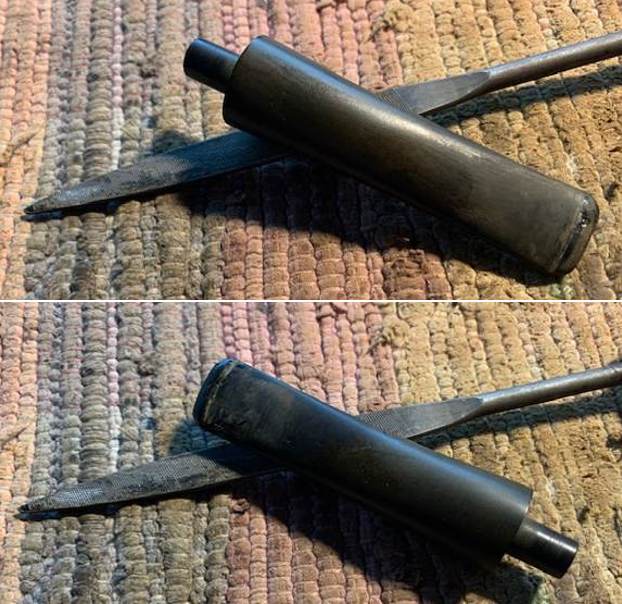
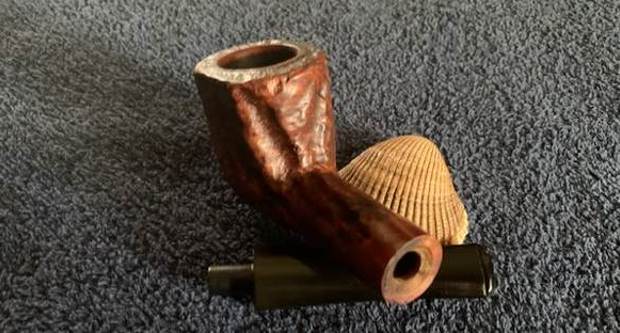
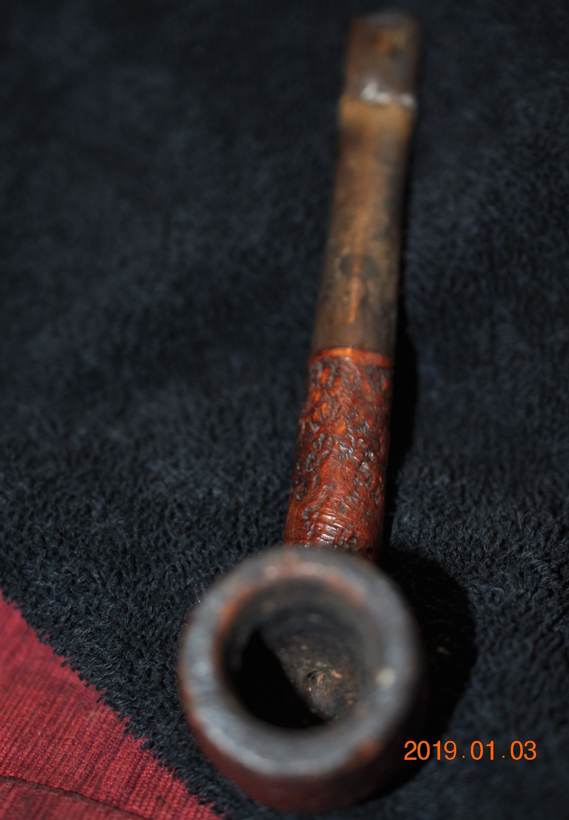
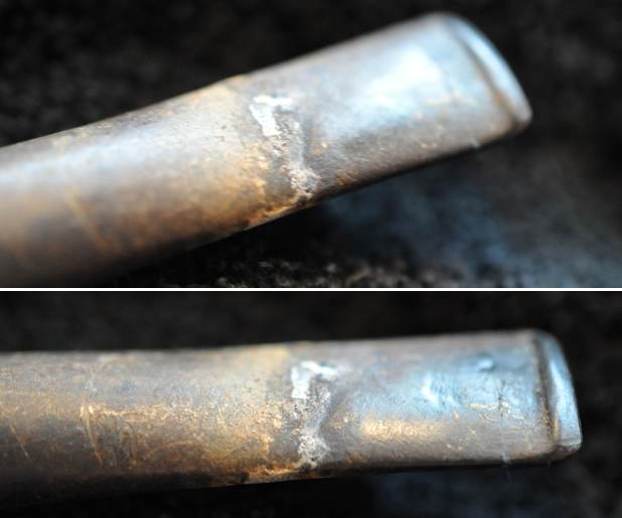
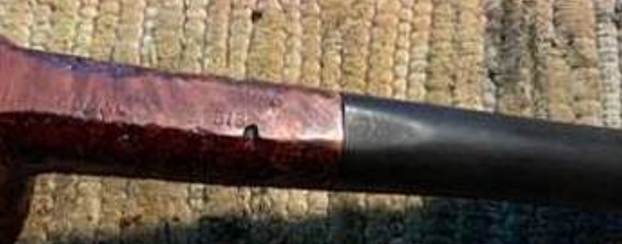
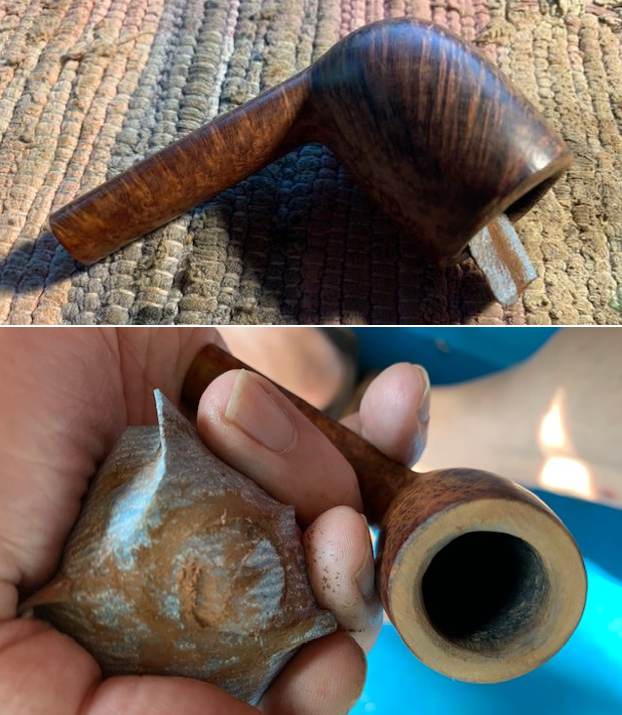
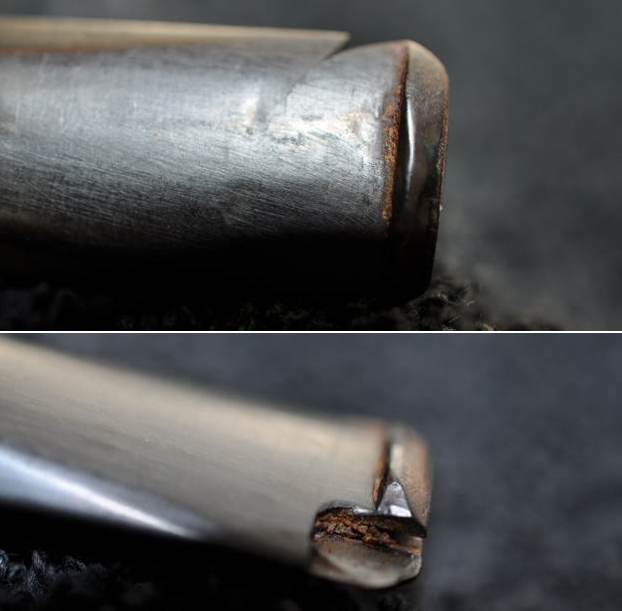
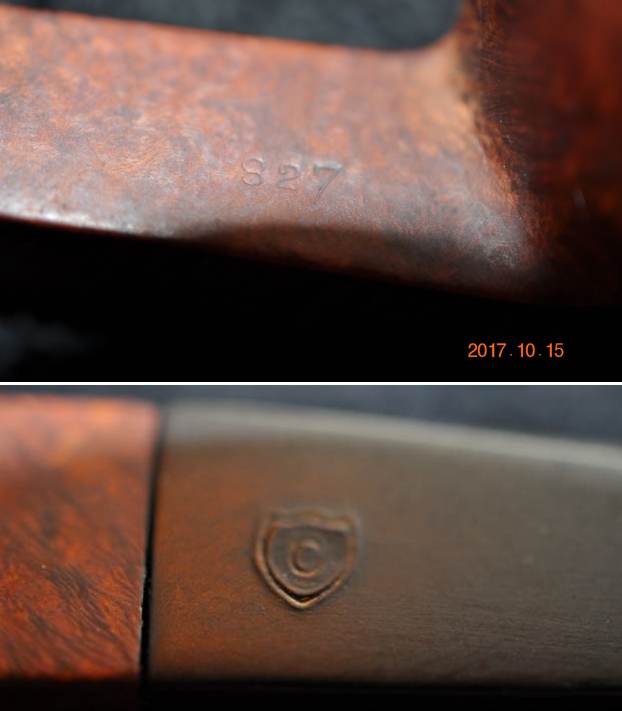
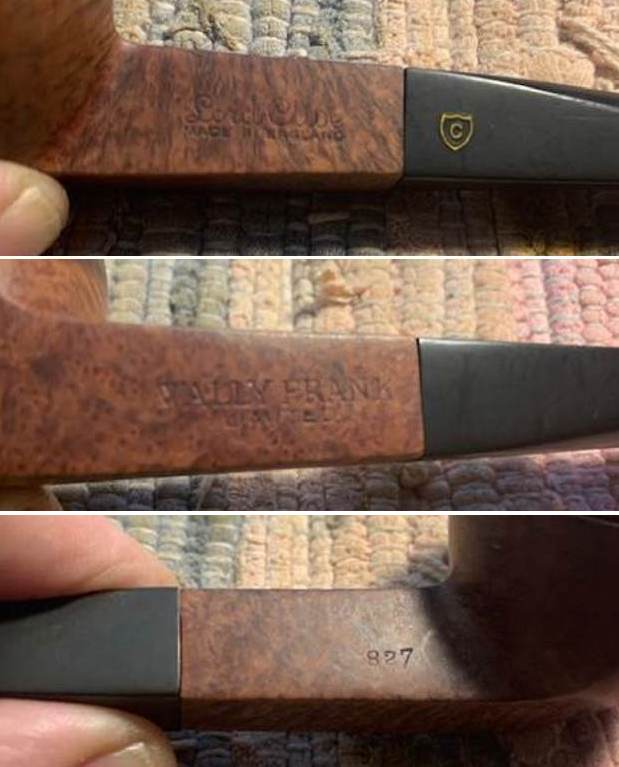
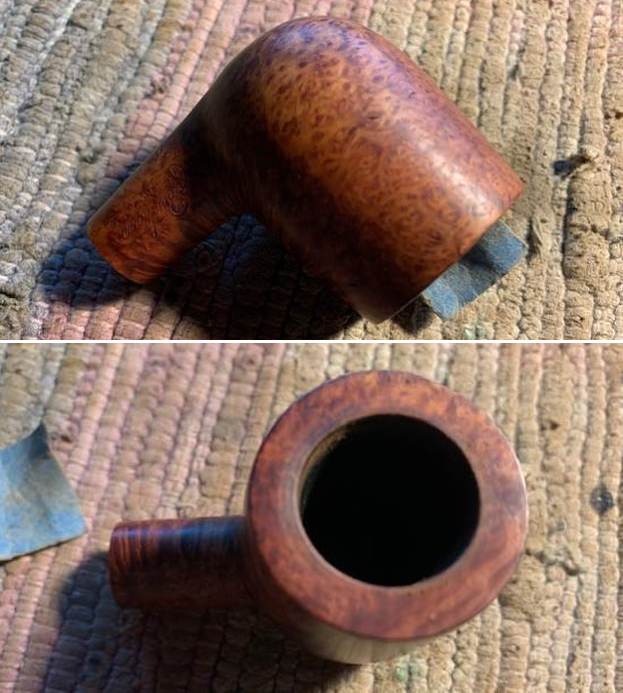
 Jeff also took a photo of the chipped edge of the shank on the right side where it met the stem band. It appeared that someone had tried to pry off the stem from the shank and damaged the shank end in the process.
 I turned to Pipephil’s site (http://pipephil.eu/logos/en/logo-butzchoquin.html) to see if I could find any information on the Rocamar line. There was nothing there on the line itself to help me understand more about it. There was a good summary of the history of the brand that I have included below.
The origin of the brand reaches back to 1858 when Jean-Baptiste Choquin in collaboration with his son-in-law Gustave Butz created their first pipe in Metz (France). Since 1951 Butz-Choquin Site officiel Butz Choquin, pipes de Saint-Claude jura. BC pipe de bruyere luxe is a brand of the Berrod-Regad group (Saint-Claude, France).
Jean Paul Berrod managed the company from 1969 to 2002 when he retired and sold the corporate to Mr Fabien Gichon. Denis Blanc, already owner of EWA, took over the S.A. Berrod-Regad in 2006.
I then turned to Pipedia (https://pipedia.org/wiki/Butz-Choquin) to see if I could find any info on the Rocamar line. There was nothing there either but there was further information on the brand itself. I have included it below.
The pipe, from Metz to Saint-Claude.
Jean-Baptiste Choquin of Metz started out as a tobacconist. This enterprise was prosperous; he had several employees. Among those, there was a certain Gustave Butz who was its first workman and who became his son-in-law by marrying Choquin’s daughter Marie in 1858.
In 1858 Jean-Baptiste Choquin created, in collaboration with Gustave Butz, the Choquin pipe. This bent pipe with a flat-bottomed bowl was finished with an albatross-bone mouthpiece, fixed with silver rings.
In 1858, still in Metz, Gustave Butz built an establishment for the manufacture of the Choquin pipe which took the name of . In 1951, the Berrod-Regad company bought the trademark, continuing manufacture until 2002. Departing from Metz, the workshop was relocated to Saint-Claude, then also called “the world capital of the briar pipe”, under the Berrod-Regad group. The Berrod-Regad group would go on to completely rebuild the network of representatives until finally entering the export market in 1960 and has since won several prizes, as well as the Gold Cup of French good taste.
In a few years, the brand’s collection increased from ten to seventy series. 135 years after it was founded, the pipe is still well-known not only in France but throughout the world. In 2002, the Berrod family, wishing to preserve manufacture of pipes in Saint-Claude, handed over the company to Fabien Guichon, a native of the area, who will continue to develop the brand during the 21st century.
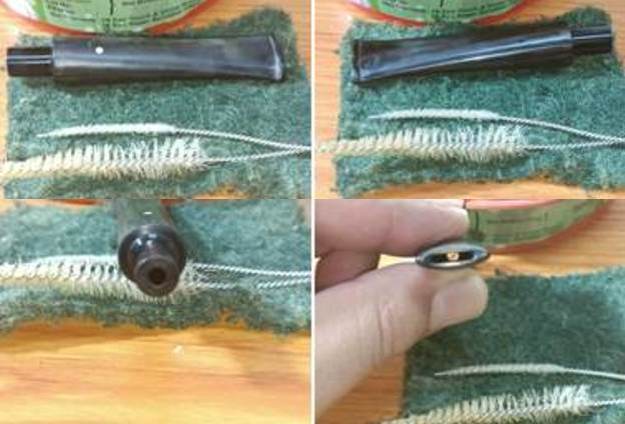
The site also had some catalogue pages showing the various shape numbers thanks to Doug Valitchka (https://pipedia.org/images/0/03/BC_Shape02.jpg). I am including a screen capture of the page that shows the shape 1319 Bent Billiard. I have circled it in red in the chart below.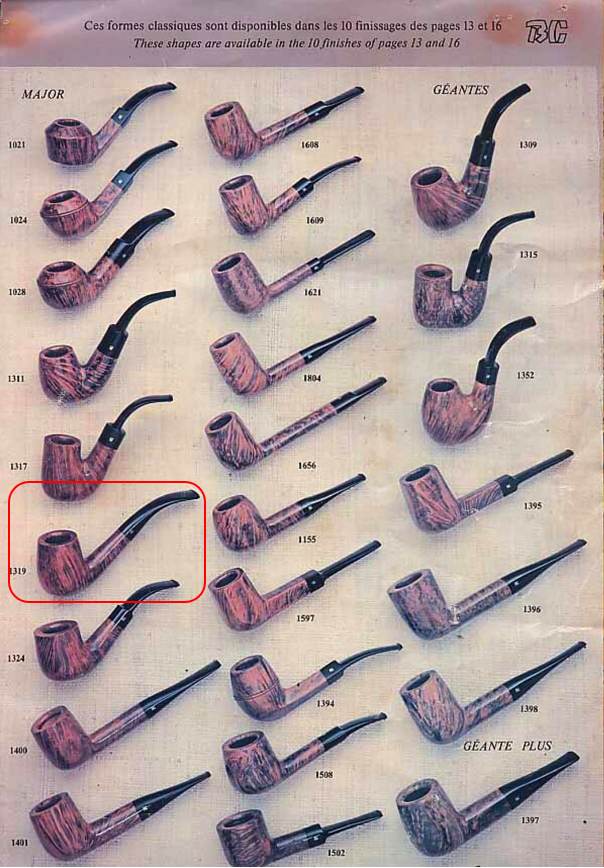 Jeff had reamed the pipe with a PipNet pipe reamer and cleaned up the reaming with a Savinelli Fitsall Pipe Knife. He scrubbed out the internals of the shank and stem with alcohol, pipe cleaners and cotton swabs until the pipe was clean. He scrubbed the exterior of the bowl with Murphy’s Oil Soap and a tooth brush to remove the grime and grit on the briar and the lava on the rim top. The finish looks much better but there is still some darkening on the rim top and edges of the bowl. Jeff scrubbed the stem with Soft Scrub and soaked it in Before & After Deoxidizer to remove the oxidation on the vulcanite. When the pipe arrived here in Vancouver for the second stop of its restoration tour it looked a lot better. It has been sitting here for 5 years so it is about time I worked on it. I took photos this morning before I started my part of the work.
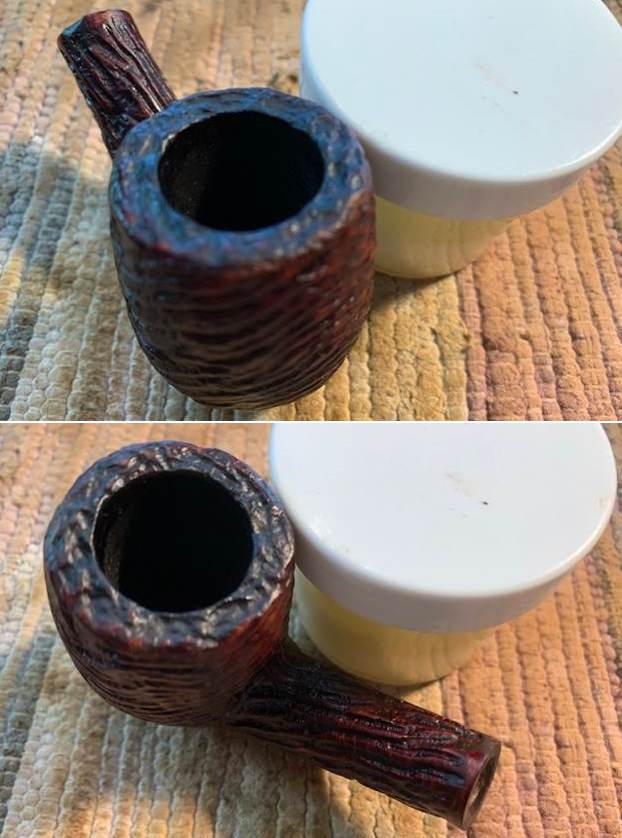
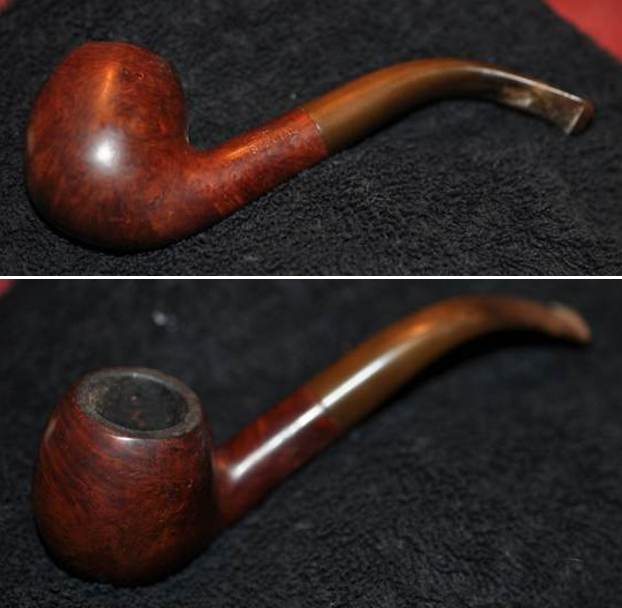
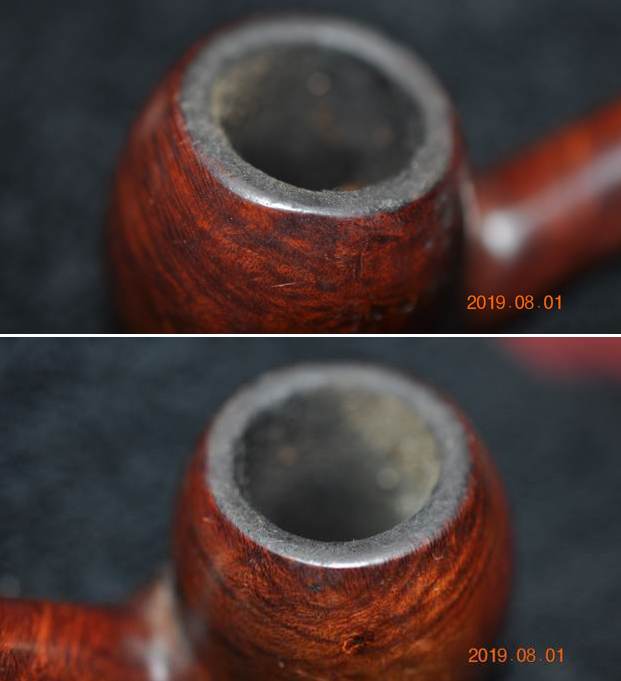
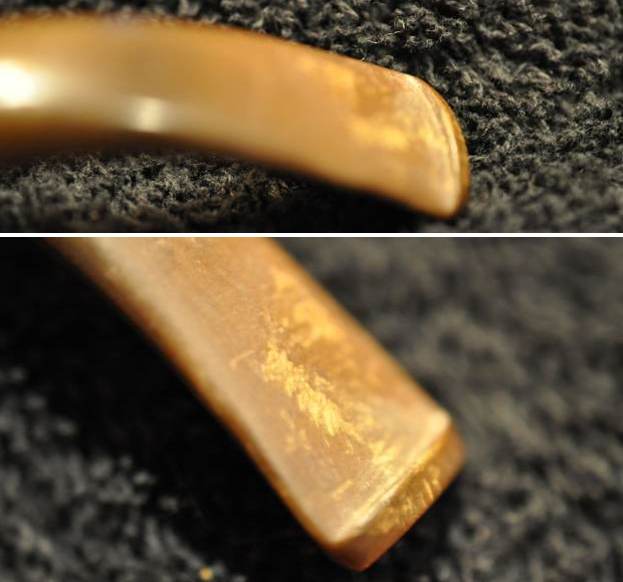
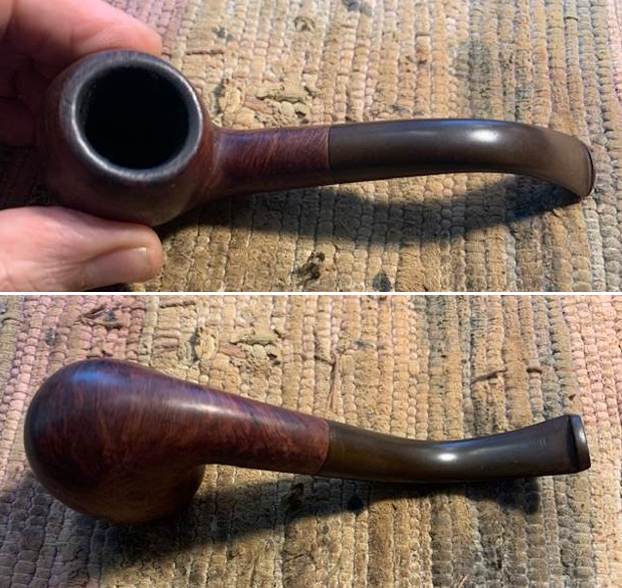
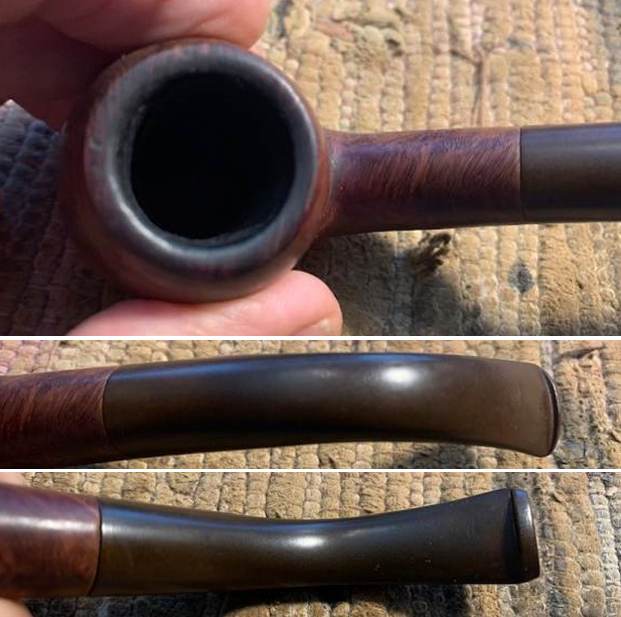
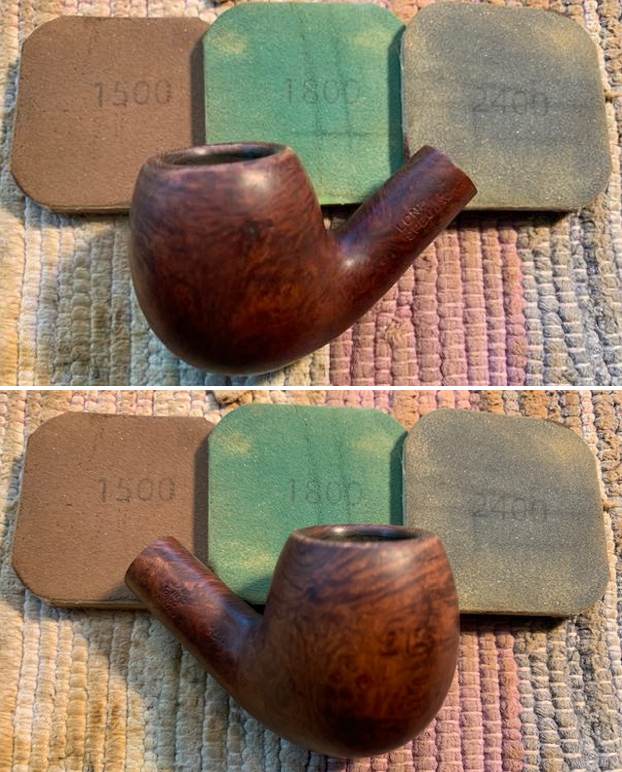
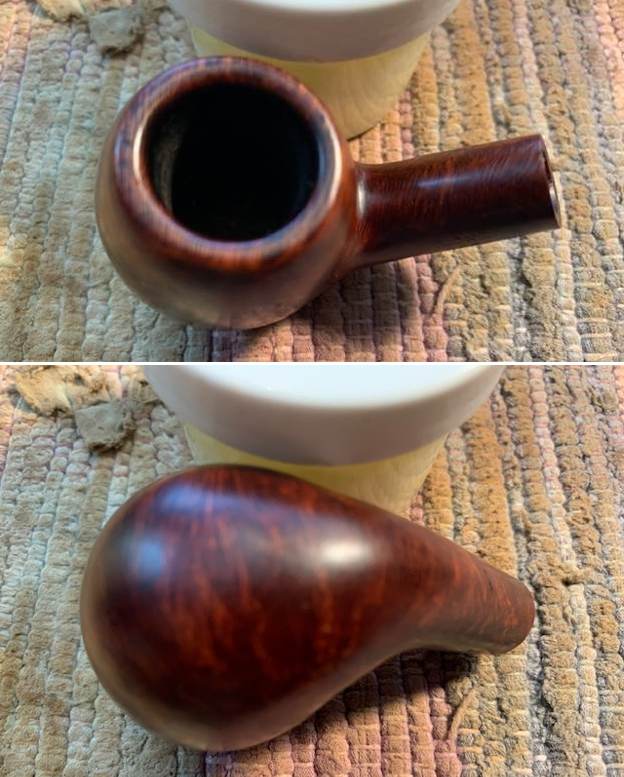
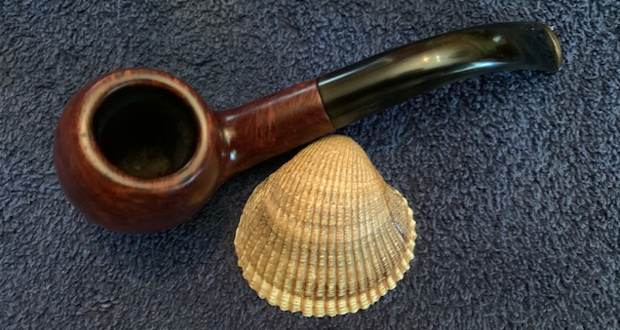
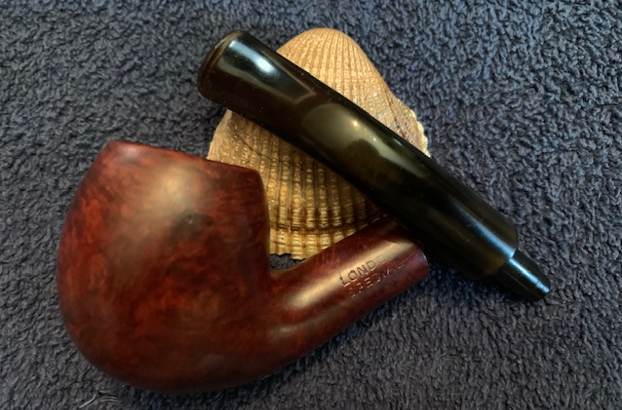
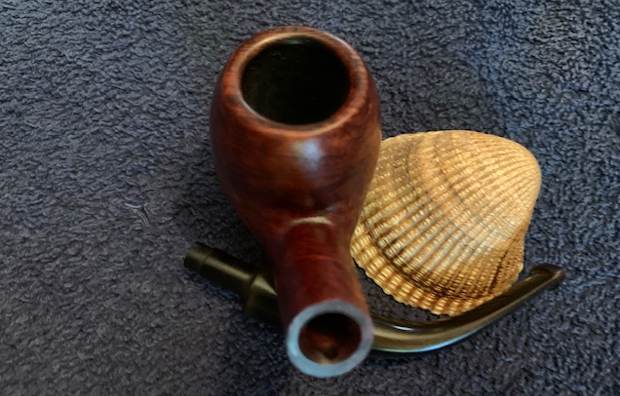
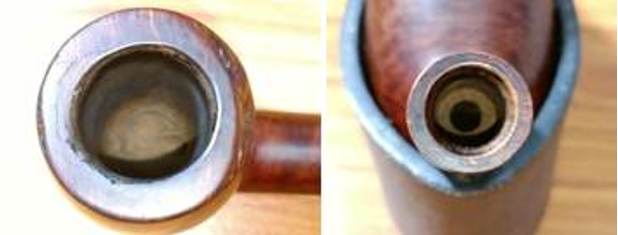
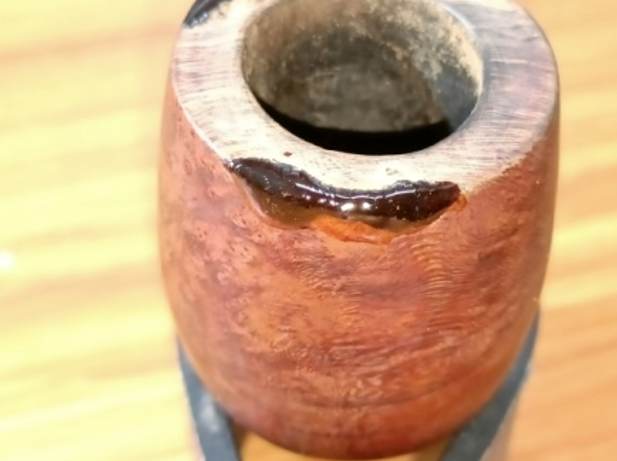
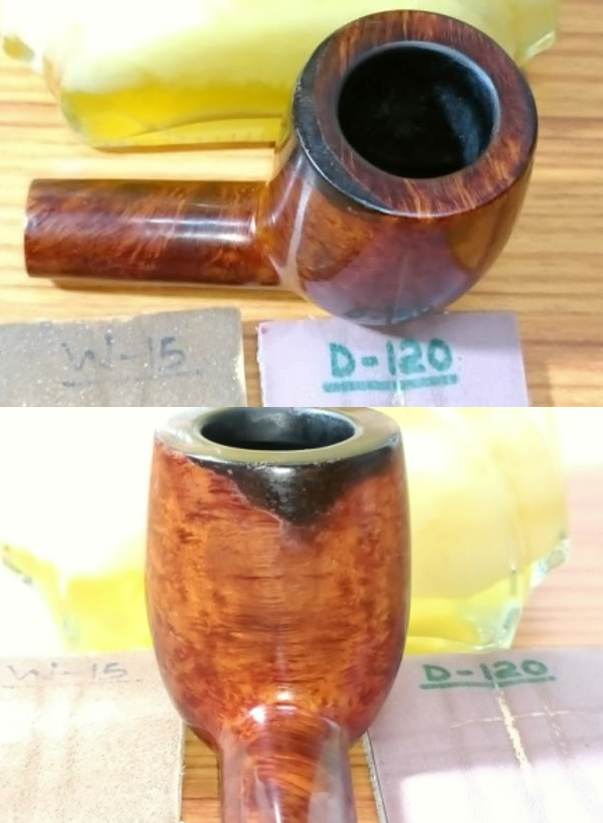
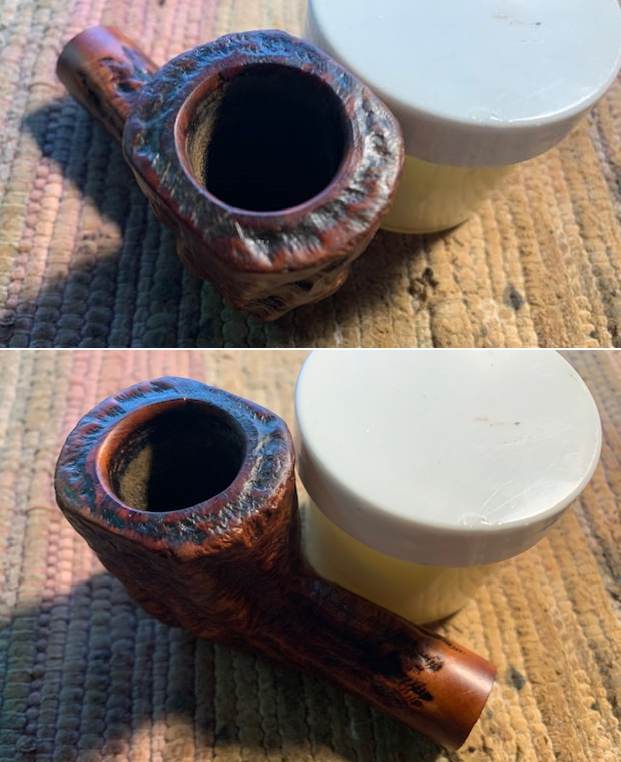
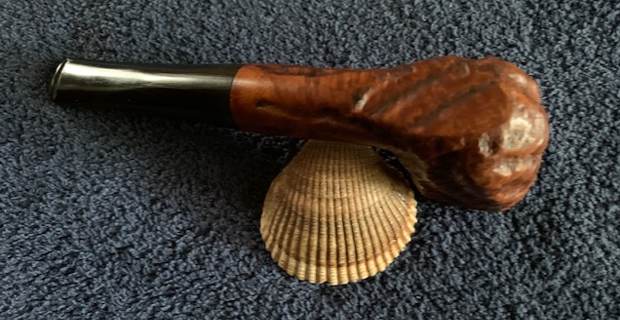
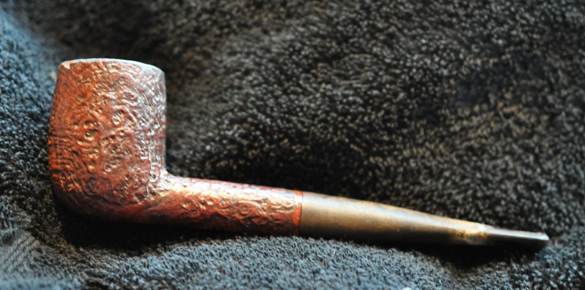
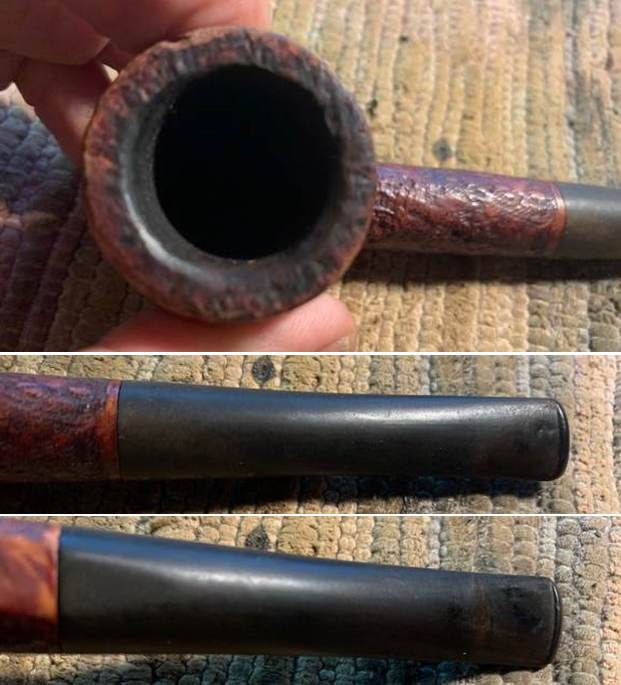
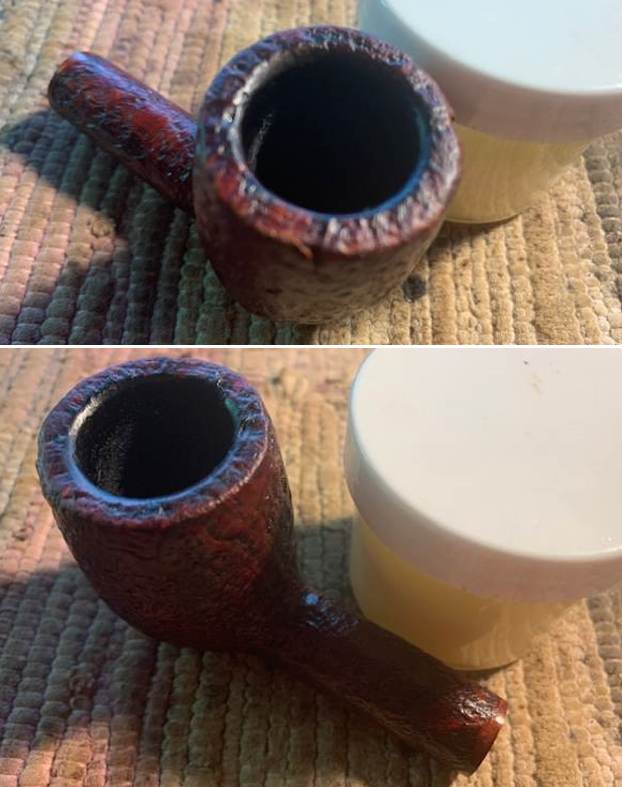
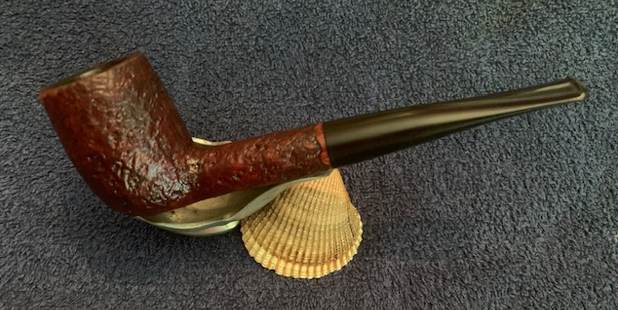
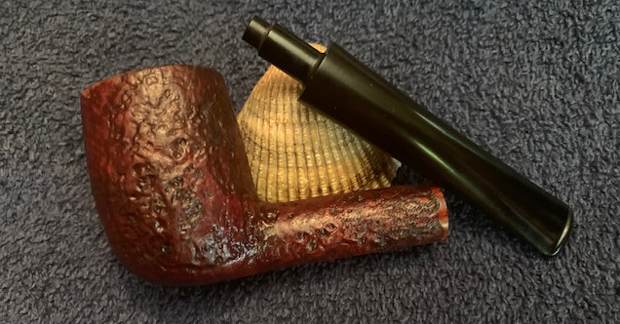
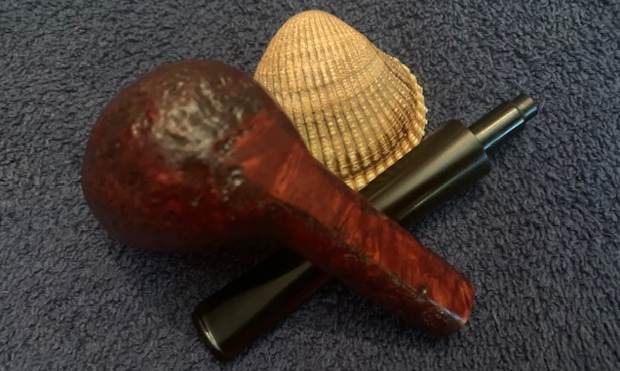
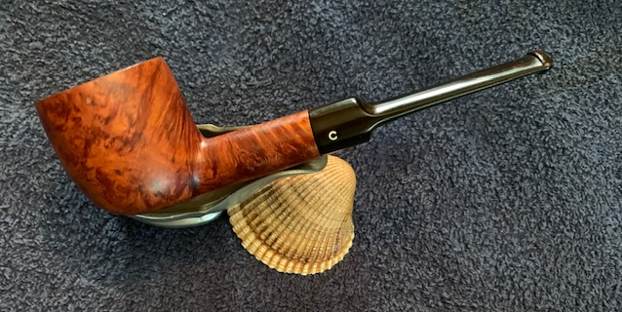
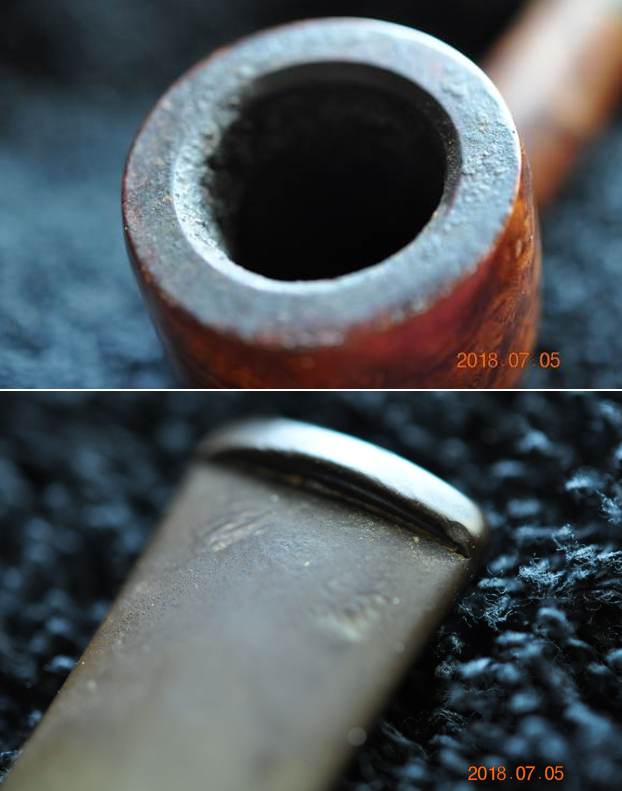
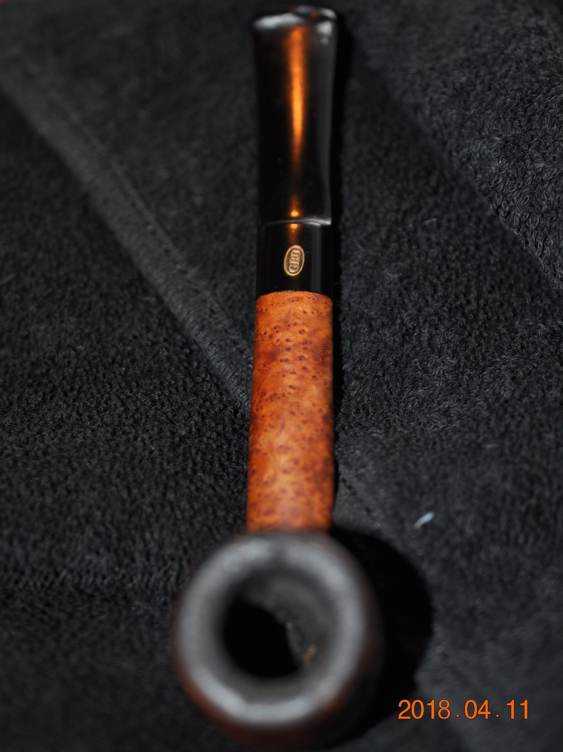
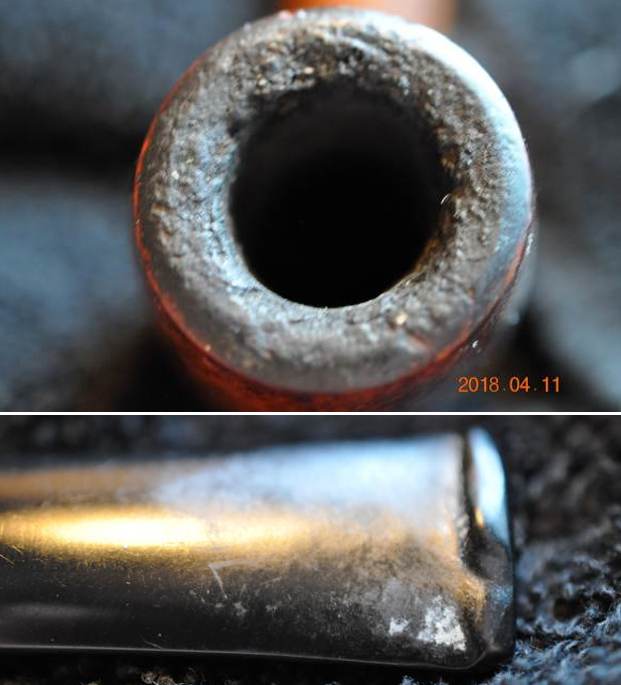
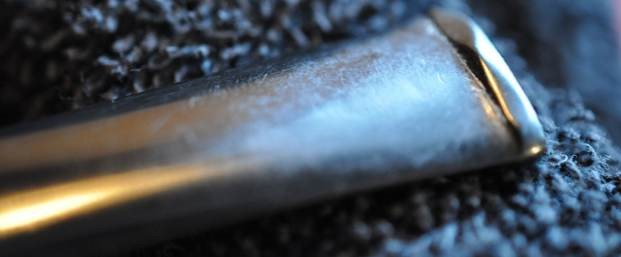
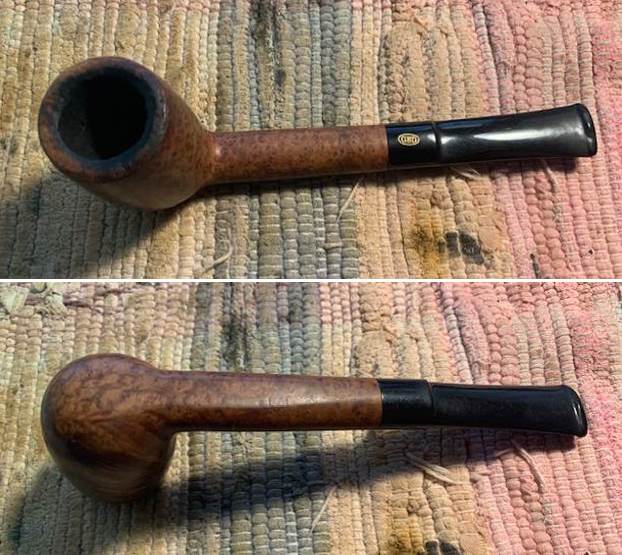
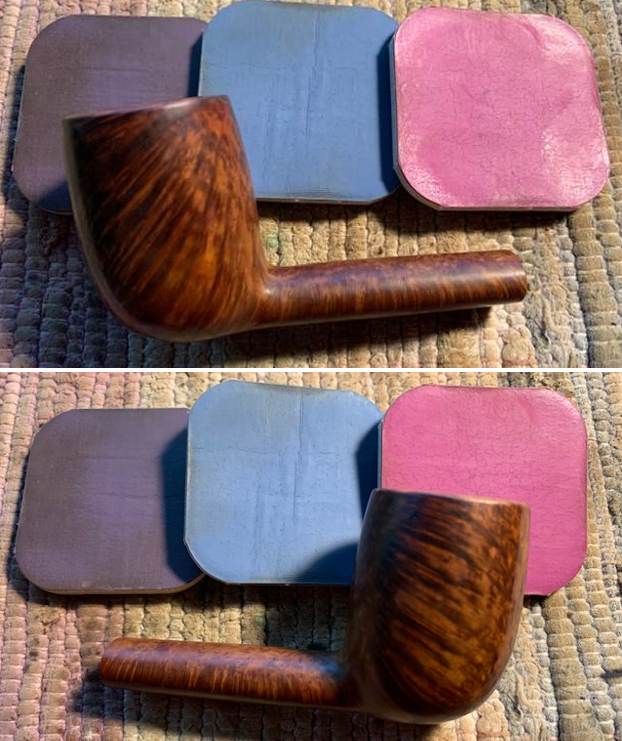
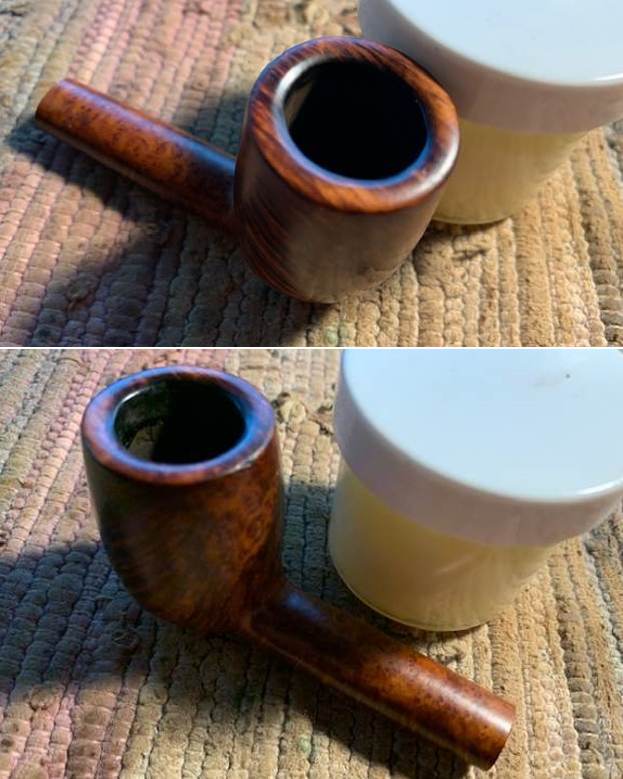
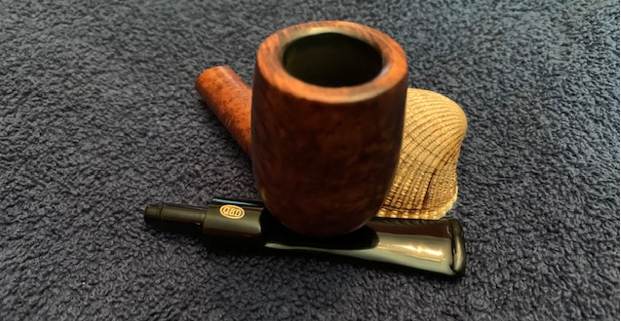
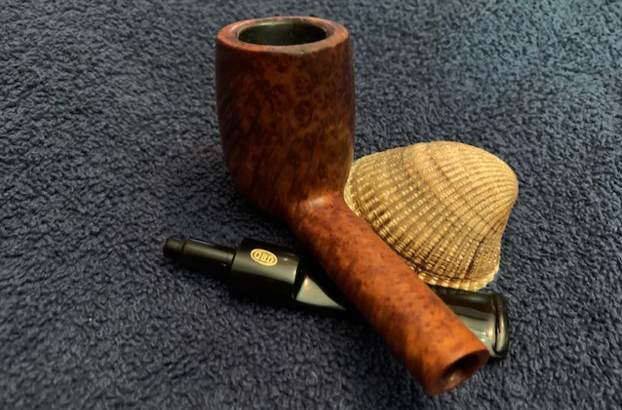
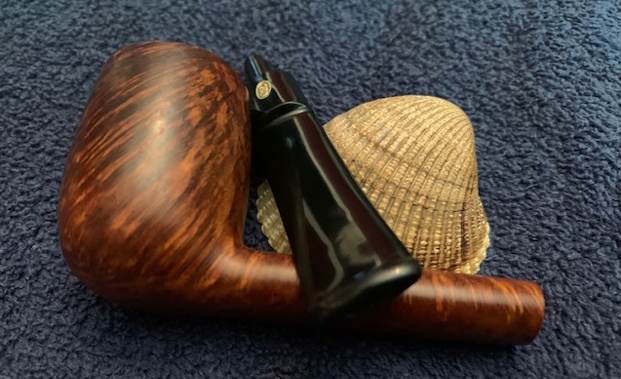
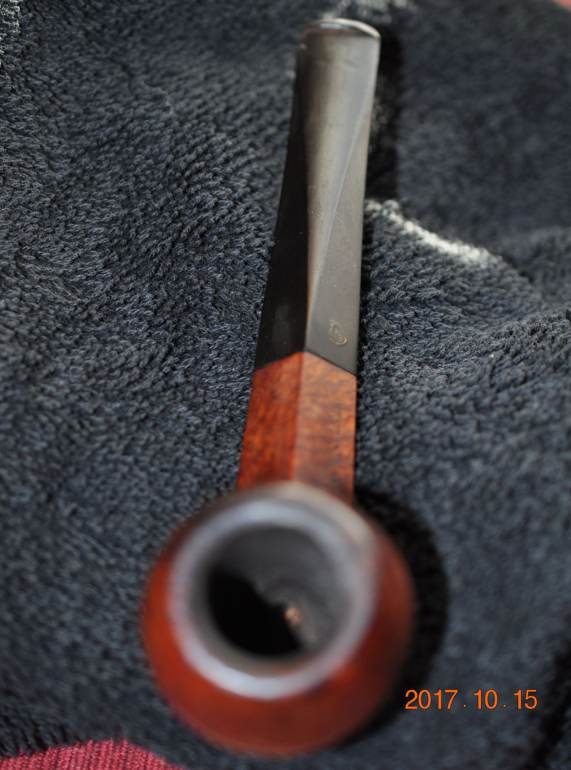
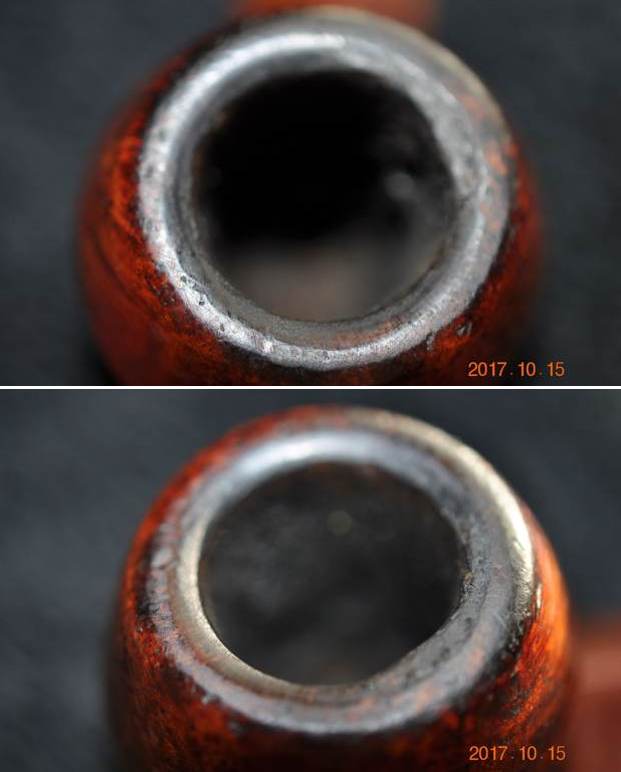
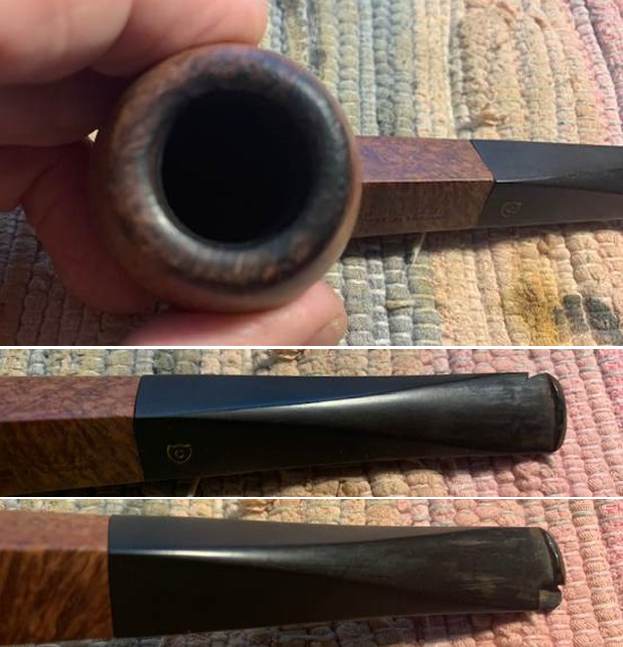
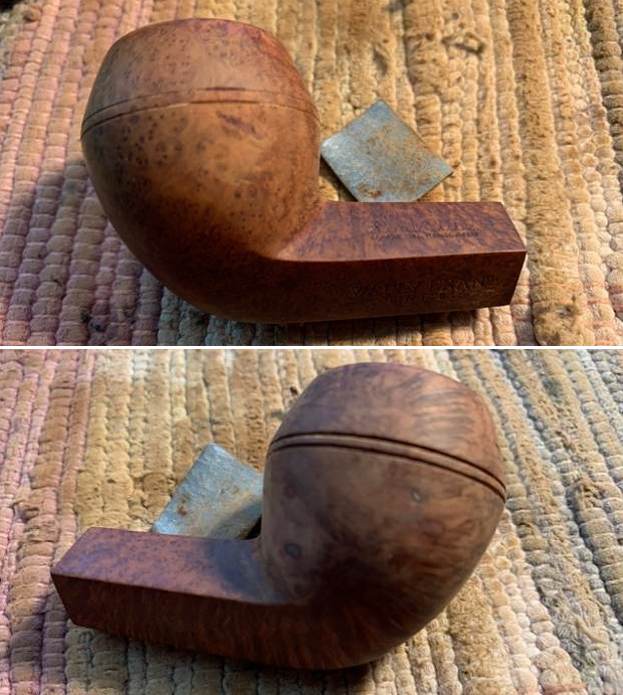
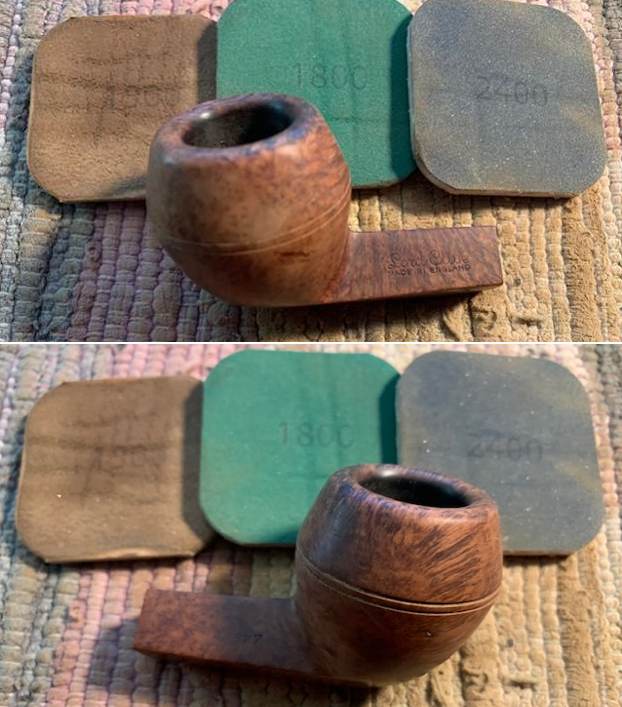
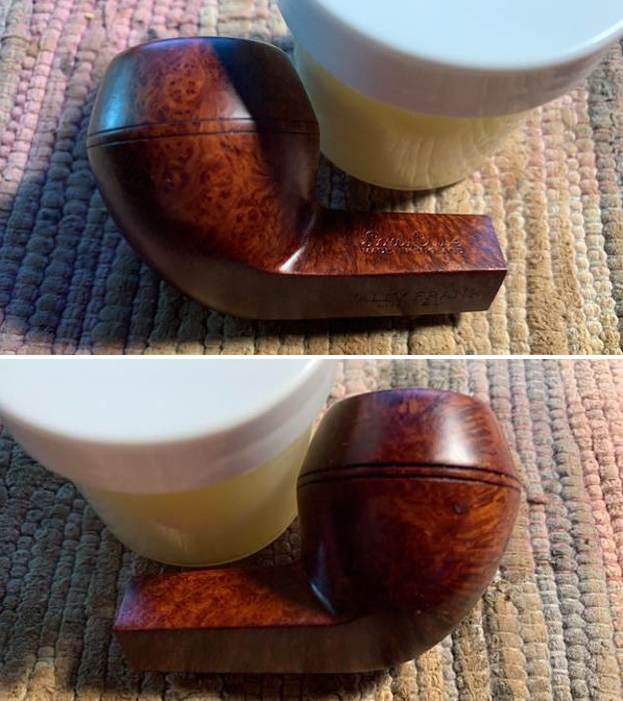
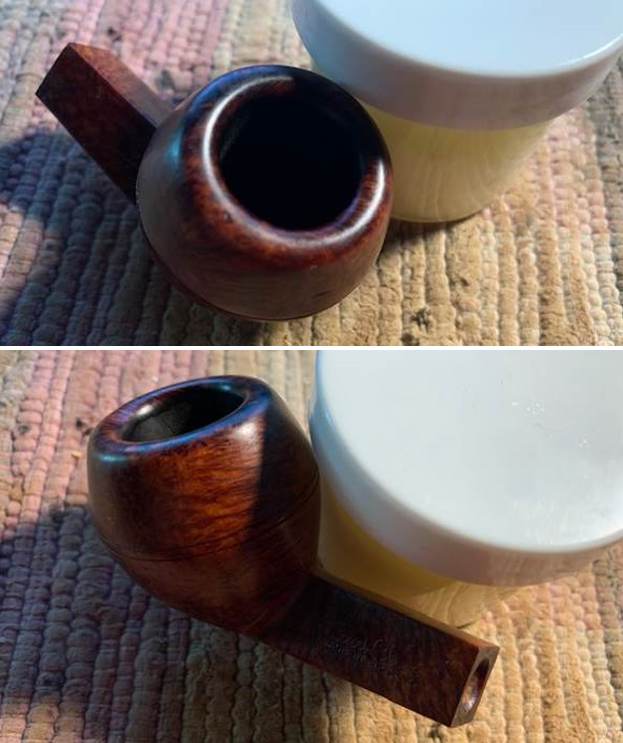
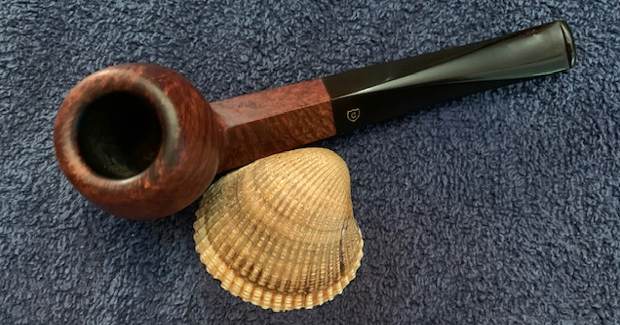
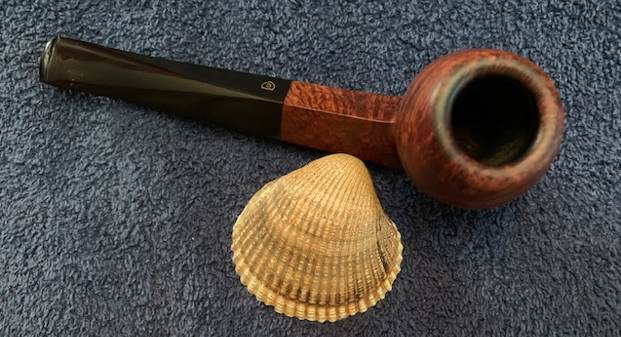
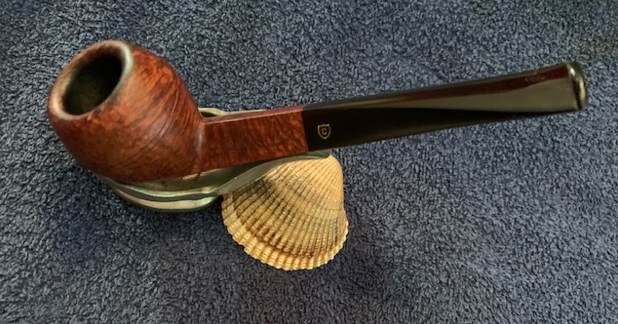
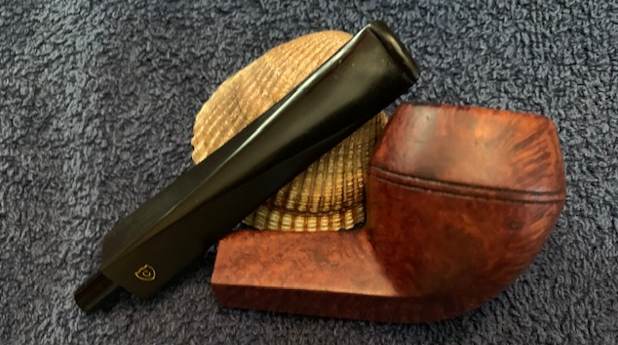
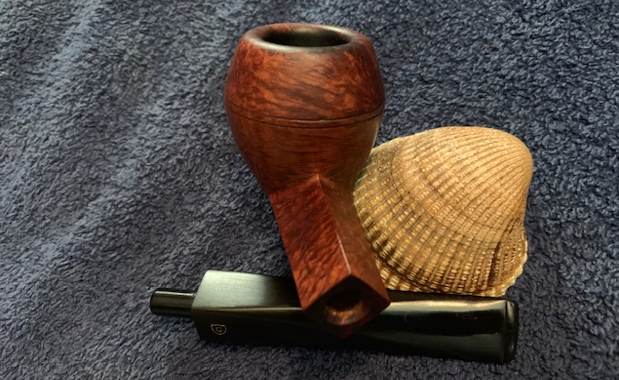
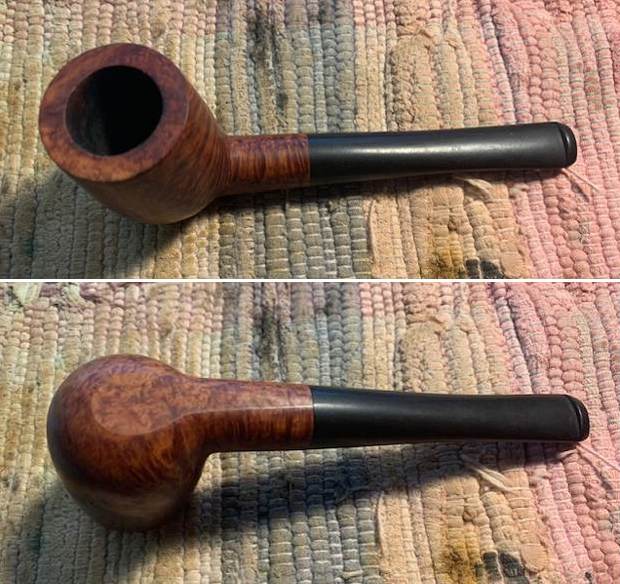
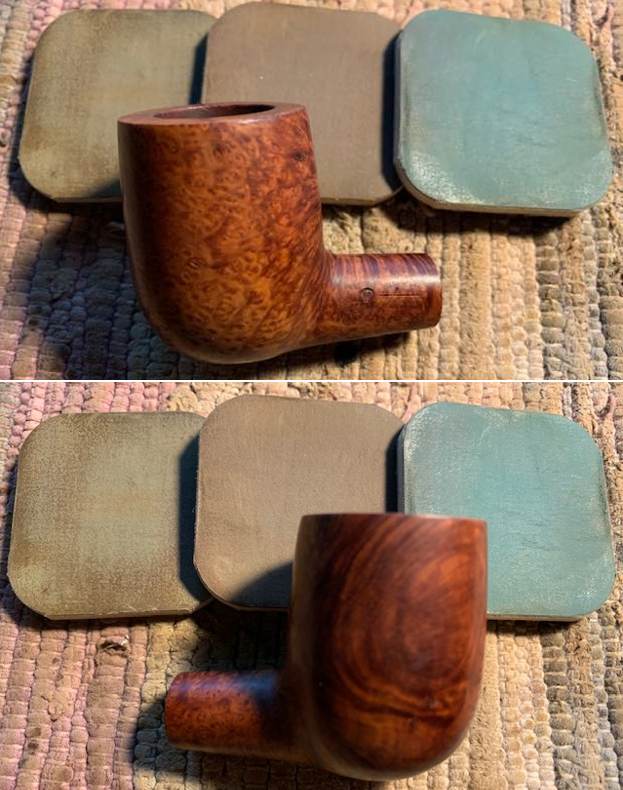
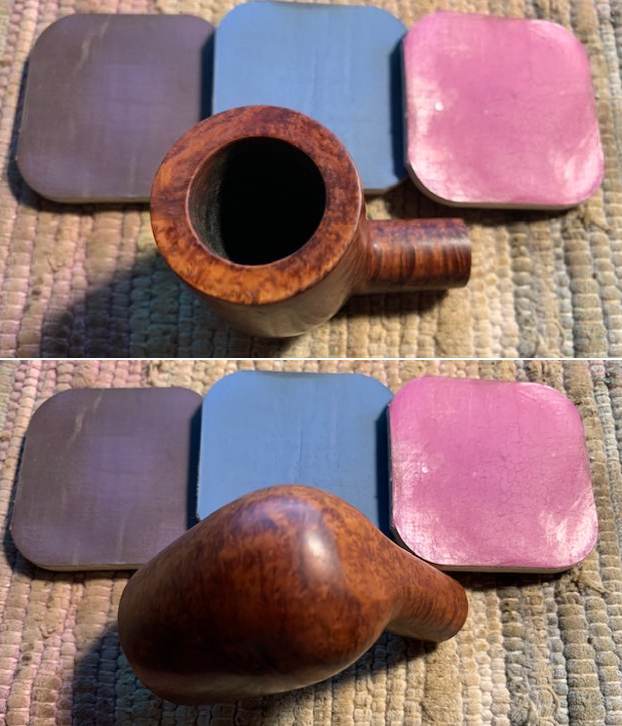
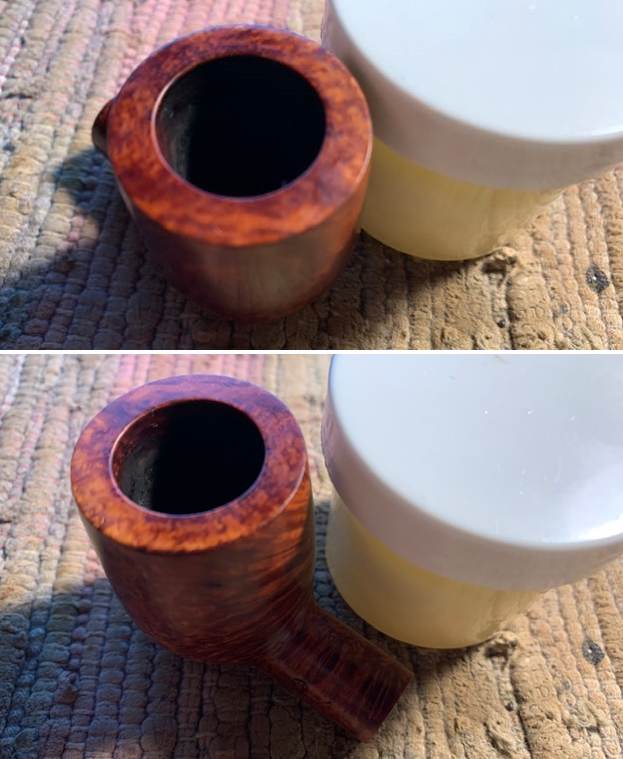
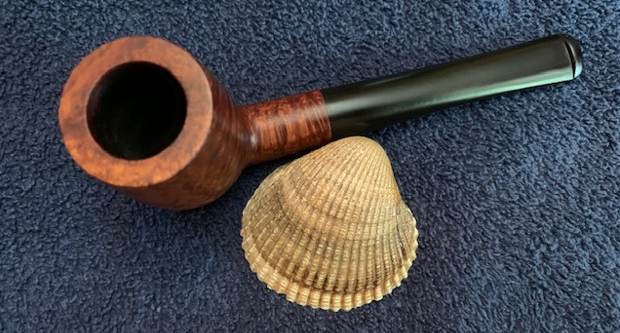
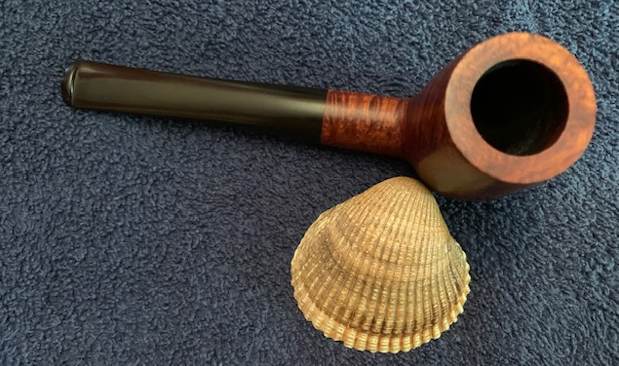
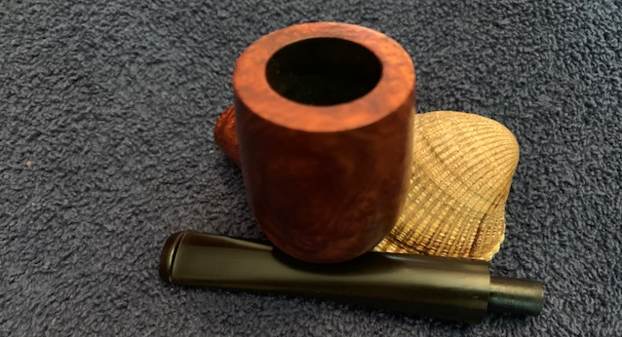
 I took some close up photos of the rim top and the stem surface. I wanted to show the cleaned bowl and rim top. The rim top and the inner and outer edges of the bowl were in good condition. The top of the bowl had some darkening in the grooves of the carved surface of the rim top and the inner edge of the bowl. I also took close up photos of the stem to show the tooth marks on the stem surface.
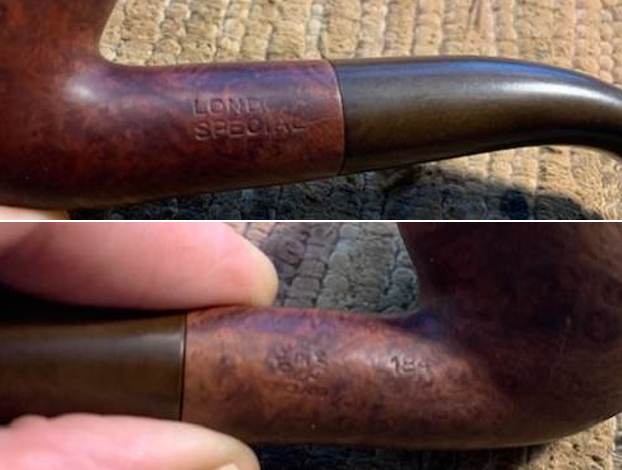
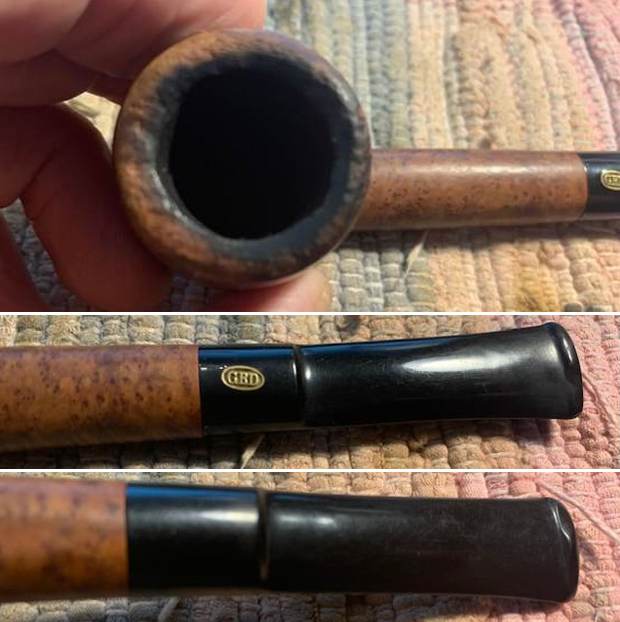
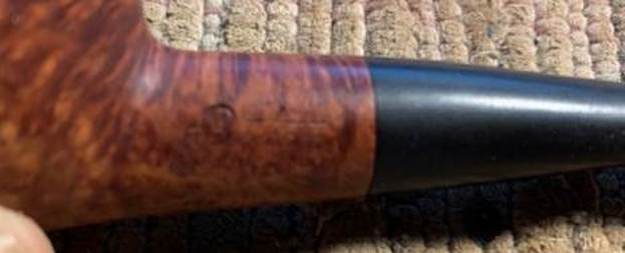
 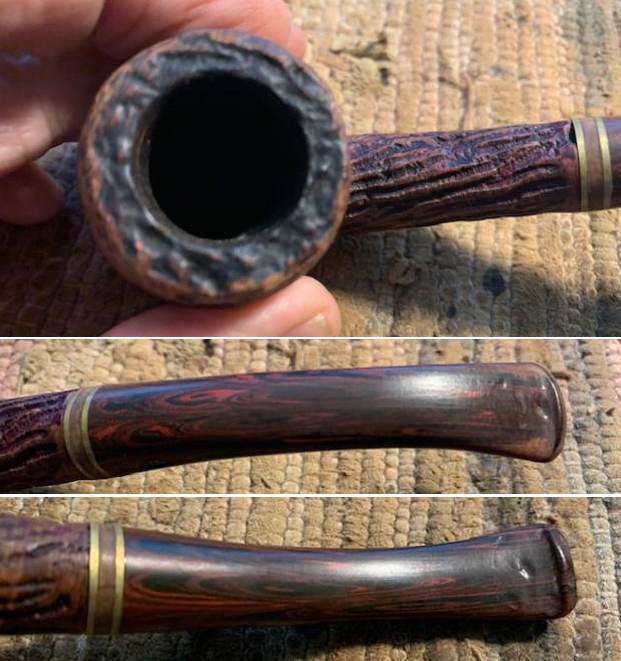 I took a photo of the stamping on the underside of the shank and it is faint but readable. It is stamped as noted above.
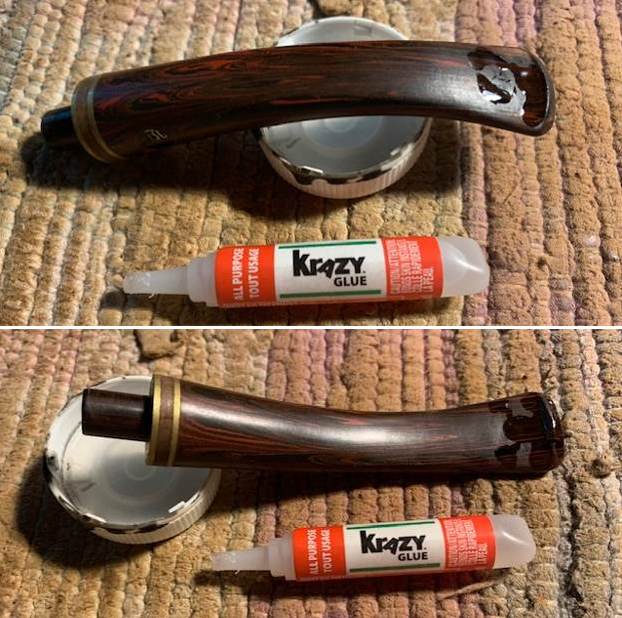
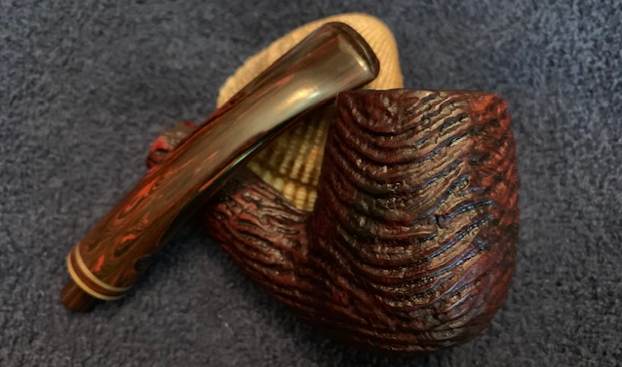
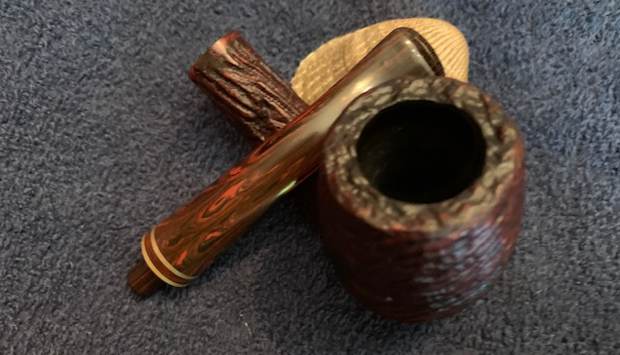
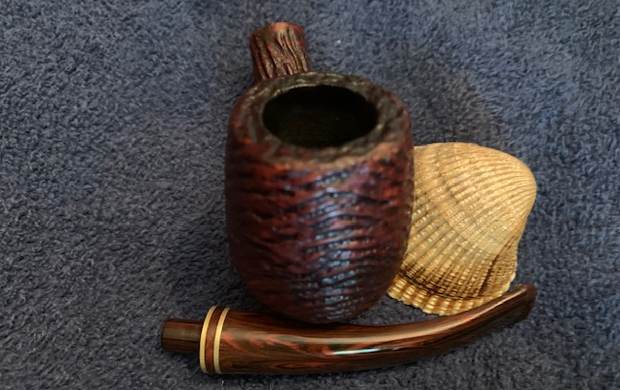
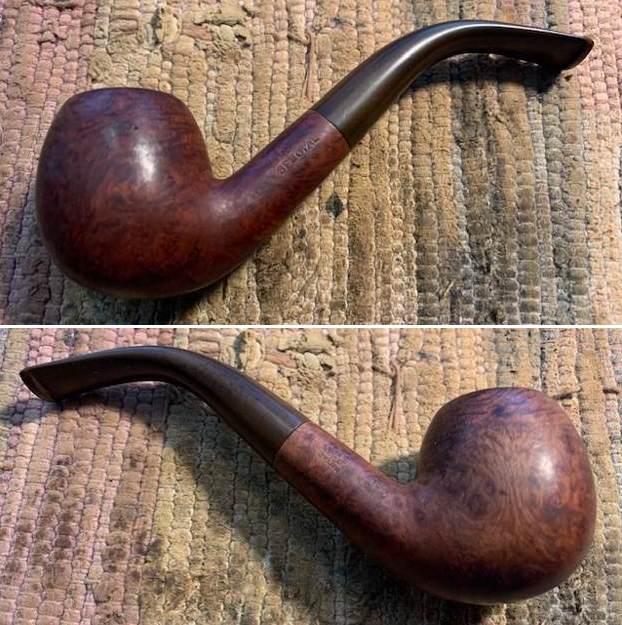
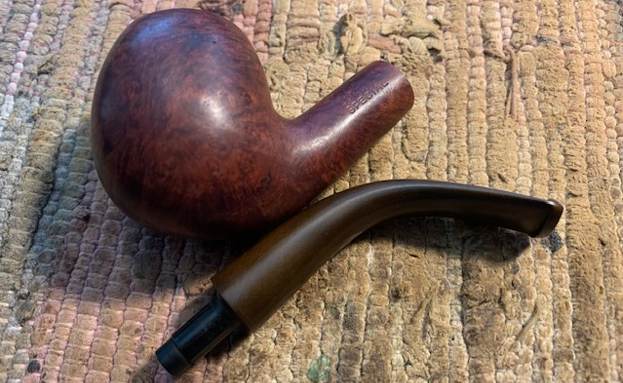
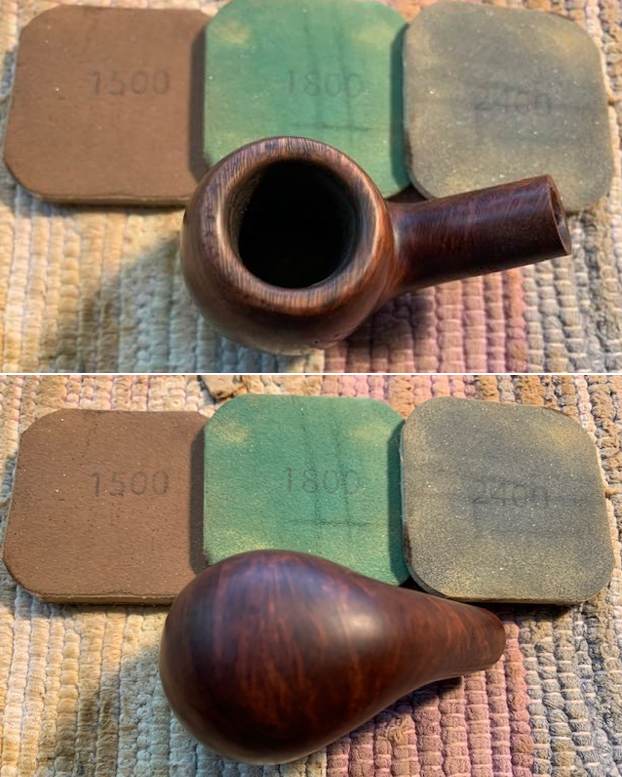
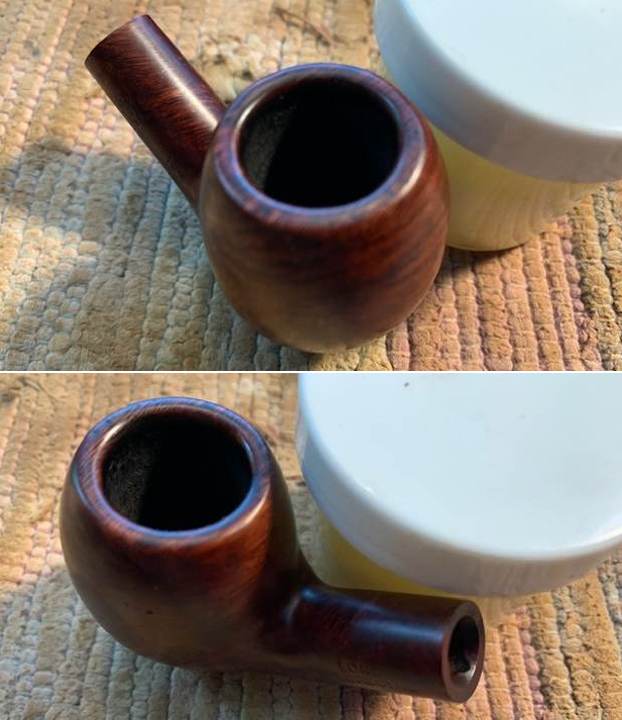
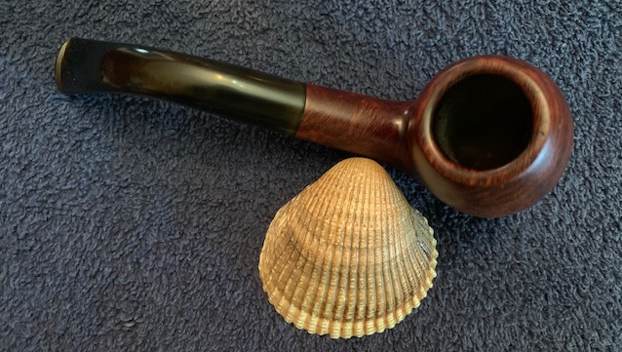
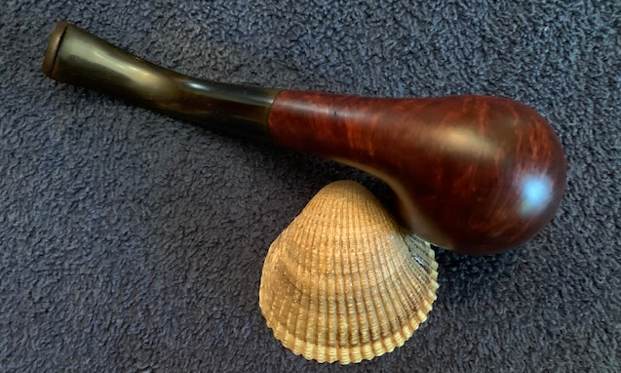
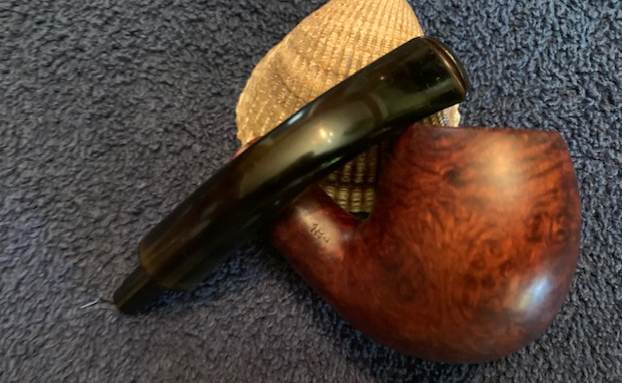
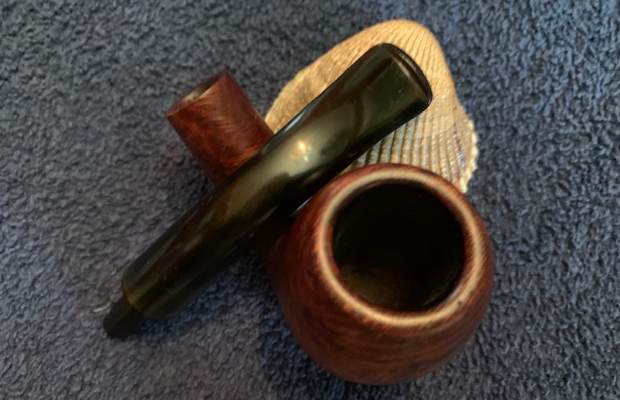
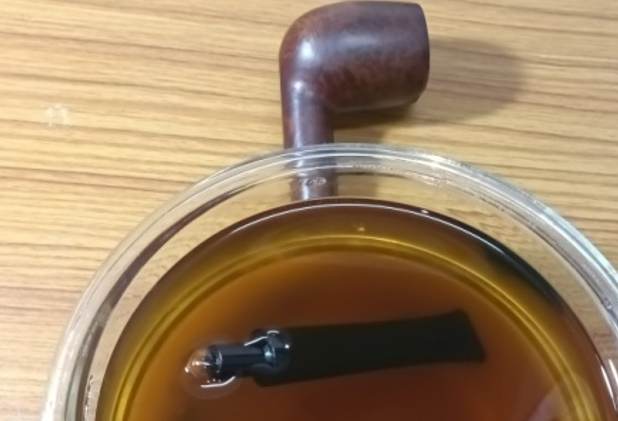
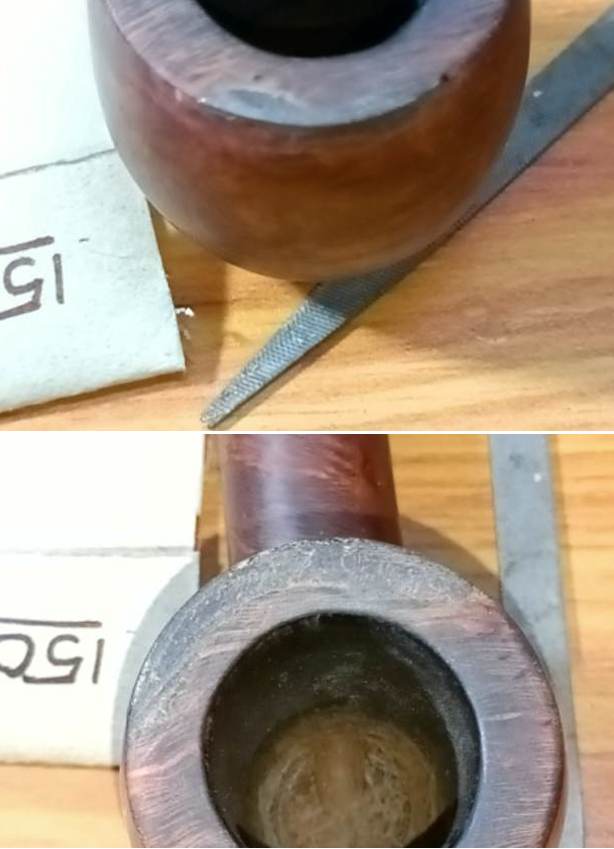
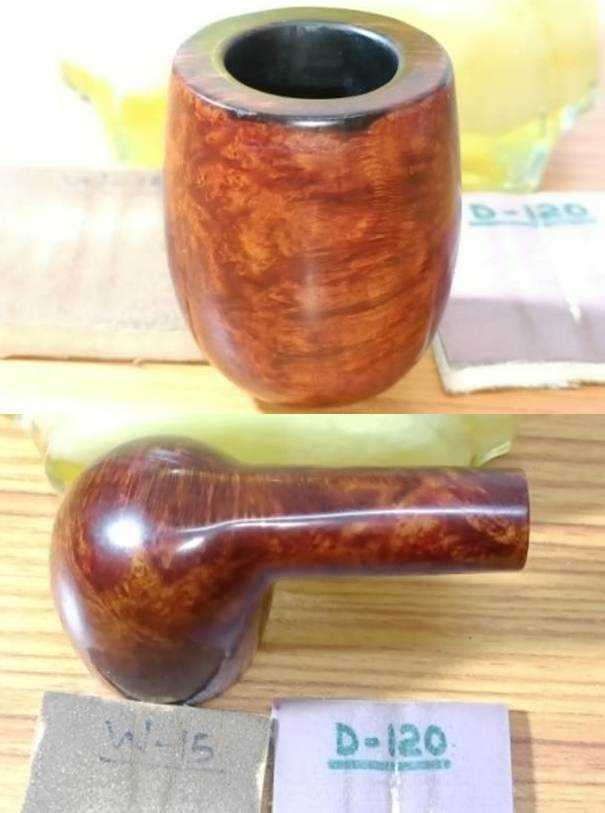
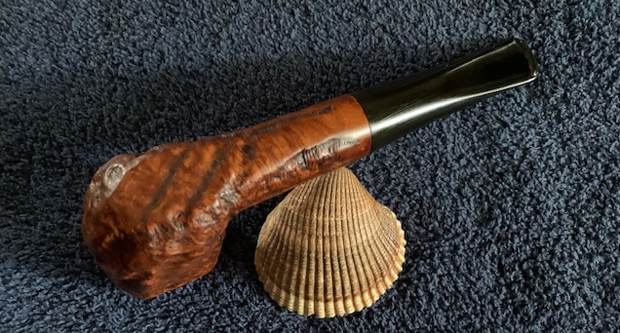
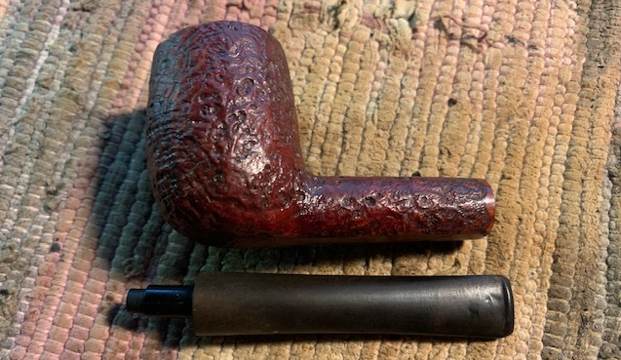
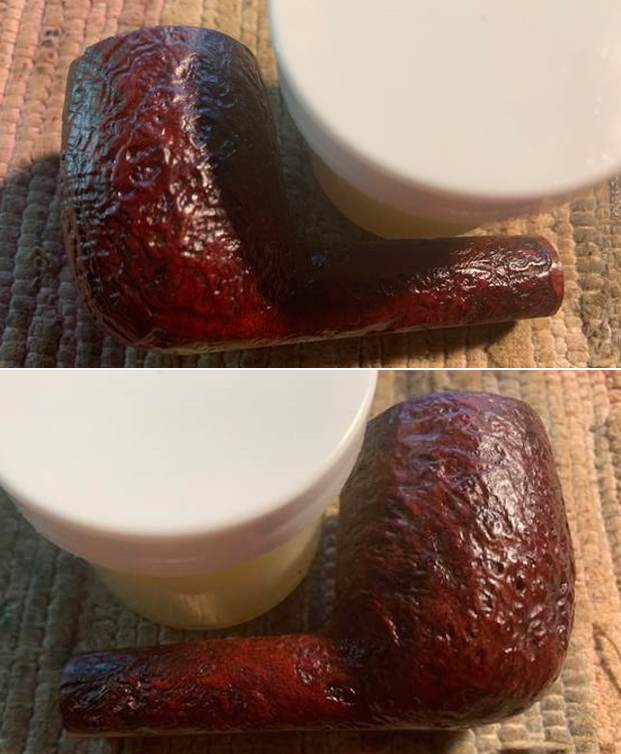
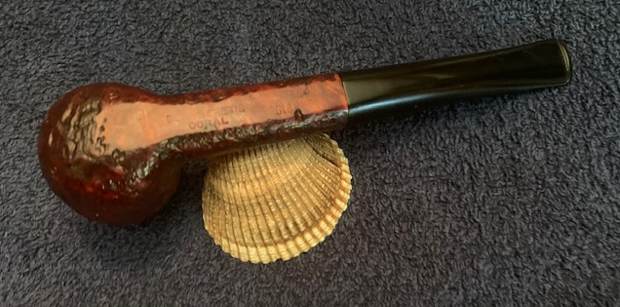
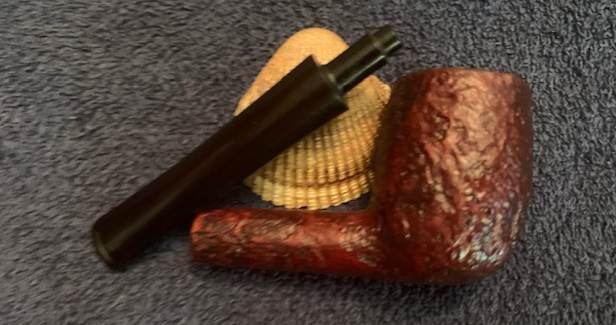
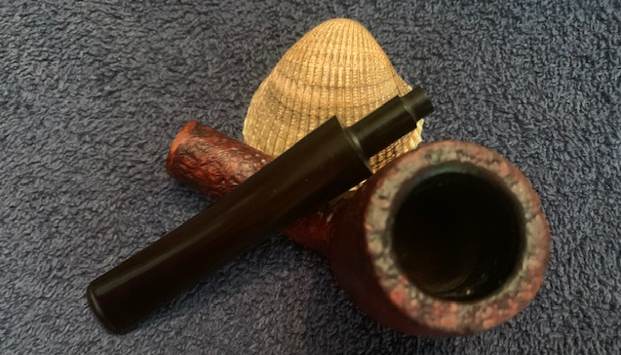
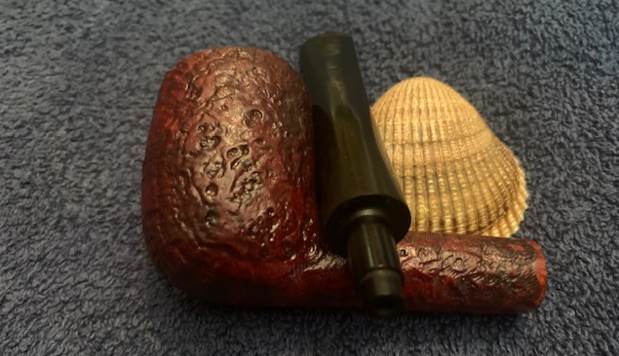
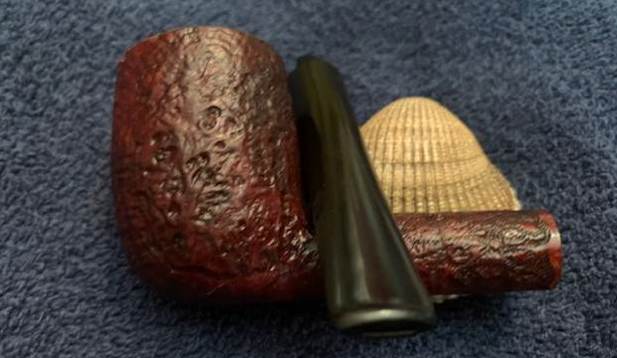
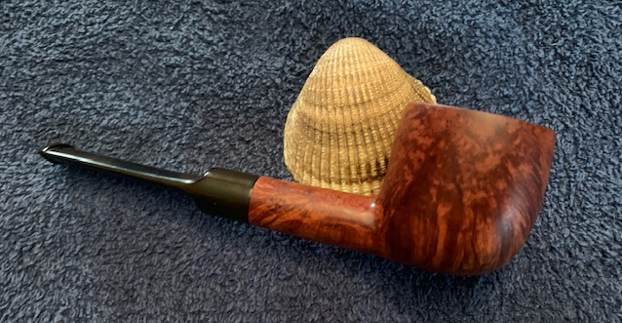
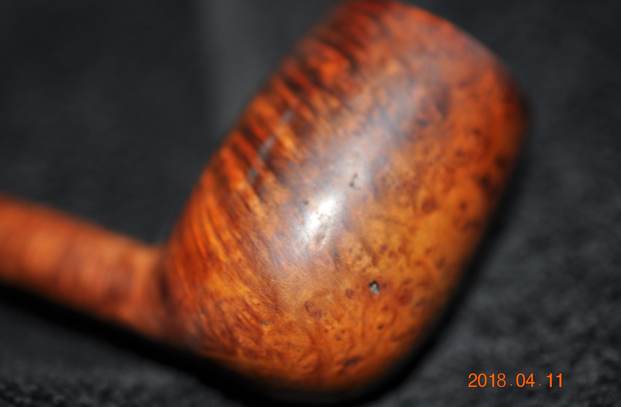
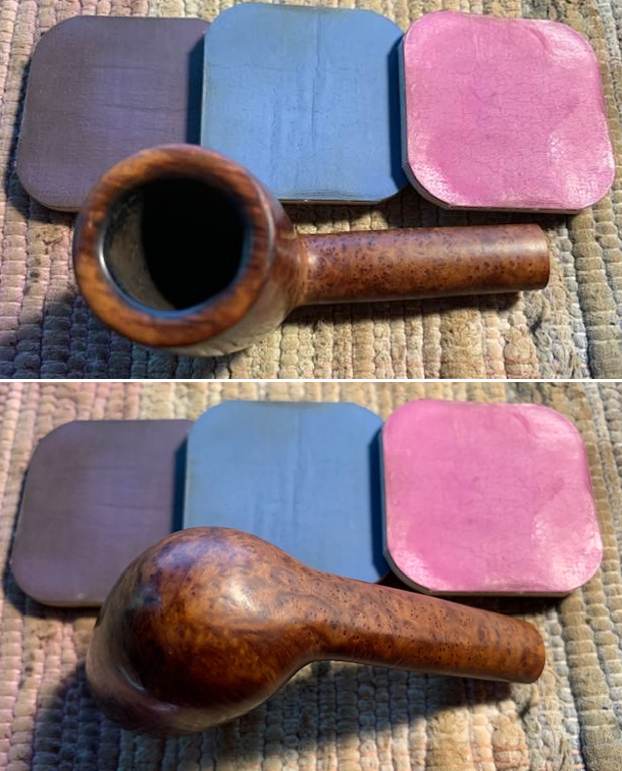
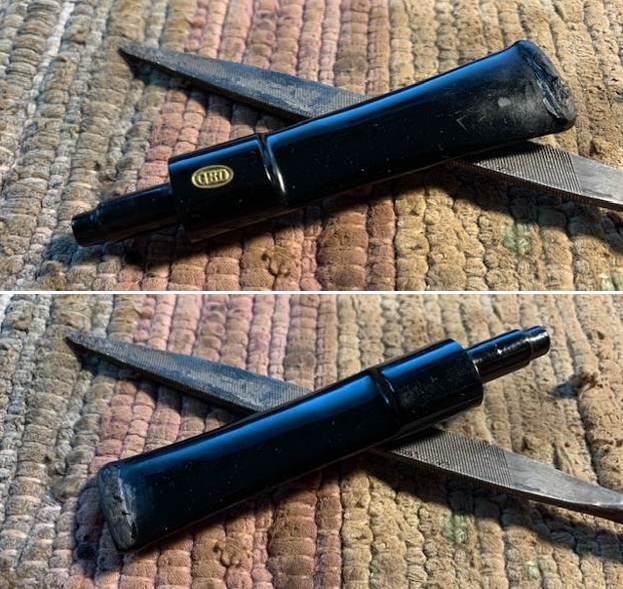
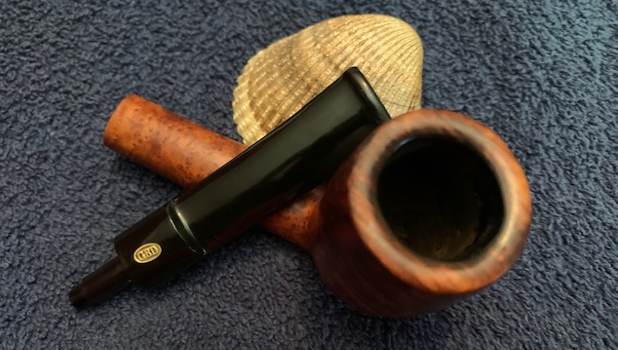
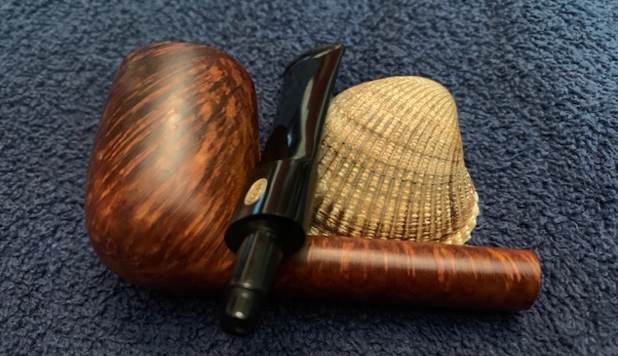
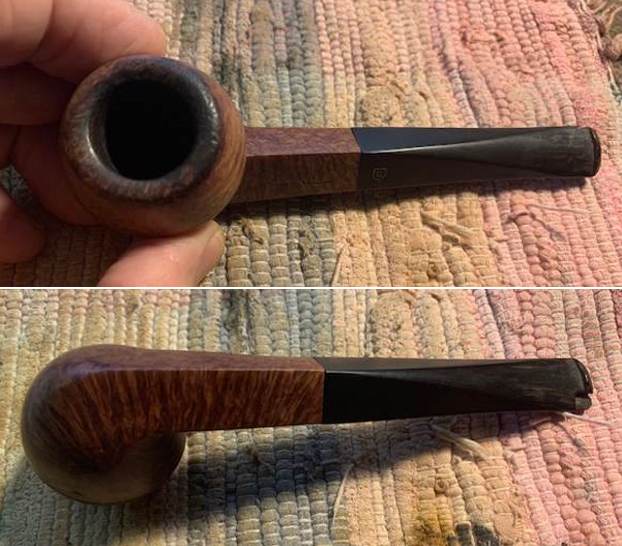
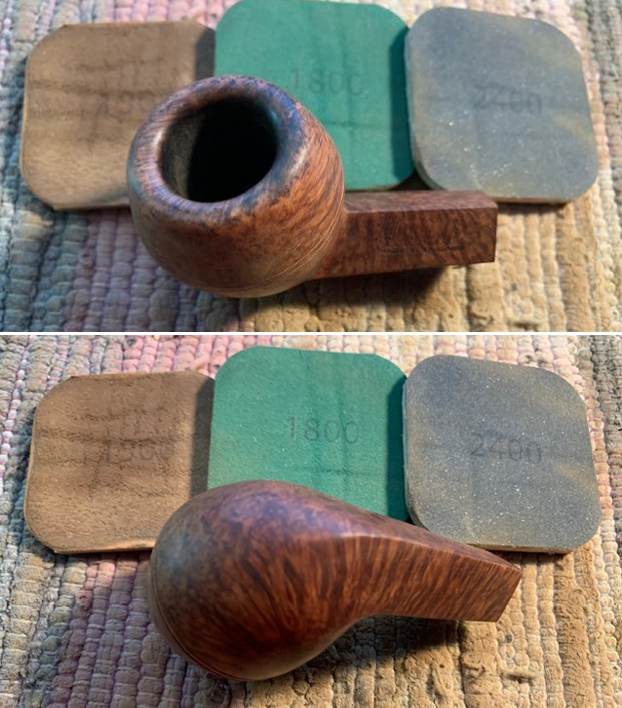
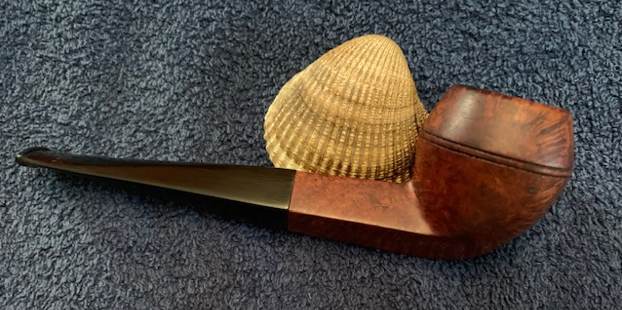
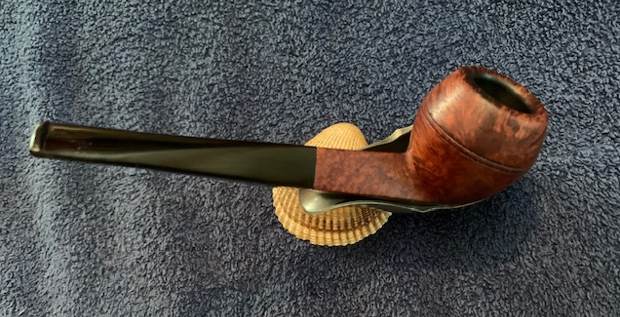
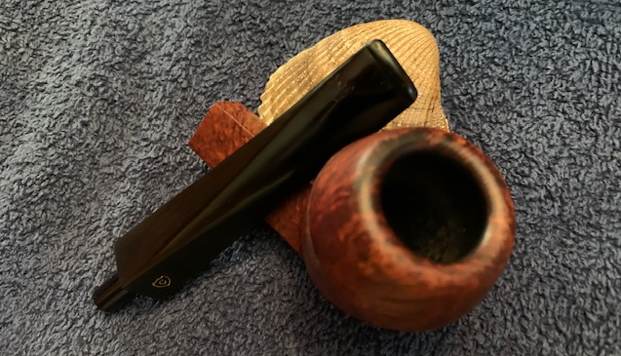
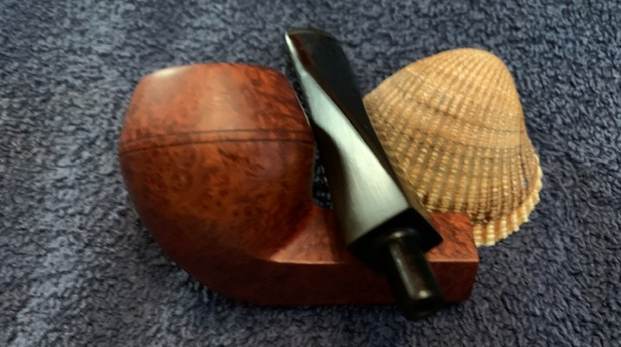
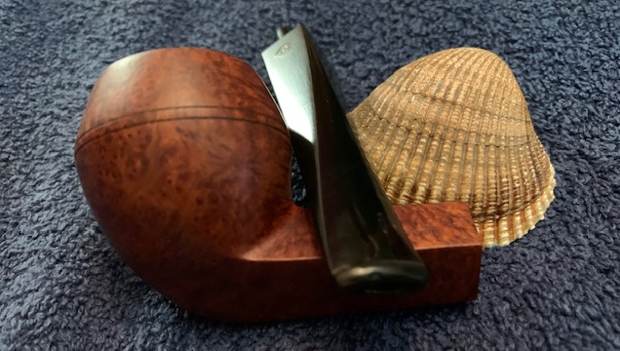
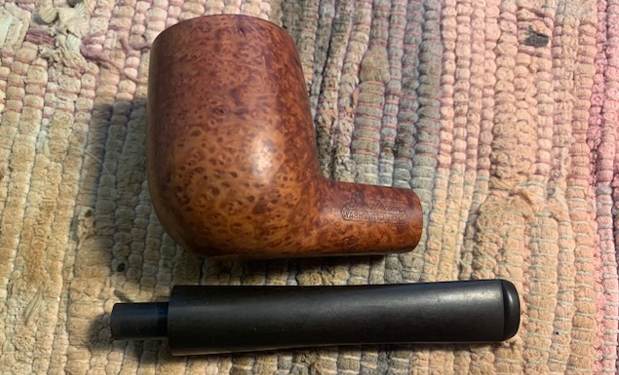
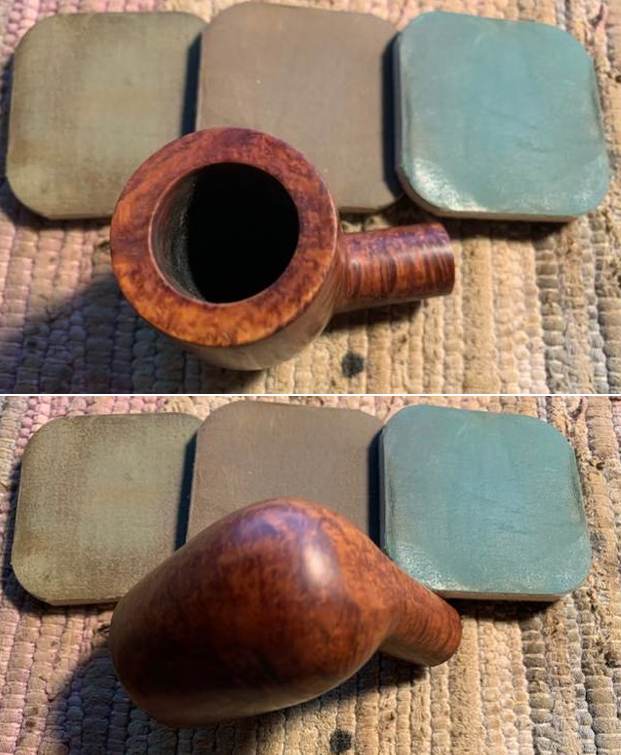
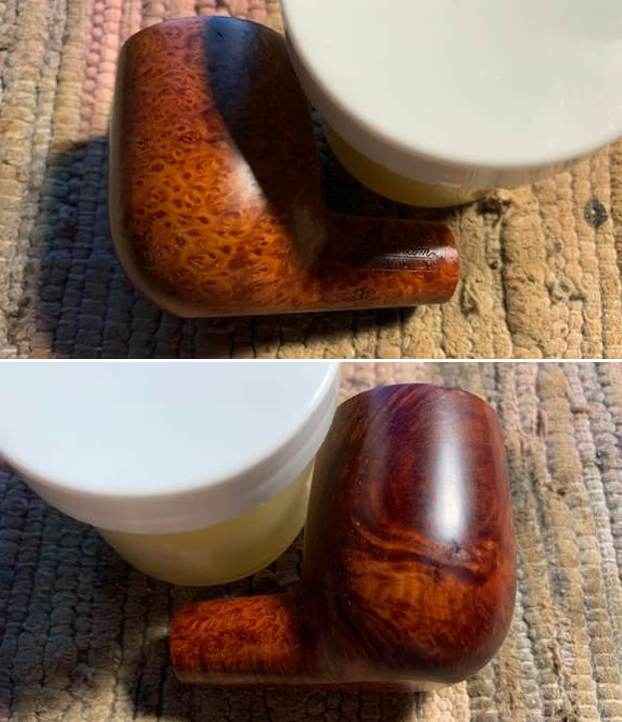
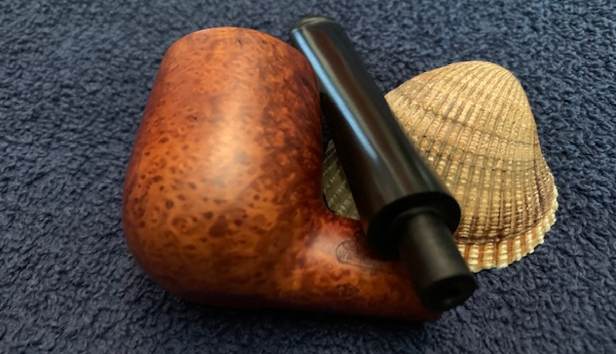
  I removed the stem for the shank and took a photo of the bowl and stem to give a picture of what it looked like. The Rocamar finish is totally unique.
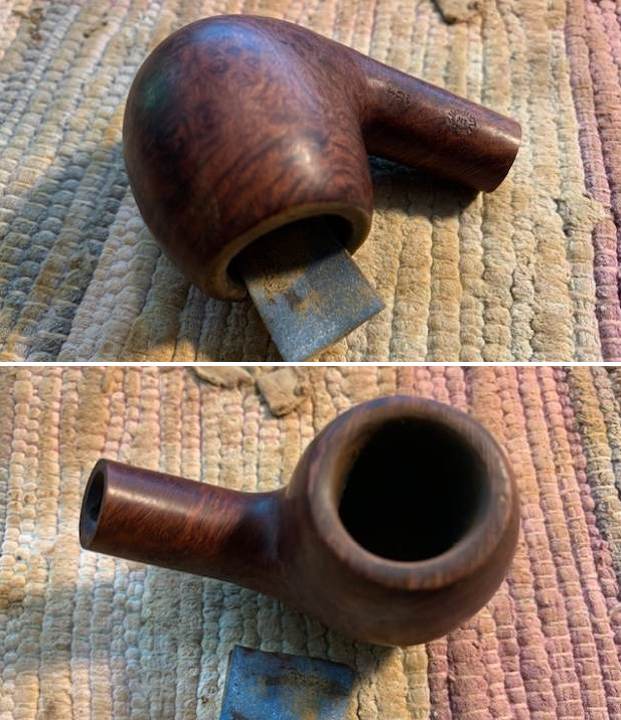
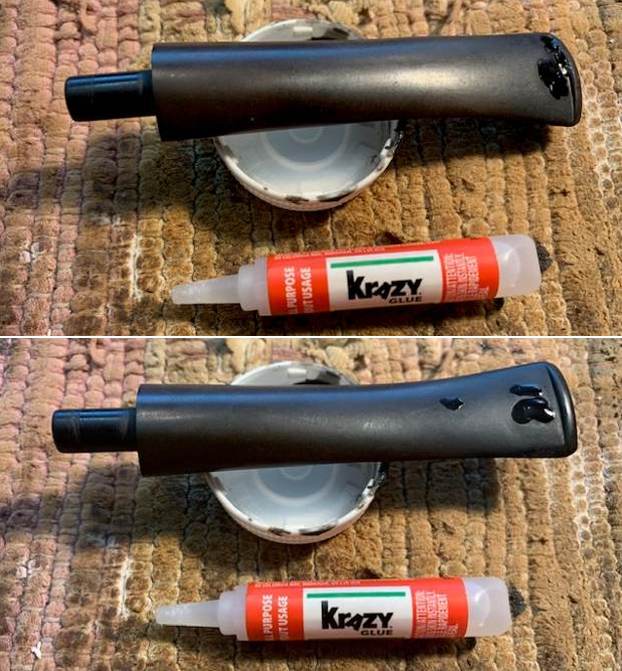
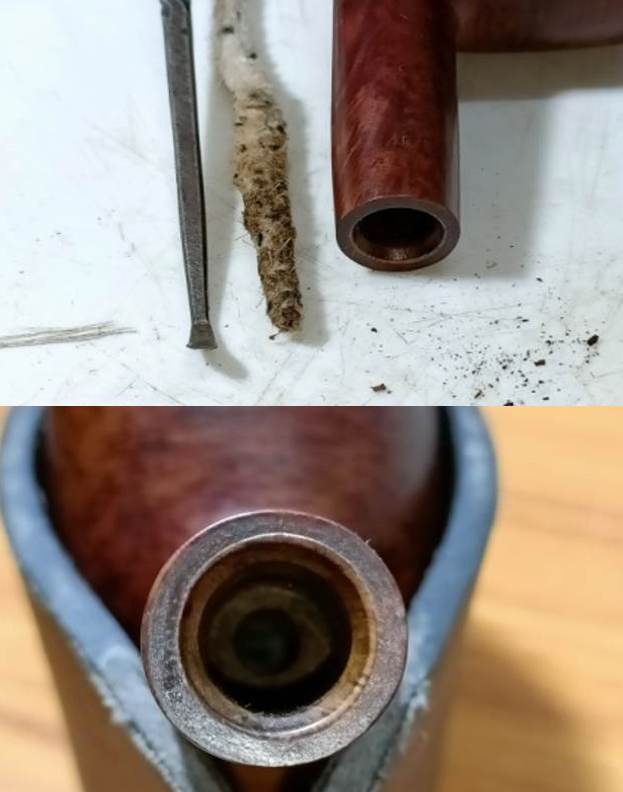
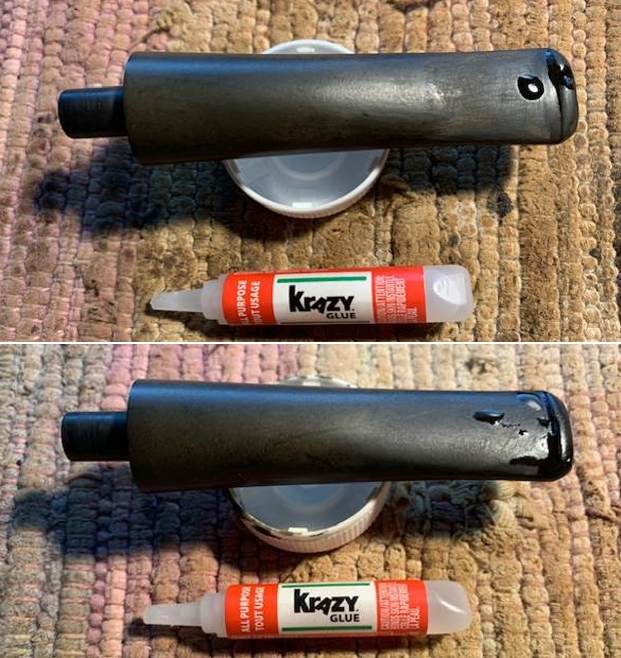
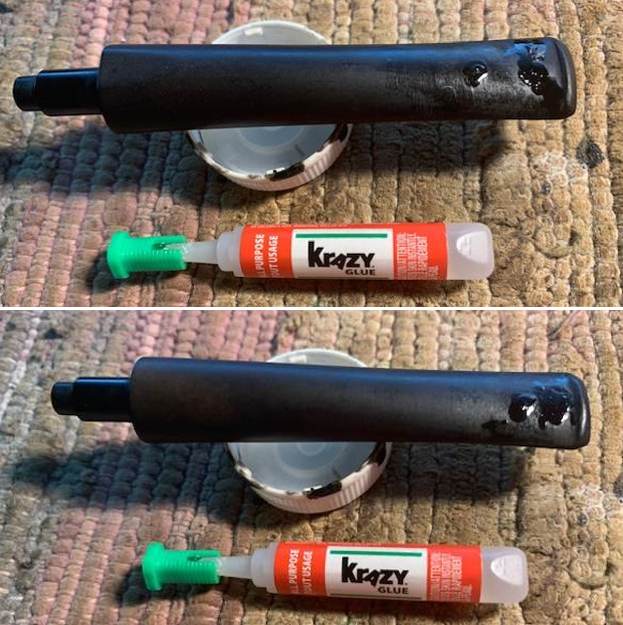
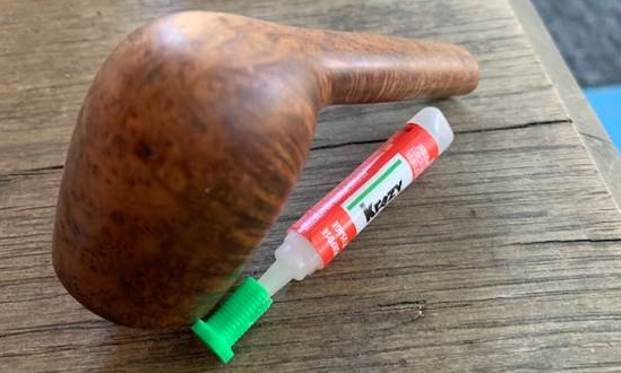
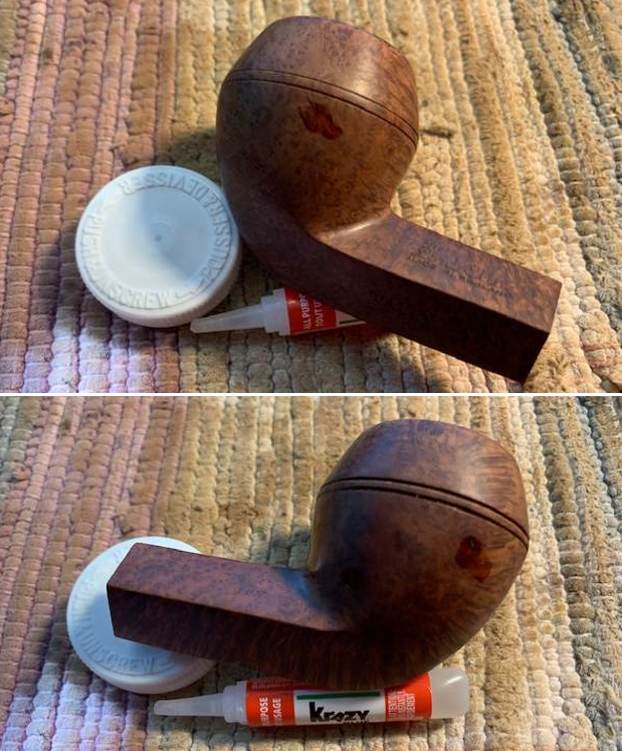
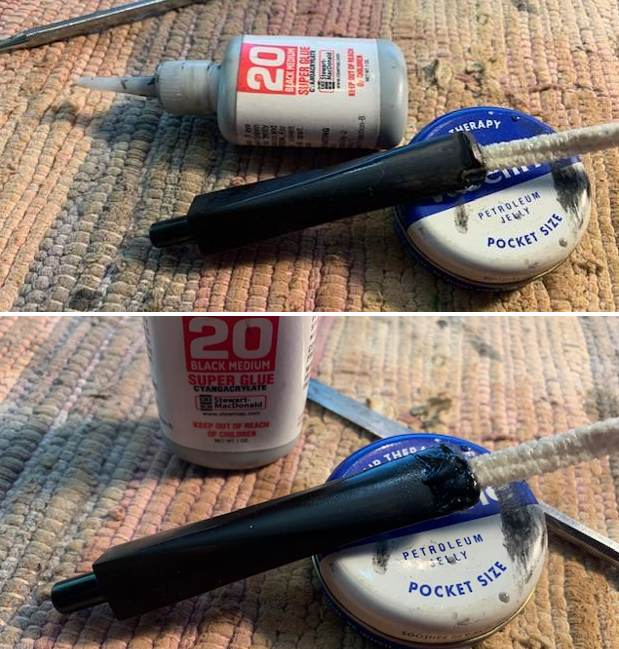
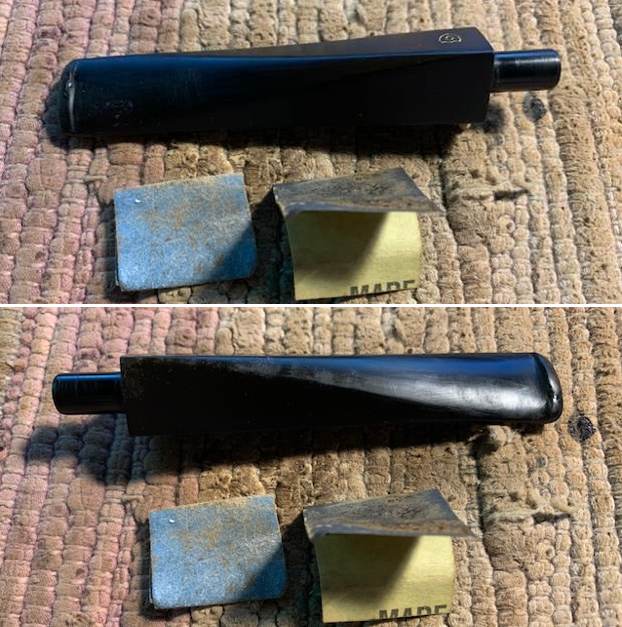
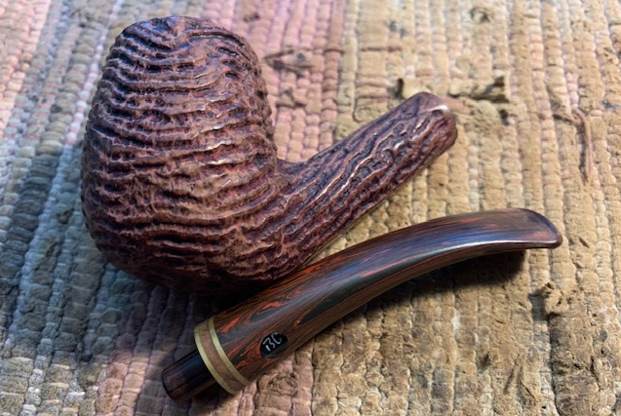 I started my work on the pipe by addressing the chip on the right end side of the shank where it met the stem. I used a dental spatula to rebuild the chip with clear CA glue and briar dust. Once it cured I sanded the repair smooth.
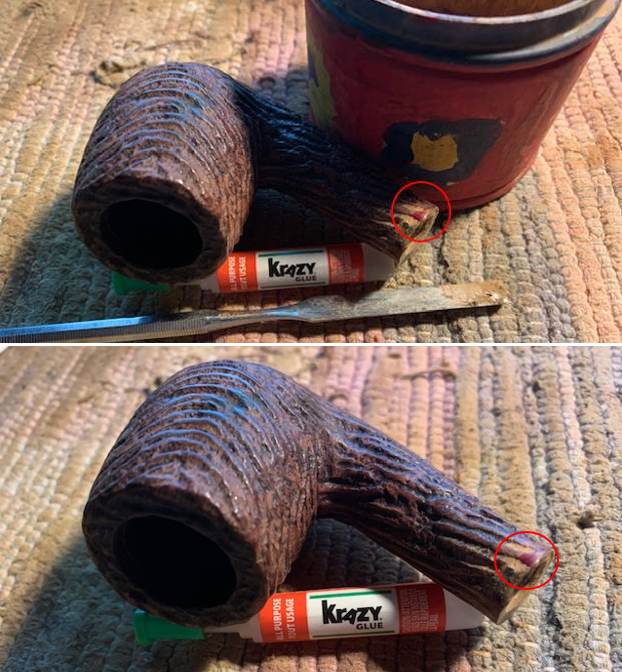
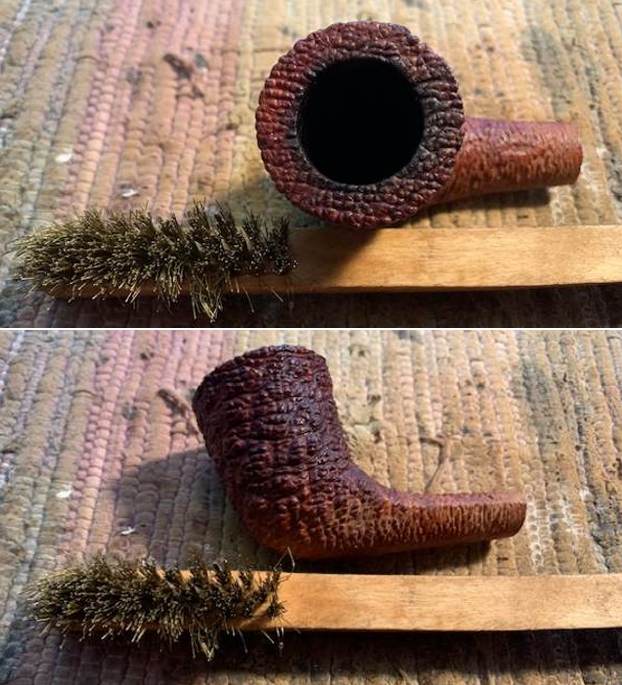
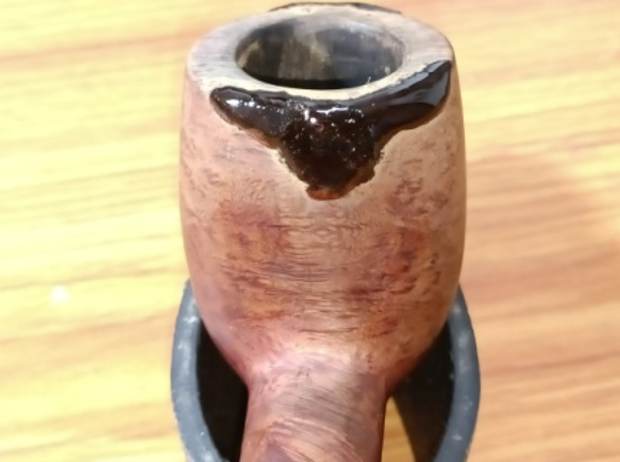
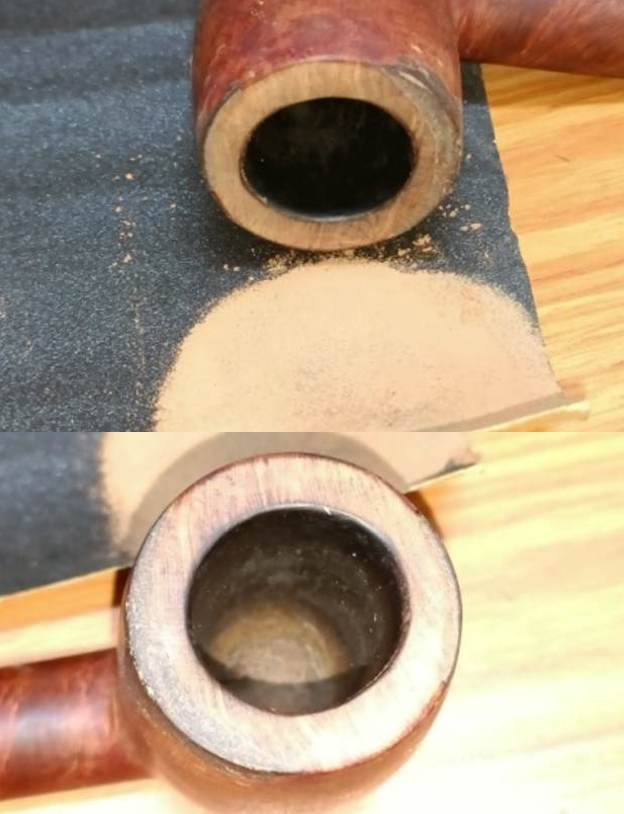
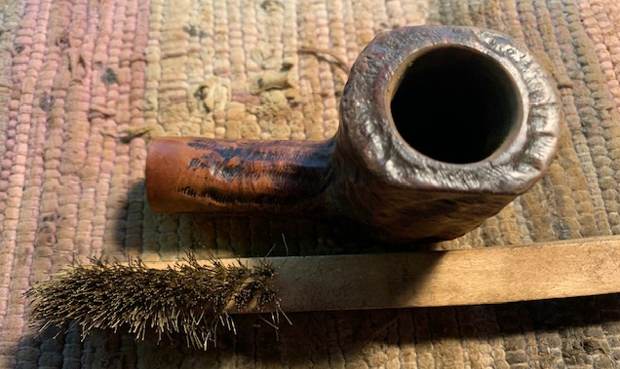
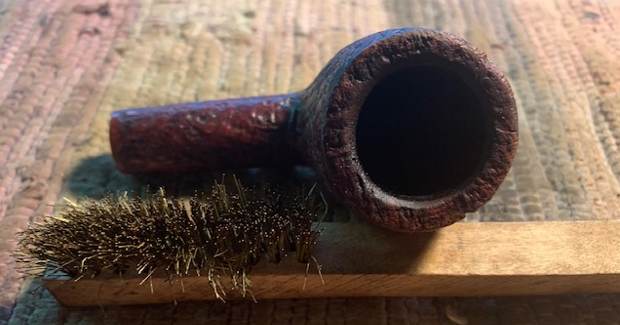
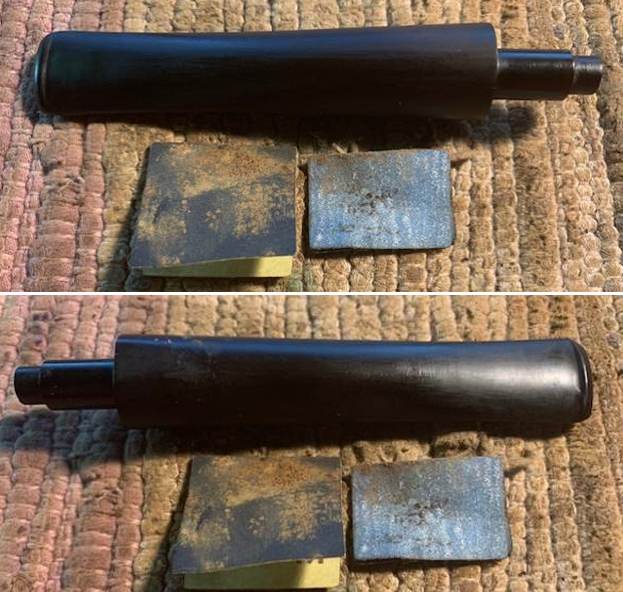
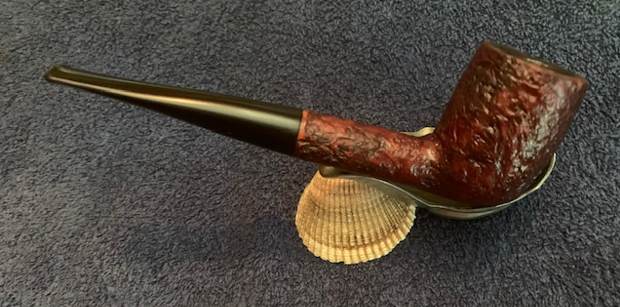
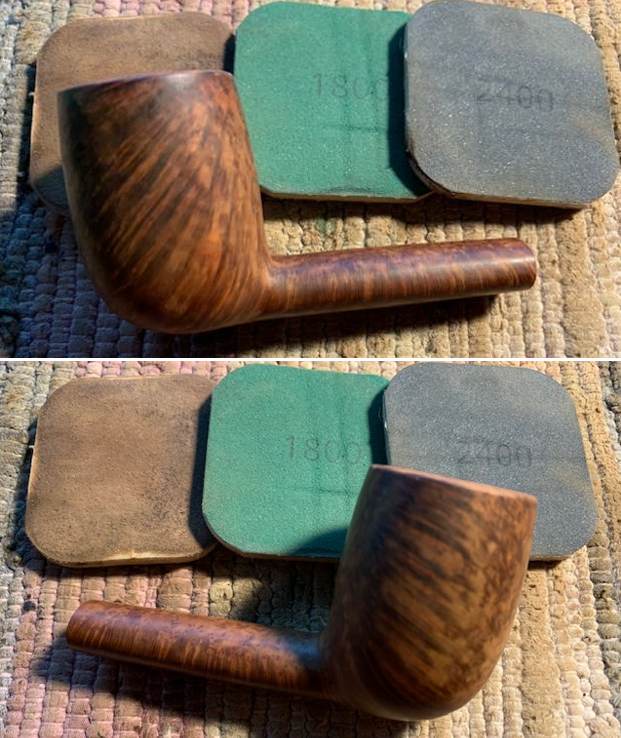
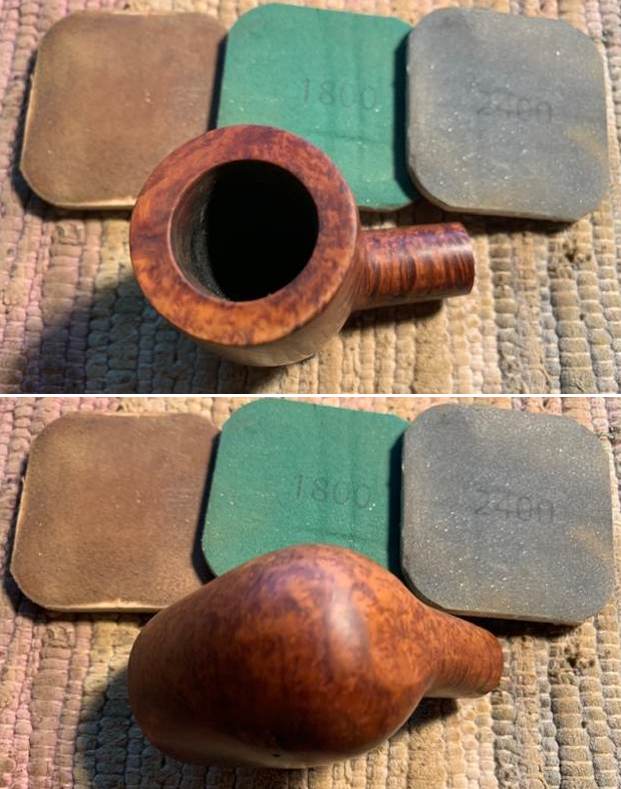
 With the repair finished I turned my attention to the darkening on the rim top and inner edge. I wiped the rim top and edge down with some acetone on a cotton pad. I used a brass bristle wire brush to clean up the grooves in the carving on the rim top. I also used the wire brush on the rest of the bowl as well to clean up the debris of time in the box here. The bowl and the rim top came out looking much better.
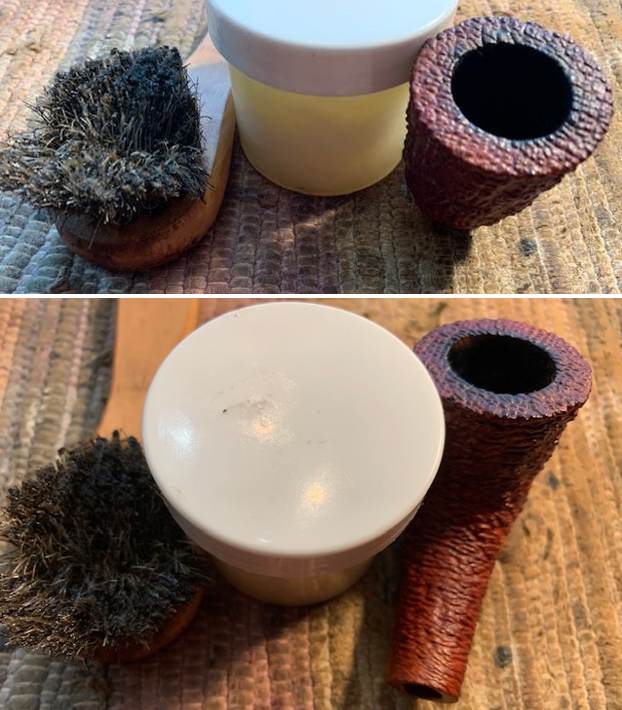
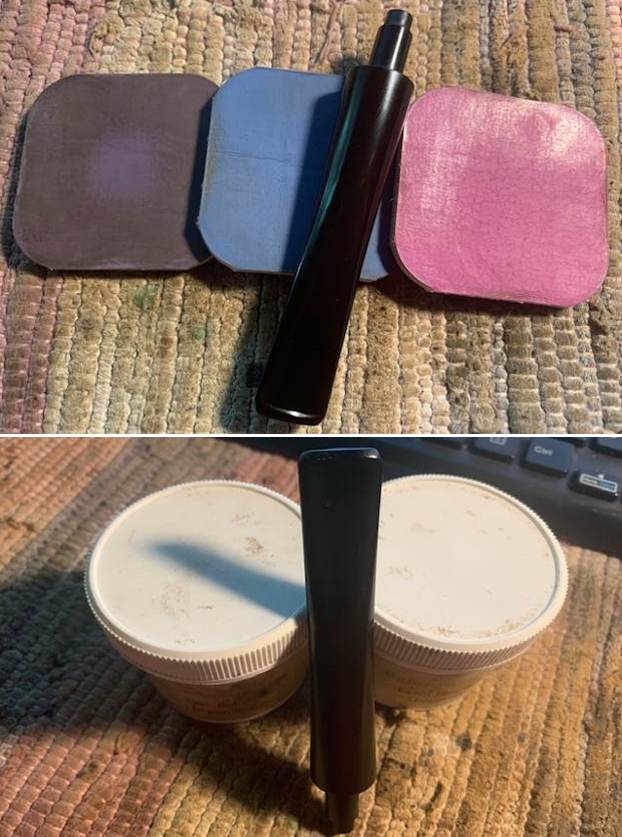
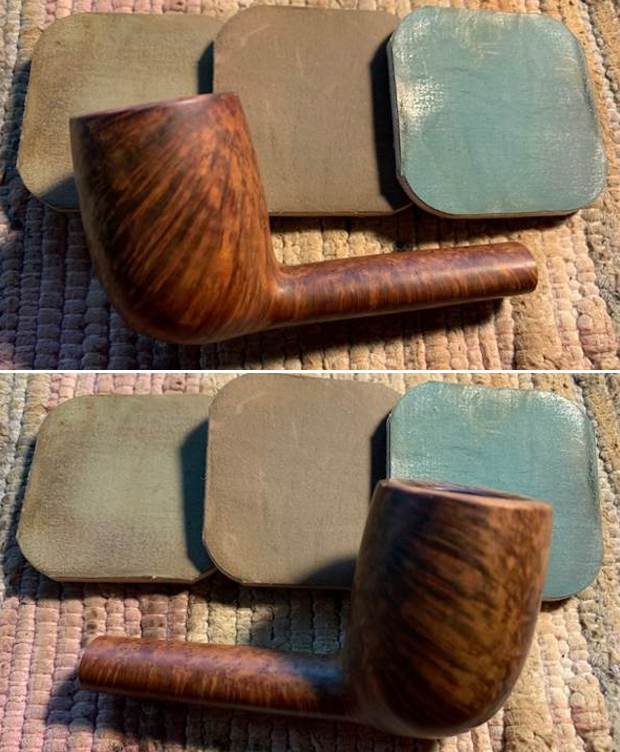
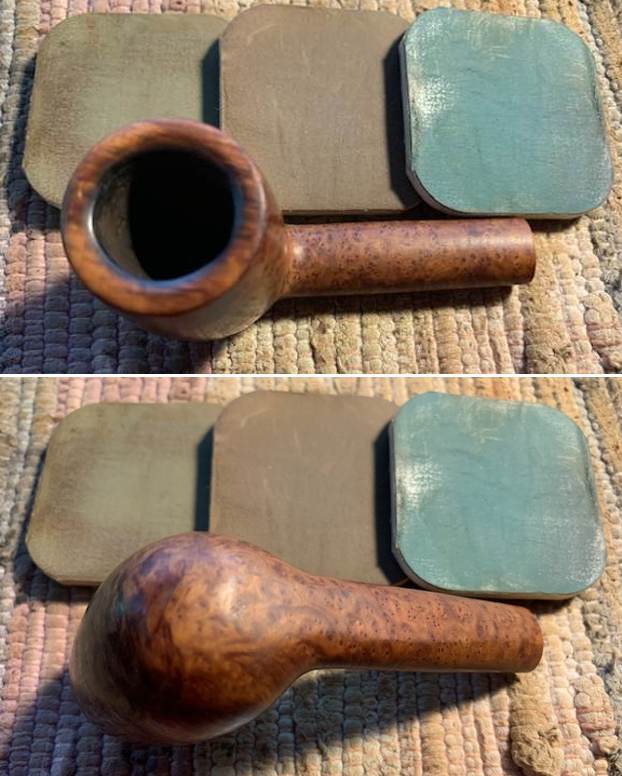
 I rubbed the bowl down with Before & After Restoration Balm. I worked it into the surface of the briar with my fingertips and a horse hair shoe brush to clean, enliven and protect it. I let the balm sit for a little while and then buffed with a cotton cloth and shoe brush to raise the shine.

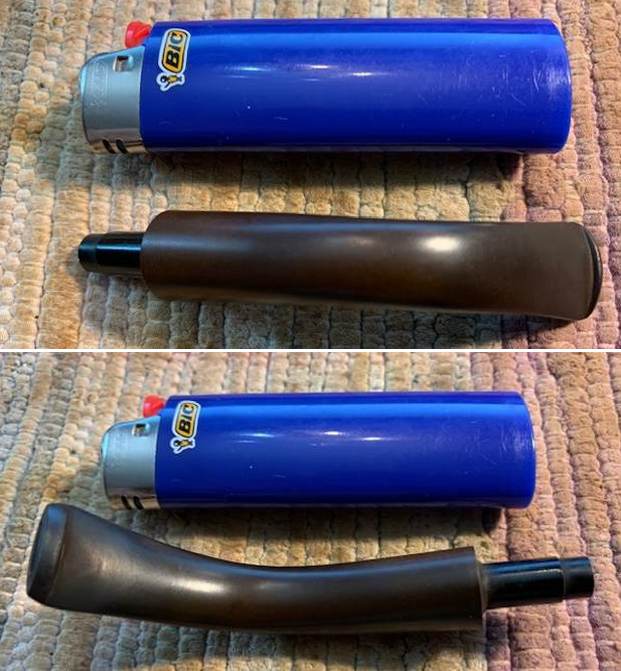
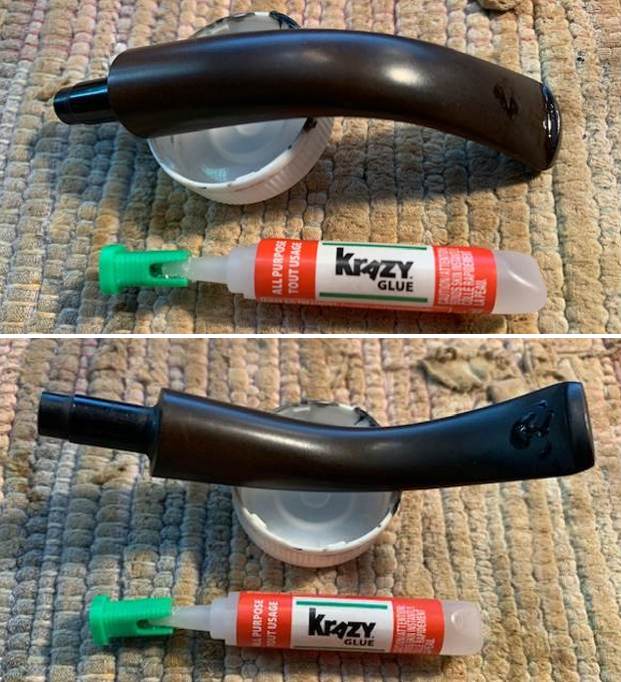
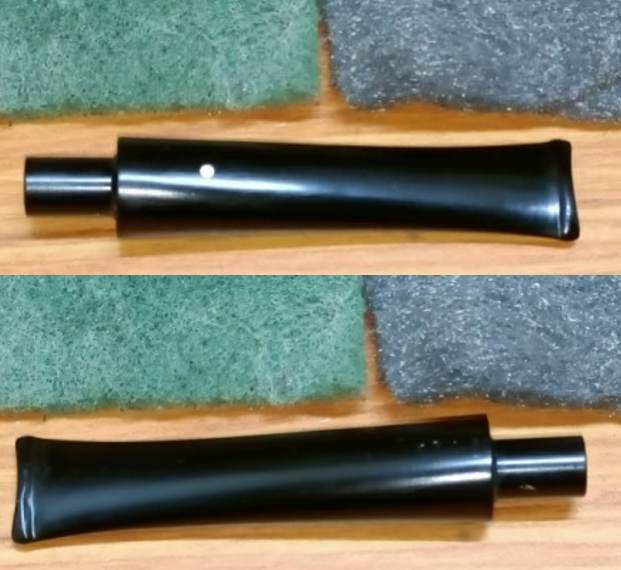
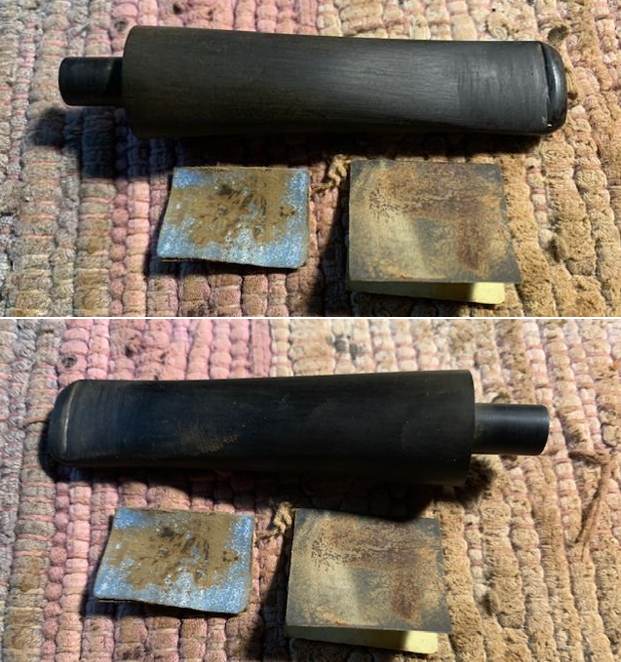
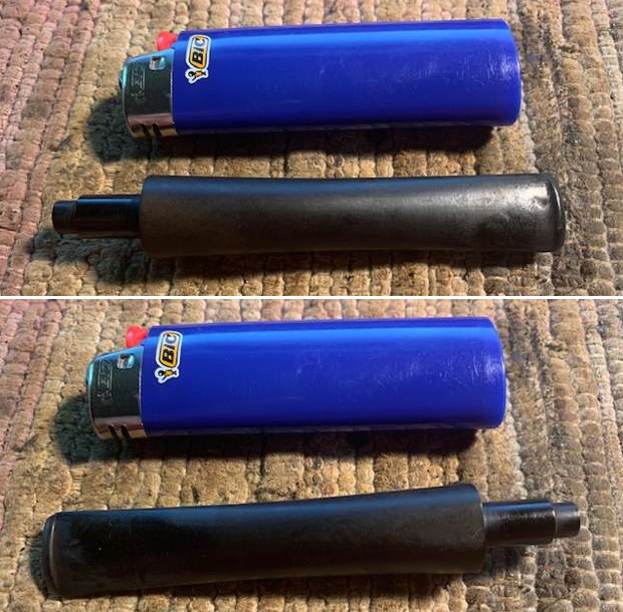
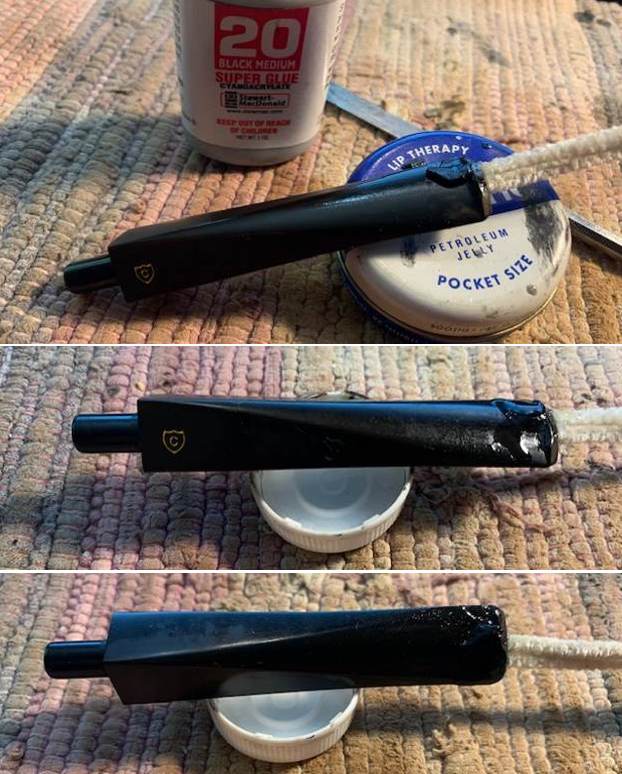
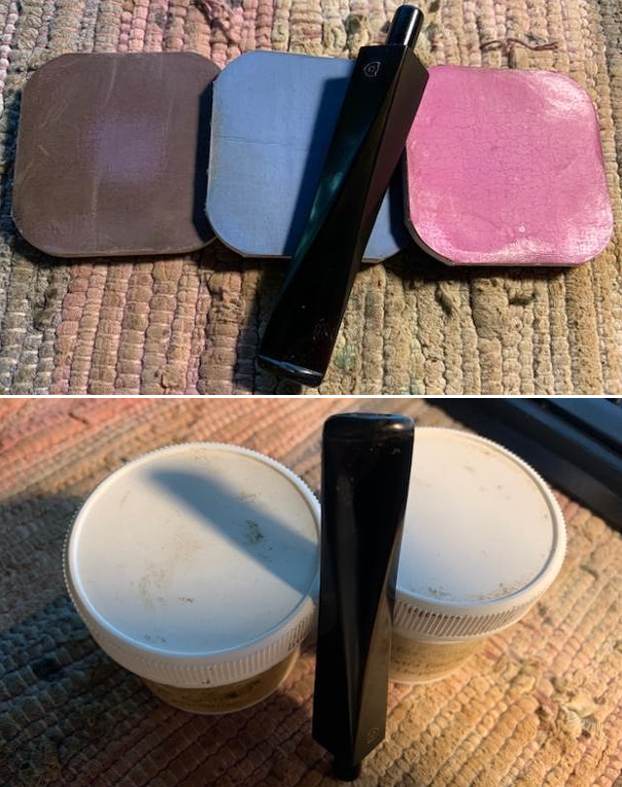
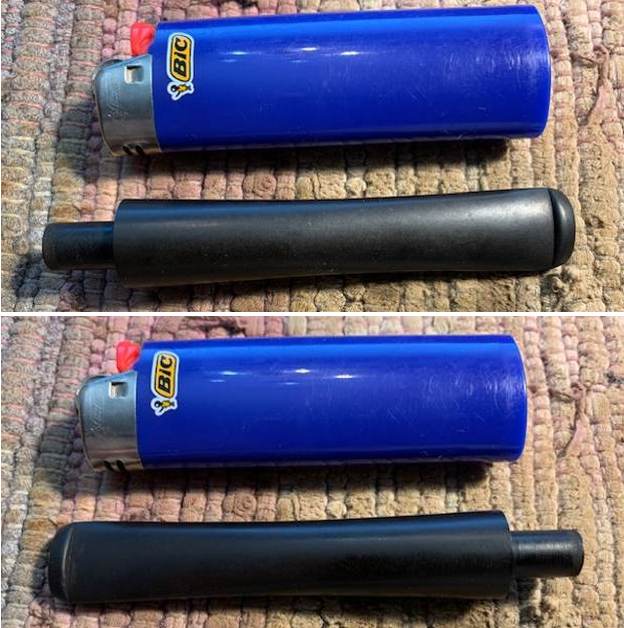
 I set the bowl aside and turned my attention to the stem. I used the flame of a Bic lighter to “paint” the surface of the stem to lift the tooth marks on both sides of the stem. The heat lifted many of the marks. I filled in what remained with clear CA glue and set it aside to harden.
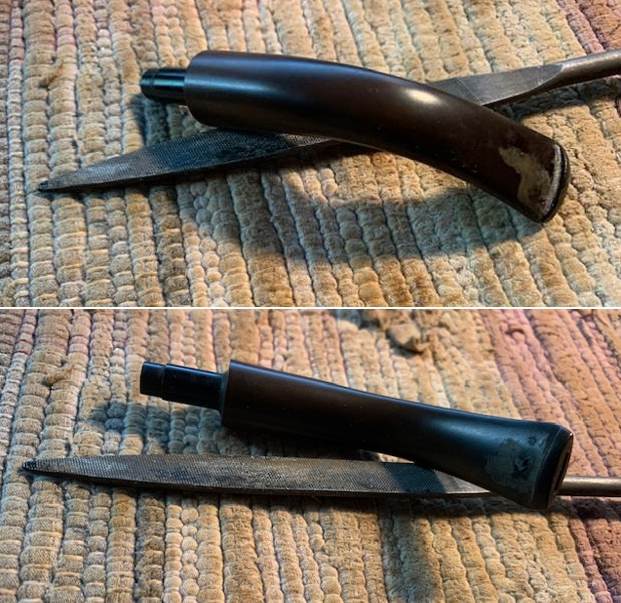
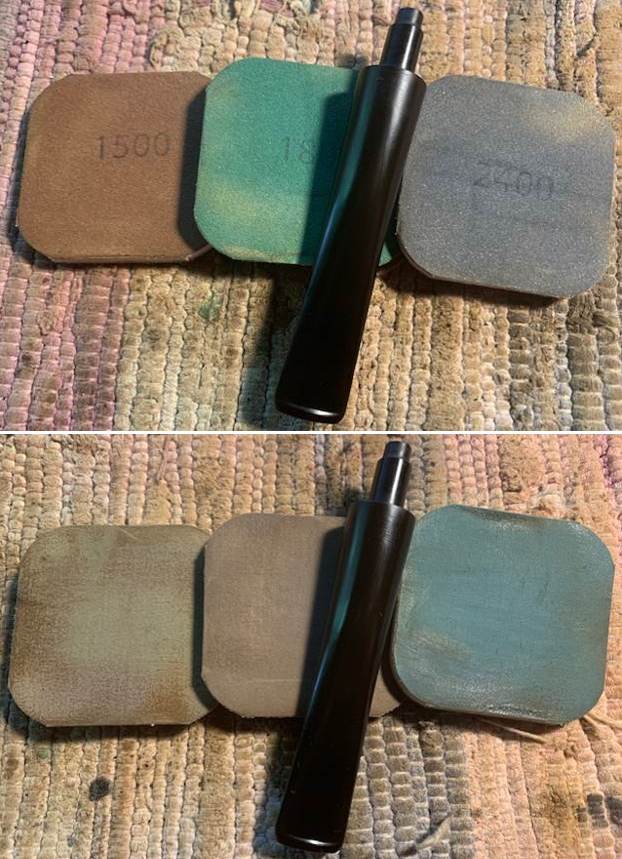
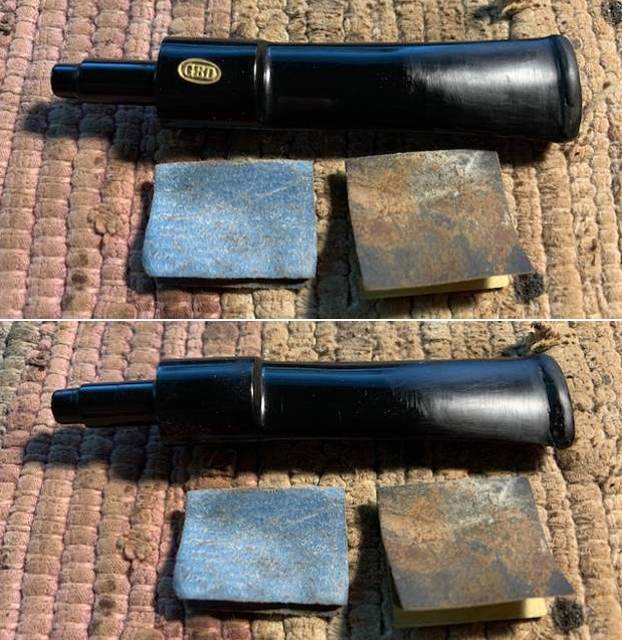
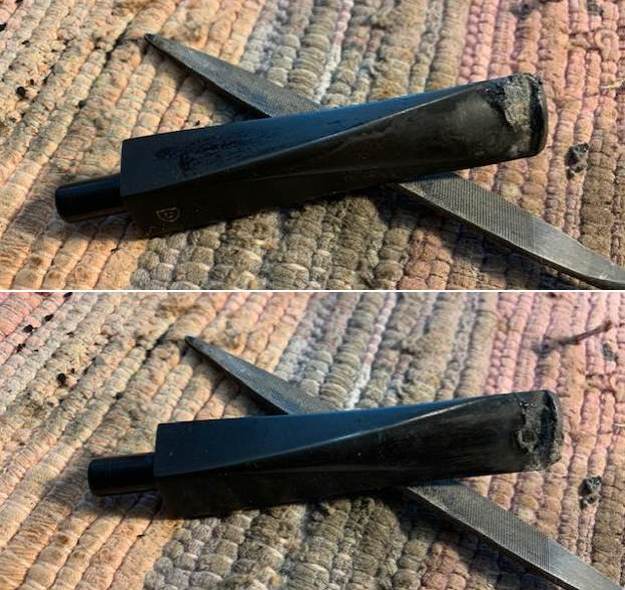
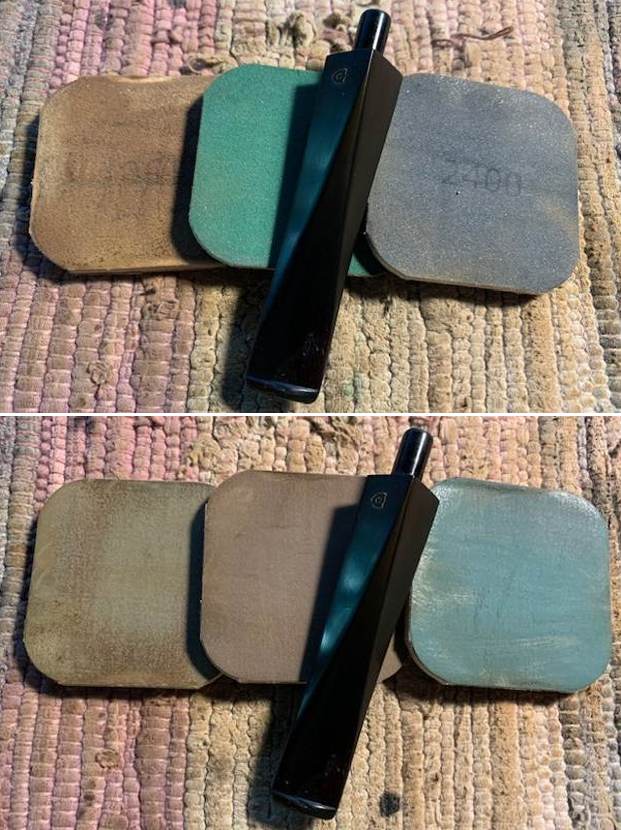
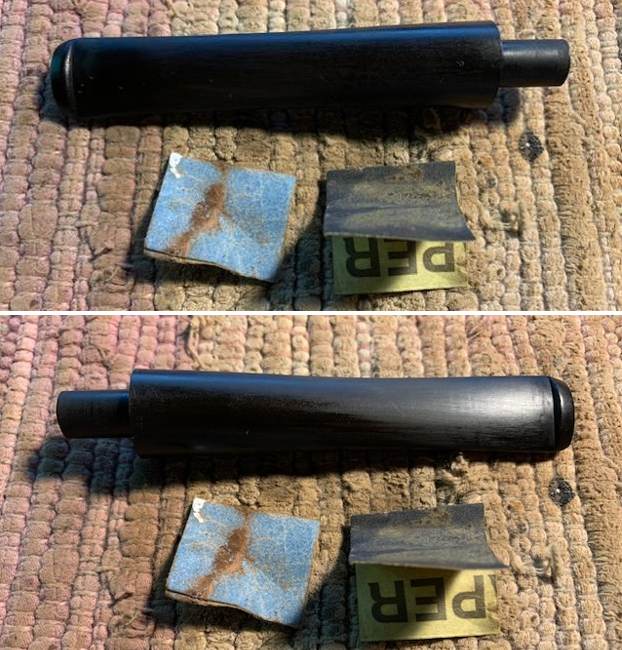
 Once the repairs cured on the top and underside of the stem I filed them flat and recut the button edge with a small file. I sanded them with a folded piece of 220 sandpaper. I started polishing the stem with 400 grit wet dry sandpaper.
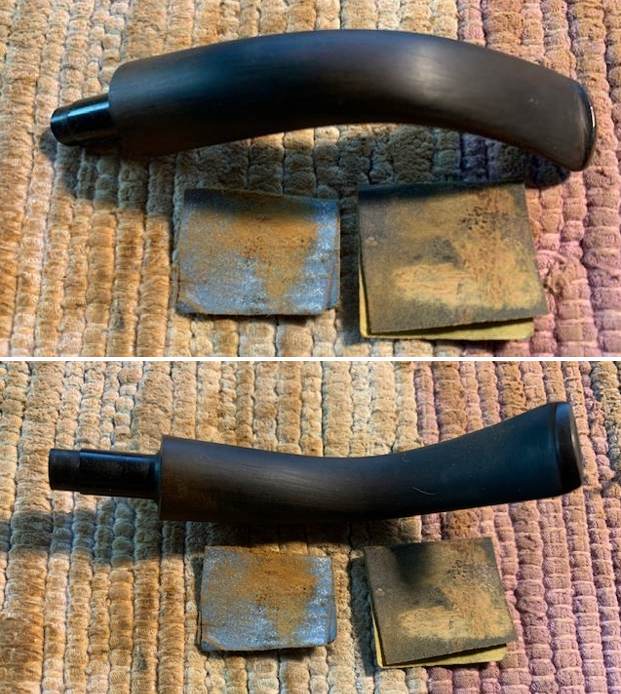
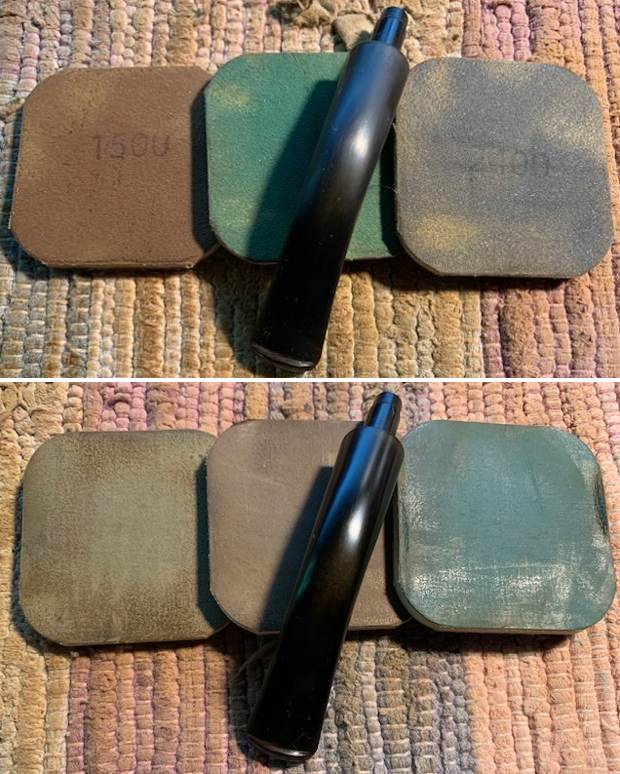
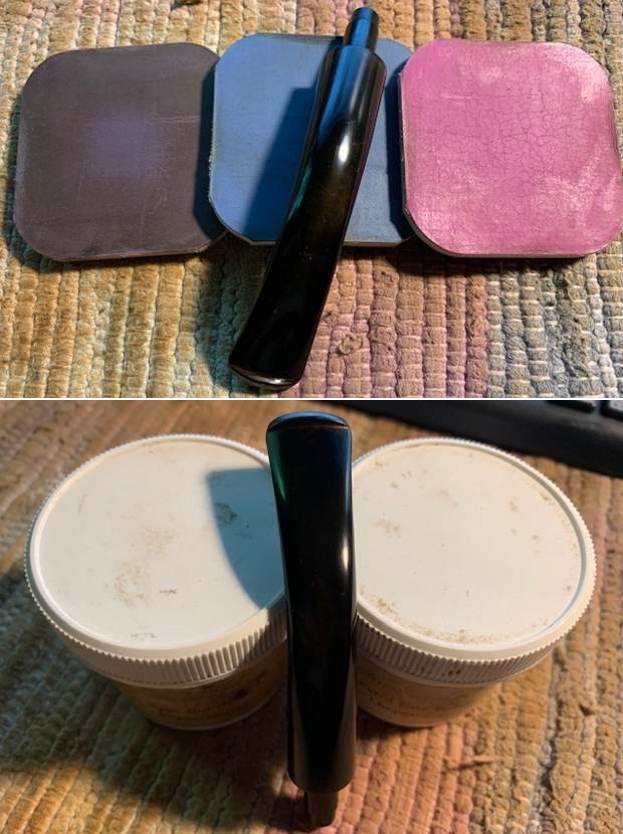
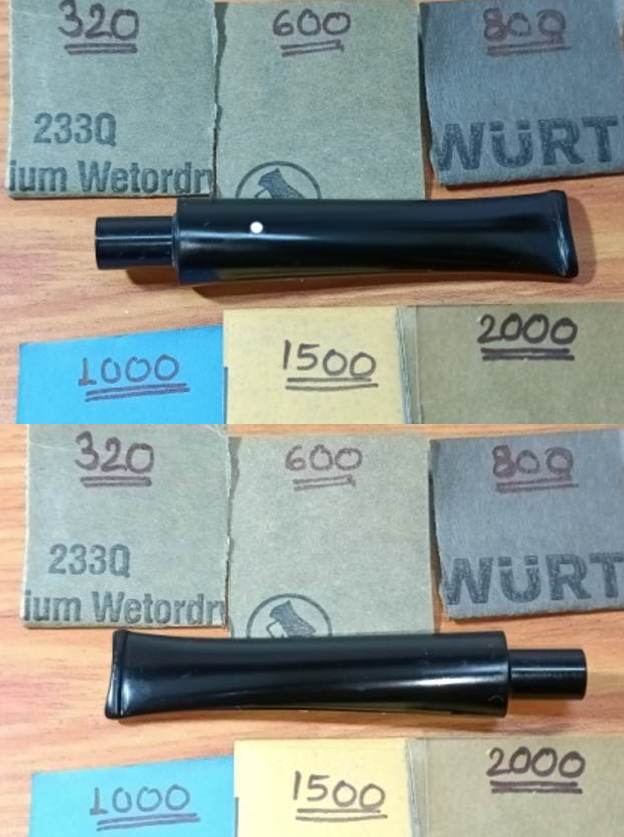
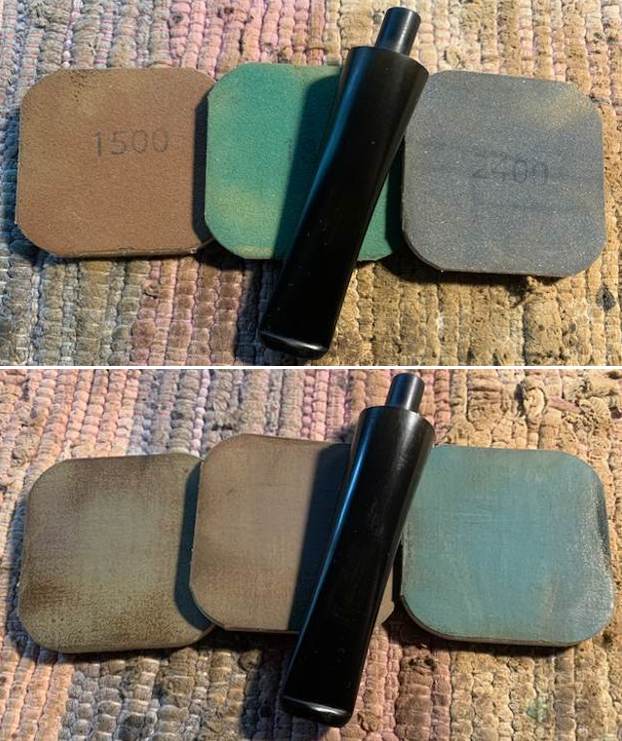
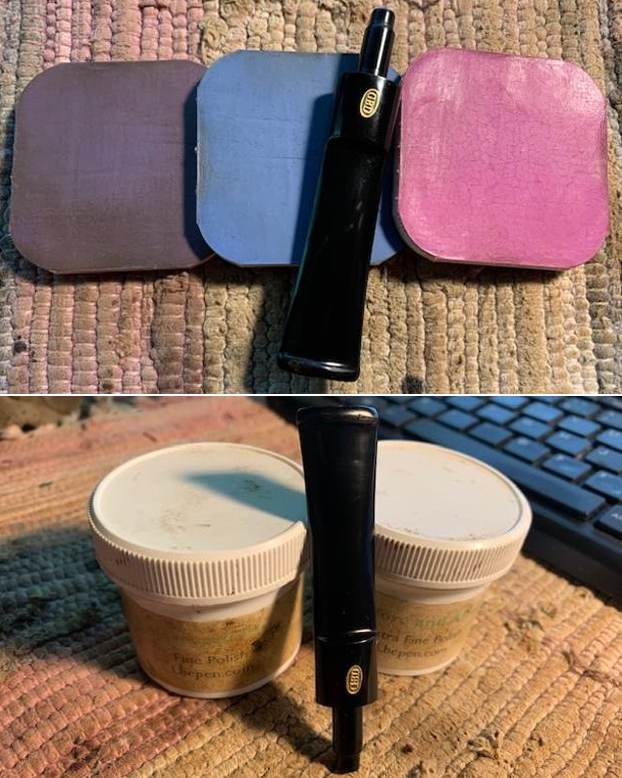
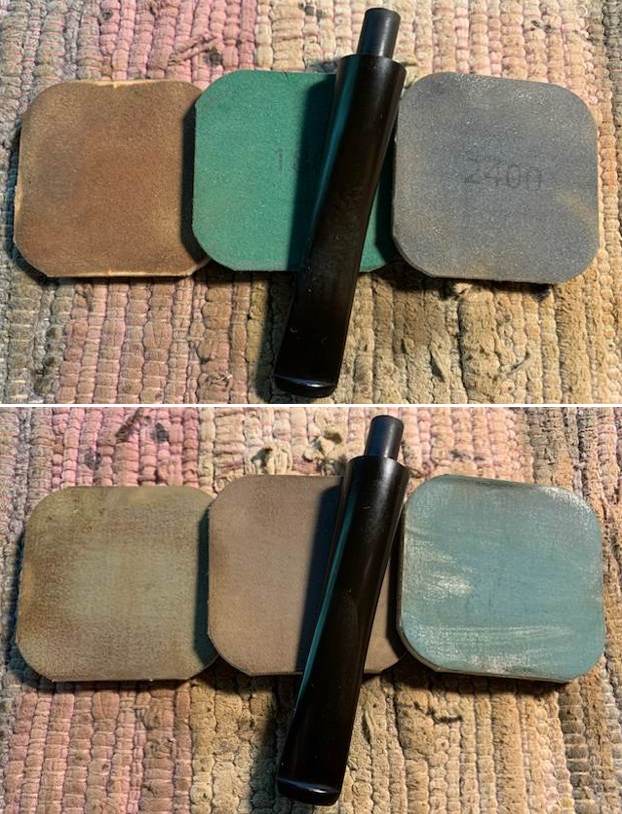
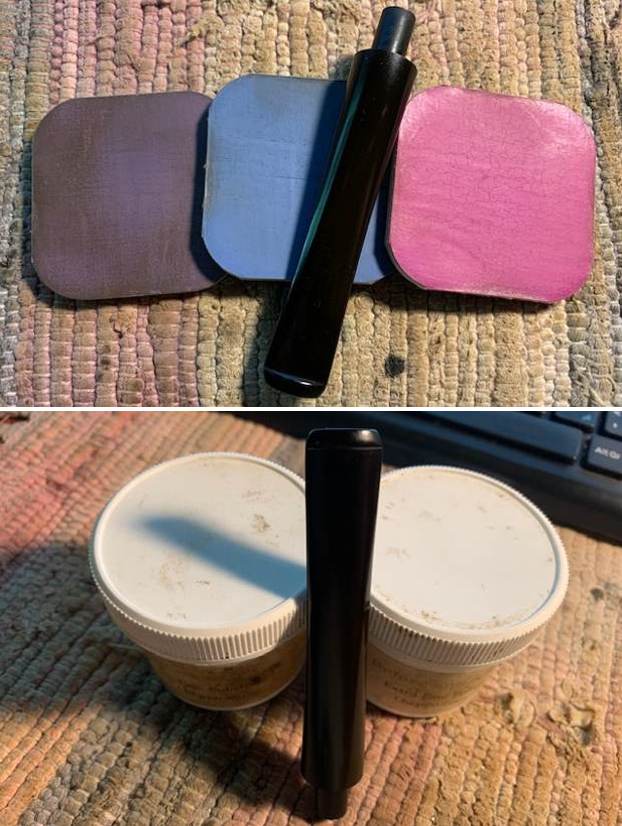
 I polished the vulcanite with micromesh sanding pads – 1500-12000 grit pads. I wiped it down with a damp cloth after each sanding pad. I used Before & After Pipe Polish – both Fine and Extra Fine to further polish the stem. I left a little oxidation around the stamp so as not to damage it more.
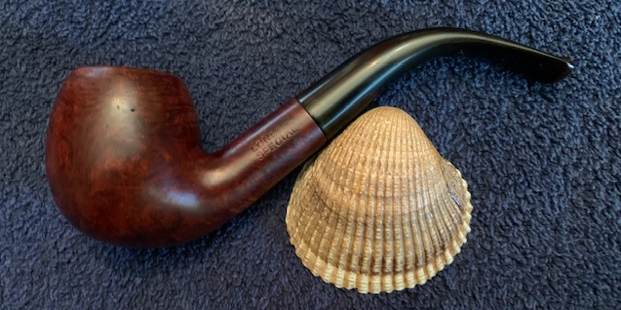
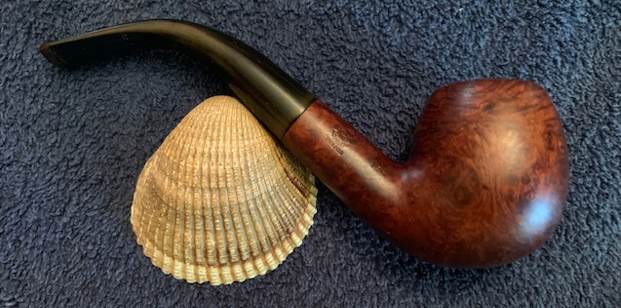
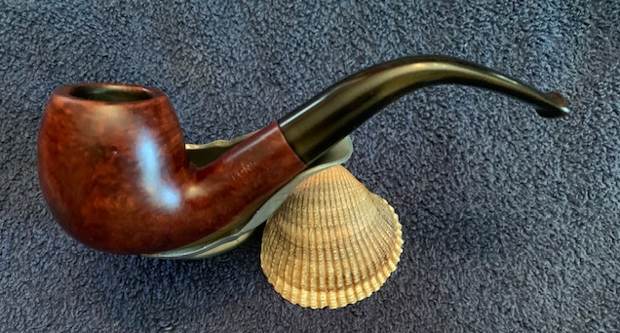
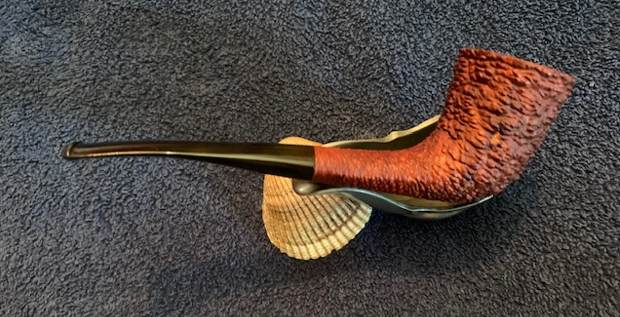
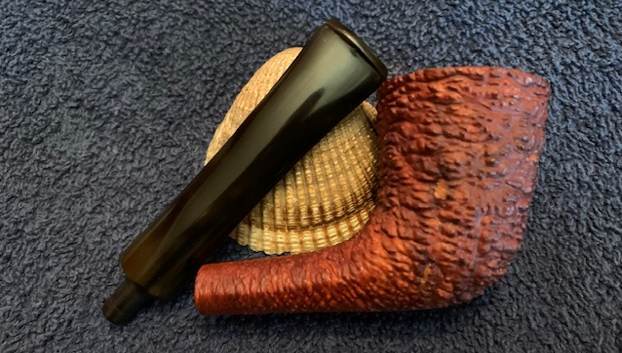
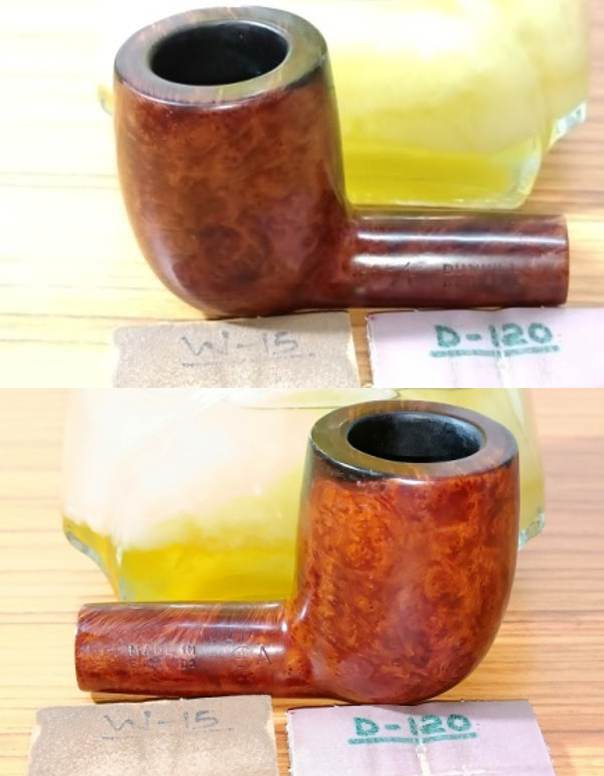
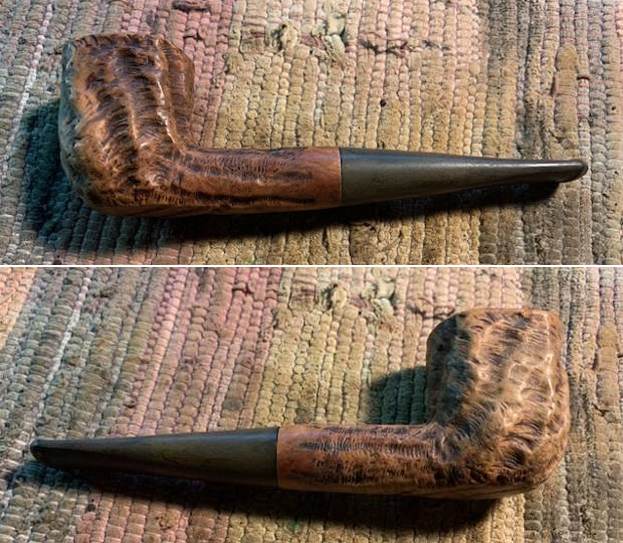
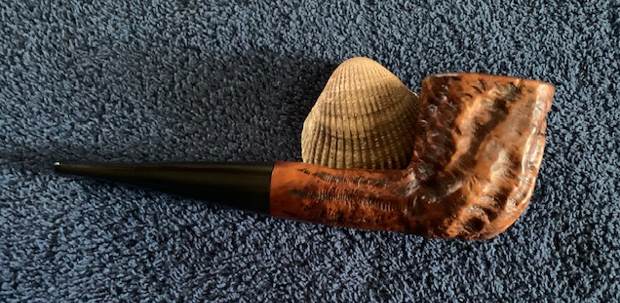
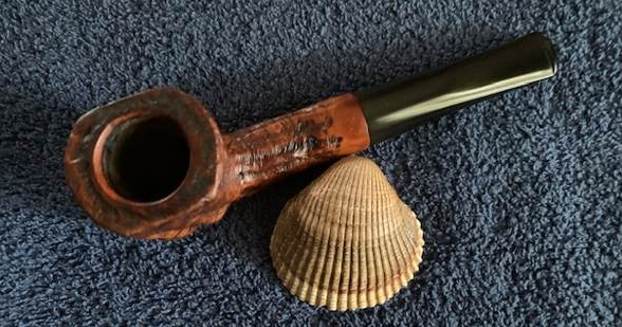
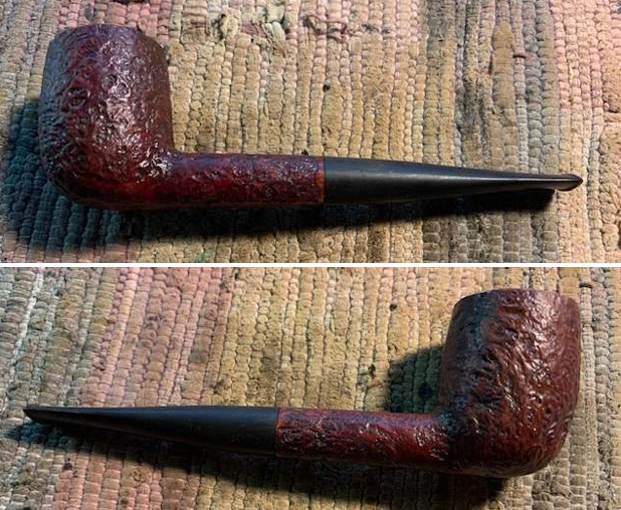
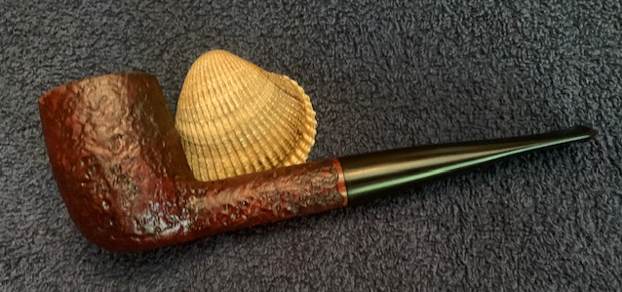
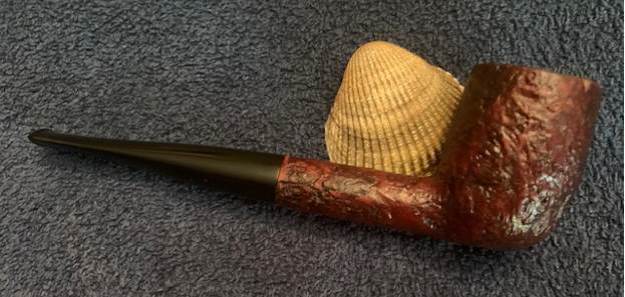
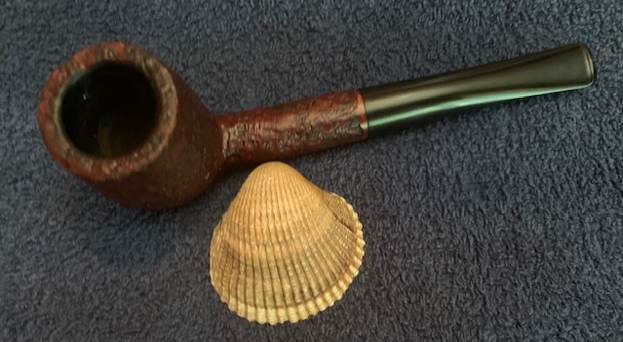
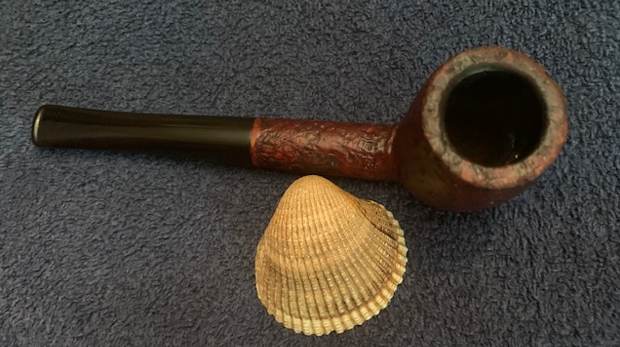
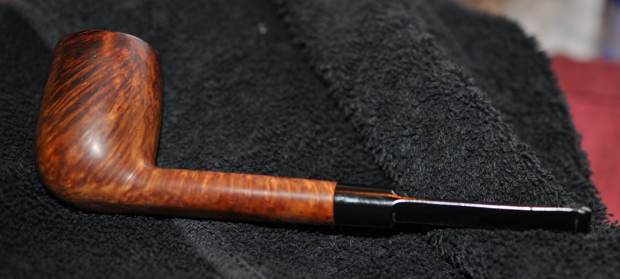
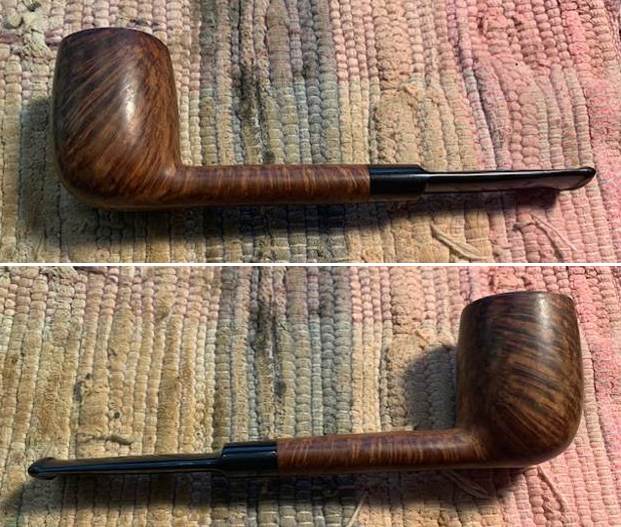
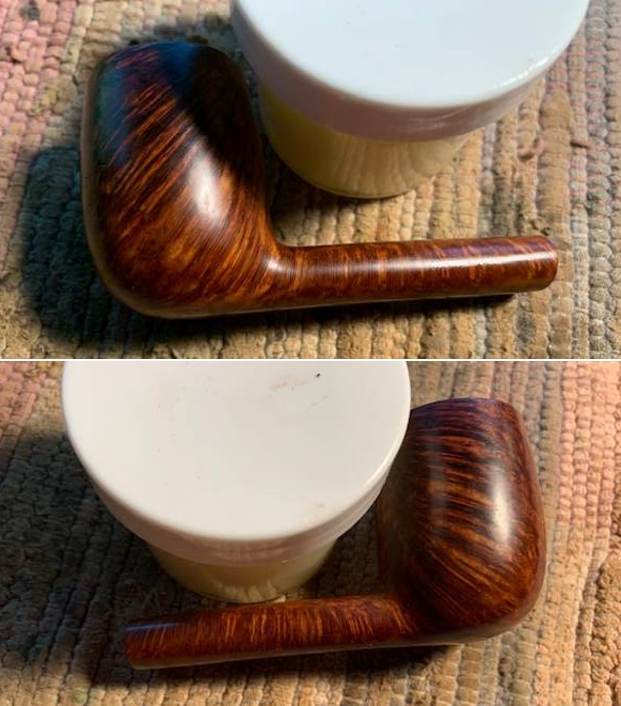
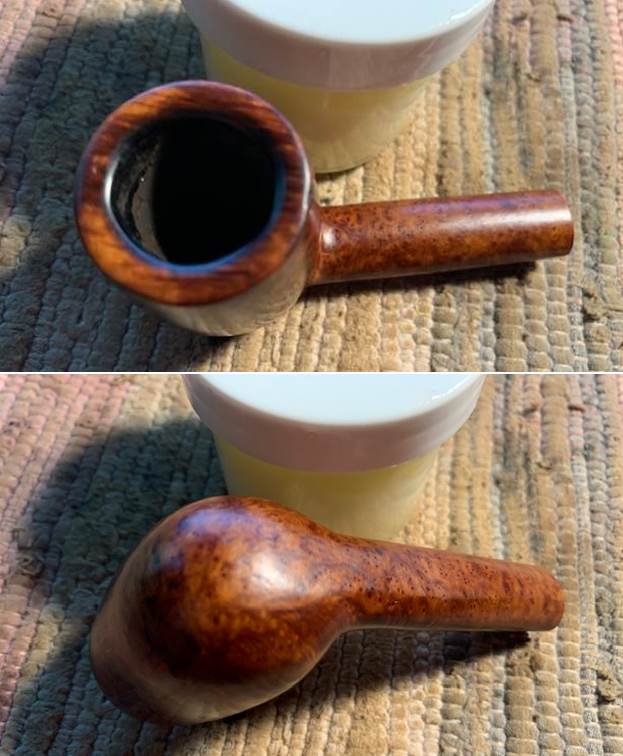
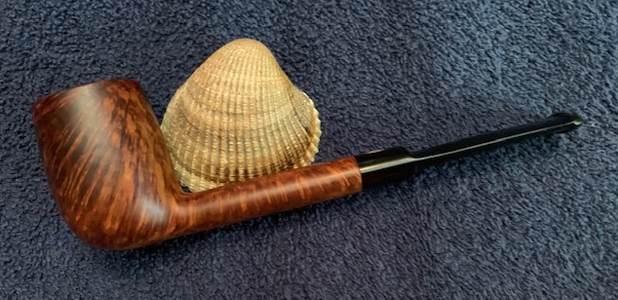
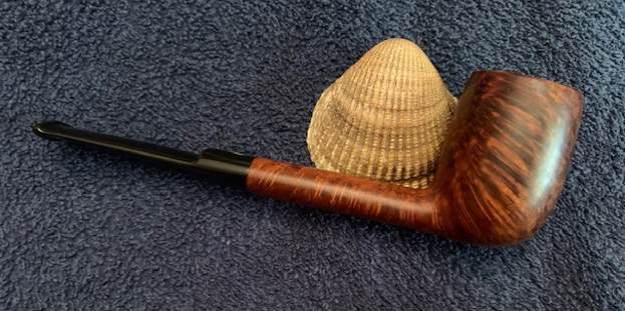
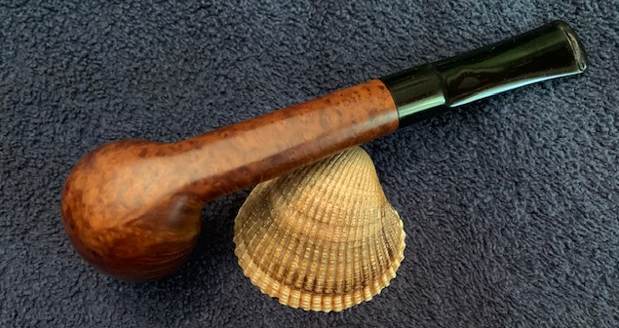
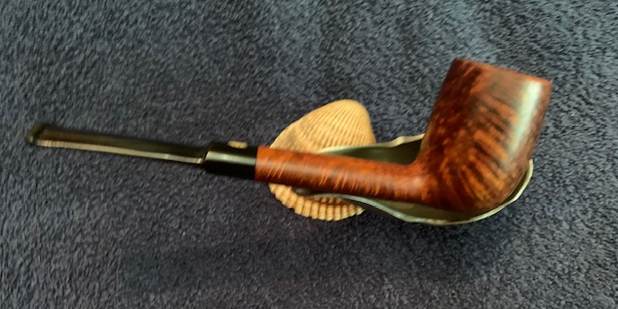
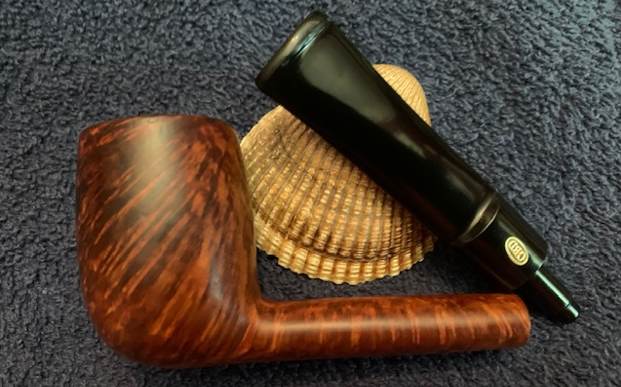
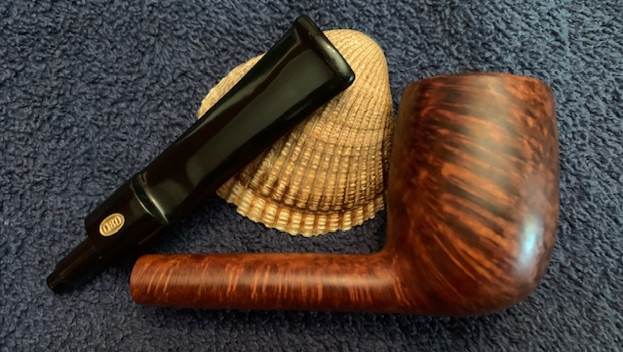
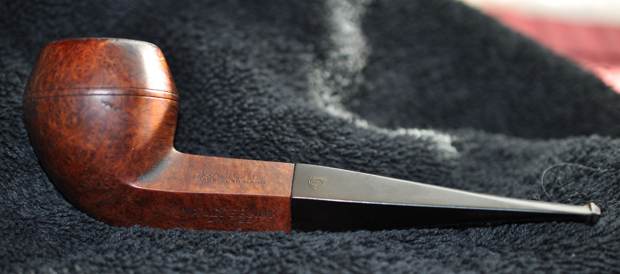
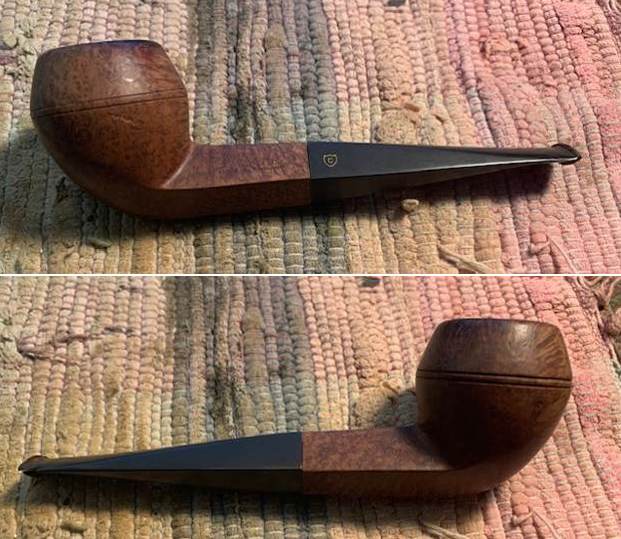
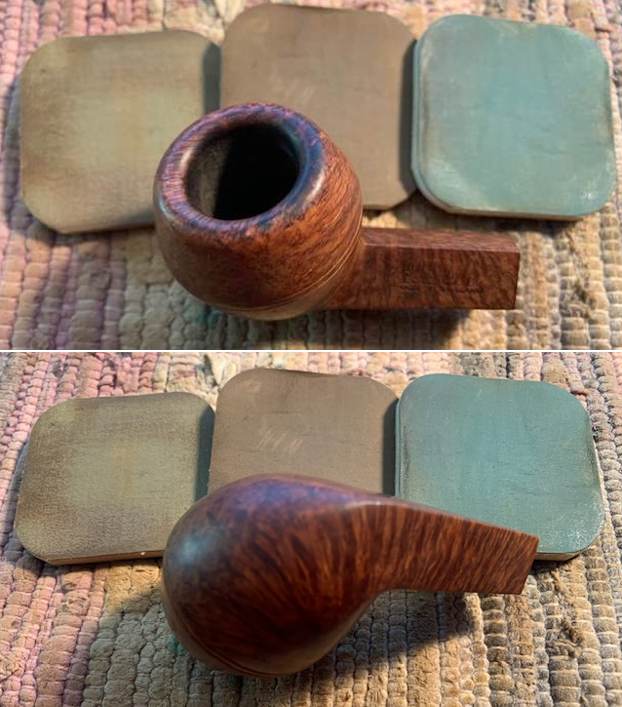
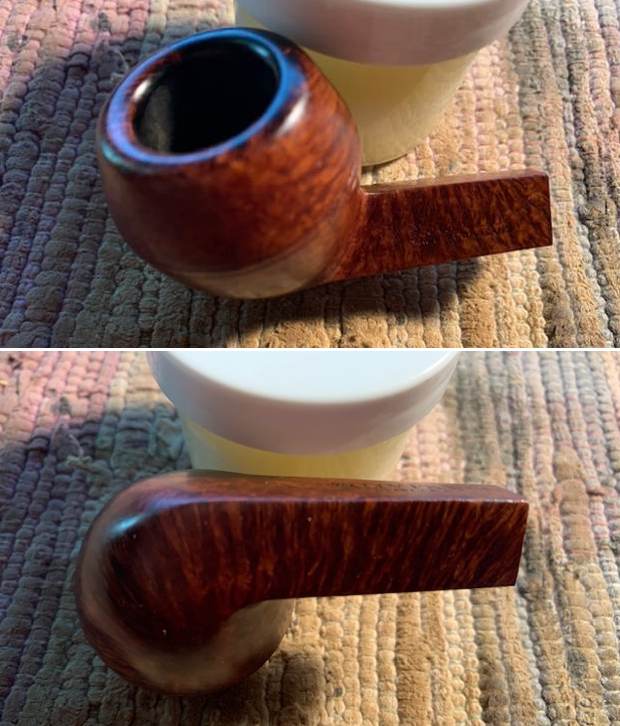
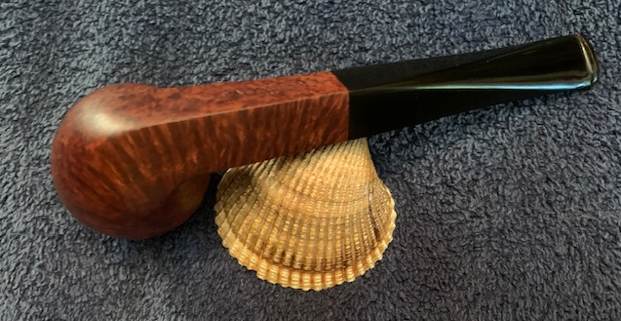
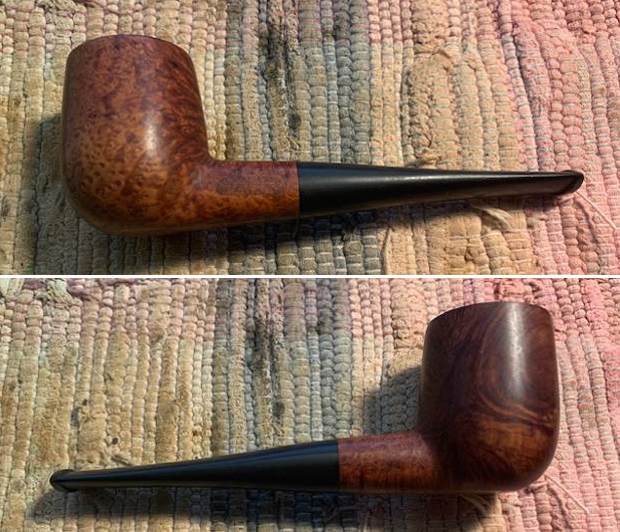
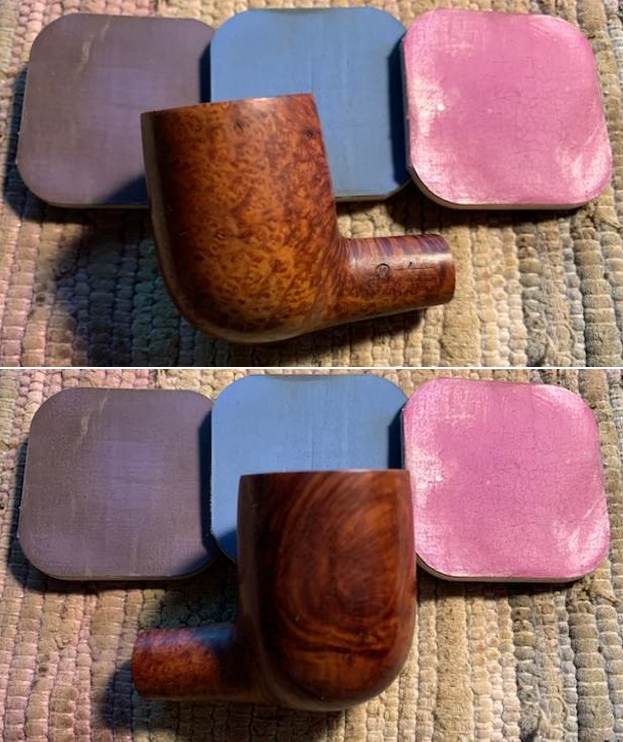
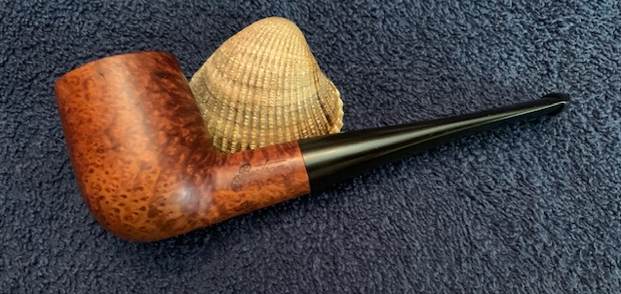
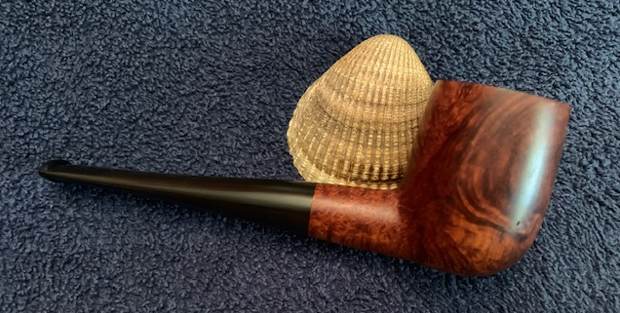
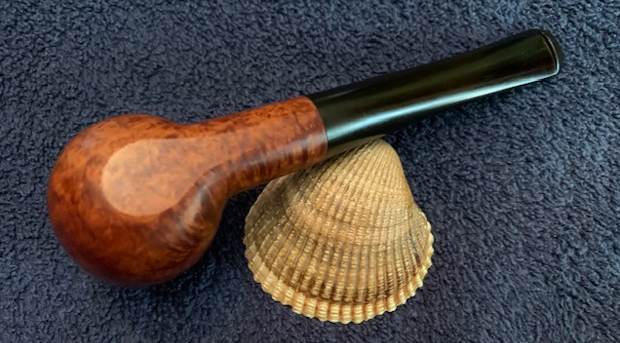
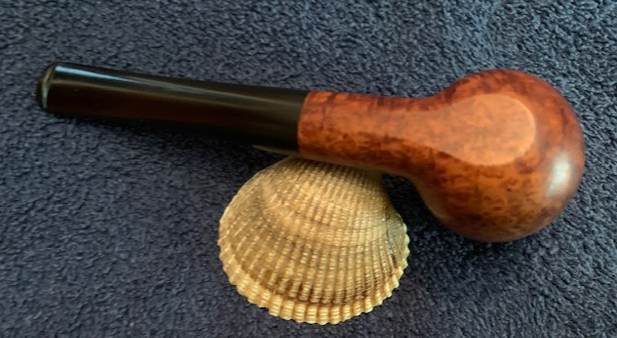
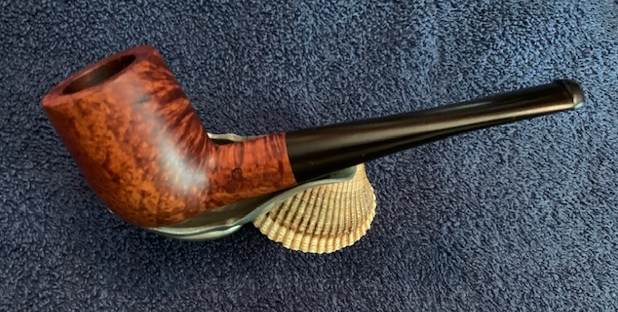
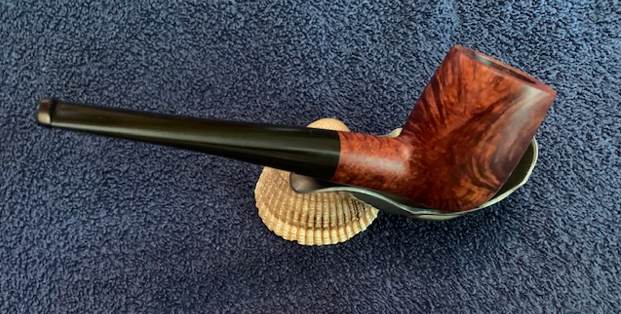
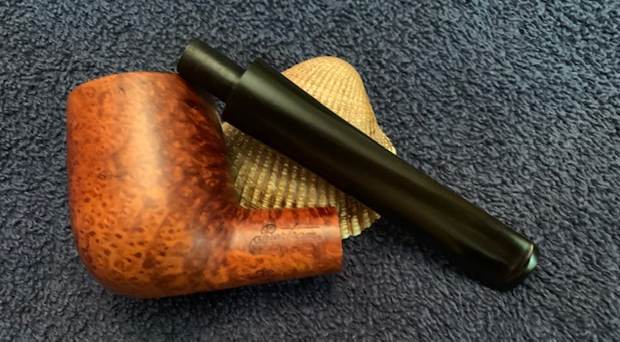
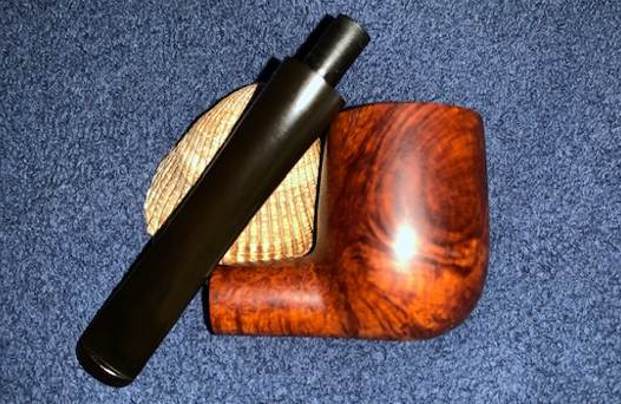
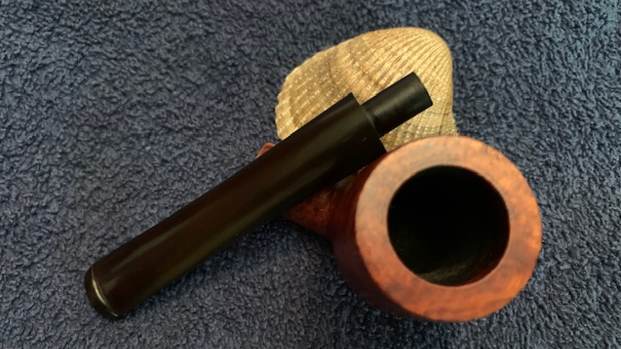
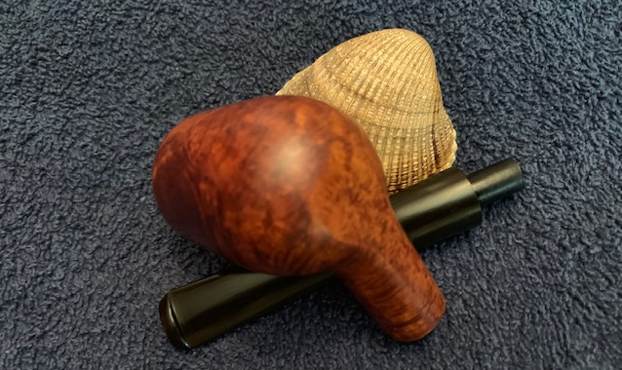
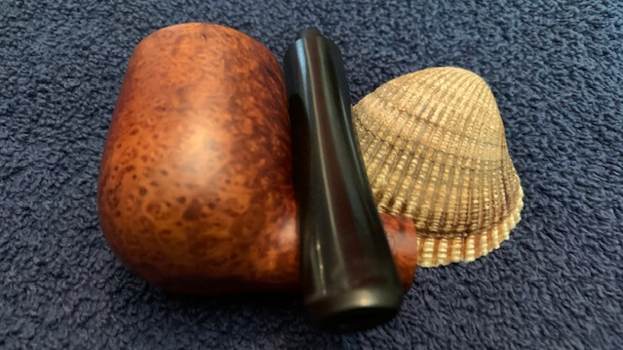
 This Butz-Choquin Rocamar 1319 Bent Billiard was a fun one to work on. Did we achieve our goal of bringing it back to life? In the end, you have to decide. To my mind it cleaned up really well and looks very good. The Before & After Restoration Balm brought the colours and grain out in the sandblast/carve finish on the pipe. It works well with the polished Cumberland taper stem. I put the stem back on the bowl and carefully buffed the pipe with Blue Diamond on the buffing wheel using a light touch on the briar. I gave the bowl multiple coats of Conservator’s Wax and the stem multiple coats of carnauba wax on the buffing wheel. I followed that by buffing the entire pipe with a clean buffing pad. I hand buffed the pipe with a microfiber cloth to deepen the shine. The finished Butz-Choquin Rocamar Bent Billiard fits nicely in the hand and I think it will feel great as it heats up with a good tobacco. The tactile finish will add to the experience. Give the finished pipe a look in the photos below. The dimensions of the pipe are Length: 6 inches, Height: 2 inches, Outside diameter of the bowl: 1 ¼ inches, Chamber diameter: ¾ of an inch. The weight of the pipe is 2.15 ounces/61 grams. If you are interested in carrying the previous pipeman’s legacy with this pipe send me a message or an email. I will be adding it to the rebornpipes store in the French Pipe Makers Section. Thanks for reading this blog and my reflections on the pipe while I worked on it.
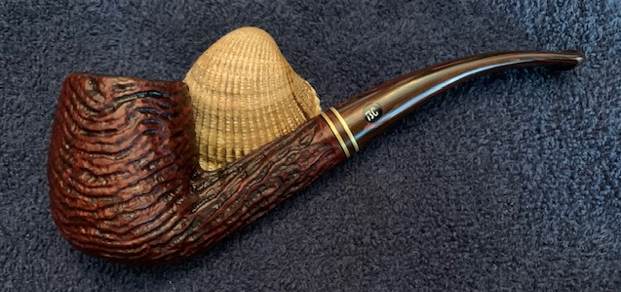


