Blog by Paresh Deshpande
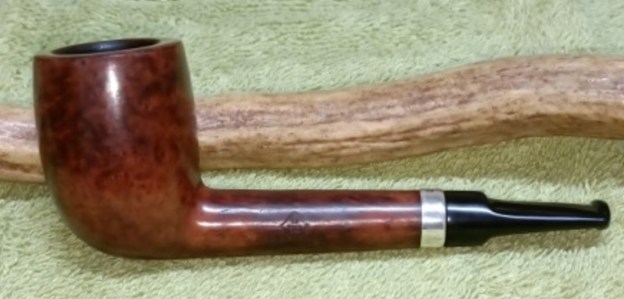
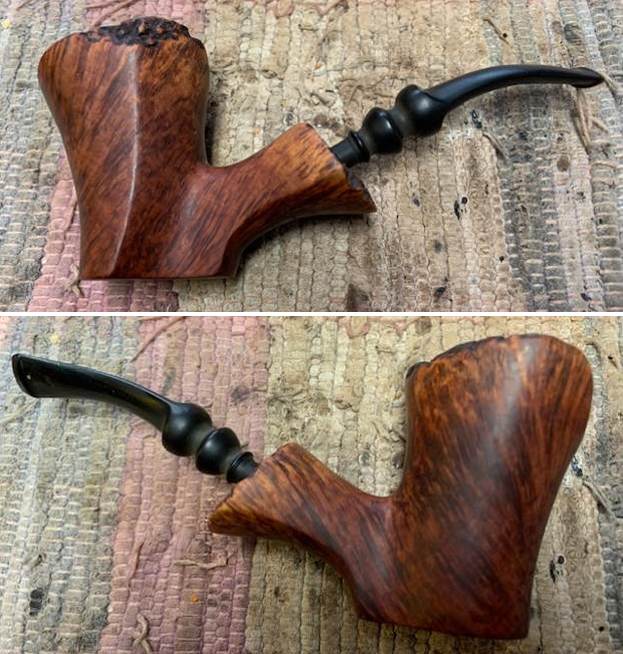
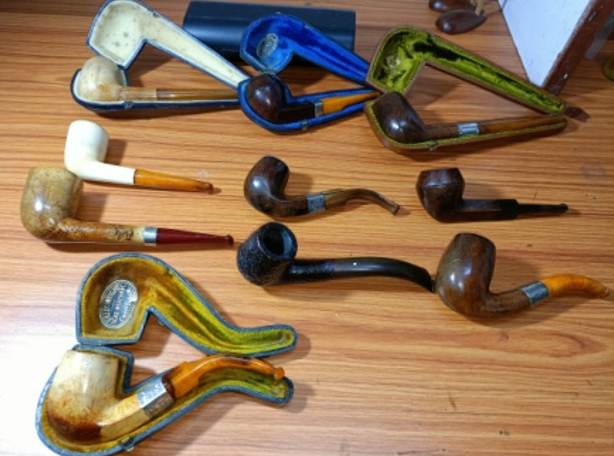
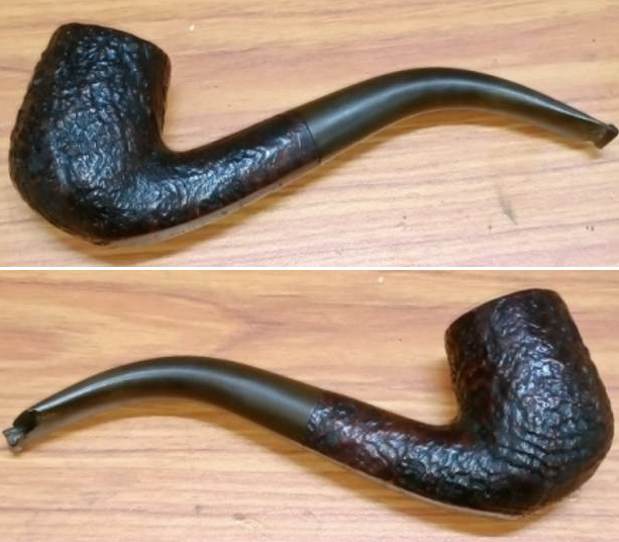
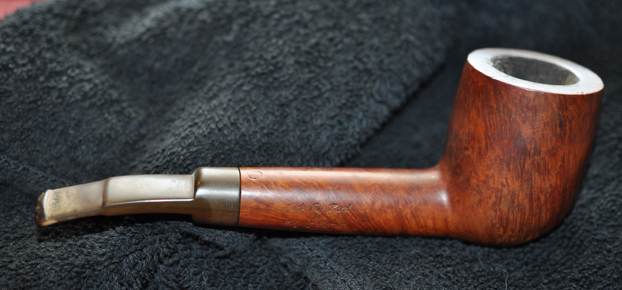
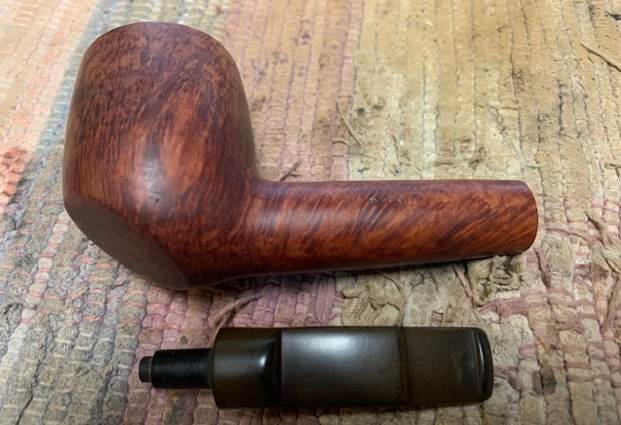
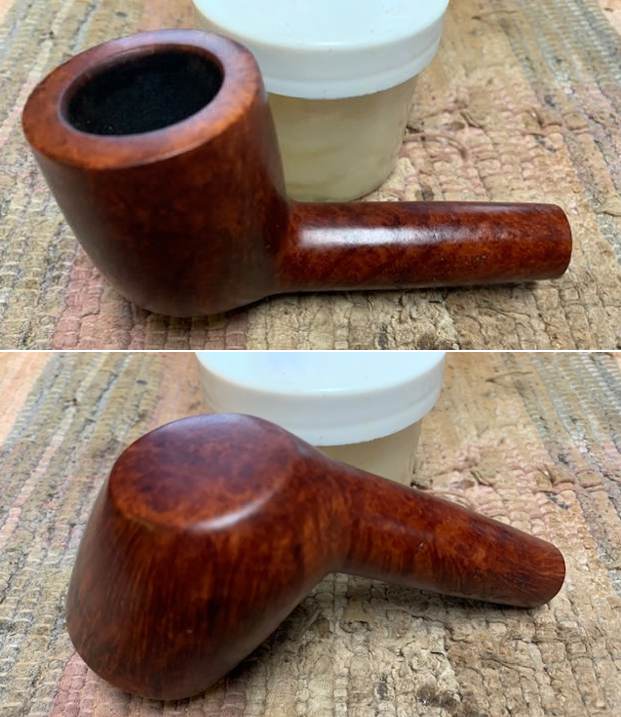
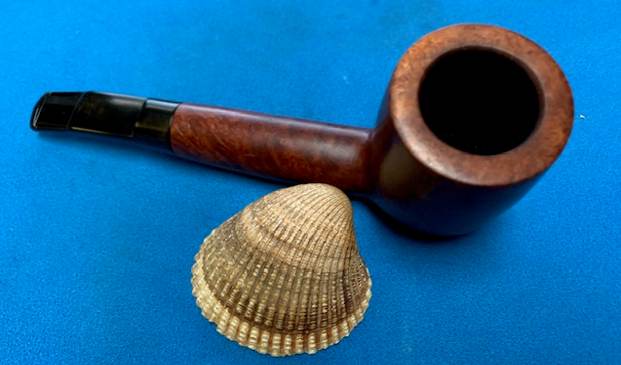
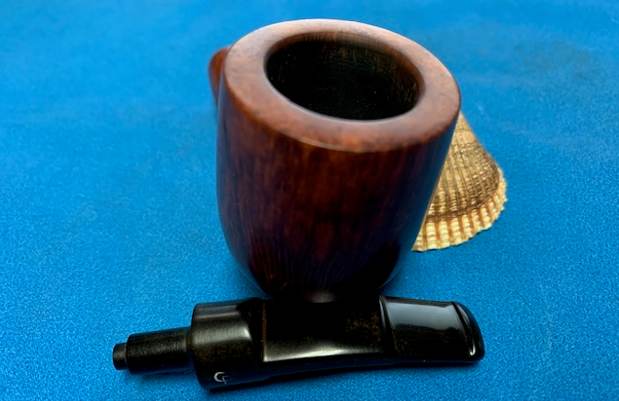
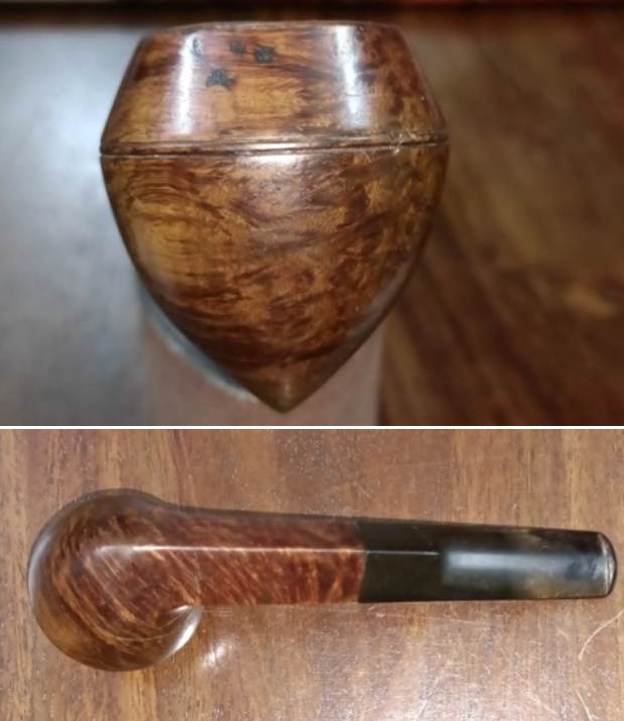
During the summer of last year while browsing on Pinterest, I came across pictures of some beautiful pipes and following the links led me to an old gentleman from the UK who was willing to sell these pipes either single or as a lot. There were around 60 odd pipes. I went through the pictures that were sent along with the rates and selected 10 pipes. After a prolonged and interesting interaction, we managed to arrive at a price point. Soon these pipes landed on the shores of India and went in to Customs hold for nearly a month. Finally, it was released and I laid my hands on these pipes after a wait of nearly 3 months! Here is a picture that I had taken moments after opening the parcel. Save for four pipes, remaining pipes came with Amber stems that were in fairly decent condition. The next pipe that I decided to work on is from this lot. It has that classic English bulldog shape and size that I like the most. That it’s a Barling’s Make meant that it will be added to my Barling collection. This pipe is indicated by a yellow arrow in the picture below.
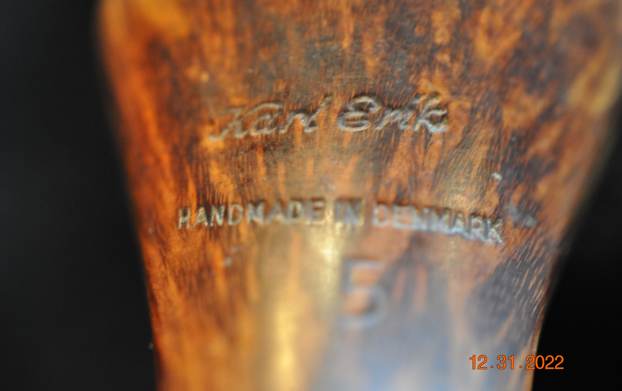
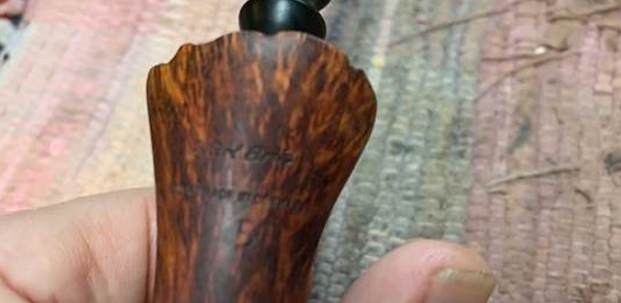
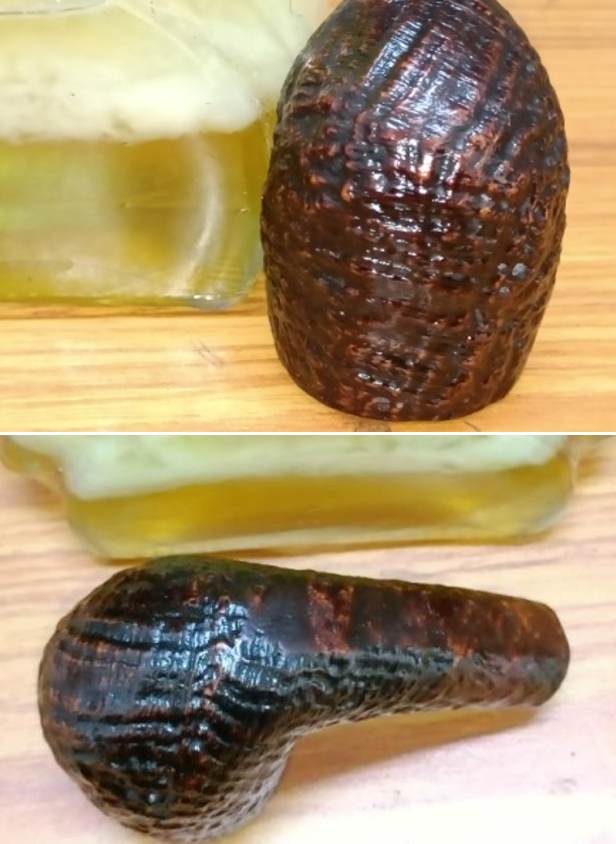
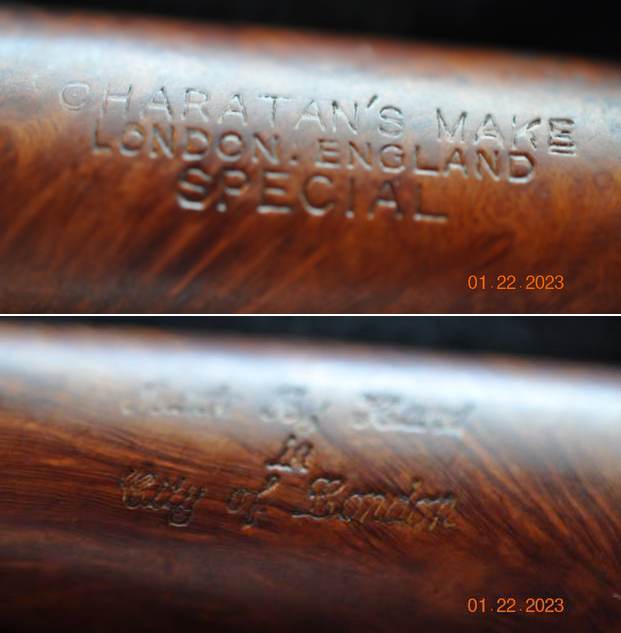
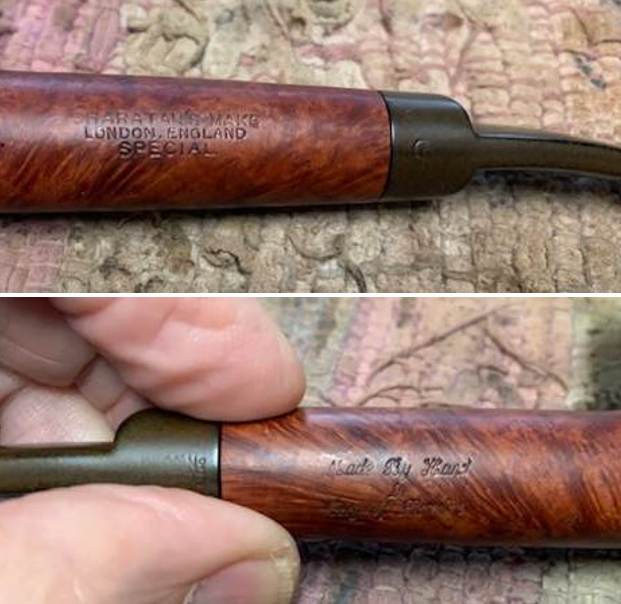
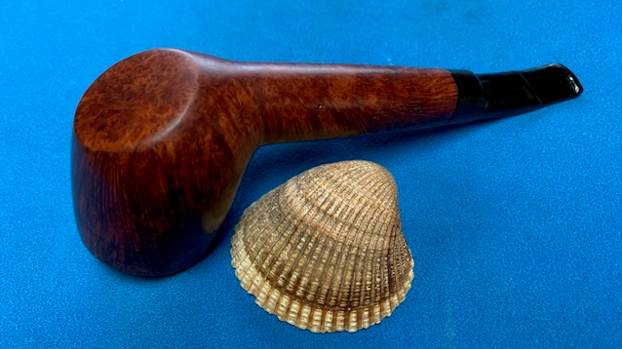
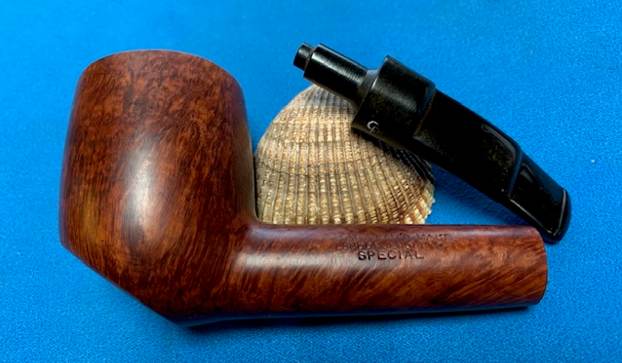
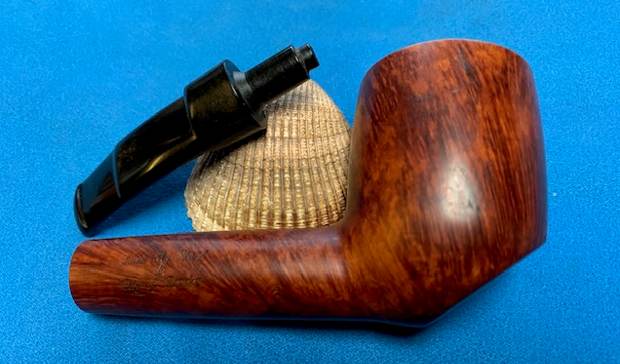
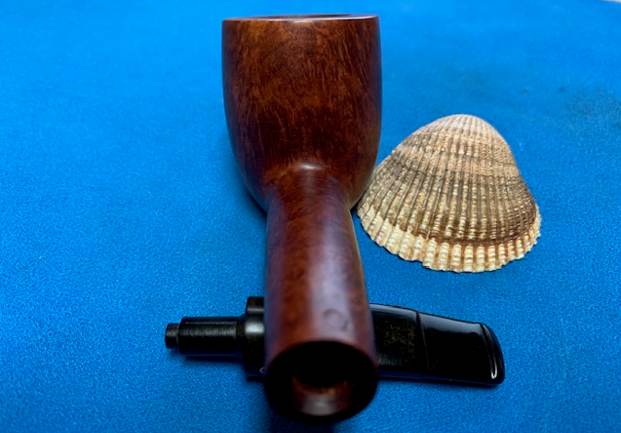
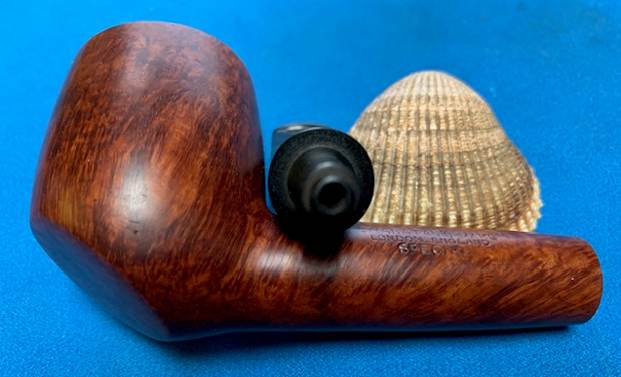
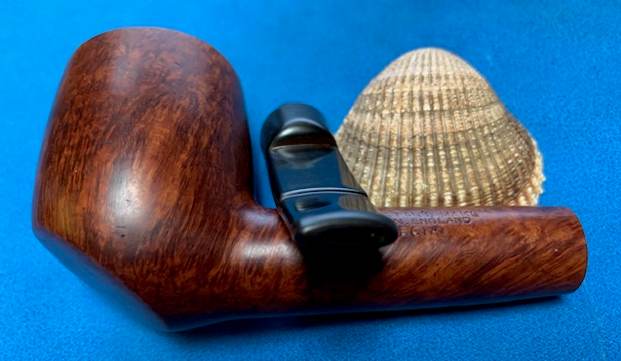
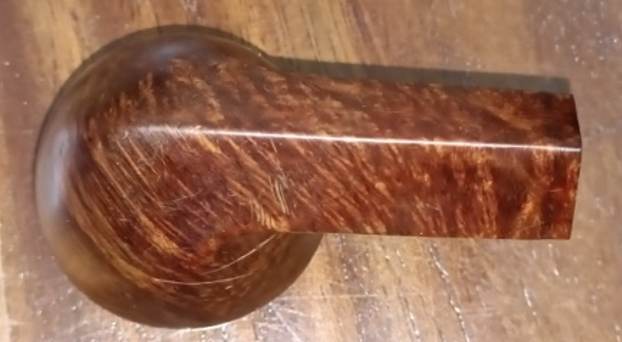
 From the above picture it is amply evident that this pipe is small when compared to the group 4 sized Dunhill that is seen in the picture, but the bowl is medium sized and holds a decent quantity of tobacco. The stummel boasts of some beautiful mix of bird’s eye and cross grains along the entire surface. It is stamped as “BARLING’S MAKE” on the left shank surface in small simple capital letters while the right shank face bears the stampings “JAMES & Co.” over “BIRMINGHAM”. These stampings are a bit different than the ones I have come across in that there is no model number and neither is there any size stampings e.g. SS, S-M, L, EL etc.
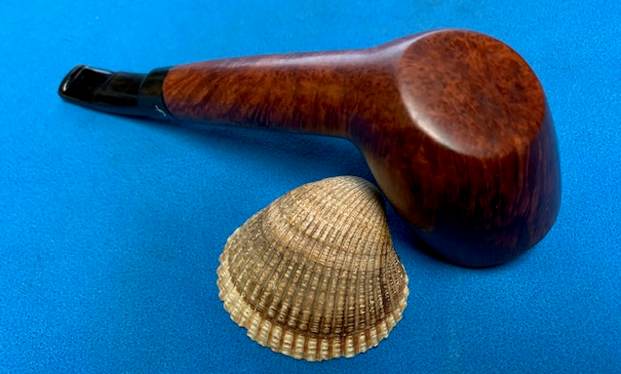
 I have worked on quite a few Barling’s pipes and have read up as much material as I could lay my hands on anything related to Barling’s pipe. A simple look at the stampings on the left shank surface indicates that this pipe is from the Family Era. There are certain pointers like, the small font size, simple capital letter, lack of stamp denoting the size of the pipe and the minimalistic stamping, which place this pipe between 1930s and Pre-WW II period, 1941 to be precise.
According to Tad Gage, Pre-1946 stampings are minimal. Pre WW2 pipes rarely have size, shape or grading. Thus, I can confidently date this pipe to the Family era and to have been roughly made during the period 1930 to 1941.
You may consider visiting the under mentioned link for a detailed read about the Barling company and dating guide.
https://pipedia.org/wiki/Barling#The_Company
The stampings on the left side shank surface has provided all the clues to establish the provenance of this beautiful classic British pipe, but what about the JAMES & Co over BIRMINGHAM stampings?
An internet search threw a number of businesses and Business houses with the name James & Co, including variations of the searched name, from Birmingham and nearby areas. However, nothing concrete came up that strongly connected the Barling’s pipe to any business house.
However, when I searched for James & Co. after including 1930s, my screen was flooded with images and information about JAMES CYCLE & Co.!!!! The connection between this Barling pipe and the company somehow felt logical. Here is what I found out about JAMES MOTORCYCLES……
The James Cycle Co Ltd., Greet, Birmingham, England, was one of many British cycle and motorcycle makers based in the English Midlands, particularly Birmingham. Most of their light motorcycles, often with the characteristic maroon finish, used Villiers and, later, AMC two-stroke engines.
James were prolific bicycle and motorcycle manufacturers from 1897 to 1966. The company was taken over by Associated Motor Cycles in 1951 and combined with Francis-Barnett in 1957. In 1966 the company became one of the many British motorcycle companies forced out of business by Japanese competition.
In early twentieth century, it was a popular promotional practice amongst business houses to give away quality pipes that were commissioned from reputed pipe makers like Comoy’s, Charatan, GBD, Barling’s etc, as gifts to their clients with the firm name duly stamped on the pipe.
In this instance, the time period of making this pipe matches with the period of the existence of James Cycle & Co and also pipes and motorcycles are supplementary to masculinity. Is it possible that this Barling pipe was commissioned by James & Co of Birmingham as complimentary gift to their client? Please comment and let me know.
With the vintage of the pipe established with certainty and speculations about the connection of this particular pipe with motorcycle manufacturer, James & Co. Birmingham, it’s time to move ahead with the process of restoration.
Initial Visual Inspection
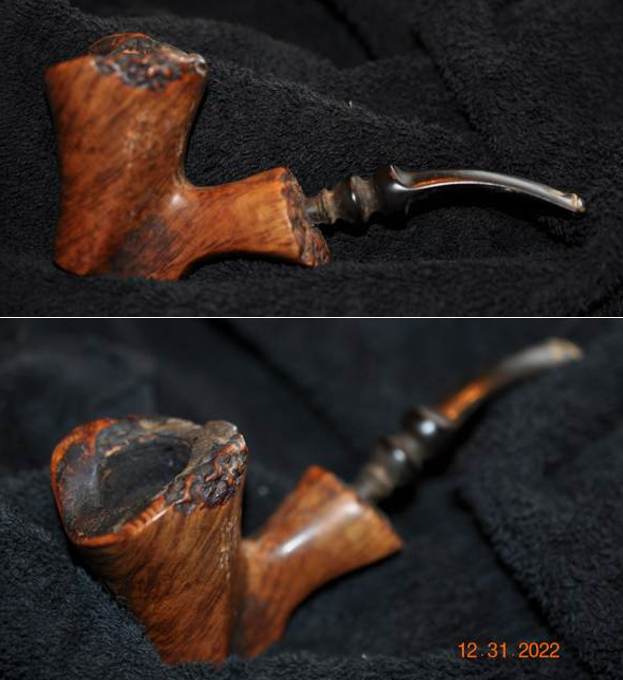
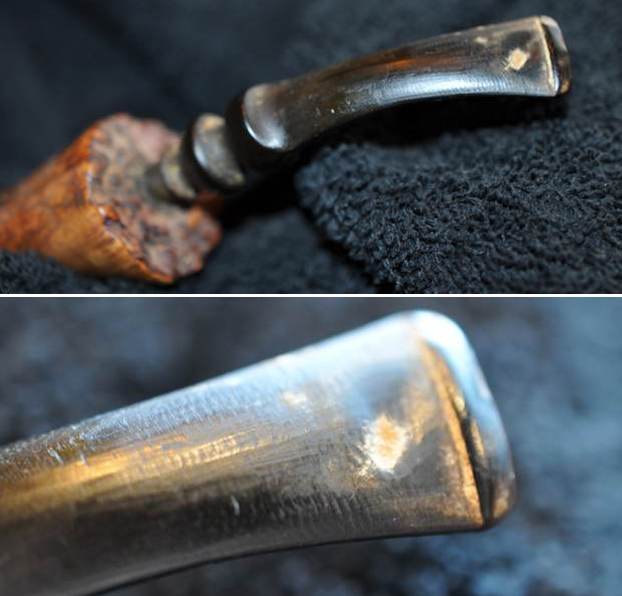
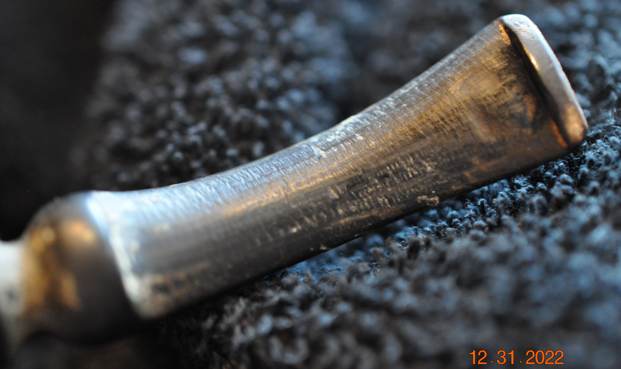
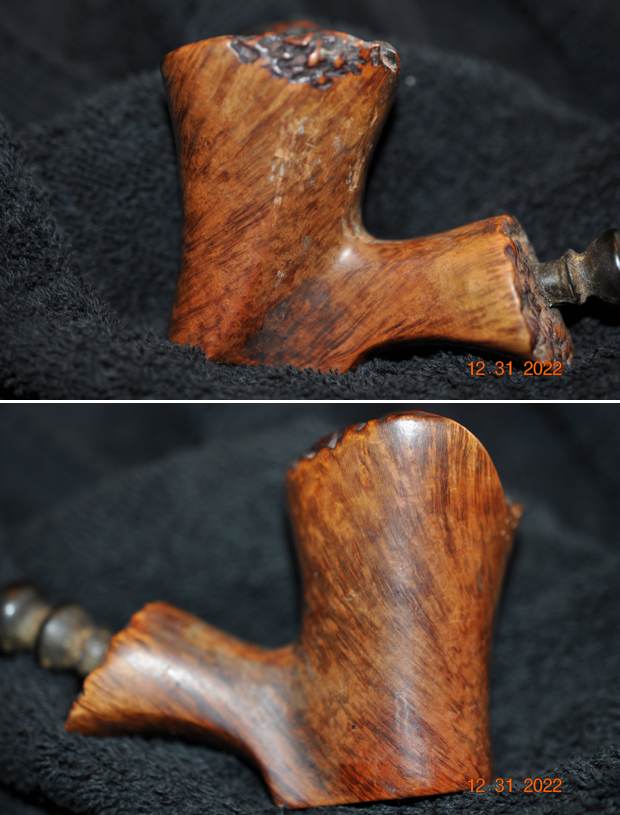
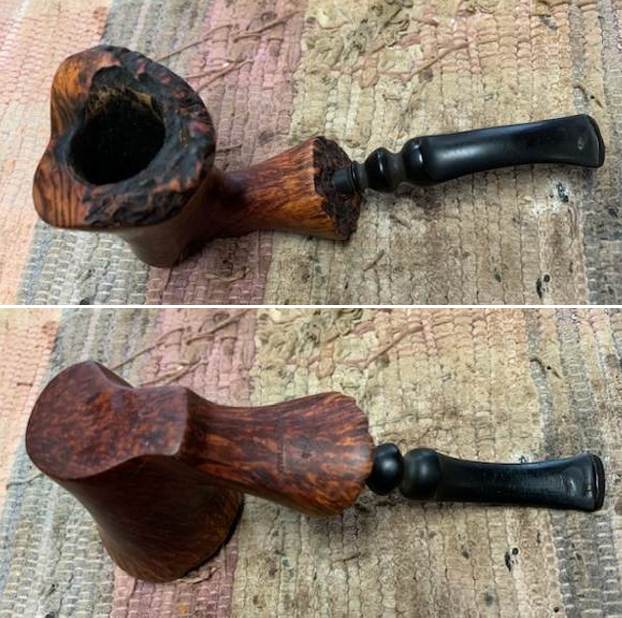
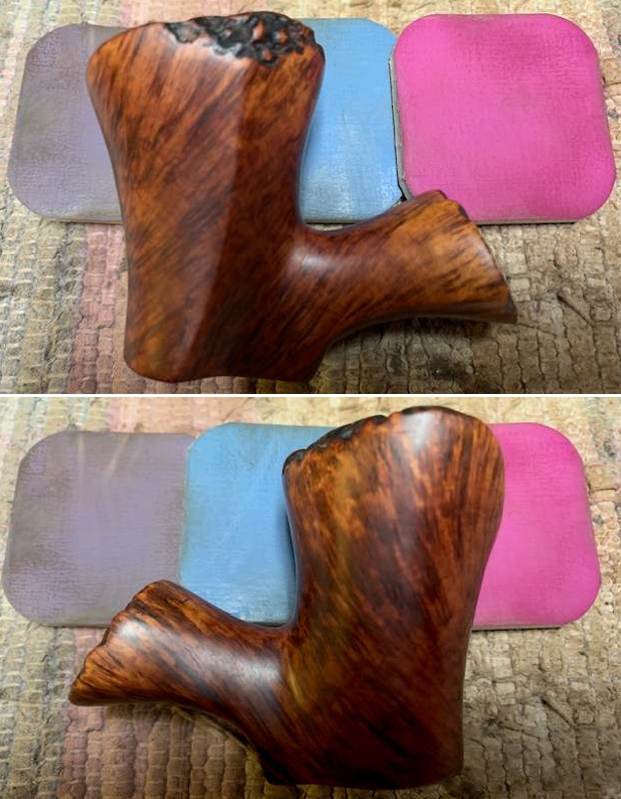
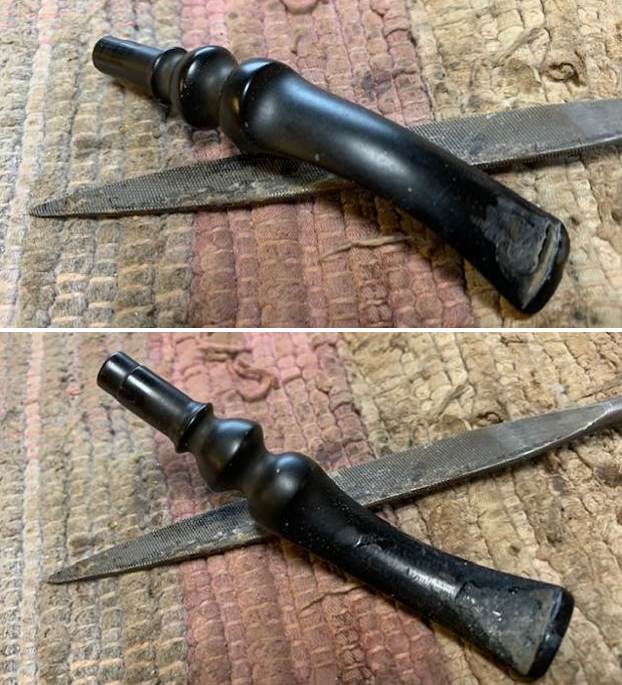
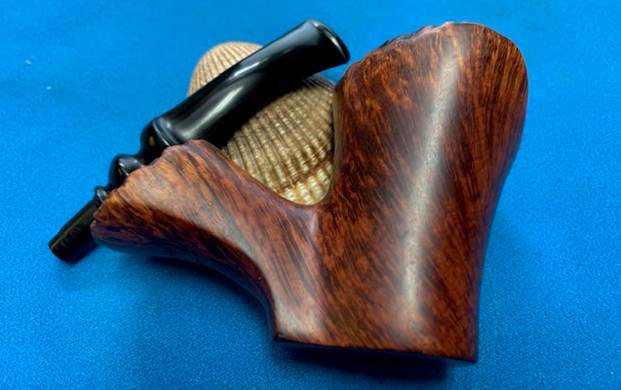
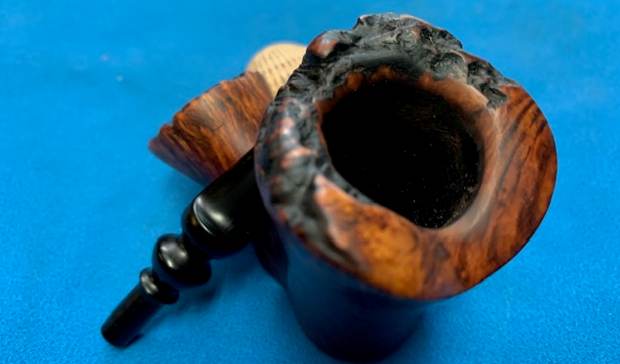
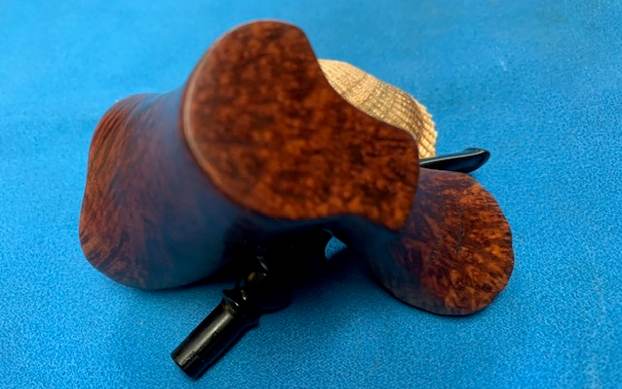
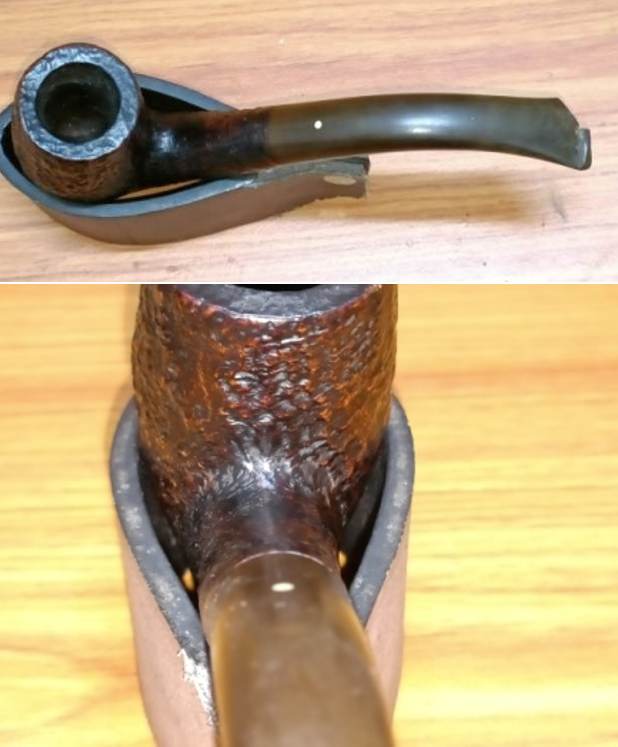
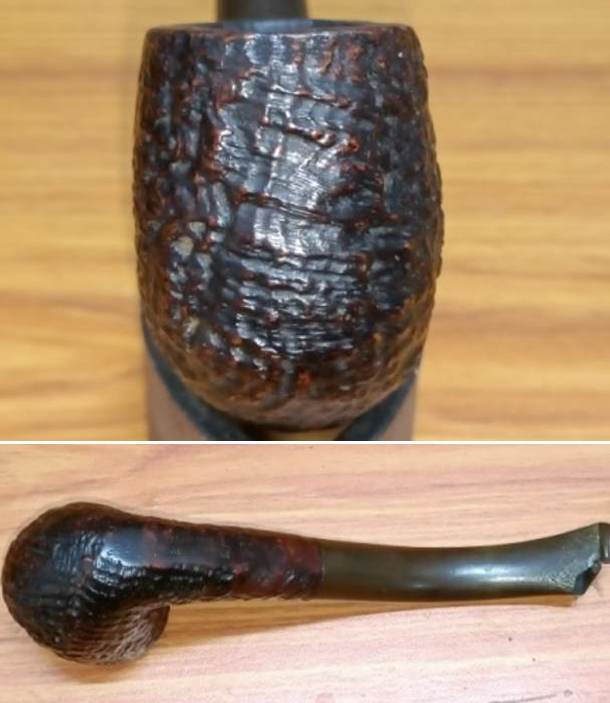
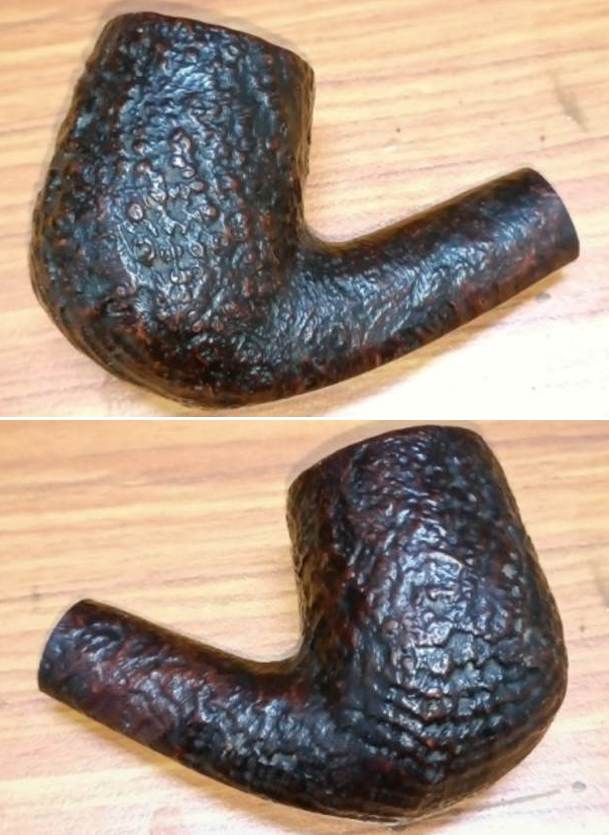
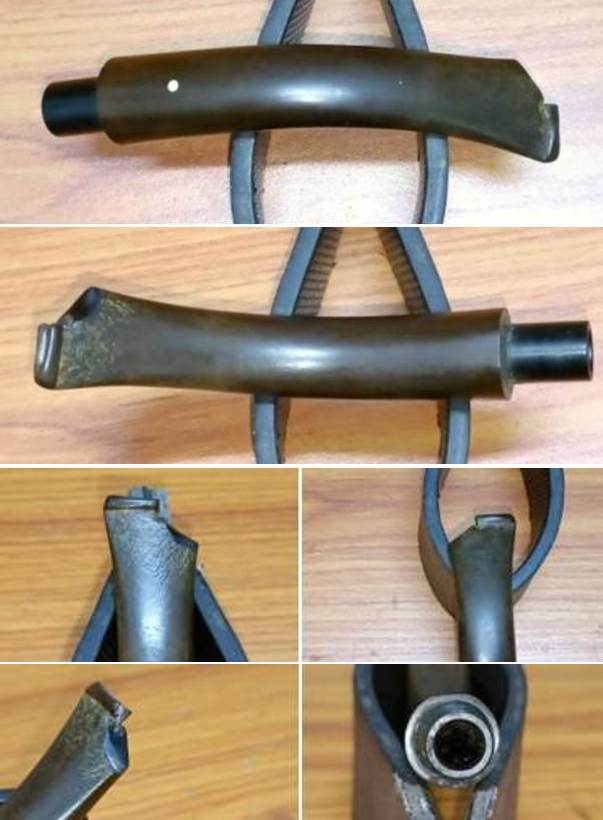
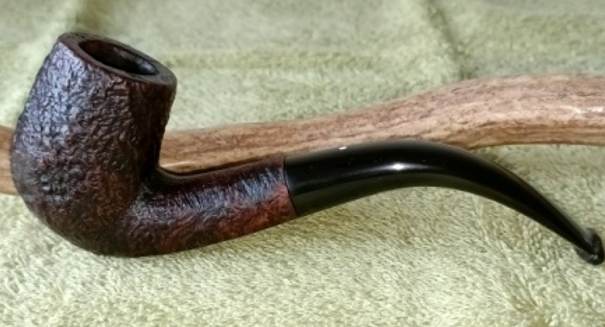
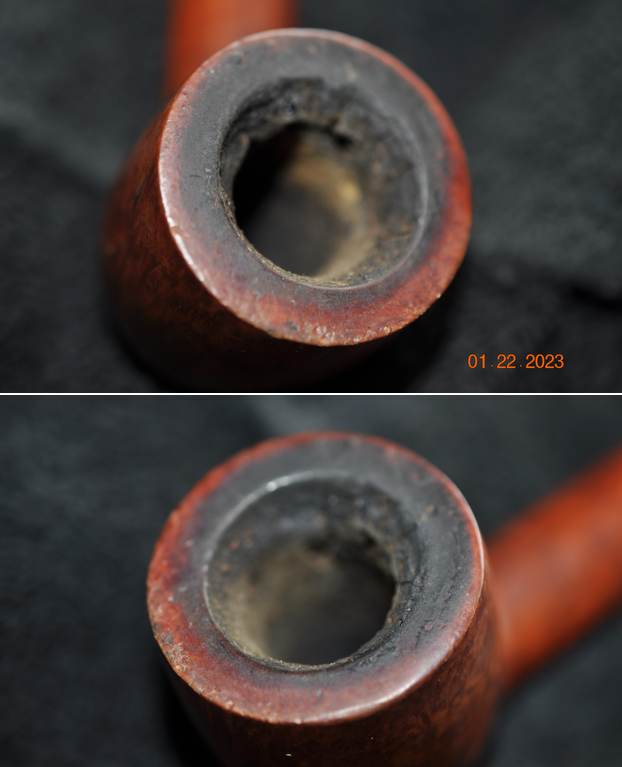
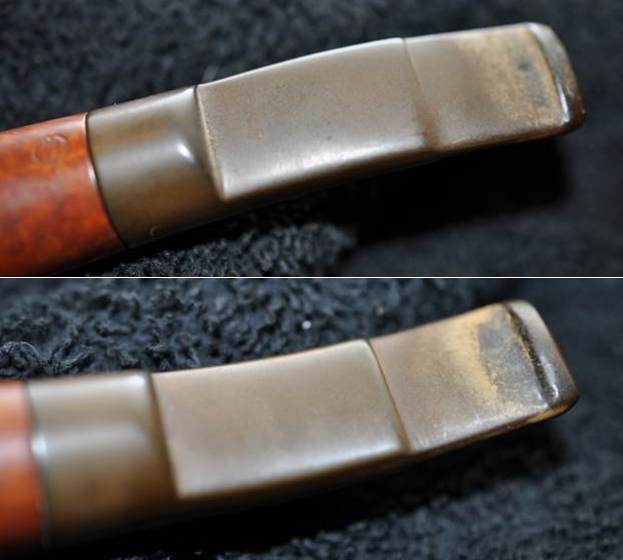
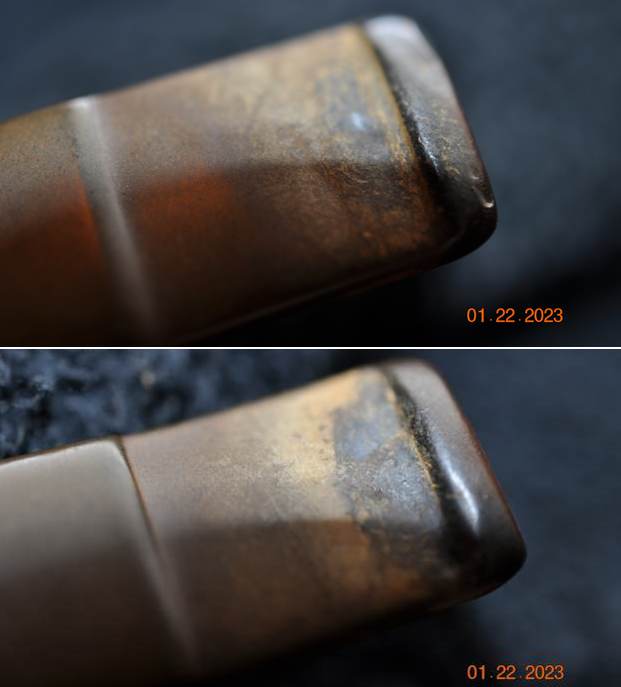
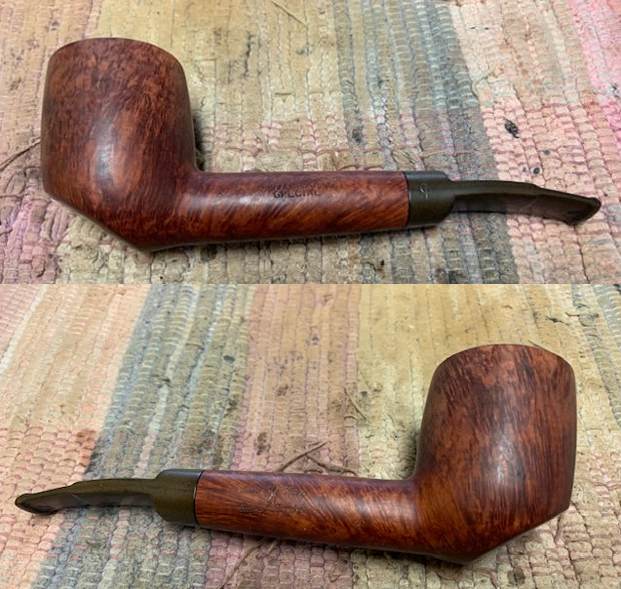
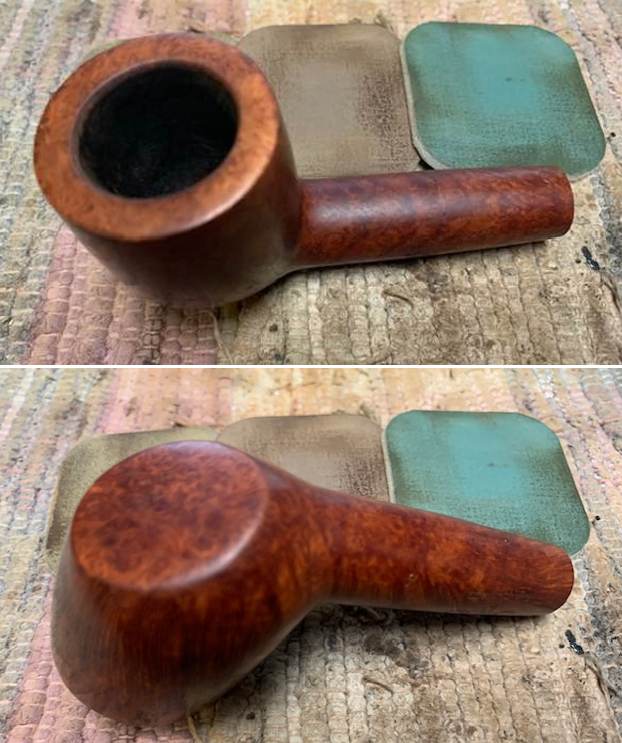
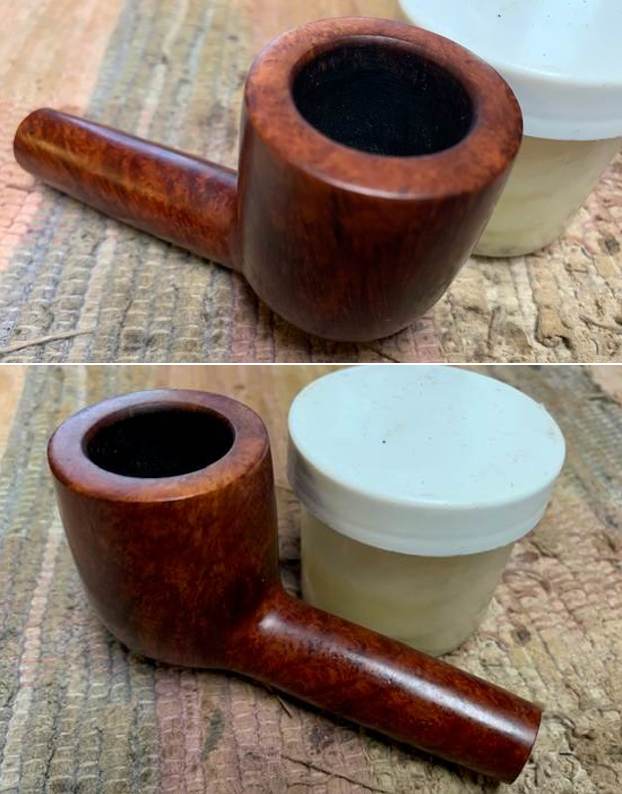
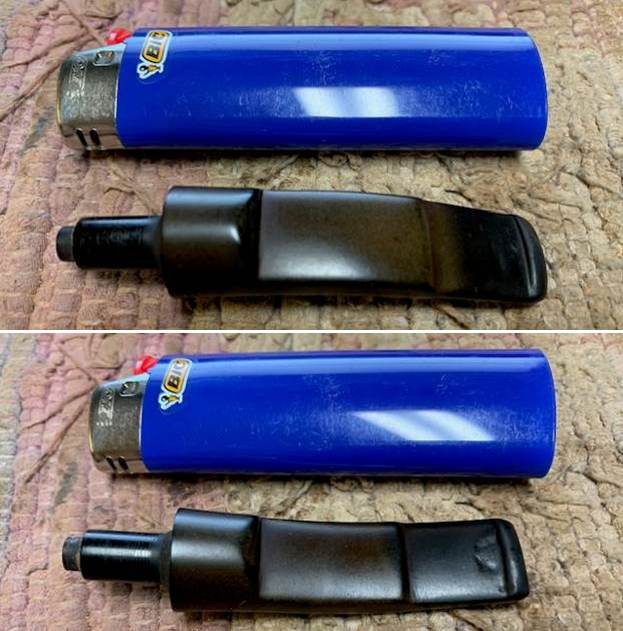
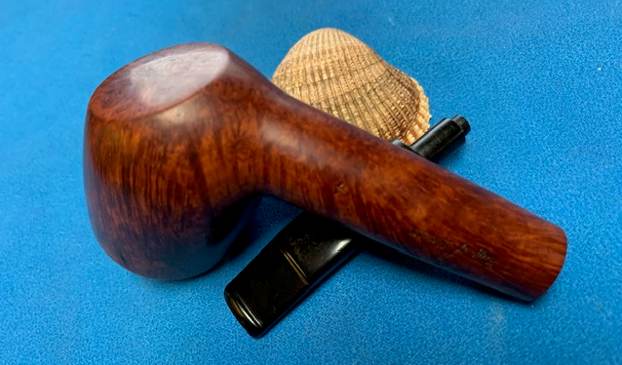
This pipe has the classic straight Bulldog shape with a diamond shank and a medium sized bowl. The stummel boasts of some beautiful bird’s eye and cross grains all over the bowl and shank. The stummel surface is covered in dirt and grime of the overflowed lava. There is not a single fill in the briar which speaks of high quality of the briar. The chamber appears out of round and has a thick layer of cake. The saddle vulcanite stem is heavily oxidized with tooth chatter and very light tooth indentations on button edges on either surface in the bite zone.

 Detailed Inspection And Observations
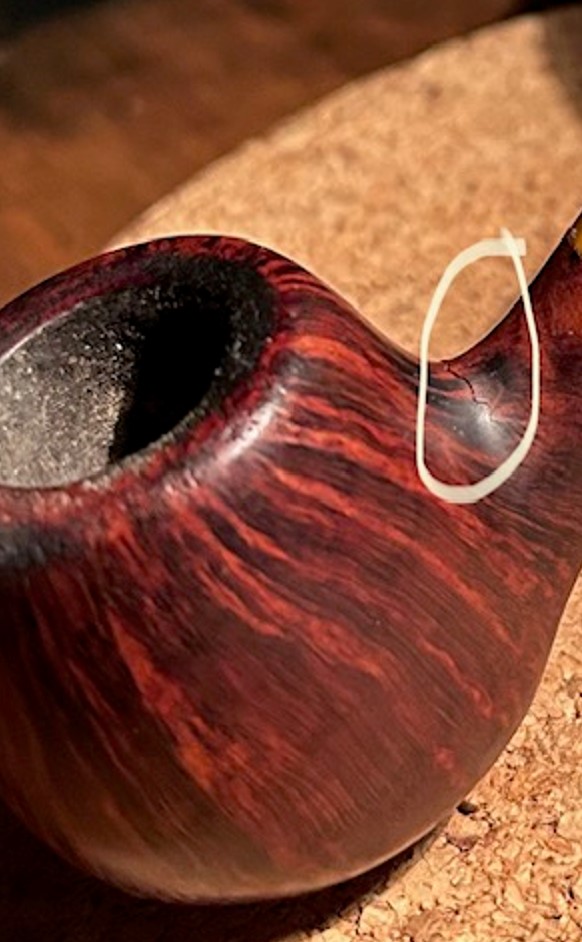
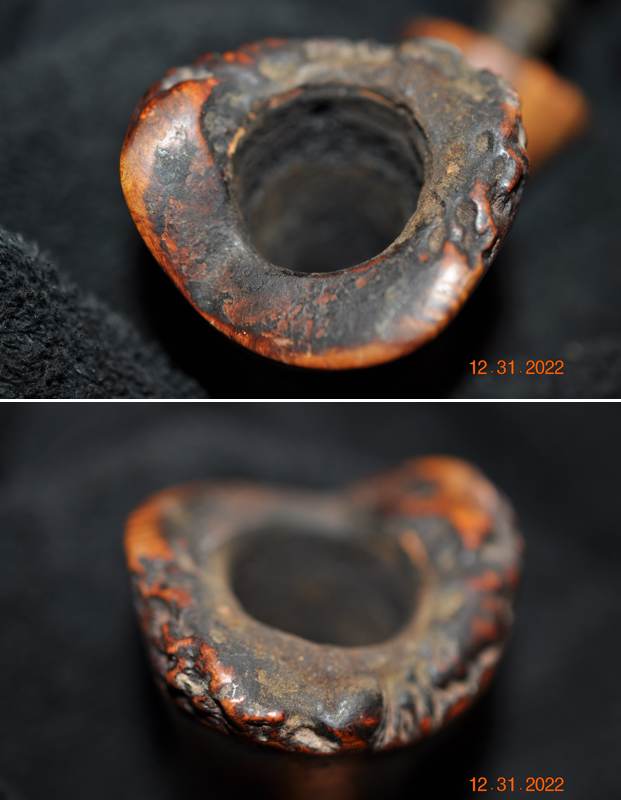
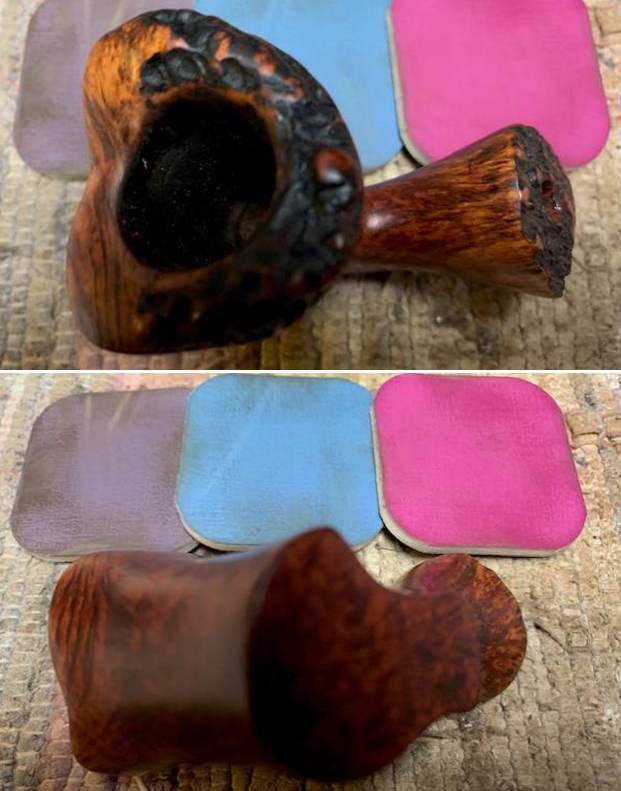
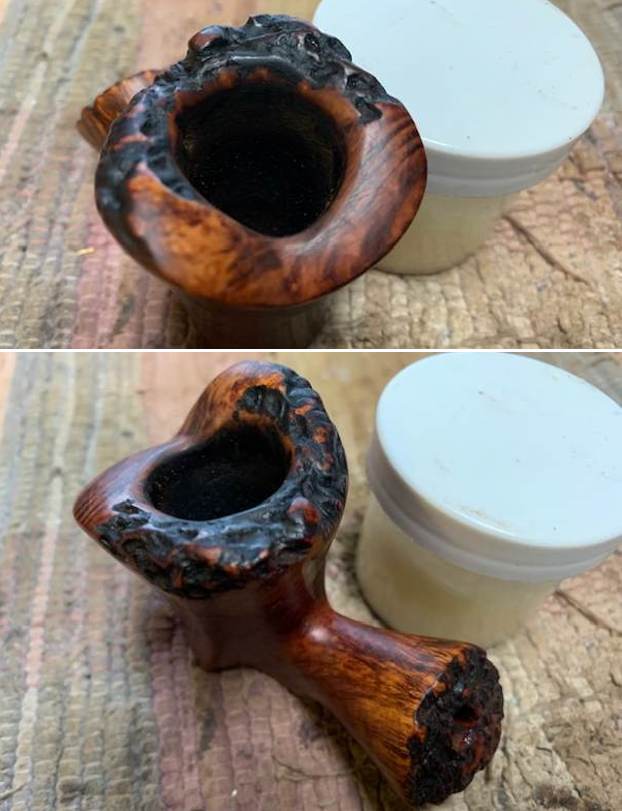
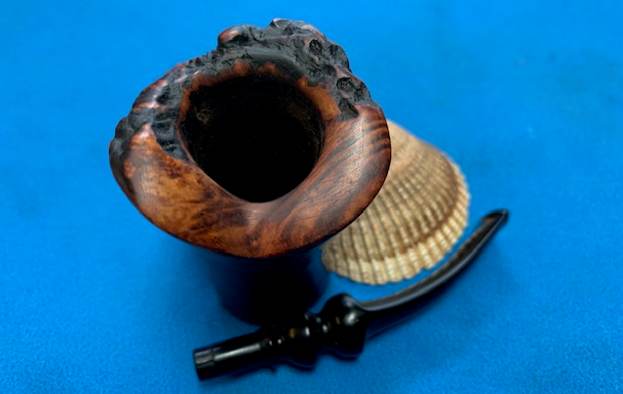
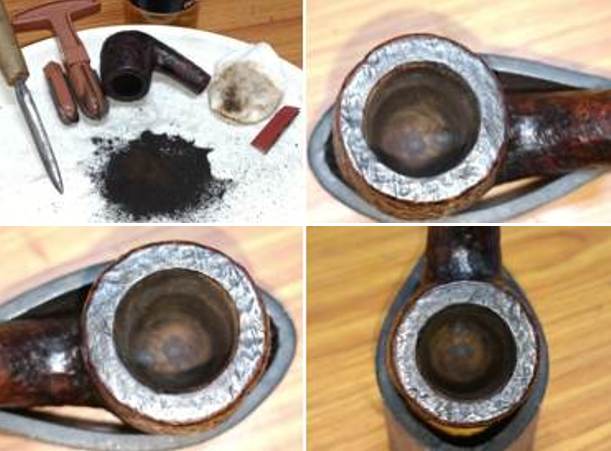
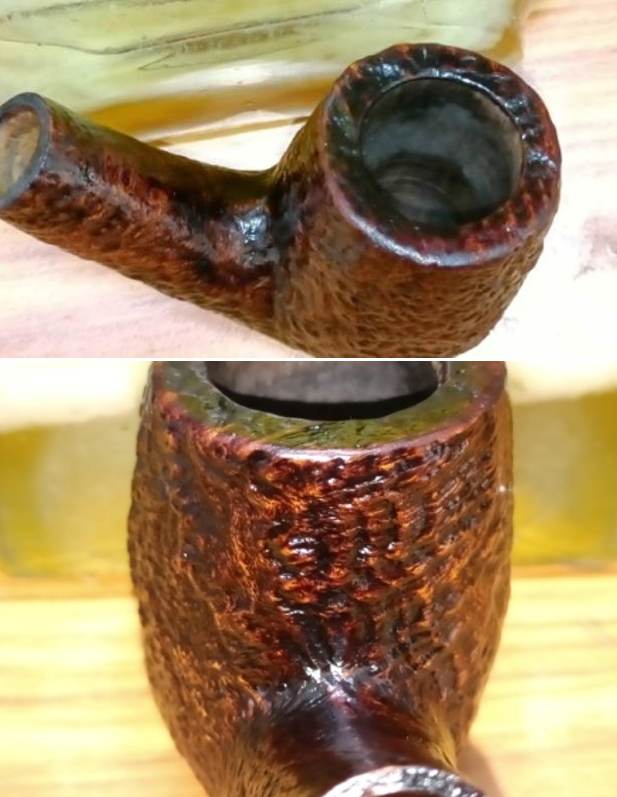
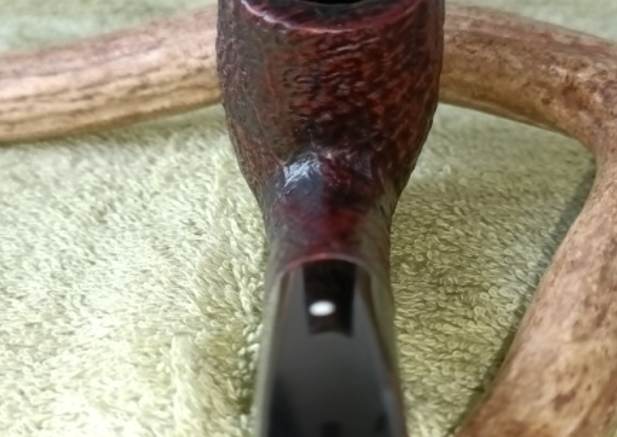
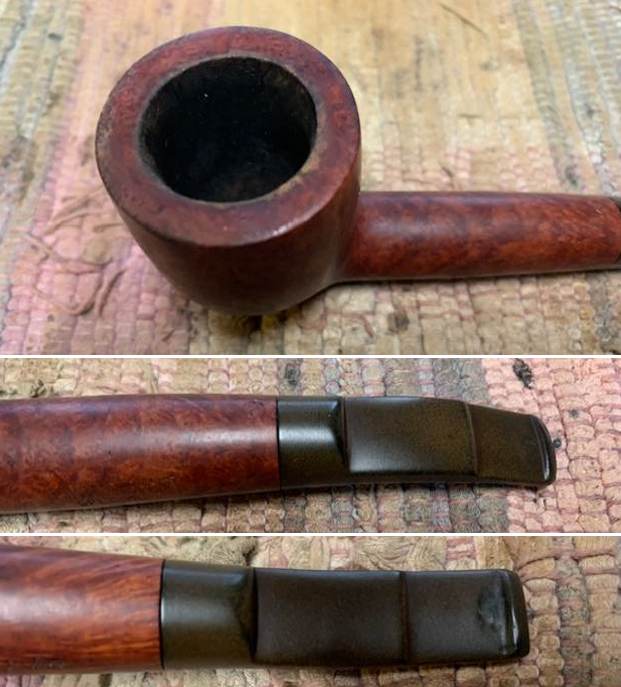
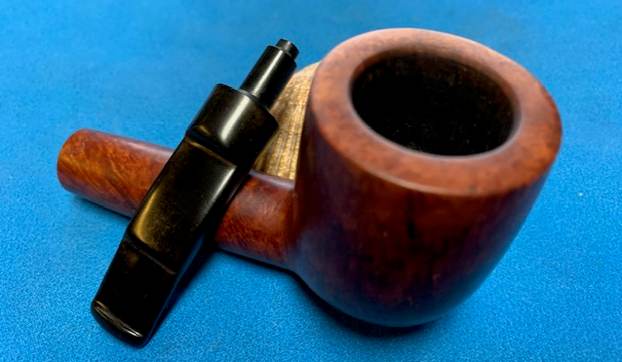
The overall proportion of this pipe is small with a decent sized chamber. The draught hole is at the bottom dead center of the chamber. The chamber has an even layer of very thick hard cake with remnants of un-burnt tobacco seen at the heel of the chamber. The rim top surface is covered with thick lava overflow and is pretty banged up along the right side (encircled in pastel blue). The inner rim edge is charred and damaged between 10 o’clock and 12 o’clock directions (encircled in yellow) which make the chamber appear out of round. The outer rim edge has dents and dings all around but is most severely damaged towards the front and back of the bowl (encircled in green), a damage that can result only due to repeated strikes against a hard edged surface. The condition of the inner walls of the chamber can be commented upon after the cake has been taken down to the bare briar. The strong ghost smell in the chamber is all pervading. The stummel appears solid to the touch all around and hence I do not foresee any serious damage to the walls in the form of burnout/ deep heat fissures/ lines or pits. The dark inner rim edges may be charred further than anticipated and the same will be confirmed after the surface has been thoroughly cleaned. I need to resort to topping the rim top in order to address the damage to the surface. The ghost smells should reduce once the cake from the chamber is removed and the shank has been cleaned.
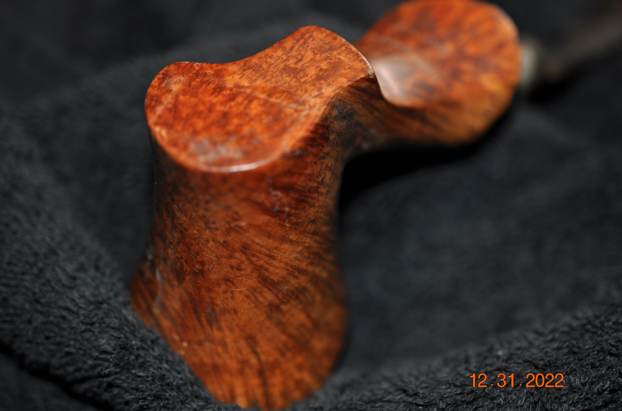
 There are a few scratches that can be seen on the sides and on the shank surface of the stummel. Both the stummel and the shank are covered in grime and dust from years of use and subsequent storage, giving it a dull and a lackluster appearance. The surface has taken on a nice patina which I intend to preserve. Through all the dirt and grime, beautiful mixed grains peek out from the stummel surface. A nice clean and polish will further accentuate this play of grains over the stummel surface.

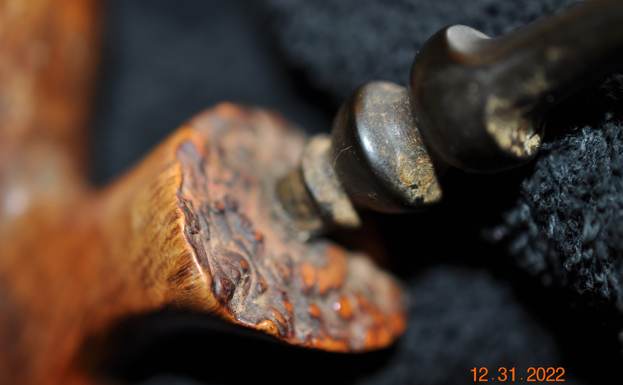
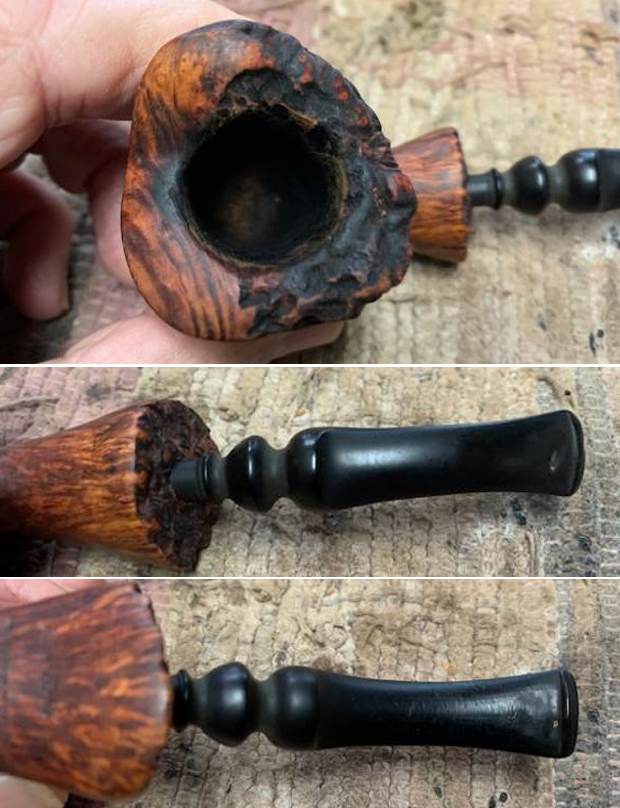
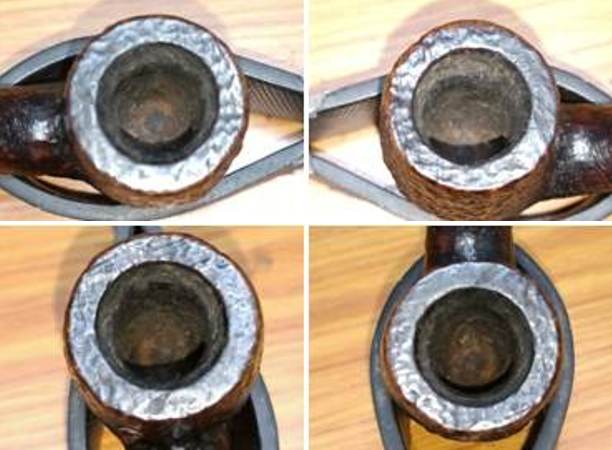
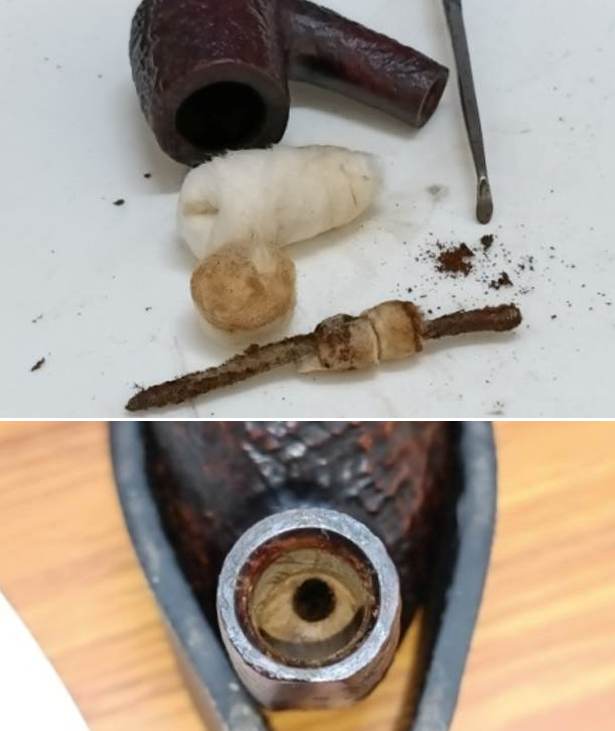
 Given the condition that the chamber was in, it was no surprise that the mortise was chock-a-block with accumulated oils, tars and residual gunk. This is also the major cause of the strong ghost smells from the pipe. This would need a very thorough and deliberate cleaning.
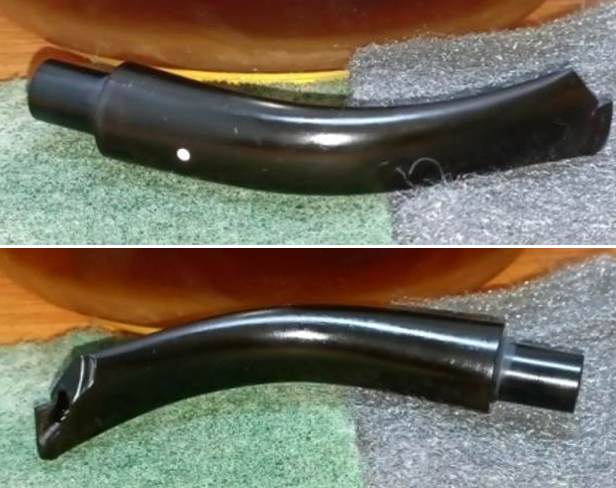
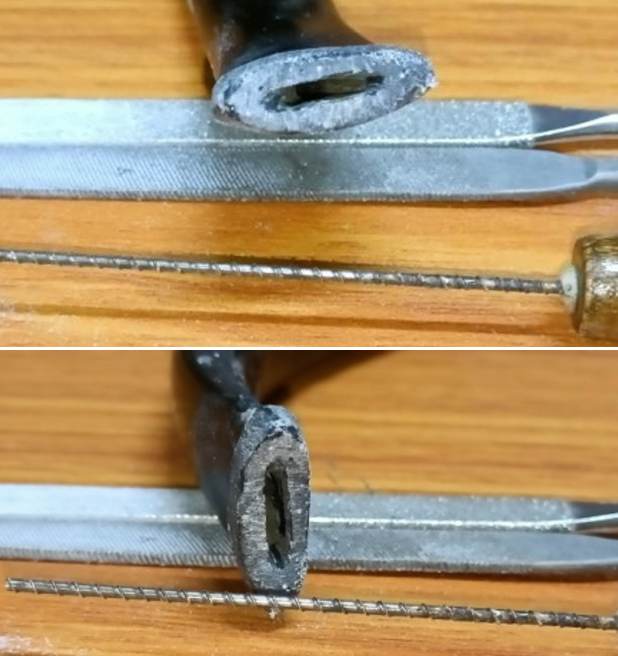
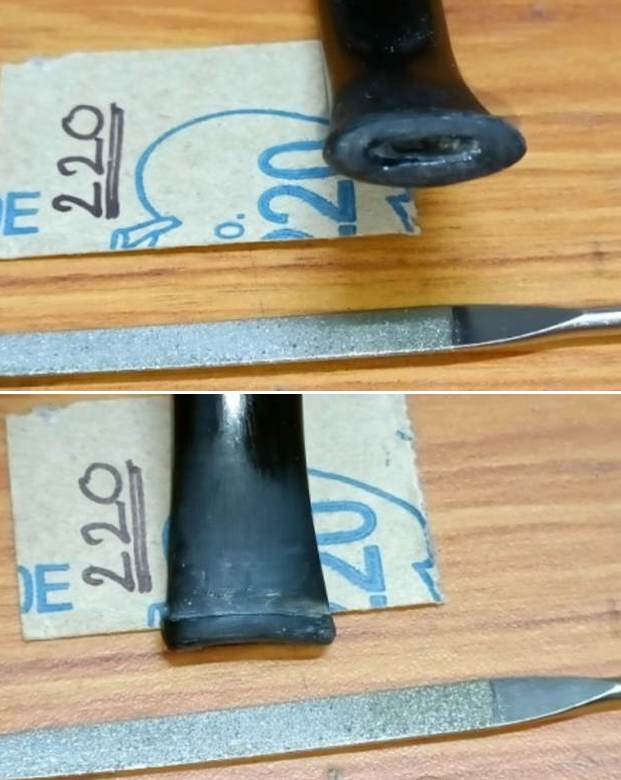
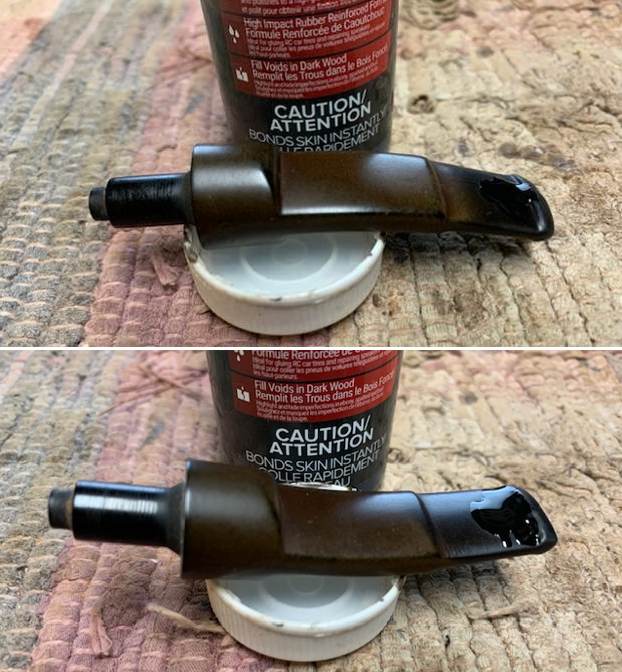
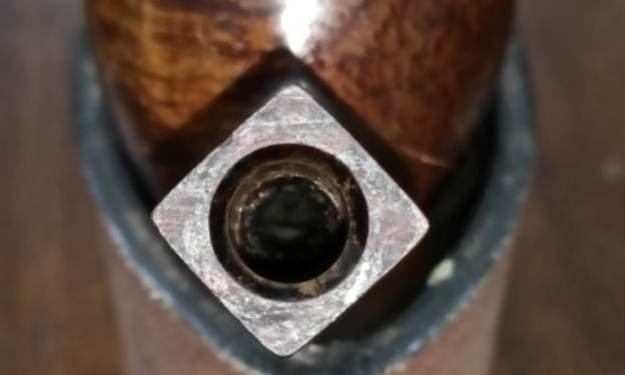 The diamond saddle vulcanite stem is oxidized with calcification observed in the bite zone. The entire stem surface is covered in patches of sticky substance/ grime. The button edges on either surface has minor tooth indentations which should raise to the surface once heated. The minor bite marks in the bite zone, likewise, should be completely addressed by heating the surface and sanding thereafter. Traces of dried accumulated gunk can be seen at the round slot end and the step tenon opening.
 The Restoration Process
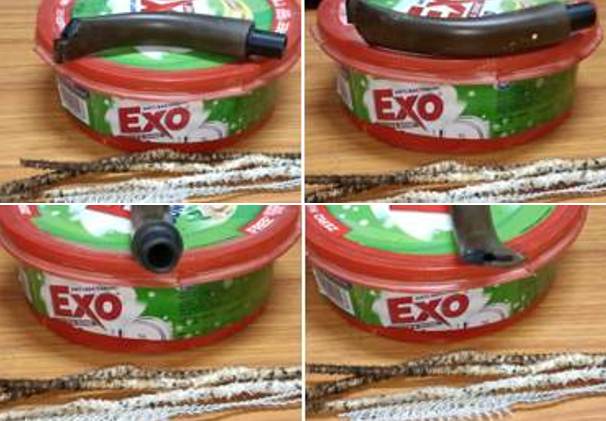
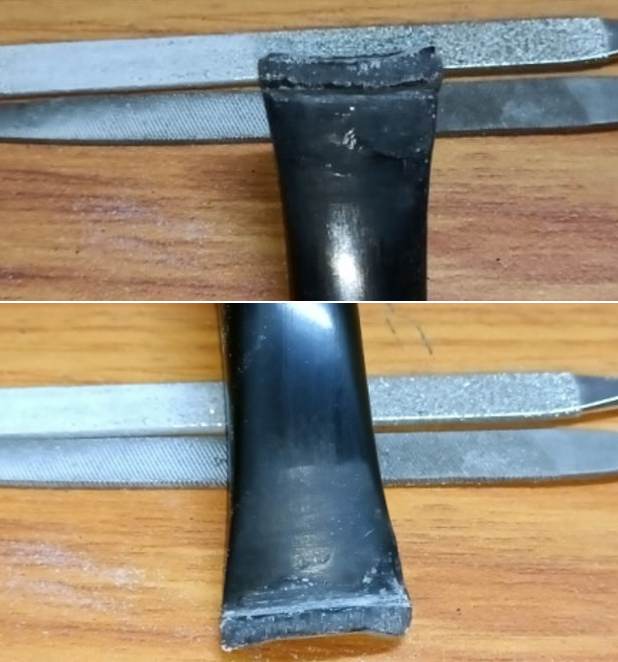
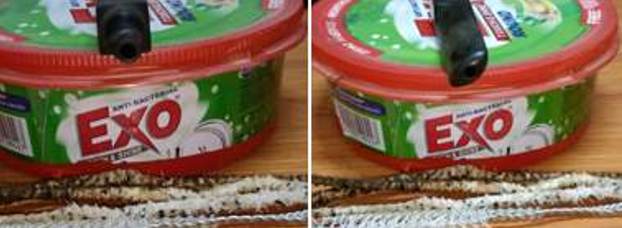
I decided to tackle the damaged stem at the start. Before I could proceed with actual repairs, I cleaned the stem internals first. Using a thin shank brush and anti-oil dish washing soap, I cleaned the stem airway. The airway was filthier than I had imagined as can be judged from the following pictures. I took me a considerably long time, but eventually the airway was clean. I ran a couple of pipe cleaners through the stem to confirm that the airway was clean and also to dry it out.
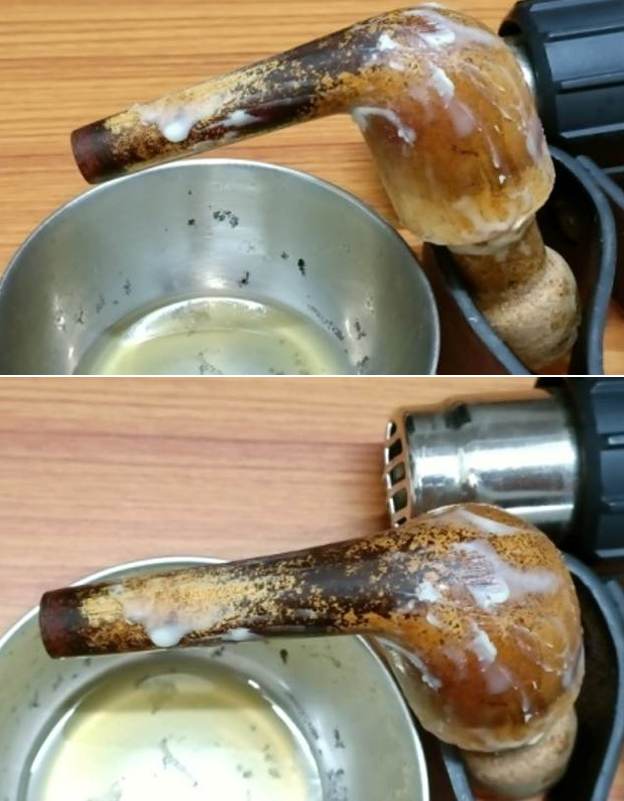
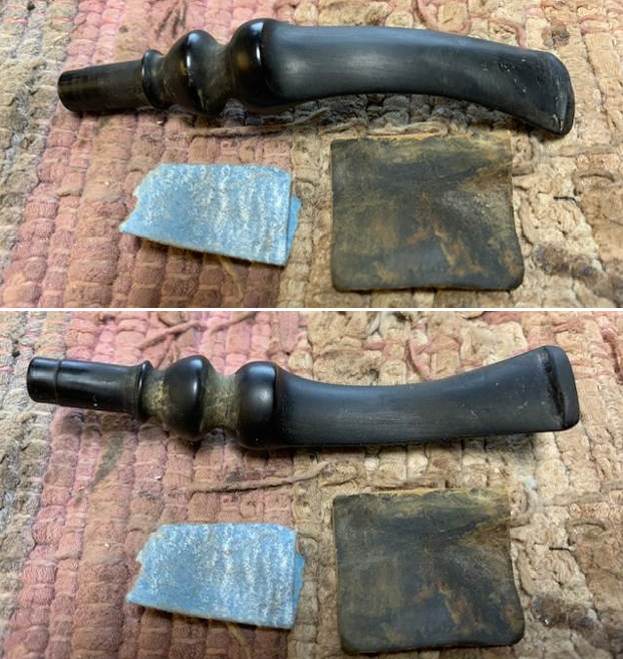
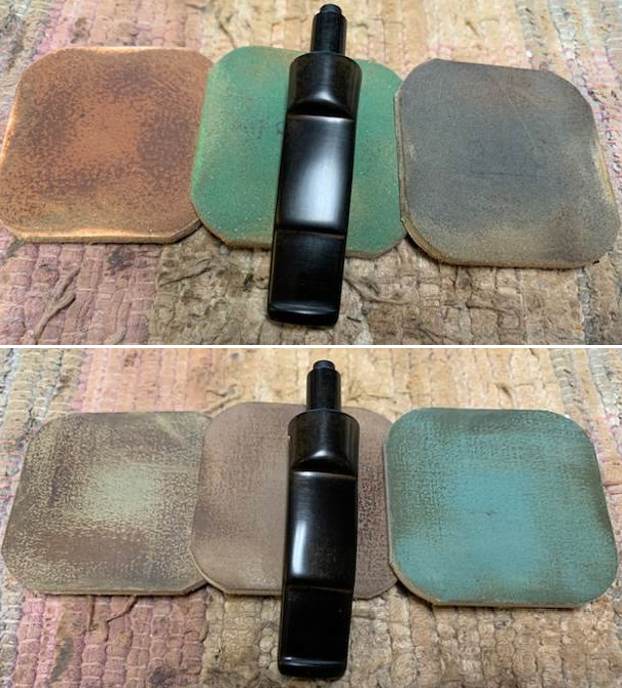
 With the stem internals now clean, I moved to external cleaning of the stem surface by dunking the stem into “Before and After Deoxidizer” solution developed by my friend Mark Hoover. The solution helps to draw out heavy oxidation to the surface making its further removal a breeze, while the minor oxidation is eliminated to a very great extent. I let the stem soak in the solution overnight.
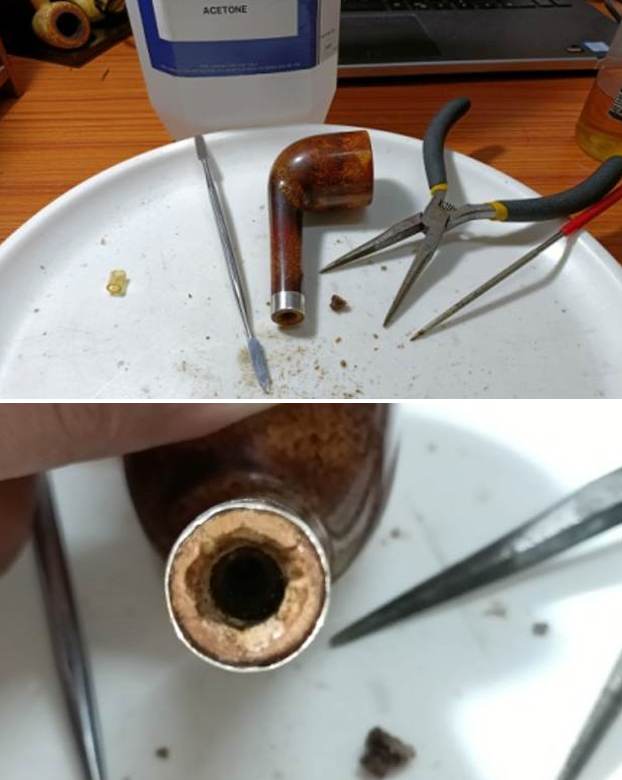
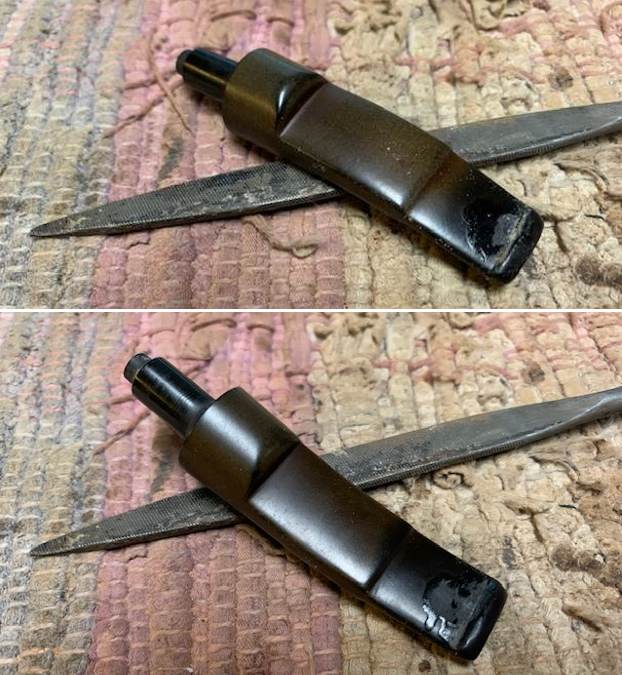
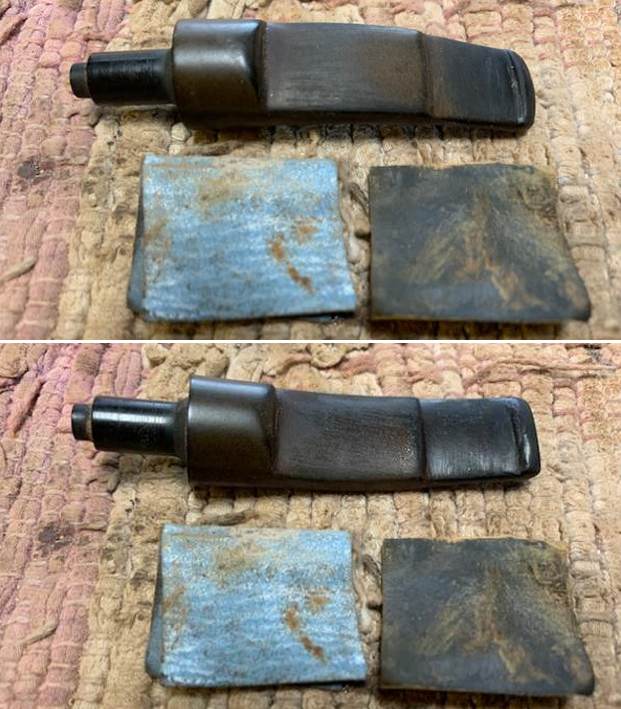
Progressing ahead, I reamed the chamber with head size 1 and 2 of my PipNet reamer blade. I used my fabricated knife to remove cake from areas inaccessible to the reamer blades and completed the process of removing the cake by sanding the walls smooth with a folded piece of 180 grit sandpaper. I wiped the chamber with a cotton swab wetted with alcohol to clean the residual carbon dust. The chamber walls are solid and the minor thin veins that are visible over the walls are not heat fissures but an ultra thin layer of carbon which will be addressed once the cake is loosened up after a salt and alcohol bath, or at least that is what I hope for. I cleaned the internals of the mortise by scrapping the mortise walls using dental tools. The amount of dried oils and crud that was scrapped out, on one hand is indicative of uncared and rough use of this beauty by the previous Piper while on the other, a testimony of this pipe being one of his/ her favorite and one that he/ she reached out for quite often. I ran a couple of pipe cleaners through the airway to clear away the loose debris that would have lodged itself in the draught hole. I shall continue the internal cleaning by subjecting the stummel to a salt and alcohol soak.
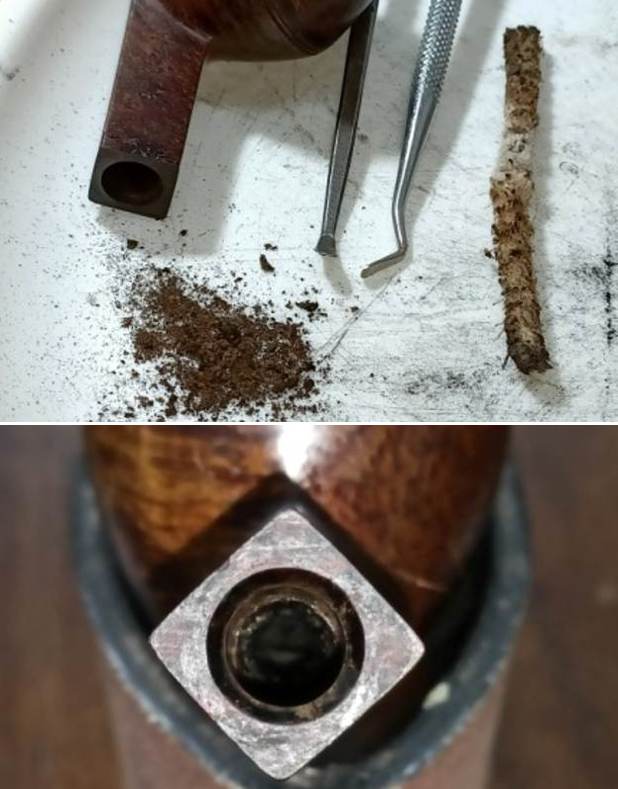 Now that the internal cleaning of the stummel was nearly done and also the stem had now been soaking for more than 24 hours, I removed the stem from the solution. I first scrubbed the stem surface with a Scotch Brite pad, always being mindful of the stem logo on the left side. I followed this scrubbing with a nice cleaning of the surface using a 0000 grade steel wool. I rinsed the stem under running water to rid the stem of the thick deoxidizer solution. I ran a couple of pipe cleaners to remove any residual deoxidizer solution from the airway.
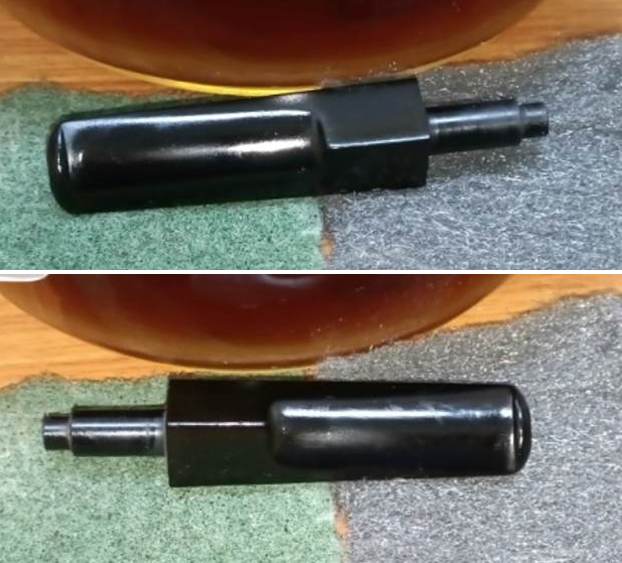 I followed it up by wet sanding the entire stem surface using 600, 800, 1000, 1500 and finally with a piece of 2000 grit sand paper. This serves to reduce the sanding marks of the more abrasive sand papers. I also sharpened the button edges while sanding. I wiped the stem with a moist cotton swab to remove all the oxidation and sanding dust from the surface. I applied a little Extra Virgin Olive oil over the stem and set it aside to be absorbed by the vulcanite.
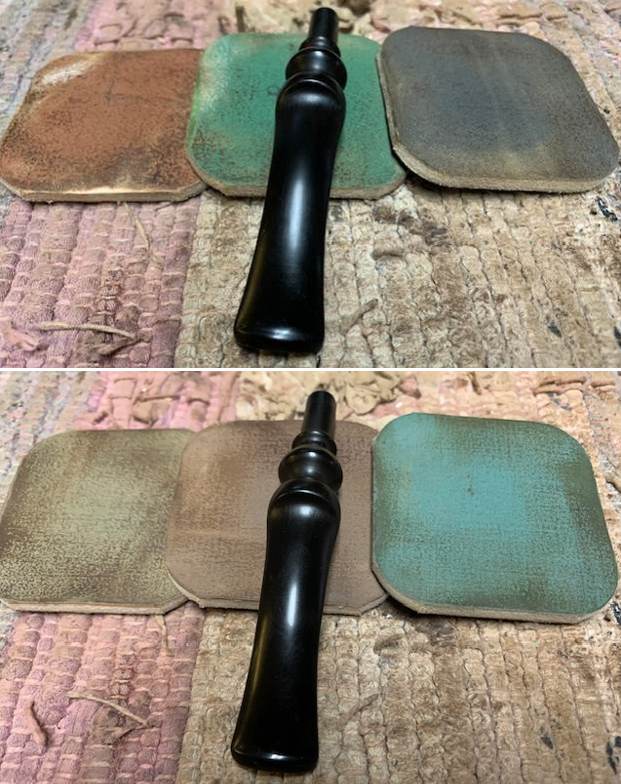
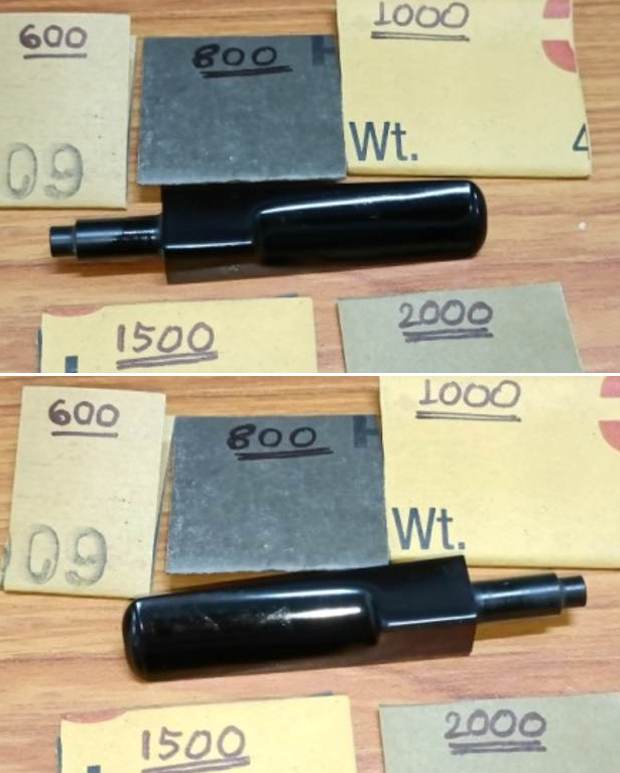 I went through the 3200 to 12000 grit micromesh pads to dry sand the stem. The stem now has a nice deep shine with no traces of oxidation around the entire stem surface. The stem appears a tad dull at this stage; however, after a good polish using Blue diamond and carnauba wax, the shine will deepen further.
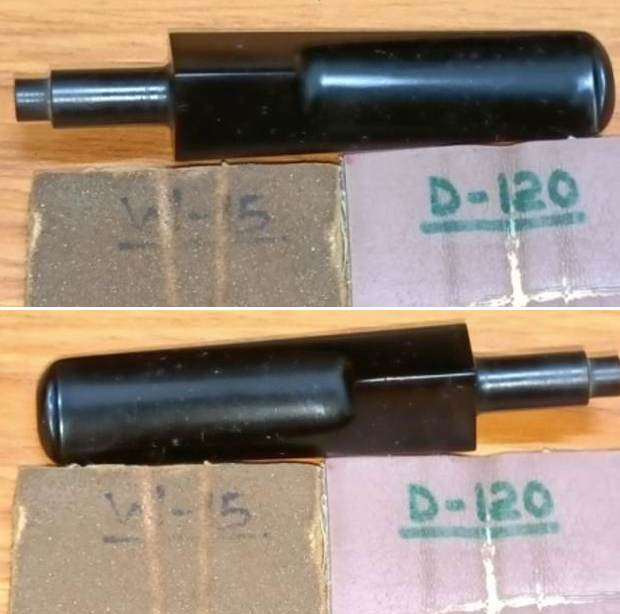 With the stem nearly completed, it was time to work the stummel again. Continuing with the internal cleaning of the chamber and shank, I subjected it to a salt and alcohol bath. I used cotton balls which is an at par substitute of Kosher salt as I have realized over the years. I drew out a wick from the cotton and along with a folded regular pipe cleaner; inserted it into the mortise and through the draught hole and further into the chamber. Thereafter, I packed the chamber with cotton balls to about quarter of an inch below the rim inner edge and soaked the cotton balls with isopropyl alcohol up to the brim. About half an hour later, the level of alcohol had gone down, having being absorbed by the cotton. I topped it up once again and set it aside overnight. By next afternoon, the cotton and alcohol had drawn out all the remaining oils/ tars from the chamber and mortise and loosened out any residual cake and tar build up, fulfilling its intended task. I removed the cotton balls and ran pipe cleaners through the mortise to clean out all the loosened tars and gunk. Using my fabricated tool, I scraped out the entire loosed gunk from the mortise and further cleaned it with alcohol and q-tips. I also scraped the moist cake from the chamber using my knife and sanding it smooth with 180 grit sandpaper. The chamber now smelled clean and fresh and the tiny veins observed in the chamber were eliminated. I set the stummel to dry out naturally.
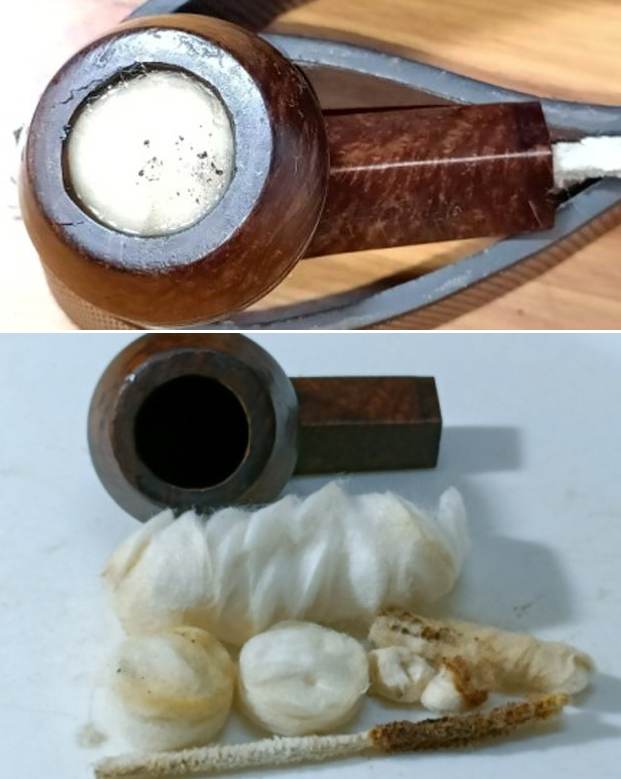
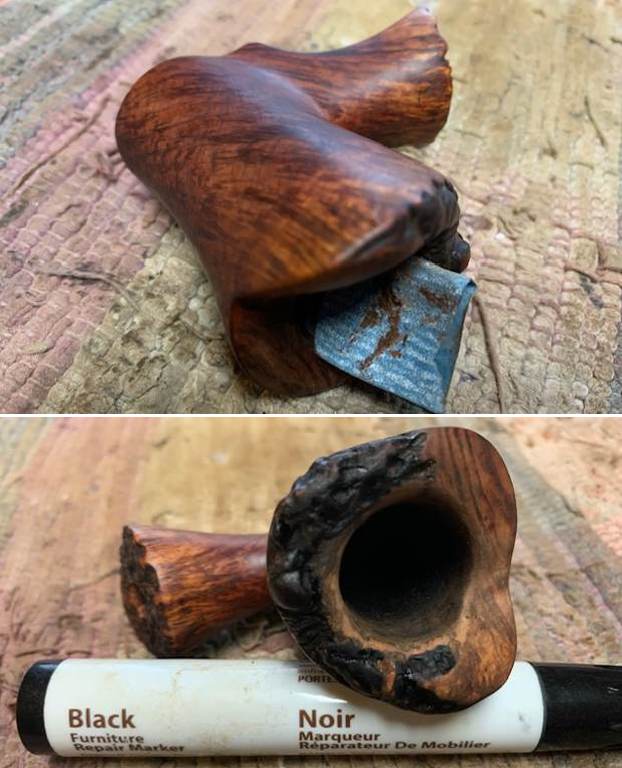
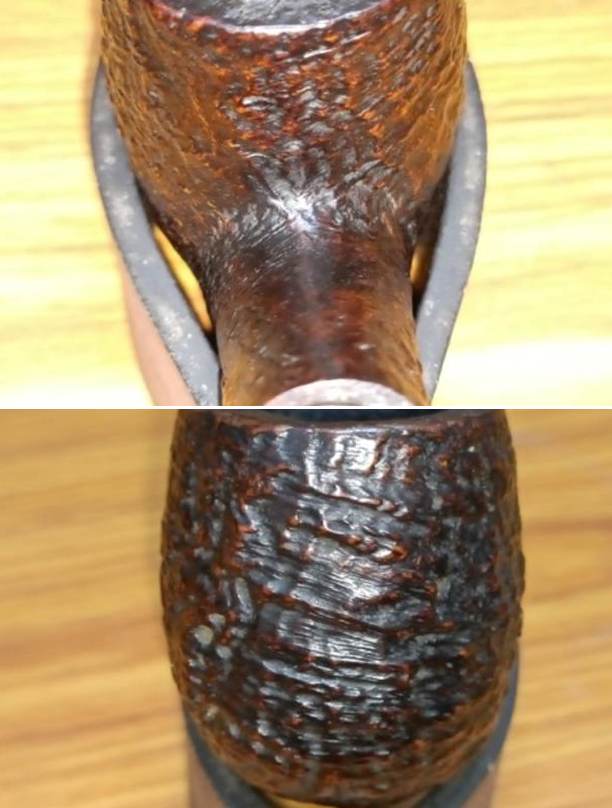
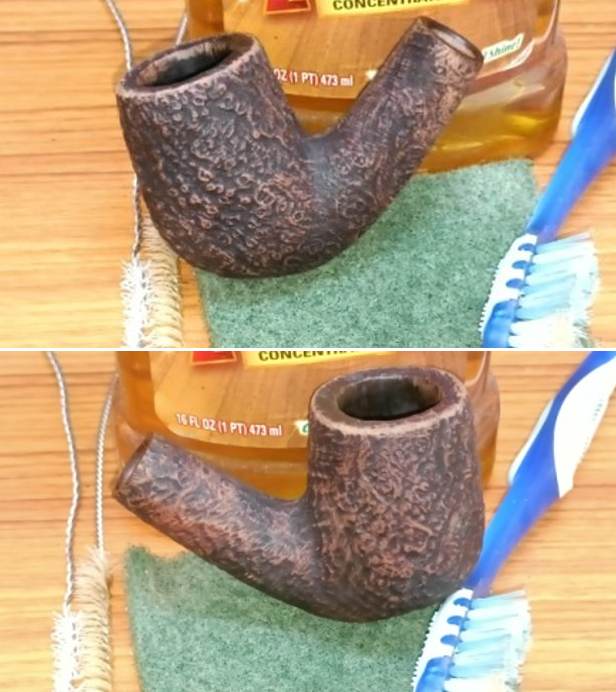
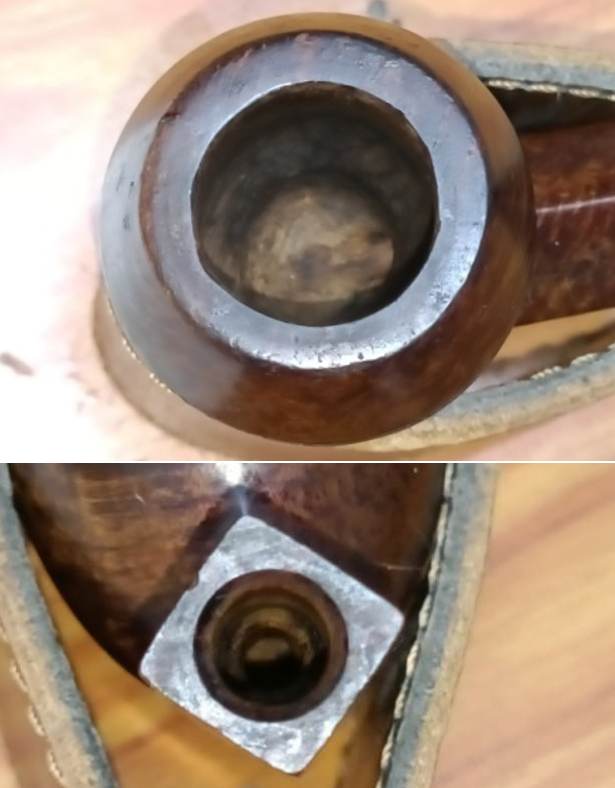 I cleaned the external surface of the stummel with undiluted Murphy’s oil soap and a hard bristled toothbrush. I cleaned the smooth rim top surface with the soap and Scotch Brite pad. I thoroughly cleaned the mortise with shank brush and anti-oil dish washing soap. The few scratches (indicated by yellow arrows) and minor dings over the stummel surface are now plainly visible while the damage to the rim top, rim inner edge (encircled in red) and outer edge (encircled in blue) is clearly defined. These issues need to be addressed.

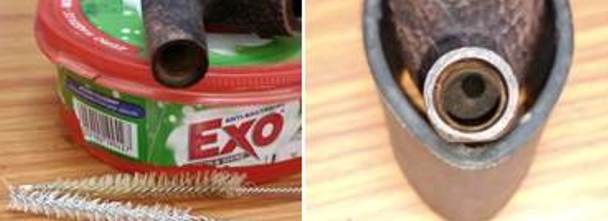
 I followed up the external cleaning of the stummel with internal cleaning of the mortise and shank using anti oil soap and shank brushes.
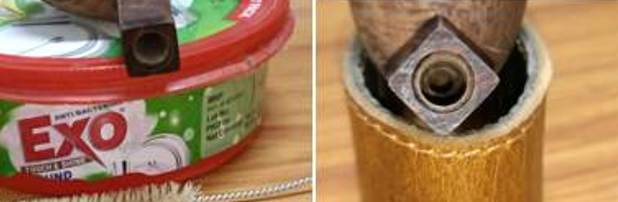 Using a folded piece of 320 grit sandpaper, I diligently sand the entire stummel surface and thus addressed the issues of scratches and minor dings.
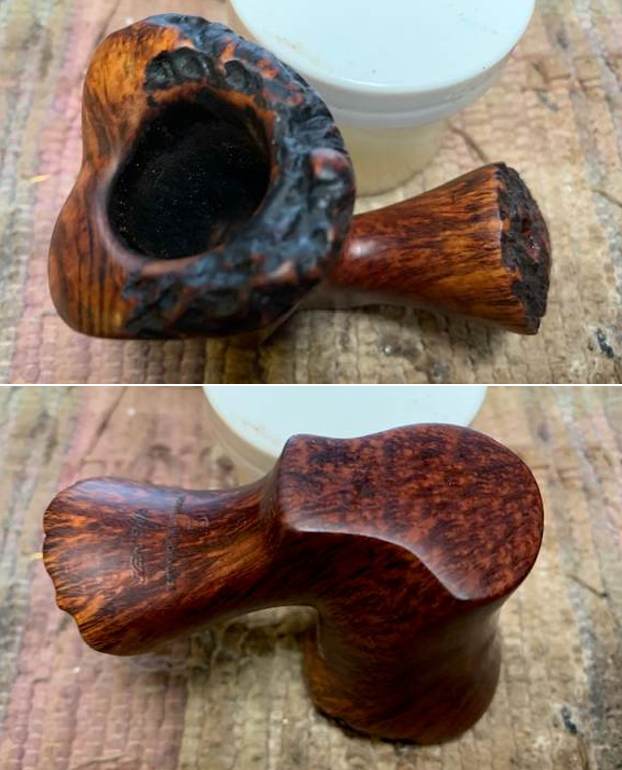
 To address the damage to the rim inner and outer edge, I topped the rim surface on a piece of 220 grit sandpaper. I limited my topping to the extent that the damage was just adequately addressed. With a folded strip of 220 grit sandpaper pinched between my thumb and index finger, I created a smart thin bevel over the inner and outer rim edges to mask the damage that remained after topping. I am quite pleased with the progress this far.
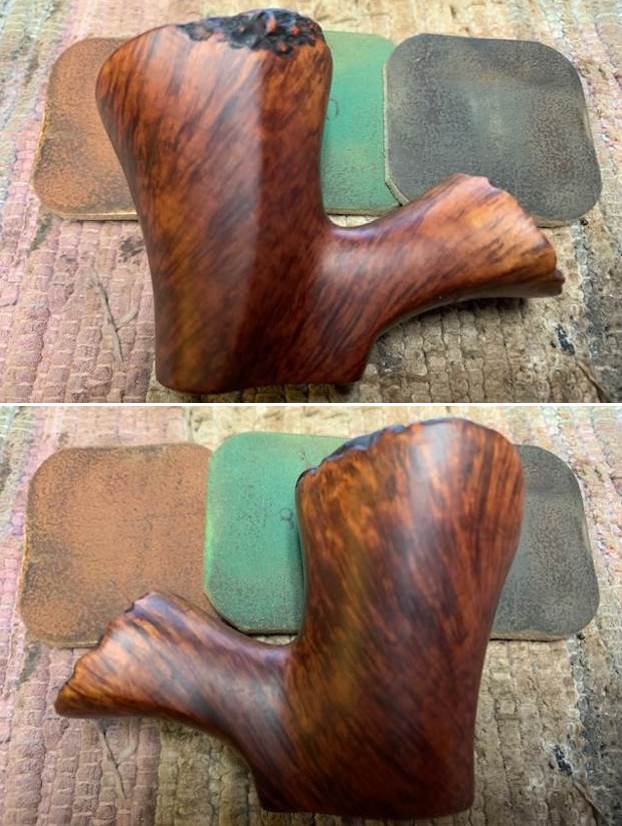
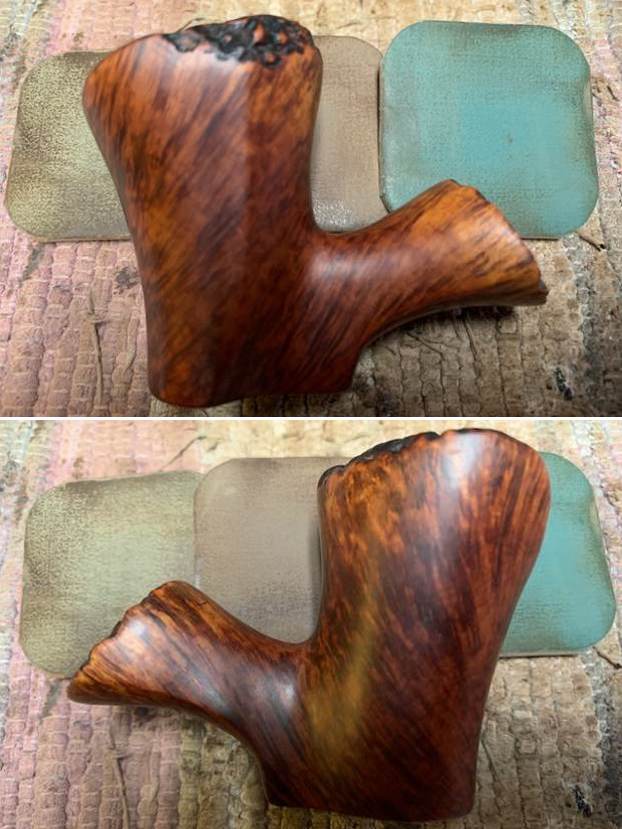
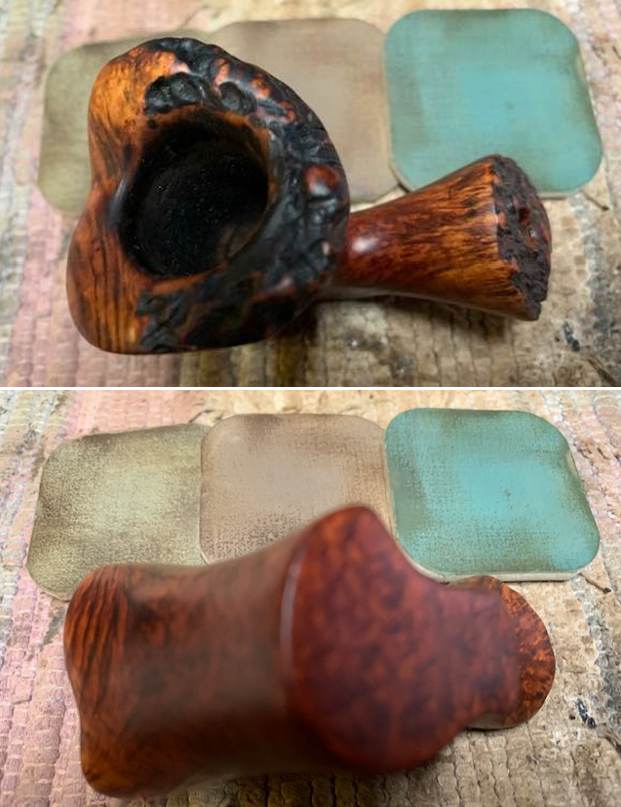
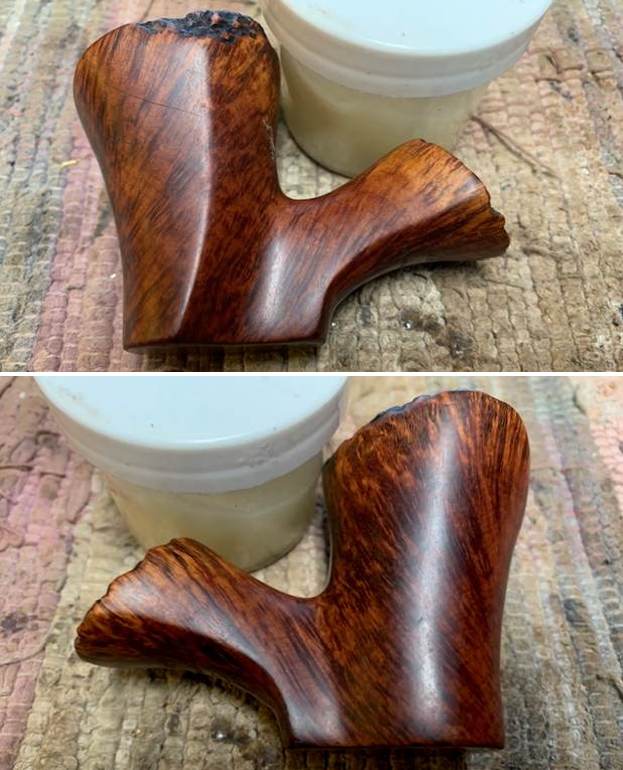
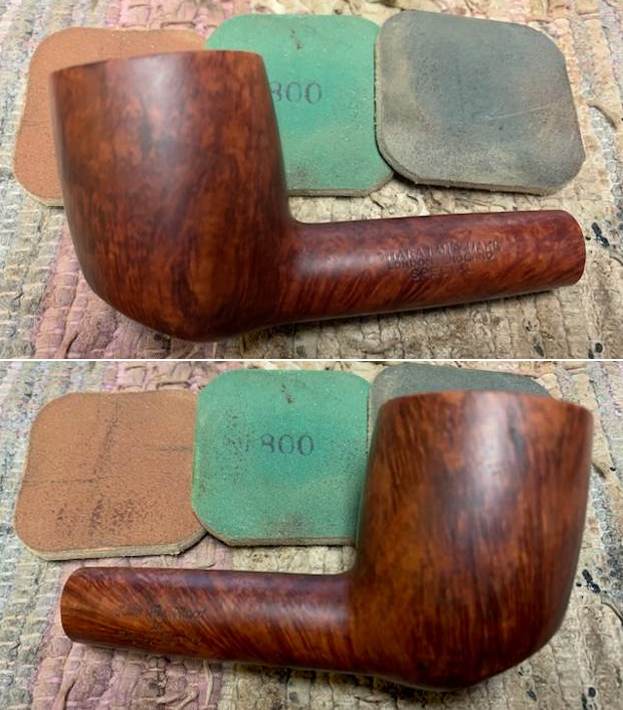
 Next, I polished the stummel with micromesh pads, wet sanding through 1500 to 12000 pads. I polished the freshly topped rim surface to a nice luster, wiping the surface with a soft cloth at the end of the micromesh cycle. The stummel looks amazing with a deep shine and beautiful grains popping over the stummel surface. I am surprised that the rim top surface has the same deep brown coloration as the rest of the stummel surface and that the use of a stain pen was not required. I massaged a small quantity of “Before and After Restoration Balm” with my fingers into the briar. The immediate and incredible transformation that takes place is a worthy reward for all the efforts!!! I let the balm sit on the surface to be absorbed in to the briar for about 20 minutes. The bowl now looks fresh and attractive with the grains popping out any which way you look at the briar. I polished off the balm with a soft cloth to a lovely shine.

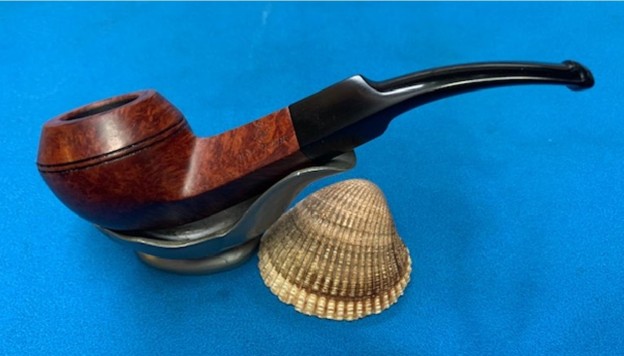
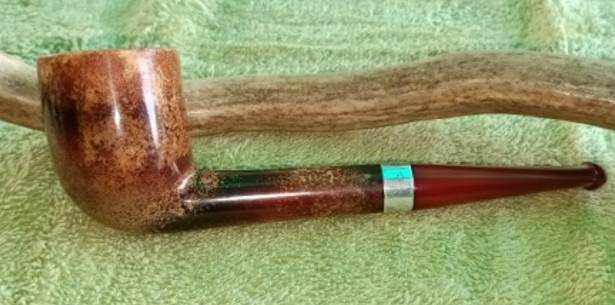
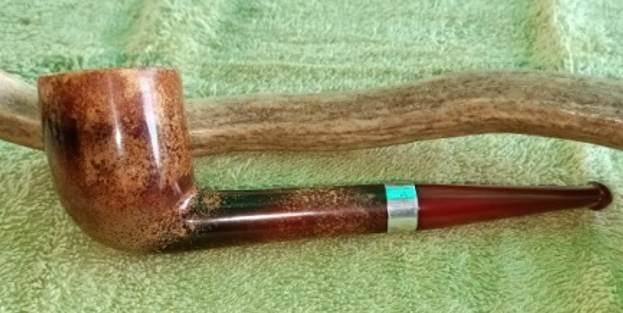
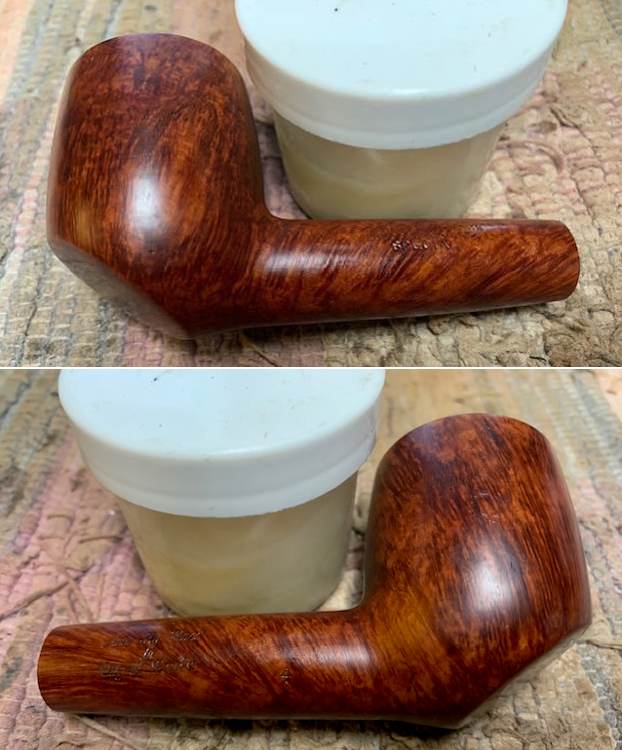
 To apply the finishing touches, I mounted a cotton cloth buffing wheel on to my hand held rotary tool and applied a coat of Blue Diamond to the stummel and the stem to polish out the minor scratches. With a cotton buffing wheel that I use for carnauba wax, I applied a coat of carnauba wax and continued to work on it till the complete coat of wax had been polished out. I mounted a clean cotton cloth buffing wheel and gave the entire pipe a once over buff. I finished the restoration by giving the entire pipe a rigorous hand buffing using a microfiber cloth to raise the shine further. The finished pipe looks beautiful and is ready to be added to my collection of inherited pipes.


 There was only one more issue that needed to be addressed and one that could not be ignored, being a functional issue. After I had reamed and sanded the chamber walls, I had observed very minor and superficial web of thin heat fissures/ pits all along the chamber walls. I addressed this by mixing activated charcoal and plain yogurt to a thicker consistency, just enough that it would spread easily and applied it evenly all along the chamber walls after inserting a folded pipe cleaner through the draught hole to keep it open. Once dry and set, this will not only protect the walls but also aid in faster build up of cake.
 Thanks to all readers of rebornpipes who have spared a moment of their invaluable time in reading through this write up and as is always, your suggestions and advice are always welcome.

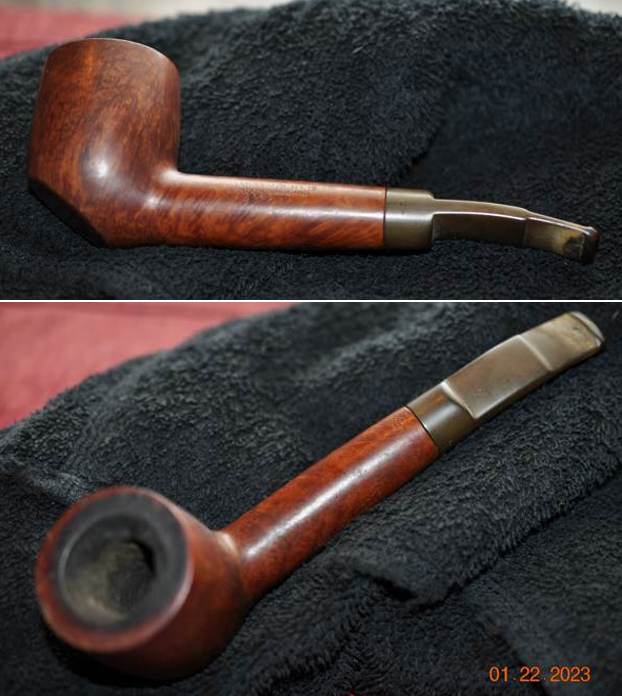
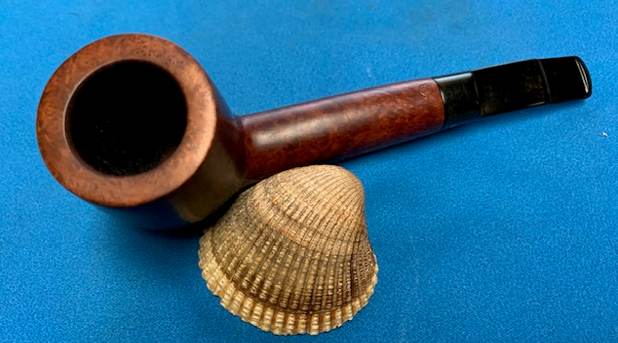
 I took photos of the rim top and stem. You can see the cake in the bowl and the darkening on the rim top and on the back inner edge of the bowl. The stem had some tooth marks and chatter on both sides ahead of the button. It was oxidized and there was some calcification on the surface.
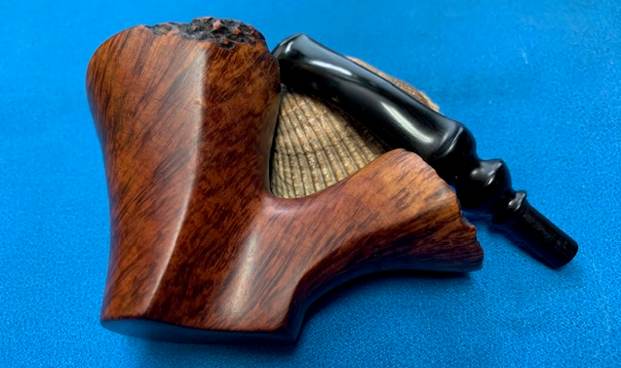
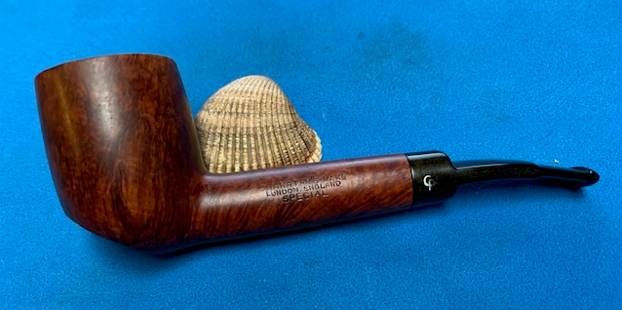
  I took a photo of the stamping on the heel of the bowl. It is clear and readable as noted above. I also removed the stem from the shank and took a photo of the part to give a sense of the flow of the pipe. It is truly a unique pipe and the grain shows well in the photo.
 The bowl is quite small so I scraped it out with a Savinelli Fitsall Pipe Knife to remove the cake. I sanded the bowl walls with 220 grit sandpaper wrapped around my finger. I took the cake back to smooth bowl walls.
  I cleaned out the mortise and the airway in the shank and the stem with alcohol, pipe cleaners and cotton swabs. It was quite dirty but once cleaned smelled better.
 I worked on the darkening on the back inner edge of the rim top and on the top itself. I was able to sand it out with 220 grit sandpaper and give it a slight inward bevel.
  I scrubbed the exterior of the bowl and shank with undiluted Murphy’s Oil Soap and a tooth brush. I rinsed it off with warm running water to remove the grime and debris in the finish of the rustication and on the smooth portions. I worked over the sanded rim top at the same time.
 I polished the smooth portions of the bowl with micromesh sanding pads – dry sanding with 1500-12000 grit sanding pads. I wiped the bowl down after each sanding pad with a damp cloth to remove the sanding debris. The bowl began to take on a rich glow.


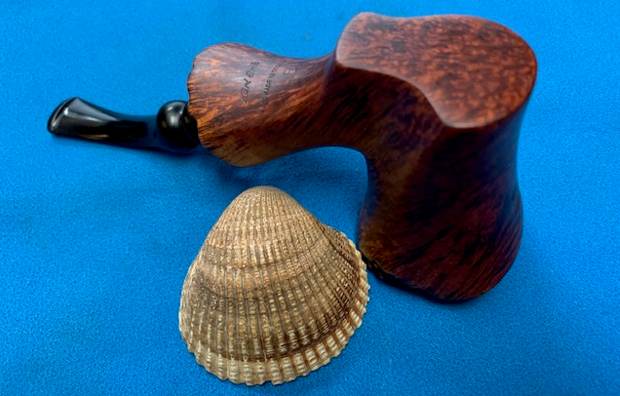
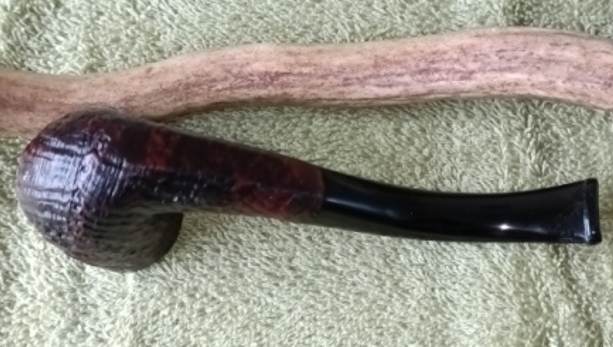
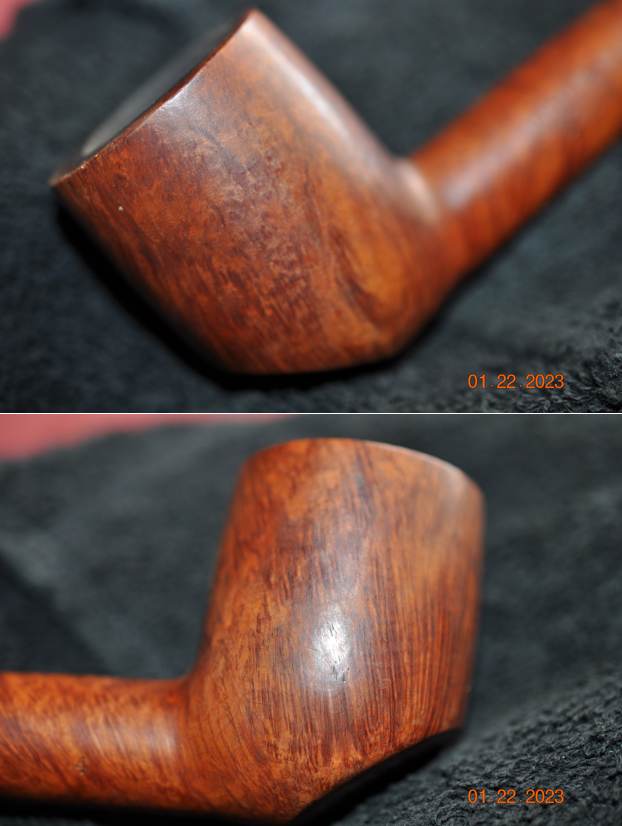
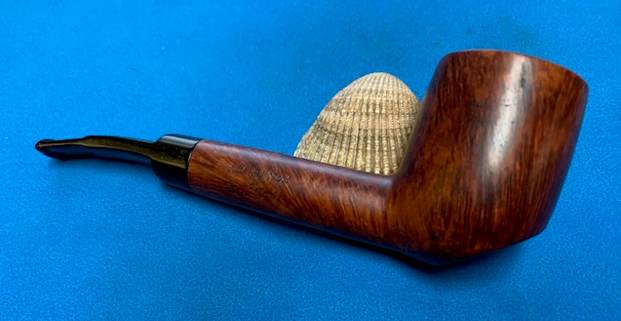
 I rubbed down the bowl and shank with Before & After Restoration Balm. It is a paste/balm that is rubbed into the surface of the bowl and shank. The product works to deep clean the finish, enliven and protect the wood. I worked it into the surface with my finger tips. I let it sit for 10 minutes then wiped it off with a soft cloth then buffed it with a cotton cloth. The bowl really began to have a deep shine and the grain shines through. The photos I took of the bowl at this point mark the progress in the restoration. It is a gorgeous pipe.

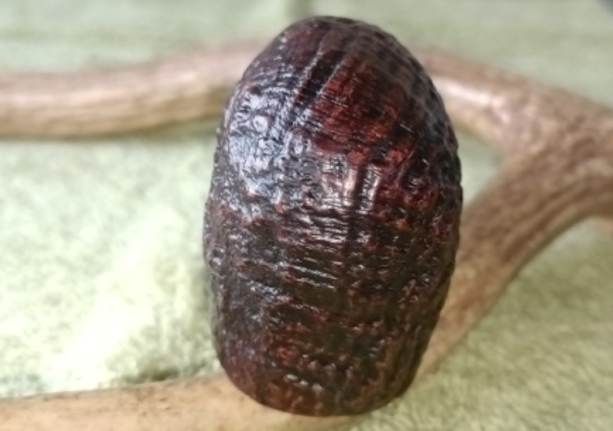
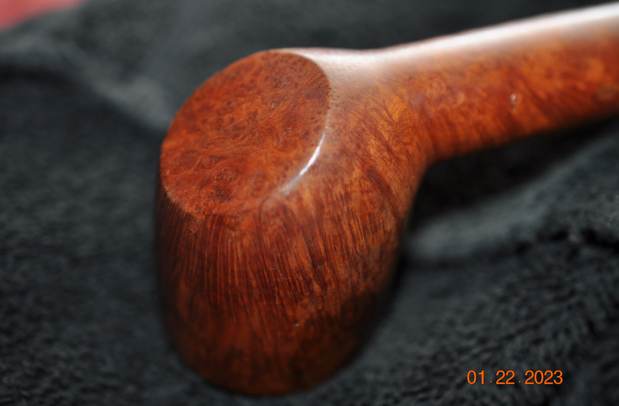
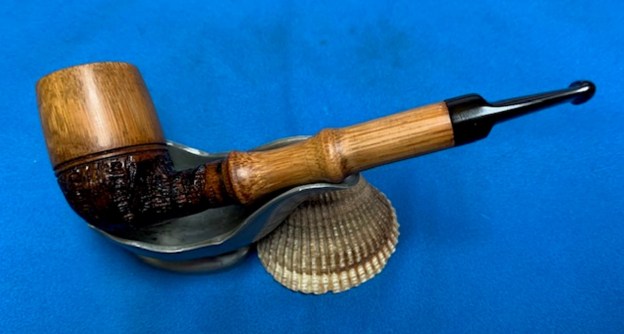
 I took photos of the grain on the rim top and around the bowl and shank to get a clear picture of the wood that was used. The small straight birdseye style pattern on the rim top reminds me of the pattern in Bamboo. The flow of the grain around the bowl sides and the shank sides looks also a lot like Bamboo. The shank end also shows the same birdseye pattern as the rim top.


 I set the bowl aside at this point and turned my attention to the stem. I cleaned up the deep tooth marks and filled them in with black CA glue. I used a small file to flatten the repairs to the stem. I sanded repairs on the button surface and on both sides of the stem ahead of the button with 220 grit sandpaper. I also sanded the rest of the stem to remove the oxidation that was present. I started polishing the stem with 600 grit wet dry sandpaper.

 I polished the stem with micromesh sanding pads – 1500-12000 grit sanding pads and water to wet sand the stem. I wiped it down after each sanding pad with Obsidian Oil on a cotton rag after each sanding pads. I know that many say Obsidian Oil does nothing for acrylic stems, but I find it does two things – first it gives some protection to the stem from buildup and second it give the sanding pads bite in the polishing process.
  I have found that Before & After Fine and Extra Fine stem polish works well to remove the fine scratches in the vulcanite. I rub the Fine Polish on the stem and wipe it off with a paper towel and then repeat the process with the Extra Fine polish. I finish the polishing of the stem down with a final coat of Obsidian Oil and set the stem aside to let the oil absorb. This process gives the stem a shine and also a bit of protection.
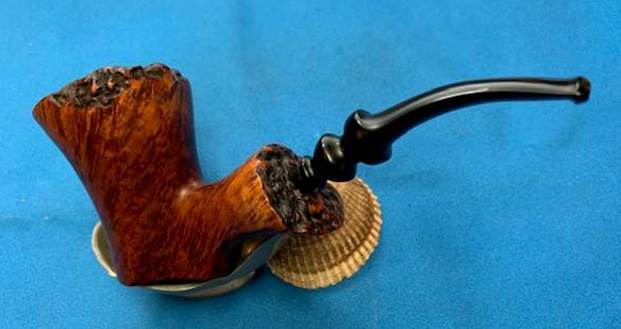
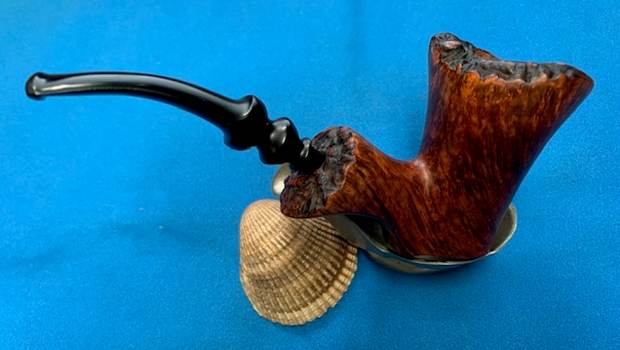
  The final steps in my process involve using the buffer. I buffed the bowl and stem with Blue Diamond to polish out the light scratches in the wood and the remaining surface oxidation in the stem. I gave the bowl and the stem multiple coats of carnauba wax. I have found that I can get a deeper shine if I follow up the wax buff with a buff with a clean buffing pad. It works to raise the shine and then I hand buff with a microfiber cloth to deepen the shine. It is always fun for me to see what the polished bowl looks like with the polished stem. It turned out to be a nice pipe. The interesting tight grain around the bowl sides and shank looks great. The vulcanite saddle stem polished very well and looks good with the bowl. The UNX UNT Quality Pipe Bamboo Lovat feels great in my hand. It is a well-balanced pipe. Have a look at it with the photos below. The dimensions are Length: 5 ½ inches, Height: 1 ¾ inches, Outside diameter of the bowl: 1 inch, Chamber diameter: 5/8 of an inch. The weight of the pipe is .74 ounces/21 grams. It is a very unique pipe and no information can be found on the stamping. Once again can any of you help me out with some identification advice on this one? It would be much appreciated. Thank you.