Blog by Steve Laug
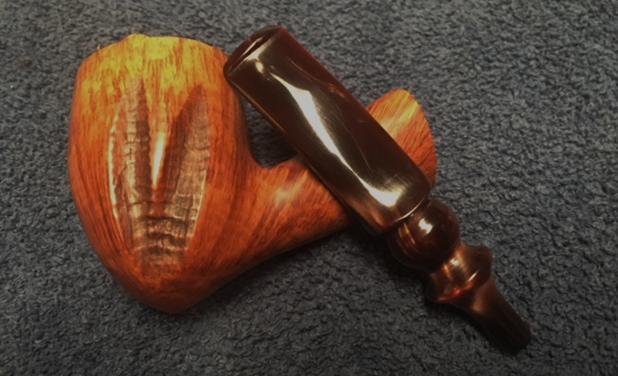
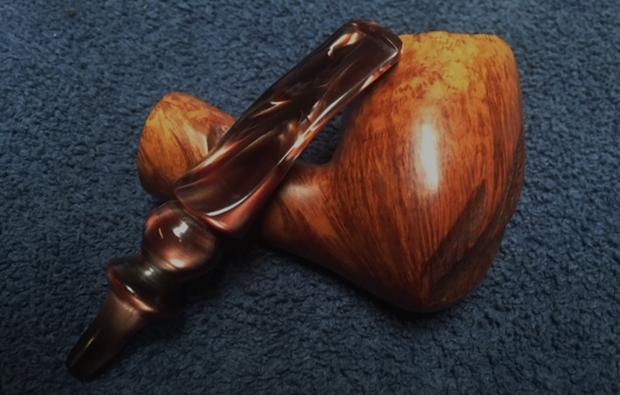
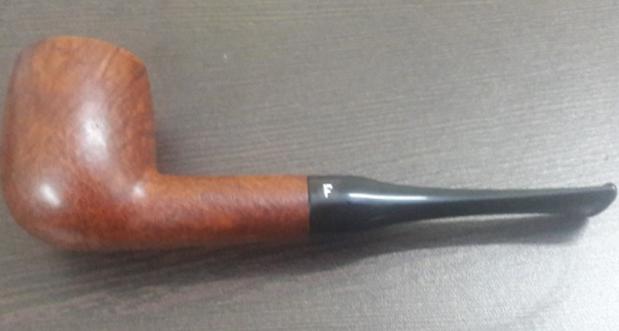
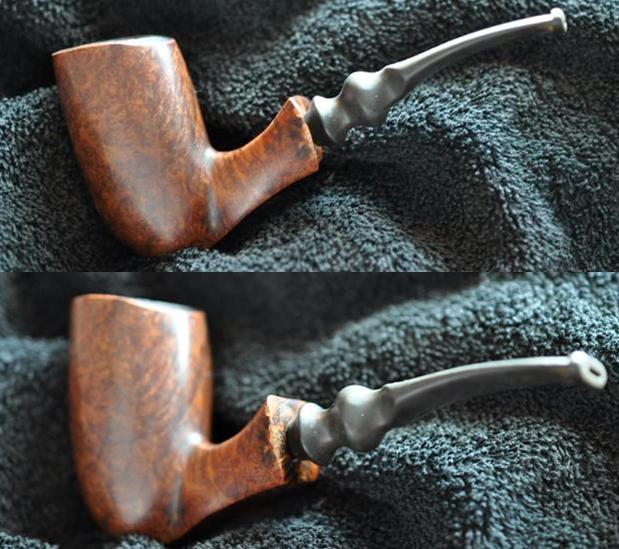
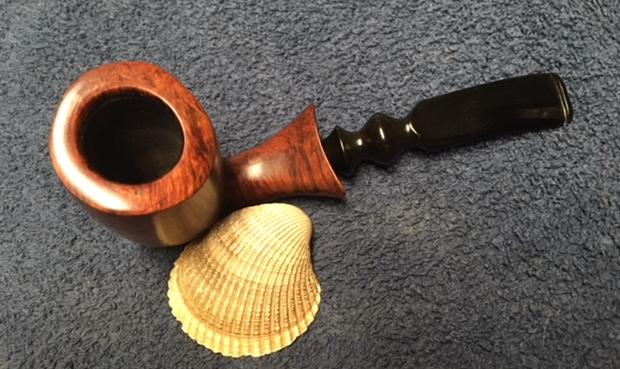
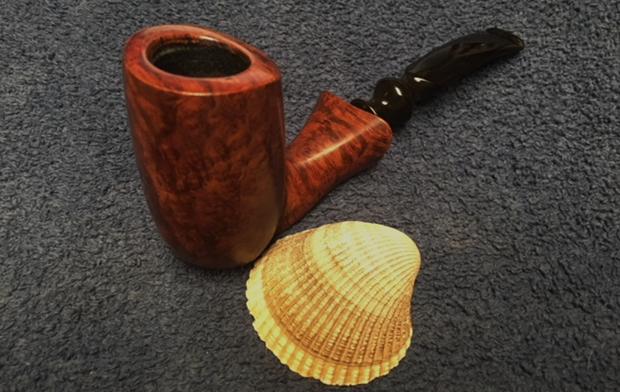
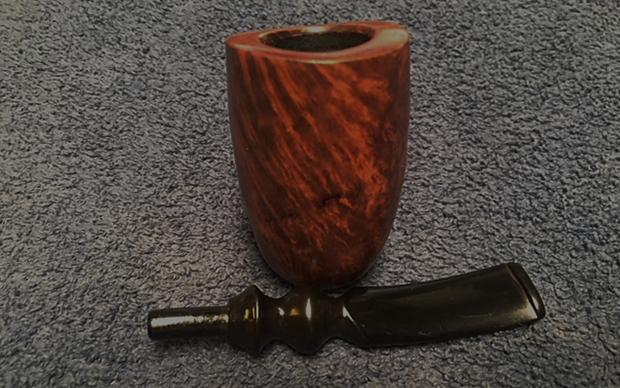
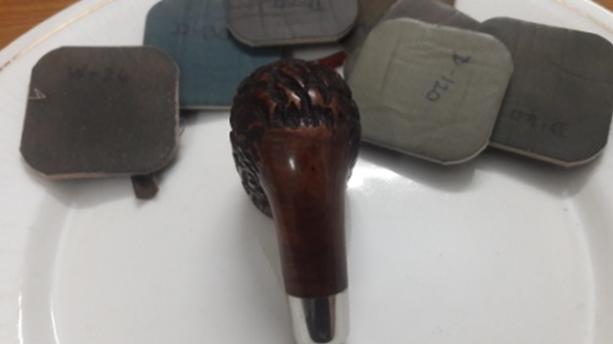
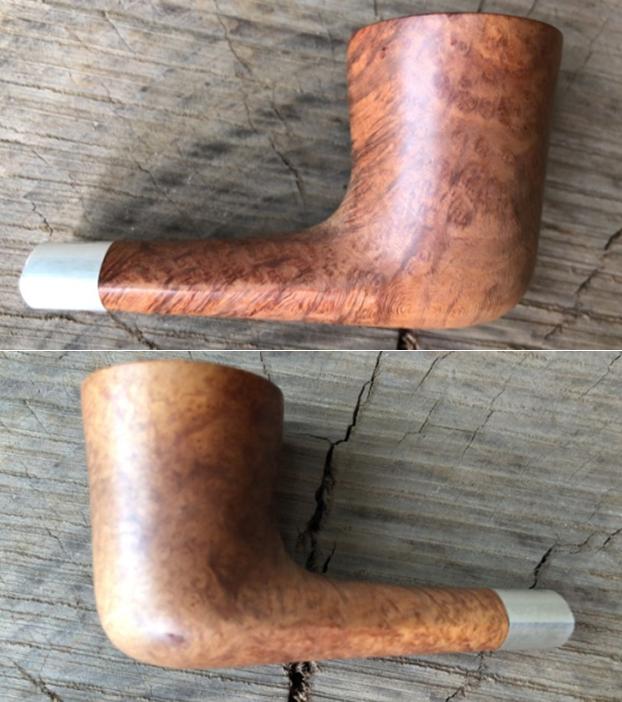
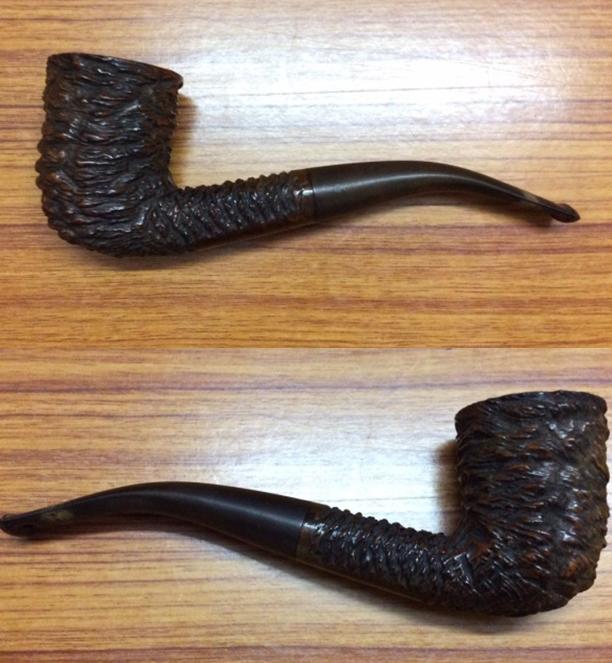
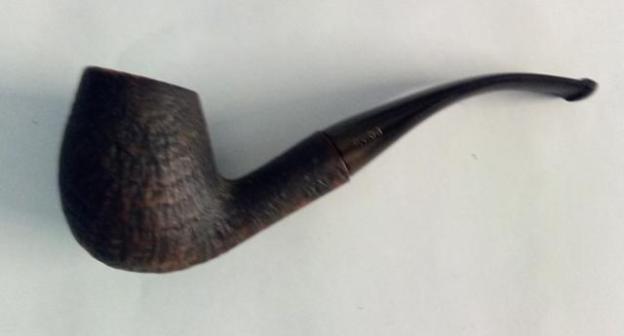
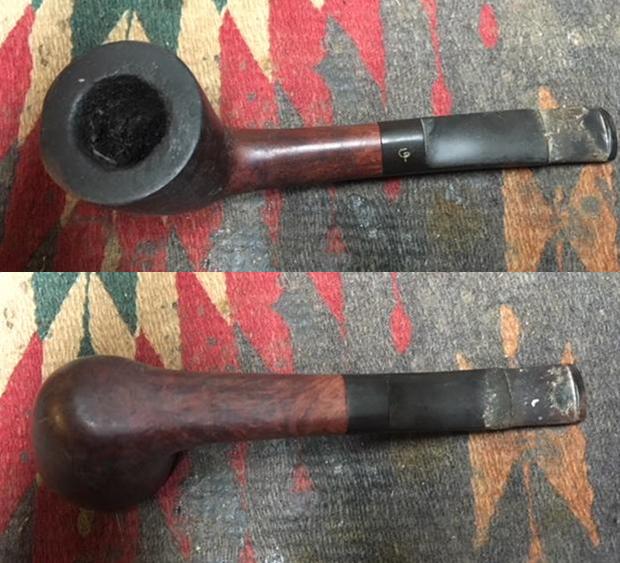
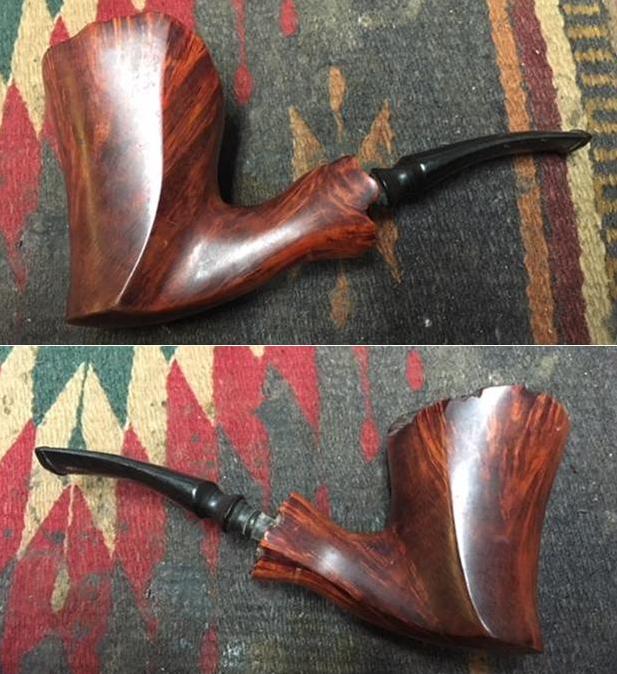
I have been working my way through some freehand pipes that my brother Jeff picked up recently. There are some amazing freehand pipes among them. The one on the work table now is another Granhill Freehand. I have already restored a beautiful large freehand Granhill earlier this summer (https://rebornpipes.com/2018/06/09/another-large-and-unique-freehand-pipe-a-granhill-signature-1-100/). It was a Granhill Signature 1 100 where this new one is a Granhill Signature 1 50. The pipe looked pretty good when he got it. There was dirt and grime in the plateau on the rim top. The edges were clean and undamaged. The bowl had a pretty thick cake inside. The finish on the pipe was an oil finish on natural briar. There were some carved trails up the sides of the bowl and the shank that had been lightly sandblasted and had an interesting texture. The stem was a replacement stem of cast vulcanite. It was oxidized but in decent condition. The acrylic stem on the other Granhill made me want to put the same kind of stem on this one as well. We would have to see. Jeff took photos of the pipe before he started his cleanup up work.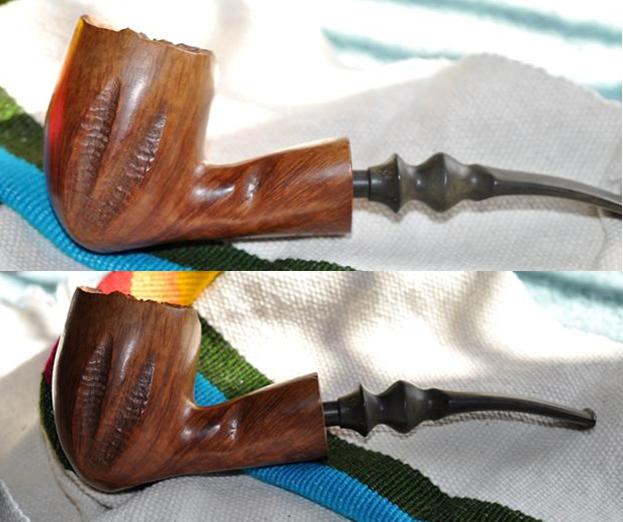
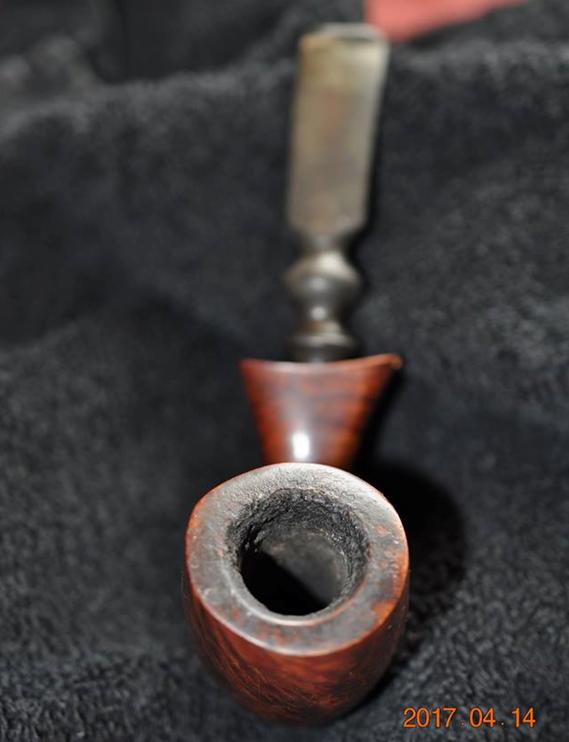
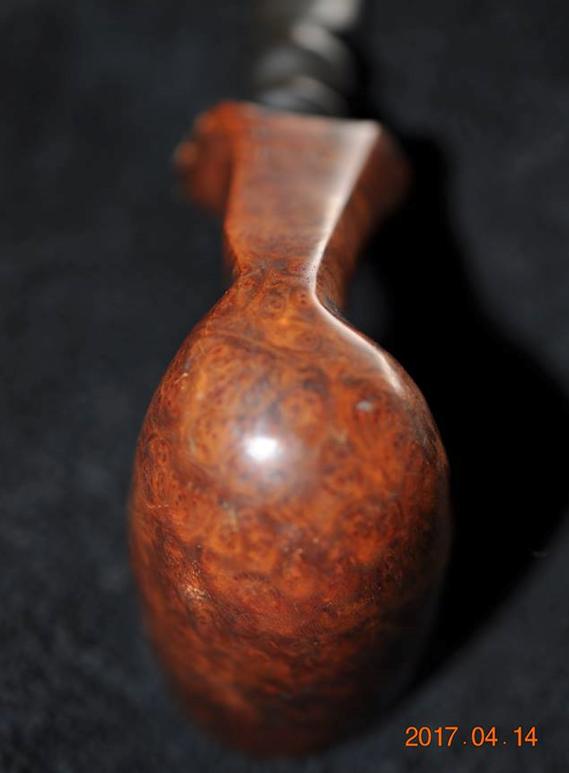
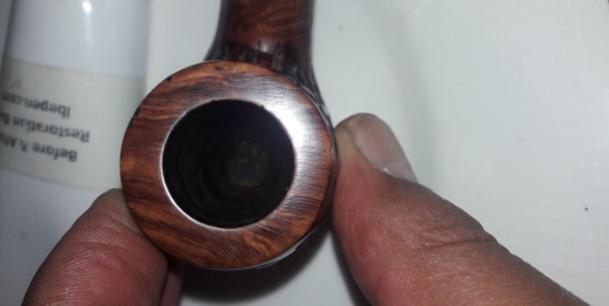
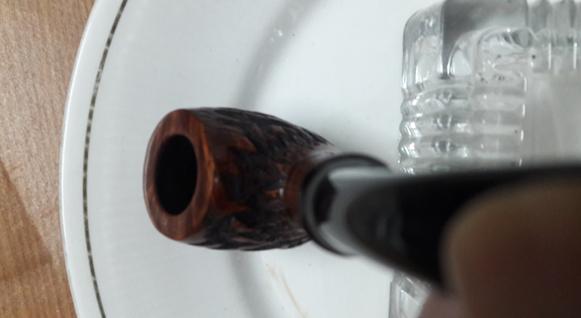
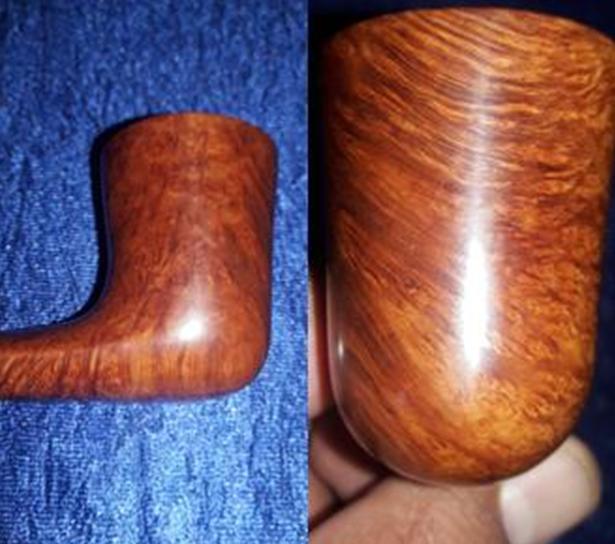
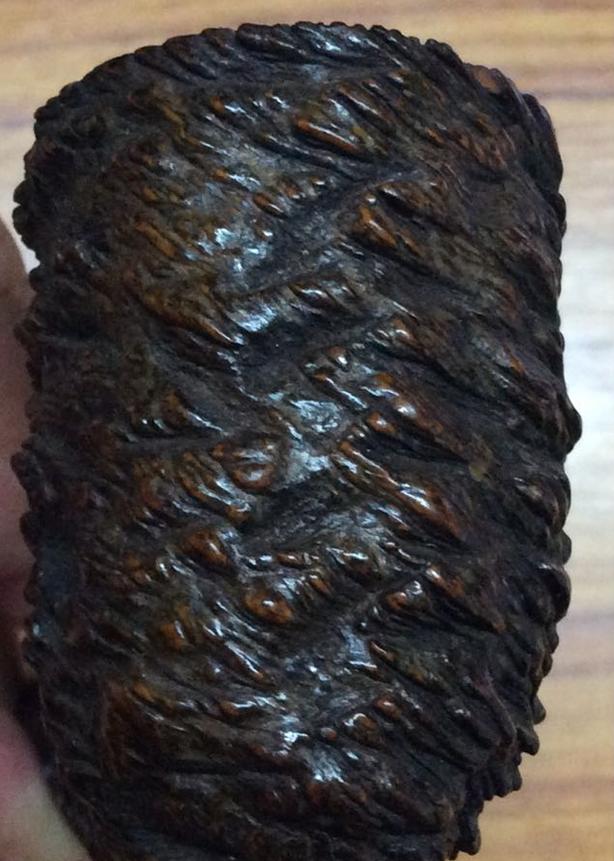
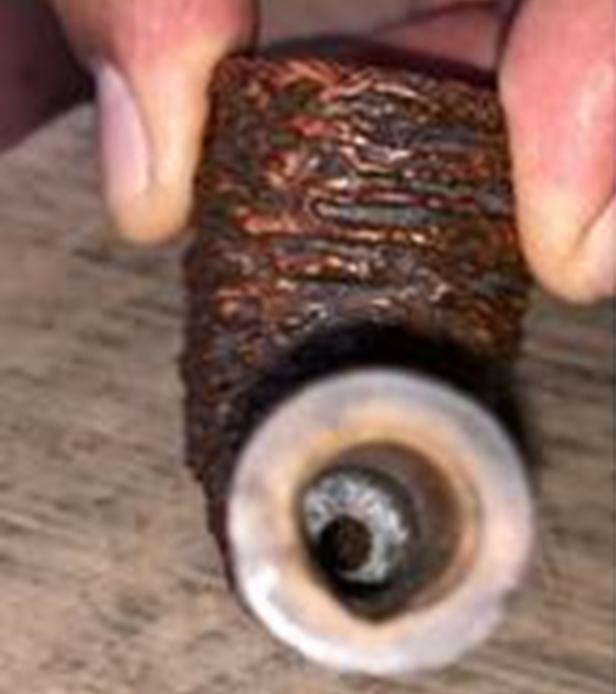
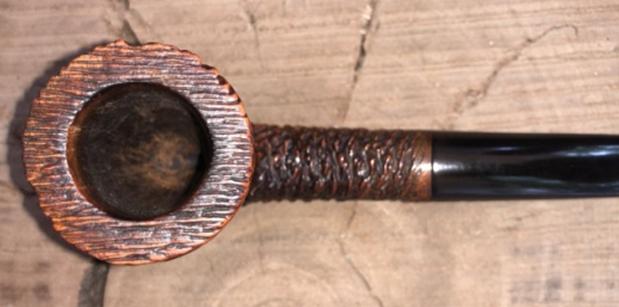
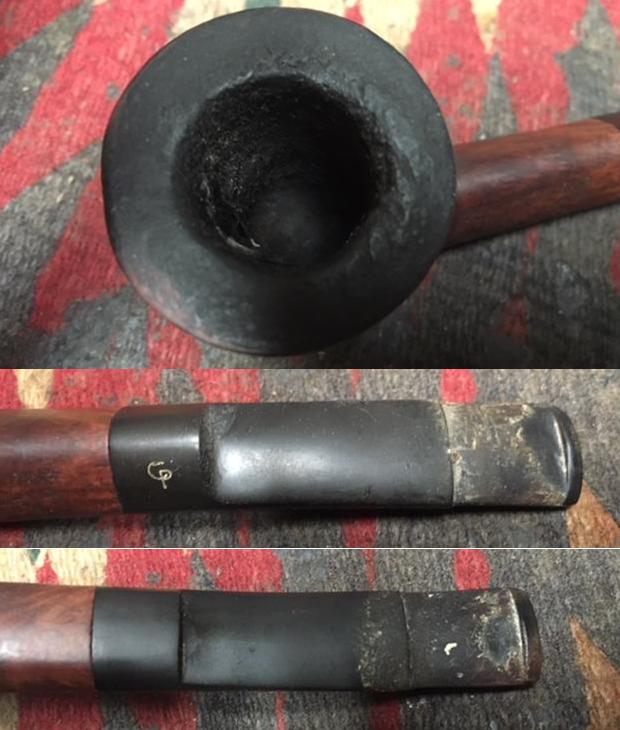
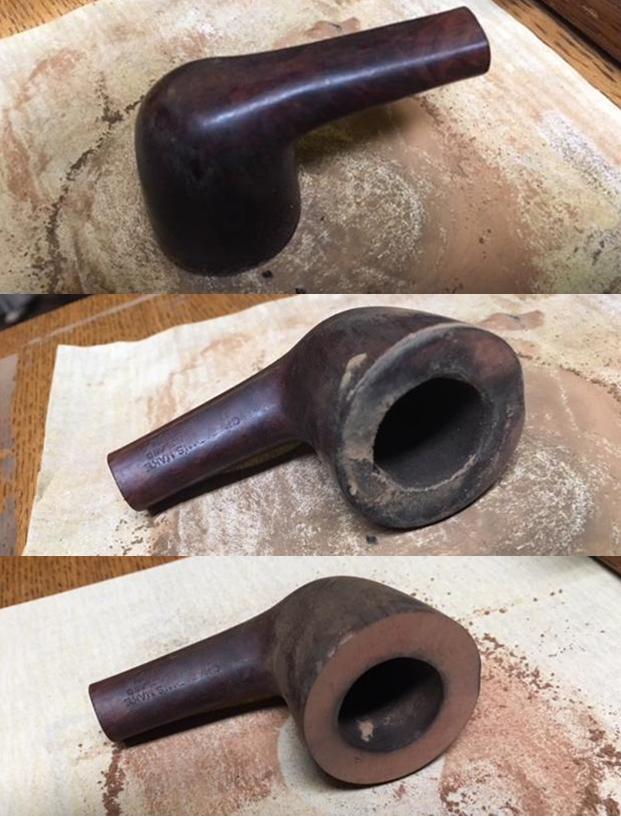
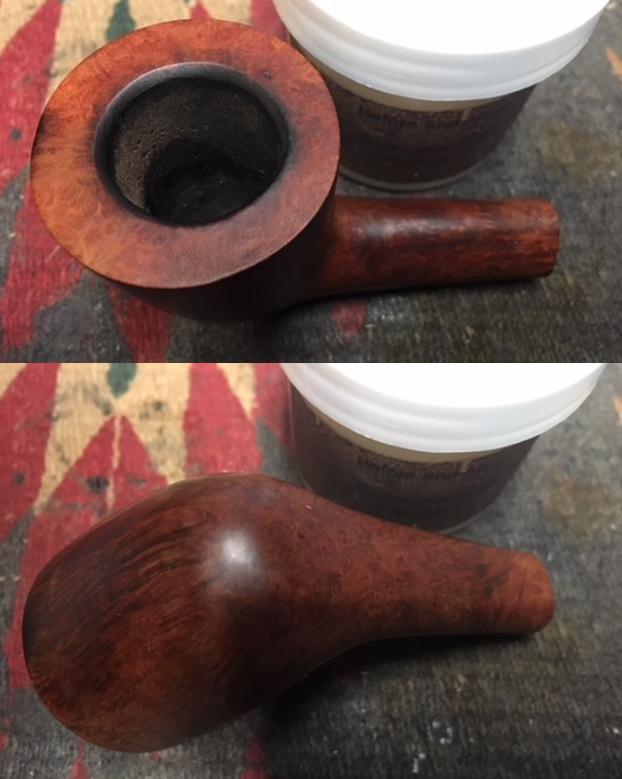
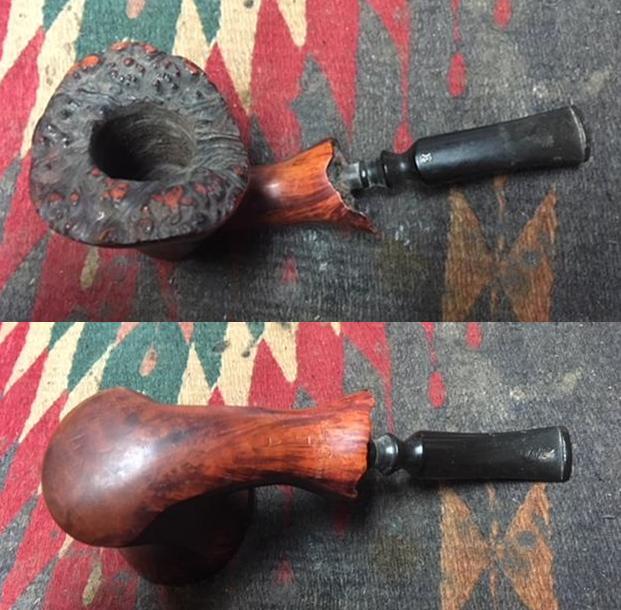
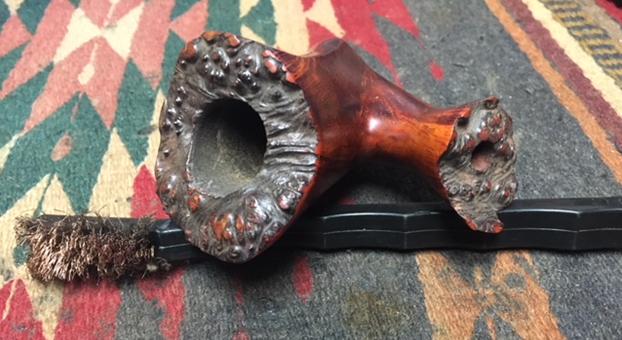
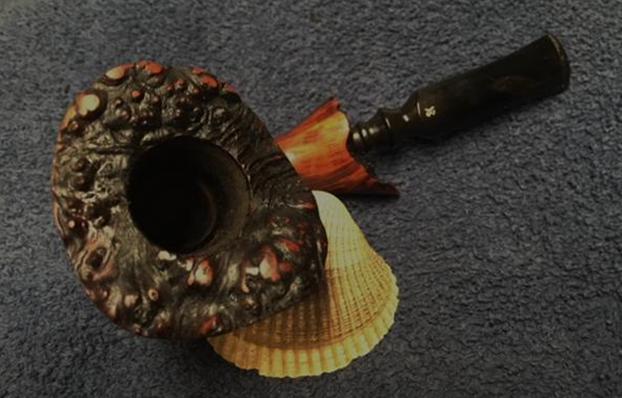
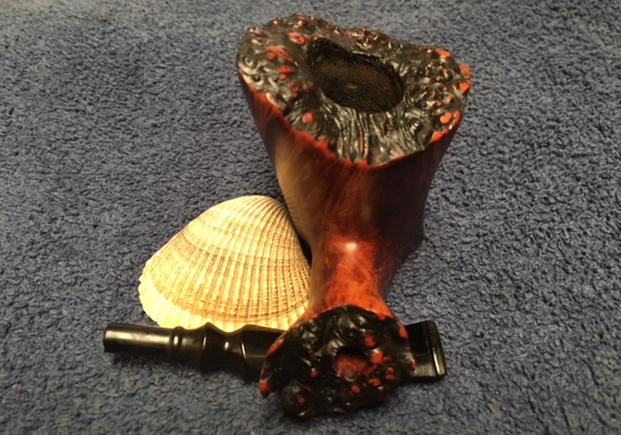
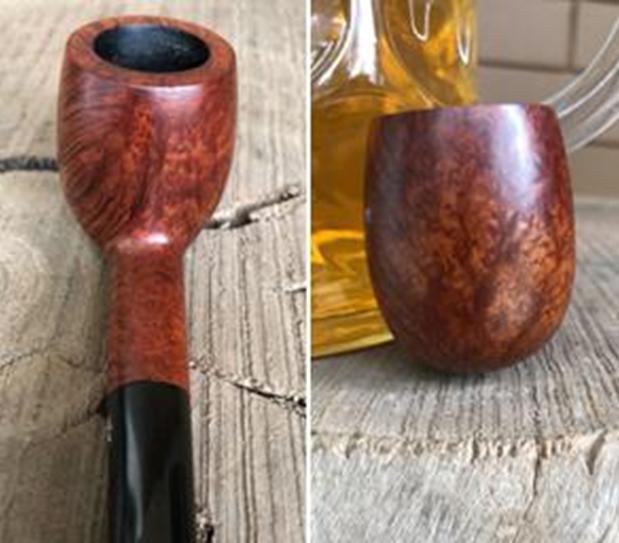
 Jeff took photos of the rim top to show the grime and dirt in the crevices of the rim top. There was also some darkening around the inner edge of the rim top and some lava build up that was overflowing onto the inner edge.
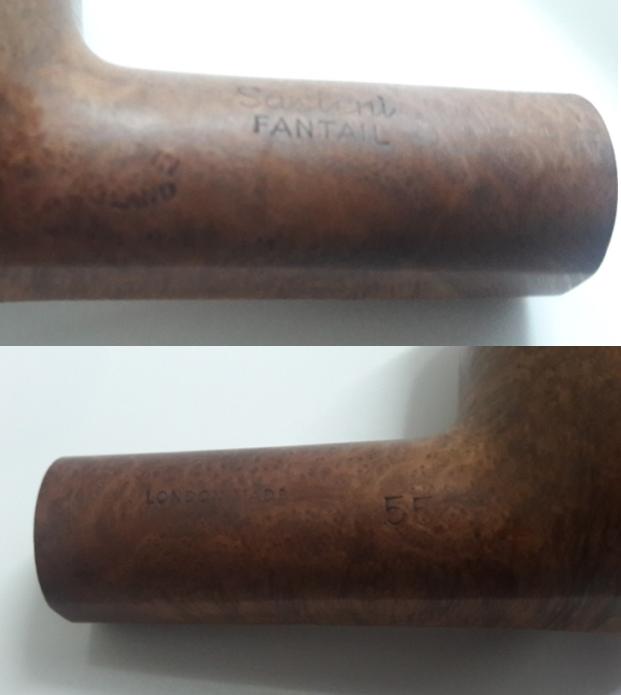
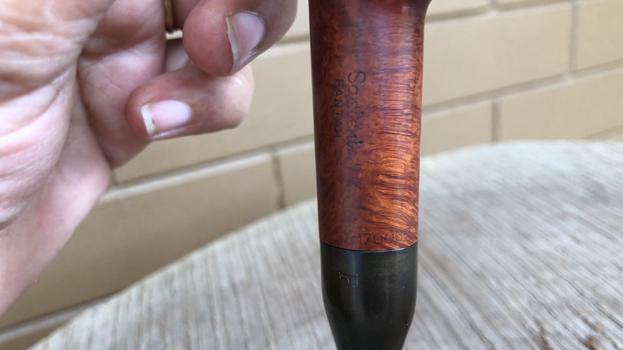
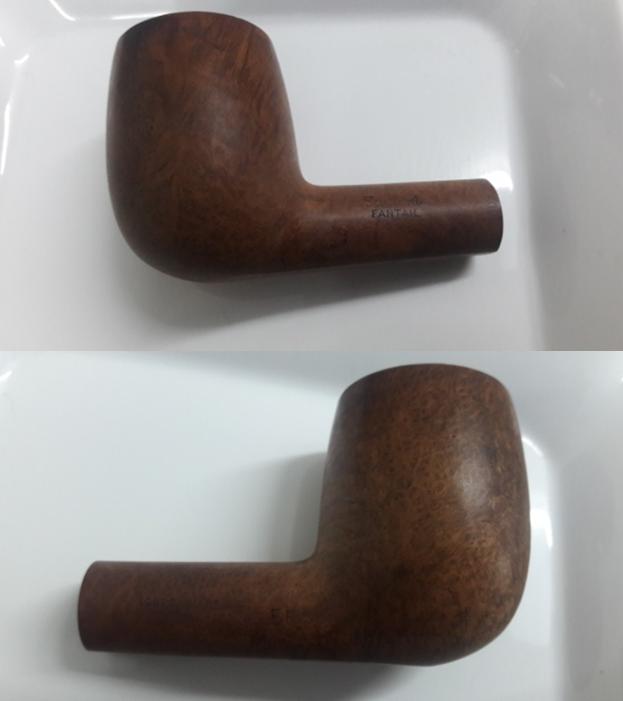
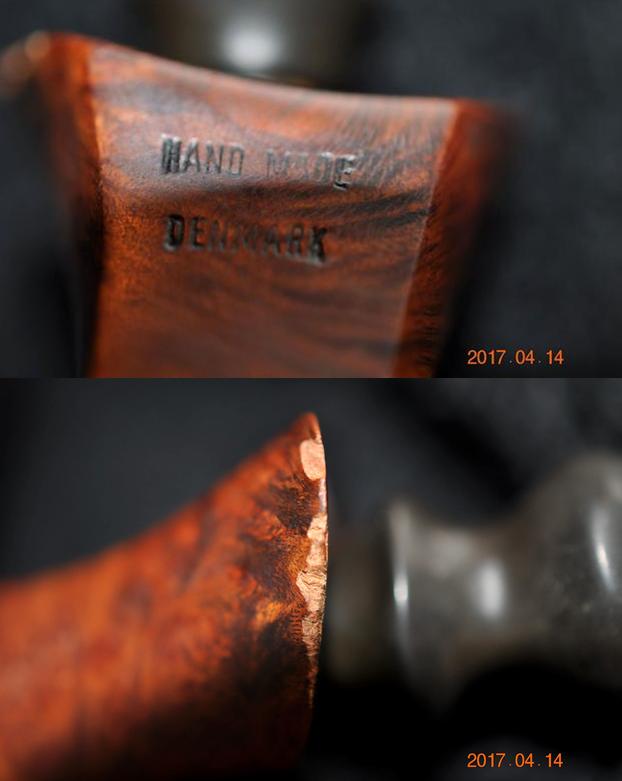
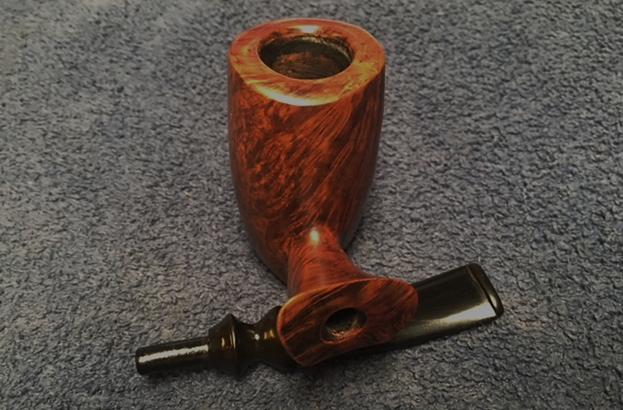
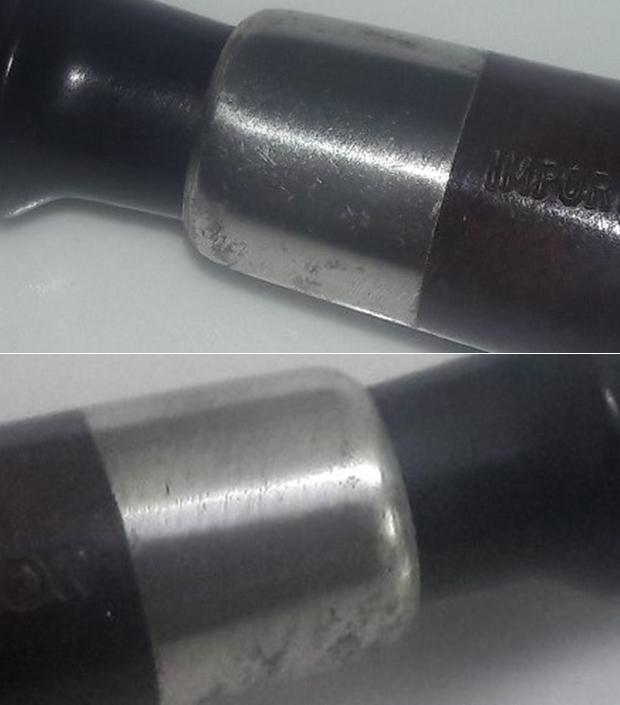
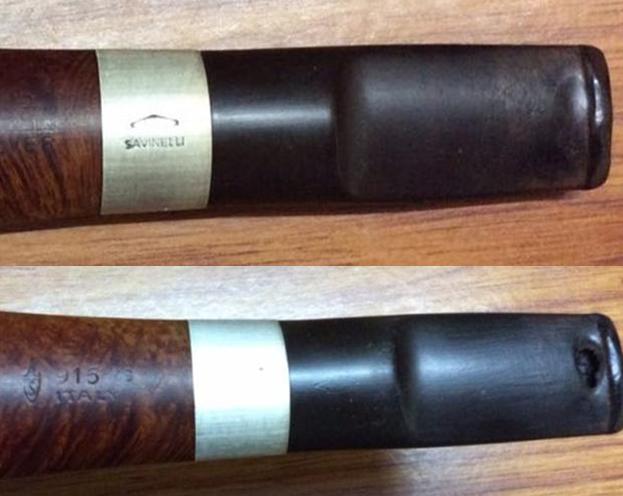
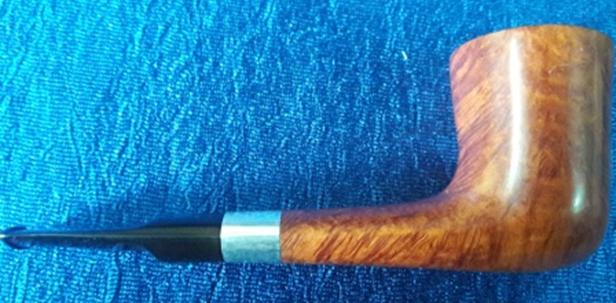
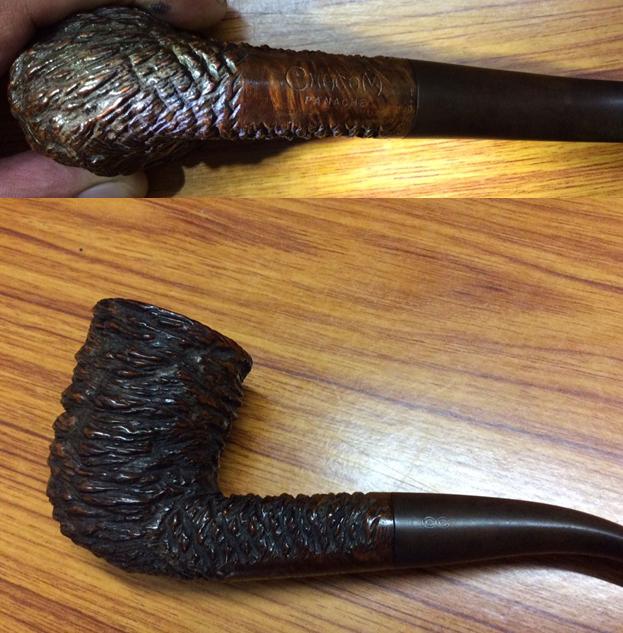
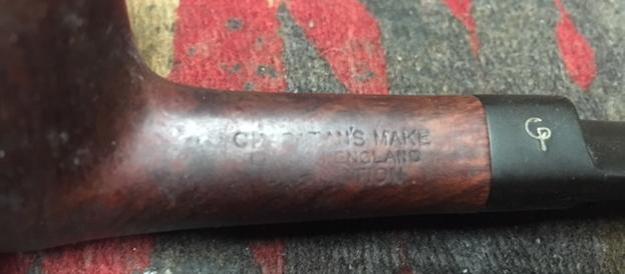
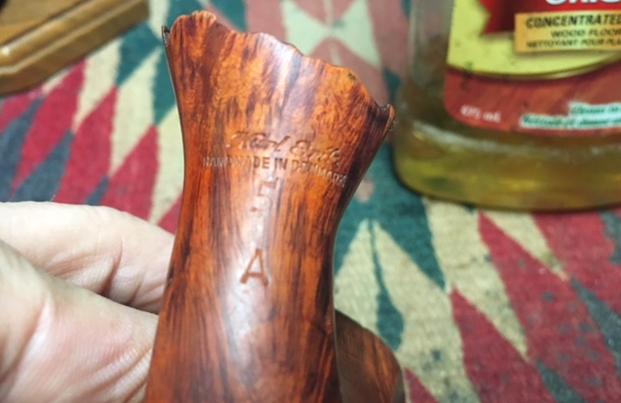
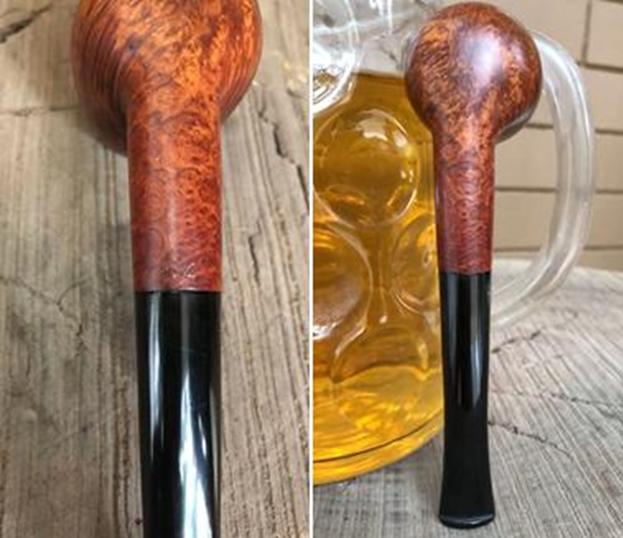
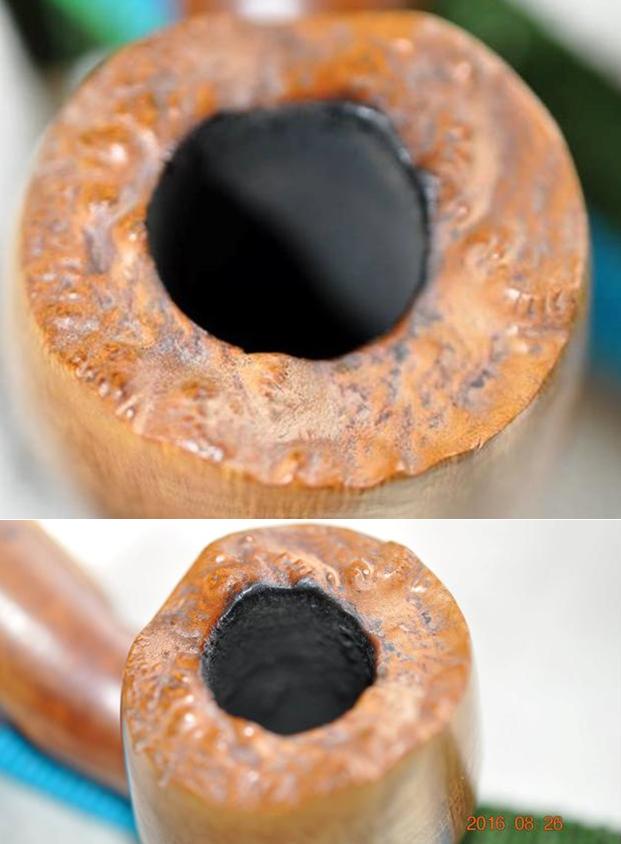 He also took a photo of the stamping on the shank. The stamping is very clear and readable.
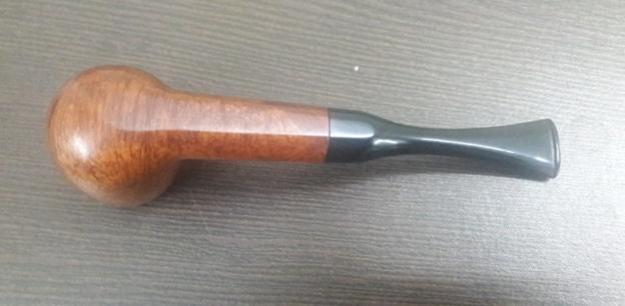
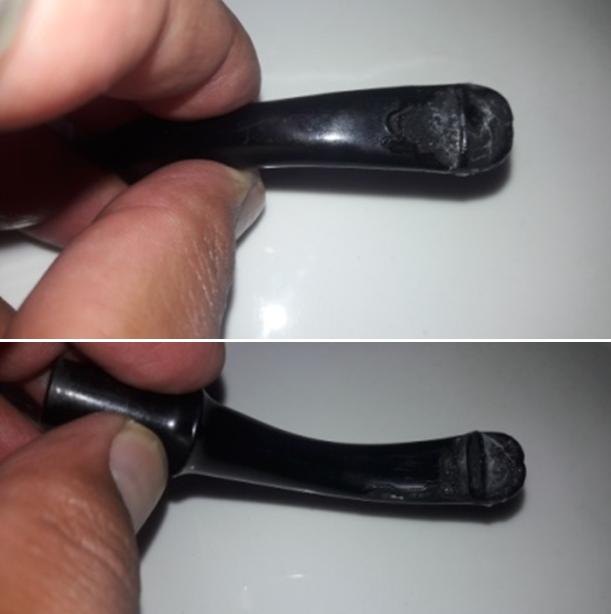
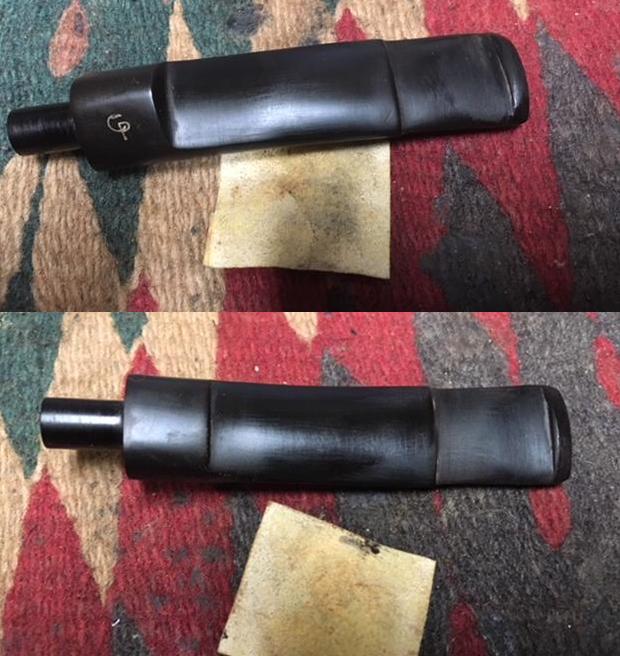
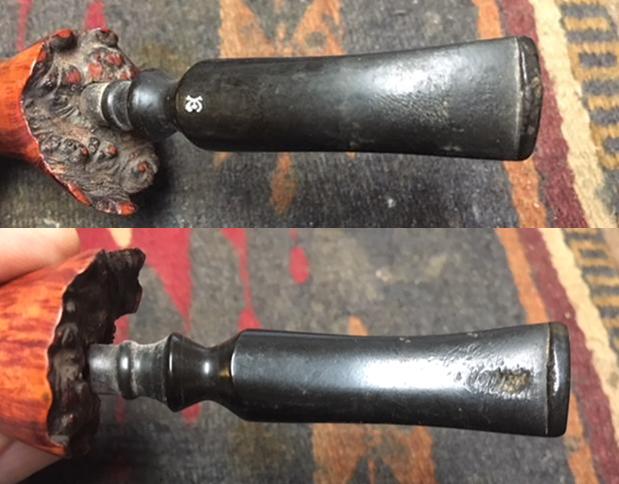
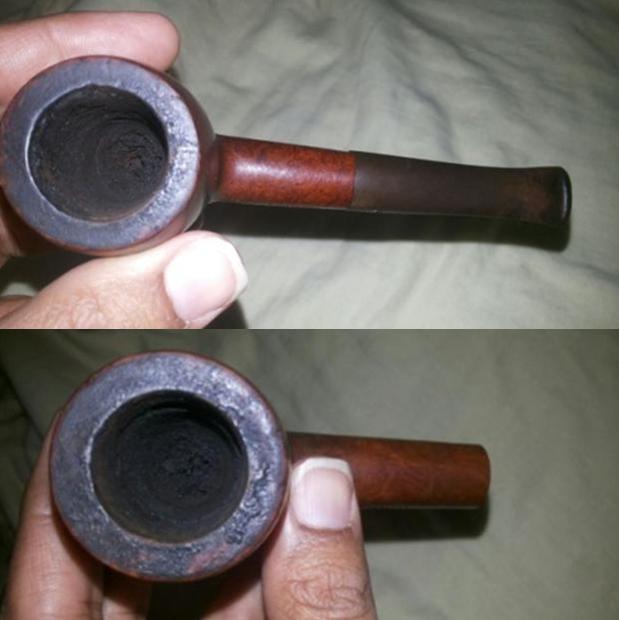
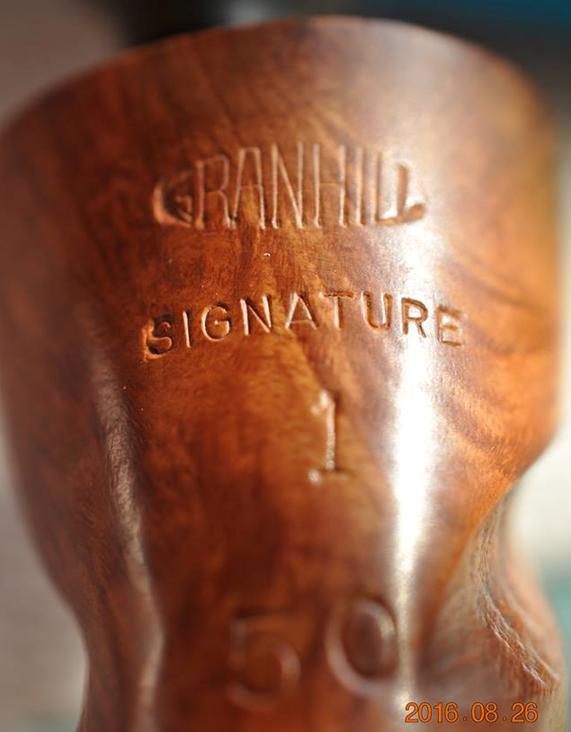 The stem was in decent condition. The surface of the vulcanite was pitted and oxidized. There was some light tooth chatter on both sides of the stem near the thin button.
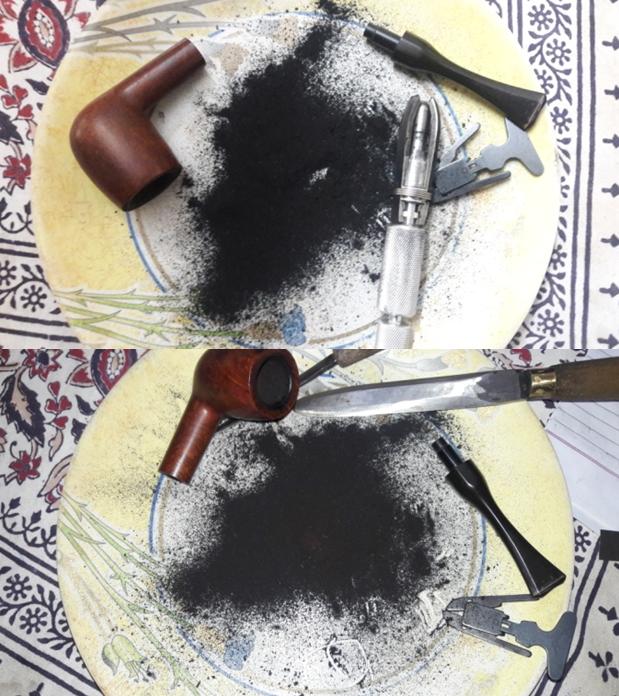
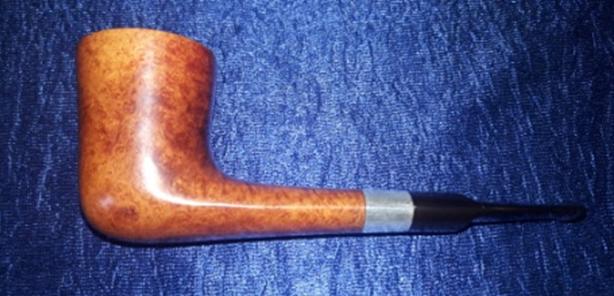
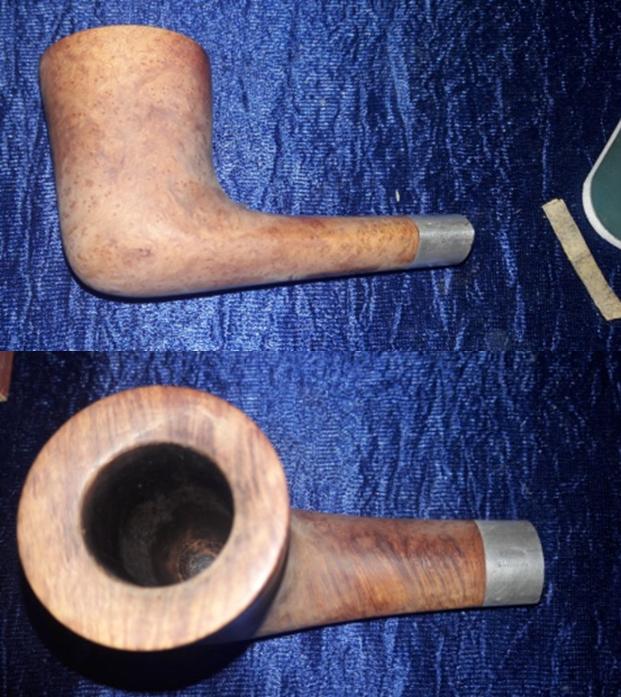
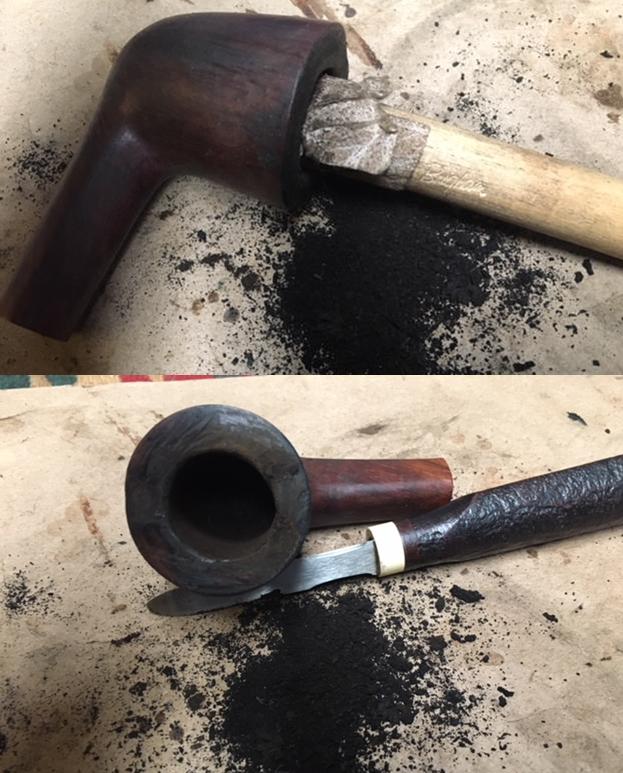
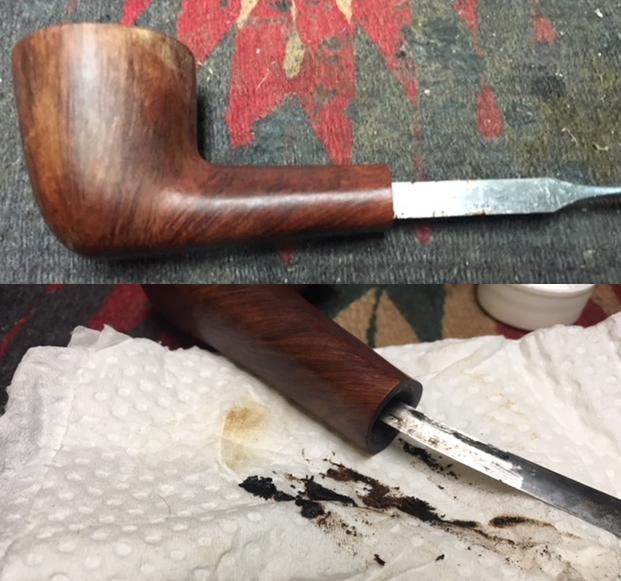
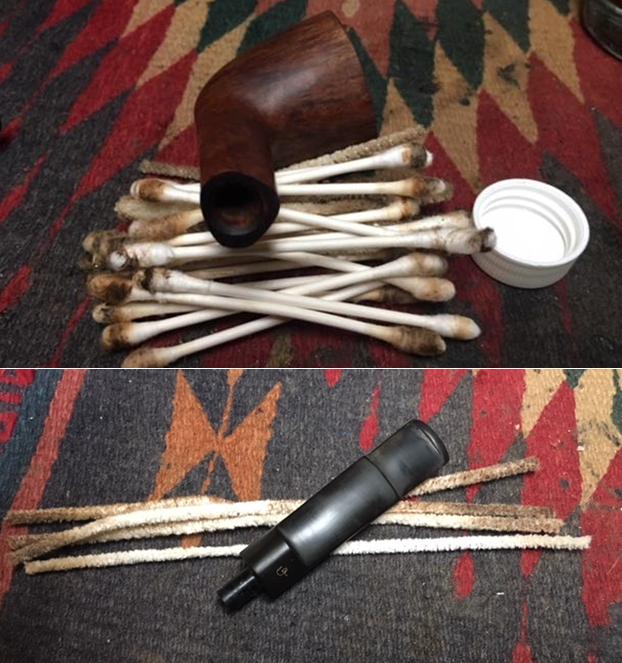
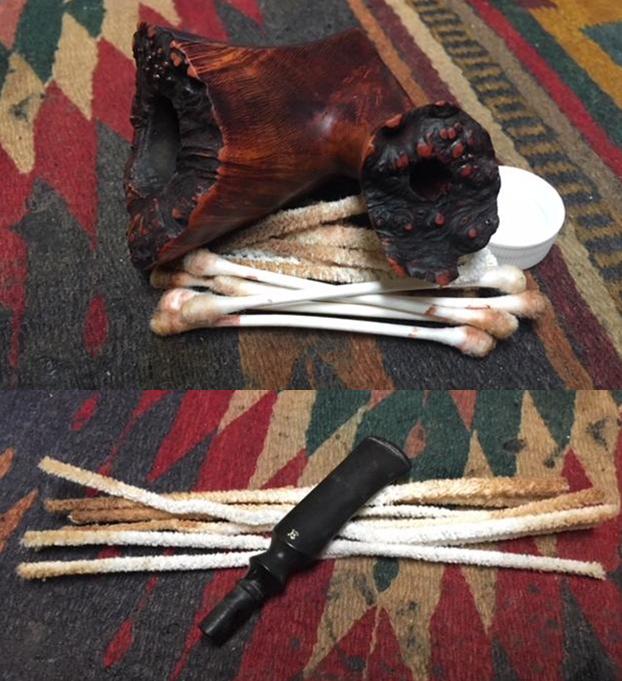
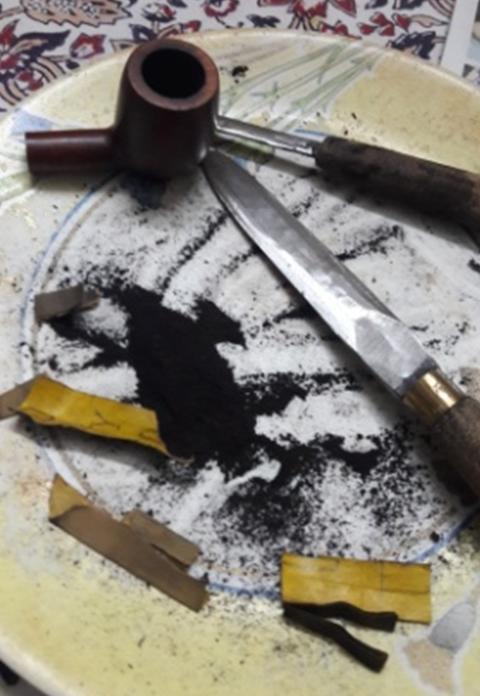
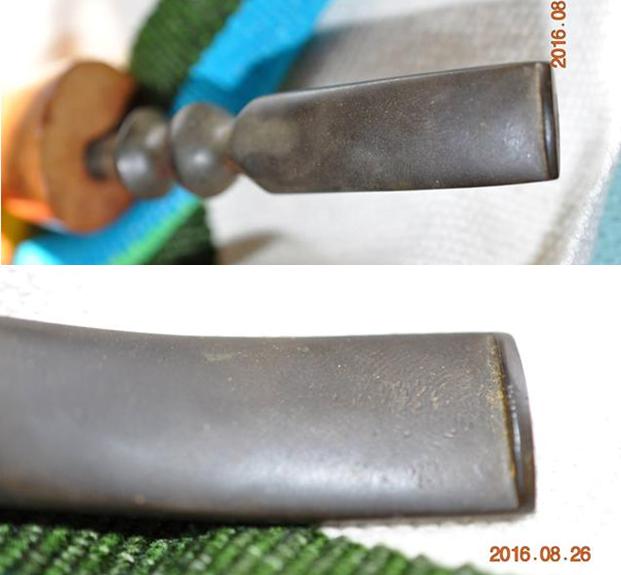 Jeff had cleaned the rim top and removed the debris in the plateau. He had scrubbed the exterior with Murphy’s Oil soap and removed the dust and grime that had accumulated there. The oil finish disappeared and there was natural unfinished briar and once it was scrubbed it was clean and unstained briar. He lightly reamed the bowl with a PipNet reamer and cleaned it up with a Savinelli Fitsall Pipe Knife. He cleaned the interior of the mortise and the airway in the shank and the stem with alcohol, cotton swabs and pipe cleaners. The pipe came to me clean and ready to do some light touch ups and polishing. The stem was cleaned but had tooth chatter on the top and underside near the button and on the surface of the button itself.
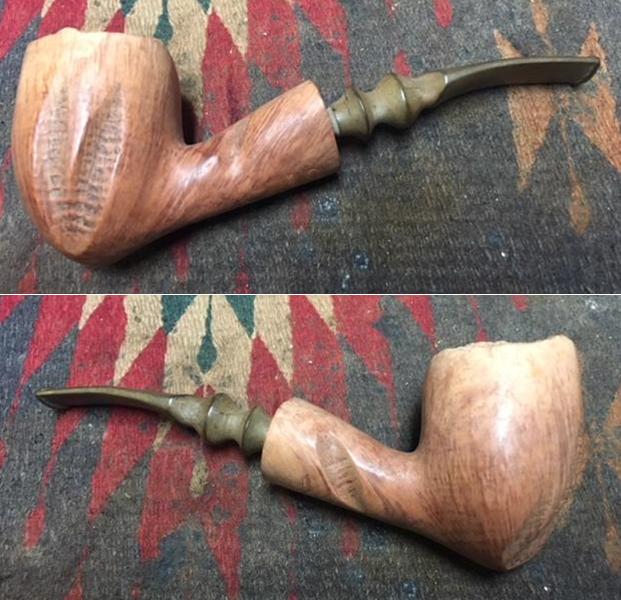
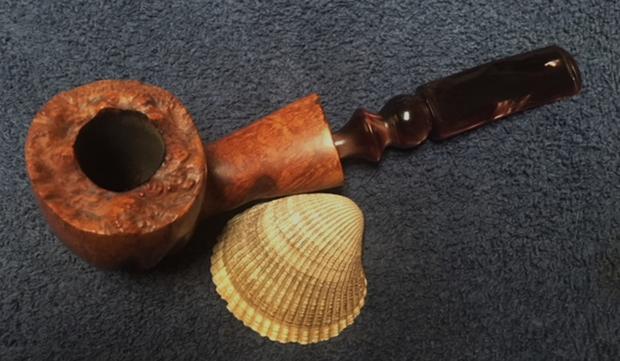
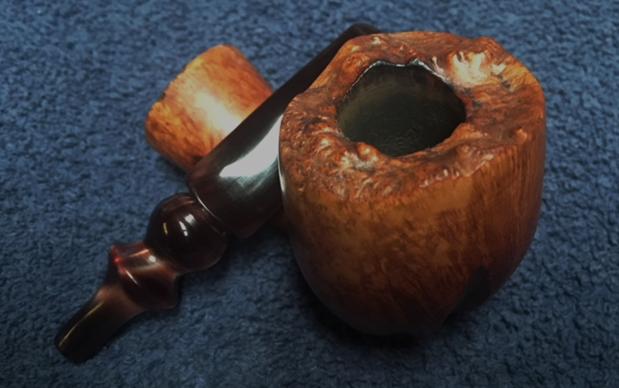
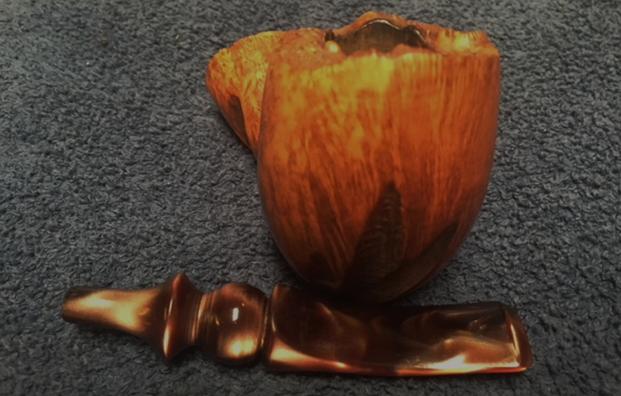
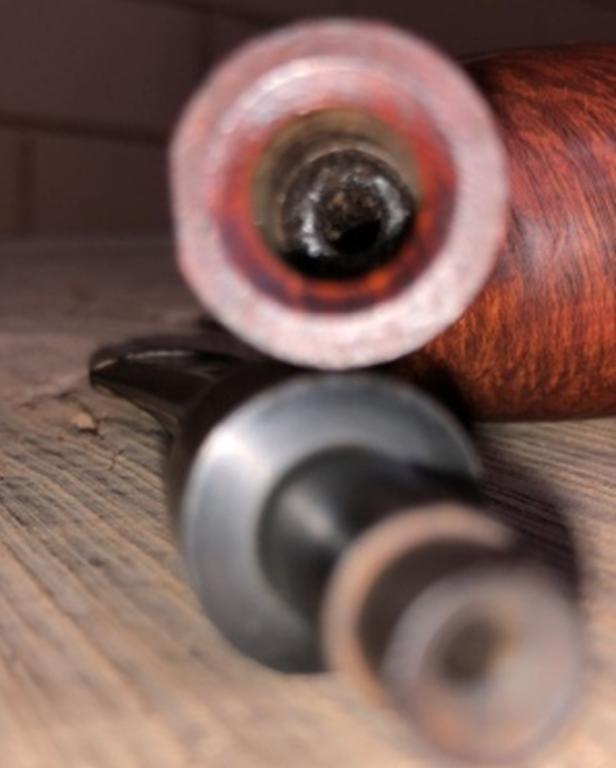
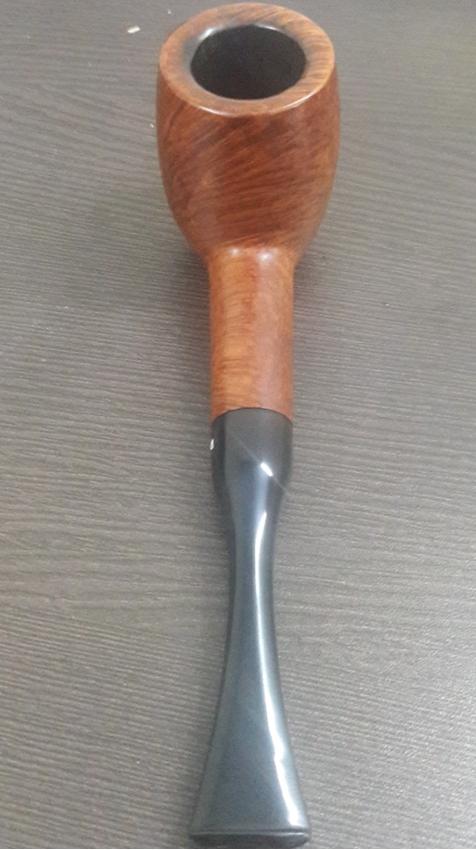
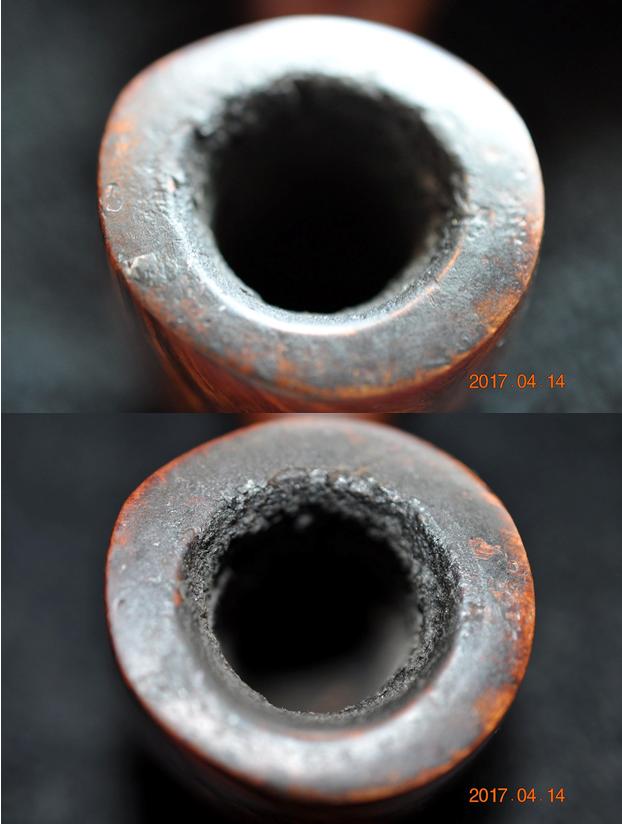
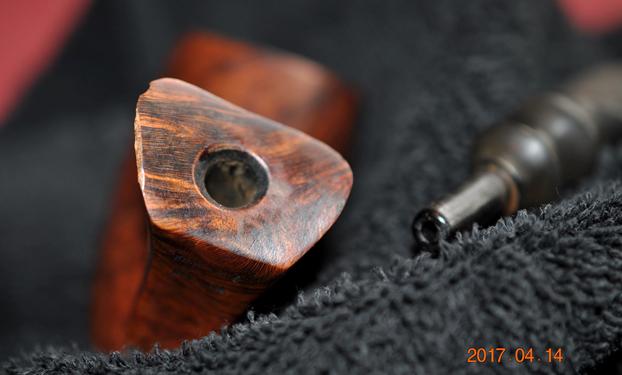
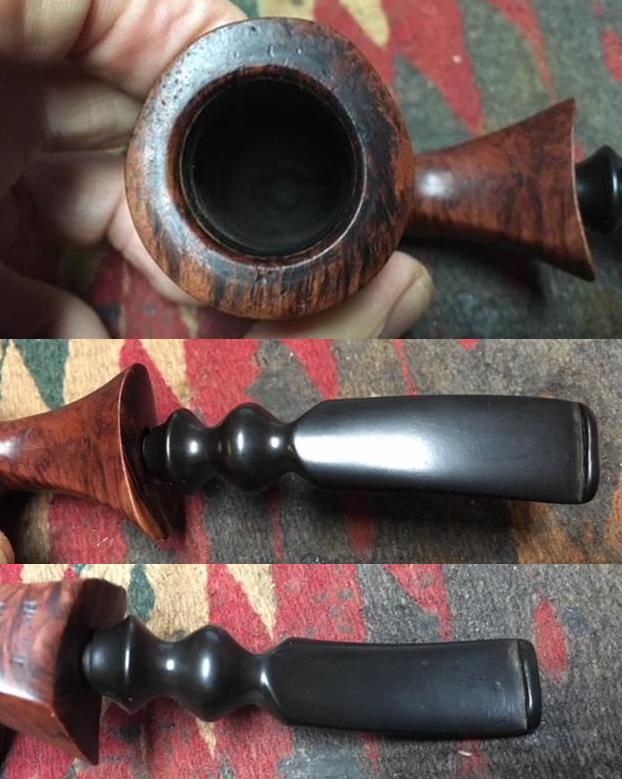
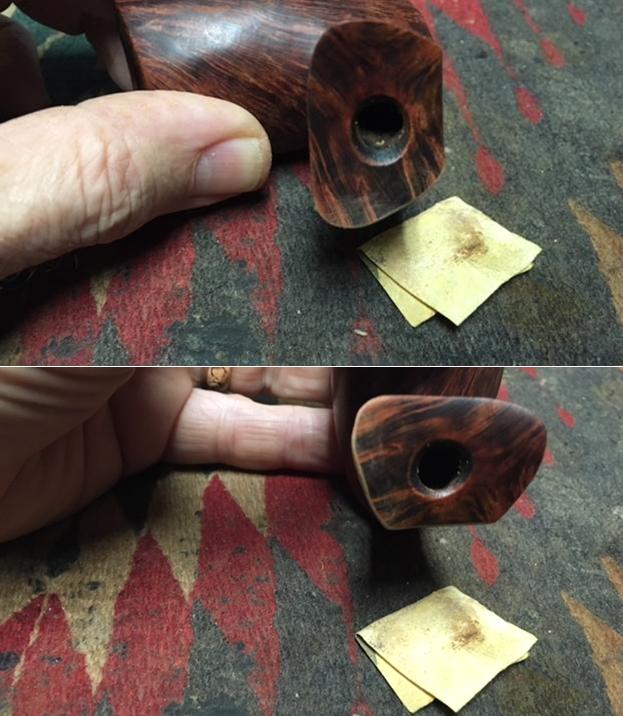
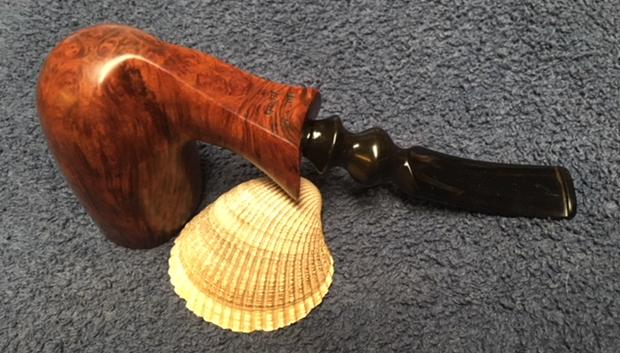
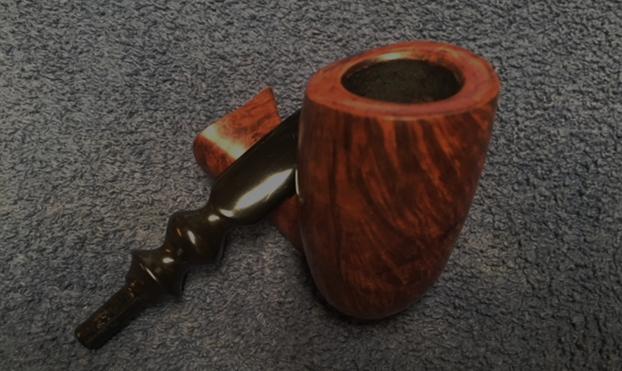
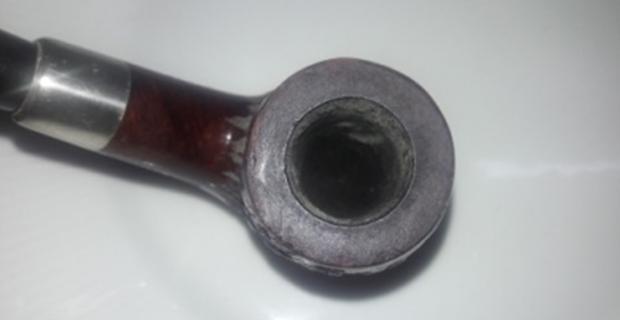
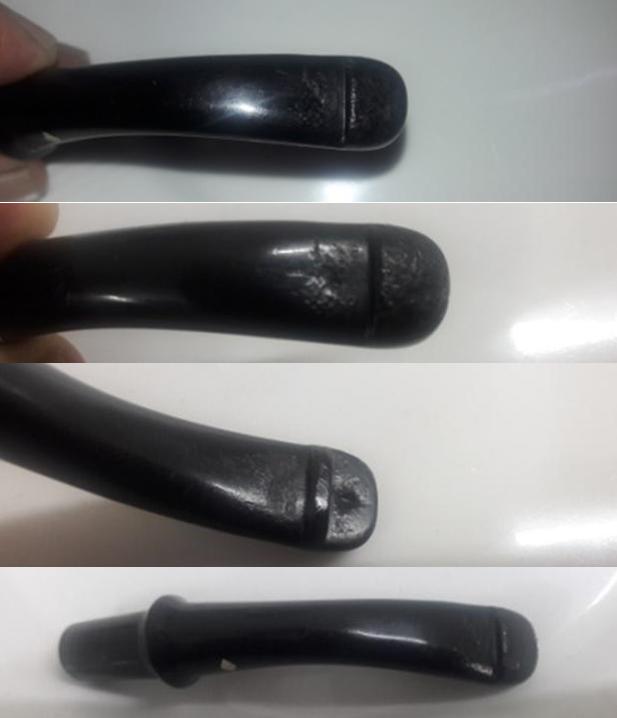
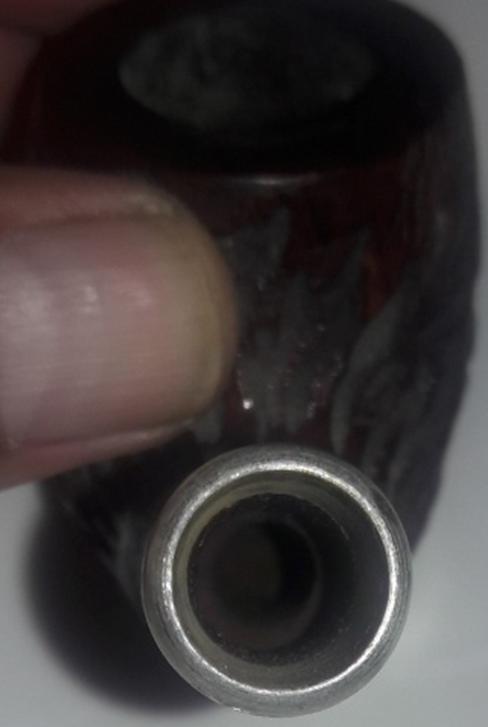
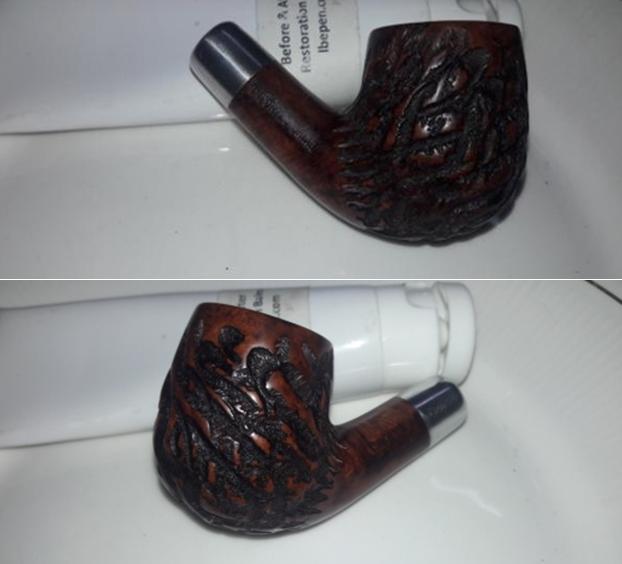
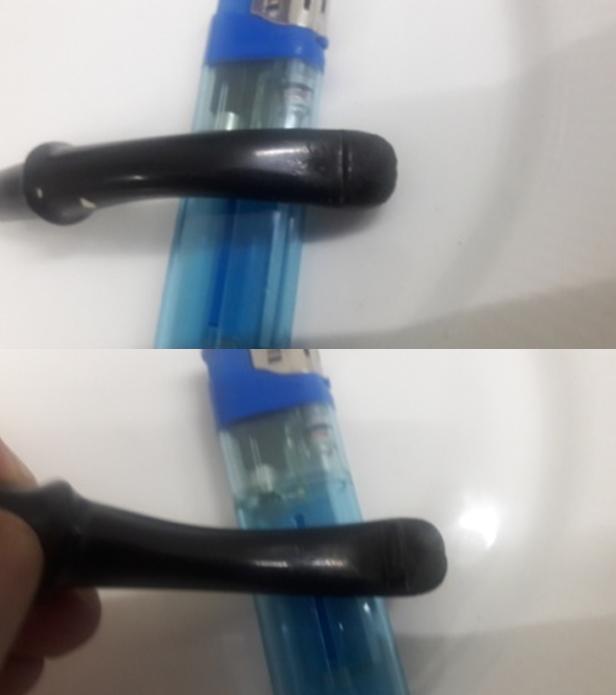
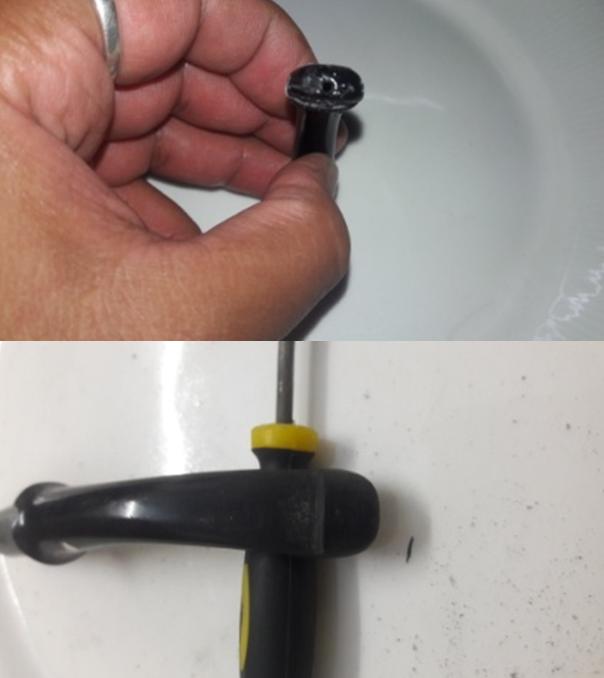
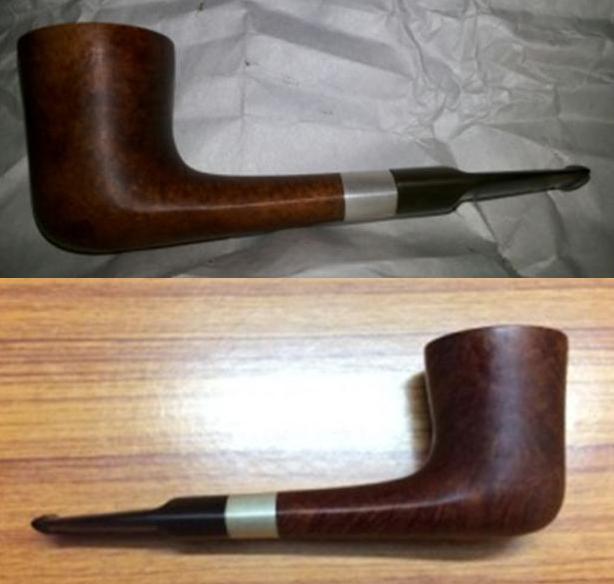
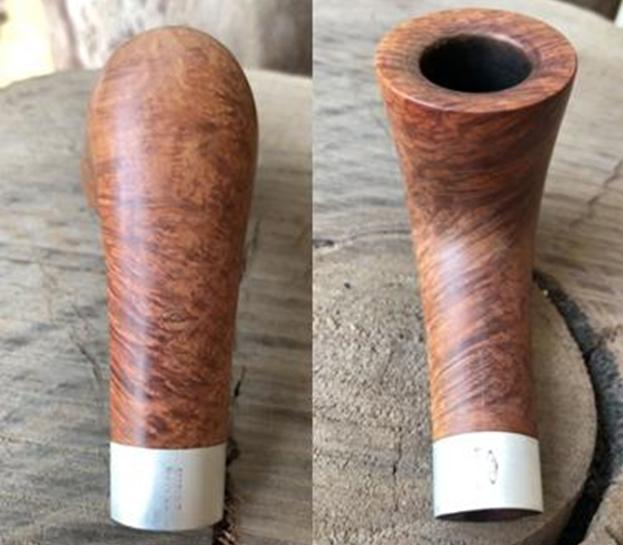
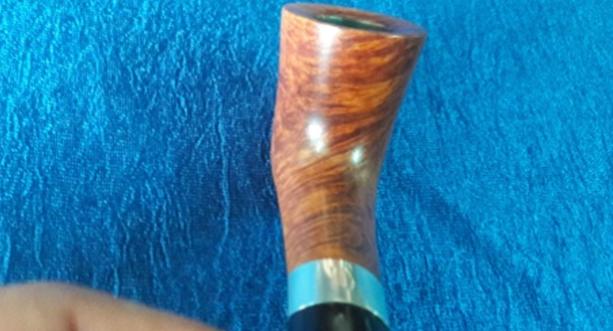
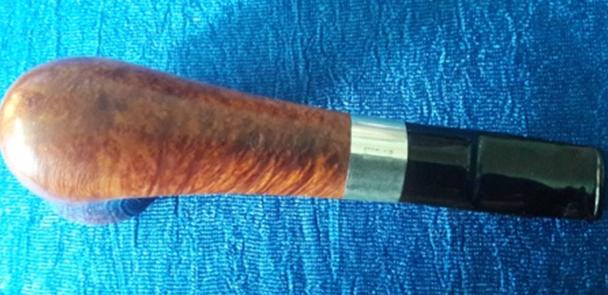
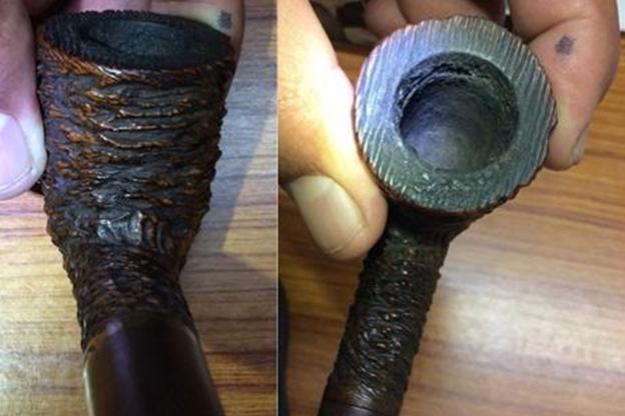
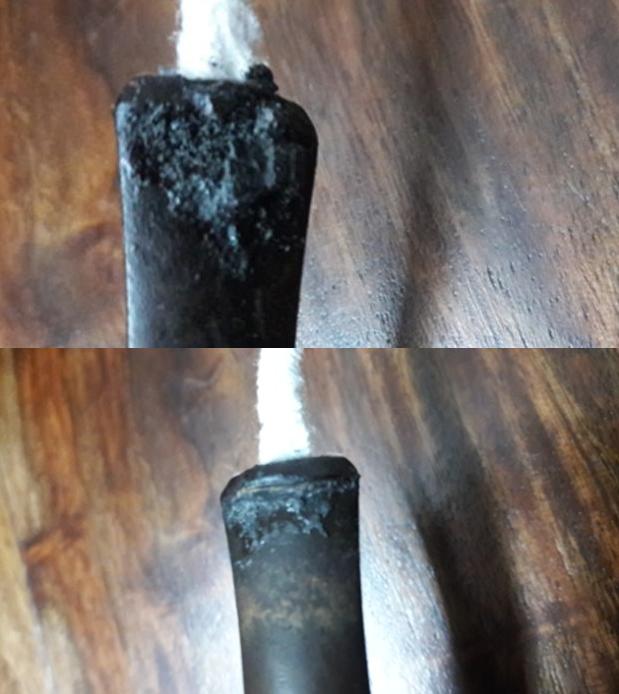
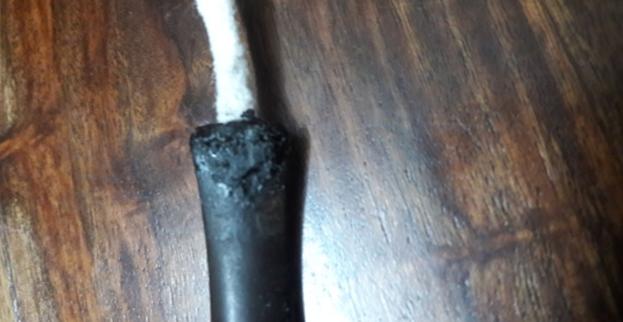
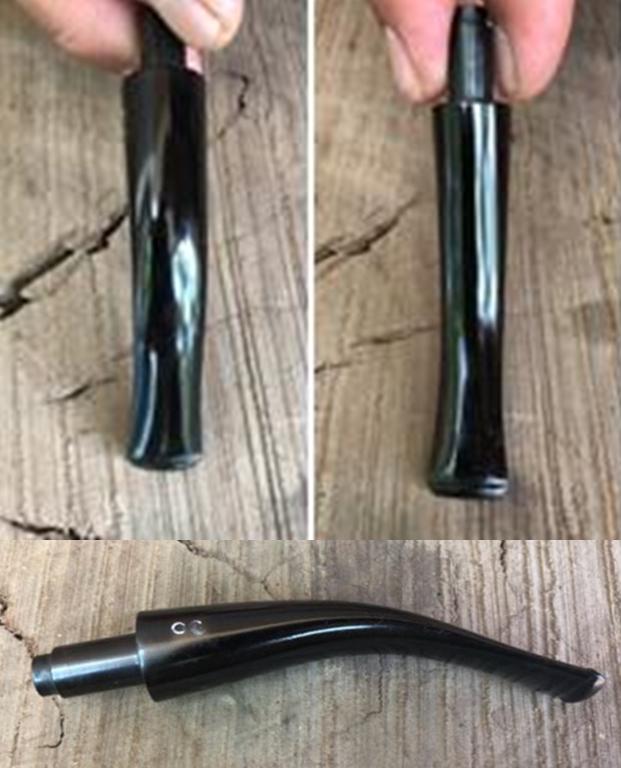
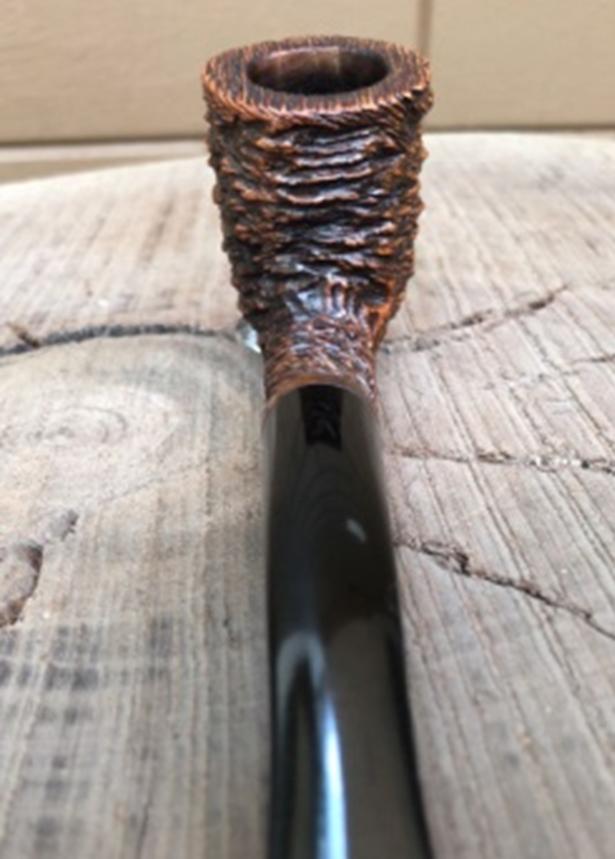
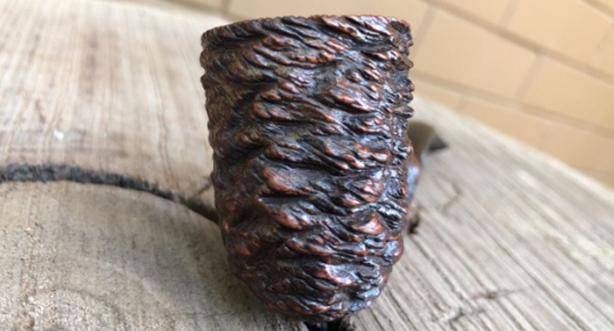
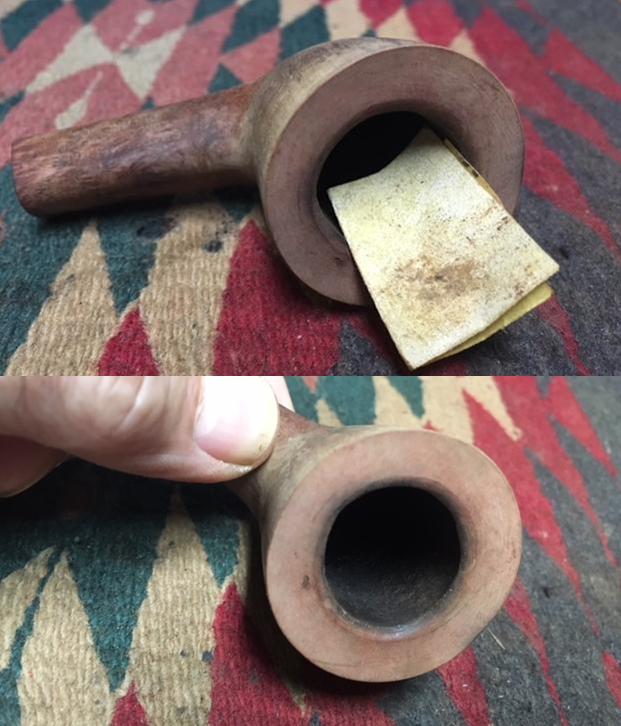
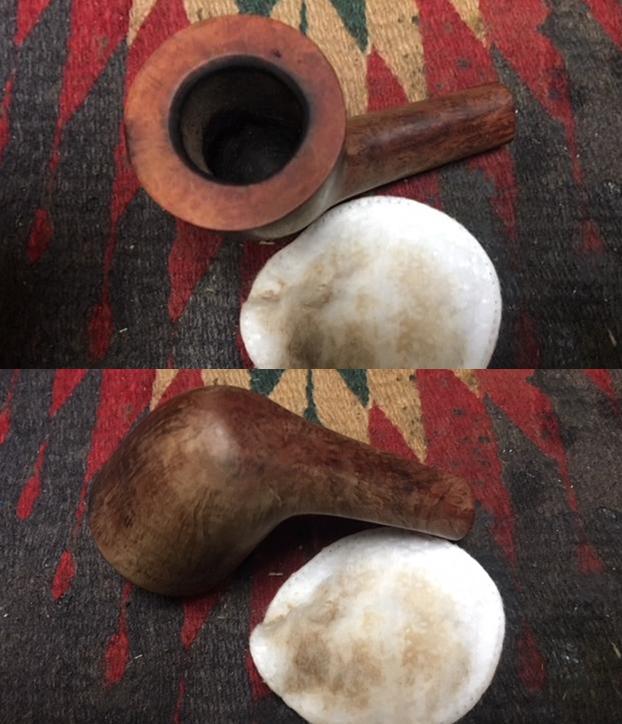
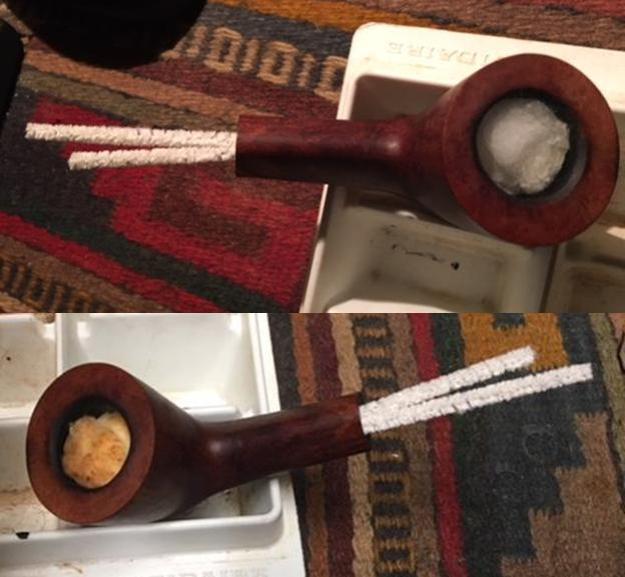
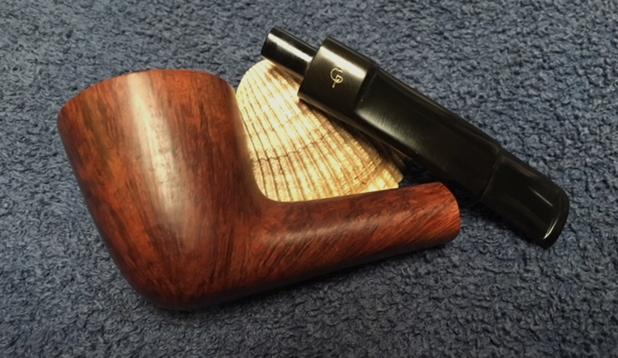
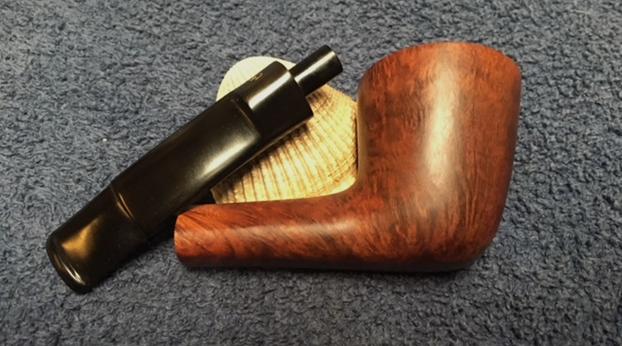
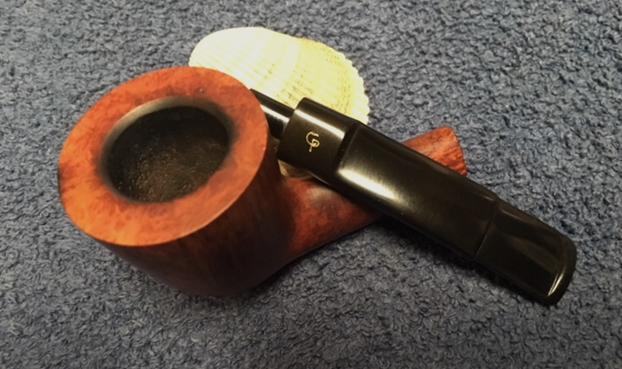
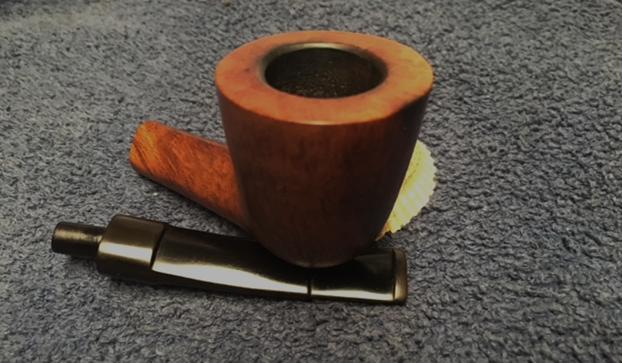
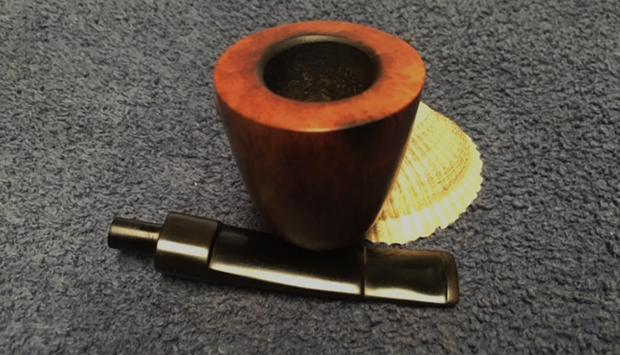
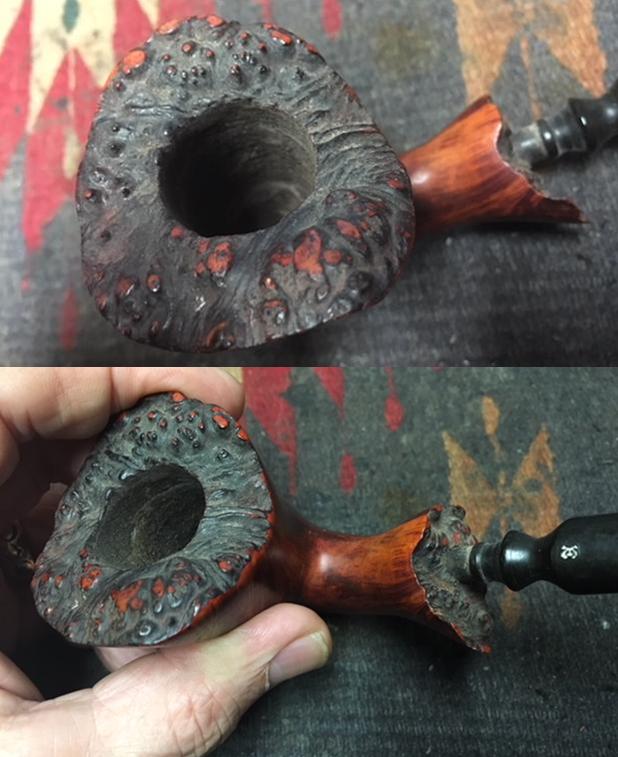
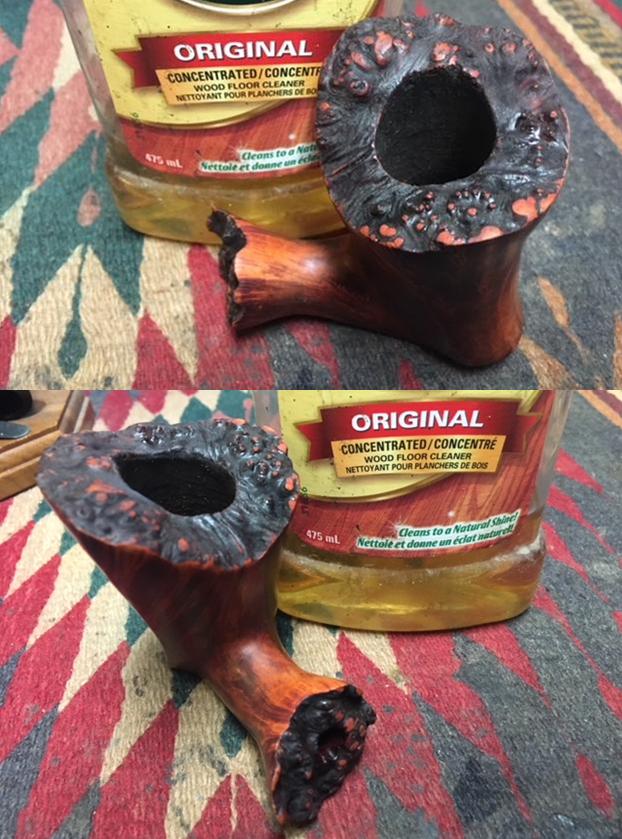
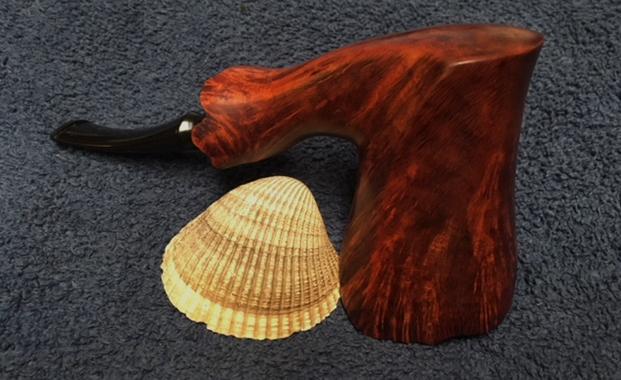
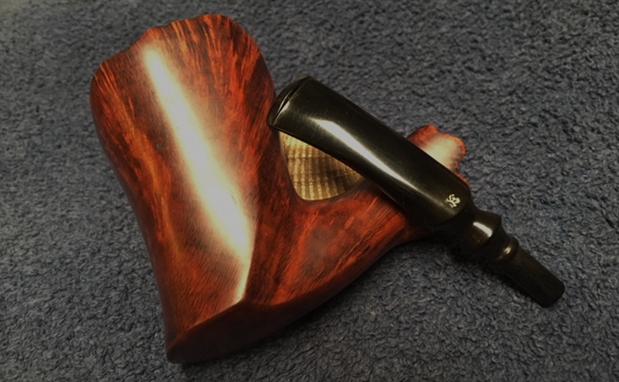
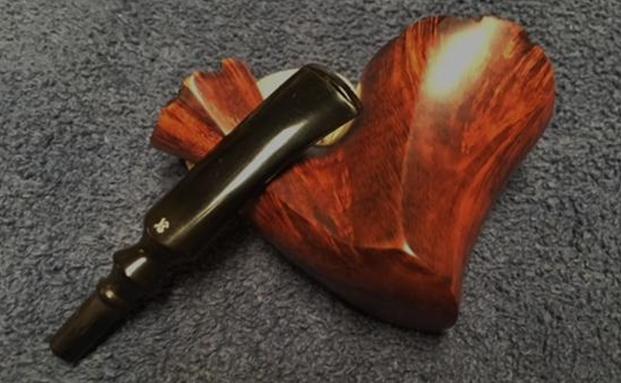
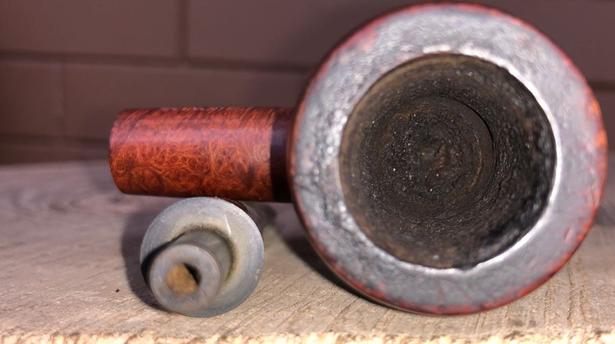
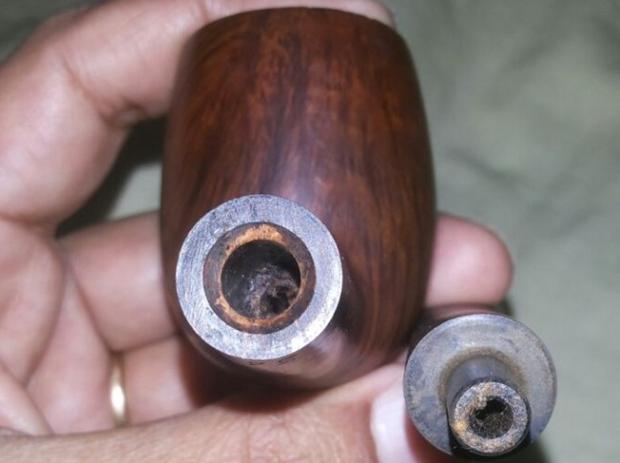
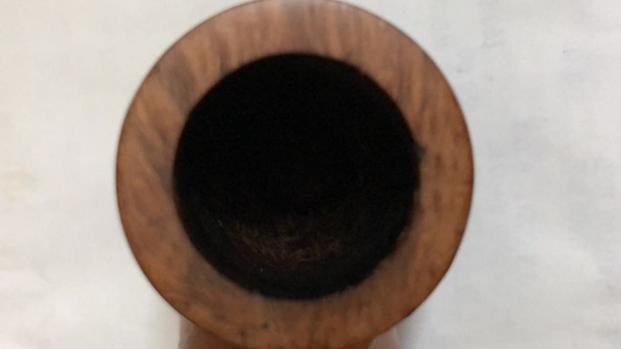
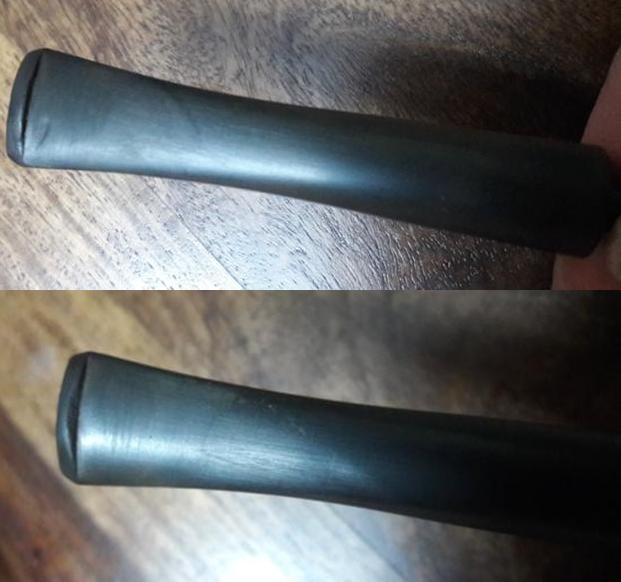
 I took close up photos of the rim top to show the condition of the plateau. It was very clean and there was no damage to the inner or outer edge of the rim. Jeff had been able to remove all of the tars and oils and lava coat on the edge of the bowl. The photos of the stem to give a clear picture of what it looked like before I cleaned it up. They also show the smooth shank end on this particular pipe. There was a slight bit of plateau on the top of the shank end in the second photo.
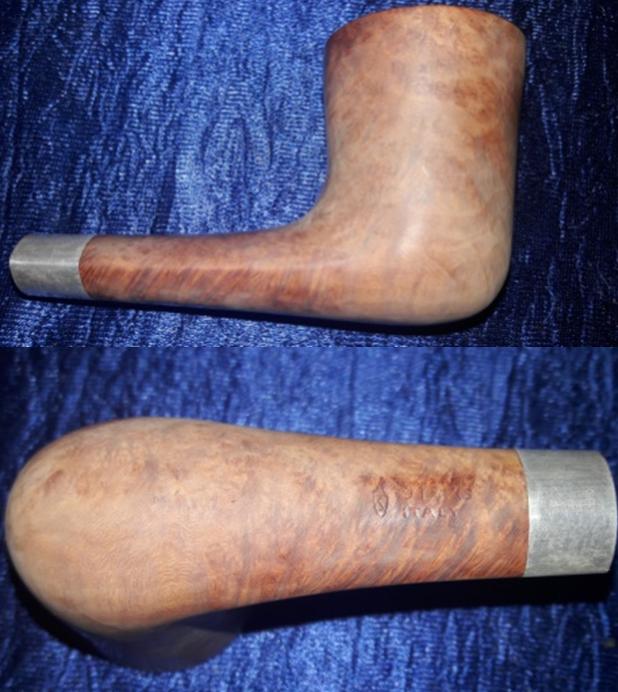
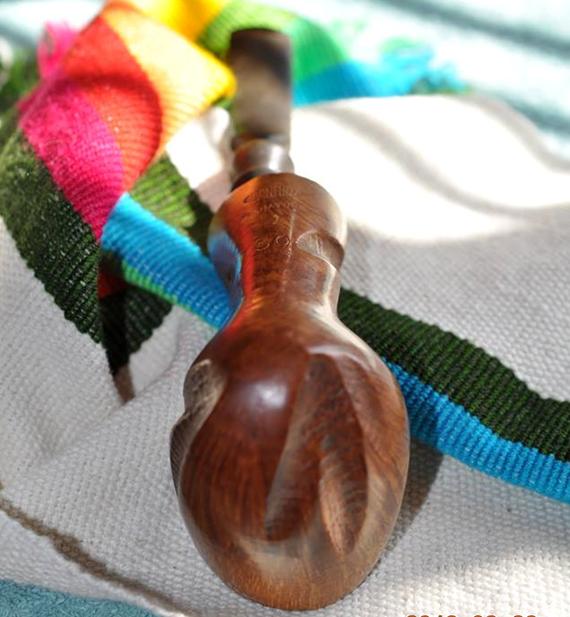
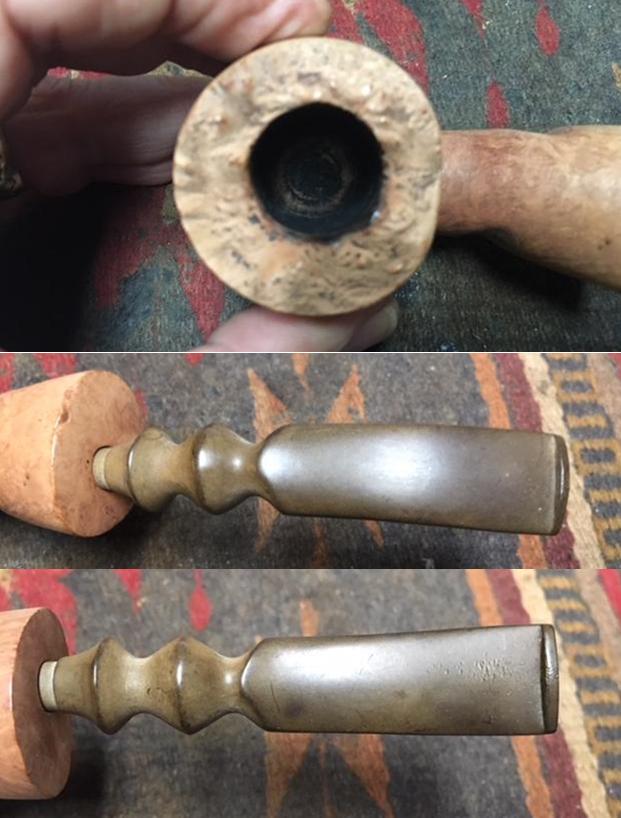 In my earlier blog on the other Granhill I had done research on Pipedia to find information. I found two potential makers of the brand though they separated the name into two parts Gran Hill. The first possible maker was Michael V. Kabik with some of them stamped Made in Denmark. The spelling of the name was noted to come in other versions: Granhill, Gran-Hill. The second possibility comes from Lopes book where he states that the brand also was used by a Fargo Tobacconist, Lonnie Fay, who made freehands bearing this stamp in the 1970s. To me the similarity of the pipe to other Kabik pipes that I have worked on made me go with him as the maker of this pipe as well.
 I went back to Pipedia and spent time reading about Michael Kabik (https://pipedia.org/wiki/Kabik). Here is a summary of what I found.
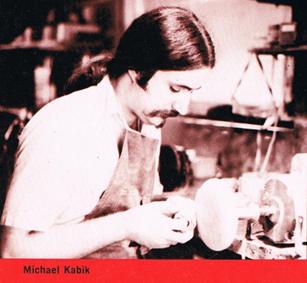
Michael Victor Kabik or Michael J. Kabik, now retired artisan and pipe repairman, was born in Annapolis, Maryland in 1950. As a student he was fascinated by science, but finally turned to the arts. In the early 1970s he started working as an artisan and designer for Hollyday Pipes Ltd., and when the company closed he set up in his own right.
Kabik writes as follows:
…In the 1960s, I had helped Jay build Jay’s Smoke Shop and was his first employee. Since that time, he had set up one of the very first freehand pipe-making operations in the U.S. along with his partner, Chuck Holiday, called CHP-X Pipes. The staff consisted of four full-timers actually making the pipes and perhaps another four in sales and office work. Chuck, who did the actual design and carving, had long since had serious disagreements with Jay and split. Chuck’s replacement from the staff was quitting, and Jay was in a bind. Jay offered me the job, and I gladly accepted. The fellow quitting was supposed to train me for two months but left after two weeks, leaving me with an awesome responsibility. I felt as though the future employment of all these people depended on me as the designer and cutter…and it did.
…Sadly, CHP-X closed its doors two years after my arrival, due primarily to distribution, sales force problems, and other issues to which I was not privy…In love with a medium that satisfied my creative impulses while, pretty much, paying the bills, I bought up the essential equipment and produced pipes on my own. I did this from a farm house my wife and I rented in Phoenix, Maryland. I produced pipes under the name KANE, Gran Hill and others I can’t remember as well as a private label line for a store in, I believe, South Dakota.
…In 1973, I was approached by Mel Baker, the owner of a chain in Virginia Beach called Tobak Ltd. Mel was interested in producing a freehand pipe line and was alerted to my product by Al Saxon, one of his managers and a former CHP-X employee. Mel wanted to relocate me to Virginia Beach, give me carte blanche, and recreate the CHP-X studio with, of course, a new name for the product. I’m sure my answer came very quickly.
…We decided on the name Sven-Lar. Why? Well, when I bought out CHP-X, I also got a small drawer full of metal stamps that were created for private-label work. The Sven-Lar name was conceived but never realized. Aside from having the stamp already made, there were other reasons we chose Sven-Lar. First, we were making a line of pipes in the Danish freehand tradition and also, sadly, we knew the difficulty American pipe makers had breaking the foreign market mystique barrier. The latter certainly played a big part in the demise of CHP-X.
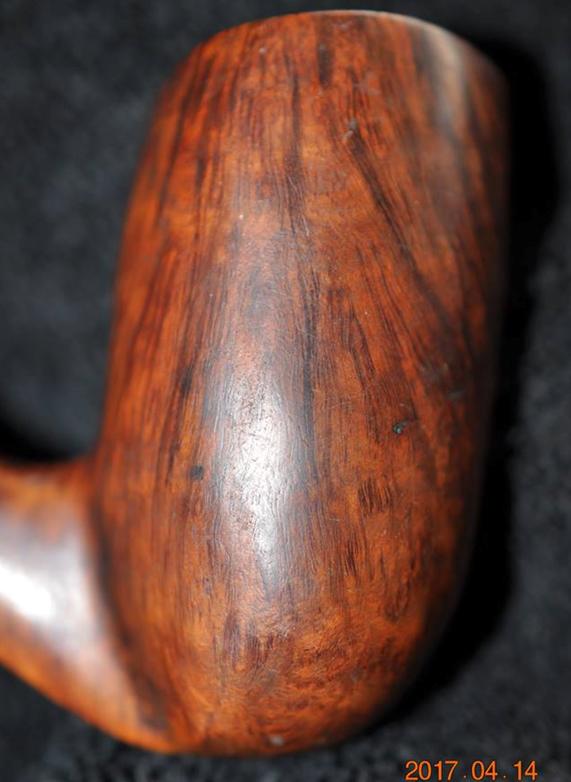
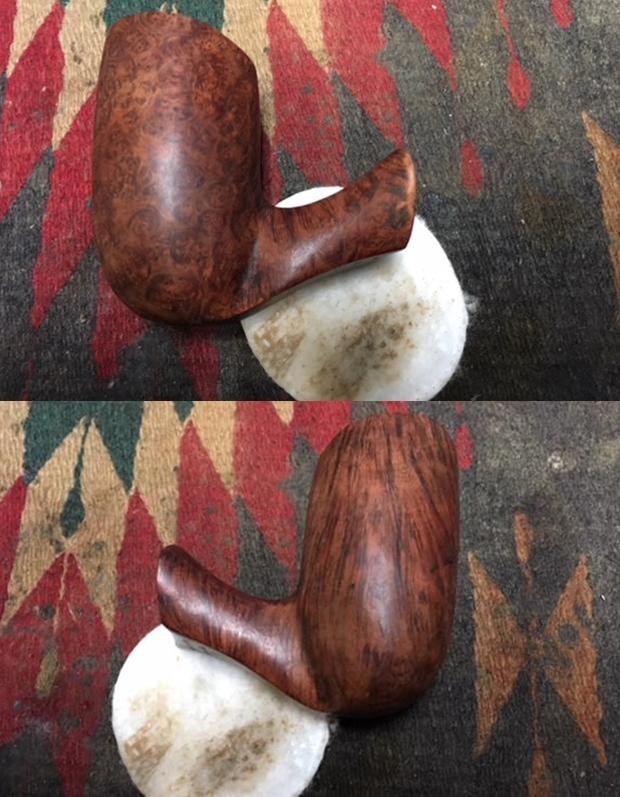
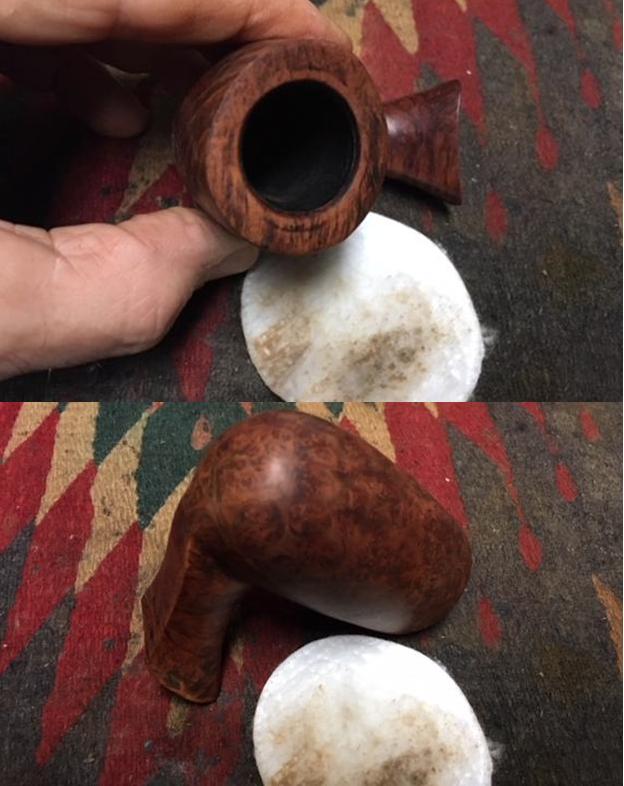
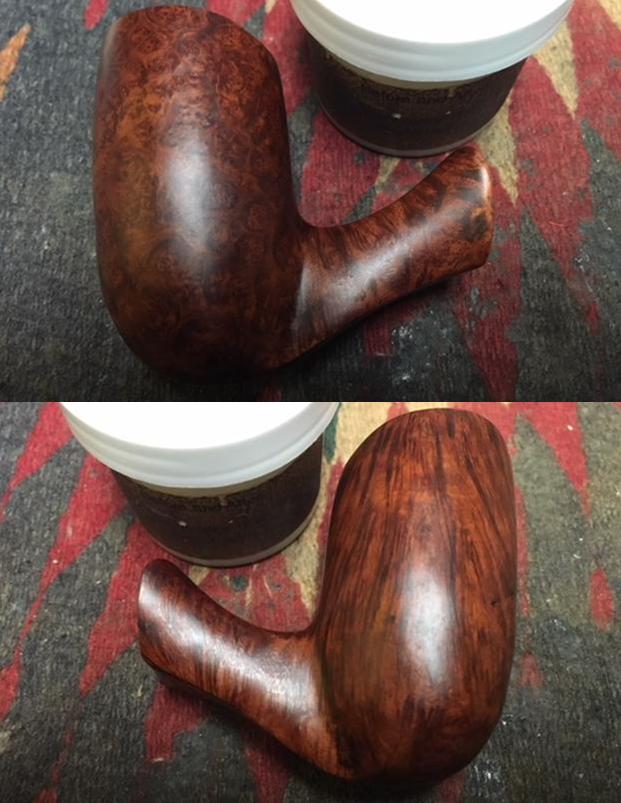
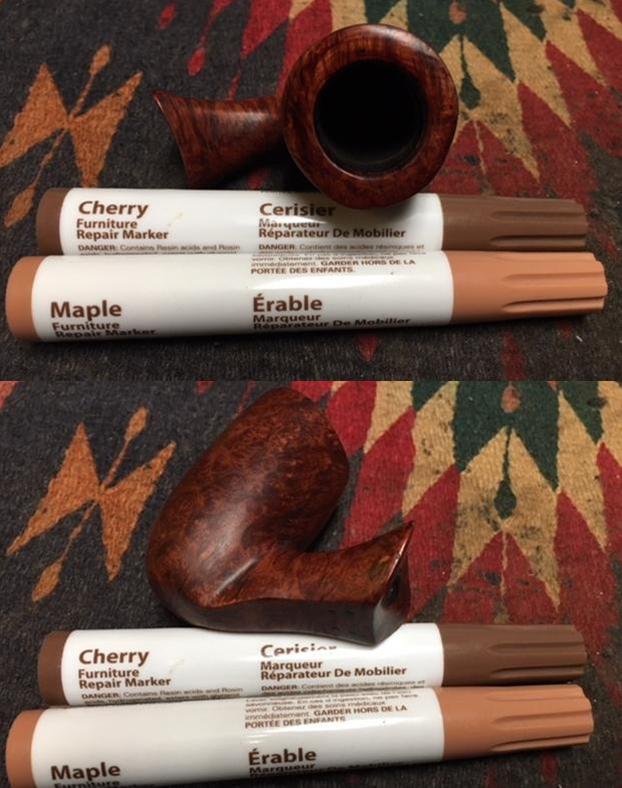
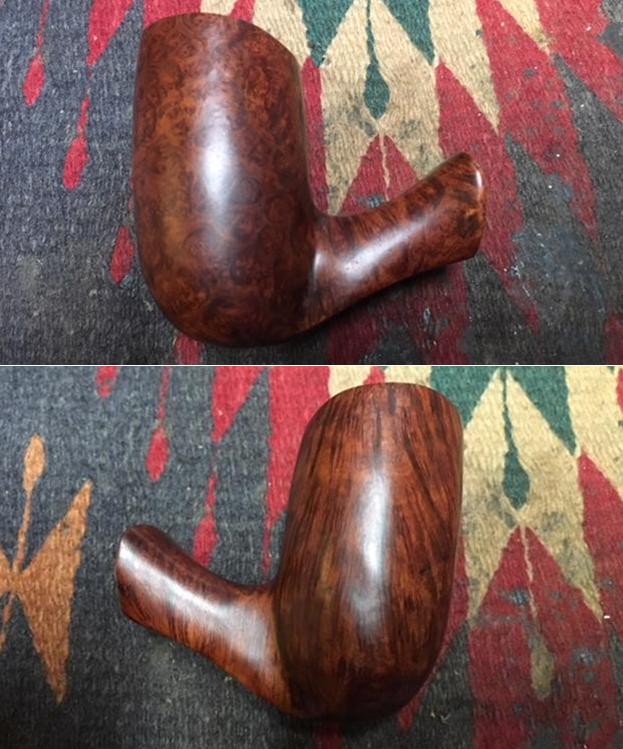
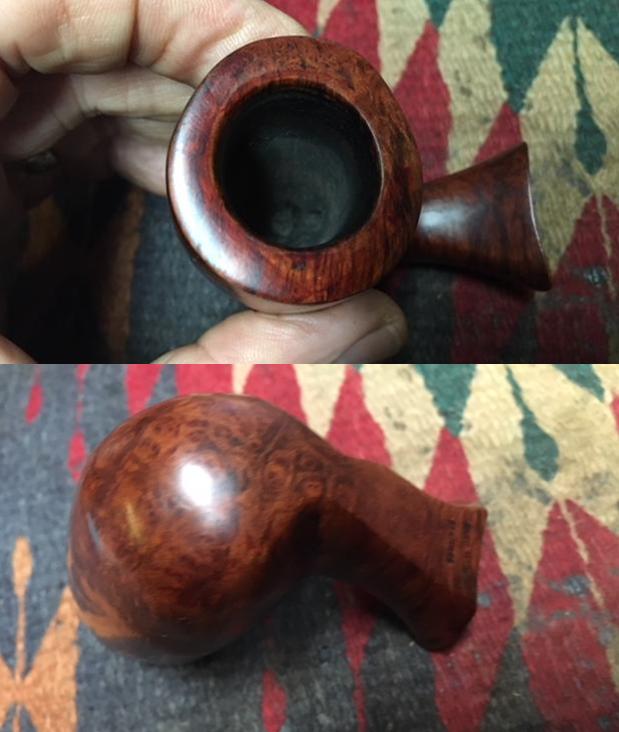
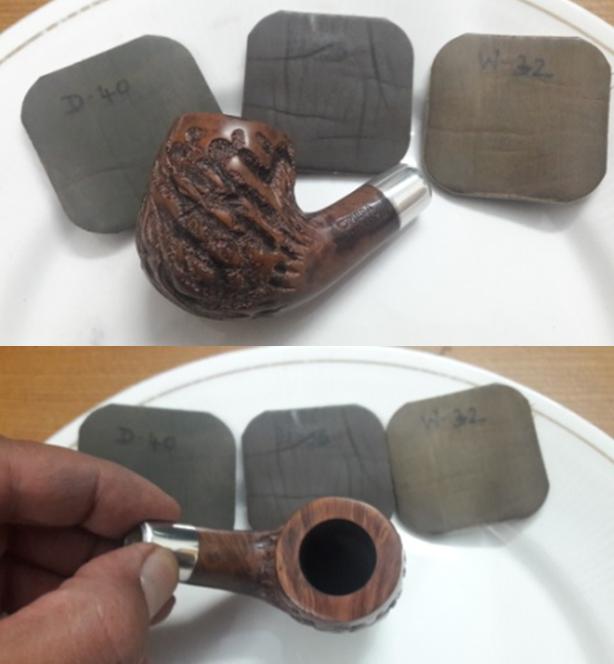
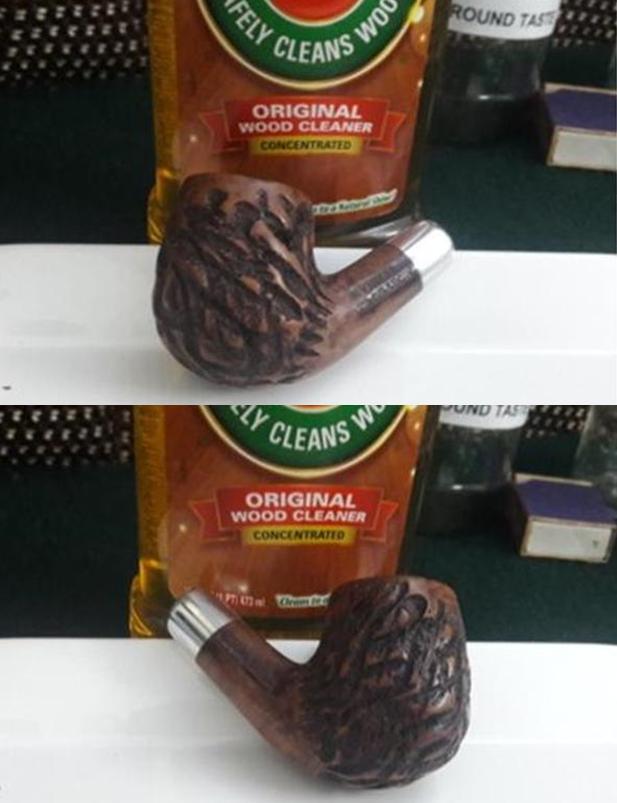
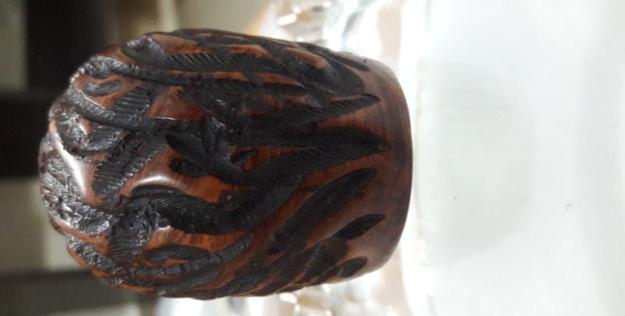
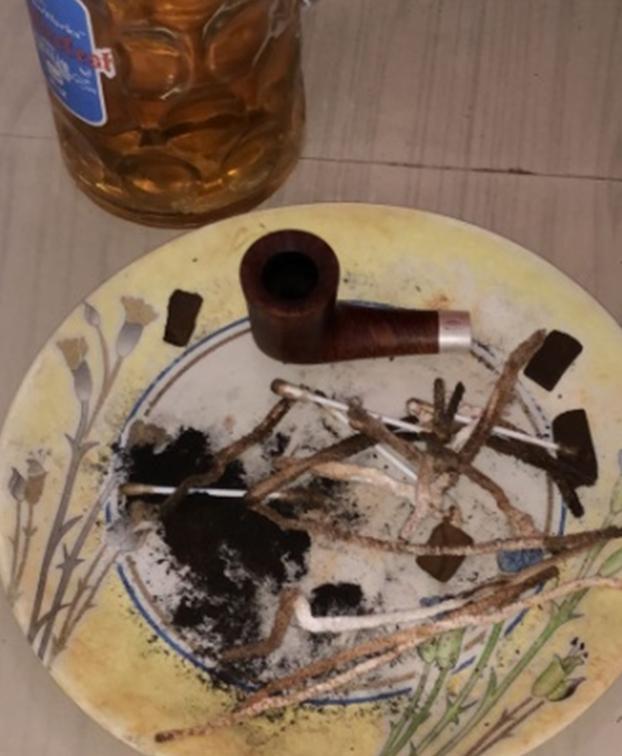
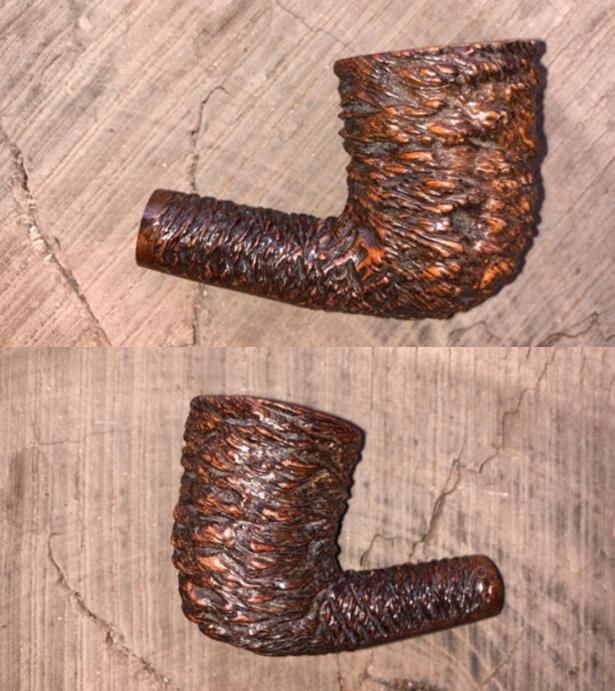
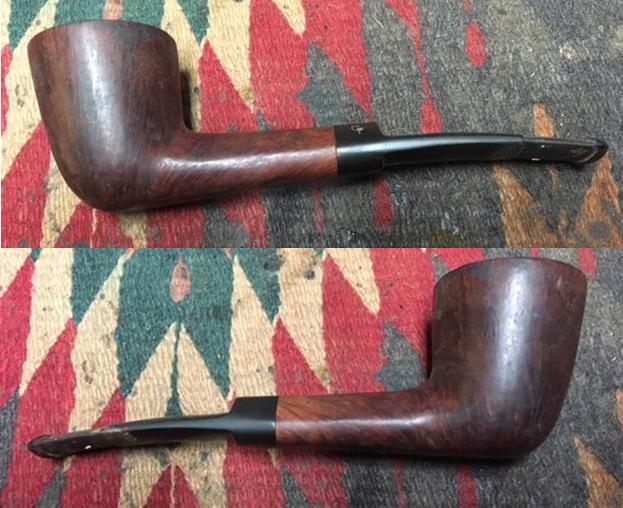
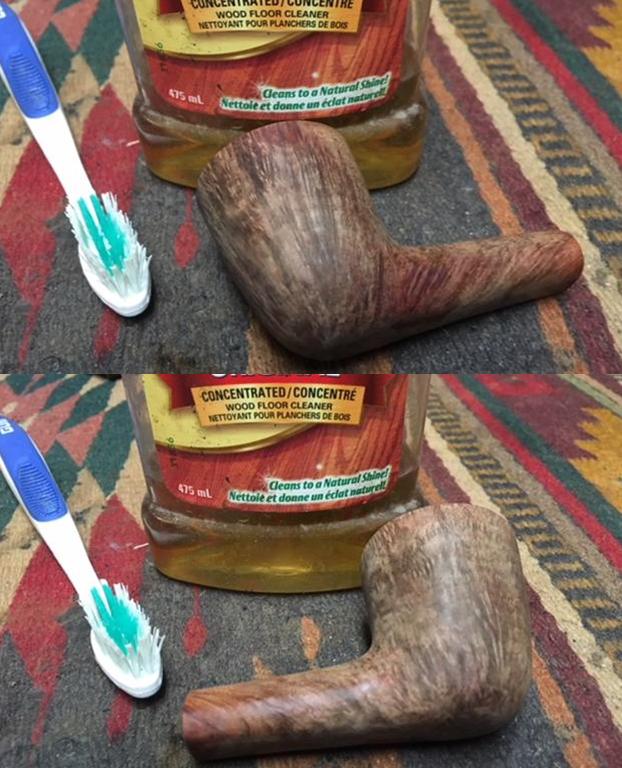
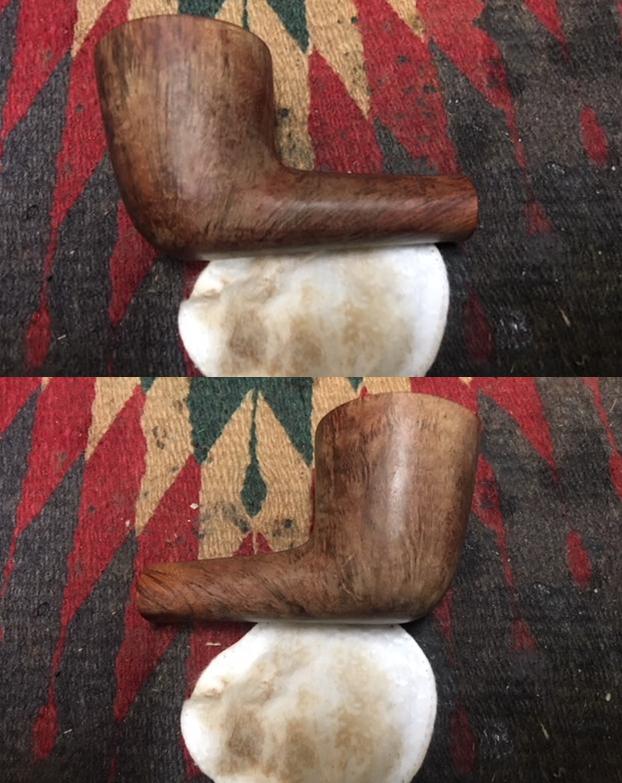
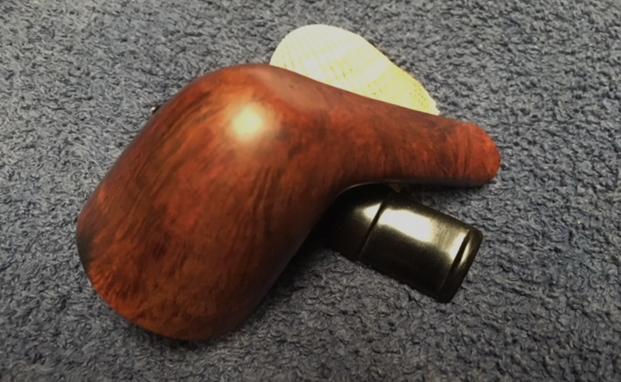
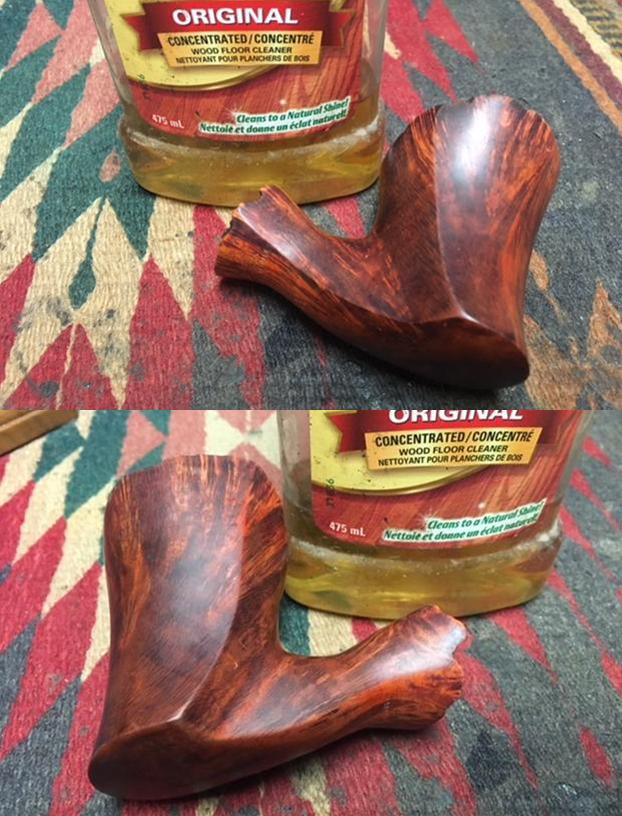
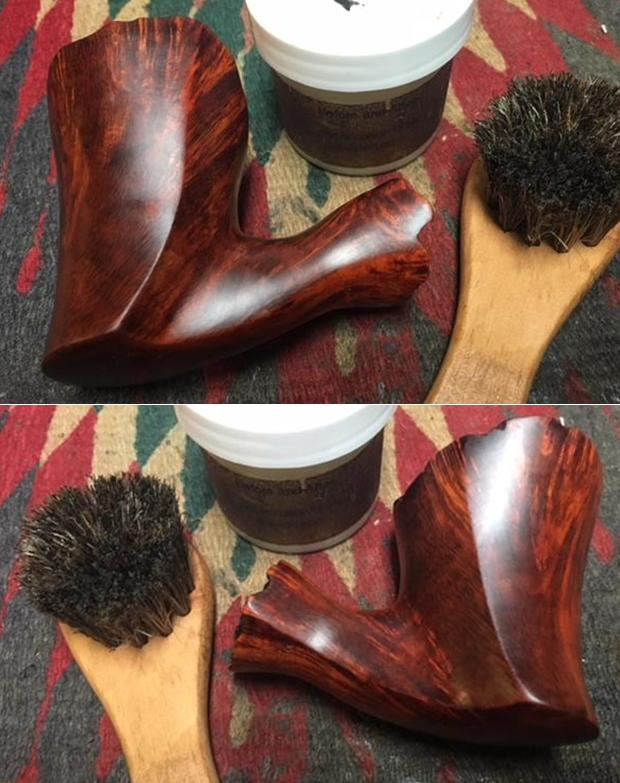
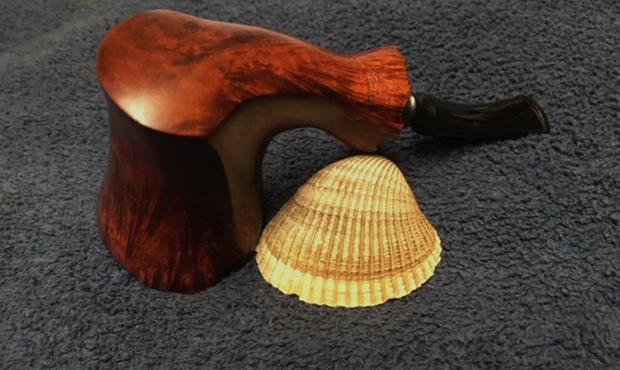
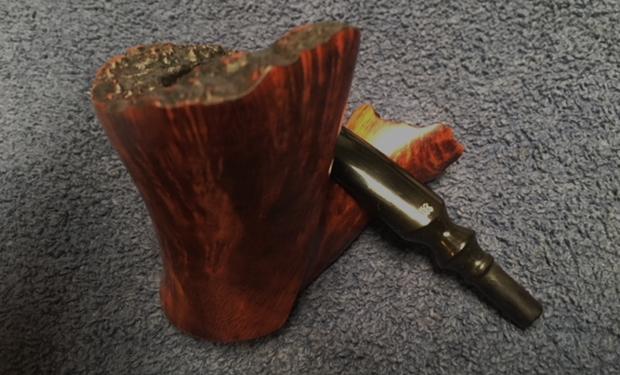
After rereading the previous blog I was pretty certain that the pipe I was working on was another one made by Kabik. I turned my attention to restoring the pipe. I started with the clean bowl, I rubbed the bowl down with Before & After Restoration Balm to deep clean the briar bowl and the rim top as well as the briar shank. The product works to clean, enliven and protect the briar. I hand rubbed it with my fingers, working it into the exterior of the pipe. I worked it into the plateau top with a horsehair shoe brush. I wiped it off and buffed it with a soft cloth to polish it. The pipe really began to have a rich shine. I took some photos of the bowl at this point to mark the progress in the restoration.

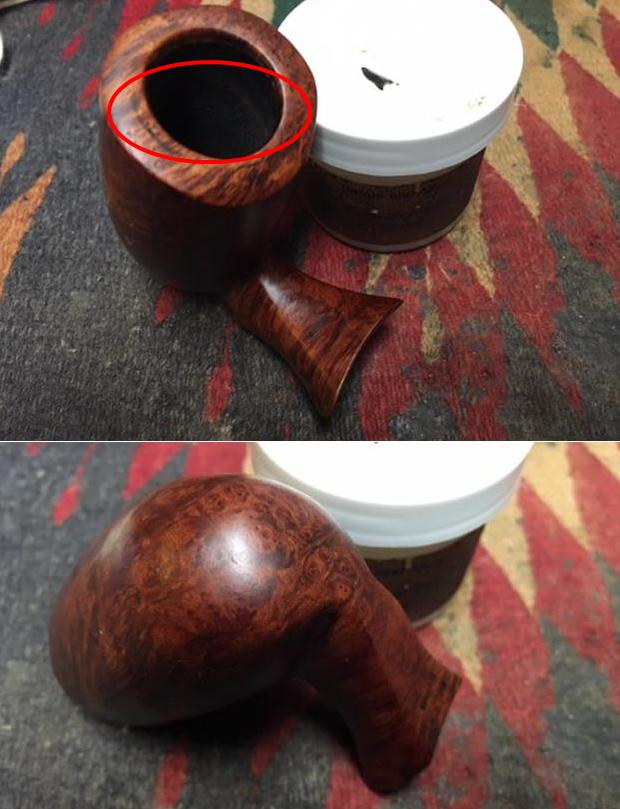
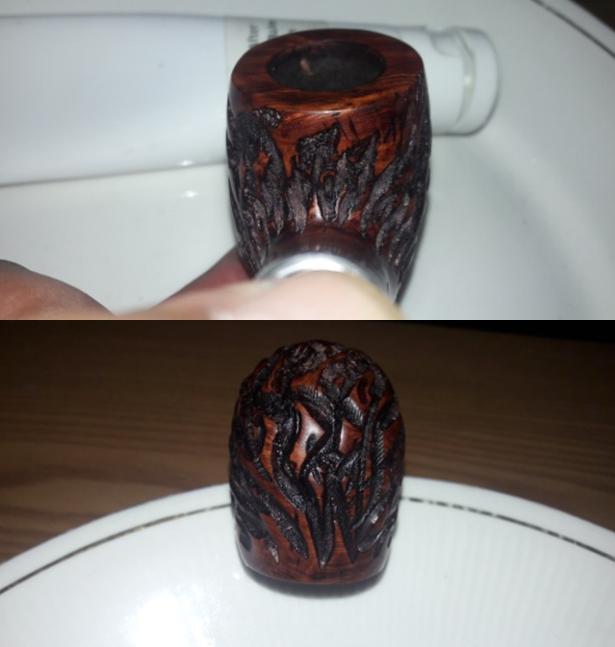
 I wrapped a piece of dowel with 220 grit sandpaper and sanded out the inside of the bowl to smooth the walls. I removed all of the remaining cake on the walls of the bowl.
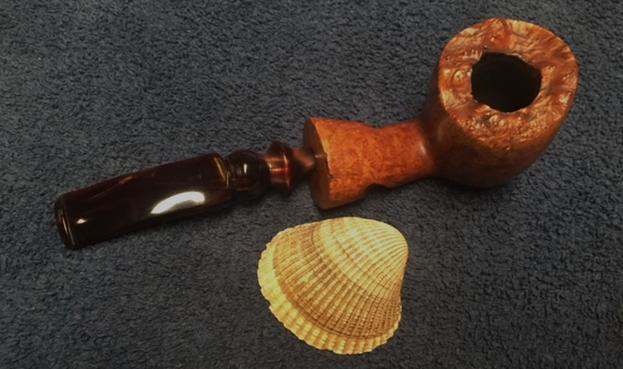
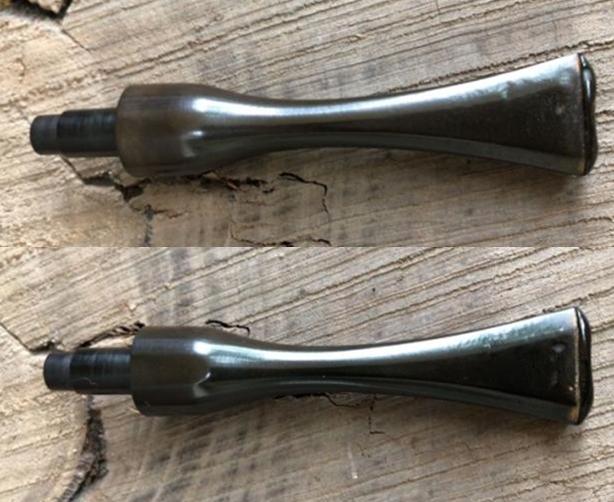
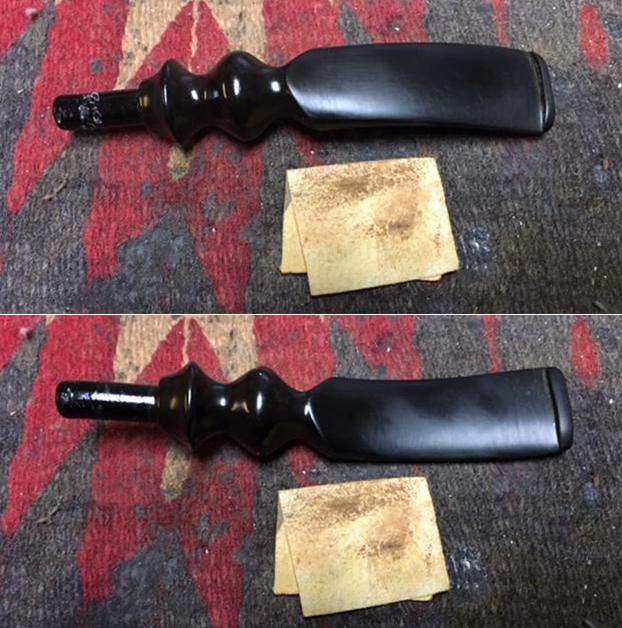
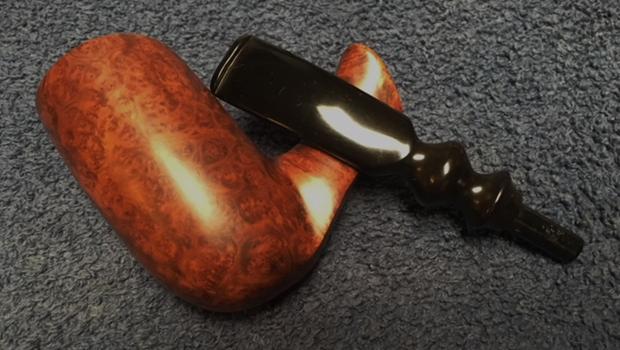
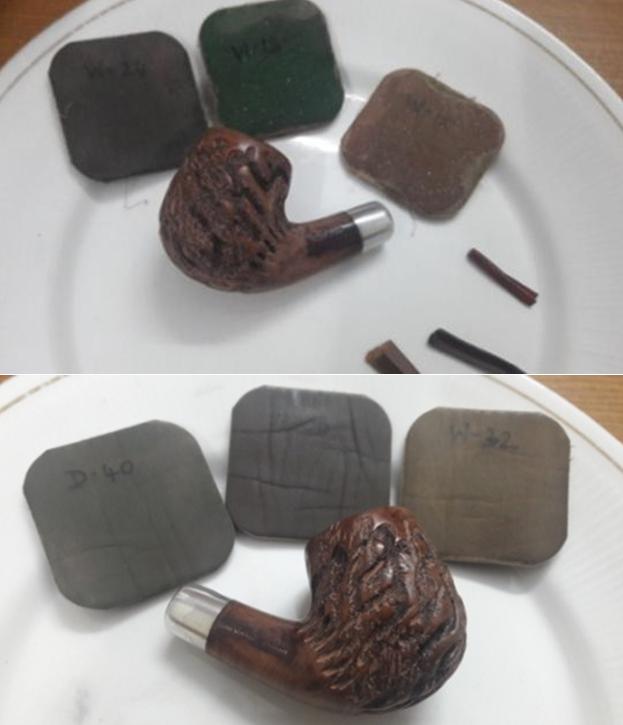
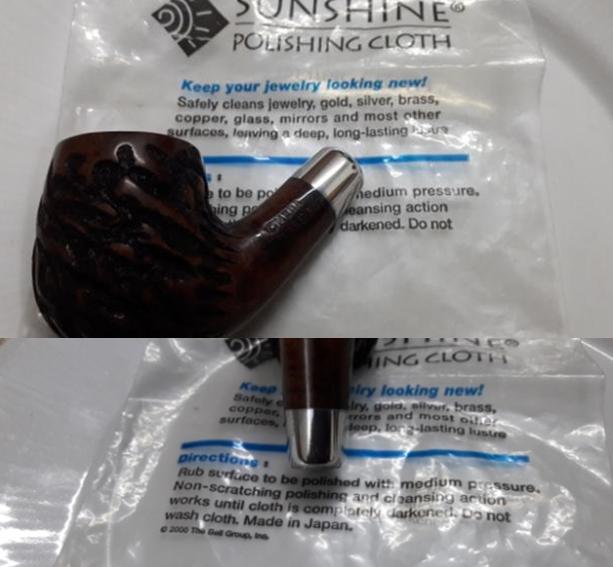
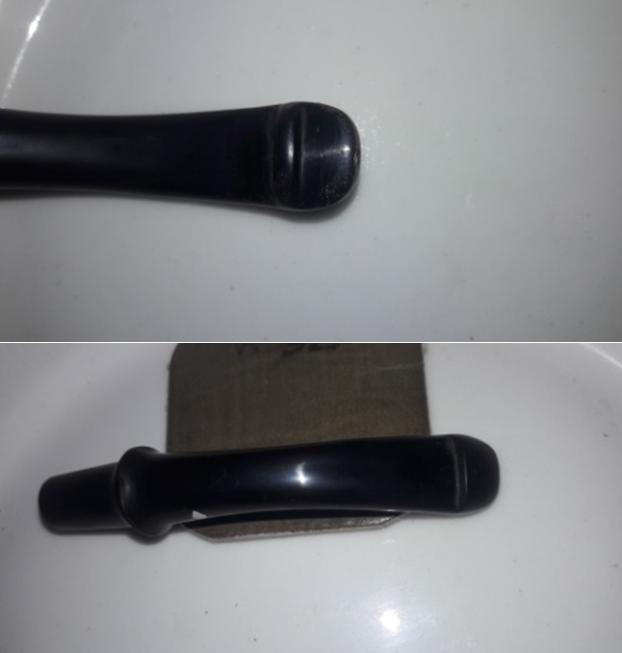
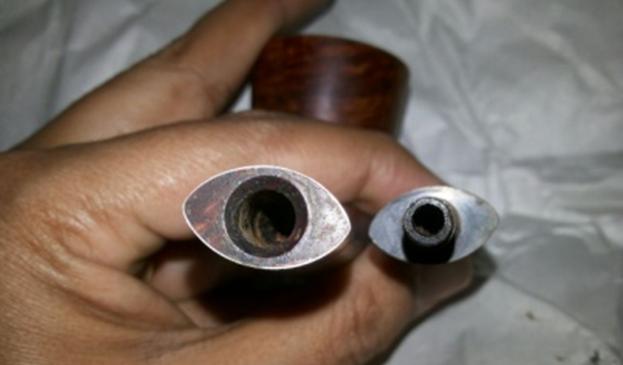
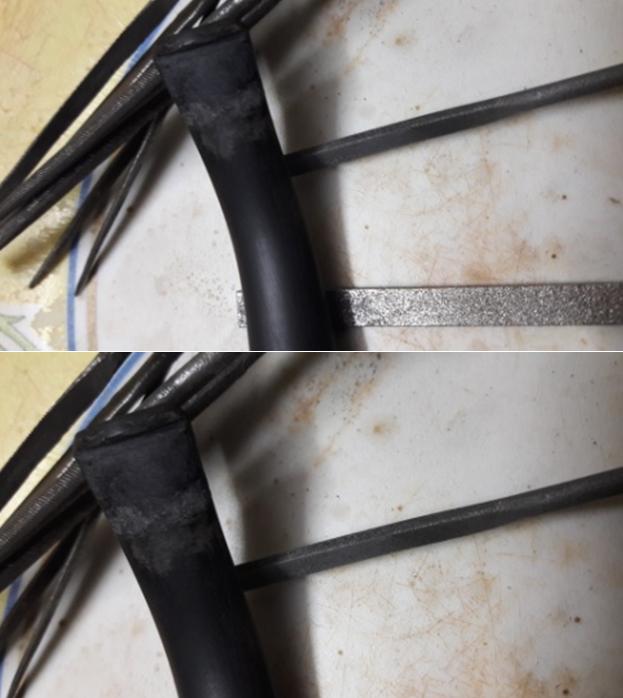
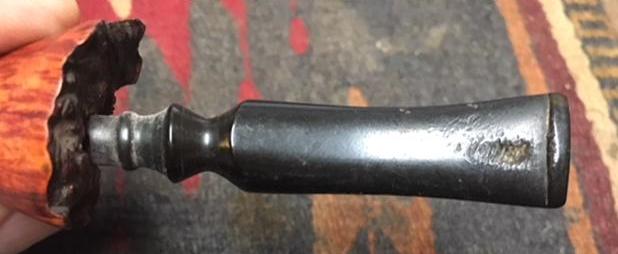
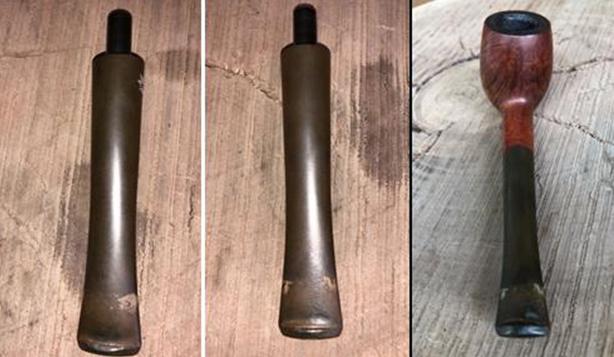
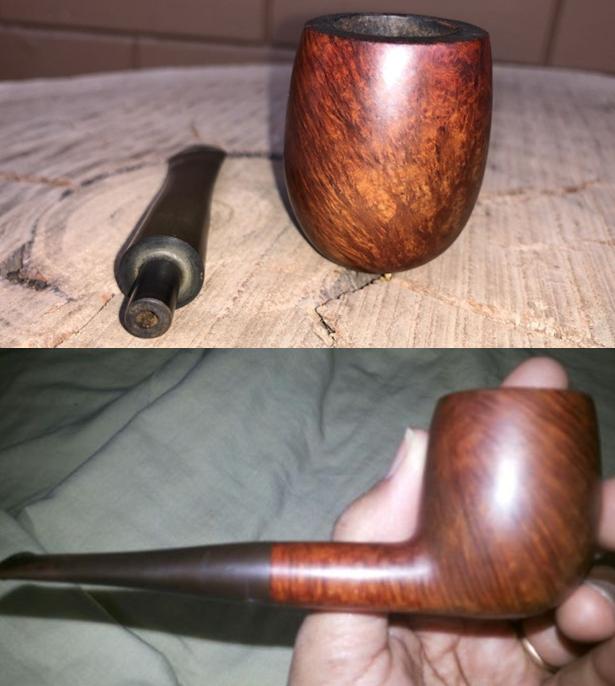
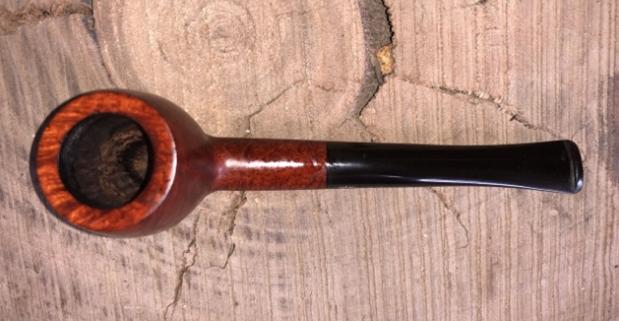
 I set the bowl aside and turned my attention to the stem. I looked over the replacement stem and decided to not use it. I went through my stem collection and found a nice brown swirled acrylic stem that I thought would look good with the pipe bowl. It was very similar to the stem on the other Granhill I worked on so I decided to use it instead. I took photos of the two stems side by side for comparison.
 I sanded the tenon end with a Dremel and sanding drum and smoothed it out with 220 grit sandpaper to adjust the tenon to the same diameter as the tenon on the replacement stem. It did not take too much work to adjust the fit to the shank.
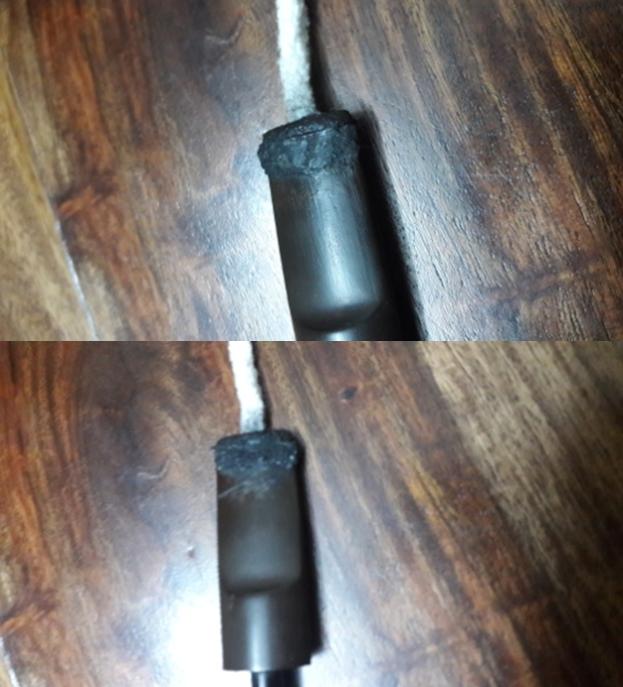
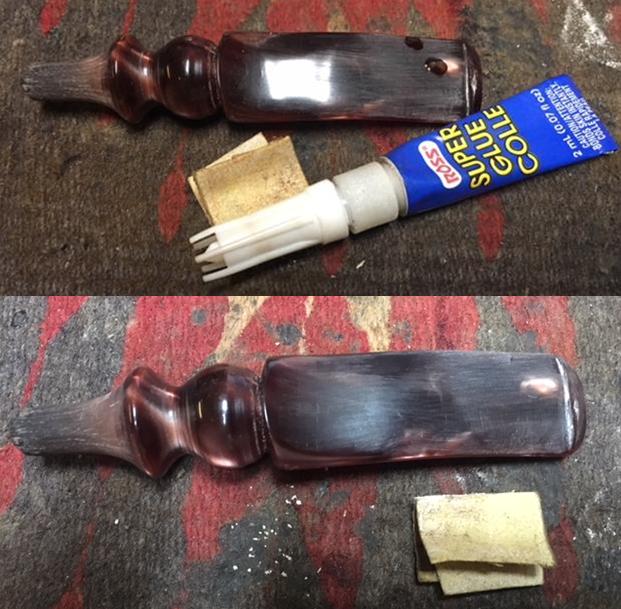
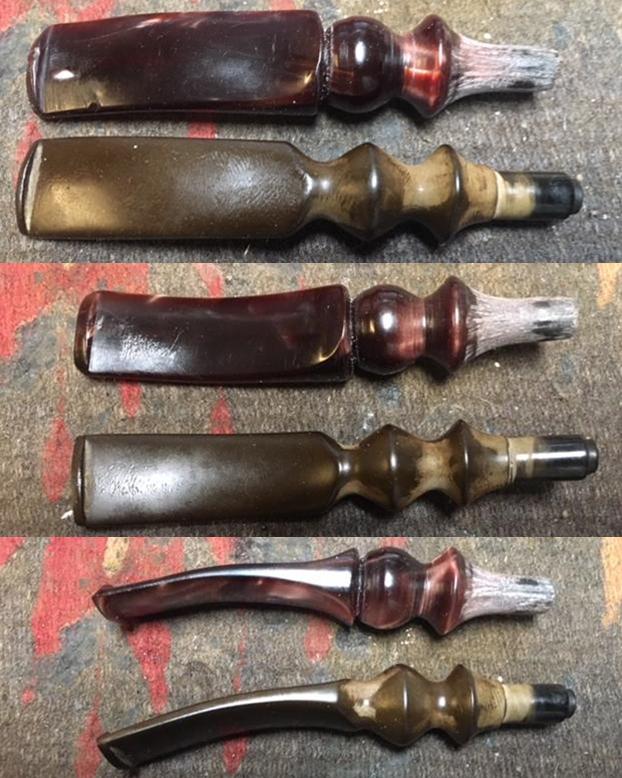 I sanded out the tooth marks out of both sides of the stem with 220 grit sandpaper. I worked over the surface with sandpaper to remove the tooth chatter, marks and to smooth out the surface. There were tooth deeper tooth marks on the top side of the stem that I would need to fill in and work on. I filled in the dents with clear super glue. Once the glue cured I sanded them smooth with 220 grit sandpaper to blend them into the surface of the acrylic.
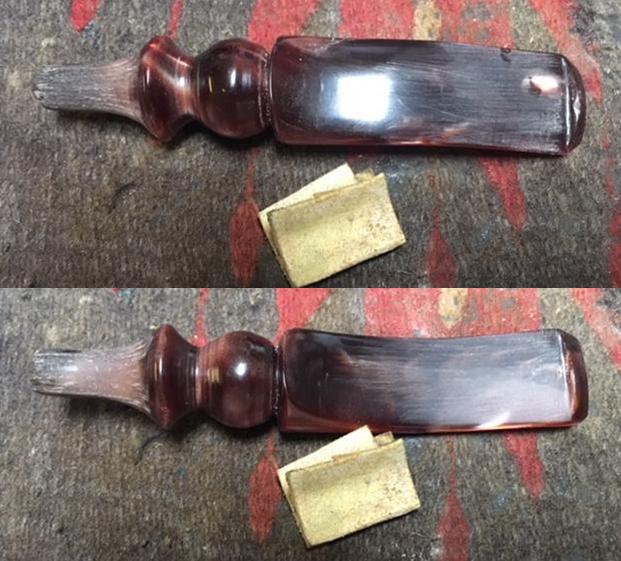
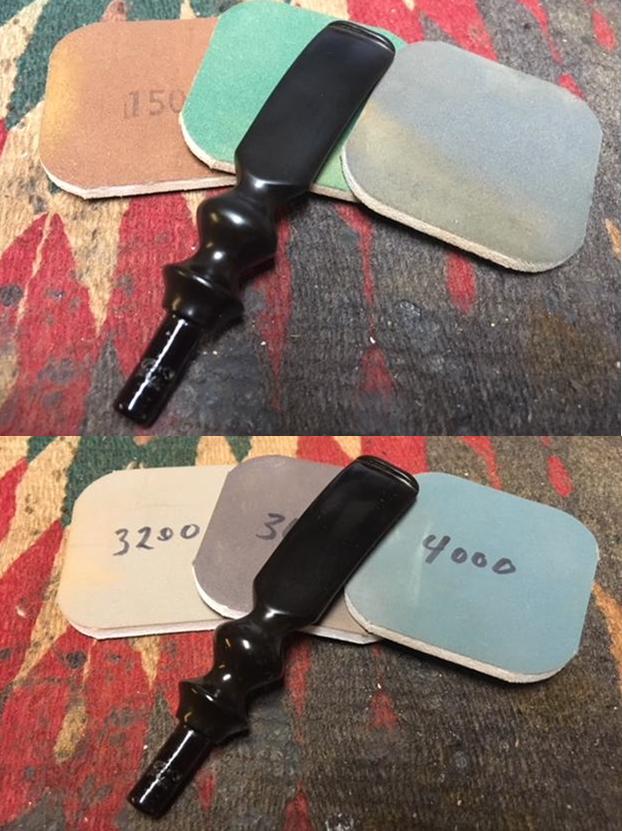
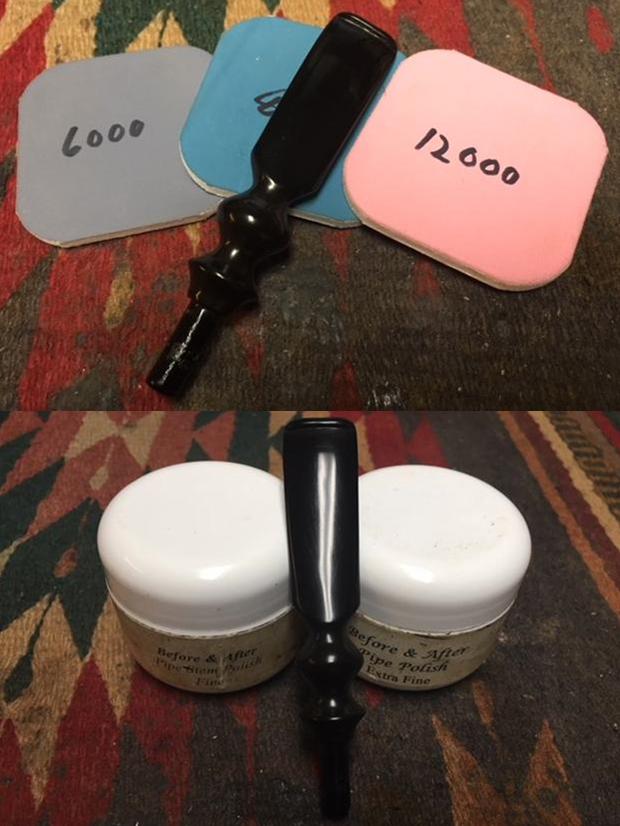
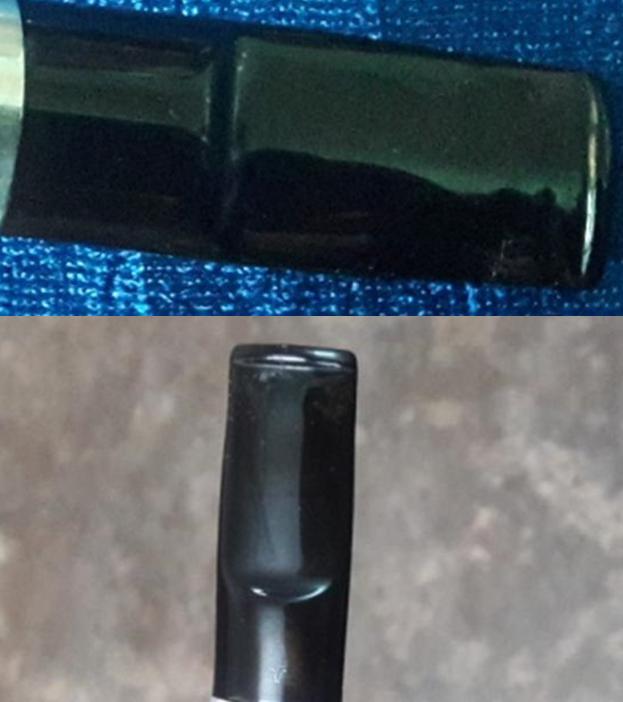
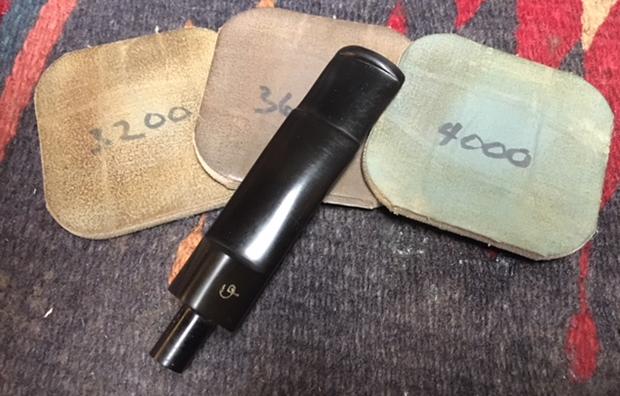
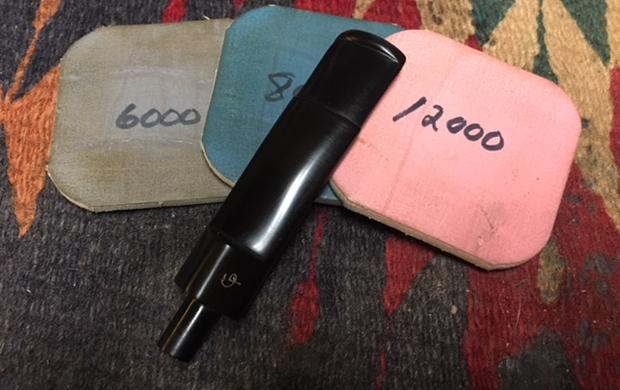
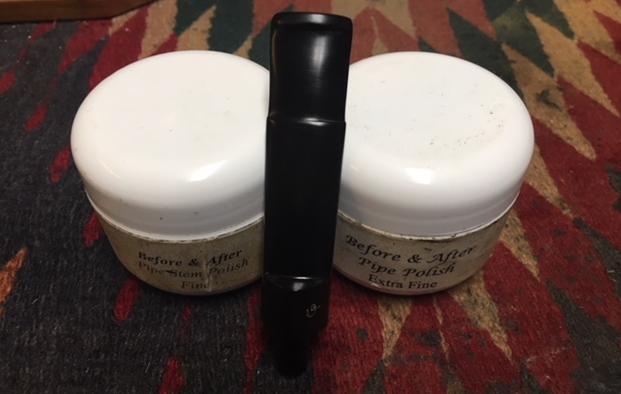
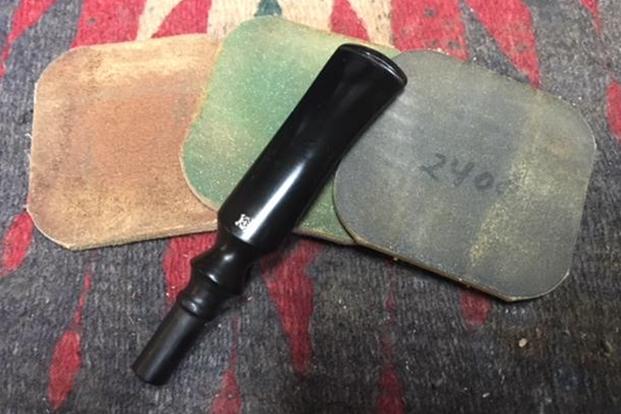
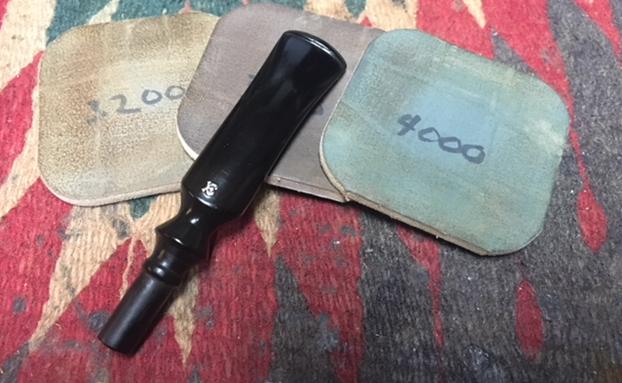
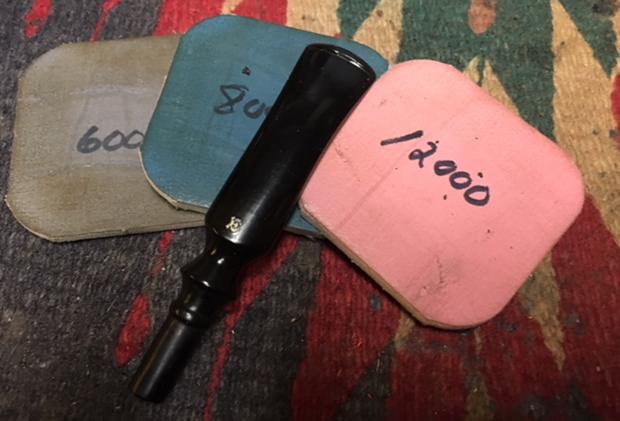
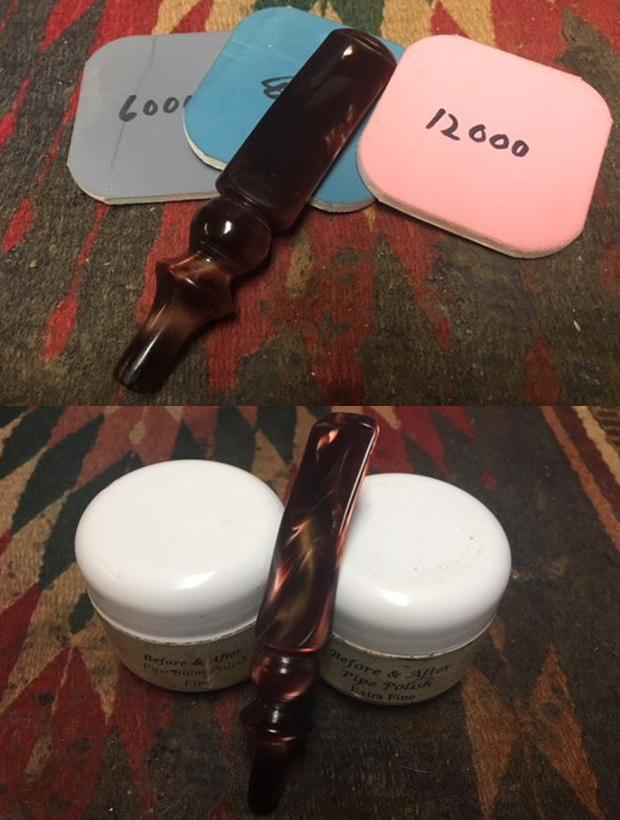
 I polished the stem with micromesh sanding pads – wet sanding with 1500-2400 grit pads and dry sanding with 3200-12000 grit pads. I wiped the stem down after each pad with a damp cloth to remove the sanding dust on the acrylic. I polished the stem with Before & After Pipe Stem Polish – both Fine and Extra Fine and I set it aside to dry.
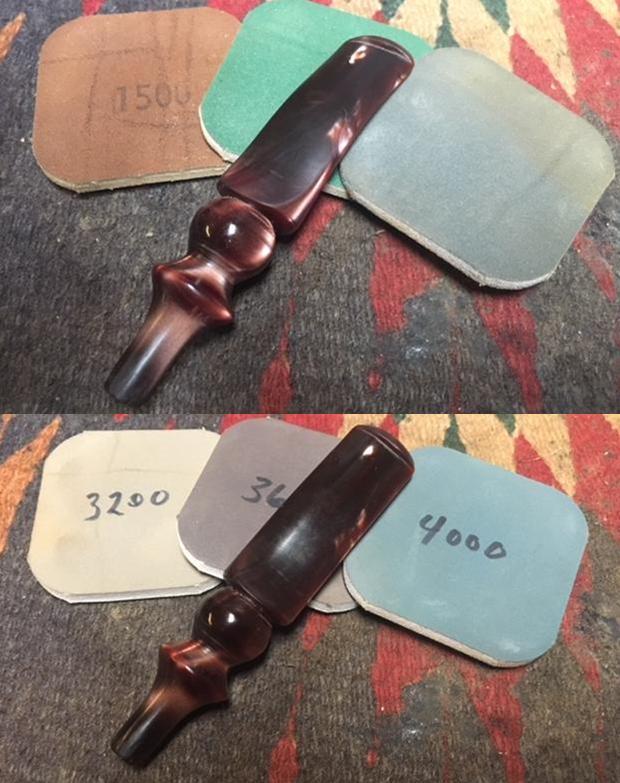
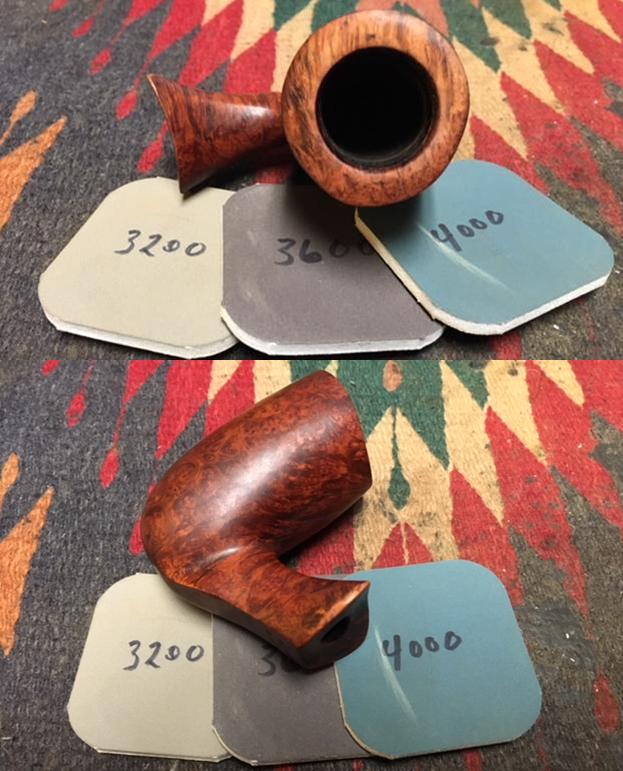
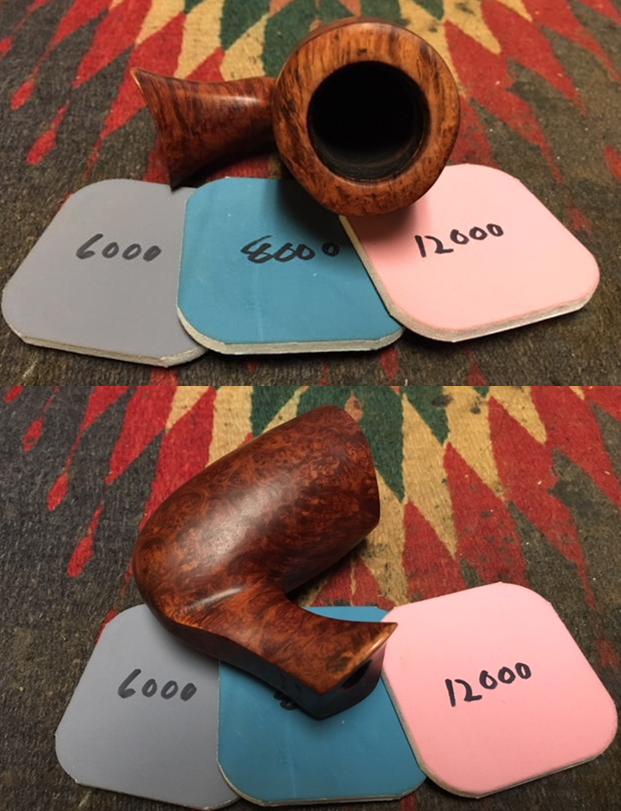
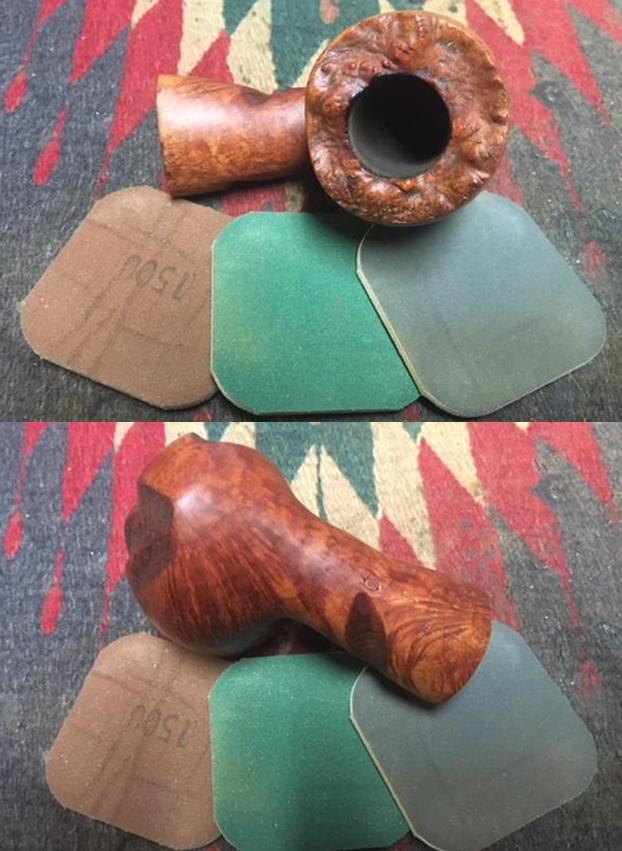
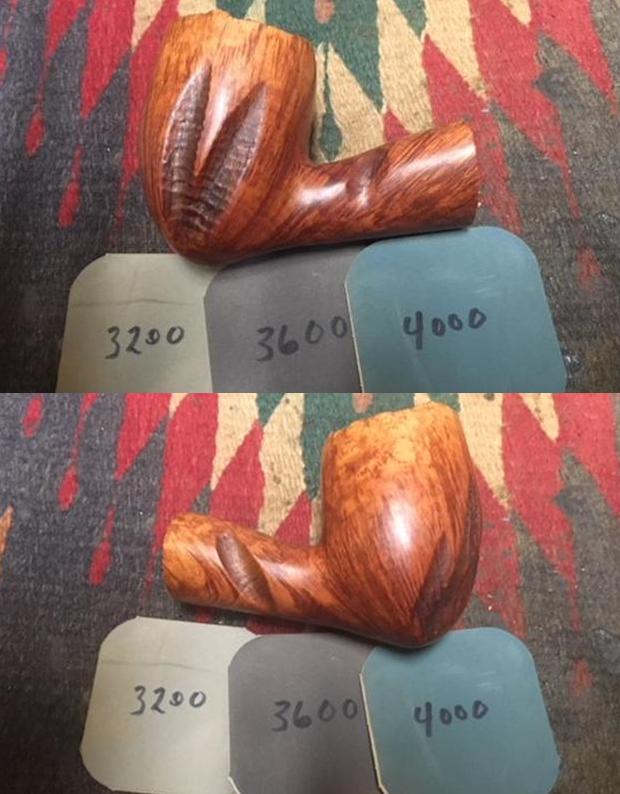
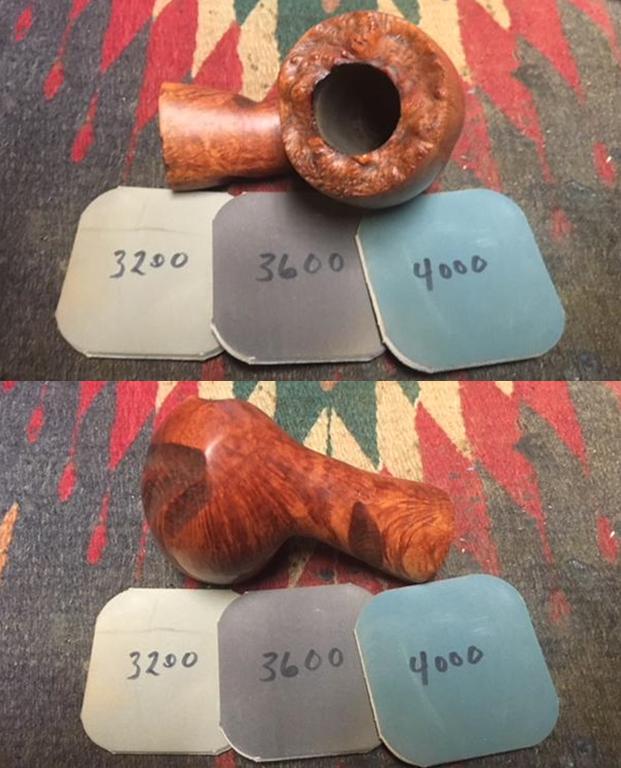
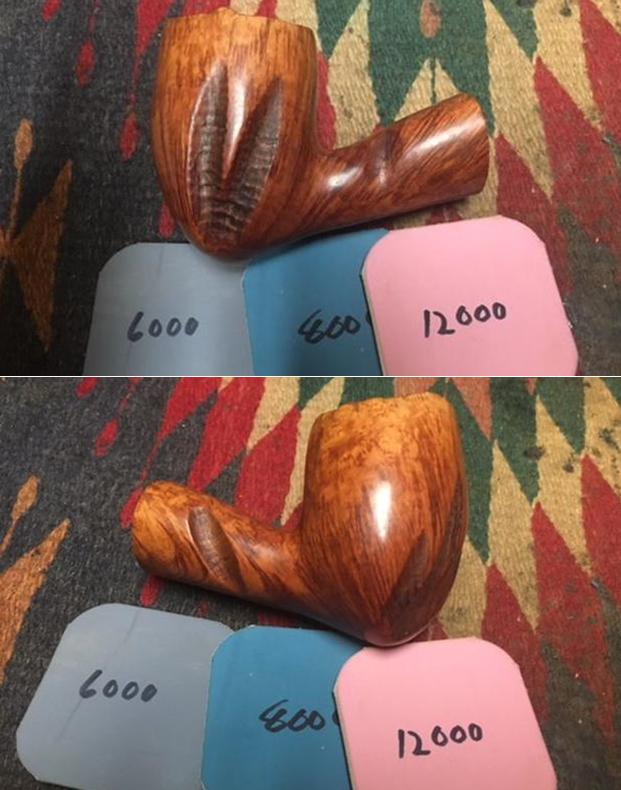
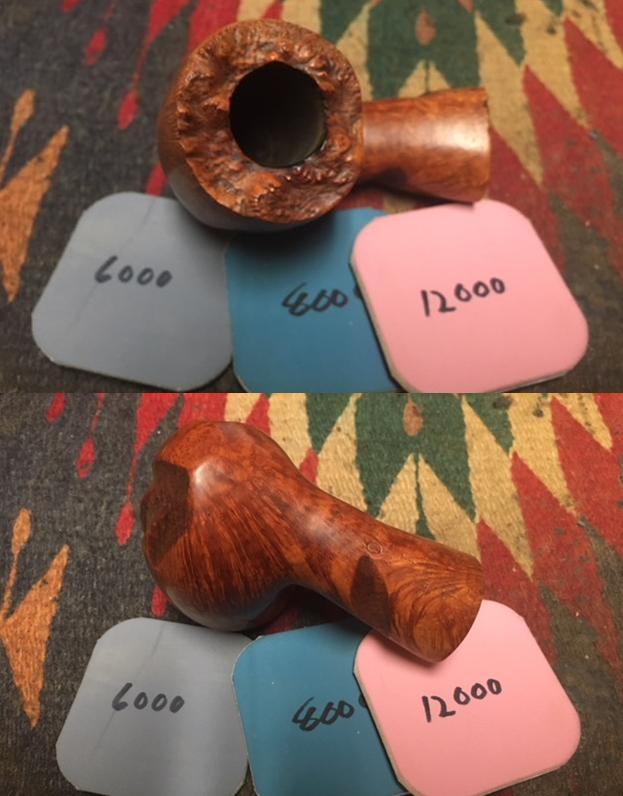
 I polished the briar with micromesh sanding pads – wet sanding with 1500-2400 grit pads and dry sanding with 3200-12000 grit pads. I wiped the bowl down with a damp cloth after each sanding pad to remove the sanding dust. Once I had finished with the last pad I wiped it down with a light coat of olive oil to collect the dust and to give some depth to the finish.
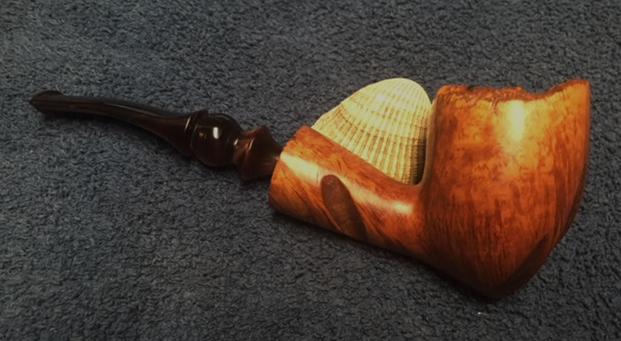
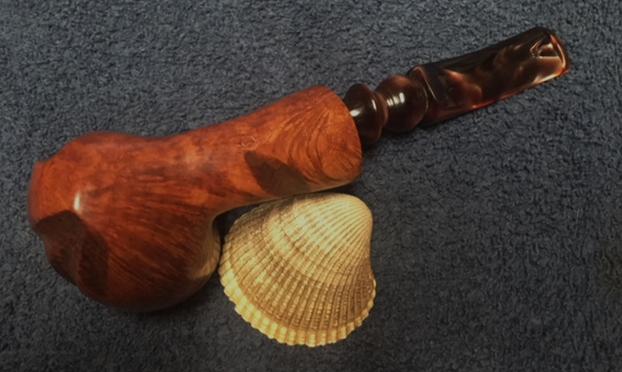
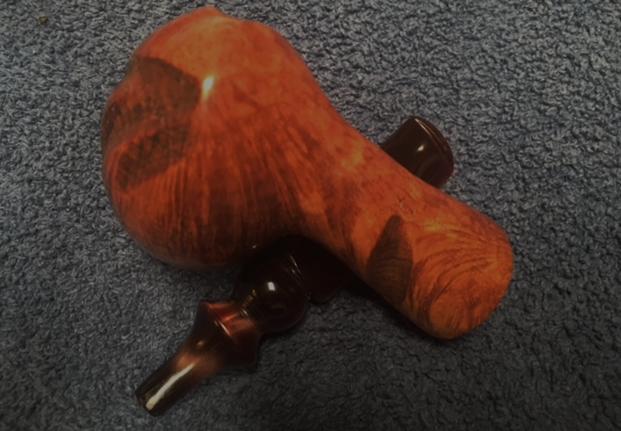
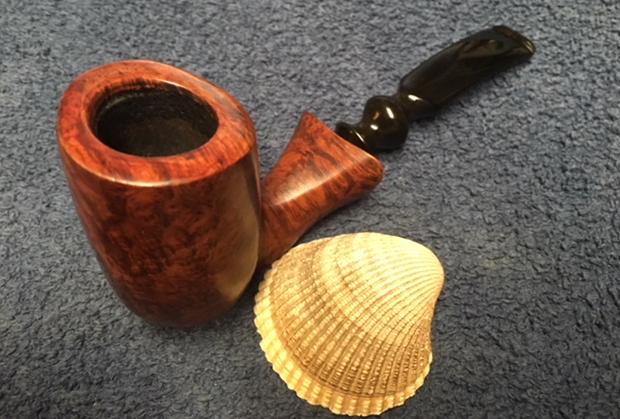
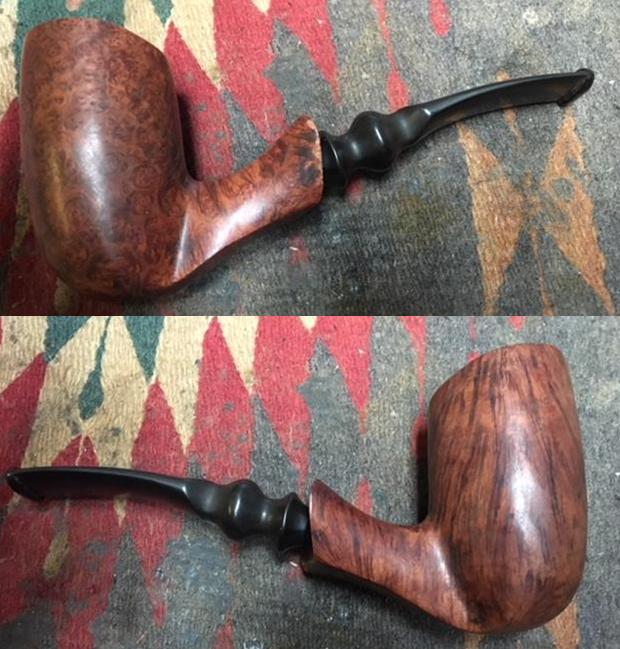
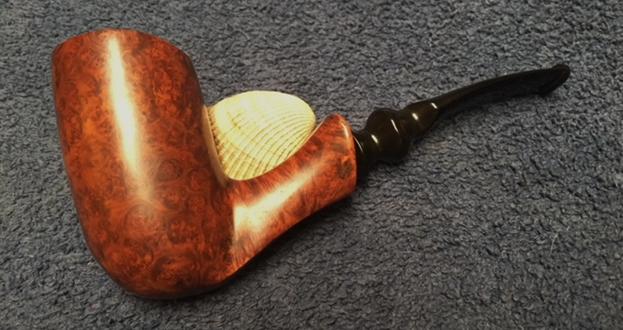
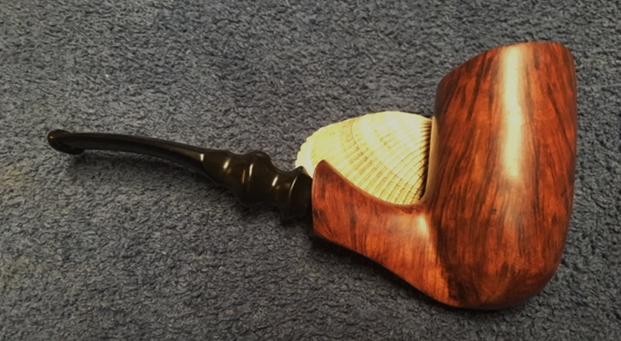
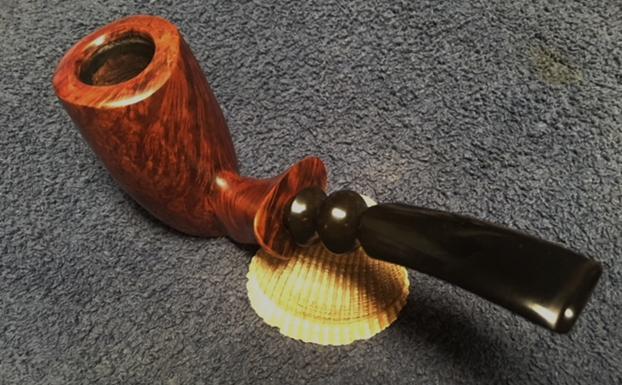
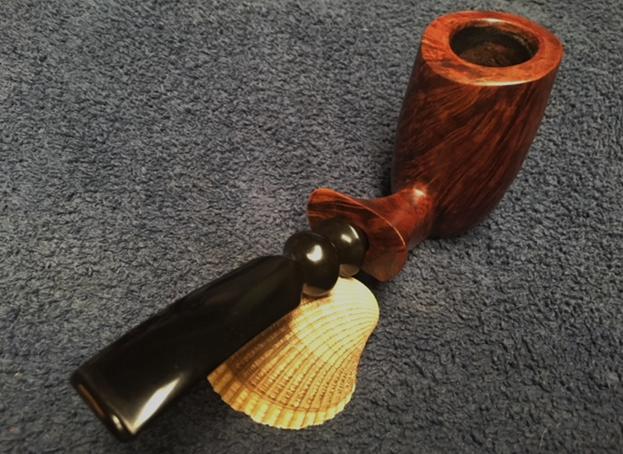
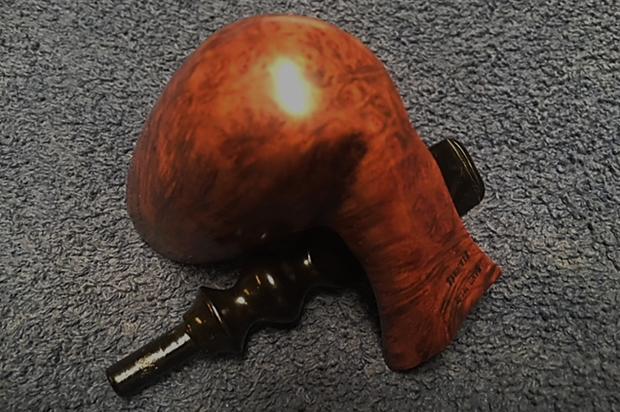
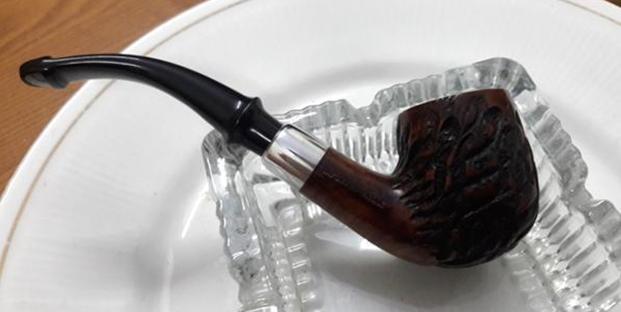
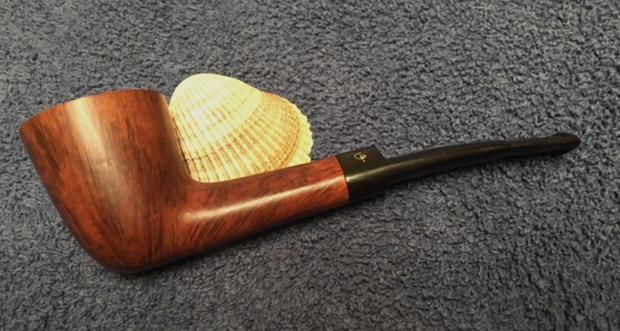
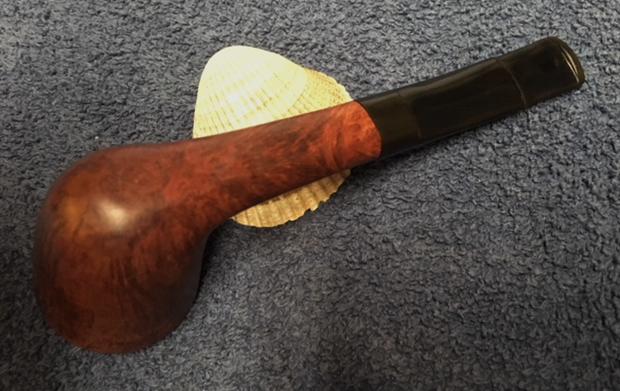
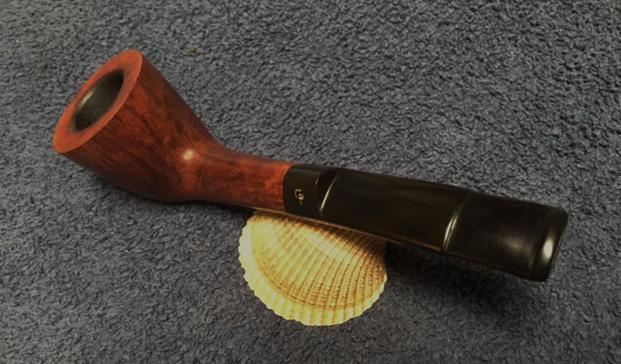
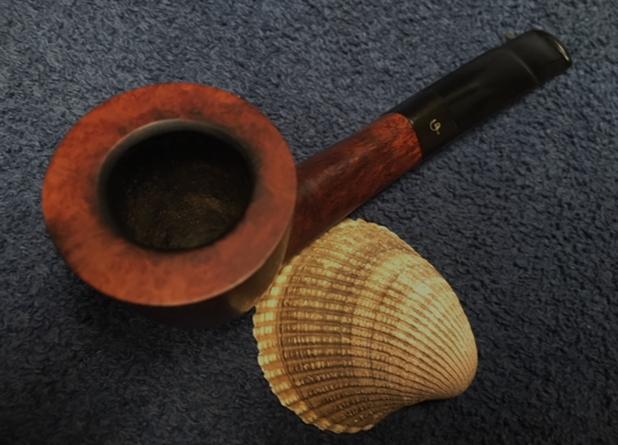
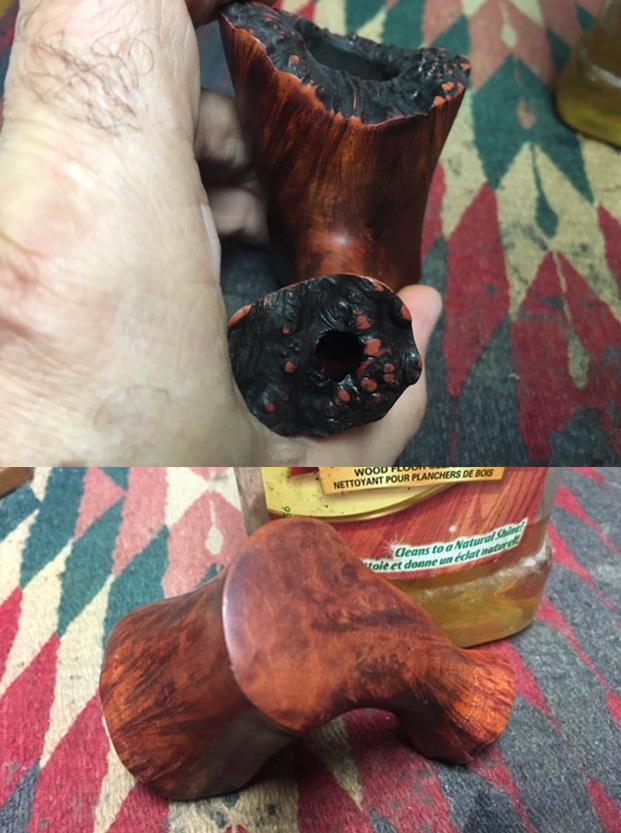
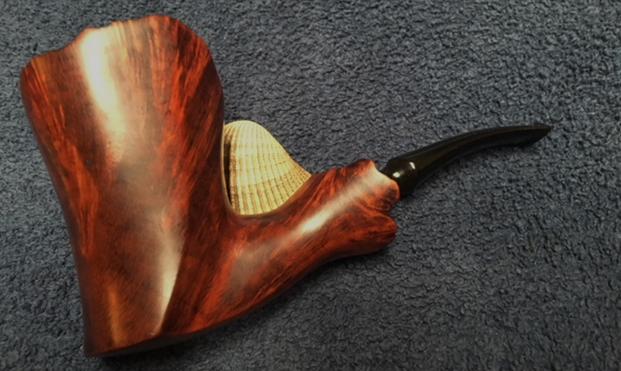
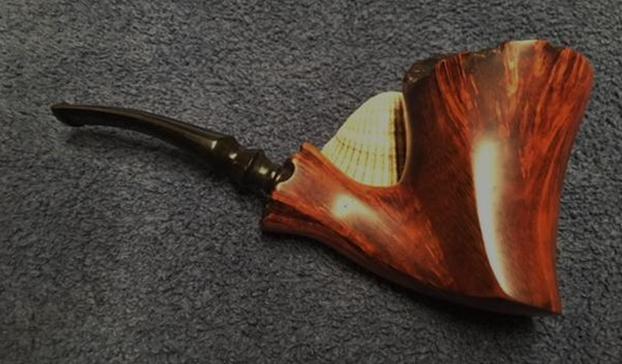
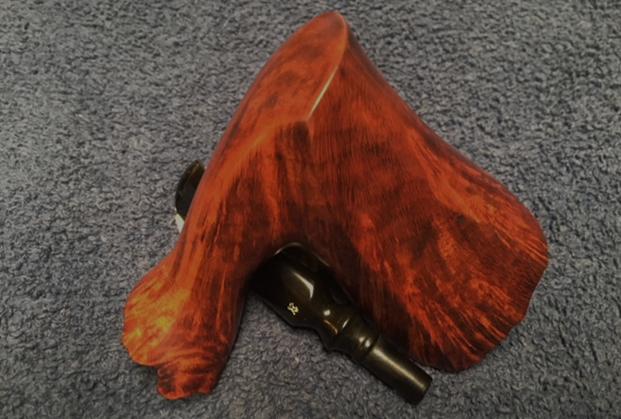
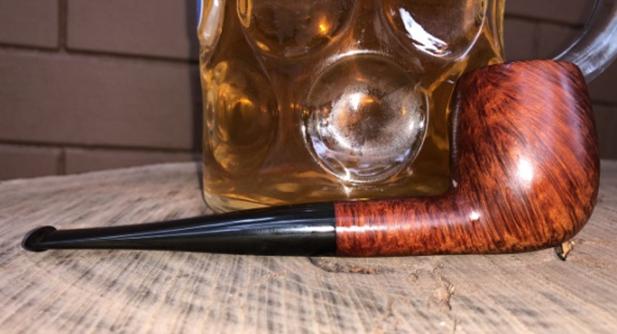
 I polished stem and bowl with Blue Diamond to polish out the remaining small scratches. I gave the bowl and the stem multiple coats of carnauba wax and buffed the pipe with a clean buffing pad to raise the shine. I hand buffed it with a microfiber cloth to deepen the shine. The pipe polished up pretty nicely. The plateau on the rim top and the smooth natural oiled finish work very well with the swirled brown acrylic stem. The finished pipe is shown in the photos below. While I have worked on other Michael Kabik pipes (a CHIP-X) this is the second Granhill pipe of his that I have restored. It is well crafted and is very similar to the CHIP-X that I worked on in the past. The shape, finish and flow of the pipe and stem are very well done. The dimensions are Length: 6 1/2 inches, Height: 2 1/4 inches, Outside diameter of the bowl: 1 3/4 inches, Chamber diameter: 3/4 inches. This one will be added to the rebornpipes store soon. If you are interested in adding it to your collection send me an email to slaug@uniserve.com or send me a message on Facebook. Thanks for walking through the restoration with me as I worked over this Granhill freehand.