Blog by Steve Laug
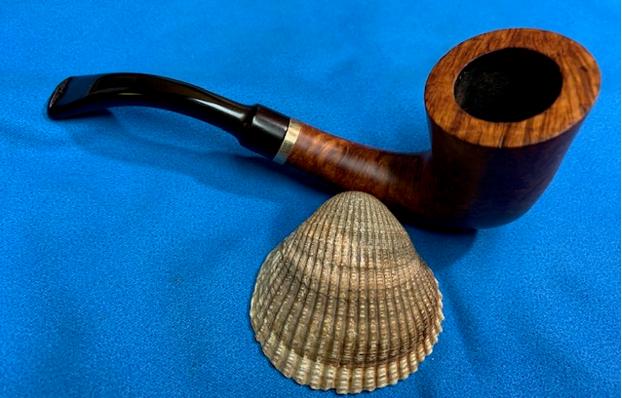
The next pipe I have chosen is smooth finished Peterson’s Dublin Calabash pipe that had a bit of a bland looking finish but had some good looking grain around the bowl sides and shank. It came to us in a group of pipes we bought from a fellow in Los Angeles, California, USA. This Calabash was stamped on the left side of the shank and read Peterson’s [arched over] Dublin. It was stamped on the right side and read London Made [over] England. On the left of that next to the stem it is stamped 21. The pipe was in filthy condition when he brought it to the table. The finish was dirty with grime ground into the briar sides and rim. There were black spots on the briar around the bowl and shank. There was a thick cake in the bowl and a light coat of lava on the rim top but the edges of the bowl and top actually looked to be in good condition. The stem was oxidized, calcified and had tooth marks and chatter on the top and underside on and near the button. It had a stamped P on the left side of the saddle. Jeff took photos of the pipe before his cleanup work. They tell the story and give a glimpse of the promise that we see in this pipe. 
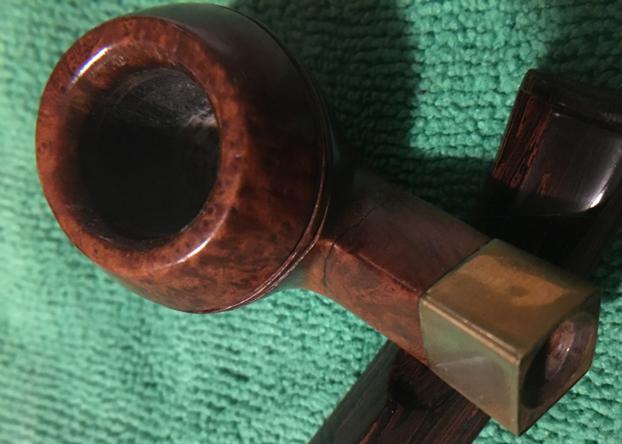
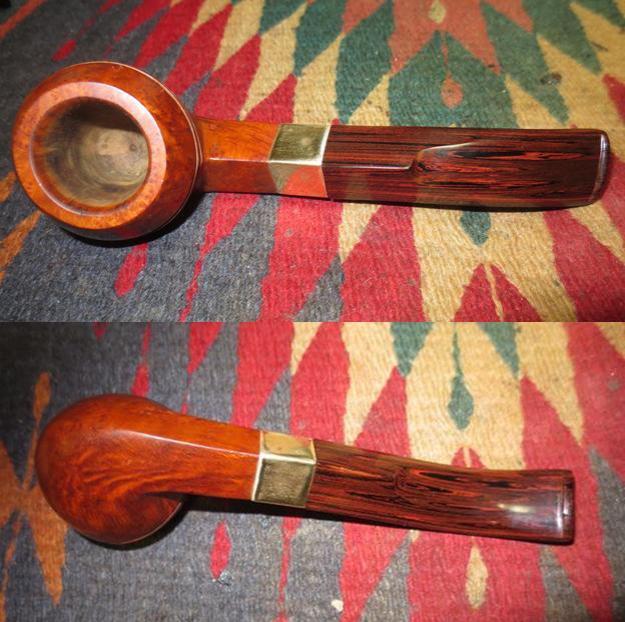
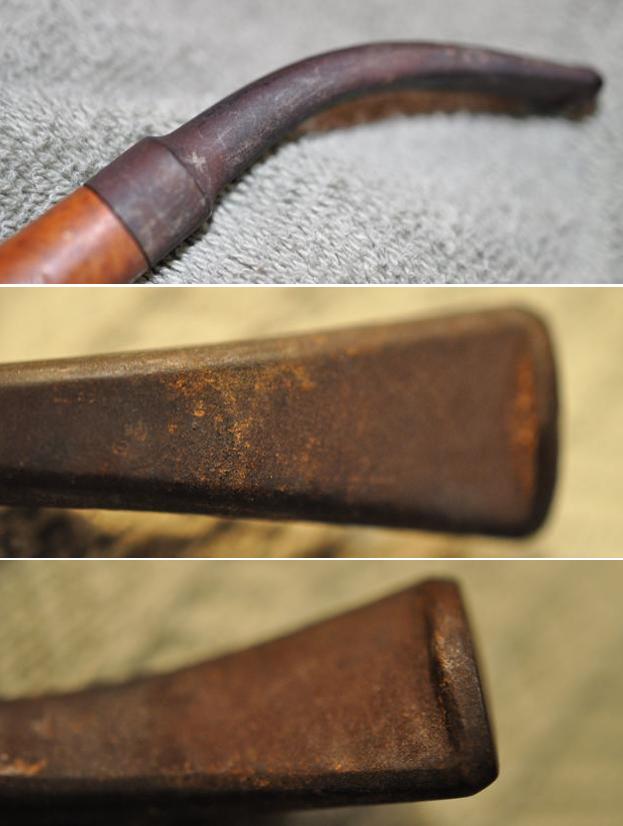
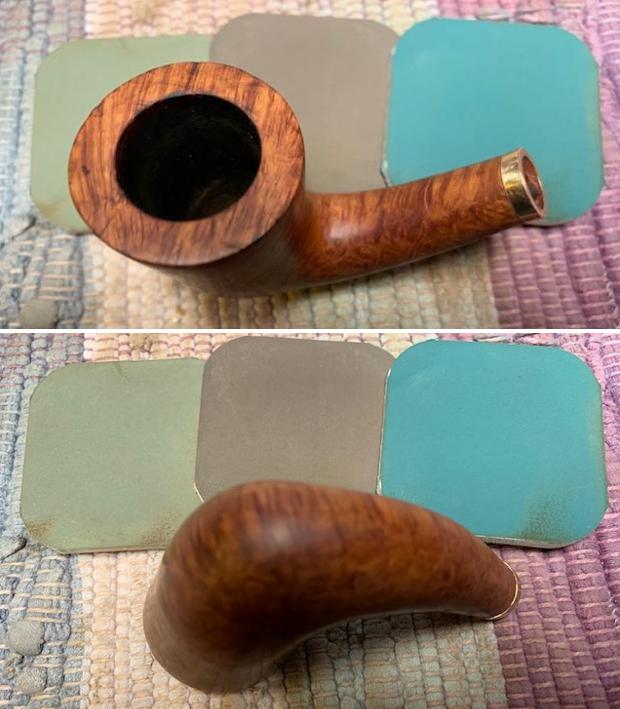
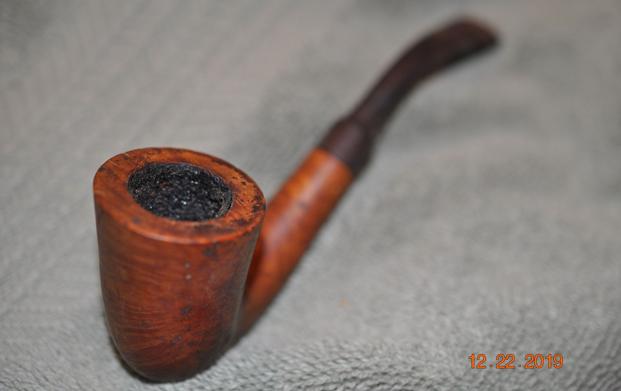 Jeff took photos of the rim top and stem to show the general condition of the pipe. The bowl is thickly caked and the rim top and edges look pretty good under the light lava coat. The photos of the stem show some oxidation and light tooth marks on both sides near the button.
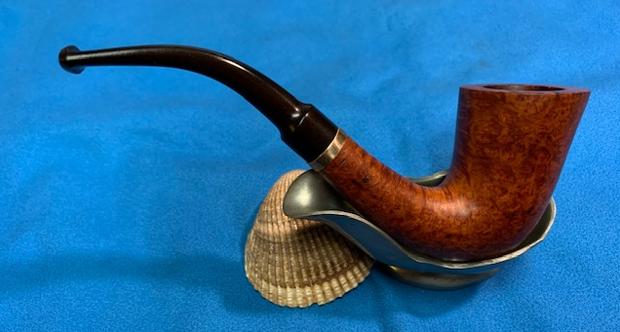
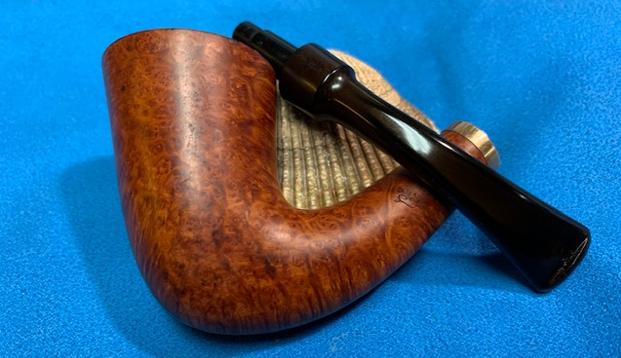
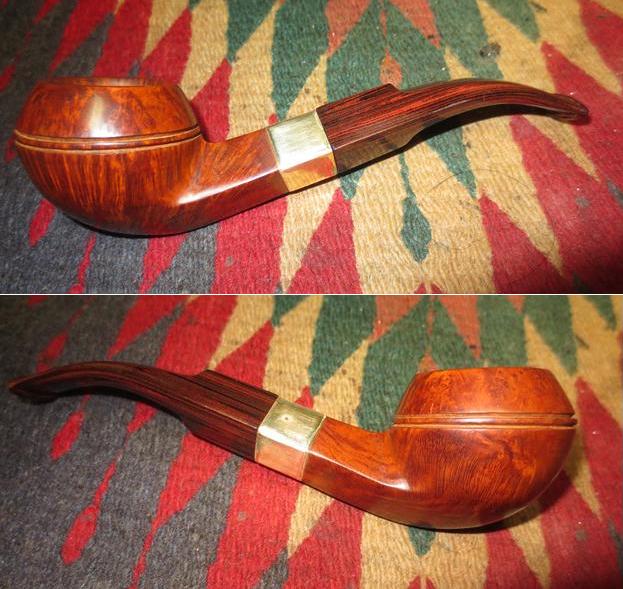
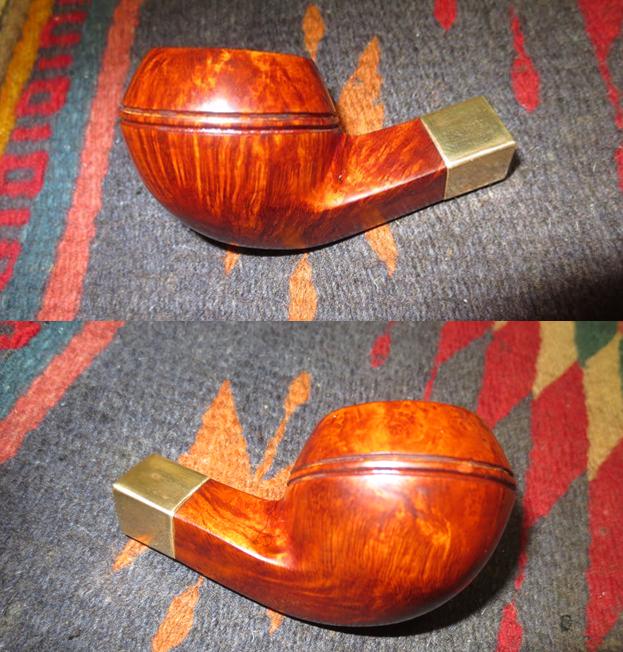
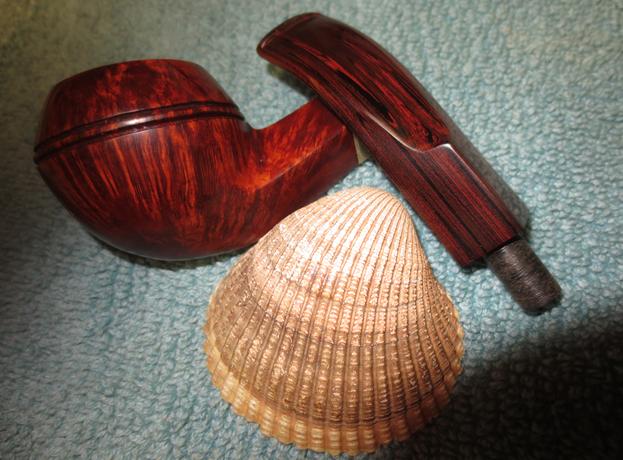
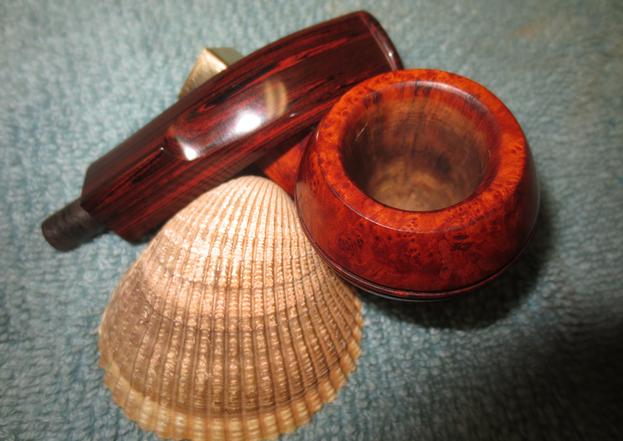
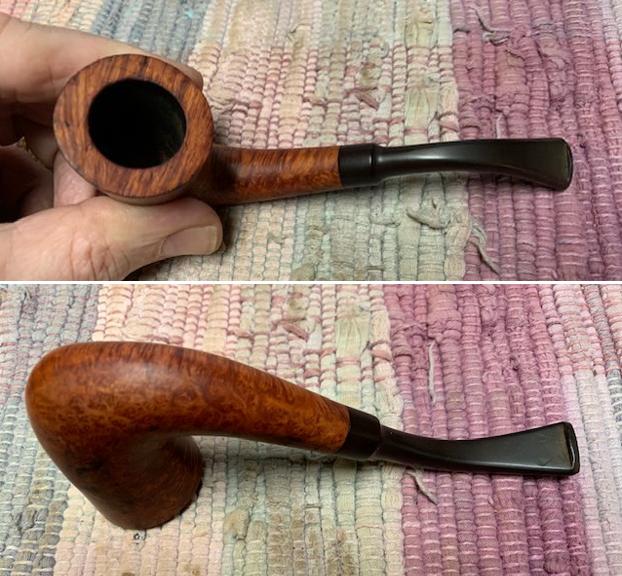
 Jeff took some photos of the bowl sides and heel to show the amazing grain that was around this bowl. It is a nice looking pipe.
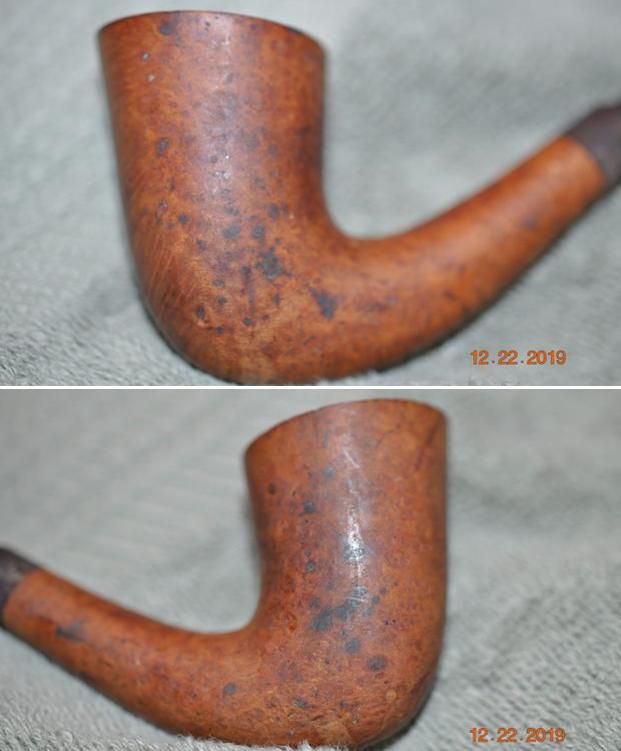
 He took photos of the sides of the shank to show the stamping. The stamping is readable in the photos below and is as noted above.
 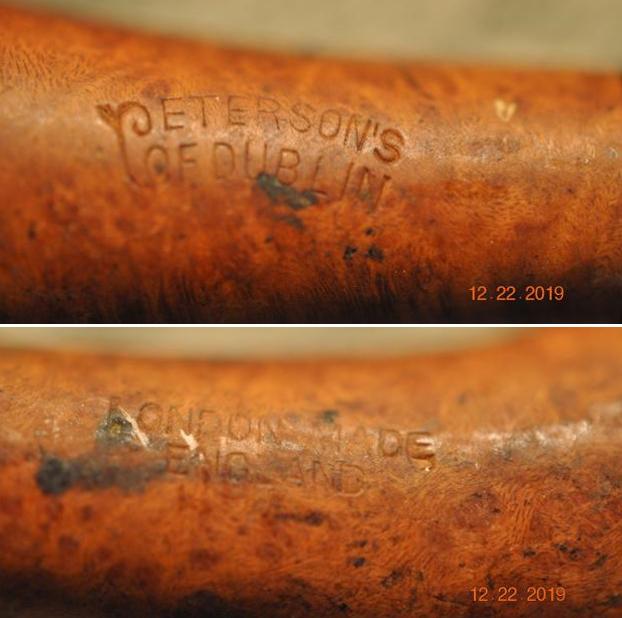 I am including the link to the Pipedia’s article on Peterson pipes. It is a great read in terms of the history of the brand (https://pipedia.org/wiki/Peterson).
I turned to “The Peterson Pipe” by Mark Irwin and Gary Malmberg to get some background on the Peterson’s London Made England line. On page 296-297 it had the following information.
MADE IN over ENGLAND and variations shown below (1936-62) Peterson maintained a factory in England for about a quarter of a century, from the late 1930s to ’62. Corporate transcripts and London business periodicals suggest the London operation on White Lion Street was about to get underway in ’37. Only a handful of London hallmarked Petersons are documented, stamped with date marks of 1936 and 1939, and these have no COM stamp. Their output would be limited by the onset of the Battle of Britain in July 1940, but it seems reasonable to suppose pipes were made in the London factory during WWII, inasmuch as the K&P Staff Register lists twelve employees earning wages there in January ’44. London hallmarked Petersons have been identified with dates of 1949-54. Most London made Petersons in a collector’s inventory were made in these postwar years, from 1949 until the closing of the factory in ’62. This narrow range of dates is probably the most reliable indicator of years when the stamp and the variations listed below were employed. The presence of one variation or another on a pipe is not by itself a reliable indicator of age.
Made In over England
Made In England forming a circle
Made In England forming an ellipse
Made in England in a line
A “Peterson’s Product” over Made In England
A Peterson’s Product over Made In England
A Peterson Product over Made in England
Made In over Great Britain
Great Britain
London Made over England
London Made
Now I knew a date range for the pipe I was working on – 1949-1962. I have underlined and made the text bold in the above list to show the stamping on the pipe I am working on. Now it was time to work on the pipe.
Jeff had done a great job cleaning up the pipe as usual. He reamed the pipe with a PipNet reamer and cut back the cake back to the bare briar. He cleaned up the walls with a Savinelli Fitsall Pipe Knife. He scrubbed the interior of the bowl and shank with pipe cleaners, cotton swabs and alcohol to remove the tars and oils. He scrubbed the exterior of the pipe with Murphy’s Oil Soap and a tooth brush to remove the grime from the finish. He worked on the rim top lava and the darkened spots with the soap and tooth brush. He scrubbed the inside of the stem with alcohol and pipe cleaners. He scrubbed the exterior with Soft Scrub and then soaked it in Before & After Deoxidizer. He washed it off with warm water to remove the Deoxidizer. The pipe looked far better when it arrived. 
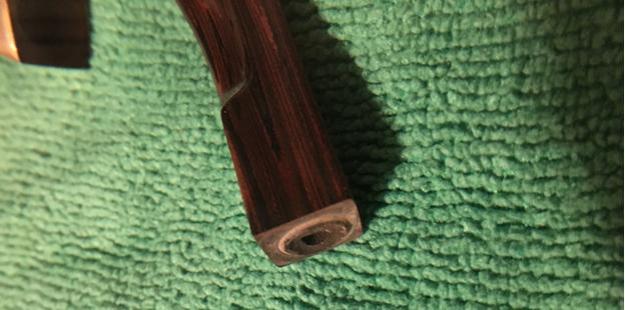
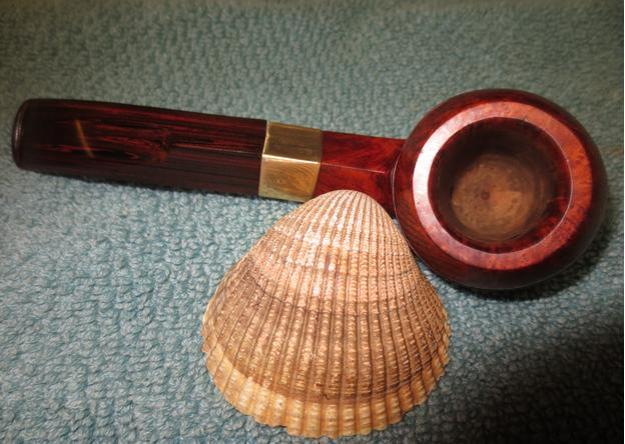
 I took some close up photos of the rim top and also of the stem surface. I wanted to show how well it had cleaned up. The rim top had some looked quite good and the inner edge had some darkening and damage. It should clean up really well. I also took close up photos of the stem to show the tooth marks on the surface near the button.
 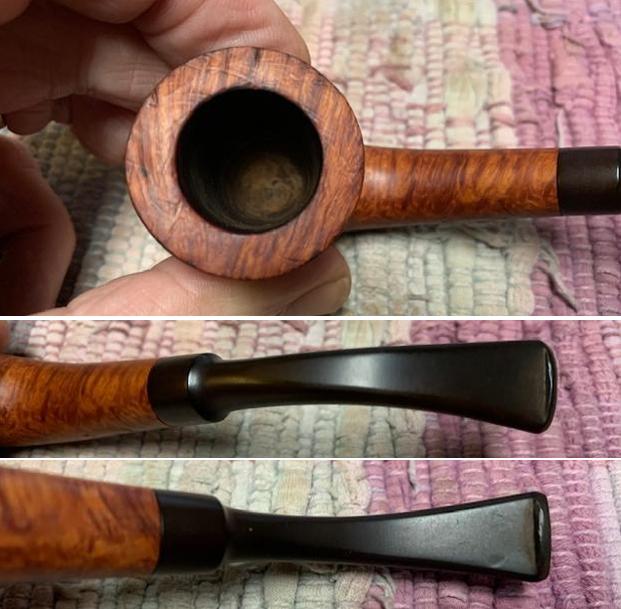 I took photos of the stamping on the sides of the shank. You can see that it is stamped as noted above. It is clear and readable.
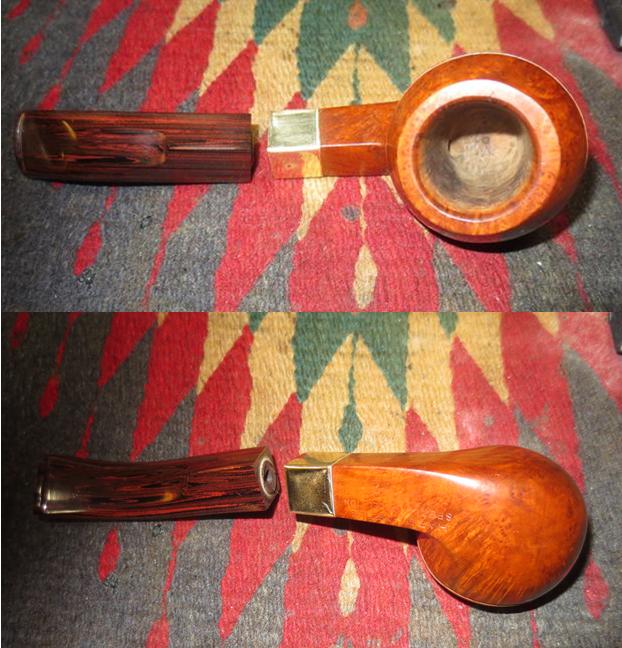
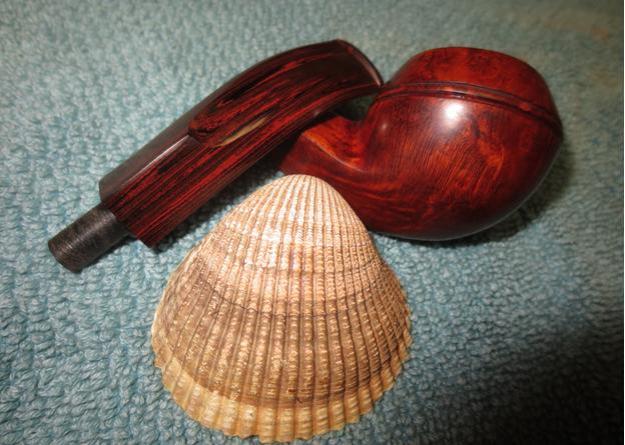
 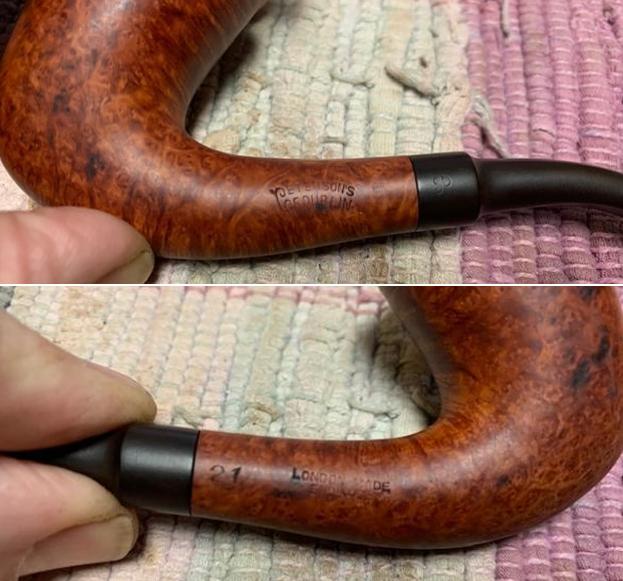 I removed the stem and took a photo of the pipe to have a look at the parts and overall look.
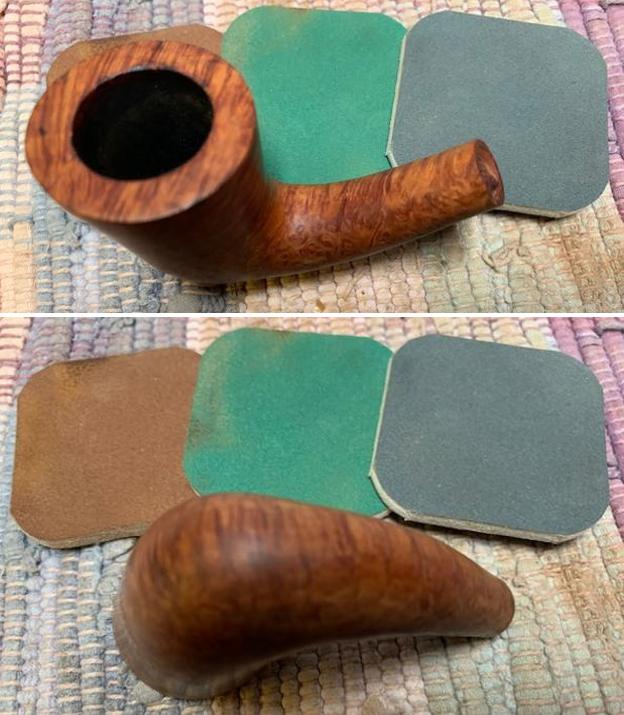
 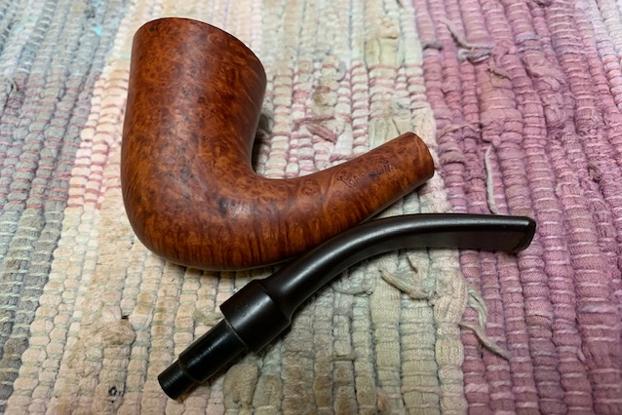 I decided to address the spots around the bowl sides first. I was pretty sure I could remove them with micromesh sanding pads. I sanded it with 1500-2400 grit pads and was able to remove and minimize those that remained with the micromesh.
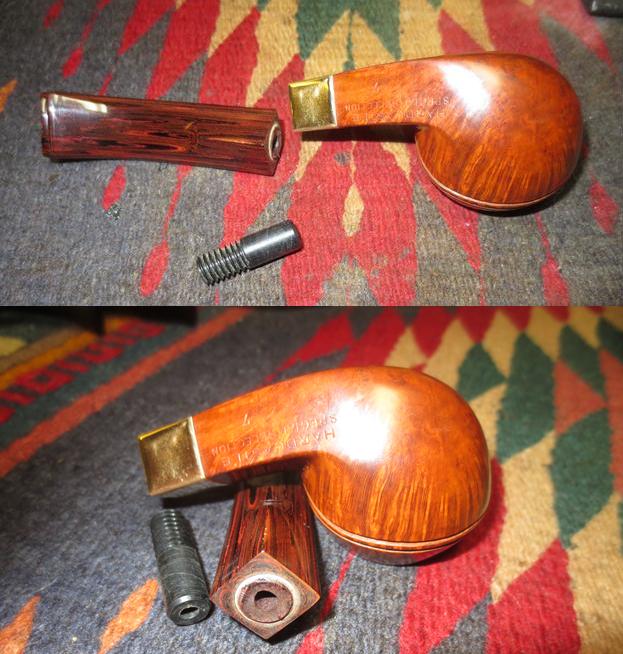
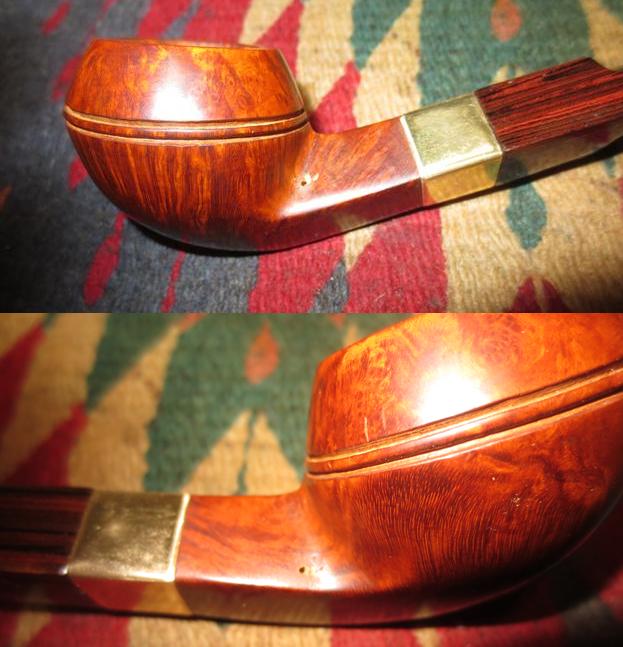
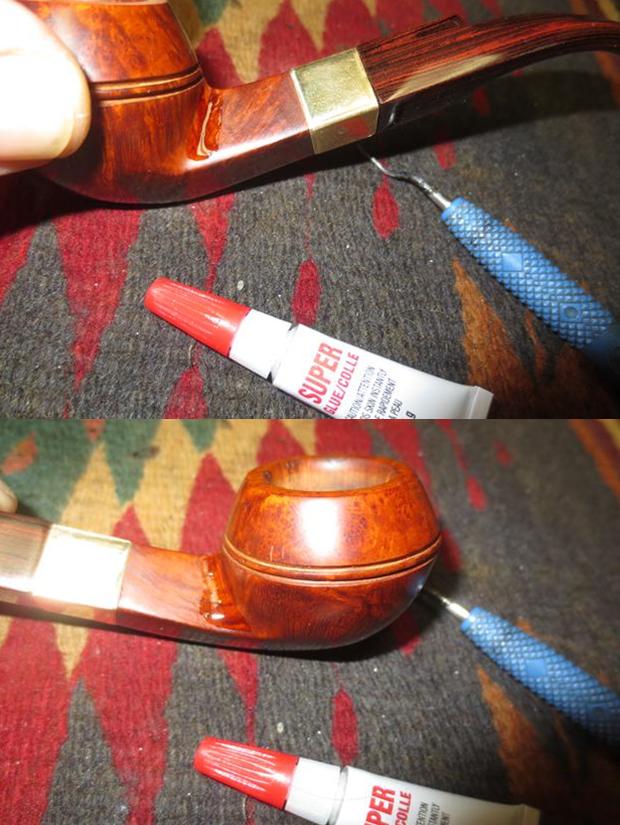
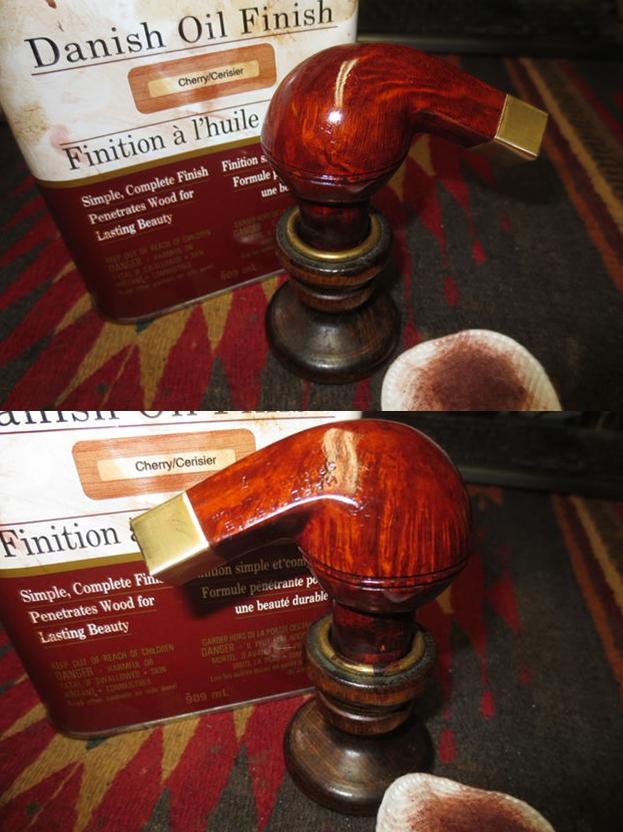
 In the process of sanding the shank I found a small hairline crack in the underside of the shank that extended straight up the shank for about ½ inch. I checked out the stability of the crack and it was still quite tight. I decided the best course for this kind of crack was to bind it together with a thin brass band. I topped the band edge off and removed some of it so that it did not interfere with the number stamp on the right side and would still do the job it was intended to do. I drew a red rectangle around the crack in the shank and took two pictures to capture it. There is some darkening around the crack and that was what caught my eye.
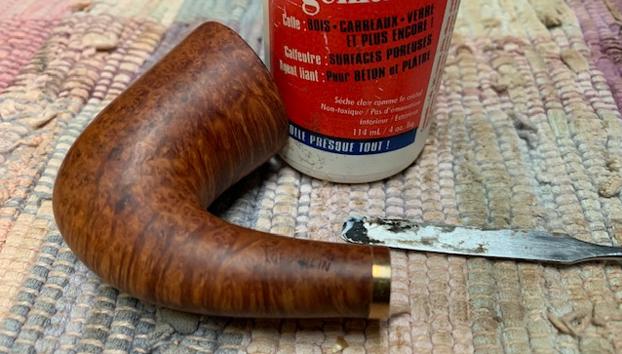
  I went through my bands and found one that was the proper fit for the shank diameter. It was a bit too deep and covered some of the shape number stamp on the right shank so I used a topping board and 220 grit sandpaper to reduce the depth so that it did not cover the number. Once I had the depth correct I put some all purpose glue on the shank end and pressed the band in place on the shank. I wiped off the excess glue with a damp pad.
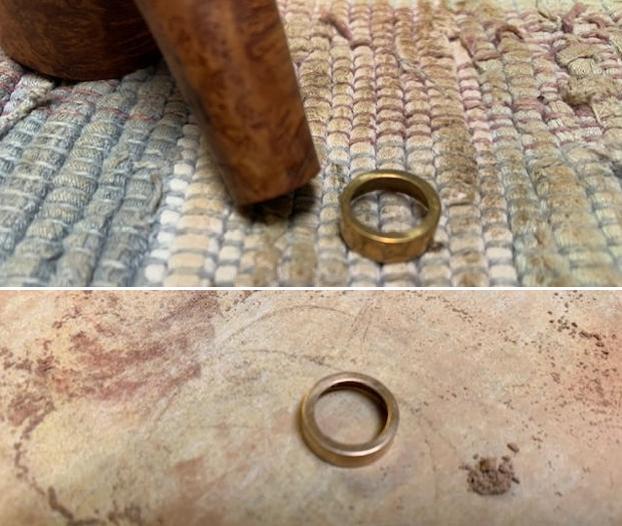
 I finished polishing the briar with the remaining micromesh sanding pads – dry sanding with 3200-12000 grit sanding pads. I wiped the bowl down with a damp cloth after each sanding pad.
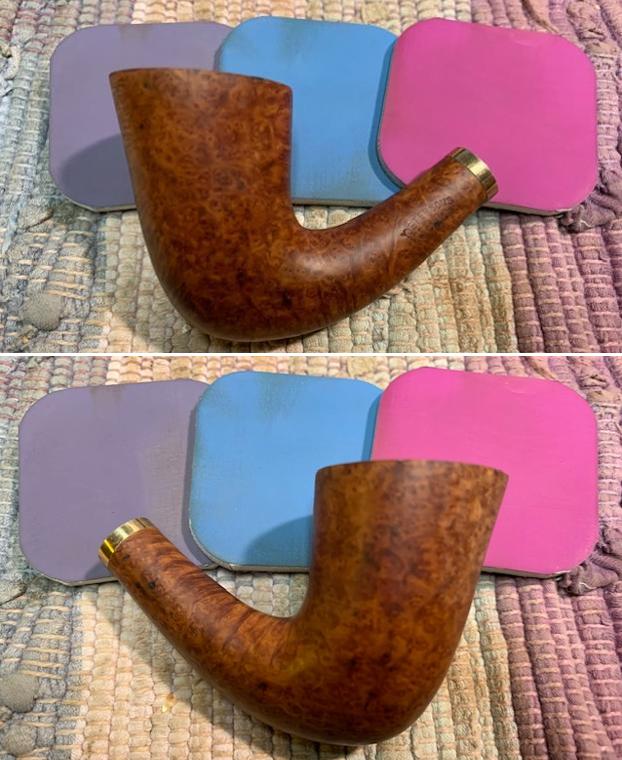
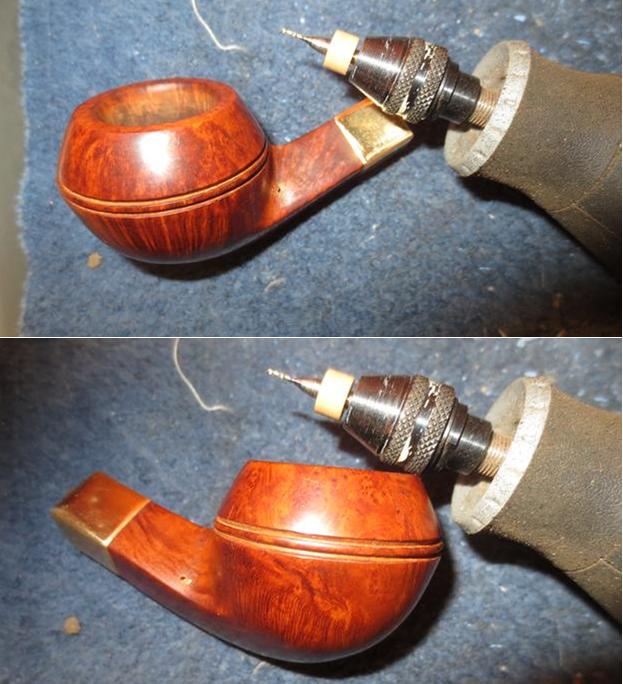
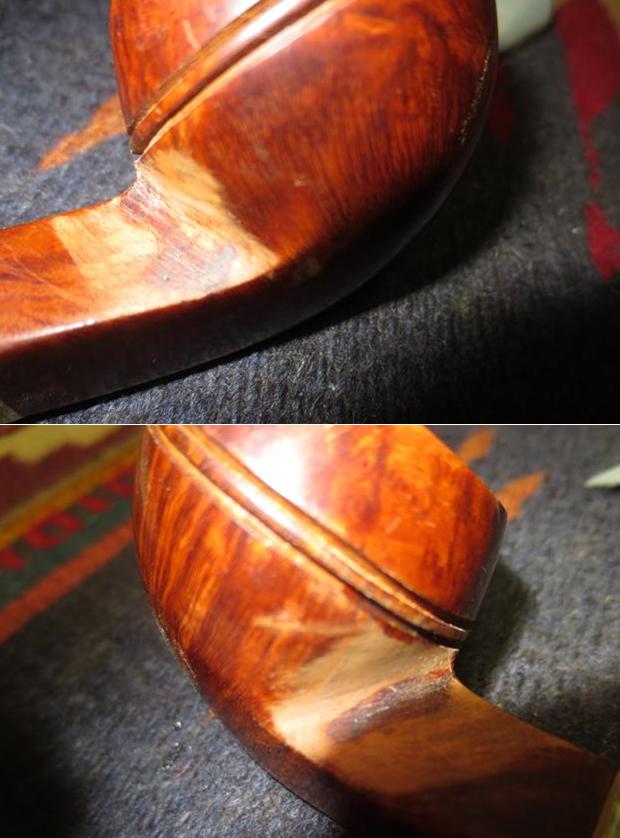
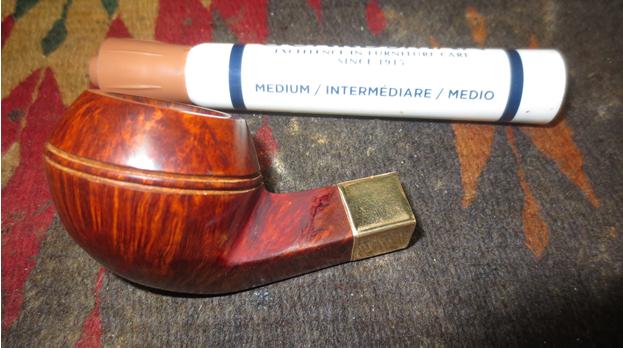
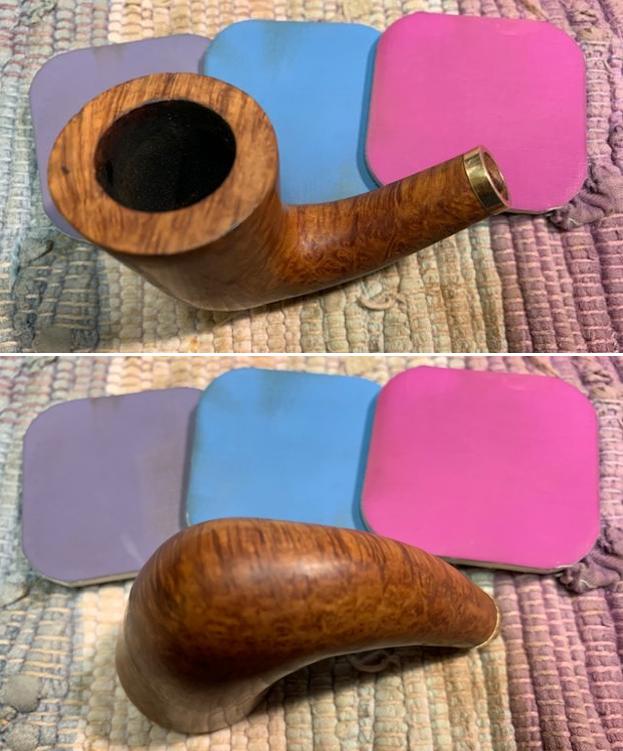 I worked some Before & After Restoration Balm into the surface of the bowl and shank with my fingertips to clean, enliven and protect the briar. I let the balm sit for 15 minutes and then buffed with a cotton cloth to raise the shine. The photos show the bowl at this point in the restoration process.
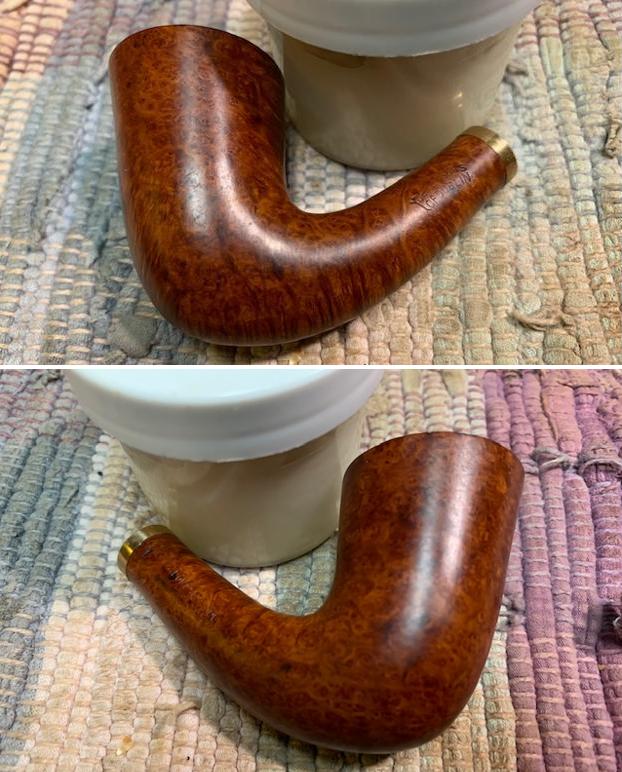

 I set the bowl aside and “painted” the stem surface with the flame of a “Bic” lighter to lift the tooth marks. I was able to raise most of them I filled in the remaining tooth marks with clear super glue. Once the glue cured I sanded the repairs smooth to blend them into the surface of the surrounding vulcanite.
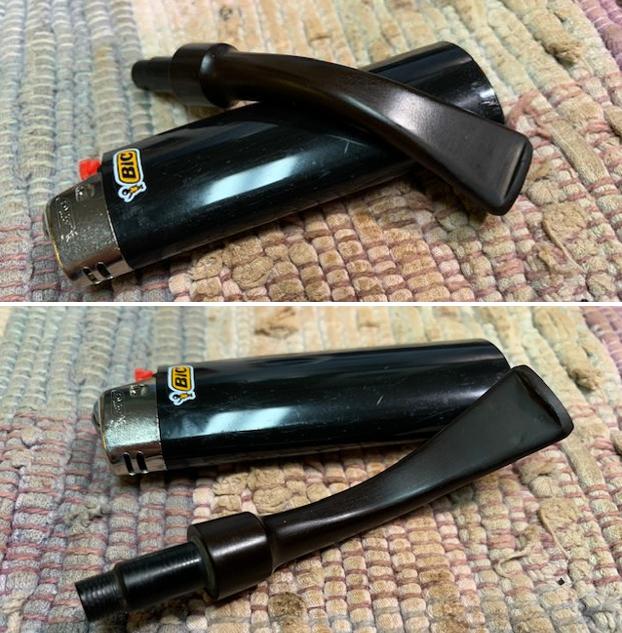

 I touched up the P stamp on the left side of the saddle stem with Rub’n Buff Antique Gold. I rubbed it on with a tooth pick and worked it into the stamp. I buffed it off with a soft cloth. While the stamping is faint it is still readable.
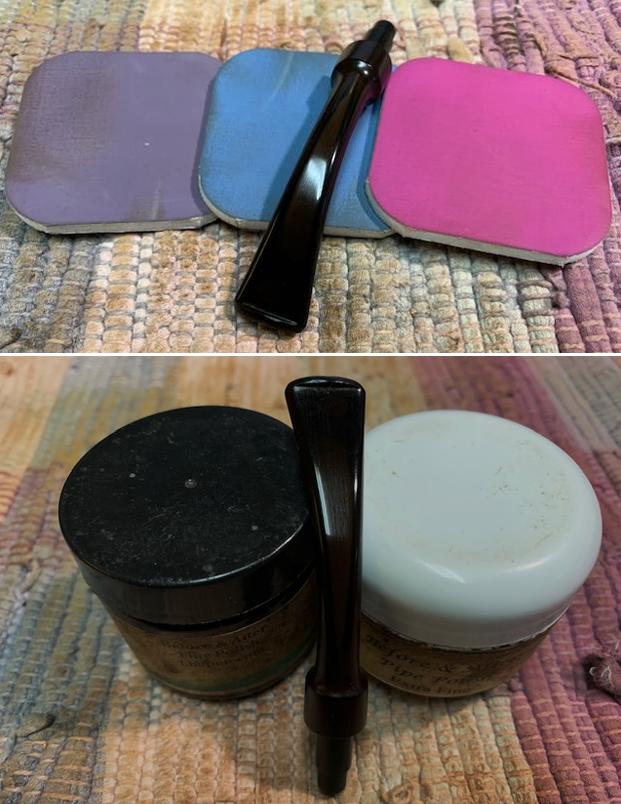
 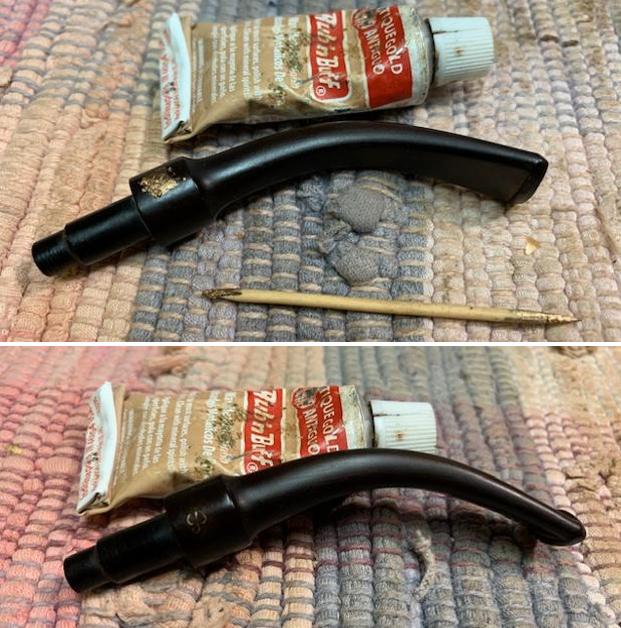 I polished the stem with micromesh sanding pads – wet sanding with 1500-12000 grit sanding pads. I wiped it down after each sanding pad with Obsidian Oil. I polished it with Before & After Pipe Stem Polish – both Fine and Extra Fine.
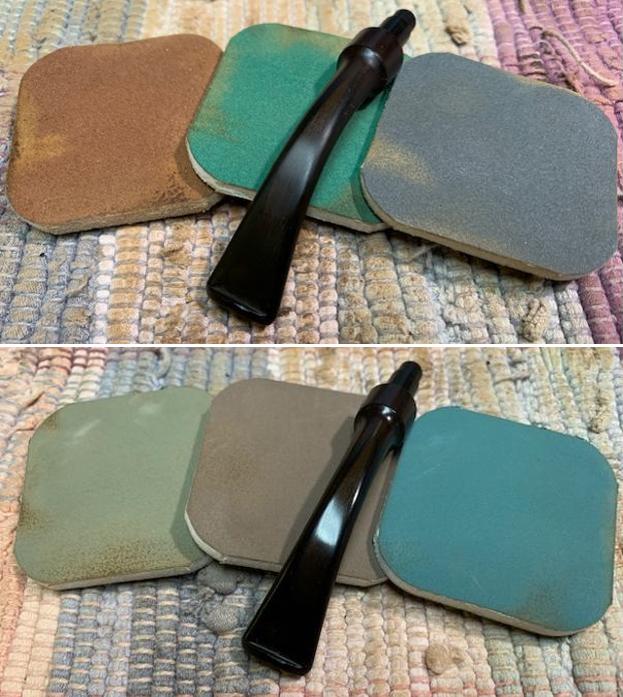
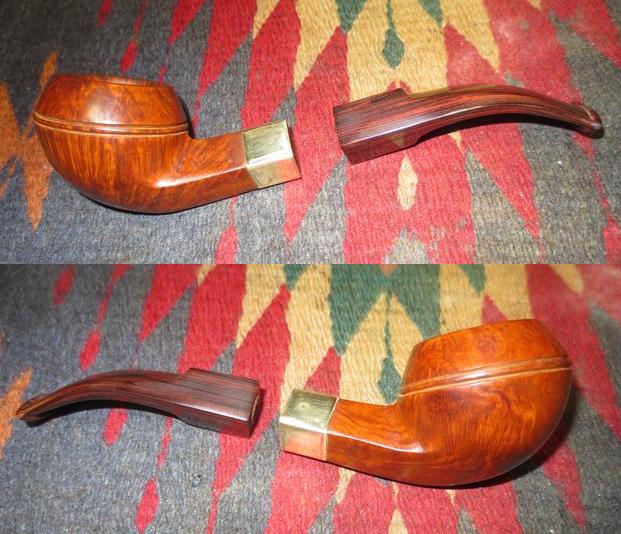
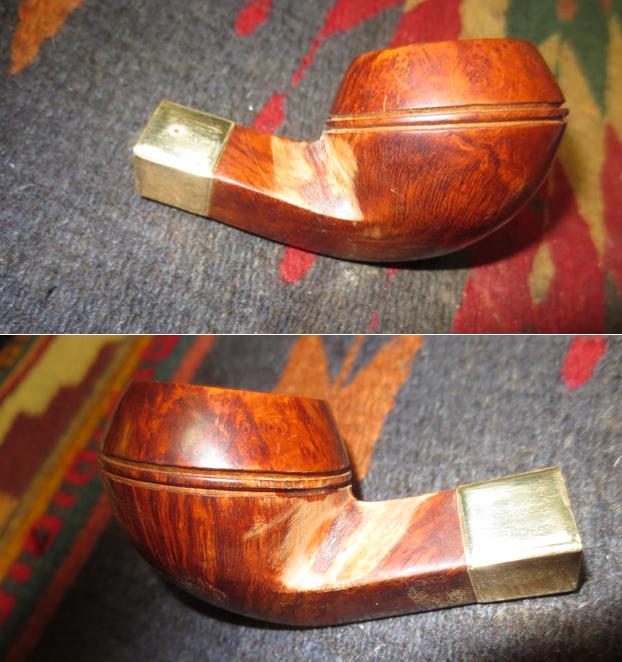
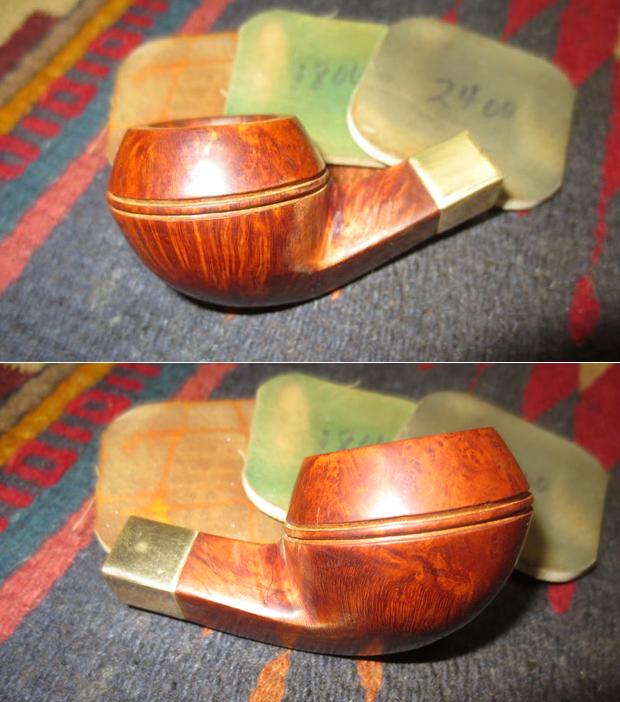
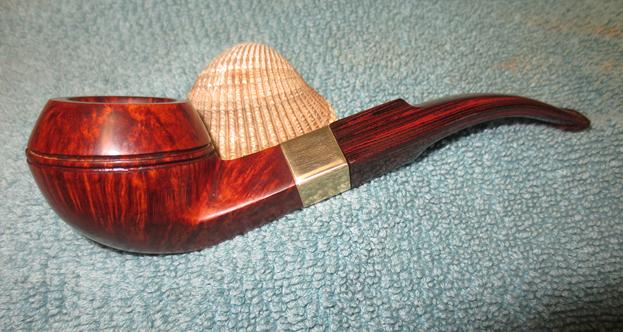
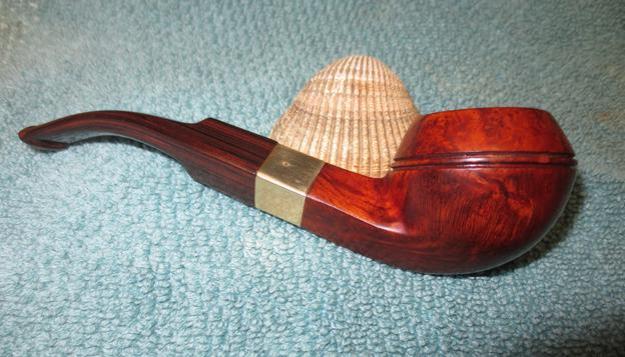
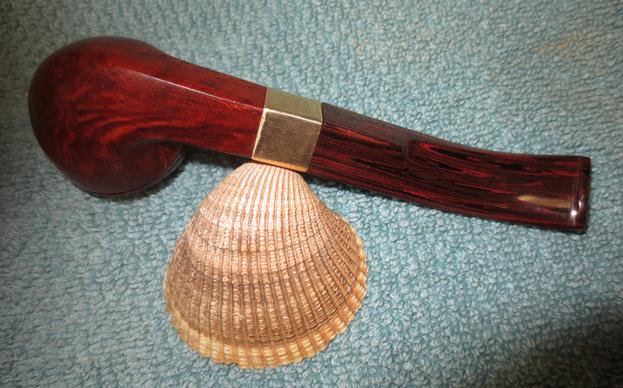
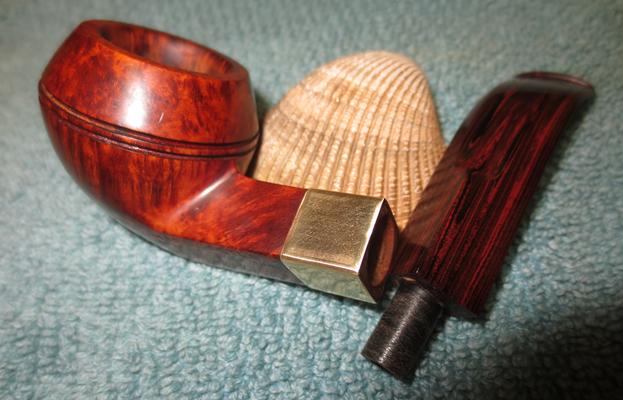
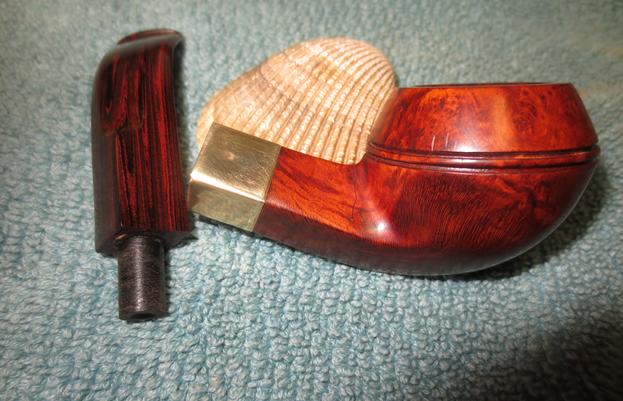
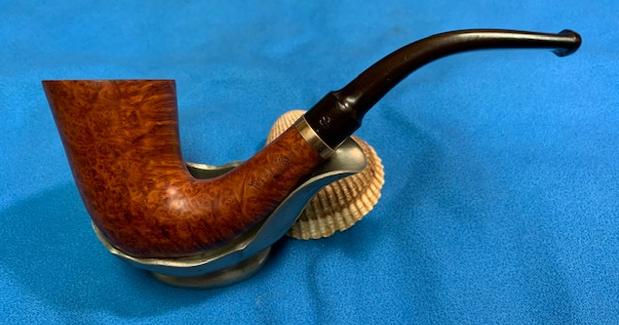
 I am excited to finish this London Made English Peterson’s Dublin, Calabash 21. I put the pipe back together and buffed it with Blue Diamond on the buffing wheel. I gave the bowl and the stem multiple coats of carnauba wax. I hand buffed the pipe with a clean buffing pad to raise the shine. It is fun to see what the polished bowl looks like with beautiful mixed grain all around it. Added to that the polished black vulcanite stem combined with the bowl and brass band on the shank and made a stunning pipe. This smooth Classic Older Peterson’s Dublin English Made Calabash is great looking and the pipe feels great in my hand. It is light and well balanced. Have a look at it with the photos below. The dimensions are Length: 5 ½ inches, Height: 2 inches, Outside diameter of the bowl: 1 ¼ inches, Chamber diameter: ¾ of an inch. The weight of the pipe is 34grams/1.20oz. It is a beautiful pipe that I will soon be putting on the rebornpipes store in the Irish Pipe Makers section. If you are interested in adding it to your collection send me an email or a message. Thanks for walking through the restoration with me as I worked over this pipe. Thanks to each of you who are reading this blog.