Blog by Steve Laug
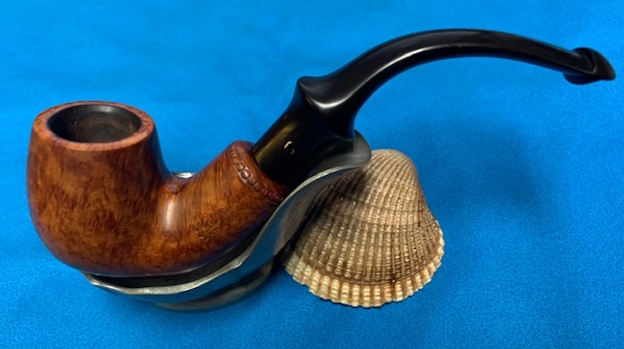
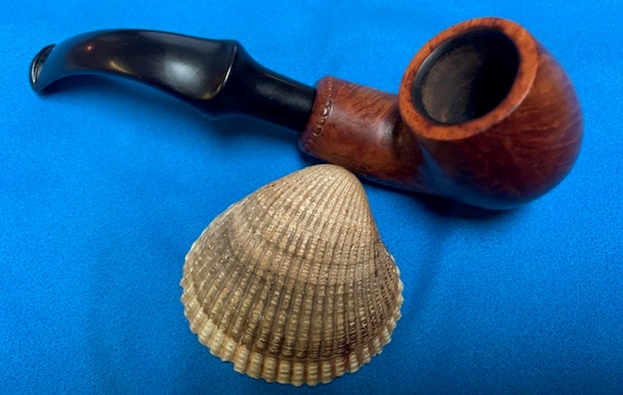
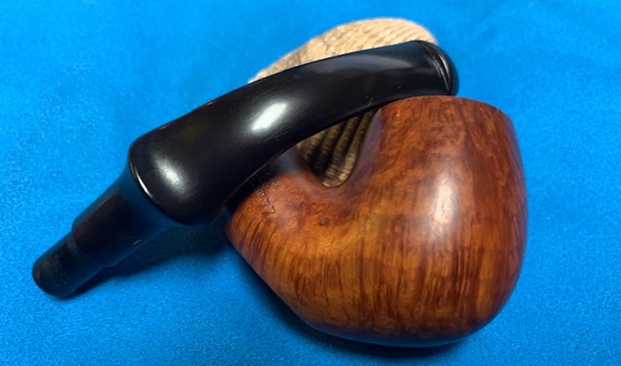
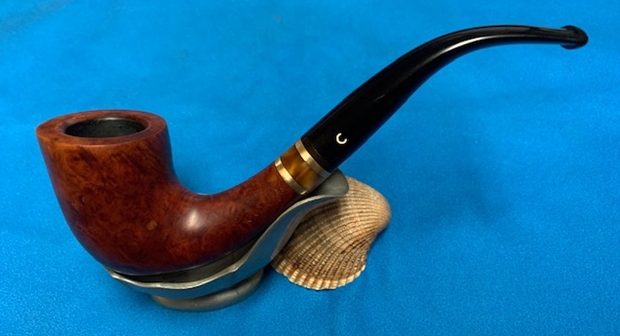
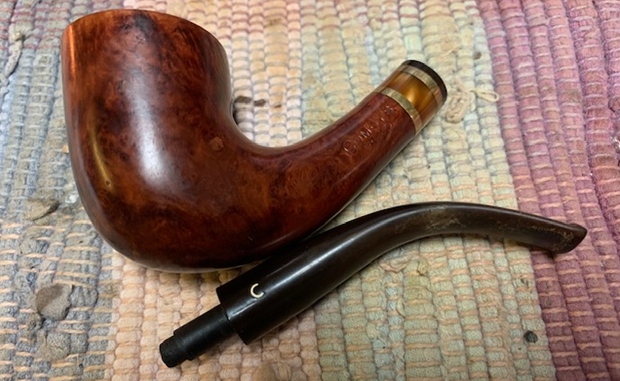
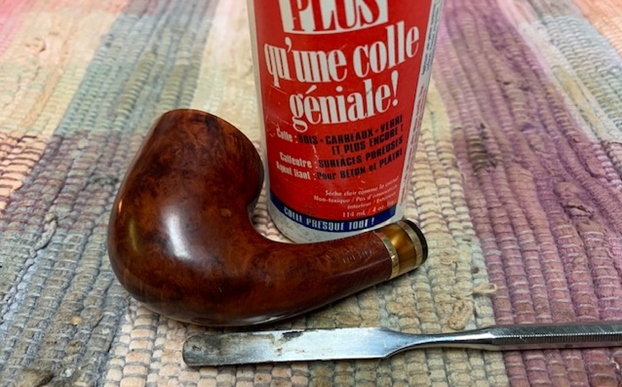
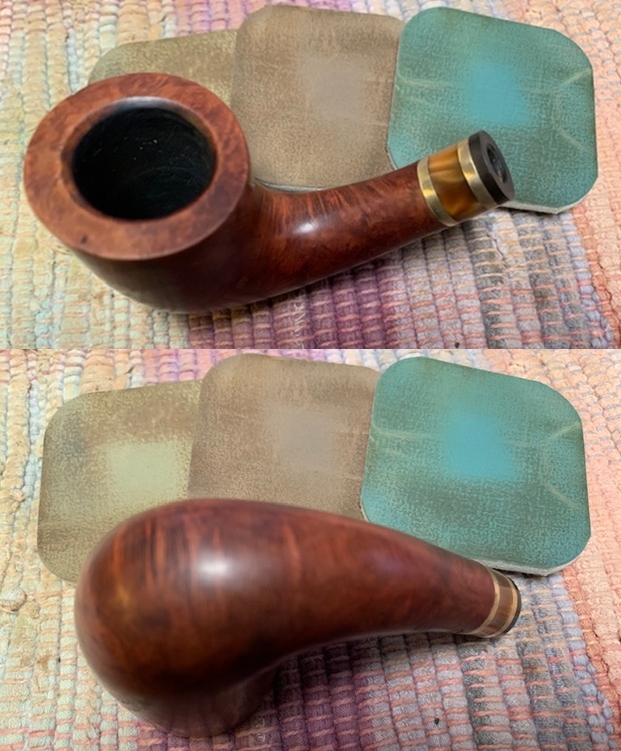
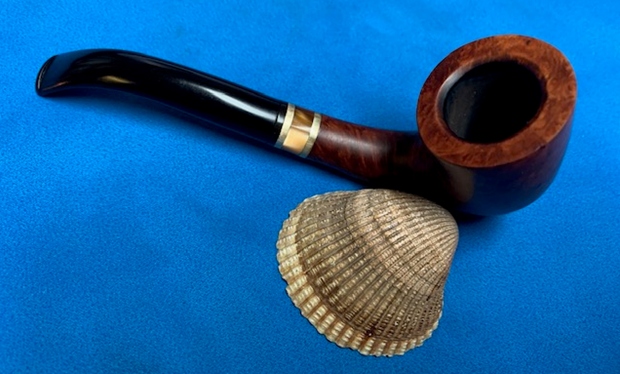
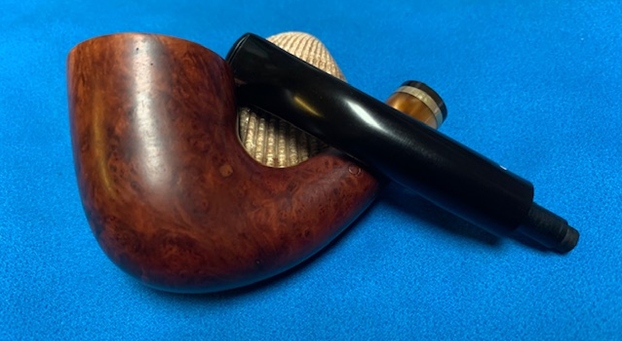
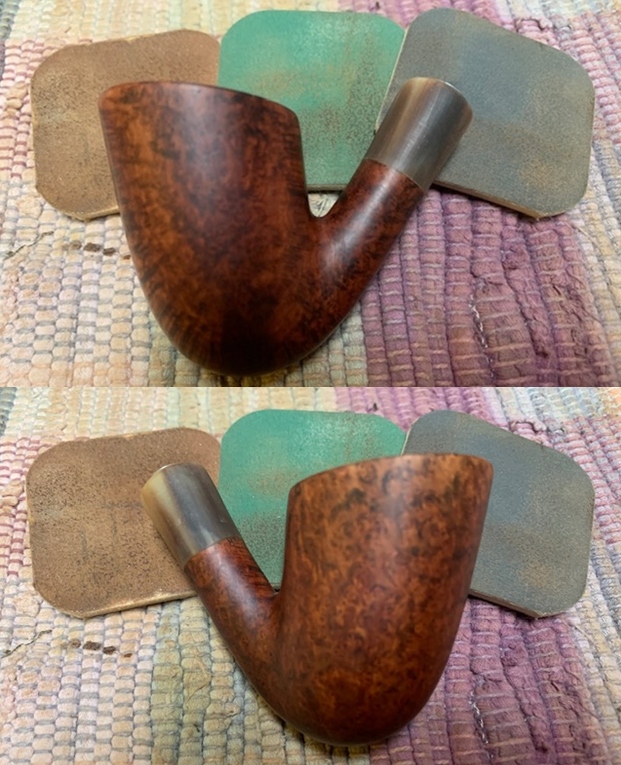
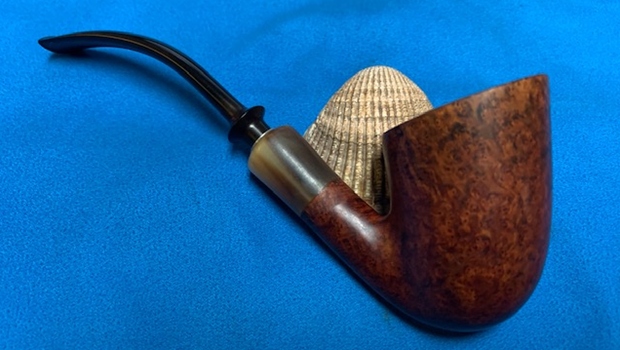
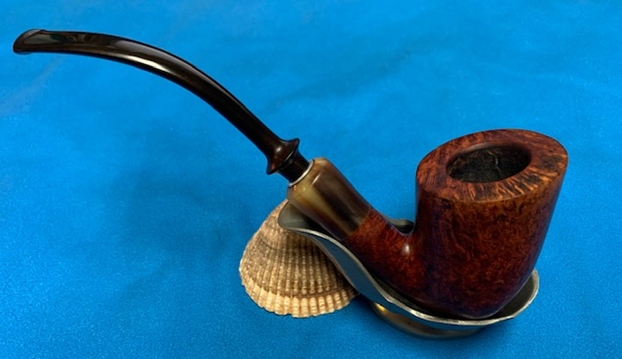
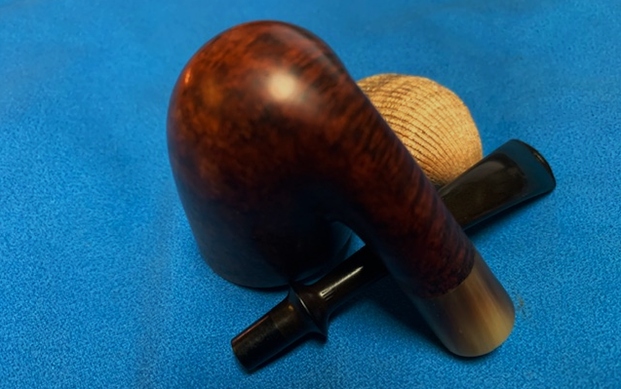
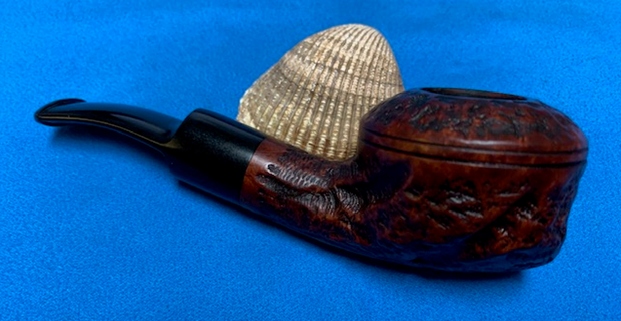
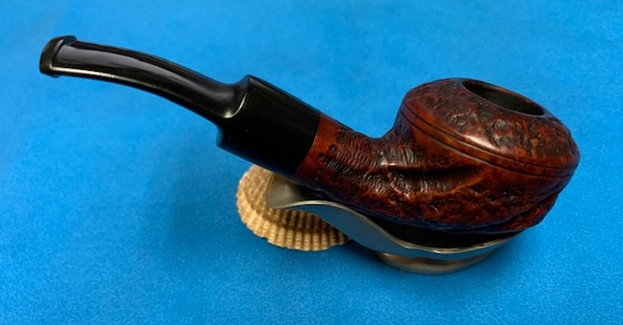
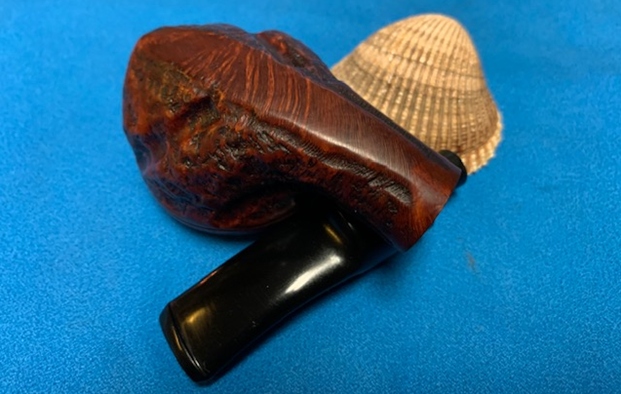
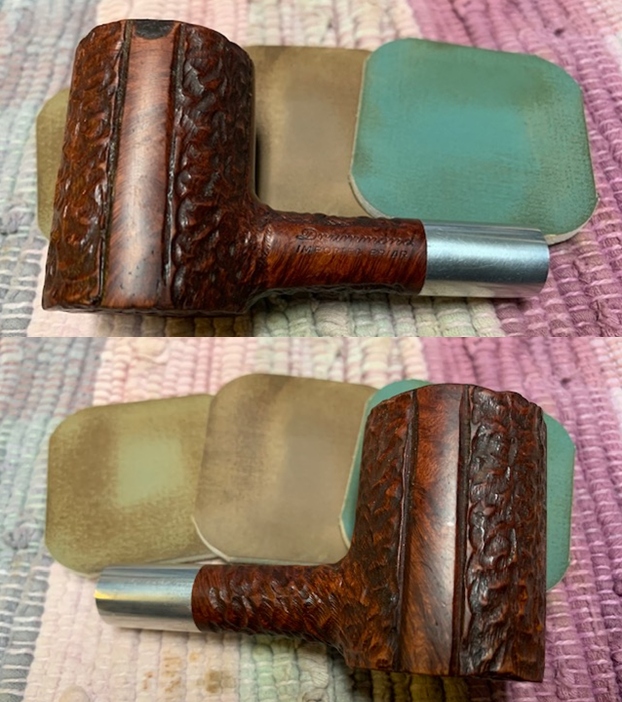
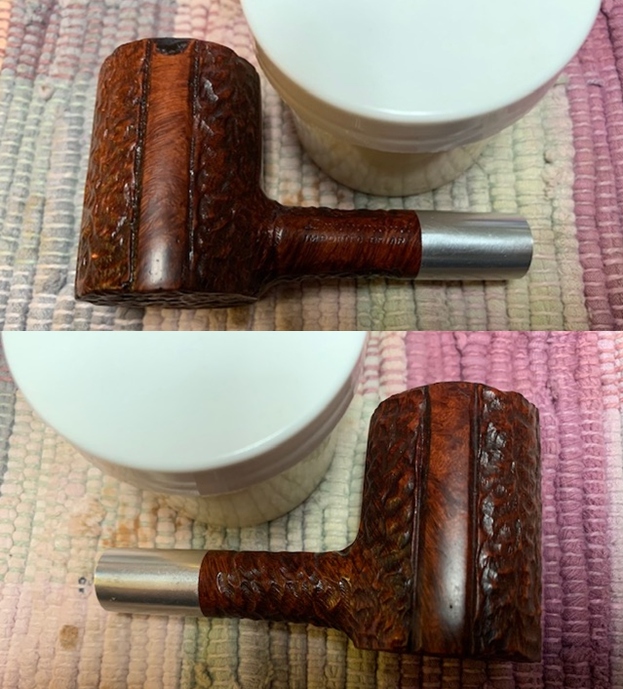
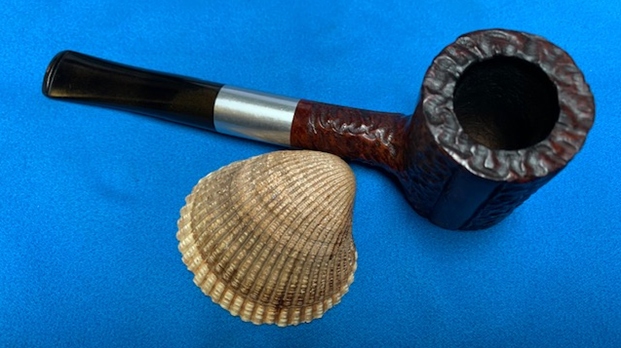
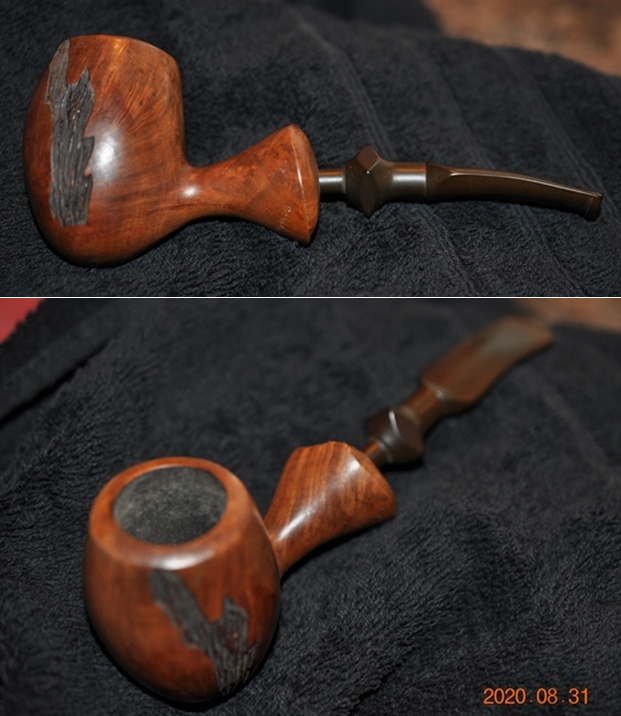
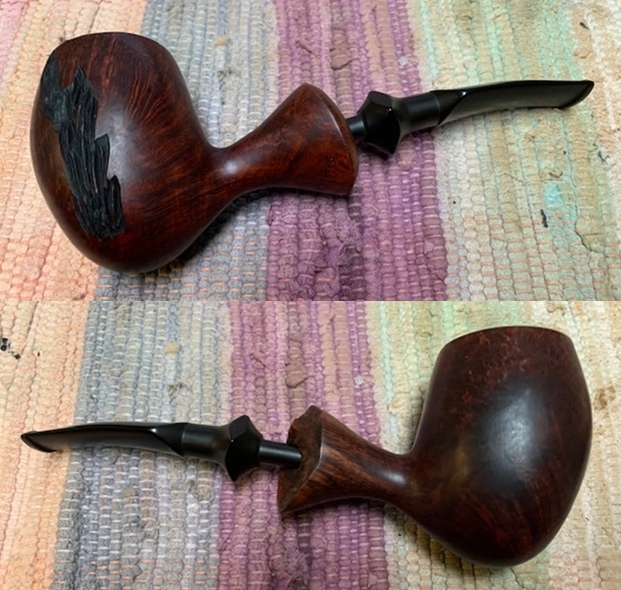
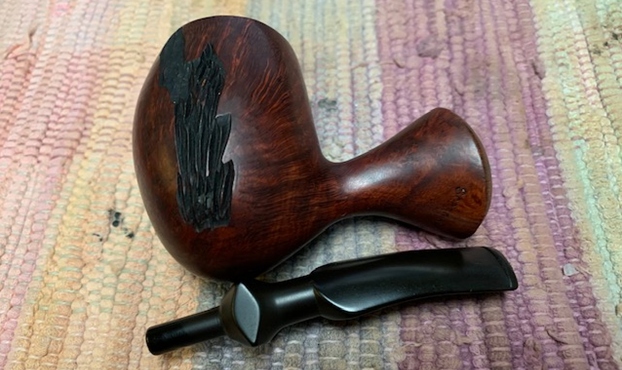
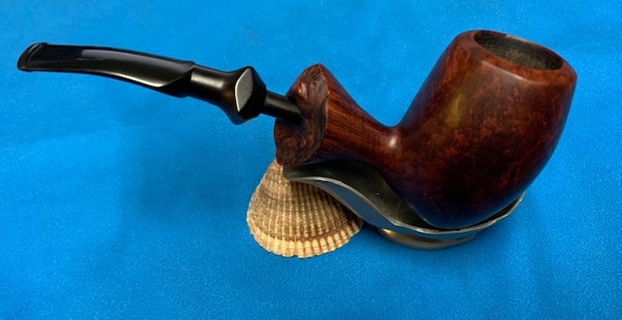
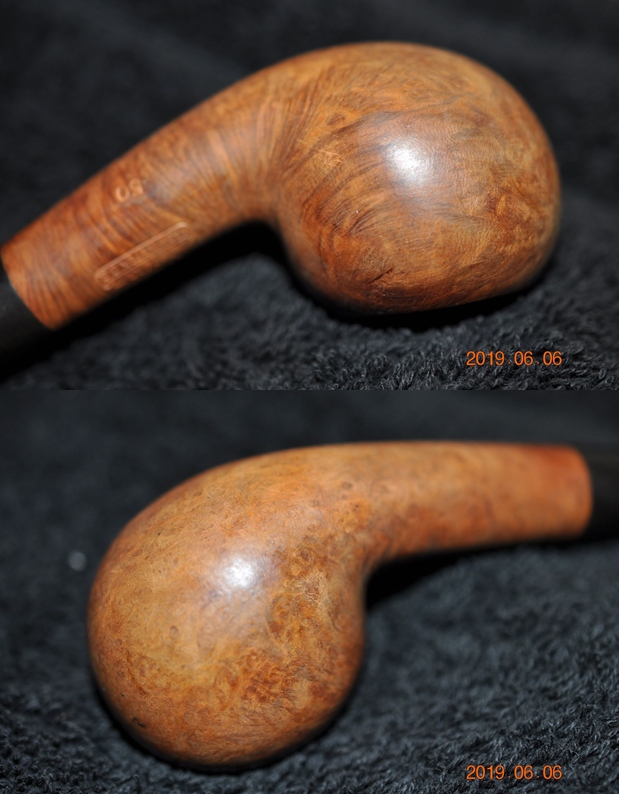
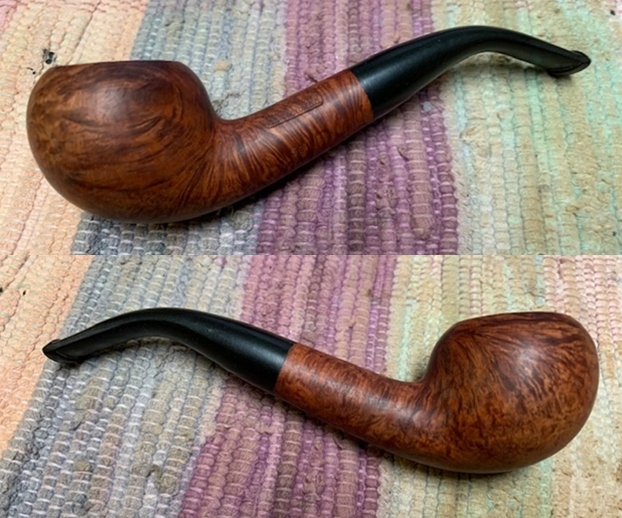
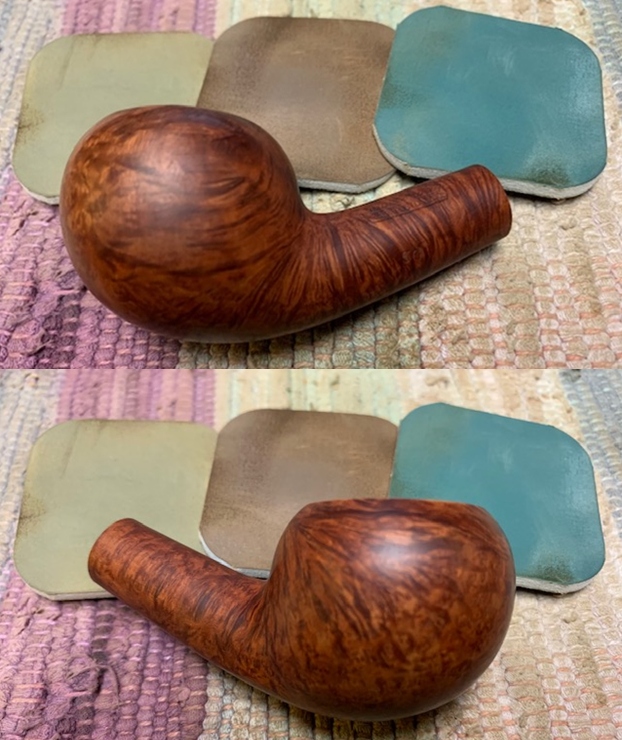
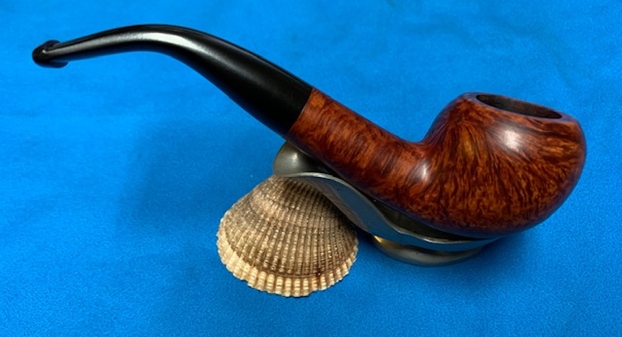
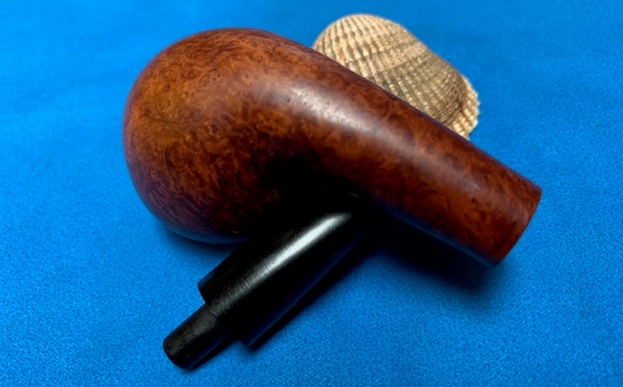
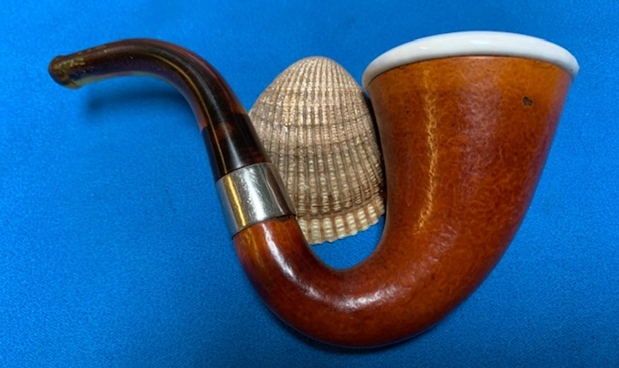
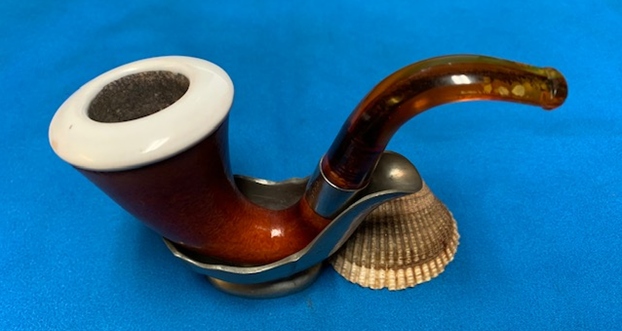
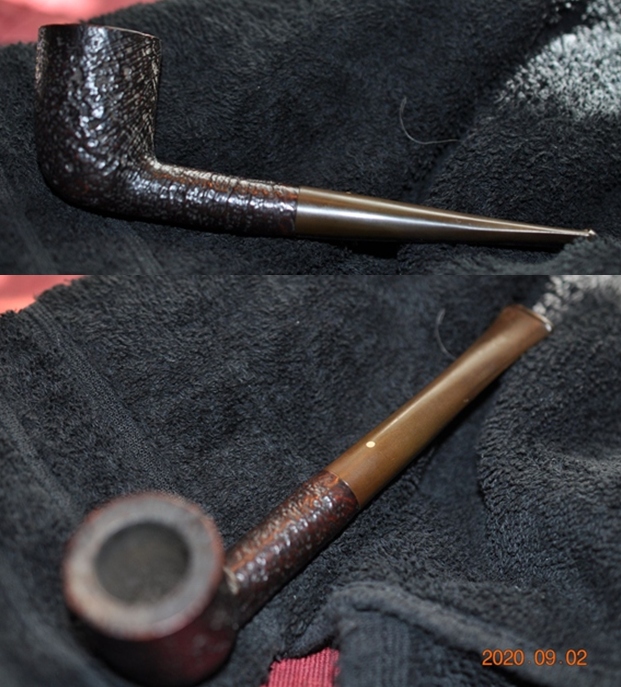
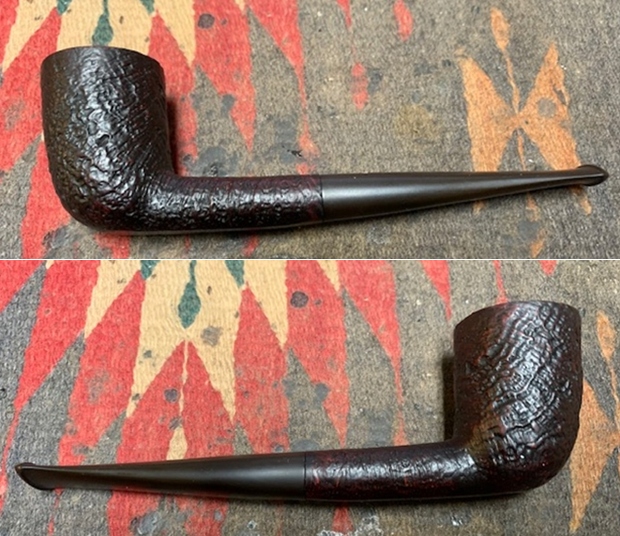
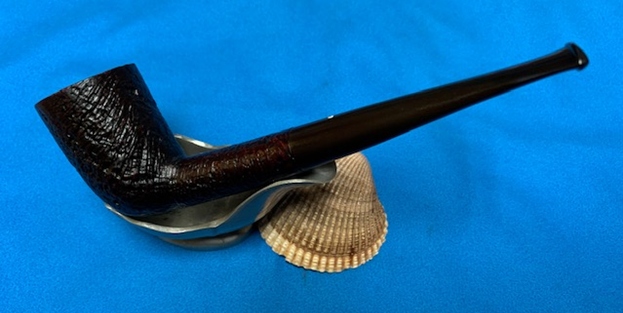
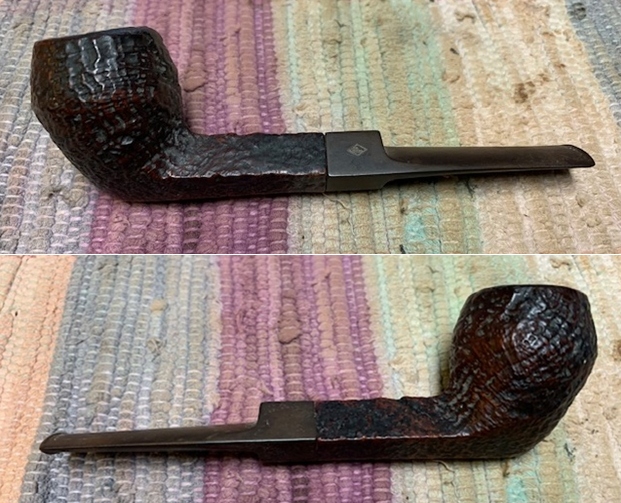
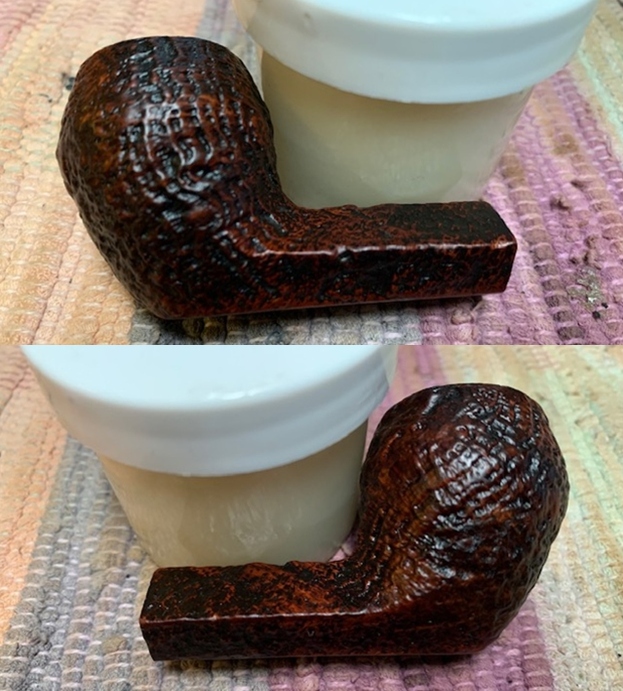
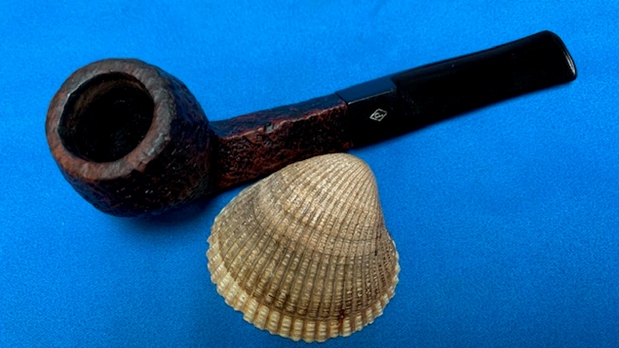
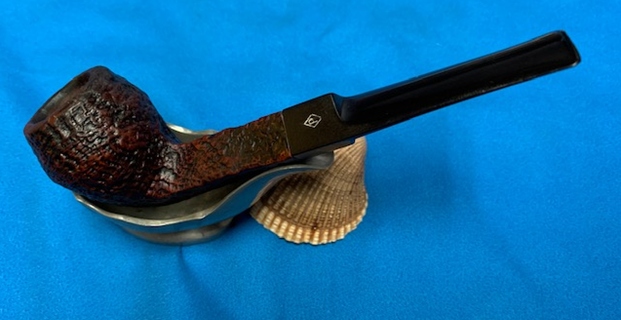
The next pipe on the table was gifted to me by Ray, a reader in Australia. It is a petite Peterson’s “Dunmore” pipe. He had read a restoration of Bob Kerr’s Estate Peterson’s “Dunmore” and thought I would enjoy working what he called “that pipe’s l’il brother”. It is about a Group 2 by Dunhill standards bowl that he had picked up in the 1970s. It is stamped on the left side of the shank and reads Peterson’s [over] “Dunmore”. On the right side it is stamped Made in the Republic of Ireland followed by the shape number 77. Ray had done the lion’s share of the clean up on the pipe. It had been reamed, cleaned and buffed. It was in great condition. There was some rim top darkening and damage on the inner edge of the bowl but nothing too difficult. The beaded decoration on the shank end is in excellent condition. Like other Dunmore’s I have worked on it had a flattened shank and the pipe functioned as a sitter. The stem was in excellent condition with some very light tooth chatter on both sides ahead of the p-lip. The “P” stamp on the left side of the stem was clear and just needed to be touched up otherwise it looked good. I took photos of the pipe when I finally brought it to my work table. 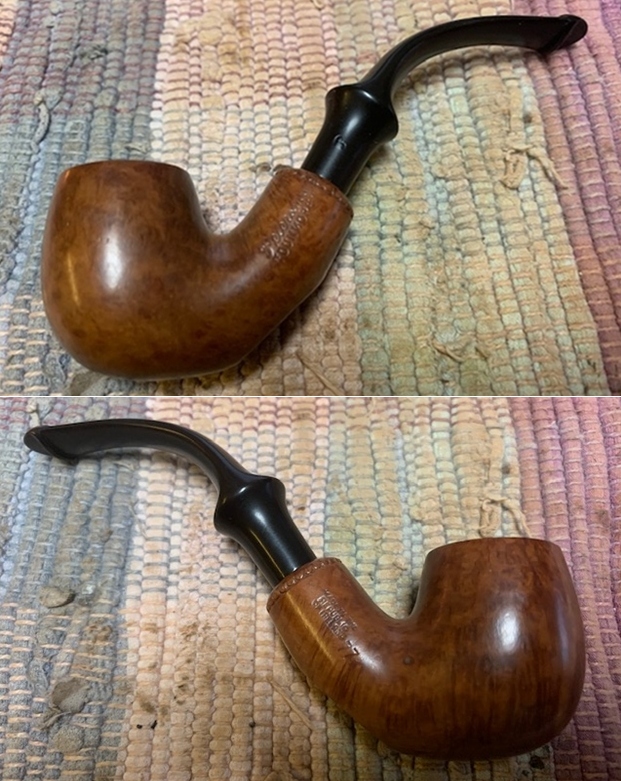
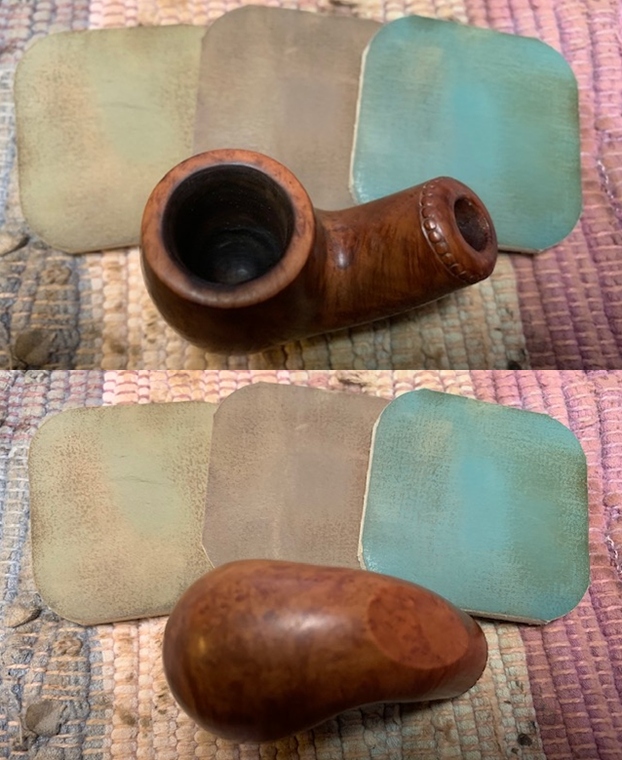
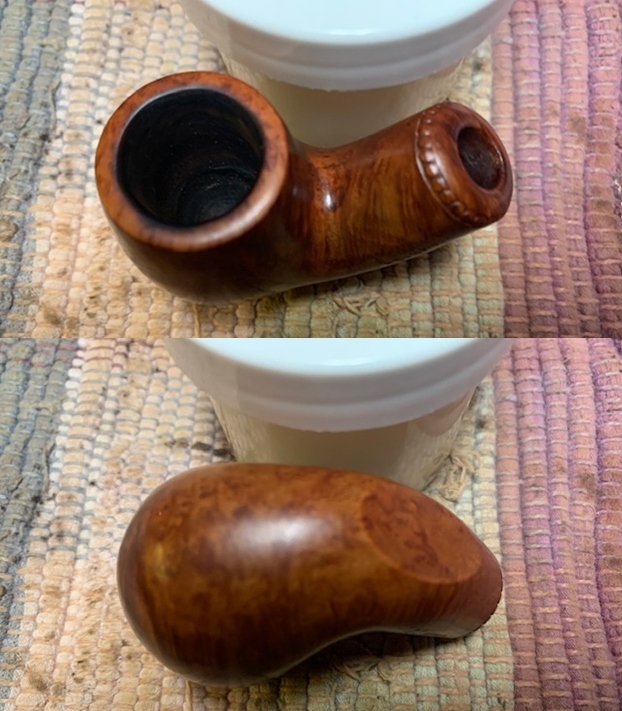
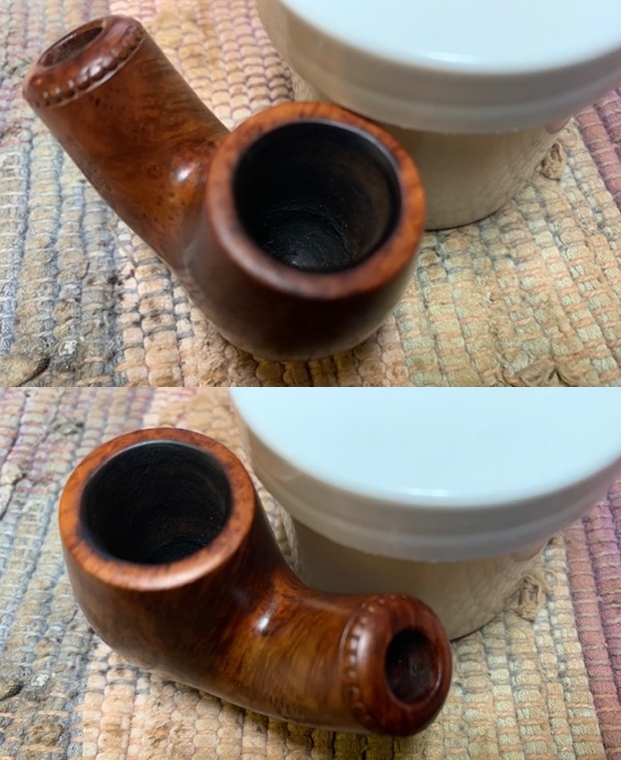
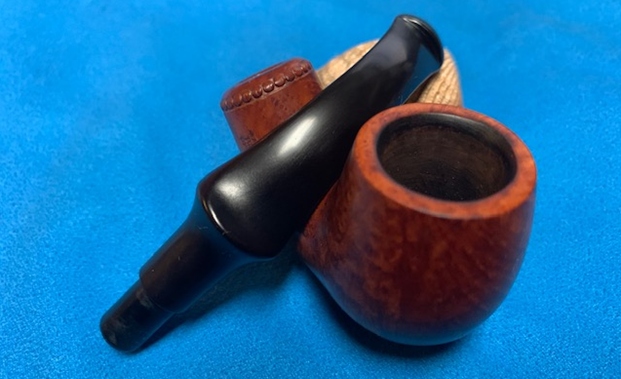
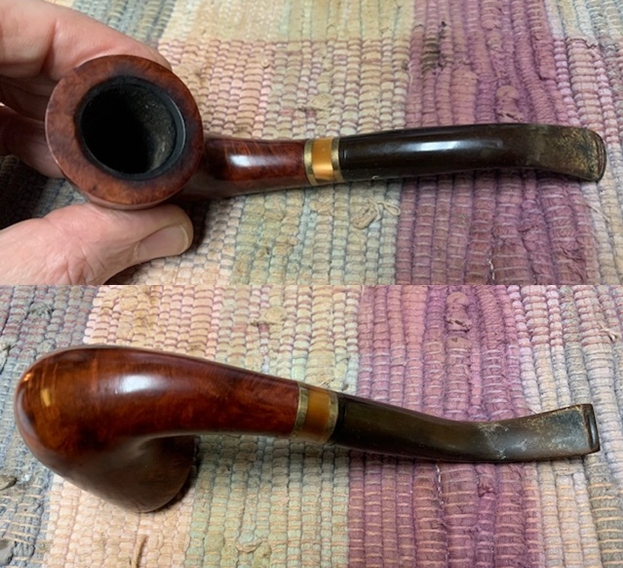
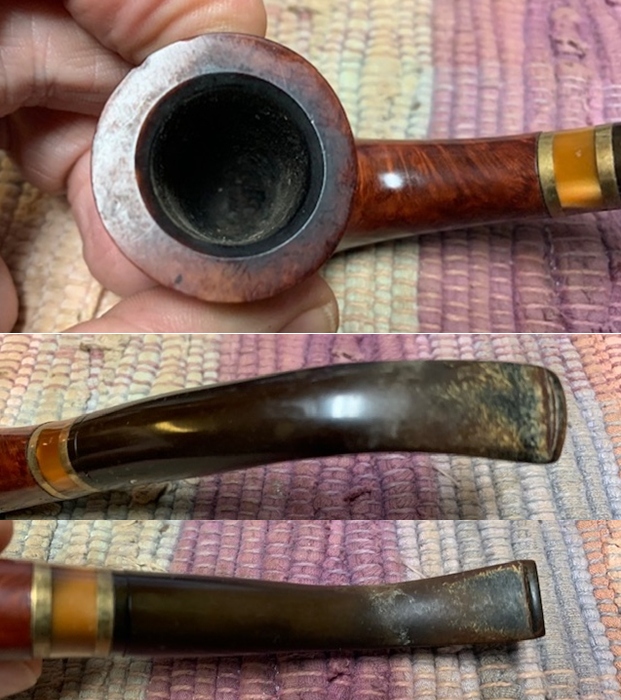
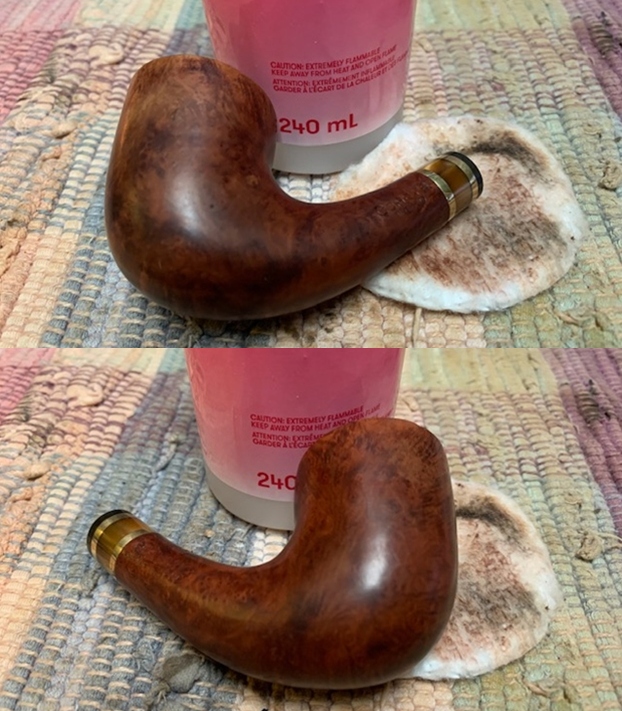
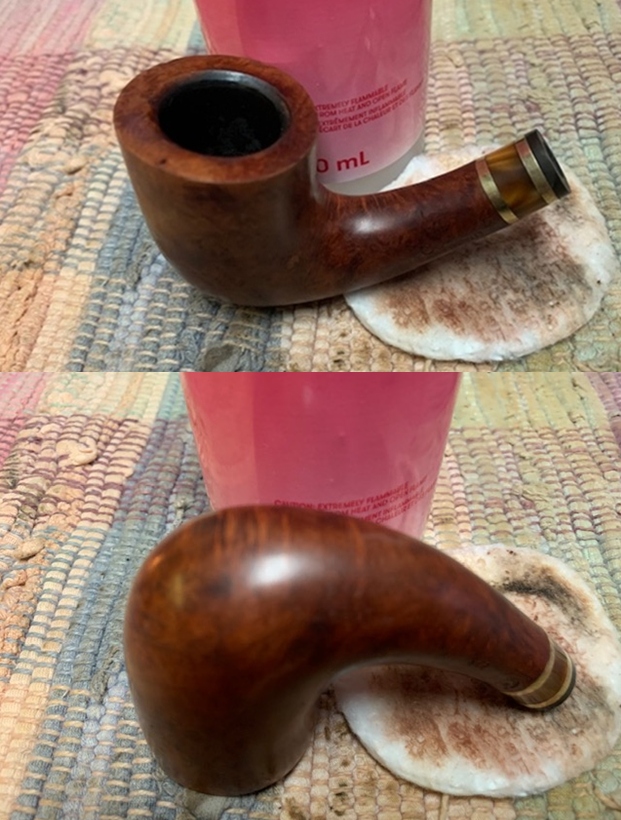
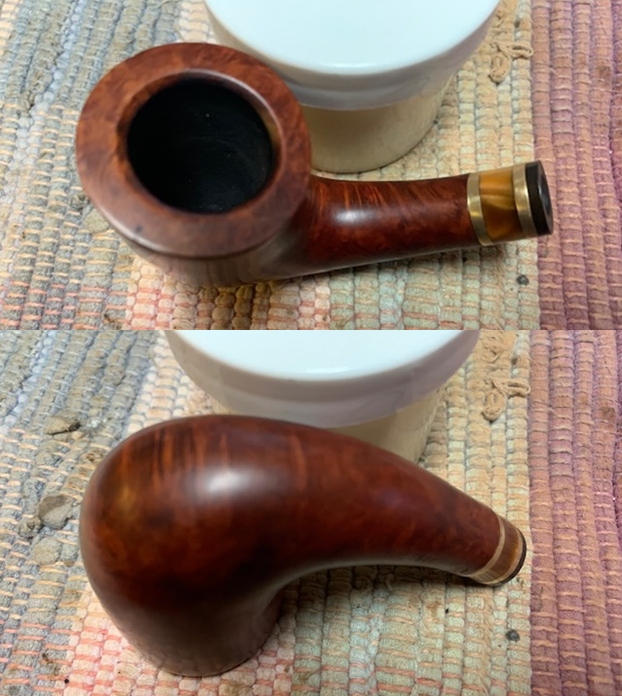
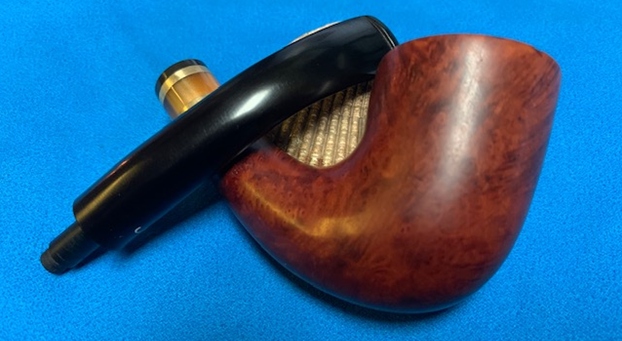
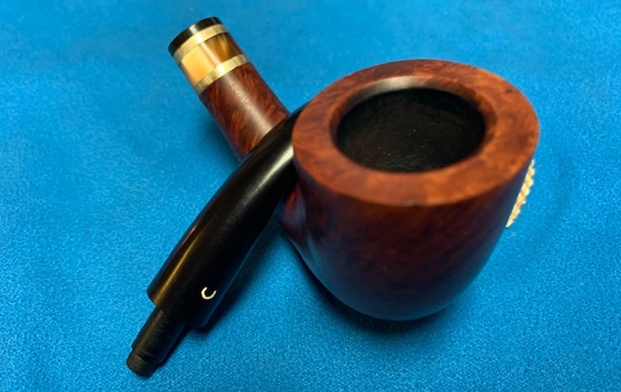
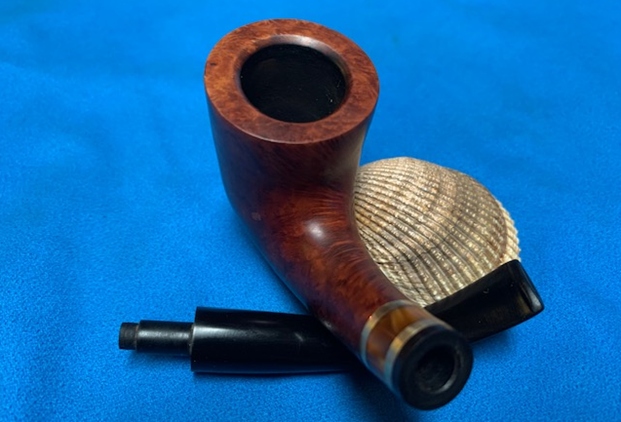
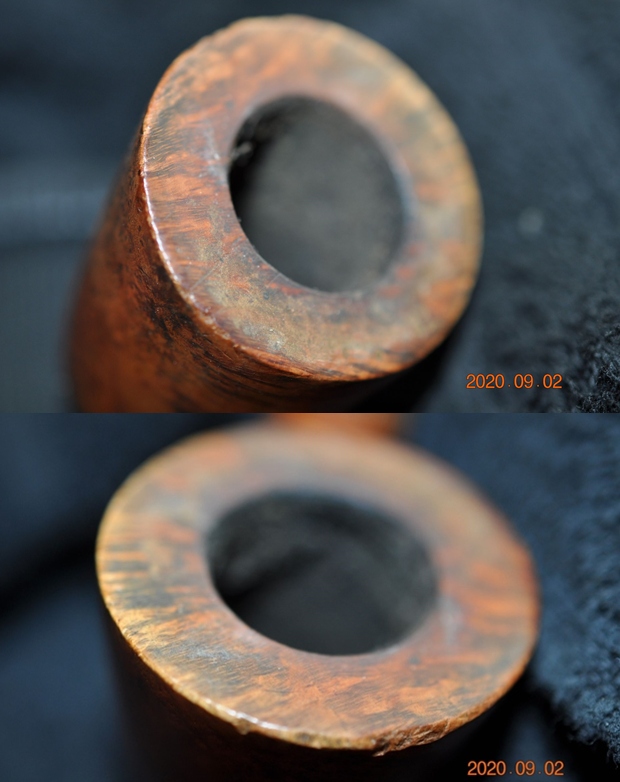
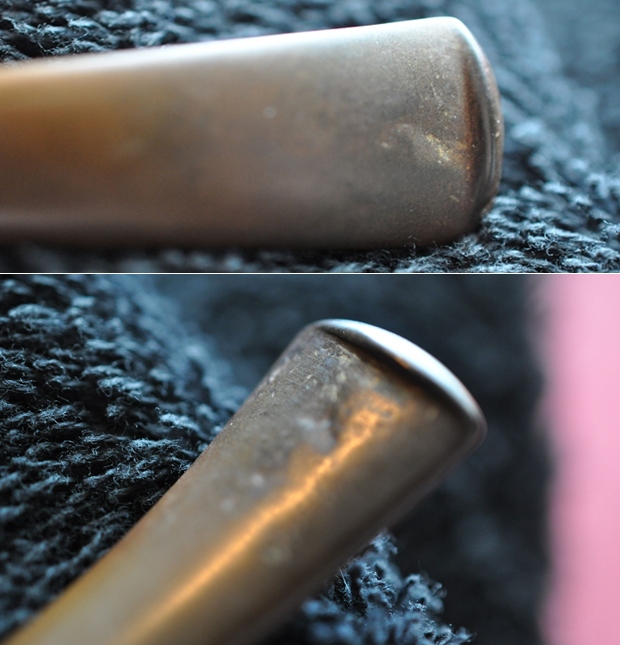
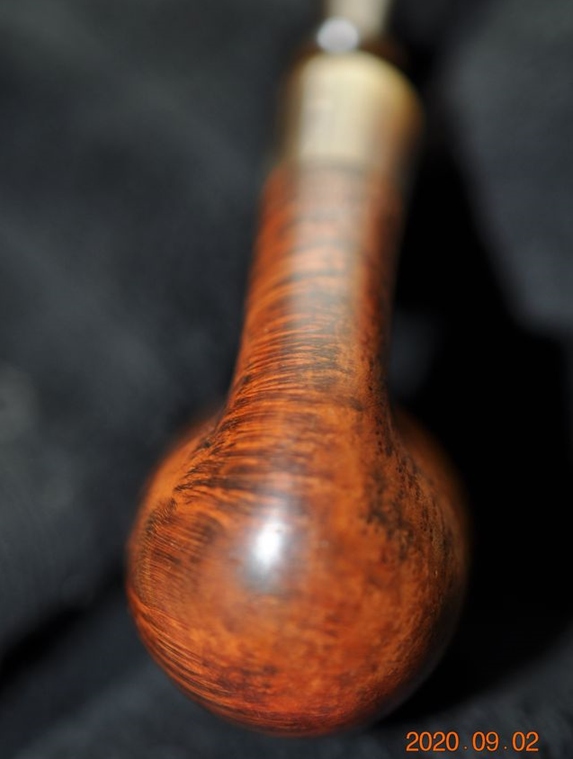
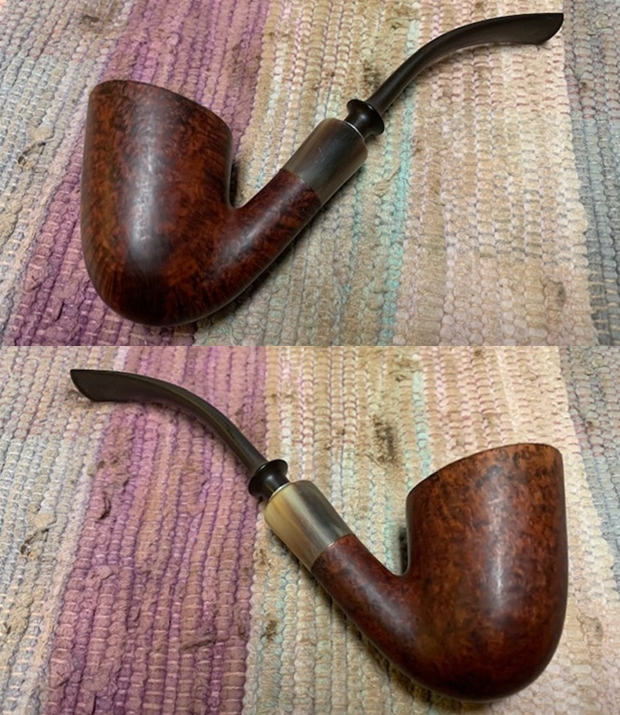
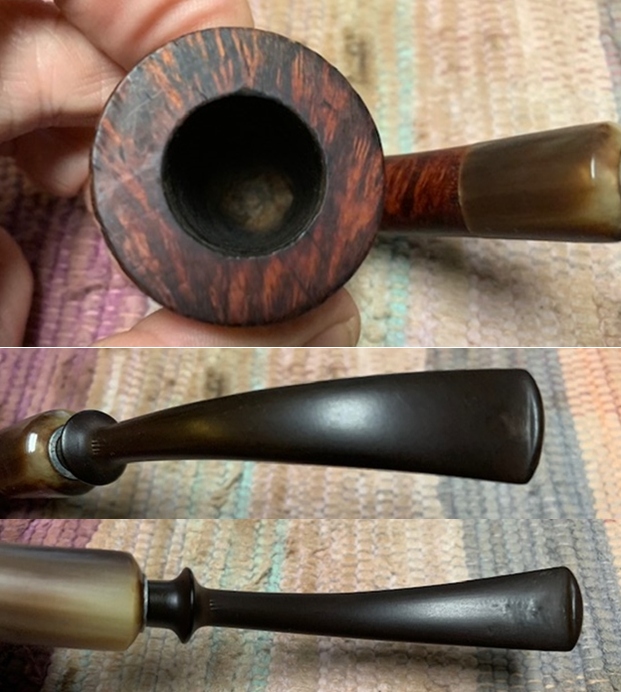
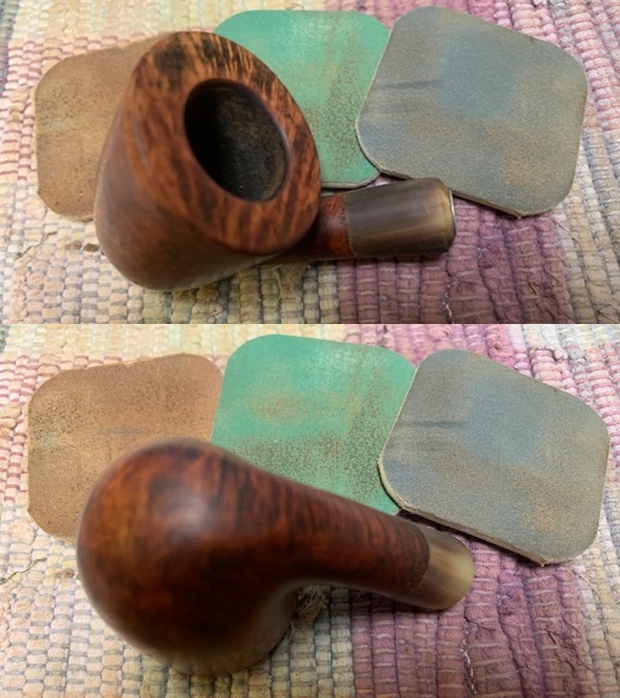
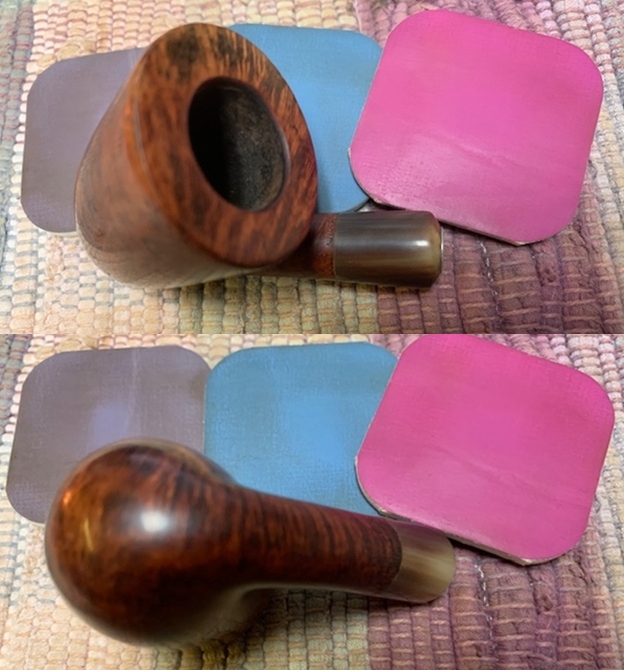
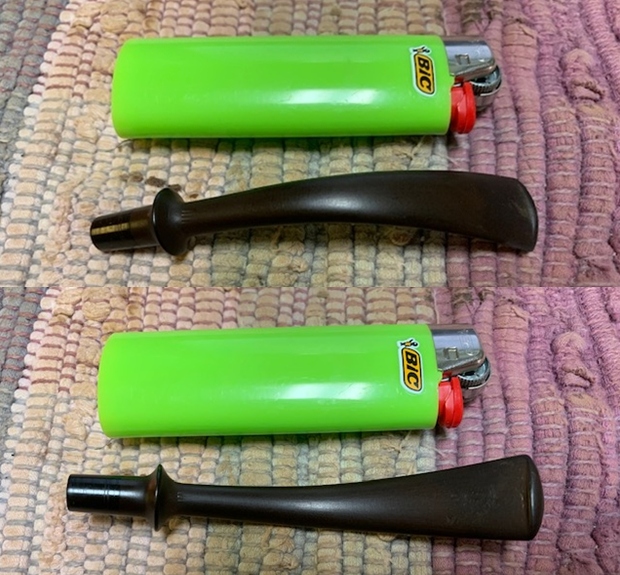
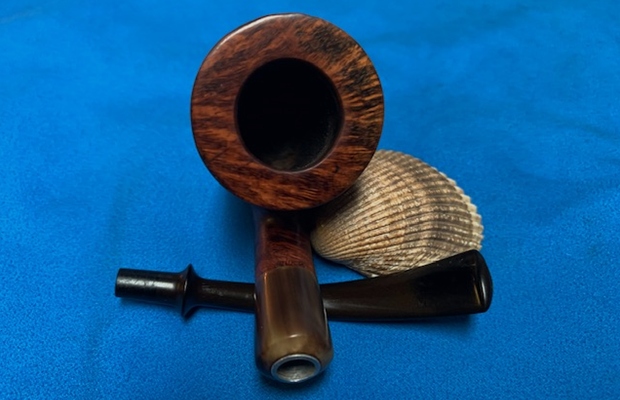
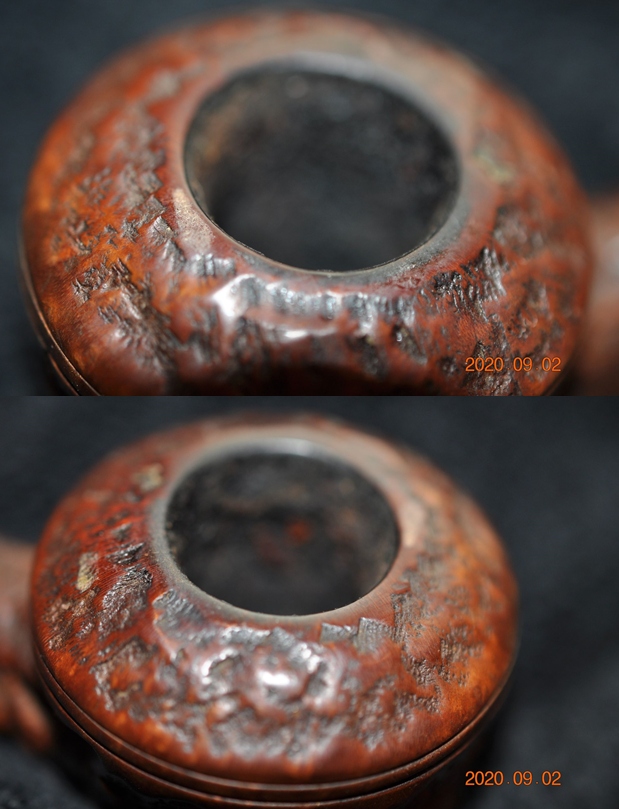
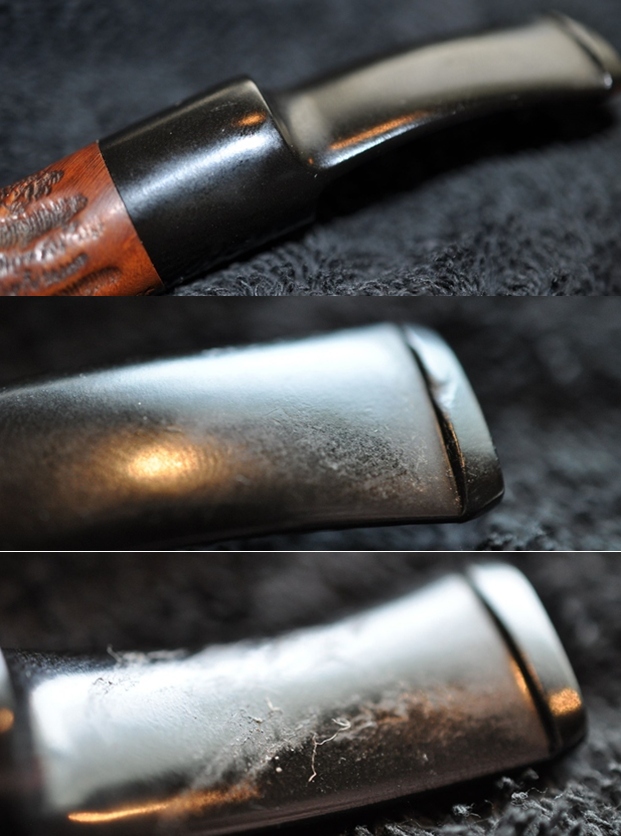
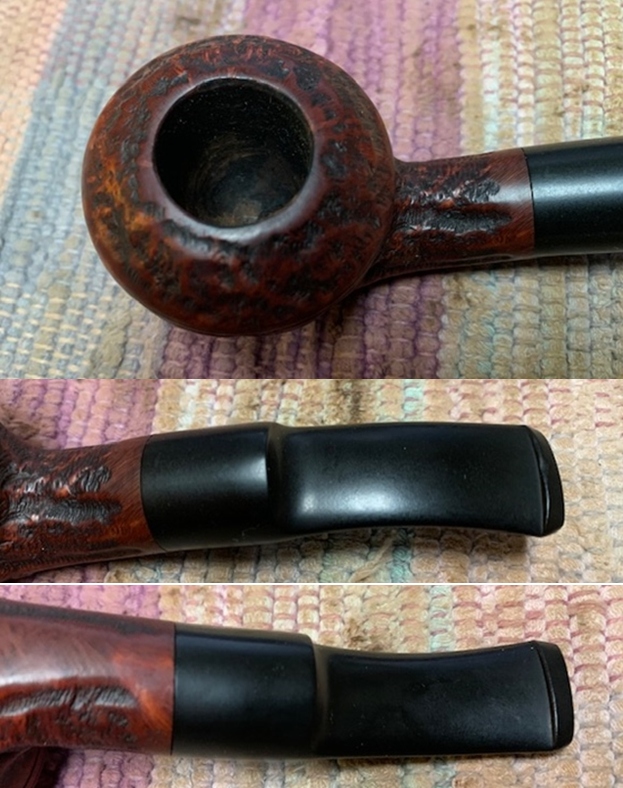
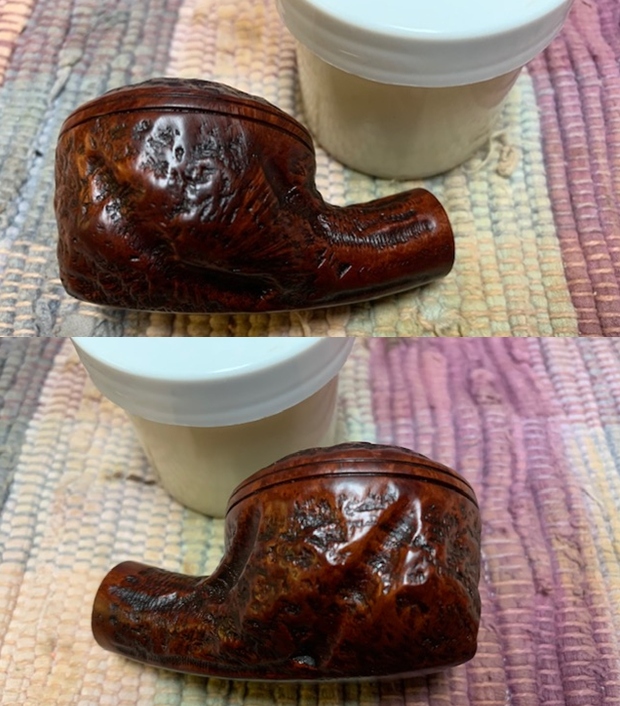
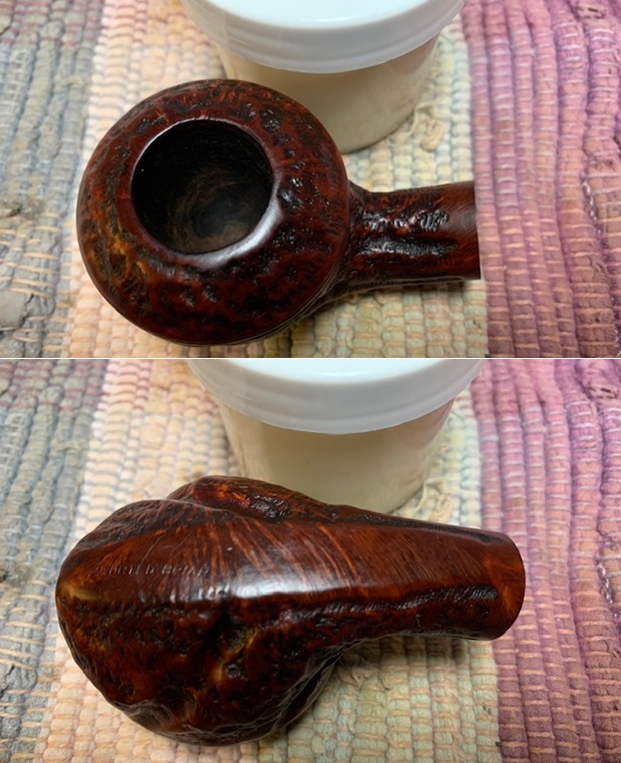
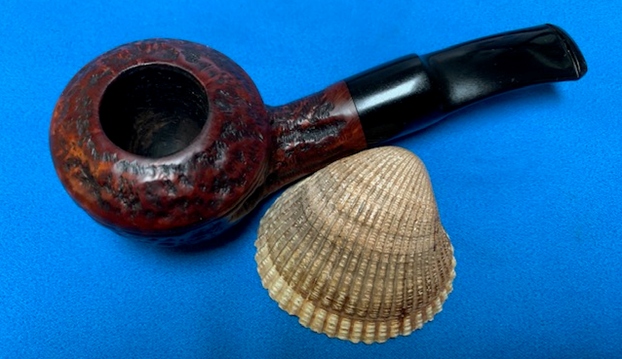
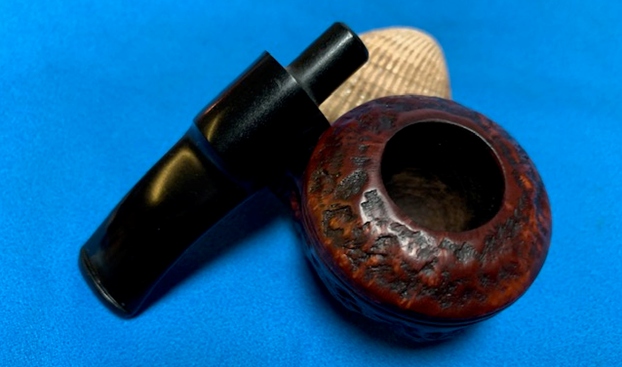
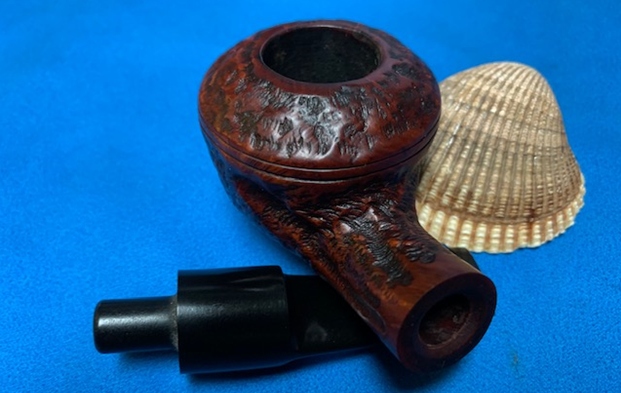
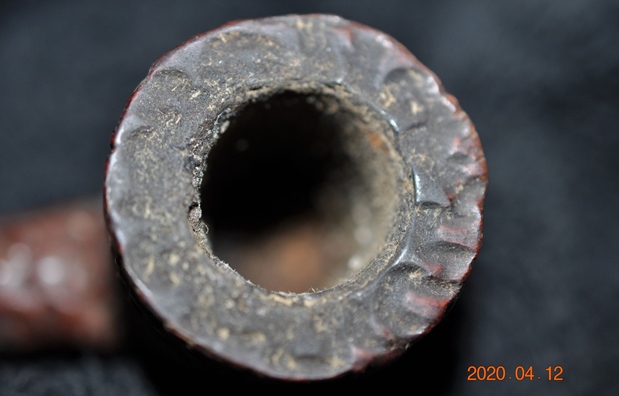
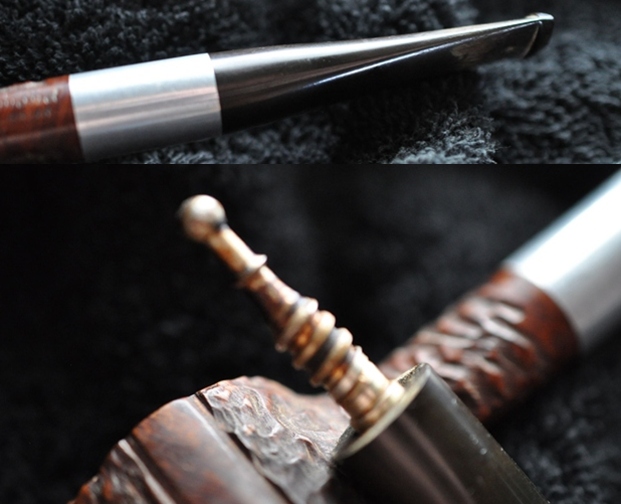
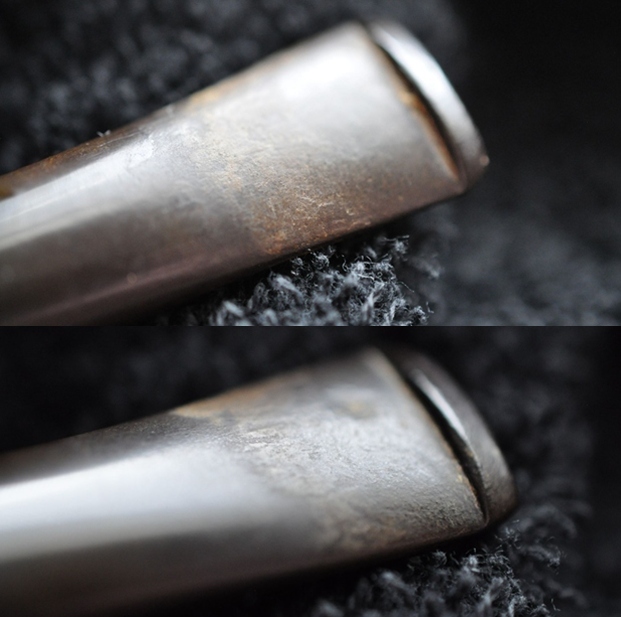
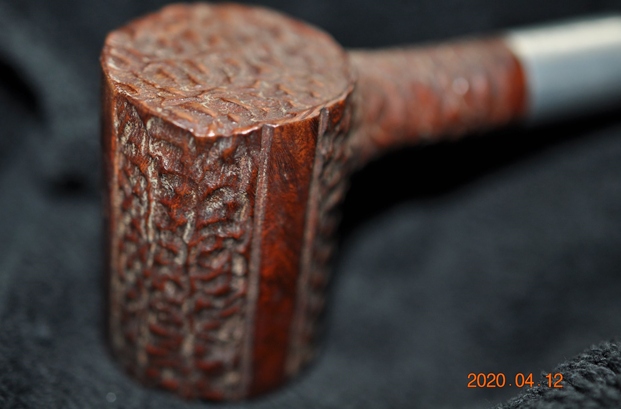
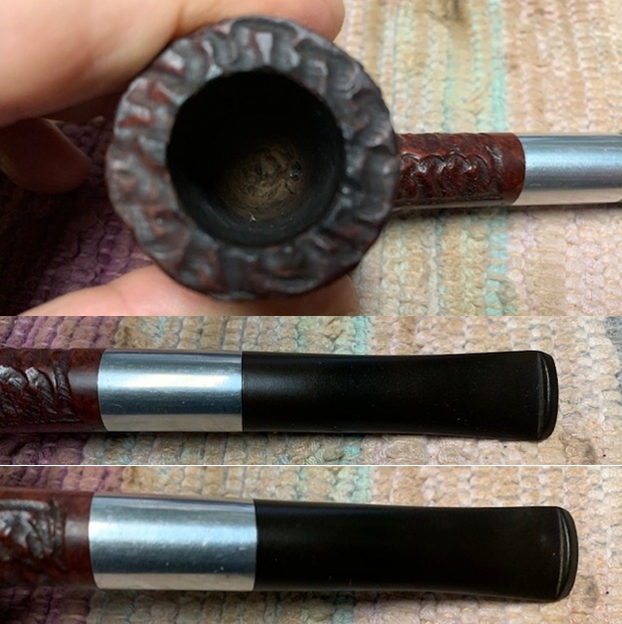
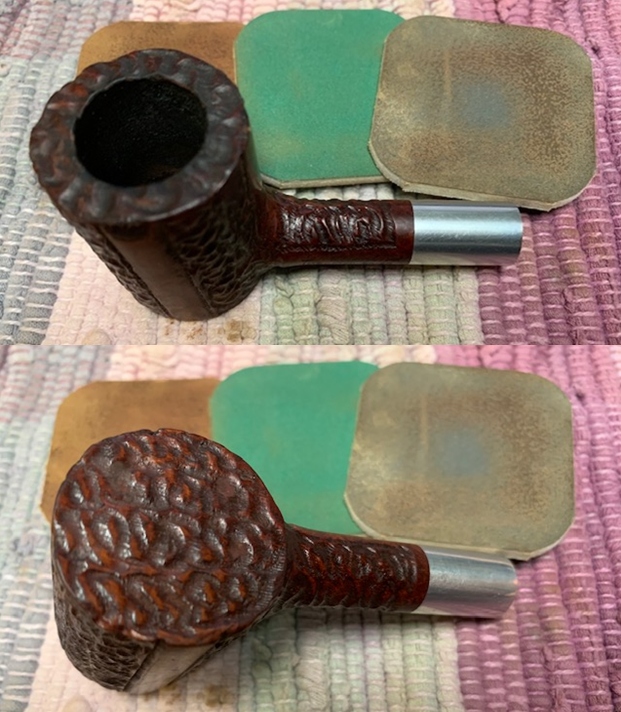
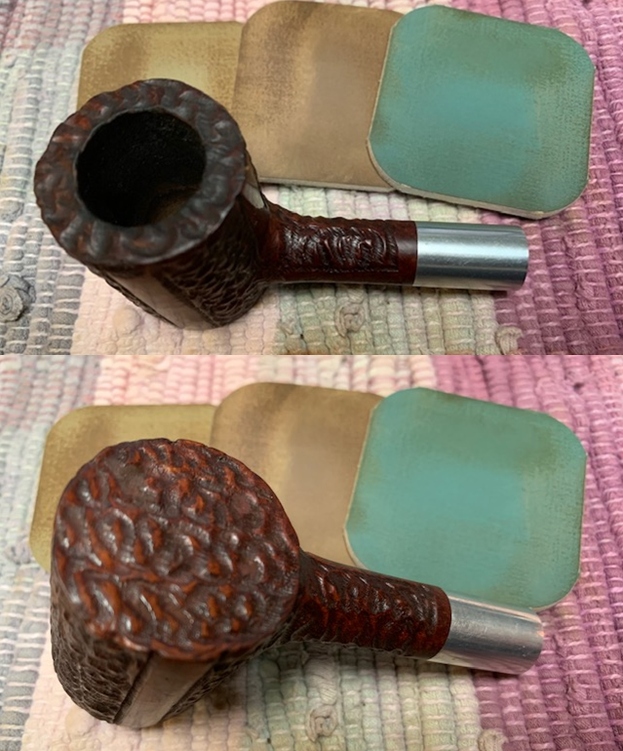
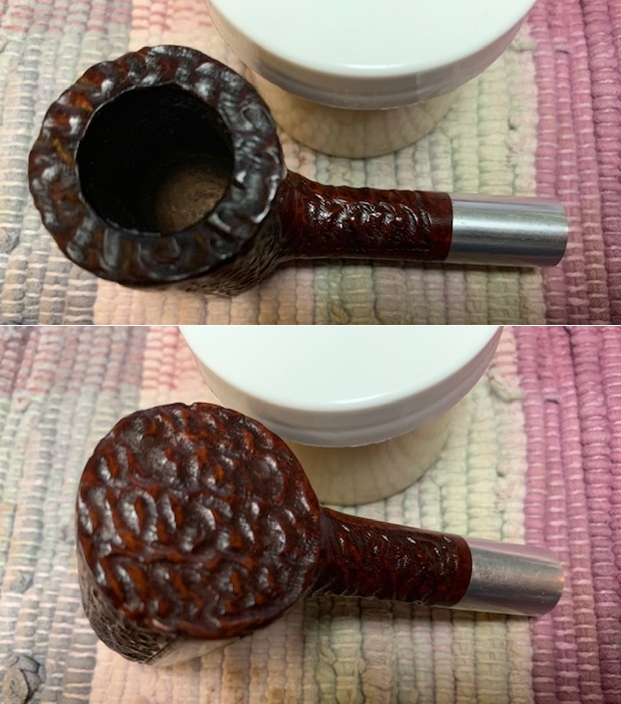
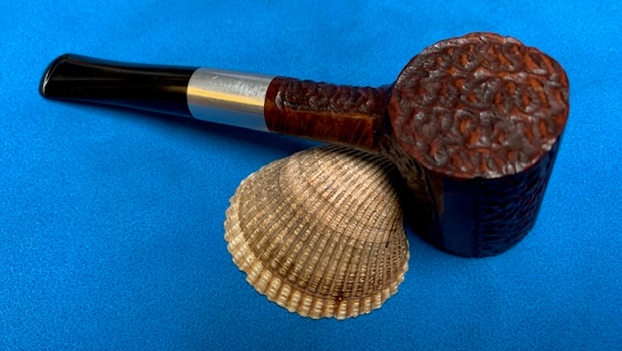
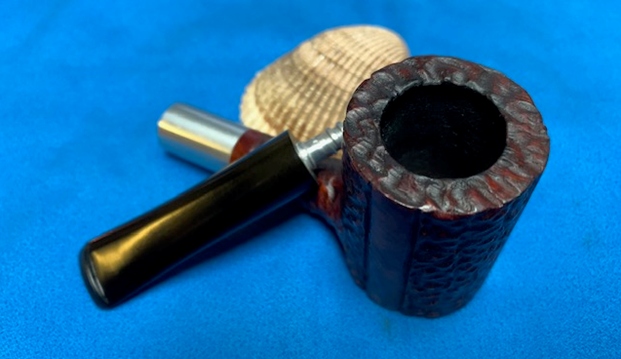
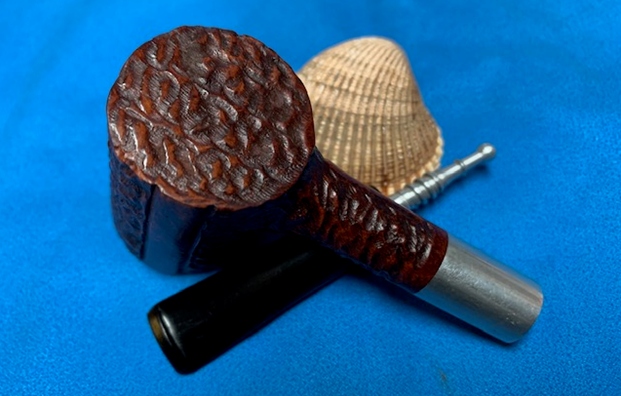
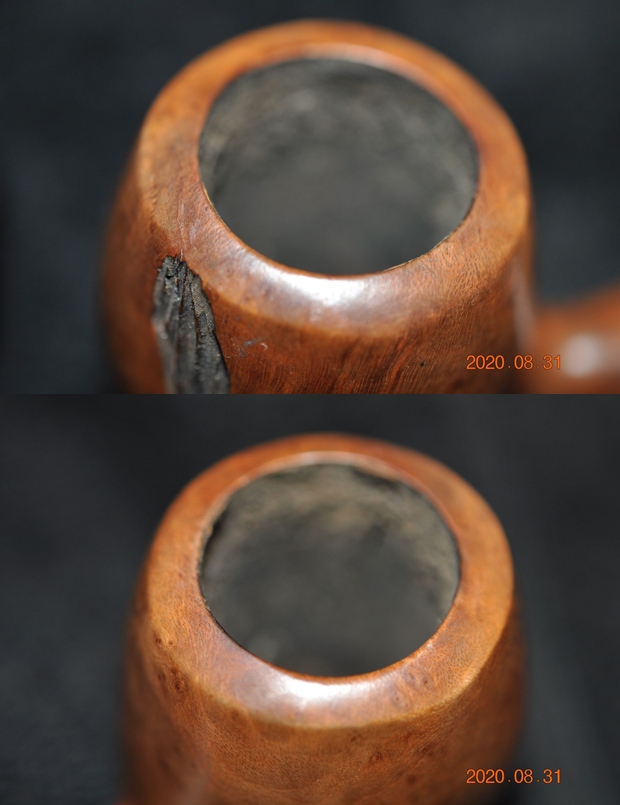
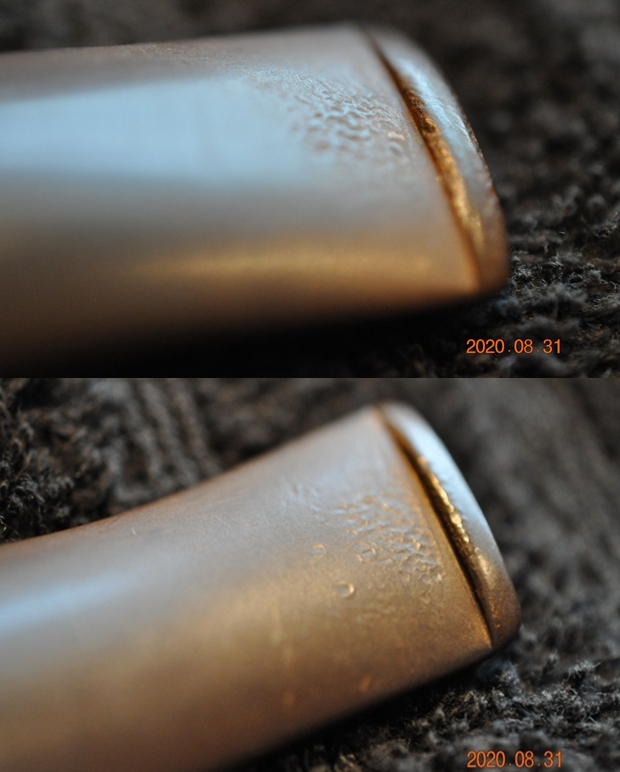
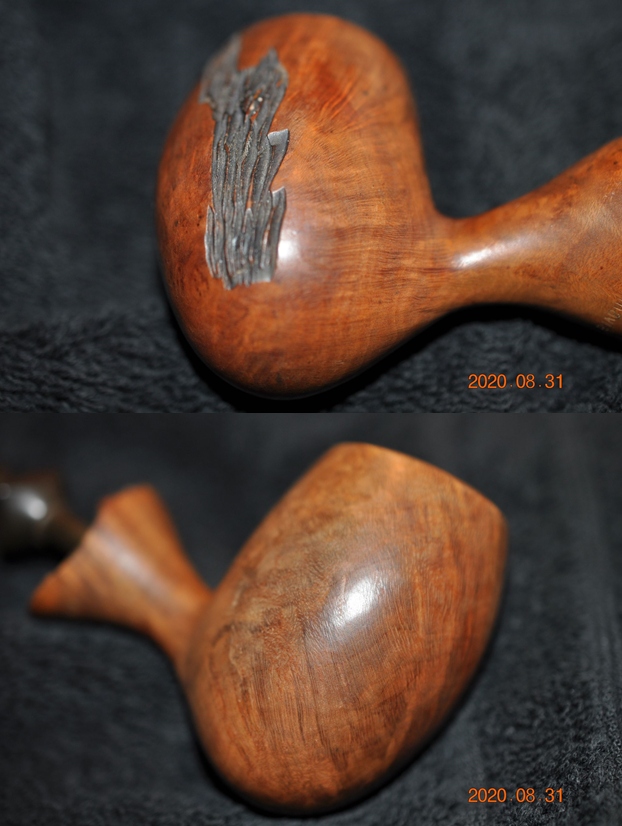
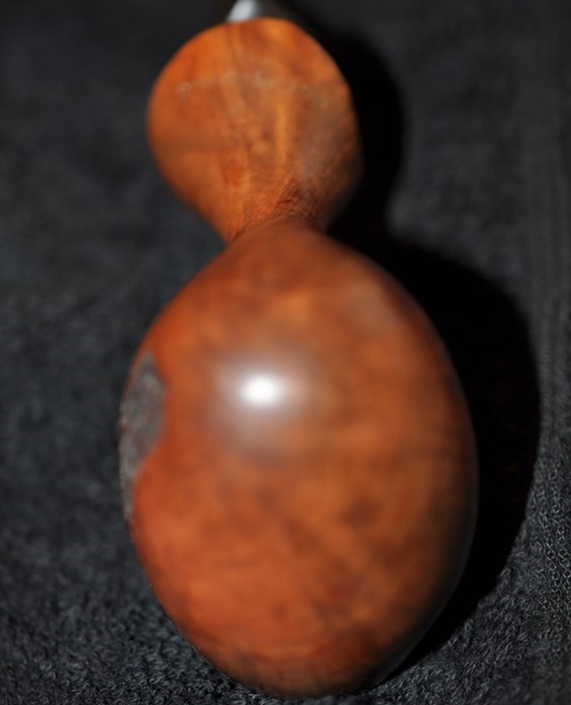
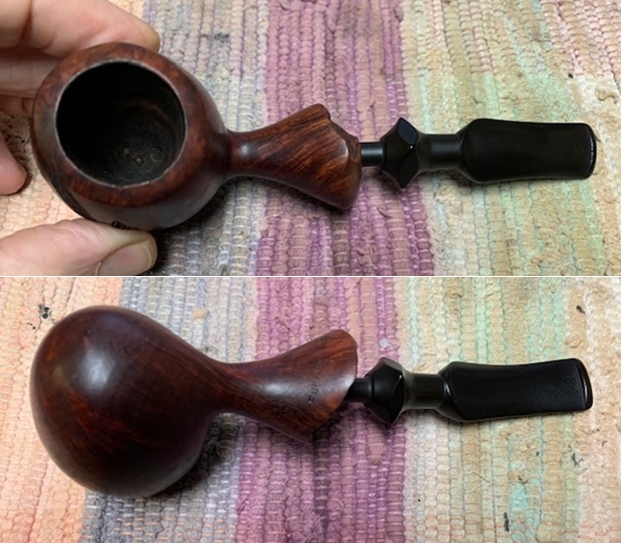
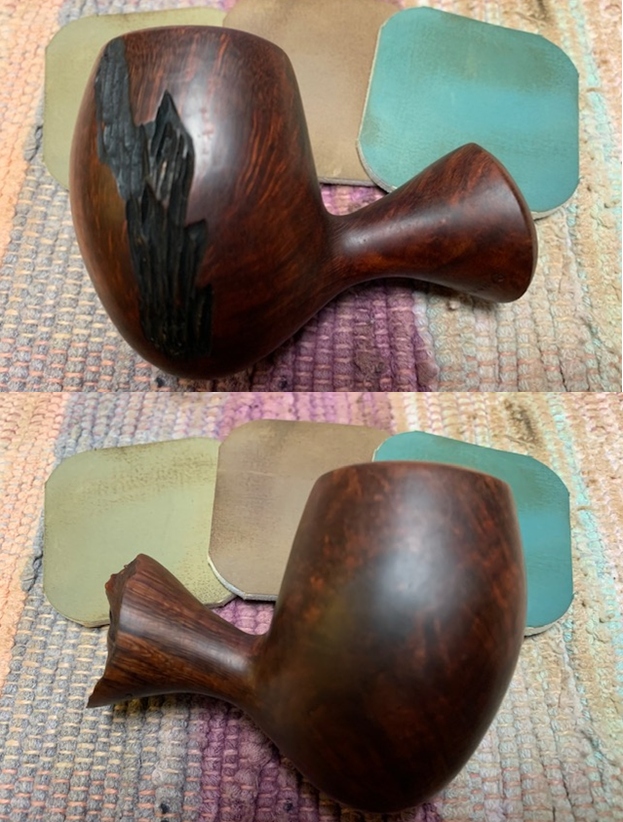
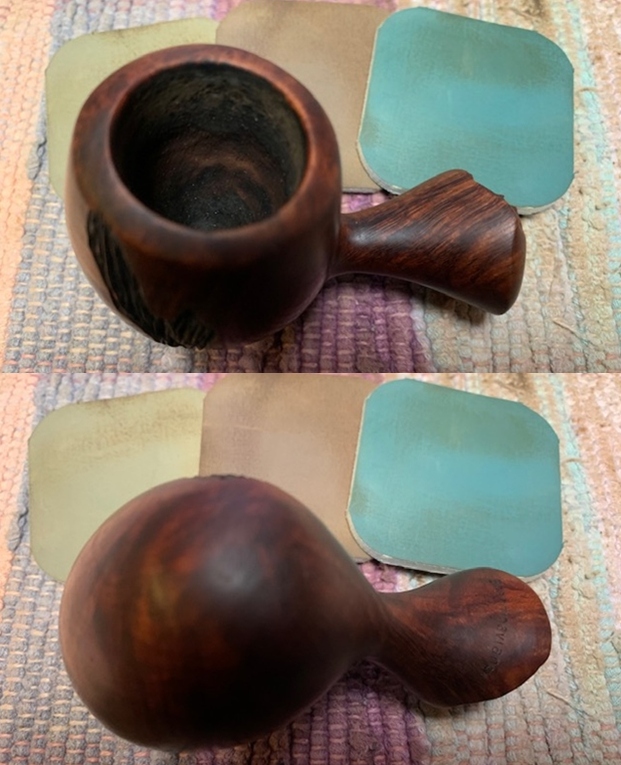
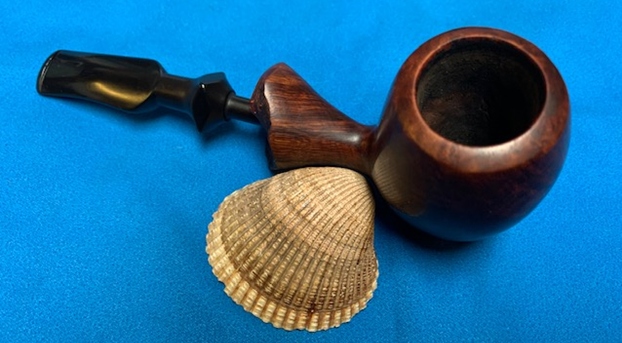
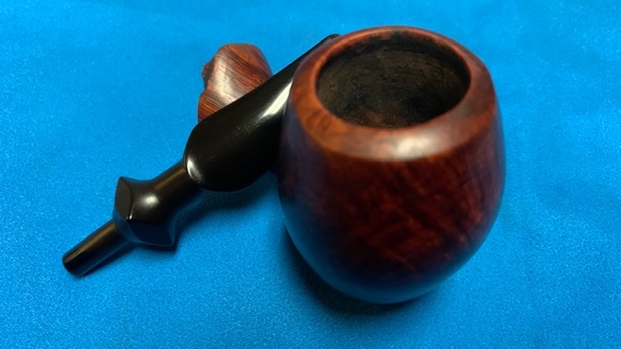
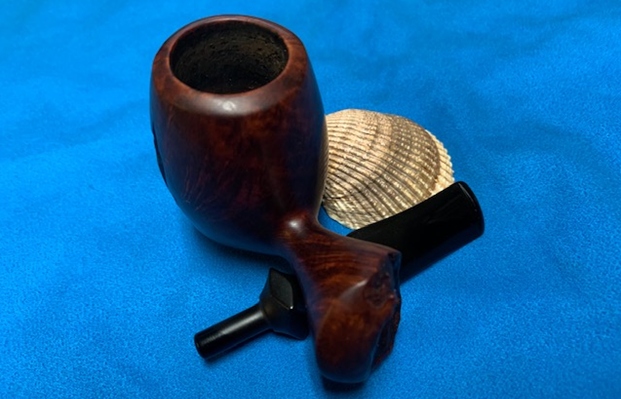
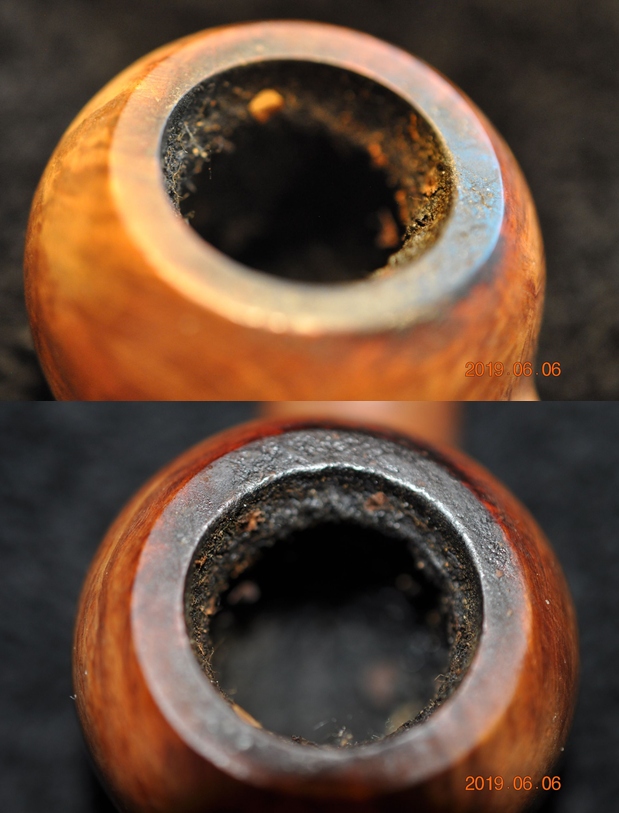
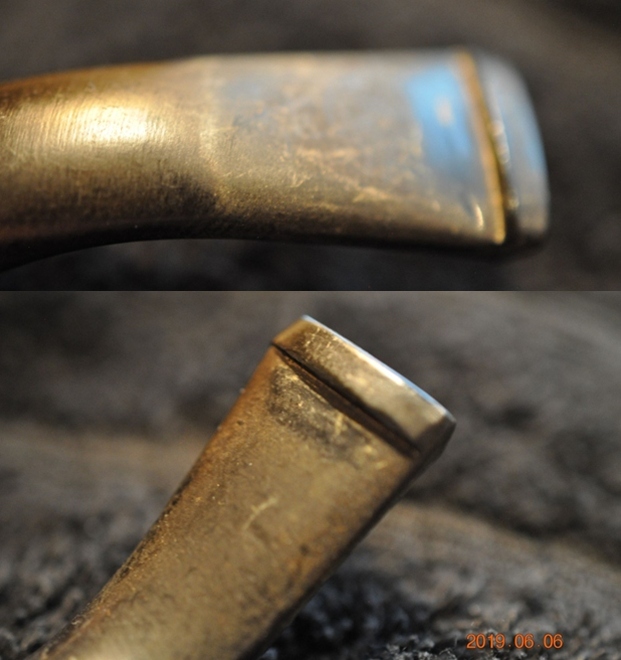
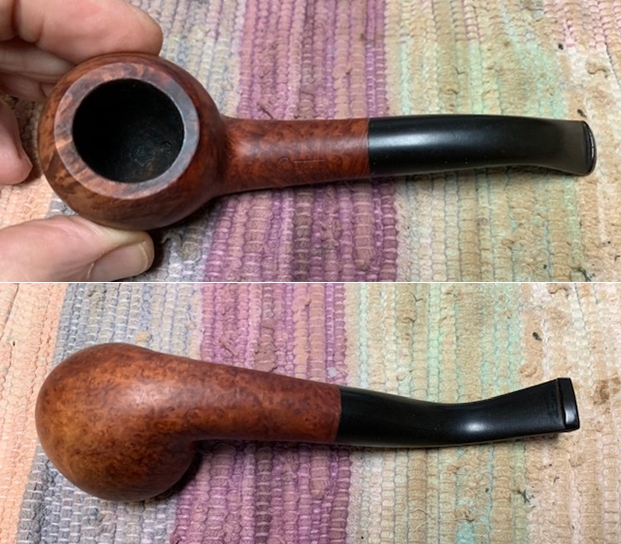
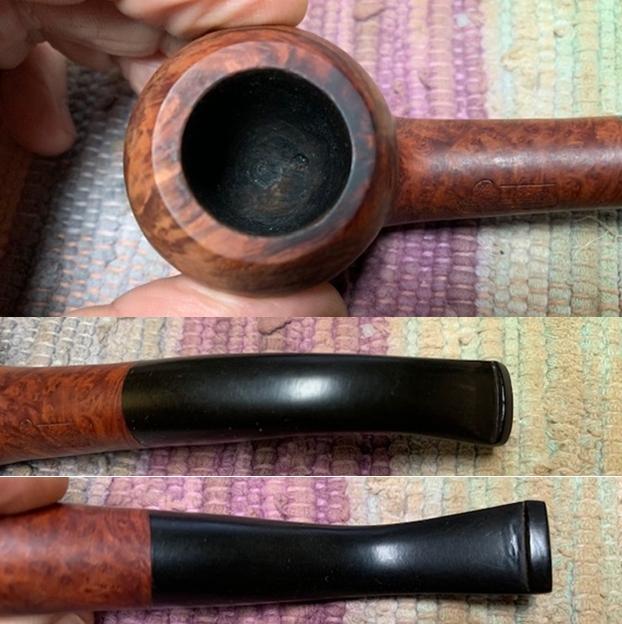
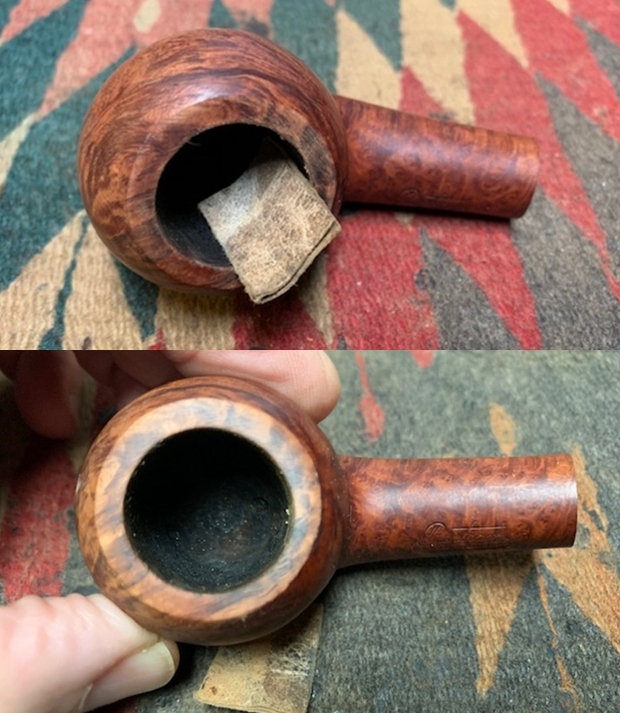
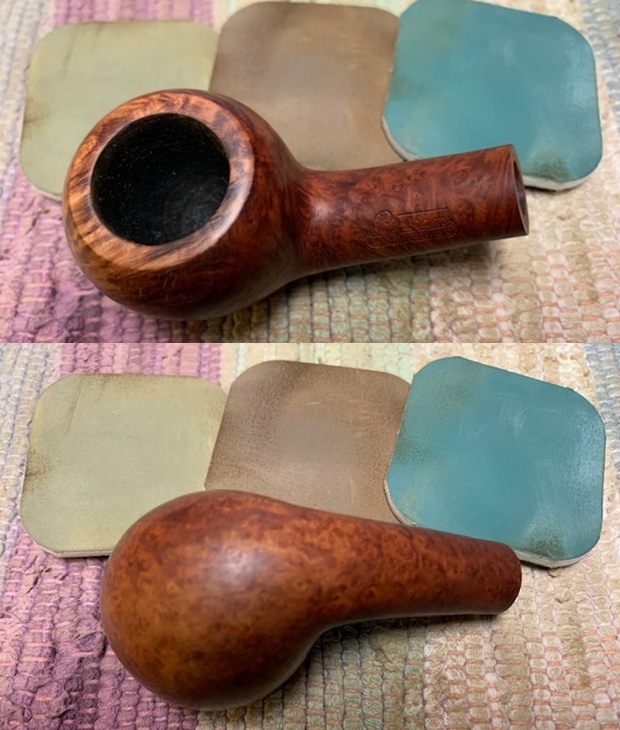
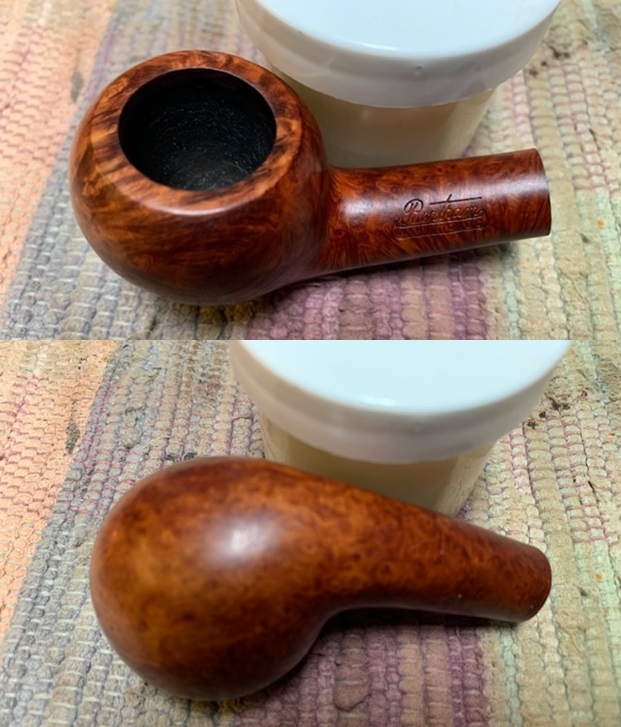
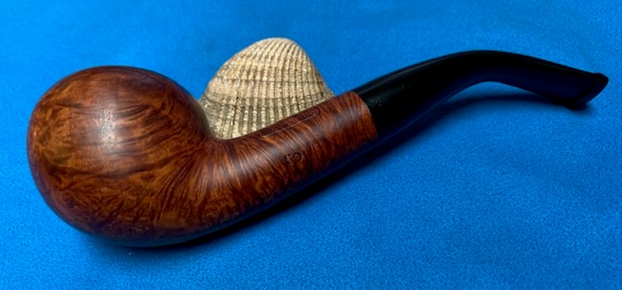
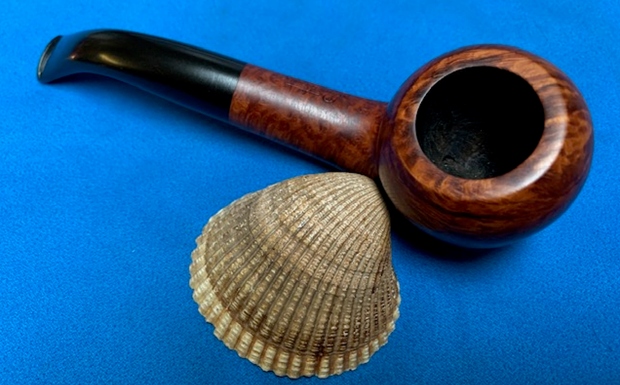
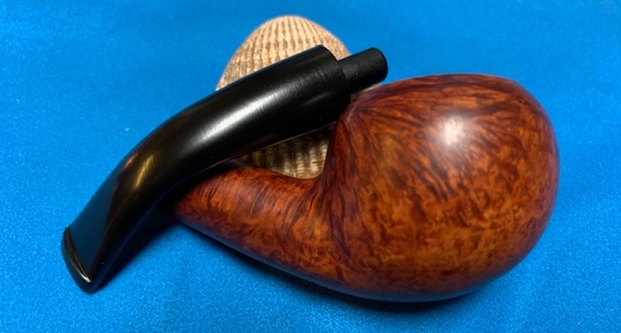
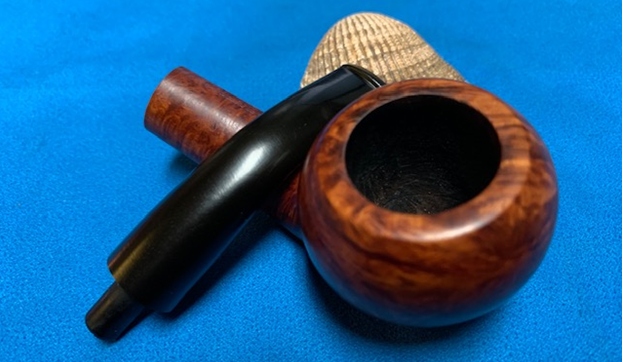
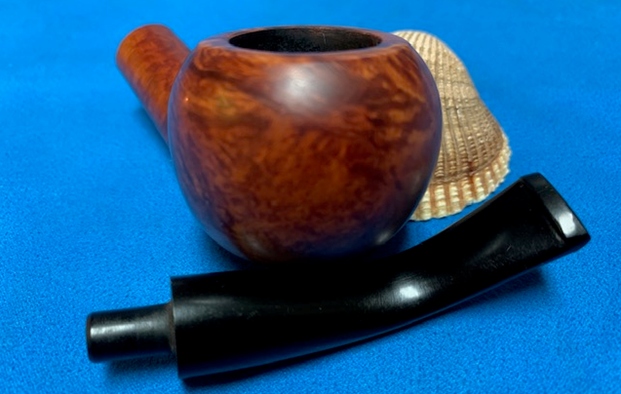
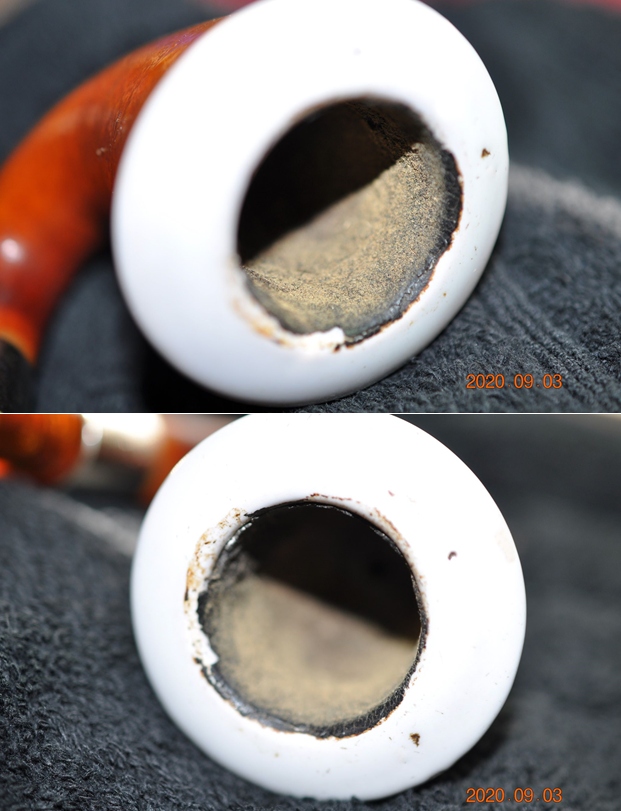
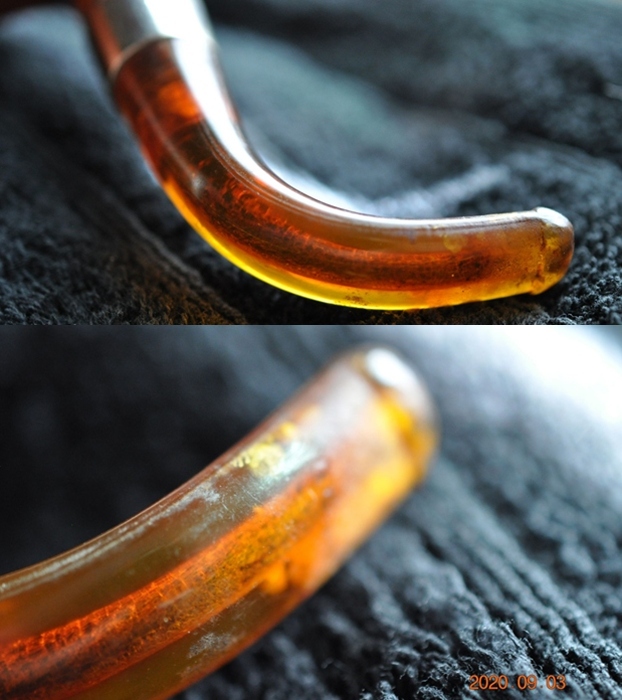
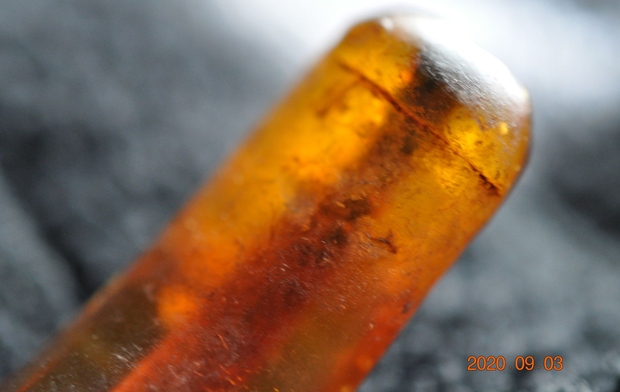
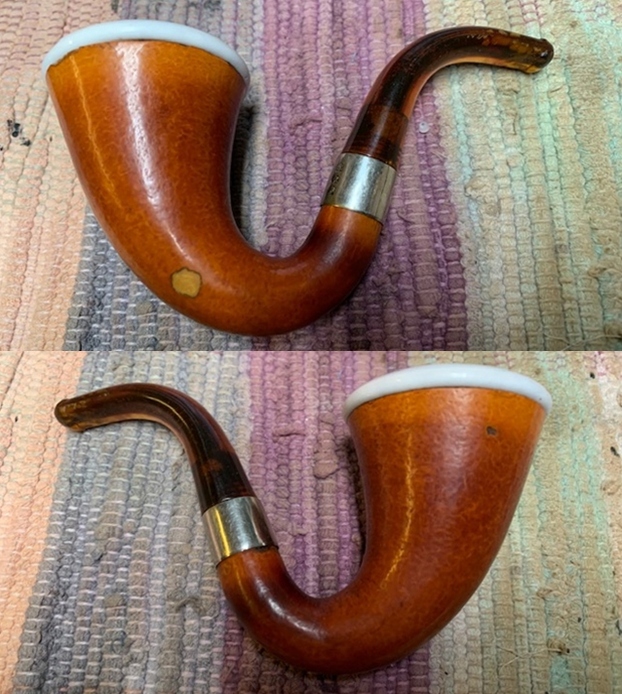
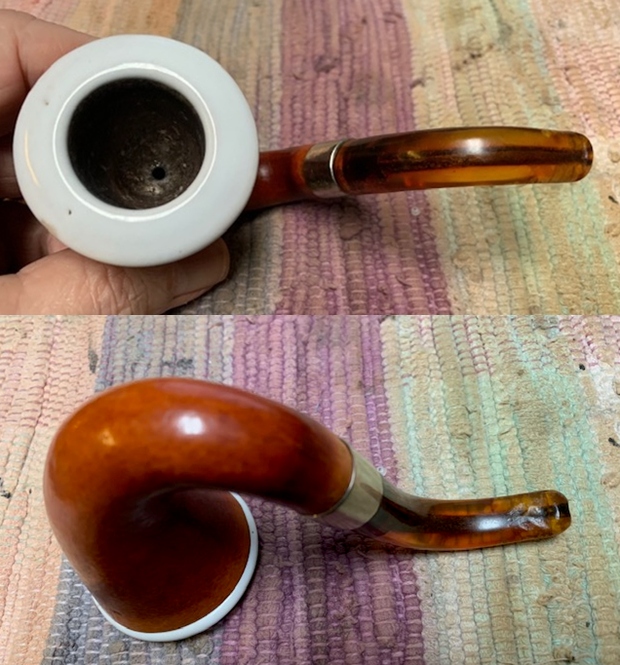
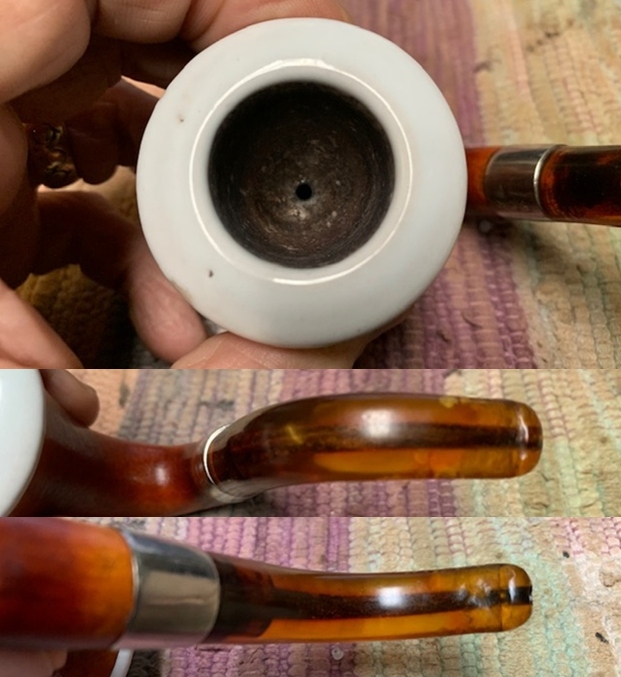
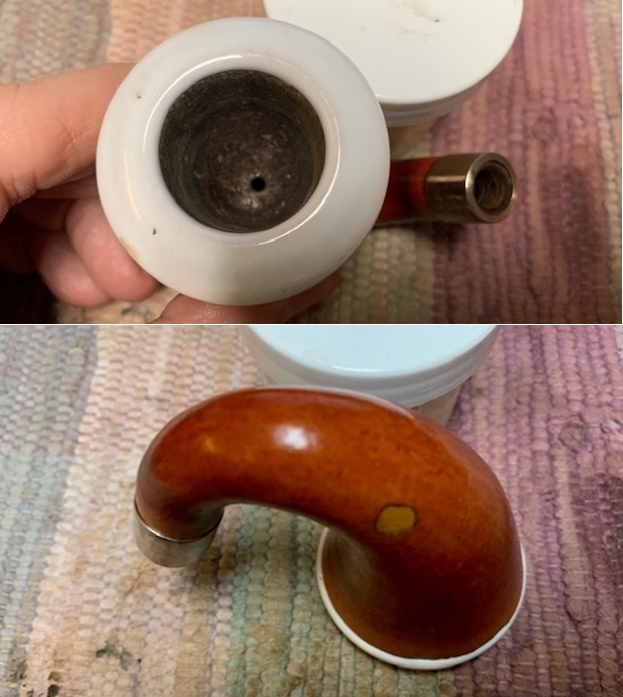
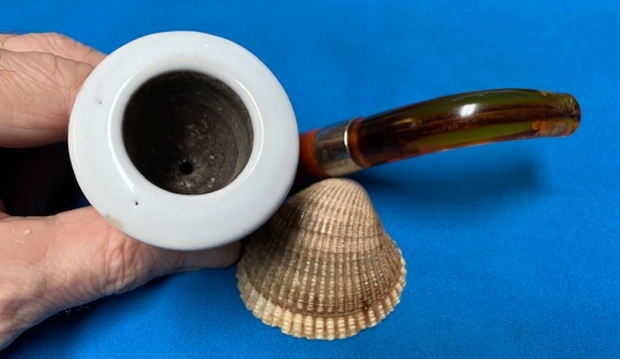
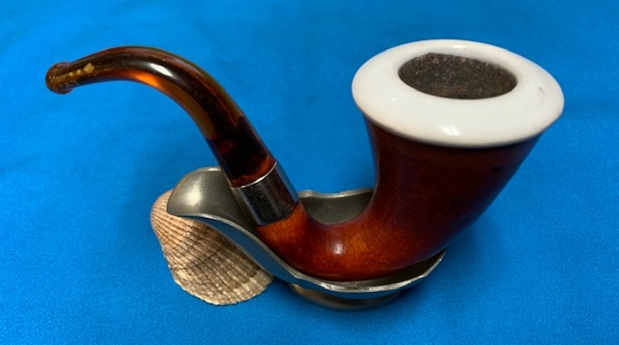
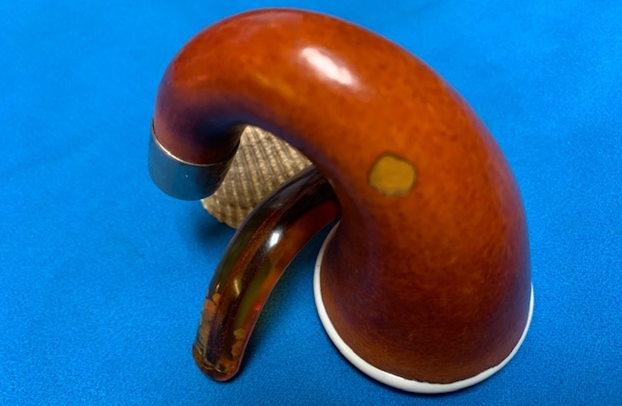
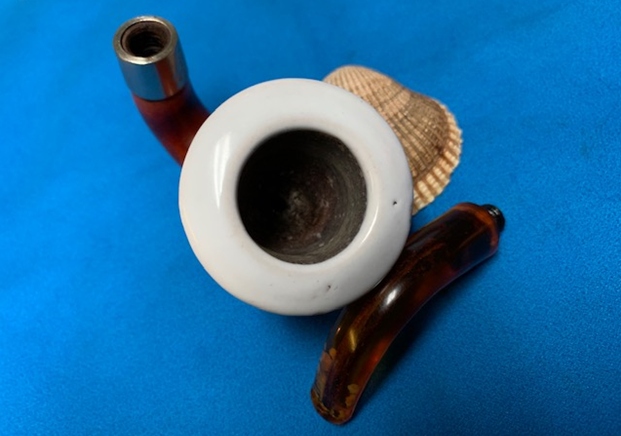
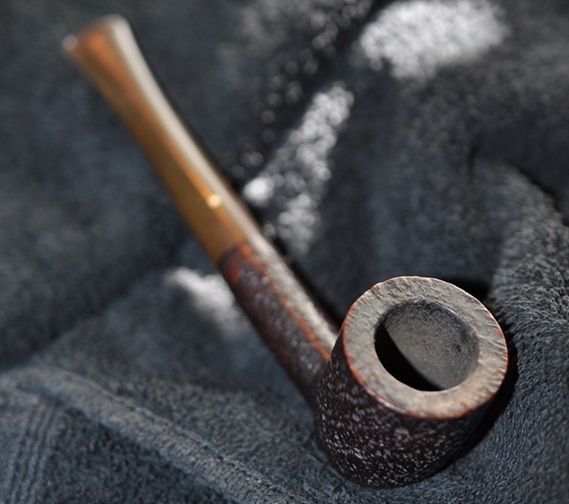
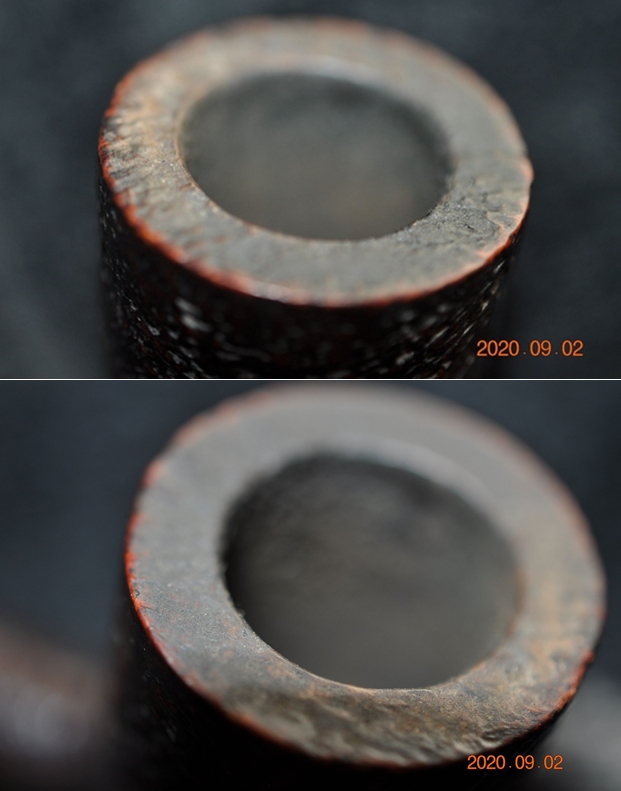
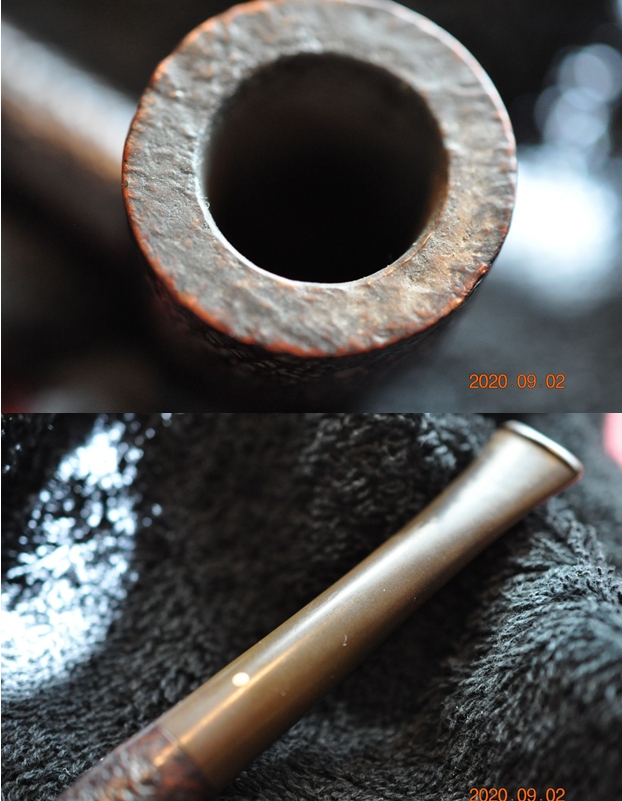
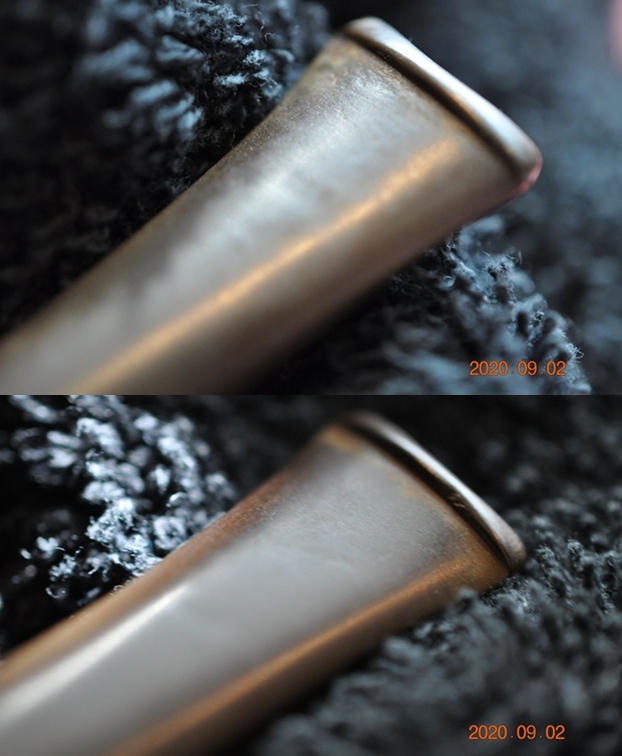
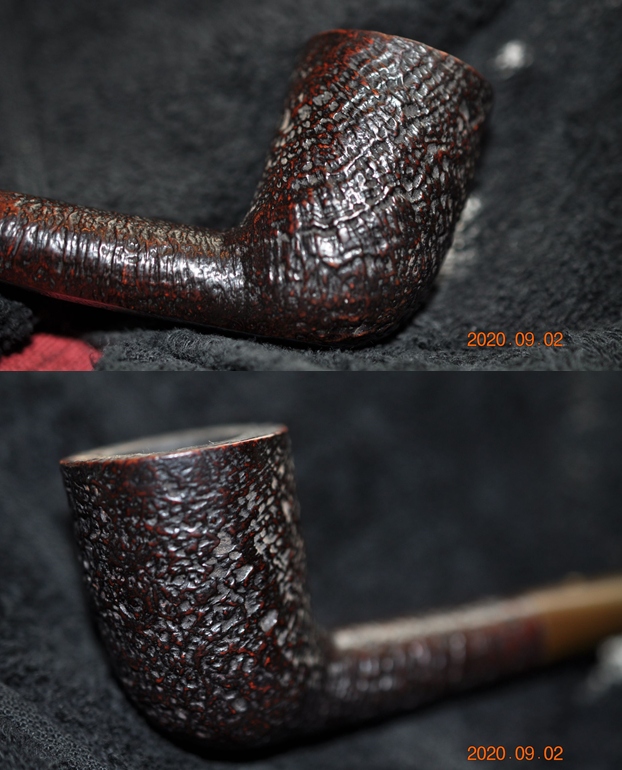
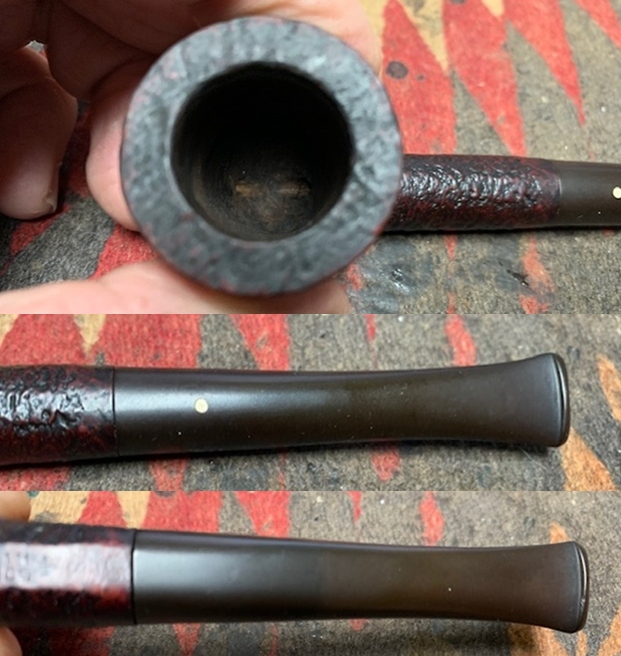
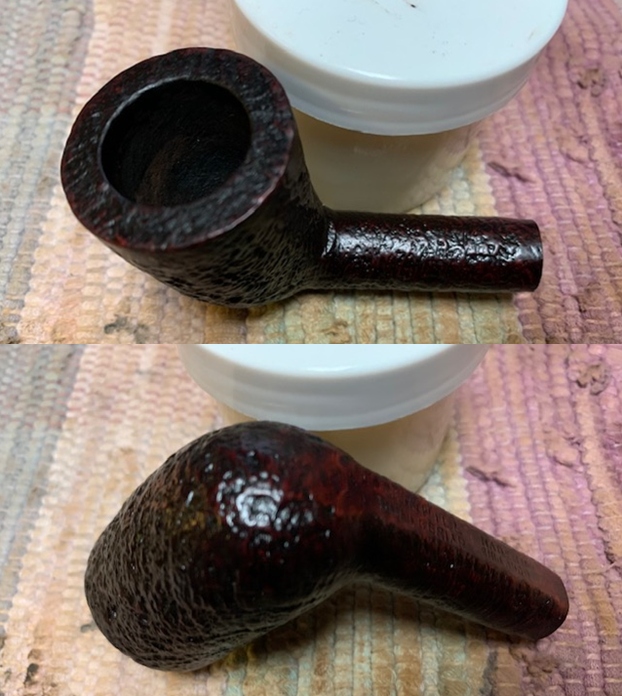
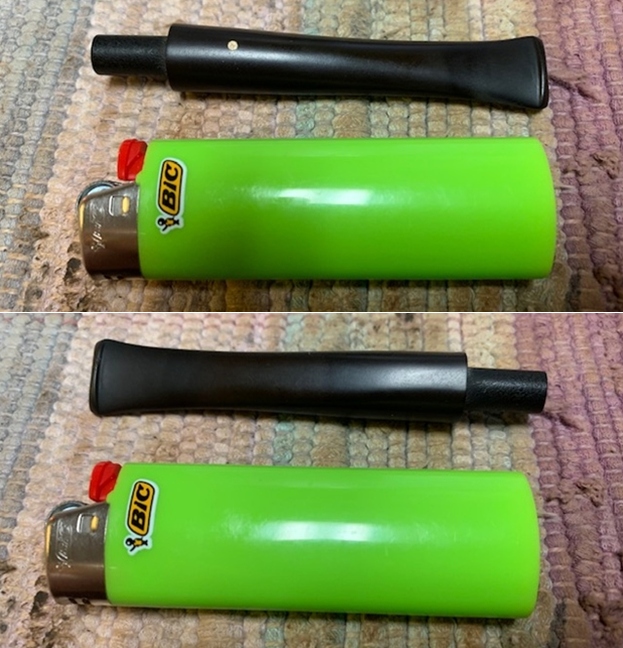
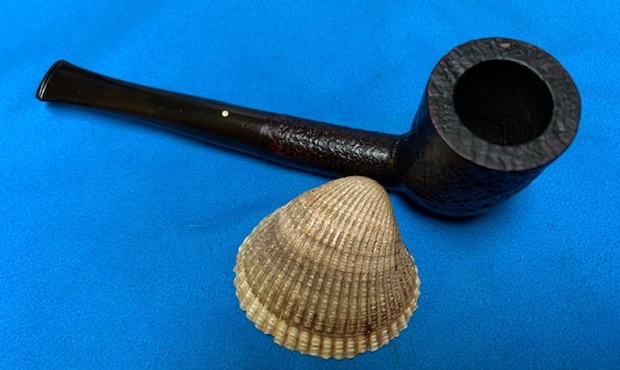
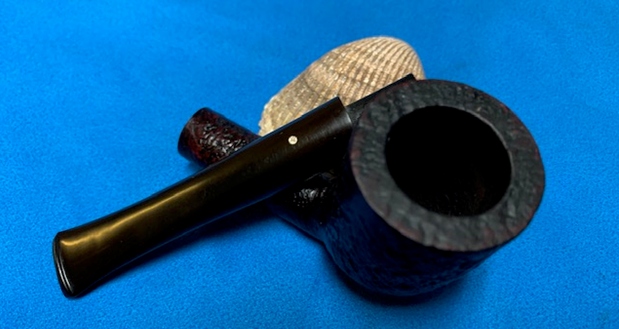
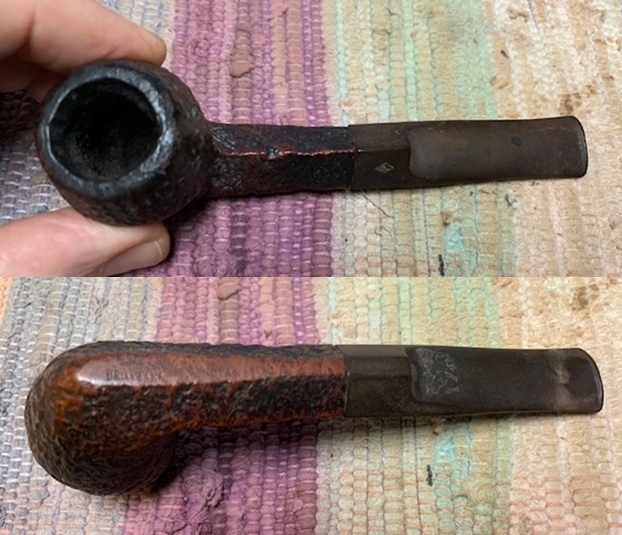
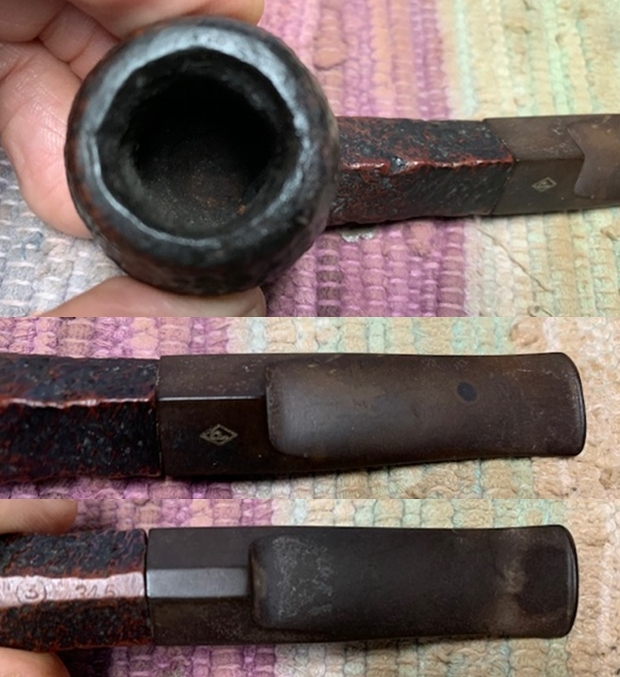
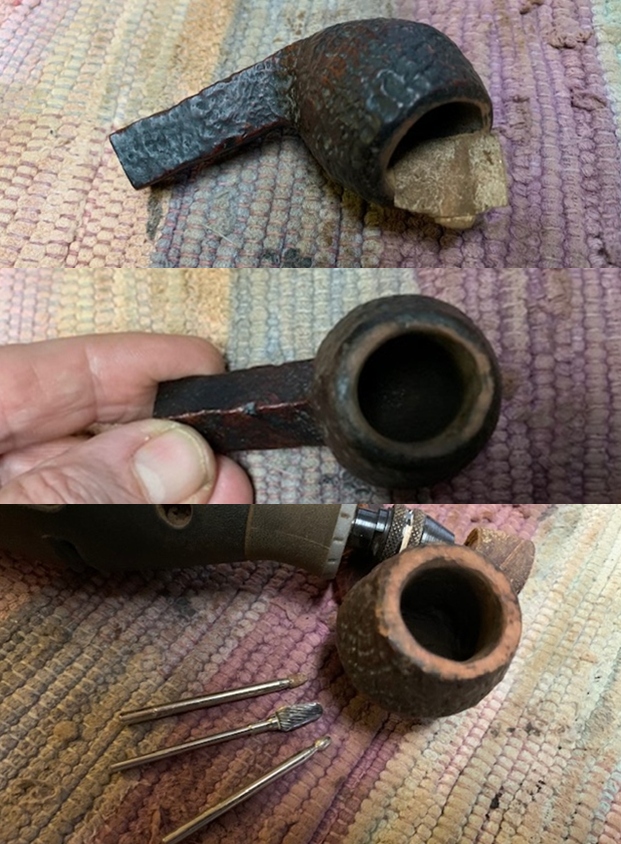
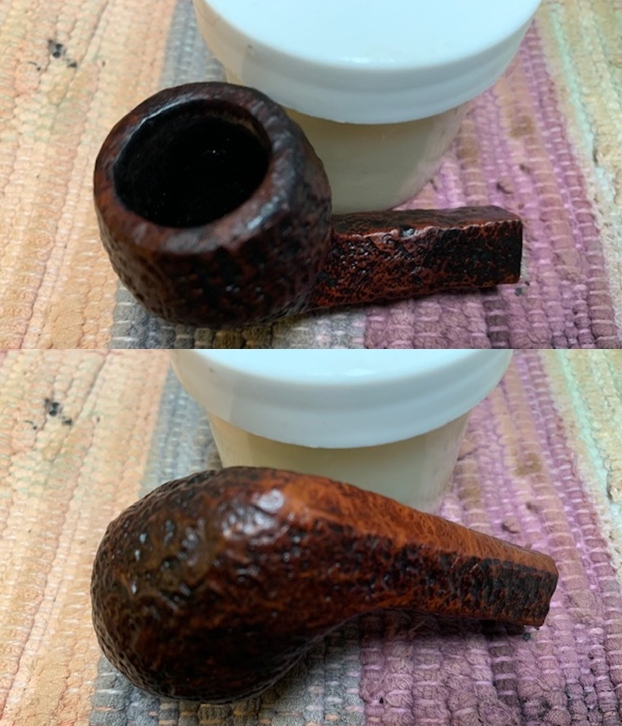
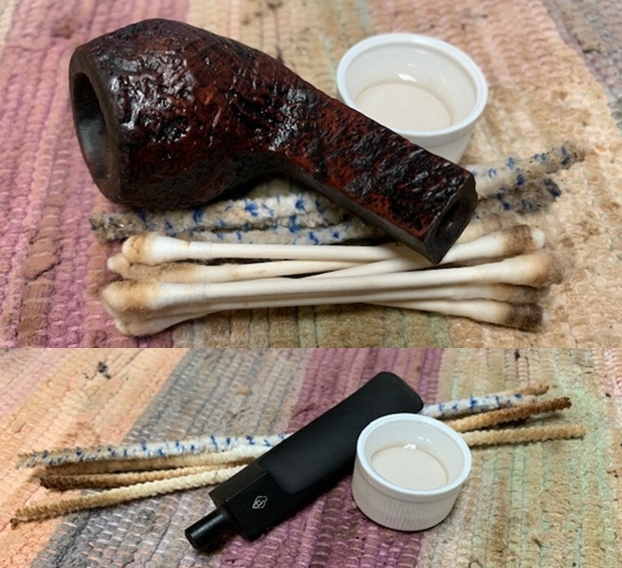
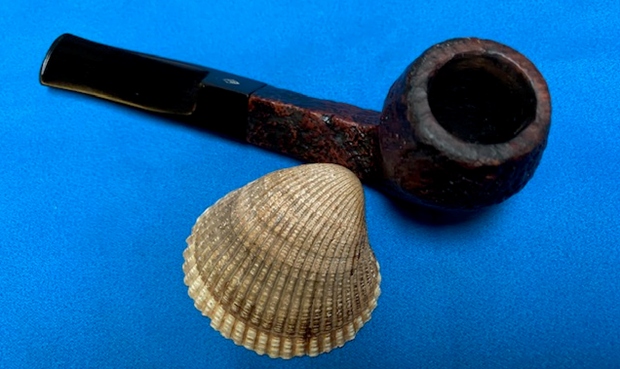
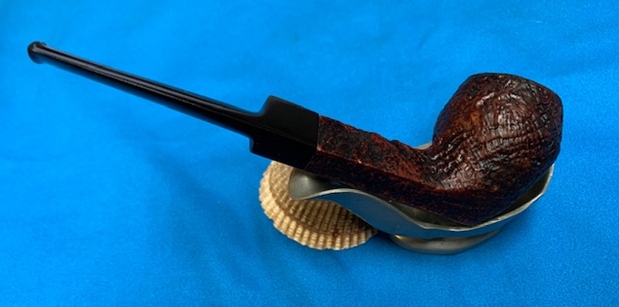
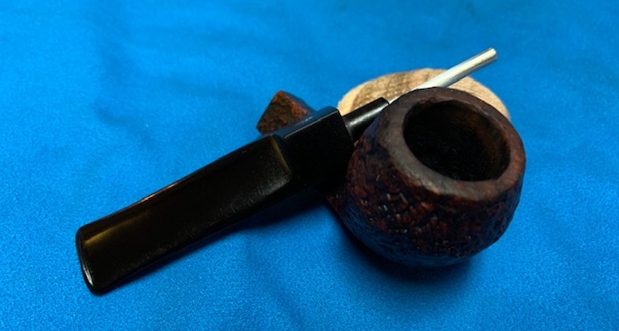
 The next photos show the bowl and rim top as well as the stem condition. The bowl was clean and ready to fire up. The rim edge was out of round and showed some damage and darkening. The rim top also had some darkening. The stem looked very good with some light tooth chatter and scratches.
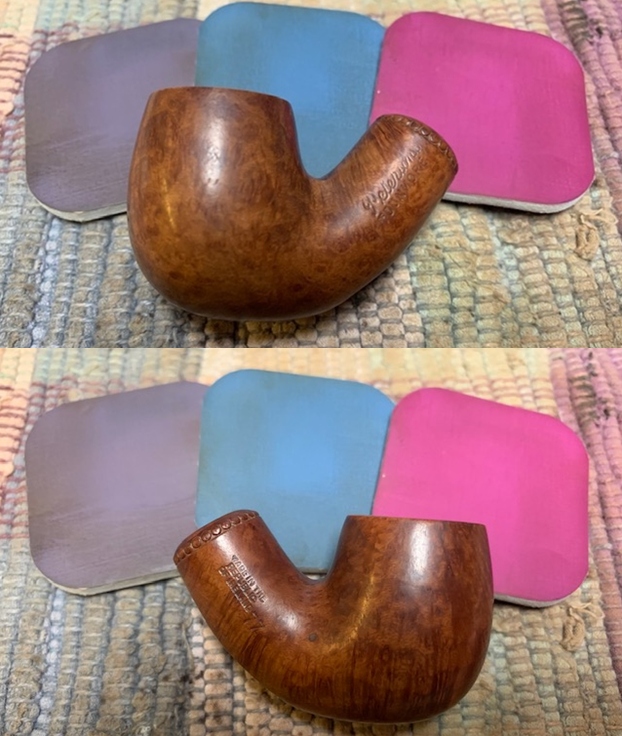
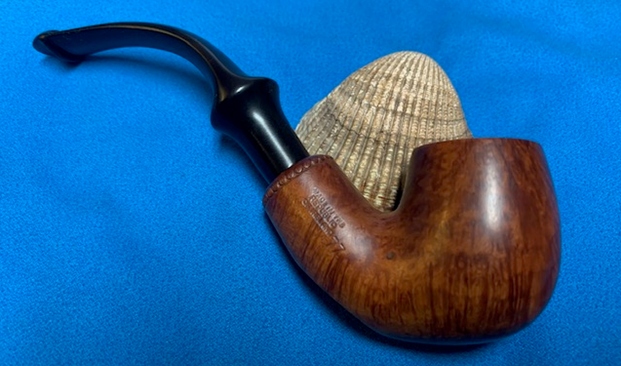
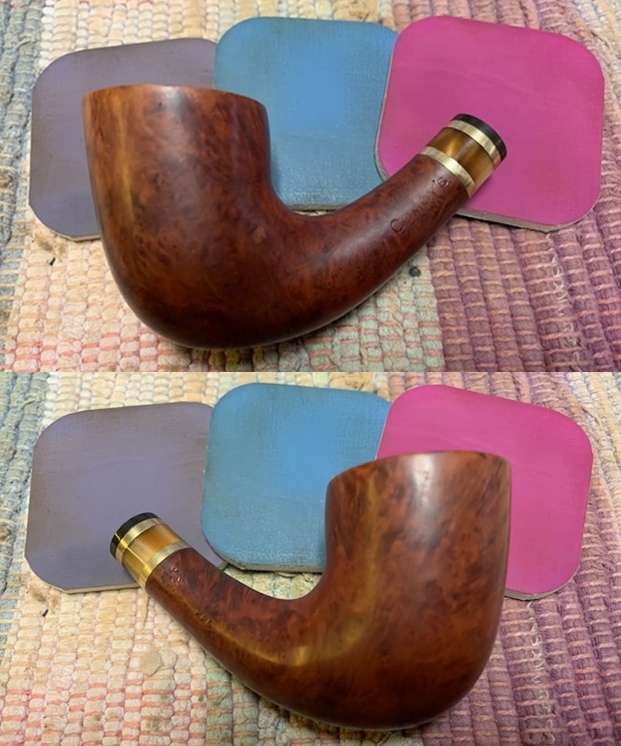
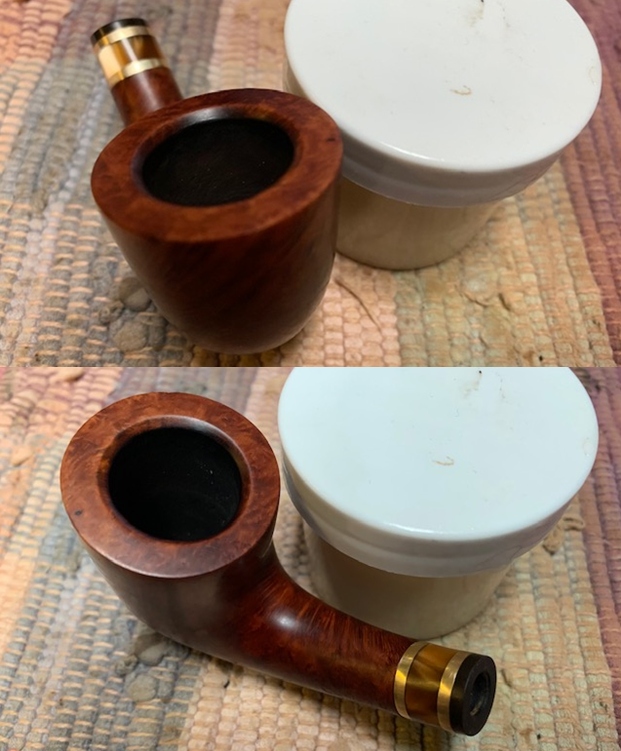
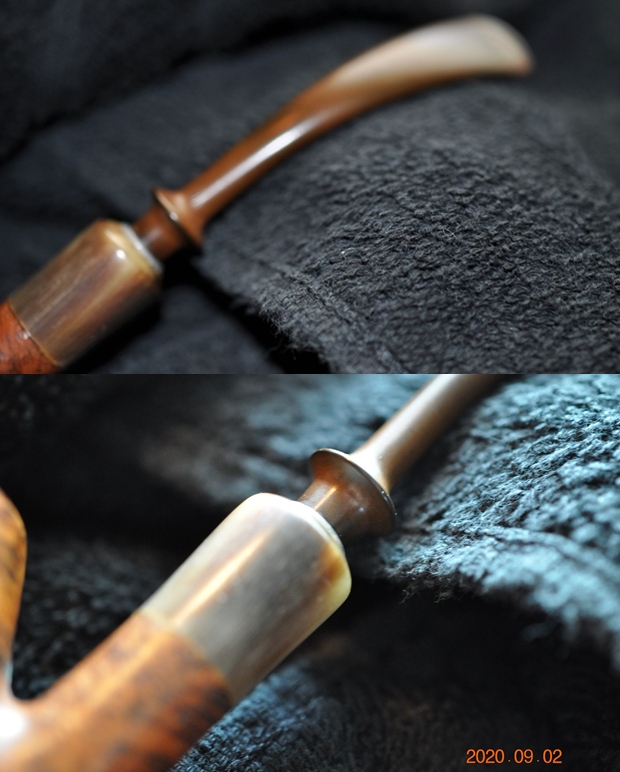
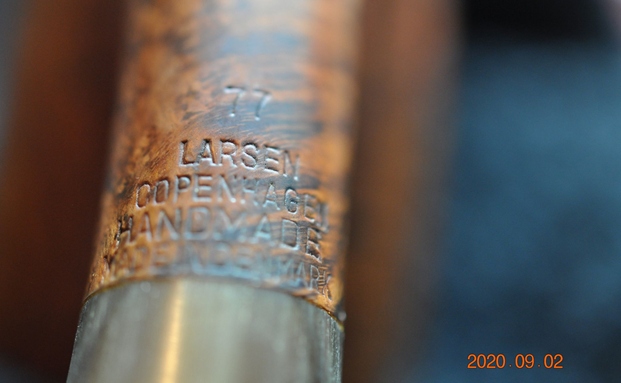
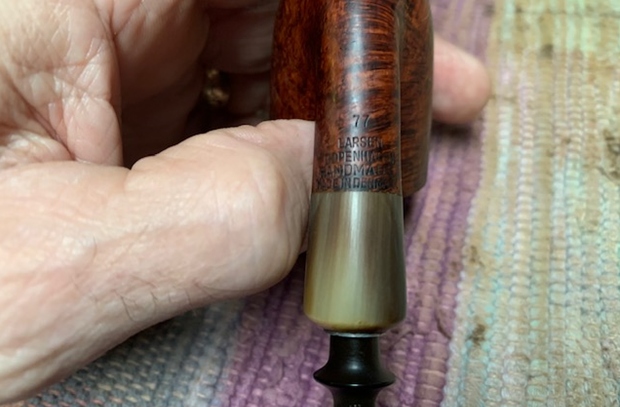
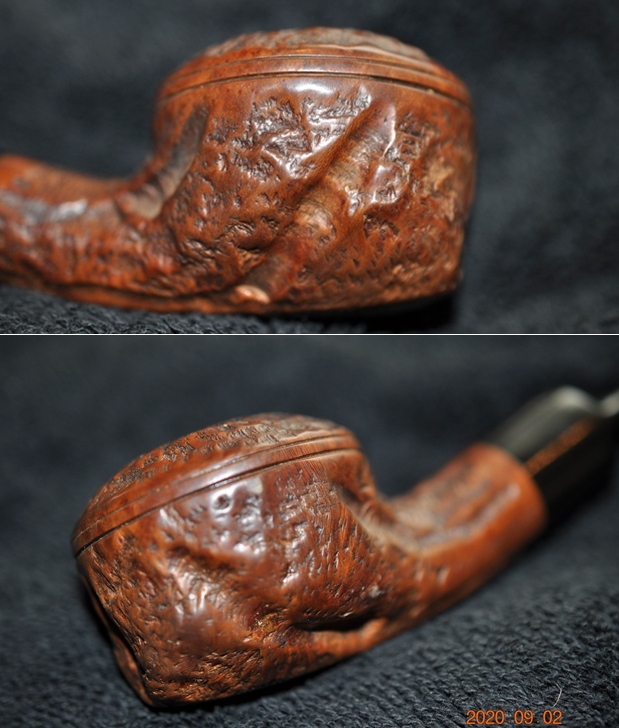
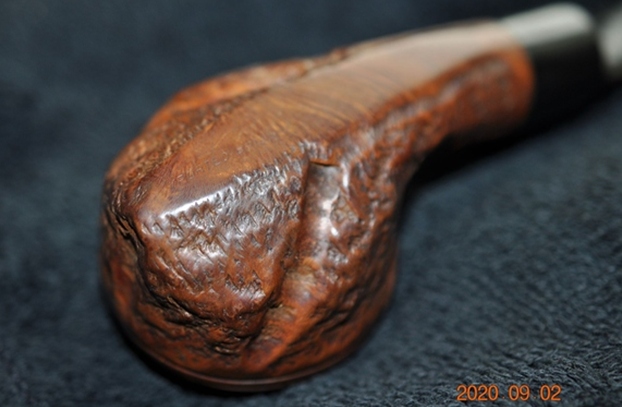
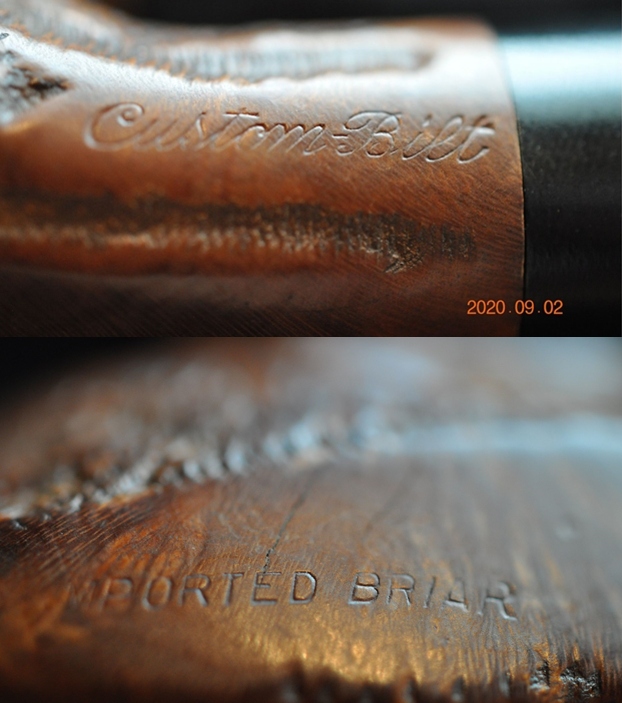
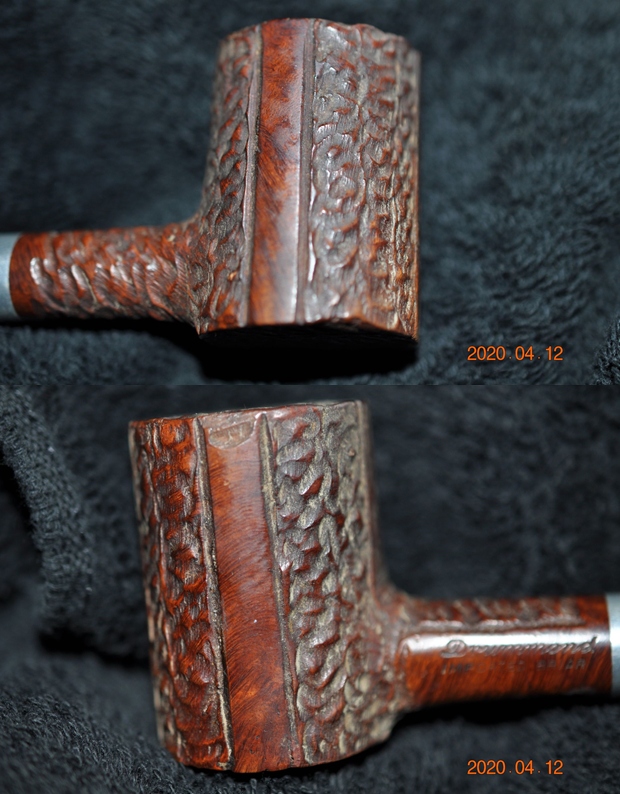
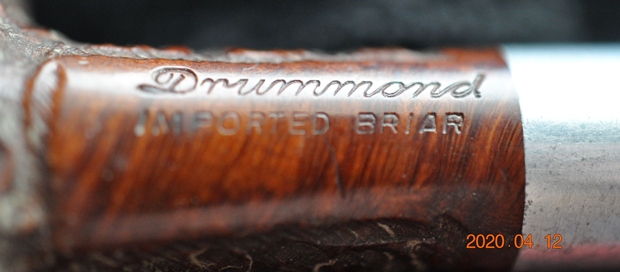
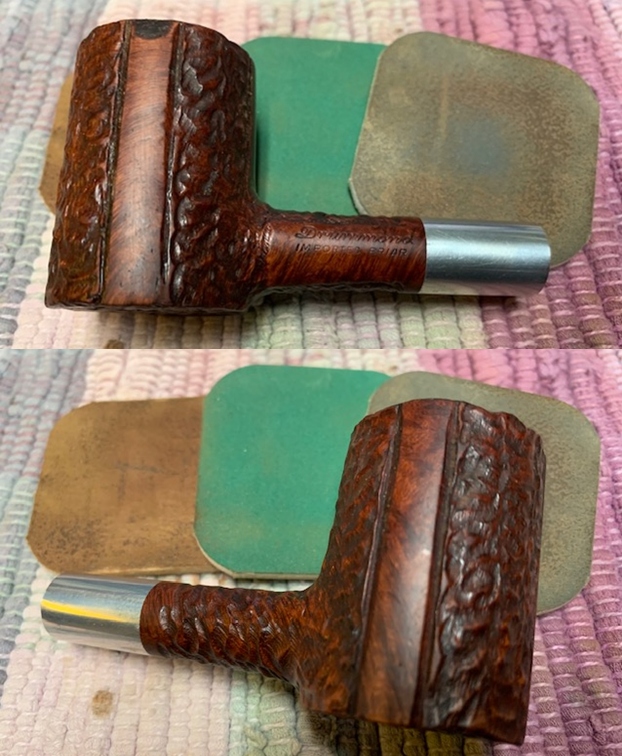
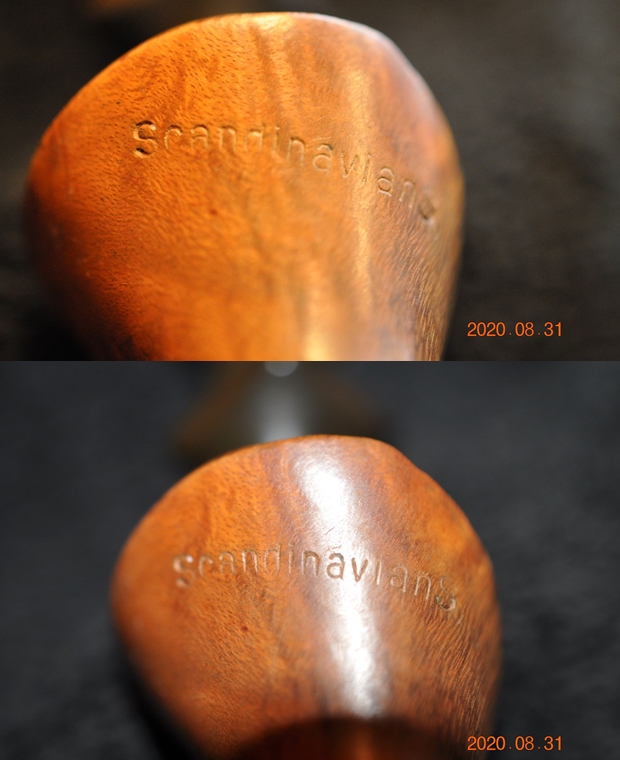
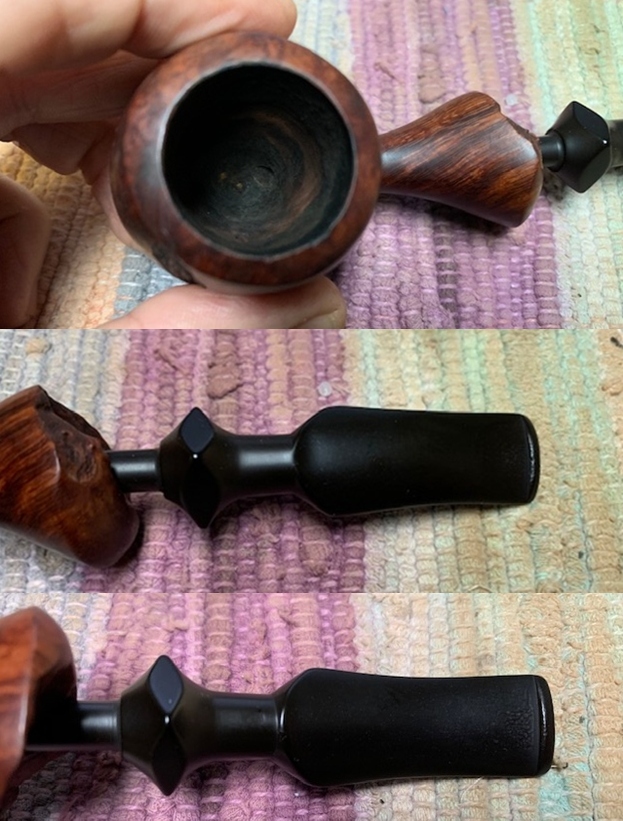
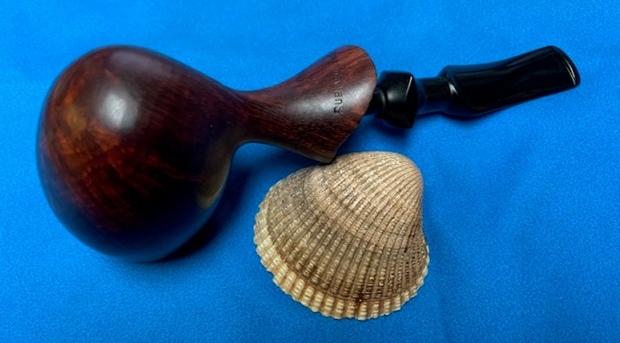
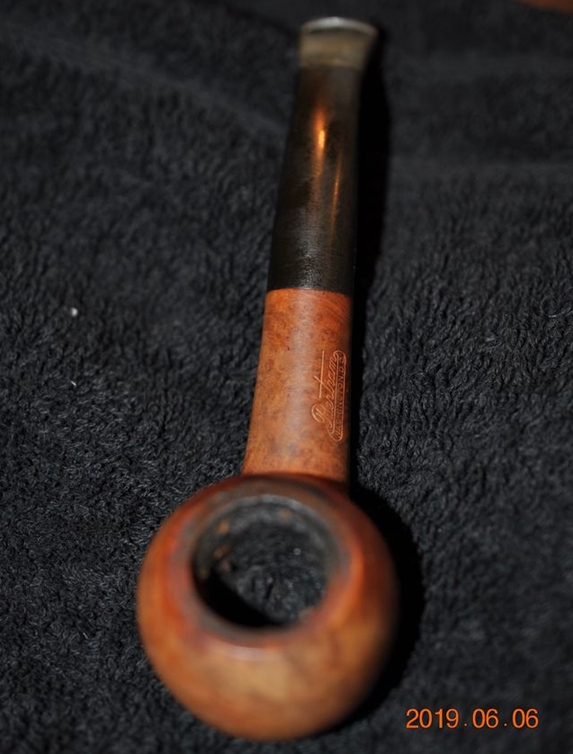
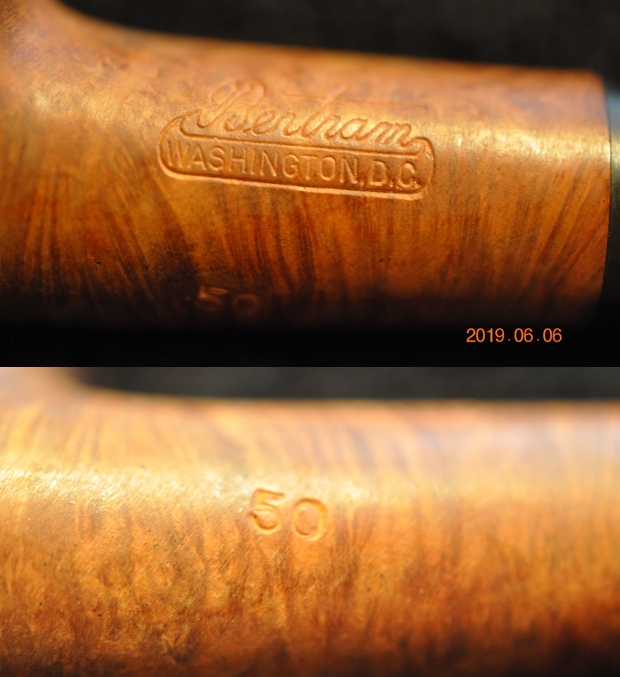
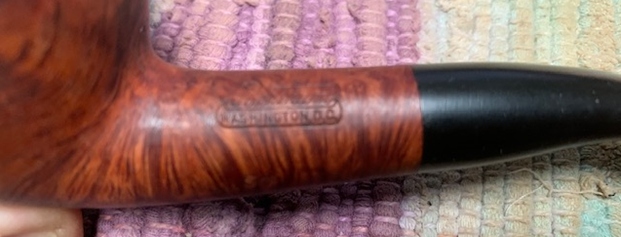
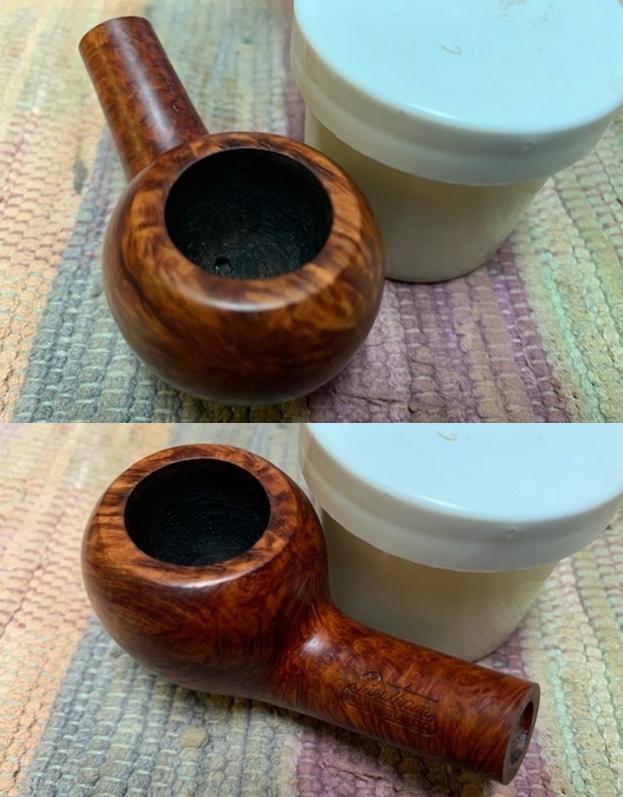
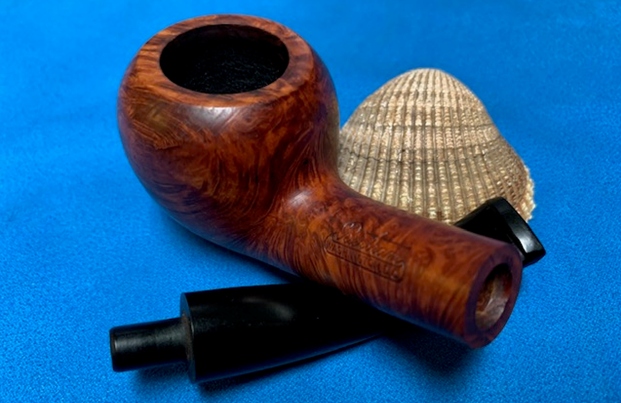
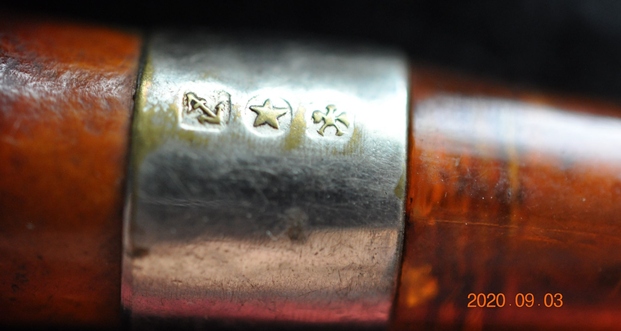
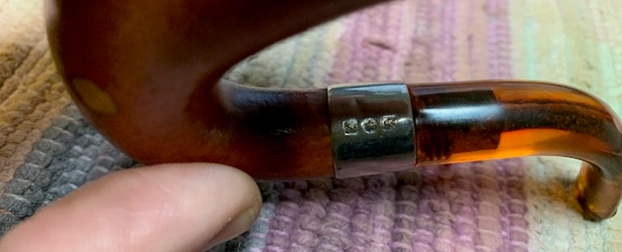
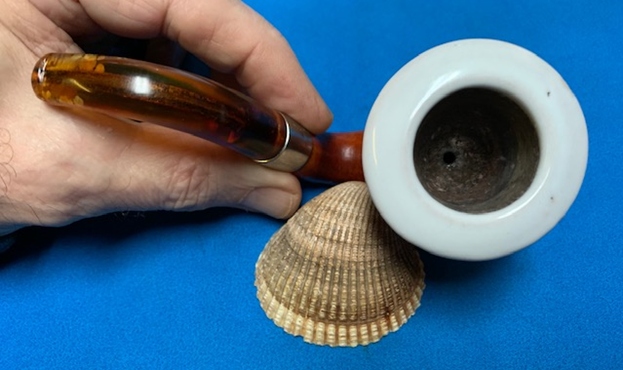
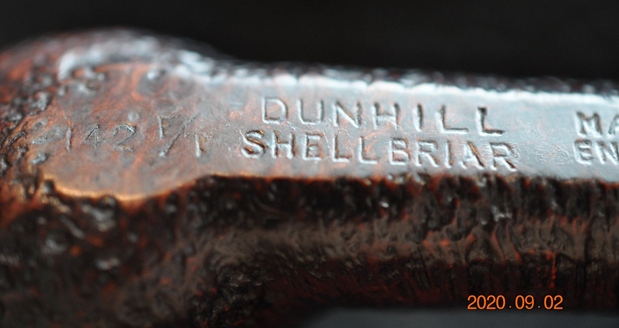
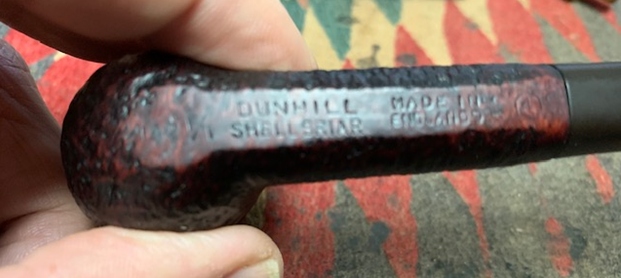
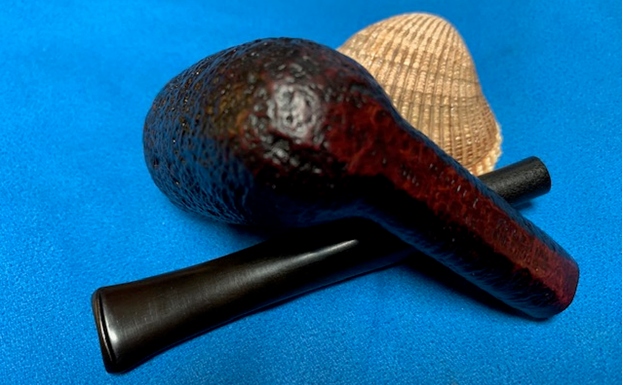
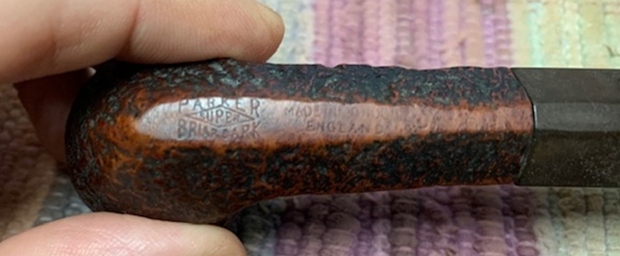
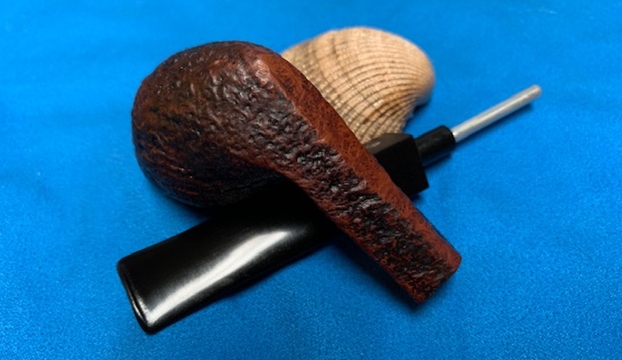
 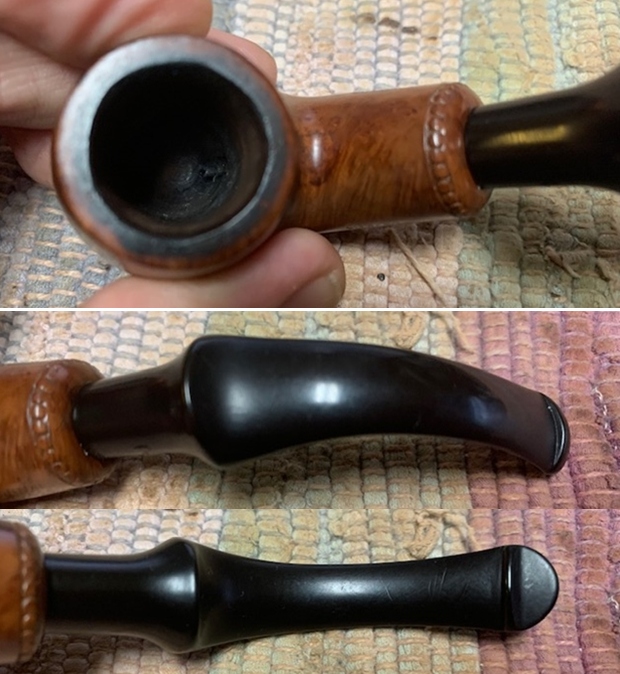 The stamping on the shank sides was very readable and read as noted above. It had been buffed but was not overly damaged.
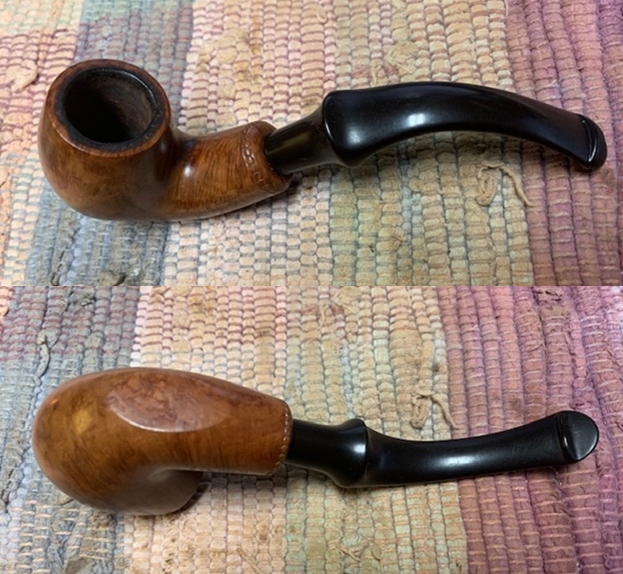
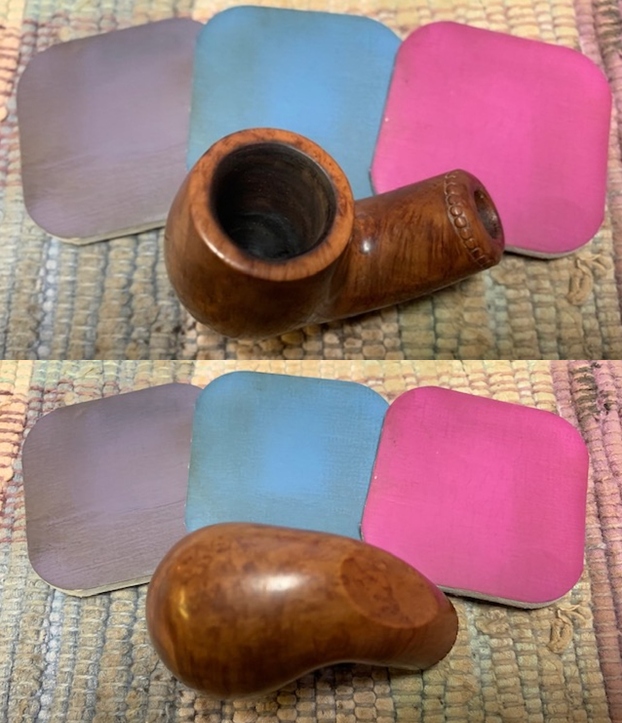
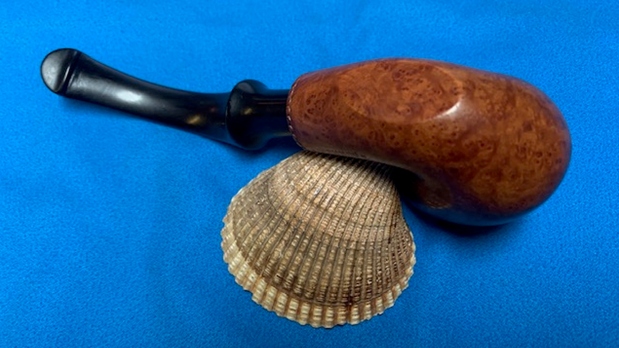
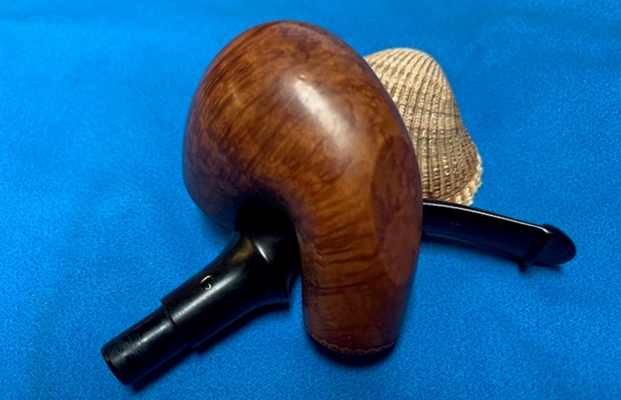
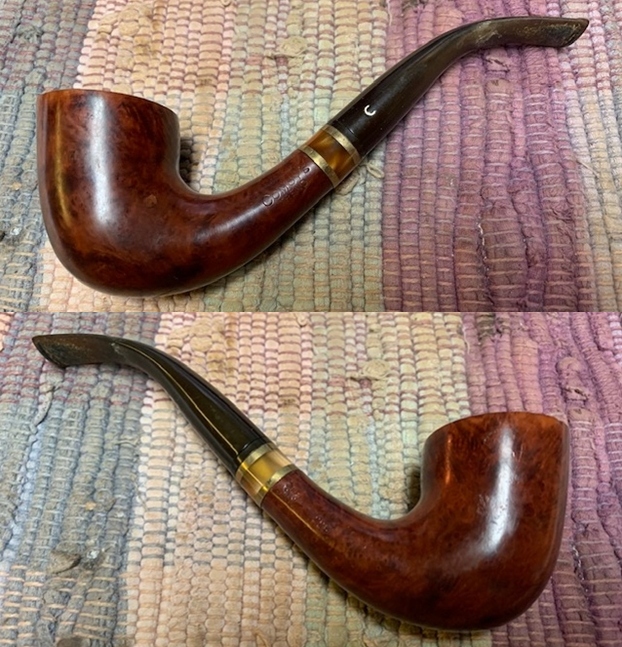
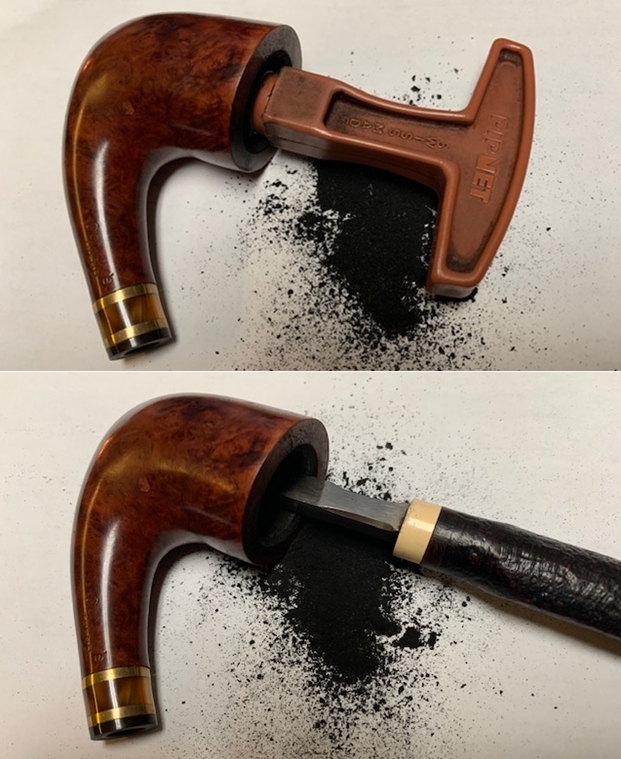
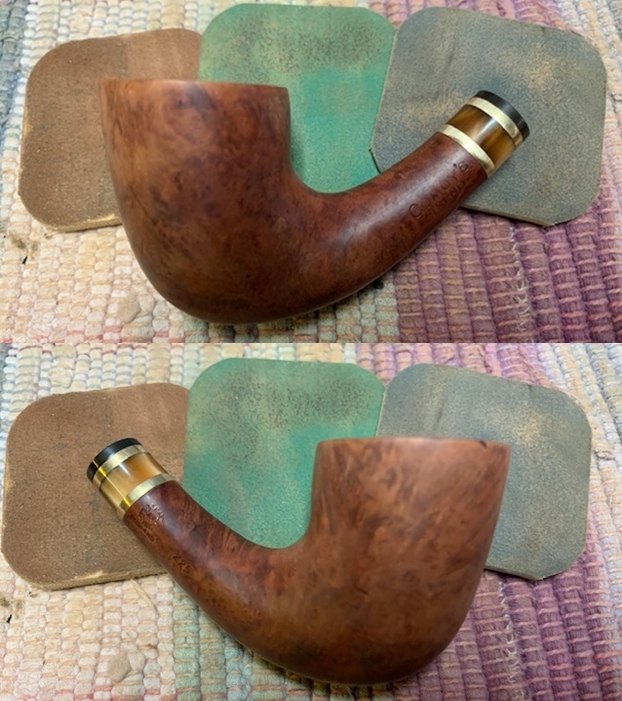
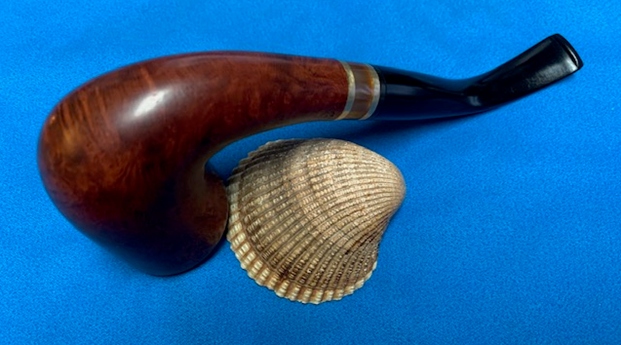
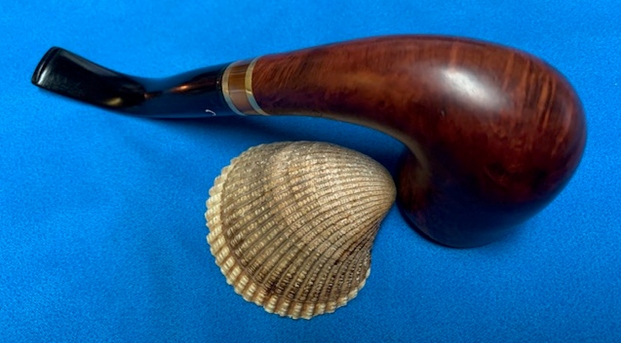
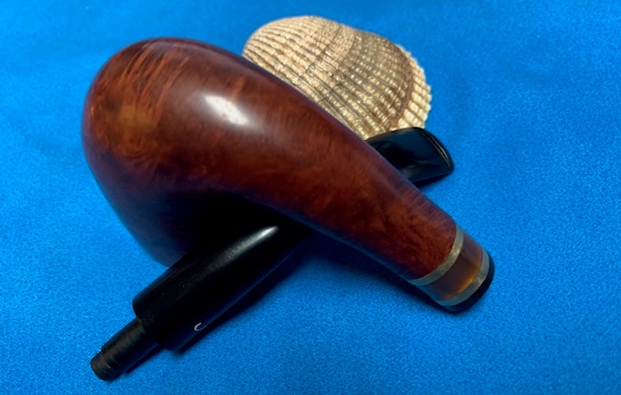
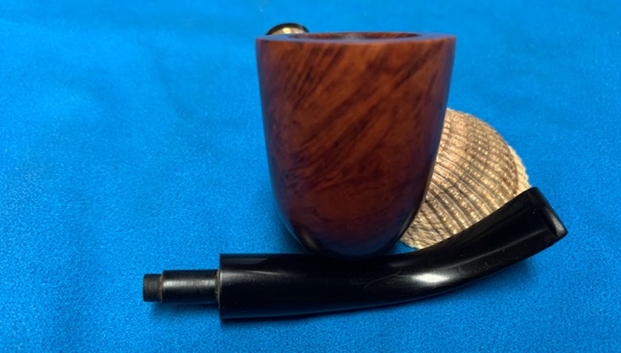
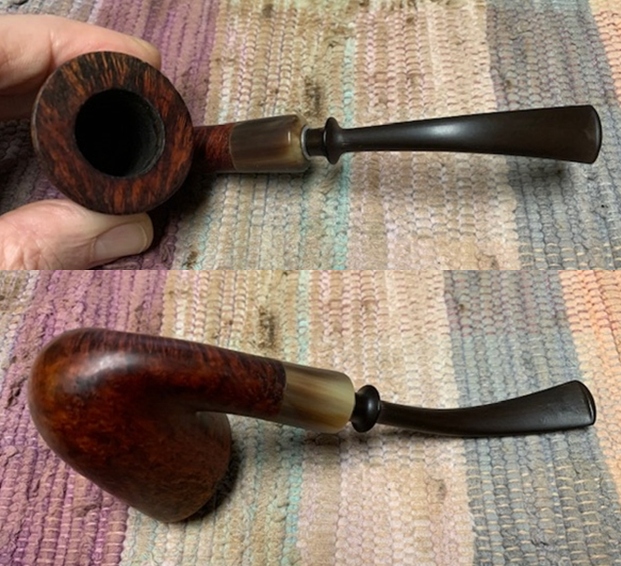
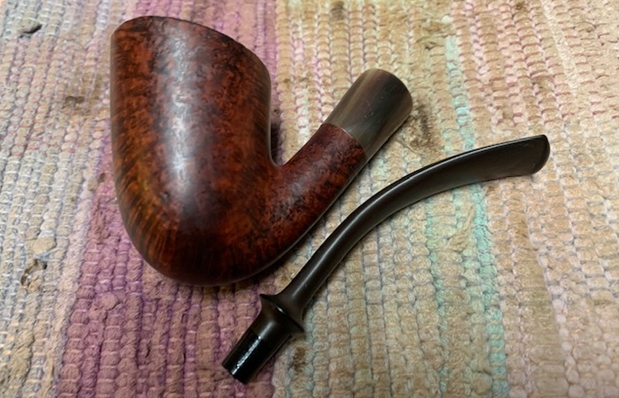
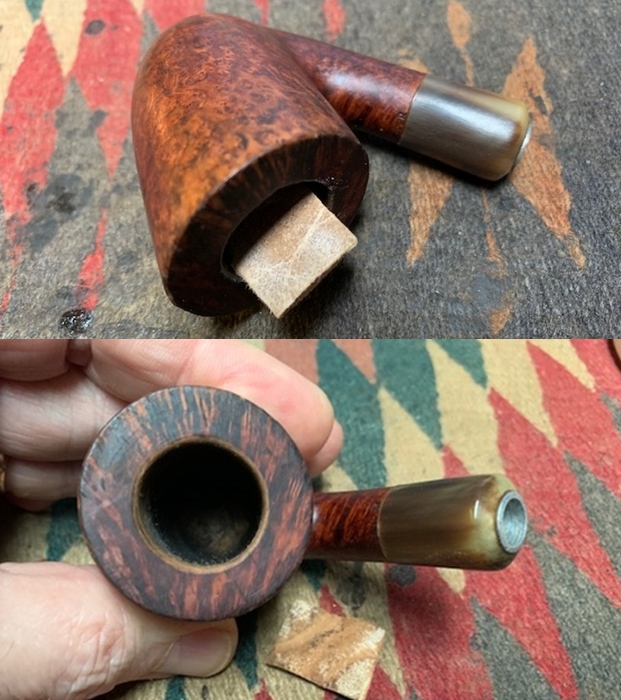
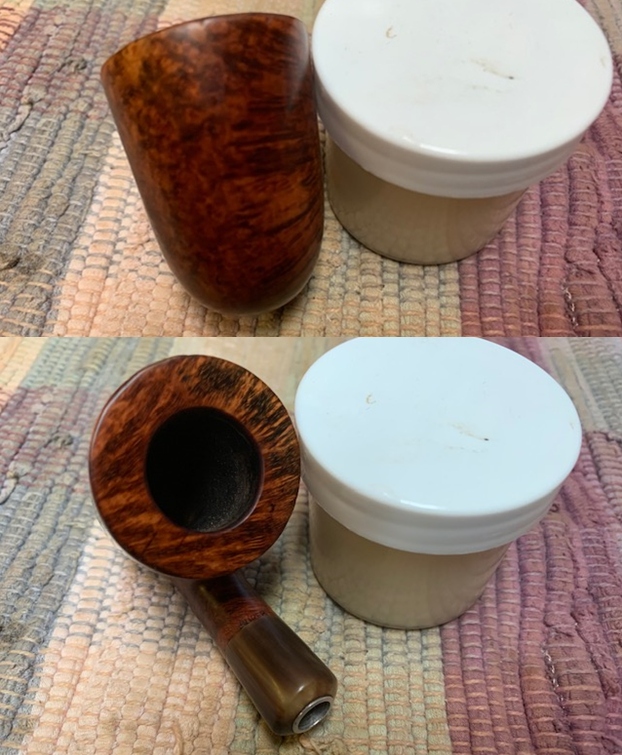
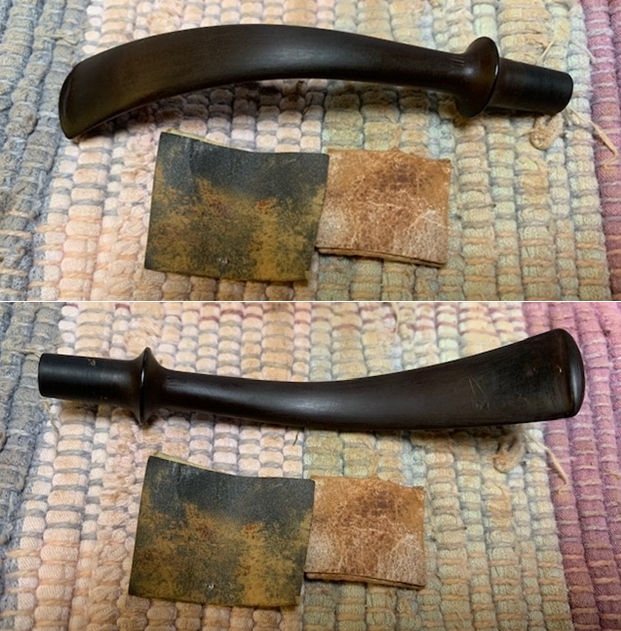
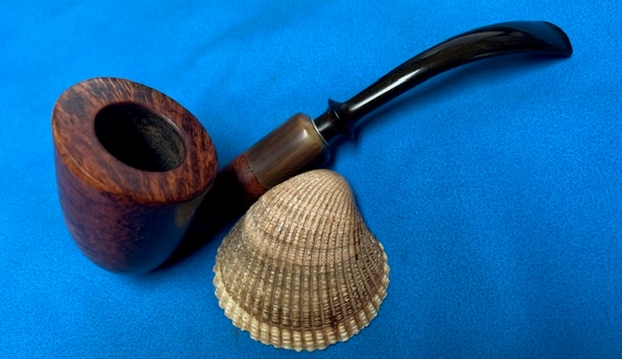
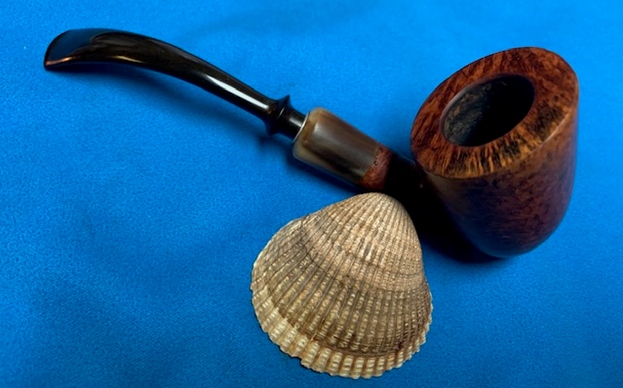
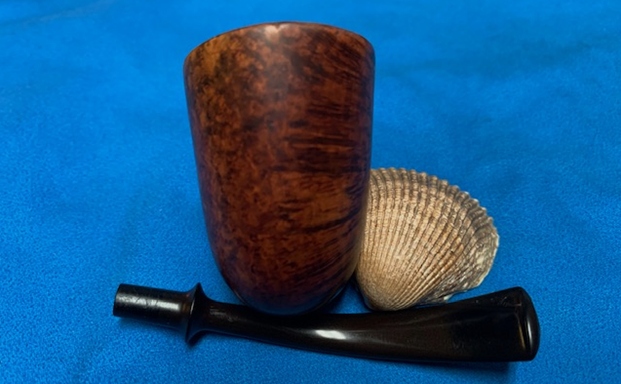
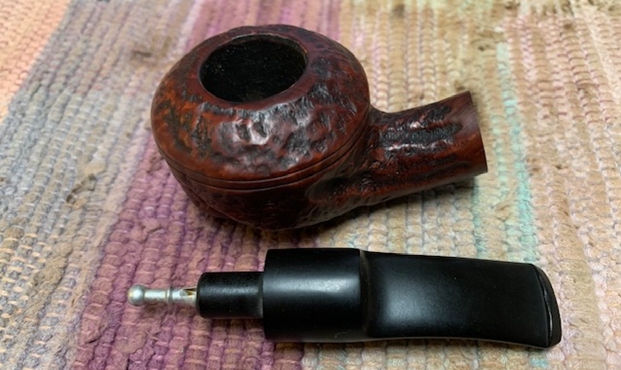
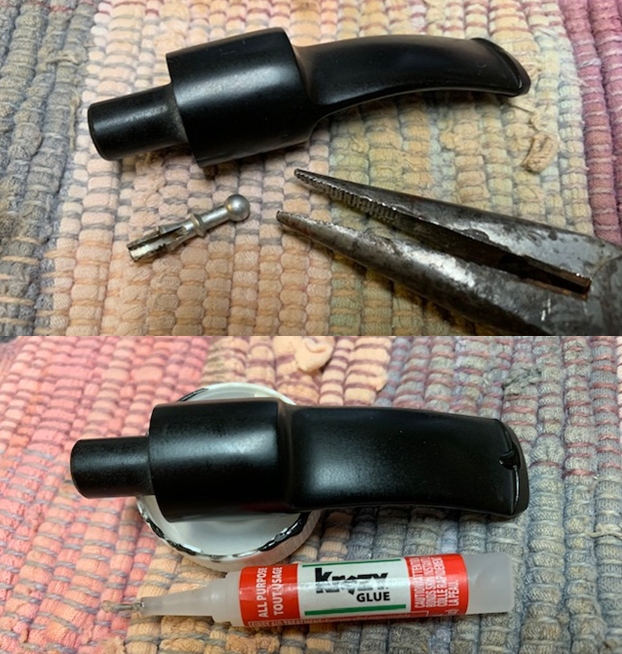
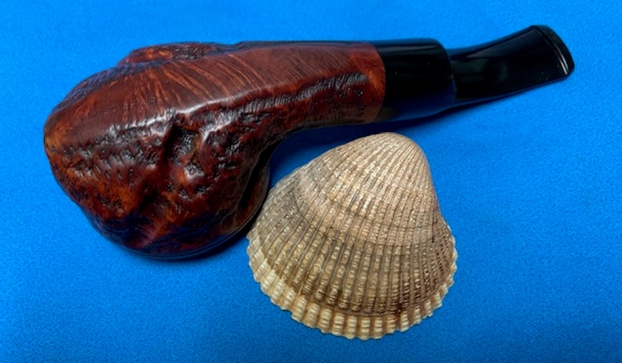
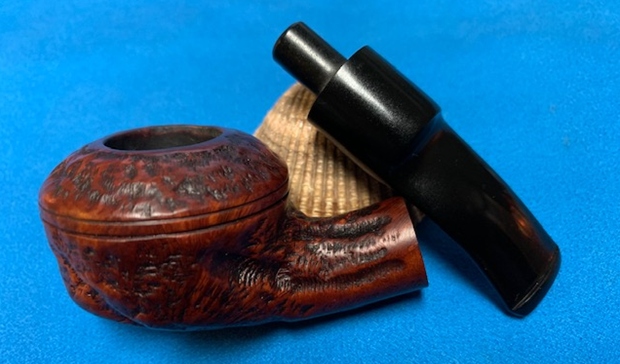
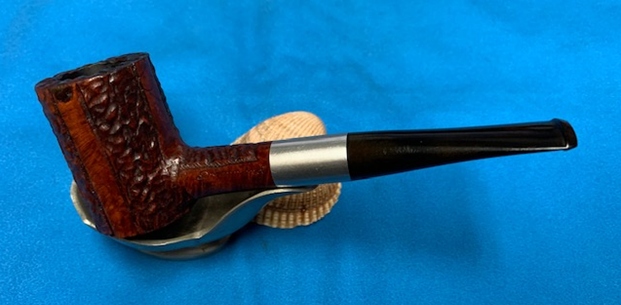
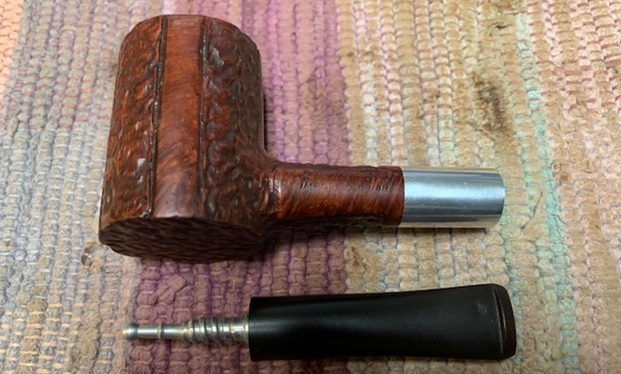
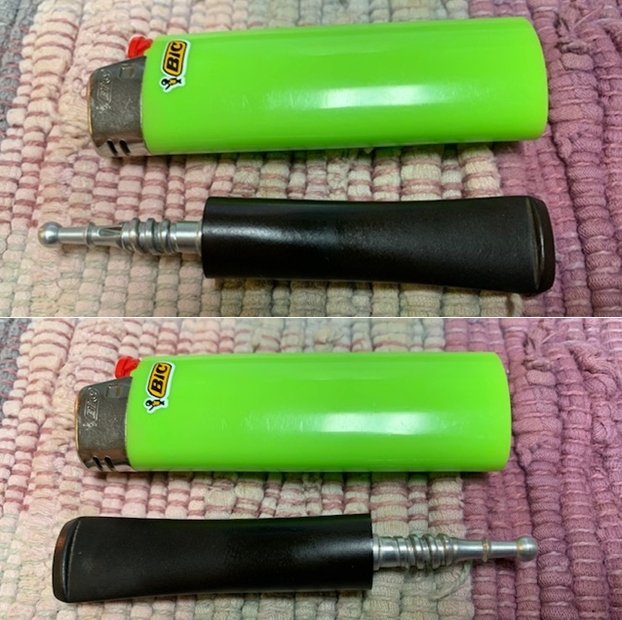
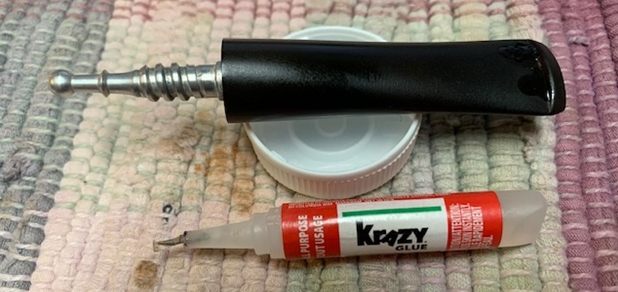
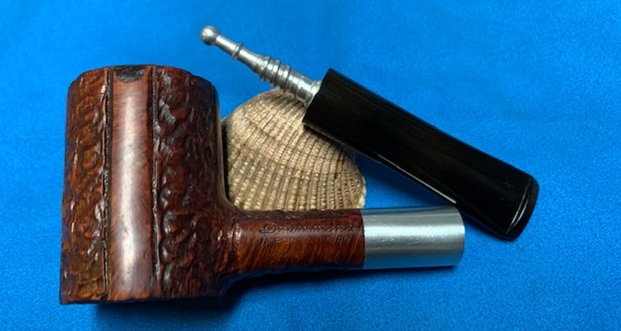
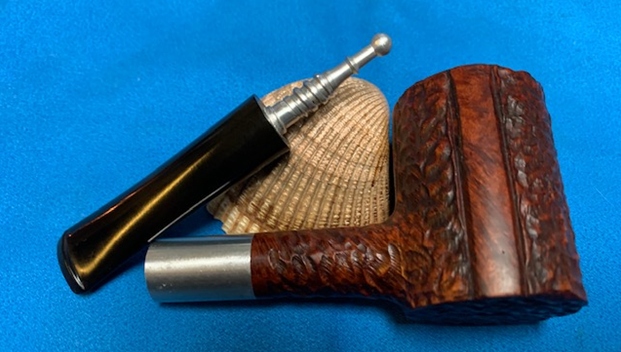
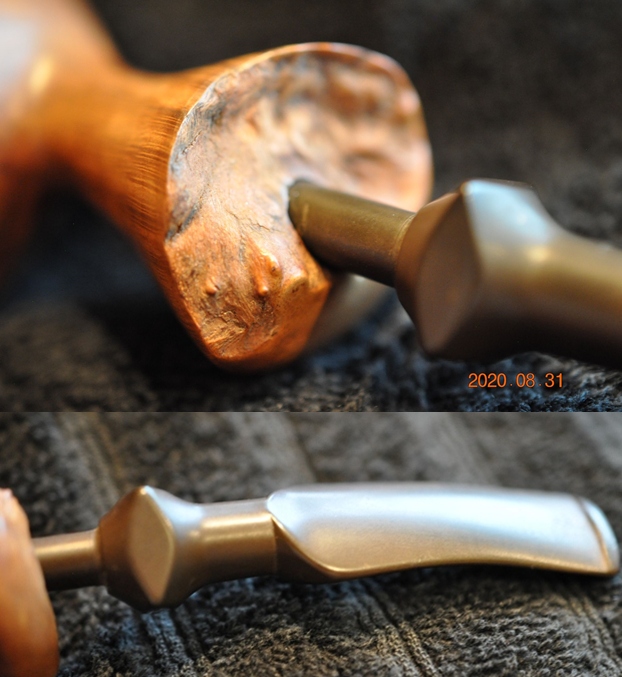
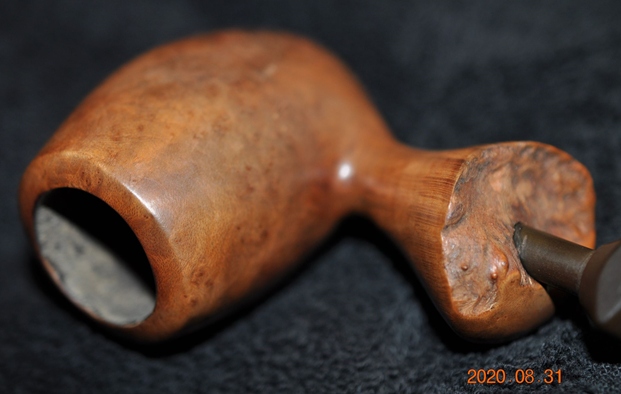
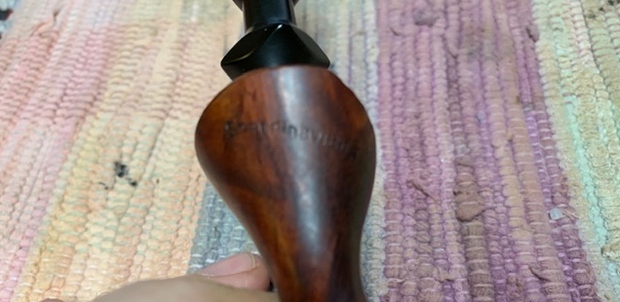
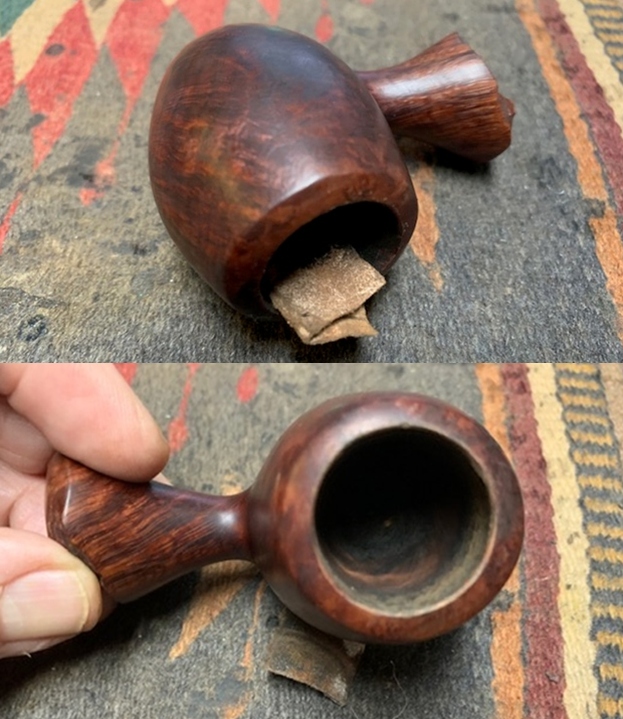
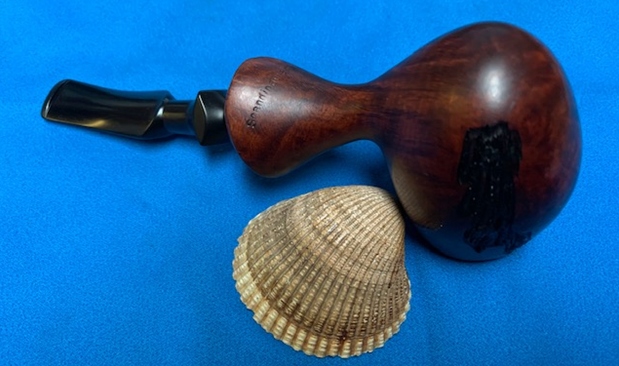
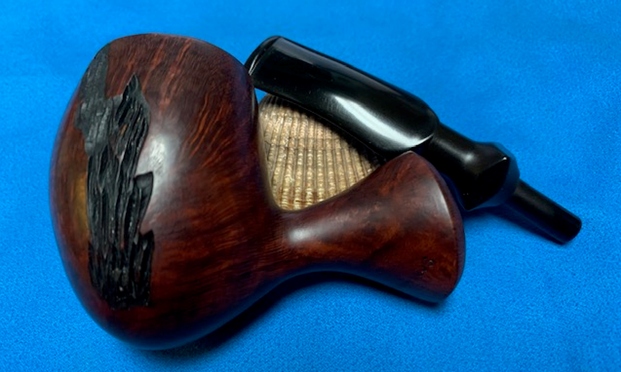
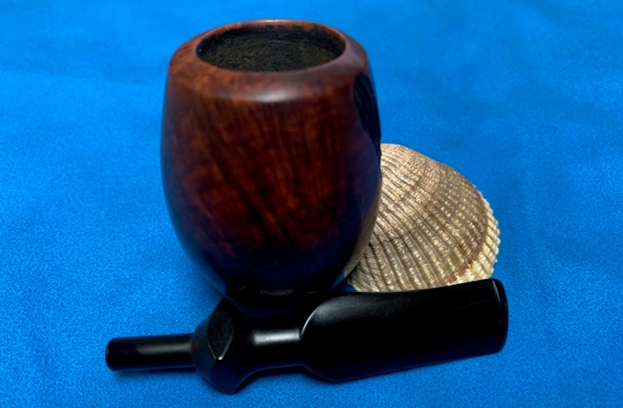
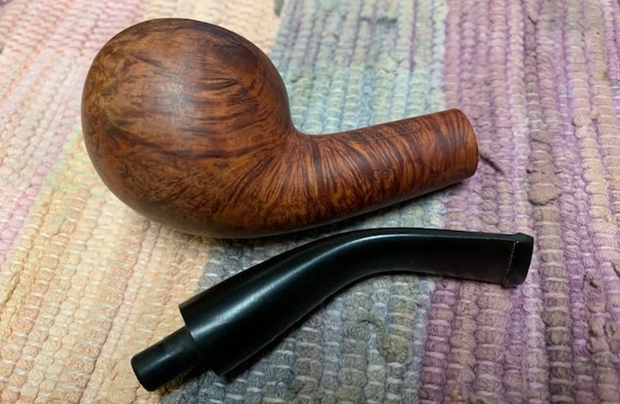
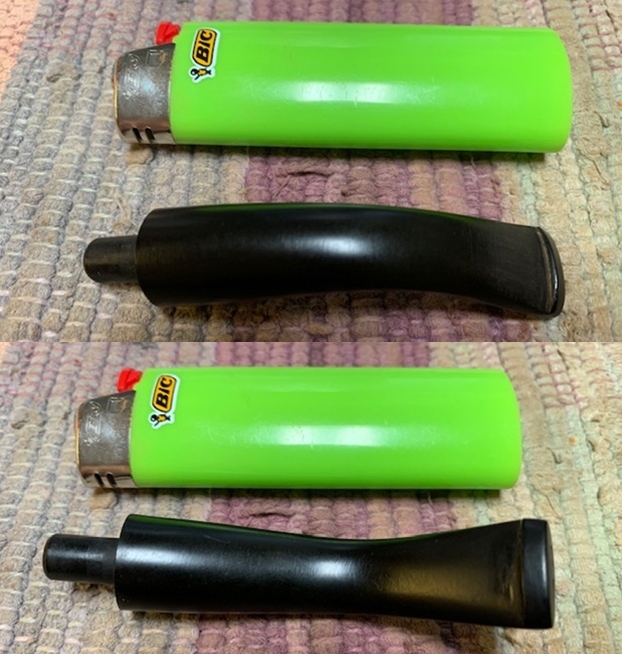
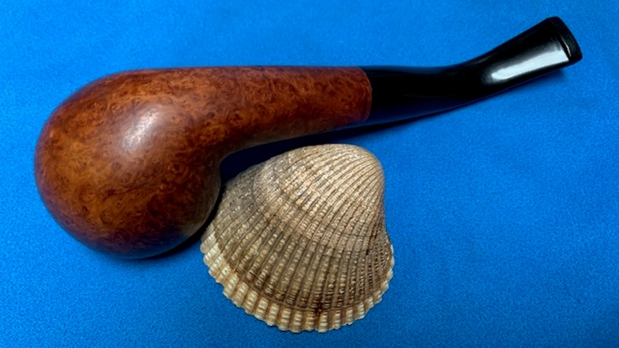
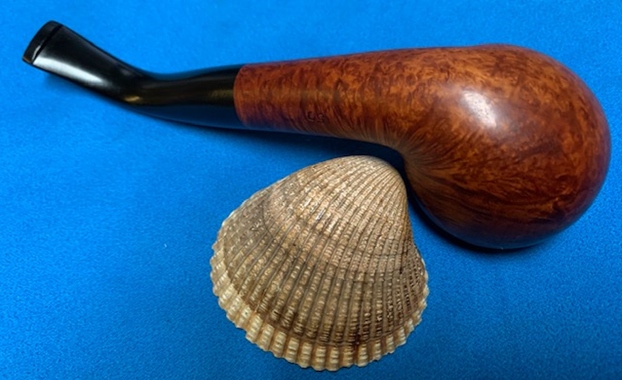
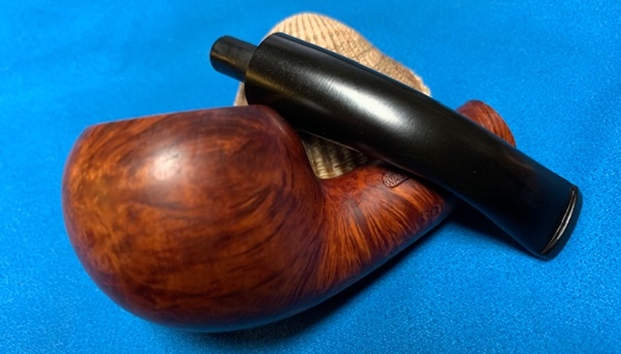
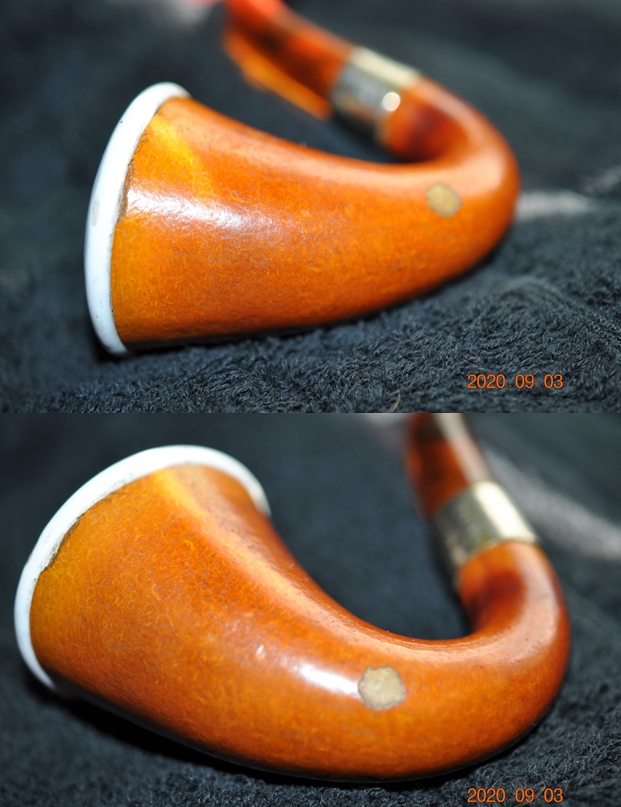
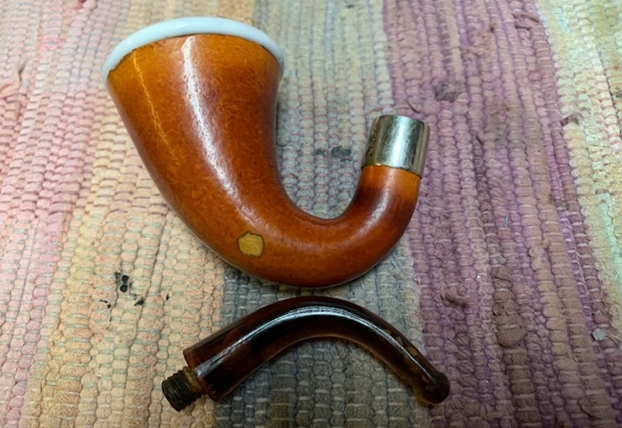
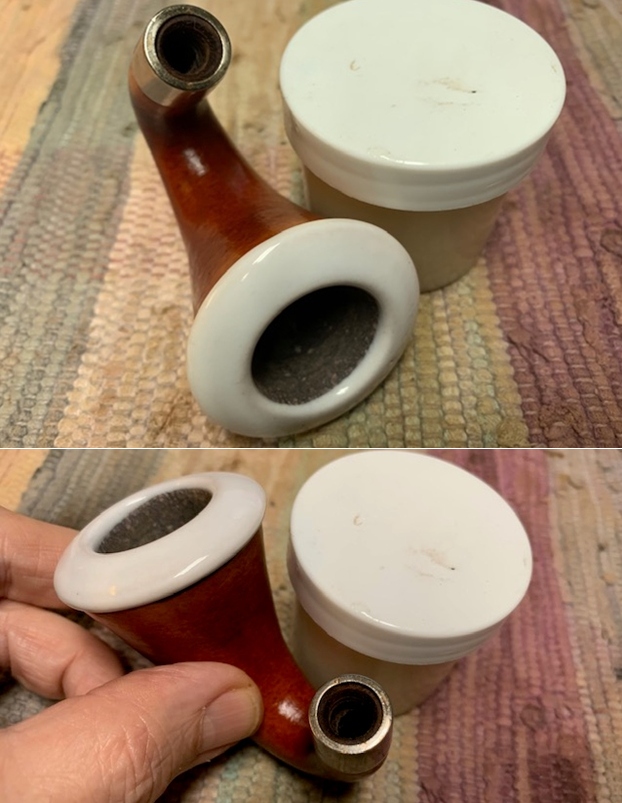
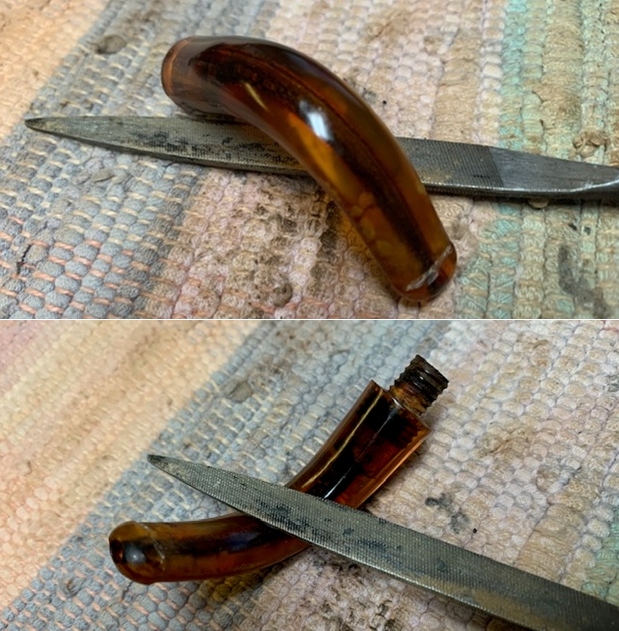
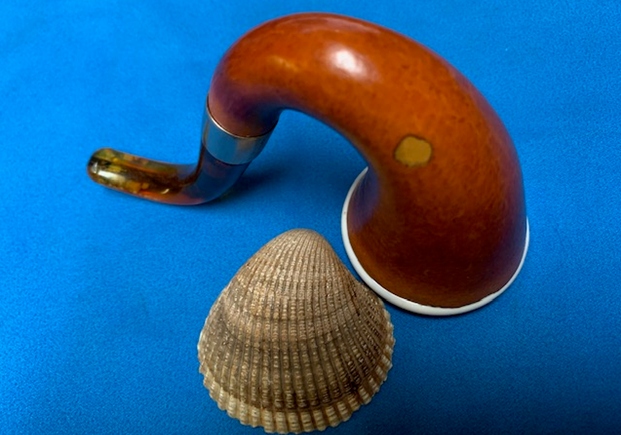
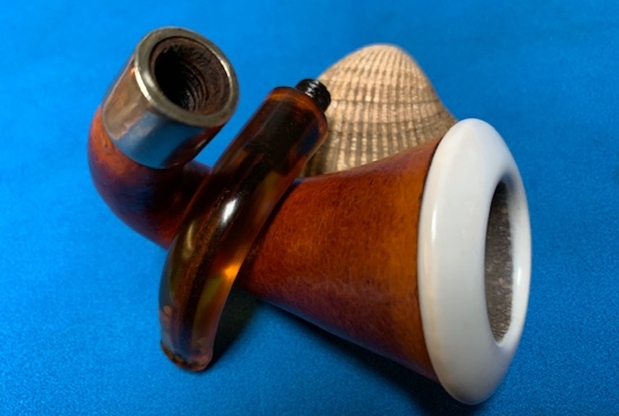
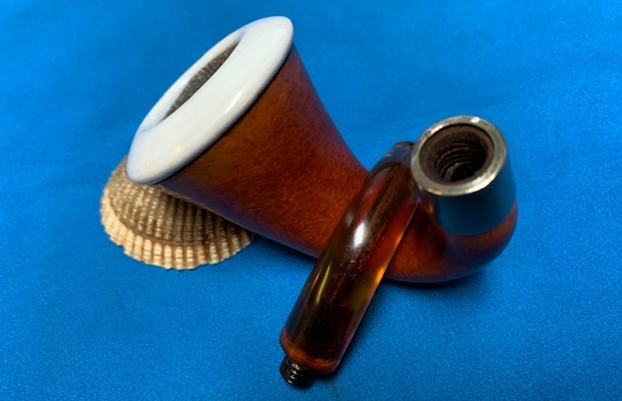
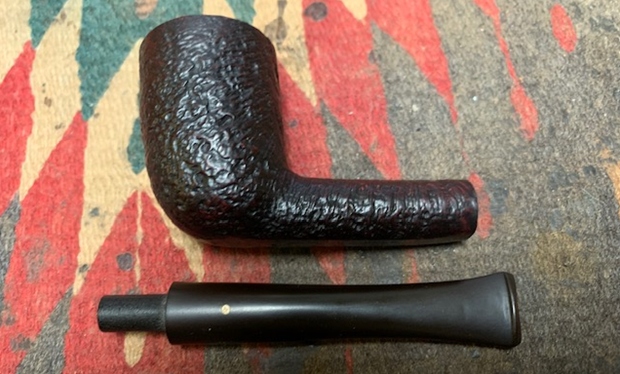
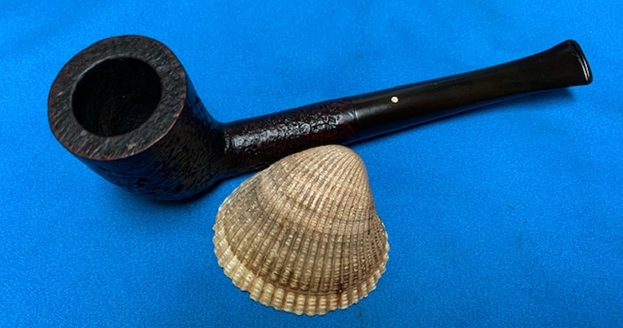
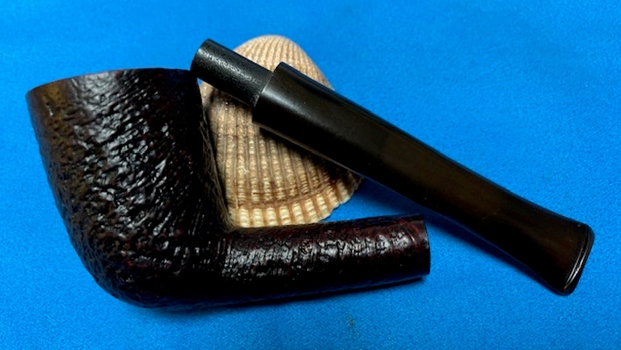
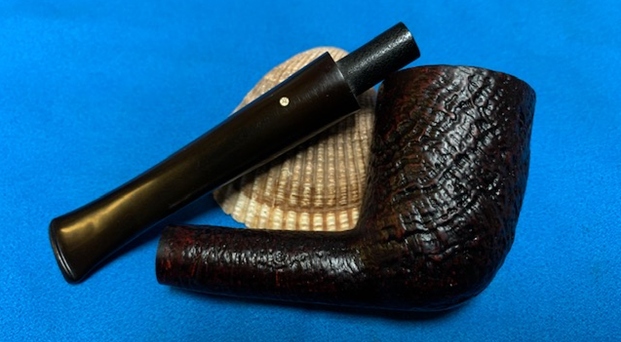
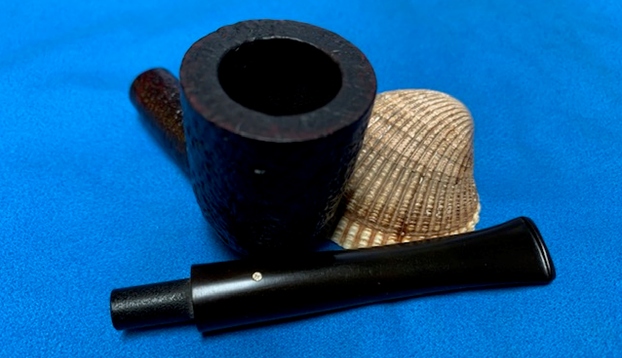
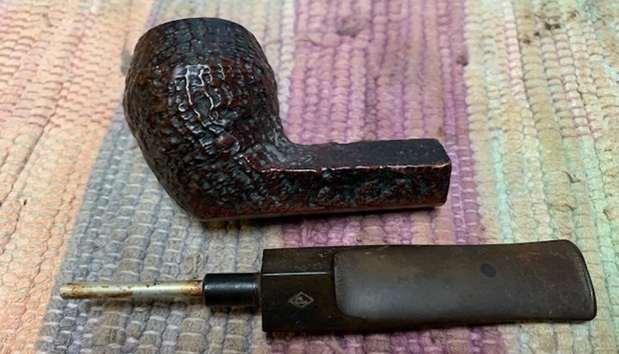
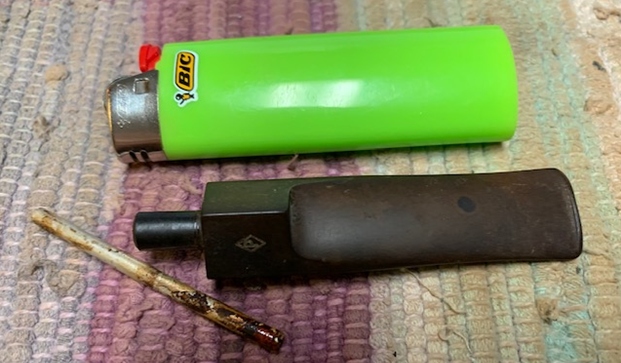
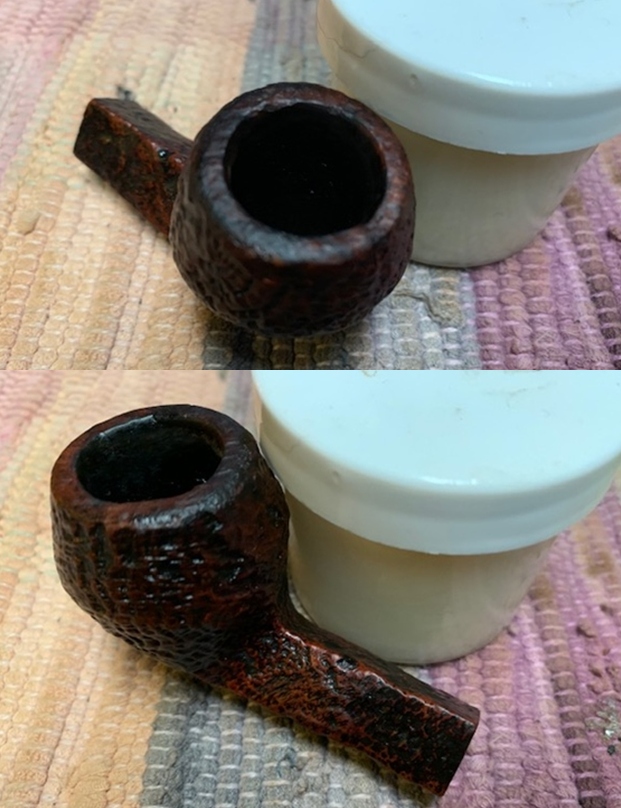
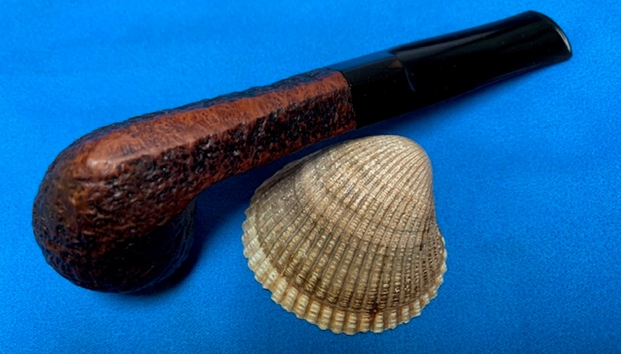
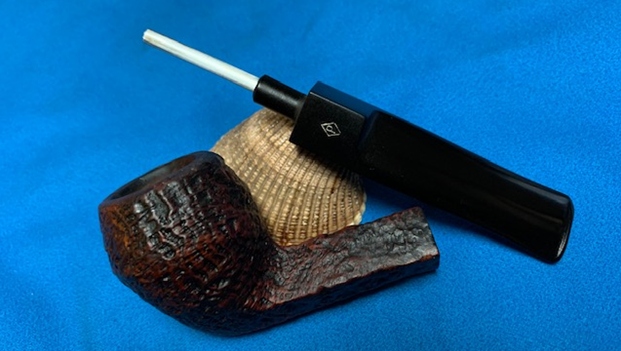
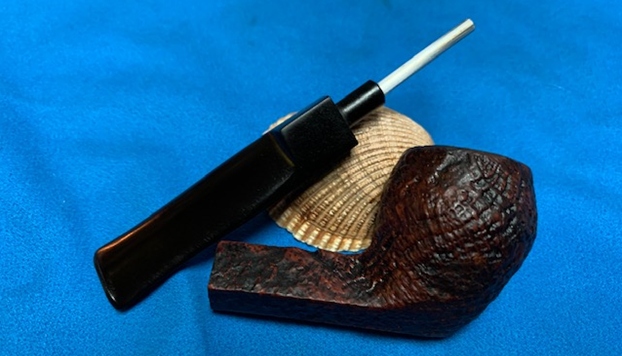
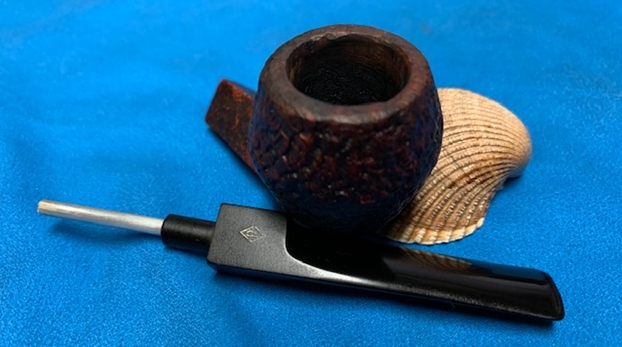
  I took the stem off and took a photo of the parts of the pipe to give a perspective on the size and proportions of this little pipe.
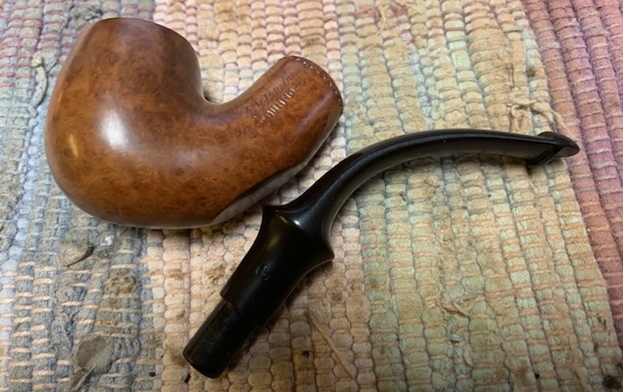 After rereading Ray’s email about the pipe and the previous blog on the Dunmore I had worked on I went back and reread the blog (https://rebornpipes.com/2019/08/18/restoring-a-petersons-dunmore-70-bent-apple-sitter-from-bob-kerrs-estate/). I quote from the blog on the Dunmore line below.
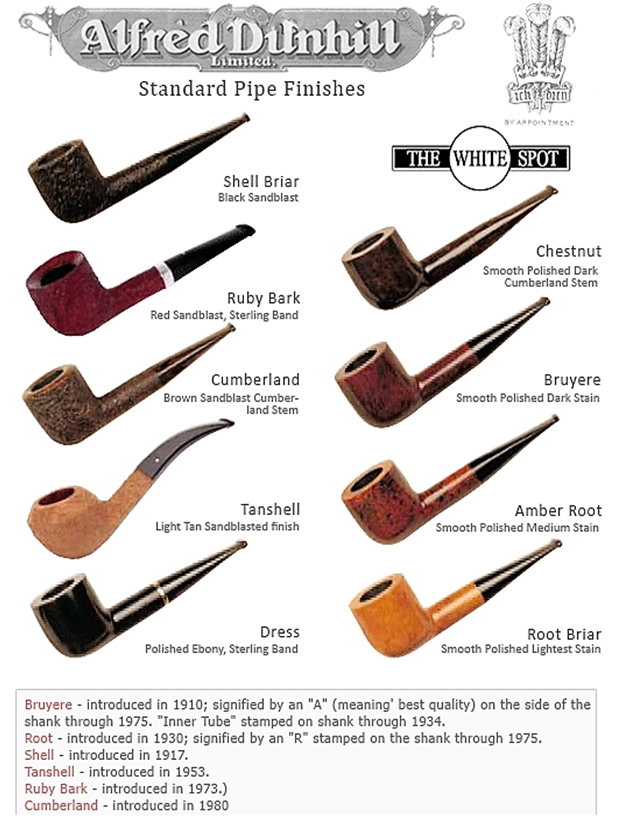
I then turned to the book I should have consulted first, The Peterson Pipe, by Mark Irwin and Gary Malmberg. On page 298 there is an entry for Dunmore pipes. It reads as follows:
Dunmore (1971-c.1984 2006-10). Appeared first as Iwan Ries & Co. exclusive line “Dunmoor,” a Premier-grade in light-brown smooth or rustic red in all System shapes, with beading at the shank. Documented in the Associated Imports Catalog from 1973. Classic Range Dunmore shapes from ’78. A third Dunmore line (’06-10) featured standard and some B shapes, with beading around bowl instead of at shank-face, produced for European market.
On page 165 there were also photos of pages from a catalogue with the description: The unmounted Dunmore Premier debuted in both System and Classic Range shapes circa 1973 with a final appearance in the 1981 catalogue.
The information blurb on each page read: “Dunmore Briars.” Beautifully grained best quality briar in light-brown, matt or rustic finish. Often described as “Petersons Unmounted System” has all the advantages of the system range. Ten models each fitted with the Peterson Lip mouthpiece.
With that information in hand I knew what I was dealing with in terms of the stamping on the pipe. It is a Late Republic era pipe. It showed up in Peterson Catalogue in 1973 which fits Ray’s memory of when he bought the pipe. Now it was time to work on the pipe.
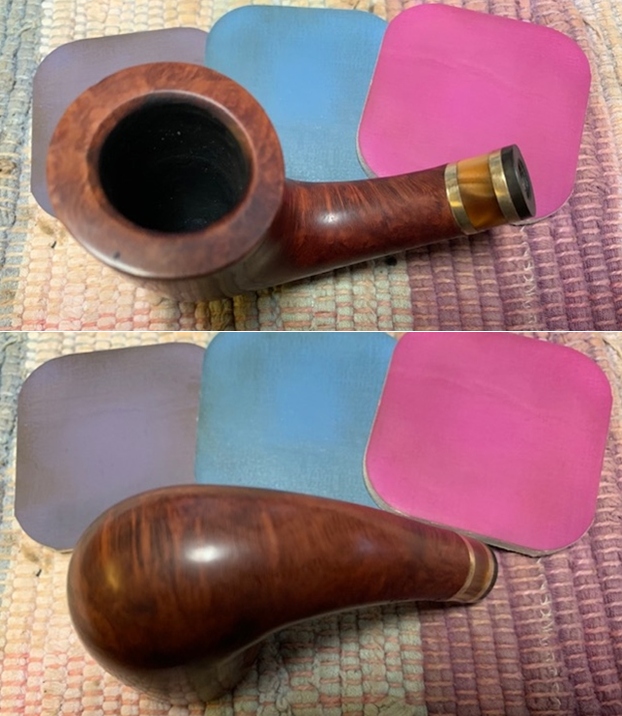
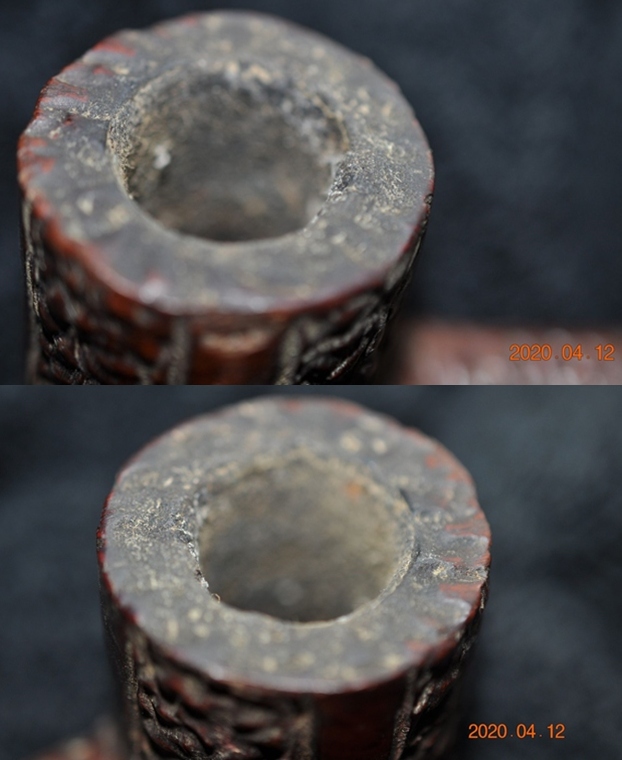
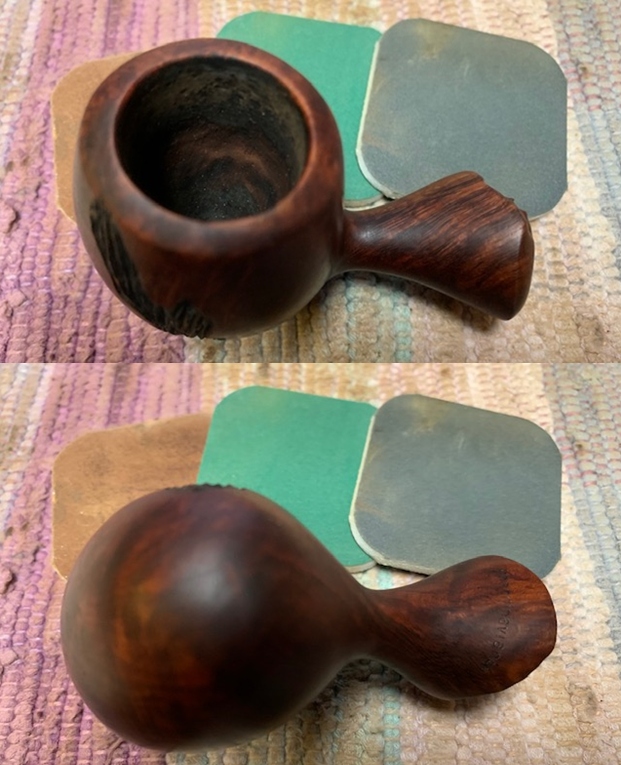
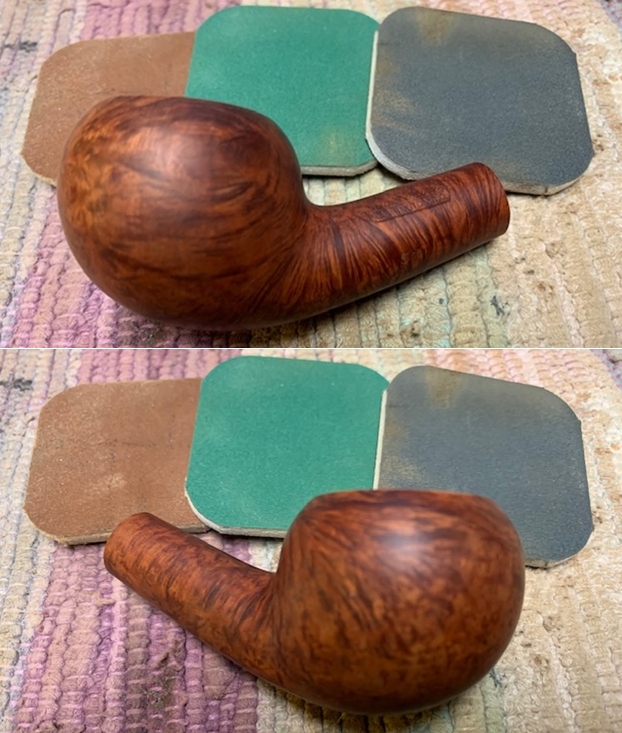
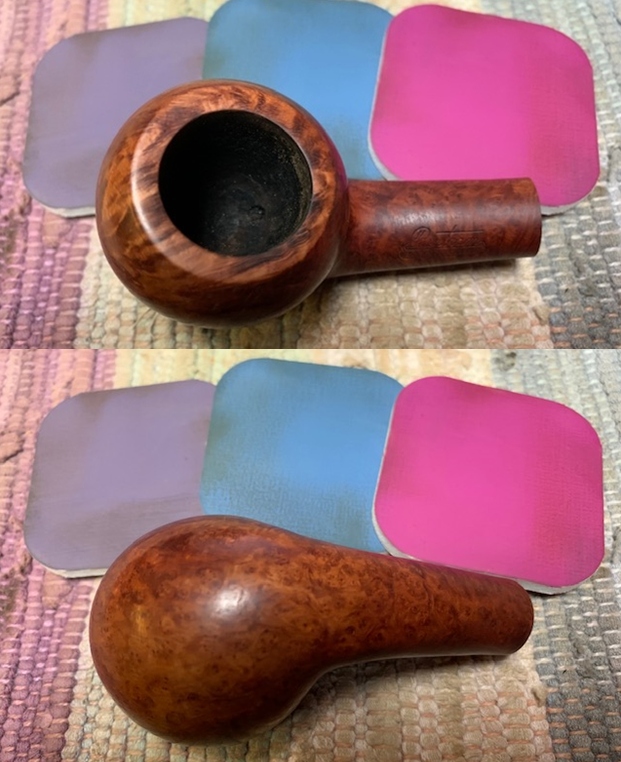
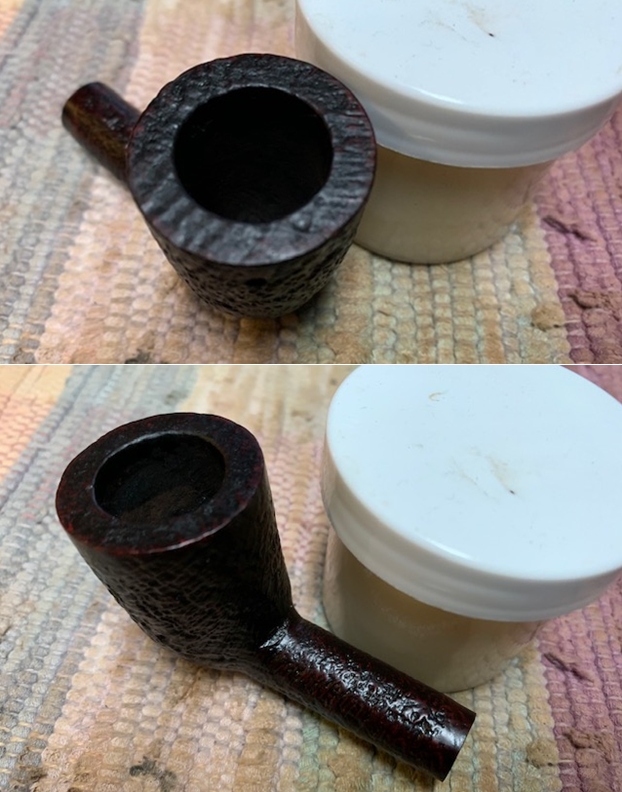
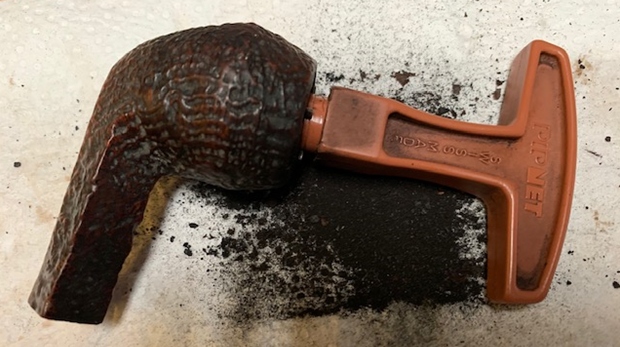
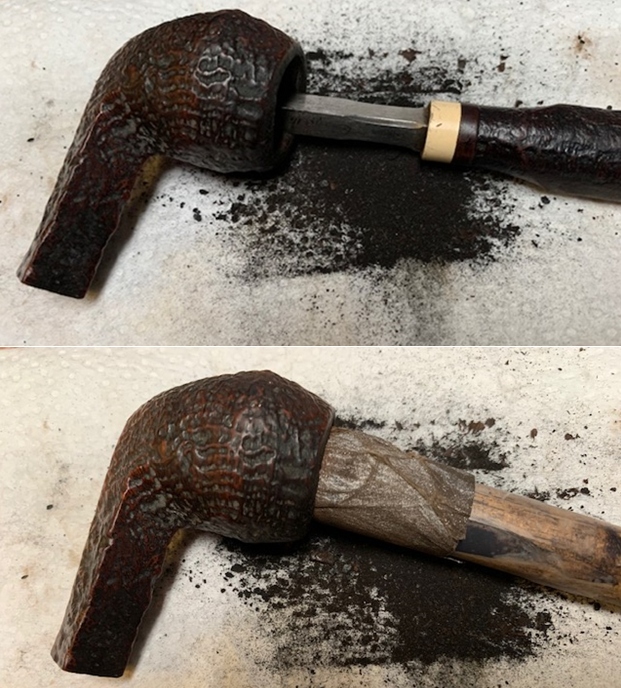
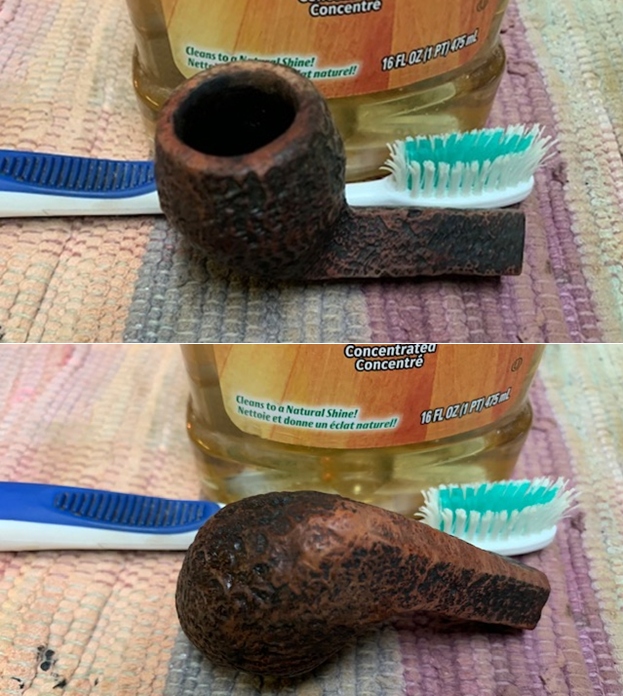
I decided to start my work on this one by reworking the inner edge of the rim with a folded piece of 220 grit sandpaper. I wanted to try and bring it back into round and smooth out the jagged condition.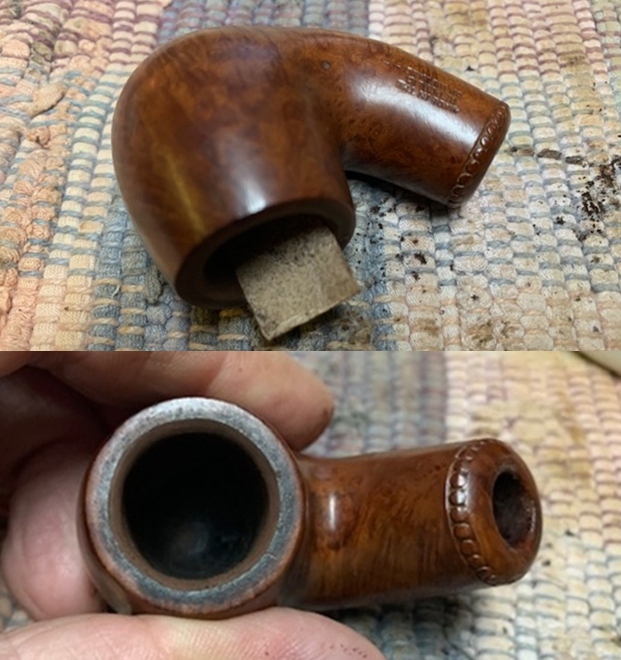 I polished the briar and worked over the rim top with micromesh sanding pads – 1500-12000 grit pads. I wiped the bowl down after each pad with a damp cloth. Once the finish was removed the fills in the briar became very evident.
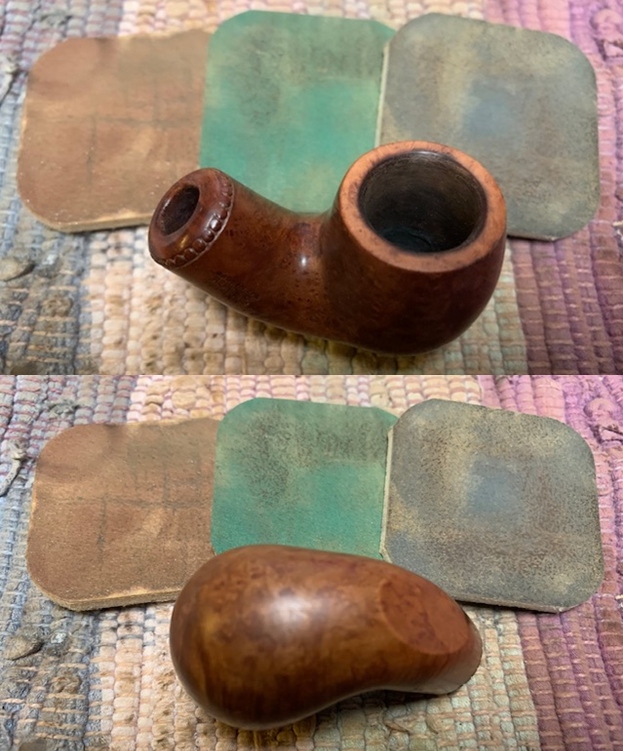
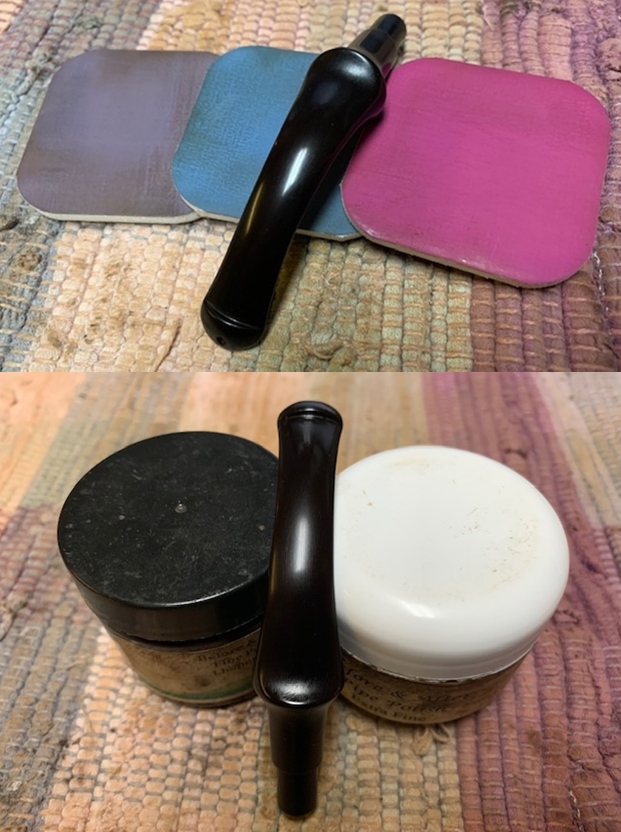
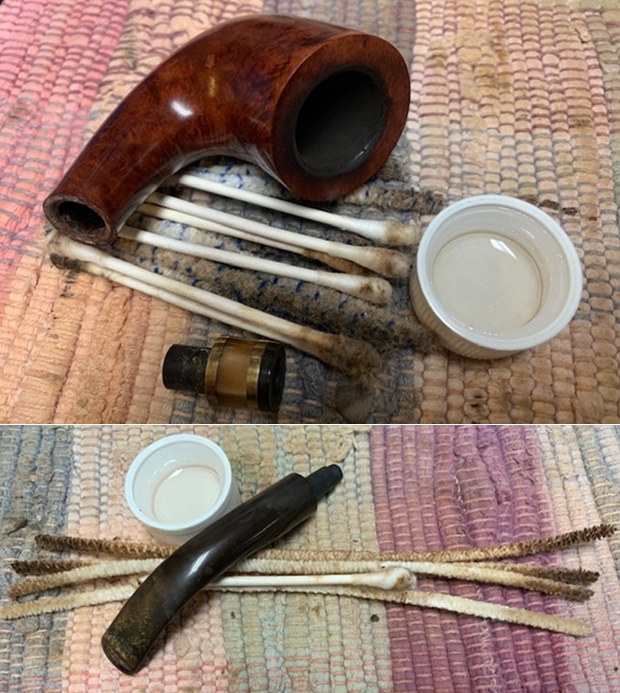
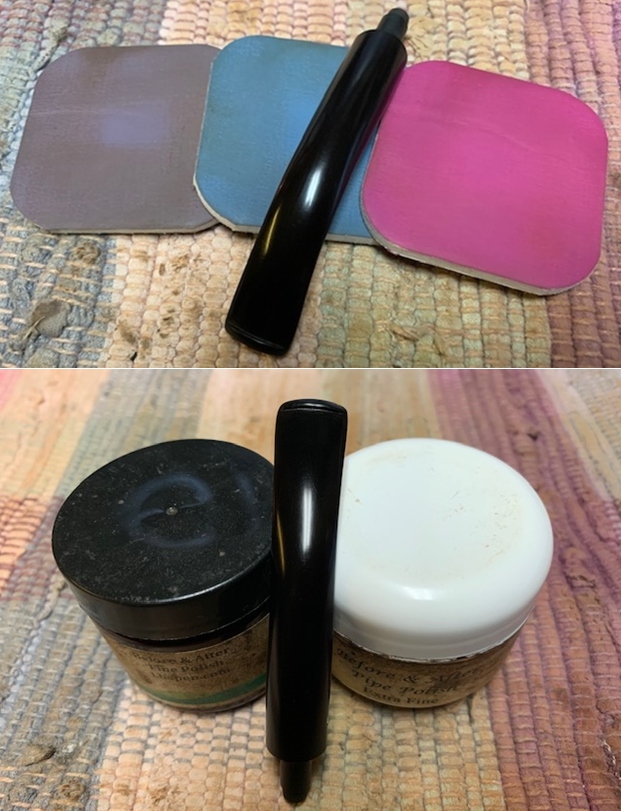
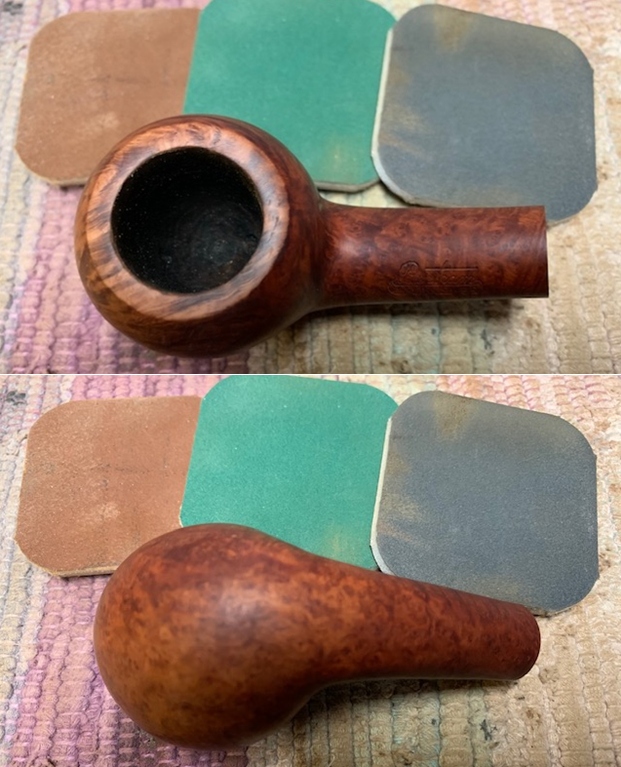
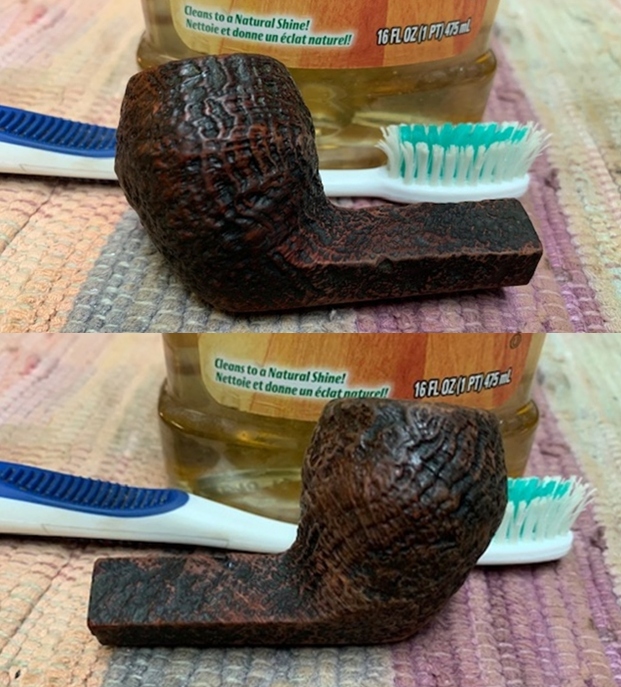
 I rubbed the bowl and shank down with Before & After Restoration Balm. I worked it into the surface of the bowl sides and shank with my fingertips to clean, enliven and protect the briar. I let the balm sit for a little while and then buffed with a cotton cloth to raise the shine.
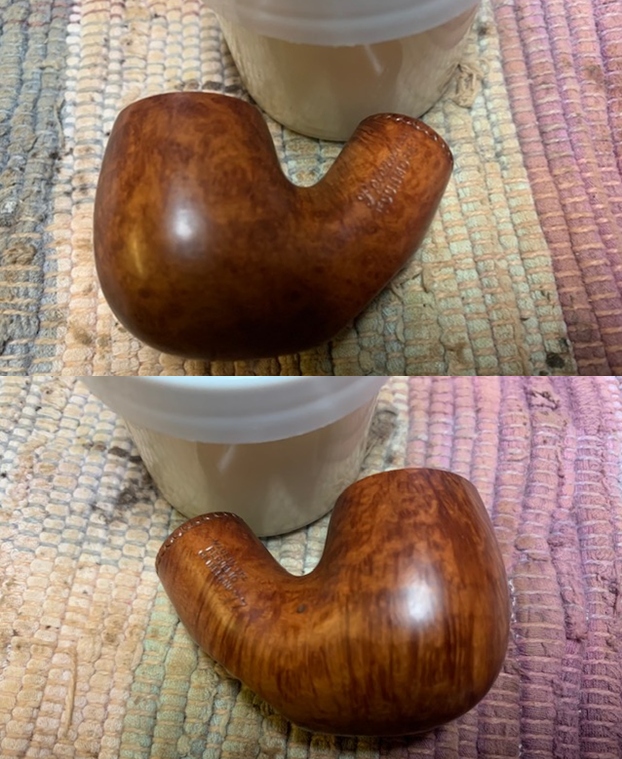
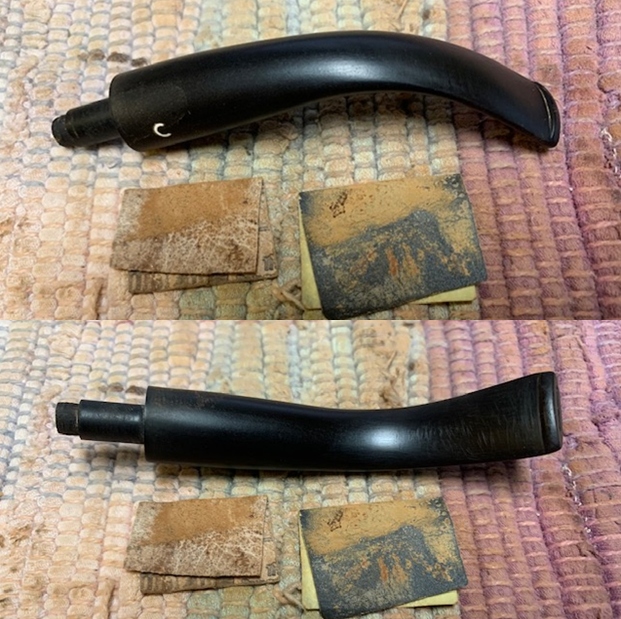
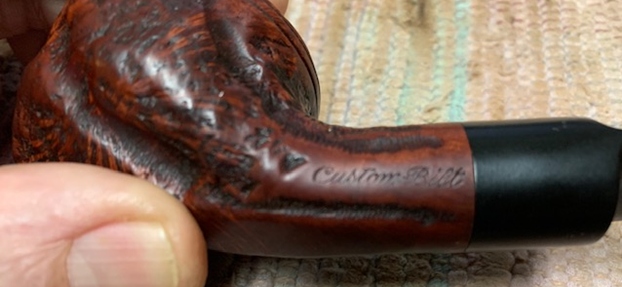
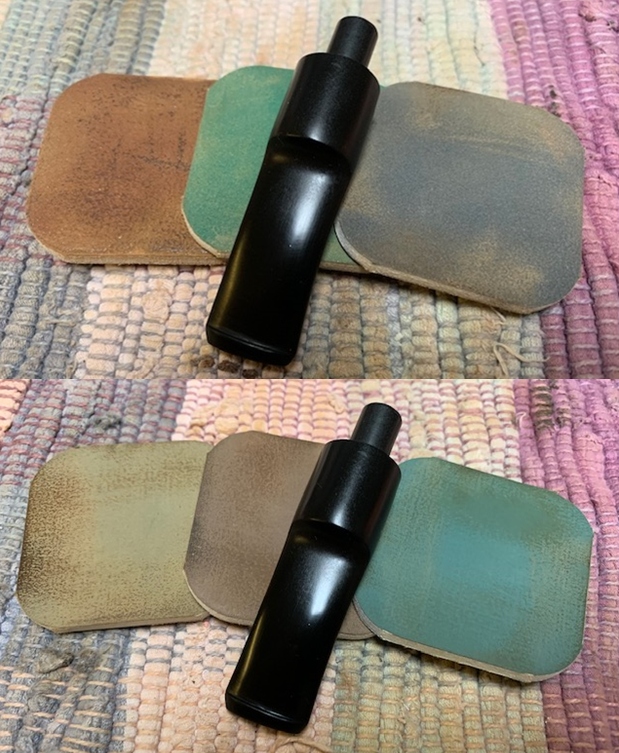
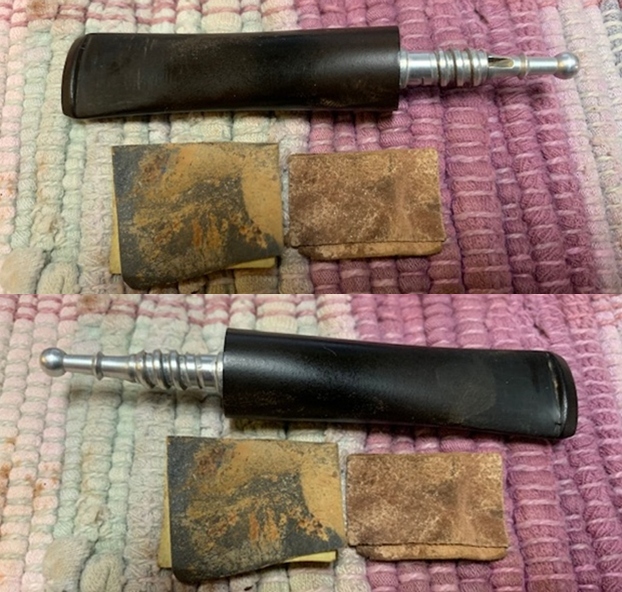
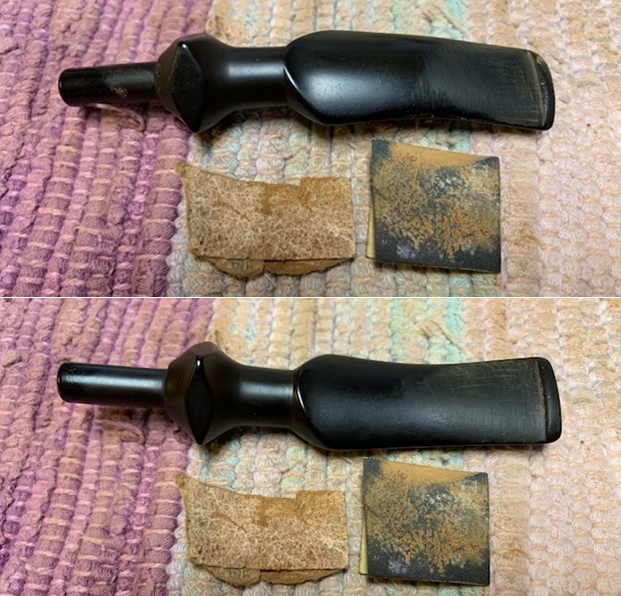
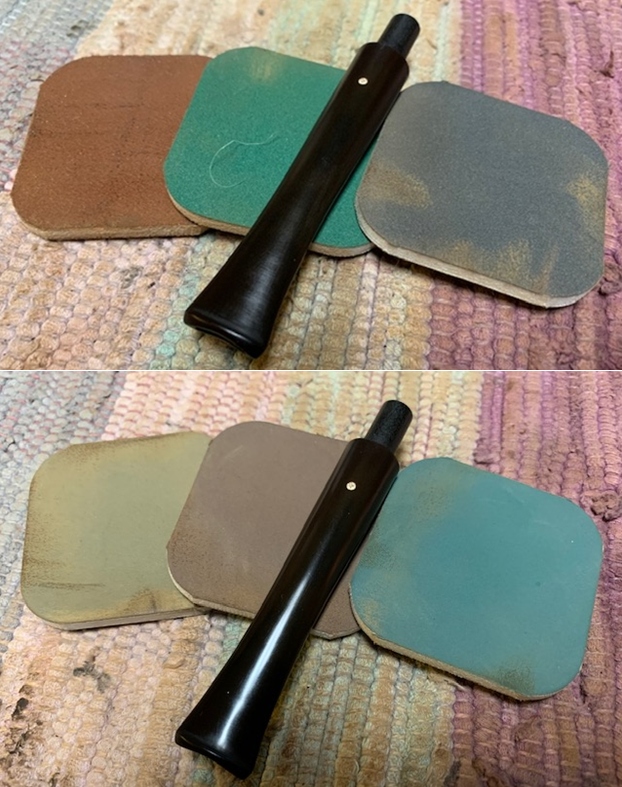
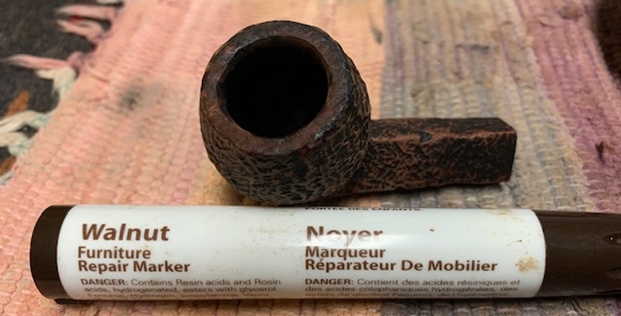
 I touched up the stamp on the left side of the saddle with liquid paper. I applied it and worked it into the stamp with a tooth pick. Once it cured I scraped off the excess. It is definitely better though the stamp is faint in some spots.
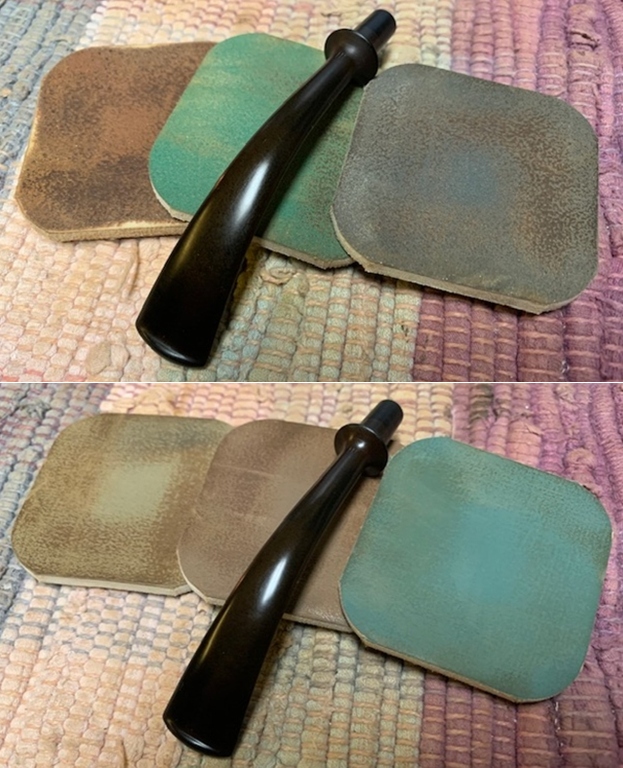
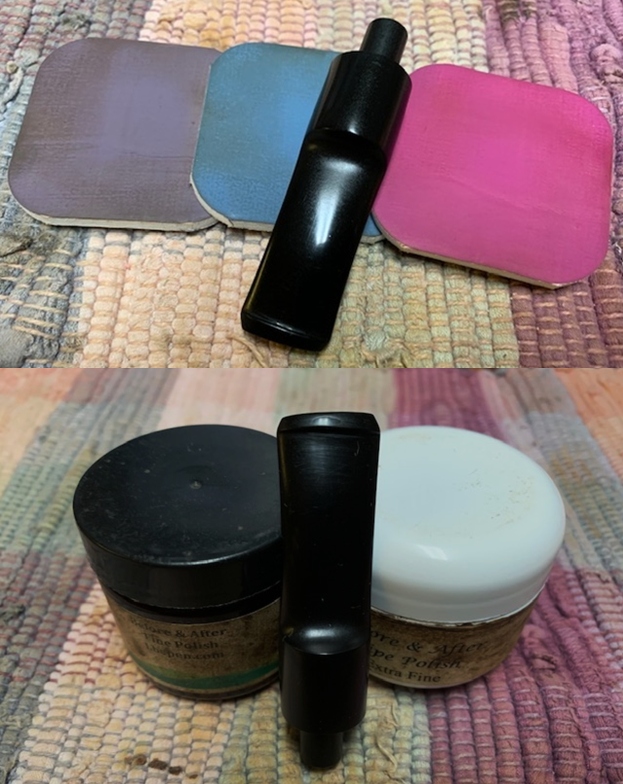
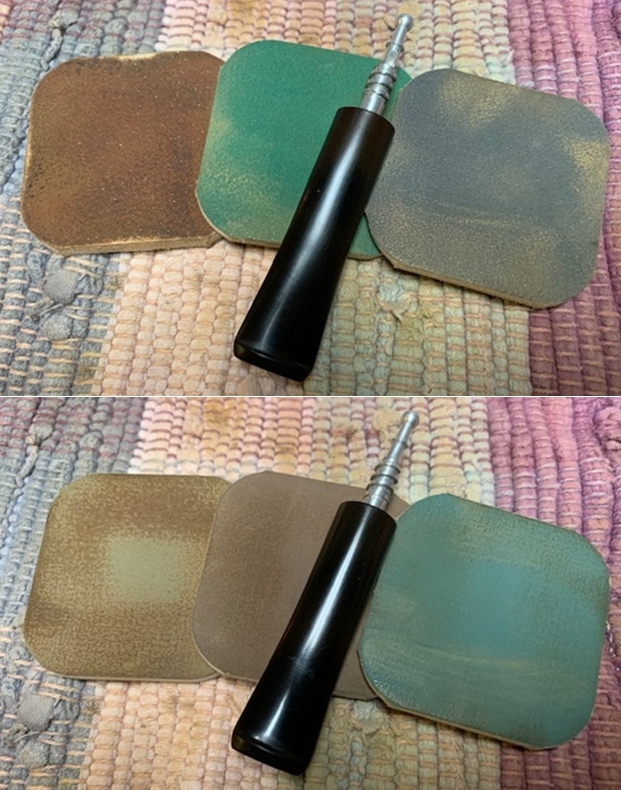
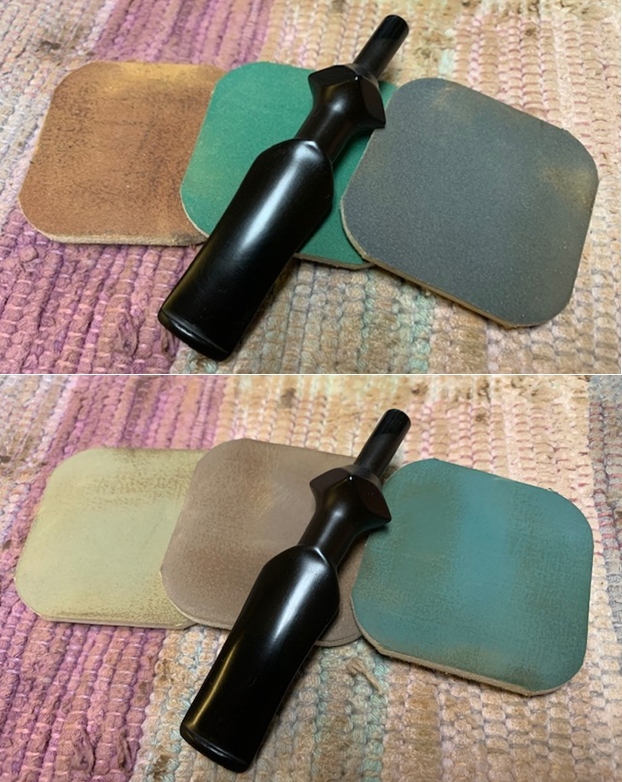
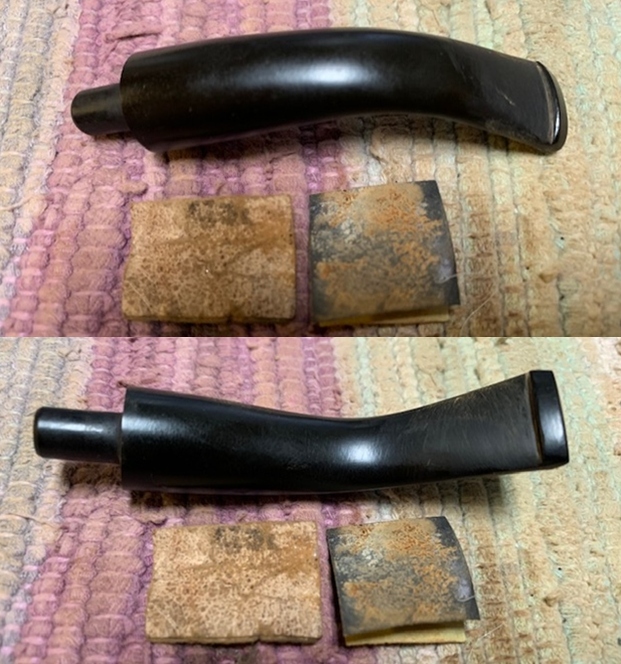
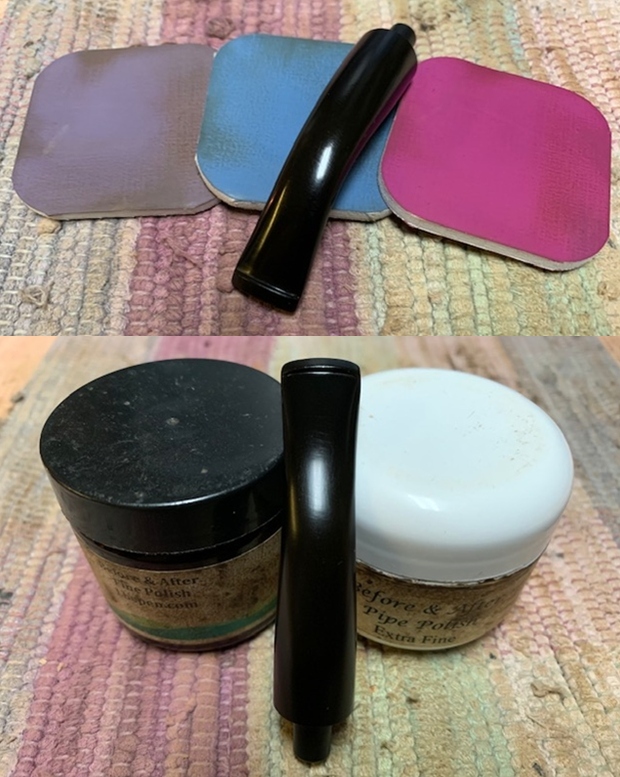
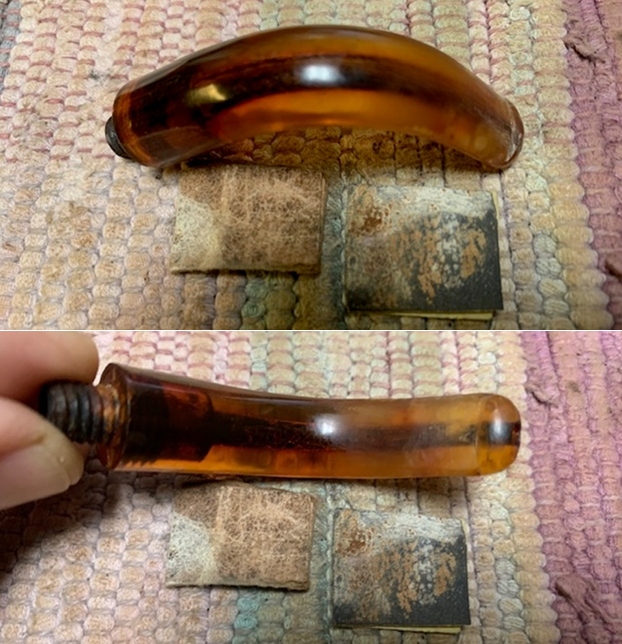
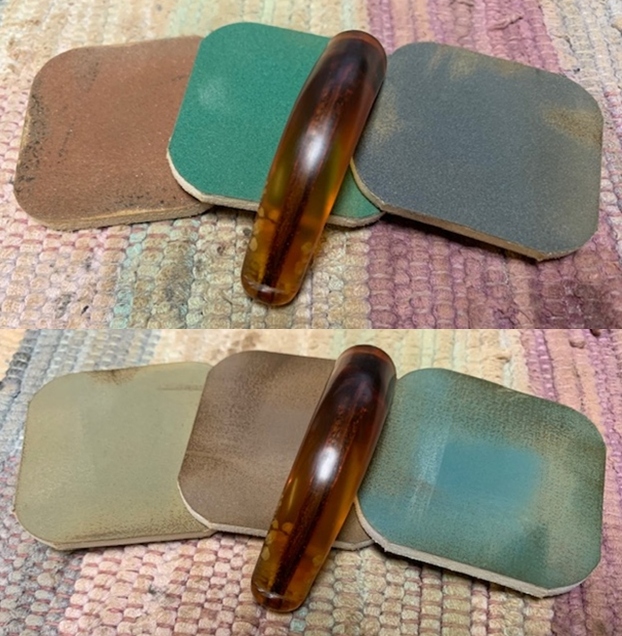
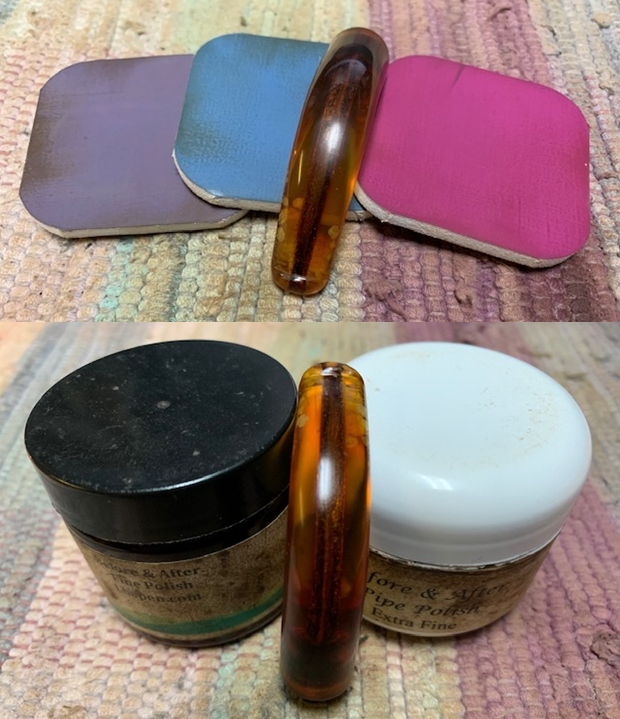
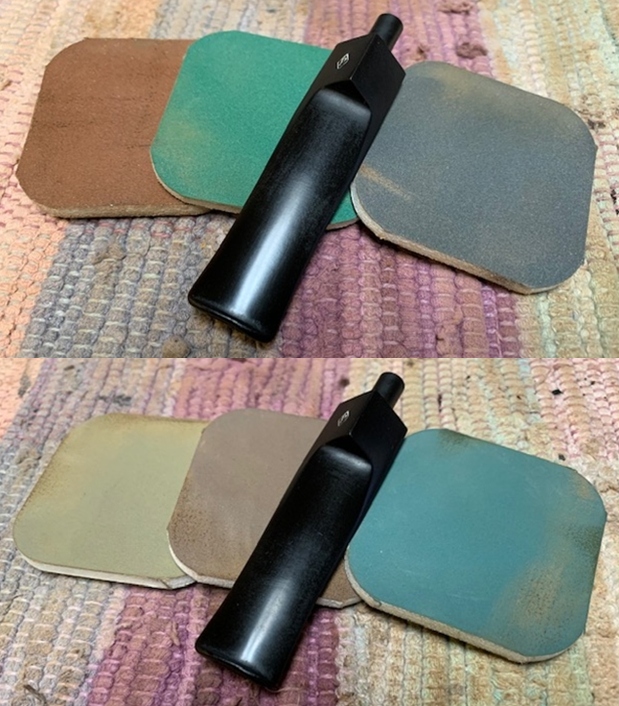
 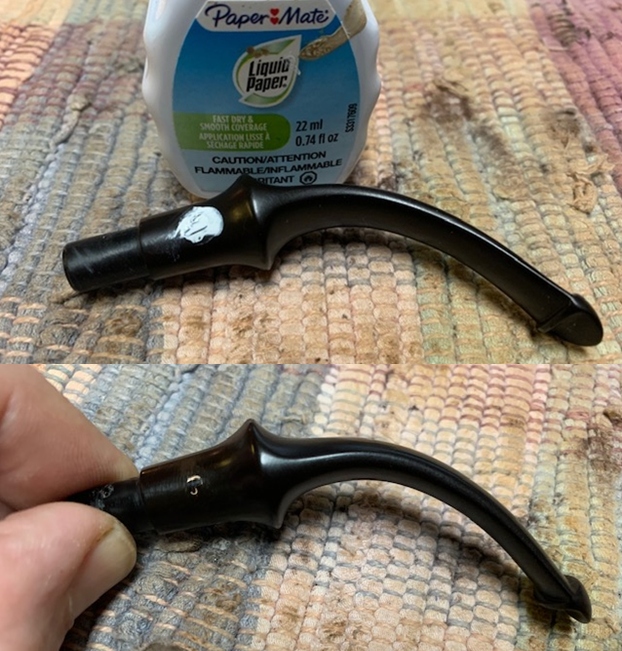 I polished the vulcanite stem with micromesh sanding pads – 1500-12000 grit pads. I wiped it down with a damp cloth after each sanding pad. I used Before & After Pipe Polish – both Fine and Extra Fine to further polish the stem.
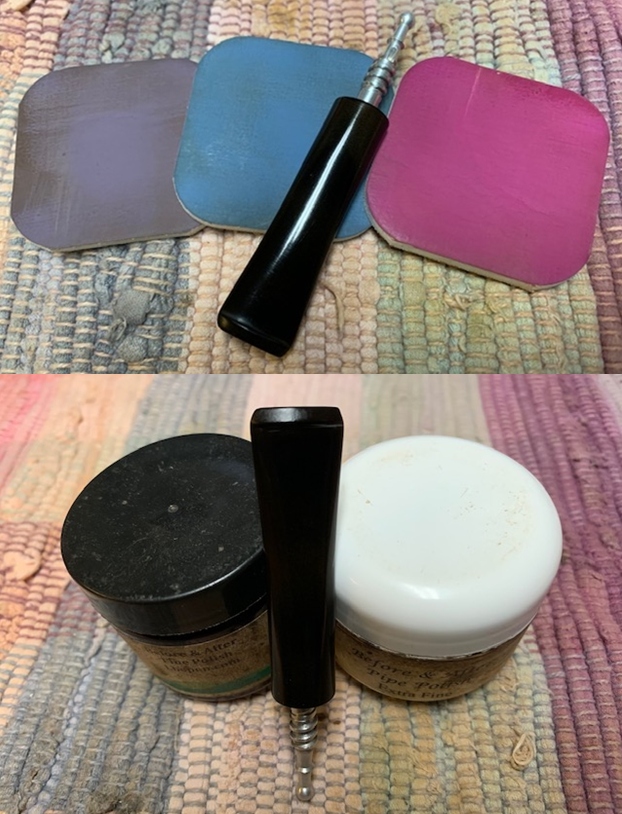
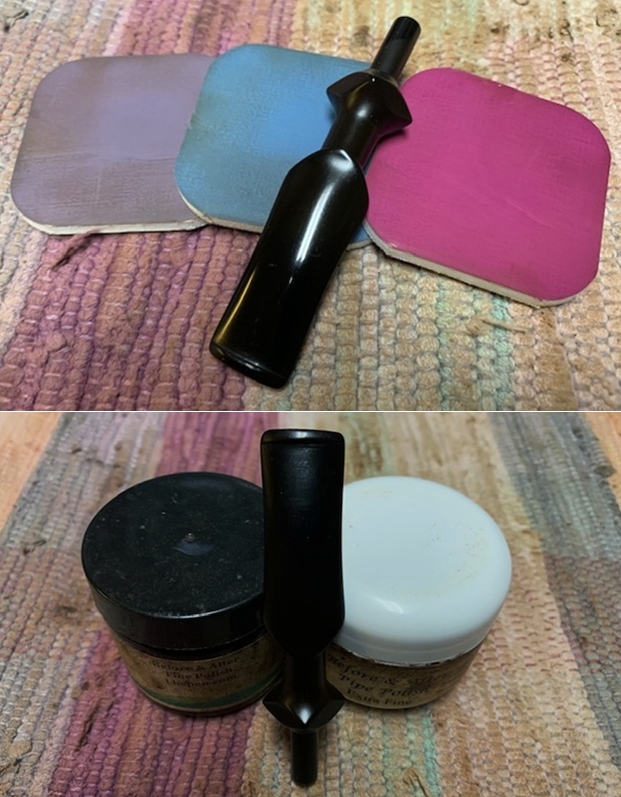
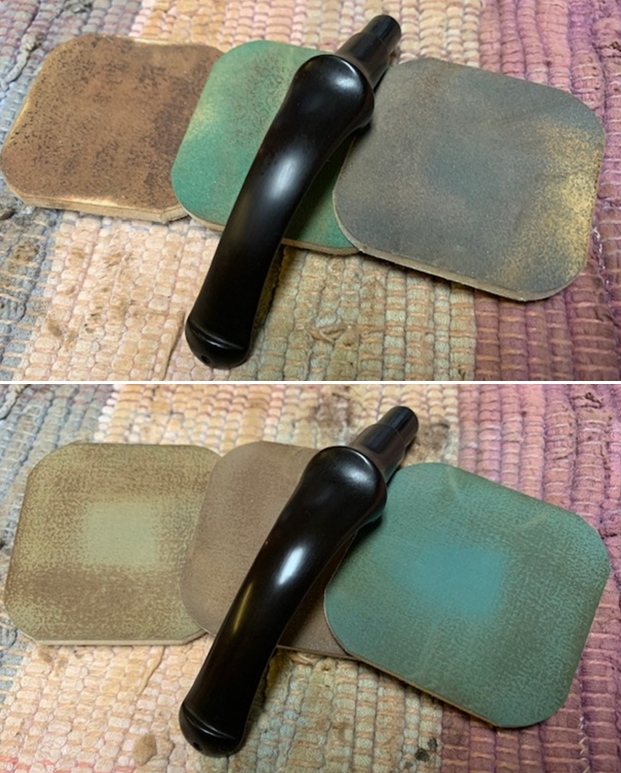
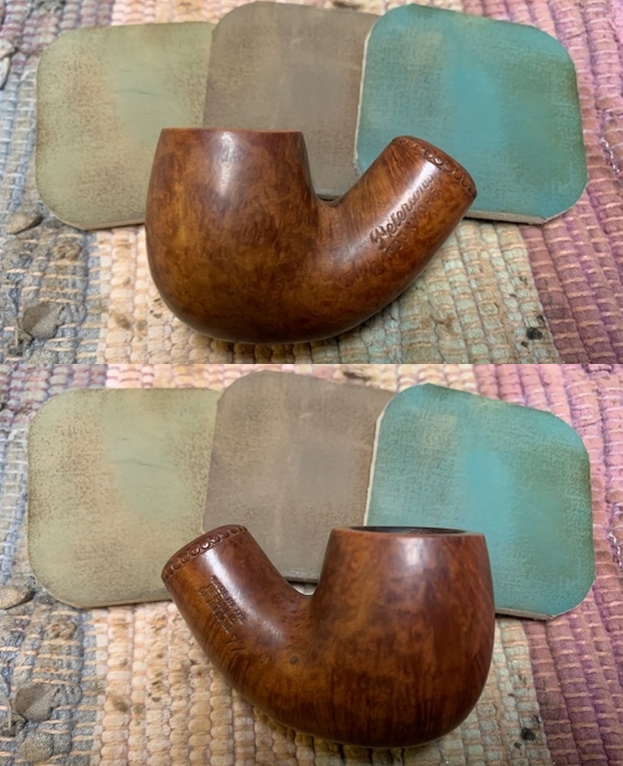
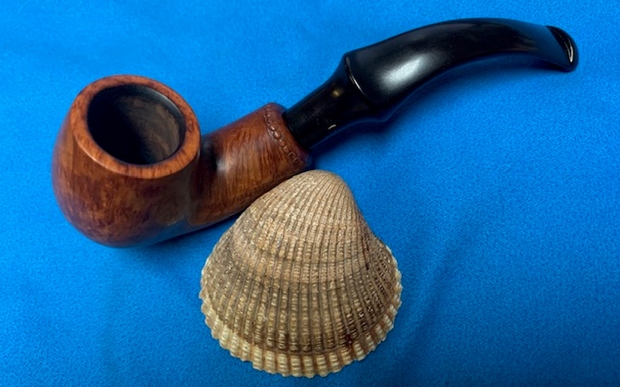
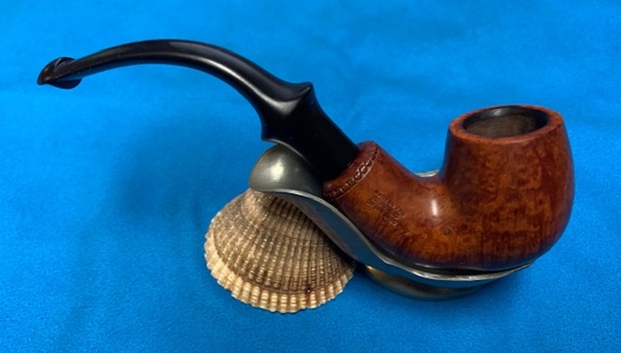
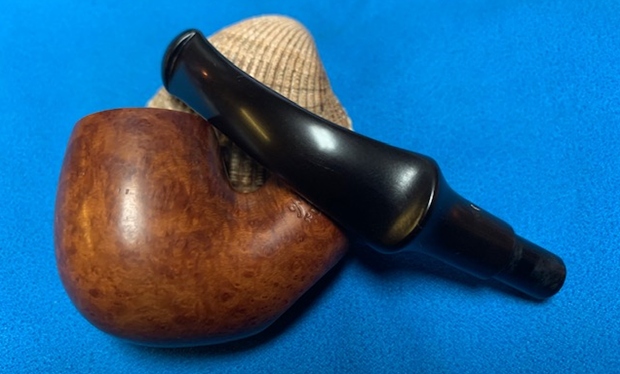
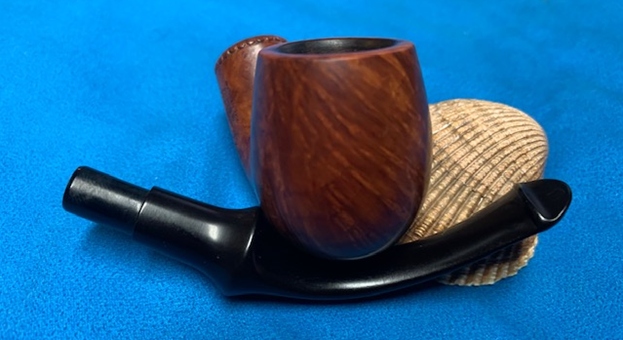
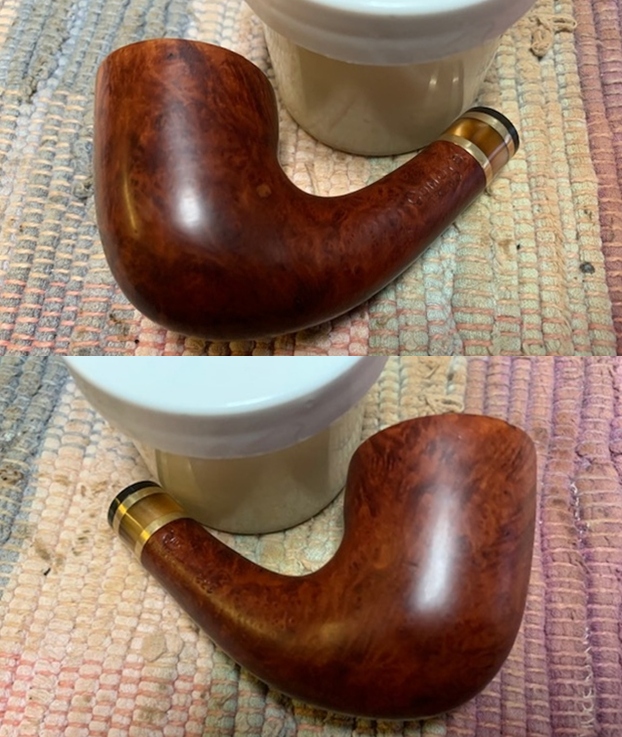
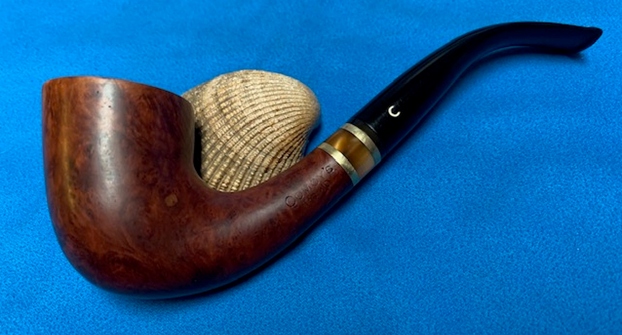
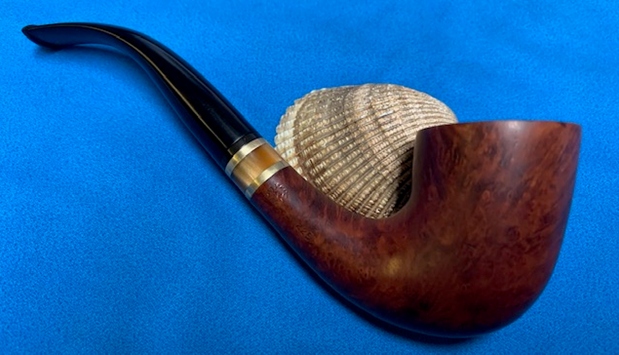
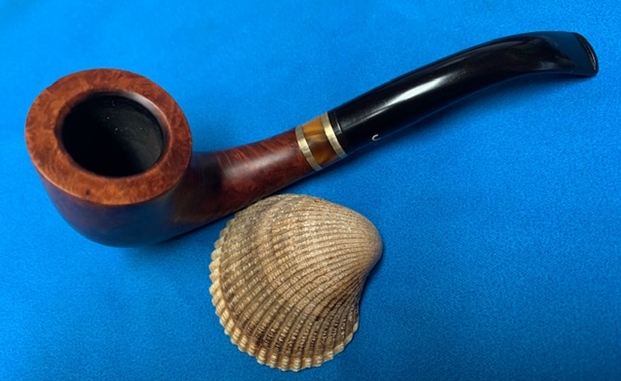
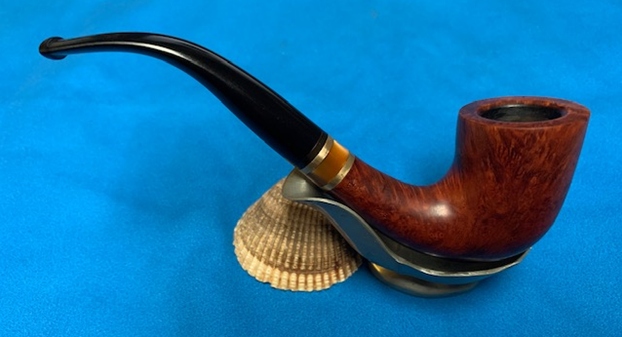
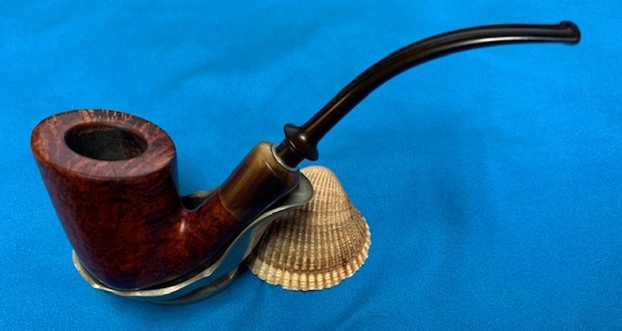
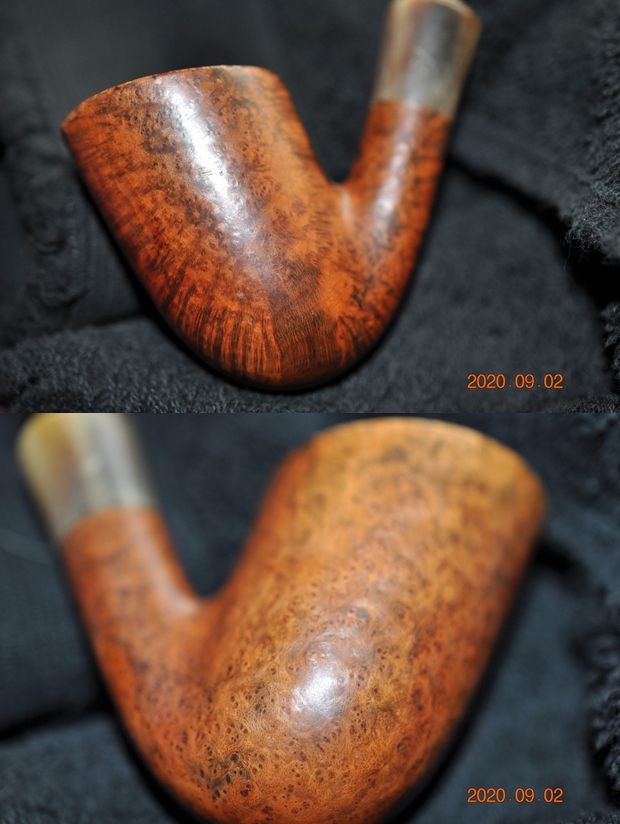
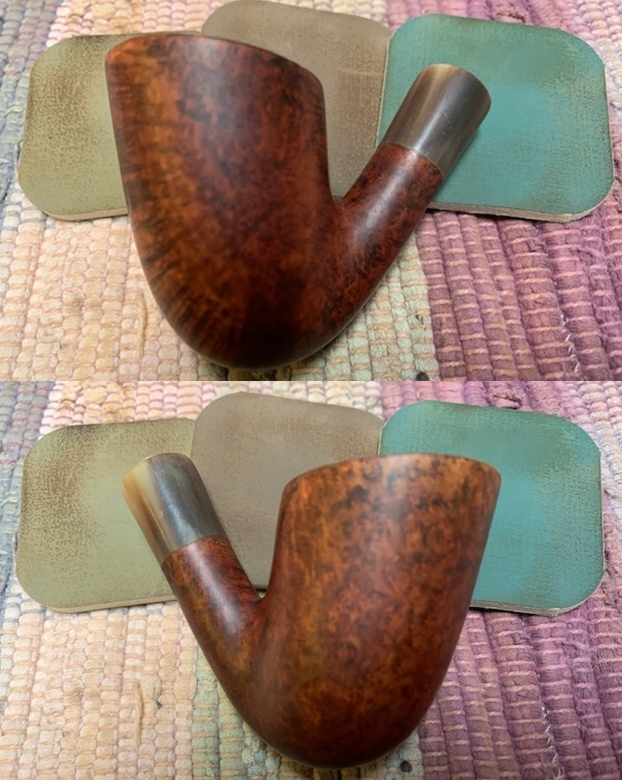
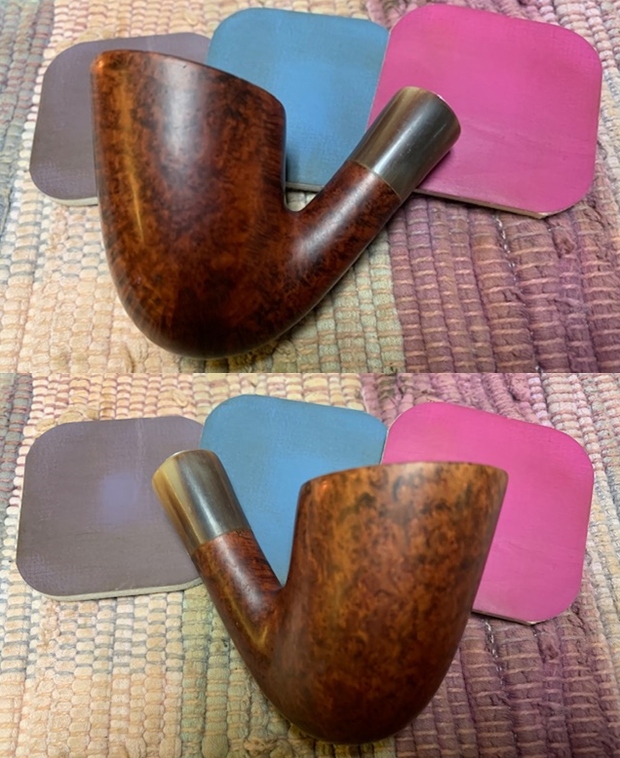
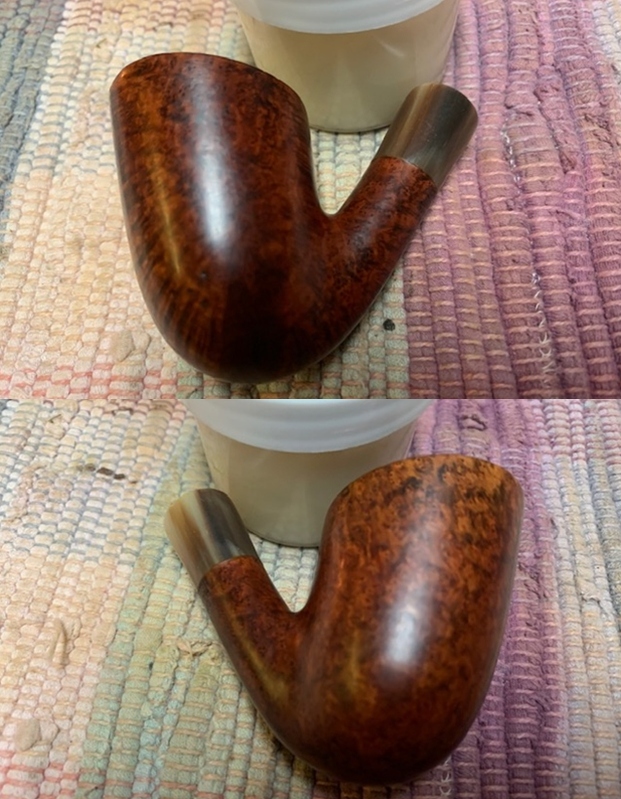
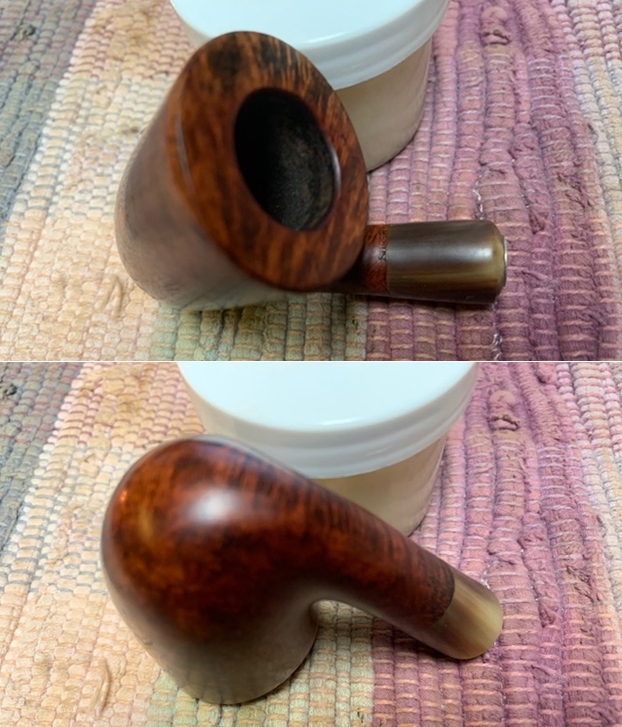
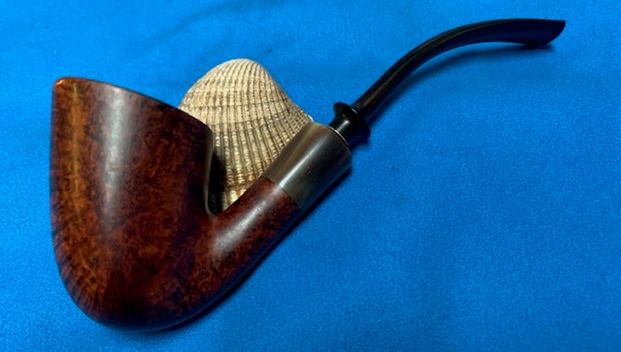
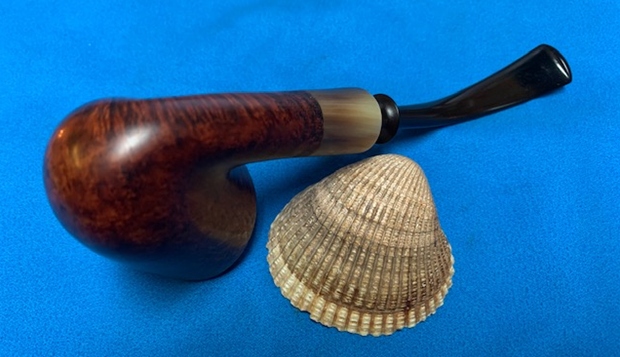
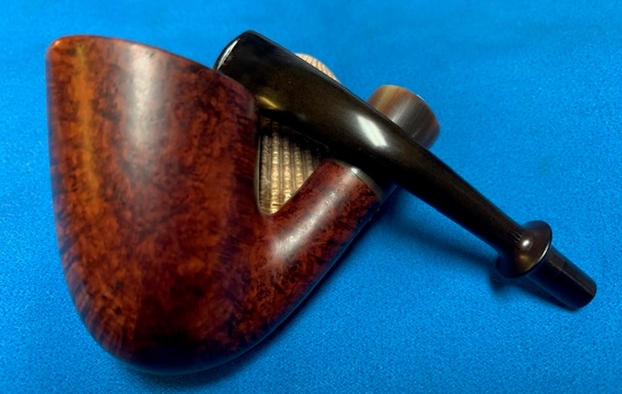
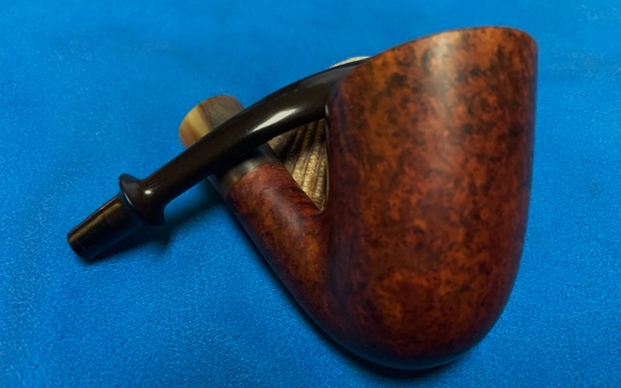
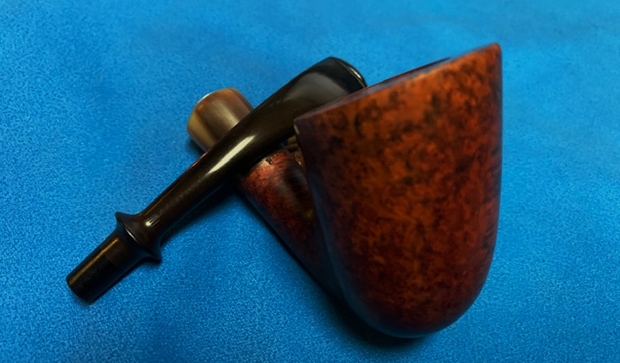
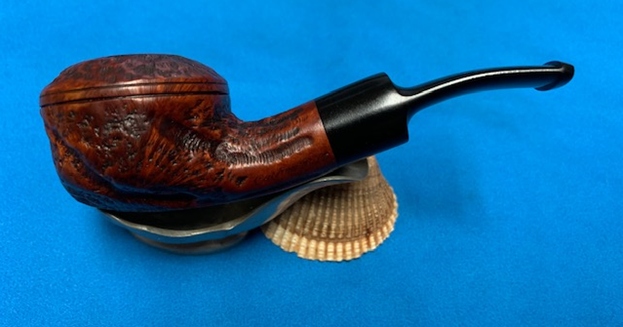
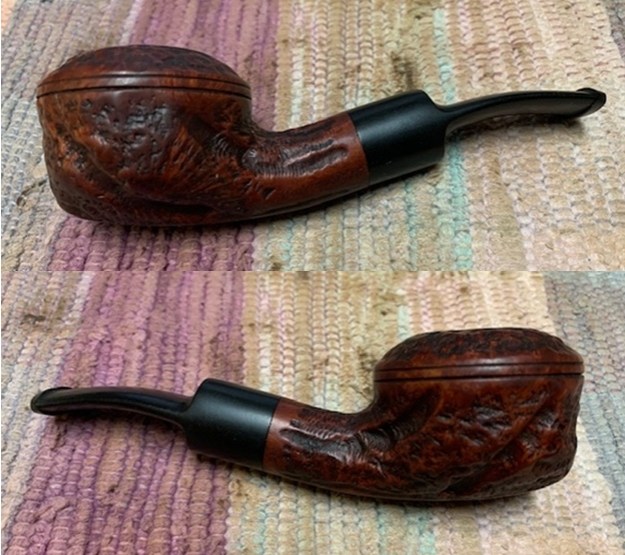
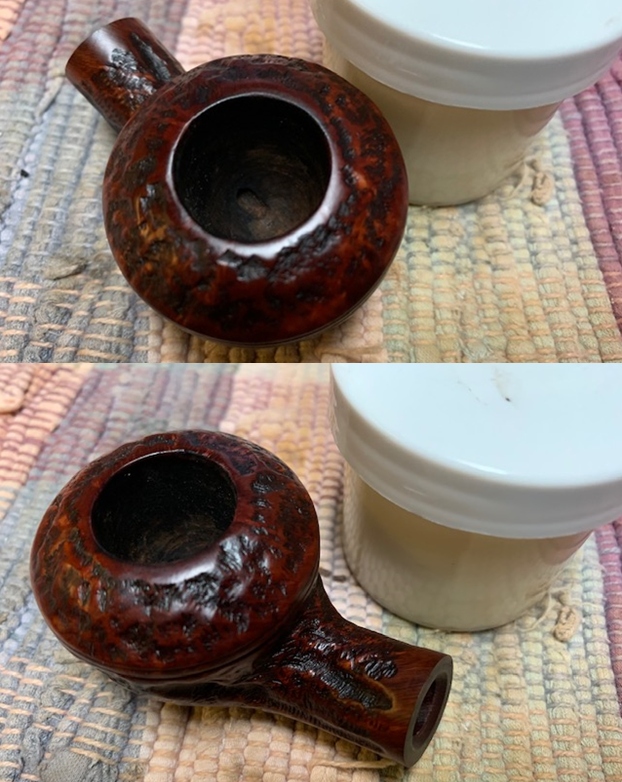
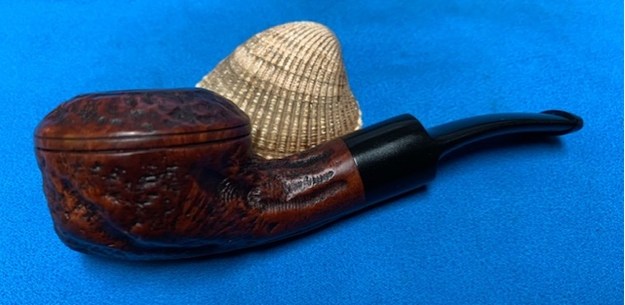
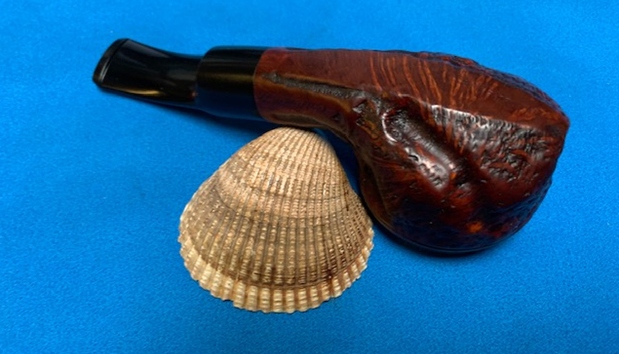
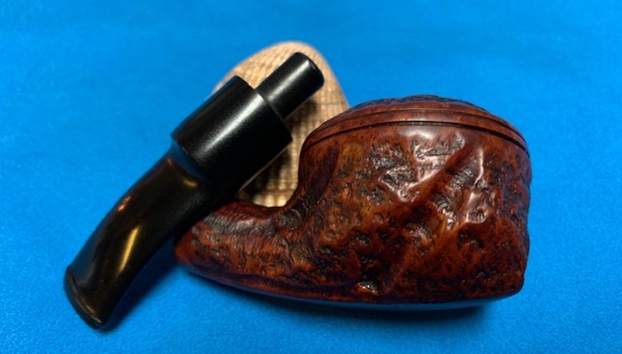
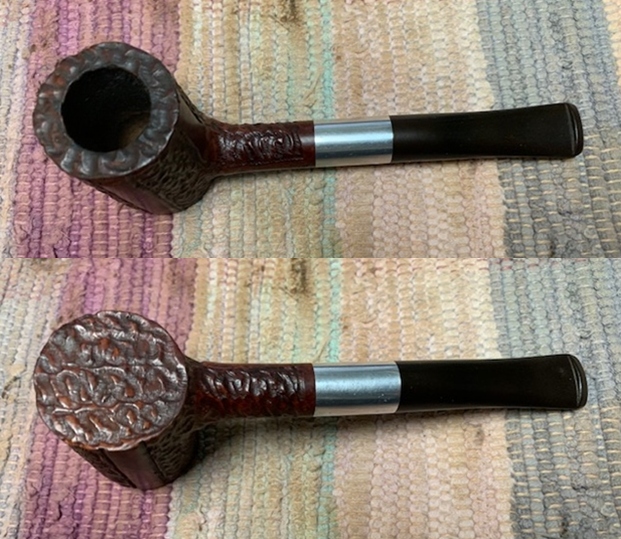
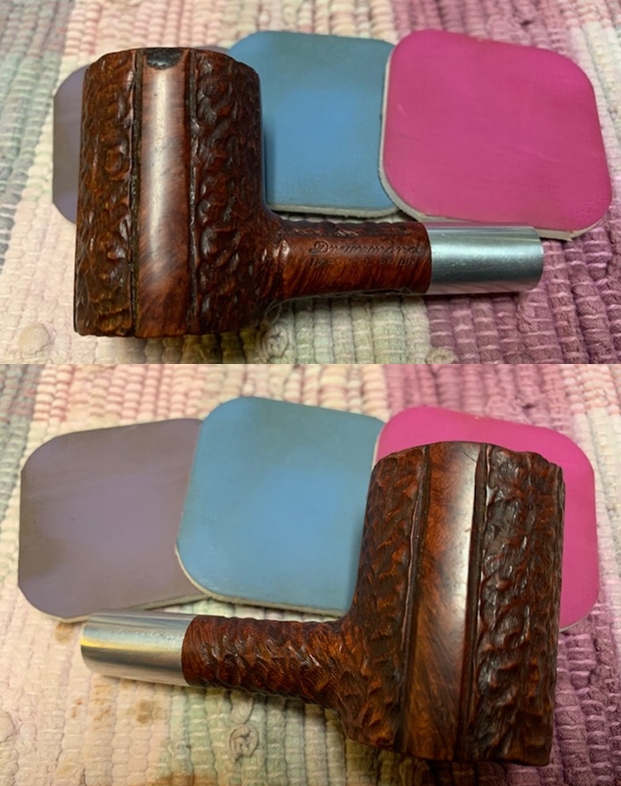
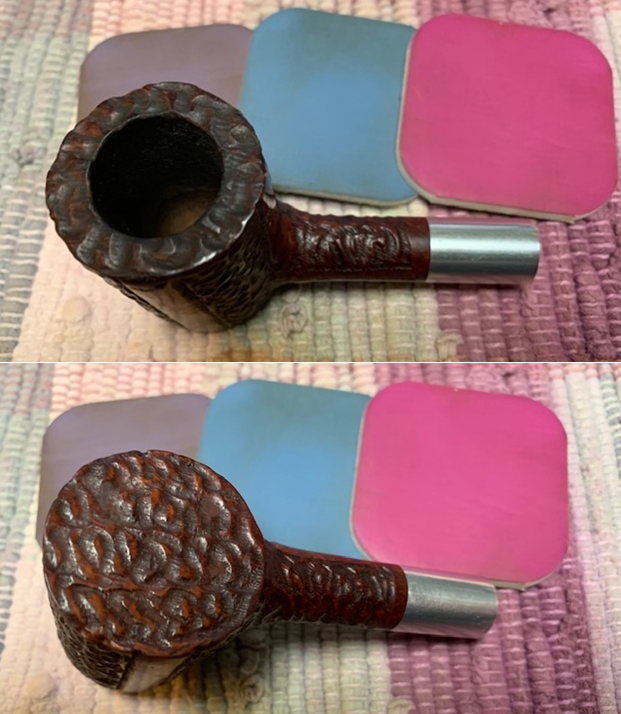
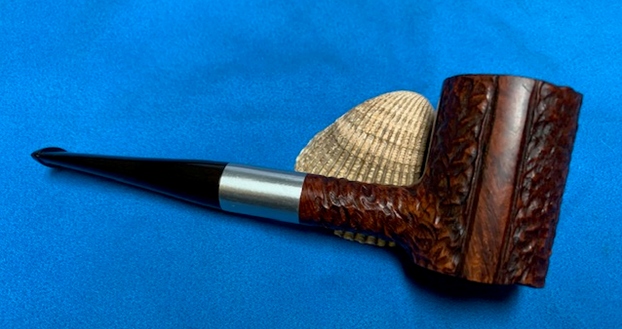
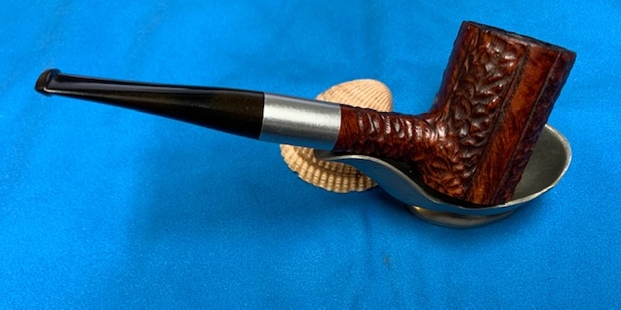
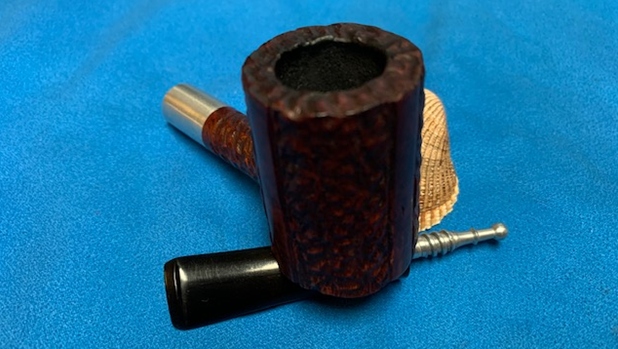
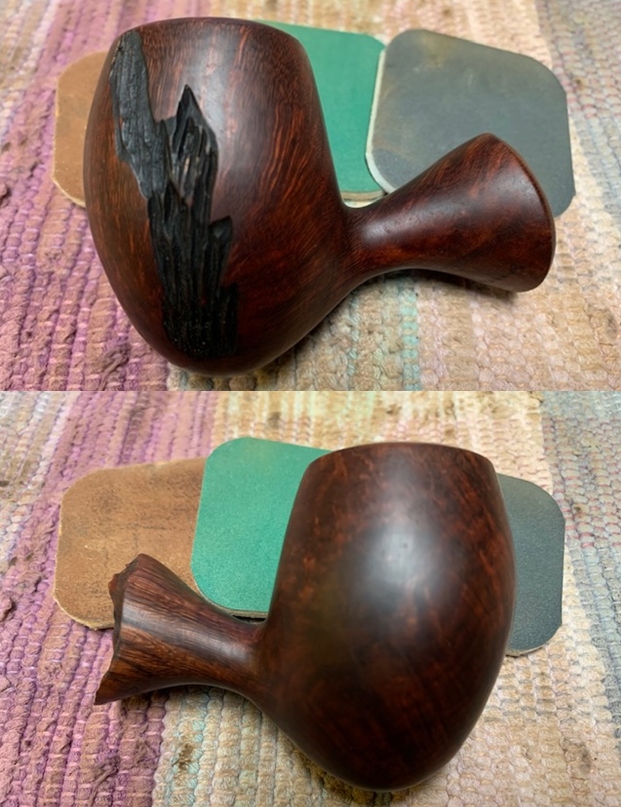
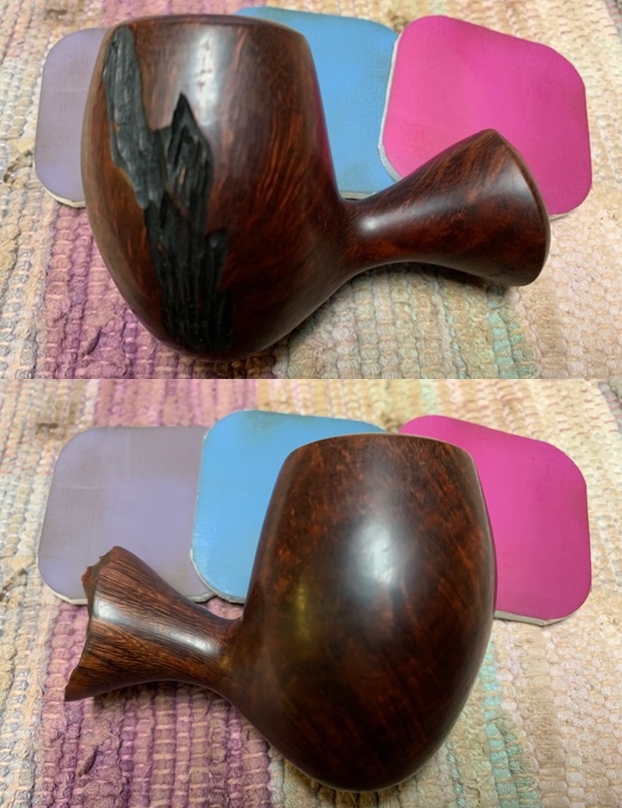
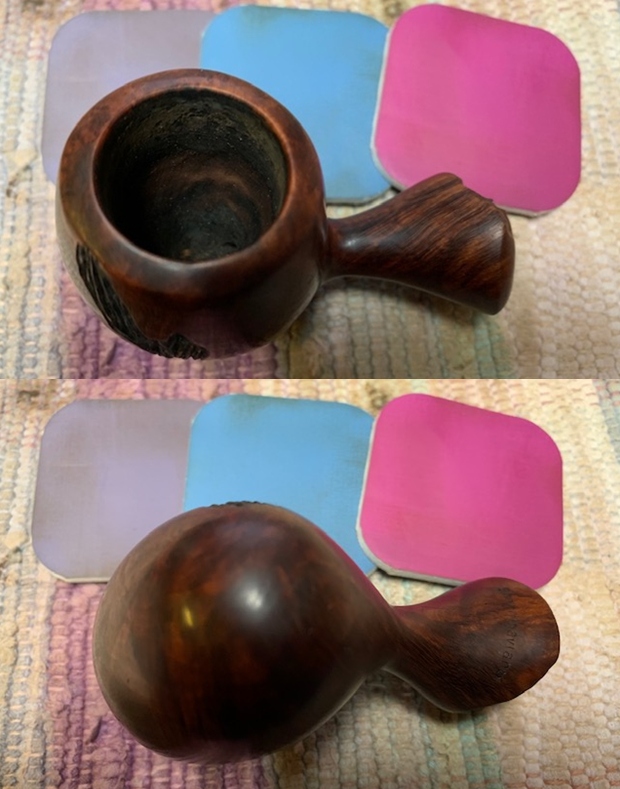
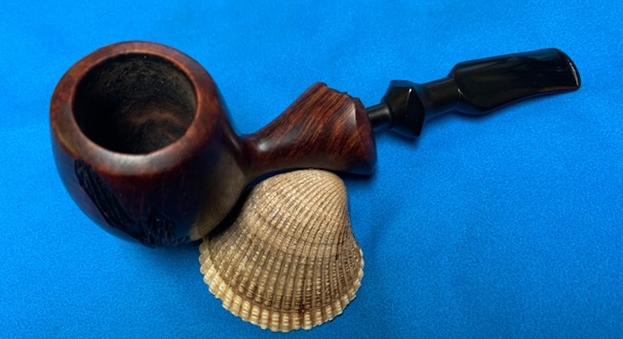
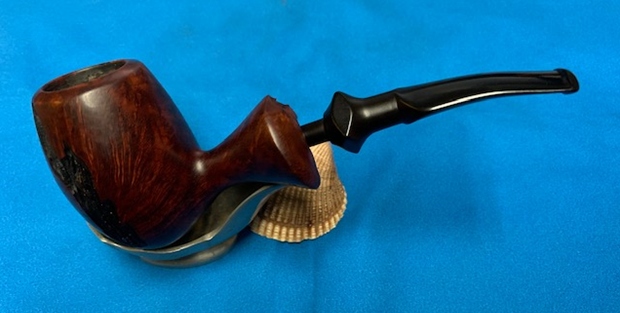
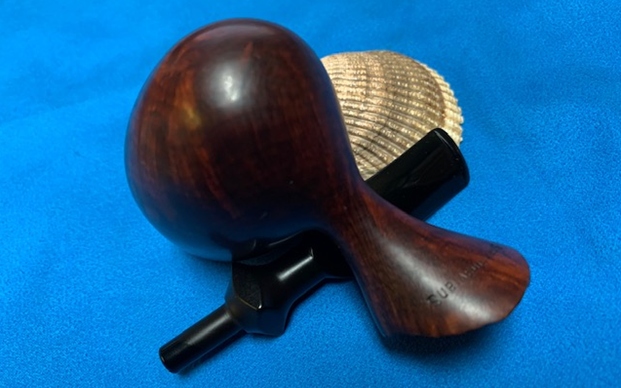
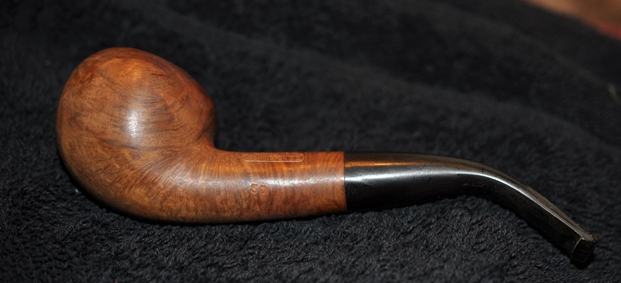
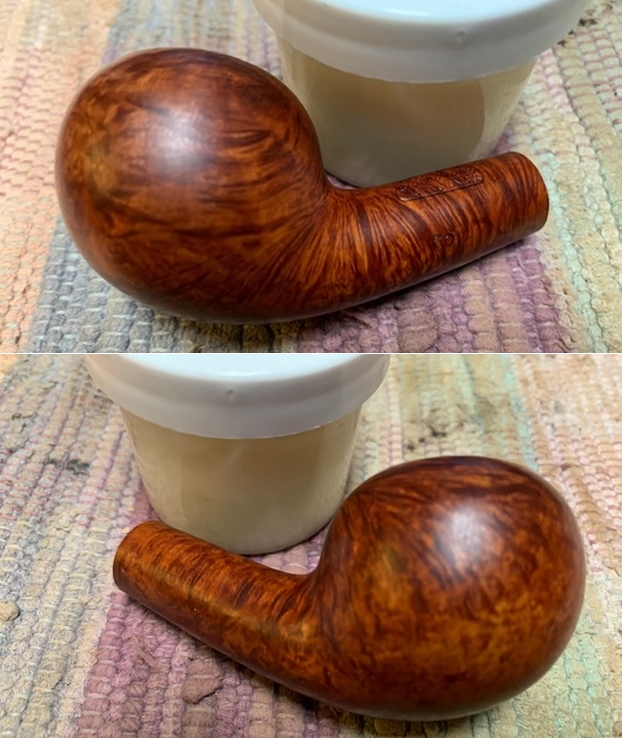
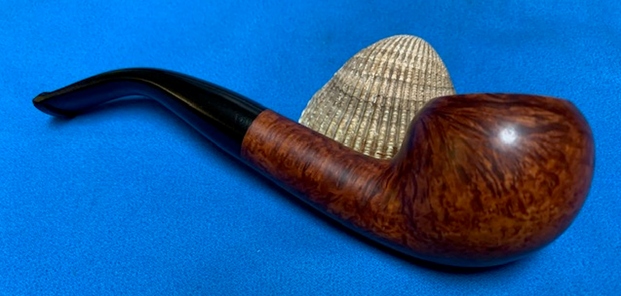
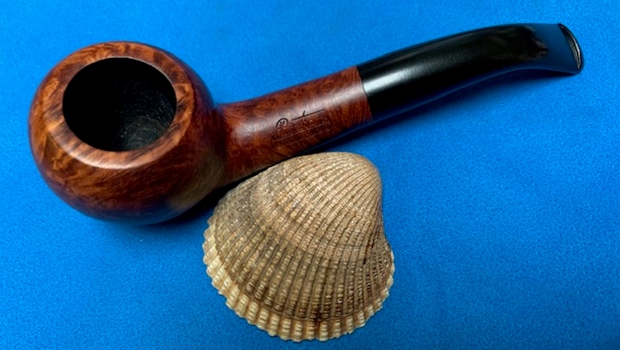
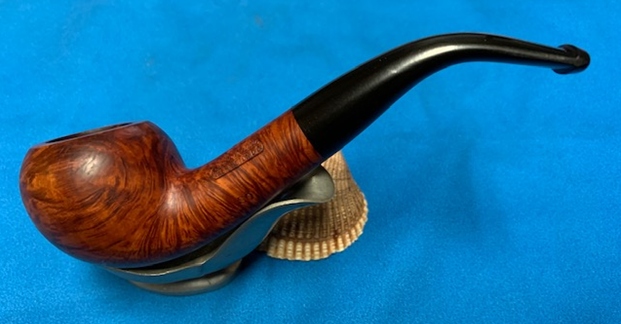
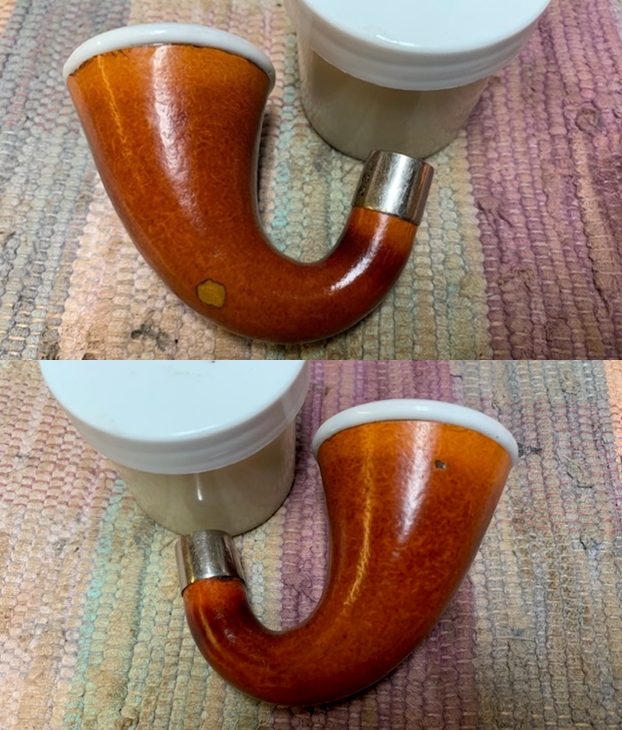
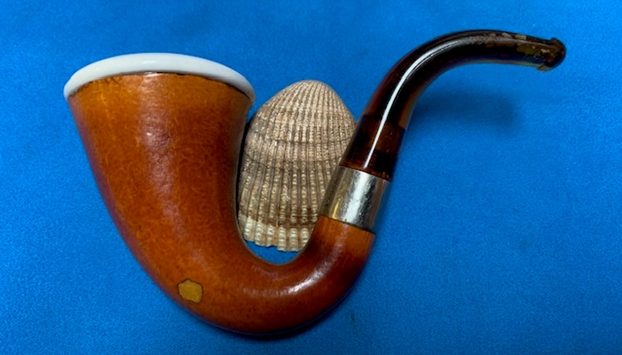
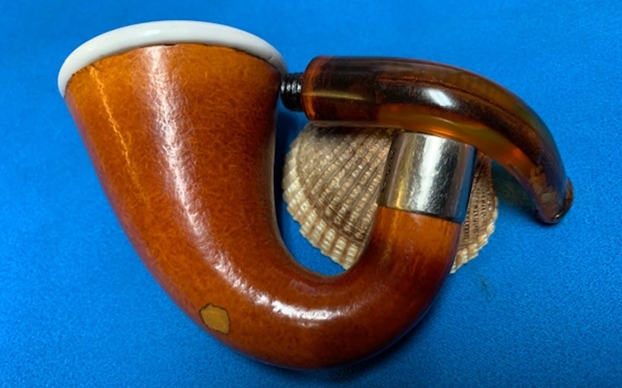
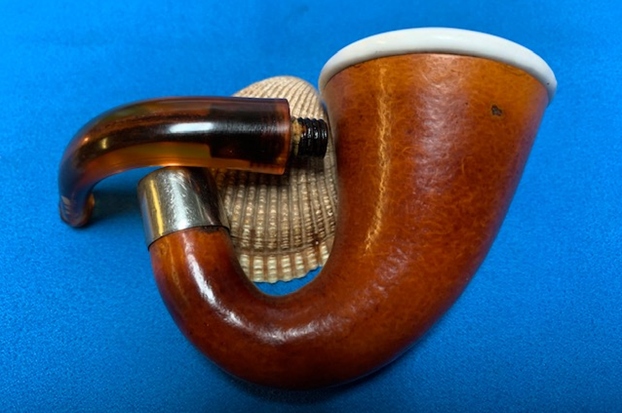
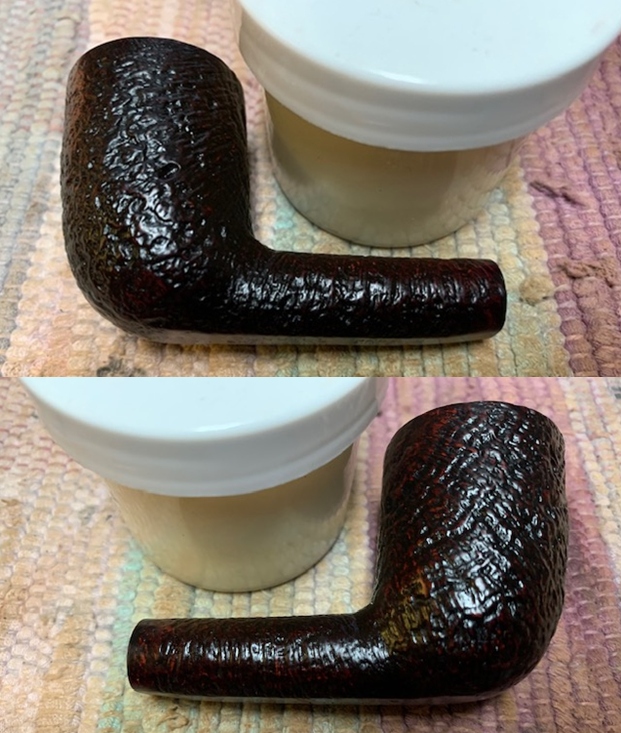
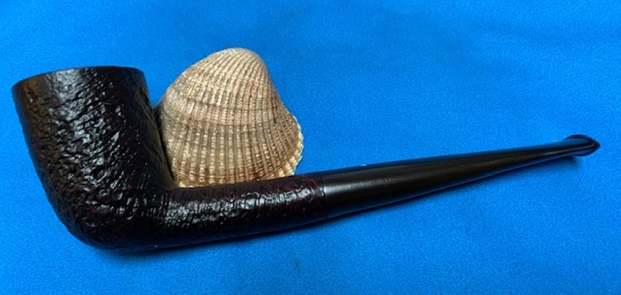
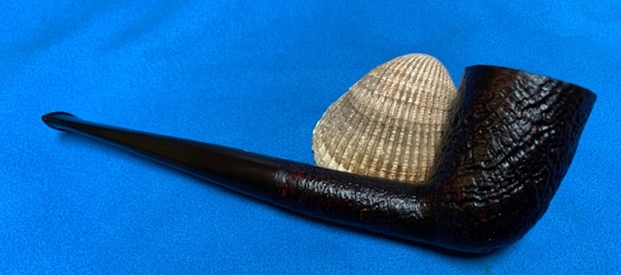
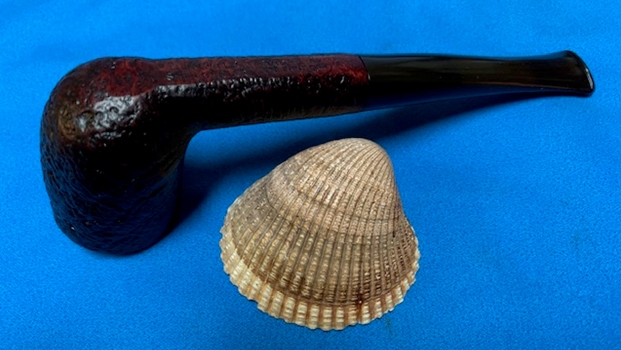
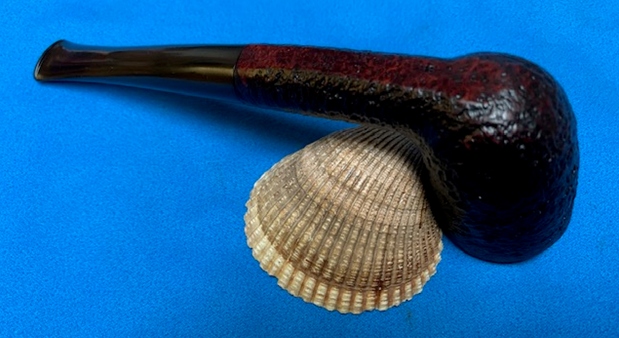
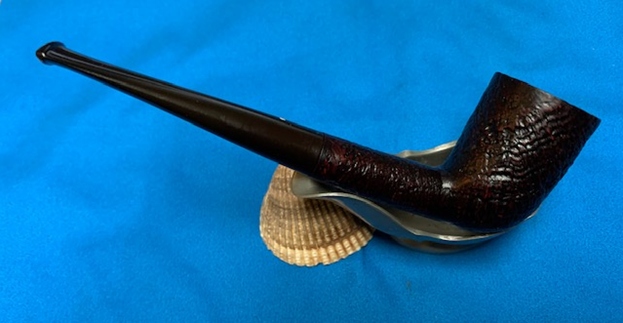
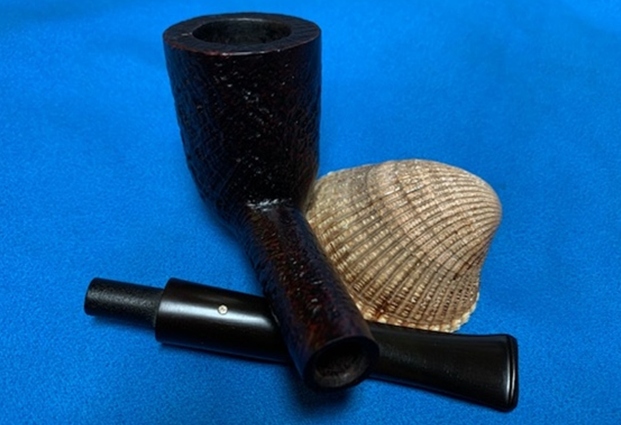
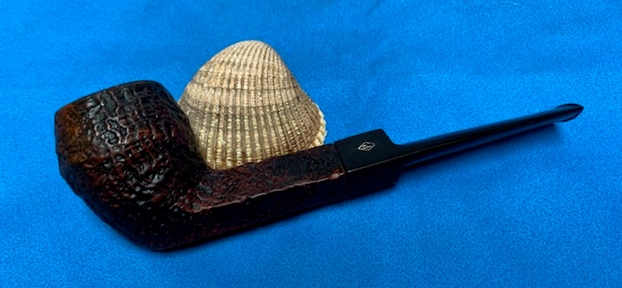
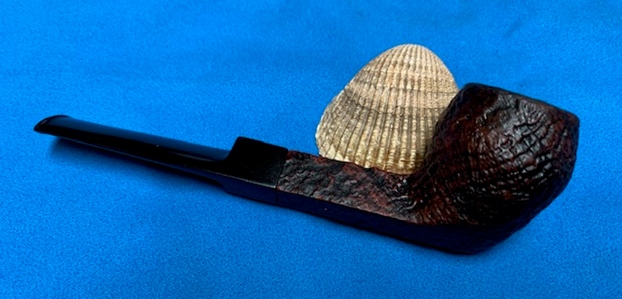
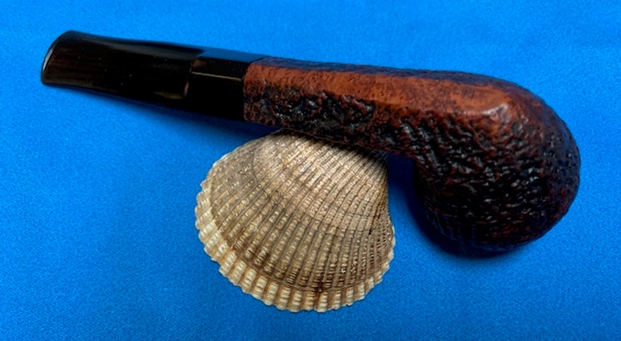
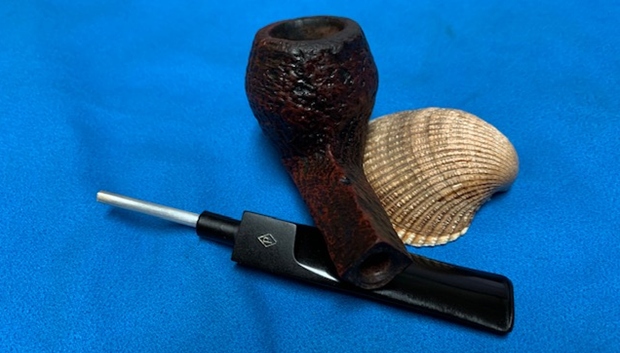
 This nice looking Peterson’s Dunmore 77 Bent Billiard and a classic Peterson’s P-lip vulcanite stem looks much better now that it has been restored. The rim top and edges cleaned up very well. The rich brown stains on the bowl came alive with the polishing and waxing. I put the stem back on the bowl and carefully buffed the pipe with Blue Diamond on the buffing wheel using a light touch on the briar. I gave the bowl and the stem multiple coats of carnauba wax on the buffing wheel and followed that by buffing the entire pipe with a clean buffing pad. I hand buffed the pipe with a microfiber cloth to deepen the shine. The finished Peterson’s Dunmore is a petite beauty and fits nicely in the hand and looks very good. Give the finished pipe a look in the photos below. The dimensions of the pipe are Length: 5 inches, Height: 1 ½ inches, Outside diameter of the bowl: 1 inch, Chamber diameter: ¾ of an inch. If you are interested in adding this pipe to your collection send me a message or an email. Thanks for reading this blog and my reflections on the pipe while I worked on it. There are many more to come!
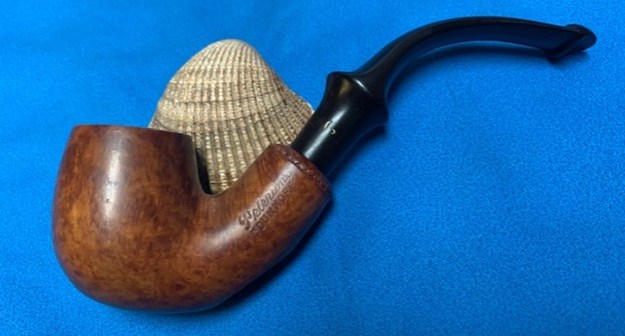


