
Blog by Steve Laug
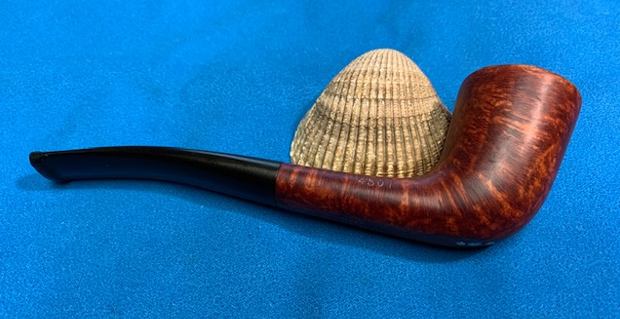
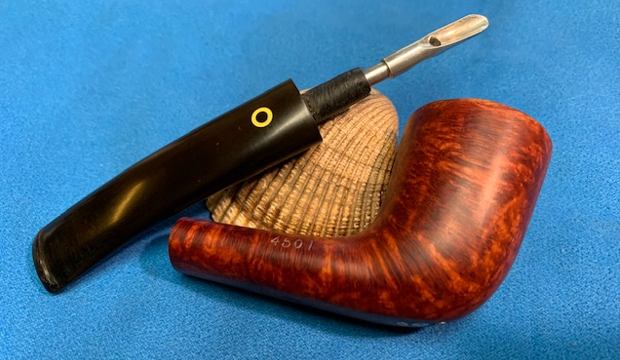
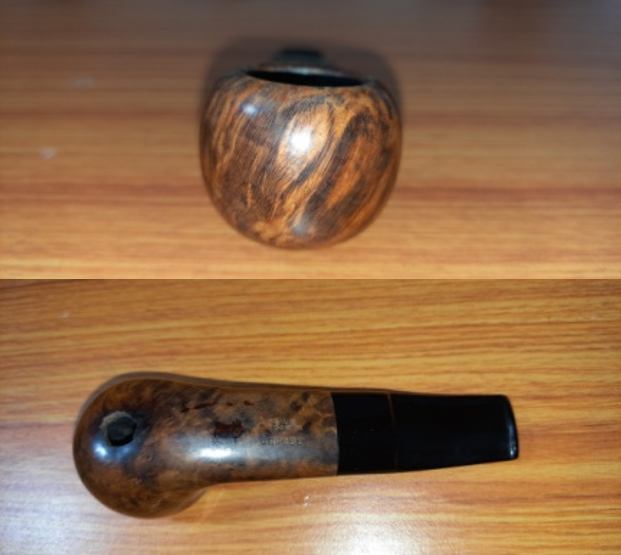
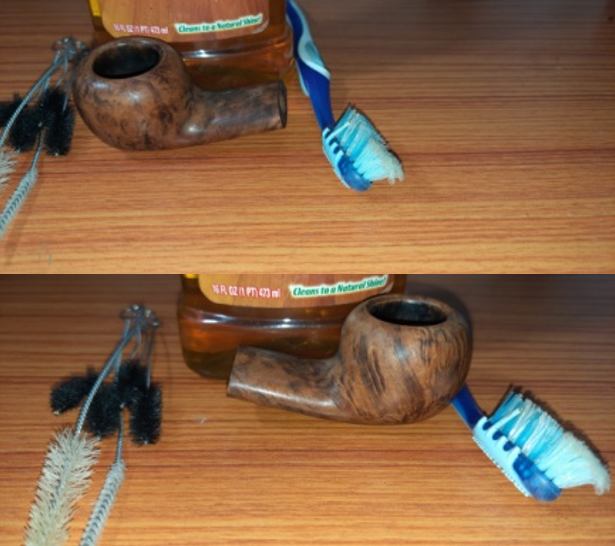
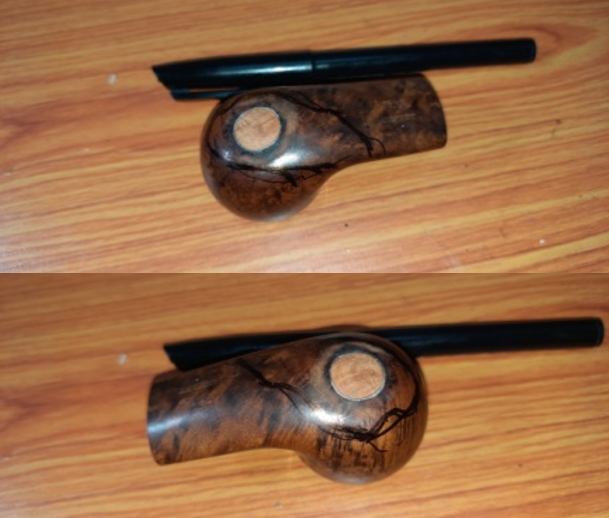
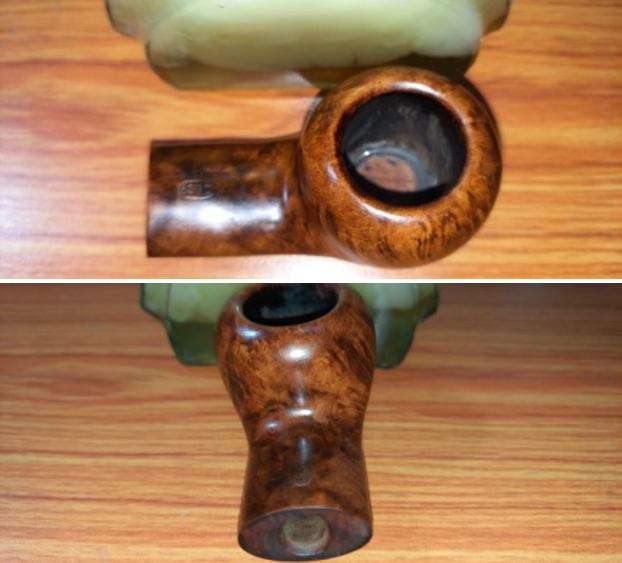
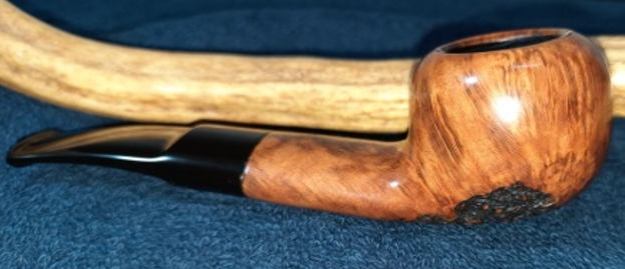
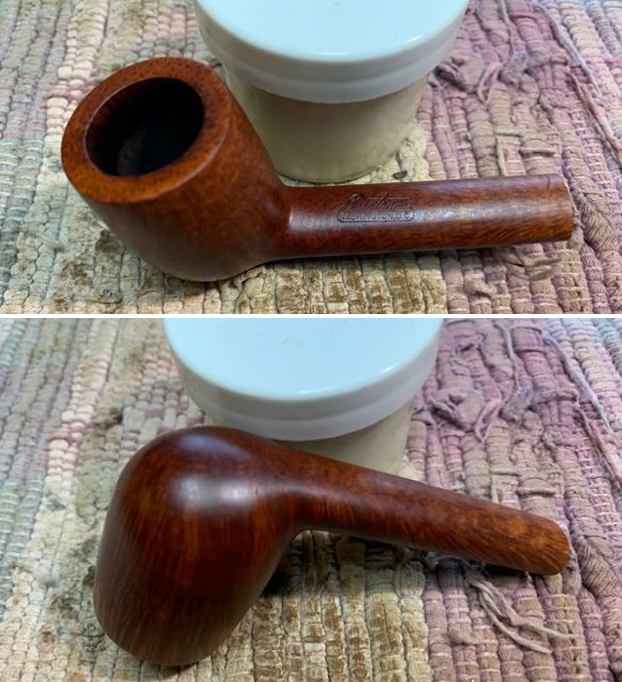
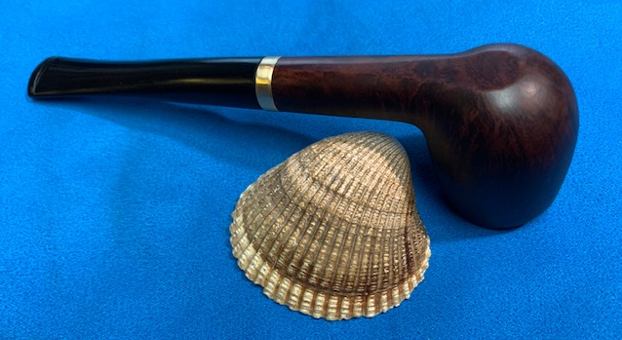
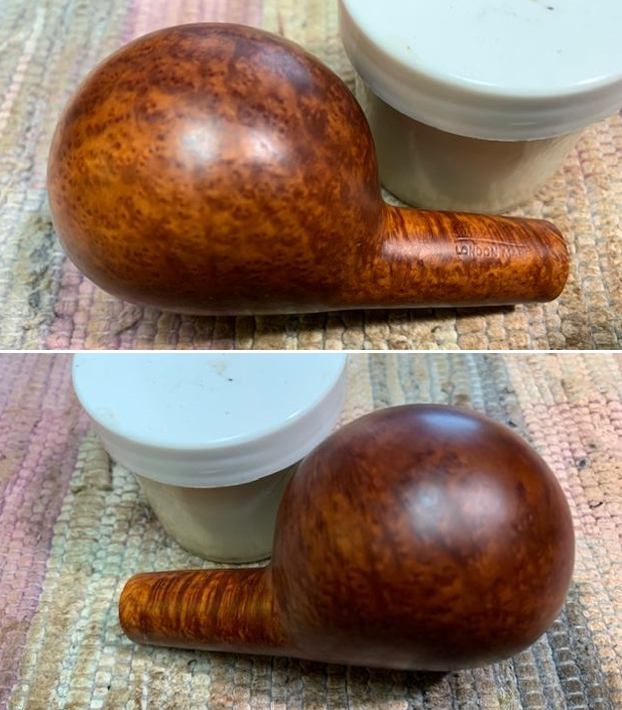
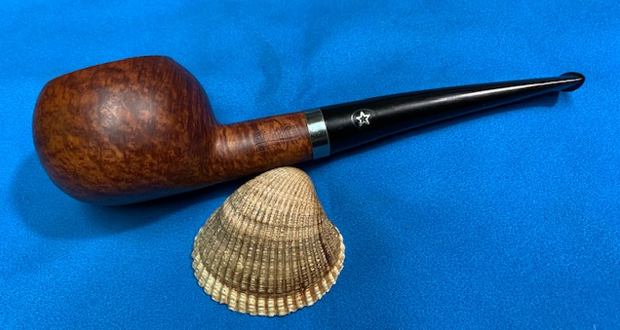
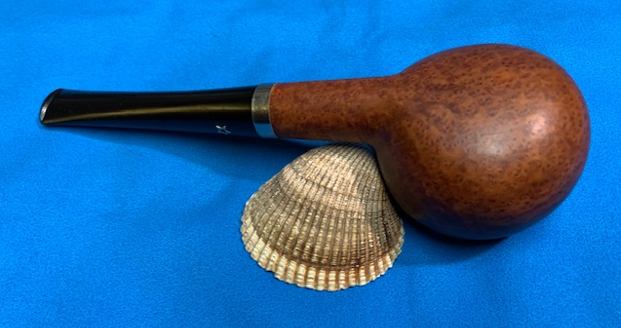
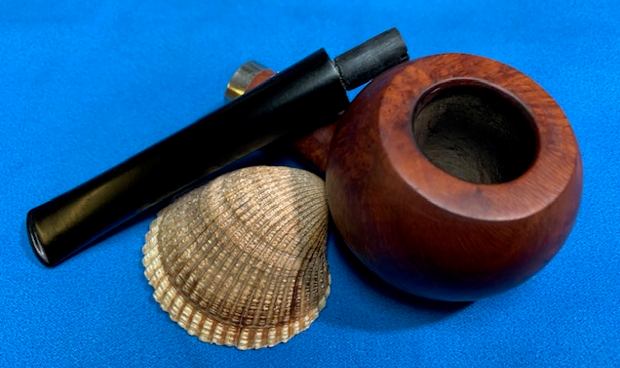
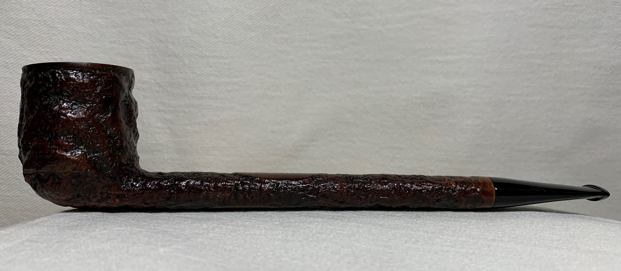
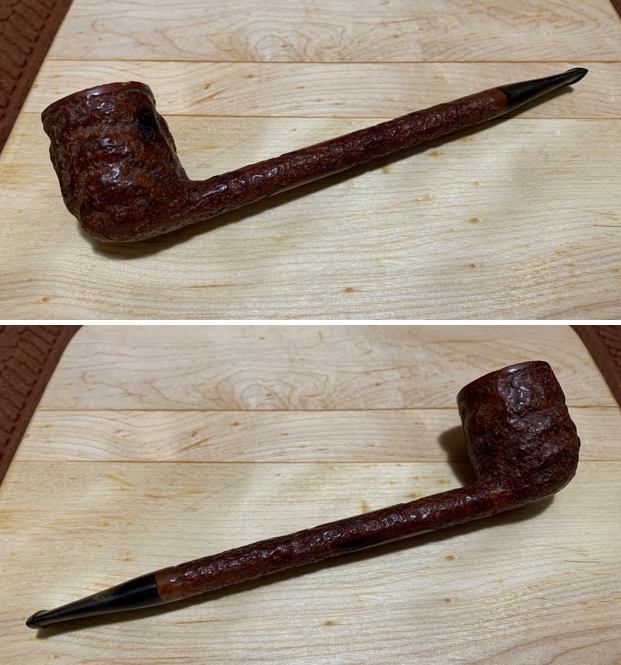
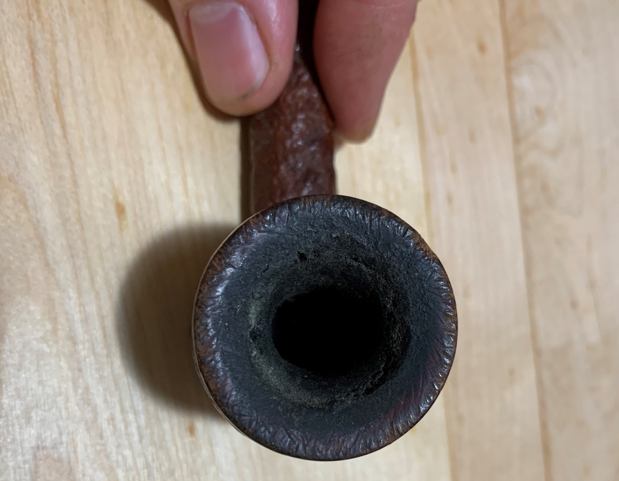
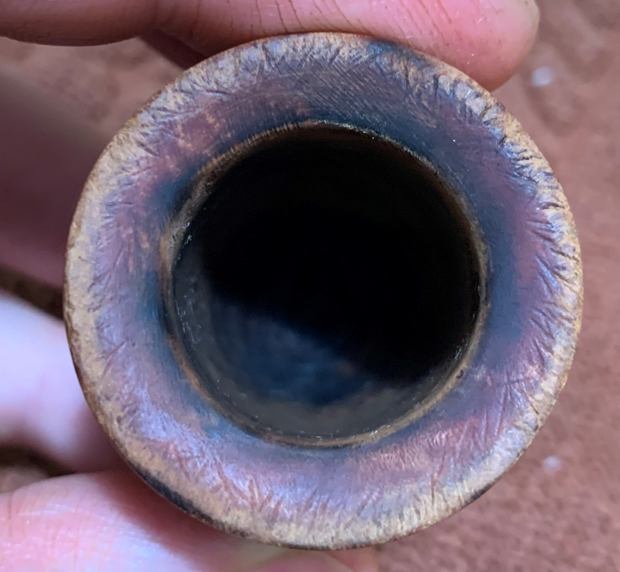
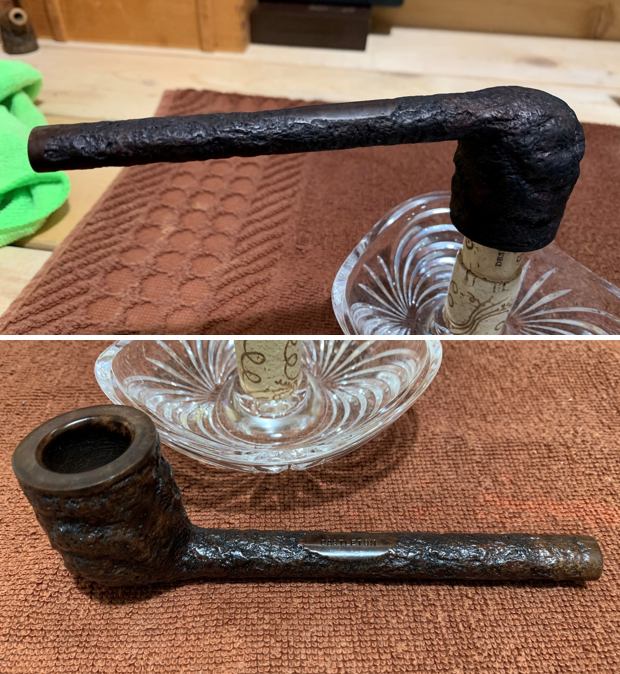
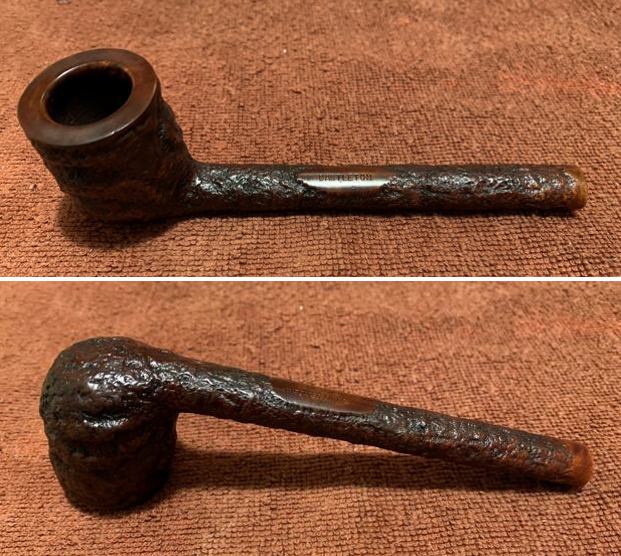
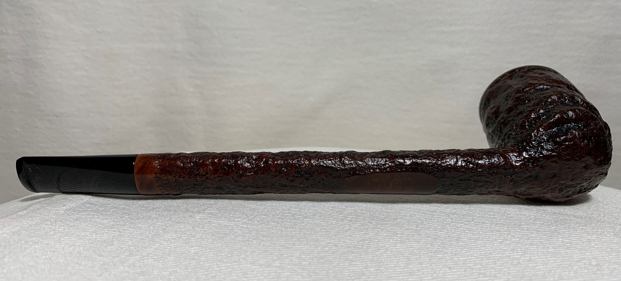
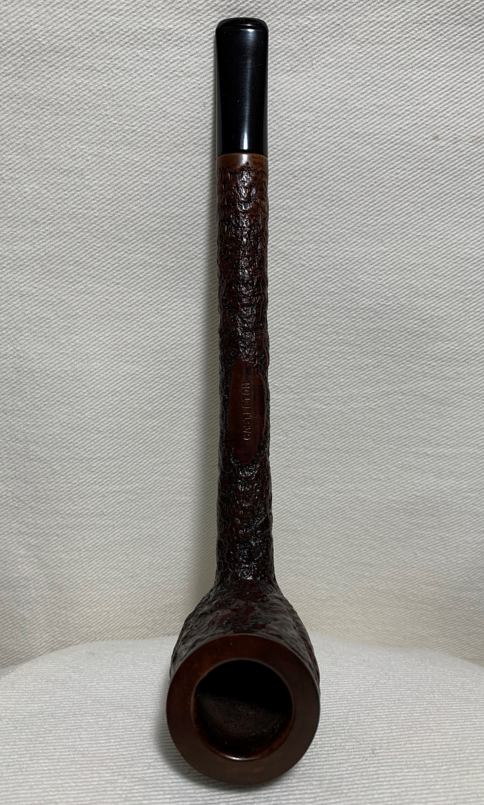
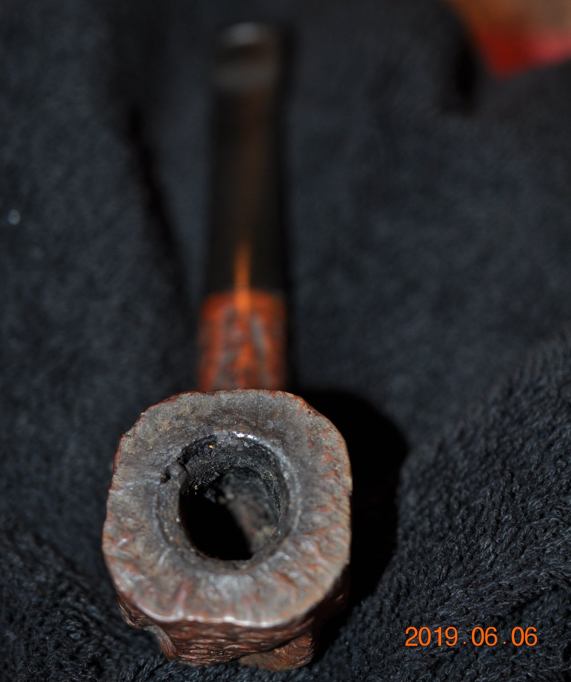
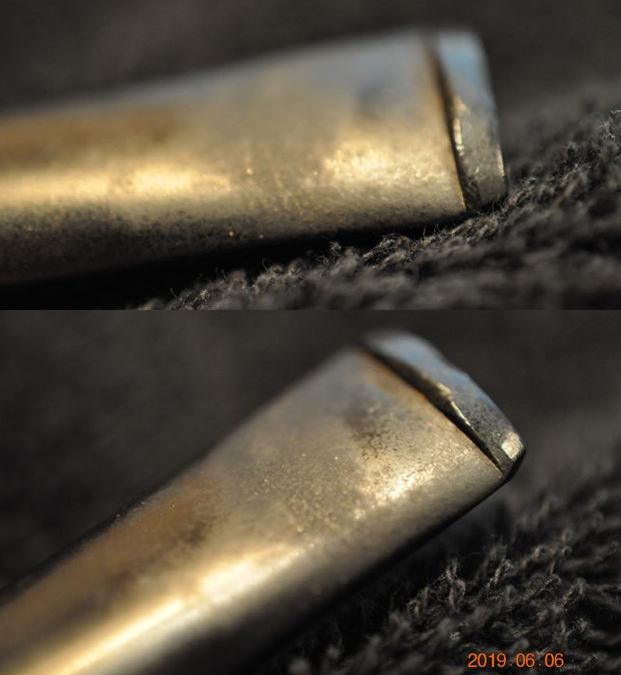
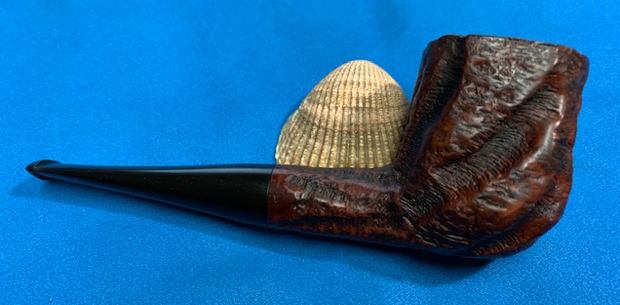
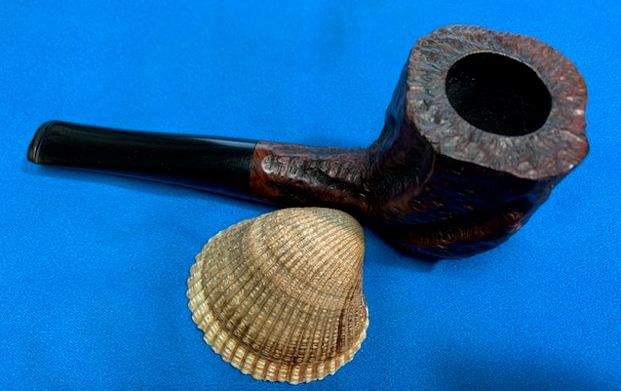
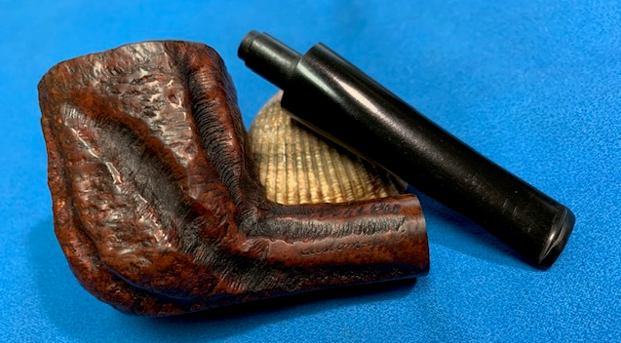
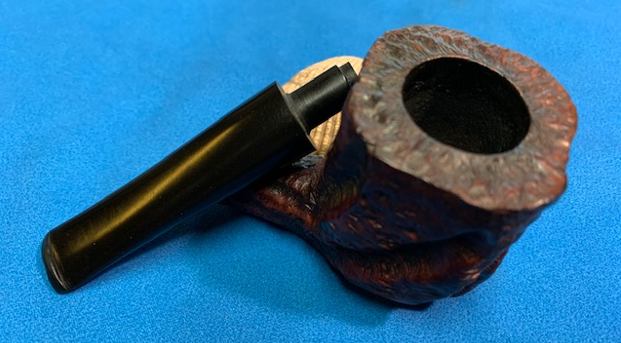
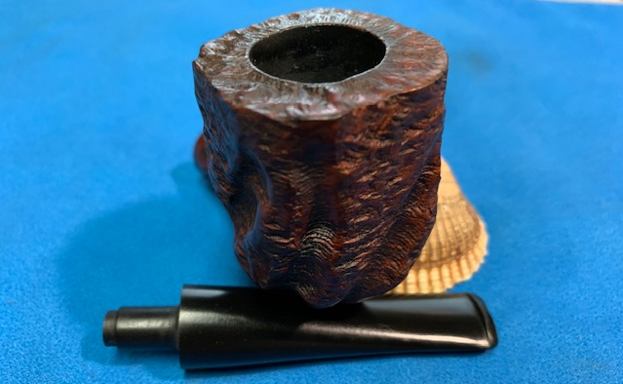
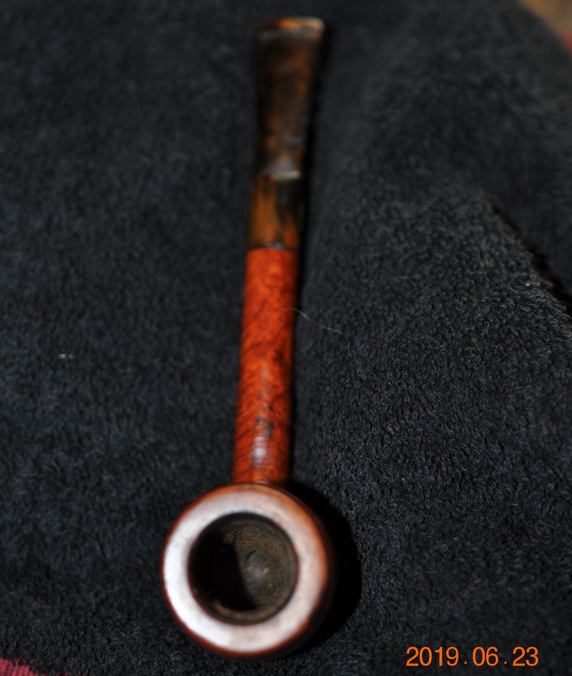
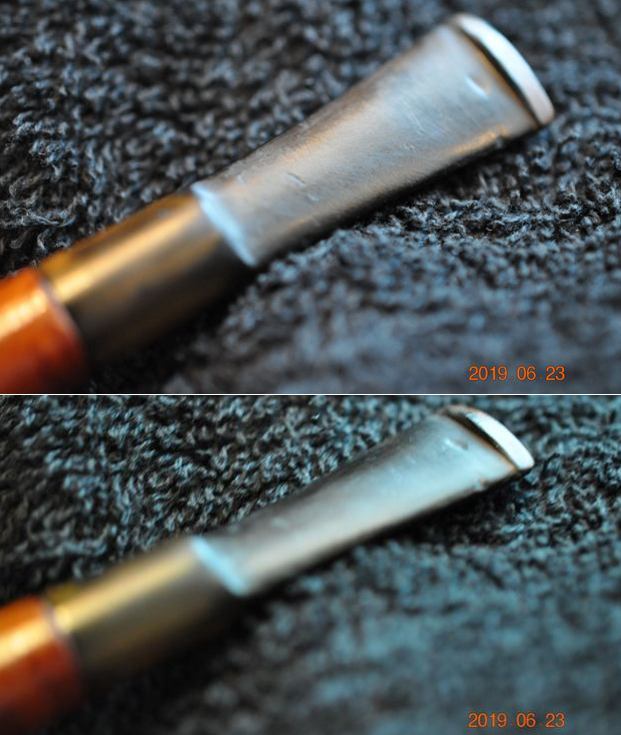
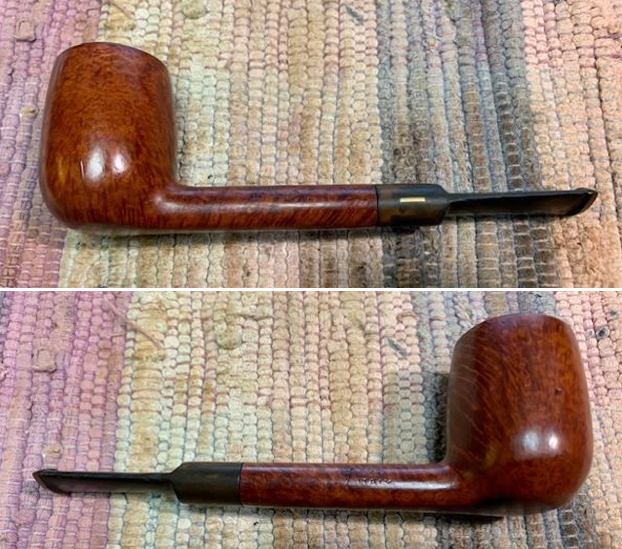
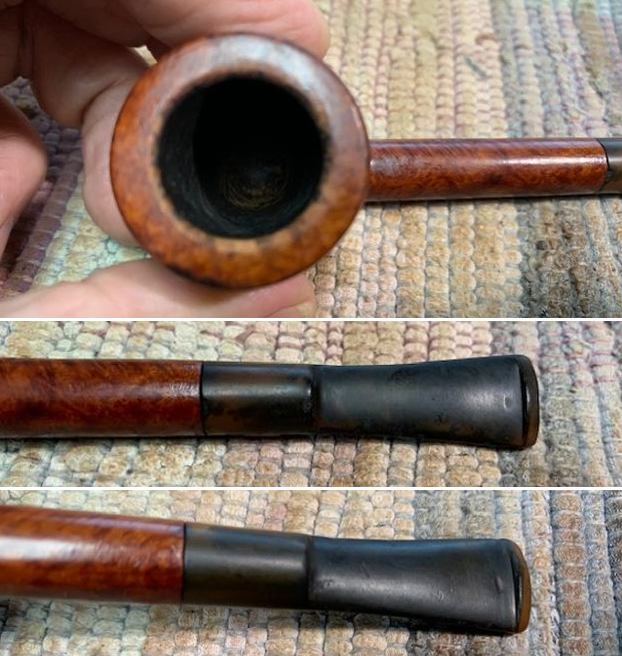
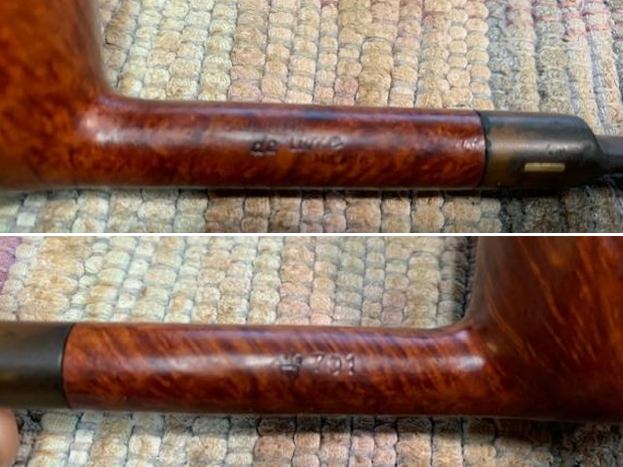
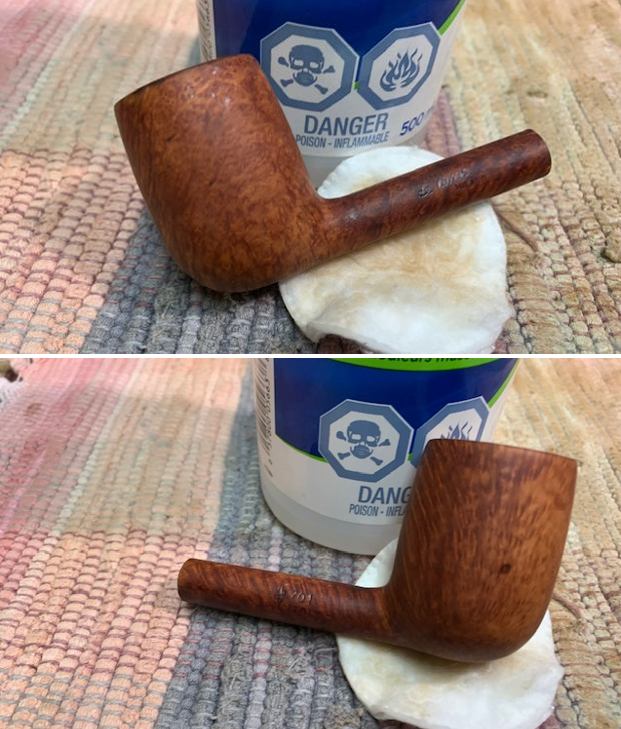
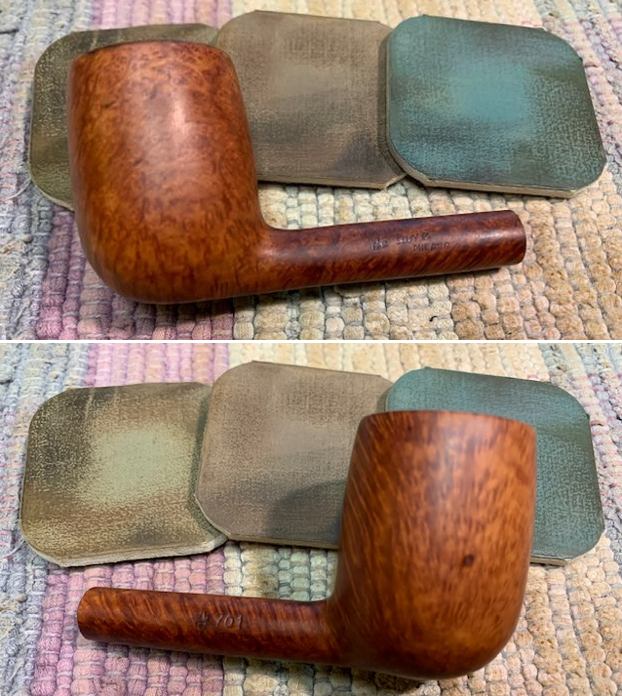
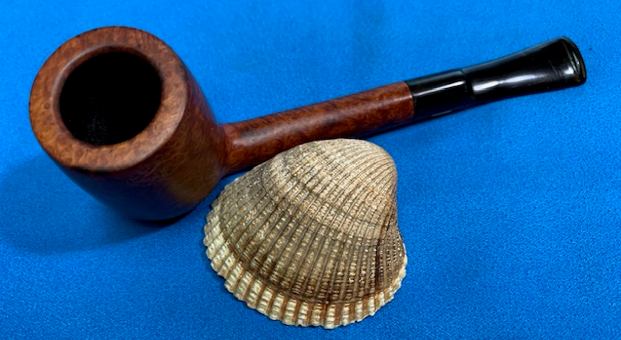
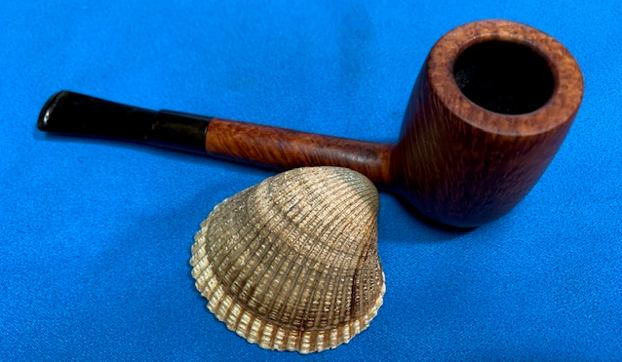
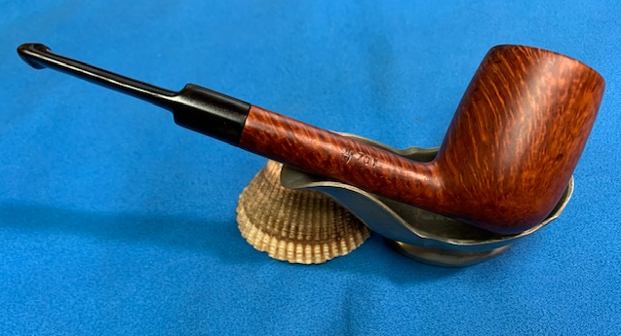
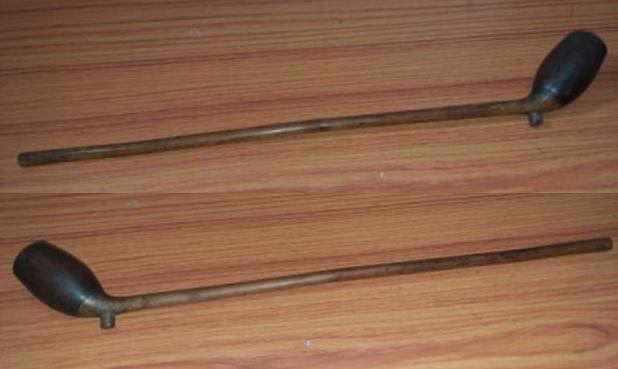
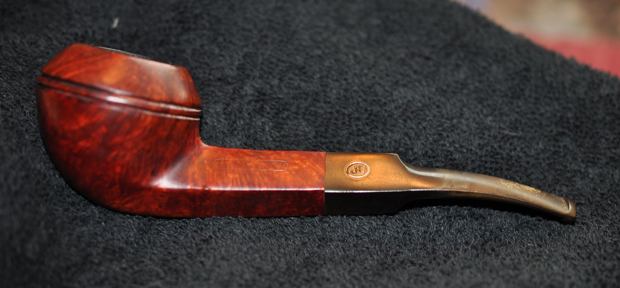
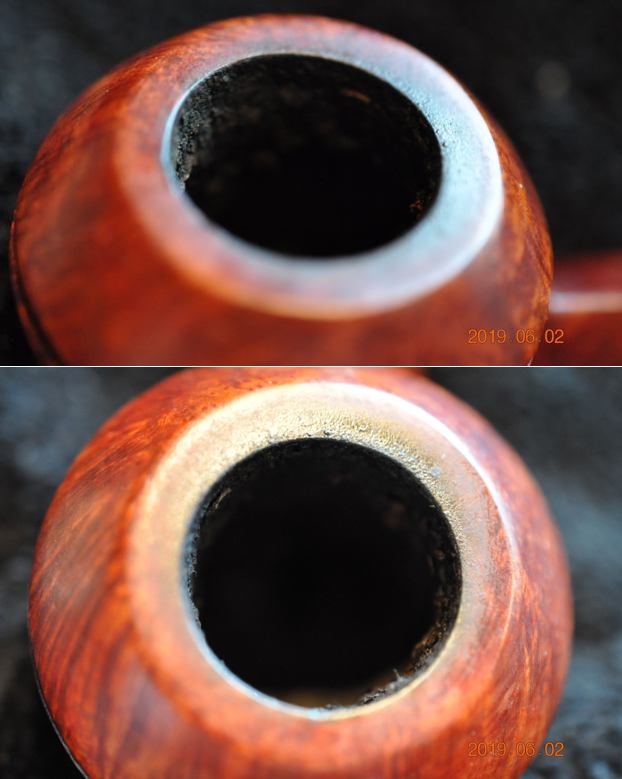
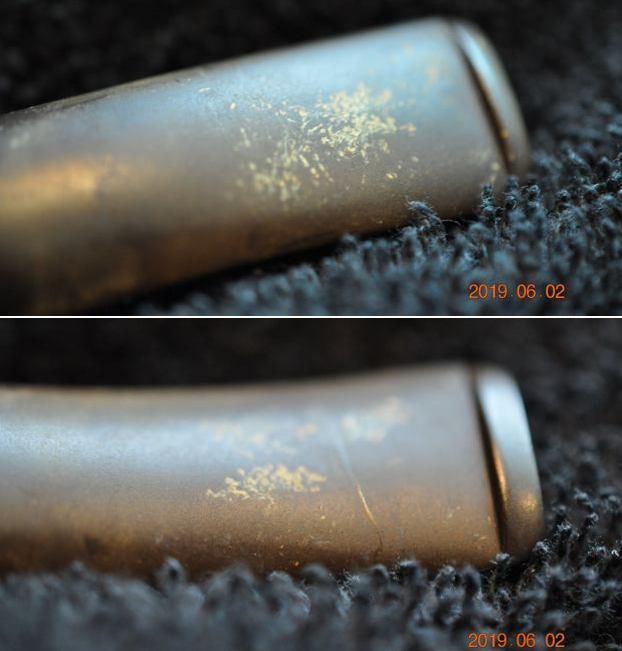
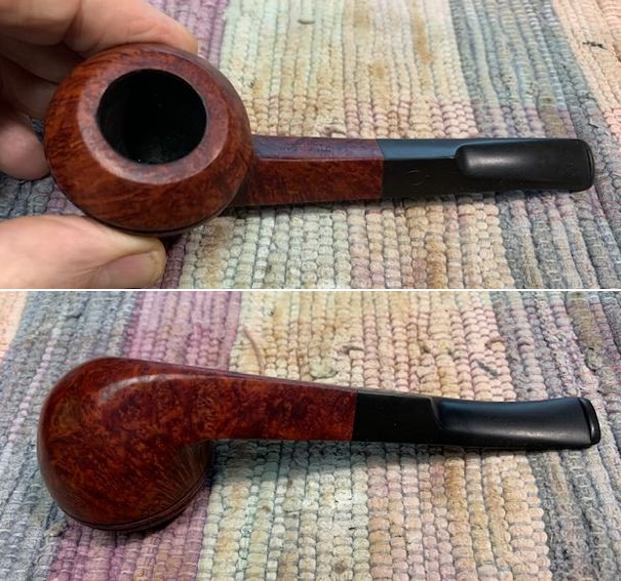
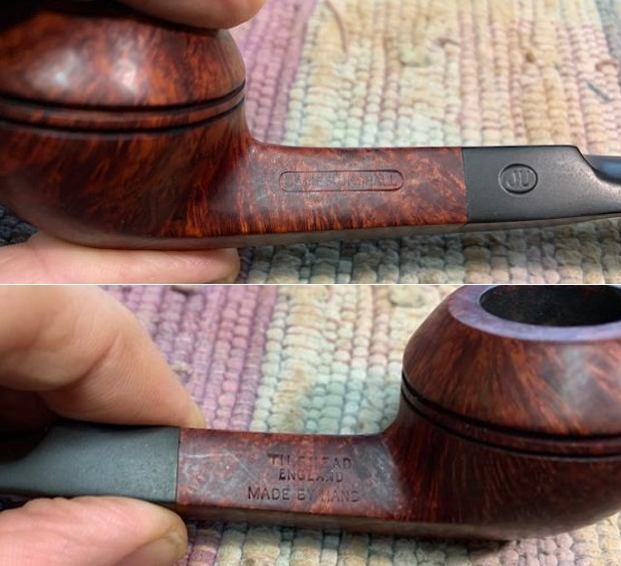
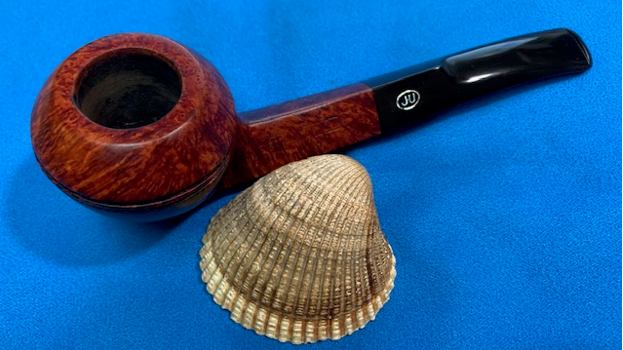
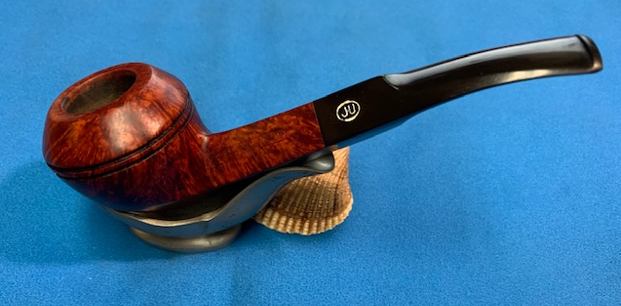
The next pipe on the table is a Carburetor KBB Yello-Bole Zulu. Jeff picked it up on an online auction from New Braunfels, Texas, USA in April of 2016. It has been sitting here since then. You may wonder why once you see the photos below as it is a nice looking pipe. It is stamped on the left side of the shank with KBB in a cloverleaf followed by Carburetor [over]Yello-Bole [over] US. Pat. 2,082,106 [over] Cured with Real Honey. The stamping starts in the middle of the top of the shank and rolls down the side. On the right side it is stamped with the shape number 4501. On the underside it is stamped Reg. U.S. Pat. Off. [over] 343,331. I will have to look up both of the patents and see what I am working with. The finish on the pipe was peeling and flaking off in spots. There was a metal contraption that forms the carburetor on these pipe in the bottom of the bowl and on the heel. The bowl still had the yellow bowl coating. It appeared to have been smoked just a few time so the coating was pretty in tact. There was a light lava coat on the rim top, heavier at the back of the bowl. The inner bevel and outer edge looked very good. The stem was lightly oxidized and had tooth marks on both sides. There was a large chunk out of the underside of the stem at the button. Jeff took these photos of the pipe before he did his work.
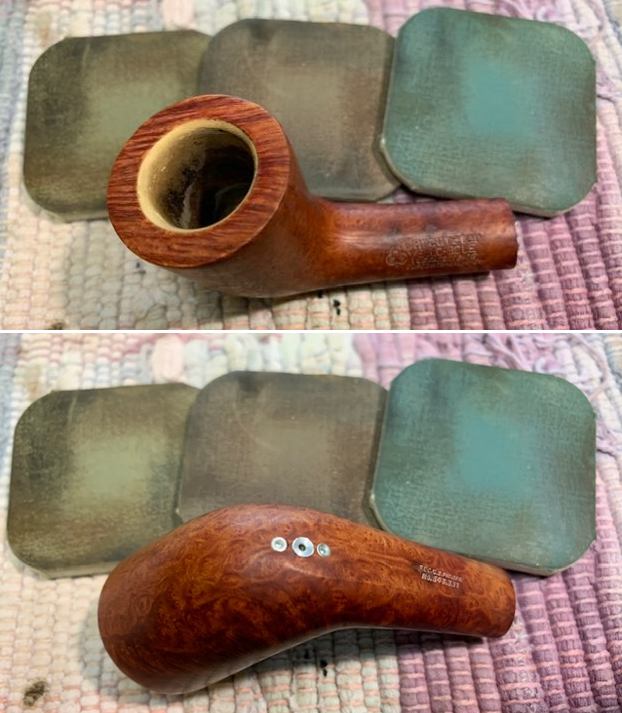
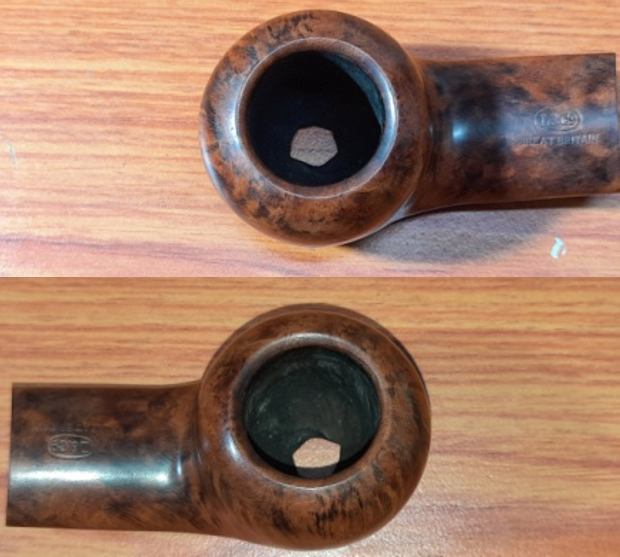
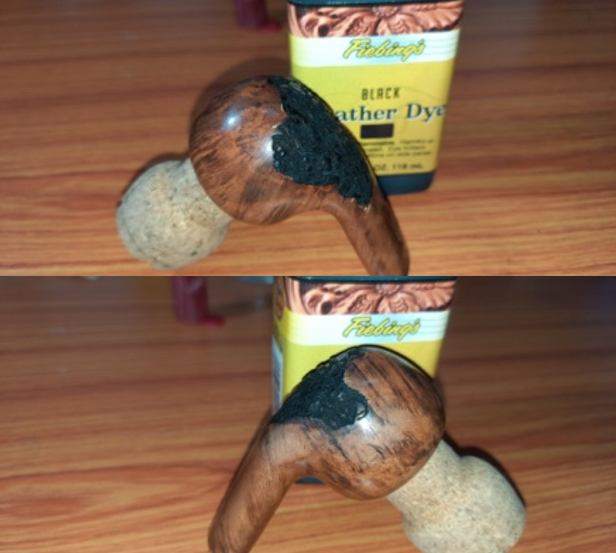
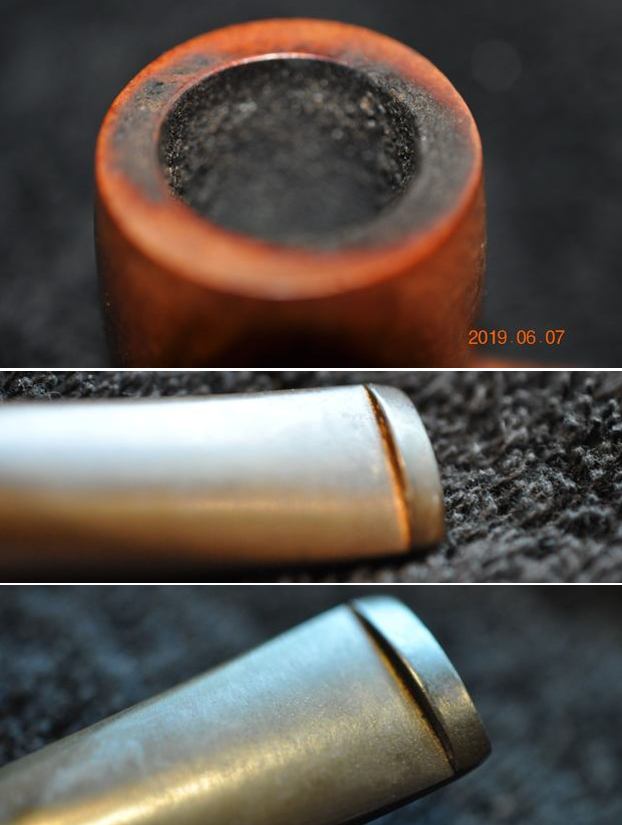
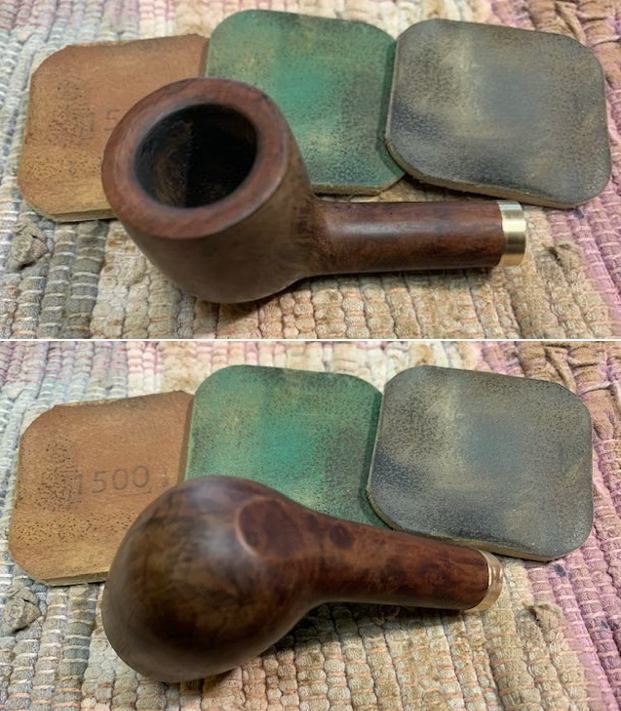
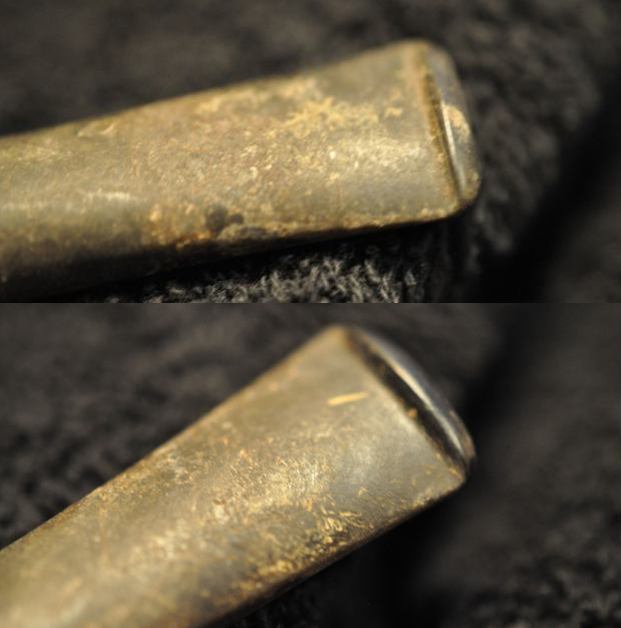
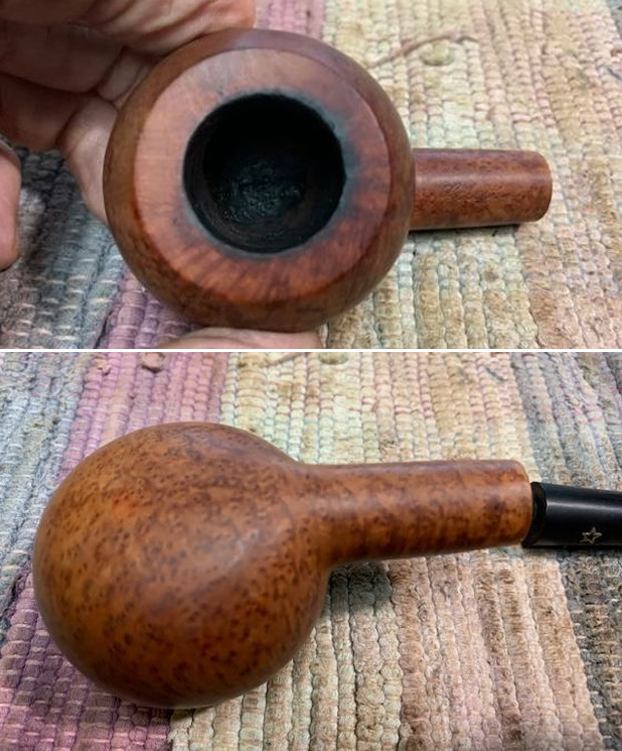
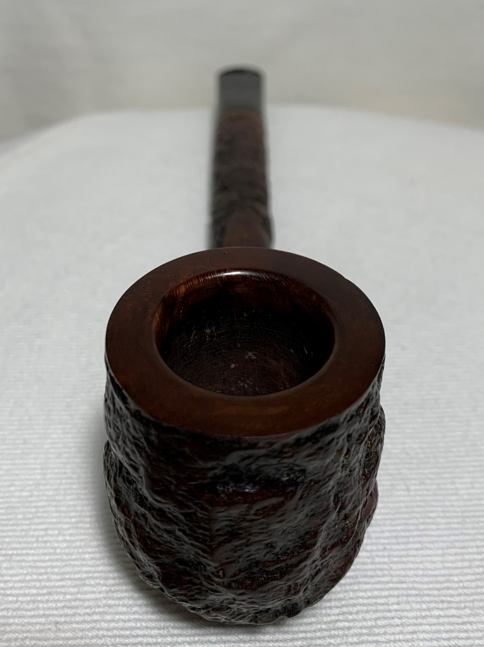
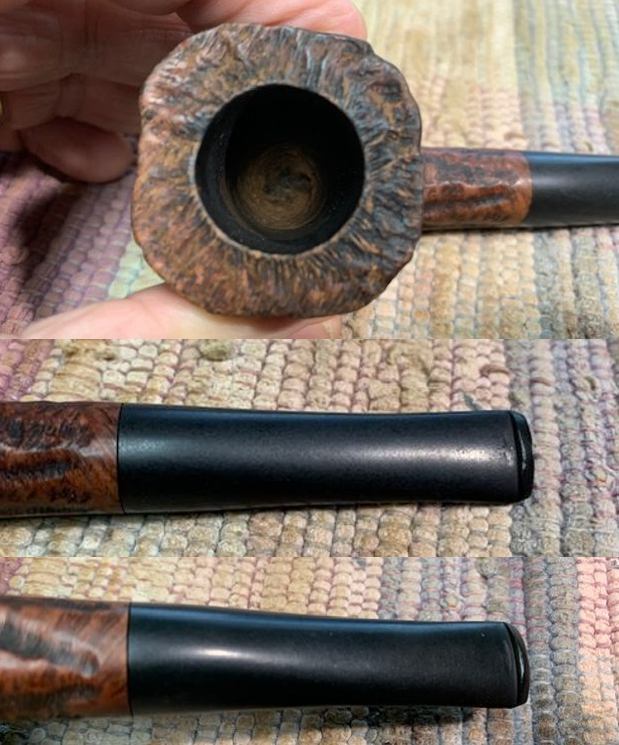
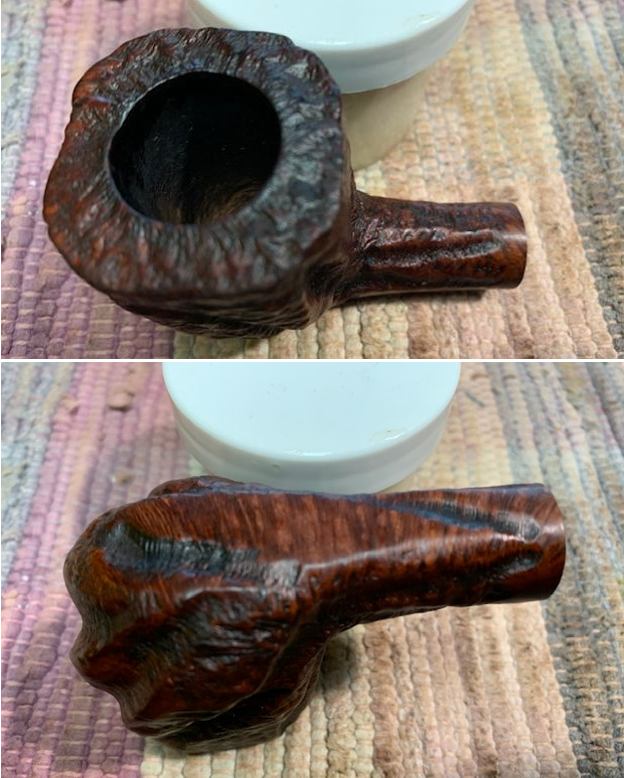
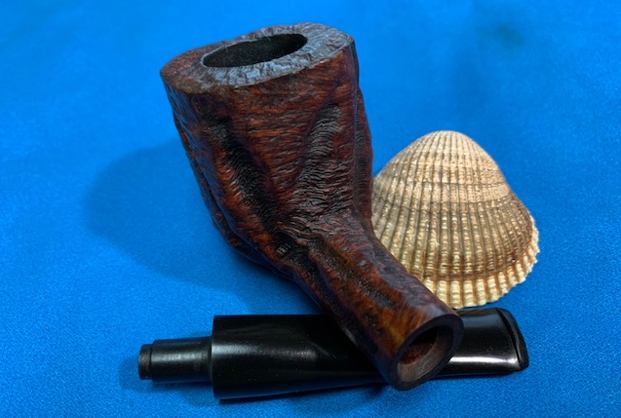
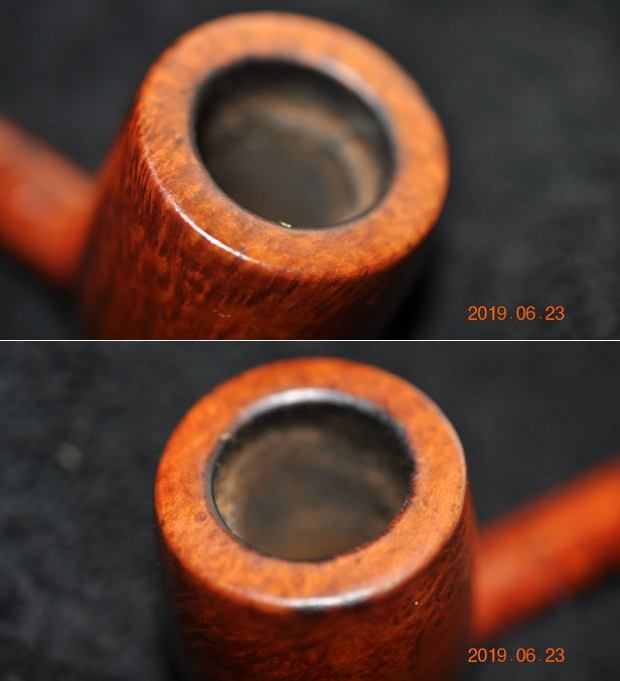
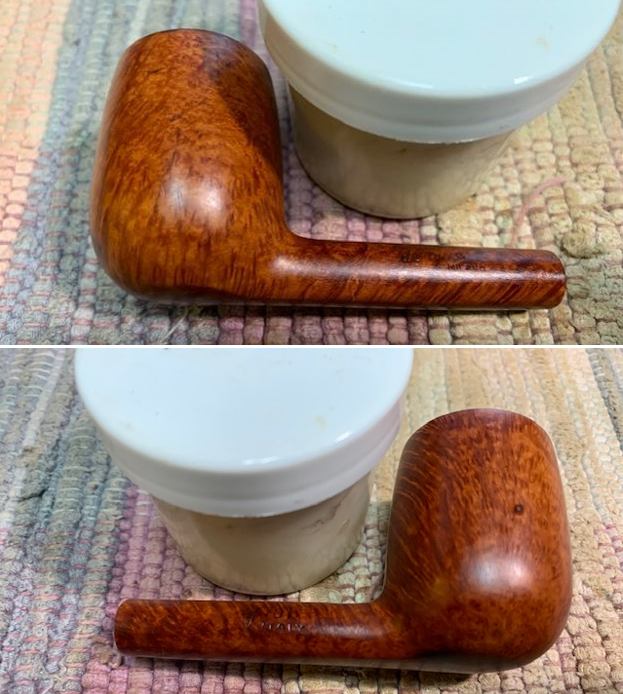
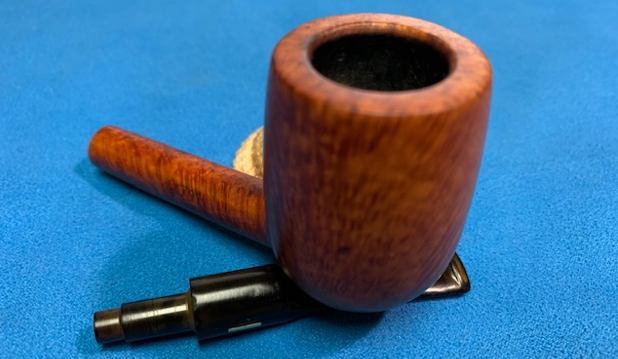
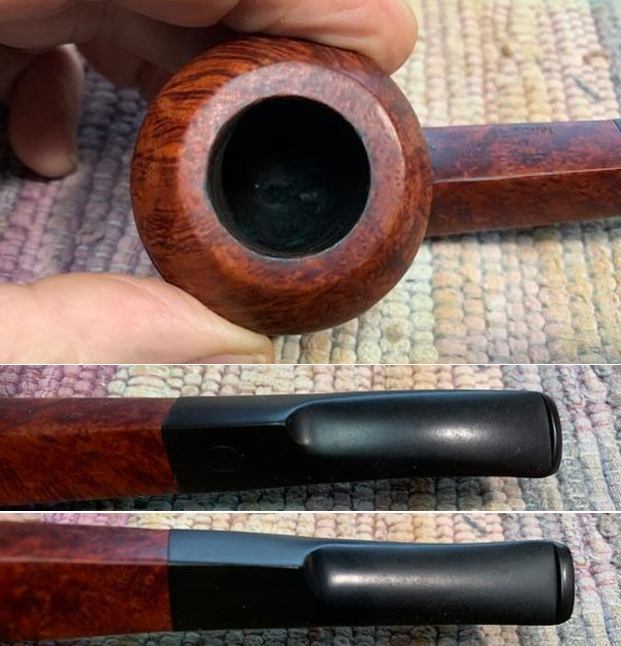
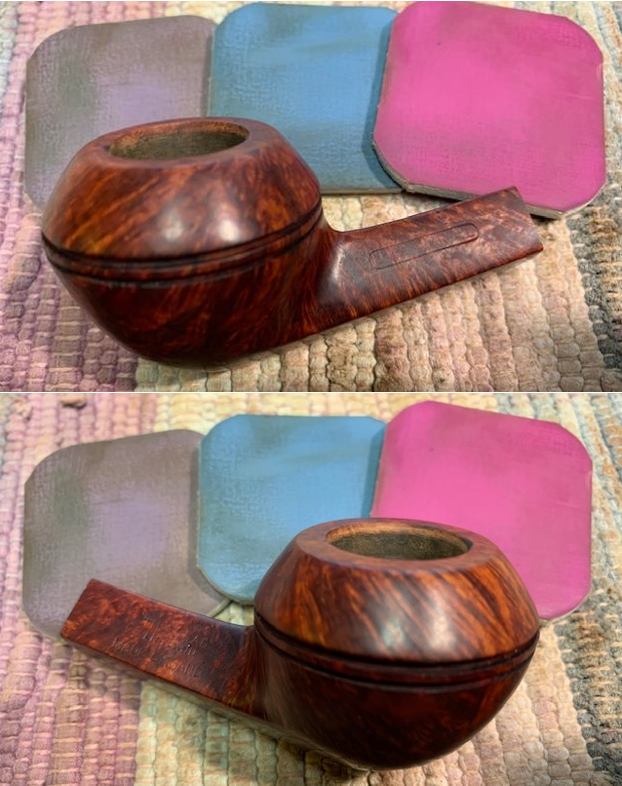
 He took photos of the rim top and the stem surfaces to give a clear idea of what needed to be done with this pipe. The description above is clearly shown in the photos.
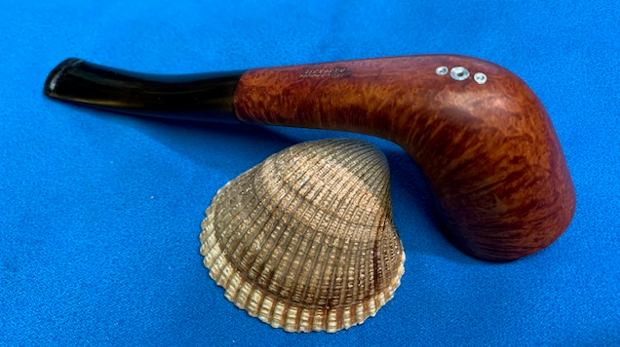
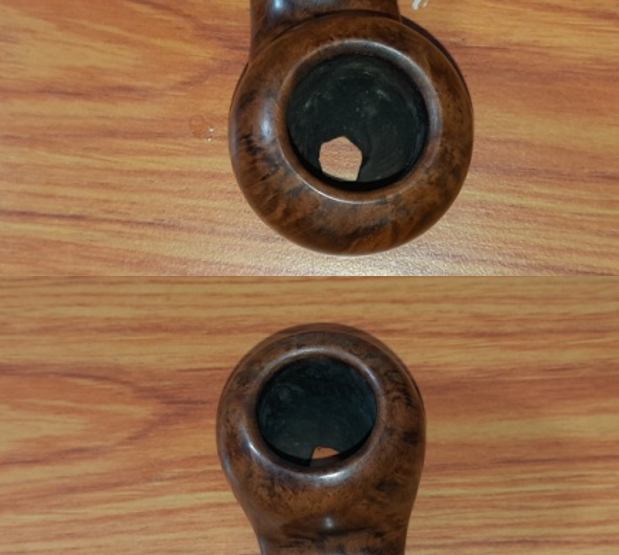
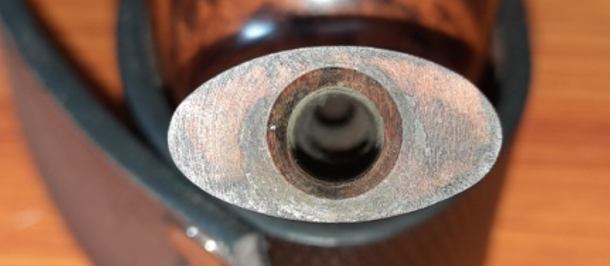
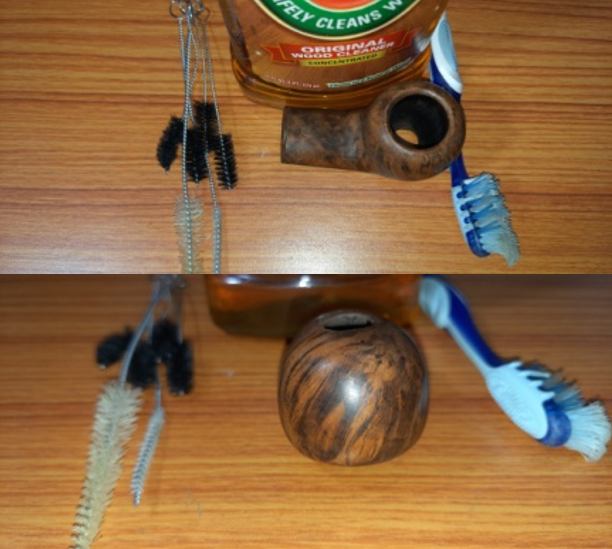
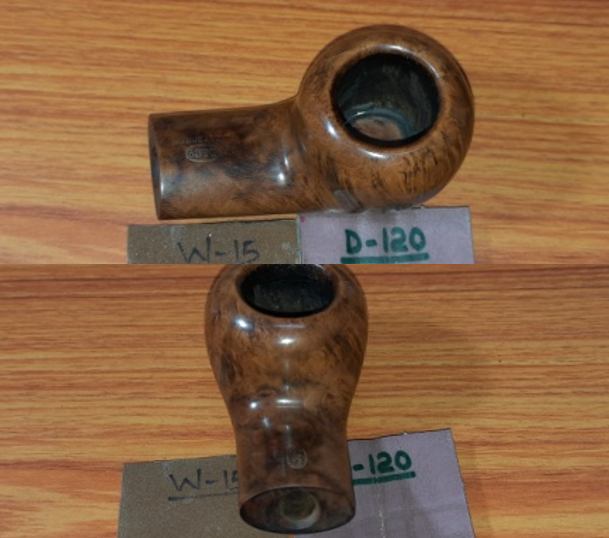
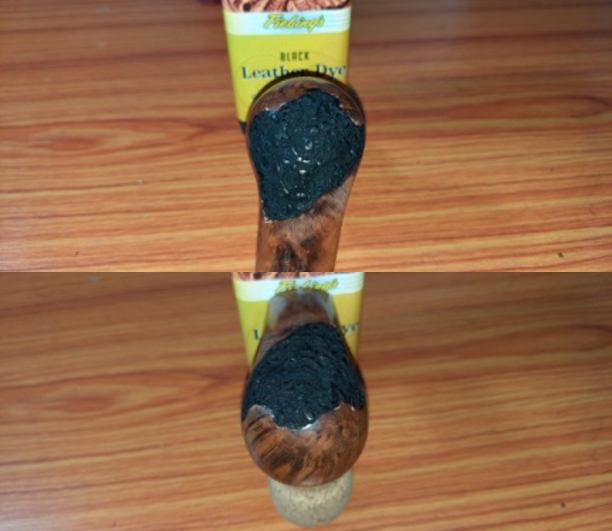
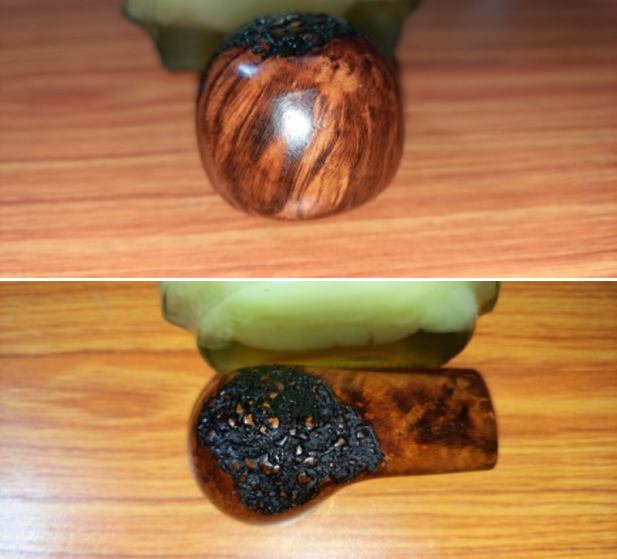
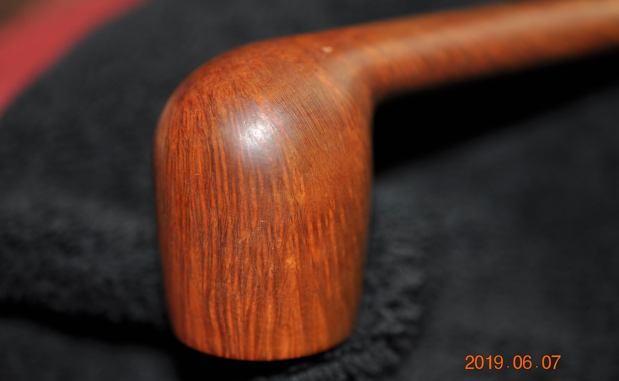
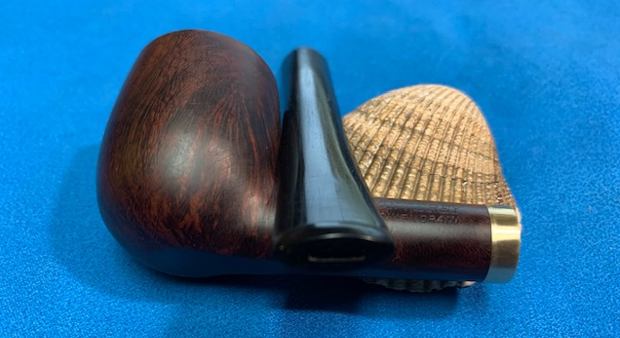
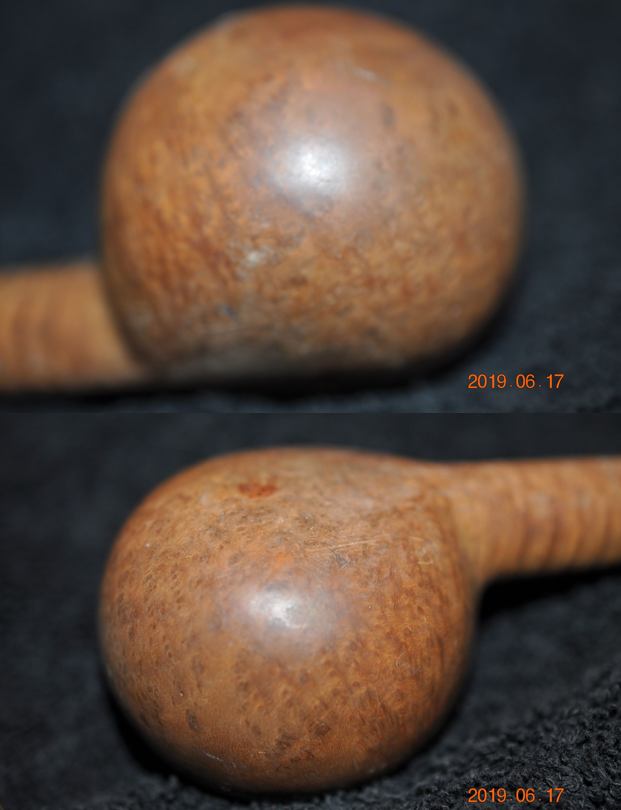
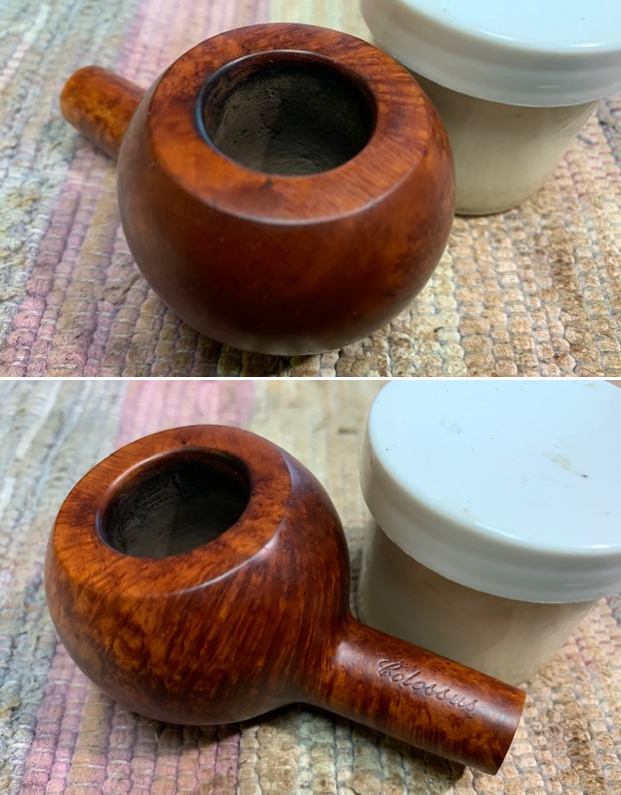
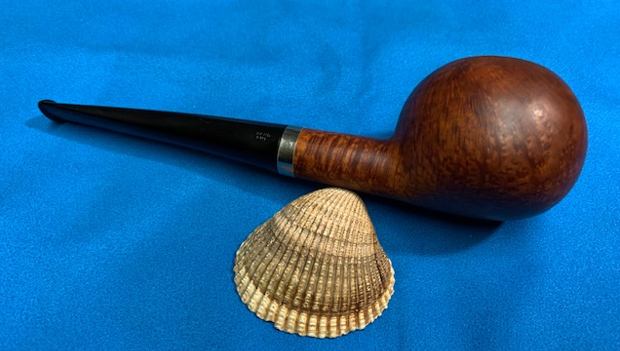
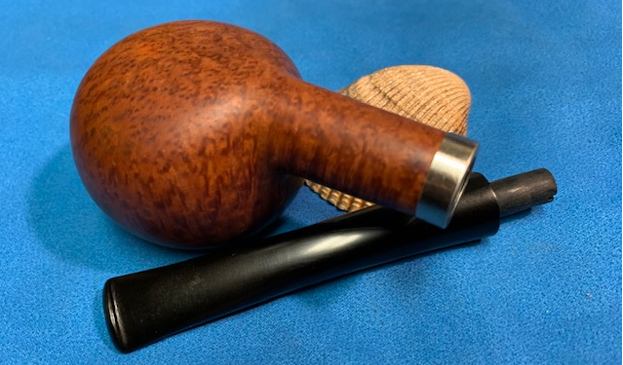
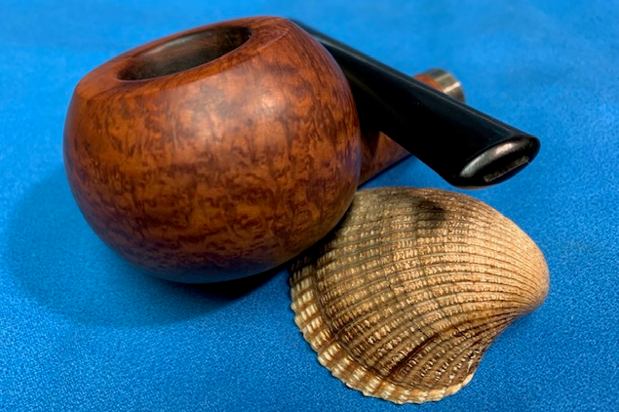
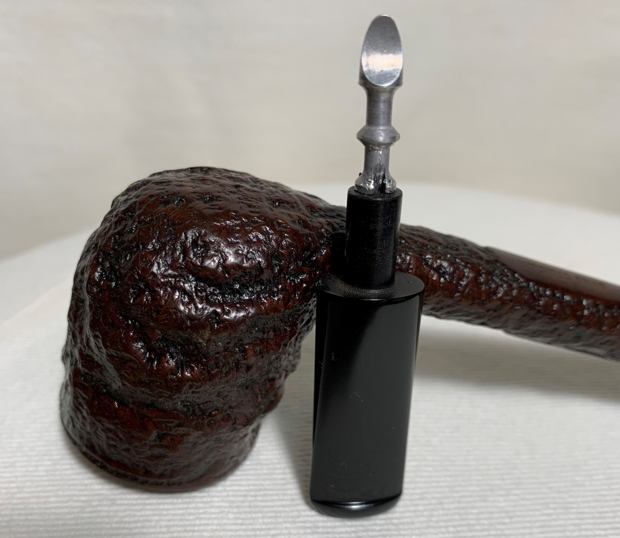
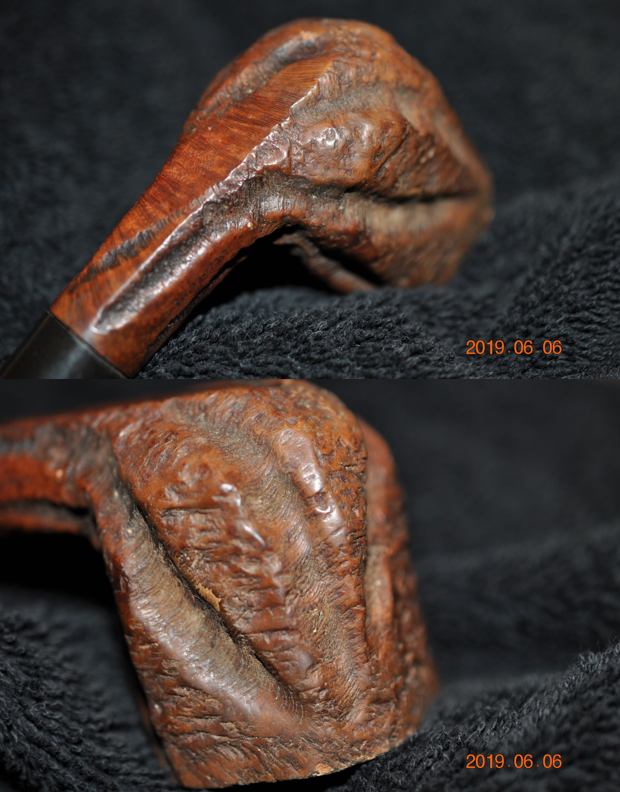
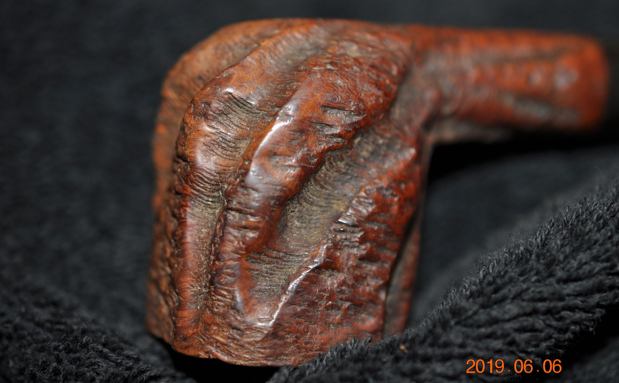
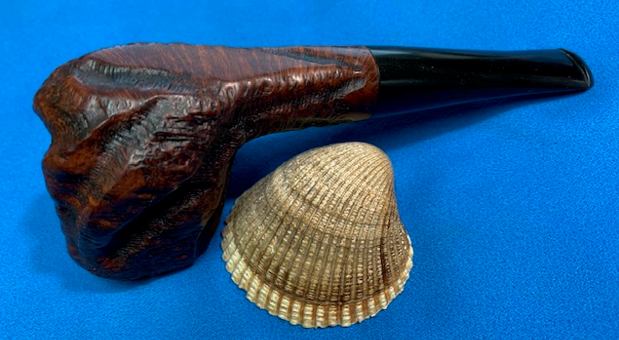
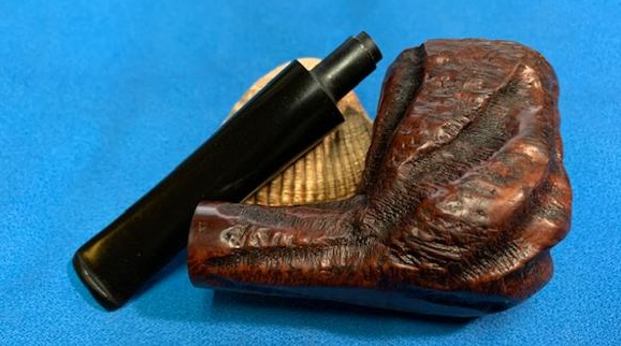
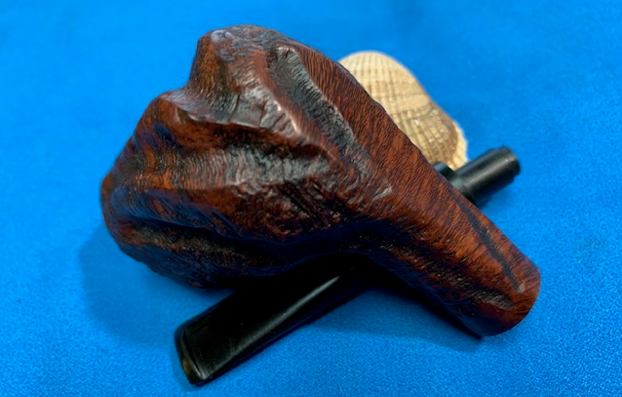
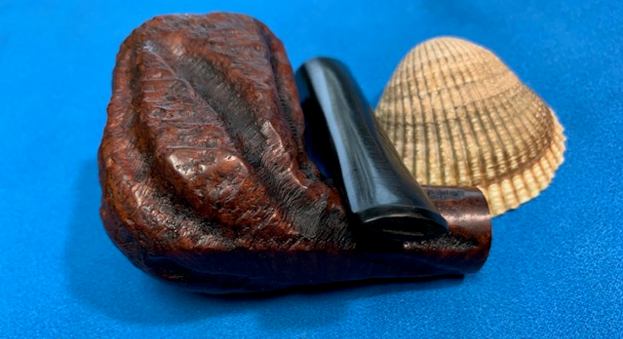
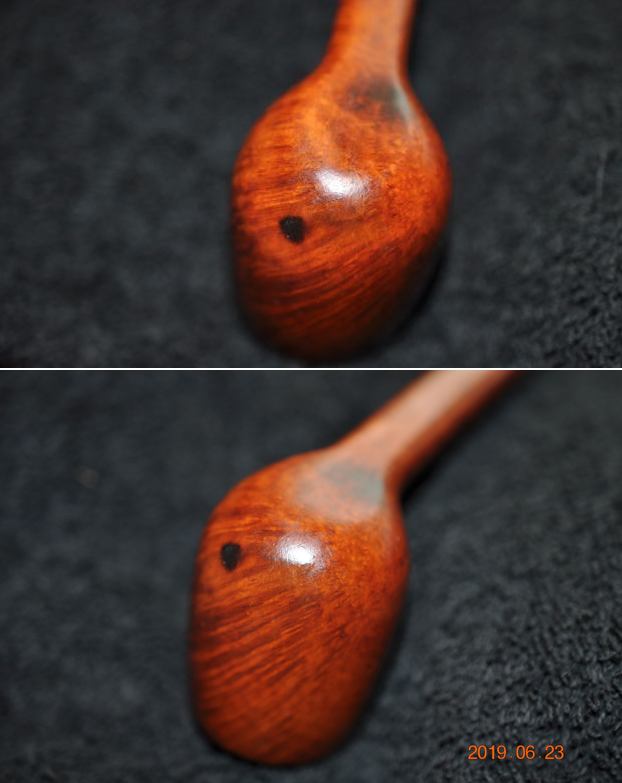
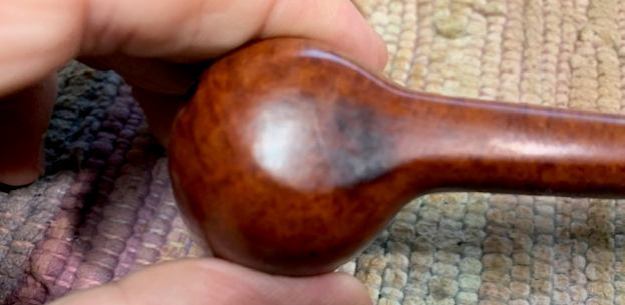
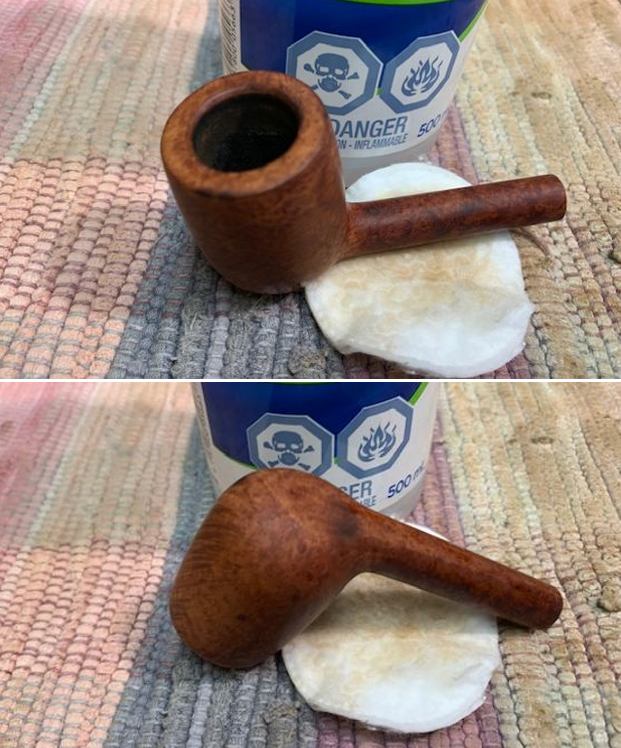
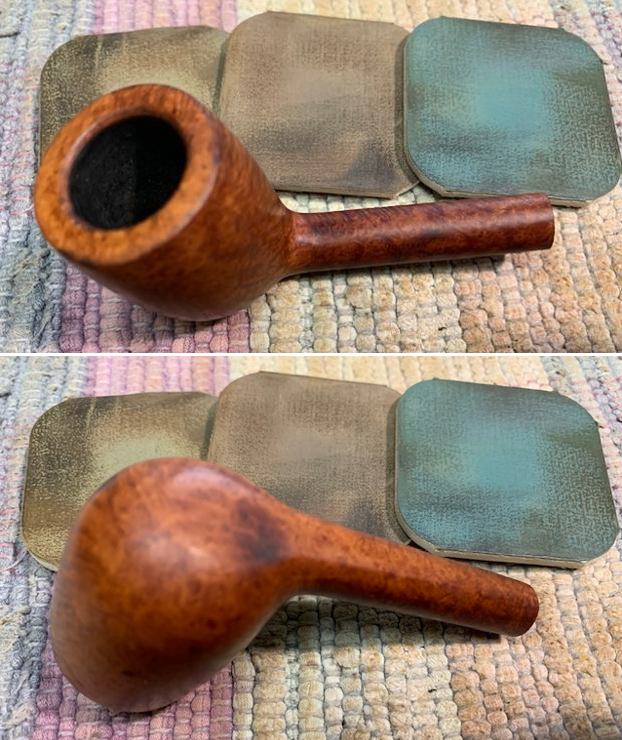
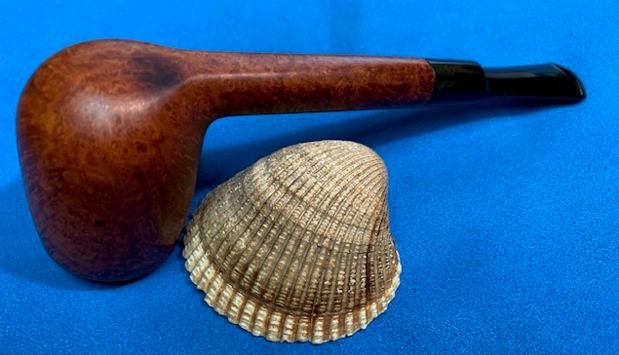
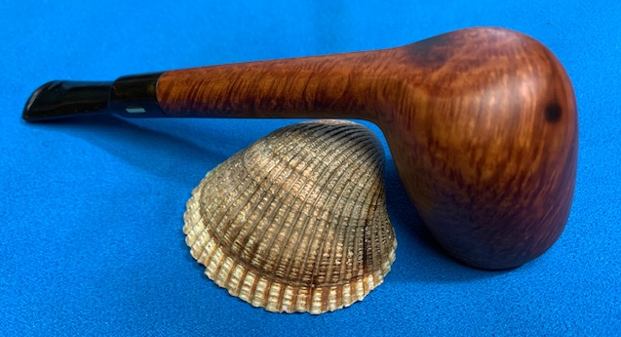
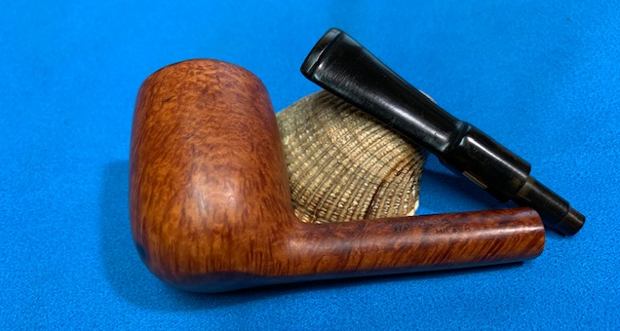
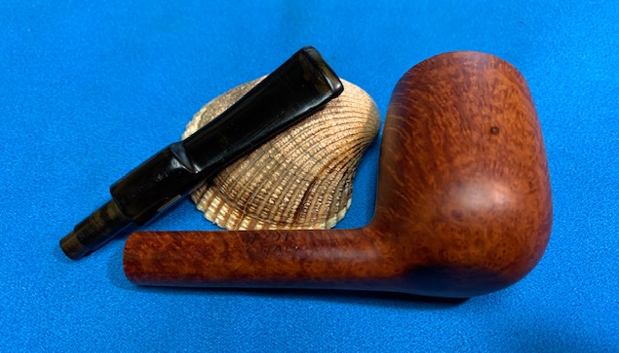
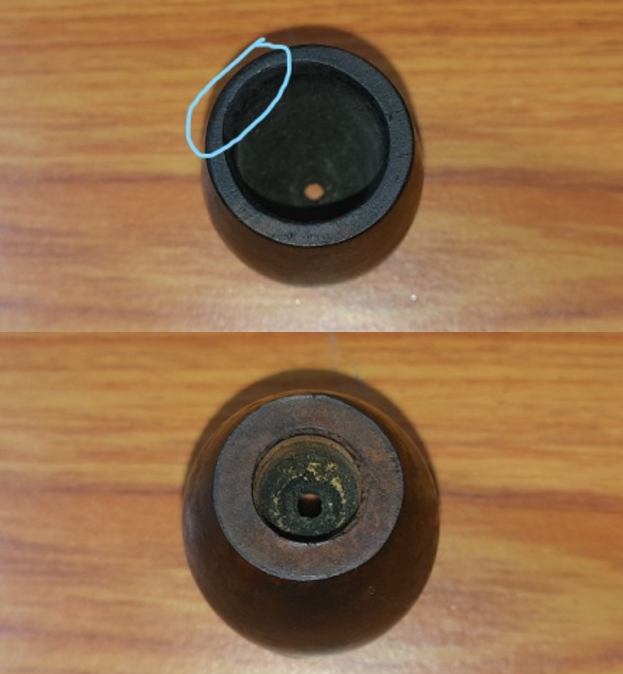
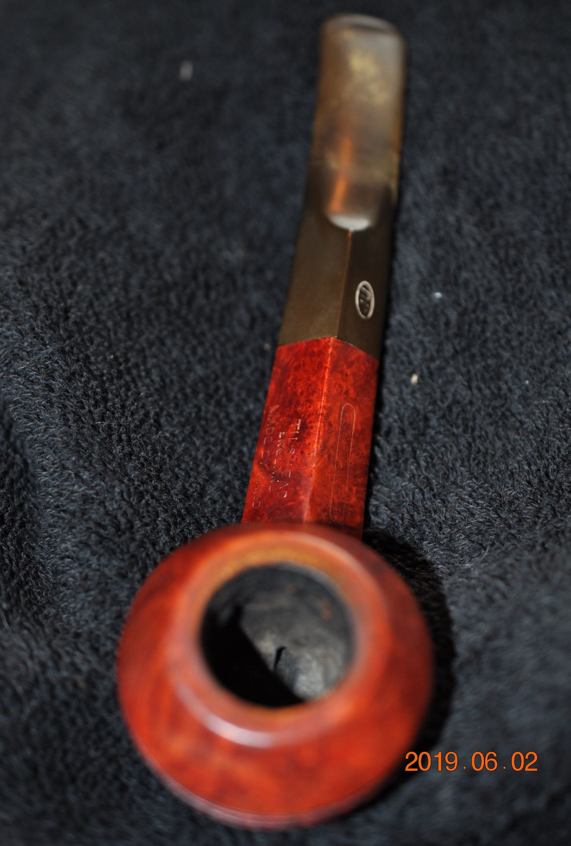
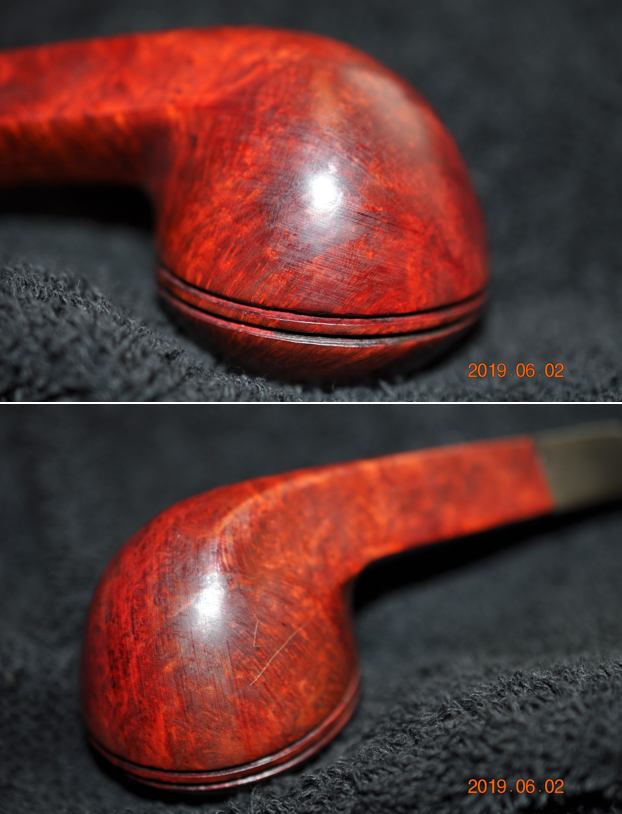
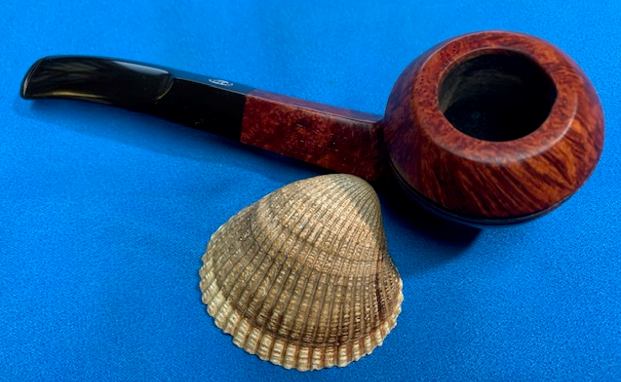
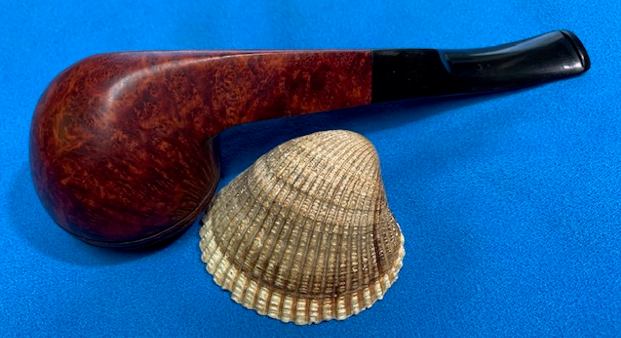
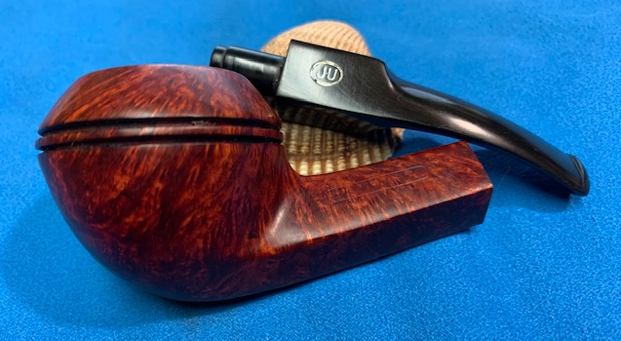
 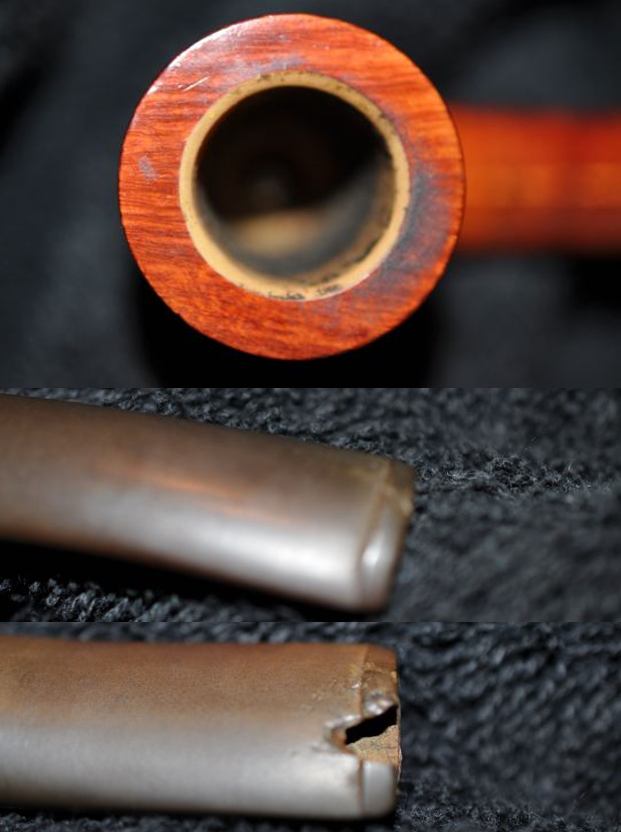 He took photos of the heel of the bowl to give a clear idea of the carburetor system but also of the beautiful grain on this pipe. It really is a nice piece of briar.
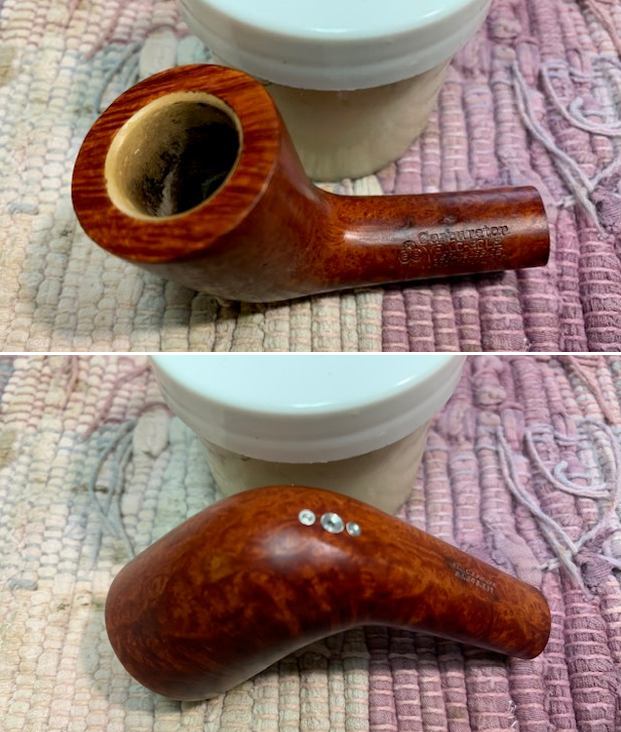
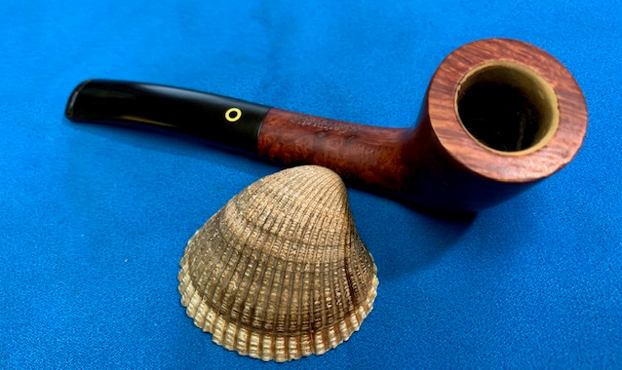
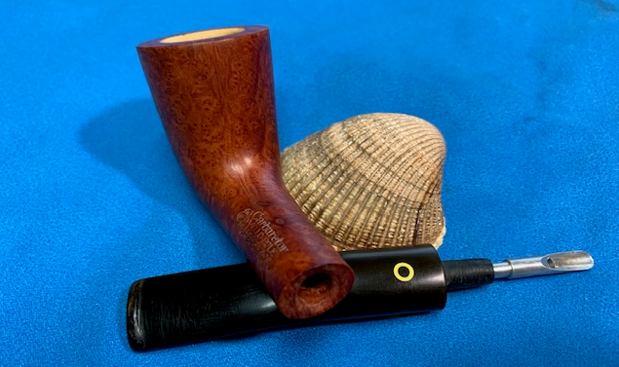
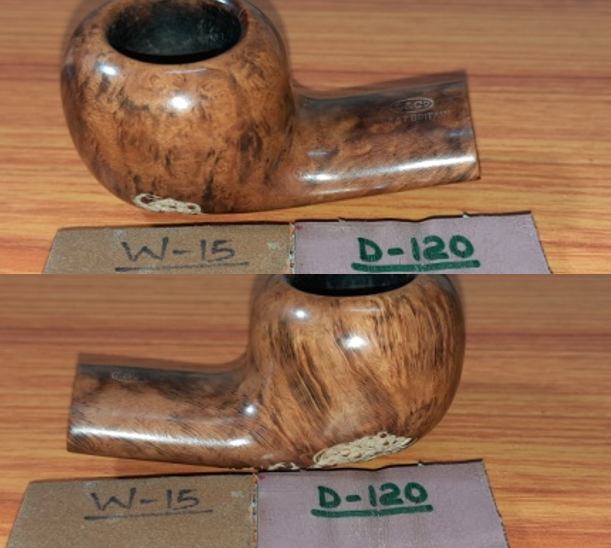
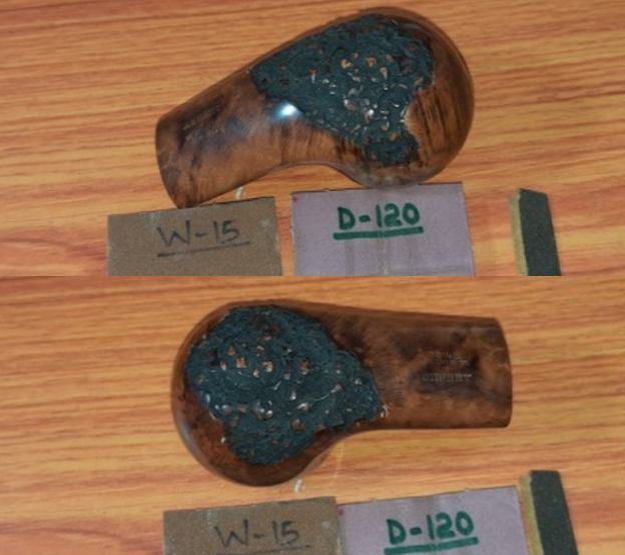
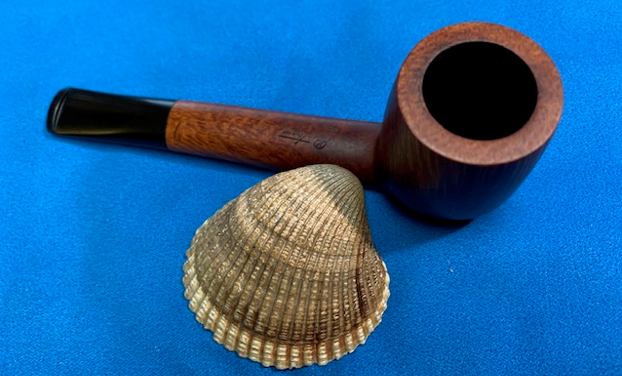
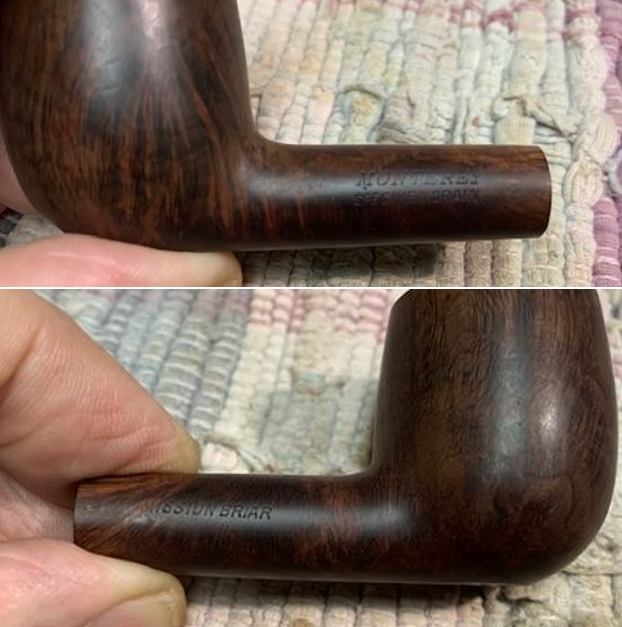
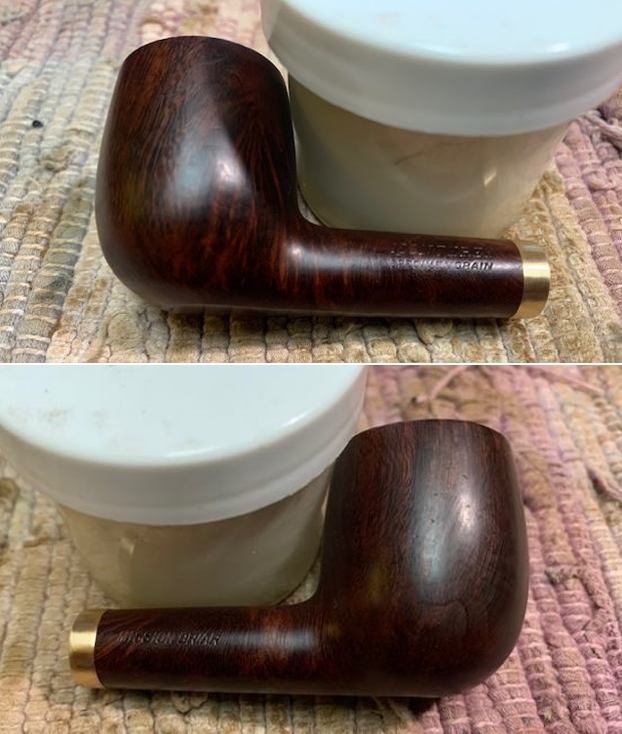
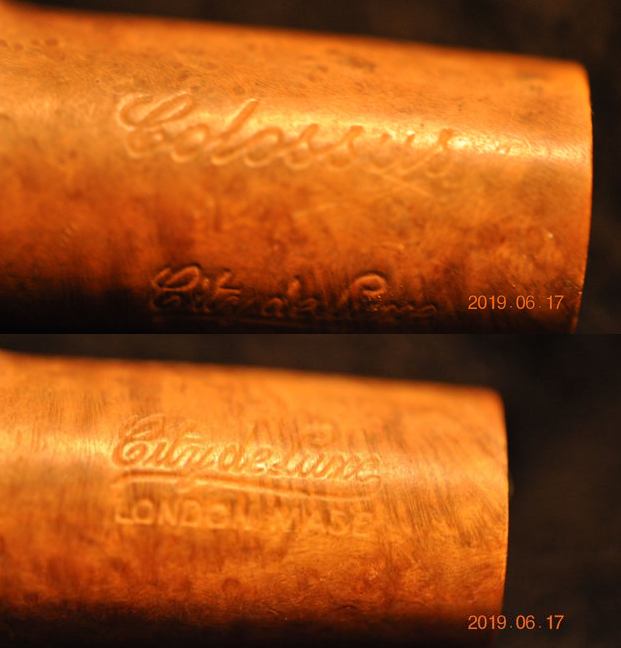
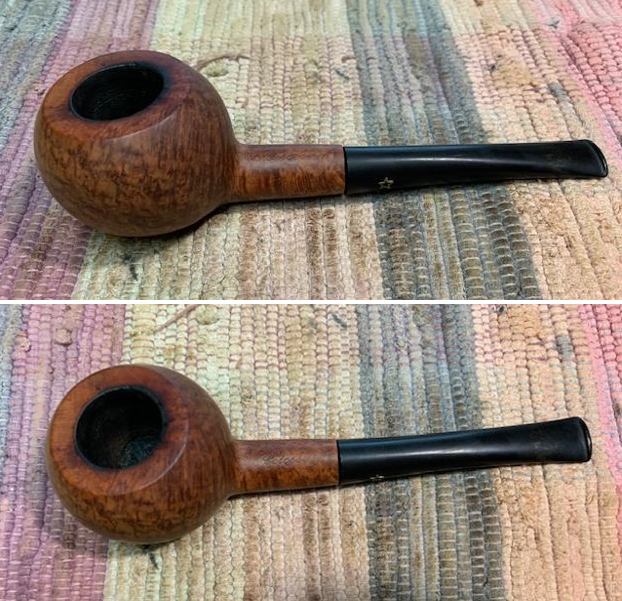
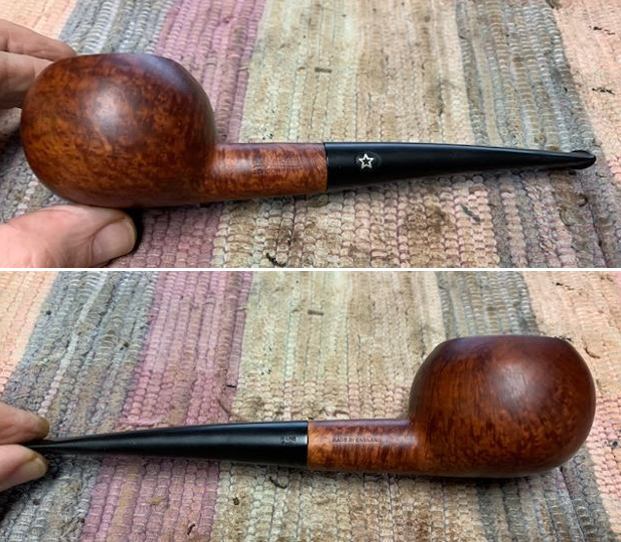
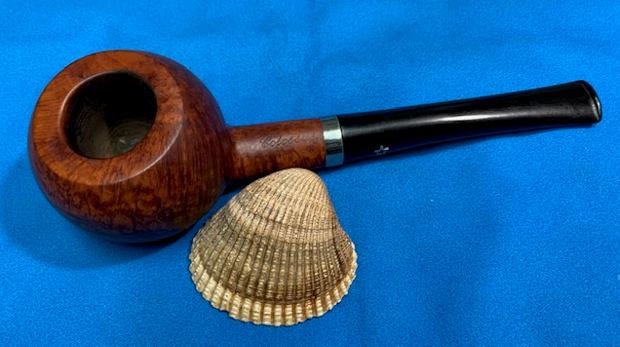
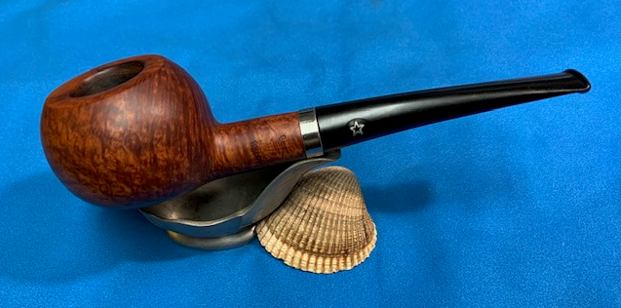
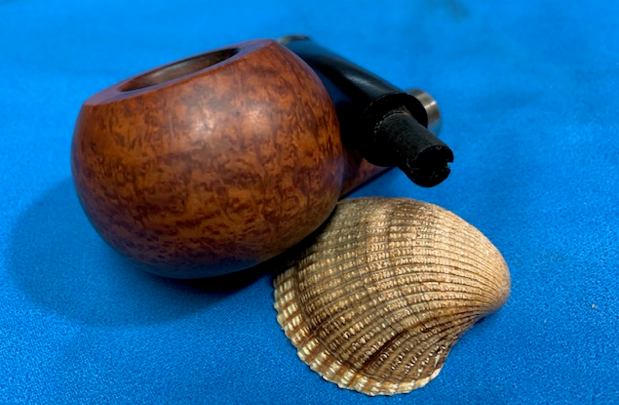
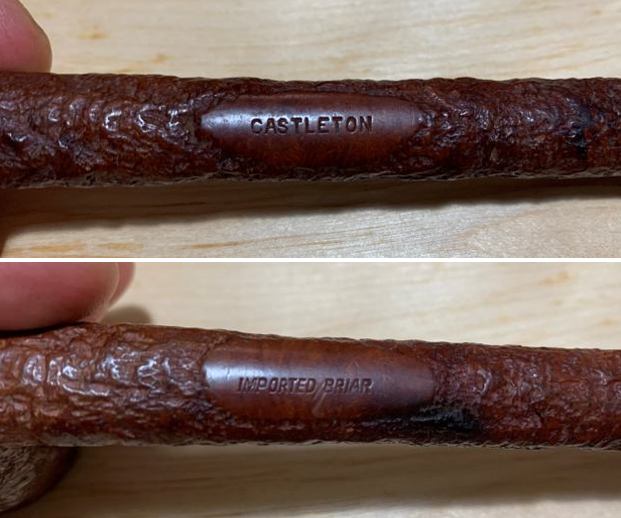
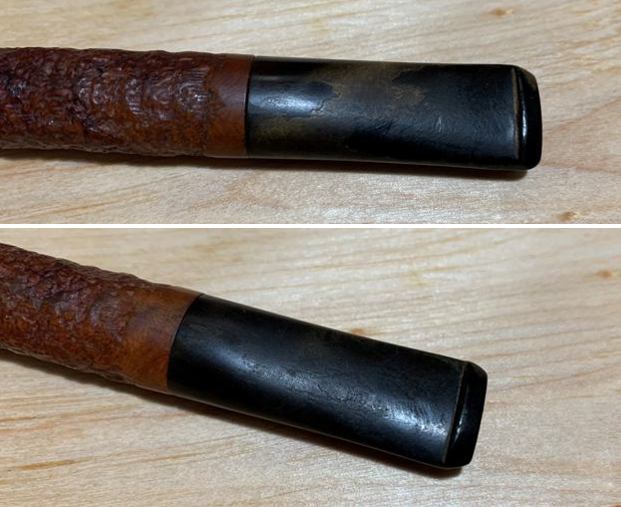
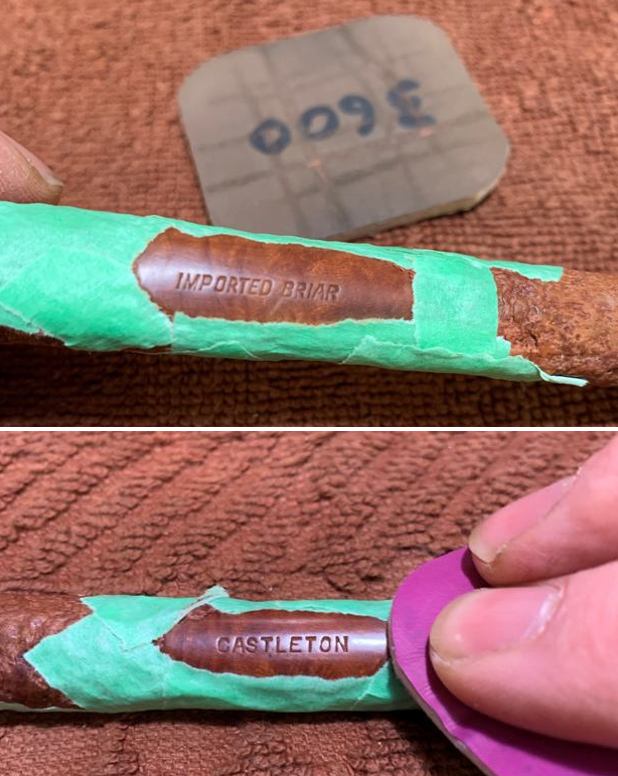
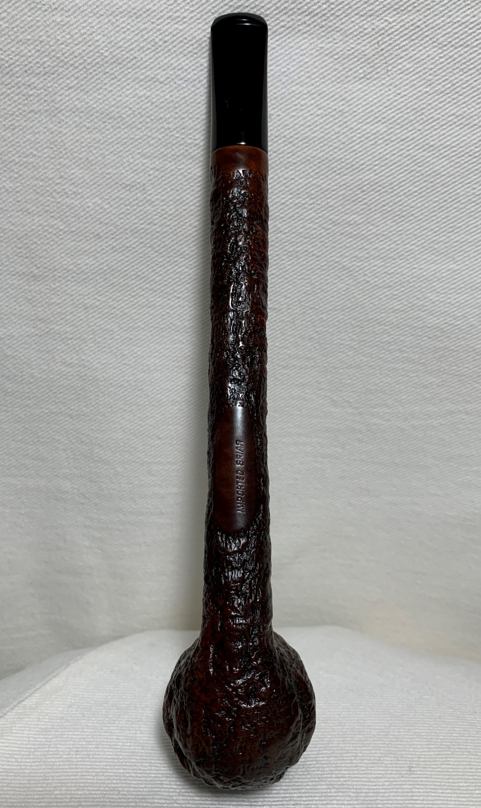
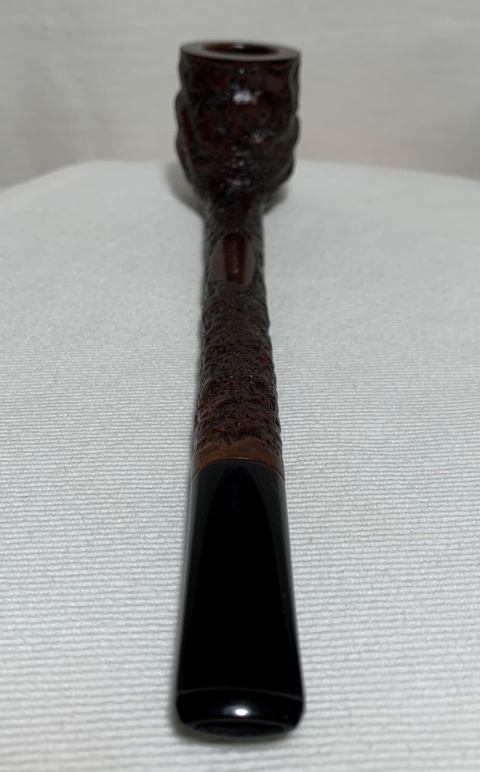
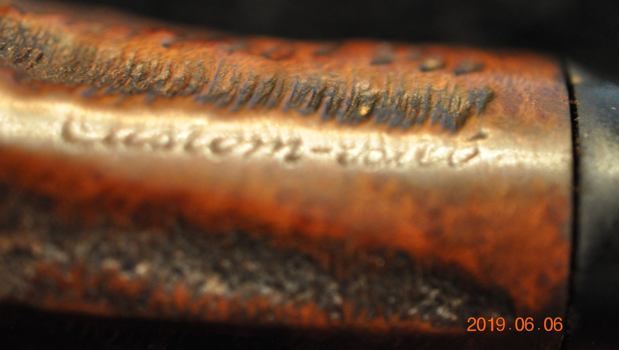
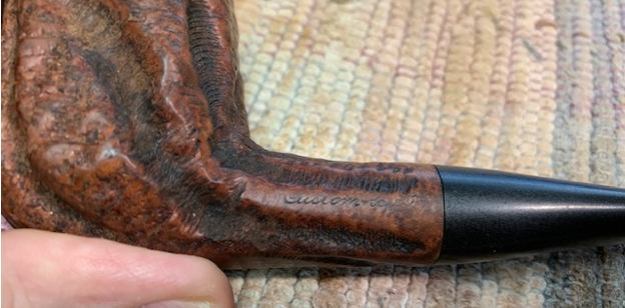
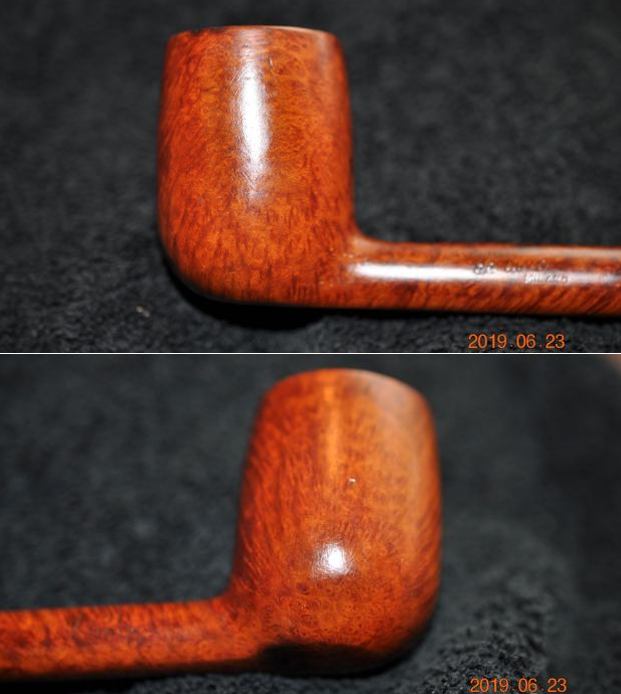
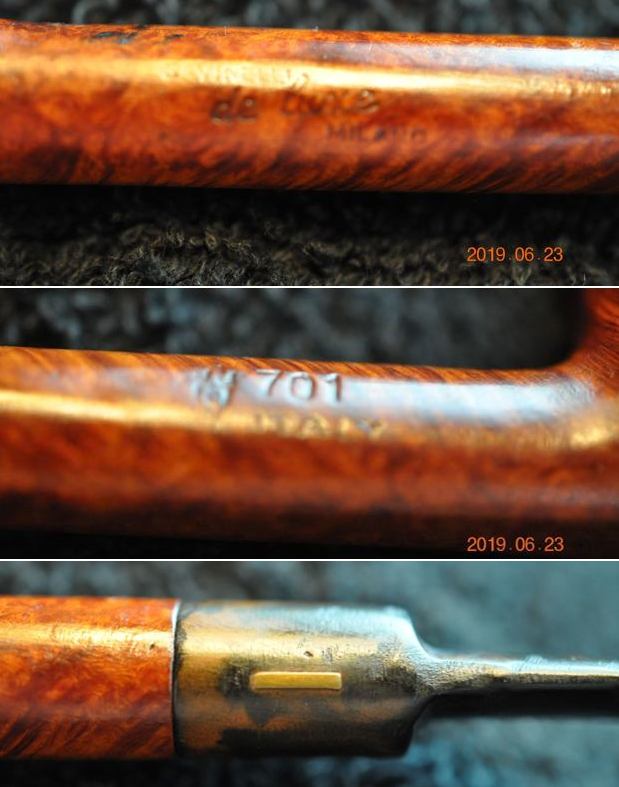
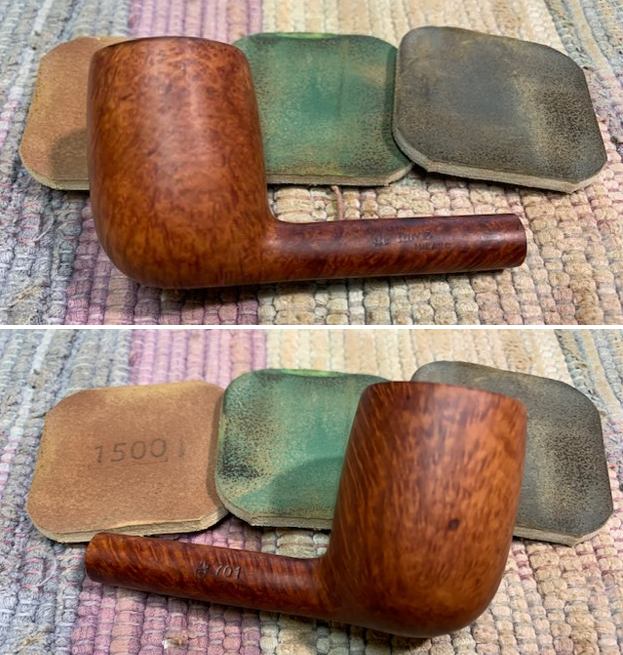
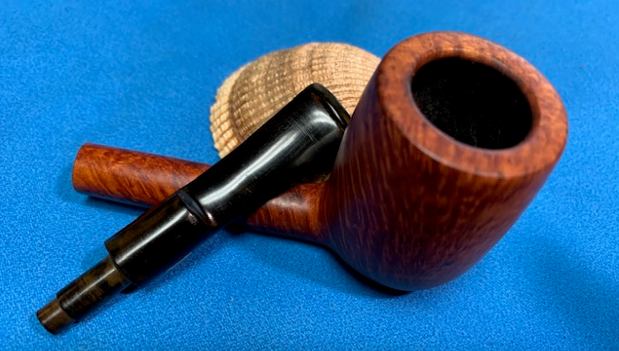
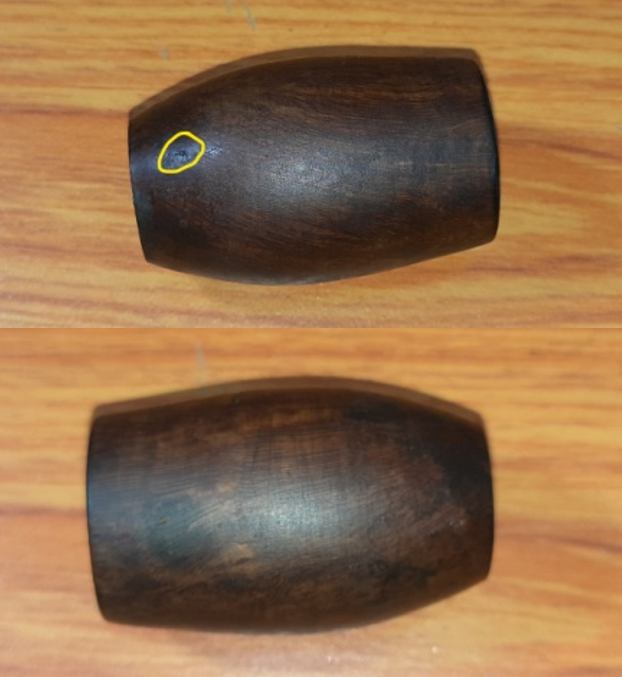
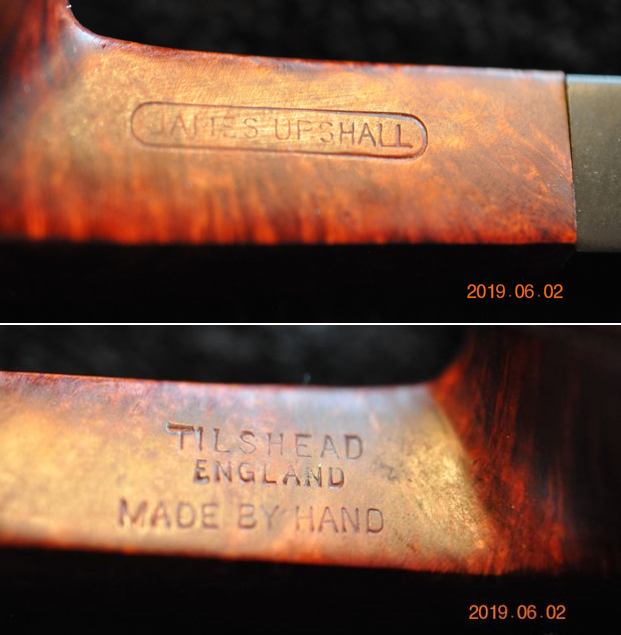
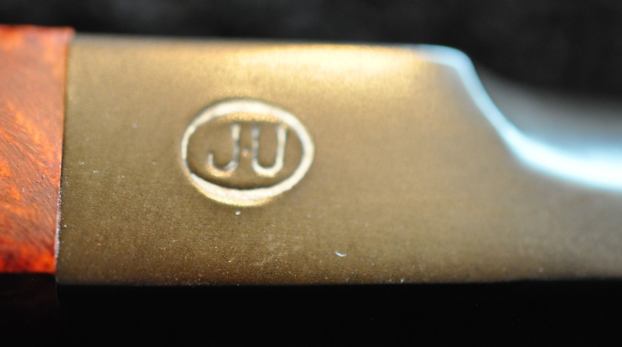
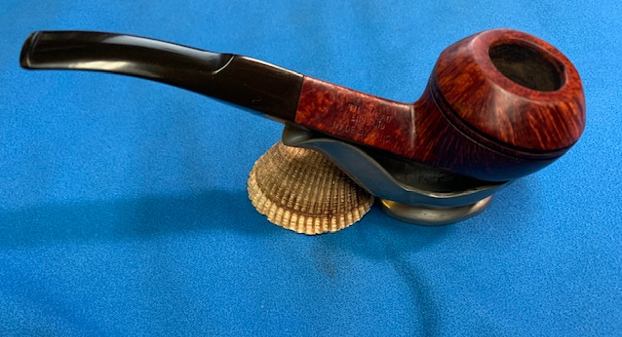
 Jeff was able to capture the stamping on the shank very well. They are clear and readable. The only photo missing is that of the shape number on the right side of the shank. You can also see the Yellow O on the stem top.
 Now comes the moment of truth! Somehow (neither Jeff nor I have any memory of this) the tenon had snapped off in the shank and the stem and bowl were separated. Generally when this happens on Jeff’s end he bags the bowl and stem in a sandwich bag to keep them together. But in this case that was not done. It could have broken in transit between Idaho and Canada or I could easily have snapped it when I tried to remove the stem. I too would have bagged the parts together but somehow the two were separated. The bowl went into my box of bowls for restemming and the broken stem went into the can of stems. Seemingly never to meet again.
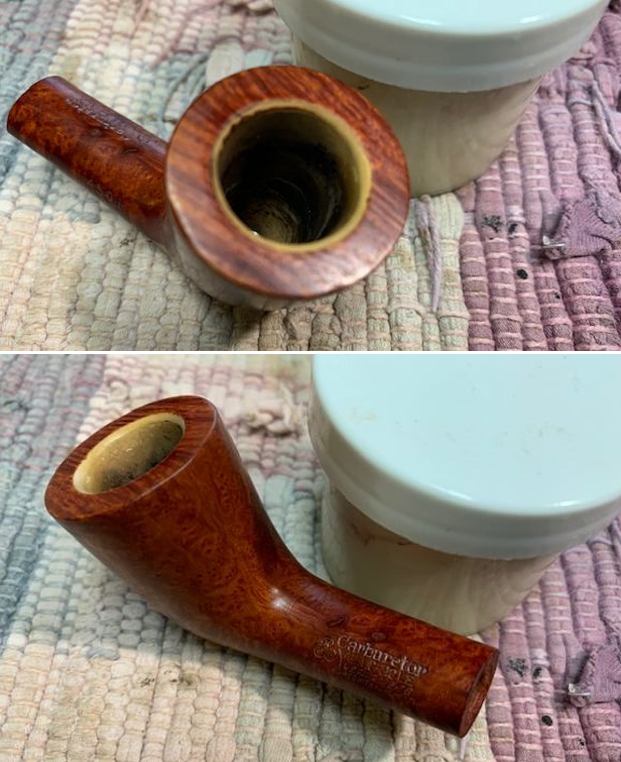
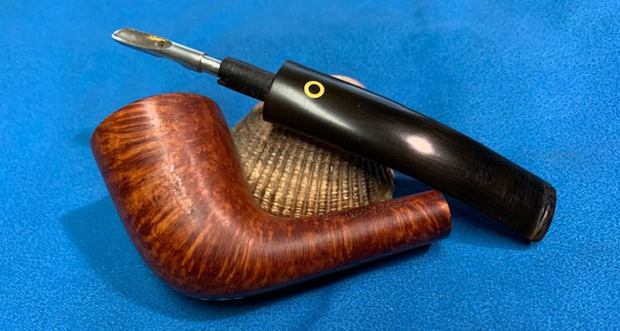
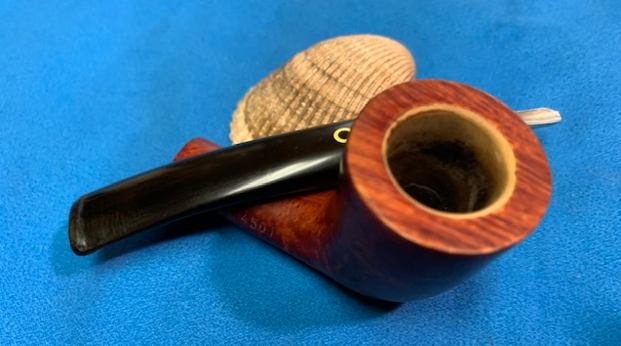
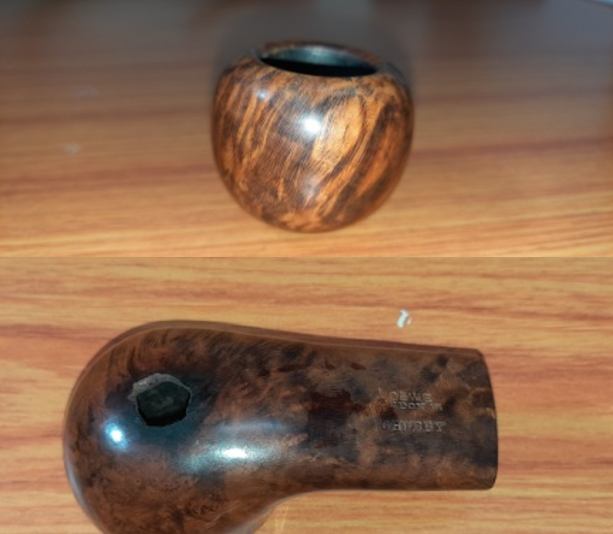
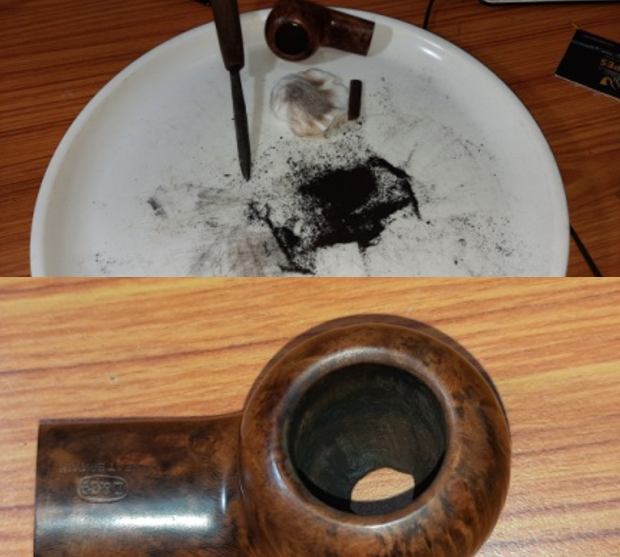
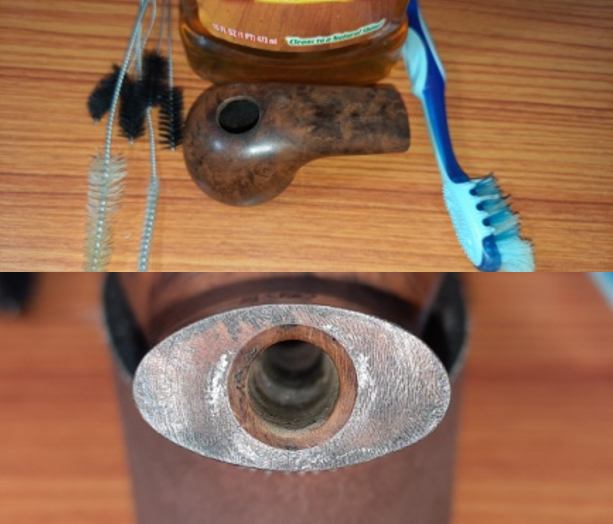
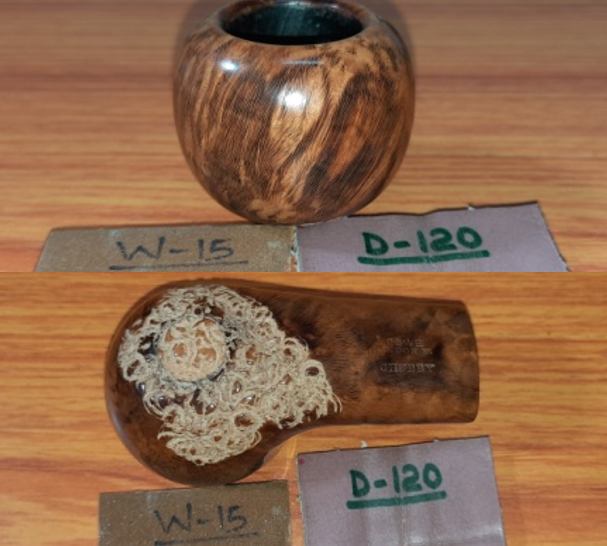
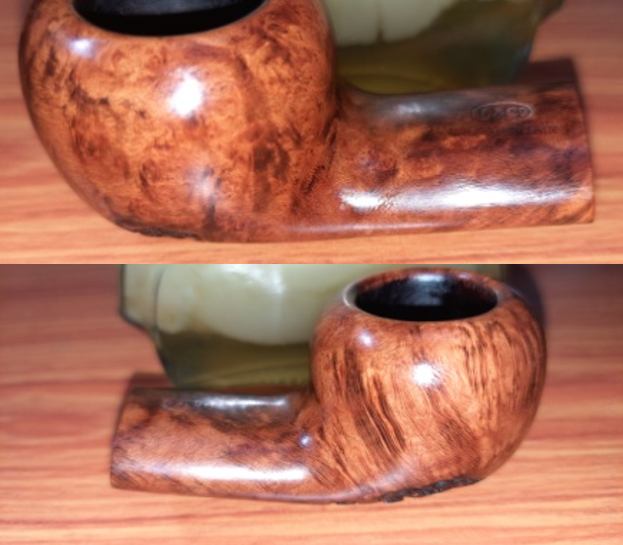
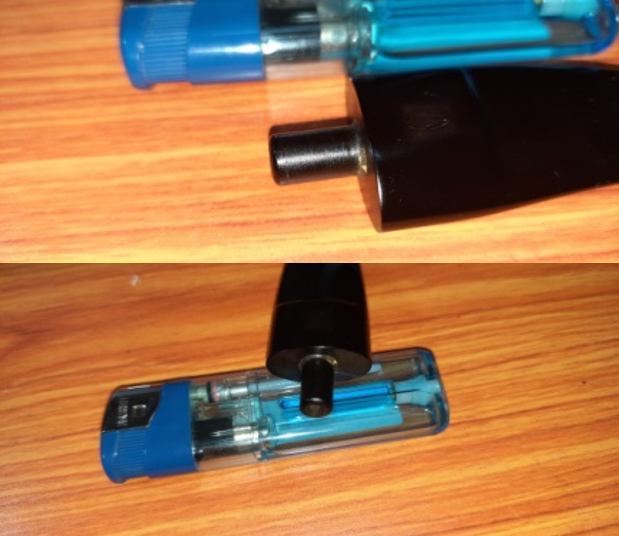
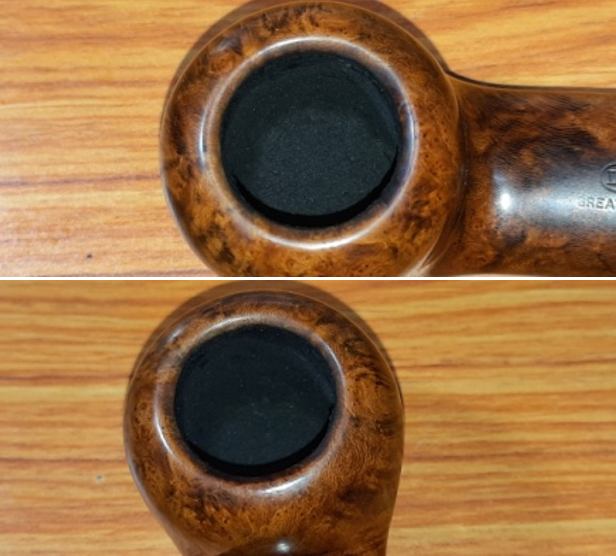
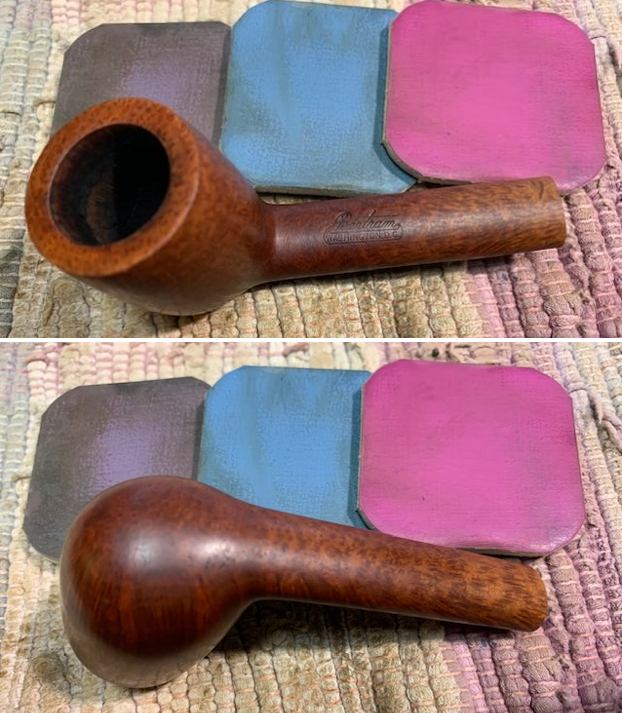
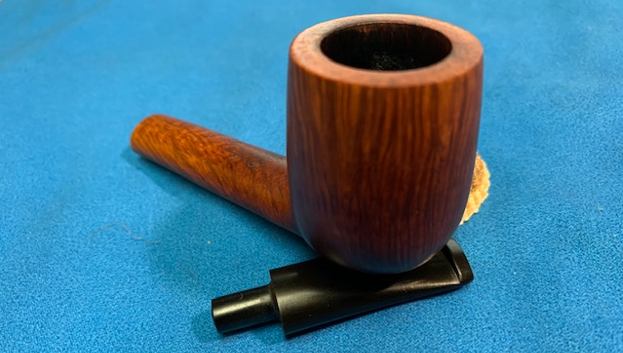
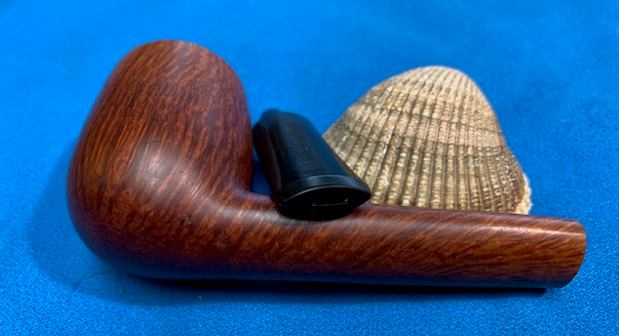
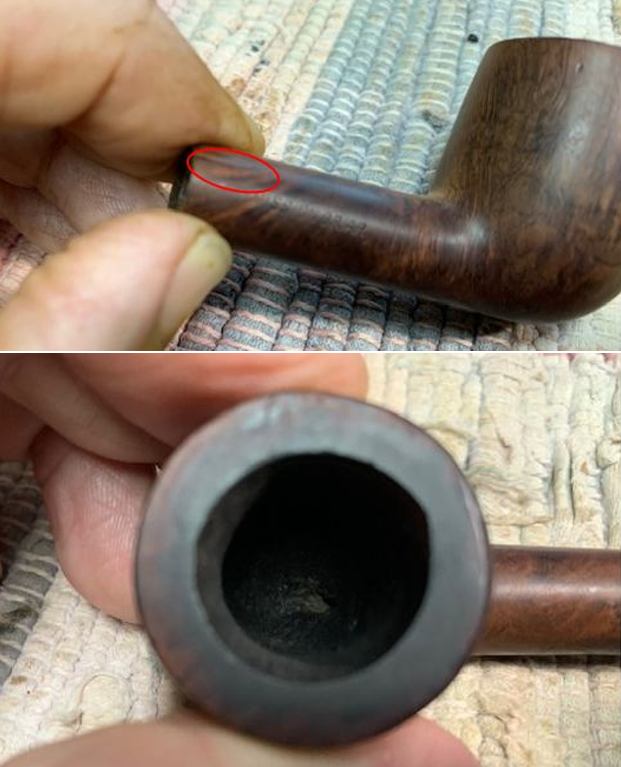
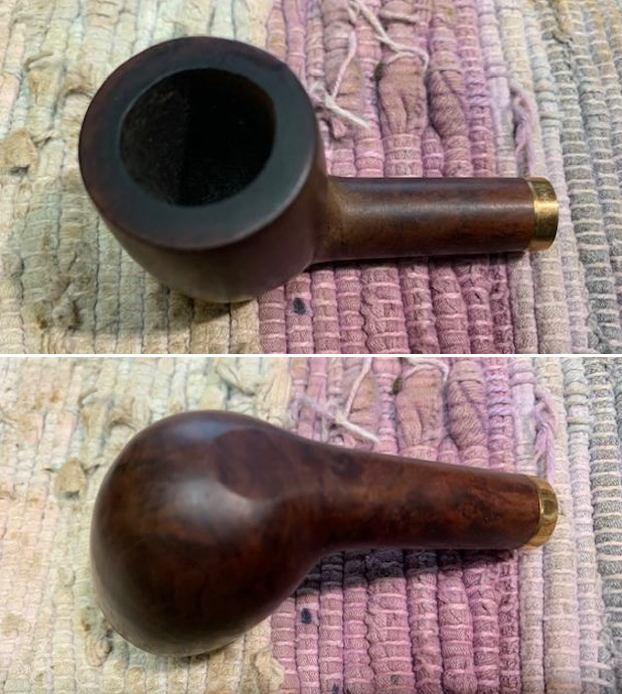
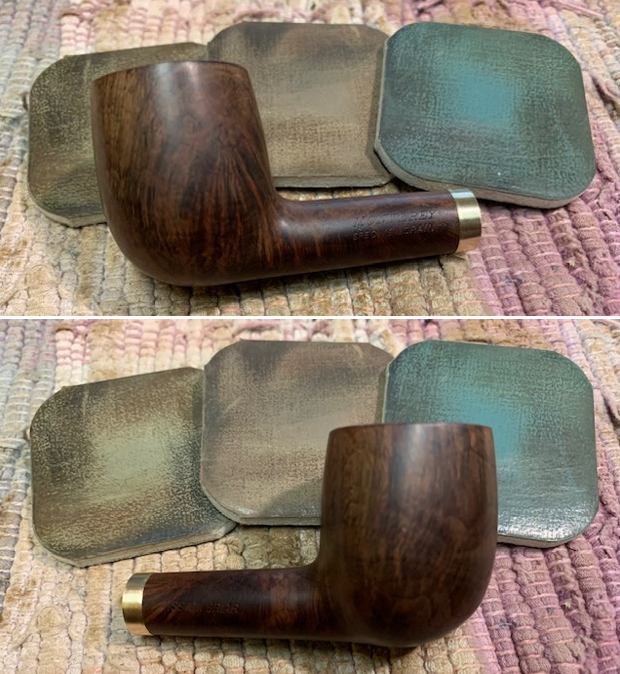
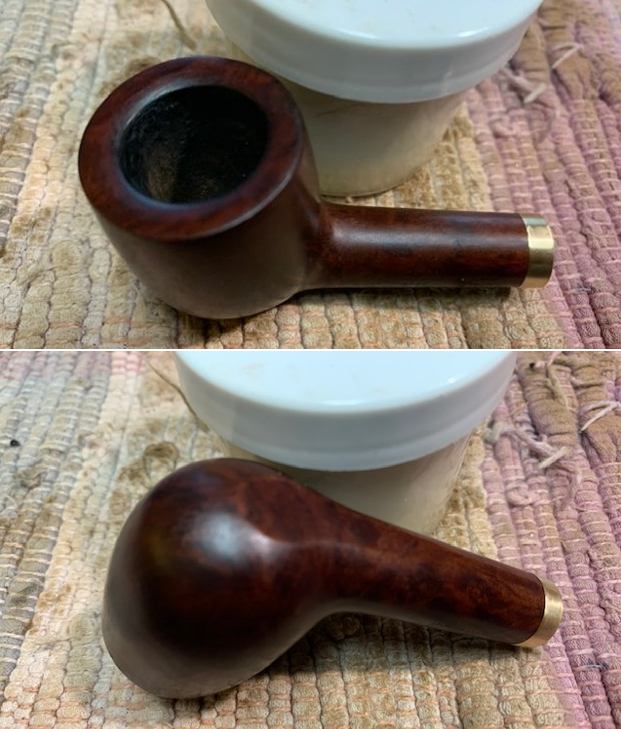
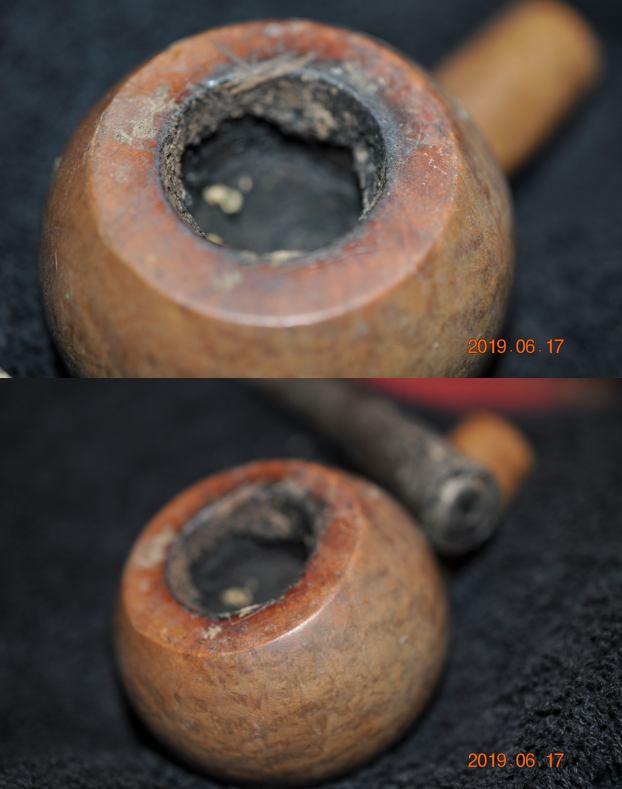
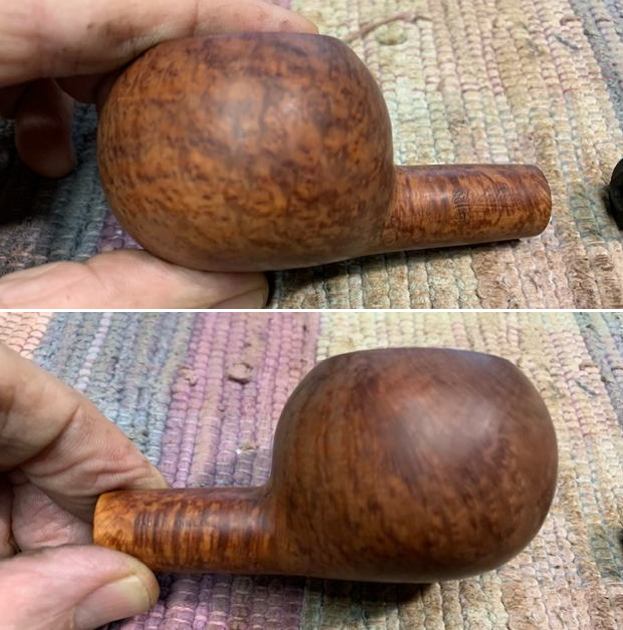
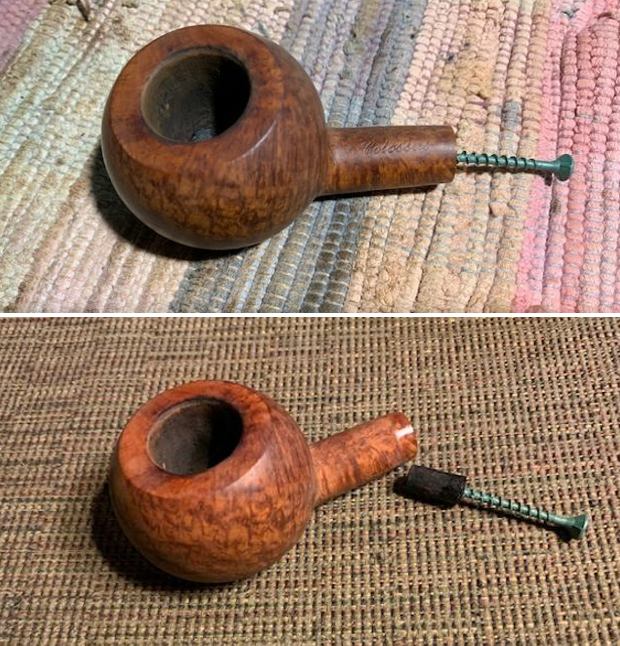
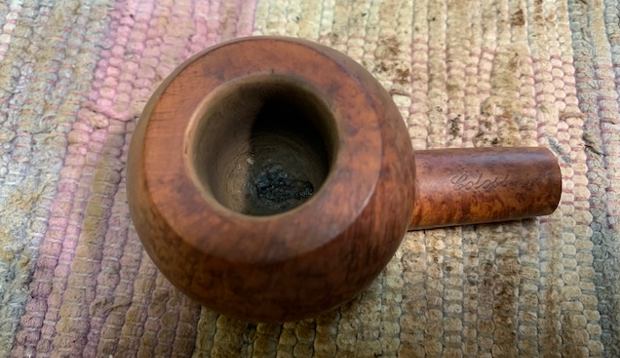
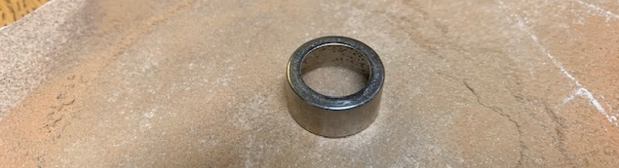
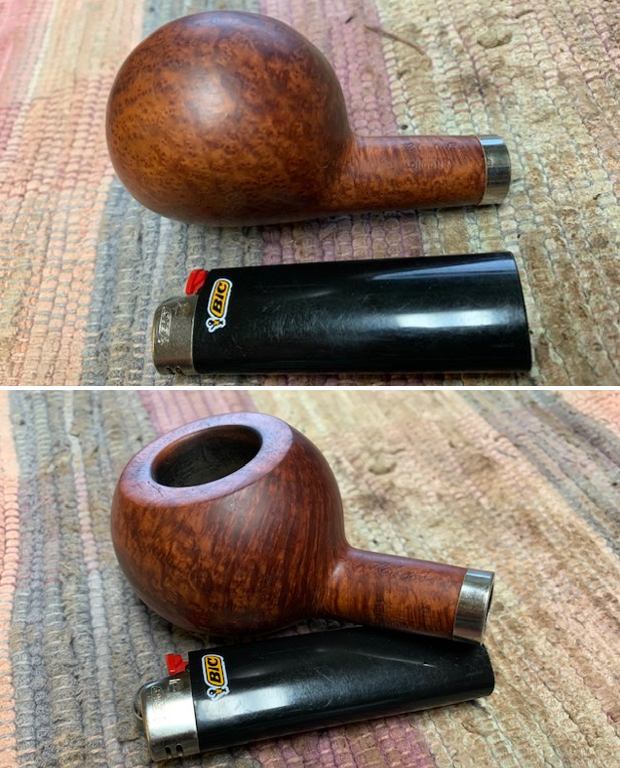
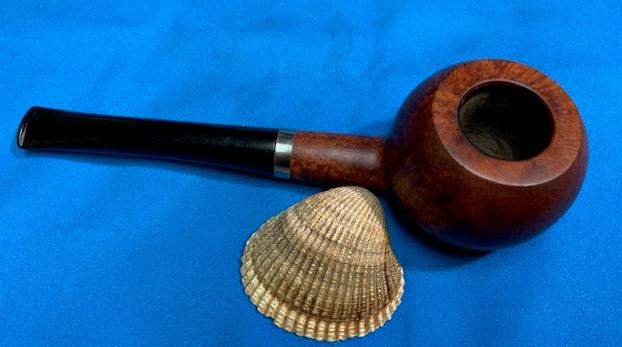
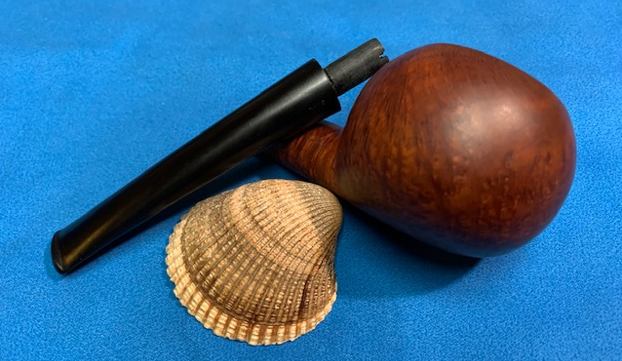
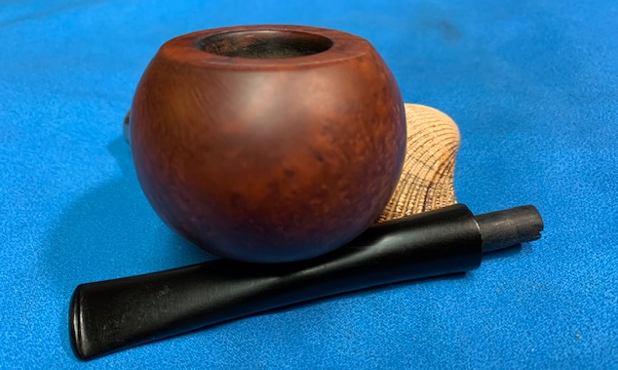
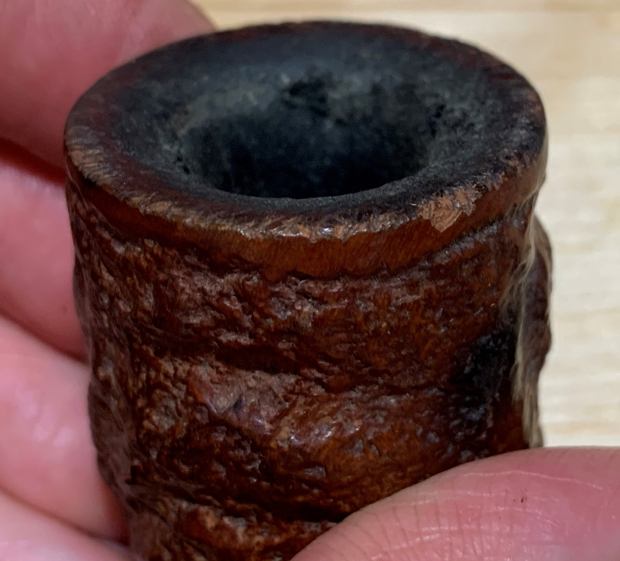
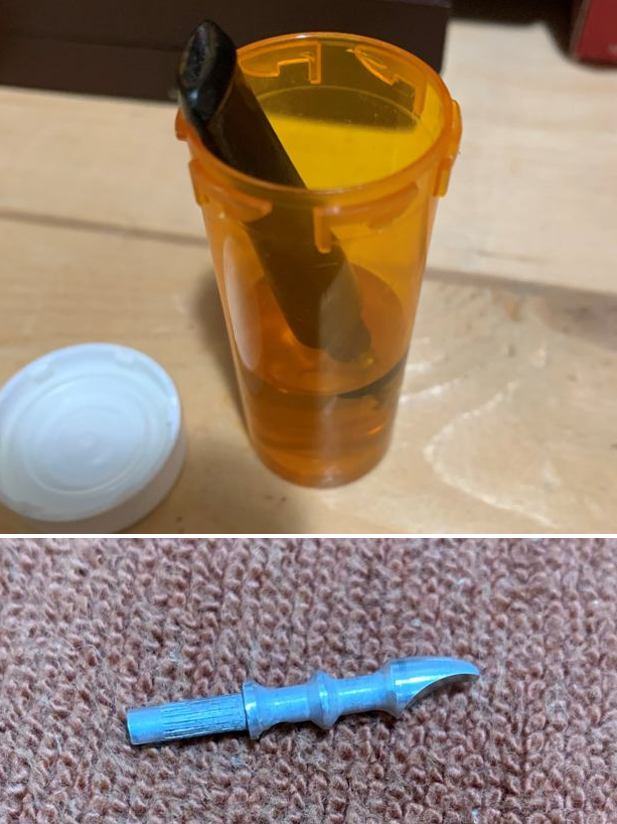
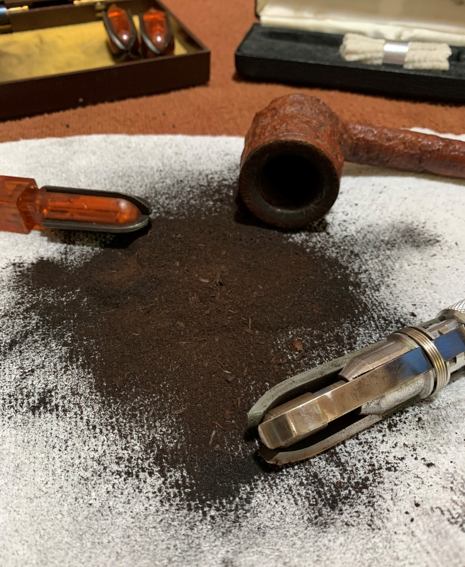
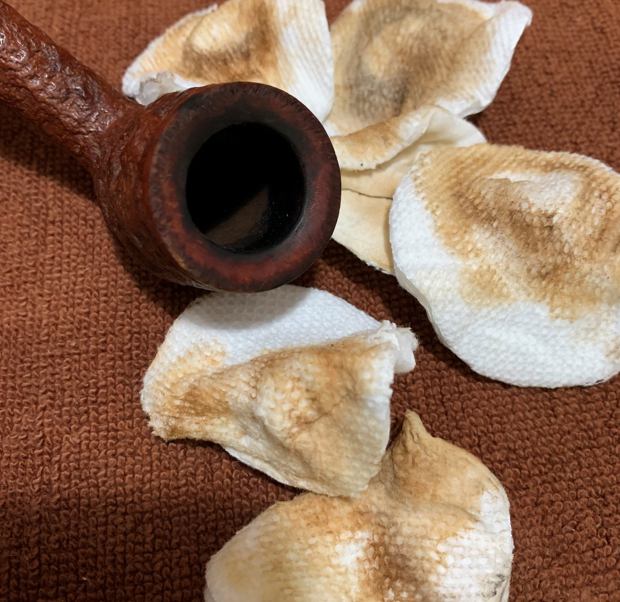
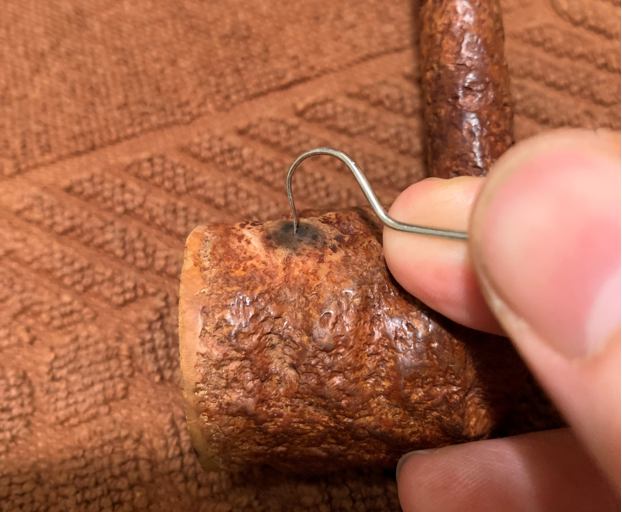
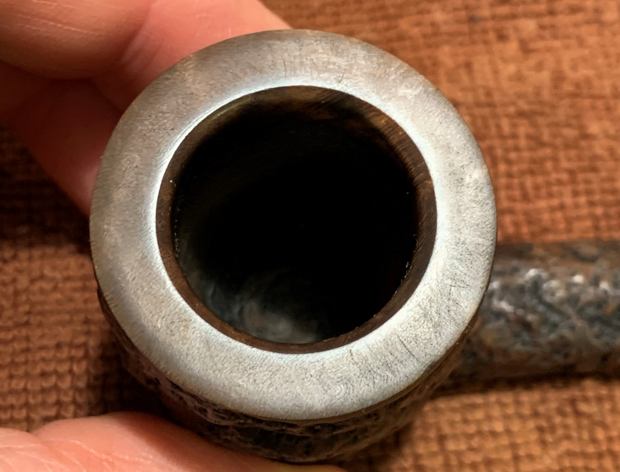
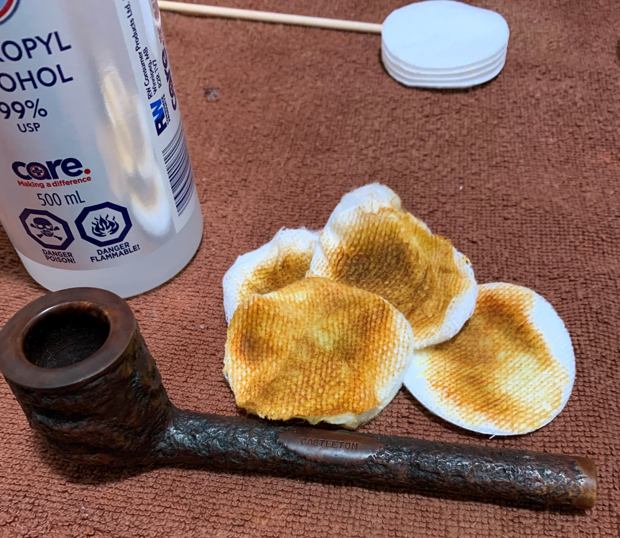
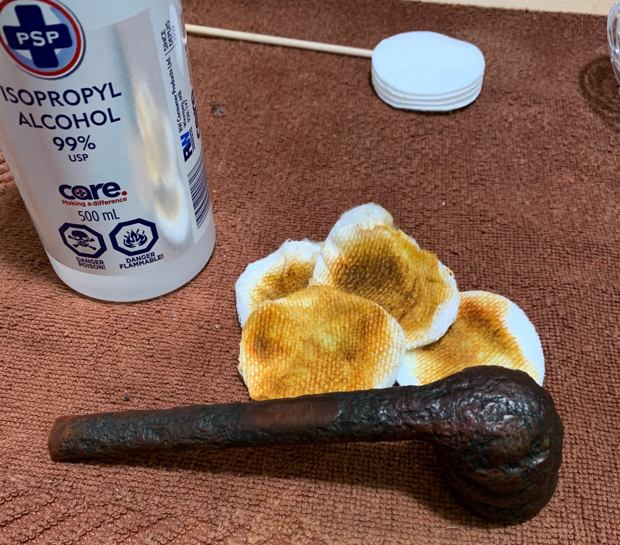
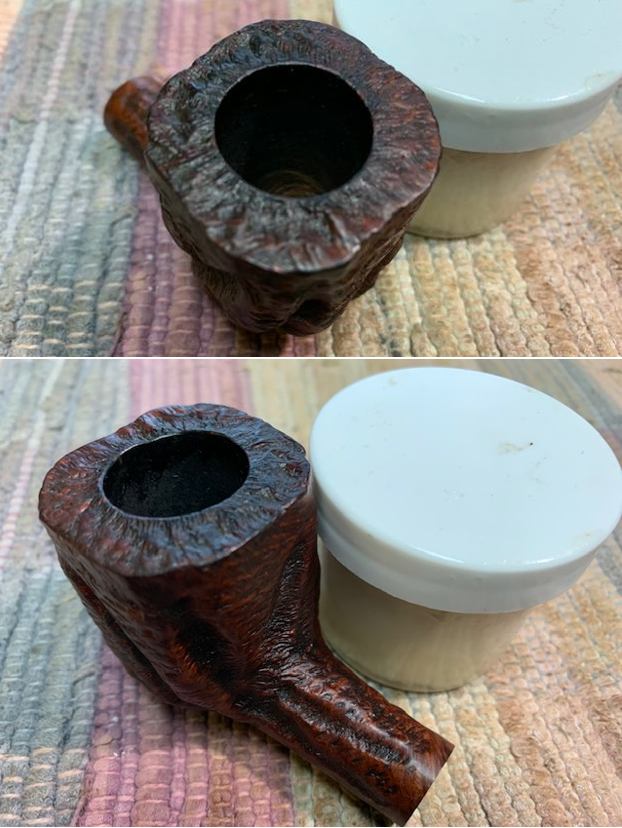
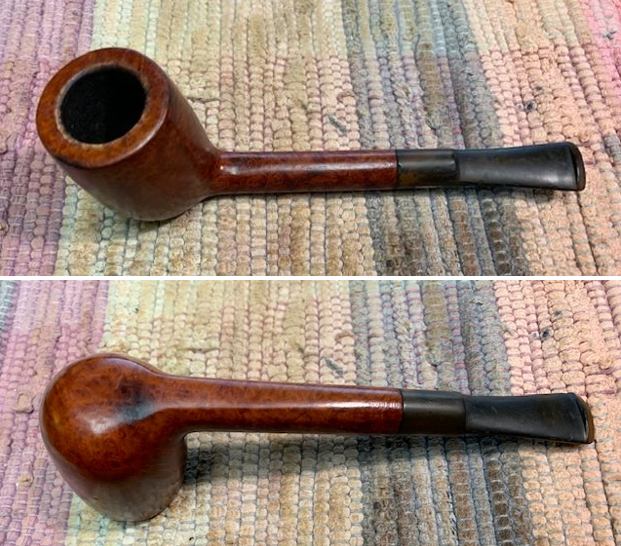
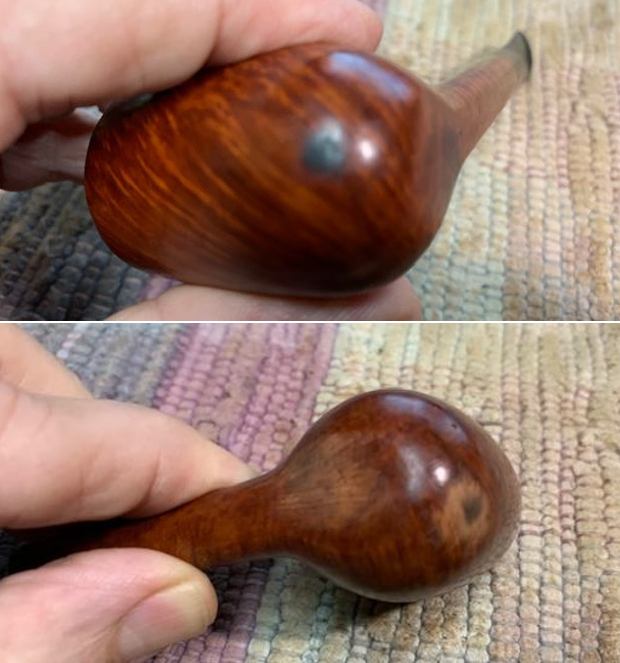
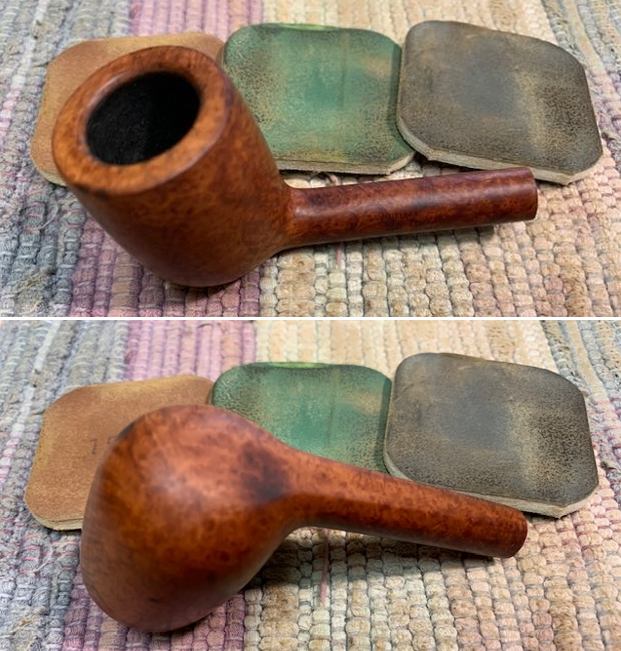
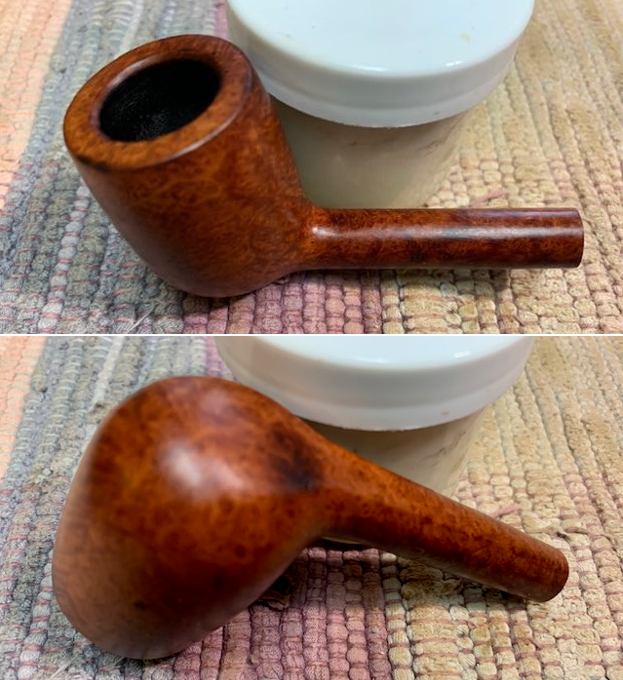
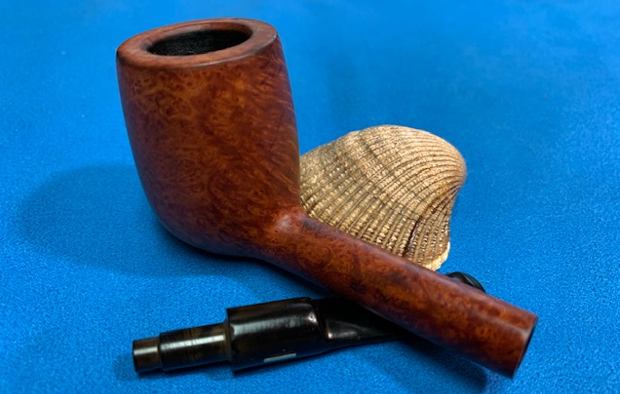
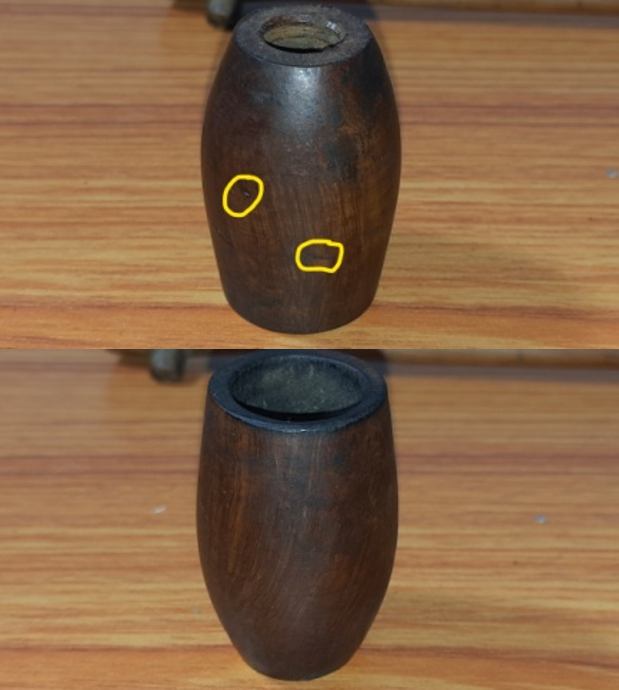
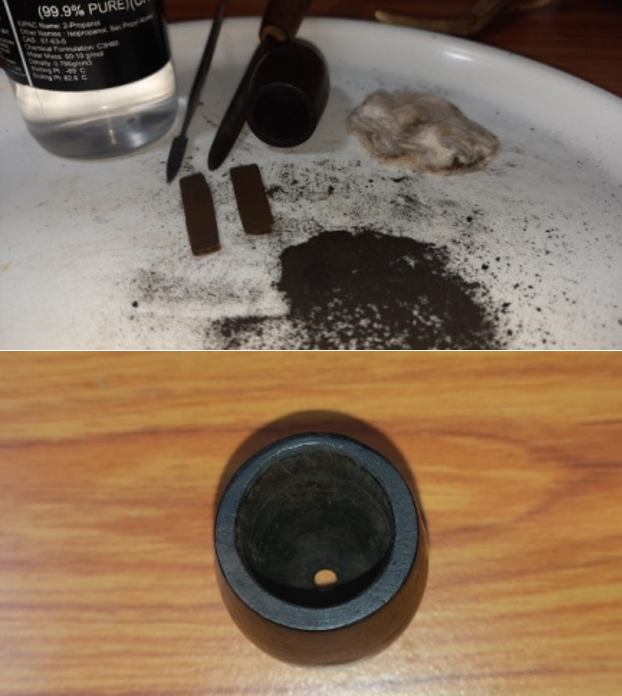
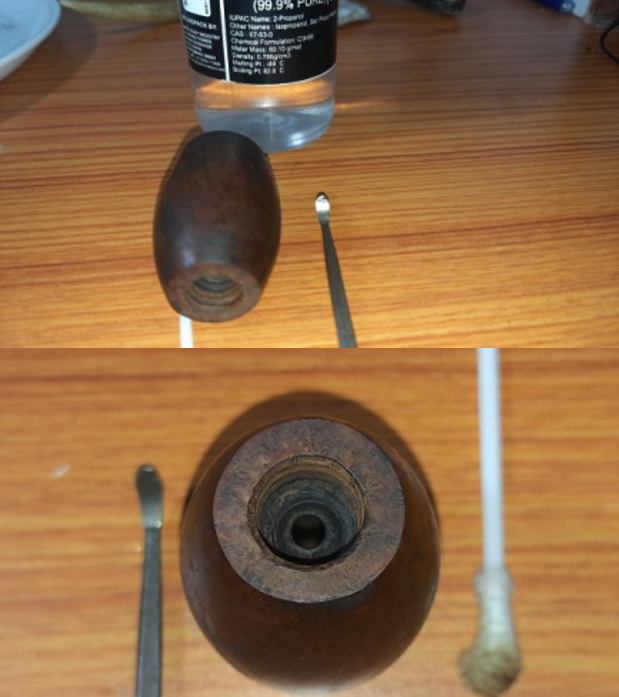
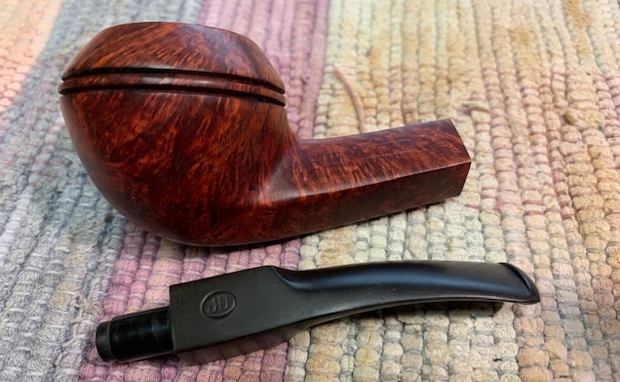
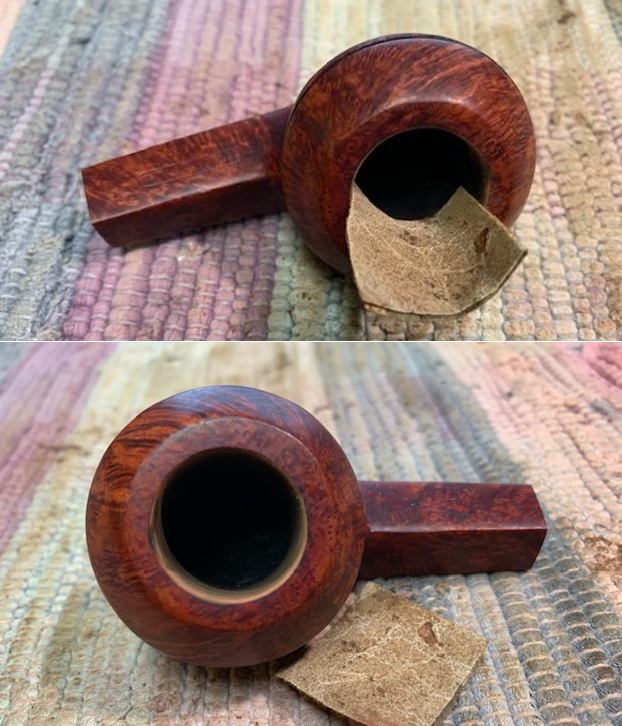
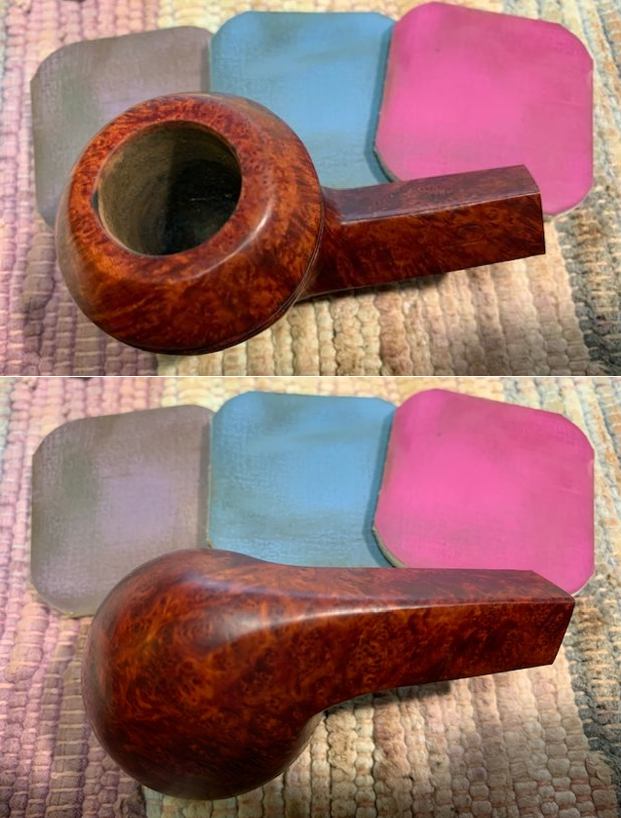
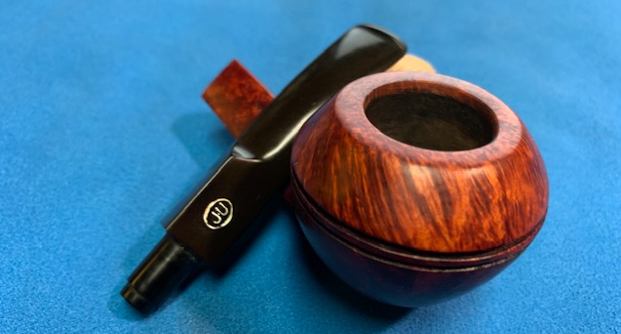
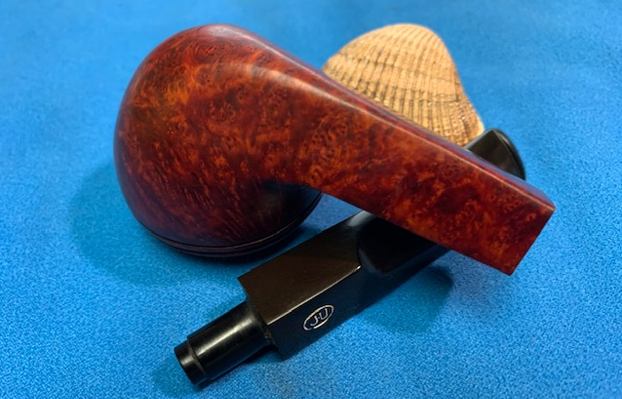
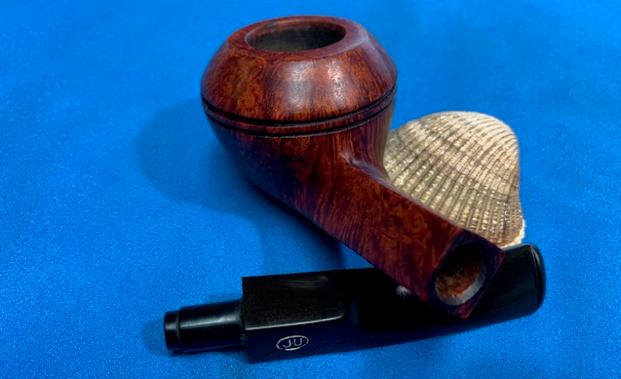
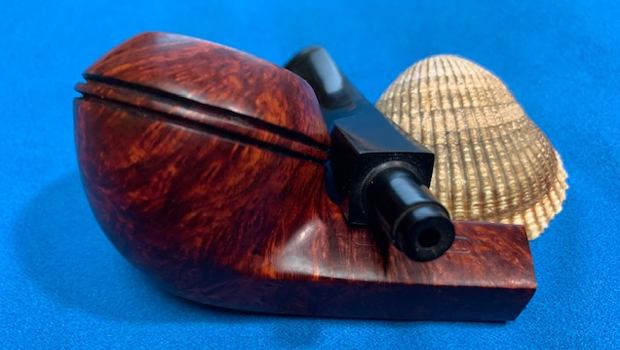
I took the bowl out of the box about a month ago to restem. It had a broken tenon in the shank. So I popped it in the freezer for a little while then pulled the tenon out with a screw. I was surprised to see that it had the stinger apparatus that was in these Yello-Bole pipes still in the broken tenon and it was undamaged. Jeff had done a thorough cleanup on this one so it was in great shape. I took some photos of the bowl before I started looking for a stem for the pipe.
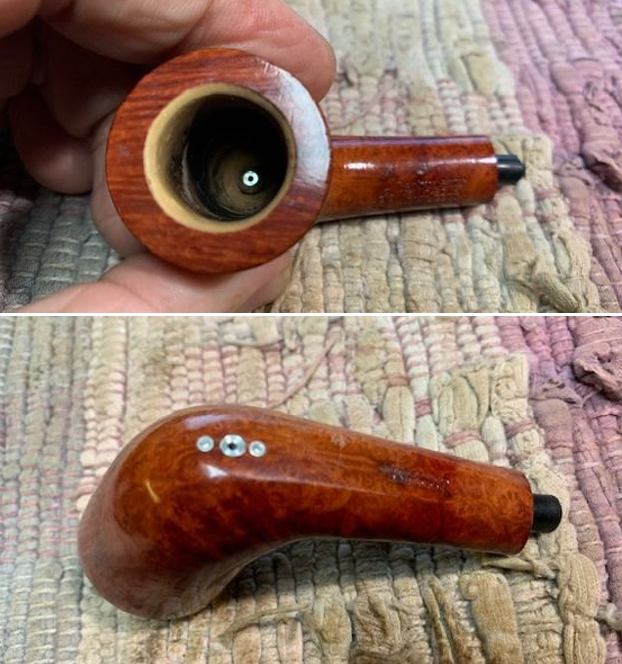
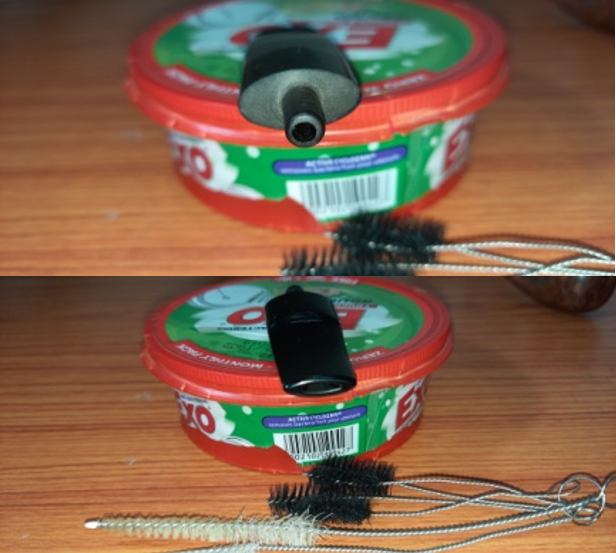
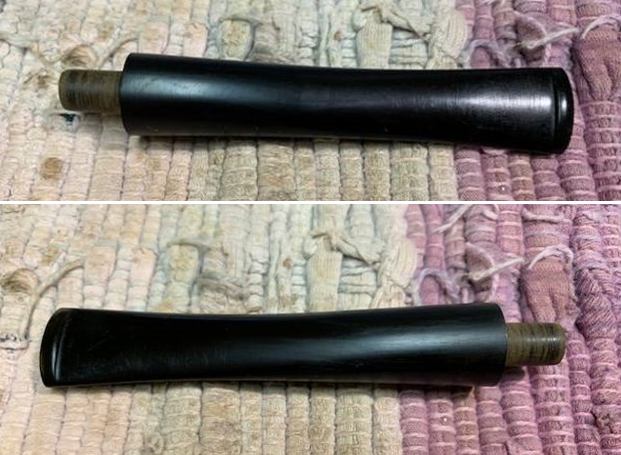
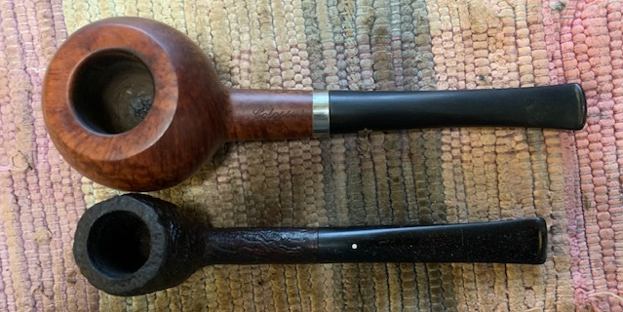
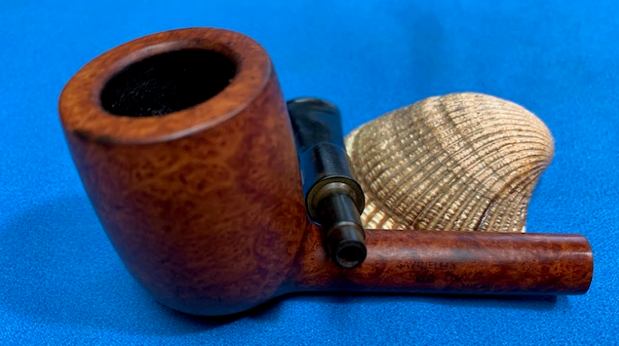
 I went through my can of stems and found oval shaped stem with a snapped tenon. It was even a Yello-Bole stem so that was a bonus. Or so I thought. I still did not put it together that this was the original stem. I took the broken tenon and stinger and lined it up with the stem. It was a perfect match! Now I knew that it was the original stem and I would be able to unite the parts again. Remember at this point I had not seen Jeff’s before photos that are above showing what the pipe looked like when he bought it. All of this was a bit of a fluke! Once I saw those photos all doubt was removed but I still had no idea how they got separated.
  I decided to look up the patents on the US Patent site and see what I could find about about them and the date they were filed (https://patft.uspto.gov/netahtml/PTO/srchnum.htm). I searched first for the US. Pat. 2,082,106 that was stamped on the top and left side of the shank. I assumed it referred to the Patent for the Carburetor but I was not certain. I found a drawing and description of the carburetor system of a patent filed by R. Hirsch on April 21, 1936 and granted on June 1, 1937. I have included those pages below. Now I had an idea of a starting date for the age of this old pipe.

 On the underside of the shank it was stamped with a different Patent No. It read as follows: Reg. U.S. Pat. Off. 343,331 and I had no idea what this patent referred to so I ran it through the same site’s search and found a Paten filed by A. Muller-Jacobs of New York for a coloured varnish finish. The pipe I was working on had a peeling varnish finish so that also fit well with the pipe. The patent itself was granted on June 8, 1886. I have included that document below for your purview.
 From there I wanted to see if I could set the date with more accuracy. I looked up a blog I had written on a Yello-Bole with a Double Carburetor to see what I had found when I had researched for that pipe (https://rebornpipes.com/2019/08/09/restoring-a-kbb-yello-bole-double-carburetor-bulldog/). I quote that blog in part below.
I Googled the brand and line to see what I could find out. Here is what I found.
The first link to me to the Kaywoodie Group and a thread on dating this particular pipe. There was a helpful exchange between lifeon2 and Bosun about a pipe that is stamped in a similar manner to the one that I have. Here is a link to the full conversation: https://www.tapatalk.com/groups/kaywoodie/dating-yello-bole-pipes-t86.html
lifeon2 writes: OK so there isn’t a lot of dating information for Yello-Bole pipes but here is what I have learned so far.
- If it has the KBB stamped in the clover leaf it was made 1955 or earlier as they stopped the stamping after being acquired by S.M. Frank.
- From 1933-1936 they were stamped Honey Cured Briar.
- Post 1936 pipes were stamped “Cured with Real Honey”
- Pipes stems stamped with the propeller logo they were made in the 30s or 40s no propellers were used after the 40s.
- Yello Bole also used a 4 digit code stamped on the pipe in the 30s.
- If the pipe had the Yello Bole circle stamped on the shank it was made in the 30s this stopped after 1939.
- If the pipe was stamped BRUYERE rather than briar it was made in the 30s.
(Information gathered from Pipedia – https://pipedia.org/wiki/Yello-Bole)
Bosun replies: the one I have is stamped on the left side of shank:
- Double Carburetor
- yello-bole
- u.s.pat.off
- with KBB to the left of the above
underside of shank has Cured with Real Honey
right side of shank has 4907
on top of stem is the white circle
lifeon2 replies: According to the list I have it looks like you have a late 30s model, sweet
I also turned to a blog by Andrew Selkirk on rebornpipes that also added a degree of certainty to the date of manufacture of this pipe (https://rebornpipes.com/2015/05/03/1934-35-yello-bole-carburetor/).
I can say with a fair degree of certainty that this pipe is from 1934 or 35. The carburetor patent was granted in 1935, this pipe is stamped “Pat Applied For.” Interestingly enough, it also has a patent number on the bottom of the shank. Additionally, the four digit number was used by Kaywoodie until 1936. The first two numbers indicate the finish and the second two numbers indicate the shape.
With that information in hand I knew what I was dealing with in terms of age of this pipe. I knew from the information from Pipedia that the KBB in a clover leaf stamp meant that the pipe was made before 1955. The Cured with Real Honey stamp placed the pipe as 1936 or after. The four digit shape code was used until 1936. The shape code on this one was 4982 thus it is another argument for 1936. The patent was given to KBB in 1935 so the stamped “Reg. US Pat. Off also places the pipe after 1935.
The information that I have gathered helps me to know with a high degree of certainty that this Carburetor pipe was made in 1936. The four digit shape number and the patent information that I have included helped identify that with certainty. I also learned that the first two numbers indicate the finish and the second two numbers indicate the shape.
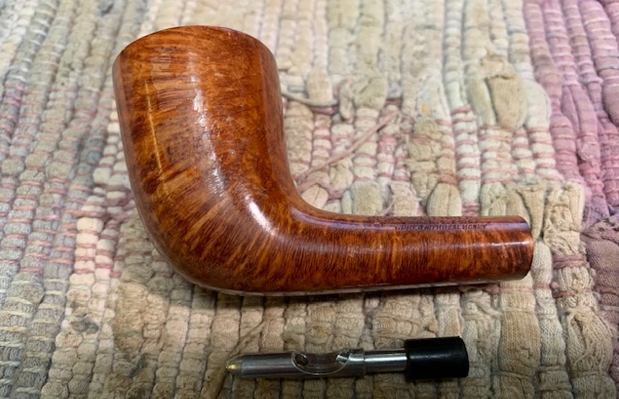
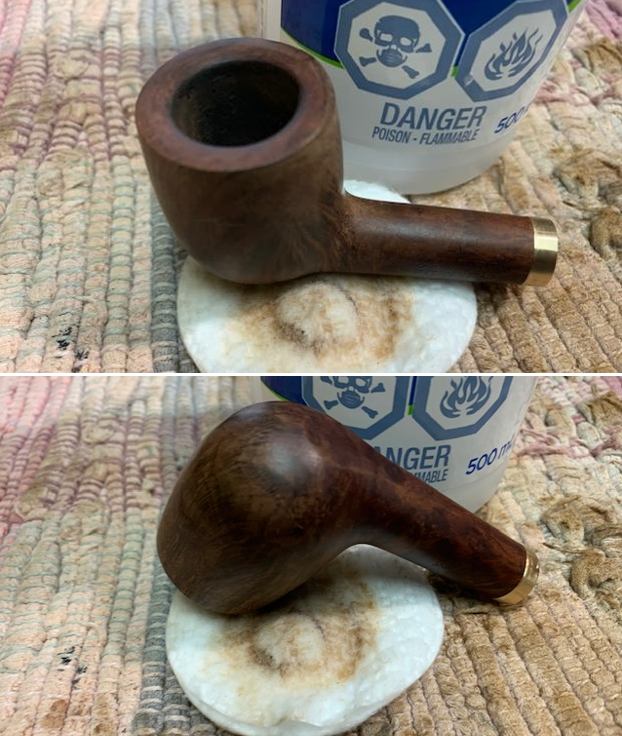
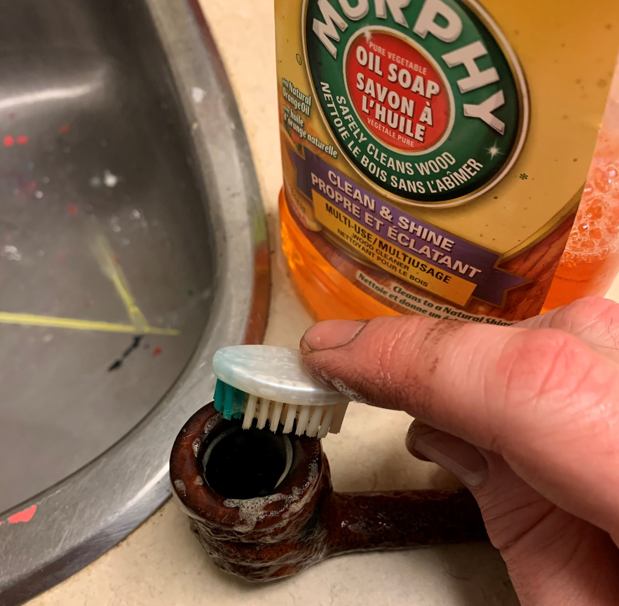
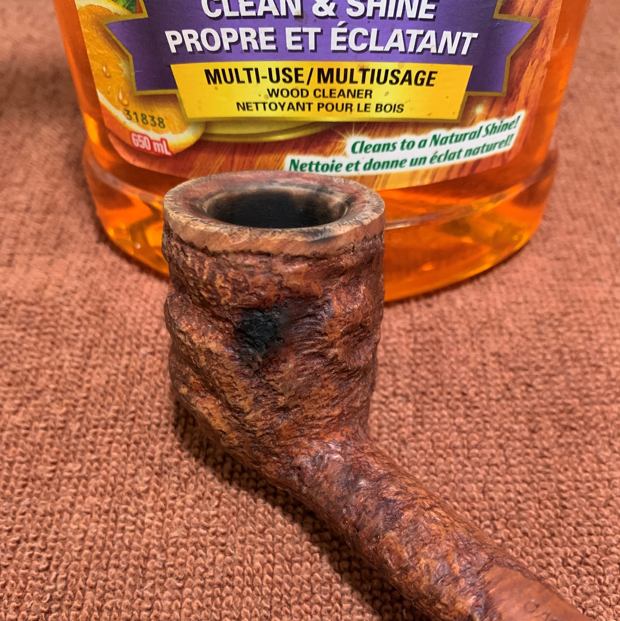
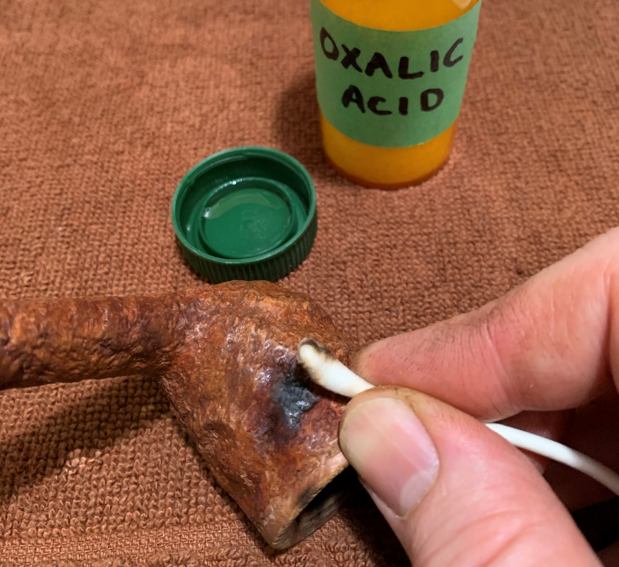
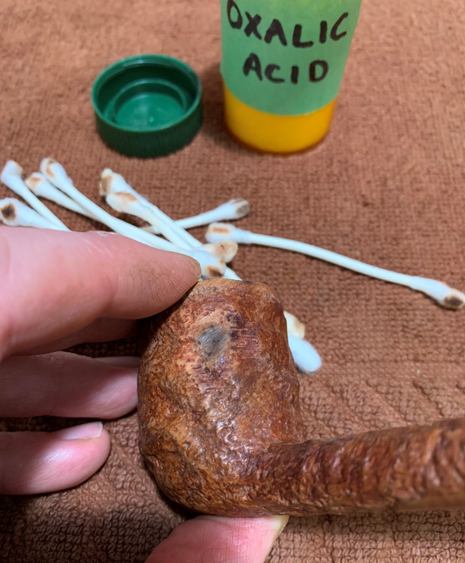
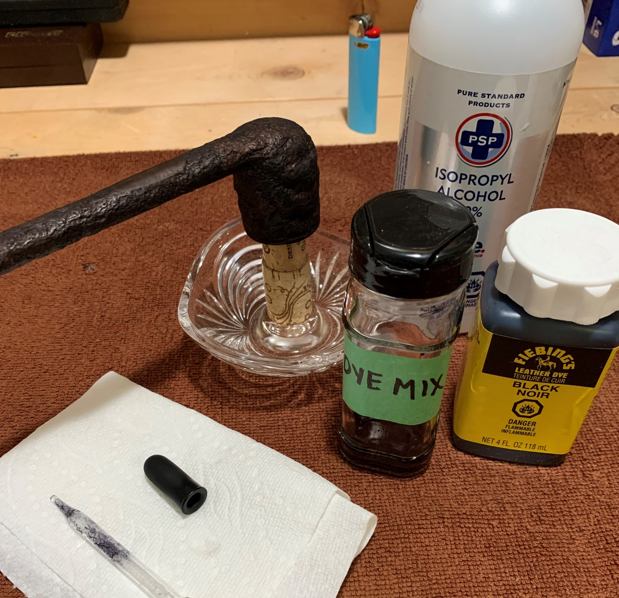
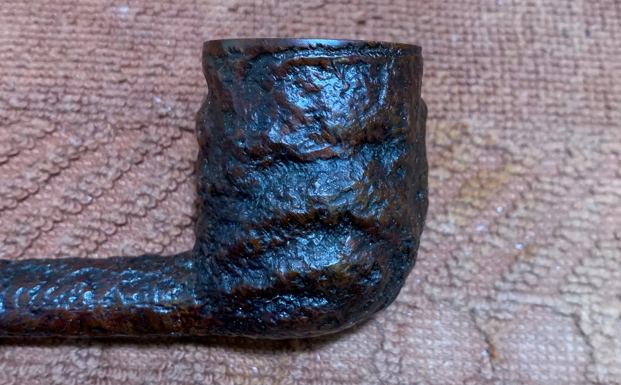
Now it was time to work on the pipe. I removed the peeling varnish with some fingernail polish remover (acetone). It came of nicely and left behind a nice looking piece of briar. 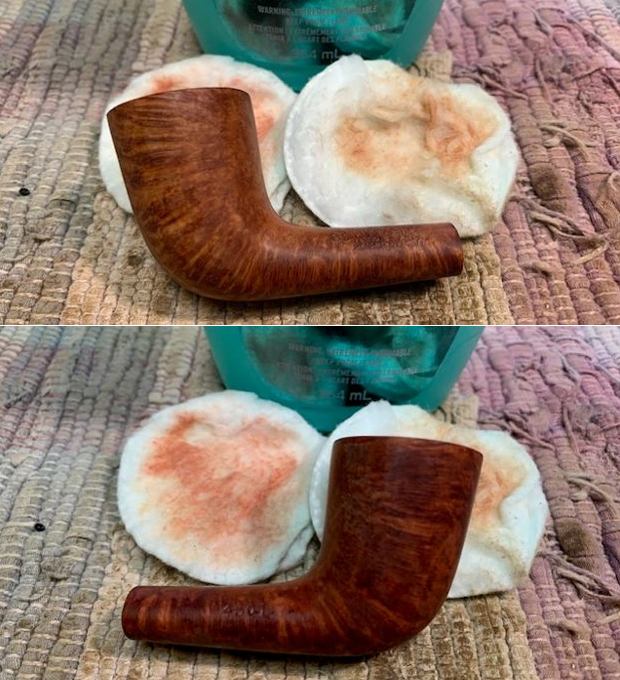
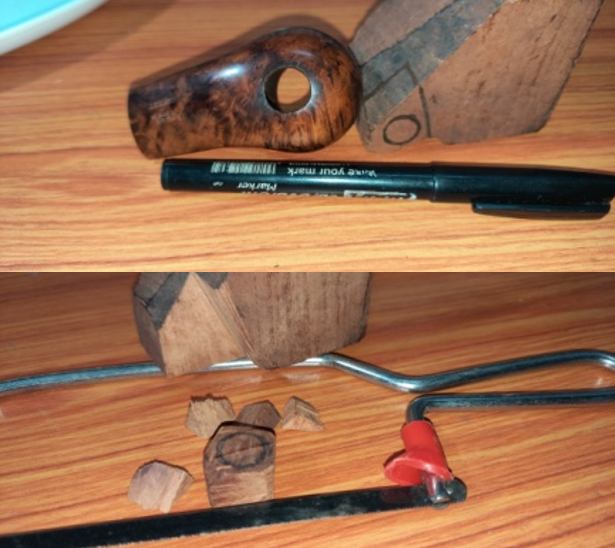
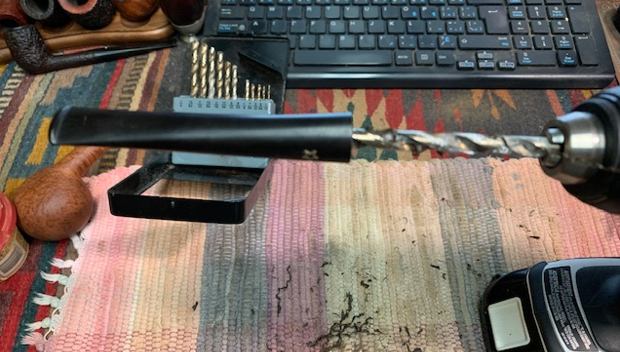
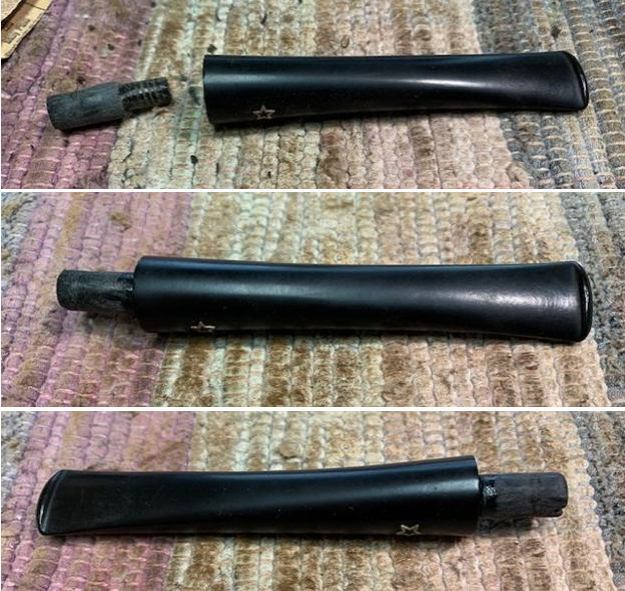
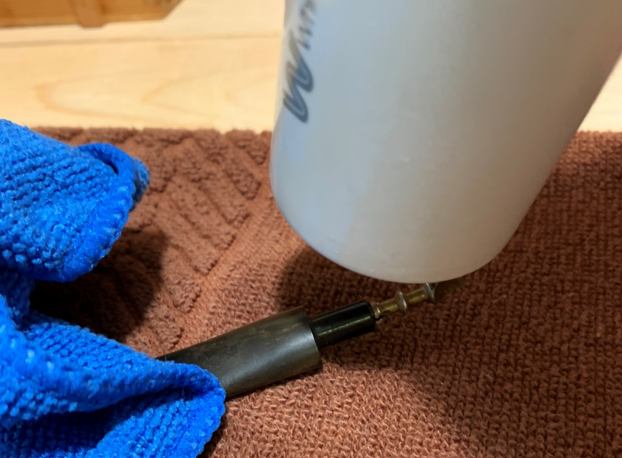
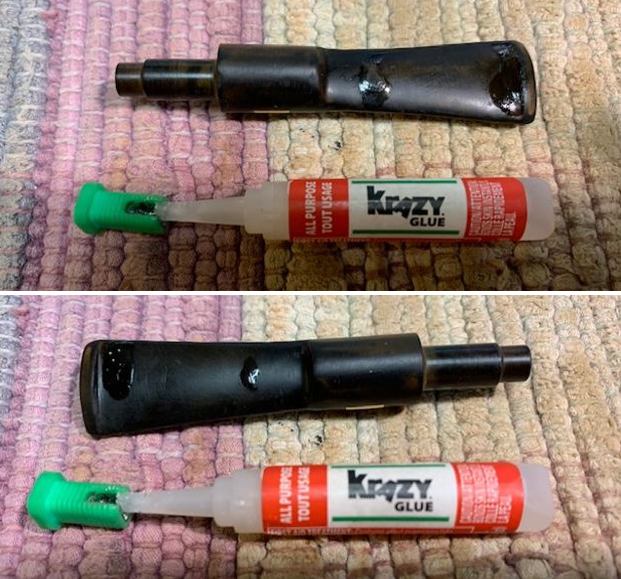
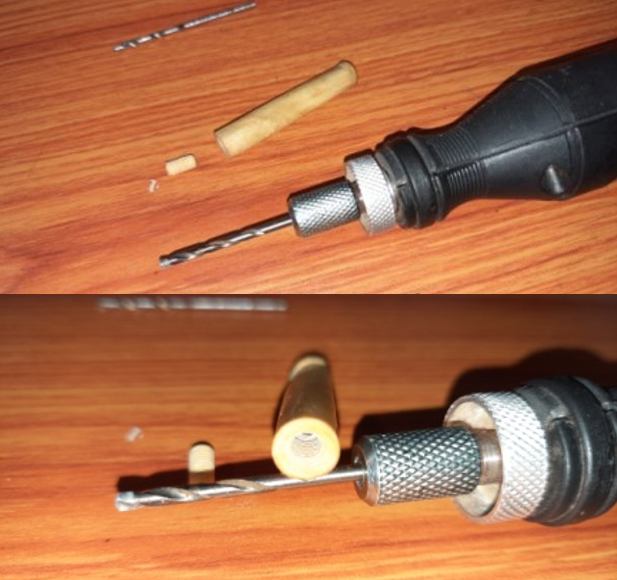
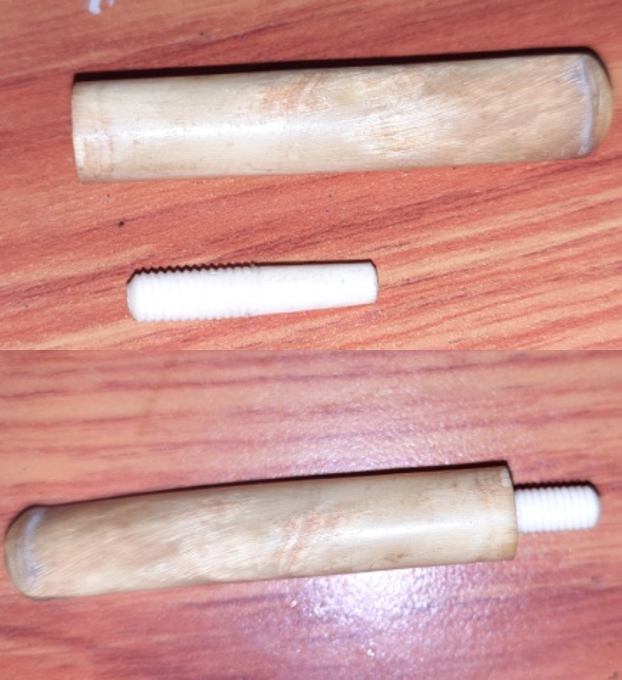
 With that finished I set the bowl aside and turned to deal with the hardest part of this work. I needed to replace the broken tenon in the stem and I needed to repair the chip out of the underside at the button. Both would require time for the repair to cure. I decided to do the tenon replacement first. I unscrewed the stinger from the broken tenon and chose a new tenon for the replacement. I used a threaded tenon. I used a Dremel and sanding drum to remove the shoulder on the new tenon and reduce the diameter to match the broken tenon. I screwed the tenon in the new tenon and the fit was perfect. Now it was time to drill out the stem.
 I smoothed out the broken edge with a Dremel and sanding drum. I drilled out the airway using increasingly larger drill bits to open up the airway the depth of the threaded portion of the tenon.
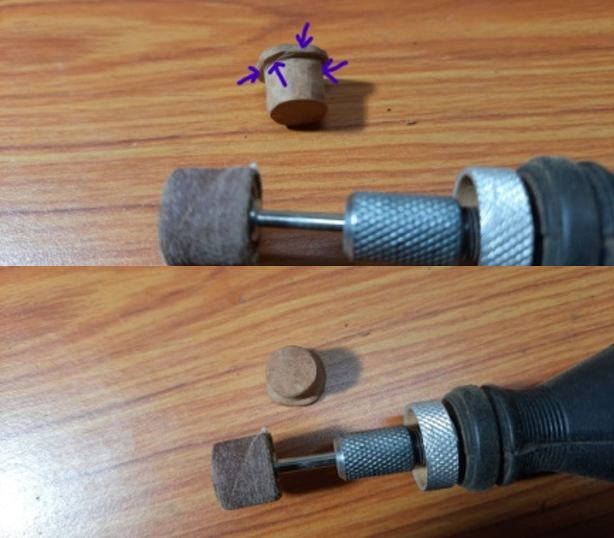
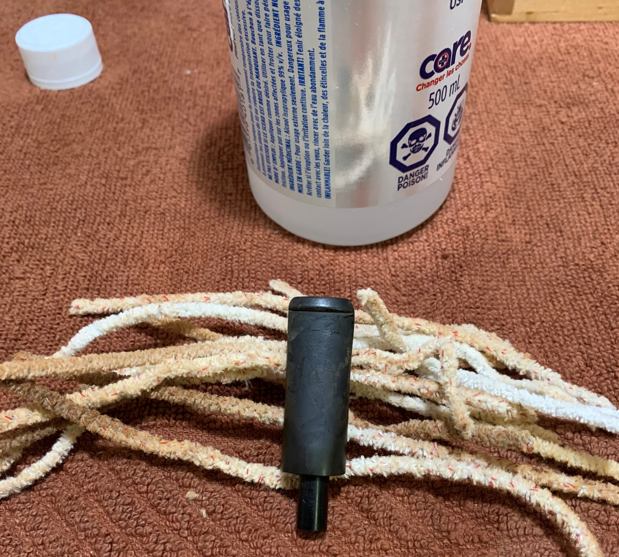
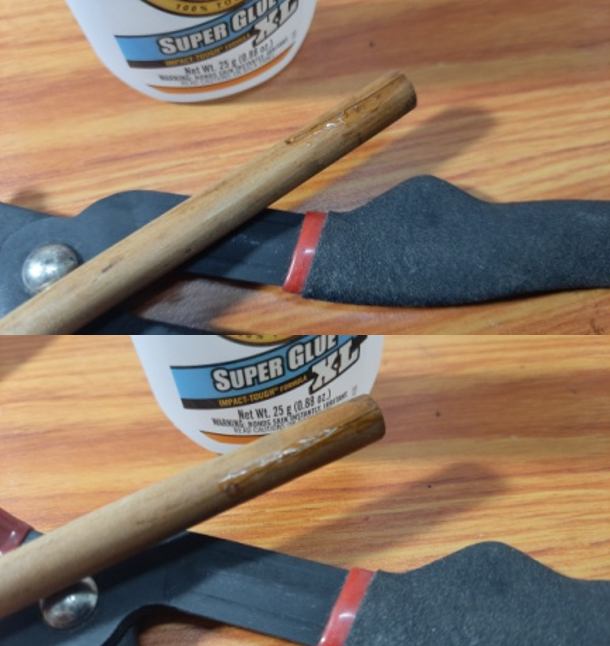
 I reduced the diameter of the threaded portion of the tenon with the Dremel and sanding drum until the fit in the drilled out stem was snug. I coated the tenon with black super glue and put the parts together to check on the fit and look of the new tenon. I set it aside to cure while I took a break and enjoy a coffee.
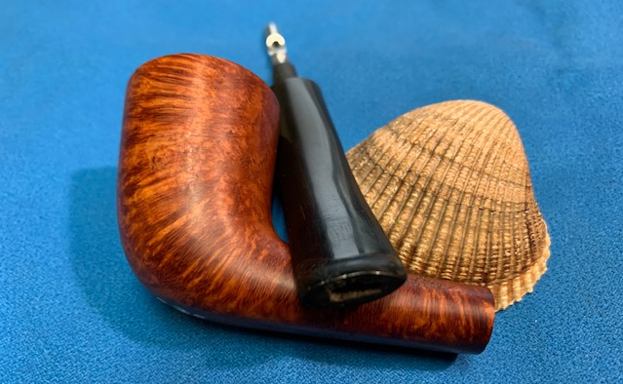
 After coffee it was cured and I put the stem on the shank to have a look at the fit! The fit was really good and the parts looked like they belonged together.
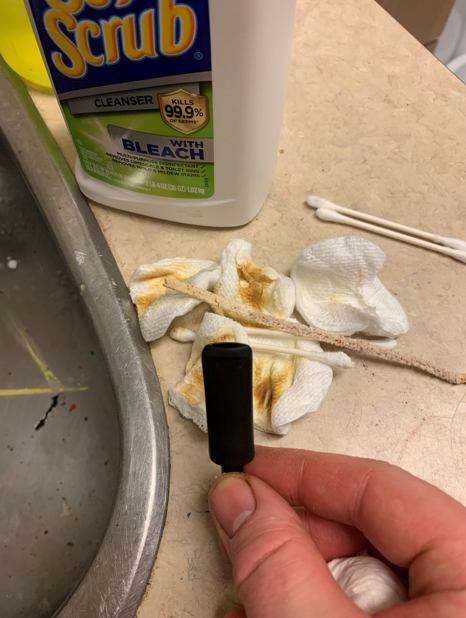
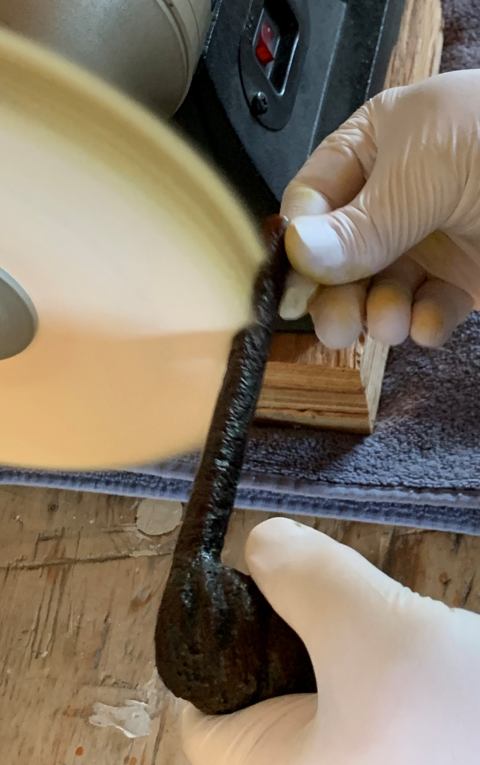
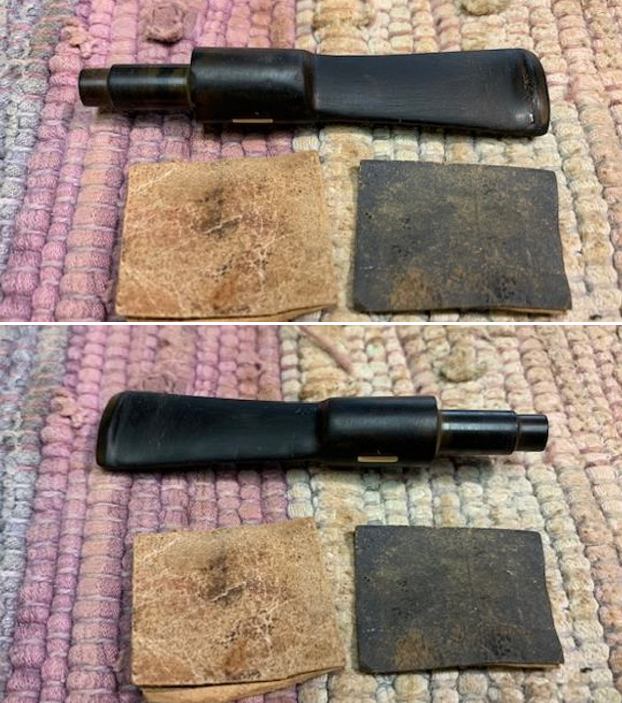
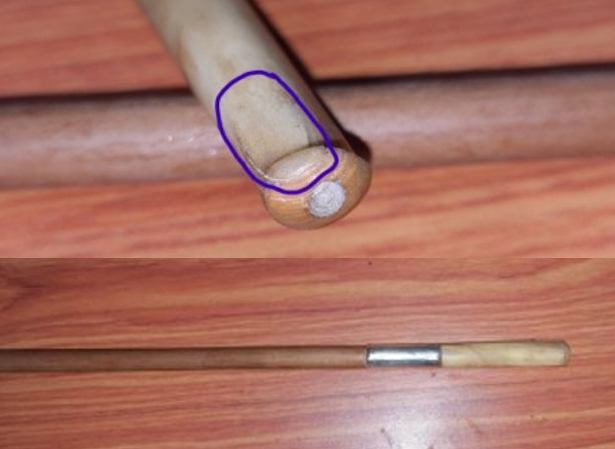
 Now it was time to work on the next part of the stem repair. I took the stem off the bowl and unscrewed the tenon. I scrubbed the oxidation on the stem with Soft Scrub to get a clean surface to do the repair.
 I greased a folded pipe cleaner with Vaseline Petroleum Jelly so that it the repair would not stick to it. I inserted it in the slot and spread it out under the chipped area.
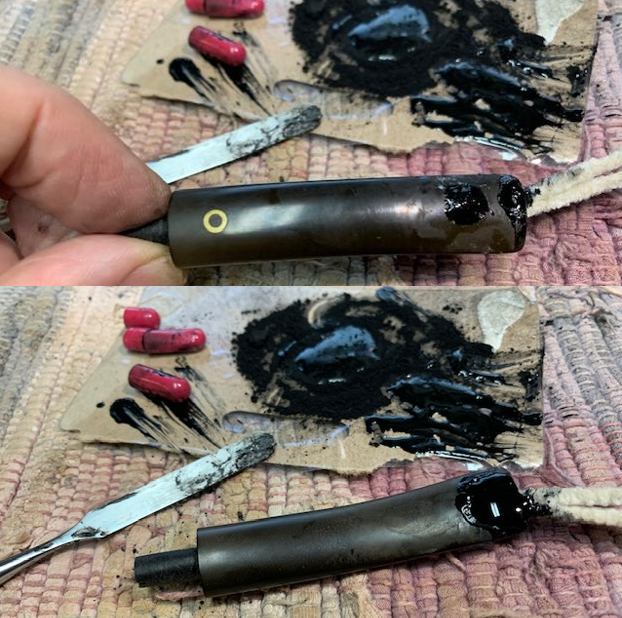
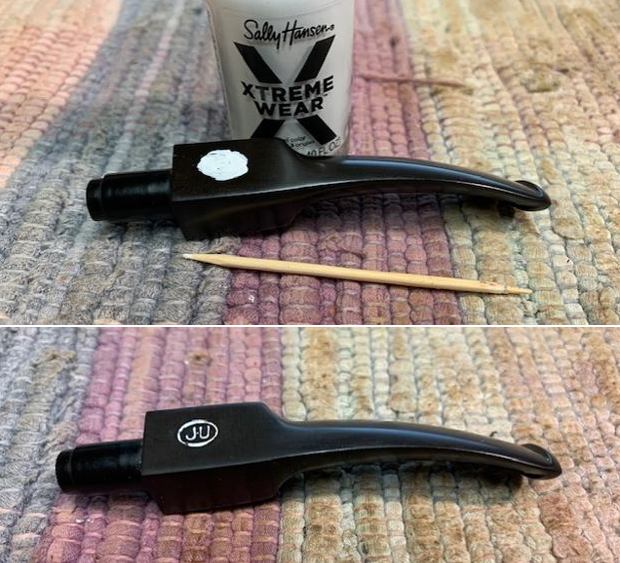
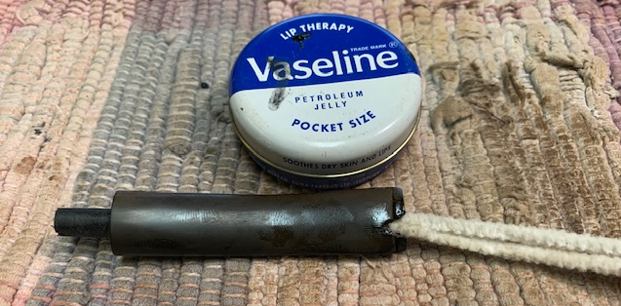 I mixed a batch of Black super glue and activated charcoal powder to make a paste. I filled in the deep tooth mark on the top side of the stem and the button edge. I turned the stem over and layered in the fill on the chipped area. I sprayed the repairs with an accelerator to harden the super glue and give it a hard shell so that I could remove the pipe cleaner. I purposely overfill this kind of repair so that I have room to work on the shaping of the button and the stem surface.
 Once it was hardened to touch I pulled the folded pipe cleaner free and set the stem aside for the repair to cure. Tomorrow I will work on shaping the repaired area into a proper button.
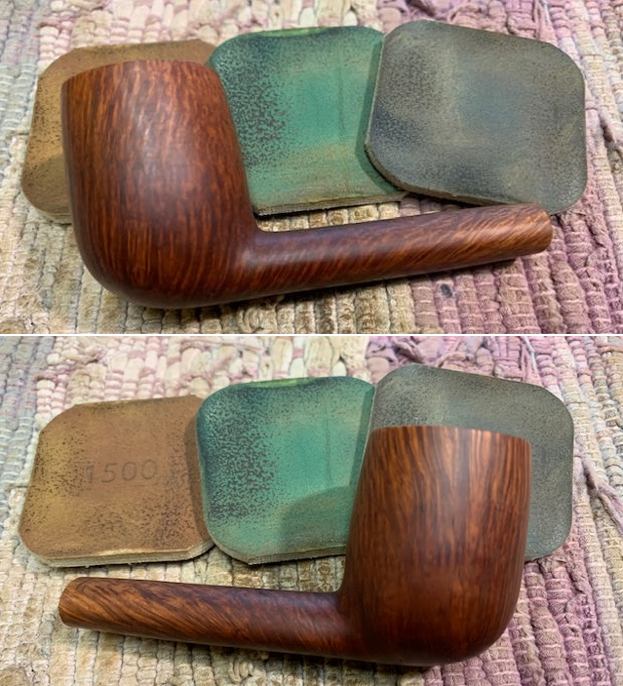
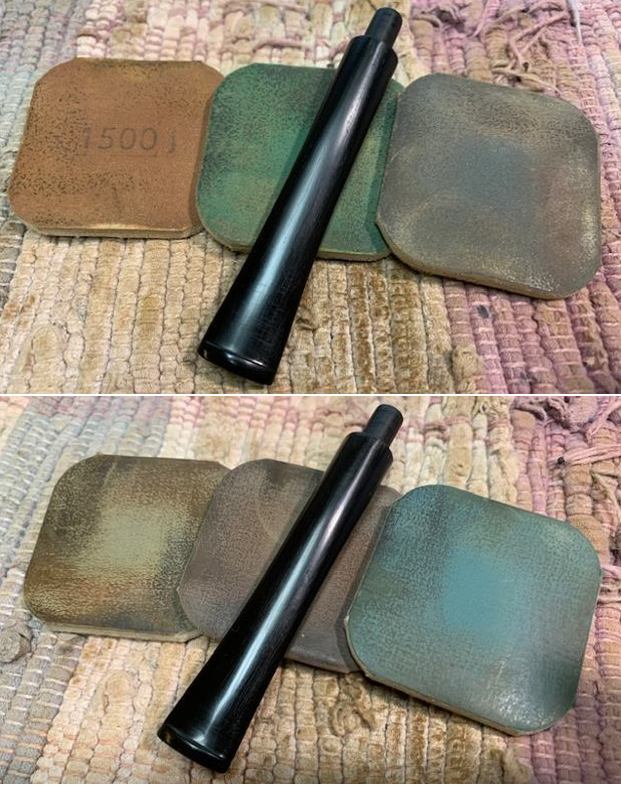
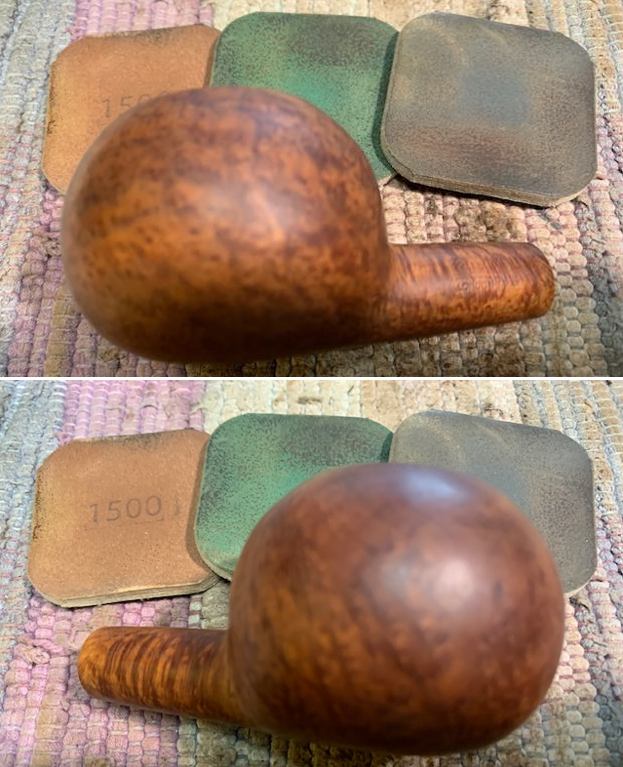
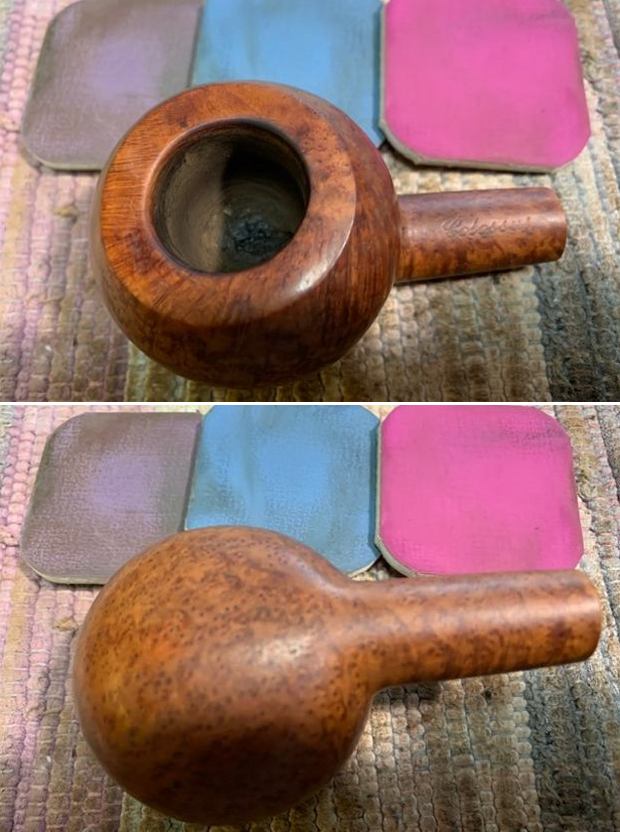
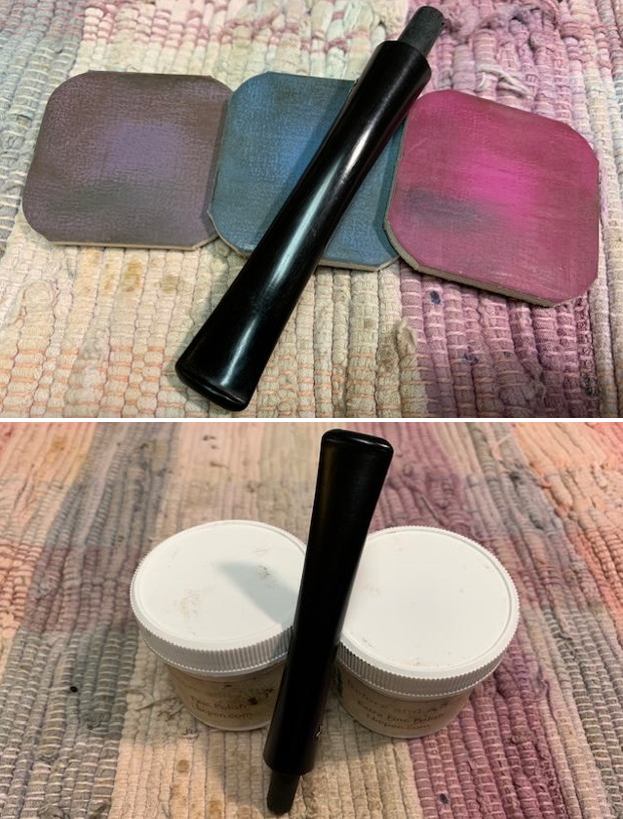
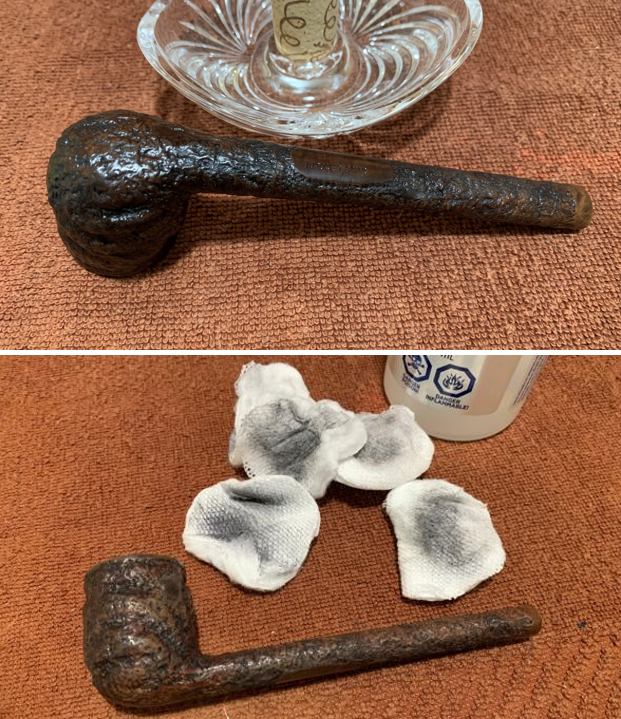
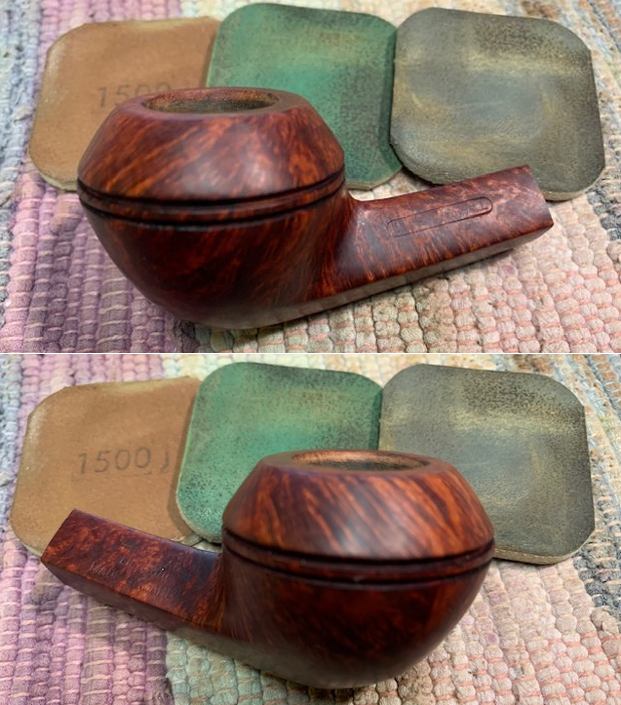
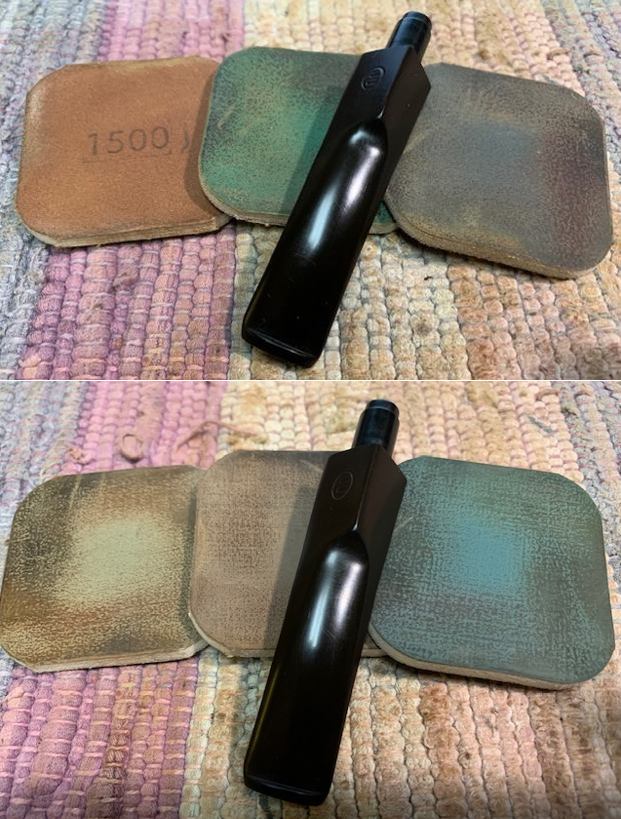
 I set the stem aside to cure further and turned my attention to polishing the bowl – I dry sanded it with 1500-12000 grit micromesh sanding pads. I wiped the bowl down after each pad with a damp cloth to check the progress and remove the sanding debris. It was looking very good.
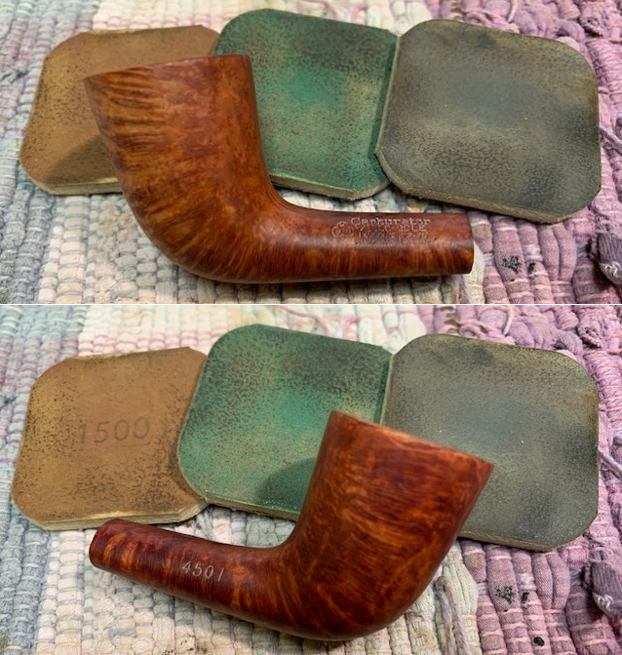

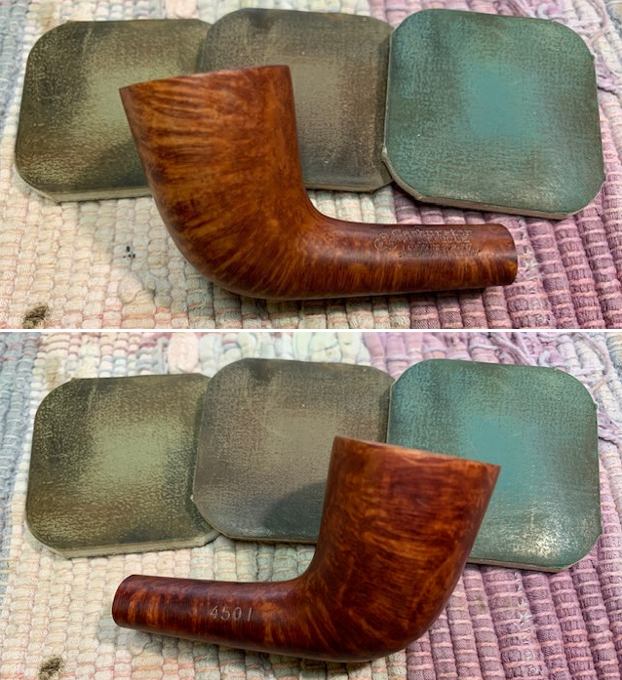

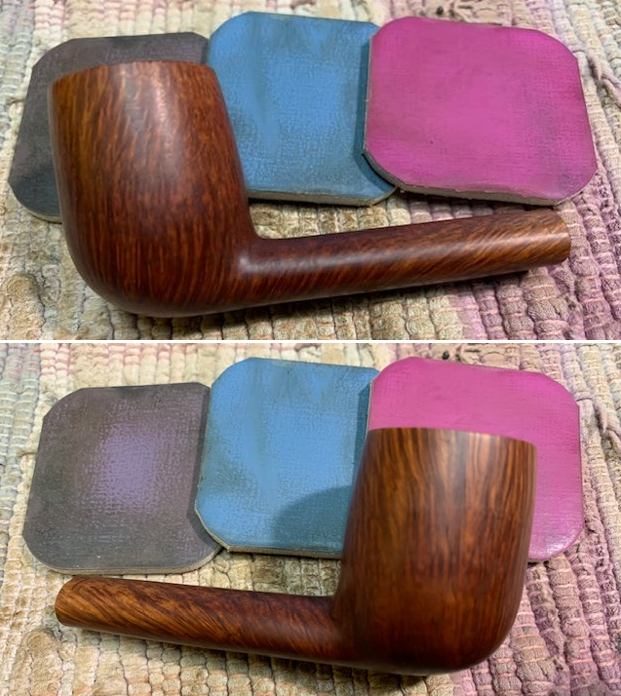
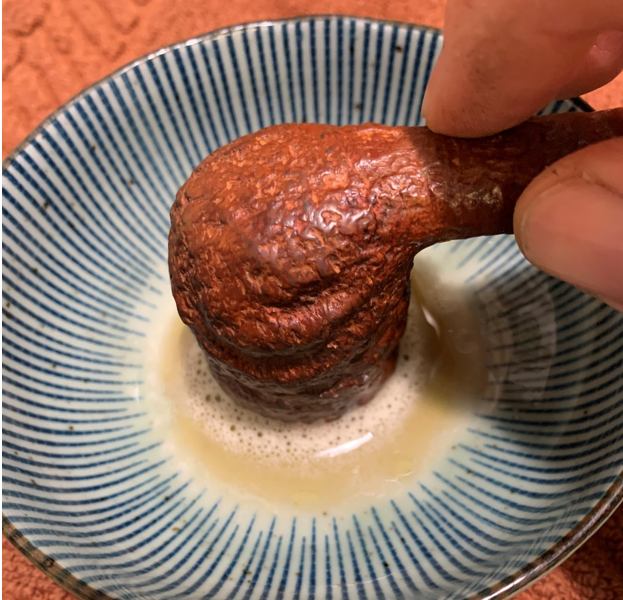
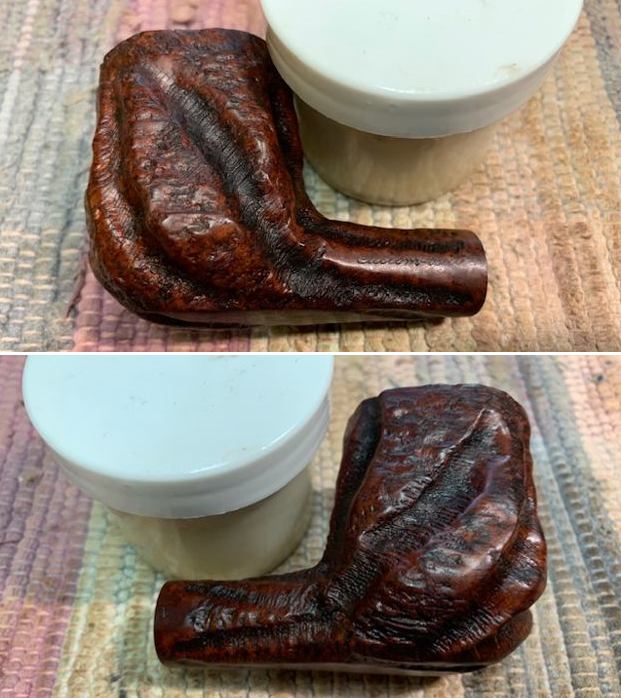
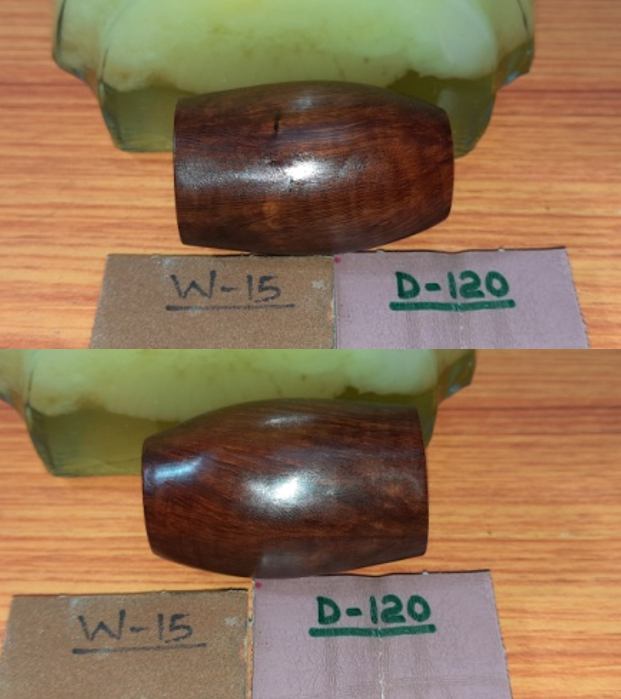
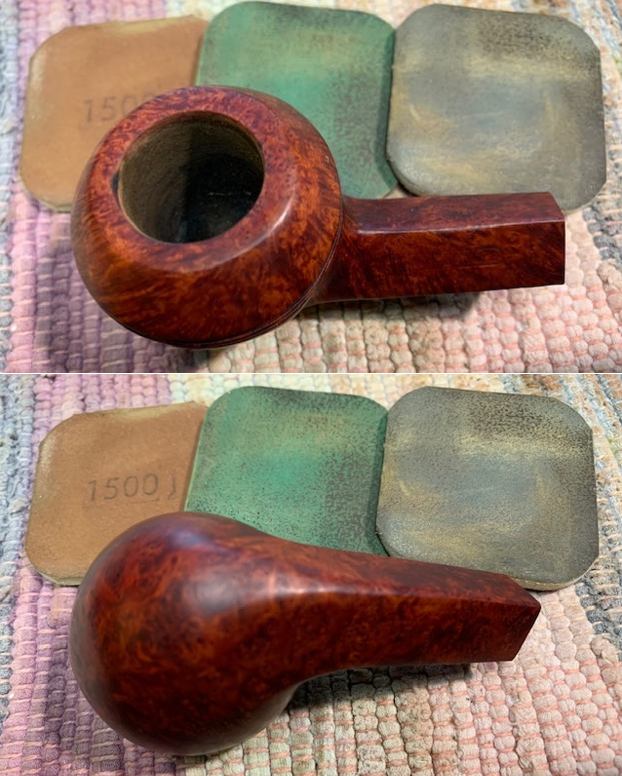
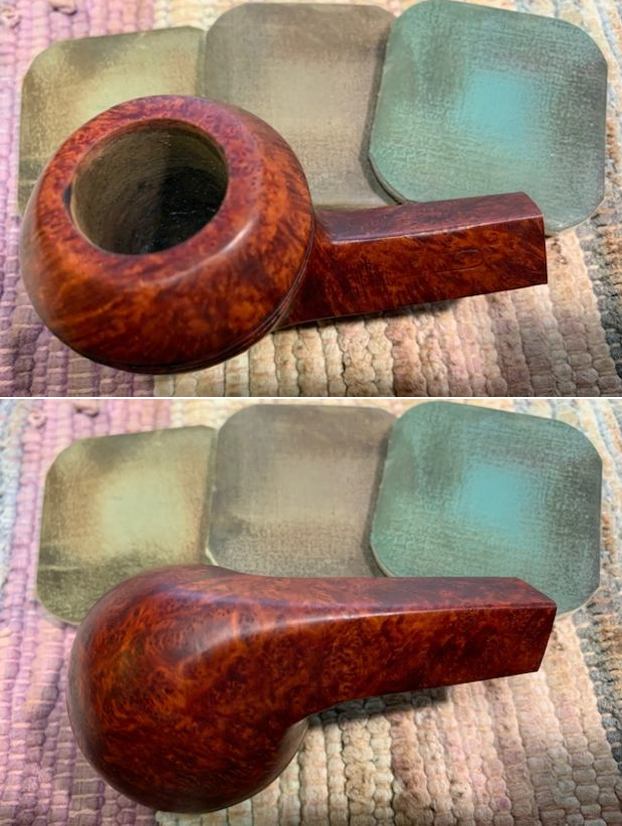
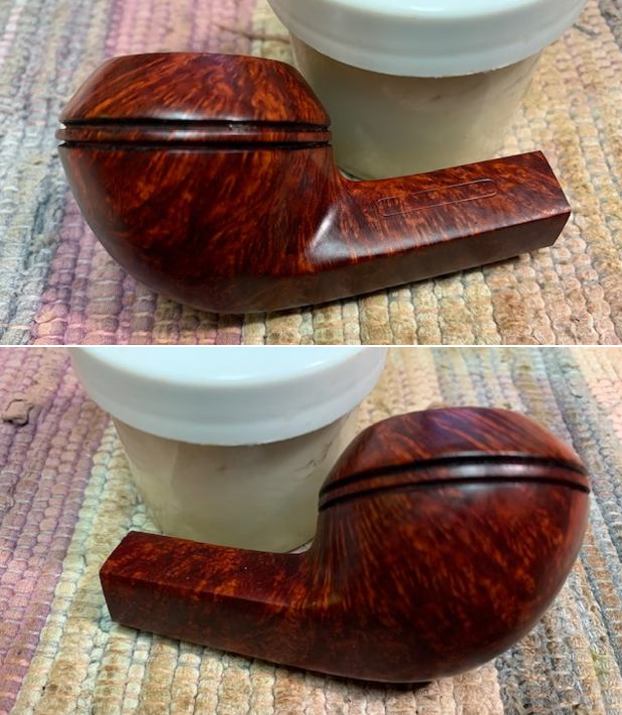
 I rubbed the bowl and shank down with Before & After Restoration Balm. I worked it into the surface of the bowl sides and shank with my fingertips to clean, enliven and protect the briar. I let the balm sit for about 10-15 minutes and buffed with a cotton cloth to raise the shine. The grain came alive.
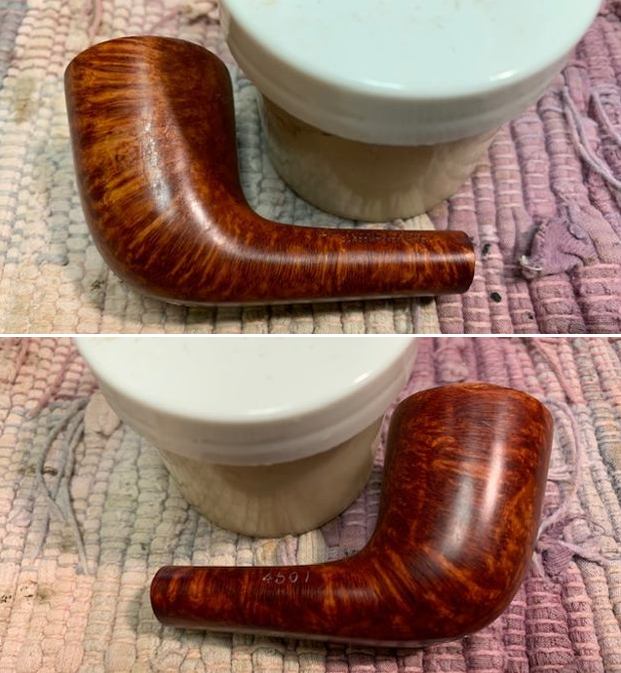
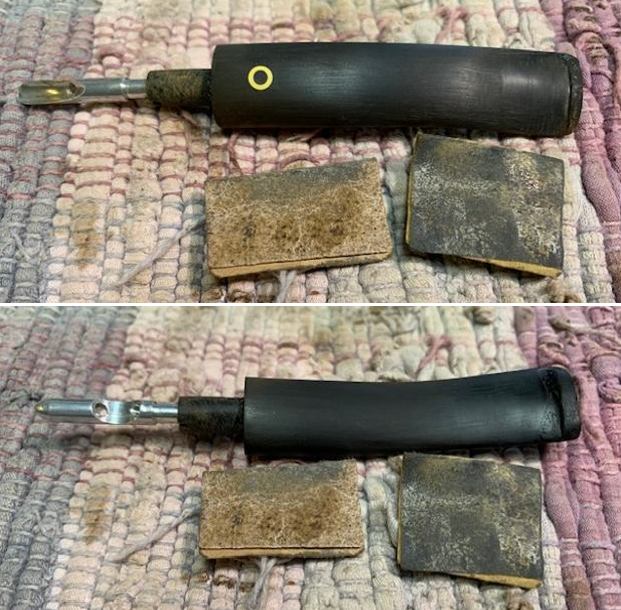
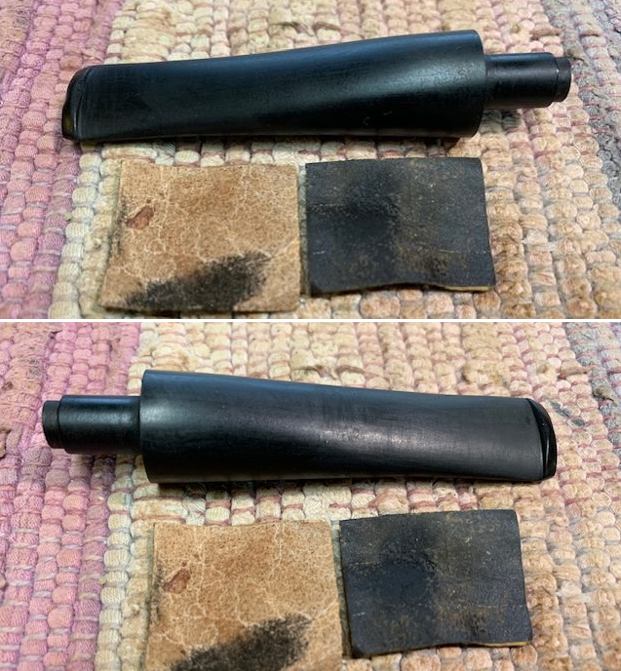
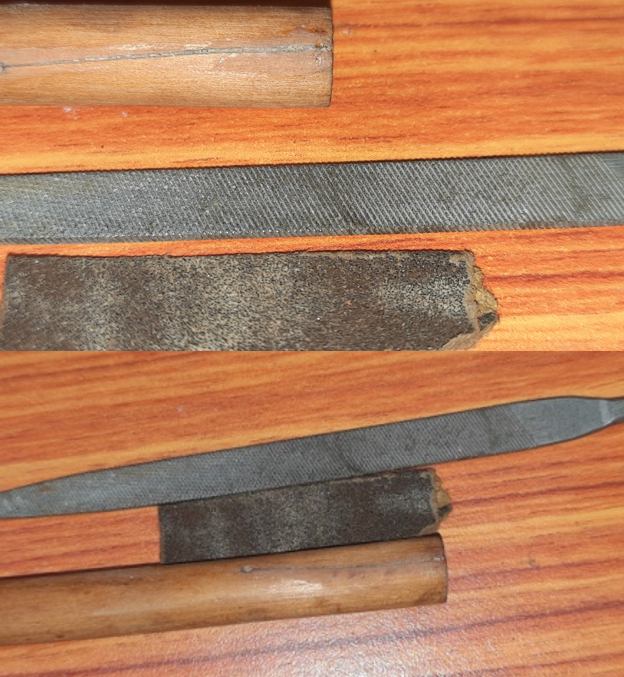
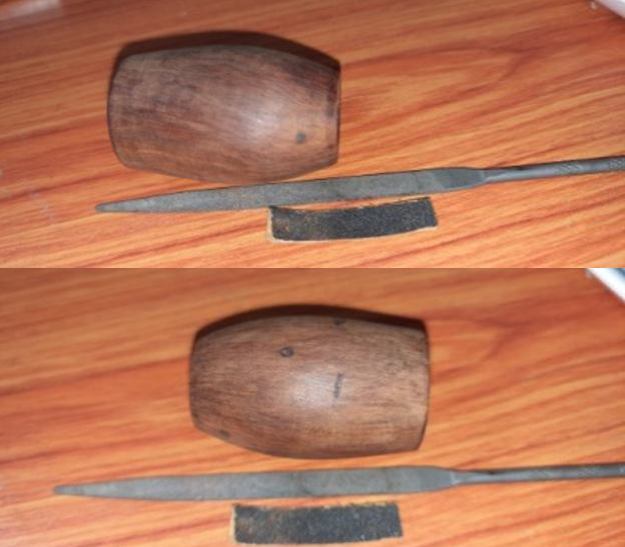
 I set the bowl aside and turned my attention to reshaping the stem. I used files to do the initial shaping and remove the excess repair material. I sanded out the file marks and shaped the button with 220 grit sandpaper to blend them into the surface of the vulcanite. I started polishing it with 400 grit wet dry sandpaper.
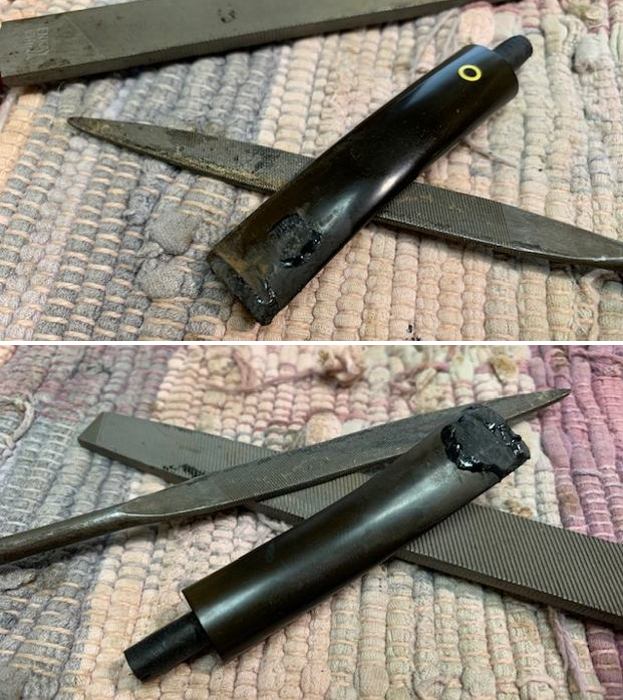
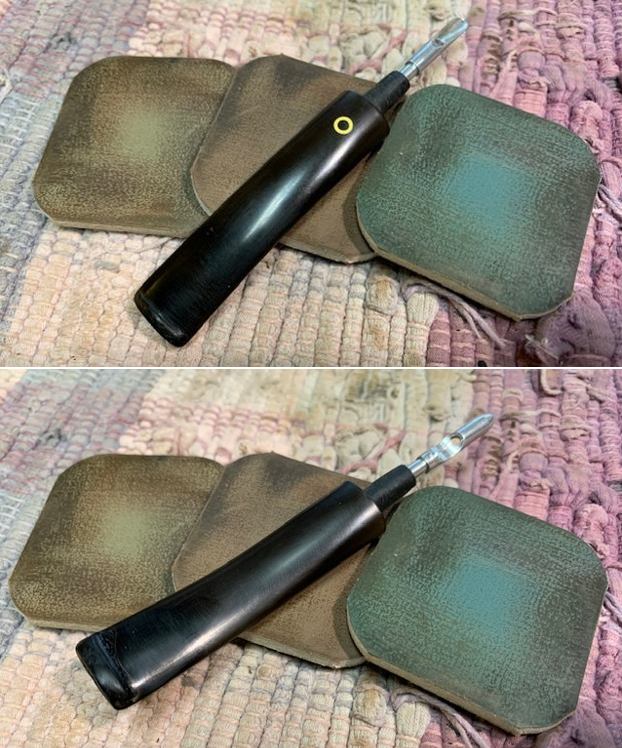
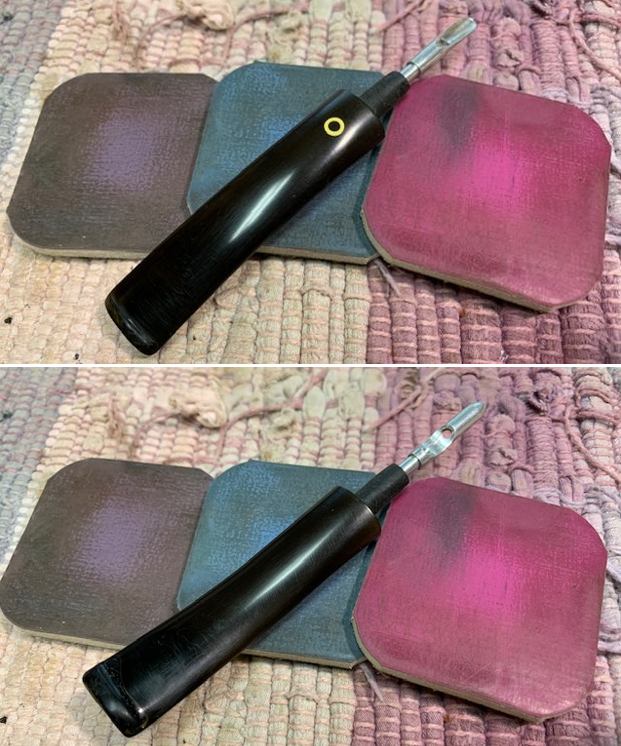
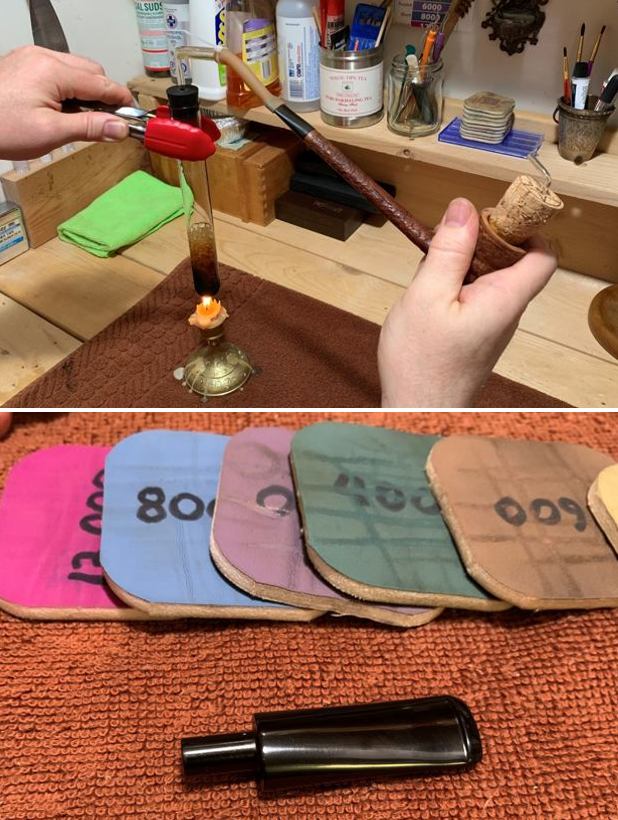
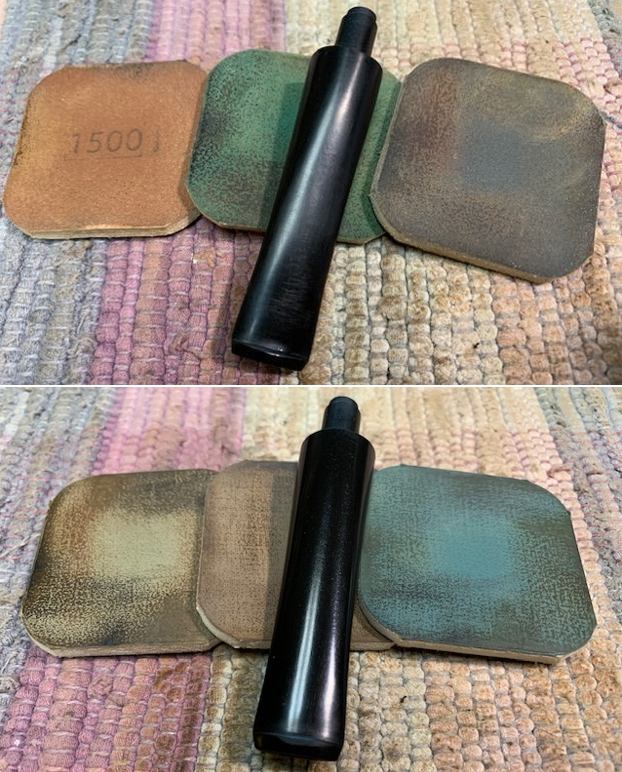
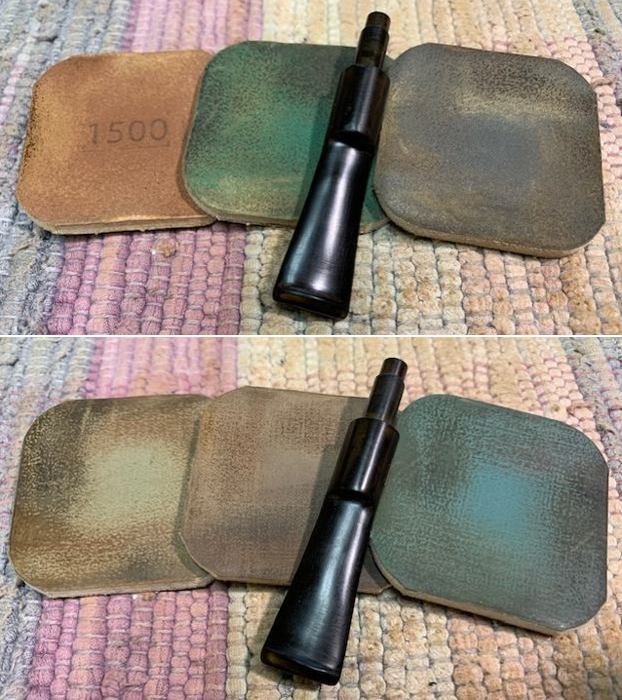
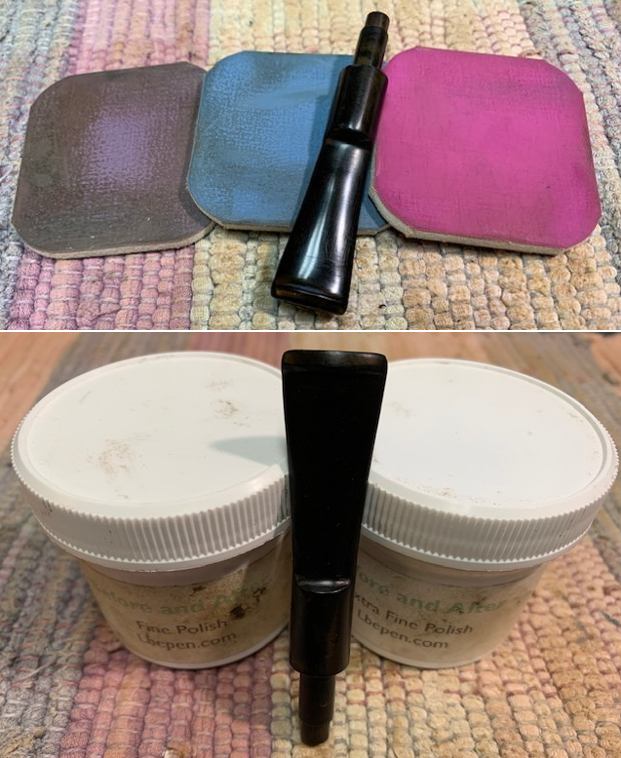
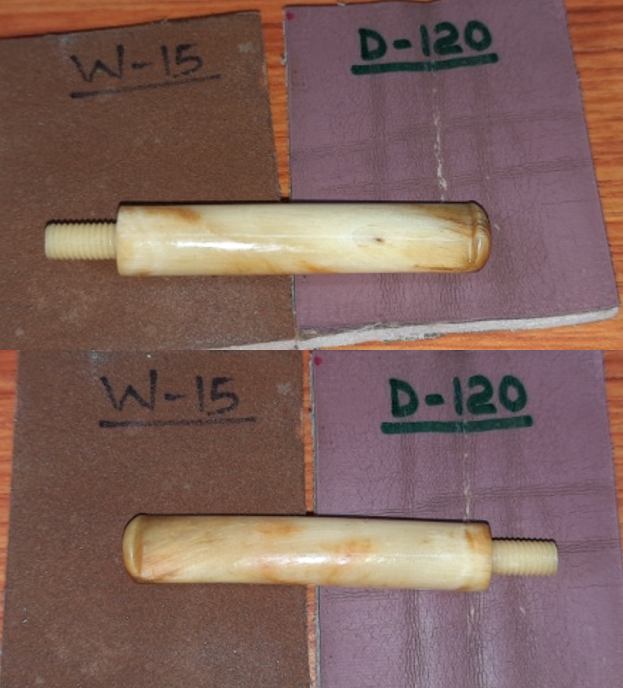
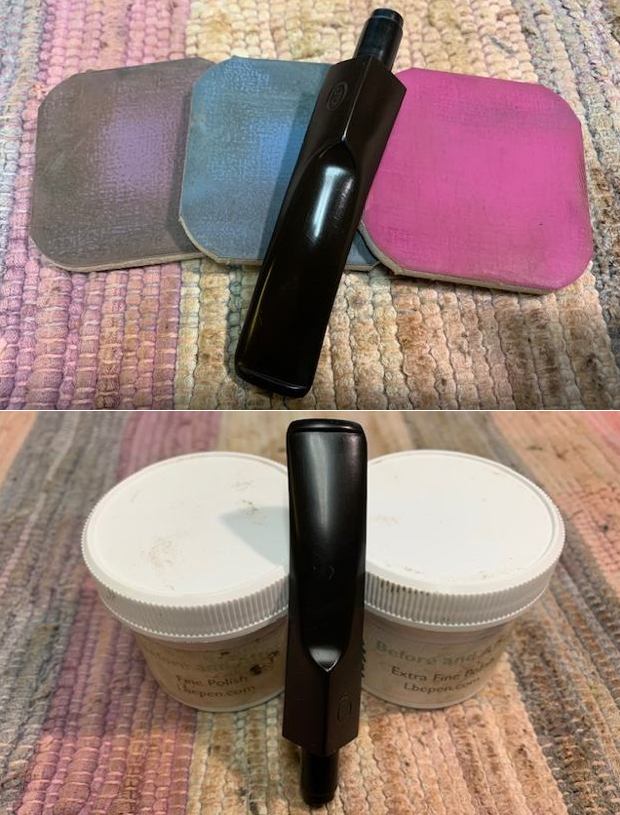
 I polished the vulcanite stem with micromesh sanding pads – 1500-12000 grit pads. I wiped it down with Obsidian Oil after each sanding pad. I used Before & After Pipe Polish – both Fine and Extra Fine to further polish the stem.
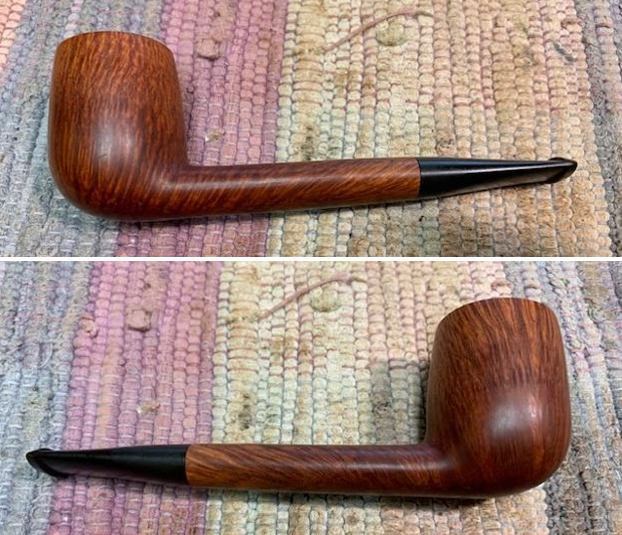
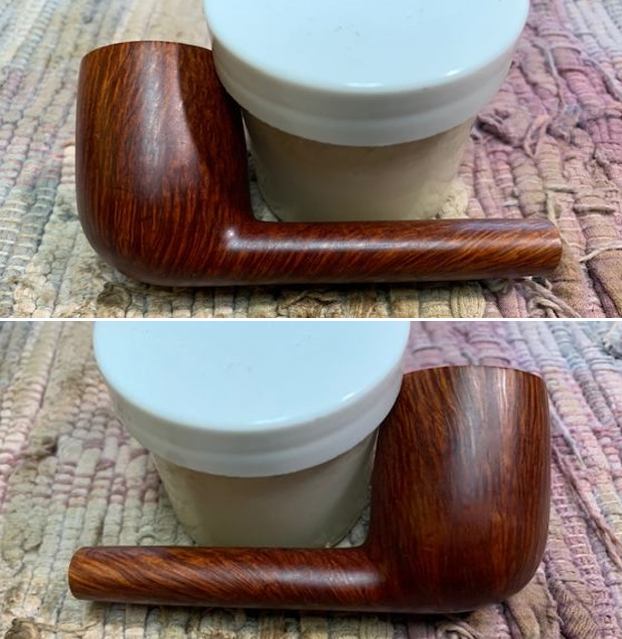
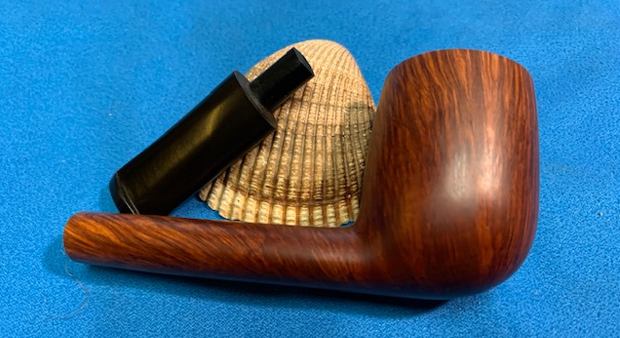
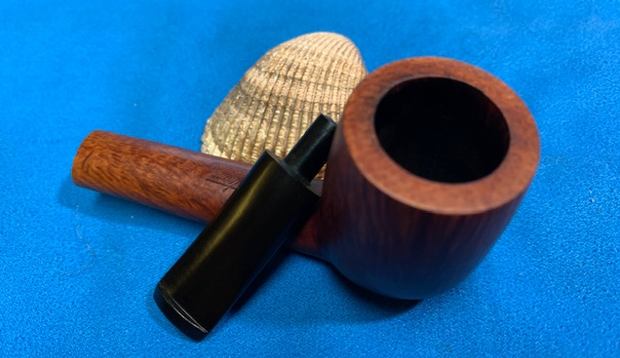
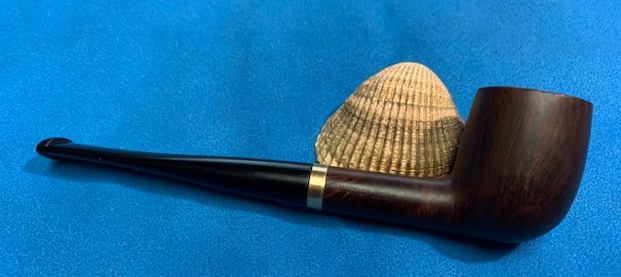
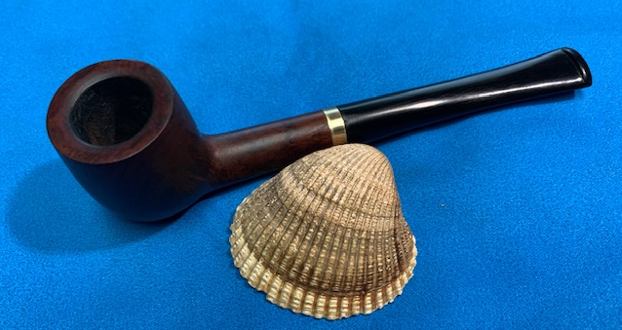
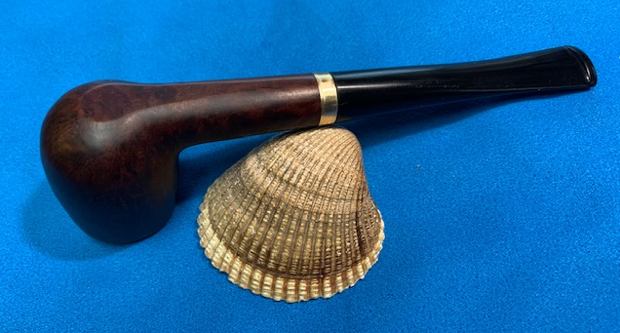
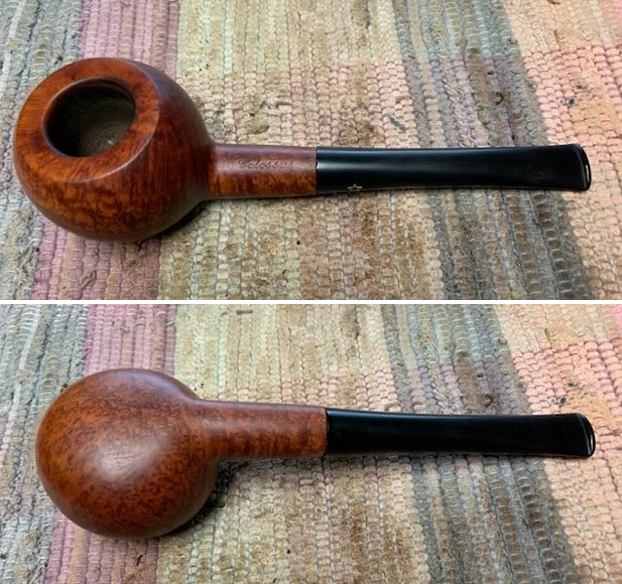
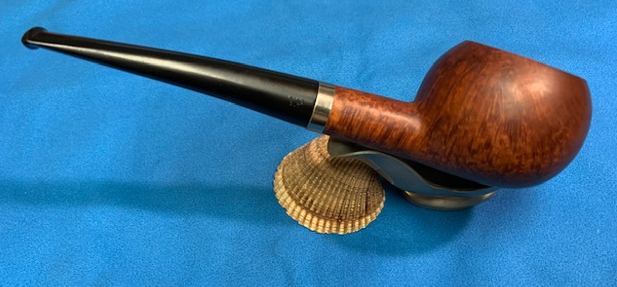
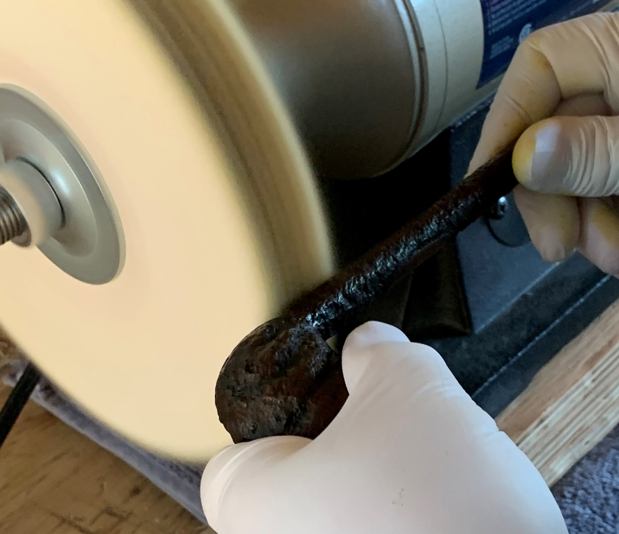
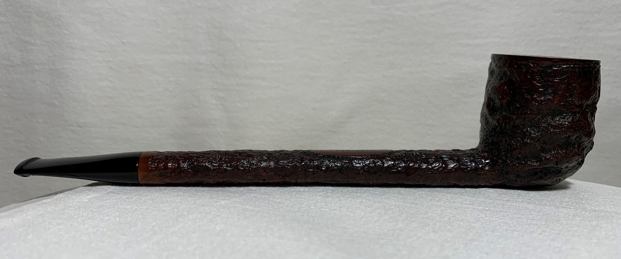
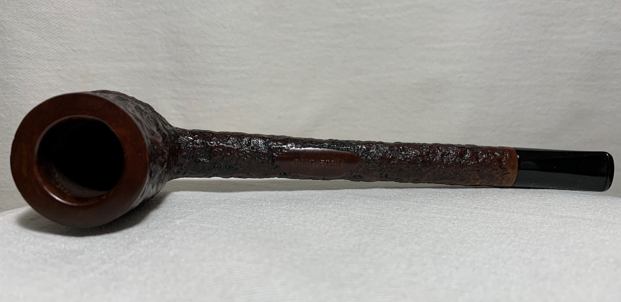
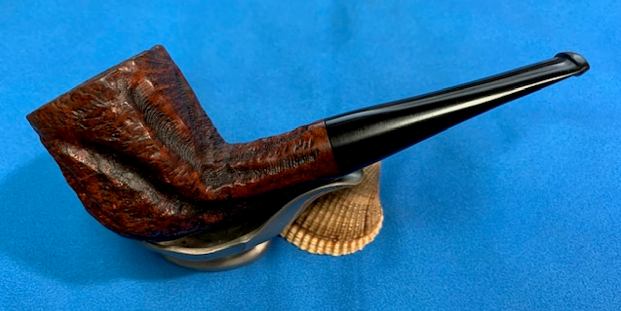
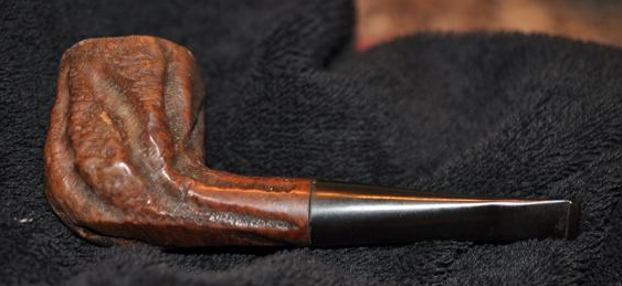
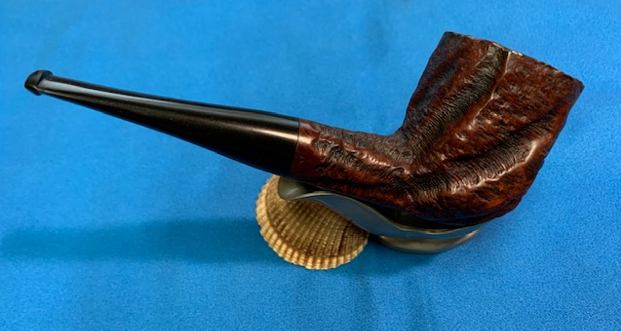
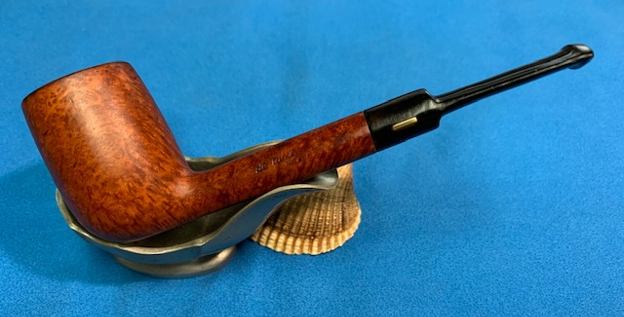
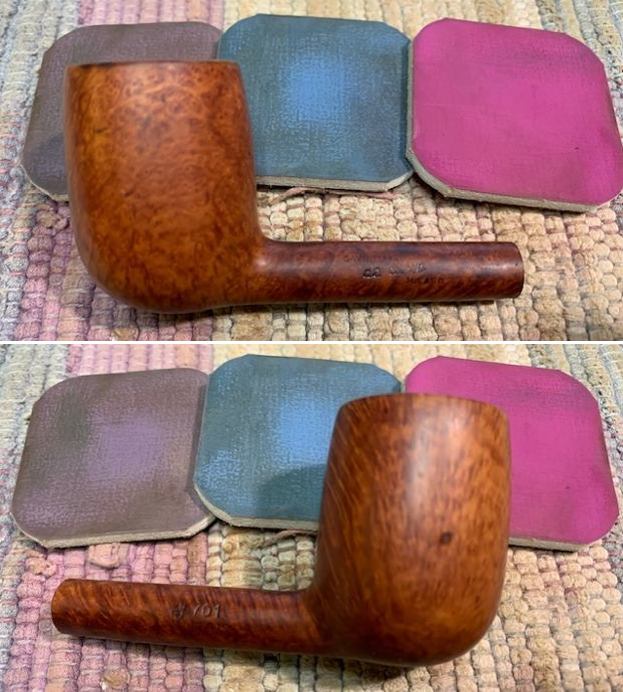
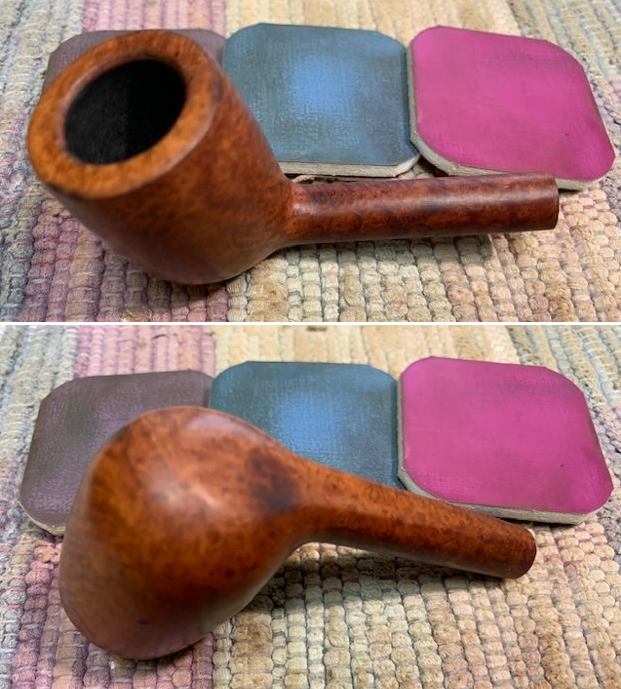
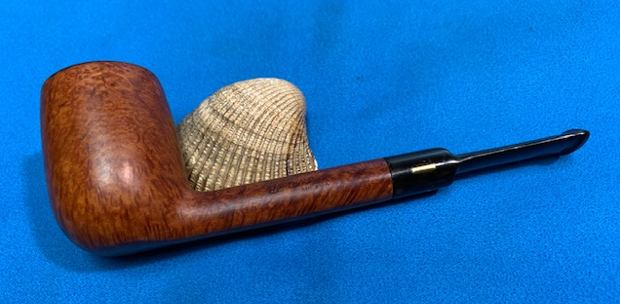
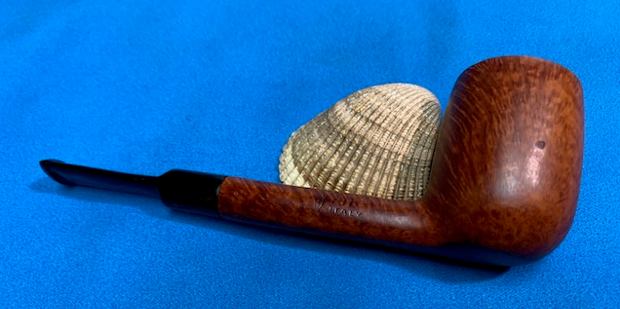
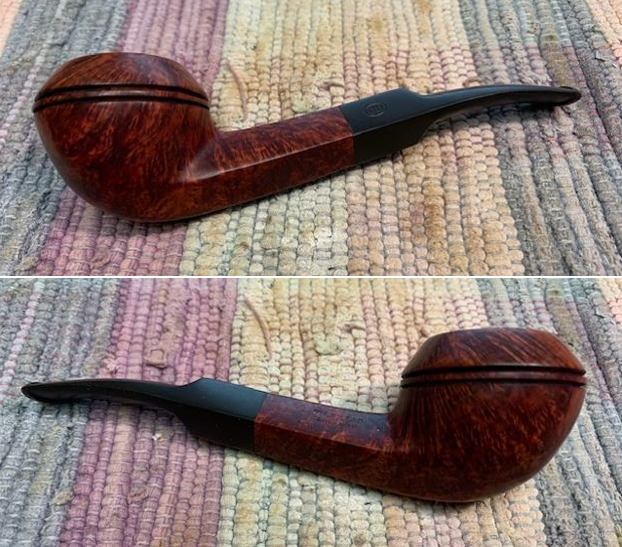
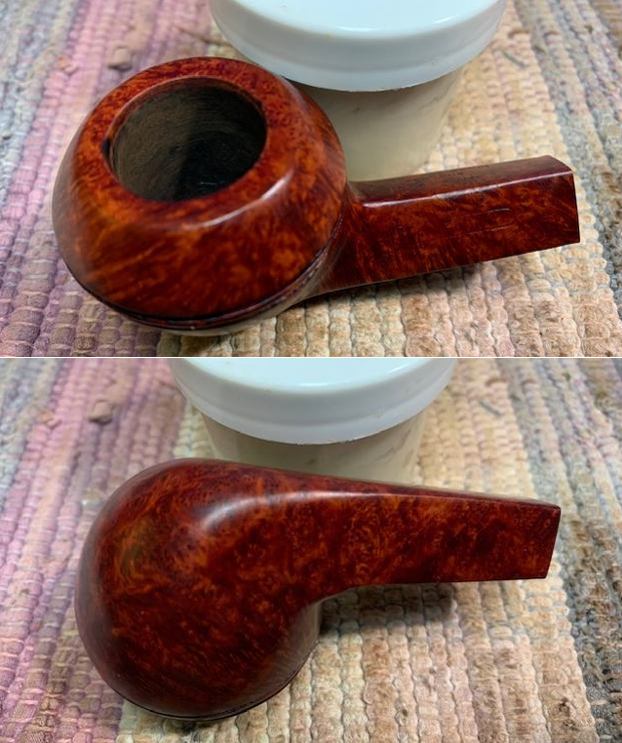
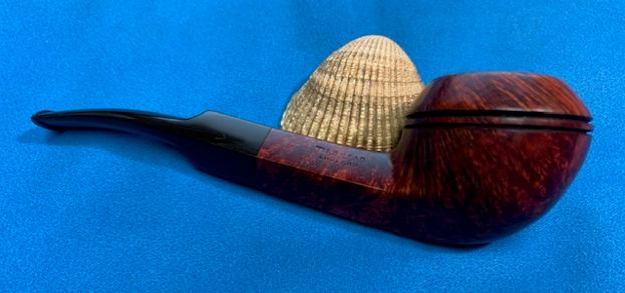
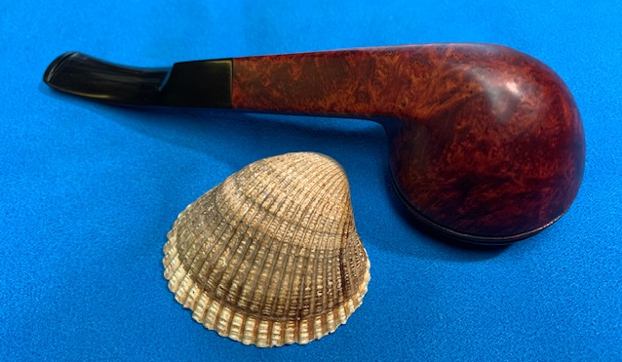
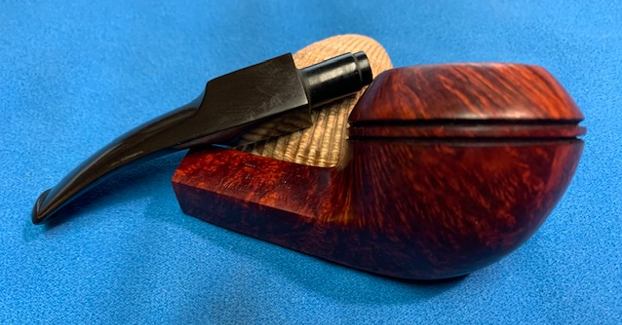
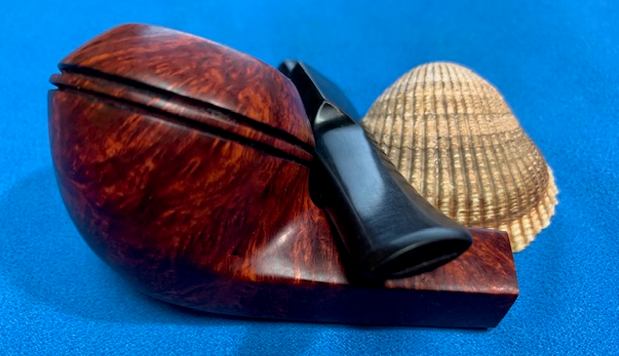
 This nicely grained Yello-Bole 4501 Zulu turned out to be a great looking pipe now that it has been restored. (The yellow in the bowl is a bowl coating not a Meerschaum lining).The grain around the bowl and shank is quite beautiful and works well with both the shape and the polished and repaired vulcanite taper stem. With the tenon replaced and the stem rebuilt on the button end it looked very good. I put the stem back on the bowl and carefully buffed the pipe with Blue Diamond on the buffing wheel. I gave the bowl and the stem multiple coats of carnauba wax on the buffing wheel and followed that by buffing the entire pipe with a clean buffing pad. I hand buffed the pipe with a microfiber cloth to deepen the shine. The finished Yello-Bole Zulu is another pipe that fits nicely in the hand and feels great. Give the finished pipe a look in the photos below. The dimensions of the pipe are Length: 5 ½ inches, Height: 1 ¾ inches, Outside diameter of the bowl: 1 ¼ inches, Chamber diameter: ¾ of an inch. The weight of the pipe is 25g/.88oz. I will be putting it on the rebornpipes store shortly. You can find it in the American (US) Pipe Makers Section. If you are interested in adding this pipe to your collection send me a message or an email. Thanks for reading this blog and my reflections on the pipe while I worked on it. There are many more to come!


