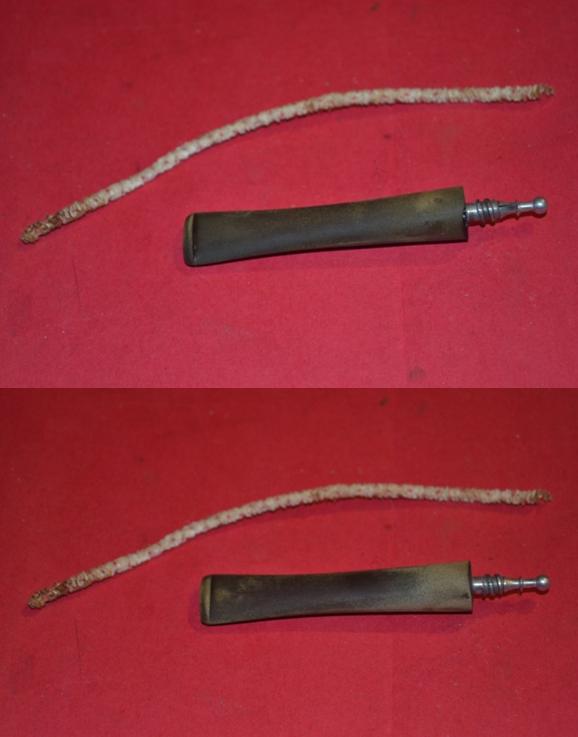
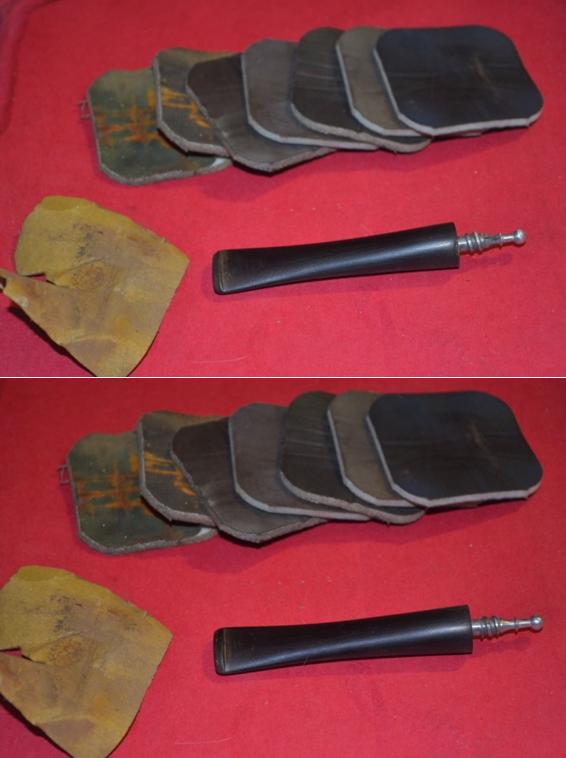
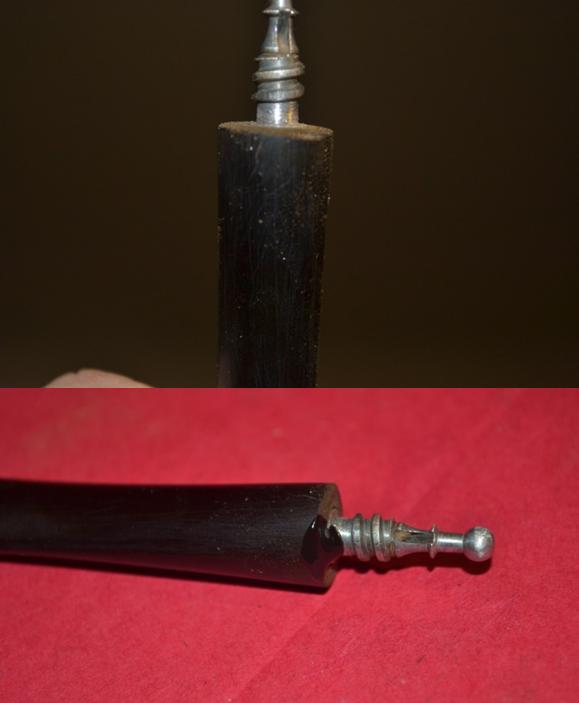
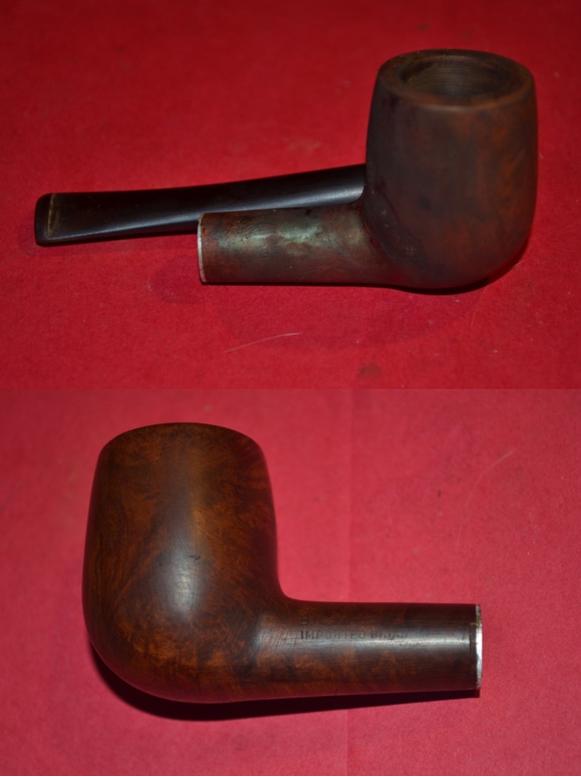
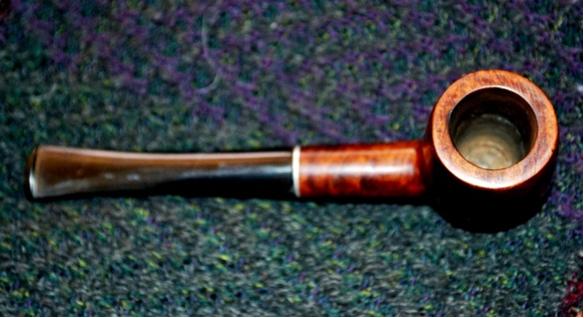
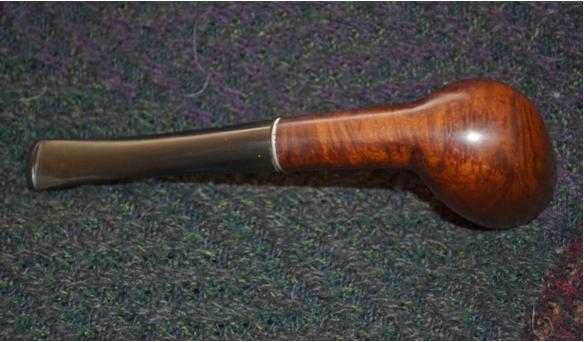
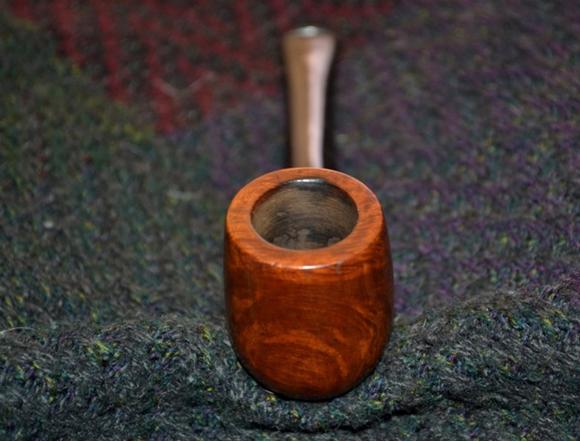
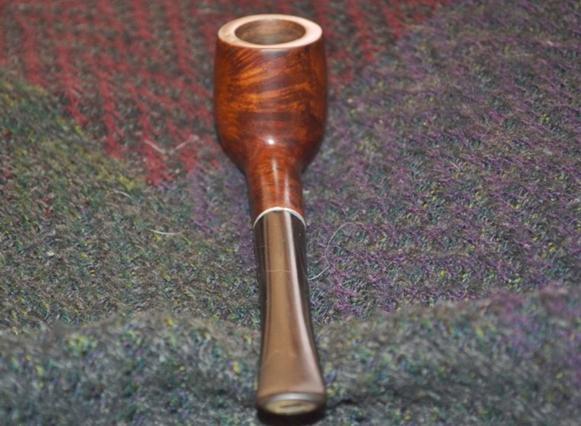
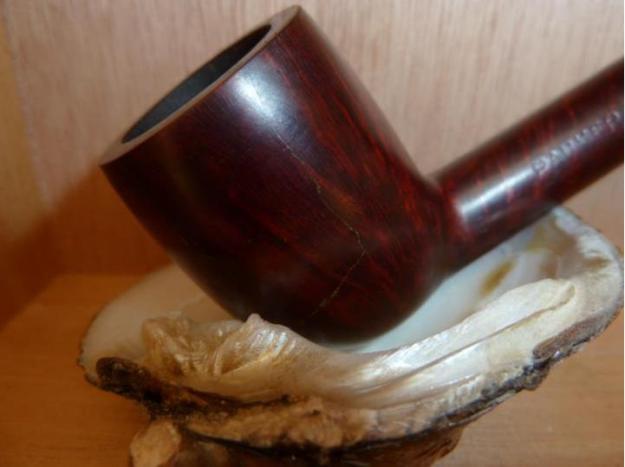
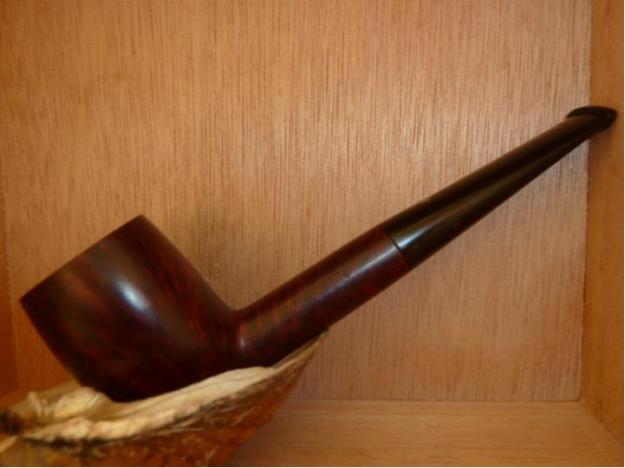
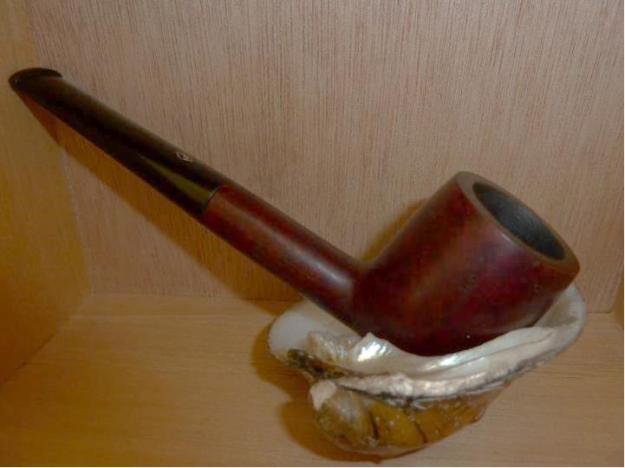
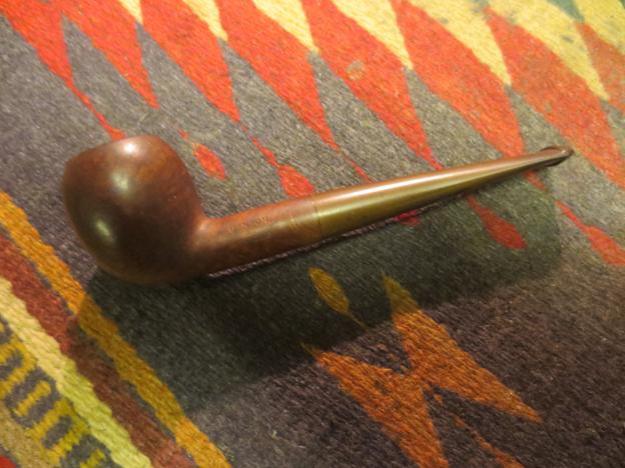
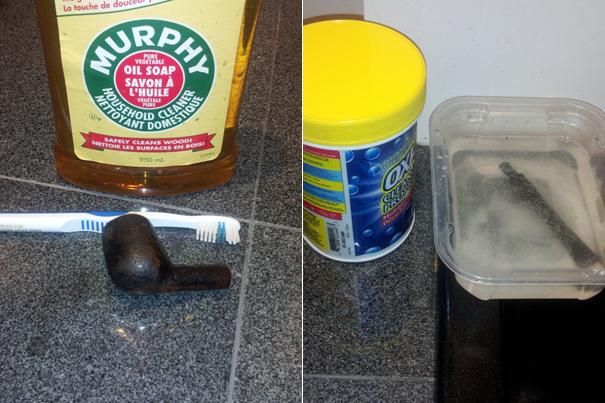
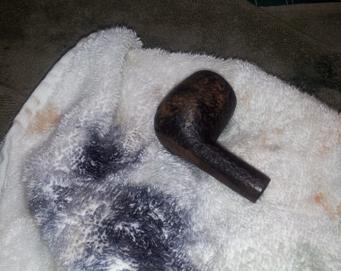
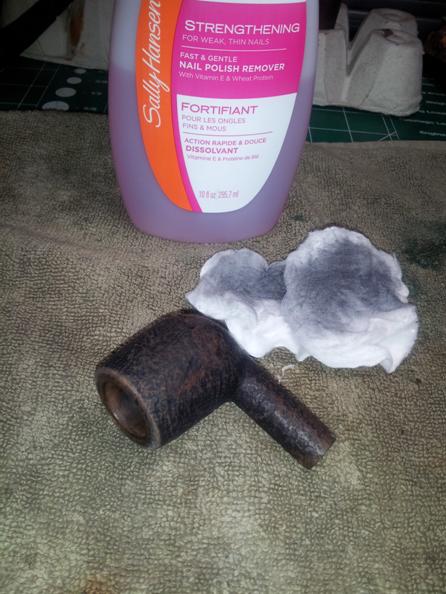
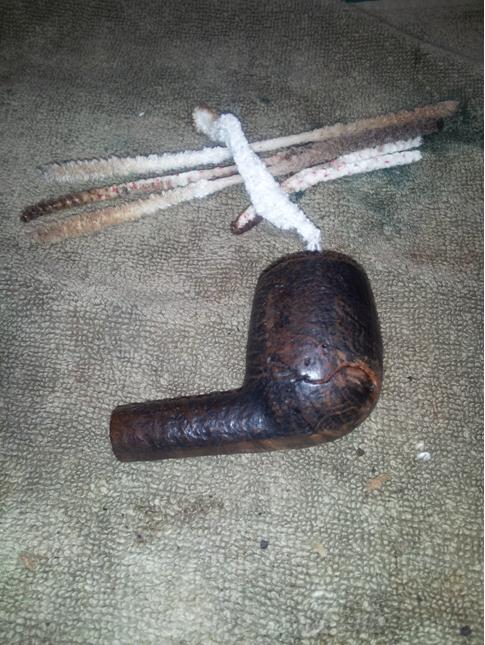
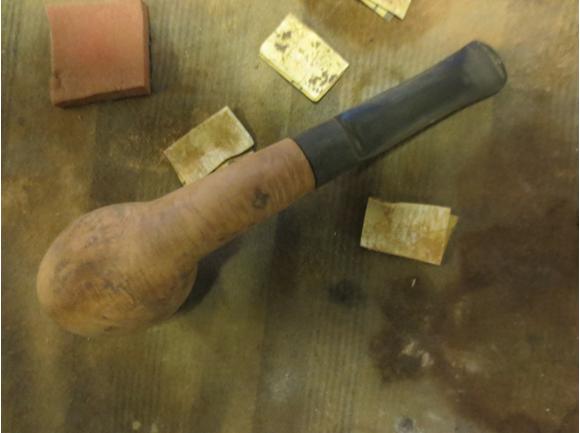
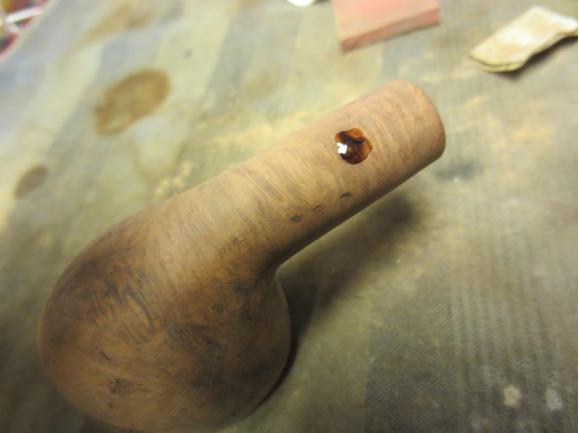
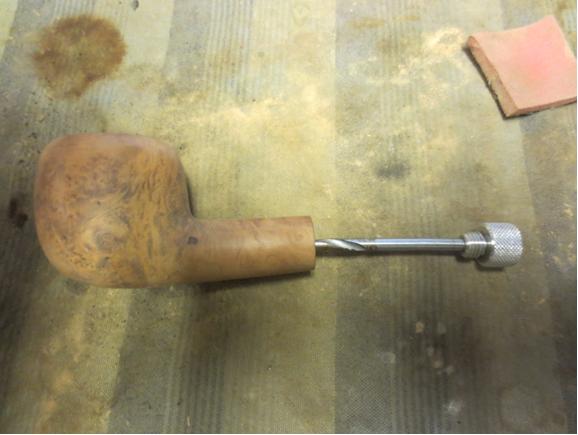
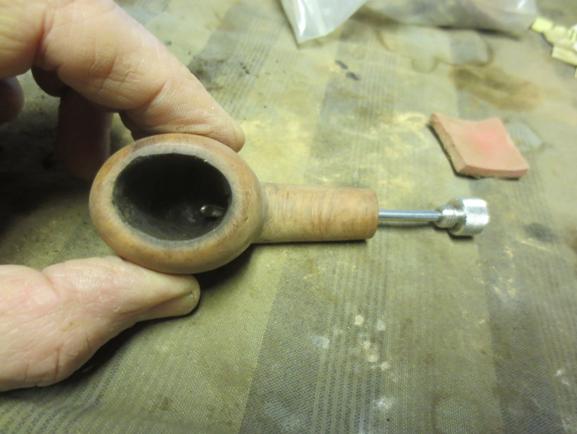
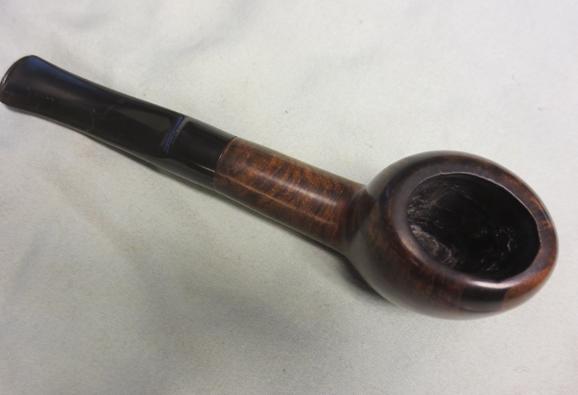
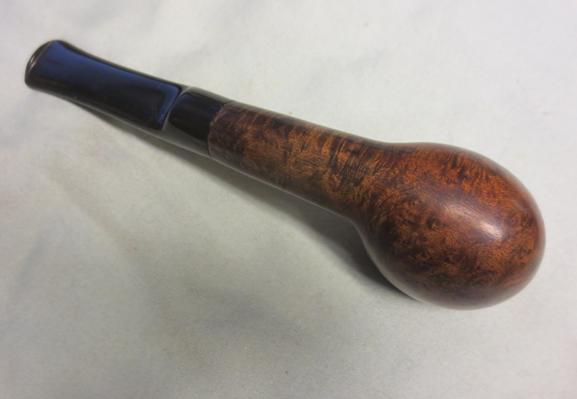
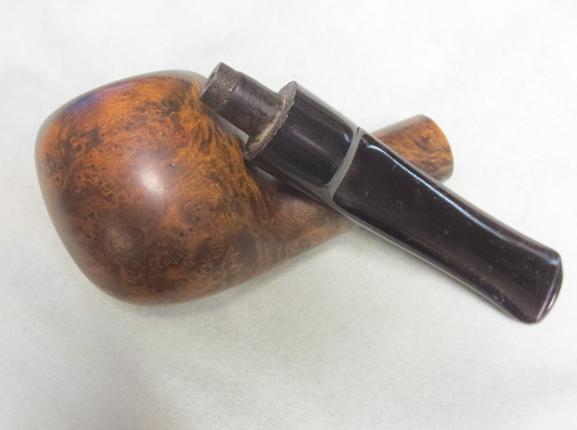
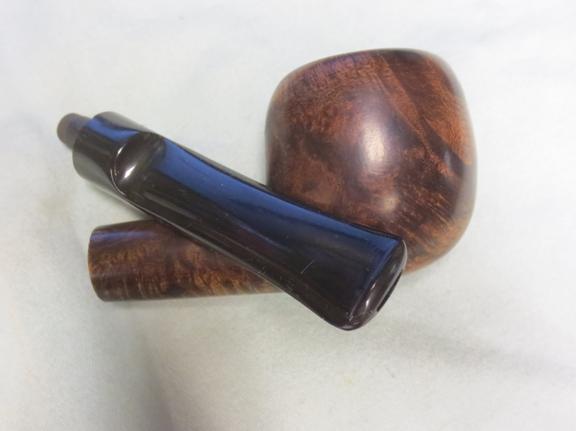
Tag Archives: refinishing

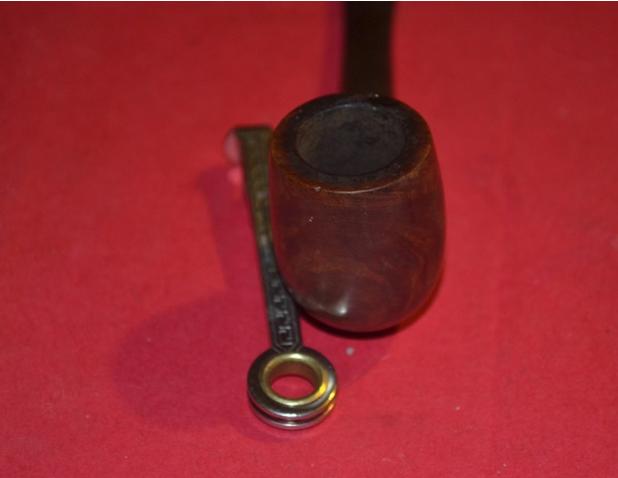
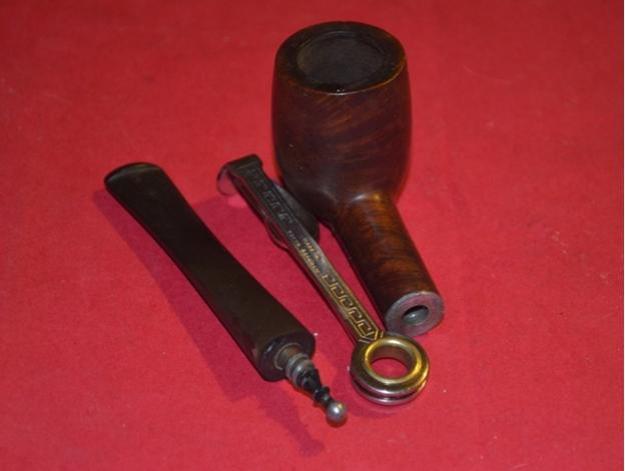
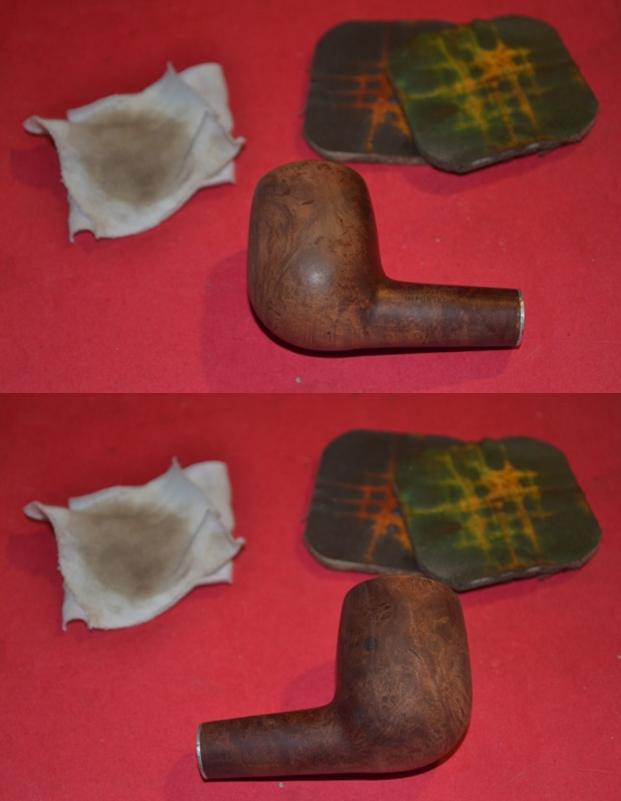
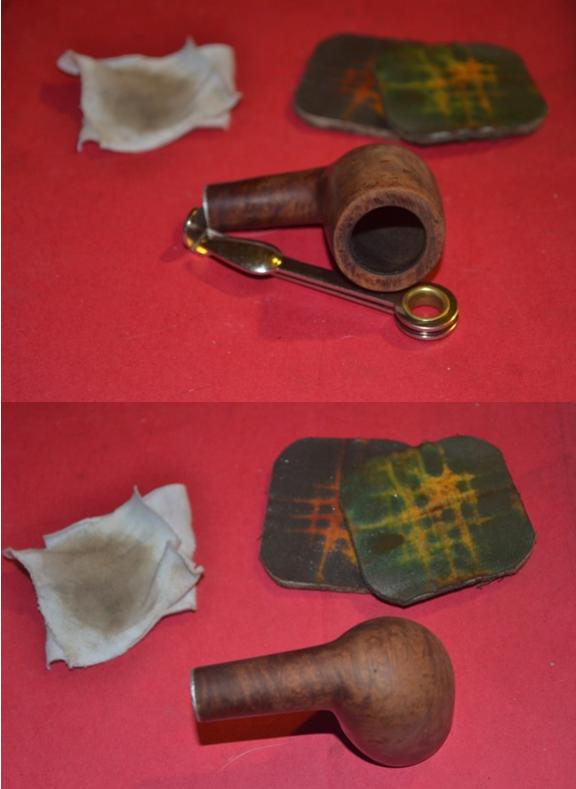
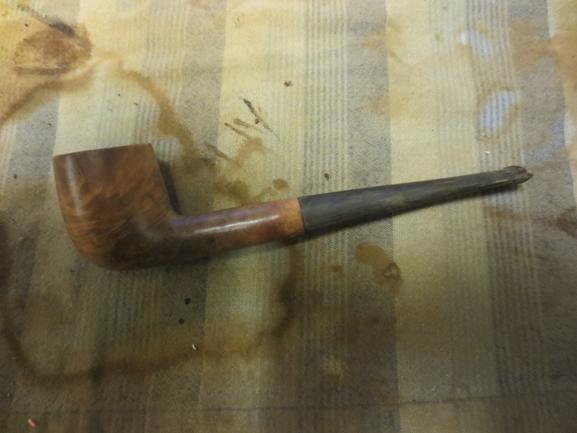
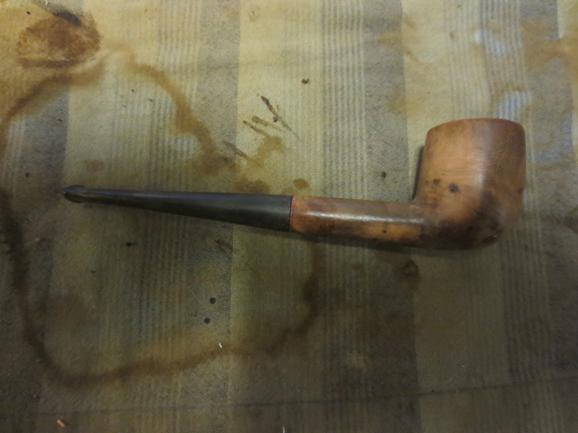
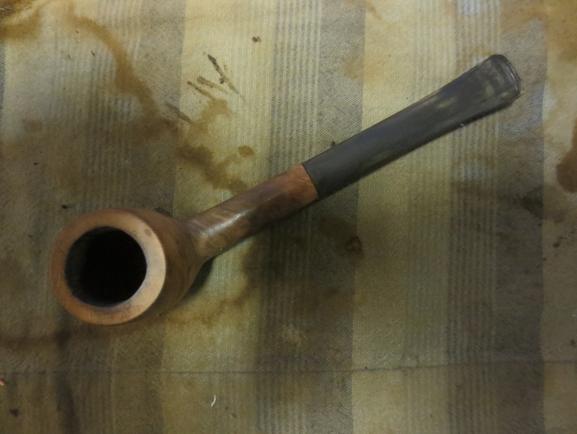
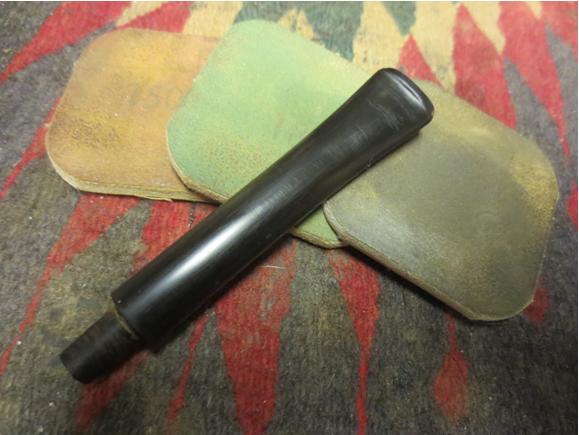
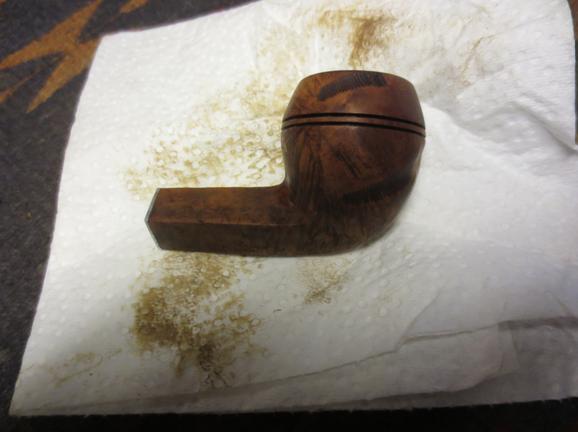
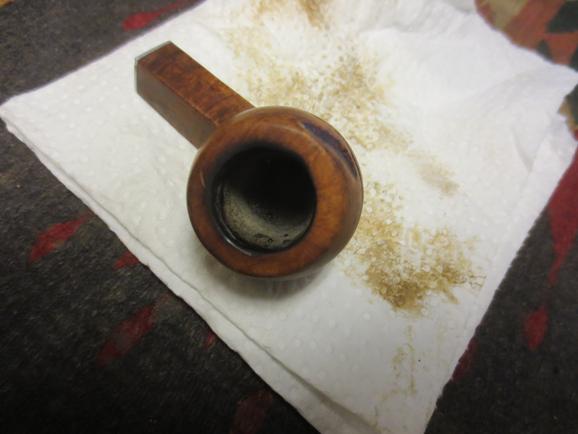
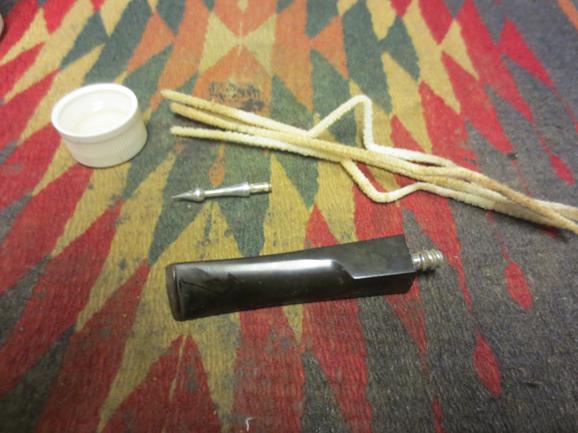
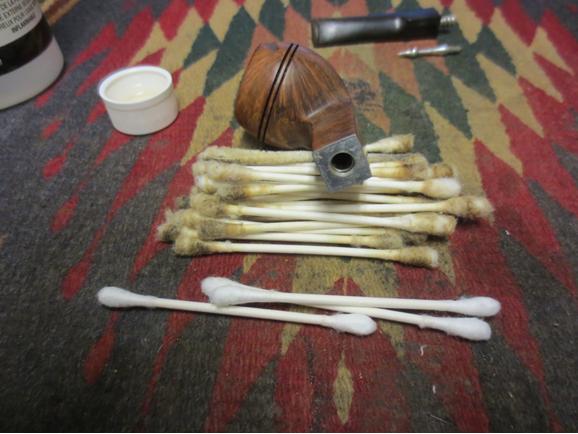
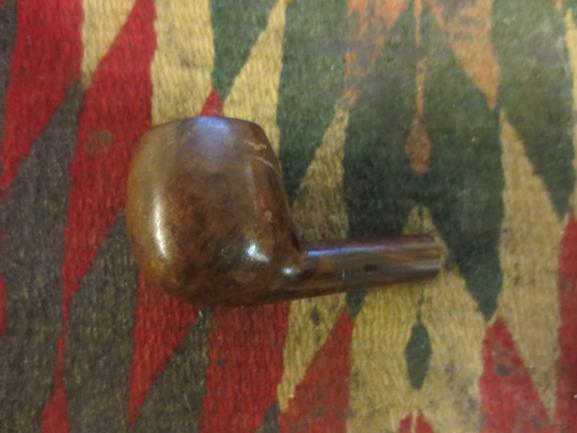
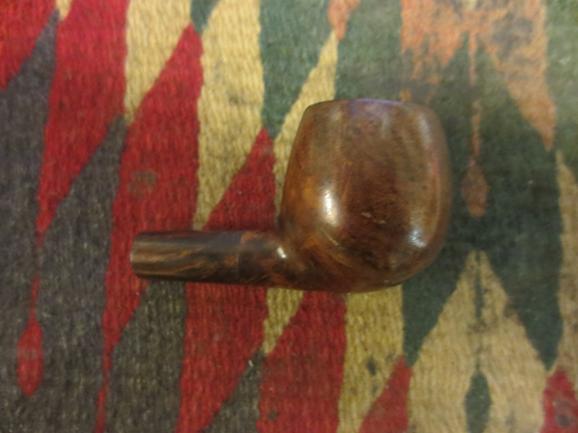
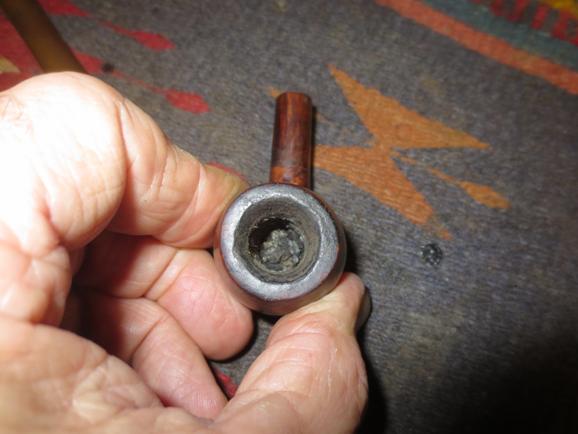
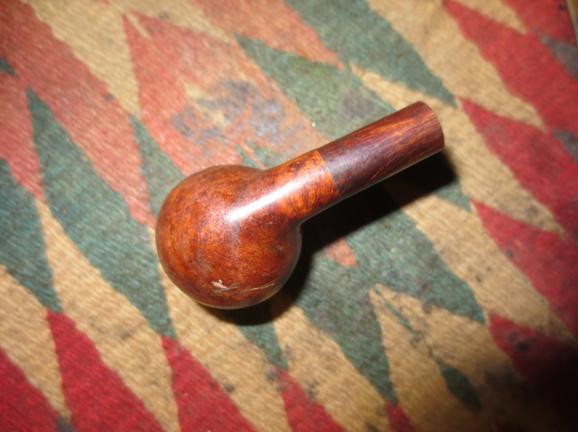
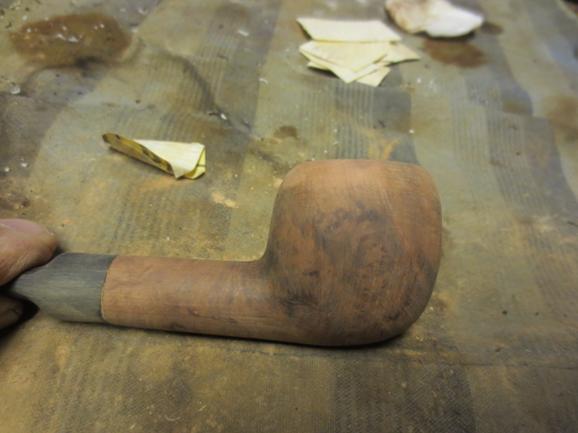
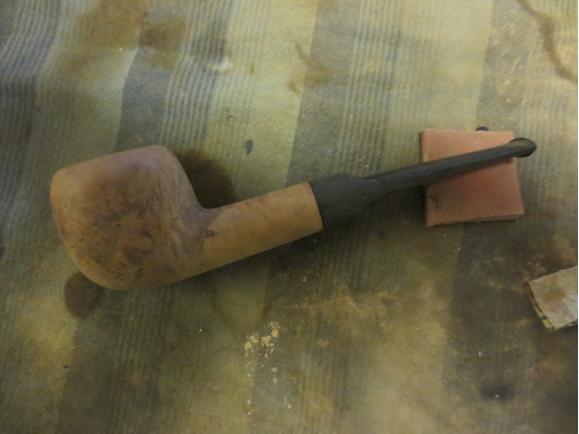
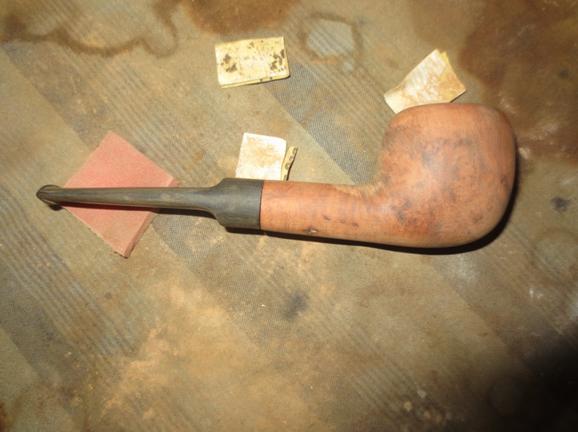
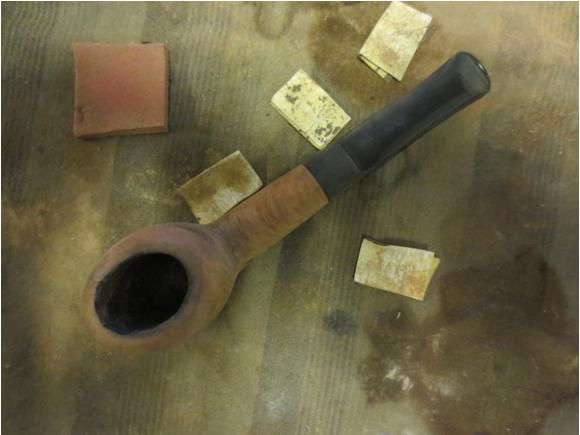
Breathing New Life into a mystery pipe and in the process finding out that it is a GBD


Blog by Steve Laug

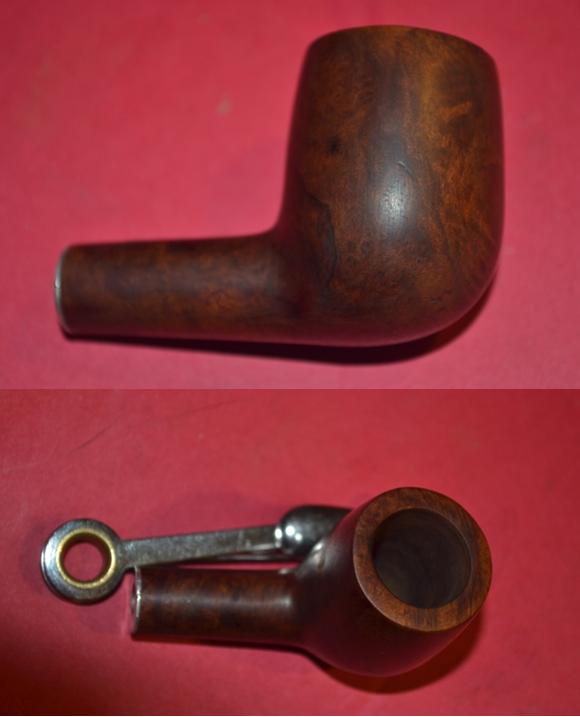
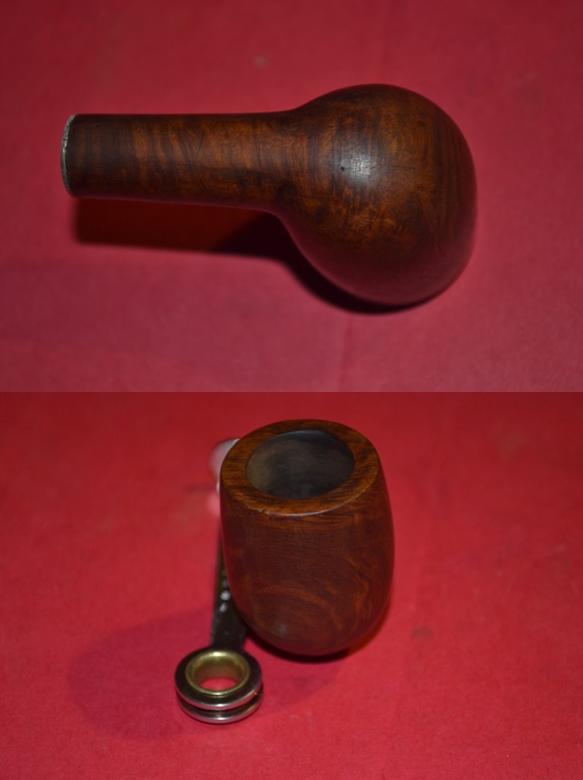
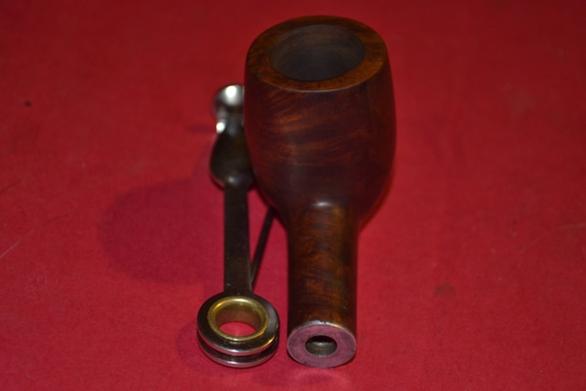
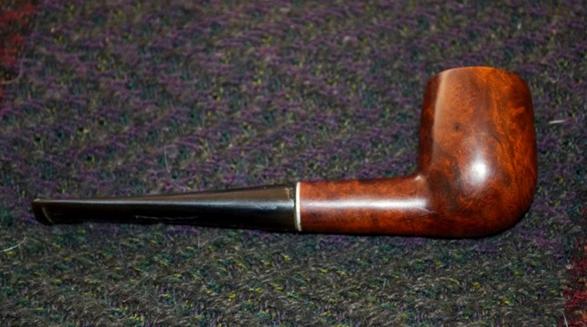
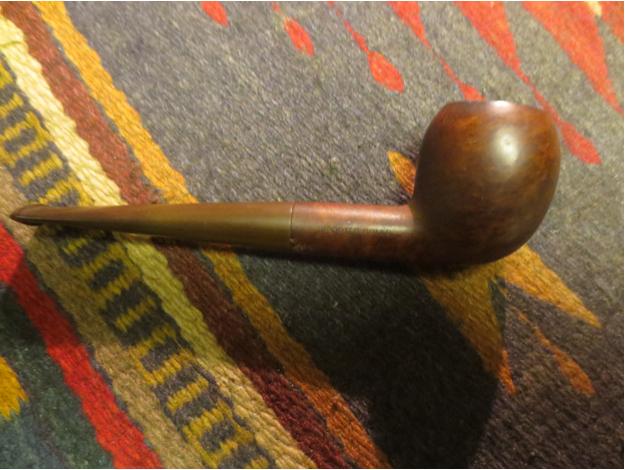
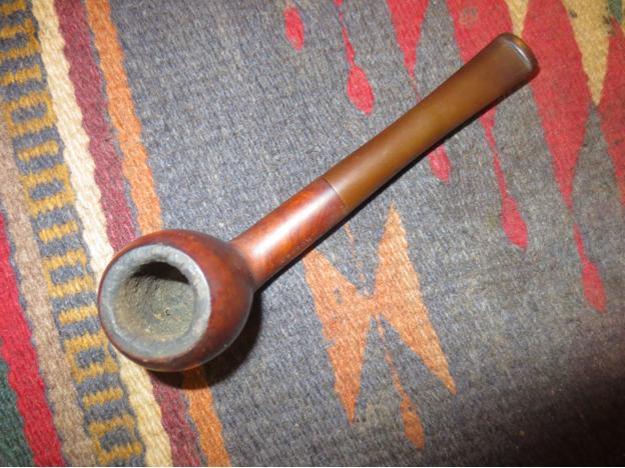
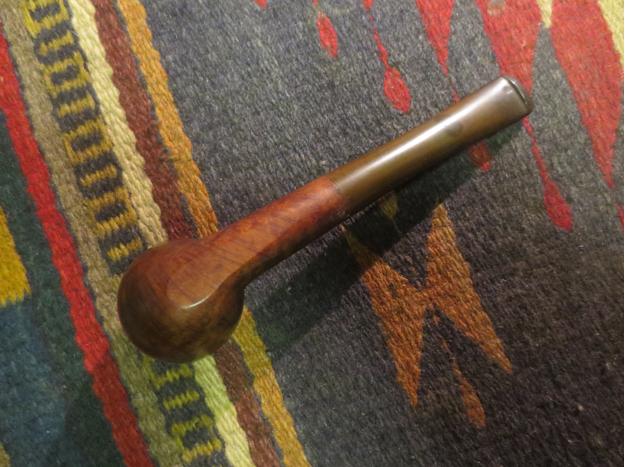
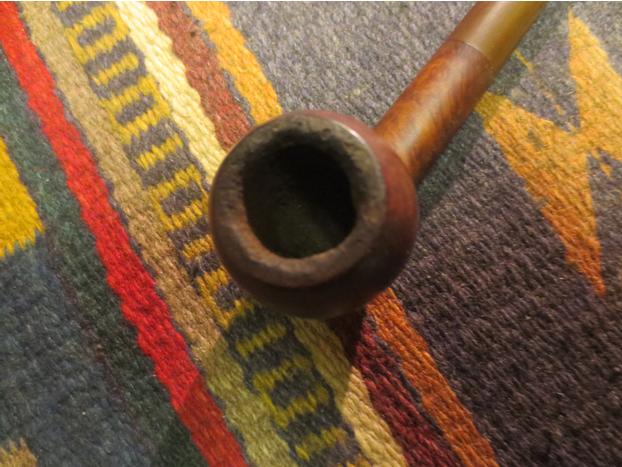
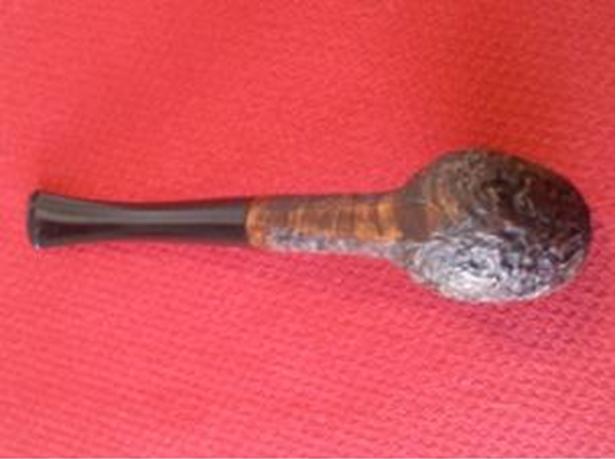
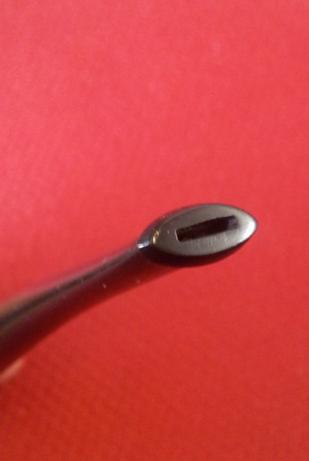
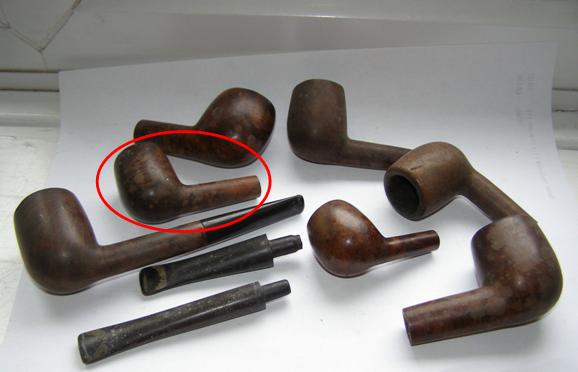
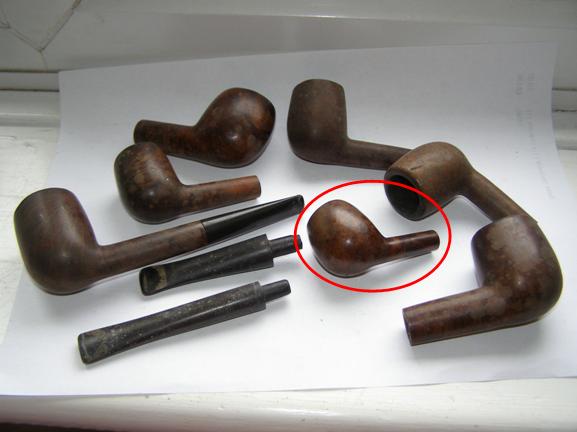
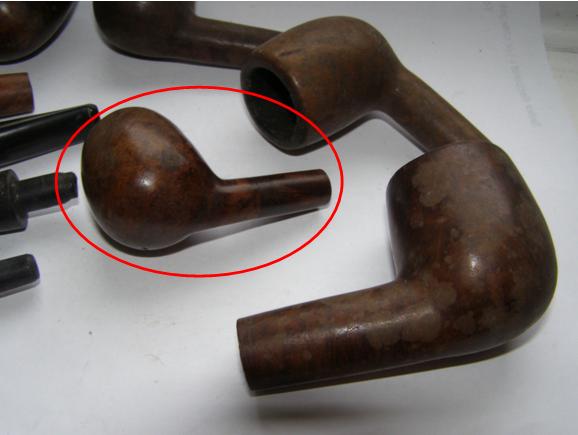
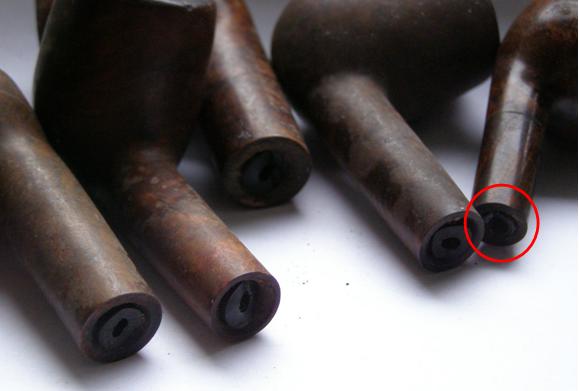
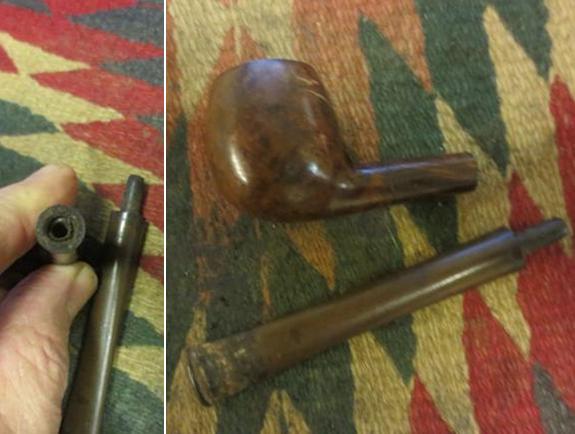
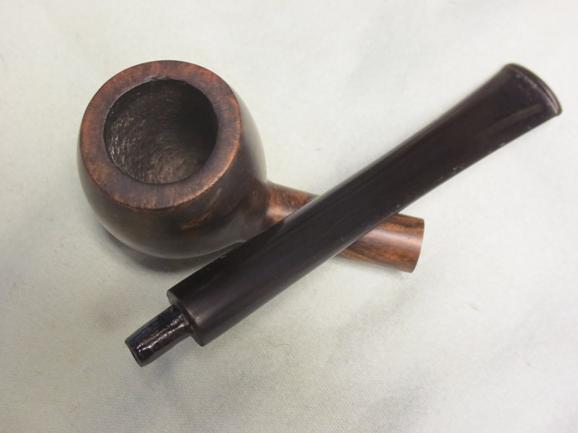
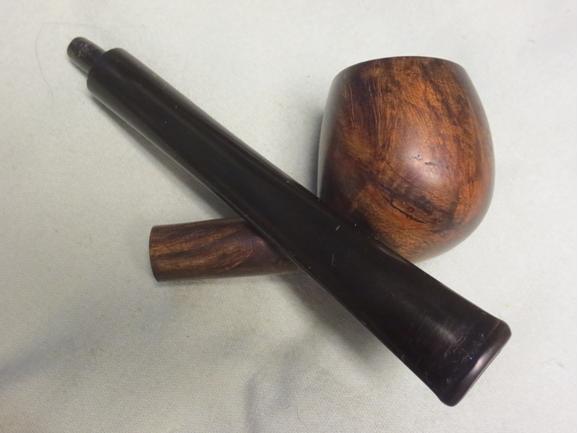
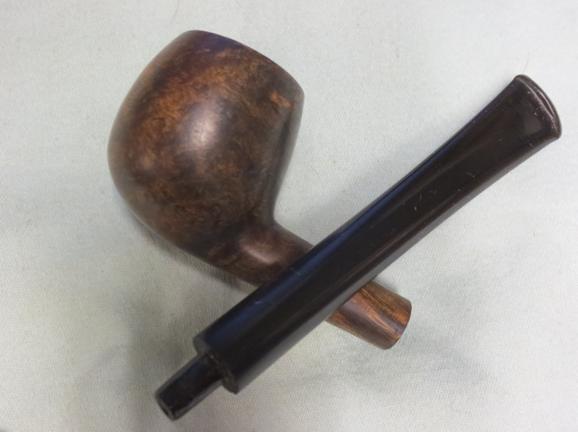
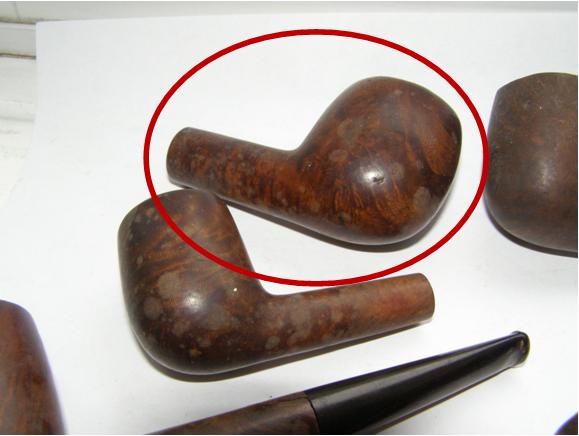
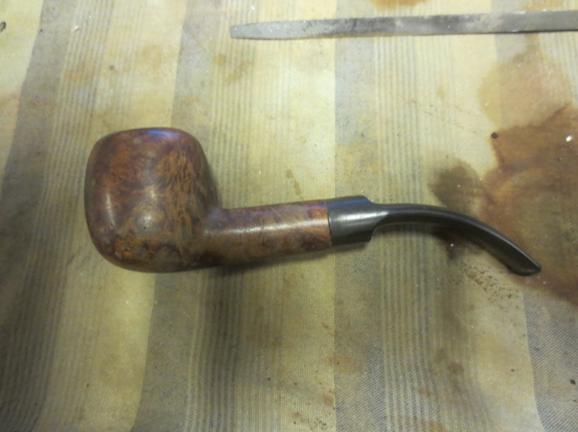
I picked up this bowl in a purchase of bowls on EBay recently. All of them had a broken tenon in the shank and this one was no different. All of the bowls had stamping that was pretty unreadable or not present at all. This one had very faint stamping. When I first looked at it I put it aside and was in no rush to restem another bowl. Yesterday I took it out of the box and had a look at it through a lens with a bright light. I was pretty surprised to see that there was a faint GBD in an oval and underneath that it was stamped PREMIER and under that London Made. The shape number on the other side of the shank and any other stamping was gone. In the next three photos below it is circled in red – in the first it is the second bowl down in the left hand column. In the second it is the second one down and in the third it is at the top of the photo in the middle.GBD1

GBD2

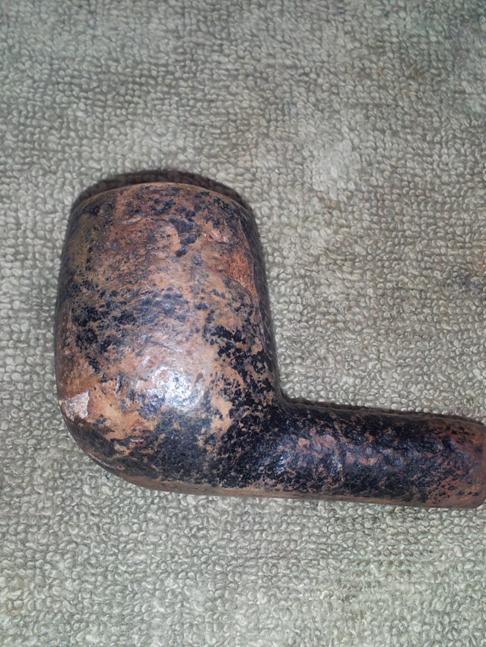
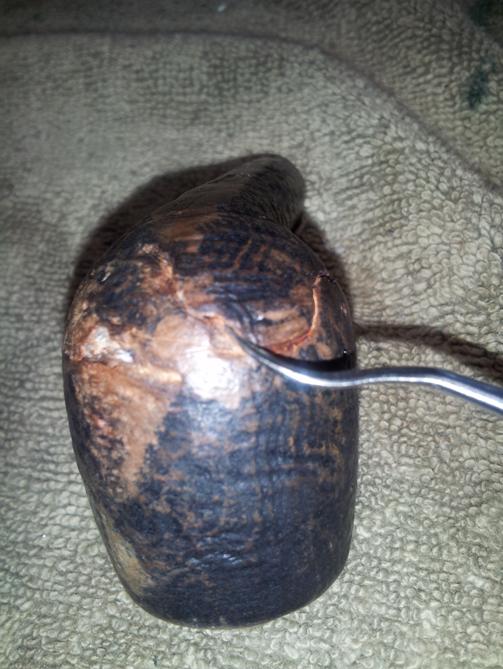
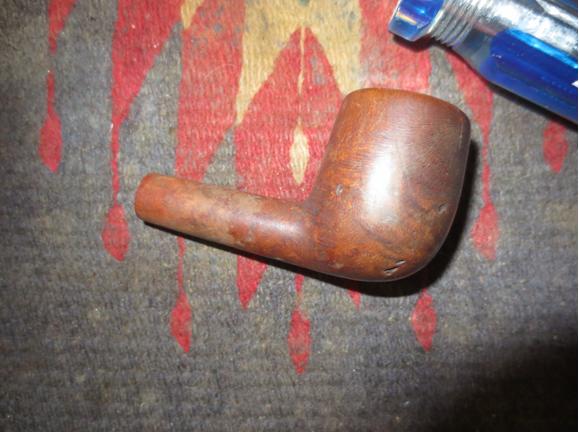
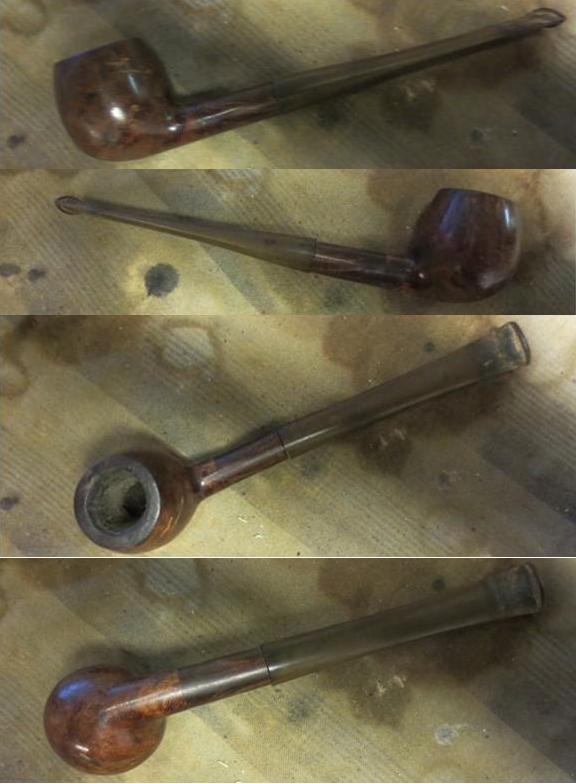
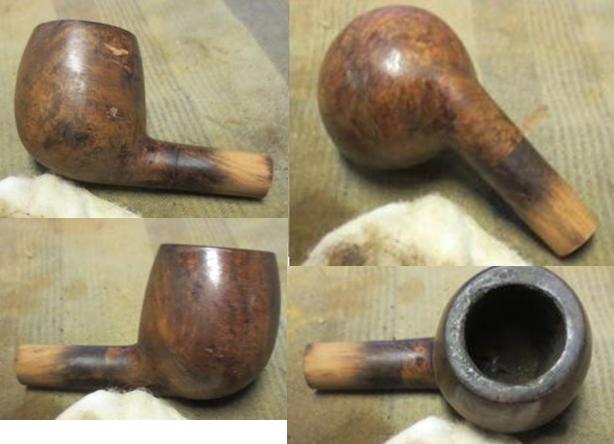
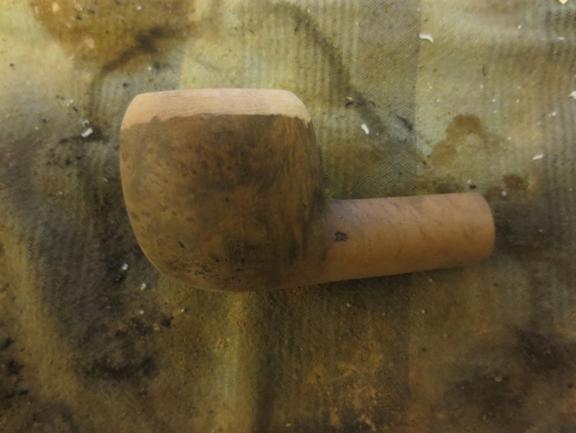
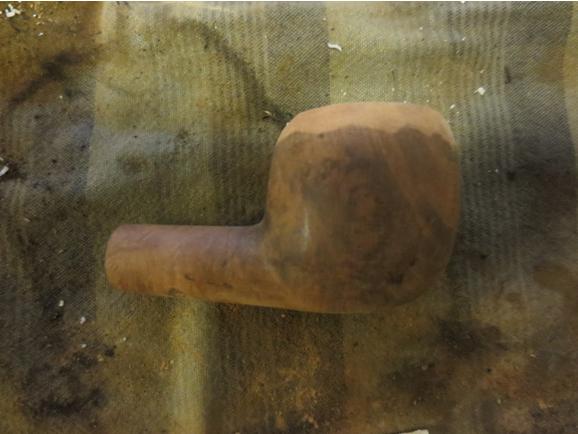
GBD3 It was in pretty rough shape but underneath the grime there was a classic shaped billiard that was just waiting to be reborn. The finish on the bowl was worn, tired and water spotted. The rim was very rough from tapping out and was rounded on the edges. The bowl was caked but it also had about a half bowl of unsmoked tobacco. It also had the tenon broken off in the shank of the pipe. It almost looked as if the owner had dropped it mid smoke and the stem broke off and he just laid it aside. There were some serious deep gouges in the bottom right side of the bowl. It looked as if it was part of the fallout when the pipe was dropped. The photos below show what the pipe looked like when I received it. You can also see why I missed the stamping on the side of the shank.GBD4

GBD5

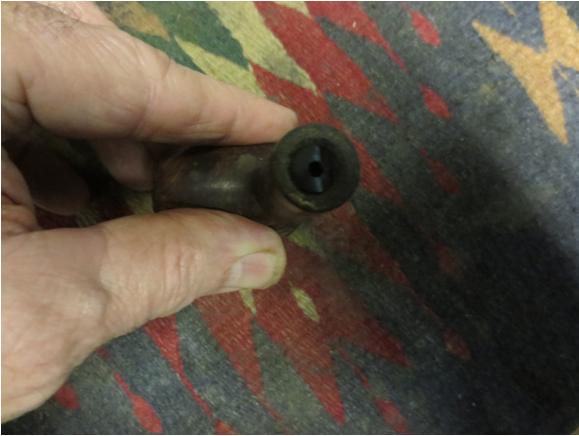
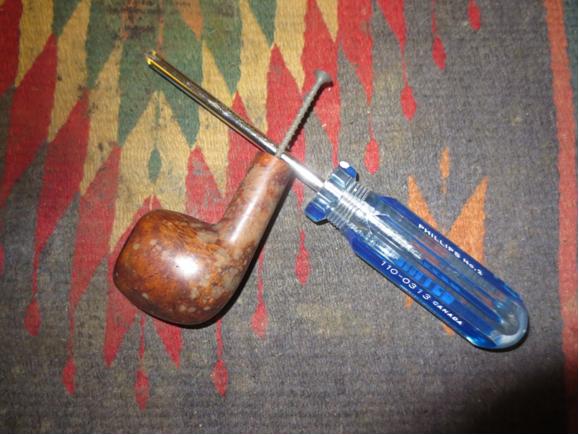
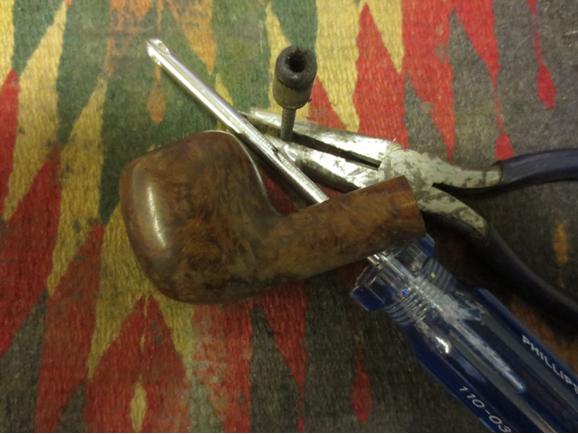
GBD6 When it arrived I used my usual process and pulled the broken tenons from all of the shanks. I used a screwdriver, pliers and a drywall screw. I thread the screw into the airway on the broken tenon and then use the pliers to wiggle it free. You can see how it works in the photos below. I removed five broken tenons in a matter of moments.GBD7

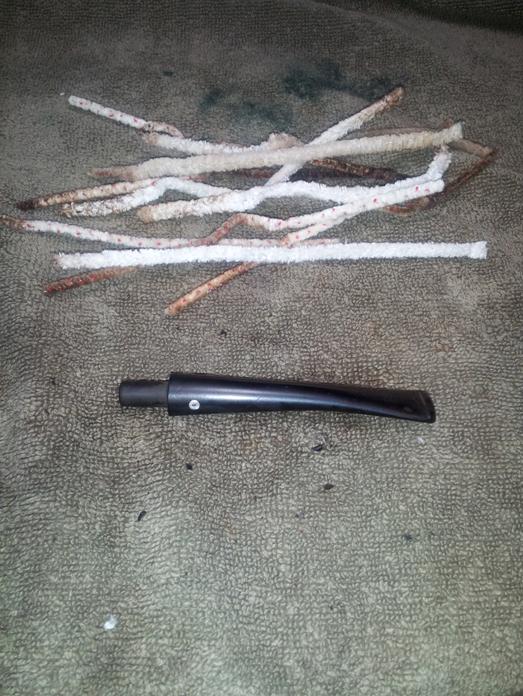
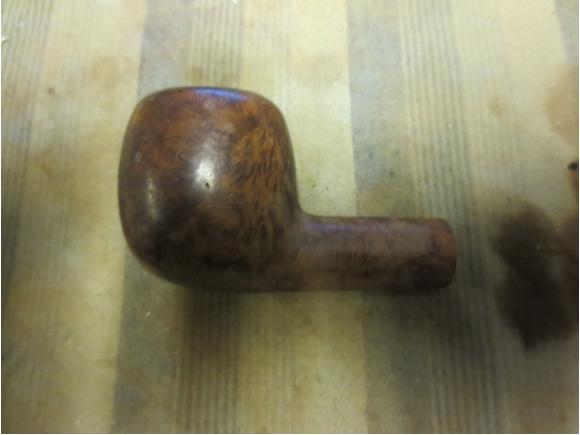
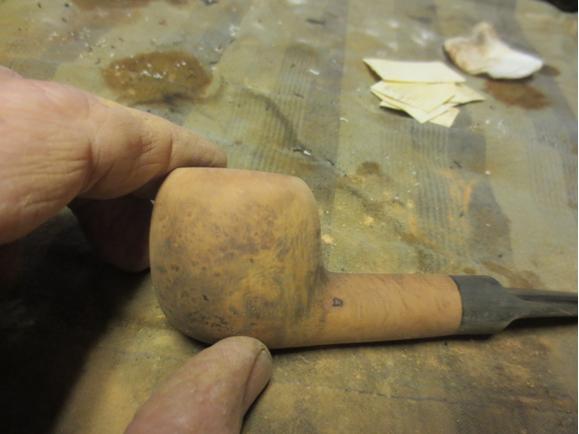
GBD8 At this point I put all five bowls away and did not look at them for almost a month. The past two days I have been through them and already restemmed the tiny apple. This one came out next from the box. I wet the stem and looked at it through a lens with a bright light. That is when I discovered that the mystery pipe was a GBD. There was no shape number but it was a petite billiard. I had a stem in my stem can that was nearly perfect for the pipe. It did not have a GBD logo but it fit really well. I only needed to shorten the length of the tenon and the left side of the stem to get a perfect fit.GBD9

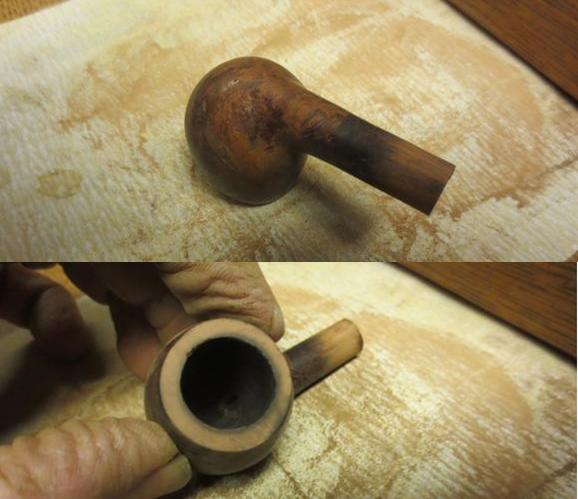
GBD10 I wiped down the bowl with acetone to see what I was working with under the grime. I took a few photos of the bowl to show what it looked like.GBD11

GBD14

GBD13

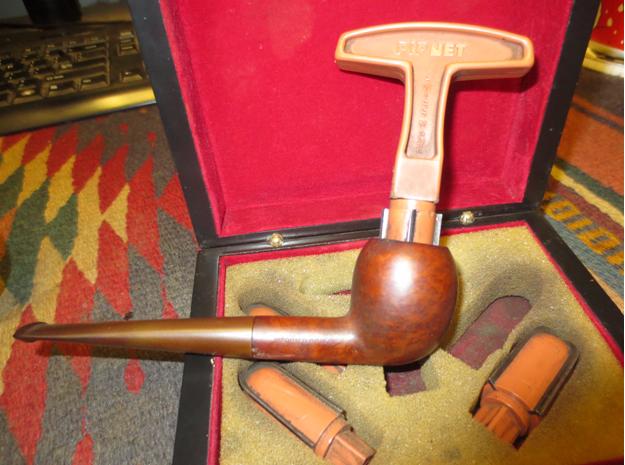
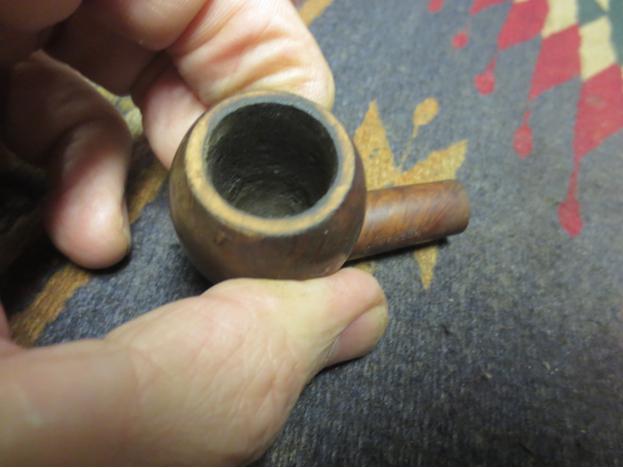
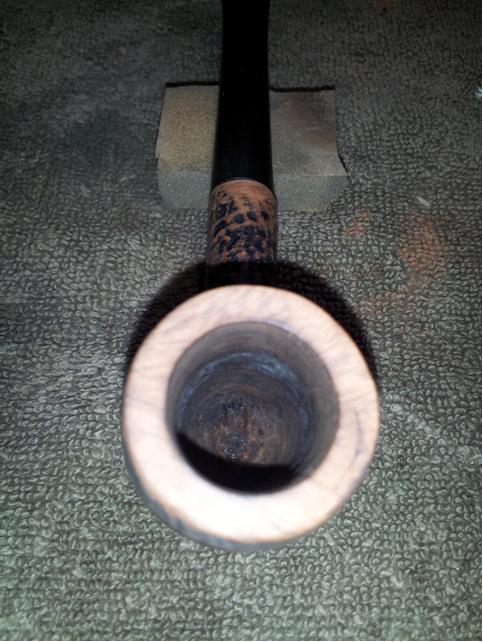
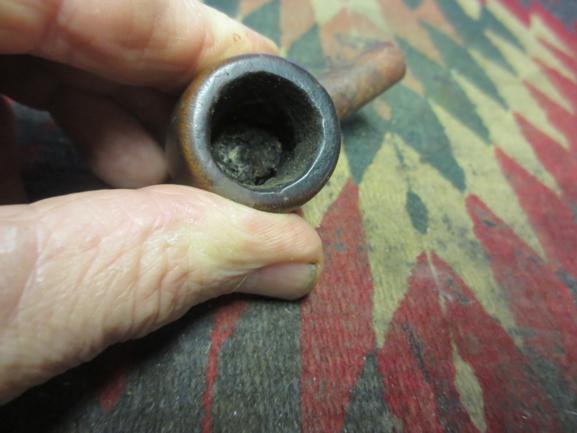
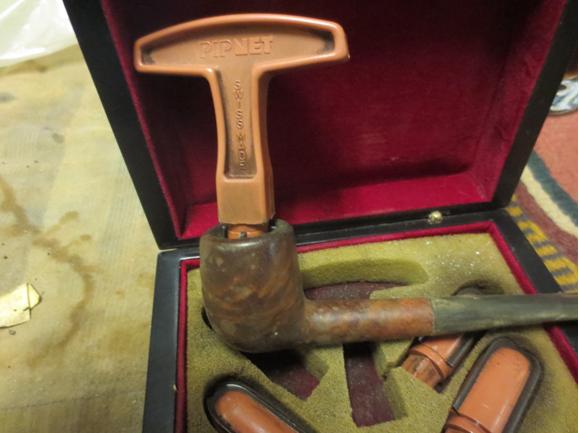
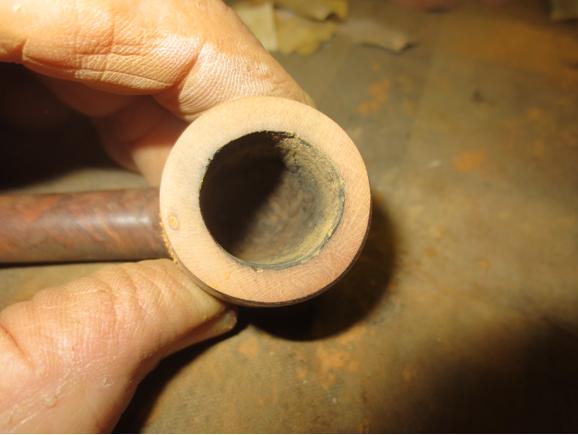
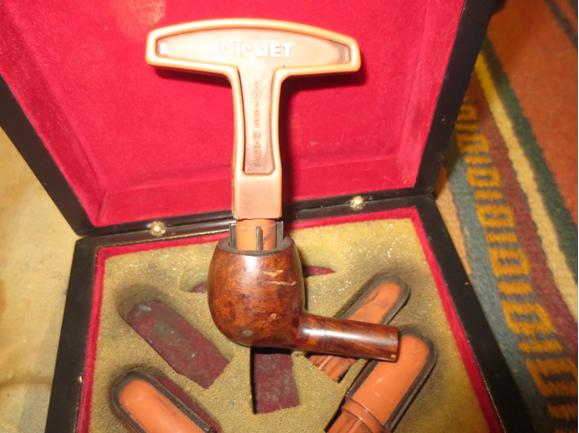
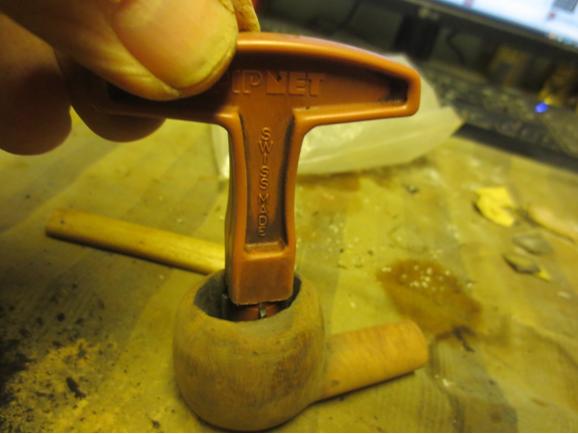
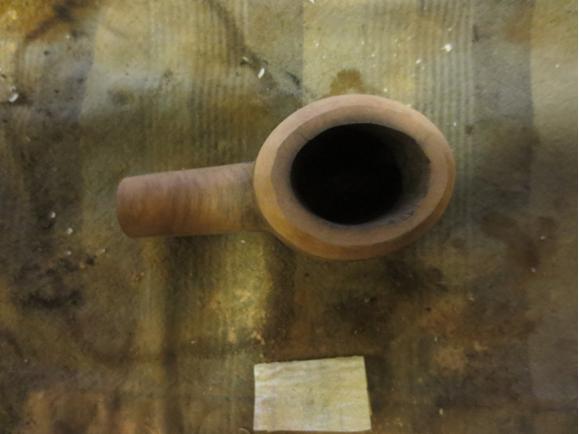
GBD12 I shortened the tenon and the fit was great against the shank. Now all that remained was to sand and clean the stem.GBD15 I used a dental pick to remove the dottle from the bowl. You can see the amount of unburned tobacco that remained in the bowl. I think my theory of being dropped mid smoke was pretty accurate. I reamed the bowl with a PipNet reamer and took the cake back to bare briar. The bowl was between the smallest sized cutting head and the second one so I could only do a part of the job with the reamer. The round bowl made it not feasible to work with the KLEENREEM reamer. I cleaned up what remained with a pen knife to smooth out the walls of the pipe.GBD16

GBD17

GBD18 In the photo above shows the damage to rim top and the inner and outer edge of the rim. I decided to top the bowl to clean up as much as possible of the rim damage.GBD19

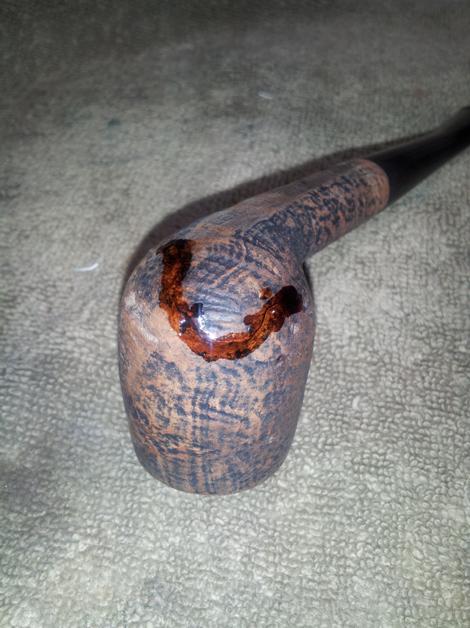
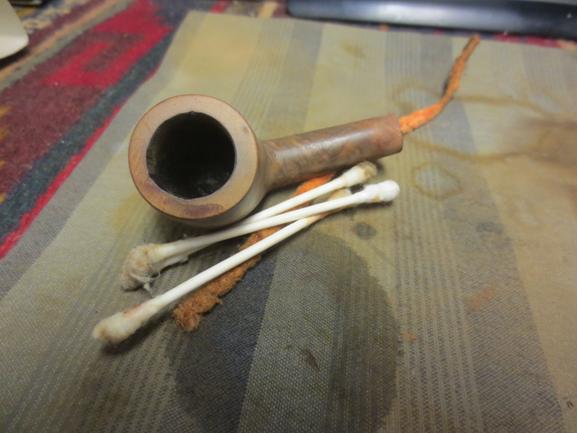
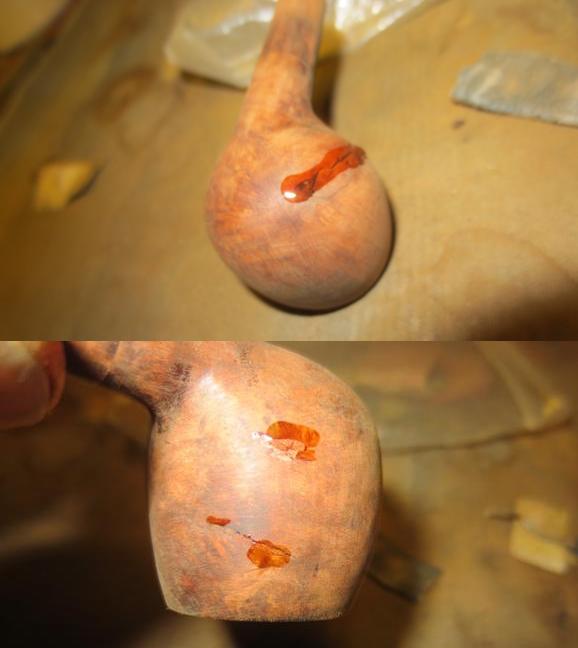
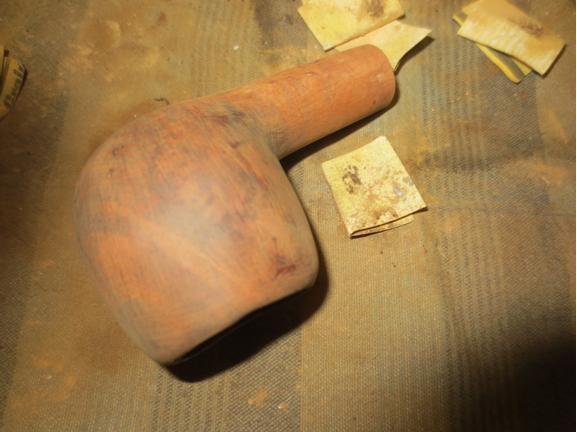
GBD20 I repaired the deep gouges on the right side of the bowl with superglue and briar dust. I would have tried to steam them out but they had sharp edges on all of the marks and steaming would not have raised them. I sanded the dried repairs with 220 grit sandpaper to blend them into the surface of the briar. You will see in later picture what that looked like.GBD21 I started to clean out the shank and stem with pipe cleaners, cotton swabs and alcohol and soon began to realize that it was far dirtier than I initially expected.GBD22

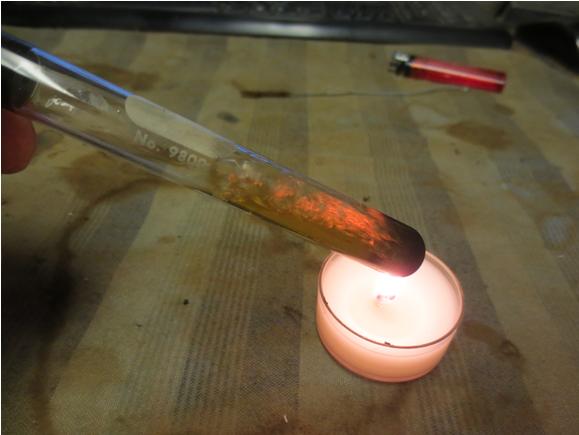
GBD23 I put the stem on the shank and set up the pipe retort. I boiled three test tubes of alcohol through the bowl and stem until it finally came out clear. The second photo is a cool picture of the boiling alcohol. I had to include it!GBD24

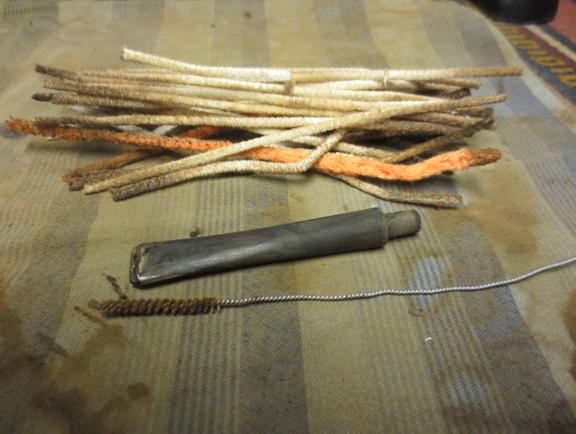
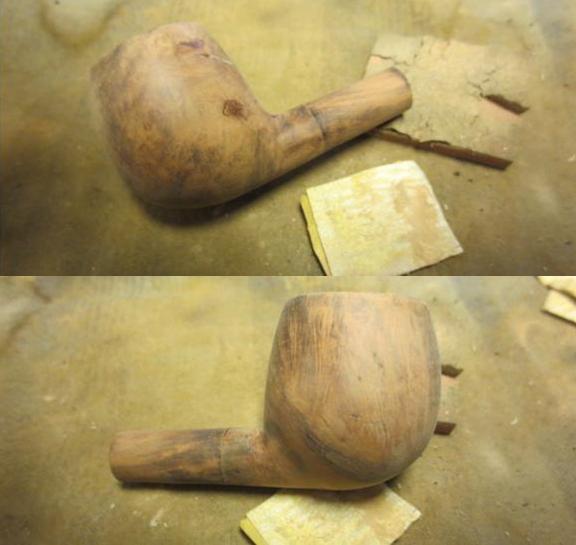
GBD25 I ran pipe cleaners, a shank brush, cotton swabs and alcohol through the stem and shank to remove what was left behind by the retort and was pleased to see how clean it was. One surprise to me was the red stain that came out of the shank. Evidently the pipe had originally been stained with a oxblood stain. You would never have guessed that looking at what I started with. Now that the internals were clean I took a series of photos of the pipe to show where it stood at this point. In these photos you can see the repairs on the right side of the bowl.GBD26

GBD27

GBD28

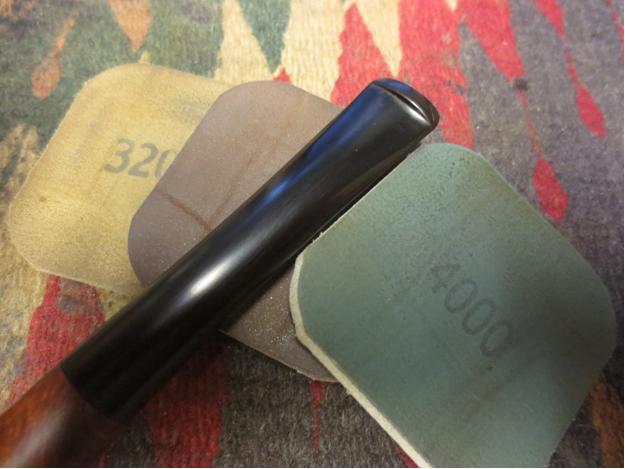
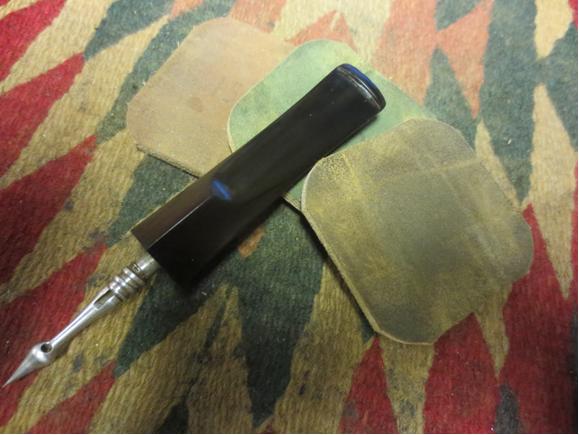
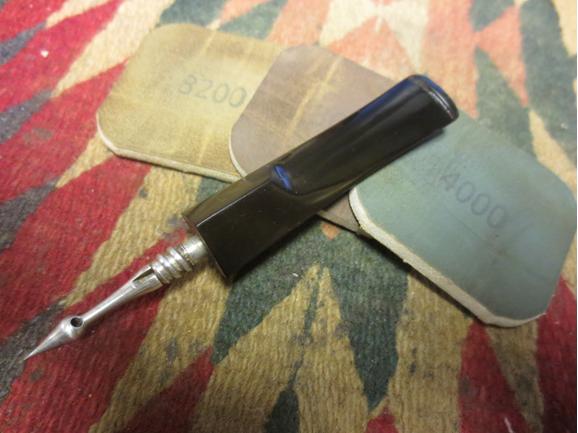
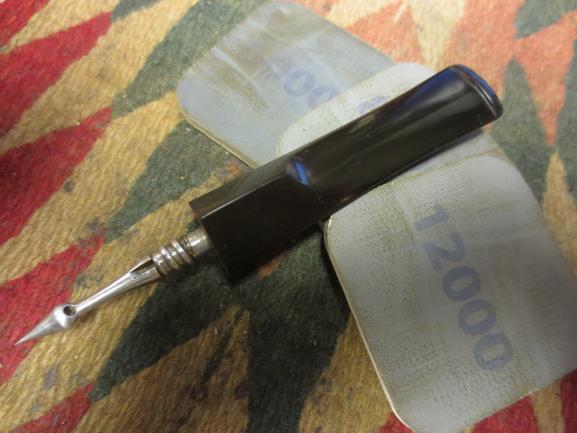
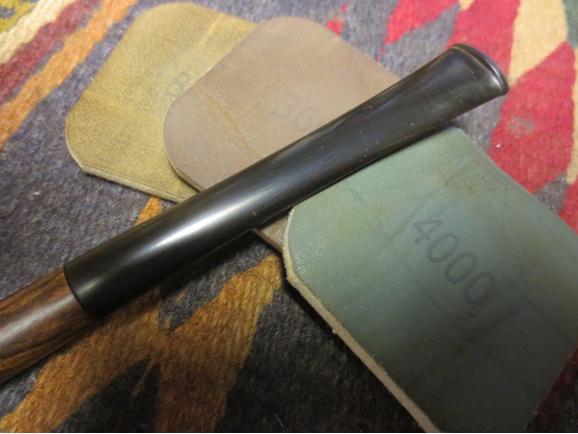
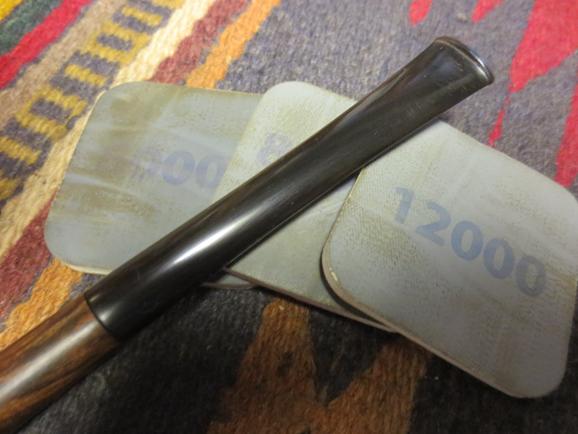
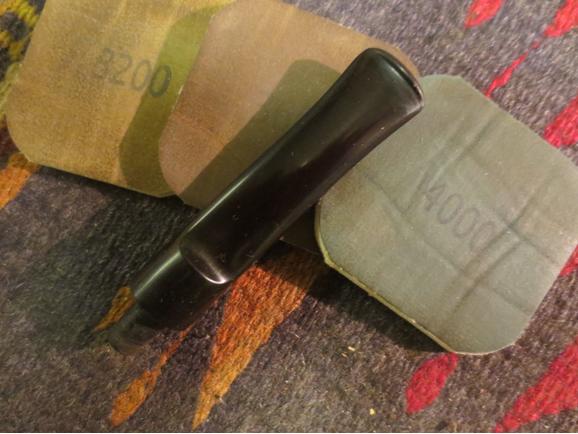
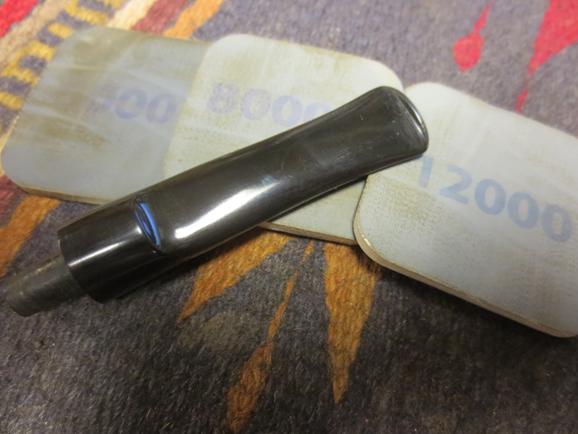
GBD29 Now it was time to polish the stem and work on the finish of the pipe. I worked on the stem with 220 grit sandpaper and a medium and fine grit sanding sponge to remove the grime and the oxidation on the stem. I don’t know what was on this stem but it was tacky, gummed up the sandpaper and was hard to clean. I wiped it down with alcohol and then repeated the sanding. I was able to remove the oxidation and the tooth chatter at the button. I sanded the stem with micromesh sanding pads – wet sanding with 1500-2400 grit pads and then giving the stem a coat of Obsidian Oil. I dry sanded with 3200-4000 grit pads and gave it another coat of oil. I finished with 6000-12000 grit pads and gave it a final coat of the oil. I let that dry.GBD30

GBD31

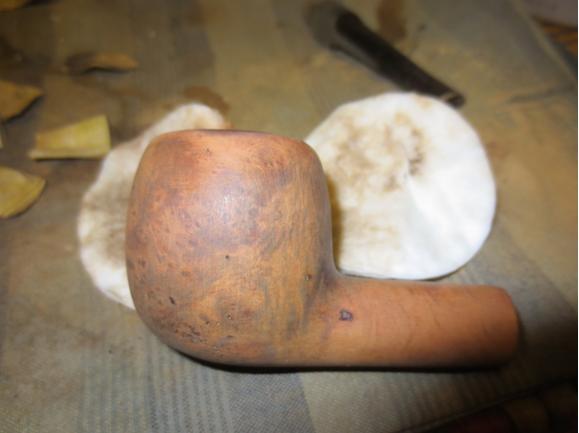
GBD32 I sanded the bowl with 1500-4000 grit micromesh to smooth out the sanding marks. I wiped the bowl down with a tack cloth and then gave it a coat of Cherry stain mixed with Danish Oil. I buffed it by hand and gave it a second coat. I set it aside to dry. Once it was dry I buffed it by hand with a soft microfibre cloth.GBD33

GBD34

GBD35

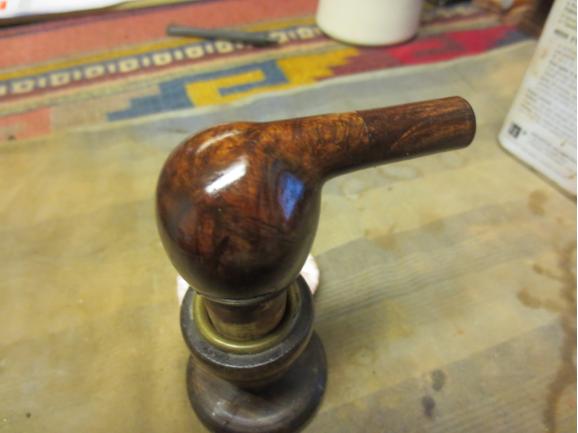
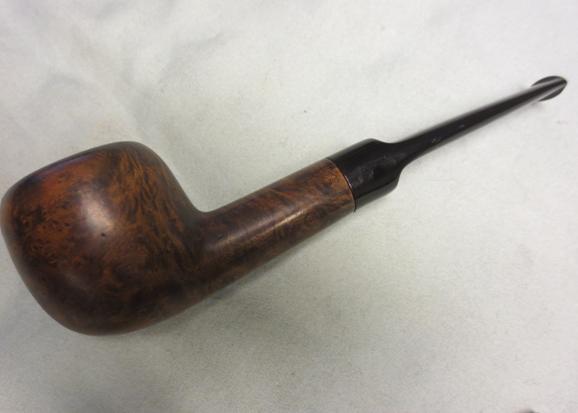
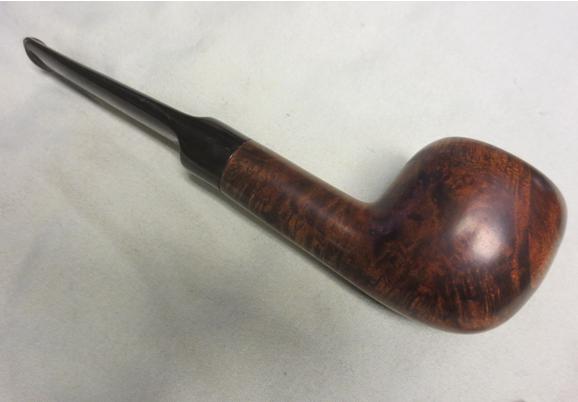
GBD36 I put the stem on the pipe and then buffed the stem and bowl with Blue Diamond on the wheel and then gave the bowl and stem several coats of carnauba wax. I buffed it with a clean flannel buff to raise the shine. I hand buffed it with a microfibre cloth to give a deeper shine to the pipe. The finished pipe is shown in the photos below.The cherry stain brings out the grain and at the same time hides the repairs. While the pipe will never win any contests for beauty or perfection that must have once accompanied the PREMIER it is nonetheless fully functional and should deliver the next pipe man who owns a decent smoke at a decent price. Thanks for looking.GBD37

GBD38

GBD39

GBD40

GBD41

GBD42

GBD43

Cleaning an American Made Selected Bulldog


Blog by Steve Laug

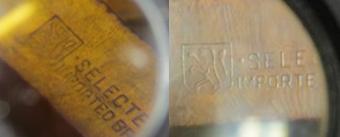
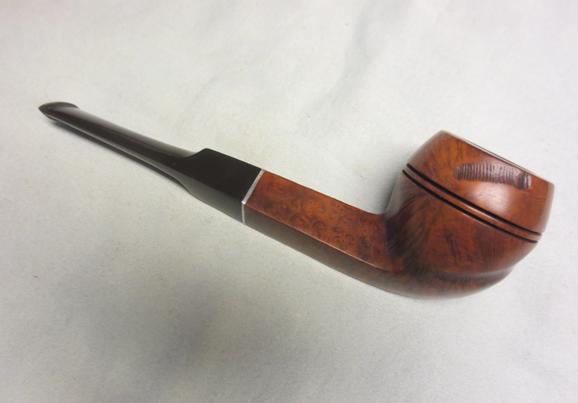
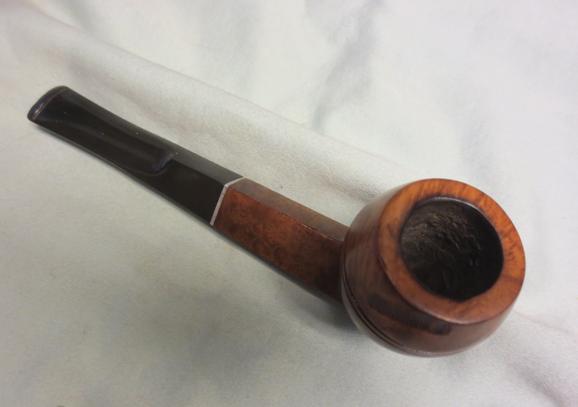
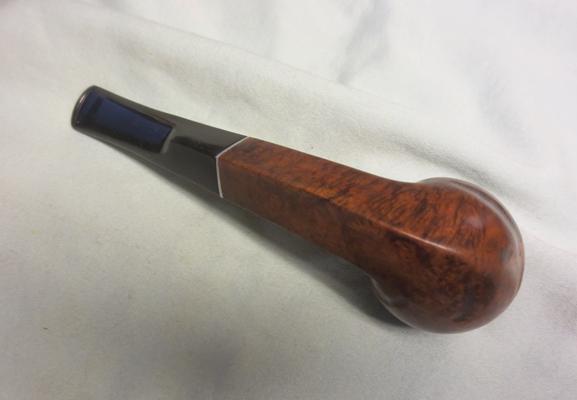
I have had a straight bulldog in the refurbishing box for a long time now. It is an interesting older pipe that has the characteristic worm trail rustication on the sides of the bowl and cap but total only 5 trails. The rest of the bowl is a nice piece of briar. The shank is smooth with no rustication. It appears to be unstained and natural or if stained a light tan colour. The trails on the bowl sides and cap are slightly darker in colour. The bowl was lightly smoked and the bottom half still clean briar. There was no cake in the bowl. There was some burning on the inner edge of the rim on the back left side of the bowl. The stamping on the shank of this bulldog is standing lion inside of a shield and next to that – SELECTED – over Imported Briar. I have searched on the web and in my books for this logo and cannot find it or the company it refers to. Any help would be appreciated. select1 The stem was in good shape with a little oxidation but no teeth marks except for two on top of the button itself. There was an internal stinger apparatus and a metal threaded tenon. The tenon screwed into a metal insert in the shank. The airway from the mortise to the back of the bowl was quite open to give room for the stinger apparatus. I took the following photos of the pipe when I brought it to the work table this morning.Select2

Select3

Select4

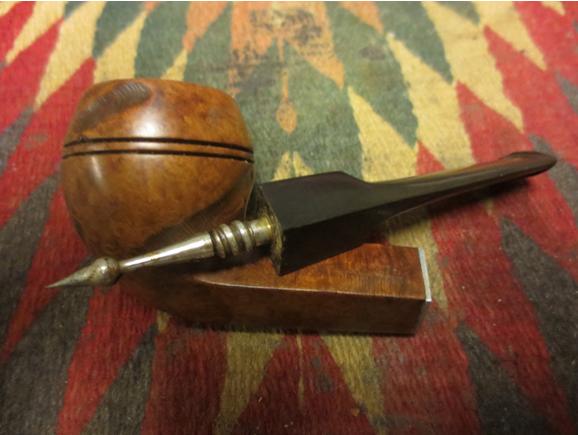
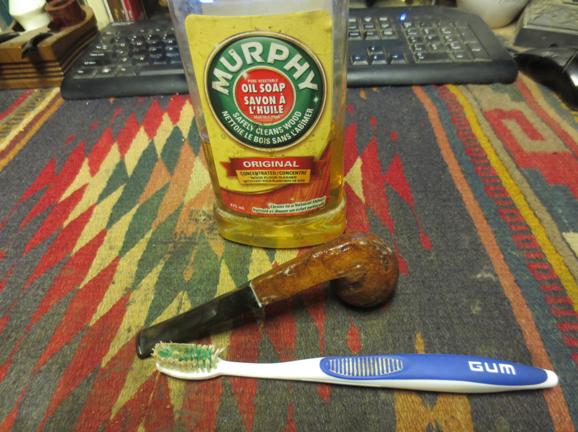
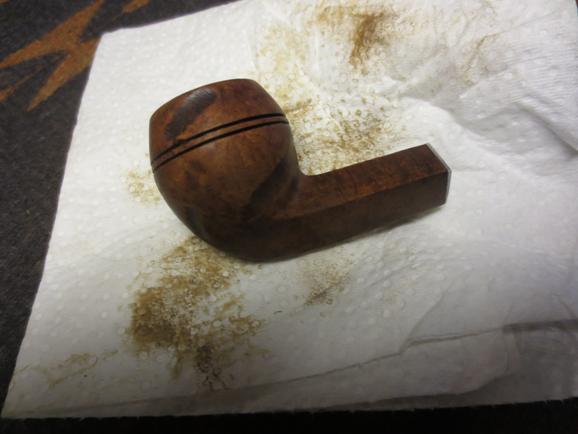
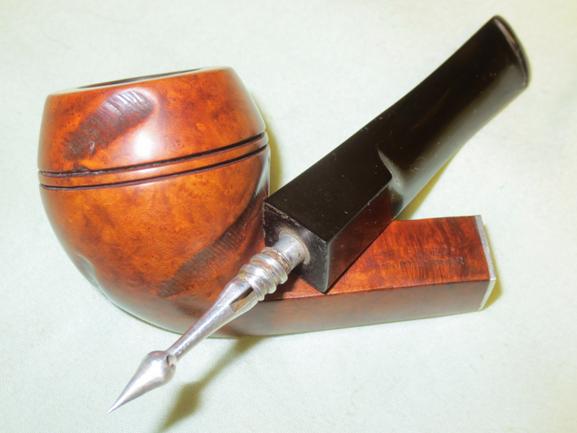
Select5 I took the pipe apart to show the inner apparatus on the stinger. It is unusual in terms of shape. The spear end is very sharp! It is pressure fit into the stem so it should come out for a thorough cleaning of the stem.Select6 The briar was dirty and had what appeared to be the gum from a price tag stuck to it in several places. I scrubbed the bowl and rim with a tooth brush and Murphy’s Oil Soap to clean off the grime.Select7 I wiped it down with a paper towel. A lot of grit and grime came off. I rinsed it with warm running water and dried it off with a towel. The photos below show the grime on the paper towel and the clean bowl.Select8
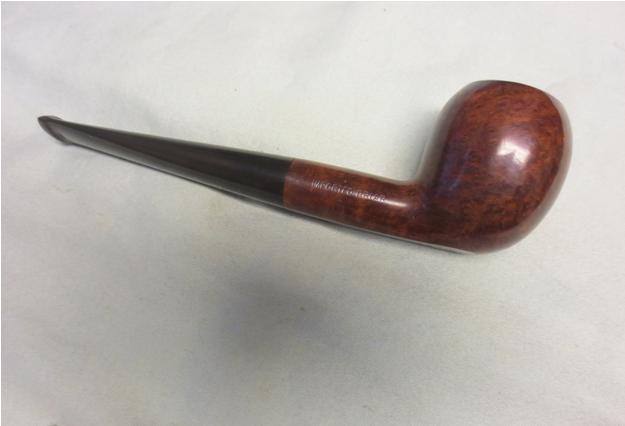
Select9

Select10

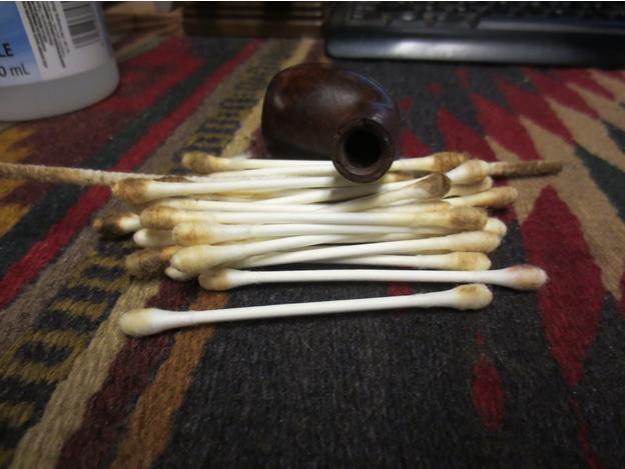
Select11 I heated the stinger with a lighter to soften the tars that held it in the threaded tenon. Once it was warmed I wiggled the stinger free and was able to clean it and the tenon.Select12 I scrubbed the inside of the tenon and the airway in the stem with pipe cleaners and alcohol. I used a brass bristle brush to clean the stinger and the threads on the tenon.Select13 The inside of the shank was wide open and served as a chamber for the stinger. It worked like a condensation chamber to collect the moisture before the smoke move through the holes and slot in the stinger and up the stem. Because of that it was very dirty. I cleaned the bowl and the shank with pipe cleaners, cotton swabs and alcohol until no more grime would come out. The photo below shows the first batch of swabs. There were about that many more used before it was clean.Select14 I lightly sanded the stem with 220 grit sandpaper to break up the oxidation and then with a medium and a fine grit sanding sponge. I wet sanded it with 1500-2400 grit micromesh sanding pads and then gave it a coat of Obsidian Oil. I dry sanded the stem with 3200-4000 grit micromesh pads and then gave it another coat of oil. I finished sanding with 6000-12000 grit pads and gave it a final coat of Obsidian Oil. I set it aside to dry.Select15

Select16

Select17 I put the pipe back together and buffed it on the wheel with Blue Diamond and gave it several coats of carnauba wax. I buffed it with a clean flannel buff to give it a shine. I brought it back to the work table and hand buffed it with a microfibre cloth. The finished pipe is shown below. Thanks for looking.Select18

Select19

Select20

Select21

Select22

Select23

A Tiny Apple Reborn – new stem and new finish


Blog by Steve Laug

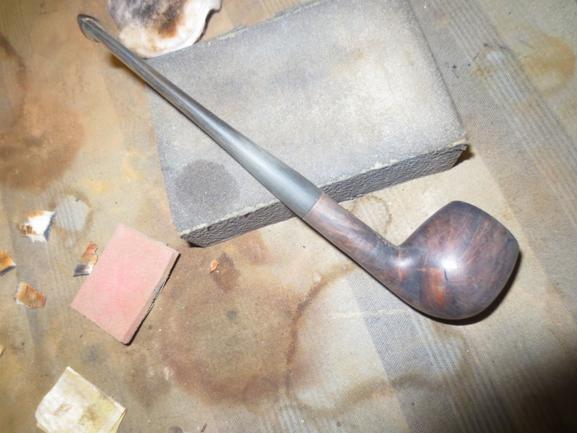
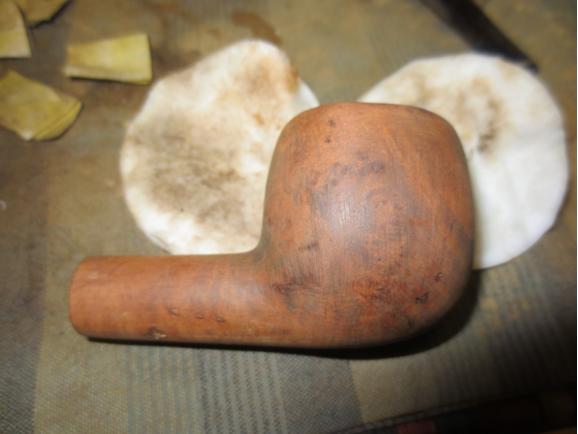
This morning I decided to work on an interesting little pipe that I picked up in an eBay batch from England. All of the bowls in that batch had broken tenons stuck in the shank. All were no name bowls or so worn that the name had long since worn off. This one was the smallest pipe in the batch. The bowl and shank are 2 ½ inches long and 1 ½ inches tall. The bowl is drilled at 5/8 inches and I can insert my little finger. The shank was spliced somewhere along the way and done quite well. It is a smooth splice. I wonder if it was a repair or if it came out that way when briar was scarce during the war. The finish was spotty – varnish was peeling from the bowl and shank. The tenon appears to have had a metal tube in the middle of the vulcanite and both had snapped off when they broke. I have circled this bowl in red in the next three photos. The first shows the batch of pipes that I picked up. The second is an enlargement of the bowl itself and the third photo shows the snapped tenon in the shank.Apple1
Apple2
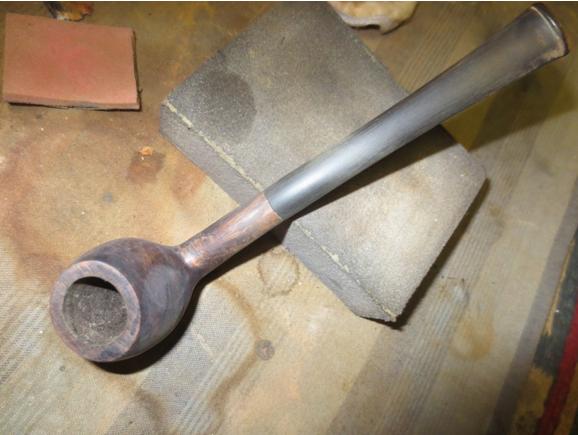
Apple3 The photos above came from the seller. I took the next series of photos before I worked on the pipe this morning. The rough finish is visible in the photos as are the fills on both sides of the bowl. They were shrunken and hard so they would have to be repaired. You can also see the splice in the shank about 2/3 of the way up the shank to the bowl. The bowl had a thick cake that was crumbly and rough. The bowl still was half full of tobacco that had been stuffed into it evidently before the stem broke. The rim had lava overflow and some damage to the inside edge and the top of the rim.Apple4
Apple5
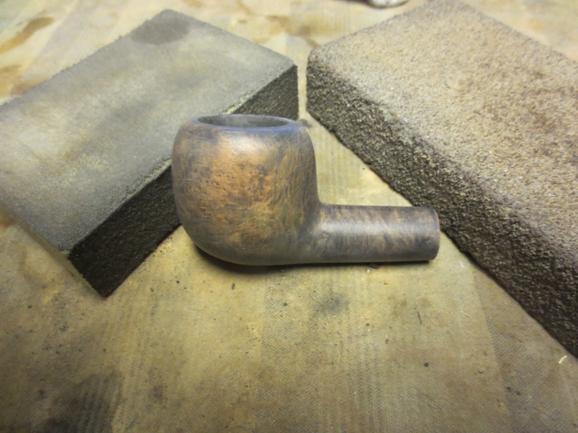
apple6
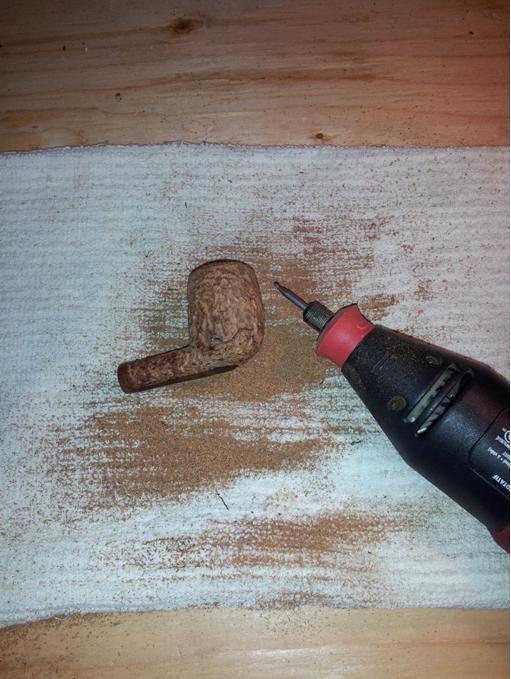
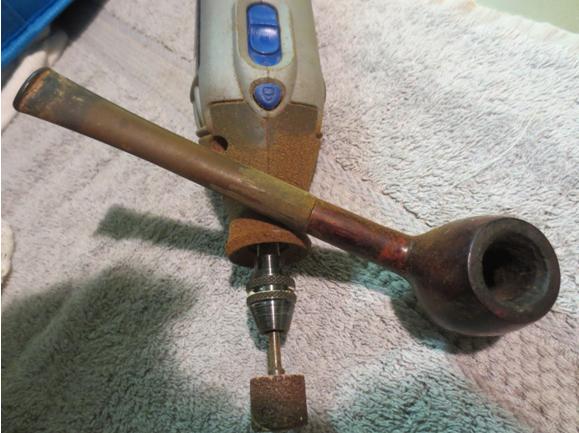
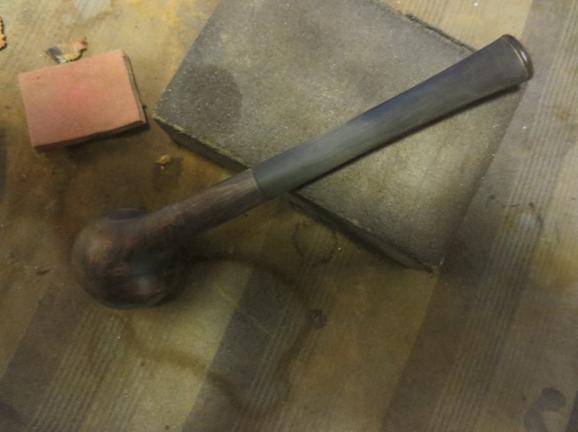
apple7 For a stem for this pipe I turned to my stem can and found a long narrow stem that needed a little adjustment to the tenon and the diameter of the stem at the shank before it would fit. I turned the tenon with a Dremel and sanding drum and finished by sanding it by hand.Apple8 The photos below show the stem in the pipe. The diameter of the shank and the diameter of the stem do not match.Apple9 I used the Dremel and sanding drum to reduce the stem diameter to match the diameter of the shank. I always rough in the fit with the Dremel and then fine tune the fit by hand sanding.Apple10 I reamed the bowl with a PipNet pipe reamer and took the cake back to bare wood. I wanted to look at the inside of the bowl and rim to see what needed to be done at those points.Apple11
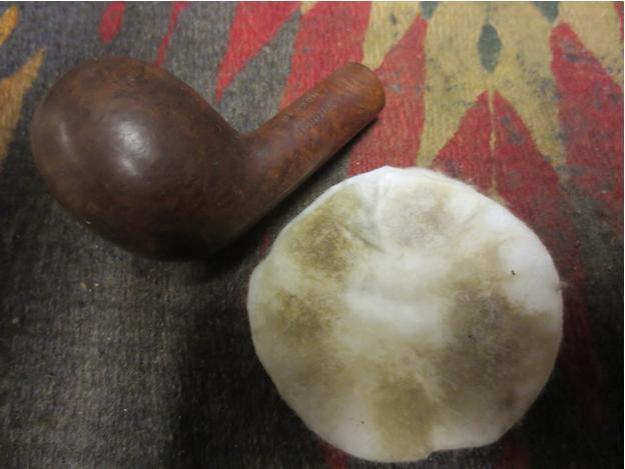
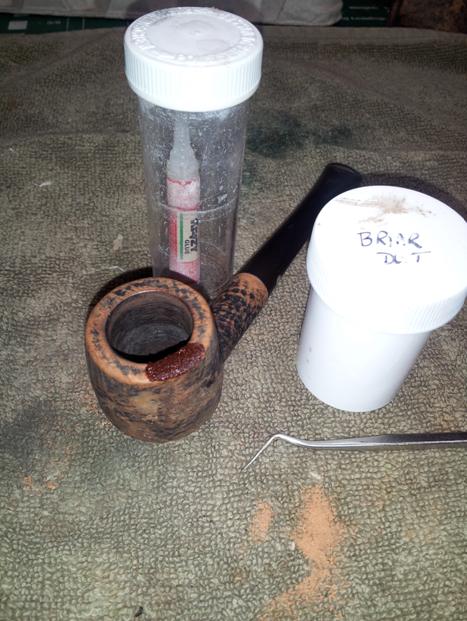
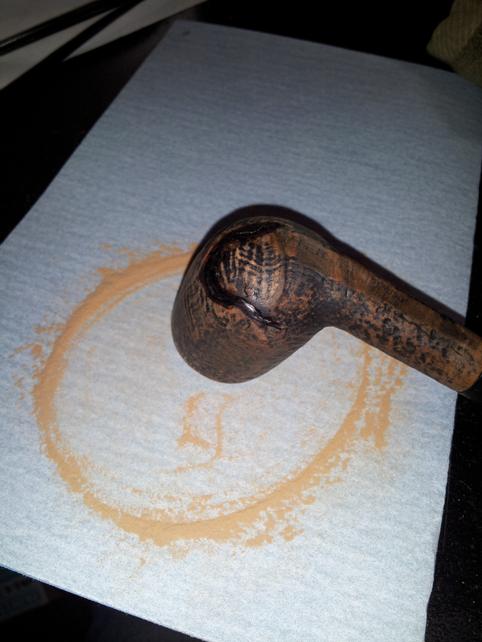
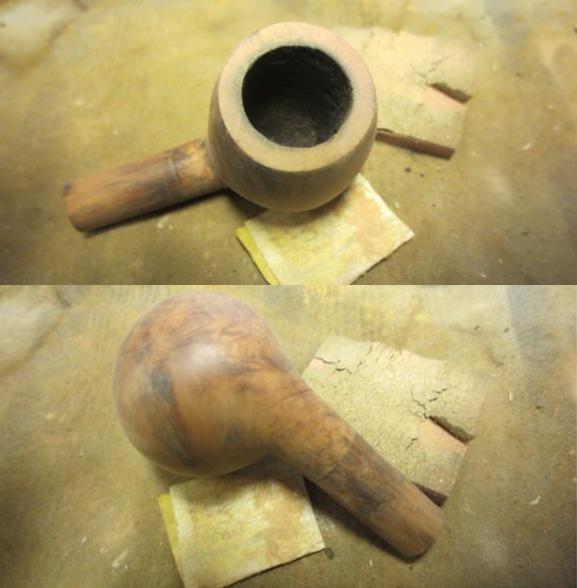
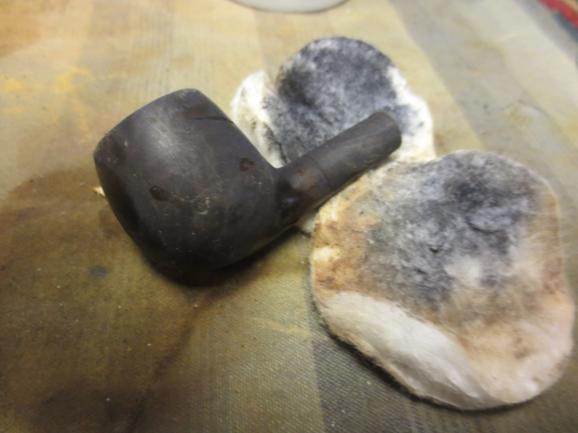
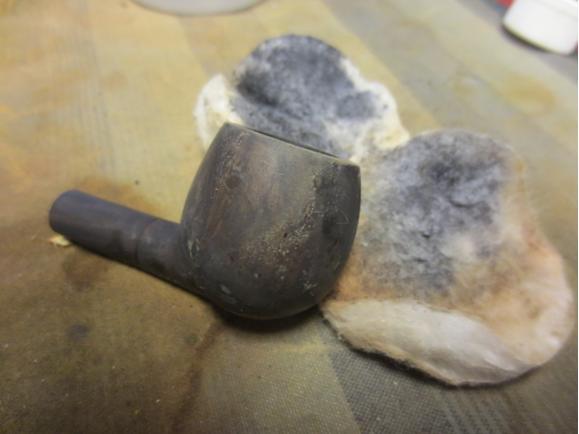
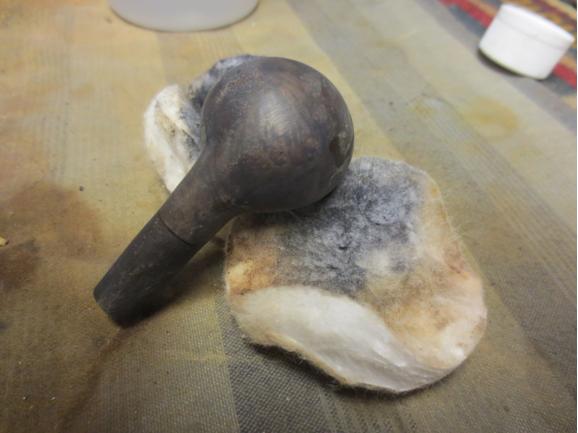
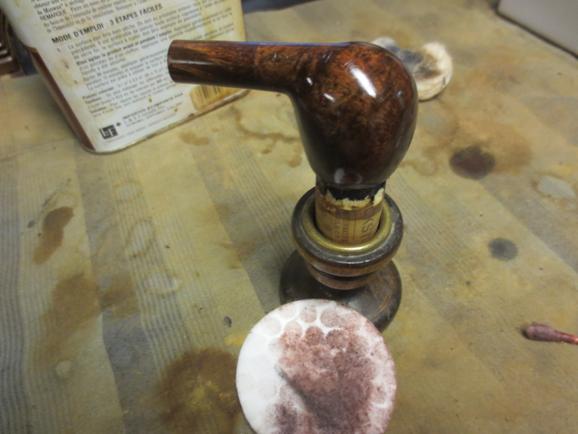
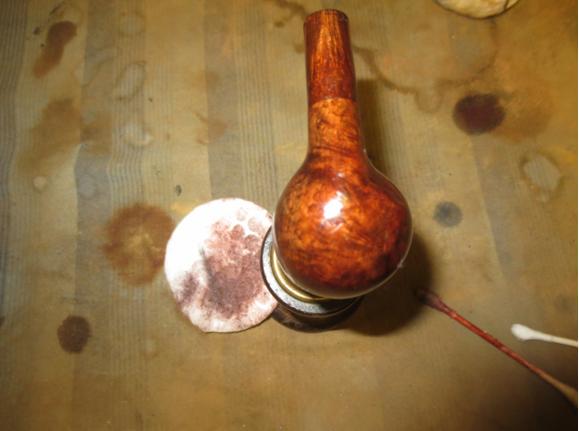
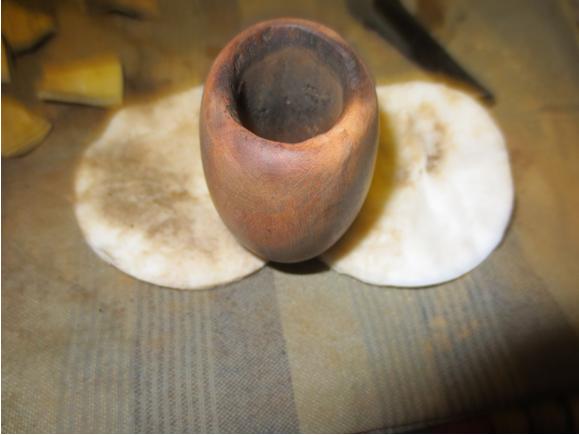
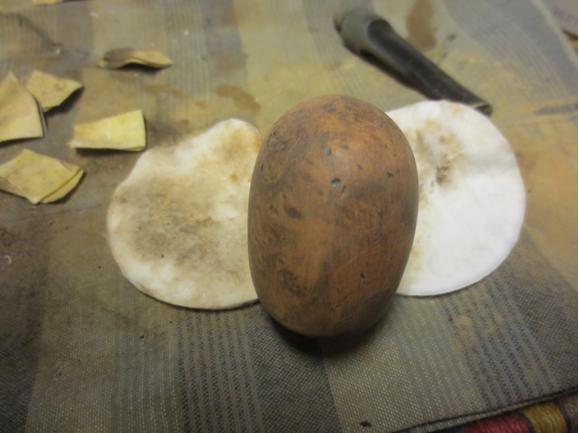
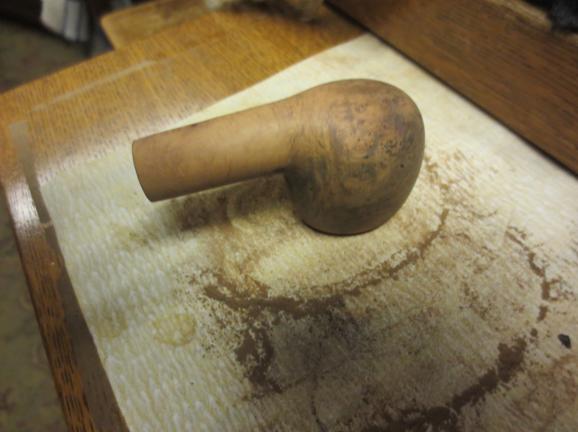
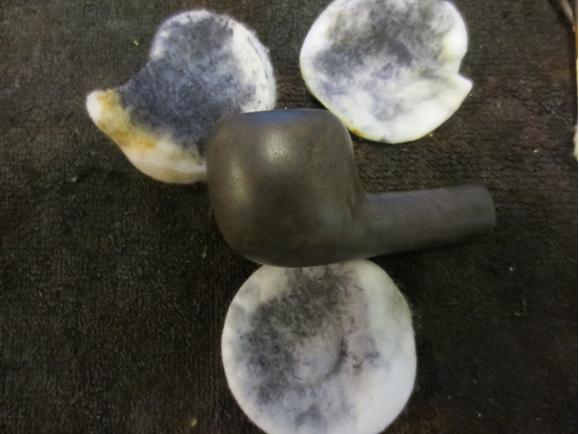
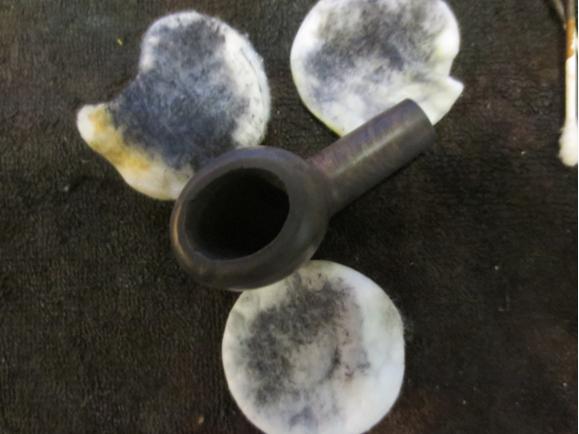
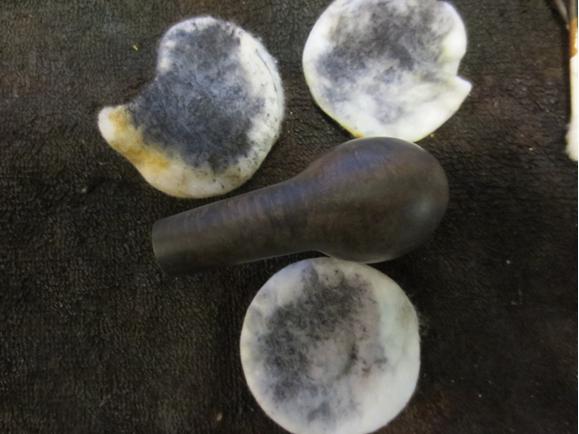
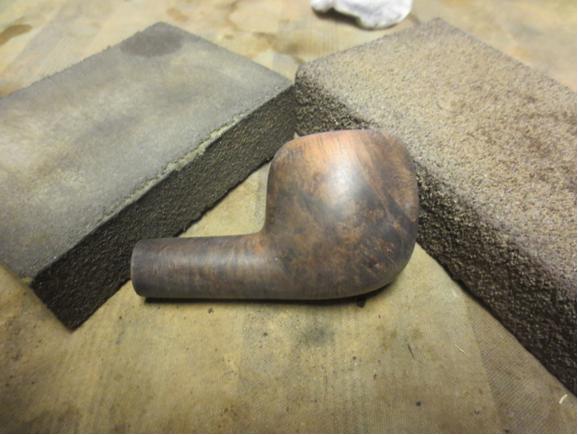
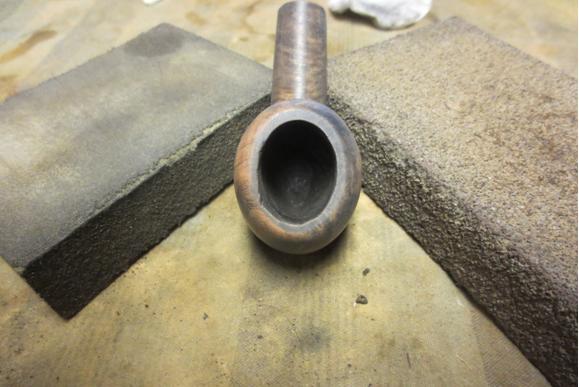
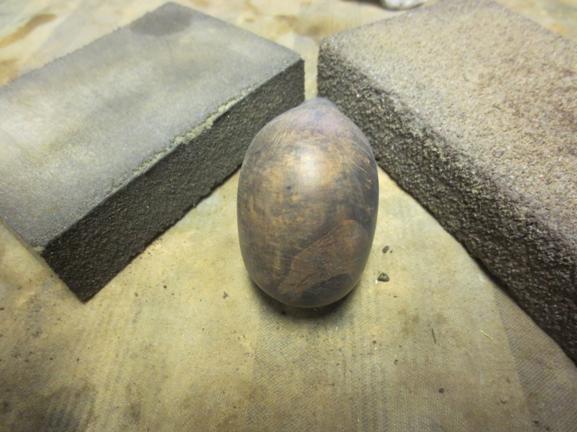
Apple12 I stripped the finish off the bowl with acetone on cotton pads. With all of the fills and dents in the no name bowl it was another candidate for sanding and refinishing. Looking down the shank with a light it appears that the splice of shank was done with a metal tube in the shank. The bowl and the added shank also appear to be different wood.Apple13 I topped the bowl to remove the rim damaged and to clean up the edges of the rim.Apple14 I tried to pick out the fills on the bowl but they were tight and were rock hard. I cleaned up around them and filled in the shrinkage with clear superglue.Apple15 I sanded the repaired areas and the rest of the bowl and shank with 220 grit sandpaper. I sanded the repairs smooth and followed up by sanding with a fine grit sanding sponge.Apple16
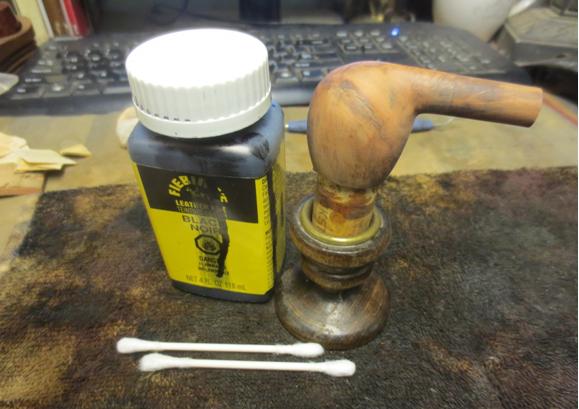
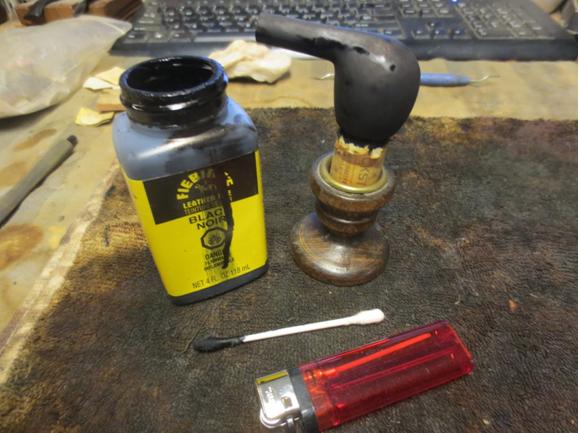
Apple17 I gave the bowl a black under stain to help hide the fills and the splice. They would always show but the dark under stain would blend them into the finish better. I applied the stain and flamed the bowl and repeated the process to get good coverage.Apple18
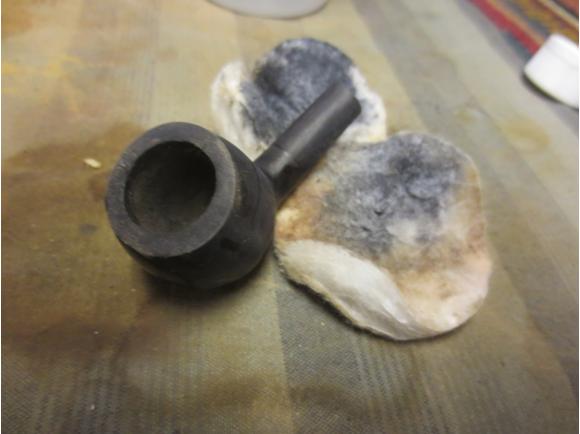
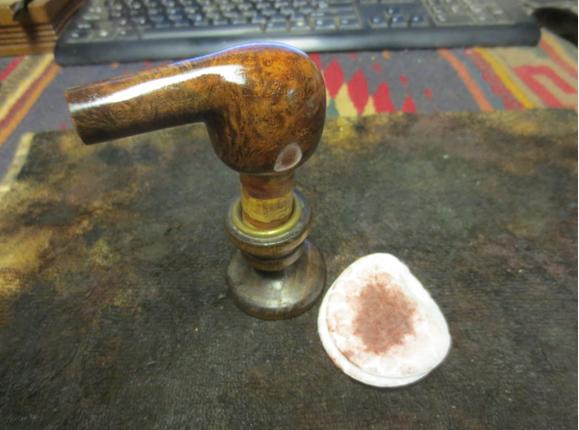
Apple19 I wiped down the bowl with alcohol and cotton pads to remove the black from the surface of the briar and leave it in the grain patterns.Apple20
Apple21
Apple22
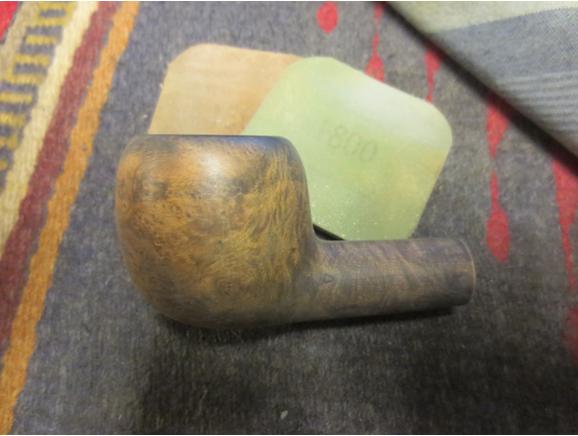
Apple23 I sanded the bowl with a fine grit sanding block and the stem with the fine grit sanding sponge and fit it in the shank to get a feel for the new look. I took the next series of photos to see how the pipe was developing. I liked what I saw. The black stain had done a good job covering the fills and the splice. I used a black permanent marker to fill in some light spots and drew in some grain lines in the bald spots.Apple24
Apple25
Apple26
Apple27 I gave the bowl a top coat of Danish Oil with Cherry stain and then again used the permanent marker to fill blank spots and darken the fills. I wiped the Cherry stain over the bowl several times until the coverage was good and then set the bowl aside to dry.Apple28
Apple29
Apple30 While it dried I worked on the stem with micromesh sanding pads. I wet sanded it with 1500-2400 grit pads and gave it a coat of Obsidian Oil. I dry sanded with 3200-4000 grit pads and gave it another coat of oil. I finished with 6000-12000 grit pads, gave it a final coat of Obsidian Oil and let it dry.Apple31
apple32
Apple33 I buffed the pipe with Blue Diamond on the wheel and then gave it multiple coats of carnauba wax. I buffed it with a clean flannel buff and then by hand with a microfibre cloth to deepen the shine. The finished pipe is shown in the photos below. I like the looks of it with a long thin stem. It is a like a pencil shank Bing with an apple shaped bowl. Thanks for looking.Apple34
Apple35
Apple36
Apple37
Apple38
Apple39
Apple40

Reshaping and Restemming a no name Oval Opera Pipe


Blog by Steve Laug

I bought a group of pipe bowls on Ebay a while ago and one of them was an oval bowl Opera pipe. The stamping was non-existent, whether worn off by over buffing or never present it was no longer on the shank on either side. It is shown in the photo below marked with a red oval. It is an interesting shape and this one was a normal sized pipe. There was nothing of the typical small size of the pipes like this that I have worked on in the past. The stem was long gone and the broken tenon was stuck in the shank. The finish was rough and had deep dents and nicks all over the bowl. The cake in the bowl was thick and the rim was damaged on the inner edge and had burn marks on the front top and left side. There were two large fills on the bowl; one on the left side shank near the bowl junction and the other on the underside mid-shank.Op1 Op2 I pulled the broken tenon by my usual method. I use a drywall screw and insert it in the airway. I use a screwdriver to turn it into the airway just enough to be tight in the tenon. You need to be careful to not turn it in to far as it will expand the tenon and crack the shank. Once it is in place I use needle nose pliers to wiggle it free of the shank. It usually comes free with little effort. That was true in the case of this tenon.Op3
Op4 I took the next set of photos to show the state of the pipe when I started this project. Note the damaged rim top and inner edge.Op5
Op6
Op7
Op8 I went through my can of stems for a donor stem and found a bent saddle stem that I could straighten and fit to this pipe. I turned the tenon with the PIMO tenon turning tool to a close fit and hand sanded it to get a snug fit. The shank was slightly oval and the stem round so I would need to work on the shank to get a good fit.Op9
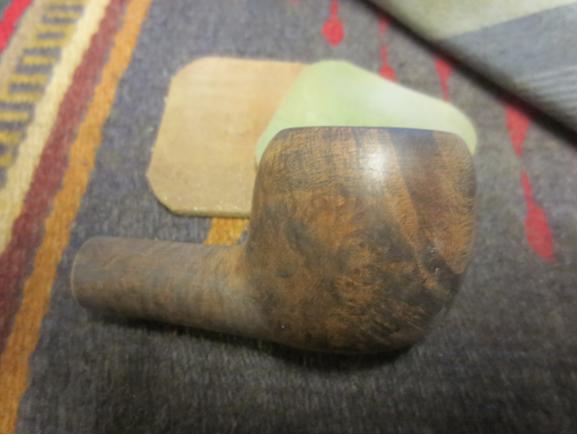
Op10 I used 220 grit sandpaper to clean up the finish on the bowl and shank. I did preliminary shaping of the rim to clean up the damage at the top. I used a PipNet reamer to ream the bowl. I use the smallest head and work it in the centre of the oval first and then move it to the front and back of the oval to ream those areas. I cleaned up the reamed bowl with a pen knife to get rid of the cake. I needed to take the cake back to bare briar so that I could reshape the inner edge.Op11 I sanded the bowl with 220 grit sandpaper to remove as much of the damage to sides of the bowl as possible. You can see from the photo below the dip in the top edge of the bowl about middle. That is where the burn damage is on that side.Op12 I wiped the bowl down with acetone on cotton pads to remove any remaining finish and to see where I stood in terms of removing damage to the bowl.Op13
Op14 The next photo shows the extent of the damage to the top and inner edge of the rim. You can see the rough cut marks on the inner edge from a previous owners attempt to ream the bowl. You can also see the burn marks on the left and right top and sides of the rim.Op15
Op16 To remove the dips where the burn marks were in the rim top and to remove the damaged briar I decided to top the bowl. I would need to reshape the rim to match the original but I would deal with that later.Op17 I used a Dremel and sanding drum to shape the outside edge of the rim and bowl.Op18
Op19 Op20 I put the stem in place in the shank, aligned it correctly and sanded the shank to clean up the fit. I wanted the shank to be more round and consistently shaped as it originally was not completely oval – it was only that shape on the left bottom side. The rest of the shank was round. I sanded until I had the shank rounded and matching the stem.Op21
Op22 I continued to shape and sand the rim and flow into the bowl. I worked on the slight bulge in the stem at the saddle to get the alignment and flow right. Since I had a clean slate to work with on this old briar I figured to get it as close as I could to a clean flowing look. I wanted it to look better than before not just cleaned up. It would take a lot of sanding and shaping before I was finished with it.Op23
Op24
Op25
Op26 The fill on the bottom of the shank was solid except for one small spot in the centre of the repair so I sanded it, wiped it clean and filled in the spot with clear super glue. Once it dried I sanded it smooth to match the rest of the shank. The small rough spot was gone and the fill was smooth and dark.Op27 I cleaned out the shank and airway with the KLEENREEM drill bit to remove the buildup in that area. The draw on the shank was constricted so this was necessary to open it and give an easy draw to the pipe.Op28
Op29 I cleaned out the shank and the airway in both the bowl and stem with alcohol, cotton swabs and pipe cleaners until it was clean.Op30 I sanded the edges of the stem and the scratches in the saddle portion with 220 grit sandpaper to shape and define the edge and fit of the stem. I left a slight bend downward in the stem when I had straightened it and like the look of it.Op31
Op32
Op33
Op34 I put a cork in the bowl of the pipe and prepared to stain it with the black undercoat. I wanted to highlight the interesting grain and the black would bring that out. It would also serve to mask the repair on the shank and the fill next to the bowl.Op35 I applied and flamed the black stain and repeated the process to get good coverage on the bowl.Op36 I wiped the bowl down with alcohol soaked cotton pads to remove the stain that did not settle into the grain.Op37
Op38
Op39
Op40 I sanded the bowl and shank with a medium and fine grit sanding block to further remove the black stain. The contrast is beginning to show and the grain stand out.Op41
Op42
Op43
Op44 I sanded the bowl and shank with 1500-1800 grit micromesh sanding pads to remove the scratches on the briar.Op45
Op46 I wiped it down with alcohol on a cotton pad and then set it up for the top coat of stain. I chose to use a Cherry Danish Oil on the top coat. I applied it with a cotton pad and set the bowl aside to dry.Op47
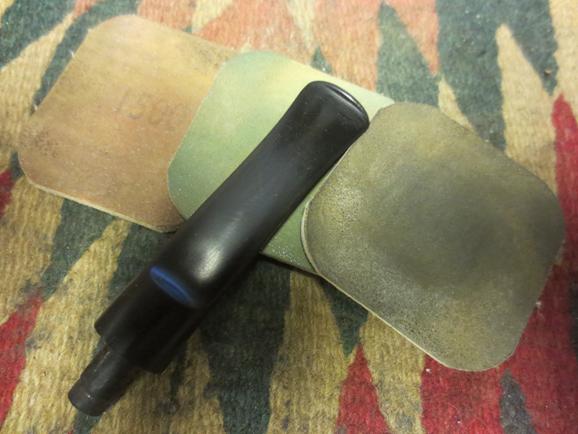
Op48 While the bowl dried I worked on the stem. I wet sanded with 1500-2400 micromesh sanding pads to further fine tune the shape of the stem. I worked to remove the remnants of scratching left behind by the initial shaping done with the lower grits of sand paper. I rubbed the stem down with Obsidian Oil and then dry sanded it with 3200-4000 grit pads. I gave it another coat of oil and finished sanding it with 6000-12000 grit pads. I gave it a final coat of Obsidian Oil and let it dry.Op49
Op50
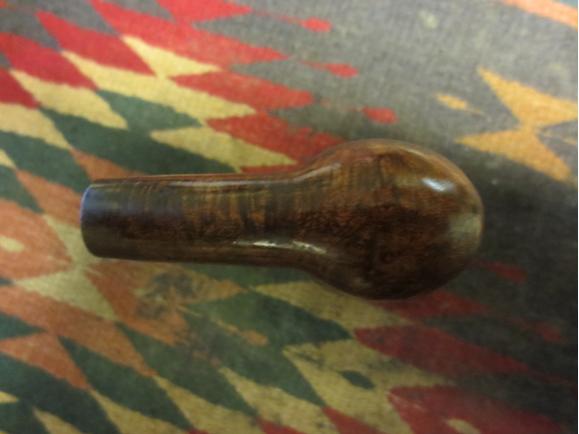
Op51 The bowl was dry by the time I finished with the stem so I buffed the bowl and stem with Blue Diamond on the wheel and then gave both several coats of carnauba wax. I buffed the pipe with a clean flannel buffing pad and then hand buffed it with the microfibre cloth. The finished pipe is shown in the photos below. I really like the way the contrast stain came out and the way it hid the fills on the shank. The pipe really has some stunning and interesting grain all the way. Not one side looks the same. There is birdseye, cross grain and swirled grain. I think the finished pipe is a great improvement from when I started it. Thanks for looking.Op52
Op53
Op54
Op55
Op56
Op57

An Easy Restoration – an Unsmoked Meerschaum Billiard


Blog by Steve Laug

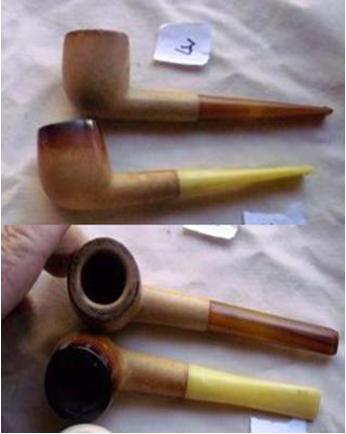
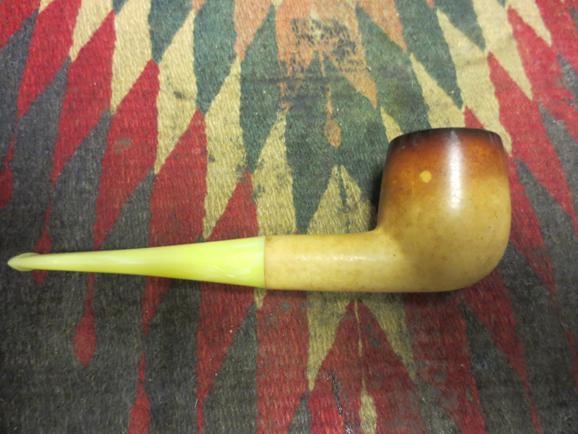
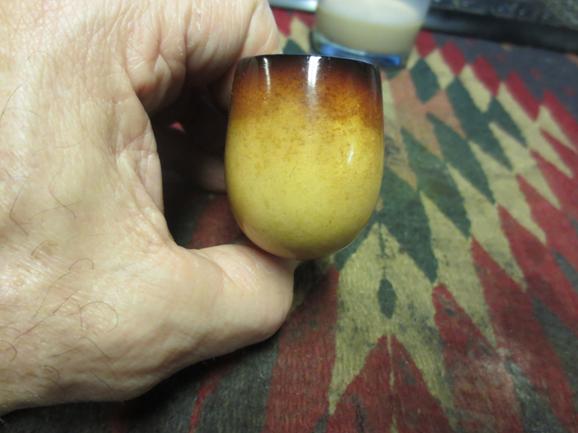
Easy1I picked up two meerschaum pipes – neither bearing any stamping or markings that give a hint to the carver. The one I am working on now is the second one in the two photos to the left. It has a flumed bowl (darkening on the top and the top third of the bowl fading as it goes down the sides. The second third is a bit lighter and the bottom third is natural). It had a metal reverse tenon – the tenon was set in the shank of the pipe and the stem is pushed over that. In this case the stem is similar cheap nylon/plastic as the ones I replaced in the two previous blog articles noted below.

Prom Night – Dressing up a Cheap Meerschaum Apple

Another dressed for the Prom… maybe the Prom King – Cheap Meer Given a New Look

The similarity in tenon and stem setup leads me to believe that I was dealing with the same carver that I noted in the second article above. There I quote a fellow on the Dr. Grabow Collectors Forum who said “They were excellent pieces of meerschaum with bad stems. The bowls were carved by Robert Strambach in Vienna.” Looking at the stems that I kept from the pipes they are identical in look, feel and composition. All three have the casting marks on the sides of the stem and are thin at the button. The difference in this one is that the pipe was unsmoked so the stem had not tooth chatter or damage. It was merely dull and dirty from sitting in someone’s collection for years.

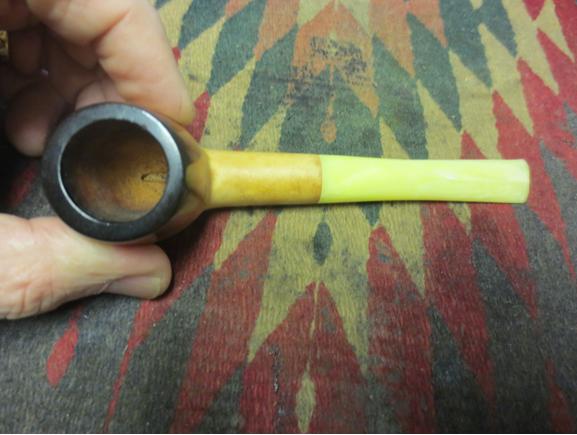
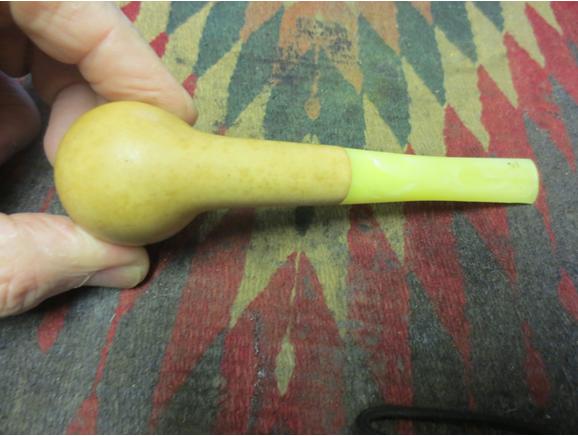
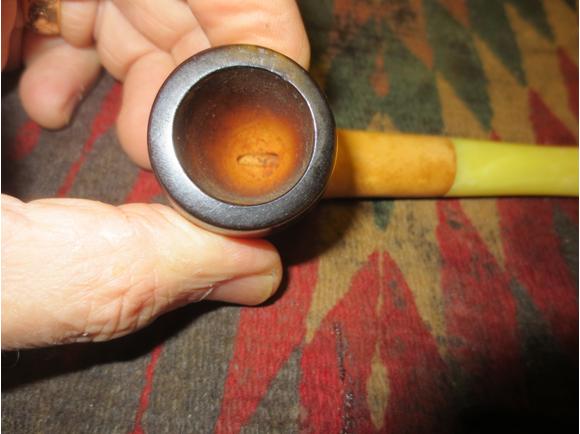
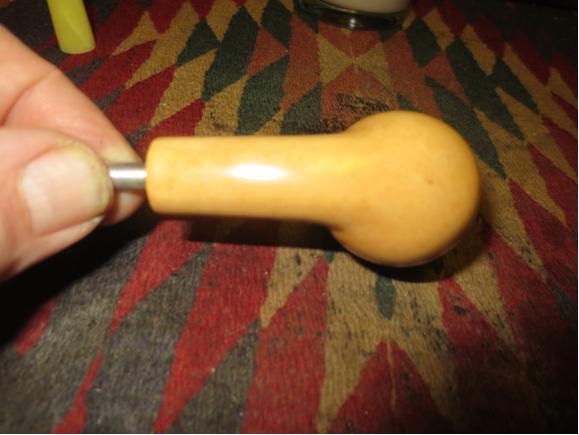
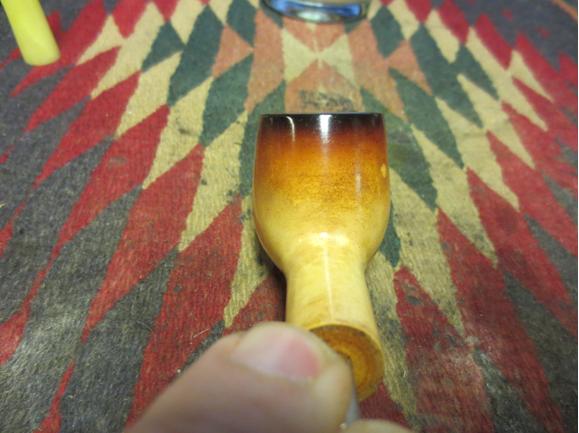
When I received this pipe it was unsmoked. The bowl had darkened from grime and dirt. The fumed rim had a few nicks on the top and inner edge of the rim where the pipe had been knocked about. The meerschaum itself was dirty and had ground in soil on the sides of the bowl and the top and bottom of the shank. There were also a few light spots on the side of the bowl where something had been dripped on the fumed portion and lightened it.Easy2Easy3Easy4Easy5 I took a close-up photo of the rim and the bowl to give an idea of the state of both. The bowl is darkened from sitting but has not been smoked. The rim has some of the nicks I spoke about on the inner edge and the top.Easy6I scrubbed the meerschaum with cotton pads and Murphy’s Oil Soap to clean off the grime. I rinsed the bowl with warm water to remove the soap. I dried it with a cotton cloth.Easy7I sanded the bowl with micromesh sanding pads – wet sanding with 1500-2400 grit pads to remove some of the scratching on the top of the shank and some of the ground in dirt on the sides of the bowl. I dry sanded with 3200-4000 grit pads. I buffed the bowl with Blue Diamond on the wheel and then gave it several coats of soft white beeswax and buff it with a soft flannel buff. The photos below show the cleaned and polished bowl. I was careful in how much of the patina I removed in the process of cleaning the bowl. I wanted it clean but it still needed to look its age.Easy8 Easy9 Easy10 Easy11 Easy12 Easy13To polish the dullness of the plastic stem I wet sanded it with 1500-2400 grit micromesh and dry sanded it with 3200-12000 grit pads. I gave it several coats of Paragon Wax and hand buffed it with a microfibre cloth.Easy14 Easy15 Easy16I put the stem on the bowl and buffed the bowl and stem by hand with the microfibre cloth to give it a shine. The finished pipe is shown in the photos below. This was a simple clean up which is greatly appreciated after the last few hard jobs. Thanks for looking.Easy17 Easy18 Easy19 Easy20 Easy21 Easy22

Wm Wales Billiard Restemmed and Restored


Blog by Steve Laug

Wm1This is yet another pipe that my brother Jeff picked up in Montana and sent my way. It is stamped Wm Wales on the left side of the shank and on the right side it is stamped Grecian in script. The stamping though a different script than that found on the Carey Magic Inch pipes is similar in the way it is stamped and the stamping of Grecian on the right side of the shank. I did some digging on the internet and found nothing about the brand other than several pipes with the same stamping for sale. There is nothing about the brand on the various pipe information websites. There is nothing about the brand on Who Made That Pipe or in Lopes book so I am left with a bit of a mystery.

The pipe has some pretty decent grain on it. The sides of the bowl have some interesting birdseye grain and the front and the back of the bowl have cross grain on them. The stem is a mix of grains. The finish was worn and dirty. The rim had a cake of tar and grit on the top of the bowl. The inside of the bowl had a hard, thick cake that almost filled the bowl. The rim itself was undamaged and showed no burn marks or damage to either the outside edge of the rim or the inside bevel of the rim. The stem was at first glance workable but upon examination it had a crack in the centre of the button on both the top and bottom sides. There were also tooth marks that were deep and one split the button. The surface of the stem was wavy and rippled from the way it had been buffed. The slot in the stem was clogged and no air would go through the airway.

In the photo above to the left the pipe is the second one down from the top. The next set of four photos show the pipe as was when it arrived at my work table.Wm2

Wm3

Wm4

Wm5 I took a close up photo of the bowl and rim to give a clear picture of what I started with in my clean up. The two photos following that give a good view of the stamping on the shank.Wm6

Wm7

Wm8 The next two photos show the damage to the stem. The more I looked at the damage the more I realized that a replacement stem would be less work than fiddling around with repairing the damage on that one.Wm9

Wm10 I tried to ream the bowl with a PipNet reamer and found that the cake was so hard that reamer did not even cut into the surface of the cake. I tried a KLEENREEM reamer and made no headway either so I dropped the bowl in an alcohol bath to soak. It would soften the cake and clean up the grime on the finish of the rim and bowl as a bonus.Wm11 While it soaked I looked for a new stem in my can of stems and found one that would work quite well. It was a little larger in diameter but once I fit it to the stem some sanding and shaping would take care of that.Wm12 In the morning I took the bowl out of the alcohol bath and worked on it to ream it. I used the PipNet and the KLEENREEM reamer on the bowl. I also used a pen knife to work at cutting away the hard cake. In the process of reaming I found that the bowl was conical in shape rather than U shaped. I used the drill bit from the KLEENREEM tool to open the airway in the shank.Wm13

Wm14

Wm15 Once I had cleaned out the shank and the bowl with alcohol, pipe cleaners and cotton swabs I fit the new stem to the shank. I sanded it with 220 grit sandpaper to clean up the tooth chatter and the oxidation. I sanded it with a medium and a fine grit sanding sponge to further remove the scratching and oxidation. I wiped the stem down with Obsidian Oil.Wm16

Wm17

Wm18

Wm19

Wm20 I scrubbed the briar with acetone on cotton pads to remove the finish and the remaining grime on the rim and bowl.Wm21

Wm22

Wm23

Wm24 I sanded the stem with micromesh sanding pads – wet sanding with 1500-2400 grit pads on the briar and the stem and then rubbed down the stem with Obsidian Oil. I dry sanded with 3200-4000 grit pads and gave it another coat of oil. I finished by dry sanding the stem with 6000-12000 grit pads and gave it a final coat of Obsidian Oil.Wm25

Wm26

Wm27 I buffed the bowl and stem with Blue Diamond polish on the wheel and then gave it multiple coats of carnauba wax. I buffed it with a clean flannel buff to raise the shine. The finished pipe is shown in the photos below. The grain really shines through in the photos. It is a beautiful piece of briar. I would love to know more about the history of the brand to give more depth to my understanding of the pipe.Wm28

Wm29

Wm30

Wm31 I took a few close-up photos of the stem and the bowl showing the grain of the briar and the shape and look of the stem. Thanks for looking.Wm32

Wm33

Wm34

Found an Old Patents Pending Generation 1 Kirsten A


Blog by Steve Laug

Another pipe from the treasure trove my brother Jeff sent me was an early Kirsten. The metal barrel is stamped Kirsten in script on the left side of the barrel and on the underside it is stamped Pats. & Pats. Pend. – A. When I received it the bowl would unscrew from the barrel and it had no metal cap on the bottom. It was a wooden bowl without the cap which along with the stamping pointed to an early Kirsten. The stem and rod were stuck in the barrel and the adjustable valve on the front of the barrel was frozen solid. The valve had evidently been frozen for some time as someone had used pliers on it to try to remove it. They had left behind the tooth marks of the pliers on the aluminum valve cover. Because of the vulcanite lip on the stem that sat against the barrel that there would not be a rubber grommet between the stem and the barrel. The bowl had a thick, rock hard cake and the bottom of the bowl was not visible to see what the condition of the screw head was like. I have no idea how the pipe man ever drew air through this pipe as the bottom of the bowl was solid. The finish on the bowl was dull and lifeless with no grain visible through the grime. The top of the rim was covered with over flow from the cake in the bowl. It was a large bowl initially so once the cake was gone it would be an inch in diameter.Kirsten1 I looked up information to see if I could find a cut away drawing of the Kirsten and found this one and a bit of history and information on the concept of the Kirsten pipe. The following is from the Kirsten website https://www.kirstenpipe.com/page_pipestyles.shtml and https://www.kirstenpipe.com/page ourstory.shtmlKirsten2 “It is by no means merely puffery to say that Professor Frederick K. Kirsten was a genuine American original. He first sailed to this country in 1902, as a cabin boy from Hamburg, Germany. After successfully rounding the Horn and eluding the shanghai gangs of the West Coast, he navigated the educational system at the University of Washington to become a Professor of Aeronautical Engineering. Here, his inventive spirit took wing. He created the world-famous Kirsten Wind Tunnel, Air-washing equipment for factories, an air-cooled Utopian Bed, and, most notably, a revolutionary propeller which enables boats to stop and turn on a dime. Today, in the same waters where he jumped ship almost 100 years ago, ocean-going vessels are landed by sturdy tugs driven by Kirsten cycloidal propellers, piloted by equally sturdy captains smoking cool Kirsten pipes.”

“Rightly called the coolest pipe in the world, this latter innovation came about when a doctor advised Professor Kirsten to switch from cigarettes. He quickly dreamed up a way to trap the moisture, tars and tongue-biting acids which attack the users of briar pipes. After 50 years and counting, Kirsten pipes are still produced by the Kirsten family, faithfully following the basic designs of this father of invention.”

“Professor Kirsten revolutionized pipesmoking by creating the Radiator stem. When tobacco, which is 30% to 60% moisture, is lit in the bowl, it creates steam. As the smoke is drawn through the stem, the steam is cooled and condenses into a liquid. This bitter-tasting liquid is trapped in the stem, along with tars, nicotine and tongue-biting acids.”

“Only clean, cool, moisture-free smoke passes through the intake tube to the mouthpiece. To remove the trapped liquid, you simply remove the valve. You can clean a KIRSTEN in seconds by pushing a tissue through the bore of the stem, exactly as you would clean a gun barrel.”

The cleaning in seconds must not have been something that the previous owner of this pipe ever read or understood. I decided to work on the bowl first as it was the only part of the pipe that I could remove at that point in the process. I took the photo below to give an idea of the thickness of the cake and the minimal size of the air hole at the bottom of the bowl. You can see that it is virtually clogged and the airflow would be very restricted.Kirsten3 The lack of a cap on the bottom of the bowl can be seen in the next three photos. The first two photos show the state of the finish. In the second one you can see the grain peeking through the grime on the finish. In the third photo you can see the stamping on the bottom of the bowl. It reads Kirsten Pats Appl For.Kirsten4

Kirsten5

Kirsten6 I put the barrel and stem in an alcohol bath to soak overnight to try to loosen the frozen stem and rod.Kirsten7 I reamed the bowl with the largest cutting head on the PipNet reamer and took the cake back to bare briar. I used a pen knife to work on the bottom of the bowl and was finally able to see the characteristic Kirsten screw. I sanded the inside of the bowl with 220 grit sandpaper and used an ice pick to remove the screw. From the underside of the bowl I inserted the ice pick into the drilled centre of the screw and tapped it gently and the screw came free from the bowl.Kirsten8

Kirsten9

Kirsten10 I lightly topped the rim on a topping board to remove the damage and the build up on that surface.Kirsten10

Kirsten11

Kirsten12 I scrubbed down the exterior of the bowl and rim with acetone on cotton pads to remove the grime and the remaining finish. I was quite pleasantly surprised by the grain that was revealed in the process.Kirsten13

Kirsten14

Kirsten15 I cleaned the inside and the outside of the screw with a tooth brush and alcohol until it shone.Kirsten16

Kirsten17 I sanded the bowl with a medium and a fine grit sanding block to clean up the scratches and smooth out the finish on the sides and top of the bowl.Kirsten18 I wet sanded the bowl with micromesh sanding pads from 1500-2400 grit and dry sanded with 3200-12000 grit pads.Kirsten19

Kirsten20

Kirsten21 I took the barrel out of the bath and put it in a cup of boiling water. I dipped both ends into the boiling water hoping to break one of the frozen ends loose. I was able to remove the stem and the rod assembly after the alcohol bath and the boiling water dip. The stem and the rod were quite brown with the shellac of old tobacco juices. Of course dipping the stem in the boiling water caused the oxidation on the stem to come to the surface.Kirsten22

Kirsten23 I scrubbed the rod assembly with 0000 steel wool and alcohol to remove the shellac coat that had built up and polish it. There was some corrosion that came to light at the middle of the rod. I would need to work on that once I had cleaned up the stem.Kirsten24 I sanded the stem and rod with 220 grit sandpaper and then with a medium and fine grit sanding sponge to remove the scratches.Kirsten25

Kirsten26 I worked on the stem and rod with micromesh sanding pads – wet sanding with 1500-2400 grit pads and then rubbing down the stem with Obsidian Oil. The micromesh pads removed the last of the corrosion on the rod and polished it. I dry sanded with 3200-4000 grit pads and gave the stem another coat of oil. I finished sanding it with 6000-12000 grit pads and gave it a final coat of Obsidian Oil. I failed to take photos of the final steps in the micromesh process but it is the typical procedure and each successive grit of pads gave more of a polish to the vulcanite.Kirsten27 I cleaned out the stem and tenon with alcohol and pipe cleaners inserted from both ends. I was able to clean out all of the oils and tars and the cleaners came out clean.Kirsten28 Now the bowl and the stem unit were cleaned, polished and ready to go once I was able to remove the valve from the end of the barrel. This was proving a very difficult task. I had put the barrel in the freezer overnight hoping to loosen the valve – no luck. I had boiled it multiple times – no luck. I had given it several alcohol baths – no luck. I let it sit with penetrating oil in the barrel to try to loosen the valve end. I tried to drive it out with a round end file and a small hammer. Nothing worked. I posted that on rebornpipes and got a response from Old Man in the Cave suggesting that I heat it with a heat gun.

I geared up for the process. He had suggested setting the barrel in a wood vise which is a tool I don’t have yet. I chose instead to hold the barrel with some insulated leather gloves over the heat gun. I heated the barrel with gun until it was hot. Then I used a pair of pliers that had cotton pads on the jaws and gave it a light twist and the valve came free. I don’t know if the heat from the gun finally did what I should have done in the first place or if the combination of methods finally came together and it worked. It does not matter as the valve finally came free. I now know why the later models of Kirsten pipes came with a rubber o-ring around the valve and the stem so that it provided something between the two metal pieces and the barrel. Somehow the combination of tobacco juice and saliva left to sit becomes shellac or lacquer that is almost impossible to break free. Thanks to Old Man in the Cave the valve is free and I could finally clean out the barrel and put the pipe back together. The next photos show the condition of the valve once I was able to remove it from the barrel. You can see the tapered angle of the top portion of the valve (on the right below the cap). The lacquer or shellac that bound the valve in the barrel is also very evident. I am guessing that there would have been much more if it had not been sitting in alcohol and been heated so much. But even that little band held the valve tightly in place.Kirsten29

Kirsten30

Kirsten31

Kirsten32 I scrubbed the valve and the inside of the barrel with 0000 steel wool. I ran the steel wool through the barrel to clean out the build up inside and then used a wooden dowel to push alcohol soak cotton pads through the barrel to clean it until it shone. I cleaned out the inside of the valve with alcohol and cotton swabs. I was able to get everything shining again. It took some work to remove some of the tooth marks that were on the valve end from previous owners who had attempted to turn it but I was able to sand them smooth with micromesh sanding pads. They are still present but not as obvious.

Once all the parts were clean and polished I greased the valve and the end of the stem and rod unit with Vaseline so that it would slide into the barrel with less resistance. I know that it will not stop the buildup of tars but it will at least slow it down. The next photos show the disassembled pipe and then the pipe put back together. The valve turned easily and I aligned the hole in the valve with the hole in the top of the barrel where the bowl screwed in place. The airflow was clear and unrestricted.Kirsten33

Kirsten34 I hand buffed the barrel with Meguiar’s Scratch X2.0 to remove the scratches and give it a shine. I rubbed on some Conservators Wax and then hand buffed the barrel with a shoe brush. I buffed the briar bowl with Blue Diamond on the wheel and then gave it multiple coats of carnauba wax and buffed it with a clean flannel buff. Once I had finished I screwed the bowl in place and buffed it a microfibre cloth. The finished pipe is shown in the photos below.Kirsten35

Kirsten36

Kirsten37

Kirsten38 I took the pipe apart so that I could take the next two pictures to show the cleaned and polished parts. Everything is once again in working order. It was clear looking at all of the parts that I was dealing with a Generation 1 Kirsten. These were made between the years 1936-1958. The wooden bowl on this generation connects directly to the metal barrel and there is no metal cup spacer. It is a pretty flush fit that goes flat against the barrel. On the underside of the metal barrel it is stamped with one or more of the following “Pat. Appl. For” (1936-38) and “Pats. & Pats. Pending” (1938-1958) over “Made in USA” – S” (or applicable size – S, M, L). There are no O-rings on the bit or metal shank insert.Kirsten39

Kirsten40

Taking a Swing at Reconstructing and Refurbishing an old CPF Meerschaum Bulldog


Blog by Steve Laug

In a previous post where I wrote about repairing the overturned stem on the CPF Bulldog for Michael I referred to a Meerschaum Bulldog that he sent to me as a gift project. I had no idea what he meant about that until I took it out of the box and started checking it out. It really was a rescue dog operation. It is shown in the photo below (the pipe on the right). The picture does not show half of the story about the state of the old stem.CPF1 When the pipe was unwrapped what met my eye fit well with Michael’s “take a swing at it” approbation. It was in rough shape. The Meerschaum bowl was scratched and dirty and the bling was worn and tired. The rim was pretty beat up with dents and scratches but the bowl was solid. There was a light cake in the bowl and that was a plus, as it could have been heavily caked and have a clogged airway.

The worst part of the entire pipe was the stem. I am pretty sure it is not amber – at least it does not feel like amber or even have the weight of amber. I am guessing an early version of Bakelite but I am not sure. It is almost fibrous like material – reminds of fibre glass. Somewhere during its lifetime the stem had crazed and cracked all through from one end to the other. It looked like fractured glass. It was barely holding together. There was nothing hold it onto the shank but tars, oils and what seemed like thread that was wrapped around the dirty tenon. I carefully lifted the stem off the tenon and laid it aside. The tenon was covered with a thick tarry substance and what appeared to be thread. I am pretty certain that the previous owner had glued the threaded tenon into the shank and I would never get it loose. Here are a few photos of the pipe, carefully taken so as not to further damage the stem.

I am a sucker for these old timers. This was obviously someone’s beloved pipe. There was a time when I thought a badly abused old pipe was a sign of lack of care. I have come to understand that it is not that at all. It was someone’s constant companion through the good and the bad times. It was one that was always close at hand – to my thinking it may well of road along wherever the pipeman went in the course of his day and was always ready to be loaded and fired up. It is a small bowl so it would not have been a long smoke but it was one that he obviously enjoyed to the point that the pipe was worn and repaired and worn more and repaired more. His repairs were just enough to make the pipe smokeable again but not to make it beautiful. I wish it could talk and tell its story. It lived through two World Wars, the Wright Brothers and the birth of air travel, the first man on the moon, space shuttles and microcomputers. It has seen the turn of two centuries and still survives. Those are the things that I think when I look at a tired old pipe now. I can’t help but wonder about the fellow who once held it in his hands. My repairs are dedicated to carrying on his legacy in this pipe.CPF2

CPF3

CPF4

CPF5 If you are observant you will have noticed the black circular mark on the stem on both sides at the button. That black mark was a large hole, a bite through. That was another thing about the stem that made me pretty certain that it was not amber. I took a close up photo of both sides of the stem to show the size of the hole. It is quite large and centered on both sides. The button was also quite worn down and the slot had been opened leaving the top and bottom of the button very thin. You can see all of the cracks and crazing in the stem material in both photos. The airway and the area around the holes were black with tars. This old pipe was not stopped by the holes in the mouthpiece; the pipeman just moved it deeper into his mouth and carried on smoking his favourite pipe.CPF6

CPF7 I took a close up photo of the rim to show the dents and darkening on the metal cap. The ornamentation on the top the rim was worn down from many years of a thumb rubbing over the top of the bowl and leaving behind the remnants of what must have been a continuation of the pattern on the sides of the cap.CPF8 I decided to deal with the issues in the cracked and crazed stem. It was rough along the edges with what looked like splinters. I carefully worked to stabilize the stem material with clear super glue. I liberally coated the outside of the stem with clear super glue, filling the cracks and chipped areas and smoothing out the surface with the clear gel. Once I had it coated well I set it aside and let it harden. I have used the super glue before on Bakelite and it does a great job getting into the cracks and crevices in the material and hardening and preserving the original material. Once it was covered in the glue I had to figure out how to allow it to harden without sticking to everything it touched. I decide to put an ice pick in the airway and lay it across a box – suspended above the work top until it dried.CPF9

CPF10 After the stem had been sitting for four hours and the glue had dried to touch, I decided to “take a swing” at repairing the bite through issue on both sides of the stem. I cleaned the hole and the airway with a cotton swab and warm water to remove the oils and tars. I wanted a clean surface for the patch. I sanded carefully around the hole to roughen the surface to give the patch something to bond to. Then I greased a thick pipe cleaner with Vaseline and pushed it into the slot in the button. I wiped the edges around the whole so there was no grease on them. I put the first coat of super glue on the hole on the underside and sprayed it with an accelerator to harden the first coat of the repair. I repeated the process on the top of the stem until both sides were repaired with the first coat. I removed the pipe cleaner and set the stem aside to cure. The photos below show the process of the repair to the hole. You can see from the photos that the holes patched pretty nicely. They are rough but they are no longer holes. I will need to do a lot of sanding on the stem to clean up the patches and reshape the button but it will be usuable.CPF11

CPF12

CPF13

CPF14

CPF15 After about an hour I gave it a second coat of glue on top of the repair and set it aside to cure again. While the repaired stem cured I went to work on the bowl. I used a pen knife to carefully scrape out the light cake in the bowl.CPF16 I cleaned out the rings around the bowl with the pointed end of a round needle file. I wanted to get the gunk out of the rings before I scrubbed the surface of the bowl.CPF17 I scrubbed the bowl with Murphy’s Oil Soap on a cotton pad remove some of the grime and clean up the exterior of the bling.CPF18 I used a cotton swab to soak alcohol around the threads of the bone tenon. I was able to pick out some of the thread that had been used to hold it in place. I am hoping that repeated alcohol applications will loosen the tenon so that I can unscrew it from the shank to do a thorough cleaning.CPF19

CPF20 The repeating swabbing with alcohol did not loosen the tenon at all. I think that the previous owner must have glue it in the stem and just pressure fit the stem onto the tenon. I had to come up with a different way of getting the stem to fit the tenon as the threads on the inside of the airway in the stem were worn and the stem just wobbled now that it was clean.

I examined the inside of the cleaned and restored stem and could still see the threads. I thought of trying cork and wrapping the tenon with that but after trying that it was too thick to fit into the stem. I then thought of wrapping the end of the tenon with thread and then coating the thread with wood glue. I tried that and it worked well. I was able to twist the stem onto the tenon and the threads in the stem worked into the glue and thread mixture on the tenon. The fix was a success.CPF21

CPF22

CPF23 I sanded the stem with 220 grit sandpaper to smooth out the repairs. I took down all the high spots and bumps left behind by the super glue. I recut the edge of the button on both sides of the stem with a needle file and then sanded the hole repairs on both sides to blend them into the surface of the stem.CPF24

CPF25

CPF26

CPF27 I reworked the button with files and cleaned up the slot with files as well. Once I had the look right I sanded the stem with a medium and a fine grit sanding sponge. The crackle in the stem material where all the crazing was and now the glue bonding it together gave the stem a bit of a sparkling look. An added benefit of the crackling look was that the patched holes at the button blended in quite well.CPF28

CPF29 I screwed the stem in place on the bowl and took a few photos to see what the finished look was going to be like. The repair makes the material sparkle. I really like the look that is coming together. I still needed to polish the stem with the micromesh sanding pads but you can see the finished pipe taking shape.CPF30

CPF31

CPF32

CPF33 I sanded the stem with micromesh sanding pads to raise the shine in the material. I wet sanded it with 1500-2400 grit pads and gave it a coat of Obsidian Oil. It would not absorb but it would give some traction to the next grits of micromesh. I dry sanded with 3200-4000 grit pads and gave it another coat of oil. I finished with 6000-12000 grit pads and applied several coats of carnauba wax to the stem by hand and hand buffed it with a microfibre cloth.CPF34

CPF35

CPF36 The wax on the stem, polished by hand gives it warmth and a glow that is beautiful. The repairs to the bite through on both sides of the stem blended in quite well do to the crackling of the stem material. All combined the stem came out quite well considering where I started with it in this process.CPF37

CPF38

CPF39

CPF40 I sanded the bowl with micromesh sanding pads to give it a shine. I decided to leave the scratches and dings in the bowl as it adds character to the old timer and are part of its long history as someone’s favourite smoking pipe. I can almost see the old pipeman putting the pipe in his pocket and heading off to work or for a walk. It certainly was not coddled like a pampered thing that wisdom of the age taught about meerschaums. No white gloves or careful handling this pipe saw much in its long life and carries the scars and marks of the journey. Now it is good to go for the next portion of its journey, one in which it will have a bit easier life.CPF41

CPF42

CPF43

CPF44

Rescuing a Tinderbox Monza Horn – Restemming and Refinishing


Blog by Steve Laug

Monza1Another of the pipes that my brother Jeff sent me was a horn shaped pipe that was stamped Tinderbox Made in Italy in a circle with Monza in the centre of the circle. It is stamped on the underside of the shank. The shape is quite unique. The bowl had around 10-12 fills in it that went from tiny spots to huge plugs in the briar. The finish was a heavy urethane coat that made the pipe very shiny and really highlighted the fills around the bowl and the shank.

The shank had a split in the underside of the shank that went from under the band up the shank for one inch on the bottom side. It had just turned slightly upward and if left alone would have continued to the bowl. The rim was heavily damaged and there was a thick hard cake in the bowl that hurt my hand when I pushed the various reamers that I had trying to remove it. The bowl looked like it was conical in shape but was so thick that there was very little room in the bowl for tobacco. The stem was a replacement, like many of them in the pipes my brother sent me. It was a saddle stem and was missing a huge chunk on the left side of the button and up the stem about ½ inch. The person who had made the replacement had cut an angled end on the tenon which in my opinion was careless and not necessary. The airway into the bowl from the shank was plugged and when I blew into the end of the shank I could not get any air through it.

The next four photos show the pipe as it appeared when it arrived in the box from my brother.Monza2

Monza5

Monza4

Monza3 I took a close up photo of the bowl and rim to show the damage and the cake in the bowl. The second photo below shows the broken stem. The stem was pretty much a throw away as it is very narrow after the broken button.Monza6

Monza7 I started to ream the bowl with a PipNet reamer. I started with a small cutting head and soon gave up. I used the largest head that would fit the diameter of the bowl and still found the cake too hard to cut through with the reamer. I dropped it in an alcohol bath to soak to soften the cake and to soften the urethane coat on the bowl. After it had been soaking an hour I took it out of the bath.Monza8

Monza9 In my can of stems I had one with the same diameter as the shank and a tenon that would work with some adjustments. The tenon was too long so I would need to trim it back and also adjust the diameter to get a snug fit in the shank.Monza10 The alcohol bath did not even make a dent in the finish. As I expected the only way to remove a urethane finish is to sand it off. I did not mind as it was covering a lot of damage to the rounded rim and the sides of the bowl. I fit the new stem in the shank and took a few photos to get an idea of the look. The stem was a little too bent to my liking so that would need adjusting but the taper worked well with the horn shape. The last photo of the underside of the shank shows a dark area. That is where the stamping is present and also the crack in the shank.Monza11

Monza14

Monza13

Monza12 I put the stem aside and used a pen knife, a KleenReam and a PipNet reamer to work on the hard cake. It was still rock hard but I was able to chip away at it until I had removed it from the bowl.Monza15 I used the drill bit from the handle of the KleenReem to open up the airway into the bowl.Monza16

Monza17 I sanded the bowl some more with some medium and fine grit sanding sponges. I wanted to clean up the cracked area on the shank bottom so that I could repair it. I took the photo below to show the crack in the shank.Monza18 I used a micro drill bit on my Dremel to drill a small hole at the end of the crack to stop it from spreading further up the shank.MOnza19

Monza20 I packed some briar dust into the hole and then dripped super glue on top of that and then more briar dust and some more glue. I ran a dental pick along the crack to open it slightly and then put some glue along the crack to the band as to preserve that as well.Monza21

Monza22 I sanded the repair to smooth it out and blend it into the shank and avoided the area inside the stamping.Monza23 I heated the stem with a heat gun to take a bit of the bend out of it. Once it was pliable I bent it to match the flow of the curve of the horn. I wanted it to sit with the rim and the bend in the stem flat on the table when laid down. That angle would make it sit correctly in the mouth when it was smoked.Monza24

Monza25

Monza26

Monza27 I worked on the curve of the rim and top with sandpaper and sanding sponges to get the flow of the rolled rim even all the way around the bowl. I worked on the inner edge of the rim as well to make it flow into the bowl rather than be an abrupt edge.Monza28 I sanded the bowl with medium grit sanding sponges and fine grit sanding blocks to remove the scratches from the briar and to work on the oxidation on the stem. The grain was beginning to show through. I wiped it down with a tack cloth to remove the sanding dust in preparation for staining the bowl.Monza29 The bowl had a lot of fills so I decided to try a contrast stain to both hide the fills and to bring out the grain. I started with a black aniline stain and finished with a brown.Monza30 I stained the bowl with the black and flamed the stain to set it in the grain. I reapplied and reflamed it until the coverage was even.Monza31 I wiped the bowl down with alcohol and cotton pads to remove the excess black and leave it only in the grain of the briar. I wanted it to show the grain and highlight the beauty. I also wanted to mask the fills to some degree.MOnza32

Monza33

Monza34

Monza35 I used a black Sharpie permanent marker to draw grain lines through the huge fills on the bowl to further blend them into the briar.Monza36

Monza37

Monza38 With that preparation done I gave it a top coat of dark brown aniline stain. I applied it and flamed it and repeated until I was happy with the coverage.Monza39

Monza40

MOnza41 I hand buffed the bowl to check out the coverage of the brown and the contrast of the black and the black Sharpie marks. By and large I liked what I saw. There were some spots that needed some more work but it was looking good.Monza42

Monza43

Monza44 I worked the stem over with micromesh sanding pads – wet sanding with 1500-2400 grit pads and then giving it a coat of Obsidian Oil. I dry sanded with 3200-4000 grit pads and gave it another coat of oil. I finished sanding with 6000-12000 grit pads and then gave it a final coat of Obsidian Oil and let it dry.Monza45

Monza46

Monza47 I buffed the pipe with Blue Diamond and then gave it multiple coats of carnauba wax. I buffed it with a clean flannel buff to raise the shine and then with a microfibre cloth to add depth to the shine. The finished pipe is shown in the photos below. It exceeds my expectations when I began the reclamation work on it. The fills on the sides, shank and back of the bowl have all but disappeared in the blend of stains and Sharpie pen. The large ones on the bowl front look better but are still somewhat visible. Overall I am happy with the results. Thanks for looking.Monza48

Monza49

MOnza50

Monza51

Monza52

Monza53

Monza54

Monza55

Monza56

A Rescue Dog – Restoring a Chadwick “Supreme” Rhodesian


Blog by Steve Laug

The third pipe my brother Jeff picked up in the lot from the Montana was one of my favourite shapes. In the photo below of the pipes at the seller’s antique shop it is the pipe on the far right of the picture. Looking at it in the photos I wondered if it was a Peterson 999 or a GBD 9438 two of my all time favourite pipe shapes. I was pretty excited to see what it was once he got the pipes. Everything about that pipe shape made me think that my guess was not far off. When the pipes arrived in Idaho my brother called and read me the stamping. The pipe was stamped on the left side of the shank Chadwick over “Supreme”. On the right side it was stamped Imported Briar. At that point I was scratching my head. It still looked like an English-made pipe to me but I had not heard of the Chadwick brand.Chadwick1 When the pipe arrived in Canada I looked it over and was still convinced it looked English-made. I looked in Who Made that Pipe and it was listed there as made by Wally Frank in the US and England. The next photos show what the pipe looked like when it arrived here. There is a lot of promise underneath all the grime. There was a thick cake in the bowl and the rim was covered with the overflow of tars and oils down the sides to the double ring. The finish was dirty and almost gone. I am not sure if the pipe had a natural finish or was stained but it was no longer clear what the original had been like. The double ring had a large chunk missing on the front of the bowl. There were two fills on the bowl front that were shrunken and looked like dents. The shank was dirty. The stem was chewed and gnawed on to the point that the button was virtually gone on the top side. There was a chunk missing from it on the top middle of the button. There were deep tooth marks on the top and bottom of the stem near the button. The stem was oxidized and scratched and had a build-up of calcification about an inch up the stem toward the shank. Inside the stem and shank was very dirty. The airway to the bowl was clogged and I was not able to blow air through it. It looked to me that there had originally been a stinger in the tenon but it was no longer present.Chadwick2

Chadwick3

Chadwick4

Chadwick5 I took some close up photos of the stamping and the condition of the bowl, rim and stem before I went to work on restoring it. You can clearly see the stamping on the left side of the shank – Chadwick Supreme. The rim is in nasty condition. I am not sure how the last pipe man had ever fit much tobacco in the bowl. All I know is that it must have smoked really well because it looked as if he had never laid it down. The stem condition is also clearly shown with tooth marks and gnawing on the button top and bottom.Chadwick6

Chadwick7

Chadwick8

Chadwick8a Before I started cleaning it up I wanted to learn a bit more about the brand. I have cleaned and used quite a few Wally Frank pipes over the years and knew that other companies in Europe often made their pipes for them. It was highly likely that this was a British made pipe. I checked on Chris Keene’s Pipe Pages and found the Chadwick name in the Wally Frank Catalogue for 1939. None of the other catalogues would open but at least I had the information that I needed. The first photo below is of the whole page. The second is of the right top corner where the Chadwick line is mentioned. The third is of a Chadwick Display Cabinet that was provided to tobacconists and stores that sold the line.Chadwick9

Chadwick10 Now I knew that the Chadwick line was indeed made in England. My guess was correct and I would go one step further and guess that they were made by Comoy’s or GBD. The advertisement says that the pipe was “custom-made in London with the deliberate precision of English master pipemakers. The Chadwick is our sincere effort to present a fine quality London made pipe from sweet smoking Algerian Briar Root at a modest price.”

What interested me was that the pipe came in three different finishes – Rough-Rugged, Natural and Dark. I am pretty sure that the one I had was originally dark finished as the dark finish would hide the fills on the bowl and they would be blended into the briar. That gave me the direction that I would go in restaining the pipe once I got to that point in the restoration process.

I love reading these old catalogues and seeing the life time warrantee on the pipes and the fact that the pipe originally cost $2.50 with postage paid from the Wally Frank factory.

Armed with that confirmation of British origin for this old pipe I went to work to restore it to its former glory. I worked on the bowl first. I wanted to ream back the cake to bare wood to see what I was dealing with in the bowl. I set up the PipNet reamer with the smallest head first and found that the cake was incredibly hard. The cutting head barely made a dent in the cake. I took the largest sized cutting head – same diameter as the bowl and work on it and with a lot of force was able to begin to make a dent on the cake. It was just too hard to go too deep with the tool. I used a pen knife to try to cut back the lower portion of the cake but could not even cut into it because it was so hard.Chadwick11

Chadwick12 I decided to soak the bowl and soften the cake in an alcohol bath. I dropped the bowl into the bath and left it overnight to soak and soften the cake.Chadwick13 In the morning I took it out of the bath and dried it off with a coarse cotton towel. The soak also had the effect of softening the lava on the rim and cap so that when I dried the bowl most of it came off in the process. I was able to ream it back to bare wood with the use of a PipNet reamer and a KLEENREEM reamer. I used the drill bit part of the KLEENREEM tool to open the airway into the bowl and remove the clog. With that gone I could freely blow air through the bowl. The final photo in this set shows the conical bowl on the reamed pipe.Chadwick14

Chadwick15

Chadwick16 I wiped the bowl down with acetone on a cotton pad to clean off the remaining finish and the grime left behind after the soak and the reaming process. The damaged rings on the front of the bowl are visible in the photos as is the damage to the rim top.Chadwick17

Chadwick18

Chadwick19

Chadwick20

Chadwick21 I lightly topped the bowl on a topping board using 220 grit sandpaper to flatten the rim top and to remove some of the rounding to the outer edge of the bowl.Chadwick22 I used a dental pick to remove the fills that had shrunk on the bottom front of the bowl in preparation for replacing them.Chadwick23 I packed briar dust into the holes and then dripped super glue onto the packed briar dust.Chadwick24 I packed briar dust into the missing section of the double rings on the front of the bowl. I put super glue on top of the briar dust fill to build up the repair. I added more briar dust on top of the fills on the bowl front and on the repair to the rings.Chadwick25 I sanded the patches on the bowl front with 220 grit sandpaper and smooth it out to match the surrounding briar.Chadwick26 I sanded the patch on the ring repair with 220 grit sandpaper to smooth it out. There were still some low spots on that repair so I refilled the area with some more super glue.Chadwick27

Chadwick28 I set the bowl aside to let the repair on the rings cure before I cut the new rings into the bowl front. While it was sitting I sanded the stem with 220 grit sandpaper to remove the oxidation and the calcification. I wanted to clean up the stem before I worked on repairing the tooth marks and gnawed button. I cleaned the stem with alcohol and pipe cleaners.Chadwick29

Chadwick30

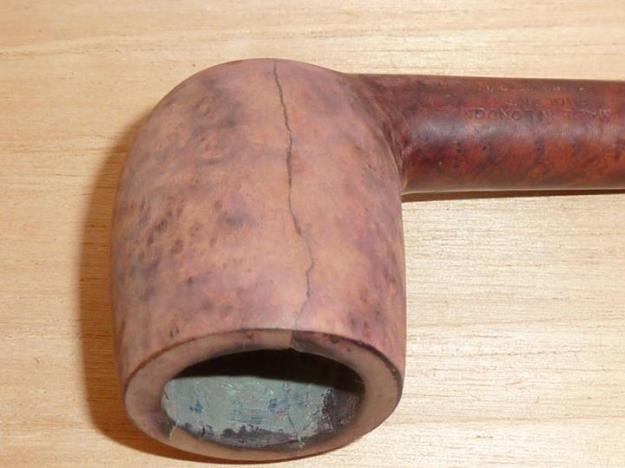
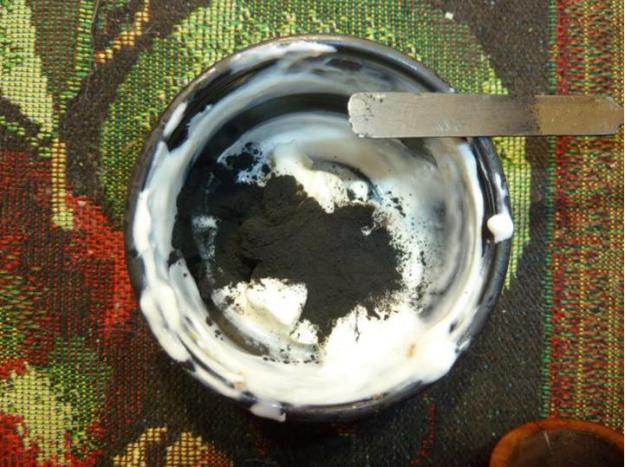
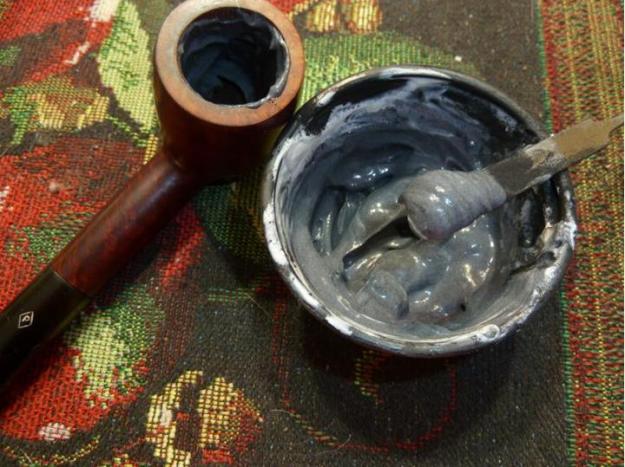
Chadwick31 I scrubbed out the tooth marks on the stem and the button with a cotton swab and alcohol in preparation for the repair I would do there. I mixed the patching material using finely crushed charcoal capsules and black super glue. I mixed the two to blend the materials. I use super glue that gives me 45 seconds of time before it hardens so I have to work quickly.Chadwick32

Chadwick33 When I had the paste mixed well I applied it to the tooth marks and built up the button with a dental pick and dental spatula. The repair is anything but beautiful at this point but the mixture adds strength to the repair that the glue by itself does not give with tooth marks and damage of this magnitude.Chadwick34

Chadwick35

Chadwick36 I set the stem aside to cure and went back to the bowl. I used a Buck Knife, a pen knife and a sharp-edged needle file to cut the lines in the patch on the bowl front. I wanted the new lines to connect seamlessly to the lines on either side of the repair. These three blades always have worked for me to get a good straight line match.Chadwick37 When I had finished cleaning up the lines on the bowl the stem repair had cured enough to begin to shape the button and clean up the tooth repairs. I sanded them with 220 grit sandpaper to begin to shape and smooth out the repairs.Chadwick38

Chadwick39

Chadwick40

Chadwick41

Chadwick42 When I had the basic shape of the button set up the surface was quite porous on the button surface and in one spot on the tooth repair on top of the stem so I gave them a top coat of clear super glue to fill in the pores left behind by the super glue/charcoal mixture. I set that aside to dry.Chadwick43

Chadwick44 I cleaned the bowl and shank with pipe cleaners, cotton swabs and alcohol. It was one dirty shank. It took a lot of scrubbing to clean out the grime. I scrubbed until the cleaners came out clean and white.Chadwick45 I wiped the bowl down with alcohol to remove any last dust or grime in preparation for staining the briar.Chadwick46

Chadwick47

Chadwick48 I decided to stain the bowl with a dark brown aniline stain that I had thinned by half to give it a medium brown colour. I wanted to aim for the dark stain that was noted in the Wally Frank Catalogue above. I figured it would give me good coverage on the fills and the repair to the rings.Chadwick49 I applied the stain with a cotton swab and then flamed it with a lighter to set the colour in the grain.Chadwick50 I wiped down the freshly stained bowl with alcohol on cotton pads to even out the stain and to give it more transparency so that the grain shows through. When I was through I was happy with the colour and with the way it hid the fills on the bowl and the repair to the ring on the front of the bowl.Chadwick51

Chadwick52

Chadwick53

Chadwick54

Chadwick55 By that time the stem repair had dried and I sanded it with 220 grit sandpaper to smooth out the stem patch and do more shaping on the button.Chadwick56

Chadwick57

Chadwick58 I filed the slot in the stem to smooth it out and shape it. I also sanded the stem with a medium and a fine grit sanding sponge to further shape the button. I wet sanded the stem and button with 1500-2400 grit micromesh sanding pads and rubbed the stem down with Obsidian Oil. I dry sanded with 3200-4000 grit micromesh pads and gave it another coat of oil. I finished by sanding it with 6000-12000 grit pads and gave it a final coat of Obsidian Oil. I set it aside for the oil to dry.Chadwick59

Chadwick60

Chadwick61 I sanded the bowl with the micromesh sanding pads – 1500-12000 grit to polish the briar – bowl, shank and rim, to bring out the grain. When the grain began to pop I buffed the bowl and the stem with Blue Diamond on the wheel and then gave both multiple coats of carnauba wax. I buffed it with a clean flannel buff and then with a microfibre cloth. The finished pipe is shown in the photos below. It is a far cry better looking than when I started. This one is a keeper. Thanks for looking.Chadwick62

Chadwick63

Chadwick64

Chadwick65

Chadwick66

Chadwick67

Chadwick68