Blog by Steve Laug
I decided I needed a change of pace in my restoration/clean up work. I went through my pipes waiting in the queue and chose pone from a group of four pipes that were given to us by a woman in Columbus, Ohio, USA. It had belonged to her Grandfather who lived from 1882 to 1977. There were four pipes that she sent us from his estate – the metal bowled apple, a cased meerschaum with a broken shank and an amber stem, a Whitehall rusticated apple and a BBB Glokar Fraternity Pipe. Even though I generally pass on Whitehall pipes I decided to work on this one because it came with a great back story. The older pipe man who had used it obviously had enjoyed it beyond measure. Since he passed away in 1977 I knew that the pipe was much earlier than that. It was well smoked, reamed with a knife. And it had continued to be smoked even after the shank crack. I am guessing from the marks on the stem that the crack happened when he tried to remove the stem with a pair of pliers. The stamp on the left side of the shank read Whitehall 1B [over] Imported Briar. The pipe was dirty and well used. The finish had deep grime ground into the rustication around the bowl. The bowl had tobacco debris in it and a very thick cake overflowing as lava onto the rim top. The rim top looked to be in rough condition with damage from reaming and burns particularly on the back side of the edge and top. The stem was vulcanite and fit the cracked shank well. It had oxidation, calcification and deep gouges from pliers just behind the saddle. There were light tooth marks and chatter on both sides ahead of the button. Jeff took photos of the pipe before he started his cleanup work.
 Jeff took photos of the rim top and bowl to show the condition. You can see the thick cake int eh bowl and the lava coat on the top of the rim. The inner edge of the bowl is a mess and very out of round. It was obviously her grandfather’s favourite pipe even though some of his others were nicer. The vulcanite saddle stem was oxidized, calcified and had deep nicks at the saddle end from what appeared to be pliers. It too was going to take some work.

 Jeff took photos of the cracked shank to show the condition of the crack. He also took photos of the damage to the stem surface just behind the saddle on both sides where it looks like the stem was twisted with pliers.
 Jeff took photos of the sides and heel of the bowl to show the composition of the pipe. The combination of smooth and rustication is quite nice. There are Custom-bilt like channels from top to bottom of the bowl and horizontal rustication around the bowl between the channels. The rim top and top half of the bowl are smooth. The shank has horizontal rustication all around leaving a smooth panel on the left side for the stamping. It is quite nice looking.
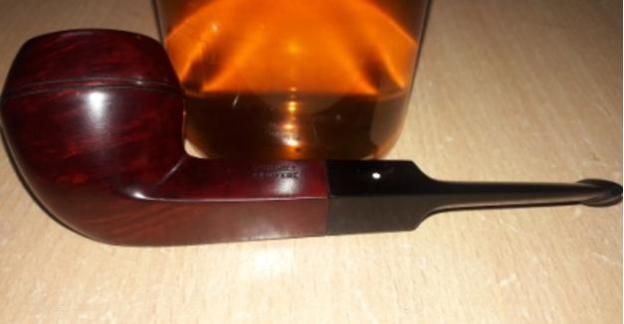
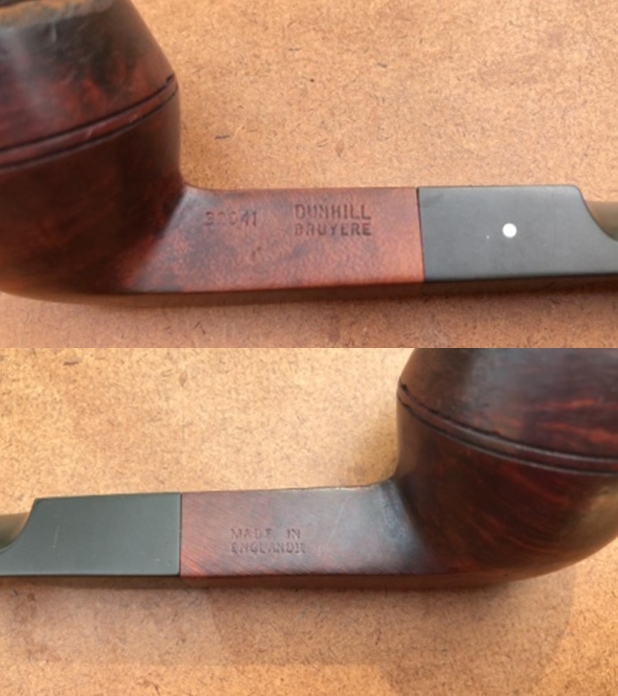
 He took a photo of the stamping on the smooth panel on the left side of the shank. You can see that it is readable as noted above.
 I knew that there was a connection between Block Brothers Tobacco and Whitehall as I have had pipe coupons in boxes of Kentucky Club tobacco but I wanted to verify that and get the details. I turned to the listing on Pipedia for Whitehall and read it (https://pipedia.org/wiki/Whitehall). I quote from the site below.
Whitehall pipes are frequently misunderstood to be a model rather than an actual pipe company, which has led collectors to mistakenly ascribe their manufacture to Civic and Ben Wade (Who Made That Pipe; Wilczak & Colwell, 1997). In fact, Whitehall refers to the pipe company (not a model), which itself produced models such as the Hialeah, Jumbos, London Hall, and Thermofilter. The history of the Whitehall Pipe Co., Inc. (Richmond Hill, NY), is a complicated one, involving several parent companies and subsidiaries including Whitehall Products, Inc. (Helmetta, NJ), The Bloch Bros. Tobacco Co. (Wheeling, WV), Helme Products, Inc., apparently all subsidiaries of Culbro Corp. (owner also of General Cigar). The “Imported Briar” stamp on many of the pipes, and the unmistakable Whitehall logo bearing resemblance to the American-made tobaccos of that brand strongly suggest that these are products made for the Whitehall Pipe Co., Inc., an American company. There is furthermore no evidence that Civic or Ben Wade outsourced any manufactory of pipes to Italy; nor did Ben Wade manufacture pipes with aluminum screw tenons, paper filter inserts and molded acrylic stems. For irrefutable proof that the American company Whitehall Pipe Co., Ltd., was, in fact, responsible for these brands, one need only consult the University of California, San Francisco “Truth Tobacco Archives” which clearly links these brands to the company (see image below) [on the Pipedia site]…
When the pipe arrived in Vancouver it was very clean. The briar and stem were spotless. The vulcanite stem looked much better and you can see the gouges in the top and underside behind the saddle. The crack in the shank was also very clean and ready to repair. Jeff had reamed the bowl with a Pipenet Pipe Reamer and cleaned up the bowl walls with a Savinelli Fitsall Pipe Knife. He scrubbed the airway in the stem and shank with pipe cleaners, cotton swabs and alcohol. He scrubbed the exterior of the bowl and shank with Murphy’s Oil Soap (undiluted) and a tooth brush. He rinsed the exterior with warm running water and dried. He polished the briar and stem with a small drop of olive oil. The pipe really looked very good. It was going to be a fun one to work on for my part. I took photos of the pipe when I brought it to the table for my work. This is what I saw.
 I took photos of the bowl and the rim top to show the condition. It is clean and the damage is quite extensive. The bowl is very clean and there were nicks, burn damage and cuts all around the inner edge and top. The bowl was out of round due to the damage. The crack on the top left of the shank is also visible in the photo below. The vulcanite stem is clean and the damage visible at the blade where it joins the saddle portion. The button and stem surface ahead of the button is clean and undamaged.
  I took a photo of the left shank side to capture the stamping on the briar. It is faint but it is still readable. I took a photo of the bowl and shank separated to show the condition of the pipe. It really is a great looking pipe.
 I started my work on the pipe by addressing the cracked shank. I smoothed out the end of the shank so that the band would fit smoothly and not be hampered by the rustication. I used the Dremel and a sanding drum to get it prepared for the band. I heated the band and pressed it onto the shank end. It fit well and bound the crack tightly together.

 With the shank repair complete I turned to address the issues with the rim top and edge. I started by smoothing out some of the damage with a folded piece of 220 grit sandpaper. I topped the bowl on a topping board with 220 grit sandpaper to flatten on the damage on the rim top. I used a wooden ball and a piece of sandpaper to give the rim edge an inward bevel and smooth out the top. It looked much better!

 I filled in the damaged back inner edge of the bowl with clear CA glue and briar dust. The edge was damaged but it did not go deeply into the bowl. I sanded out the inside of the edge with a piece of 220 sandpaper wrapped around a dowel. I smoothed out the rim top with a folded piece of 220 grit sandpaper and bevelled the rim a bit more with the sandpaper. I stained the rim top with a Maple Stain Pen to match the smooth portions of the bowl. It was looking good.

 I polished the briar with micromesh sanding pads – 1500-12000 grit pads. I dry sanded the briar and then progressively brought a shine to the pipe. It looked really amazing – the combination of rustic and smooth portions of the briar. It is a beauty!


 I rubbed the bowl down with Before & After Restoration Balm. I worked it into the finish with my fingertips and a shoe brush. The product works to clean, preserve and protect the briar. I let it sit and absorb for 10 minutes. I buffed it off with a soft cloth and then gave it a rigorous buff to raise the shine. It looks good at this point.

 I filled in the gouges in the stem surface on both sides by the saddle with black CA rubberized glue. Once it cured I sanded it smooth with 220 grit sandpaper and started polishing it with 600 grit wet dry sandpaper.
 I polished out the scratches left behind by the sandpaper on the stem surface with micromesh sanding pads – dry sanding with 1500-12000 grit sanding pads. I wiped it down with Obsidian Oil on a cloth after the sanding pads.
 I finished the hand polishing of the stem with Before & After Pipe Polish – both the Fine and Extra Fine polishes. I gave it a final coat of Obsidian oil and set it aside to dry.
  I am really happy with the way that this Whitehall Rusticated Imported Briar 1B Apple turned out. It really is a beautiful looking pipe with a great shape and smooth finished on the upper half of the bowl and rusticated on the lower portion of the bowl and shank. The vulcanite saddle stem turned out very nice. The polished stem works well with the briar both the smooth and rusticated finish. The briar really came alive with the buffing. The rich brown stains of the finish gave the pipe a sense of depth with the polishing and waxing. I put the stem back on the bowl and carefully buffed the pipe with Blue Diamond on the buffing wheel using a light touch on the briar. I gave the bowl multiple coats of Conservator’s Wax and the stem multiple coats of carnauba wax on the buffing wheel. I buffed the pipe with a clean buffing pad to raise the shine. I hand buffed the pipe with a microfiber cloth to deepen the shine. The finished Whitehall Rusticated Saddle Stem Apple really is a beauty and feels great in the hand and looks very good. Give the finished pipe a look in the photos below. The dimensions of the pipe are Length: 5 inches, Height: 1 ½ inches, Outside diameter of the bowl: 1 ¼ inches, Chamber diameter: ¾ of an inch. The weight of the pipe is 27 grams/ .95 ounces. I will be putting the pipe on the rebornpipes store in the American Pipemakers Section. If you would like to add it to your collection let me know. Thanks for reading this blog and my reflections on the pipe while I worked on it. It was a fun one to work on!
As always, I encourage your questions and comments as you read the blog. Thanks to each of you who are reading this blog. Remember we are not pipe owners; we are pipe men and women who hold our pipes in trust until they pass on into the trust of those who follow us.