Blog by Kenneth Lieblich
Here is another instalment of my Pipe Incident Report. The idea, in general, is to provide a brief write-up – focusing on a particular pipe-related problem and/or solution, rather than an entire restoration story. Previous articles in this series have discussed such things as plaster of Paris, lemon-infused isopropyl alcohol, Cordovan stain, et cetera. Today, I will talk you through my process of repairing a badly damaged shank.
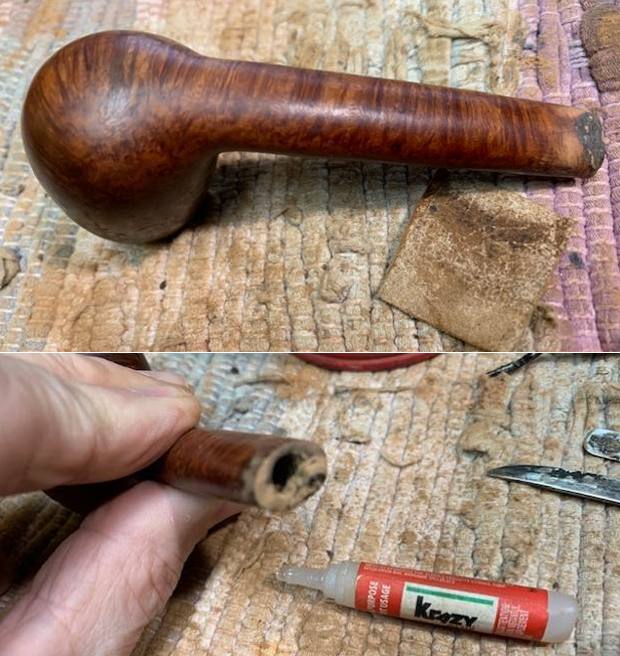
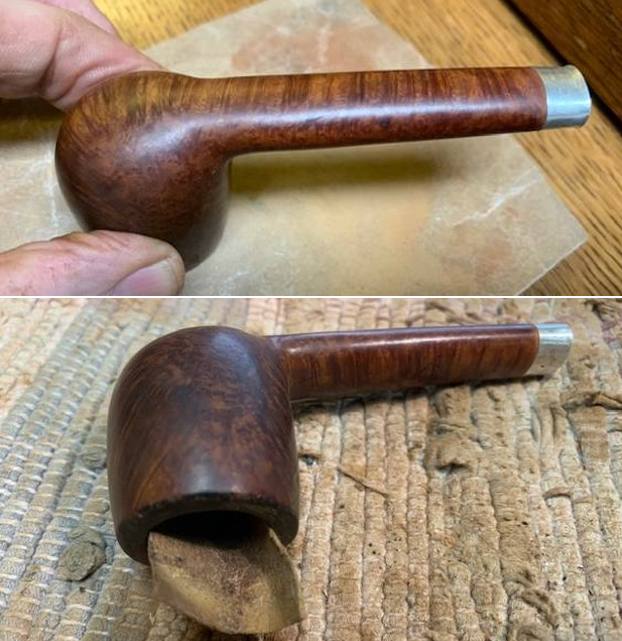
 This shank was not simply cracked (as is often the case), but, as the photos show, was missing a large chunk of briar. One’s first question might be, “Why bother fixing this at all? Toss it in the fireplace!” That’s a fair point. In this case, however, the owner of the pipe wanted to keep it as a memento of her grandfather. Beauty is in the eye of the beholder and I was only too happy to help fulfill her wish.
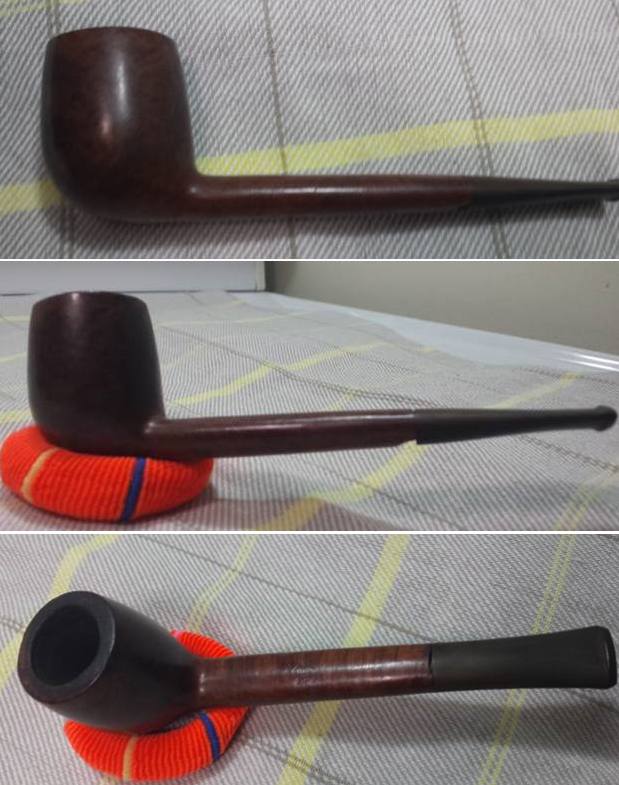
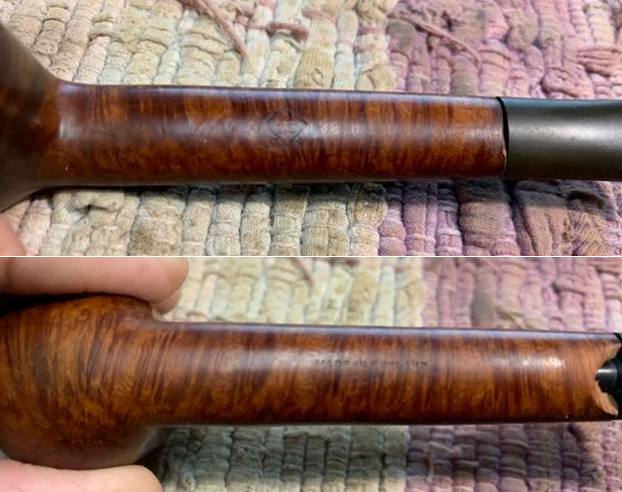
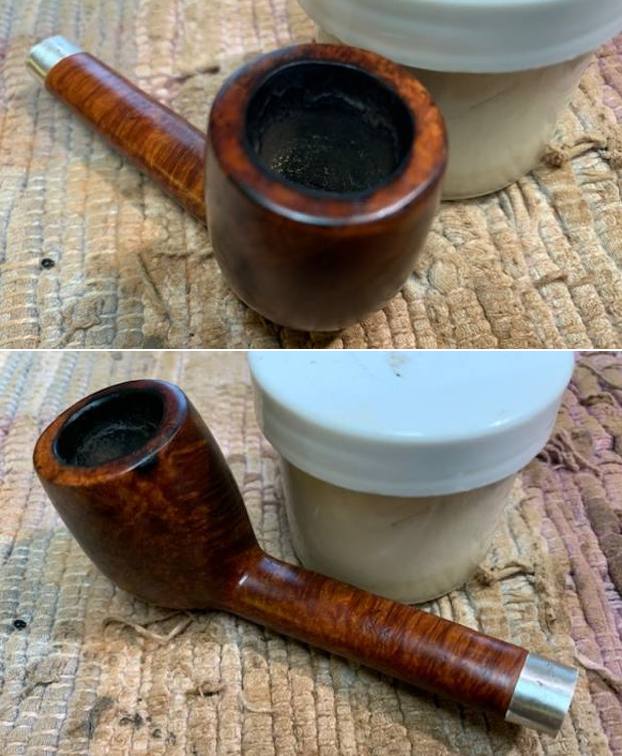
 The pipe is a no-name churchwarden (with the word “Czech” along the shank) and it had clearly been through the wars. Not literally, of course, but this pipe was smoked hard! The old fellow must have loved this pipe and it must have smoked well. The stummel was full of cake, lava erupting on the rim, and fills everywhere – in fact, I counted no fewer than 39 fills. Anyway, let’s take a closer look at the shank.
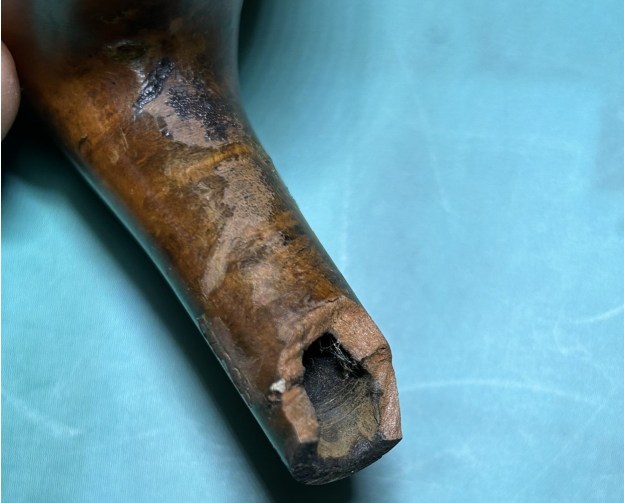

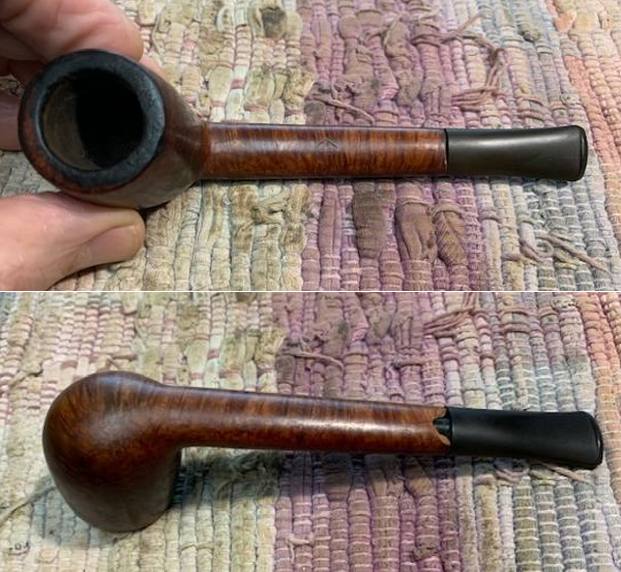
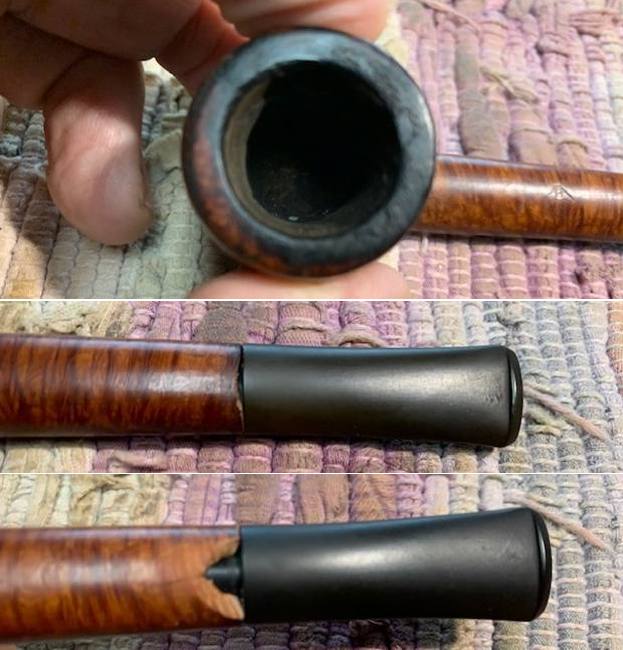
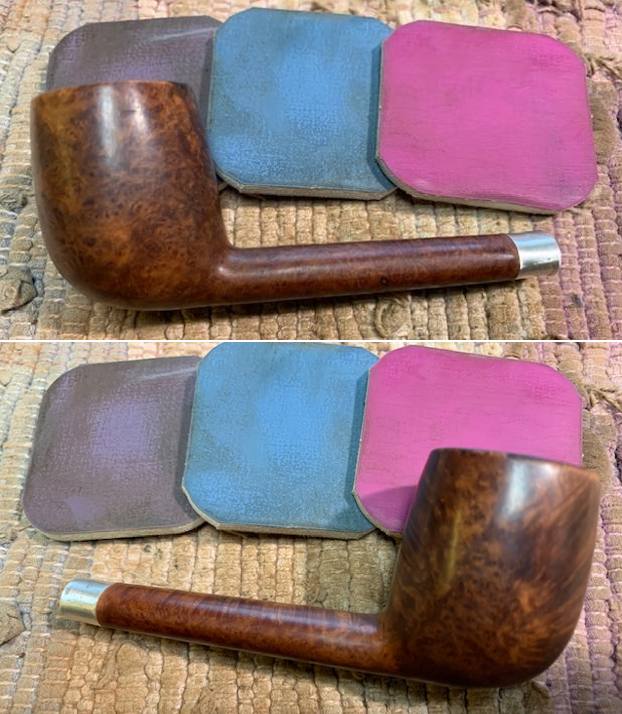
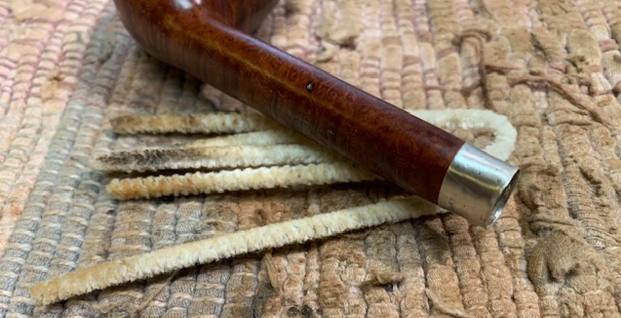
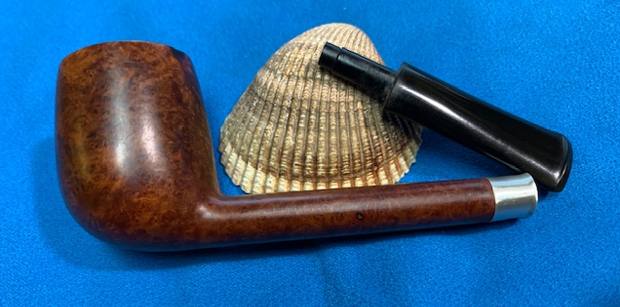
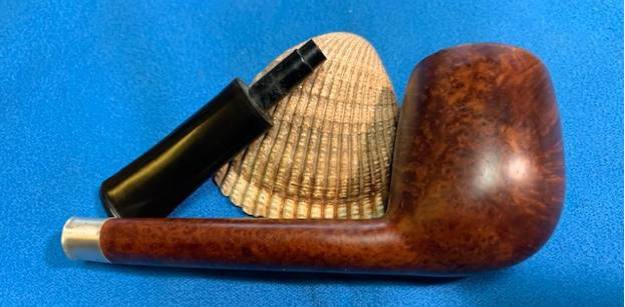
 You can see what the problem is. My guess is that the shank was broken when the stem was removed from it at an inopportune moment. The tenon on the stem is an odd metal thing, which I suspect might be a replacement. The tenon and mortise certainly don’t fit together very well. Regardless, the tenon needs to be repaired in a manner that is both structurally sound and aesthetically pleasing.
 Furrowing my brow, I consulted with Steve about solutions he’s used in the past for this sort of problem. He initially proposed building up the shank with a mixture of briar dust and CA glue. This is what I had originally considered too, but I also toyed with the idea of actually using a chunk of briar in place of the missing wood. Steve said it might be fun to try, so that’s what I did. Regardless of which technique I used, the shank would have to be banded in order to provide structural integrity and (preferably) to hide some of the repair – which will be unsightly no matter what.
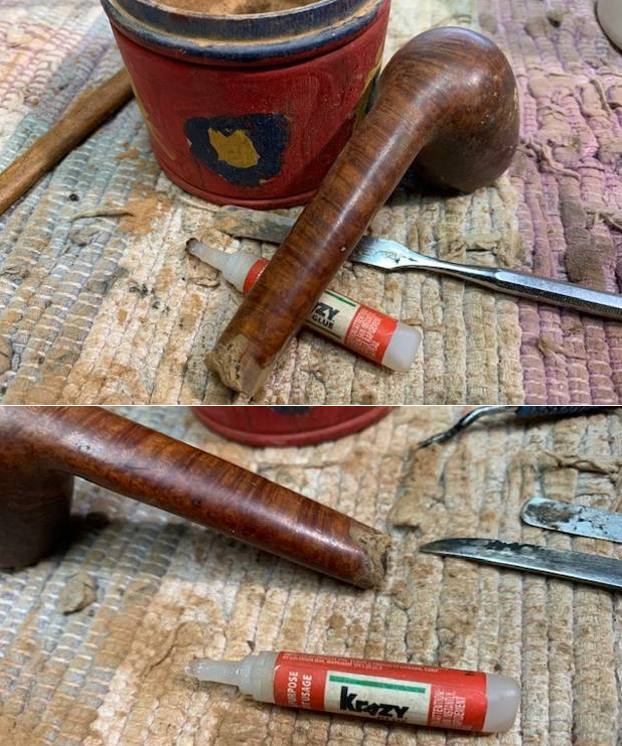
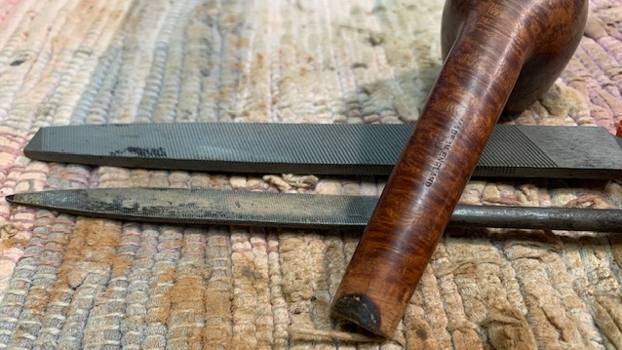
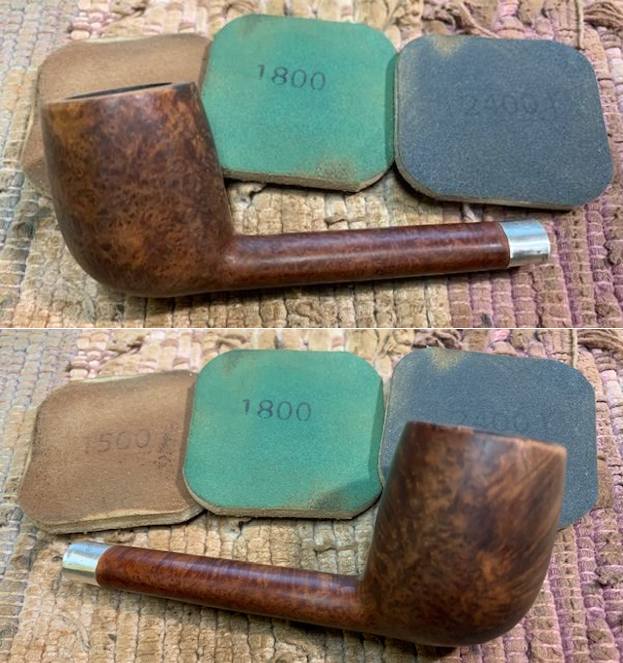
I have some wrecked stummels among my workbench items. I picked one, broke off a piece, and set about fitting it in place. It was immediately apparent that I needed a bit more wood, so I took another, smaller piece and fit that one too. I must admit, it took some trimming, filing, and general tinkering/fiddling to make it fit. Once I had a reasonable fit, I glued the pieces to the shank with CA glue. There were still gaps among the cracks and I dealt with that by adding a mixture of CA glue and briar dust.
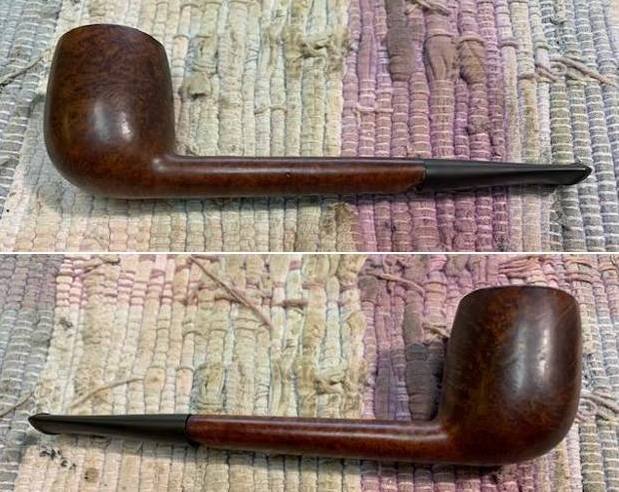
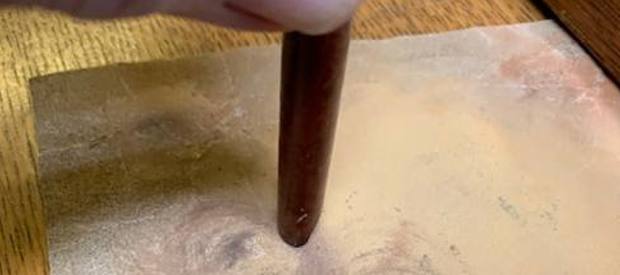
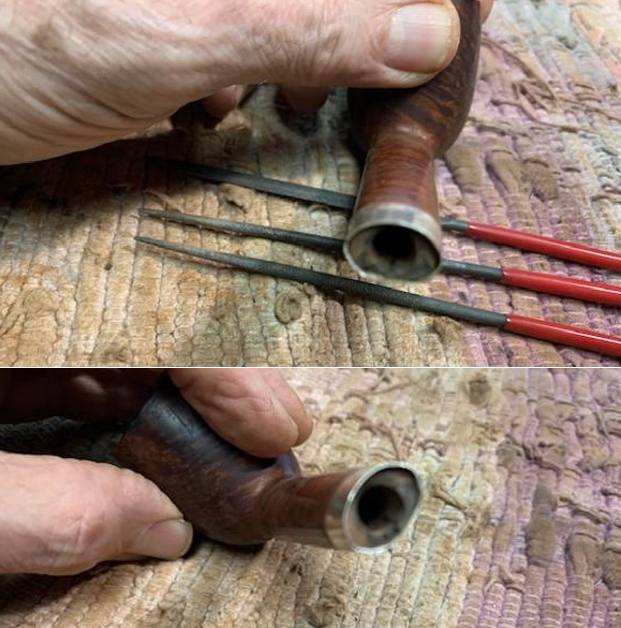
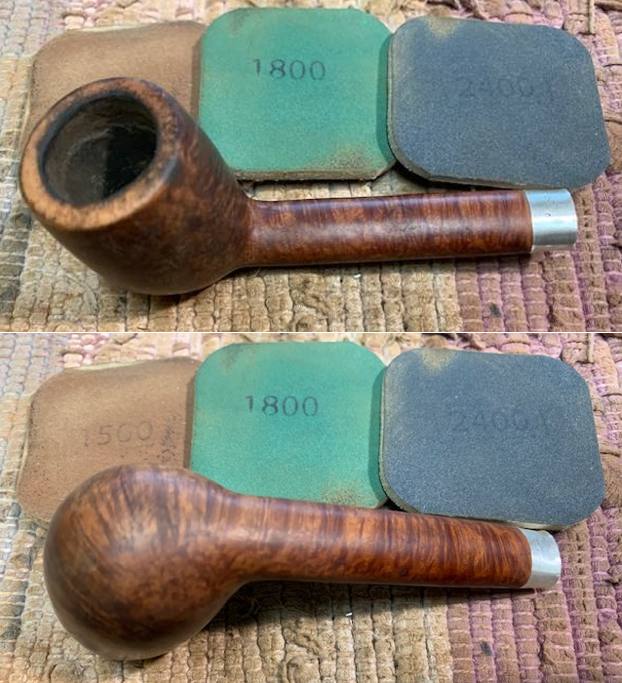
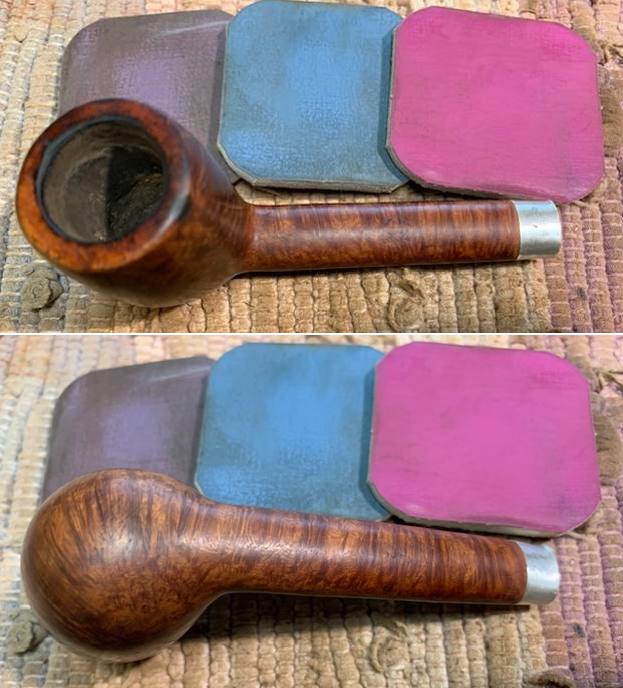
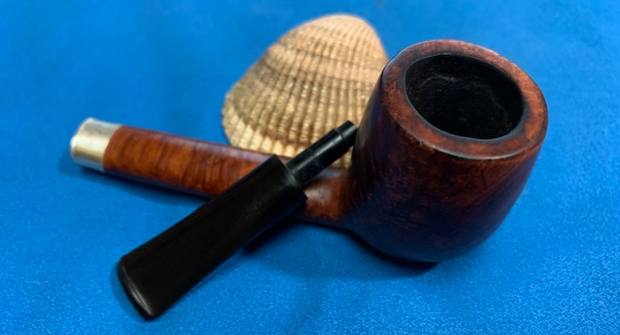
 Once the CA glue was cured, I set about filing, sanding, and shaping my repair. I obviously sanded the top of the shank to make it look normal, but I also sanded the end because the added bits extended beyond the main part of the shank. I also ensured that there was no roughness (or other problems) inside the mortise. To that end, I also gently filed the mortise. What an improvement!
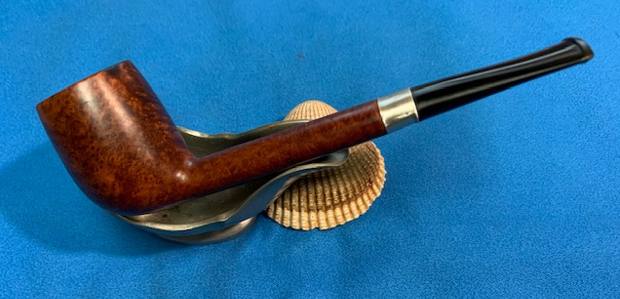
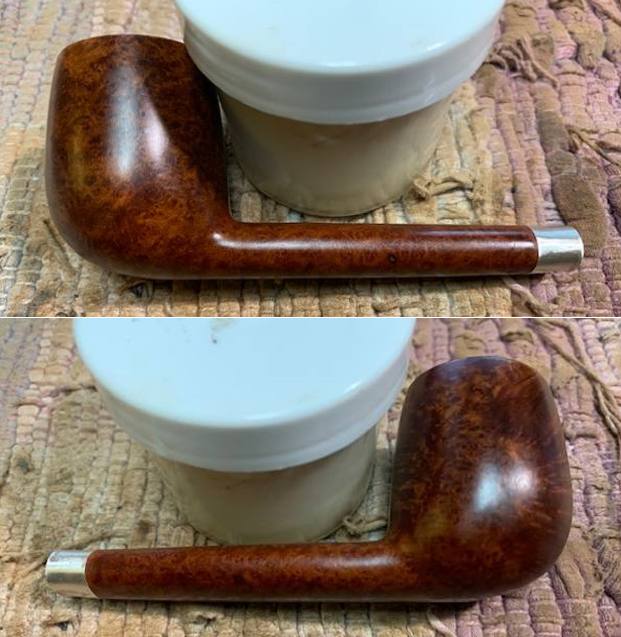
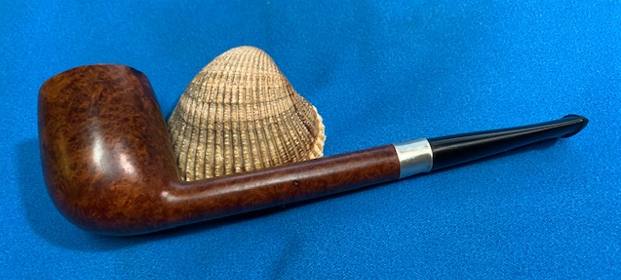
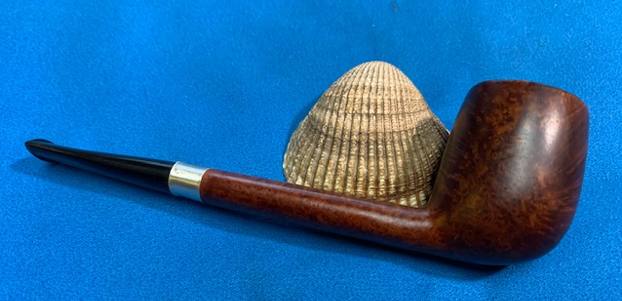
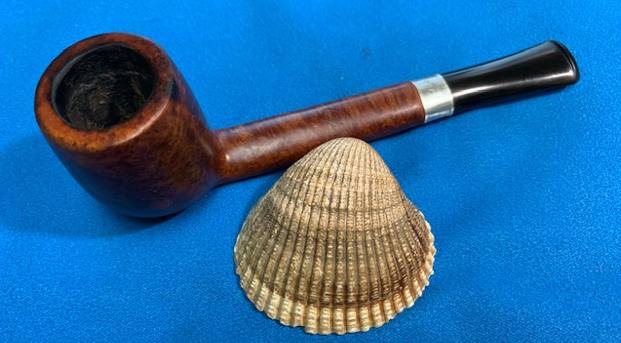
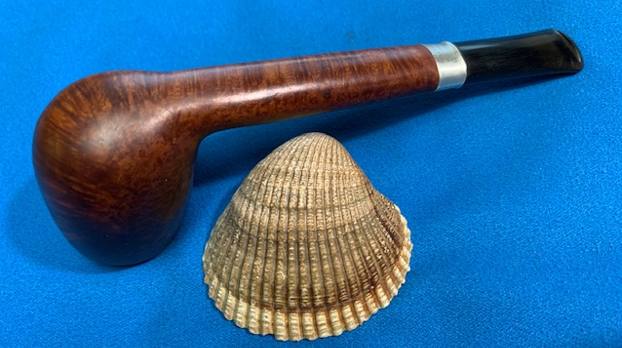
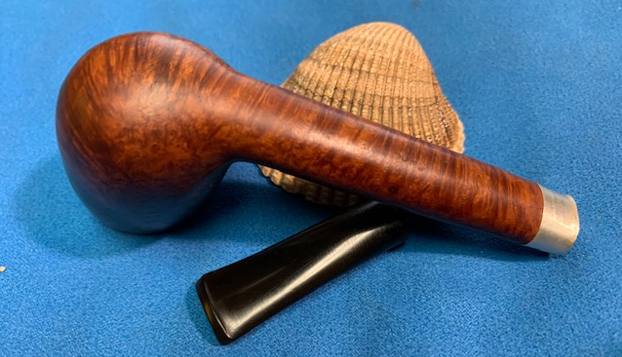
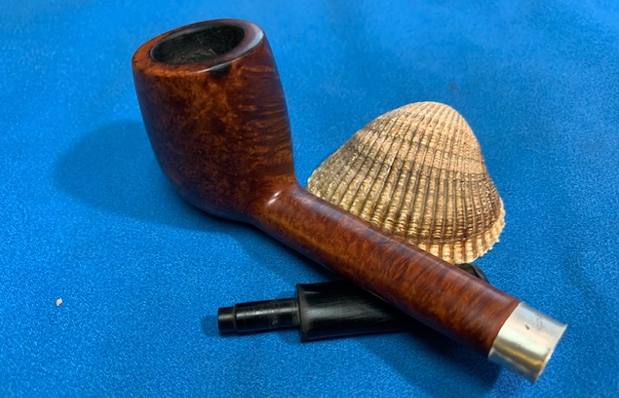
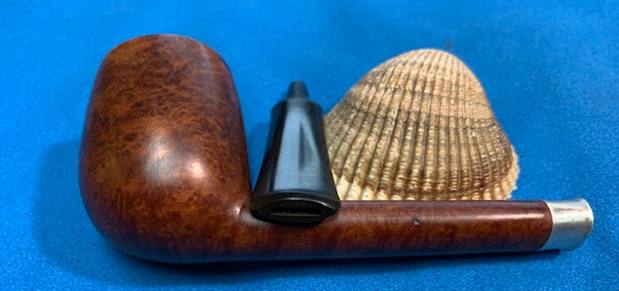
 Fortunately, I found the perfect band to place on this stummel. It was made of brass, fit very snuggly, and – most importantly – it was quite long. The band covered all repairs beautifully.
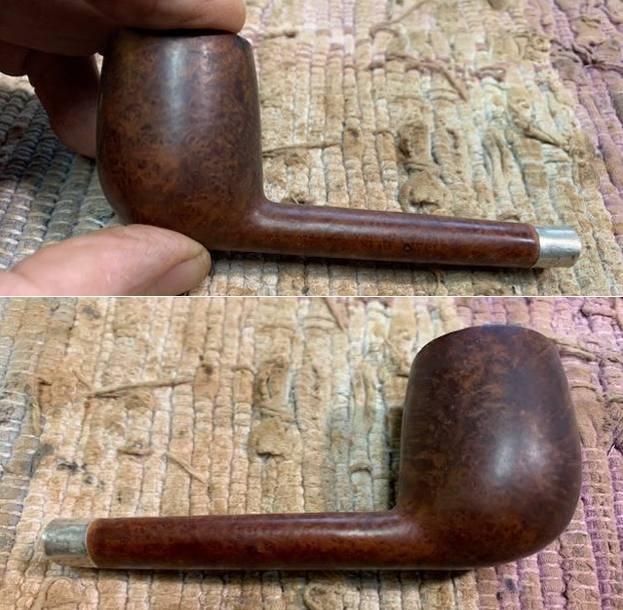
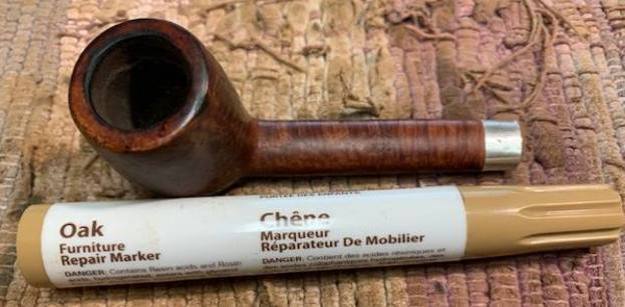
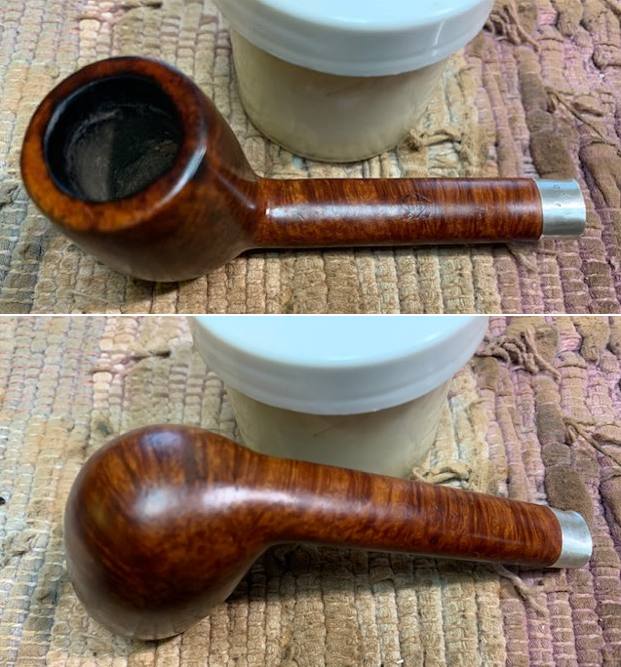
 After prepping the stummel, I stained it so as to provide some camouflage for the aforementioned fills. I then added the band with some glue and polished it to a shine. The photo below is not quite the finished product but it is close enough to show what a difference this repair made.
 If you do try this type of shank repair, please let me know how it goes. I would be interested to know what your results are. I hope you enjoyed reading this instalment of the Pipe Incident Report – I look forward to writing more. If you are interested in my work, please follow me here on Steve’s website or email me directly at kenneth@knightsofthepipe.com. Thank you very much for reading and, as always, I welcome and encourage your comments.