by Steve Laug
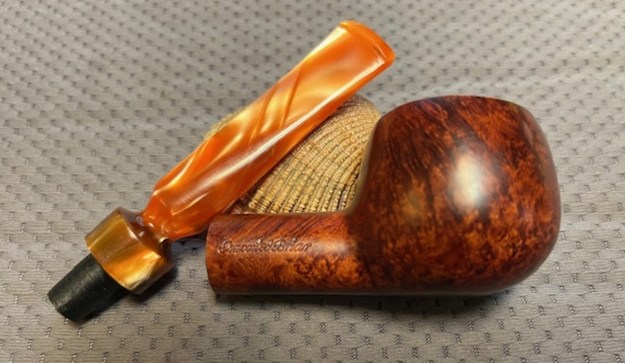
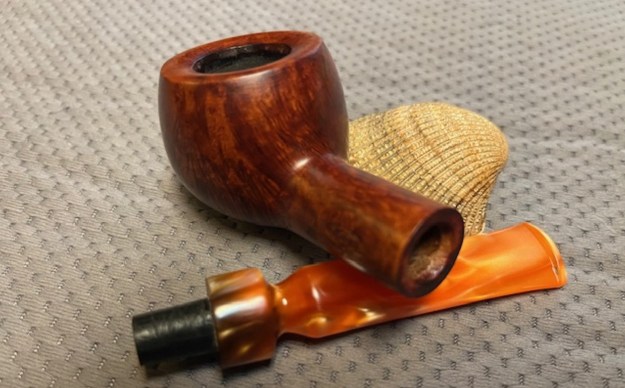
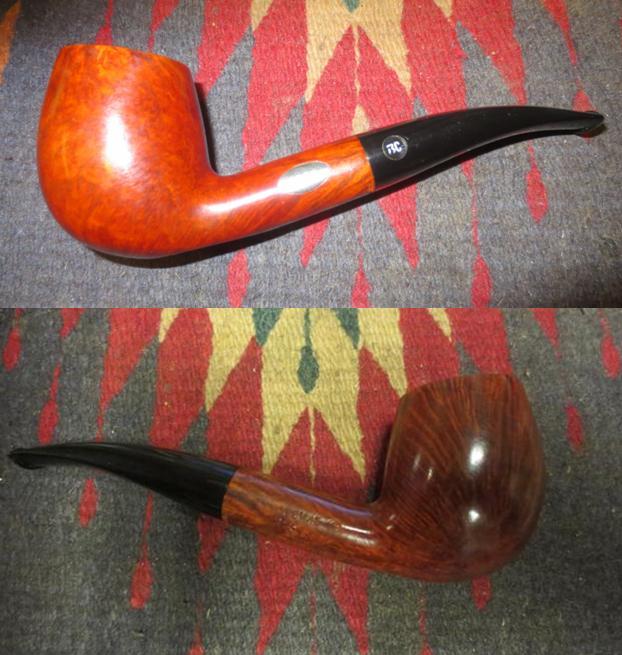
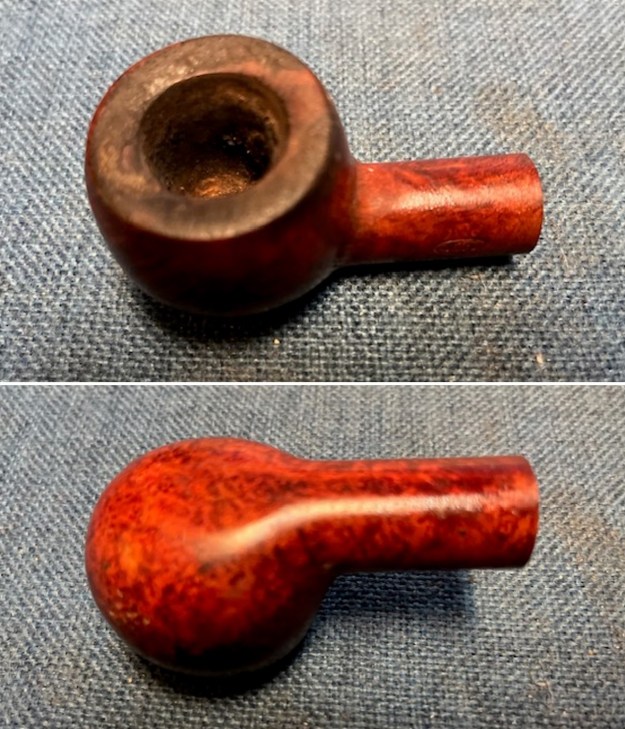
The next bowl on the table is a classic shaped Apple. It has been sitting here and I have looked at it over and over again and today I decided to restem it. I wanted to try something a little different with this restem and see if I could come up with an interesting restem. I think when you see it you will either love it or hate it! But there you go. Here is what I did! I cleaned up the bowl and matched a stem with briar bowl. It is a cleanup and restore and is a break from my work on the Freehand pipes. The bowl is dirty and somewhere in its life before it came to us the stem was lost. The finish was coated with varnish that left it shiny even under the grime. It showed promise under the grit and grime of the years. It was stamped on the left side of the shank and read Weber in an oval [over] Golden Walnut. The right side of the shank it is stamped Imported Briar. The bowl had a thick cake and a thick lava overflow on the rim top. There was some lava and tars coming down the bowl sides from the top. It is a pretty pipe with some great grain under the grime. I am hoping to match a nice stem to it. I took some photos of the bowl before I started my work on it. 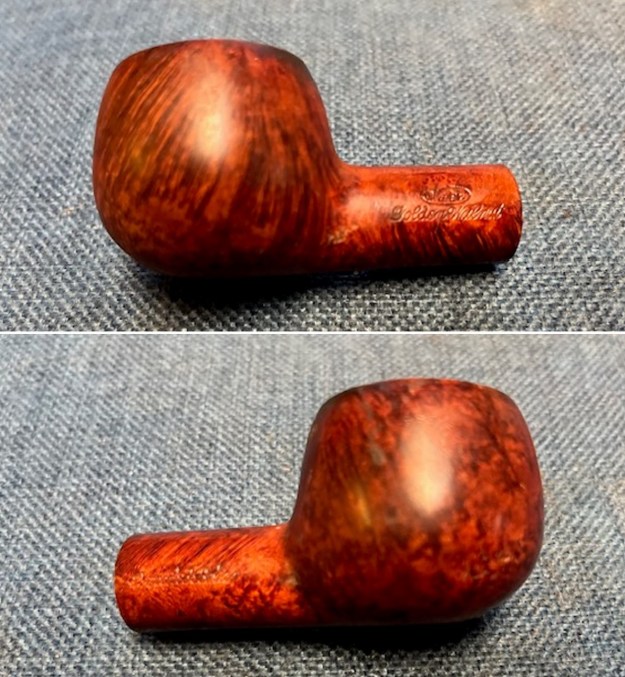
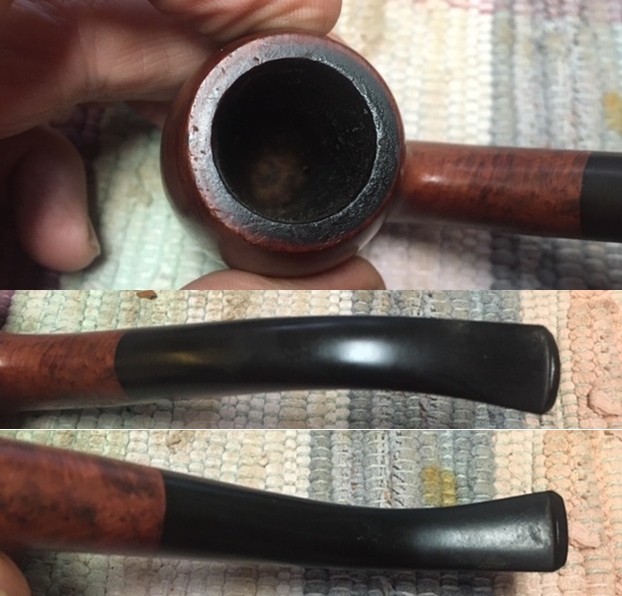
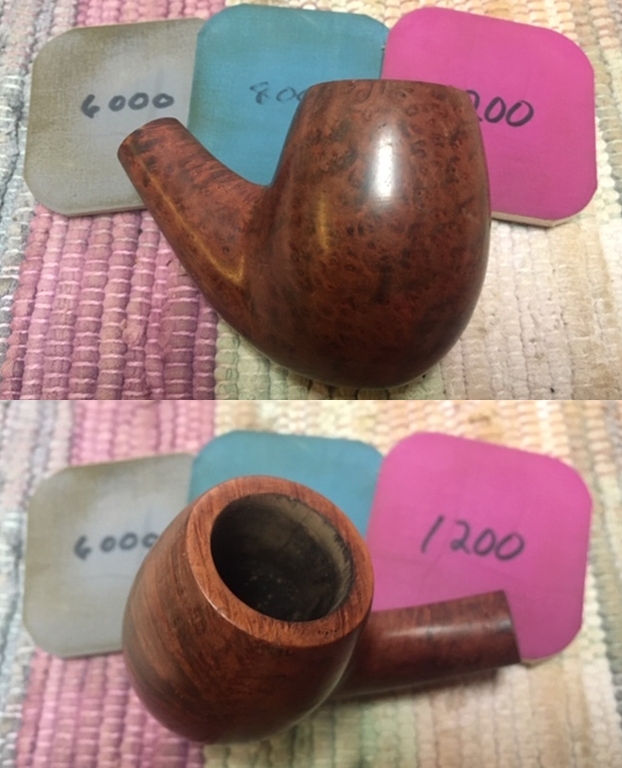
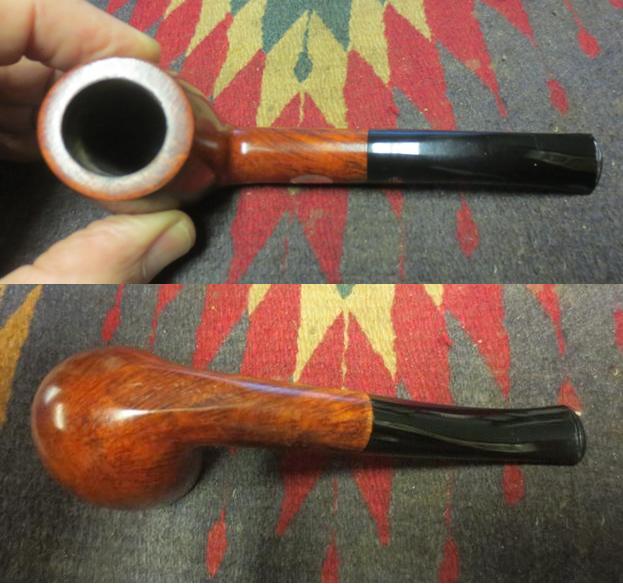
 I took a close up photo of the rim top and bowl to give more of a sense of what I see and noted above. It is a dirty pipe but seems to have no damage on the rim top or edges.
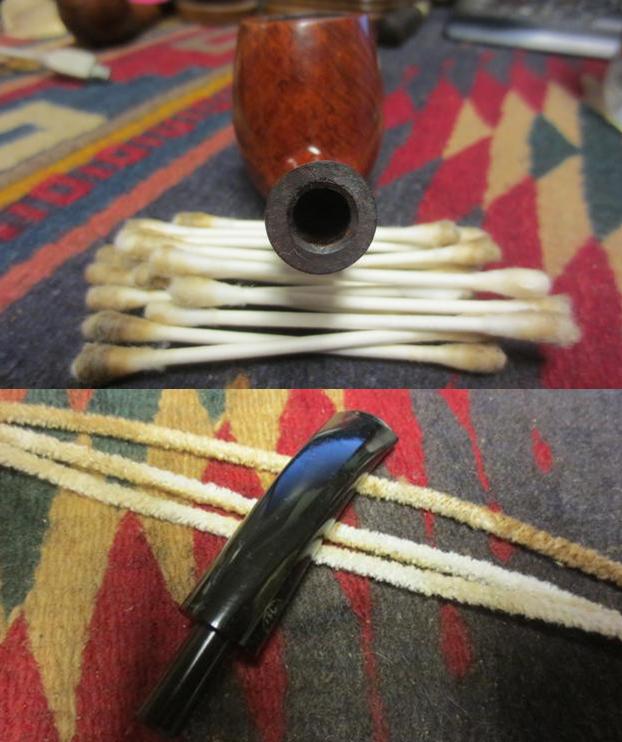
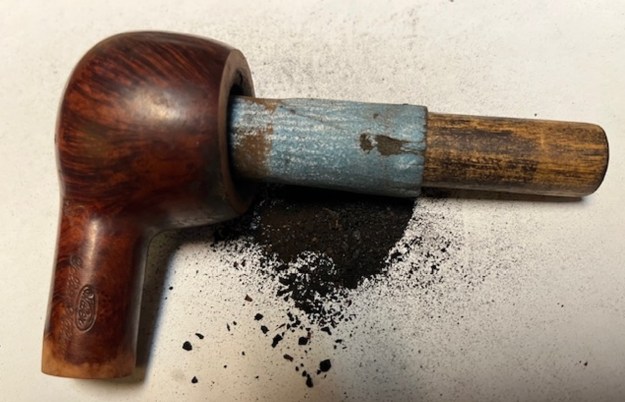
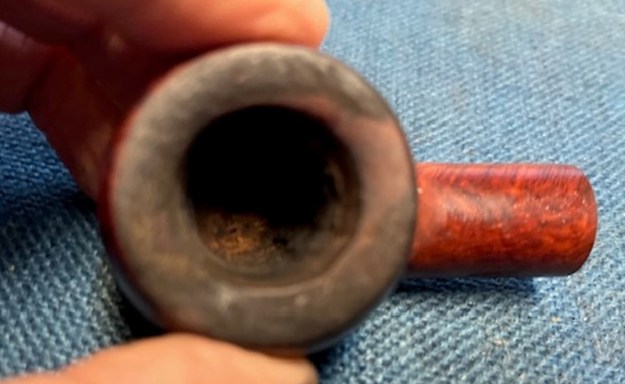 I took a photo of the snapped tenon in the shank end. The end of the tenon is quite smooth so it was a clean snap. I will need to pull it before I can fit a new stem to it.
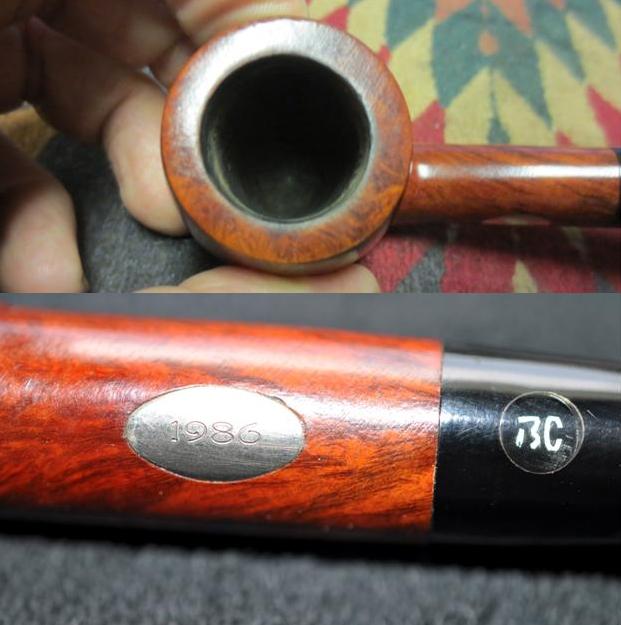
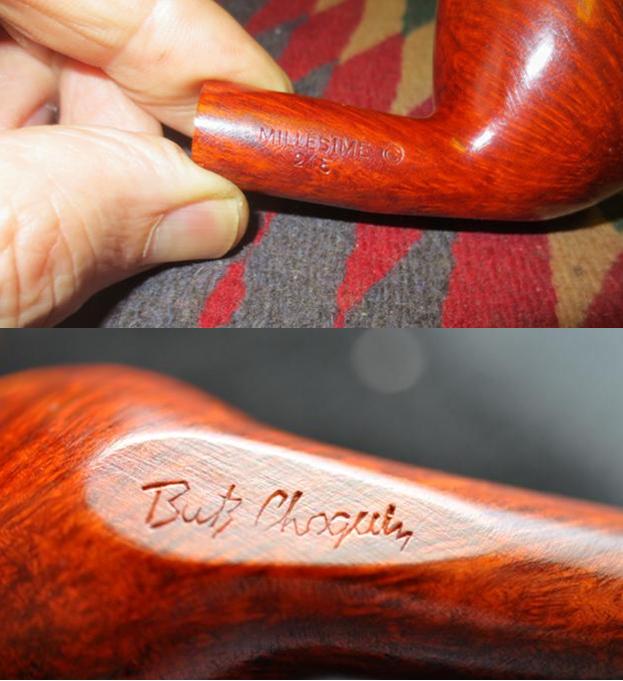
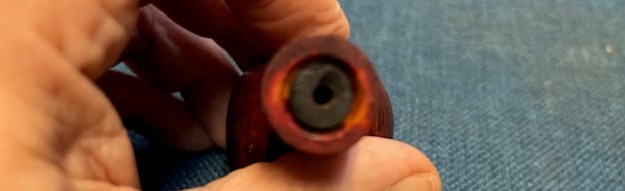 I took a photo of the stamping on the left and right side of the shank. The stamping looks blurry and double stamped in the photos but in person it is clear and readable.
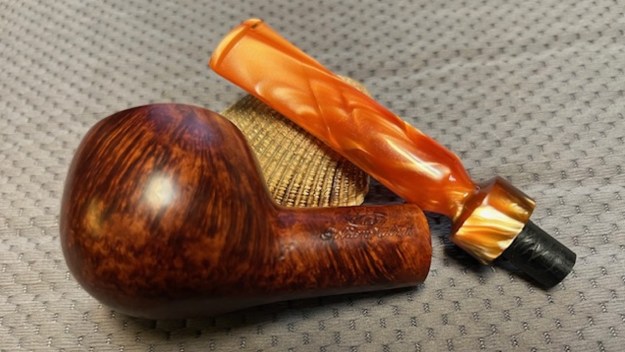
 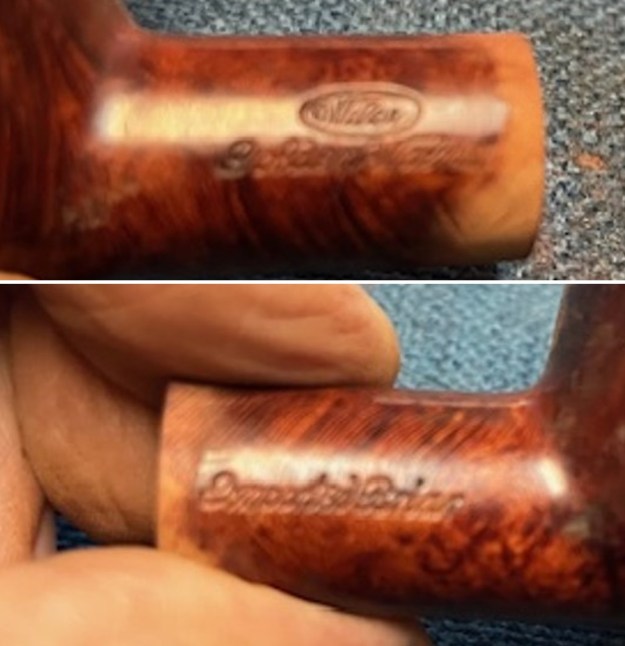 Recently I picked up some unused acrylic stems. There was an acrylic amber/orange variegated saddle stem in the lot. It was drilled for a new tenon and was clean. This stem had a close diameter to the shank end of the Weber and would work well I think.
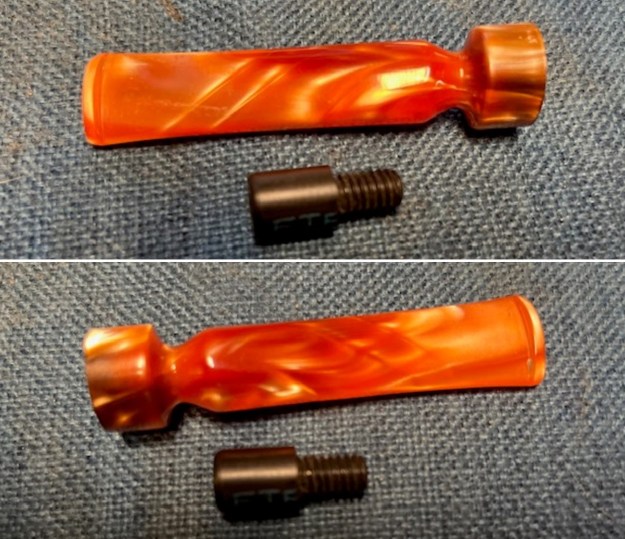 I put the bowl in the freezer for 30 minutes then used a drywall screw to pull out the broken tenon. I screwed it into the tenon and wiggled it free from the shank. I used the tenon piece to fit a new tenon in the shank end.
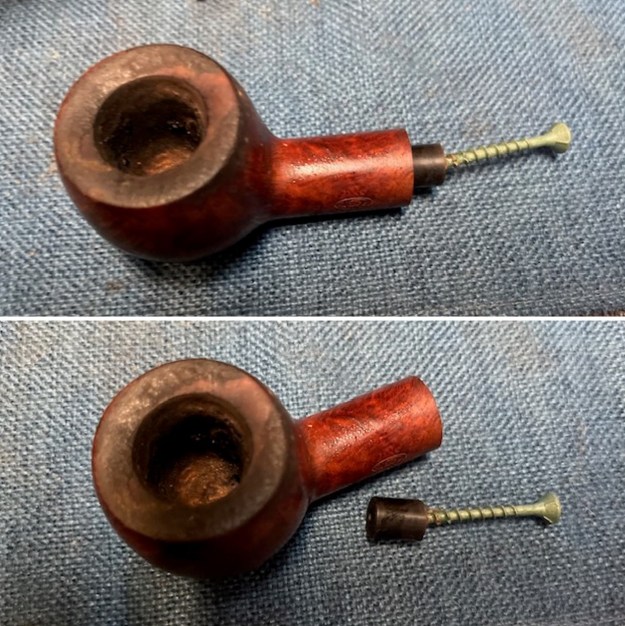 I fit the new tenon in the shank end and it was a little tight. I used a Dremel and sanding drum to reduce the diameter just enough for a snug fit. I painted the threaded tenon with black CA glue and turned it into the end of the new stem. The fit was good. I set it aside and let the glue cure.
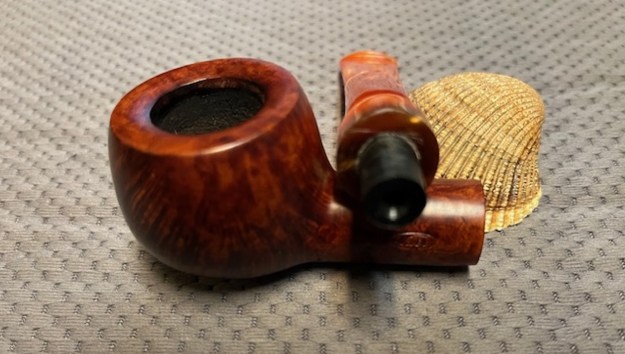
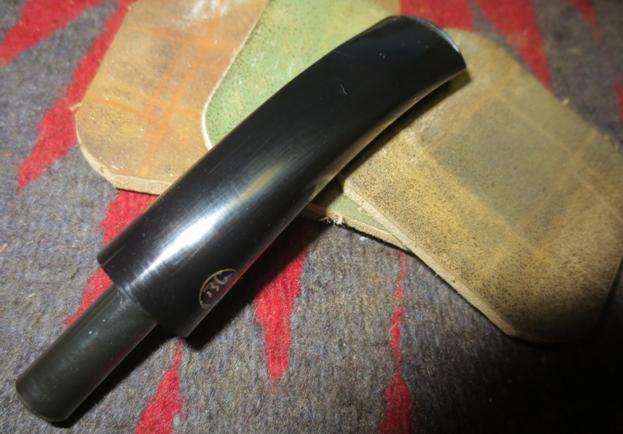
 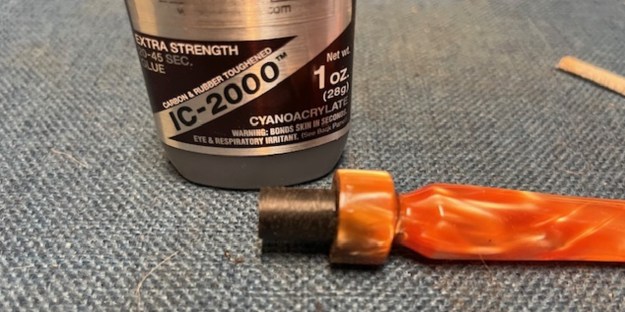 I put it in the shank and the fit against the shank end was slightly off. I used a file to make the transition between the shank and the saddle portion of the stem very smooth. I liked the look of the variegated orange acrylic stem with the browns of the briar bowl.
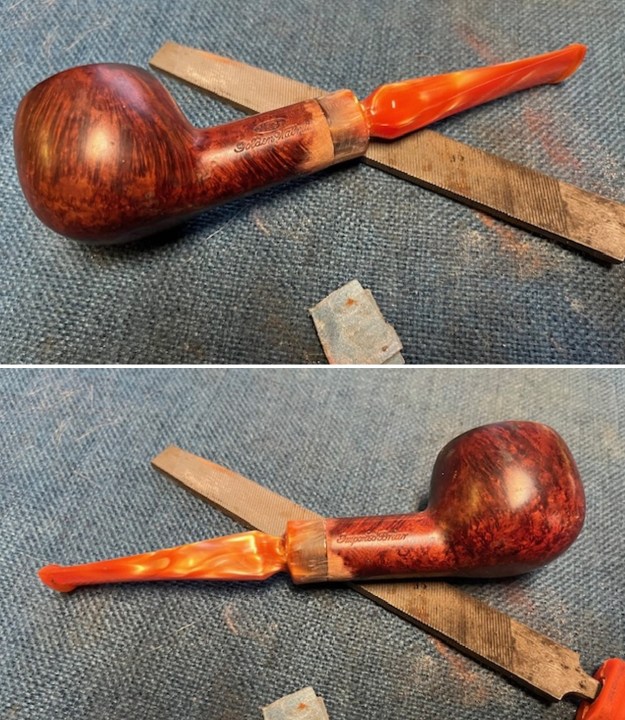
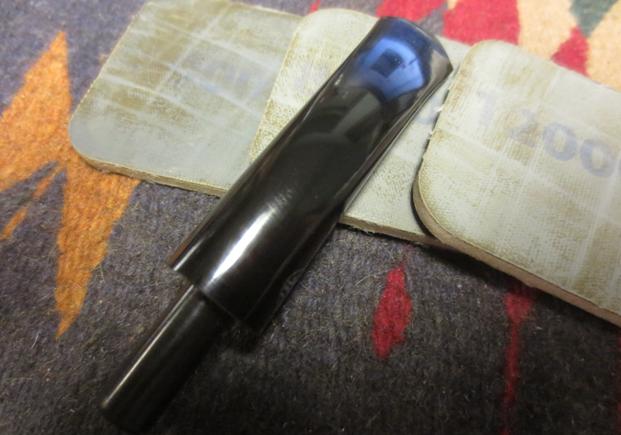
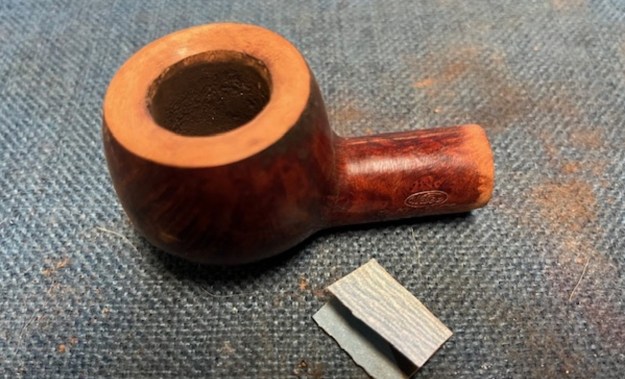
 I cleaned up the file marks on the shank and avoided the stamping on both sides with a folded piece of 220 grit sandpaper. Once finished the transition and both the briar and the acrylic were smooth.
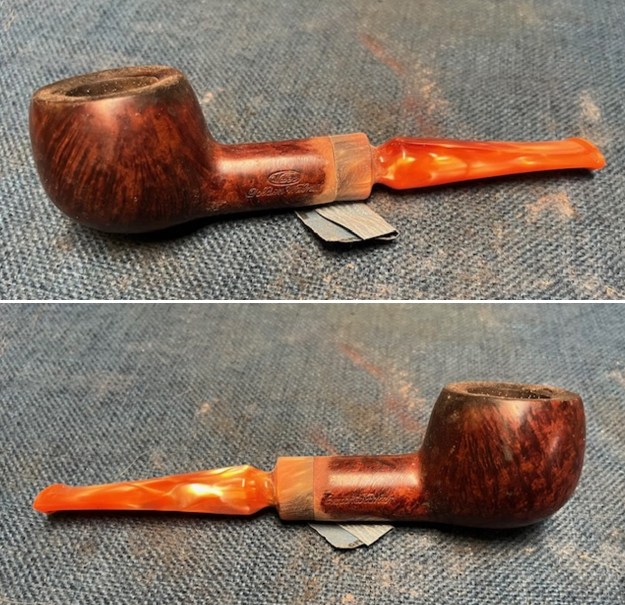
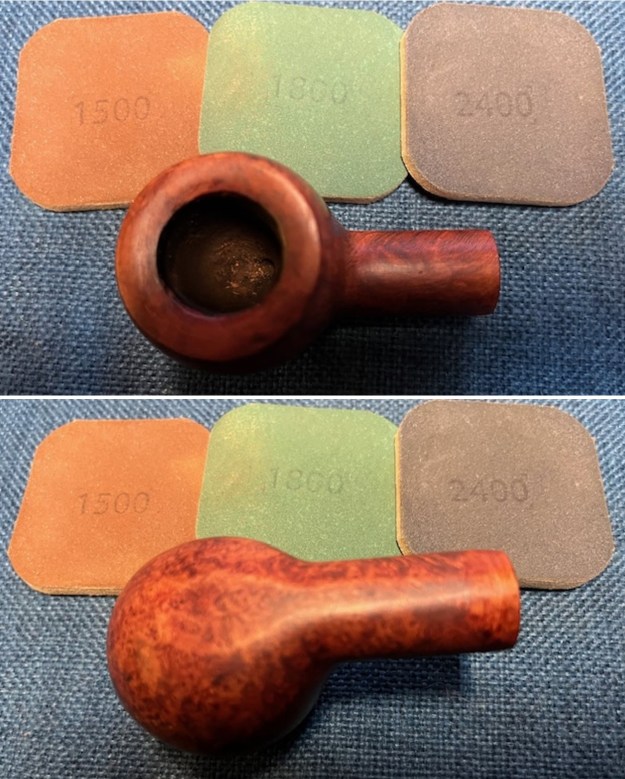
 I set aside the stem and turned my attention to reaming the pipe. I used a PipNet Reamer with the first and second cutting heads to take back the heavy cake to bare briar. I cleaned up the reaming with a Savinelli Fitsall Pipe Knife and finally sanded the bowl walls with 220 grit sandpaper wrapped around a dowel. I like to remove all the cake to examine the walls for damage and checking. Great news is that this one is free of any damage.
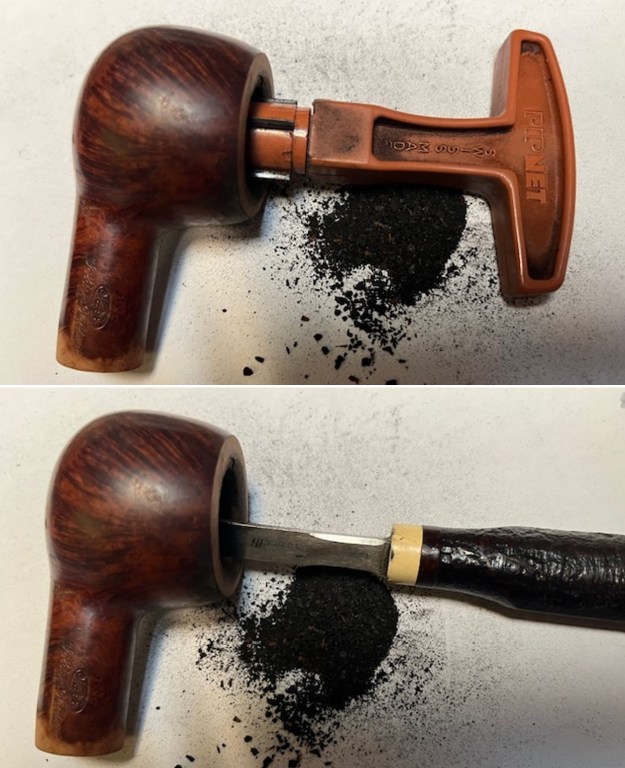
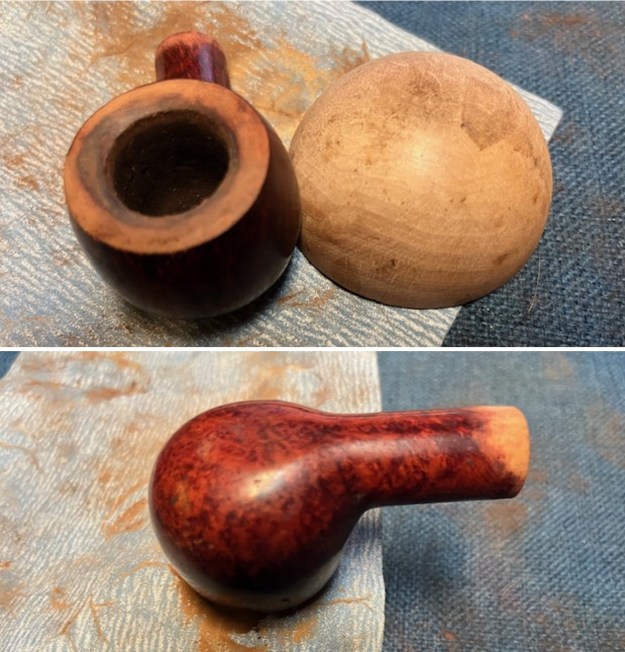
 With the bowl reamed it was time to work on the rim top. The lava was hard and thick. I started the process with a topping board and 220 grit sandpaper. Once I had smoothed off the top outer edges it was clear that the inner edge of the rim top was slightly bevelled inward. I used a wooden half sphere and 220 grit sandpaper to clean up the bevel and remove the damage to that portion of the rim top and edges. I cleaned up a few spots with a folded piece of 220 grit sandpaper.
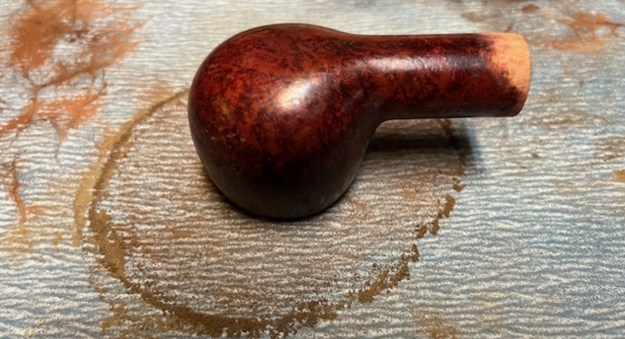
 To remove the shiny varnish coat on the bowl and to use the stain on the bowl to colour the rim top and sanded shank end I wiped the bowl and shank down with acetone. I used cotton pads with the acetone and was able to easily remove the varnish and move some of the stain to the sanded portions of the shank and rim. I would need to restain but it definitely looked much better.
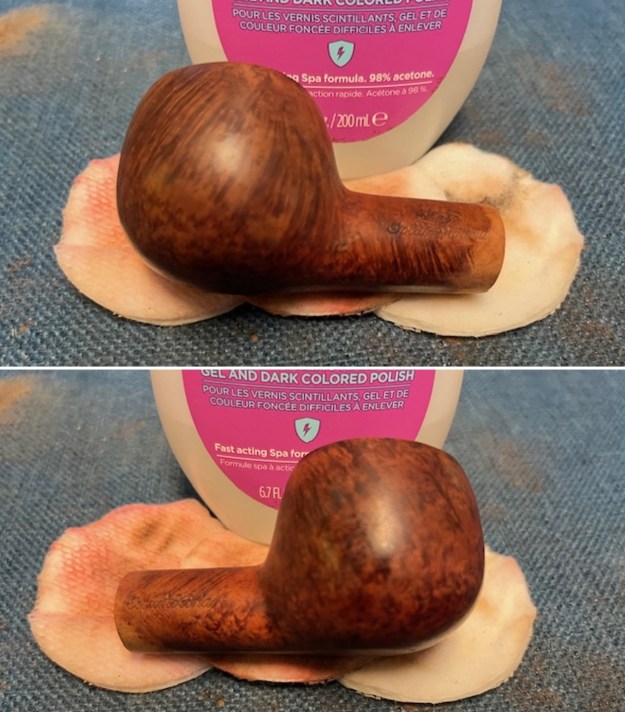
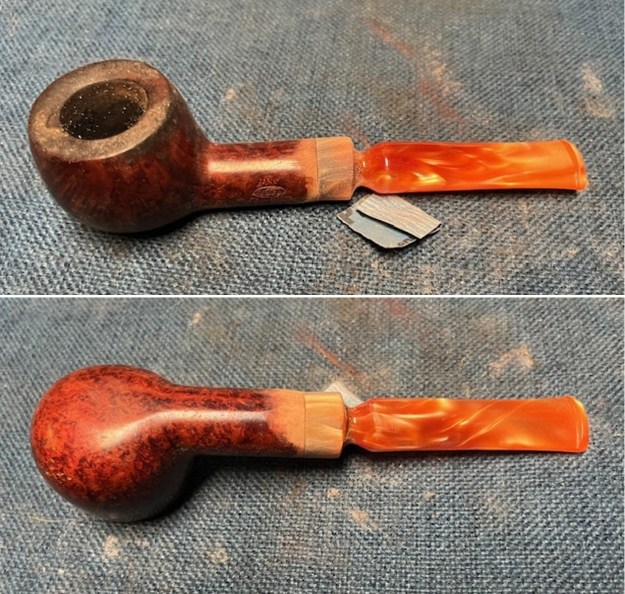
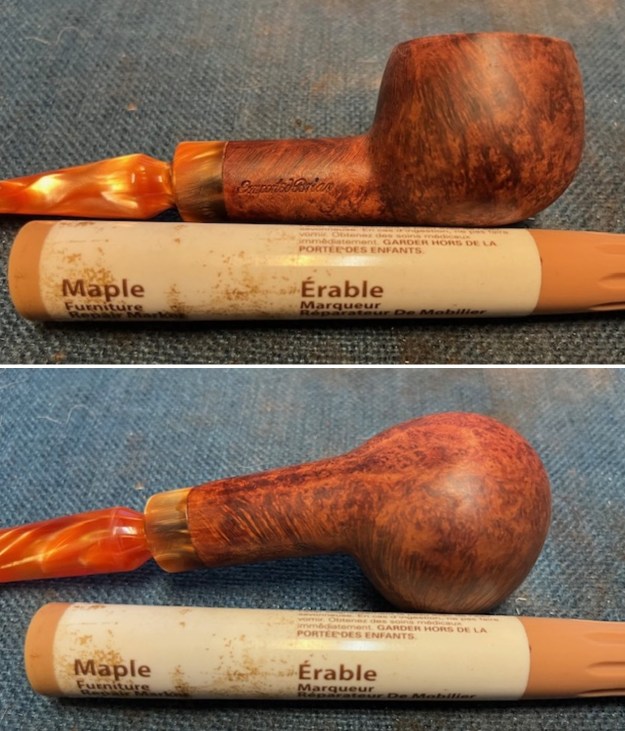
 I matched the stain on the bowl and shank with a Maple Stain Pen. I put it on the smooth sanded rim top and shank end. I wanted it to start matched before I started sanding the bowl and shank with sanding pads. I was very happy with the match.
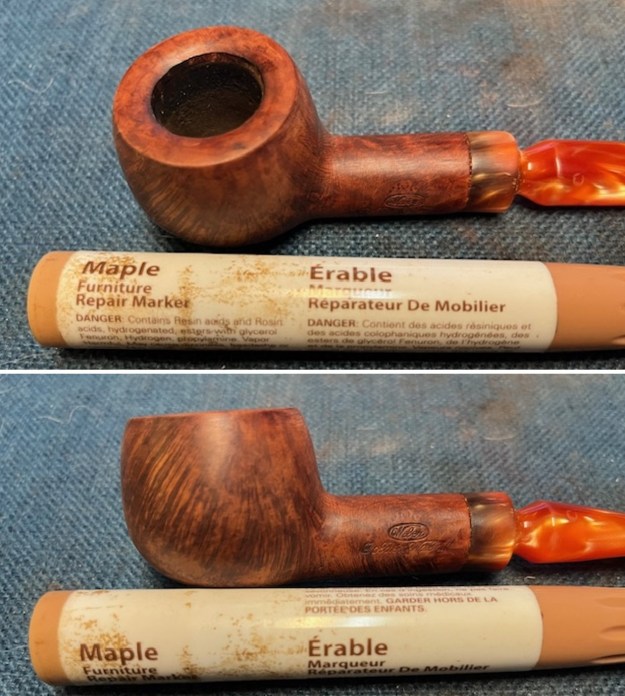
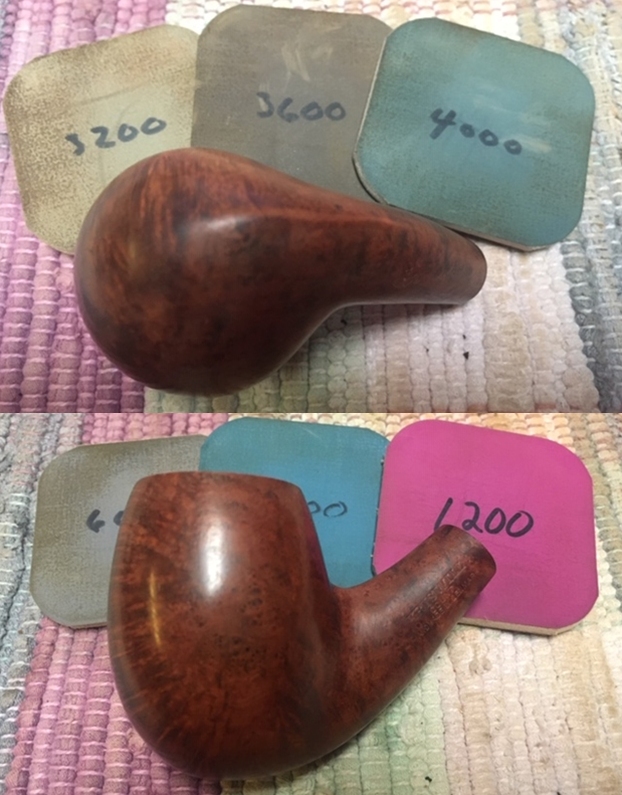
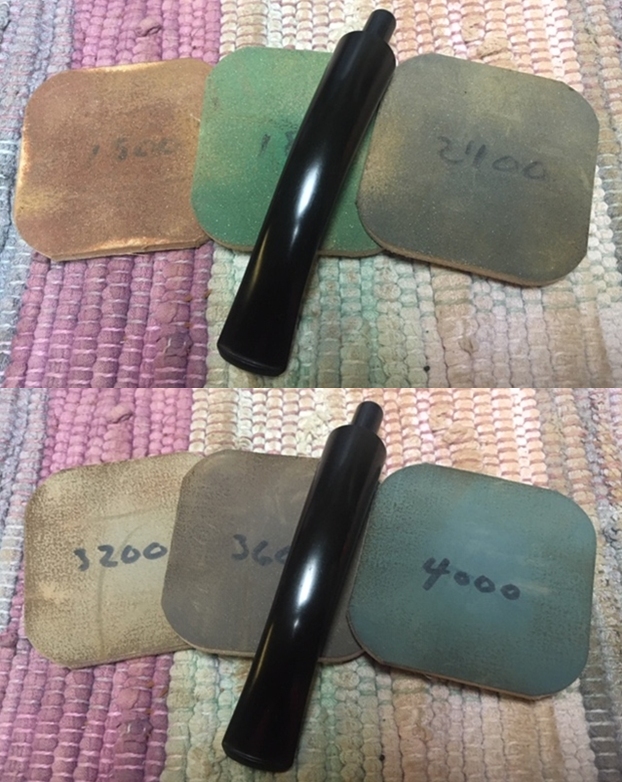
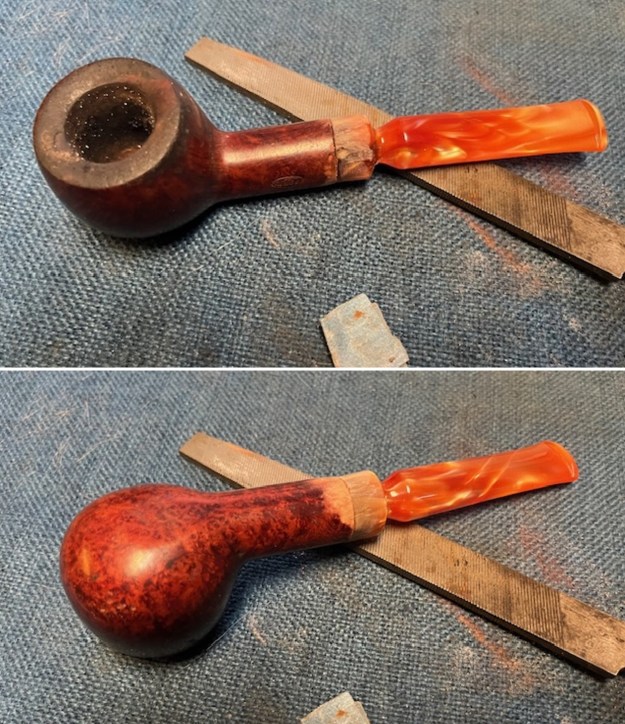
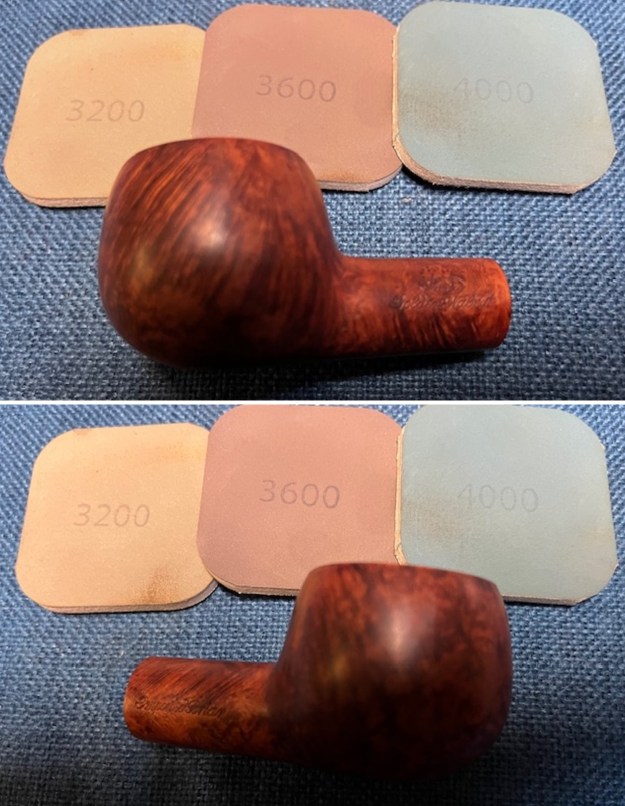
 I worked on polishing out the sanding marks with 320-3500 grit sanding pads. I worked particularly on the transition between the shank and the stem surface. I also worked over the briar of the bowl and rim top at the same time. The bowl and stem looked very good once I finished.
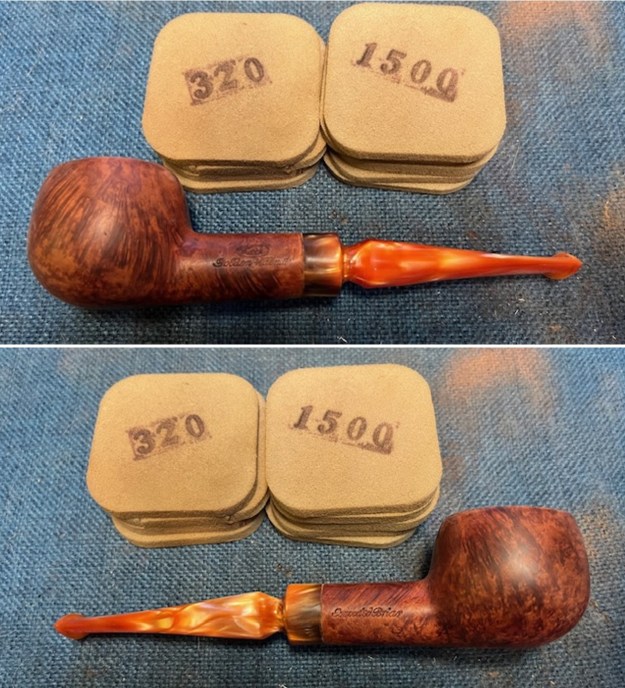
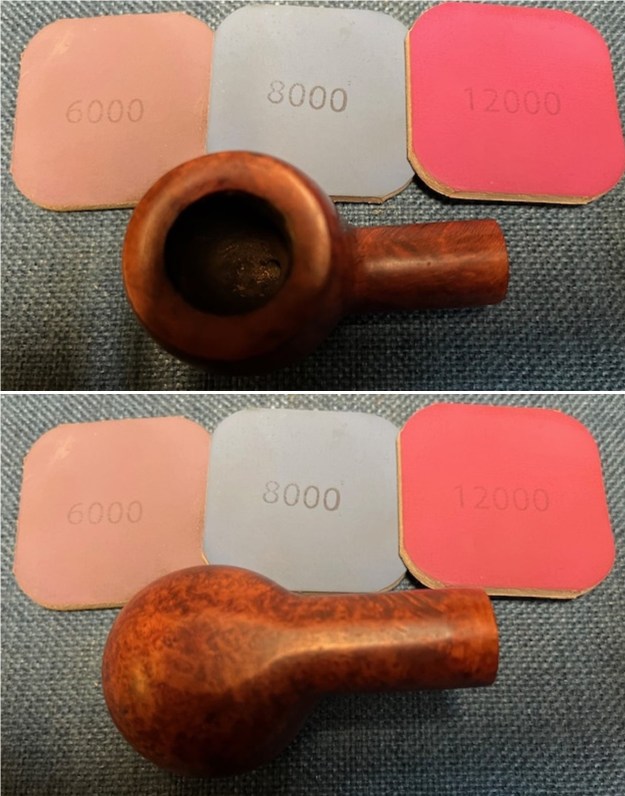
 I took the stem off the shank and turned to the bowl first. I polished the briar with micromesh sanding pads – dry sanding with 1500-12000 grit pads. After each sanding pad I wiped the bowl down with a damp cloth to remove the sanding debris and dust. It began to take on a deep shine.
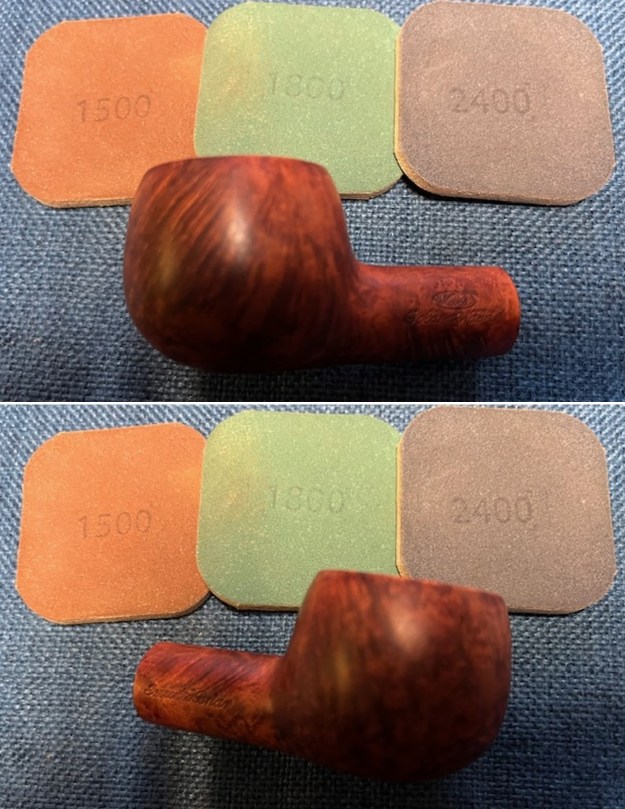

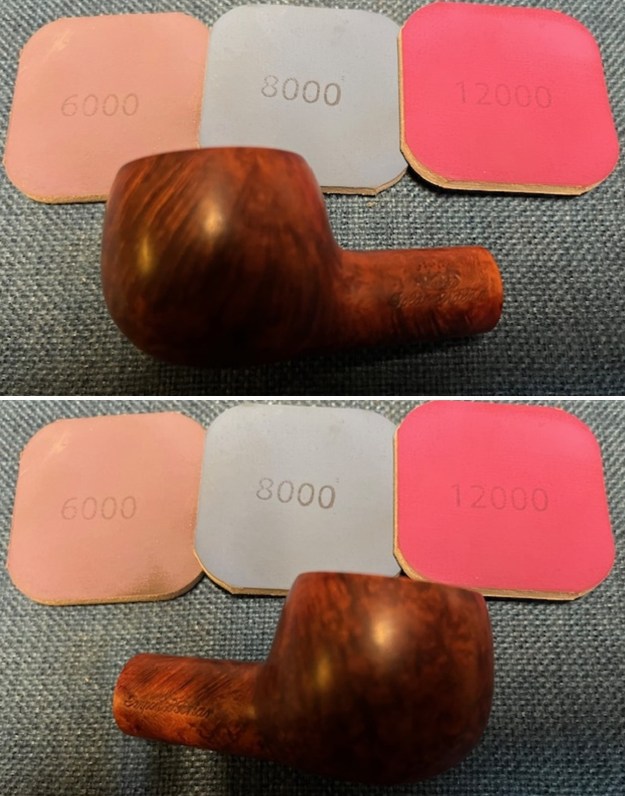
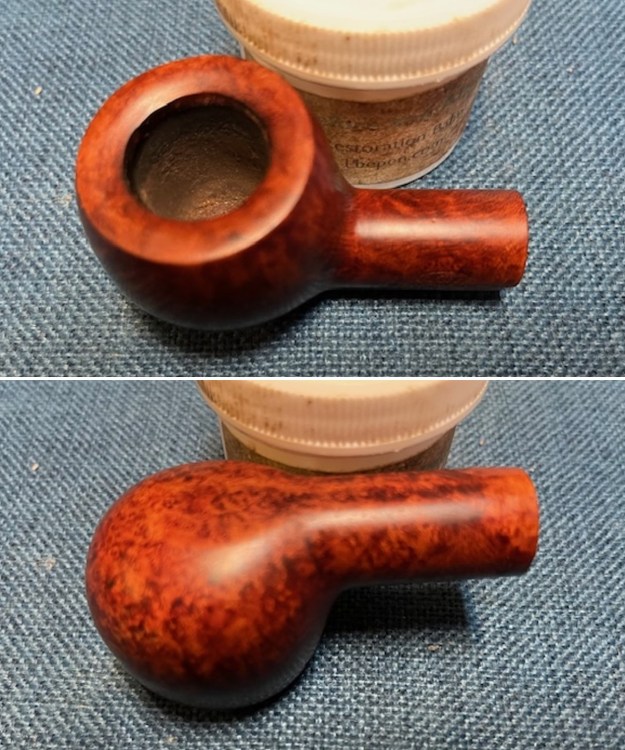
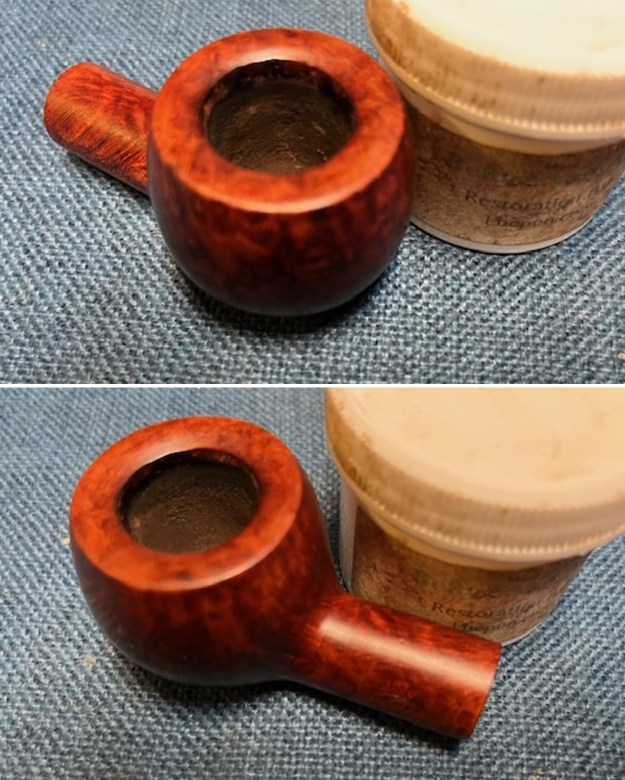
 I rubbed down the briar Before & After Restoration Balm. I worked it into the surface with my fingertips. The product works to clean, enliven and preserve the briar. I let it sit for 15 minutes then I buffed it with a cotton cloth to deepen the shine. The briar really comes alive with the balm.
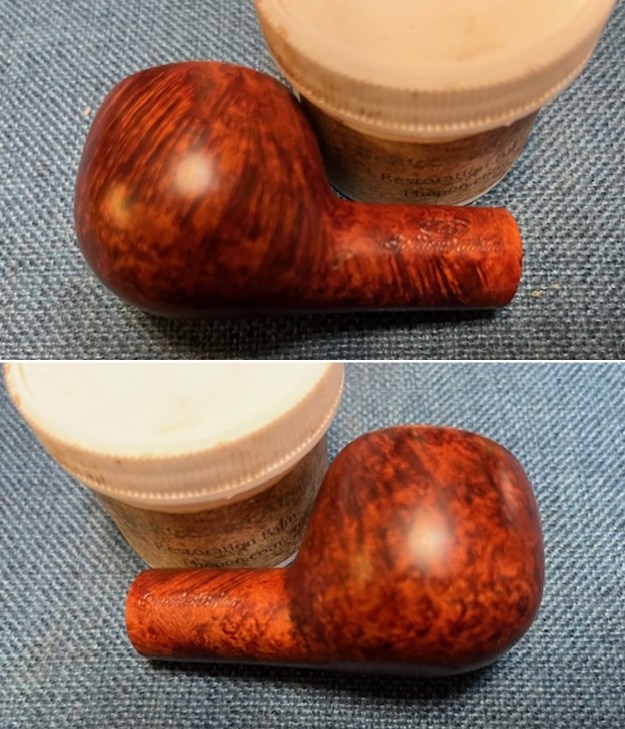
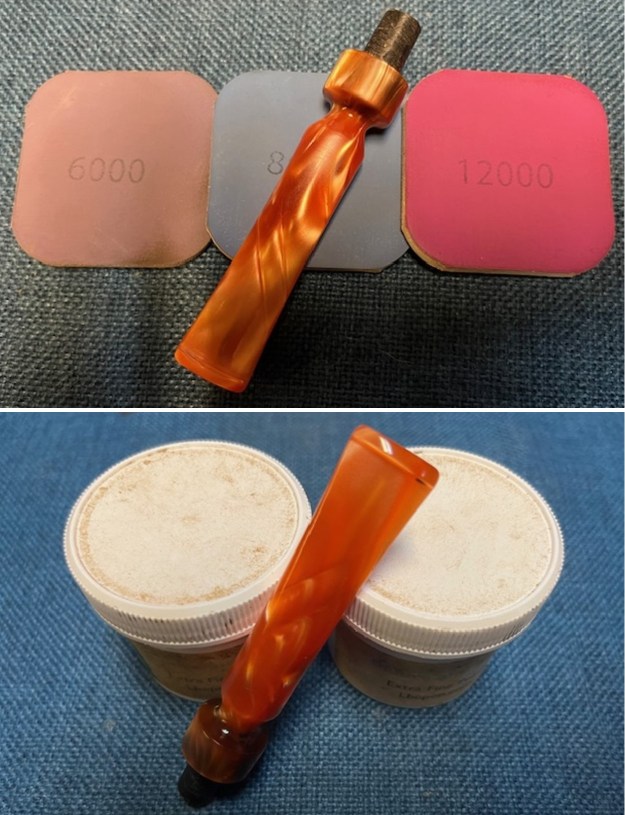
 I polished the stem with micromesh sanding pads – 1500-12000 grit pads to remove them. I wiped the stem down with Obsidian Oil after each sanding pad. I used Before & After Pipe Polish – both Fine and Extra Fine to further polish the stem. I rubbed it down with a final coat of Obsidian Oil and let it dry.
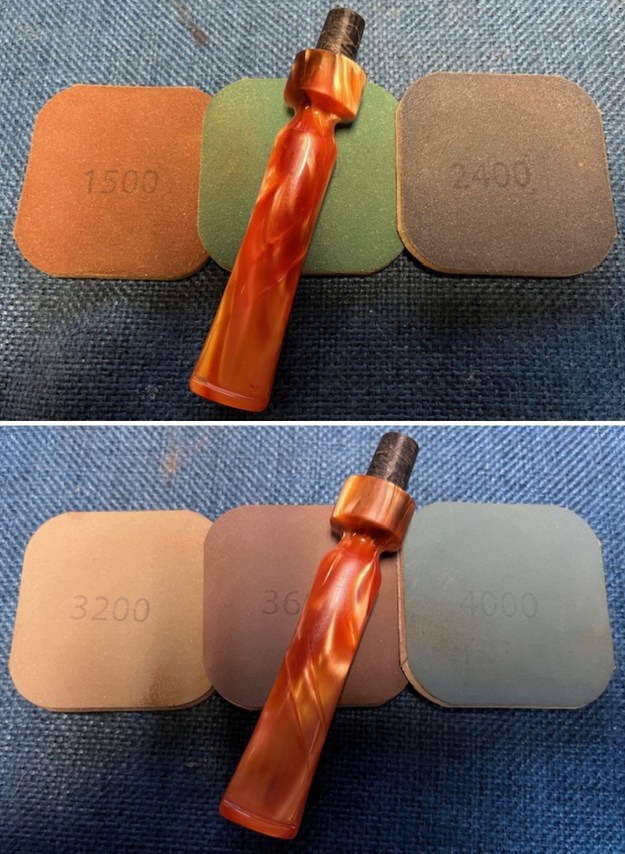
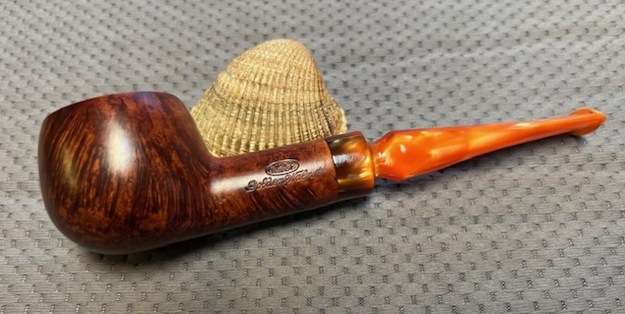
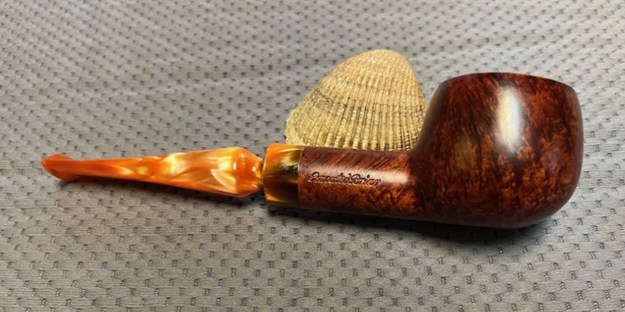
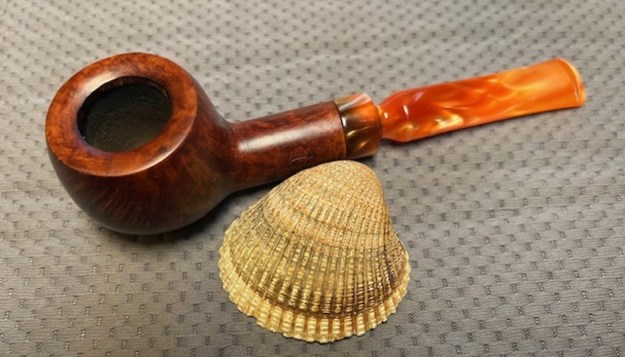
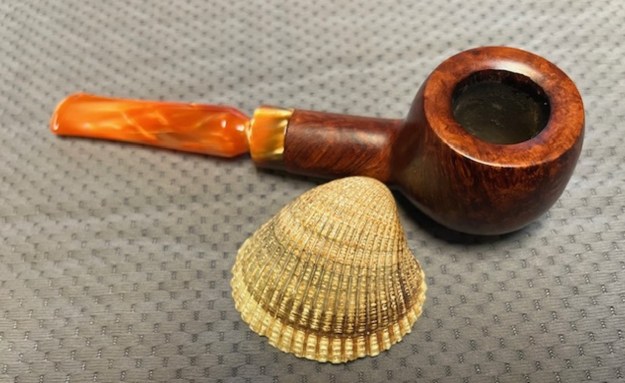
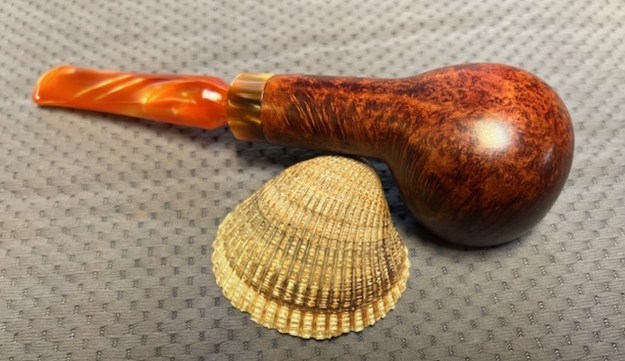
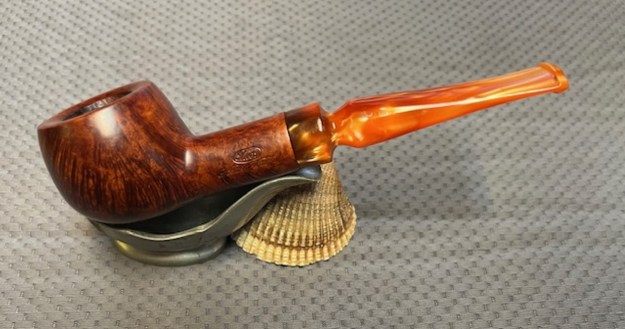
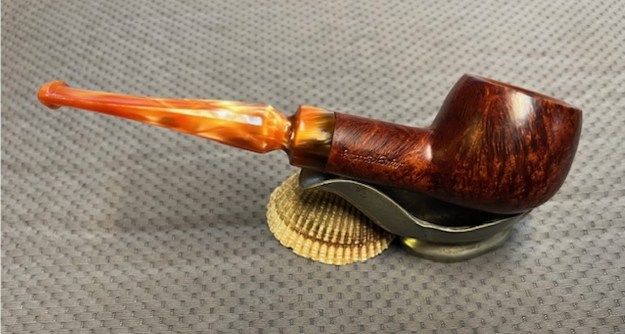
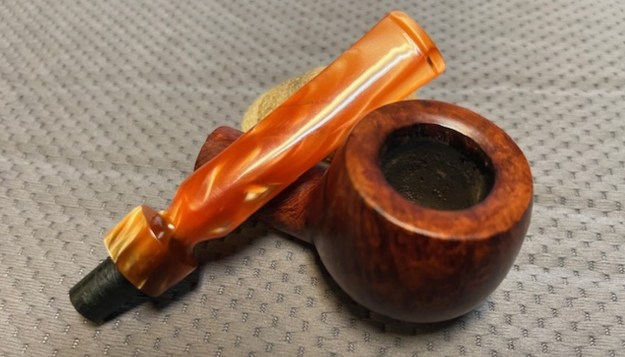
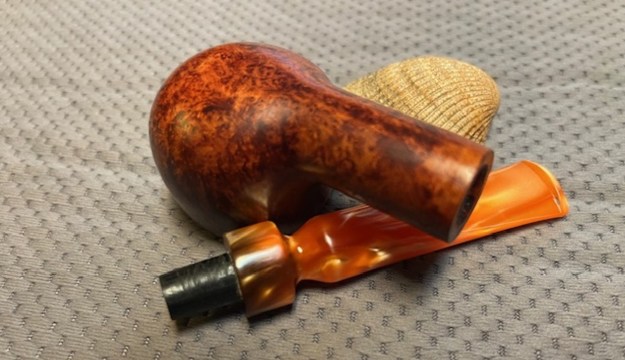
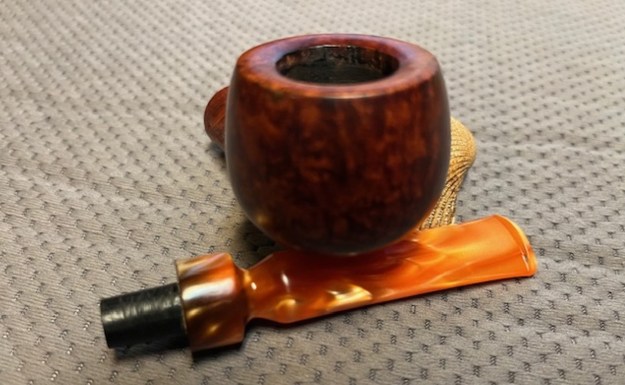
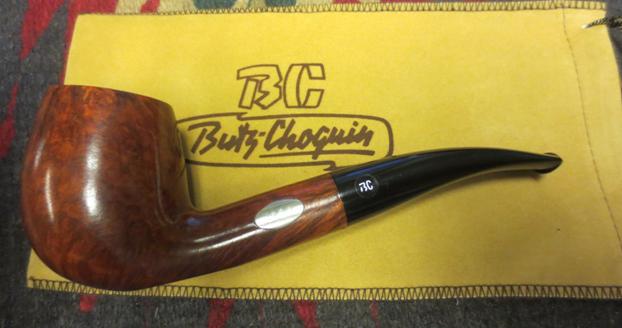
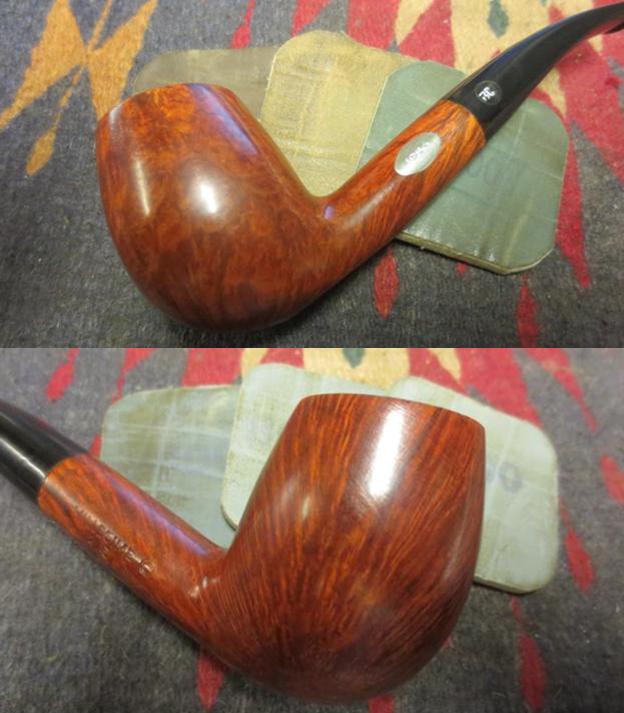
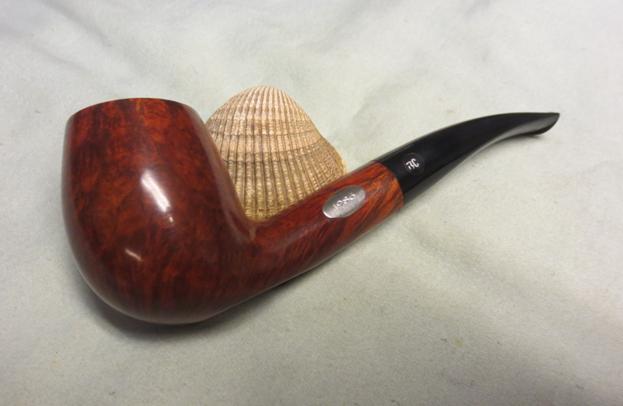
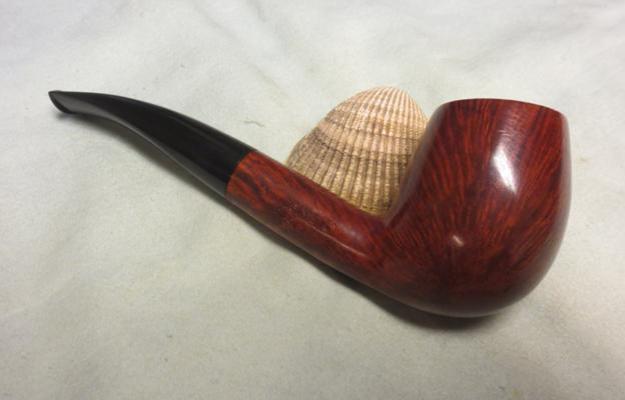
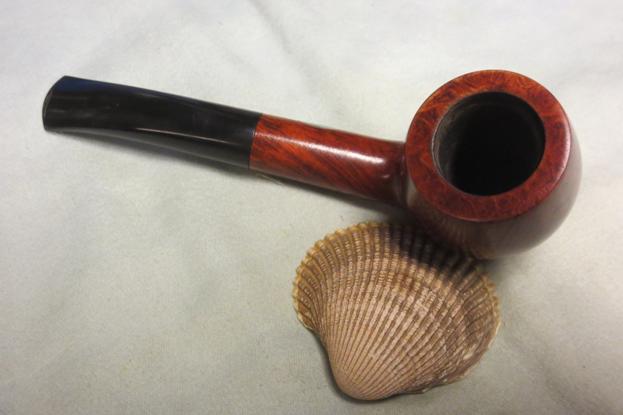
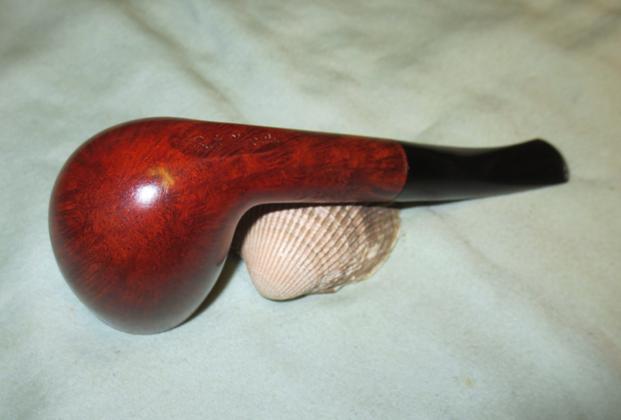
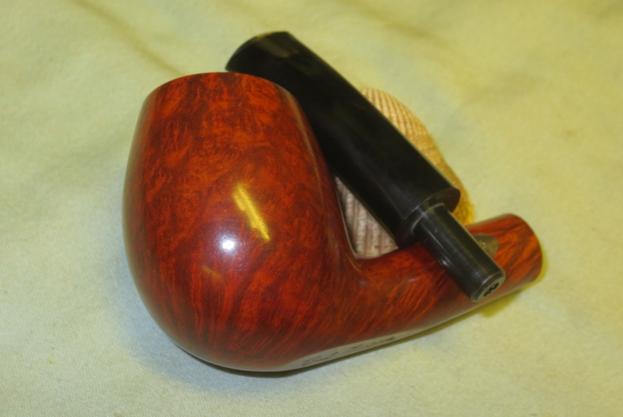
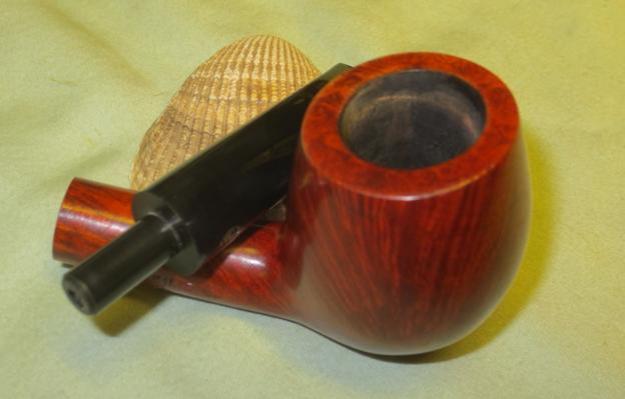
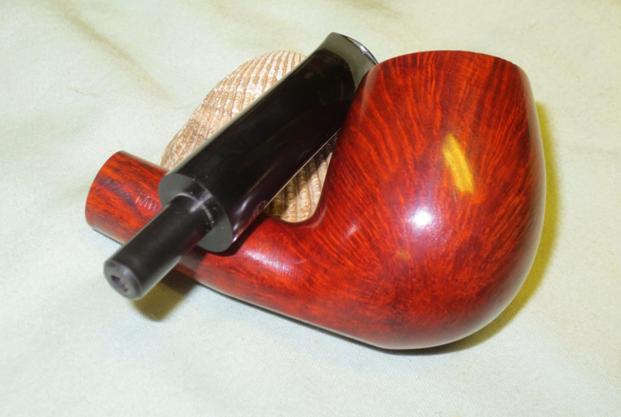
 This is another pipe that I am really happy about the finished restoration. This reborn Weber Golden Walnut with a newly fitted golden acrylic variegated stem turned out really well to my eye. After restemming I think that it is unique and beautiful looking classic apple with a twist. The bowl is a classic Bent Billiard and the “new” horn stem is a great match. The polished horn stem works well with the briar and the nickel ferrule. The briar really came alive with the buffing. The rich reddish brown stains of the finish make the grain really pop with the polishing and waxing. I put the stem back on the bowl and buffed the pipe with Blue Diamond on the buffing wheel. I gave the bowl and the stem multiple coats of carnauba wax on the buffing wheel. I buffed the pipe with a clean buffing pad to raise the shine. I hand buffed the pipe with a microfiber cloth to deepen the shine. The finished Weber Golden Walnut Apple really has a unique beauty and feels great in the hand. It looks very good. Give the finished pipe a look in the photos below. The dimensions of the pipe are Length: 6 inches, Height: 1 ½ inches, Outside diameter of the bowl: 1 ½ inches, Chamber diameter: ¾ of an inch. The weight of the pipe is 45 grams/1.62 ounces. The pipe will be going on the rebornpipes store soon. It will be in the American Pipemakers Section if you would like to add it to your collection. Thanks for reading this blog and my reflections on the pipe while I worked on it. It was a fun one to work on!