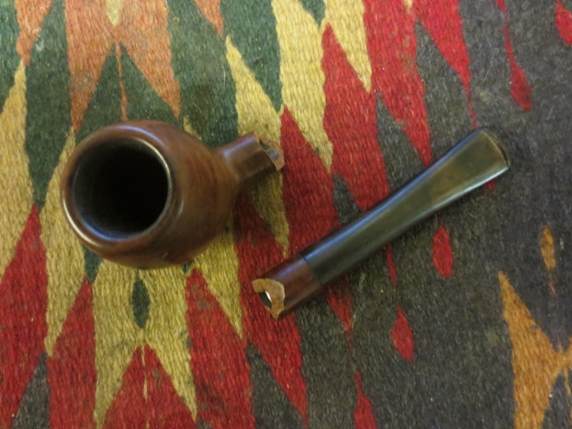
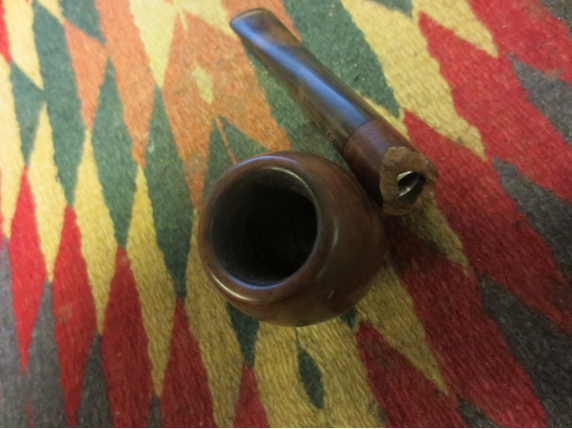
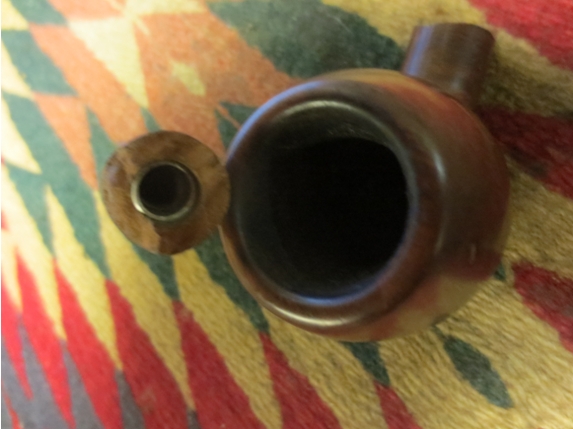
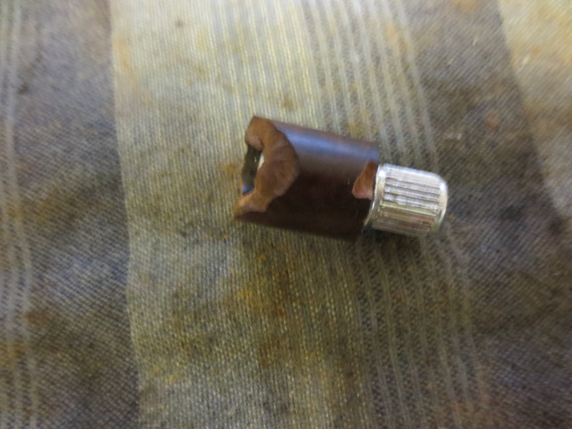
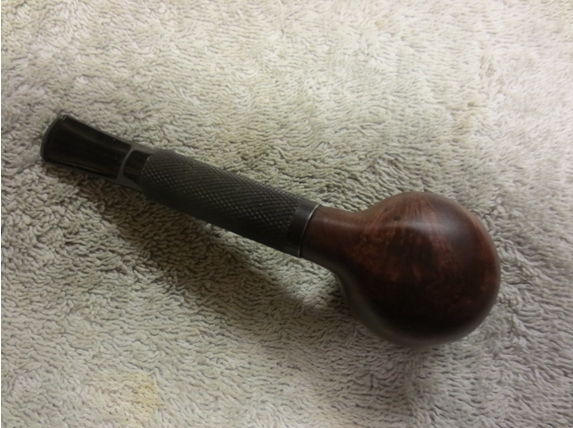
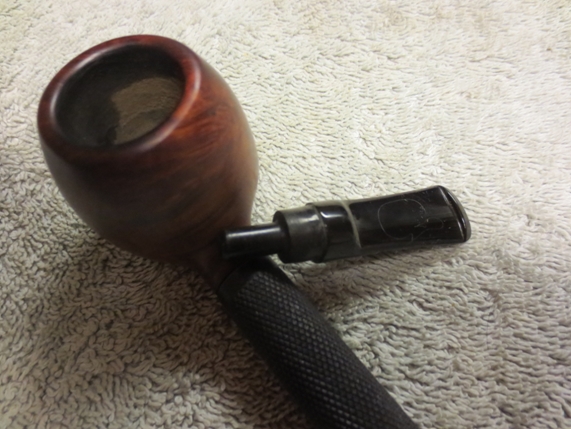
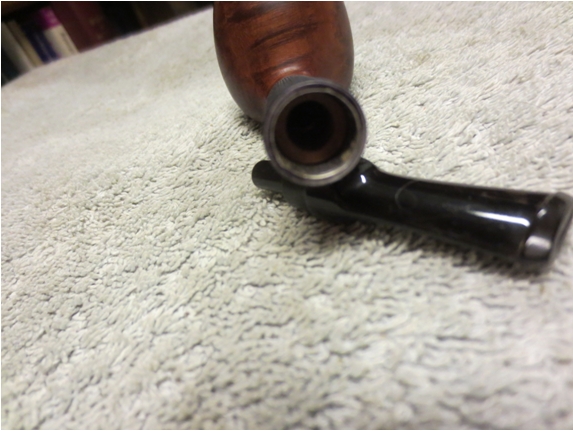
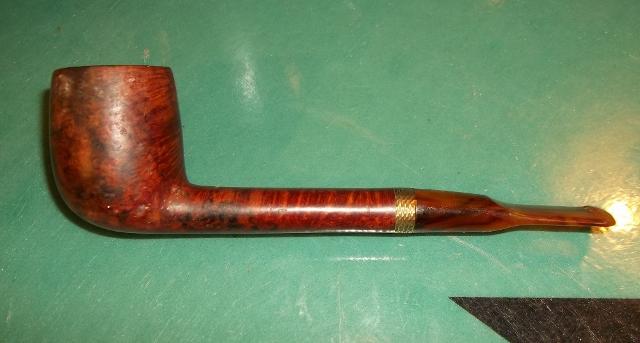
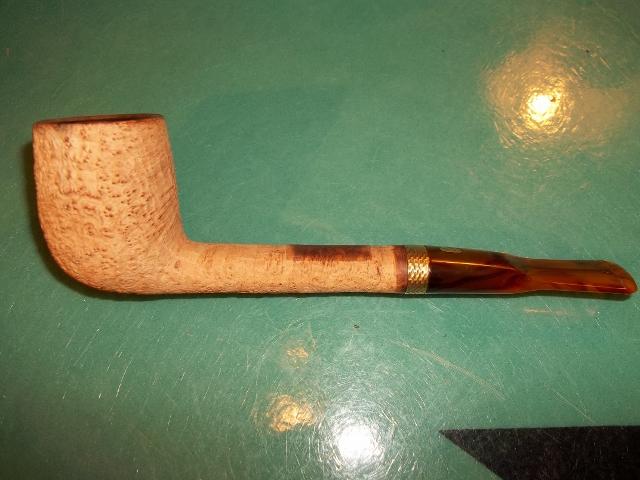
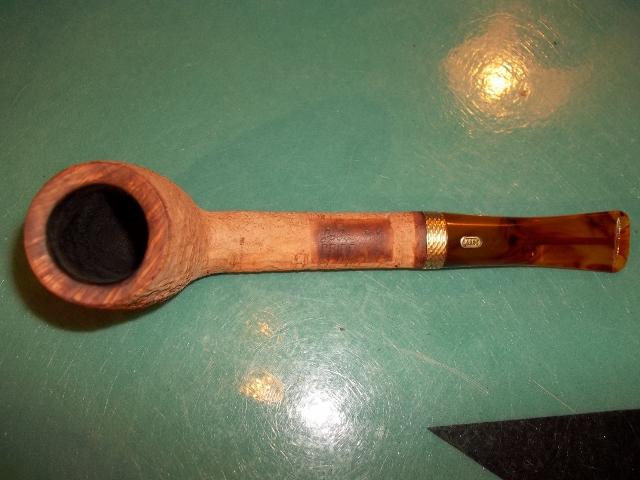
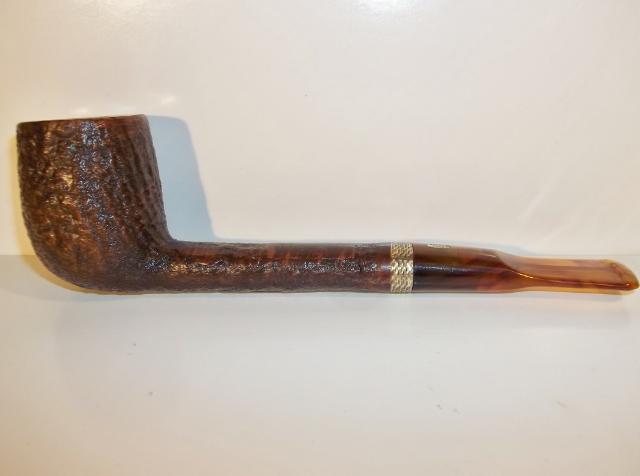
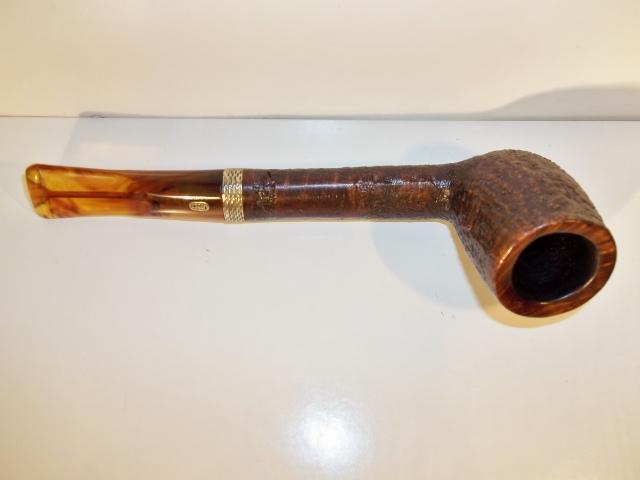
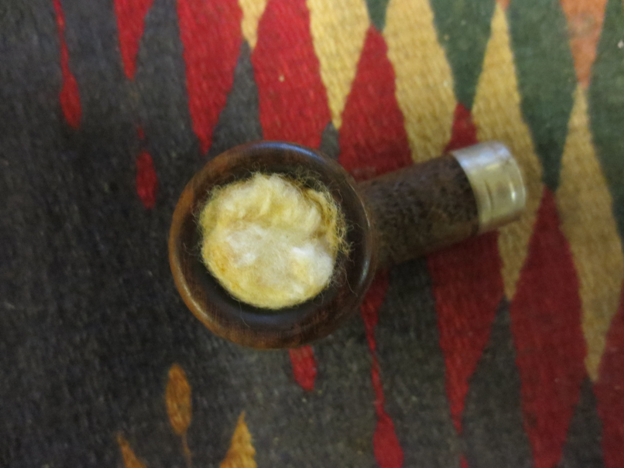
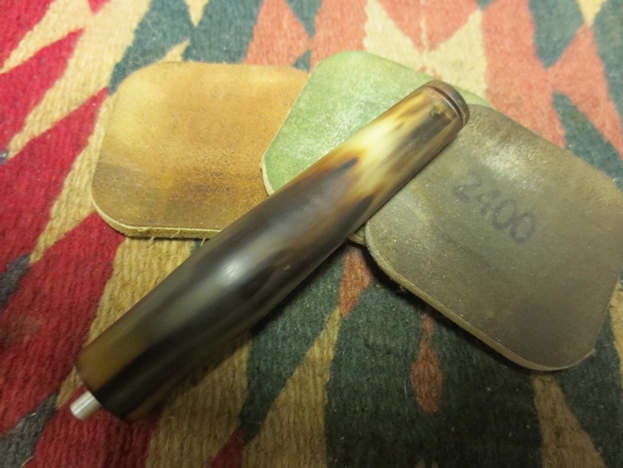
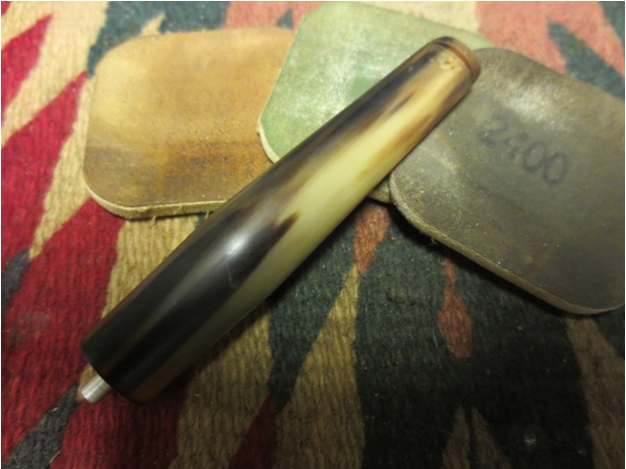
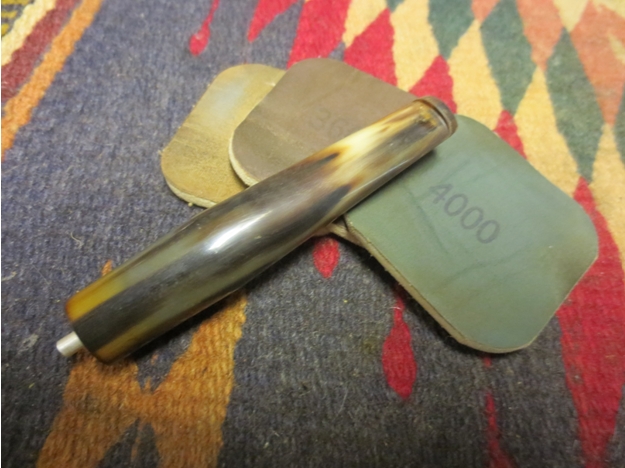
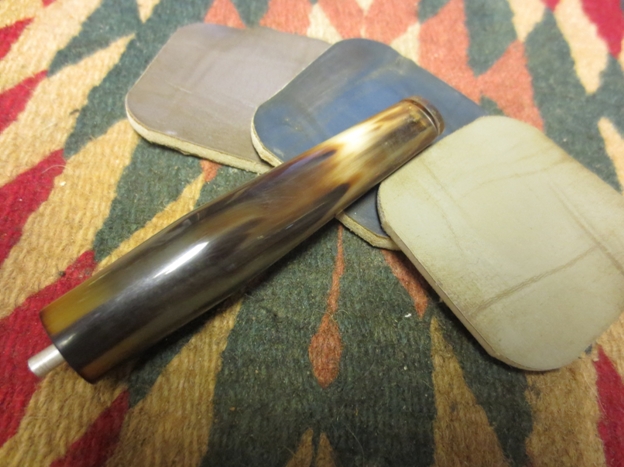
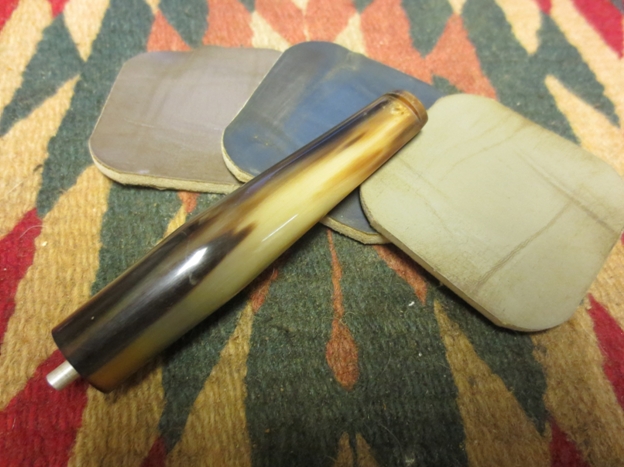
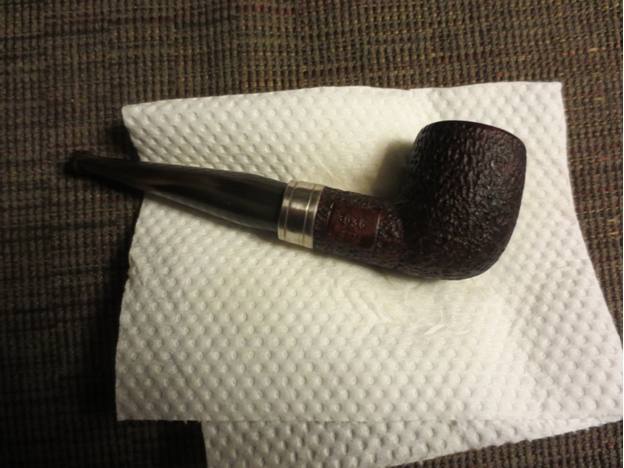
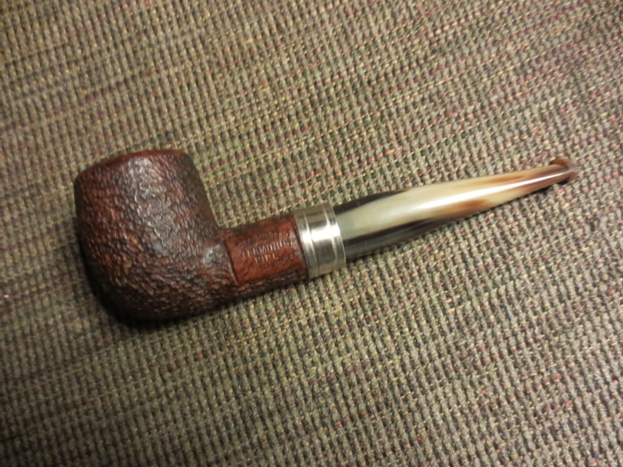
Tag Archives: polishing a stem

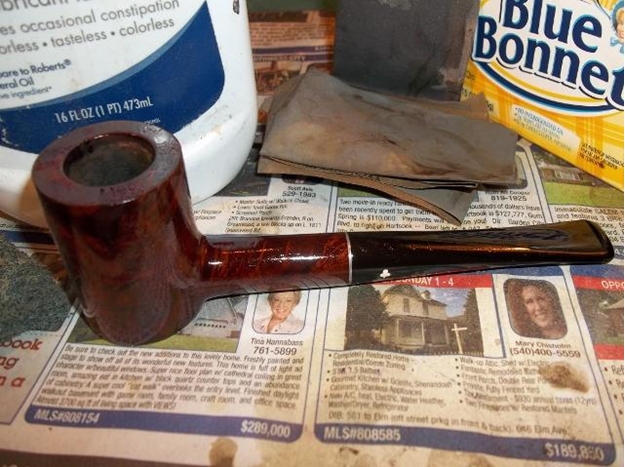
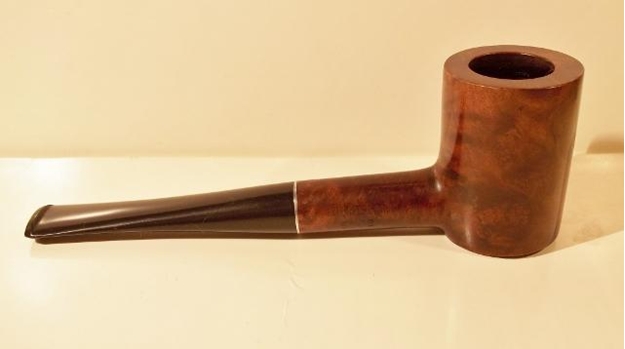
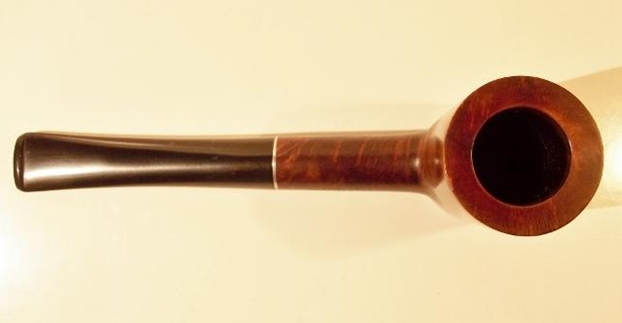
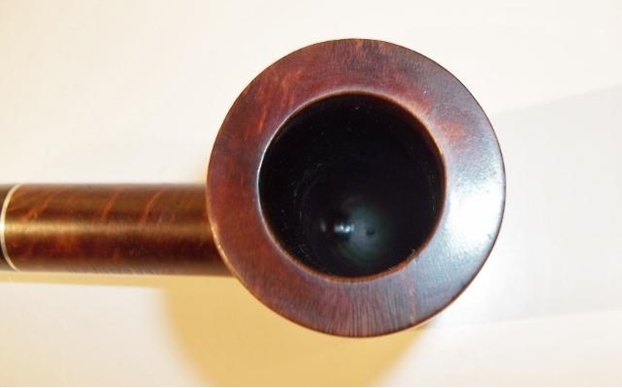
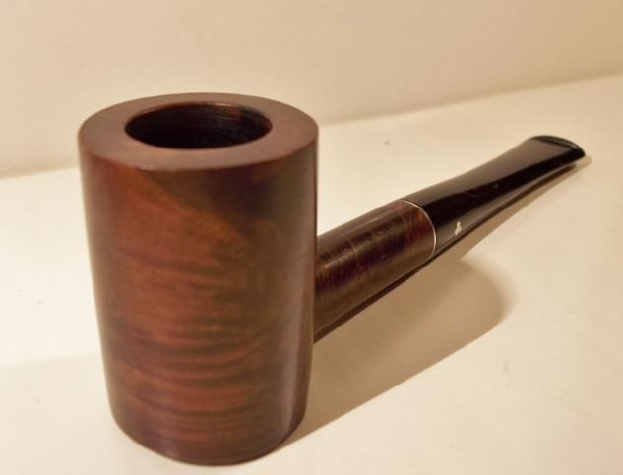
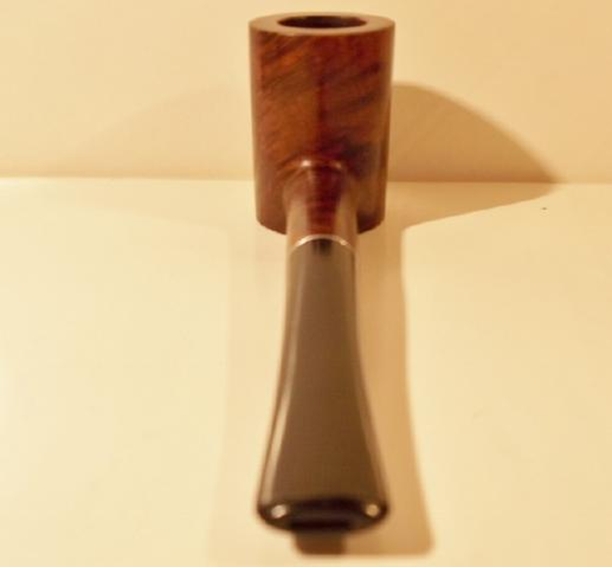
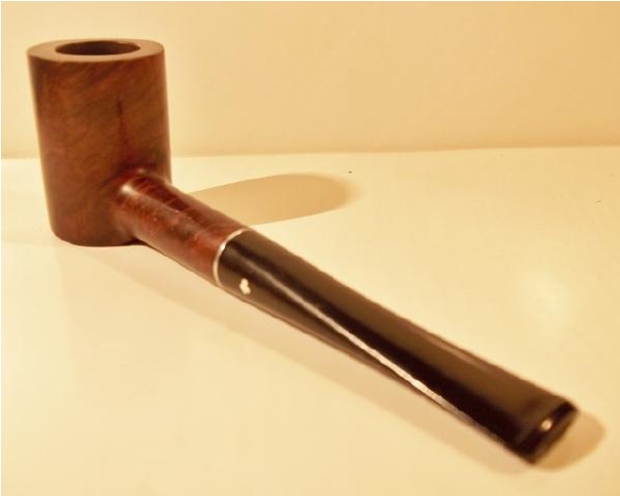
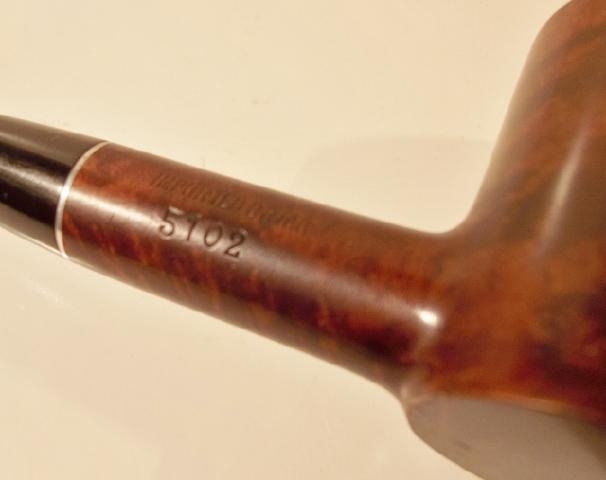
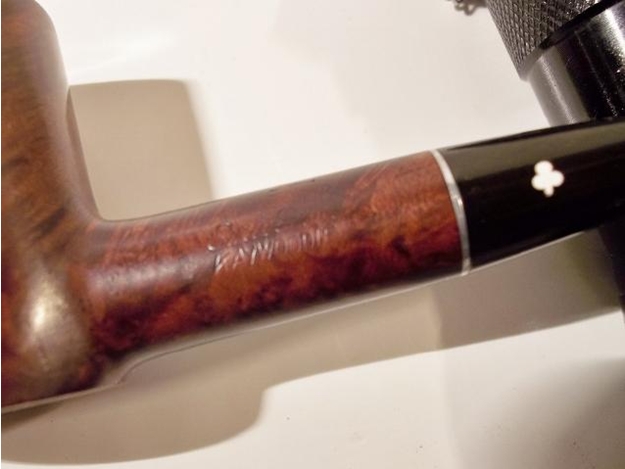
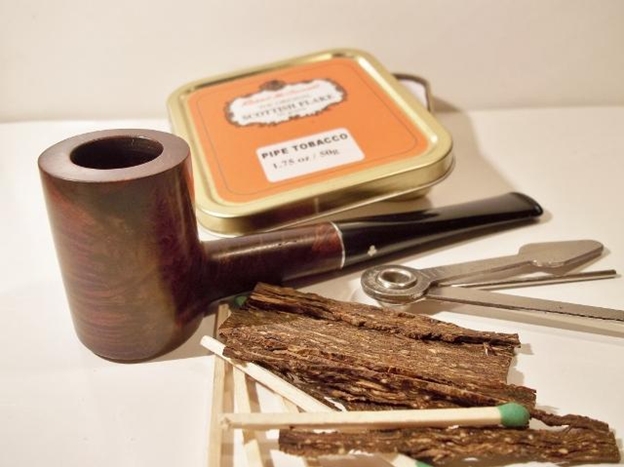
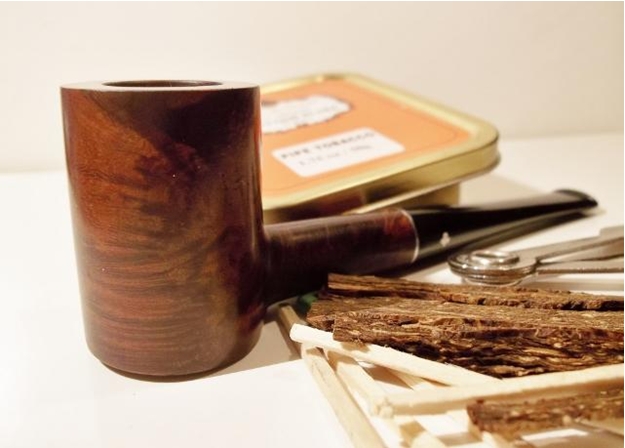
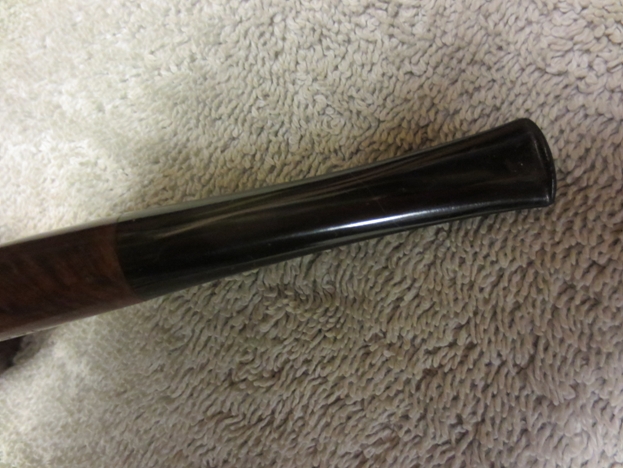
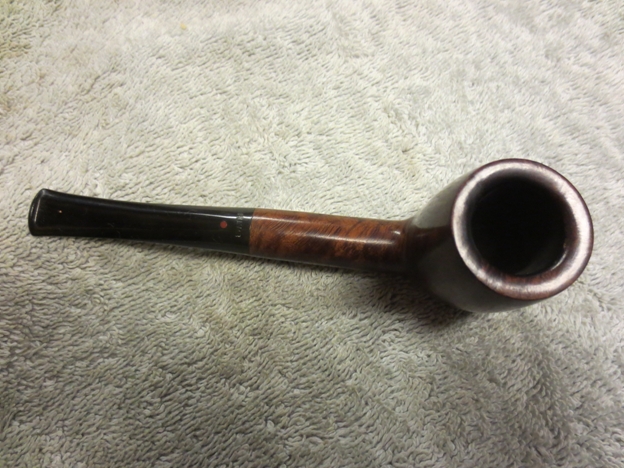
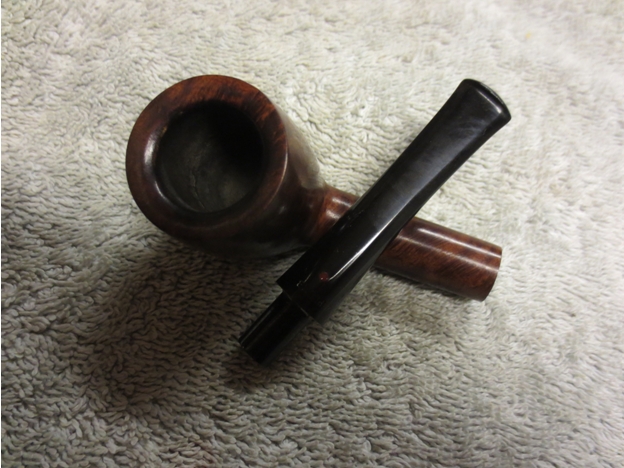
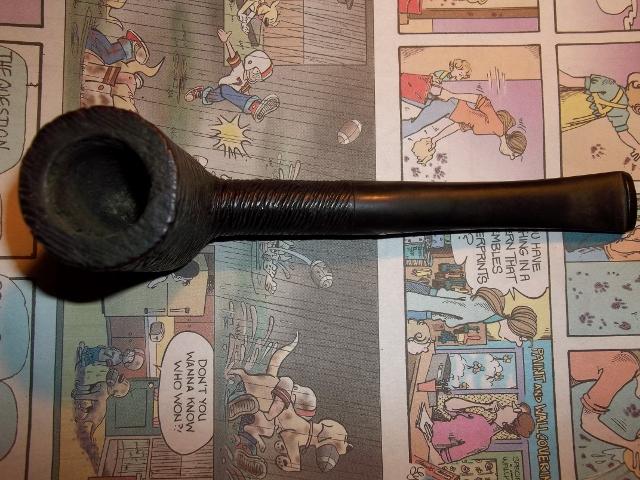
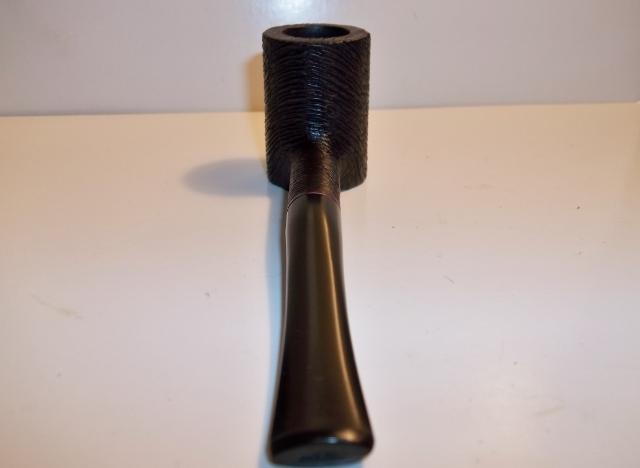
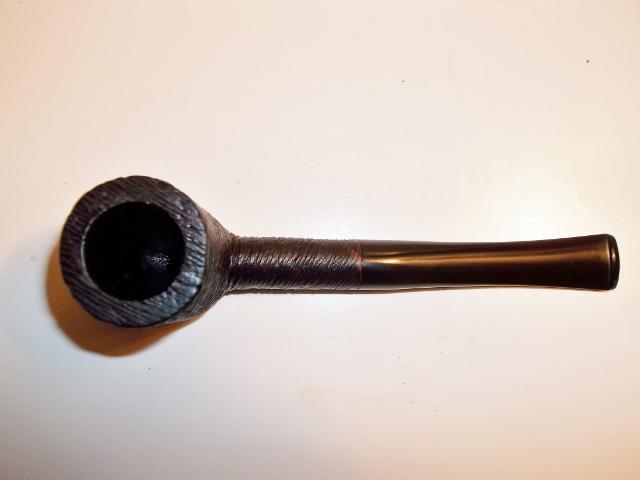
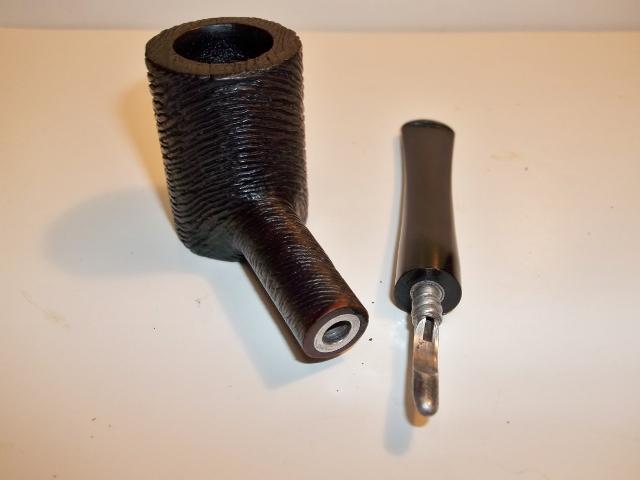
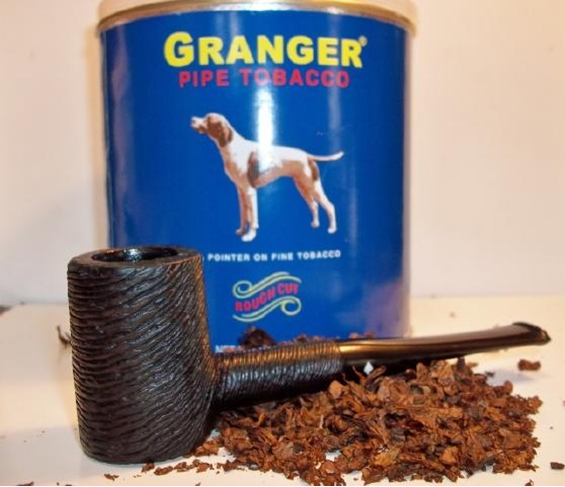
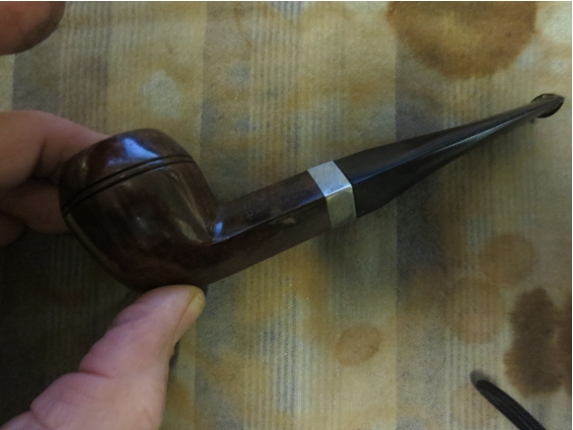
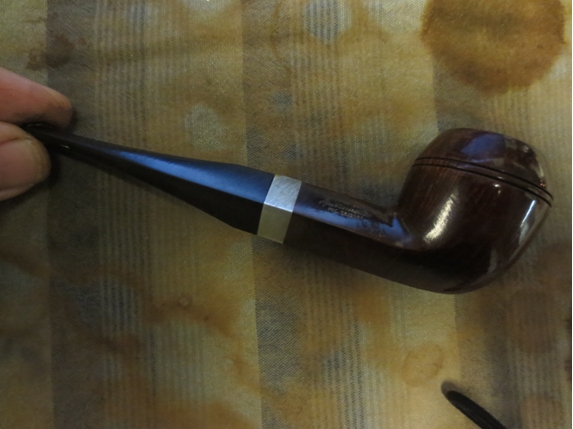
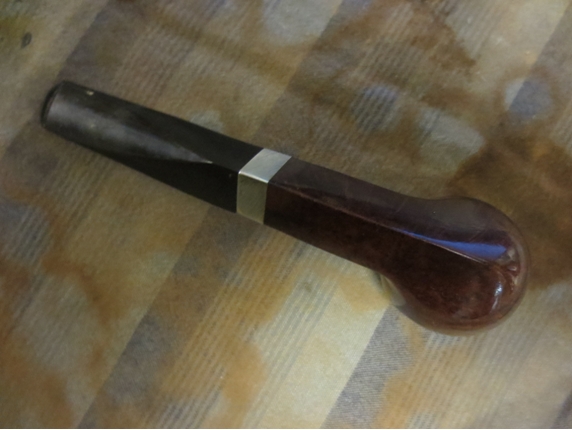
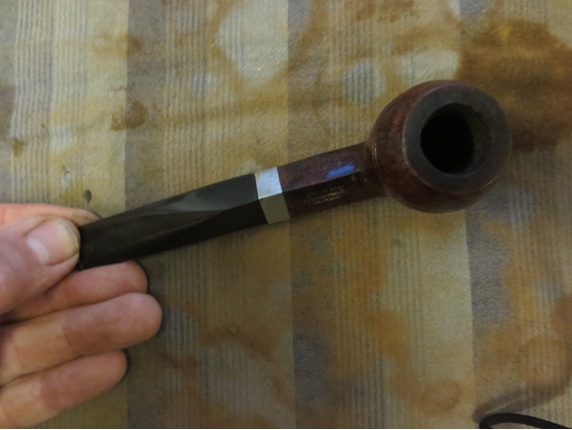
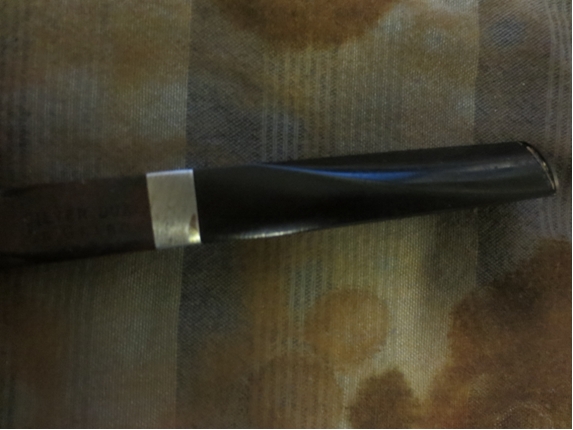
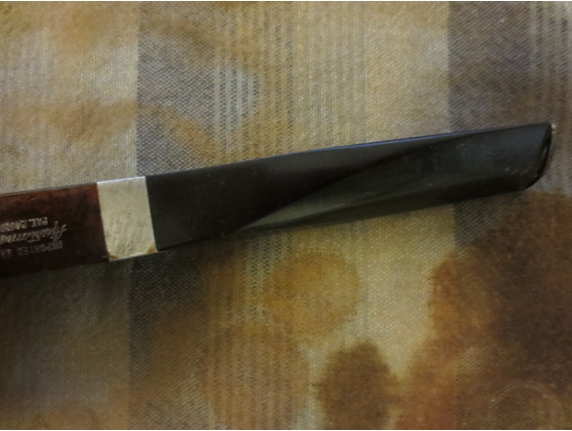
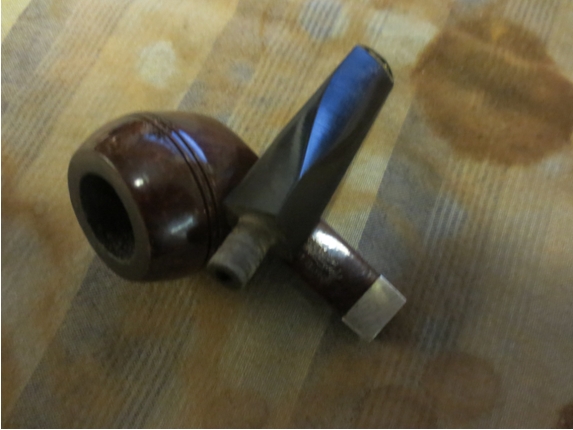
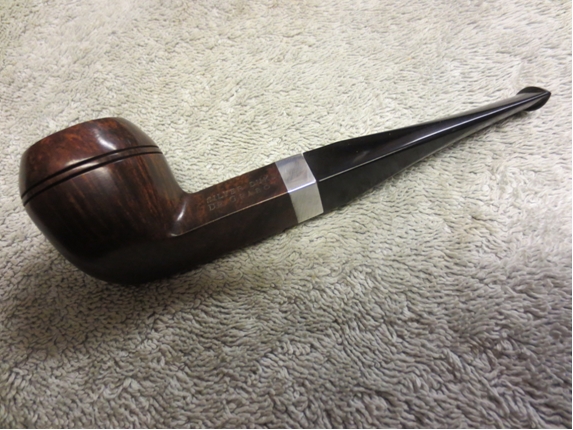
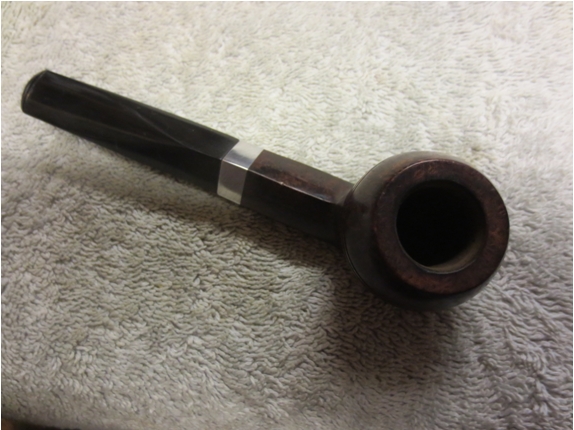
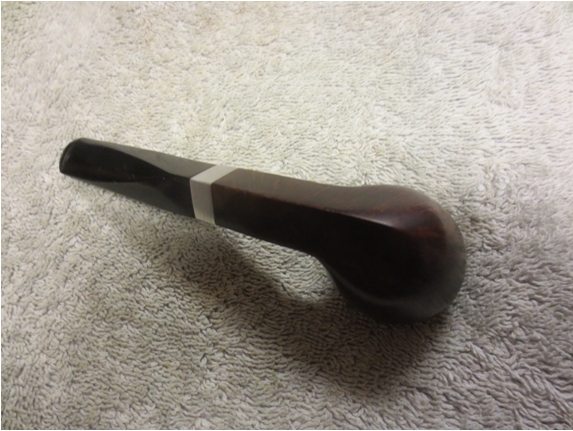
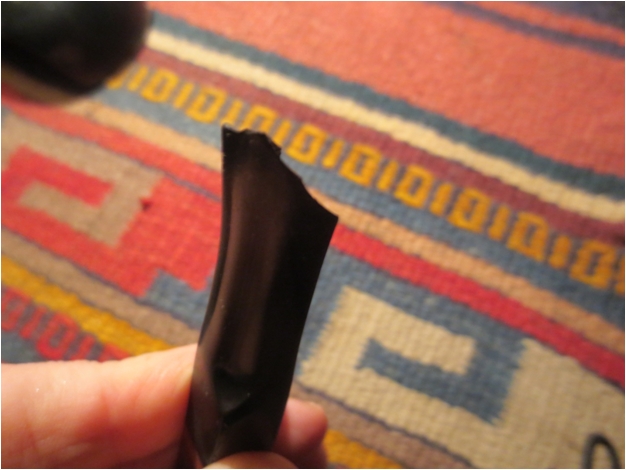
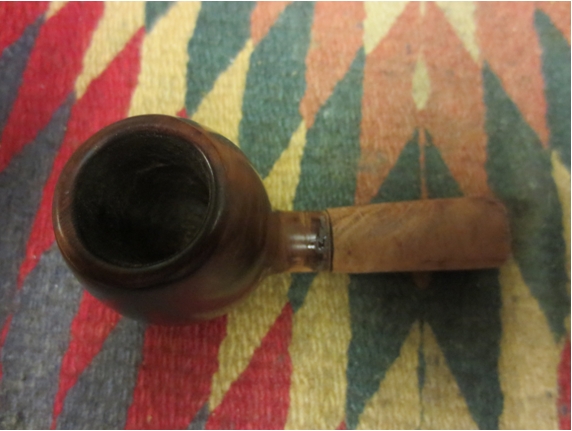
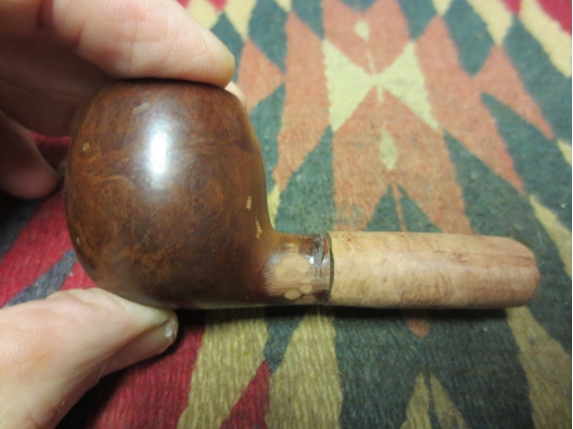
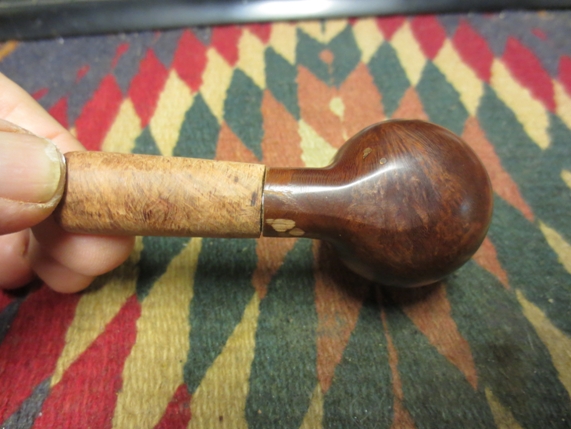
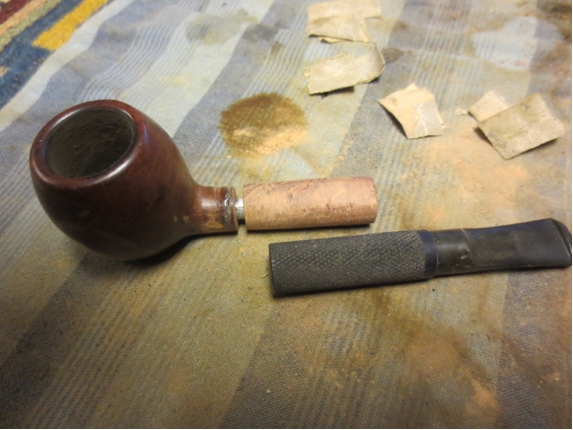
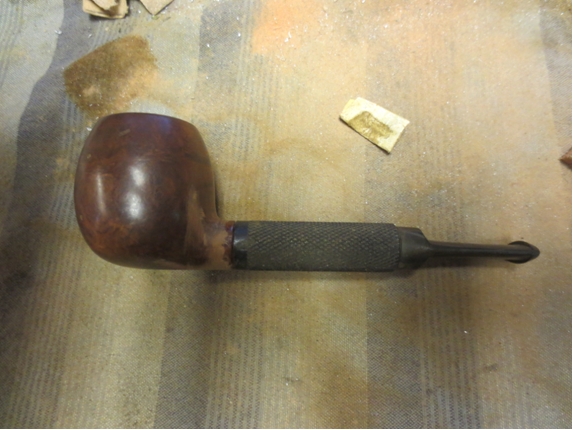
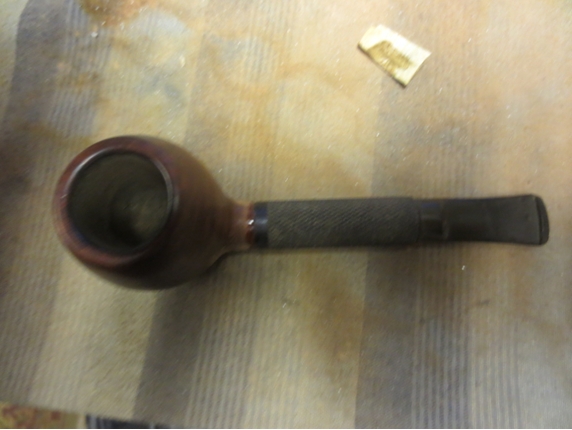
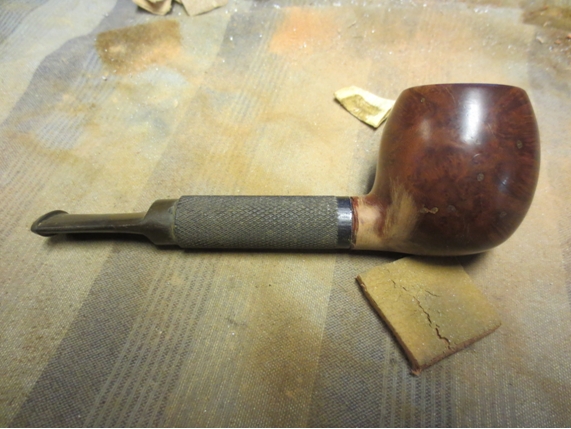
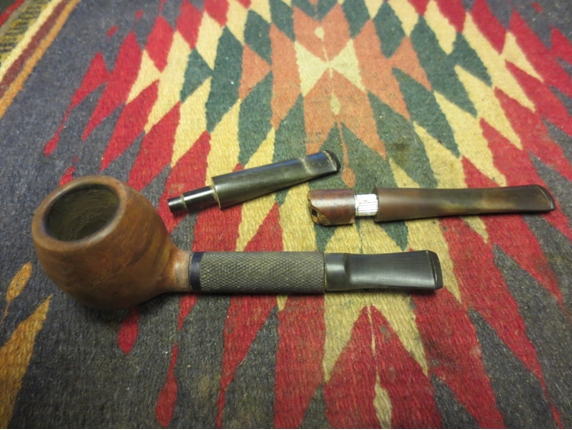
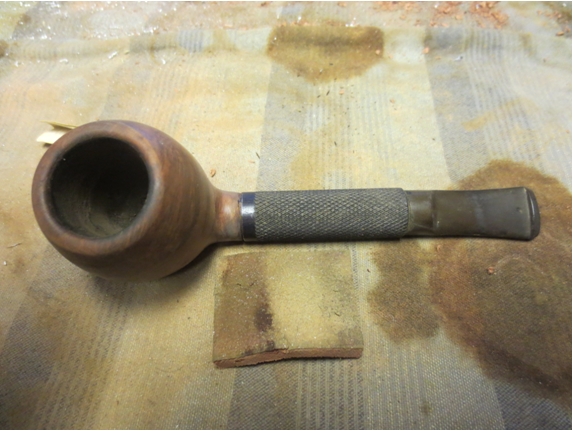
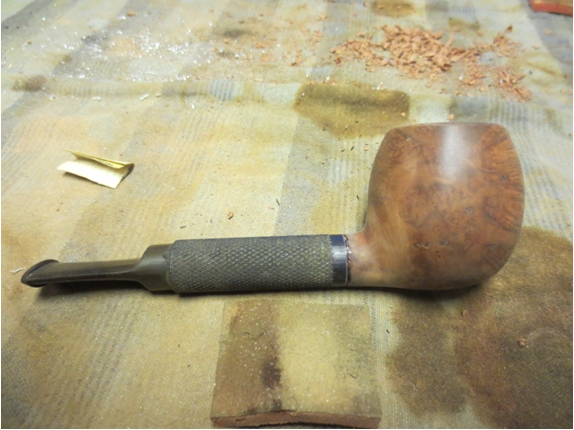
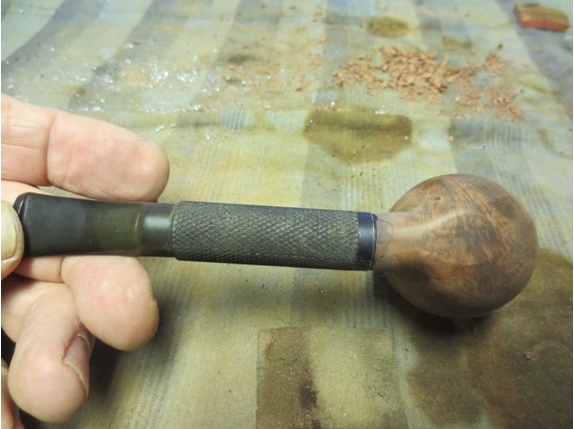
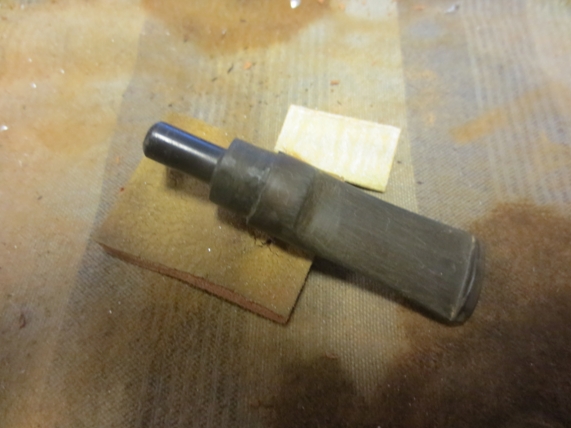
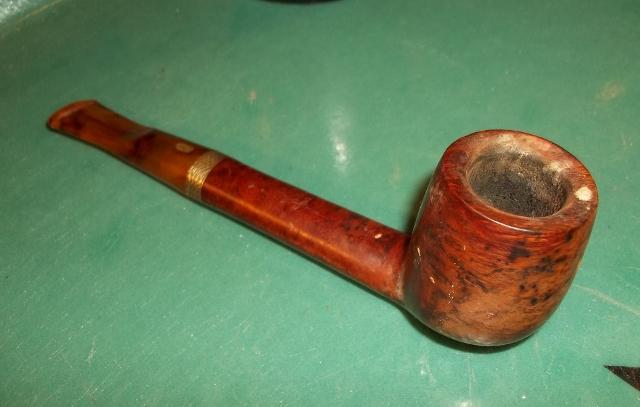
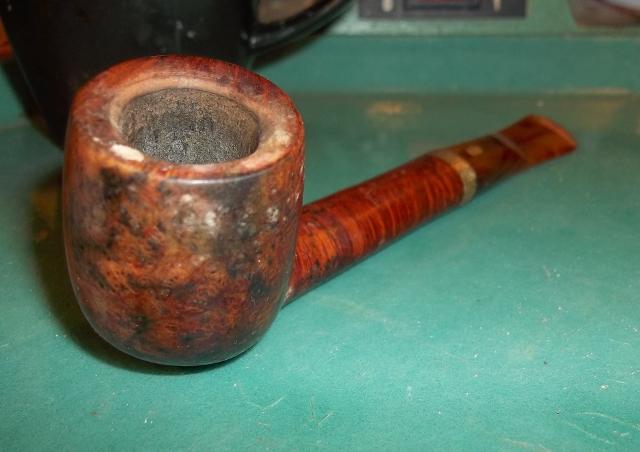
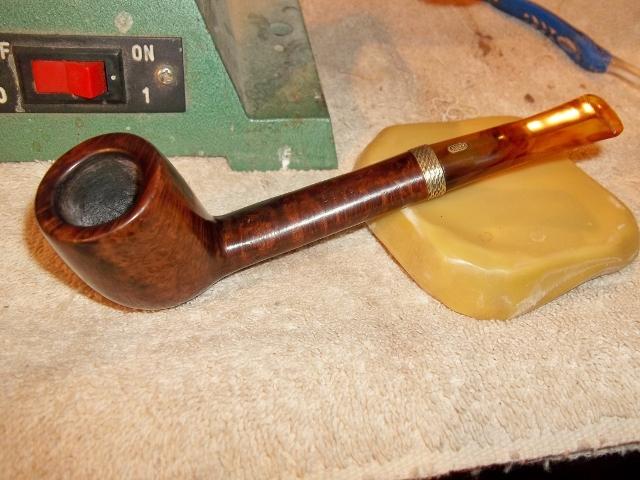
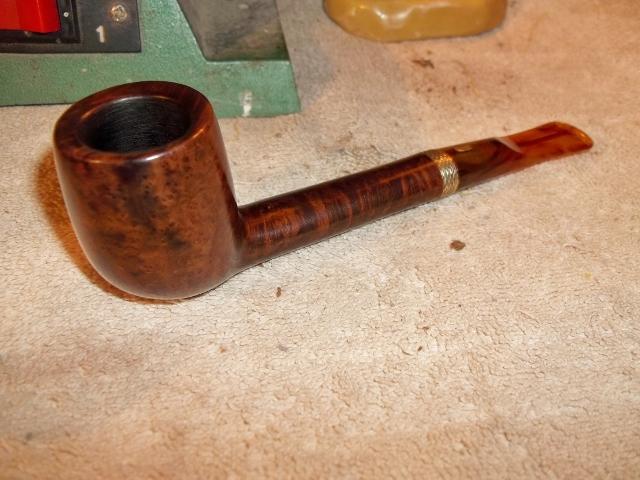
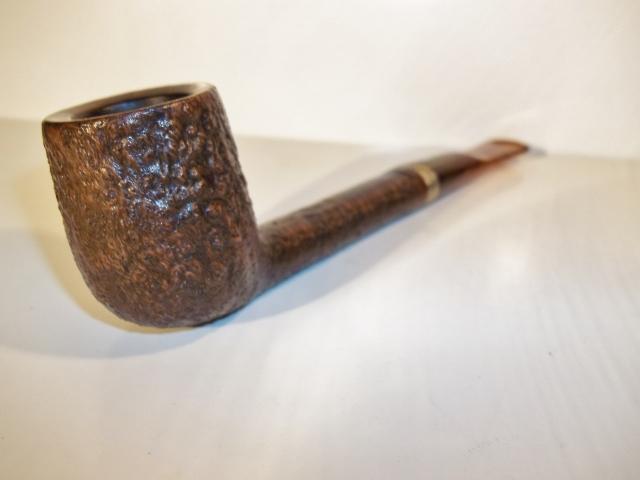
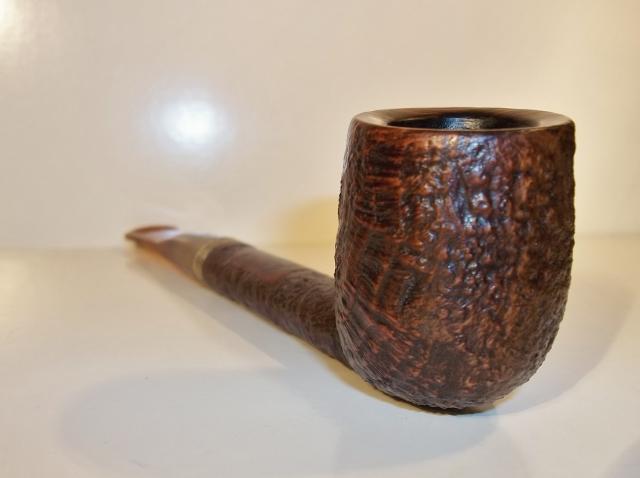
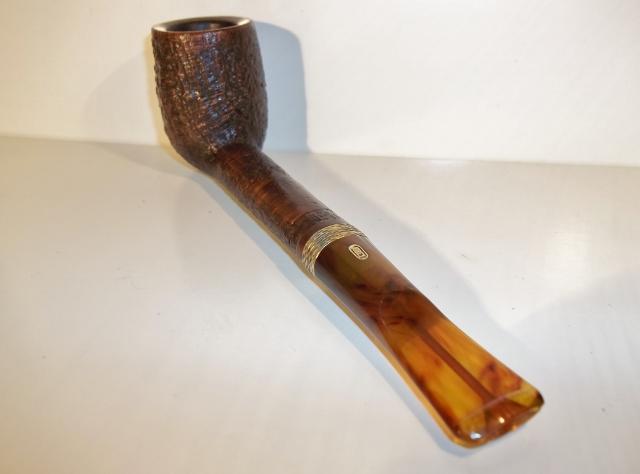
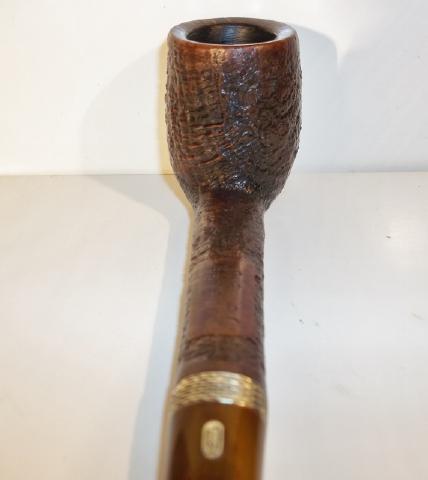
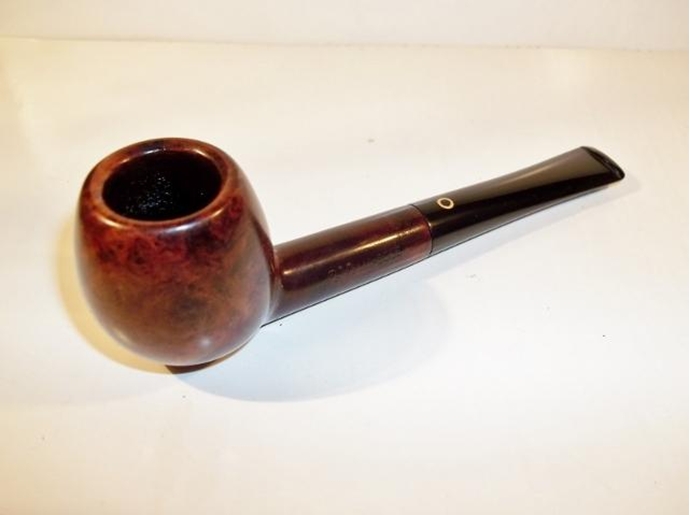
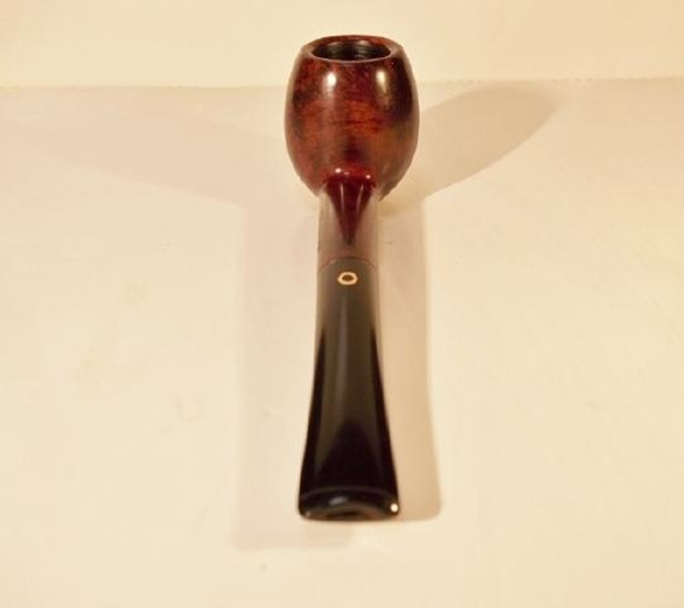
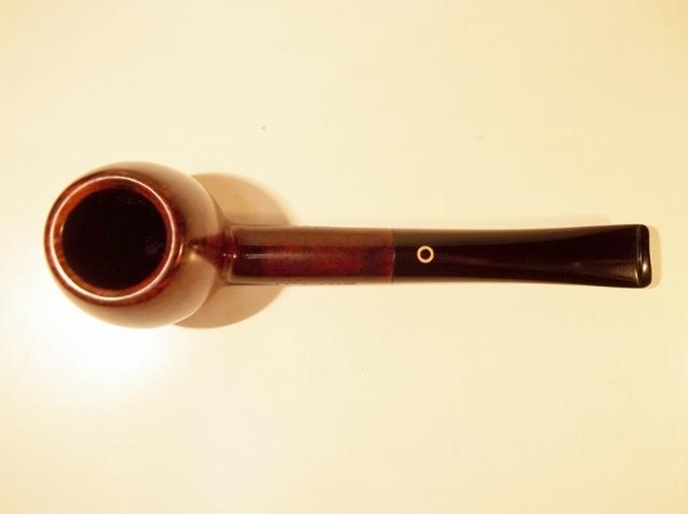
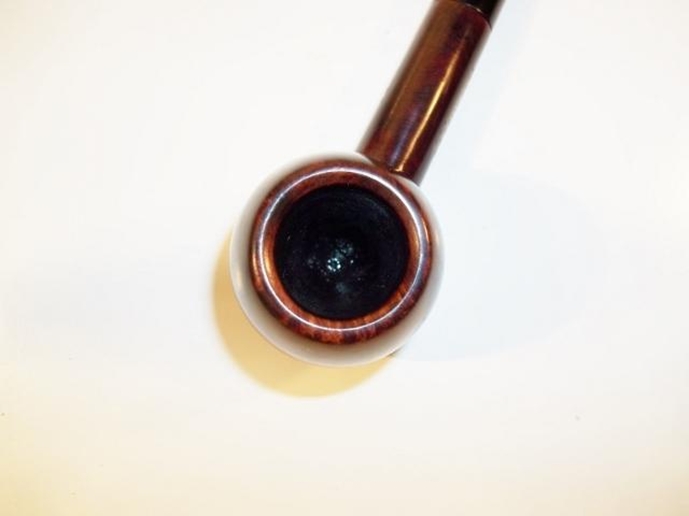
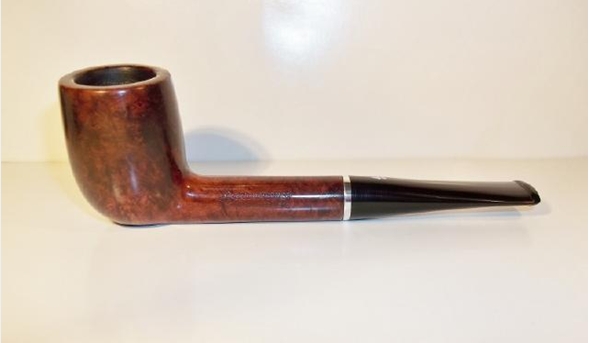
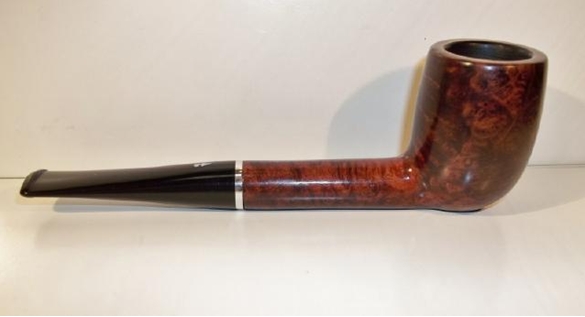
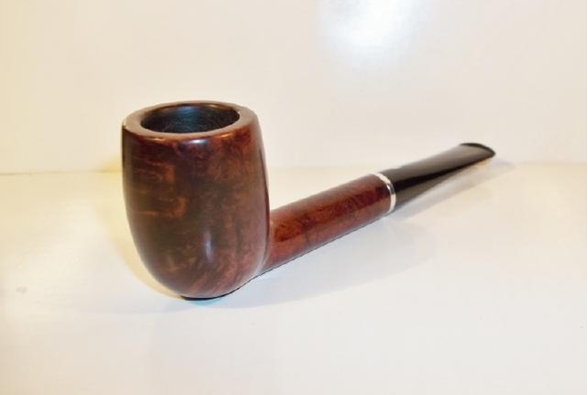
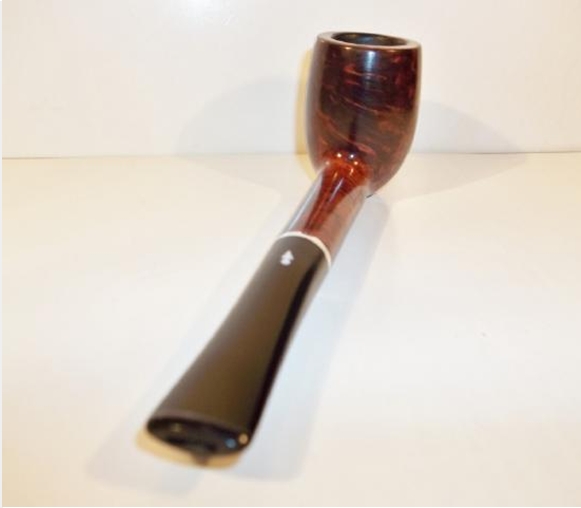
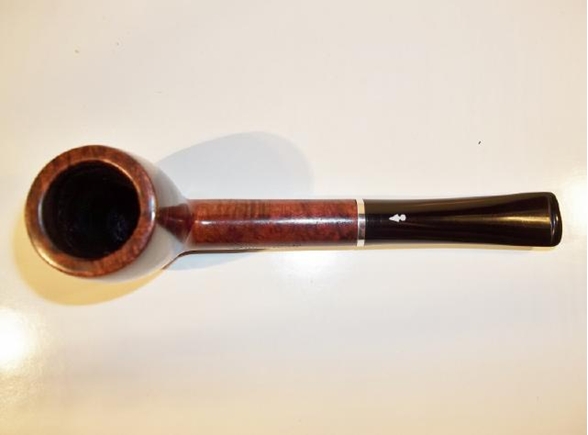
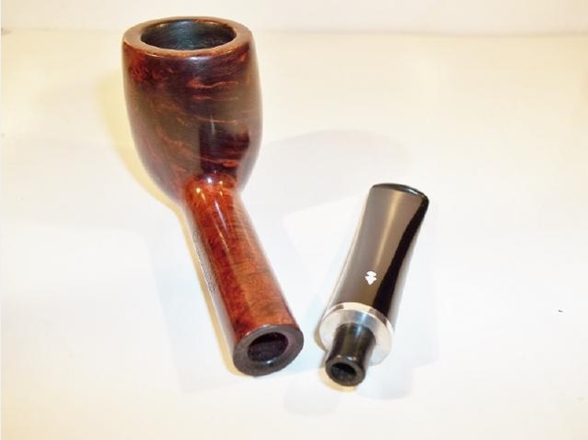
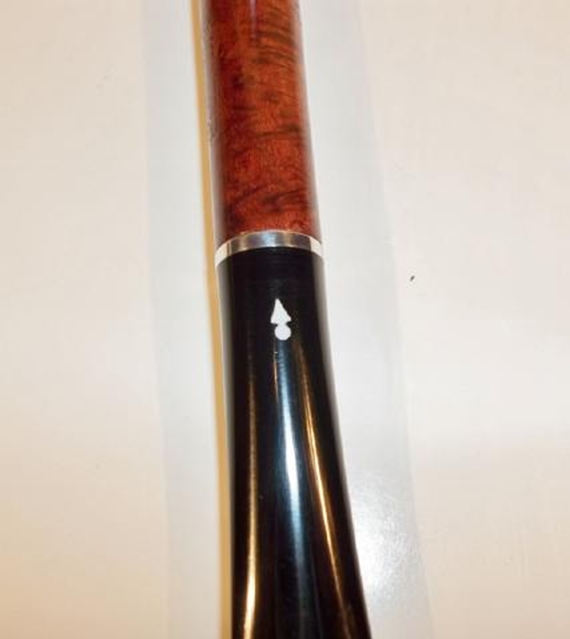
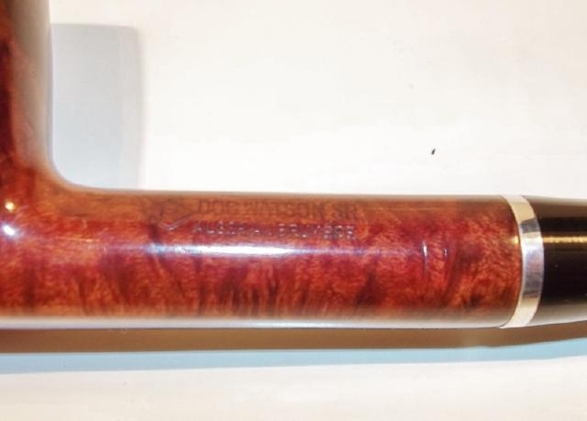
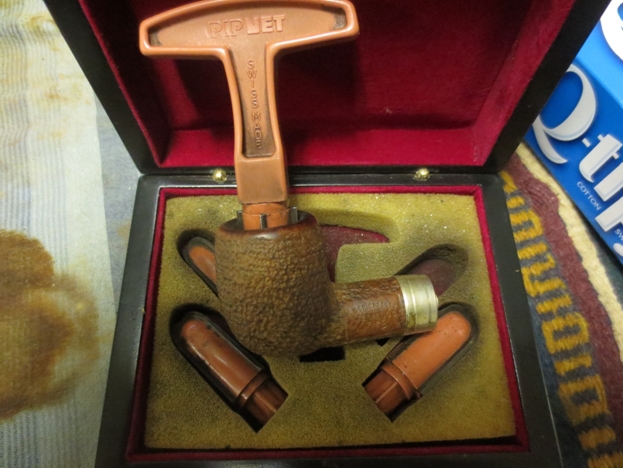
A Kaywoodie Supergrain 5102 Poker Clean Up


Blog by Troy Wilburn

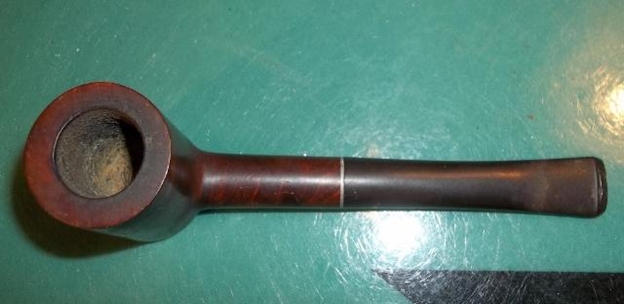
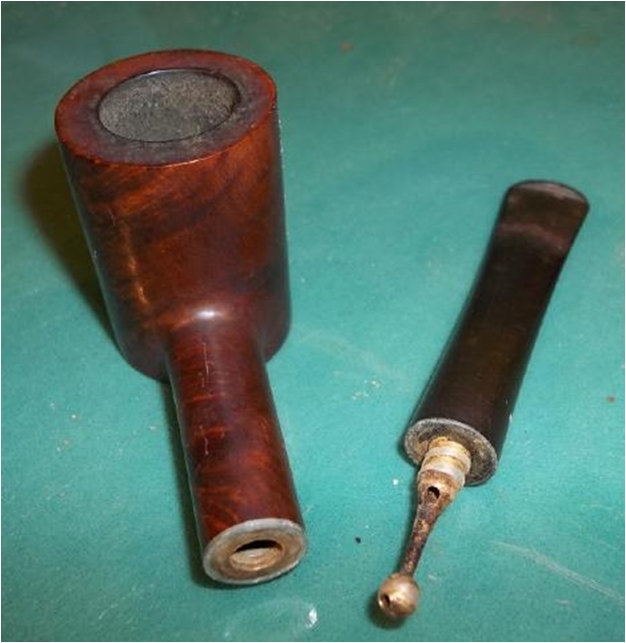
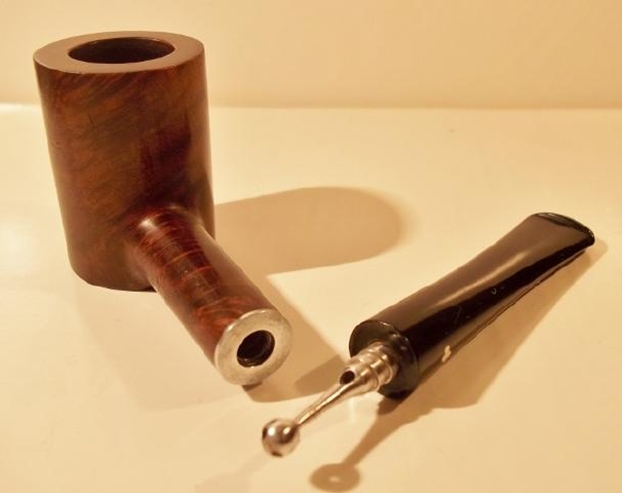
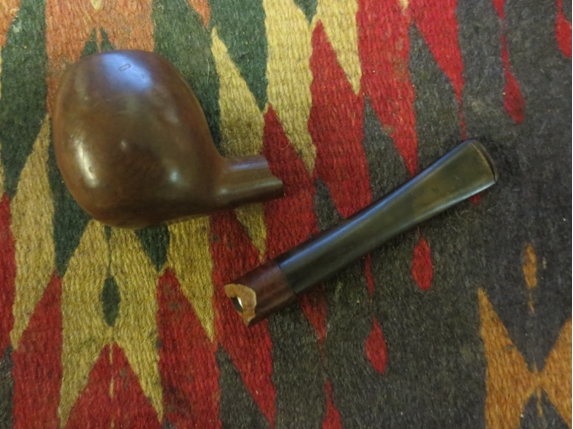
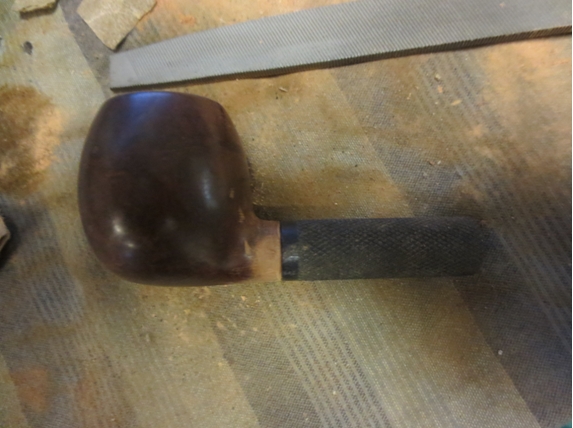
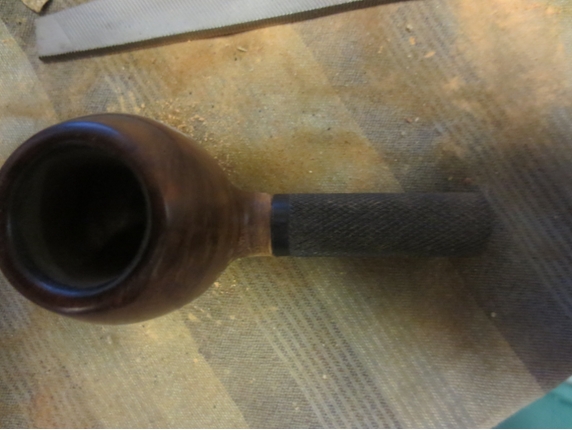
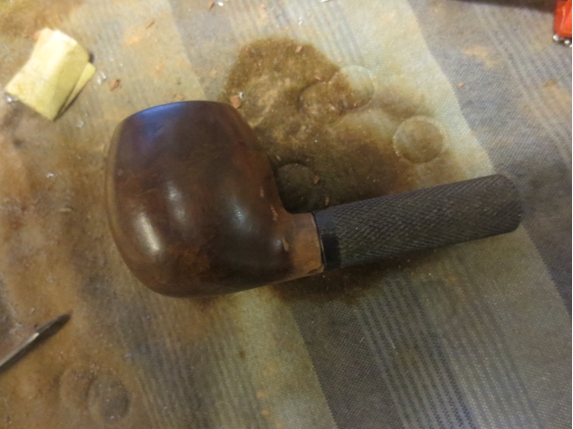
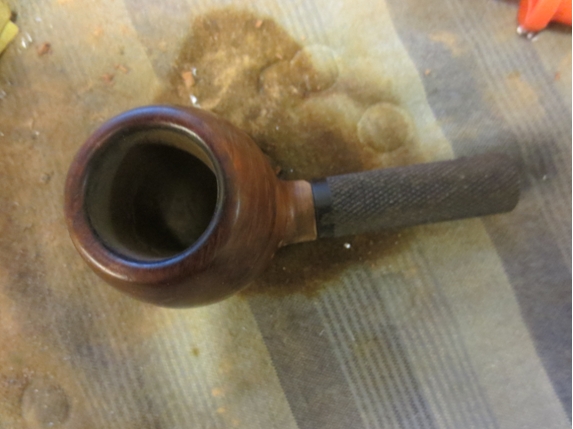
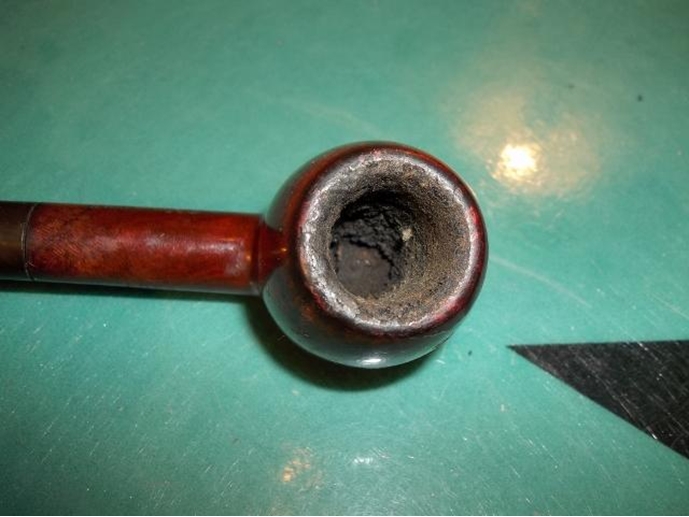
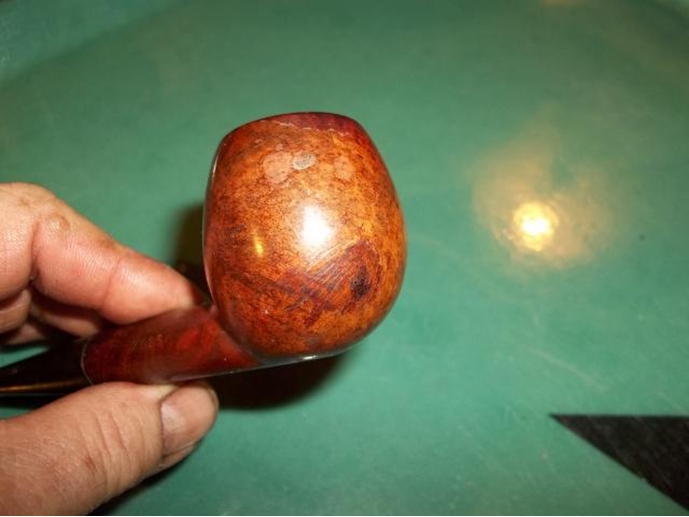
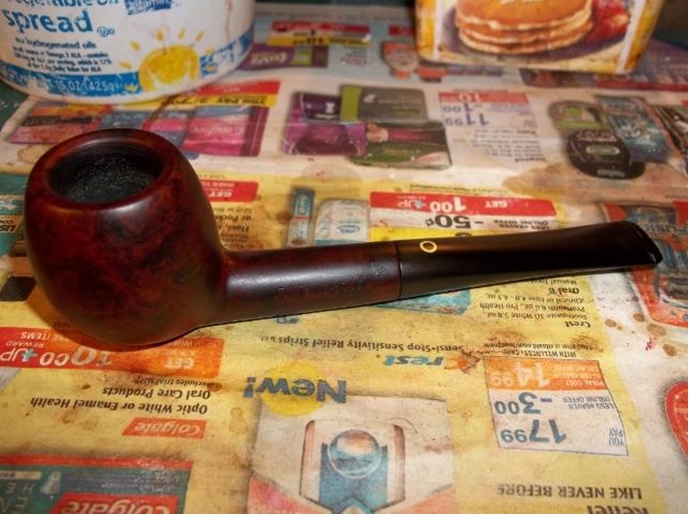
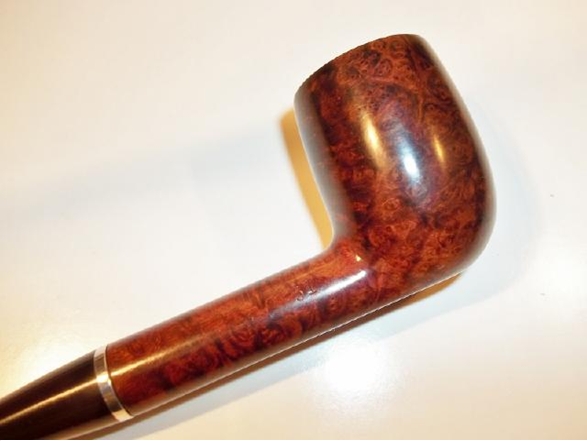
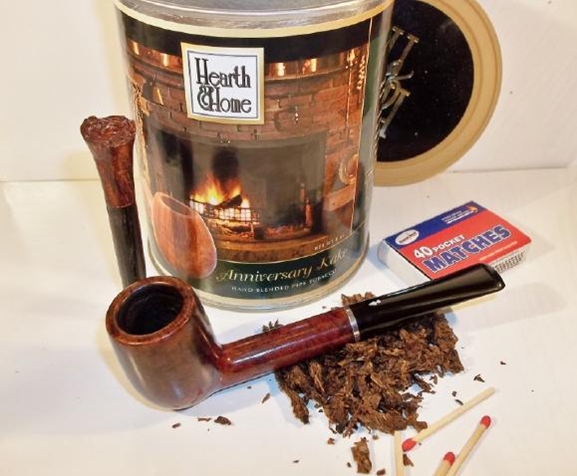
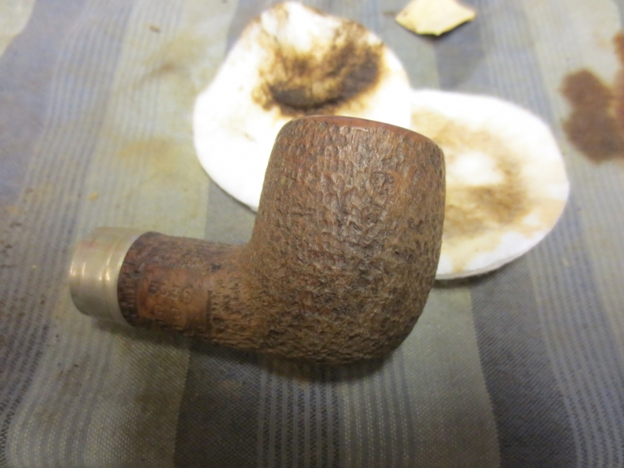
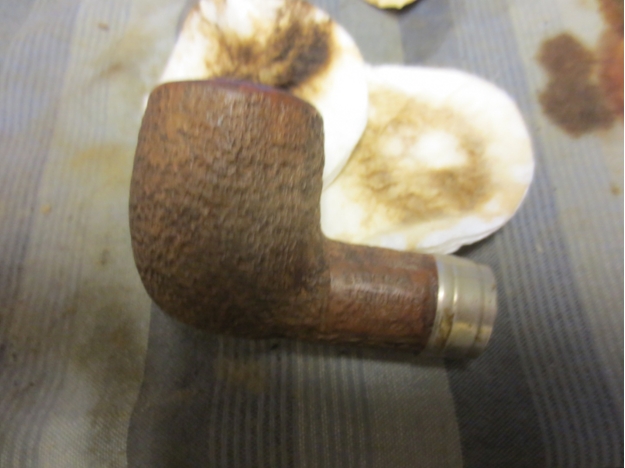
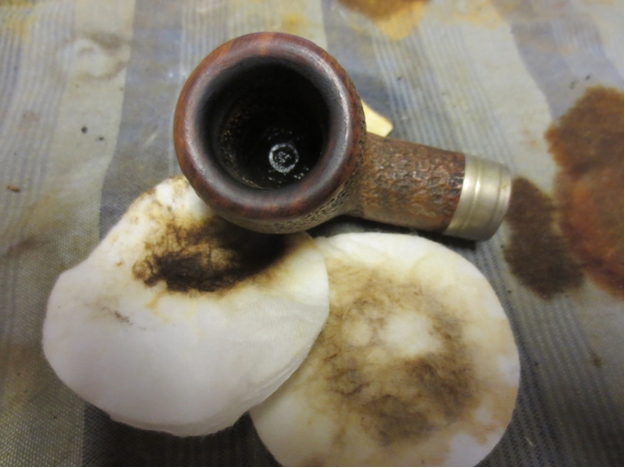
I got this pipe in a lot of pipes I received from a friend on Facebook. It’s a pre 1936 four digit (5102) stamped poker with the 4 hole stinger. It was in terrific shape, so being at least 78 years old I wanted to keep it as original as possible. I basically just gave it a good cleaning with little else needed.

Here is the pipe before:KW1
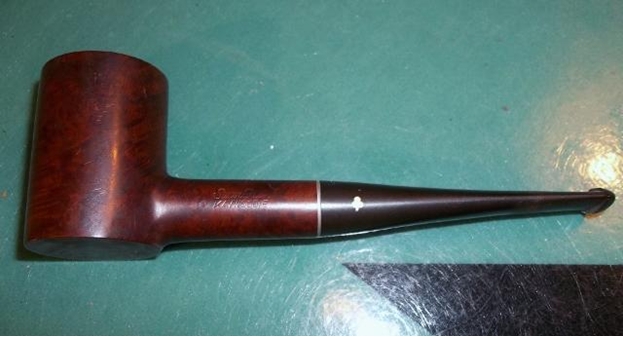
KW2

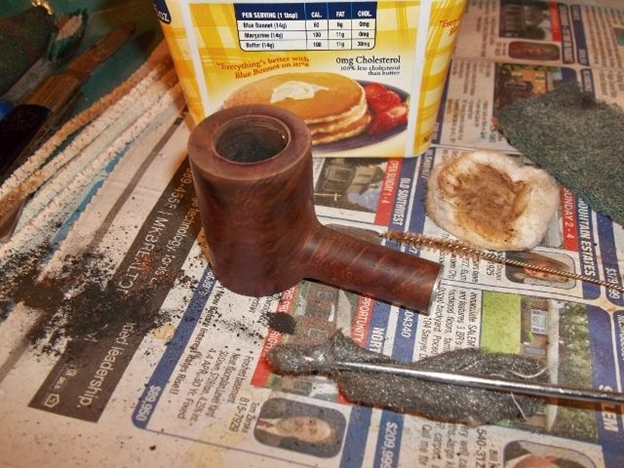
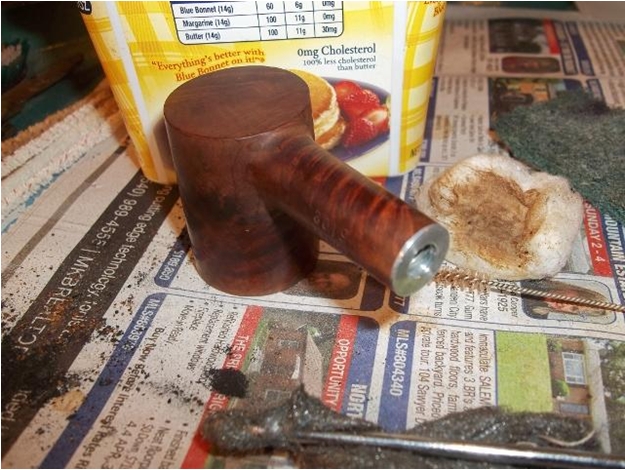
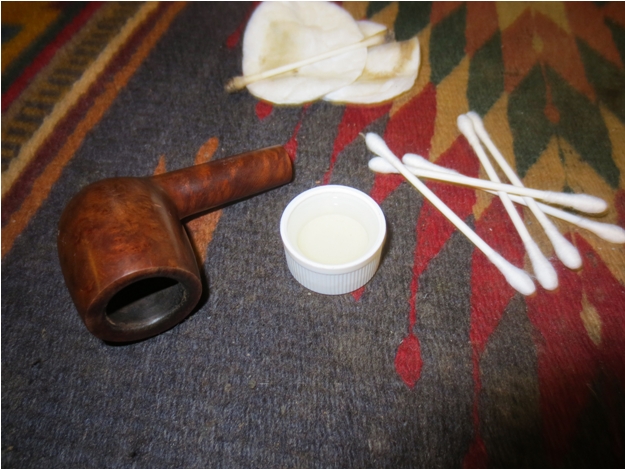
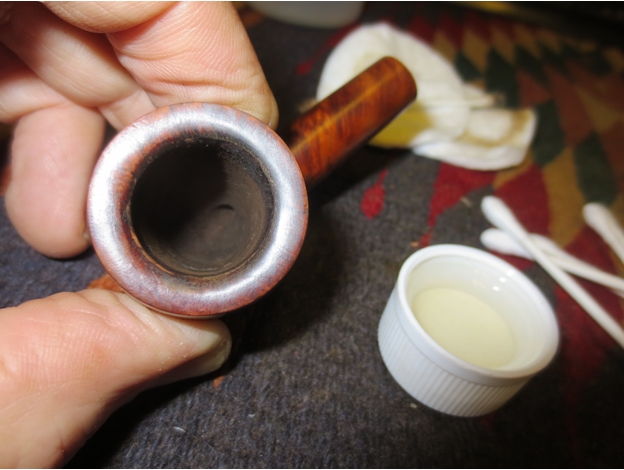
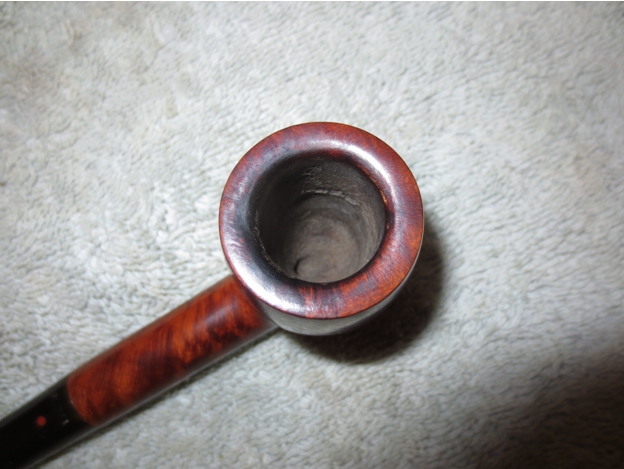
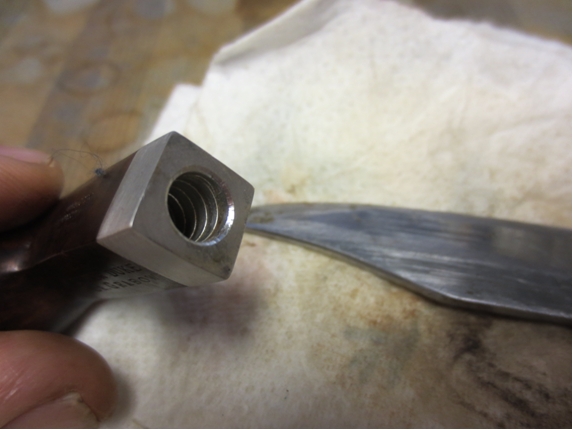
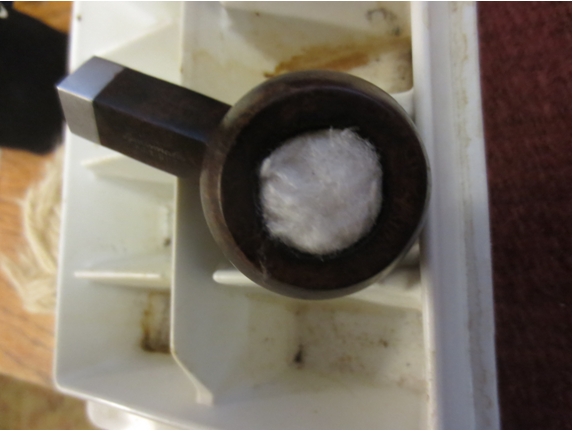
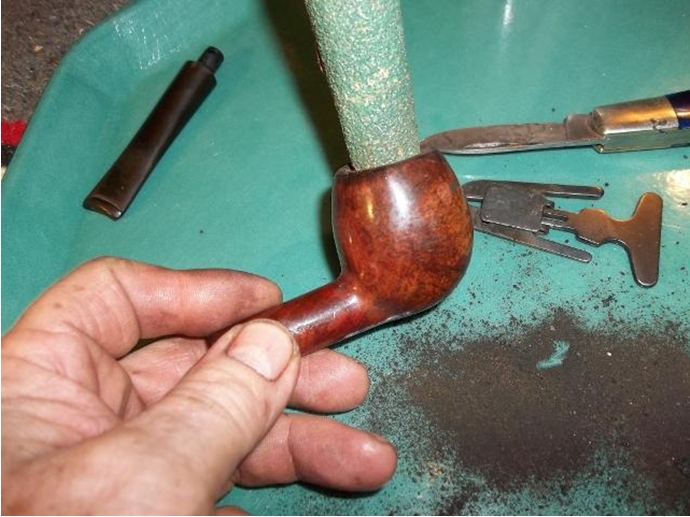
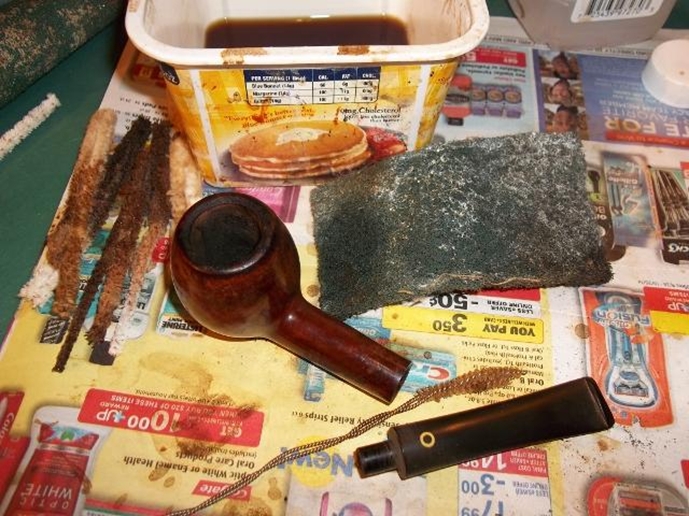
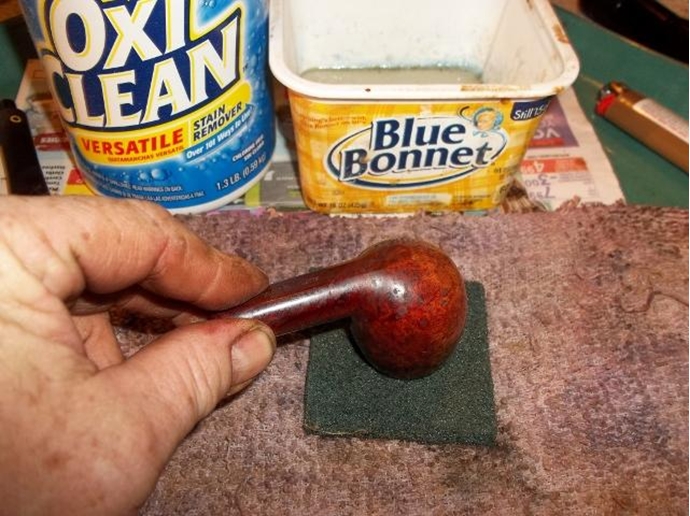
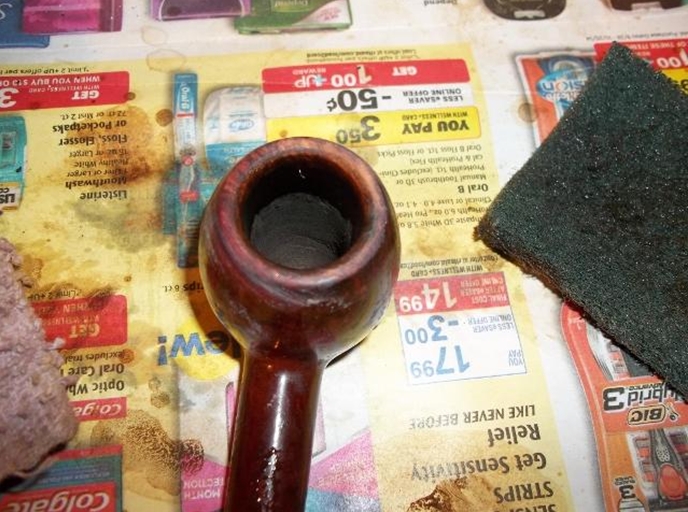
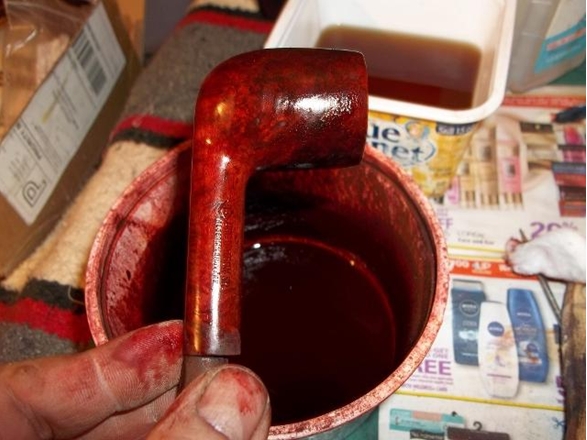
KW3 I scraped out old cake (which there wasn’t much of) and gave the shank a good cleaning. I cleaned off all the old grime with a cotton ball and a small amount of Oxy Clean mixed with warm water. I cleaned the rim with isopropyl alcohol on a cotton swab followed by scrubbing it with oxy/water with a Scotch Brite pad. Mineral oil will bring the color back out.KW4

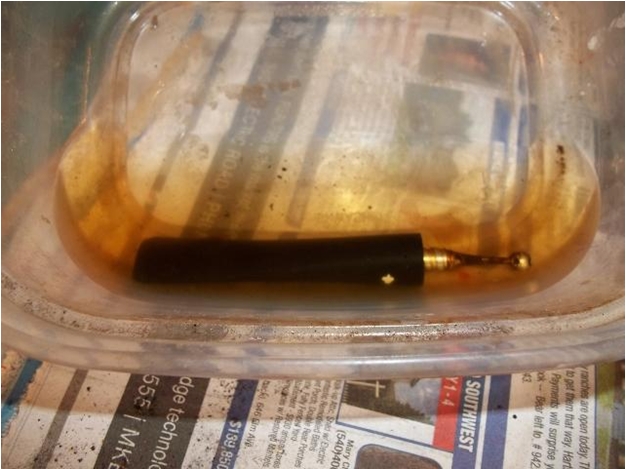
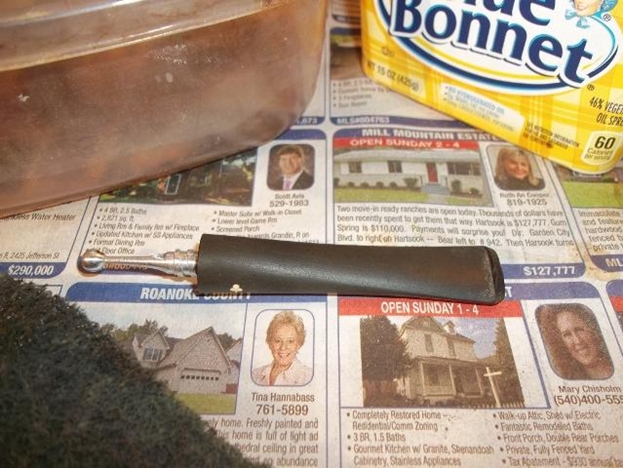
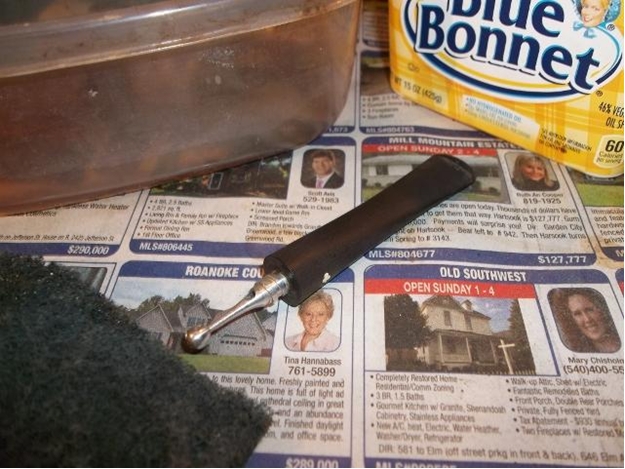
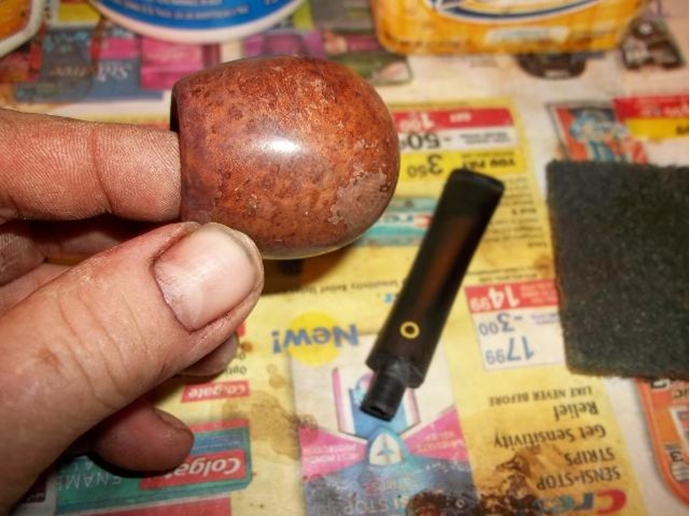
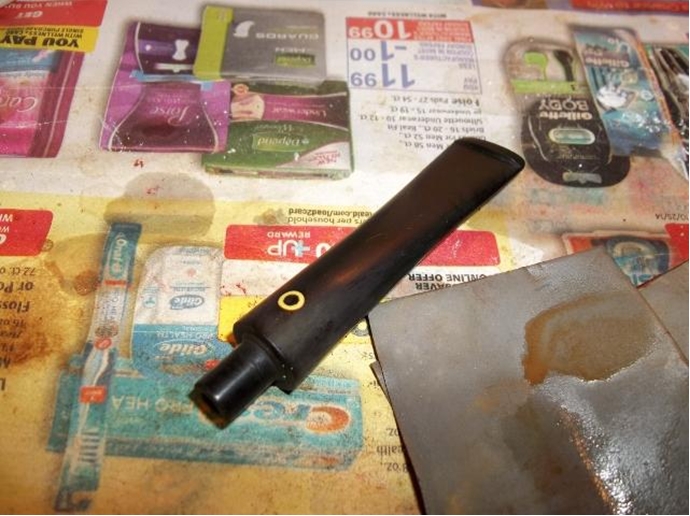
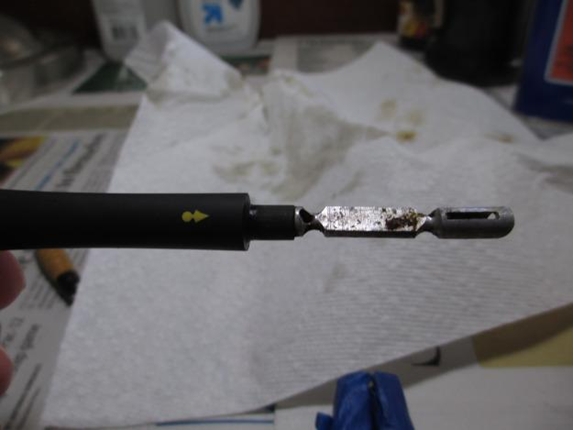
KW5 I soaked the stem and stinger in isopropyl alcohol for about 45 minutes to loosen up the stuff on the stinger.KW6 I cleaned stinger and inside stem with steel wool and isopropyl alcohol. Once finished with the scrubbing it was ready for wet sanding.KW7

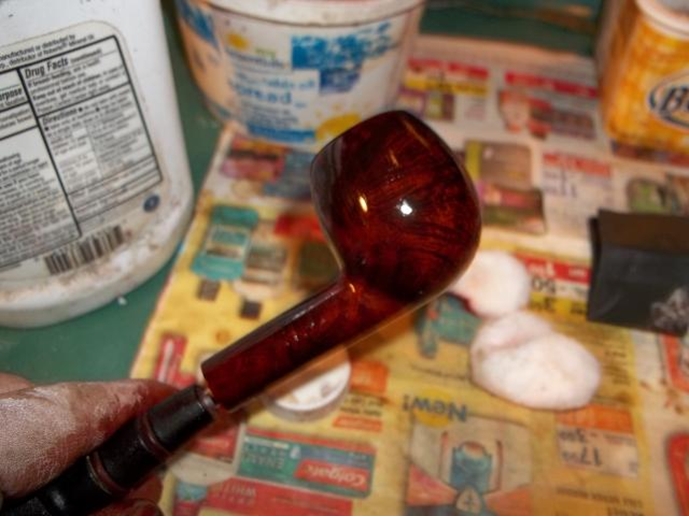
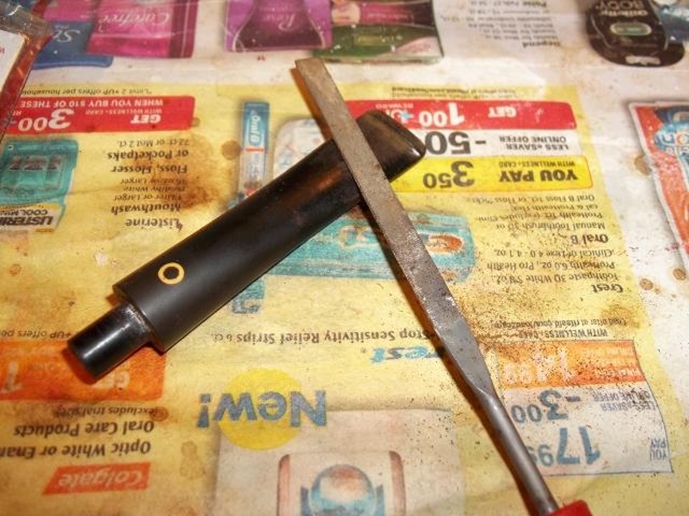
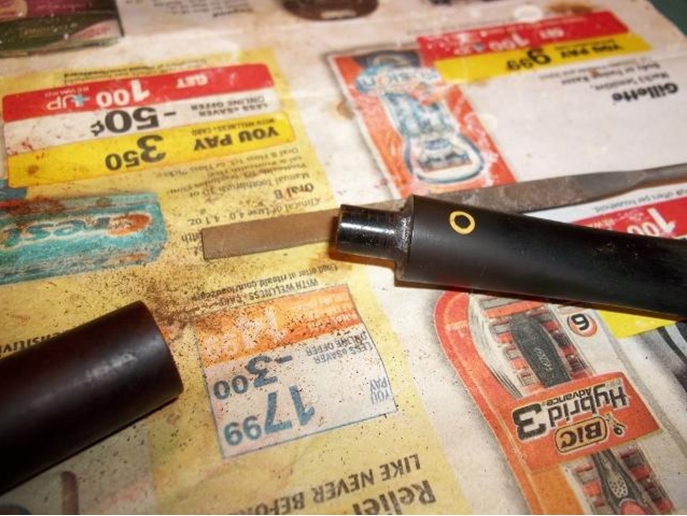
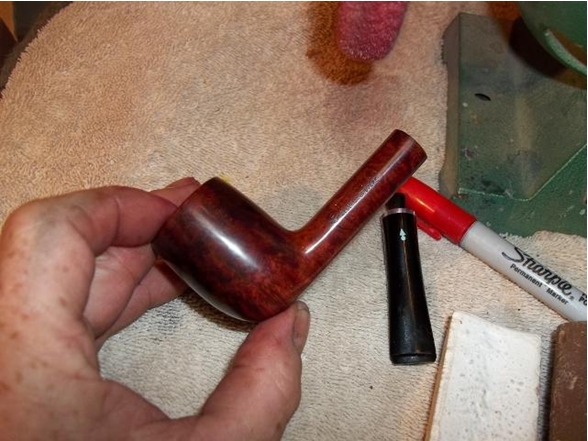
KW8 I had to file out some very minor tooth marks on the top and bottom of the stem next to the button.KW9 With the bowl cleaned and stem wet sanded I put the pipe back together for inspection.KW10 I wiped down the pipe and stem with mineral oil to condition wood, bring color back out and then did some final inspecting before buffing.KW11 Once the oil absorbed into the wood and vulcanite it was ready for a little buffing.

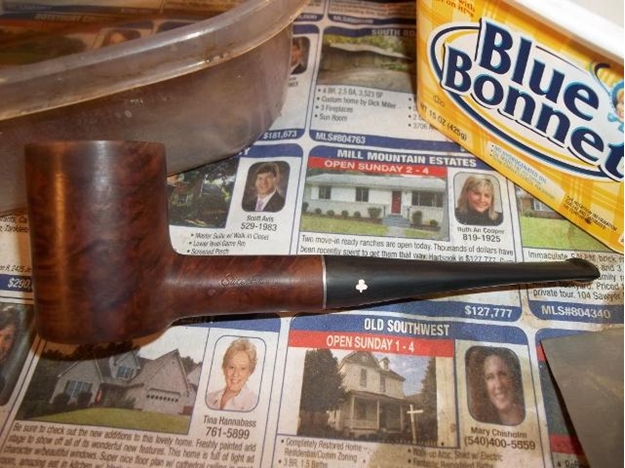
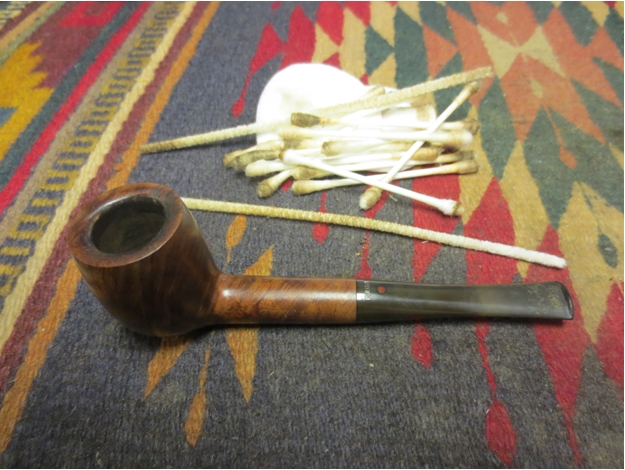
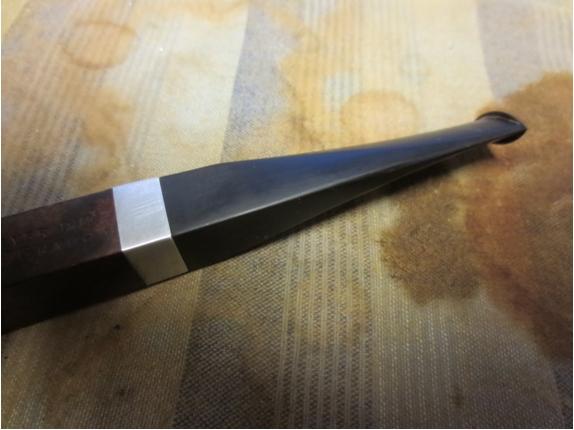
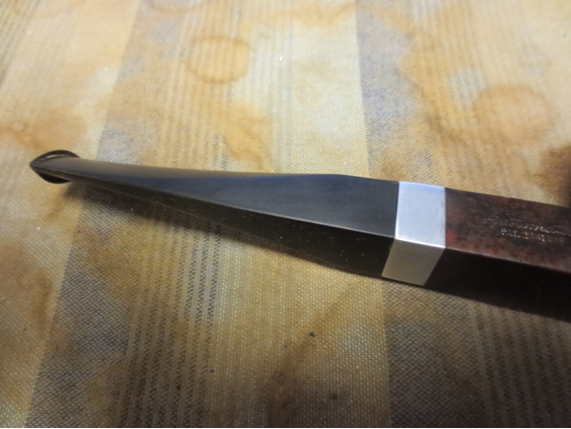
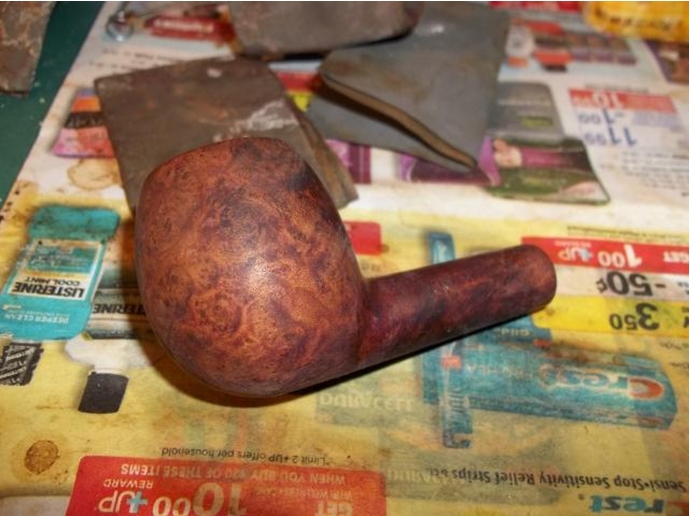
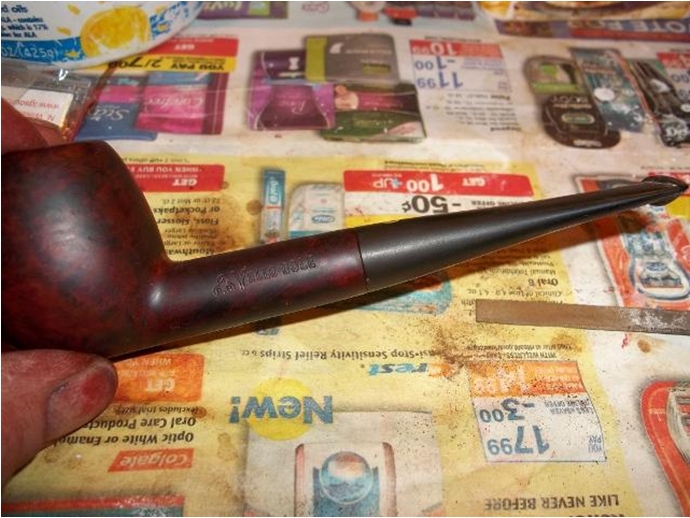
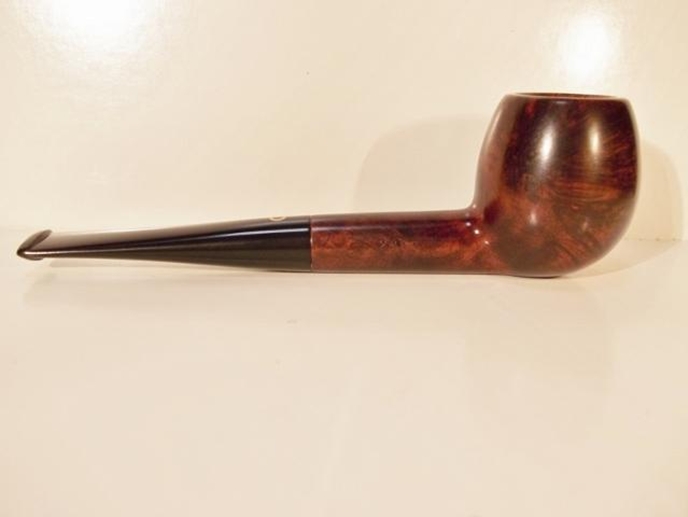
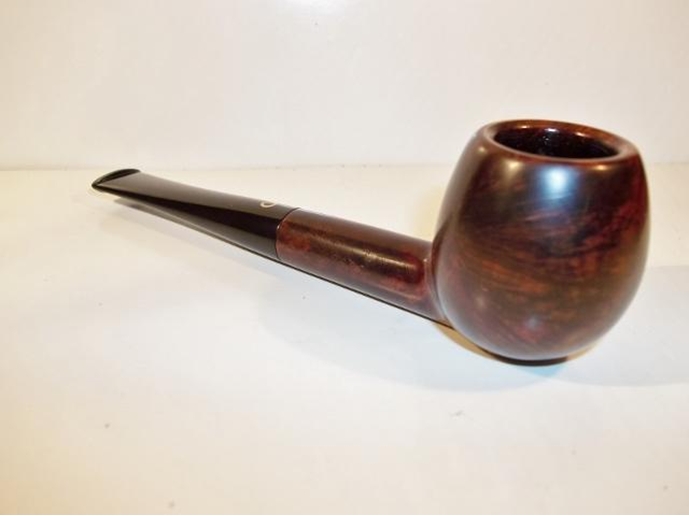
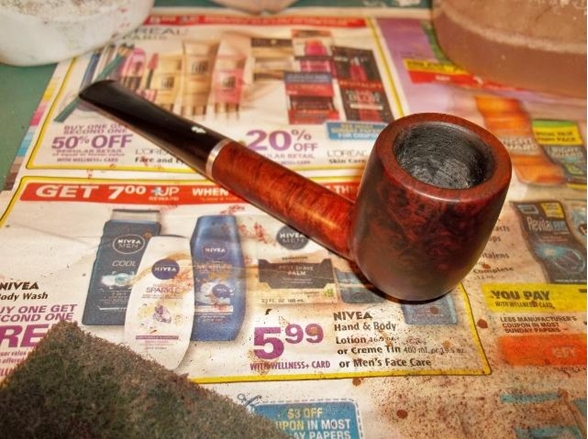
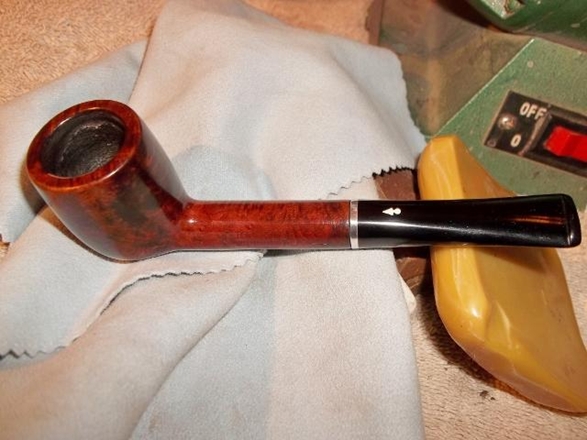
Here is what the pipe looked like after I was finished.KW12
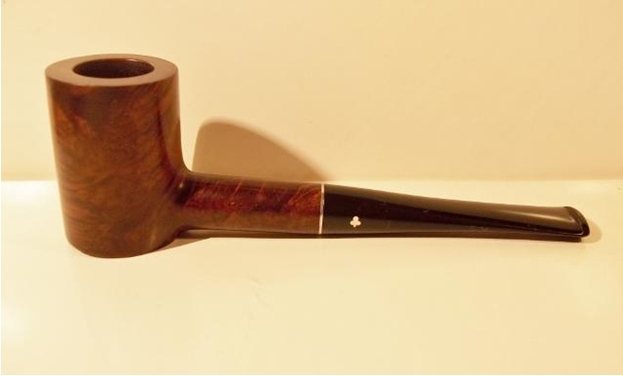
KW13

KW14

KW15

KW16

KW17

KW18

KW19

KW20

KW21

KW22

KW23

KW24

An Easy Restoration – A Dr. Plumb Flat-Grip 422 Billiard


Blog by Steve Laug

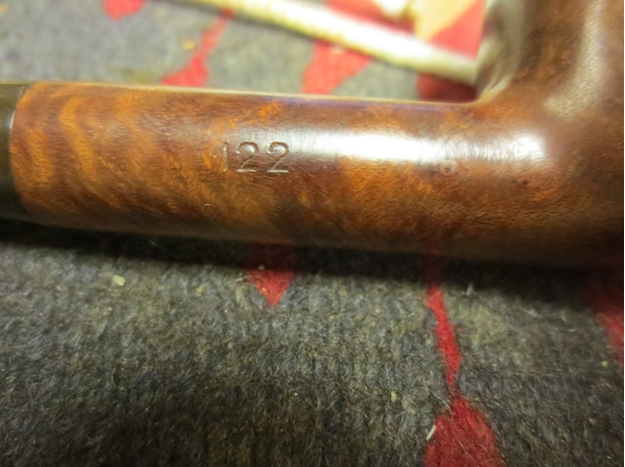
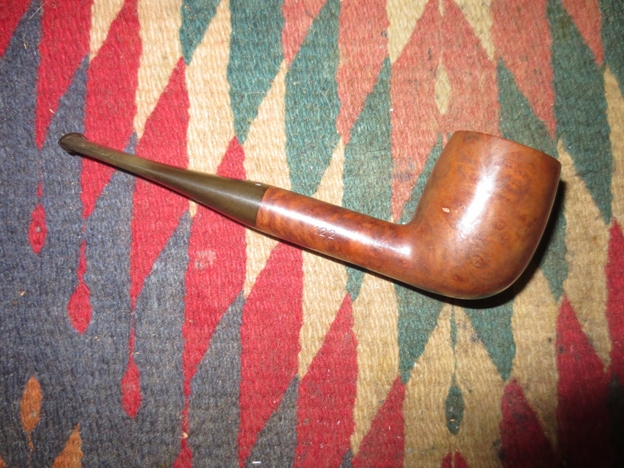
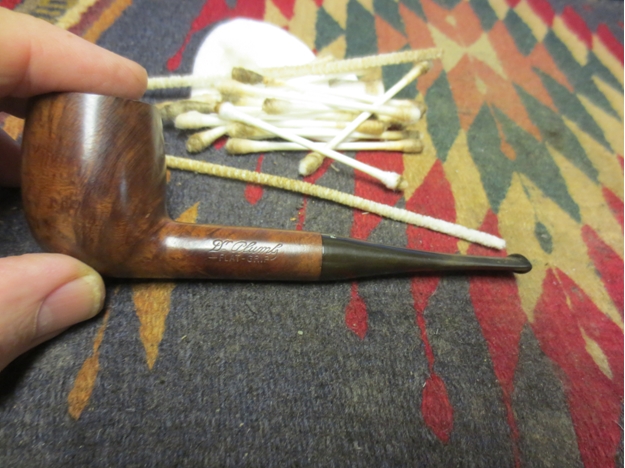
After the latest struggle with the Savinelli I decided to work on one that I thought would be an easy restoration. But given my track record with the last one I was not sure. Time would tell if it would be easy or if the work on it that I did would make it hard. This little billiard came to me in the gift box of pipes to rework.boxadditions It is stamped on the right side of the shank Dr. Plumb in a script over – Flat-Grip. On the right side of the shank it is stamped with the shaper number, 722. On the underside of the shank there is a horizontal stamping next to the stem that reads FRANCE.Dr1

Dr2 The pipe was in good condition. The finish was dirty but had no damage. There was one fill on the bowl on the back right side. The stain was even and not faded at the shank stem union or on the sides of the bowl. The rim had some build up and darkening but did not have damage to either the inner or outer edges. It had a slight bevel inward to the bowl that is often found on older billiards of this era. The shape bore all the marks of the GBD line that is sprung from. My guess is that the one fill on the back right moved it from the GBD line to the Dr. Plumb line. The stem was oxidized and had some tooth chatter and marks on the top and underside near the button. The bowl was caked and had a few spots that looked like mould on the inside of the bowl. I scraped one and looked at it under the light to see if it was mould. For all intents and purposes it was. Now the question was how deep into the cake did it go and would a complete ream of the bowl remove it from the pipe. Maybe this pipe would not be as easy a restoration as I had thought.Dr3

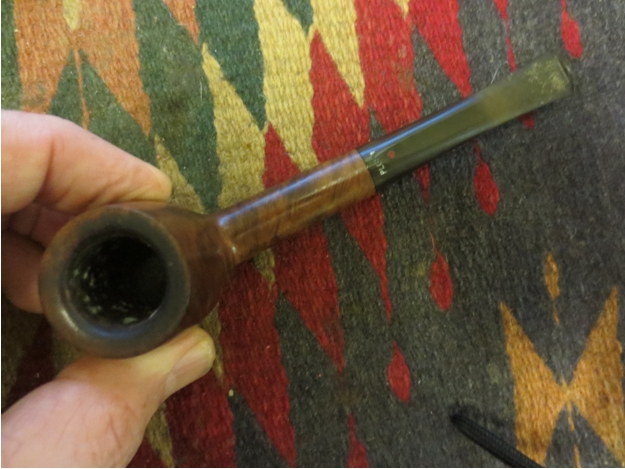
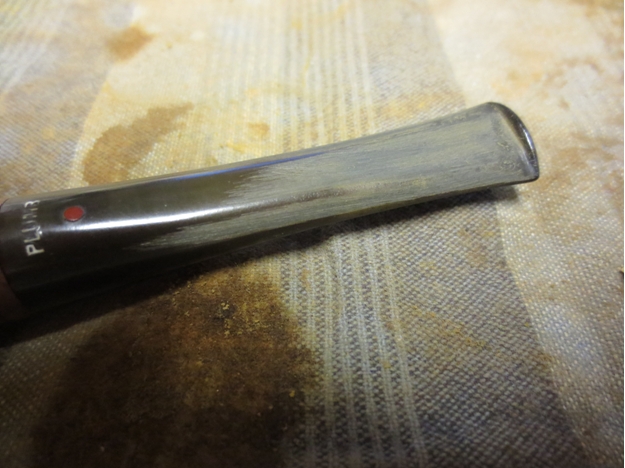
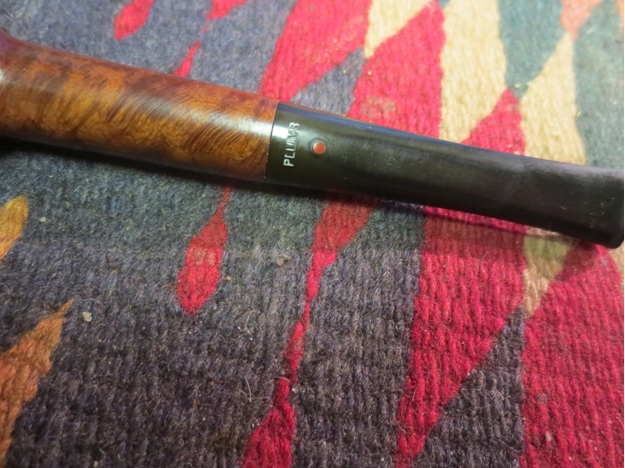
Dr4 The stem had the Dr. Plumb red dot on the top of the stem with the word PLUMB stamped over the top in white. The Plumb stamping on the stem would need to be touched up.Dr5

Dr6 I have included two close-up photos of the bowl rim and the white mould in the bowl. I was very curious to see if a good ream would remove it. Would the mould go deeper into the bowl than the cake? Would it be in the briar itself? I certainly hoped not but a reaming would disclose the depth of the problem.Dr7

Dr8 I reamed the cake back to bare wood. I wanted to remove all signs of the mould. I scrubbed off the cutting head before putting it away. I examined the bowl to make sure I had removed all of the signs of the mould. The wood was clean and bare. It was so it looked as if the mould had only been on the surface. I scrubbed the surface of the walls with alcohol and cotton swabs to make sure that none of the spores survived.Dr9

Dr10 I scrubbed the darkening and build up on the rim with cotton pads and saliva and was able to remove it. I use cotton swabs with alcohol as a follow up on the rim and when I was finished the rim was dull but clean.Dr11

Dr12

Dr13 I scrubbed out the shank with cotton swabs and isopropyl alcohol and pipe cleaners to clean out the airway in the mortise and the stem. I put the stem back in the mortise and took a few photos of the pipe at this point.Dr14

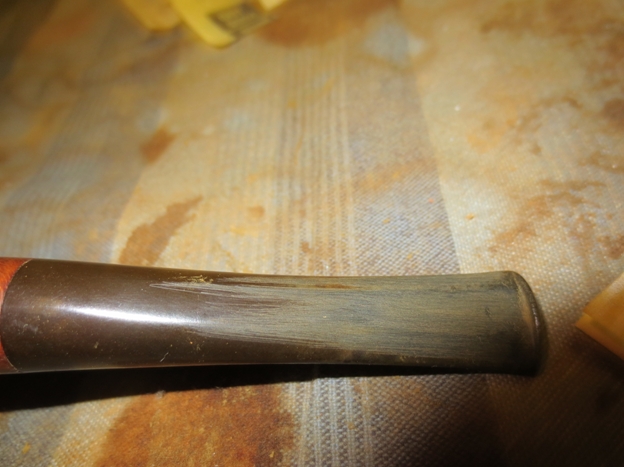
Dr15 The Dr. Plumb Flat Grip stem is unique in its design. It has a different style of taper that allows it to have what GBD called a flat surface. Instead of a crowned, rounded stem top and bottom there were slight taper from the edge of the surface to the side of the stem on all sides top and bottom. On this stem these were slightly rounded from use. I used a 220 grit sandpaper to break through the surface of the oxidation, remove the tooth marks and chatter and also clean up these tapered edges.Dr16

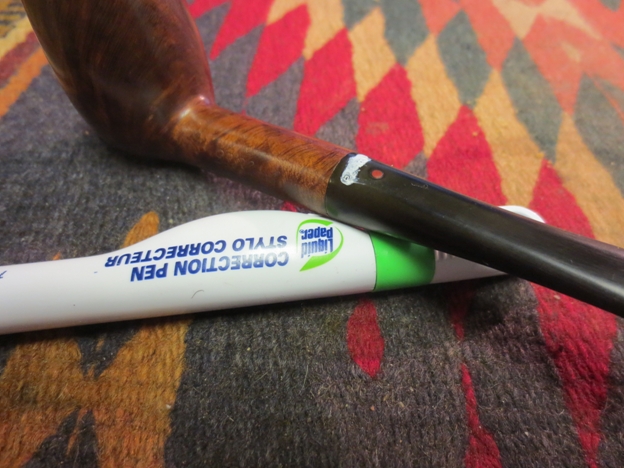
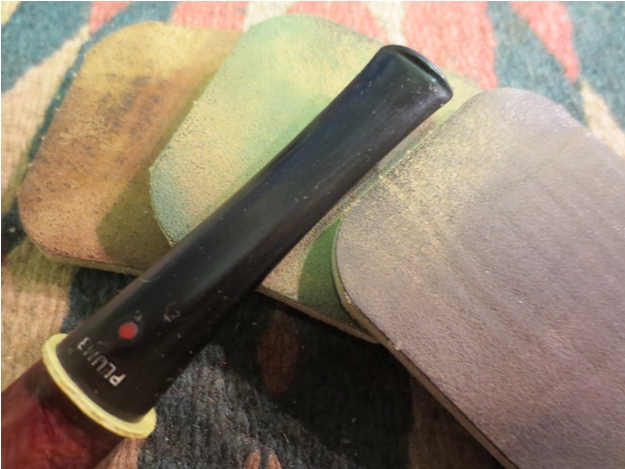
Dr17 I sanded the stem with a medium and a fine grit sanding sponge to smooth out the scratches and clean up the stem surface further. I wet sanded the stem with 1500 grit micromesh and then used a liquid paper/Whiteout to touch up the PLUMB stamping on the top near the shank.Dr18

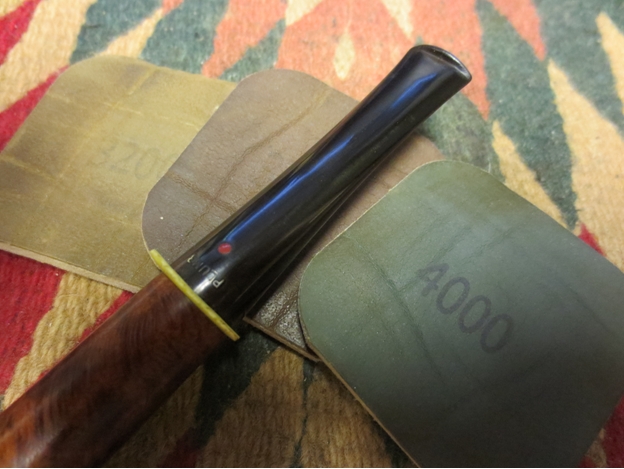
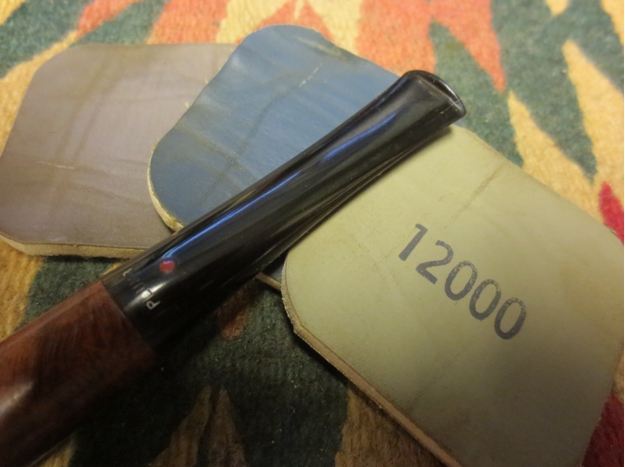
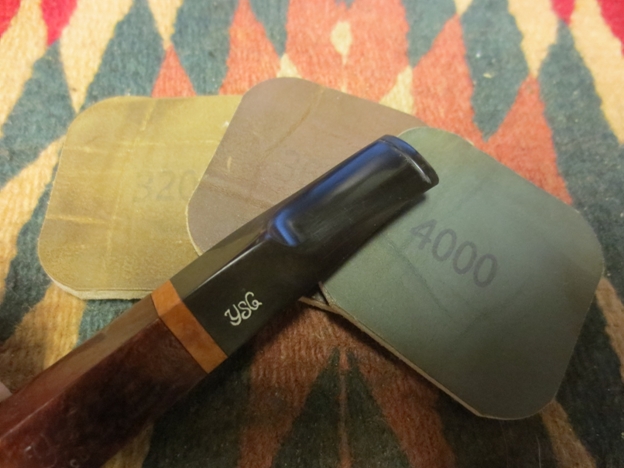
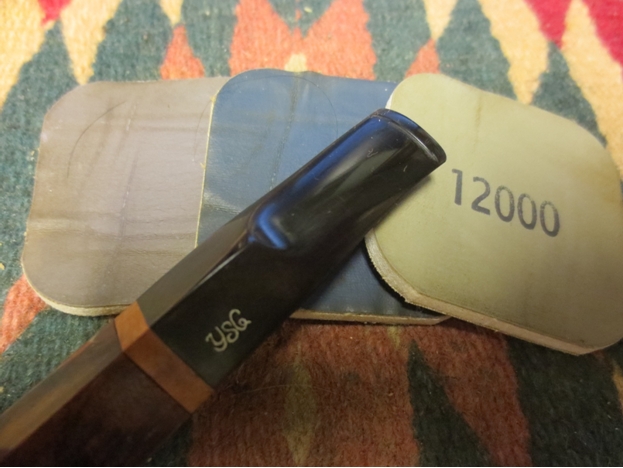
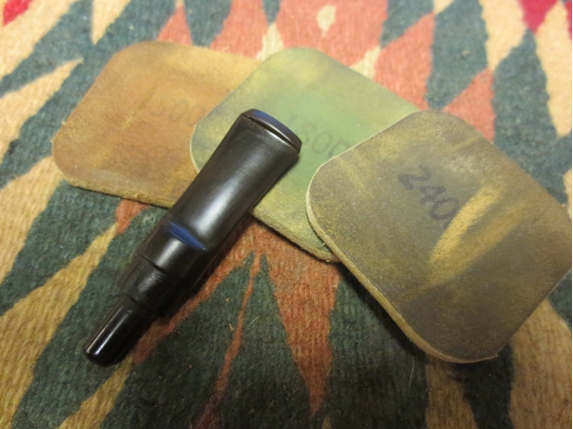
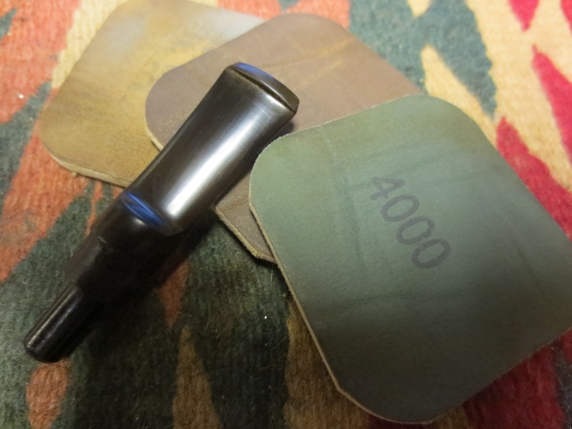
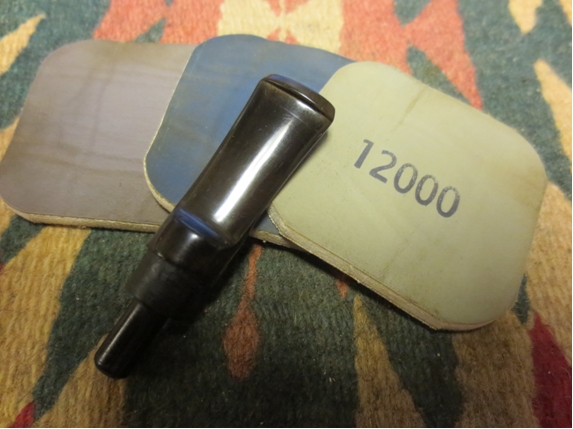
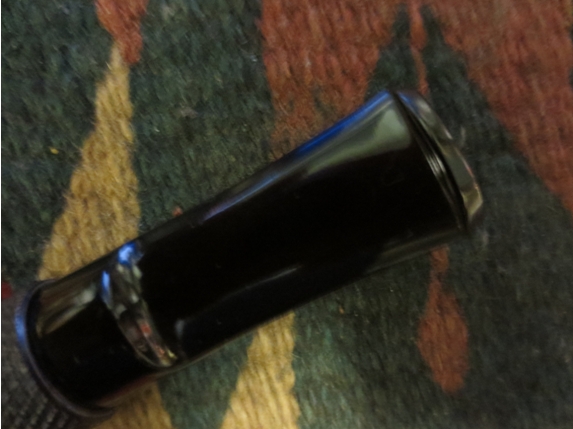
Dr19 I put the plastic washer on the tenon and inserted it into the shank so that I could sand the edge without rounding the shoulders of the stem. I sanded it with a fine grit sanding sponge to remove the light oxidation that still remained on the shoulders. I repeated the wet sanding with 1500-2400 grit sanding pads and then dry sanded with 3200-12,000 grit pads. I rubbed the stem down with Obsidian Oil between each set of three pads. I rubbed it down a final time and let it sit until it was absorbed into the vulcanite.Dr20

Dr21

Dr22 I buffed the stem with White Diamond to finish polishing it and raise the shine. I buffed it with a soft flannel buff to finish the stem.Dr23

Dr24 I buffed the entire pipe with White Diamond and Blue Diamond to polish the briar and stem. I gave the pipe multiple coats of carnauba wax and then buffed it with a soft flannel buffing pad to raise the shine. The finished pipe is shown in the photos below. It is cleaned and there is no sign of the mould that once was in the bowl. The pipe smells clean and new. It is ready to load up and smoke the first bowl.
Dr25

Dr26

Dr27

Dr28

Dr29

Restoring a Dr. Grabow Starfire Wirecarved 85 Poker


Blog by Troy Wilburn

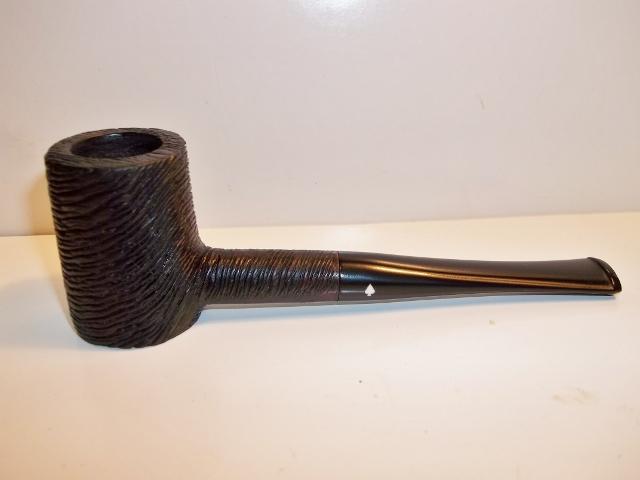
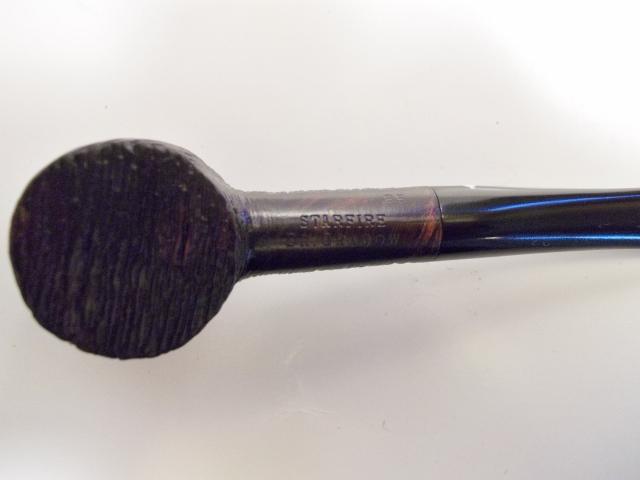
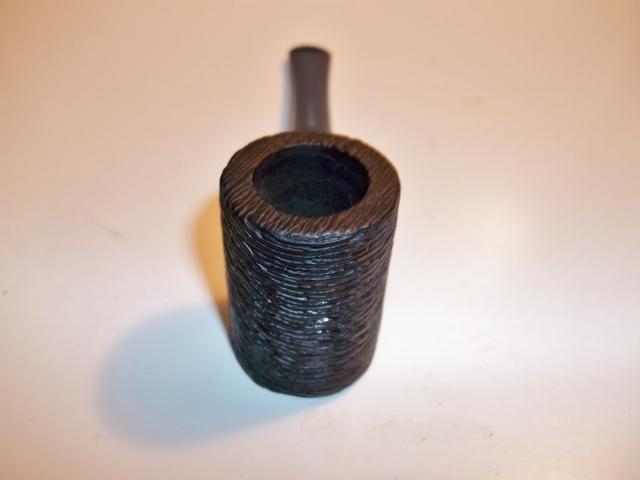
This pipe is a Dr . Grabow Starfire Wirecarved shape no.85 I picked up recently from an online auction. This is my favorite Dr. Grabow shape and I own several poker model 85s. Most of them are from the RJ Reynolds coupon era. Although the Starfire wasn’t a coupon pipe the quality was just as high on them as the RJ Reynolds pipes. I’m a big fan of the black wirecarved finish on the Starfires and Belvedere’s.

The pipe was in good shape although the wire carving was a little worn and the stem, an Adjustomatic, was stuck from corrosion. I did manage to get it unstuck after twisting on it several times really hard with hands and did not have to freeze it over night .

Before photos:Dr1

Dr2

Dr3

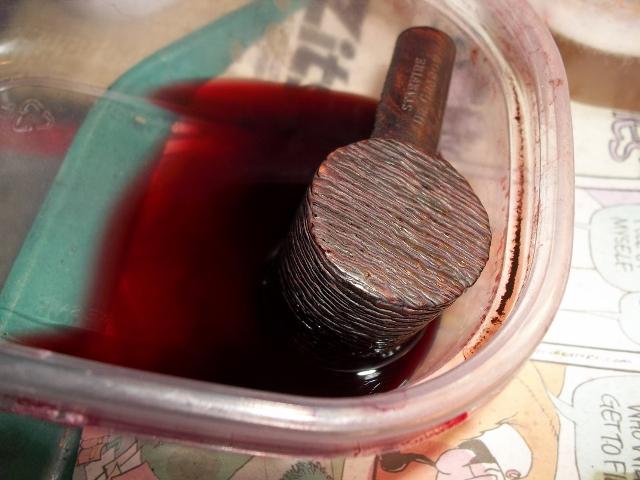
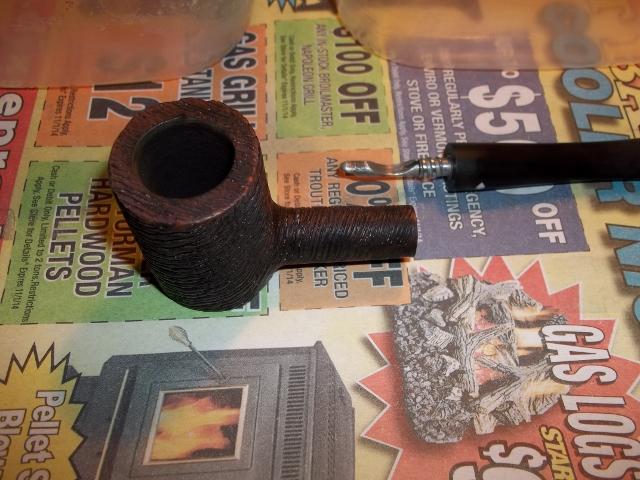
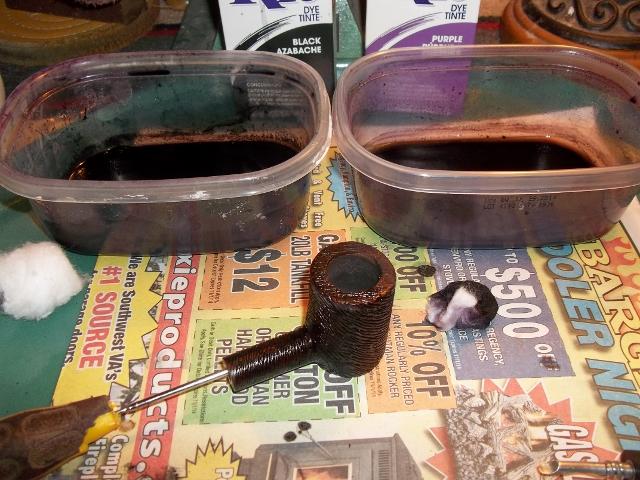
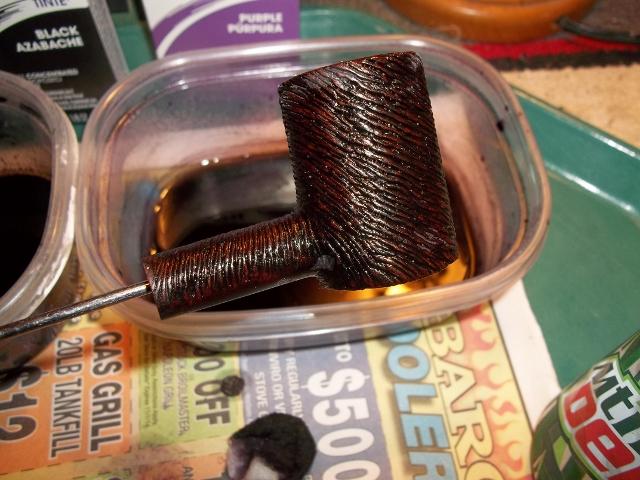
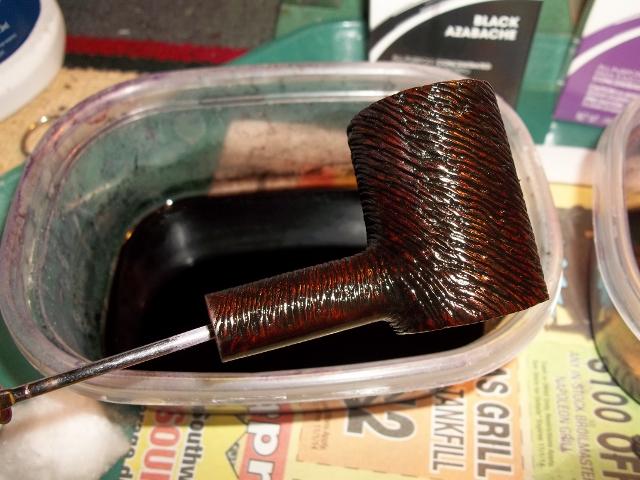
Dr4 After cleaning out bowl and shank I soaked bowl in alcohol and scrubbed it many times with a tooth brush trying to get as much dirt and residue as I could out of wire carving to make it crisper looking.Dr5 After a good soak in some OxyClean I managed to get stinger removed from stem and do some scrubbing on it with a scotch brite pad. I also oiled and heated the Adjustomatic and got it working correctly again.Dr6 With the bowl and stem cleaned, buffed and sanded I was ready to stain the bowl.Dr7 I decided to try a two part stain, so I mixed up some purple and black. The finish on Starfire and Belvedere wirecarved pipes is not a true black but black with purple undertones.Dr8 I applied three coats of purple dye letting it dry between coats. Then I applied three thinner mixed coats of black.Dr9

Dr10 With the staining done I now needed to let it dry for a bit.Dr11 The next photo shows the pipe back together and rubbed with mineral oil. It is ready for buffing after it dries some.Dr12 After photos:Dr13

Dr14

Dr15 This particular poker is also a less common shape stamped model.Dr16

Dr17

Dr18

Dr19

Dr20 It is a good pipe to smoke my favorite Old Codger Burleys OTCs in.Dr21

Cleaning up a Dr. Grabow Silver Duke Bulldog


Blog by Steve Laug

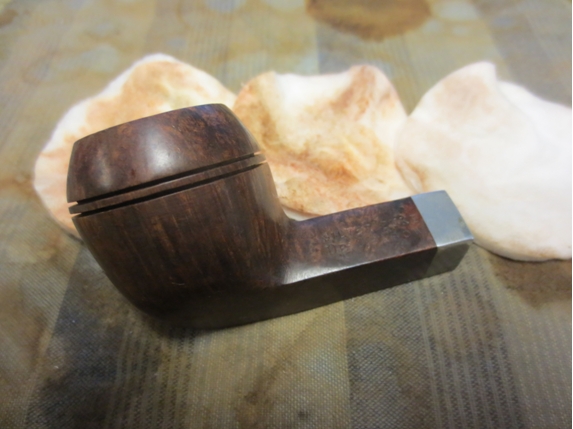
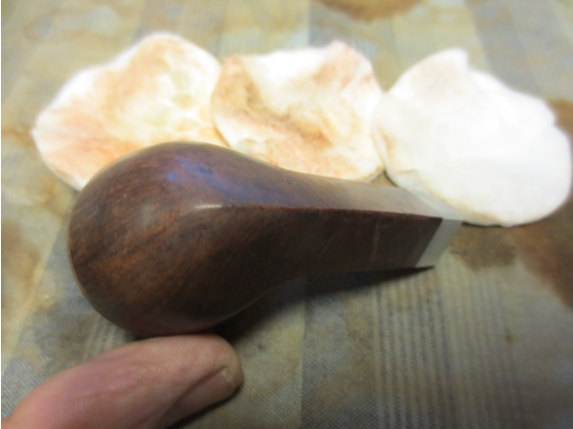
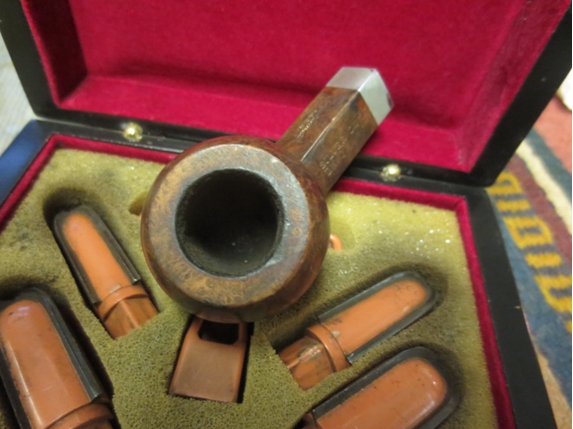
This old Dr. Grabow Silver Duke Bulldog is a bit of a variation on a restoration for me. Someone earlier had replaced the Adjustomatic stem with a push stem. Whoever made the stem did an amazing job cutting it to fit perfectly with the angles of the shank. I say it is amazing because on these old pipes none of the angles are the same and matching all the points of the diamond shank is a lot of tedious hard work (at least for me and I have done a few of them). Add to that the stem was converted to a push stem instead of the normal threaded stem. It is a high quality vulcanite also as it did not have any oxidation.Duke1

Duke2 All I would have to do was sand out the blade or file marks on the stem and the metal mortise cap. The finish was very shiny and had some bubbles on the rim along with a tar build up. It was like a thick varnish. I always remove these top coats and wax and oil the bowl to make the grain stand out. The briar was pretty clean with only two recognizable fills that I could see, though well blended into the stain coat on the pipe. The bowl had a thin uneven coat of cake that would need to be reamed.Duke3

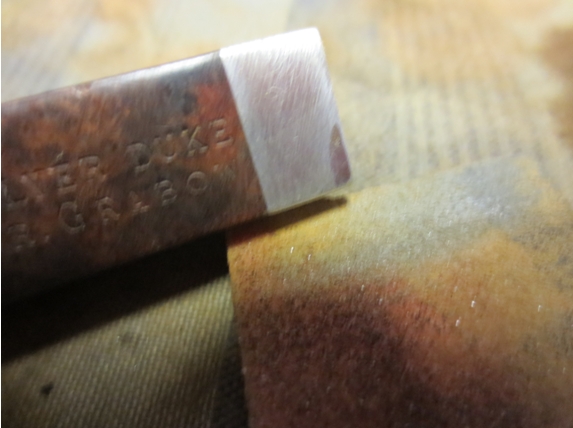
Duke4 The pipe was stamped Silver Duke over Dr. Grabow on the left side of the shank and Imported Briar over Adjustomatic in script over Pat. 2461905. That confirmed the replacement stem. The only thing wrong with the stem was that it had lots of marks in the surface left from either a saw that was used to cut the angles or the files. The stem was not smooth and shiny like the bowl but was rough to touch with small ridges on the surface from the cut marks. The metal mortise insert had matching marks so it looks to me that the stem was cut on the shank. The thin button is perfect. A taper stem on a bulldog is something I have always liked better than a saddle so this one looked great to me.Duke5

Duke6

Duke7

Duke8 The tenon was also ridged. I have found that when the adjusting screw is loose on my tenon turning tool I get a tenon that looks like this one. It also has a slightly deeper groove next to the bottom of the tenon where it joins the stem. These issues would need to be addressed. It would take a little bit of finessing to clean up the ridges and keep the fit of the stem snug in the metal mortise but it could be done.Duke9
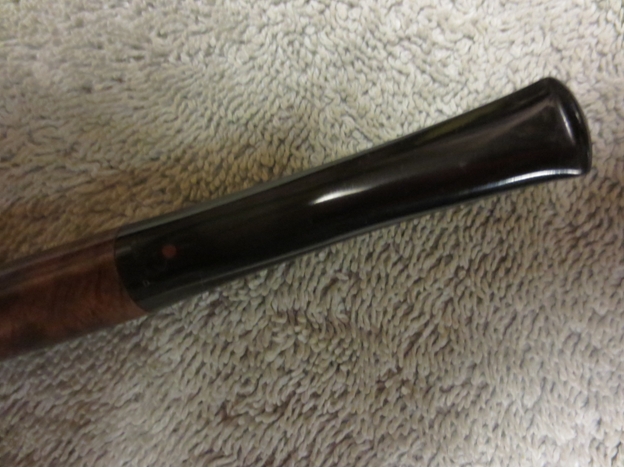
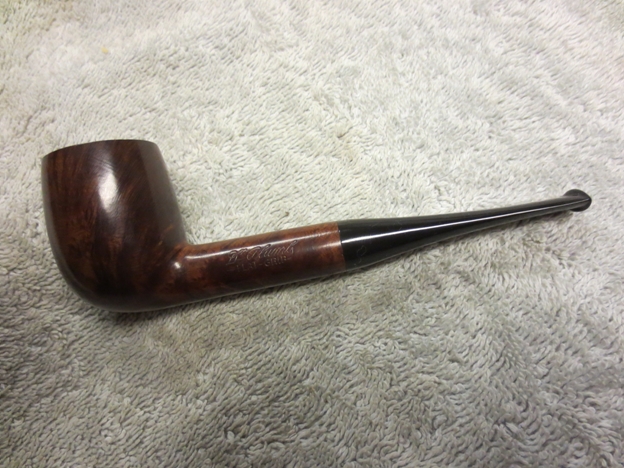
Duke10 I could see some nice grain under the shiny varnish coat. It was cloudy and the rim had a slight build up of tars and oils. I wiped the bowl down with acetone on cotton pads. The varnish came off and left the pad orange. I had to keep the acetone pads wet otherwise the varnish gummed up on the surface and the pads stuck to the briar. After a lot of scrubbing (three pads and much acetone to keep a wet edge) the finish was gone and the grain stood out in its beauty.Duke11
Duke12

Duke13

Duke14 I reamed the bowl with a PipNet reamer and took the cake back to the bare briar in order to provide a smooth surface for a new cake to be developed.Duke15

Duke16 I scrubbed out the shank and airway with cotton swabs, pipe cleaners and isopropyl alcohol. I scrubbed until it was clean. In this case the deepest part of the mortise was clean quickly. Most of the oils and tars came out of the metal threads of the Adjustomatic tenon insert. Even cleaning that did not take too many pipe cleaners before it was shiny. I also scrubbed the end of the shank insert to remove the varnish and tars left on the end.Duke17 I sanded the scratched aluminum mortise insert/cap with a fine grit sanding block to minimize some of the scratches and remove the cut marks left behind from the manufacture of the stem. It took a bit of sanding but I was able to remove the deepest ones. The rest would polish out with sanding sponges and micromesh sanding pads.Duke18

Duke19 I sanded the stem with the sanding block and then with a medium and fine grit sanding sponge. I sanded until the deeper scratches were minimized and the surface was free of the earlier ridges. I also sanded the area around the top and bottom surfaces next to the button to remove the tooth chatter that was there.Duke20

Duke21

Duke22

Duke23 I rubbed the briar down with a folded paper towel lightly coated with olive oil. I wanted to highlight the grain and give some life to the finish before waxing it so I used the oil. Once it is wiped on and absorbs it has a glow that I like. I cover that with carnauba in the end and the finish shines and has warmth that was lacking in the previous varnish coat.Duke24

Duke25

Duke26 The stem did not seat well in the mortise. The flat surface of the aluminum insert needed to be beveled to let the tenon sit right in the mortise. I used a sharp knife to bevel the inner edge of the mortise to accept the tenon correctly and close up the gap between the stem and shank.Duke27

Duke28 I put the stem back on the bowl and the fit against the shank was now snug with no gap. The beveling of the inside of the mortise achieved what I was hoping and the fit was perfect.Duke29

Duke30 When the shaping of the replacement stem had originally been done the blade or file had rubbed against the shank in two places on the bottom sides of the diamond. It looked to me that it had rubbed off the varnish coat and also some of the stain so that the spots looked lighter than the rest of the shank and bowl. I used a dark stain pen to touch up these areas on the shank and blend them into the finish of the rest of the pipe.Duke31 With the first steps in refinishing the bowl done I wanted to remove the ghosts that were in the bowl. There was an aromatic smell that I wanted to remove. I stuffed cotton balls into the bowl and set the bowl upright in an old ice cube tray. I use an ear syringe to fill the bowl with isopropyl alcohol. The bowl would sit for the day absorbing the oils from the briar into the cotton and alcohol. As the alcohol evaporated the tars would remain in the cotton.Duke32

Duke33 I let the bowl sit and while the cotton and alcohol did its magic I worked on the stem with micromesh sanding pads. I wet sanded with 1500-2400 grit pads to remove the remaining surface scratches and begin to polish the vulcanite.Duke34 I used some clear super glue to fill the ridges on the tenon and smooth it out before going on to sand the stem with the remaining grits of micromesh sanding pads. I rubbed the stem down with Obsidian Oil after the first set of three pads and then again after the second set. I find that the oil helps the higher grit pads to really cut into the surface and help polish the vulcanite.Duke35

Duke36 The bowl had been sitting for about three hours so far. I took a picture of the cotton to show the colour that was beginning to leach into it from the bowl.Duke37 I let the bowl soak for another hour and very little more came to the cotton. I pulled the cotton pads out of the bowl and ran a cotton swab through the bowl and shank to clean up the remaining alcohol there. I ran a pipe cleaner through the airway into the bowl to dry it out. I put the stem on the bowl and took it to the buffer. I buffed the pipe with White Diamond and then gave the bowl and stem multiple coats of carnauba wax. I finished by buffing it with a soft flannel buff. The finished pipe is shown below.Duke38

Duke39

Duke40

Duke41

Duke42

Duke43 While I worked on this pipe I have been posting updates and asking for information on the Dr. Grabow Collectors Forum (http://drgrabows.myfreeforum.org/index.php) and gotten a lot of information from the folks there. I found out that I can order an original stem for this pipe by sending them the bowl and some money for the stem and shipping. I may well do that one day. I raise a bowl to them and dedicate this blog post to the members of that site. Thanks for the help.

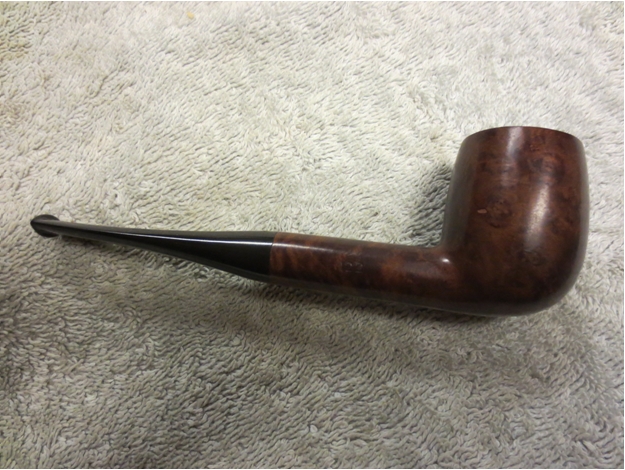
My Process for Cutting off and Reshaping Broken Stems


Blog by Steve Laug

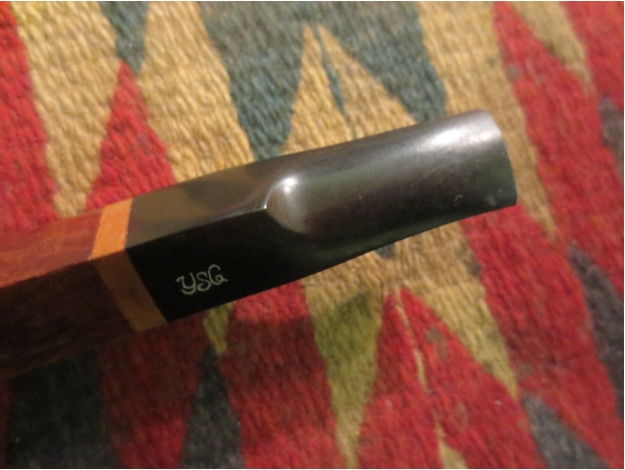
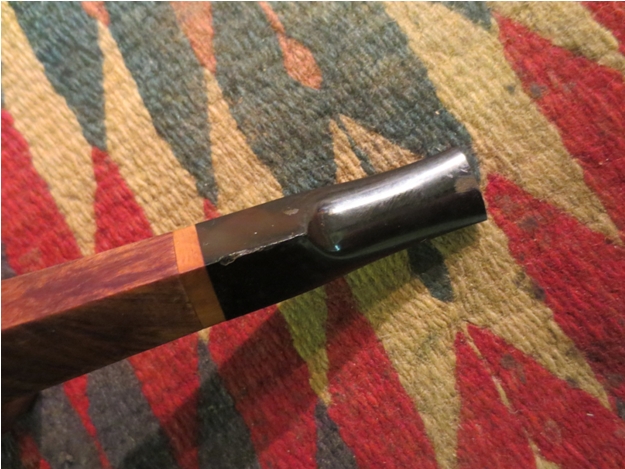
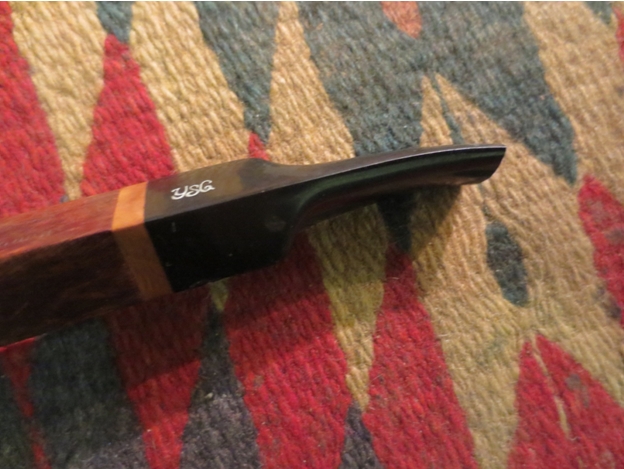
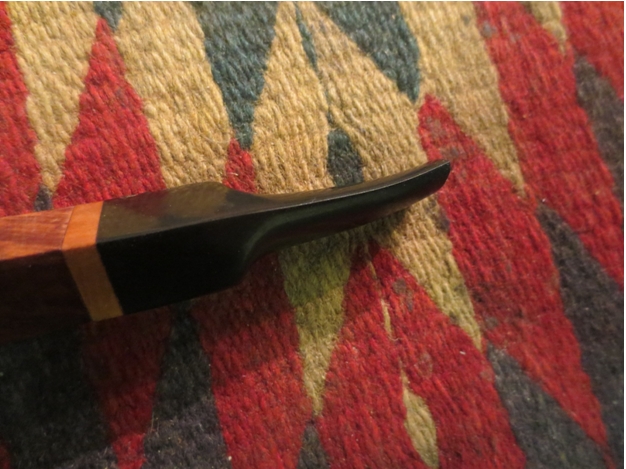
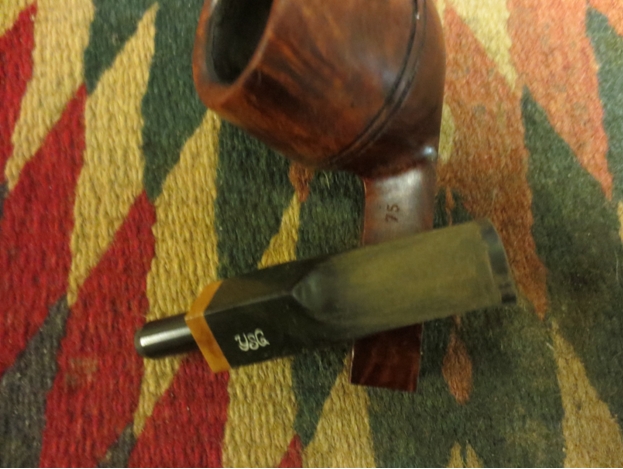
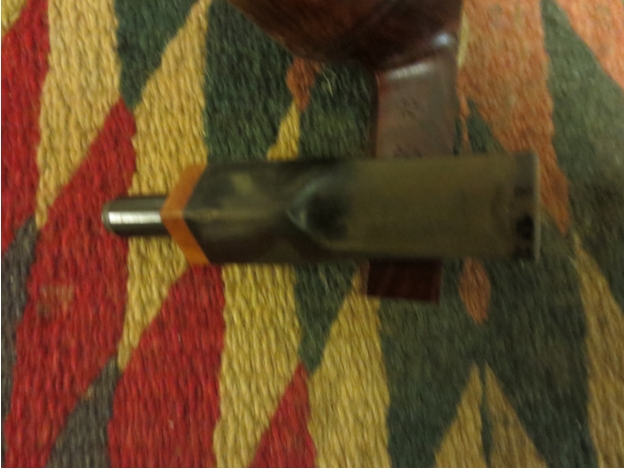
It seems like lately I have had a few of these pipes with broken stems. I have gotten several emails through the blog asking for more information about how I go about cutting back a stem and reshaping it. Since I just finished working on the Yves St. Claude pipe where I did cut back the stem and reshape the button I thought I would use it as an example of the process. I figured that this provided the perfect opportunity to spell out more of the details that I hinted at in the full blog on the restoration of the pipe. The pictures below will show the progress from broken stem to a short saddle stem. It is only one of the methods for addressing a broken stem. Stem splicing and stem replacement are also possible solution. Soon I hope to have another blog on stem splicing but until then have a look at the piece by Jacek Rochacki where he demonstrates his method. https://rebornpipes.com/2014/02/28/some-remarks-on-dealing-with-damaged-stems-of-smoking-pipes-by-jacek-a-rochacki/

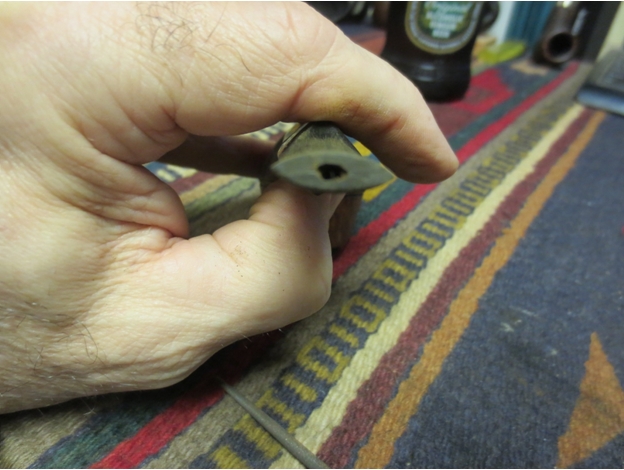
1. Before I cut off anything on a stem I spend quite a bit of time examining the broken stem. For me that means checking out the thickness of the stem material above and below the airway in the stem. There needs to be enough thickness that I can shape a button on the cut off portion. I check out the stability of the vulcanite to see if it crumbling or if the break is clean. Sometimes you need to cut quite a ways back into the stem to get either the correct thickness or stability to reform a button. I always try to imagine what the pipe will look like with a shorter stem. To help me see it I have devised a simple method. I clasp it between my thumb and finger making a straight line across the stem. Using my finger and thumb I can slide the stem as far as I want between the fingers and get a good picture of what the pipe will look like with a shorter stem. If all of these steps are passed then I get ready to cut off the broken portion.

This stem passed all the tests. The break not straight across the stem but actually was slightly diagonal. It was a very clean break with no crumbling material. The airway appears to be close to the surface on the top side of the stem but because of the angle of the break there was sufficient material there for me to cut and shape a button. I was ready to cut of this stem.YSG5

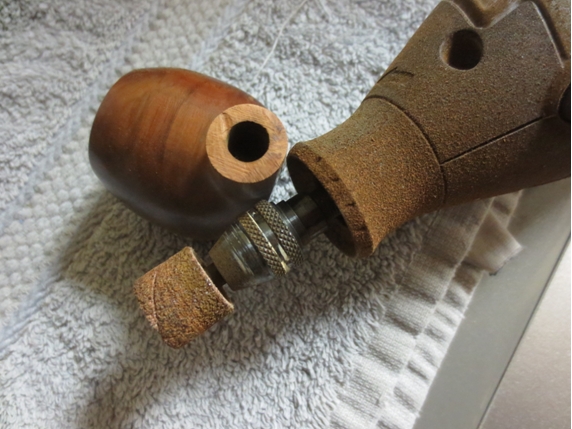
YSG6 2. I marked the stem with a pencil to delineate how far I planned on cutting the stem. I use a Dremel with a sanding drum to cut off the broken portion of the stem to the point of my line. Others use coping saws or hacksaws to remove the material. Choose whatever tool you are comfortable with to do the work. For me I hold the Dremel in my right hand and the stem in my left. I keep the stem stationary while cutting but frequently rotate it in my hand to keep the edges straight. I am always conservative in the first cut only taking off what looks to be necessary. I want a solid surface to work on with the button. Once I have the cut finished I use the drum to slightly round the corners of the line. In the end I wanted to have a slight crown on the finished button so I plan for that at this point. In the two photos below you can see the slightly bow in the cut off. The cut off edge is vertical to the surface of the stem forming a 90 degree angle.YSG16

YSG14 3. When the cut off is finished I take time to look at the profile of the stem. In this case the stem was quite thick. I was going to need to shave off the surface and thin the stem down but I would not do that until I had cut the button and roughed in the shape. Looking at it I could also see that I would need to flatten the stem near the new button as it had a definite rounding that would make it uncomfortable in the mouth.YSG15

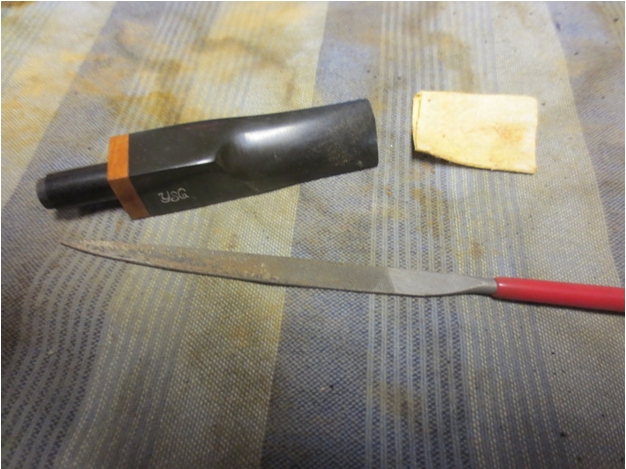
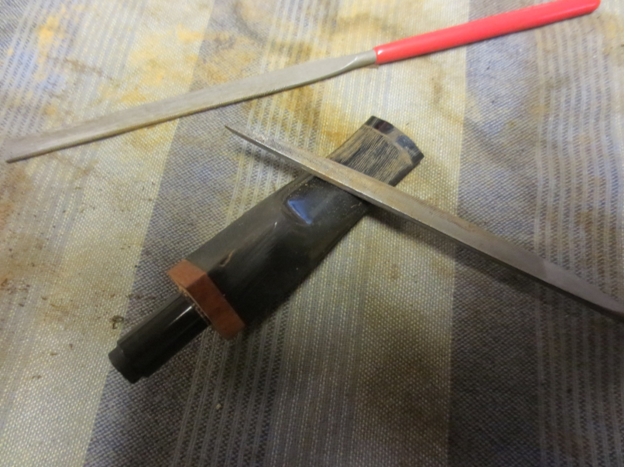
YSG17 4. The first tools that I use are a knife shaped needle file that has a thin edge like a blade and squared edge for the initial cuts and a folded piece of 220 grit sandpaper to clean up the newly cut edge.YSG23 5. I cut the edge with the straight edge of the file. I eyeball the line to make sure it aligns on both sides of the stem. This is a bit tricky at first but I rotate the stem to and angle where I can see both sides at once and begin the second cut. At this point in the process I am not finishing the cut but only drawing the line with the file. With the line cut and the button edge defined there is a lot of finishing work that needs to be done but you can get a clear picture of what the button will look like.

6. I use the knife edge of the file to shave the surface of the stem on the top and bottom sides. Be careful not to gouge the surface but smoothly shave it. I hold the blade at slight angle against the surface of the stem and carve toward the button. I have the stem on the table and work the blade away from myself sometimes and other times I have it in hand with the new button against the heel of my palm and work the blade toward the button. I work the blade until I have defined the line of the button and flattened the crown on the surface of the stem. Remember this is all initial carving. It will be cleaned up and smoothed out with the sandpaper and other files.YSG24

YSG25 7. When I have the material in front of the button cut away and thinned down I sand it with the folded 220 grit sandpaper to get an idea of how it looks and of how much more I will need to remove from the crown on both sides of the stem. In the case of this stem I have enough material removed. I still need to shape the button and clean up the edges of the sharp edge. The top and bottom surface of the button still need to be shaped and sanded but the overall look is good to go.YSG26
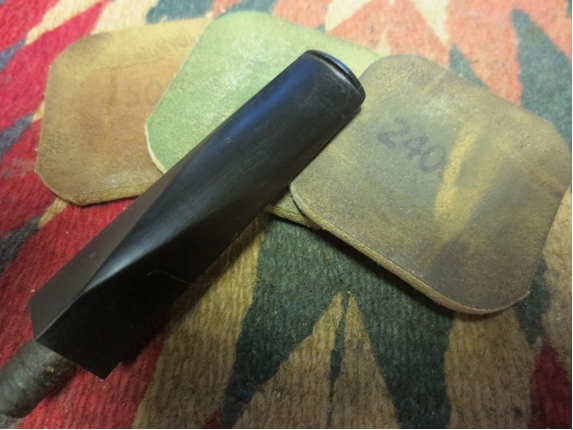
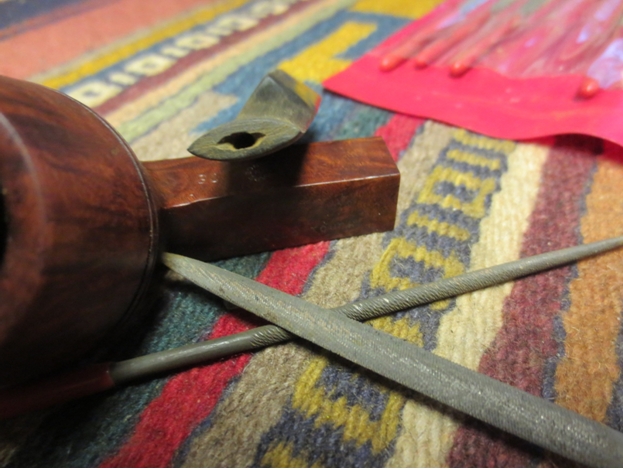
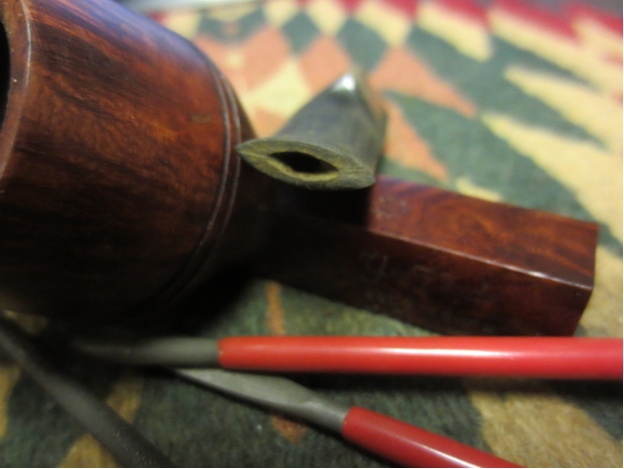
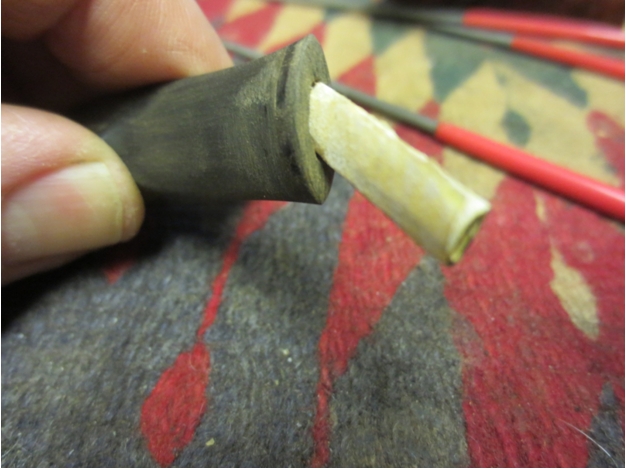
YSG27 8. With the rough shape finished I cut the slot in the end of the button and flare the airway. The first photo below shows the way the airway looked once I cut of the stem. You can see that there is plenty of material above and below the airway. I started the process by sanding the face of the button on my topping board and sandpaper. It is important to make sure that stem is absolutely vertical and does not tilt either way when doing this. You want to make a smooth face to work on the slot.YSG28 9. I use several different needle files to open the slot. The first file I use is a flattened oval file shown in the photo below. I work it against the right and left edges of the airway to open the slot. I don’t worry about the finished look at this point but am concerned to rough it in with the file. The flattened oval does the initial shaping work. I like a slot that is oval and tapers to a point on each side. I also work the file into the airway to taper the internals into a Y shaped funnel ending at the airway.YSG29 10. I work the top and bottom edges with the second file – an oval blade that is not flattened and almost round. I use it to work the internals into more of a smooth Y and then open the top and bottom of the slot. I follow this with a round needle file that has a thin point to clean up the opening and shape it. The photo below shows the slot after I have used all three files.YSG30 11. I fold a piece of sandpaper into a rectangle that I can fit into the slot. I work it in the slot to sand the internals and remove the file marks. I sand the face of the button to remove file marks and also sand the slot to refine the shape of oval.YSG31 12. The next photo shows the slot after I have worked it with the sandpaper. The internals are clean and smooth. I then use a pipe cleaner and isopropyl alcohol to remove any dust from the inside of the airway. The face of the stem still shows some light scratching that will be taken care of with wet sanding using micromesh sanding pads. However, you can see the new shape of the slot and how it sits on the button. That portion of the reshaping of the new button is finished and all that remains is to sand and polish the stem with the micromesh and the buffer.Button1 13. I sanded the stem – all surfaces including the button face with a medium and a fine grit sanding sponge to remove the scratches left behind by the 220 grit sandpaper. I worked on giving the surface of the button a slight bevel downward toward the slot. I personally like a gentle slope so I don’t overdo it with the sanding.YSG32
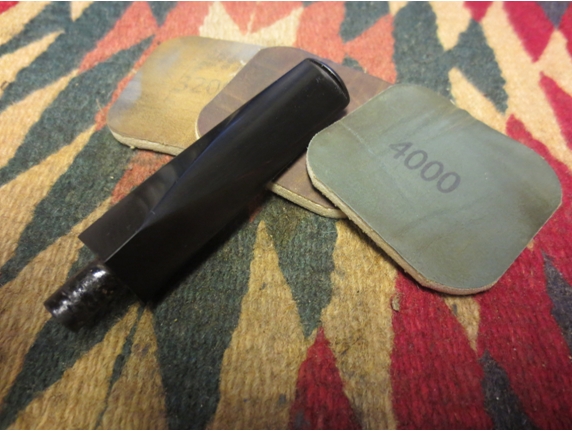
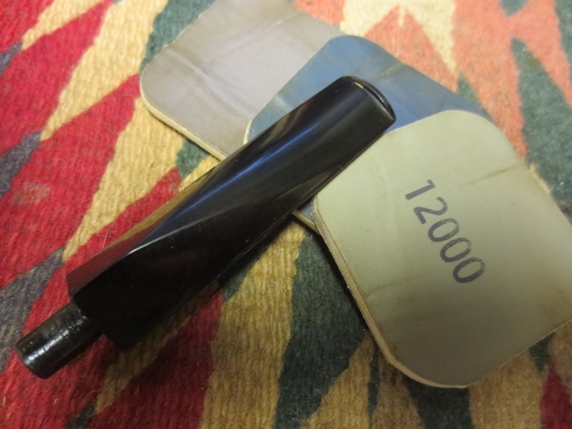
YSG33 14. With the scratches removed the stem is ready for polishing. I used micromesh sanding pads to do this work. Others use high grit wet dry sandpapers or micromesh papers. I like the way the pads fit in my fingers and how I can push the edge up against the slot to work that angle. I wet sand with 1500-2400 grit pads – wetting the surface of the stem and then sanding with the pads. I wipe it off regularly to remove the grime and check on the smoothness of the surface. I sand with each of the three grits until the particular grit no longer takes off any of the vulcanite. Once I finish with the three pads I rub the stem down with Obsidian Oil as I find it highlights the remaining scratches and also helps the micromesh to bite into the surface of the stem. I have used olive oil to do the same thing, applying it sparingly with a fold piece of cloth or paper towel. At times I have applied the oil between each of these three grits – essentially replacing the water with the oil. It works very well.YSG34 15. I dry sand (no oil or water) with the remaining grits of micromesh. I sand with 3200-4000 grit pads and then rub the stem down with oil again for the same reasons as above. I then either go back to the 1500-2400 grit pads to rework areas of concern or move on to sanding with the 6000-12,000 grit pads.YSG35

YSg36 16. I buff the stem with White Diamond at this point in my process. If you do not have a buffer you can buff with a plastic polish on a cotton pad or cloth. The idea is to remove any of the remaining scratches (micro scratches really at this point) and give the vulcanite a high sheen. When I finish buffing I give the stem multiple coats of carnauba wax. When I did not have my buffer I used Kiwi neutral shoe wax which has carnauba in it and hand buffed the stem with a shoe brush. Sometimes I revert to using the shoe brush even now. Especially when buffing areas around stamping and logos.

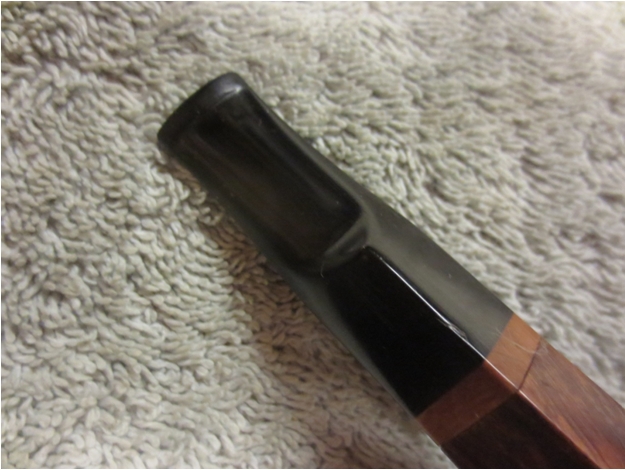
17. The finished stem is shown below. The button looks like it has always been there. I like giving it a look that fits the age of the pipe. I don’t want it looking like a brand new button that has been tacked onto an old pipe. Rather I want it to look as if it has been there for the life of the pipe and has seen some smoothing from use. You can be the judge if I have achieved that but at least that is the aim. You can also decide how you want the buttons that you shape to look. Don’t be afraid to experiment and add your own steps or modify these so that they work for you. The end result is really all we are interested in anyway and the methods for getting there are many.YSG37

YSG38

Pipe Resurrection – from a Broken Shank to another Frankenpipe


Blog by Steve Laug

In my recent gift box was a broken shanked pipe that looked like an interesting challenge to me. It is the one pictured below in the lower right corner. It was stamped on the shank Dunbar over Filter Pipe. On the other side of the shank it was stamped 36B or 368 it was hard to read. Next to that was the circular com stamp with Made in London England. Researching the brand on the web I found that it was a Comoy’s Made pipe and was their filter pipe line. This one seems to have been snapped when someone tried to remove the stem from the shank. It was absolutely frozen solid and unmovable. I put the stem and shank in the freezer over night which usually works to break loose a tight stem. It had no effect. I also tried heating the shank and stem with hot water – also to no avail. It appeared that the stem was literally glued in the shank. To top it off it seemed that there was a broken piece of plastic – possibly a tenon insert that blocked the end of the metal tenon in the stem. I could not get air to move through the stem at all.boxadditions

Frank1

Frank2

Frank3

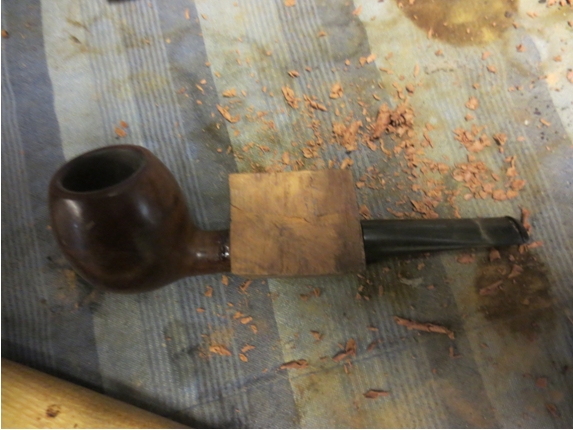
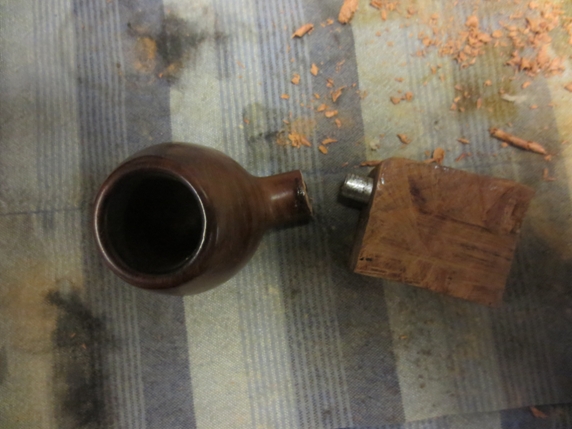
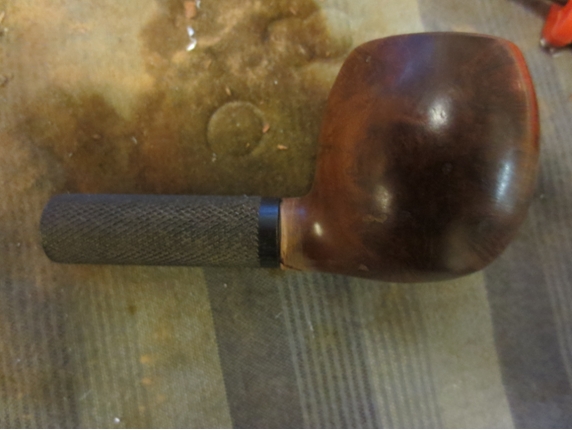
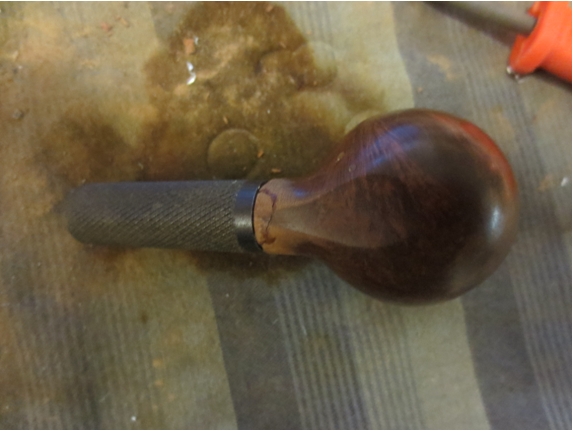
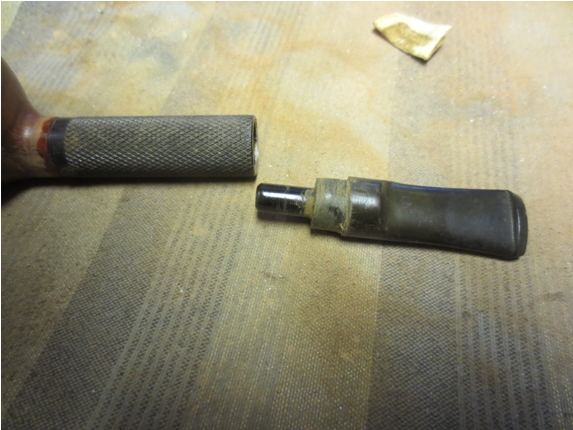
Frank4 Finally I used a heat gun on the stem and shank and was able to remove the stem from the tenon. PROGRESS! I soaked the junction of the tenon and mortise with alcohol and even WD40 to see if I could get the tenon to pop free. Nothing worked. The metal tenon was a permanent feature of the shank piece of this pipe. I would need to go with another plan – PLAN B.Frank6 I set aside the broken shank and tenon and decided to use piece from several other pipes and a chunk of briar to reconstruct a Frankenpipe from the nice apple bowl. In doing so I would lose the stamping altogether but I was not overly concerned with that as there was no way I could reconstruct the shank and bowl into a repaired Dunbar Filter Pipe. I cut back the broken shank on the bowl with a Dremel and a sanding drum. I squared off the shank so that I could attach something else to it. I finished by squaring it with my topping board and sandpaper.Frank7 I had a chunk of briar in my repair box that would work nicely. It was the right thickness to match the shank. I drilled it out with a drill bit that left a hole the size of the metal tube that I would use to join the bowl and the briar. I drilled the airway all the way through the briar and used a slightly larger bit on the mortise end of the block. I had a taper stem in my can of stem that was close to the diameter of the shank so I thought I would use it on this pipe. I put the pieces together for the photo below to get an idea of the work I would need to do.Frank8 I marred the surface of the metal tube with files and then mixed a two part epoxy and set the metal tube in the briar block. I did not glue it into the bowl at this point as I thought it might be helpful to have the block free of the bowl to be able to use the Dremel and sanding drum to remove the excess briar.Frank9 While I was at it I also took out an interesting old metal sleeve that had come with a box of parts I bought on eBay. It was cross hatched with a smooth band on the mortise end. It had a saddle stem in it that was also stuck. Now I had a couple of options to work with on this old bowl. I could either have a briar shank and a taper stem and then rusticate the shank and at least the union of the bowl and briar or I could have a metal sleeve that would slide over a briar tube and have the saddle stem inserted. I did not need to decide at that moment so I set both stems aside and worked on removing the excess briar.Frank10 I sanded the block with a Dremel and sanding drum until I had removed much of the excess and was left with a rectangular wedge that I would need to fit and shape to match the diameter of the shank.Frank11 More sanding with the Dremel and sanding drum brought the block closer and closer to the diameter of the shank on the bowl.Frank12

Frank13

Frank14 There was still more sanding that needed to be done. The next four photos show the block getting very close to the size and shape of the shank. I put the stem in place and looked long and hard at it and still had not decided what to do. I sanded with 180 and 220 grit sandpaper to further shape the shank.Frank15

Frank16

Frank17

Frank18 I looked long and hard at the pipe with the stem in place and decided I really did not like the look of the pipe. I put the metal sleeve next to the pipe and shank to have a look at it and made up my mind. I would continue to sand the briar until it could be pressed into the metal sleeve. I would need to shorten the briar so that it would leave room for the stem in the shank.Frank19 I went back to the Dremel and sanding drum and continued to sand the shank. It would need to be quite a bit thinner in diameter to be able to press the metal sleeve over the briar.Frank20

Frank21

Frank22

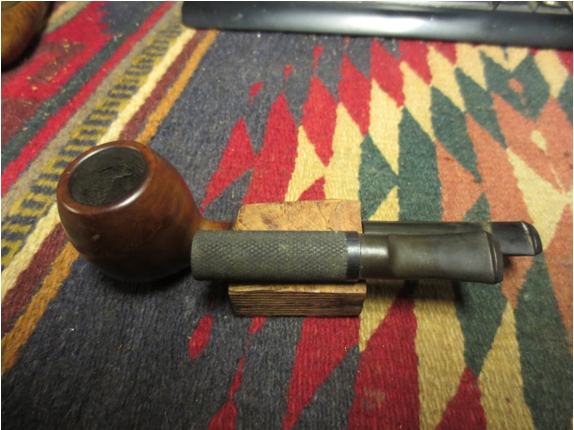
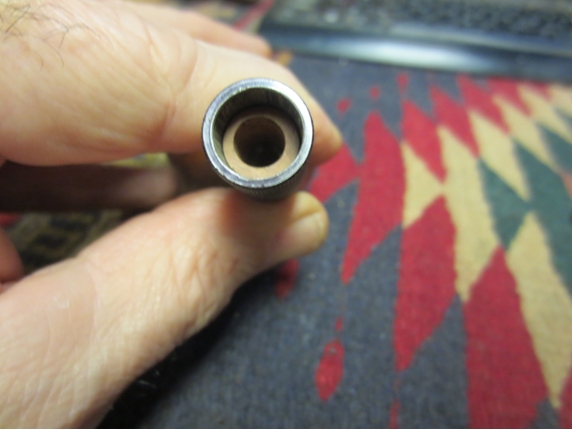
Frank23 I also decided to reverse the direction of the sleeve and have the black band against the shank and bowl junction. I figured that once I glued the tube into the airway in the bowl I would reduce the collar of the shank at that point and the slide the metal sleeve over the joint and it would not only hide the connection but strengthen the joint. I used the Dremel with the sanding drum and wood files to cut the collar down on the shank on the bowl until it matched the diameter of the briar that I would press into the metal sleeve. I shortened the briar tube enough to accommodate the stem when it was inserted in the sleeve. I wanted the airway in the briar to hold the tenon on the stem and also step the stem down so that it would sit in the metal sleeve like a faux military mount stem. I finally was ready to attach the briar tube to the bowl so I put epoxy on the piece of metal tube that I used to join the briar shank and the bowl. I pressed it into the airway on the bowl and let it dry. Once it had set I was ready to press the metal sleeve onto the briar tube. This was the moment I was waiting for to see if my vision of the pipe in my head matched the reality of the one on the table.Frank24 The photo below shows the briar tube is ready to slide into the outer cross hatched metal sleeve. I drilled out the inside of the metal sleeve to remove the step ridges and make the inside the same diameter from the bowl end to the stem end. I used a metal grinding bit on the Dremel to polish the inside.Frank25 I heated the metal sleeve with a heat gun to expand it and then pressed onto the briar tube and up on the collar of the bowl. I worked quite well. I would need to do a bit of fine tuning on the fit of the bowl and the sleeve but I liked what I saw and it was a match to my vision of the pipe when I started.Frank26

Frank27 I sanded the briar at the union of the metal sleeve and the bowl with a folded piece of 220 grit sandpaper. I wanted the joint to be smooth and even all the way around. I did not want a ridge to show at that point. I filled slight gap between the two with clear superglue and briar dust.Frank28

Frank29

Frank30

Frank31 Once the transition was smooth I turned my attention to the stem. I would need to go back and do more work on the bowl but that was good for the moment. I wanted to fit the stem and get a feel for what the finished pipe would look like. Because I reversed the metal sleeve I needed to adjust the diameter of the saddle stem to have it seat properly inside the sleeve. I used a Dremel with sanding drum and files to cut the step down. In the photo below you can see the rough fit stem. I would need to clean up the step with files and sandpaper to smooth out the newly cut portion of the saddle that would sit in the sleeve. My plan was that the tenon would sit inside the briar and the step down saddle would sit inside the sleeve.Frank32 With a little sanding my plan worked. The tenon sat perfectly in the airway in the briar and the stepped down saddle sat snuggly in the sleeve. Now all I needed to do was clean up the stem and polish it for a final fit. The first photo below shows the position of the briar insert in the sleeve. You can see the depth of the section of the sleeve for the saddle part of the stem that I modified in this photo. You can also see the airway where the tenon inserts in the briar. The three photos that follow show the progress of the Frankenpipe at this point in the process.Frank32A

Frank33

Frank34

Frank35 I sanded the bowl and shank with a medium and fine grit sanding sponge to remove the finish on the bowl, rim and smooth out the sanding scratches on the shank. The bowl was covered with quite a few fills on the sides and I wondered how they would look once I had sanded the finish off. Fortunately the fills were not pink putty but brown putty that actually blended in quite well once I had removed the finish. When I had sanded it I wiped it down with acetone on cotton pads. The first picture below shows the options I went through on this stem and the original broken shank.Frank35A

Frank36

Frank37

Frank38

Frank39 The pipe was beginning to look like I had hoped. There was still more sanding to do on the bowl and the stem but it was coming along nicely. I used a file to clean up the edge of the step on the saddle so that I could get a good fit of the vulcanite against the metal edge of the sleeve. I sanded the stem with 220 grit sandpaper and a medium and fine grit sanding sponge to remove oxidation and scratches.Frank40 I sanded the stem with micromesh sanding pads – wet sanding with 1500-2400 grit pads and dry sanding with 3200-12,000 grit pads. I rubbed the stem down with Obsidian Oil between each set of three sanding pads. I gave the stem a final rub down with oil after sanding with the 12,000 grit pad.Frank40A

Frank41

Frank42 There was still some stubborn oxidation on the saddle and next to the button. I buffed it with red Tripoli and then with White Diamond. I had a pretty heavy hand with this stem. I did it without the shank and really pressed it into the pads. I wanted to strip away the remaining oxidation. Once it was gone I gave it several coats of carnauba wax. I finished the stem by buffing it with a soft flannel buff to raise the shine. The finished stem, both top and bottom sides, is shown in the next two photos below.Frank43

Frank44 I decided to not use a stain on the bowl but to oil with a light coat of olive oil. The fills had blended in well and the grain was quite nice. The olive oil brought out a red tint to the briar. I rubbed it down and let it soak into the briar. I buffed the bowl with White Diamond and gave it several coats of carnauba wax. I buffed it to a shine with a soft flannel buffing pad. The finished pipe is shown below.Frank45

Frank46

Frank47

Frank48

Frank49

Frank50 Now all that remains is to take it on its maiden voyage. The broken shank pipe has been reborn to another Frankenpipe. It has all the parts that pretty much make it certain that it will be a good smoking pipe.

Giving a Face Lift to a Jobey Canadian


Blog by Troy Wilburn

This pipe has been an off and on project of mine since early to mid-November. I acquired this pipe from a friend of mine on the Dr. Grabow Collectors Forum (http://drgrabows.myfreeforum.org/forum3.php). I needed a Jobey stem emblem for a restoration. He sent me this pipe for a donor and it was nicer that the one I was restoring. The pipe was in excellent shape except for some mold stains. I saw a nice pipe hiding there behind it all. This is how it looked when I got it.Troy1

Troy2

Troy3 Well I sanded and refurbished it and even gave it a contrast stain. But the mold stains were still visible. It smoked fine and looked ok but I thought it was too nice a pipe to leave like it was.Troy4

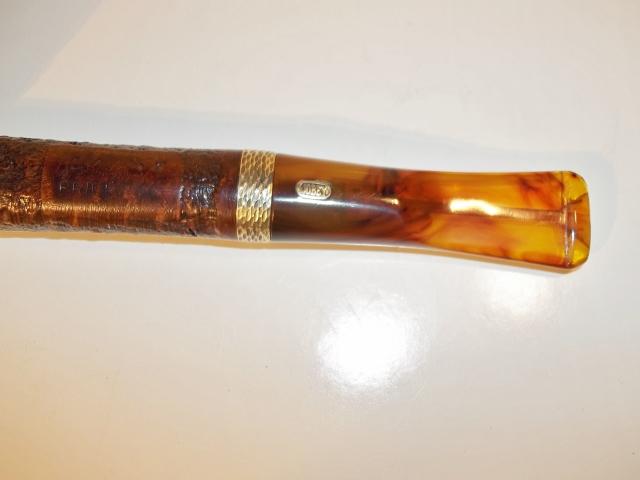
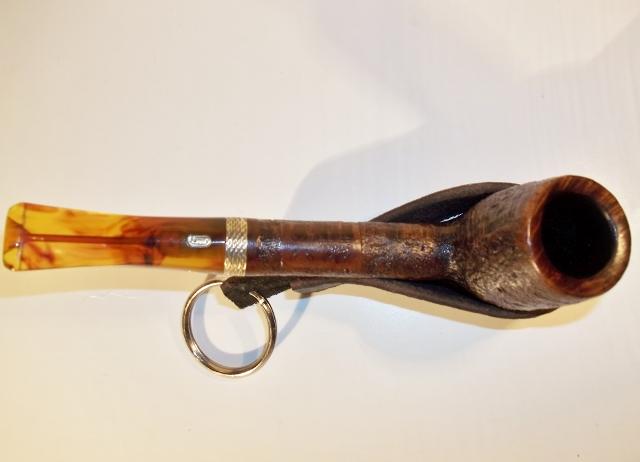
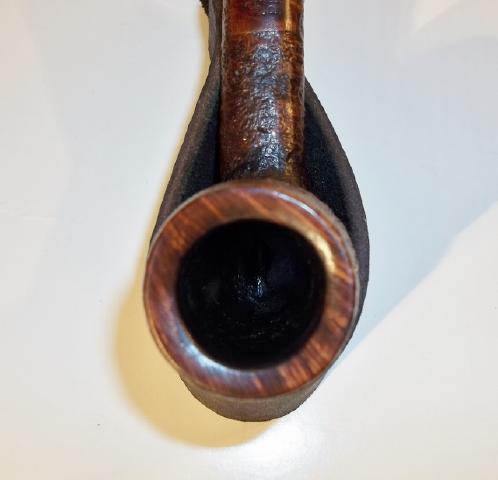
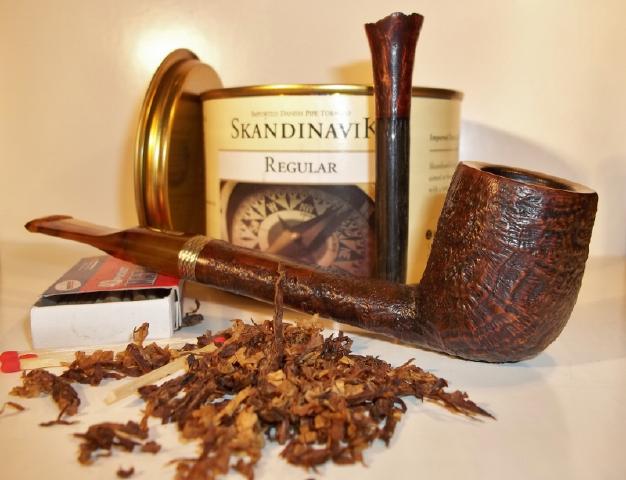
Troy5 I put it on the back burner until after the first of the year then I contacted another from a Dr. Grabow Collectors Forum about doing some blasting for me on a couple of pipes including this one. He does some very nice blast work. I figured that the blast would get rid of or obscure the mold stains. This is what the pipe looked like when I got it back. He did some fine blasting on it. He even threw in one of his custom-made tampers that is shown in the picture with the pipe.Troy6

Troy7 I mixed up some brown Rit dye and added about 25% orange along with about 5% red as well. I wanted to match the colour of the amber stem in some way. I then coated it in mineral oil and took a scotch brite pad and went over the surface to lighten the high spots of the blast. I wanted the color of the pipe to match the dark brown of the stem at the shank so that it would look like the whole pipe fades from Brown to the amber yellow. After many coats of wax this is what I got.Troy8

Troy9

Troy10

Troy11

Troy12

Troy13

Troy14

Troy15

Troy16

Troy17

Troy18

Troy19

Troy20 I think it turned out real nice and it smokes wonderful. A gift from a friend and the blast work from another friend make this one of my prized pipes.

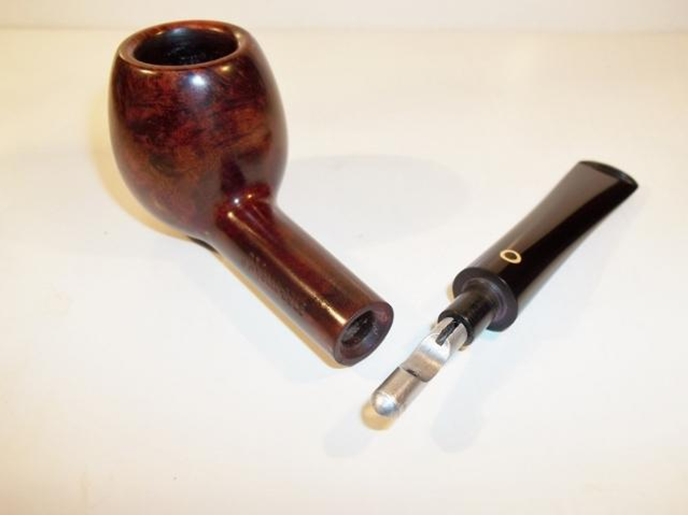
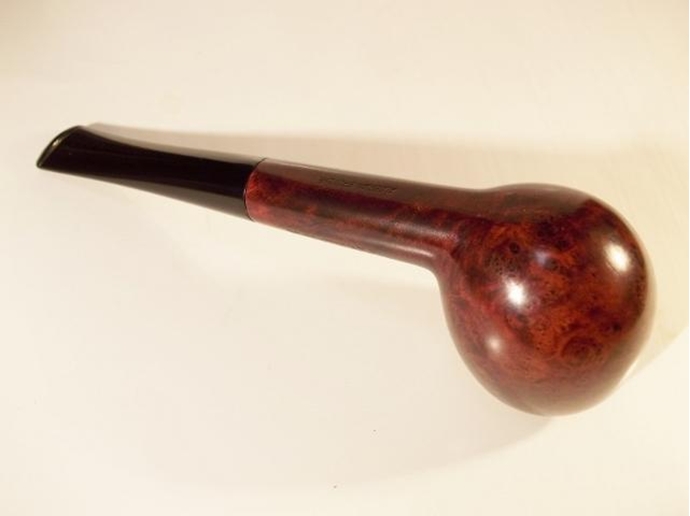
Restoring an Old Yello Bole 2033 Apple


Blog by Troy Wilburn

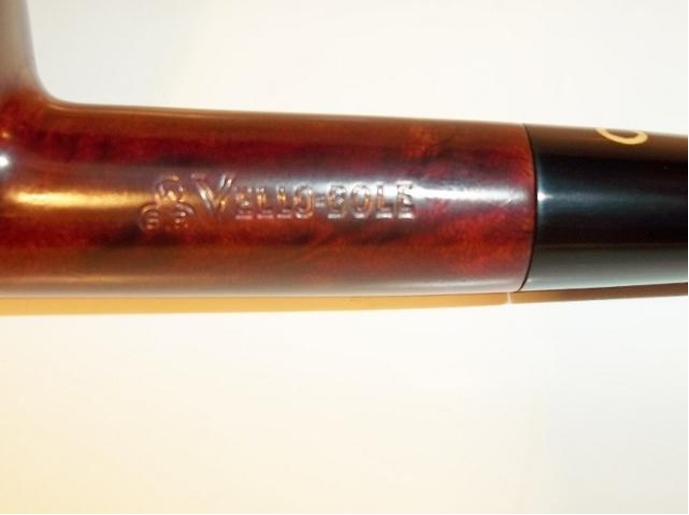
This is the other pipe I got with the Doc Watson. Both came from the same owner estate sale – an old gentleman that had them has since passed on to glory. The two pipes have been together longer than I have been alive. It’s an early Yello Bole in that it has the Imported Bruyere stamp but no “Honey Cured Briar” along with the 2033 four digit shape stamp. I’m guessing 1930 – 1933 roughly.

The pipe as it was when I got it.YB1

YB2

YB3

YB4 I started out by removing most of the cake, then sanding inner bowl with some rough grit paper leaving a thin coat of cake.YB5 Next I cleaned out inner shank and stem with 91% alcohol. On these large airway YBs I like to twist 2-3 shank brushes together for better scrubbing. I also scrubbed outer stem with 91% alcohol and a Scotch Brite pad to remove grease, oil, wax etc.YB6 This is easiest way I’ve found to remove rim cake. I mix up some Oxy Clean and warm water. Dip a piece of Scotch Brite pad in it leaving it not quite dripping wet. Lay it flat on surface and move rim along lightly. It takes it off pretty fast and will not harm under finish if you are trying to save it. It will leave it discolored but a little mineral oil will bring the color back to original.YB7

YB8Next I went ahead and scrubbed bowl and stem with same pad and Oxy Clean solution. It will remove contaminants and not hurt the finish just dull it. It will remove any light oxidation from stem that might be present. I scrub the stem harder than the bowl.YB9 Next I went ahead and scrubbed bowl and stem with same pad and Oxy Clean solution. It will remove contaminants and not hurt the finish just dull it. It will remove any light oxidation from stem that might be present. I scrub the stem harder than the bowl. After getting a good look at the bowl after old dirt and such was removed the finish looks toasted. Sadly it cannot be saved.

So I went ahead and sanded bowl with 400-2000 grit sandpaper. Never touching the stampings with any grit sandpaper less than 1200 grit. I will leave a defect or mark near a stamping just so it won’t be harmed.YB10 Luckily the stain I had left over from the Doc Watson was a good match so I was able to use it. I applied three coats letting in dry in between.YB11 After third coat of stain I like to apply mineral oil to help the grain stand out and condition the briar. The mineral oil lets you see any defects in the finish and what the bowl will look like when waxed. I set it to the side and let it air dry.YB12 I had to do some filing on the stem and button to remove some tooth marks.YB13 If you noticed in before pic the stem did not fit tight to the shank, so I filed down tenon a little at a time until it fit tight.YB14

YB15 I wet sanded the stem again using 400-2000 grit sandpaper.YB16 I put the bowl and stem back together and it is ready for some buffing and wax.YB17 On bowls I’ve stained I put about 3 coats of base wax then go back over with white Tripoli then go back to wax .

On the stems I use brown Tripoli, white Tripoli and then wax.YB18 Here are pics of the finished pipe.YB19

YB20

YB21

YB22

YB23

YB24

YB25 It was missing a stinger so I dug out an extra I had and cleaned it up.YB26

YB27

YB28

YB29

YB30 It should make a fine daily smoker and better than most any pipe I could buy today for under a 100 dollars. I have less than 12 dollars in it.YB31

A Restorfurb of a Doc Watson SR Billiard


Blog by Troy Wilburn

I have read about some of Troy’s refurbs on Pipe Smokers Unlimited and on the Dr. Grabow Collector’s Forum so when I saw his work on this old Doc Watson and the unique stamping it had I wrote and asked him if he would be willing to post it on rebornpipes. It is a pleasure to have some of Troy’s work here. He did an amazing job on this particular old timer with the distinct purpose of trying to keep the original finish as much as possible as he worked on it. Thanks Troy for taking the time to send me this blog. I am glad you were willing to post it here. Welcome to rebornpipes as one of the contributors. It is great to have you here. You have shared not only a great restorfurb but some tricks that I will have to use in the future. We would love to read about and look at more of your work. Thank you. – Steve

Hi everyone, my name is Troy Wilburn and I live in rural Virginia near Roanoke. I have been a dedicated pipe smoker for a little over a year now and refurbishing my own pipes for about 8 months. I mostly hang out on the Dr. Grabow Collectors Forum. My collection is mostly American made pipes. My favorite shapes are pokers, billiards and Canadians. Pokers are my most favorite with nearly 40 of them last count. I have kind of a tight budget to work with on my pipe smoking, pipe purchasing and pipe refurbishing. That’s why I got into refurbishing my own pipes. I’m always trying to find a bargain on pre 50s pipes as they are my favorite. Linkmans and Yello Boles are my most common pre 50s pipes with three Marxman’s thrown in. I do have a hard to find Marxman poker that is one of the prides of my pipe collection and is 100 % original finish.

I have browsed Reborn pipes for information and refurbishing info for a while.

This is my latest one and the pipe that got me here. It’s a Doc Watson pipe shape #51. I know from researching this pipe that Steve had restored a couple so I thought he might know some info on the odd stamping’s mine has. He invited me here to post my work on this pipe.

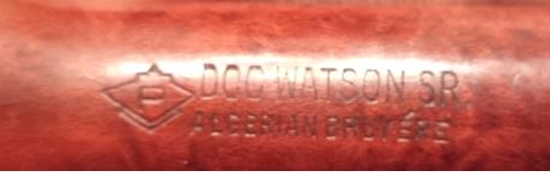
I got this one and an early Yello Bole apple from a woman who got them at the same estate sale. They both came from the same owner. The Doc Watson’s were made by KBB and though I have seen a few, mine has odd stamping of a P in a shield and mine has the name SR applied. The others I’ve seen are stamped just plain Doc Watson and with the KKB in a cloverleaf.Troy1 I know this is a KBB as it has the same shape number as KBB, YB and KW charts. The stem has the same logo as the KBBs. KBB stamped Watson’s are all marked Italian Bruyere not Algerian like this one is. I’m guessing this pipe is dated between 1936-1940 as it has the Bruyere stamp but lacks the four digit code.

Pipe as I got it… Troy2

Troy3

Troy4 After a reaming and a good cleaning I noticed that it had some discoloration spots from heat and the finish was all but gone on these spots. Also there were lots of scratches on the surface and some were deeper. So instead of stripping the whole thing I decided to try and blend in the spots with the original finish, to keep it as original as possible.

So after sanding the bowl down with some 600 grit sandpaper very lightly, being careful of the stampings and the stem with 1000 grit, I applied a matching dye that I mixed up to the spots.Troy5 The dye pretty much only stuck to the bare finish parts and the excess rubbed off after I wiped it with a rag. After three coats I applied some mineral oil. I had to file out some tooth marks on the stem and button and then wet sanded the stem.

Below is a picture of the bowl and stem back together and ready for some base wax.Troy6 After waxing the pipe late last night I saw some file marks still visible and the spots were not quite as well blended in as I would have liked. It was more visible in person that it is in the pic shown here.Troy7 So I decided to back up and punt. After some sleep, morning caffeine and some Vitamin N from some Haunted Bookshop I was ready to go at it again. I sanded the whole pipe and stem with mineral oil and 1000, 1400 and 2000 grit sandpaper. Then I applied a thin coat of red sharpie as toner and buffed off the excess with a loose pad. It left just a red tint and helped blend the dye with the original finish.Troy8 I lightly waxed the bowl to seal it in. The pipe is about 70-75 percent original finish with some slight blending and tone work. It still has some minor dings around the stampings but I didn’t want to damage them or buff them out any more than I could help. I guess you would call it a Restorfurb.

After several more coats and buffing…Troy9

Troy10

Troy11

Troy12

Troy13

Troy14

Troy15

Troy16

Troy17

Troy18 Sadly the stinger is missing on this one. The Doc Watson pipes have a pretty near stinger. Here is a pic of one that I got off the web.Troy19 I’ll try to find one for it but it may be difficult as these are not that common of a pipe and they were only made for a short time.

Restoring a Horn Stem Terminus Apple – An Early Version of a Reverse Calabash


Blog by Steve Laug

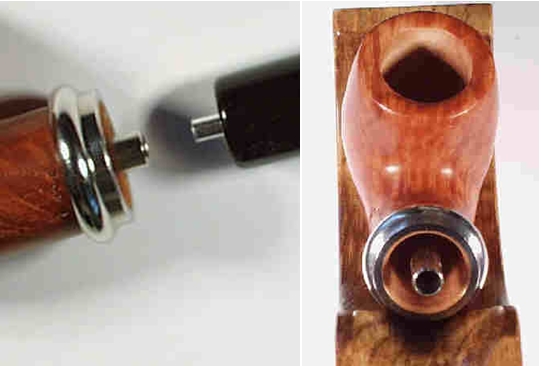
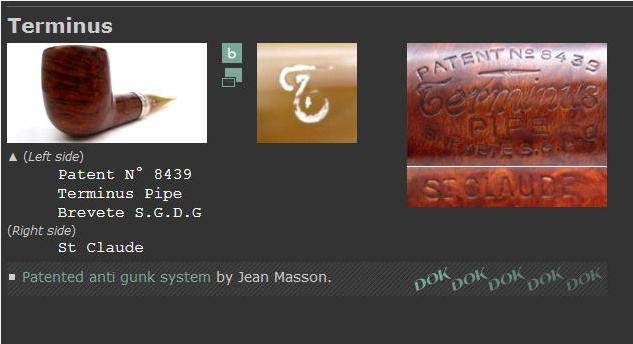
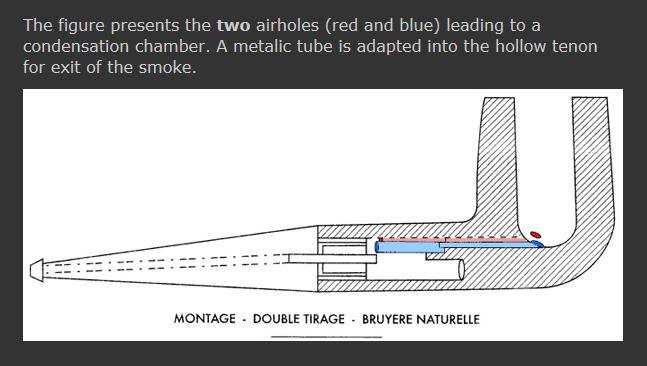
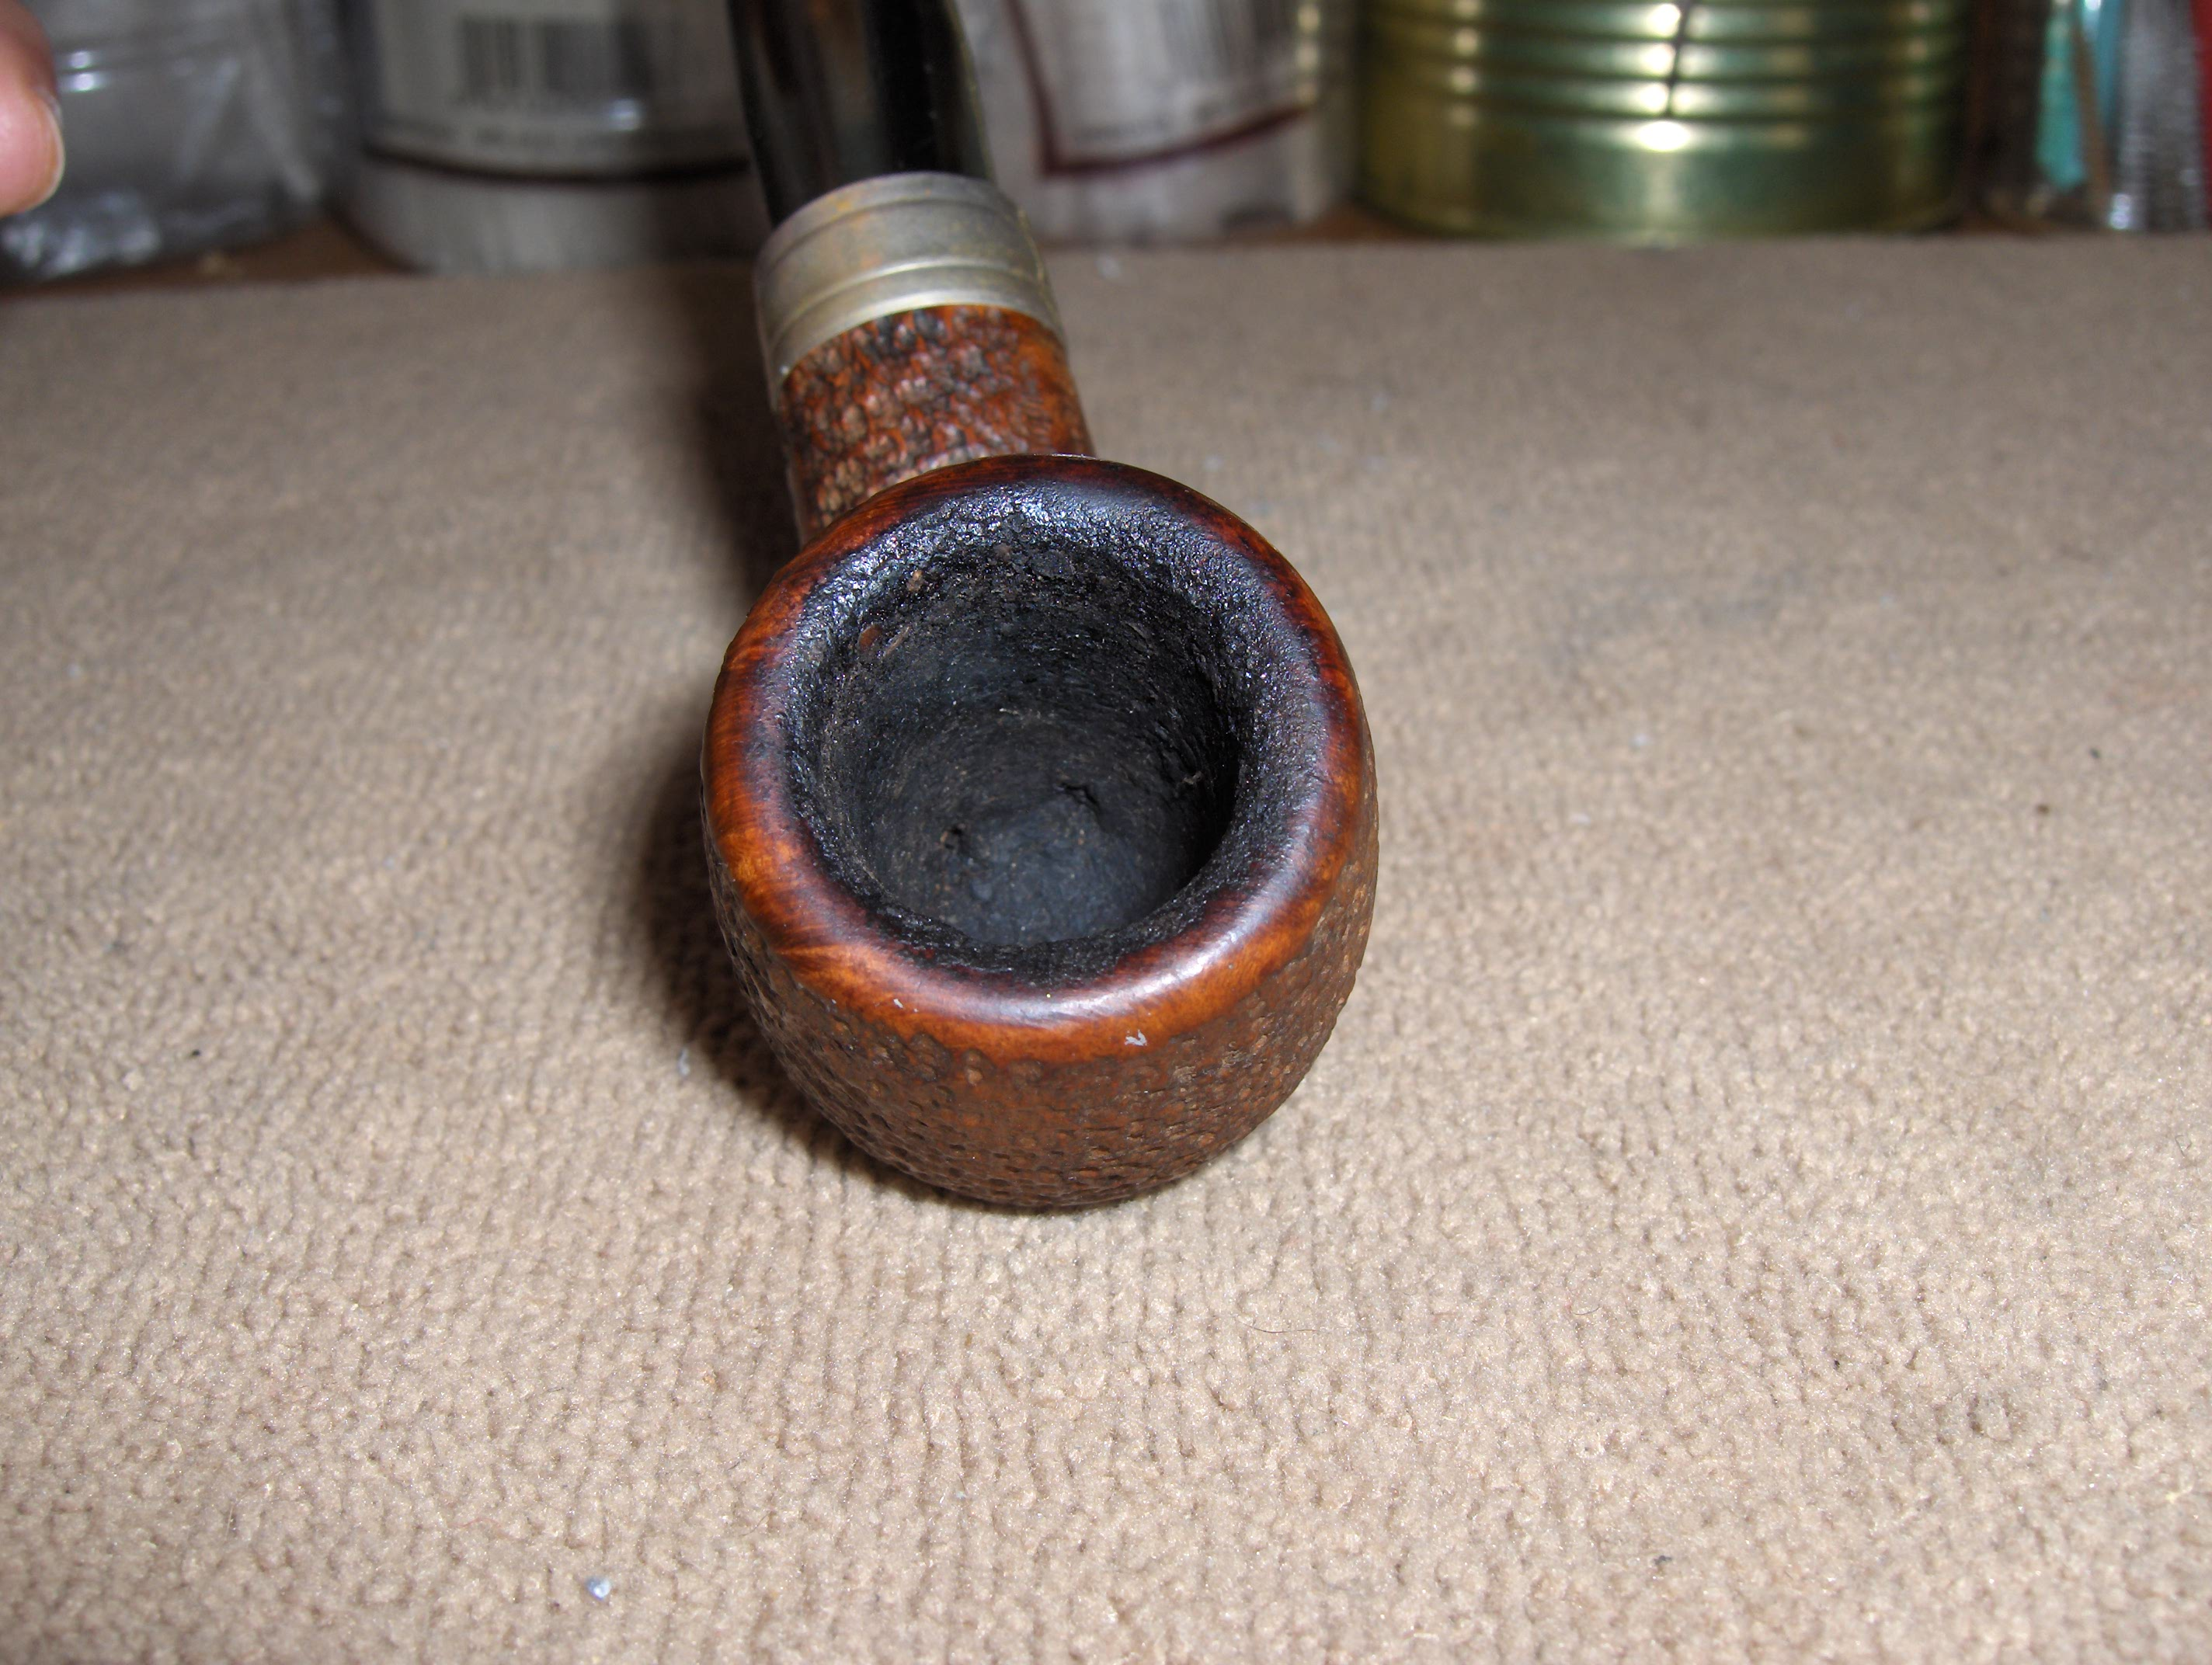
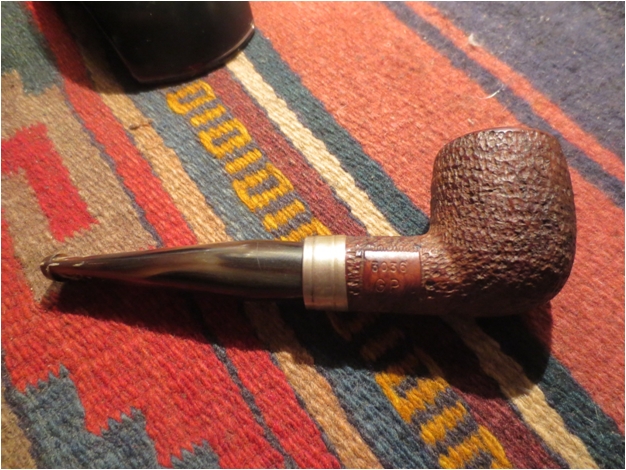
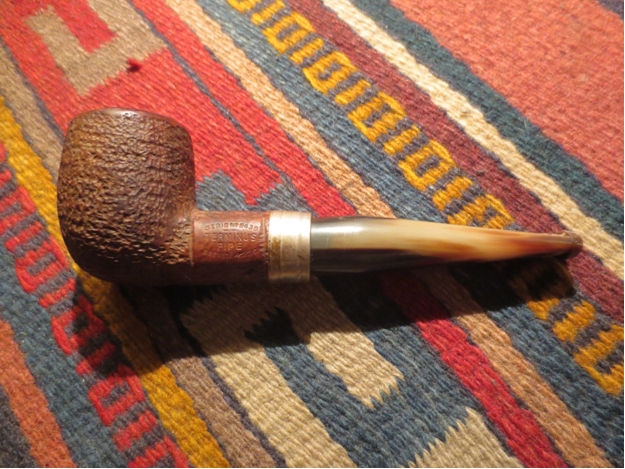
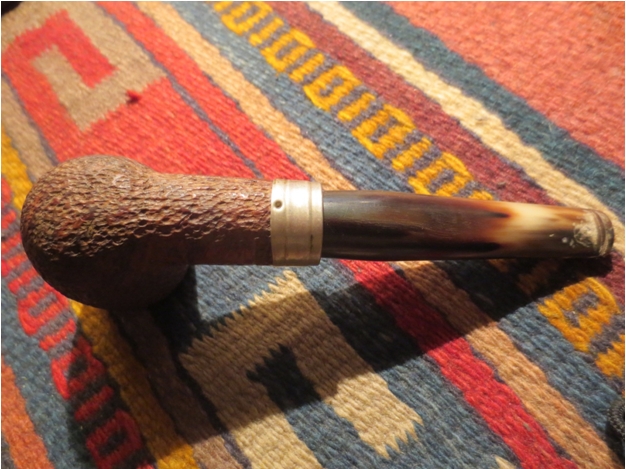
Terminusa I was gifted a beautiful rusticated Terminus apple from Anthony Cook. At least it has the potential to be a beautiful pipe to my eye. I have kept an eye out one of these old system pipes for a long time. They are like an early reverse calabash design. From my reading and observation it is both similar and different from the Keyser Hygienic pipes that I have written about before on the blog. It is similar in that it has an aluminum condensing contraption in the mortise of the shank with a centre tube that extends about ¼ inch beyond the end of the shank and rests in a larger tube in the military mount stem. This is the similarity – tubes, condensing contraption and the military mount stem. The dissimilarity is that at the end of the mortise where the flat base of the condensing unit sits there are two airway entries toward the top on either side of the centre tube. In the bowl there are also two airways at the bottom of the bowl. I found an online photo of the apparatus in the mortise and also how the stem and shank fit together. The Terminus I have is older than the one in the photo but the design is the same.Terminusb Terminus was a St. Claude, Francepipe maker. This is one of the early models, dating from the beginning of the 20thCentury.The patent was for an inner tube in the shank with two draw holes either side and a smaller inner tube in the stem, thus keeping “gunk” to a minimum.A straight apple with cow horn saddle bit.5.25 inches (13.5cms) long. Bowl height 1.75 inches (4.5cms). Looking up the name on Pipephil Logo and Stampings website I found the following information.Terminus4 On the screen capture from the site above you will note the phrase patented anti gunk system by Jean Masson. I clicked on that and was taken to the following information.Terminus4a There are several differences that I can see between this diagram (pictured below) and the pipe I have in hand. The first difference is that the back end of the condensing chamber is flat and does not have an extension or well on the bottom side of the chamber. The entire chamber extends the length of the mortise up to the two airways. The second difference is that the condensing chamber actually continues in the stem and there is a larger draw tube that the smaller tube in the mortise rests in. The third difference is that the stem is military mount and fits into the mortise around the smaller tube in the mortise. The tube seems to extend as far up the airway in the stem as I can see with a flash light.Otherwise the diagram gives an approximate idea of how the system fits together.Terminus5 Anthony sent me several pictures of the Terminus Pipe he was sending to give me a feel for what was coming. Overall it looked to be very workable. There was nothing in the pictures that gave me pause in terms of what it would take to clean it up. It appeared that the finish was basically gone – or it may have been a natural finish it was hard to tell. The horn stem looked interesting. It looked to be quite large and the taper on it was unique to the horn stems that I have worked on and kept in my collection. The tars on the rim did not seem to hide damage to the inner or outer edge of the bowl. The twin draught holes in the bottom of the bowl seemed to be hidden in the cake on the sides of the bowl. The condensation chamber in the mortise had a thick build-up of tars and oils that would be a challenge to get out.Terminus1

Terminus2

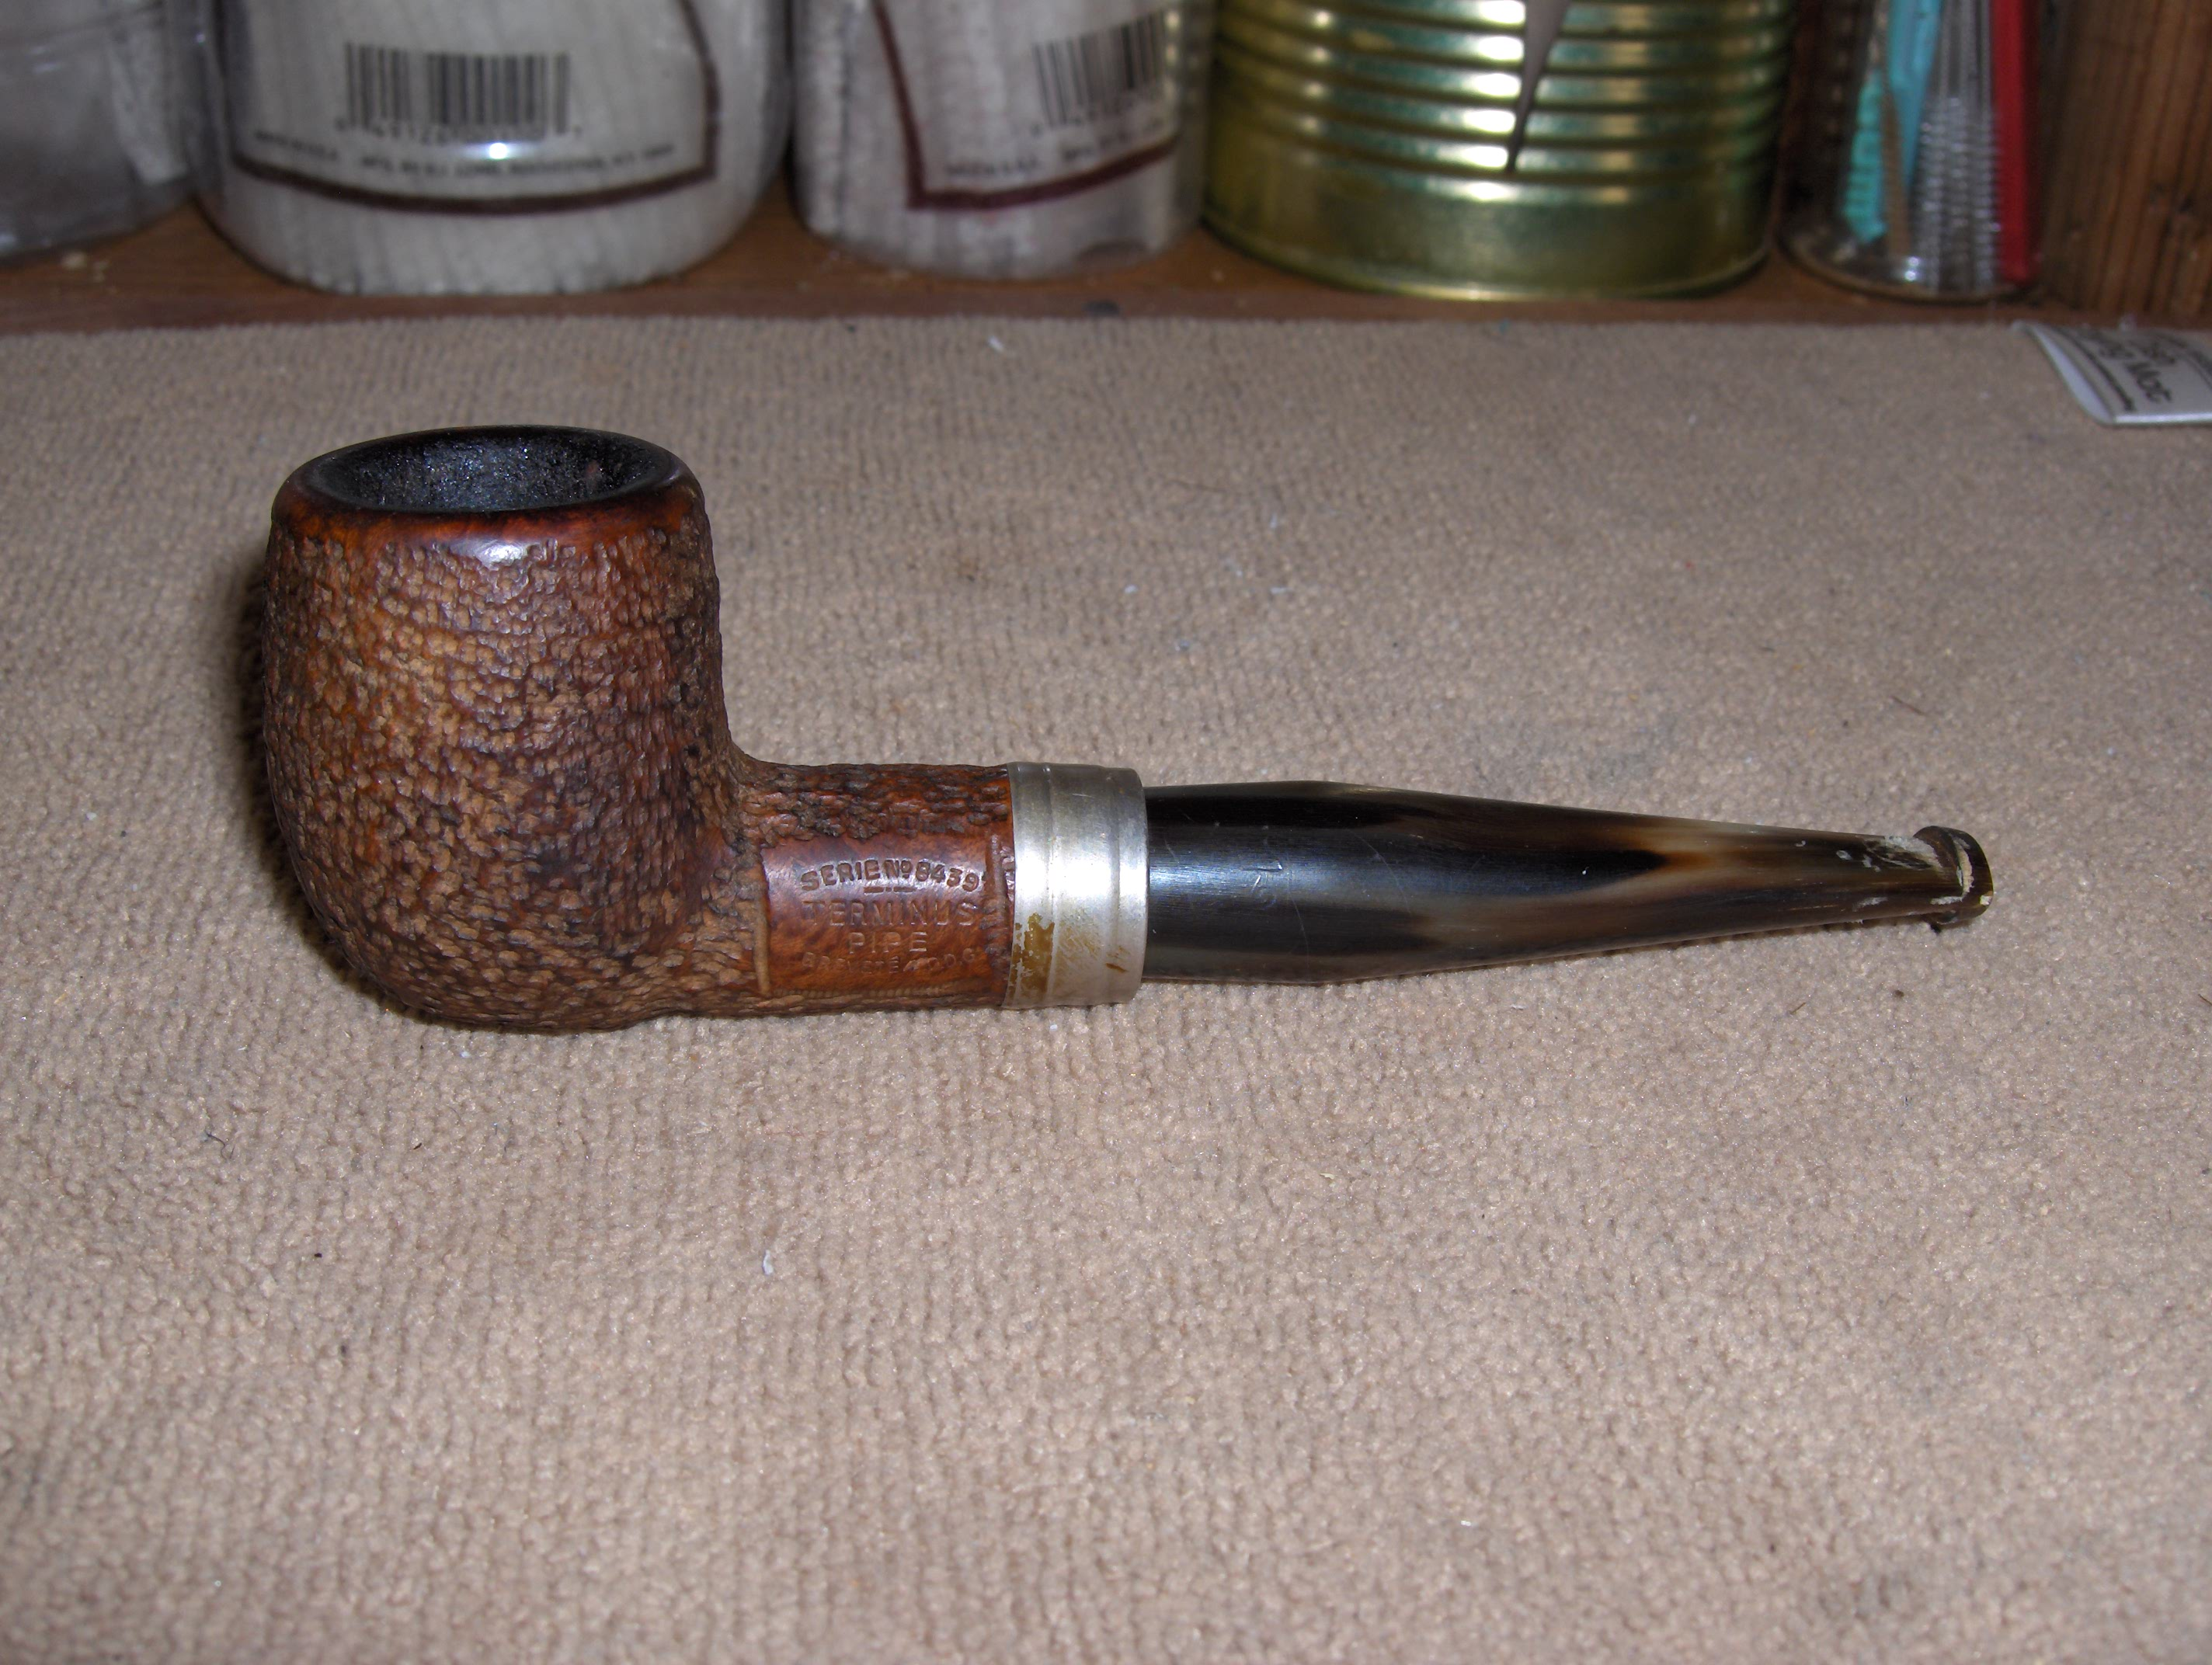
Terminus3 When the package arrived I quickly unwrapped it and took out the pipe. I really like the look and feel of it. It was comfortable in the hand and showed a lot of potential under the worn finish and dirt. It is stamped on a smooth rectangle on the left side of the shank with Serie No. 8349 in an arch over Terminus over Pipe. Under that it is stamped Brevete S.G.D.G. in a reverse arch. On the right side of the shank is a matching rectangle that is stamped 3036 over GP.The first four photos below show the pipe as it appeared to me fresh out of the box. The finish was slightly worn but underneath the tight rusticated pattern (almost a blast) was some beautiful ring grain that shone through the rustication. The bowl appeared to be unstained natural briar and would clean up very nicely. The stem was horn and had some tooth chatter on the top and bottom sides and also a deep tooth mark on both. The colour of the horn varied from a cream colour to a dark brown and seemed to move in waves that ran the length of the stem. When polished this stem would be beautiful.Terminus8

Terminus9

Terminus10

Terminus11 The next two photos are close-ups of the top and bottom of the stem and show the tooth chatter and the deep bit mark on both sides.Terminus12

Terminus13 I decided to address the chatter and bite marks on the stem first. I sanded the stem with 220 grit sandpaper to smooth out the tooth chatter and the wear around the button. I also wanted the surface of the stem smooth before I repaired the bite marks. I sanded the stem with a medium and a fine grit sanding sponge to smooth out the surface then wiped it down with a damp cloth to remove the sanding dust. I used a drop of clear super glue to fill the holes on the top and bottom. And set it aside for ½ hour for the glue to cure.Terminus14

Terminus15 When the glue had cured I sanded the two patches with 220 grit sandpaper to blend them into the surface of the stem. The two photos below show the patches after sanding and before I worked over the stem with the medium and fine grit sanding sponge.Terminus16

Terminus17 I sanded the stem with medium and fine grit sanding sponges to further blend in the repairs and smooth out the nicks in the surface of the horn.Terminus18

Terminus19 I cleaned out the shank, condensing chamber in the shank and stem and the airway in the stem and two airways in the end of the shank using alcohol, cotton swabs and pipe cleaners. I did not use the retort on this one as I am not clear on how the boiling alcohol would affect the horn stem. It took a lot of soaking and scrubbing before the aluminum chamber in the mortise and the chamber in the stem were clean and shiny once more I reamed the pipe back to bare wood and the used a dental pick to clean out the debris from the twin airways in the bottom of the bowl.Terminus20 I scrubbed the surface of the bowl with Murphy’s Oil Soap and a tooth brush and then rinsed it off with running water. I dried it off then wiped the bowl down with acetone on cotton pads to further clean the dirt and wax from the bowl surface. I scrubbed the aluminum shank band with silver polish and then lightly sanded it with the 1500 grit micromesh sanding pad.Terminus21

Terminus22 I worked on the tars and oils on the rim with saliva on a cotton pad and then used acetone on a cotton pad and was able to remove all of the build up. The grain really stood out on the rim and was a nice contrast to the rusticated pattern of the bowl.Terminus23 With the mortise and airways cleaned out I decided to use the cotton ball and alcohol treatment on the bowl to remove the heavy aromatic tobacco smell that still hung onto the pipe. I stuffed the bowl with cotton balls and used and ear syringe to fill it with isopropyl alcohol. I let it sit all day while I was at work. When I returned in the evening the oils had wicked out of the briar into the cotton. Once I removed the cotton and the bowl dried out the smell was gone and the bowl was fresh.Terminus24 I sanded the stem with micromesh sanding pads – wet sanding with 1500-2400 grit pads and dry sanding with 3200-12,000 grit pads. I rubbed the horn down with Obsidian Oil in between the sanding and while the oil was drying continued to sand with the pads. I find that the oil gives the micromesh the kind of bite on the horn stem that really raises the shine and removes the scratches and marks left behind from age.Terminus25

Terminus26

Terminus27

Terminus28

Terminus29

Terminus30 After polishing with the micromesh I buffed the stem with White Diamond and then gave it several coats of carnauba wax to protect it. I decided to rub down the bowl with some olive oil on a paper towel. I rubbed over the surface of the bowl so that oil went down into the grooves and soaked in. Once the oil had penetrated the briar I wiped it off with a soft cotton cloth and hand buffed it with a shoe brush.Terminus31 This morning I gently buffed the pipe and stem a final time and gave it a light coat of carnauba wax. I finished by buffing it with a soft flannel buff to give it a shine and make the horn material glow. To me there is nothing more beautiful on these old pipes that the warm luminescence of polished horn. In this case the variations in colours from cream to dark brown and everything in between gave the stem an almost three dimensional look. The oil enlivened the old briar without muting the ring grain that shone through the rustication. To me this old pipe just glows with deep inner warmth that will make it a pleasure to smoke. I am looking forward to the interesting smoke that the twin airway in the bowl and the condensing chamber in the pipe and stem will provide. The draught on the pipe is quite open so it should smoke well. My guess is that it will deliver a cool smoke. The horn stem provides a unique feel in the teeth and mouth that nothing quite rivals. The finished pipe is shown below.Terminus32

Terminus33

Terminus34

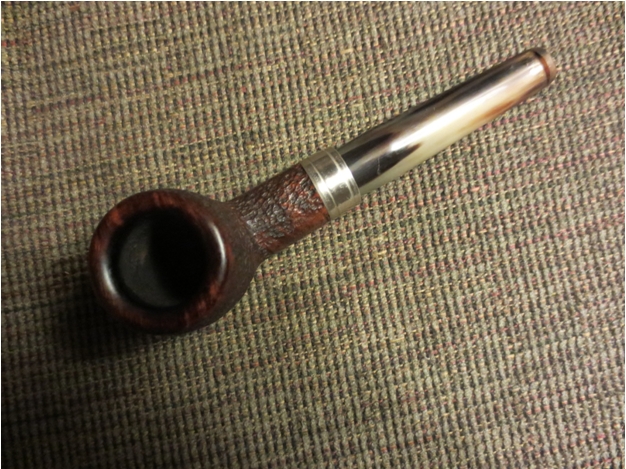
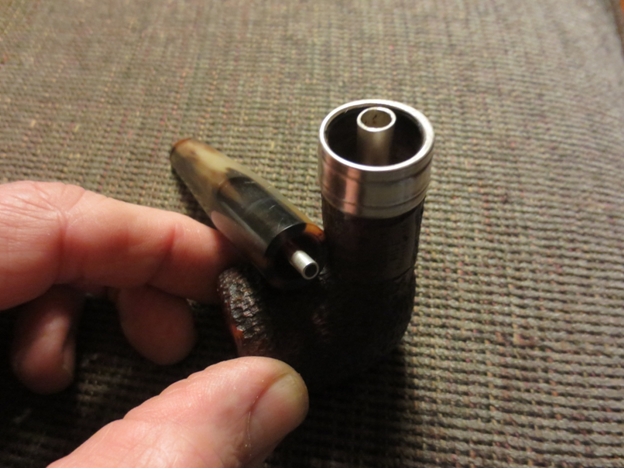
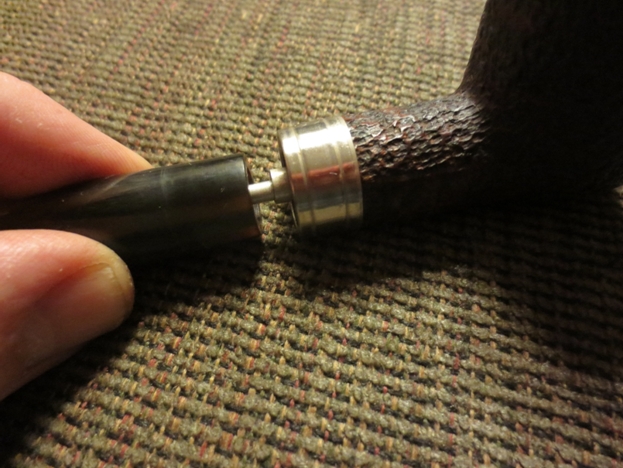
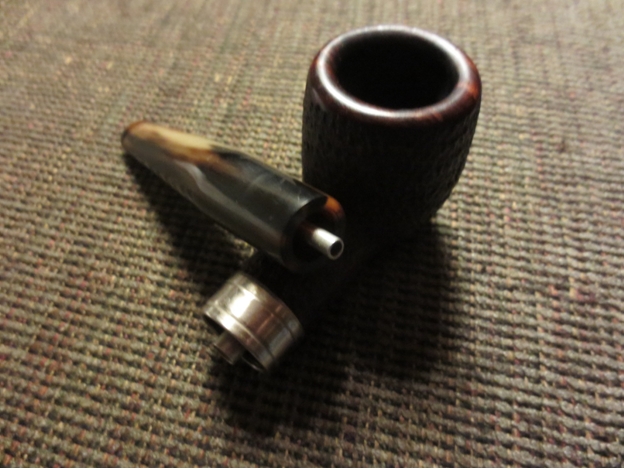
Terminus35 The final photos give a close up view of the parts of the pipe beginning with the cleaned and polished rim and walking you through the condensation chamber and a photo of how the two tubes intersect when the stem is in place.Terminus36

Terminus37

Terminus38

Terminus39