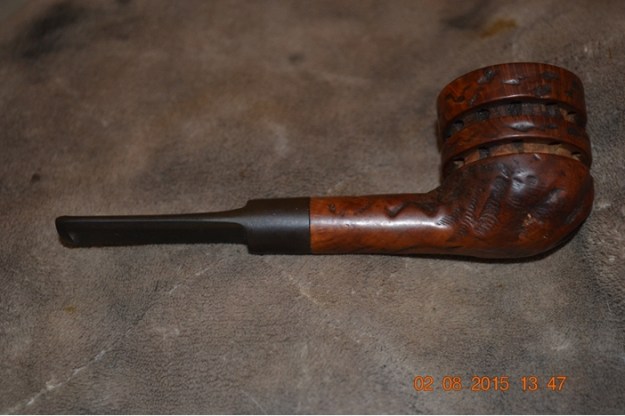
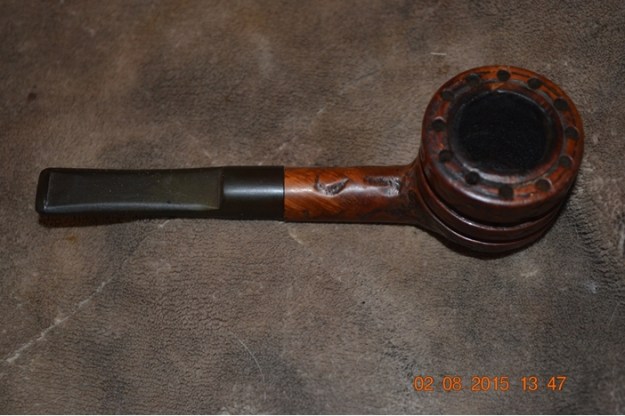
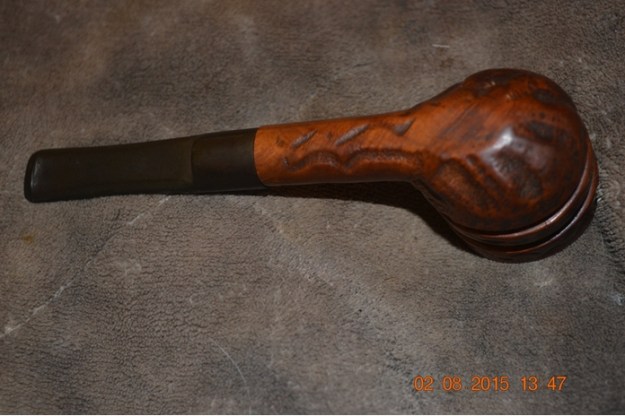
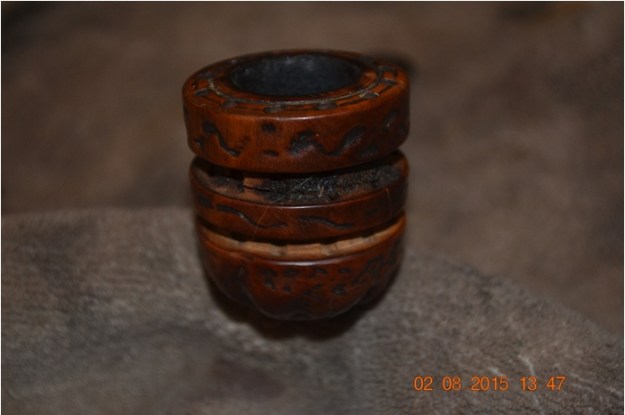
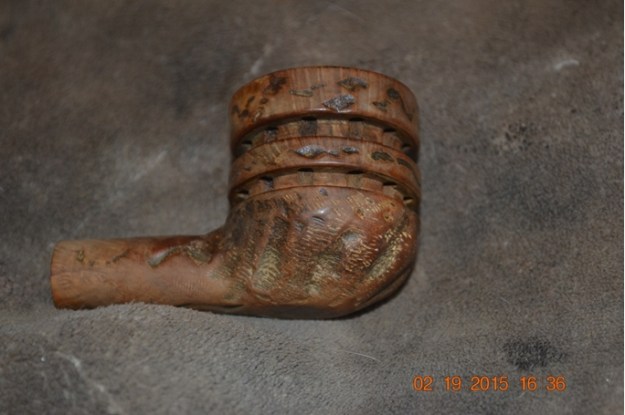
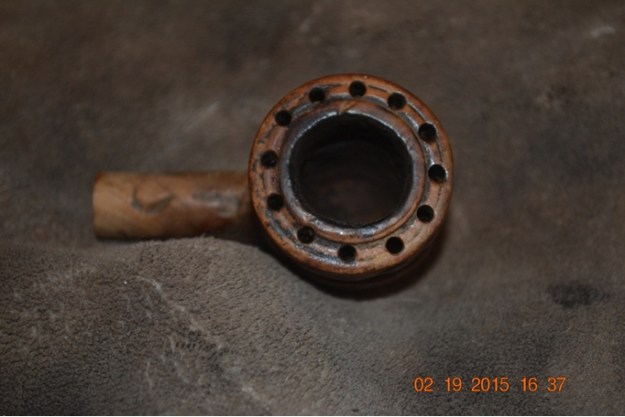
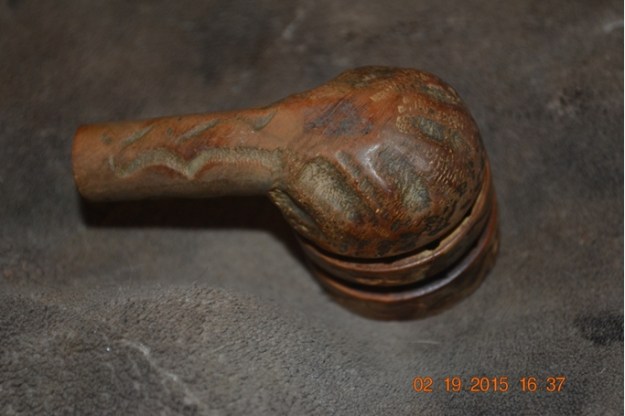
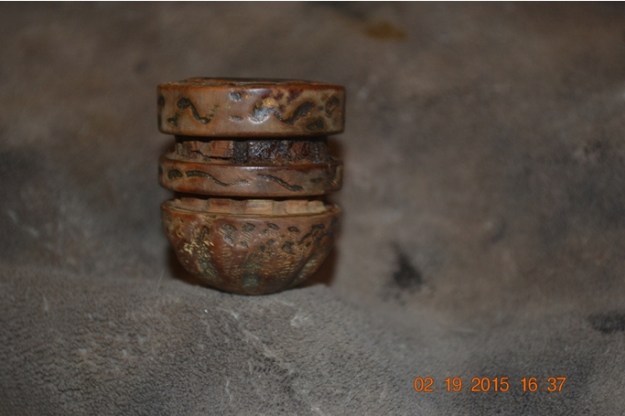
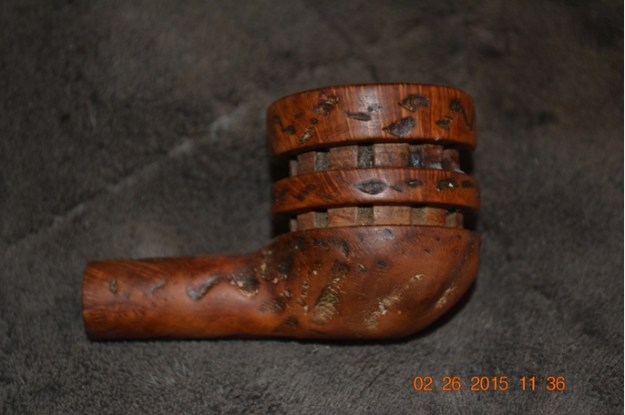
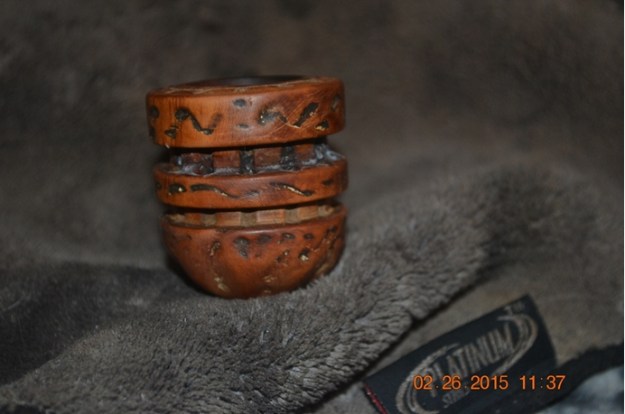
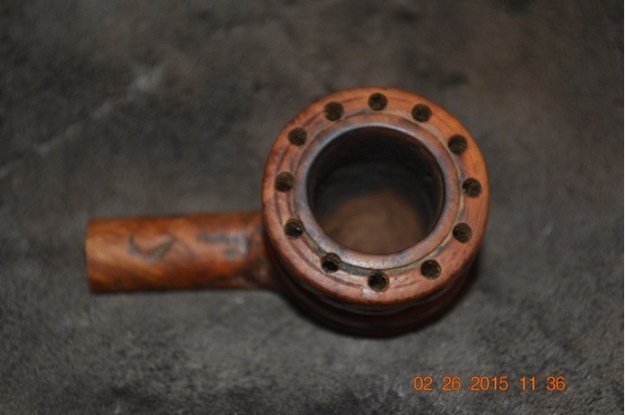
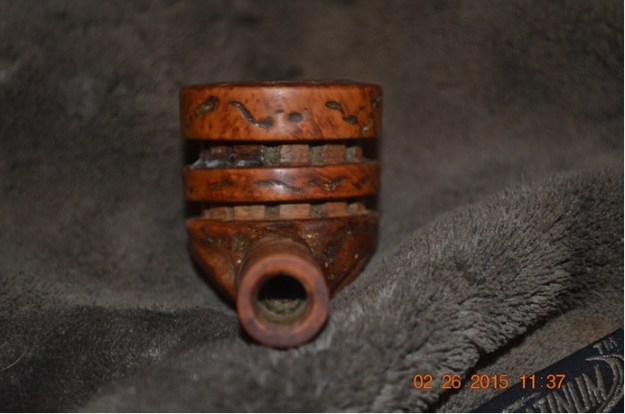
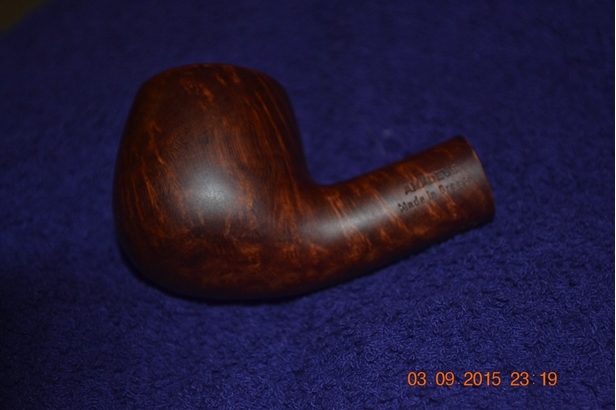
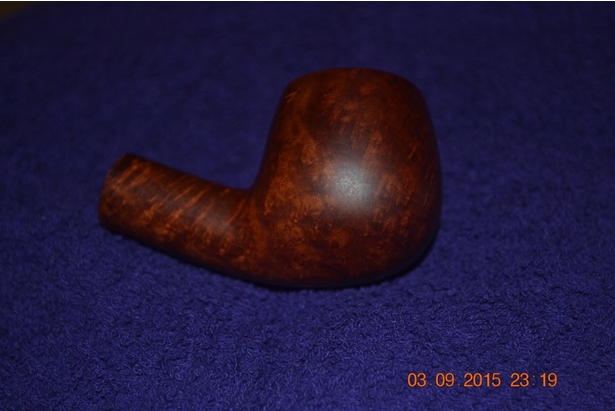
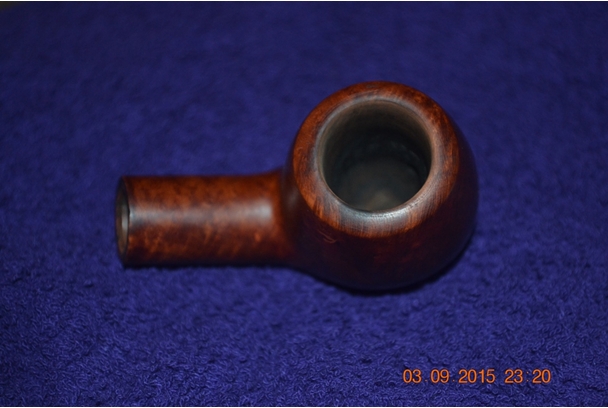
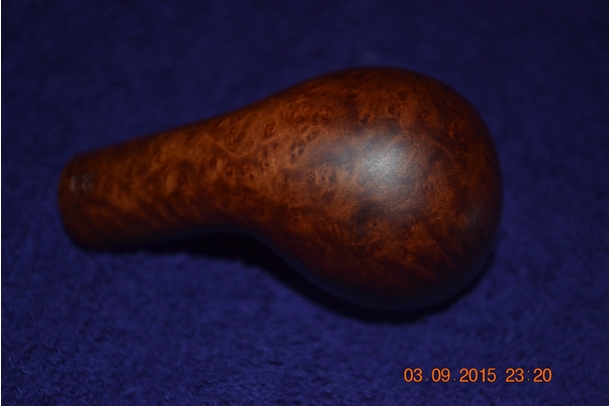
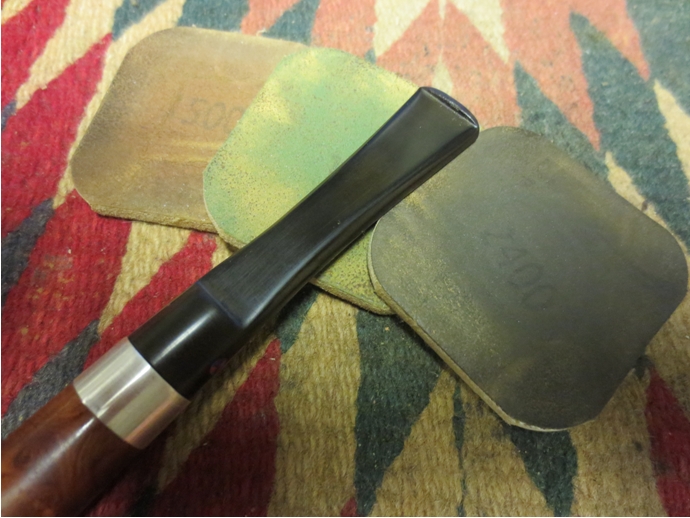
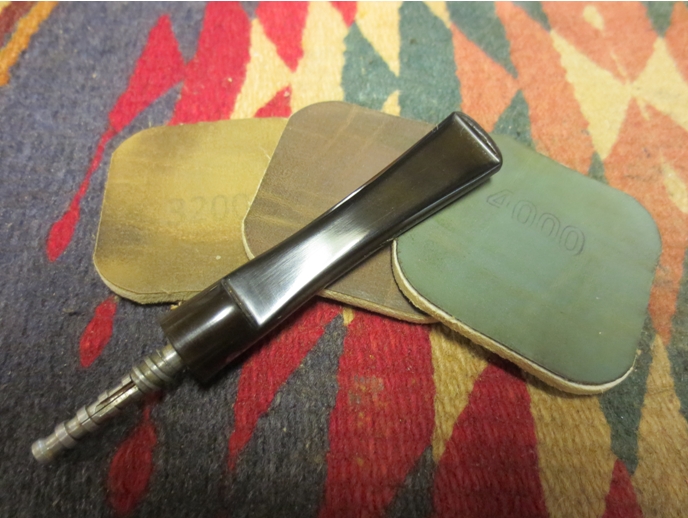
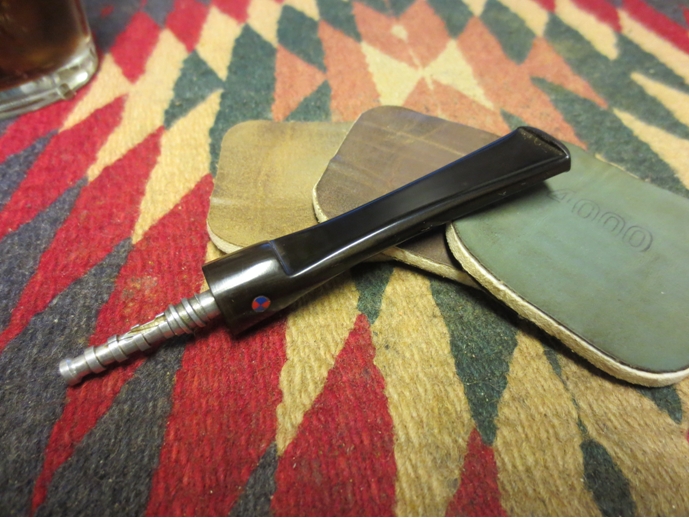
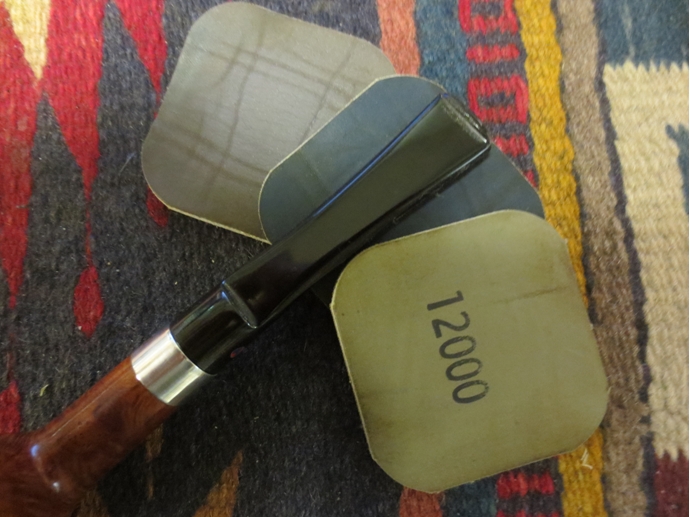
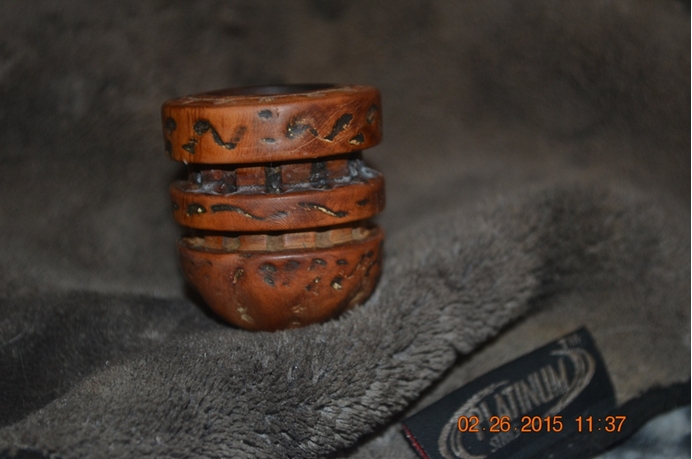
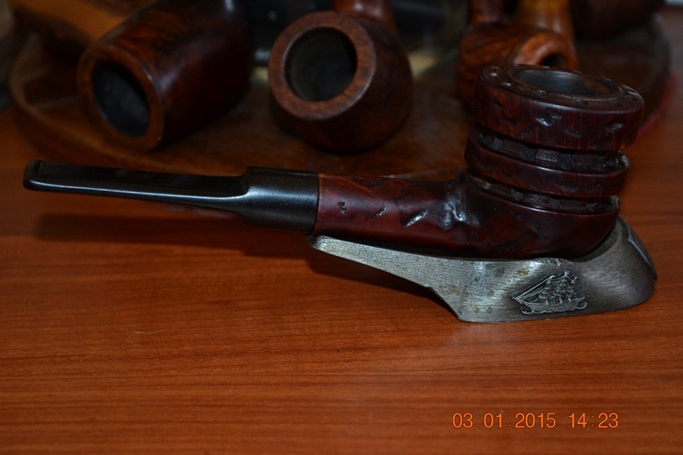
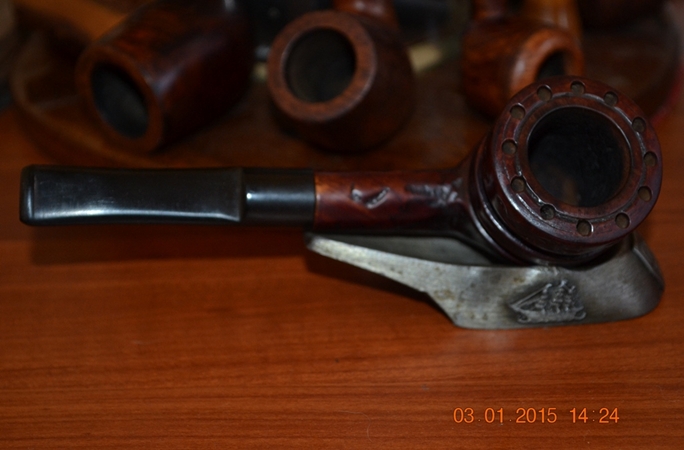
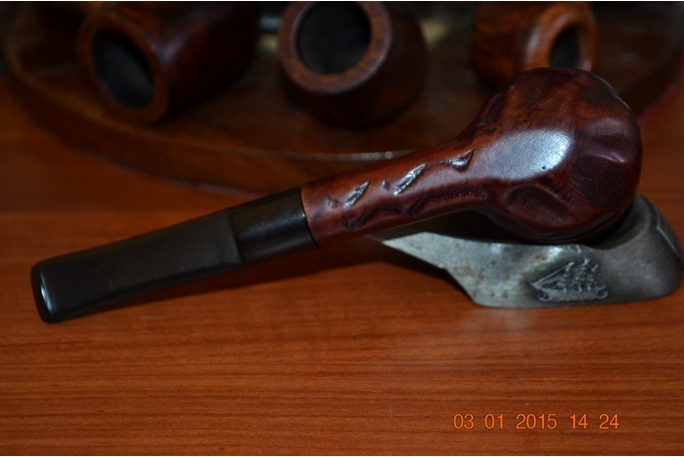
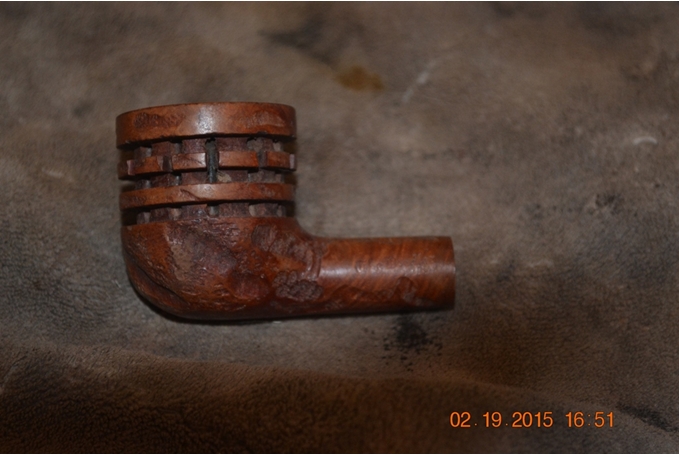
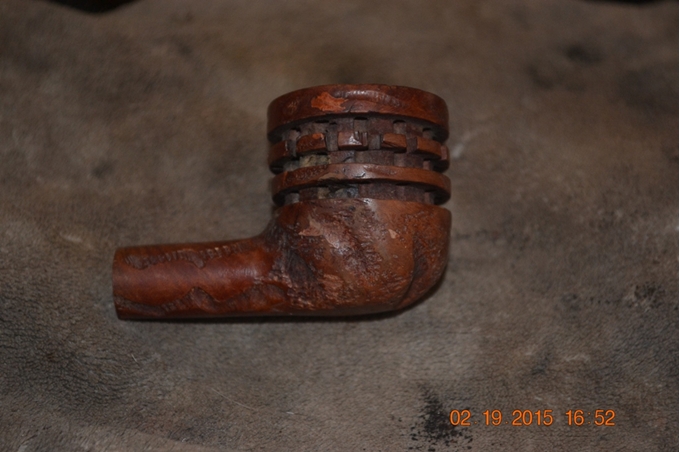
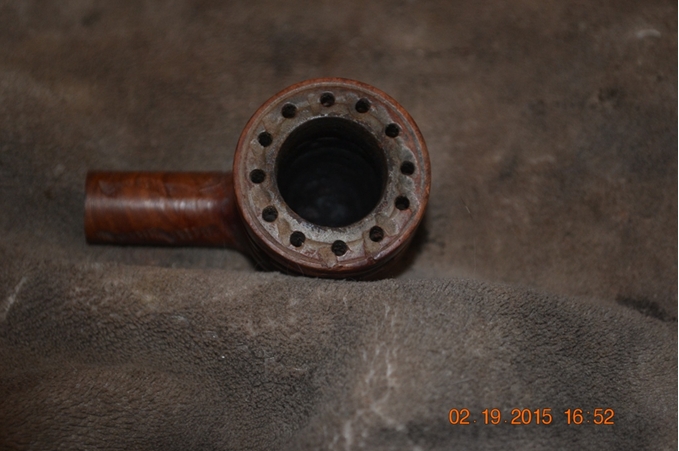
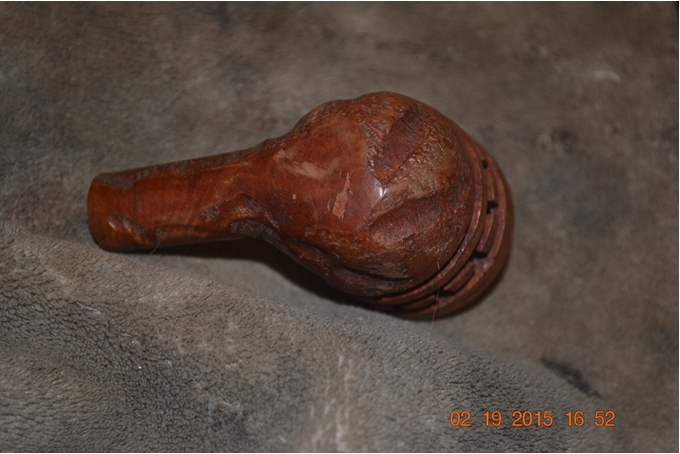
Tag Archives: polishing a stem

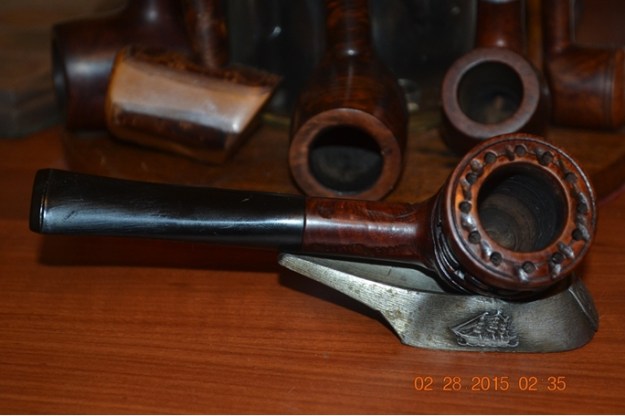
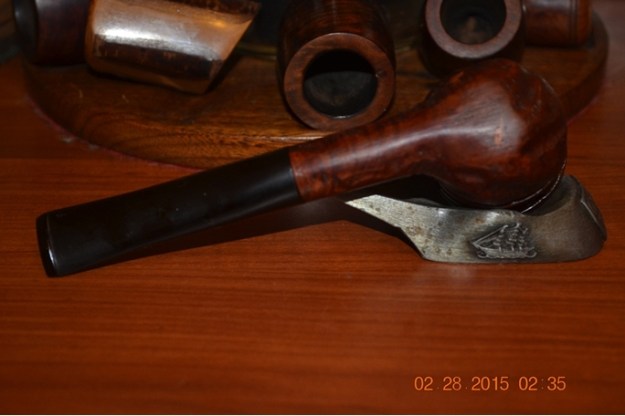
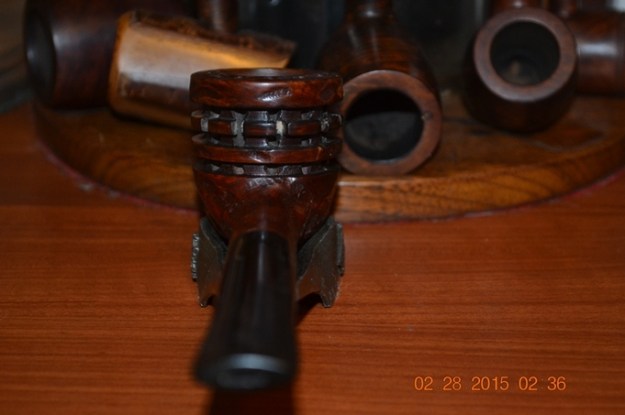
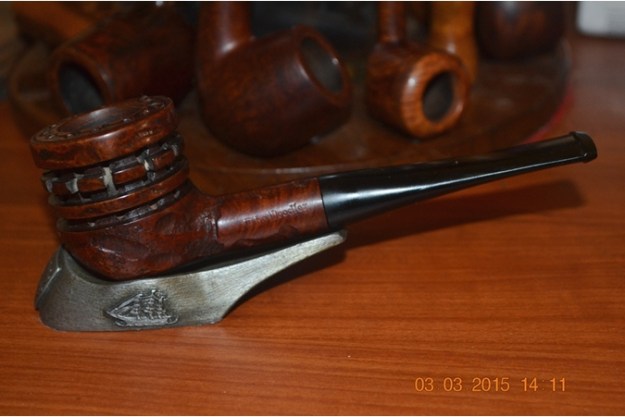
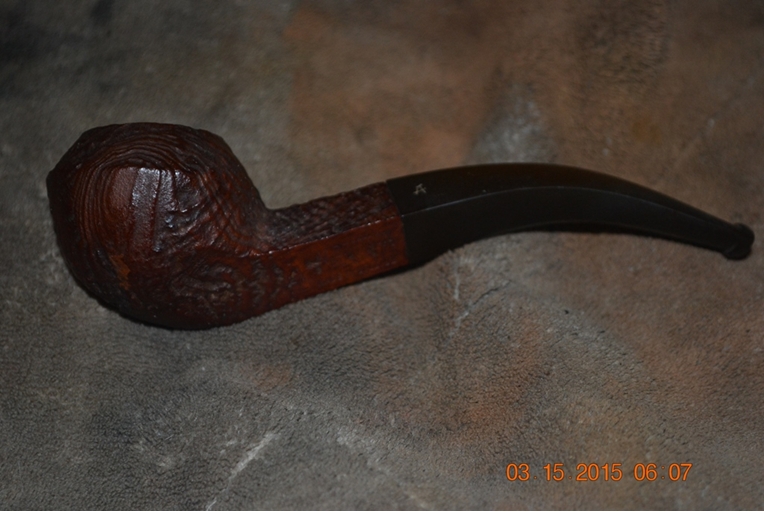
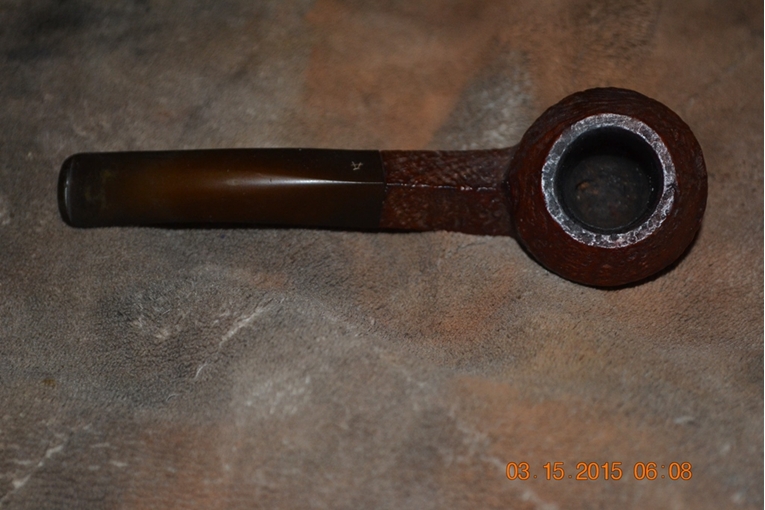
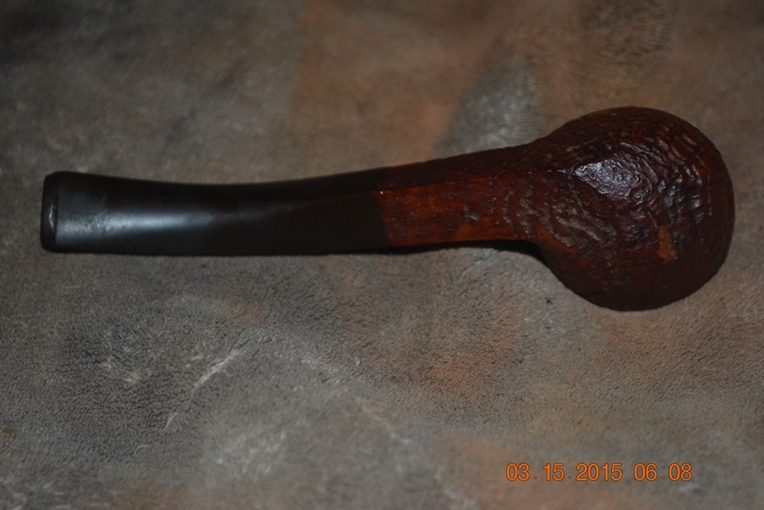
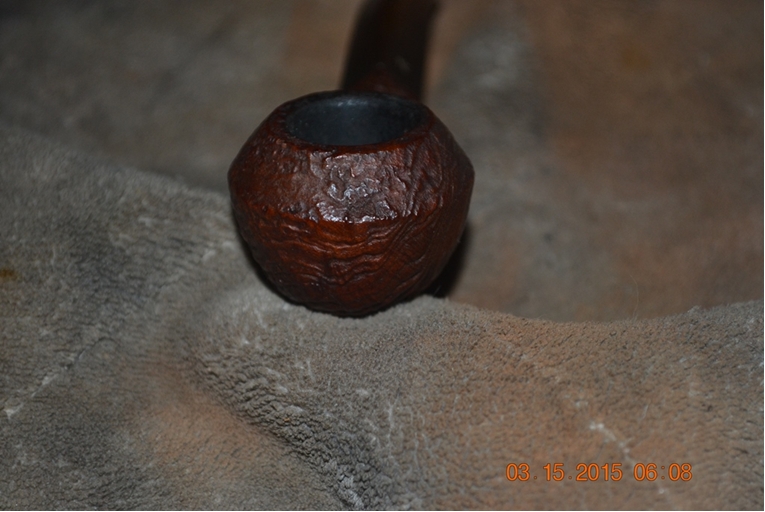
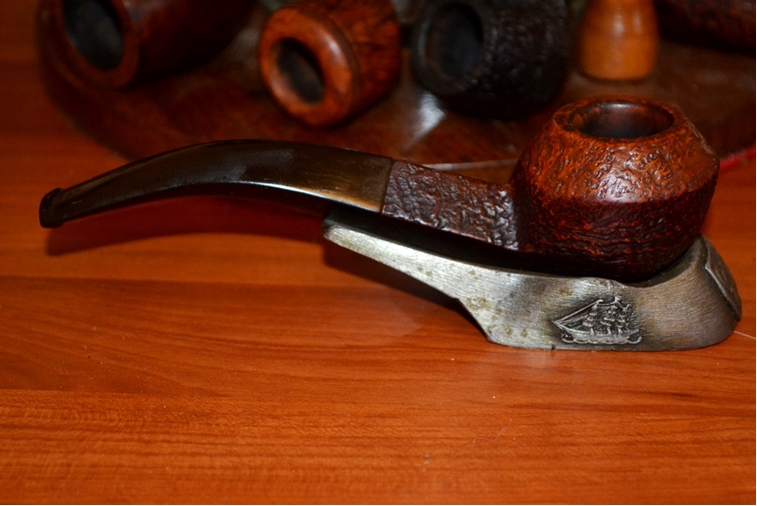
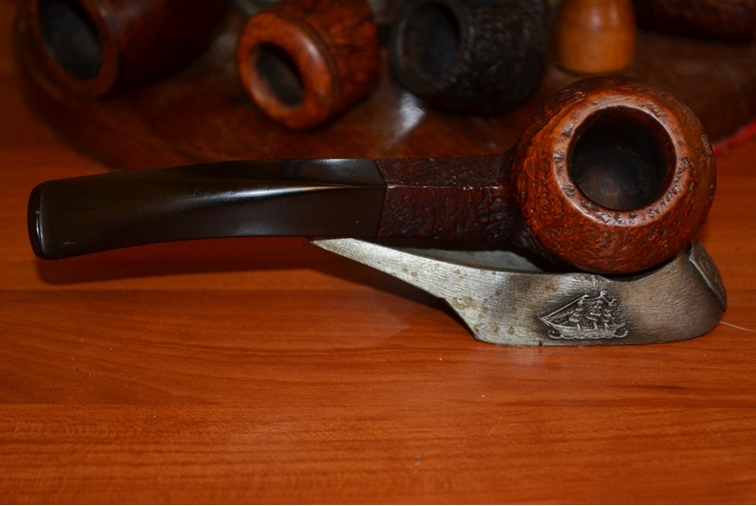
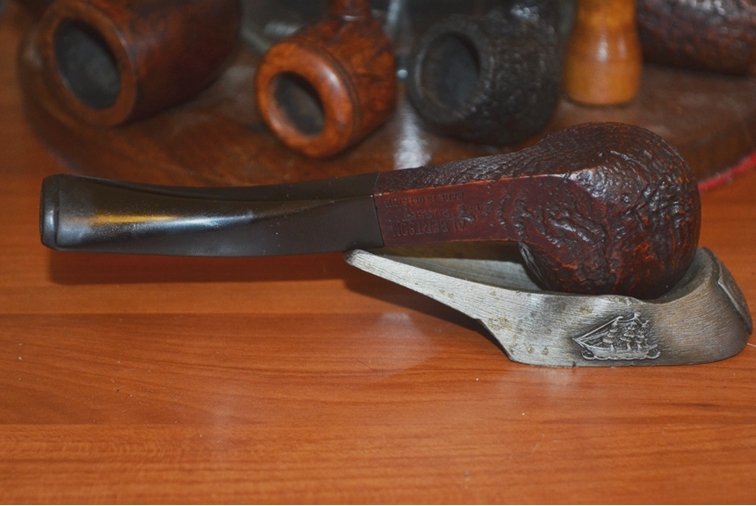
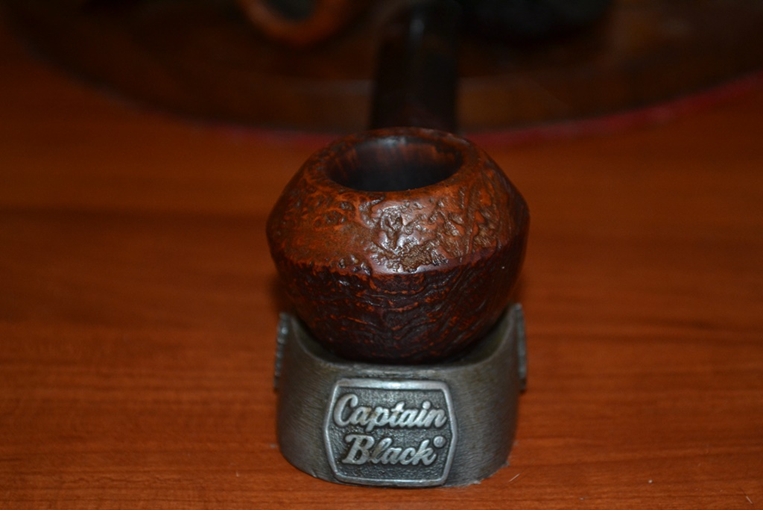
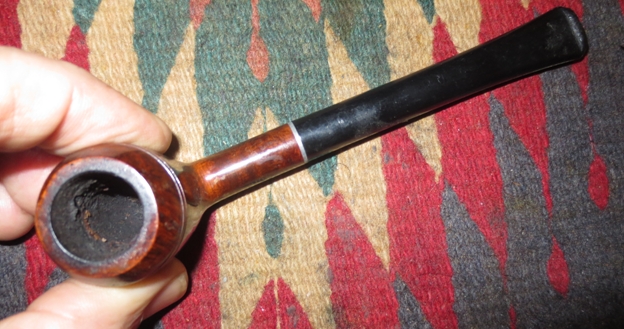
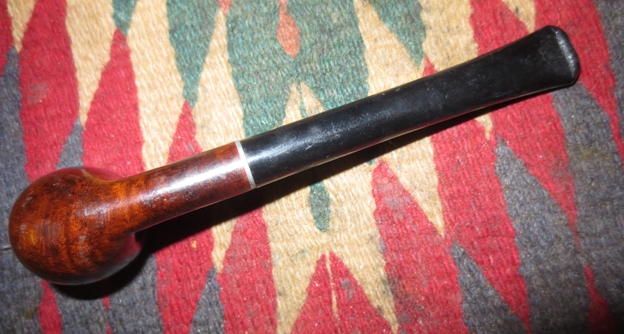
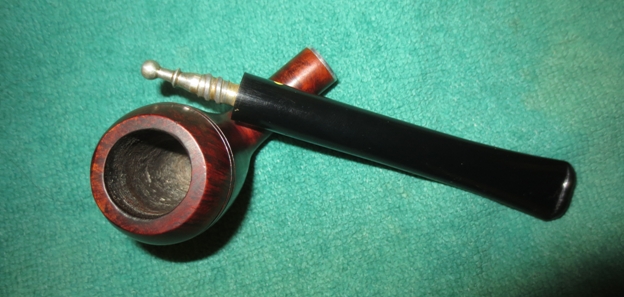
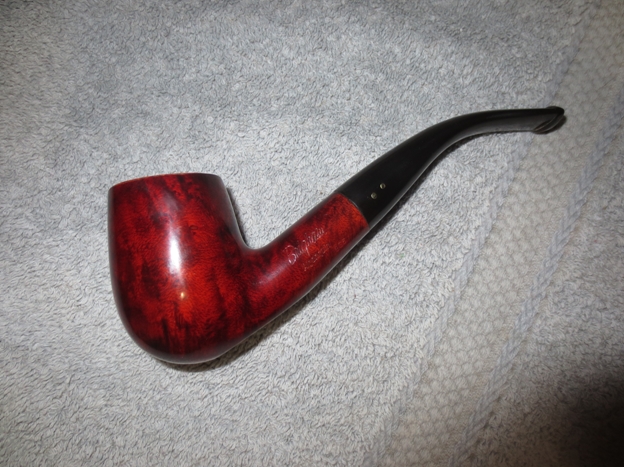
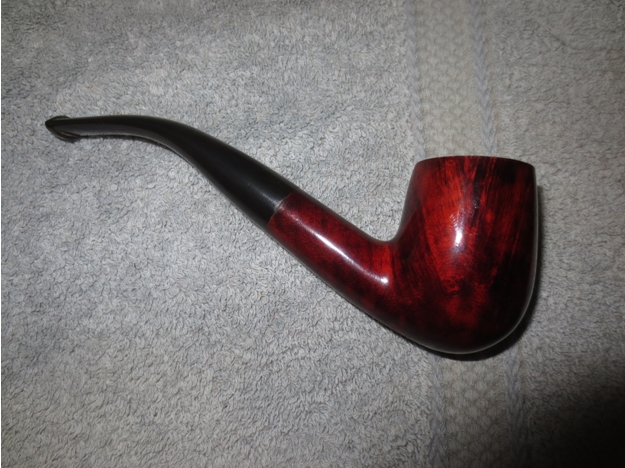
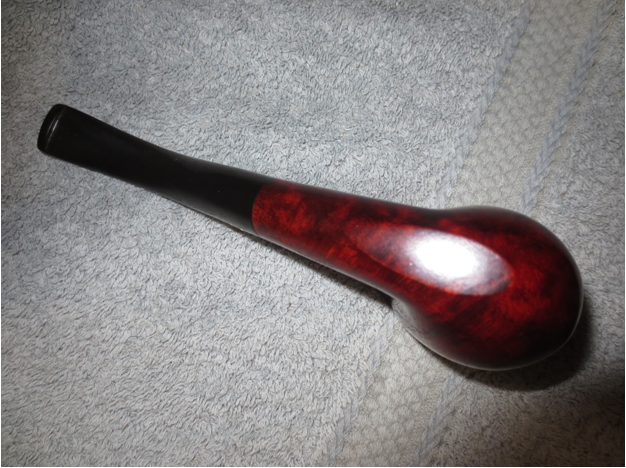
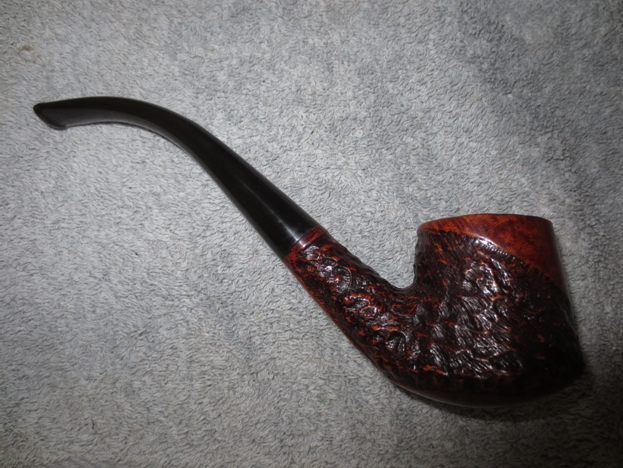
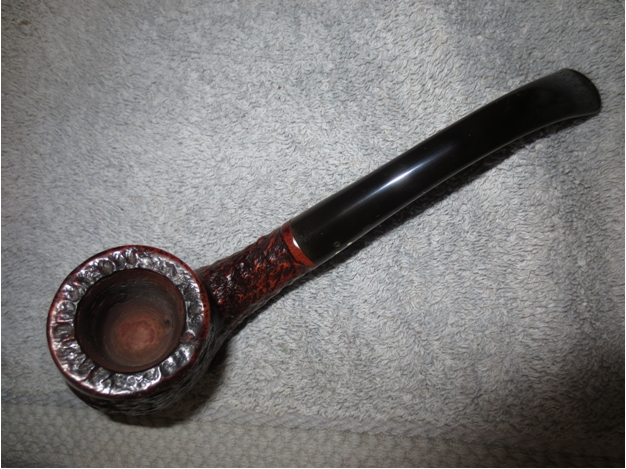
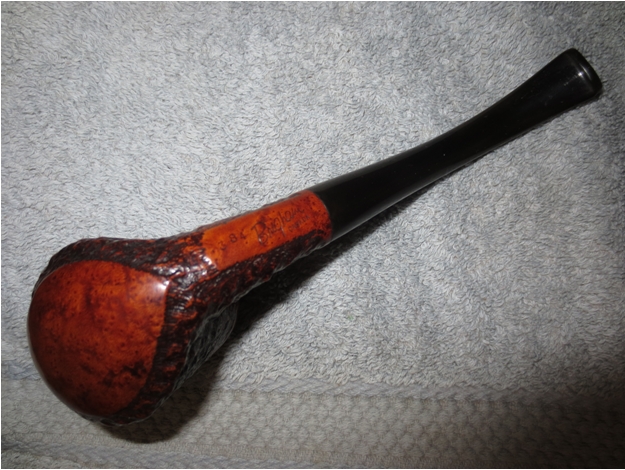
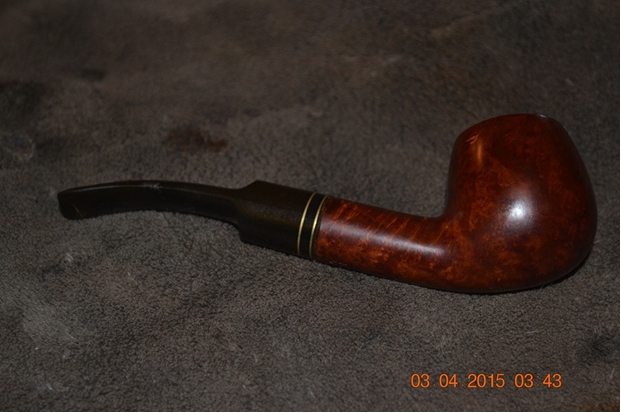
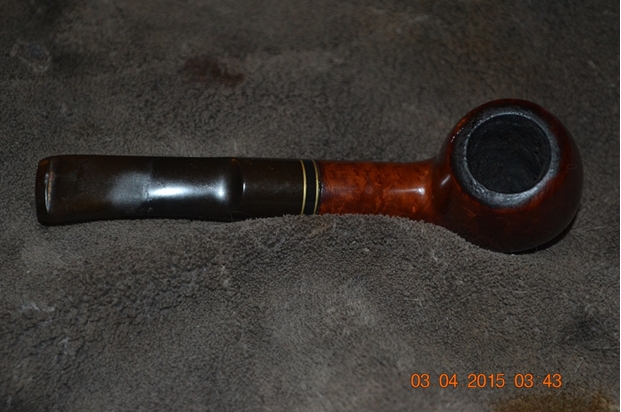
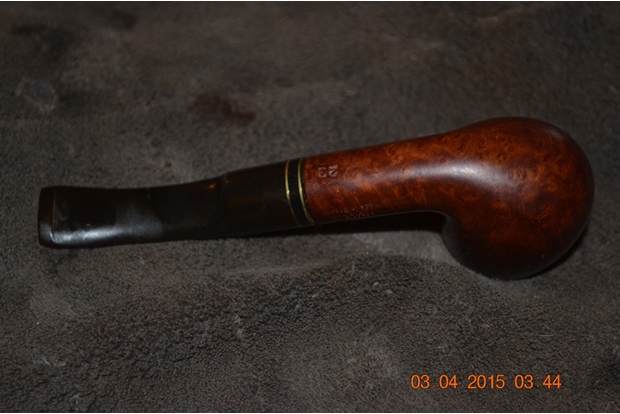
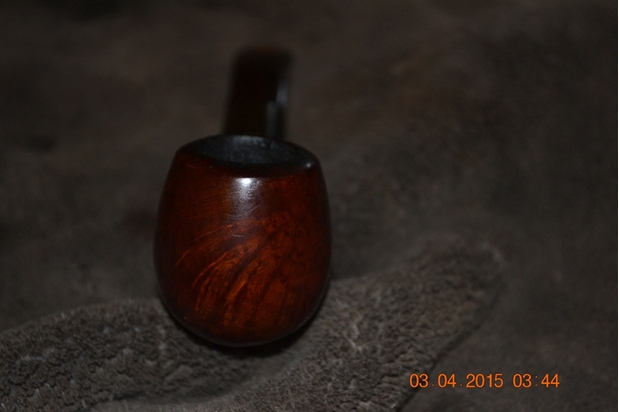
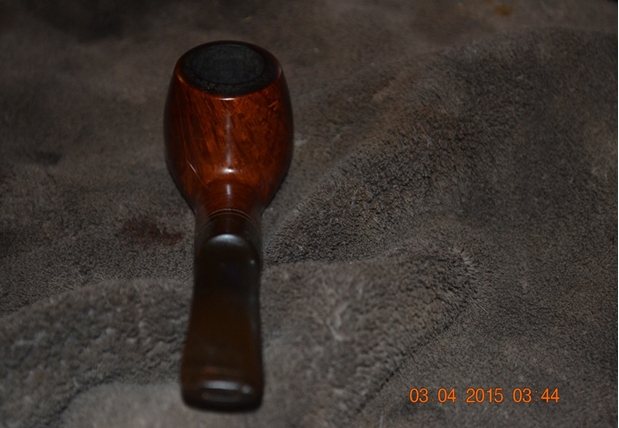
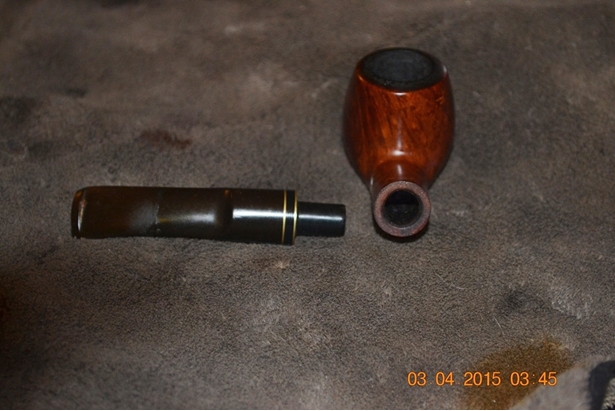
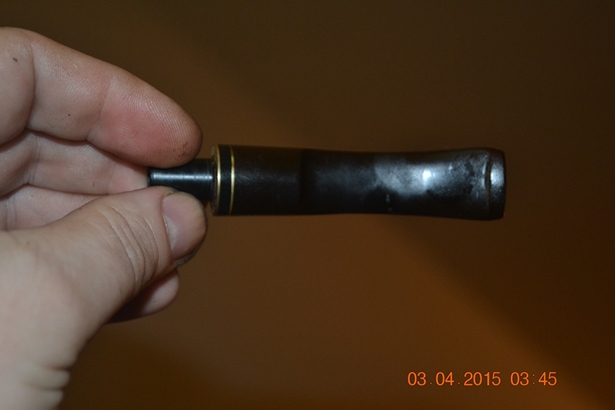
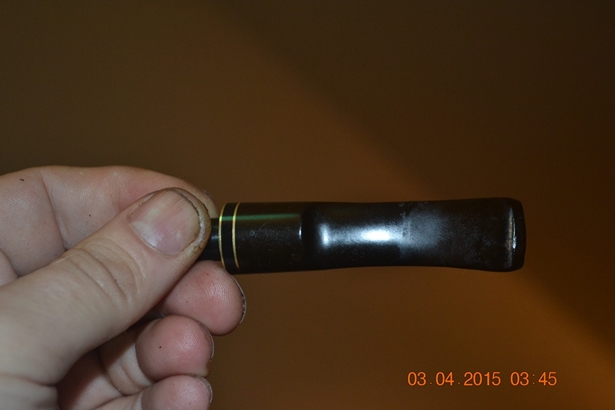
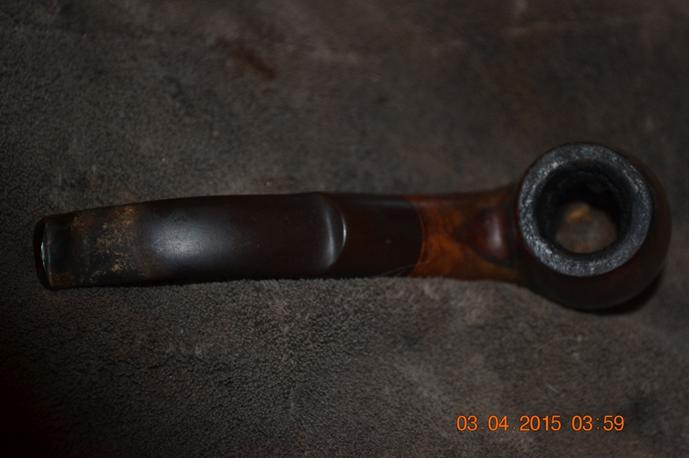
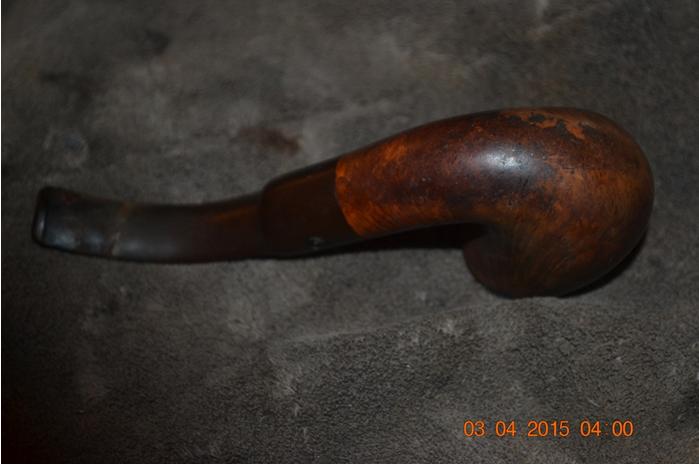
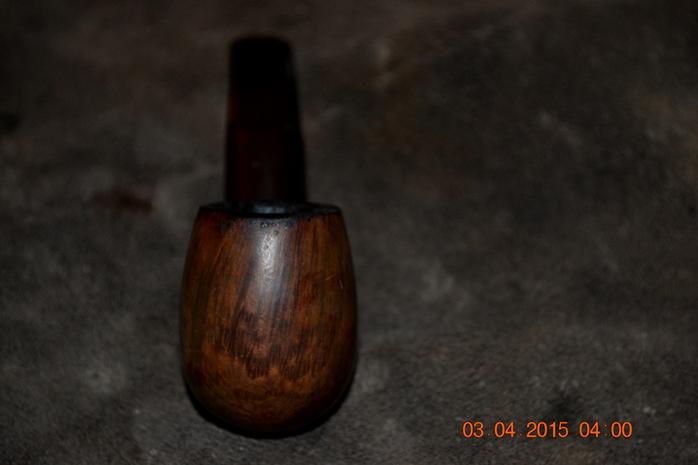
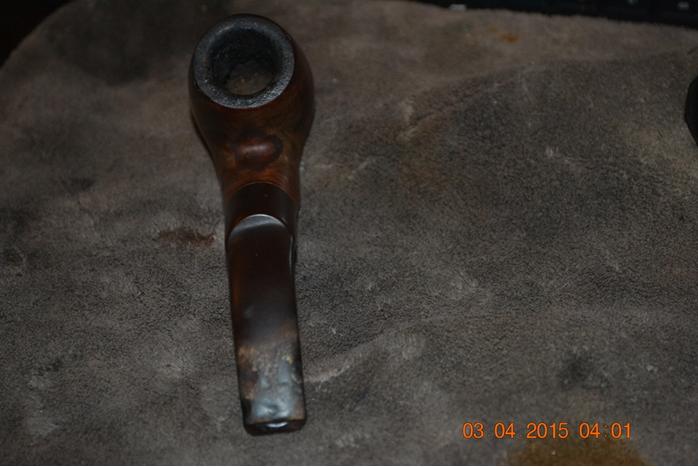
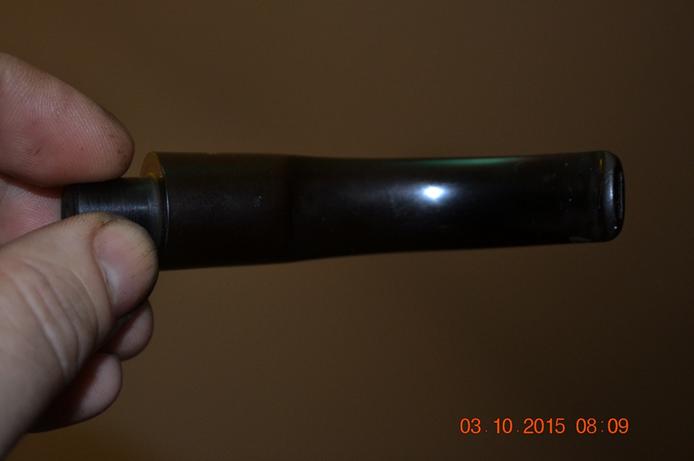
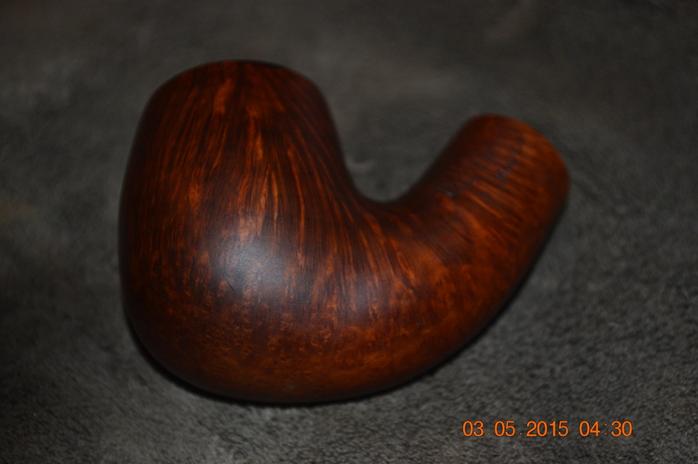
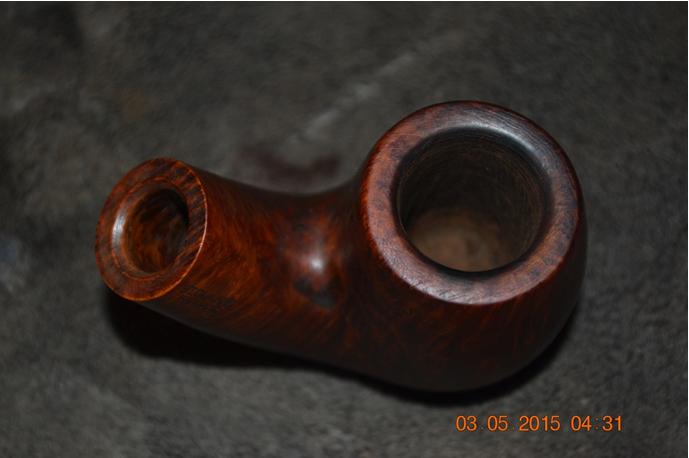
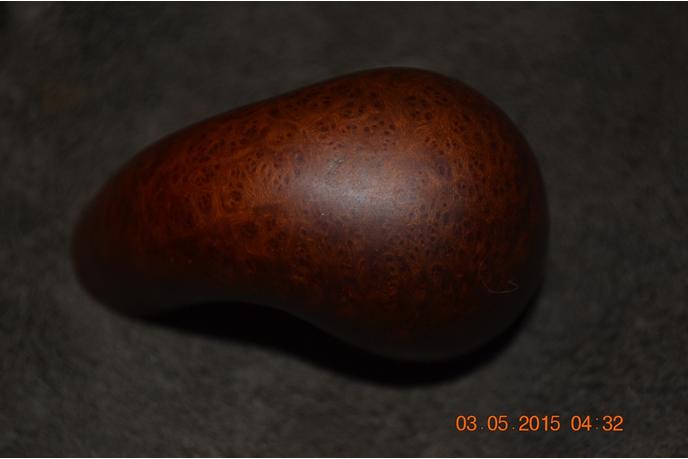
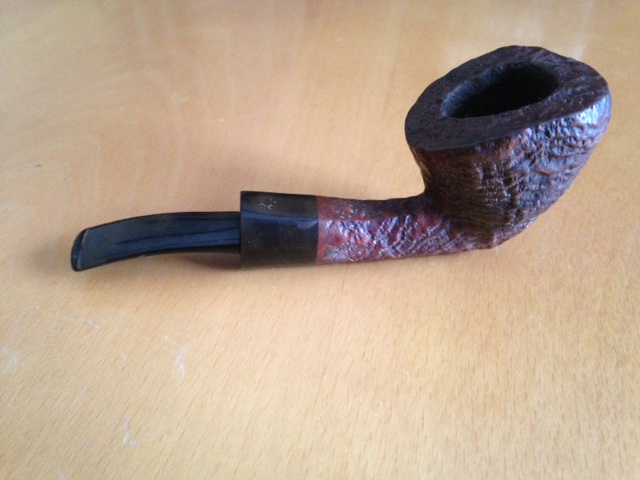
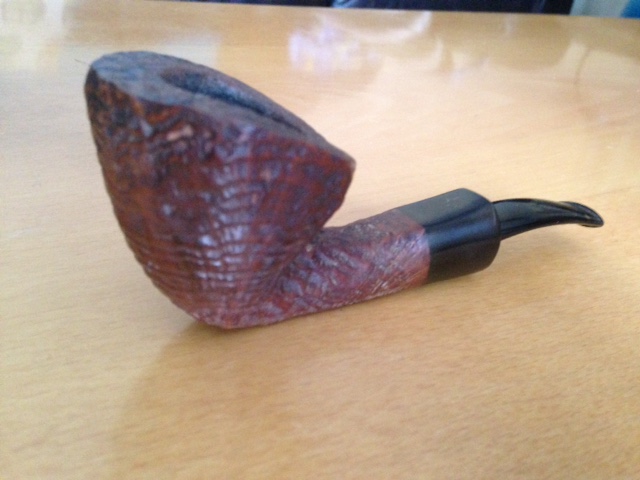
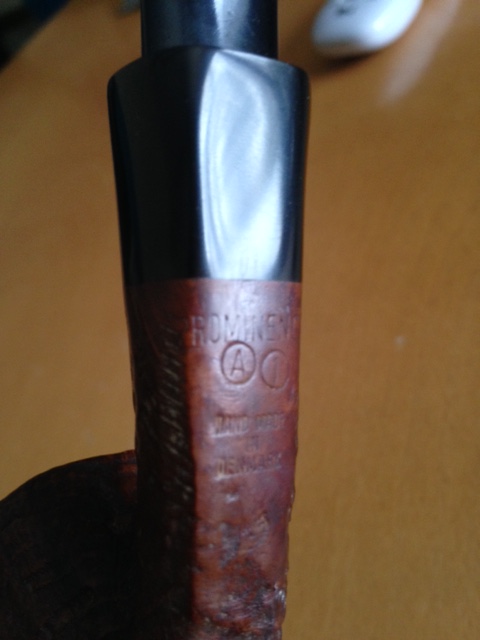
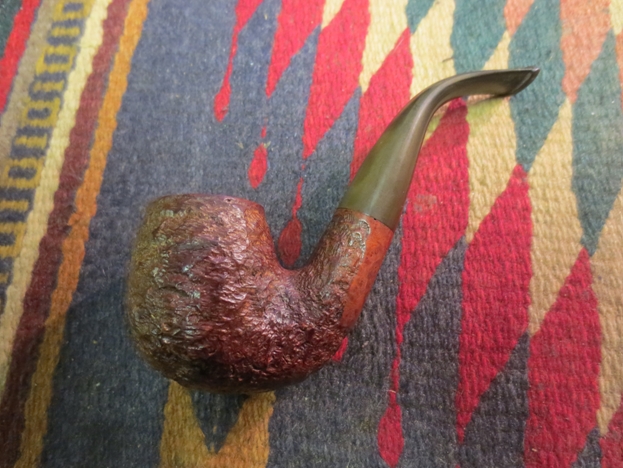
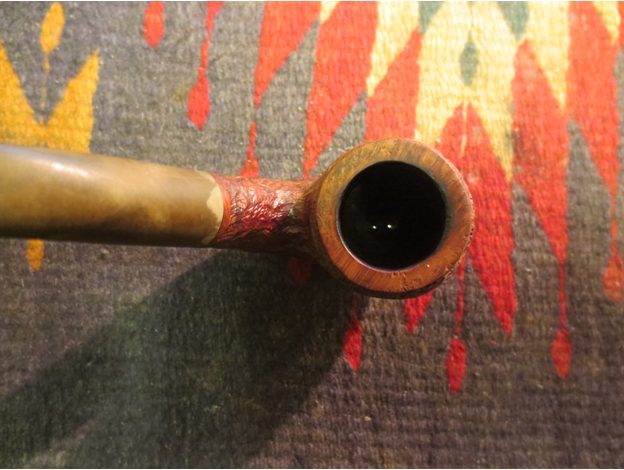
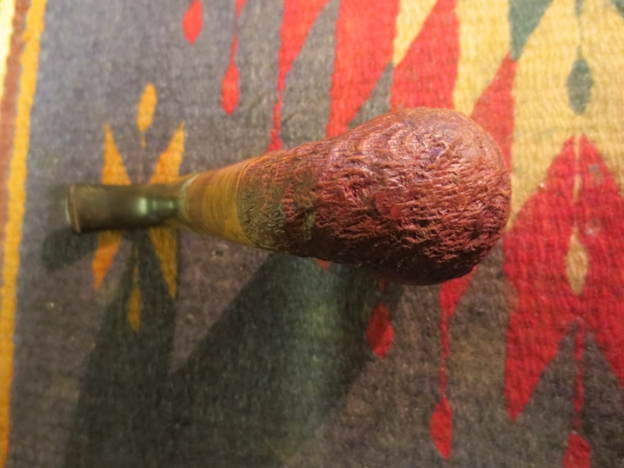
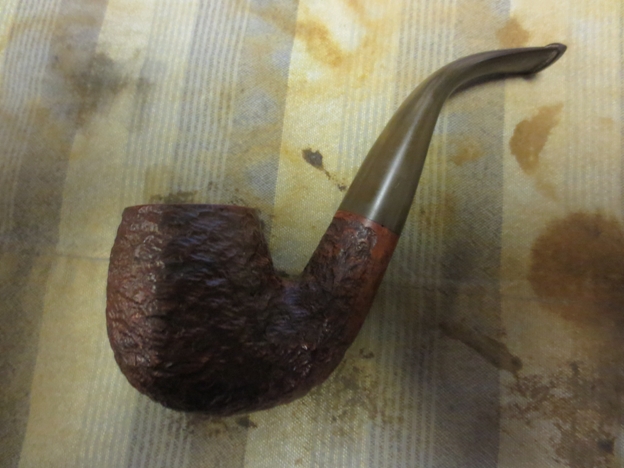
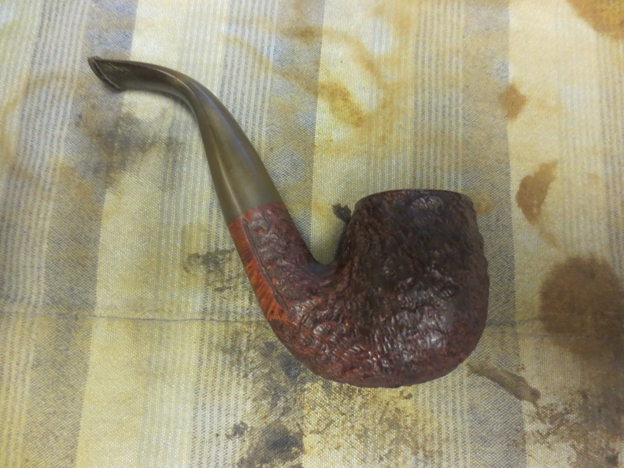
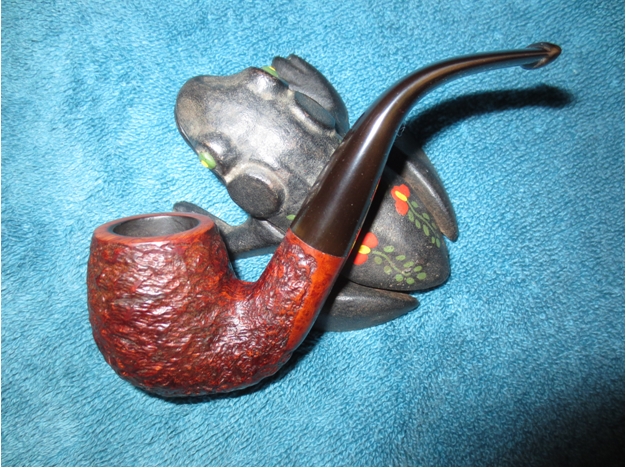
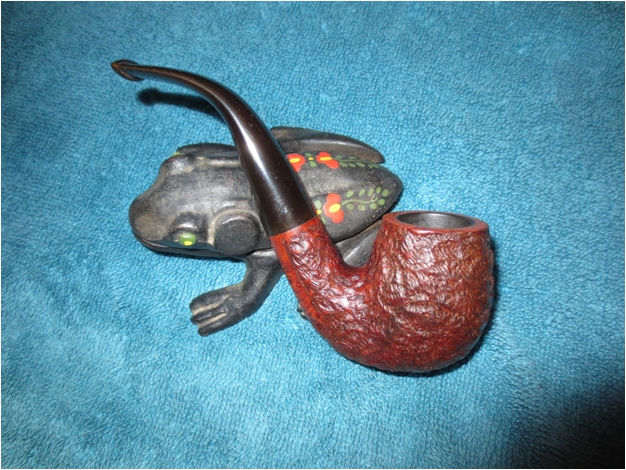
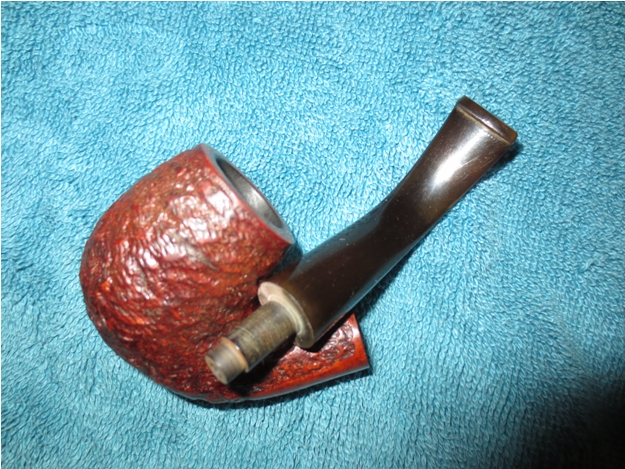
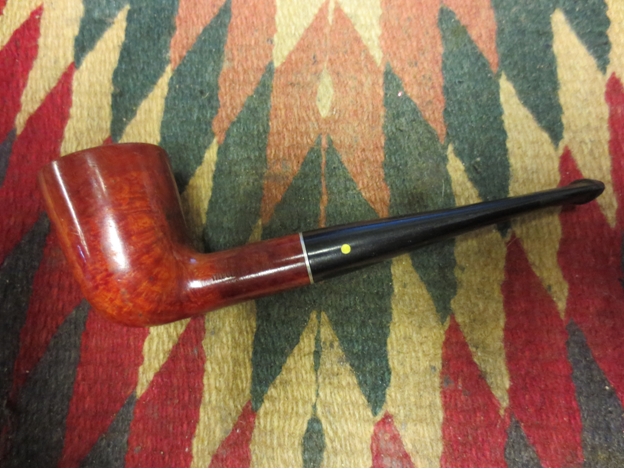
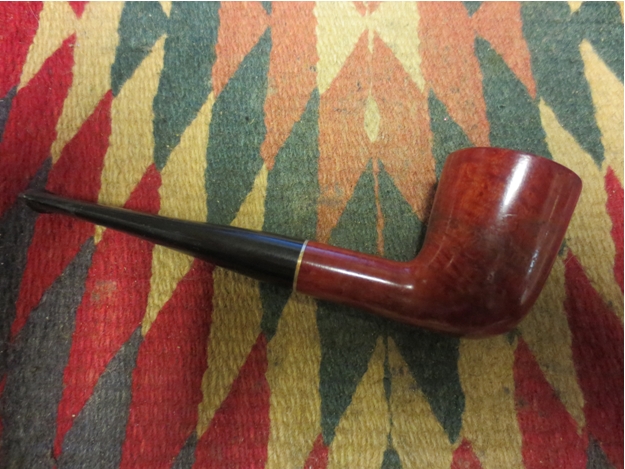
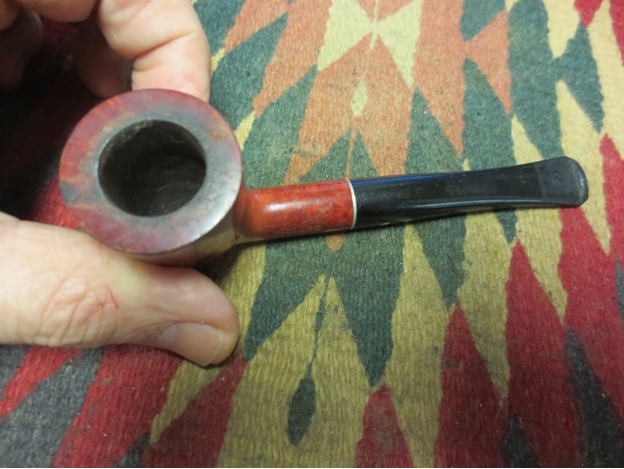
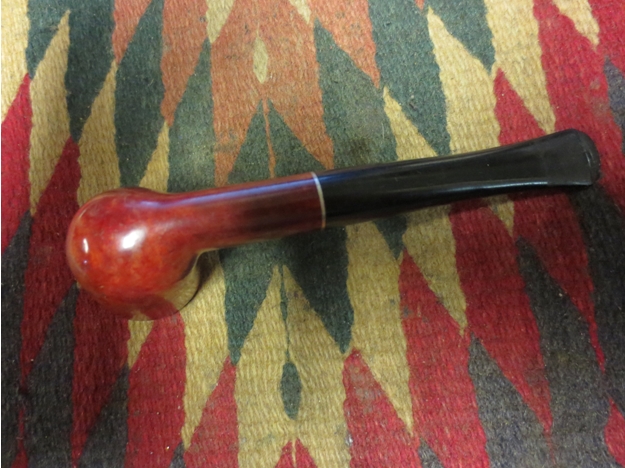
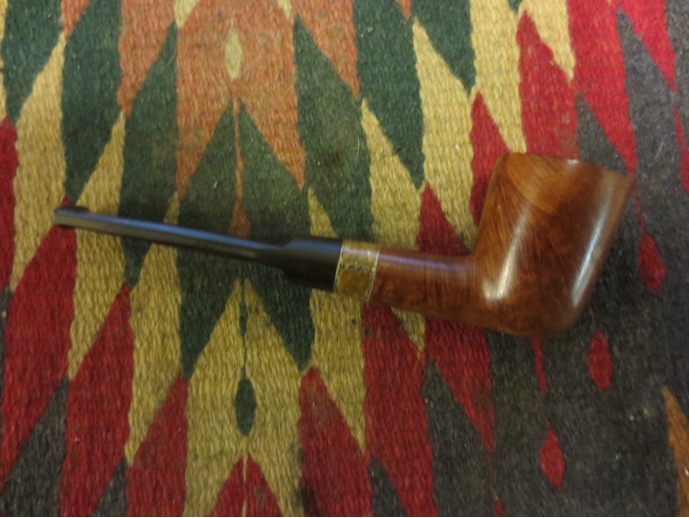
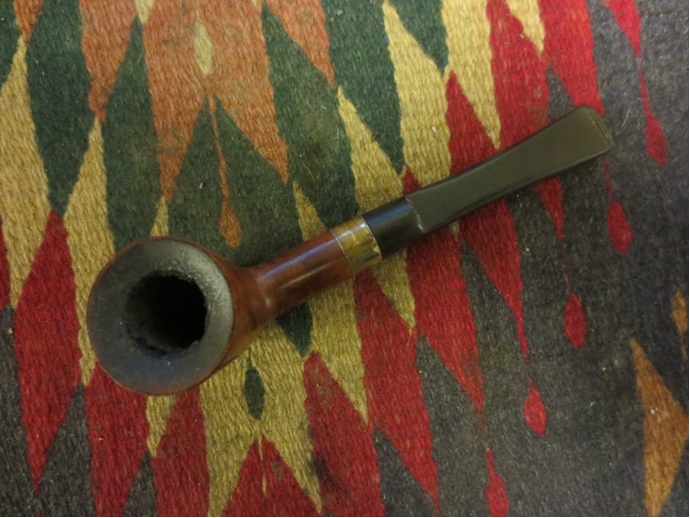
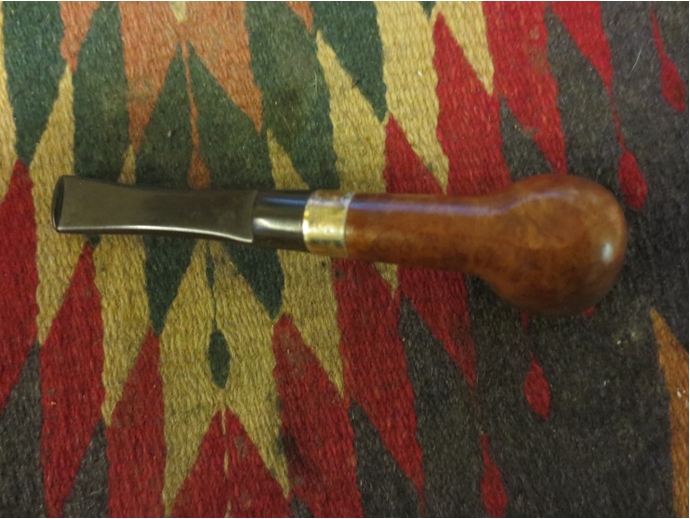
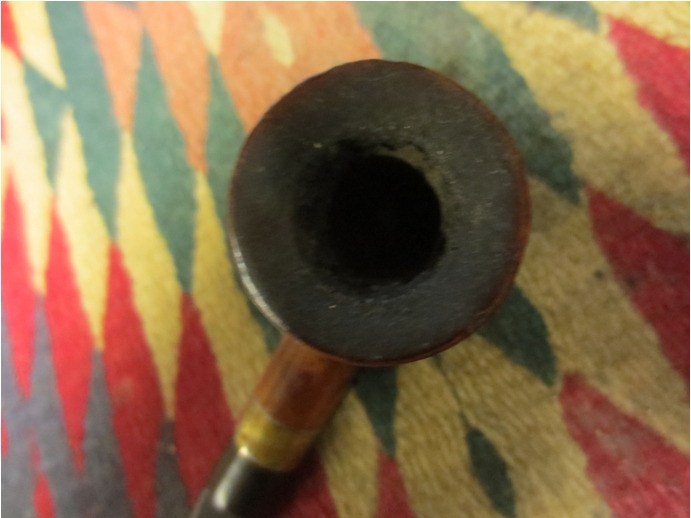
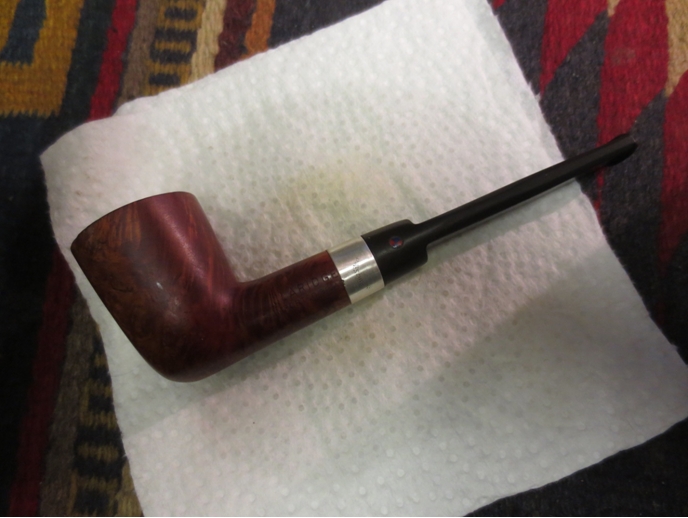
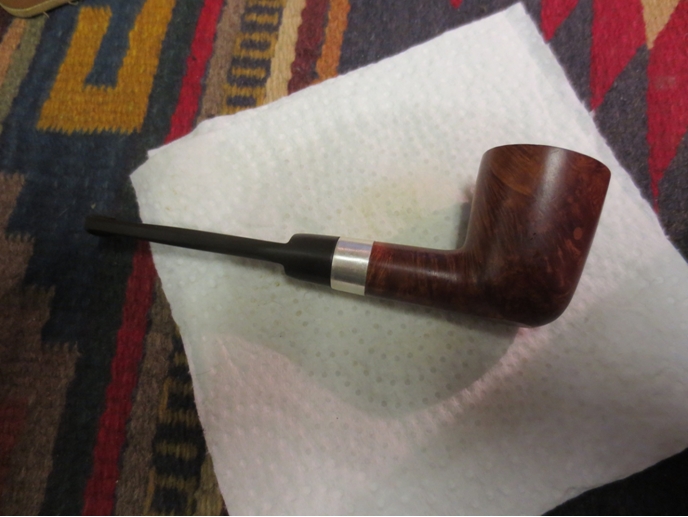
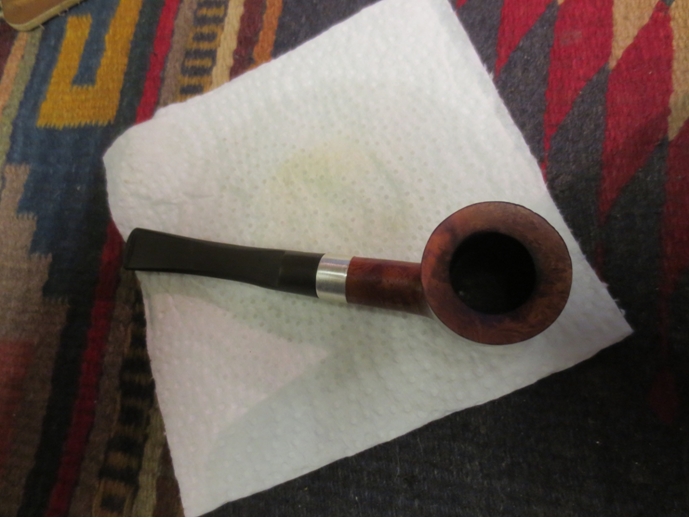
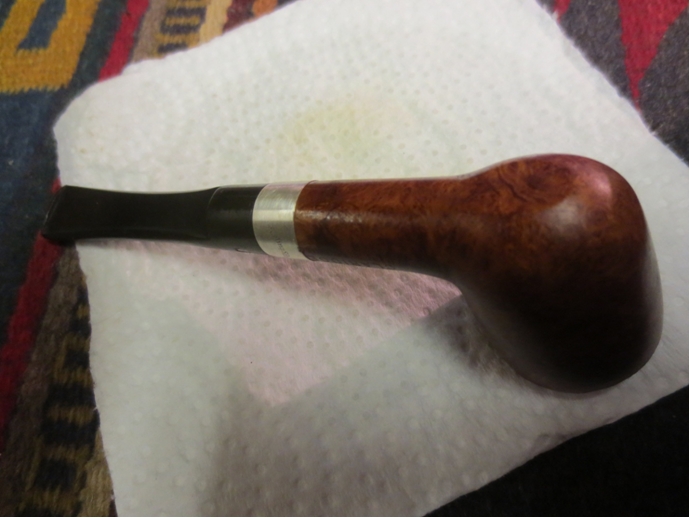
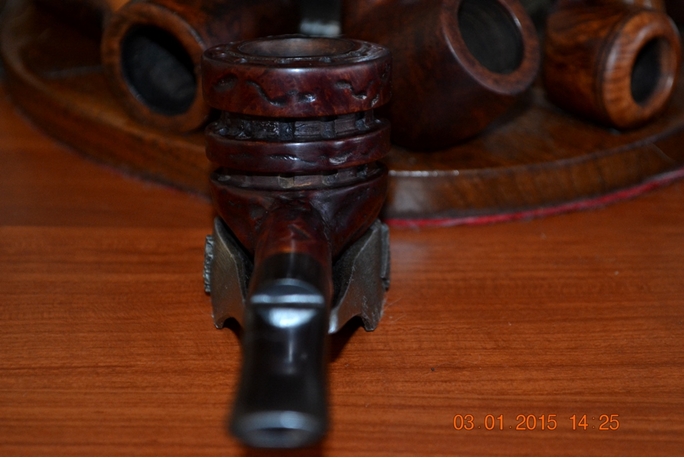
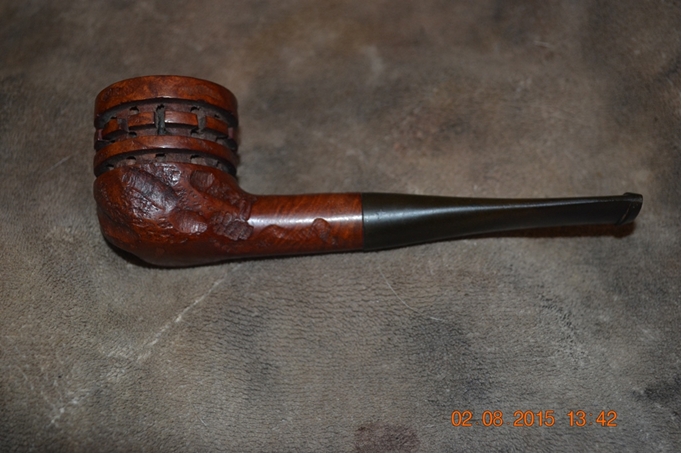
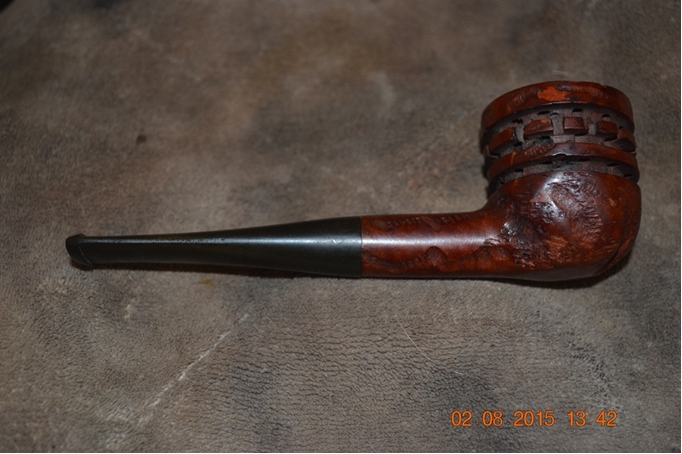
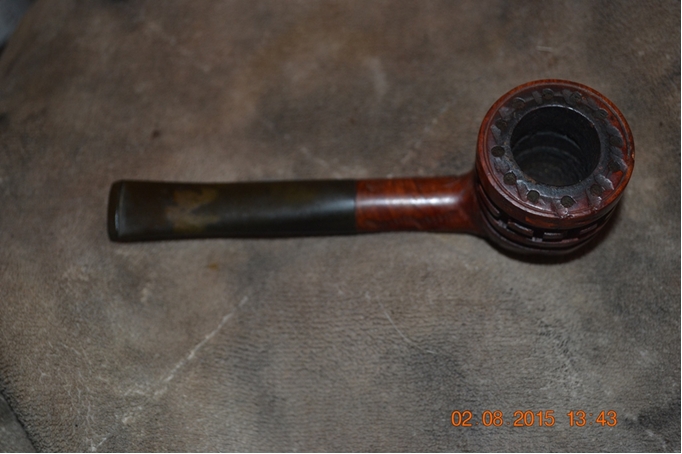
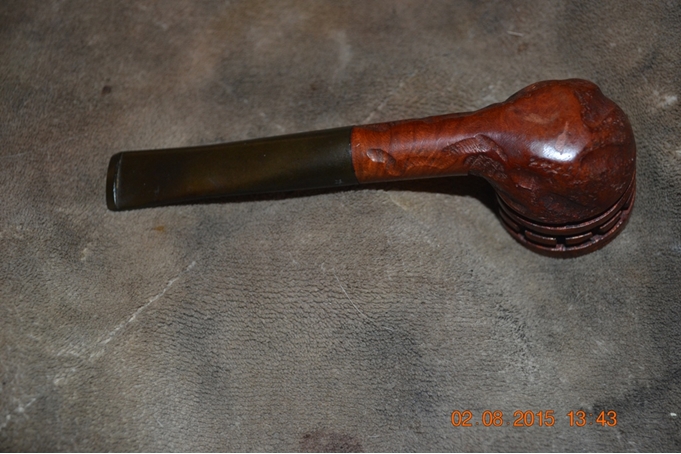
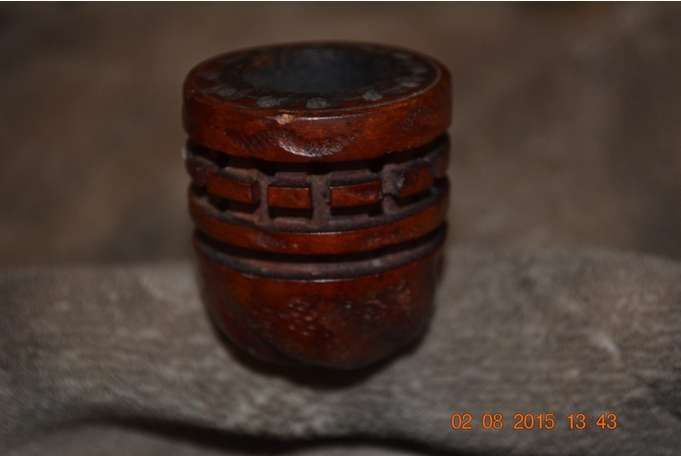
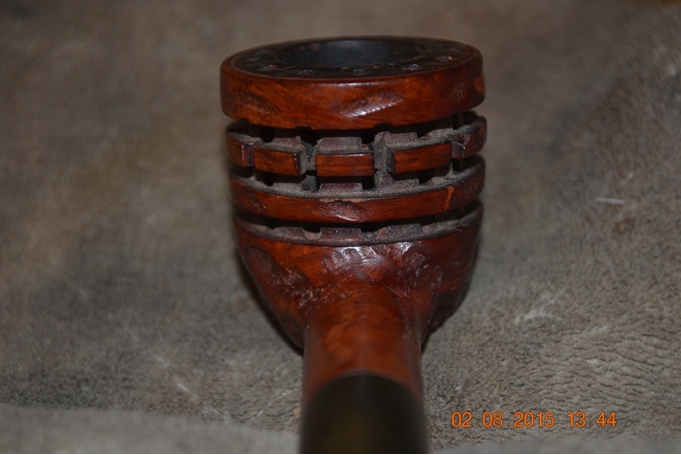
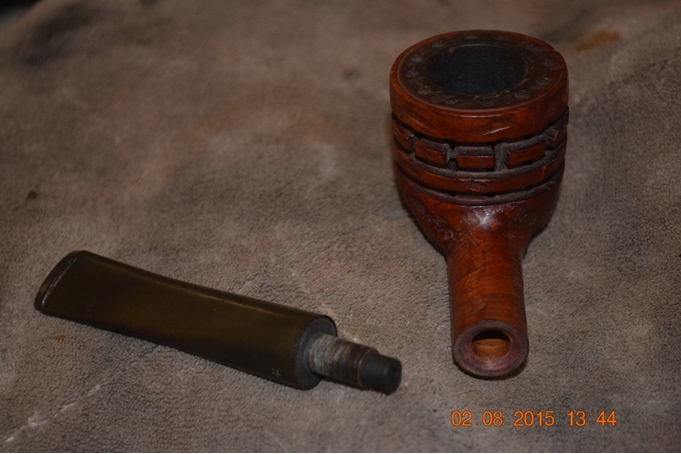
A New Lesson Graces an Albertson Sandblasted Bent Bulldog Restore


Guest Blog by Robert M. Boughton
Member, North American Society of Pipe Collectors
http://www.naspc.org
http://www.roadrunnerpipes.com
http://about.me/boughtonrobert
Photos © the Author

“Every failure is a lesson well learned, every success is a battle well fought, and every friend is a jewel well-kept in one’s heart.”
― Unknown

INTRODUCTION
As a valued friend and mentor, Chuck Richards can be counted on to tell me the truth, always. No matter how special are the occasions when his comments are clear thumbs-up, being thick-skinned, I can say with all honesty that I value more the constructive tips, outright lessons and even contributions (whether requested or not) that this gem of a friend has shared with me during the fleeting past three years since I made my first pipe restoration of a Czech-made La Grande Bruyère mini bent billiard. This openness in my character is fortunate, considering the greater incidence of the latter compared to the former.

Chuck with Victor Rimkus in a rare peaceful moment.

Chuck with Victor Rimkus in a rare peaceful moment.

The only aspect of Chuck’s always invaluable input that sometimes frustrates me, as can happen in particular when two people are friends and see each other often, is his erratic timing. While for the most part Chuck speaks his mind with blunt promptness, he has far more projects in his own shop, not counting the free work he performs for customers at the tobacconist where he works, than I can even imagine. Therefore, he has the odd habit of briefing me on certain pipe restoration intelligence data, pertinent to my Need to Know clearance, crucial to my reputation and consequent success in the business.

By way of example, there was the time early last December when Chuck, after being approached by an unspecified number of my local customers with reports of un-thorough cleaning of the inner stems and shanks of some pipes I had sold to that date, at last brought up the subject. I was not only unhappy to learn that any of my friends and associates who paid money for my pipes were too worried they might “hurt my feelings” by giving me the chance to correct the problem myself; I was still more irked that Chuck failed to warn me after the first instance. [See https://rebornpipes.com/2014/12/10/in-retort-to-claims-of-unclean-restored-pipes-robert-m-boughton/ for the full story.] Of course Chuck then emphasized the importance of retorting, and in one mad 18-hour marathon when my retort kit arrived in the mail soon after, I corrected the problem with every remaining pipe on my sales list, as I have done with each pipe I’ve restored since.

And so, last Friday night at our weekly pipe club get-together I showed Chuck my latest finished projects. He examined them before leaning toward me to tell me discretely of another fellow club member who saw my array of pipes for sale next to his at the monthly Moose Club meeting, where we are free to sell. It seems the gentleman in question, who is getting into the restoration practice, wondered why my pipes (and his own, it turned out) looked “so dull” compared to Chuck’s. I am pleased that I was apprised of the comment soon afterward, but had to wonder why Chuck – who no doubt noticed the same effect long ago – didn’t tell me of the importance of using an un-waxed buffer wheel after each application of the various waxes that can be used to finish pipes.

I had more than usual difficulty grasping the process as Chuck explained it to me, until his third description, when some light in my head snapped on. I understood he was not talking about removing the nice shiny layer of wax applied with such care; he was describing a way to take off the excess wax and firm up the rest so that it would shine even more, not smudge and last longer.

“You won’t believe the difference in the look of the pipe when you use a clean buffer after each wax you put on it,” Chuck told me, smiling in relief and the genuine pleasure he derives from explaining anything pipe-related, when he saw that my head had wrapped around the whole idea.

Again, of course, I remembered Chuck’s work-load and other difficulties, not to mention the bombardment of questions he receives every day from friends and customers. I identified with the high probability that every time he planned to say something it simply slipped his mind.

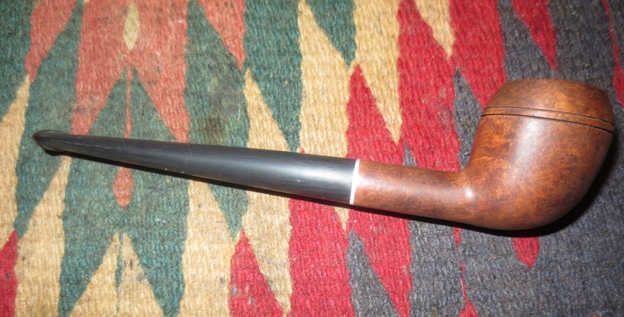
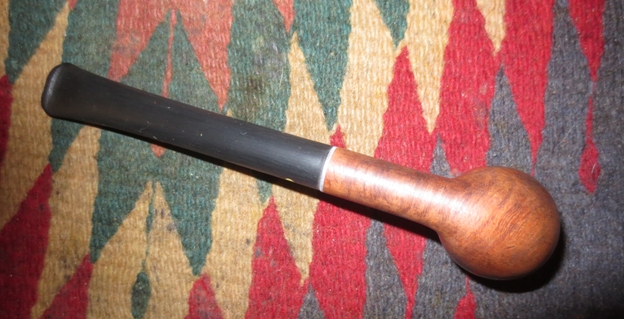
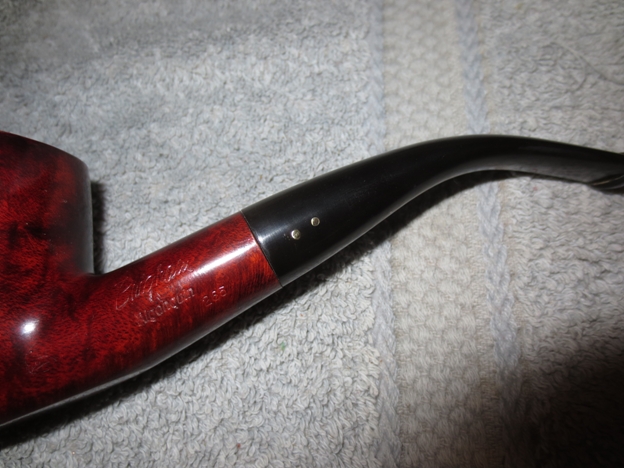
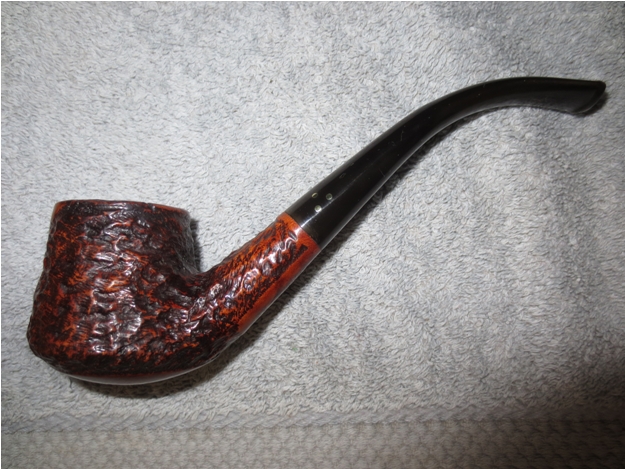
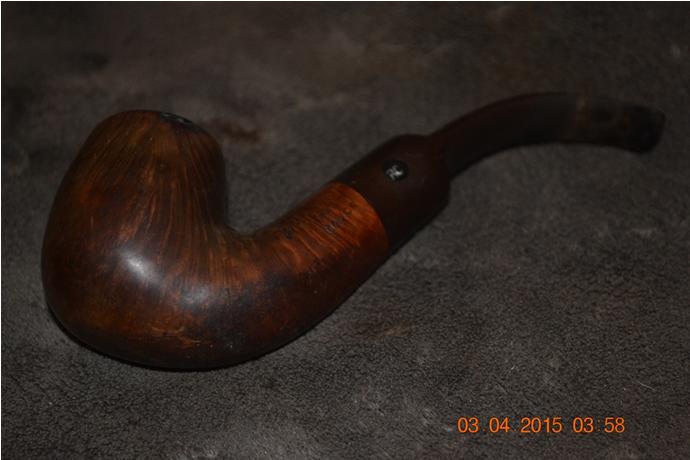
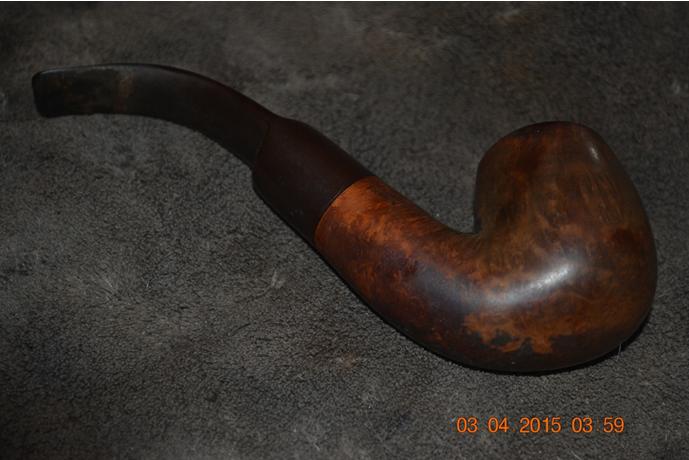
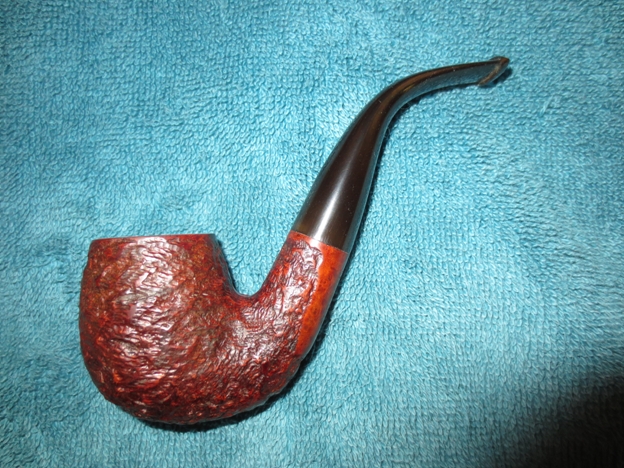
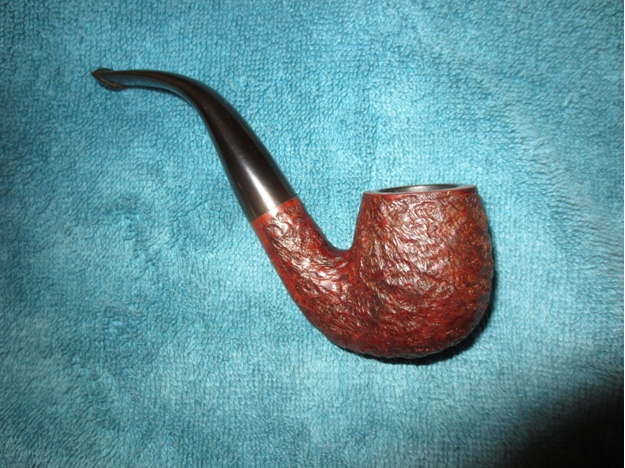
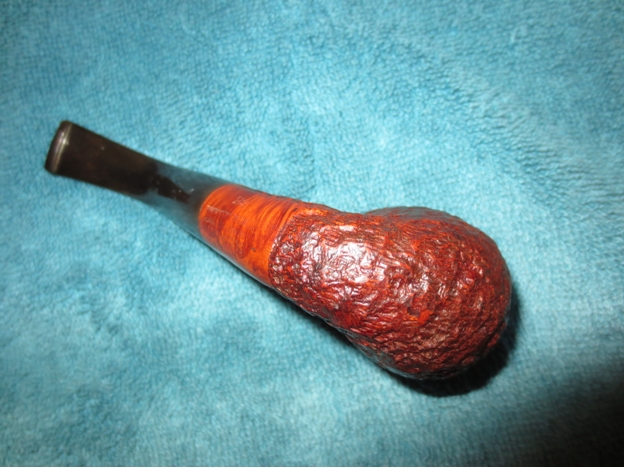
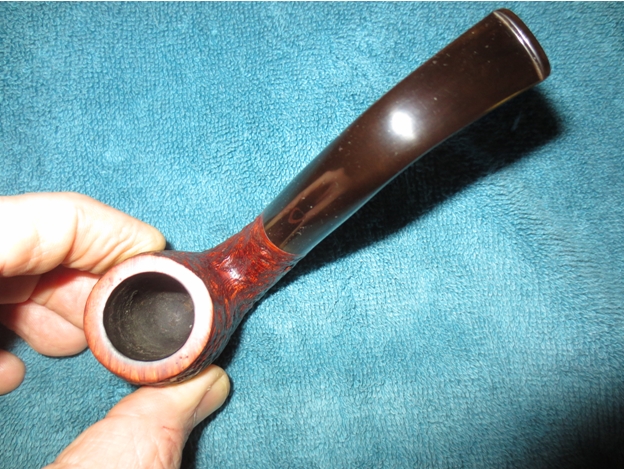
At any rate, this blog concerns a lovely rusticated bent bulldog made by the Belgian company known as Albertson, which, after World War II, was taken over by the Hilson factory. Since that crafter went bankrupt in 1980, the Albertson brand has been continued by the Royal Dutch Pipe Factory.

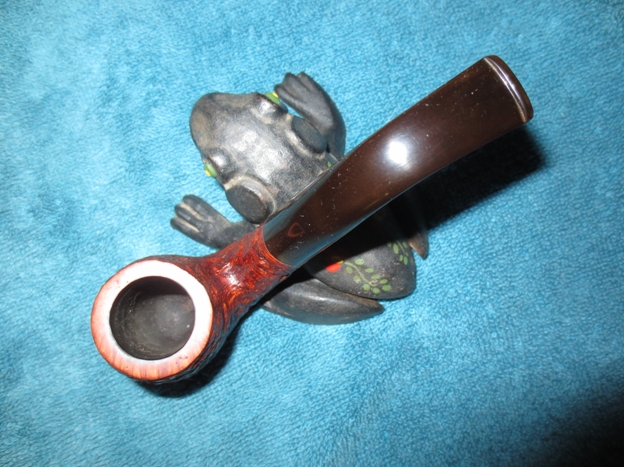
Considerable work went into this particular restoration, the first opportunity to use my new knowledge of proper pipe waxing. Thank you, Chuck, for being a real friend again. I officially challenge anyone to inspect this bulldog and find anything whatsoever lacking in its inner and outer shimmer.

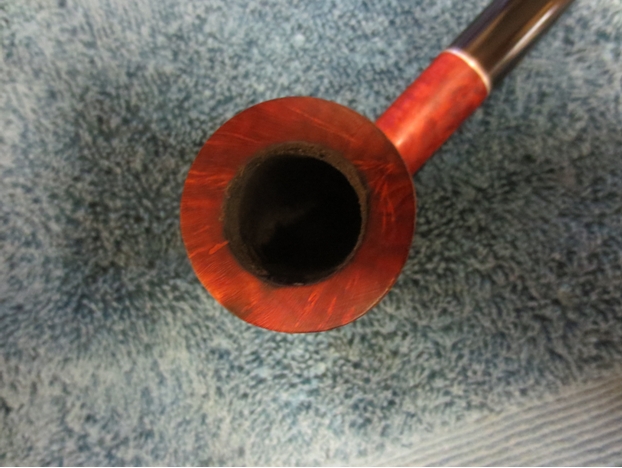
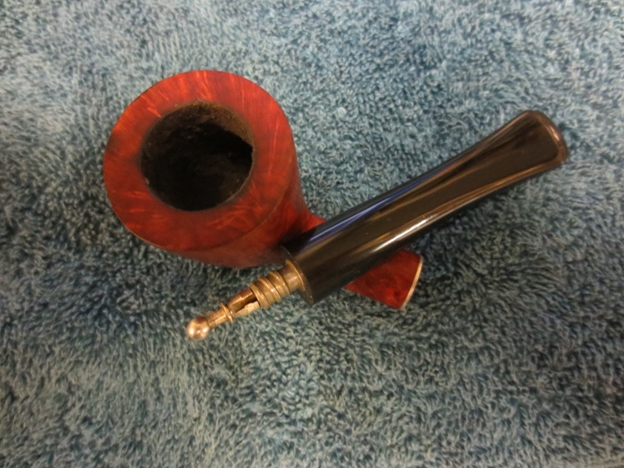
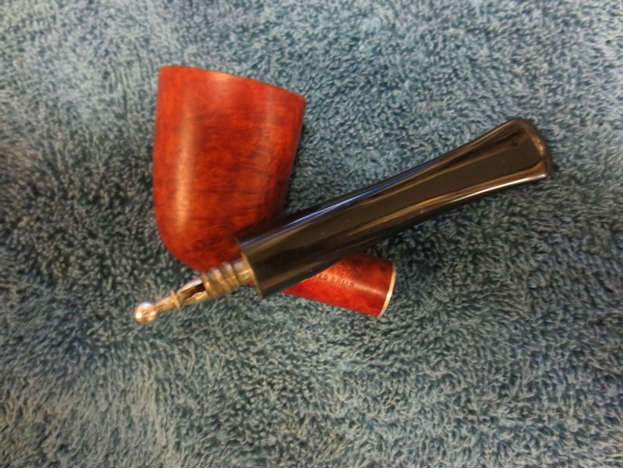
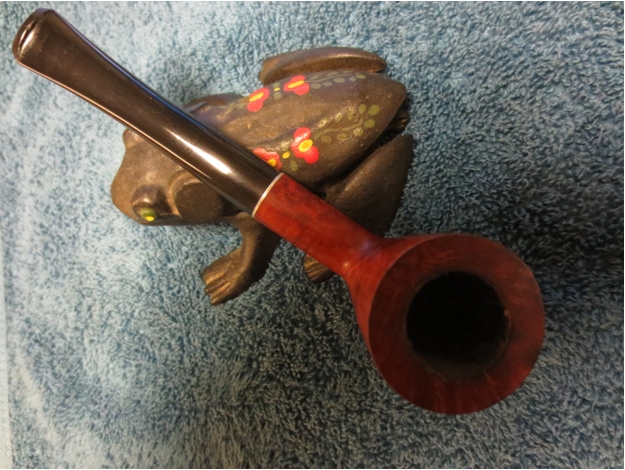
THE RESTORATION Robert2

Robert3

Robert4

Robert5

Robert6

Robert7

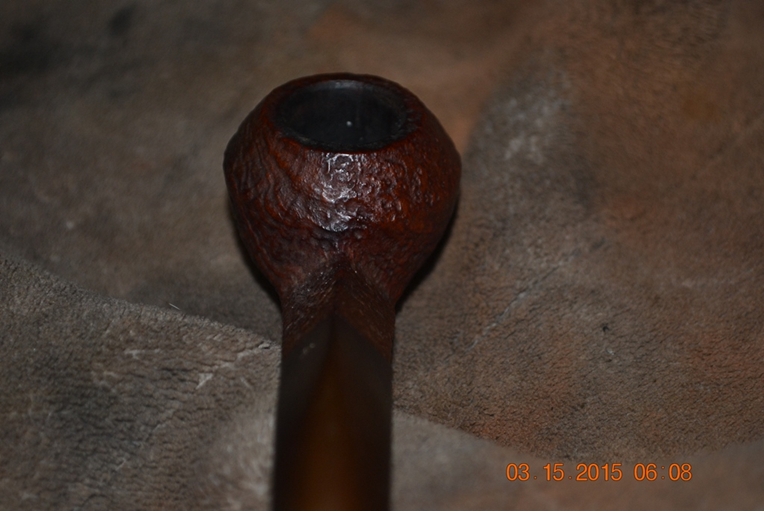
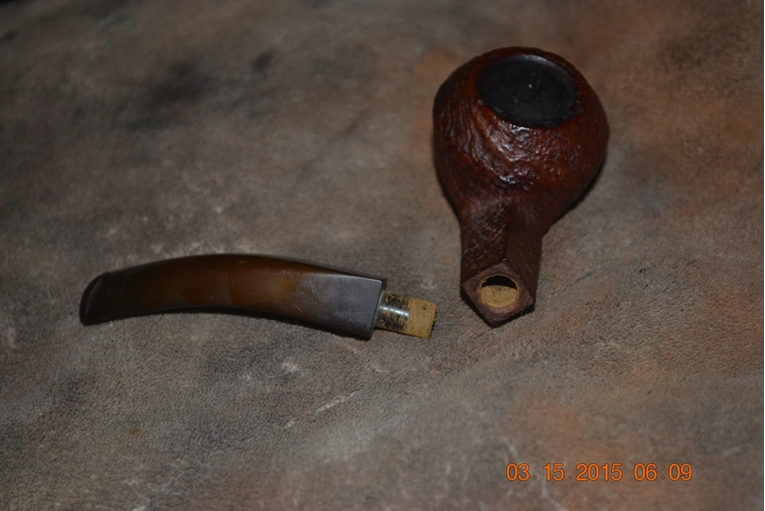
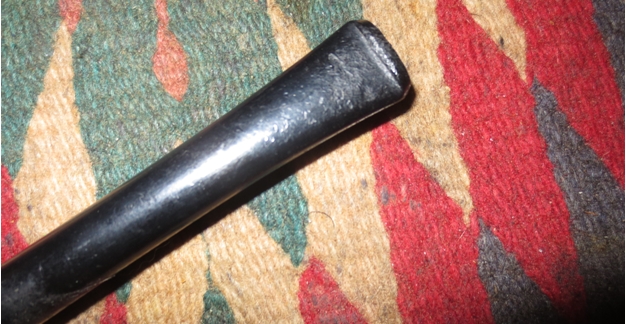
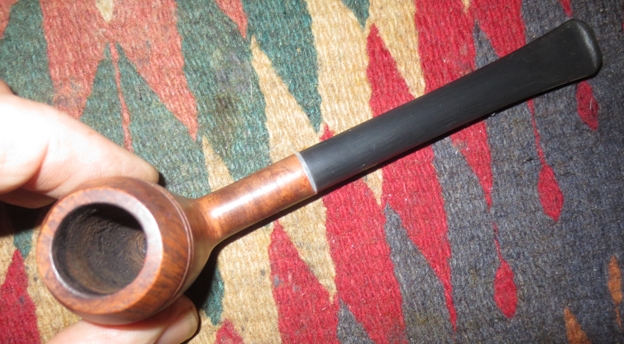
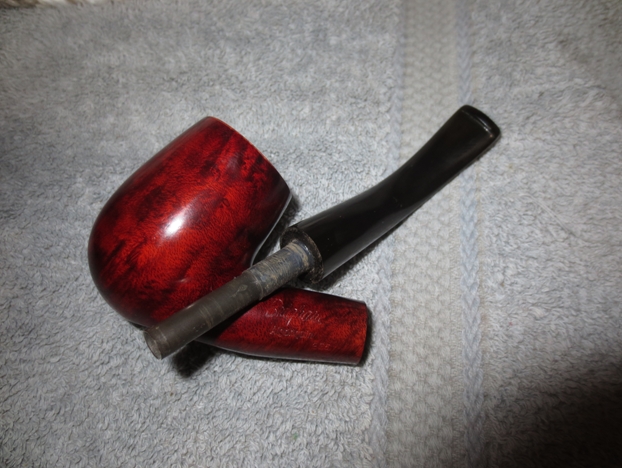
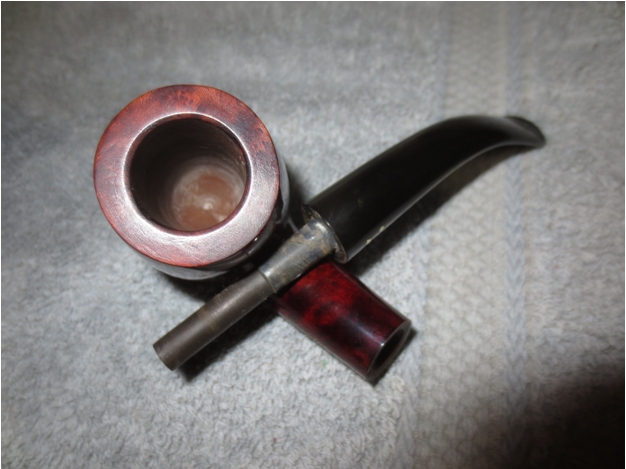
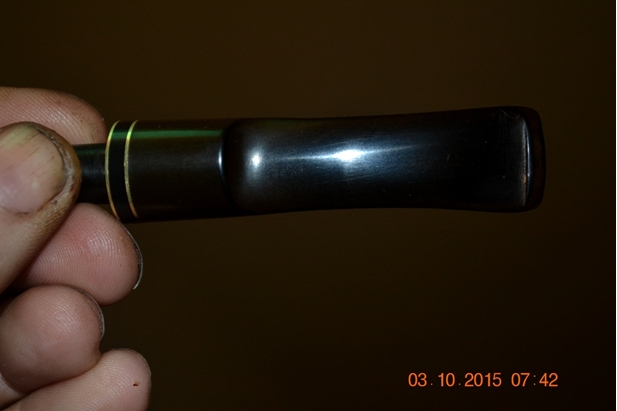
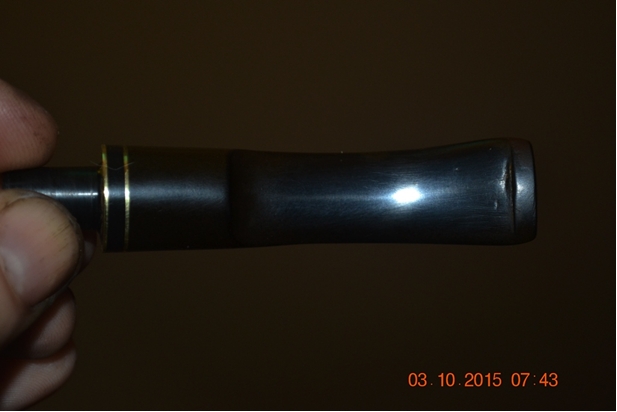
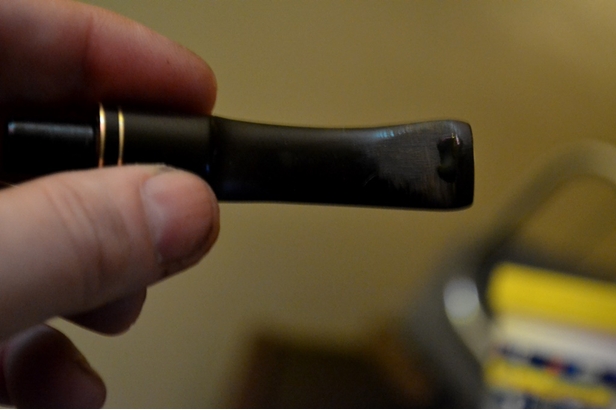
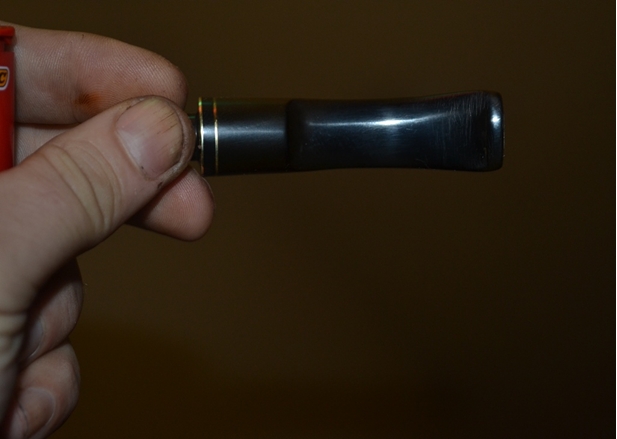
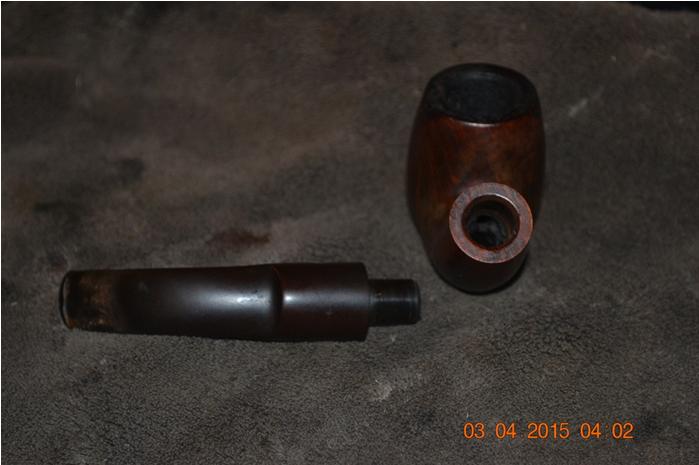
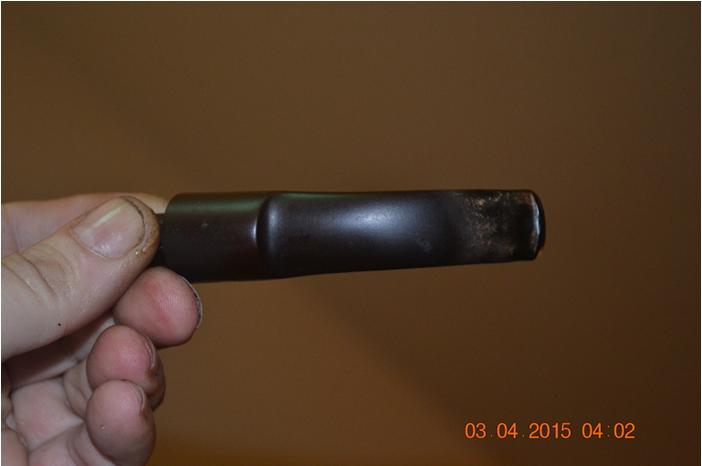
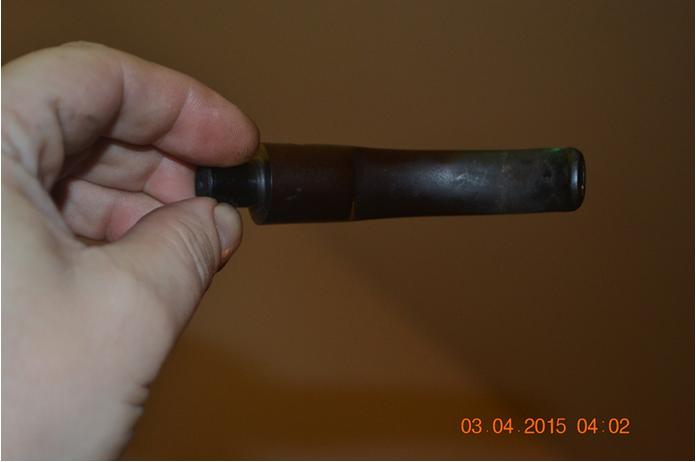
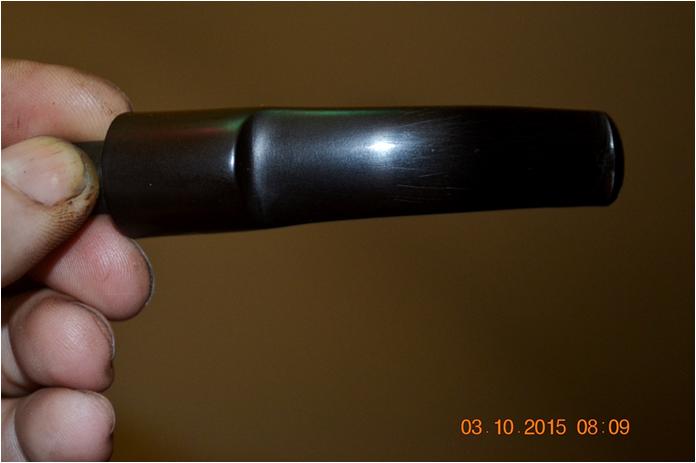
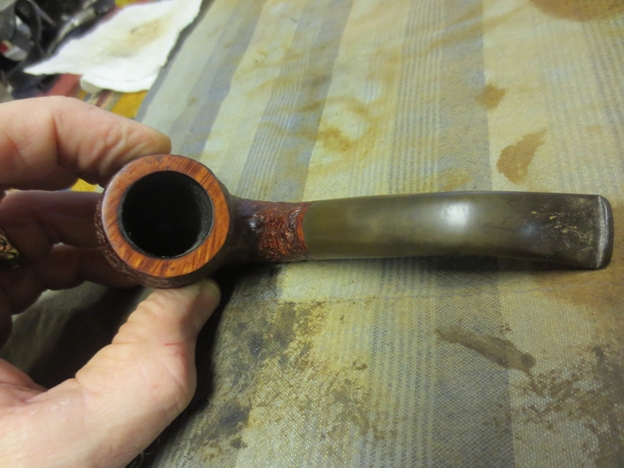
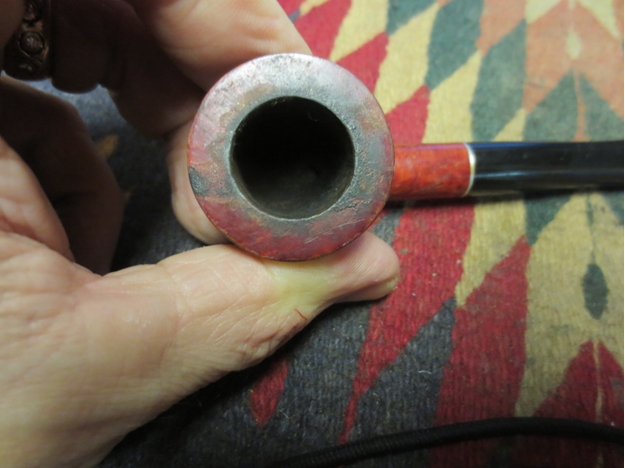
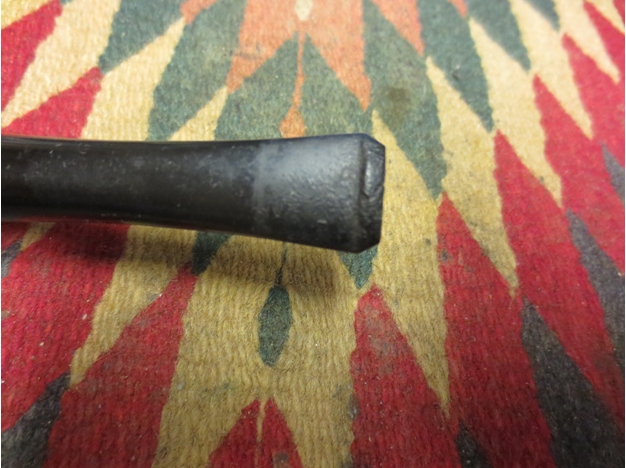
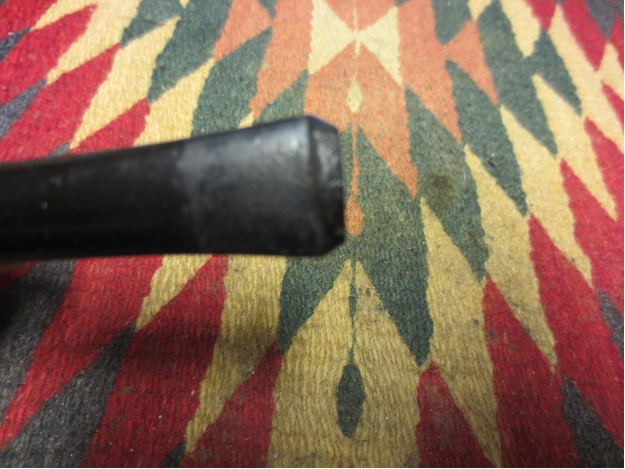
Robert8 When my now customary first step of OxiCleaning the stem was complete, the well-shaped and gently curved stem was clean but covered with green, white and brownish spots. I solemnly affirm that I documented the result with a photo, but it seems to have been lost due to a malfunction of my camera. Likewise, the effects of 220-grit sandpaper on removing the serious tooth chatter that marred both sides of the top of the stem, almost an inch below the lip, are gone. Even the lip had been gnawed and required intense sanding, but at least I avoided Black Super Glue.

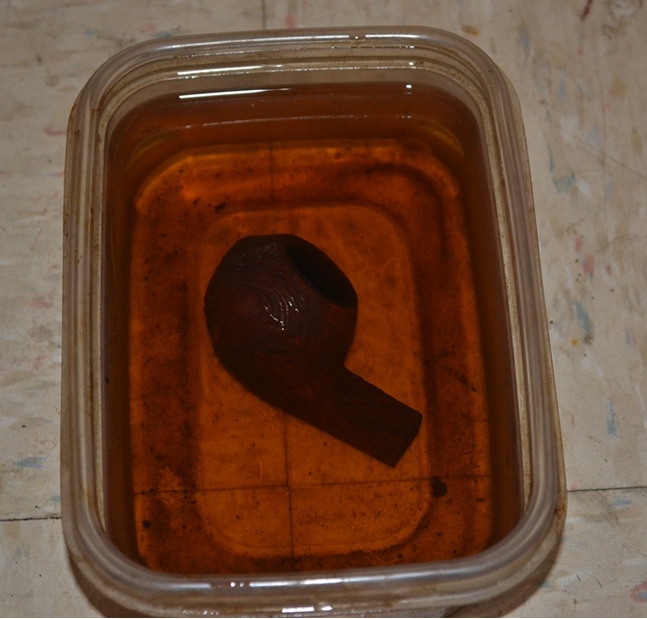
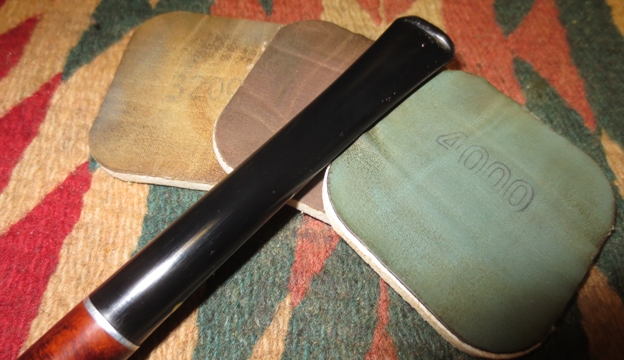
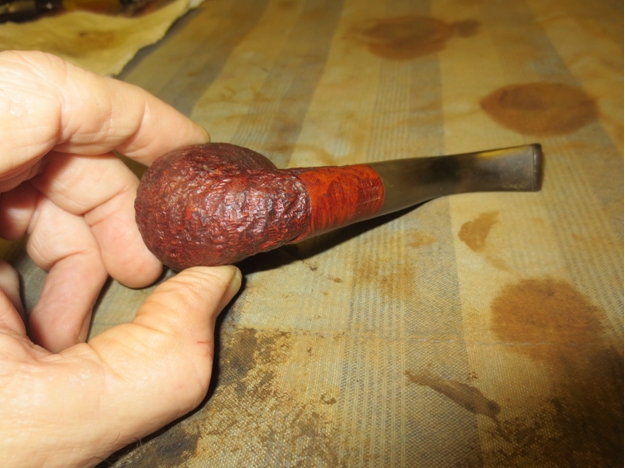
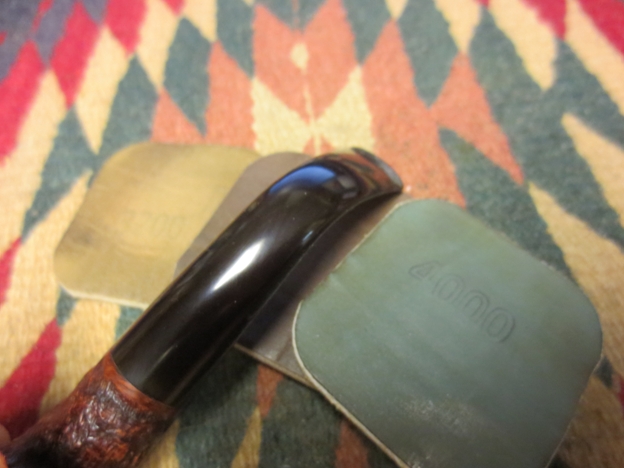
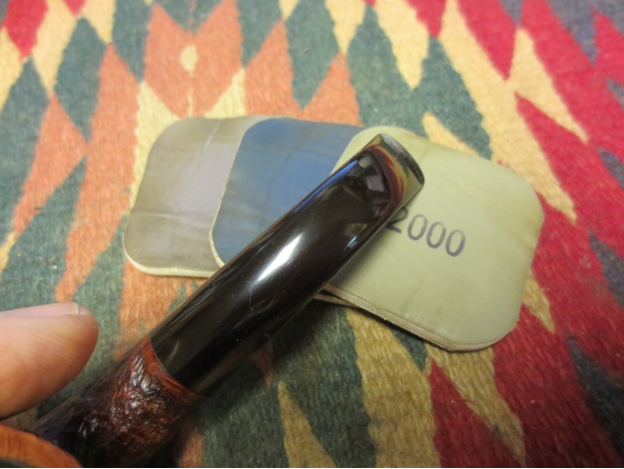
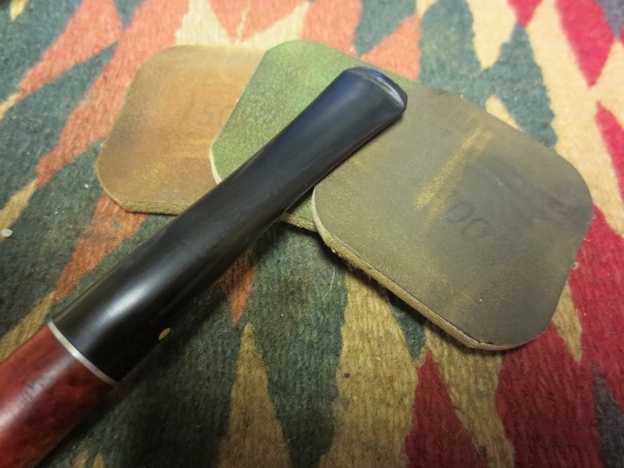
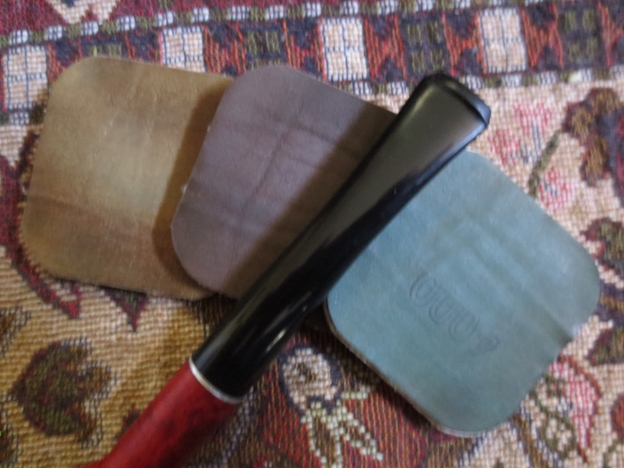
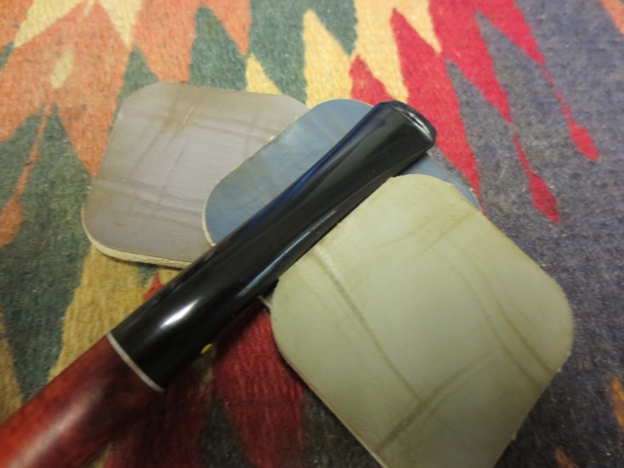
I stripped the rusticated briar in Everclear.Robert9 Again, the photos of the bare briar after this process are not to be found, although rubbing with super fine steel wool, then sanding the top of the bowl above the traditional line to make it lighter in color, followed by a thorough micro-meshing of the whole with five grades from 1500-4000 made the wood ready for buffing. The only way I can even begin to explain the absence of these particular photos is to note that all of them were taken in order during a short period of peculiar behavior by the DSLR.

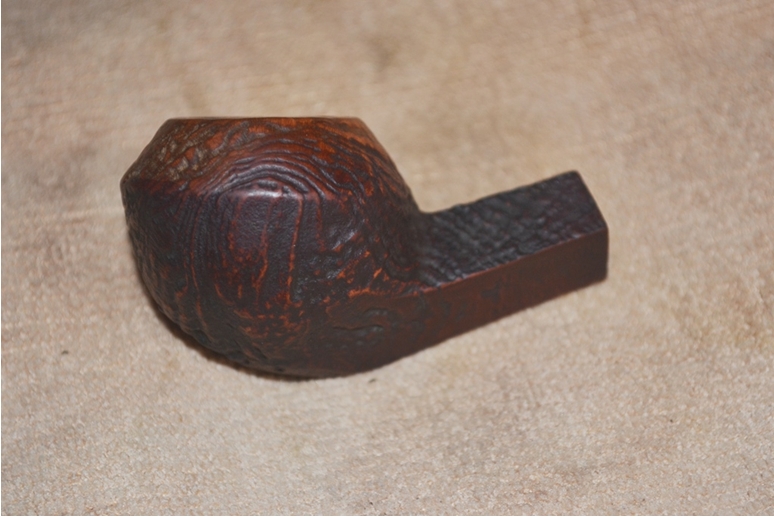
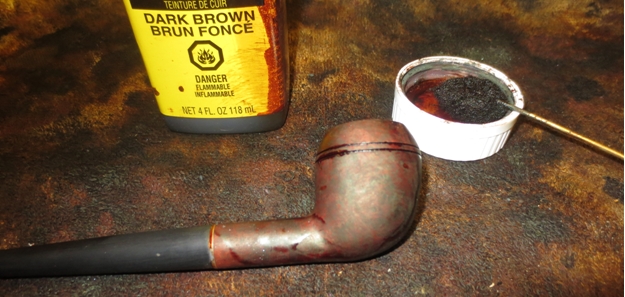
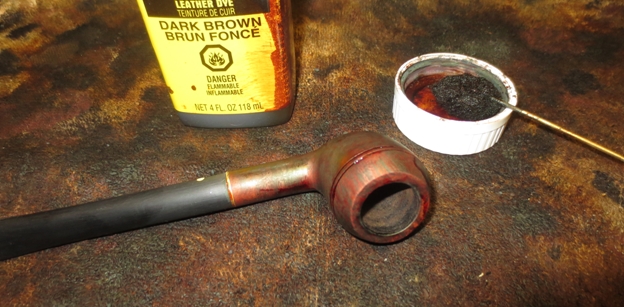
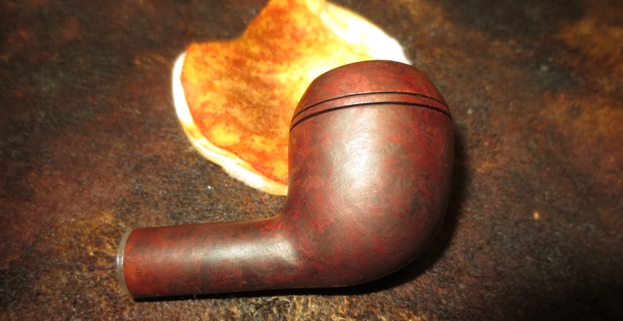
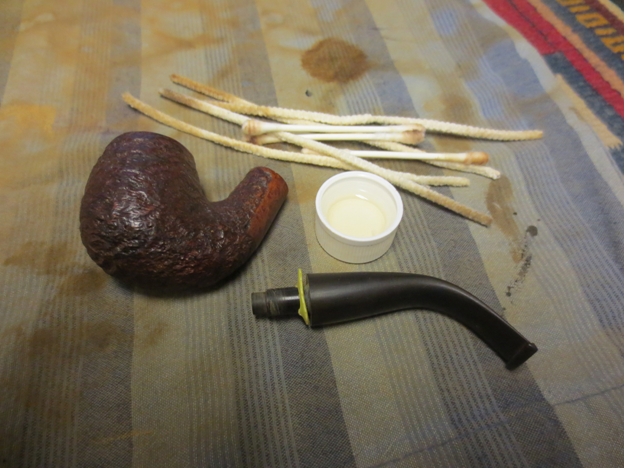
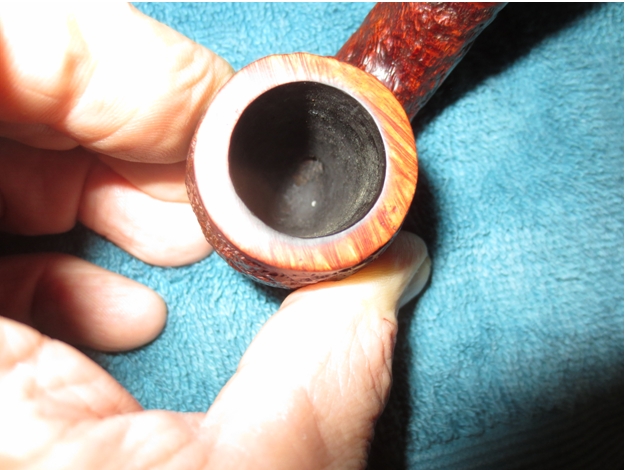
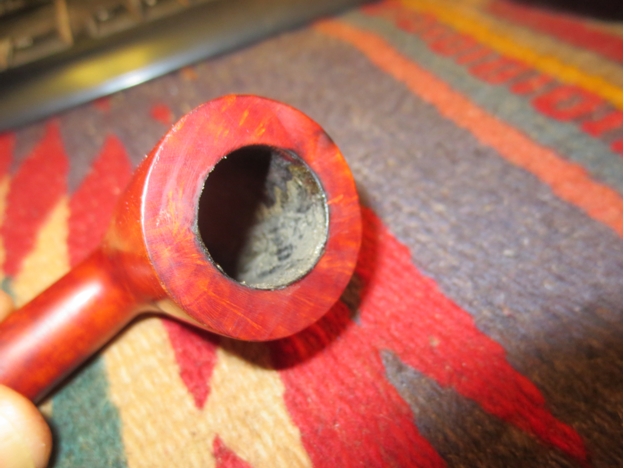
After sanding the chamber with 320-grit paper followed by 200, I retorted the pipe. For the first time, that step required only one test tube of boiled alcohol, thanks to the excellent care by the previous owner and the Everclear soak. I had stained all of it but the top and rim with burgundy boot dye, which I flamed and hand-buffed with 4000 micromesh before resorting to 3600 to heighten the new red tone. Here is the briar when I was almost done prepping it for the final buffs.Robert10 At the last moment, I decided to give the upper part of the bowl and the rim a final sanding with 320-grit paper and re-using the same micromesh progression as before to take it all the way down to its natural light brown color. All was in order to try out my newly-learned wheel buffing technique.

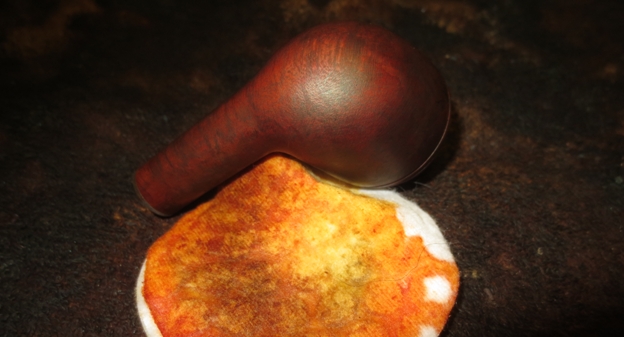
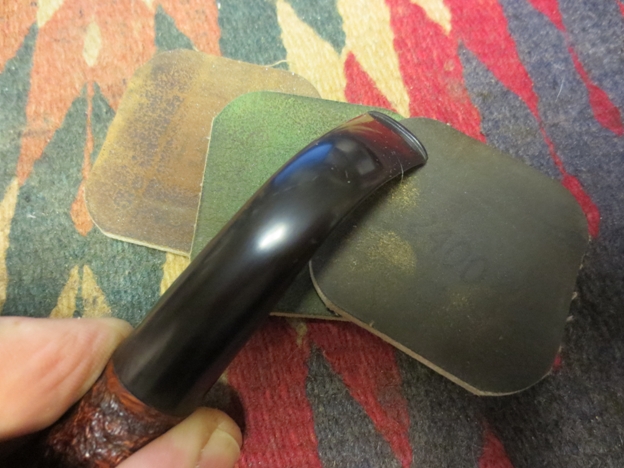
The stem took a little extra work with its extra lines, using the regular red Tripoli followed by White Diamond. I happened to have an extra, new buffer which I then attached to the electric wheel that had held the red Tripoli cloth. Beginning on the briar with a regular white Tripoli buff, I held it up in the light for a better look before I moved to the clean buffer and turned the wood with extra care. Again I held it up to see the change, which, as Chuck had promised, was prominent. Repeating these steps with White Diamond and at last carnauba (since I still need to replace my spent supply of Halcyon II), when the work was done I was truly impressed with the far finer and more solid shine.Robert11

Robert12

Robert13

Robert14

Robert15

Robert16 CONCLUSION
I was fortunate to start with an estate pipe that was well-tended by it prior owner, and I like to think that he would be pleased with its new, sharper two-tone look. My only regret is that now I have to re-polish my entire growing collection of pipes for sale. But I am looking forward to the next monthly Moose Lodge meeting of the pipe club on the third Thursday of April. You can bet I’ll be there, with all of my pipes arranged proudly beside Chuck’s.

Still I wonder…what future comments might make their way to me via my good friend and mentor? Perhaps now my potential local customers might find the good grace and trust to approach me instead.

Restoring a Willard Imported Briar Rhodesian


Blog by Steve Laug

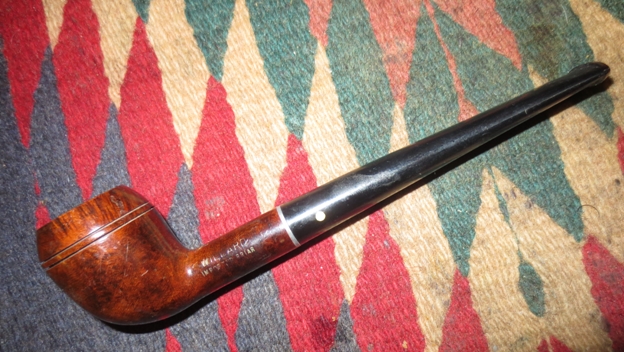
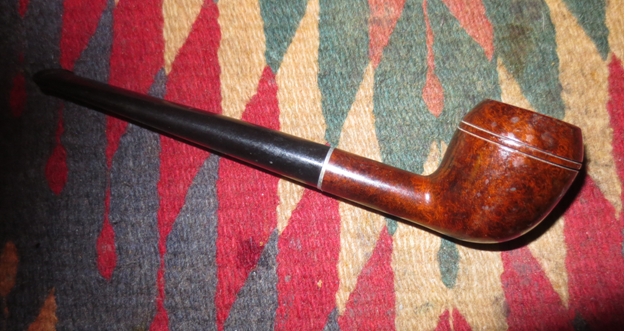
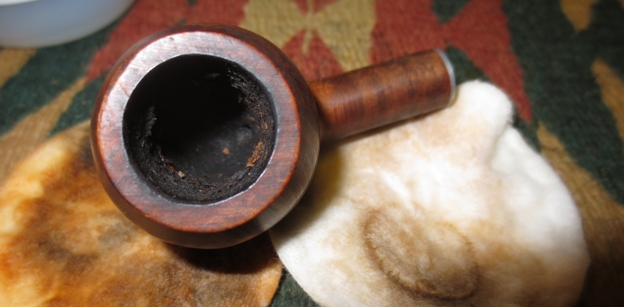
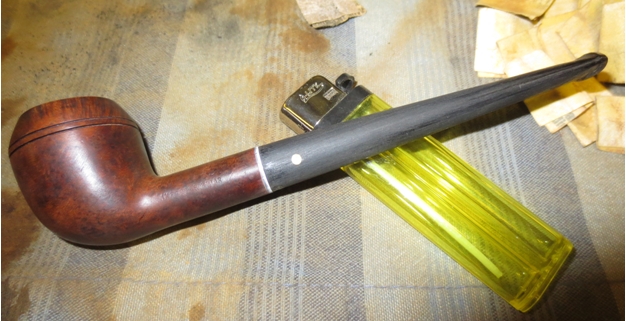
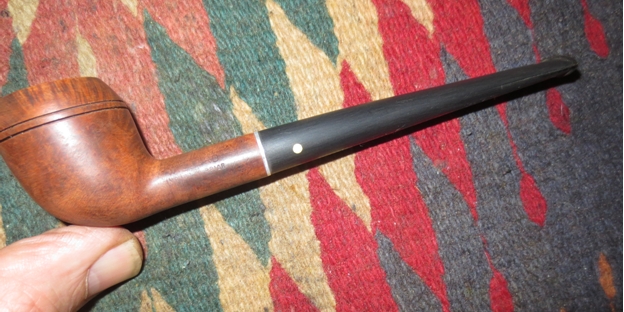
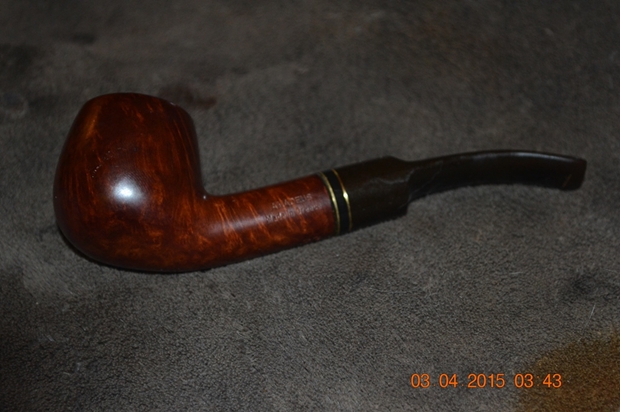
I am finally finishing up the final pipes in the box of gift pipes. This one is a little long stemmed Willard Rhodesian. It is stamped Willard over Imported Briar. It was in pretty good nick. The finish was worn and peeling in some places. There were scratches in the surface of the briar on the sides of the bowl. The bowl was lightly caked with remnants of tobacco clinging to the walls of the bowl. The stem was chewed but no deep marks were in the surface. The stem is that odd nylon like material that was on pipes of this era. It had a threaded tenon and a short stinger that was pretty clean as well. The stem was clean on the inside as was the shank of the pipe. The stem was slightly over turned and had some damage to the nylon of the upper portion of the stem.Willard1

Willard2

Willard3

Willard4 The next two photos show the tooth damage to the top and underside of the stem near the button.Willard5

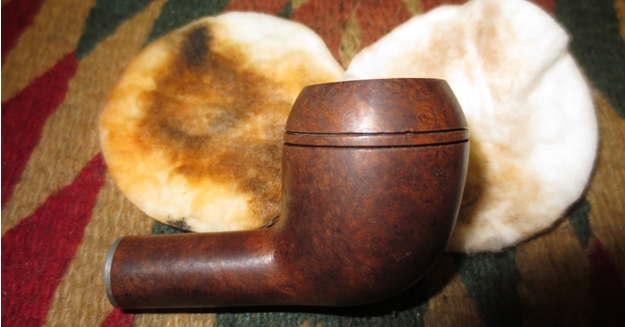
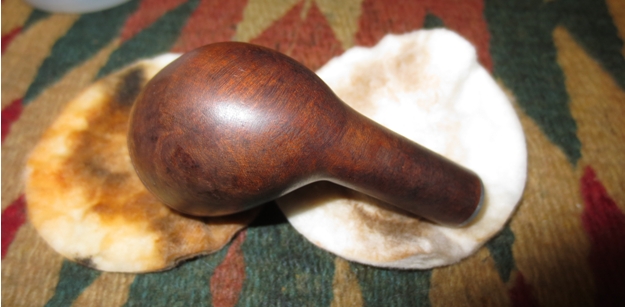
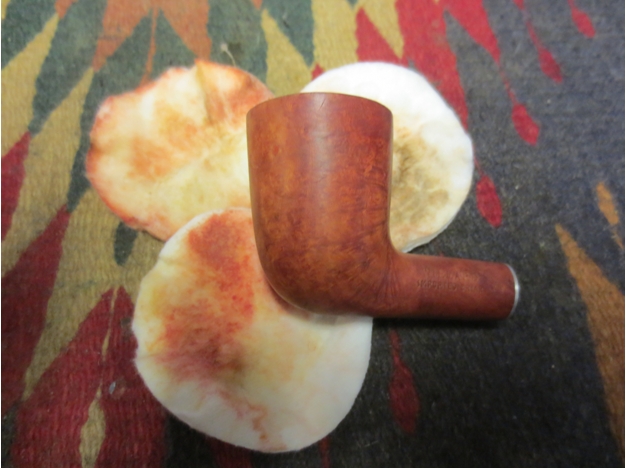
Willard6 I decided to remove the spotty and peeling finish first. I wiped it down with acetone on cotton pads until the varnish coat was removed. To my surprise there were no visible fills in this piece of briar. The wood actually had some nice grain under the varnish coat.Willard7

Willard8

Willard9

Willard10 I sanded the stem with 220 grit sandpaper to remove the damage on the surface and the tooth marks on the top and underside near the button. I heated the stinger with a lighter to soften the glue so that I could correct the over turned stem. Once it was softened I put it in the mortise and turned it clockwise until it lined up with the bowl properly. I let it cool and harden once again before removing it from the shank.Willard11 I scraped out the slight cake and remnants of tobacco with a pen knife taking it back to bare wood so that a new cake could be built up by the next pipe man.Willard12 I sanded the bowl and the stem with a medium and fine grit sanding sponge to remove the scratches left behind by the sandpaper and then put it back on the pipe and took the next set of photos.Willard13

Willard14

Willard15

Willard16 I stained the bowl with a dark brown aniline stain mixed with two parts alcohol to thin it down and lighten it. I applied it and then flamed it with a lighter to set the stain. I reapplied the stain and flamed it again.Willard17

Willard18 Once the stain dried I wiped the bowl down with alcohol on a cotton pad to even out the stain coat and to make it more transparent.Willard19

Willard20

Willard21

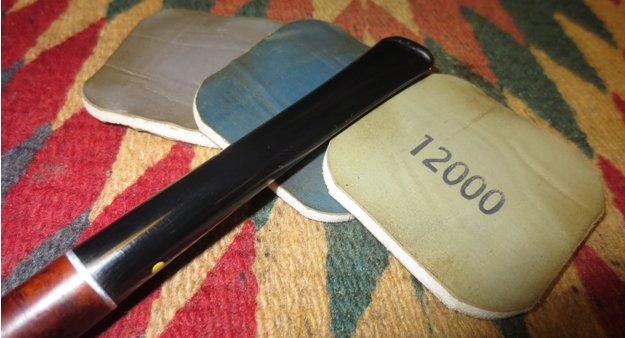
Willard22 I put the stem back on the shank and sanded it with micromesh sanding pads to polish it. I wet sanded with 1500-2400 grit pads and dry sanded with 3200-12,000 grit pads. I rubbed it down with Obsidian Oil between each set of three pads and then again the final time. I did not buff the stem with the buffer as I find that the nylon stems do not do well with the heat of the buffer. I applied some Paragon Wax to the stem and hand buffed it with a shoe brush.Willard23

Willard24

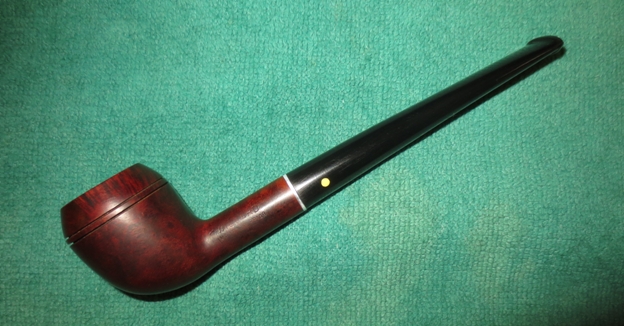
Willard25 I buffed the bowl with White Diamond and Blue Diamond on the buffing wheel and then gave it multiple coats of carnauba wax. The finished pipe is shown in the photos below. It is ready for a long life of delivering a decent smoke to whomever’s rack it ends up gracing. It is a pretty little Rhodesian that looks great.Willard26

Willard27

Willard28

Willard29

Willard30

Repaired a couple of Brighams for a friend


Blog by Steve Laug

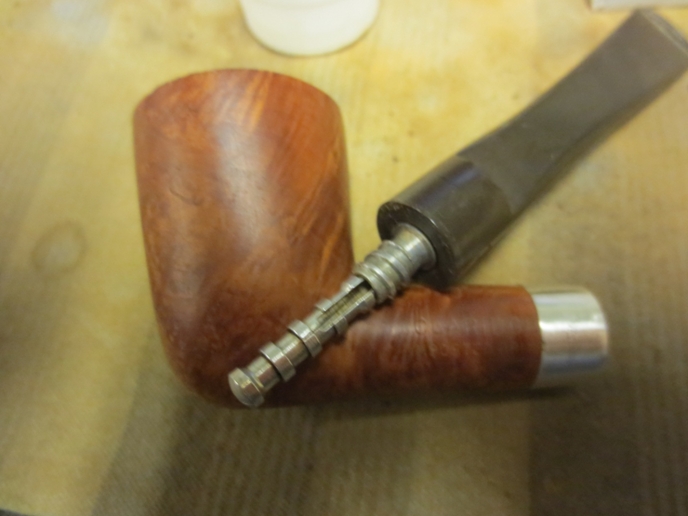
The pipe at the top of the photo is a Brigham Algonquin shape 265. It is a newer Brigham and has the nylon tenon and system. The second pipe is a Brigham 384 volcano. The stem of that one is shown in the photo below. A friend and reader of the blog, Joe Iacobellis sent me a note to see if I could help him out on these two. He had restored the bowls on both pipes but the stems were giving him fits. The Algonquin was completely restored and he put the stem on the finished pipe to have a look. When he took the stem off the tenon and system apparatus remained in the bowl. It was stuck and would not come out. The two brass dots or pins had come loose from the tenon and though the stem fit well the tenon would not come out of the shank or stay in the stem. The stem on the Volcano was a mess. There seemed to have been a coating of varnish or something on the stem and when he worked on it the surface came off pitted and scarred. He wanted me to help on these two issues so I had him send them to me.Brig1 When I came home from a recent trip for work the pipes were waiting for me. The issues that Joe had mentioned in his email were right on. The tenon on the Algonquin was torn where the pins had come free from the nylon. The tenon was stuck in the shank and would not move. I put the bowl in the freezer over night and let it sit. When I took it out in the morning I used a pair of needle nose pliers to carefully twist the tenon out of the shank. I cleaned out the shank with pipe cleaners and cotton swabs and isopropyl alcohol to make sure that shank was not the issue. I put the tenon back in place on the stem and it was fairly tight. I twisted it back into the shank and it fit well. When I removed the stem the tenon was once again stuck in the shank. I used the needle nose to twist it out again. I used an ice pick to push the pins further out of the inside of the stem so that the surface was smooth. I used some clear super glue and coated the end of the tenon and pressed it into place in the stem.

After the glue set I used the ice pick and a small furniture hammer to tap the pins back into the tenon. I tapped lightly so as not to damage the tenon or the stem. I pushed the stem into the shank and twisted it out several times to make sure that the fit was good and the tenon would remain in the stem instead of the shank. It worked! I then cleaned up the tenon and the stem with micromesh sanding pads to polish it. I buffed it on the buffer with Blue Diamond and then carnauba wax. I gave the rim of the bowl a light coat of cherry stain to bring it closer to a match on the bowl. I buffed the rim and gave it a coat of carnauba. The finished pipe is shown below.Brig2

Brig3

Brig4

Brig5

Brig6

Brig7

Brig8 The stem on the volcano took some work. The surface of the vulcanite was rough and somewhat ridged from the varnish or clear coat on it. I used some 220 grit sandpaper to clean up the surface of the stem and remove the oxidation around the shank/stem junction. I sanded it with a medium and a fine grit sanding sponges. I then wet sanded it with 1500-2400 grit micromesh sanding pads. I buffed it with Tripoli before dry sanding it with 3200-12,000 grit sanding pads to finish polishing the stem. Once completed I gave it a light buff with Blue Diamond and then gave it several coats of carnauba wax.Brig9

Brig10

Brig11

Brig12 Joe, the pipes are finished. I will get them wrapped up and in the mail as soon as possible. I think they came out great and hope you will get a lot of use out of them. Enjoy! Thanks for sending them to me to work on, I enjoyed it.

For the Love of an Amadeus Half-Bent Brandy


Guest Blog by Robert M. Boughton
Member, North American Society of Pipe Collectors
http://www.naspc.org
http://www.roadrunnerpipes.com
http://about.me/boughtonrobert
Photos © the Author

“According to Diotima, Love is not a god at all, but is rather a spirit that mediates between people and the objects of their desire. Love is neither wise nor beautiful, but is rather the desire for wisdom and beauty.”
― Plato (429?–347 BCE), Athenian philosopher, in “Symposium,” 360 BCE

INTRODUCTION
Amadeus may be known best as the 1984 feature film that won eight Academy Awards and was titled after the fourth given (or in this case, chosen) name of the latter 18th century Austrian composer, more often shortened to Mozart. Christened Johannes Chrystosomus Wolfgangus Theophilis Mozart, the often inebriated genius preferred the Latin translation of Theophilis – Greek for “lover of God” – which is Amadeus, derived from amare, to love, and Deus, God. The name also happens to be a Greek pipe brand founded in 1975 by eight artisans.

The half-bent brandy I obtained as part of a multi-pipe estate lot last year is a mid-level example of an Achaki-Amadeus S.A. briar. The company’s products range in price new from $50 on sale to $320 at the regular rate. They are all made of high quality Mediterranean briar, and the Greek company is among the primary suppliers of that variety of wood to other makers including Stanwell, Vauen, Tsuge and the late Bjarne Nielsen of Denmark.

This Amadeus arrived in much better than usual shape except for the chamber and rim and some minor wear of the stem.AM1

Am2

AM3

Am4

Am5

Am6

AM7 THE RESTORATION
I was eager to start a OxiClean bath on the stem. Knowing the stem hole as well as the outer area would benefit from a good soak for about a half-hour, I suspected that some of the chatter I could see in line with the lower lip would require more than that and even some sanding before micro-meshing.Am8

Am9 In the meantime, I had no trouble removing the little bit of blackening of the rim with easy rubbing using super fine steel wool, and the mild buildup of carbon in the chamber with a 19mm reamer followed by 150-grit paper and finished to silky smoothness with 320-grit.

Although the top of the stem was good after the soak, rinse and a wet micromesh work-over – building a grade at a time from 1500-4000 – the bottom, after the same treatment, indeed needed more work.AM10

Am11 And so I removed a little more of the chatter with 200-grit paper and applied some Black Super Glue.Am12

Am13 My work so far was easy, but being the glass-half-empty sort I was prepared to discover serious accreted grime when I commended the stage of clearing the mortise and shank with a wire-handled cleaner dipped in Everclear. But my luck continued. After a few passes that met no resistance and resulted in minor darkness of the cleaner, I decided with a rare sense of admiration that the previous owner had enjoyed the Amadeus brandy for some time and taken appropriate care of it. Reattaching the stem, I retorted the pipe with a mere two Pyrex test tubes of boiled alcohol.

As has been the case in many of my restorations so far, I was curious with the shade of the stain that I considered to be over-dark. To my way of thinking, as long as a careful visual analysis reveals no hidden reason for the extra obscuring, the clearer the grain, the better. And so, again with the utmost gentleness, I used a small piece of steel wool to lighten the briar and worked my way up the micromesh scale.Am14

Am15

Am16

Am17

Am18

AM19 For those of you with more discerning eyes, the pieces of crud visible with enlargement of the last photo, showing the shank opening, resulted from a final impulsive sanding of the chamber. Rest assured none of it remained after I noticed and gave it a good blow.

The two pieces of the pipe were ready for buffing. I used red and white Tripoli and White Diamond on the stem (big surprise) and white Tripoli, White Diamond and three coats of carnauba on the wood.Am20

Am21

Am22

Am23

Am24

Am25

Am26 CONCLUSION
There were no big problems with this restoration; no special problems to report or whine about; no particular distinction of the Amadeus itself, except for its very fine craftsmanship and, to me, less common country of manufacture. Still, it is a real beauty, an opinion I expressed in an email to Achaki-Amadeus to date the crafting of the pipe. Excepting the general pleasure of the simple but effective restoration, in fact, the most exciting aspect of the process came after the fact, when I received a response from one of the brand’s owners:

This is a line we used to make some good ten years ago. If you are in the USA it was imported in the country four years ago.

I hope I helped.

Thank you for your kind words.

Best regards

Makis Minetos

Please visit my blog:

http://www.acutabovebriar4.blogspot.com

The French Girl with the Fuzzy Identity


Guest Blog by Robert M. Boughton
Member, North American Society of Pipe Collectors
http://www.naspc.org
http://www.roadrunnerpipes.com
http://about.me/boughtonrobert
Photos © the Author

“The problem with putting two and two together is that sometimes you get four, and sometimes you get twenty-two.”
― Dashiell Hammett (1894-1961), U.S. author who re-invented and popularized the hard-boiled private investigator genre, in “The Thin Man” (1934)

INTRODUCTION
I take great solace from life’s frequent misadventures through activities that nevertheless focus on the same causes of grief: reading a good book, realistic or fantastic; writing news articles, blogs, letters to the editor and my own versions of literature; photographing street life, landscapes, nature and the occasional spot news event; drafting, filing and arguing civil actions in courts of law when I too frequently encounter those who would do me harm through ignorance or the misperception that I lack understanding of that study of knowledge, and researching and at times investigating anything and everything. But when I need to retreat all the way into the pleasure centers of my brain, I have only my local tobacconist and pipe acquisition disorder on which to fall back, and on the great majority of my P.A.D. attacks for almost a year now I can at least blame my small but expanding online business of refurbishing or restoring estate pipes for sale. Yet even that endeavor involves research and background checks.

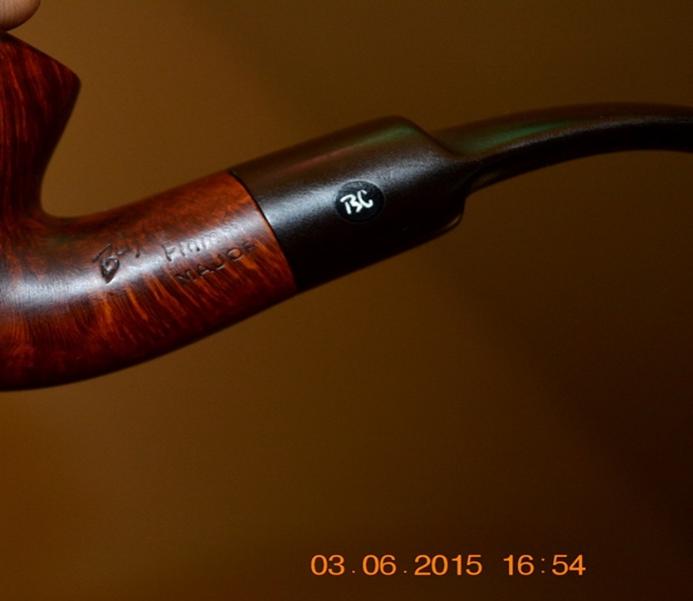
Other than the classic but elegant shape and crafting of the Butz-Choquin bent billiard I scored a few months ago in an estate lot with several lesser gems – including a unique red Kaywoodie lumberman that was, for the most part, sandblasted, but with two natural rings around the billiard bowl and matching sitter bottom and ferrule – the obvious challenge of restoring the shapely French pipe to her original fine condition was a definite attraction. Except for the BC logo clear on the left side of the stem and the overall haggard appearance, I had no idea what I was getting. When the lot arrived, I searched for the BC, but when I found her the nomenclature was so fuzzy I could make out little more of the brand stamp on the left shank than the distinctive cursive B. Of the name itself, I saw two lines, the top beginning with a definite F and the bottom a clear word: MAJOR.

This may sound like plenty to go by, but my browser search suggested multiple possibilities for Butz-Choquin matches starting with F. There was the Formula, Formula Noir, Fait Main and filter, all of which I ruled out. And so I added an L and found Flamme, Flamme Extra, Flamme Standard, Flash and Fleuron. Then I tried Flamme Major and, seeing no suggestions, just Major. That excavated a site with images for BC Major Pipes, among which I saw a similar although straight stem specimen.Butz1 Therefore I returned to the full Butz-Choquin Flamme Major search and completed it, confirming that indeed was what I had.

THE RESTORATION
Butz2

Butz3

Butz4

Butz5

Butz6

Butz7

Butz8 I recently started making several basic changes in my pattern of restoration S.O.P. First, I now begin with an OxiClean stem wash as it can go on in the background, so to speak, while I do other tasks. I’ve also found it really works, although not with the comprehensive results sworn to in the site I found for its basic instructions, including the consistent lack of need for additional work such as sanding and on occasion using Black Super Glue for deep fills. Sometimes after washing with OxiClean and warm water, rubbing out the excess discoloration with a cloth and micro-meshing, the result is a perfect stem ready for the wheel. More often than not, however, I need to sand out scratches that are exposed. Such was the case with this stem. But the practice serves its purpose, to clean the stem inside and out and make the job of producing a shinier end product far easier.

Before
Butz9

Butz10
Ready for buffing:Butz11

Butz12 The second new habit is working on the rim and chamber and scraping out the major buildup of old tobacco and its related substances from the shank with a wire cleaner rinsed over and over in Everclear. All of these can be completed during the OxiClean wash. Third, I now retort every pipe at this stage.

All of these stages of the process completed, I turned to the bowl and shank, which showed the wear and tear of age. Tell me about it! After washing the briar with purified water, I used a piece of super fine steel wool to lighten the all-too-often over-dark original finish, shine the wood and make the grain show with more clarity. The wood was in very good condition with no pits, dings or scratches worth mentioning, and the slight appearance of discoloring in areas disappeared. I did a full micromesh workup with 1500, 1800, 2400, 3200, 3600 and 4000.

By the end of the restoration, the nomenclature somehow was much clearer.Butz13

Butz14

Butz15

Butz16

Butz17The time was right for the final buffing, and so I repaired from the comfort of the living room for the prep work to the workroom for finishing. The stem, as usual, I gave a nice shine with red Tripoli and White Diamond. The briar I buffed with white Tripoli, White Diamond, and a few coats of carnauba.Butz18

Butz19

Butz20

Butz21

Butz22

Butz23

Butz24

Butz25CONCLUSION
I think the most notable achievement of this restoration is that for the first time I was able to sand the chamber until it was baby smooth and like-new. I accomplished this by reaming and then sanding with 150-grit paper as usual but followed those steps with a second sanding using 320-grit paper.

All in all, I am happy with the outcome and will, of course, be sorry to let this one get away from me.

Restoring a Dr. Plumb 9438 and a Ben Wade Freehand


Blog by Joey Bruce

I am always on the lookout for pipes every time I’m… Well pretty much anywhere but especially thrift stores and flea markets. I have picked up a few Kaywoodies and Dr. Grabow’s along with some no names here and there and they are sitting on the shelf collecting dust. It wasn’t until recently that I was in another thrift store that I spotted a group of pipes sitting on the shelf. I didn’t even bother looking for logos I just grabbed them and took them to the front to ask how much. For four pipes the guy wanted a whopping $5. I happily agreed and took them home. That’s where I discovered the store had sold me some really nice pipes.

Two noteworthy and impressive looking pipes were a Ben Wade freehand and a Dr. Plumb. This immediately started a fire under me and I quickly went to the closet and got out all my pipe restoring equipment.
I started working on the stems first. It had been awhile so I forgot my routine. Usually the first thing I do is soak them in a Oxyclean solution, then break out the alcohol soaked pipe cleaners and let them sit overnight, then start with the sanding. This time in my excitement I forgot the Oxyclean and went straight into the pipe cleaners and then the sanding.

It wasn’t until I noticed all the oxidation wasn’t coming off that I remembered my original routine. So I threw them in the Oxyclean solution and after 6hrs removed them. That lifted the rest of the oxidation up to where I could now sand it off. You can see here as I’m part way through the Ben Wade stem.

I usually wet sand until the brown goo stops and that’s when I know it’s time to hit the buffer. A few minutes issuing a mild polish then hit it up with a finishing polish for that extra bright luster. On the BW freehand the logo was already worn down pretty well so I couldn’t sand it much or I’d risk losing the logo completely. So you’ll see some brown oxidation around that area.

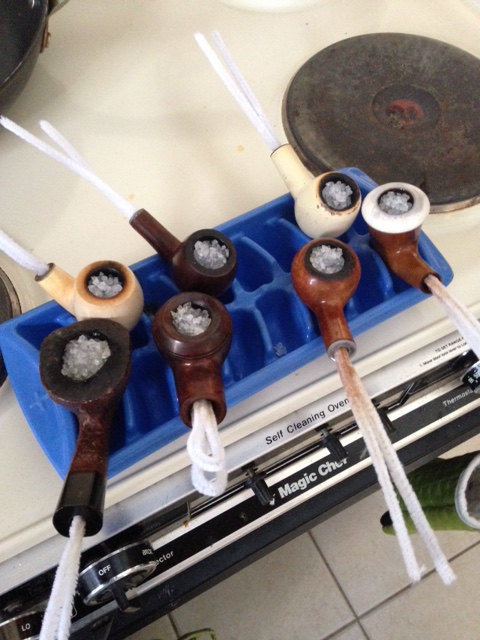
While the stems are being polished I let the bowls soak in sea salt and alcohol for about a day.Joey1 I keep topping them off with alcohol throughout the day as they dry up. Not sure if this is the proper technique but it works for me.
Neither the Ben Wade or Dr. Plumb had much cake built up so lucky for me I didn’t have to go into the bowl and clean it up. If you look back at the first pic (sorry I didn’t photo document the steps well) you can see some build up on the rim of the two pipes. The Dr. Plumb needed to be wet sanded to get that off but the Ben Wade came off super easy on the buffer.
I finished the Dr. Plumb up on the buffer the same way I did the stems and it came out nice. This pipe is quite large in diameter and you can feel it with the weight. The grain of the wood is this rich dark almost tiger stripes grain. It rests very comfortably in the palm of your hand.Joey2

Joey3

Joey4 The BW however, I tried to take the buffer to it and quickly noticed it took off the black worn look to the rustic briar. Not sure if that’s what it looked like in the beginning but I like the black weathered look to the wood so I took some toothpaste and brush to it to clean it and then I spent a good amount of time just rubbing it with my hands. Working the natural oils (and probably some grit and grime) into it. It too is a large pipe but it’s a featherweight. Not sure how they were able to do that. It’s almost like an illusion or some magic trick.Joey5

Joey6

Joey7 I’m pleased how they turned out. All in all not a bad purchase for $2.50.

An Easy Restoration – An Old Port Full Bent Billiard


Blog by Steve Laug

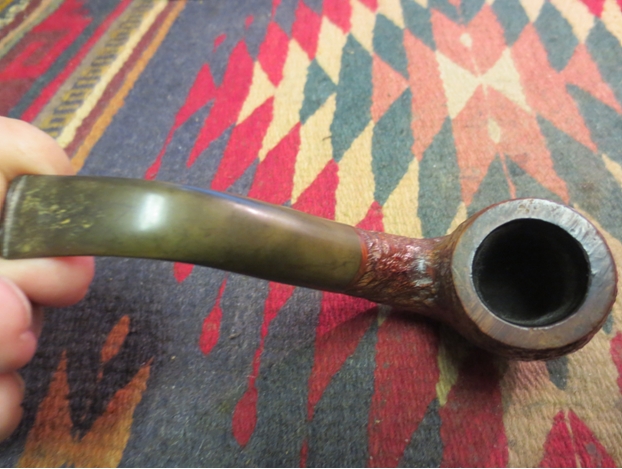
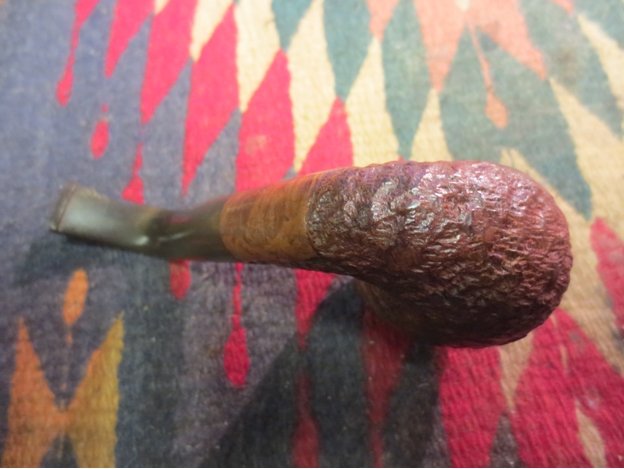
Yesterday afternoon I took my wife and daughter to Walmart – the only thing that makes going to Walmart even remotely interesting is that across the street is a shop that sells movie props and also consignments. I have had good luck with finding old pipes just about every time I go there. This time was no different. I came across a rusticated full bent pipe that was in pretty good nick. The bowl was in great shape – actually barely smoked. The stem was oxidized and had some minor tooth chatter on the top and underside of the stem near the button. The top of the rim is smooth as is the patch on the underside where it is stamped.Old Port1

Old Port2
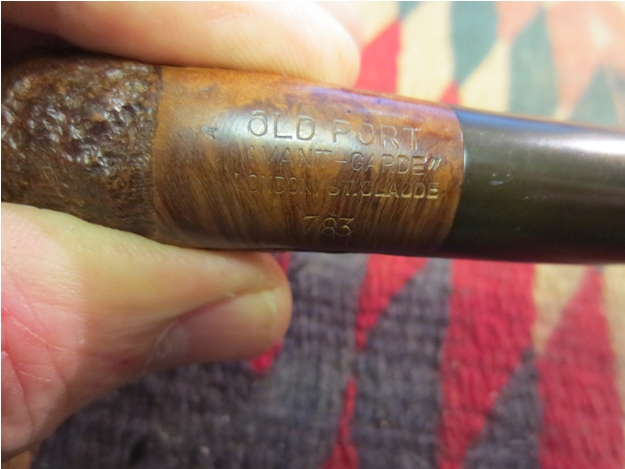
The stamping reads:
Old Port
“Avant – Garde”
London/St. Claude
783

The stamping on this one was a mystery. I could find nothing on it identifying it with any maker. There was no OLD PORT brand listed in any of my reference books or the sites that I check. The London/St. Claude stamping makes me think it might be a company with both French and British connections. I did some digging on the shape number on the Comoy’s shape number sites on the web and could find nothing even close to that number. I decided to check on the French side of their operation and found some similar shapes and three digit numbers on the Chacom site. Still nothing that identified the pipe definitively though.Old Port5 The top of the rim had some damage that came from tapping out the bowl. There was also some rim darkening.Old Port3

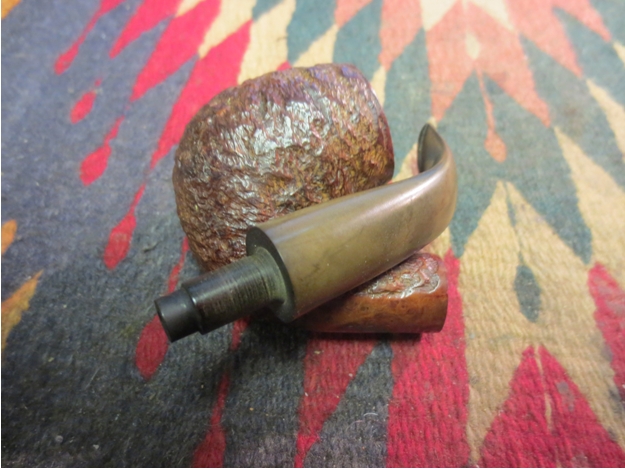
Old Port4 The step down tenon is characteristic type of English and French made pipes. The fit in the shank is snug and clean.Old Port6

Old Port7 I scrubbed the rusticated finish with Murphy’s Oil Soap and a soft bristle tooth brush to remove the dirt and wax build-up in the finish. I rinsed it down with water under the tap, keeping my thumb in the bowl to prevent water from getting into the bowl.Old Port8 I dried off the pipe bowl with a soft cloth and set it aside to dry. I took the next four photos to show what the pipe looked like after I dried it out with the cloth.Old Port9

Old Port10

Old Port11

Old Port12 Once the pipe dried I rubbed down the finish with a light coat of olive oil. I buffed it by hand with a shoe brush.Old Port13

Old Port14

Old Port15

Old Port16 I put a plastic washer on the tenon and sanded the stem with 220 grit sandpaper and then with a medium and fine grit sanding sponge to break up the oxidation. I ran a few pipe cleaners through the airway to clean up the sanding dust and freshen it.Old Port17 I finished by sanding the stem with micromesh sanding pads – wet sanding with 1500-2400 grit pads and dry sanding with 3200-12000 grit pads. I rubbed the stem down with Obsidian Oil between each set of three pads.Old Port18

Old Port19

Old Port20 I buffed the pipe with Blue Diamond on the wheel and then gave the bowl a coat of Halcyon II wax and buffed it with a soft flannel buffing pad. I gave the stem multiple coats of carnauba and then buffed it with the flannel buff as well. The finished pipe is shown below. I was able to finish it in time to put it in my pipe bag for my upcoming trip this afternoon. I am looking forward to firing up a bowl and enjoying it in the week ahead. (Under the bright light of the flash more oxidation showed up. I will need to take care of that when I return from my trip.)Old Port21

Old Port22

Old Port23

Old Port24

Old Port25

Old Port26

Old Port27

Old Port28

Old Port29

A Willard Dublin Renewed and Given a Facelift


Blog by Steve Laug

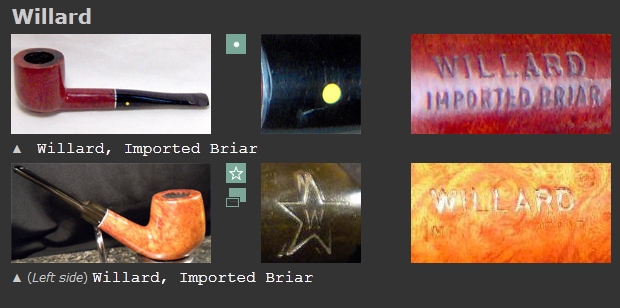
This is another pipe from the box of pipes that I was gifted. It is stamped Willard over Imported Briar. I have cleaned up quite a few old Willard pipes over the years but never took the time to figure out the manufacturer or other information regarding them. I turned to Pipedia and did not find the listing so I checked on PipePhil’s site and found what I was looking for. I have included the photo below for comparison sake. The Willard I have is stamped the same as the top photo. The stem logo is also the same. On the side bar the site included the following information: “The Willard pipes were made by Sparta Industries in Sparta, N.C from 1963 to 1975 (about 60,000 pipes per week). Some were distributed by the Post and Base Exchanges that serviced the military during the Vietnam War. Others were produced for R. J. Reynolds Tobacco.” So I had time frame for this pipe – made in Sparta, North Carolina sometime between 1963-1975. That was way more than I had when I started.Willard The pipe on my work table had the same overall look as the one in the top photo above. Even the darkening of the rim was similar and the wear on the stem. The finish was the same indestructible varnish coat over a red stain. When I started the cleanup I thought the bit was nylon but as I worked on it I am sure it is not. The sanding dust is dark black and is like rubber of some sort. I am still not sure of the material but it is soft to the teeth.Willard1

Willard2 The stem material did not seem to oxidize. There was some definite tooth chatter on the stem near the button but it also looked like someone had put a softie bit on it to protect it after the initial chatter. The metal tenon had a removable stinger in place that was covered with “gunk” (technical pipe refurbisher terminology). The varnish coat was in rough shape and peeling. There was underlying dirt that had gotten in under the edges of the peeling varnish. The briar itself was in decent shape under the finish and did not have much damage other than scratching on the sides of the bowl. The rim was blackened but not charred. The varnish had disappeared on the rim almost as if the heat had peeled it back from the inner edge outward. There was also some surface scratching on the rim.Willard3

Willard4 I have included the next close-up photos of the rim and the stem to show the extent of the damage to both. The bowl had been reamed but there was some damage on the side of the bowl that I will talk about shortly.Willard5

Willard6

Willard7 I used acetone on cotton pads to scrub the finish off the bowl. It took some elbow grease and repeated applications of the acetone to the surface of the bowl to remove the varnish but I was able to remove it totally from all the stamping and the entire finish of the bowl. Underneath was some decent grain and very few fills.Willard8

Willard9

Willard10

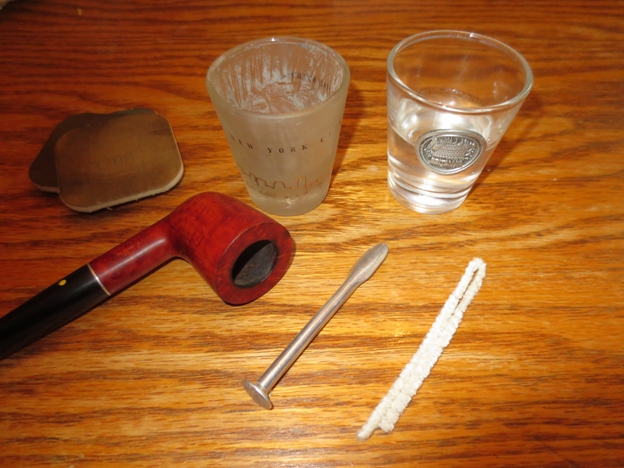
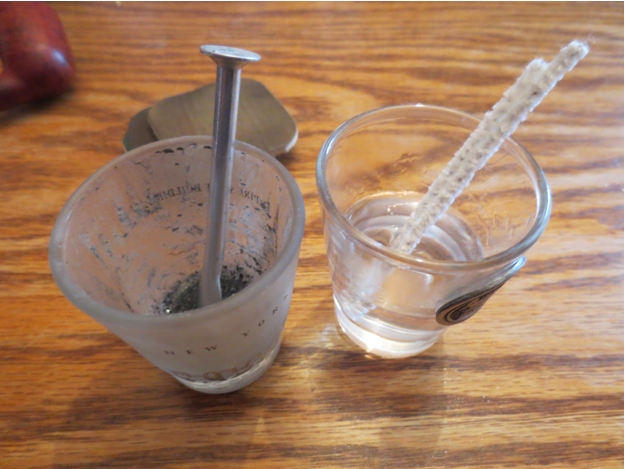
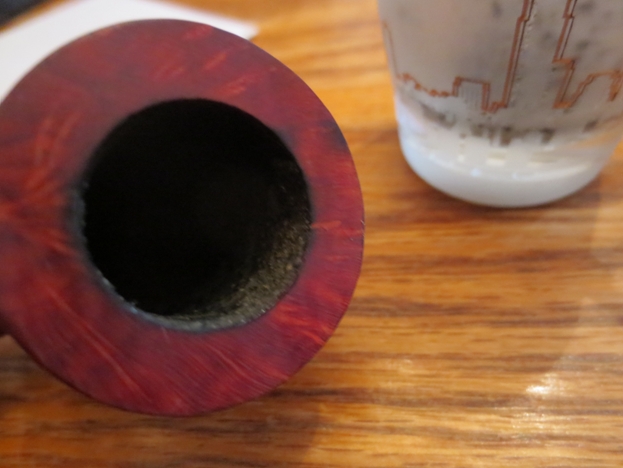
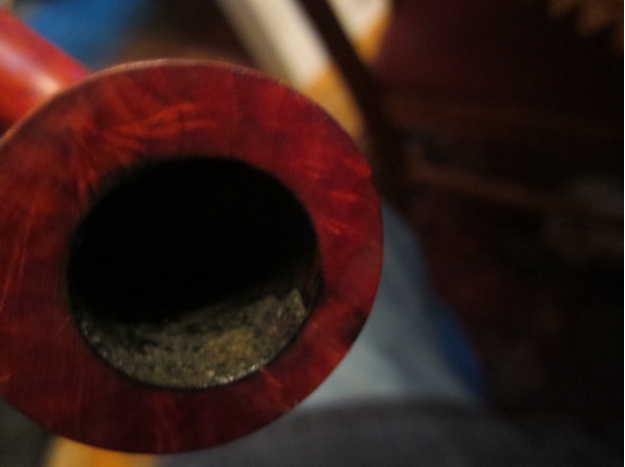
Willard11 I scrubbed out the mortise and shank with isopropyl alcohol on cotton swabs and pipe cleaners. It was actually one of the cleanest pipes that I have worked on lately. It took very little effort to clean the stem and shank. The pipe shows some promise in the photo below.Willard12 With the exterior of the bowl clean and the shank clean it was now time to address the issue that I had found in the bowl. The photo below shows the divot out of the side of the bowl. I don’t think it was a burn out happening though it certainly could go that way. I picked at the briar in that area with a dental pick and nothing was soft or crumbly. Even the edges of the area were solid and hard. I wonder if it was a soft spot in the briar, a flaw that showed up when the pipe was smoked and then when it was reamed fell out of the side of the bowl. There was no darkening on the exterior of the bowl relative to the flaw on the inside so I figure I was safe to repair it.Willard13 I fired up a cigar and retired to the porch to smoke it and collect the ash to make up a batch of pipe mud. I collect the cigar ash in a shot glass as I can easily mix it with water when I work the ash into mud.Willard14 The next photo shows the tools (the micromesh pads just happened to be there. I don’t use them in the process, in case you were wondering.). I have the shot glass of ash, a shot glass of water, a pipe nail and a folded pipe cleaner. These are all the tools necessary to make and apply the mud.Willard15 I put a few drops of water into the ash glass and slowly mix it into the ash. It is easy to put too much water and then you either have to fire up another cigar or pour off some of the excess to get the consistency needed in the mud to stick to the wall of the pipe. To wet and it puddles in the bottom of the bowl and too thick it just sticks to the applicator.Willard16 Once I have the mix the right consistency I apply it to the side of the bowl with the “applicator” – a folded pipe cleaner and then tamp it into place with the spoon end of the pipe nail. I put it in place, tamp it down and then let it sit. As it dries I added further applications to the surface until it is level with the rest of the bowl. The next photos show the bowl side and give an idea about the consistency of the mud.Willard17

Willard18

Willard19 I set the bowl aside to let the pipe mud cure and worked on the stem. I sanded it with 220 grit sandpaper to remove the tooth chatter and reshape the button. I sanded until the surface was smooth and then sanded it with a medium and a fine grit sanding sponge. I wiped it down with a soft cloth and then sanded it with micromesh sanding pads. I wet sanded with the 1500-2400 grit pads and dry sanded with 3200-12,000 grit pads. I rubbed the stem down with Obsidian Oil between each set of three pads and then rubbed it down a final time once I finished sanding with the 12,000 grit pad. I buffed the stem with White Diamond using a light touch as I was still uncertain of the stem material. I have learned the hard way that soft nylon stems are quickly melted by the heat generated by a buffing pad.Willard20

Willard21

Willard22 I rubbed the bowl down with a light coat of olive oil to highlight the grain and the red stain left in the briar. I buffed the bowl and stem with Blue Diamond plastic polish to raise the shine. I then gave the pipe multiple coats of carnauba wax and finished by buffing it with a soft flannel buff to finish. The completed pipe is shown below. The pipe mud is cured and will only harden with time. Once it is good and hard it will provide a base for a cake to build up and the gouge will be invisible. It should provide a good smoking pipe for the next pipeman who takes it to his rack.Willard23

Willard24

Willard25

Willard26

Willard27

Willard28

Willard29

Willard30

Willard31

Willard32

Restoring an old Claridge Dublin made by Comoy’s


Blog by Steve Laug

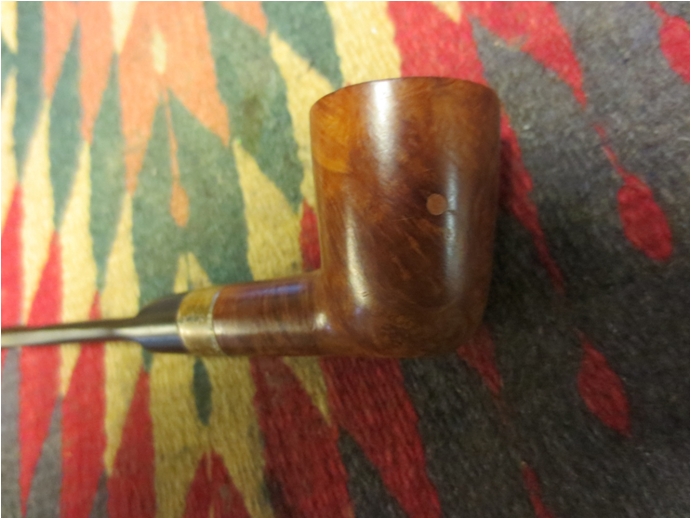
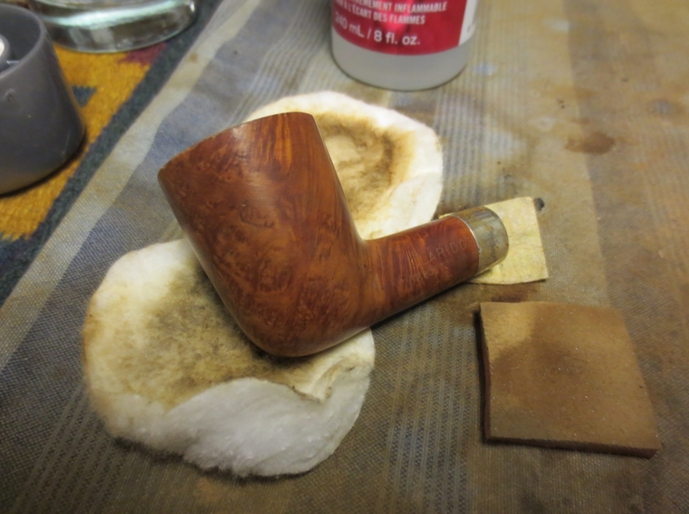
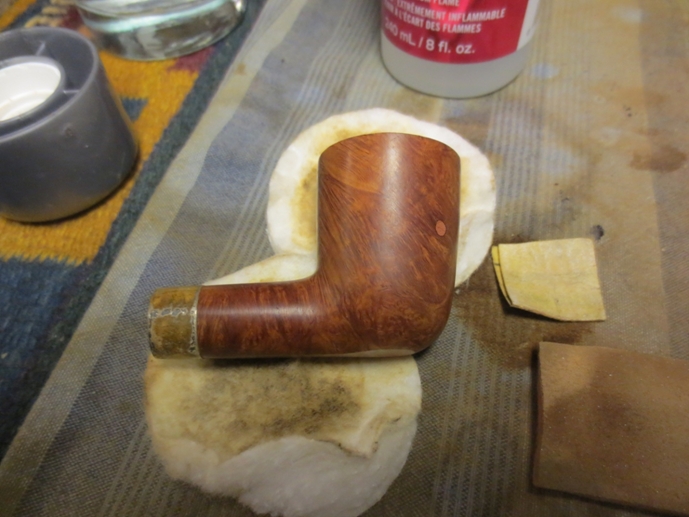
Several times over the past few years I have run across Claridge pipes. The last two I had were the same shape as the one in this post. They were a nicely shaped Dublin with a chamfered rim and fairly decent grain with one or two fills. This one was no different it was a nice piece of briar with a large round fill on the right side of the bowl. It was the last pipe I worked on from the Ebay foursome shown in the picture below. It is the bottom pipe in the photograph. You can see from the photo that it had a thick cake that was uneven in the bowl with a lot of overflow onto the rim. The coat of tars and grime on the rim made the rim almost flat. The varnish coat on the bowl was in rough shape and the sterling silver mortise fitting was oxidized and yellowed with tarnish. The stem had the characteristic Claridge logo – a circle divided into four wedges – two blue and two red. It was badly oxidized and almost brown in colour. Inside the shank the metal mortise was threaded to house the threaded tenon. There was an odd stinger apparatus that was removable in the end of the tenon. Inside the shank was heavily built up with tars and oils as was the stinger and the airway in the stem. Clar I took the next four photos of the pipe before I started to work on it. I wanted several close-up photos to show the state of affairs at the beginning of the process. I know that I generally include these in the blog I write about pipes I refurbish but I have to let you know that I do that more for me than you. I must have some encouragement when I get to the midway point that the pipe is actually looking better than when I started. I take these for a documentation of the progress of an estate pipe from grime to shine.Clar1

Clar2

Clar3

Clar4 I took two close-up photos of the bowl. The first was to show the thick build-up on the rim that would need to be removed in the cleanup process. It is hard to tell from the first photo below but the rim is actually chamfered inward at a significant angle. The tars/lava that has overflowed onto the rim has virtually filled the cup of the rim to the point where the rim is flat. The cake in the photo is also visibly thick and hard. The second photo shows the one fill on the bowl. It is on the right side toward the front of the bowl. It is almost perfectly round and is a tan coloured putty material. It stood out to me every time I looked at the pipe. The rest of the grain on the bowl was decent. It is also the only fill on the bowl.Clar5

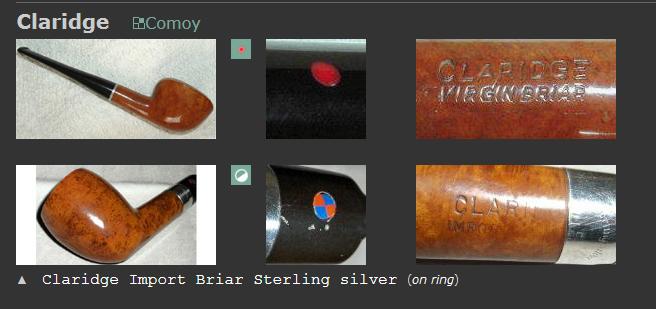
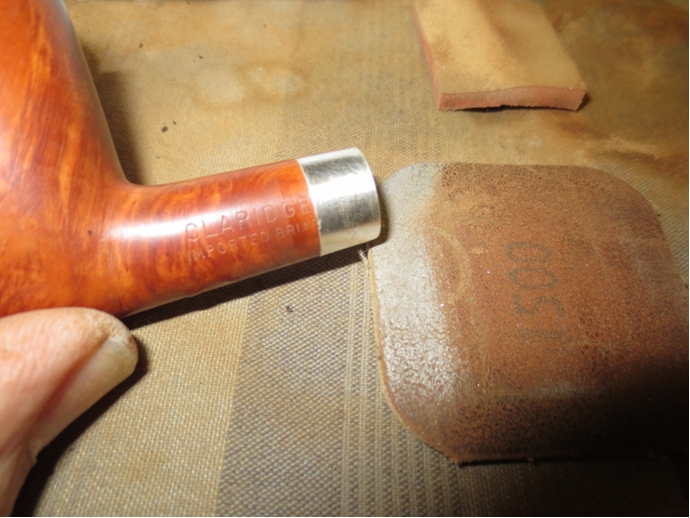
Clar6 In the back of my mind I remembered something about the Claridge brand be made by Comoy’s as a seconds line. It was only a dim memory so I looked it up on Pipephil’s site and on Pipedia and found that indeed it was one of many sub-brands of Comoy’s. The picture below shows the logo and stamping on the Claridge. It came from the PipePhil site. My pipe is stamped like the second one in the photo – Claridge over Imported Briar and bears the same stem logo.Claridge The list below was the one found on Pipedia and includes quite a few of the older pipes that I have refurbished over the years. I have highlighted the Claridge brand in the list by making the text bold and upper case.

Ace of spades, Ancestor, Astor, Ayres, Britannia, Carlyle, Charles Cross, CLARIDGE, Cromwell, Dorchester, Dunbar, Drury Lane, Emerson, Everyman, Festival of Britain, Grand Master, Gresham, Guildhall, Kingsway, Lion’s Head, Lord Clive, Hyde Park, Lloyds, Mc Gahey, Moorgate, Newcastle, Oxford, O’Gorman, Royal Falcon, Royal Lane, Scotland Yard, St James, Sunrise, Sussex, The Academy Award, The Golden Arrow, The Mansion House, The Exmoor Pipe, Throgmorton, Tinder Box Royal Coachman, Townhall, Trident, Westminster, Wilshire.

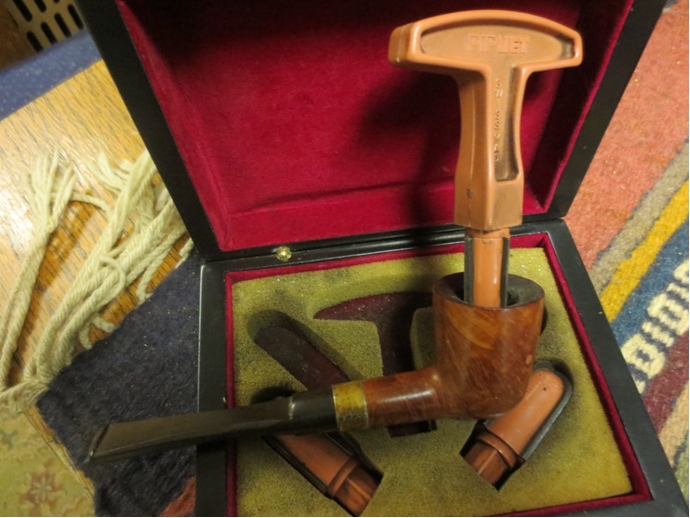
I reamed the cake out of the bowl with a PipNet reamer using the smallest cutting head first and then working up to the cutting head closest in diameter to the bowl. I took the cake back to bare wood in order to be able to work on the rim and to check out the interior of the bowl for checkering or cracks. In the second photo below you can see that some of the cake on the rim fell away as I reamed it and the chamfering is becoming visible.Clar7

Clar8 The challenge with a chamfered rim is that you cannot top the bowl without seriously damaging the inward cant of the rim toward the bowl. I scrubbed the rim with acetone on cotton pads and then sanded it lightly with 220 grit sandpaper and then a medium and fine grit sanding sponge to remove the tars. When I had finished removing the build-up on the rim I also scrubbed the bowl with acetone to remove the varnish coat.Clar9

Clar10

Clar11

Clar12 The yellow tinge to the silver band seemed like it also was varnish that had peeled and bubbled. I scrubbed it with the acetone as well to soften it and then used a 1500 grit micromesh sanding pad to polish the silver and remove the varnish and build-up. I then used silver polish to further polish the silver and remove the small scratches left behind by the micromesh. On the top side of the band/mortise insert it is stamped Sterling Silver in script at an angle across the surface of the band.Clar13

Clar14

Clar15 I scrubbed the stinger with alcohol on cotton pads to remove the grime and then 0000 steel wool to polish it. The stinger end was pressure fit into the tenon so it was easy to remove to clean out the airway in the stem.Clar16 The stem was overturned or over-clocked to the right. I heated the tenon with a Bic lighter until the glue softened and then turned the stem all the way around until it lined up. I cooled the tenon with water to reset the glue.Clar17 I really starting to like the natural finish on these older bowls and decided that rather than staining this one I would give it a light coat of olive oil and rub it in with my hand. The beauty of the oil is that it helped to blend the fill into the natural colour of the briar. It is still present but does not stand out as blatantly to me.Clar18

Clar19

Clar20

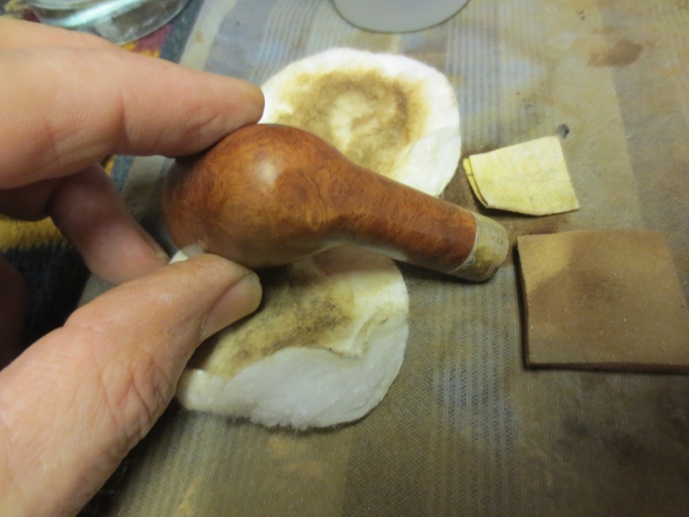
Clar21 I let the oil sit over night and in the morning while I had a cup of coffee I sat and rubbed down the bowl by turning it over in my hand. I finished the coffee and then took a picture of the pipe where it stood after the rub down. You can see the chamfer on and the nice birdseye that is on the surface of the rim.Clar22 With the bowl finished to this point I turned to work on the stem. I used a Bic lighter to paint the flame over the surface of the vulcanite to lift out some of the tooth chatter and to raise the oxidation to the surface. I then sanded it with a medium and a fine grit sanding sponge, wiped it down with a cotton pad and painted it with the flame yet again. When I had finished that the majority of the oxidation was gone. I polished the stem with micromesh sanding pads. I wet sanded with 1500-2400 grit sanding pads and then dry sanded with 3200-12,000 grit pads. I rubbed the stem down with Obsidian Oil between each set of three pads. After the sanding with the 6000 grit pad I buffed the stem with White Diamond and then brought it back to the work table and sanded it with the 8000 and 12,000 grit pads.Clar23

Clar24

Clar25

Clar26 I buffed the stem and bowl with Blue Diamond polish on the buffing wheel and then hand buffed it with a soft flannel cloth. The final buff with the Blue Diamond removed many of the light scratches in the briar. I gave the stem and bowl multiple coats of carnauba wax and a final buff with a soft flannel buffing pad to raise the shine. The finished pipe is shown below.Clar27

Clar28

Clar29

Clar30

Clar31

Clar32

Clar33

Clar34

Clar35

Clar36

Respecting a Maligned Pipe, with Two Yankee Doodler Dandies as Examples


Guest Blog by Robert M. Boughton
Member, North American Society of Pipe Collectors
http://www.naspc.org
http://www.roadrunnerpipes.com
http://about.me/boughtonrobert
Photos © the Author

Oh I went down South for to see my Sal
Play polly wolly doodle all the day
My Sally is a spunky gal
Play polly wolly doodle all the day
Oh my Sal she is a maiden fair
Play polly wolly doodle all the day
With laughing eyes and curly hair
Play polly wolly doodle all the day
Fare thee well
Fare thee well
Fare thee well my fairy fey
For I’m going to Louisiana
For to see my Susyanna
Play polly wolly doodle all the day

― Beginning of “Polly Wolly Doodle,” author unknown

INTRODUCTION
The entire ditty, made famous by Shirley Temple’s iconic, vivacious wholesomeness in the super-duper 1935 movie “The Little Rebel,” goes on about a grasshopper that picks its teeth with a carpet tack and develops such a serious case of pertussis (the whooping-cough) that the unfortunate creature “sneezes” its head off in a well-turned euphemism. This is a U.S. contribution to songs taught to small children around the world, for some perverse reason, and ranks right up there with “Frère Jacques,” who is not asleep but dead from influenza, and “La Cucaracha,” the most common version of which touches on a cockroach unable to walk for lack of marijuana to fix it.

Still, the usage of the word doodle, which is not as common these days, illustrates the reason for the name of “The Doodler,” a pipe of some fame invented by Tracy Mincer, founder of Custom-Bilt, apparently sometime in the late 1950s or early ’60s. The line was perpetuated by the National Briar Pipe Co. after Mincer’s death in 1964 and was last made in 1980. The Oxford English Dictionary defines doodler as “one who draws or scrawls aimlessly,” hence the verb doodle for engaging in this activity (or lack thereof). That must have been how the innovator had his brainstorm. It seems Mincer had a sense of humor.

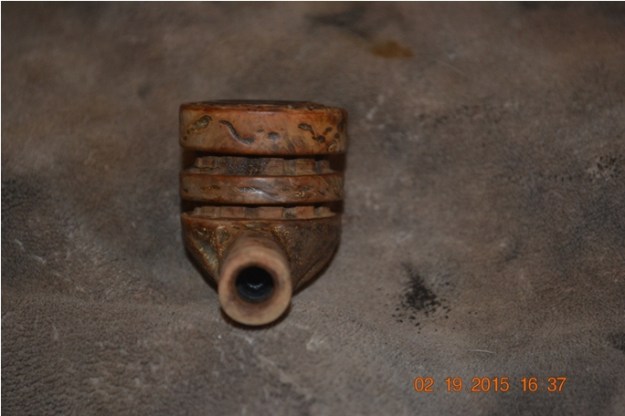
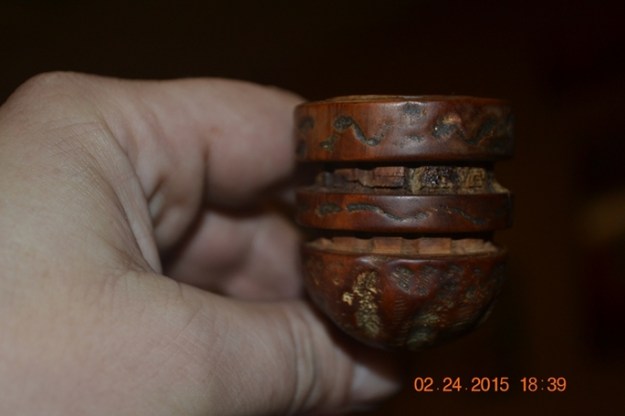
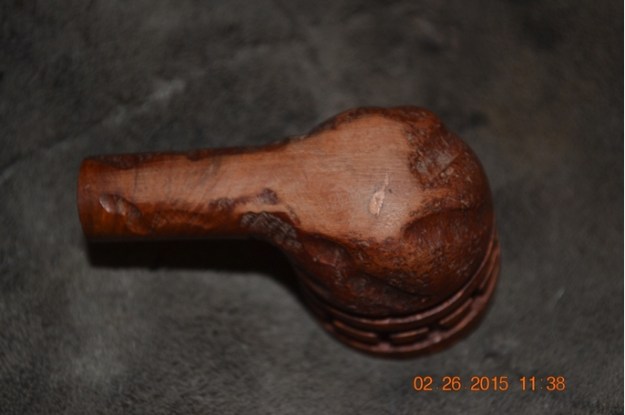
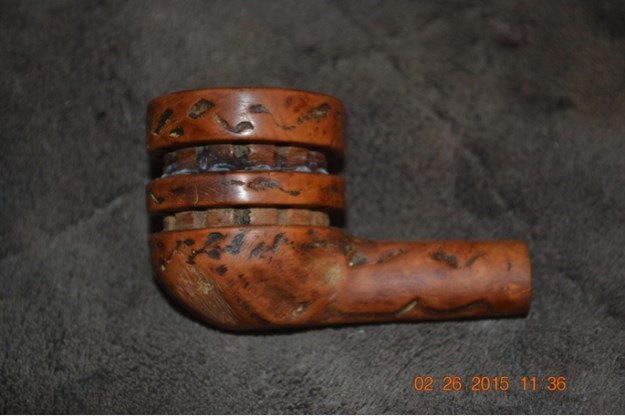
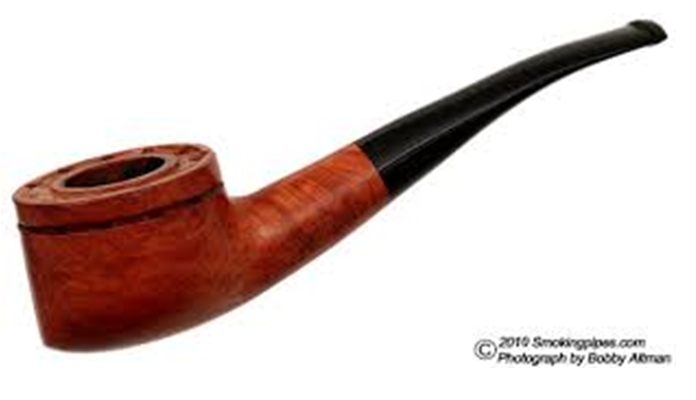
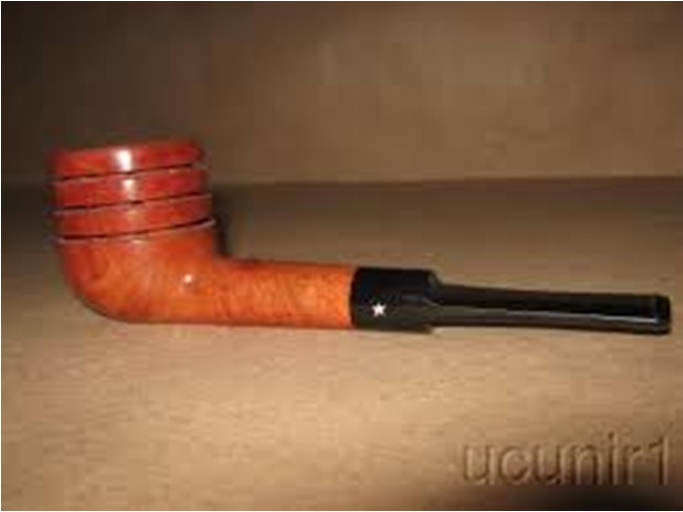
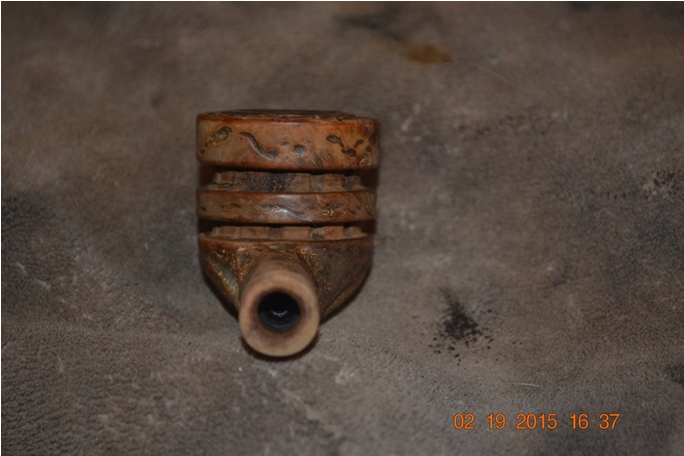
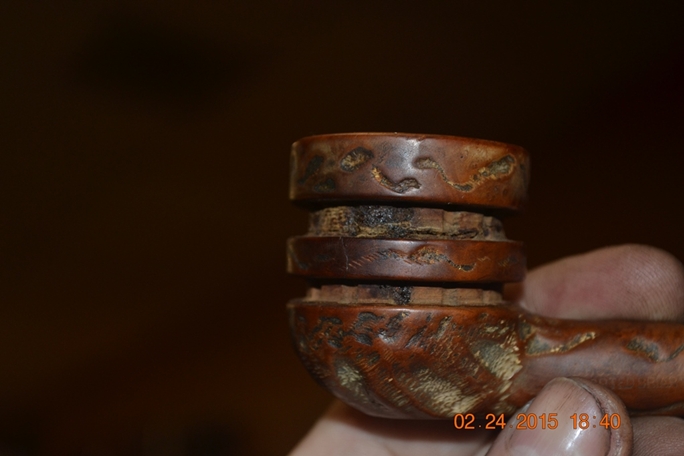
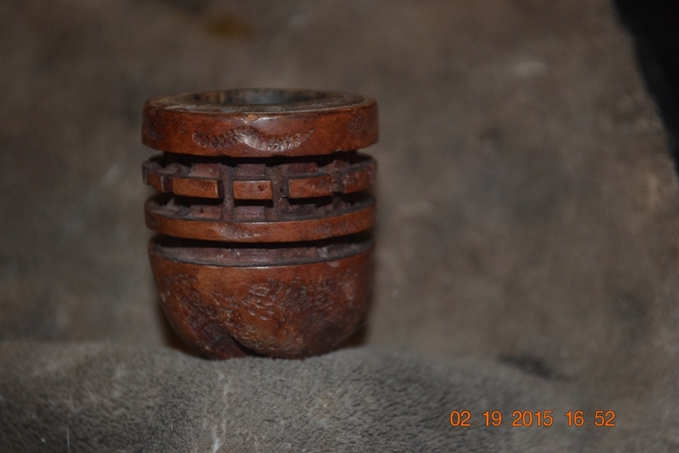
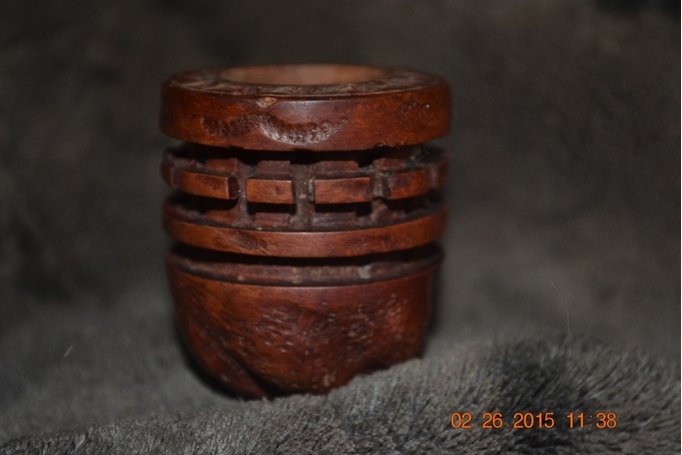
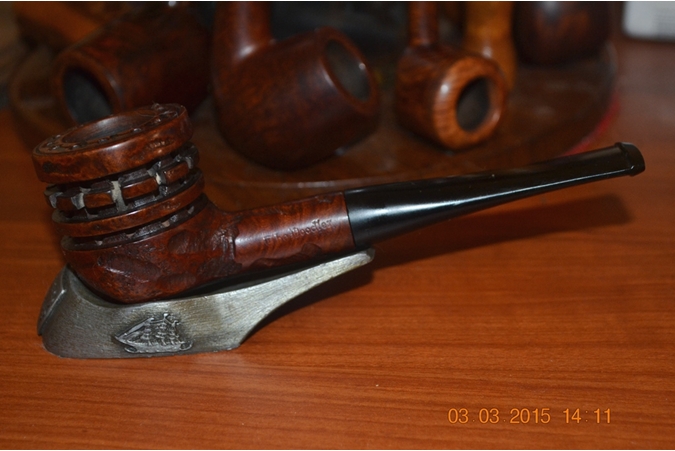
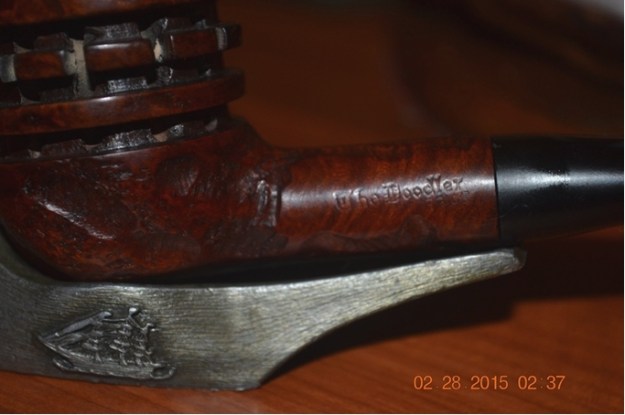
With something approaching their love of very few All-American wonders, including Mickey Mouse and Jerry Lewis, Frenchmen seem to have an affinity for The Doodler. (See http://www.pipephil.com/article-3285357.html, which should be translatable by your browser.) The author of the site calls this a “radiator” style. He also notes what he calls the brand’s unique look that he claims requires no special nomenclature or stem mark to identify one with certainty. But it just isn’t so. Take, for example, the following samples.Doodler1
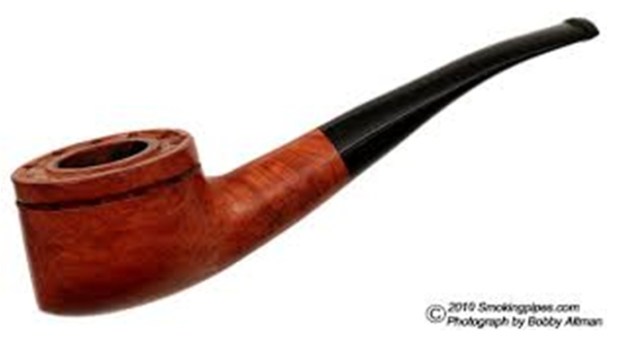
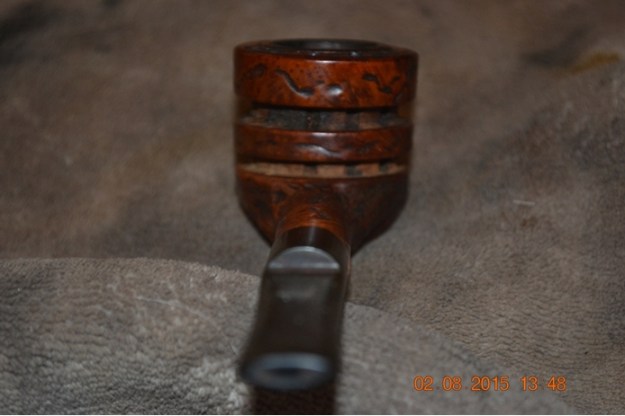
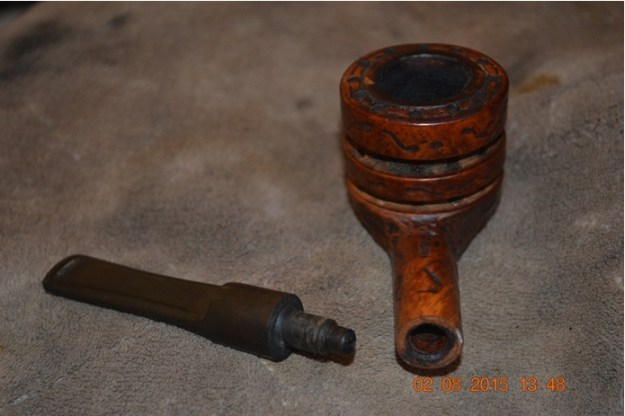
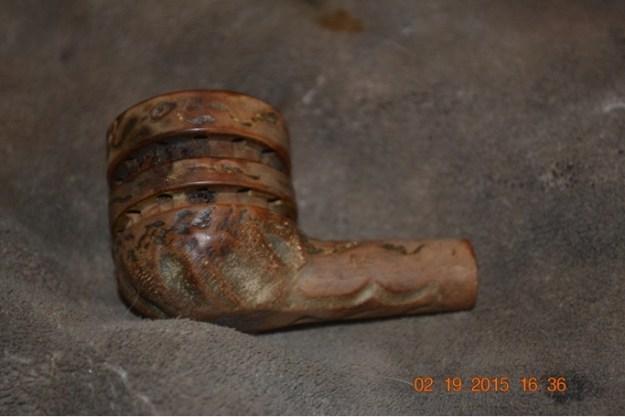
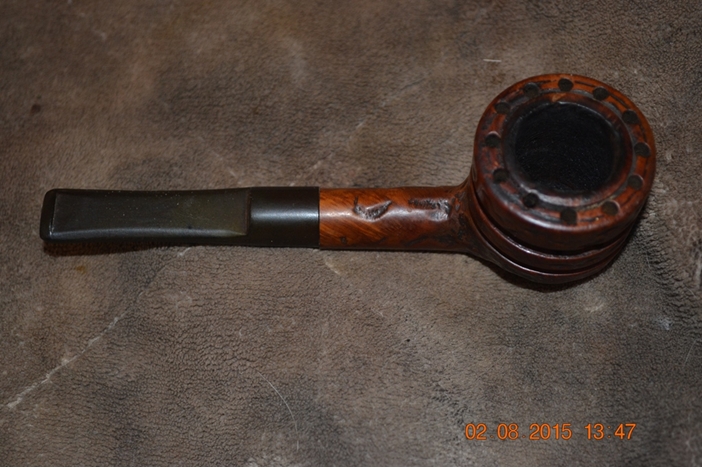
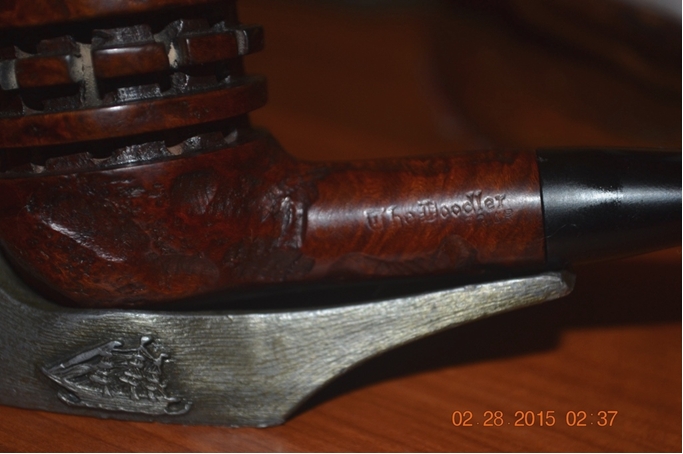
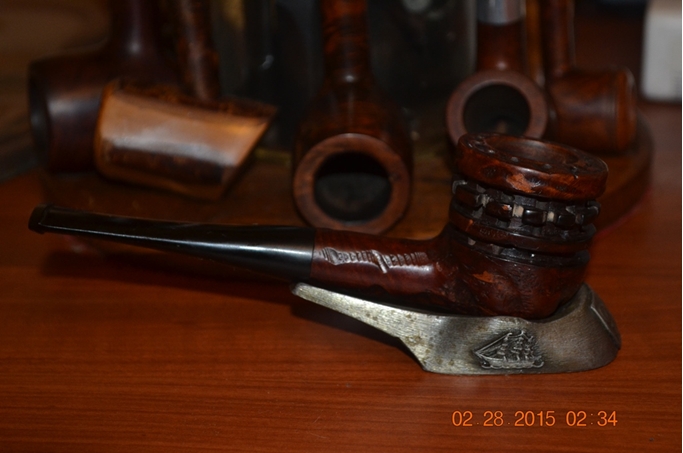
Doodler2 The Doodlers in this blog are of the type familiar to most of those pipe enthusiasts who have even heard of them. While I find beauty in many different forms, including those I restored and describe here, many of my friends, upon seeing The Doodlers for the first time, resort to evasions such as “Weird” and “I’ve never seen anything like this,” or more direct grimaces and even shudders in place of their true probable thoughts along the lines of “Ugly, ugly, ugly!” But as Margaret Wolfe Hungerford first paraphrased the ideas that many before her had suggested, in “Molly Bawn” in 1878: “Beauty is in the eye of the beholder.” And all of The Doodlers do include a stamp, with a star on some stems.

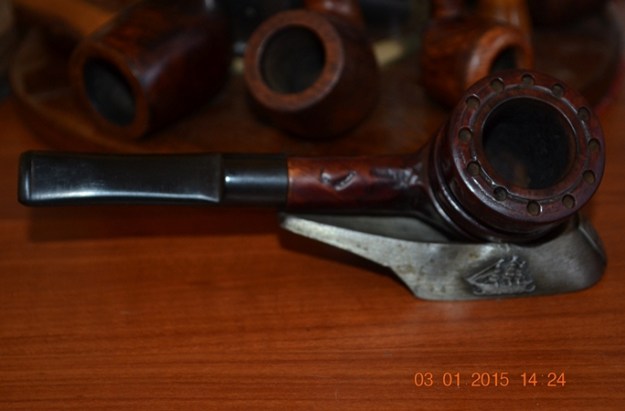
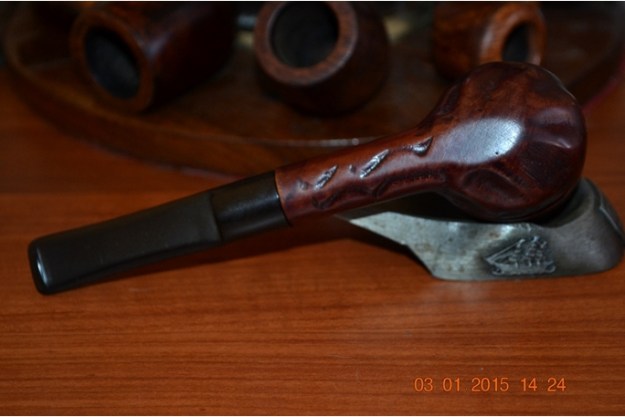
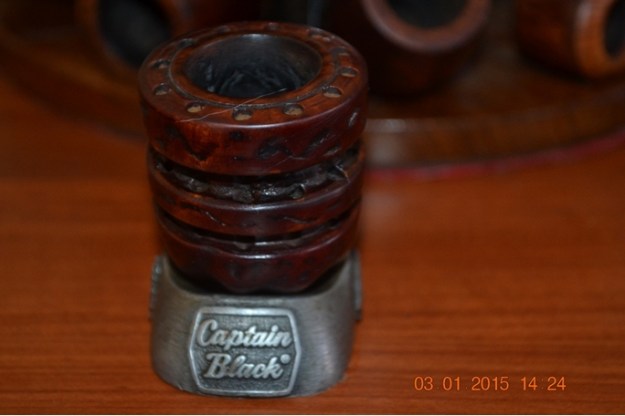
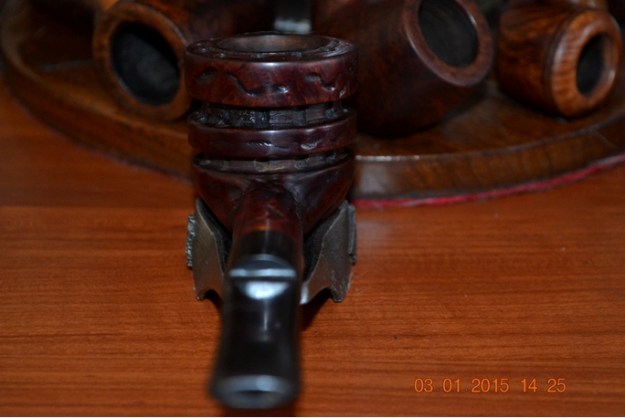
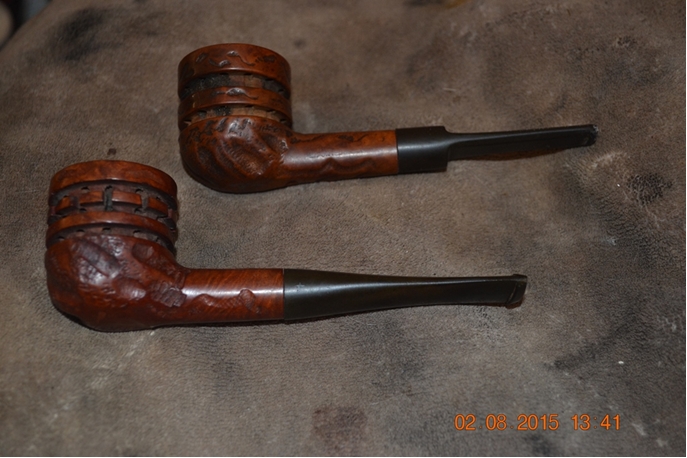
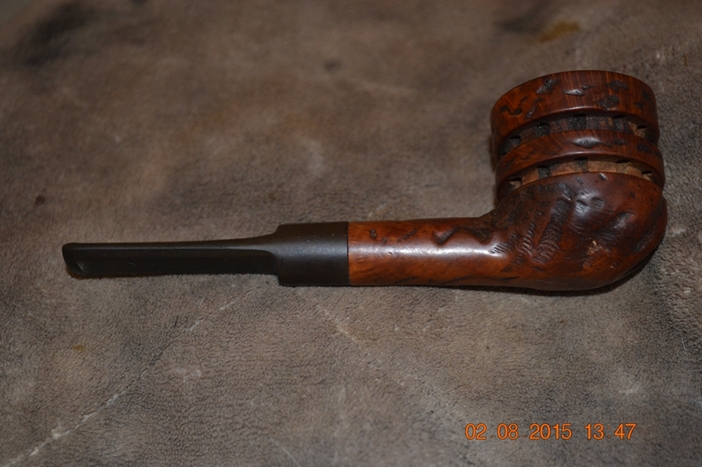
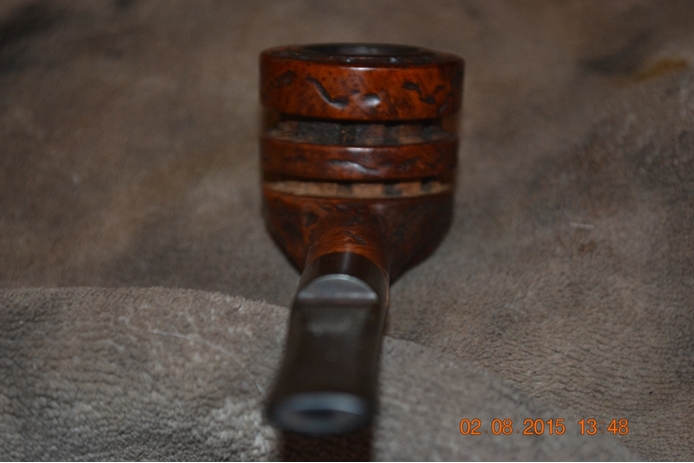
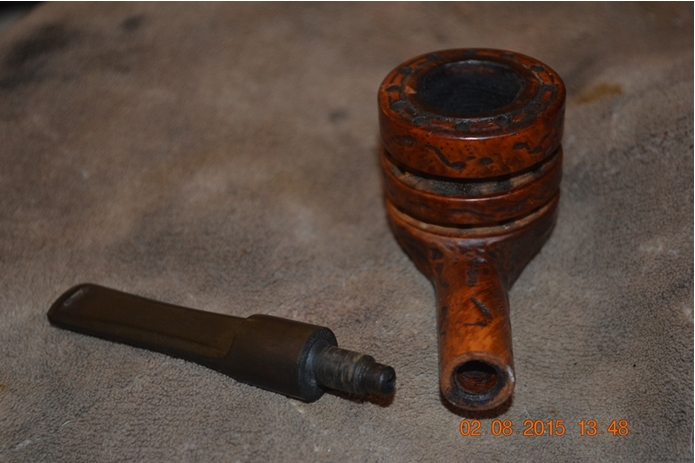
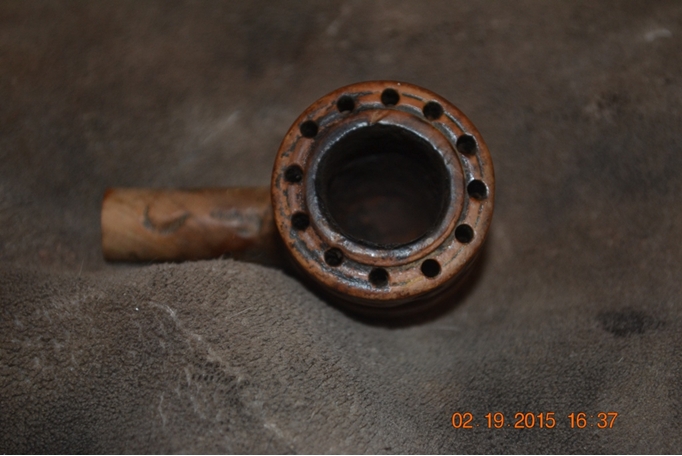
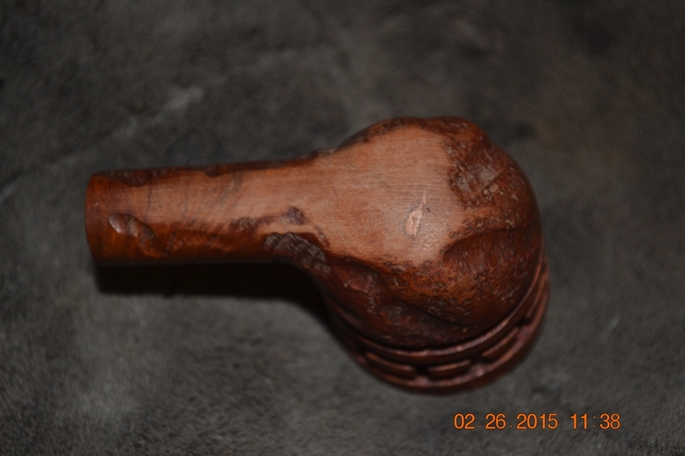
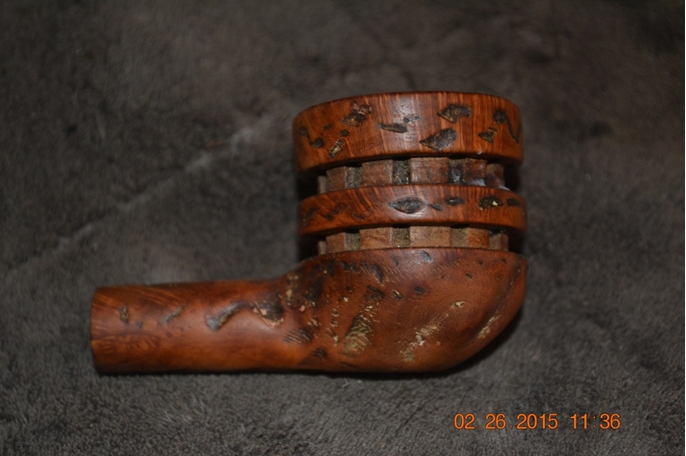
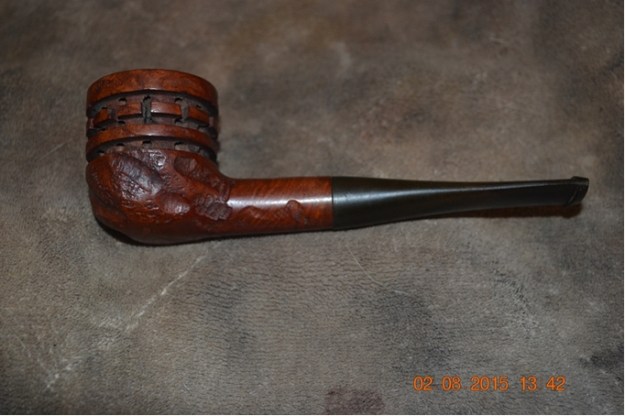
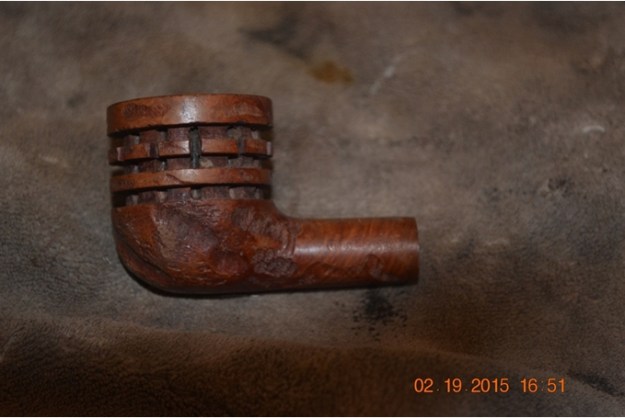
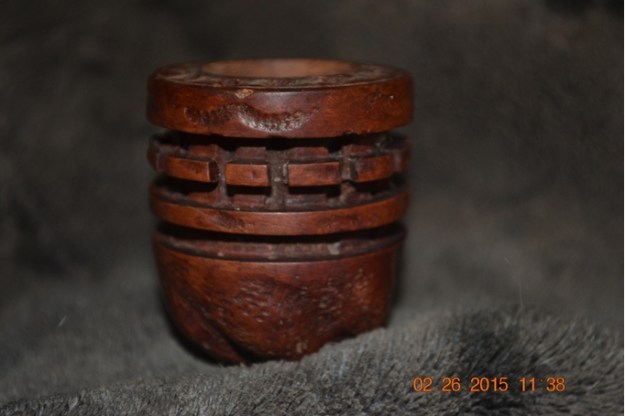
Here are two of “The Doodlers” I could not resist buying online, for a good price, as they arrived in the mail.Doodler3 I had come across the peculiar pipe in scrolling through the listings on pipephil.eu under T for “The Everyman,” which referred me tersely to Everyman. But above it was “The Doodler.” Note the well-known ridges and patterns of holes drilled through the outer ridges of the bowls, which were intended to cool the pipes with air circulation, whether or not they in fact succeed in that purpose. An interesting sideline to this serendipitous discovery and mental note to acquire one was that the very next day, on my eBay homepage, I found a “suggestion” for The Doodler. I’m not sure I buy into one friend’s claim that it was the result of Google keeping track of my search history and offering up products to buy…but then again, the same thing does seem to be happening more often.
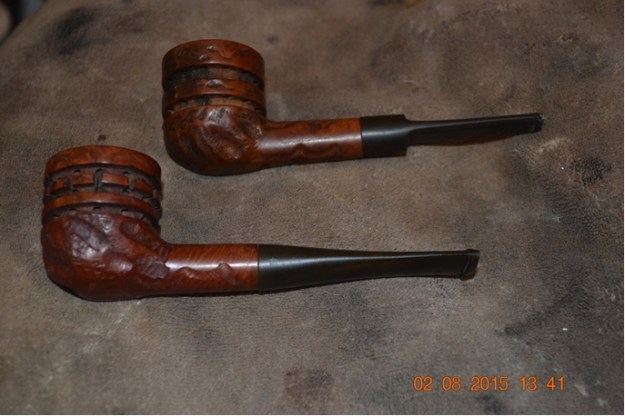
THE RESTORATIONS

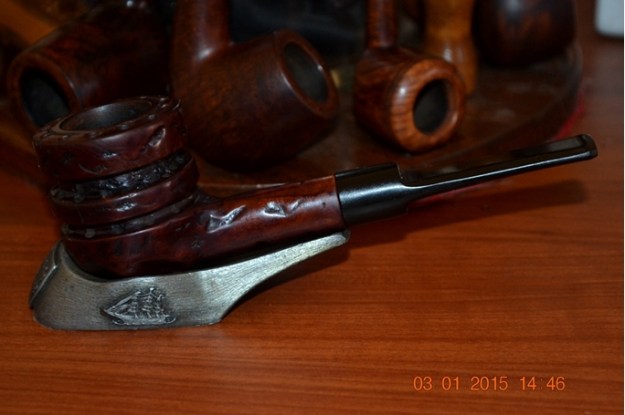
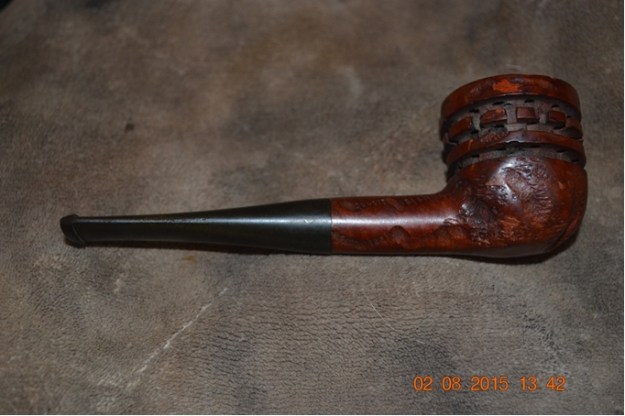
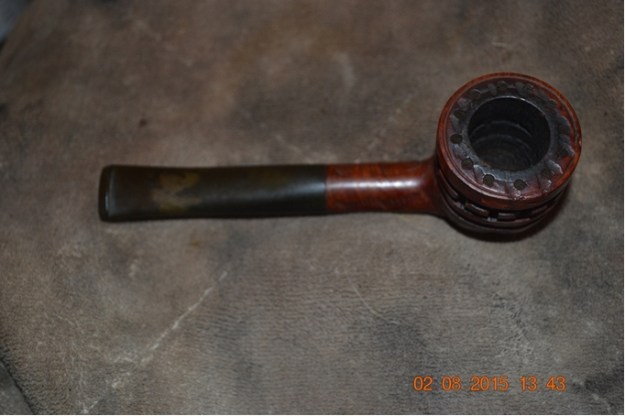
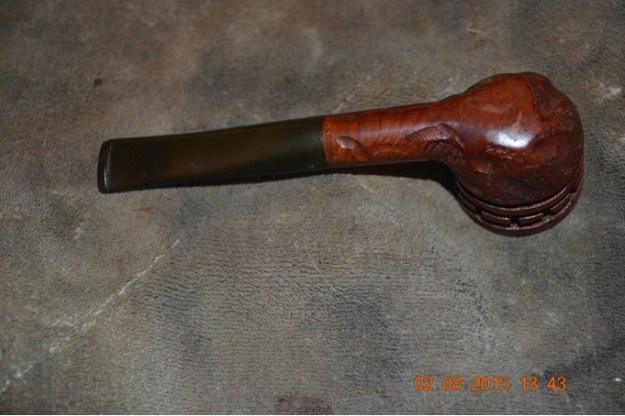
The Saddle Stem Two-Ring Doodler
Doodler4

Doodler5

Doodler6

Doodler7

Doodler8

Doodler9

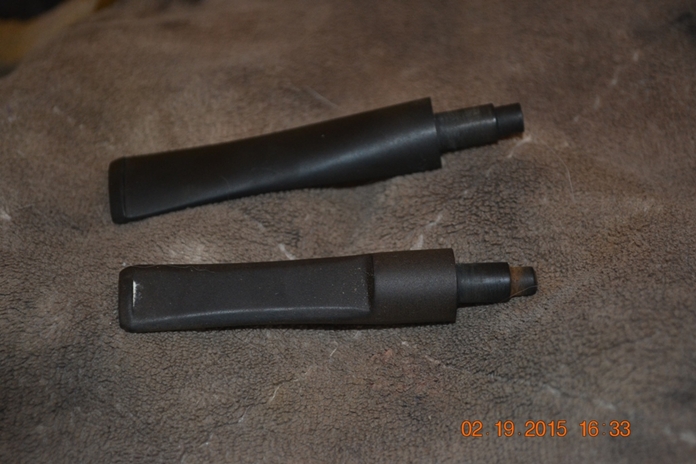
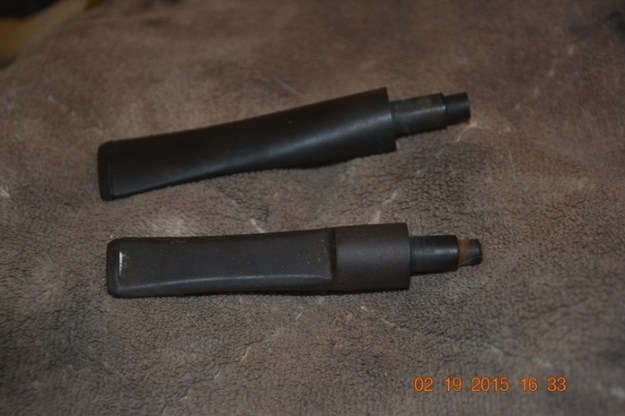
Doodler10 Neither of these stems was in bad shape other than one with some discoloration, but having determined to begin assuring even more thorough cleaning than I already have practiced the hard way, and knowing I had quite a few real messes awaiting restoration, I bought a tub of powdered OxiClean at the closest Walmart. My mentor, Chuck Richards, and others have recipes they prefer, but I have to start somewhere. I decided to begin this dual restoration with separate steps requiring two small Tupperware containers.

One, of course, was the OxiClean soak, for which I found instructions available on one website I located with clear directions. The other was for an Everclear strip of the old stains. And so – after filling one container with just enough warm water to cover the two stems and stirring in a little more than a tablespoon of OxiClean, and the other with a jar of used Everclear that was almost not enough to clear the tops of both bowls – I sat back and filled a pipe close at hand and relaxed for the next 20 minutes. And then while the briar dried and I finished the stem wash with cleaners and a scrubbing rag, I didn’t let those activities detract from my enjoyment of the fine tobacco. There seemed no good reason not to micromesh the saddle stem while I was at it. By the way, the foulness of the soapy water from the OxiClean soak gave me inner warmth only another restorer could understand.Doodler11
Doodler12

Doodler13

Doodler14

Doodler15

Doodler16

Doodler17

Doodler18 Running a finger around the chamber before stripping the old stain, I knew the reaming and sanding would not be easy, but I hoped the pure grain alcohol soak would ease the job more than it in fact did. Although the inside of the bowl was somewhat smoother, and bits and even a chunk or two of cake came free with my second finger inspection, I realized the carbon buildup was not the true problem. The previous owner of this pipe had enjoyed it so often and with such complete faith in the professed cooling qualities of its unique radiator design that he overheated the chamber and created an even pattern of rather deep pocks.

Therefore I took my 21mm fixed reamer (the second largest) from its box and found that it embraced the chamber just short of close enough to serve as a measurement of its horizontal and vertical dimensions. Only the small square at the end to which the handle attached extended above the rim. I reamed the chamber a few times at different angles to cover all of it, emptying out the scant amount of carbon resulting as I progressed, and cleaned the inner briar with a small cotton cloth swab soaked in alcohol. Finding, as I expected, that the pocks were still prominent, I turned to a piece of 220-grit paper that removed more cake but had little impact on the smoothness. Turning to 150-grit, as I tend to do, I began to get somewhere, and after much tenacity and aurally irritating screeching achieved a level of regularity with which I could live, after a quick finish with 300.

I dipped a pipe cleaner in the Everclear and then ran in down through each vent hole to clear out more hidden dirtiness and scrubbed until they were clean.

The oddest part of this restore, to my thinking, was the difficulty of retorting after the thorough Everclear dip. The first round dredged up so much gunk that half of the shank leading to the draught hole was clogged to the point where the soft cleaner bunched up and would not pass. Each successive beaker brought out more dark nastiness, and the cleaners I passed through the shank as well as the small cotton cloths with which I scrubbed the chamber were filthy – until the last. I boiled the alcohol through the shank and into the bowl several times to be sure. When all was done, I had used seven beakers of Everclear, five soft cleaners, three cotton balls and as many cloth squares.

For the next step I wanted to clean up the bowl and shank to see what I had to work with. I used only a light rubbing with super fine steel wool. Happy with the ongoing progress, I took both pipes to Chuck at the shop.

He had no comment about the tapered three-ridge version, which on this rare occasion I understood meant it was looking okay. But I will never cease to be astonished by his ability to glance at a pipe for no more than two seconds and see all that is wrong with it. In this case he spotted a major horizontal crack within the upper ring of the saddle bit bowl, not to mention a minor crack. Without my magnifier glasses in the fluorescent light, I still could not see them until he held it beneath a certain ray of light. Then they were as clear as day, which it was. I suggested a mix of Super Glue and briar shavings, and Chuck concurred.

I was disappointed, not because of Chuck’s keen eyes and helpfulness in pointing out the serious flaw, but due to the fact that I had intended to keep the other and to my taste nicer Doodler for my own collection and offer the saddle bit for sale. Knowing then I could not in good conscience do this, I told him so.

“Sometimes that’s just the kind of trade-off you have to make,” Master Po pronounced with his big grin, chuckling that his Grasshopper was learning.

Returning later to my abode in Albuquerque’s War Zone, I sat on the couch that is my customary main work area and scrutinized the pipe.Doodler19

Doodler20 I sanded the bottom of the tapered three-ridge bowl and collected the fine briar dust.Doodler21 Filling the cracks required two layers of the mixture, the second of which I applied more liberally. Getting into the groove with 300-grit paper to sand away the excess glue mix was a little tricky, and I thought I was done. However, after I sanded the yellowed areas and micro-meshed the whole thing using a full barrage of 1500, 1800, 2400, 3200, 3600 and 4000, I saw the grooves needed harsher measures.Doodler22

Doodler23

Doodler24

Doodler25

Doodler26

Doodler27 I broke out the 220-grit and paid as close attention as possible to the white areas of remaining glue, then repeated the previous micromesh procedure to the one groove. Success at last! I stained the wood with marine cordovan (burgundy) leather dressing, flamed it and used a very light touch of micromesh 3200. I then removed myself and the prepped briar to my official workroom, where I buffed the wood with white and red Tripoli, White Diamond and several coats of carnauba.Doodler28

Doodler29

Doodler30

Doodler31

Doodler32

Doodler33
The Tapered Stem Three-Ring Doodler
Doodler34

Doodler35

Doodler36

Doodler37

Doodler38

Doodler39

Doodler40 This tapered, three-ring classic style model appeared, at least to my eyes that are still in training, to be in better shape than the saddle stem version, not counting the stem that was discolored, the rim that was more darkened and the chamber that seemed to have more severe damage. In general, those are all superficial defects easy to remedy. Still, I chose to start with the saddle stem pipe because of my perception that it would be more difficult – and in part due to its nomenclature being faint almost to invisibility, I was going to offer it for sale on my site at the lowest price I offer. But oh, did I learn how appearances can be deceiving, and this three-ring pipe turned into a three-ring circus!

First, I will start with the good news. The OxiClean soak cleared away the discoloration and most of the other crud inside and out of the stem, and the rest came clean and ready to buff with some firm rubbing of a soft cloth, minor spot sanding and regular micro-meshing.

The initial problem I encountered was stripping the old stain. I have seen this happen before, of course, but not with almost identical pipes soaked for the same time with such radical results. Even after soaking the tapered pipe another two hours, it came out not down to the briar with nothing but a few yellow spots like the other pipe but almost unfazed.Doodler41
Doodler42

Doodler43

Doodler44

Doodler45

Doodler46 At least it was cleaner, in particular the rim and rings, and the chamber showed signs of improvement. Also, removing the remaining cake and evening the chamber walls was no problem. As with the saddle stem Doodler, I ran a couple of alcohol soaked cleaners downward through the vent holes and removed some leftover grime. Even the retort this time was more typical, needing only a couple of beakers of Everclear to be boiled through the stem and shank and into the chamber.

The pipe as shown above was almost ready for the buffing wheels. I hand-buffed it starting with super fine steel wool, particularly on the still somewhat blackened rim and a few areas that needed a little work on the remaining roughness from the Everclear soak. I then progressed with micromesh pads using 1500, 2400, 3200, 3600 and 4000, with the results below shown only front and back. Of course I picked out the little piece of fluff visible in the front bottom ring.Doodler47
Doodler48 The second Doodler was, indeed, ready to be stained. For the task I chose my Liebing’s brown leather stain, which is in fact a lighter shade than the Lincoln medium brown I have. Considering the large amount of residual original stain, but wanting to darken the briar a bit, I had a plan, if not yet the knowledge to carry it out to full effect. At any rate, I stained the bowl and shank as well as I could, but no matter how hard I tried, I could not work the applicator into the dratted grooves of the middle tier of smooth briar, although I was able to coat all three rings. Consulting my pictorial folder of the project that showed the original estate pipe, I noticed un-stained rings and grooves, and concluded I was ahead in the game, so to speak.

This was where I was mistaken. Have you ever had that feeling? The one that nags at you, whispering that despite all evidence to the contrary, there are the right way and the wrong, and this is definitely wrong? Yet still you didn’t follow your instincts?

Nevertheless, to make my act of self-destruction almost complete (there’s the modifier again – almost), I flamed the stain and eased off the char with 3200 micromesh before taking the pipe to the wheels. There I applied ever more beautiful coats of white Tripoli and red (to enhance the darkness of the grain) before White Diamond and a final coat of carnauba.

And so what, you might ask, was the major [expletive voluntarily deleted] malfunction with this tapered variant of The Doodler compared to the saddle stem? In short, the pipe that, to my eyes-in-training I mentioned before, appeared to be well used but more or less as its previous owner received it, had in fact been modified in a manner I did not detect. I very much suspect this pipe had only one prior owner, other than the conduit to me, after getting a close look at the crafty way he covered a ding that must have been, in tobacco pipe scale, comparable to a large patch of skin ripped from a person’s body.
And Chuck, when I showed him both pipes in progress before, pointed out the horizontal crack in the saddle stem pipe but appears to have assumed I was aware that the middle tier of smooth briar below the top ring was not made with the evenly spaced slots. I use the term “appears to have assumed” because of my utter inability to wrap my mind around the possibility that Chuck missed the alteration before he set it aside, especially considering his first words to me when I showed him the pipe I then hoped was finished. Again, I choose the word hoped because I was, at least, aware of the unstained grooves, and was hearing that shrewish voice again.

“Did you make this nick here?” Chuck asked, holding the pipe out to me and pointing, and puffing on his own pipe.

“No, it was there already,” I replied, not knowing where he was going. Surely he didn’t expect me to fashion and Super Glue a fragment of briar onto the tiny spot I beheld. Even he wouldn’t touch a blemish that small, I knew.

Chuck began to explain the situation to me, in his own way, which took me longer than usual to grasp. I felt like an idiot, although that was not Chuck’s intent. When at last I understood, a light went on in my mind.

“You mean someone, sometime slipped up and made a single gash in that area of the pipe and then, to fix his mistake, went around the bowl and made it uniform?” I said more than asked with a big smile of my own.

“Exactly!” Chuck said.

“Just like the way I had to rusticate the entire rim of the Italian No-Name Full Bent Billiard because of the one missing chunk,” I added by way of comparison.

“Yes!” Chuck exclaimed again, laughing and re-lighting his pipe. Then he brought up the missing stain and told me a small paint brush would do the trick.

And so to home I returned the first chance I had and, after lighting a bowl of tobacco, began the only other activity that has come to give me any real pleasure: restoring a pipe. Chuck’s advice to use a small brush did the trick, and I only had to stain, flame and fully buff the small circle of the truly prepped pipe. Still, I decided to add a couple more coats of carnauba to bring out an extra shine.Doodler49
Doodler50

Doodler51

Doodler52

Doodler53

Doodler54

Doodler55 CONCLUSION
I forgot to mention the extra sanding of the rim and the top tier, making it lighter than the rest of the bowl and shank, and giving me the idea for a gentle two-tone effect. At this point in a rather long blog, I just don’t feel like going back to find and edit that part. These were not the easy restorations I thought they would be, and I’m tired…but very satisfied.

To Chuck, my friend and mentor, and Steve Laug, our host and my friend and frequent guide through the endless learning process, I owe much for these restores. Thank you, gentlemen.