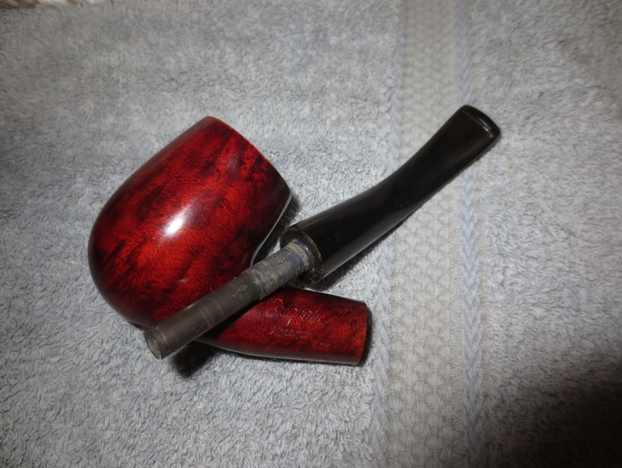
Blog by Steve Laug
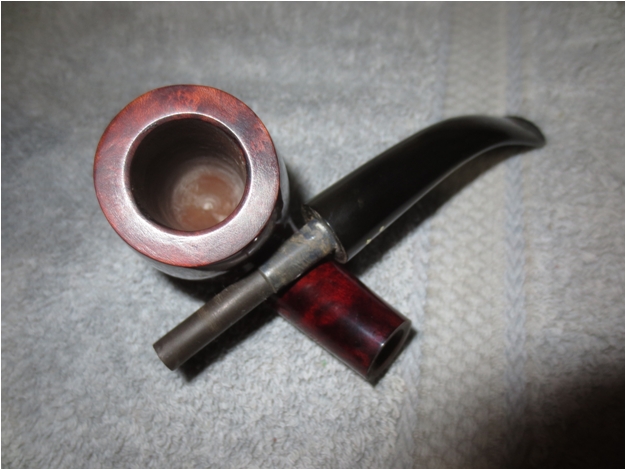
The pipe at the top of the photo is a Brigham Algonquin shape 265. It is a newer Brigham and has the nylon tenon and system. The second pipe is a Brigham 384 volcano. The stem of that one is shown in the photo below. A friend and reader of the blog, Joe Iacobellis sent me a note to see if I could help him out on these two. He had restored the bowls on both pipes but the stems were giving him fits. The Algonquin was completely restored and he put the stem on the finished pipe to have a look. When he took the stem off the tenon and system apparatus remained in the bowl. It was stuck and would not come out. The two brass dots or pins had come loose from the tenon and though the stem fit well the tenon would not come out of the shank or stay in the stem. The stem on the Volcano was a mess. There seemed to have been a coating of varnish or something on the stem and when he worked on it the surface came off pitted and scarred. He wanted me to help on these two issues so I had him send them to me. When I came home from a recent trip for work the pipes were waiting for me. The issues that Joe had mentioned in his email were right on. The tenon on the Algonquin was torn where the pins had come free from the nylon. The tenon was stuck in the shank and would not move. I put the bowl in the freezer over night and let it sit. When I took it out in the morning I used a pair of needle nose pliers to carefully twist the tenon out of the shank. I cleaned out the shank with pipe cleaners and cotton swabs and isopropyl alcohol to make sure that shank was not the issue. I put the tenon back in place on the stem and it was fairly tight. I twisted it back into the shank and it fit well. When I removed the stem the tenon was once again stuck in the shank. I used the needle nose to twist it out again. I used an ice pick to push the pins further out of the inside of the stem so that the surface was smooth. I used some clear super glue and coated the end of the tenon and pressed it into place in the stem.
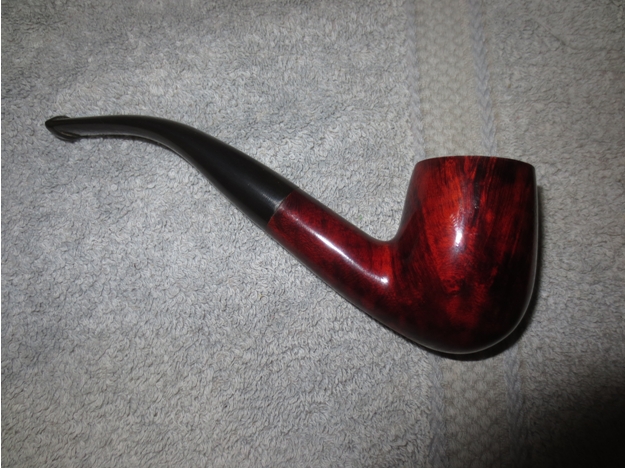
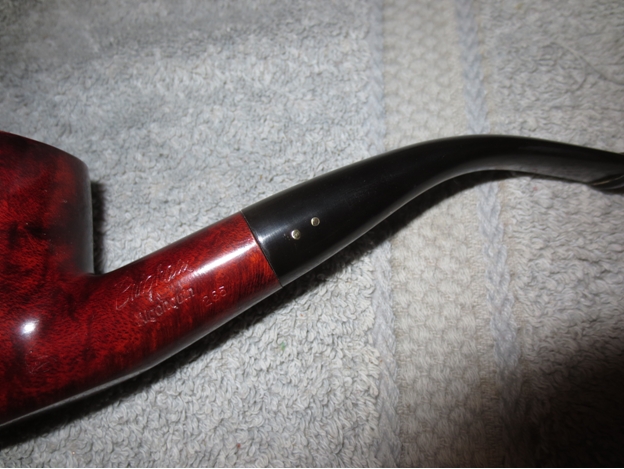
After the glue set I used the ice pick and a small furniture hammer to tap the pins back into the tenon. I tapped lightly so as not to damage the tenon or the stem. I pushed the stem into the shank and twisted it out several times to make sure that the fit was good and the tenon would remain in the stem instead of the shank. It worked! I then cleaned up the tenon and the stem with micromesh sanding pads to polish it. I buffed it on the buffer with Blue Diamond and then carnauba wax. I gave the rim of the bowl a light coat of cherry stain to bring it closer to a match on the bowl. I buffed the rim and gave it a coat of carnauba. The finished pipe is shown below.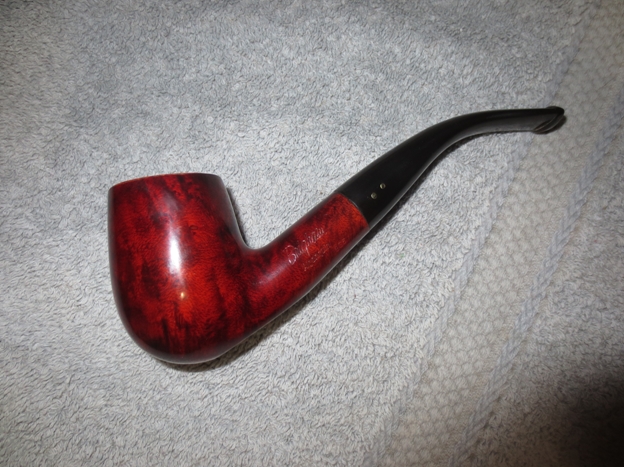

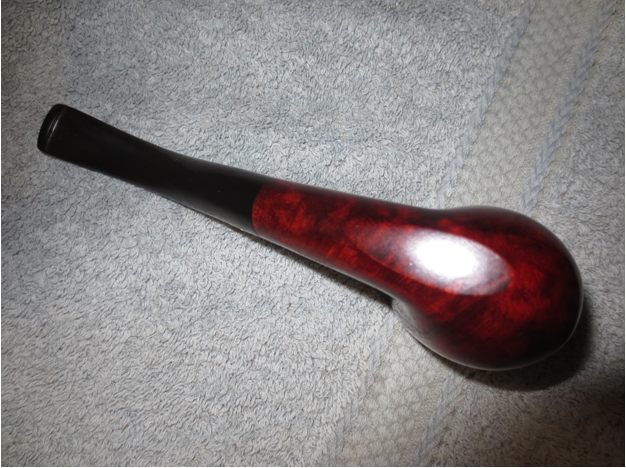
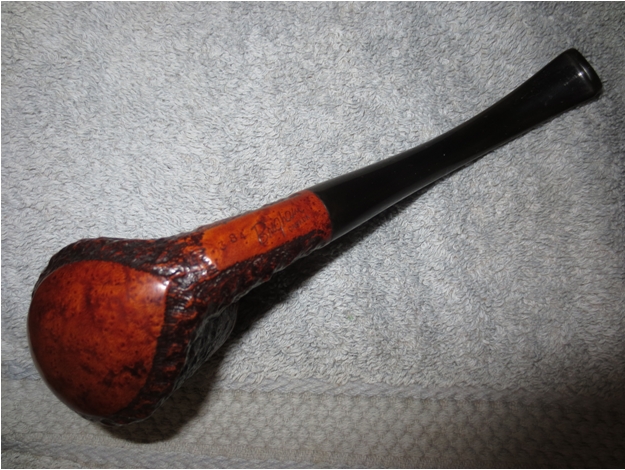
 The stem on the volcano took some work. The surface of the vulcanite was rough and somewhat ridged from the varnish or clear coat on it. I used some 220 grit sandpaper to clean up the surface of the stem and remove the oxidation around the shank/stem junction. I sanded it with a medium and a fine grit sanding sponges. I then wet sanded it with 1500-2400 grit micromesh sanding pads. I buffed it with Tripoli before dry sanding it with 3200-12,000 grit sanding pads to finish polishing the stem. Once completed I gave it a light buff with Blue Diamond and then gave it several coats of carnauba wax.
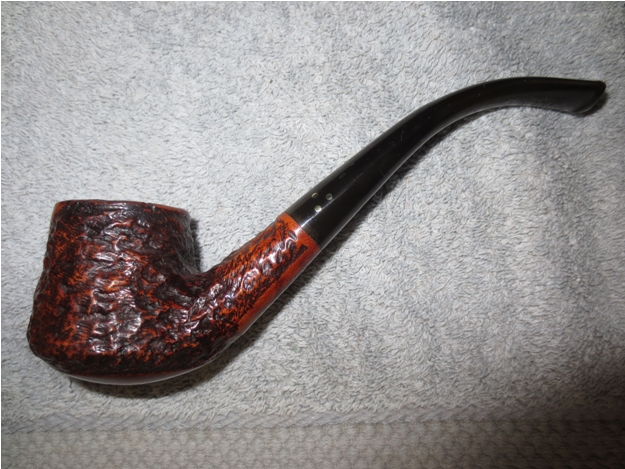
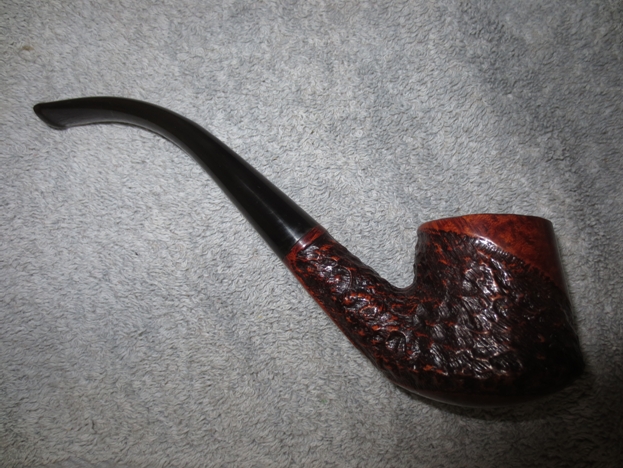

 Joe, the pipes are finished. I will get them wrapped up and in the mail as soon as possible. I think they came out great and hope you will get a lot of use out of them. Enjoy! Thanks for sending them to me to work on, I enjoyed it.
