by Steve Laug
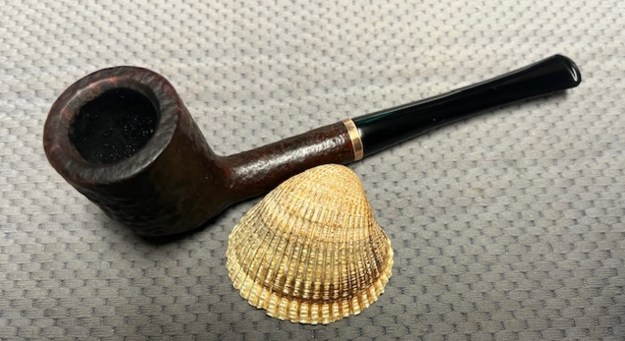
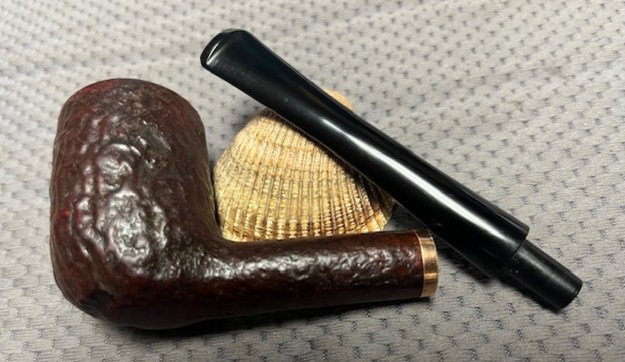
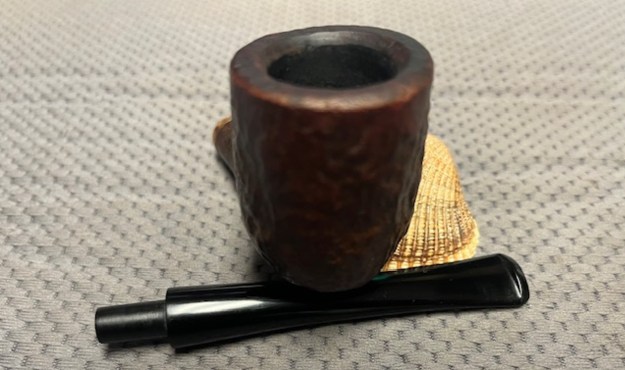
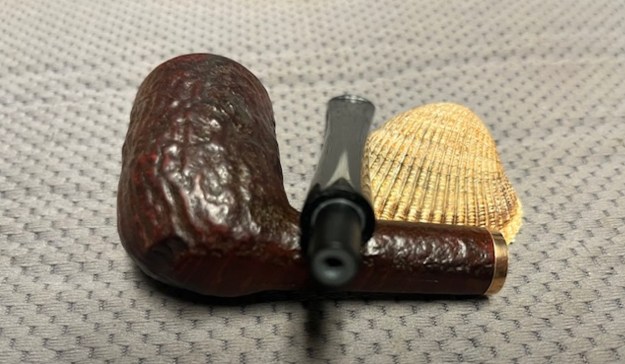
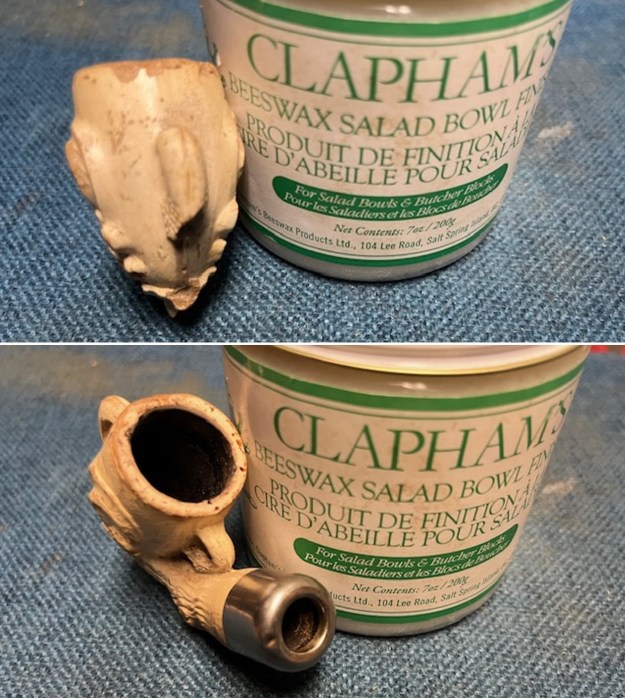
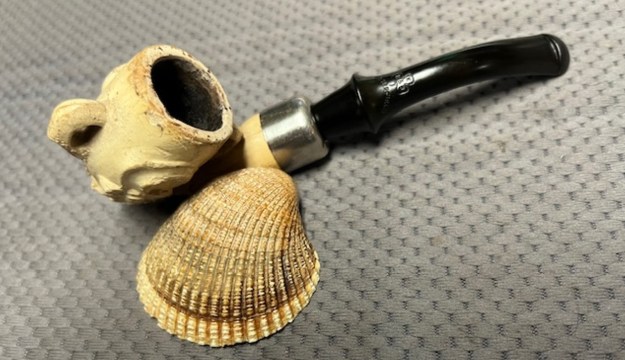
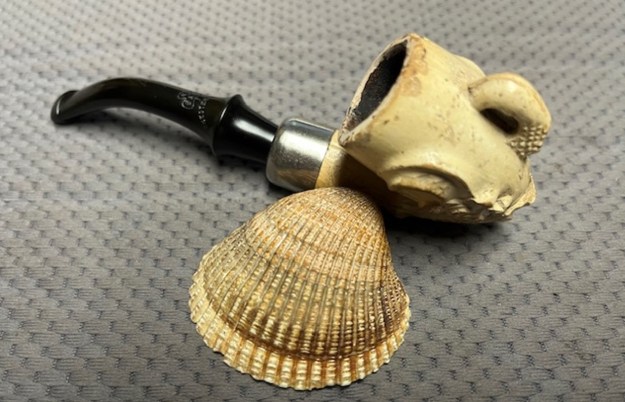
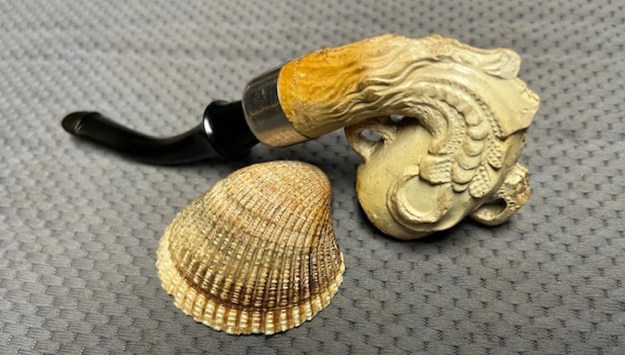
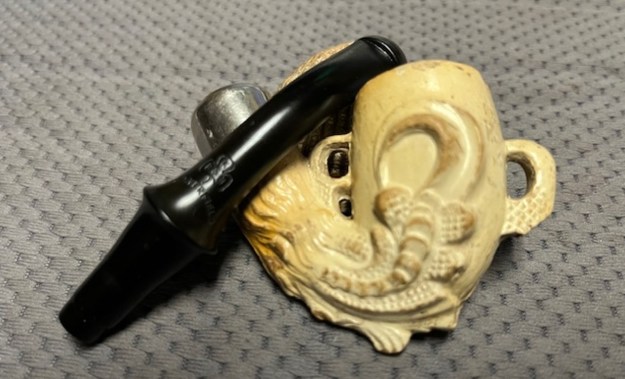
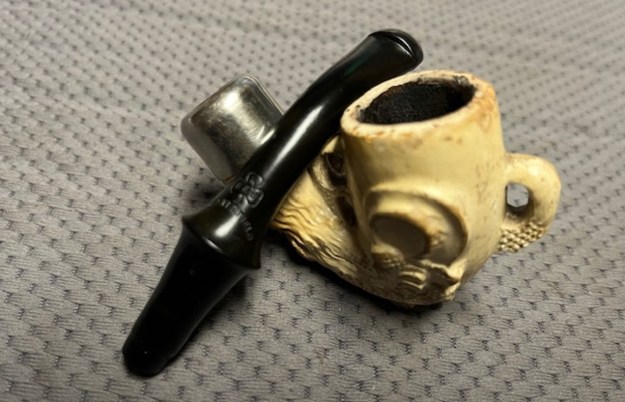
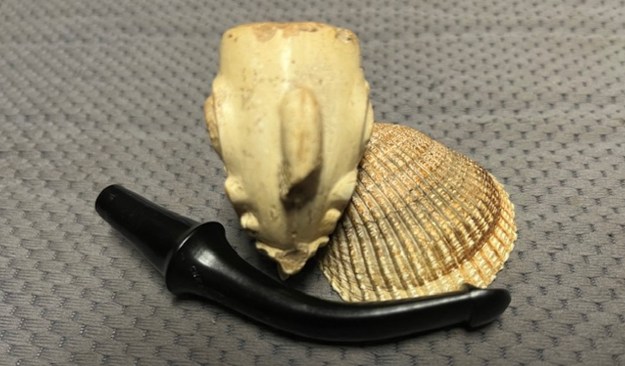
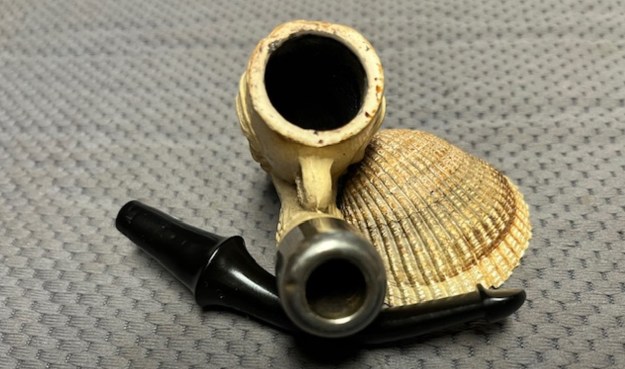
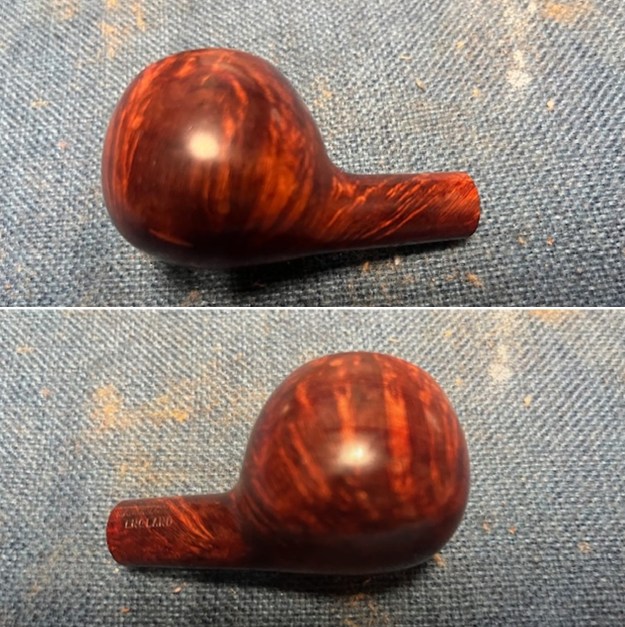
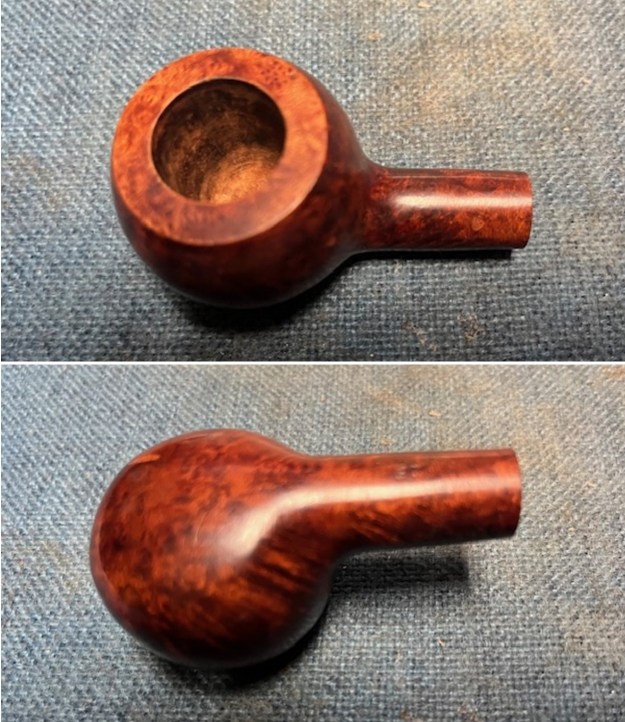
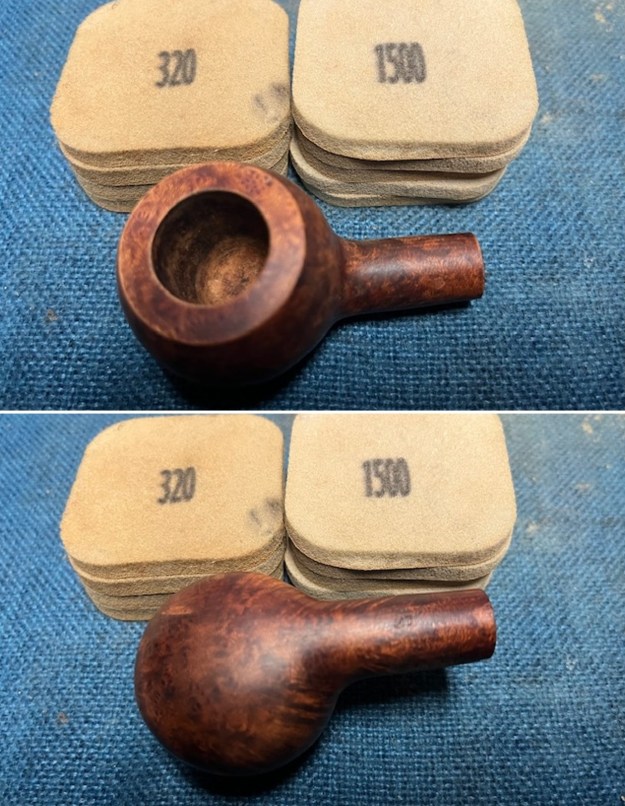
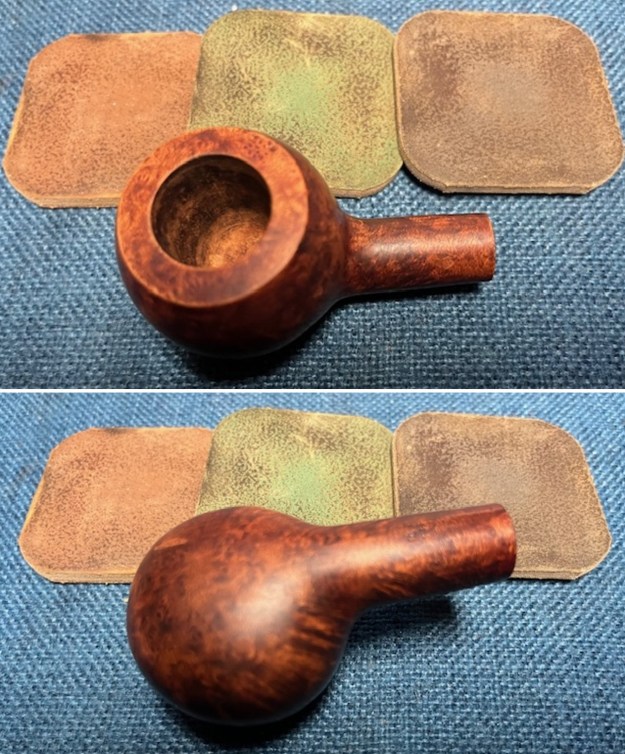
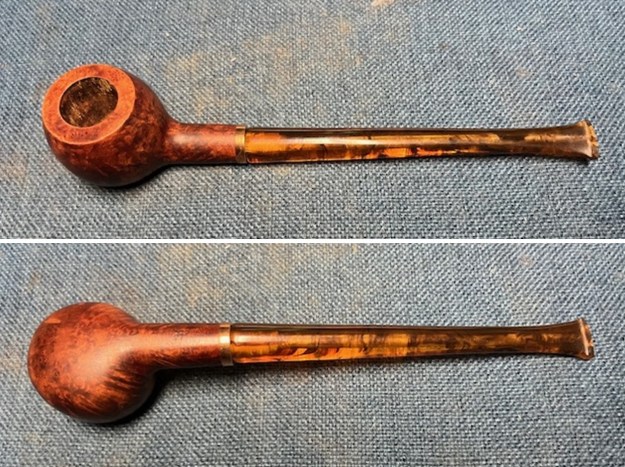
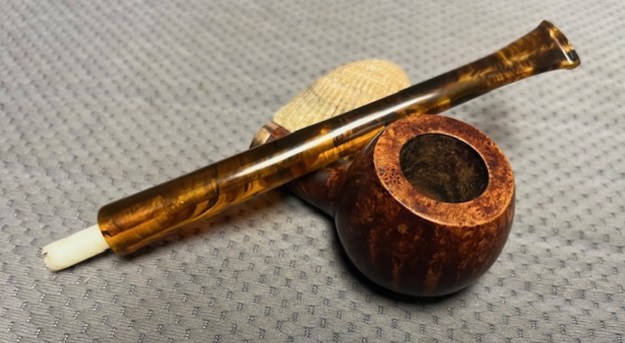
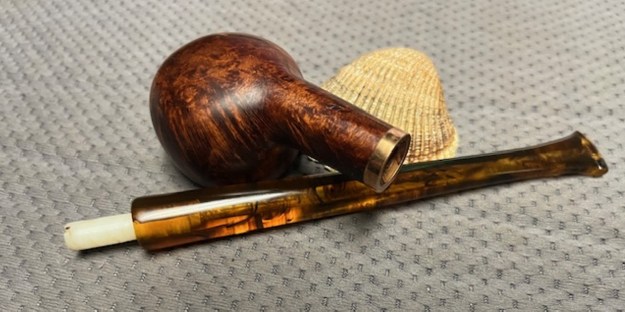
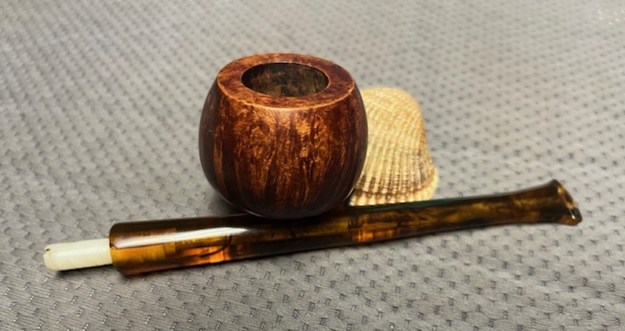
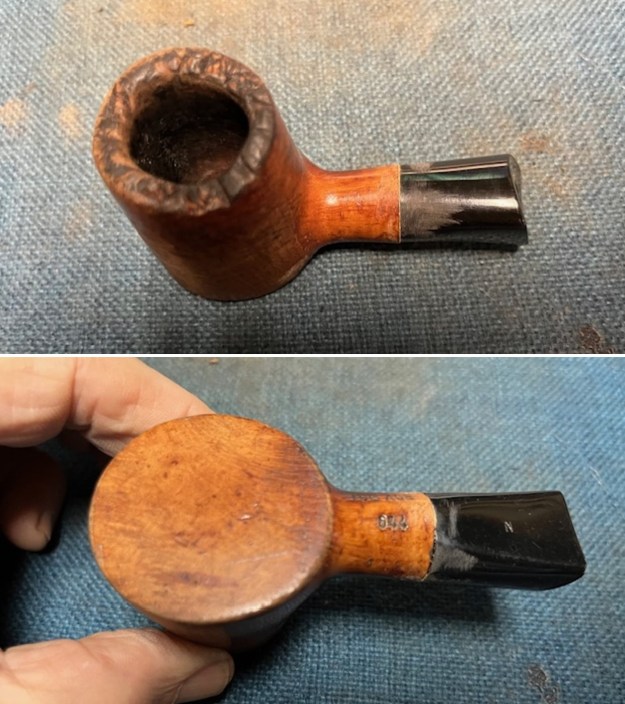
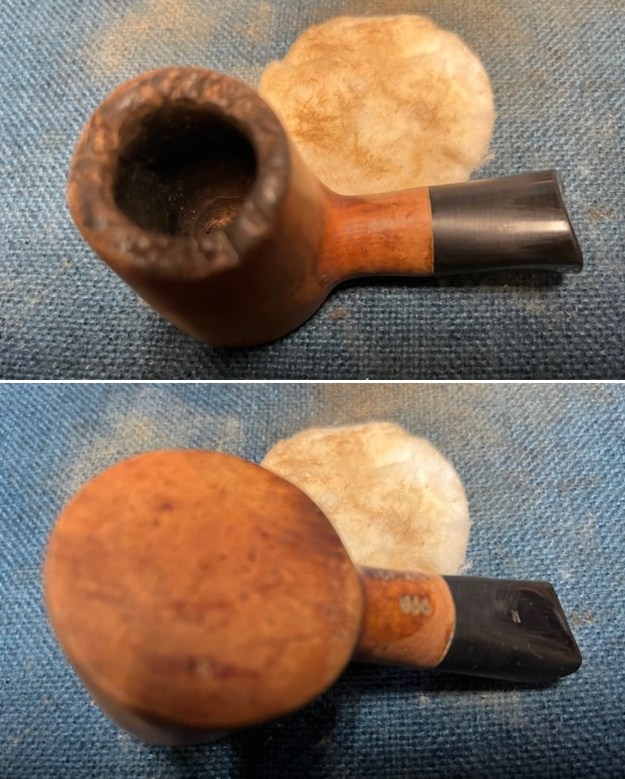
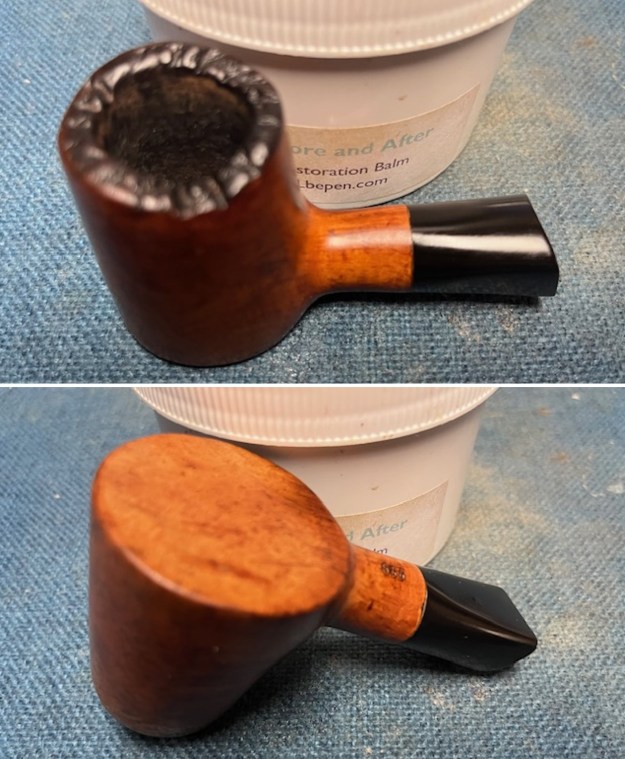
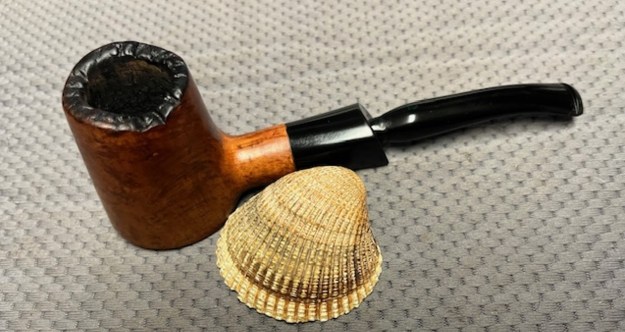
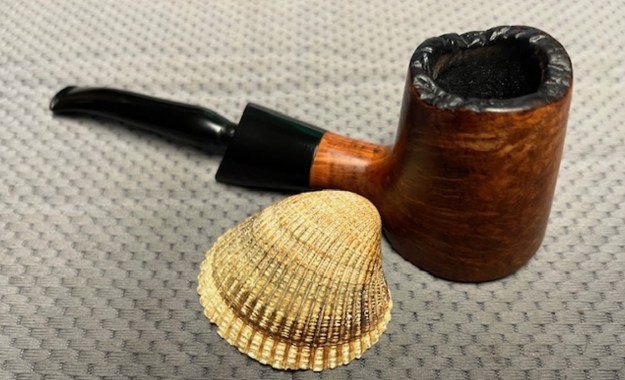
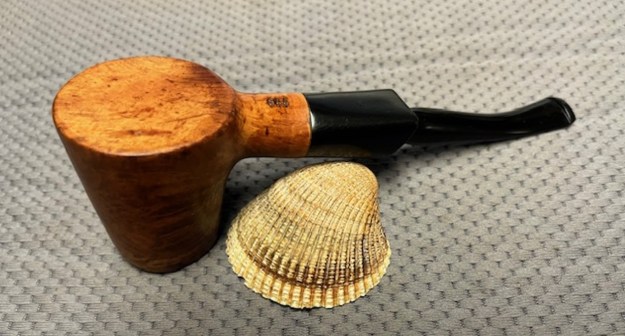
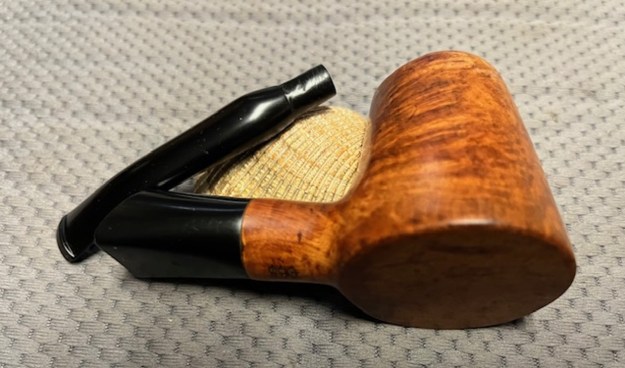
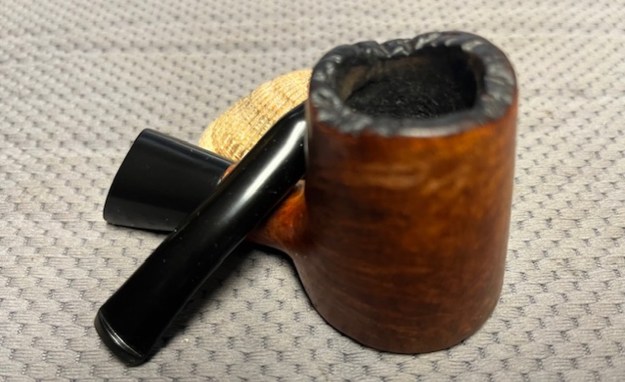
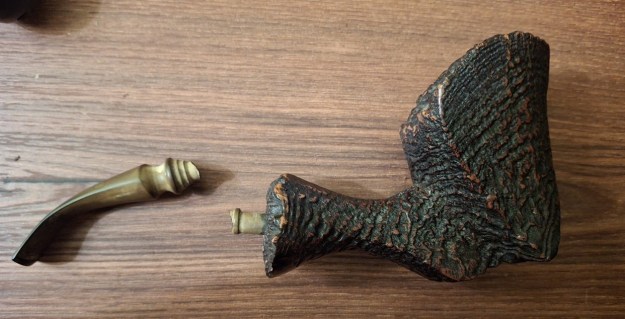
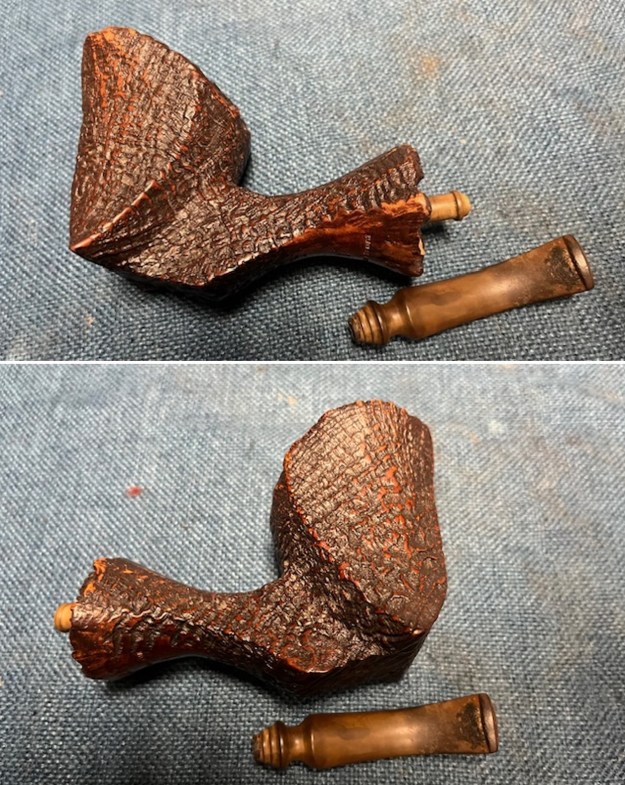
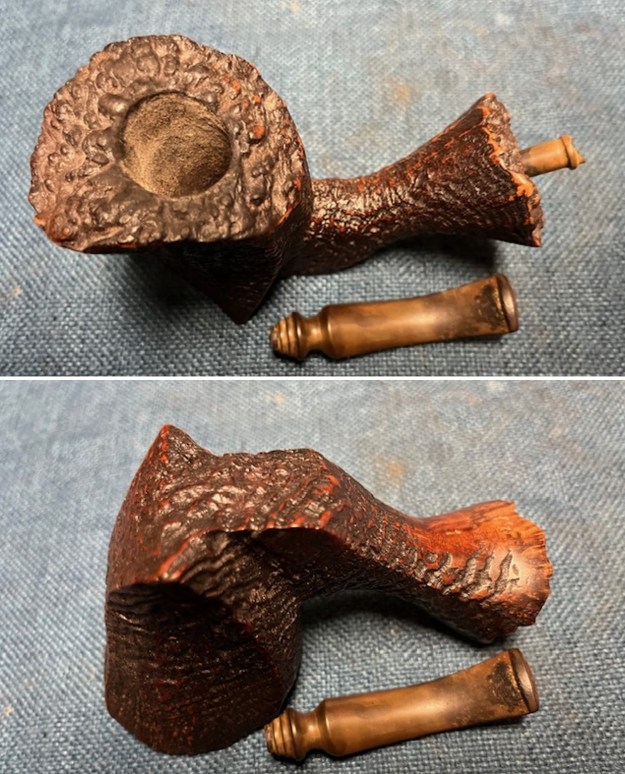
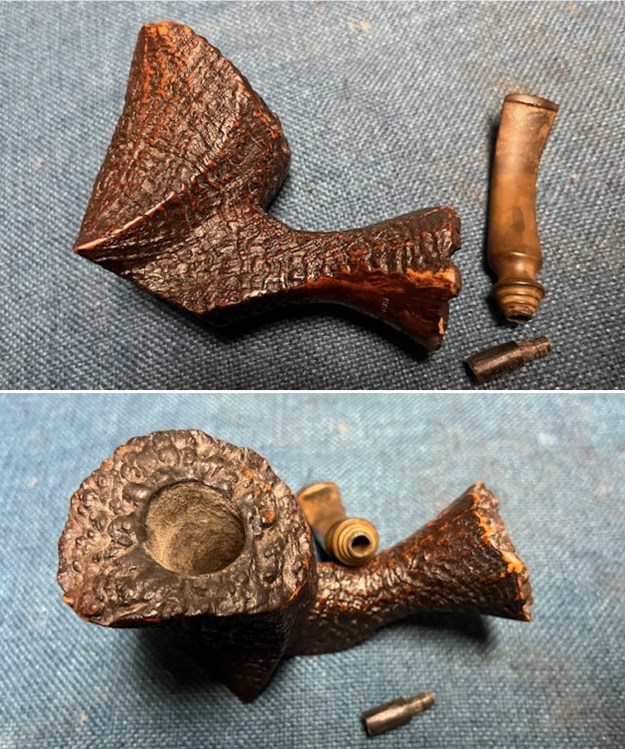
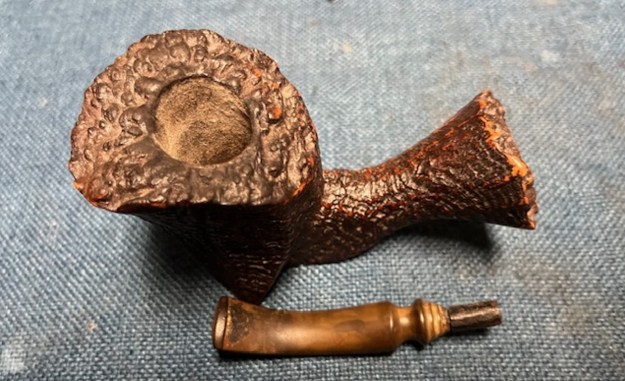
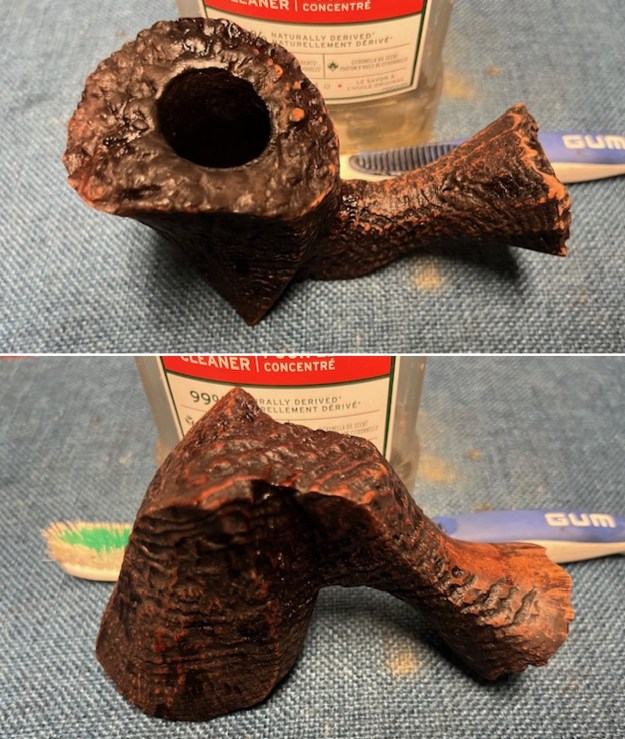
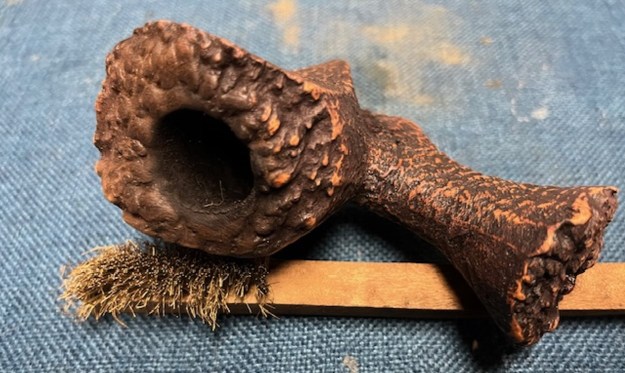
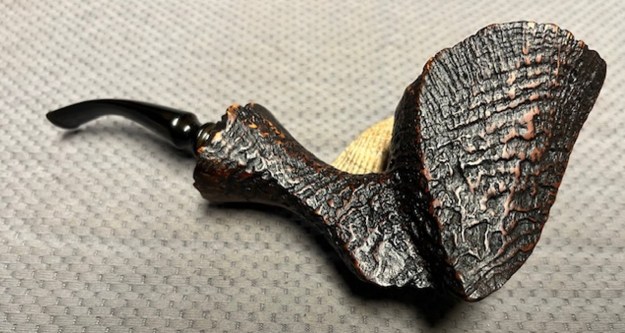
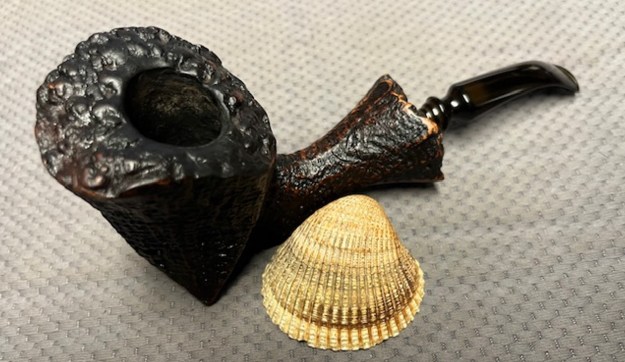
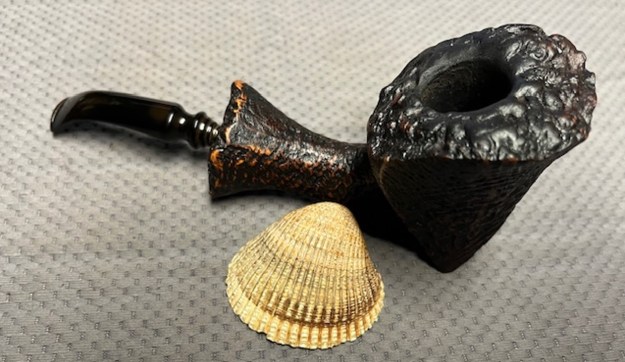
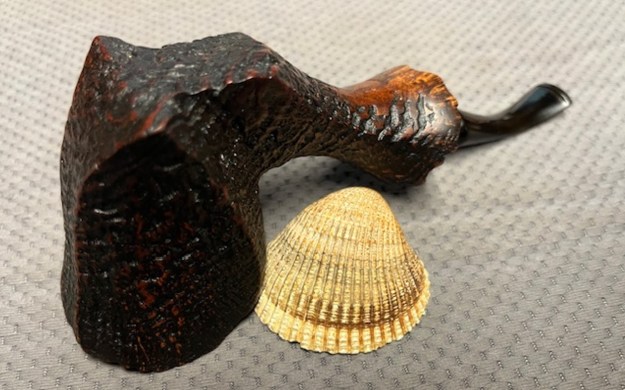
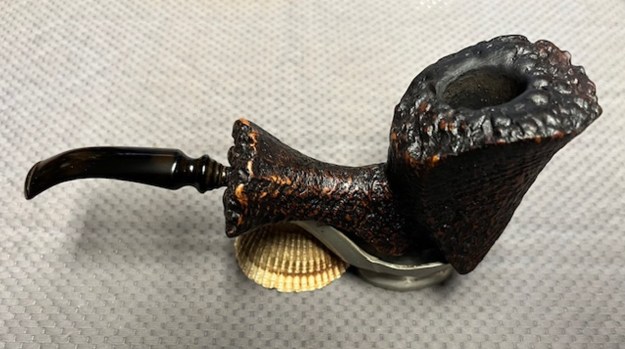
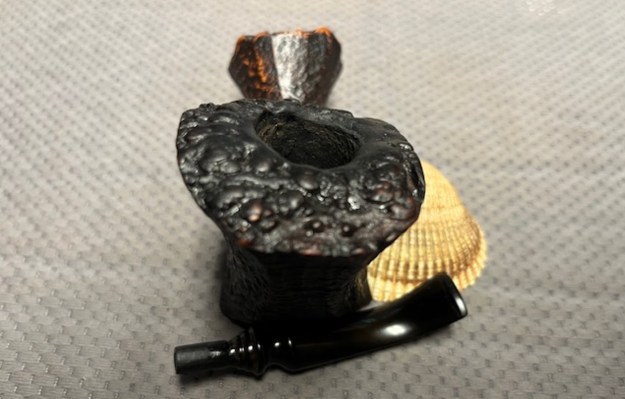
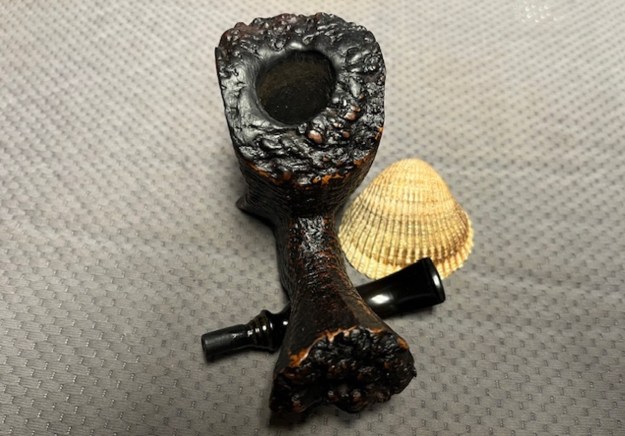
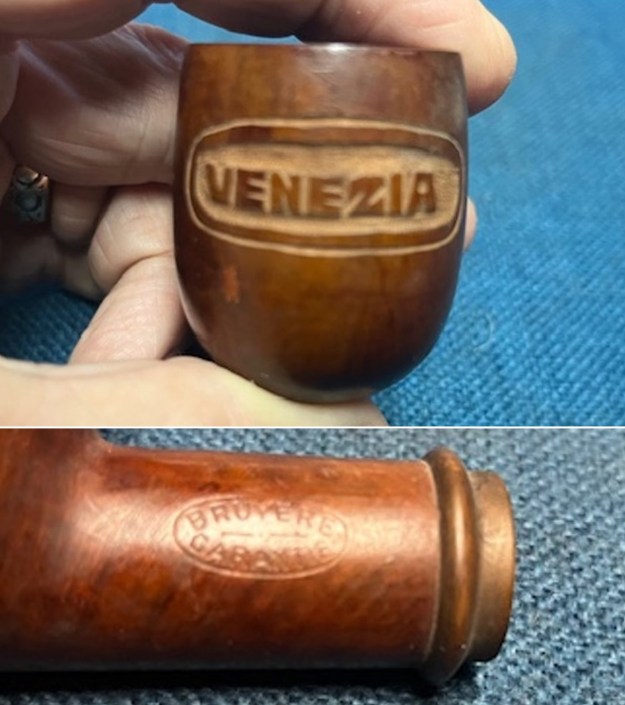
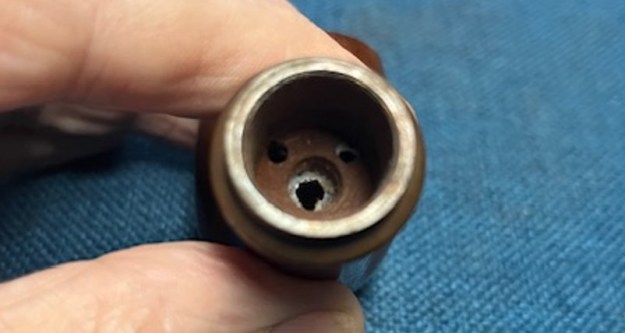
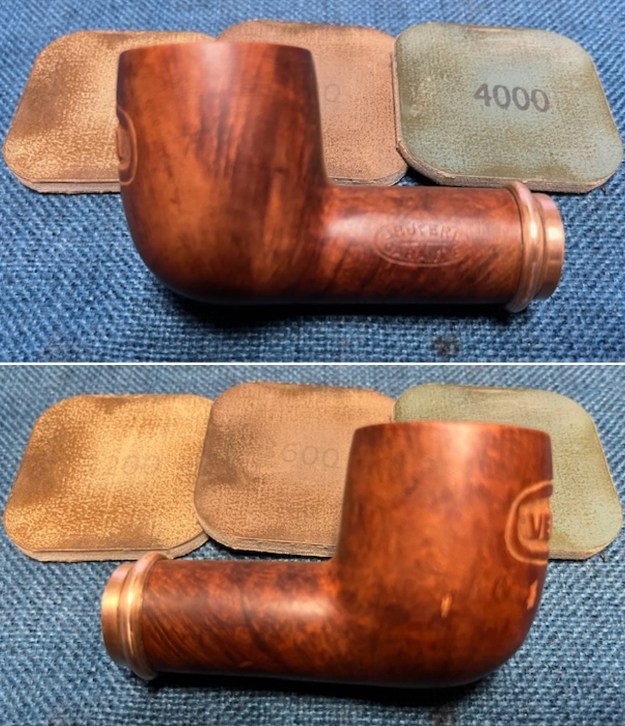
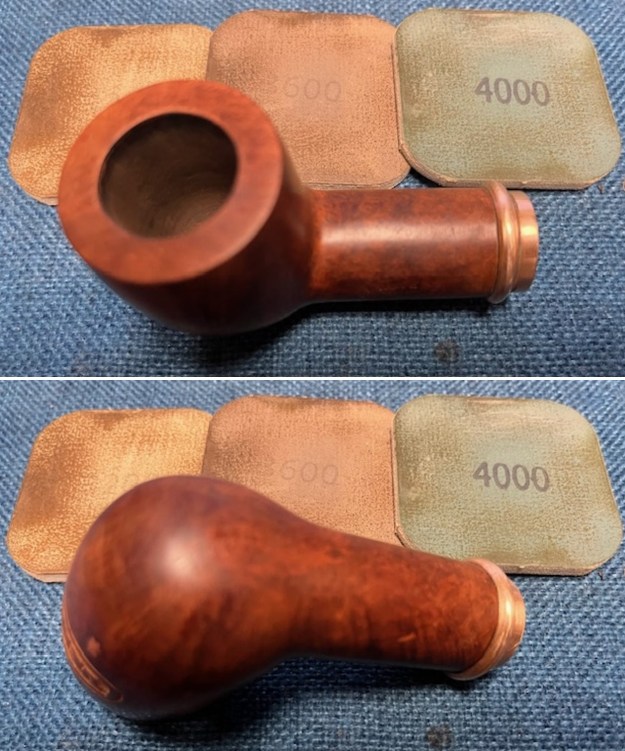
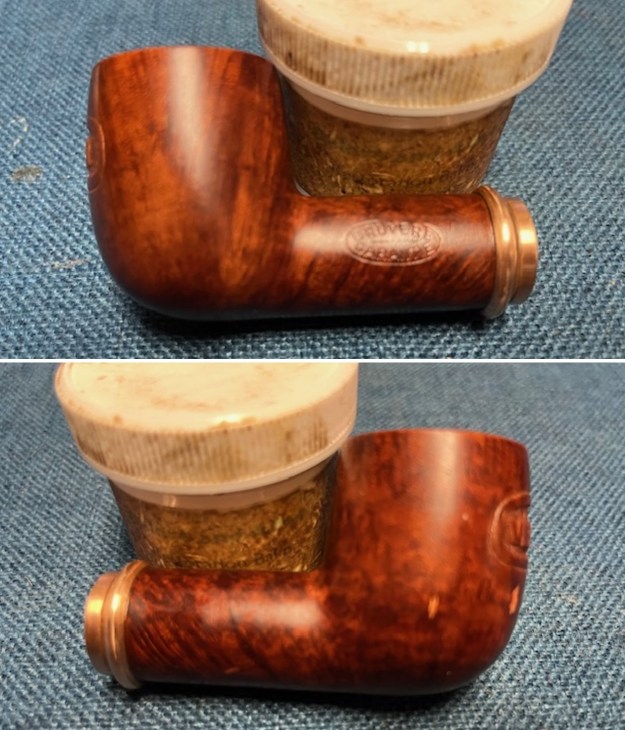
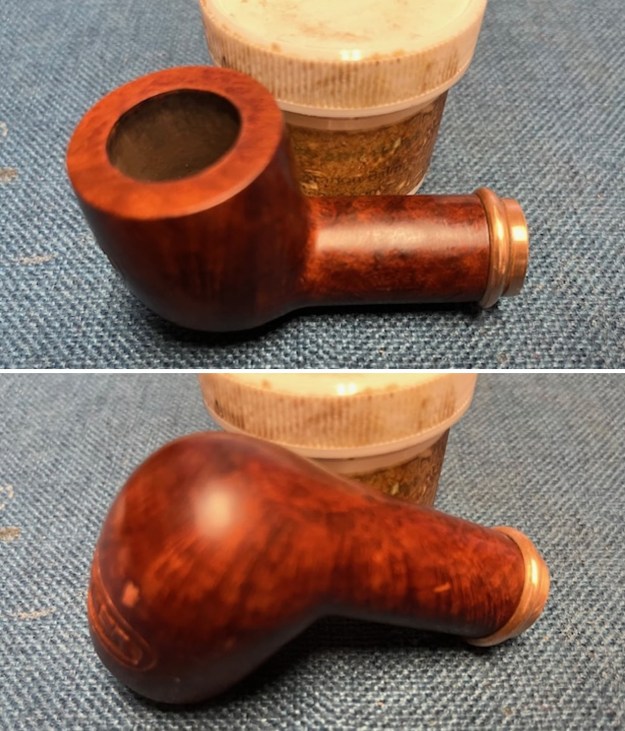
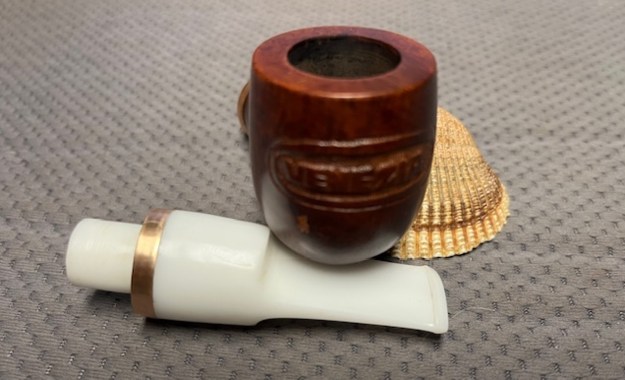
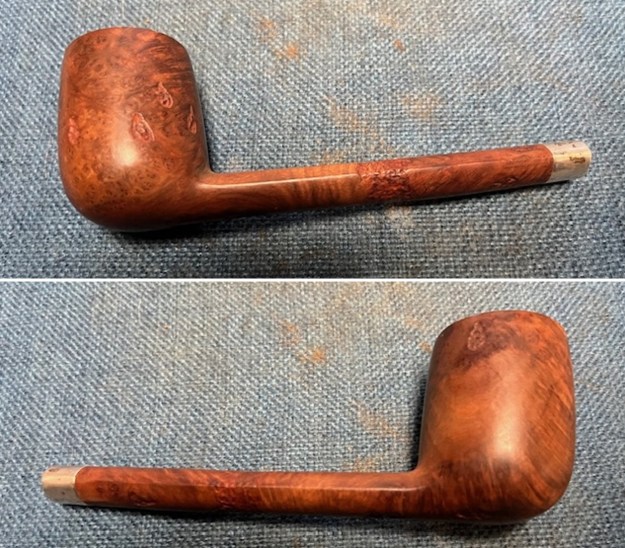
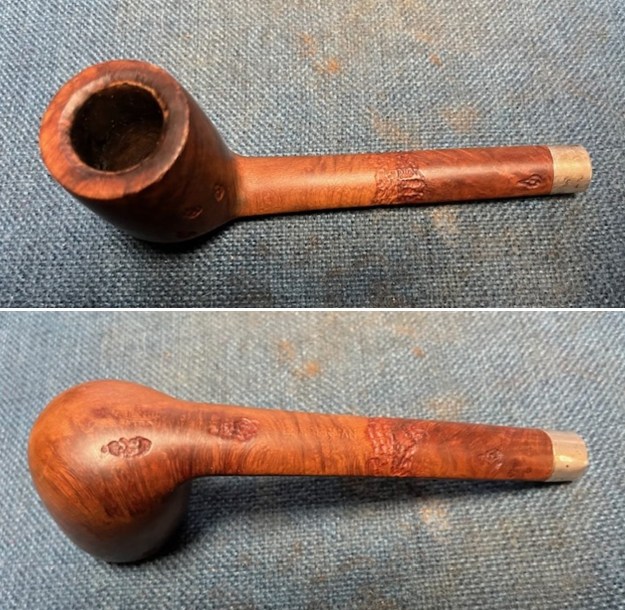
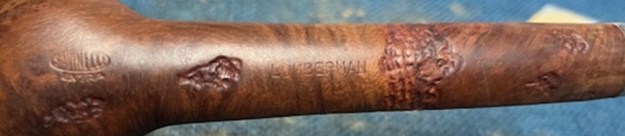
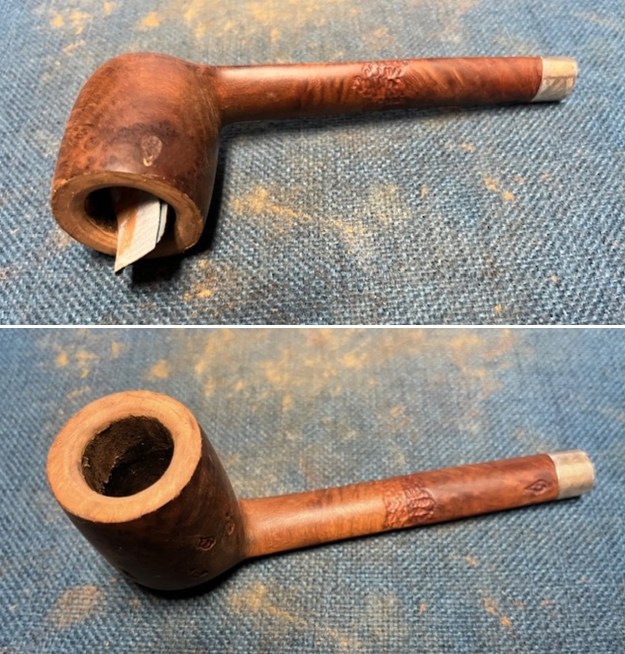
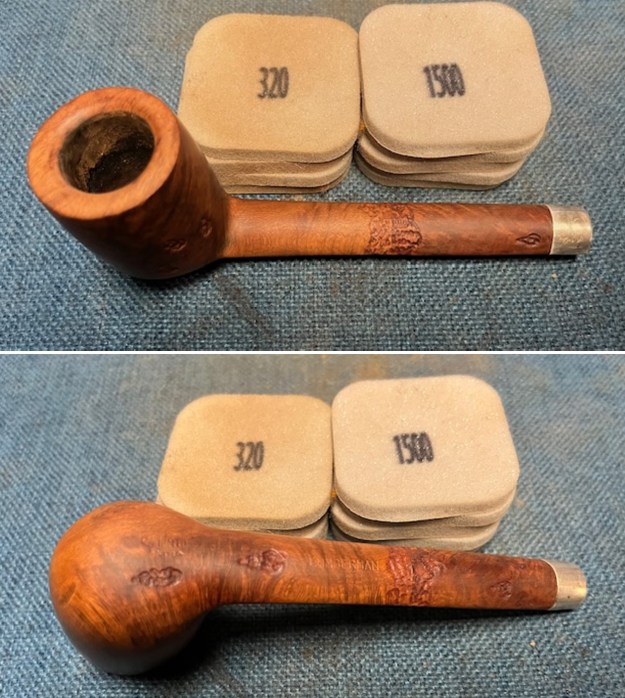
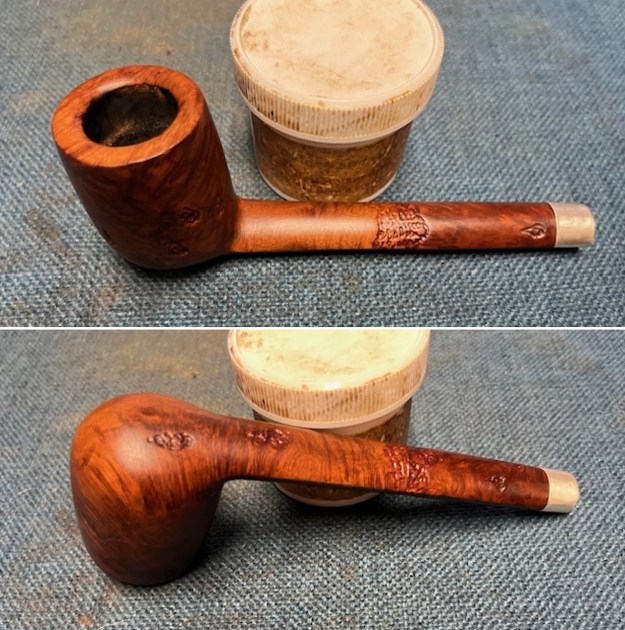
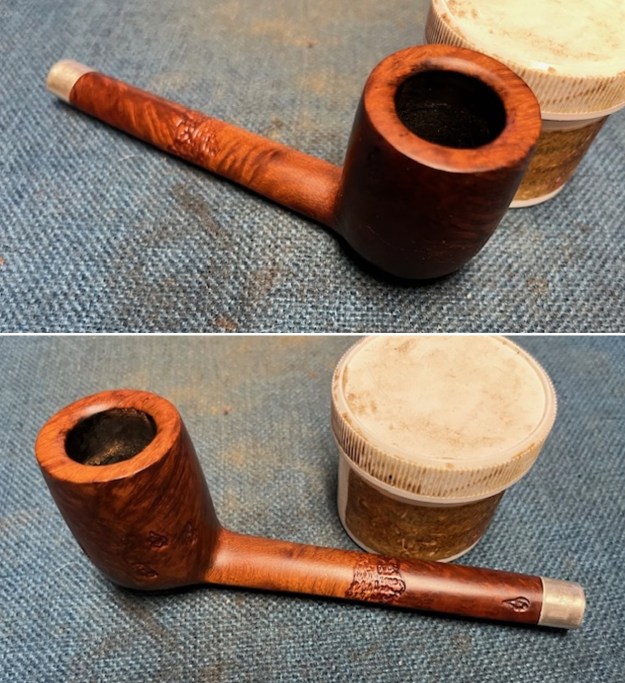
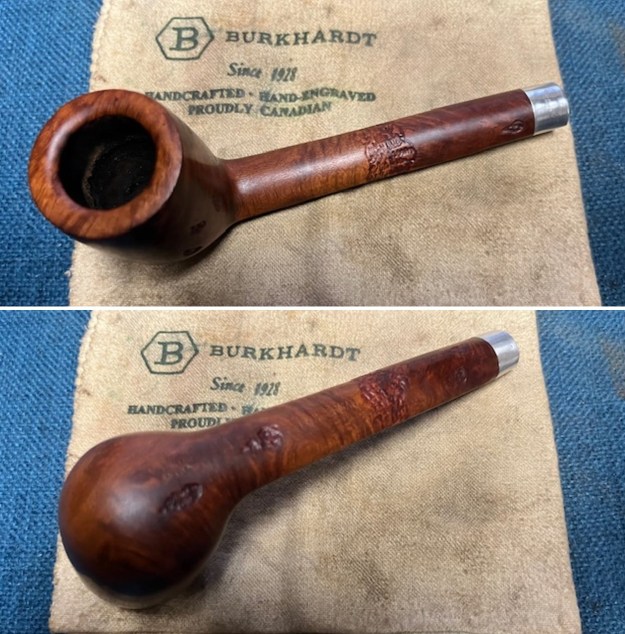
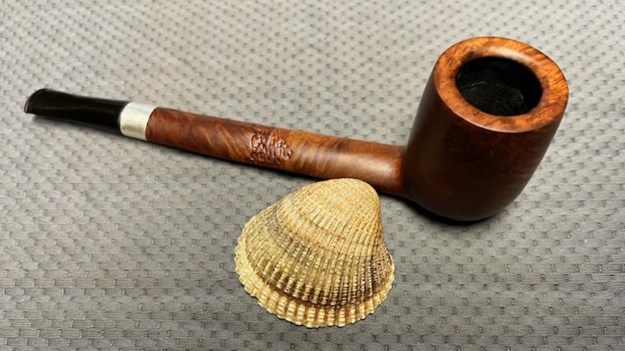
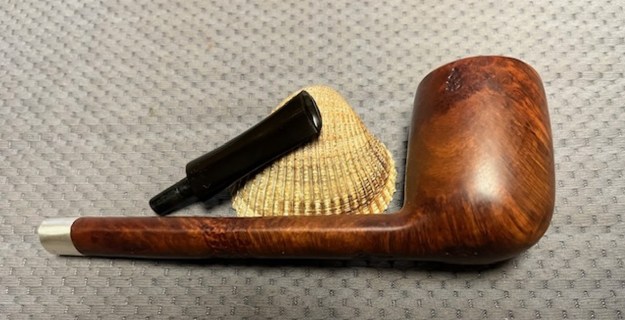
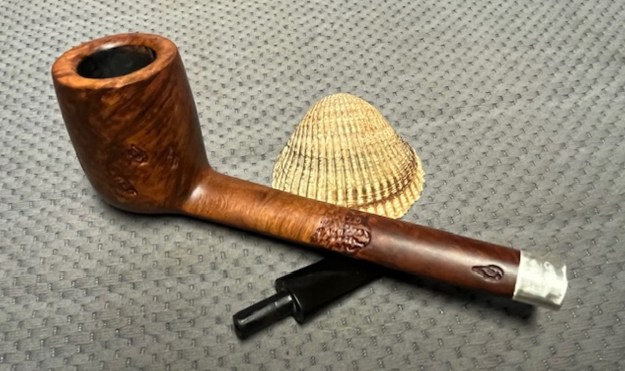
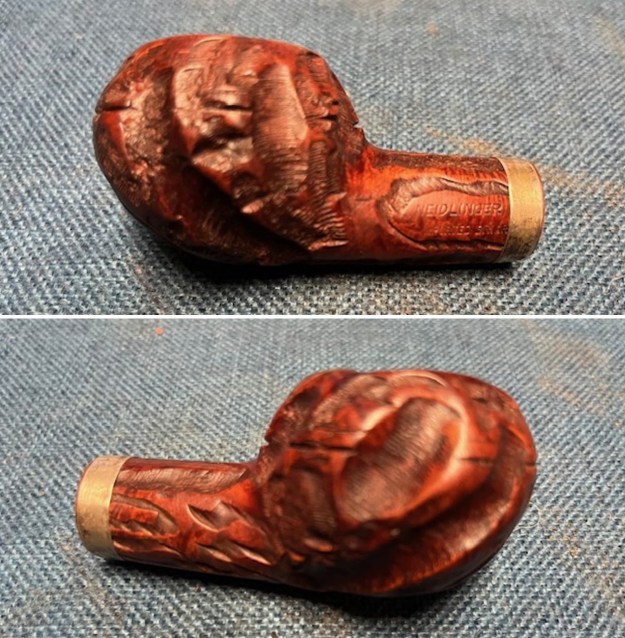
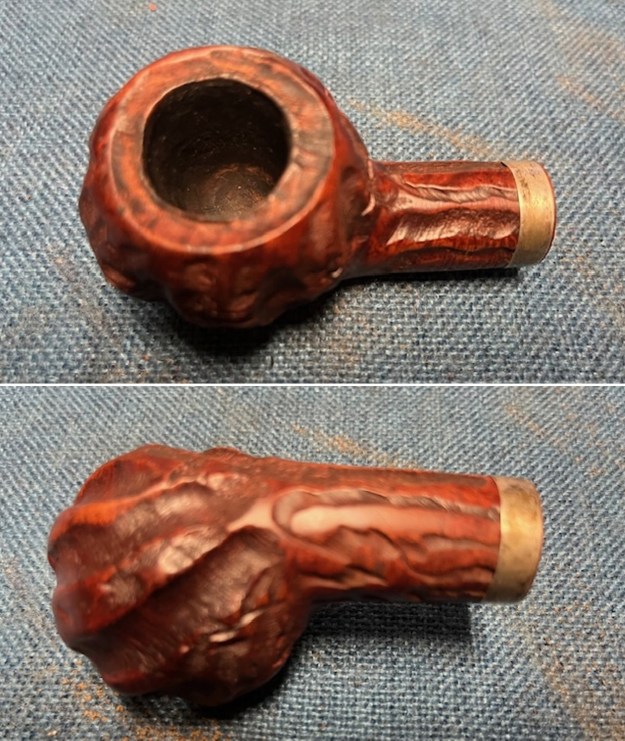
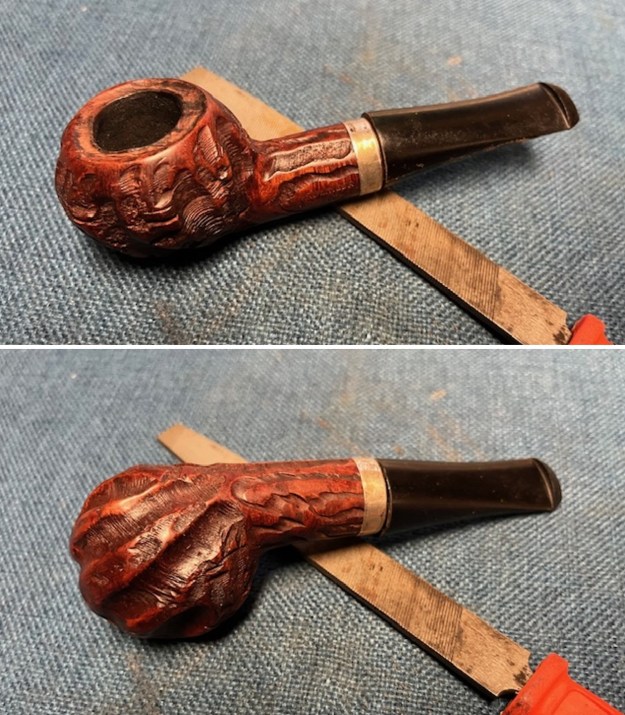
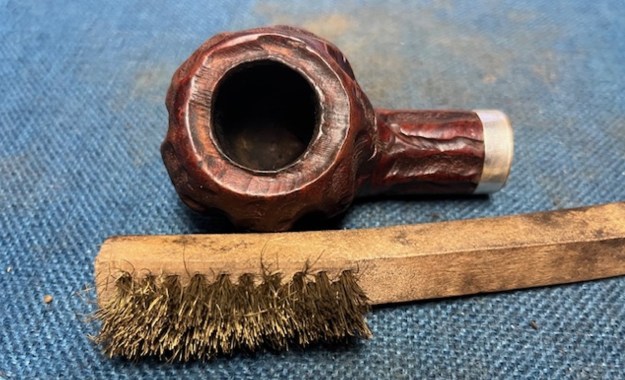
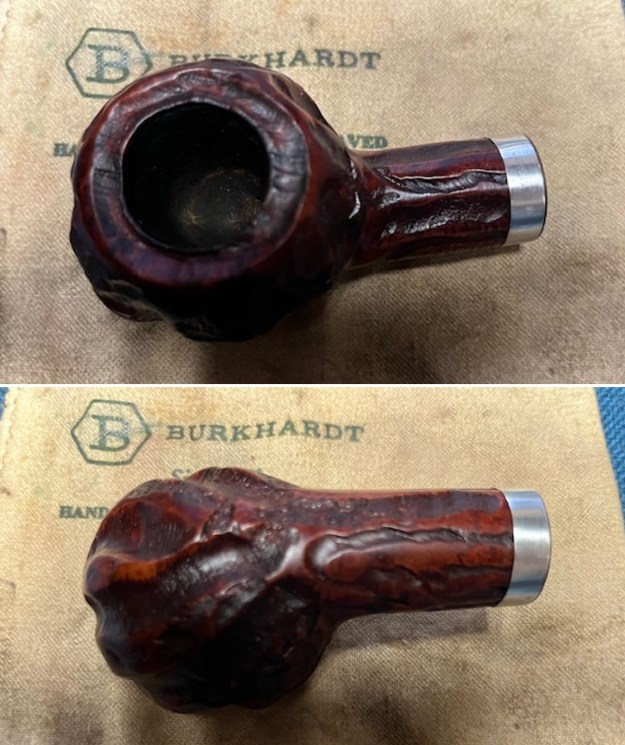
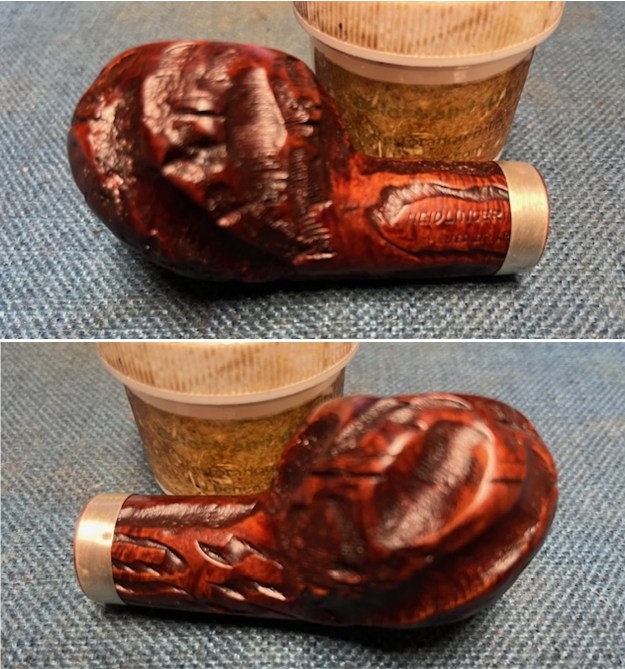
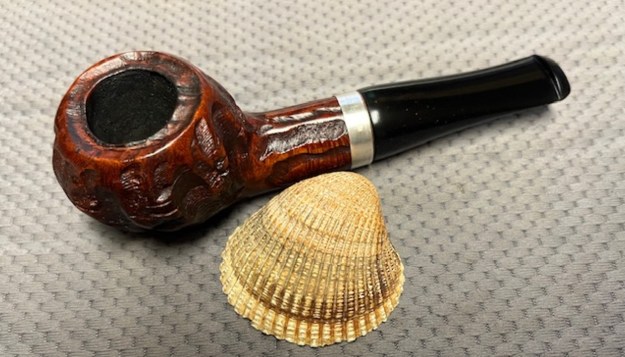
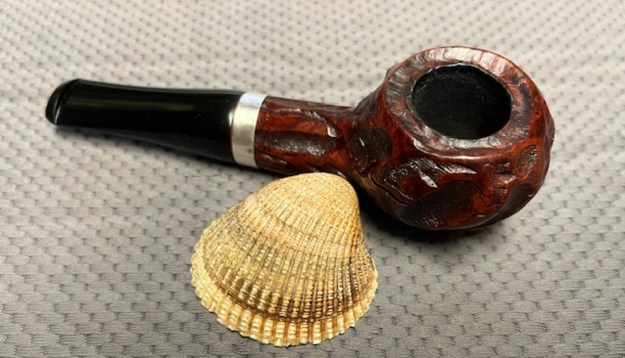
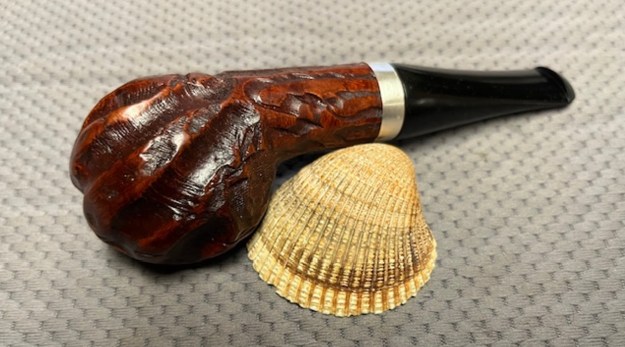
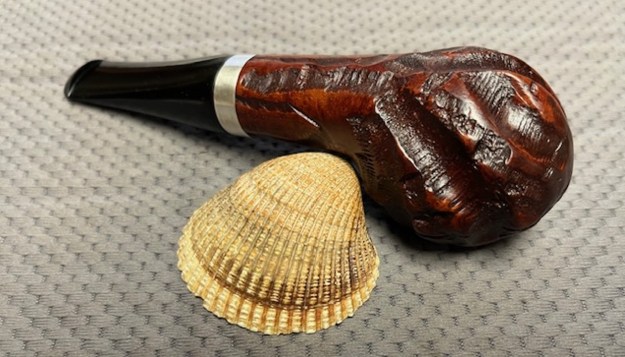
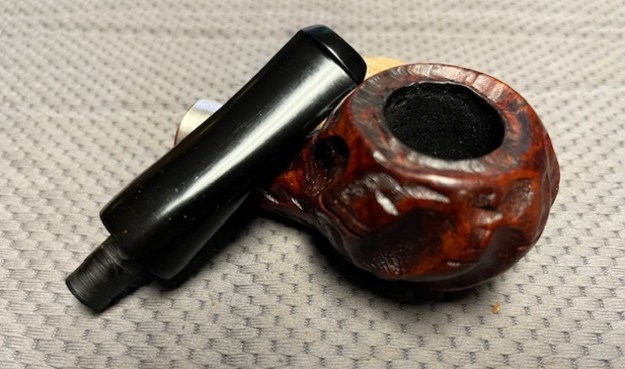
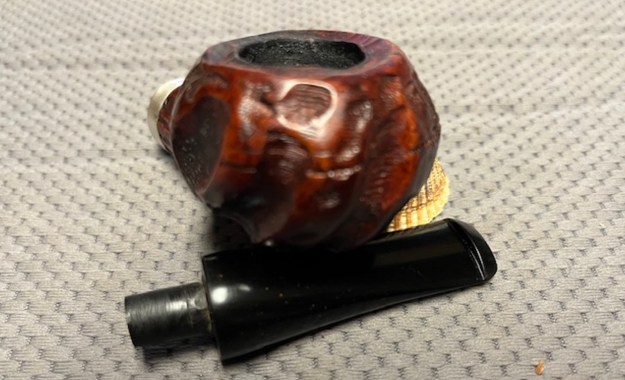
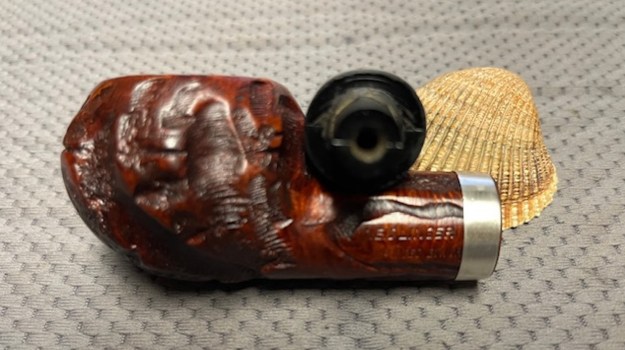
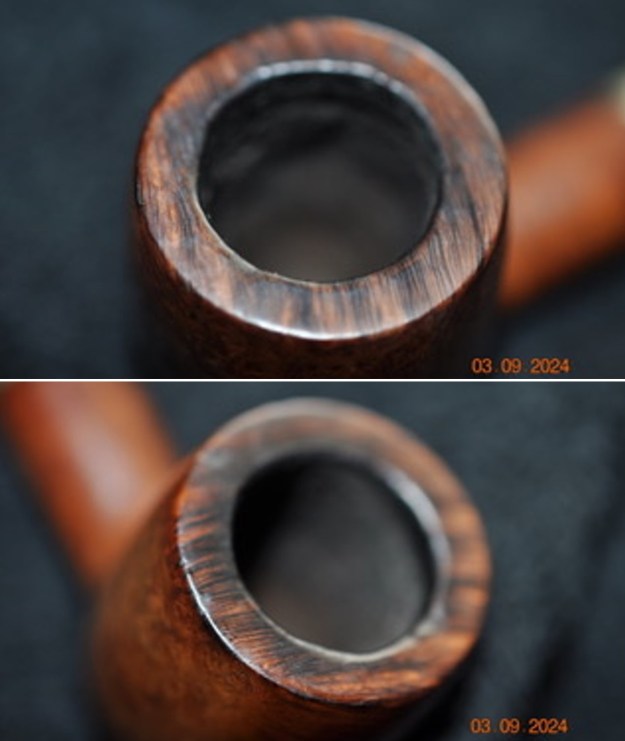
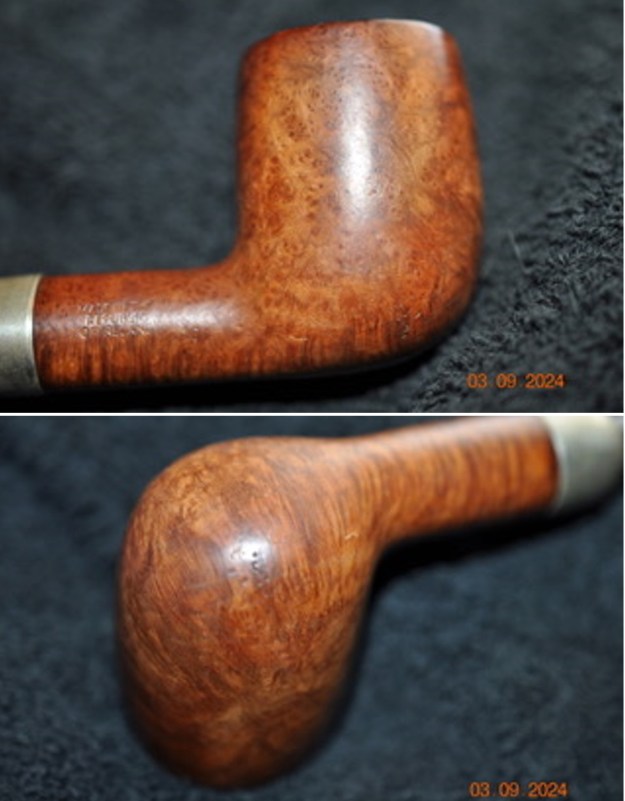
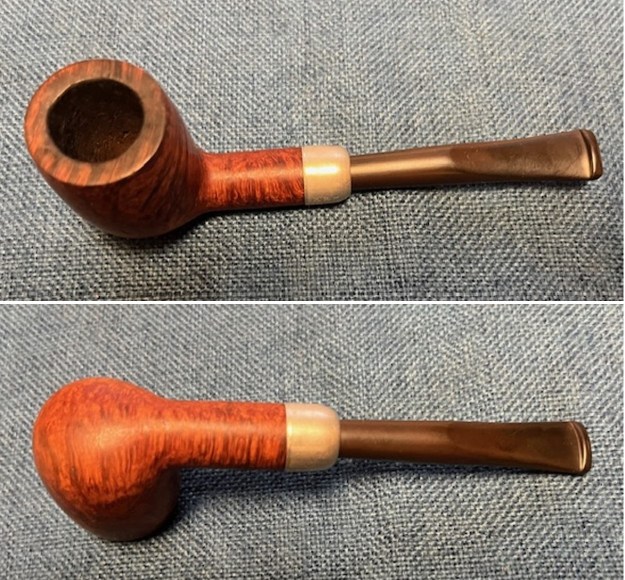
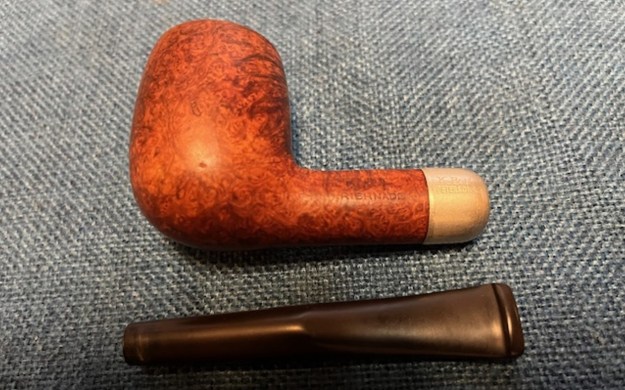
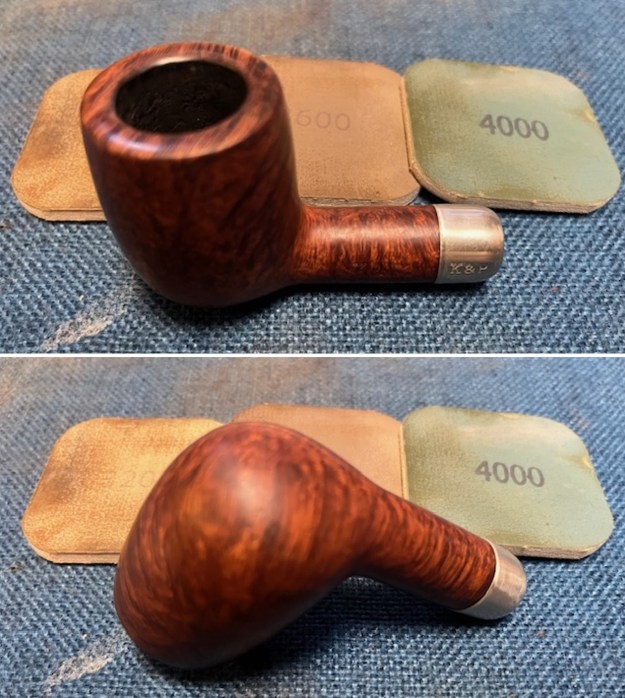
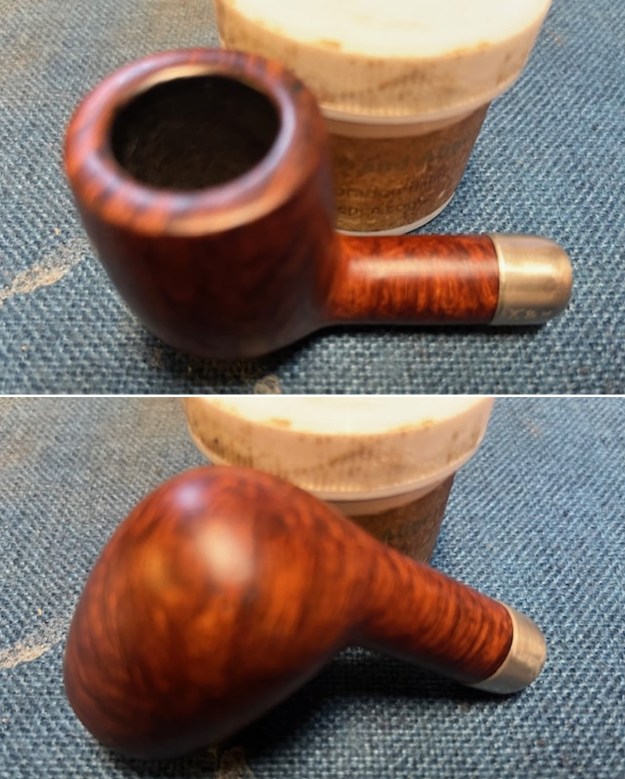
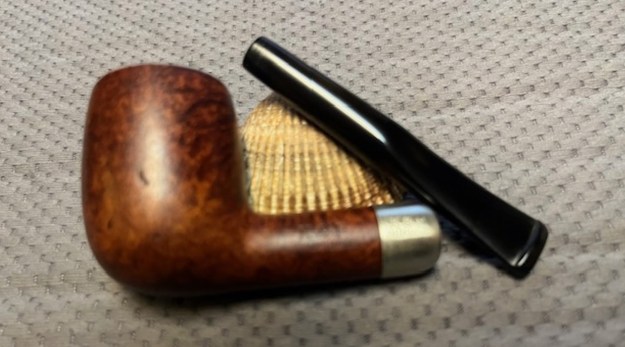
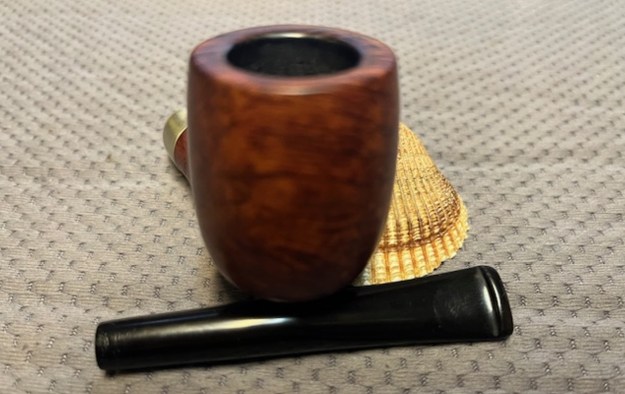
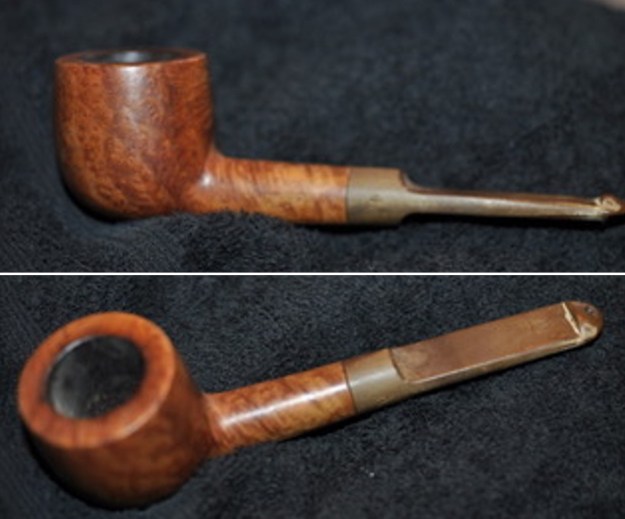
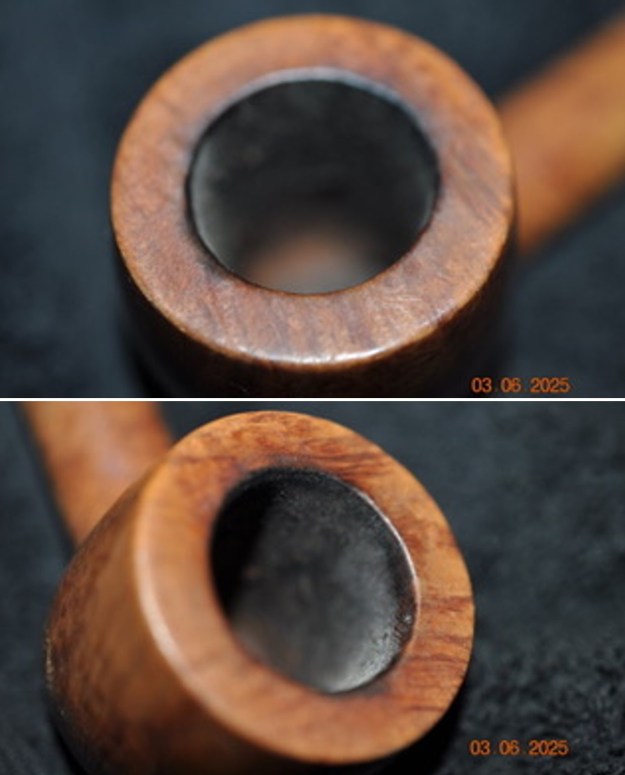
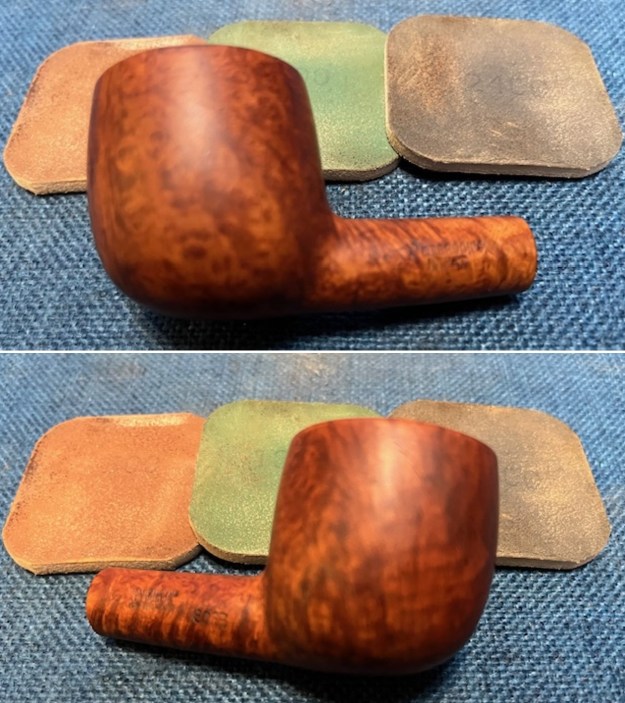
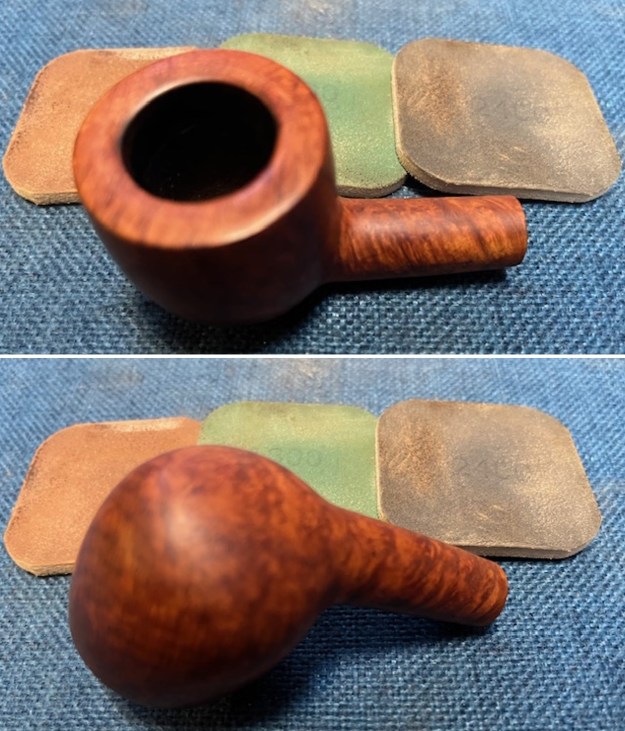
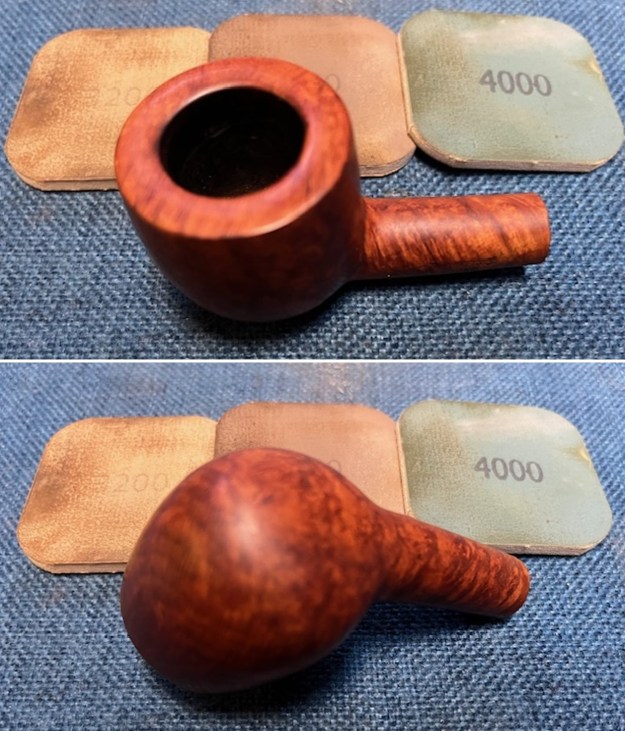
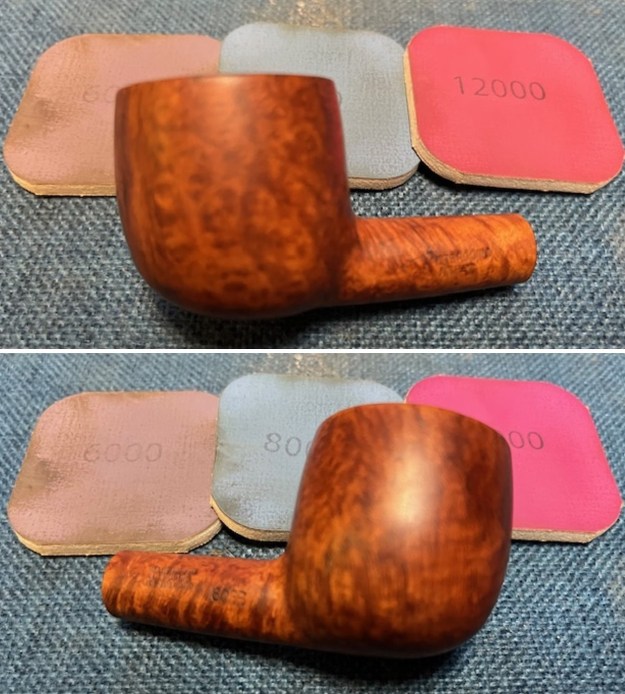
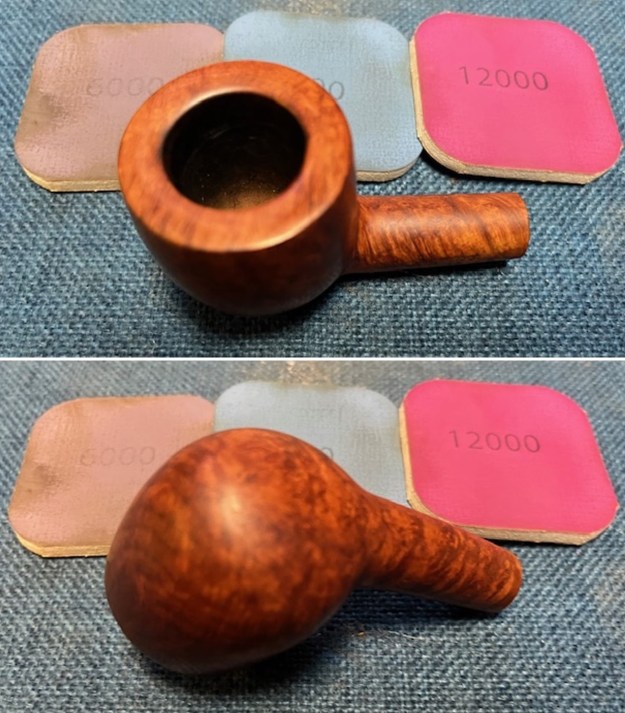
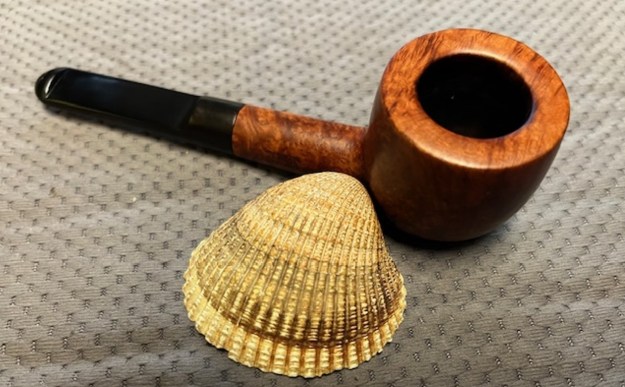
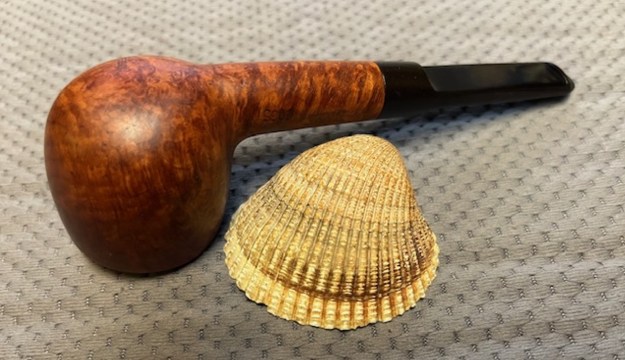
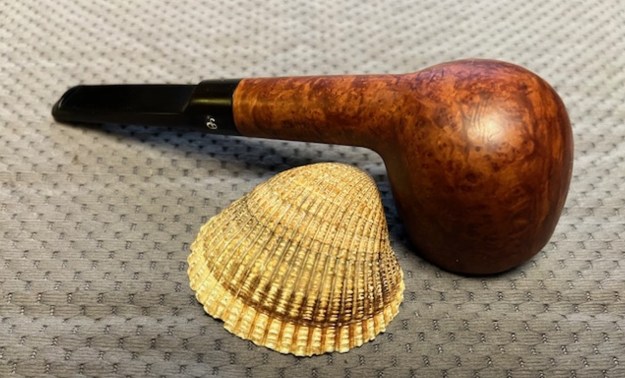
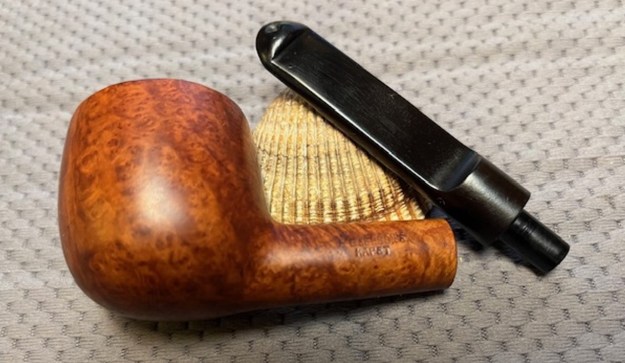
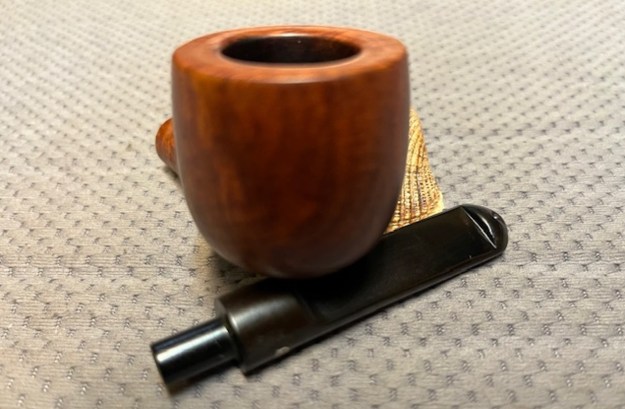
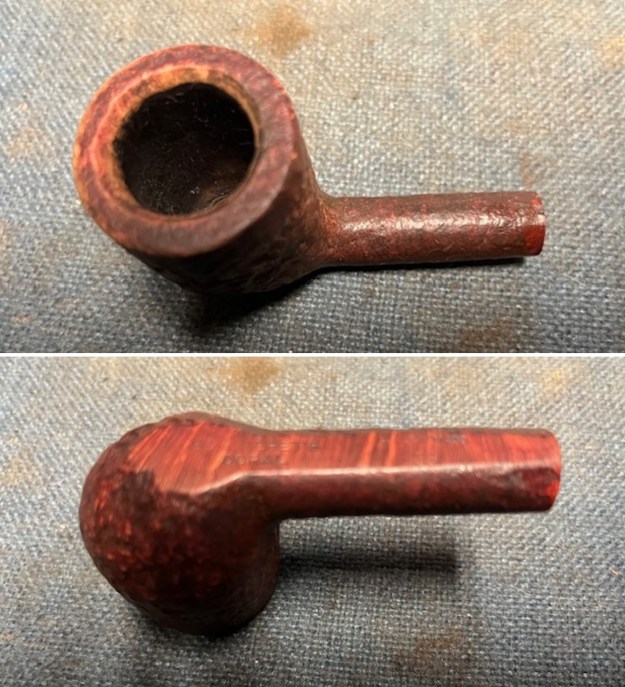
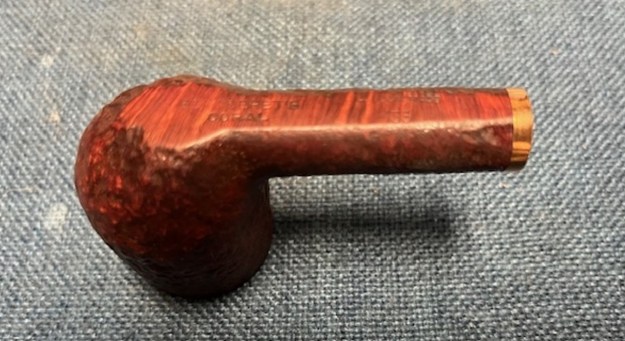
The next pipe on the table was a bowl sans stem that I have had in my box of bowls to be restemmed. It is stamped on the underside of the shank and reads Benaderet’s [over] Coral followed by London Made [over] the shape number 135. The sandblast highlights great grain around the sides of the pipe. The shape number said I was dealing with a GBD made pipe. It had been reamed and cleaned by my brother Jeff many years ago. The rim and the inner edge were clean and with some light areas on the front right of the bevelled rim top and inner edge. The finish had been scrubbed and was very clean. I took photos of the bowl before I worked on it. 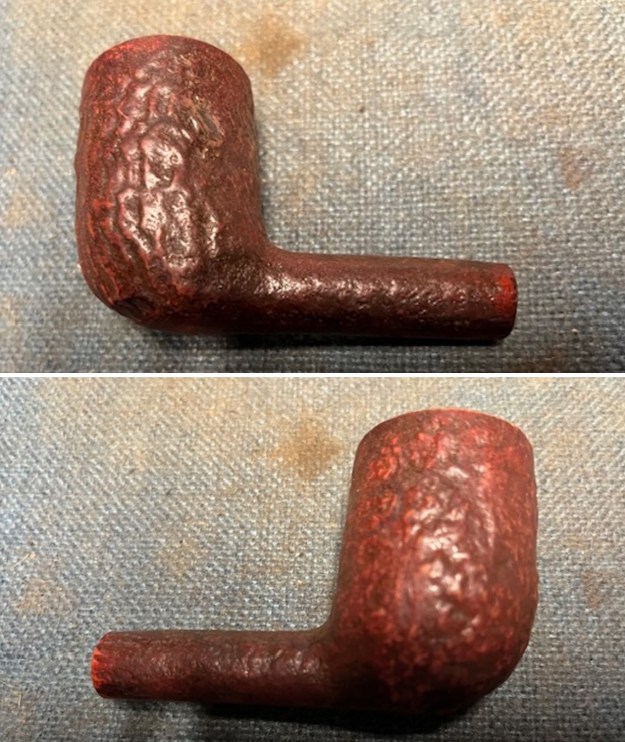
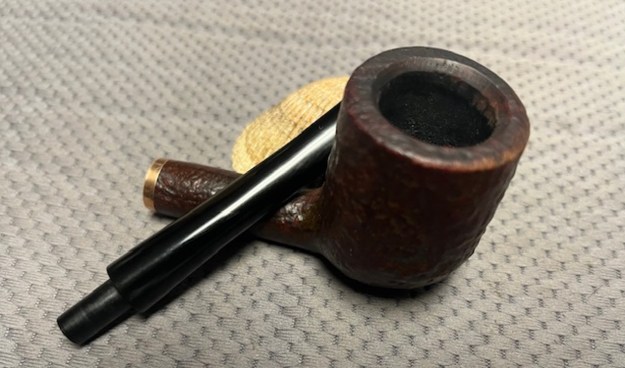
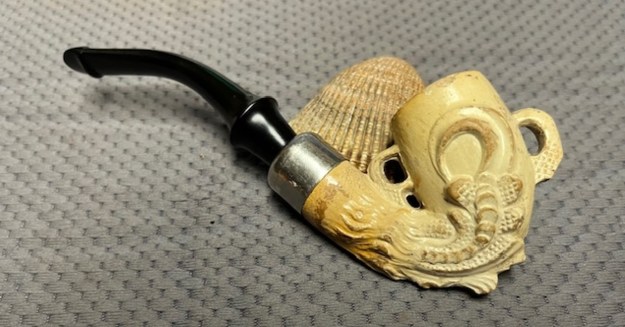
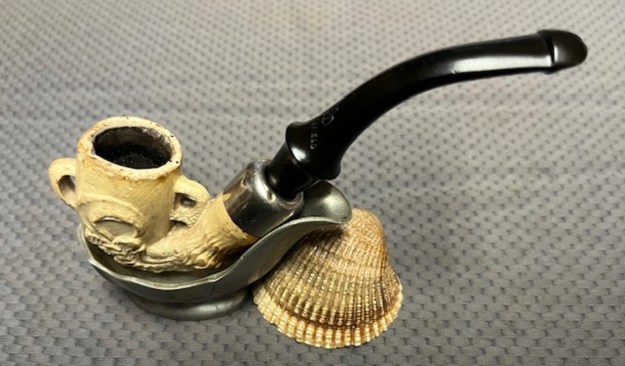
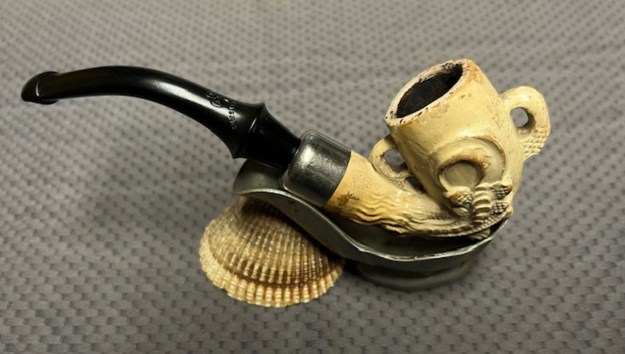
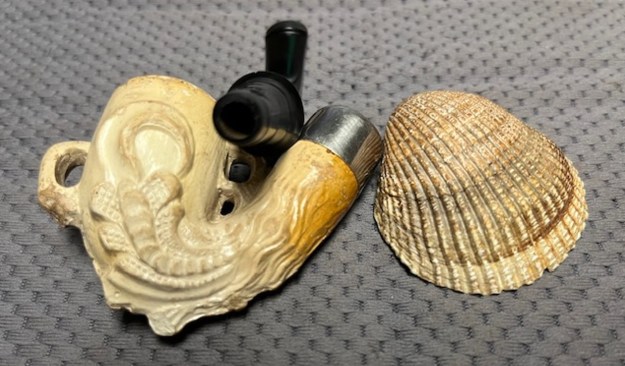
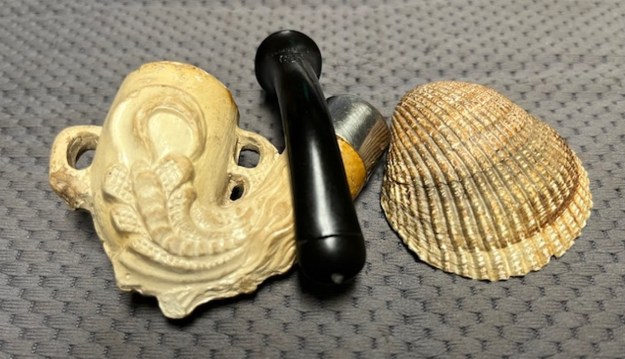
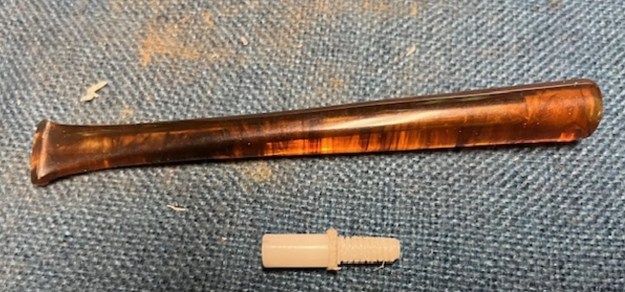
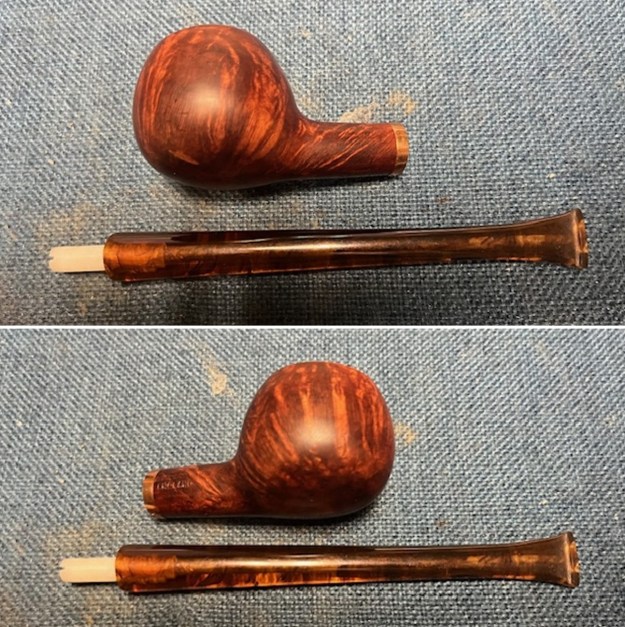
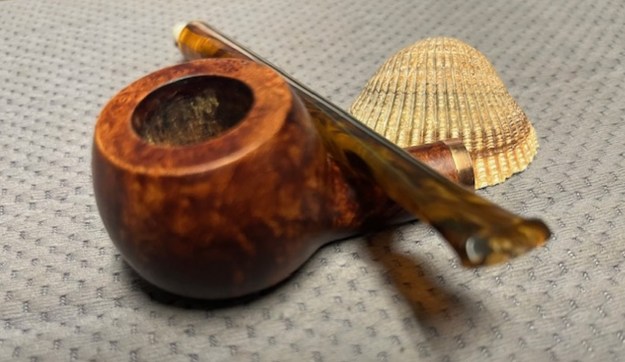
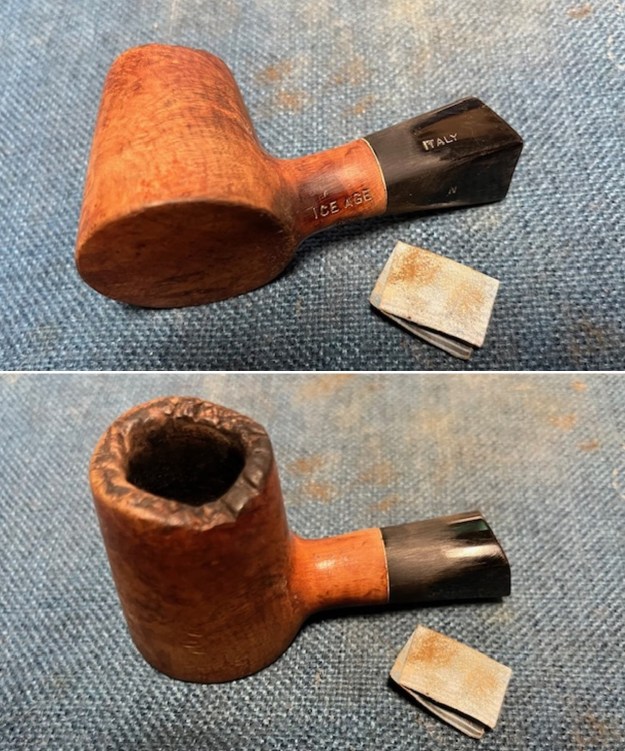
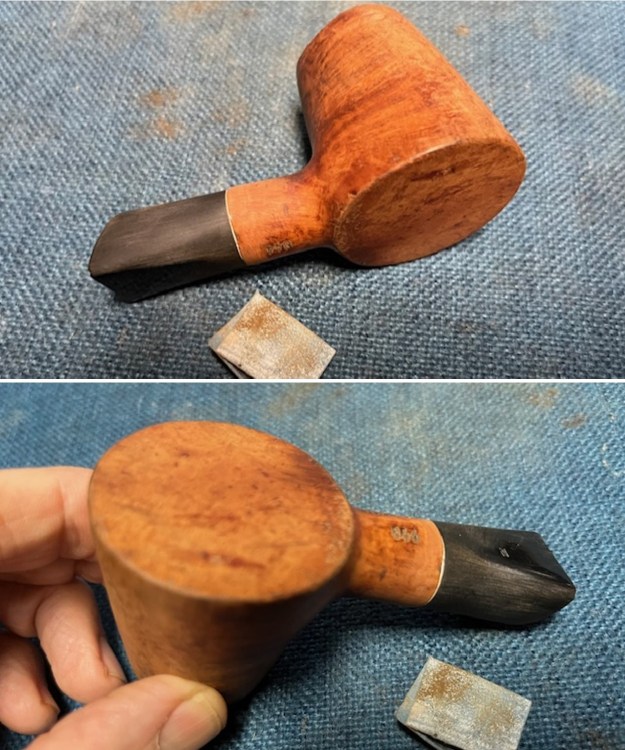
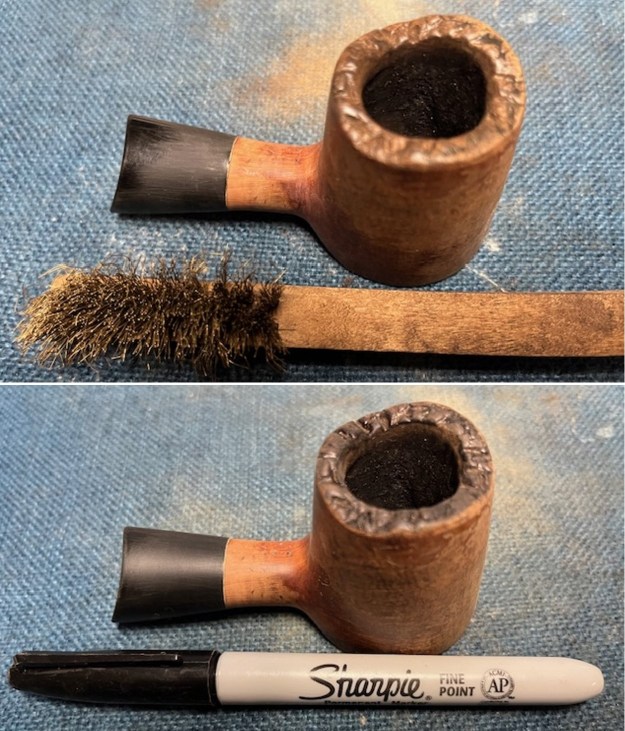
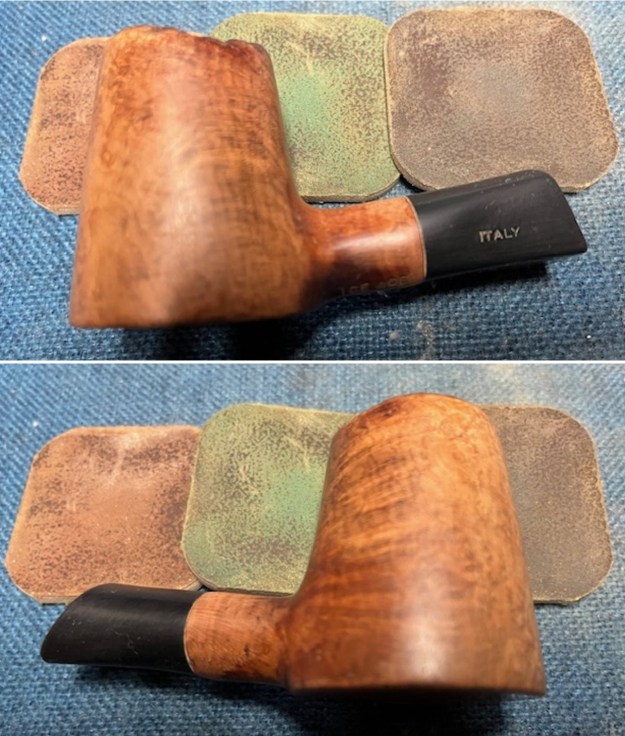
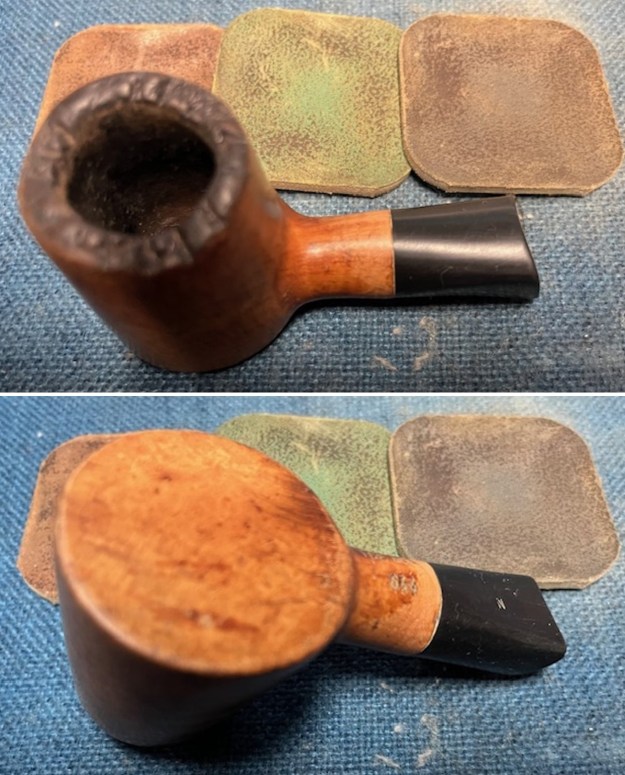
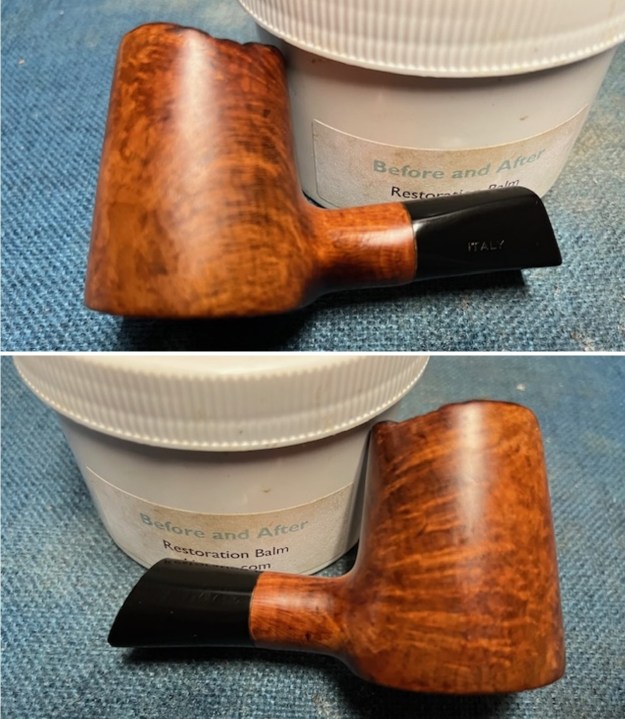
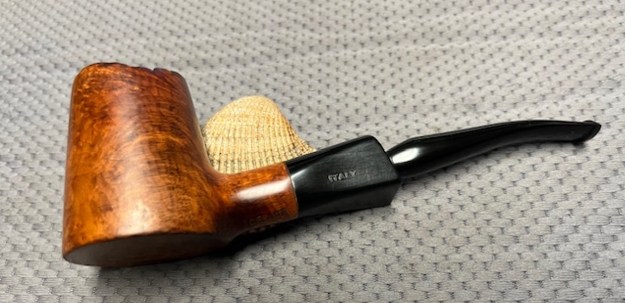
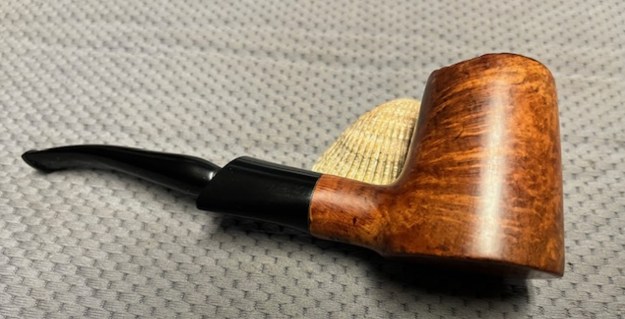
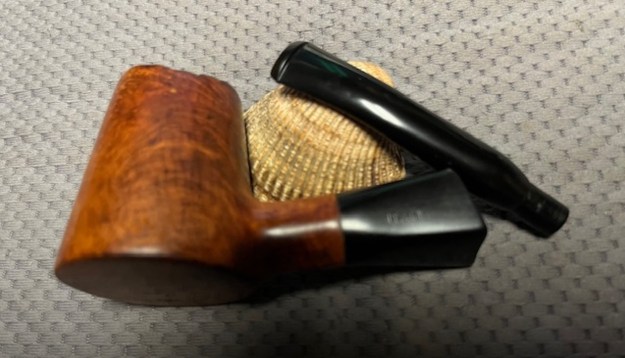
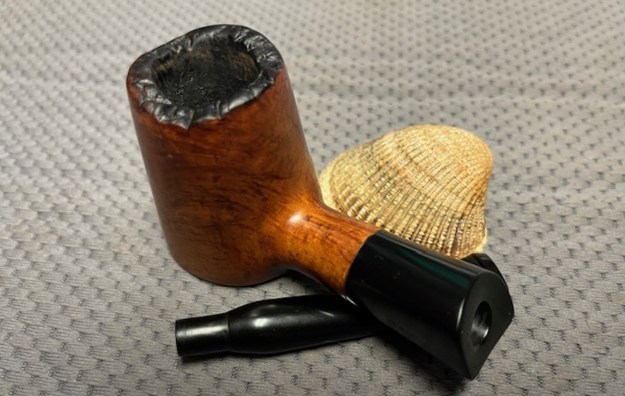
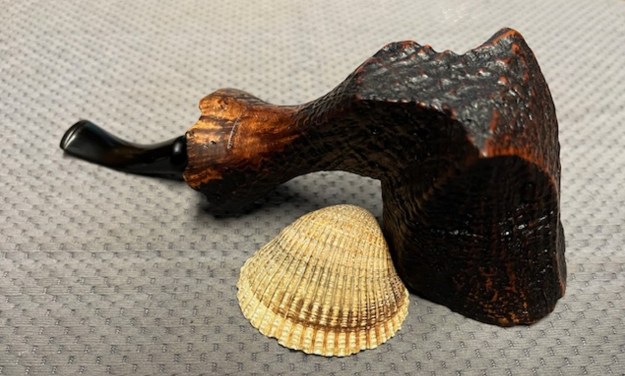
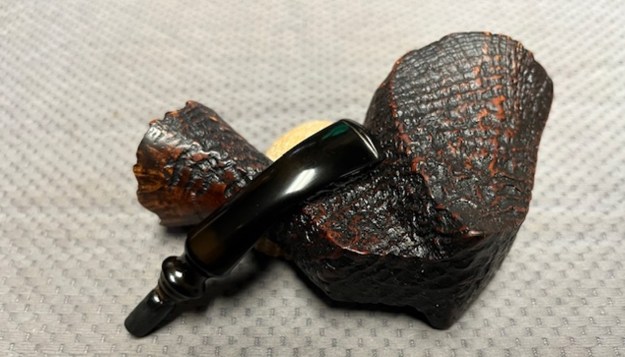
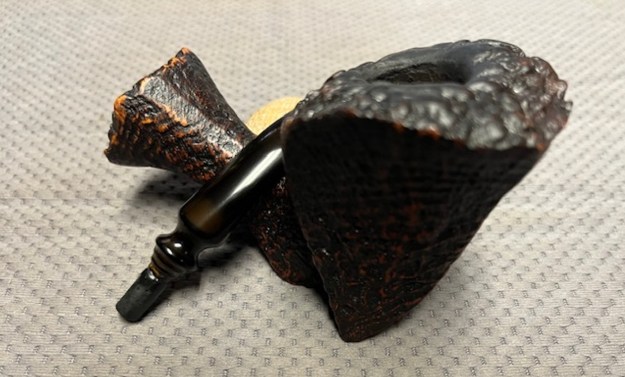
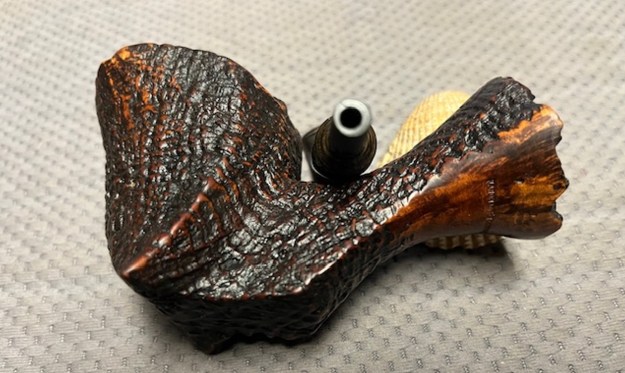
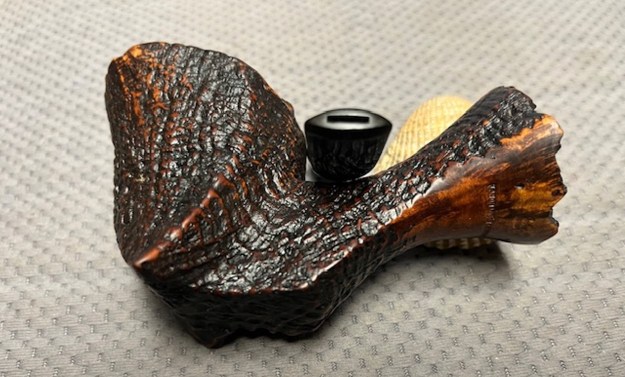
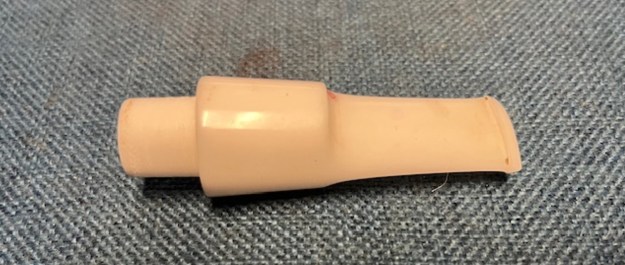
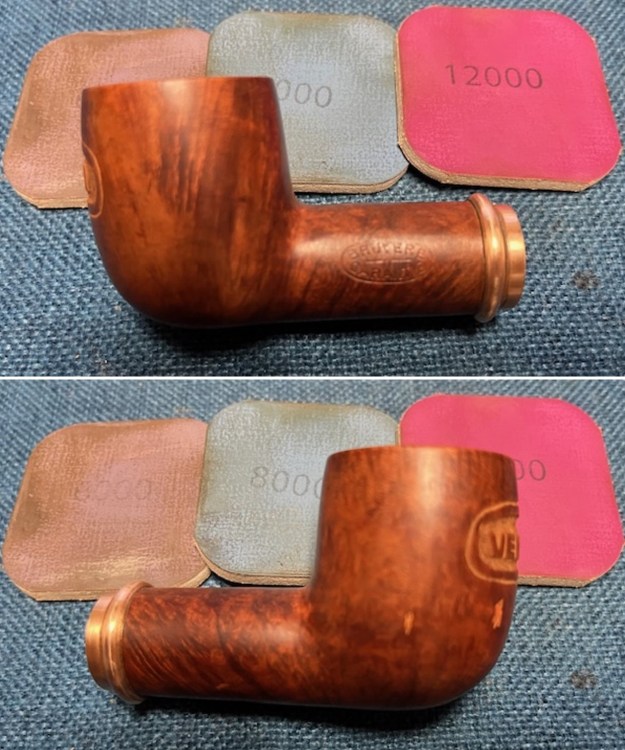
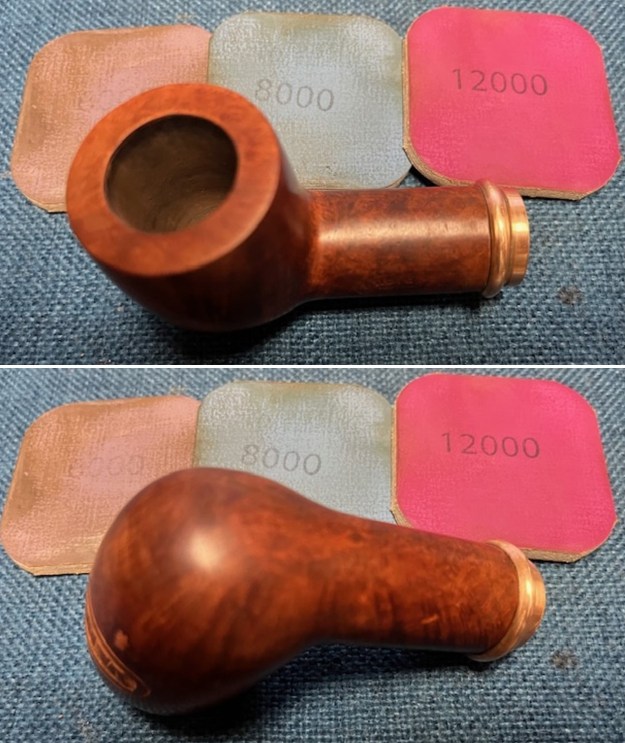
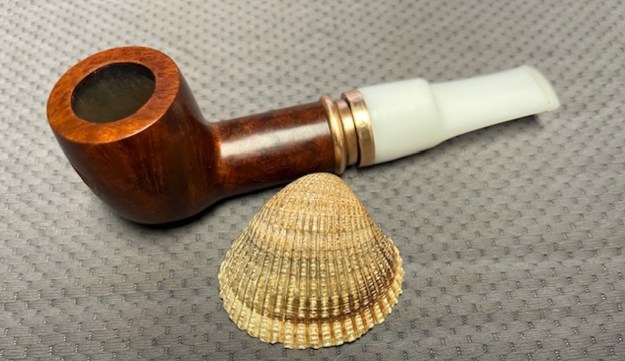
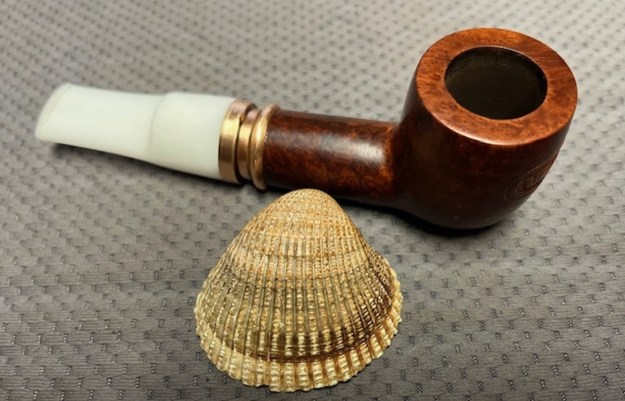
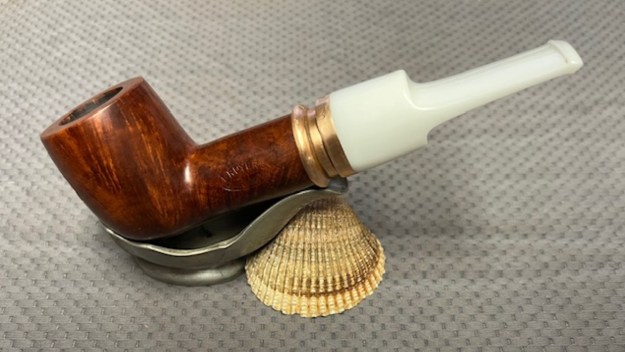
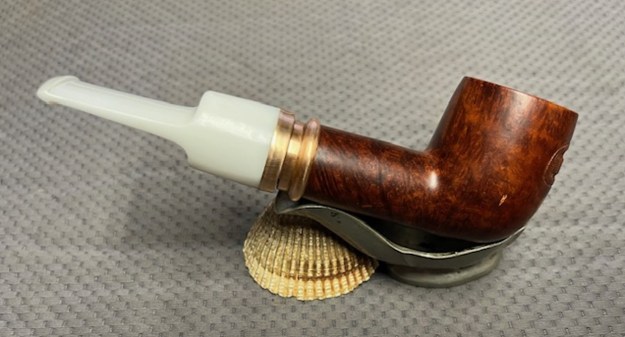
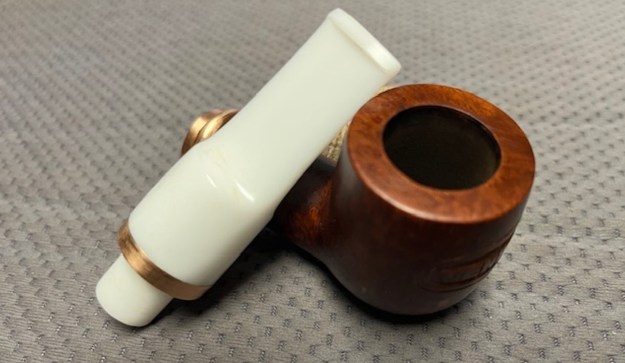
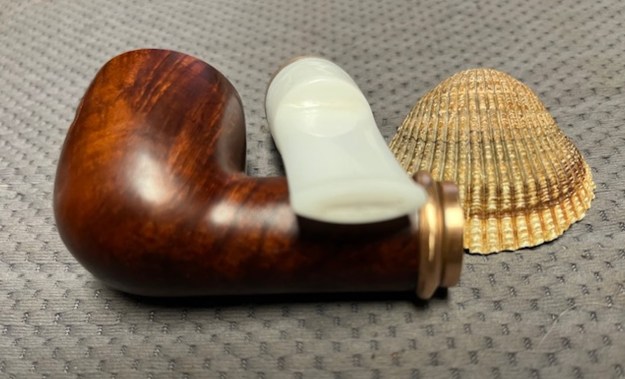
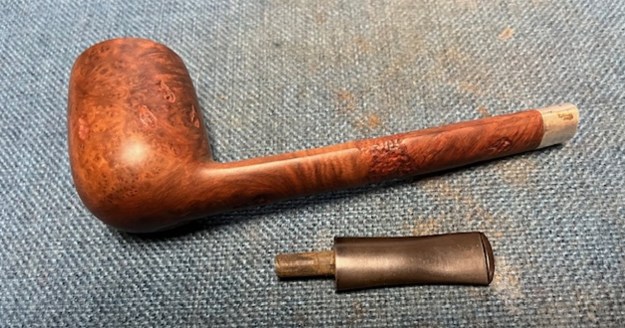
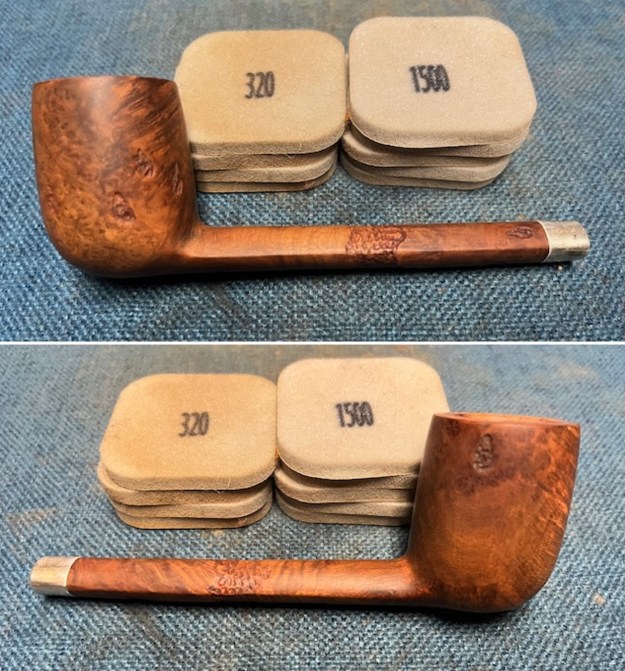
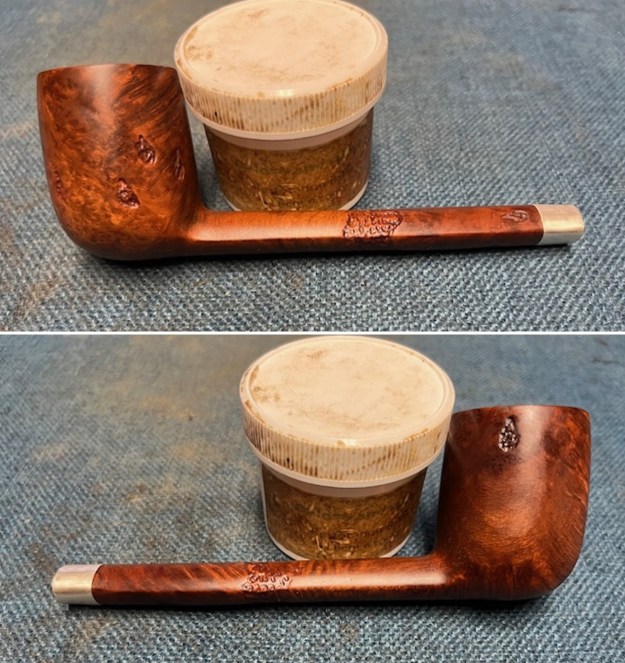
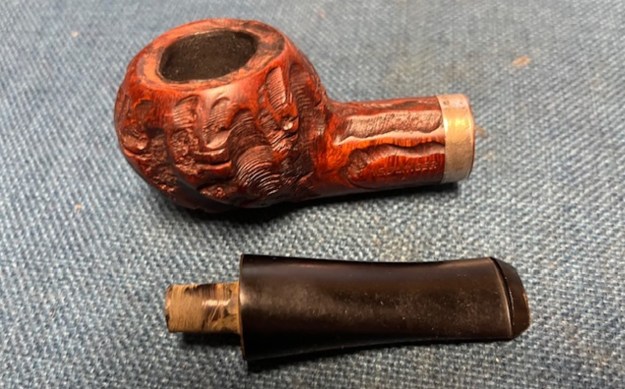
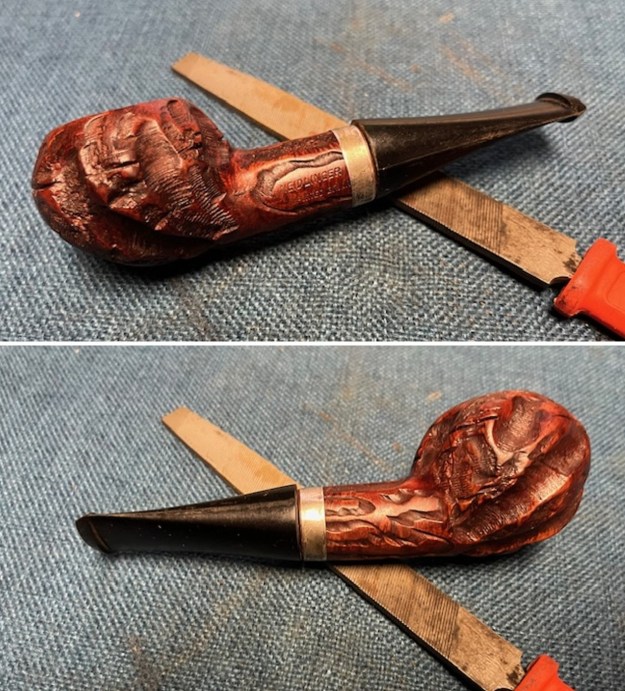
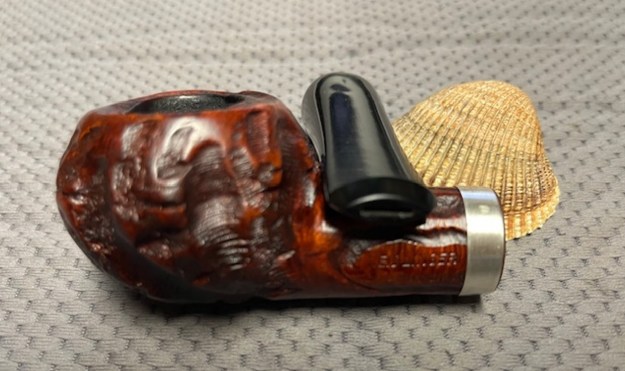
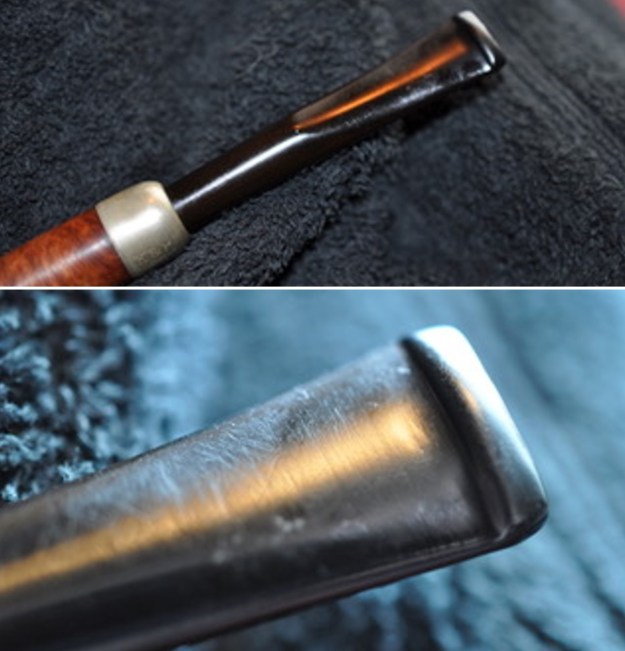
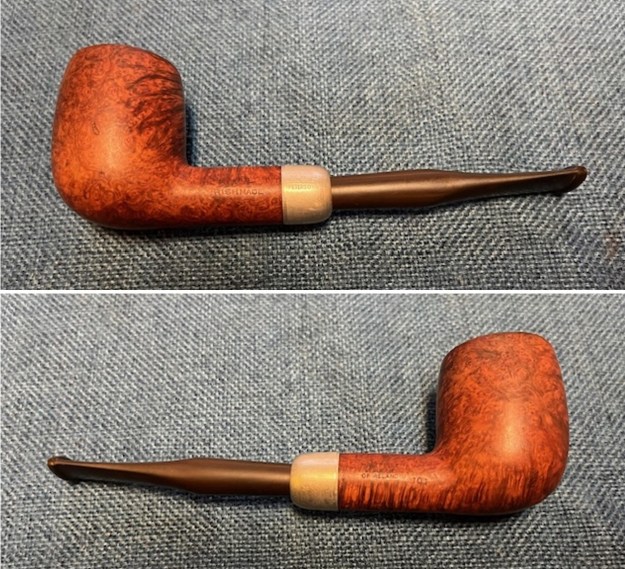
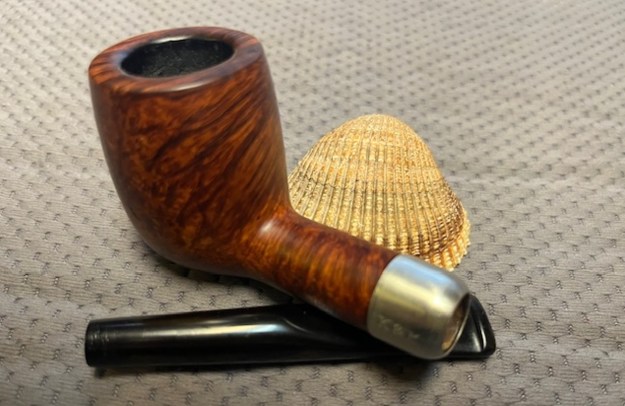
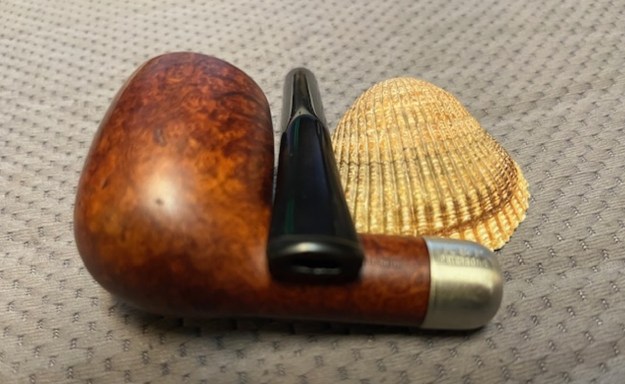
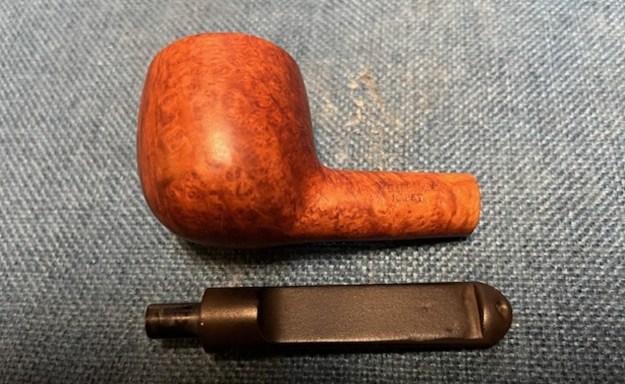
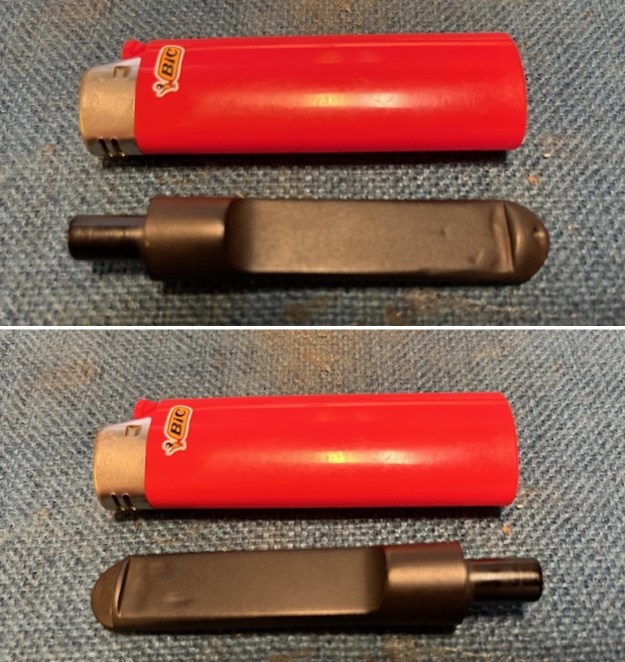
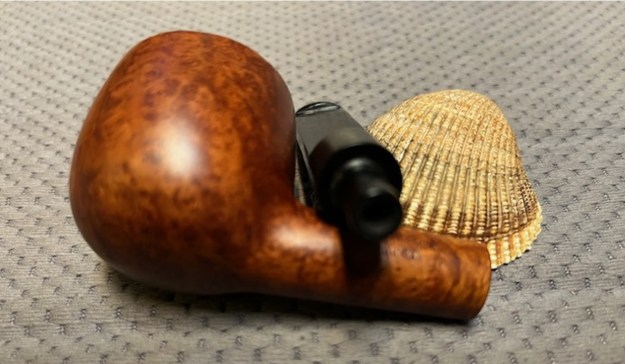
 I found an acrylic taper stem in my can of stems that would work with some adjustments. The tenon would need to be reduced in diameter and the diameter of the shank end would also need to be reduced. The size and shape of the stem were perfect to start with.
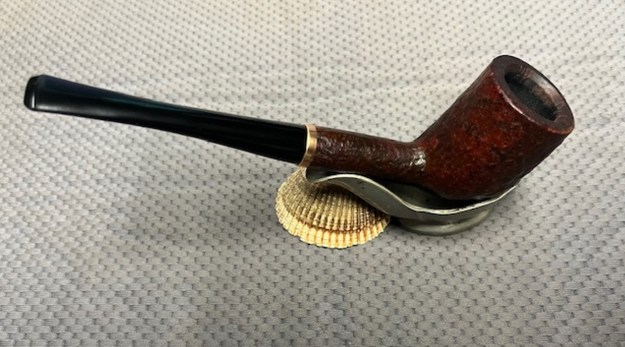
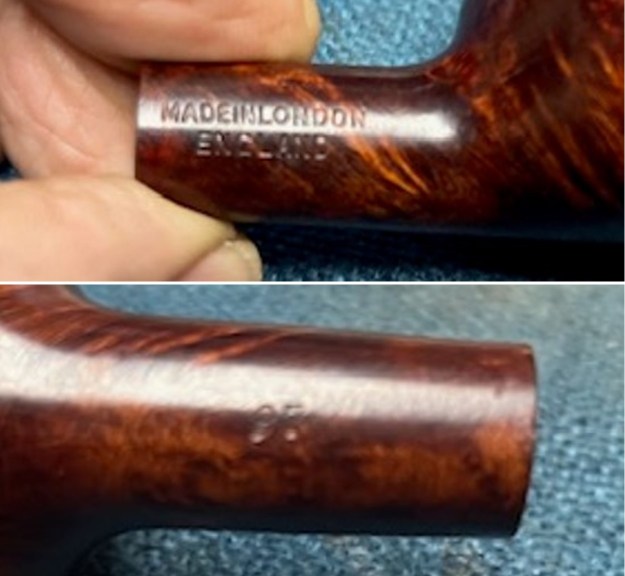
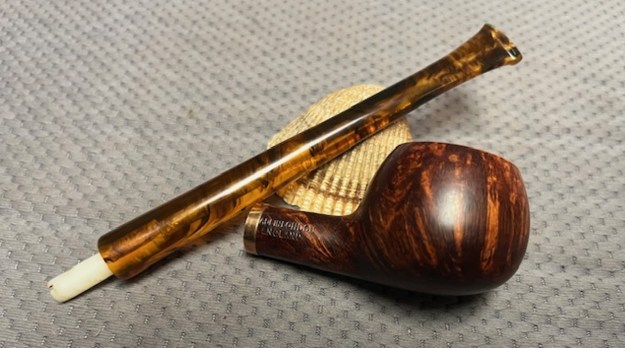
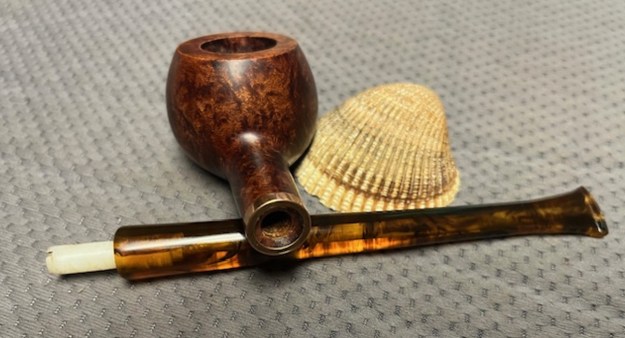
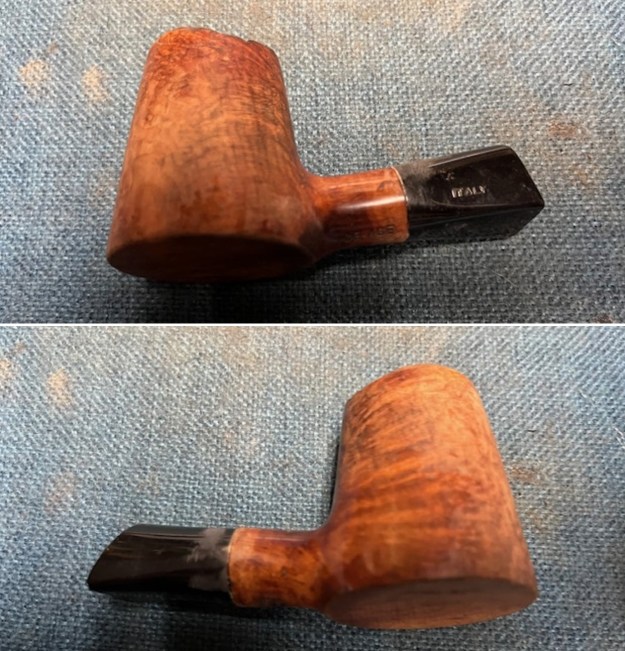
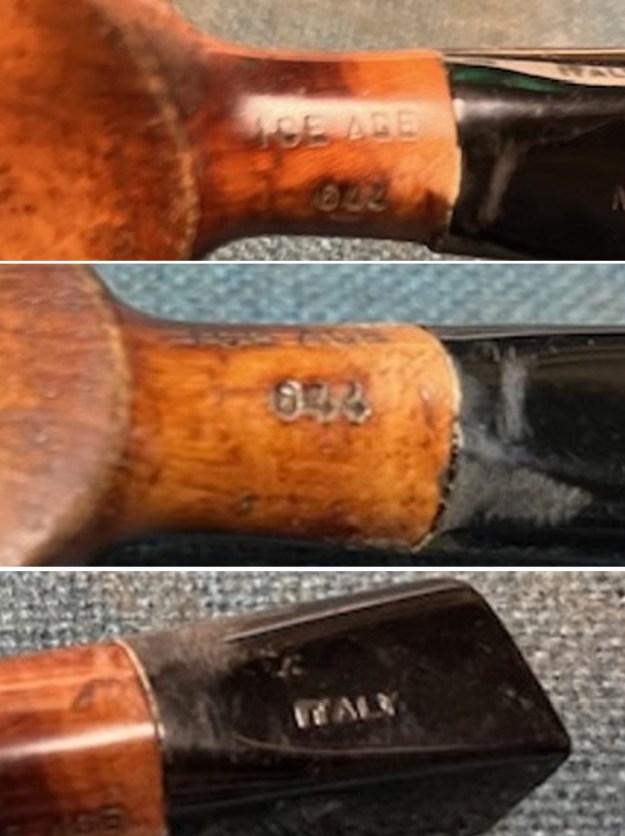
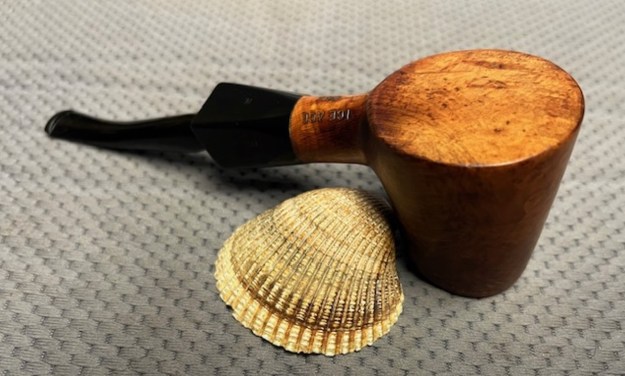
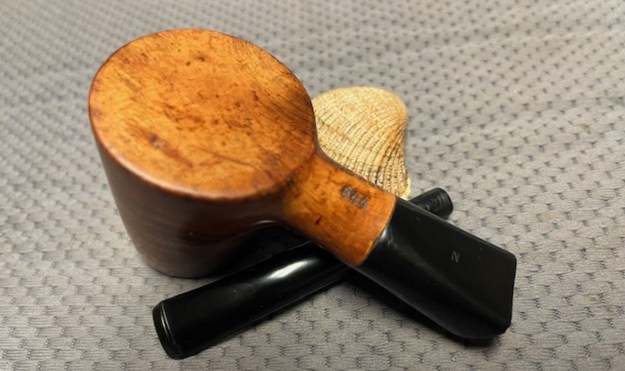
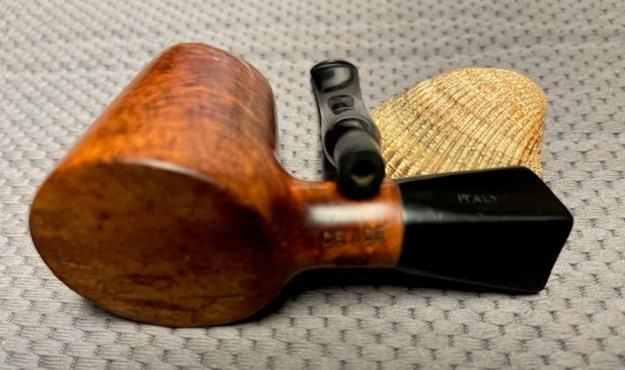
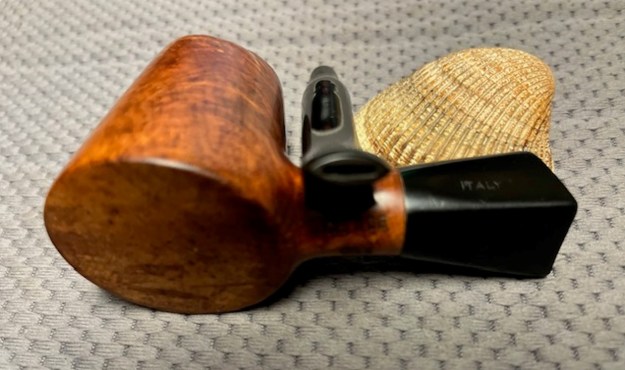
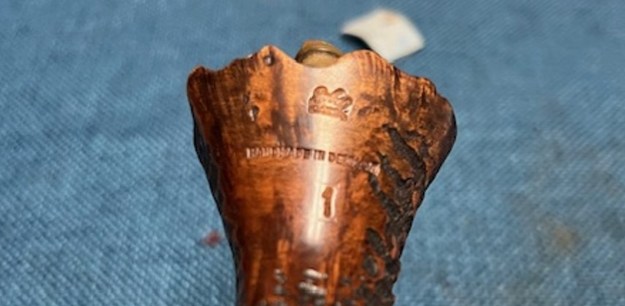
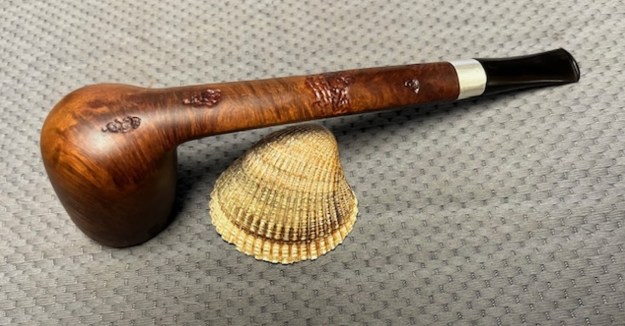
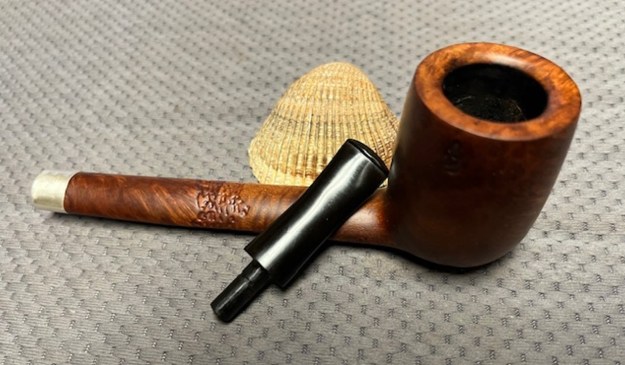
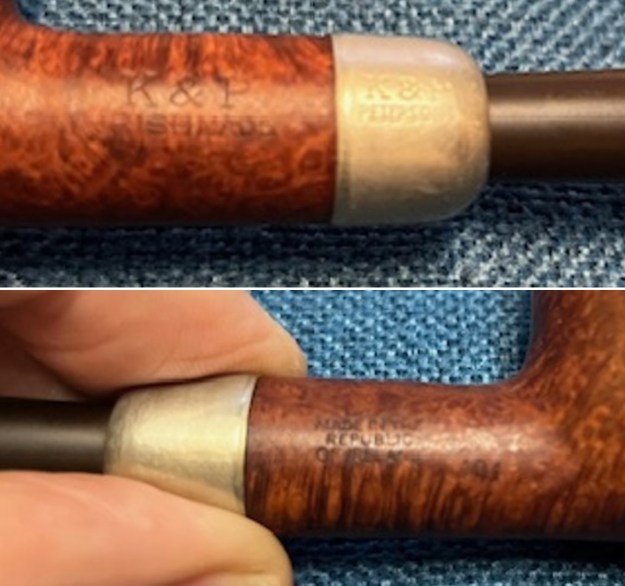
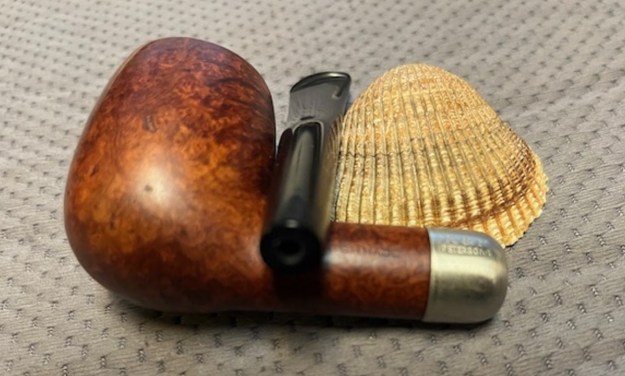
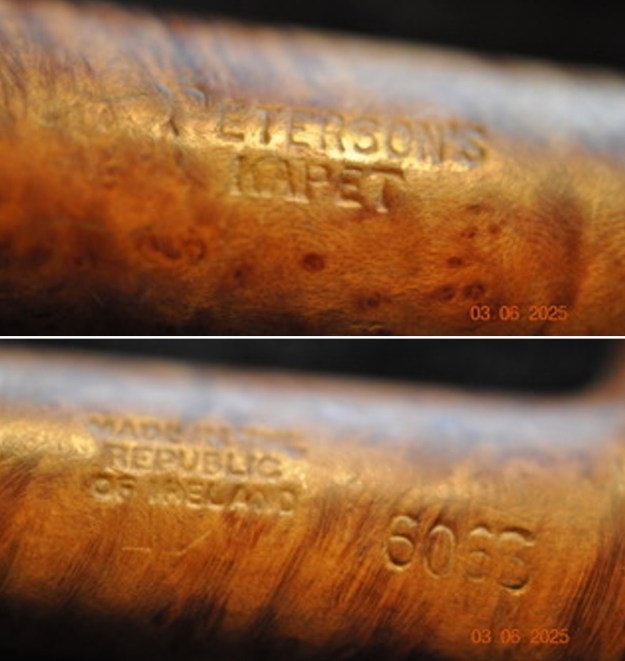
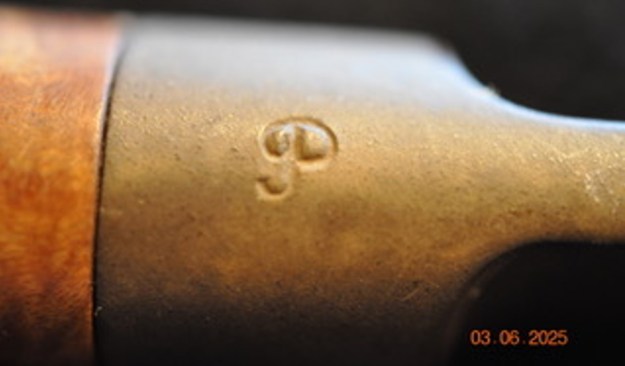
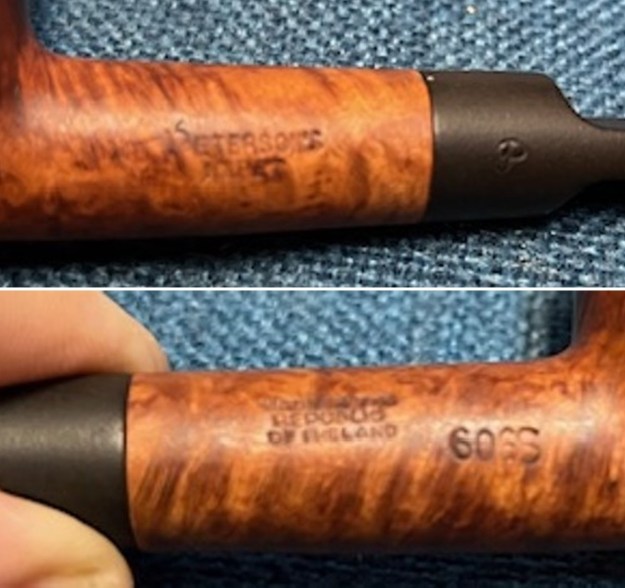
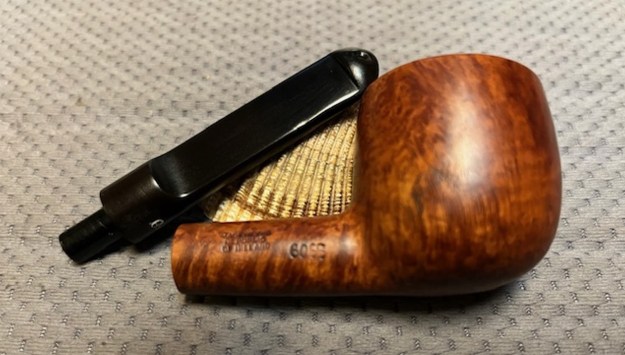
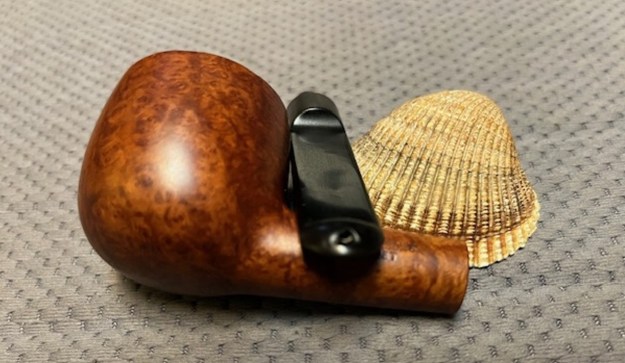
  I took photos of the stamping on the underside of the shank. It is clear and readable as noted above. With the new stem in place it is going to be a beautiful pipe once it is completed.
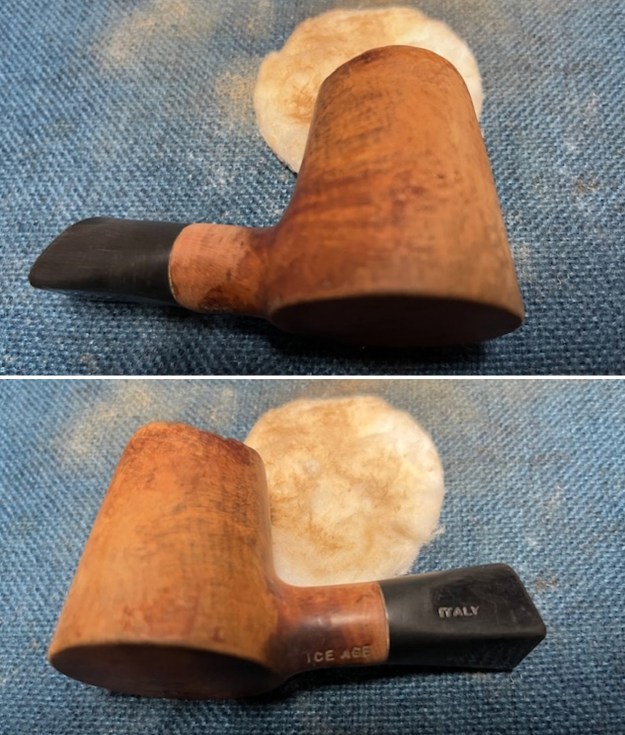
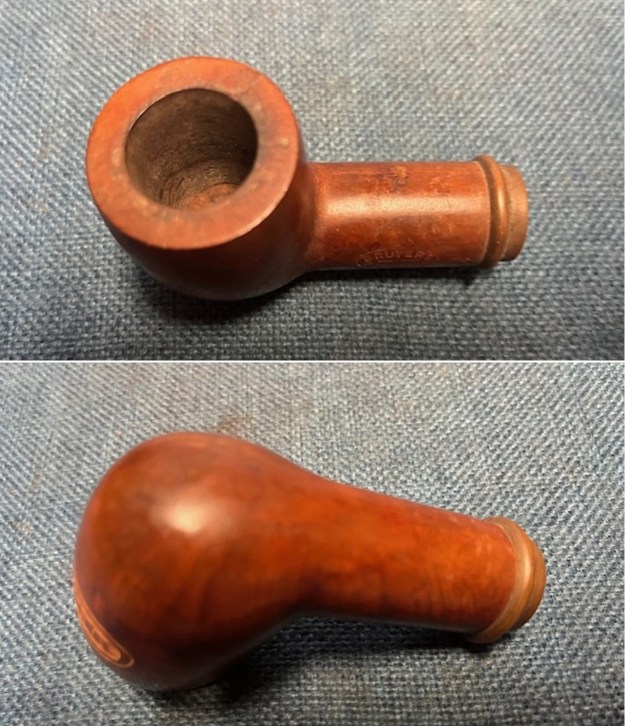
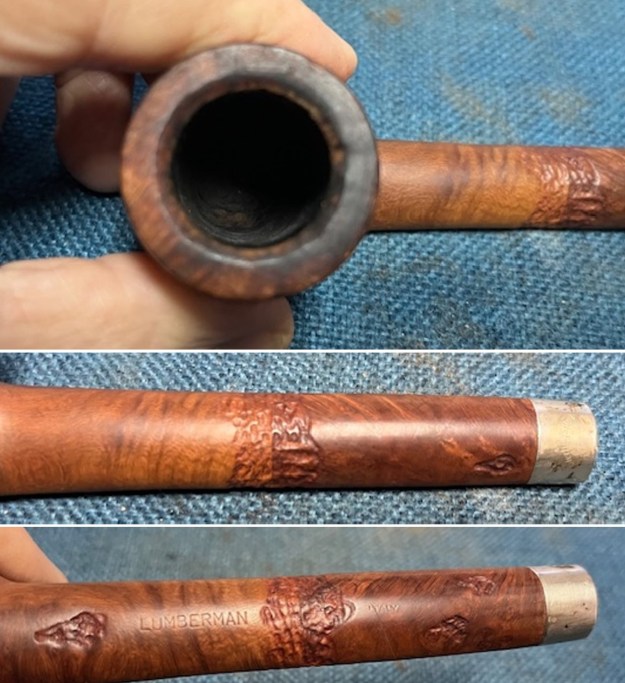
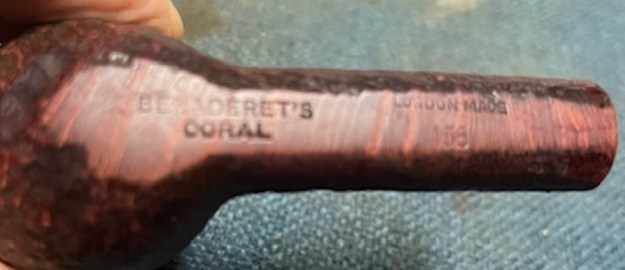 From the shape number on the shank I was pretty certain I was dealing with a GBD pipe. The stamping Benaderet’s Coral was a dead end but the shape number hit the mark. I turned to Pipedia’s shape number listing and found it (https://pipedia.org/wiki/GBD_Shapes/Numbers). I have included a screen capture of the listing below.
![]()
I did some more digging on the net and found that Benaderet’s was a pipe shop in San Francisco that closed in the 70’s. Their house pipes were made by Comoys or Sasieni although smokingpipes had one listed that was made by GBD once.
The other link was to a blog (http://theothersideofthelizard.blogspot.com/2018/11/benaderets-pipe-shop.html). That blog gave the original address of the shop in San Francisco and the names of the owners of the shop.
Benaderet’s Cigarette, Pipe and Tobacco Shop – 215 Sutter Street [Formerly at 566 California Street], San Francisco.
Owners: Robert and Edith Rashaw (Robert Rashaw: born 1916. Edith Edna Rashaw: born 1916.) Store still extant in the late seventies. No longer there by the eighties. At one point, they had Egyptian cigarettes made for them. Their house pipes were usually by Comoys. There are also Benaderet’s Sasienis. More research required.
Quote: “Benaderet’s Inc., was California’s oldest pipe and tobacco store when it went out of business in 1980. Sam Benaderet was a tobacconist from New York City who came to San Francisco in 1915 to work at the Panama Pacific International Exposition. An immigrant to the United States from Turkey, Mr. Benaderet decided that he liked the West Coast’s Mediterranean like climate. After the Exposition closed, he stayed to open his own tobacco business. This new firm produced custom private-label cigarettes for men’s clubs. A lavish retail store was opened in the late 1920’s that quickly became a mecca for tobacco connoisseurs.”
So what I could find out about the pipe is that it is a pipe made by GBD (Shape number confirms this). It turns out that the pipe was a GBD pipe made for Benaderet’s Cigarette, Pipe and Tobacco Shop in San Francisco, California. Since the shop went out of business in 1980 I now knew that the pipe was made before that time. Now it was time to work on the pipe.
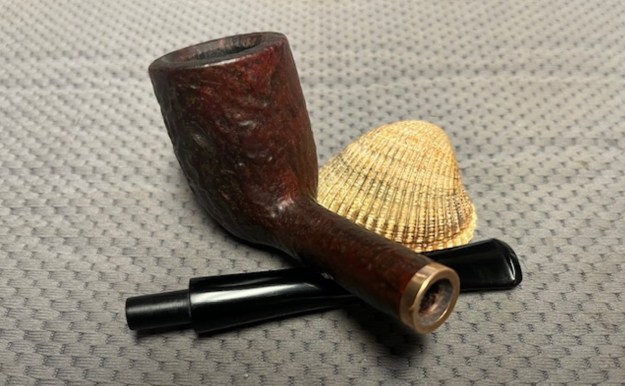
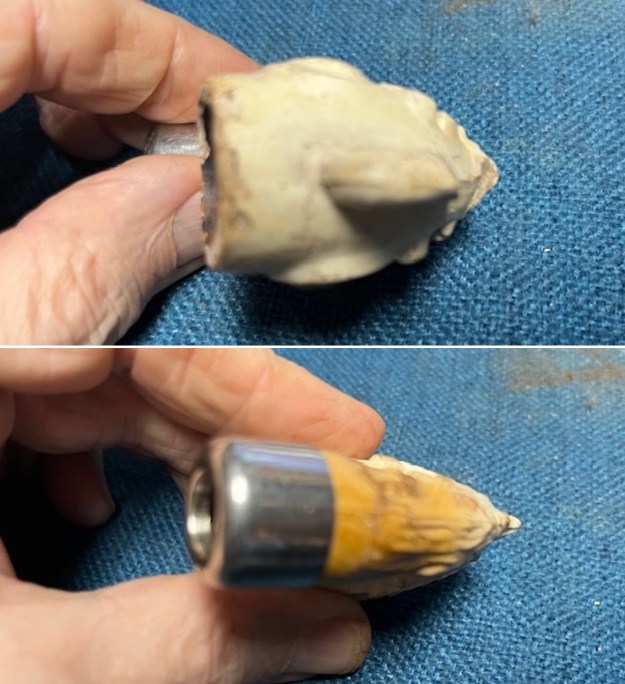
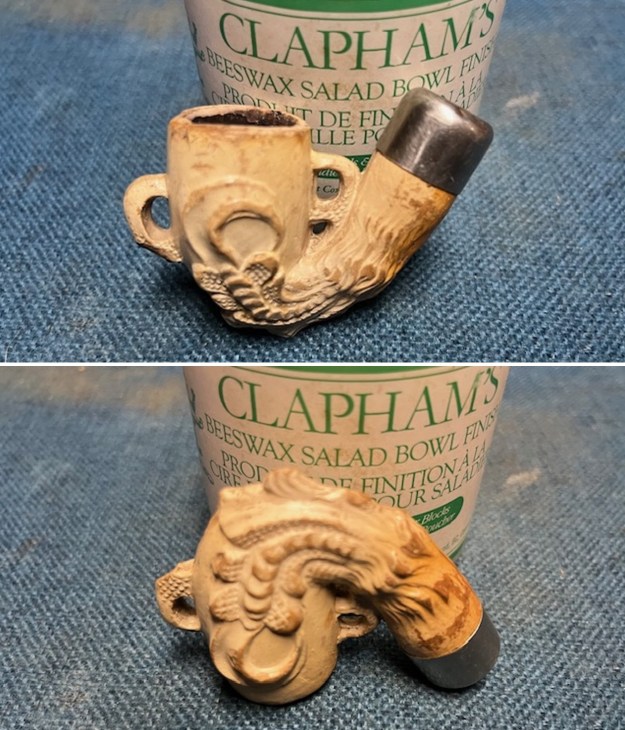
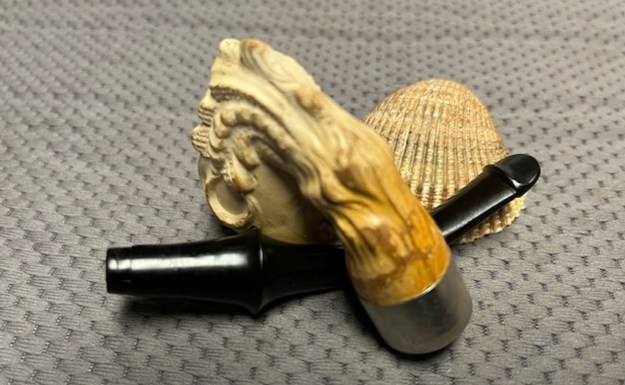
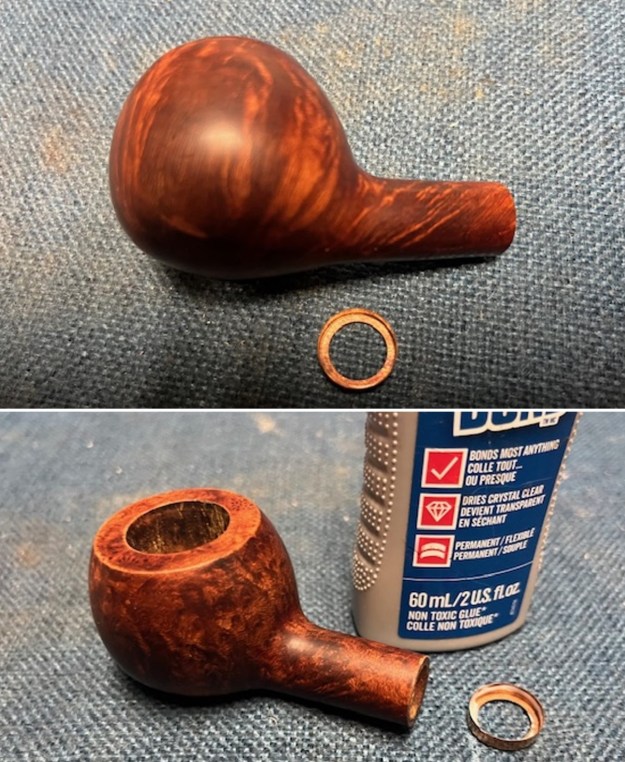
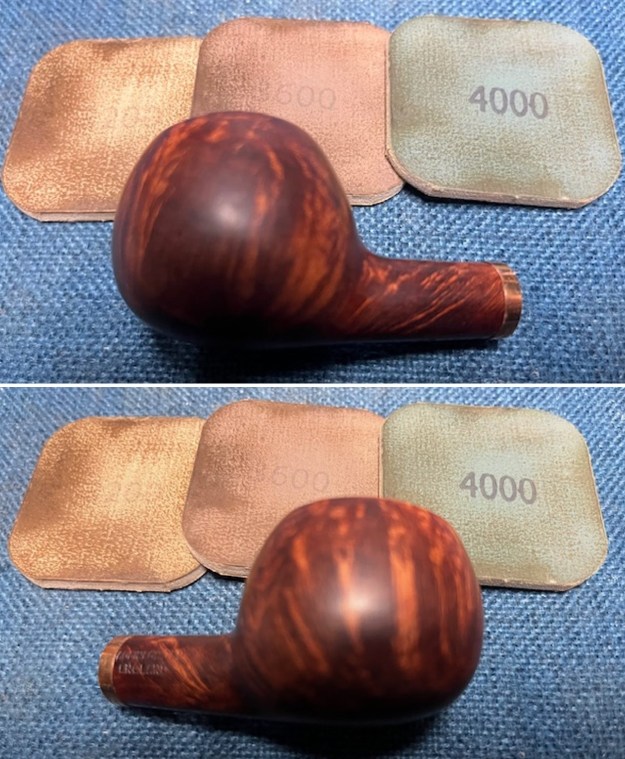
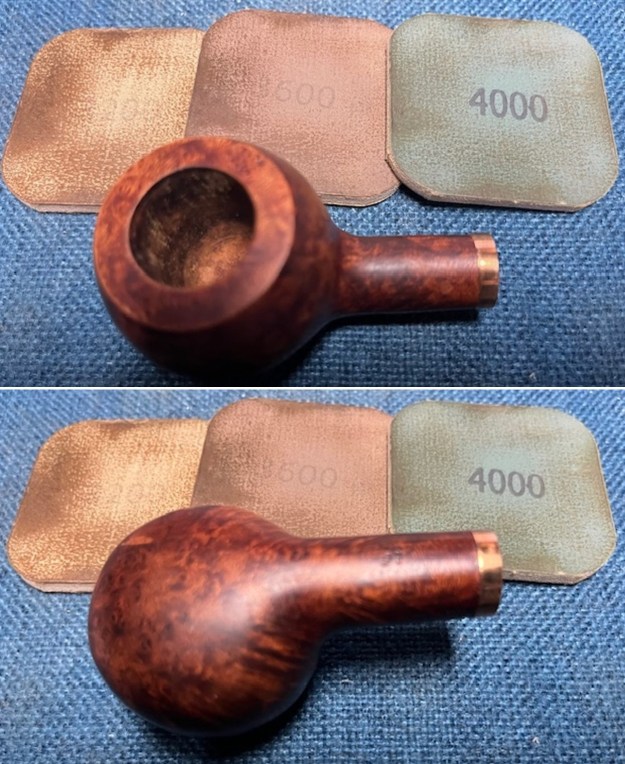
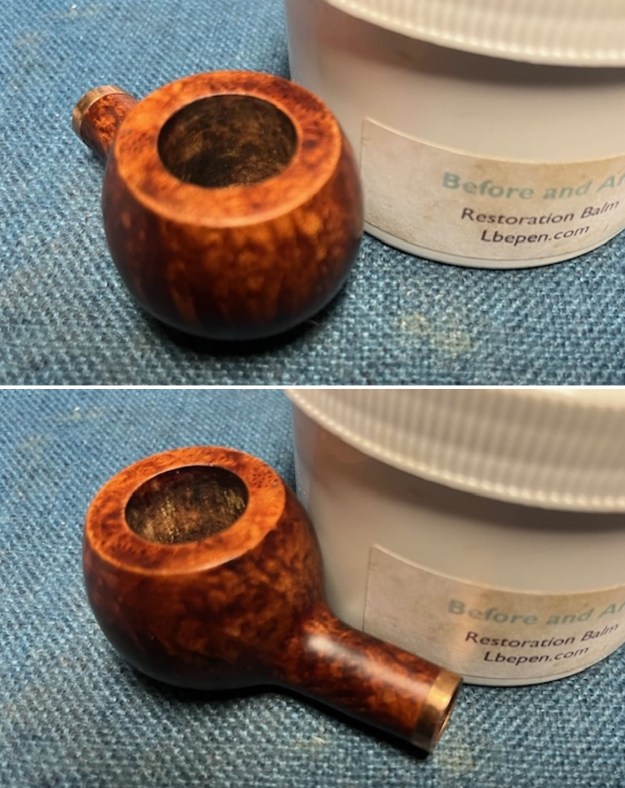
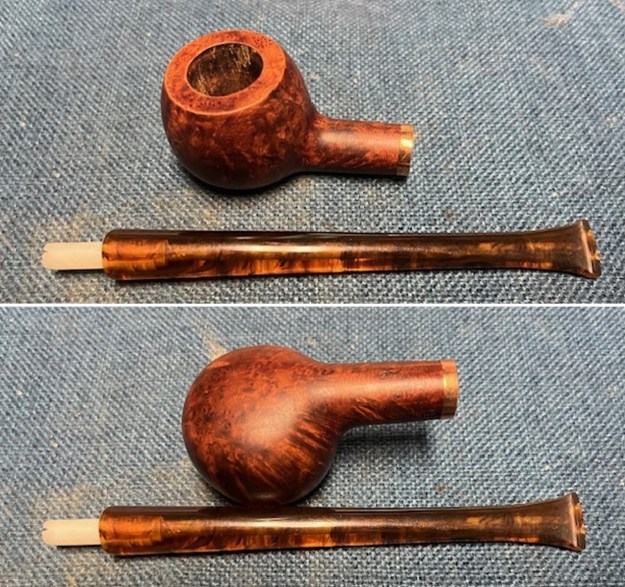
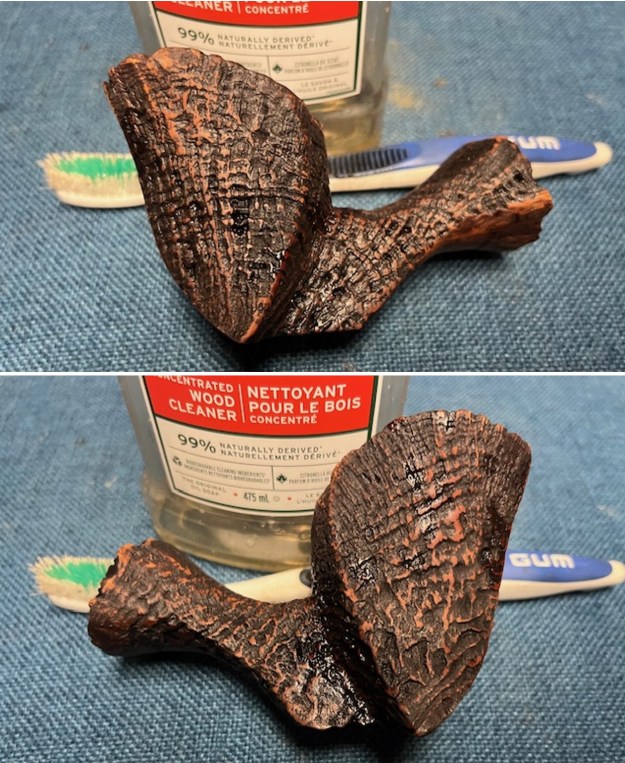
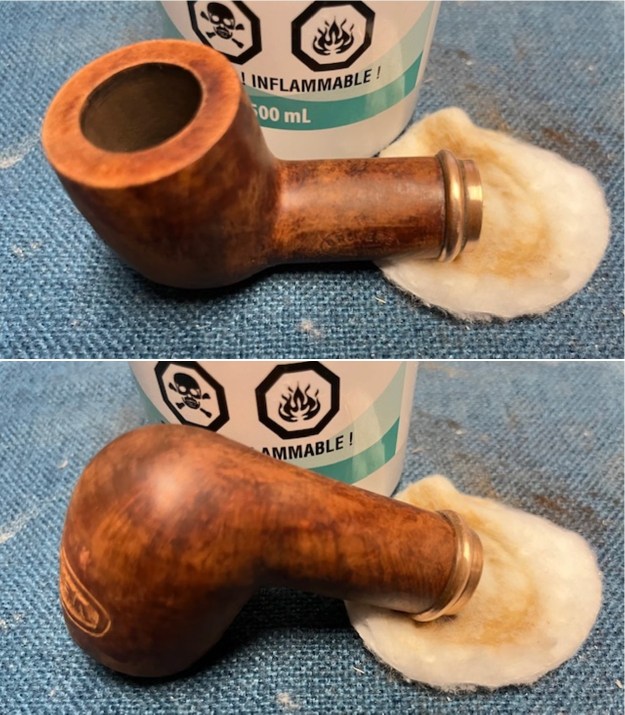
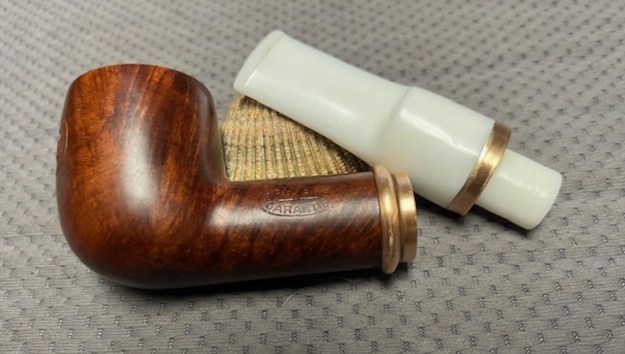
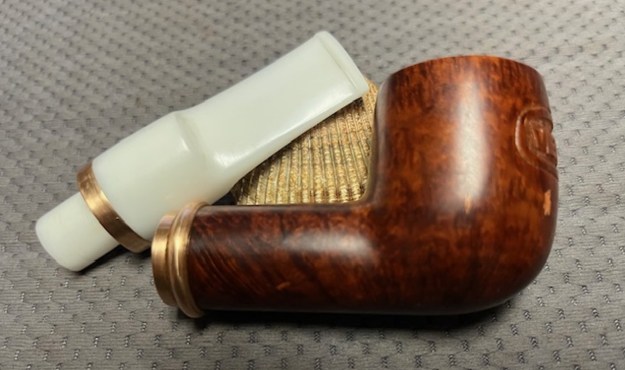
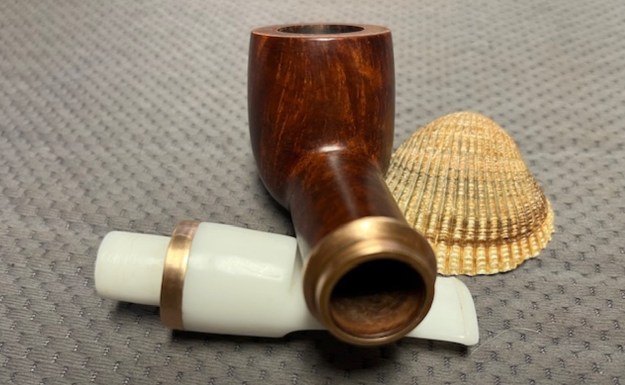
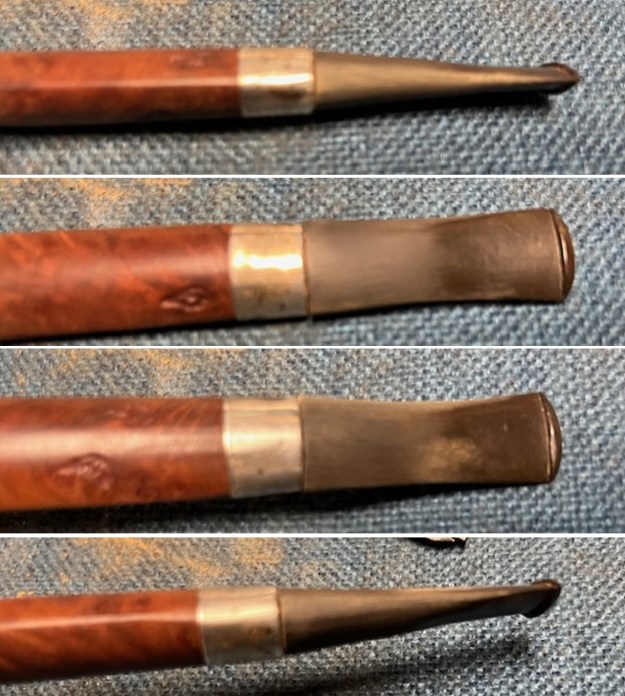
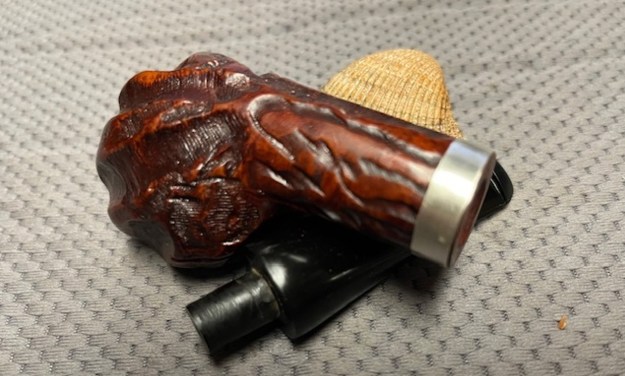
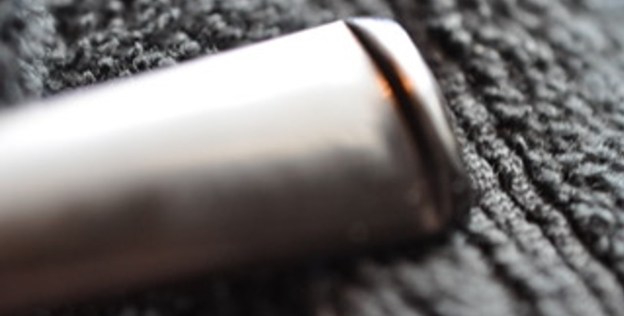
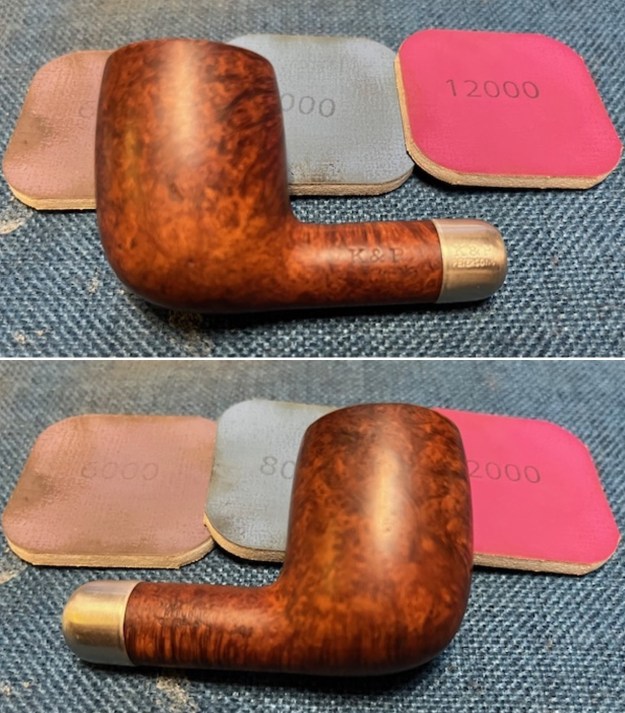
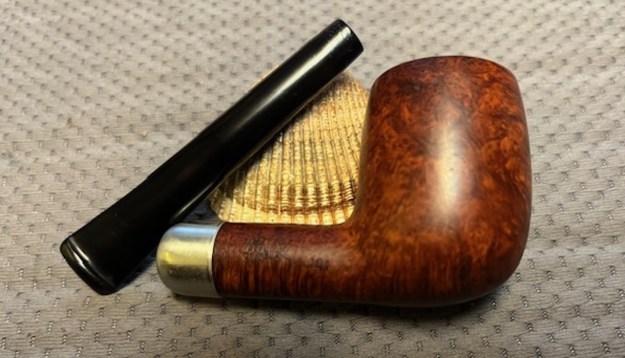
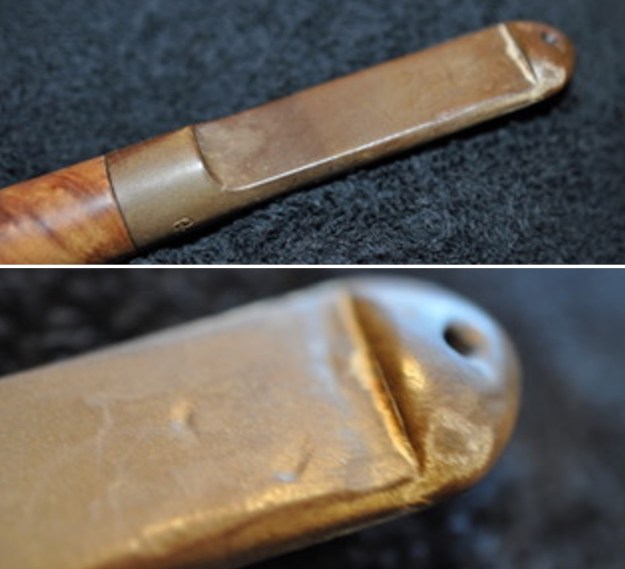
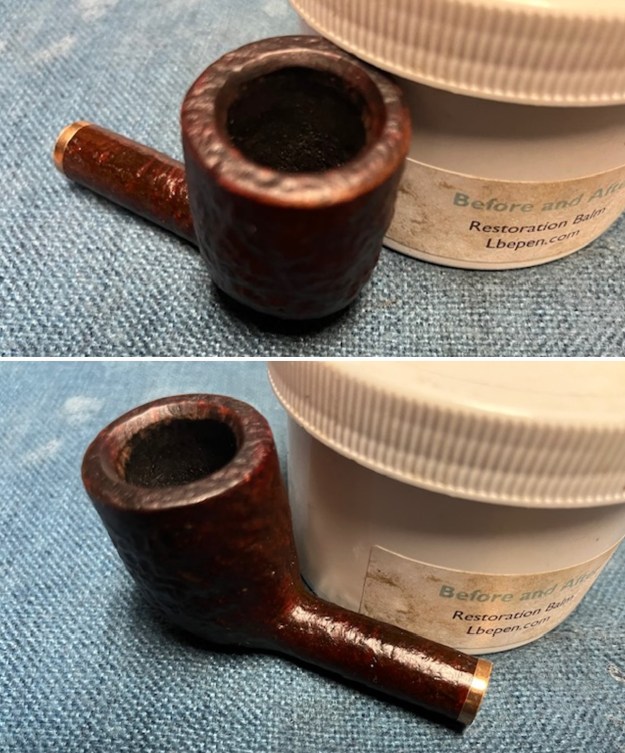
I decided to fit the shank with a thin polished brass band. The shank end was tapered slight and was no long round. It appeared to have been sanded for a stem somewhere in its journey. The thin band would smooth out the transition and square it off. It would also set off the briar and the new stem. I pressed it onto the shank and it was firmly in place.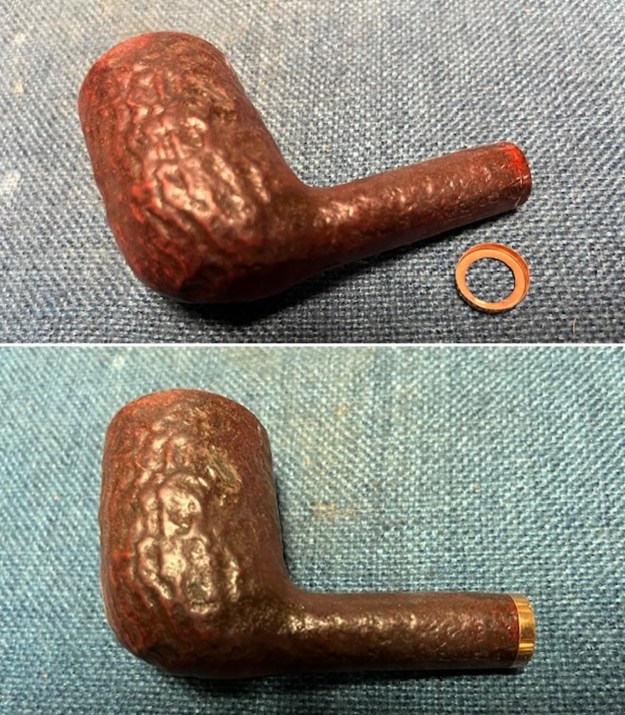
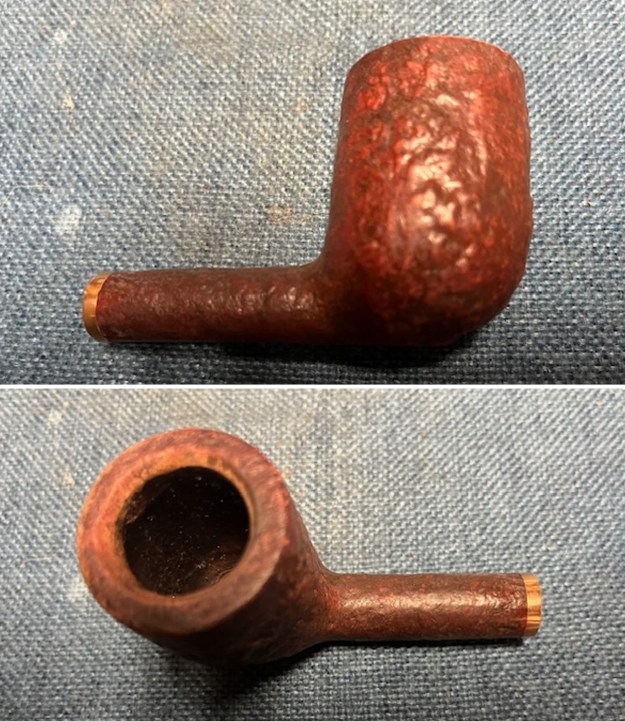
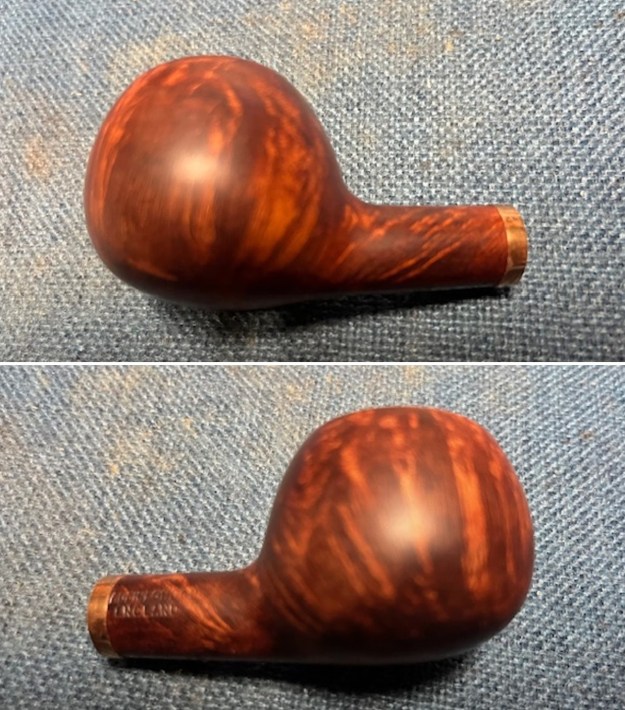
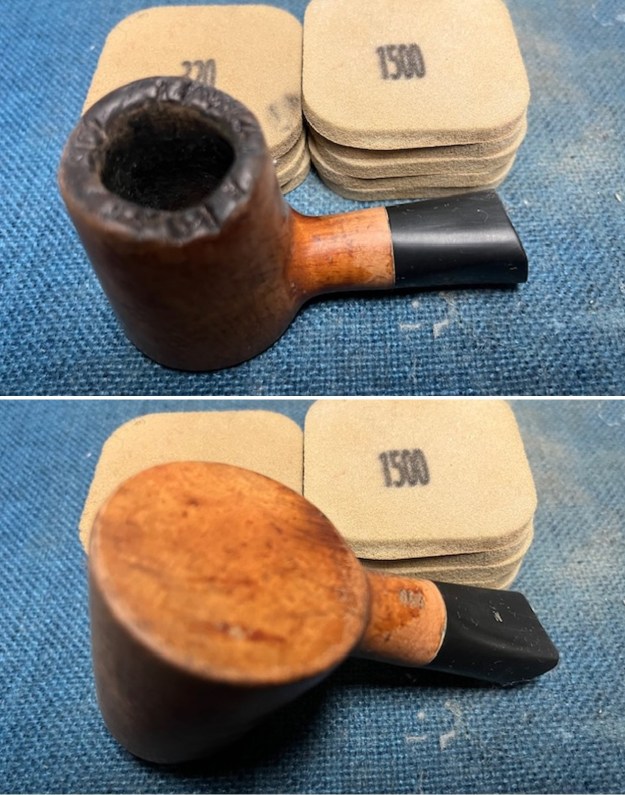
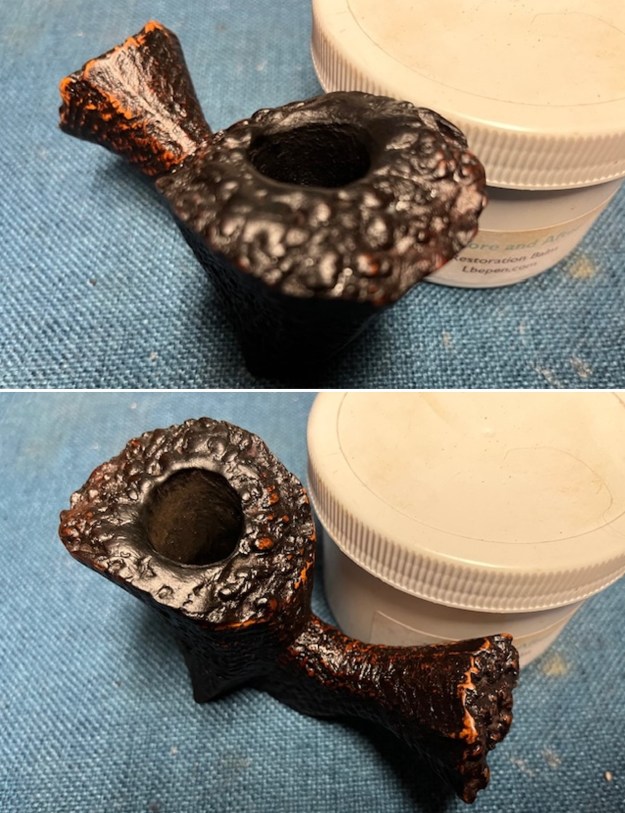
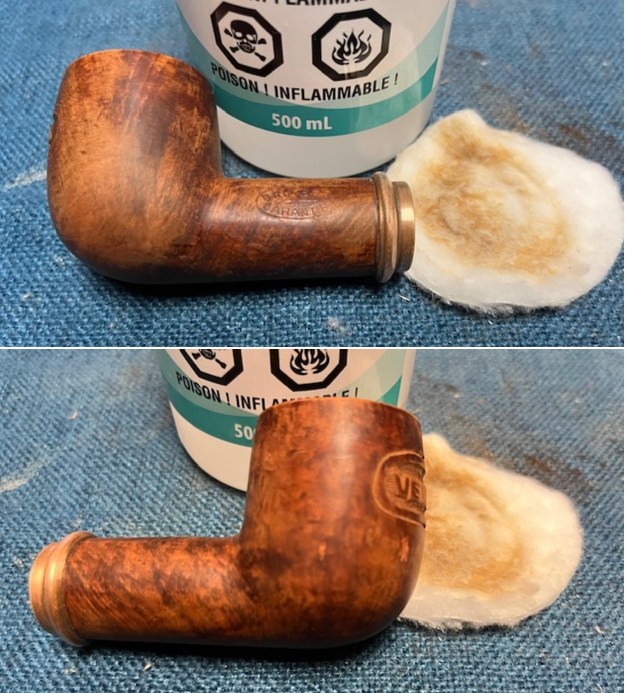
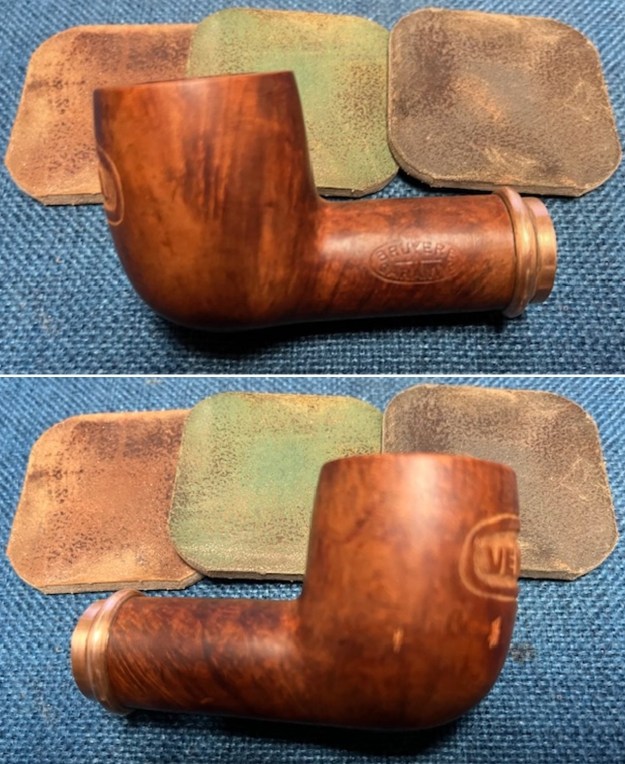
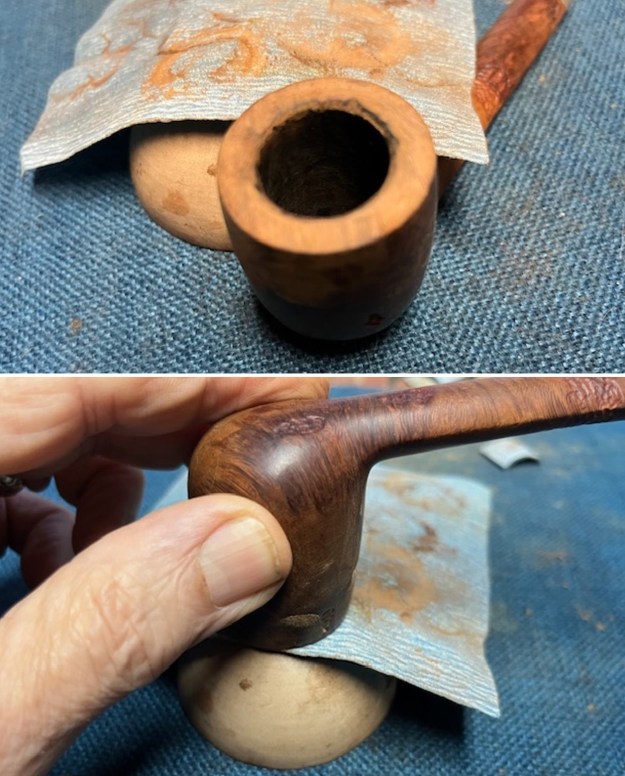
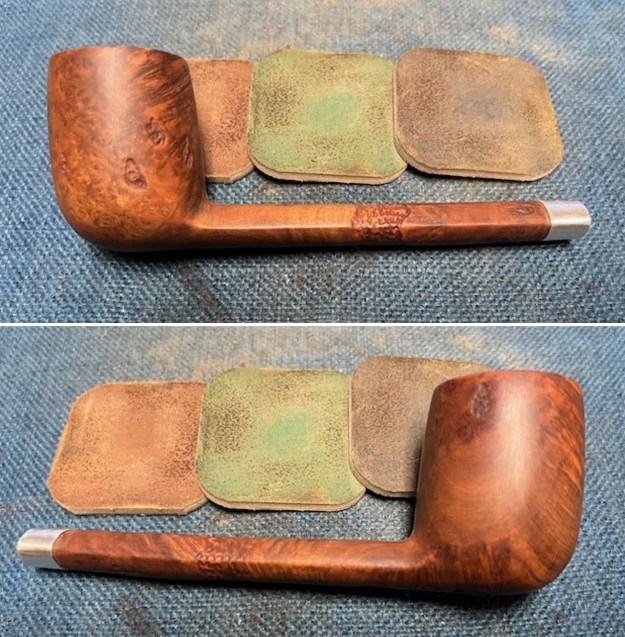
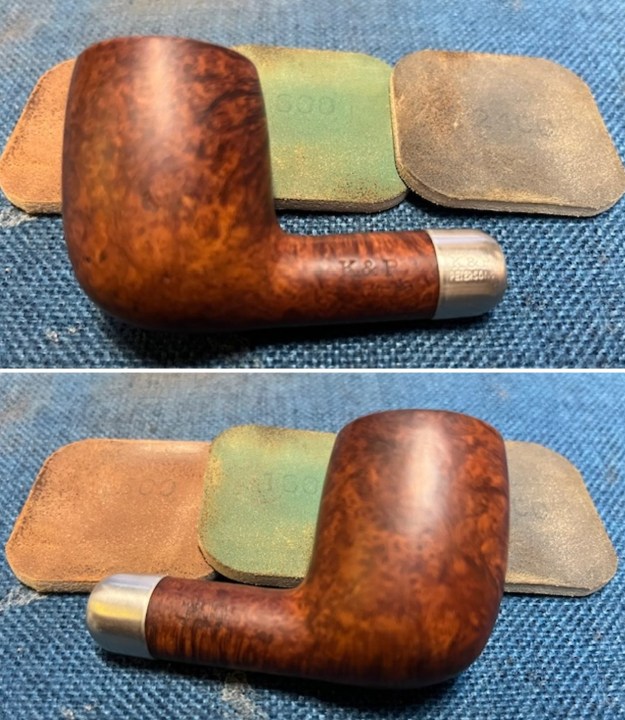
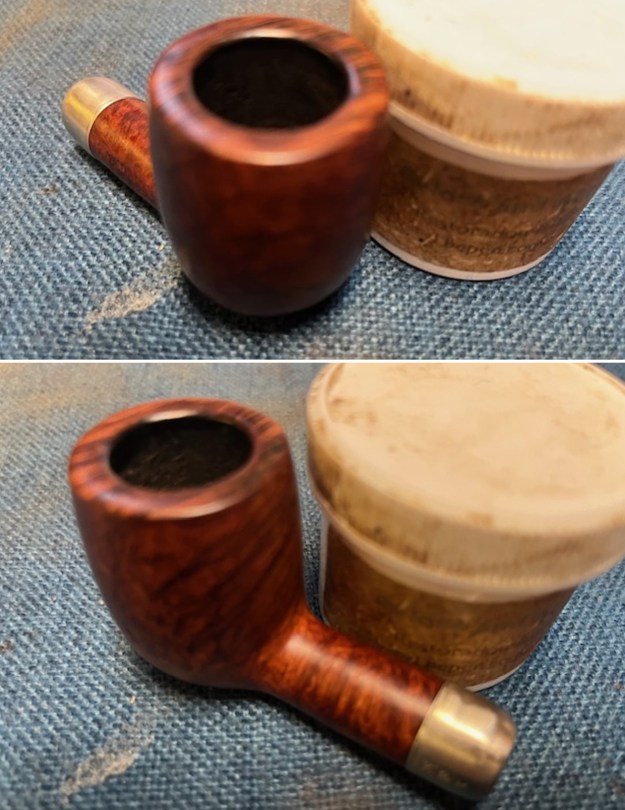
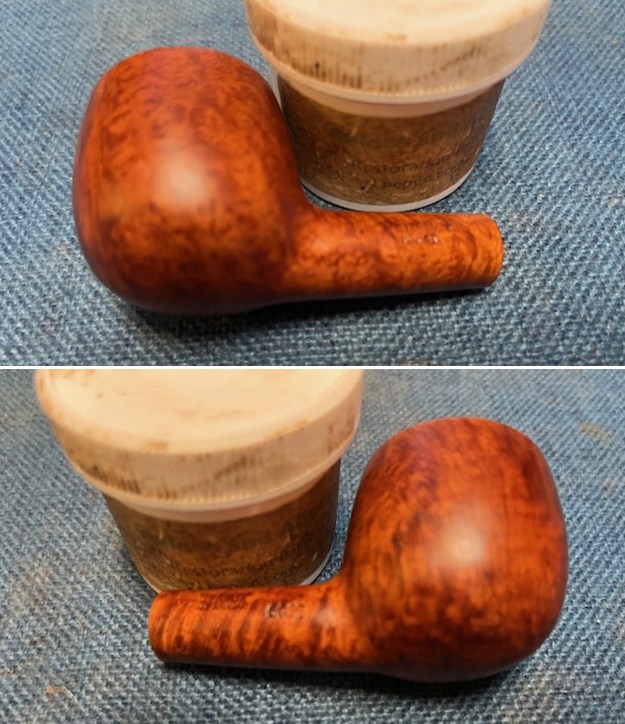
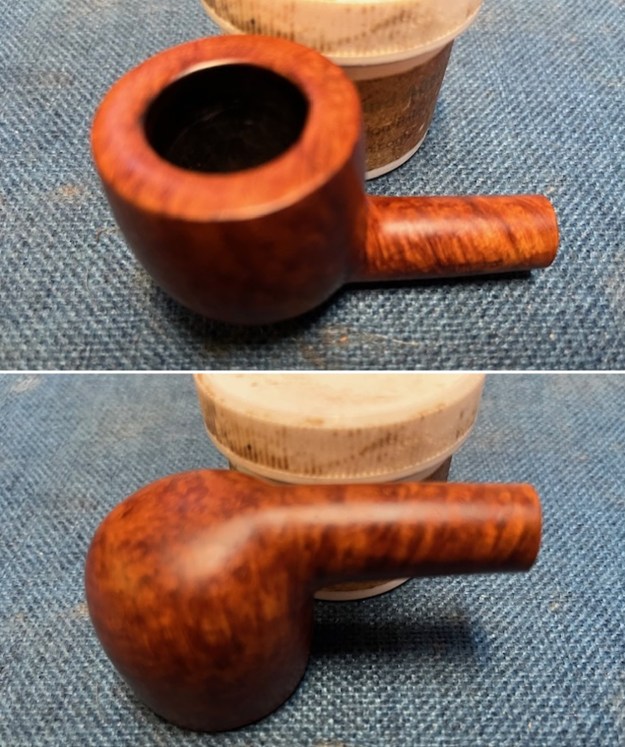
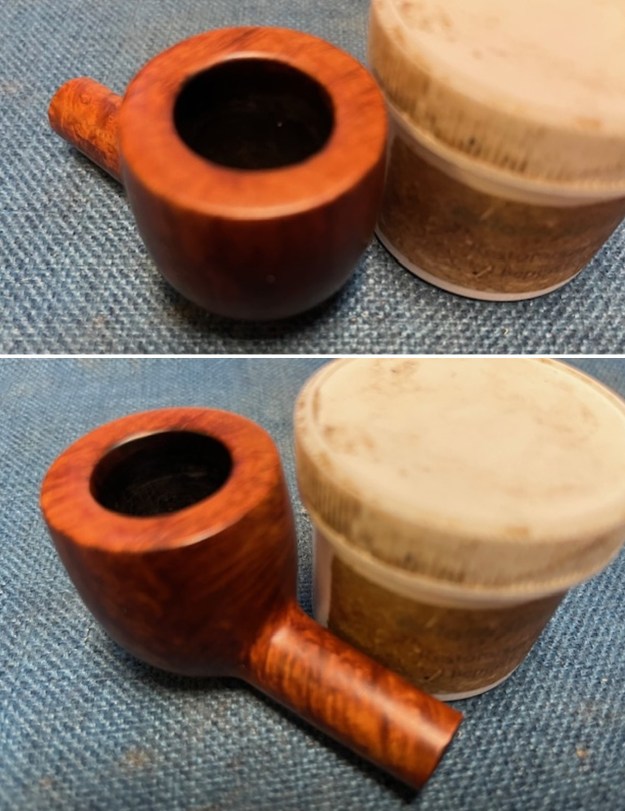
 I stained the rim edges and top with a Walnut stain pen to match the rest of the bowl and shank colour. It looked very good.
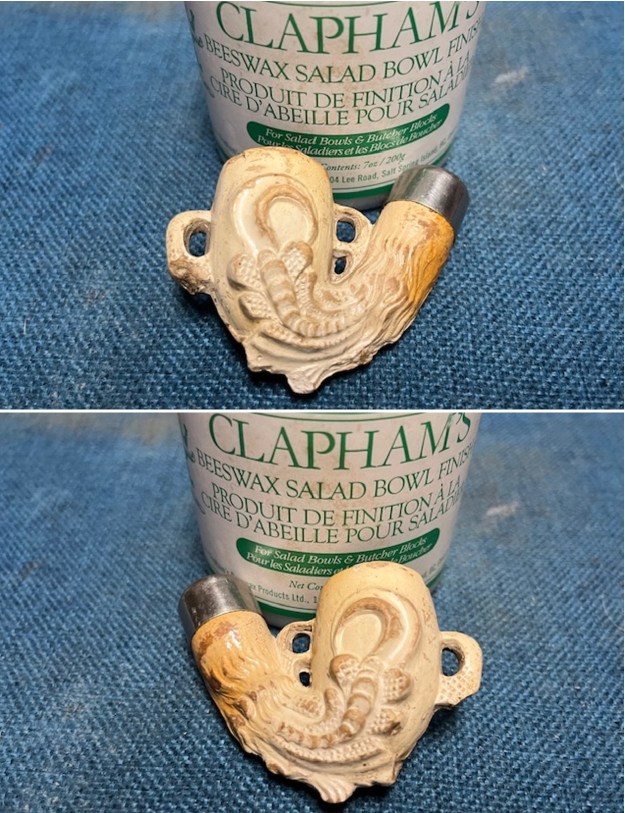
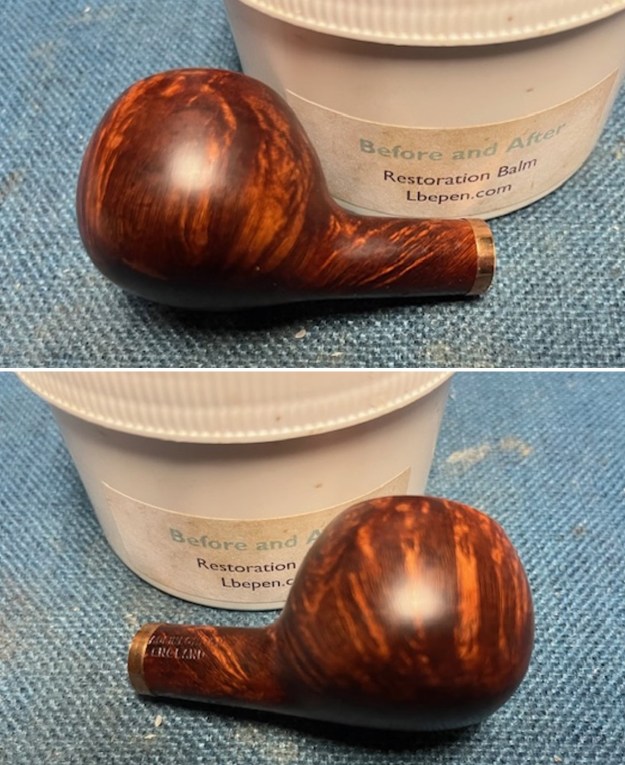
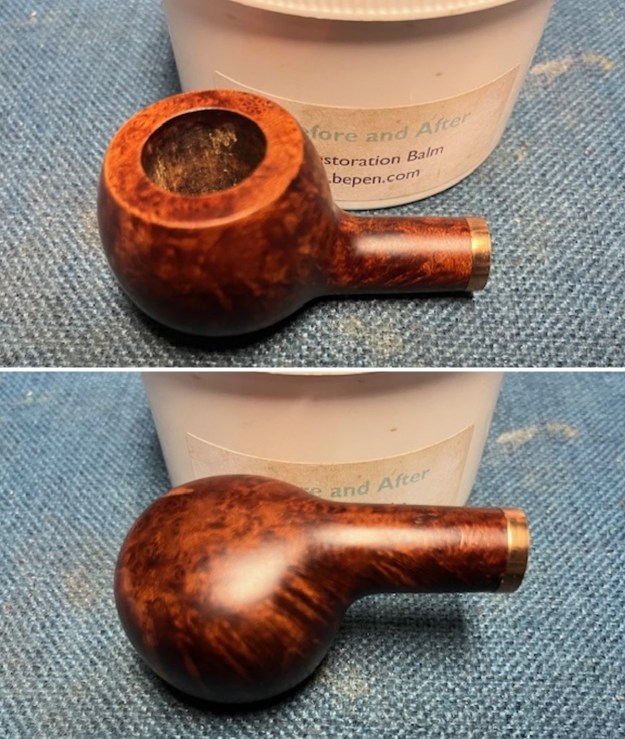
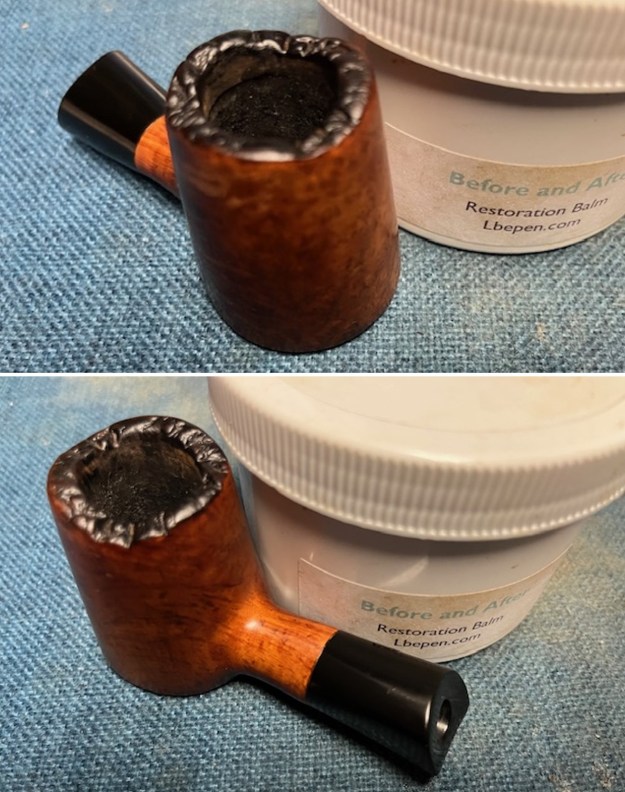
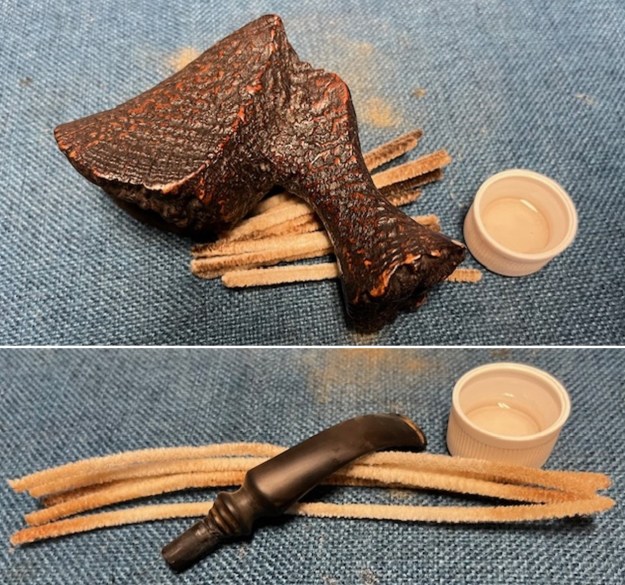
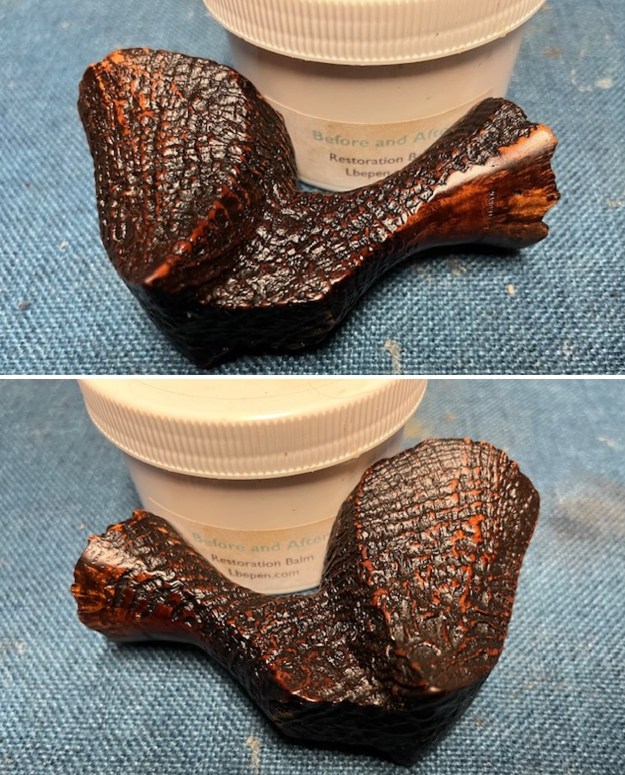
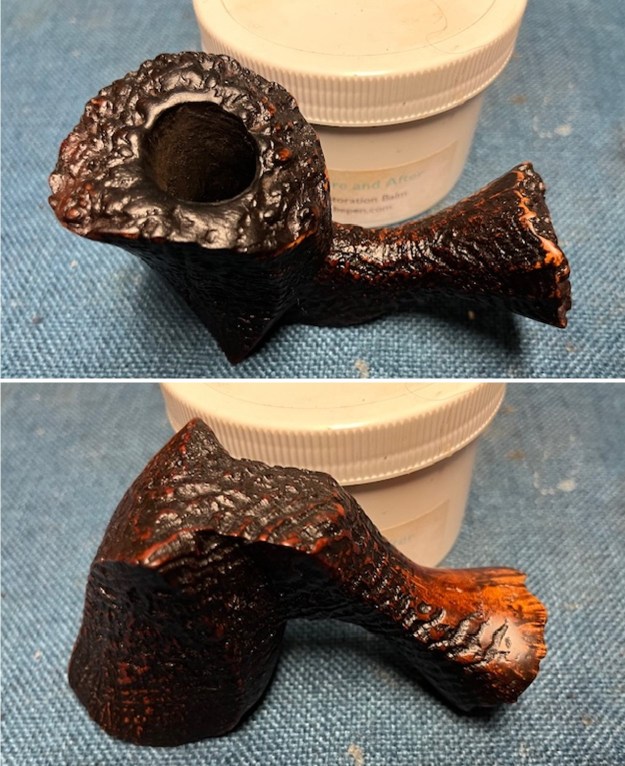
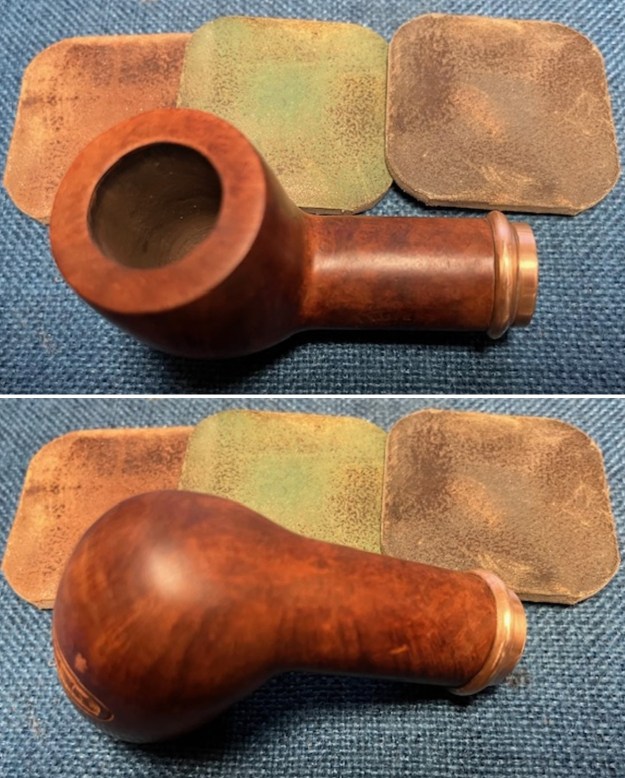
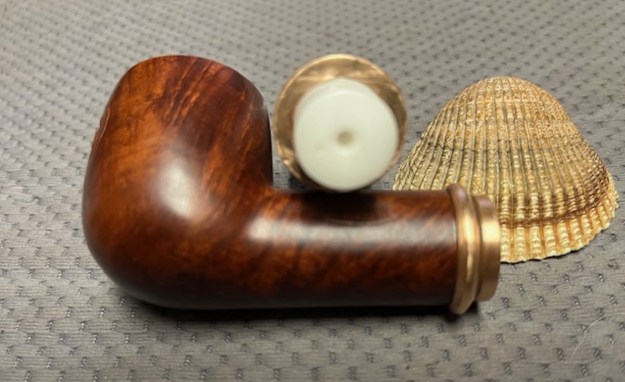
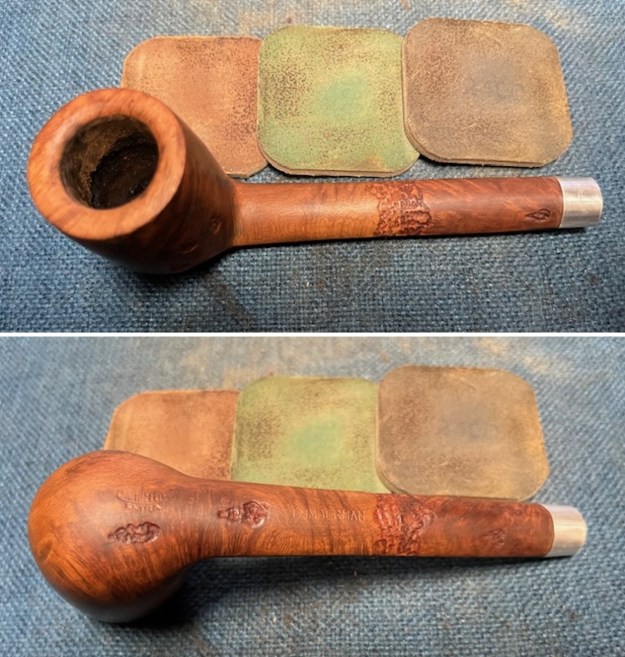
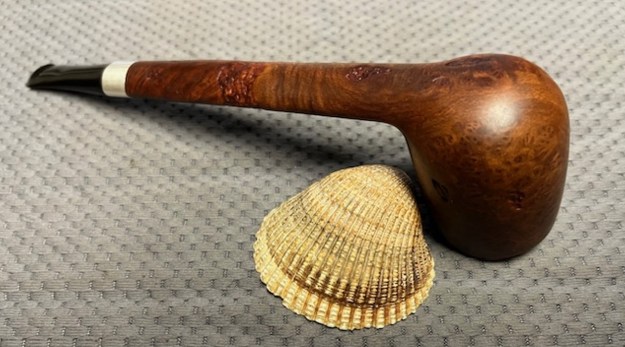
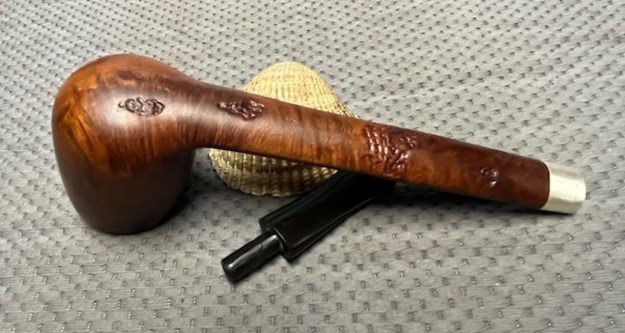
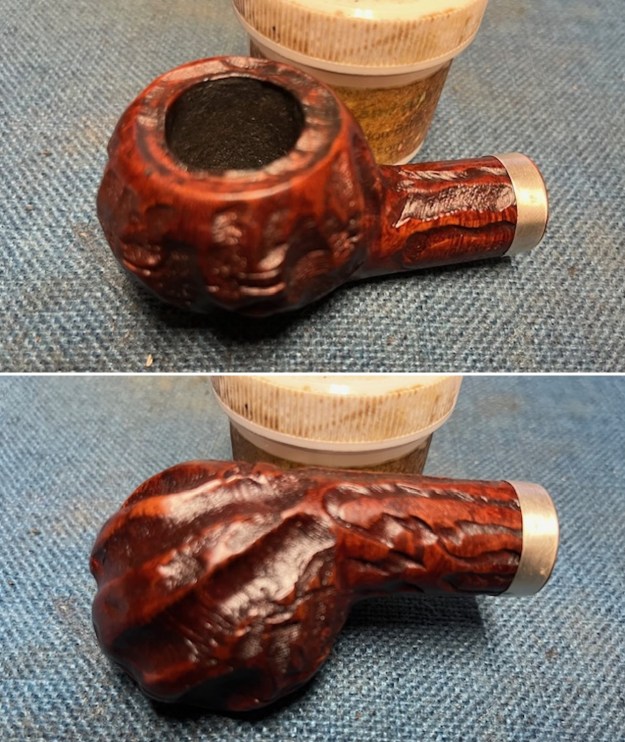
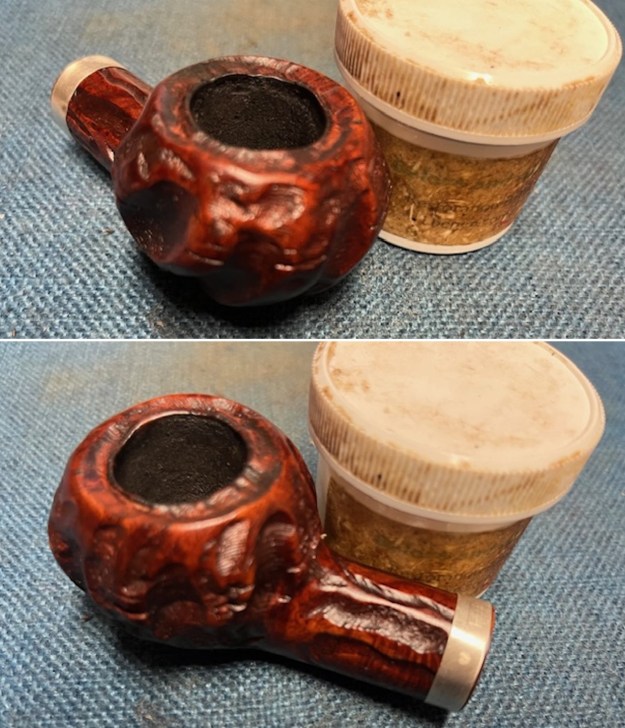
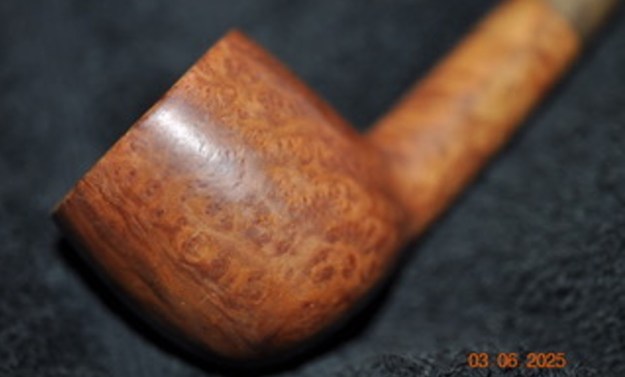
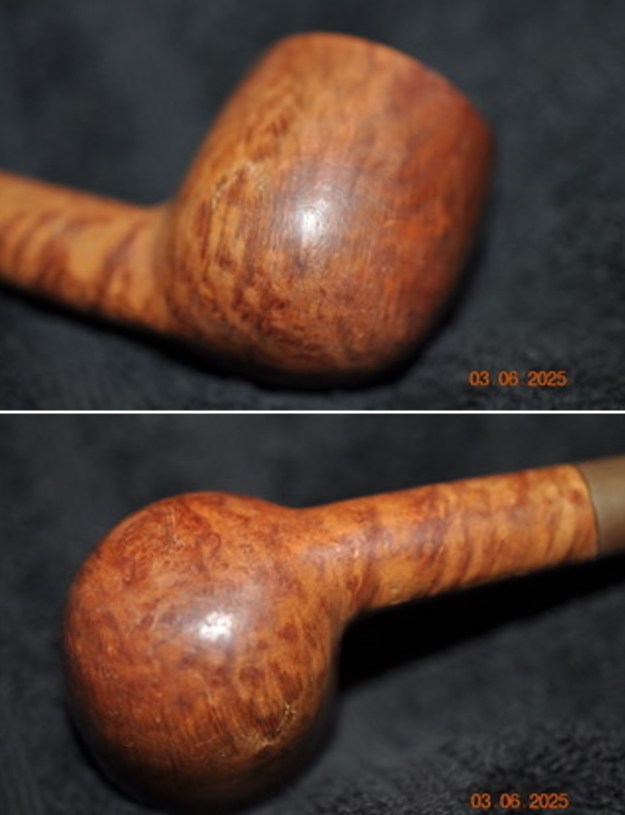
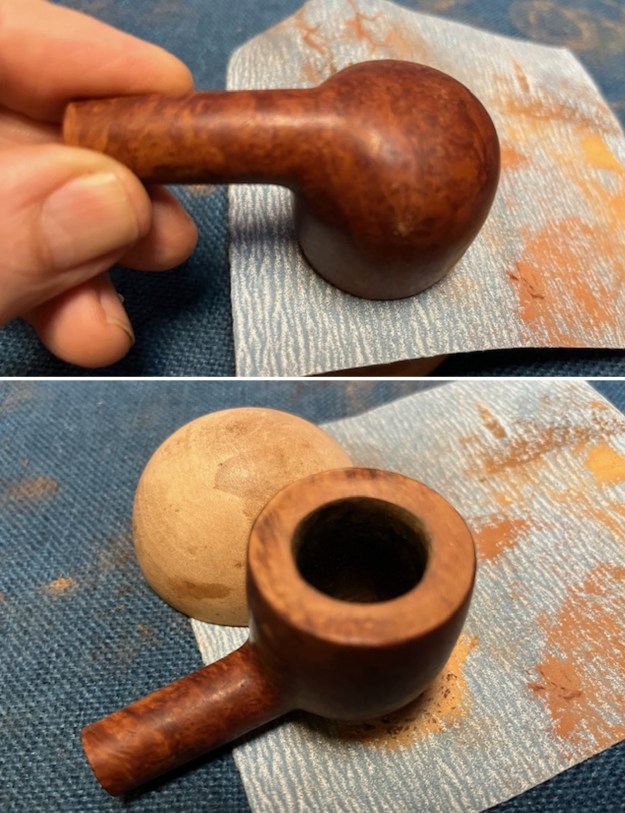
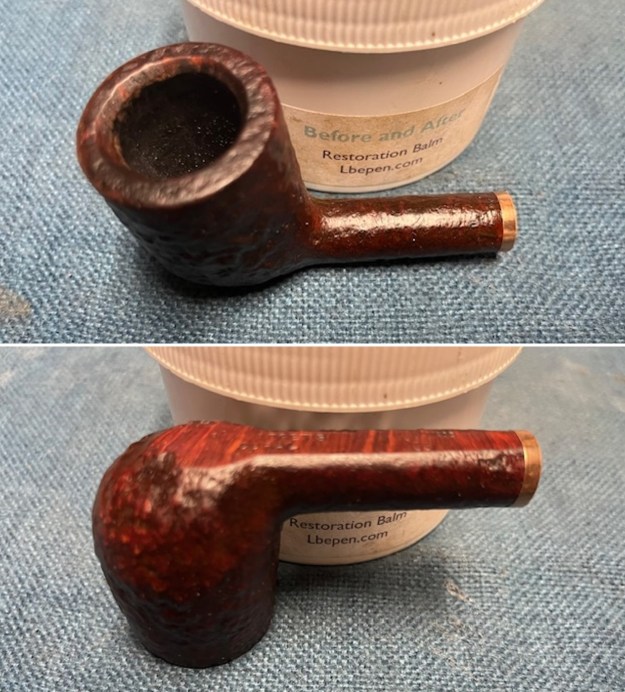
 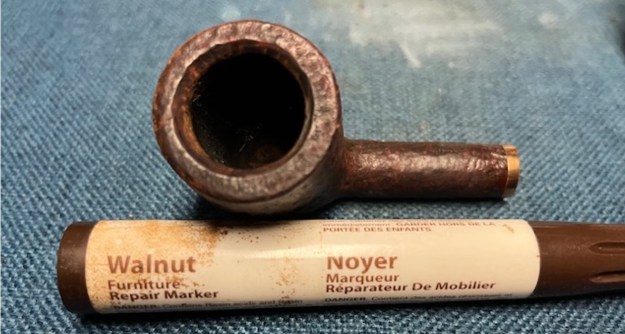 I worked some Before and After Restoration Balm into the finish of the briar with my finger tips. The product works to clean, enrich and restore the briar. The photos show the beauty that pipe really had at this point.
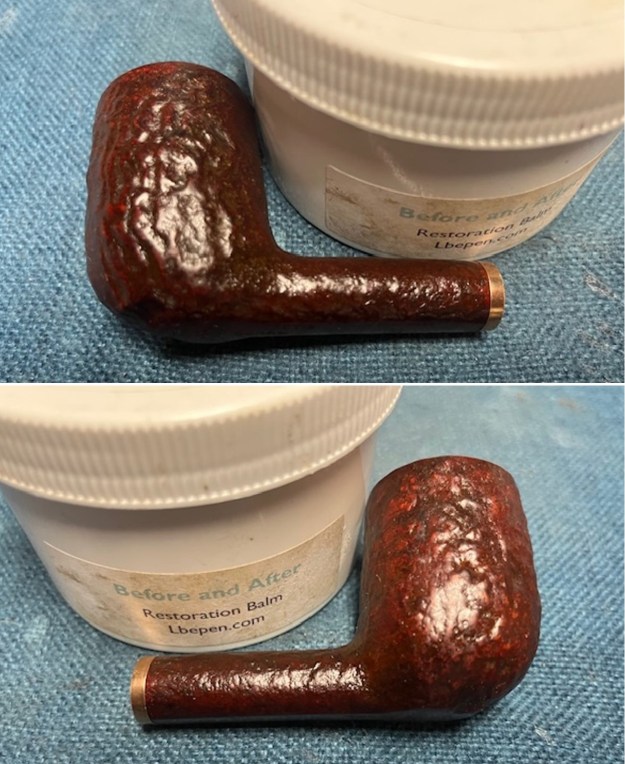
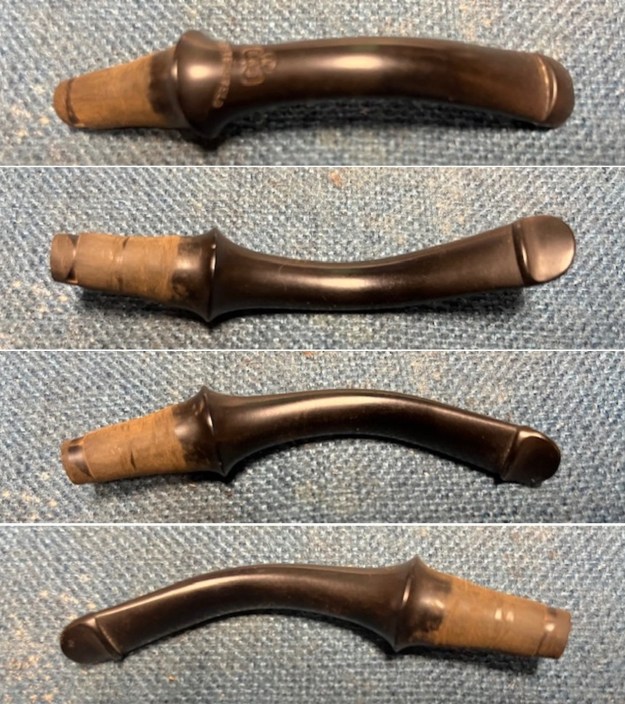
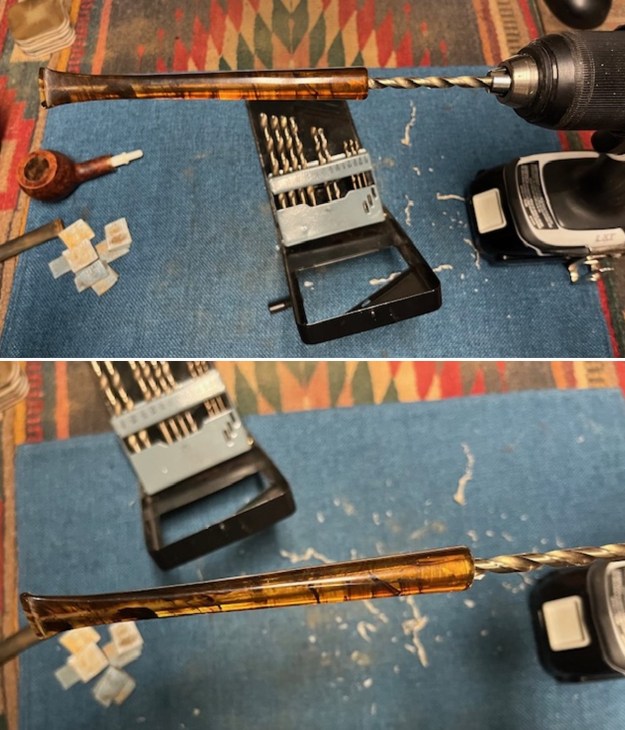
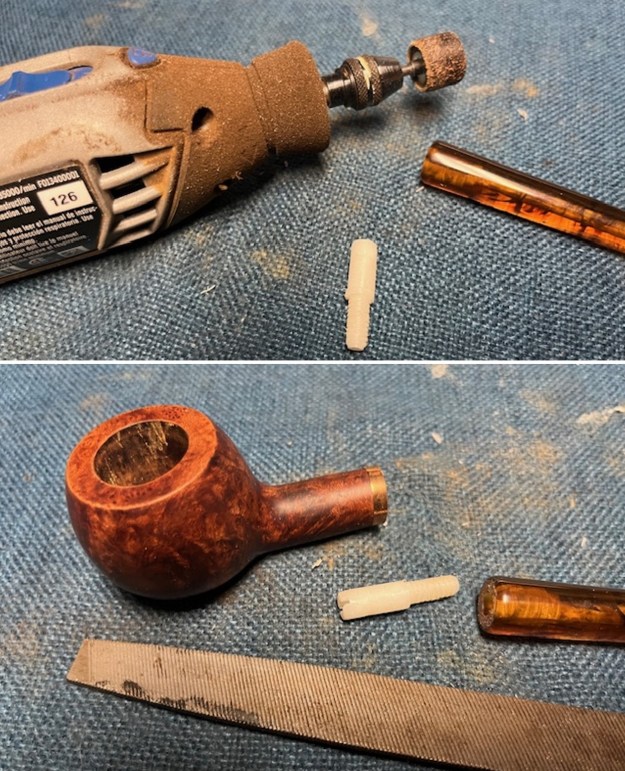
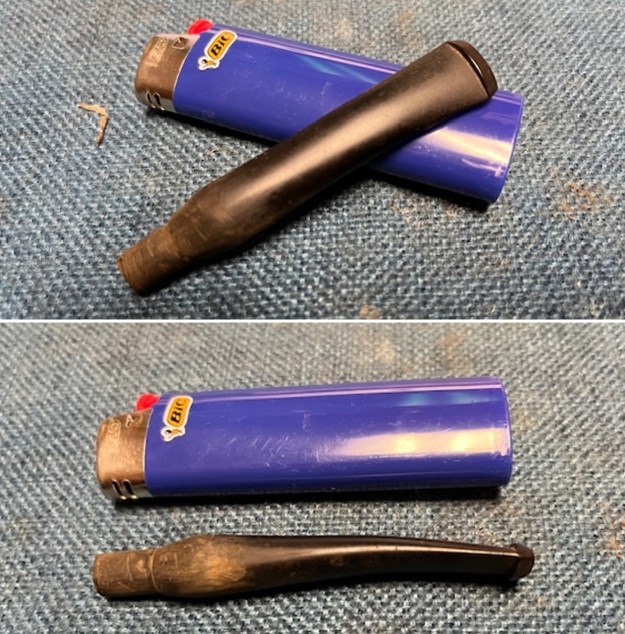
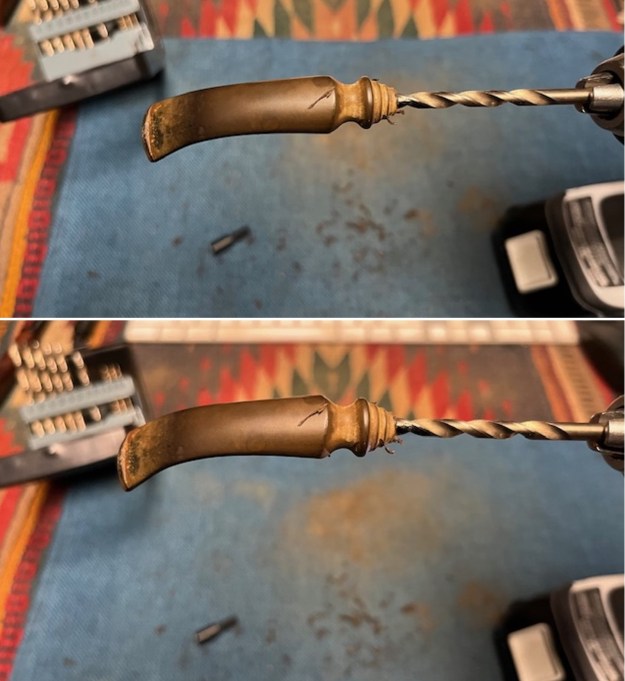
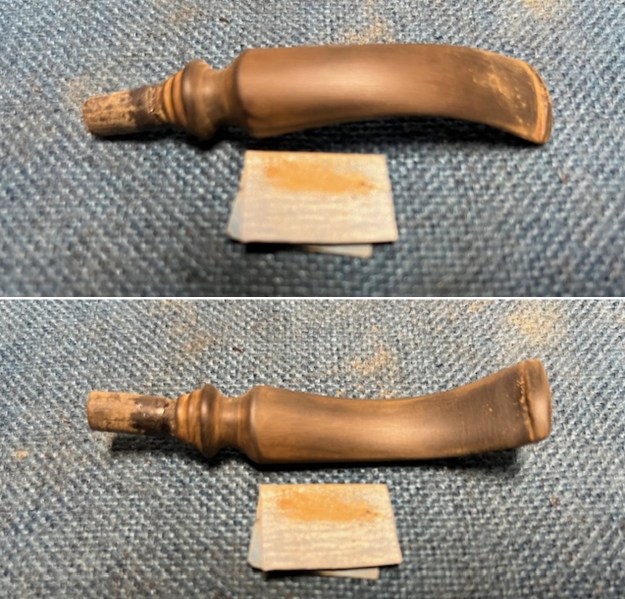
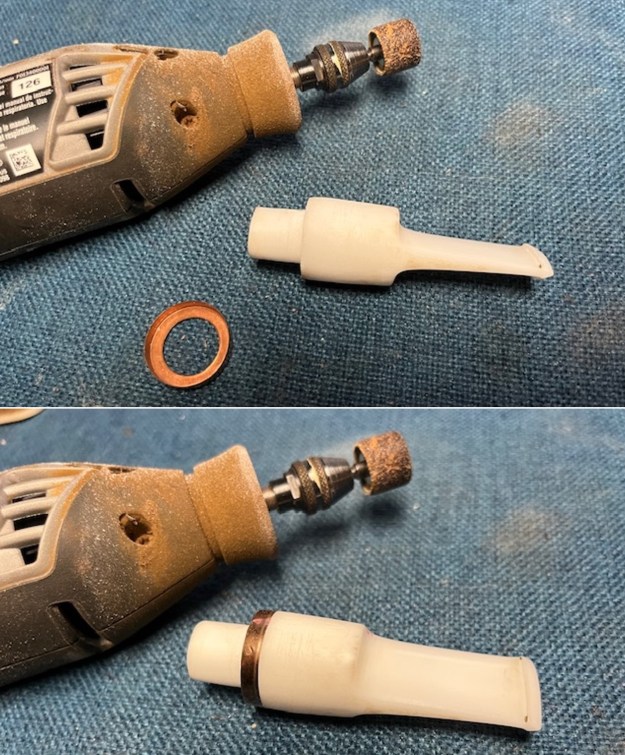
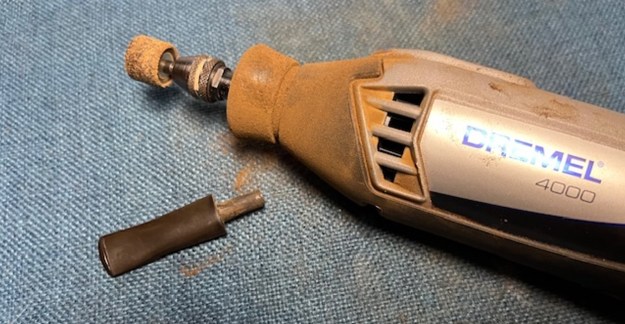
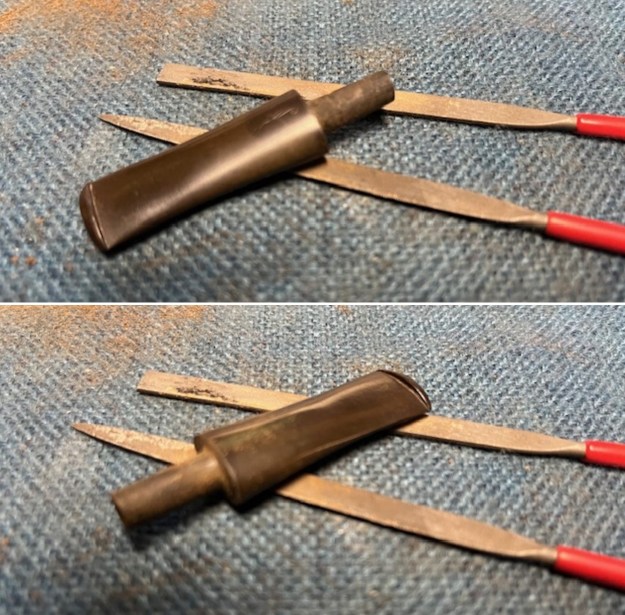
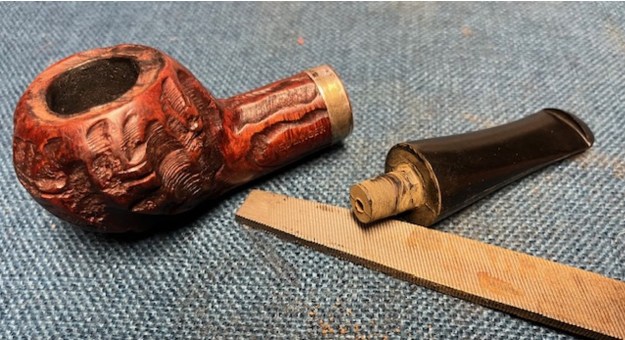
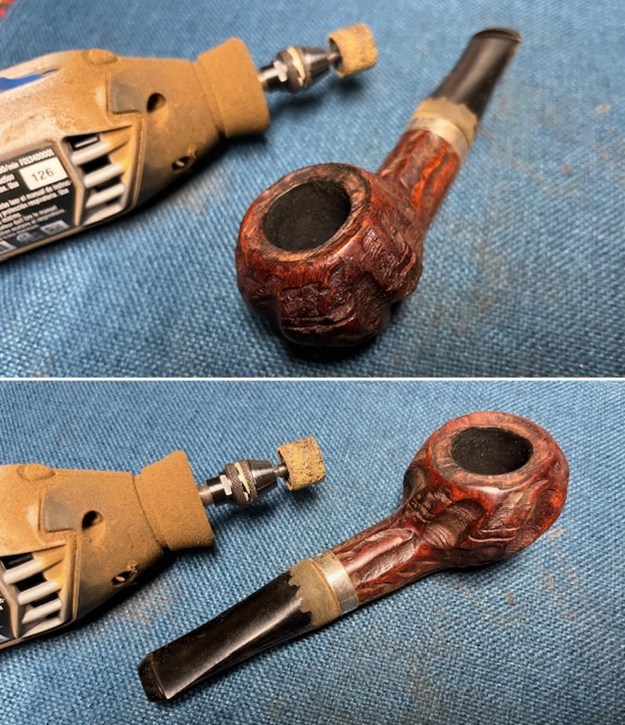
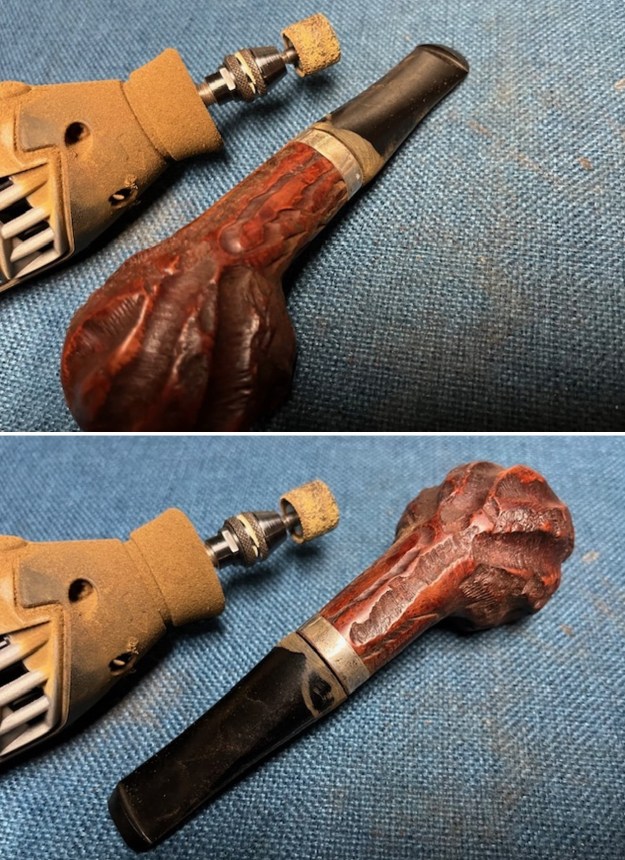
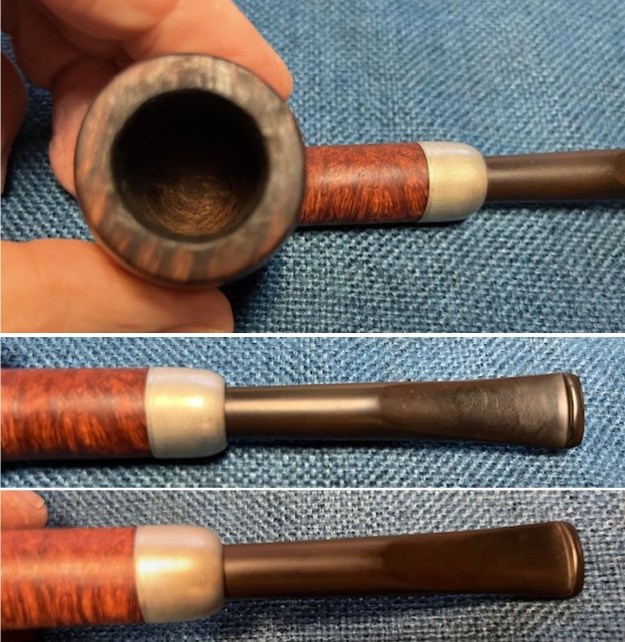
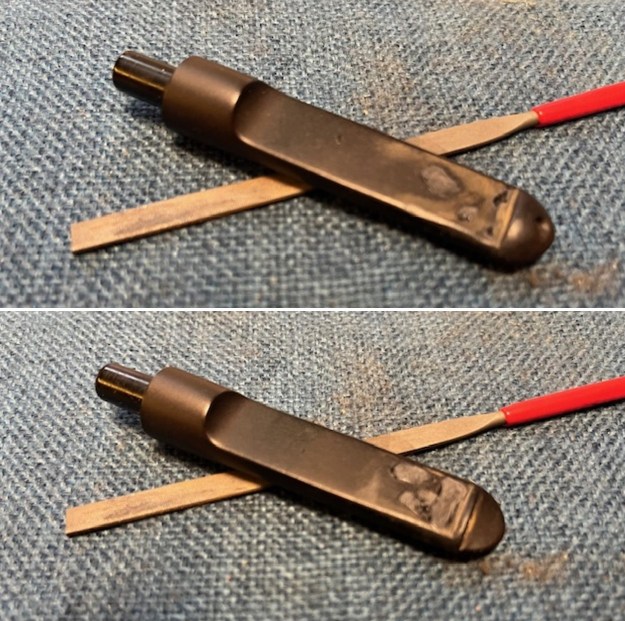
 I set the bowl aside and turned my attention to the stem. I used the Dremel and sanding drum to reduce the diameter of the stem as much as I safely could do and then used a flat file to take it further. I cleaned up the diameter fit with a smaller flat needle file. It worked well to remove the excess acrylic to match diameter of the shank. It was getting there.
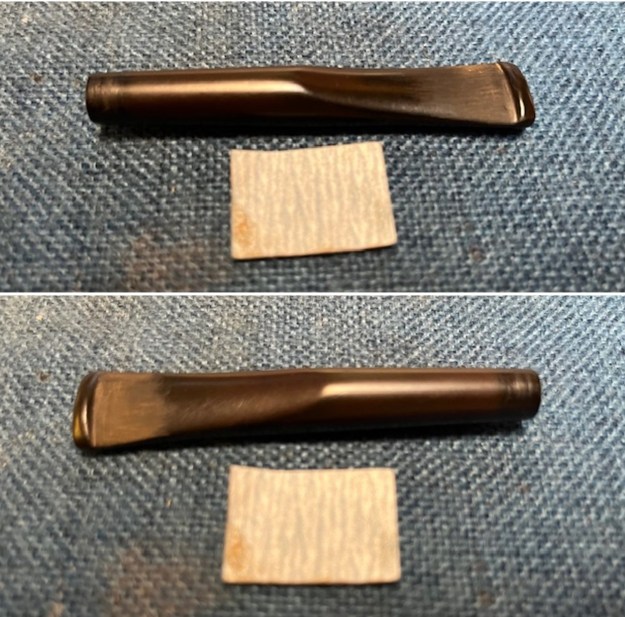
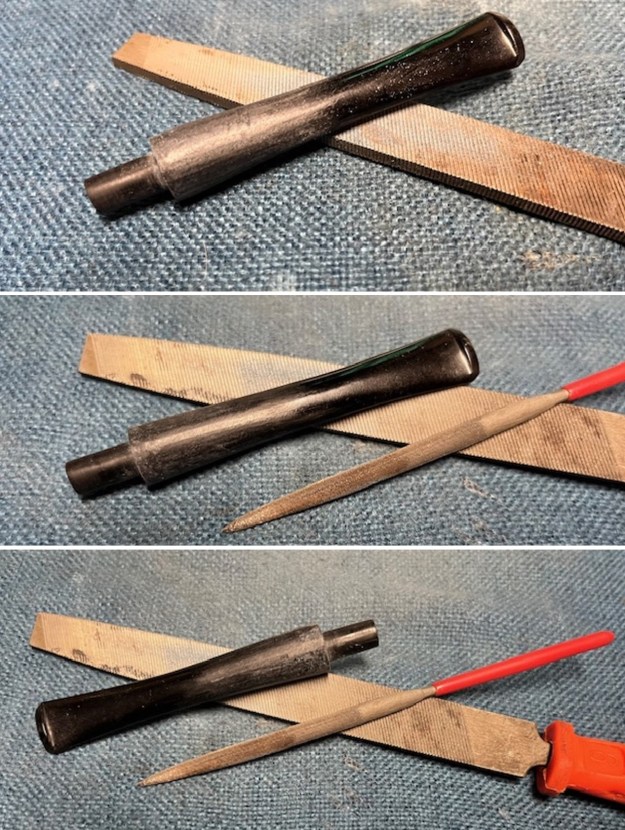 I used a small hole saw and small round, oval and flat files to shape the round hole in the button into a slot with an oval. It looked much better once I finished it.
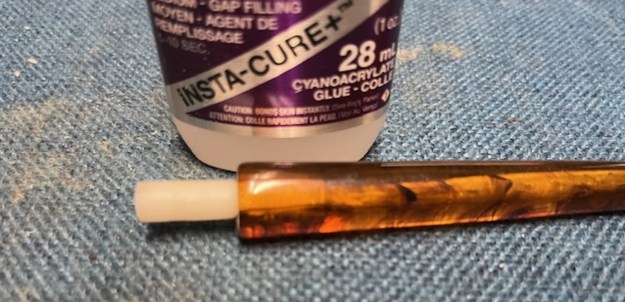
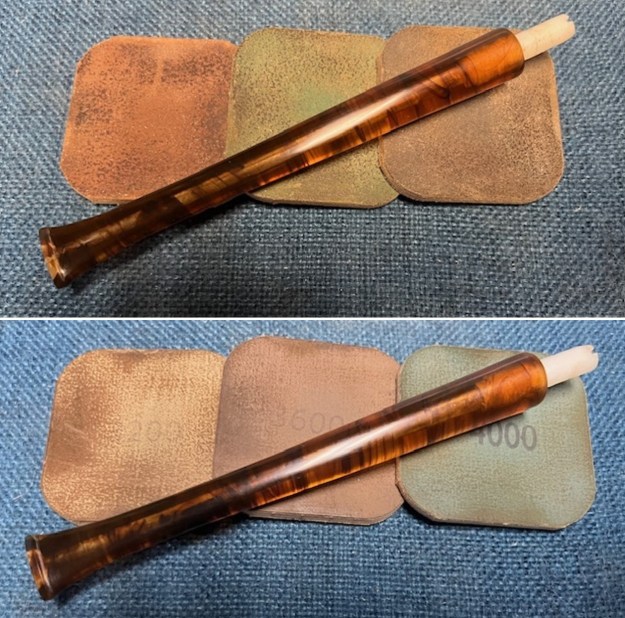
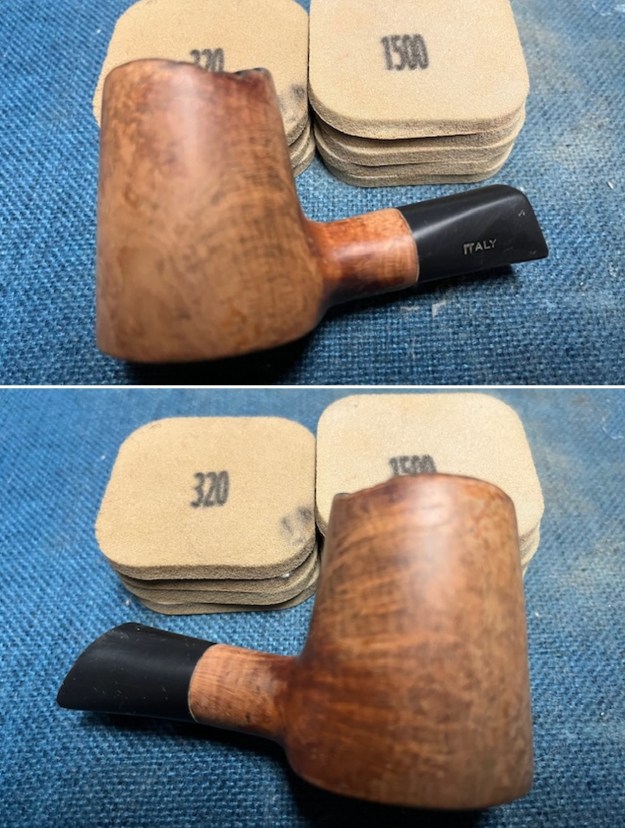
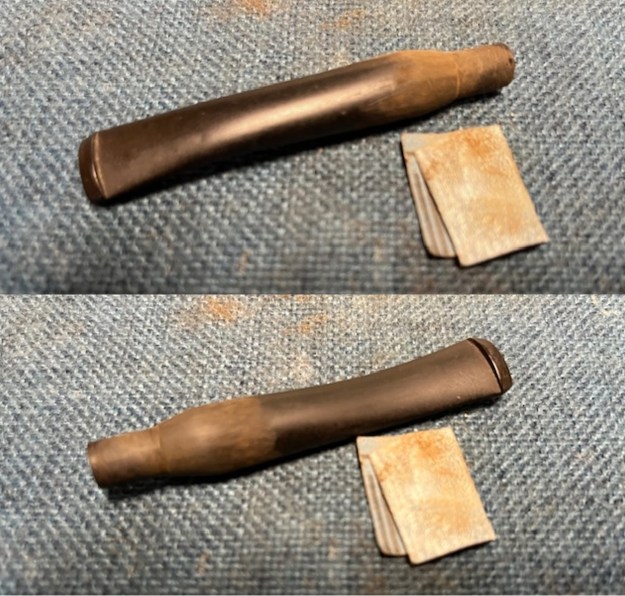
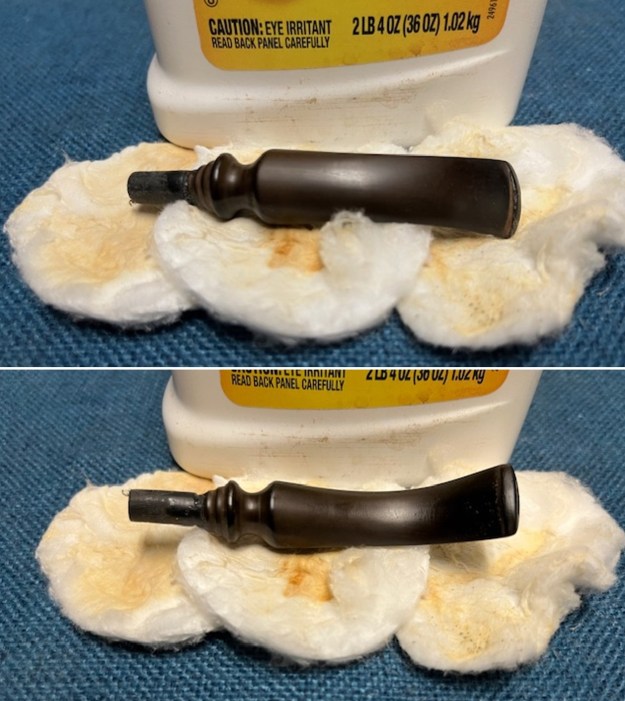
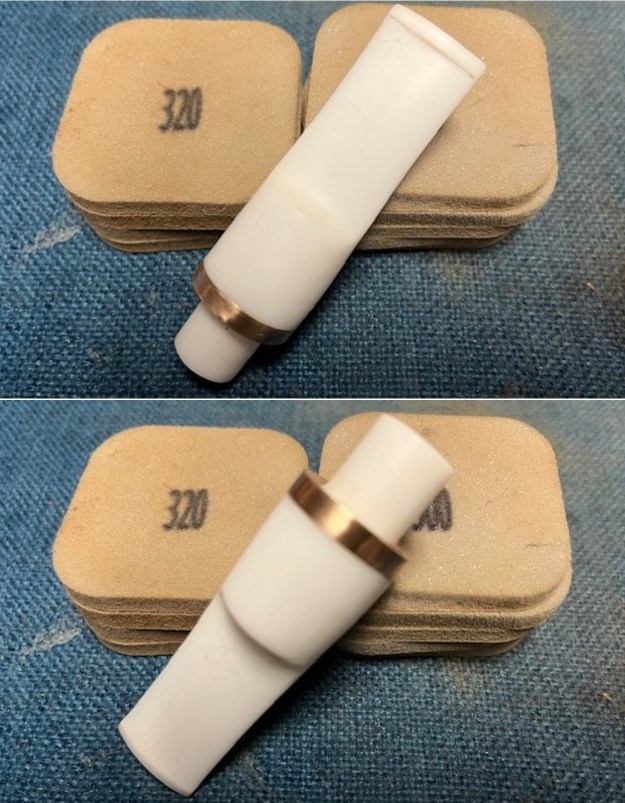
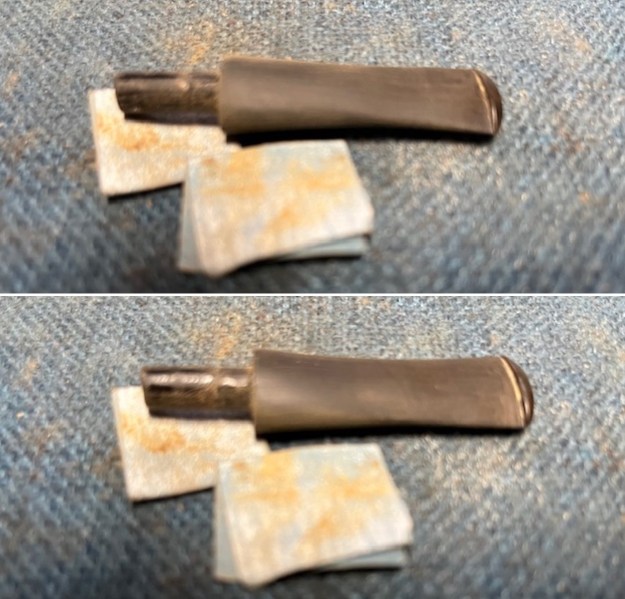
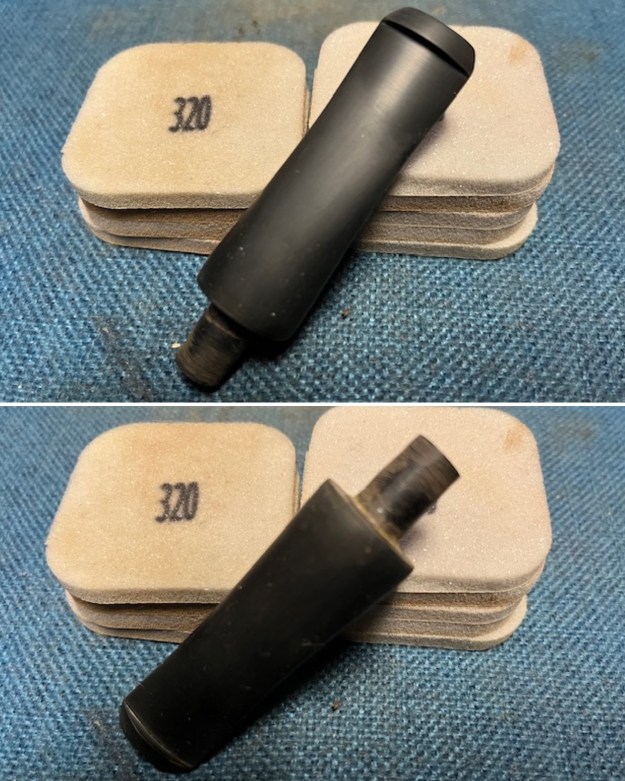
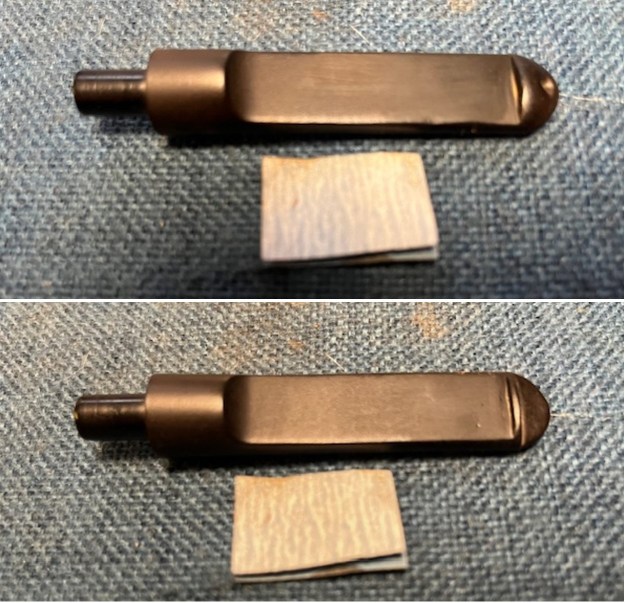
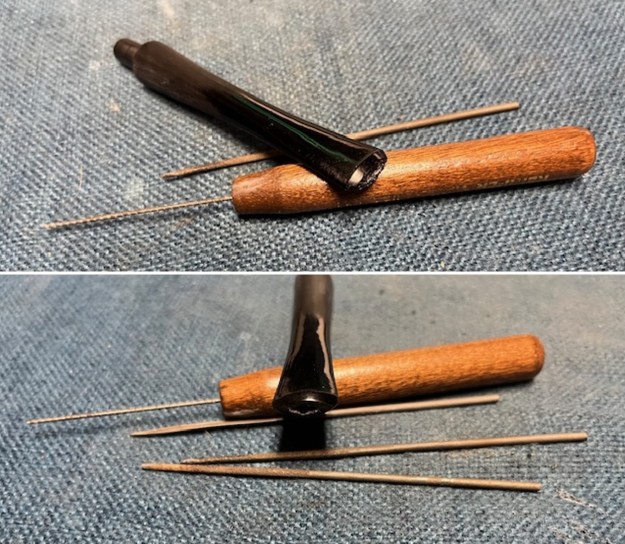 I sanded out the files marks on the stem surface with a folded piece of 220 grit sandpaper. I becamse smooth to the touch and was ready to be sanded further with sanding pads.
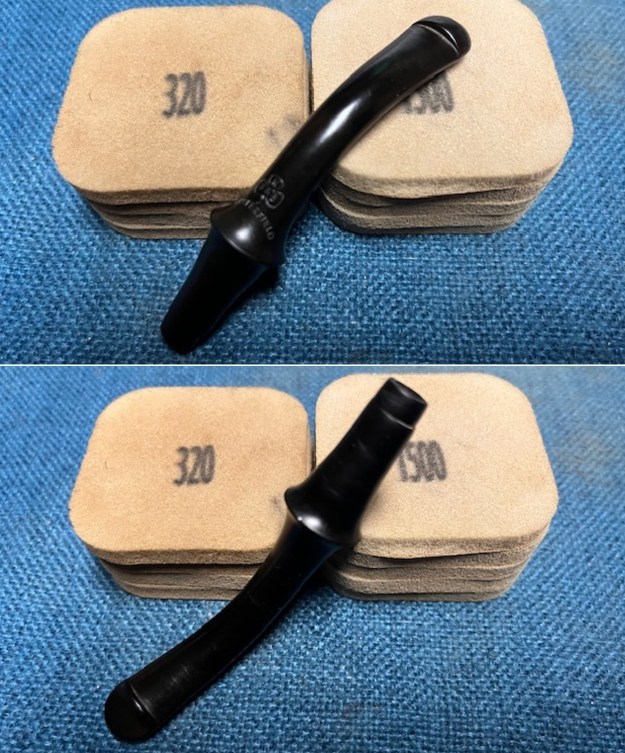
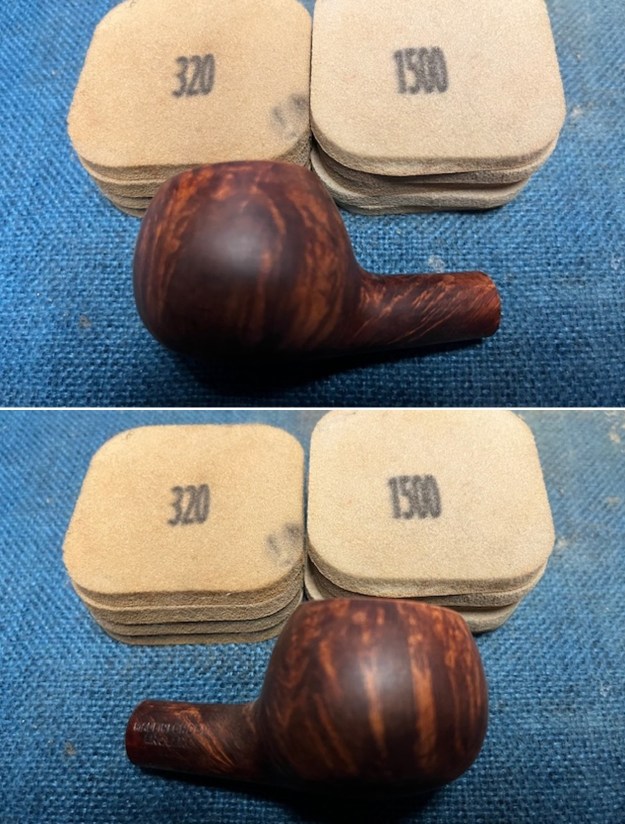
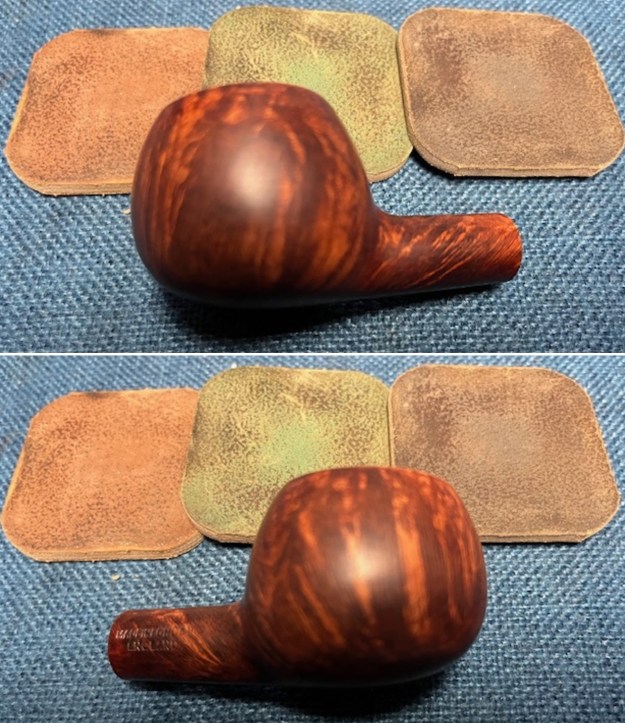
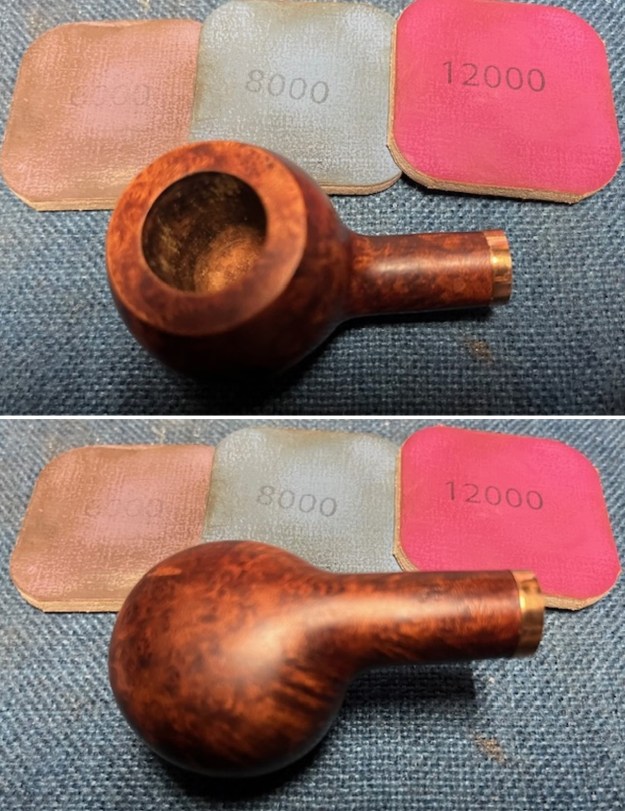
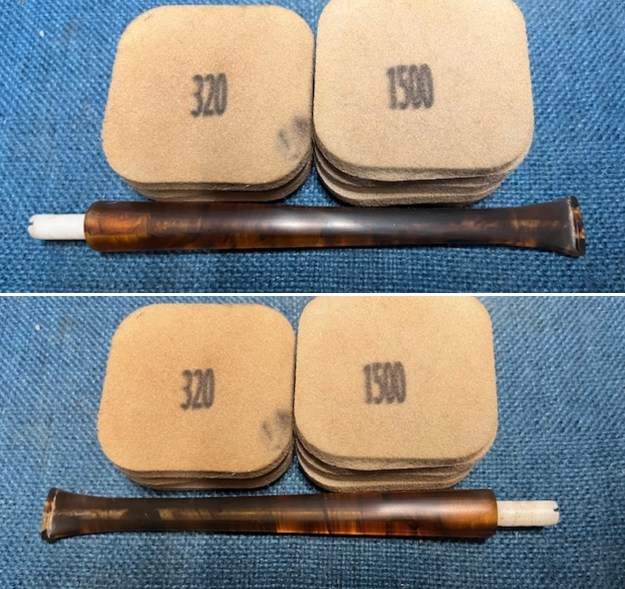
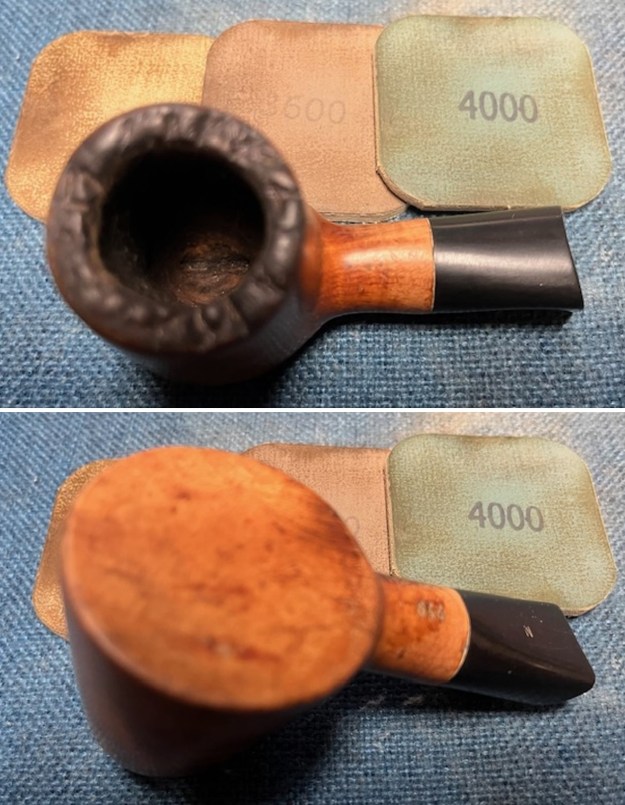
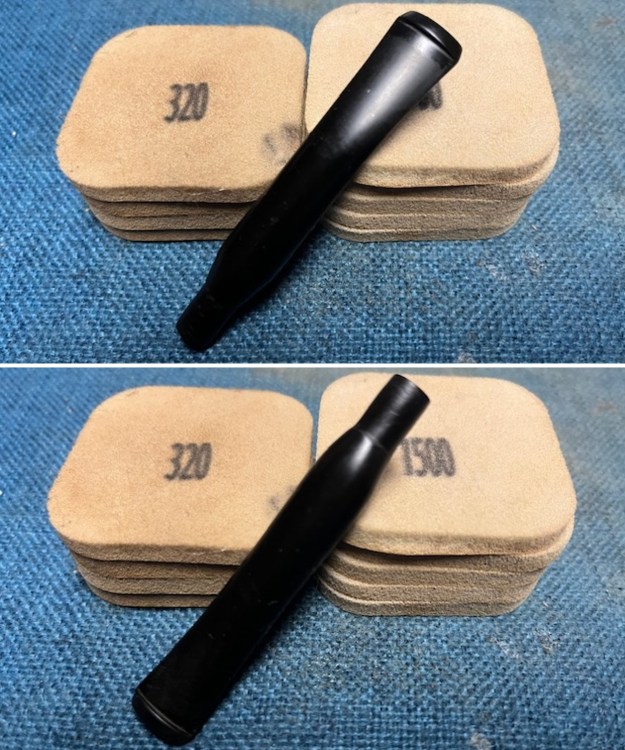
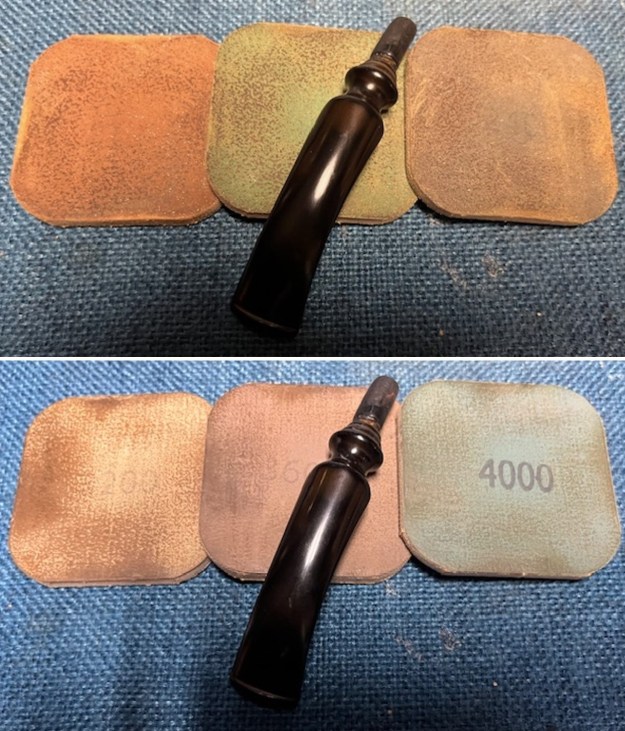
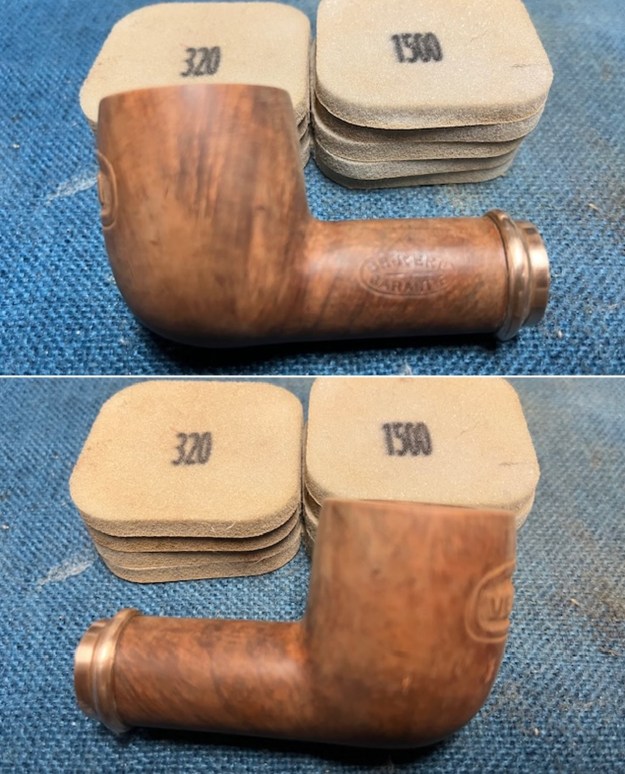
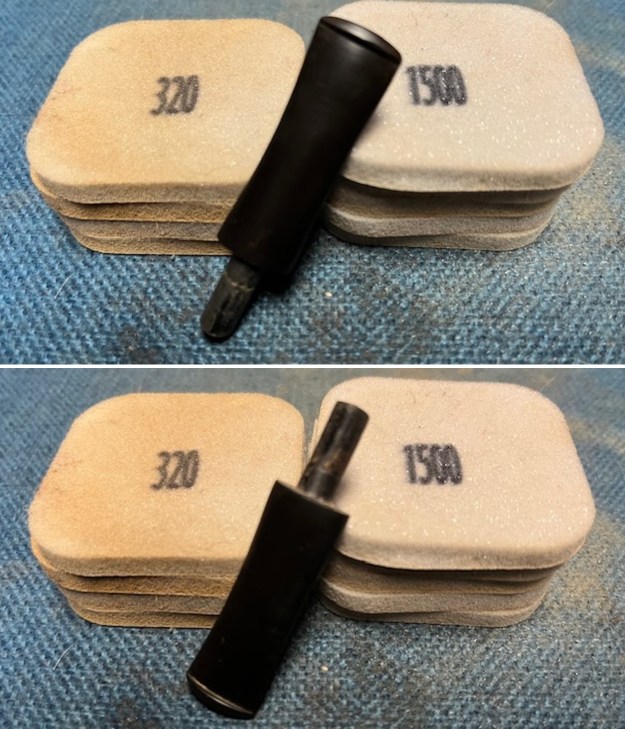
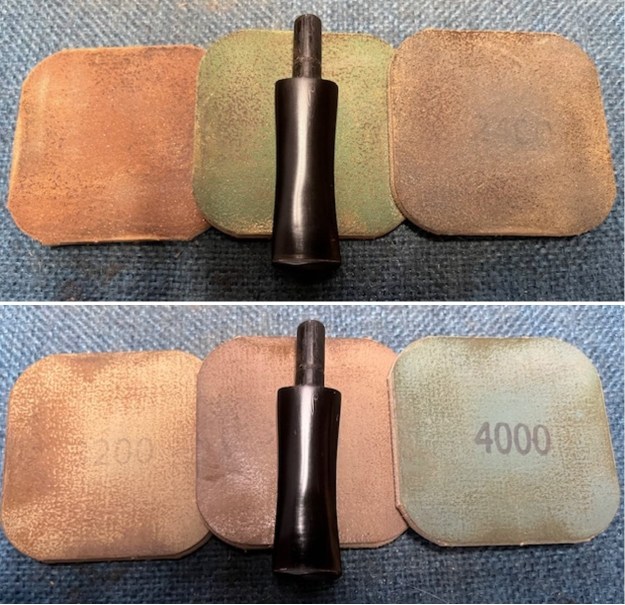
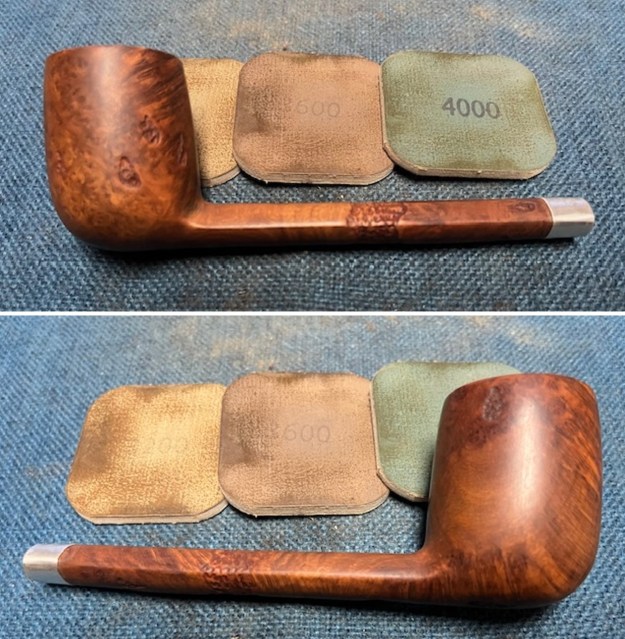
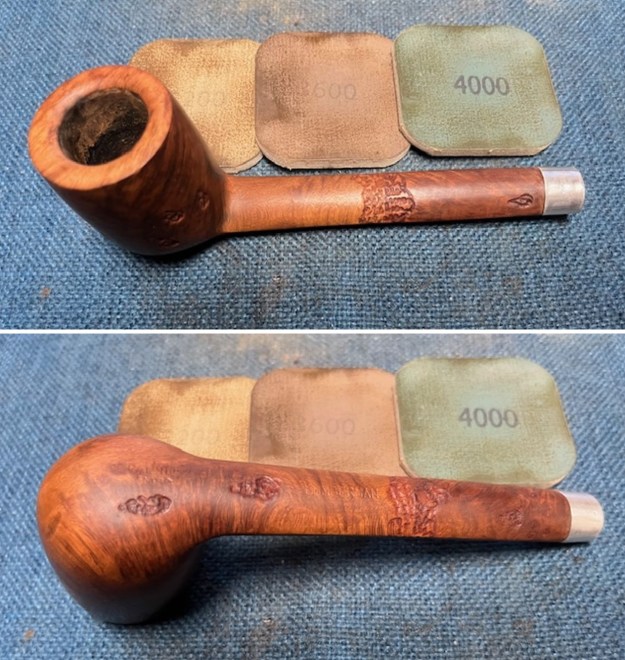
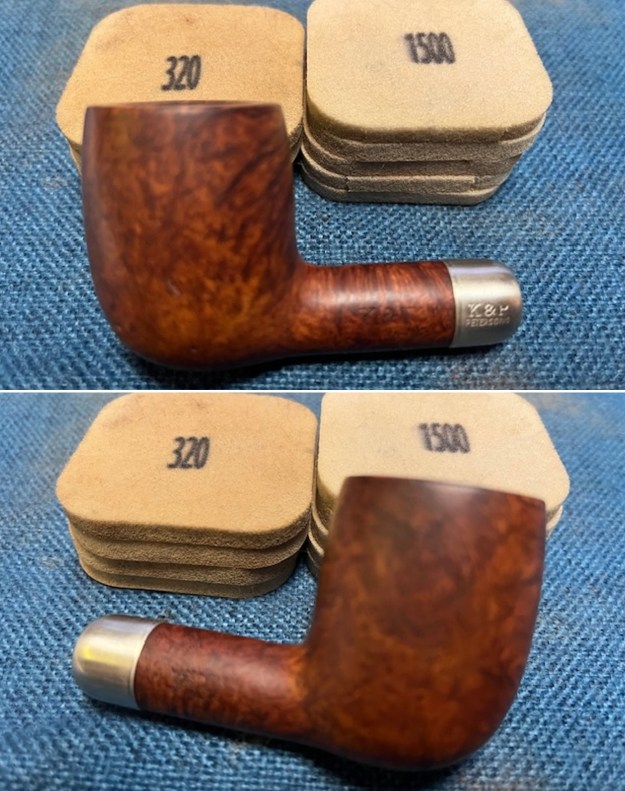
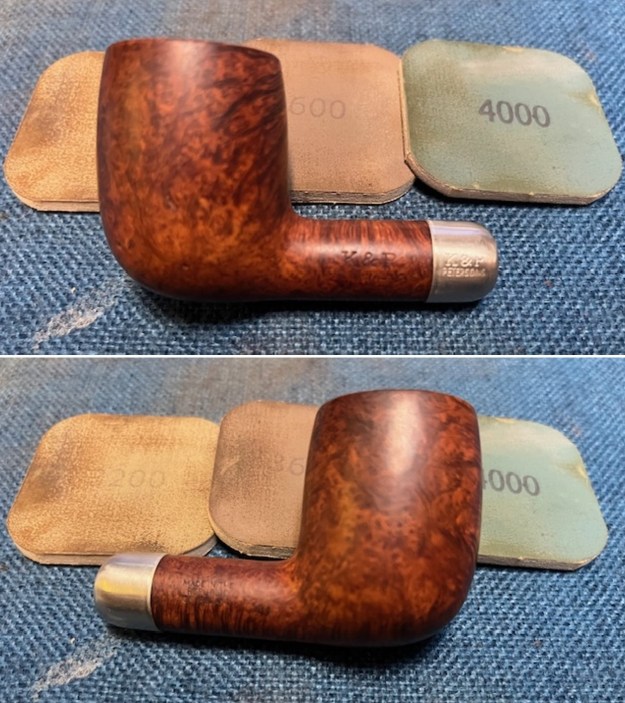
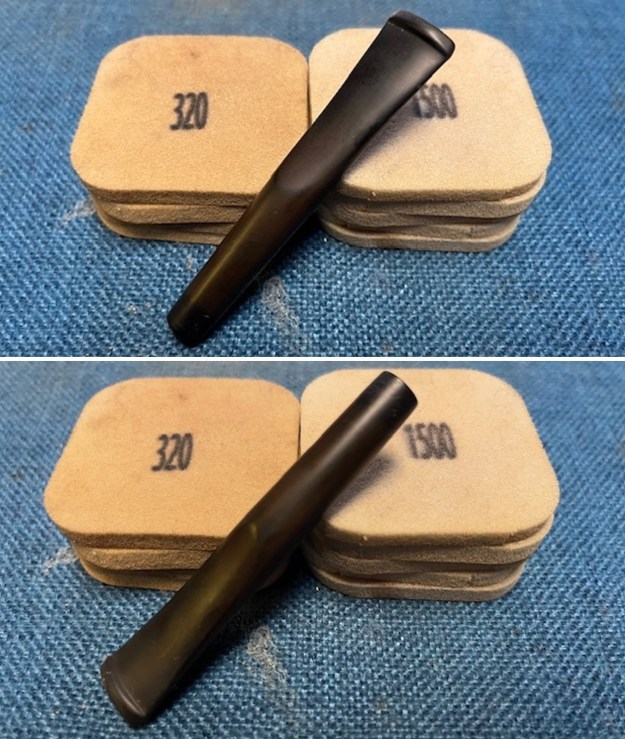
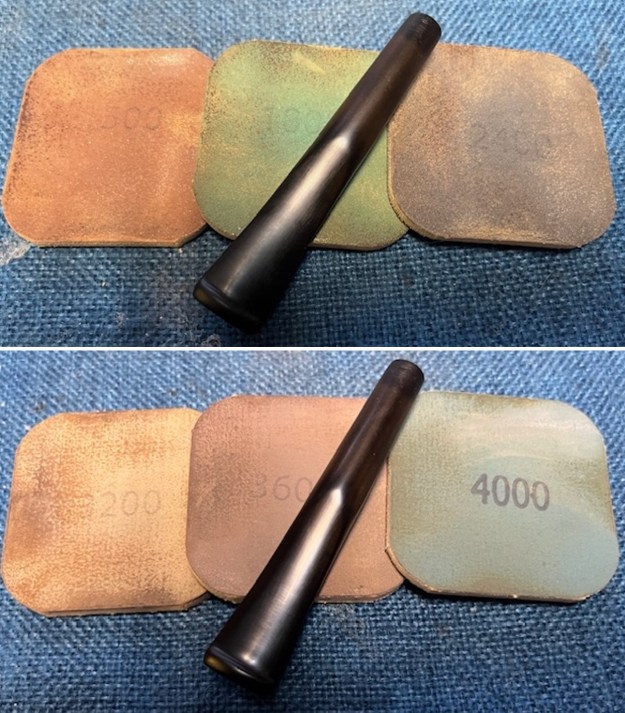
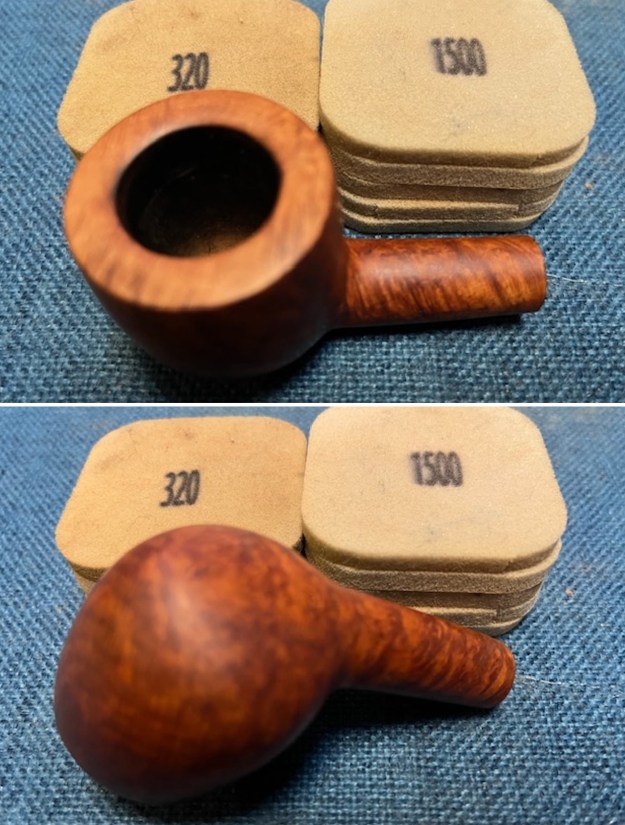
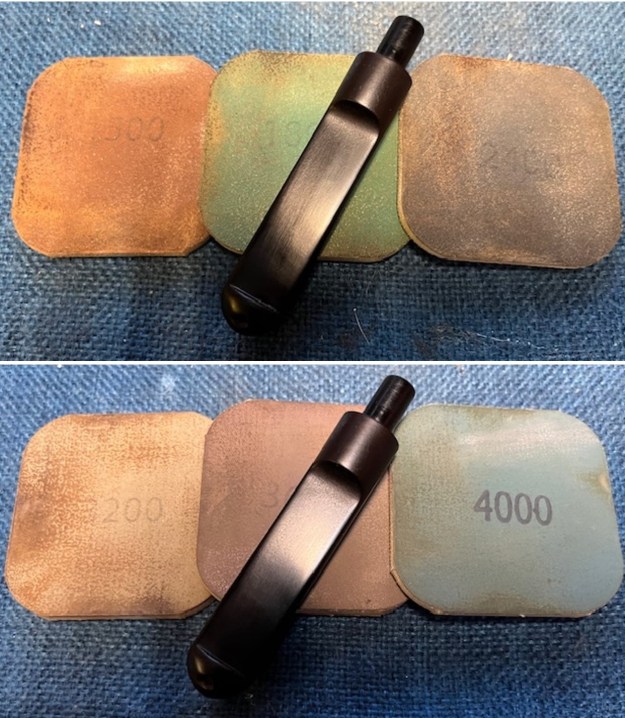
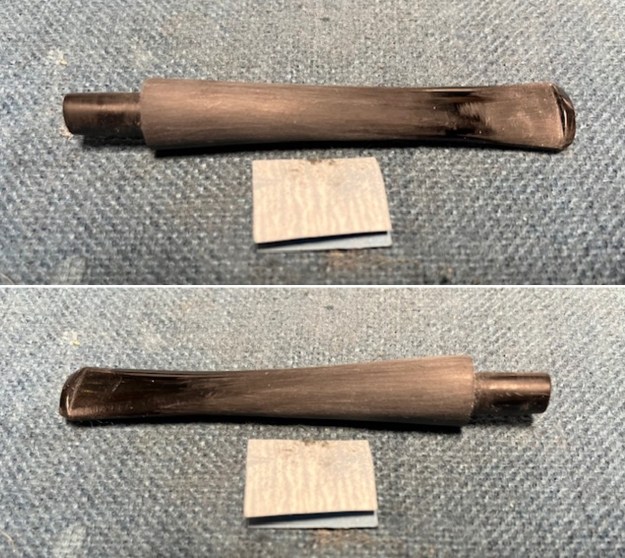 I moved on to sand the stem with 320-3500 grit 2×2 inch sanding pads. I wiped it down with an Obsidian Oil cloth after each sanding pad to remove the sanding debris. The stem began to look much better.
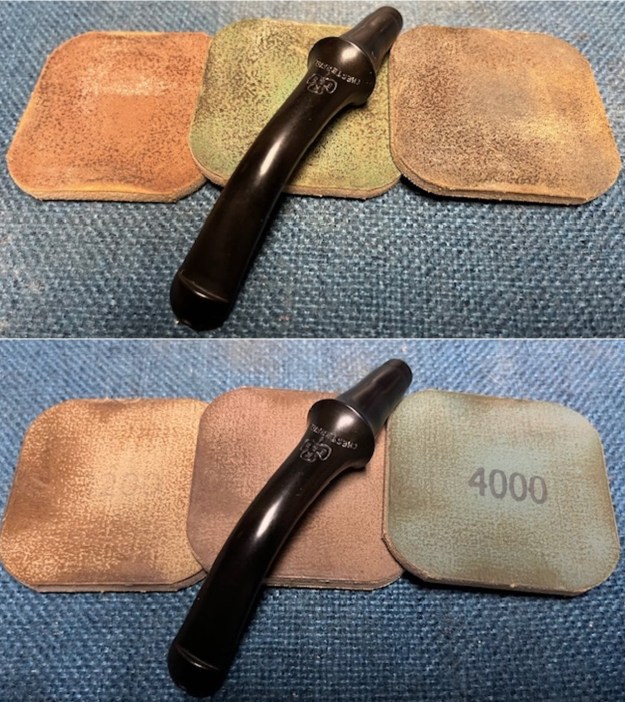
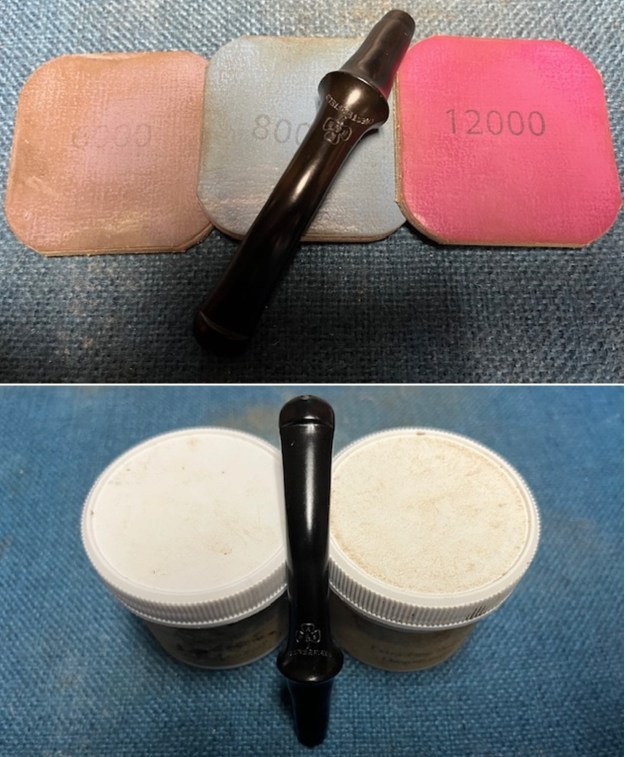
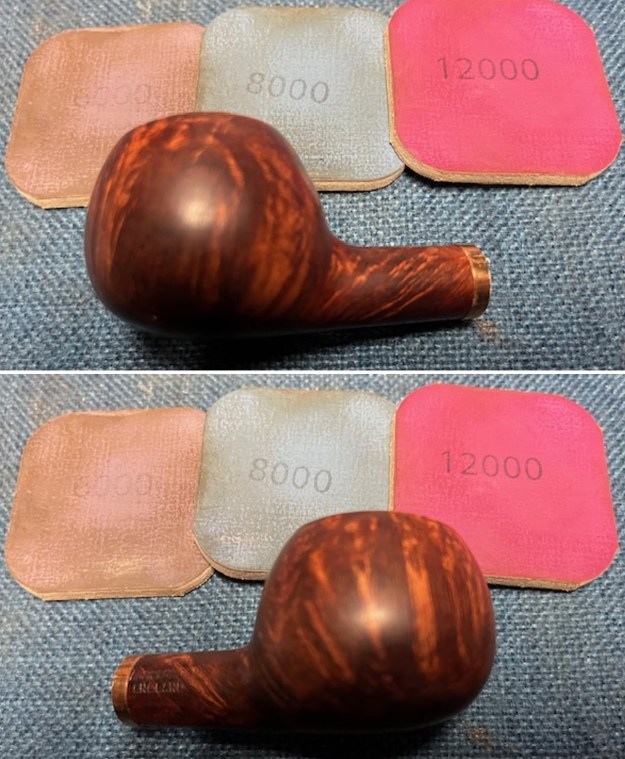
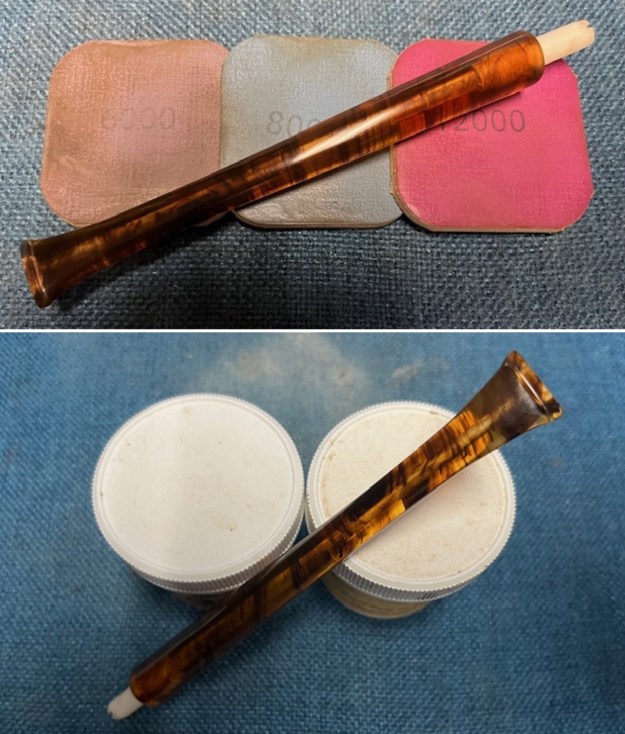
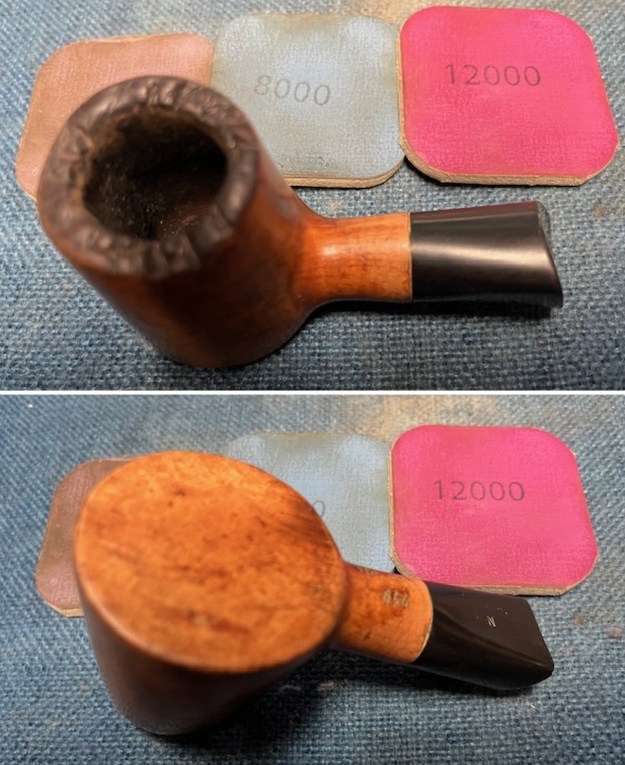
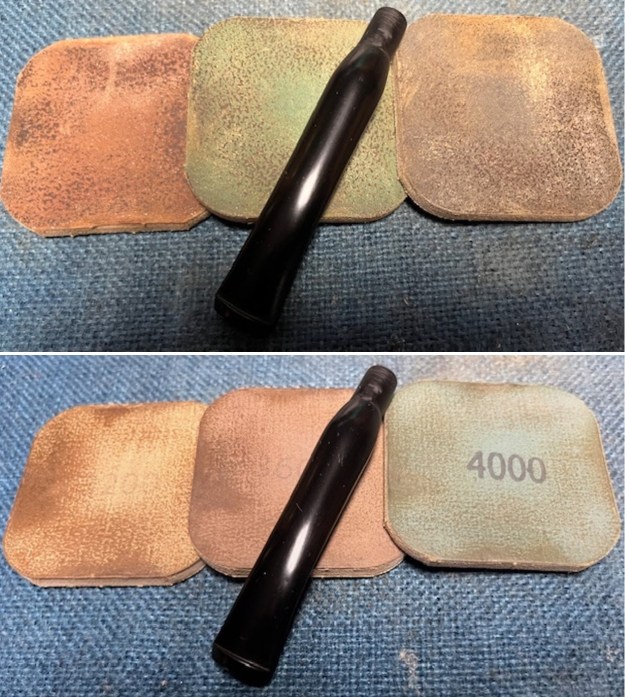
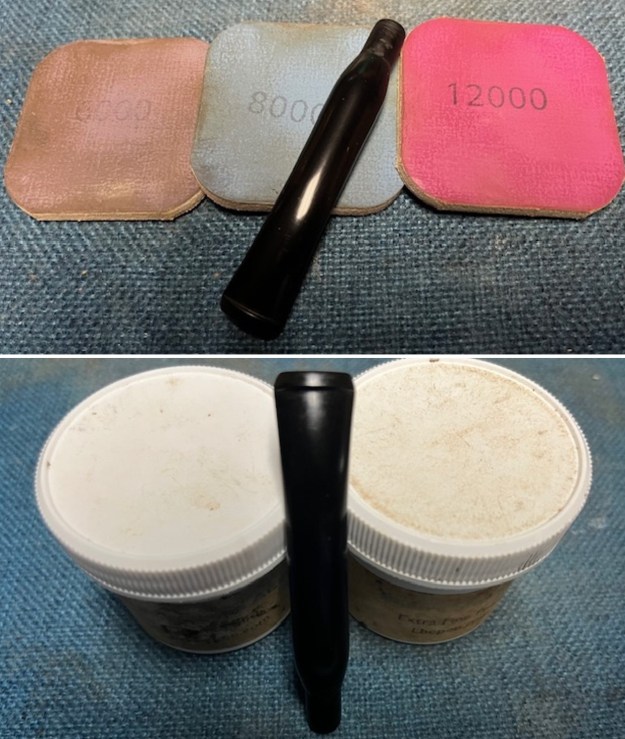
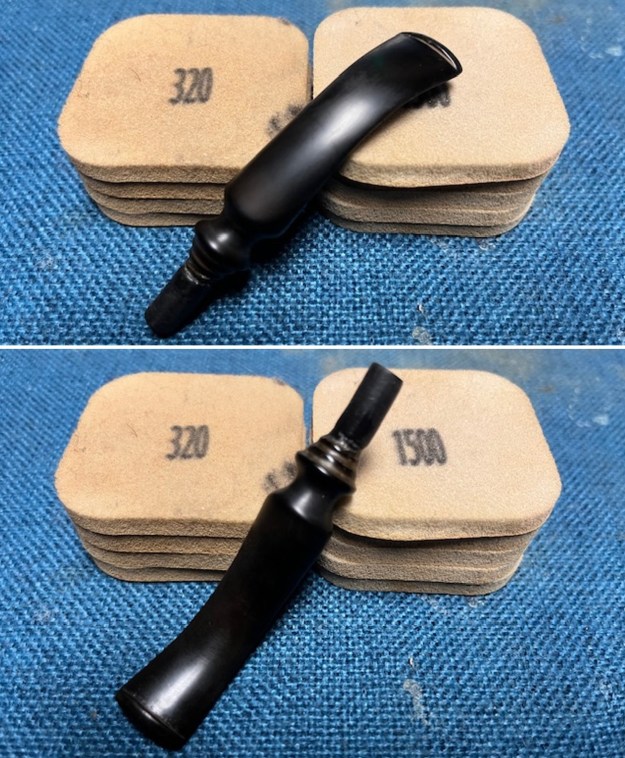
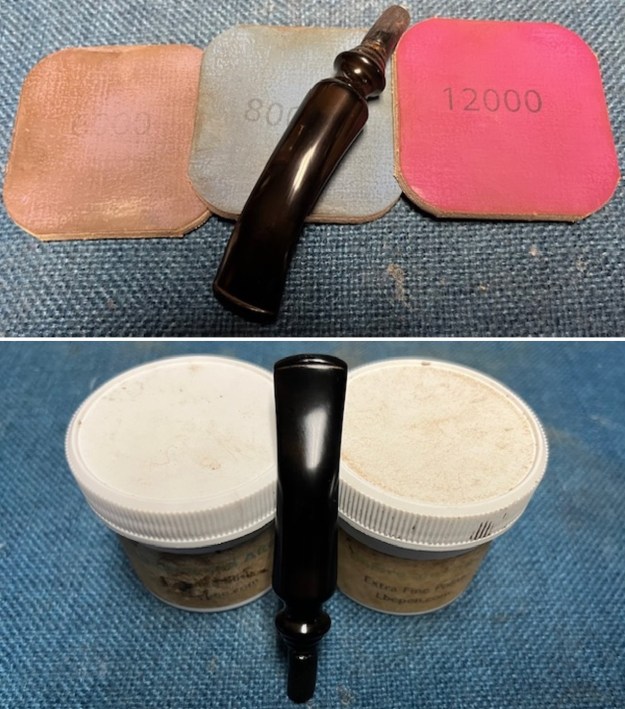
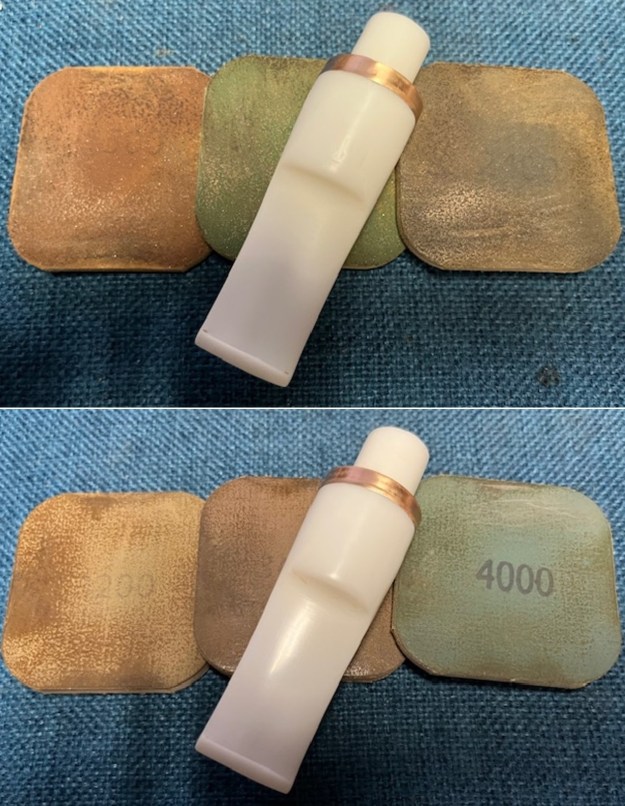
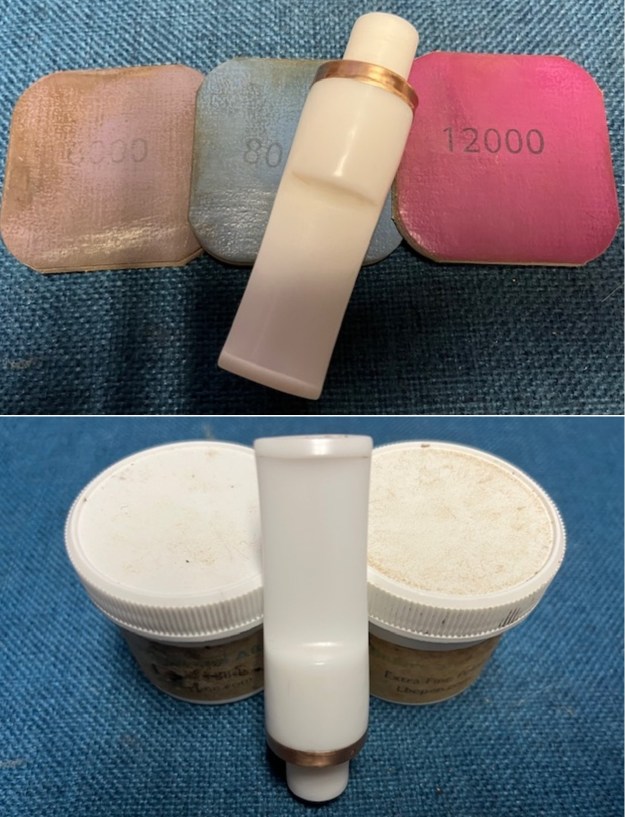
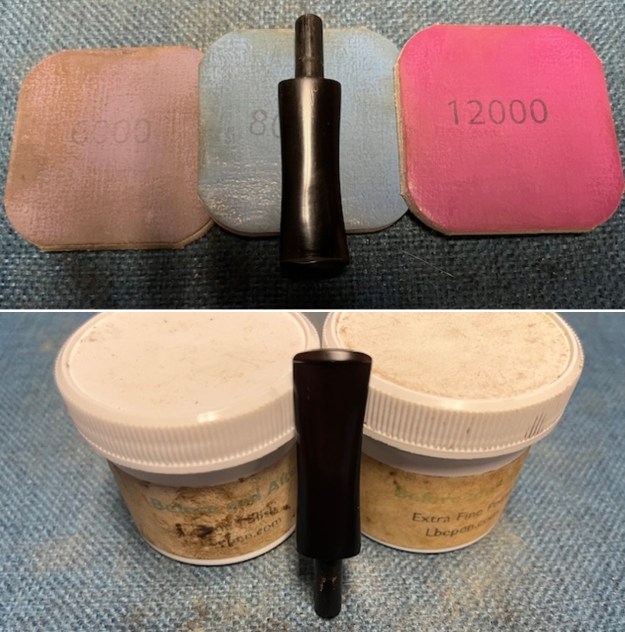
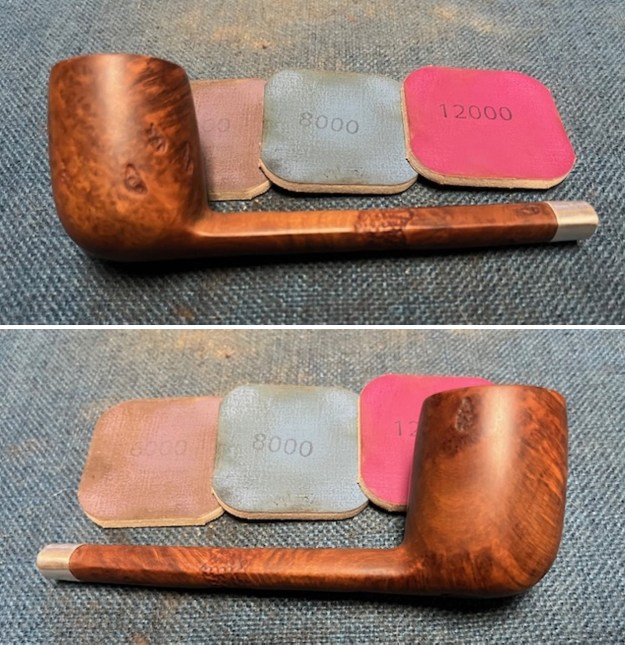
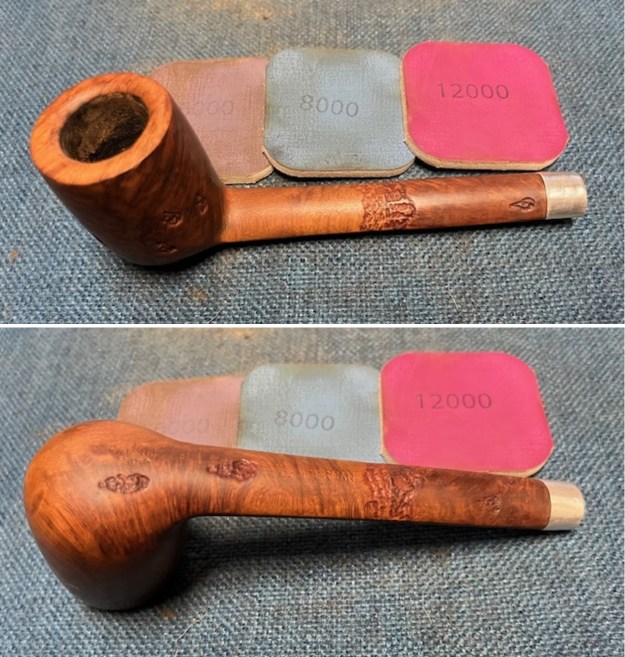
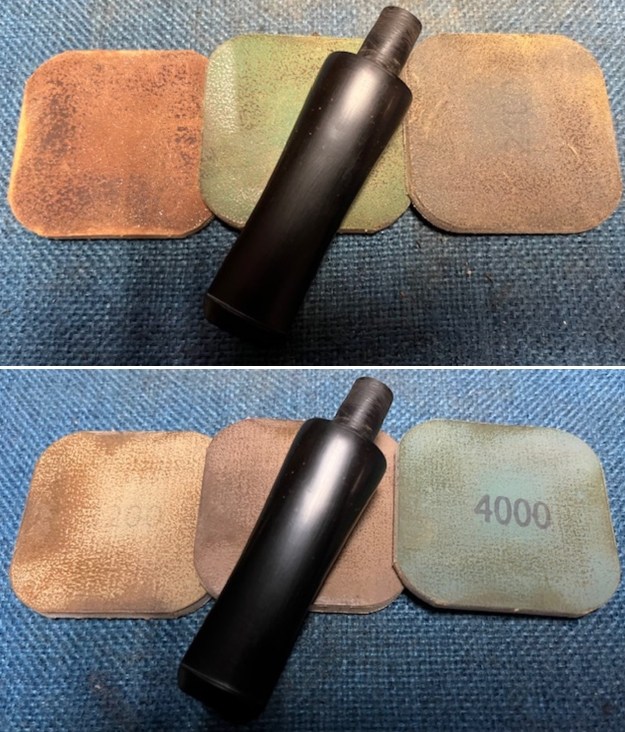
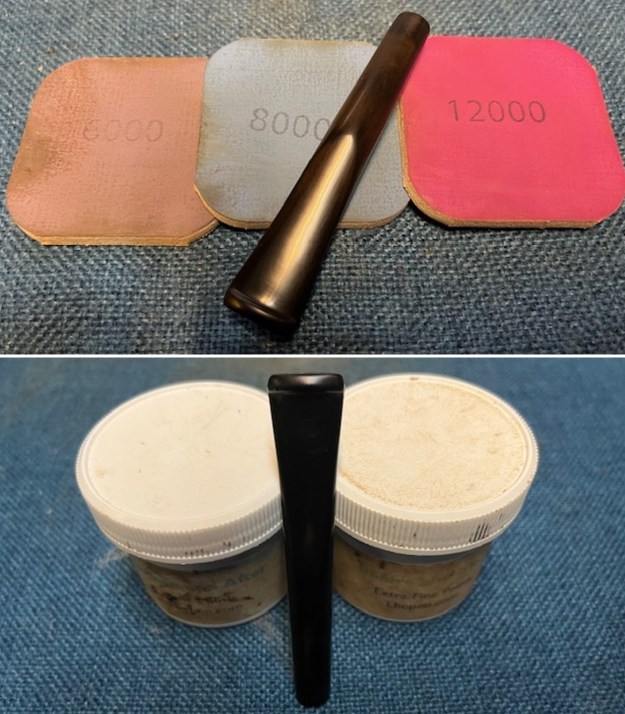
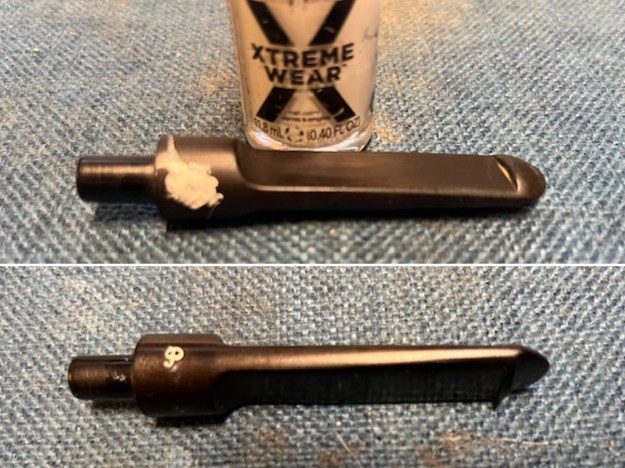
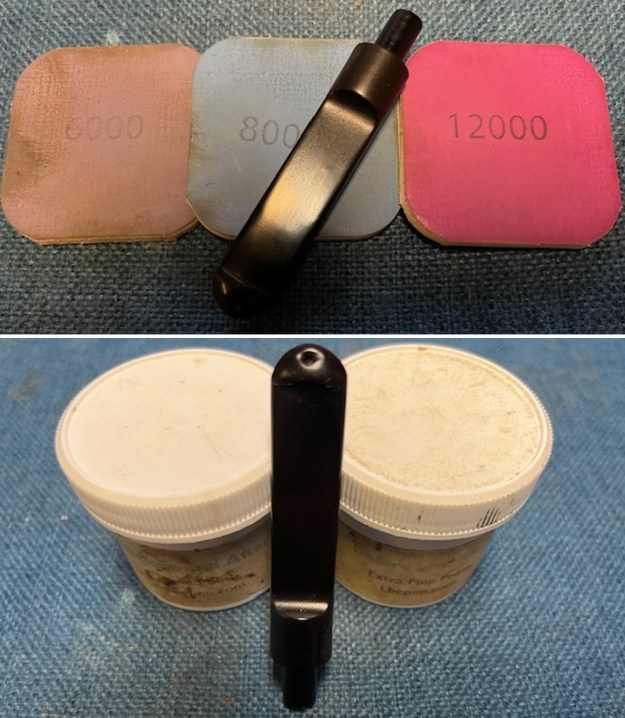
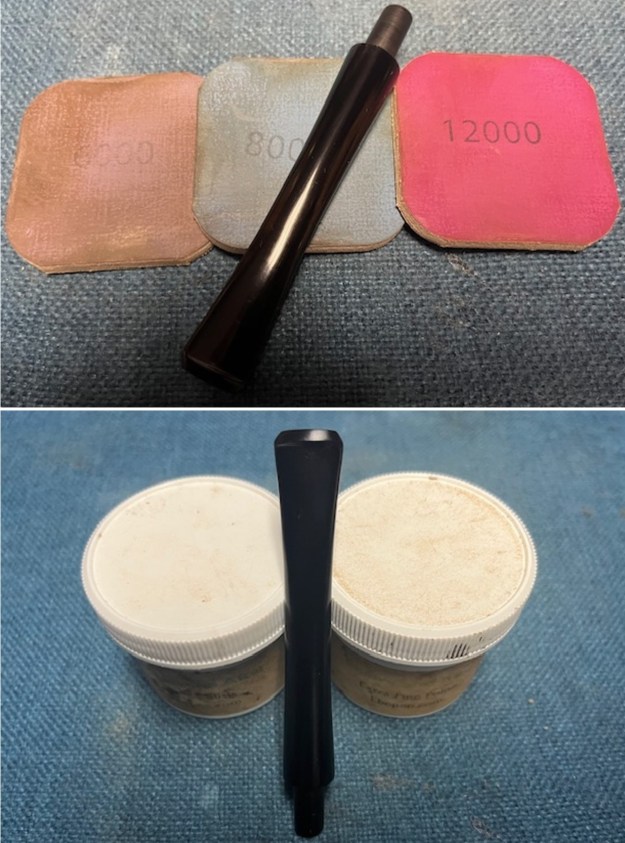
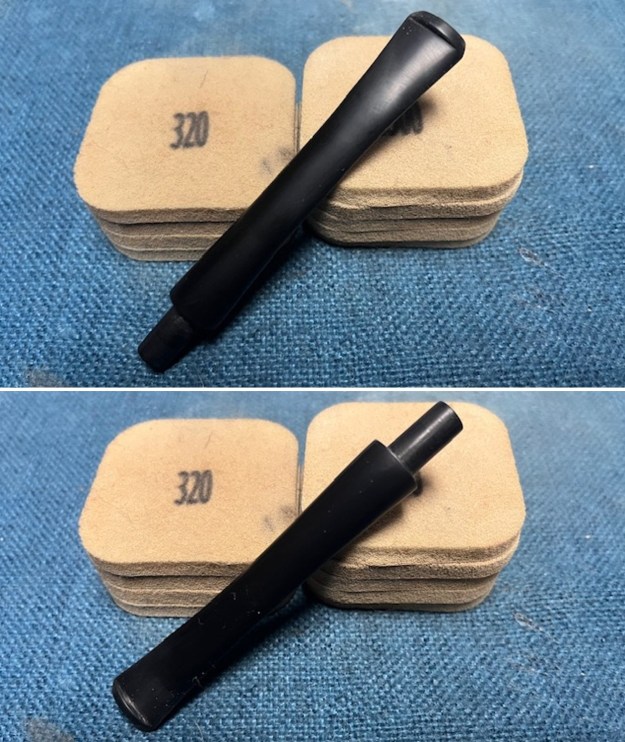 I polished the stem with micromesh sanding pads – wet sanding with 1500-12000 grit sanding pads. I wiped it down after each sanding pad with some Obsidian Oil. I finished polishing it with Before & After Pipe Stem Polish – both Fine and Extra Fine and buffed it off with a cotton cloth. I wiped it down with Obsidian Oil to protect the stem and slow down the oxidation.
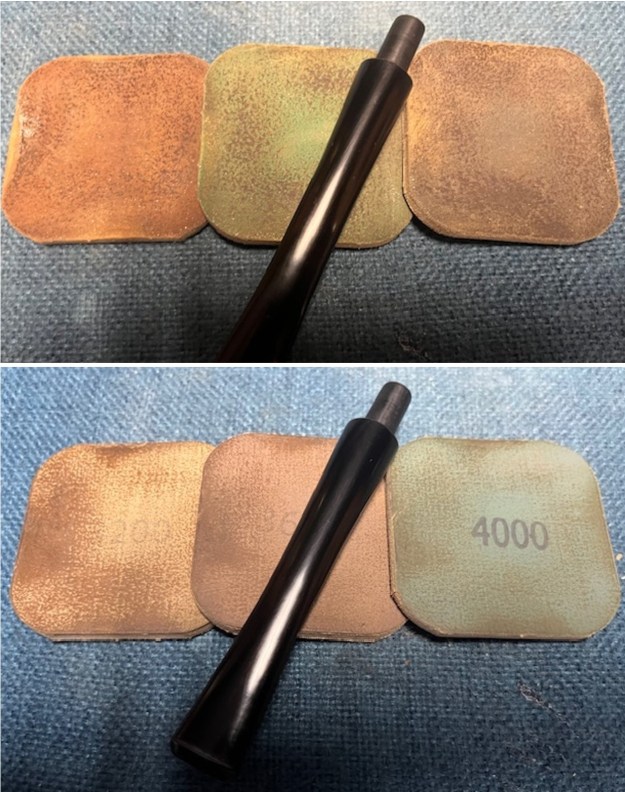
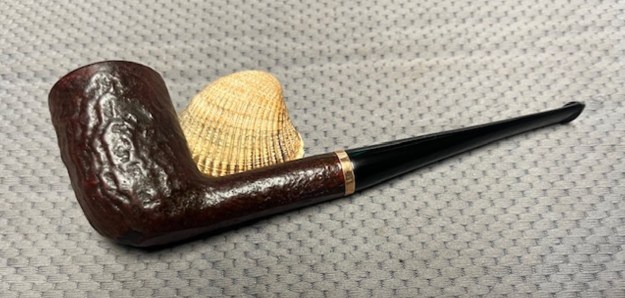
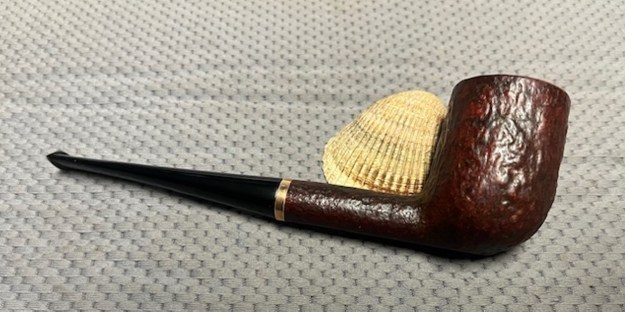
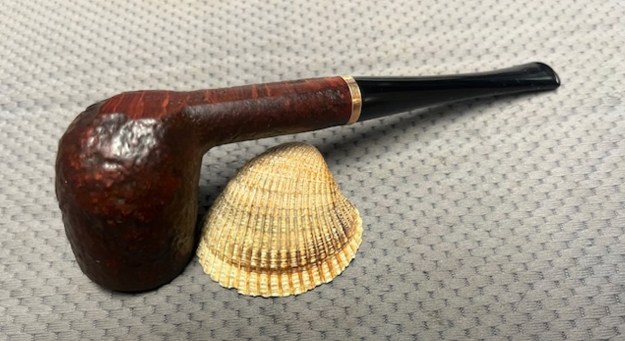
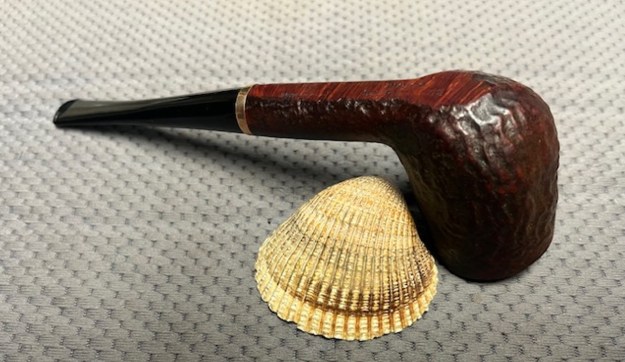
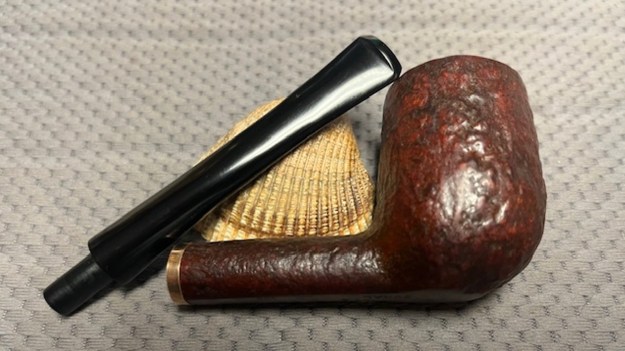
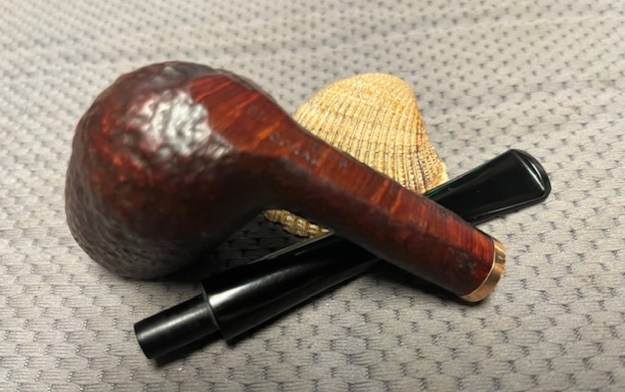
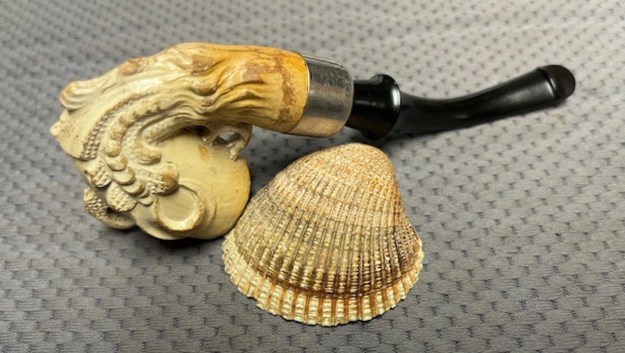
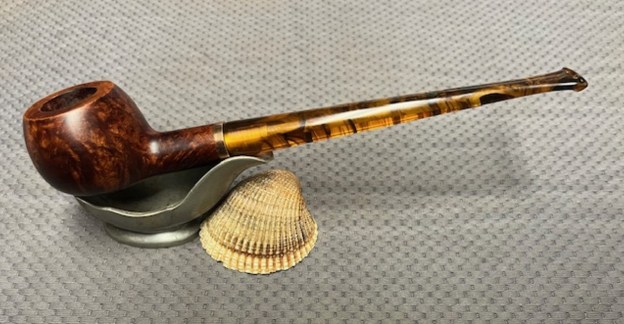
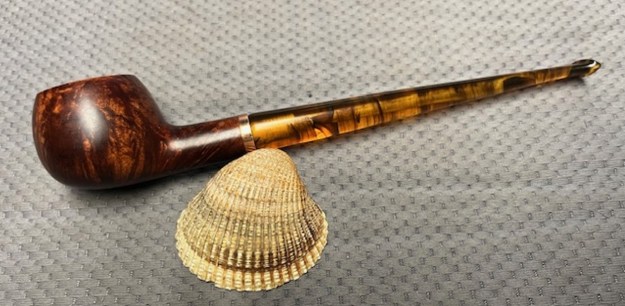
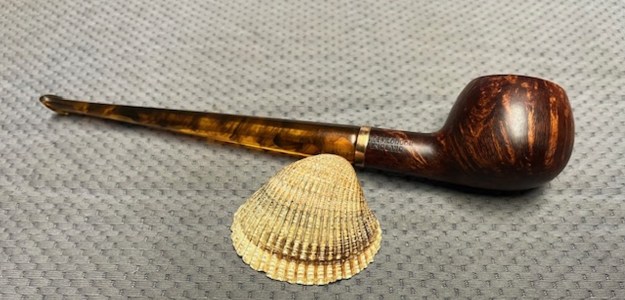
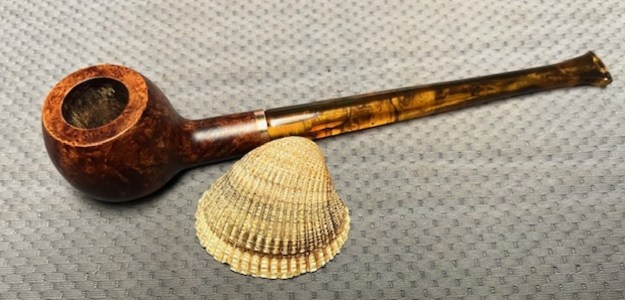
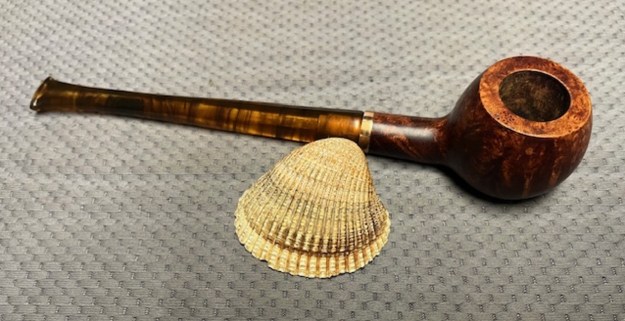
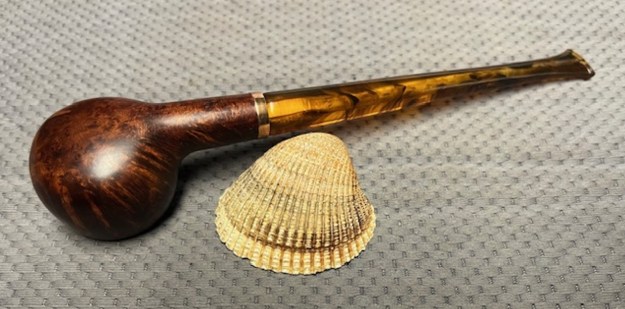
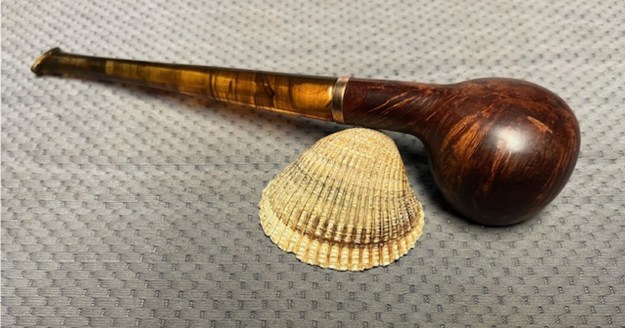
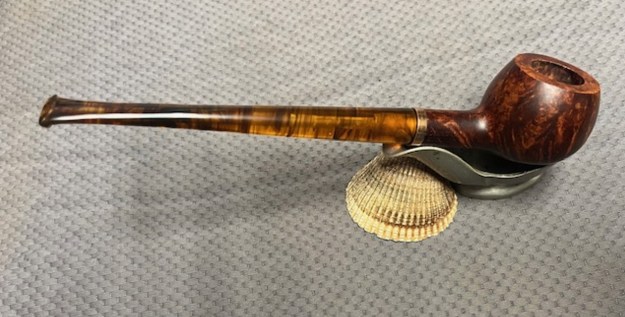
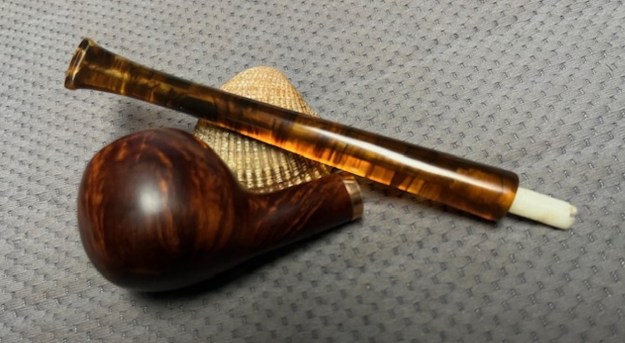
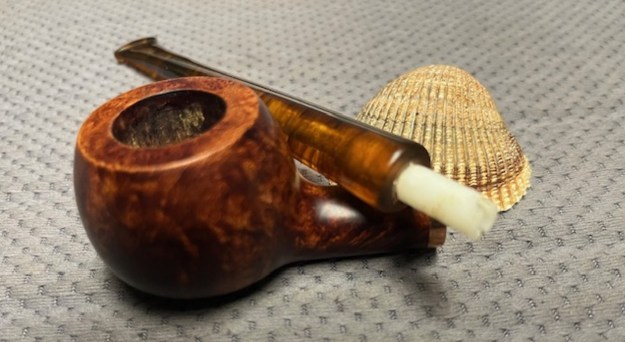
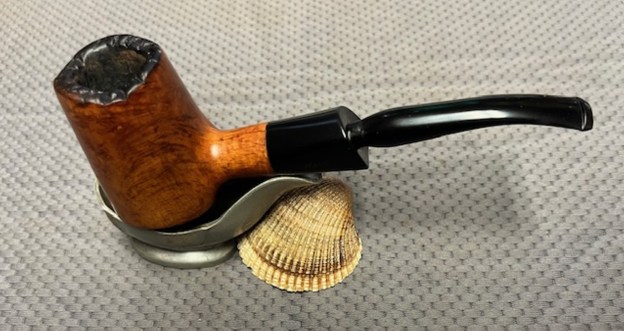
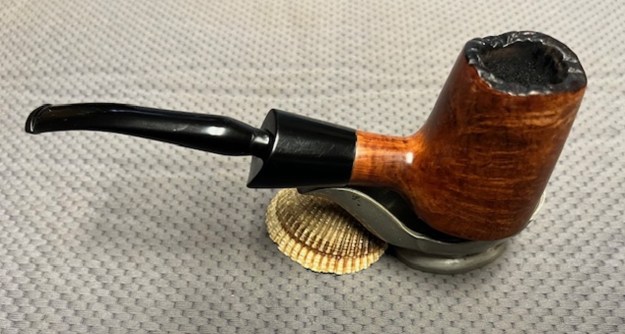
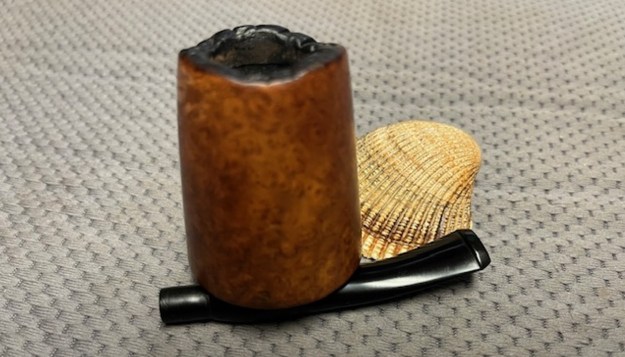
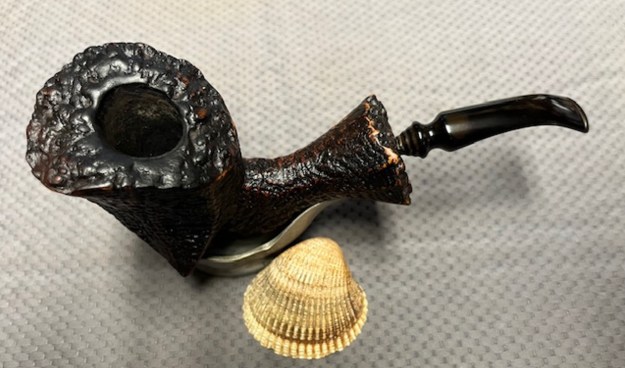
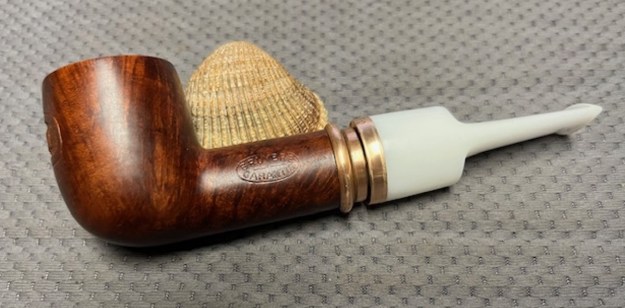
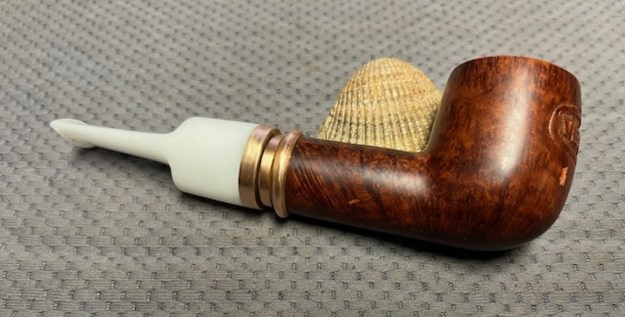
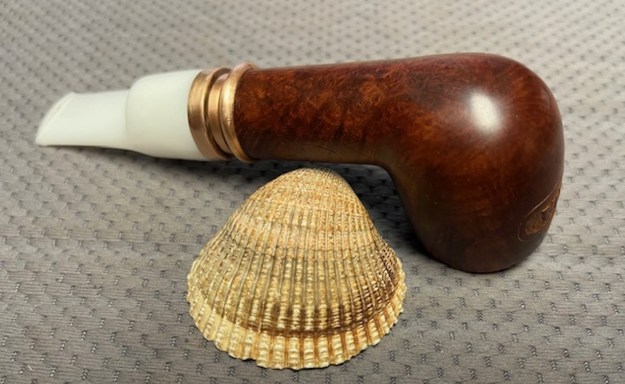
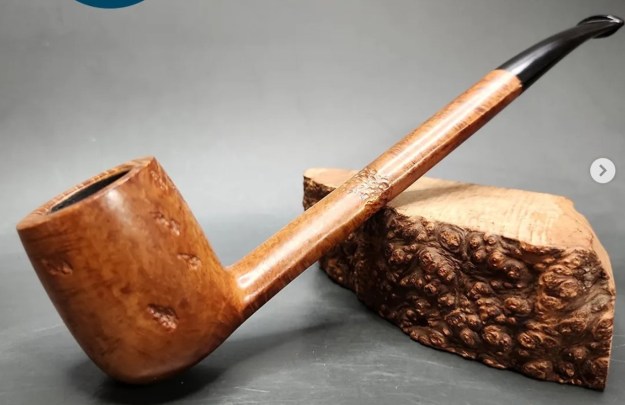
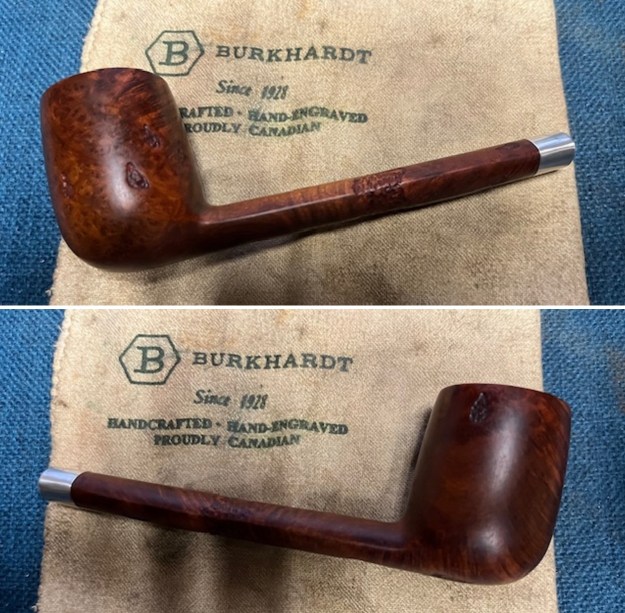
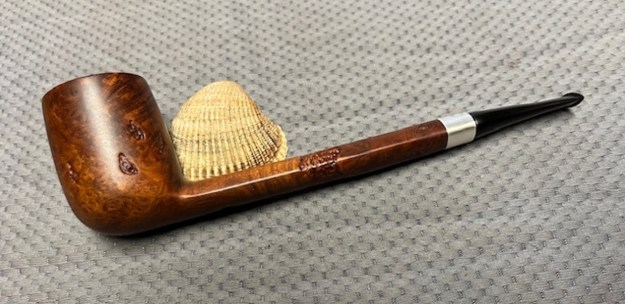
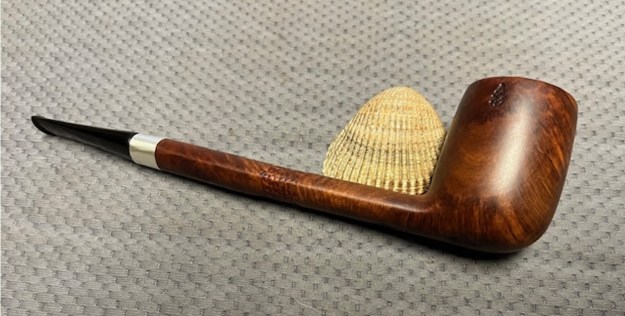
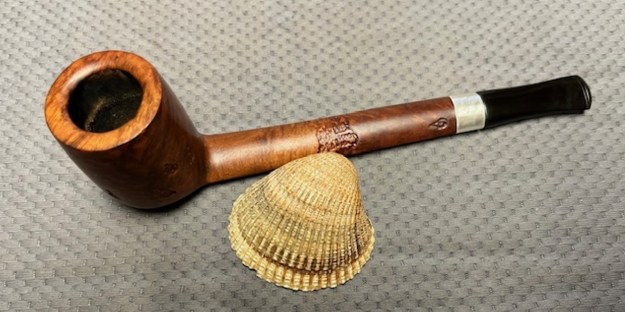
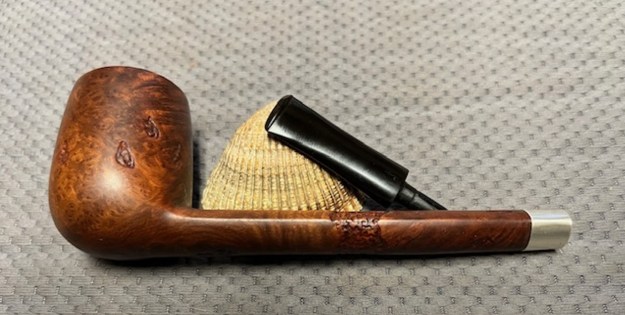
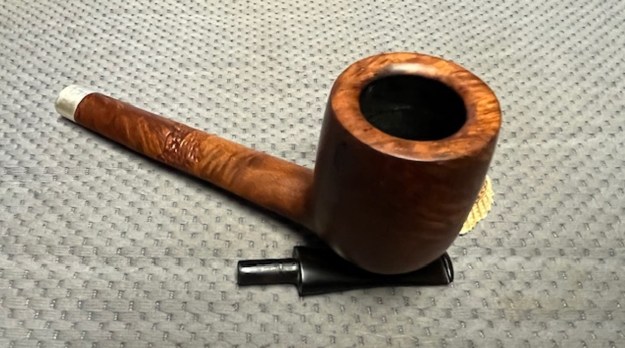
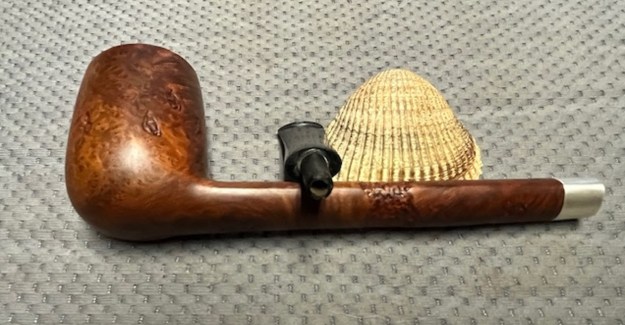
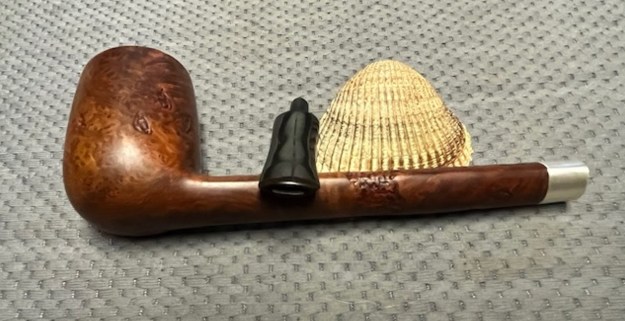
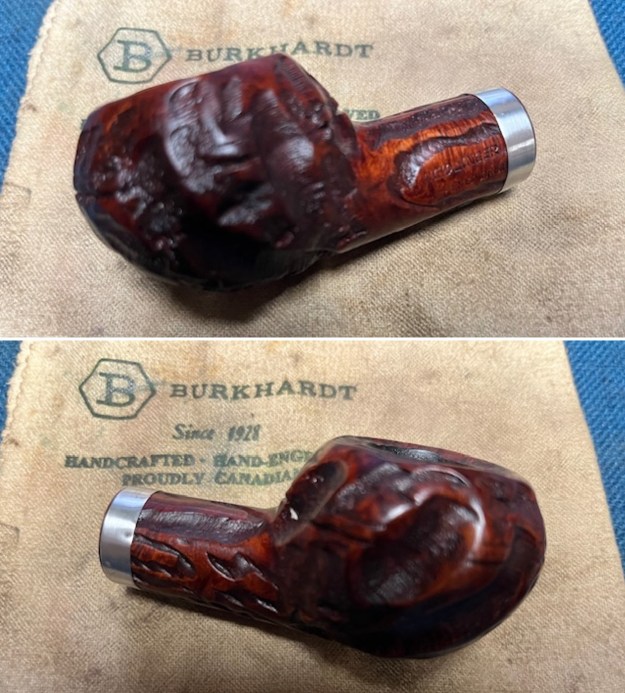
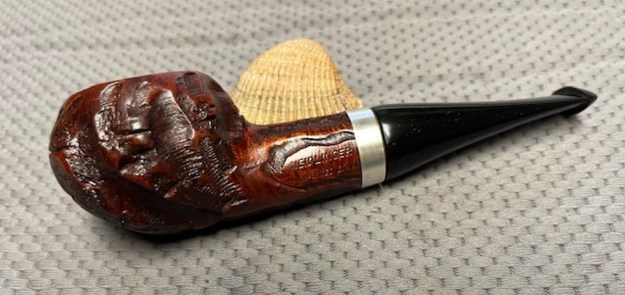
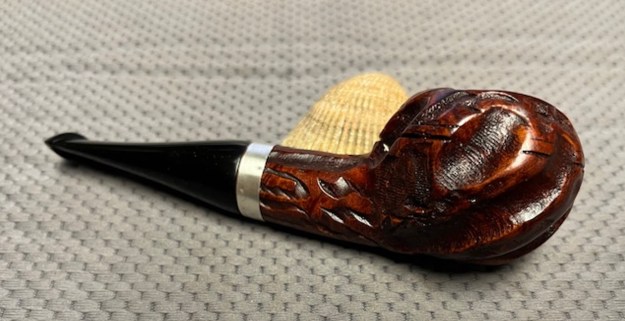
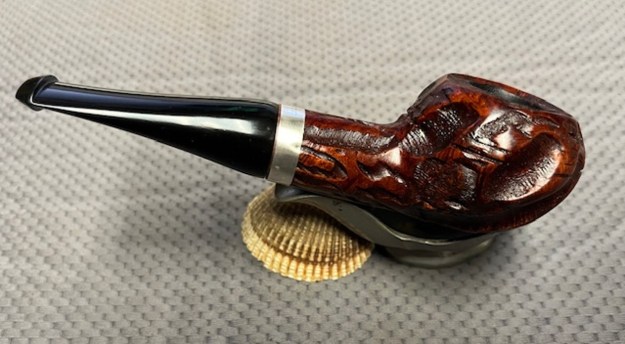
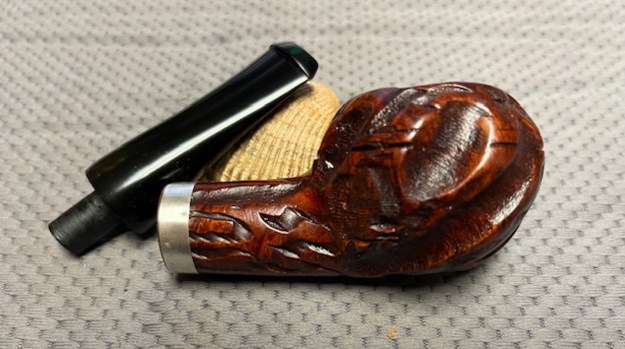
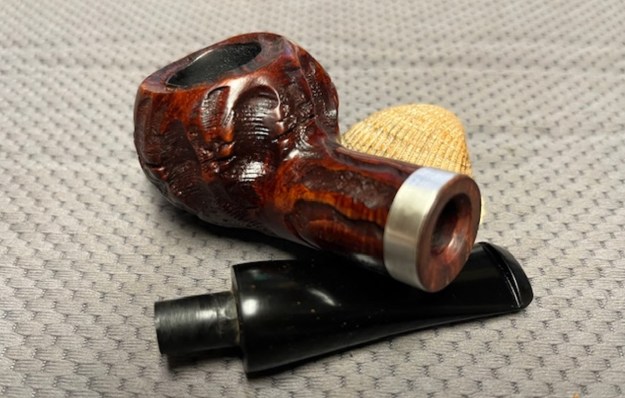
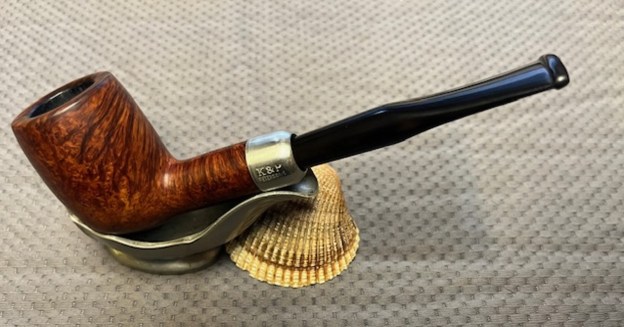
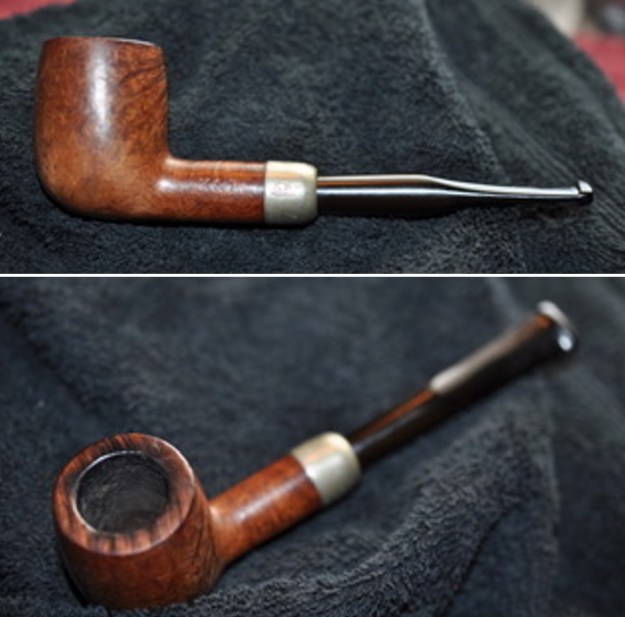
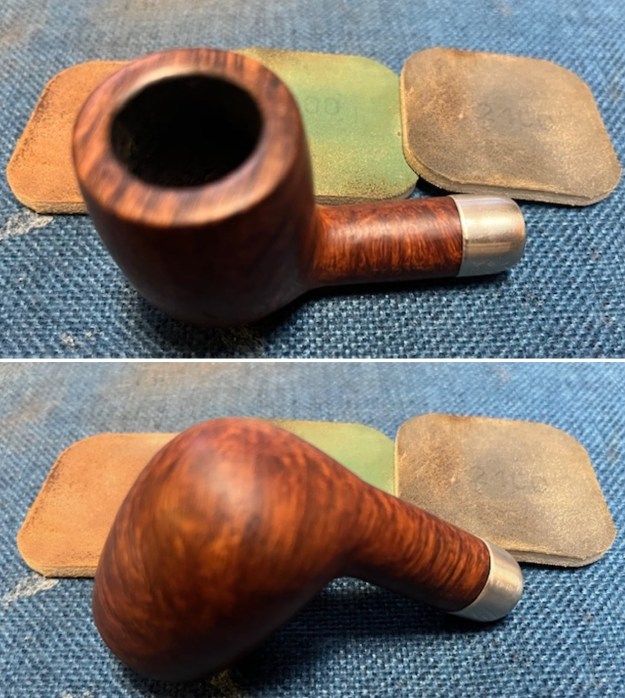
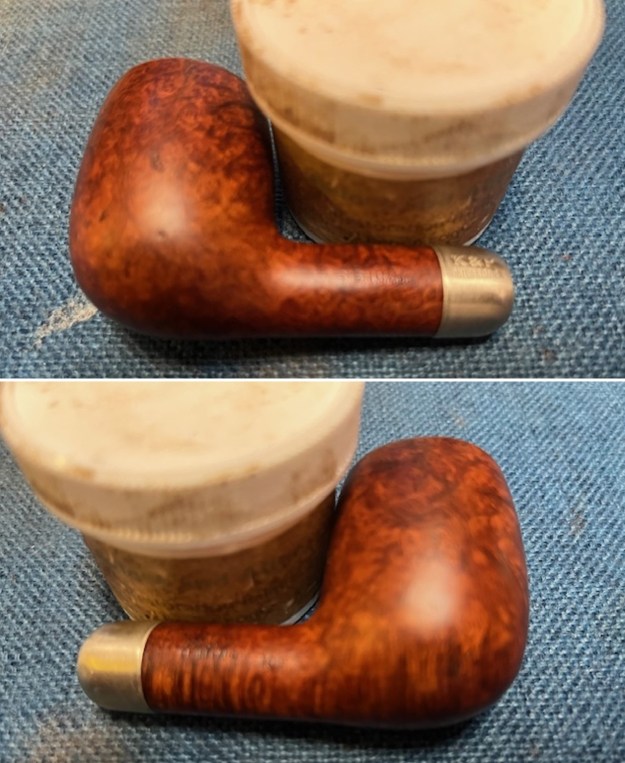
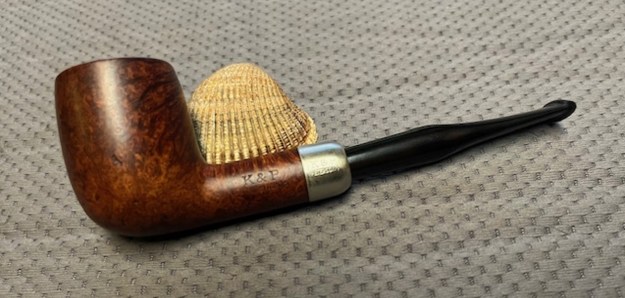
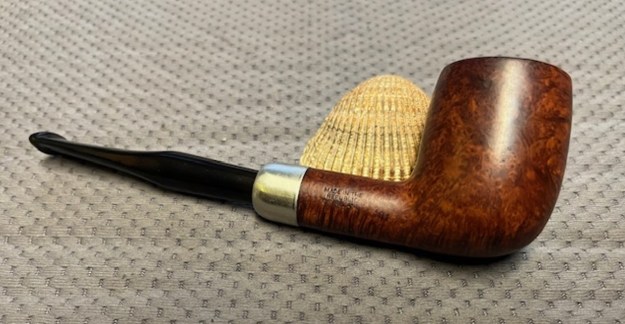
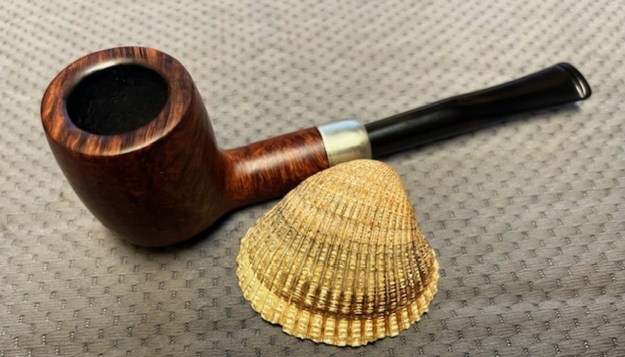
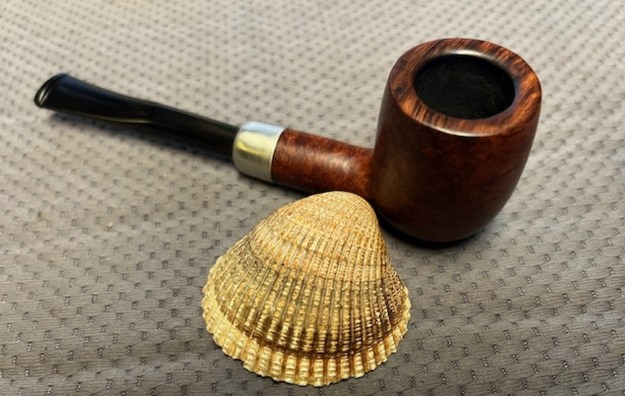
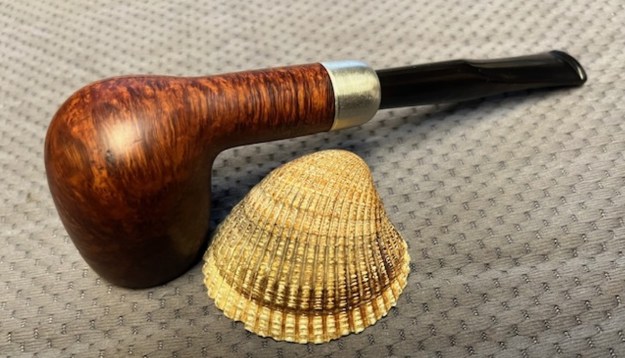
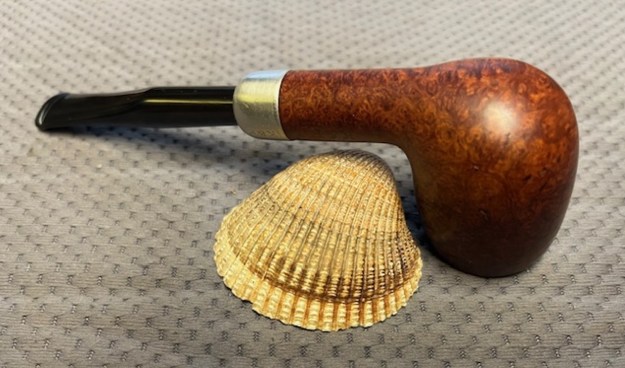
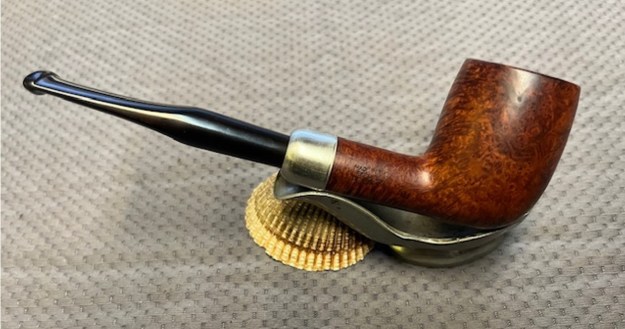
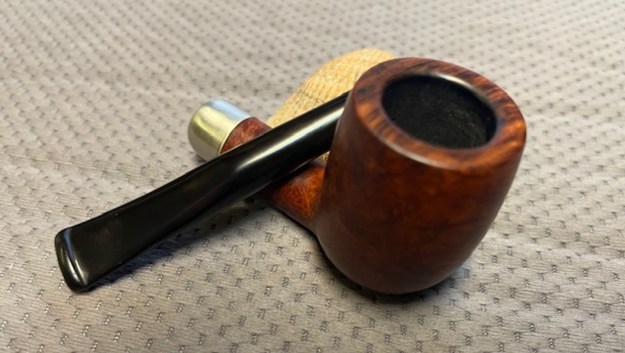
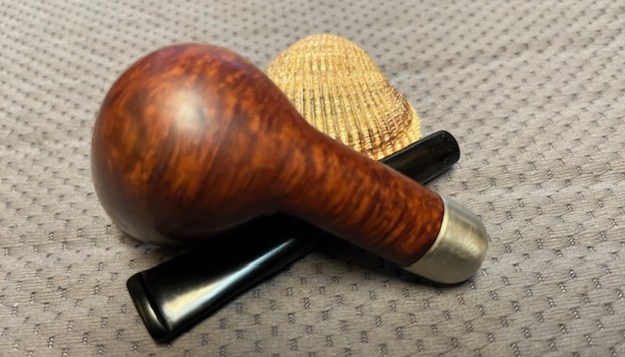
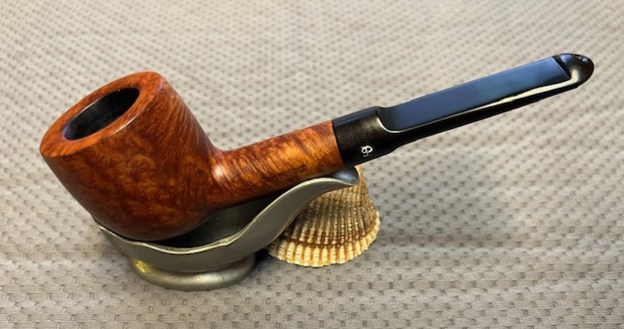
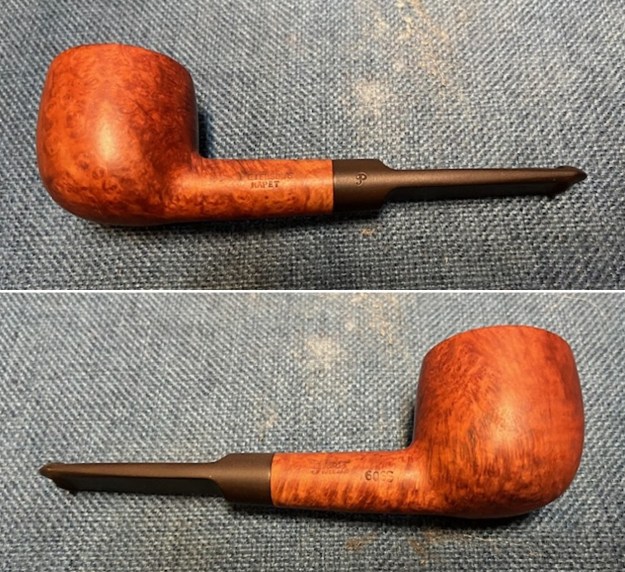
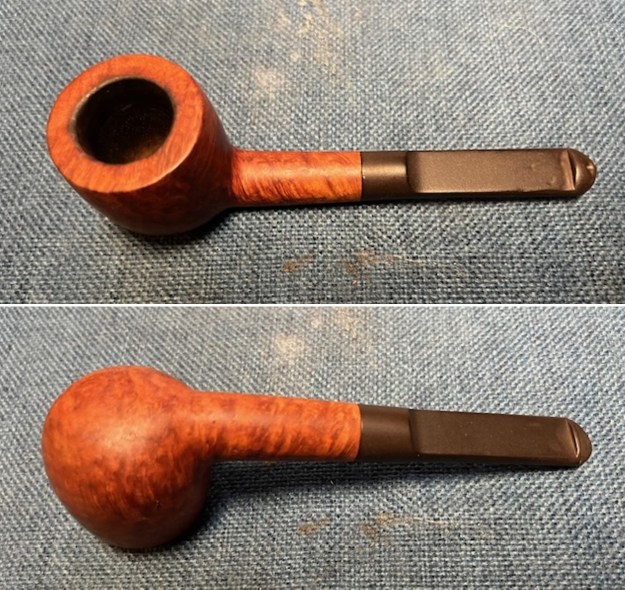
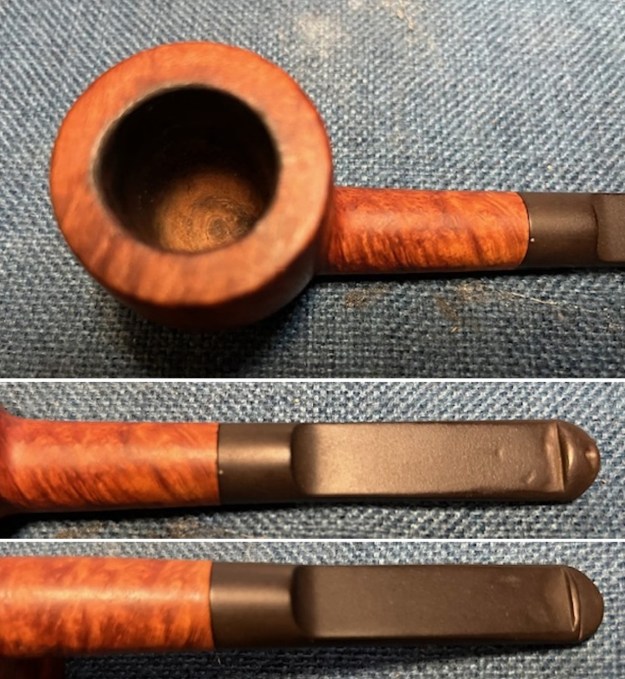
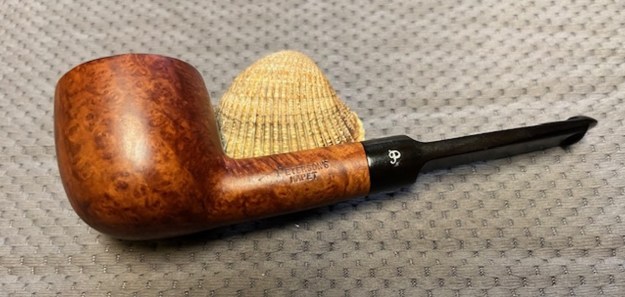
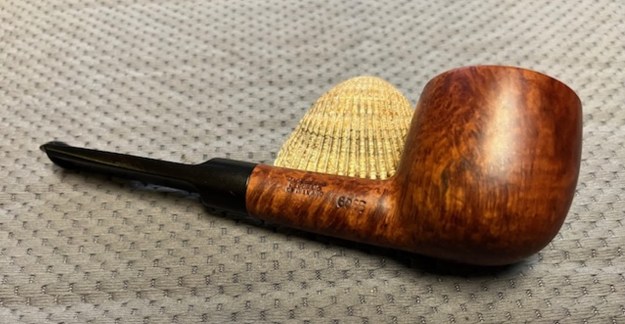
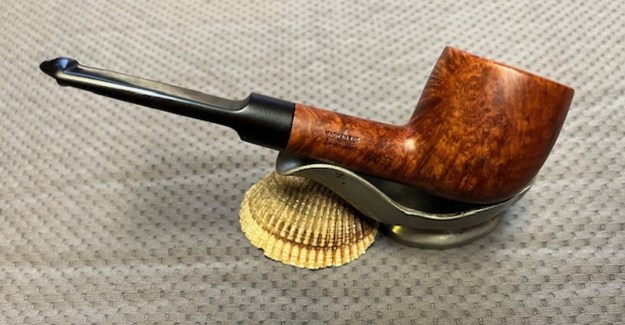
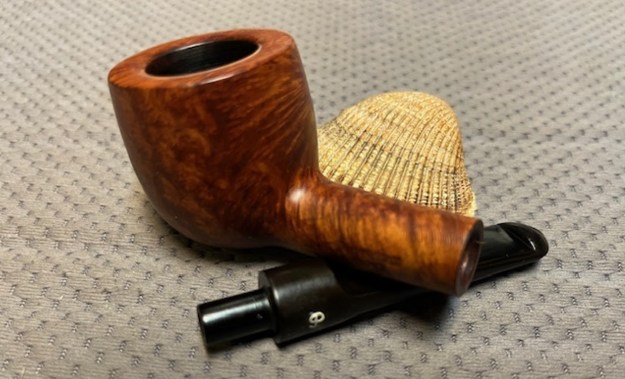
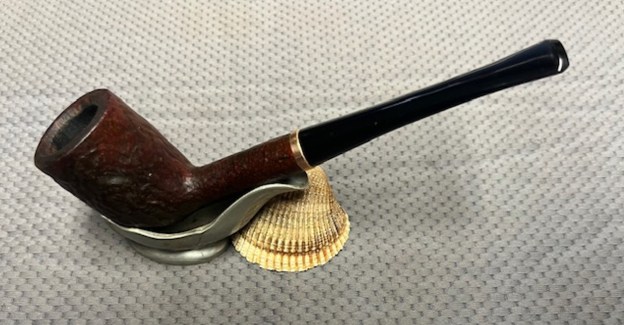
 Once again, I am at the part of the restoration that I always look forward to – the moment when all the pieces are put back together. I put the Benaderet’s Coral 135 Billiard and new acrylic stem back together and buffed the bowl with Blue Diamond. I buffed the stem with a heavier touch with Blue Diamond on the buffing wheel. I gave the bowl and the stem multiple coats of carnauba wax. I buffed the pipe with a clean buffing pad to raise the shine. I hand buffed it with a microfiber cloth to deepen the shine. It is fun to see what the polished bowl looks like with the polished sandblast finish and thin brass band. The black acrylic stem stands out as a shiny black contrast to the colours of the bowl. The reddish brown stain on the Benaderet’s Coral Billiard looks absolutely great. It is nice to know that it has a west coast tie to the San Francisco area and a long-gone pipe shop. It must have been a fine smoking pipe judging from the condition it was when we received it. Have a look at it in the photos below. The dimensions are Length: 6 ½ inches, Height: 2 inches, Outside diameter of the bowl: 1 ¼ inches, Chamber diameter: ¾ of an inch. The weight of the pipe is 1.41 ounces/41 grams. This is one that will go on the British Pipemakers section of the rebornpipes online store shortly. Thanks to each of you who are reading this blog. Remember we are not pipe owners; we are pipemen and women who hold our pipes in trust until they pass on into the trust of the next generation.