by Steve Laug
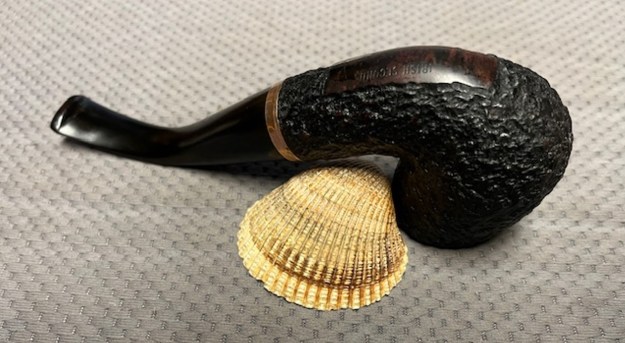
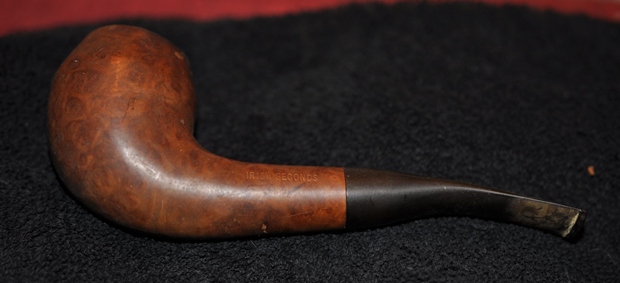
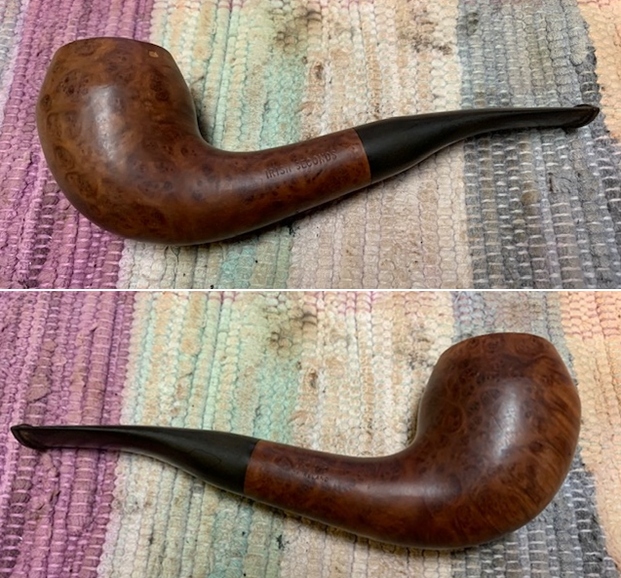
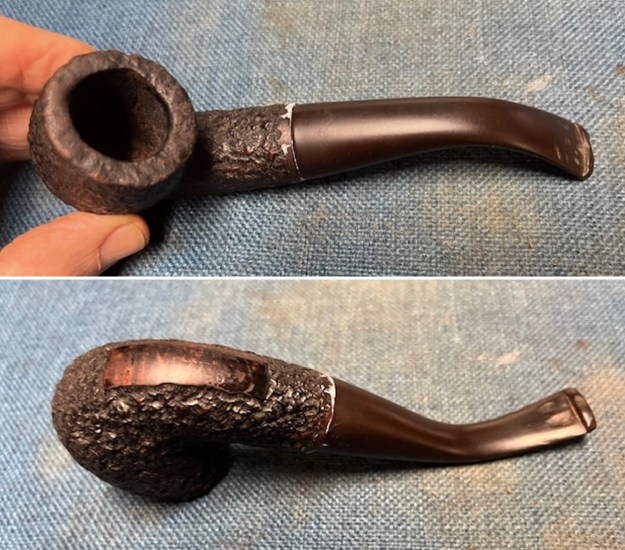
The next pipe on the work table came to us from a seller in Brazil, Indiana, USA on 11/12/2020. It is a nicely rusticated Irish Second Bent Billiard with a tapered vulcanite stem. The pipe is stamped on the underside of the shank and reads IRISH SECONDS [over] Made in the Republic of Ireland. Irish Seconds were a Peterson’s Second Line that usually did not make the grade because of flaws in the briar or sandpits. The rusticated finish hid any of those and there was a lot of grime ground into grooves on the bowl and shank. The bowl was heavily caked and there was lava on the rim top and the inner edge of the rim. The edges looked okay but we would know more after the cleanup. The stem was oxidized, calcified and had tooth chatter and deep tooth marks on the top and underside ahead of an on the button. There were not markings or a logo on the taper stem. The pipe showed promise but it was very dirty. Jeff took photos of the pipe before he started his cleanup work. 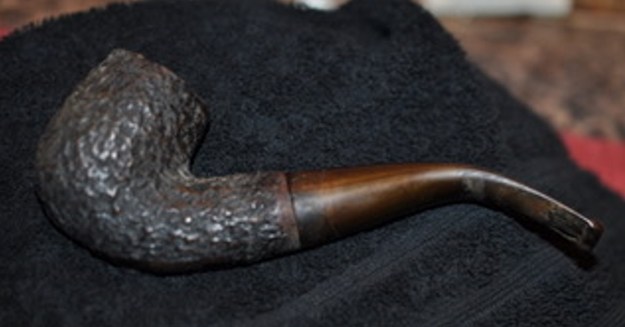
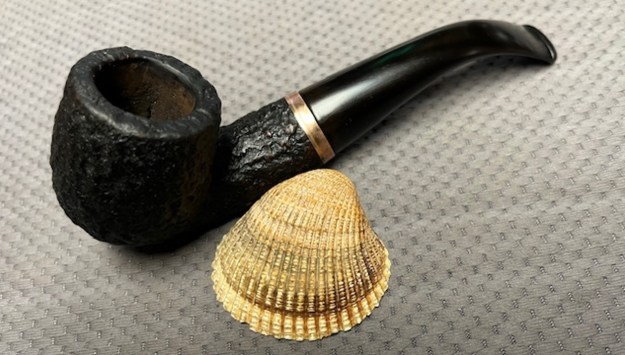
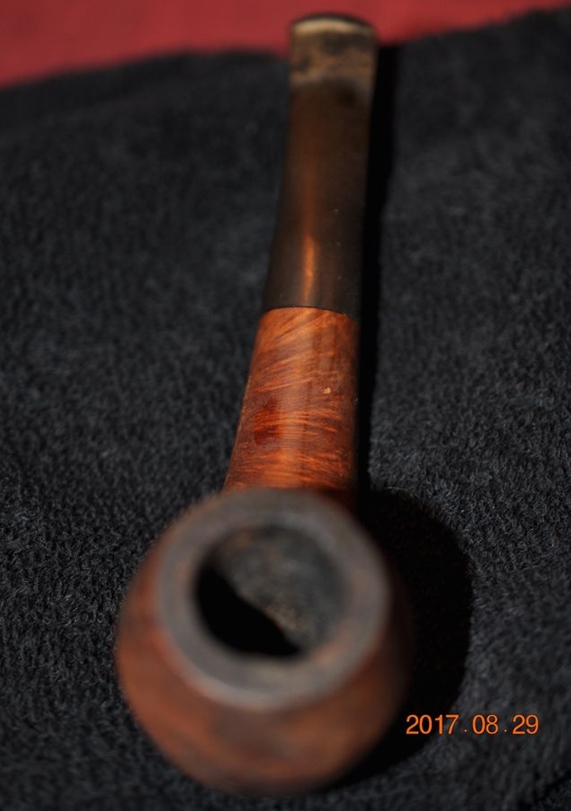
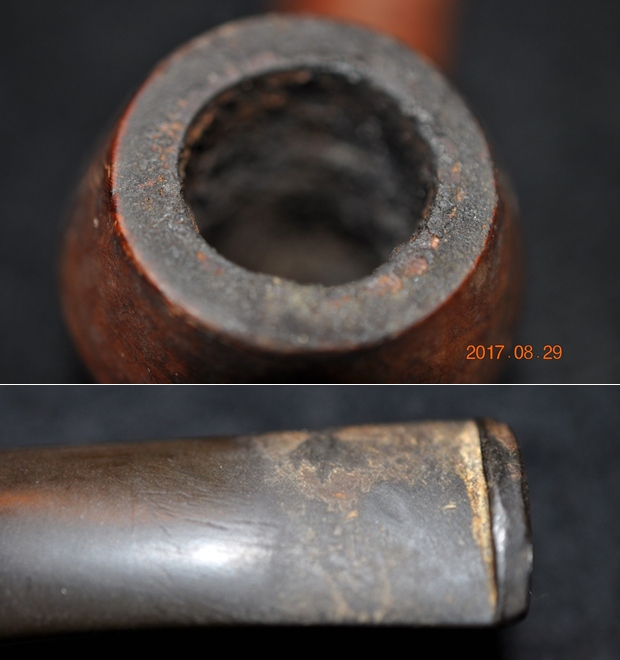
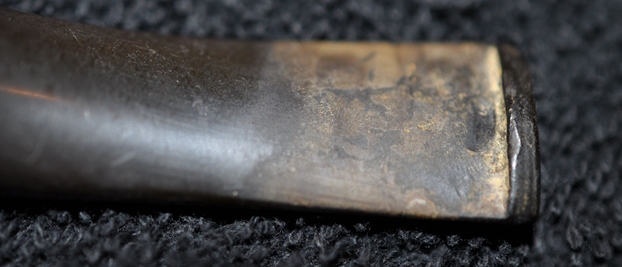
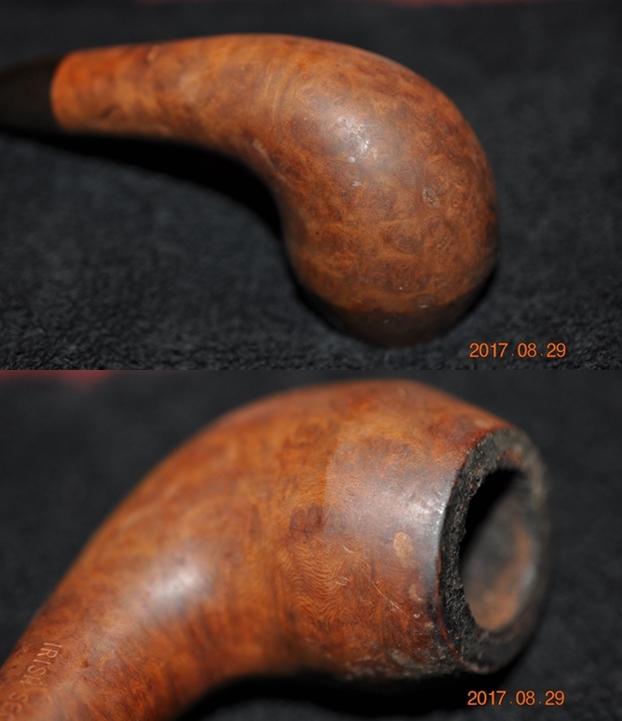
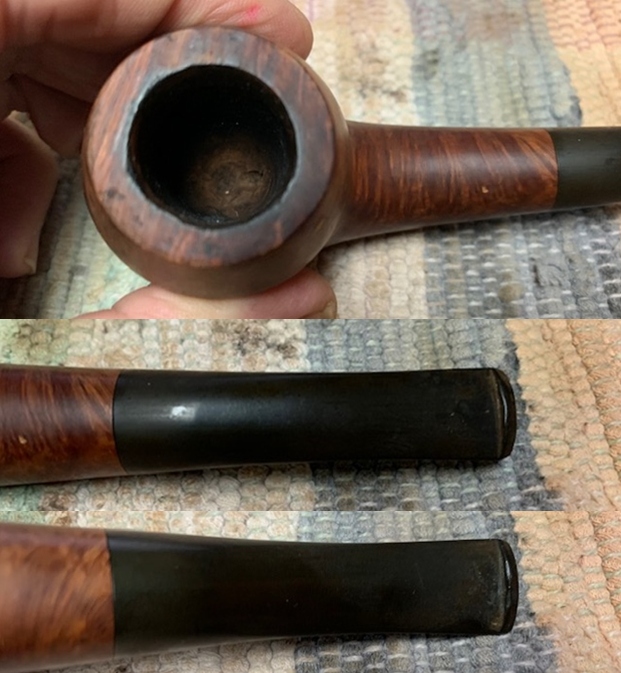
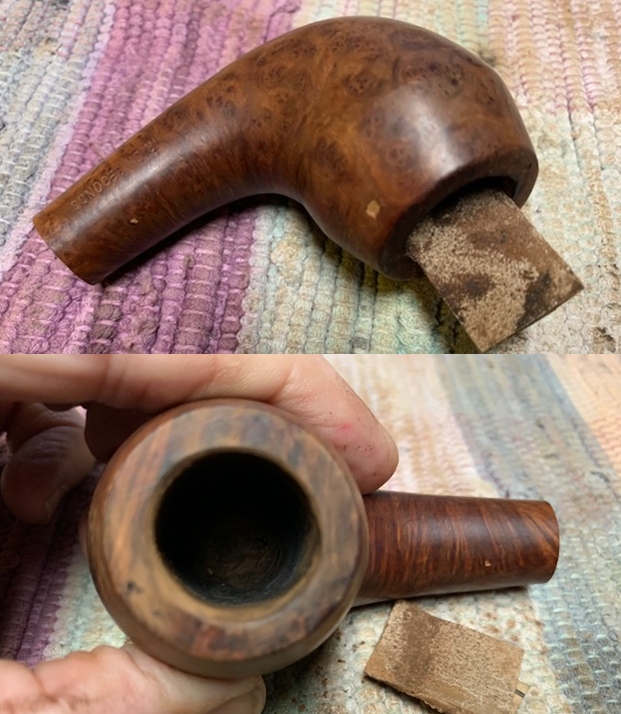
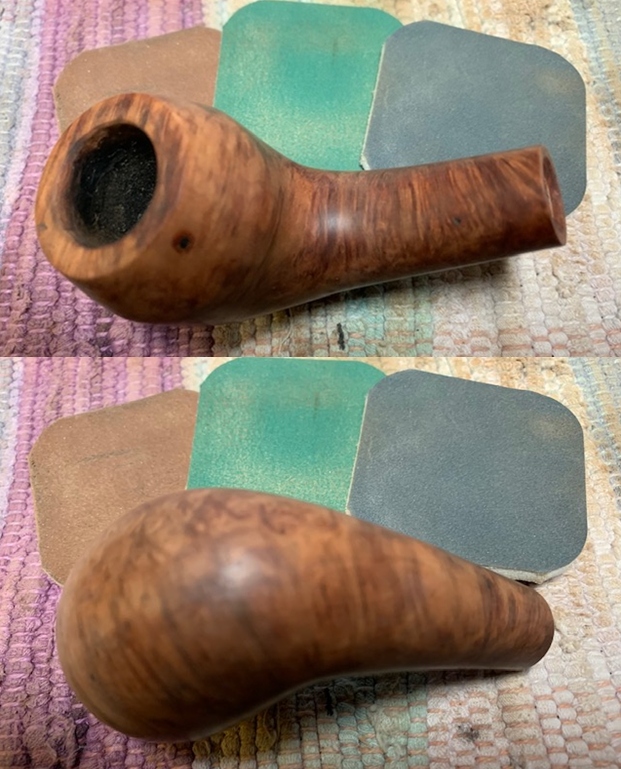
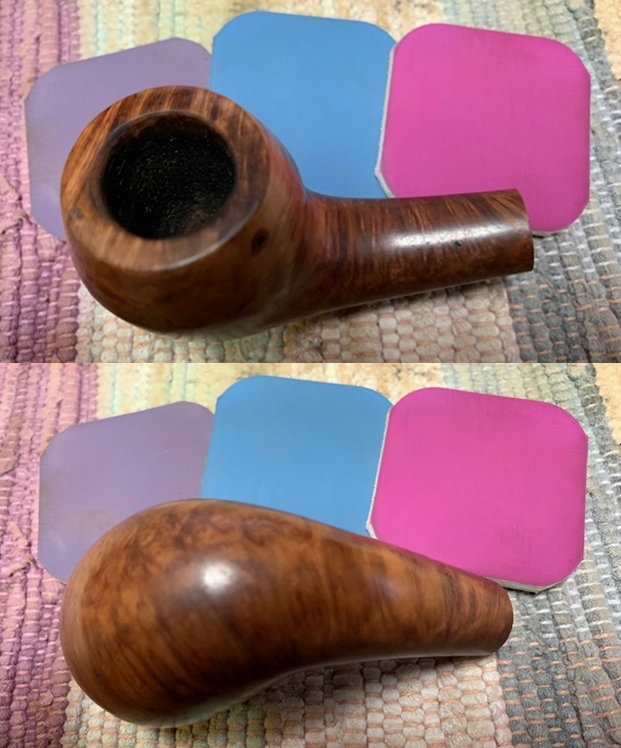
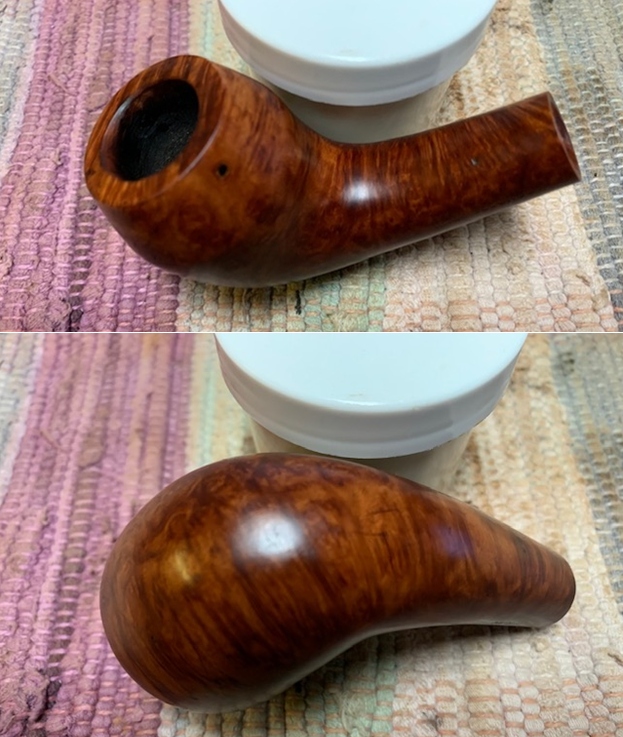
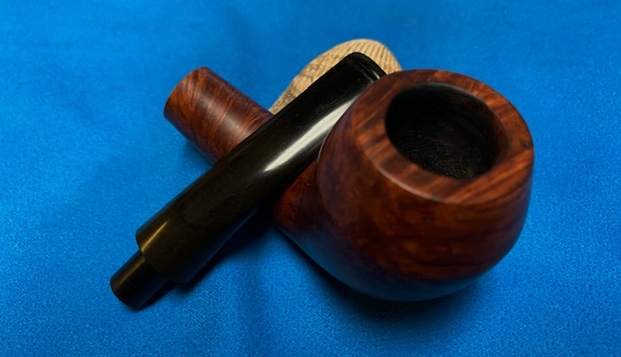
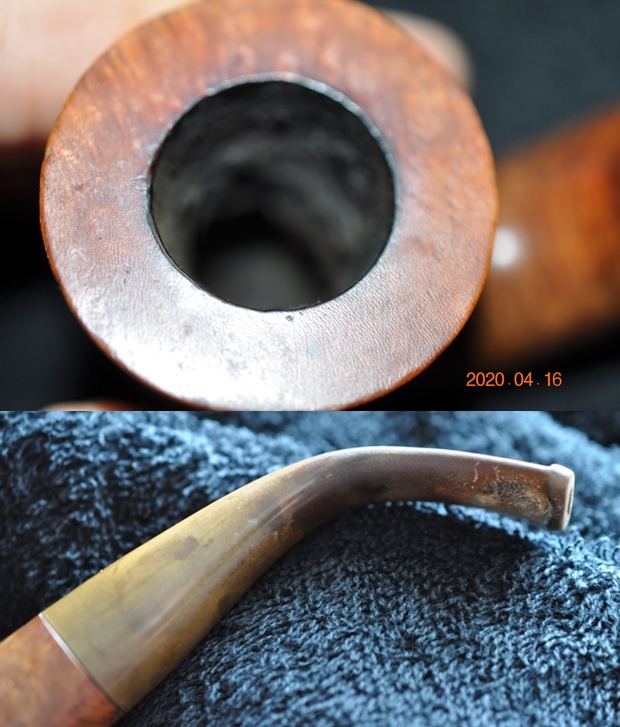
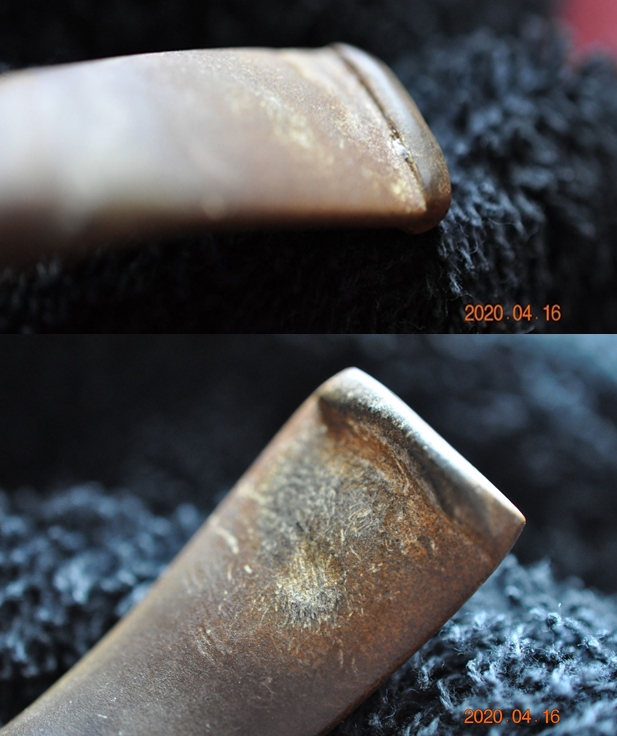
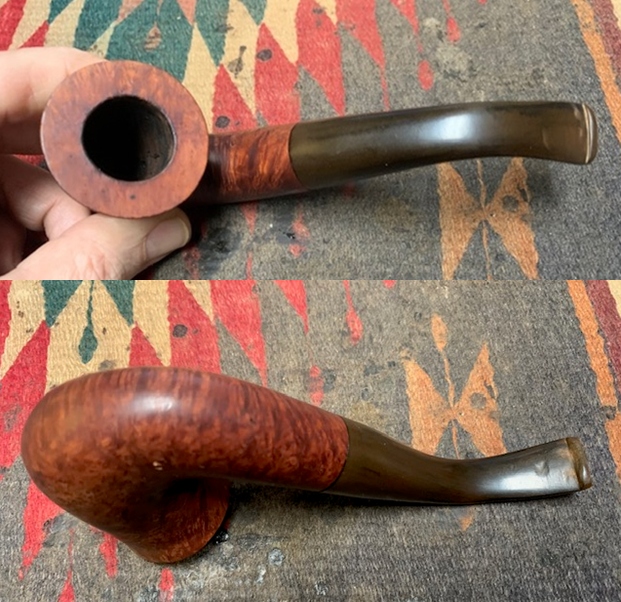
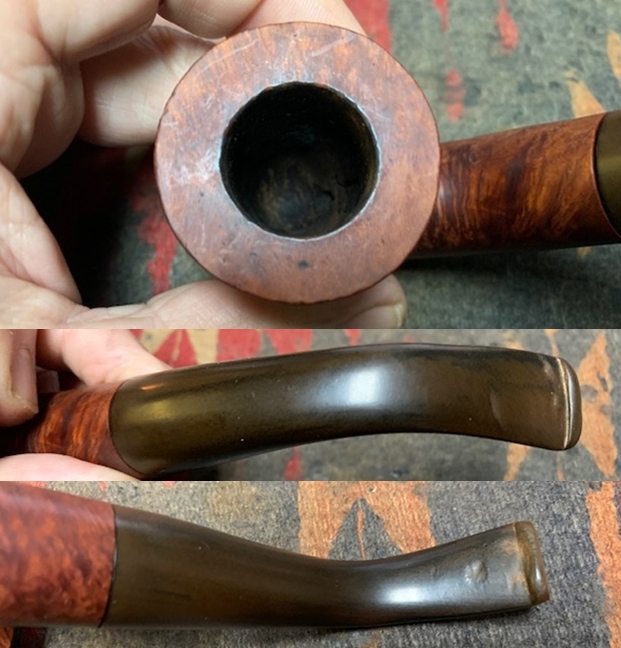
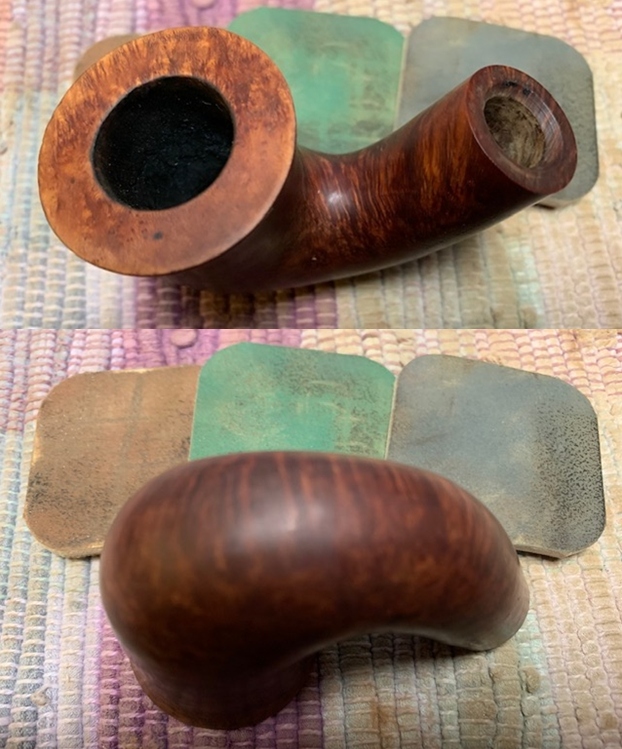
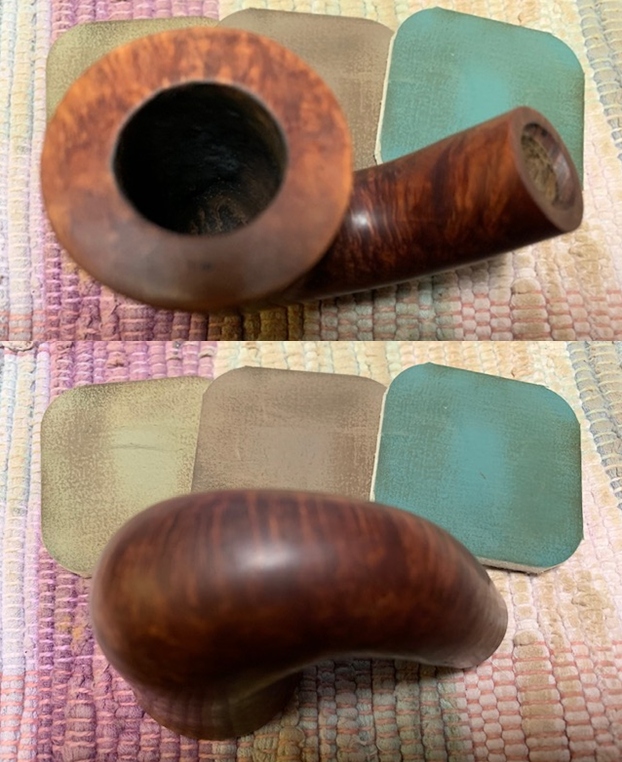
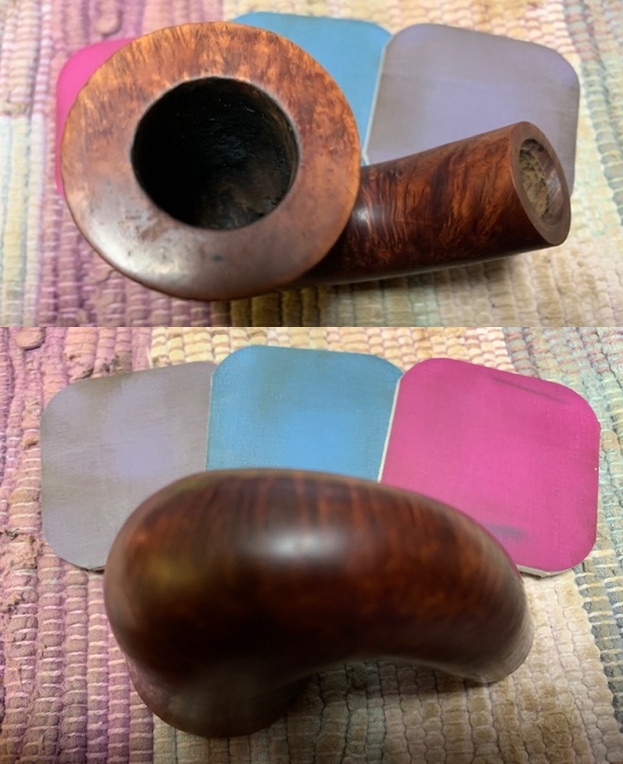
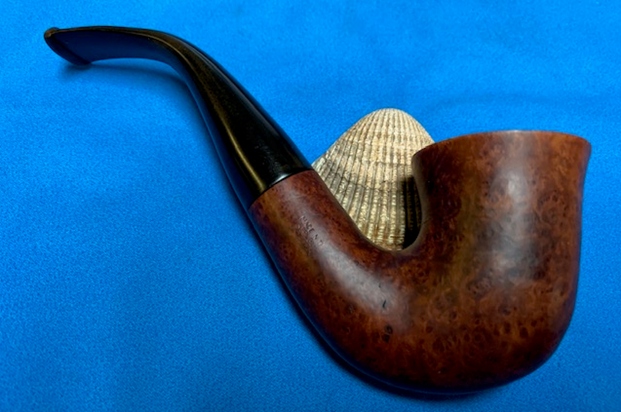
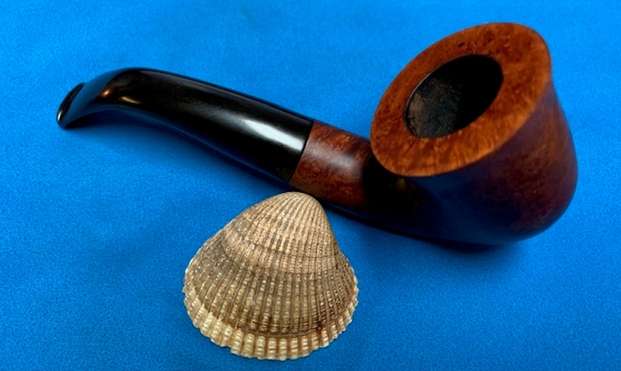
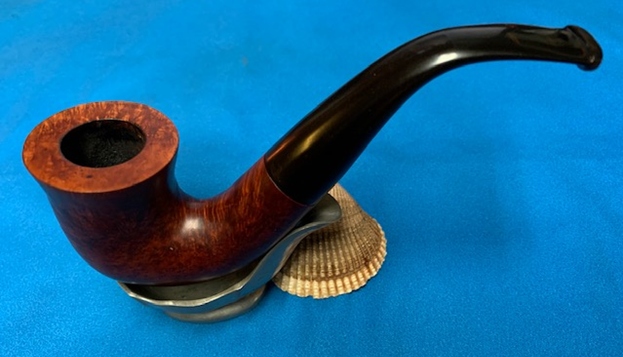
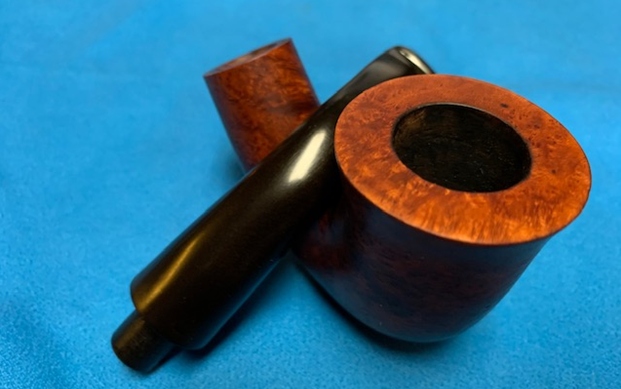
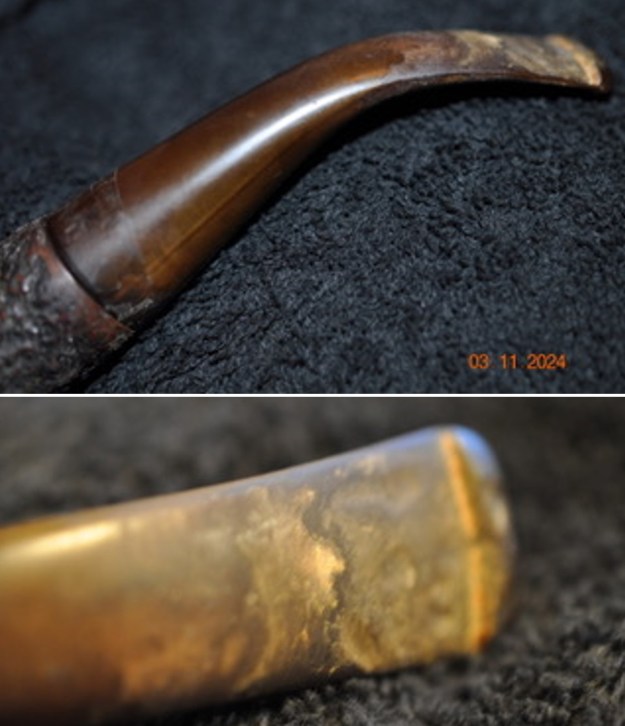
 He took photos of the rim top and bowl to give a clear picture of the thickness of the cake and the condition of the rim top and edges. He also took photos of the top and underside of the stem to show the oxidation, calcification and chatter and tooth marks.
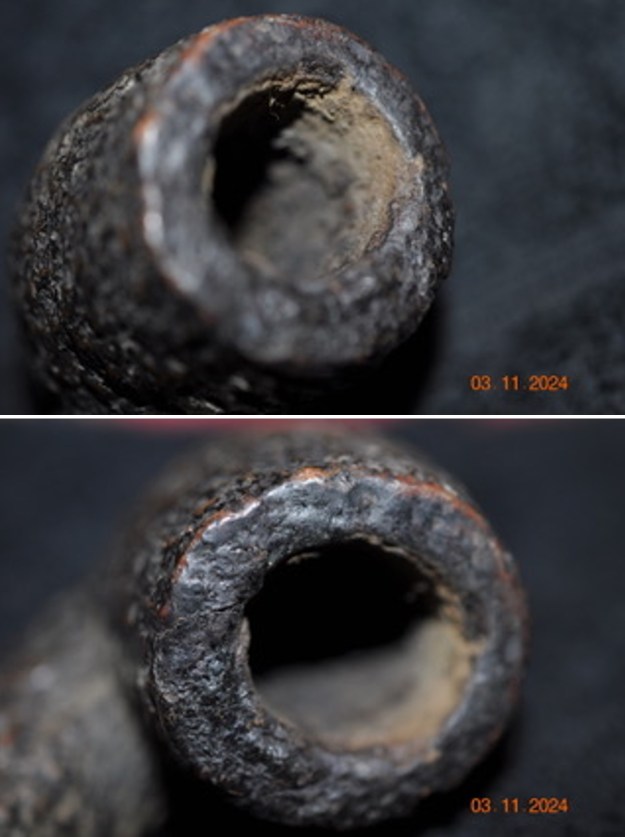
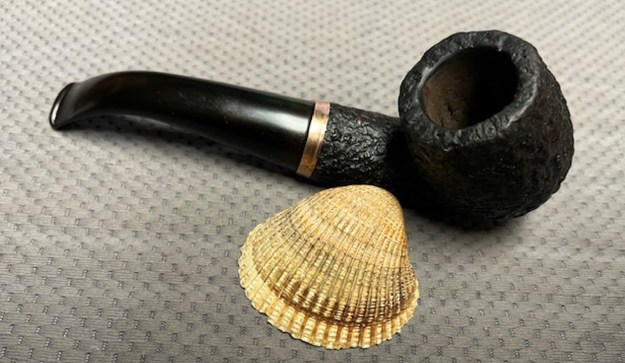
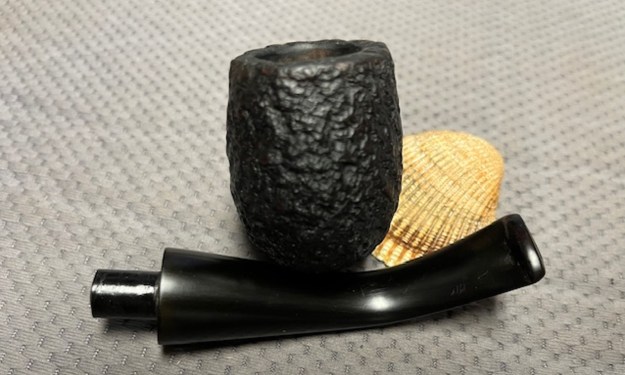
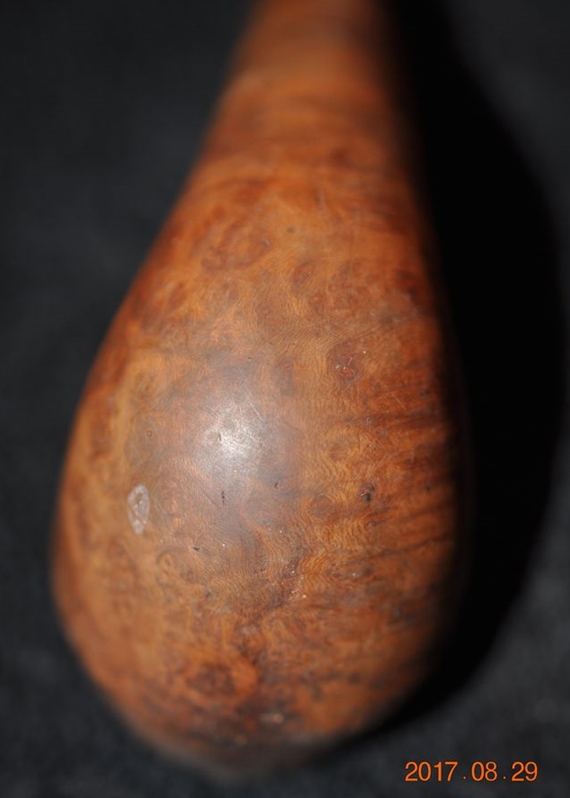
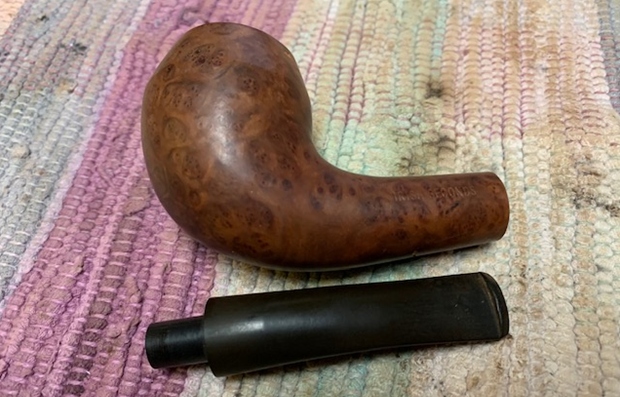
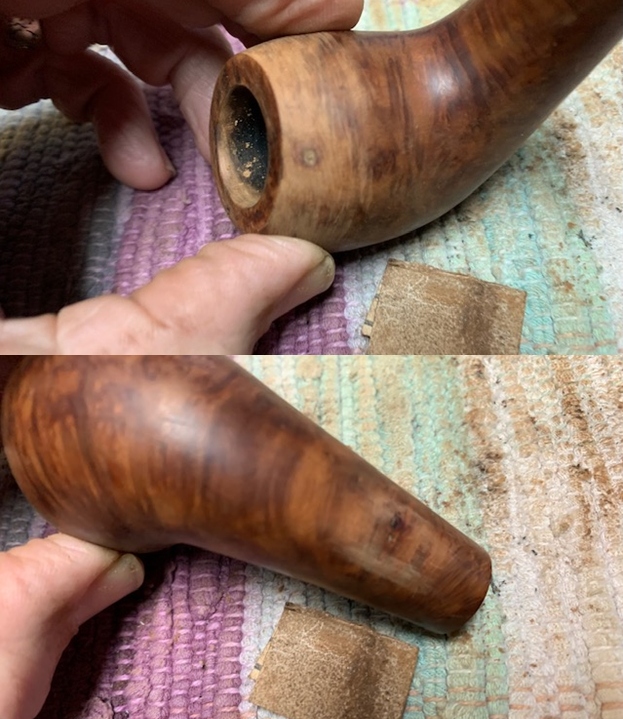
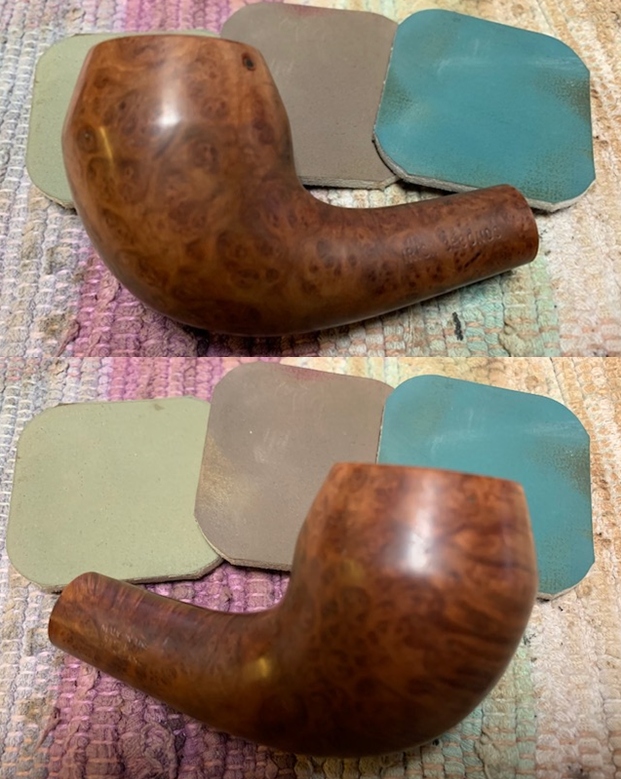
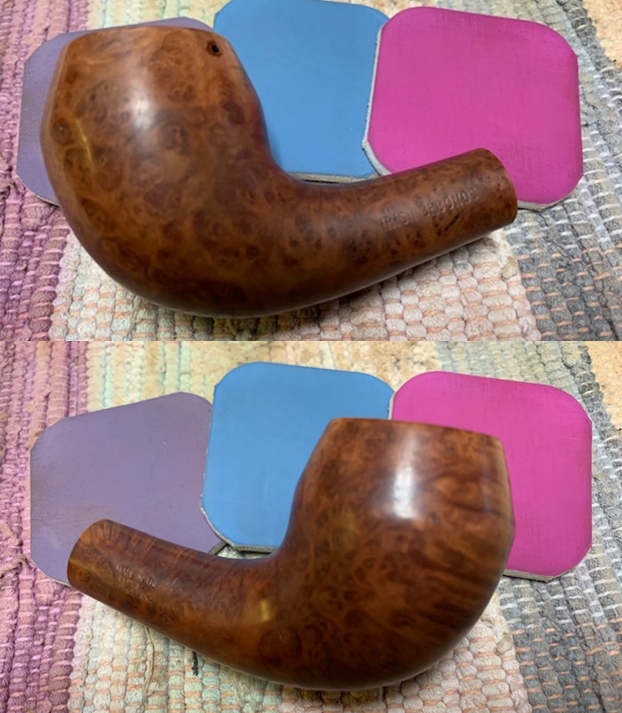
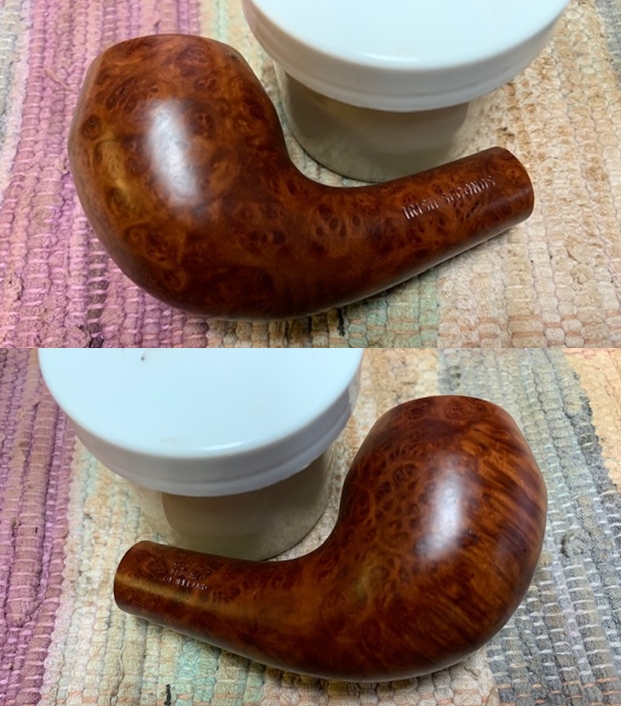
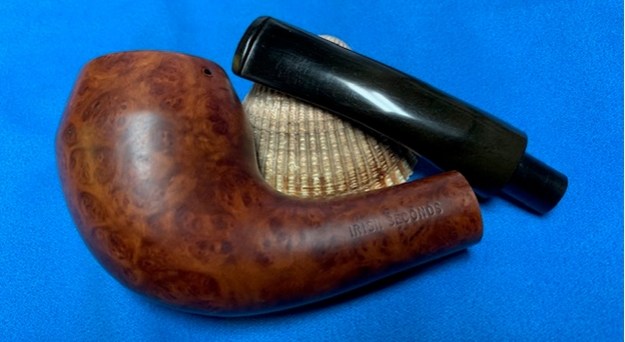
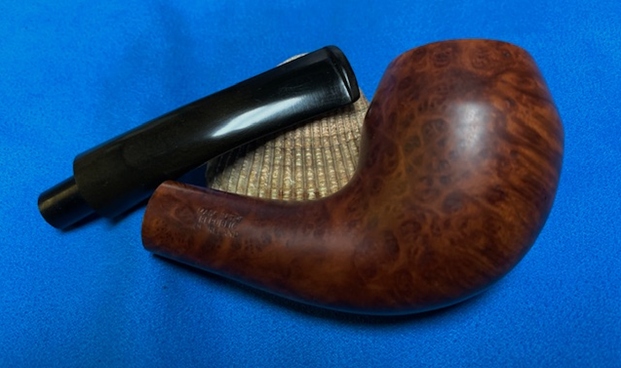
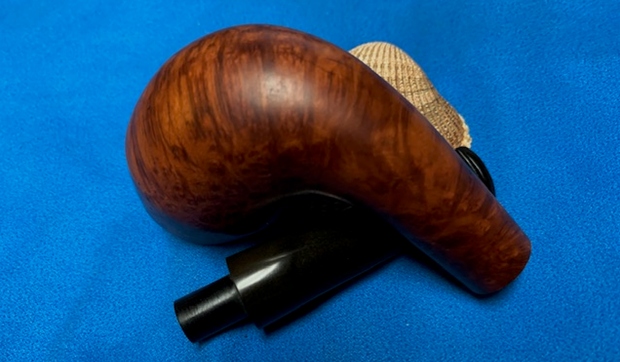
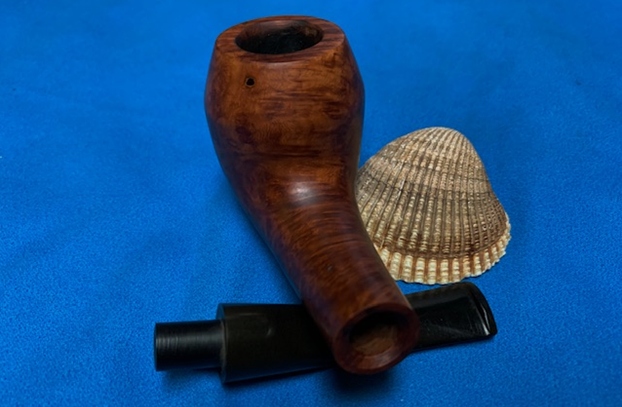
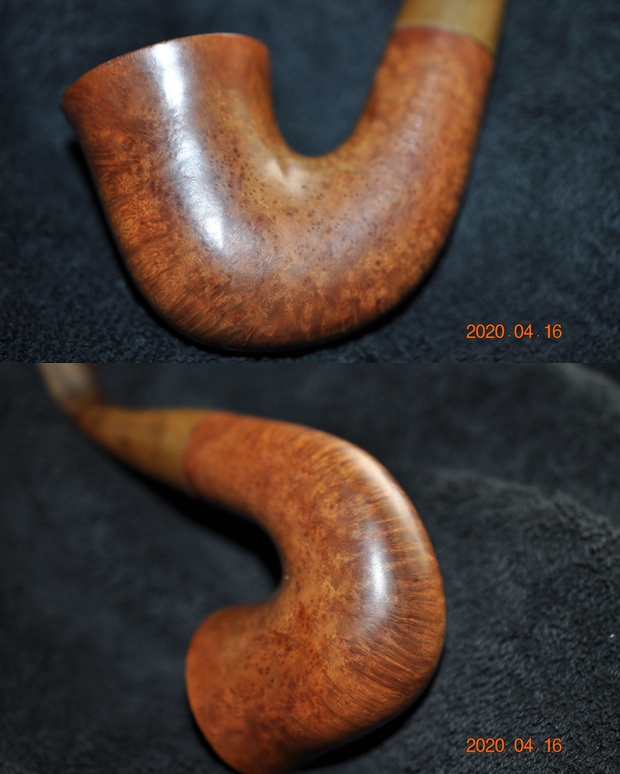
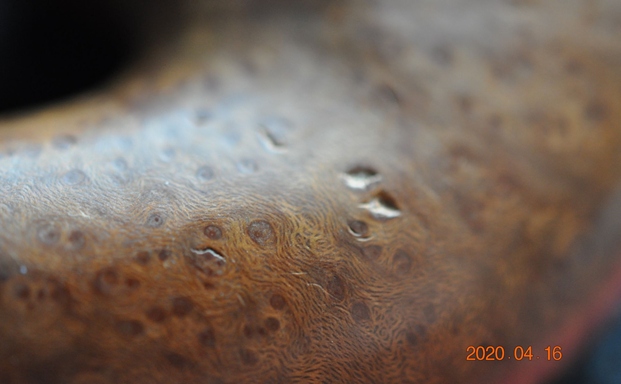
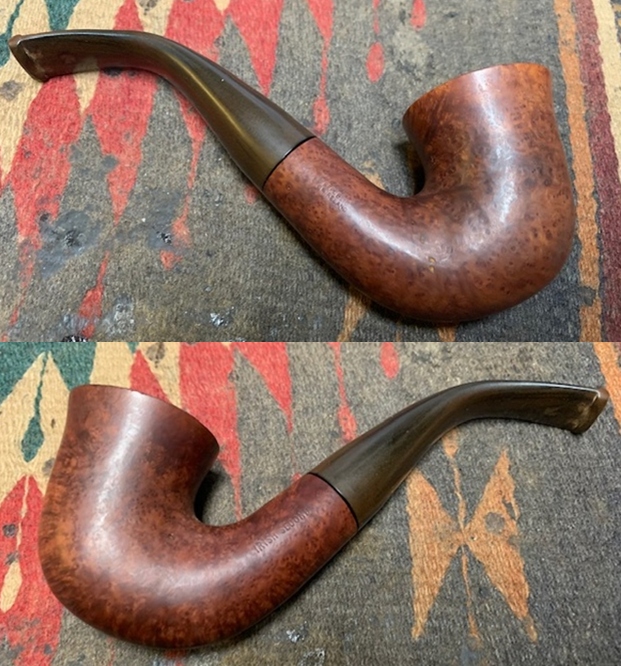
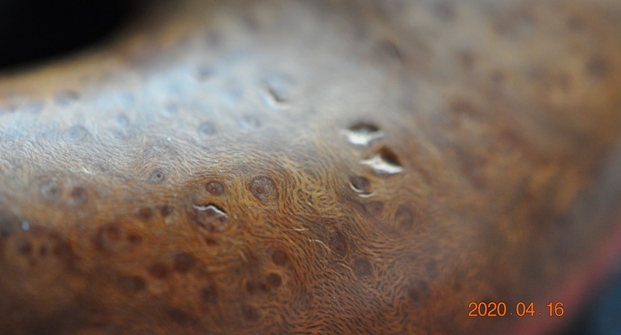
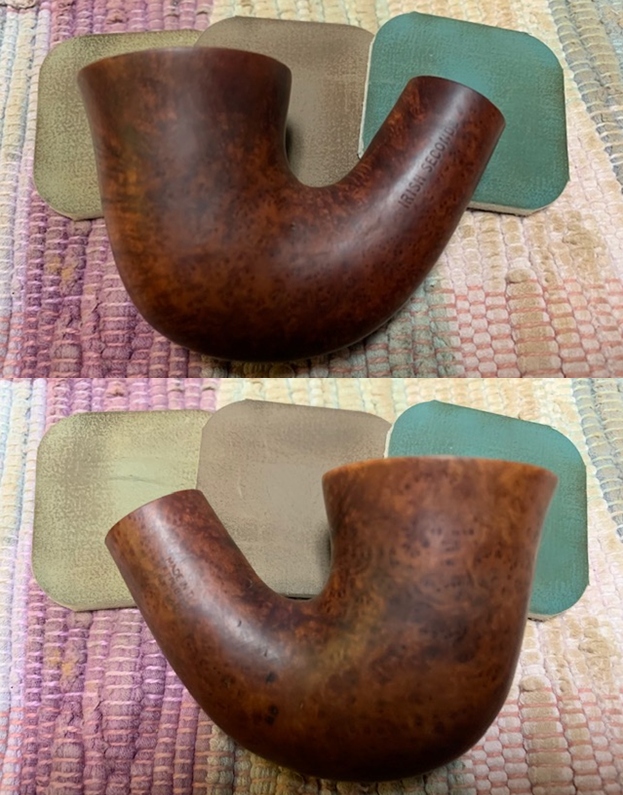
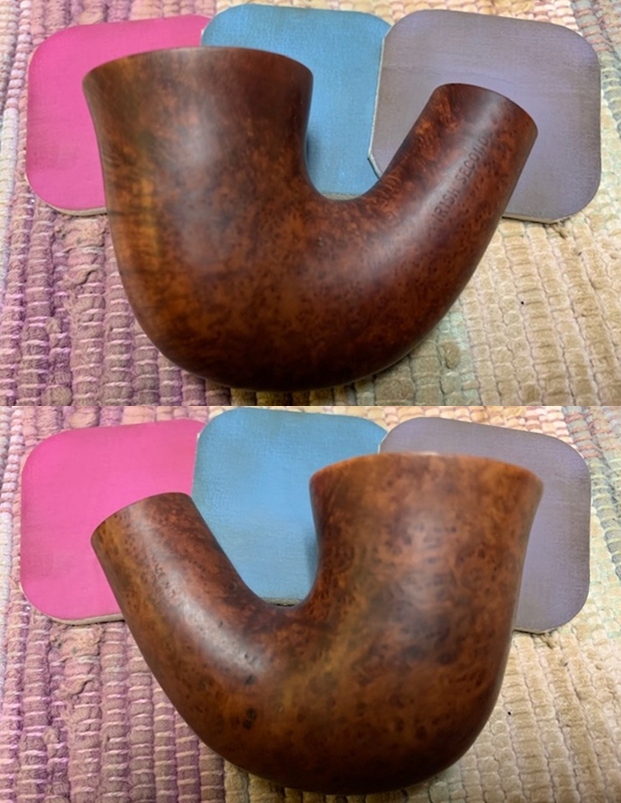
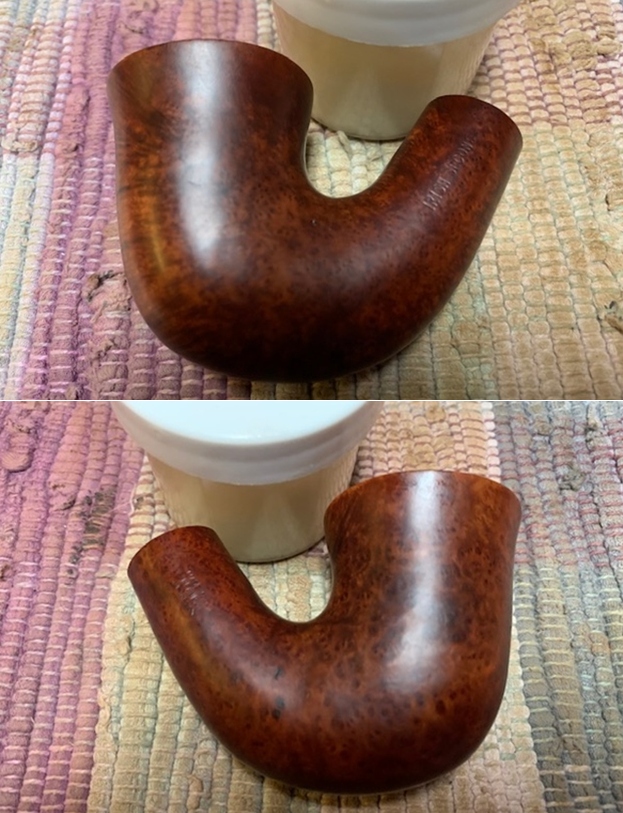
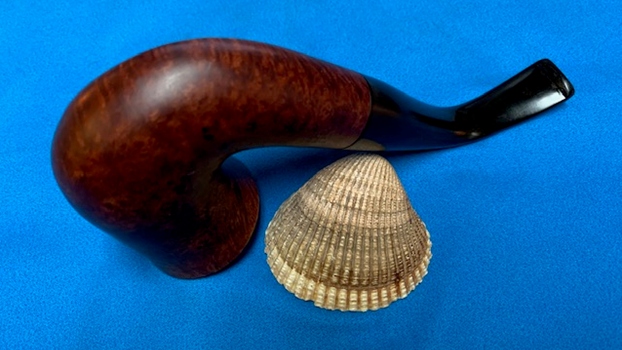
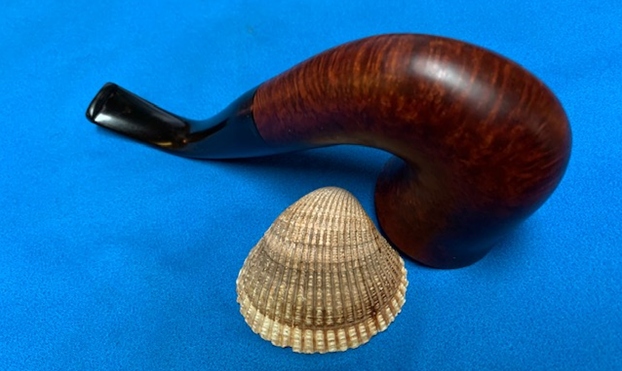
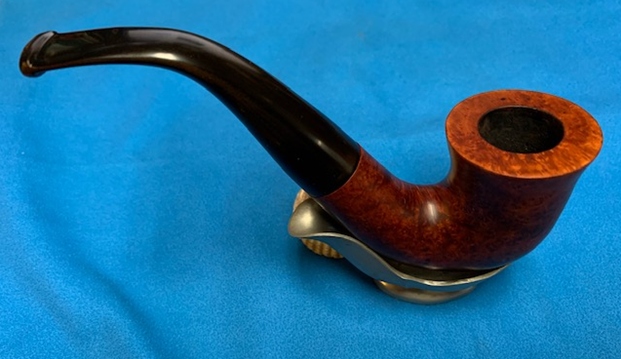
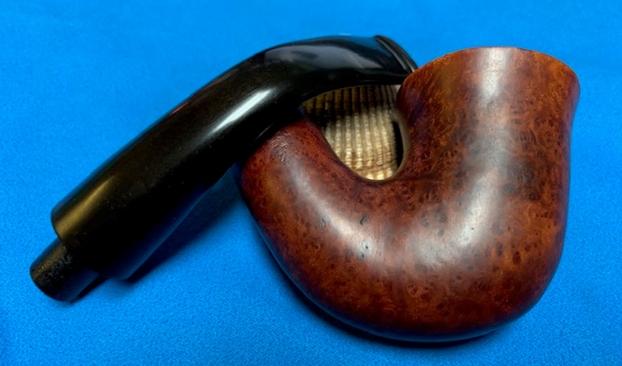
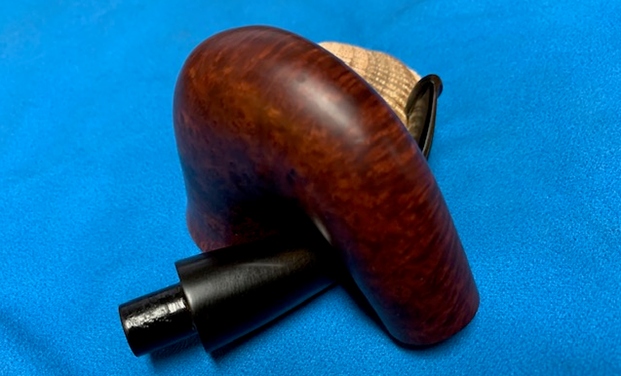
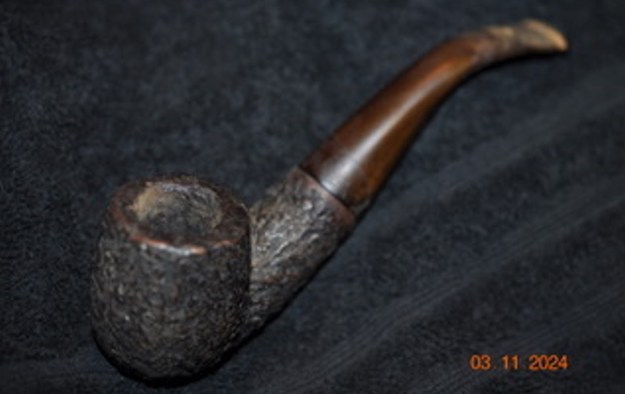
 Jeff took photos of the sides and heel of the bowl to give a picture of what the briar around the pipe looked like. There is a great rustication under the grime.
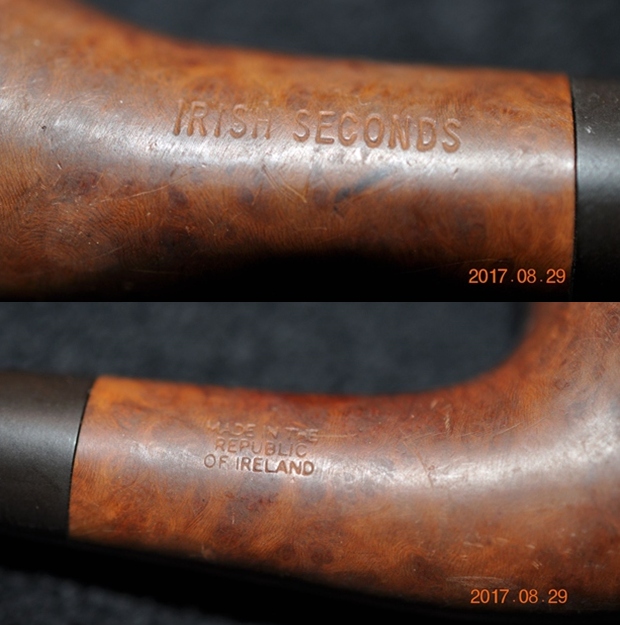
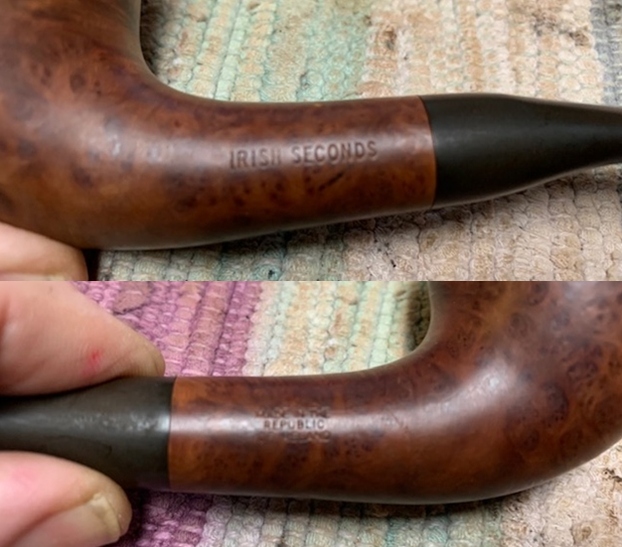
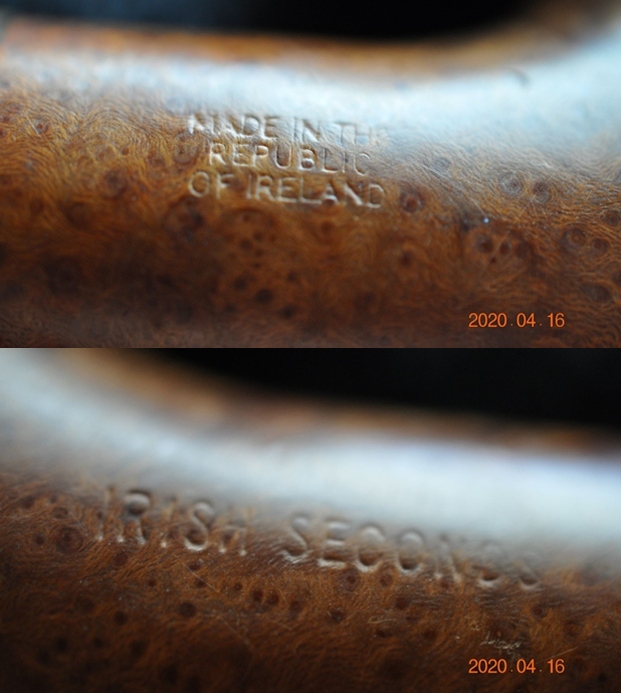
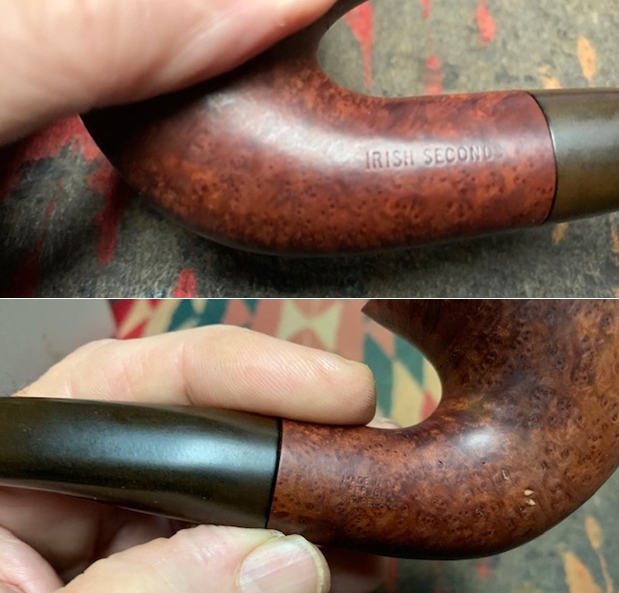
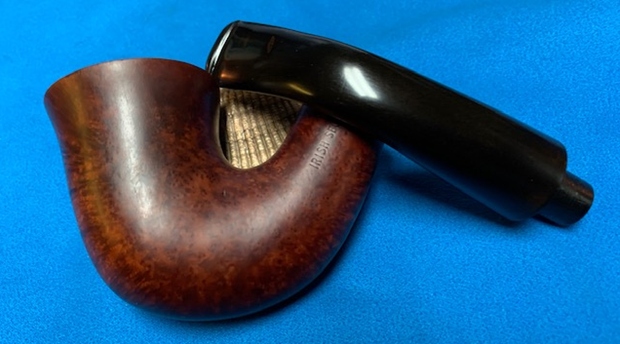
 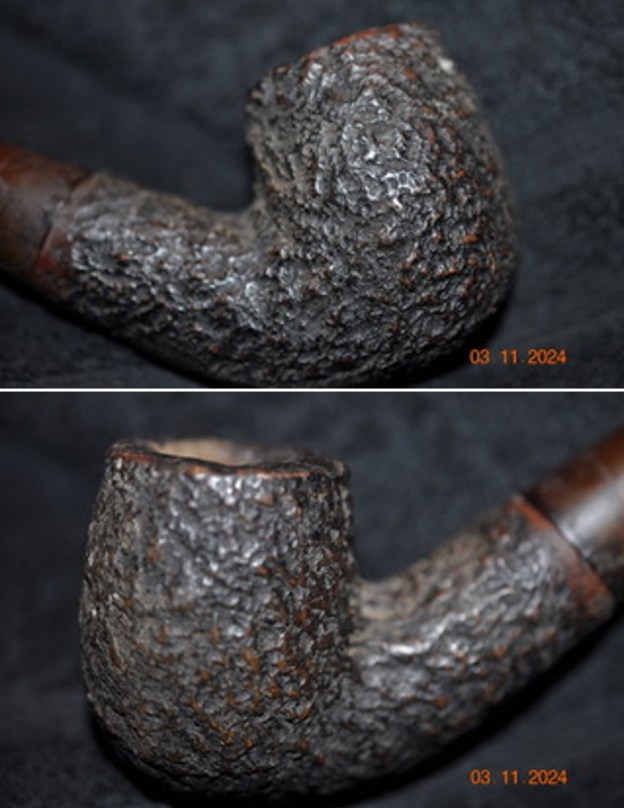 He took photos of the stamping on the shank. It reads as noted above and is clear and readable.
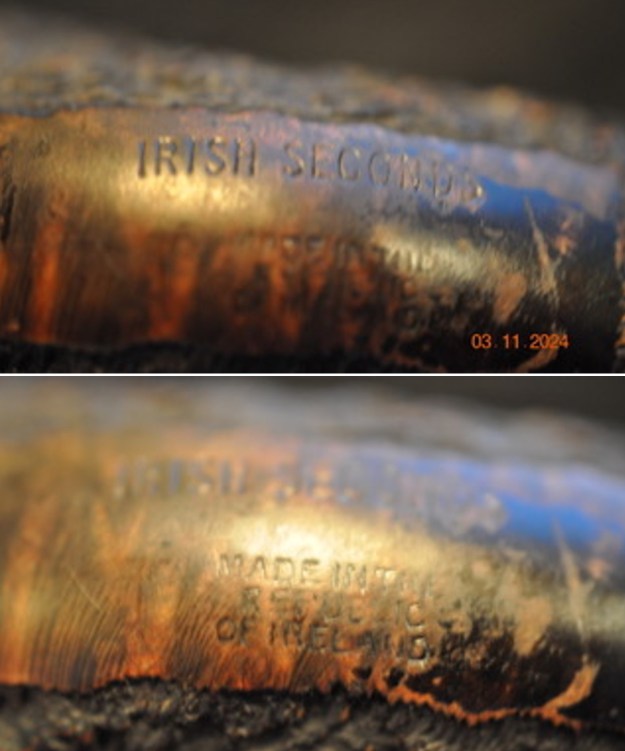 I am including the information from Pipedia’s article on Peterson pipes. It is a great read in terms of the history of the brand (https://pipedia.org/wiki/Peterson). I have included a bit of the pertinent history here.
1950 – 1989 The Republic Era – From 1950 to the present time, the stamp for this era is “Made in the Republic of Ireland” in a block format generally in three lines but two lines have been used with or without Republic being abbreviated.
I knew that I was dealing with a Republic Era pipe made between 1950-1989. It was a Rusticated Bent Billiard with an interesting pattern. The finish was stained with a combination of brown and black stains. Now it was time to work on the pipe.
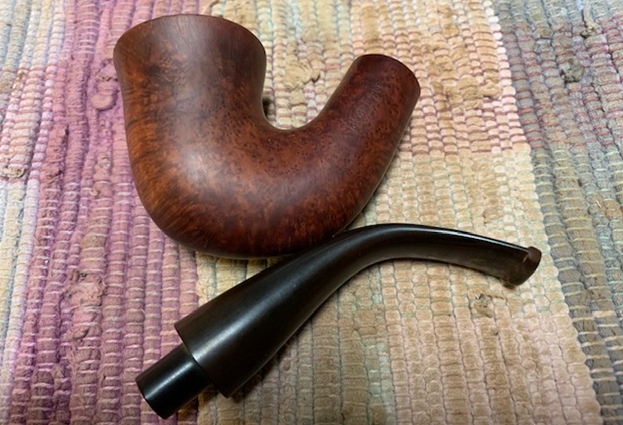
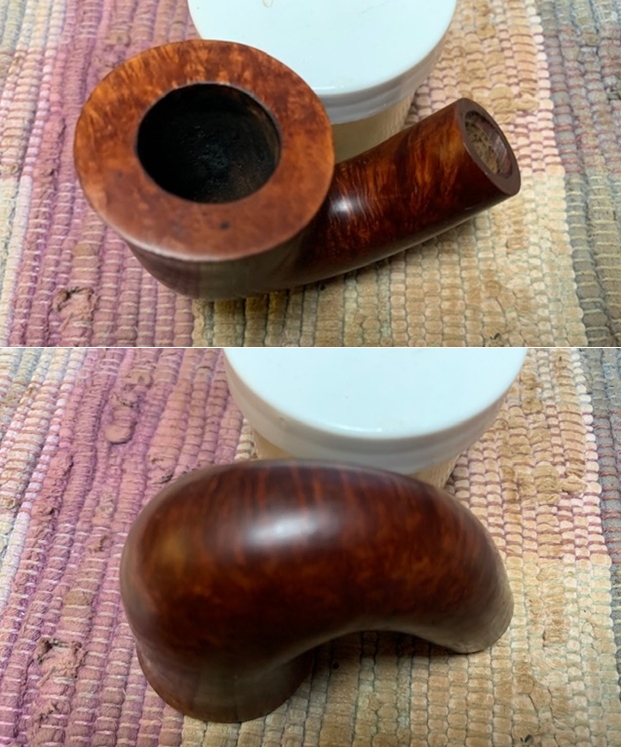
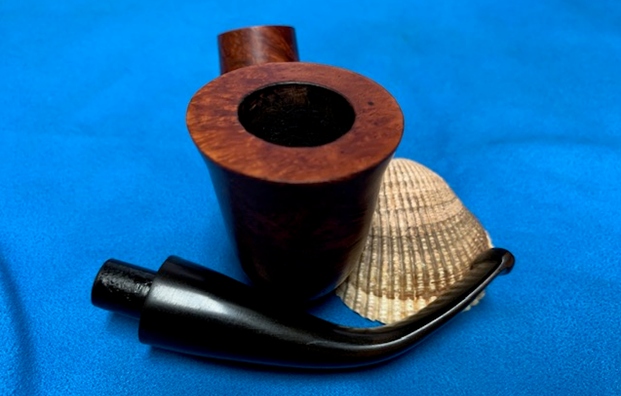
Jeff had cleaned up the pipe with his usual penchant for thoroughness. He reamed the pipe with a PipNet Pipe Reamer and cleaned up the remnants with a Savinelli Fitsall Pipe Knife. He scrubbed the bowl with undiluted Murphy’s Oil Soap with a tooth brush. He rinsed it under running warm water to remove the soap and grime. He cleaned out the inside of the shank and the airway in the stem with alcohol, cotton swabs, shank brushes and pipe cleaners. He soaked the stem in Briaville’s Pipe Stem Deoxidizer and rinsed it off with warm water. I took photos of the pipe once I received it. 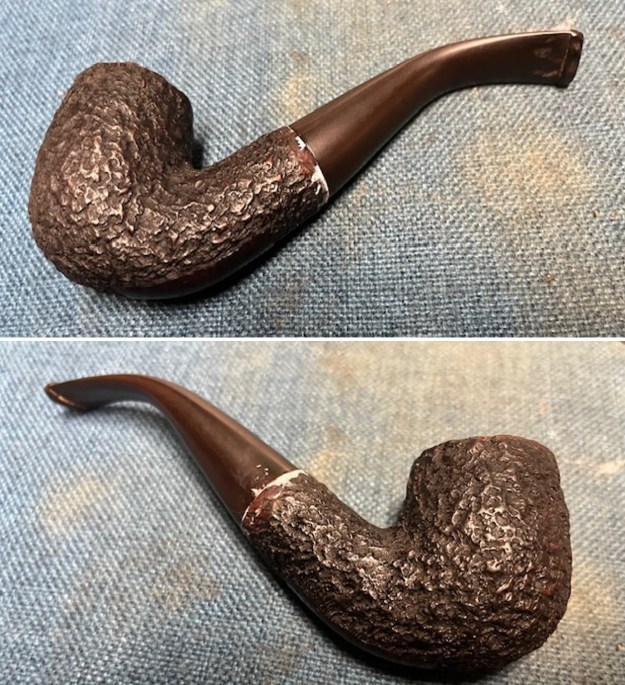
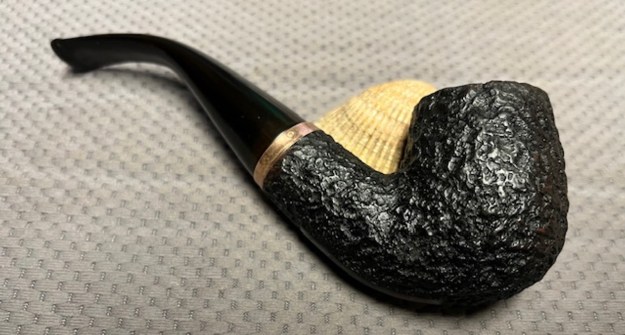
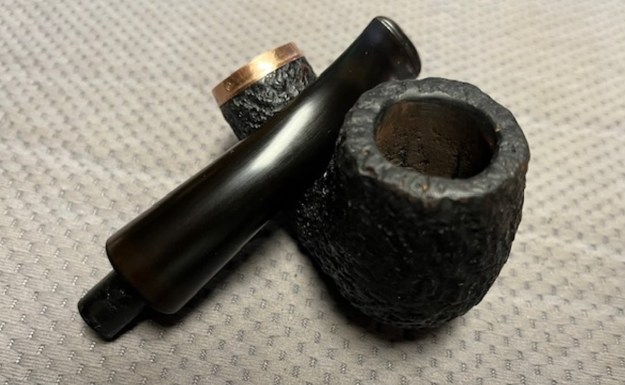
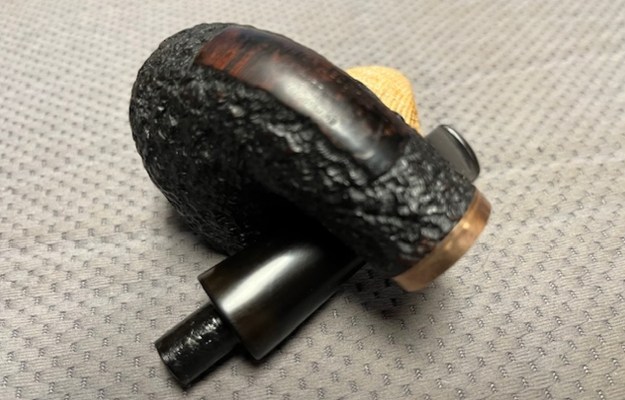
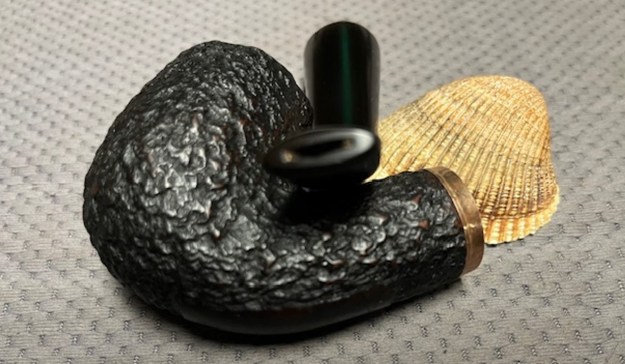
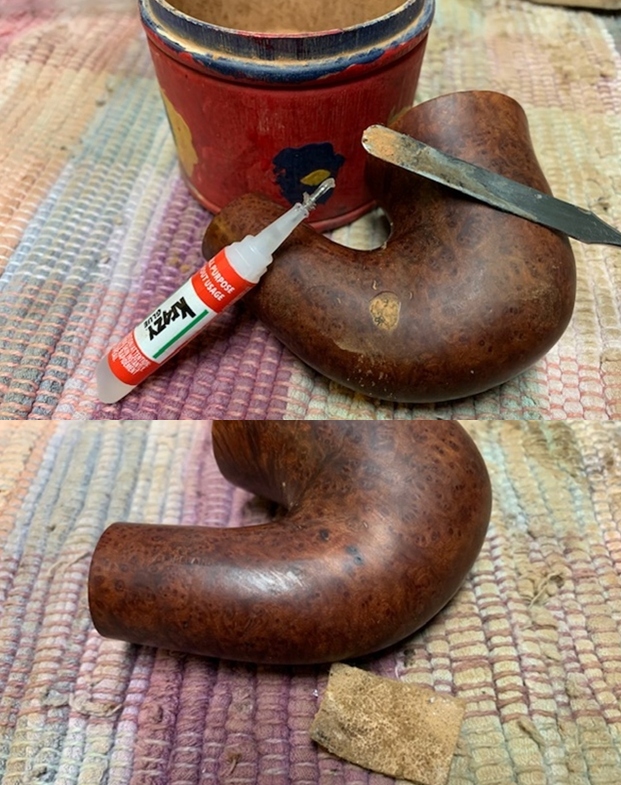
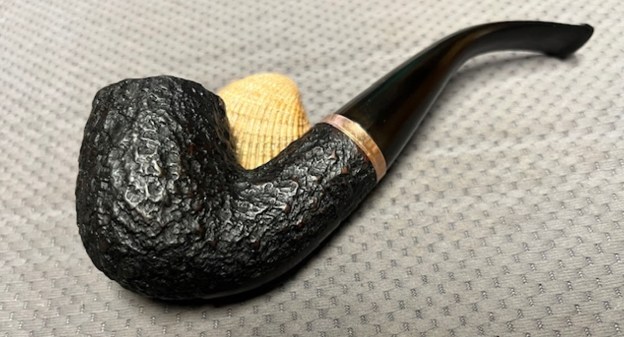
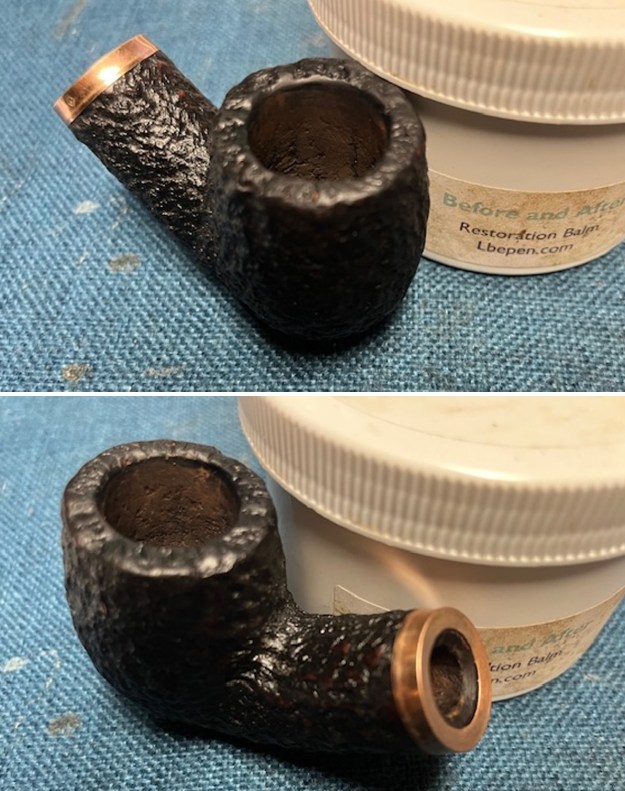
 The fit of the stem to the shank was off and shank end had some damage from scuffing and some sanding it looked like. Because of that the stem did not seat against the shank end in a clean way. I decided to clean up the shank end by fitting it with a thin brass band that would provide a straight edge for the stem surface to sit against and also give the rusticated bowl a bit of bling. There were no cracks in the shank so it was purely a cosmetic fix. I chose the band from my bands and pressed it on the shank end to have a look at the pipe with the band.
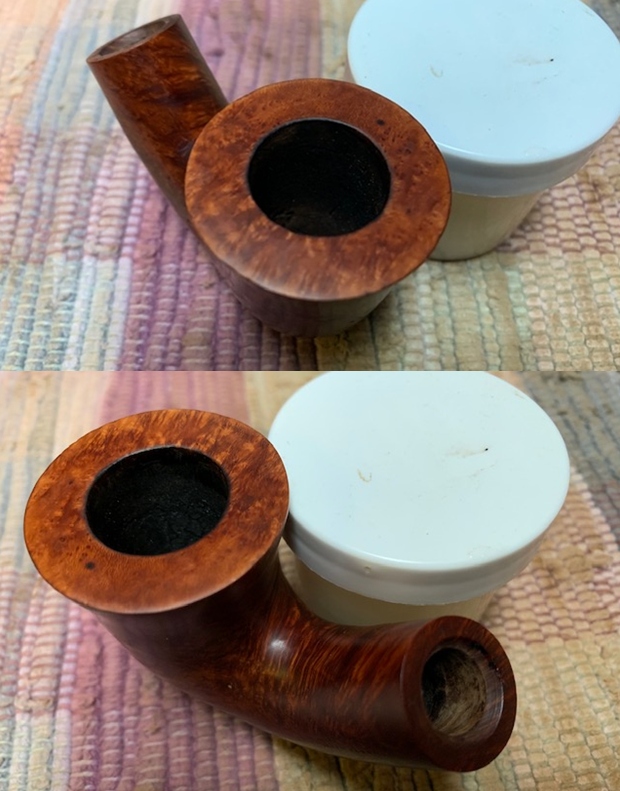
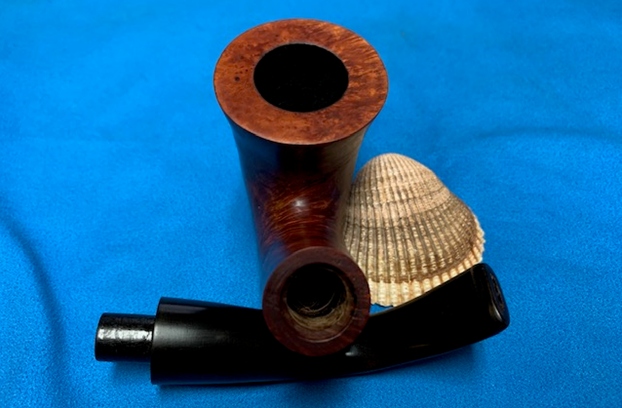
 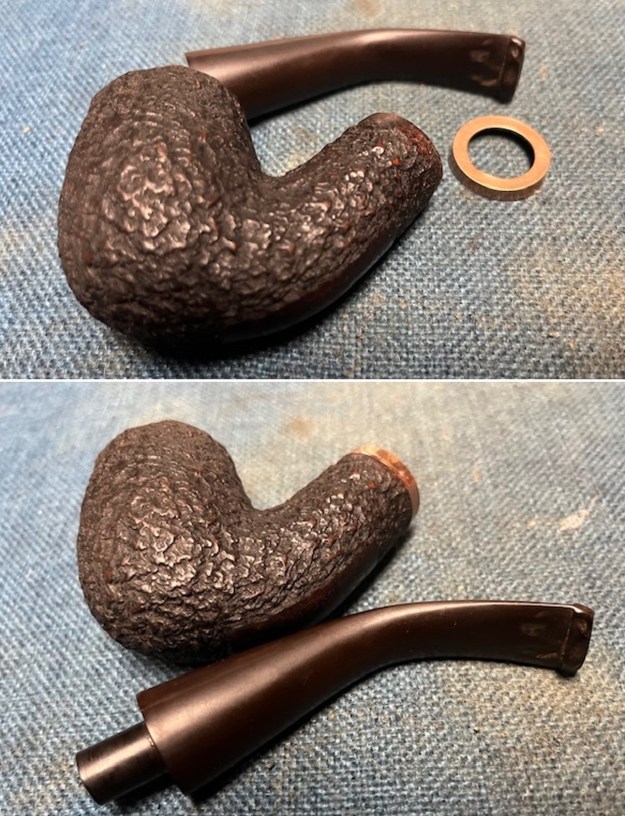 I liked what I saw so I removed the band and coated the inside with a layer of white glue and pressed in place on the shank. I fit the stem on the shank and took photos of the pipe with stem and band in place.
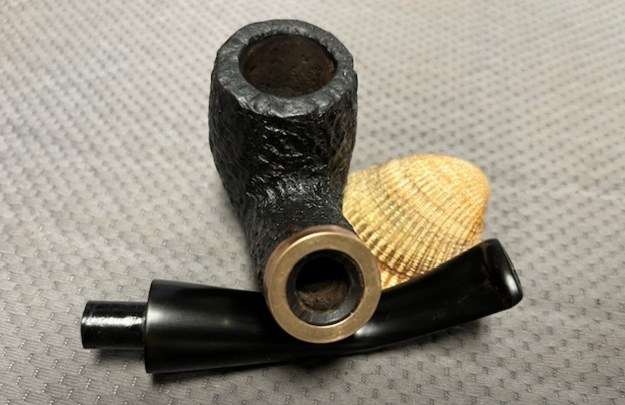
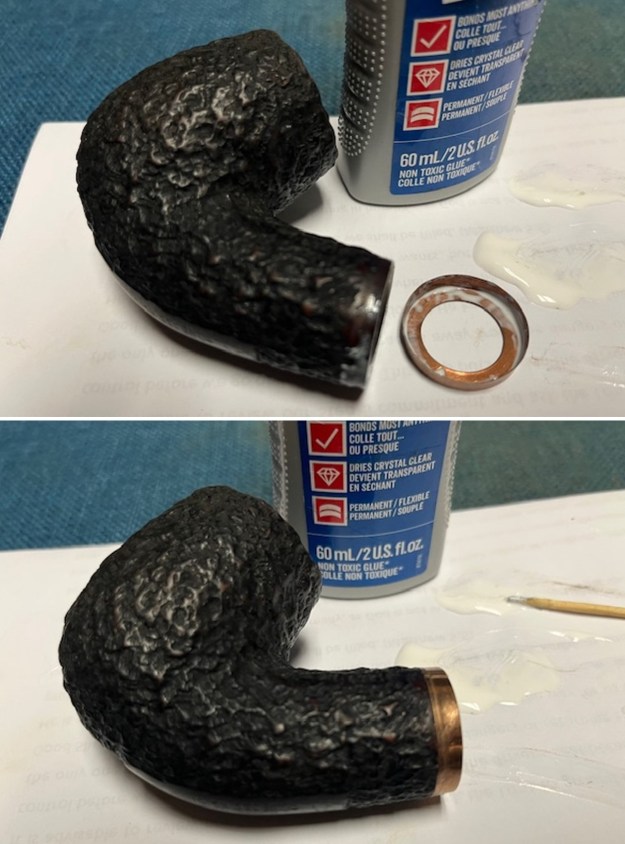
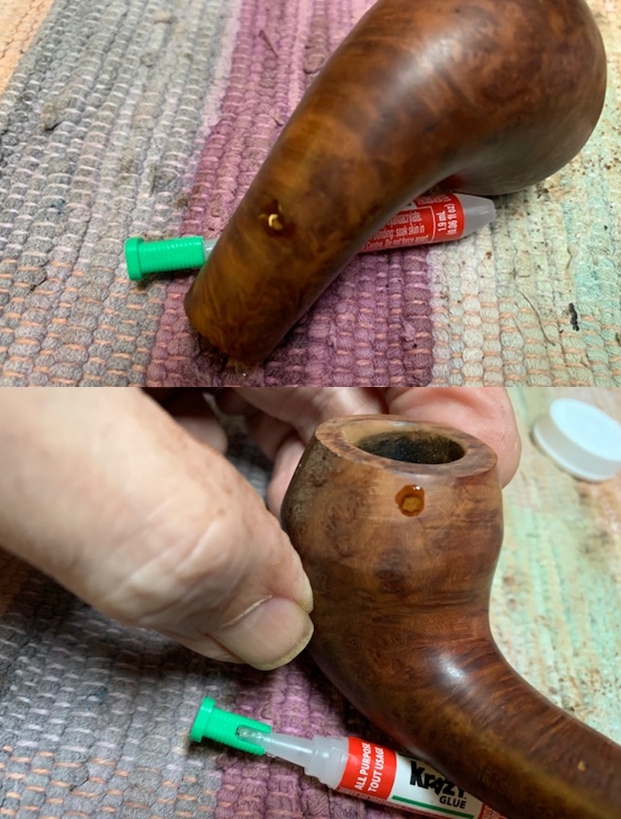
 I turned my attention to the damage on the inner edge of the rim. The bowl was quite out of round with burn damage on the front right and the back left. I used a folded piece of 220 grit sandpaper to smooth out the edge and remove the roughness. I was able to make it look better even thought it is still not perfect. You can also see the burn damage on the right front rim top where the rustication is quite smooth.
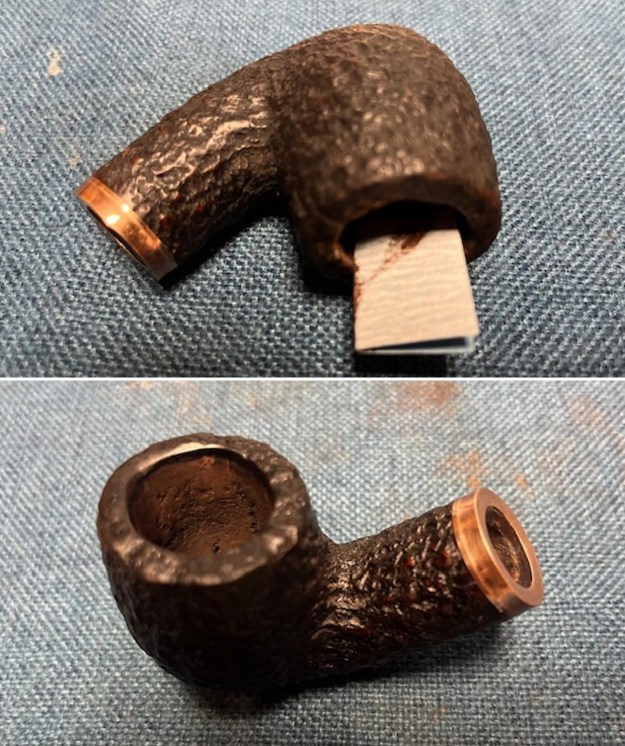 I used a Philips Screwdriver that I had converted into a four-prong rustication tool to rework the smooth portion of the rim top. It looked better when I had finished. I touch up the stain on that portion of the rim top with a black stain pen to blend the work into the surface. I was happy with the progress. Though it did not change the damage on the rim edge it did hide it a bit and make it less visible.
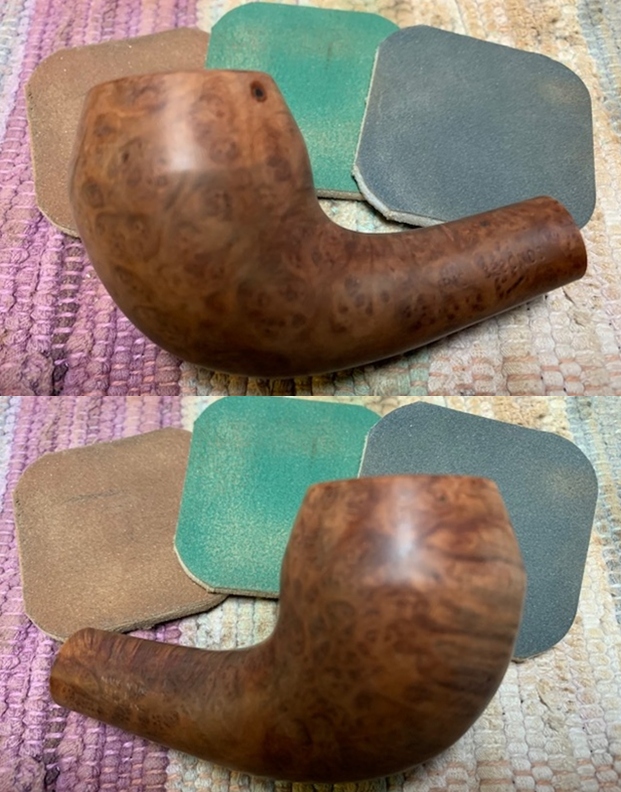
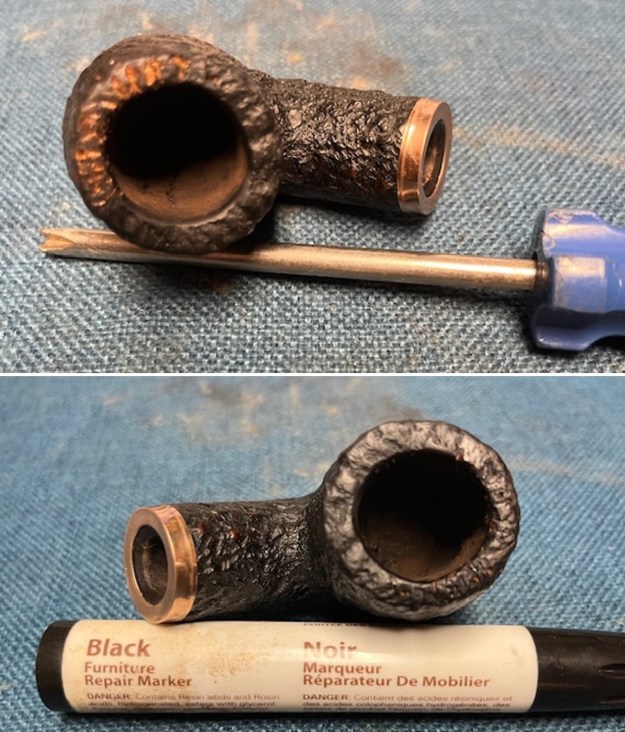 I rubbed the bowl and rim down with Before & After Restoration Balm. I worked it into the surface of the briar with my fingertips and with a shoe brush to get into the grooves. The product works to clean, enliven and protect it. I let the balm sit for 10 minutes and then buffed with a cotton cloth to raise the shine. I really like watching the Balm do its magic and bring the briar alive.
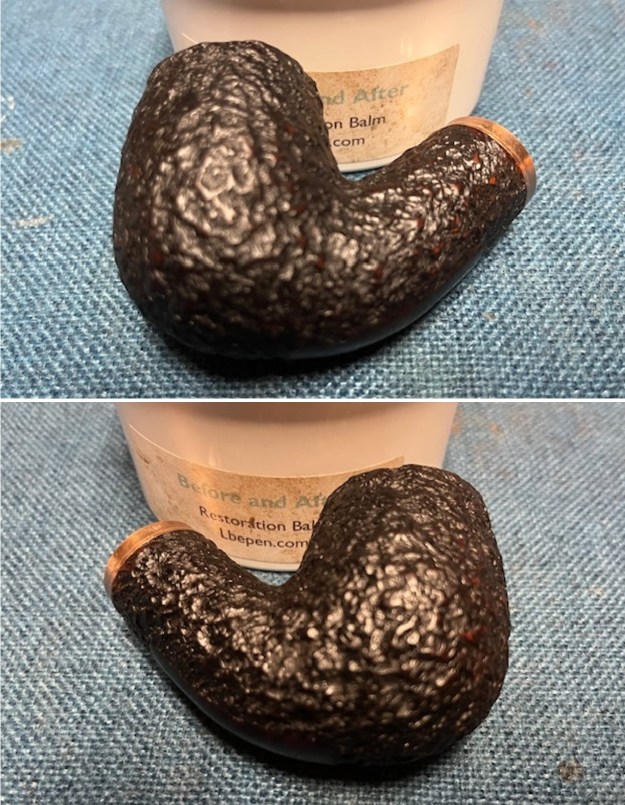
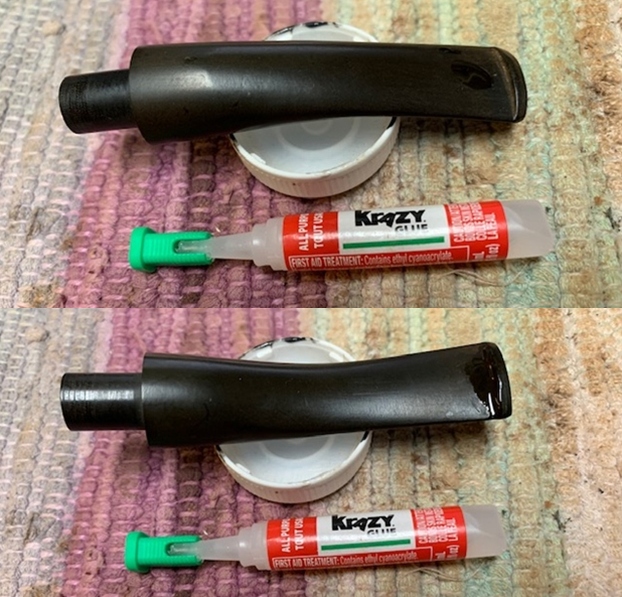
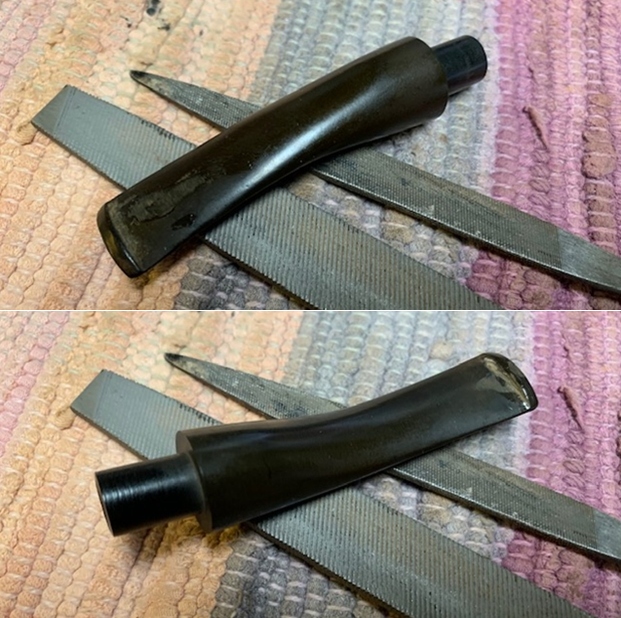
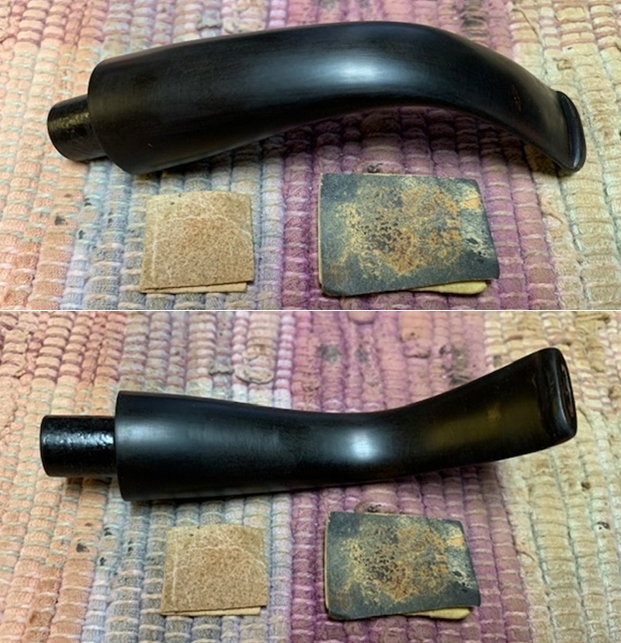
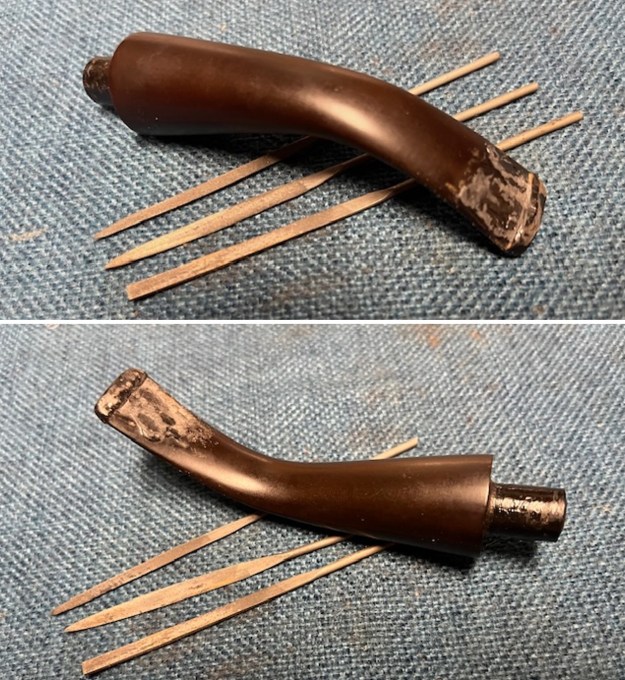
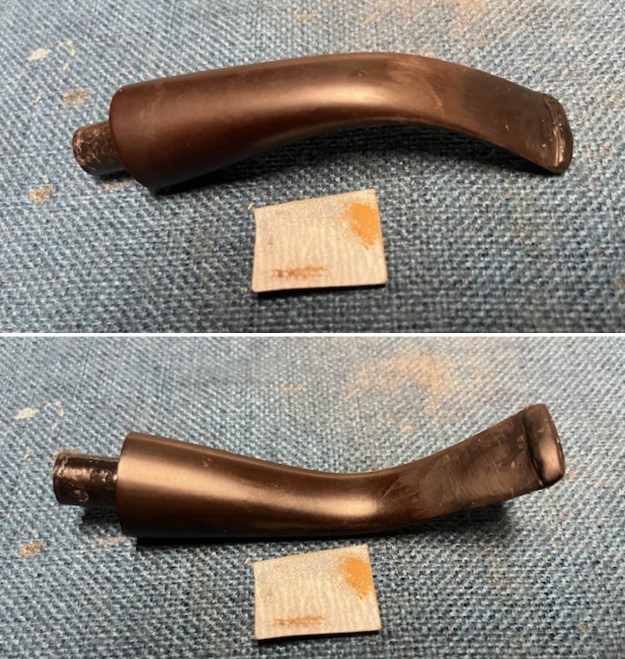
 I set the bowl aside and turned my attention to the stem. I filled in the deep grooves on the surface of the stem with black rubberized CA glue. Once it cured I flattened the repairs and recut the button edge with small needle files. I sanded the repaired areas further to blend them in with 220 grit sandpaper. It really began to look quite good.
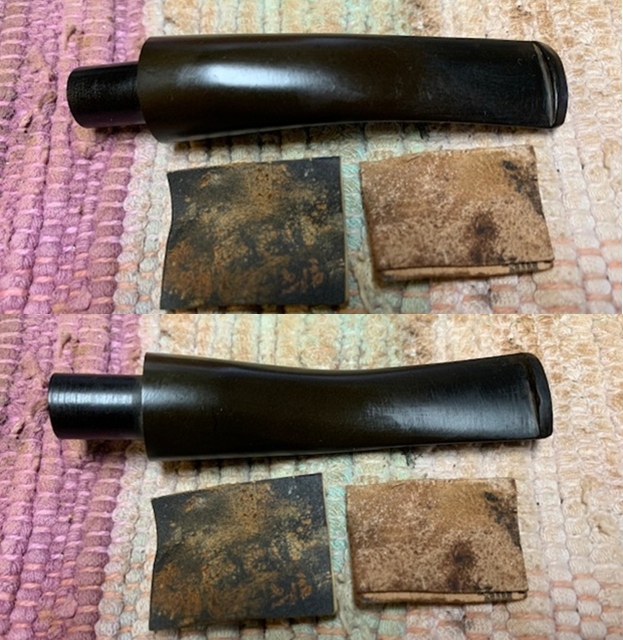
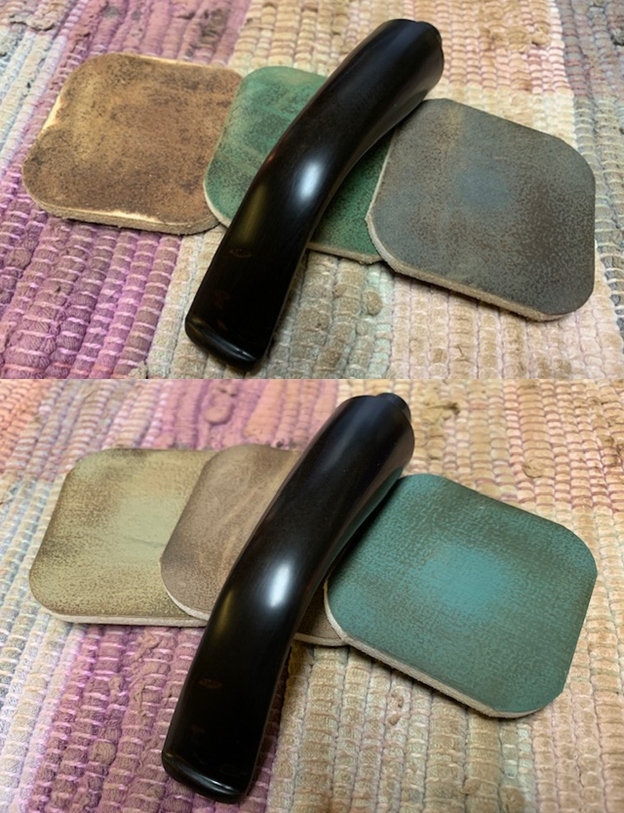
 I sanded the stem with 320-3500 grit 2×2 inch sanding pads. I wiped the stem down after each sanding pad with Obsidian Oil. I blended in the tooth marks and chatter in the surface and after the final pad a deep shine began to develops.
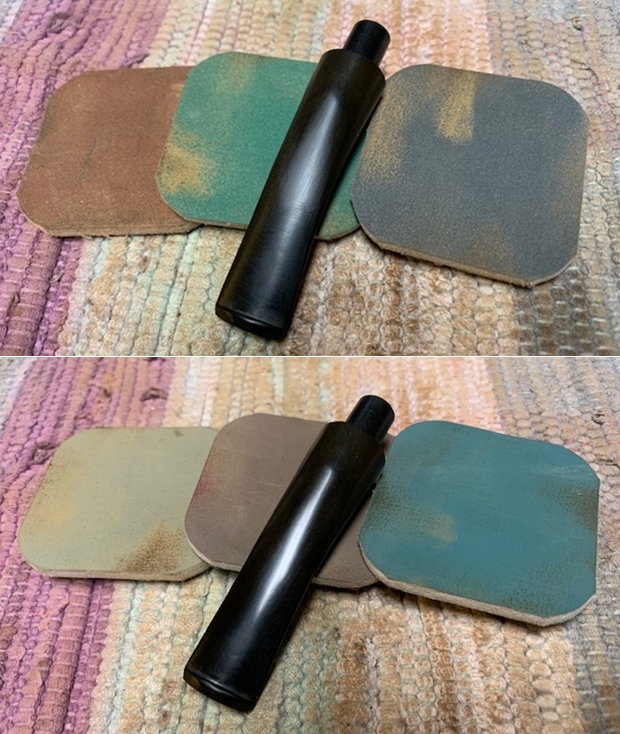
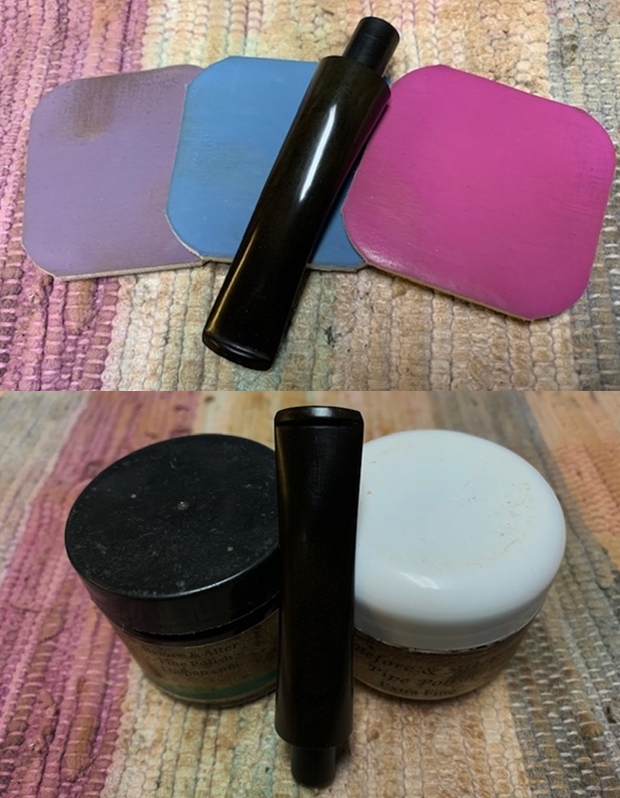
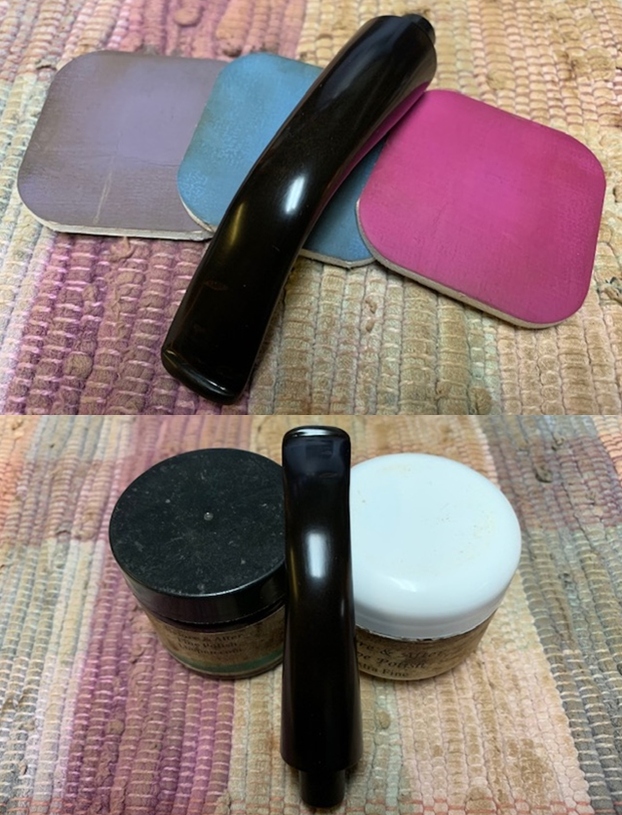
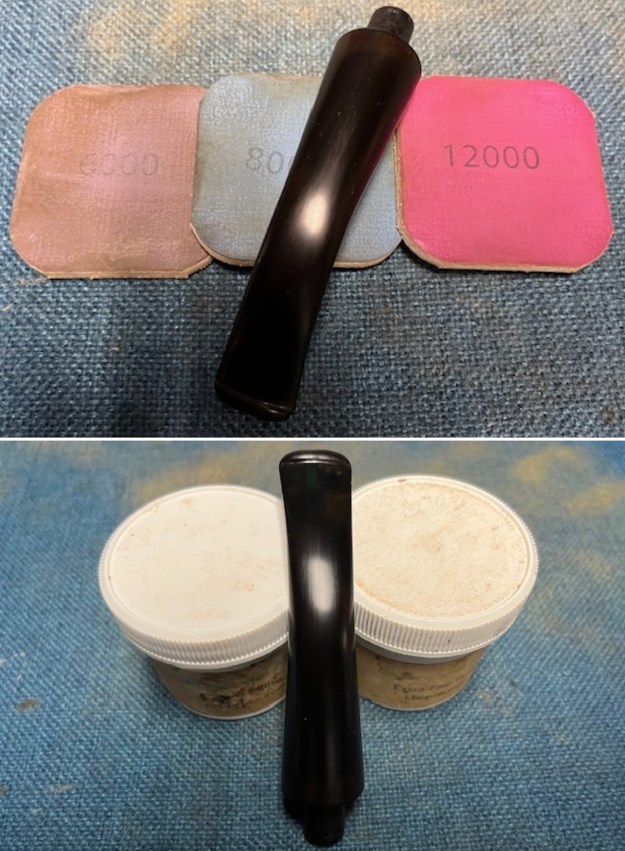
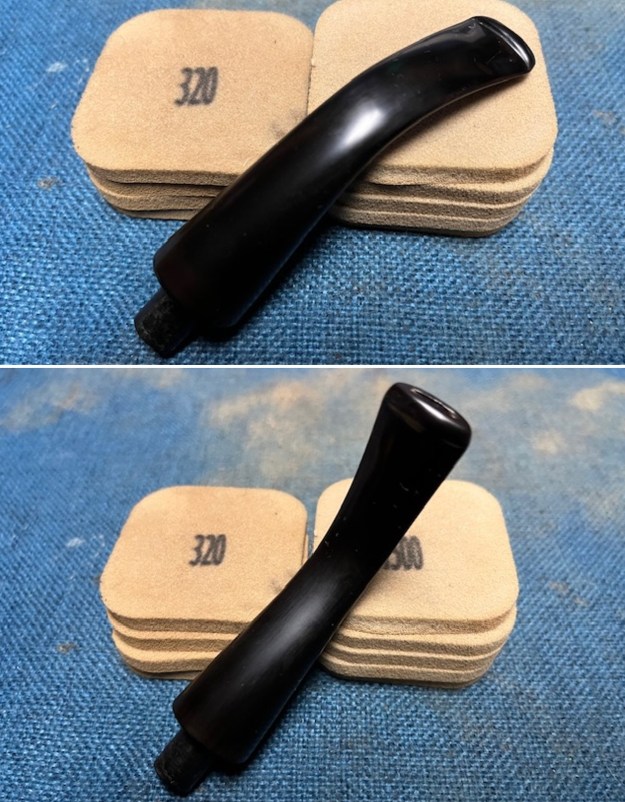 I polished the stem with 1500-12000 grit micromesh sanding pads. I wiped the stem down after each sanding pad with Obsidian Oil. I polished it with Before & After Pipe Stem Polish – both Fine and Extra Fine. I gave it a coat of Obsidian Pipe Stem Oil. It works to protect the stem from oxidizing. I set it aside to dry.
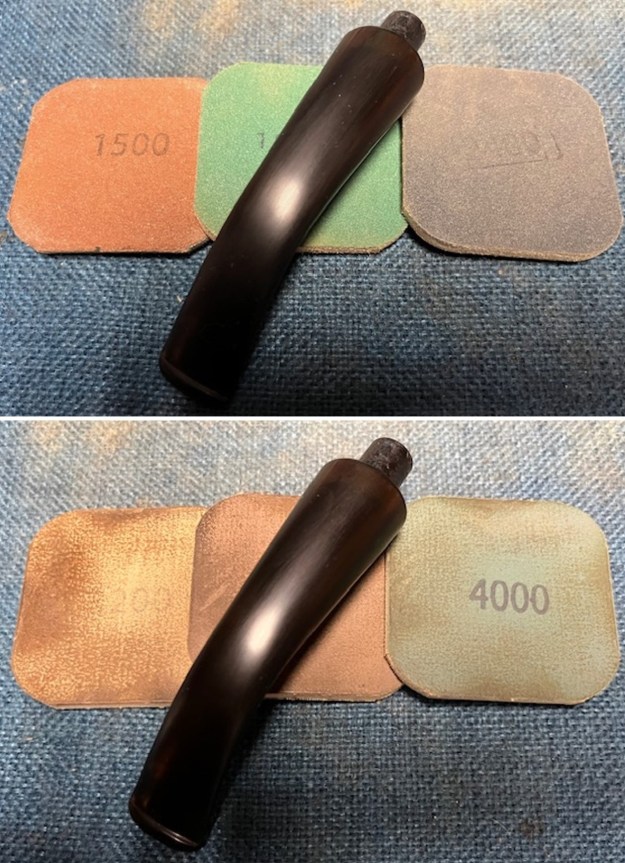
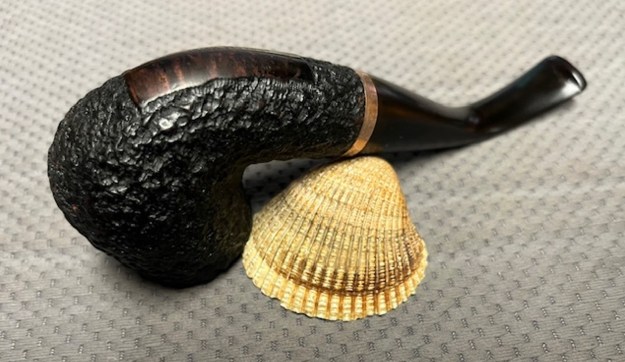
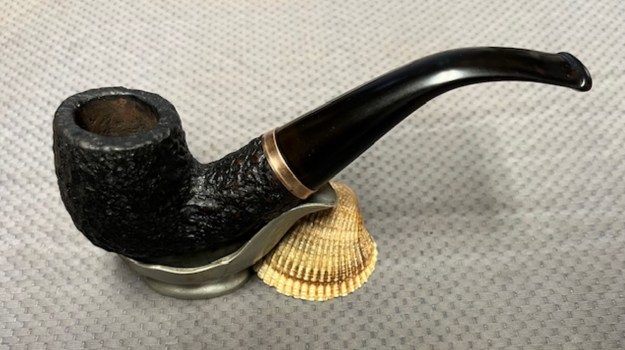
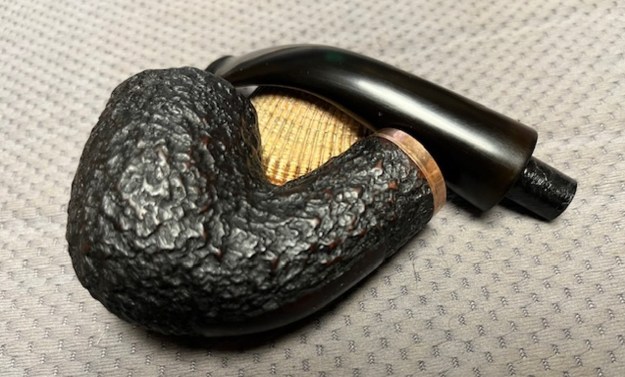
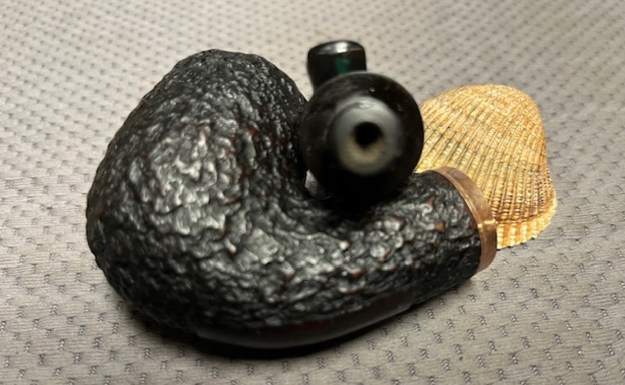
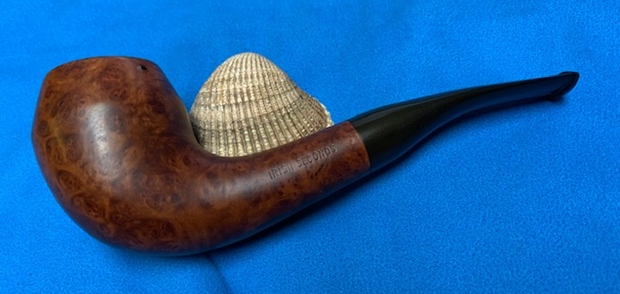
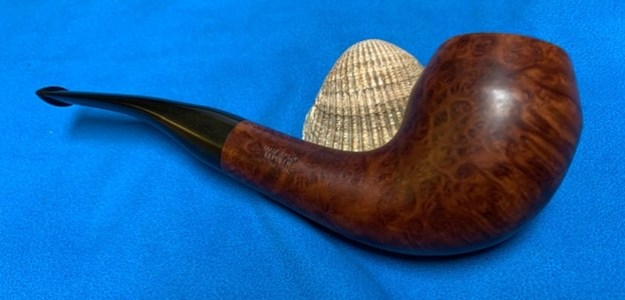
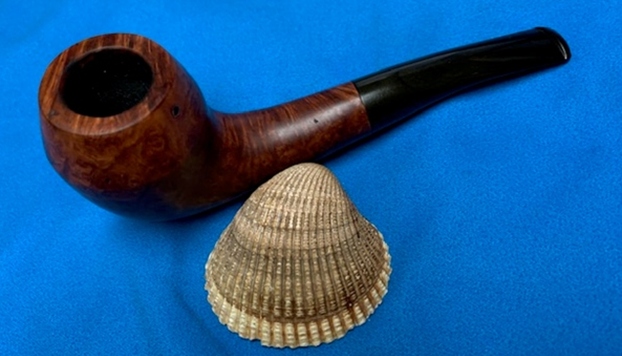
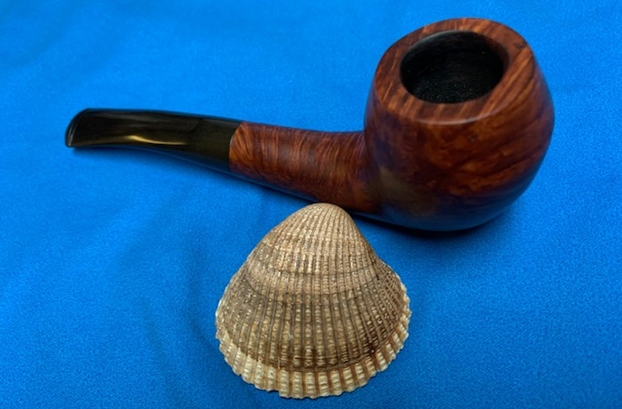
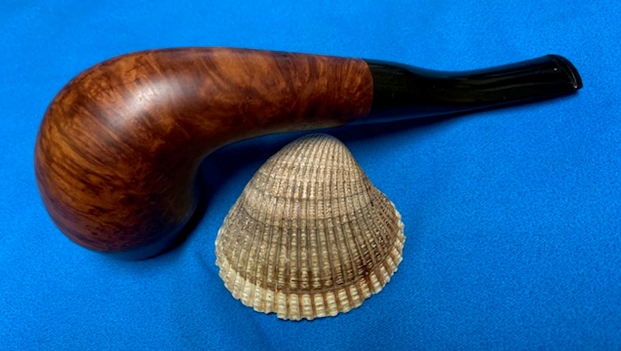
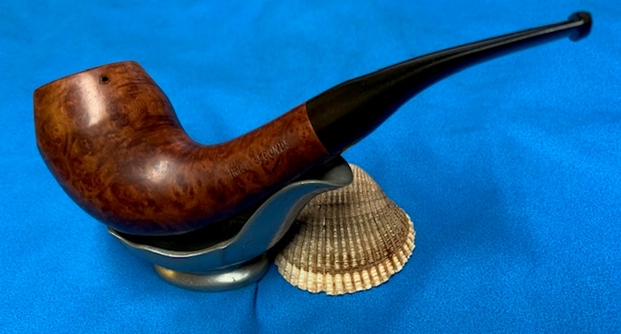
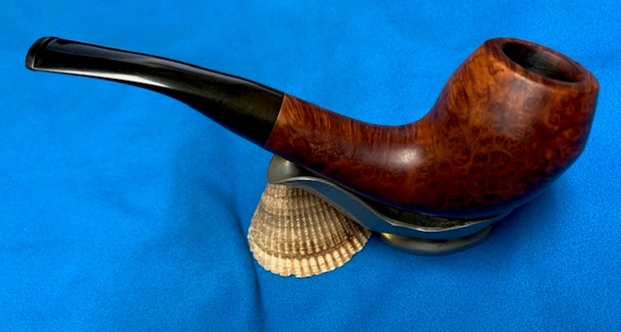
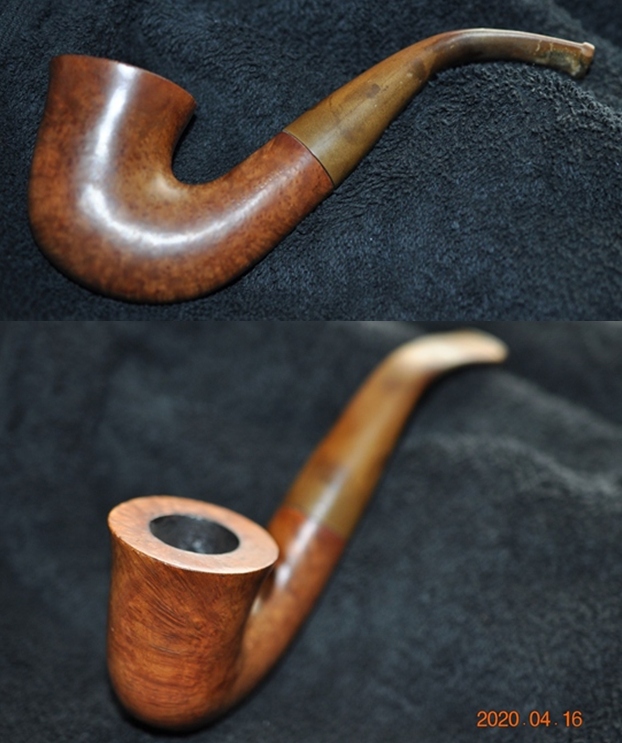
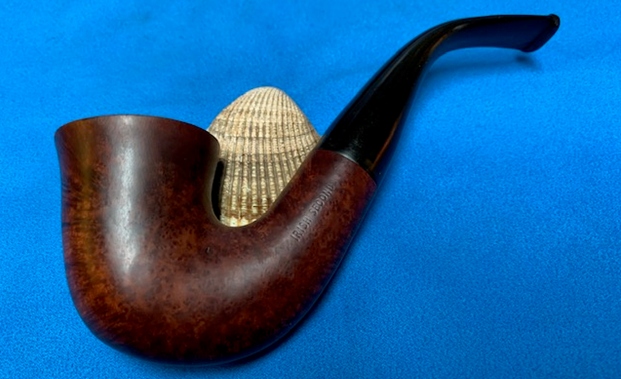
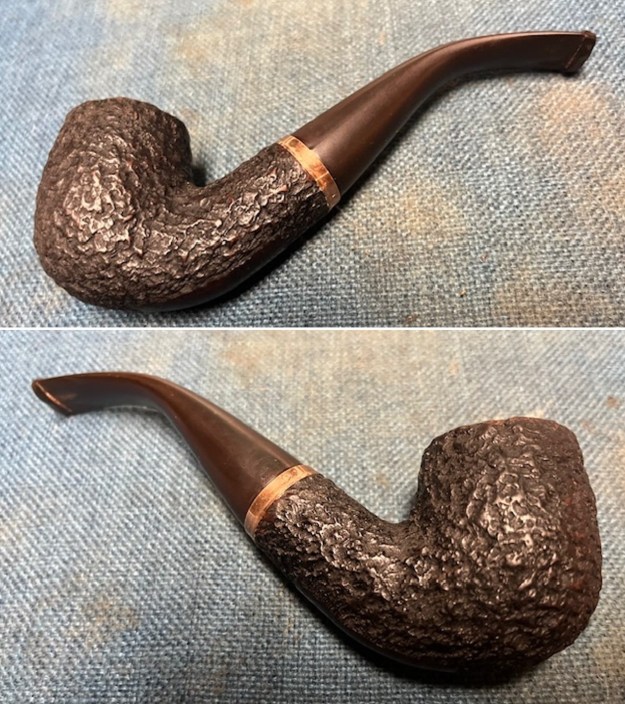
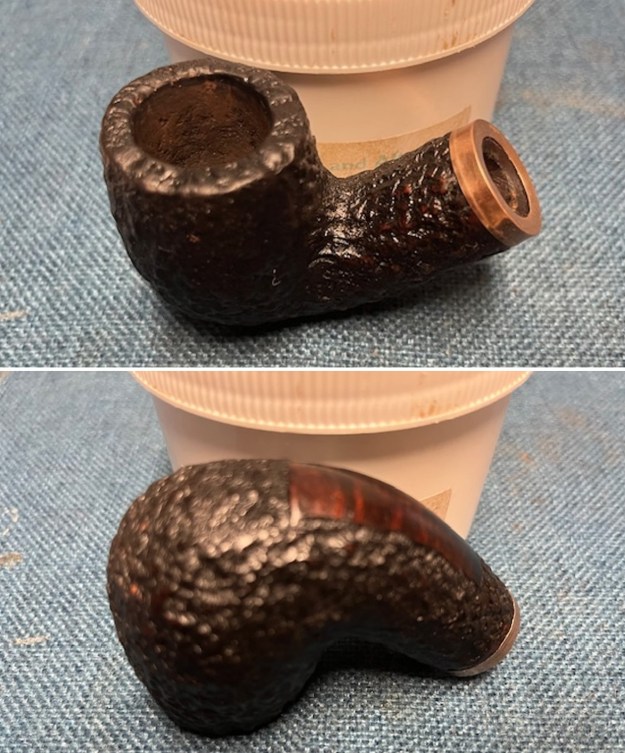
 Once again at this point in the restoration process I am excited to be on the homestretch. I look forward to the final look when the Republic Era Peterson’s Irish Seconds Bent Billiard is put back together, polished and waxed. I put the bowl and stem back together. I lightly polished the bowl and stem with Blue Diamond to polish out the scratches in the briar and the vulcanite. I gave the bowl and the stem multiple coats of carnauba wax. I buffed the pipe with a clean buffing pad to raise the shine. I hand buffed it with a microfiber cloth to deepen the shine. The pipe polished up nicely. The depths of the rustication really pop along with the thin brass band after the wax and polish. The shiny black vulcanite stem is a beautiful contrast to the browns of the bowl and thick shank. This Republic Era Peterson’s Irish Second Bent Billiard was another fun pipe to work on. The pipe feels great in the hand will be better when warmed up while smoking. The finished pipe is shown in the photos below. The dimensions of the pipe are Length: 6 inches, Height: 2 inches, Outside diameter of the bowl: 1 ¼ inches, Chamber diameter: ¾ of an inch. The weight of the pipe is 2.36 ounces/67 grams. I will be putting it on the rebornpipes store in the Irish Pipemakers Section if you would like to add it to your rack and carry on the previous pipeman’s legacy. This is an interesting estate to bring back to life.
As always, I encourage your questions and comments as you read the blog. Thanks to each of you who are reading this blog. Remember we are not pipe owners; we are pipe men and women who hold our pipes in trust until they pass on into the trust of those who follow us.