Blog by Steve Laug
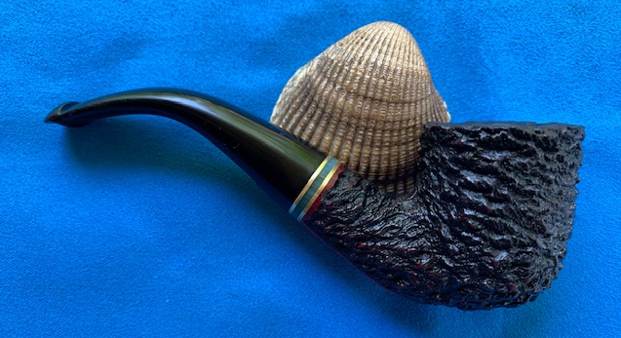
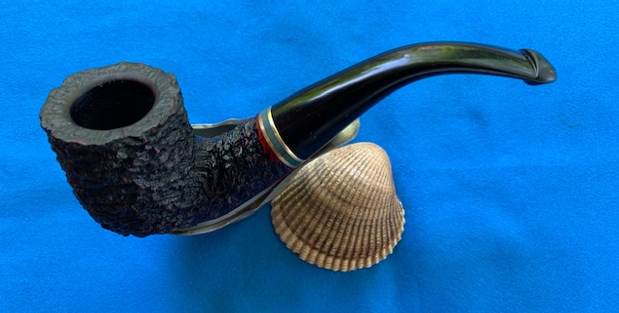
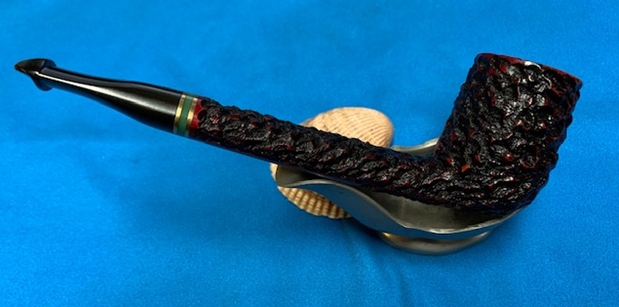
The next pipe on the work table is a lovely Peterson’s style briar pipe. We purchased it from a seller in Spring Branch, Texas, USA on 02/29/2024. It is a classic Peterson’s 03 shaped bowl. It has a smooth, rich brown stained bowl that really highlights the grain in the briar. The bowl is dirty with grime in the finish. There is a moderate cake in the bowl and a light lava overflow on the rim top and edges. The stamping on the pipe is clear and readable and on the left side it reads Peterson’s [over] Emerald. On the right side it reads Made in the Republic of Ireland (three lines) [followed by] the shape number 03. There is an interesting light green shank band sandwiched between two brass bands that adds distinguishing Emerald line touch to the pipe. The stem had a P logo stamped on the left side of the taper. It is oxidized, calcified and has tooth chatter and marks on both sides ahead of the P-lip button. Jeff took photos of the pipe before he started his cleanup. 
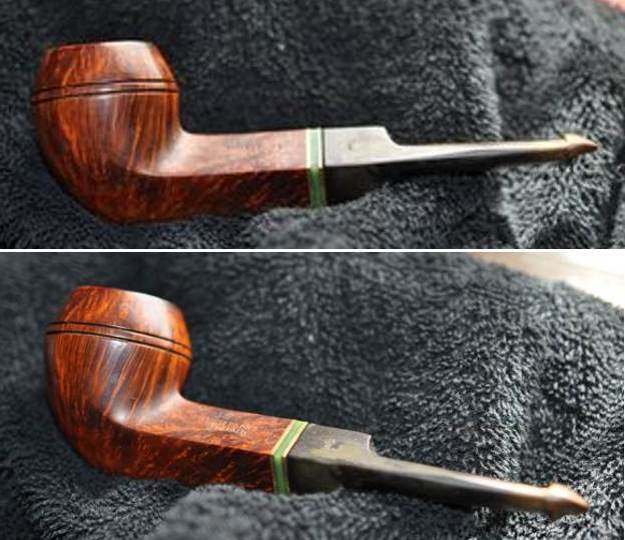
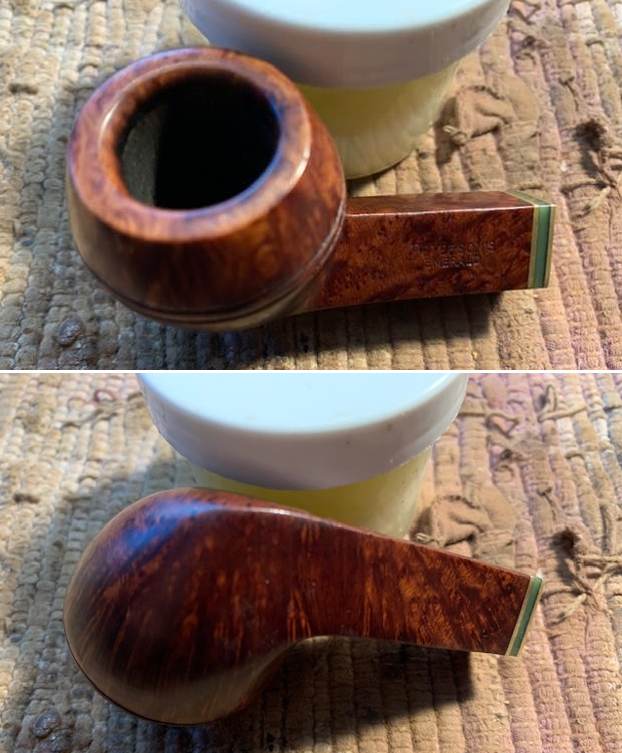
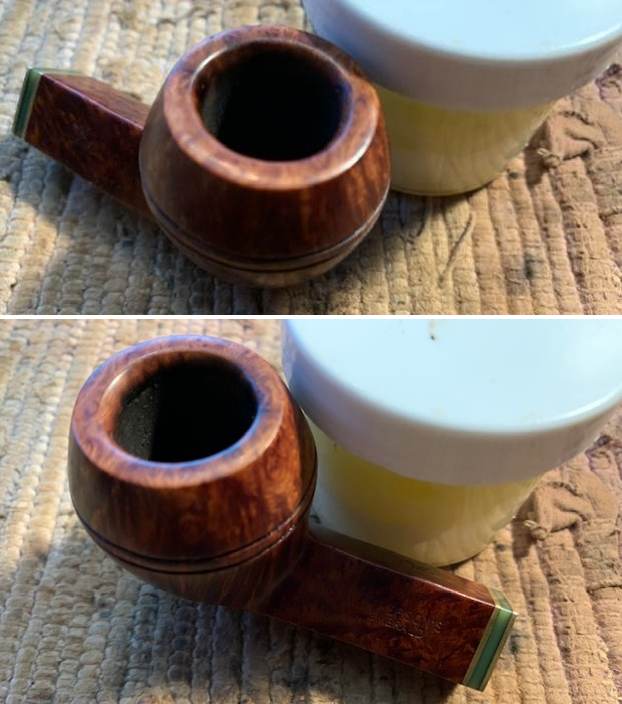
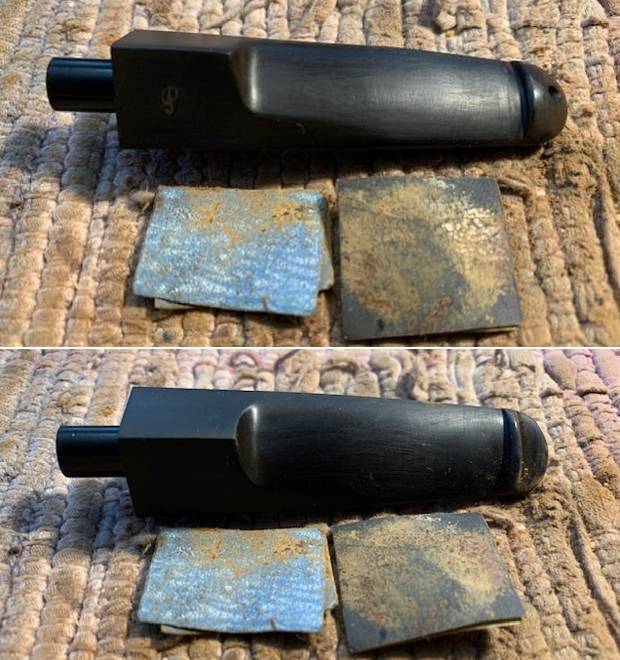
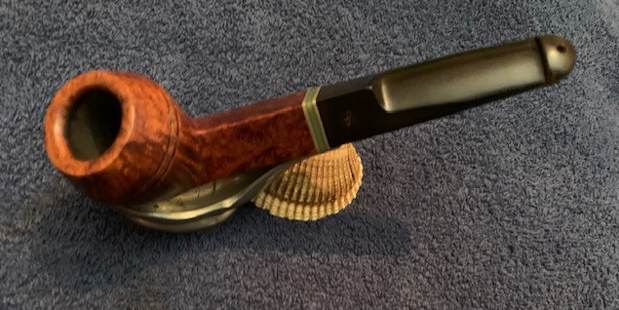
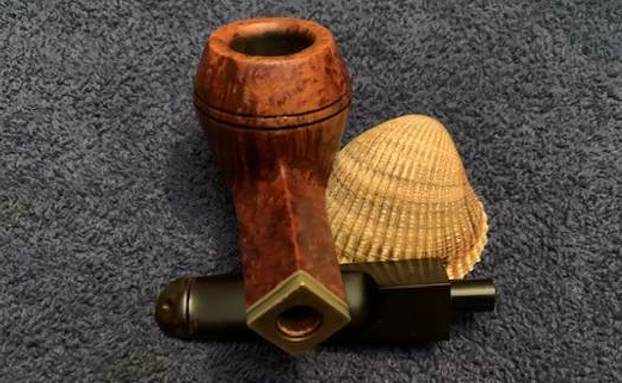
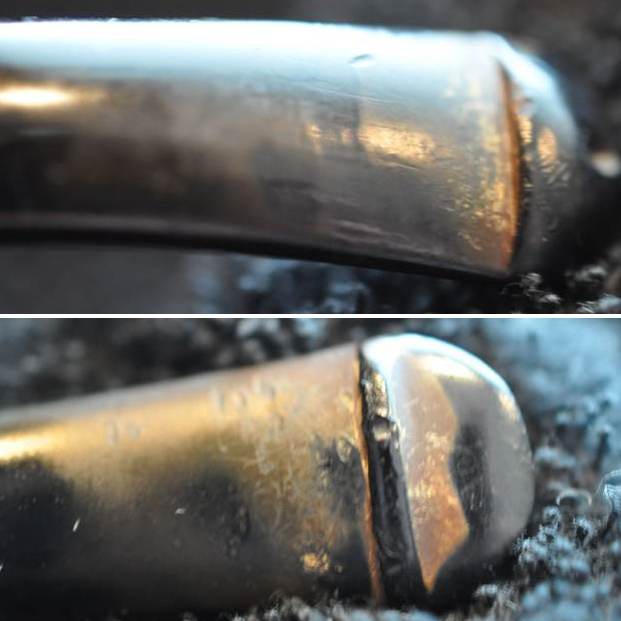
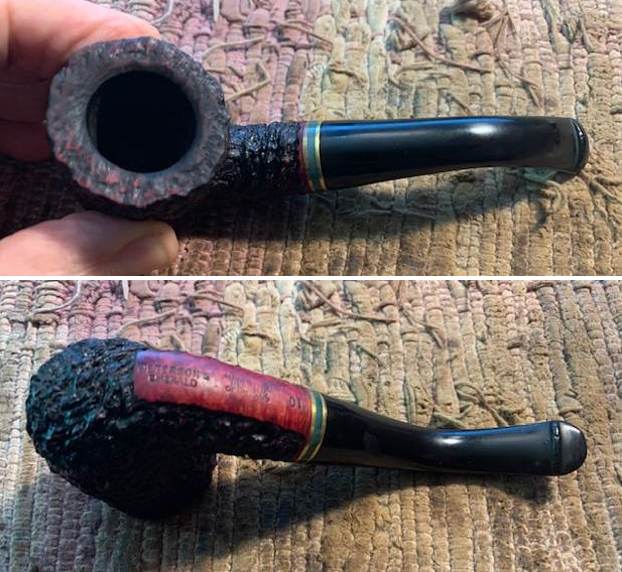
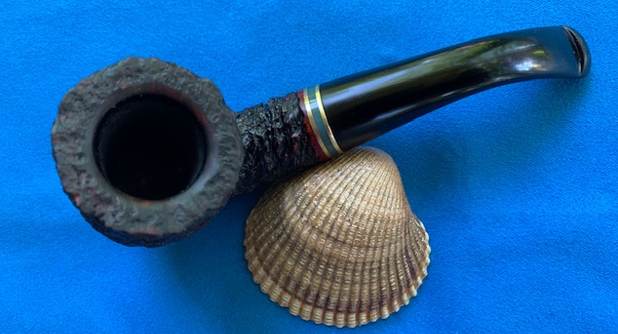
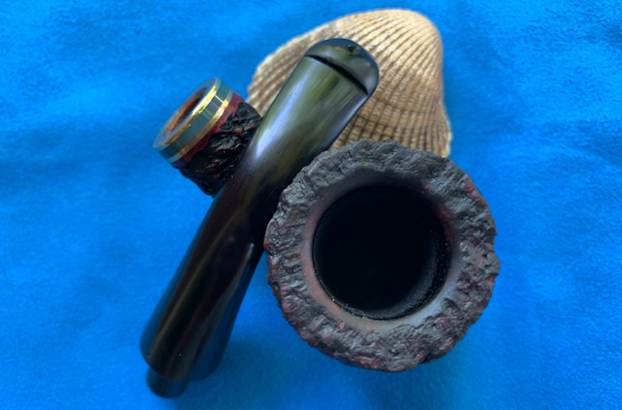
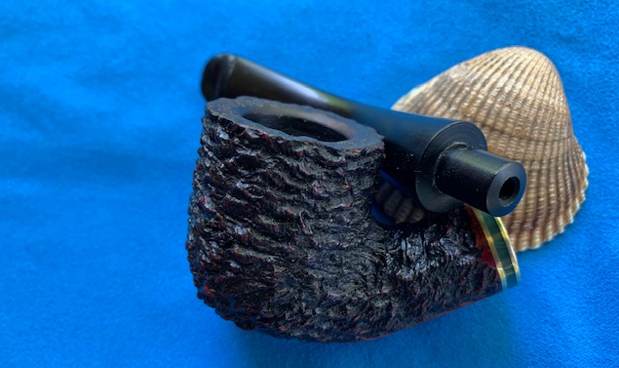
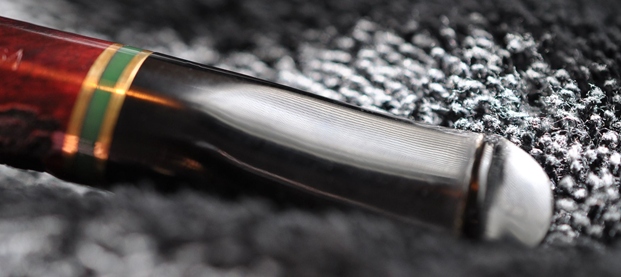
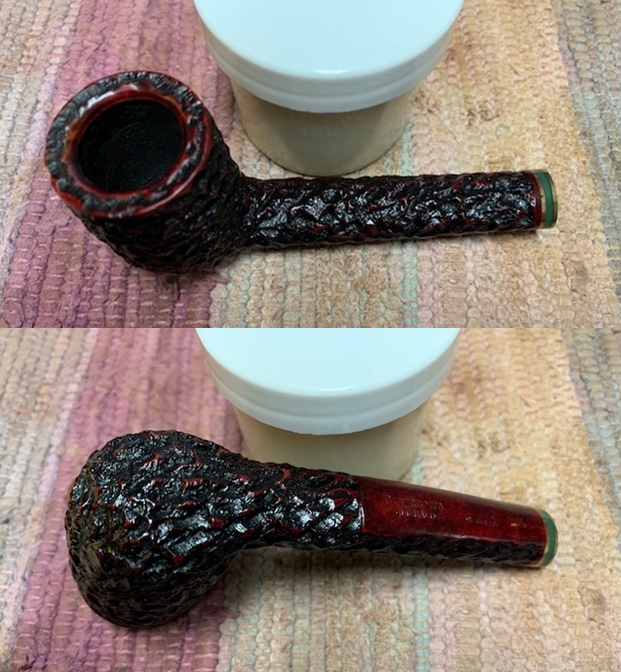
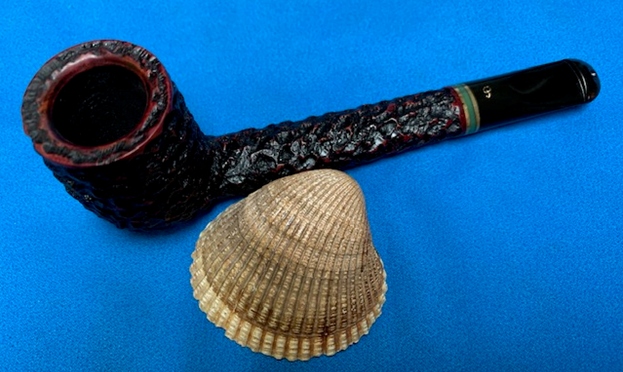
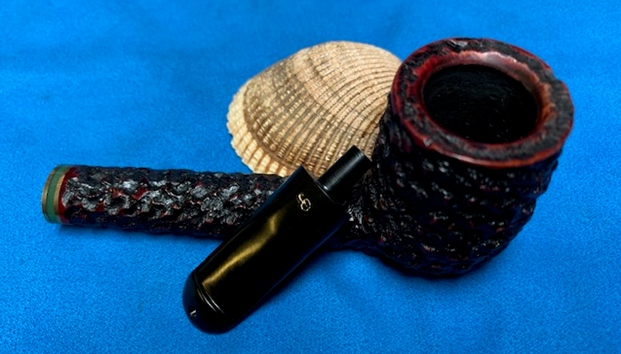
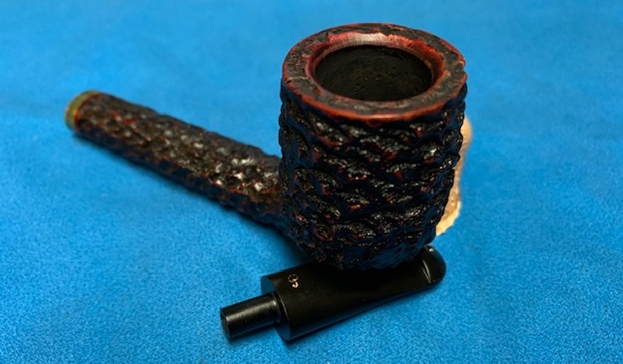
 Jeff took photos of the rim top and stem to show the general condition of the pipe. The bowl is moderately caked and the rim top and edges have a light coat of lava overflowing on to them. The stem is oxidized, calcified and has tooth chatter and tooth marks on the top and underside near the button.
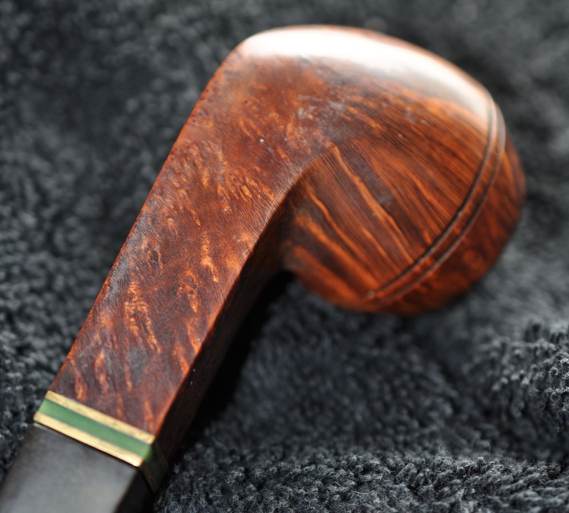
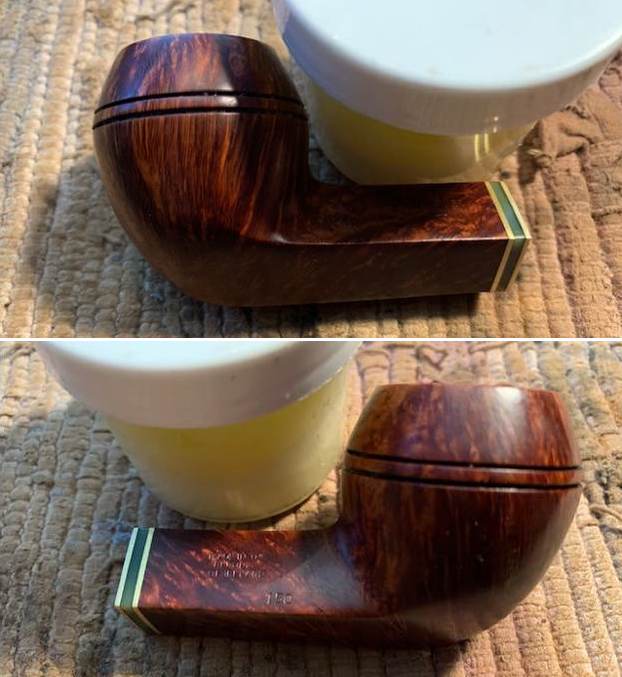
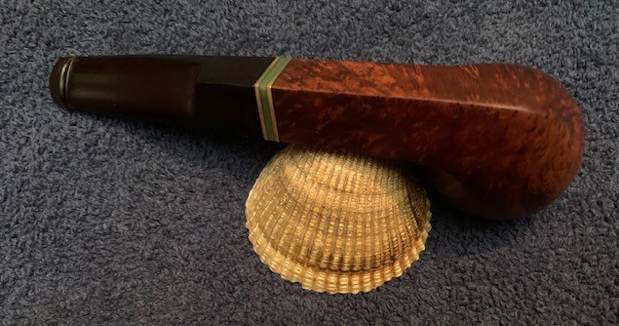
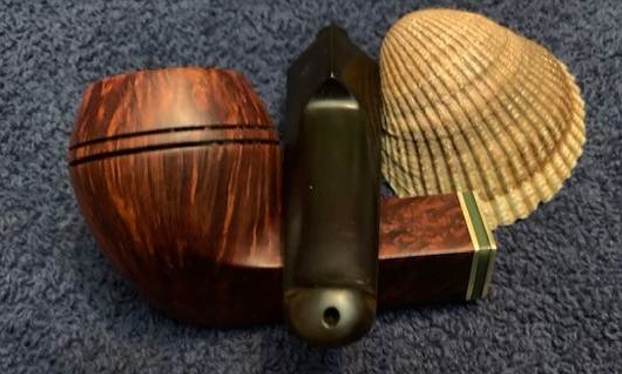
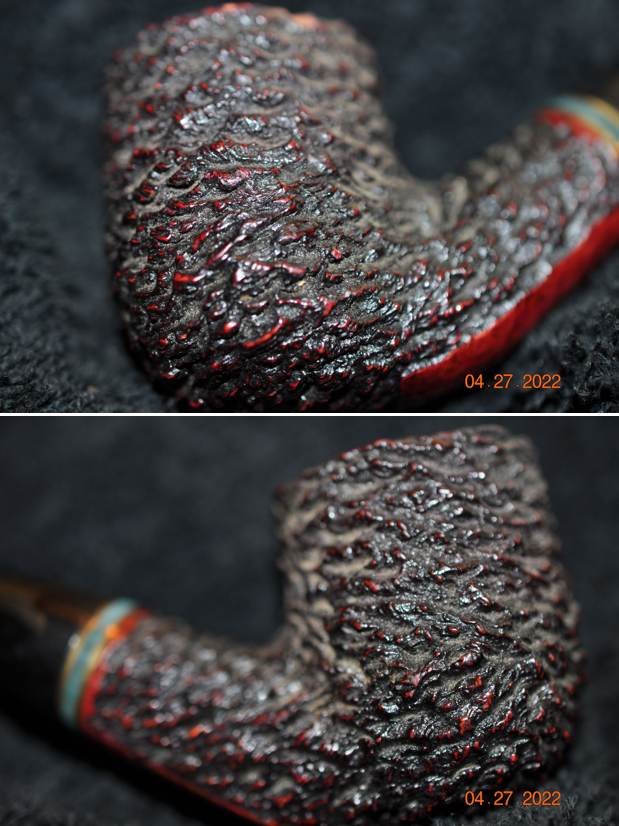
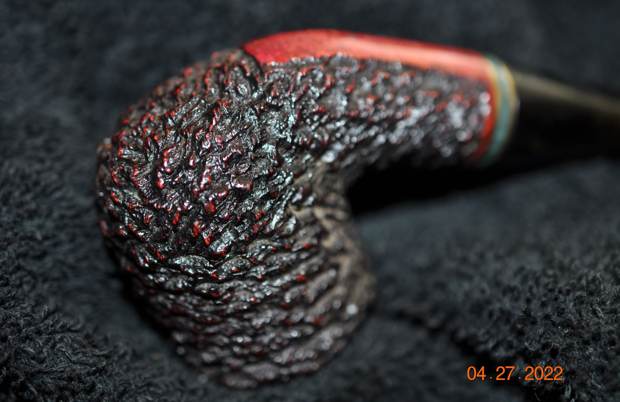
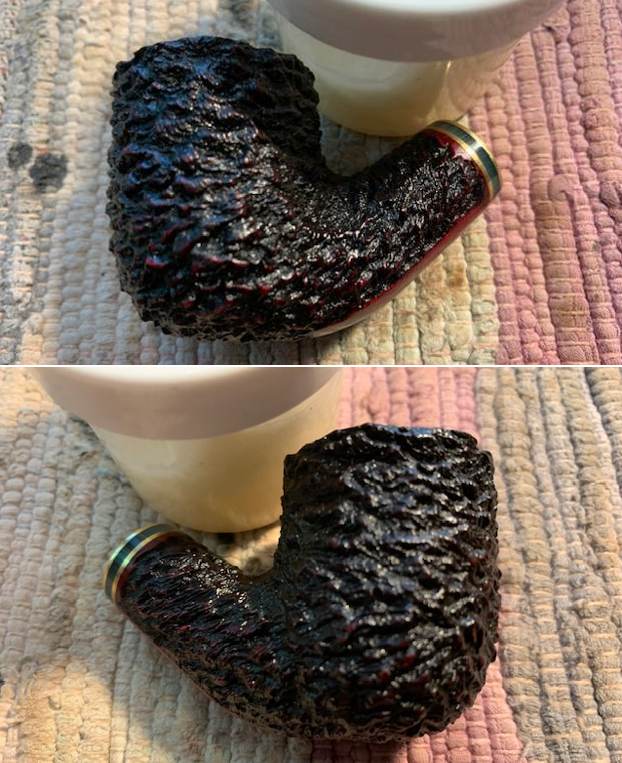
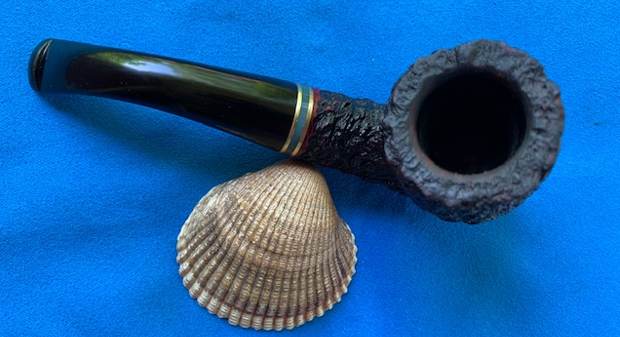
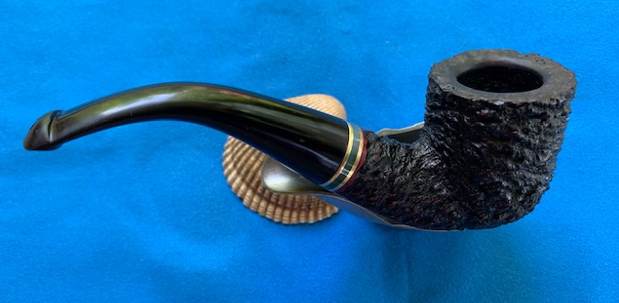
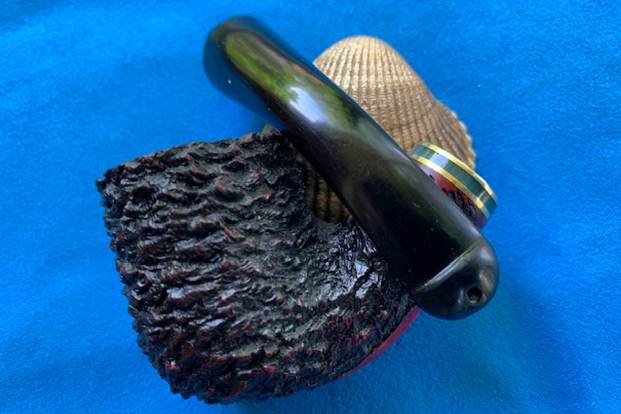
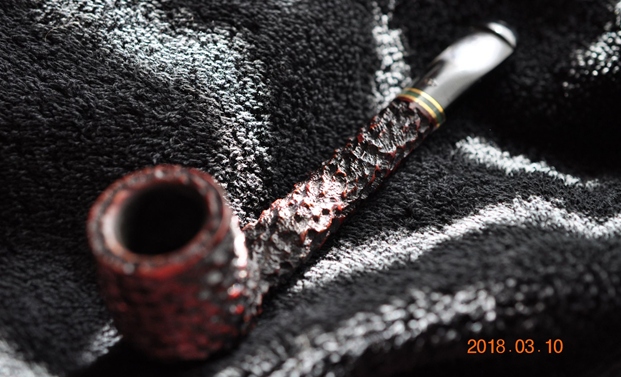
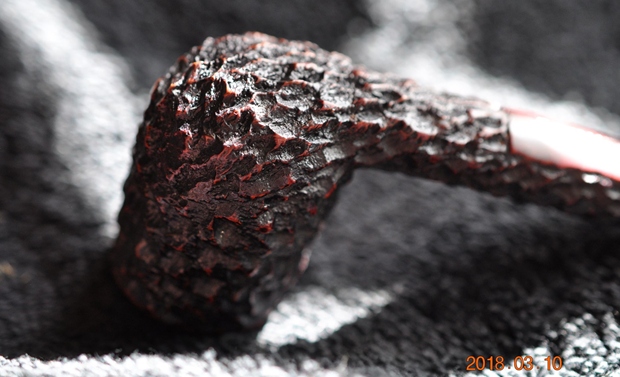
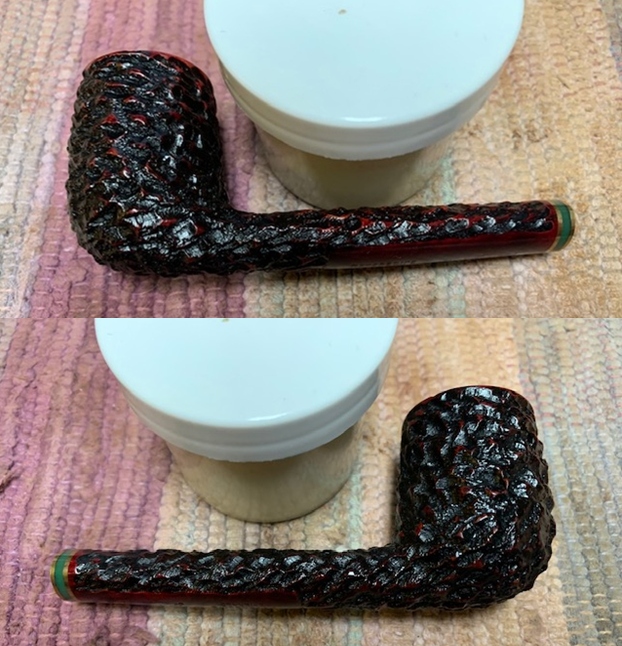
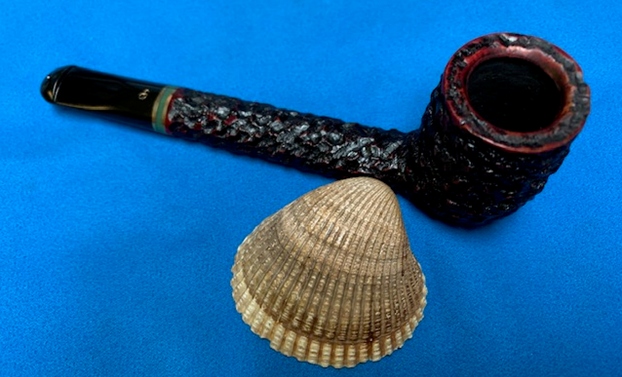
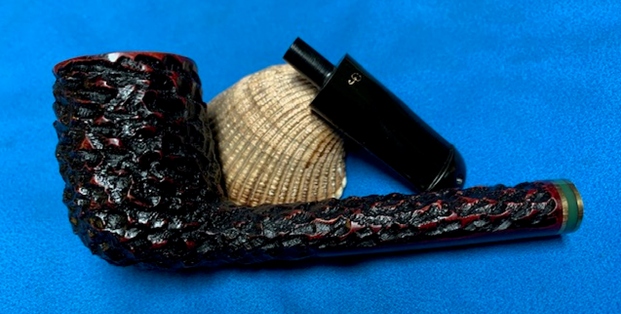
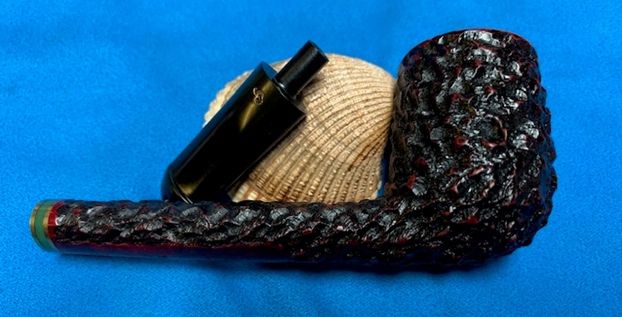
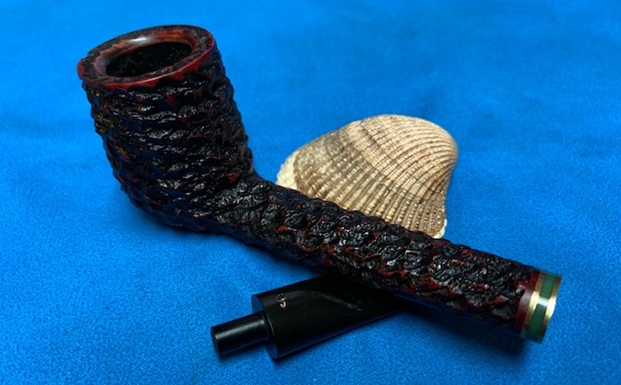
 Jeff took photos of the bowl sides and heel to show the condition of the finish around this bowl. It has some great grain.
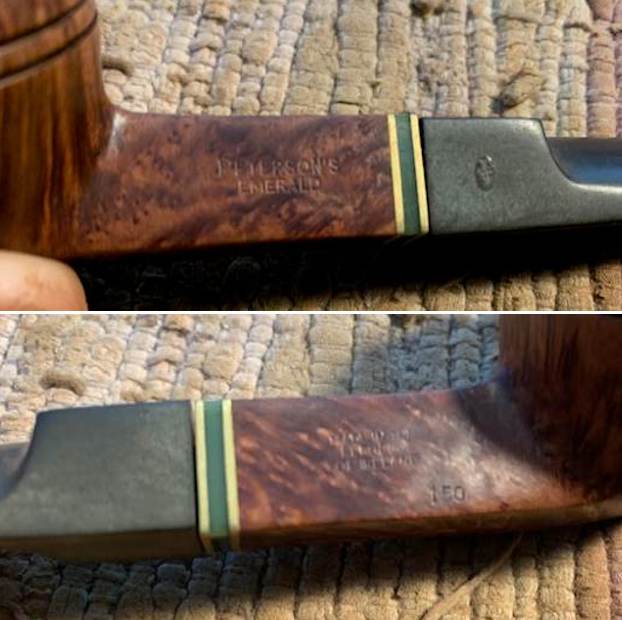
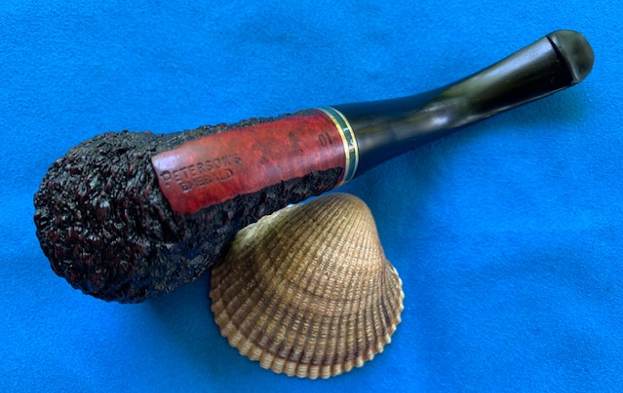
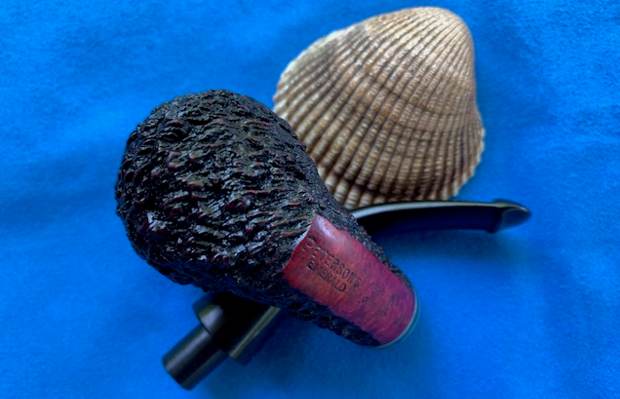
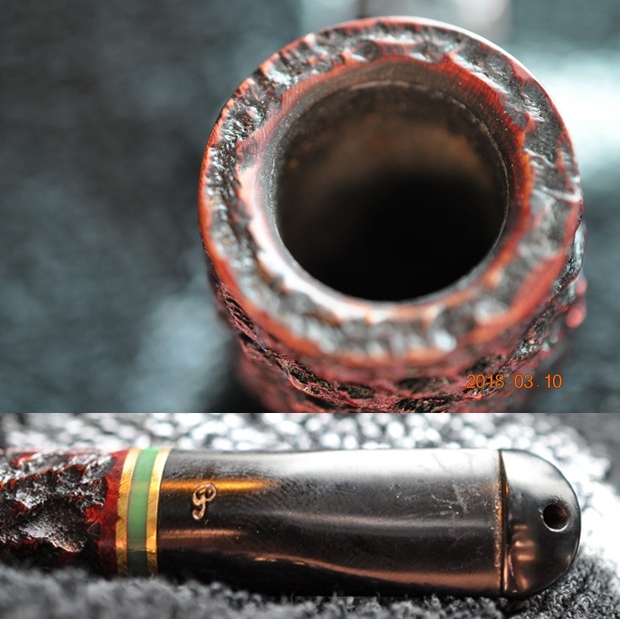
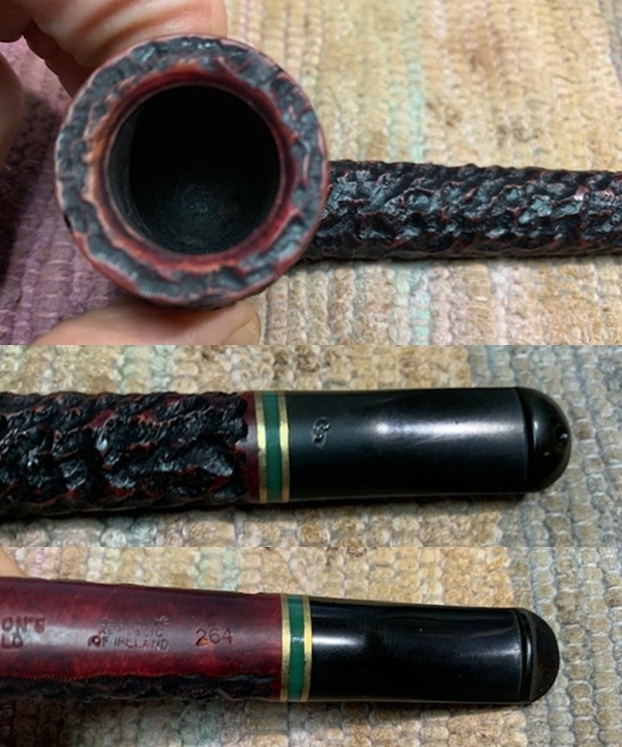
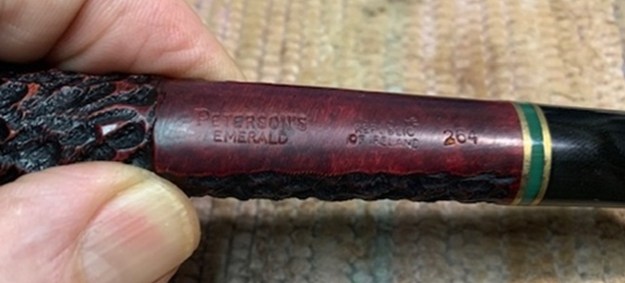
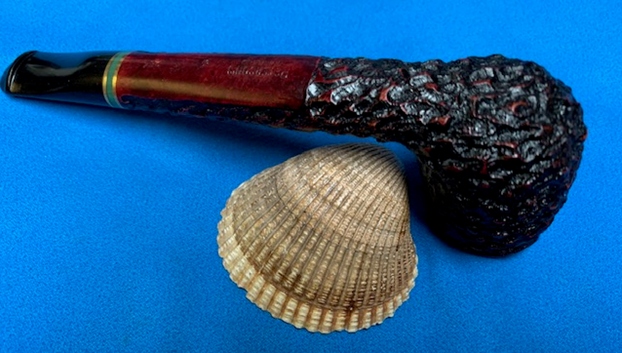
 He took photos of the stamping on the shank sides. You can see that it is clear and reads as noted above. The P logo is also clear on the left side of the stem.
 I am including the information from Pipedia’s article on Peterson pipes. It is a great read in terms of the history of the brand (https://pipedia.org/wiki/Peterson). I have included a bit of the pertinent history here.
1950 – 1989 The Republic Era – From 1950 to the present time, the stamp for this era is “Made in the Republic of Ireland” in a block format generally in three lines but two lines have been used with or without Republic being abbreviated.
During the 1950’s and 60’s the Kapp & Peterson Company was still in the ownership of the Kapp family. However 1964 saw the retiral of the company Managing Director Frederick Henry (Harry) Kapp.
I knew that I was dealing with a Republic Era pipe made between 1950 and the present.
I turned to The Peterson Pipe book by Mark Irwin and Gary Malmberg for more information. On page 299 there was a summary of the Emerald Pipe. I quote
Emerald (1987-) Moderate-priced line in Bordeaux and black rustic finish with a shank band of green acrylic between brass rings, P-lip mouthpiece; smooth walnut version added in ’91. Fishtail mouthpiece added in ’97. Identical line and finishes named Jade from early eighties until ’87.
This information narrowed down the date even further. The smooth walnut finish was added in 1991 so this one came out after 1991 and has a P-lip style mouth piece. Now it was time to work on the pipe.
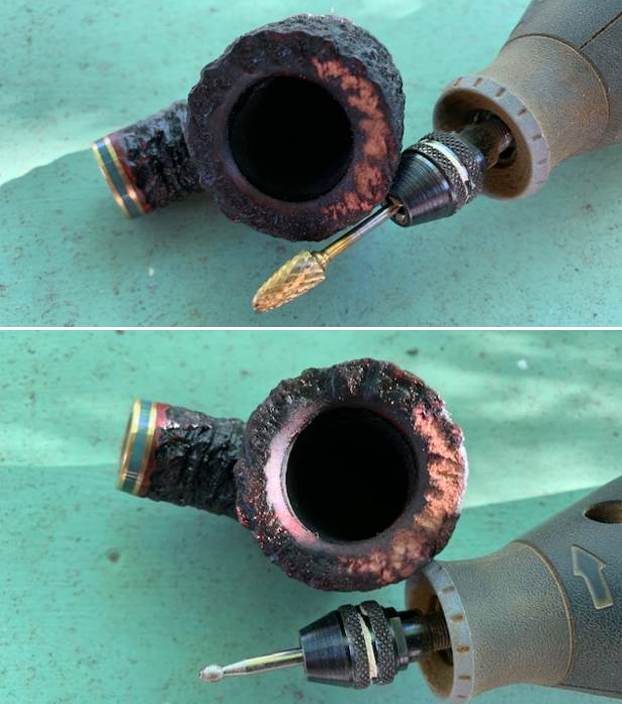
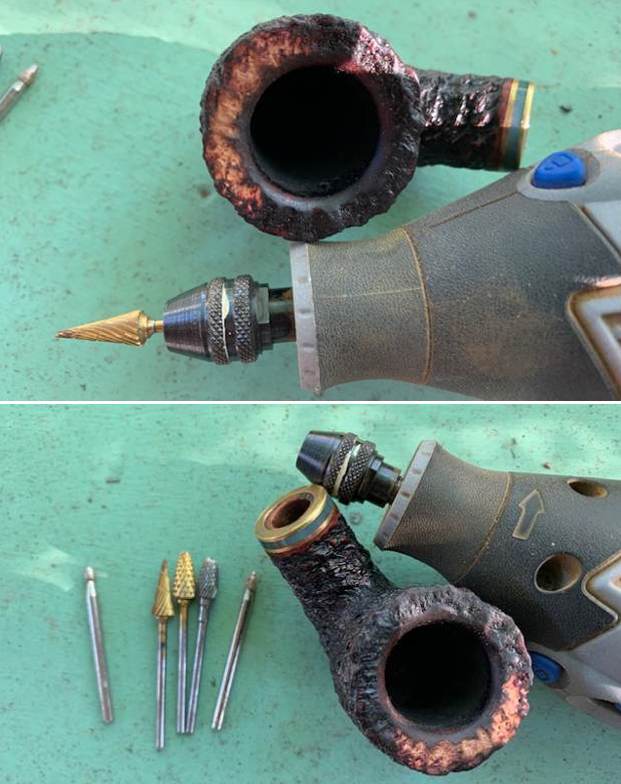
Jeff had done a great job cleaning up the pipe as usual. He reamed the pipe with a PipNet reamer and cut back the cake back to the bare briar. He cleaned up the walls with a Savinelli Fitsall Pipe Knife. He scrubbed the interior of the bowl and shank with pipe cleaners, shank brushes, cotton swabs and alcohol to remove the tars and oils. He scrubbed the exterior of the pipe with Murphy’s Oil Soap and a tooth brush to remove the grime from the finish. He worked on the rim top lava and darkening with the soap and tooth brush. He scrubbed the inside of the stem with alcohol and pipe cleaners. He scrubbed the exterior with Soft Scrub and then soaked it in Briarville’s Pipe Stem Deoxidizer. He washed it off with warm water to remove the Deoxidizer. The pipe looked very good when it arrived. 
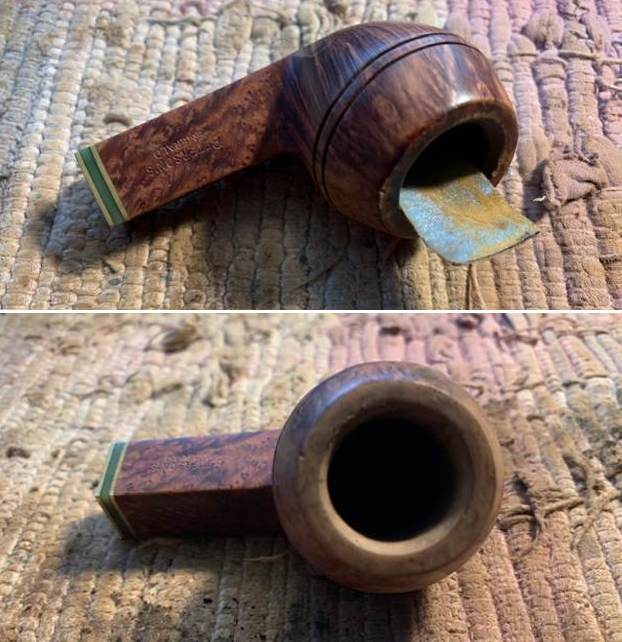
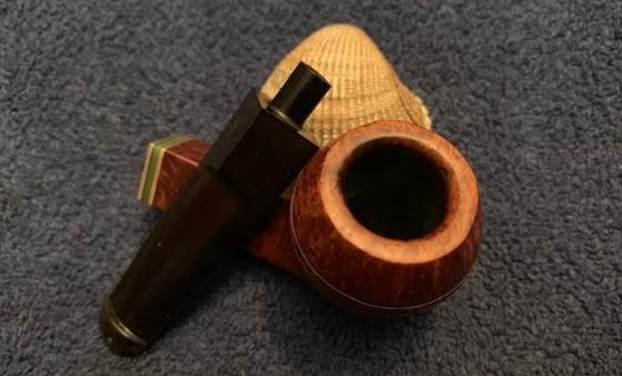
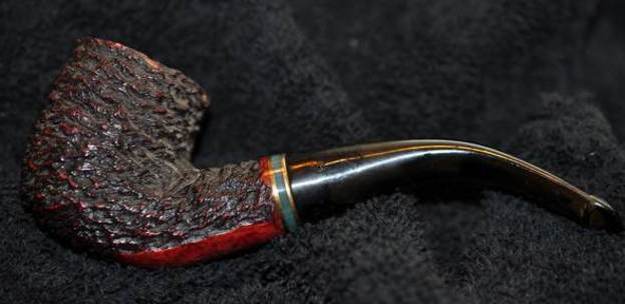
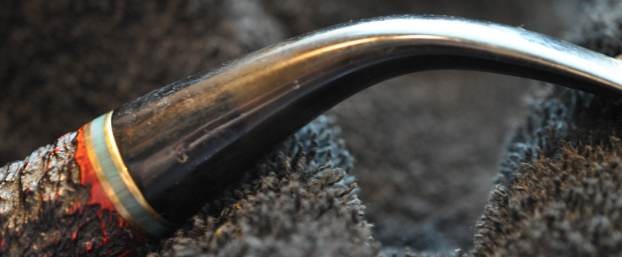
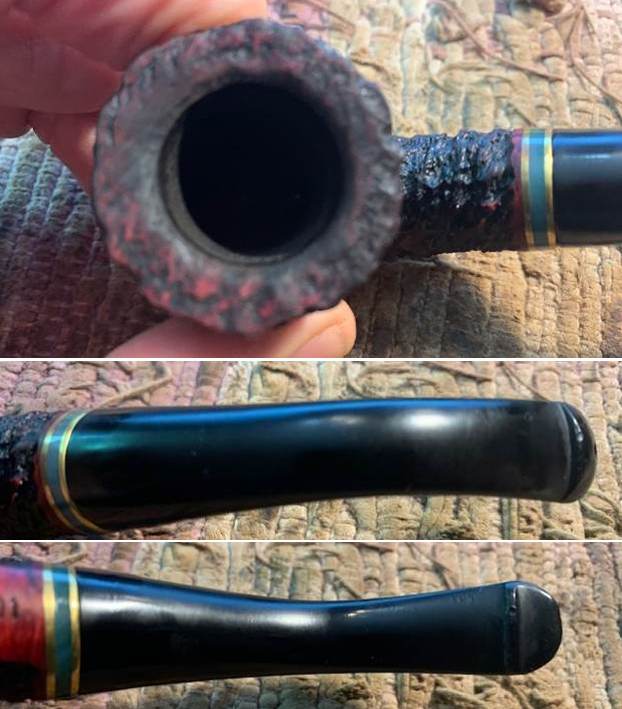
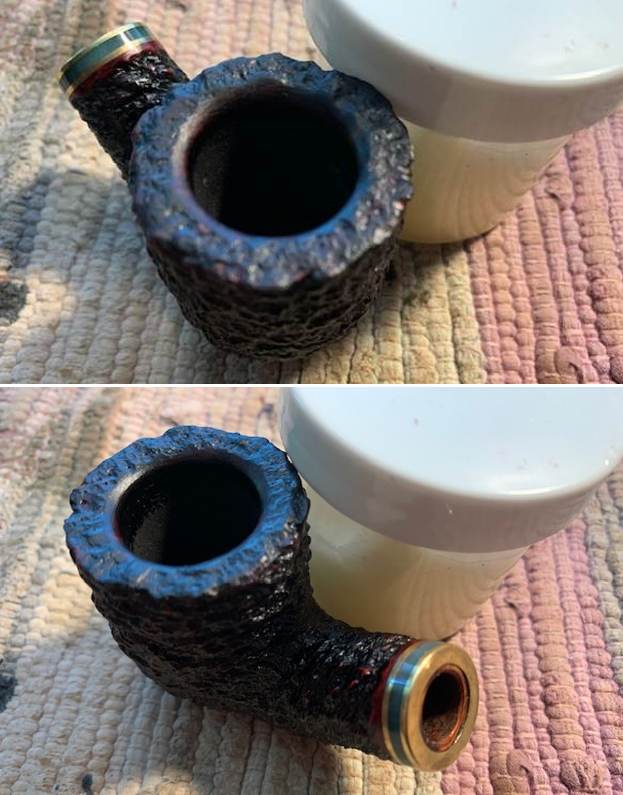
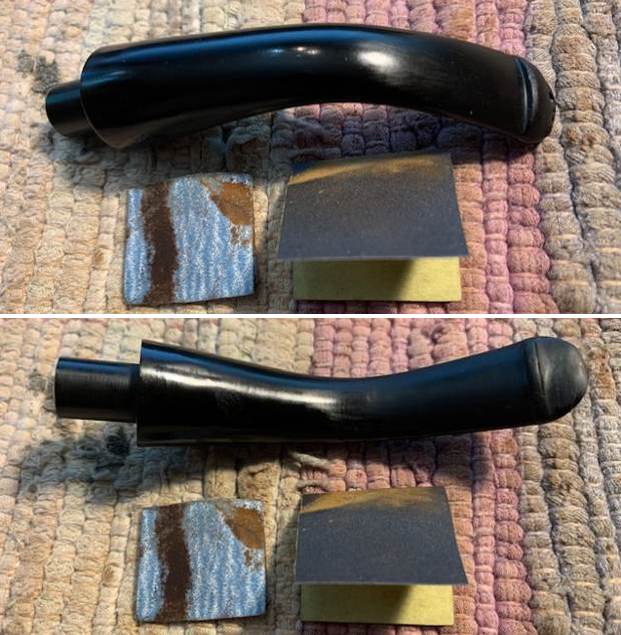
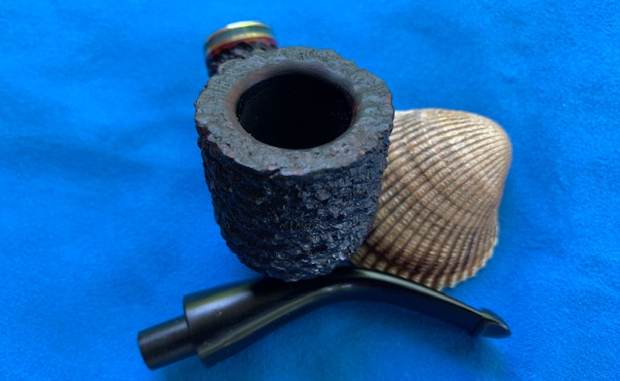
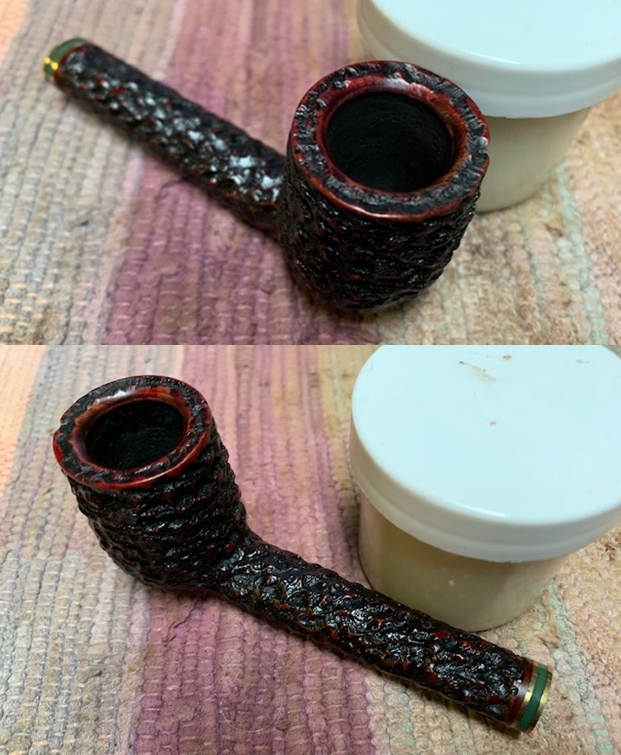
 I took close up photos of the rim top and the stem surface. I wanted to show how well it had cleaned up. The rim top looked very good. The bevelled inner edge was in excellent condition. I took photos of the stem to show the light chatter and tooth marks on the surface ahead of the button.
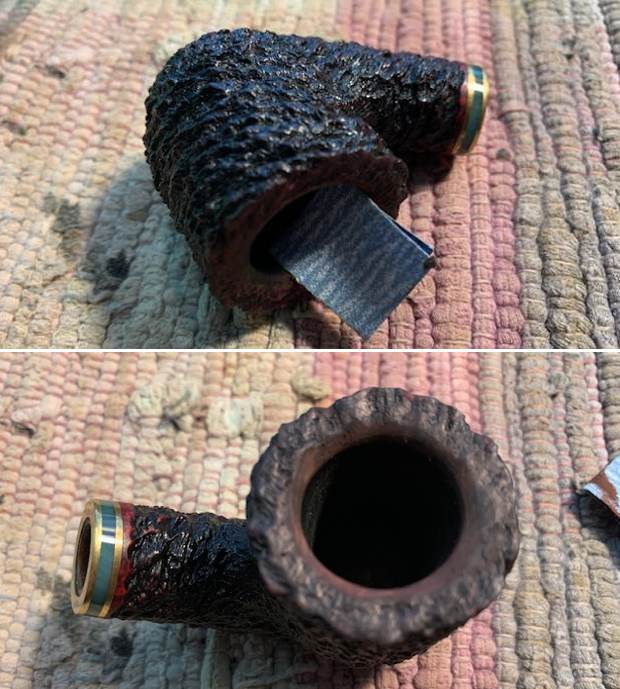
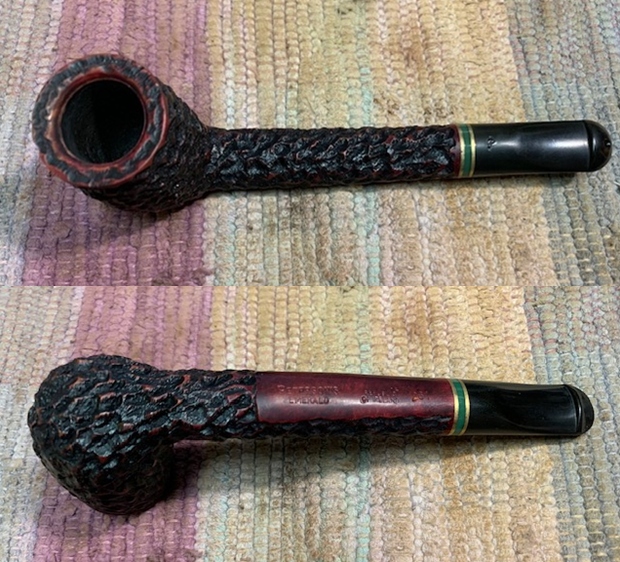
 I took photos of the stamping on the sides of the shank. You can see that it is stamped as noted above. It is clear and readable. I took the pipe apart and took a photo of the pipe. It is a good looking pipe and has some great grain around the bowl and shank.
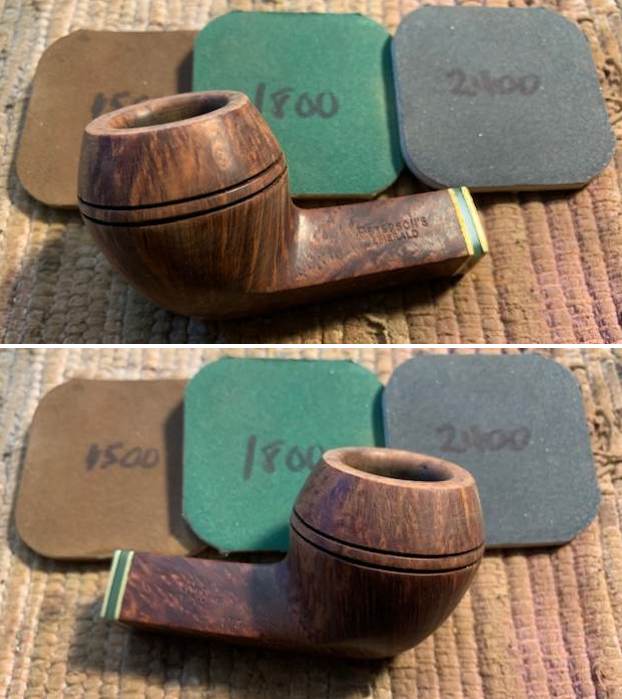
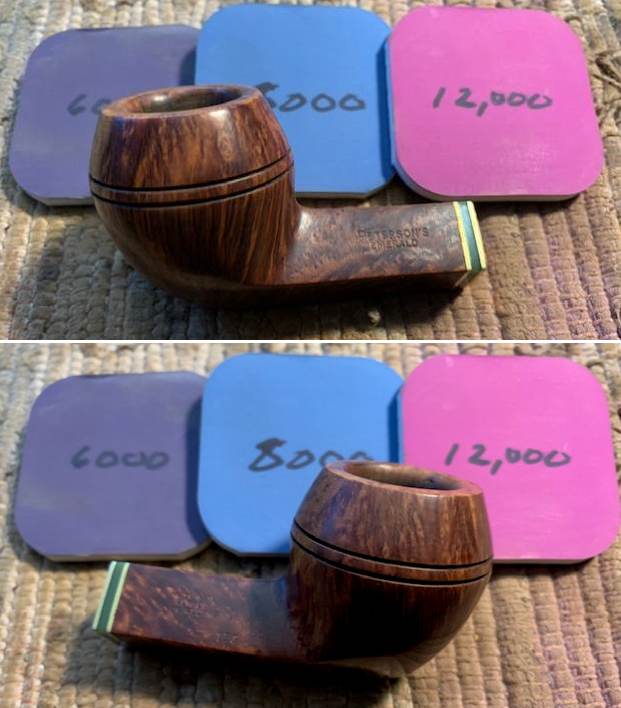
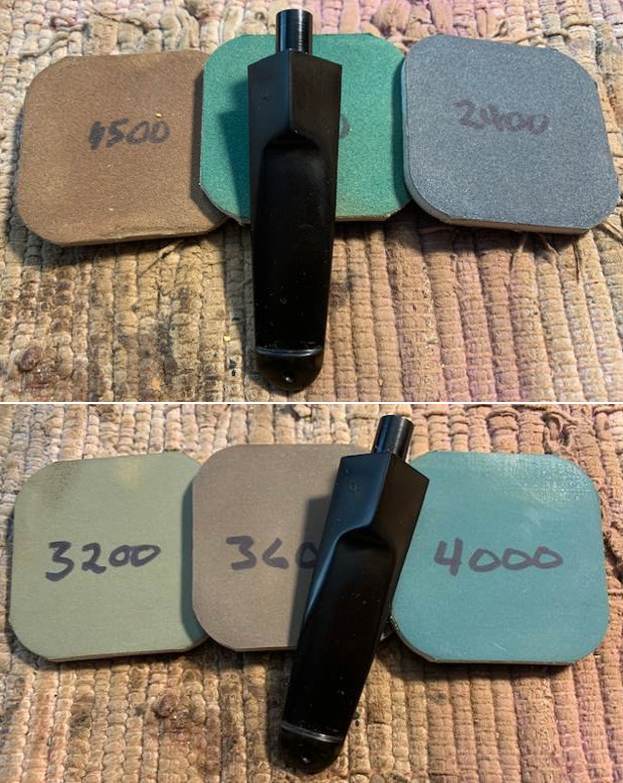
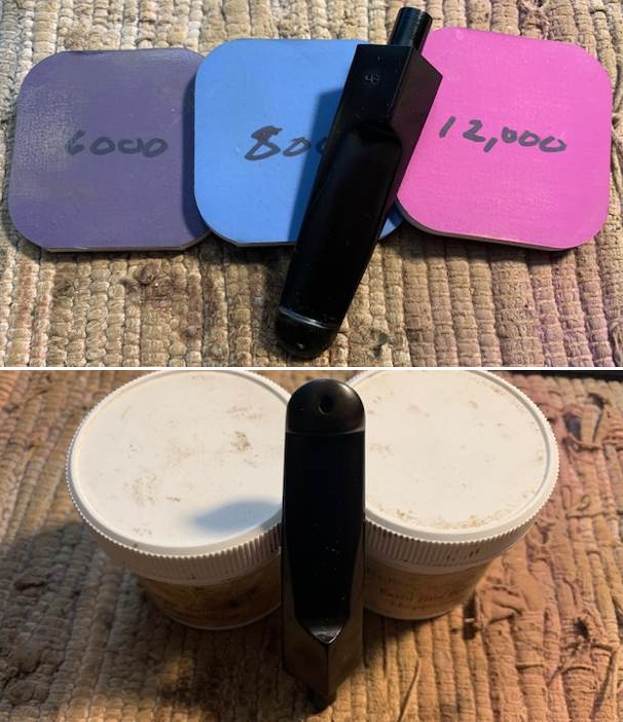
 I polished the briar with micromesh sanding pads – dry sanding with 1500-12000 grit pads and wiping the bowl down after each sanding pad. The grain really began to shine through. It is a beautiful pipe.


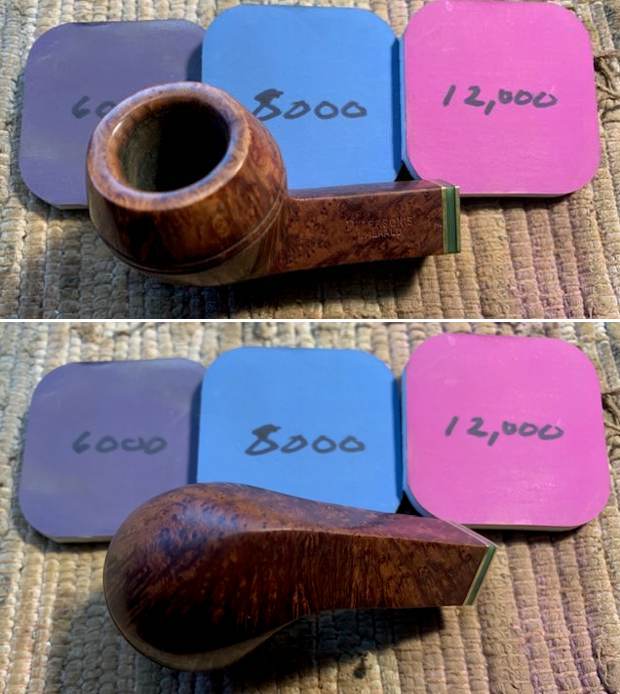
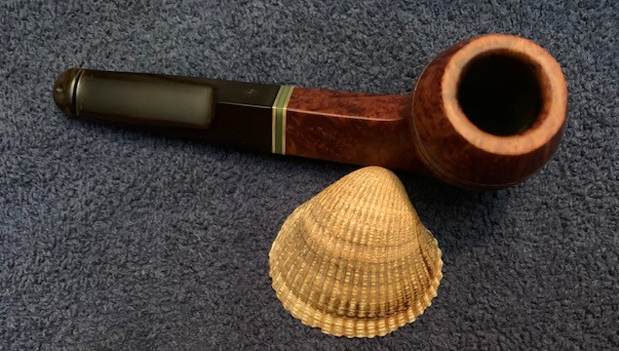
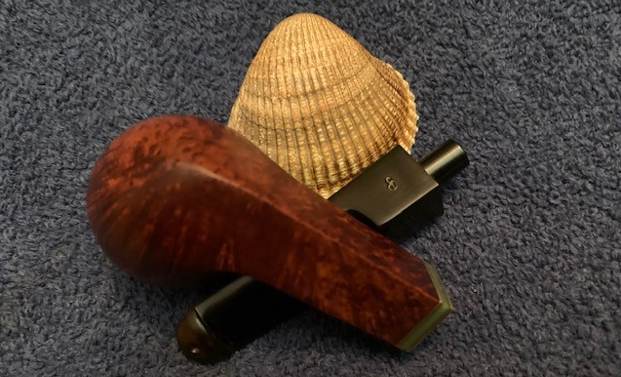
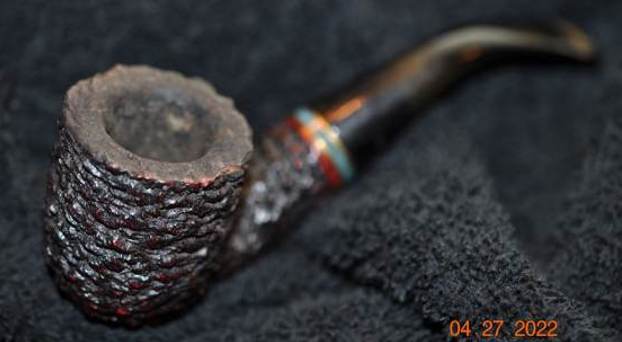
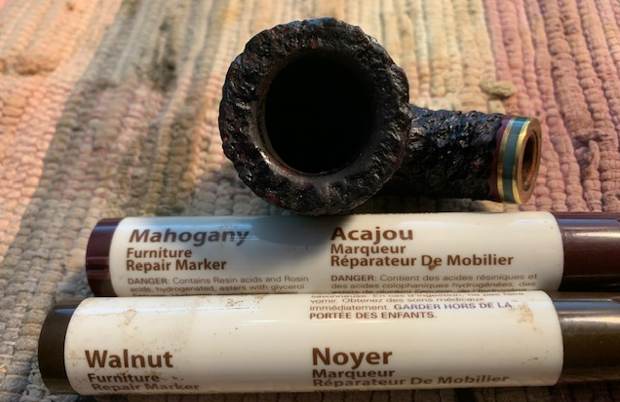
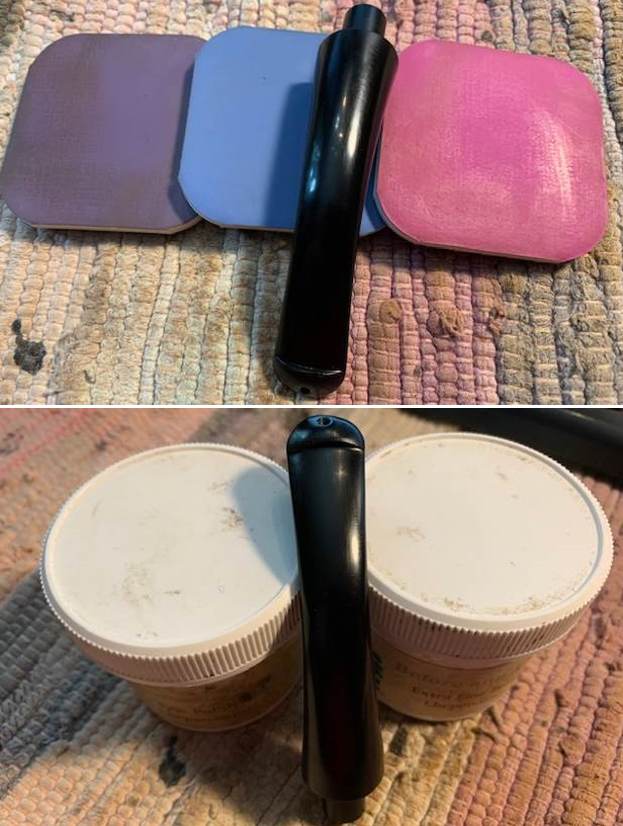
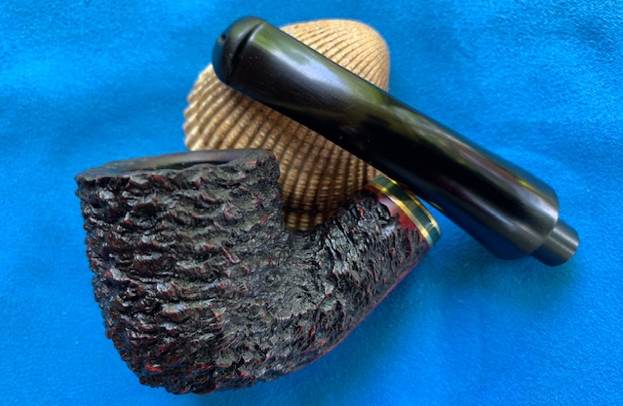
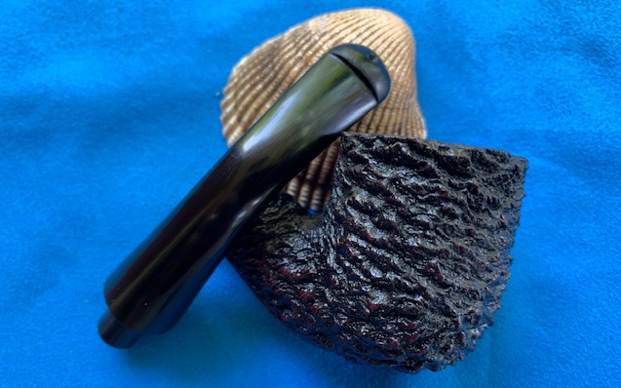
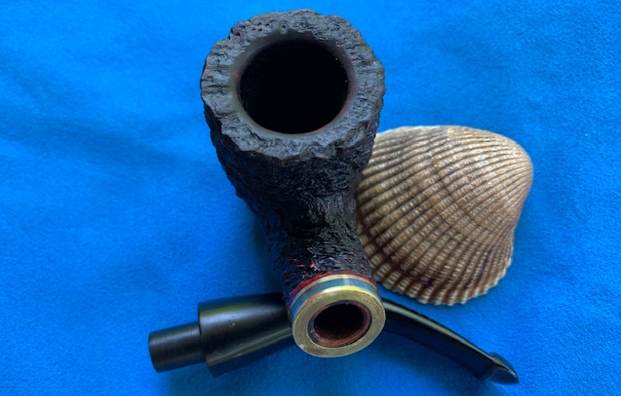
 I worked some Before & After Restoration Balm into the surface of the briar with my fingertips to clean, enliven and protect the briar. I let the balm sit for 15 minutes and then buffed with a cotton cloth to raise the shine. The photos show the bowl at this point in the restoration process.

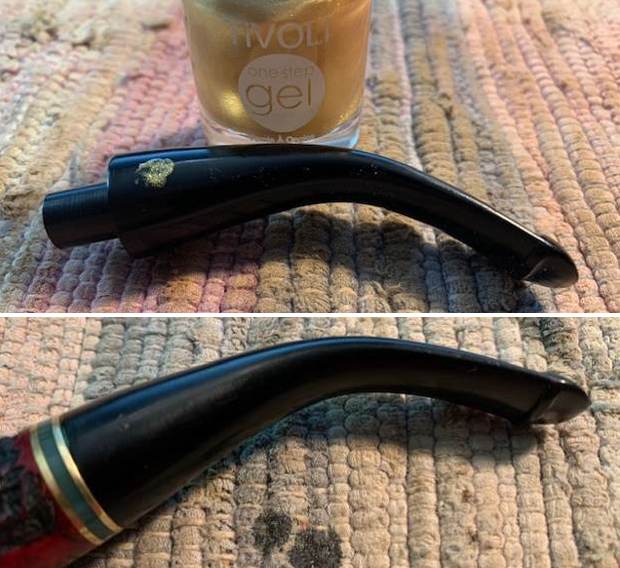
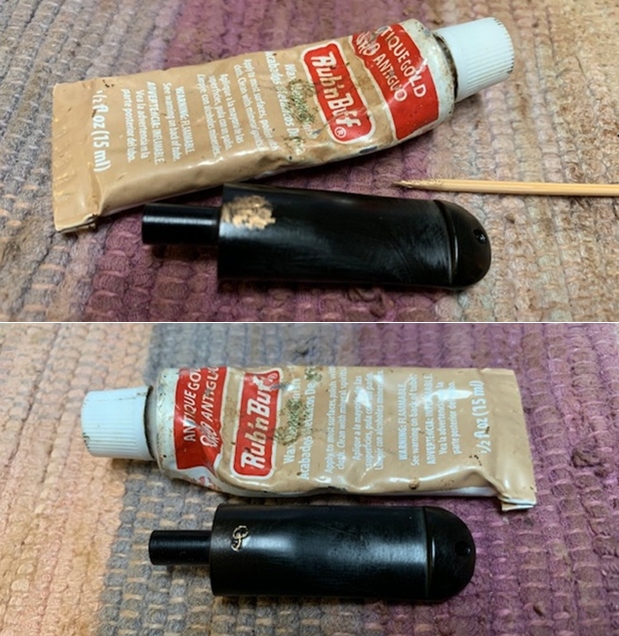
 I set the bowl aside and worked on the stem. I touched up the gold P stamp on the left side of the stem with some Rub’n Buff Antique Gold. I pressed it into the stamp with a tooth pick and wiped it off with a soft cotton pad.
 I sanded out the light tooth marks and chatter in the surface and the button edges with 320-3500 grit sanding pads. I wiped it down after each pad with a cloth impregnated with Obsidian Oil to preserve and remove debris.
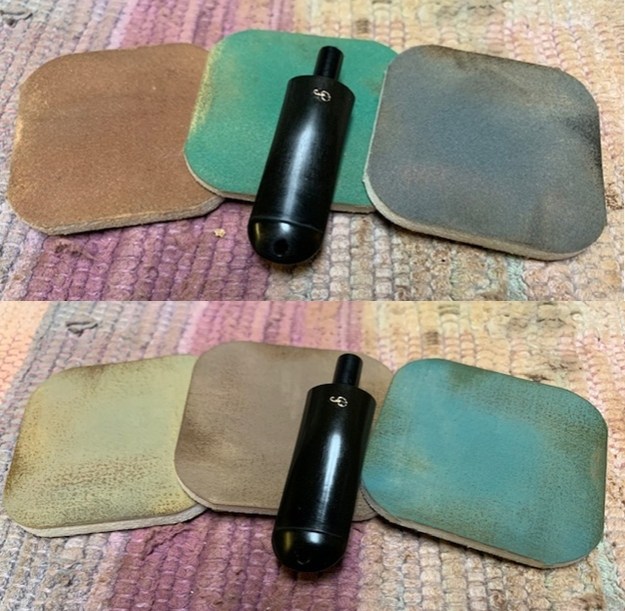
  I polished the stem with micromesh sanding pads – wet sanding with 1500-12000 grit sanding pads. I wiped it down after each sanding pad with Obsidian Oil. I polished it with Before & After Pipe Stem Polish – both Fine and Extra Fine.
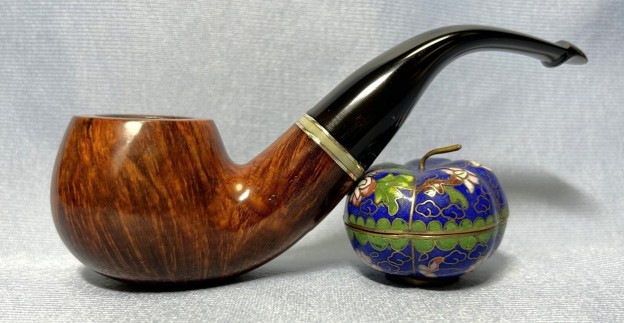
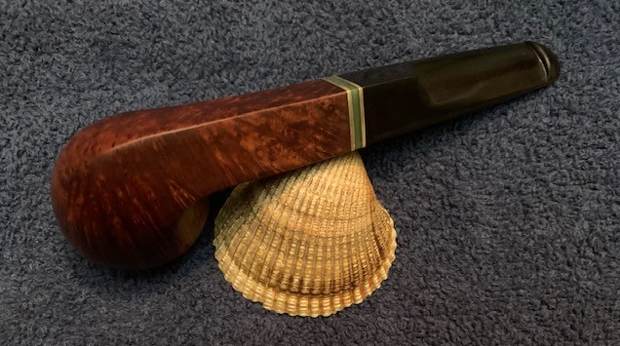
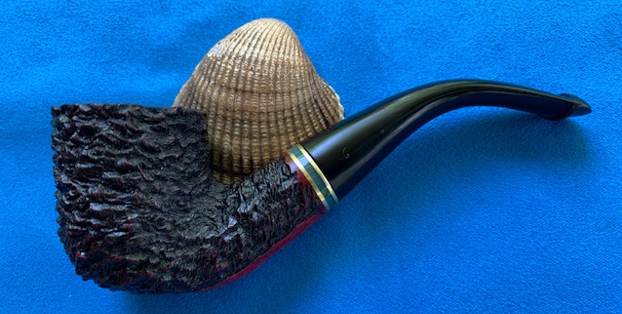
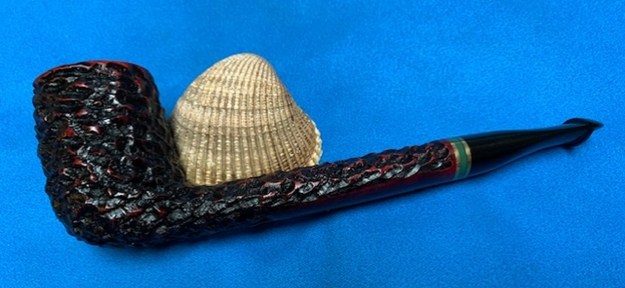
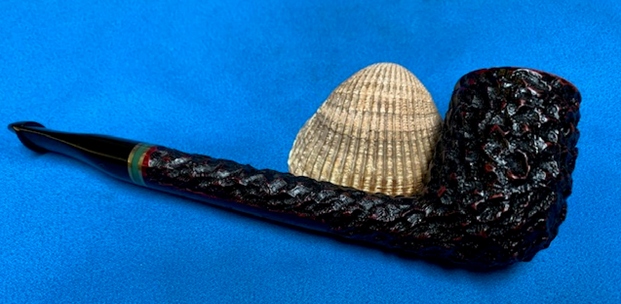
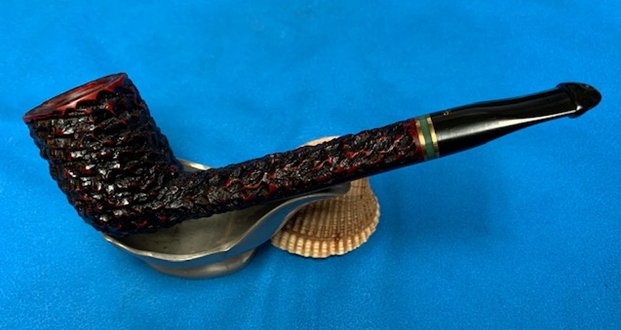
 I am excited to finish this Republic Era Peterson’s Emerald 03 Bent Apple. I put the pipe back together and buffed it with Blue Diamond on the buffing wheel. I gave the bowl and the stem multiple coats of carnauba wax. I buffed the pipe with a clean buffing pad to raise the shine and hand buffed it with a microfibre cloth to deepen the shine. It is fun to see what the polished bowl looks like with the polished triple brass and emerald acrylic band and the black vulcanite stem. It is a real beauty. This Classic Peterson’s Emerald 03 feels great in my hand. It is light and well balanced. Have a look at it with the photos below. The dimensions are Length: 5 inches, Height: 1 ½ inches, Outside diameter of the bowl: 1 ¼ inches, Chamber diameter: ¾ of an inch. The weight of the pipe is 53 grams/1.83 ounces. It is a beautiful pipe and one that will be on the Irish Pipe Makers Section of the rebornpipes store soon. If you are interested in adding it to your collection let me know. Thanks for walking through the restoration with me as I worked over this pipe. Thanks to each of you who are reading this blog.