Blog by Steve Laug
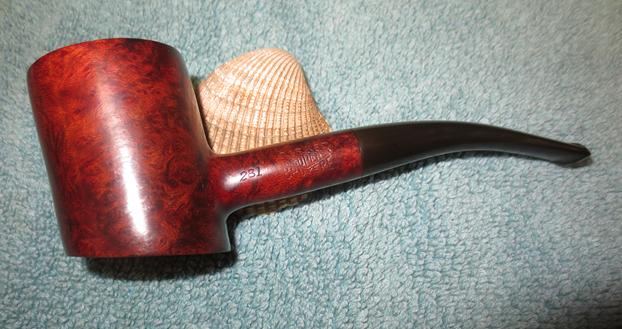
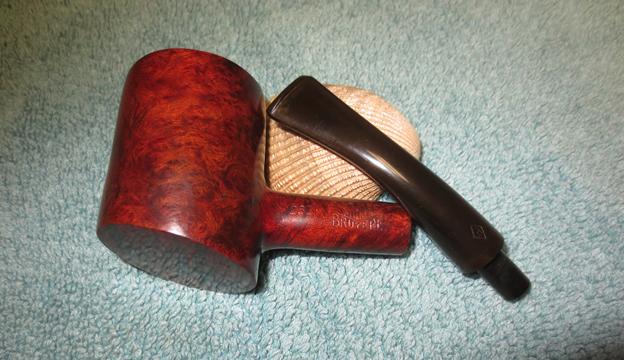
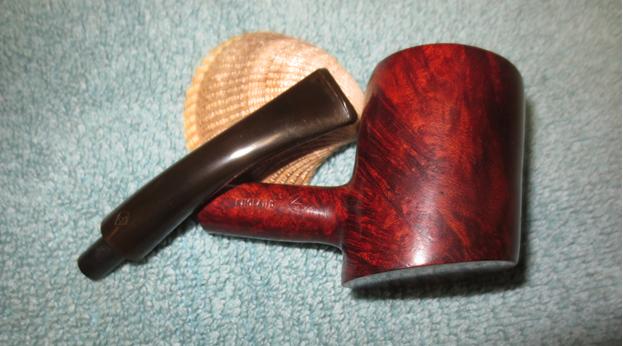
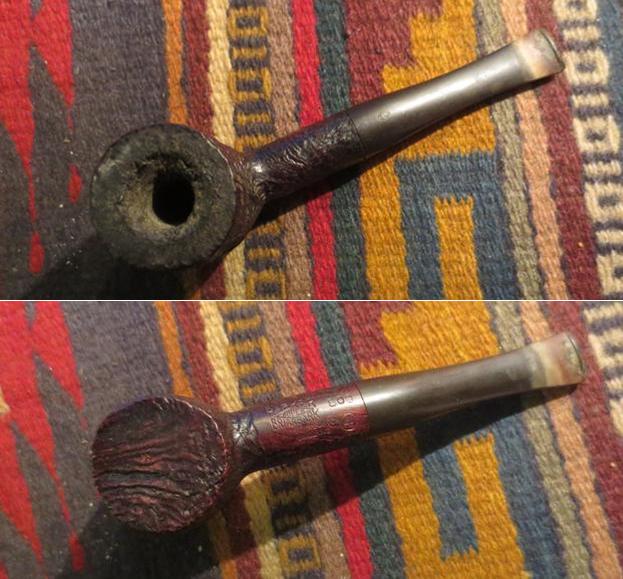
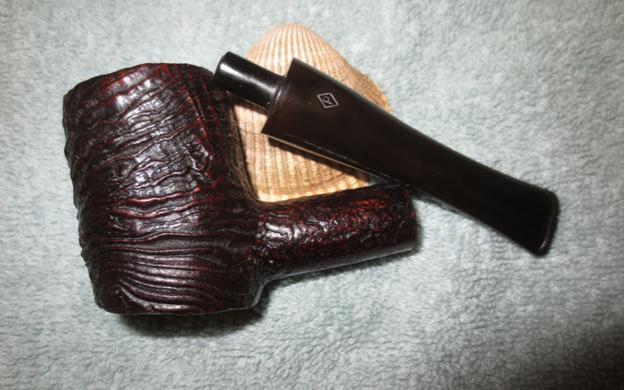
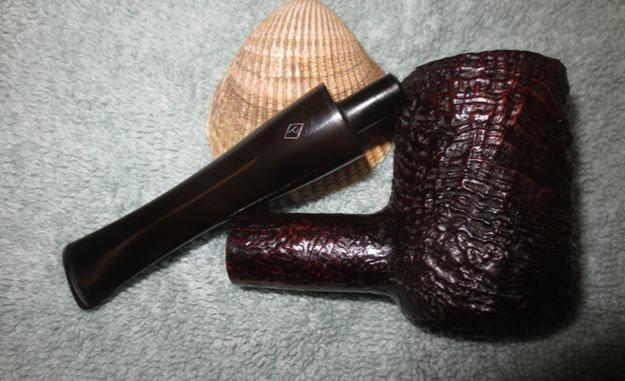
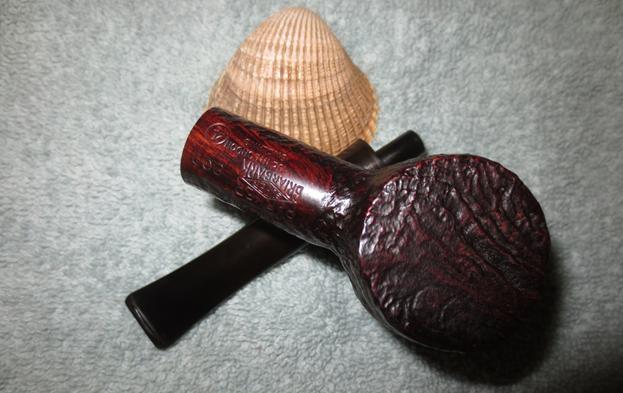
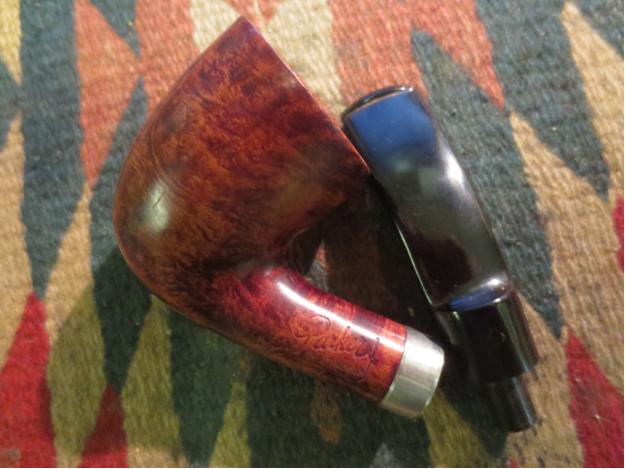
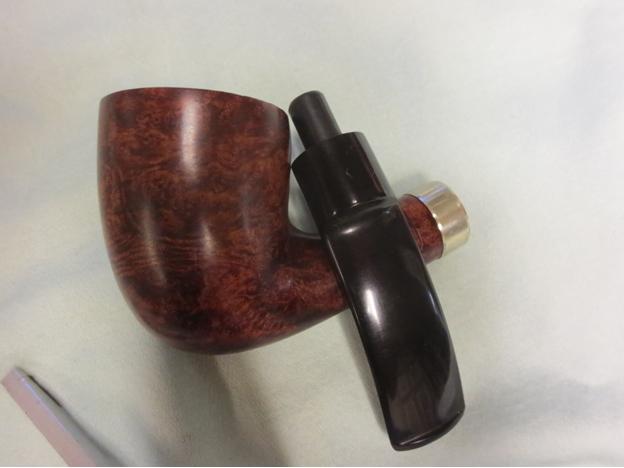
The next pipe on the work table comes from the estate lot that I received from a local pipe shop. It originally belonged to an old customer whose wife brought them back to the shop after his death. I am cleaning them up and selling them for the shop. This one is a beautiful little Parker Cherrywood. It is significantly more petite than the sandblast version that I restored earlier (https://rebornpipes.com/2017/06/17/parker-super-briarbark-cherrywood-809/). The stamping on the left side of the shank reads Parker over Super in a diamond over Bruyere.To the left of that is the shape number 287. On the right side of the shank the stamping reads Made in London over England and the number 4 in a circle denoting the group size.There is no date stamp next to the D in England.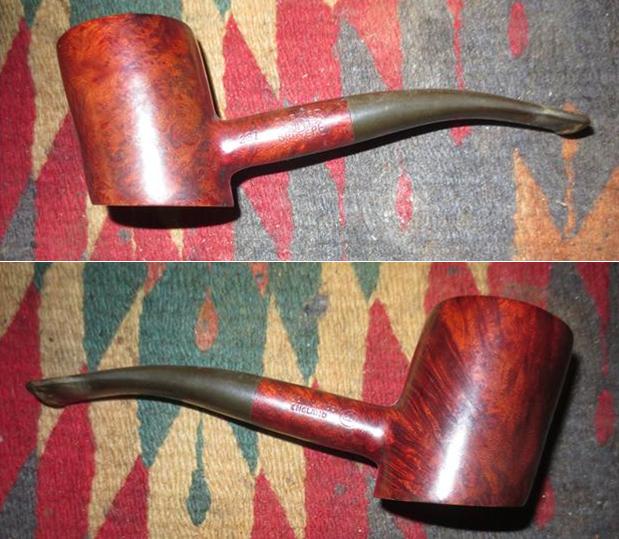 When I brought the pipe to the table it was obviously one of the old pipeman’s favourite smokers. The finish was dull and dirty and the stem oxidized with some calcification and buildup around the button area forward and a few minor tooth marks.
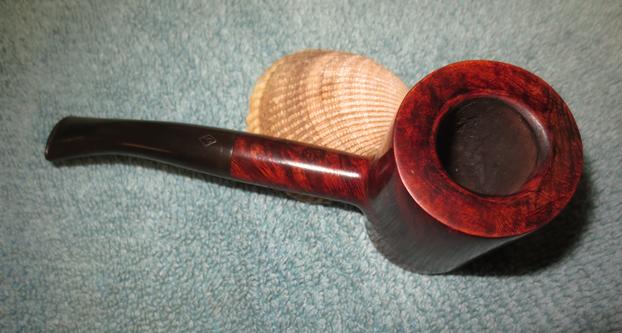
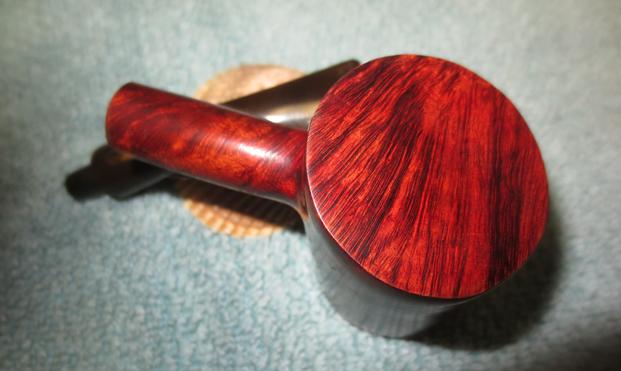
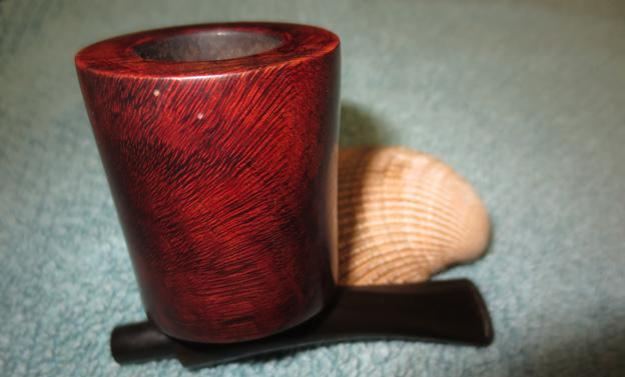
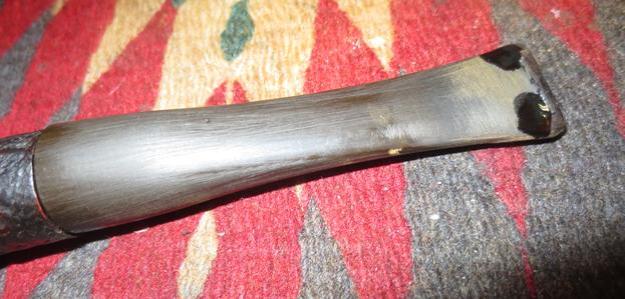
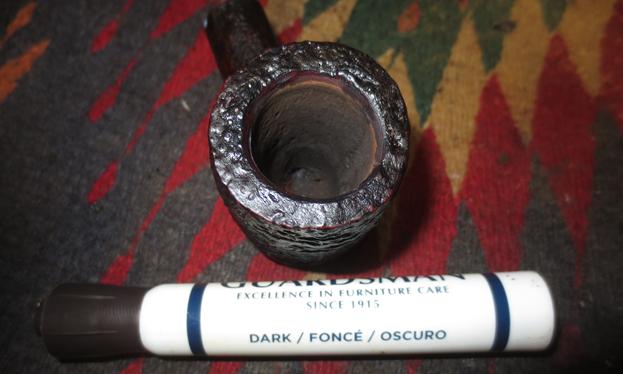
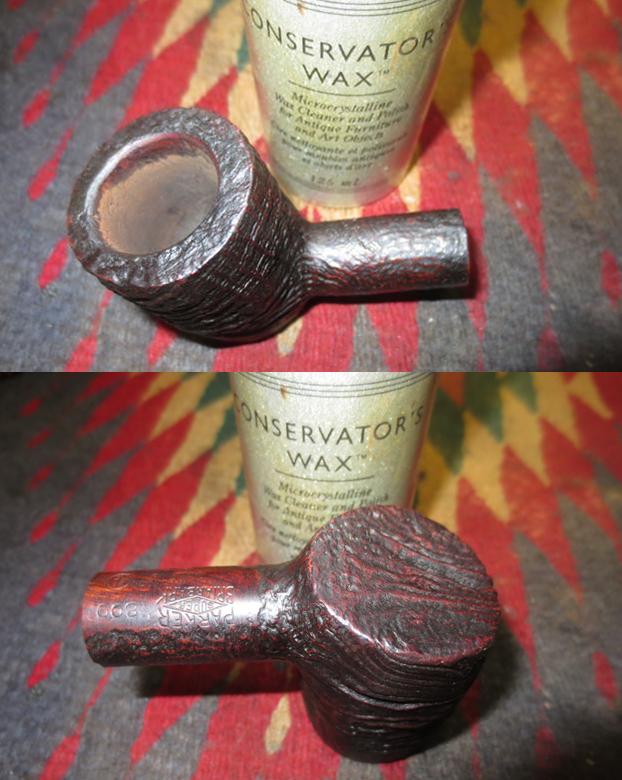
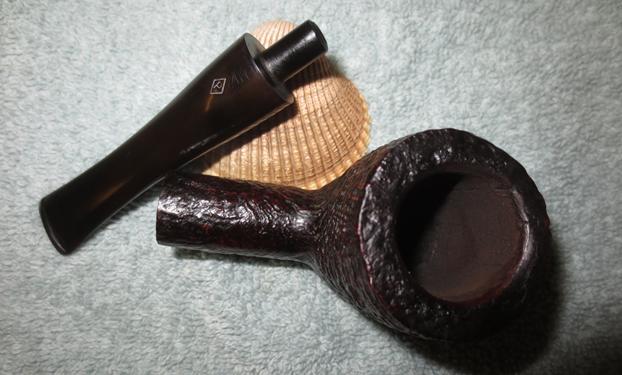
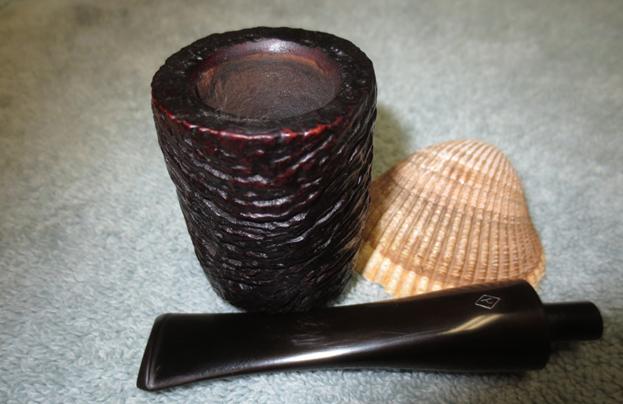
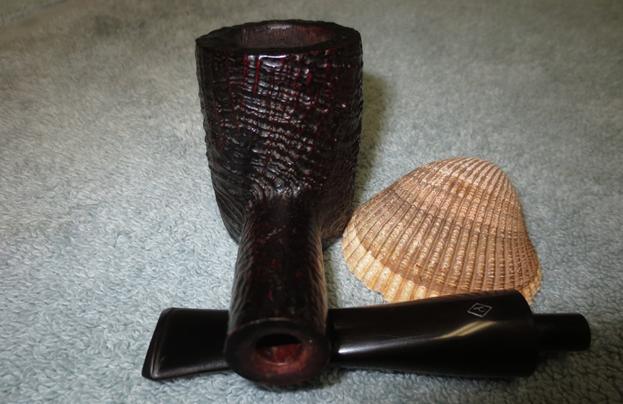
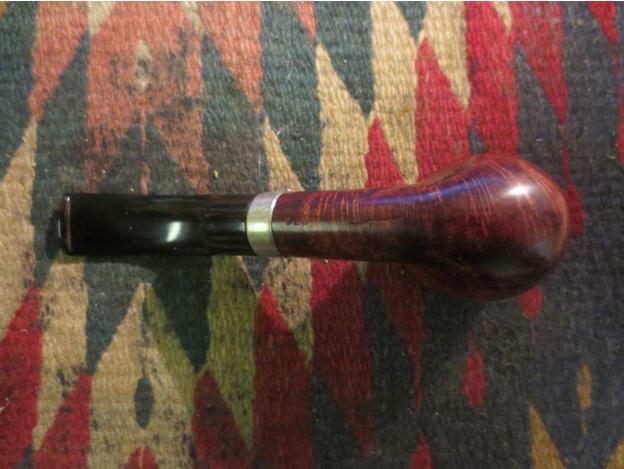
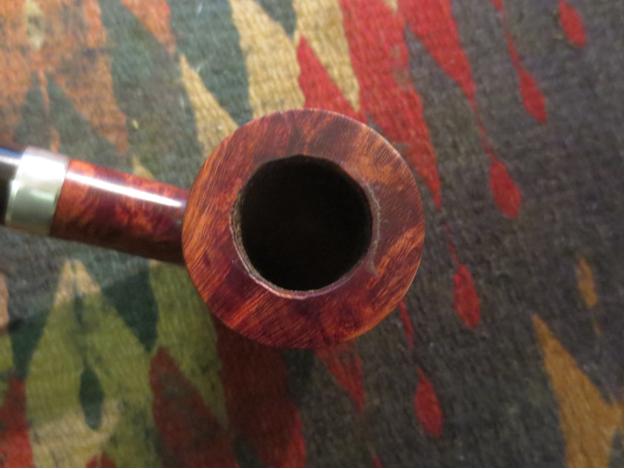
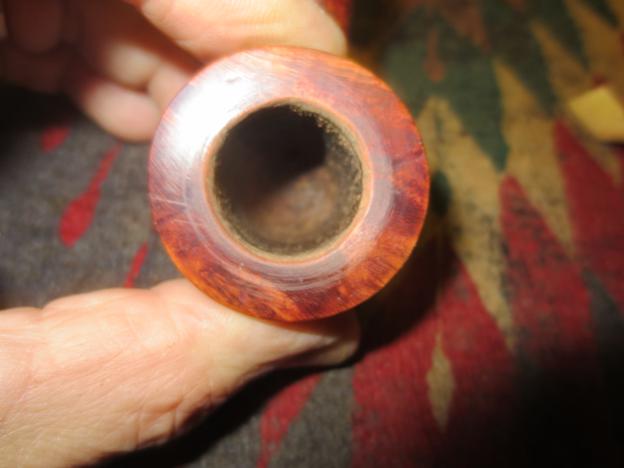
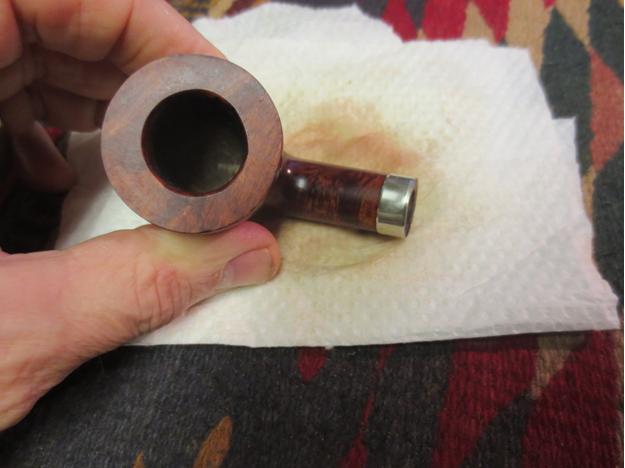
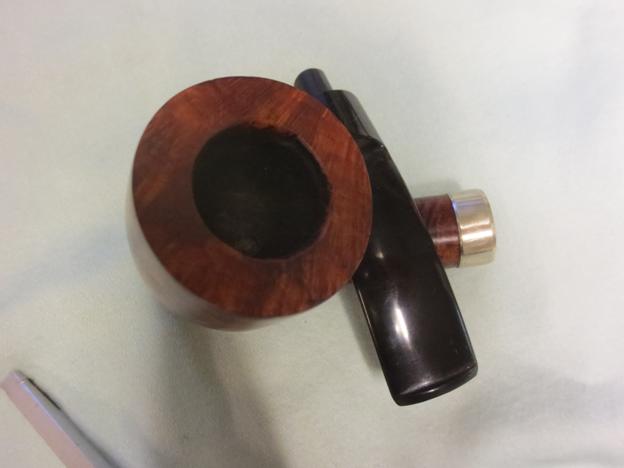
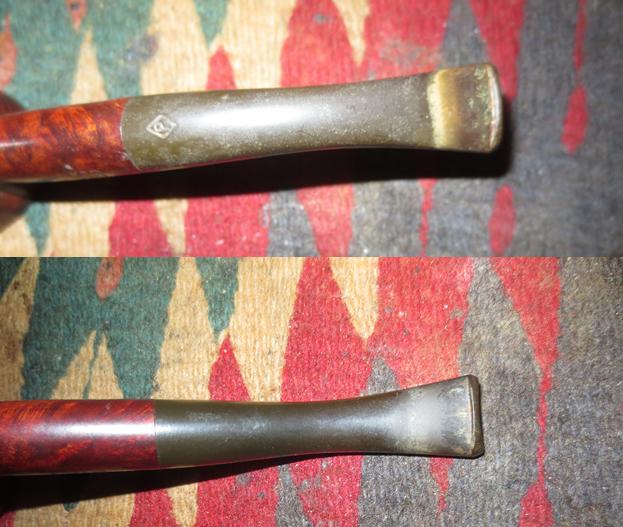
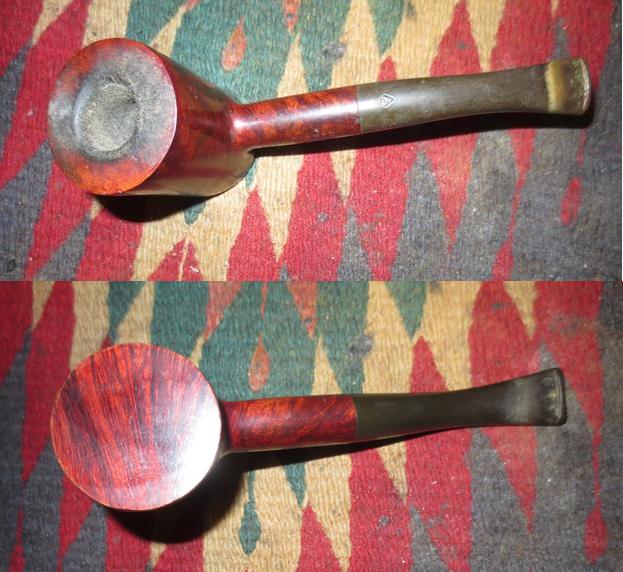 I took a close up photo of the rim top and bowl to show the lava overflow onto the rim top and the thickness of the cake in the bowl. I find that the cake in these older pipes is like concrete. It is very hard and takes a lot of effort to break it down when reaming the bowl. I also took some photos of the stem to show the condition of the end near the button before my work began.
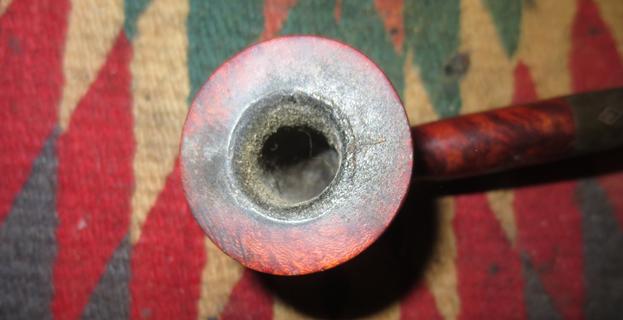
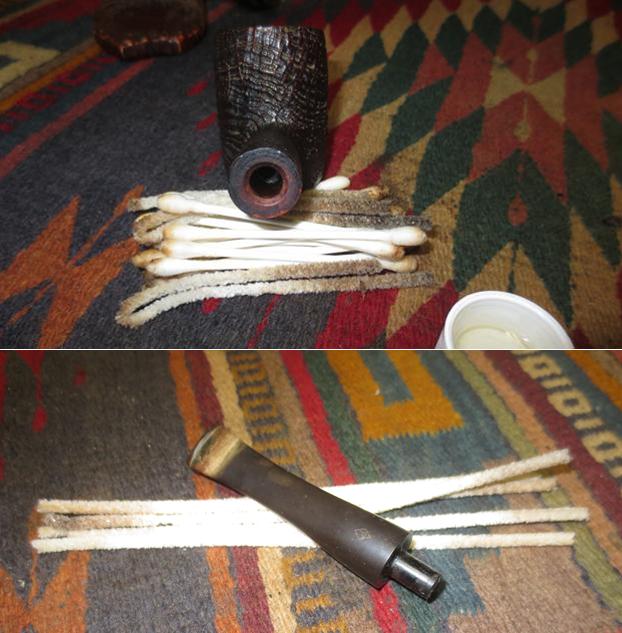
 The hard cake in the bowl demanded a bit different reaming strategy. I needed to use multiple pipe reamers to remove it. I started the reaming process with a PipNet reamer using the smallest head and working my way up to the largest one that could take the cake back to bare briar walls. I finished the reaming with a Savinelli Fitsall pipe knife and a KleenReem pipe reamer. I used the drill bit from the end of the KleenReem reamer to clear out the airway between the mortise and the bowl. It was almost clogged with a buildup of tars and oils that had hardened there. The pipe had been smoked to a point where it must have been like sucking on a coffee stirrer and having a thimble of tobacco in the chamber. It was definitely a favourite and obviously a good smoking pipe.
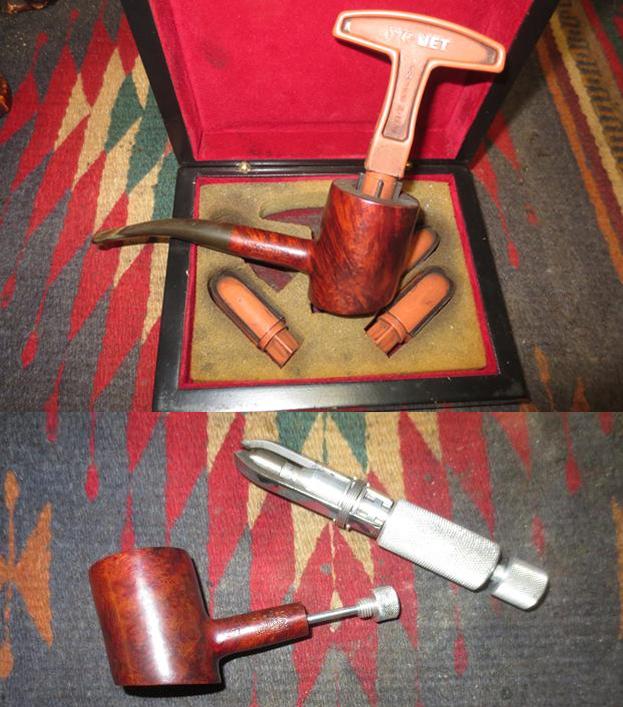 With the bowl reamed, I turned my attention to working on the stem. I sanded the stem to remove the calcification around the button and smooth out some of the tooth marks. I also broke up some of the oxidation on the rest of the stem with the 220 grit sandpaper.
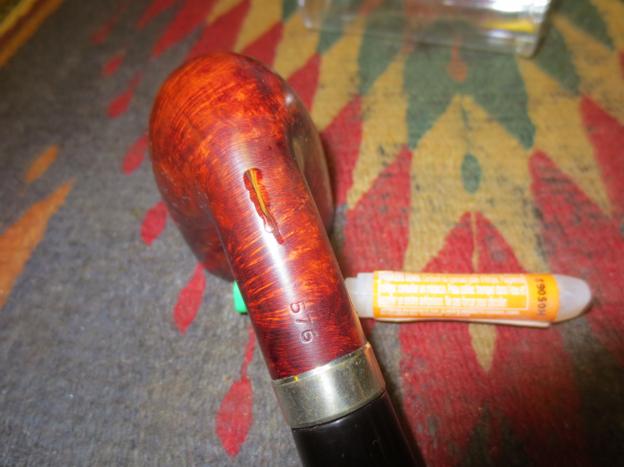
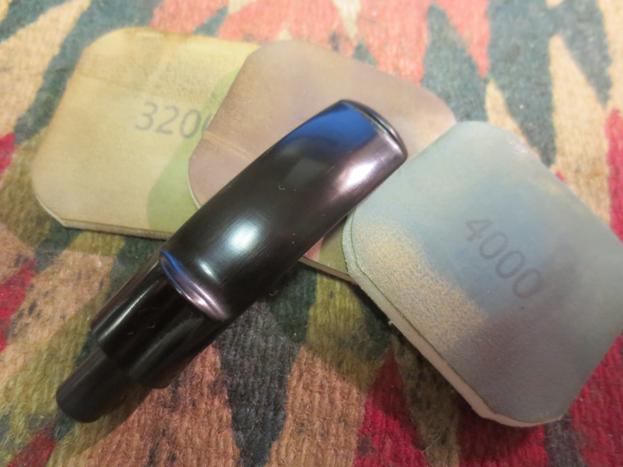
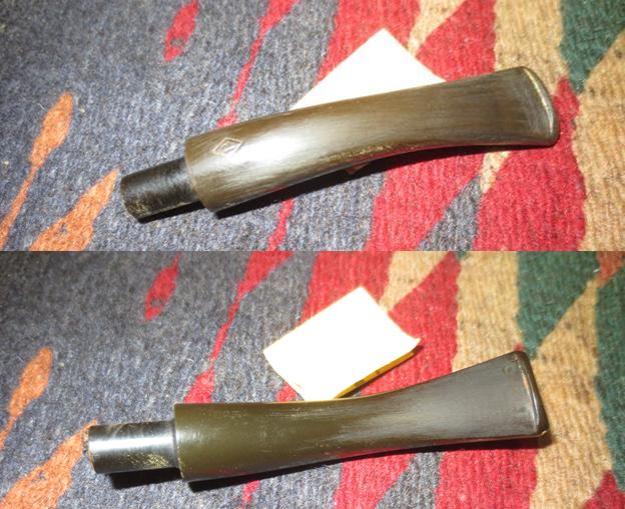 I “painted” the stem end with a Bic lighter to raise the tooth dents on the surface of the stem. It did not take too much work to raise all but one of them. What remained of the sole dent was a small divot. I wiped down the stem with alcohol and filled in the divot with a drop of black super glue. I set the stem aside so that the glue would cure.
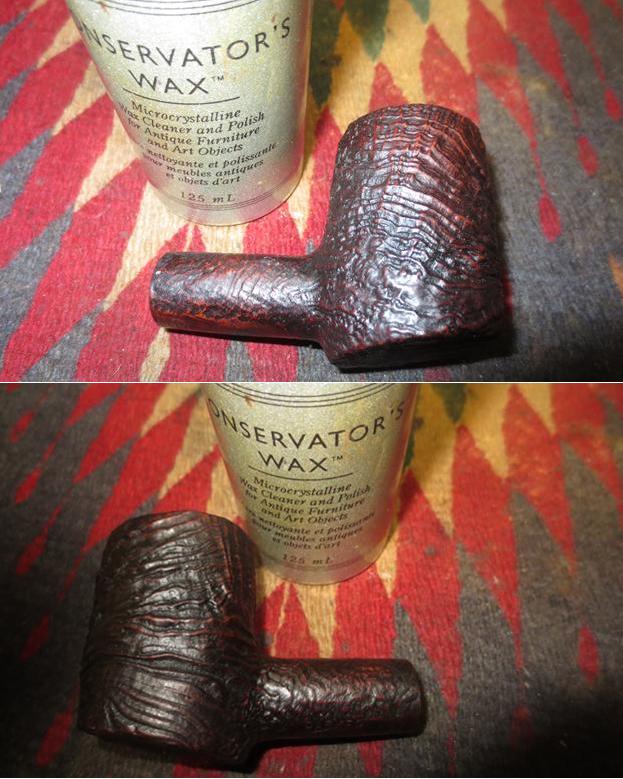
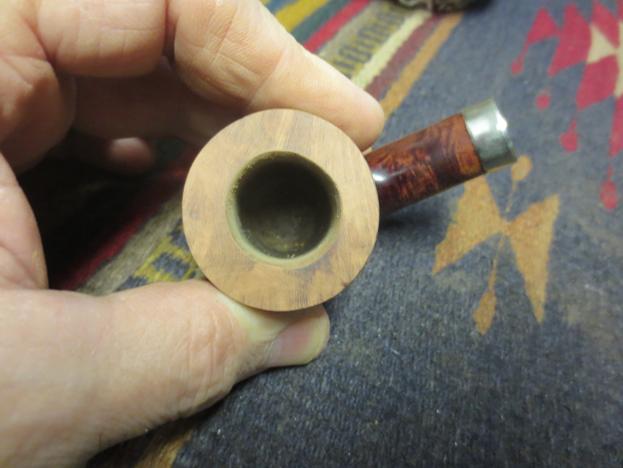
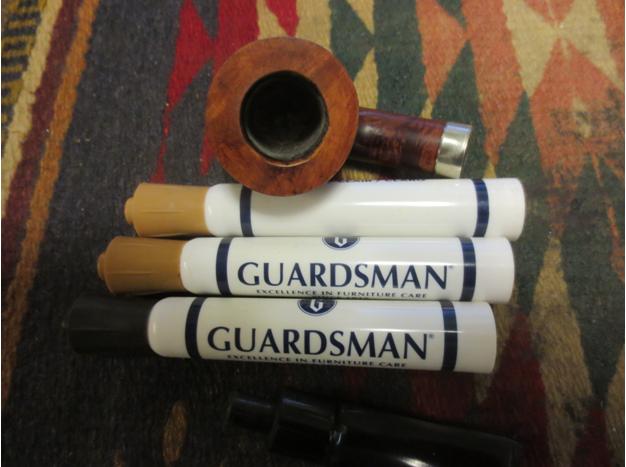
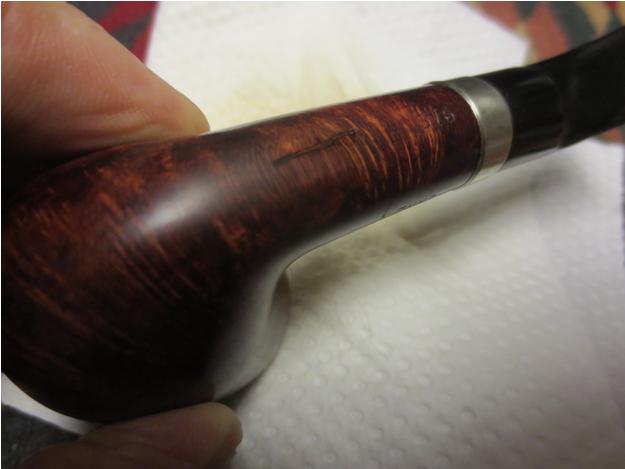
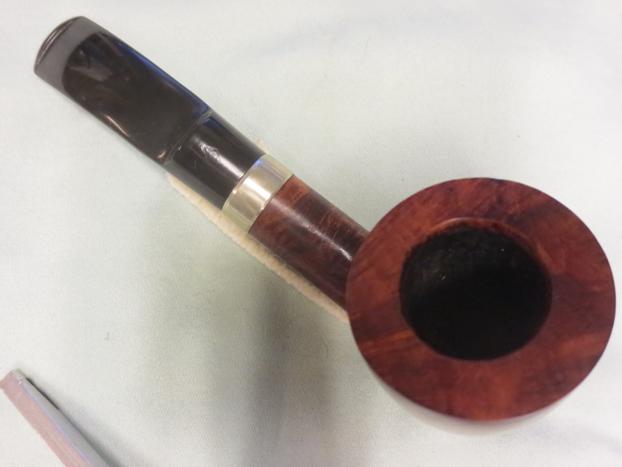
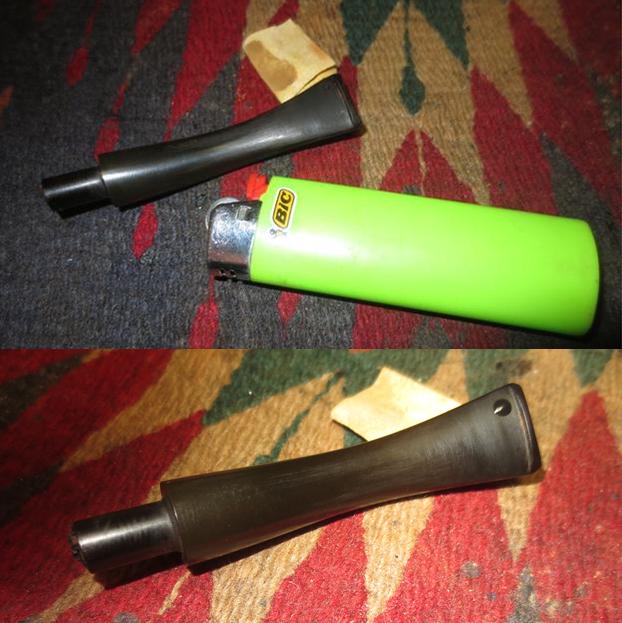 I scrubbed the rim top with cotton pads and saliva to remove the tarry buildup there. It took a lot of elbow grease but I was able to remove all of it. There was some burn damage to the front inner rim edge from consistently lighting it in the same place. I remove the damage by blending it into the rest of the rim bevel with a folded piece of 220 grit sandpaper. I restained the edge and the rim top to blend in with the rest of the bowl using a medium and a dark brown stain pen. I mixed the stains on the rim surface and rubbed it in with a soft cloth. I gave it a light coat of Conservator’s Wax to further blend in the stain on the rim. The photos below show the rim top after the stain and after the waxing.
 With the pipe’s externals cleaned and polished I turned my attention to the internals of the mortise and airway in the shank and the stem. I scrubbed them with alcohol, cotton swabs and pipe cleaners until they were clean.
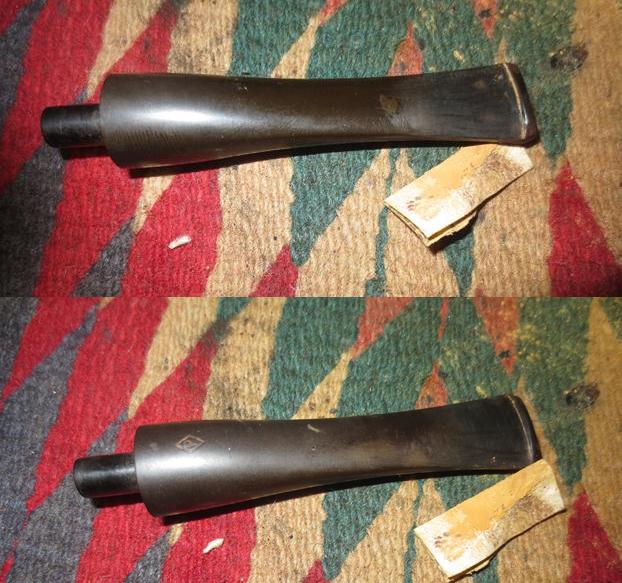
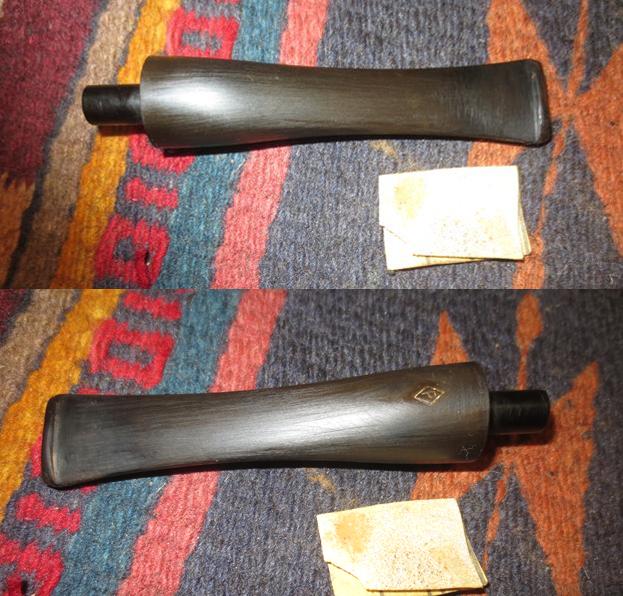
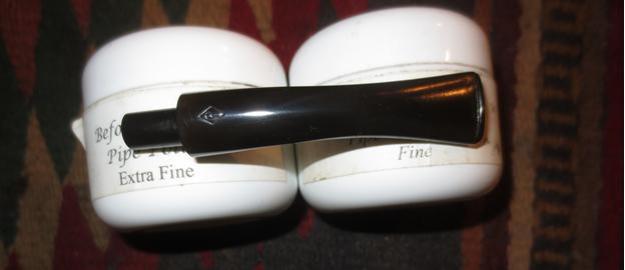
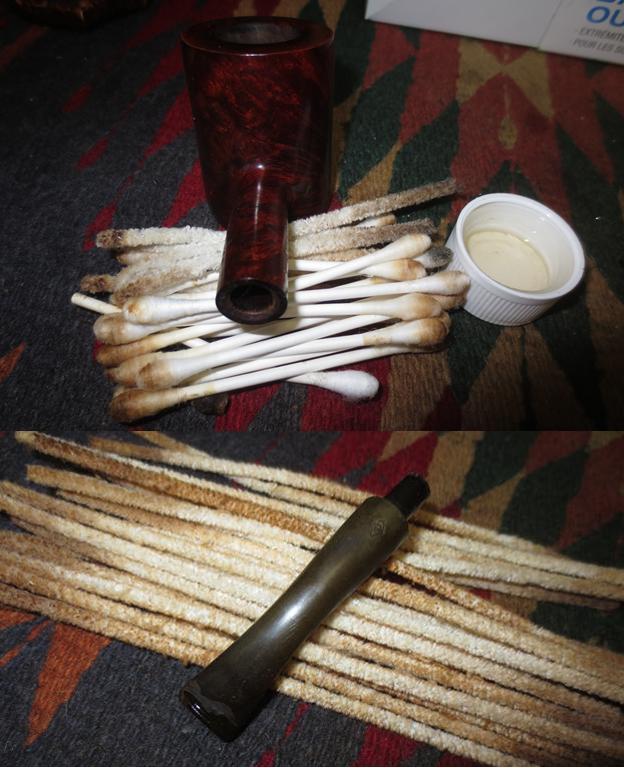 I decided to work on the oxidation on the stem using a combination of the Before & After Stem Deoxidizer and Polish and Brebbia Mouthpiece Polish. I applied the Deoxidizer and Polishes with cotton pads to scrub the surface of the stem. I was able to remove the oxidation without doing any damage to the Parker Diamond stamp on the top of the stem.
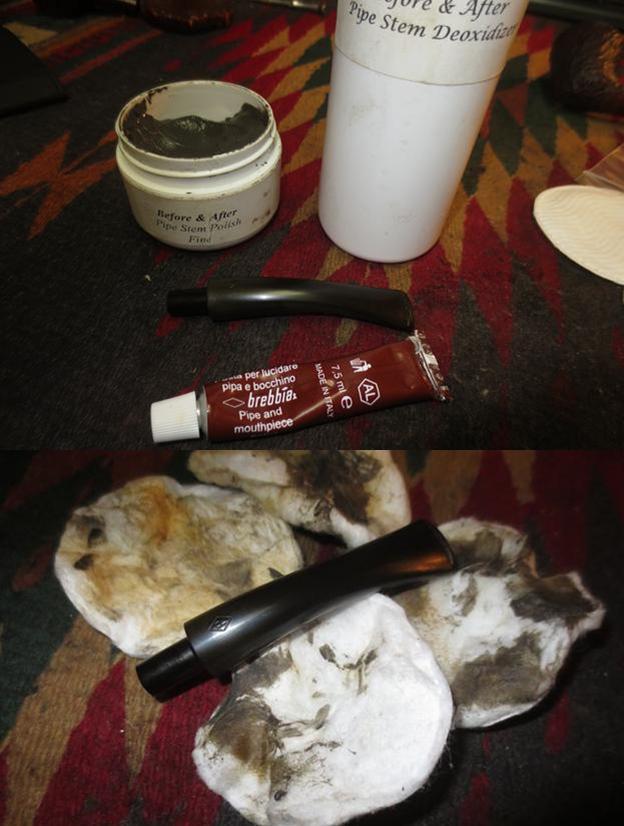
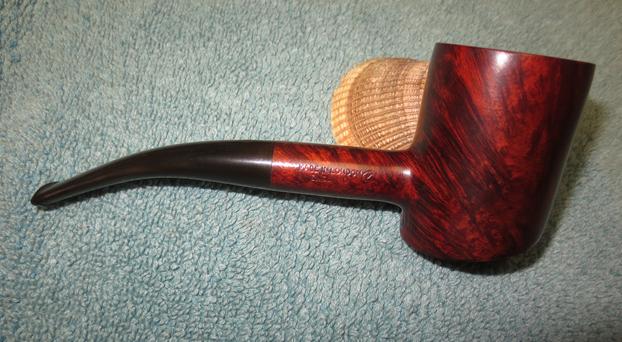
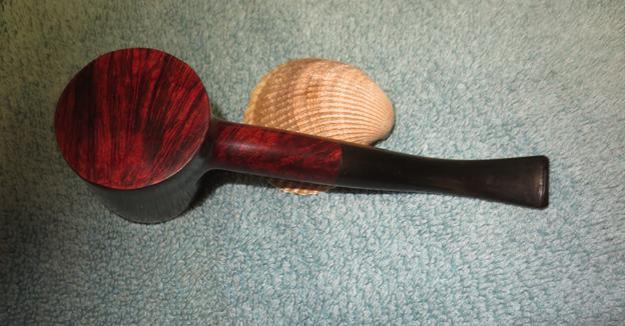
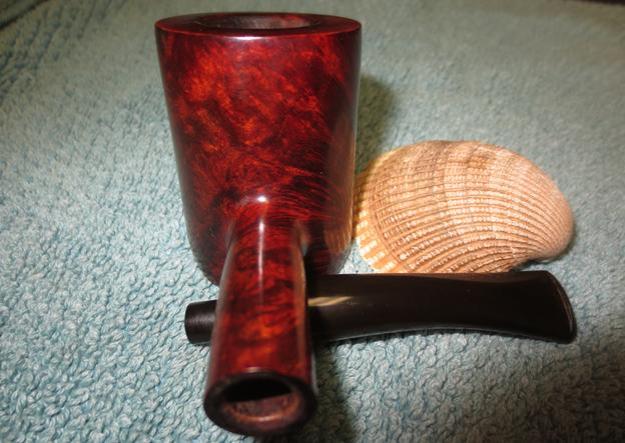
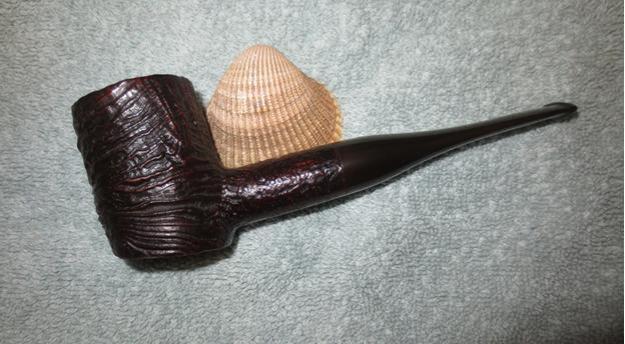
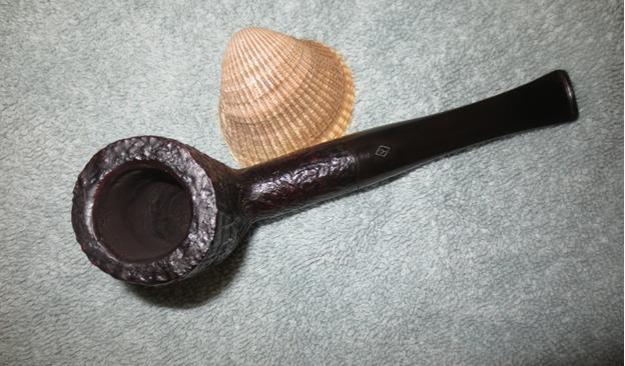
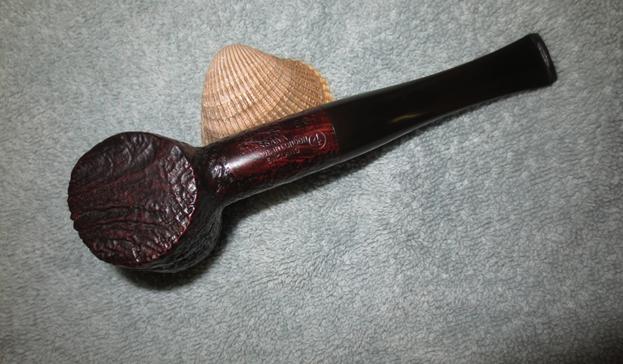
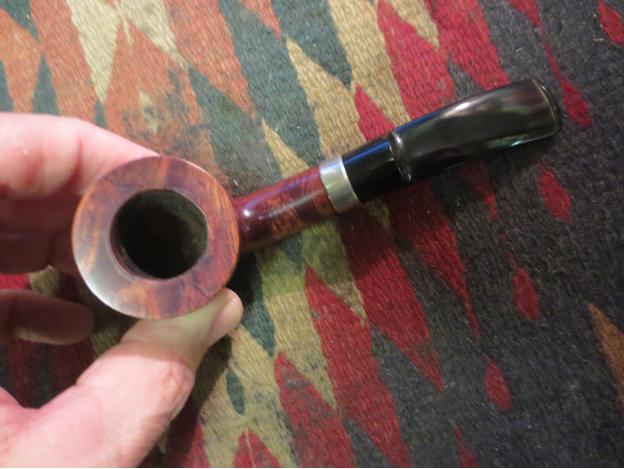
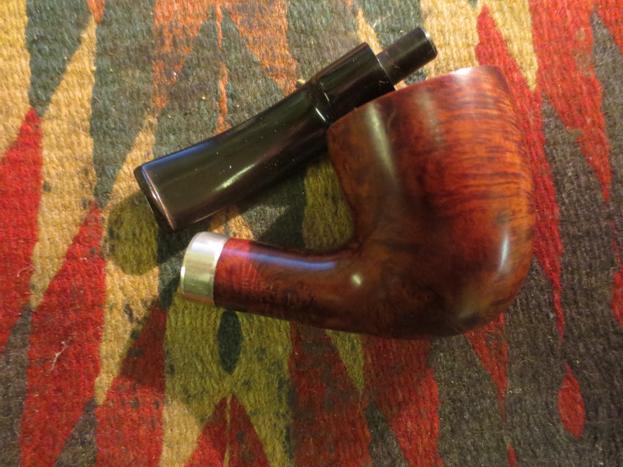
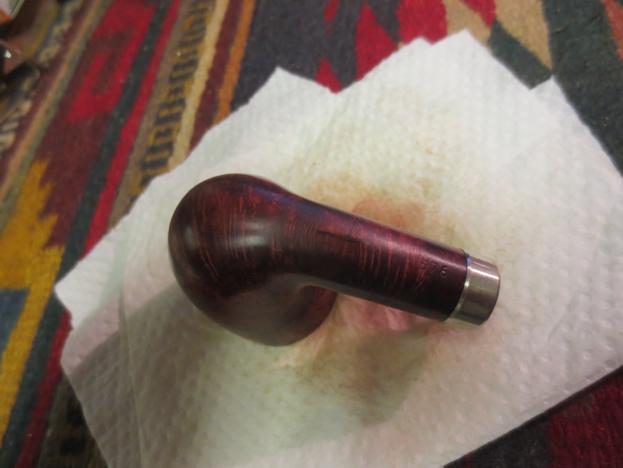
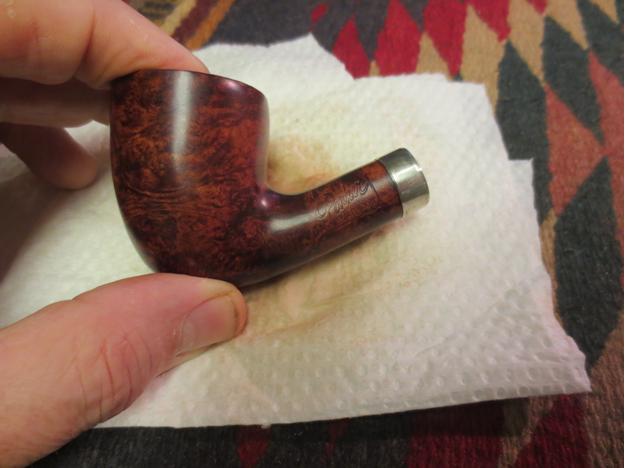
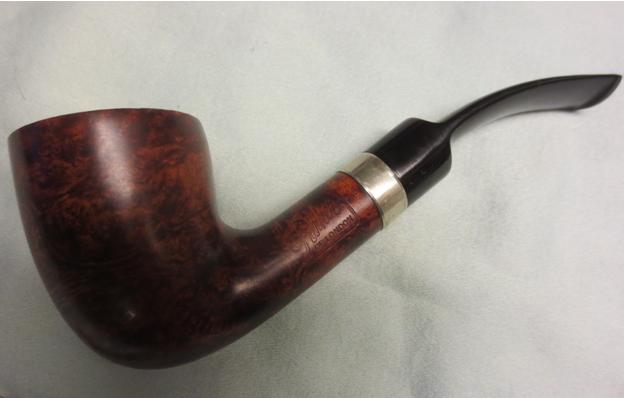
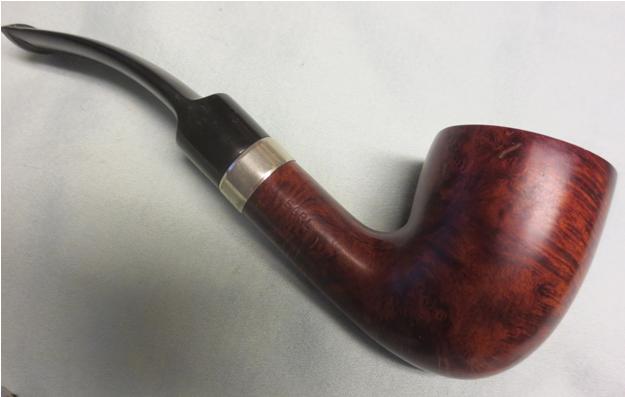
 I buffed the pipe and stem with Blue Diamond on the buffing wheel and then gave the entire pipe multiple coats of carnauba wax. I buffed it with a clean buffing pad to raise the shine and hand buffed it with a microfibre cloth to deepen the shine. The finished pipe is shown in the photos below. It is a beautiful pipe that fits well in the hand. The dimensions of the pipe are; Length: 5 ½ inches, Height: 1 ¾ inches, Outer diameter of the bowl: 1 ½ inches, Chamber diameter: ¾ inches. It will soon be available on the rebornpipes store. If you are interested in adding it to your collection email me at slaug@uniserve.com or send me a private message on Facebook. Thanks for looking.