Blog by Steve Laug
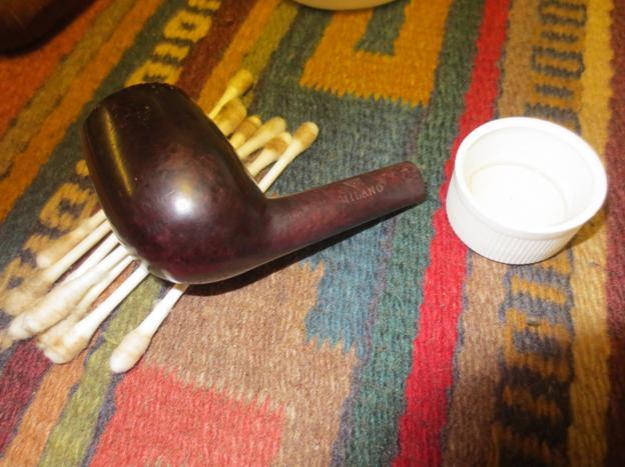
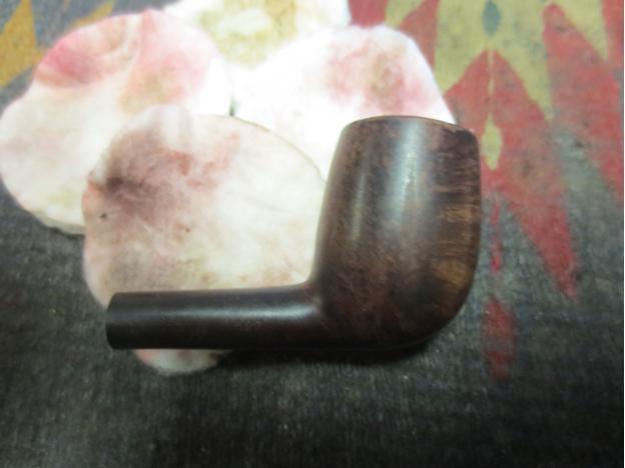
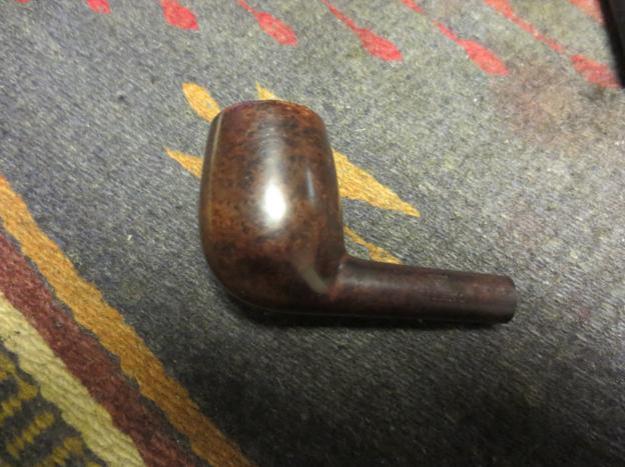
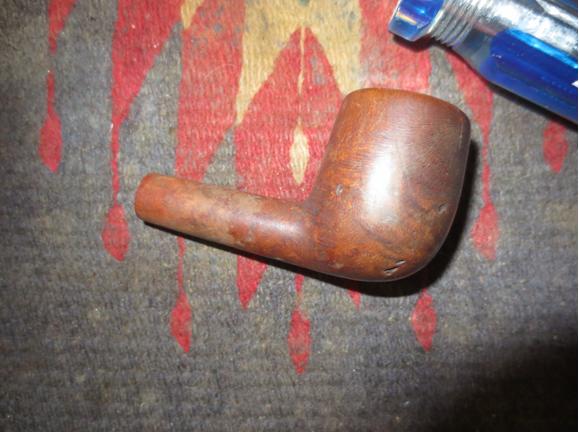
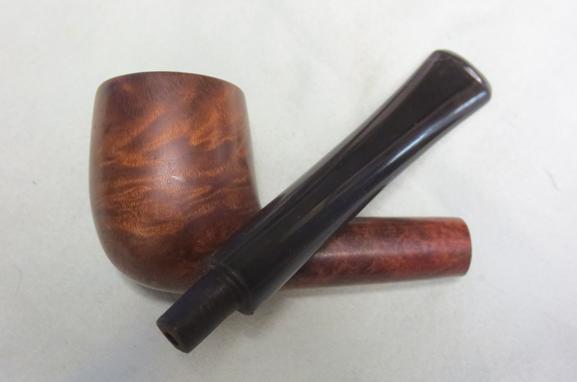
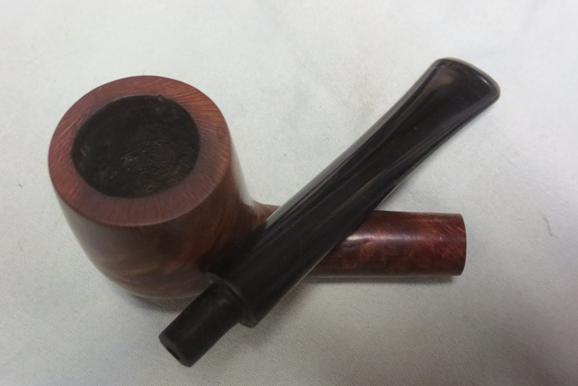
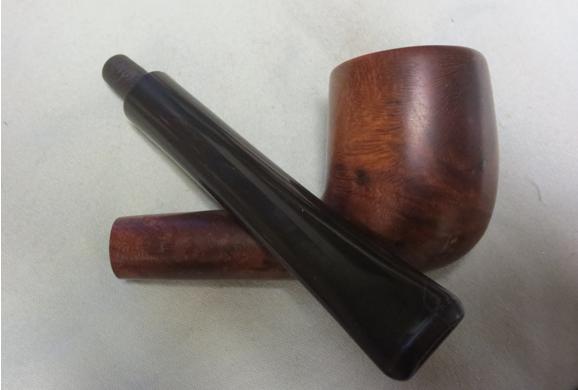
I received and email from a pipe smoker in Chile regarding a meerschaum and a Shamrock pipe that he had that needed repairs and he was wondering if I would be interested in working on them. The Shamrock was straightforward in that all it needed was a cleanup and a new stem. The meerschaum though had some real issues. He wrote me explaining the details of the meerschaum’s problems as follows:
Actually – I now realize – the mouthpiece IS broken at the band. Though the slice seems clean, I realize it is not perfect. The band looks nice though I don’t know if it came that way originally or not. It does cover the slice of the stem. The whole mouthpiece is amber; nothing holds it together except the band. Not glued nor cemented.
The misalignment isn’t only due to the slice but even if I make an effort at aligning the pieces once screwed in, it just won’t be straight.
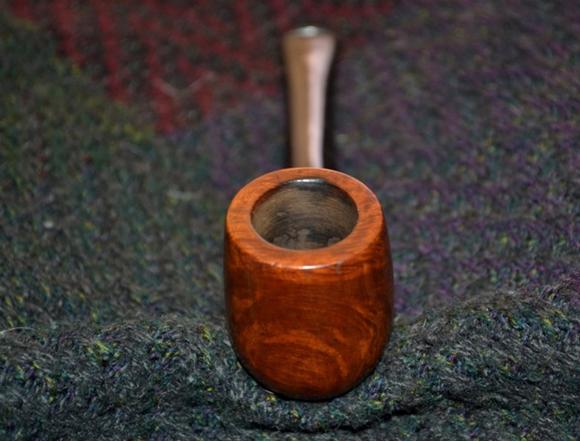
The pipe needs a new mouthpiece, apart from cleaning. I don’t know if a new beeswax dip is a good idea…It seems dry as marble…no glow… There is a small chip on the rim of the bowl, but the rest seems to be OK.
It’s not your everyday meerschaum but it doesn’t seem unsmokable. I did smoke it once years ago and as I said, it leaks, leaves a mess. I realize why now, but I don’t think it’s only due to the broken stem but also at the screw point.
Can you help me? You tell me. He included the next photos.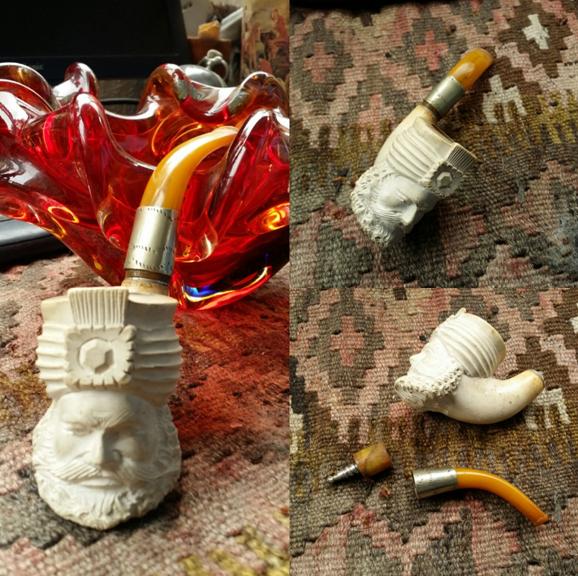 I wrote him back and said I believed I could help.
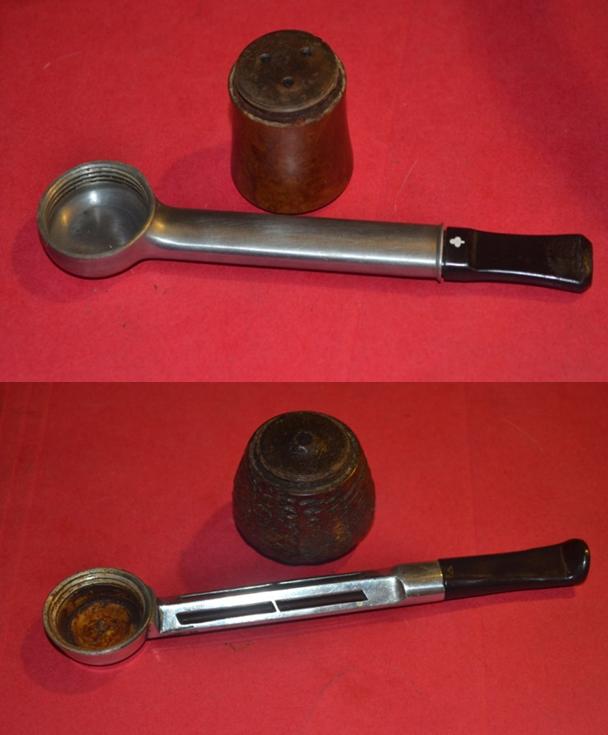
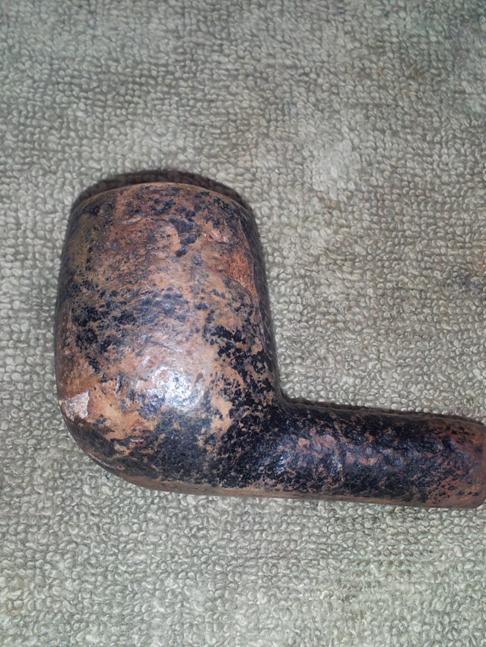
He sent the package to me by FEDEX and I picked it up this morning. When I opened the package and looked over the meerschaum pipe that was sent repair. I made a list of the issues that I was looking at with this pipe. It was actually far worse and far better than I thought when we corresponded.
1. The stem indeed was broken about one inch up from the shank. It almost looked like it was sliced rather than broken.
2. The broken piece with the metal stinger apparatus obviously had broken into further pieces when the tenon insert was put into it. There were several smaller chips that had come off the broken piece and had been glued on. The smaller cracks still showed.
3. The stem is not amber at all, but appears to be Bakelite or some kind of acrylic material. That explains the clean break on the piece and the rest of the stem.
4. The stem that I was looking at was not the original stem. It is actually an oval stem while the shank of the meer is round. Someone fiddled with the stem to make a poor fit.
5. The “silver band” serves two purposes on this stem – first it is cosmetic to cover the broken stem and secondly it hides the fact that the stem is not round.
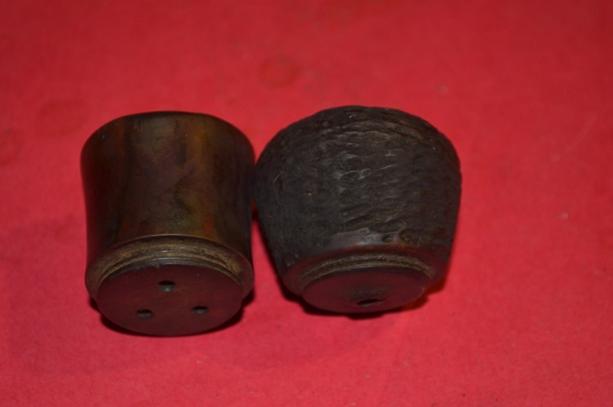
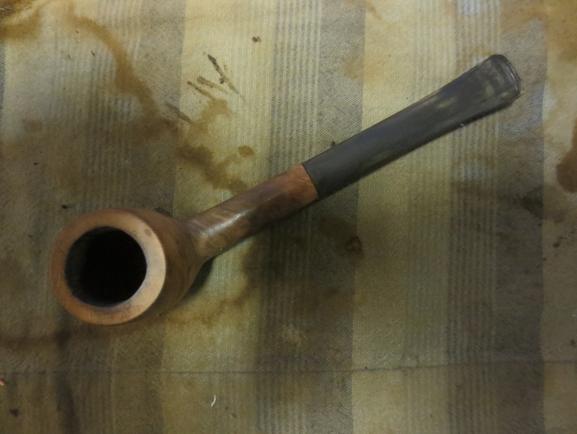
6. The shank had been cut off – probably had cracks in it as there are still several that have been repaired showing. Looking at the end of the shank with a lens shows rough meerschaum.
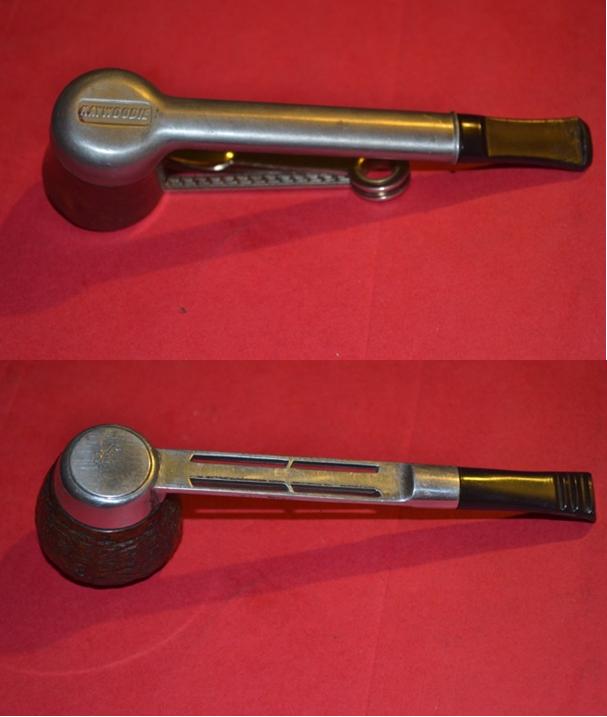
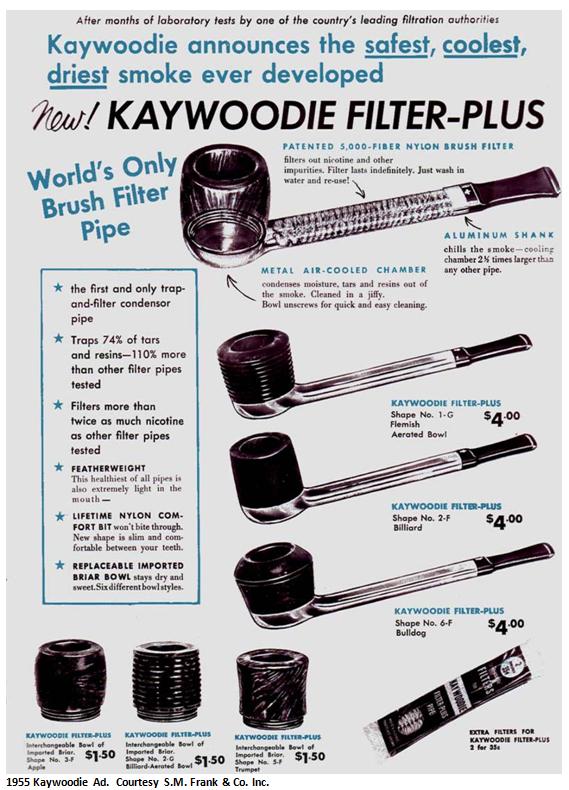
7. Sometime during the lifetime of the pipe someone had threaded a metal mortise into the shank of the pipe. It is like the ones that can be found in Kaywoodie pipes or Willard pipes – those that have a threaded tenon and a metal shank insert. In turning it into the shank the meerschaum had split on one side and slivered on the other. This had been repaired when the insert was glued in place.
8. The threaded tenon apparatus matches the insert in the mortise but is misaligned. It also has been epoxied in place so it is not movable. It is obviously not the correct tenon for this kind of pipe. I am pretty certain that both the mortise insert and tenon are incorrect and were later additions on this pipe. The original would have had either a threaded tenon or I think, more likely in this pipe due to age, a nylon insert and a push tenon. Both were replaced when the original stem was lost.
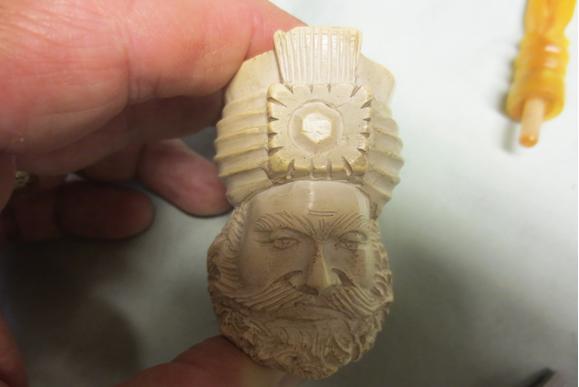
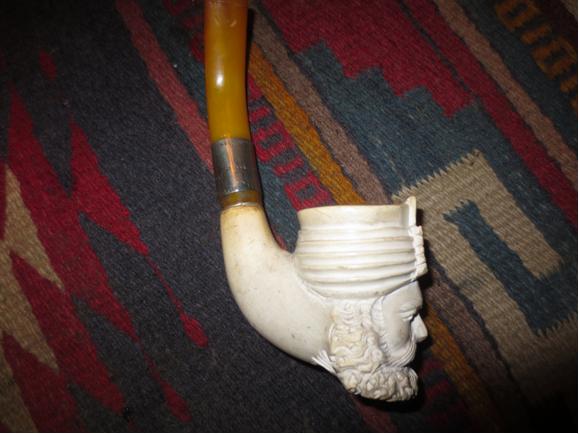
9. The carving on the face was actually quite nice but the sides and smooth portions were not nearly as well done. The back edge of the turban and beard still had carving marks that are usually removed by the better carvers.
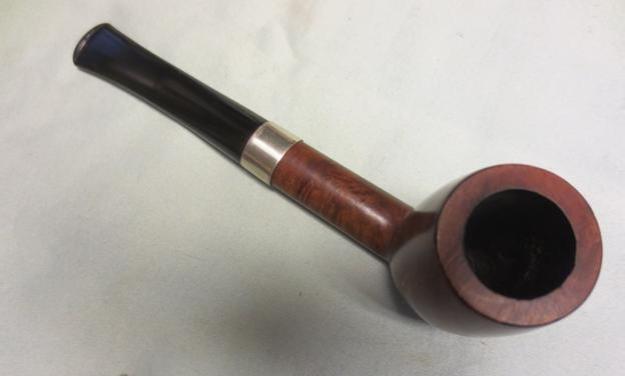
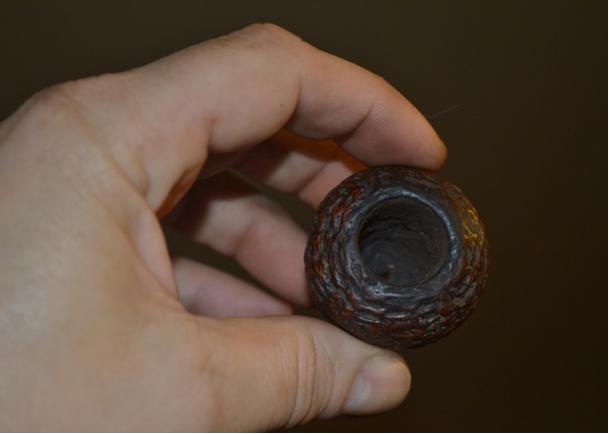
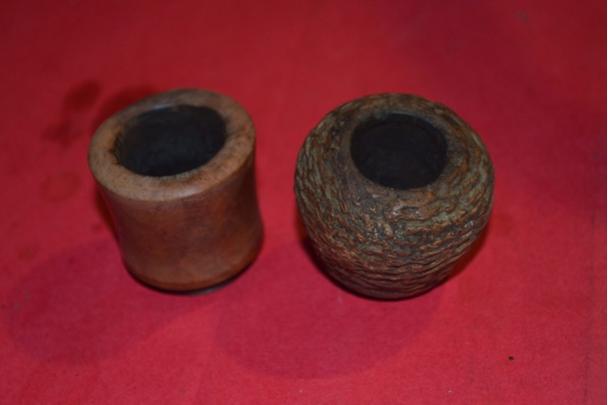
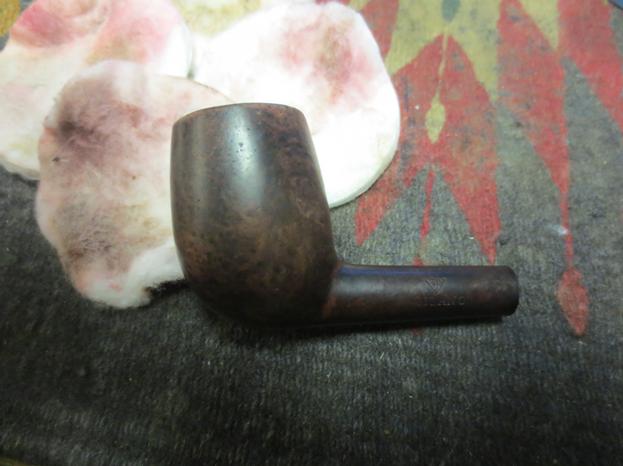
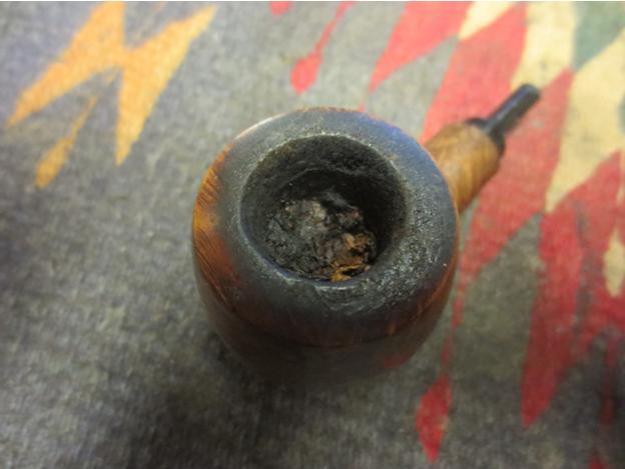
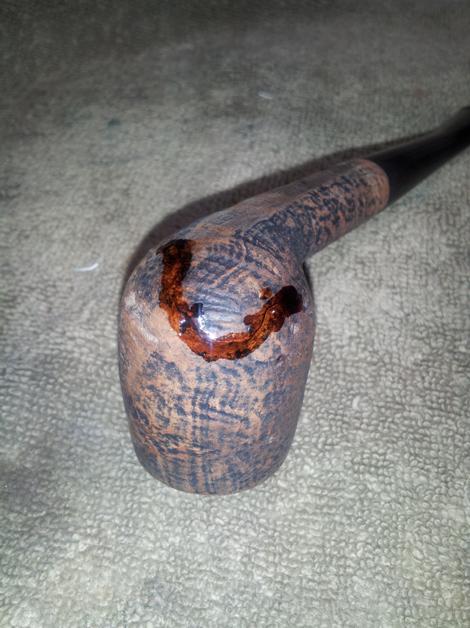
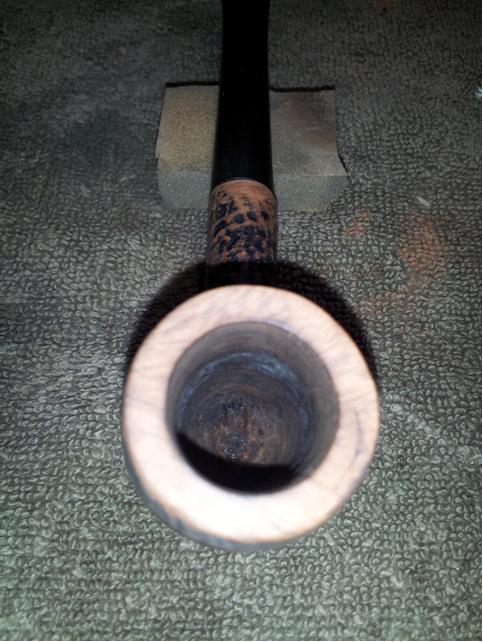
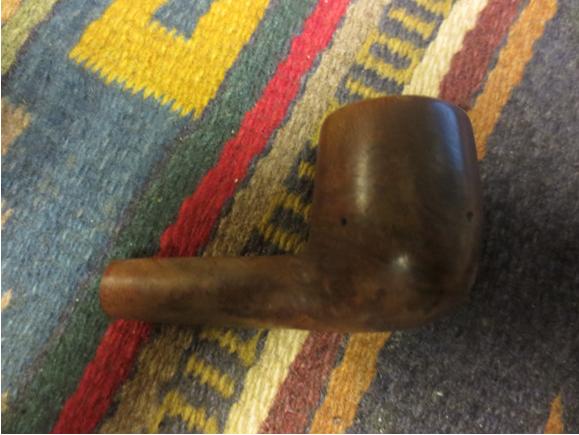
10. The bowl had a chip out of the front edge of the rim as noted and had scratches and rim darkening.
11. The meerschaum itself was actually very dirty and dry. There was a fine metallic dust on the grooves of the turban and the beard. It was silver coloured and gave the meerschaum a grey look.
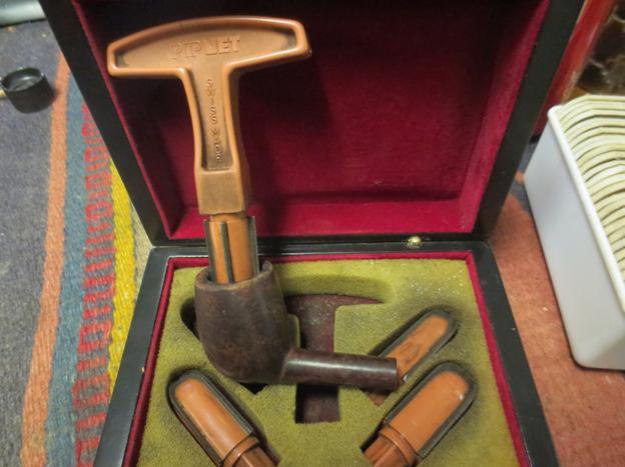
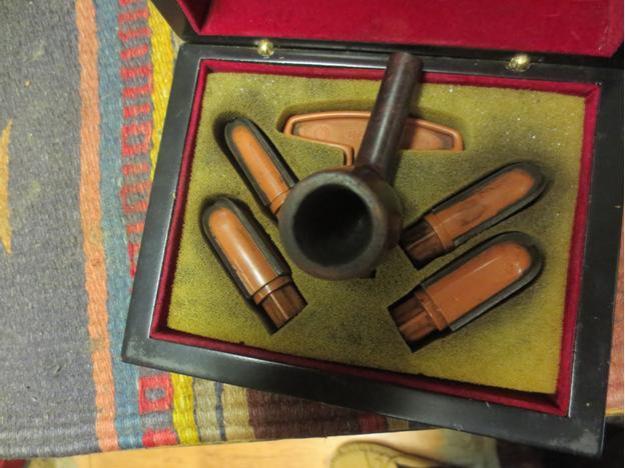
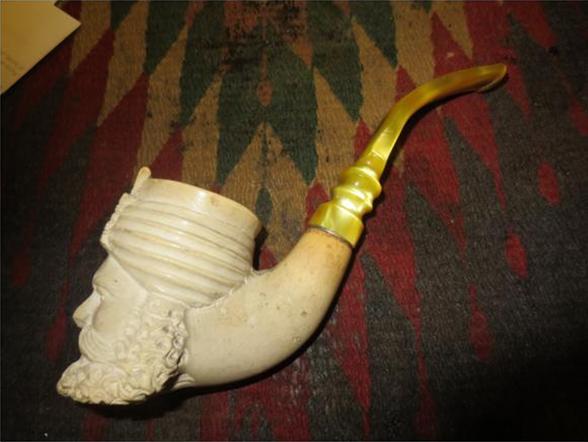
With that long list of issues with the pipe I wrote to the shipper with my suggestion. I concurred with his assessment that it needed to be restemmed. It would be an interesting challenge as I could not remove the metal shank insert without damage to the meerschaum so I would have to figure out some kind of compromise that would work with that mortise. I suggested a stem that I had that came with a meerschaum pipe similar to this one. It is a yellow unique stem with a push tenon. I tried it with the metal mortise insert to see if it would work and it fits really well. The new stem was about an inch longer than the one that arrived with the pipe and looked really good on the pipe.
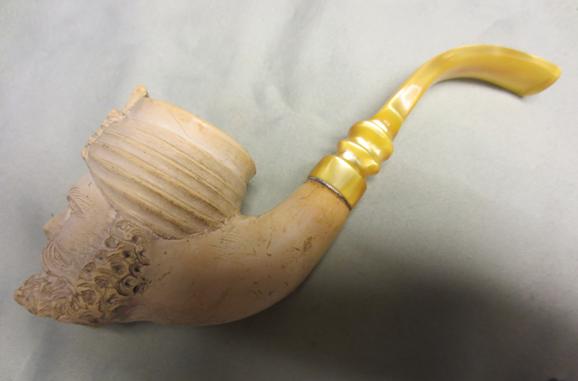
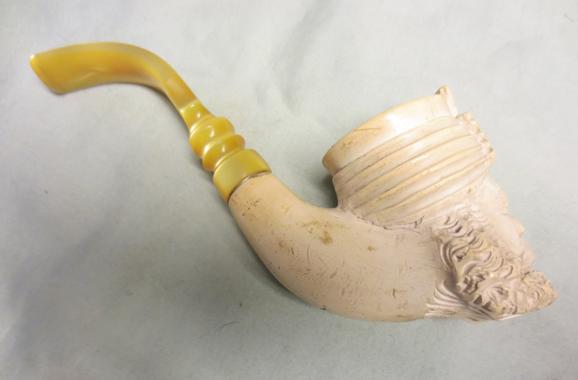
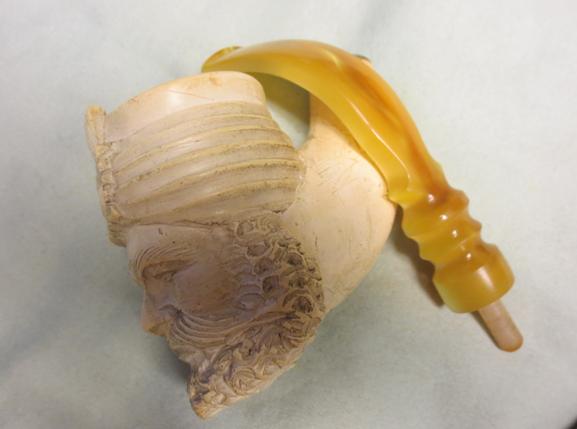
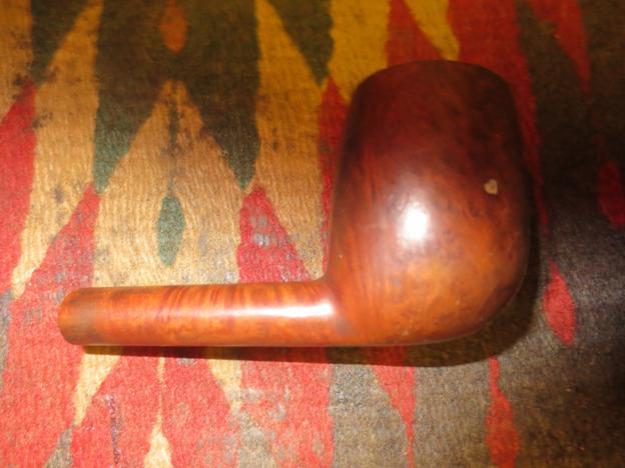
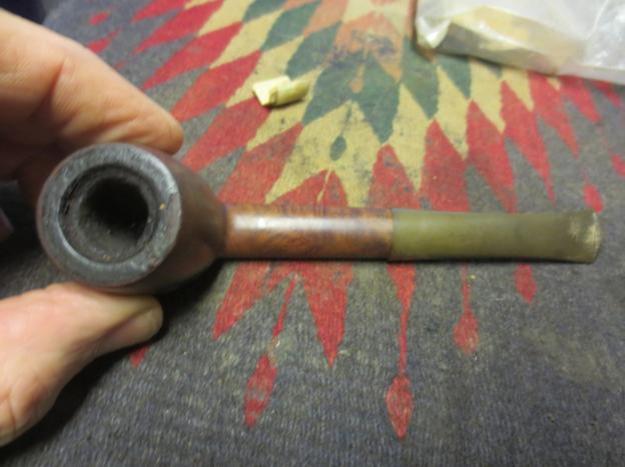
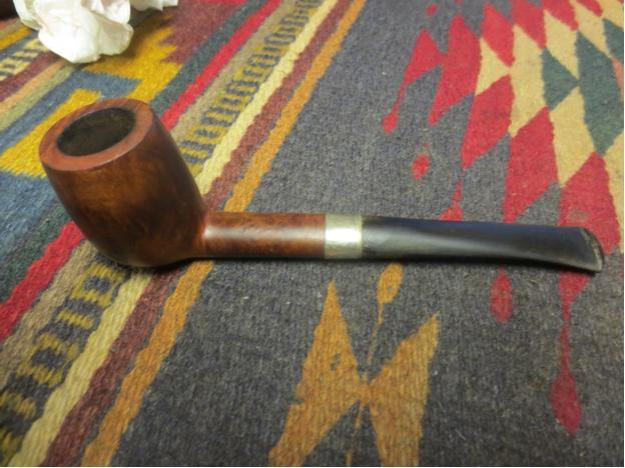
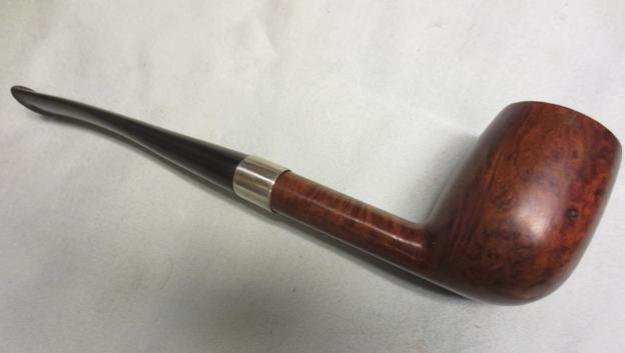
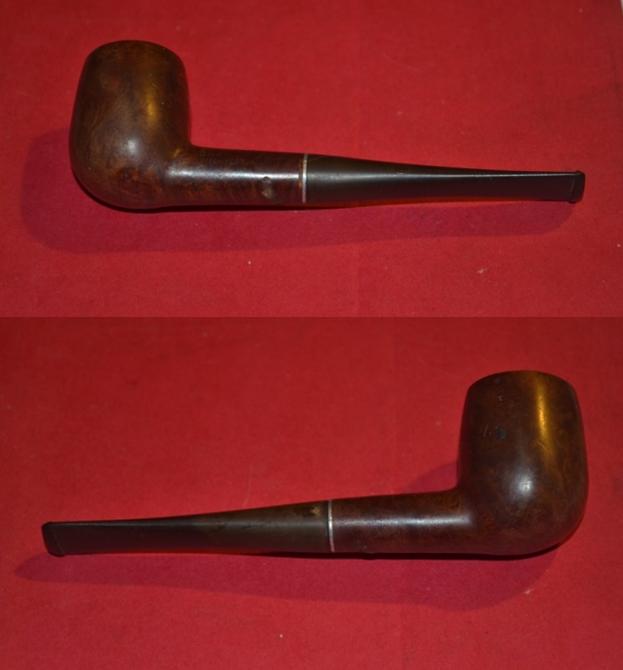
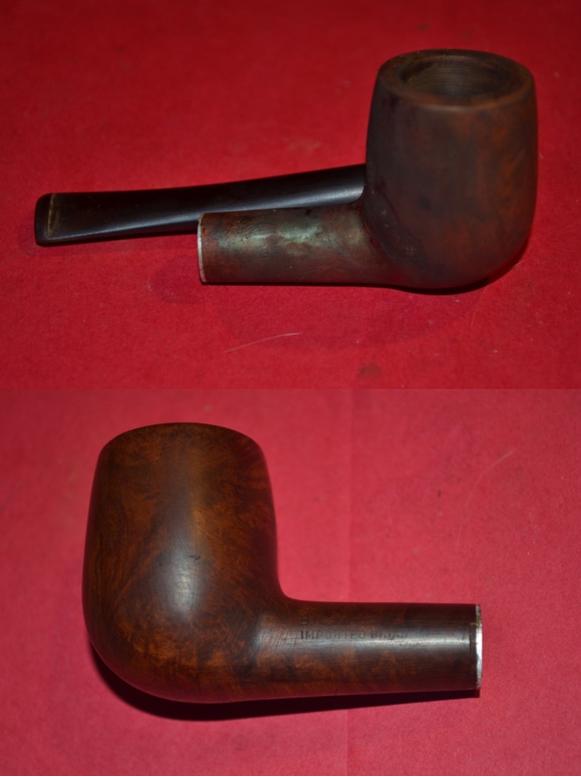
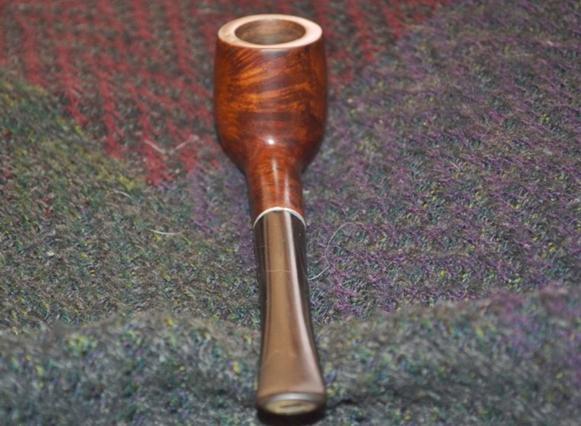
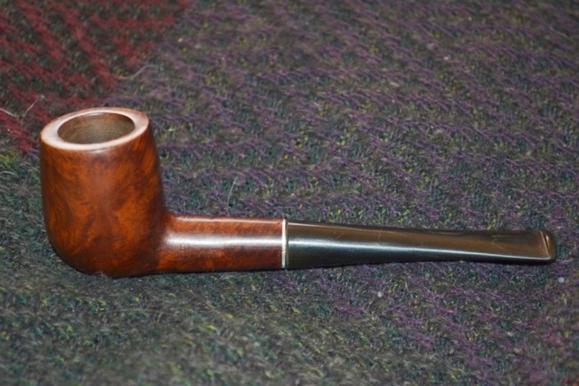
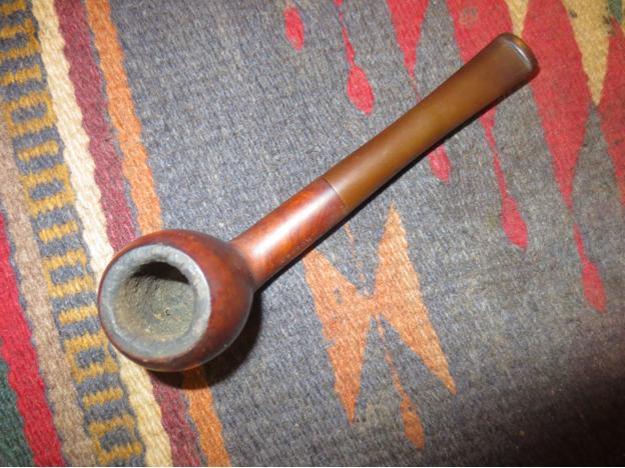
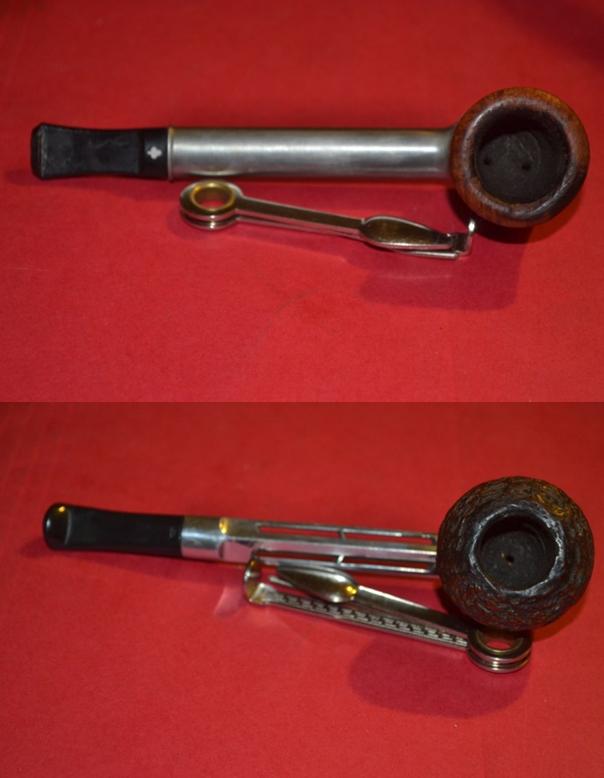
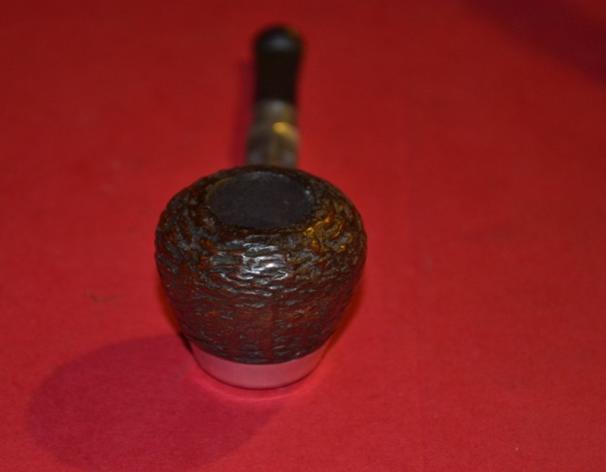
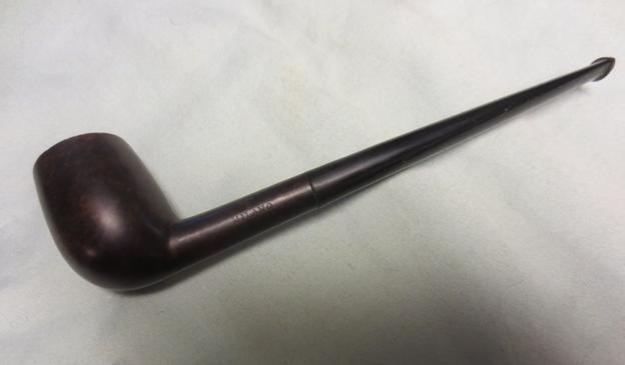
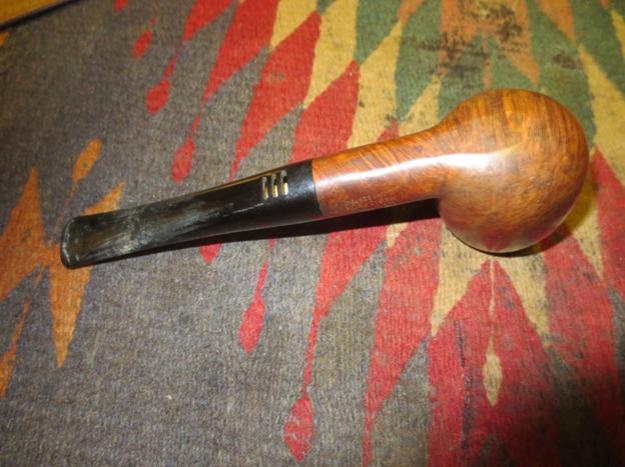
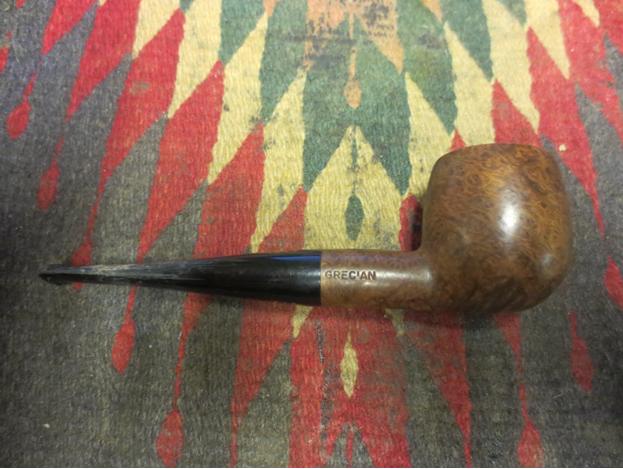
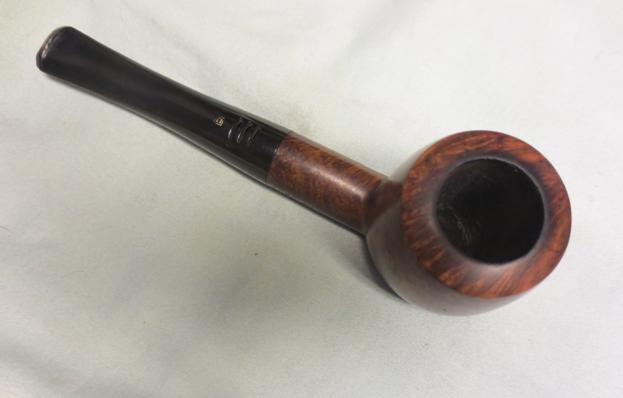
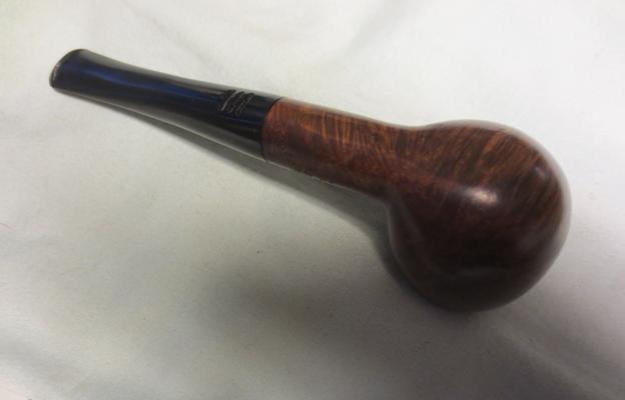
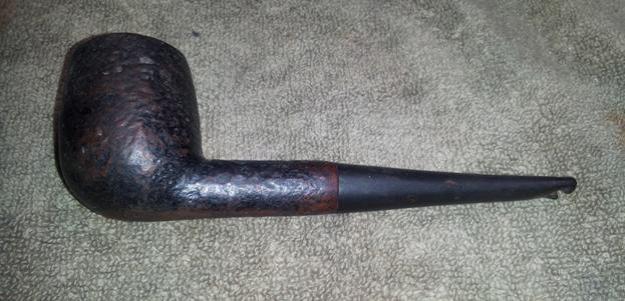
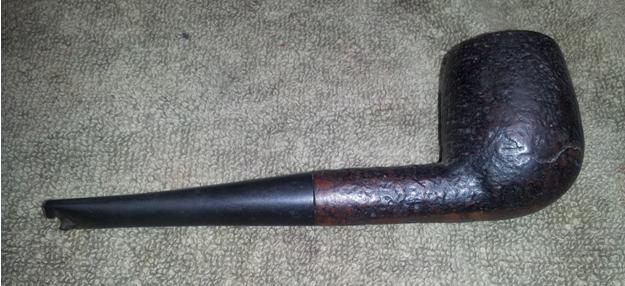
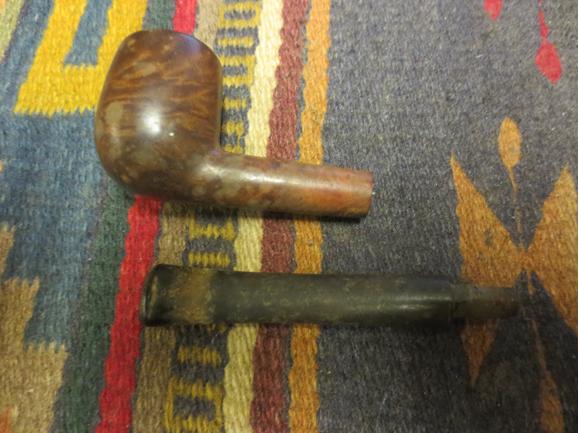
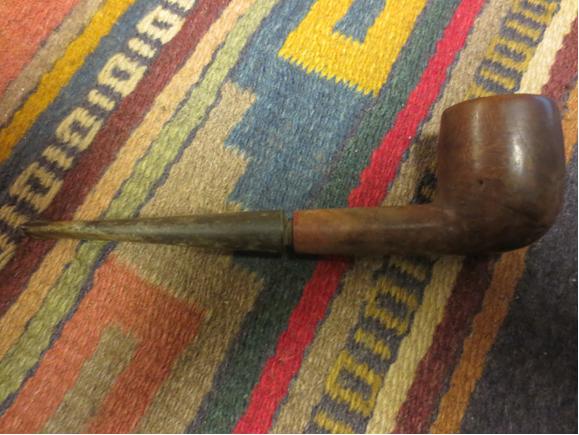
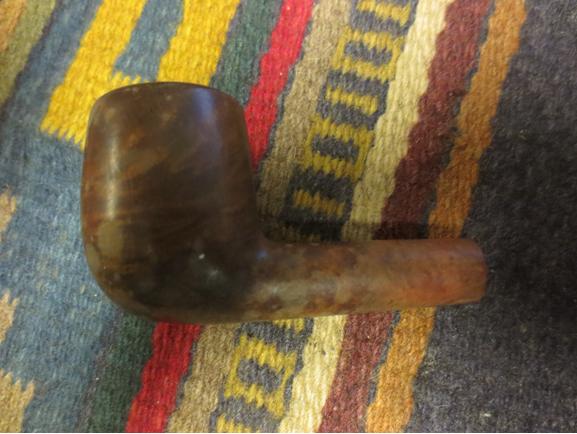
I took some photos of the pipe with the stem attached so that you could see the state of the fit of the stem when it arrived. You can see that the band is also quite poorly done – all the edges are not even or smooth.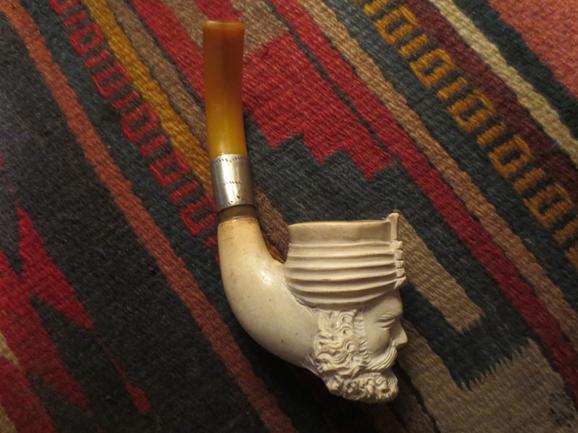

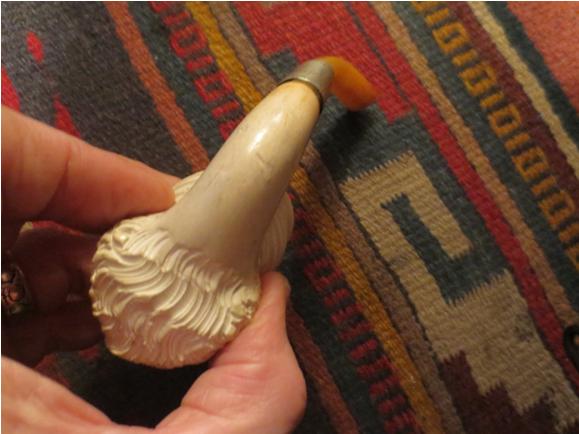
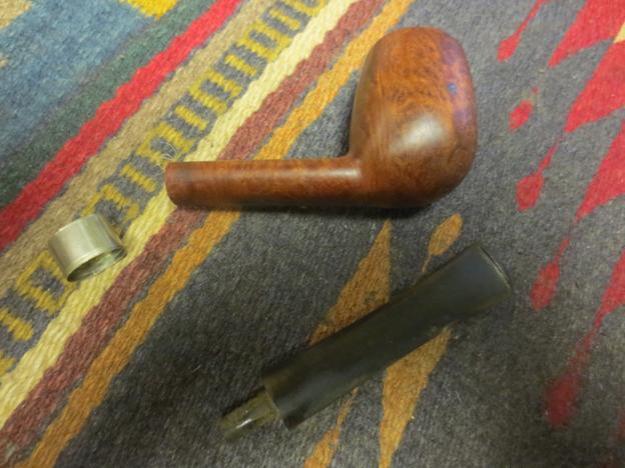
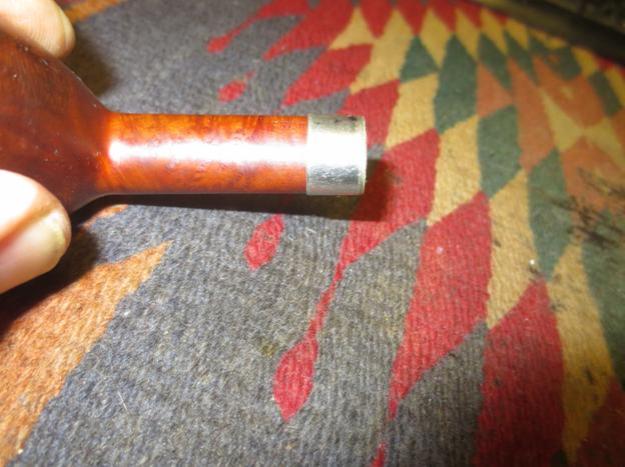
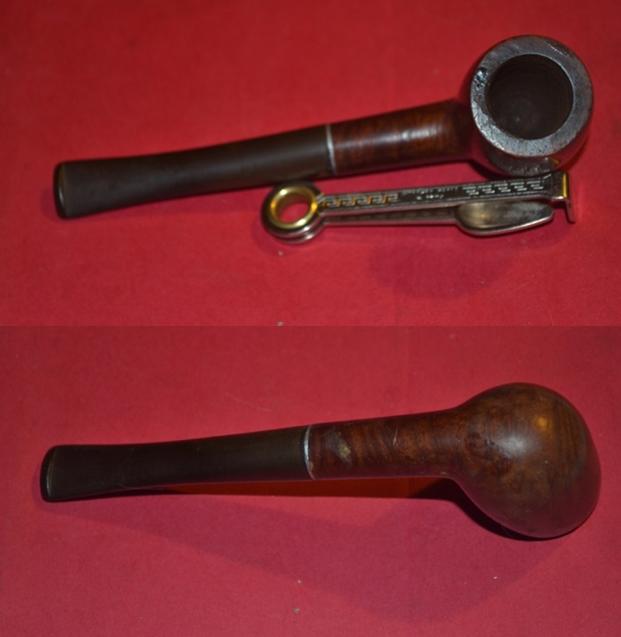
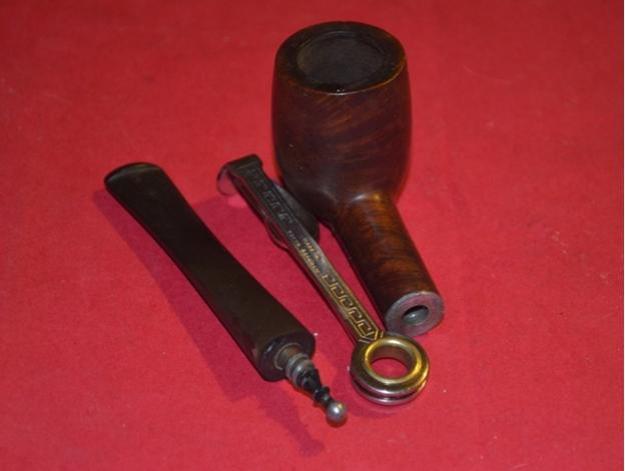
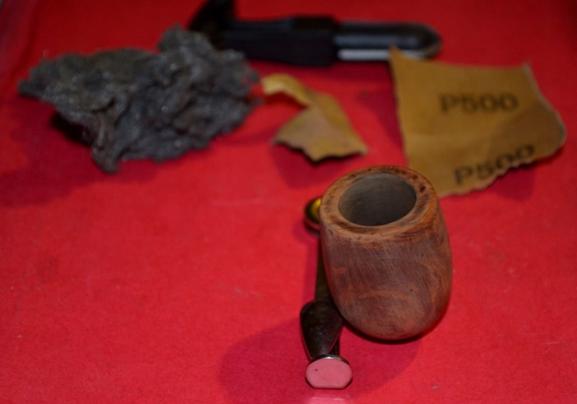
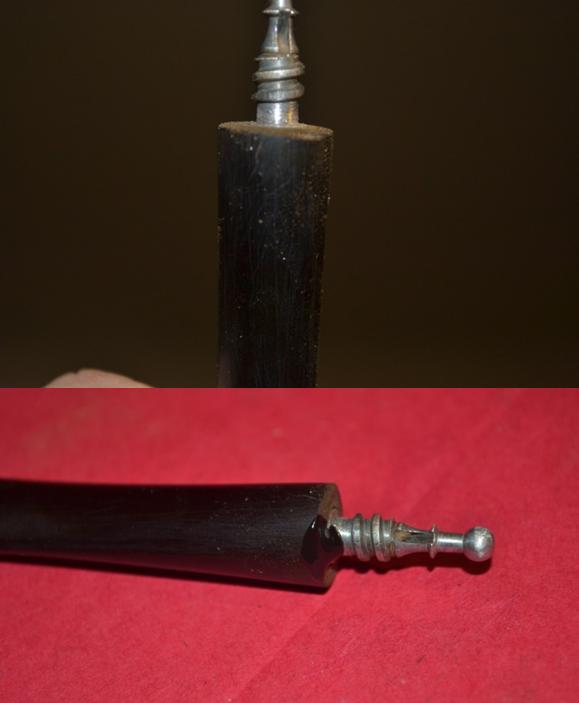
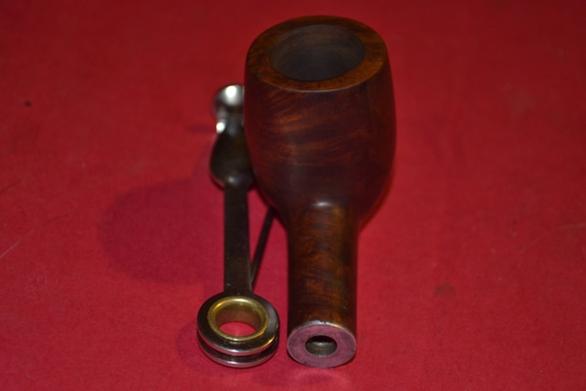
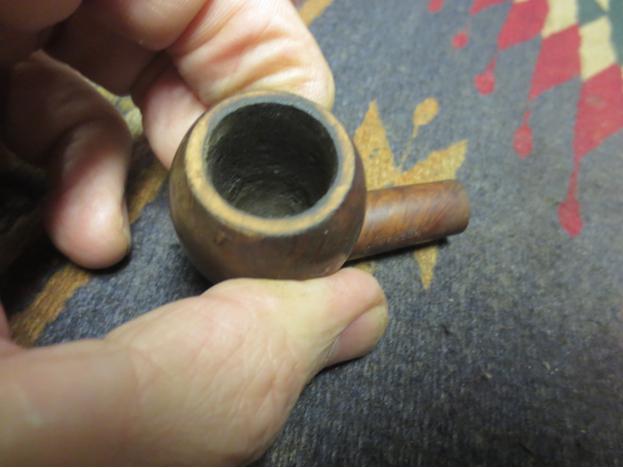
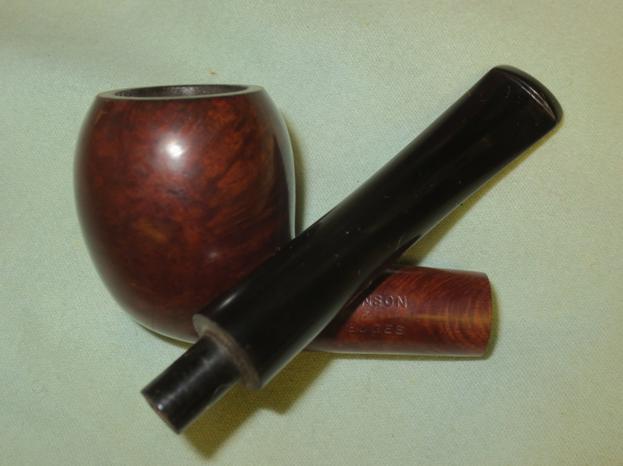
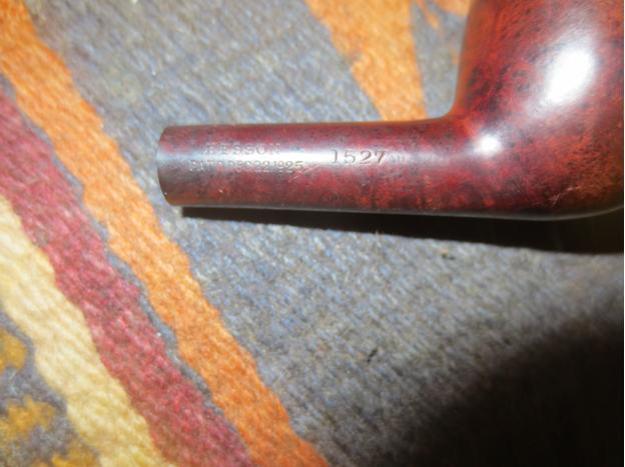
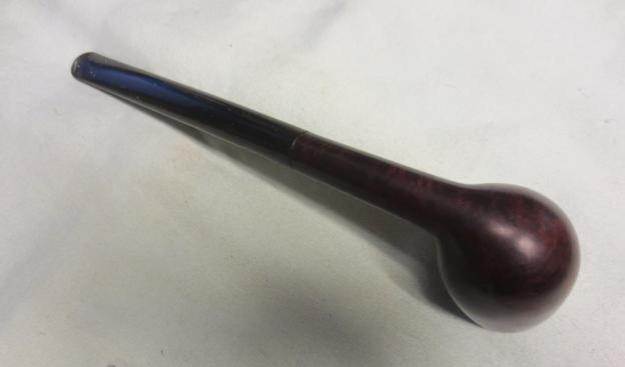
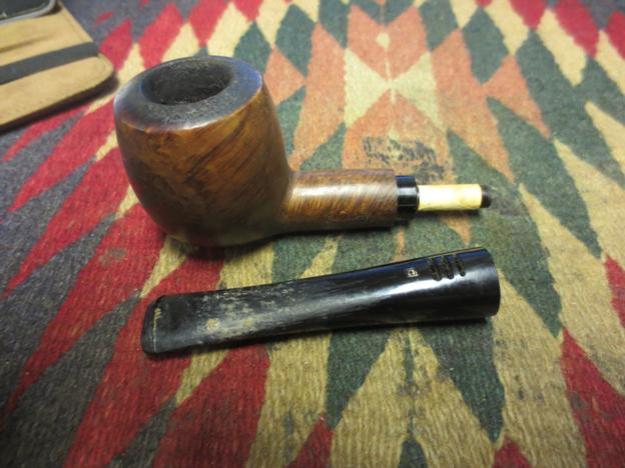
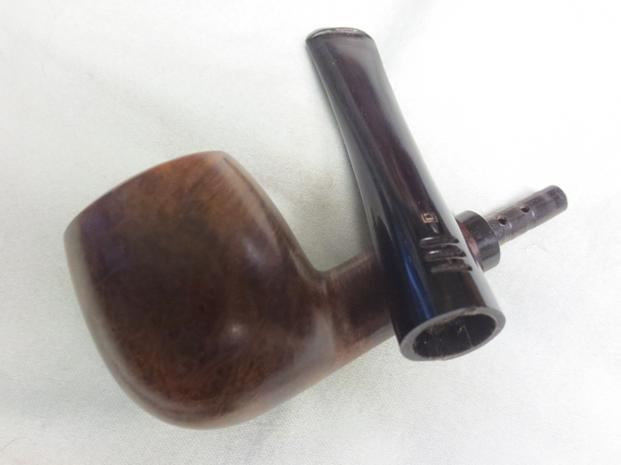
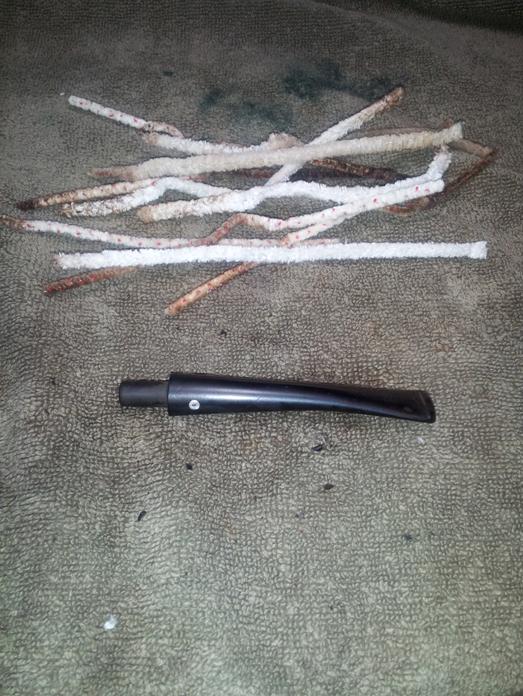
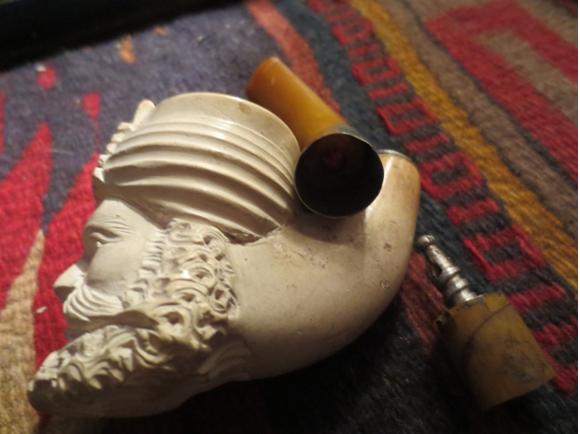
 I also removed the stem and took the pieces apart. The stem was indeed broken under the band. It definitely was not amber. You can see the sliced piece and the remainder of the stem as well as the metal mortise edges in the shank in the photo below.
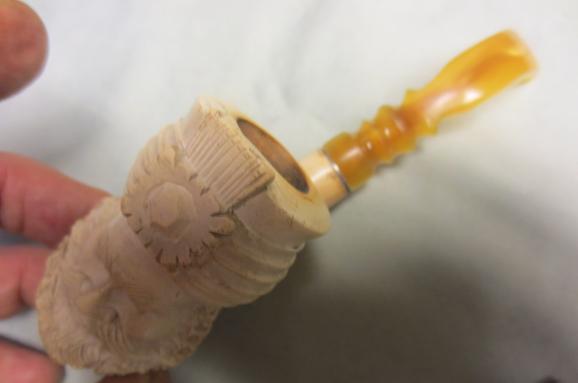
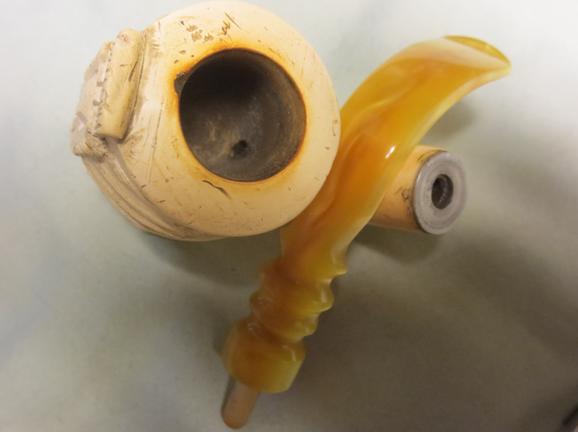
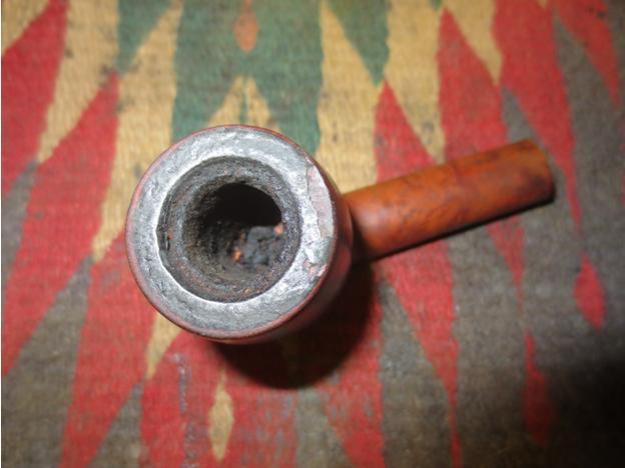
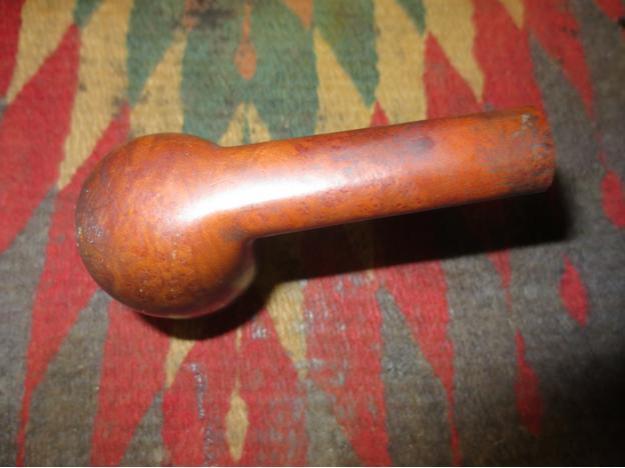
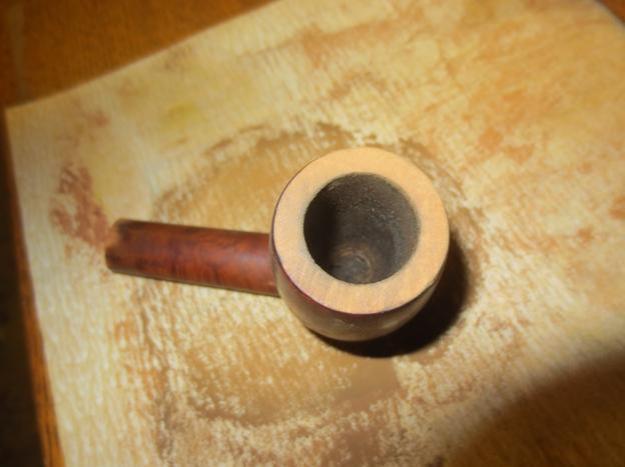
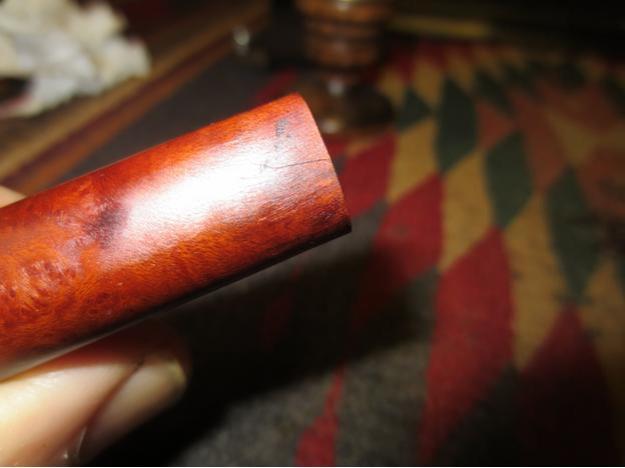
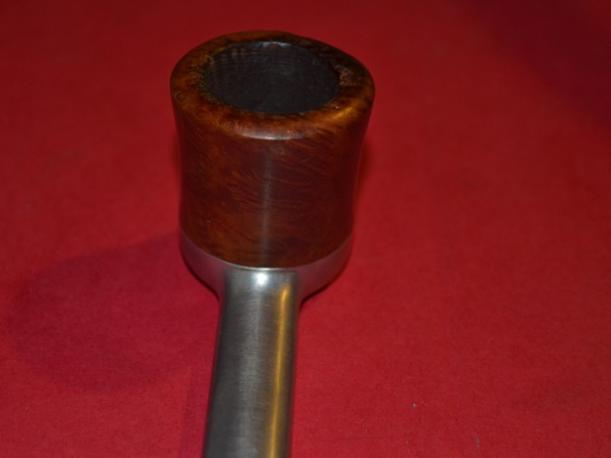
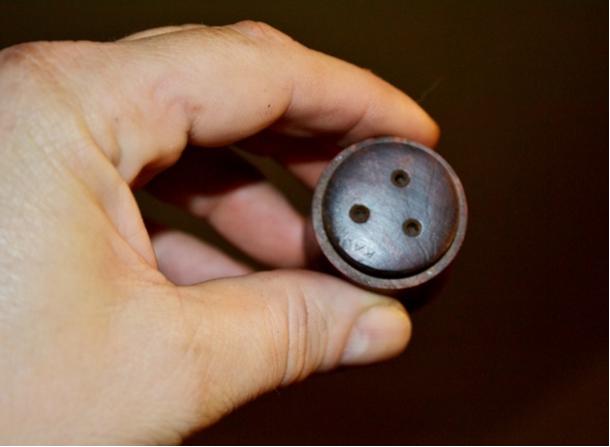
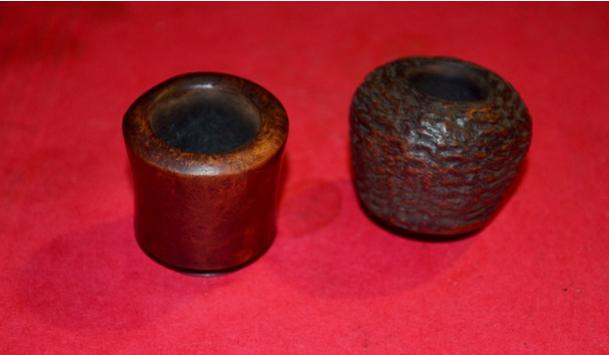
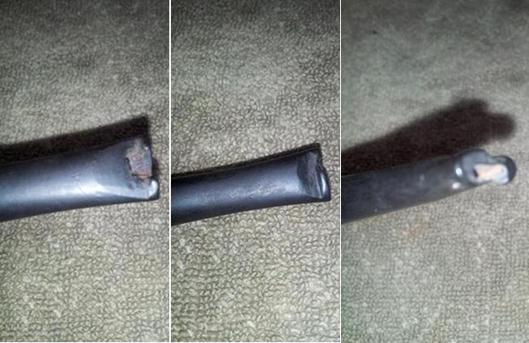
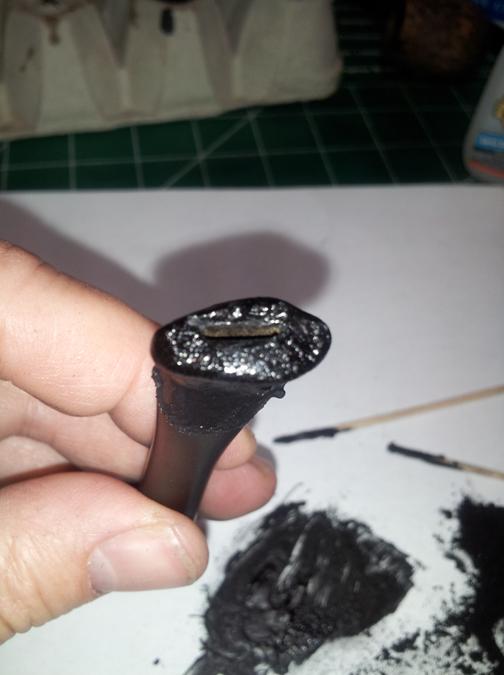
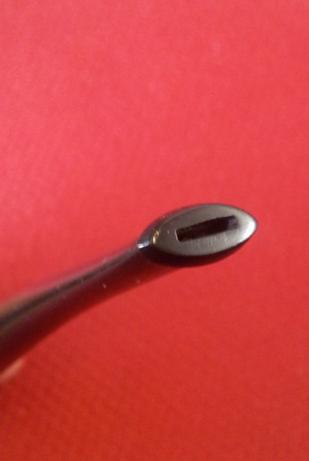
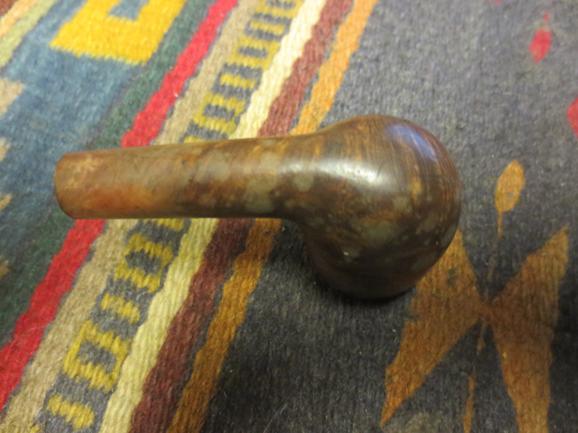
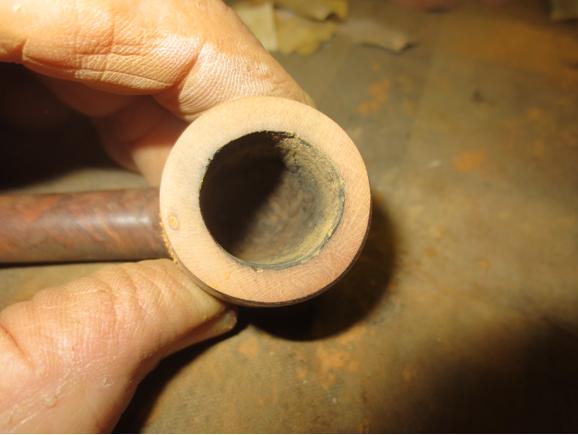
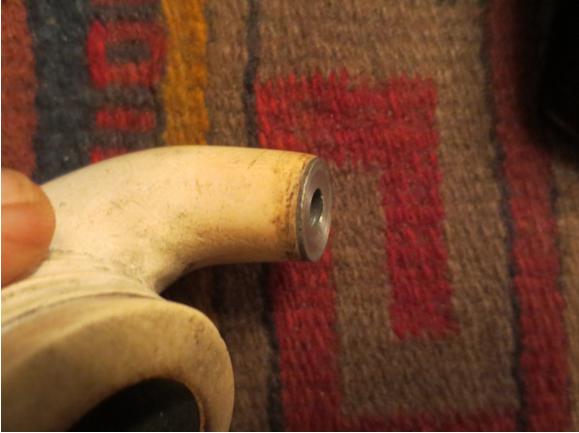
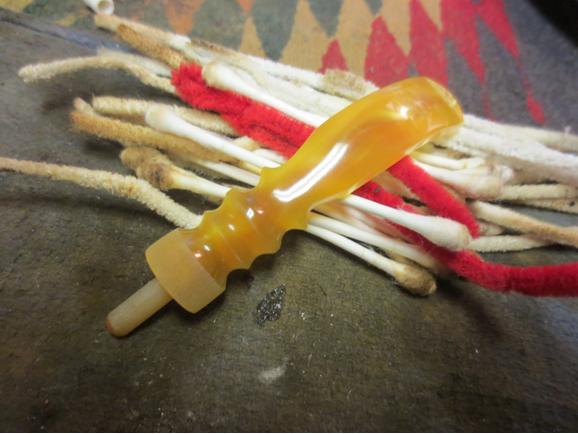
 I took a photo of the end of the broken piece to show that it was oval while the shank was round. The second photo below shows the cracks and chips that had been repaired on the piece underneath the metal band. Obviously this is not the original stem. The third photo shows the end of the shank – it is round – and the metal threaded mortise insert.
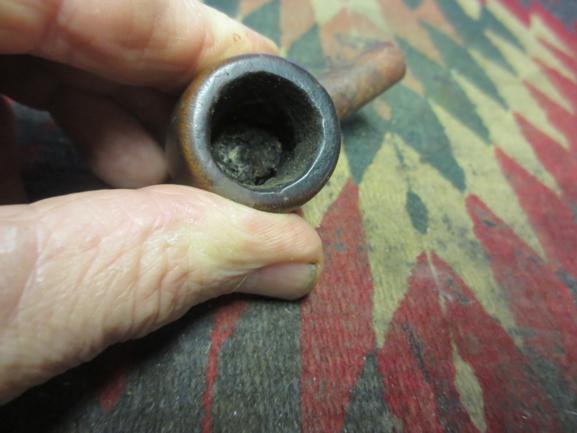
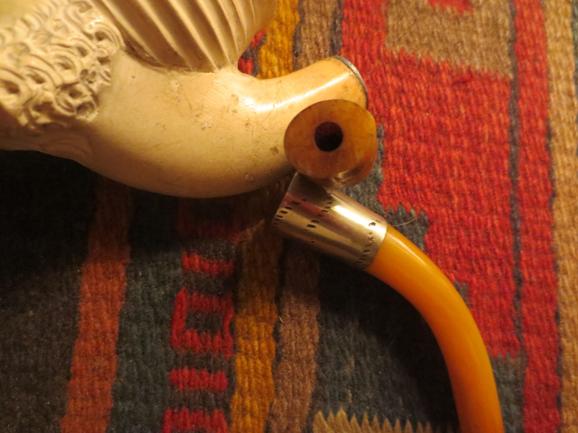
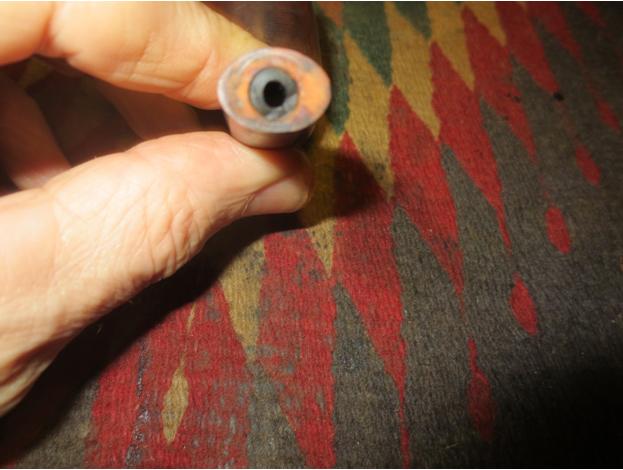
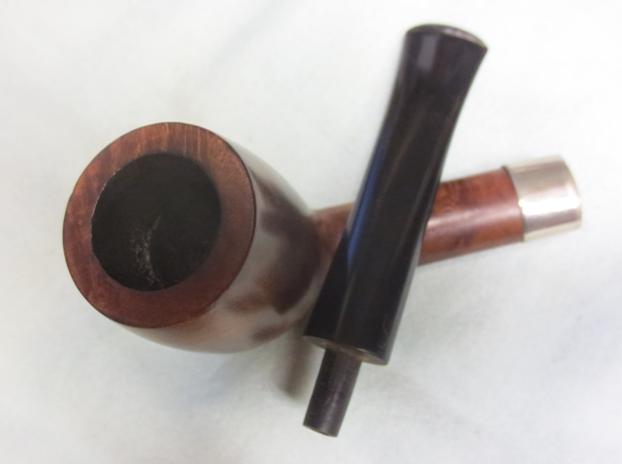
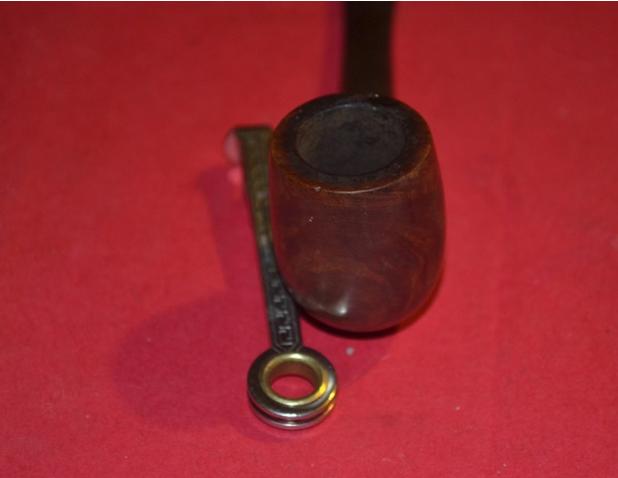
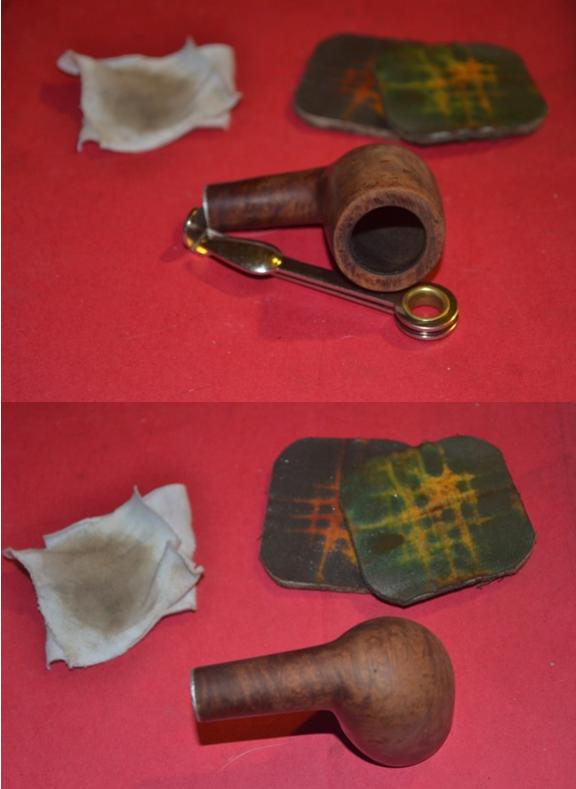
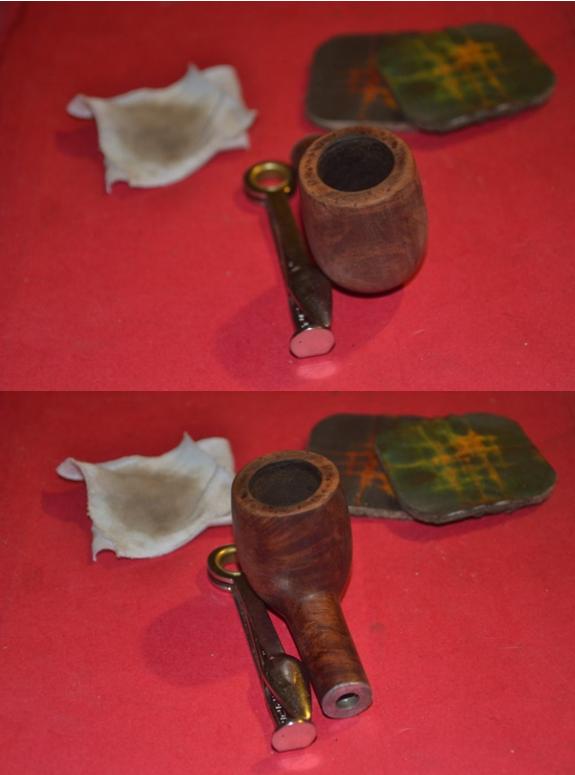
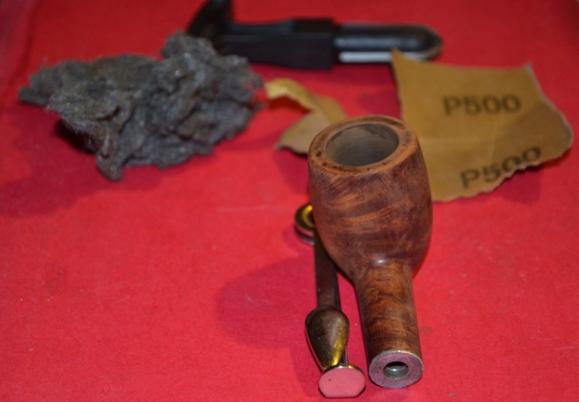
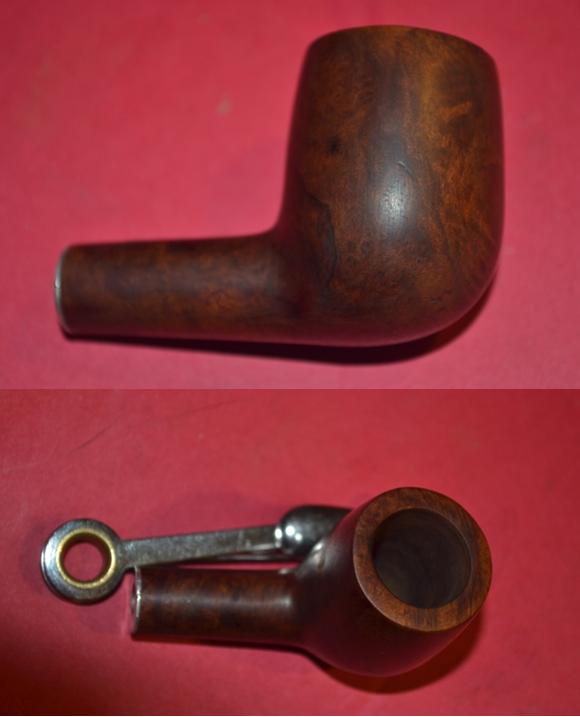
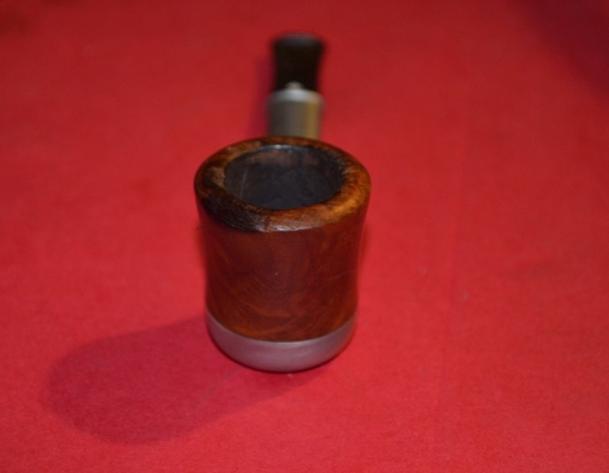
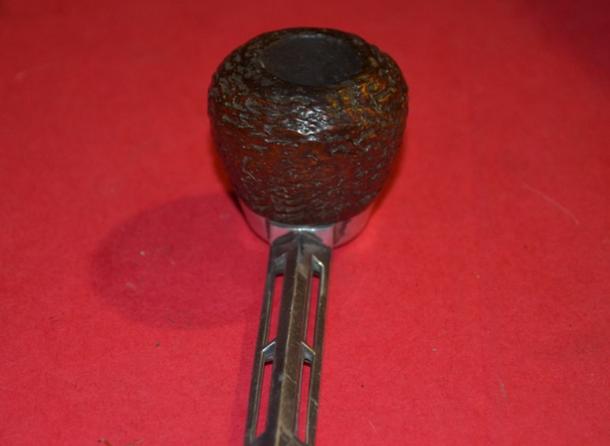
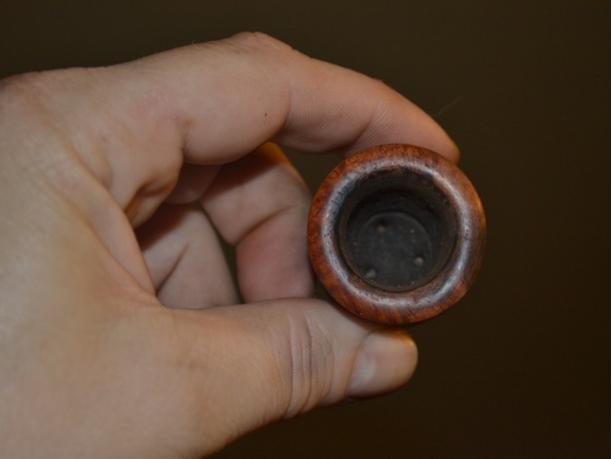
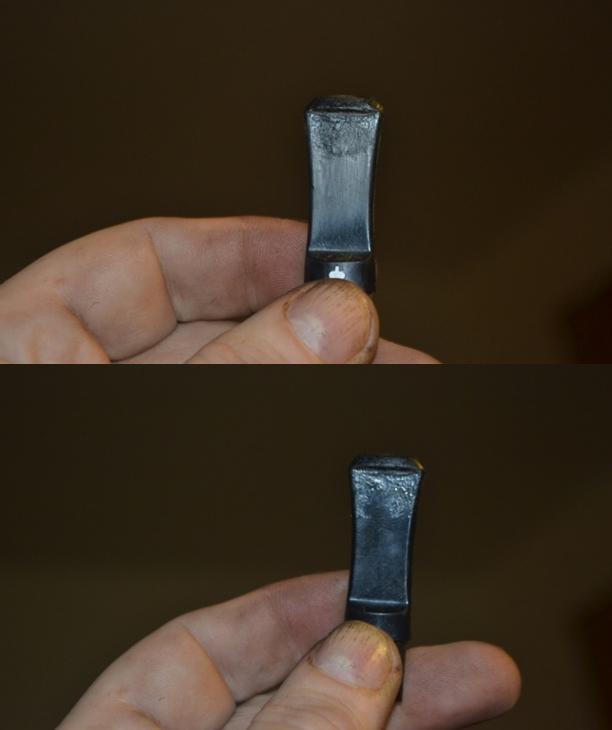
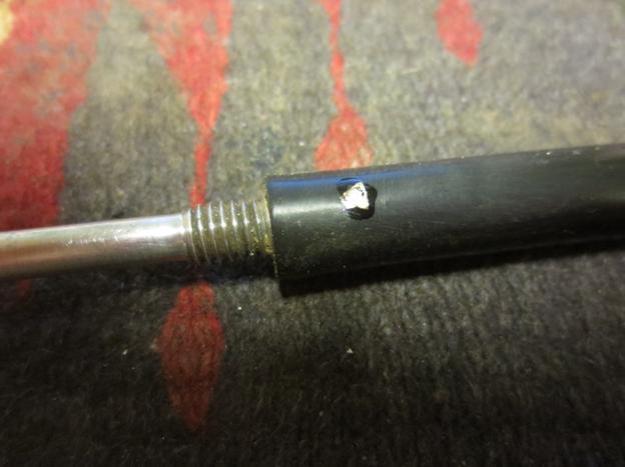
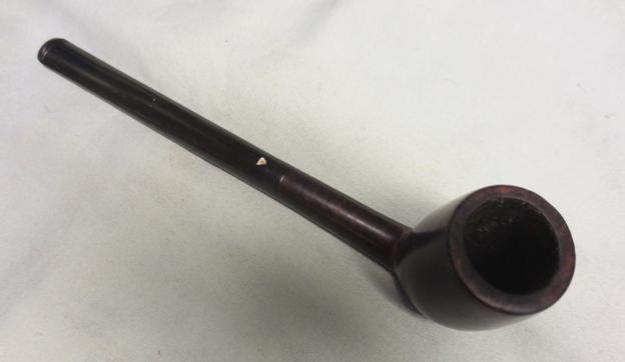
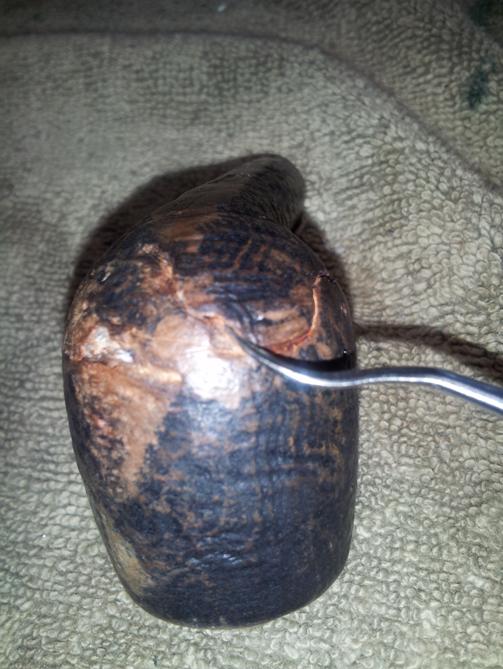
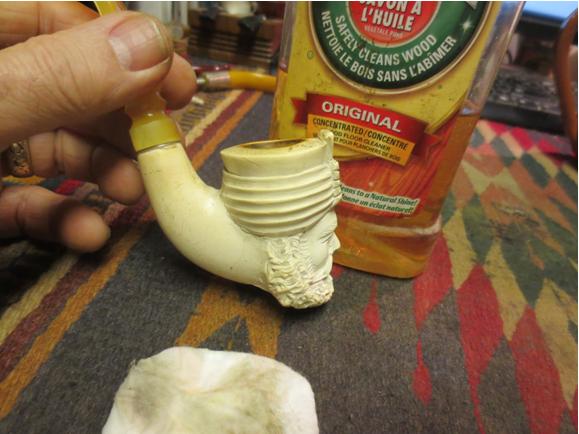
 I took the next two photos to show the damage to the shank and the poorly done job of adding the threaded mortise insert. The small crack is about a half inch long and can be seen running from the metal insert edge about mid-shank edge on the left side. There are also chips of meerschaum that had been reglued.
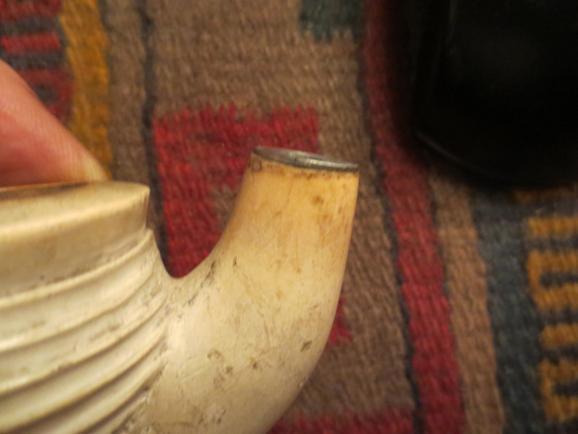
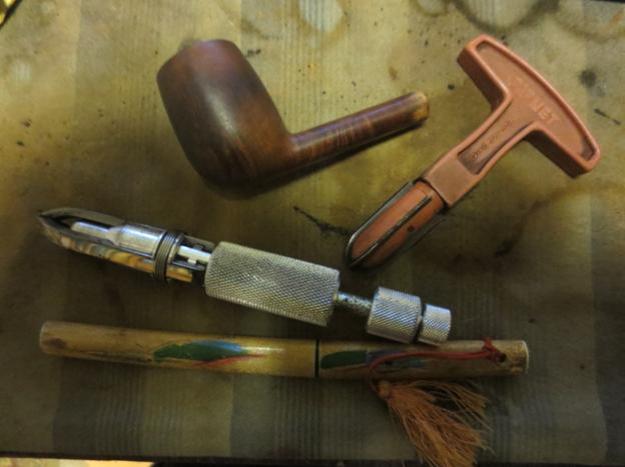
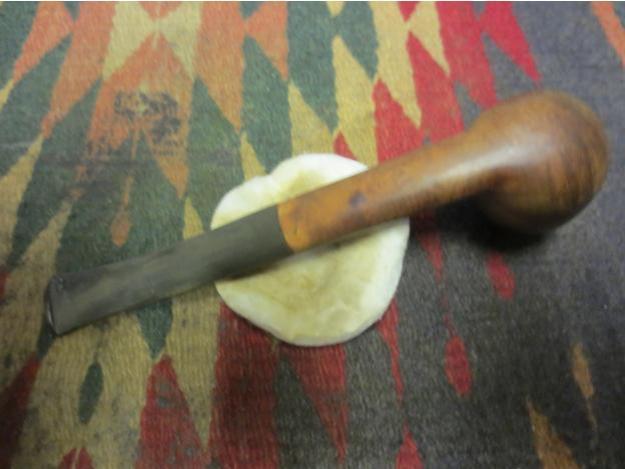
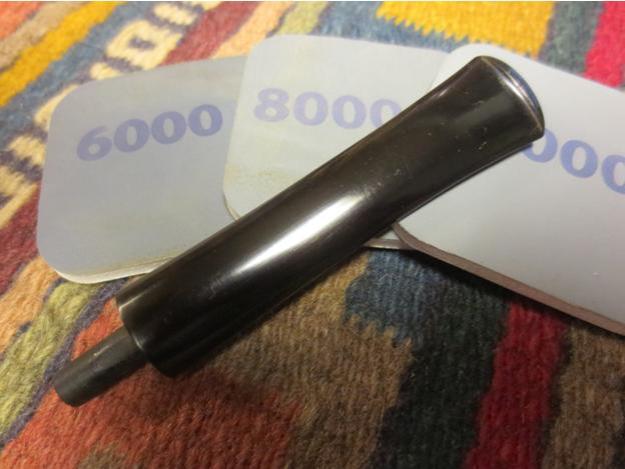
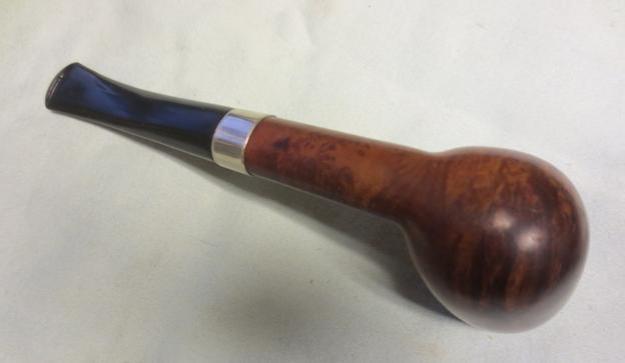
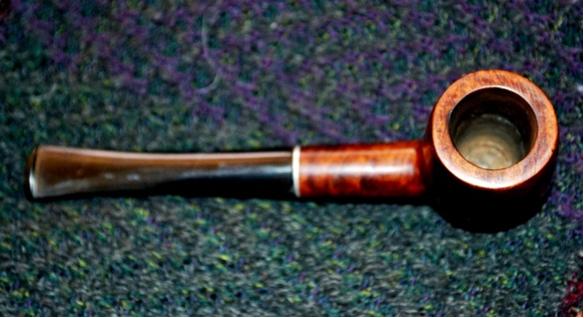
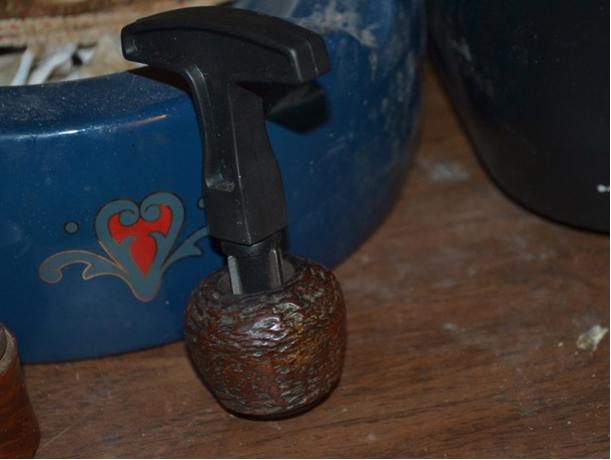
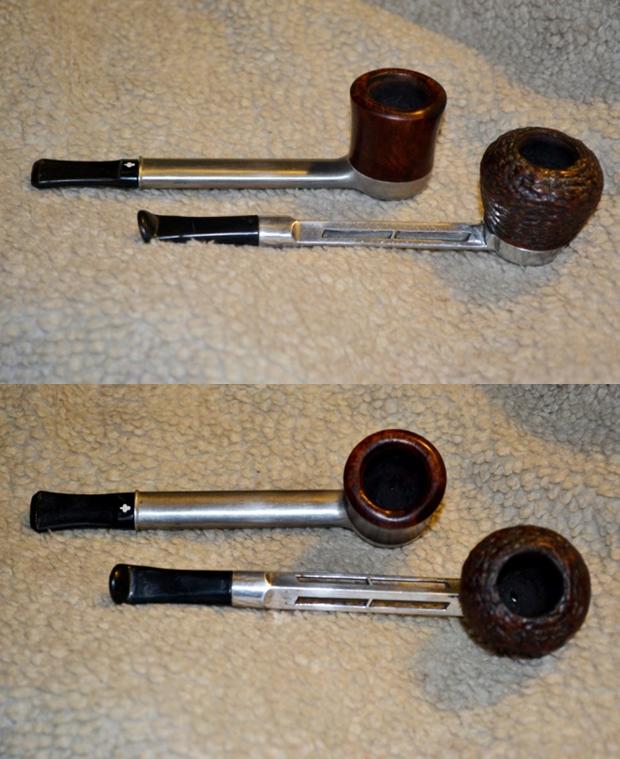
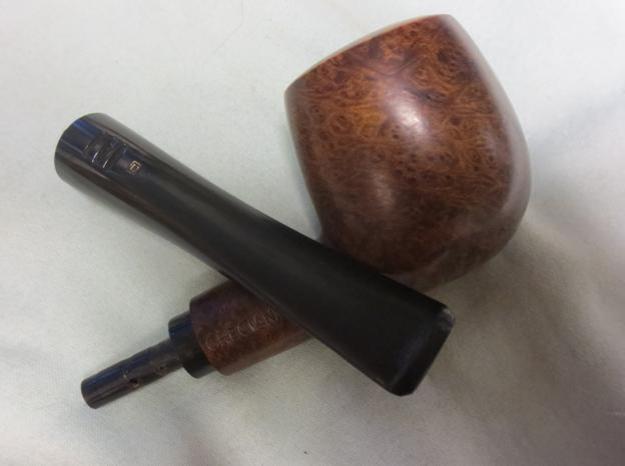
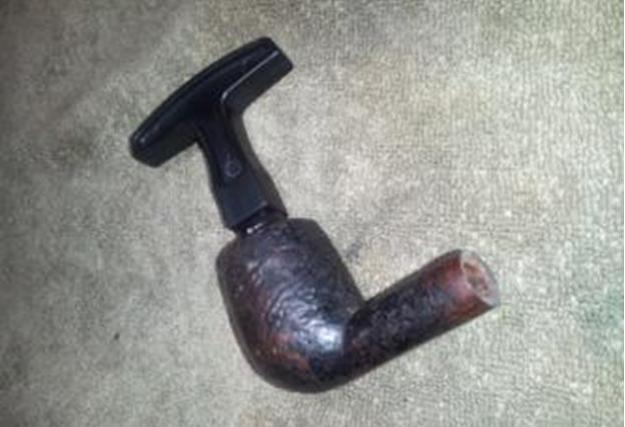
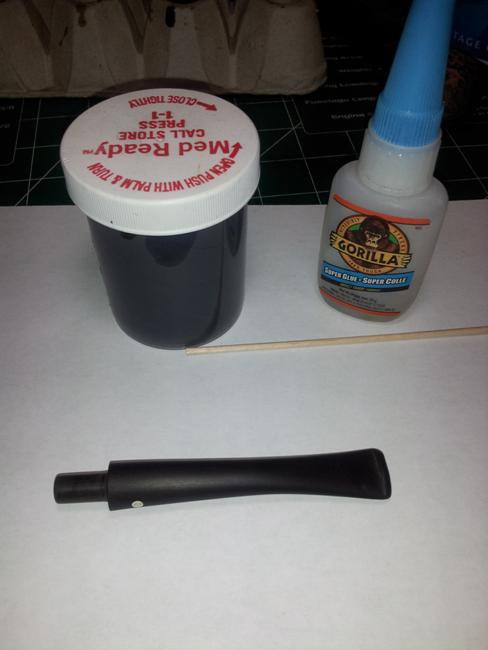
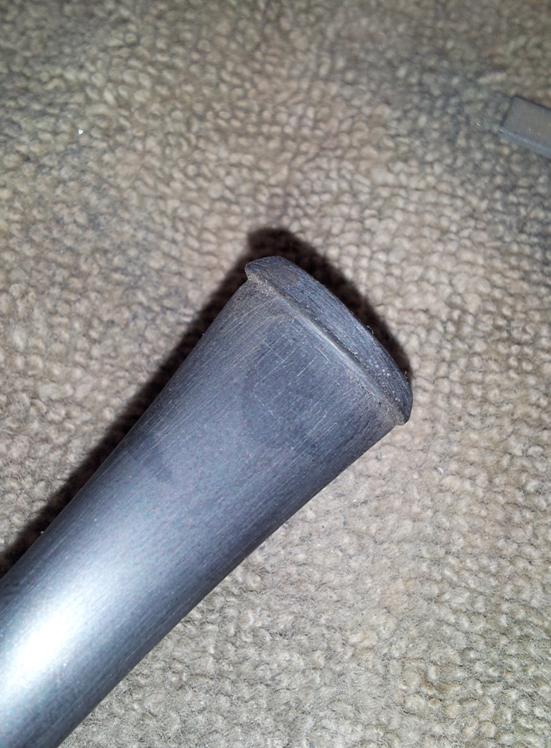
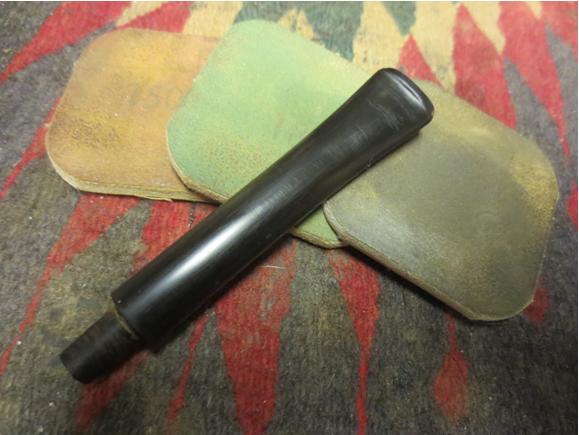
 I went through my can of stems and found a new stem whose length and shape was right for this pipe. The diameter of the stem at the shank was slightly larger than the shank on the right side and top. It would also need to be bent slightly more but I liked the look of the pipe with the new stem.
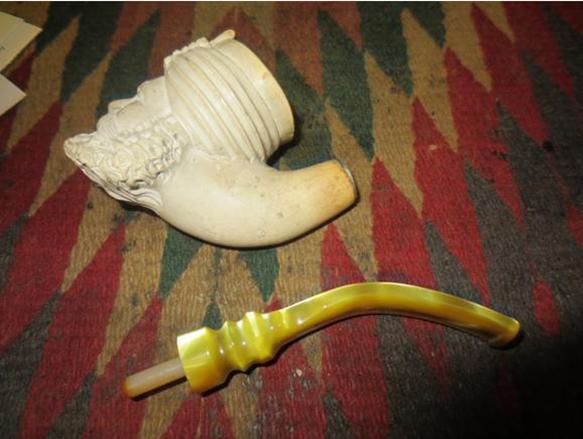
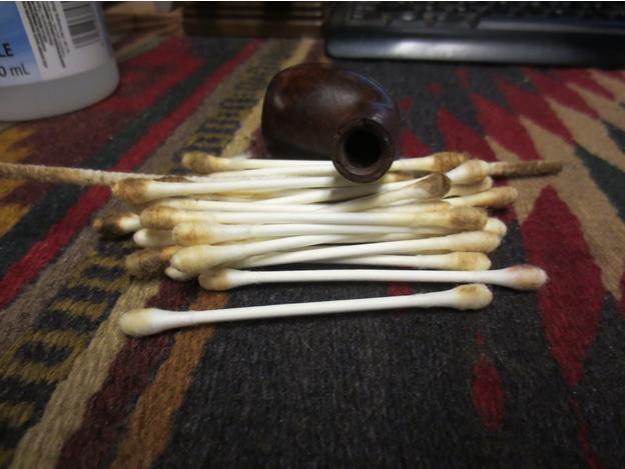
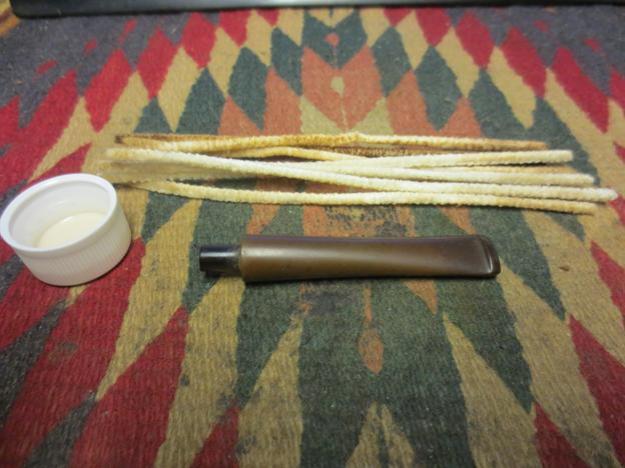
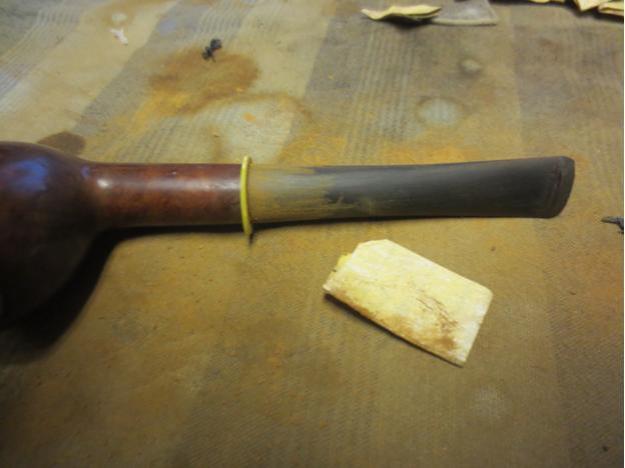
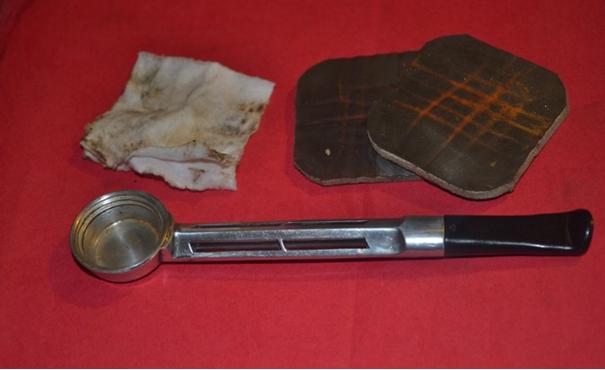
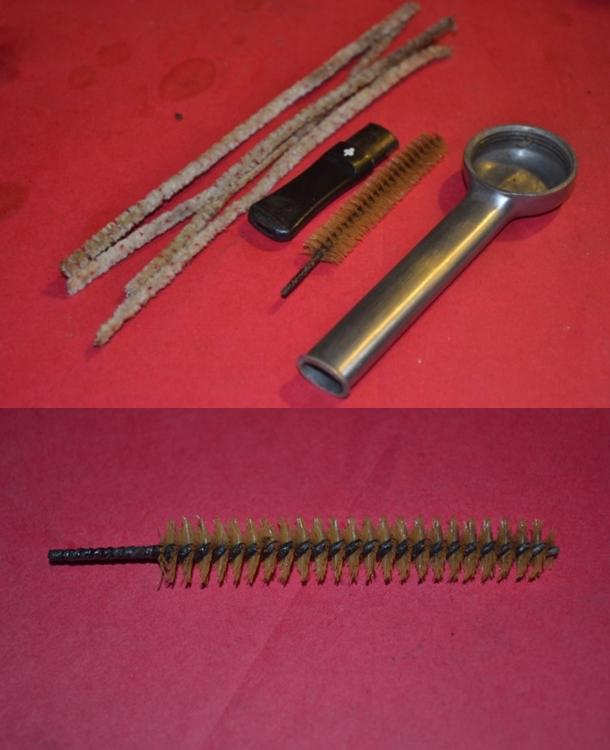
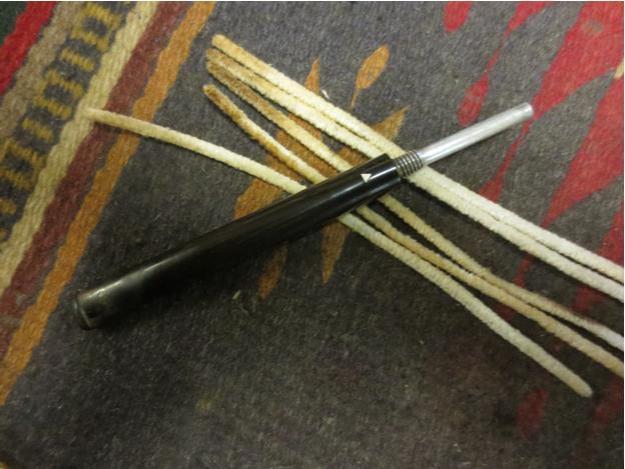
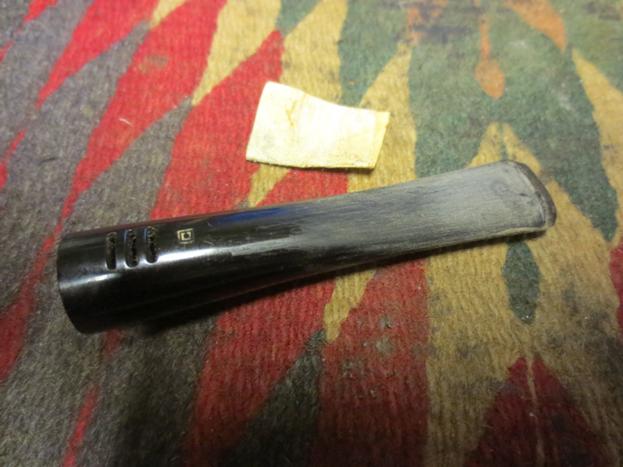
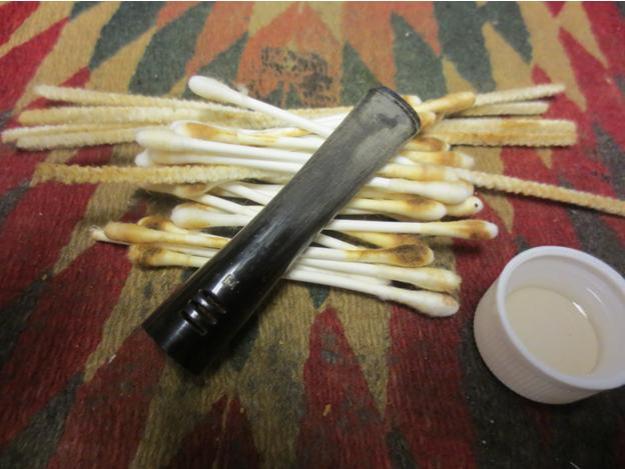
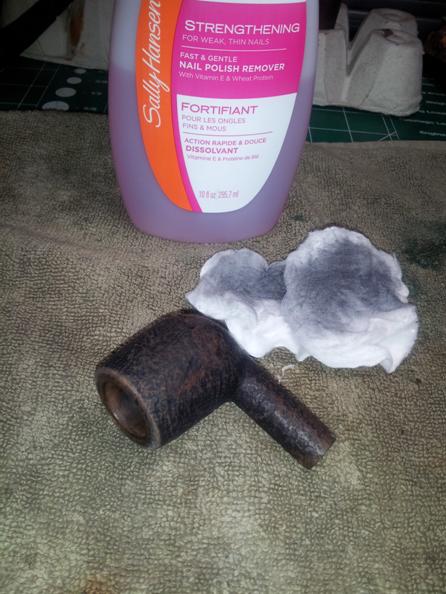
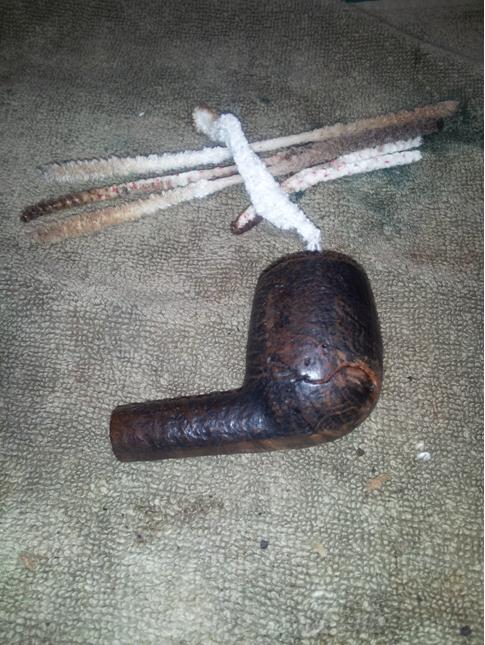
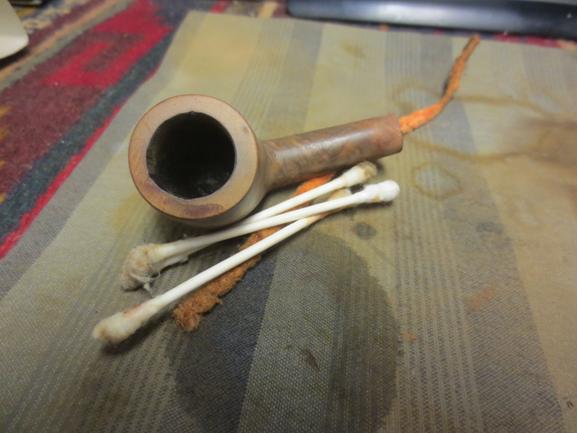
 I used a topping board to flatten the metal disk on the top of the mortise insert as it had curled at the edges and would not allow the new stem to seat against it properly. I sanded the sides of the stem on the saddle with 220 grit sandpaper to align it with the diameter of the shank of the pipe. I removed the push tenon from the stem and cleaned out the airway with cotton swabs, pipe cleaners and alcohol to remove all of the tars and staining on the inside. It looked like a dark brown striped up the middle of the stem when I started and when I was finished it looked very clean.
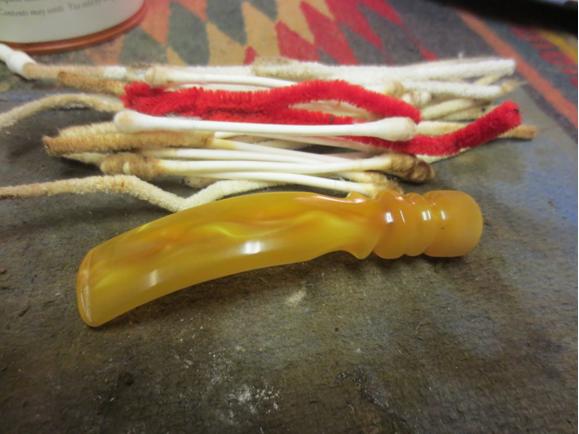
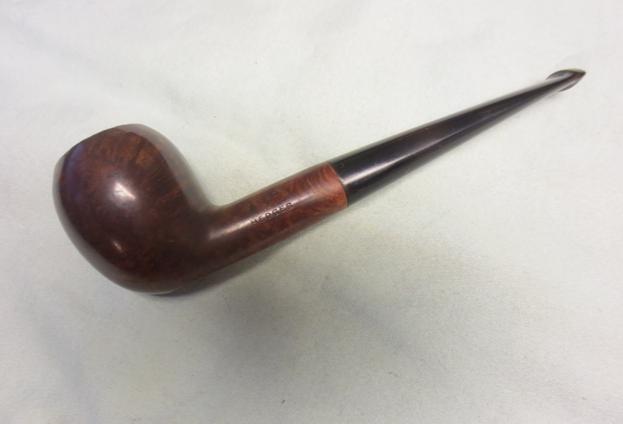
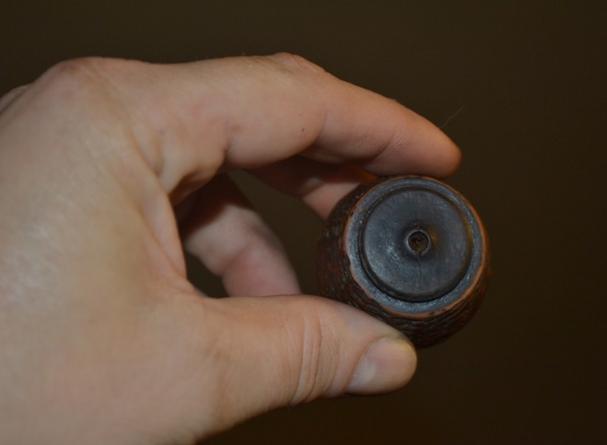
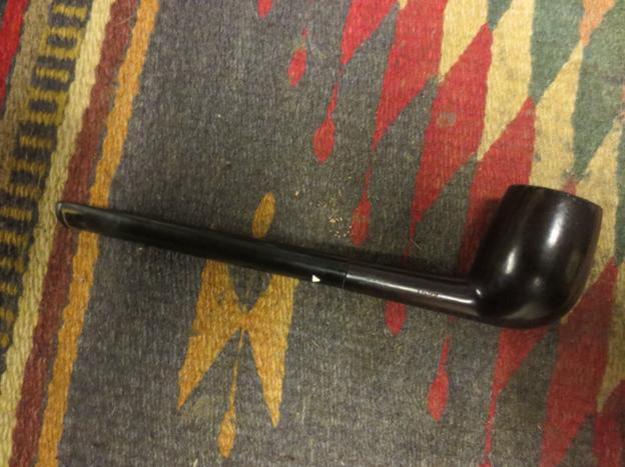
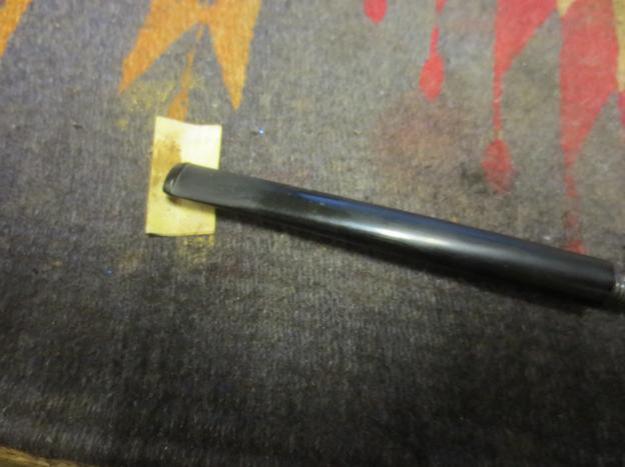
 I heated the stem with a heat gun until it was flexible and then bent it to match the curve of the shank and allowed the pipe to sit horizontally when in the mouth.
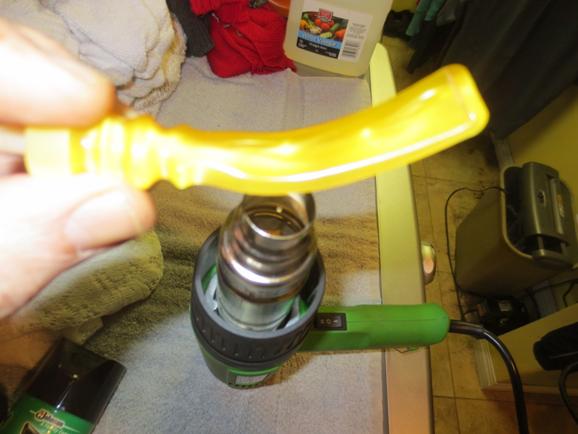 I set the bend with cool water and then pushed it into the mortise insert and took the following photo to show the new look of the pipe.
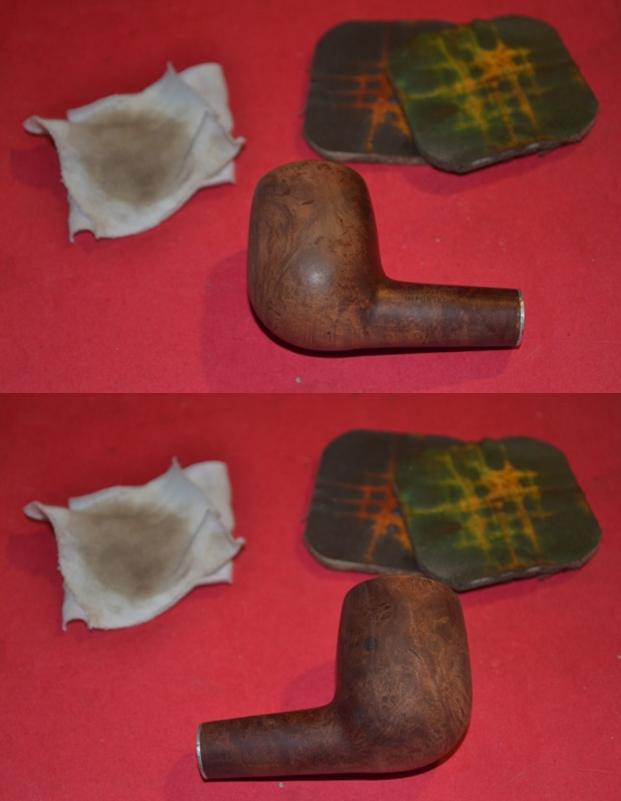
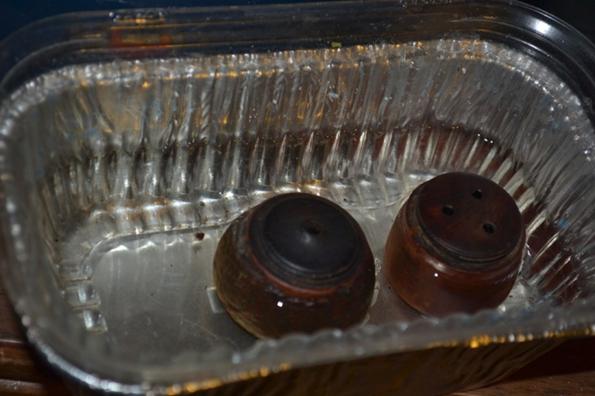
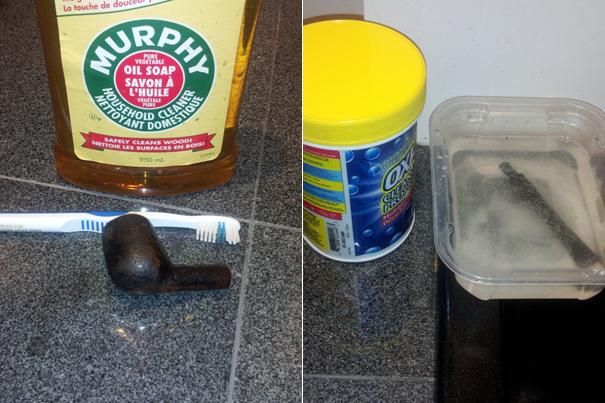
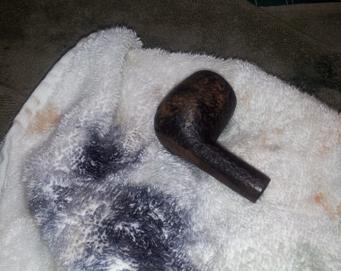
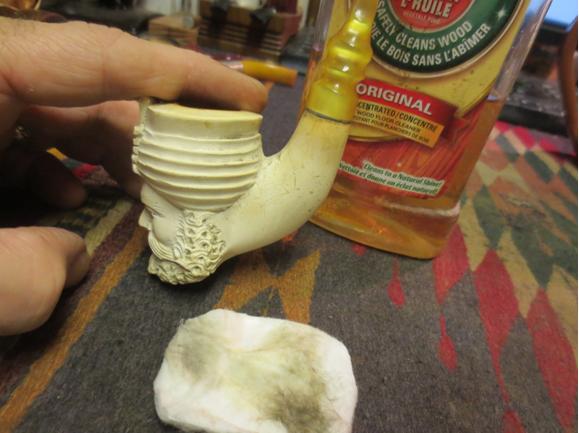
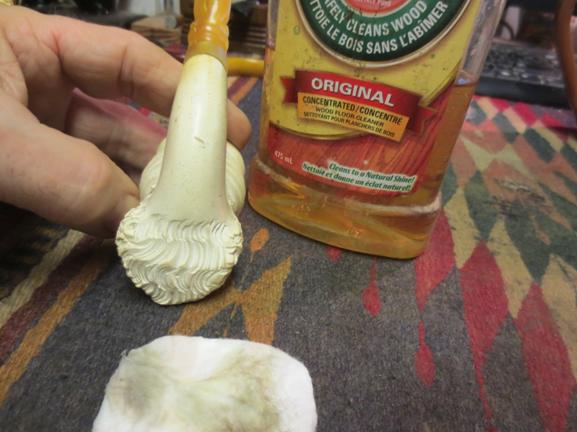
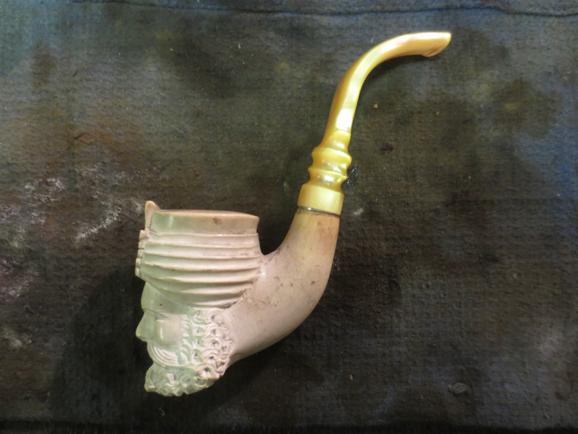 I scrubbed the meerschaum with a soft tooth brush and Murphy’s Oil Soap. I rinsed it carefully with cool water to remove the soap and scum. I dried it off with cotton pads and was able to remove more of the grime in the grooves.
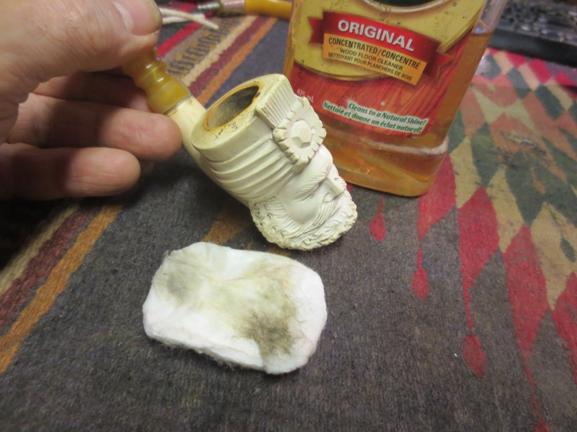
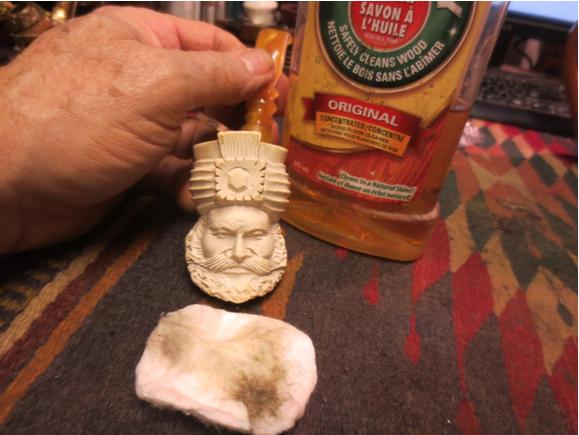
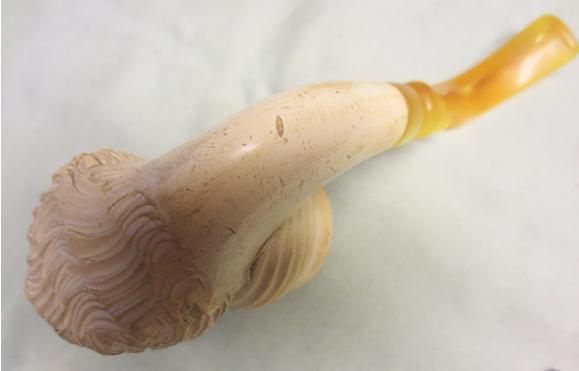
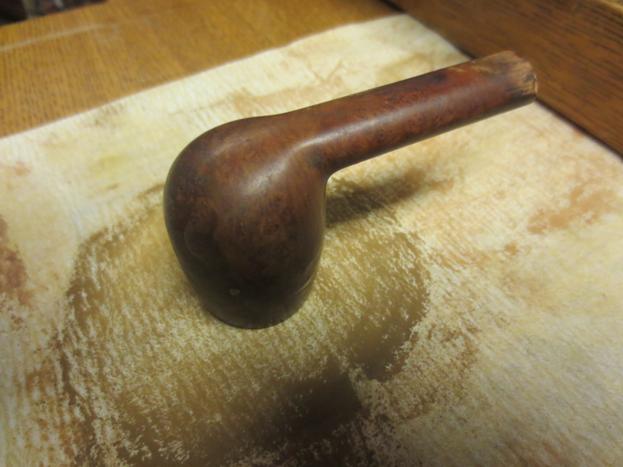
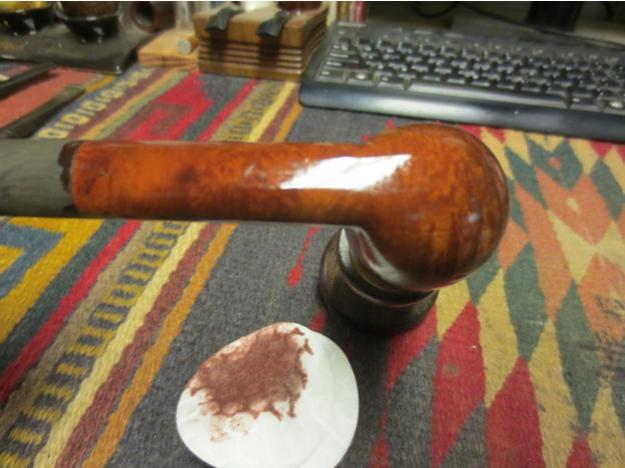
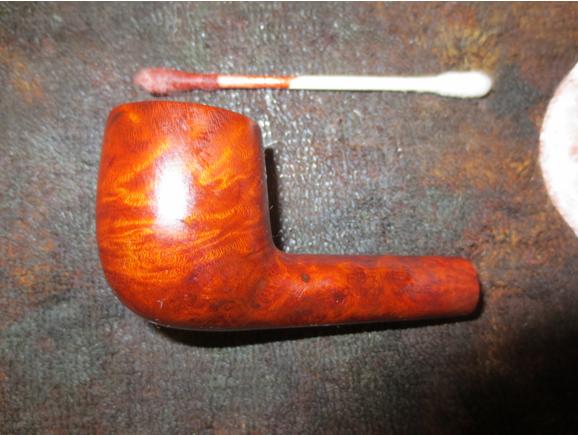
 I waxed the meer with white beeswax and hand buffed it with a shoe brush. It has begun to take on the glow that comes to a well waxed meerschaum. I took the full facial photo to show the clean look of the pipe.
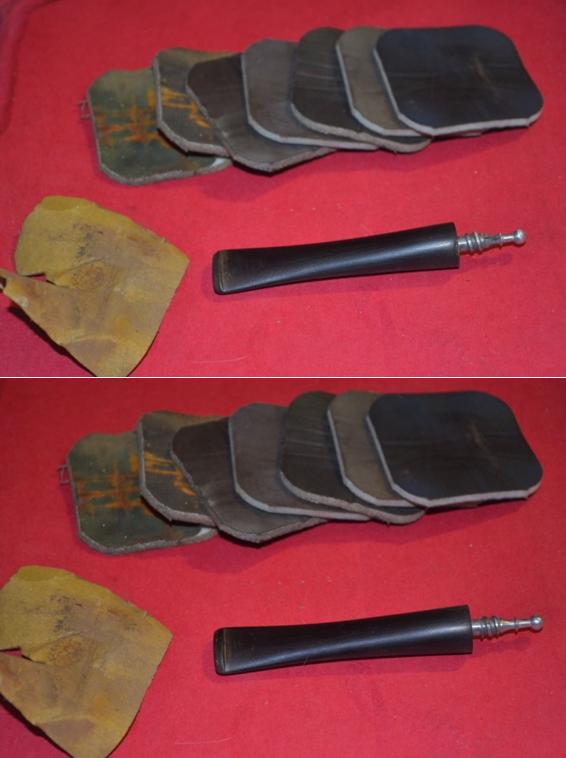
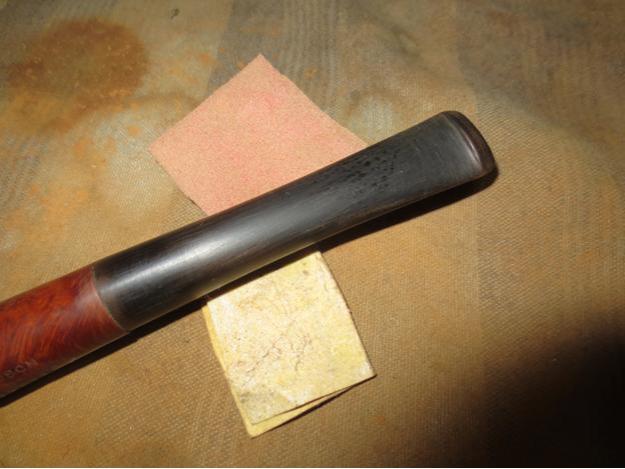
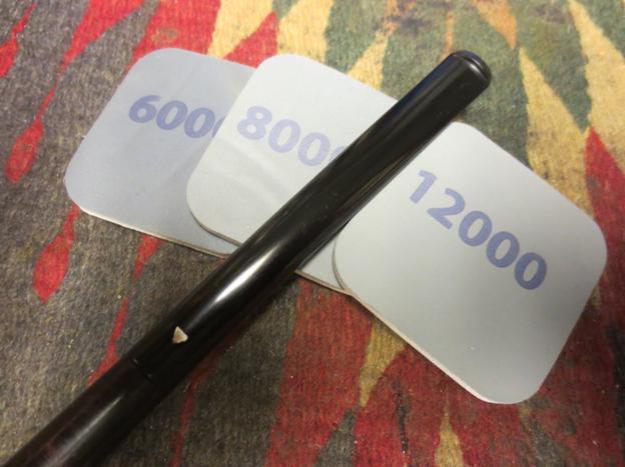
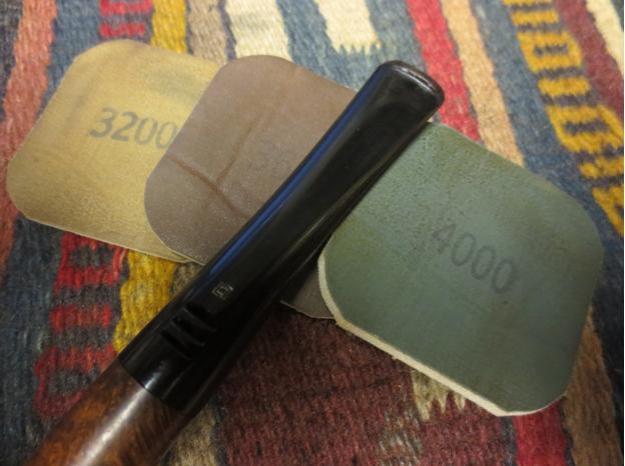
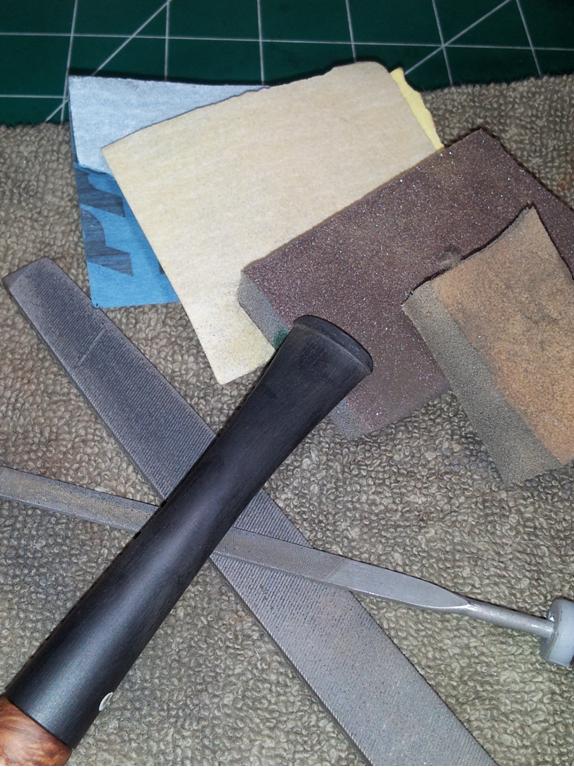
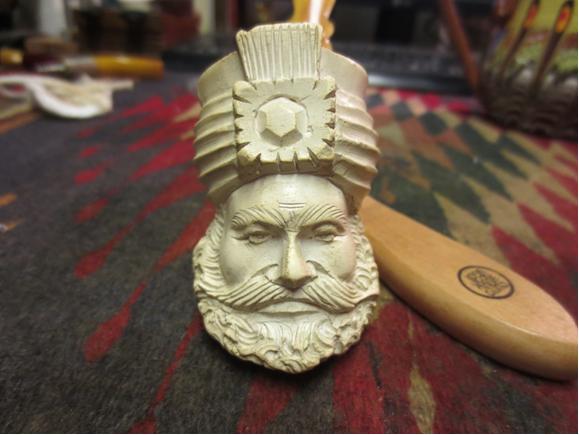 With the bowl cleaned I turned my attention to the new stem. I had sanded the saddle area with 220 grit sandpaper and needed to polish that portion. I used a medium and a fine grit sanding sponge to remove the scratches. I wet sanded the stem with 1500-2400 grit micromesh and then dry sanded it with 3200-12000 grit pads.
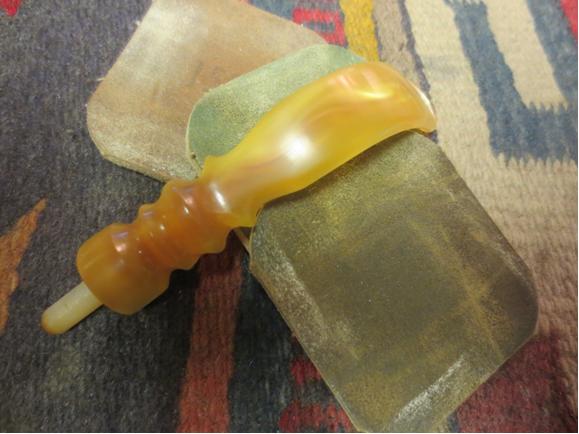

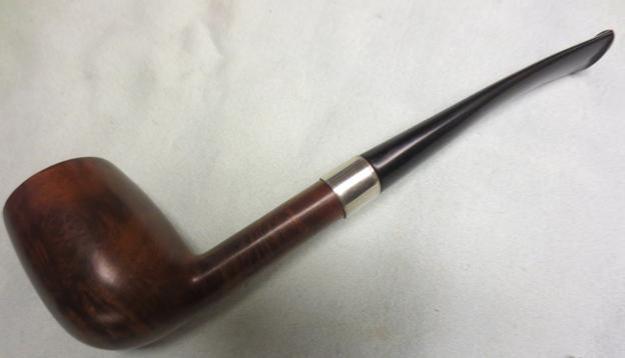
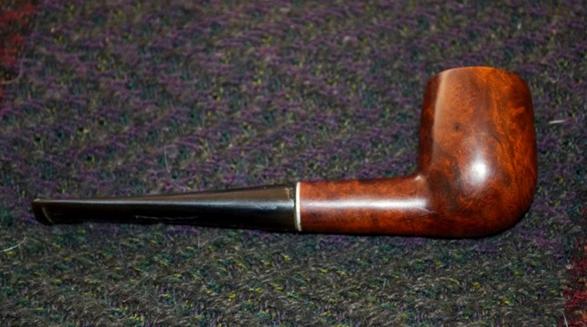
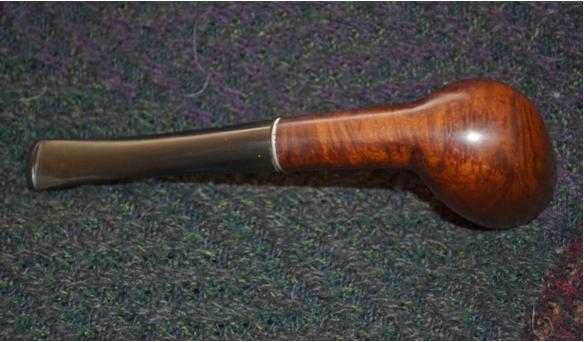
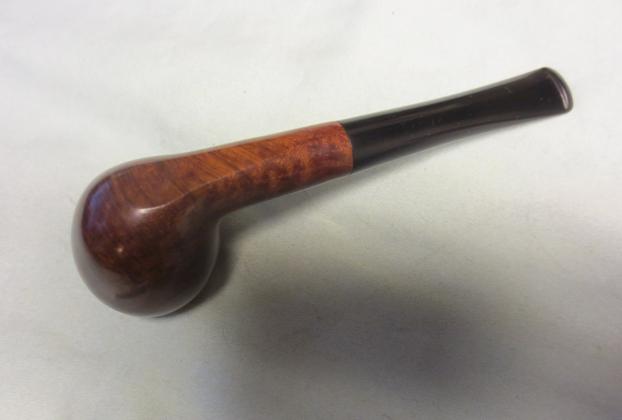
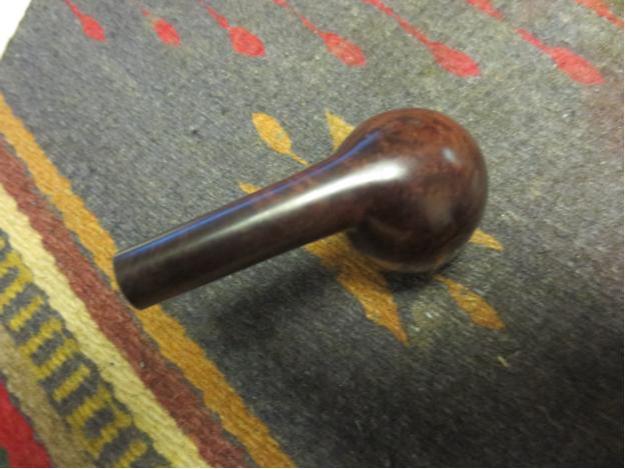
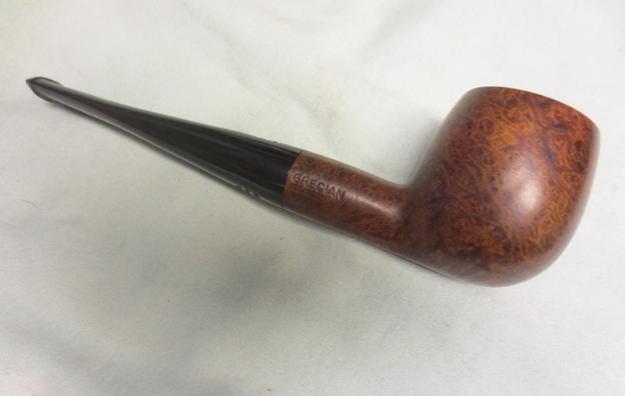
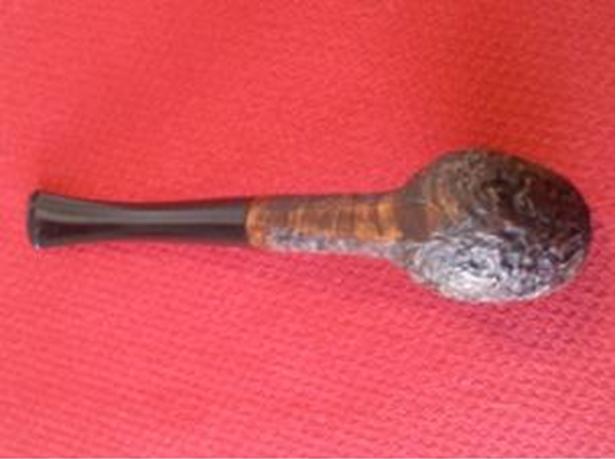
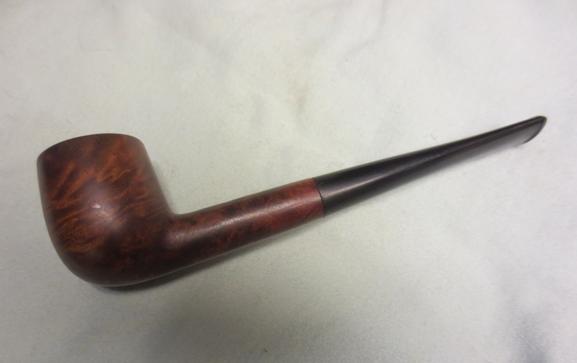
 I buffed the stem with Blue Diamond and hand buffed the pipe with some beeswax and a shoe brush. I took the photos below of the finished pipe. Considering the many issues of this pipe when I started working on it, the finished pipe looks really good. I left many of the gouges and scratches in the meerschaum as they add character and to remove them would change the shape of the carving. I like the new stem – the bend is perfect for it to hang effortlessly in the mouth when smoking. The draw is wide open and should smoke really well. The push tenon works well with the metal mortise and sits snug against the shank. Soon it will go back to Chile and it owner. He will have the pleasure of finally smoking this old pipe and enjoying it.