by Steve Laug
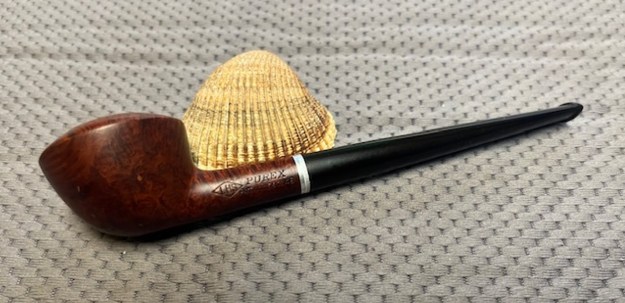
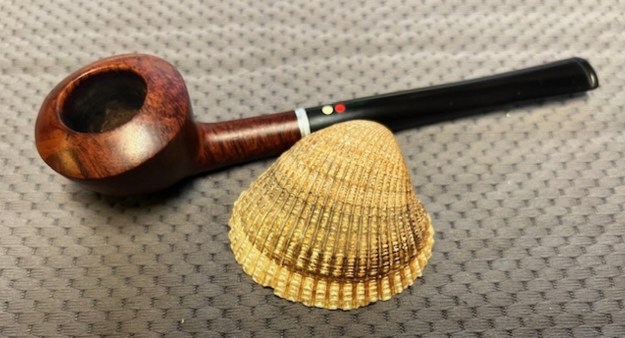
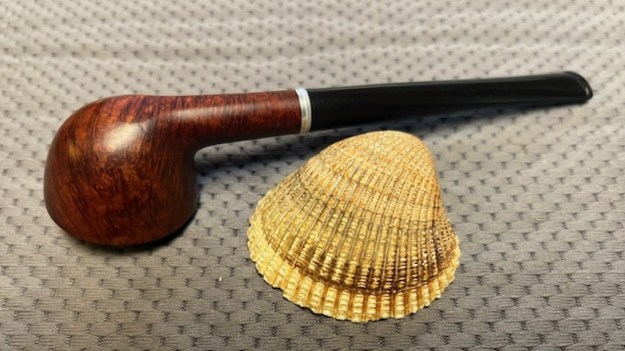
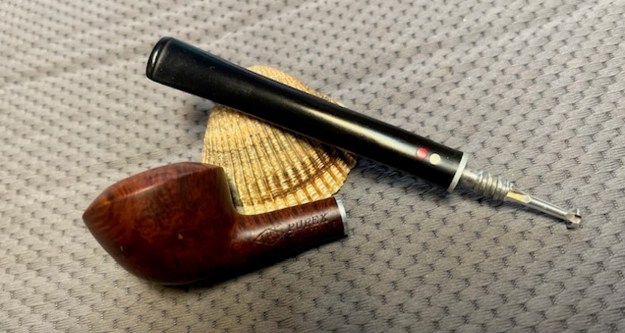
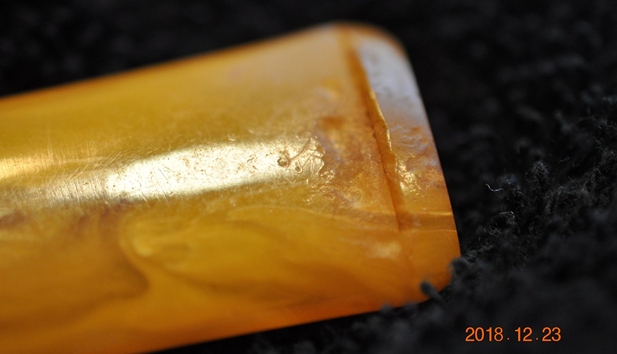
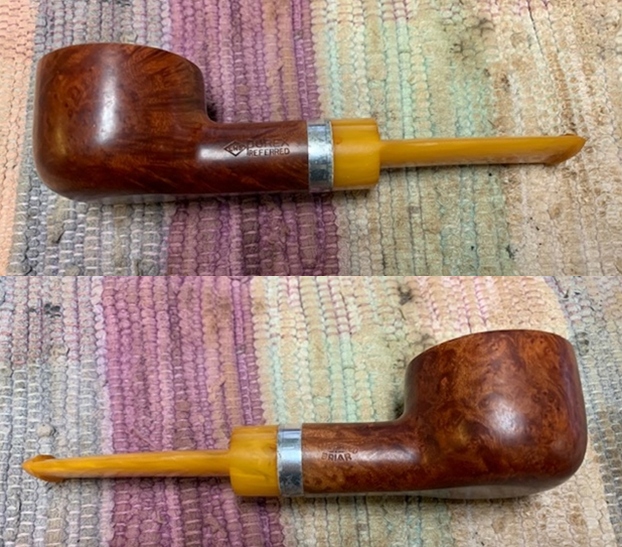
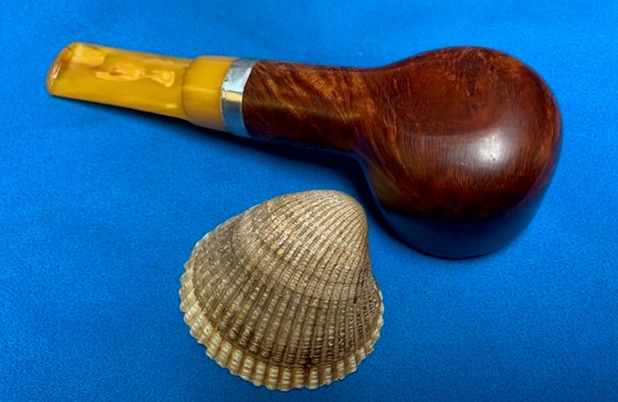
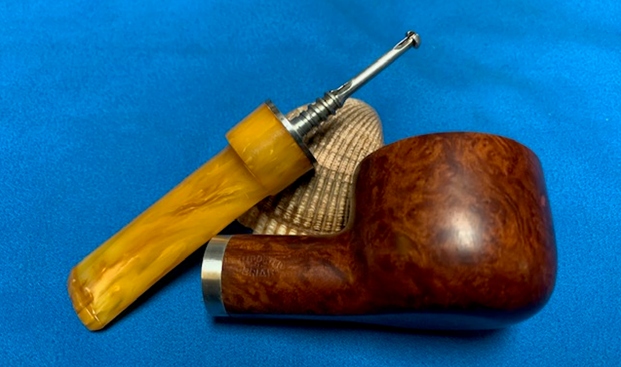
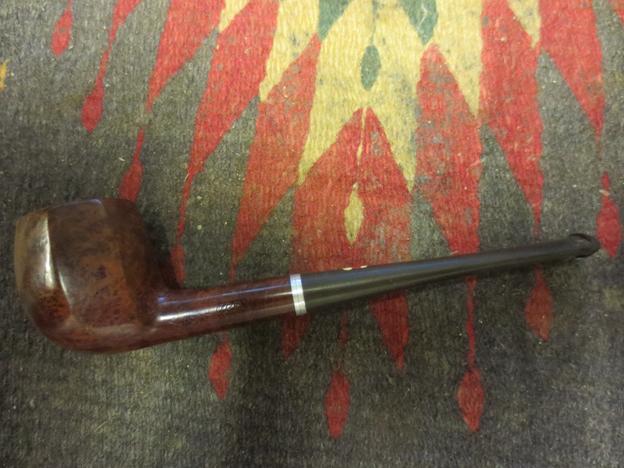
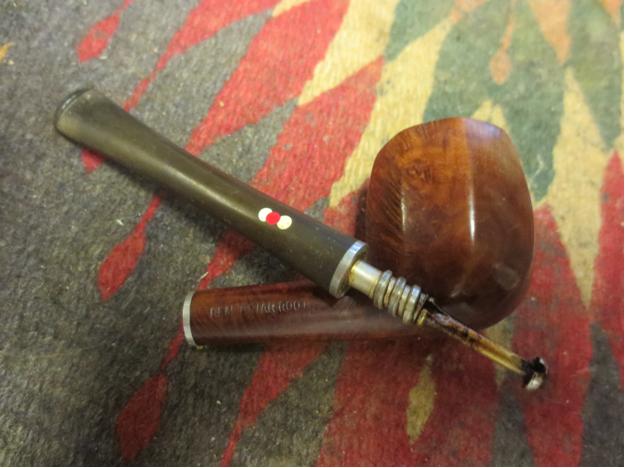
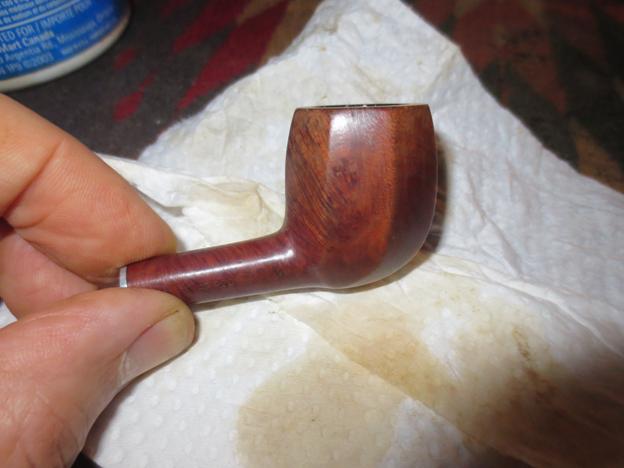
 The next pipe on the work table came to us from a group of pipes we purchased on 01/22/2024 from a seller on eBay from Jordan, Minnesota, USA. It is a nice looking tiny pencil shank Dublin shaped pipe with a taper stem. The bowl has a rich reddish brown colour combination that highlights grain. This pipe is stamped on the left and right sides of the shank. On the left it reads LHS in a Diamond followed by Purex [over] Pat.No.1587048. On the right side it is stamped Real Briar Root. On the underside of the shank it bears the shape number 20. The threaded aluminum tenon/stinger taper stem has two dots – a red and a white on the topside. There is a moderate cake in the bowl and an overflow of lava on the inner edge of the rim top. The varnish coat was flaking and peeling. The stem was lightly oxidized, calcified and there were some light tooth marks and chatter on both sides of the vulcanite stem near the button. The pipe looks to be in good condition under the grime. This is a nice looking pipe and in a well-loved shape. Jeff took photos of the pipe before he started his cleanup.
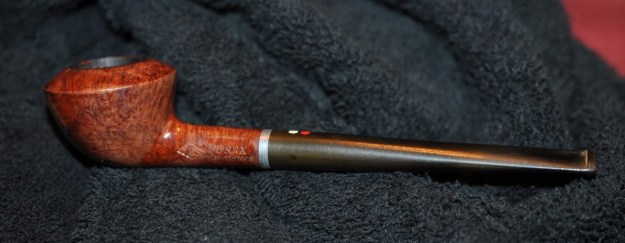
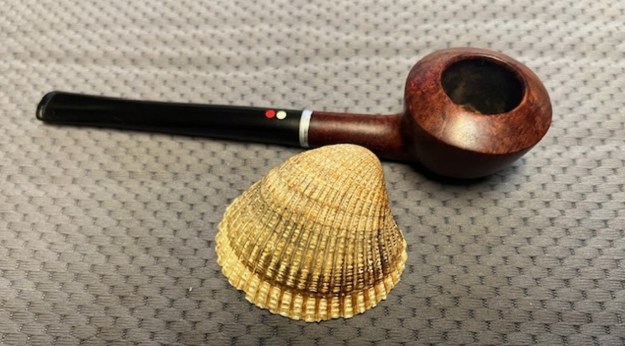
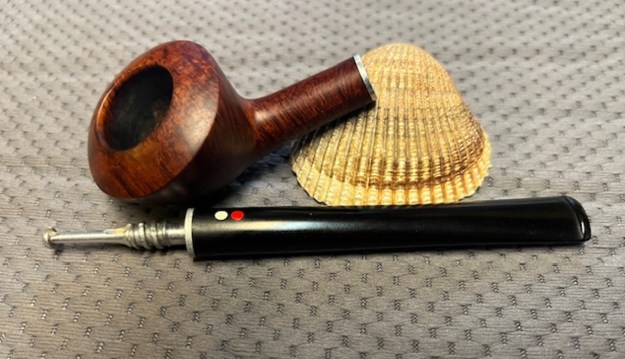
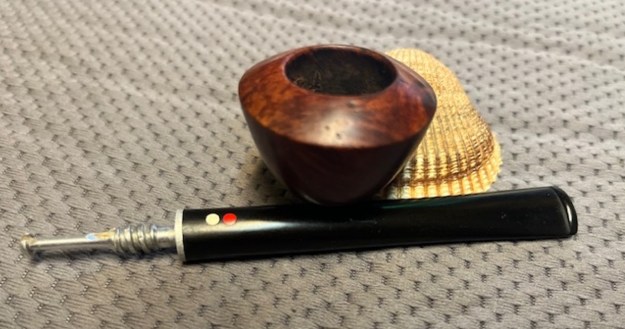
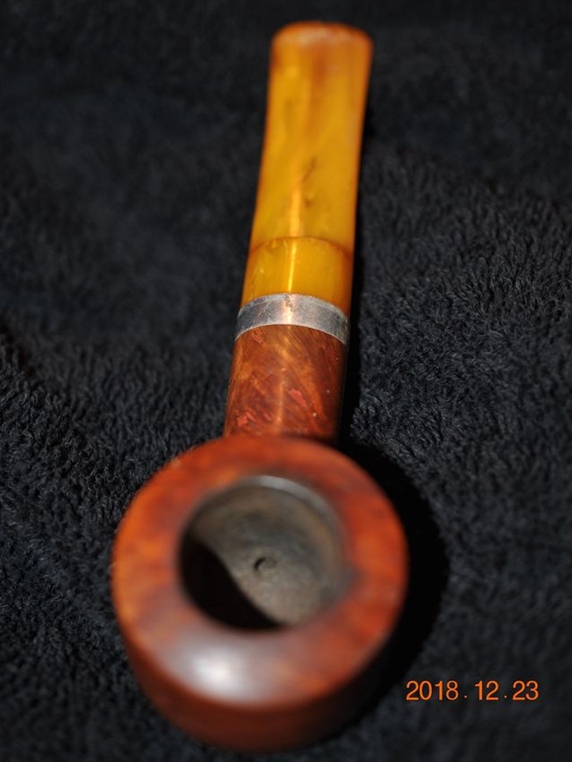
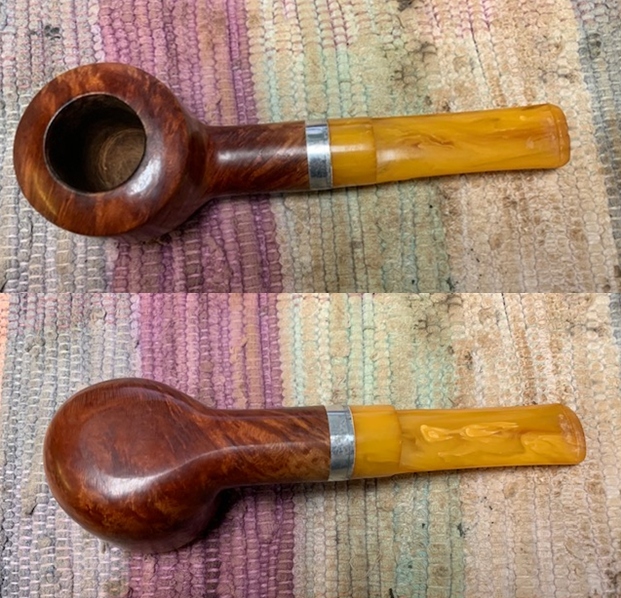
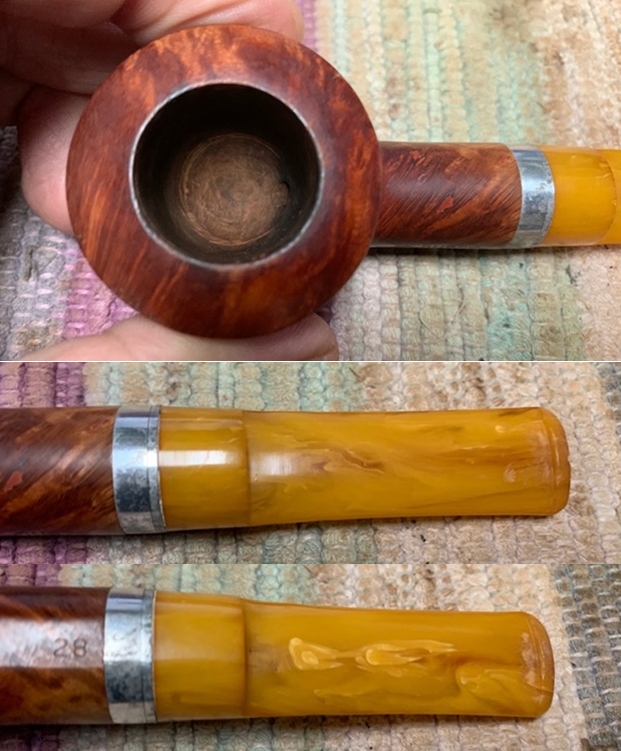
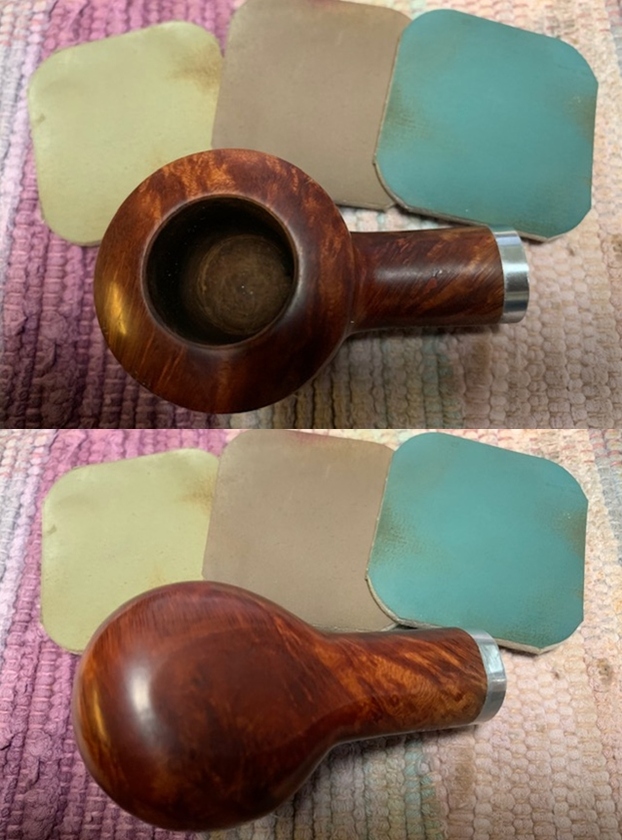
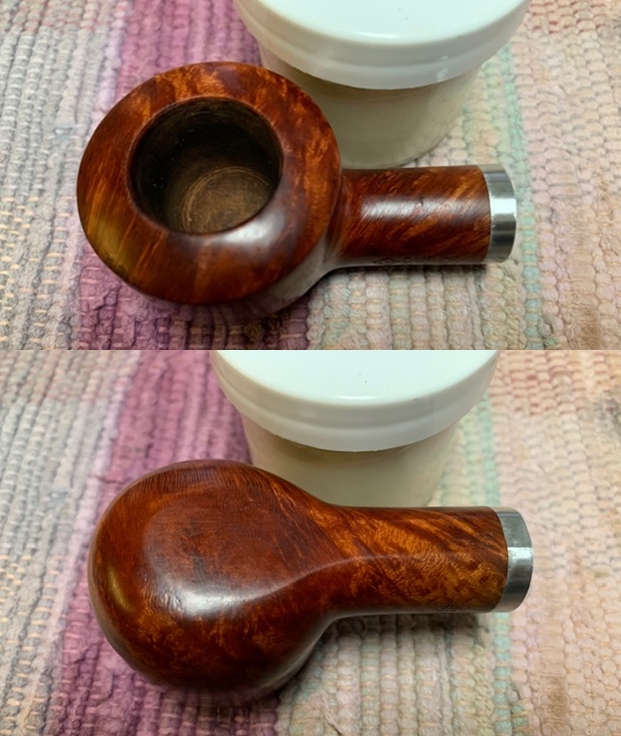
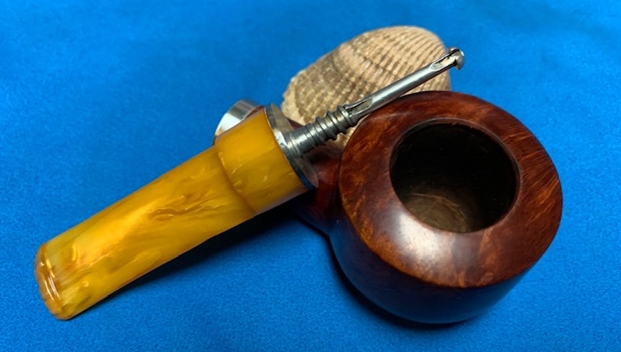
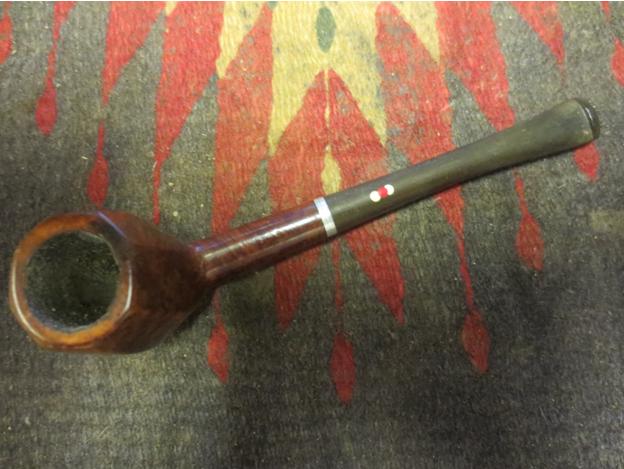
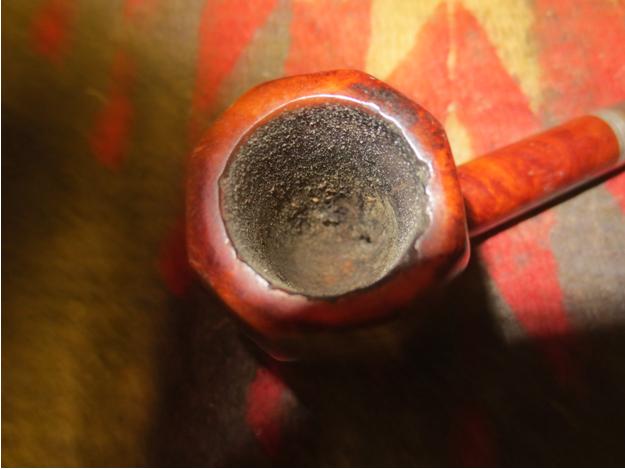
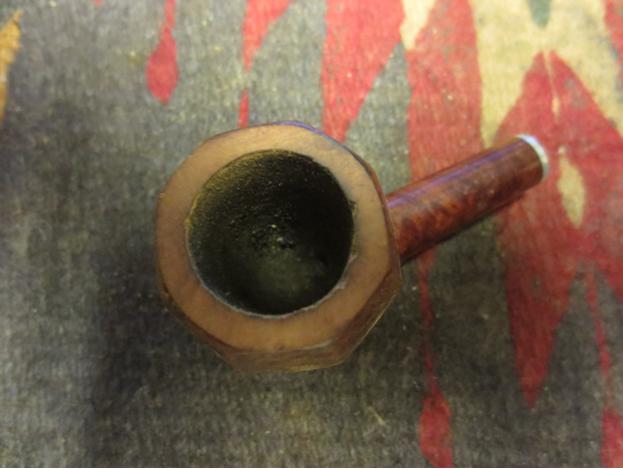
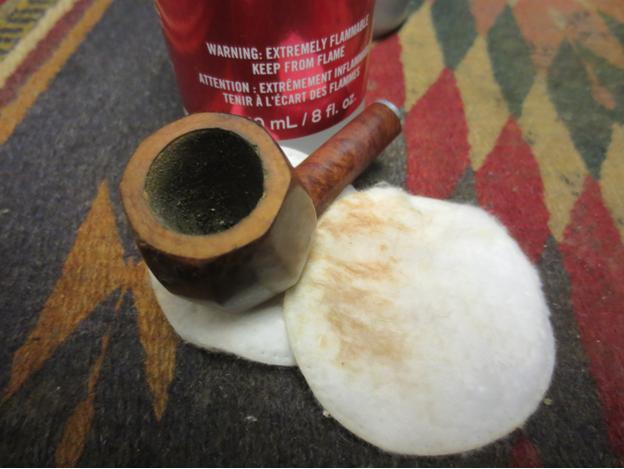
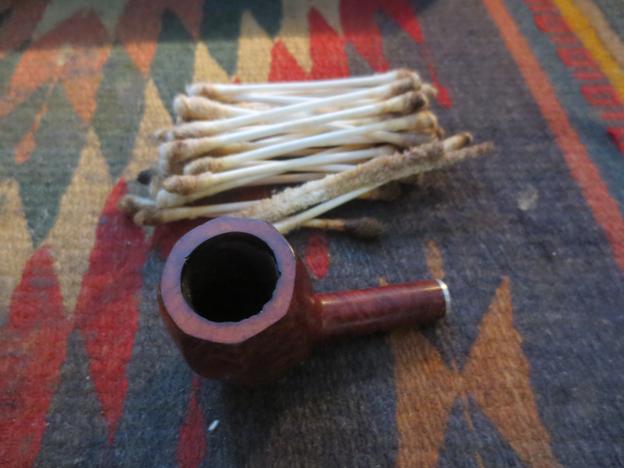
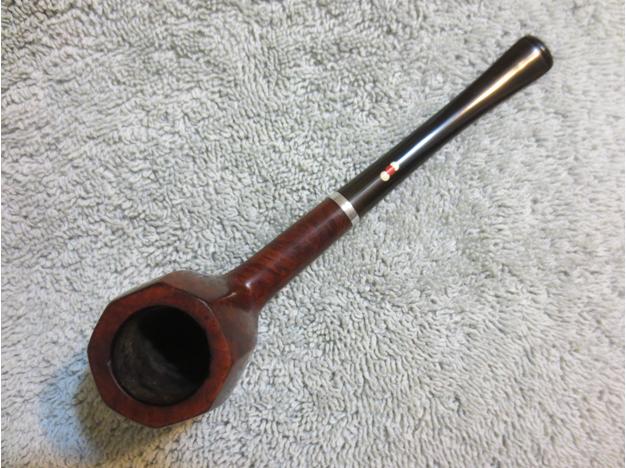
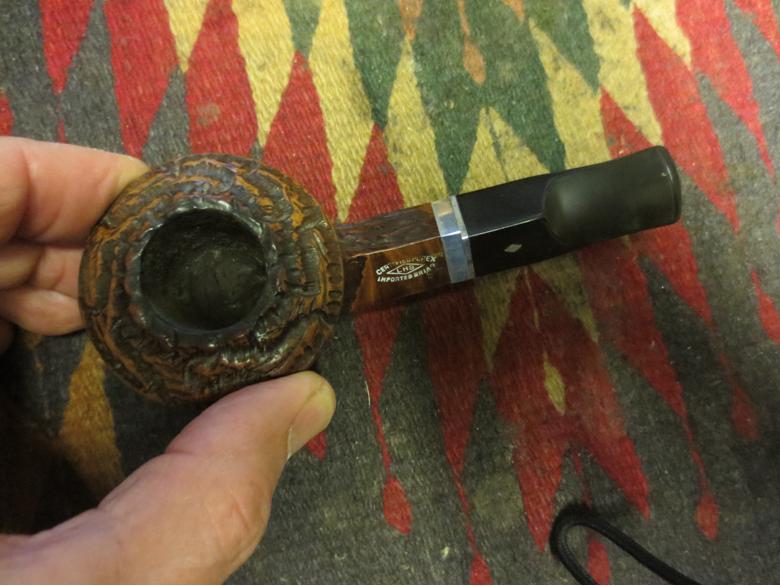
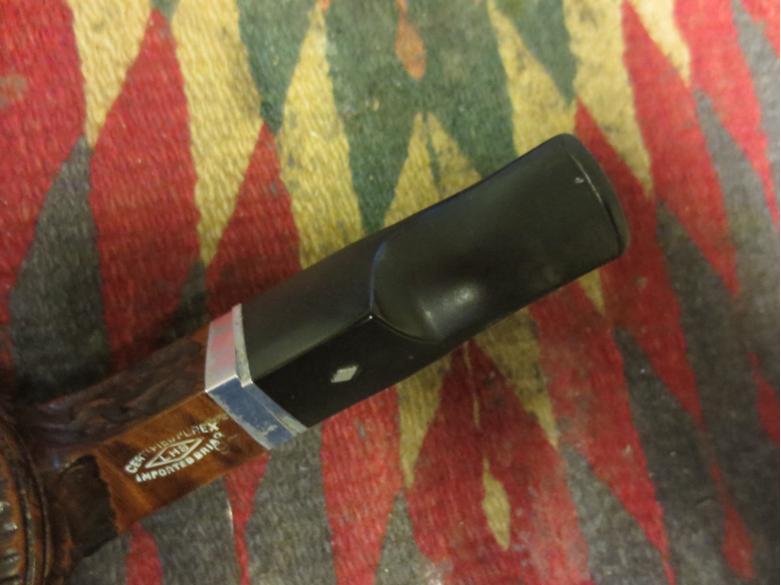
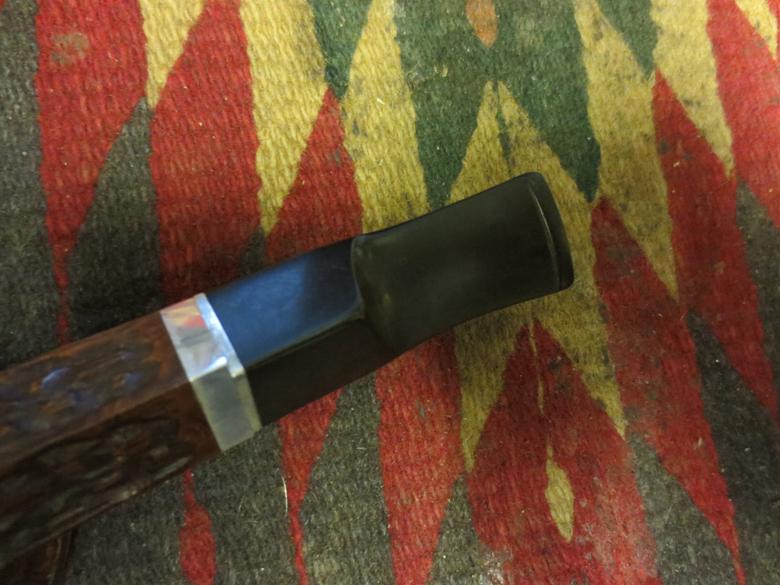
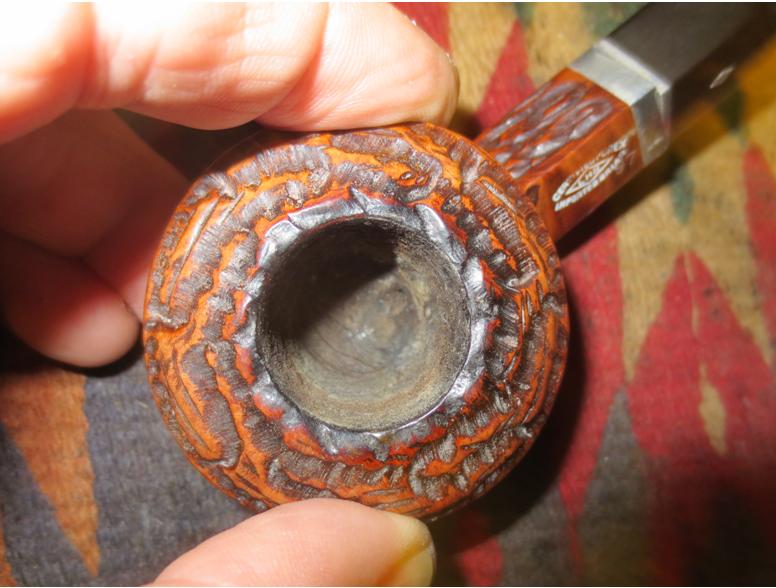
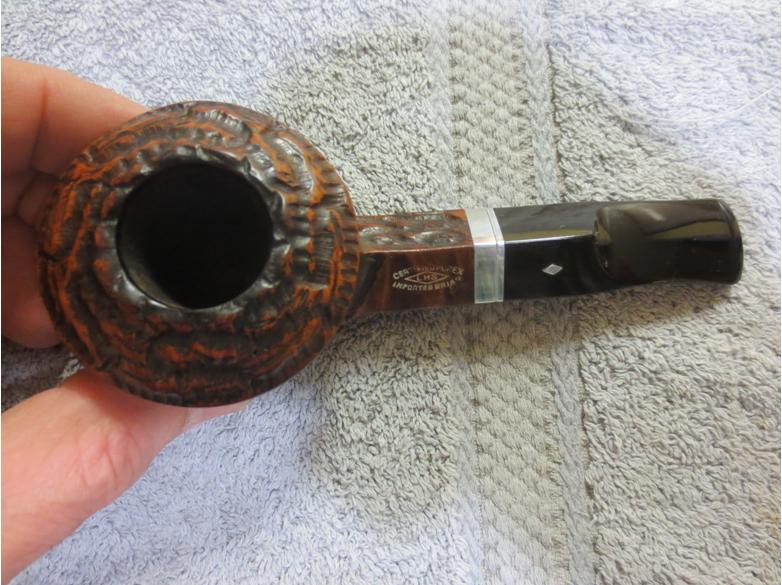
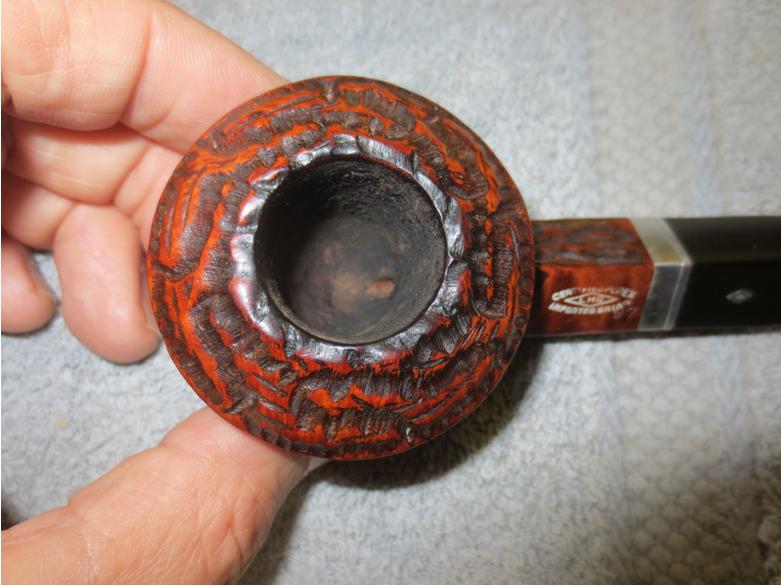
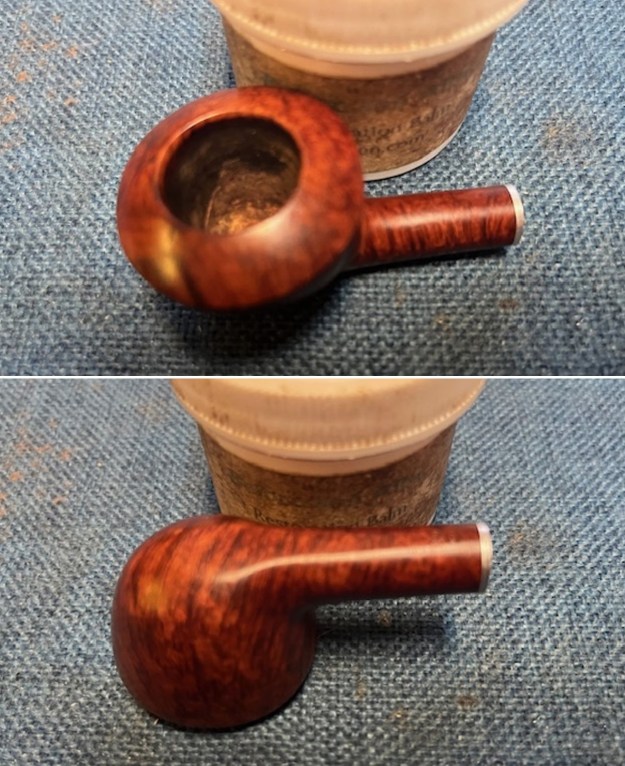
 He took a photo of the bowl and rim top to show their general condition. You can see the lava on the rim top and the thick cake in the bowl. There is damage on the inner edge of the bowl. The stem is oxidized, calcified and has tooth marks and chatter on both sides near the button.
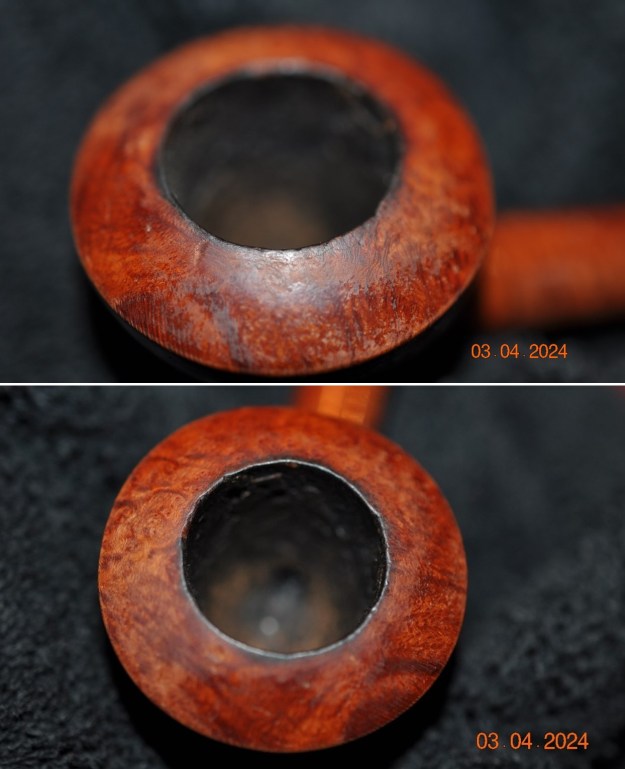

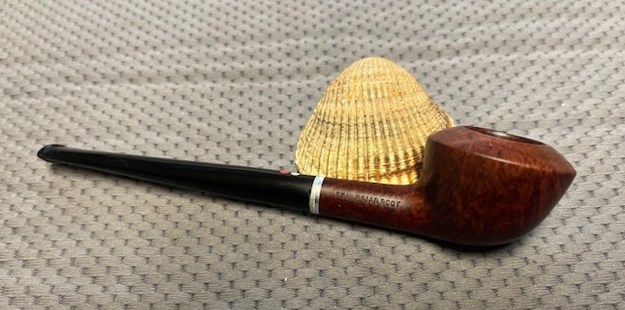
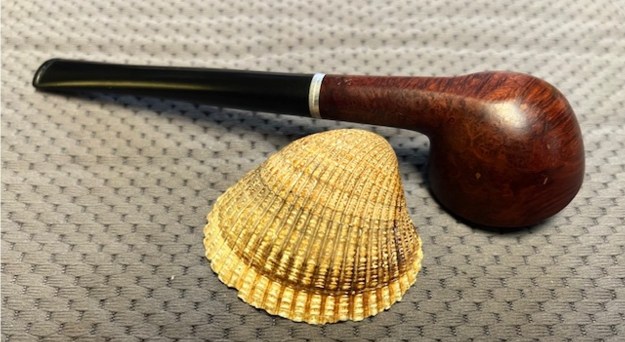
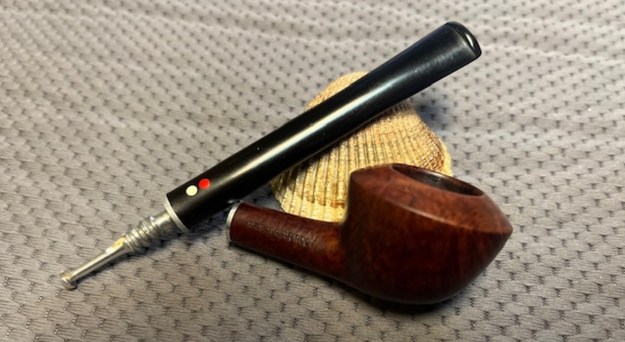
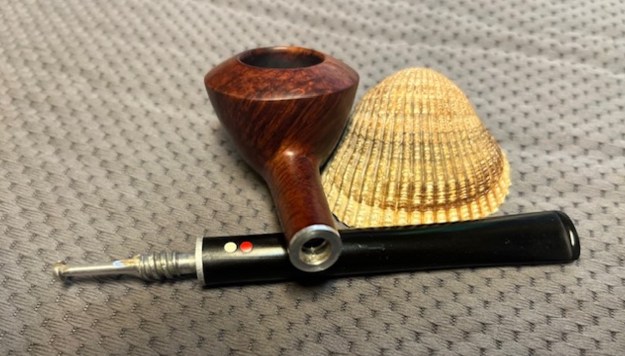
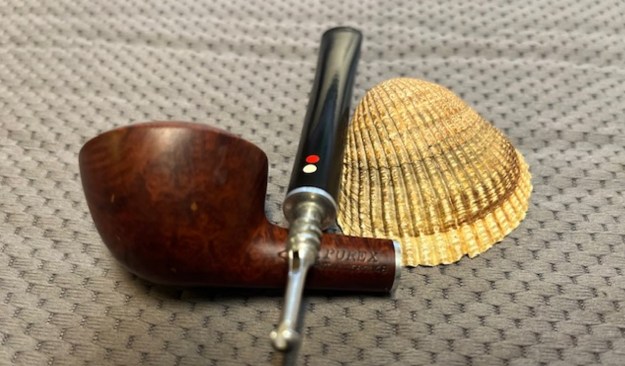
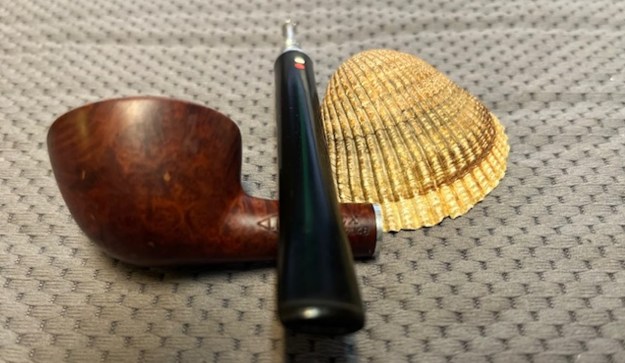
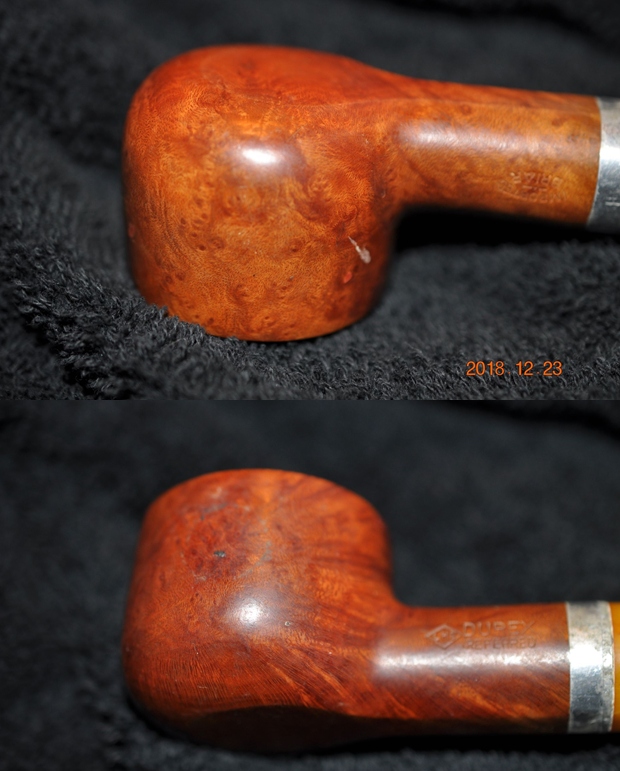
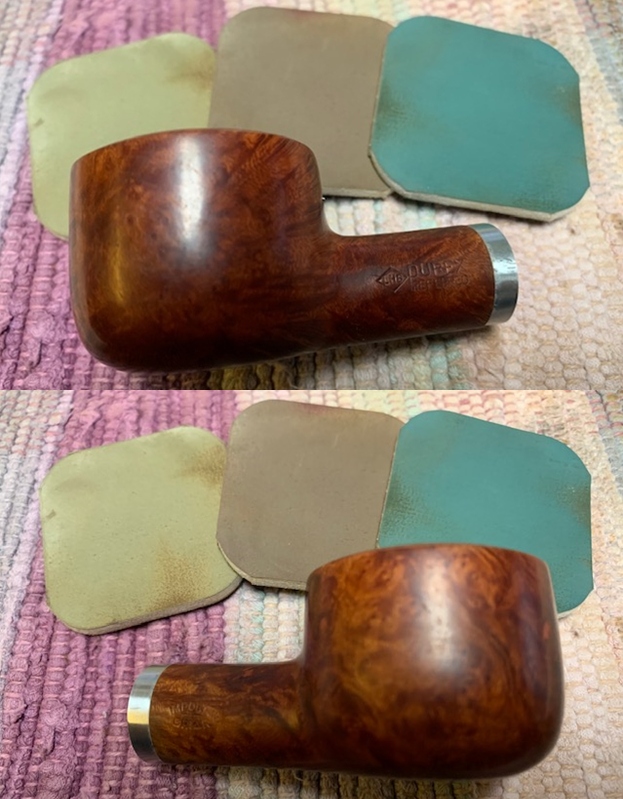
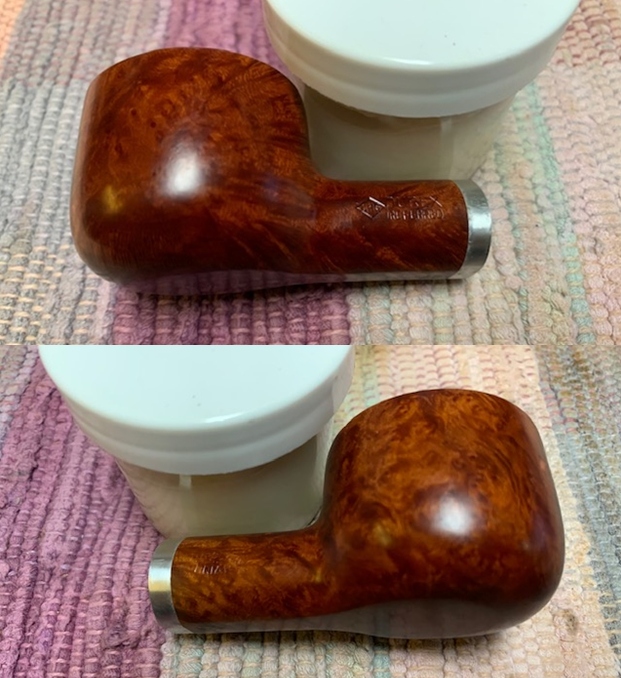
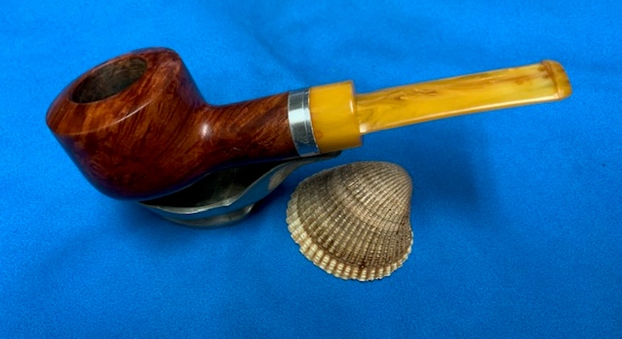
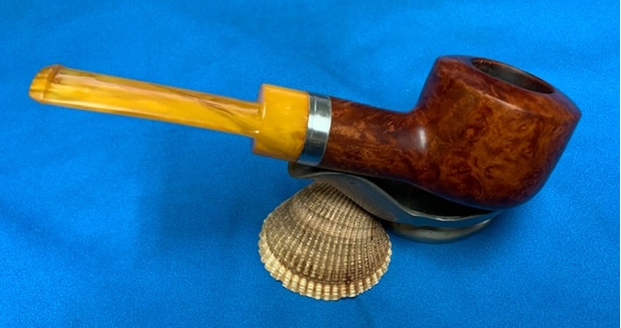
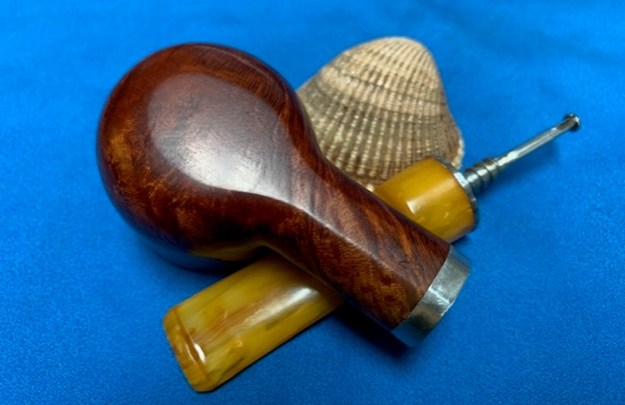
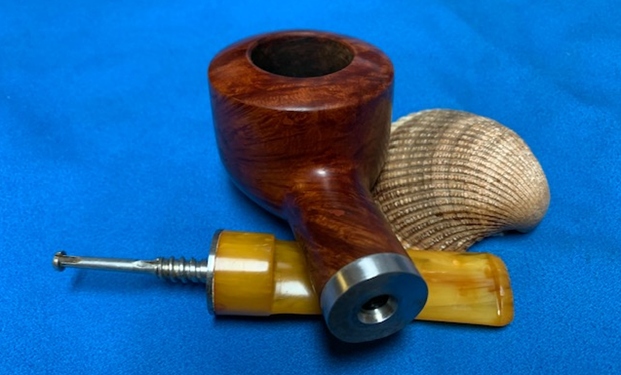
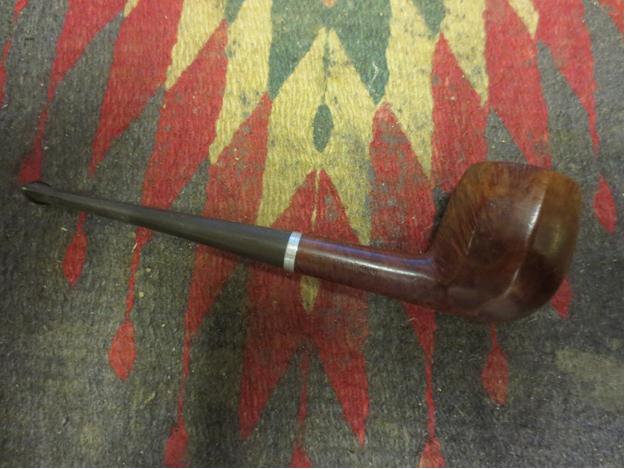
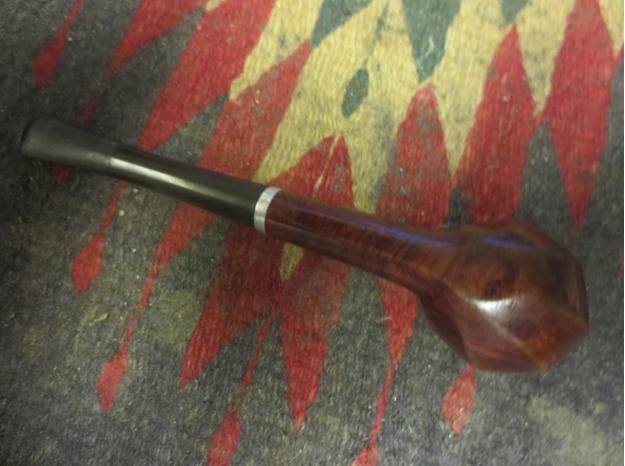
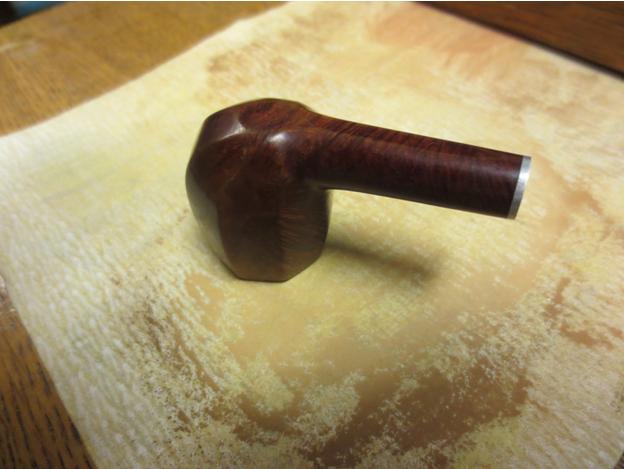
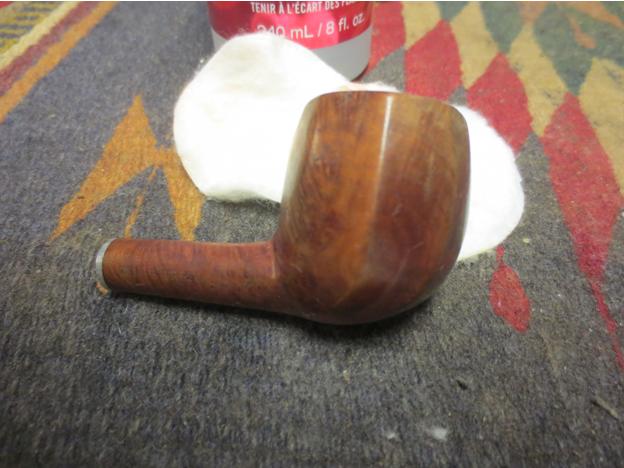
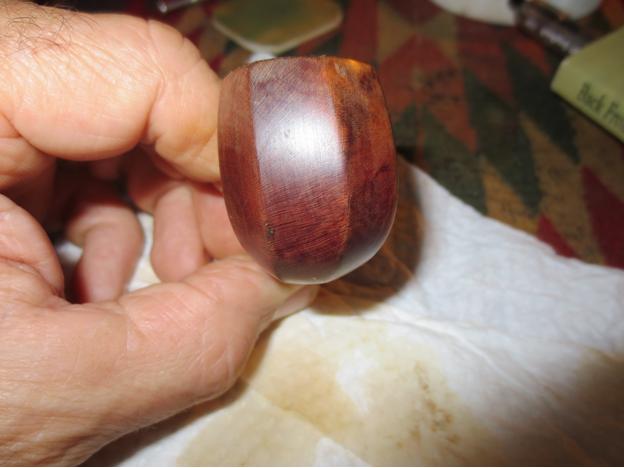
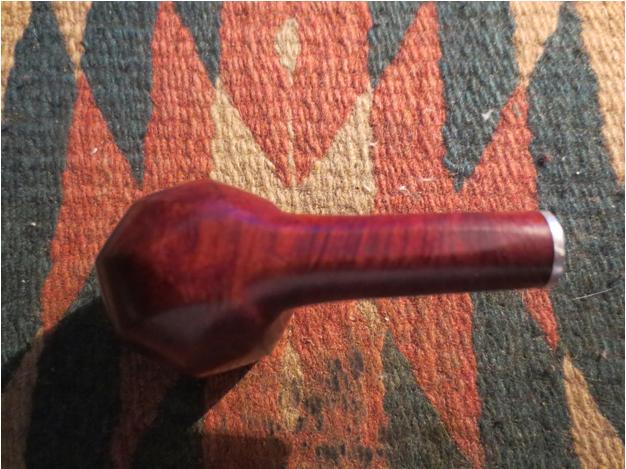
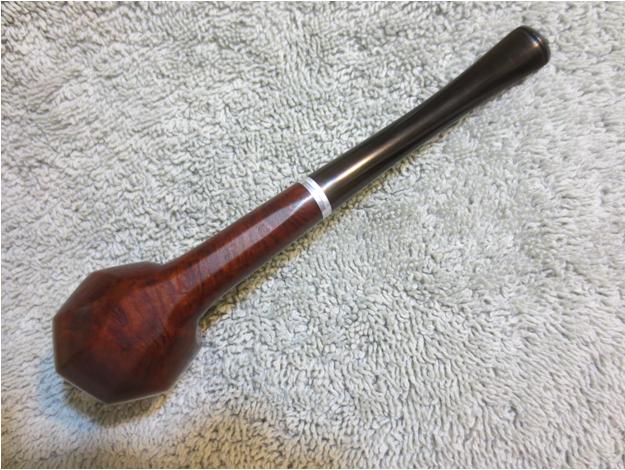
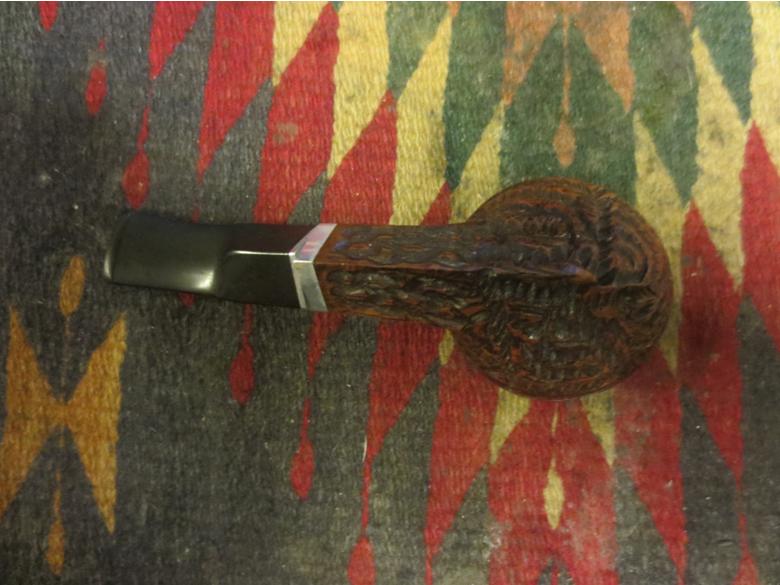
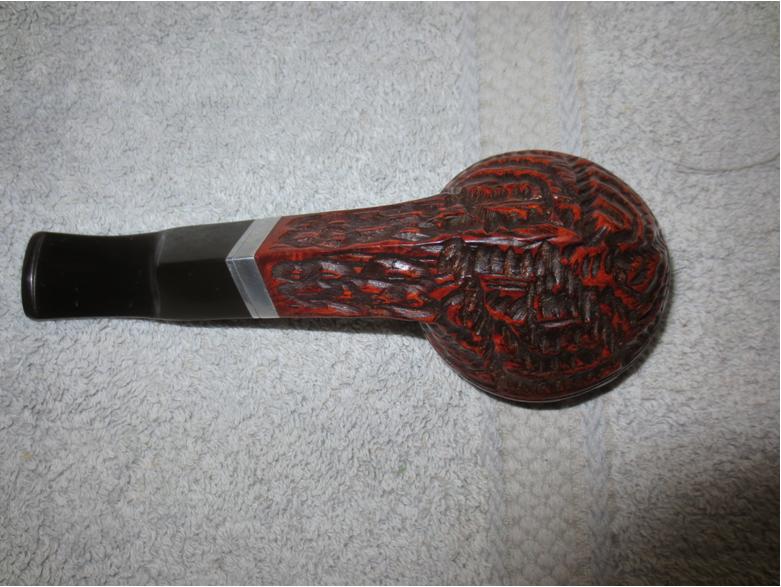
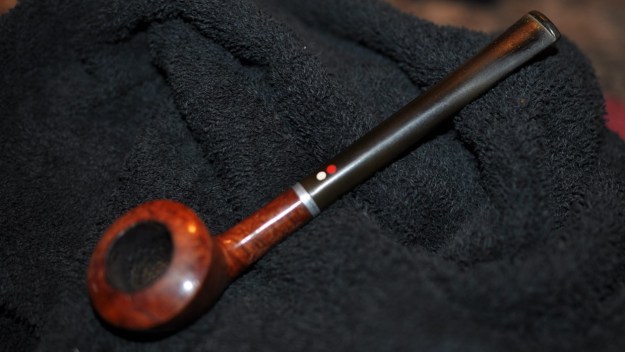
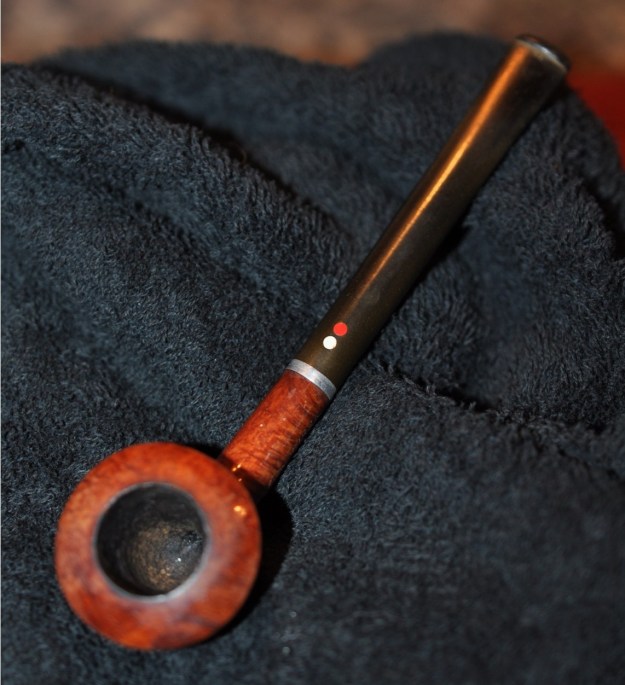
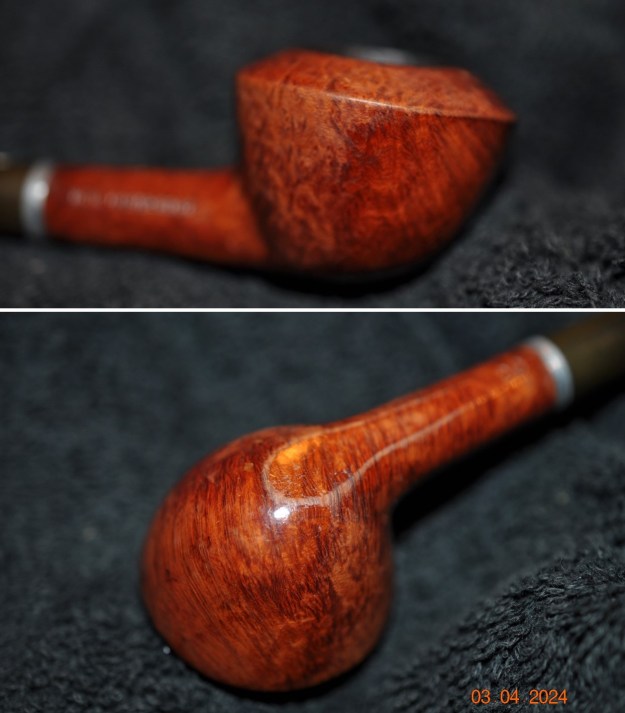
 Jeff took some photos of the sides and heel of the bowl to give an idea of the grain around the bowl as well as the peeling varnish coat. I cannot wait to see what it looks like once it is cleaned and polished.
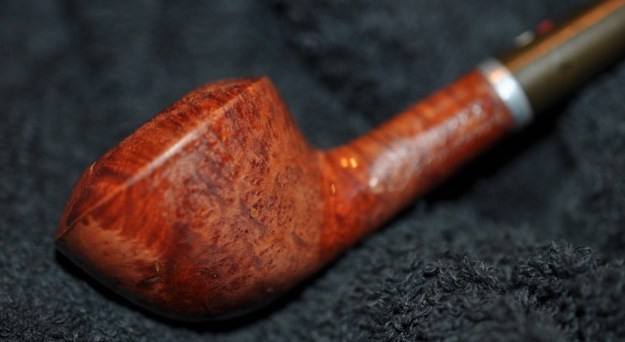
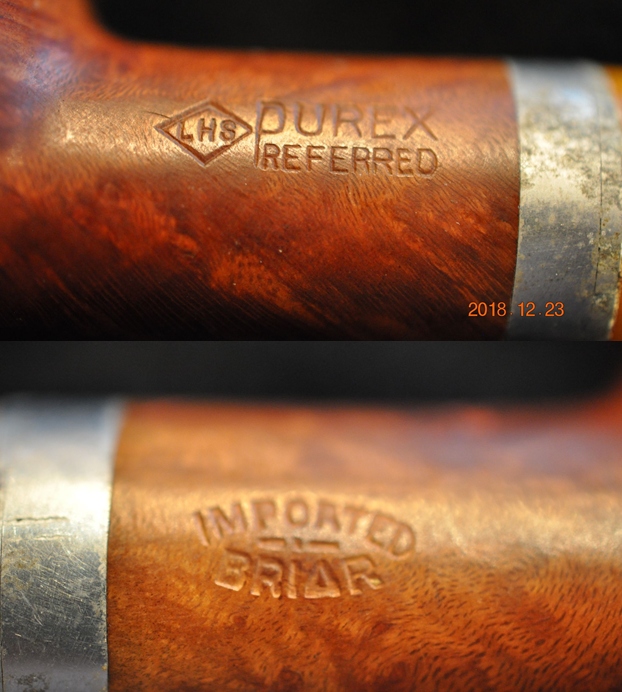
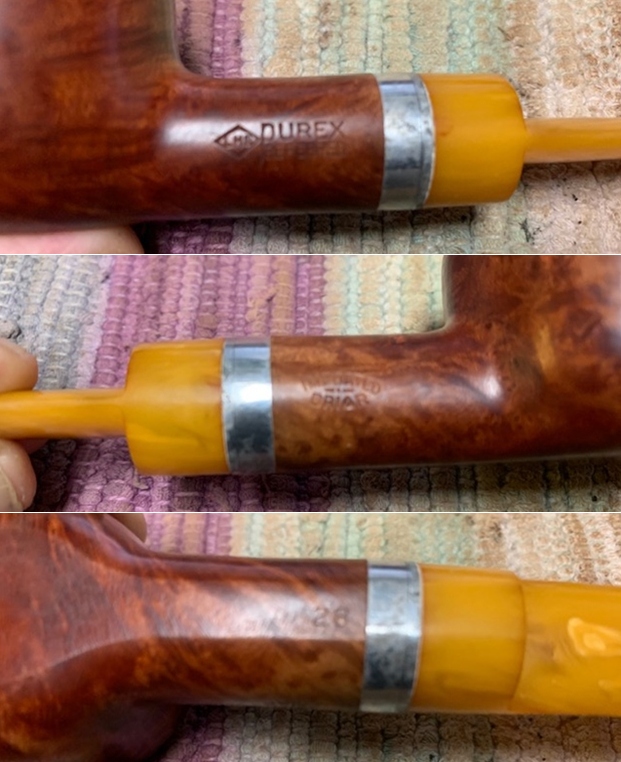
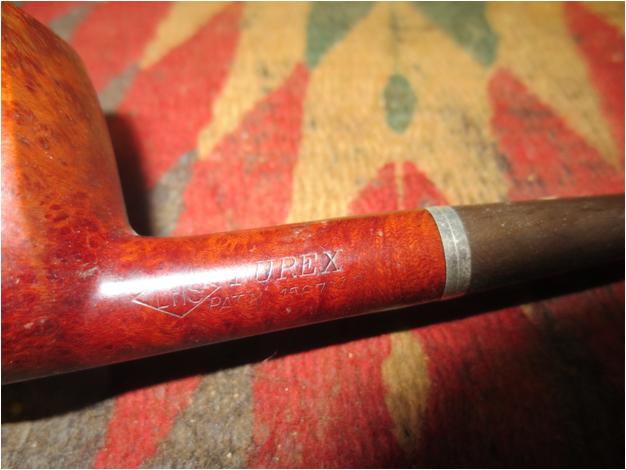
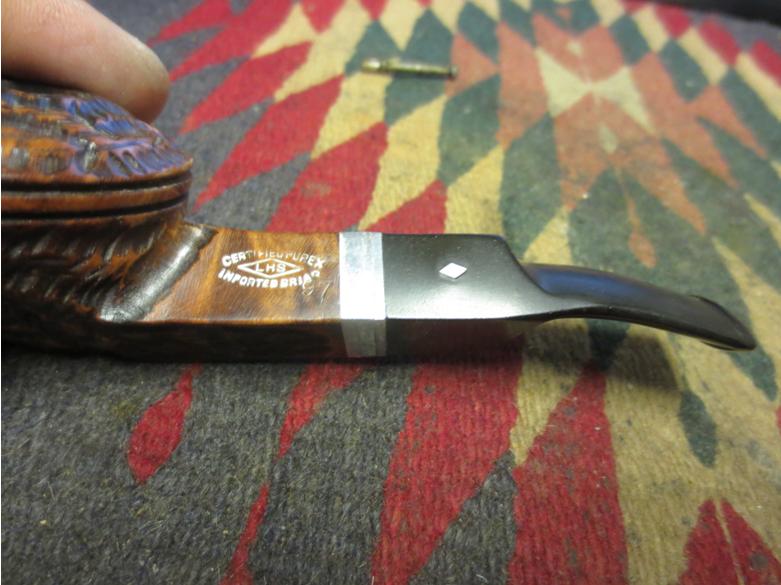
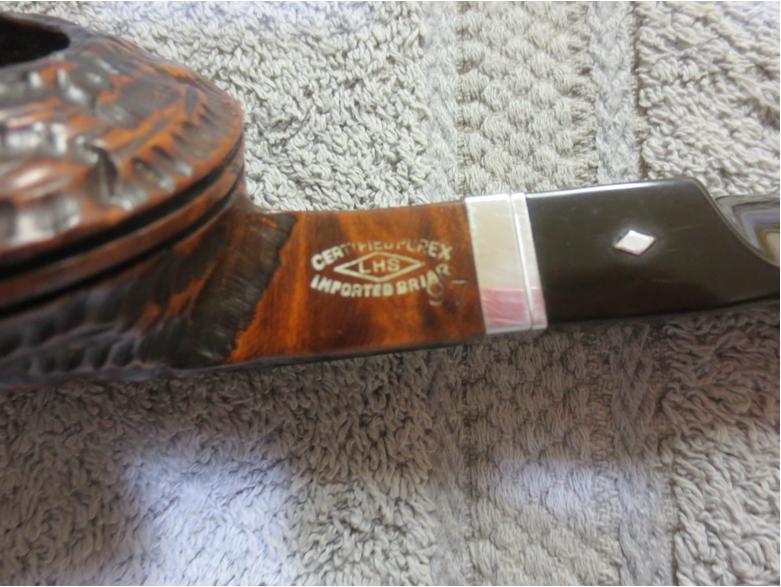
 He took a photo of the stamping on the sides of the shank to capture it for me. It is clear and readable.
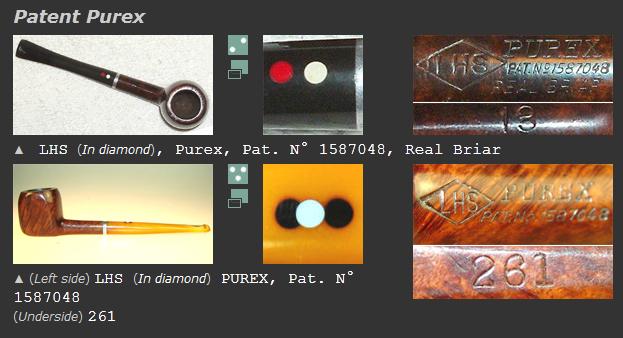
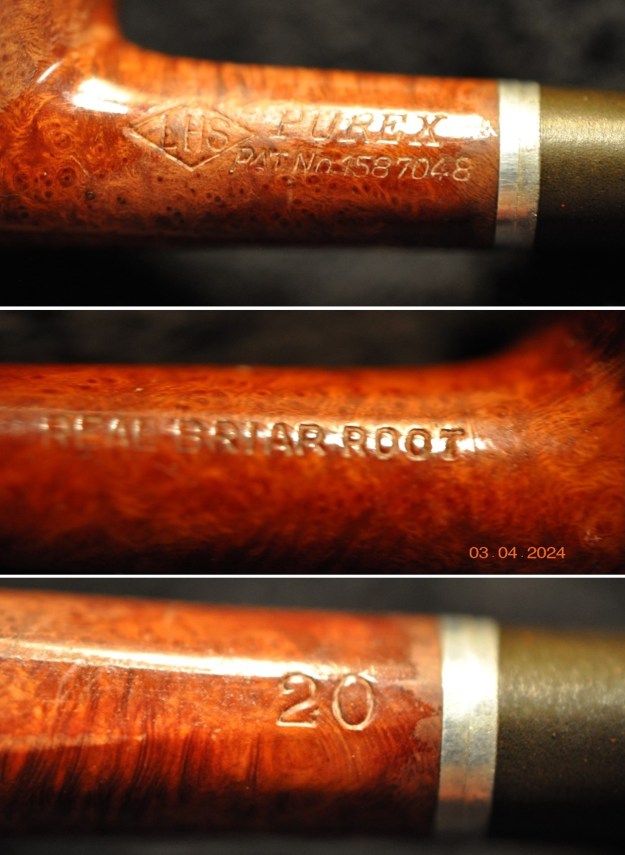 Before I started working on the pipe I turned to Pipephil to get a feel for the history of the brand and have included a screen capture of the pertinent section on the site below (http://www.pipephil.eu/logos/en/logo-lhs.html). I quote:
The L&H Stern Inc. was established by Ludwig Stern (1877-1942) in 1911. His brother Hugo (1872-?) acted as vice-president & secretary. The firm moved to 56 Pearl St. Brooklyn in 1920. It closed down in the 1960s. LHS was one of the main pipe suppliers for US soldiers during WWII.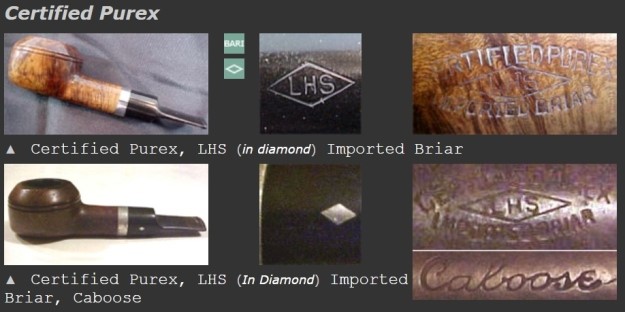 I turned to Pipedia for any additional information (https://pipedia.org/wiki/LHS). The article gave and expanded history of the brand and a list of the grades of pipes in 1944. The Purex stamp like the one I have was not shown in the list so I have left the link but not included the list.
Additional notes: Some models were made before, during, and after WWII. LHS was one of the main pipe supplier for US soldiers during WWII.
Pre-war pipes were stamped Real Briar Root, or Briar Root. Some war time pipes were made from domestic briar, or “American” briar and were void of any briar stampings. Many American pipe makers lost their over seas supply of Mediterranean briar shortly before and during the war. Post war pipes were stamped Imported Briar to assure customers that they were buying premium briar once again.
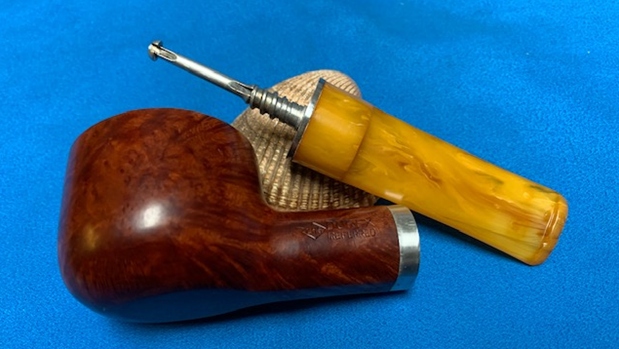
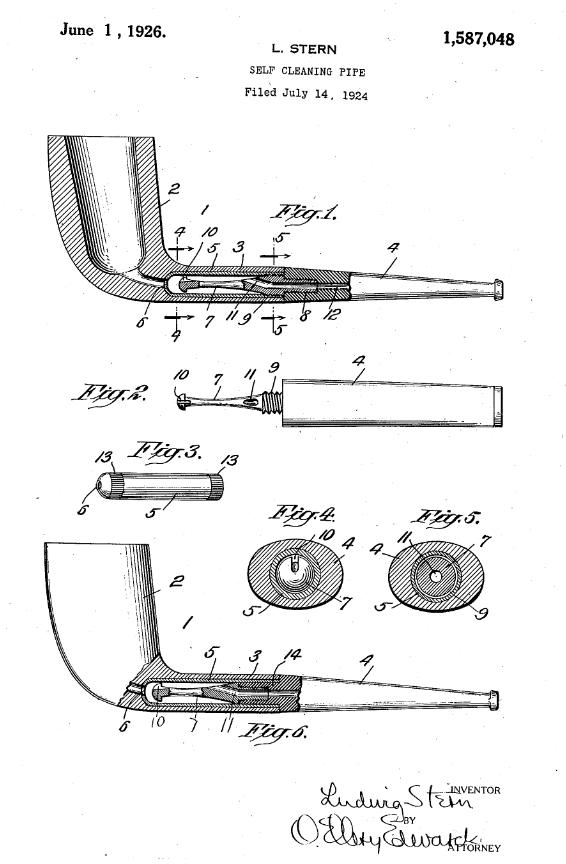
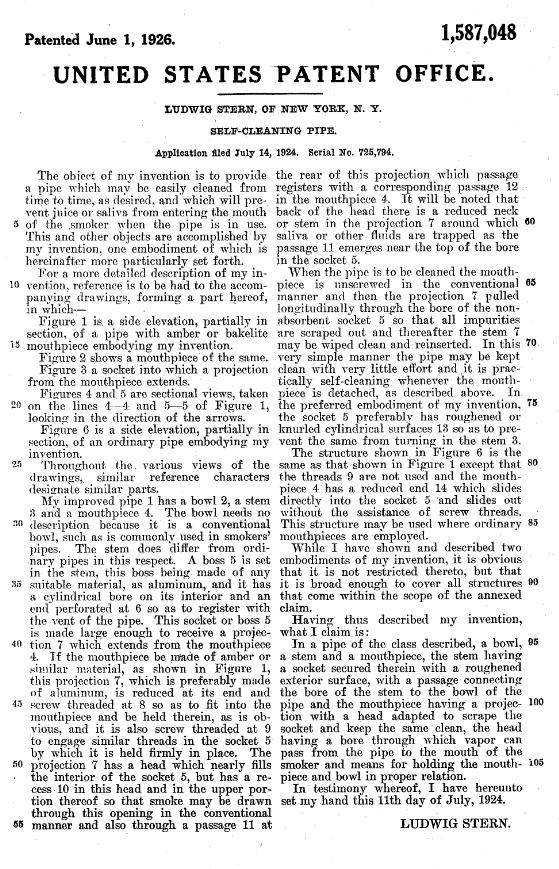
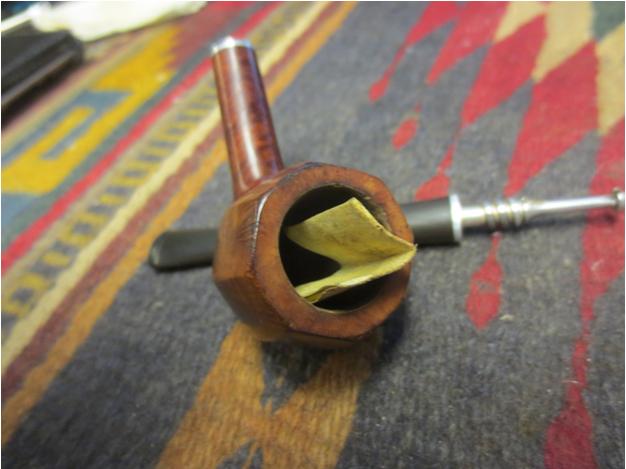
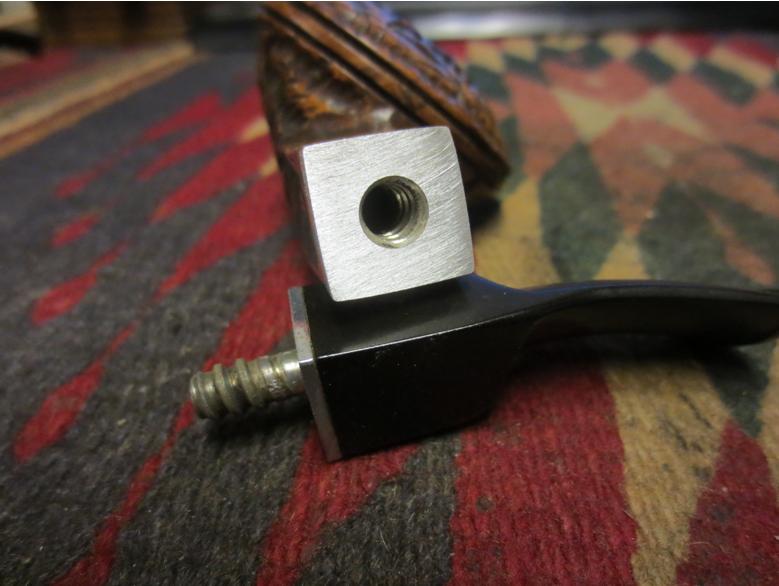
I also researched the patent number on the left side of the shank and it led me to the following diagram and patent information. It was filed in 1924 and awarded on June 1, 1926. The interesting thing is that it combines some of the concepts from a later patent filing on July 1, 1932 and granted on May 9, 1933. The stamping places it as a 1926 pipe. The shape of the stinger and the threaded mortise make me think of the 1926 pipe in many ways. I cannot see deep enough into the pencil shank to see if there is a metal cup insert in the shank behind the mortise. Maybe that will become clear in the cleanup. The smooth portion of the tenon after the threads and the metal disk that is threaded into the stem make me think of the 1933 patent pipe. The threaded mortis is the same in both but if it ends in the shank without the cup then it has a lot of similarity to the 1933. The 1926 patent gives me a start date for this pipe and the 1933 patent gives me an end date. The fact that the metal works combine both makes me wonder if the pipe did not come out of the factory with the new patent release in 1933. I am including the two different patents for you to see the interesting combination in this pipe.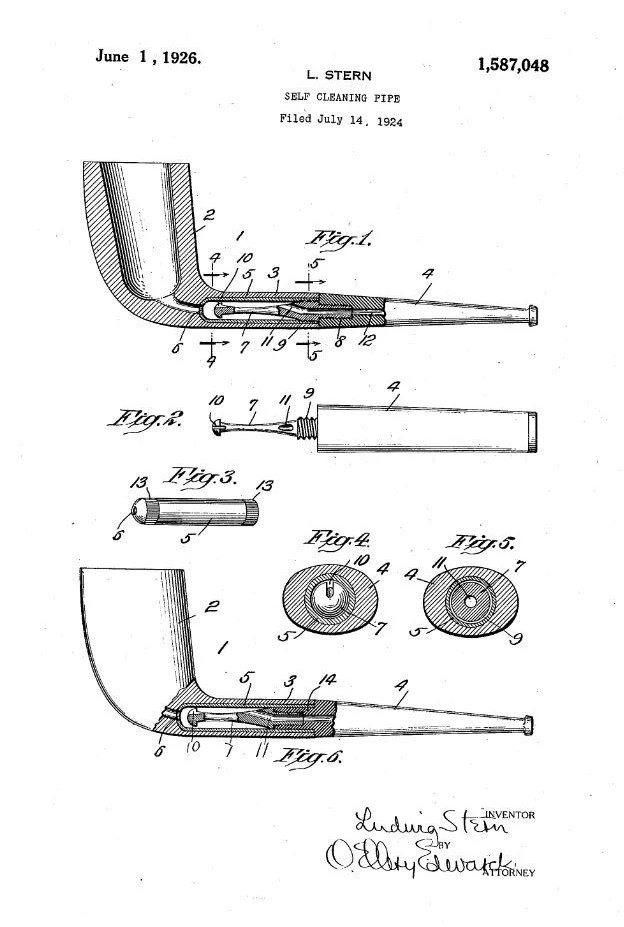
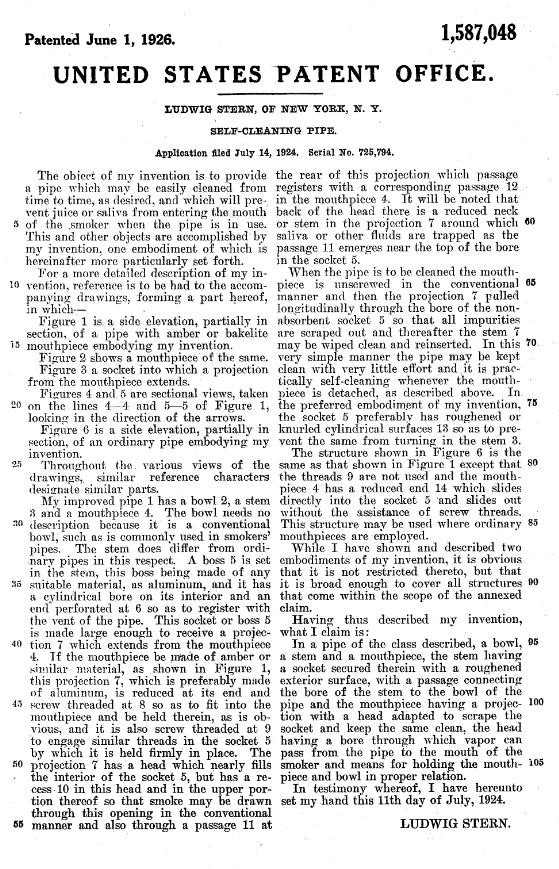
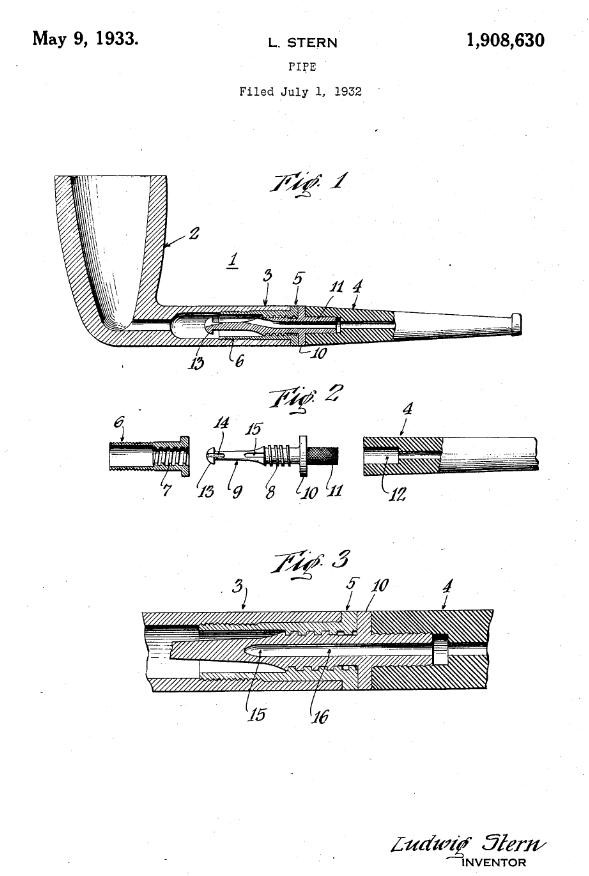
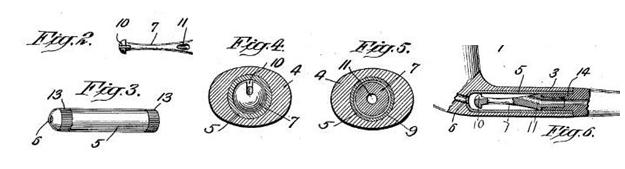
 I have screen captured the insert in the shank and the stinger apparatus from the 1926 patent drawings. Figure 2 shows the stinger. It is identical in both the 1926 and the 1933 patent drawings. Figure 3 shows a metal cup that is inserted in the shank. The mortise end is threaded to receive the threads on the tenon. Figure 4 shows the end of the stem looking at the head on the stinger. The slot is at the top. Figure 5 shows the inside of the shank looking at it from the end. The mortise end is threaded and the cup has an airway hole in the centre of the rounded end. That end sits against the airway from the bottom of the bowl as seen in Figure 6. When I started cleaning out the shank I was unsure of the interior. Once I was cleaning it I was certain it was the later stinger.
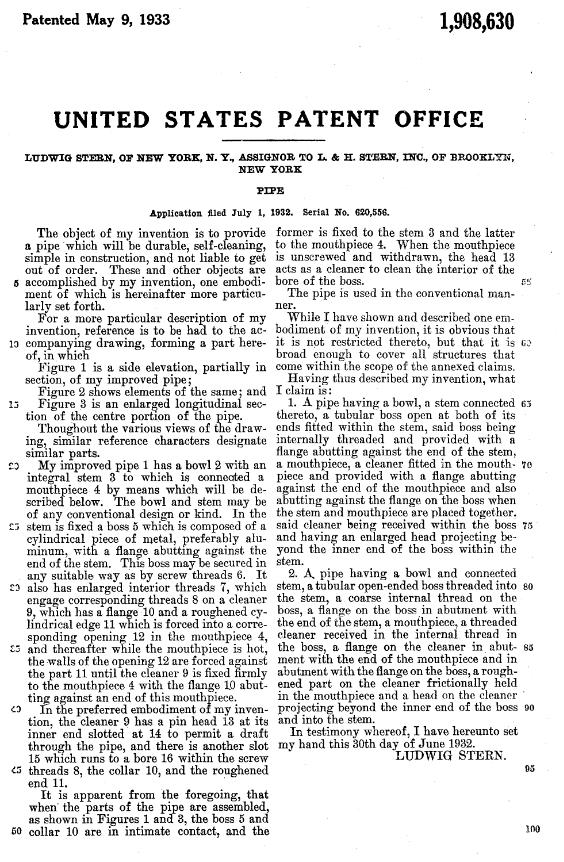
 I have also included a screen capture below of Figure 2 from the 1933 patent drawings. The insert in the shank is shorter than the 1926 version and does not include the cup. The tenon is the same though it has a longer smooth portion. It also has a plate that rest against the face of the stem when inserted. This tenon system is identical to the one that I am working on. That dates the pipe after 1933.
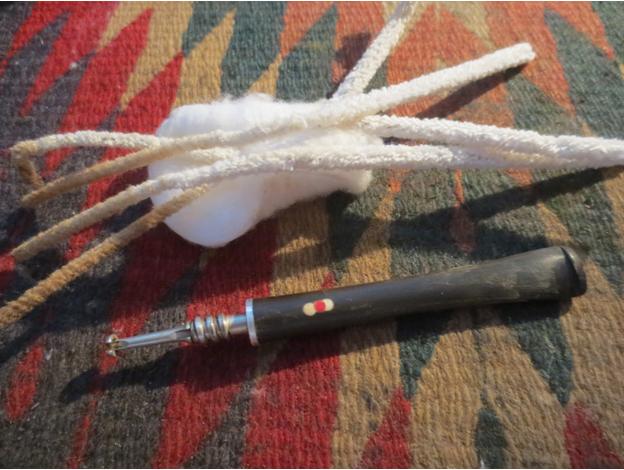
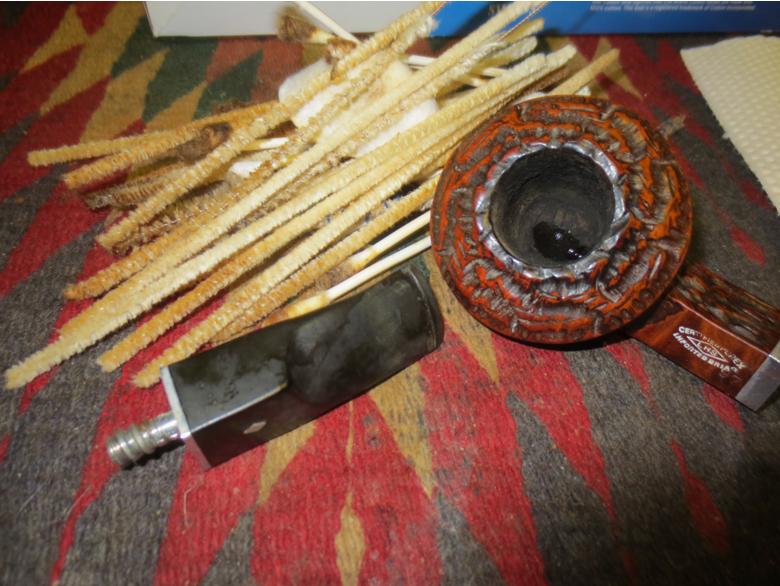
 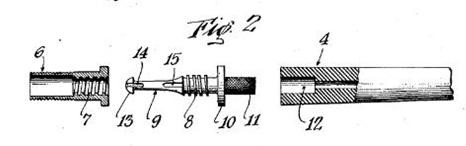 Jeff carefully cleaned the pipe. He reamed it with a PipNet pipe reamer and then cleaned up the reaming with a Savinelli Fitsall Pipe Knife. He scrubbed out the internals of the shank, stem and shank extension with alcohol, pipe cleaners and cotton swabs until the pipe was clean. He scrubbed the exterior of the bowl with Murphy’s Oil Soap and a tooth brush to remove the grime and grit on the briar and lava on the rim top. The finish looks much better and has a deep richness in the colour that highlights grain of the briar. The peeling varnish is gone. The rim top had some darkening and there was some damage to the inner edge of the bowl. The aluminum on the shank end and on the stem were slightly oxidized but clean. Jeff soaked the stem in bath of Briarville’s Pipe Stem Deoxidizer to remove the oxidation on the rubber. He worked it over with Soft Scrub All Purpose Cleaner to remove any remnants of oxidation. When the pipe arrived here in Vancouver and I finally started my work on it I was amazed it looked so good. Here are some photos of what I saw.
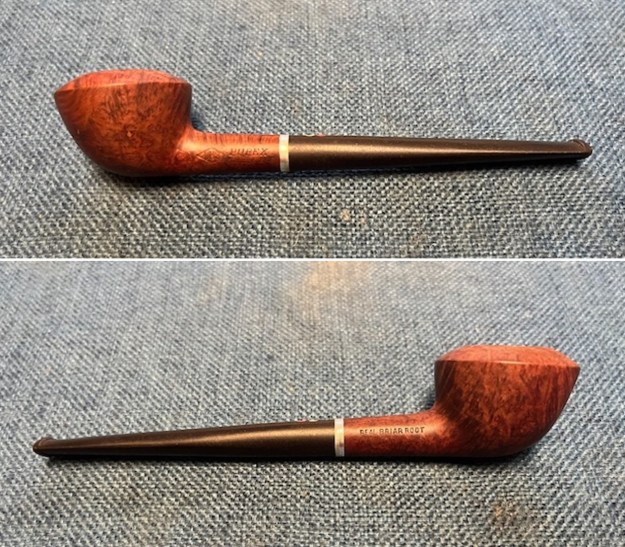
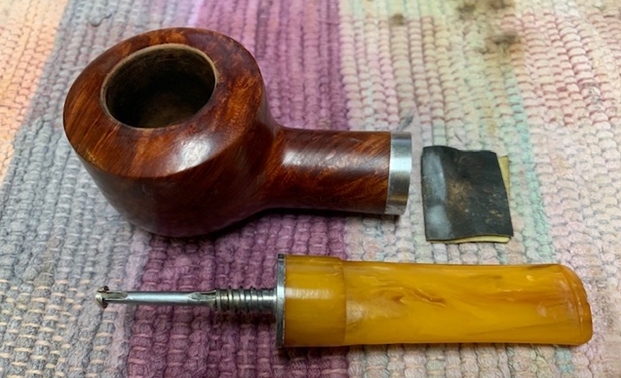
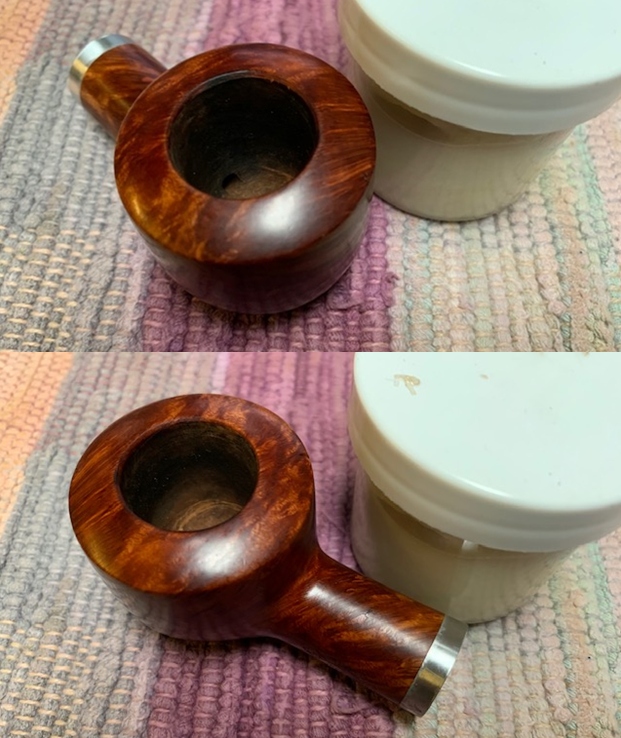
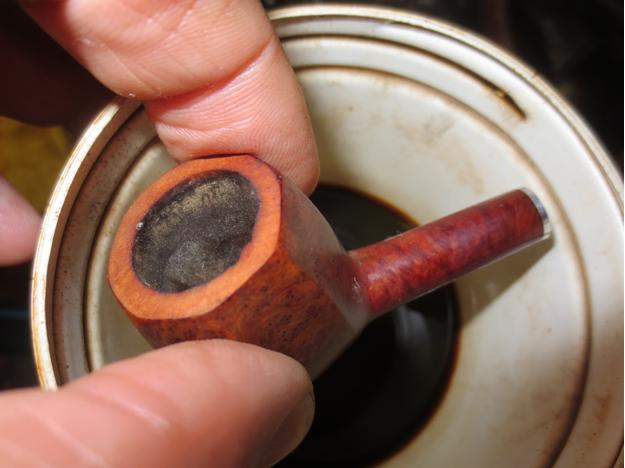
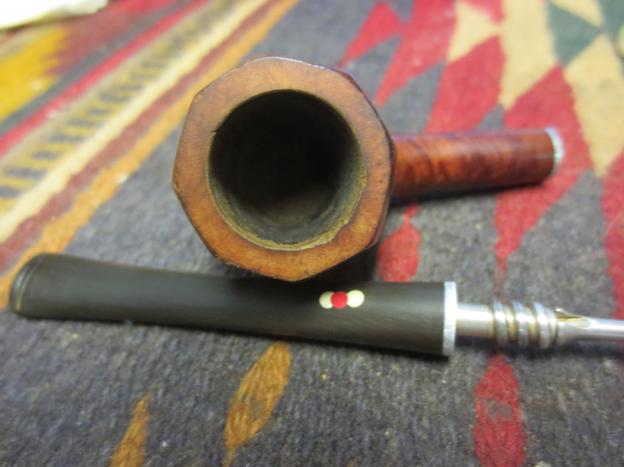
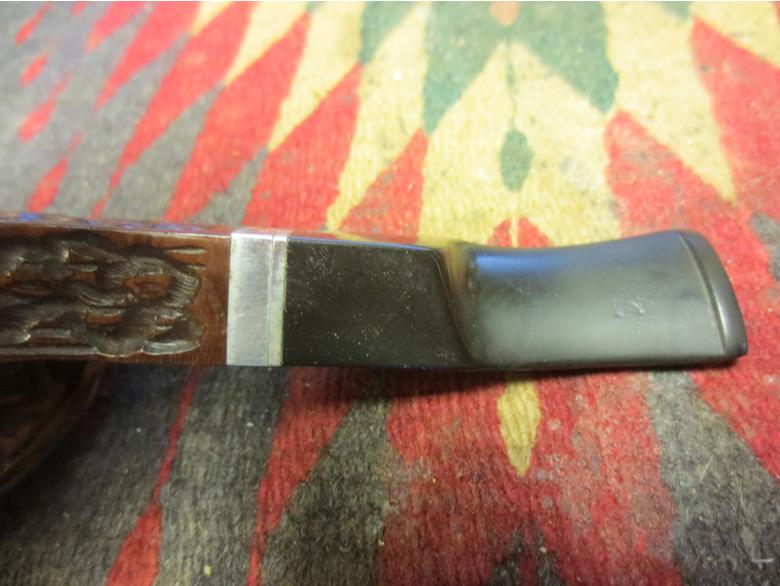
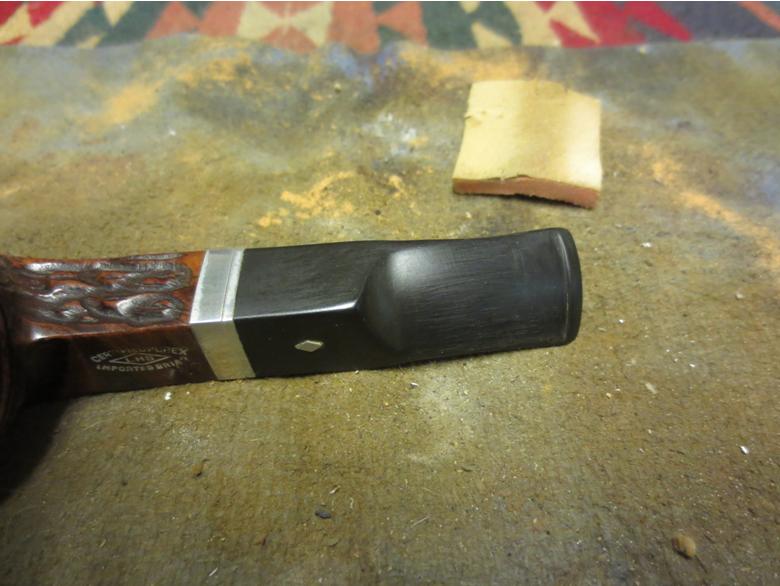
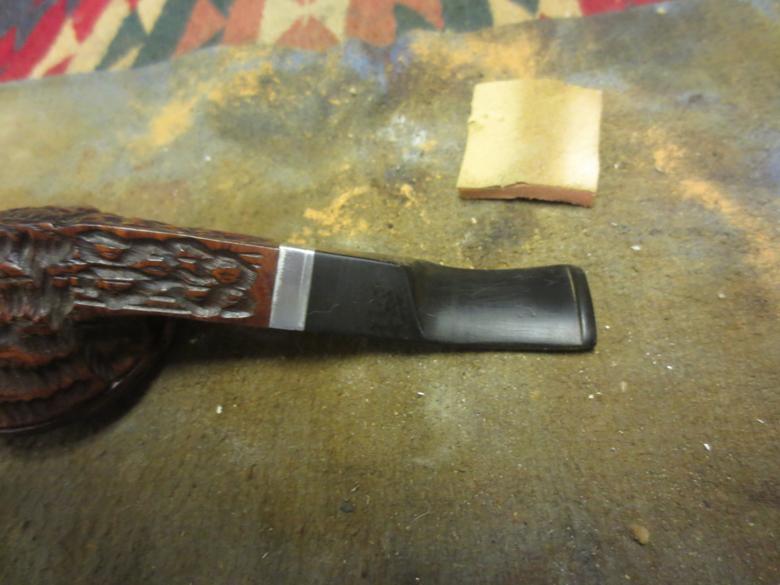
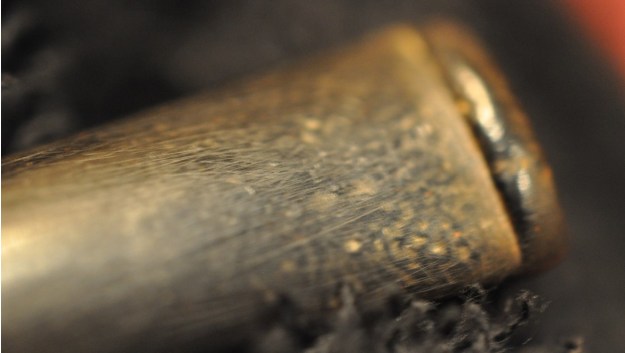
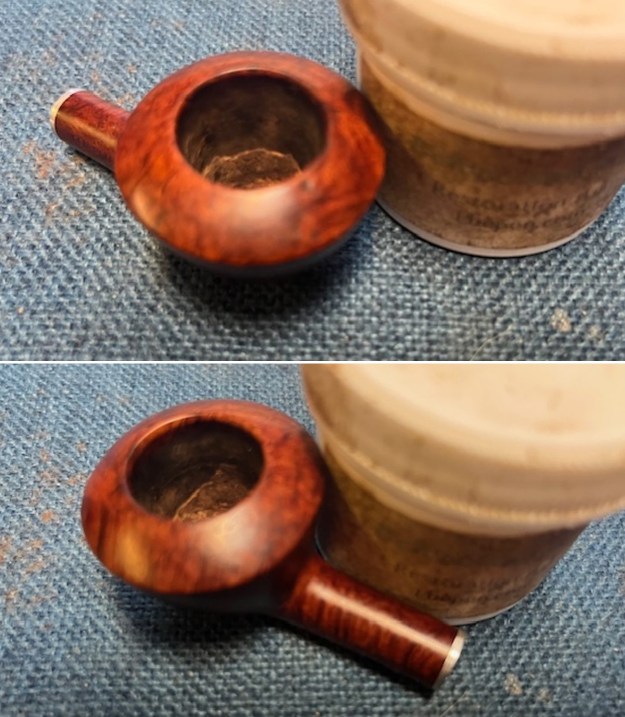
 I took some photos of the rim top and stem. The rim top and inner edge of the bowl shows damage and burned areas. It is out of round and will need some work. The close up photos of the stem shows that the surface of the stem is pitted. There are tooth marks and chatter on the top and underside of the stem near the button.
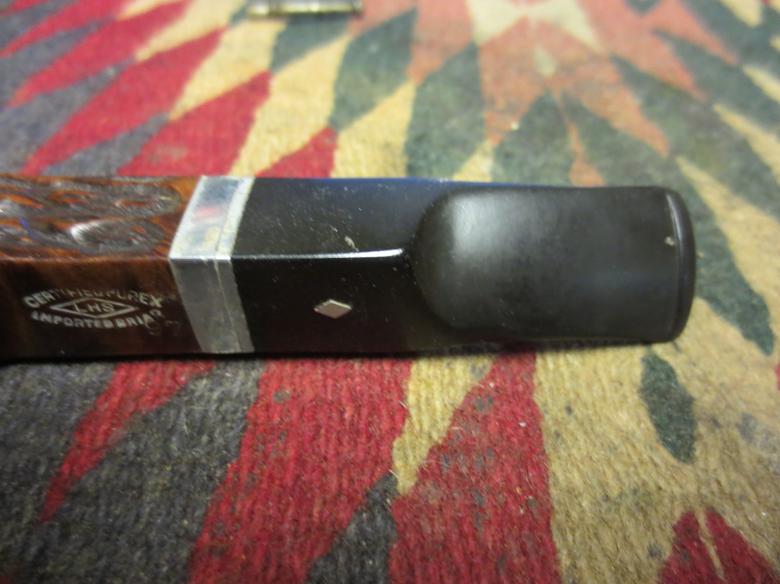
 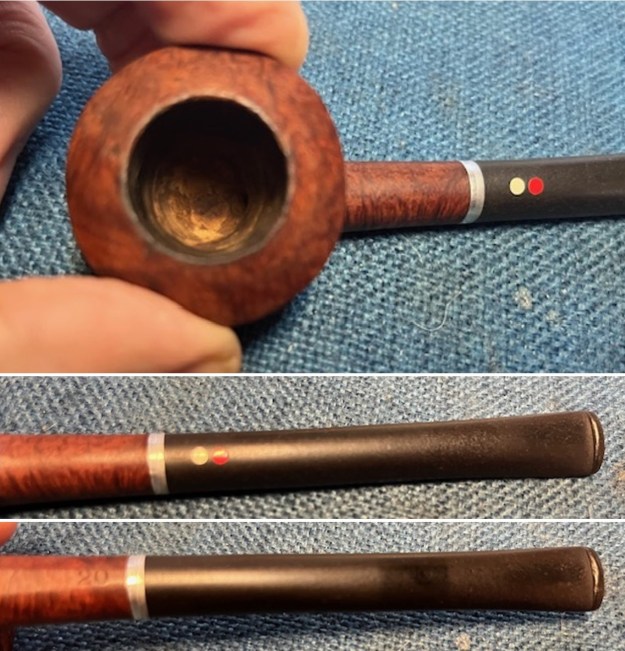 I took a photo of the stamping on the sides and the underside of the shank to show the condition after the cleanup. This stamping is readable and looks good.
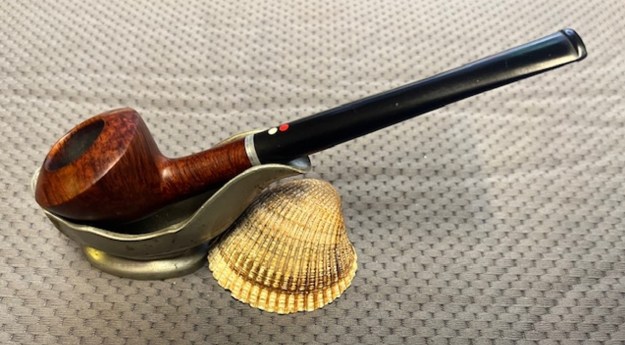
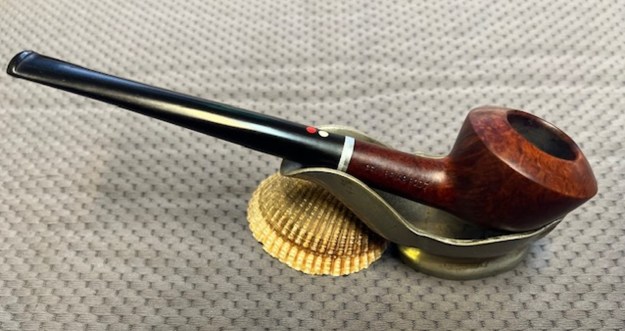
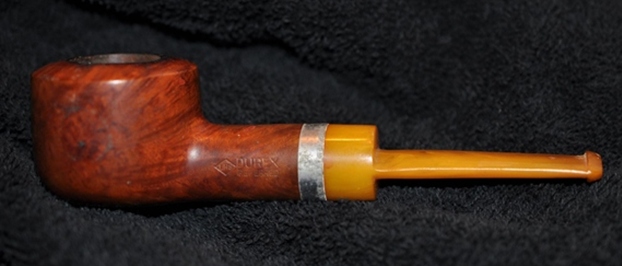
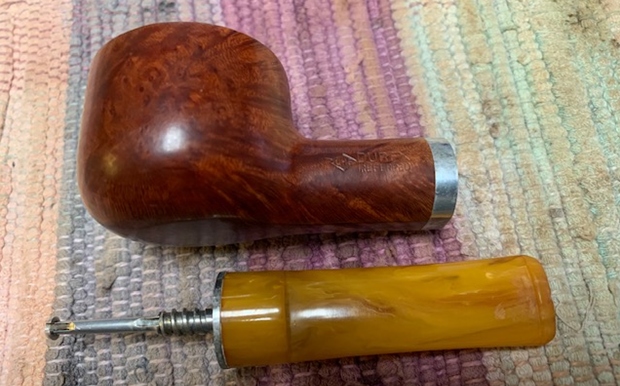
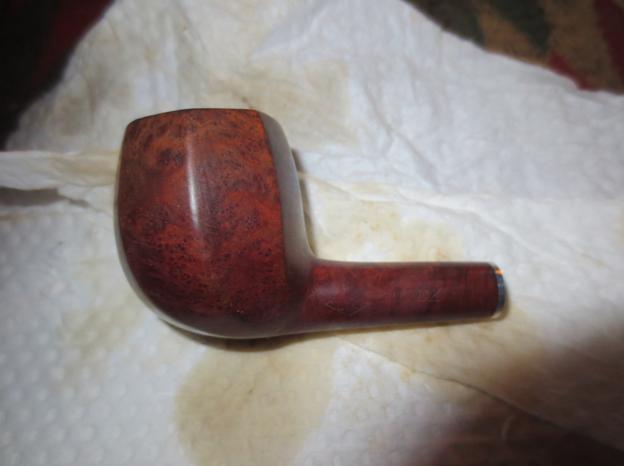
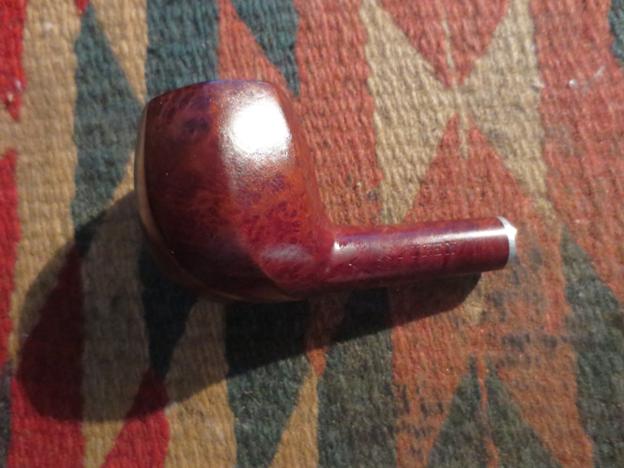
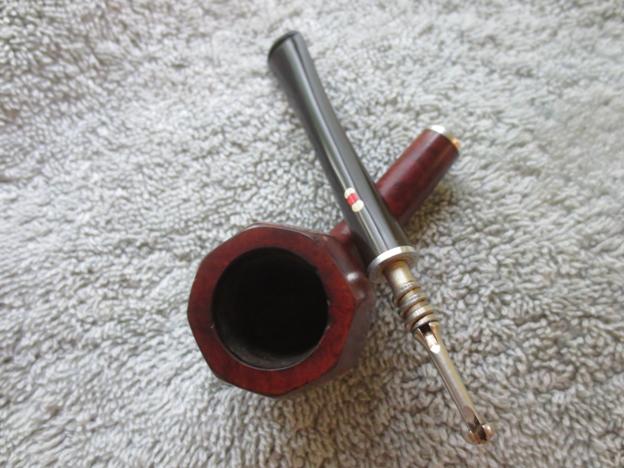
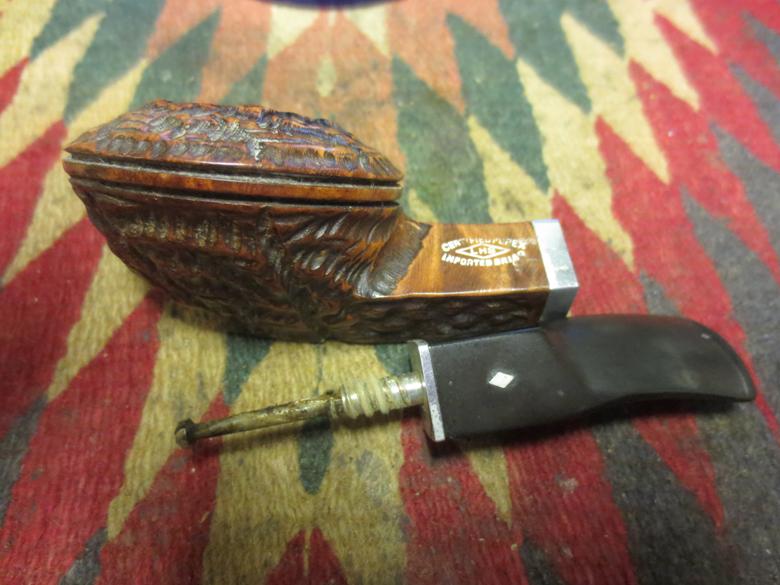
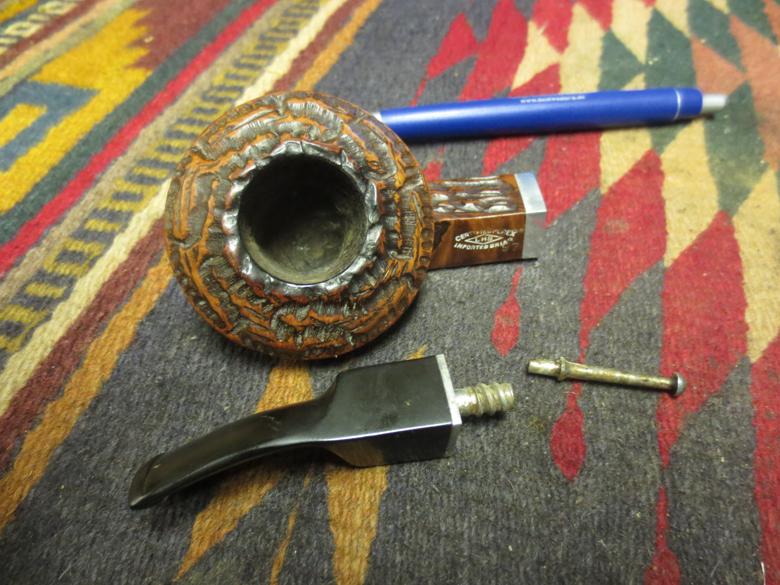
 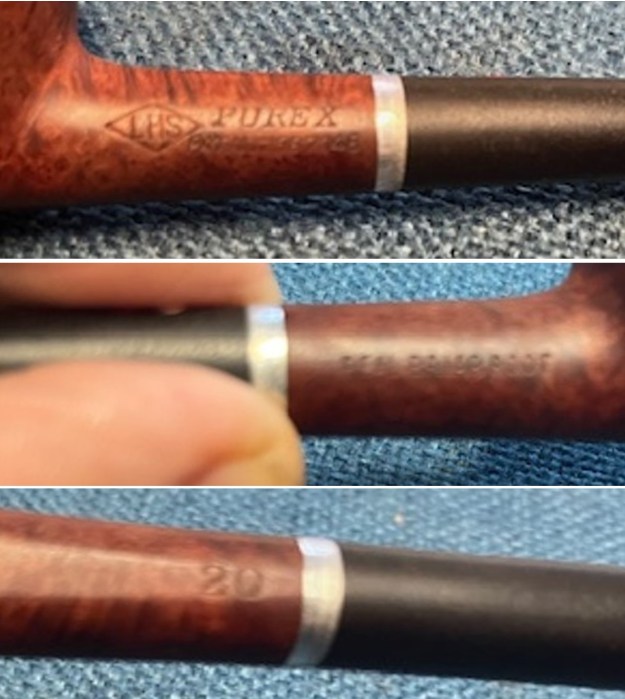 I removed the stem from the shank and took a photo of the pipe at this point. You can clearly see the condition, size and shape of the pipe.
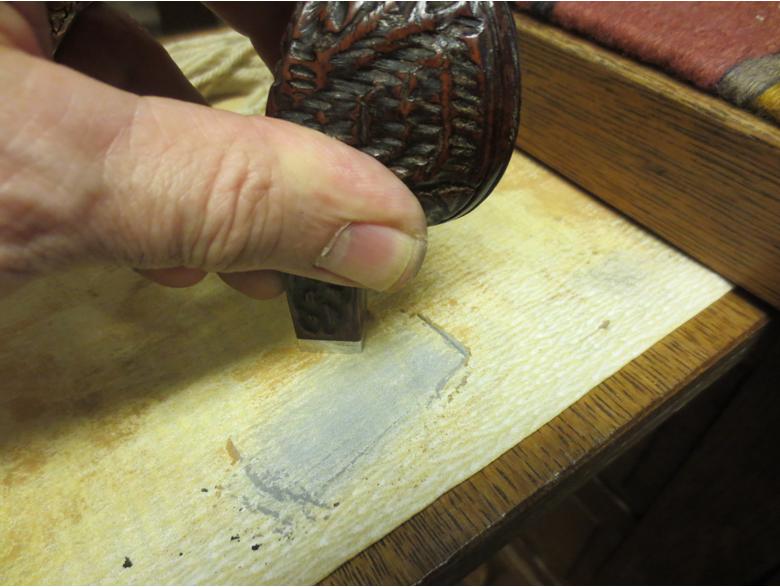
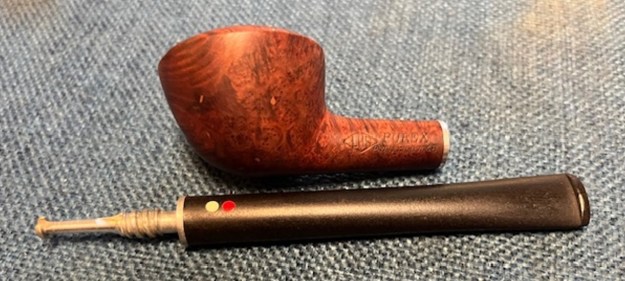 I started my part of the restoration work on this pipe by addressing the damage and darkening on the edge of the rim, particularly on the front and rear of the inner edge. I used a folded piece of 220 grit sandpaper to remove the damage to the bowl.
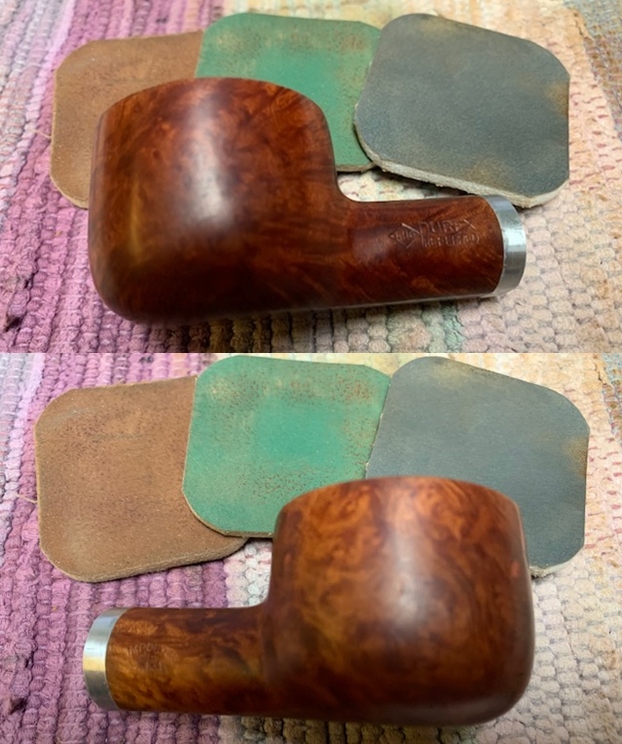
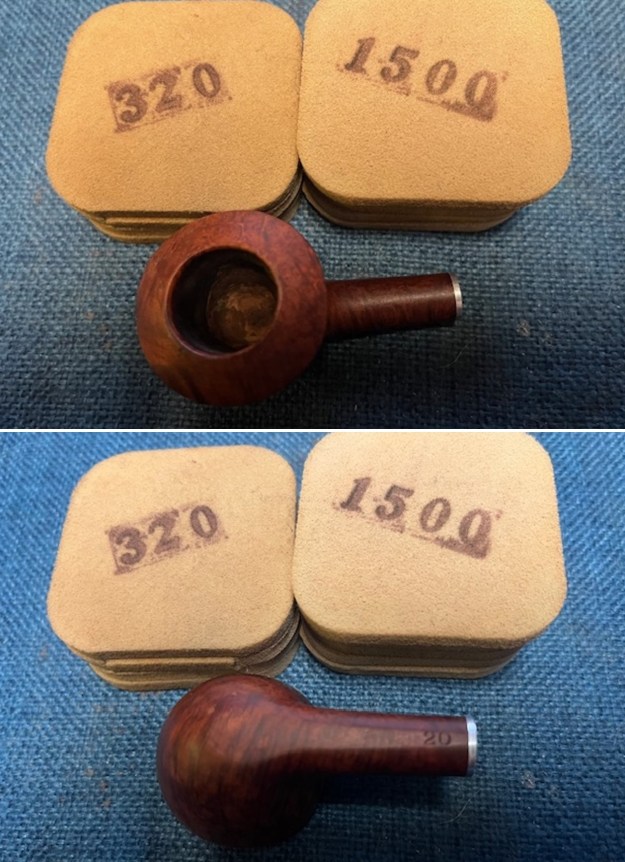
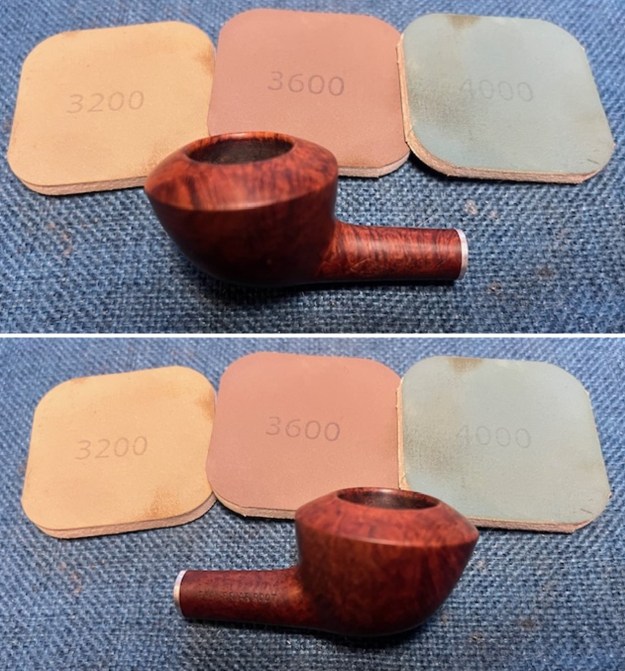
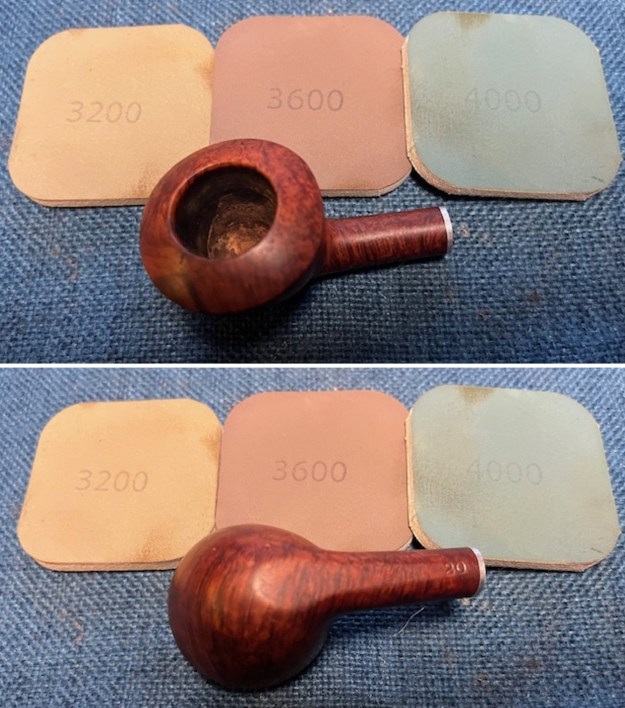
 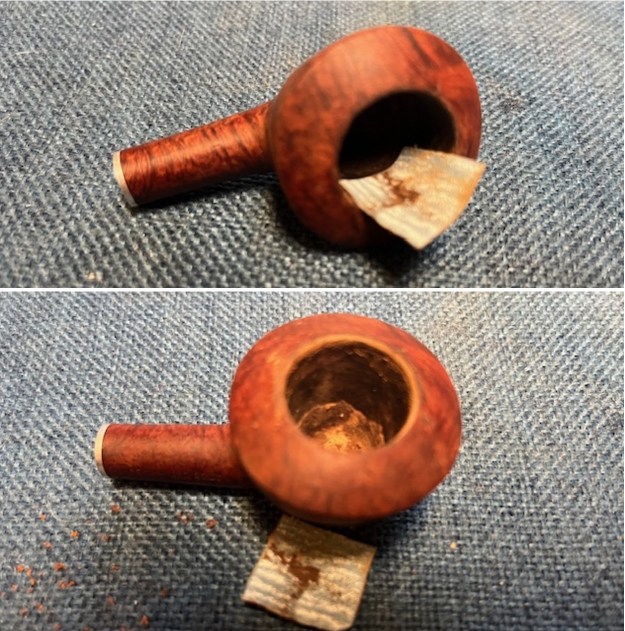 I sanded out the scratches in the briar around the bowl sides and rim top with 320-3500 grit sanding pads. I wiped it down after each pad with a damp cloth to remove the sanding debris. The sanding really brought the grain to the front. This is a great piece of briar. And once it is waxed and polished it should really be a beauty.
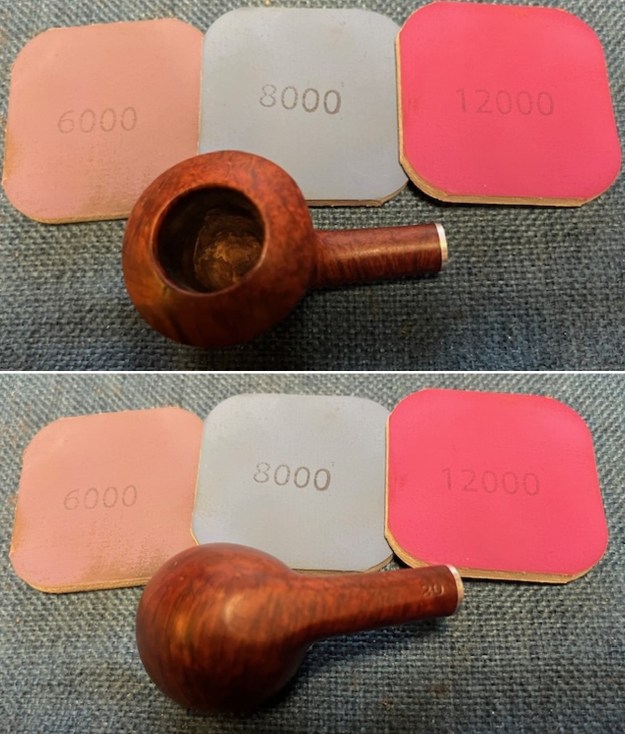
 I polished the briar with micromesh sanding pads – dry sanding with 1500-12000 grit pads and wiping down the bowl after each sanding pad.
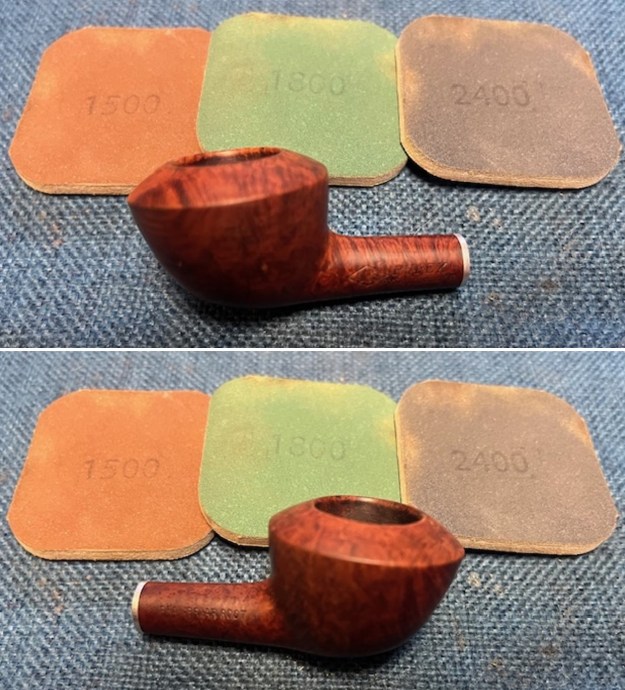


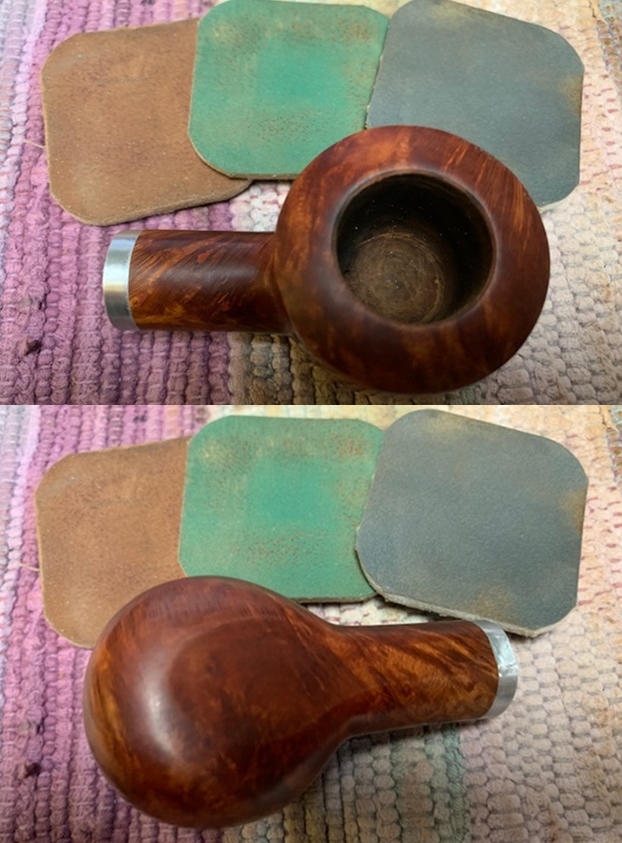
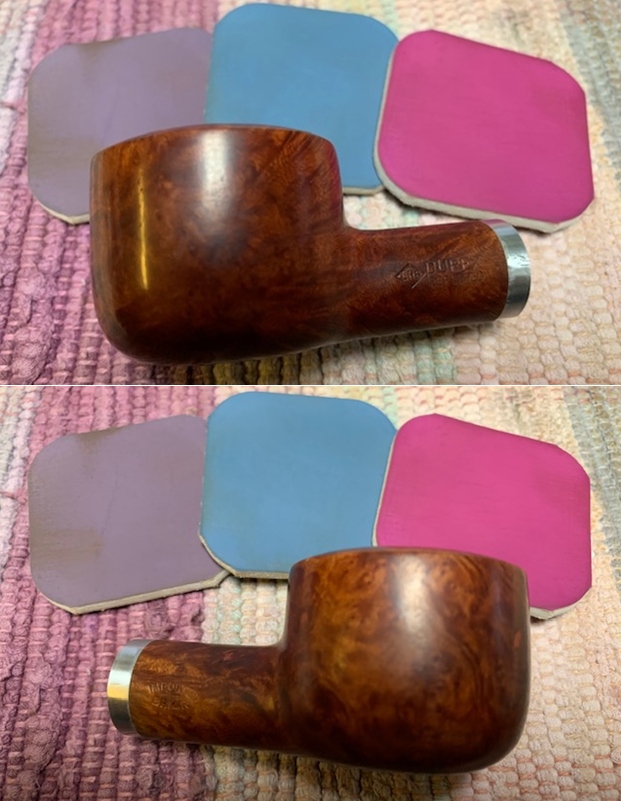
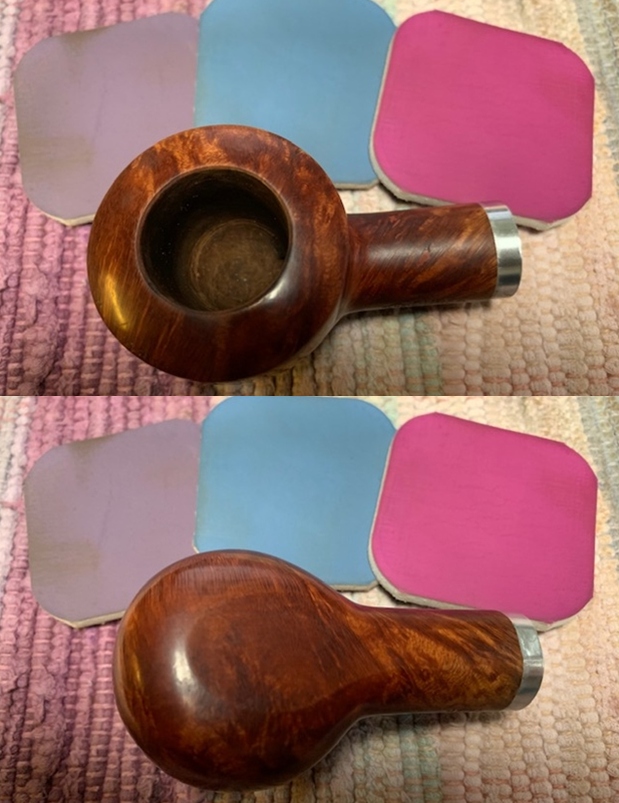
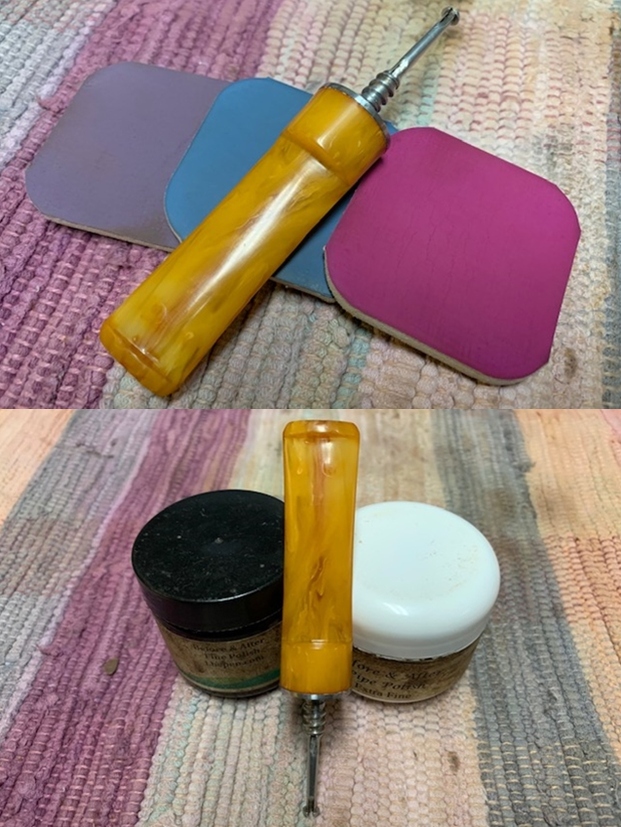
 I rubbed the bowl and shank down with Before & After Restoration Balm. I worked it into the surface of the bowl sides and shank with my fingertips to clean, enliven and protect the briar. I let the balm sit for a little while and then buffed with a cotton cloth to raise the shine. The Balm did its magic and the grain stood out.
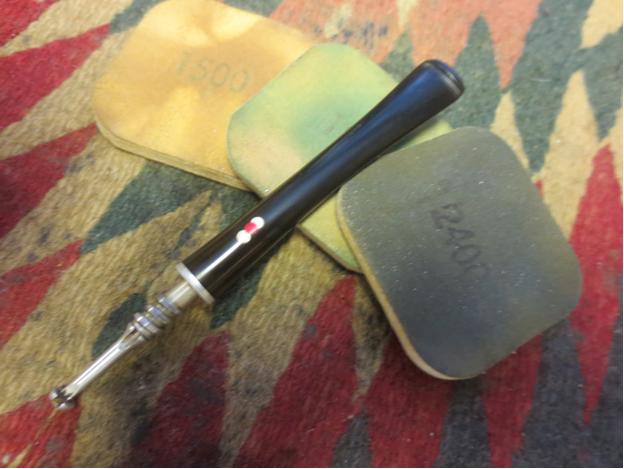
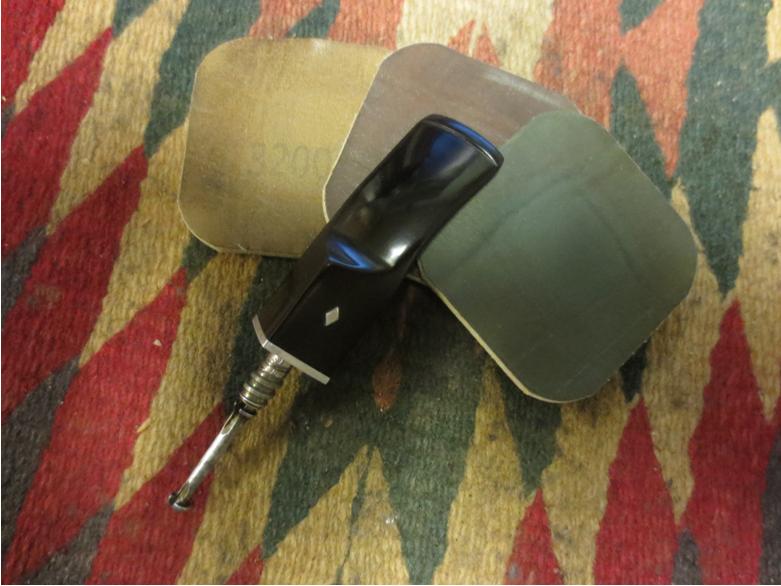
 I sanded out the light tooth chatter and roughness on the stem surface with 320-3500 grit sanding pads. I wiped the stem down after each pad with an Obsidian Oil cloth. The stem began to shine.
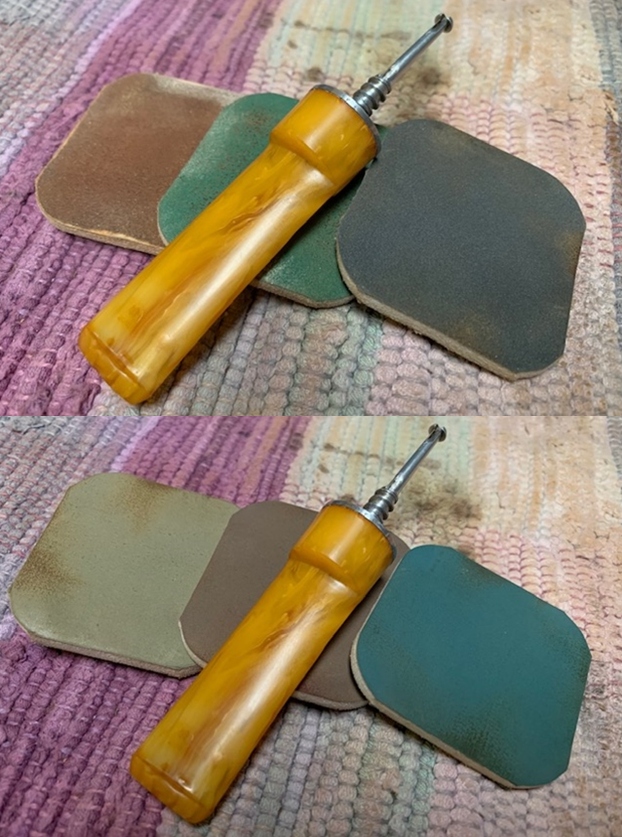
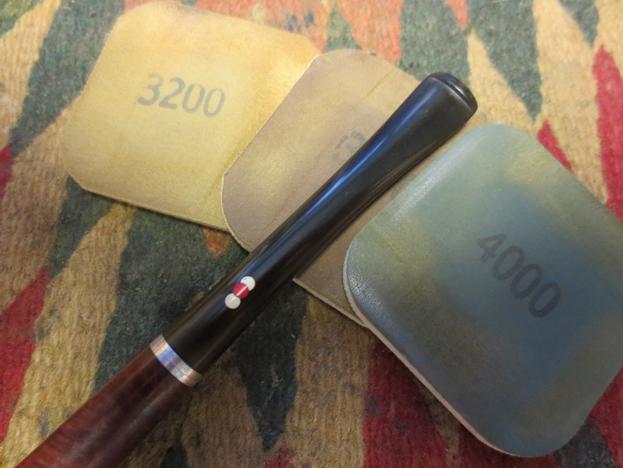
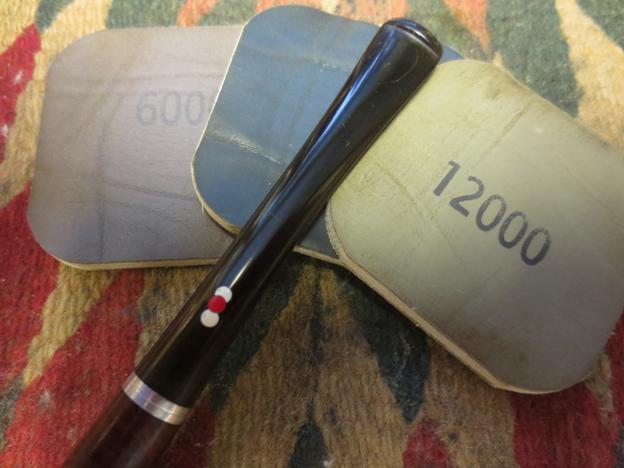
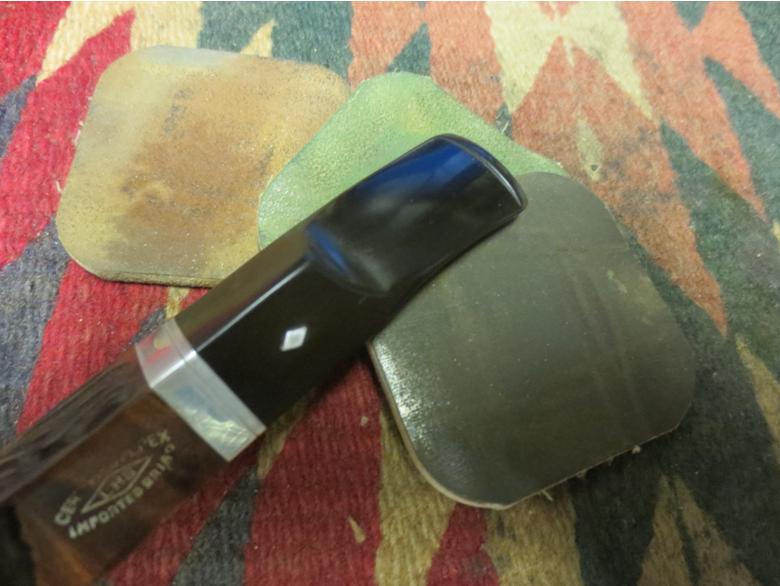
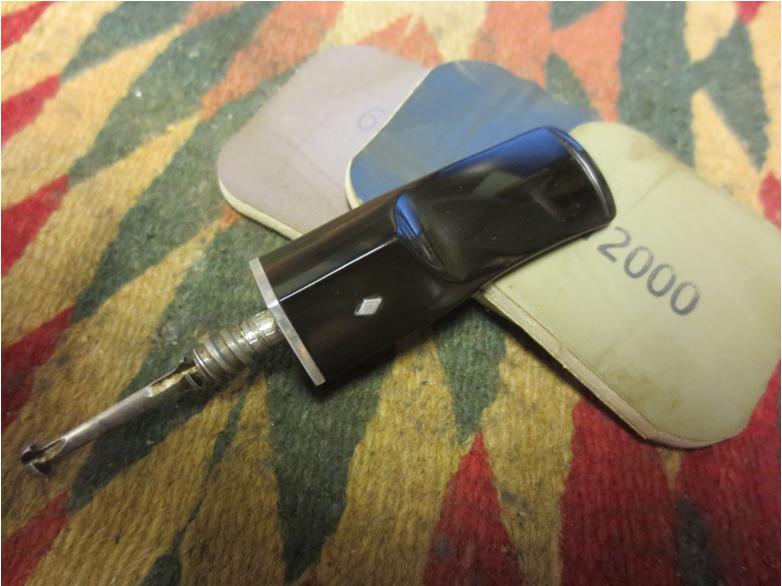
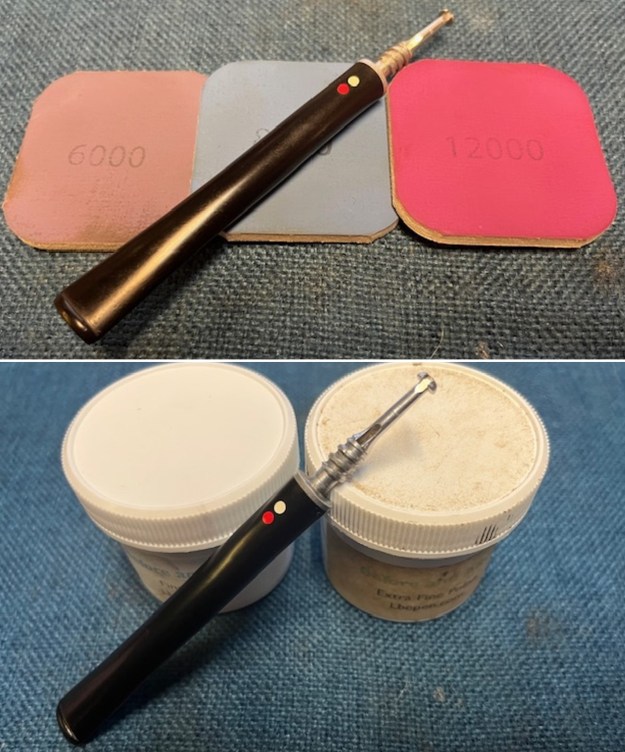
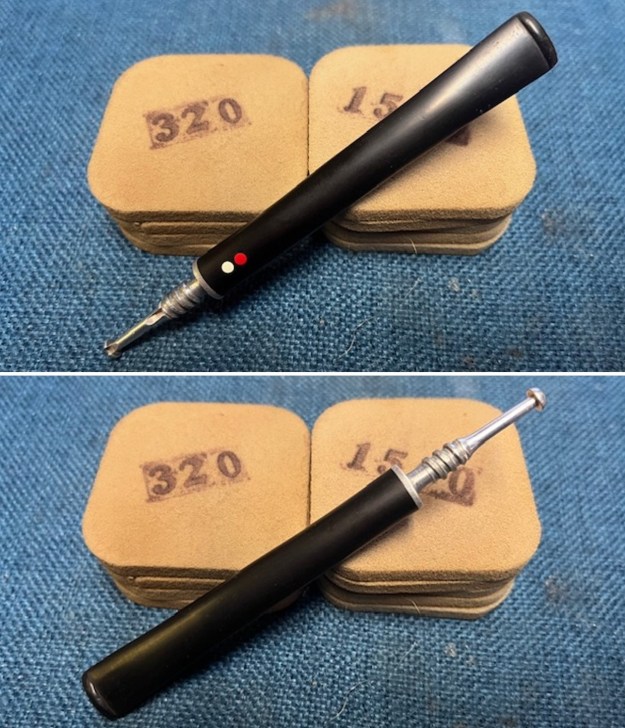 I polished the vulcanite stem with micromesh sanding pads – 1500-12000 grit pads. I wiped it down with Obsidian Oil after each sanding pad. I used Before & After Pipe Polish – both Fine and Extra Fine to further polish the stem. The photo below shows the polished stem.
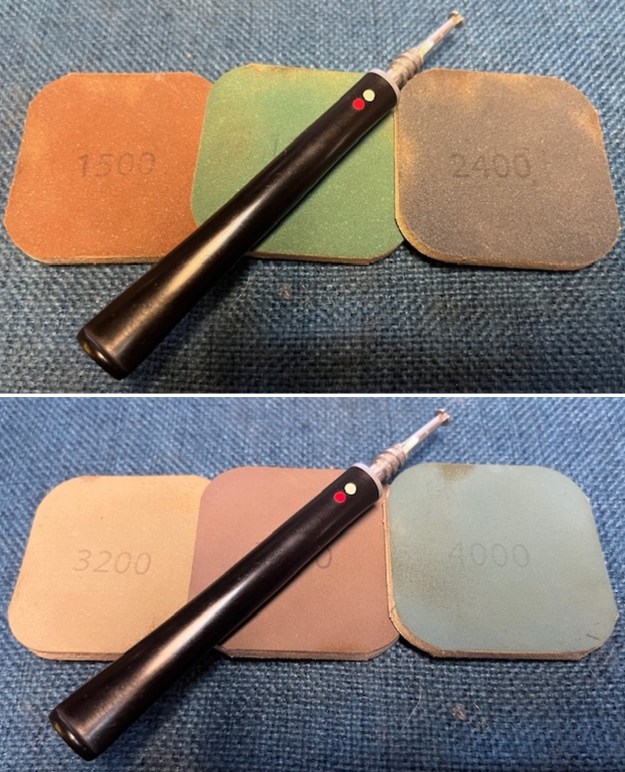
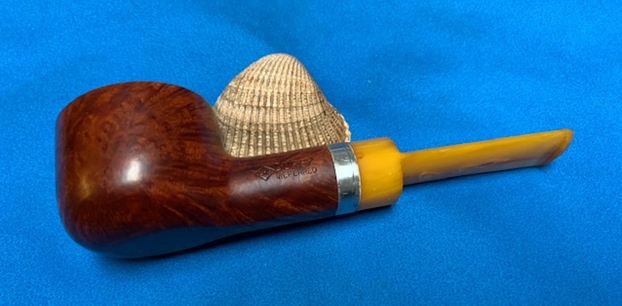
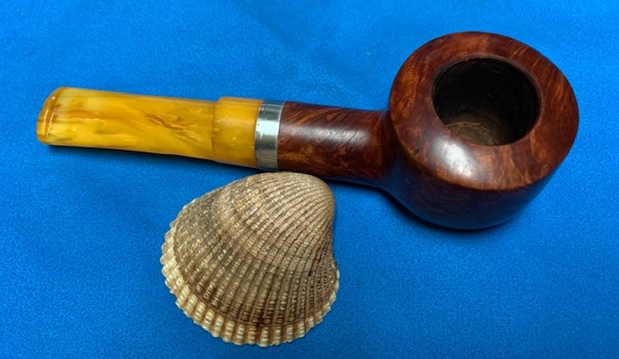
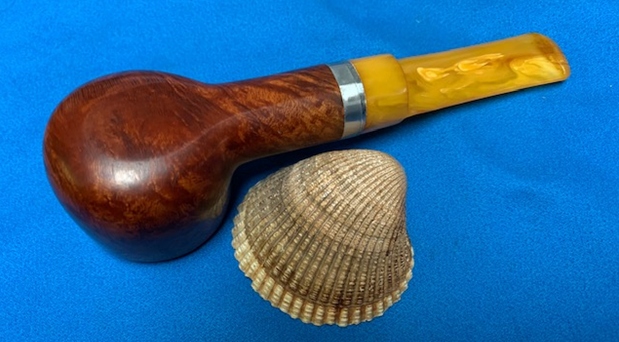
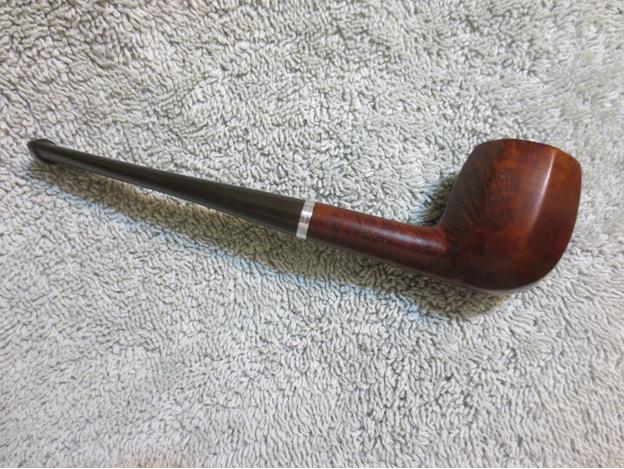
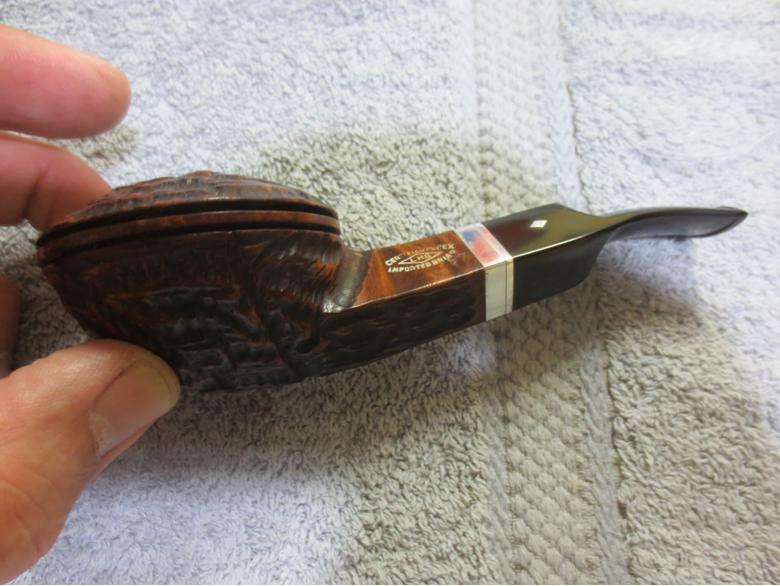
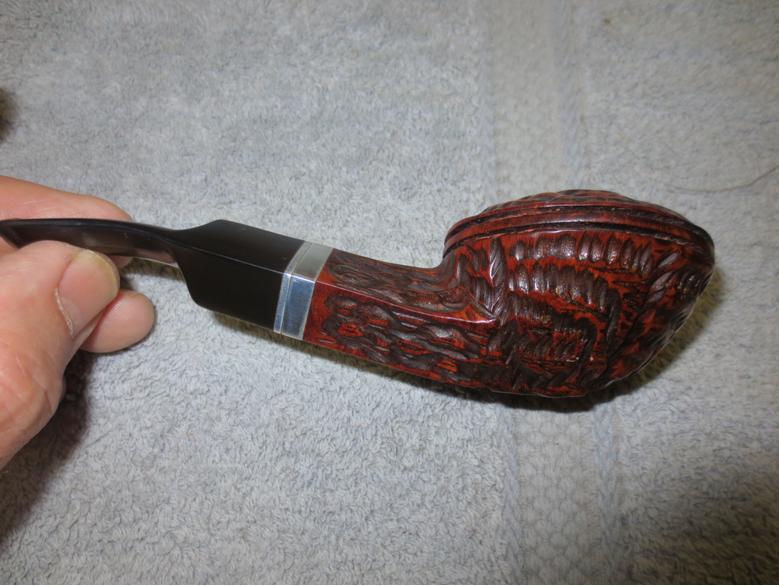
 This LHS Purex Pat.No.1587048 Real Briar Root Dublin with a pencil shank and stem is a nice looking pipe. The finish looks very good and the grain stands out. I put the stem back on the bowl and buffed the pipe with Blue Diamond on the buffing wheel. I carefully avoided the stamping on the shank sides during the process. I gave the bowl and the stem multiple coats of carnauba wax on the buffing wheel and followed that by buffing it with a clean buffing pad on the buffer. I hand buffed the pipe with a microfiber cloth to deepen the shine. The finished pipe is an excellent example of the Purex line of pipes that were made by LHS Stern. The flow of the grain and the way the shape follows it is very well done. Give the finished pipe a look in the photos below. I can only tell you that it is much prettier in person than the photos capture. The dimensions of the pipe are Length: 6 inches, Height: 1 ¼ inches, Outside diameter of the bowl: 1 ½ Chamber diameter: ¾ of an inch. The dimensions of the pipe are Length: 6 inches, Height: 1 ¼ inches, Outside diameter of the bowl: 1 ½ Chamber diameter: ¾ of an inch. The weight of the pipe is 0.81 ounces/24 grams. This interesting LHS Purex Pat.No.1587048 Dublin is a great looking pipe in excellent condition. Thanks for walking through the restoration with me as I worked over another beautiful pipe. I will be adding it to the rebornpipes store in the American Pipe Makers Section soon. If you want to add it to your collection send me an email or a message! Thanks for your time.