by Steve Laug
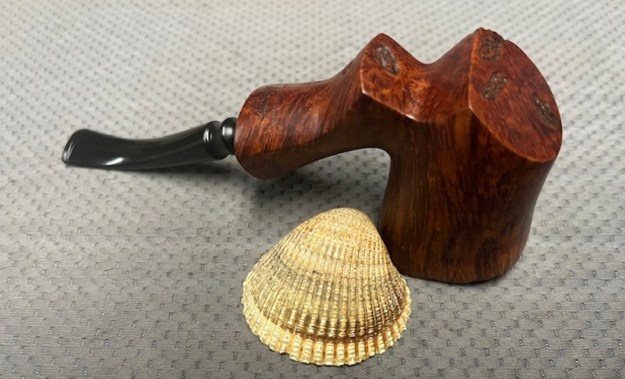
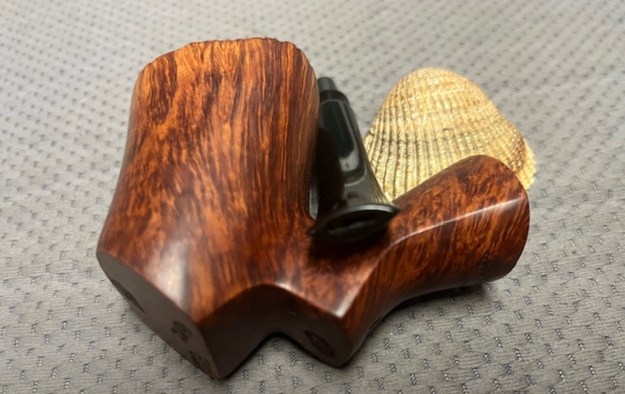
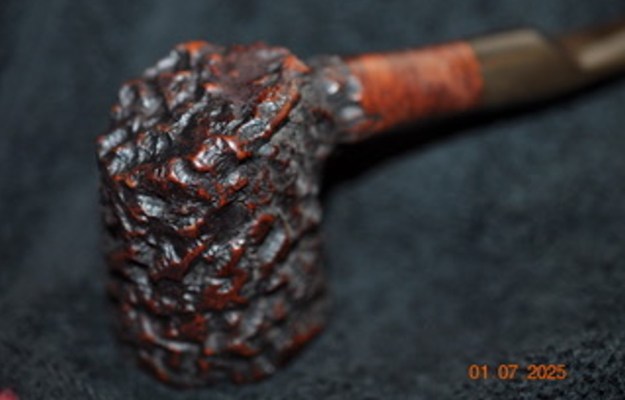
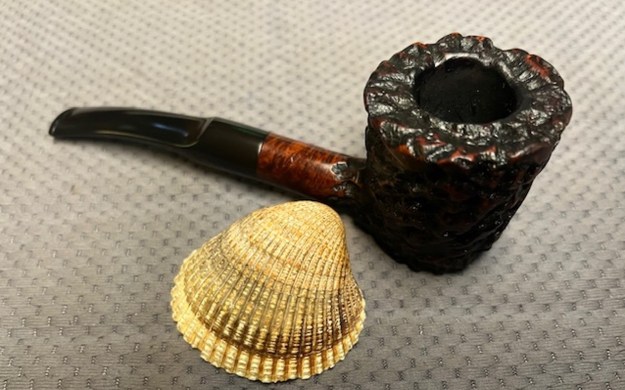
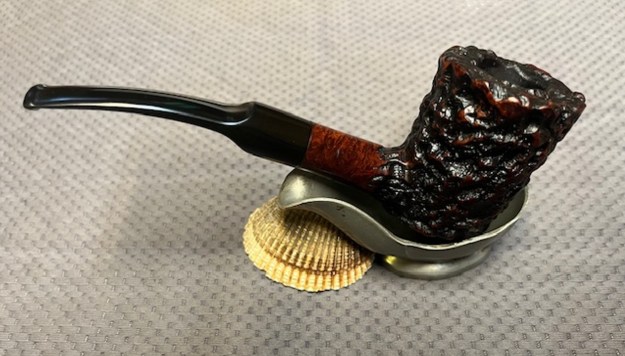
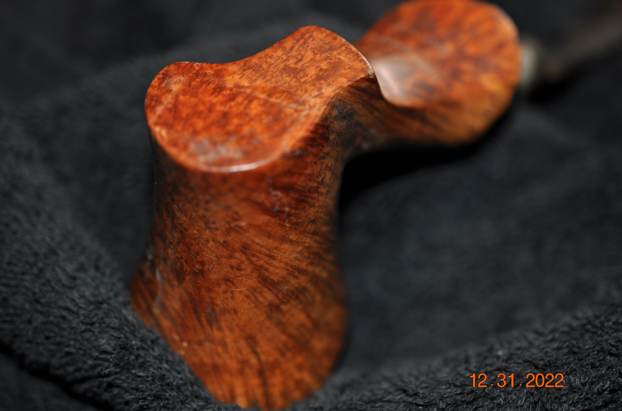
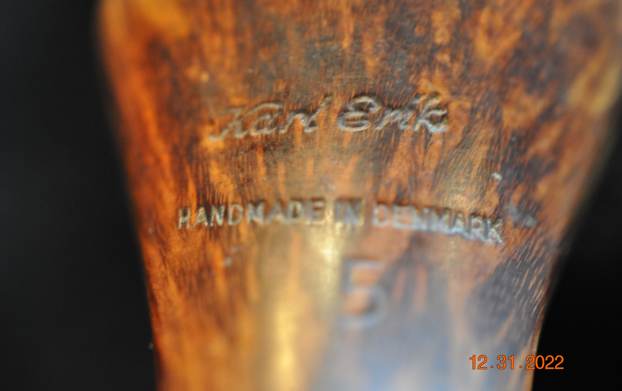
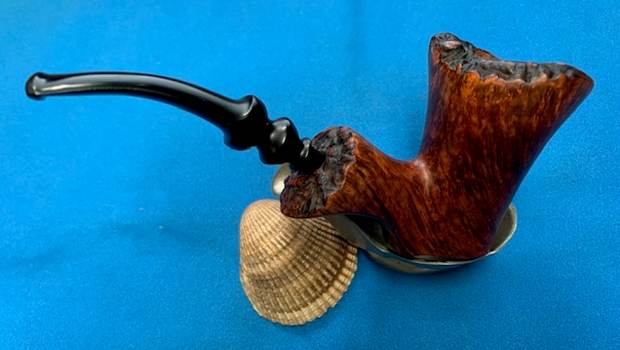
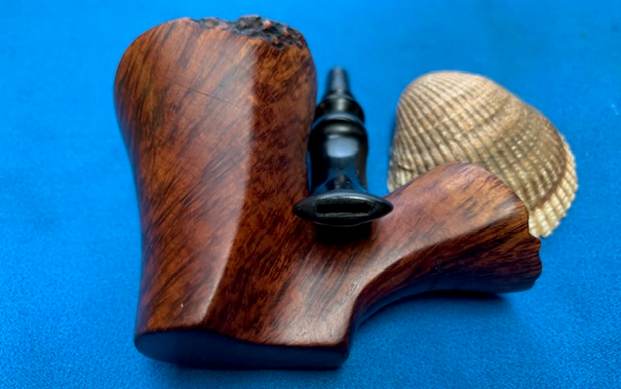
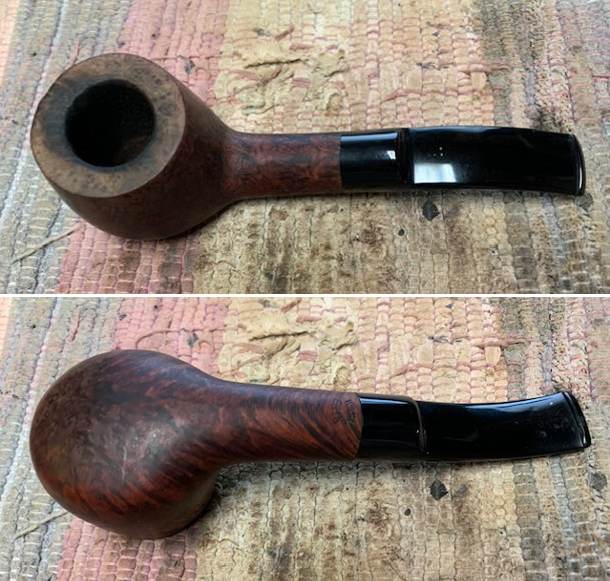
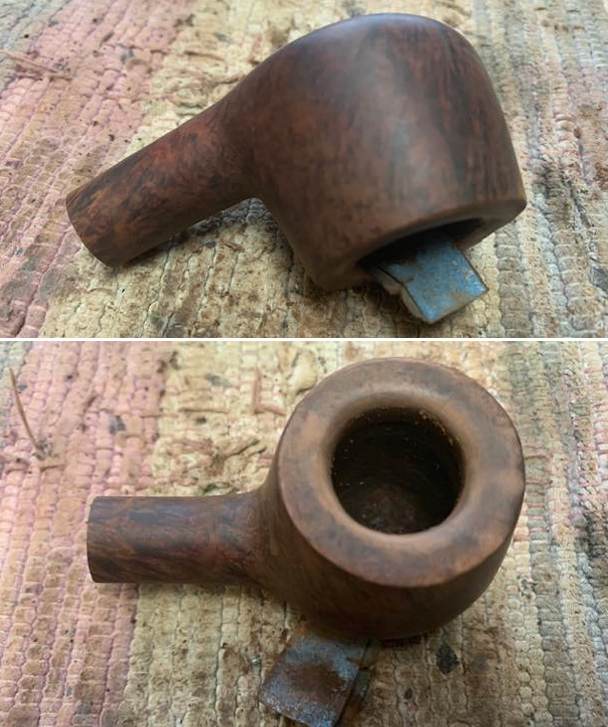
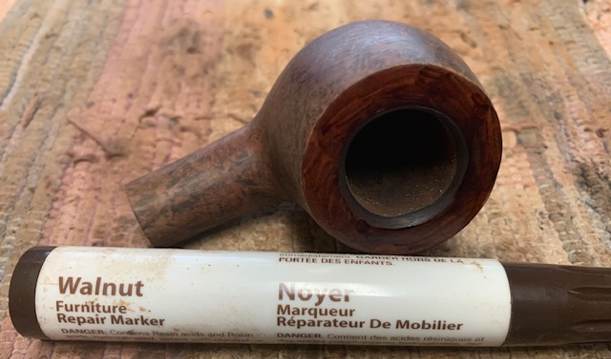
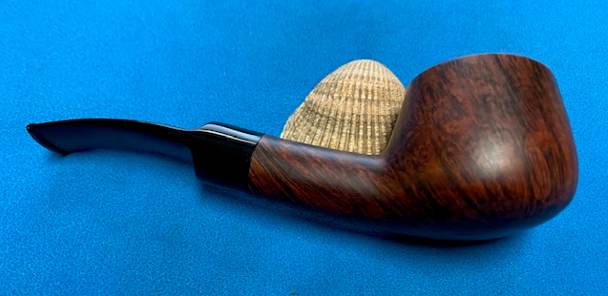
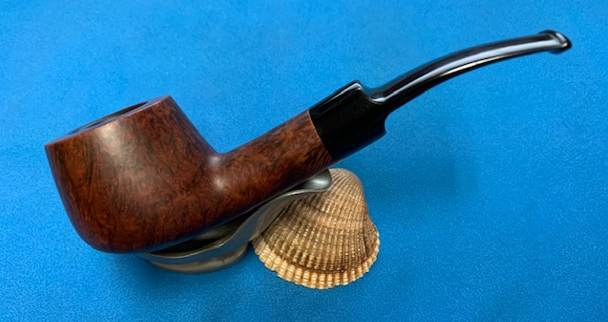
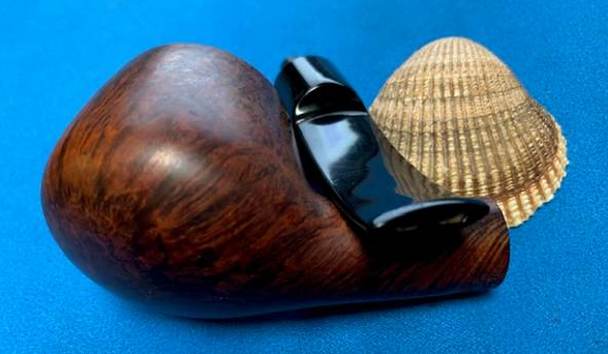
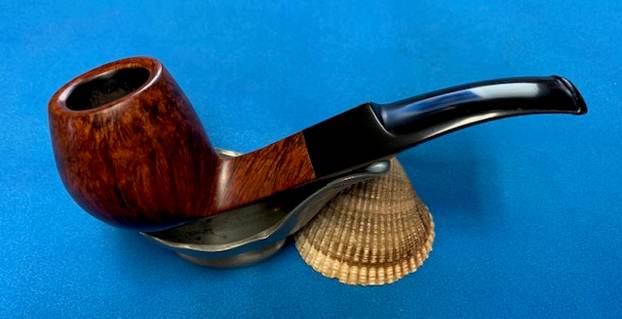
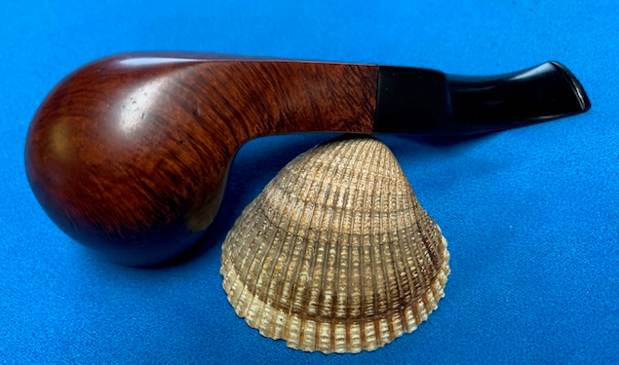
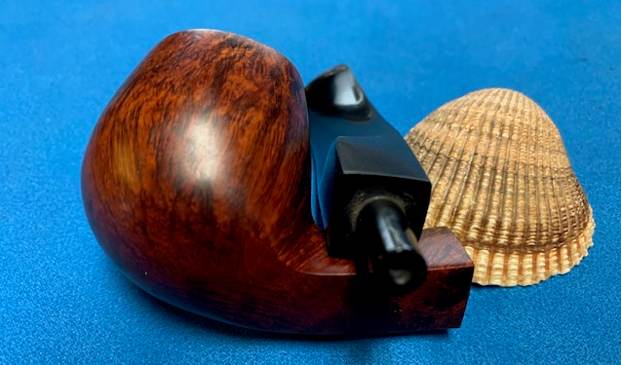
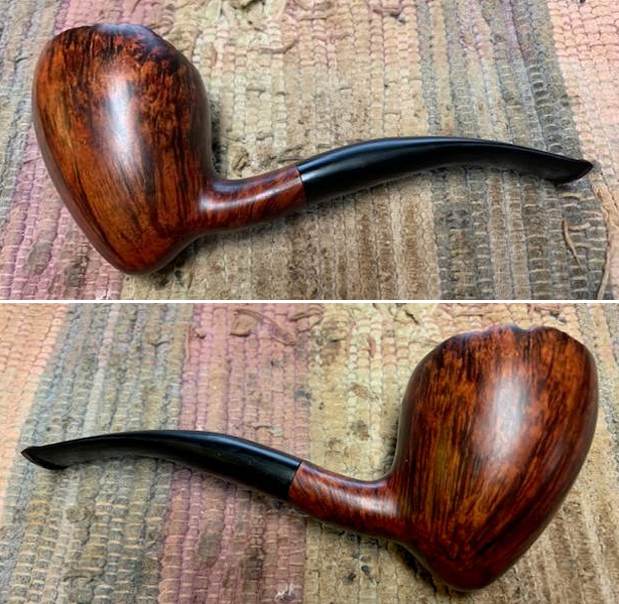
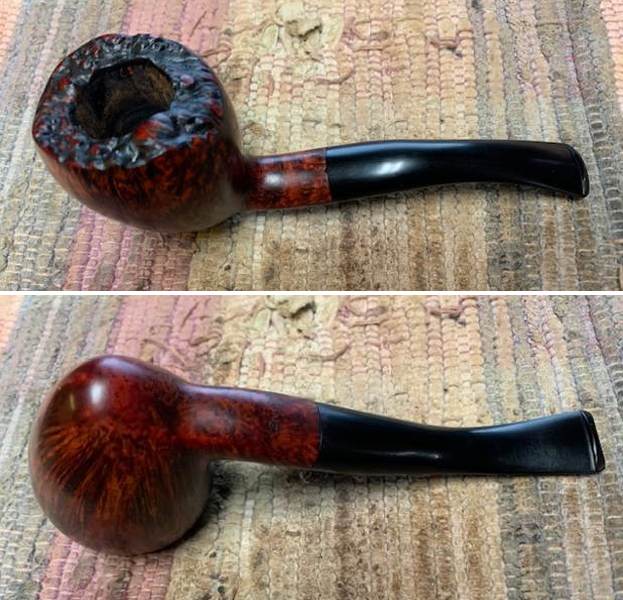
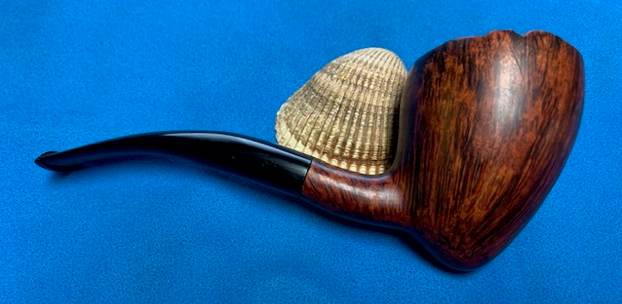
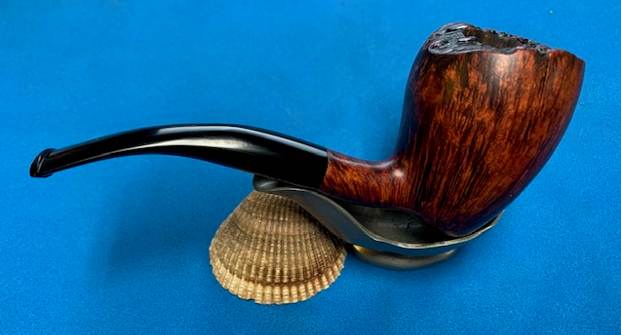
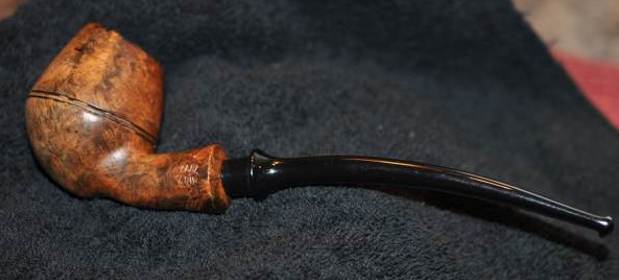
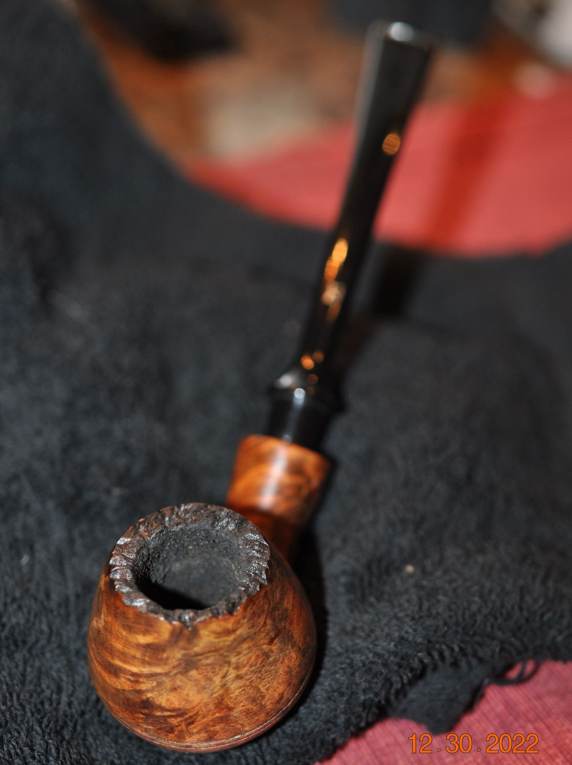
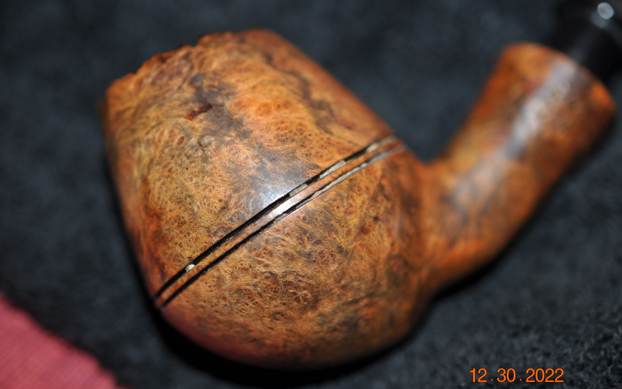
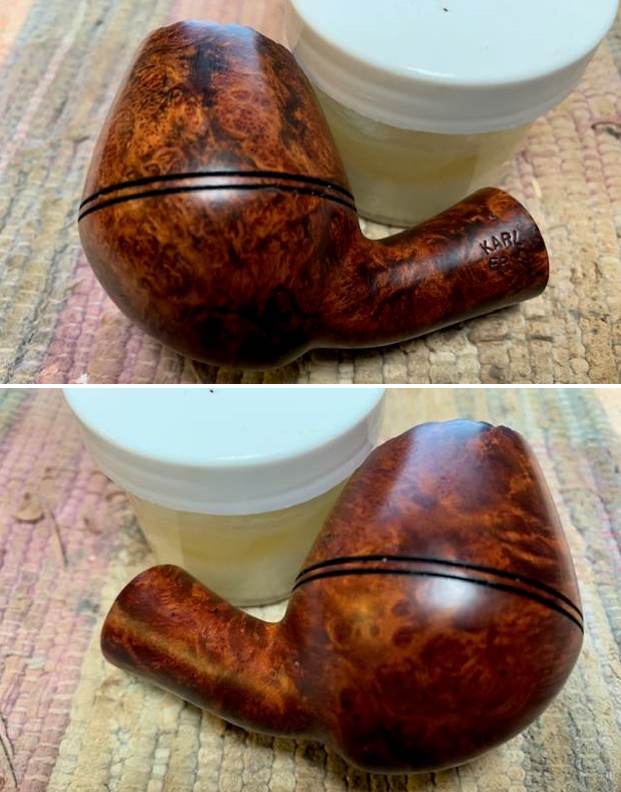
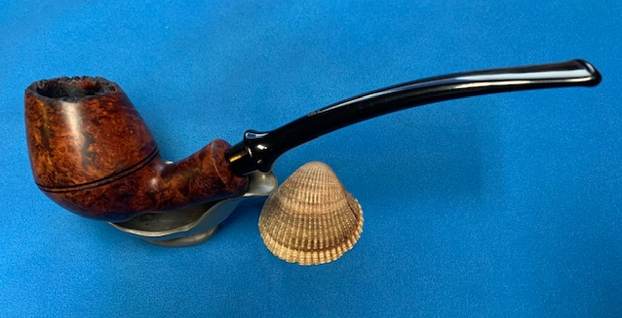
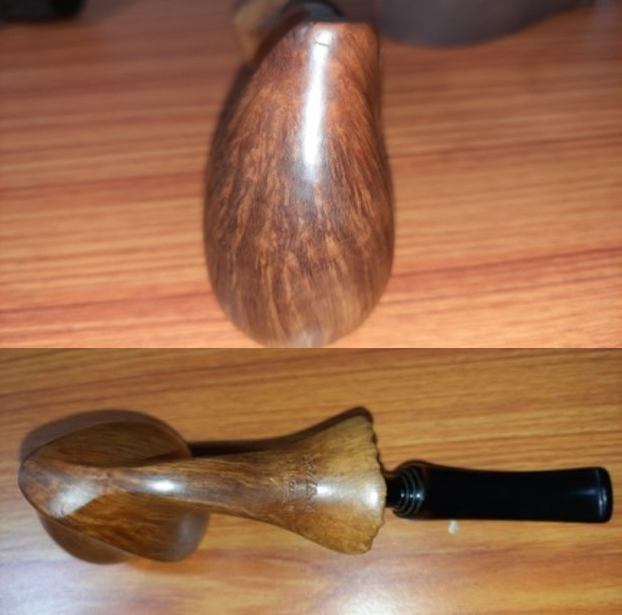
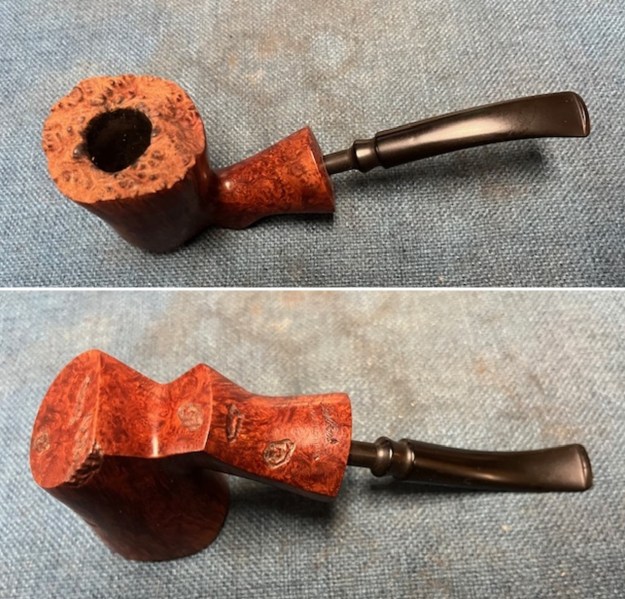
The next pipe on the work table is an elegantly shaped Dublin/Freehand. It came to us from a seller in Downey, California, USA on 08/12/2025. The finish had a combination of smooth and rusticated spots on the heel of the bowl and the shank – as well as two on the front mid bowl. Otherwise it has some great straight grain around the bowl and shank. It acts as a sitter on base as well as the forward angle of the bowl bottom. The rim top is unstained plateau while the shank end is smooth. The shank underside is stamped Karl Erik over Handmade in Denmark. The bowl had grime and oils ground into the sides. There was a moderate cake in the bowl and a light lava overflow and darkening on the inner edge and rim top. The fancy, turned saddle stem was lightly oxidized and there was tooth chatter on both sides near the button. Jeff took photos of the pipe before he started his clean up.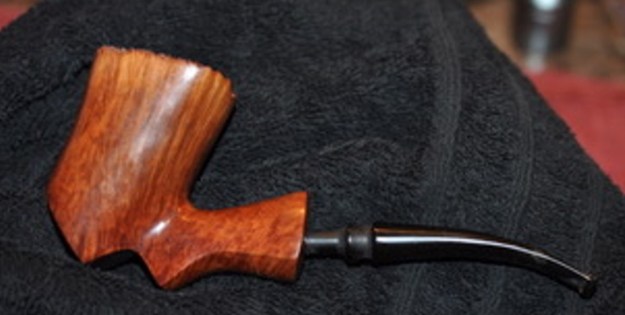
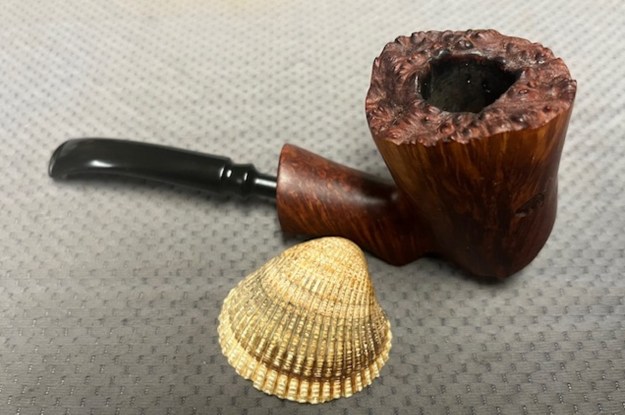
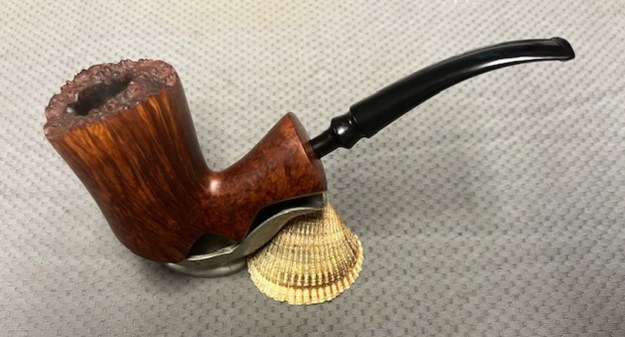
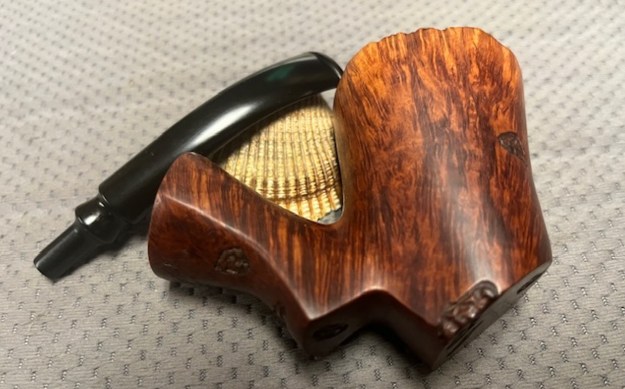
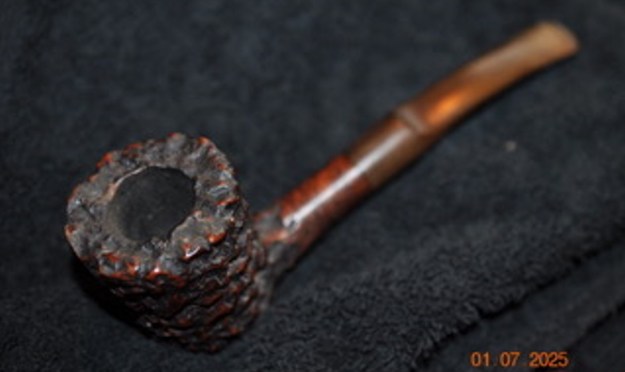
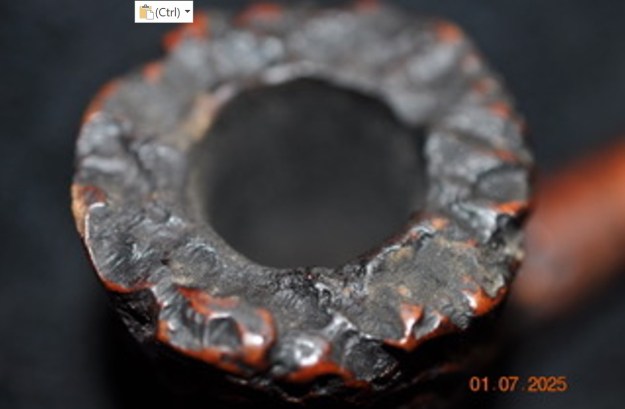
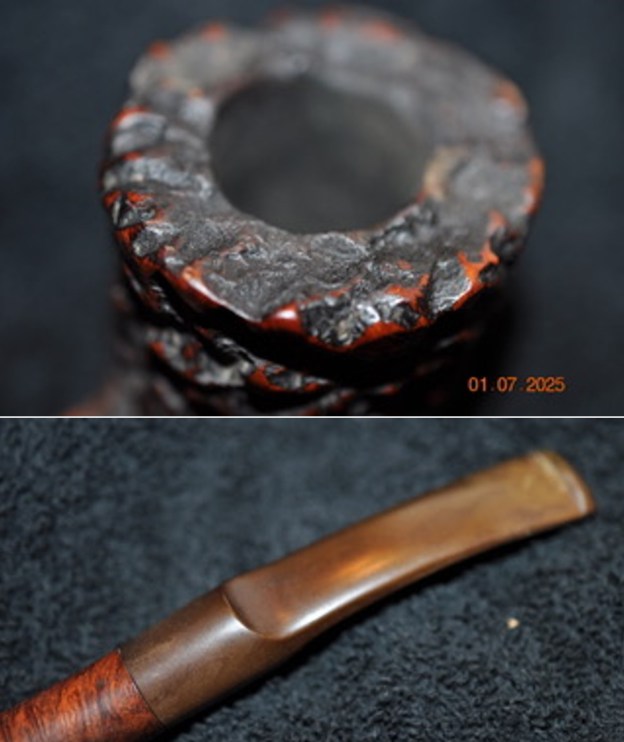
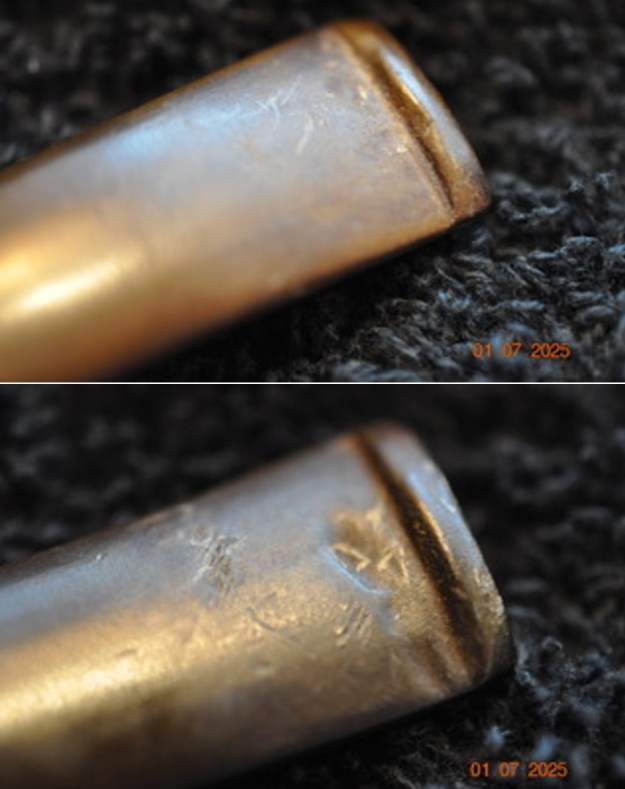
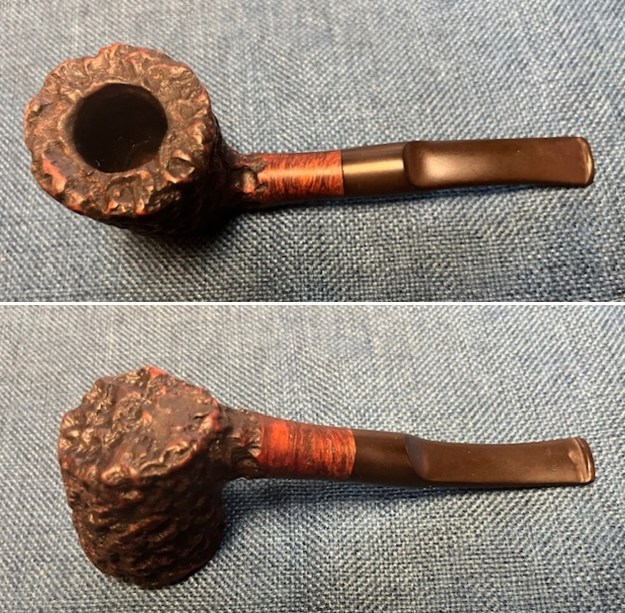
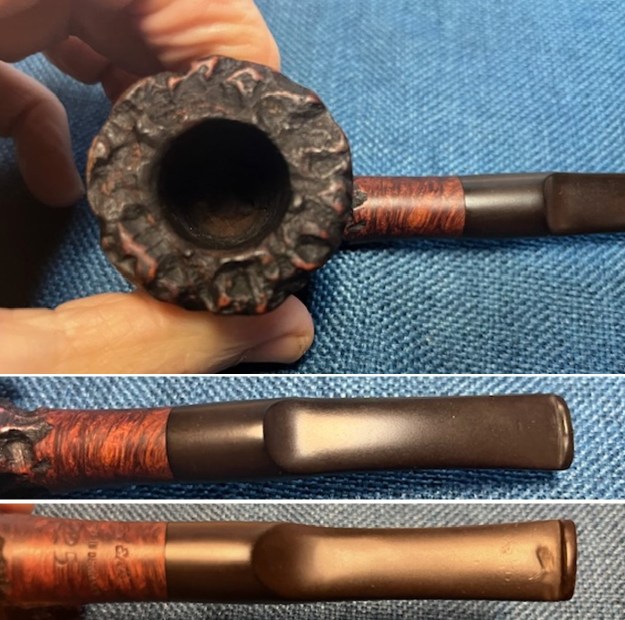
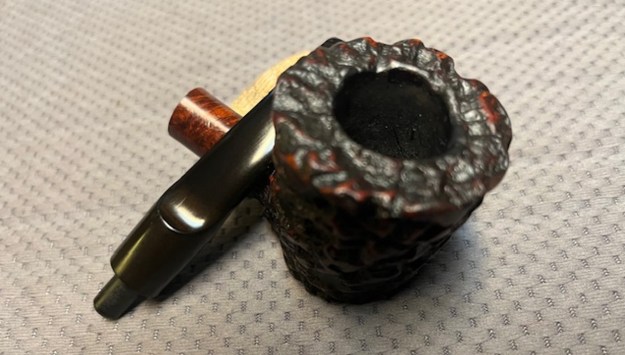
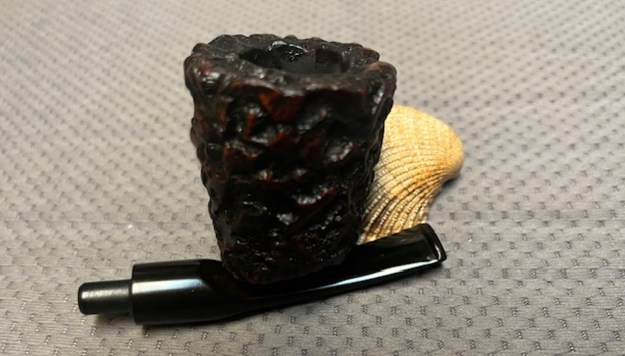
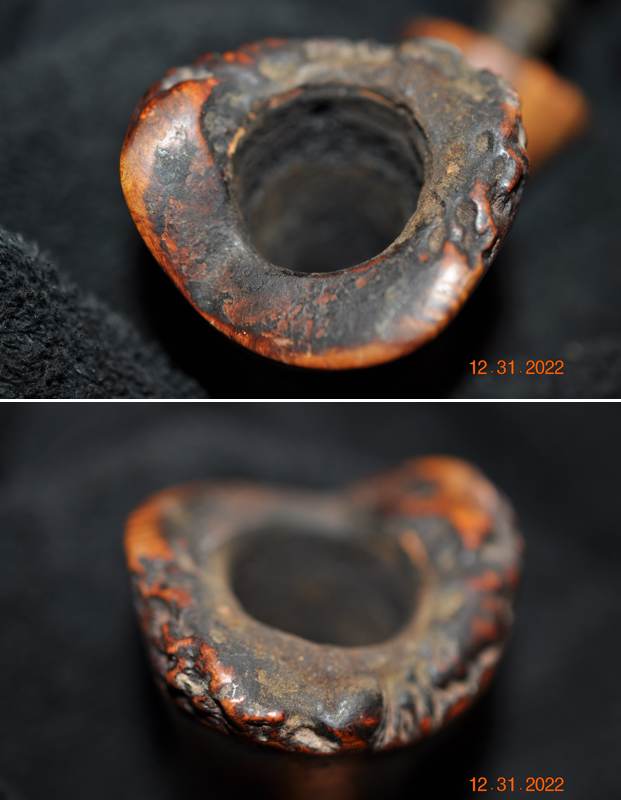
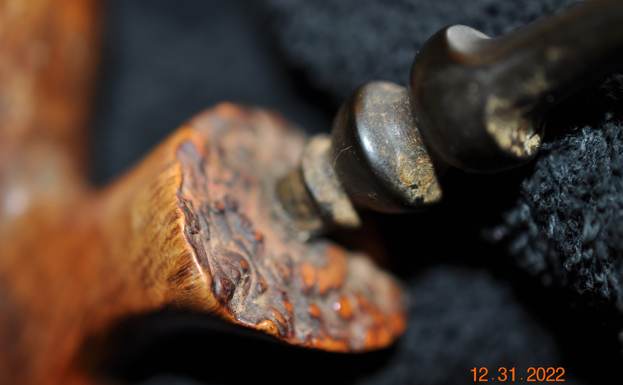
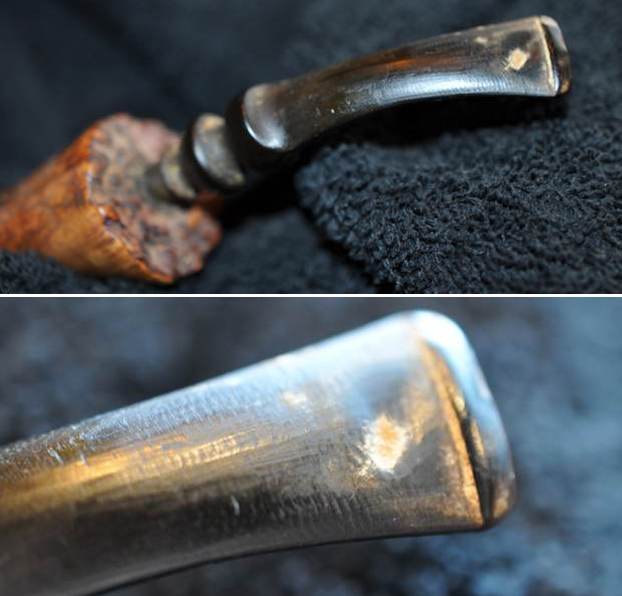
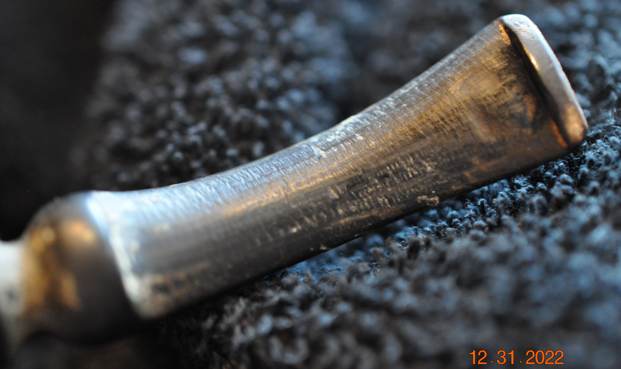
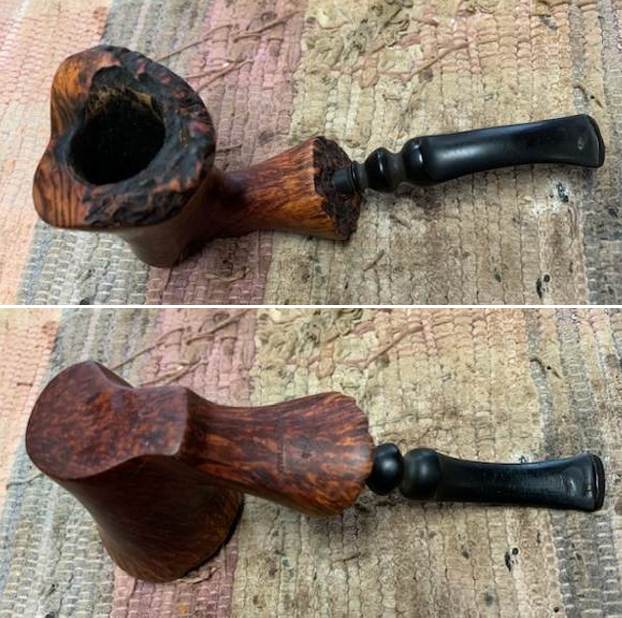
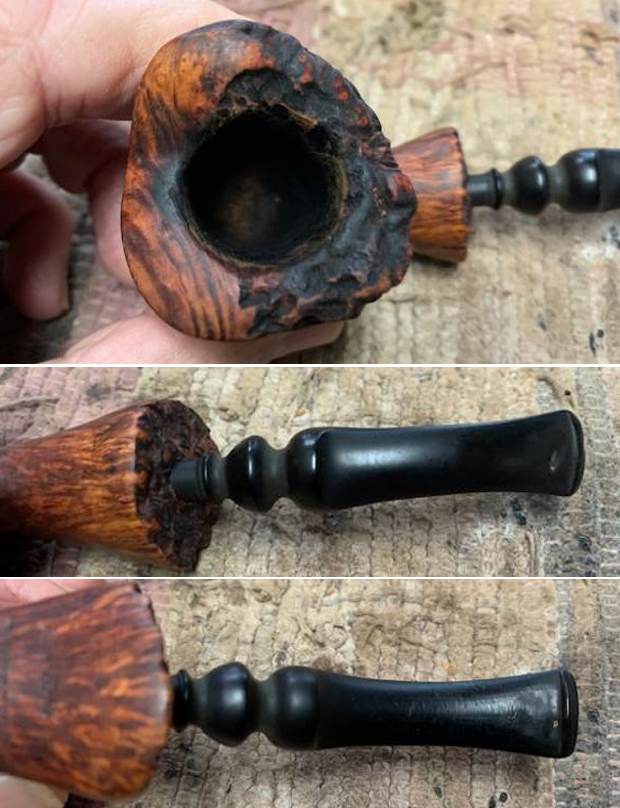
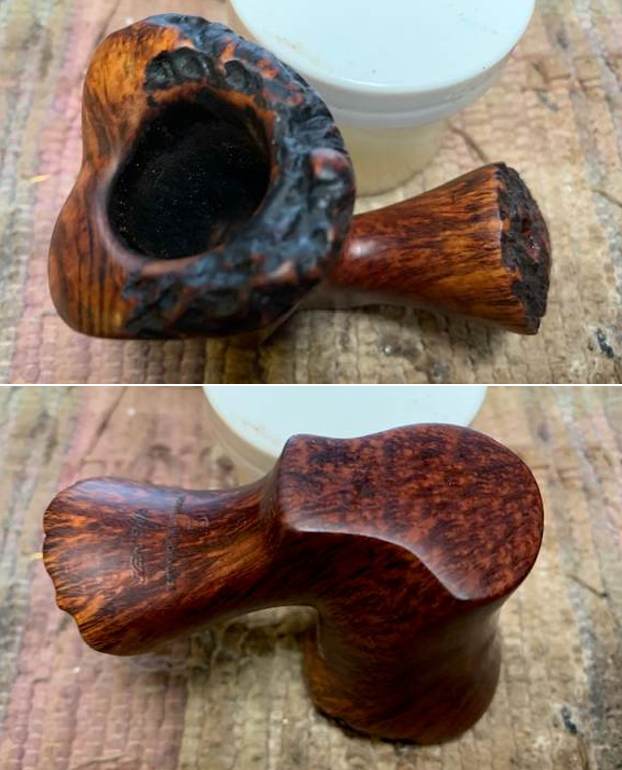
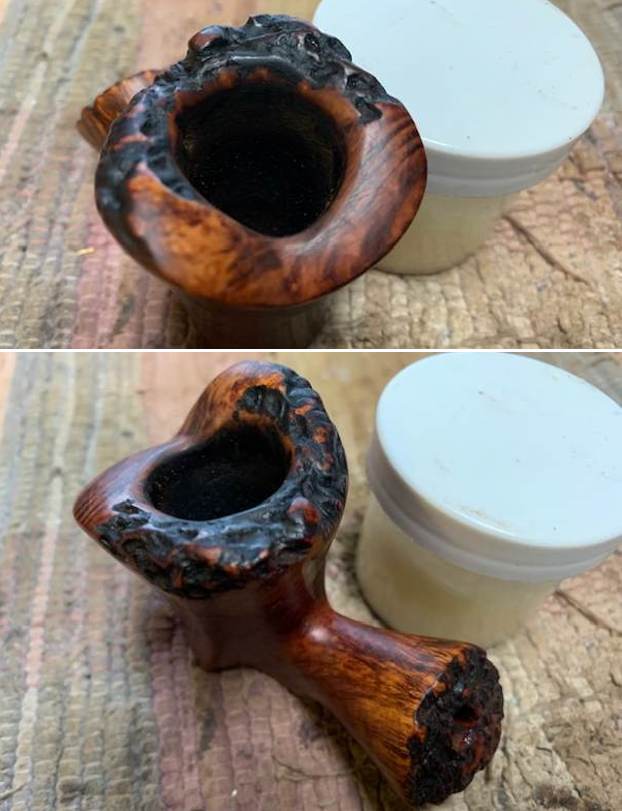
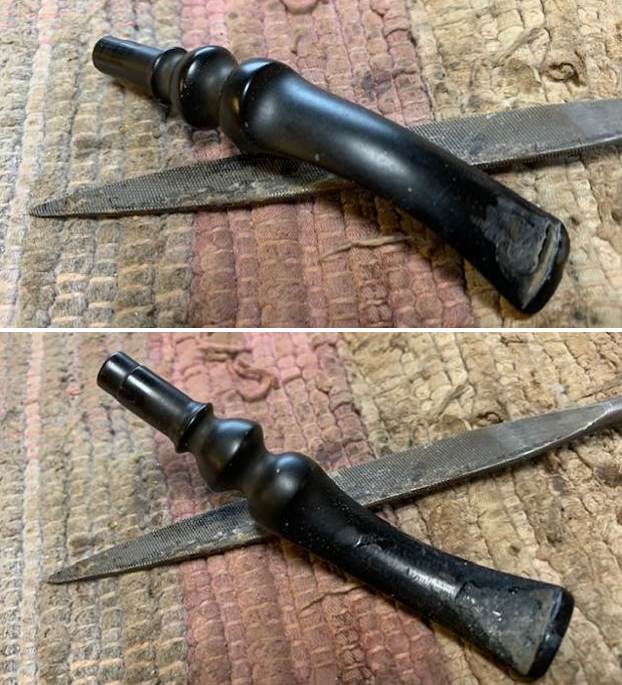
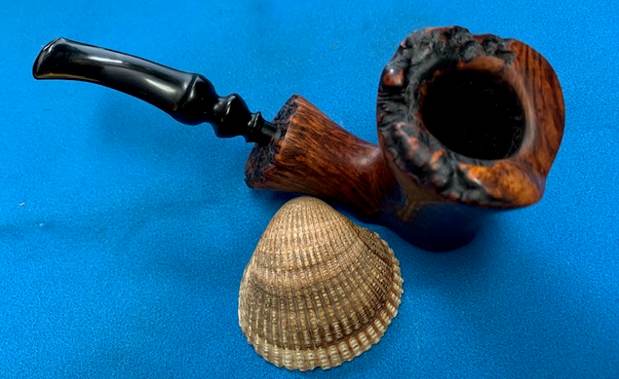
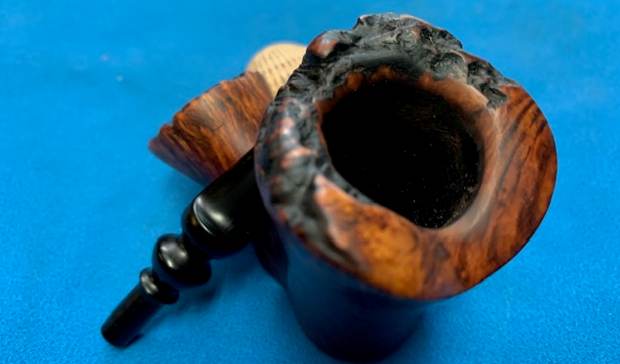
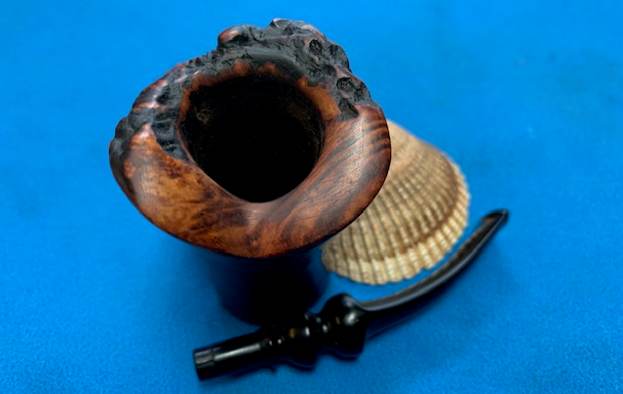
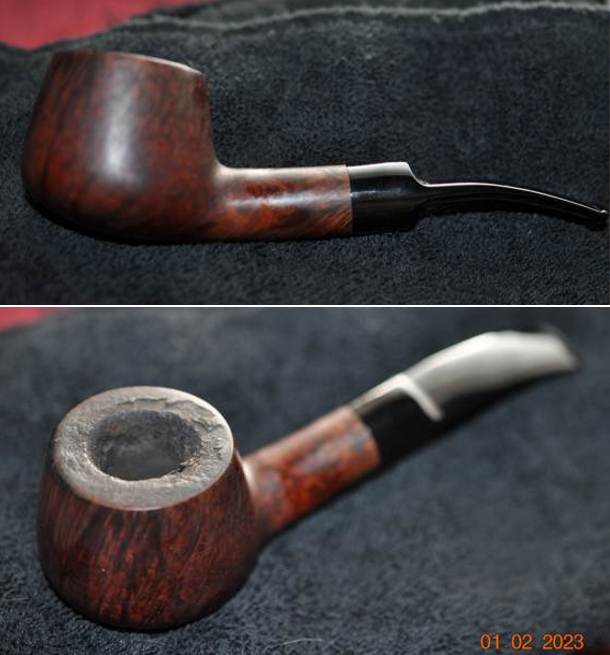
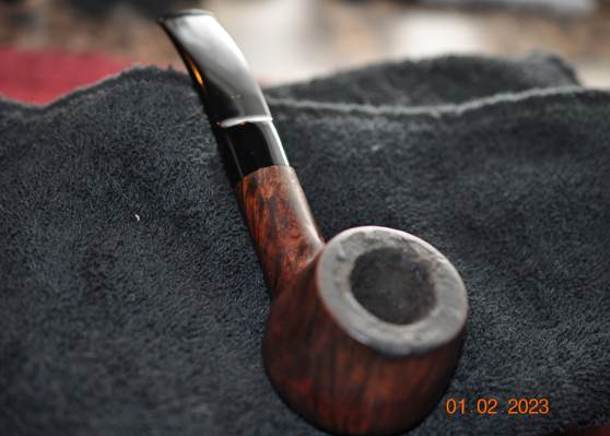
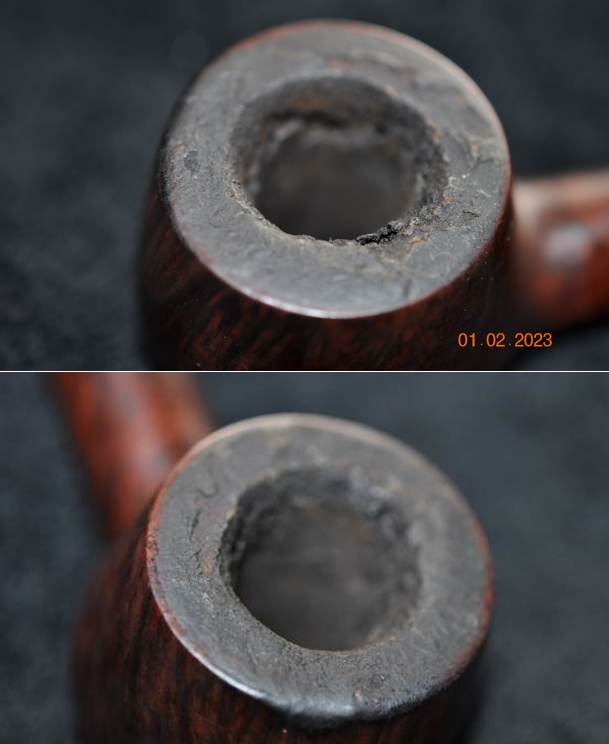
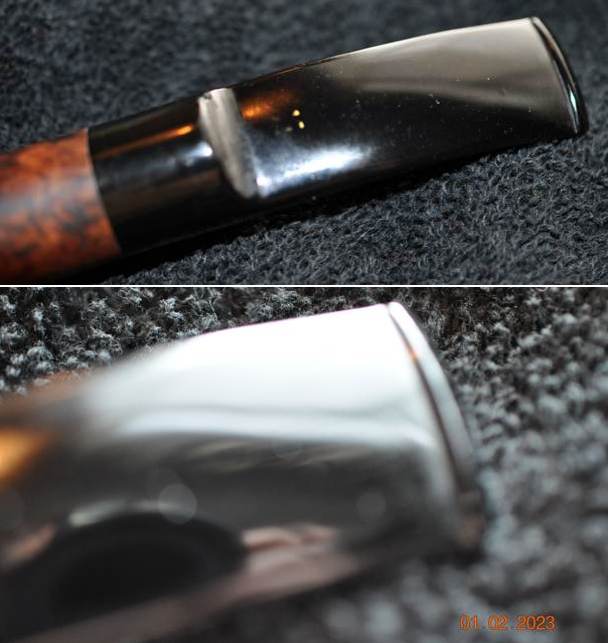
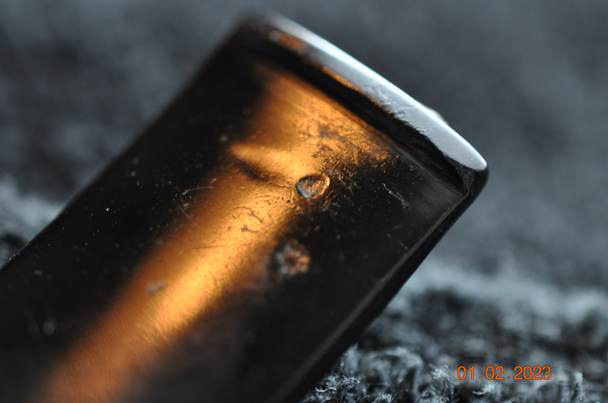
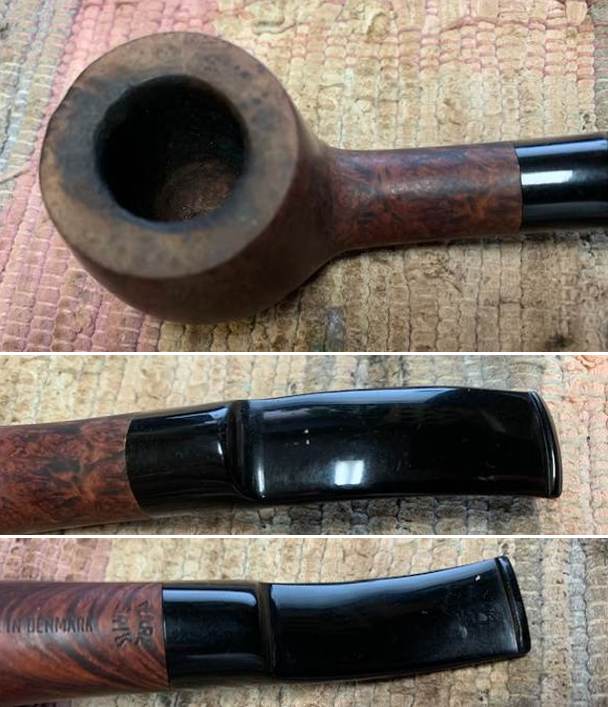
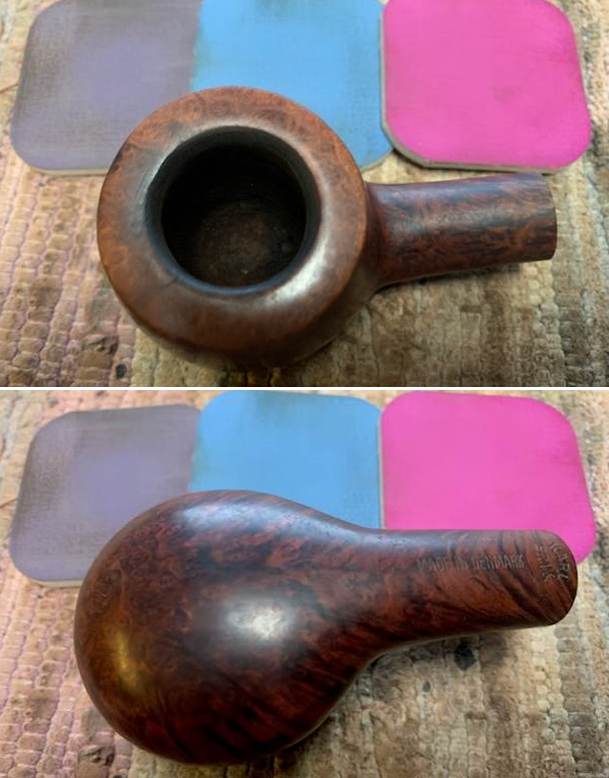
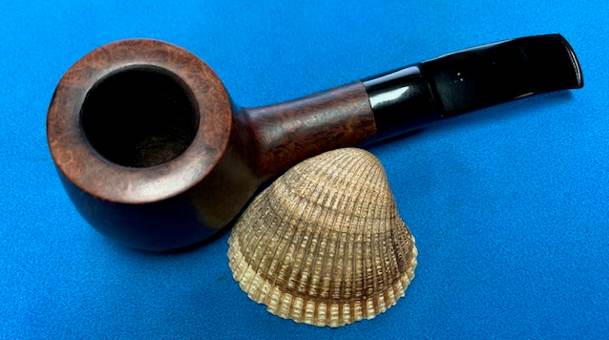
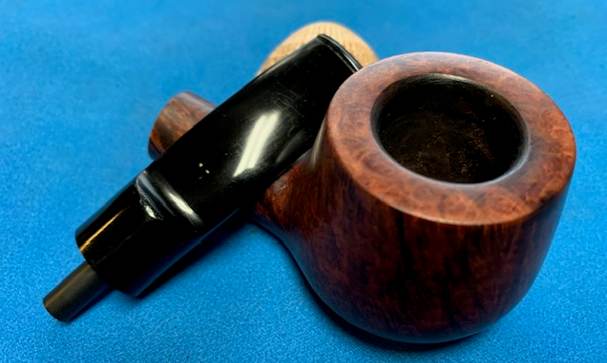
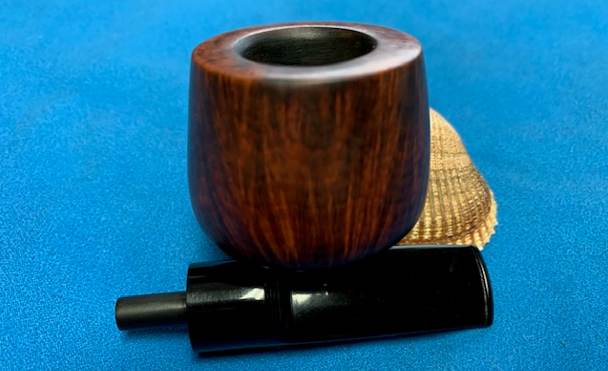
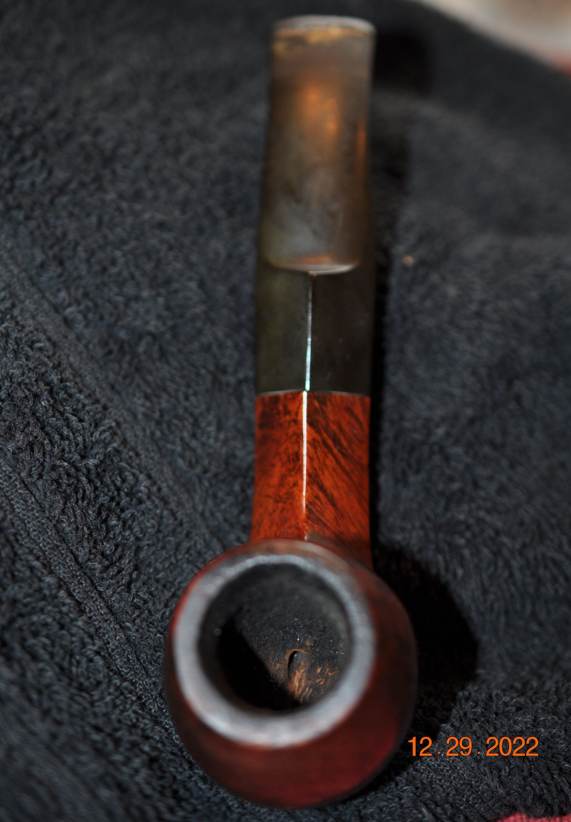
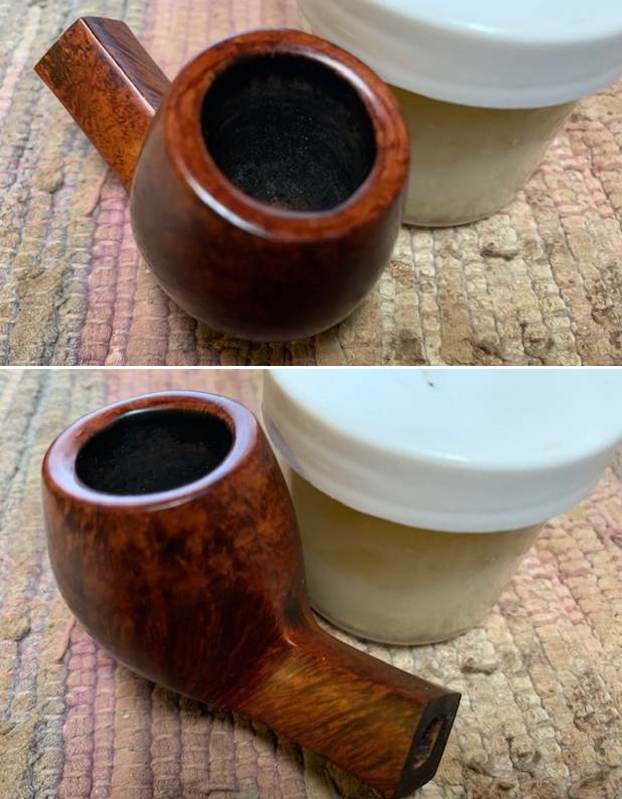
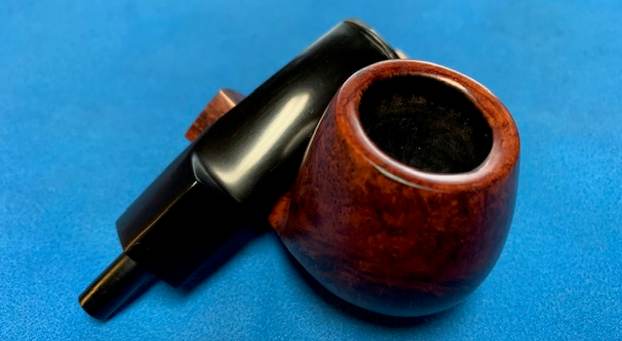
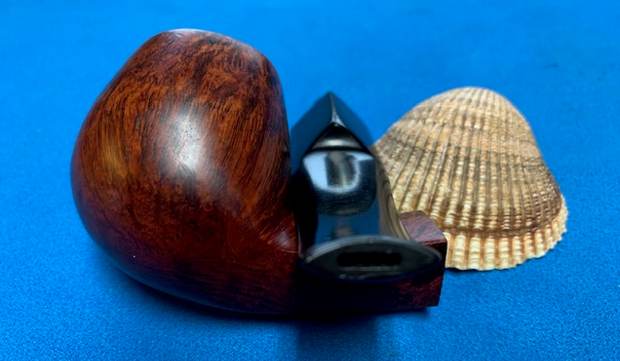
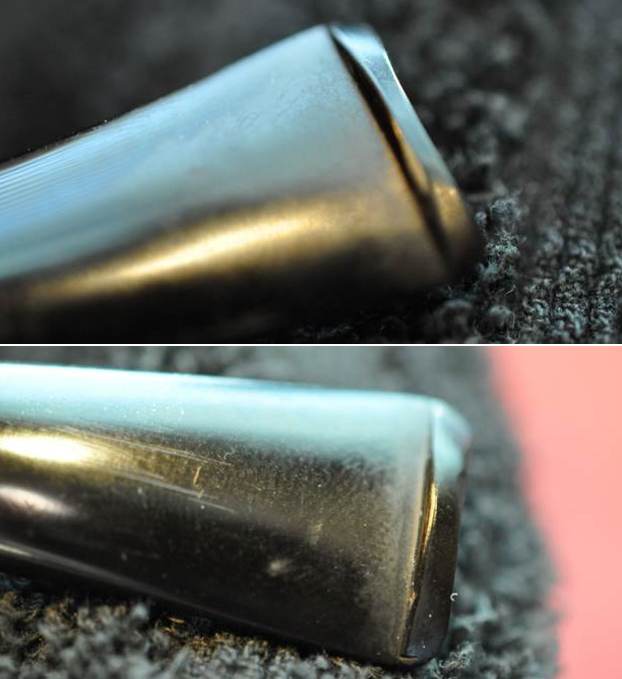
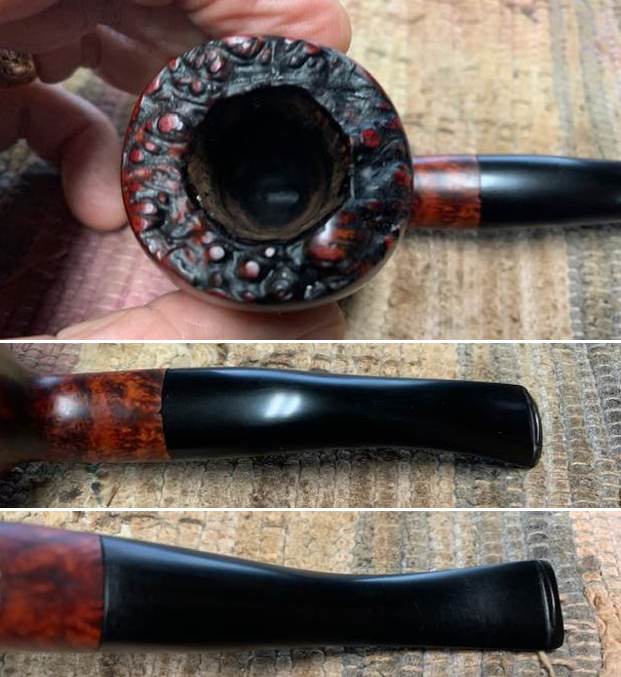
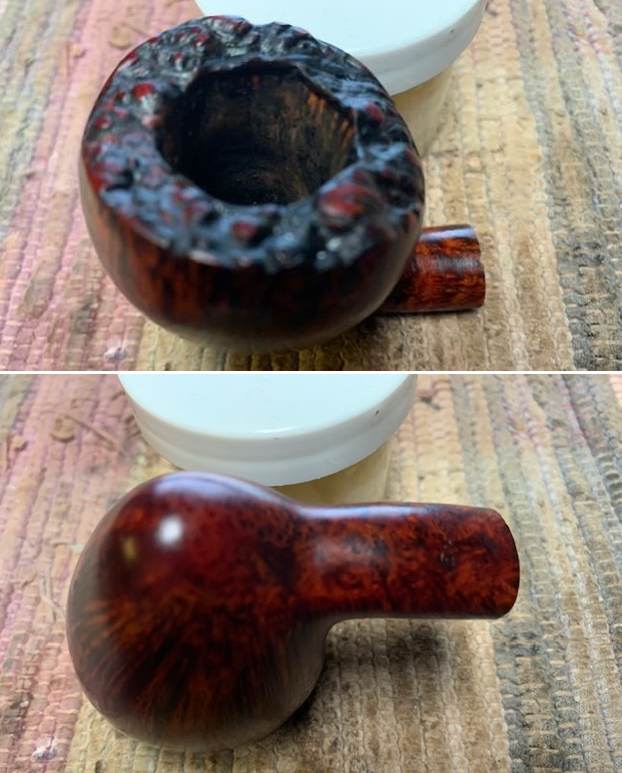
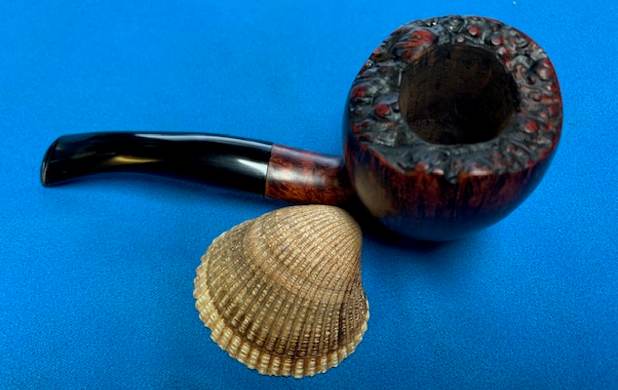
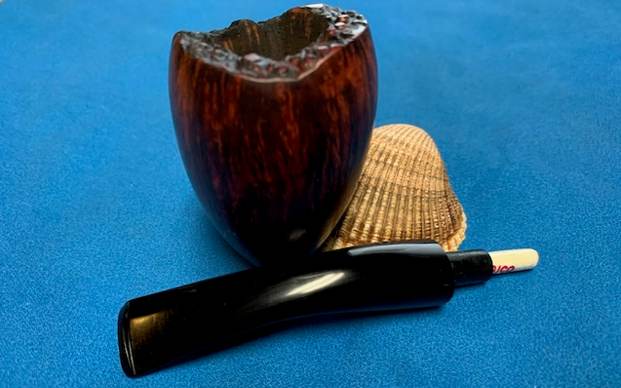
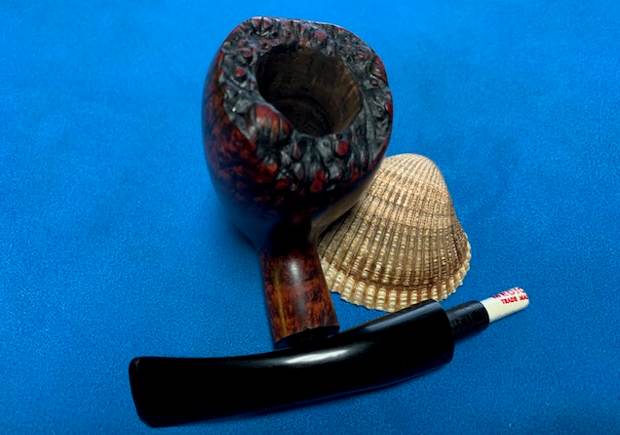
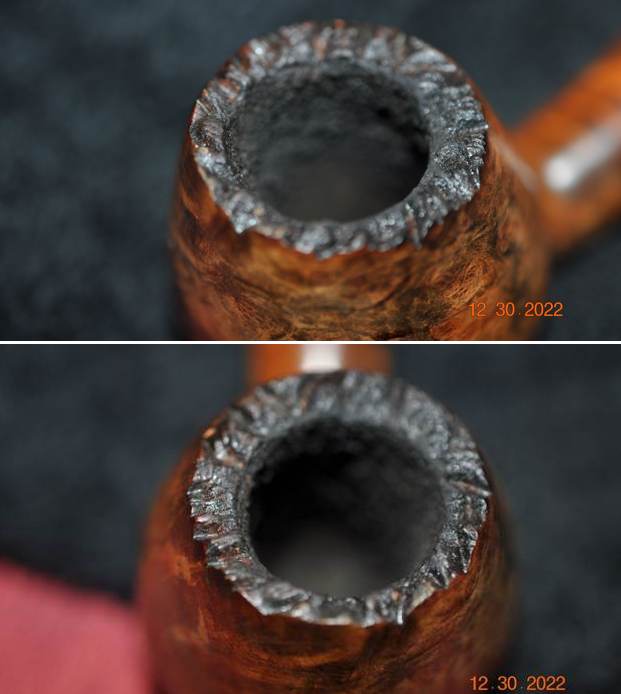
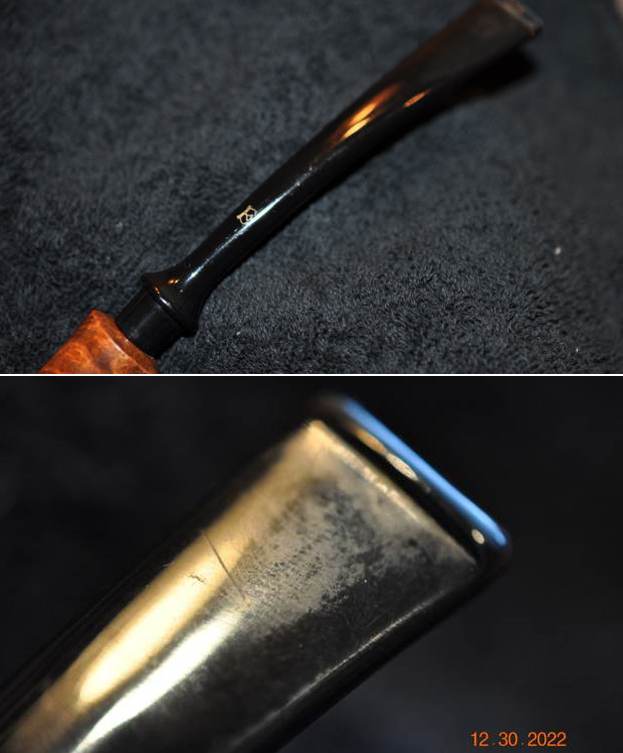
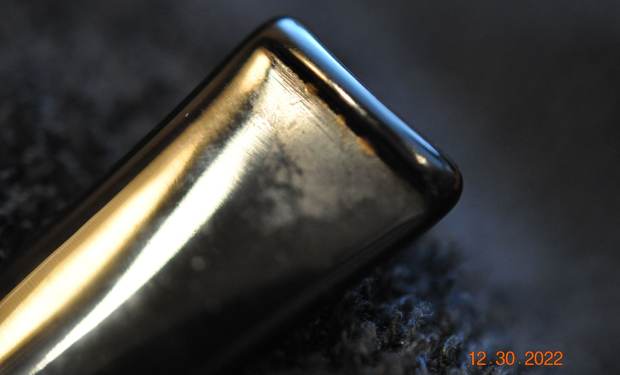
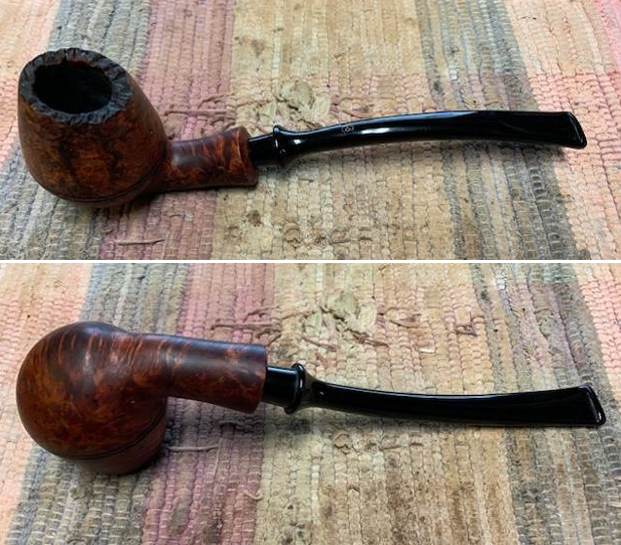
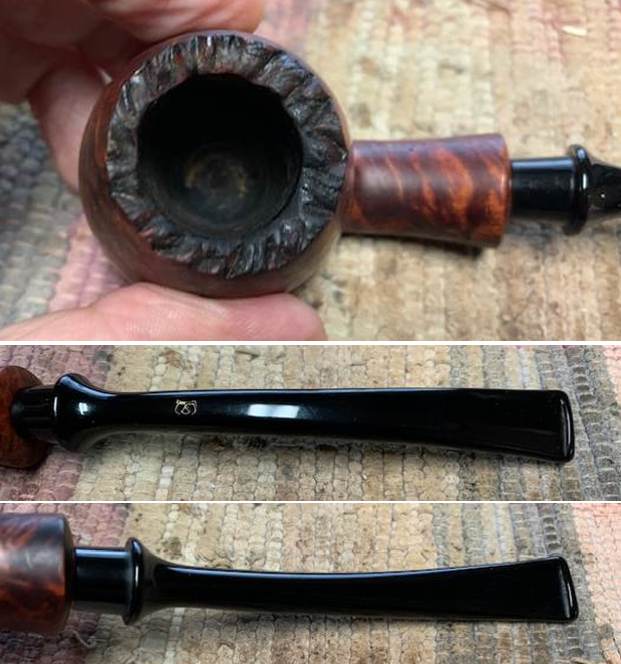
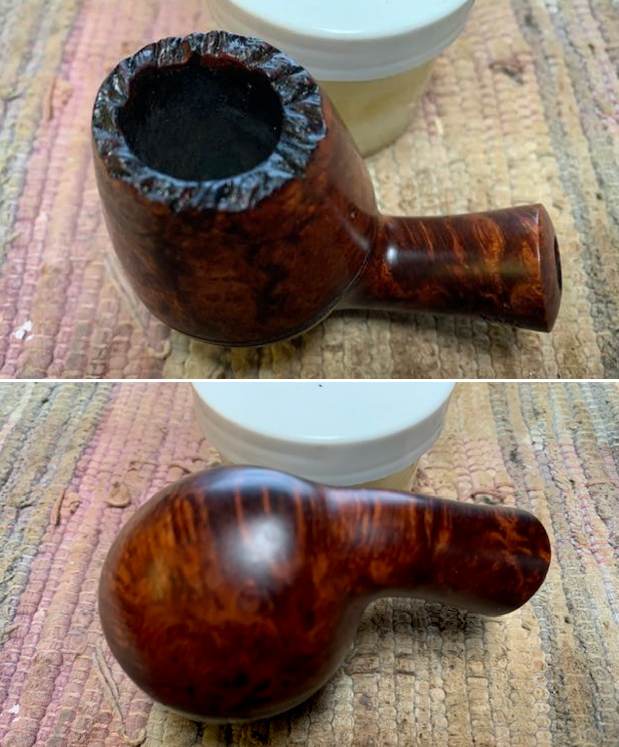
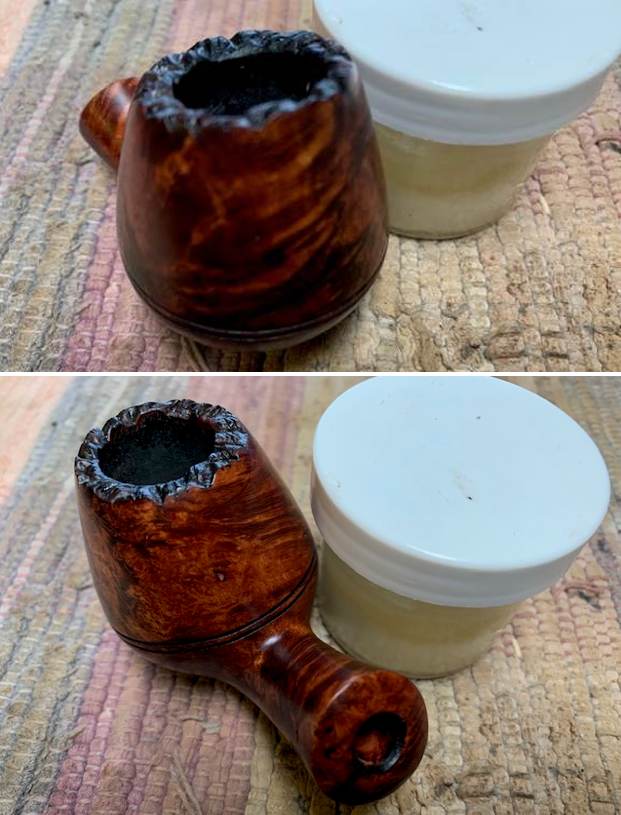
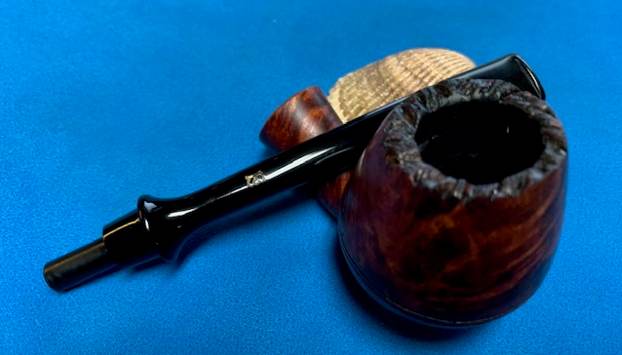
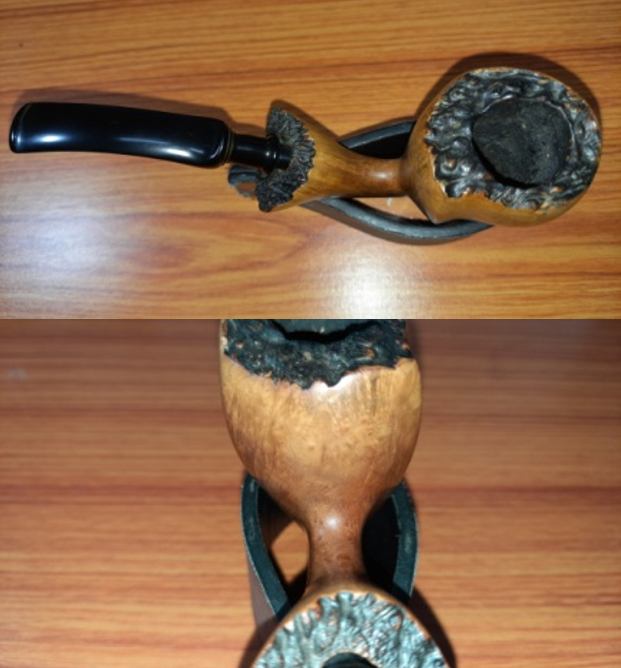
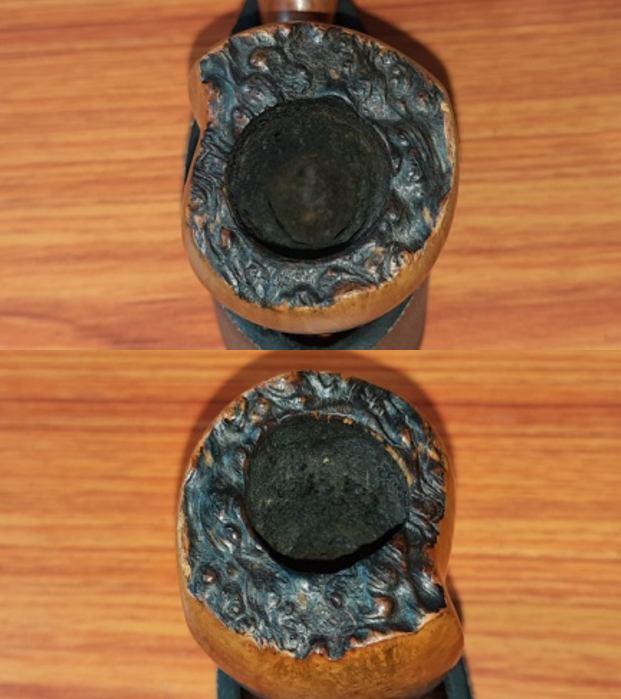
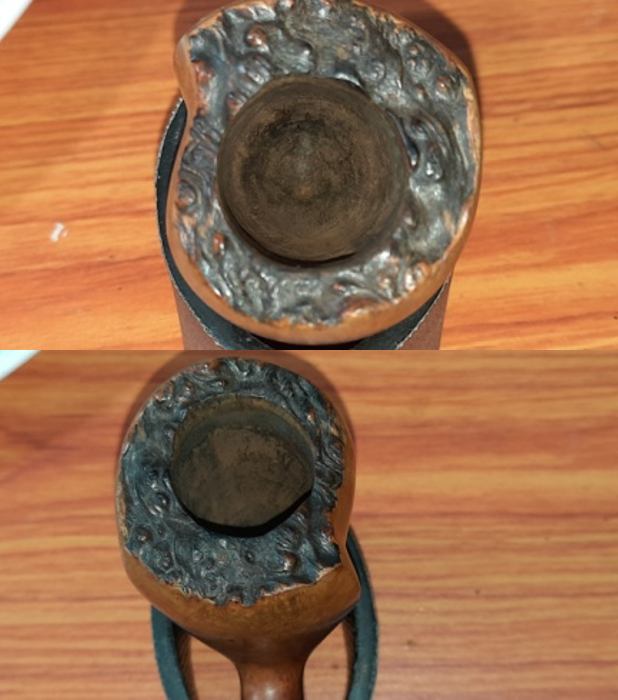
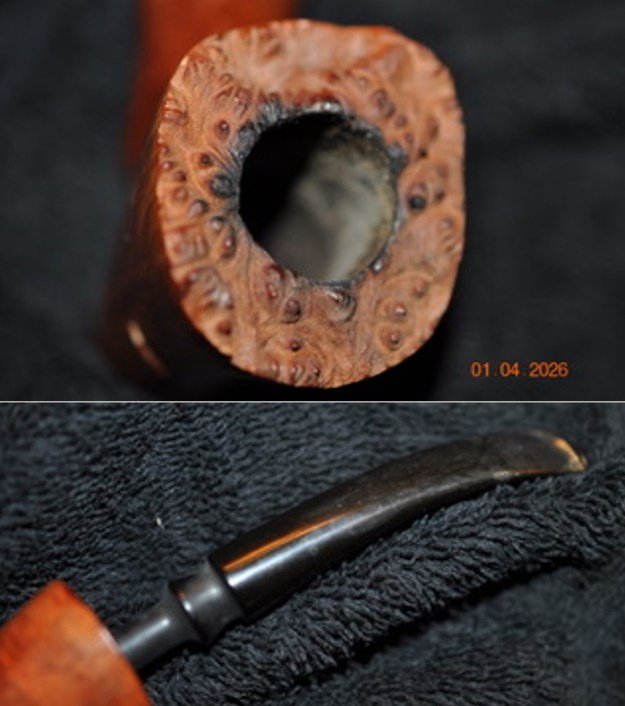
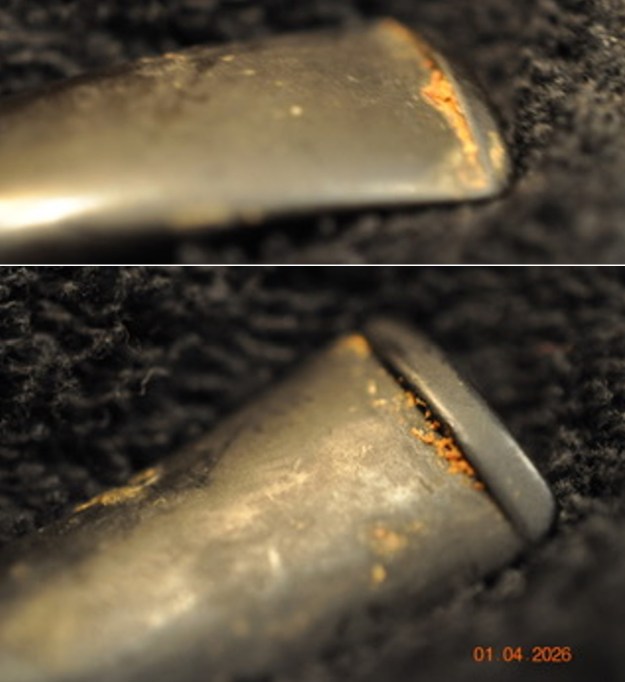
 The next photo shows the rim top and the bowl. You can see the cake in the bowl and the light overflow of lava on the inner edge of the rim along with some darkening. The photos of the stem show the oxidation and calcification with light tooth marks and chatter on both sides near the button.
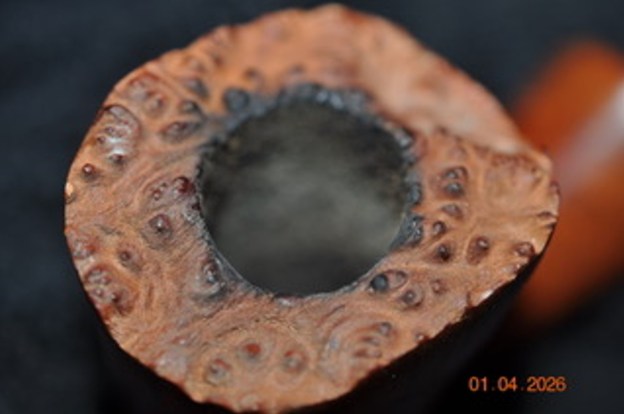
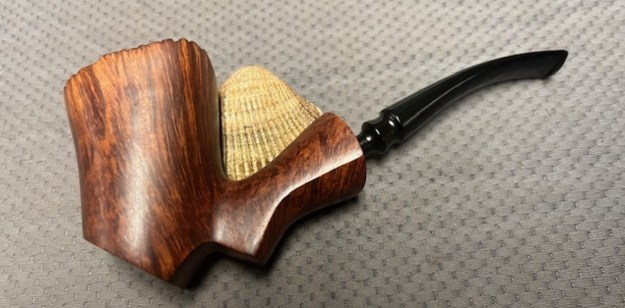
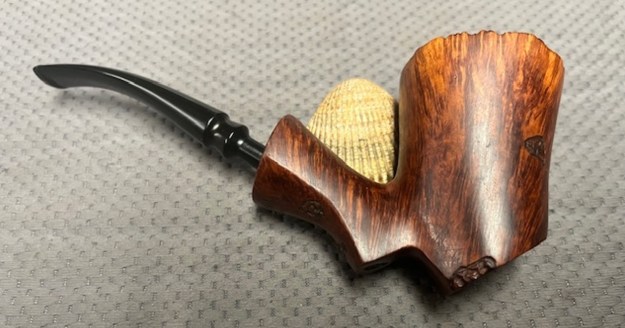
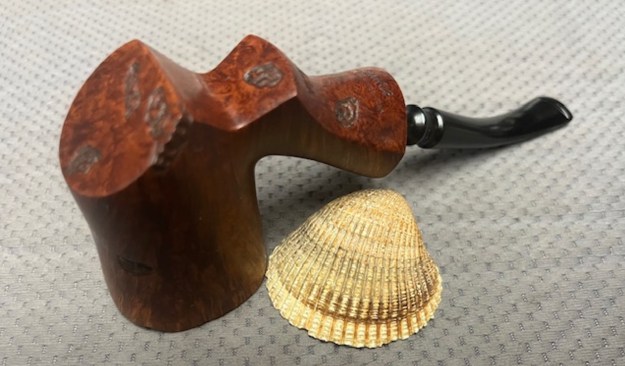
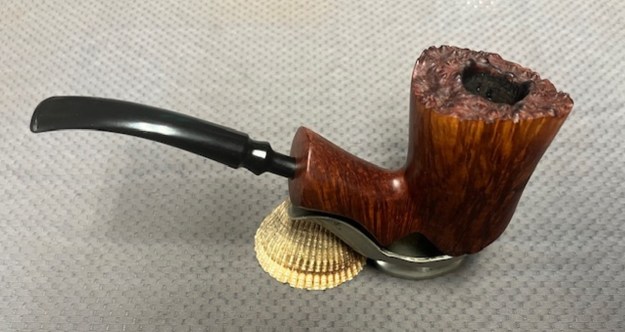
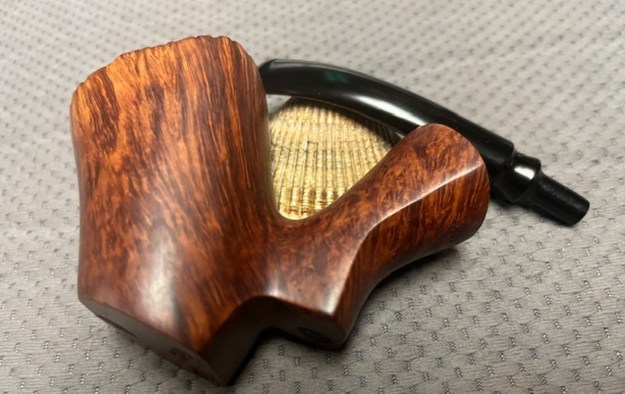
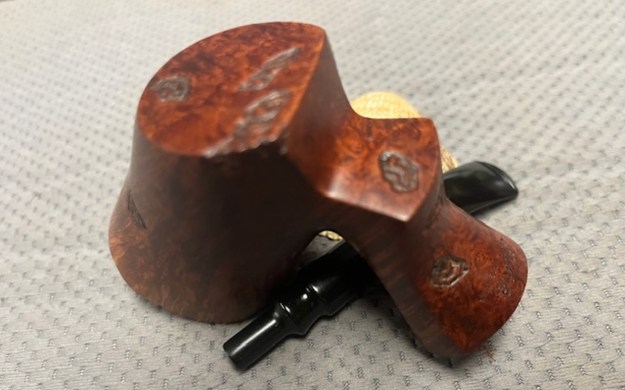
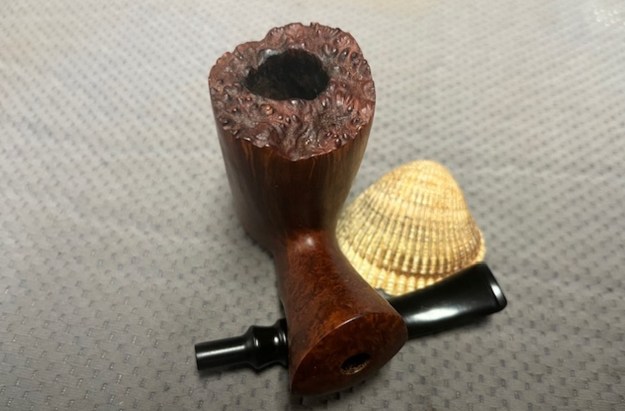
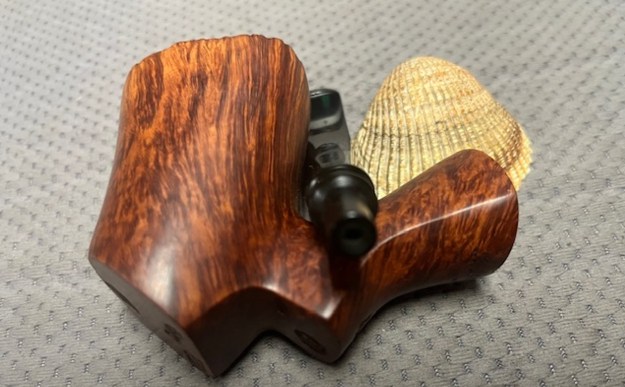
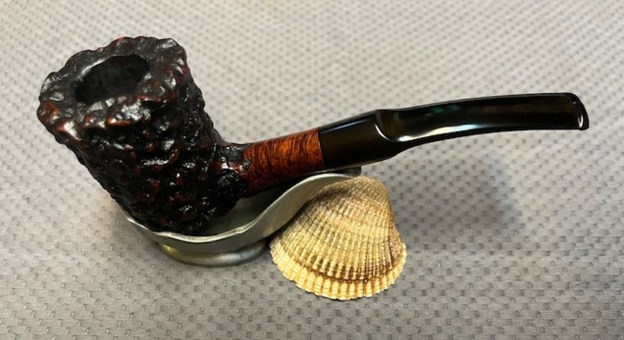
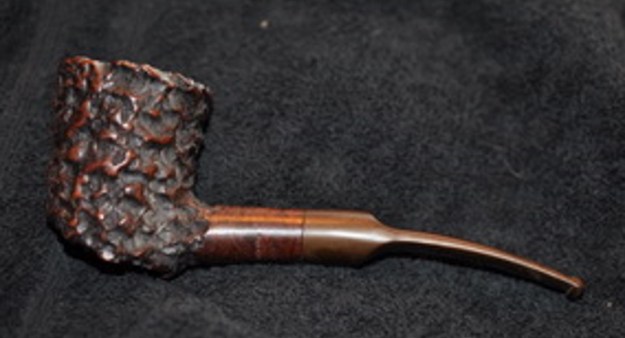
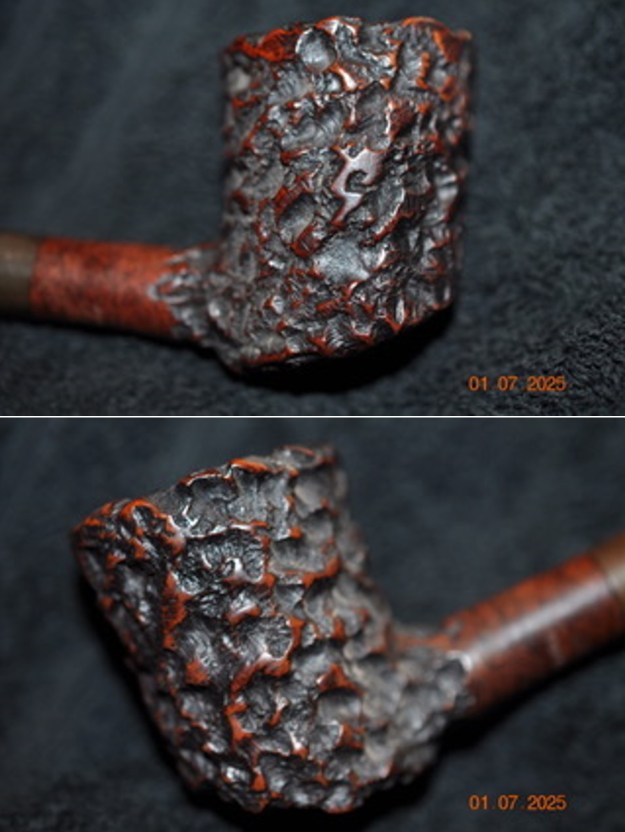
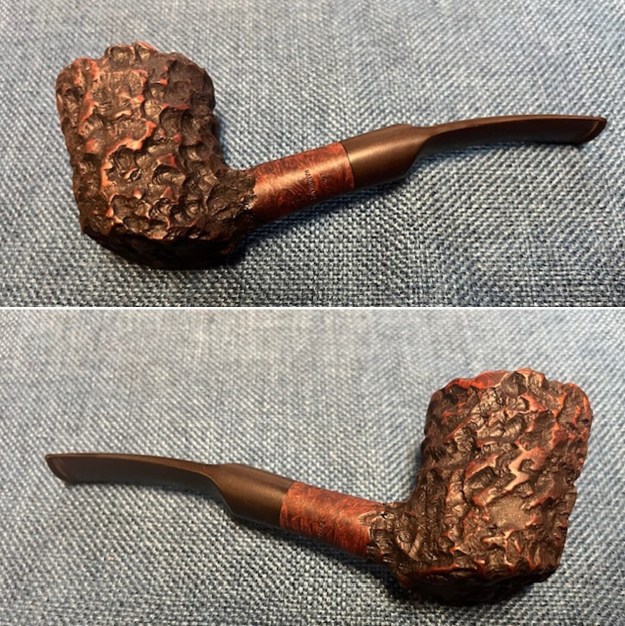
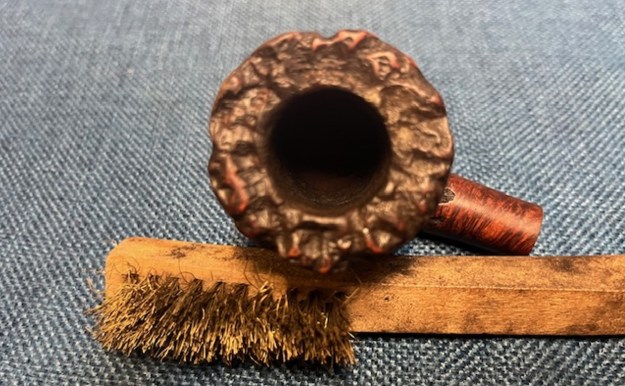
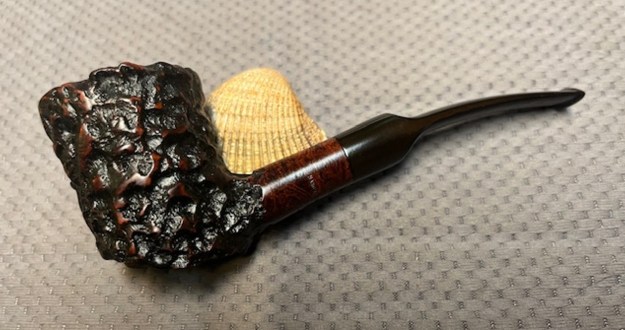
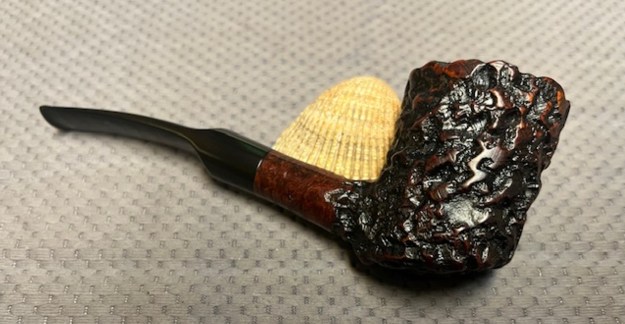
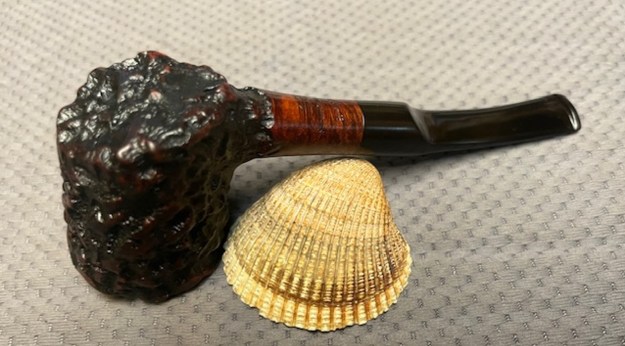
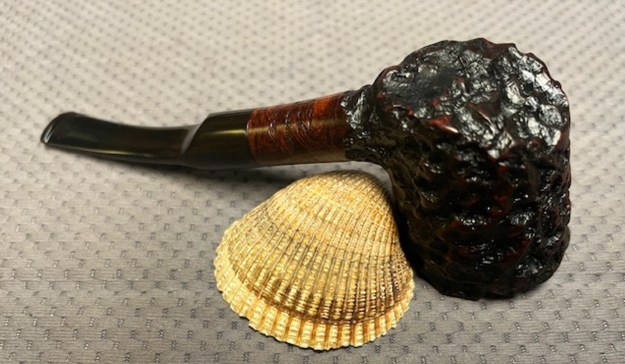
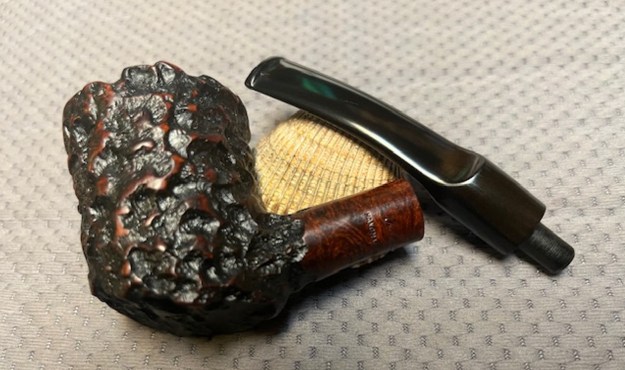
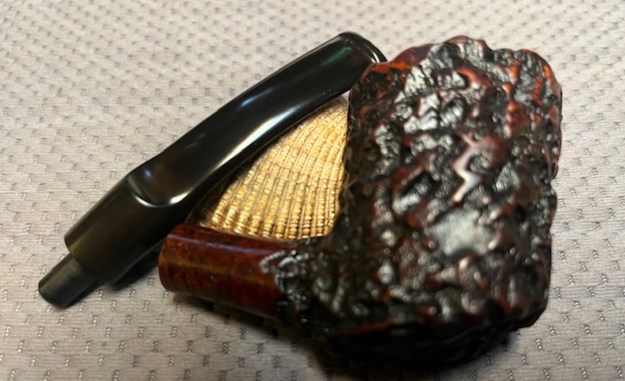
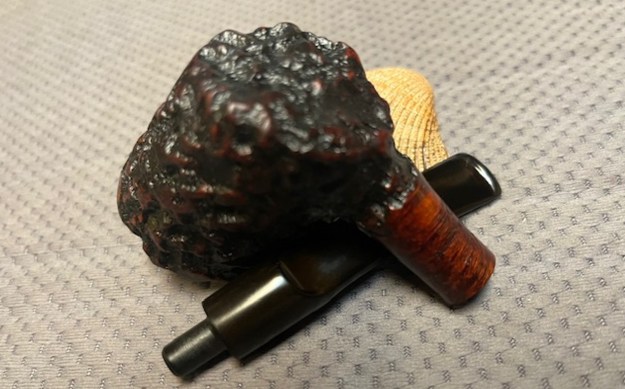
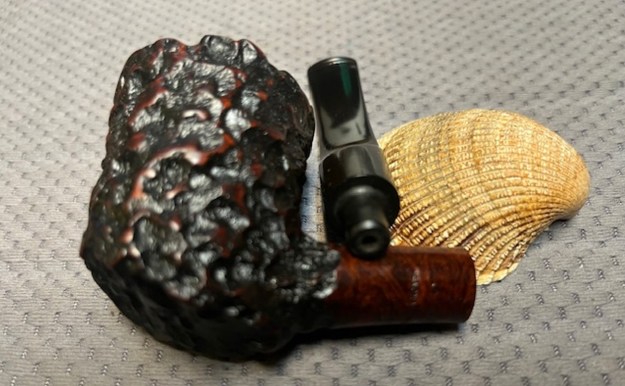
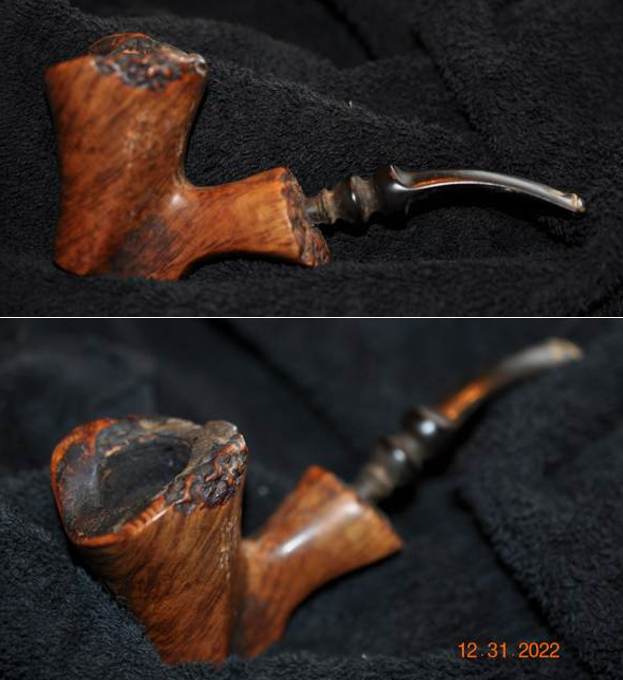
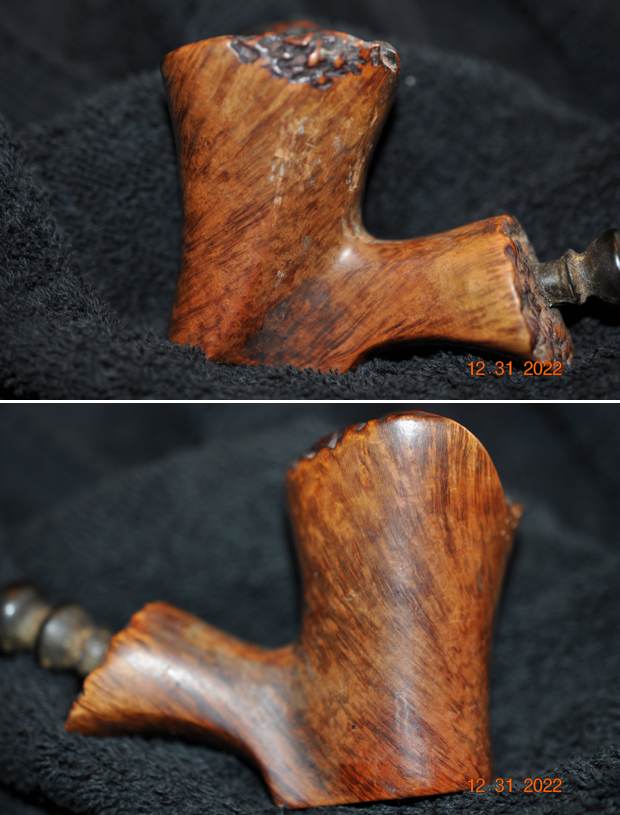
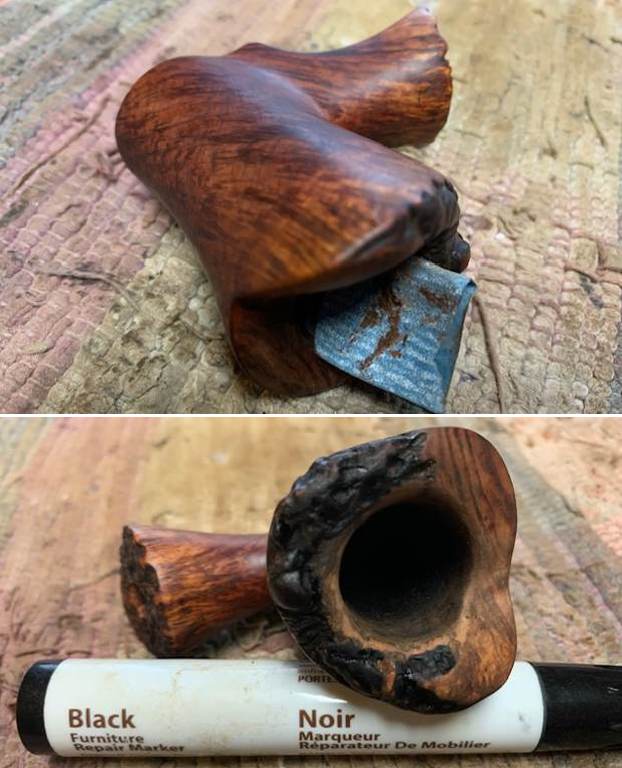
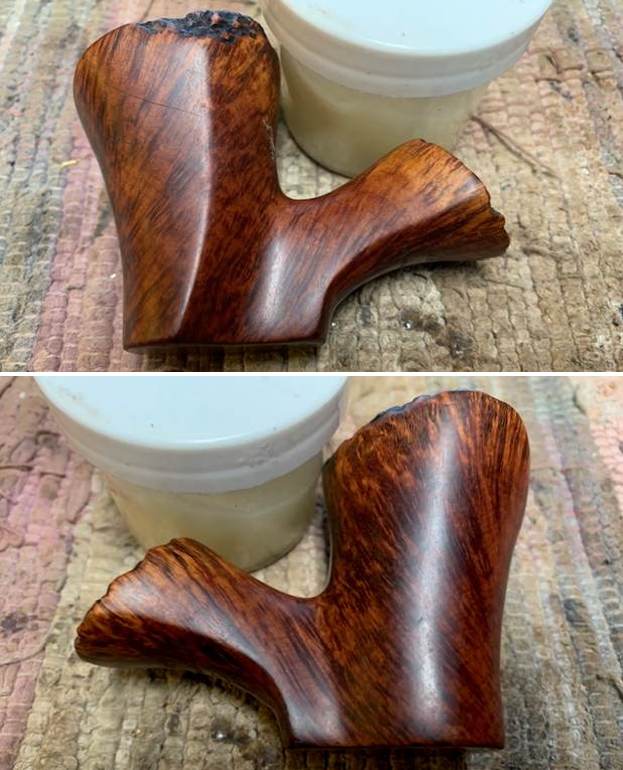
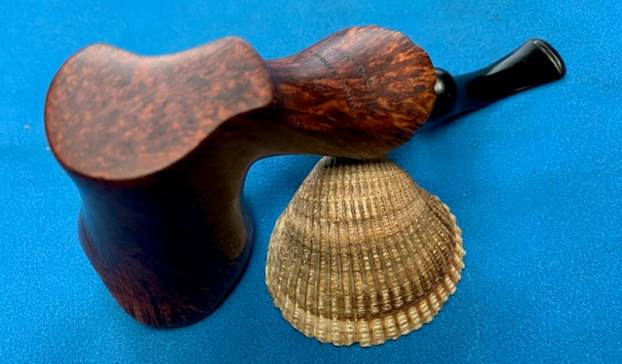
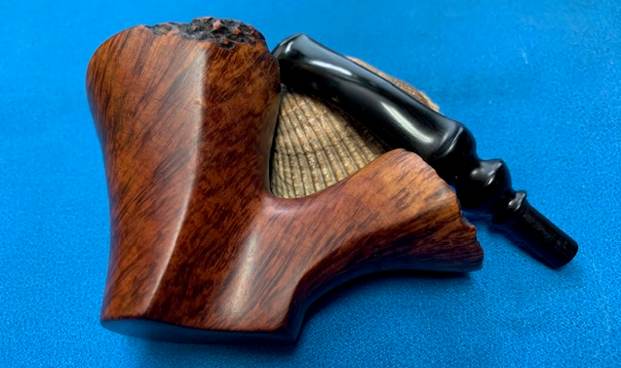
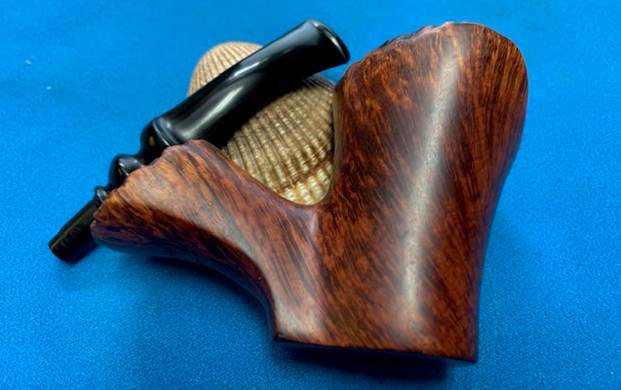
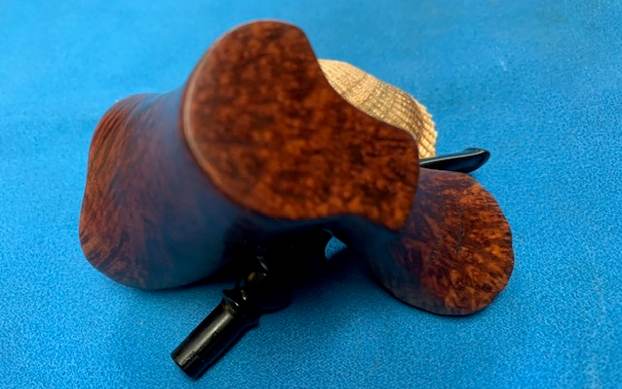
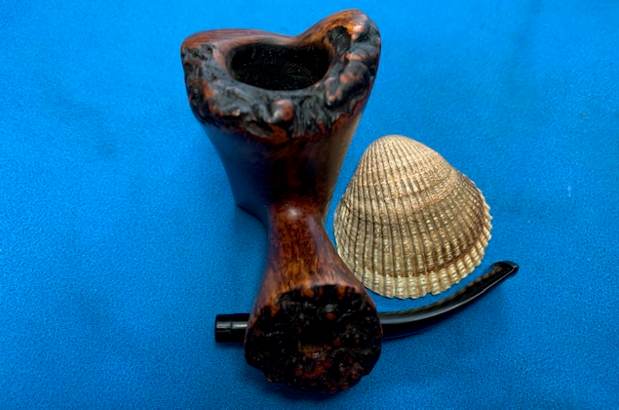
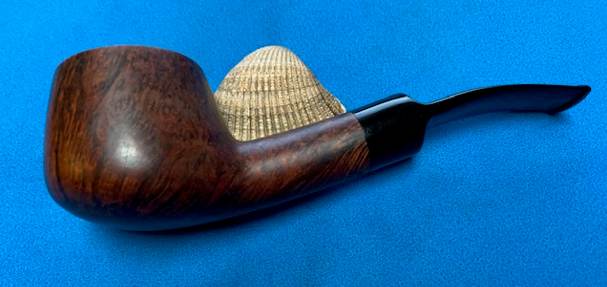
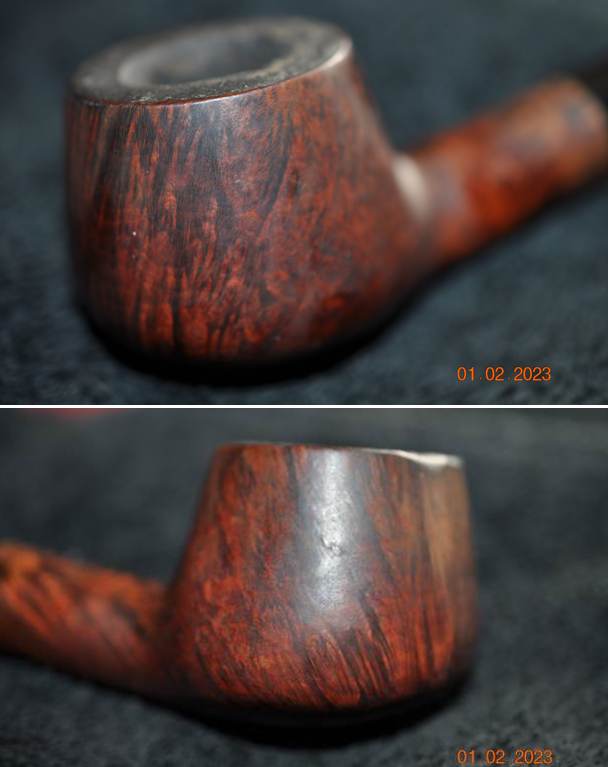
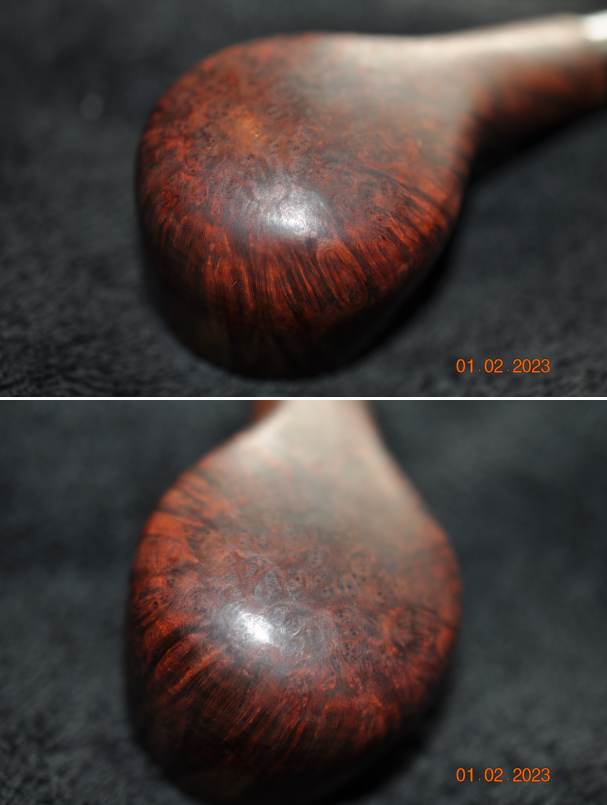
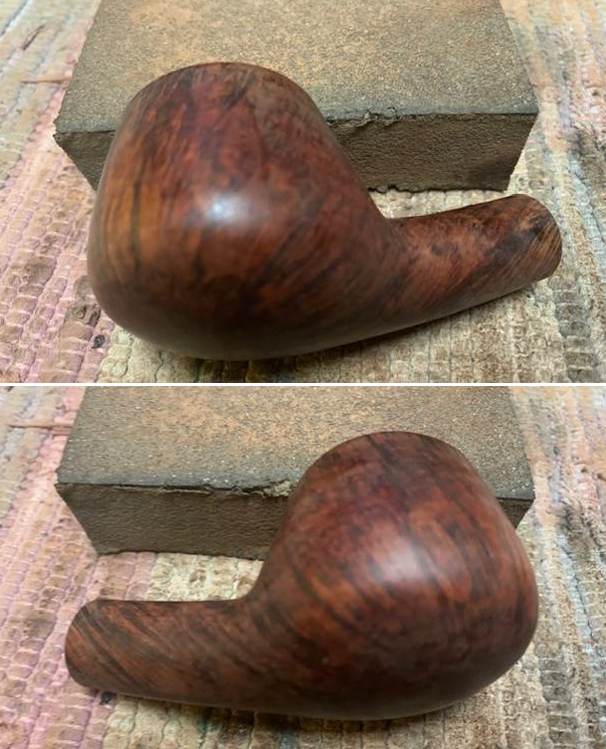
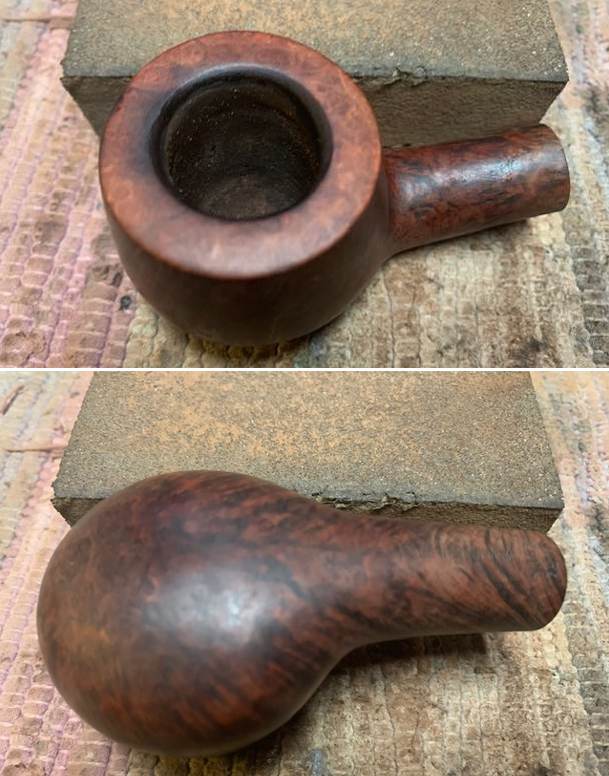
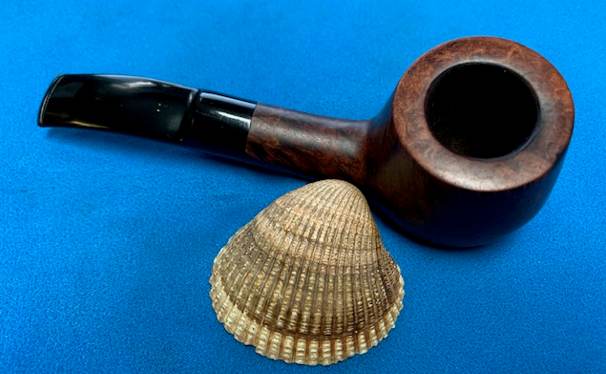
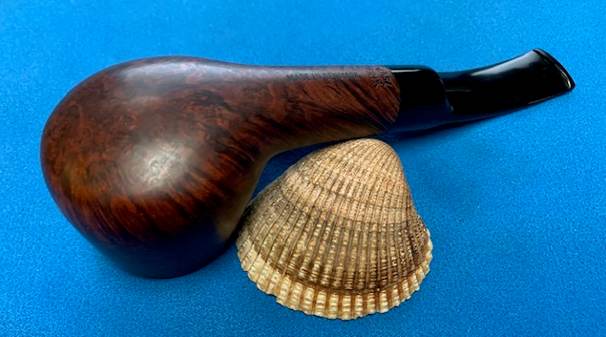
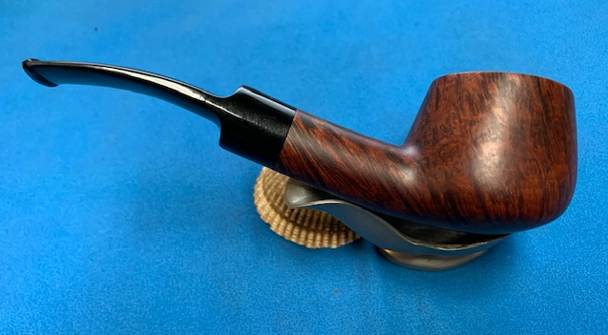
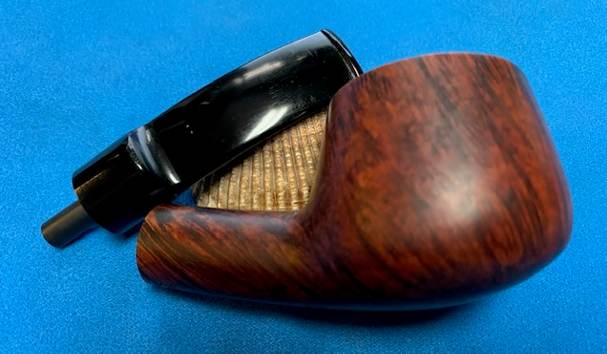
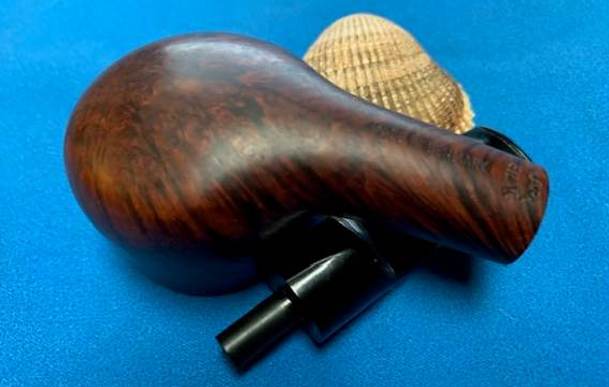
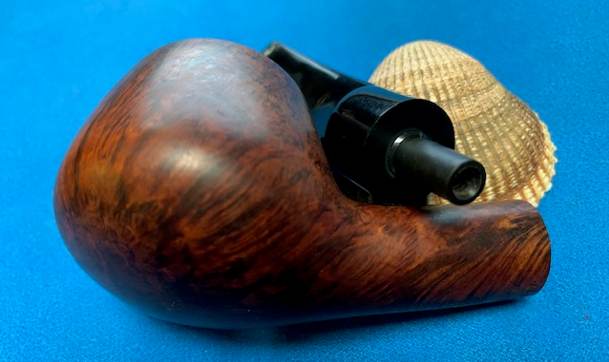
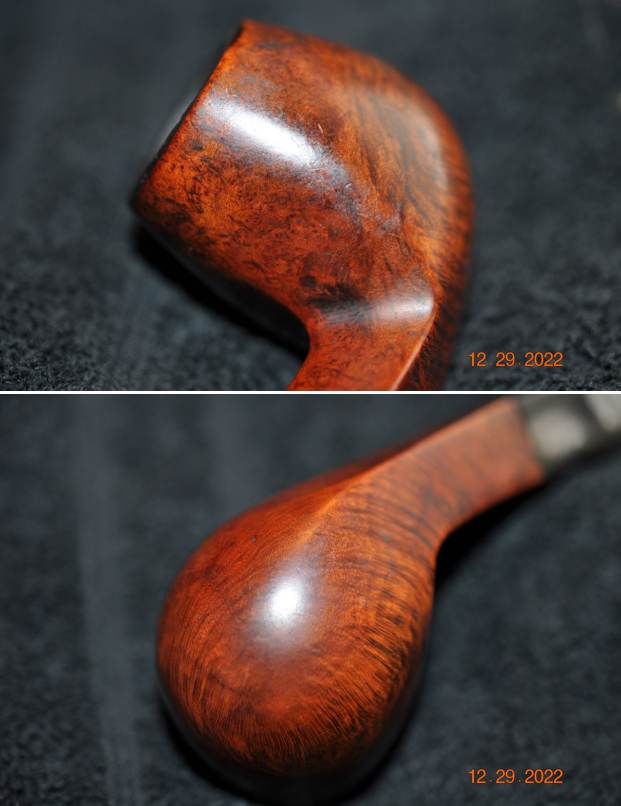
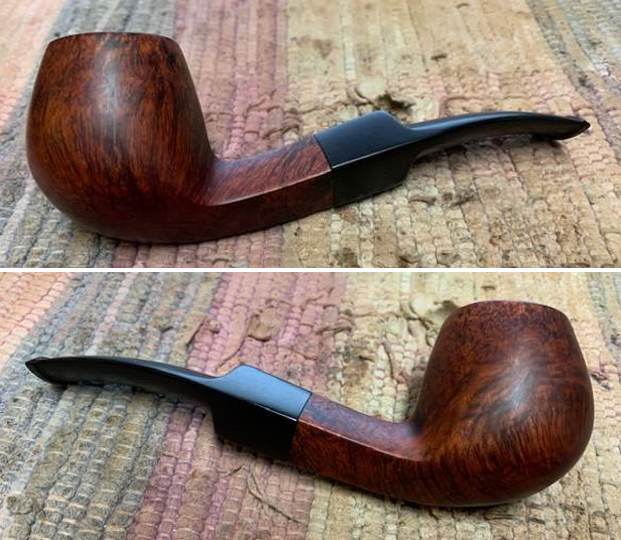
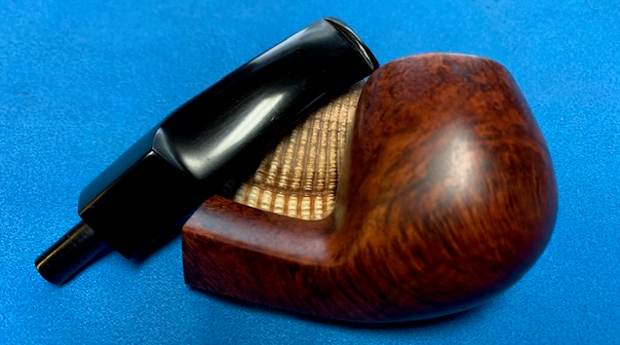
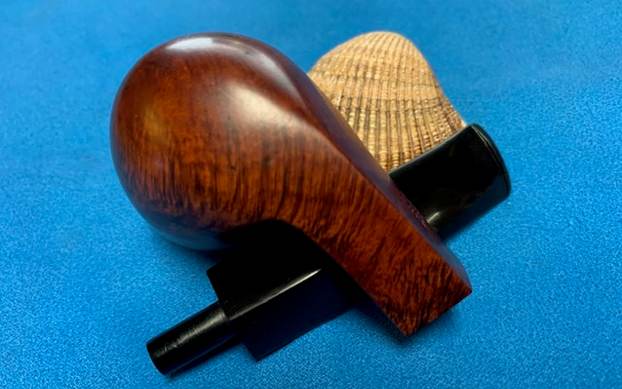
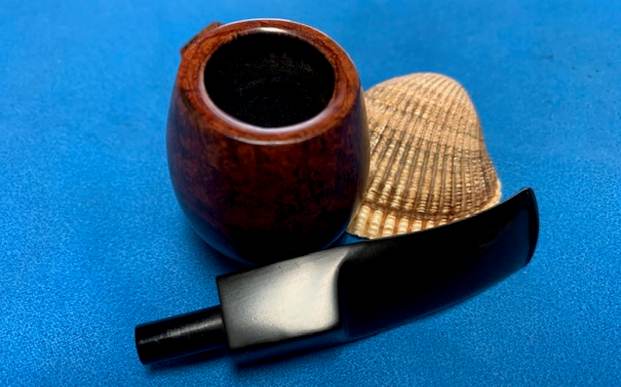
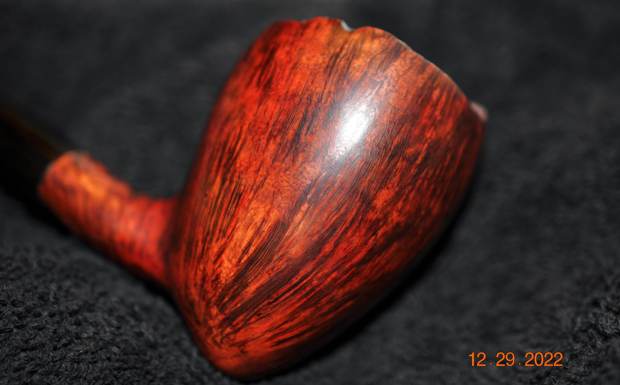
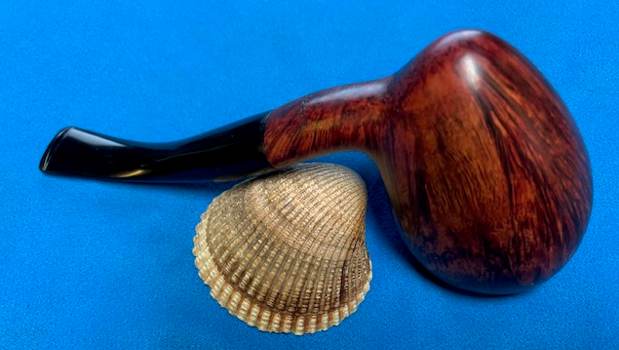
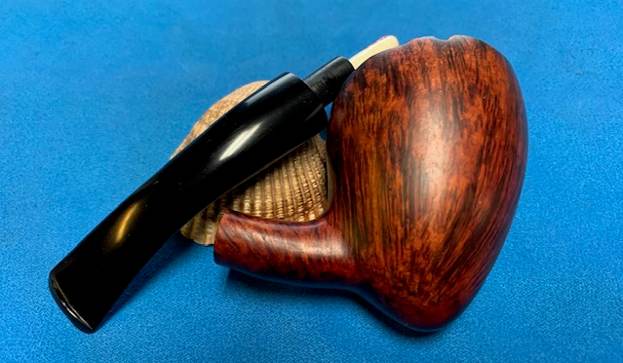
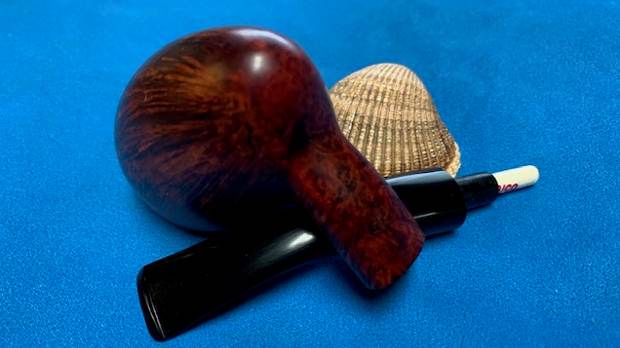
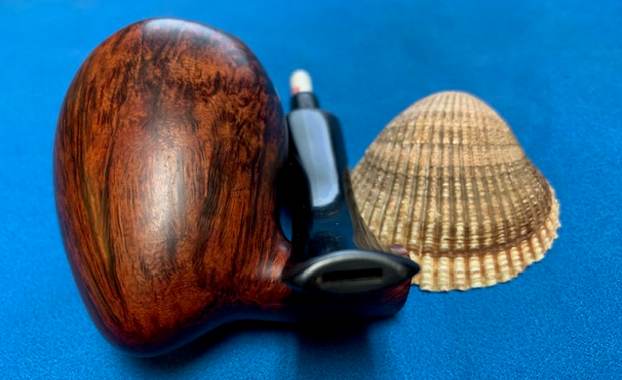
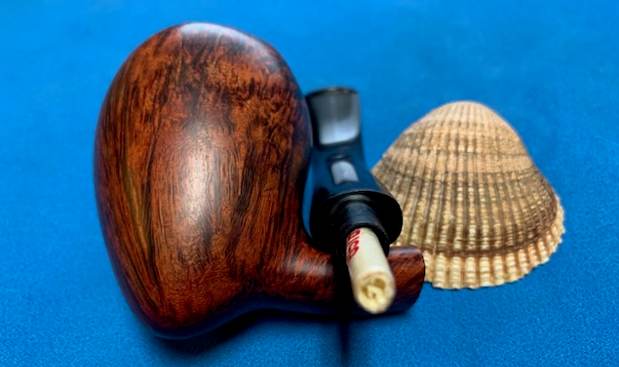
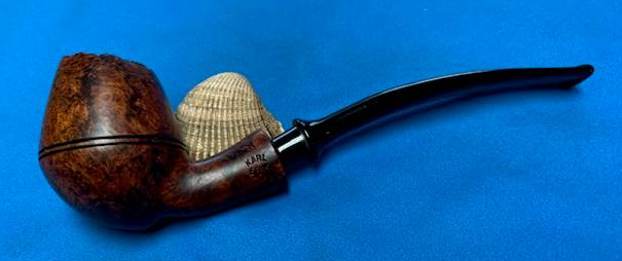
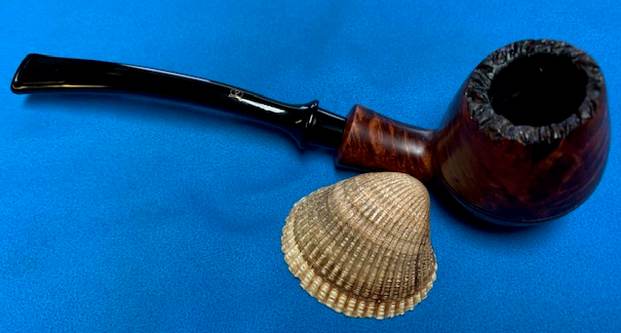
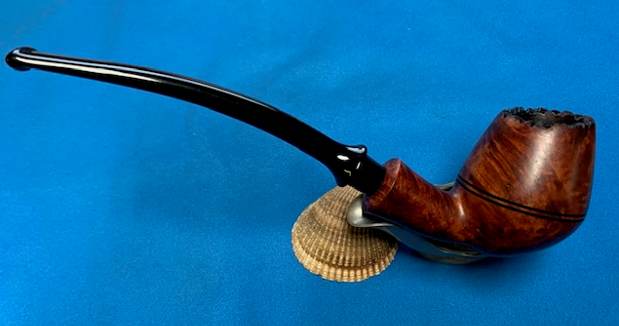
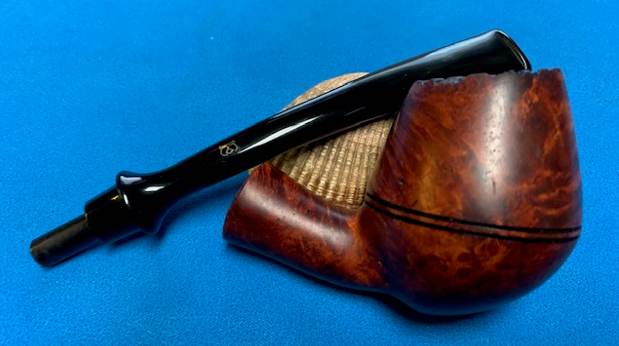
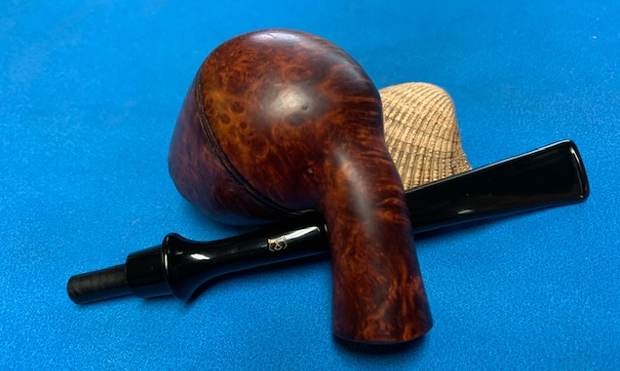
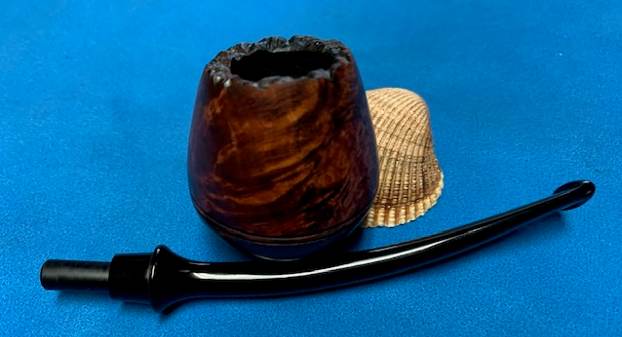
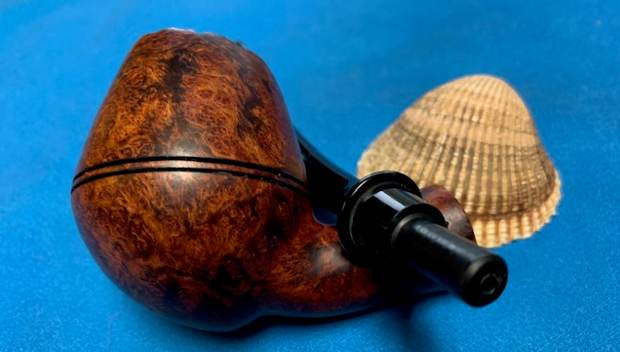
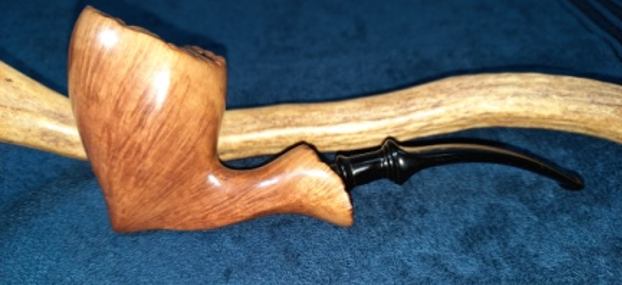
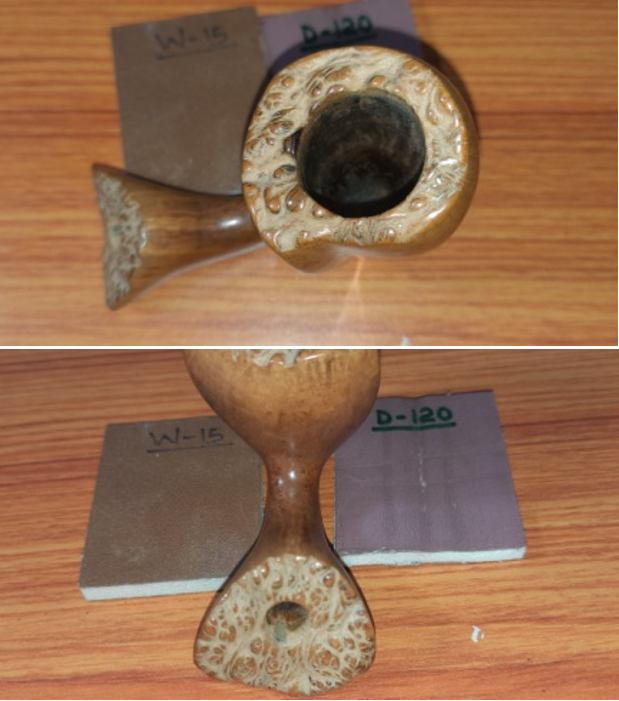
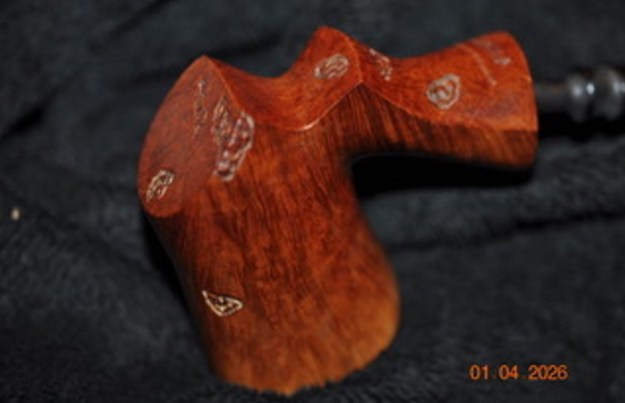
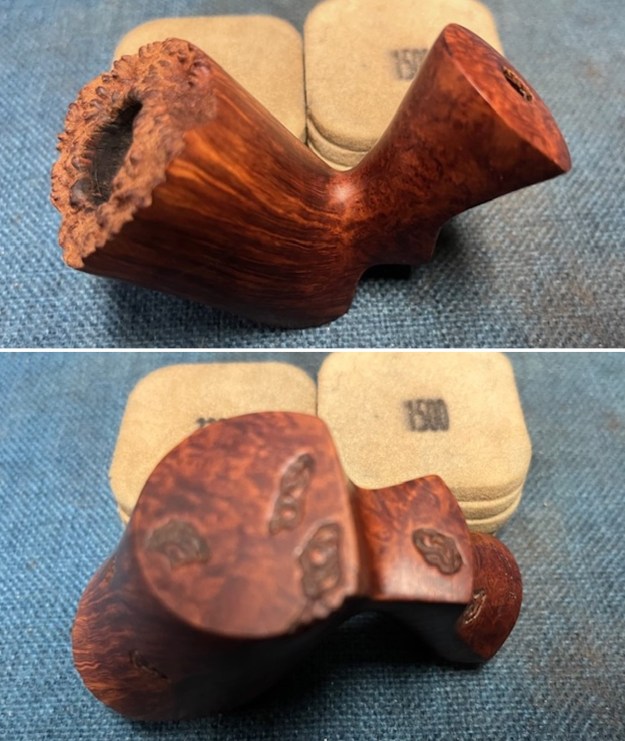
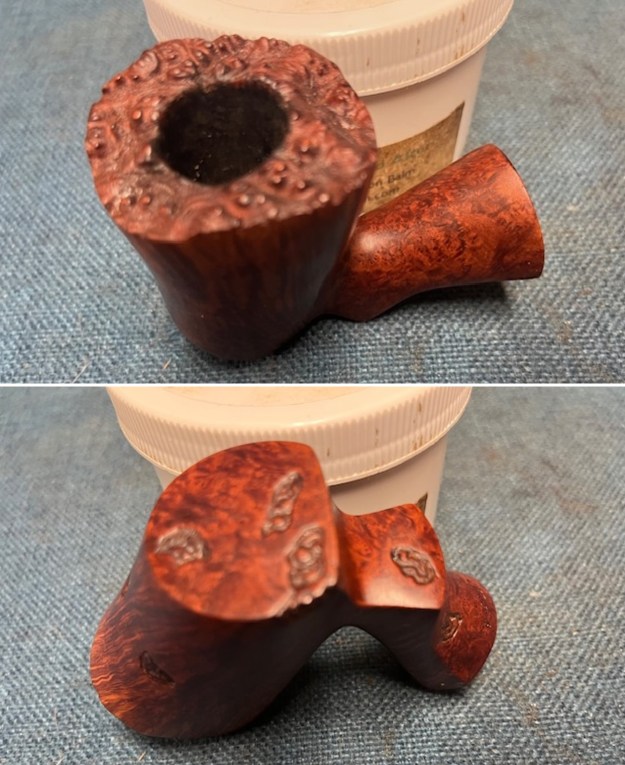
 Jeff took pictures of the bowl from various angles to show the condition and the overall look of the pipe. You can see the small rusticated patches in the photos. It was a beauty and elegant underneath the grime.
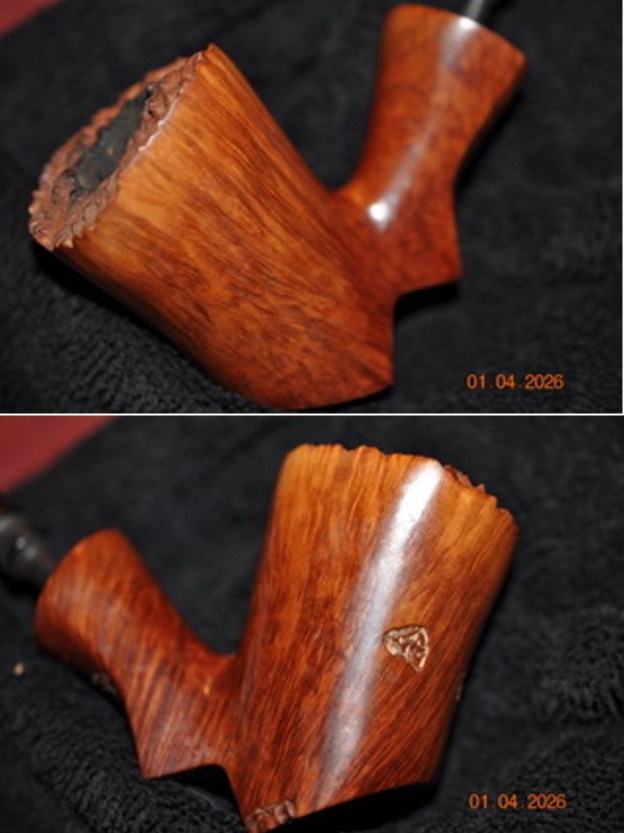
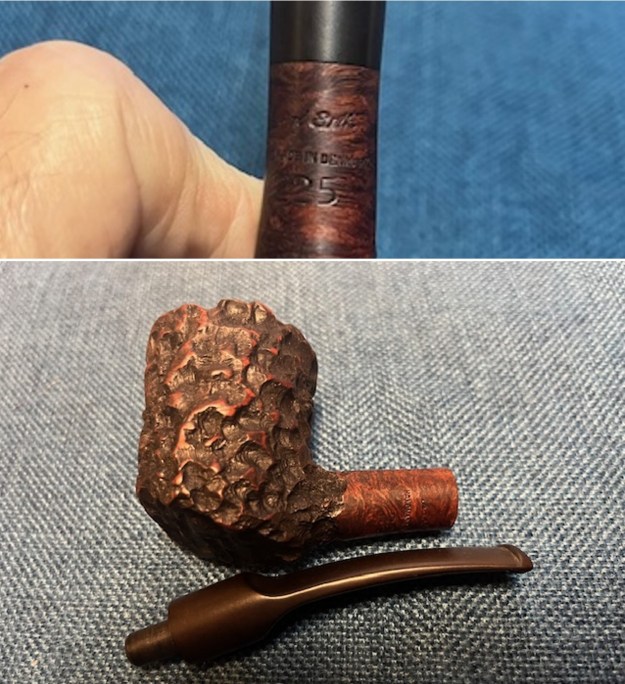
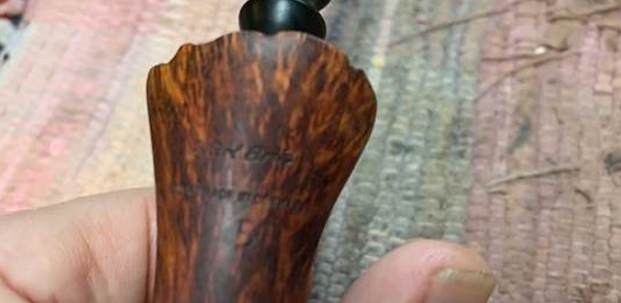
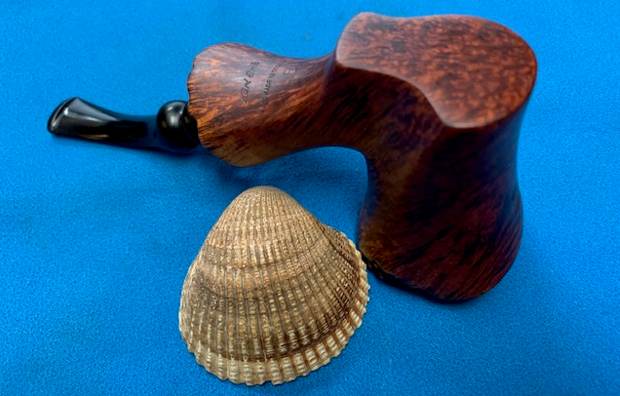
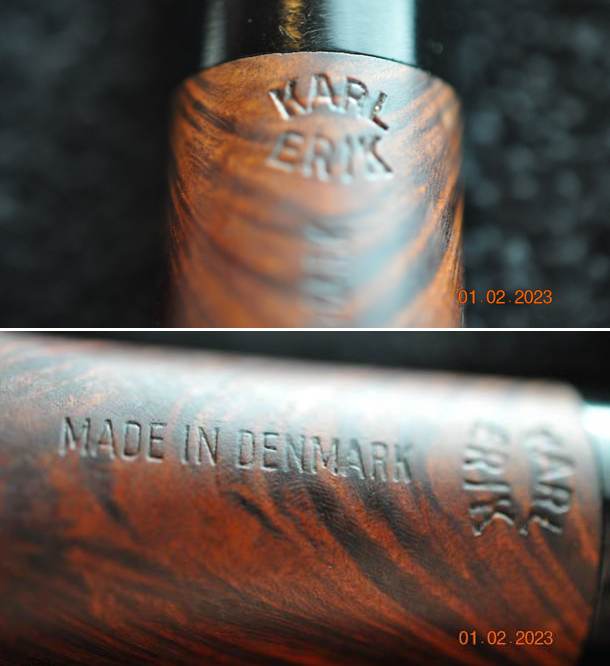
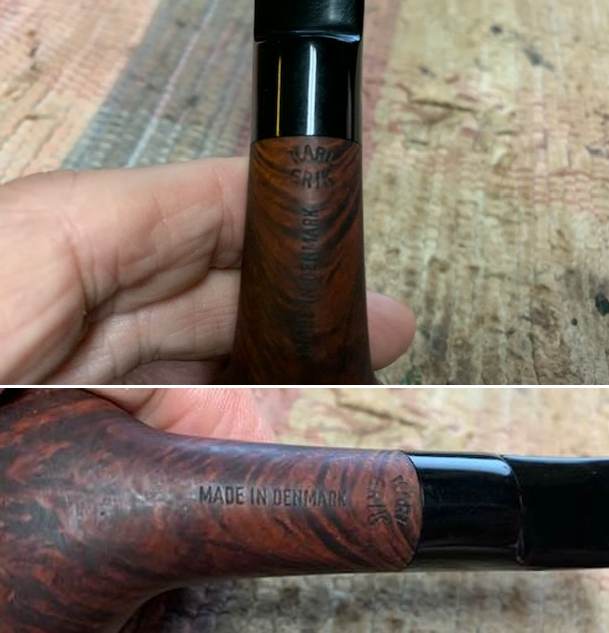
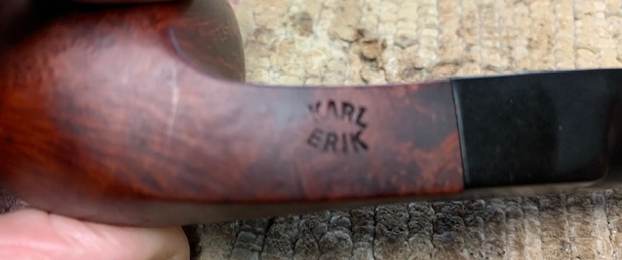
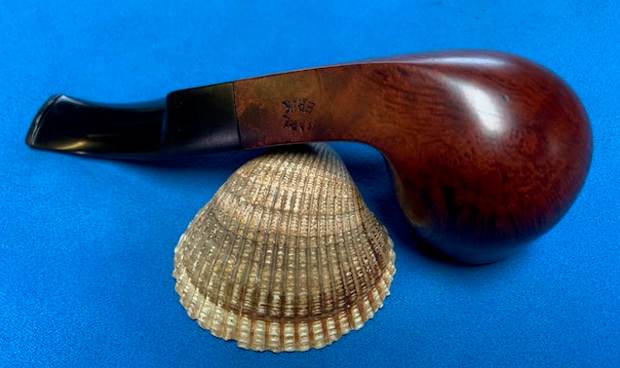
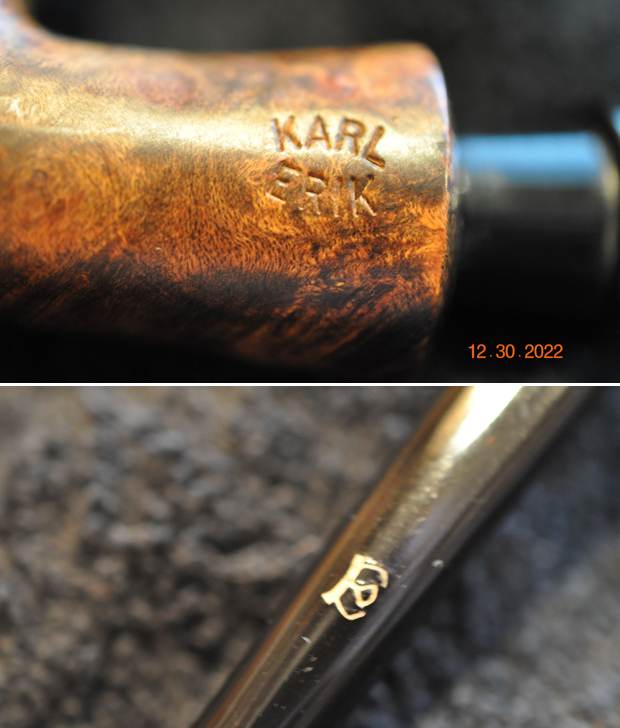
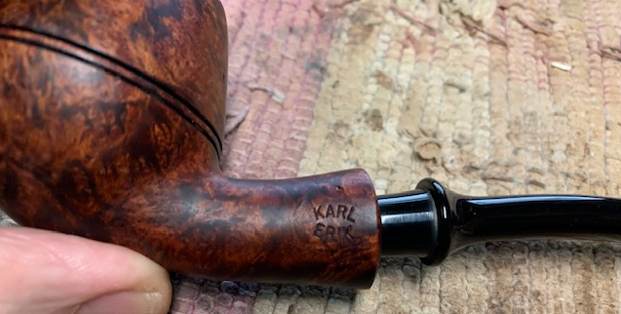
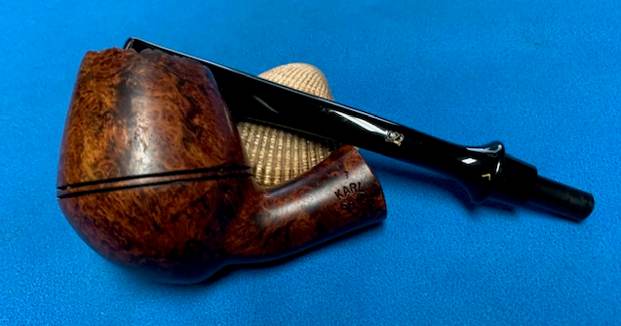
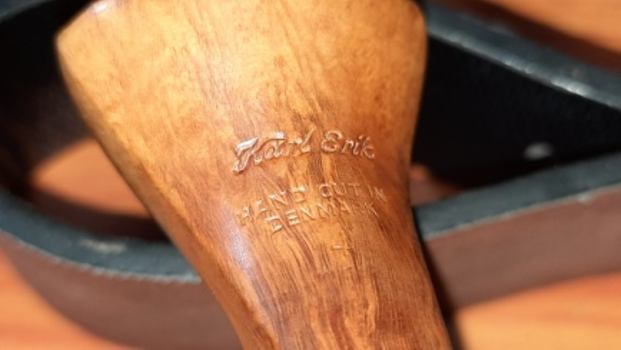
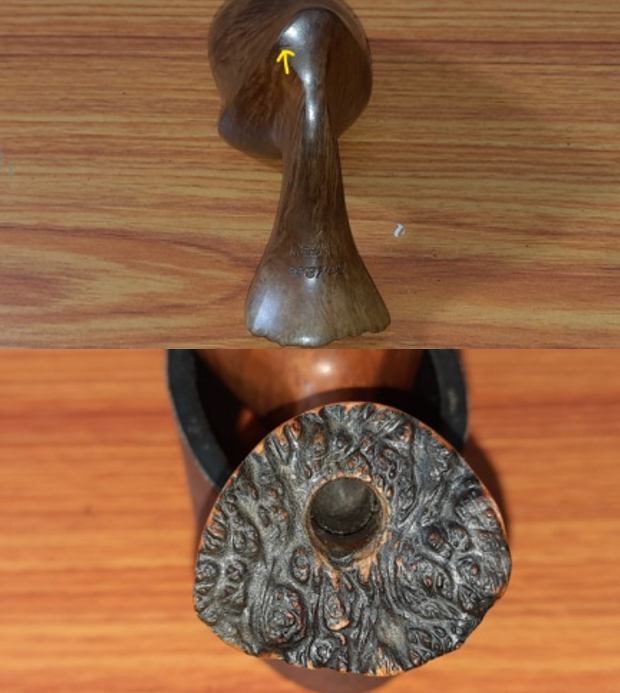
 The underside of the shank is stamped Karl Erik over Handmade in Denmark. It is clear and readable.
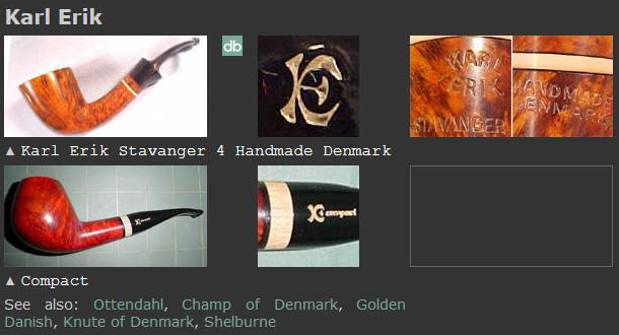
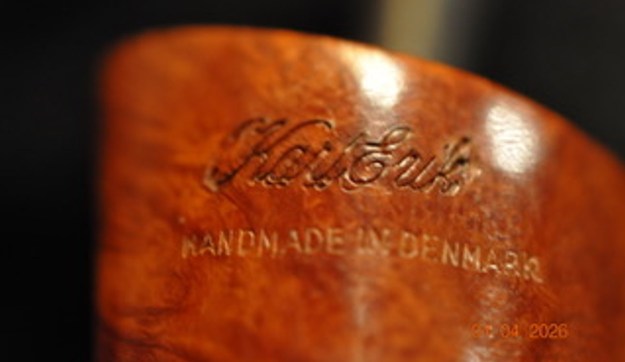 I reread a blog that Robert M. Boughton wrote on rebornpipes on his “Grade O” Karl Erik to refresh my memory on the brand and the grading system (https://rebornpipes.com/2018/07/28/a-three-card-draw-for-an-inside-straight-with-an-old-karl-erik-hand-made-grade-o-freehand/). It was enlightening and from there I went on and looked up the brand on both Pipephil’s site and Pipedia to add some details to my knowledge.
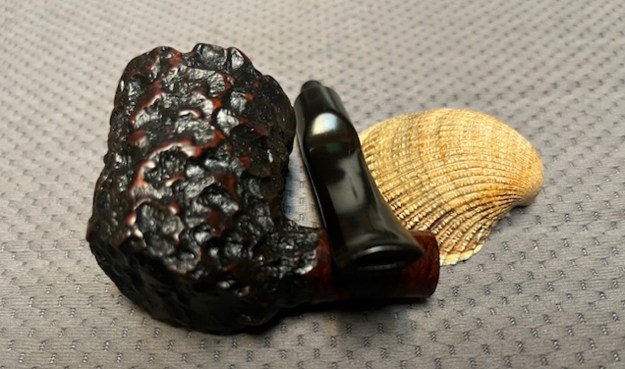
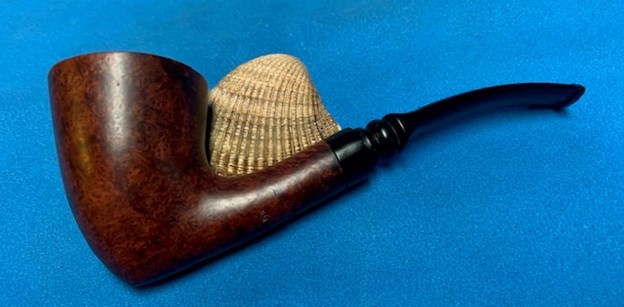
Photo from Pipedia
From the Pipephil site I got a quick overview of the brand. (http://www.pipephil.eu/logos/en/logo-k1.html). I quote:
Brand created in 1965-66 by Karl Erik Ottendahl (1942–2004 †). In the best years he employed up to 15 craftsmen among which Bent Nielsen (see Benner) and Peder Christian Jeppesen. Former grading (ascending): from 4 to 1, and “Ekstravagant” (entirely handmade
From Pipedia here is a bit more detailed history of the brand (https://pipedia.org/wiki/Karl_Erik). I quote from there below.
Karl Erik Ottendahl (1942–2004) was born in Aalborg (Jutland), just a few miles from the very northernmost tip of Denmark. He began smoking a pipe when he was 14 and upon leaving school he started an apprenticeship…as a lithographer at the age of 16.
While working as an apprentice he began hand carving pipes as a hobby. Many were given as gifts to his more senior colleagues. Upon completion of his apprenticeship he moved to Nairobi, Kenya to work as a lithographer during the 1962 war. While in that war torn country, he was unable to procure pipes for himself. In the face of such a predicament, he chose to continue to make pipes for his own use rather than go without.
Returning to Denmark after three years he couldn’t find a well paid… job, and so he began making a few pipes on the side to boost his income choosing his prenames “Karl Erik” – logo “KE” – for his label. When he managed to find some major Copenhagen pipe stores willing to sell his pieces his reputation grew little by little and he was finally able to purchase more and better machinery and began working full time as a pipe maker.
Pipedia also included a short description of the grading system that was used. From what I can discern the numbers ascended (6-1) and the letters ascended as well. There is no grade stamp on this pipe however.
KE’s new grading used numbers ascending from D to A. The unique “Ekstravagant” pipes C, B, A, AA to AAA. These superb pieces of remarkable quality were, almost certainly, the least expensive high- quality hand made pipes coming from Denmark today!
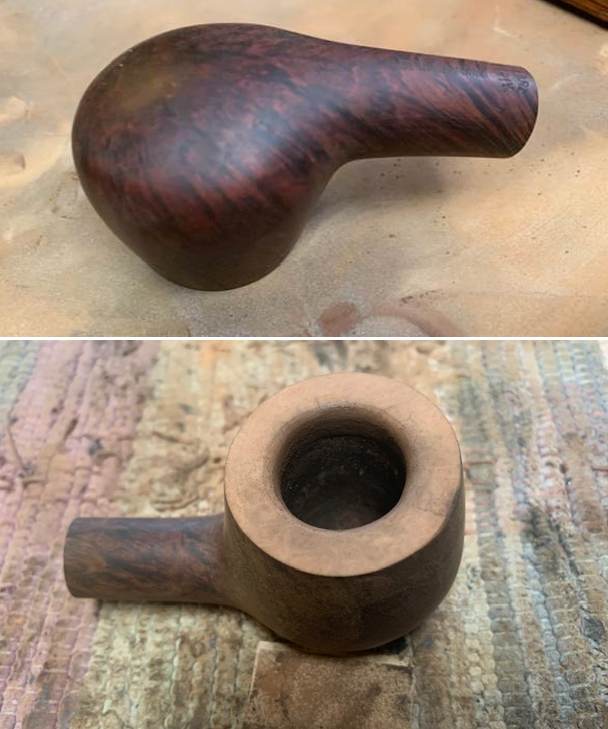
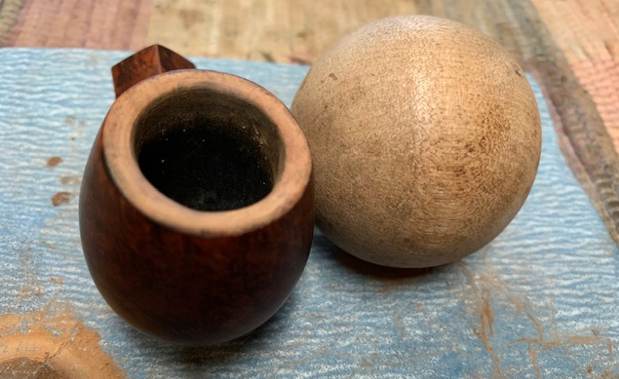
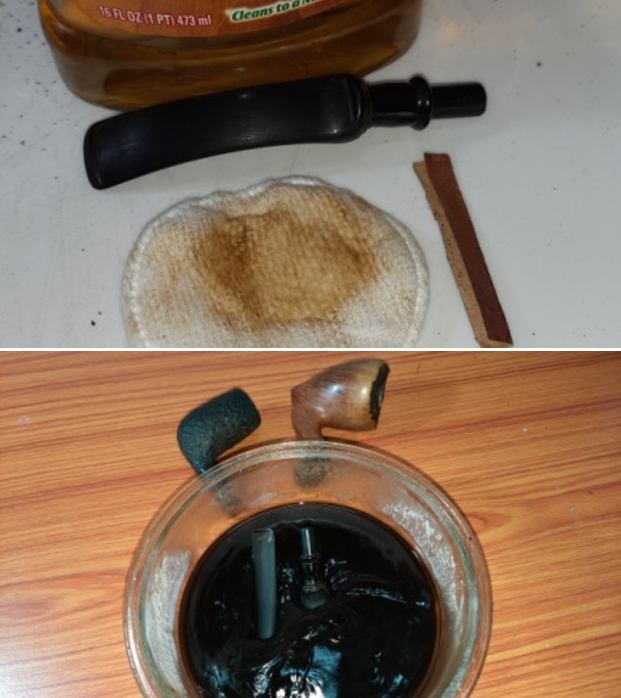
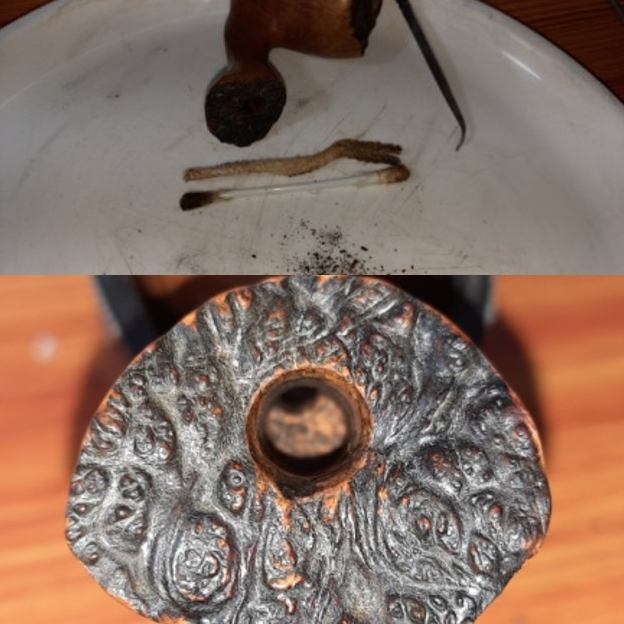
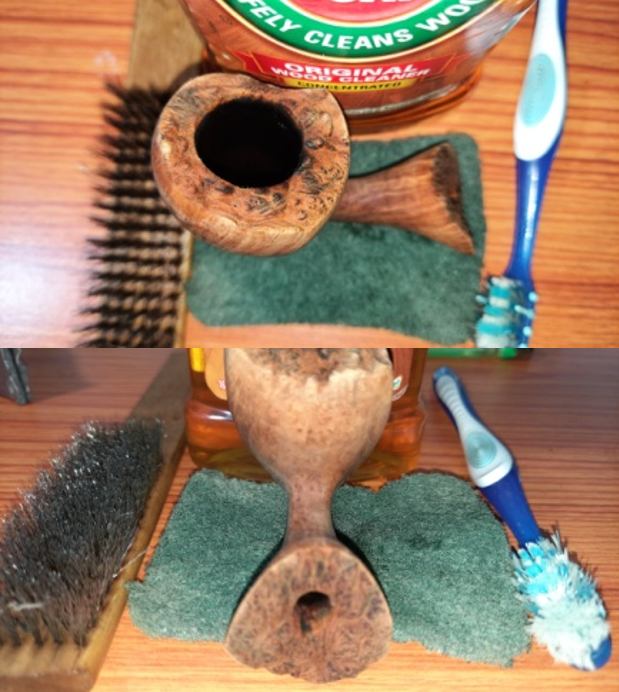
Jeff had thoroughly cleaned up the pipe. He reamed the pipe with a PipNet Pipe Reamer and cleaned up the remnants with a Savinelli Fitsall Pipe Knife. He scrubbed the bowl with undiluted Murphy’s Oil Soap with a tooth brush. He rinsed it under running warm water to remove the soap and grime. He cleaned out the inside of the shank and the airway in the stem with alcohol, cotton swabs and pipe cleaners. He scrubbed the exterior of the stem with Soft Scrub to remove as much of the oxidation and calcification as possible. He soaked the stem in Briarville’s Pipe Stem Deoxidizer and rinsed it off with warm water. I took photos of the pipe once I started to work on it.

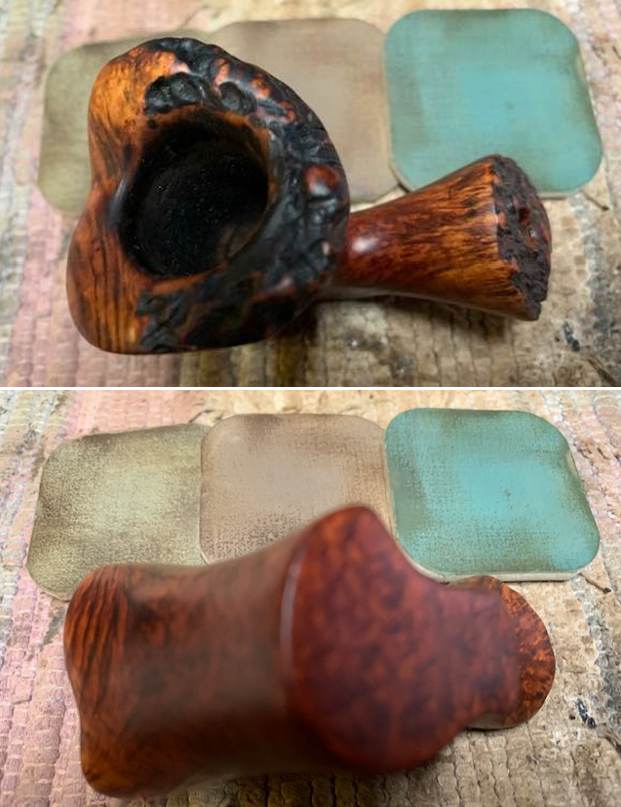
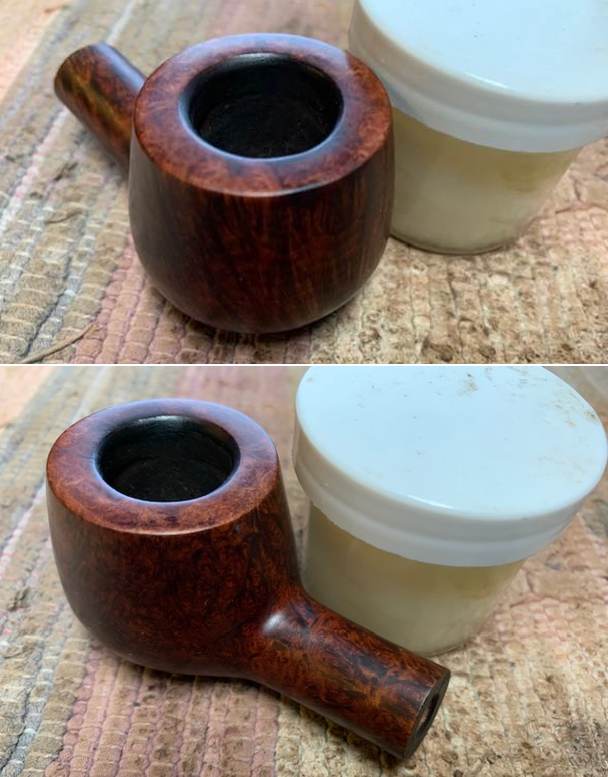
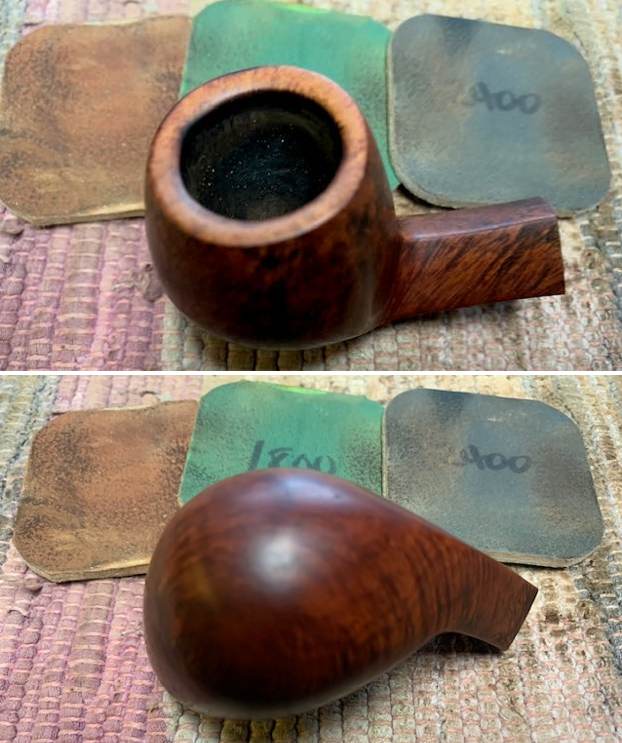
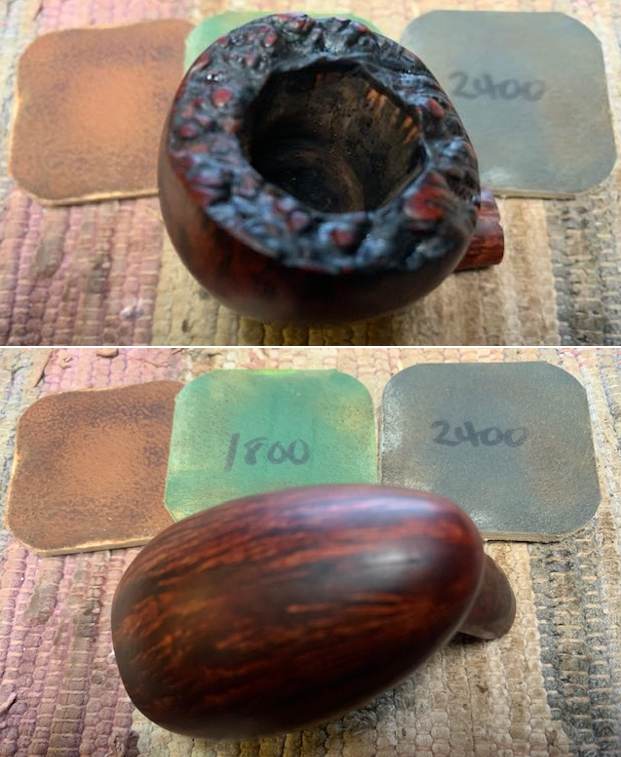
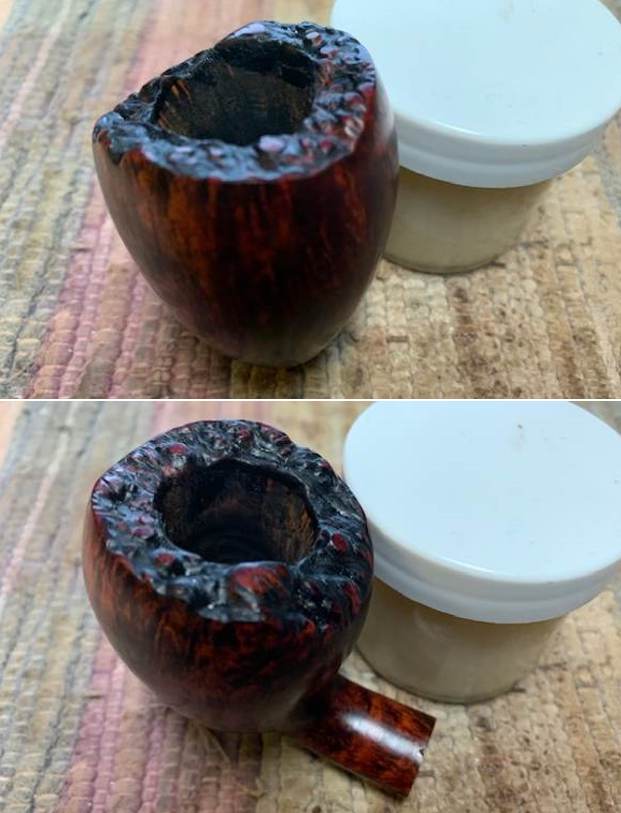
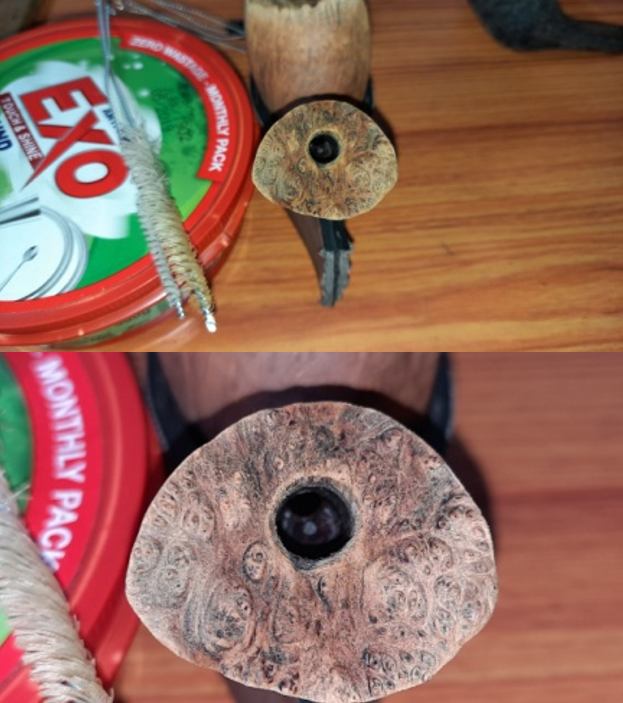
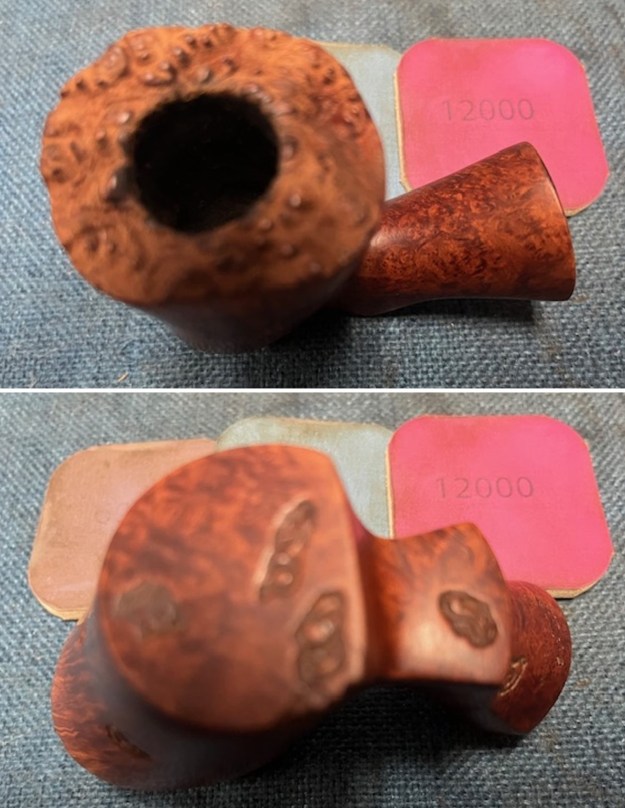
 I took some photos of the rim top and stem. The rim top and bowl looked good. The cake and lava overflow were gone but the rim top and the inner edge looked clean. The closeup photos of the stem shows that it is a much cleaner and looks good. The very light tooth marks and chatter were still present on both sides.
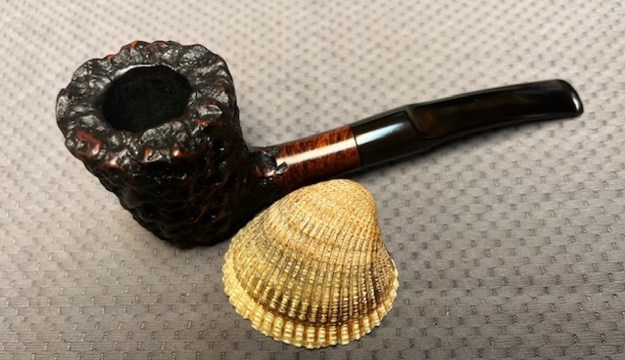
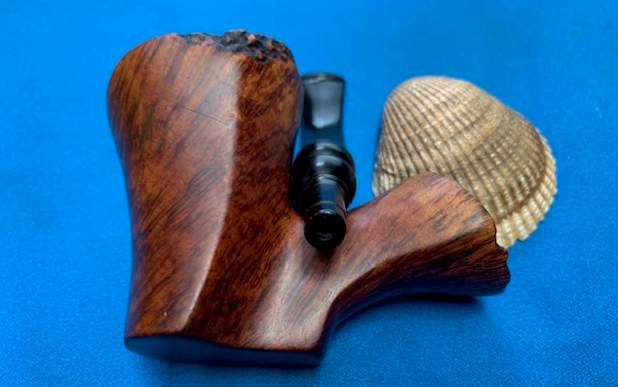
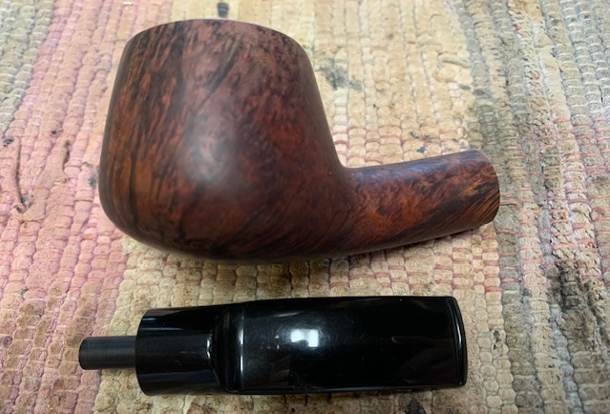
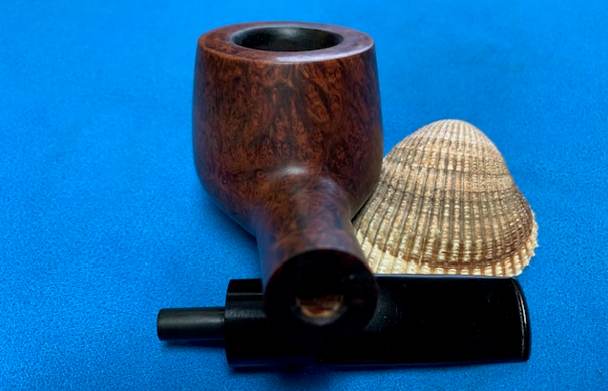
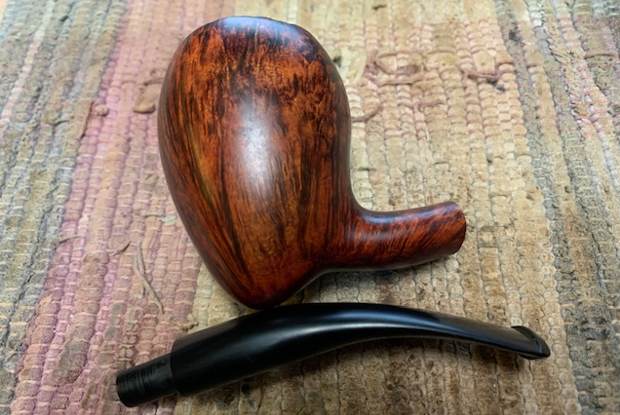
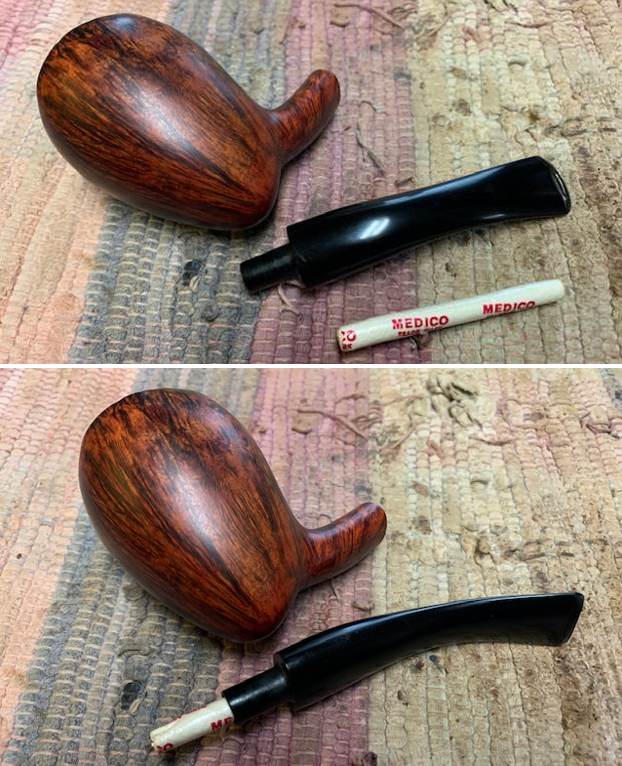
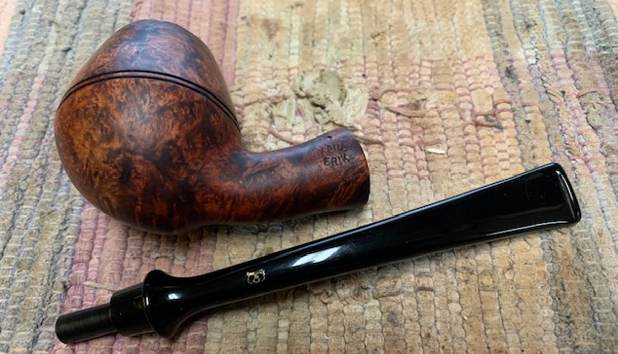
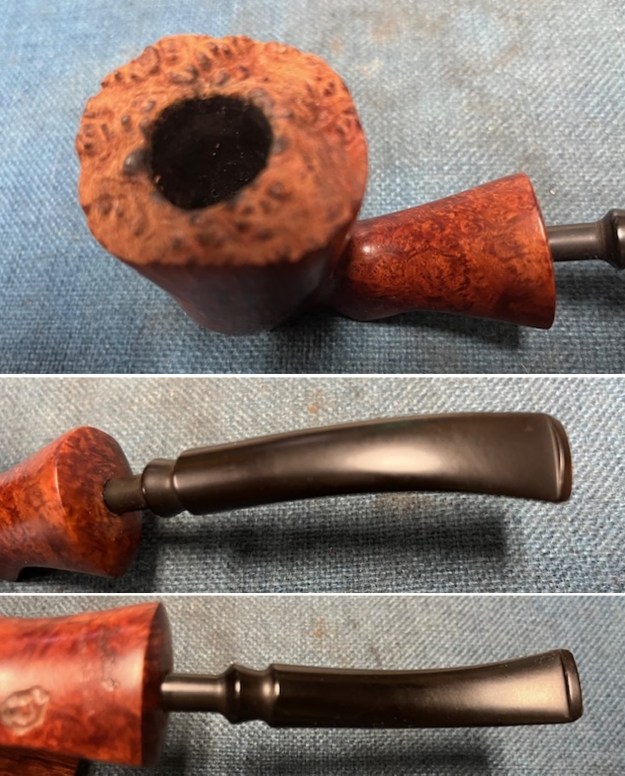 I took a photo of the stamping on the underside of the shank to show the condition after the cleanup. It was very readable and undamaged. I took the stem off the shank and took a photo of the pipe to give a sense of the proportions of the pipe.
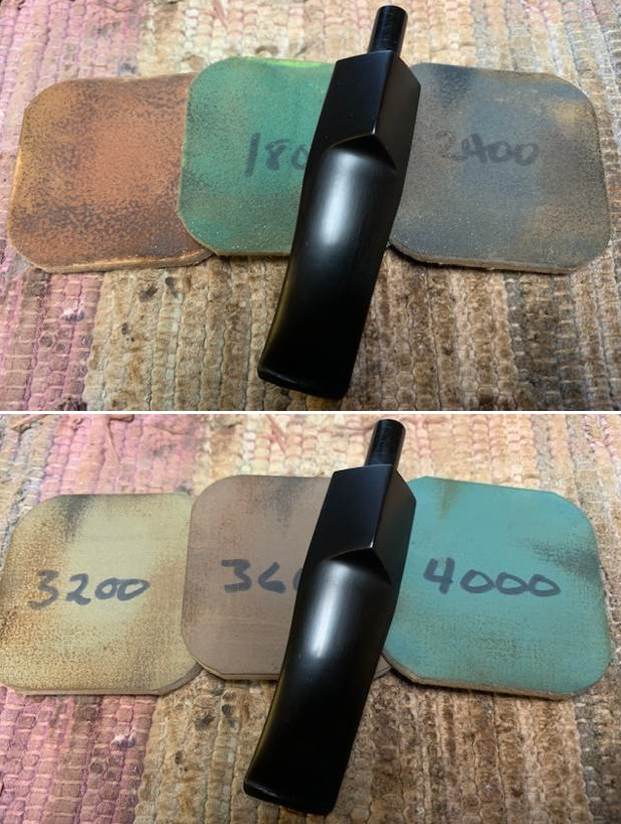
 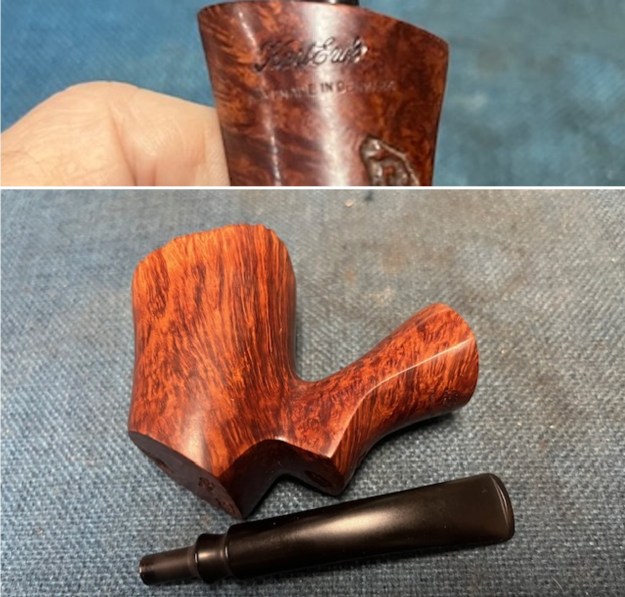 I started my restoration work on this pipe by sanding the bowl and shank with 320-3500 grit 2 x 2 inch sanding pads. I wiped the bowl down after each sanding pad. It began to look very good.
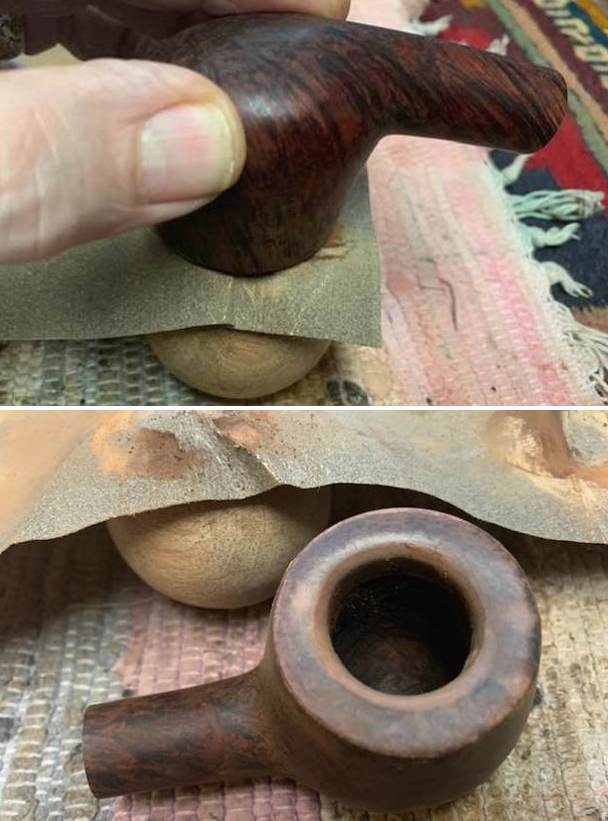
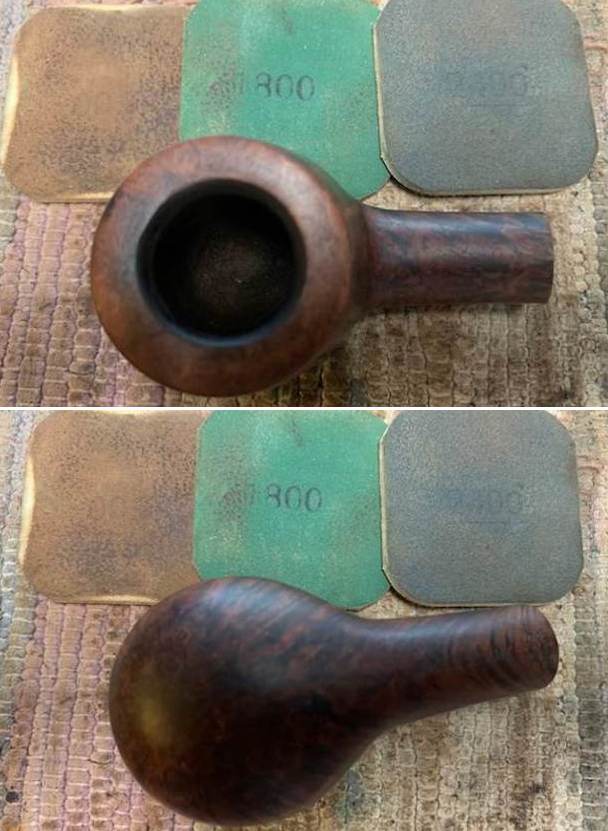
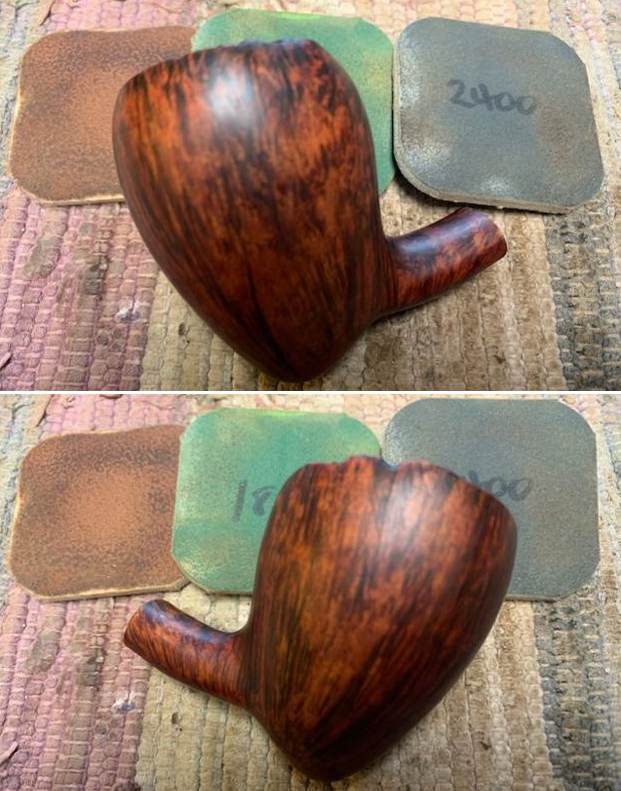
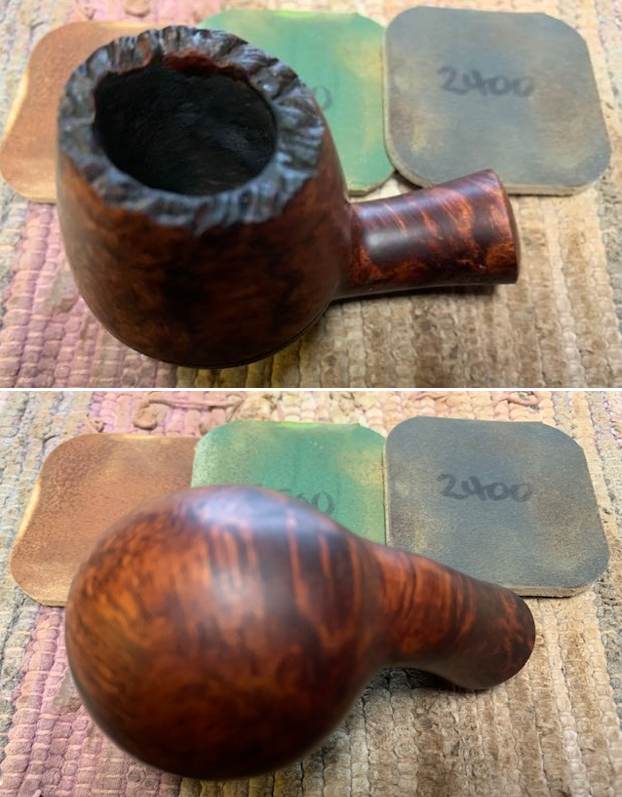
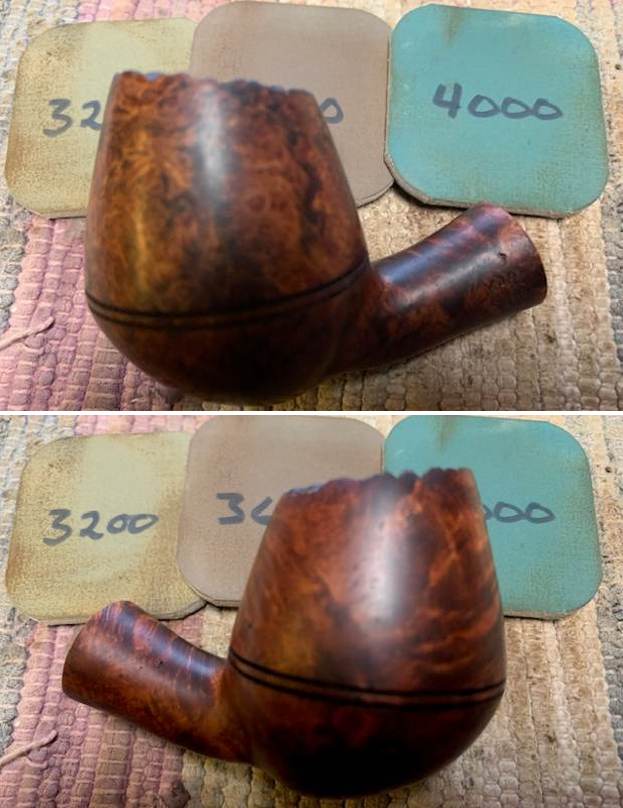
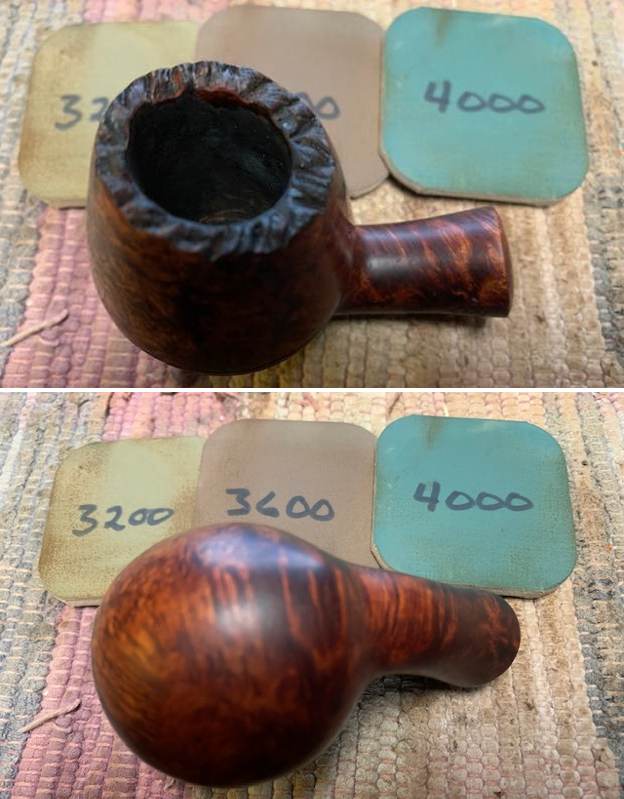
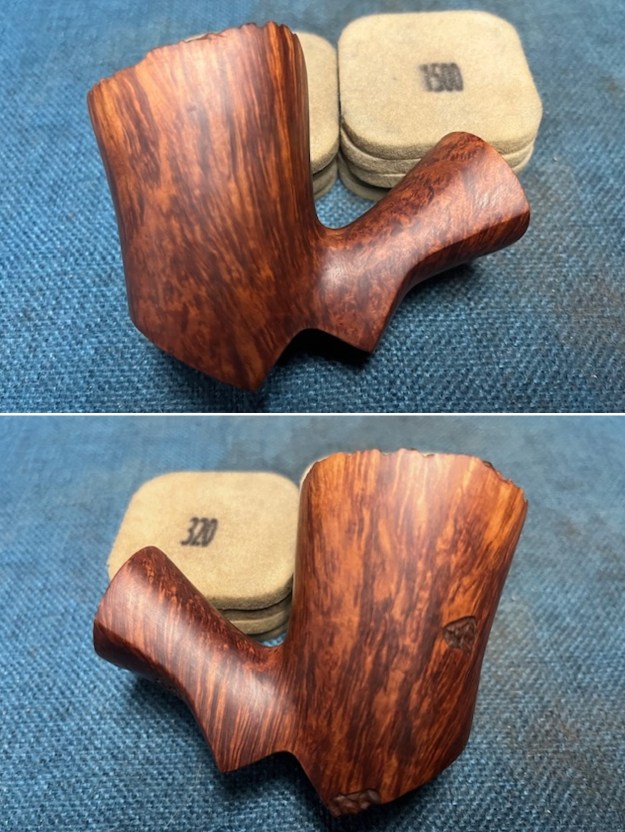
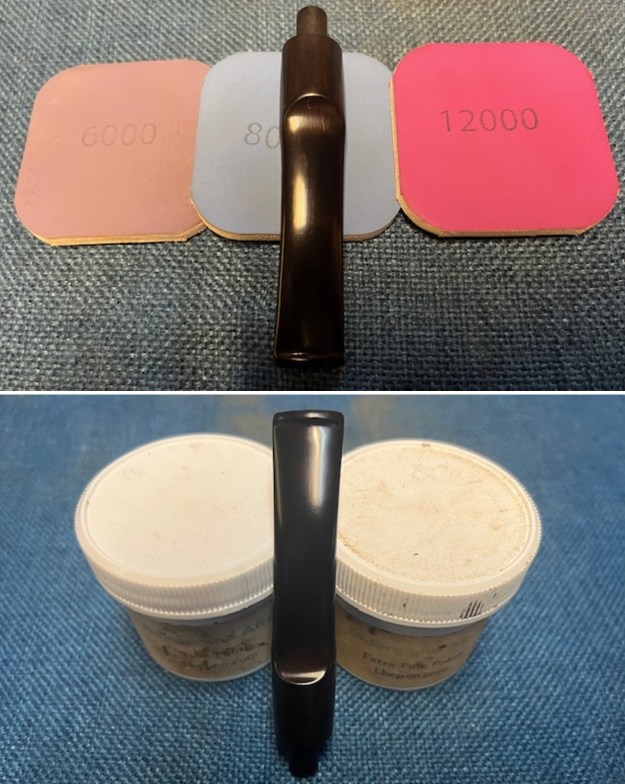
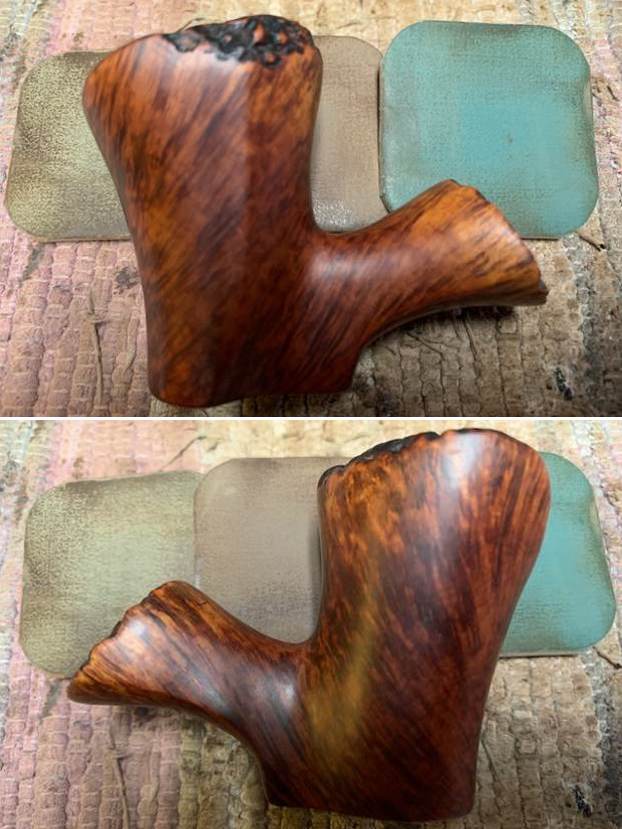
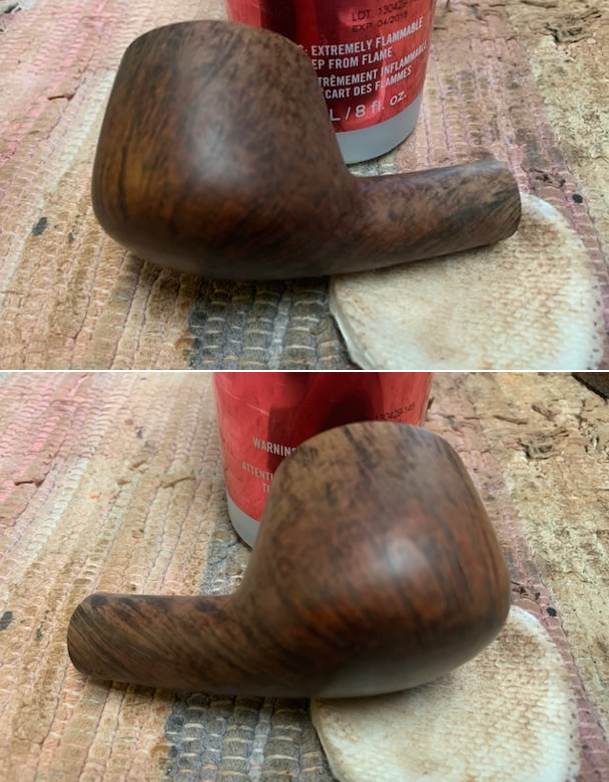
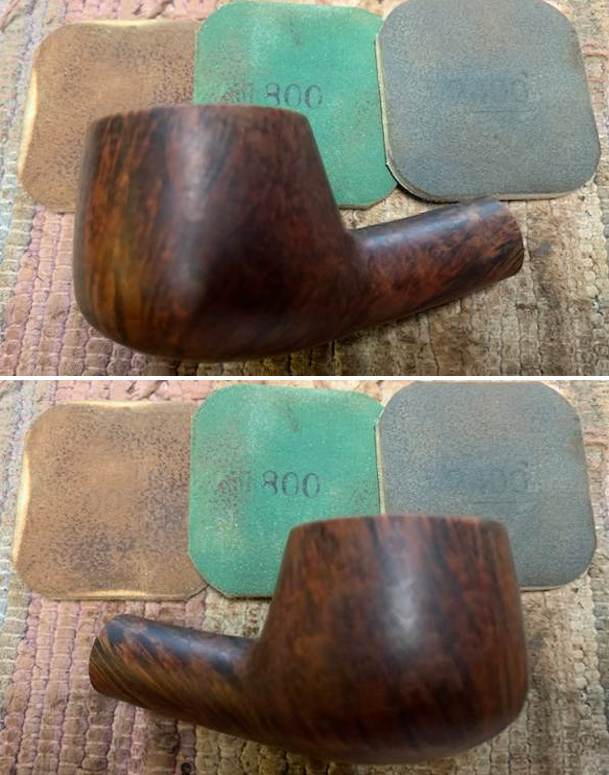
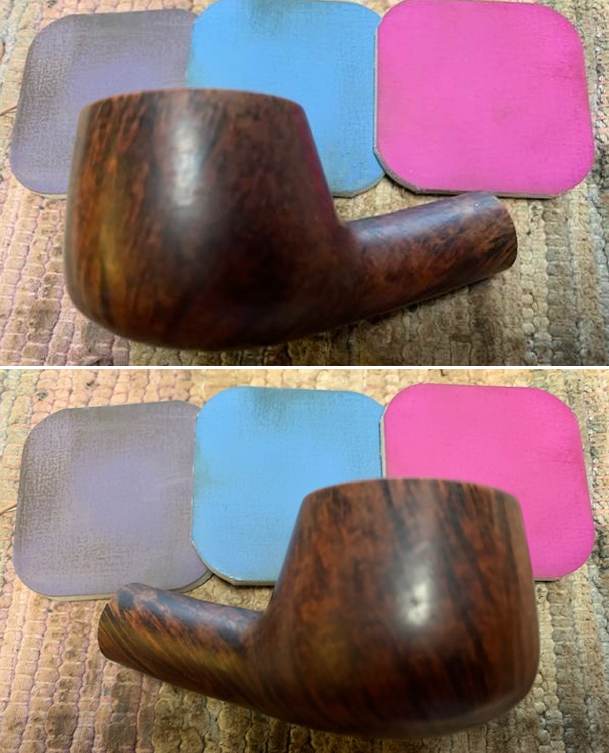
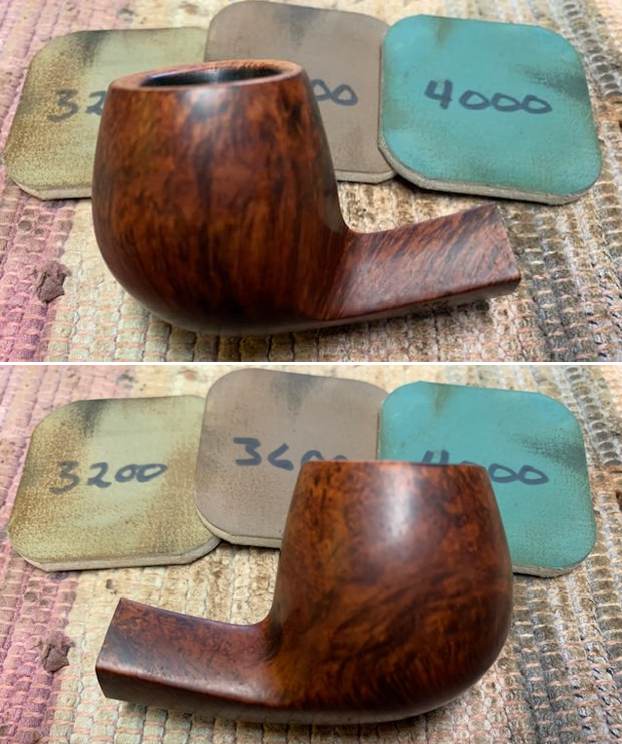
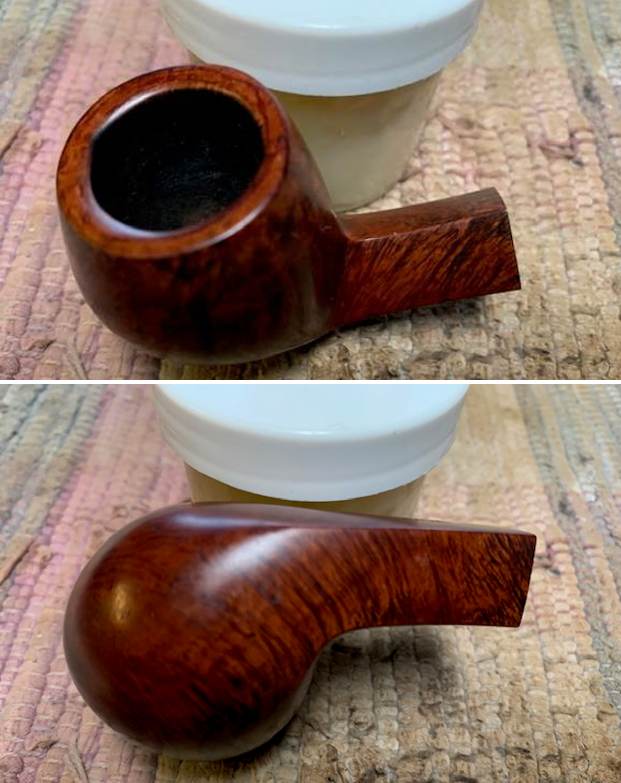
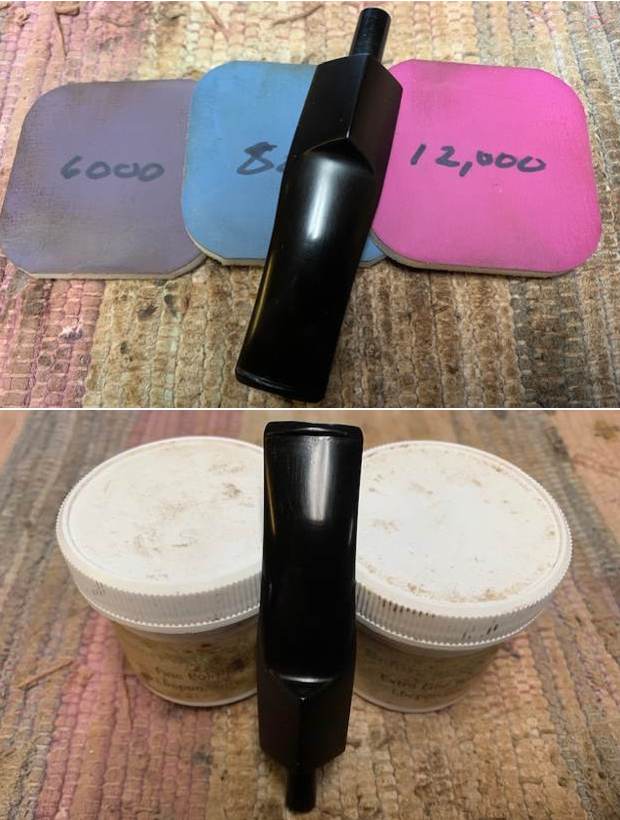
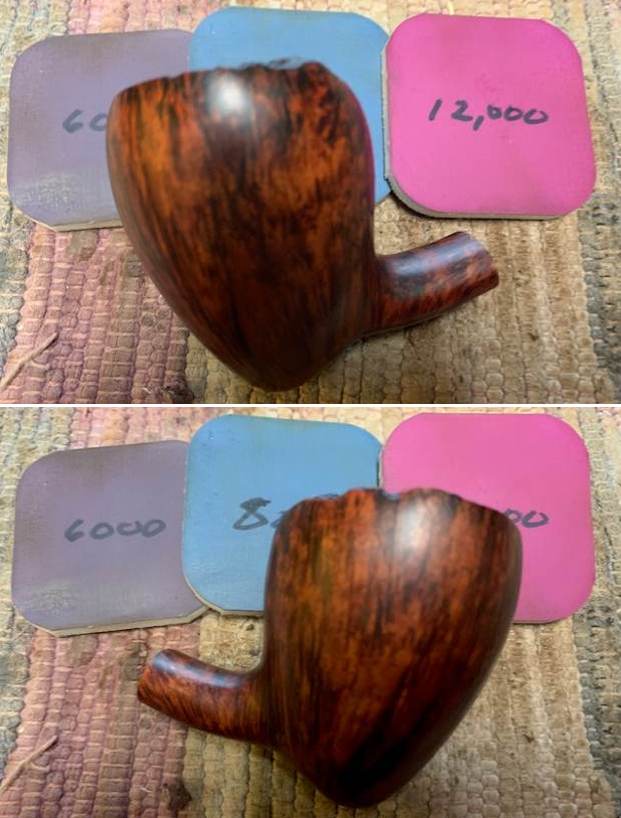
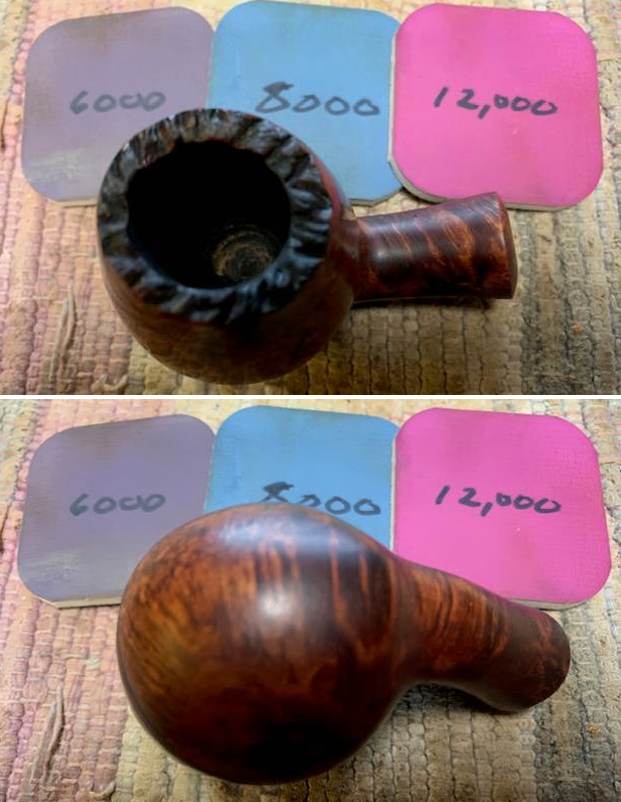
 I started my polishing regimen on the bowl. I used nine micromesh sanding pads and dry sanded the bowl with 1500-12000 grit pads. I wiped the bowl down with a damp cloth after each pad. The bowl really shines by the final three pads.
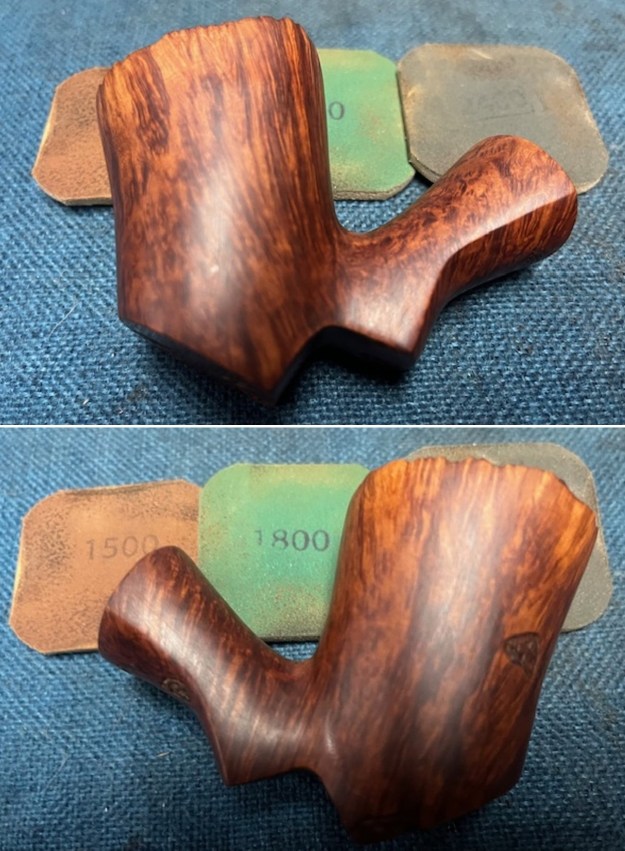

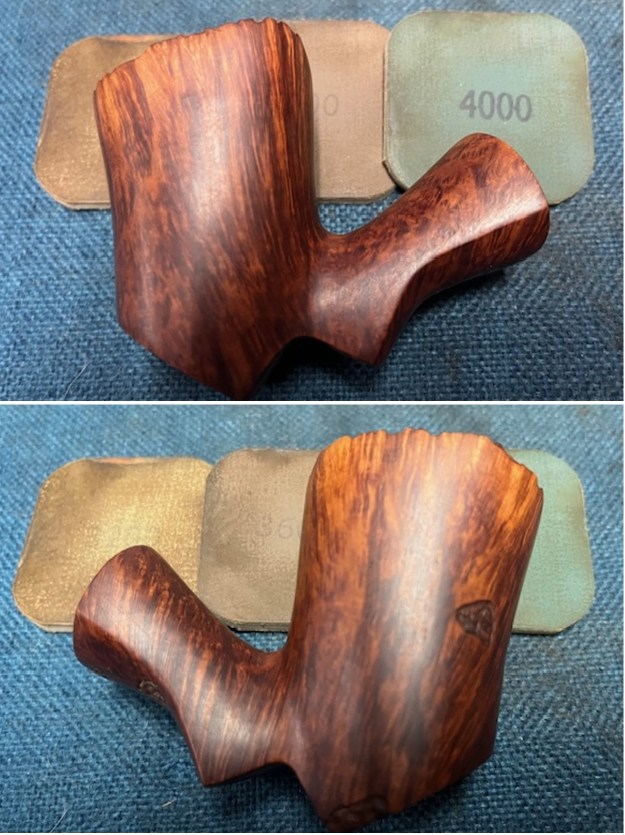

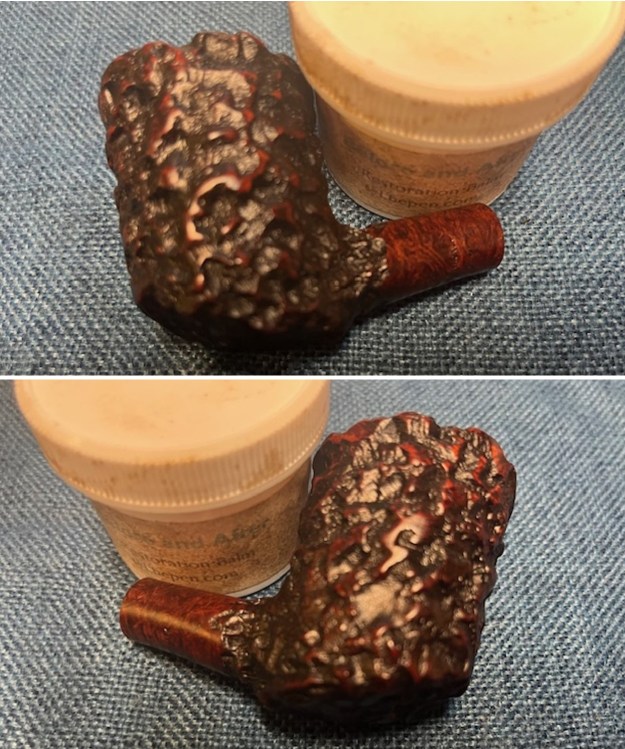
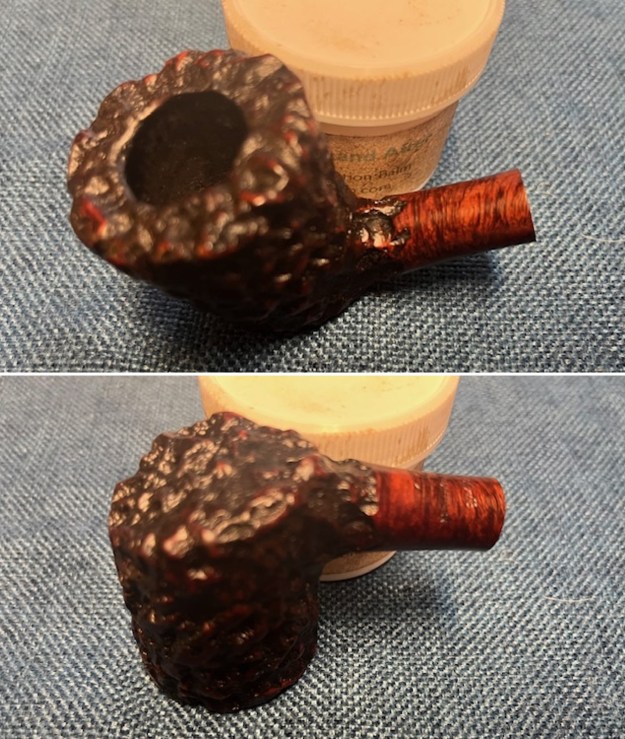
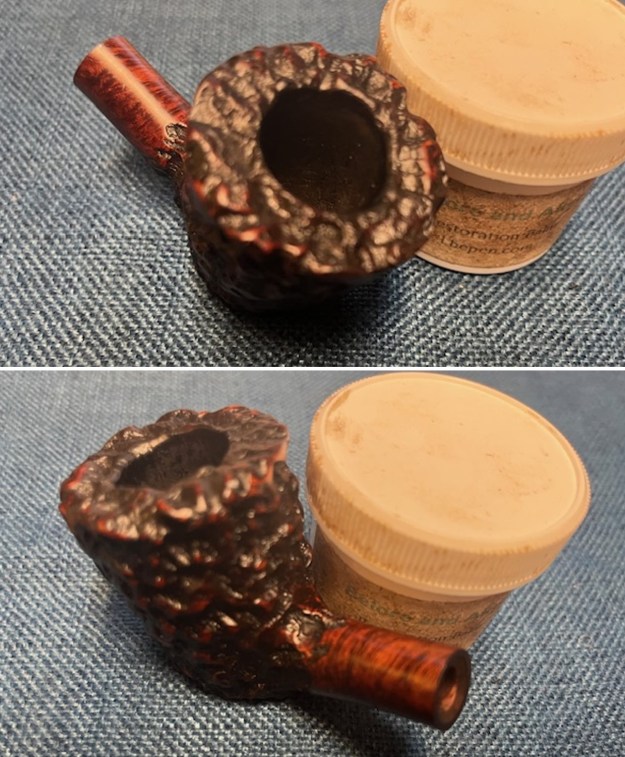
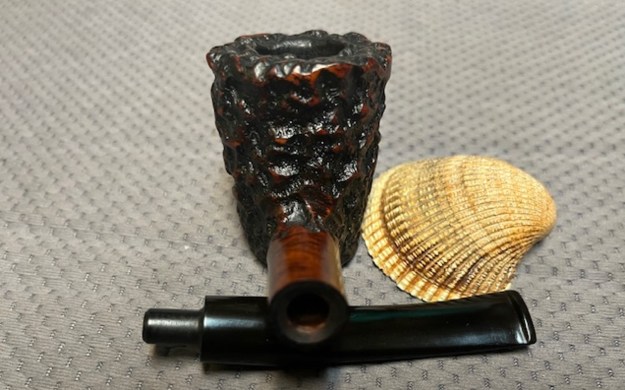
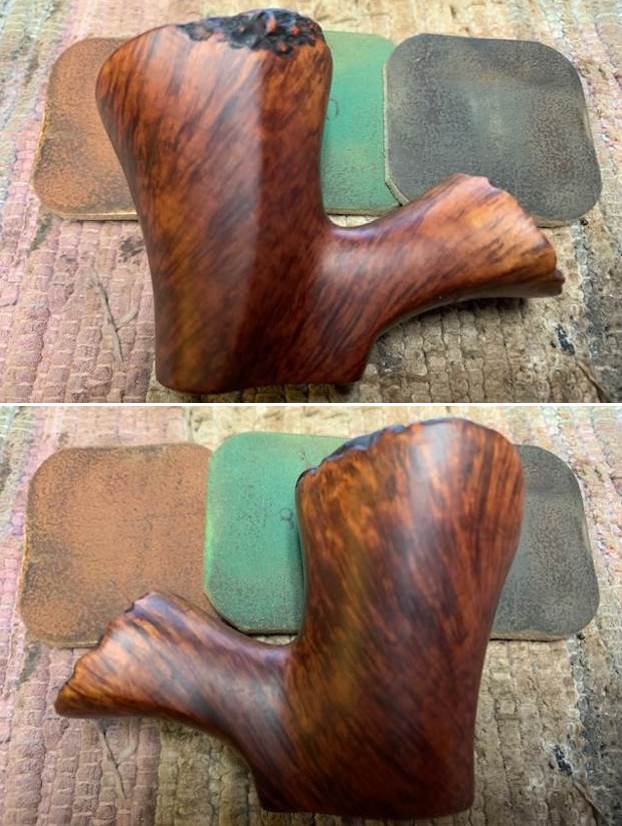
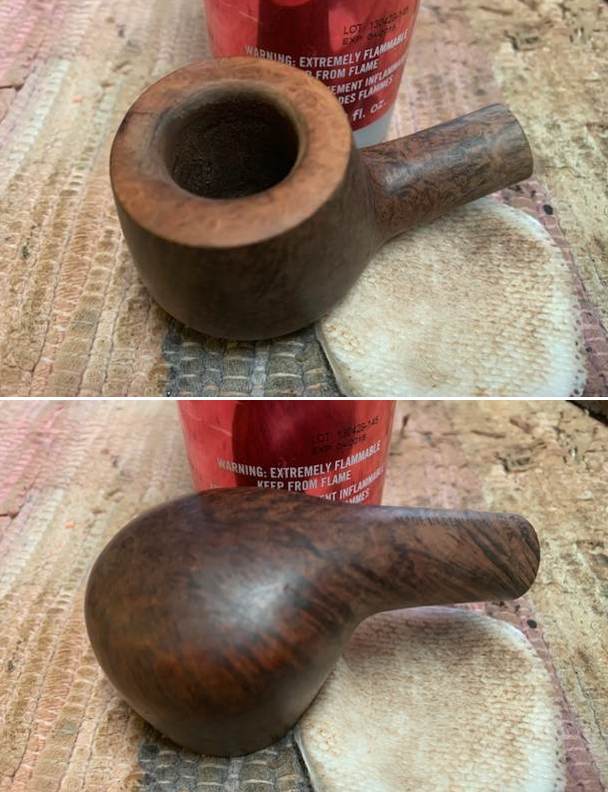
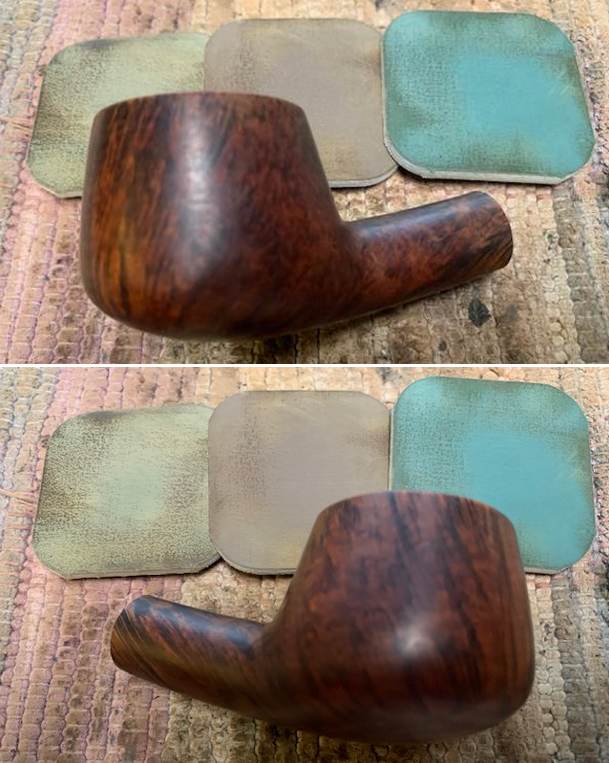
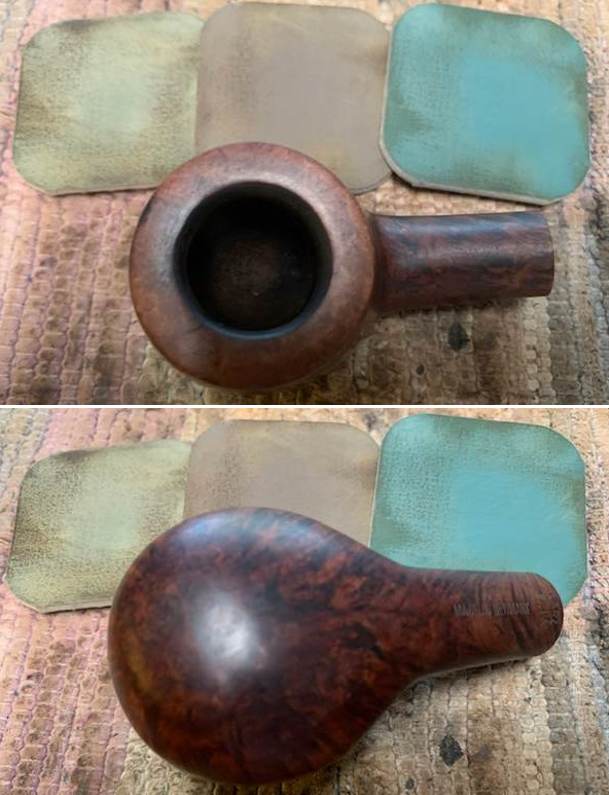
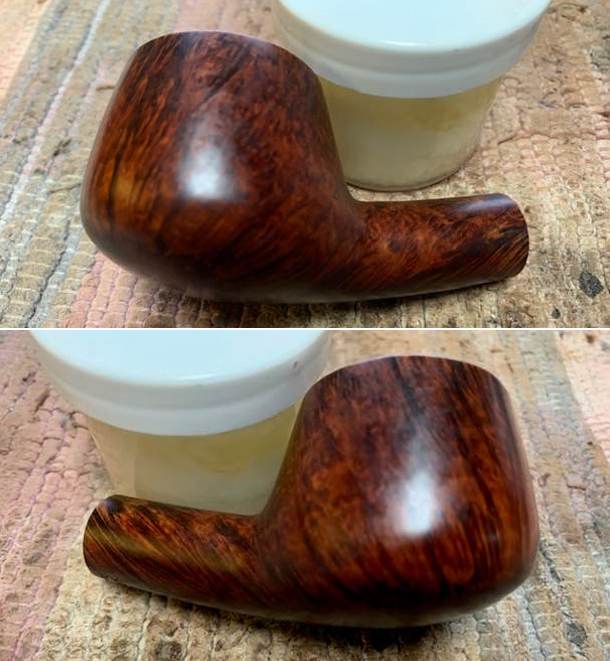
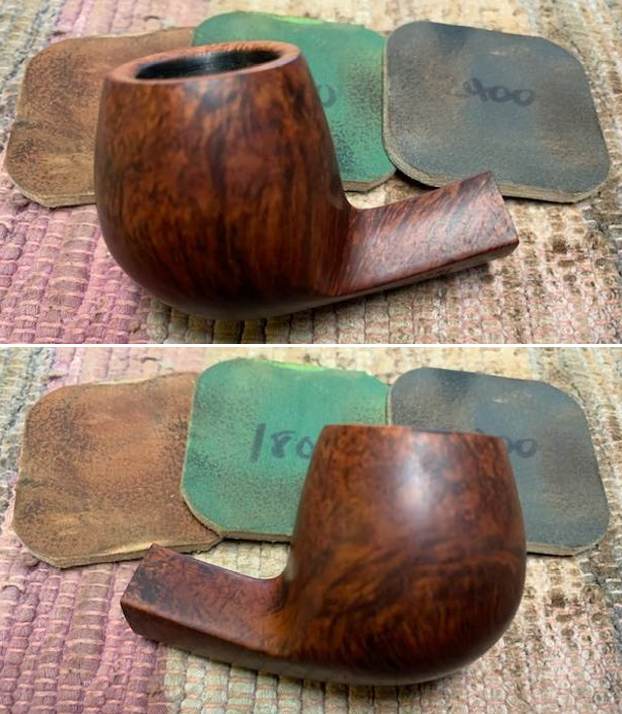
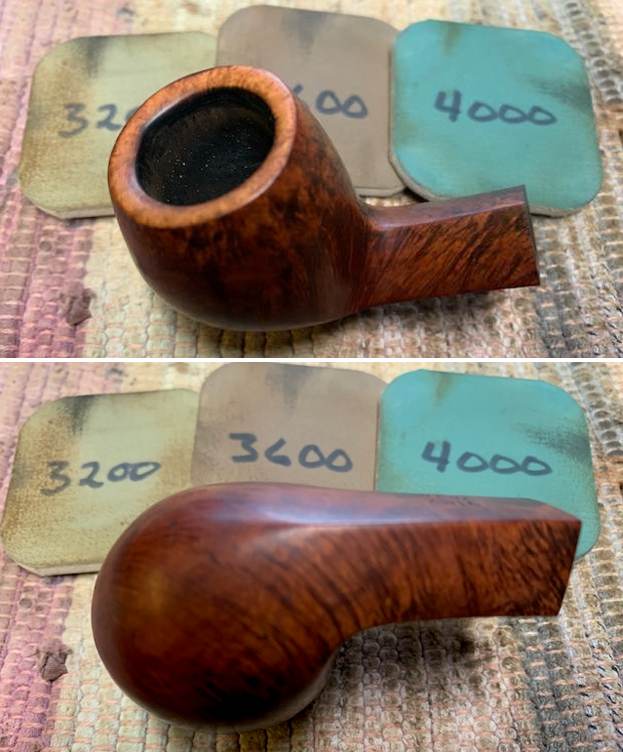
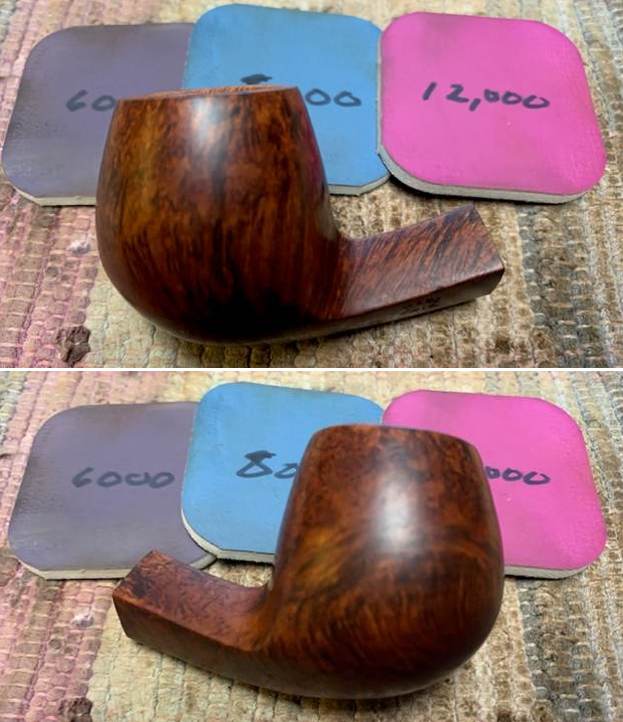
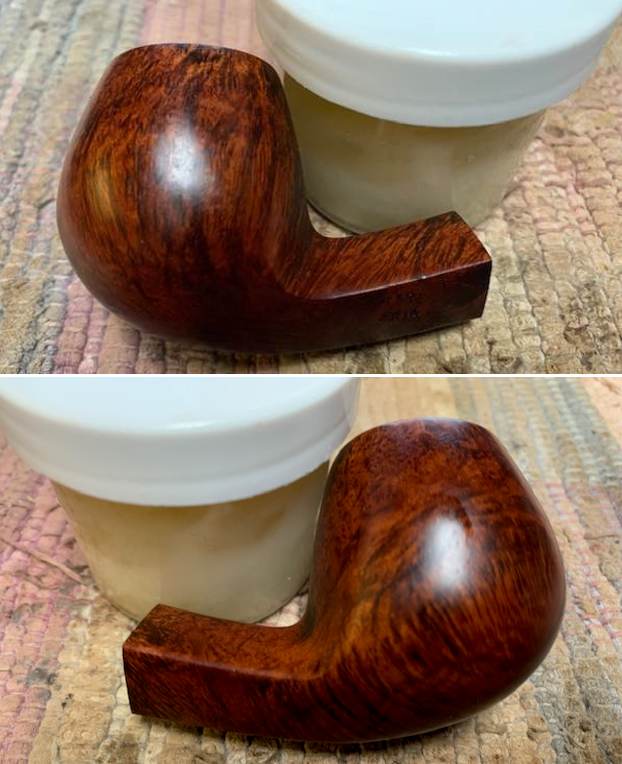
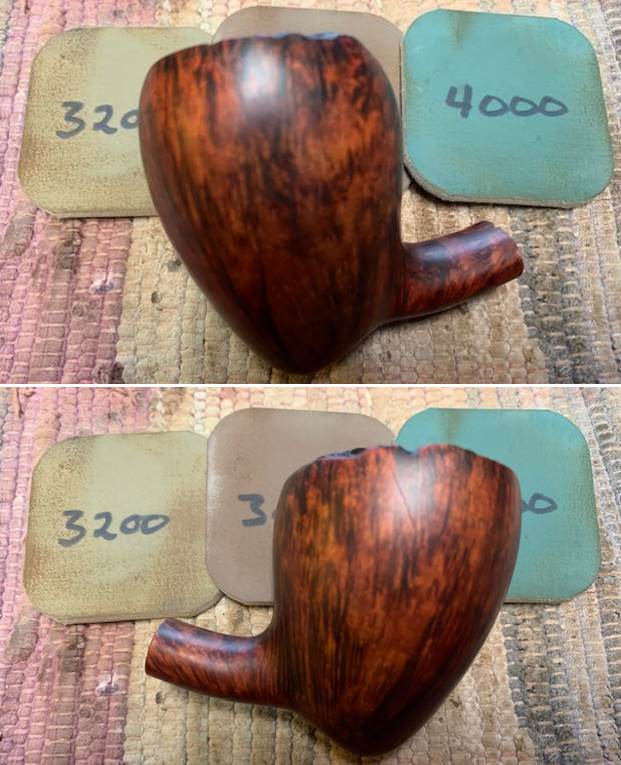
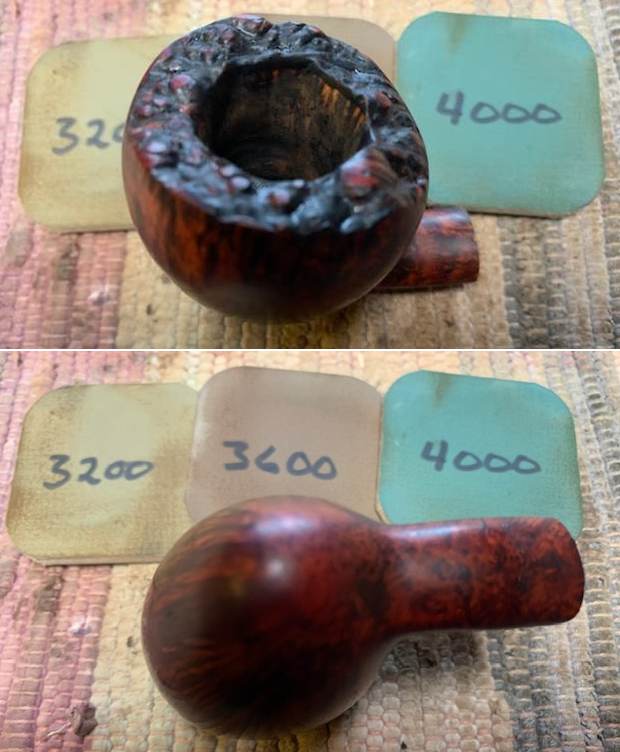
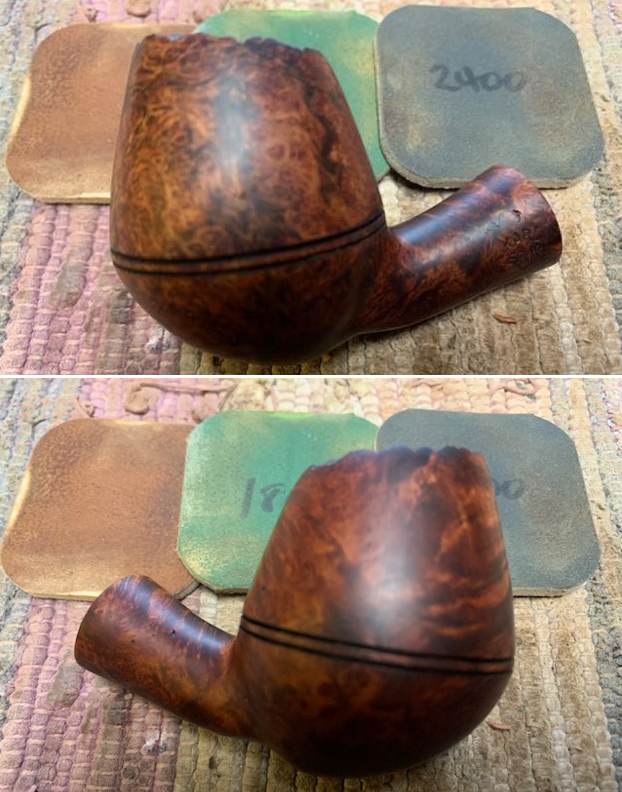
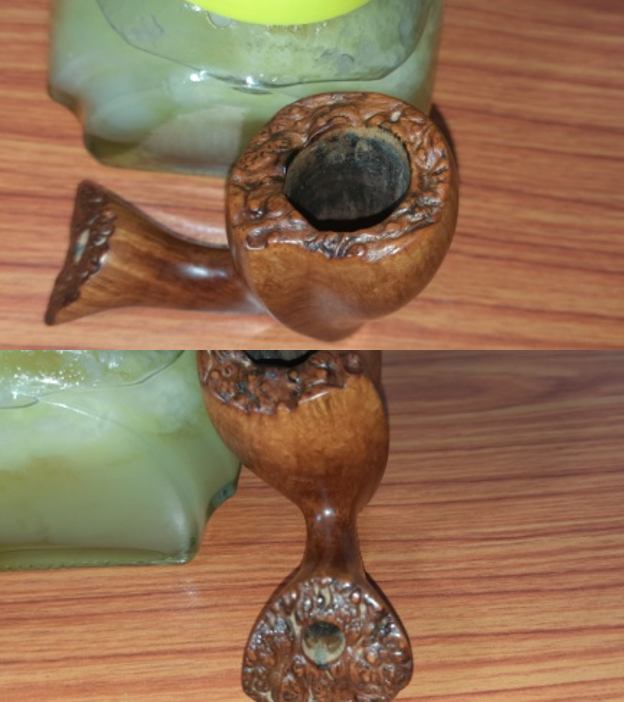
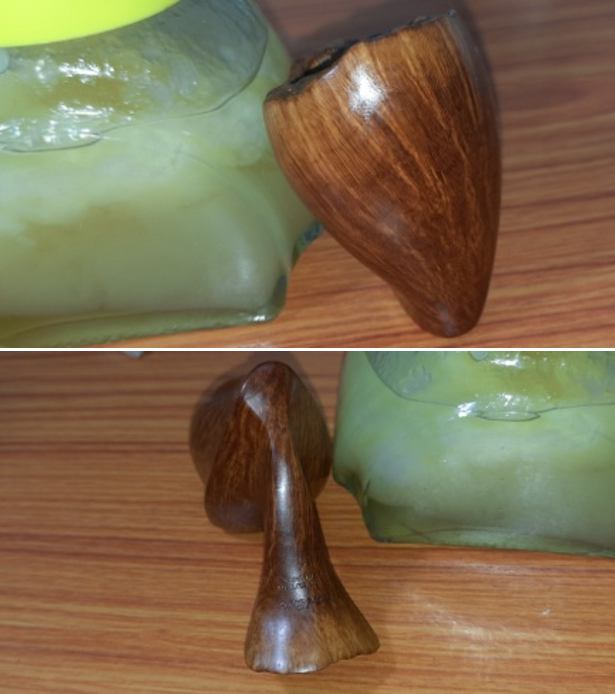
 I worked some Before & After Restoration Balm into the surface of the briar with my fingertips to clean, enliven and protect it. I let the balm sit for a little while and then buffed with a cotton cloth to raise the shine. The photos show the bowl at this point in the restoration process.
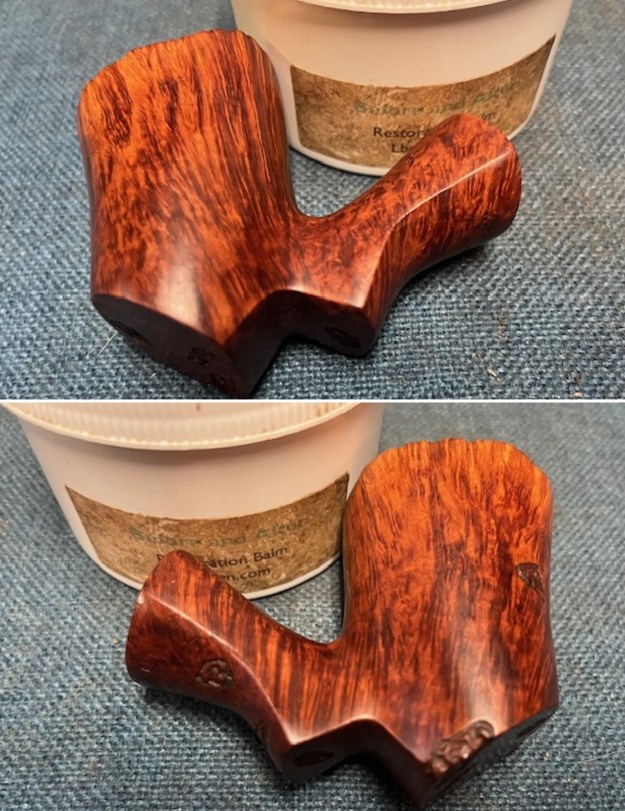
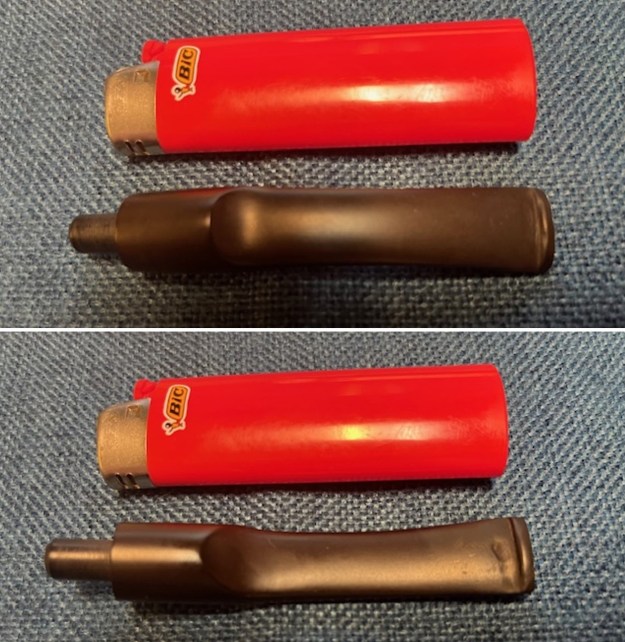
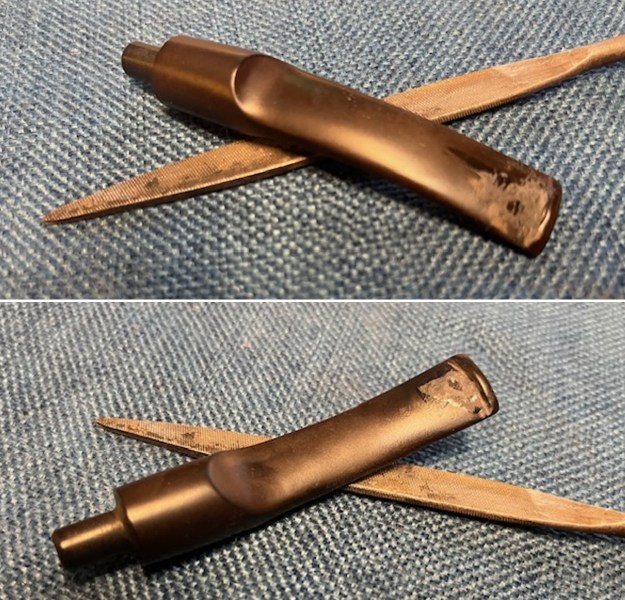
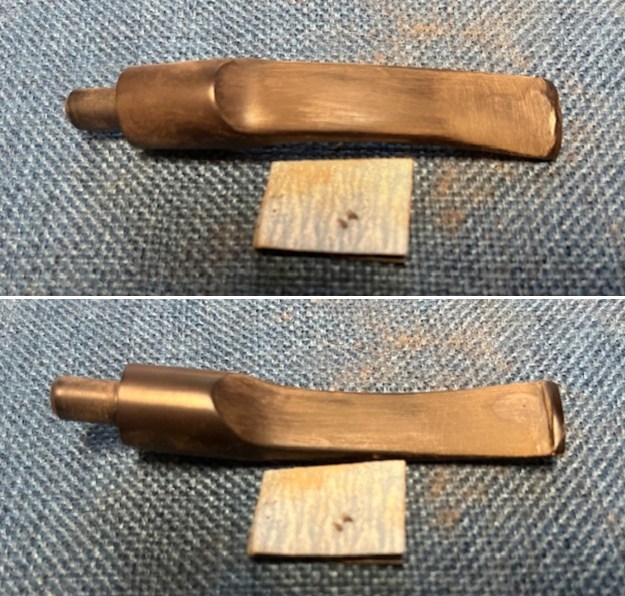
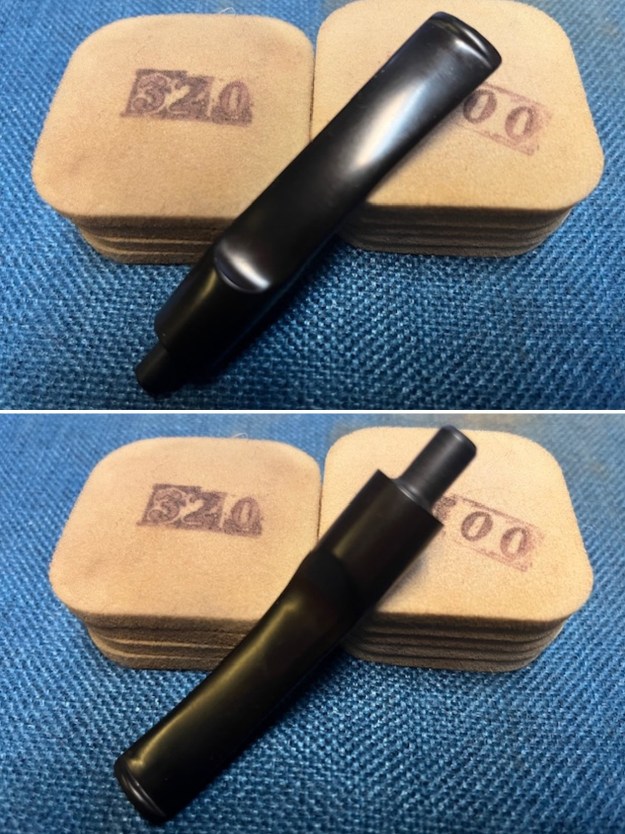
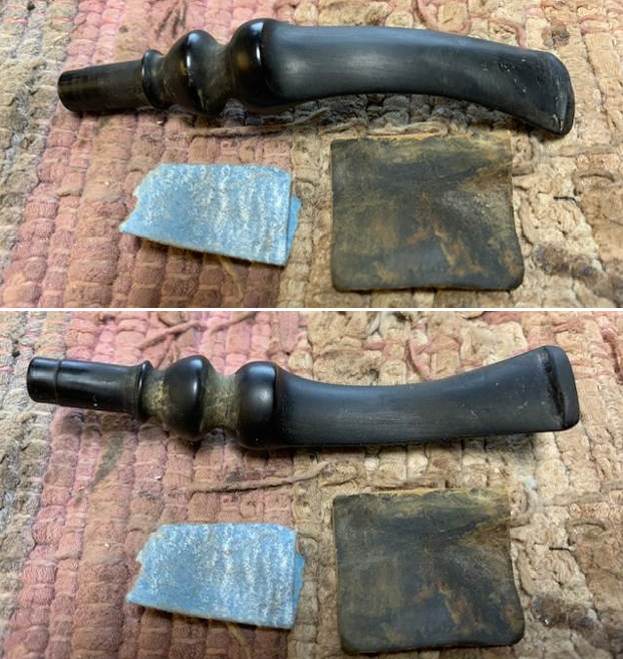
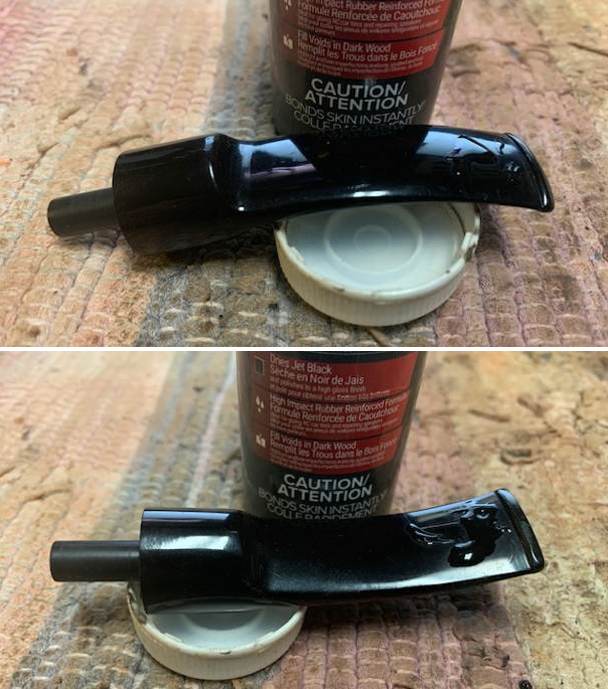
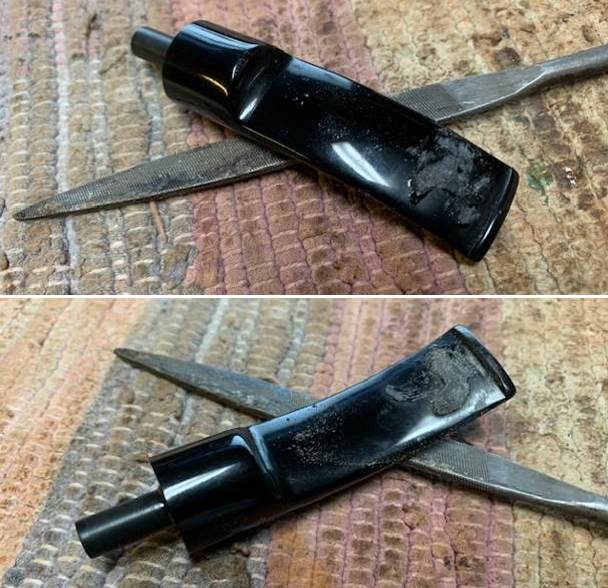
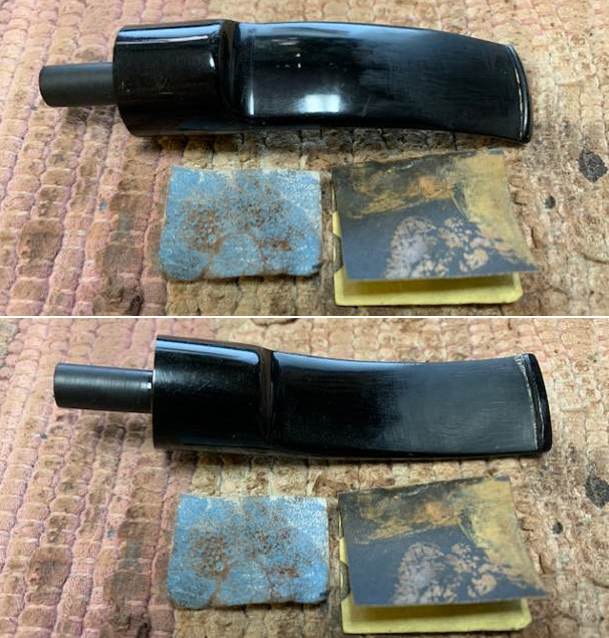
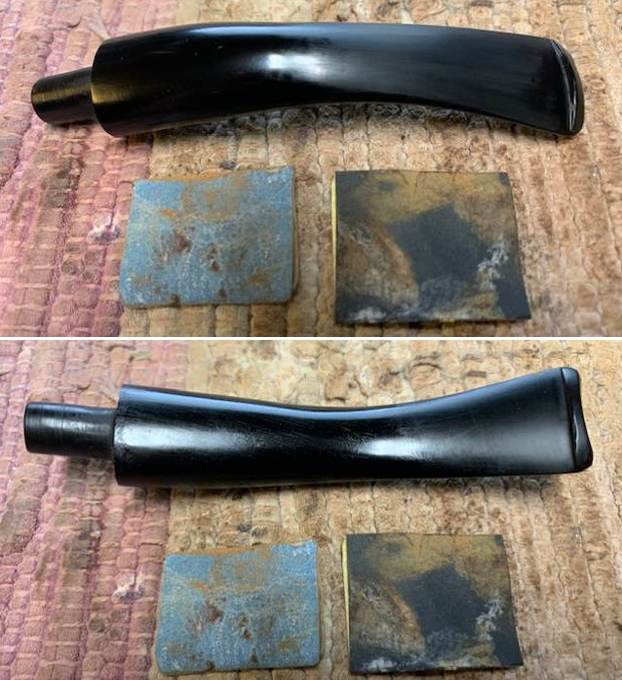
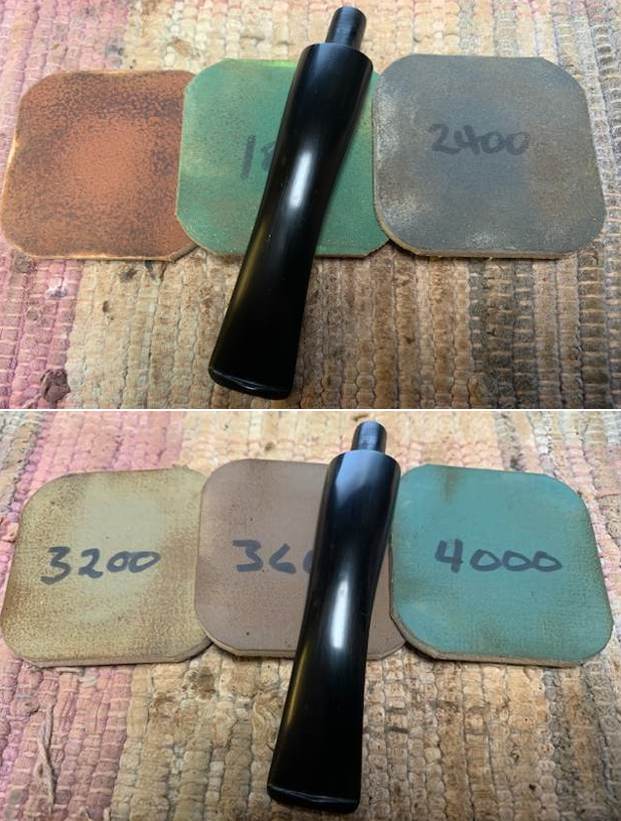
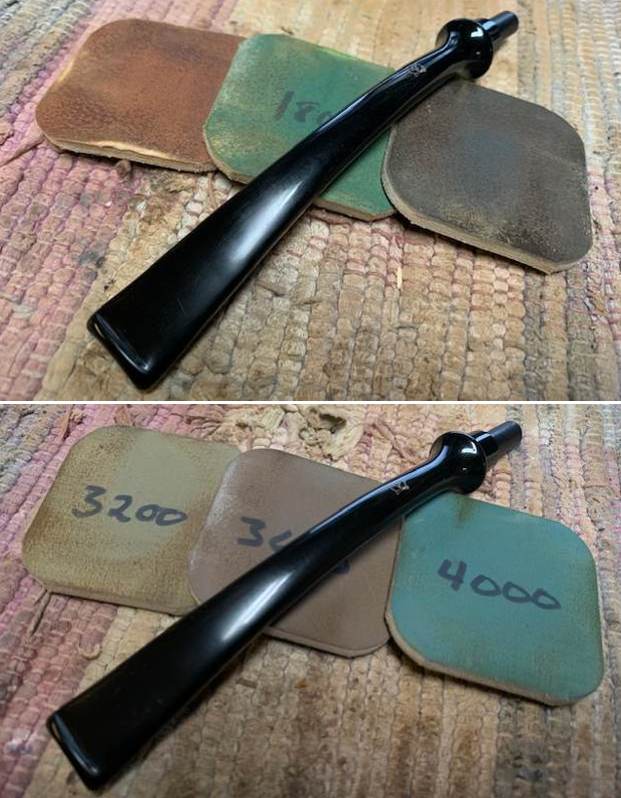
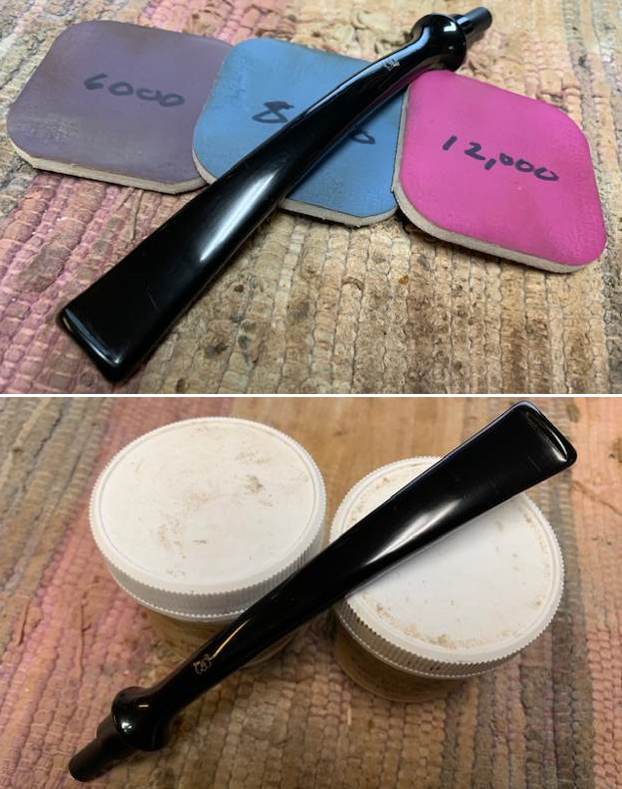
 I set the bowl aside and turned to the stem. I sanded the stem with 320-3500 grit 2×2 inch sanding pads to remove the scratching and light tooth marks. I wiped the stem with Obsidian Oil down after each sanding pad to remove the debris. It looked much better.
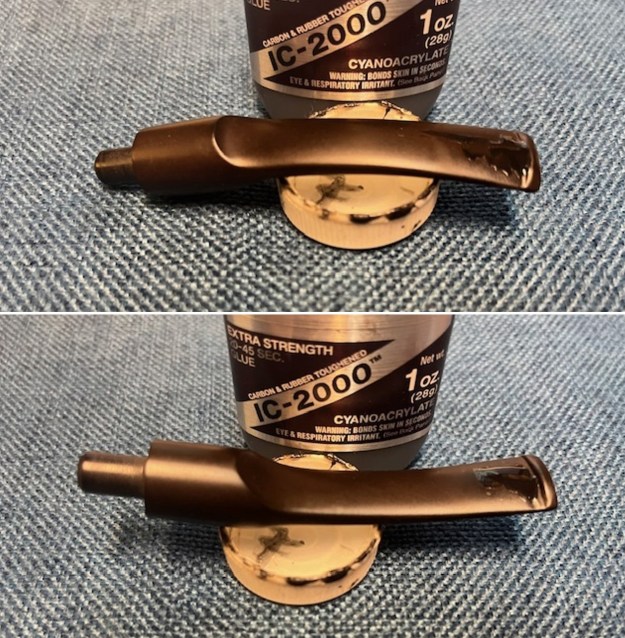
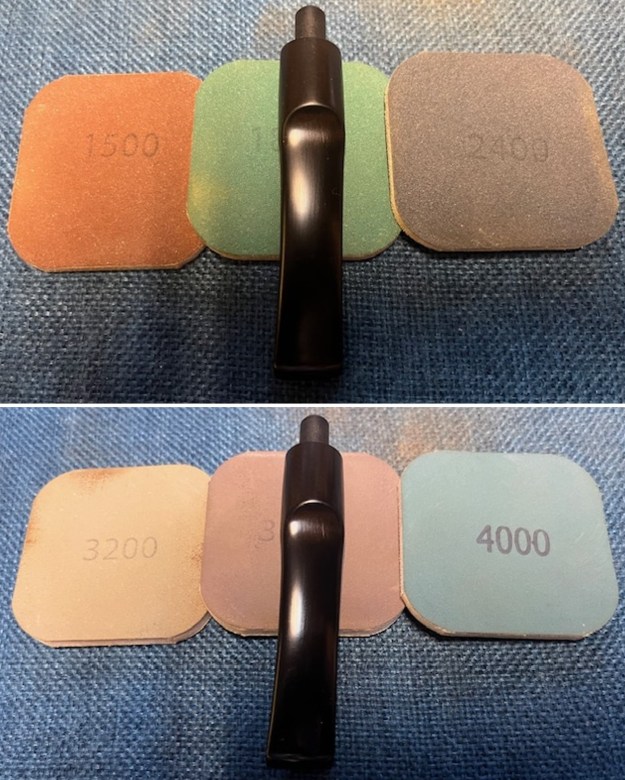
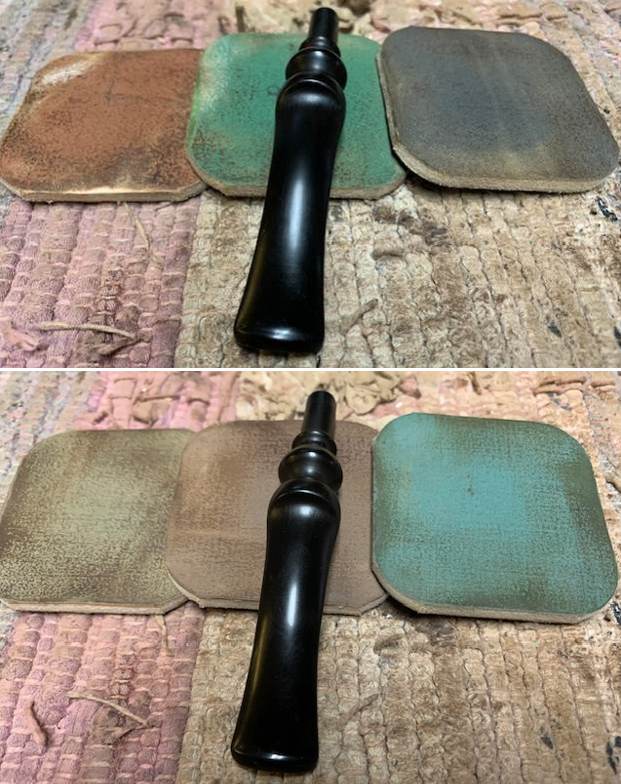
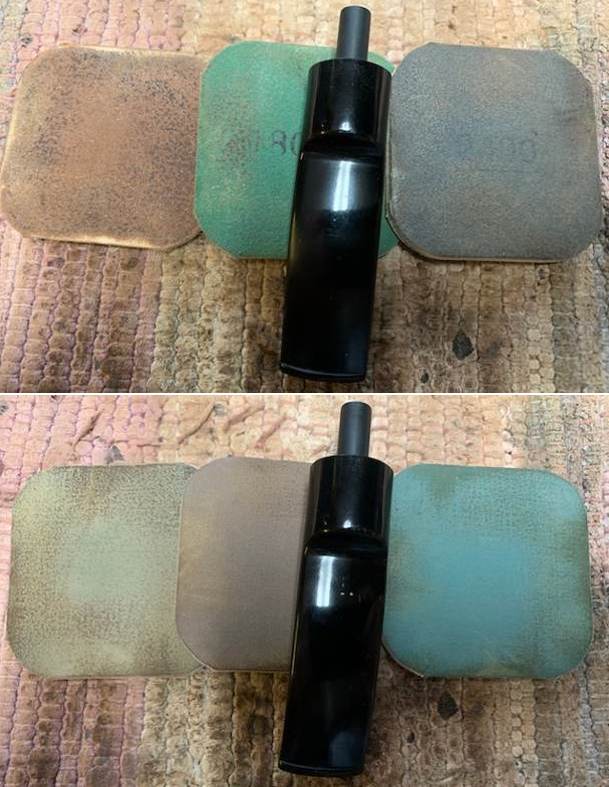
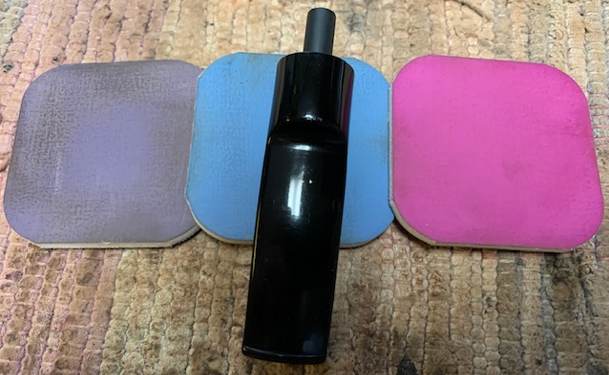
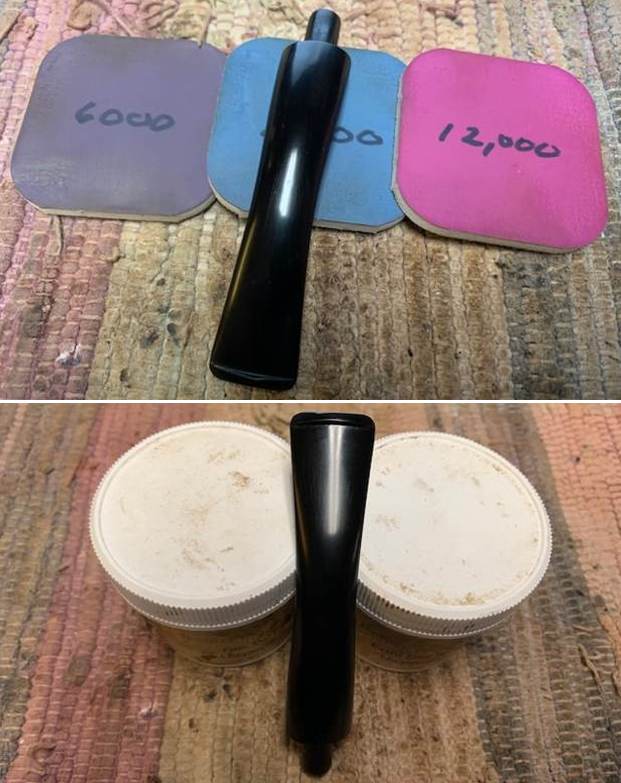
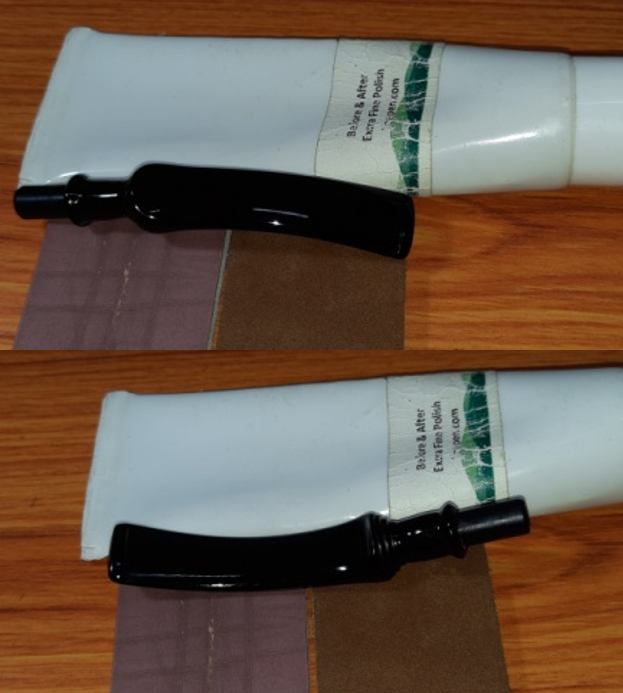
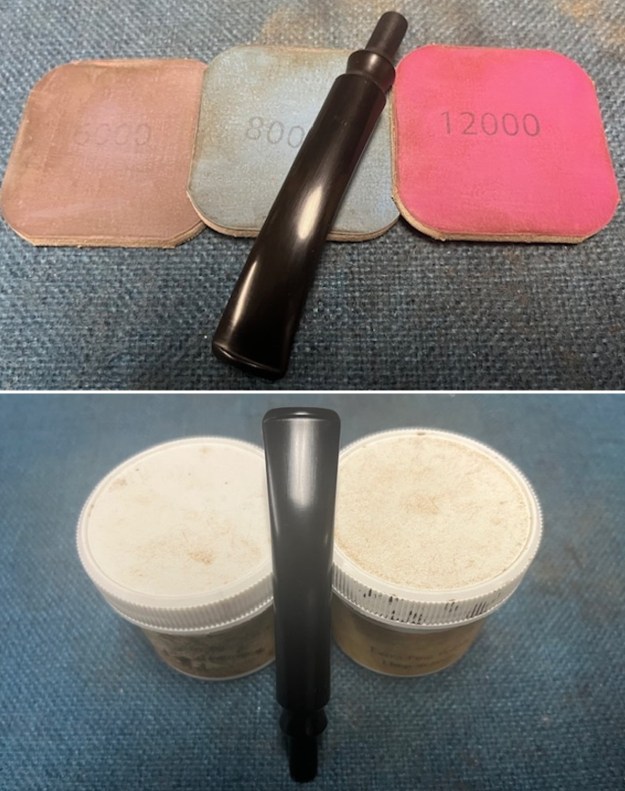
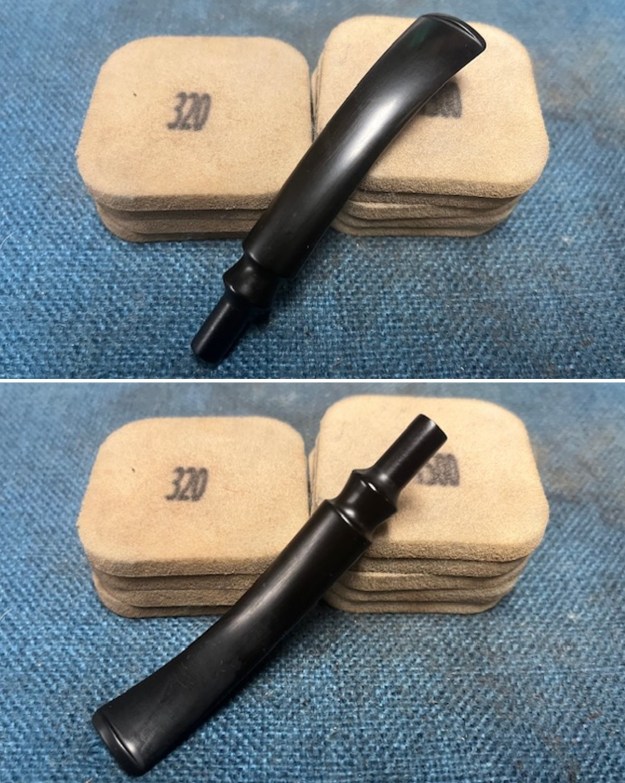 I polished the stem with micromesh sanding pads – dry sanding with 1500-12000 grit sanding pads. I wiped them down after each sanding pad with a cloth containing some Obsidian Oil. I finished polishing it with Before & After Pipe Stem Polish – both Fine and Extra Fine and buffed it off with a cotton cloth. I gave it a coat of Obsidian Oil to preserve and protect the stem.
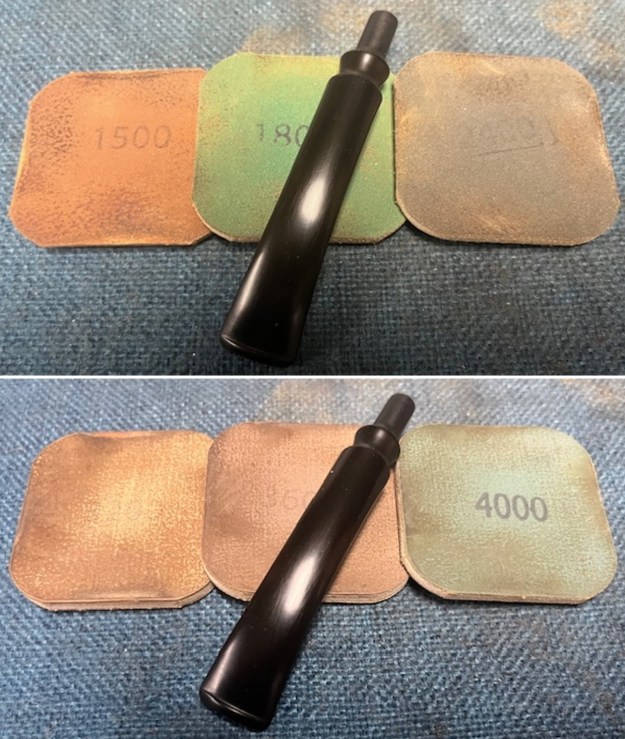
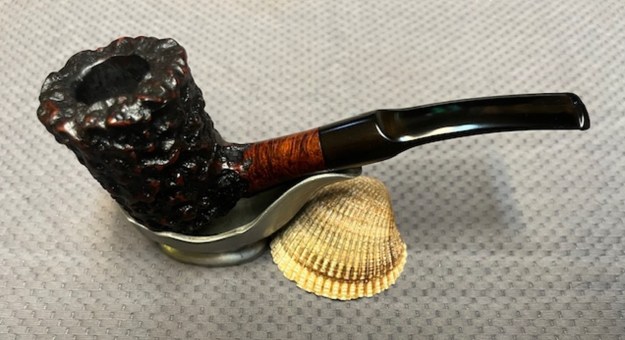
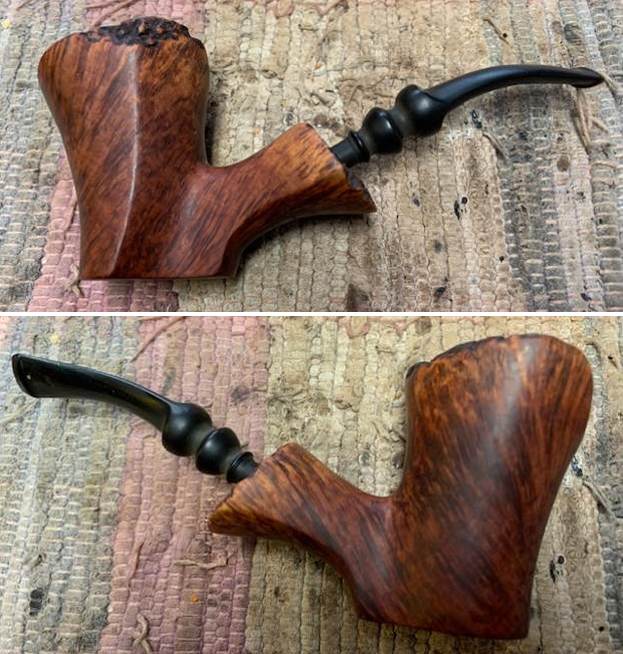
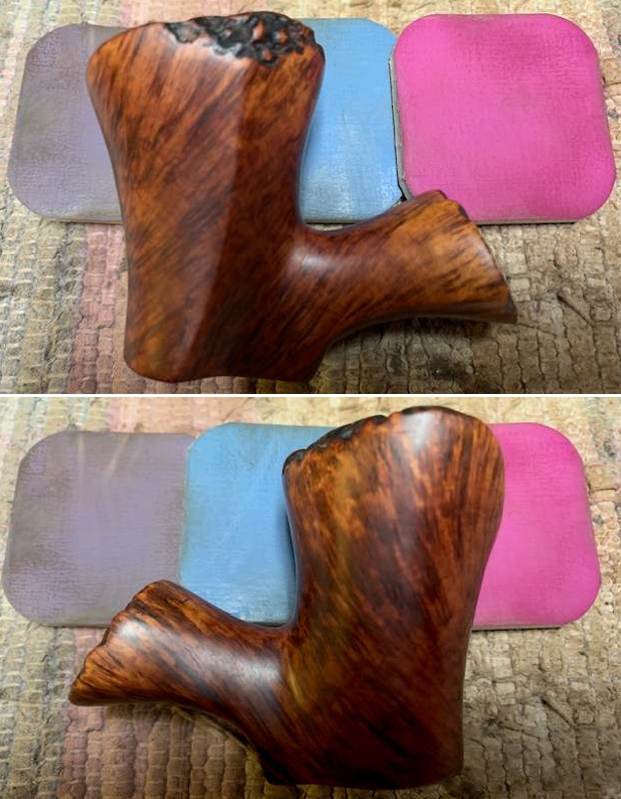
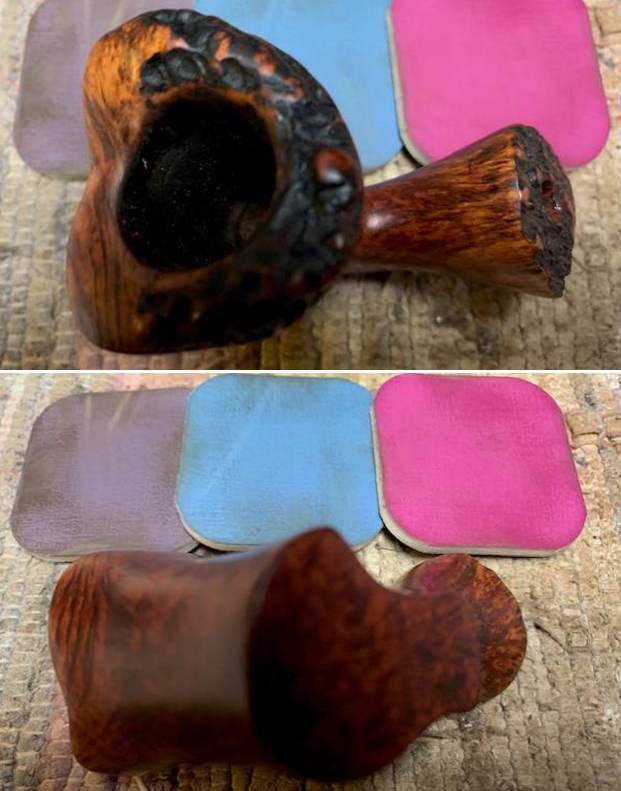
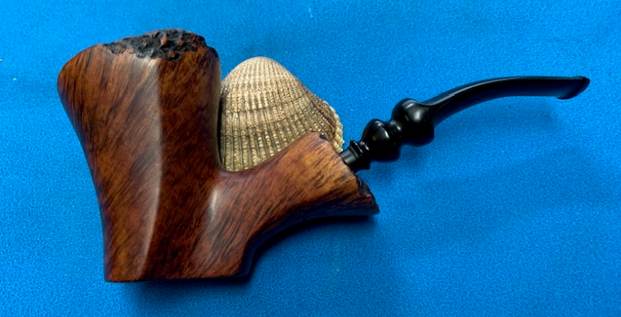
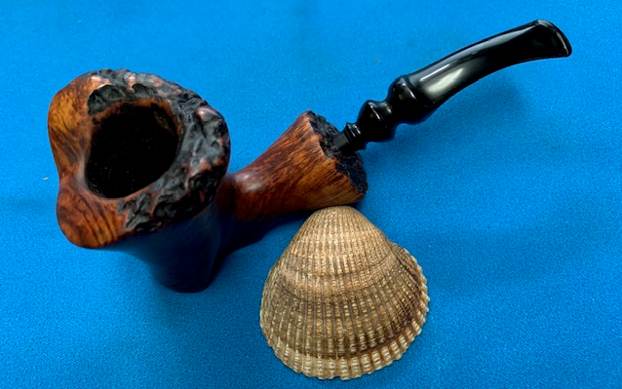
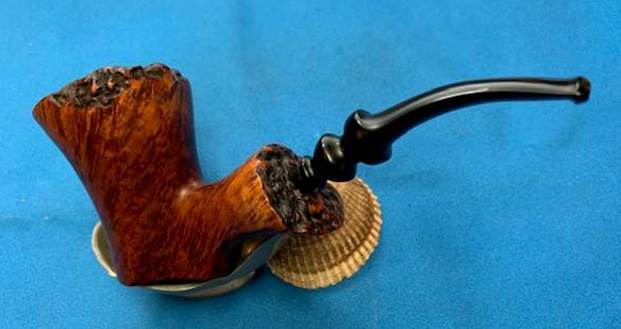
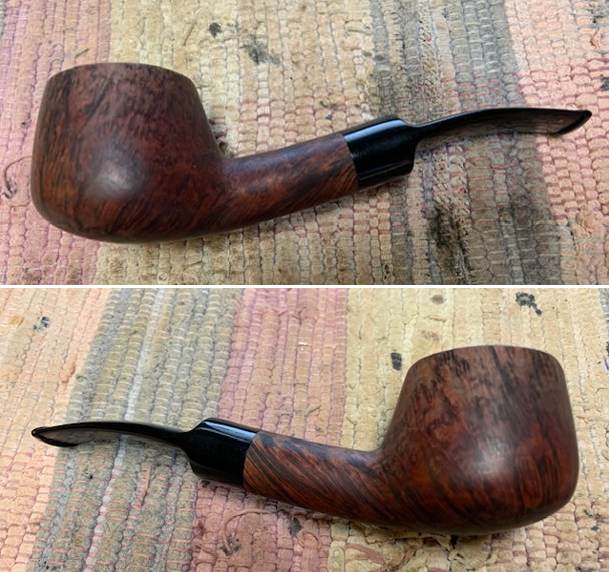
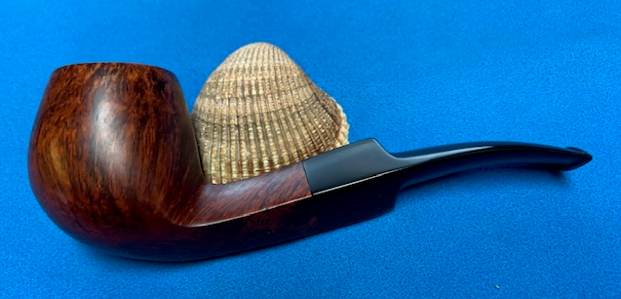
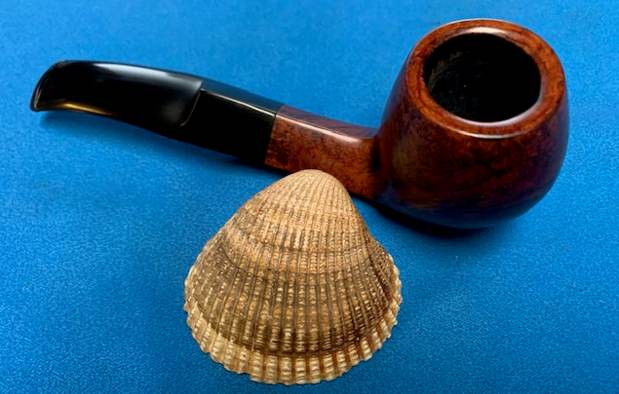
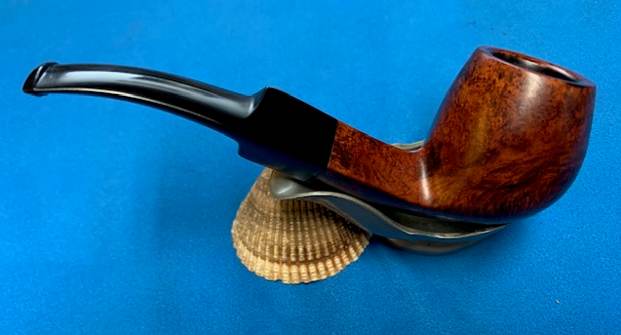
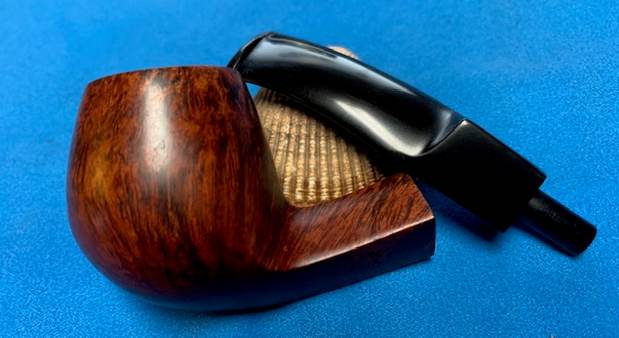
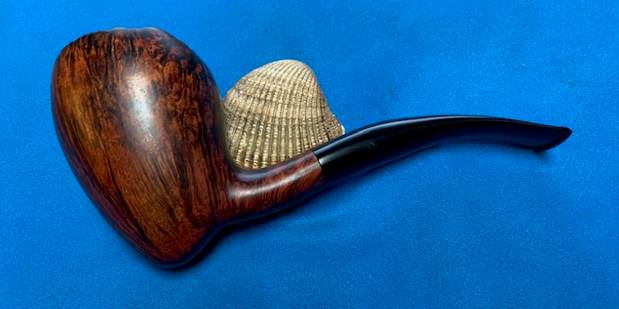
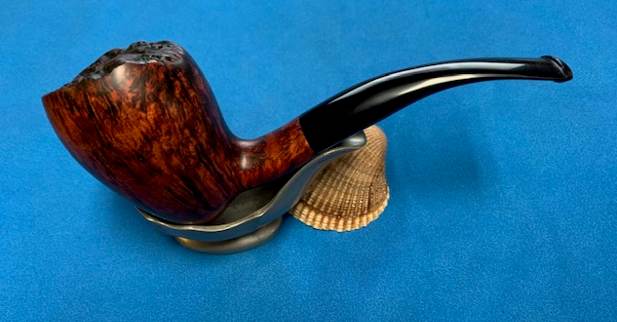
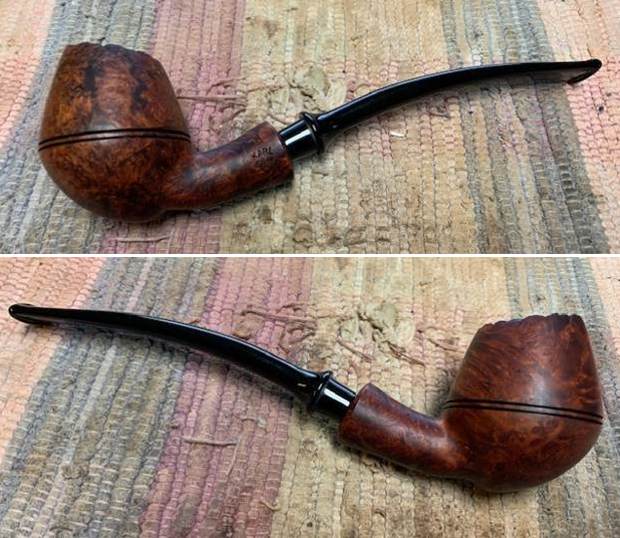
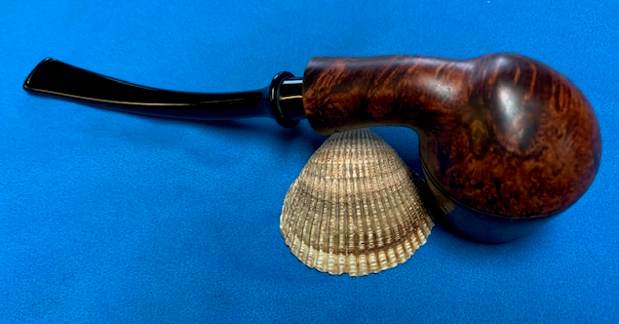
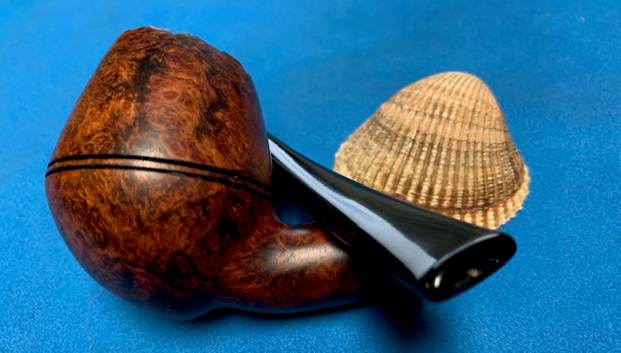
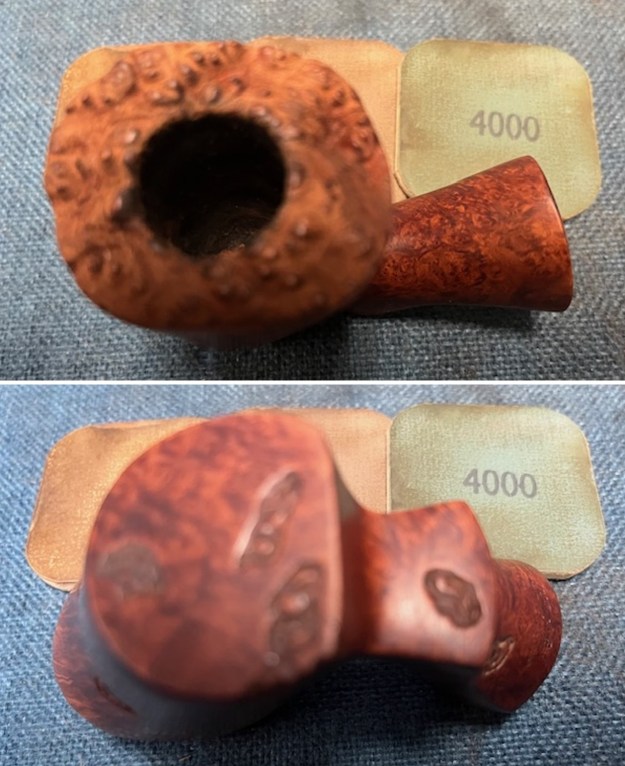
 I don’t know how many times I have said this but I love it when I come to the end of a restoration and all of the parts come together and the pipe looks better than when we started the cleanup process. I put the stem back on the Karl Erik Handmade in Denmark Freehand Sitter and buffed the pipe with Blue Diamond on the buffing wheel. I carefully avoided the stamping on the shank sides during the process. I gave the bowl and stem multiple coats of carnauba wax on the buffing wheel and followed that by buffing it with a clean buffing pad on the buffer. I hand buffed the pipe with a microfiber cloth to deepen the shine. The finished pipe is a real stunning example of a Danish Karl Erik Handmade Freehand Sitter. Once again, the grain and the way the shape follows the grain is amazing. Give the finished pipe a look in the photos below. I can only tell you that it is much prettier in person than the photos capture. The dimensions of the pipe are Length: 6 ½ inches, Height: 2 ½ inches, Outside diameter of the bowl: 1 ½ inches wide x 1 ¾ inches long, Chamber diameter: ¾ of an inch. The weight of the pipe is 2.72 ounces/78 grams. Thanks for walking through the restoration with me as I worked over another beautiful pipe. I will be putting this one on the rebornpipes store in the Danish Pipemakers Section. Let me know if you are interested in adding it to your collection. Thanks for your time.
As always, I encourage your questions and comments as you read the blog. Thanks to each of you who are reading this blog. Remember we are not pipe owners; we are pipe men and women who hold our pipes in trust until they pass on into the trust of those who follow us.