by Steve Laug
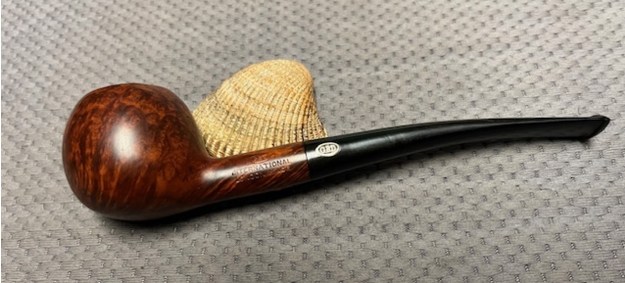
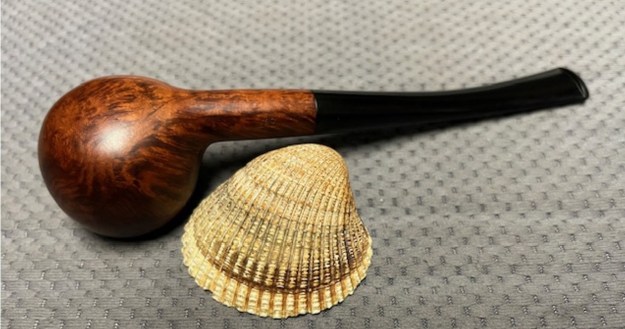
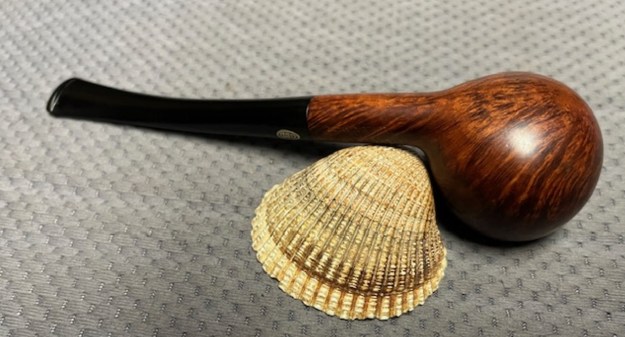
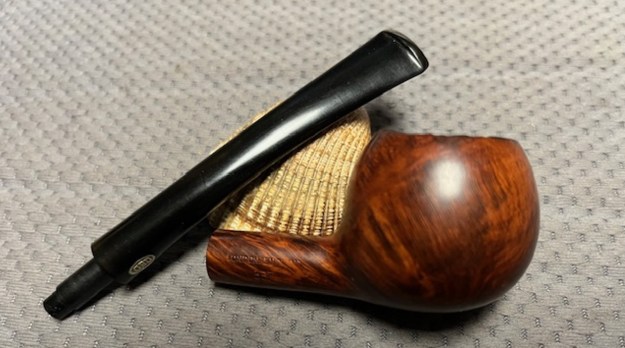
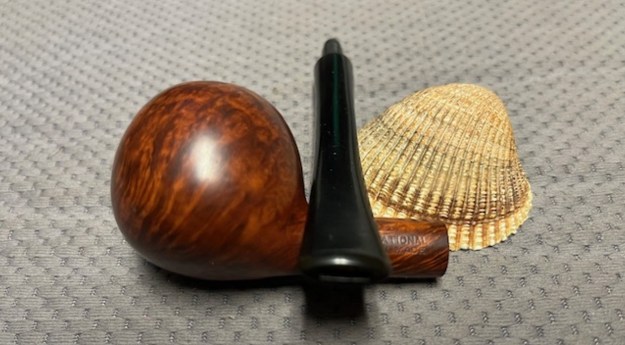
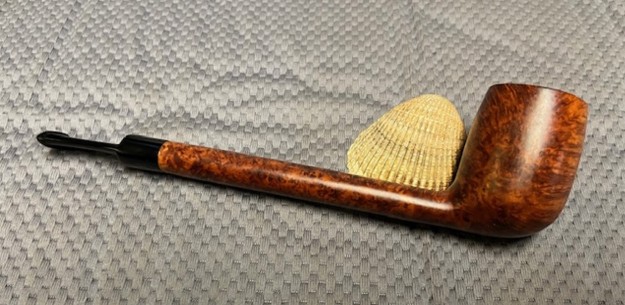
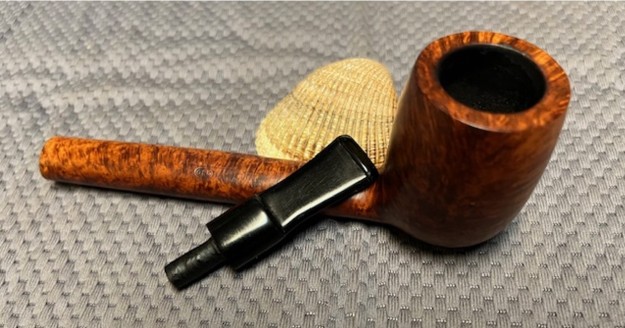
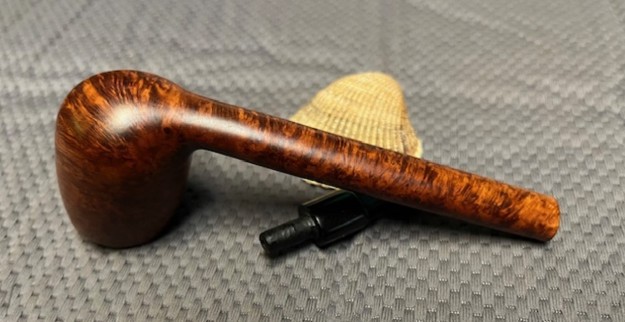
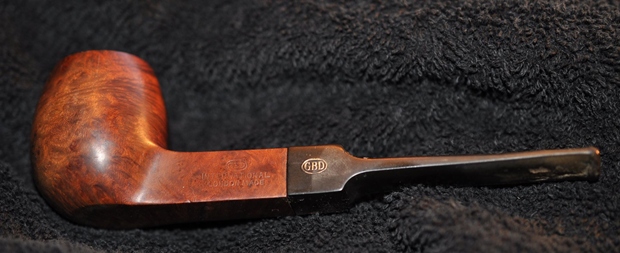
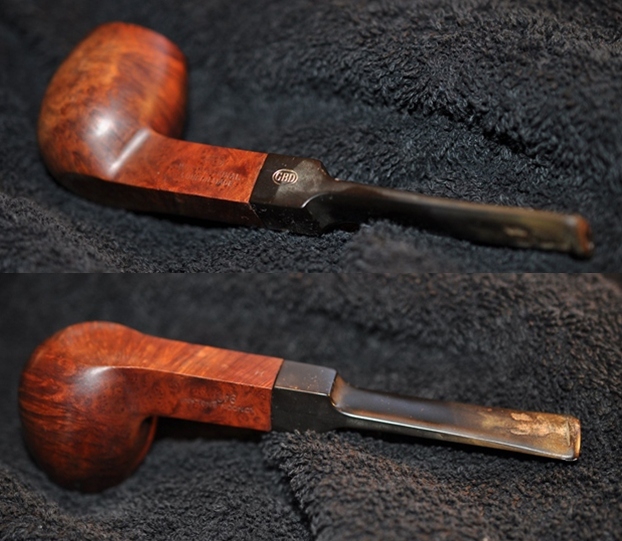
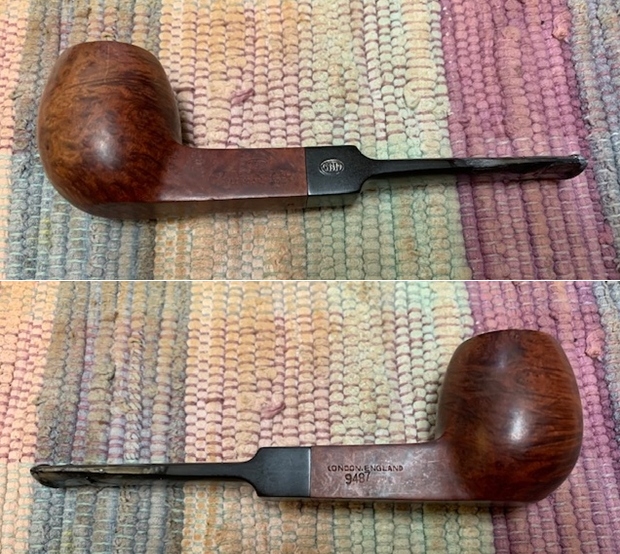
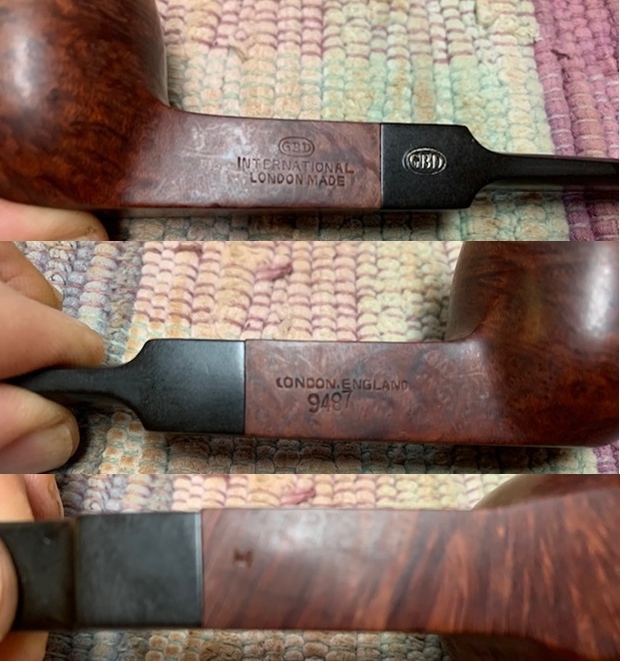
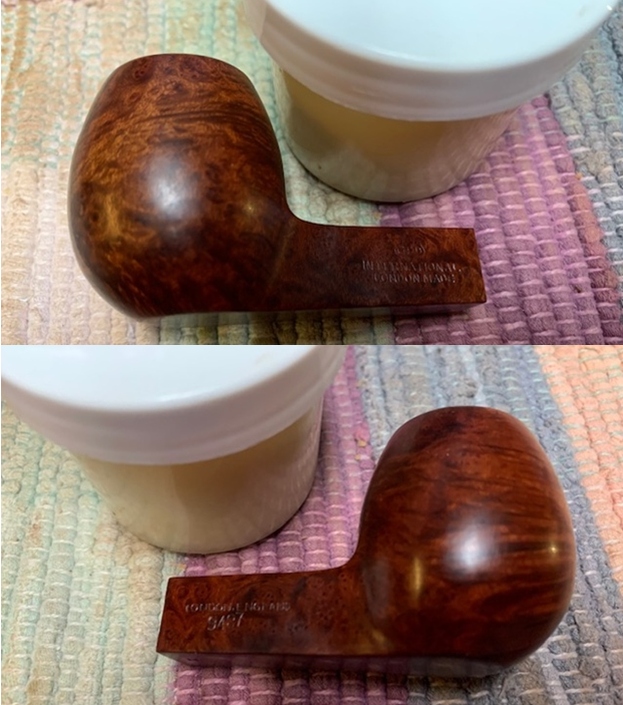
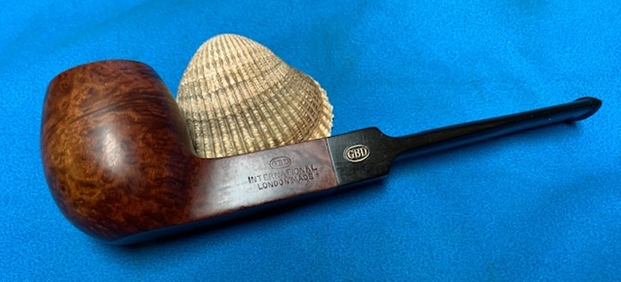
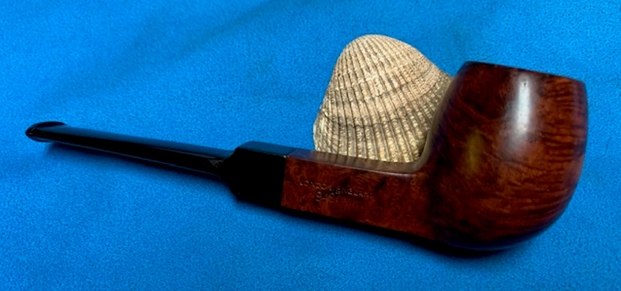
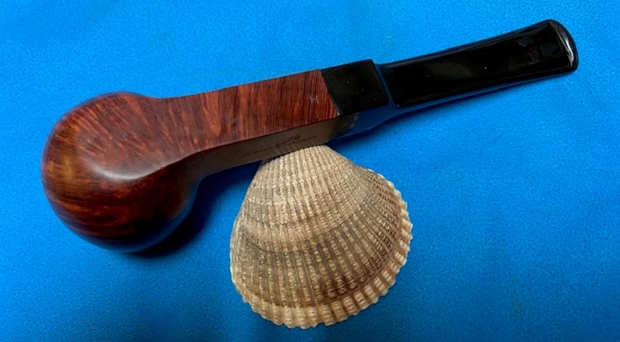
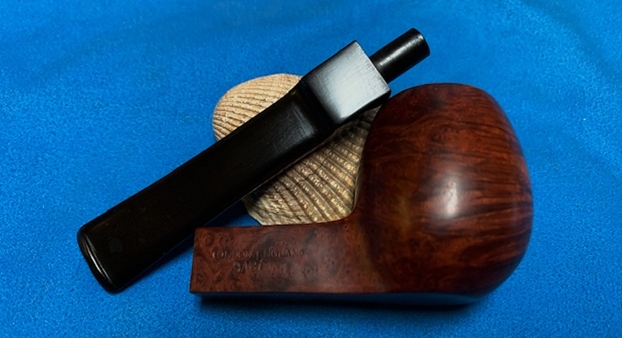
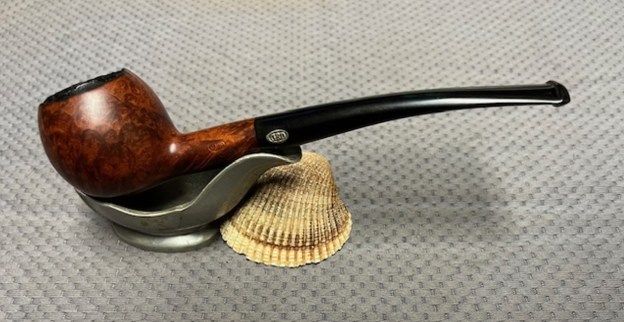
The next pipe on the table is another one that came to us from the seller in Caldwell, Idaho, USA on 07/12/2025. It is a beautiful GBD Prince with a slight bend to the vulcanite taper stem. It is in dirty but in good condition as can be seen in the photos below. It is stamped on the left side of the shank and reads GBD in an oval [over] International [over] London Made. On the right side it is stamped London. England [over] the shape number 357. The stamping is clear and readable. It has rich finish with a blend of black and brown stains that highlight the grain around the bowl and shank that the shape follows well. The finish was dusty and dirty with grime ground into the finish. The bowl had a moderate cake and there was tobacco debris in the bowl. The International rusticated rim top had a thick lava coat on the top and edges. The stem was quite dirty and oxidized. It has a GBD brass logo on the left side and light tooth marks and chatter on both sides. I took photos of the pipe to show what it looked like before I started working on it.
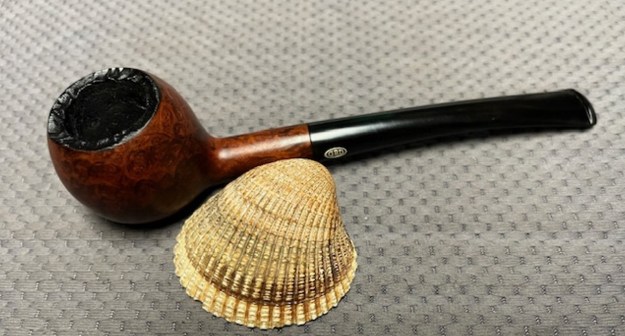
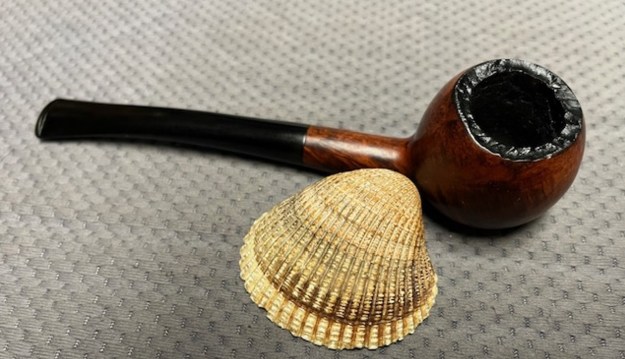
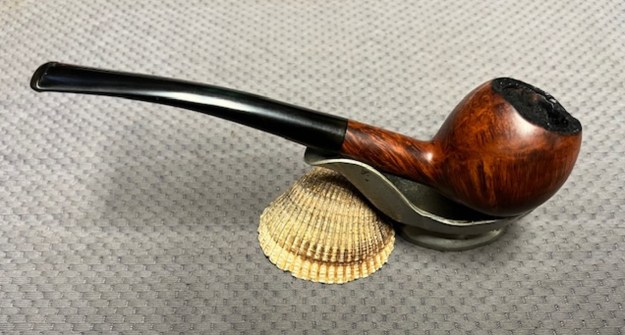
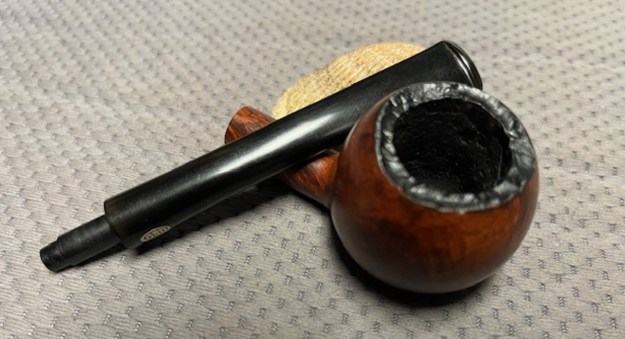
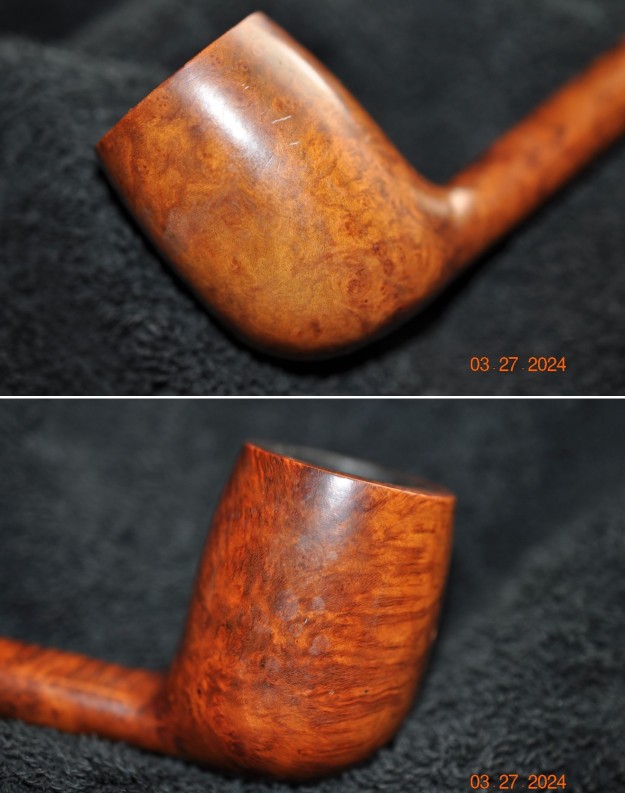
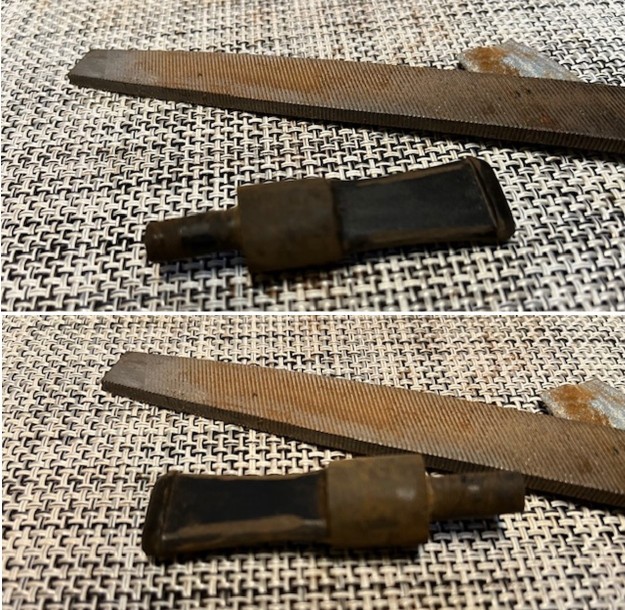
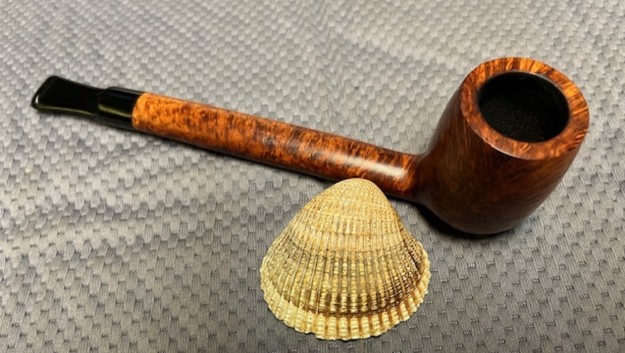
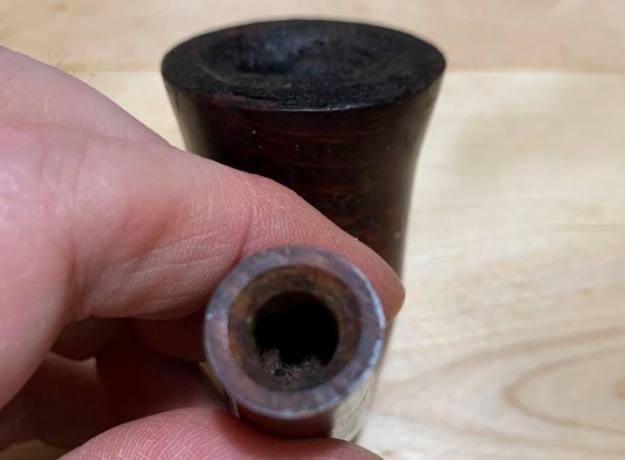
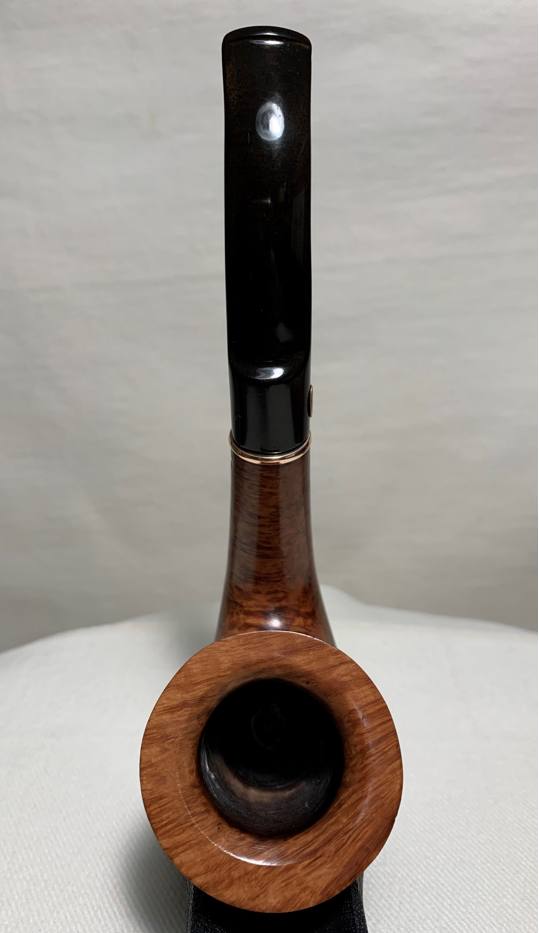
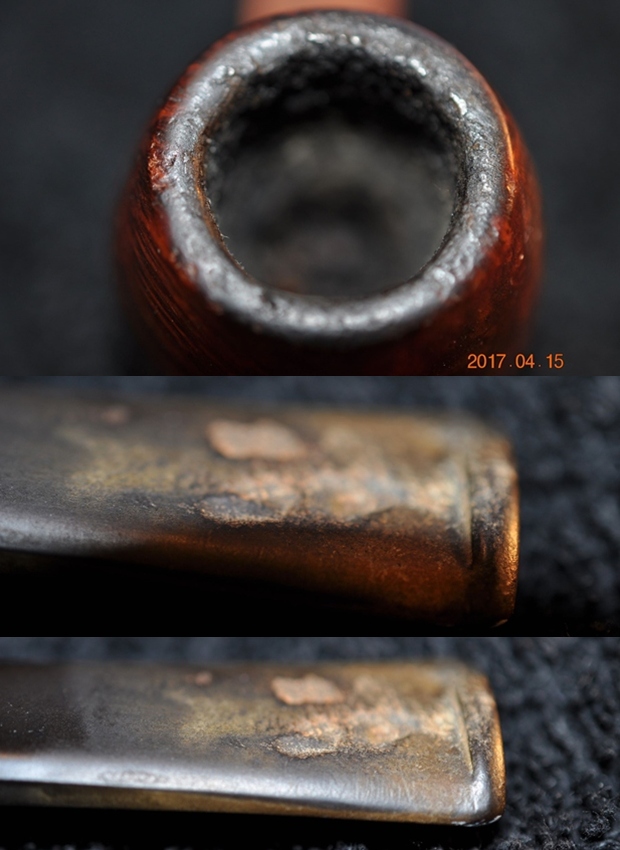
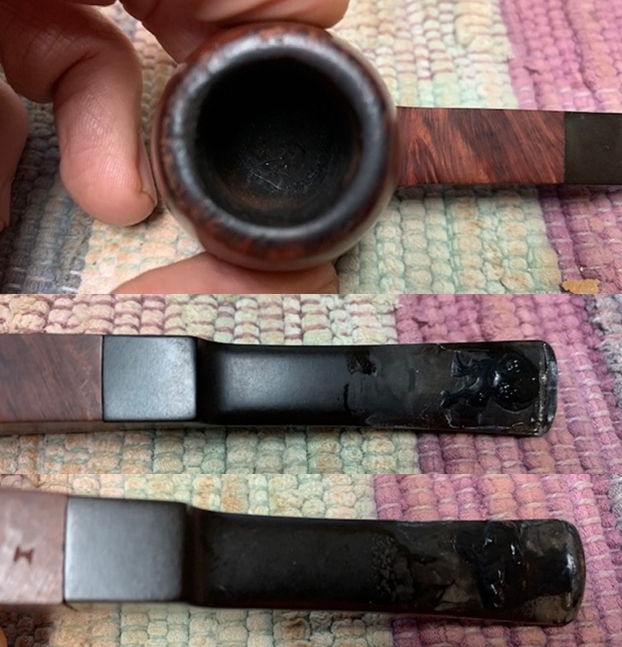
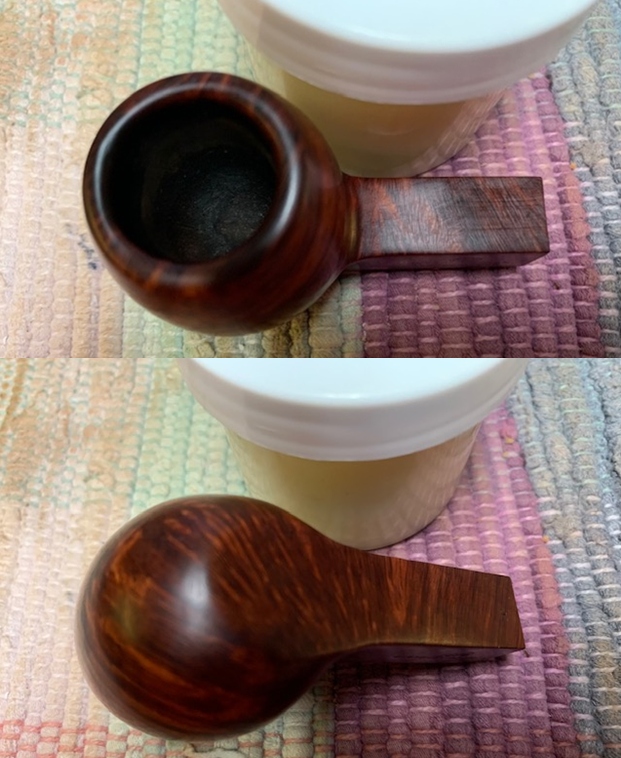
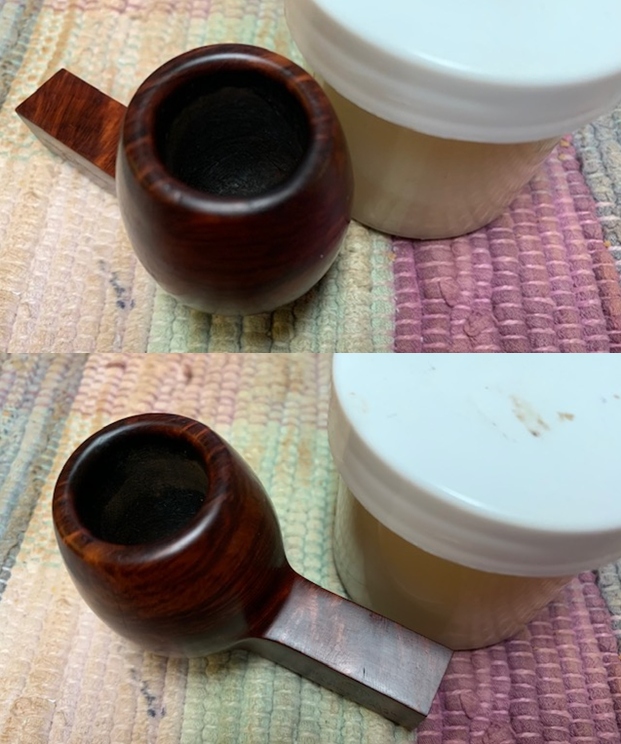
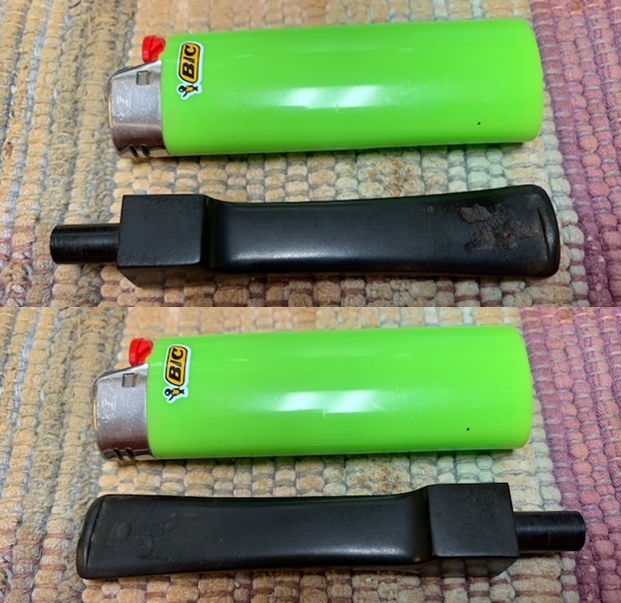
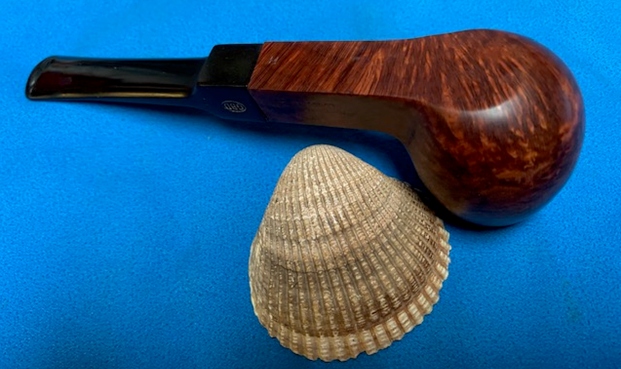
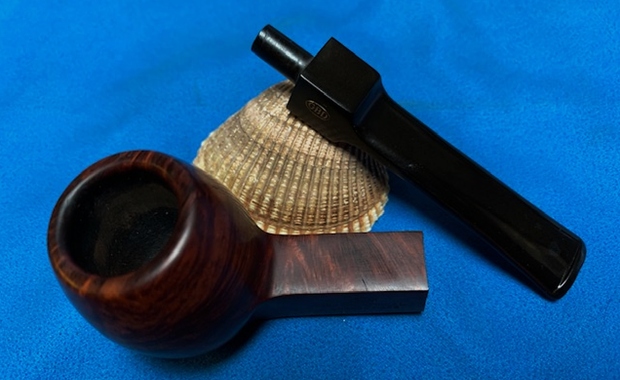
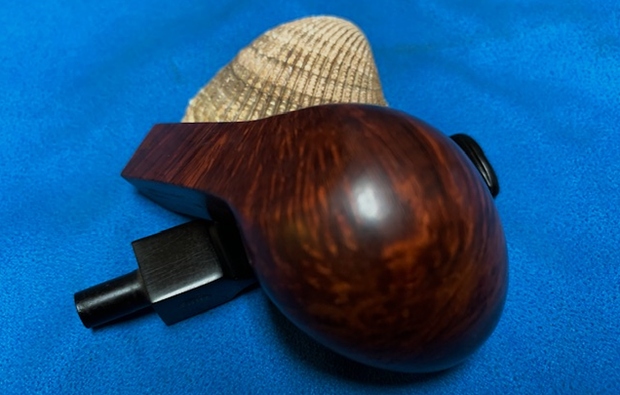
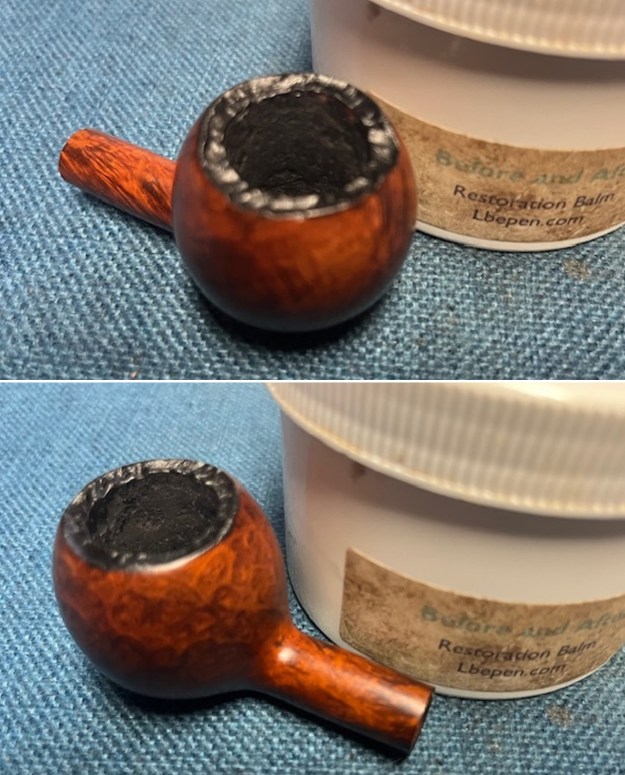
 I took photos of the bowl and rim top to show the thickness of the cake and the lava coat on the rim top. There was some tobacco debris in the bottom of the bowl. The stem photos show the condition of the taper stem ahead of the button.
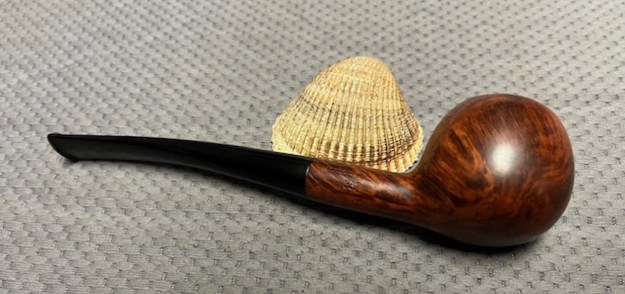
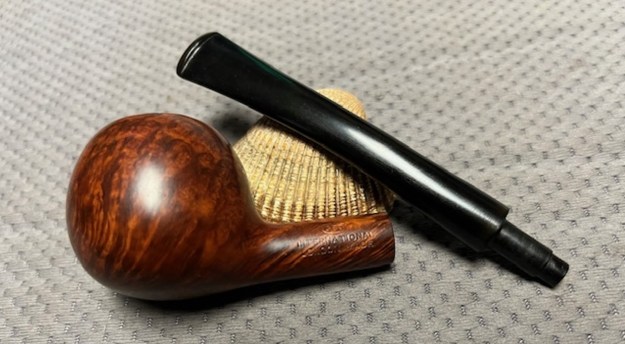
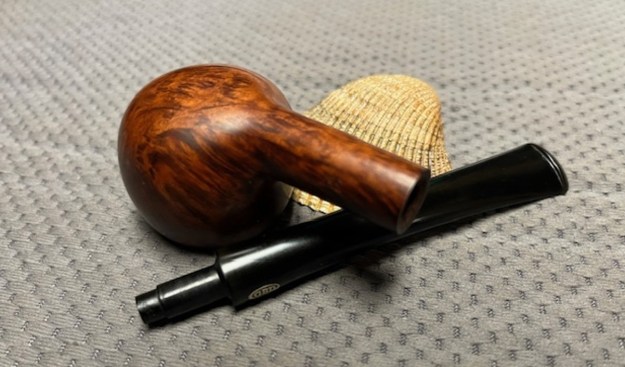
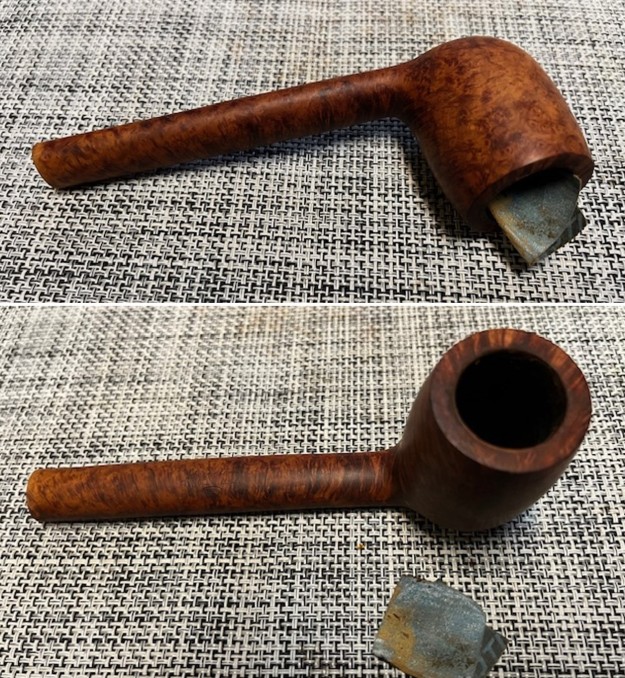
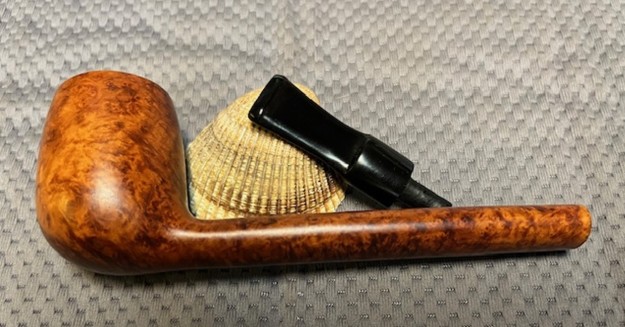
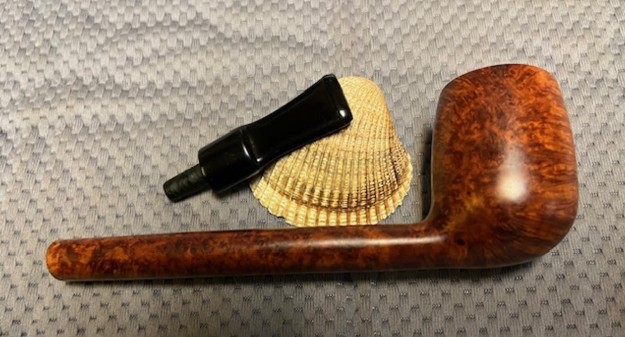
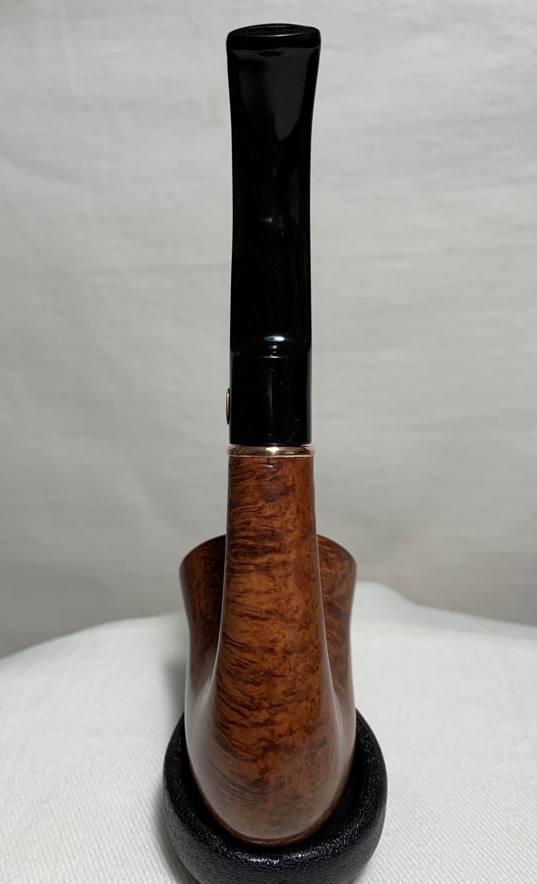
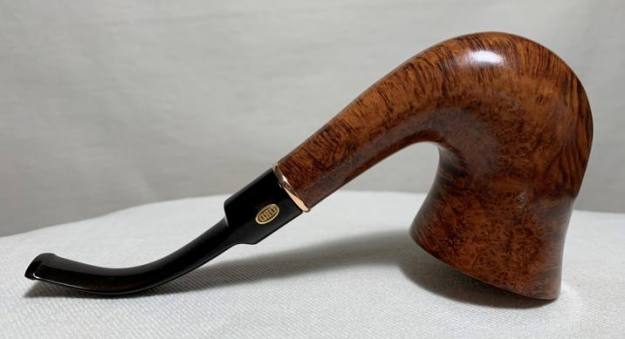
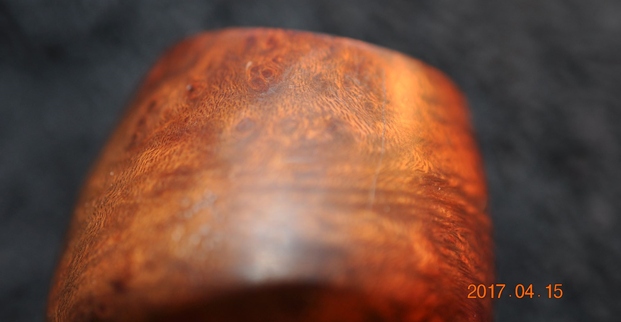
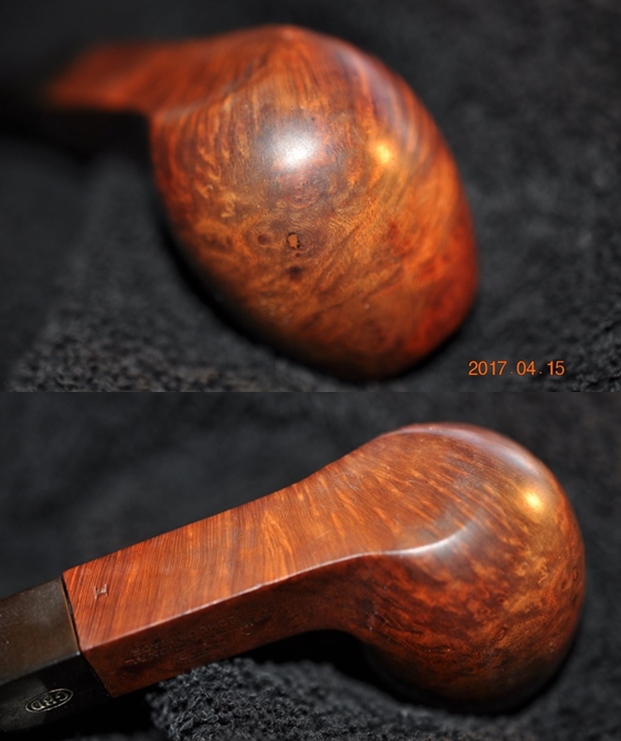
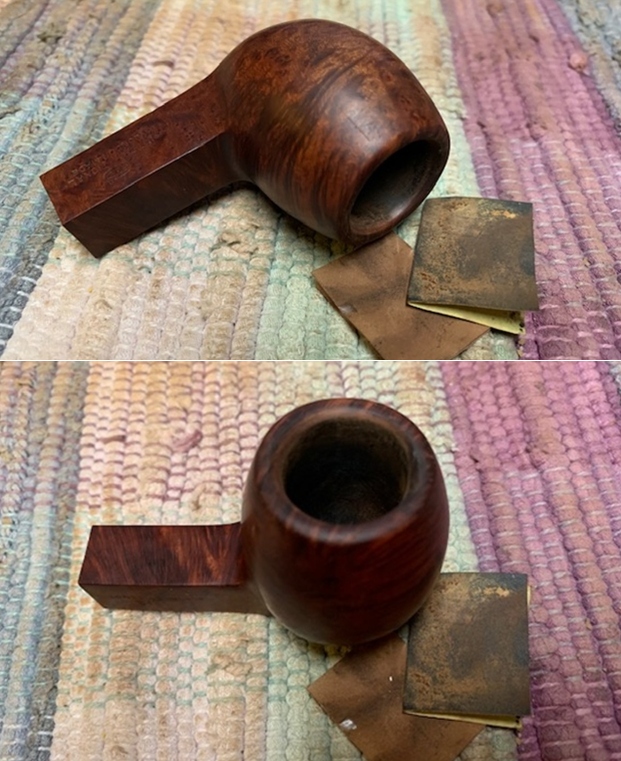
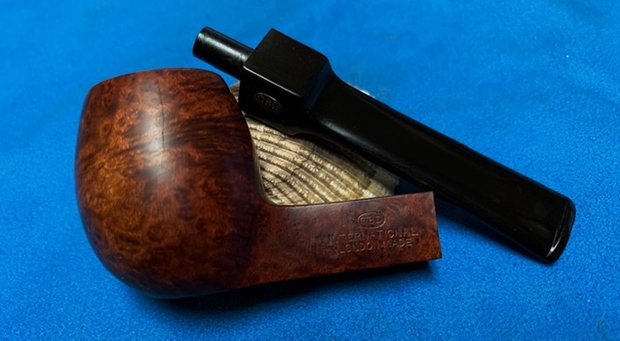
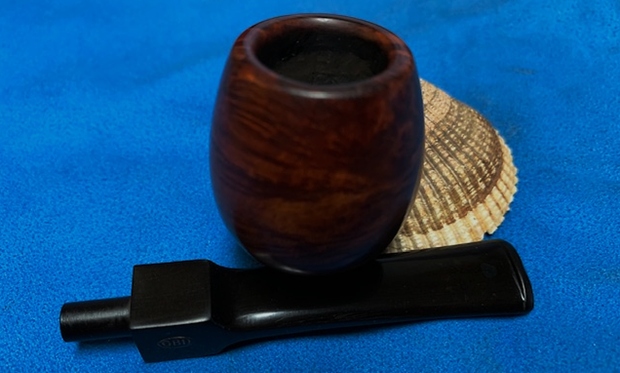
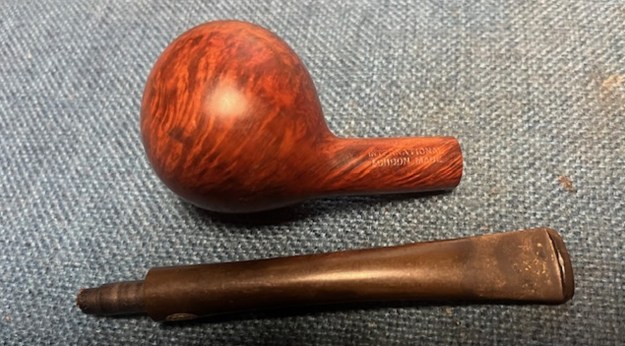
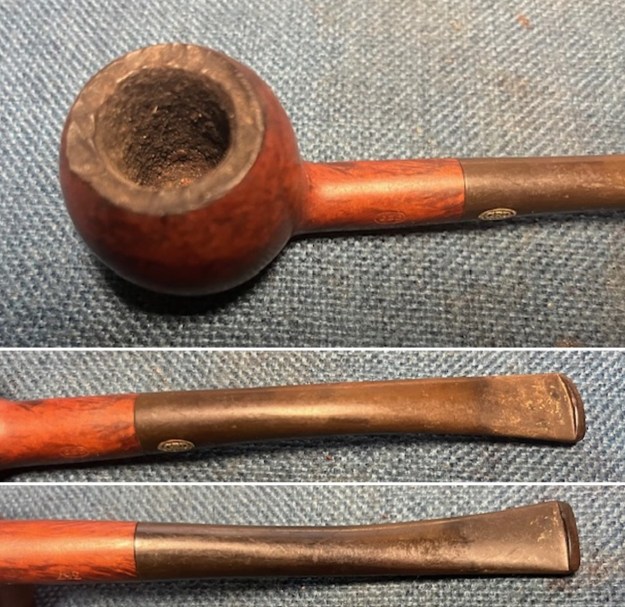 The stamping on the sides of the shank is clear and readable as noted above. I took a photo of the pipe with the stem removed to give a sense of the proportions of the pipe. It is a real beauty.
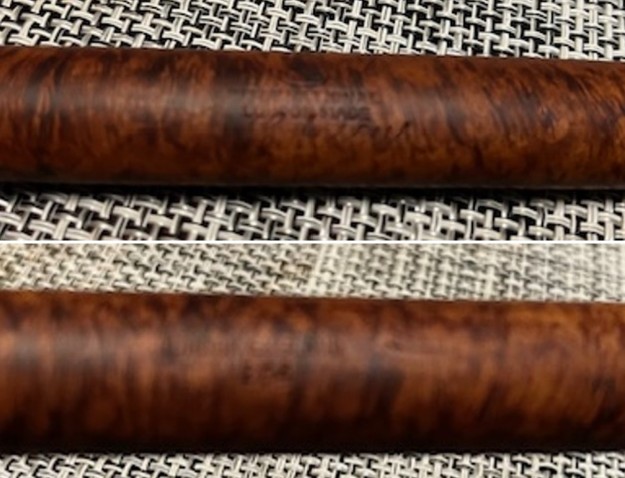
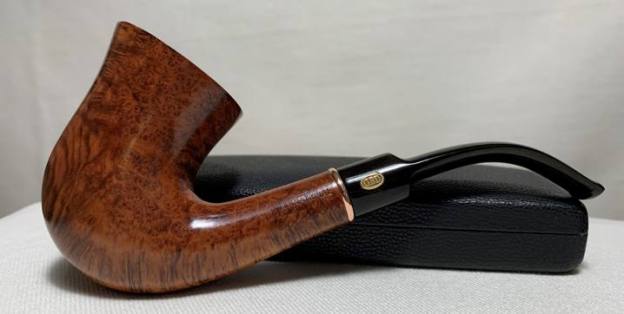
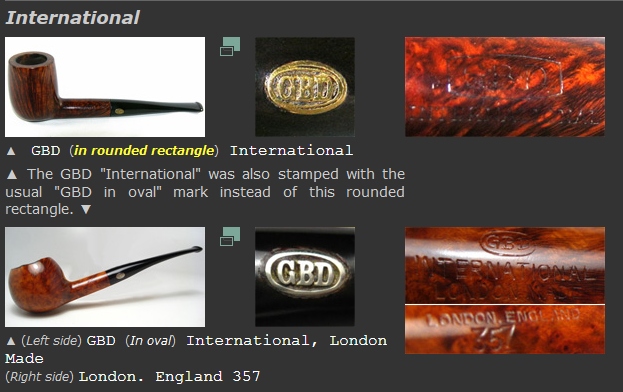
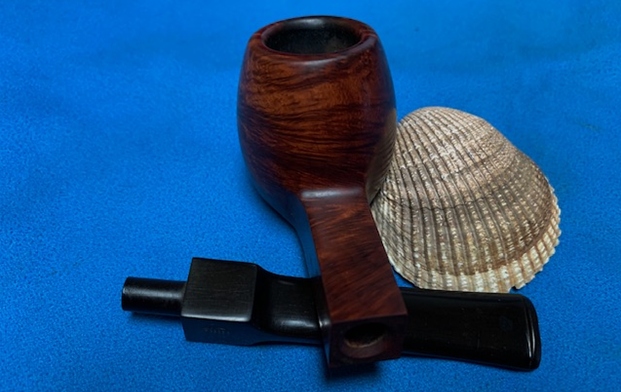
 I looked on Pipephil’s site for information on the particular International Line and found the following screen capture listed (http://www.pipephil.eu/logos/en/logo-gbd.html). It is interesting in that the second pipe pictured below is the same as the one I am working on.
  I also went to the GBD article on Pipedia and found nothing in the great historical article that was pertinent. I did follow a link to the GBD Model Information article to see if there was some help there (https://pipedia.org/wiki/GBD_Model_Information). The article listed the following information on the line.
International — France, unknown if also made in England: medium brown smooth, carved top rim, rim stained black. -TH: Matte take off finish “with just a hint of surface waxing” – catalog (1976)
That article gave me some helpful information. I knew that the pipe line often had a carved rim top stained black. The one I was working on was smooth and stained the same at the rest of the pipe. I also knew that the 357 shape number tied back to a classic GBD Prince. Now to work on the pipe.
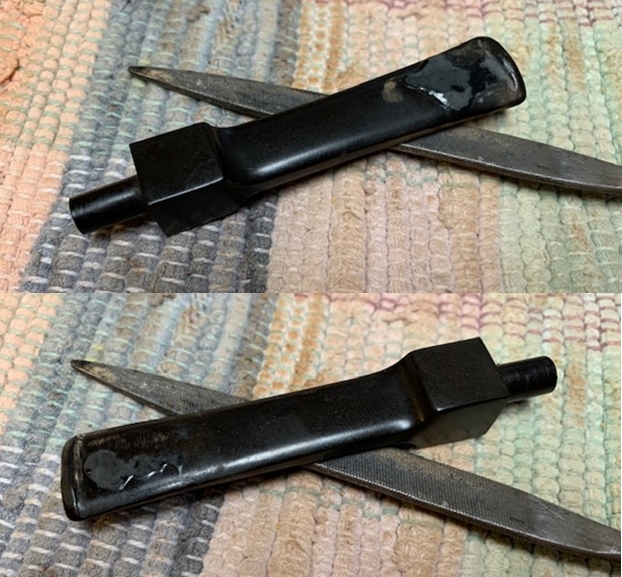
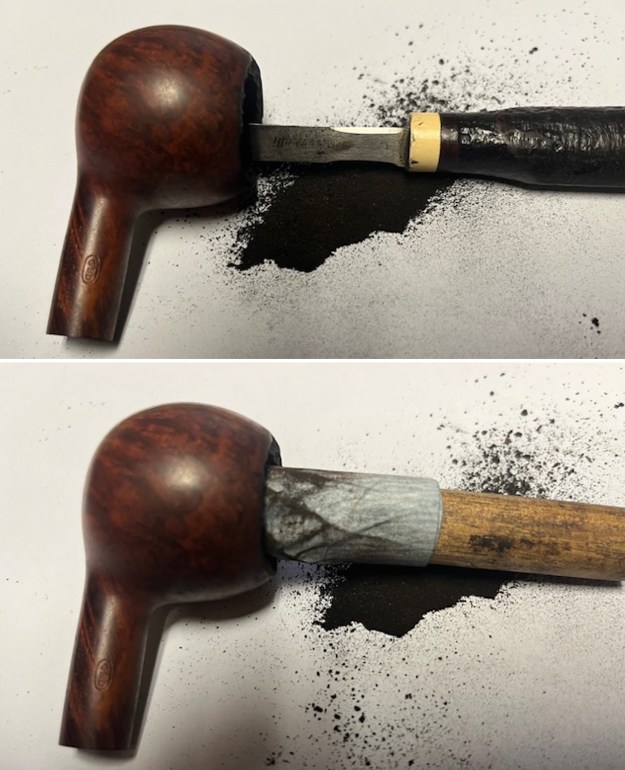
I turned to work on the pipe itself. I reamed the bowl with a PipNet pipe reamer using the cutting heads 2 and 3. I finished the reaming with a Savinelli Fitsall Pipe Knife. I sanded the walls of the bowl with 220 grit sandpaper wrapped around a piece of dowel. 
 I worked over the sandblast rim top with a brass bristle wire brush to clean up the debris in the valleys of the blast. It looked better.
 I cleaned out the inside of the shank and the airway in the stem with alcohol, cotton swabs and both bristle and regular pipe cleaners.
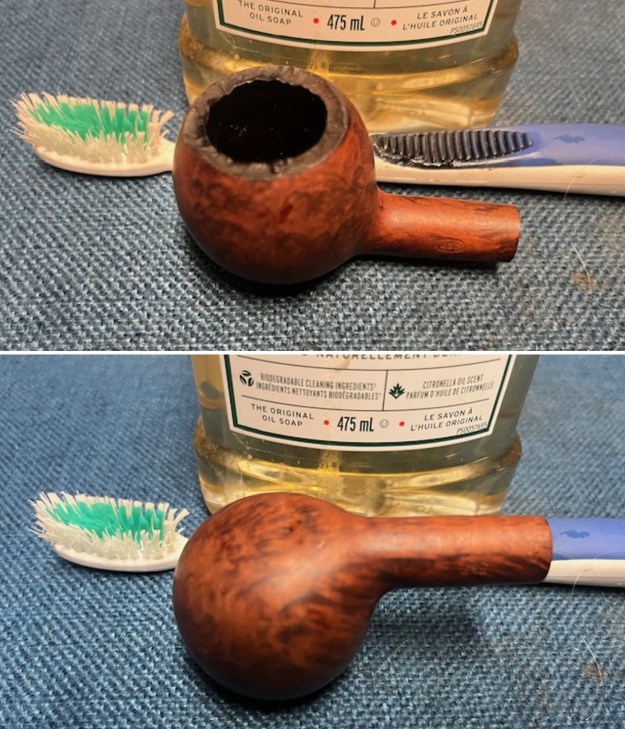
 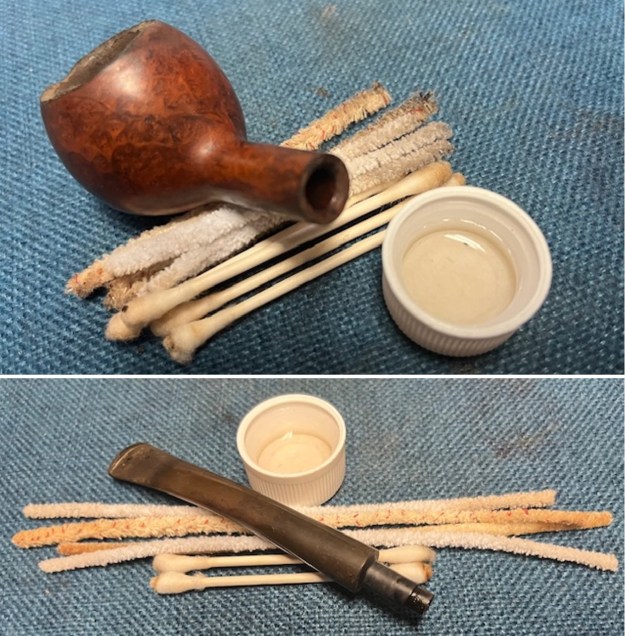 I scrubbed the bowl and shank with a tooth brush and some undiluted Murphy’s Oil Soap. I rinsed it off with warm water to remove the dust and soap from the finish. I dried it off with a soft cloth and it looked much better.
 I restained the black rusticated/carved rim top with a black stain pen. I wanted it to match the original International Line stain. The rim top was originally black. Once stained it looked very good once the stain was complete.
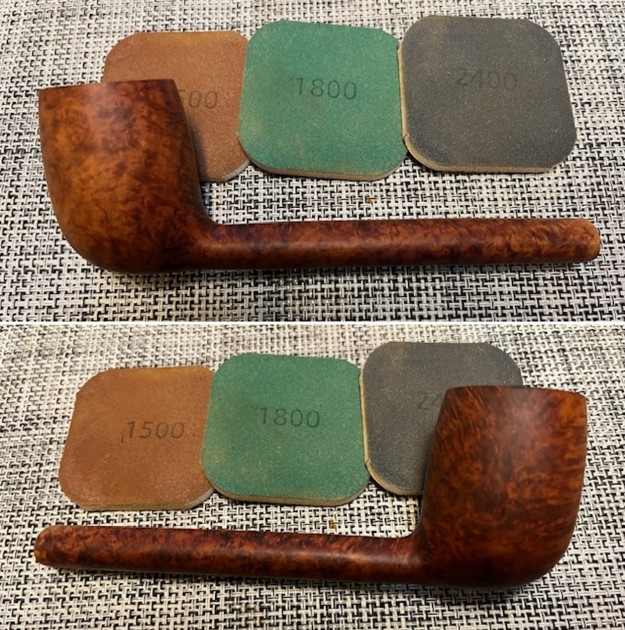
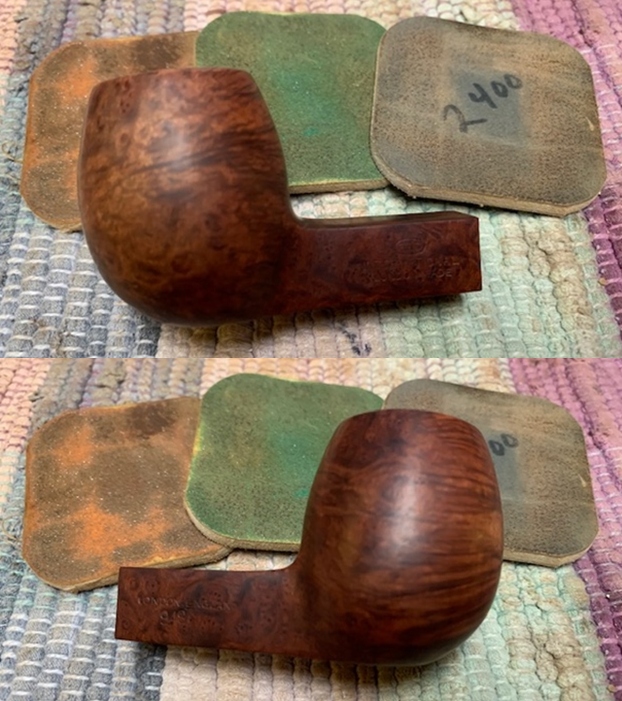
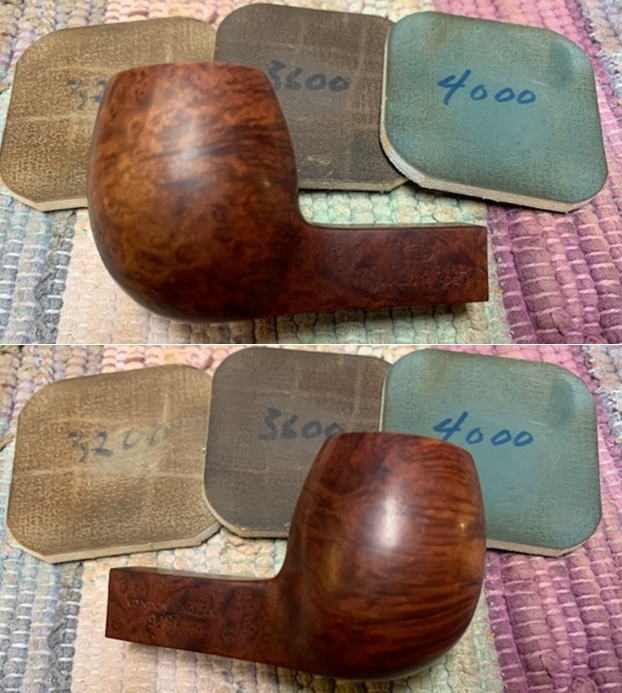
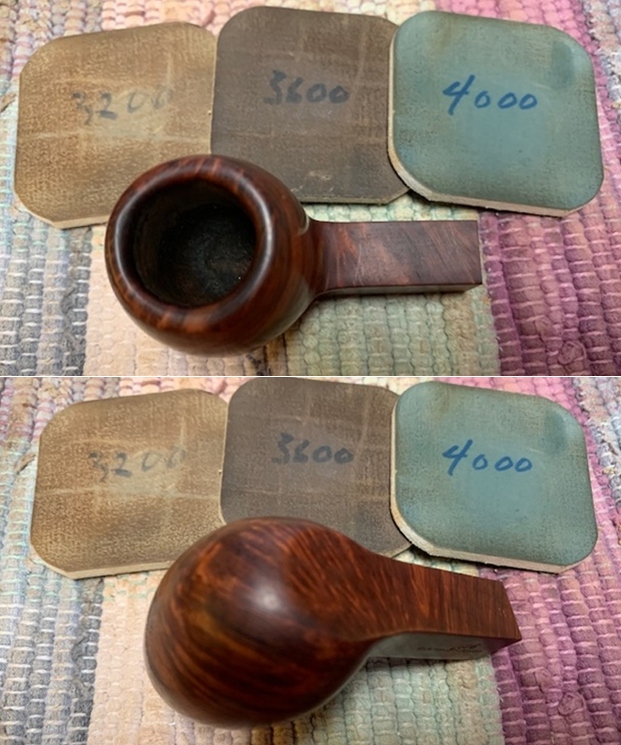
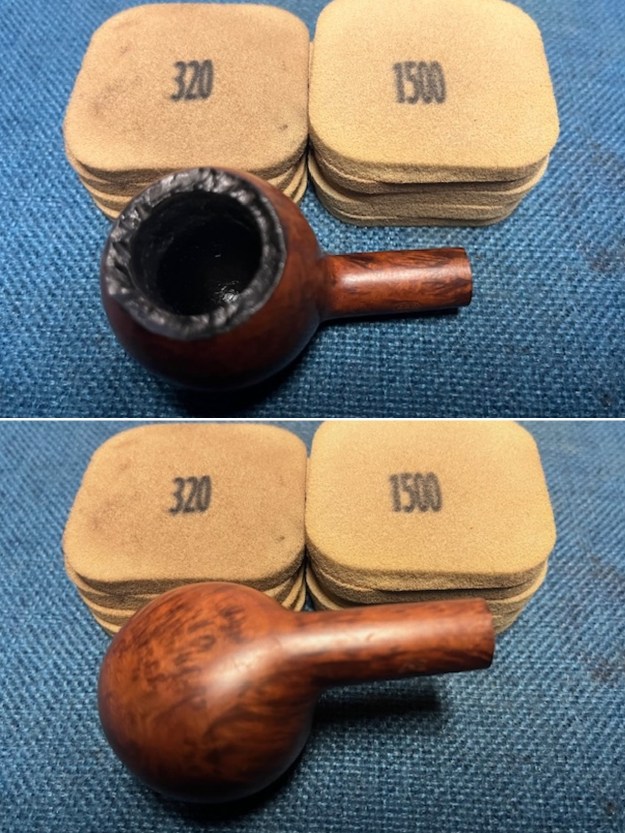
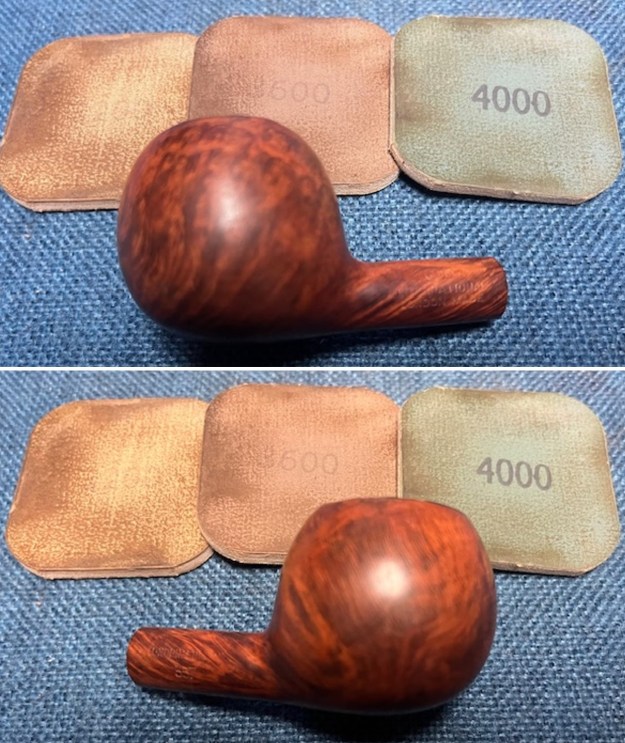
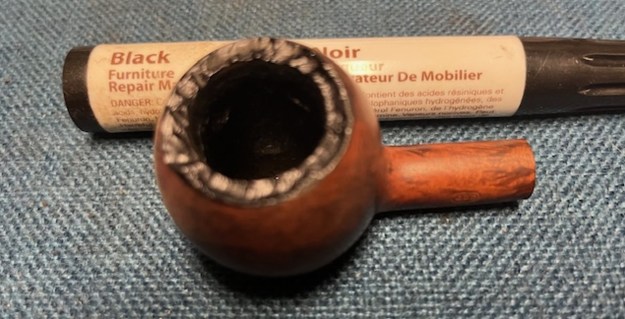 I sanded the bowl and shank with 320-3500 grit 2×2 inch sanding pads. I wiped the briar down with a damp cloth after each sanding pad to remove the sanding debris. It was beginning to look very good.
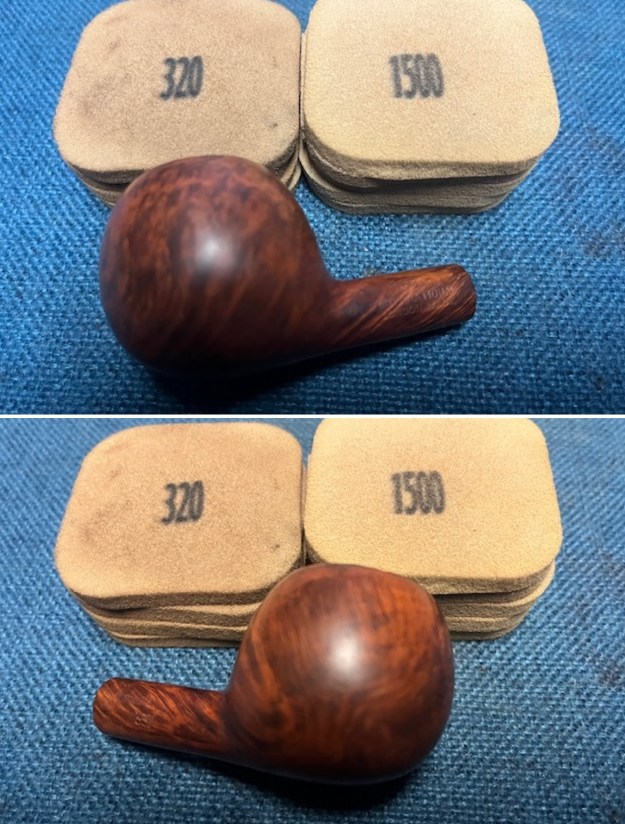
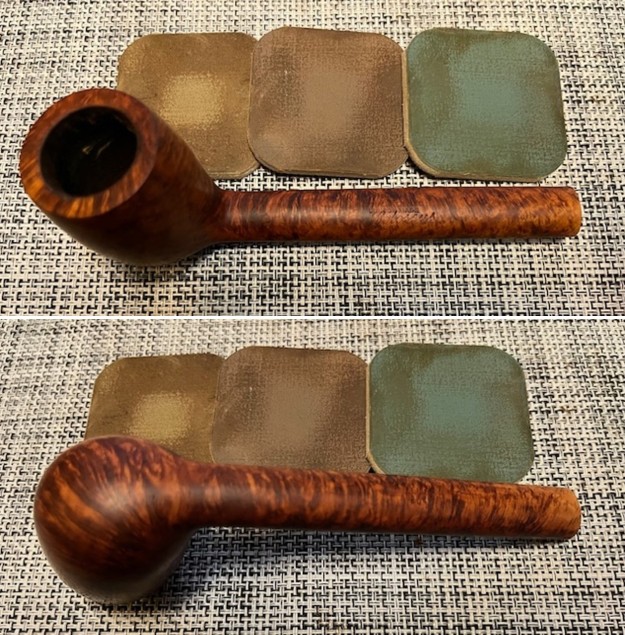
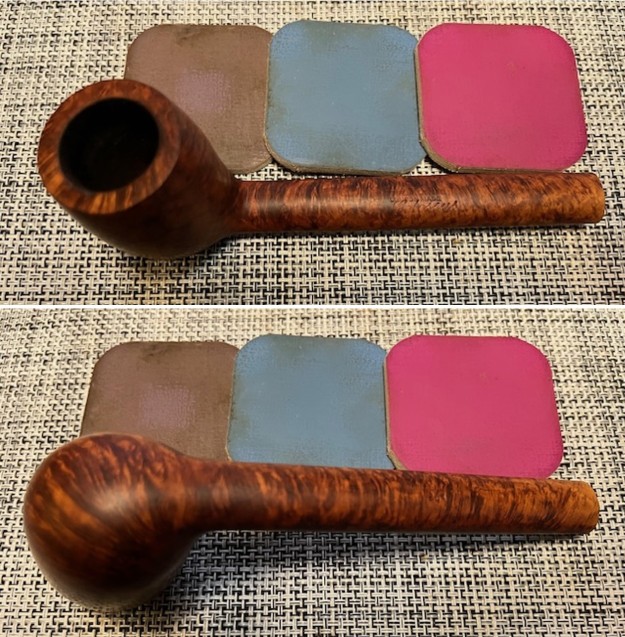
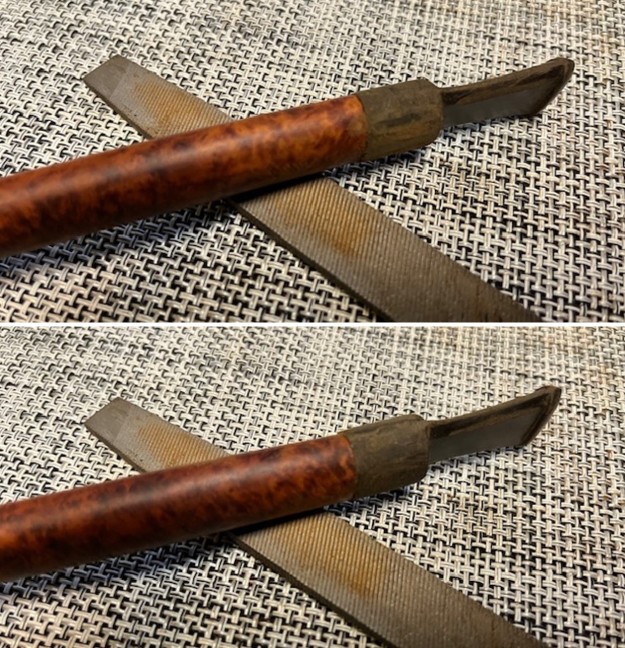
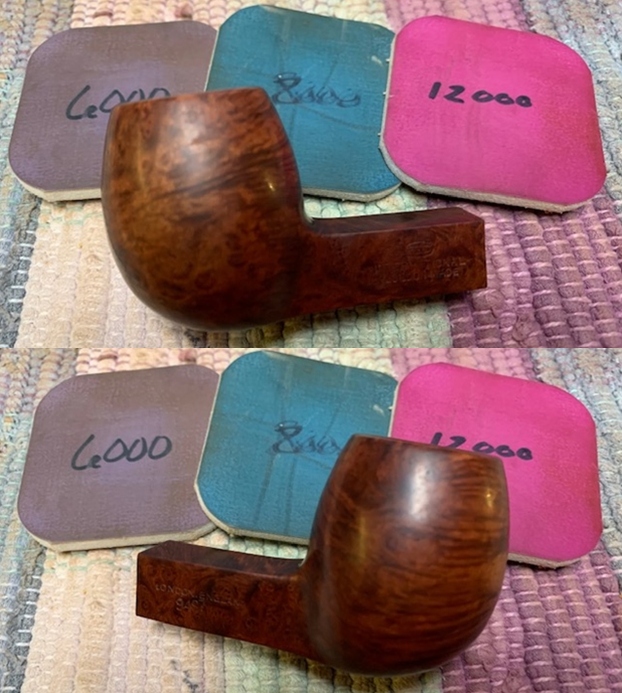
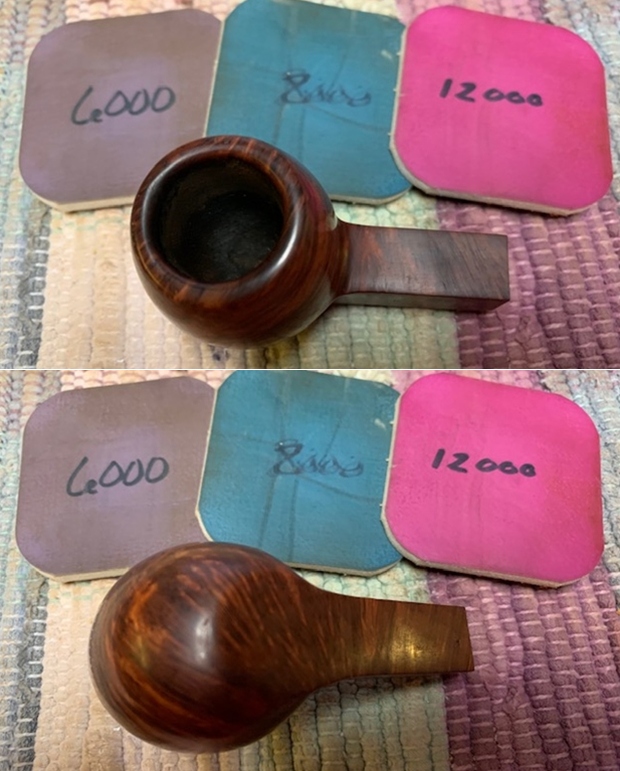
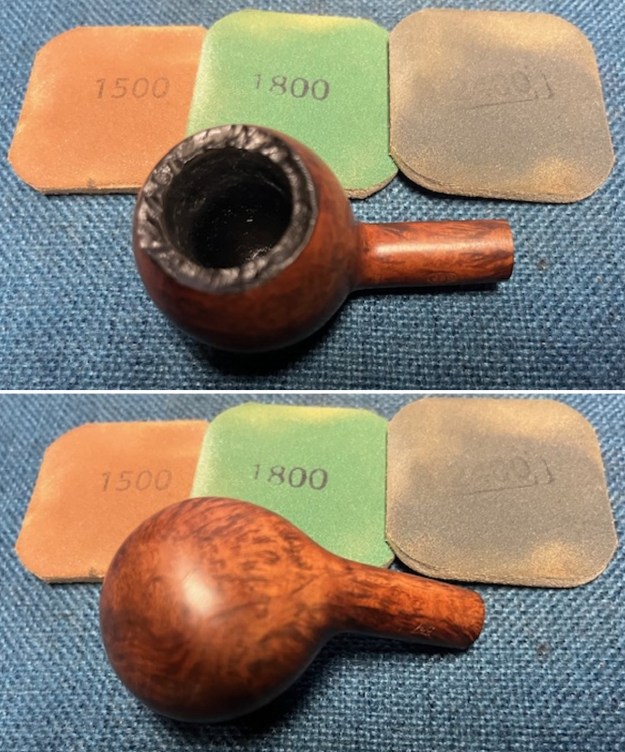
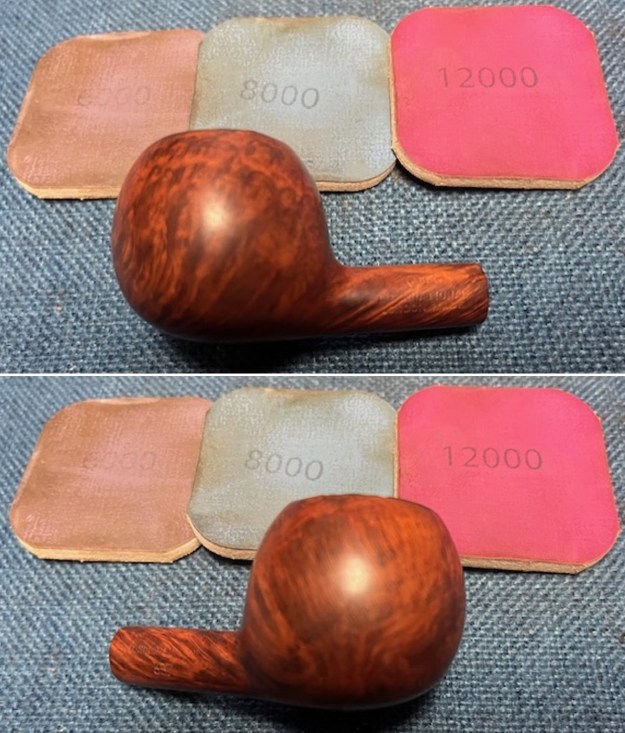
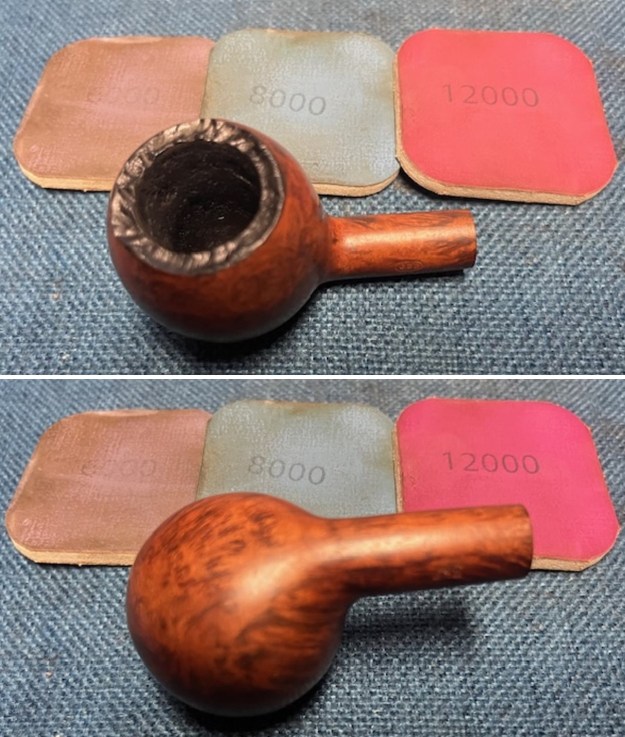
 I polished the briar with micromesh sanding pads – dry sanding with 1500-12000 grit sanding pads. I wiped the bowl down with a damp cloth after each sanding pad. The pipe began to take on a rich finish.
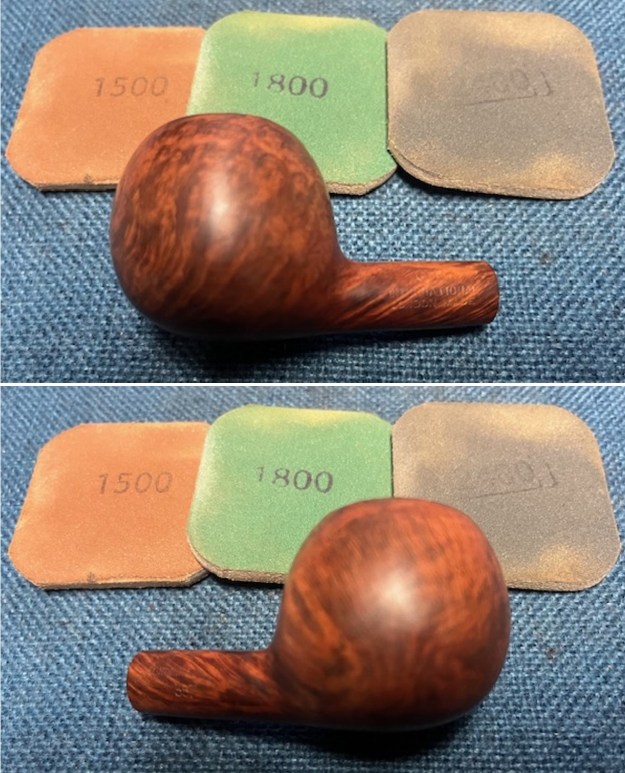

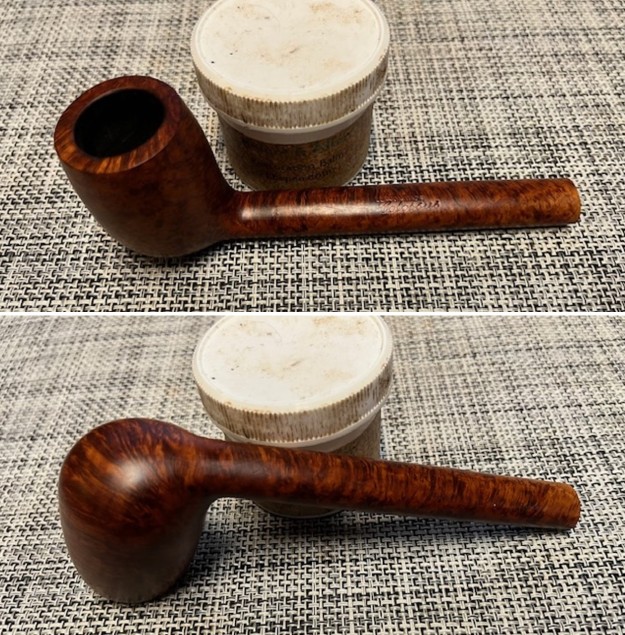
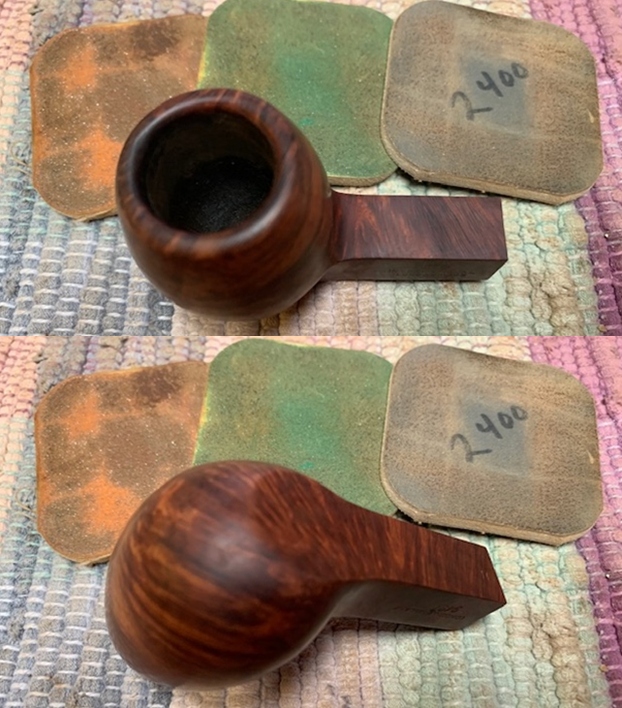
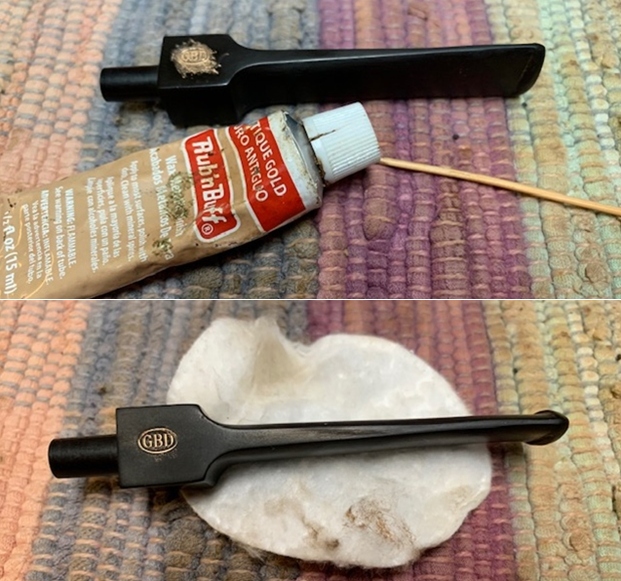
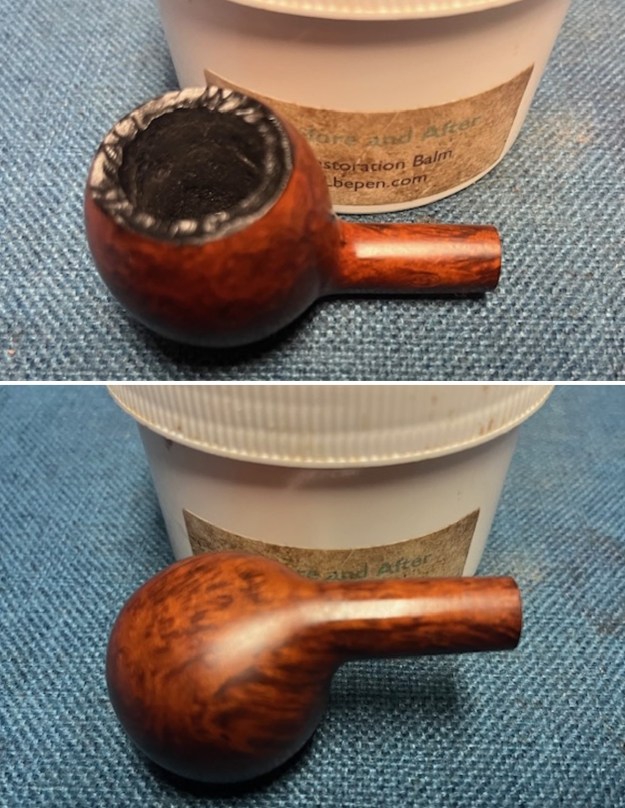
 I rubbed the briar down with Before & After Restoration Balm. I worked it into the rusticated rim top and the smooth briar with my fingertips to work it into the finish. The product works to clean, enliven and preserve the briar. I let it sit for 10 minutes then I buffed it with a cotton cloth to deepen the shine. The briar really comes alive with the balm.
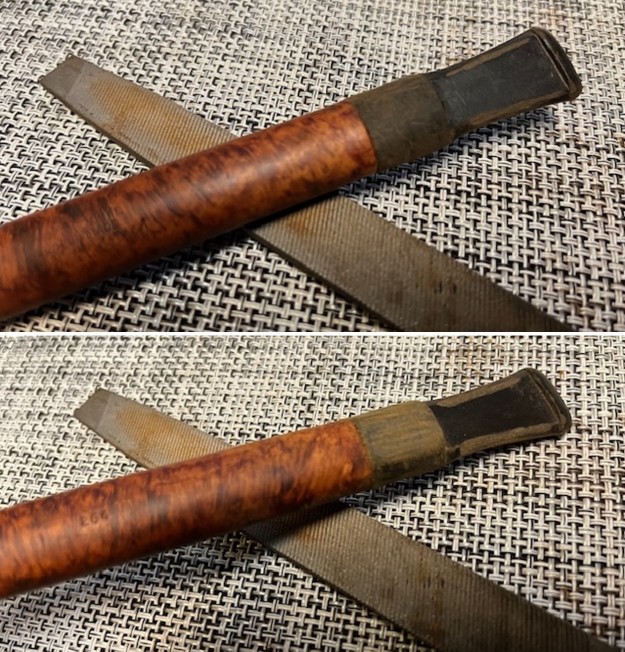
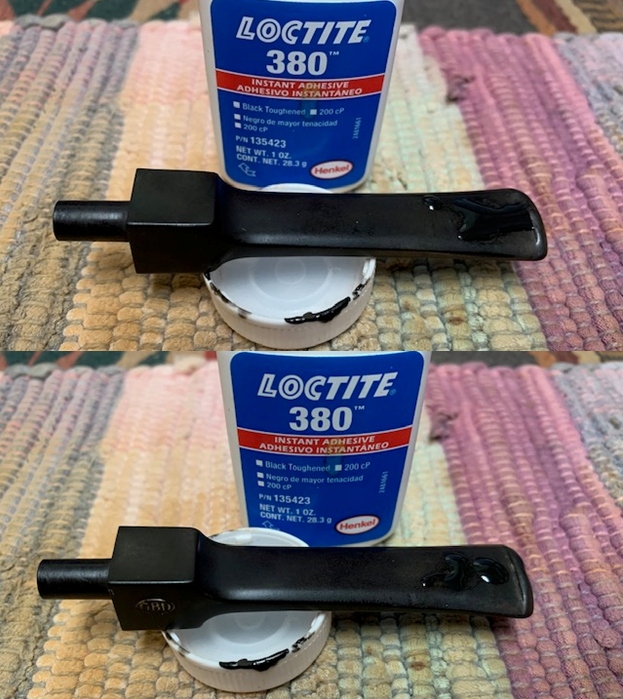
 I set the bowl aside and worked on the stem. I sanded the surface of the stem with a folded piece of 220 grit sandpaper to remove the oxidation and clean up the tooth marks and chatter on both sides of the stem ahead of the button.
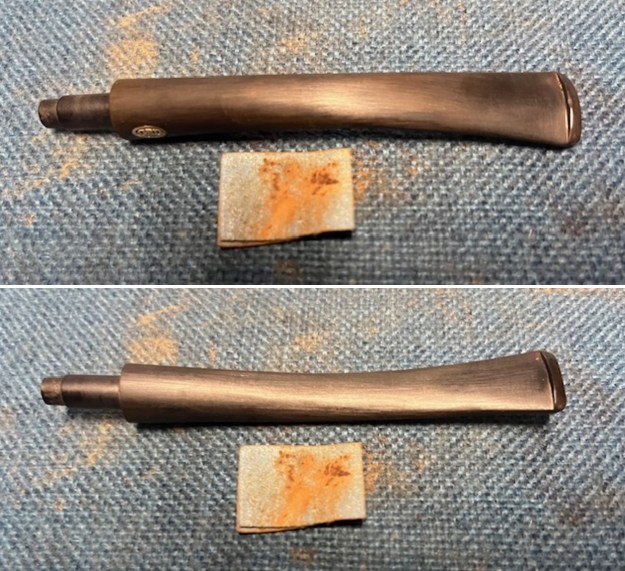 I sanded the stem with 320-3500 grit 2×2 inch pads. I wiped the stem down with an Obsidian Oil cloth after each sanding pad.
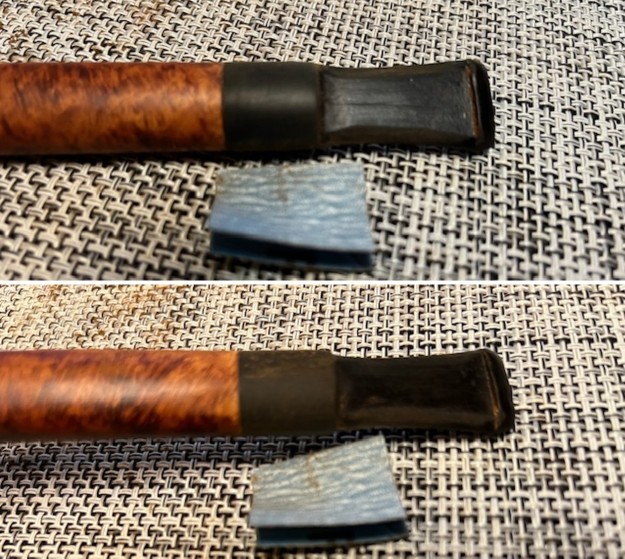
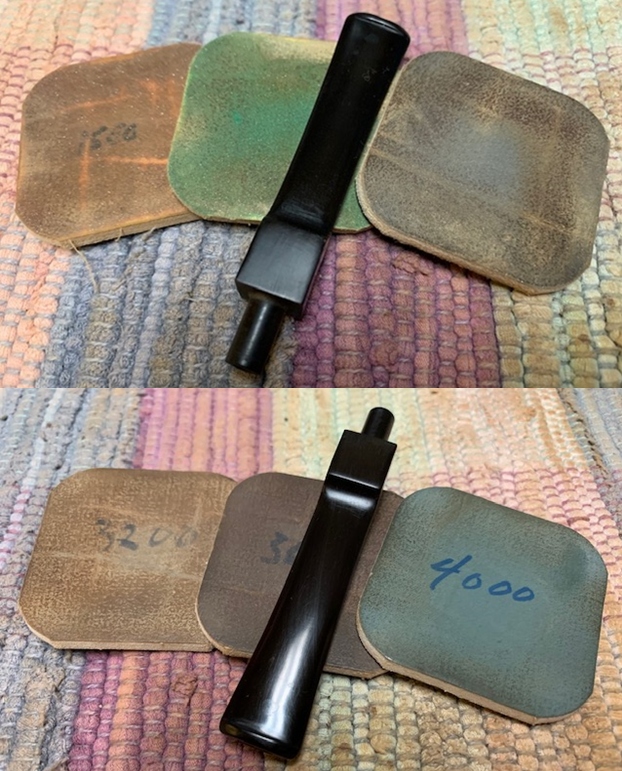
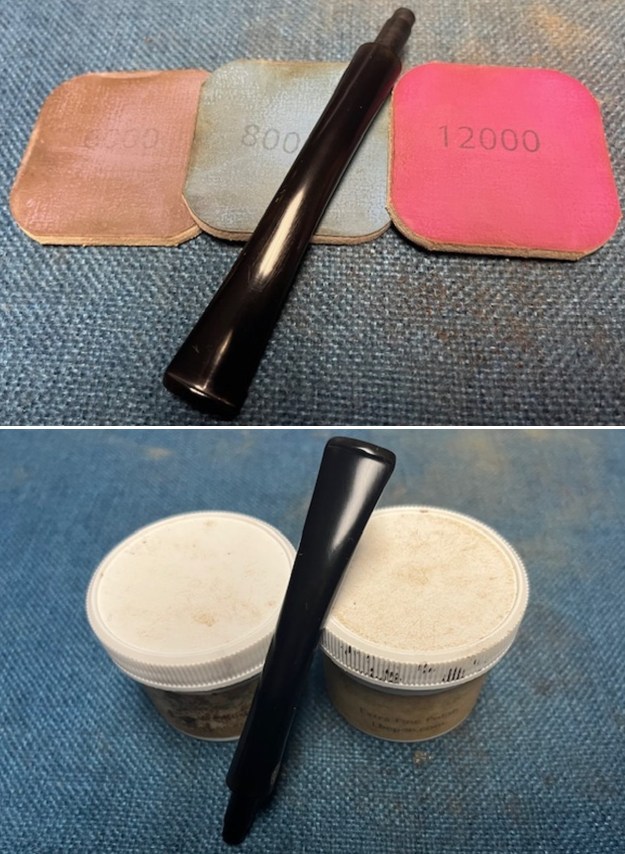
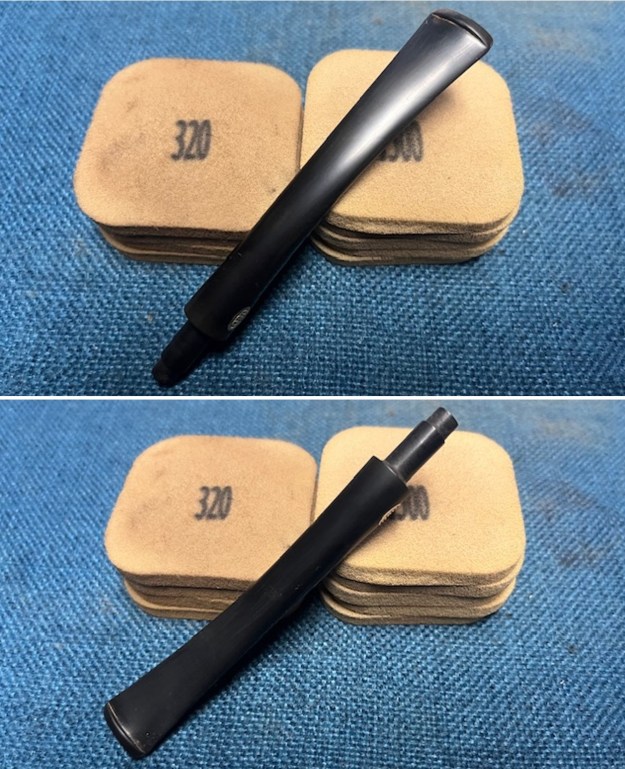 I polished the vulcanite with micromesh sanding pads – 1500-12000 grit pads. I wiped it down with Obsidian Oil after each sanding pad. I used Before & After Pipe Polish – both Fine and Extra Fine to further polish the stem.
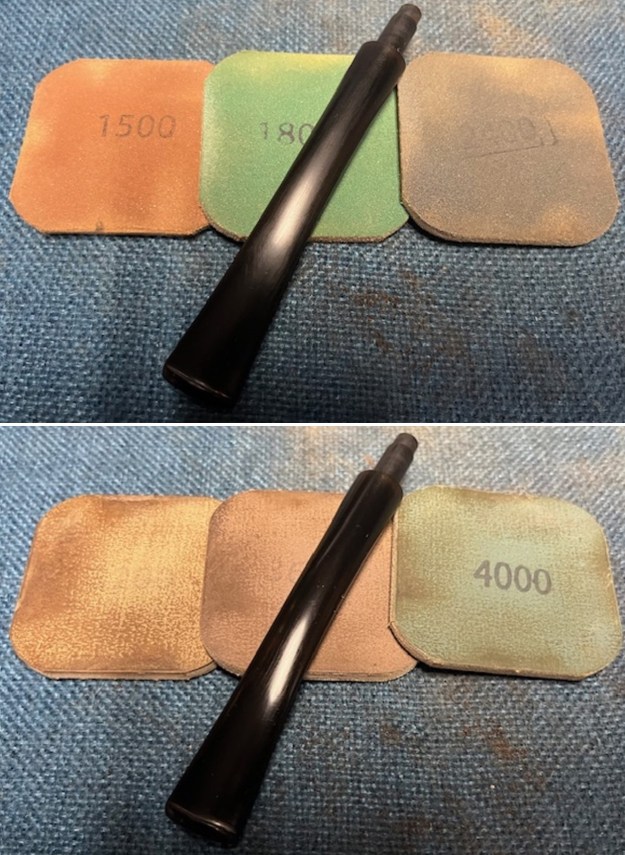
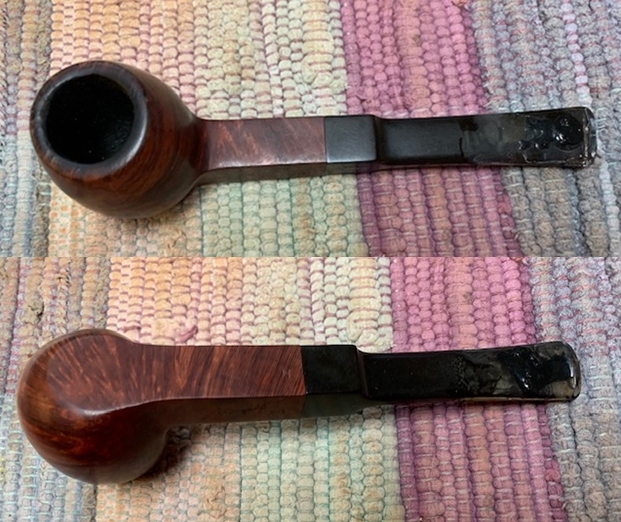
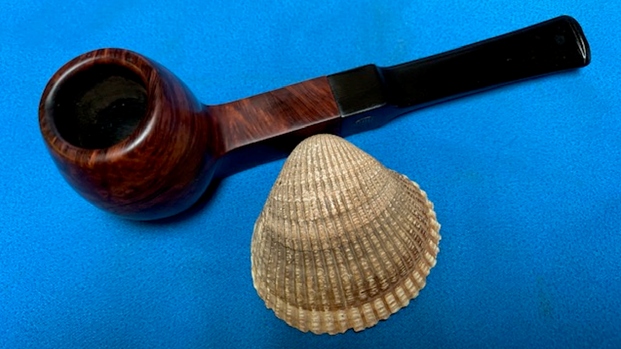
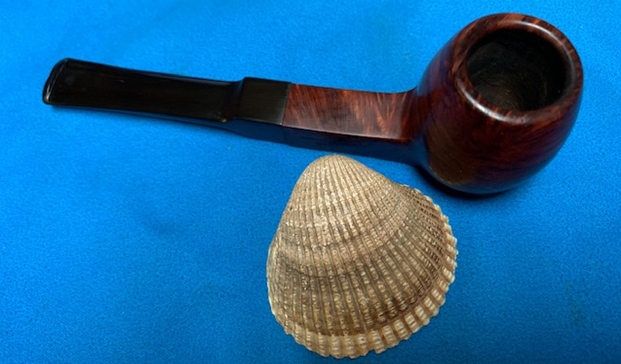
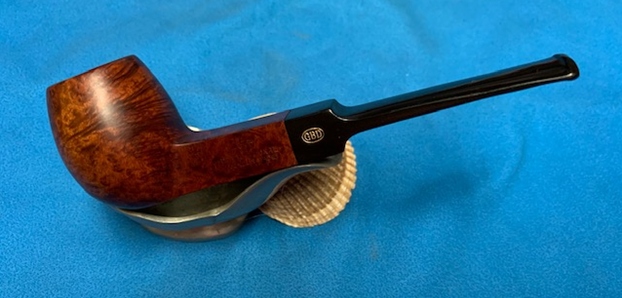
 This interestingly stamped GBD International London Made 357 Prince with a carved, rustic rim top and a vulcanite taper stem is a great looking pipe now that it has been restored. The rich browns and blacks of the contrasting stains came alive with the polishing and waxing. I put the stem back on the bowl and carefully buffed the pipe with Blue Diamond on the buffing wheel using a light touch on the briar. I gave the bowl and the stem multiple coats of carnauba wax on the buffing wheel and followed that by buffing the entire pipe with a clean buffing pad. I hand buffed the pipe with a microfiber cloth to deepen the shine. The finished GBD International 357 Prince is a beauty and fits nicely in the hand and looks very good. Give the finished pipe a look in the photos below. The dimensions of the pipe are Length: 6 inches, Height: 1 ½ inches, Outside diameter of the bowl: 1 ¼ inches, Chamber diameter: ¾ of an inch. The weight of the pipe is 33 grams/1.16 ounces. If you are interested in adding this pipe to your collection send me a message or an email. Thanks for reading this blog and my reflections on the pipe while I worked on it. There are many more to come!