Blog by Steve Laug
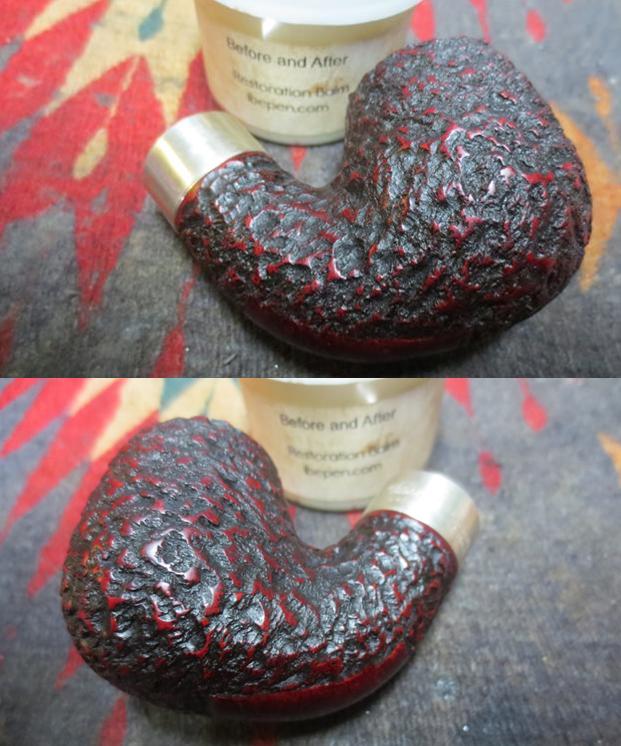
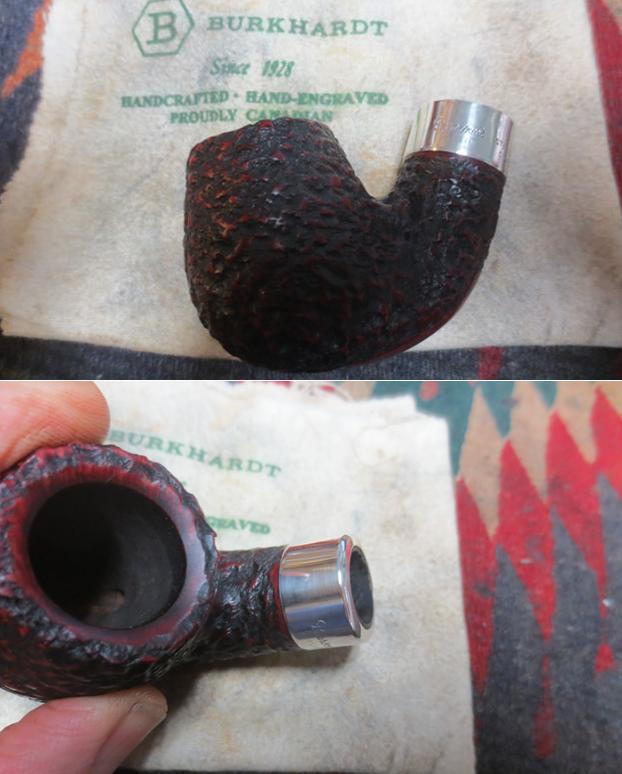
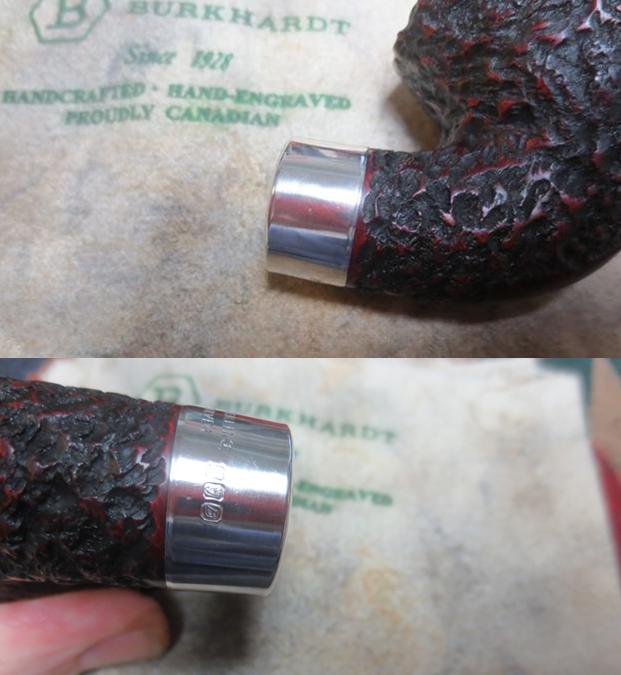
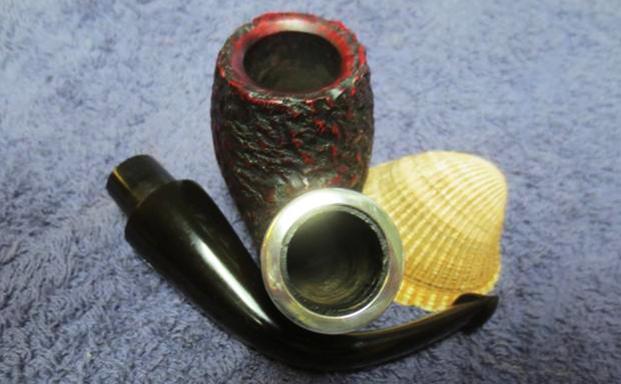
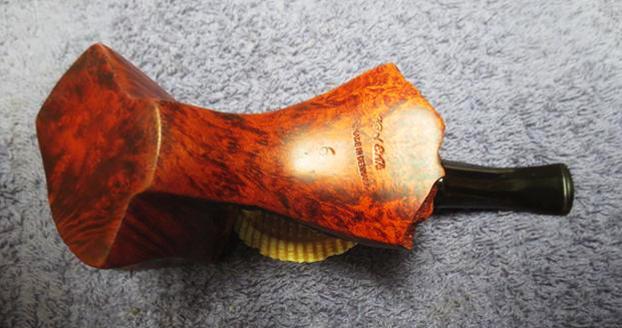
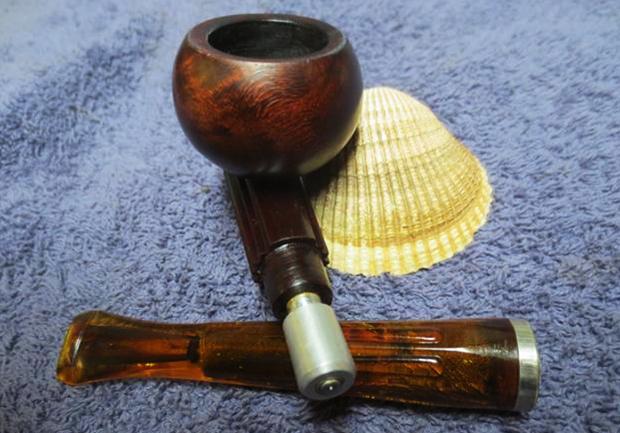
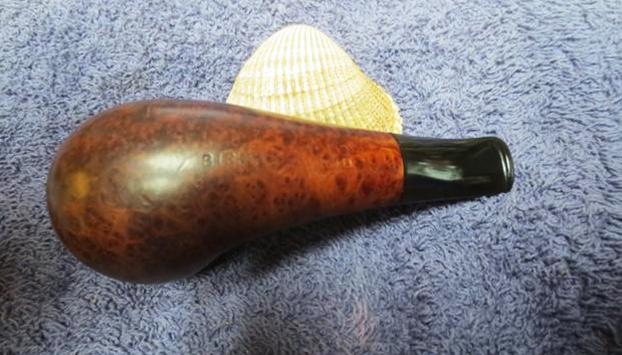
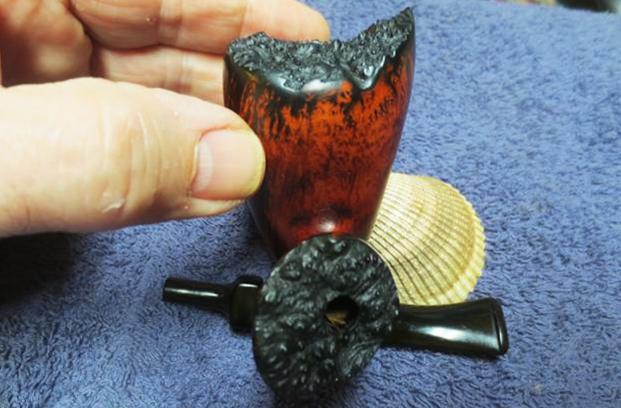
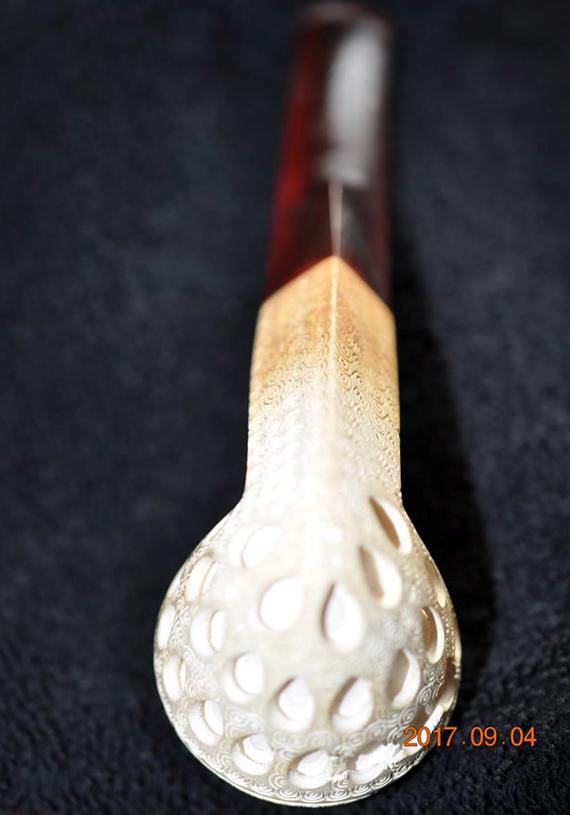
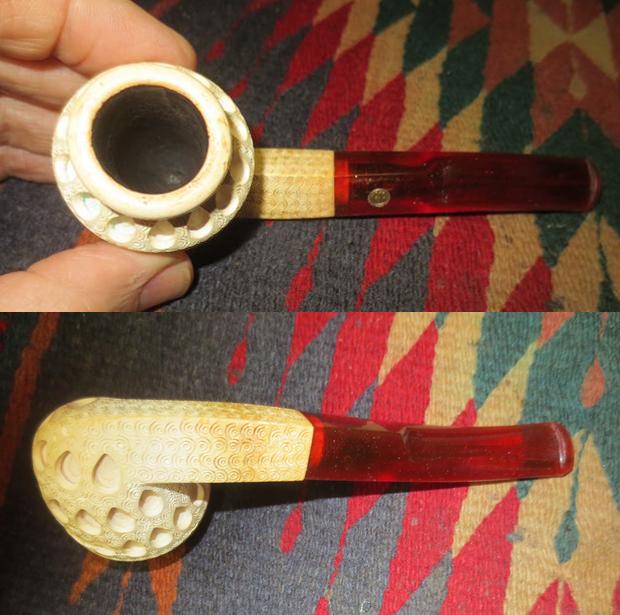
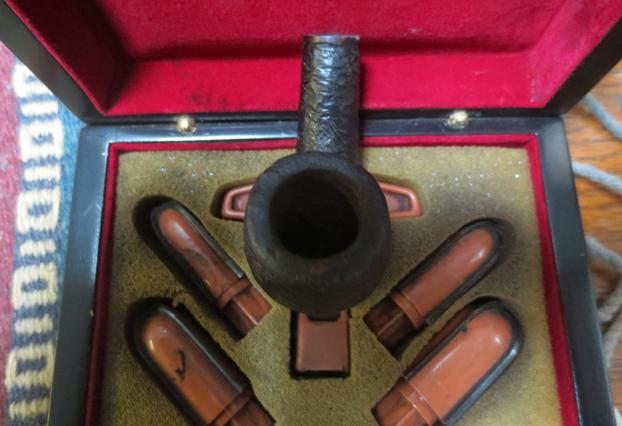
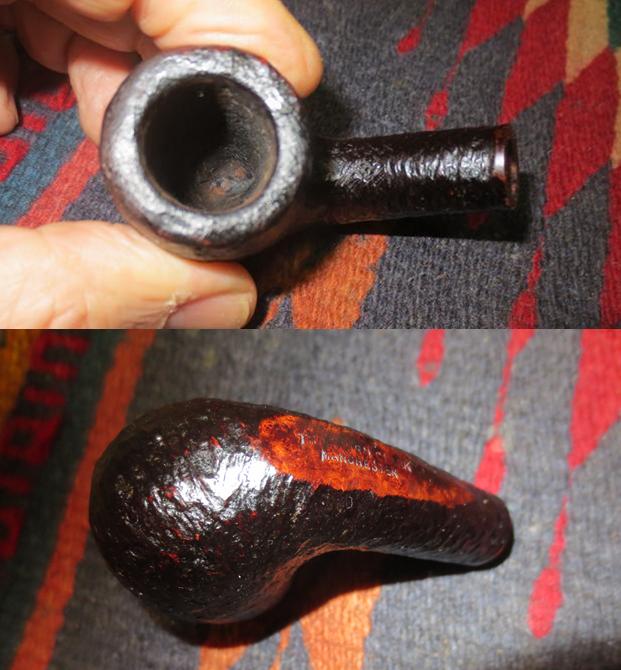
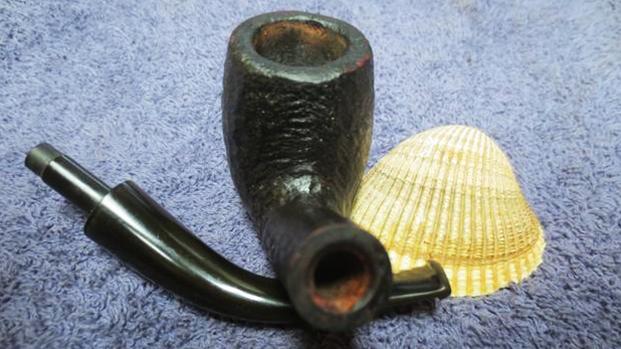
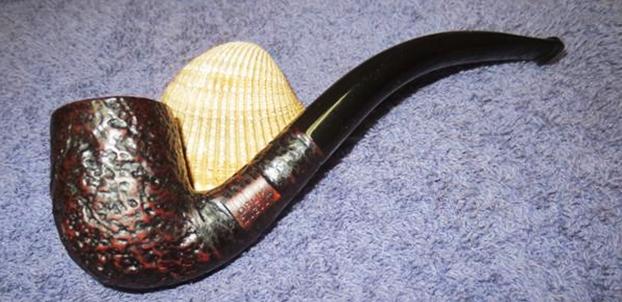
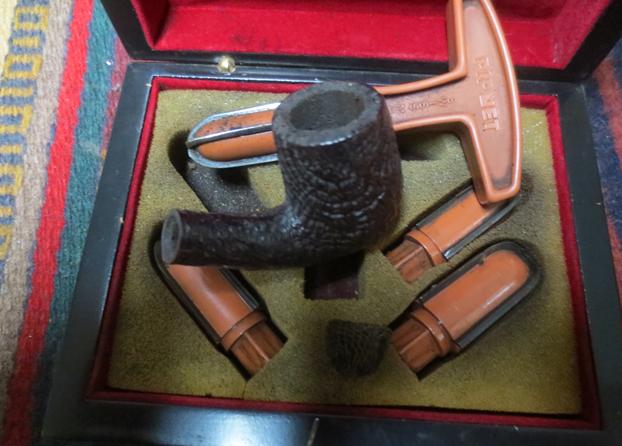
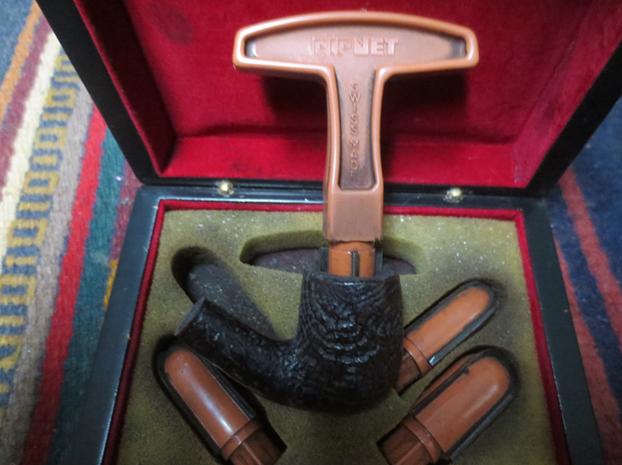
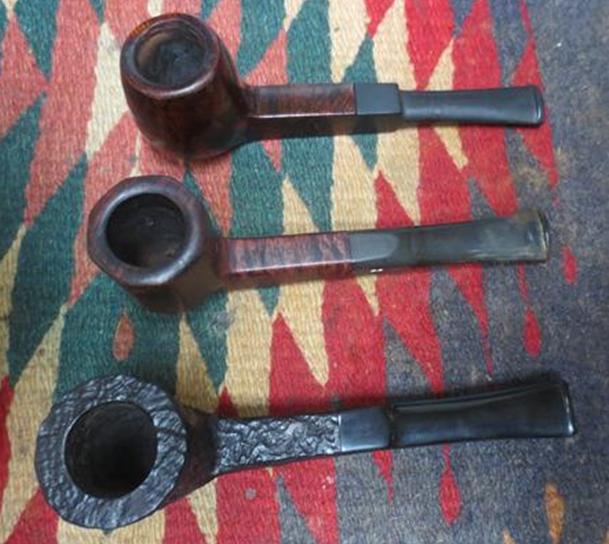
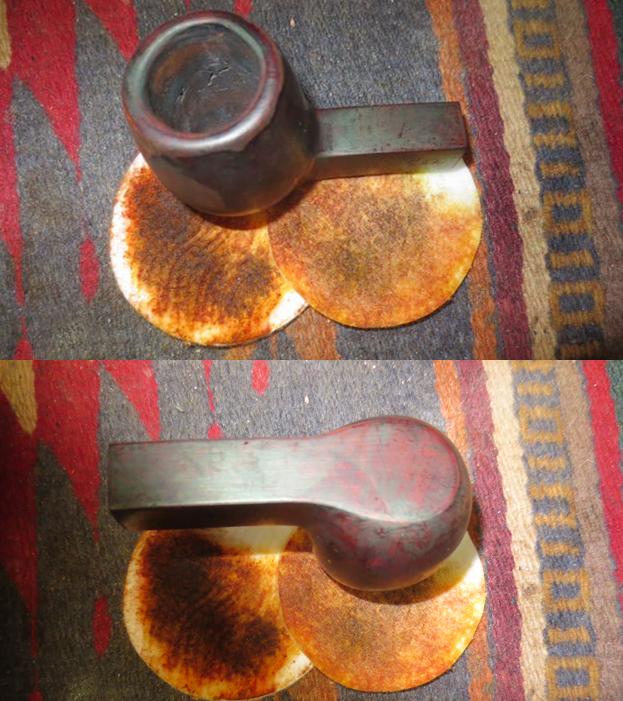
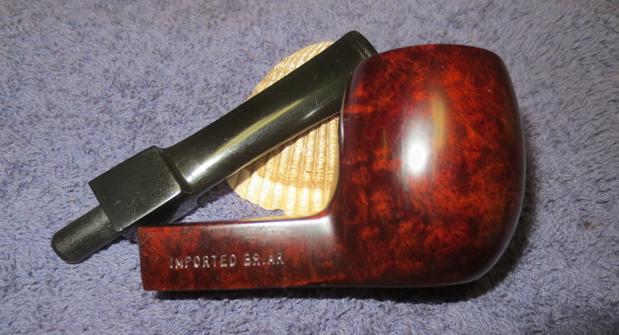
I bought my first Kirsten – a Mandarin in the early 80s from a pipe shop that specialized in them in Idaho Falls, Idaho. That shop is long since gone but there is still something about Kirsten pipes that attracts my attention. It may be the design look of the pipe and it may be the stubborn resolve that gave birth to it when Kirsten invented it after getting word from his doctor that he had to stop smoking. I don’t what it is but I like the boxy look of the base and shank, the grooves in the machined metal, the rugged look of the bowls and the gentle curves of the stem. They always catch my eye. This one is no exception. I can’t remember where Jeff picked this one up but it a good one. It has O rings on the stem and the end valve and a base on the bowl so I know that it is one of the more modern renditions. Jeff took photos of it before he worked his magic in the cleanup process.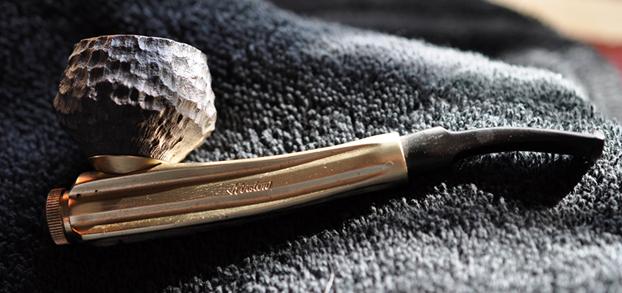 The stem was lightly oxidized with minor tooth chatter but no deep marks. The Brass Tone finish was lightly scratched and dirty in the grooves. The rusticated bowl was undamaged but filthy. There was dirt and dust ground into the grooves of the briar and the bowl had a thick cake. The rim was covered in an overflow of the lava from the bowl but looked to be in good condition. I was hoping that the valve was not stuck in the end of the shank.
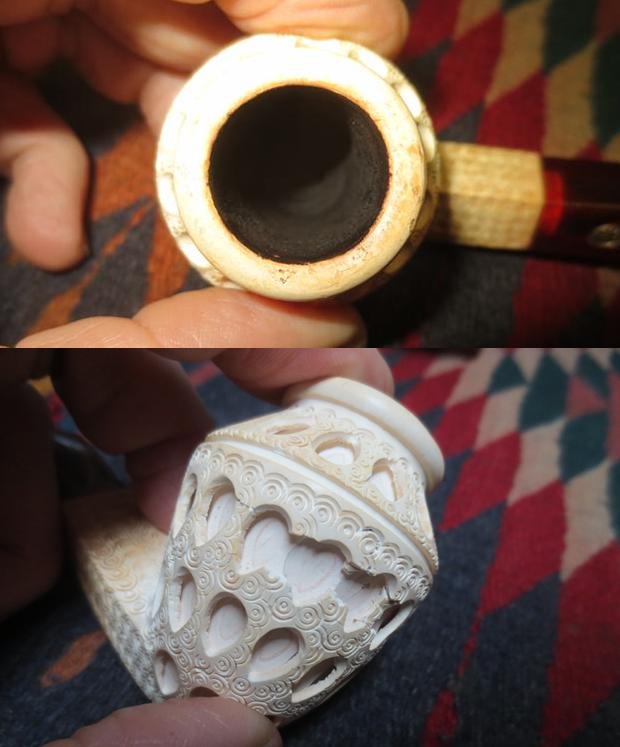
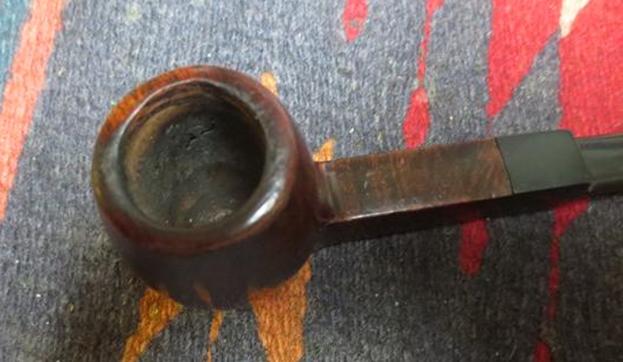
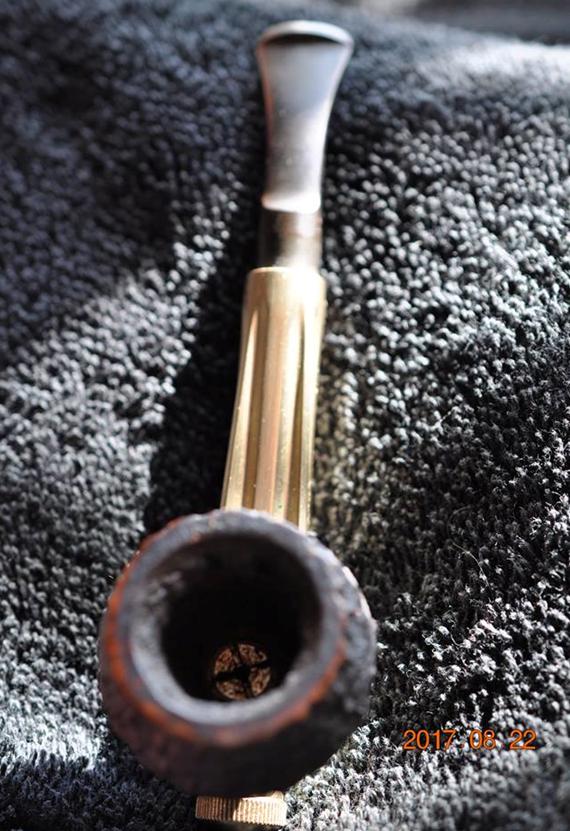
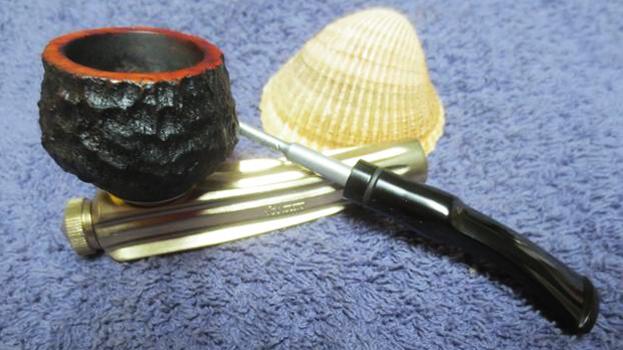
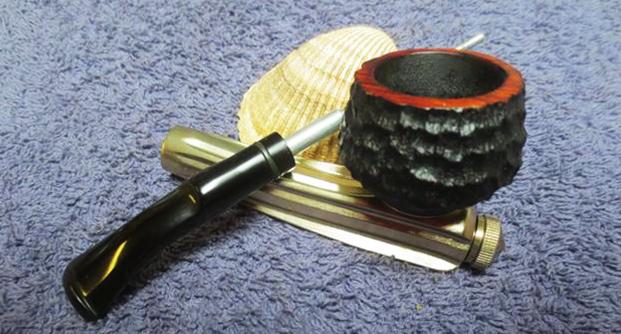
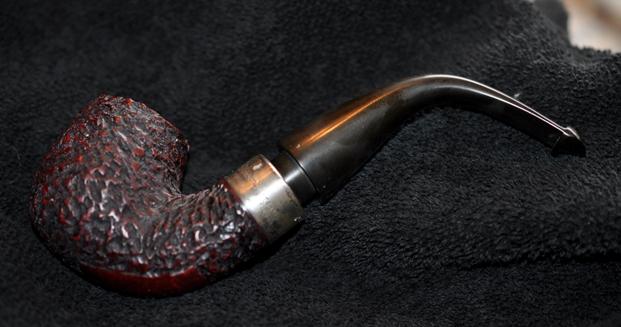
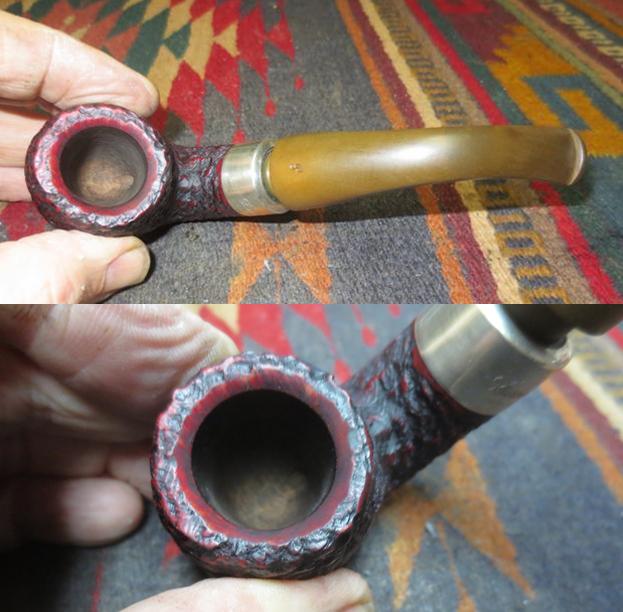
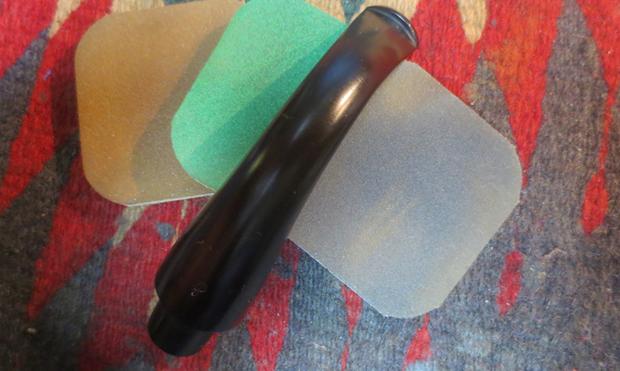
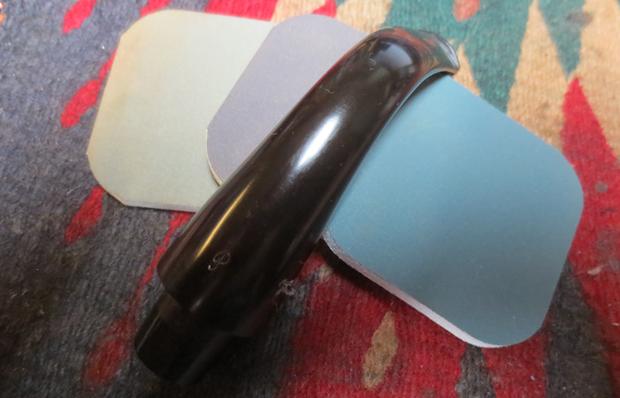
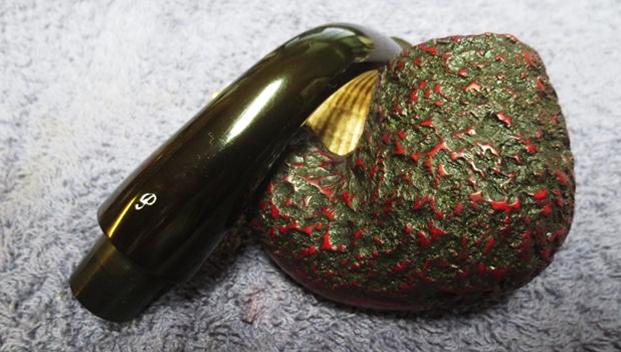
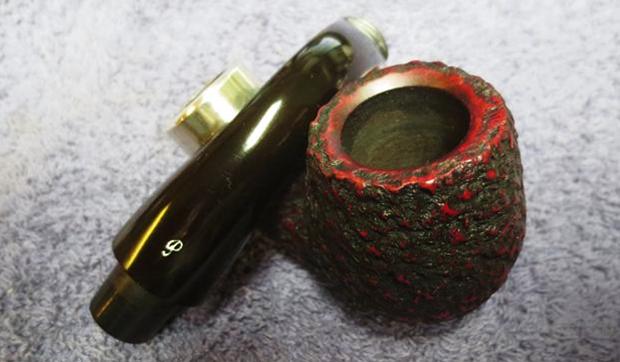
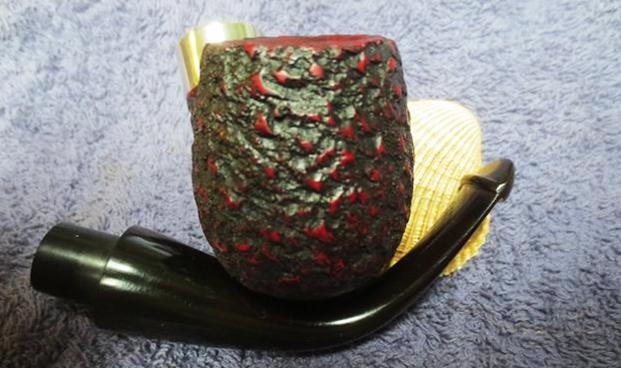
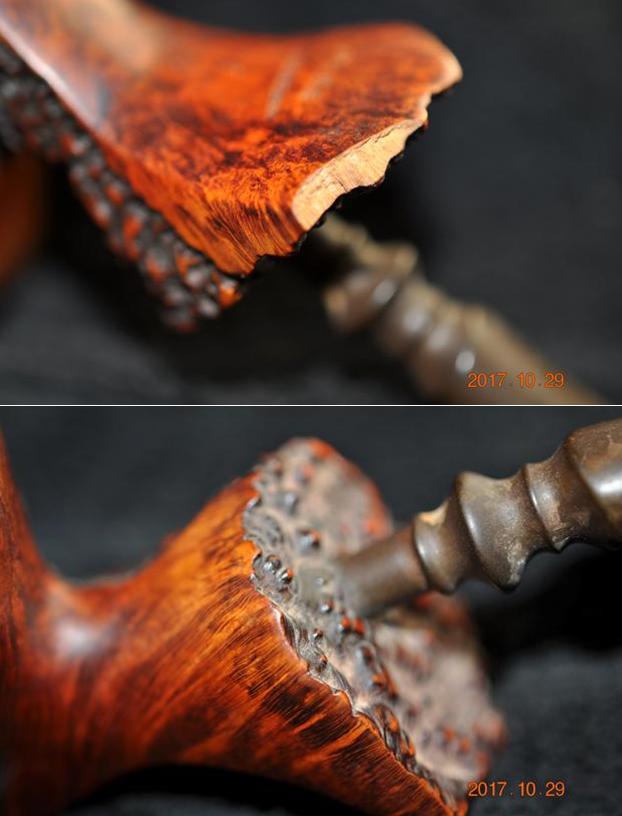
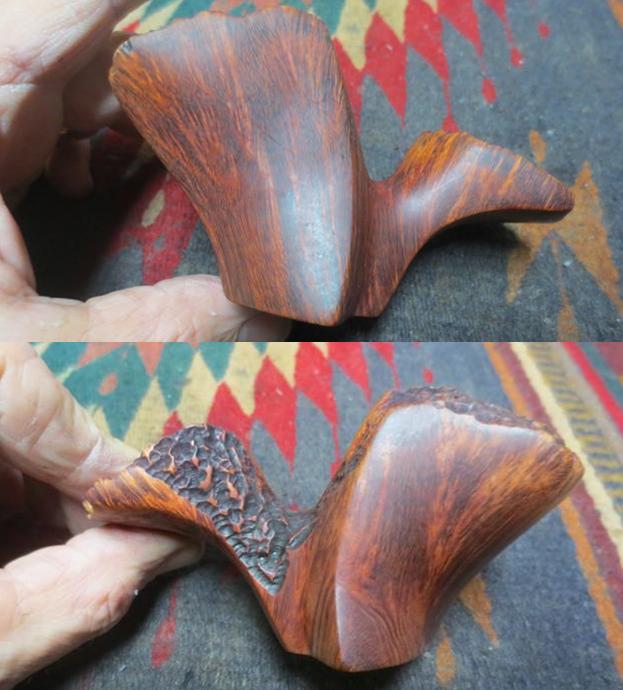
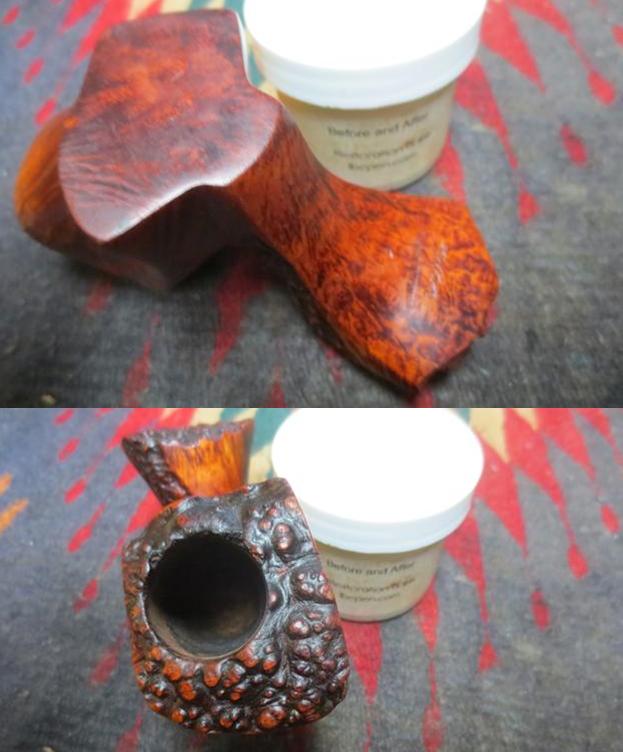
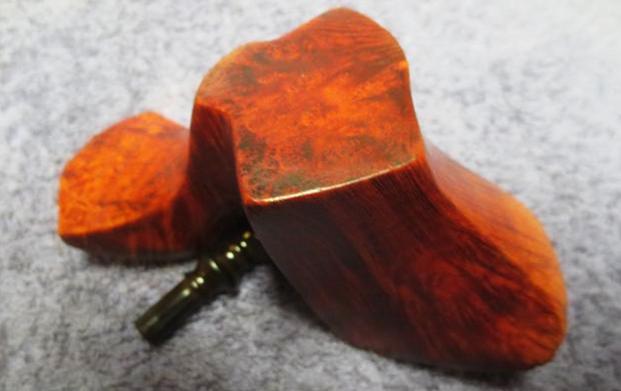
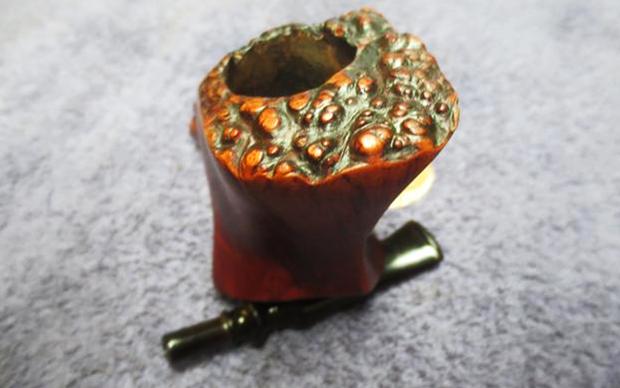
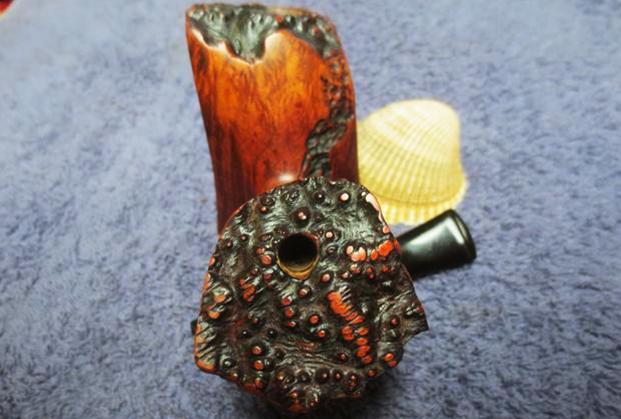
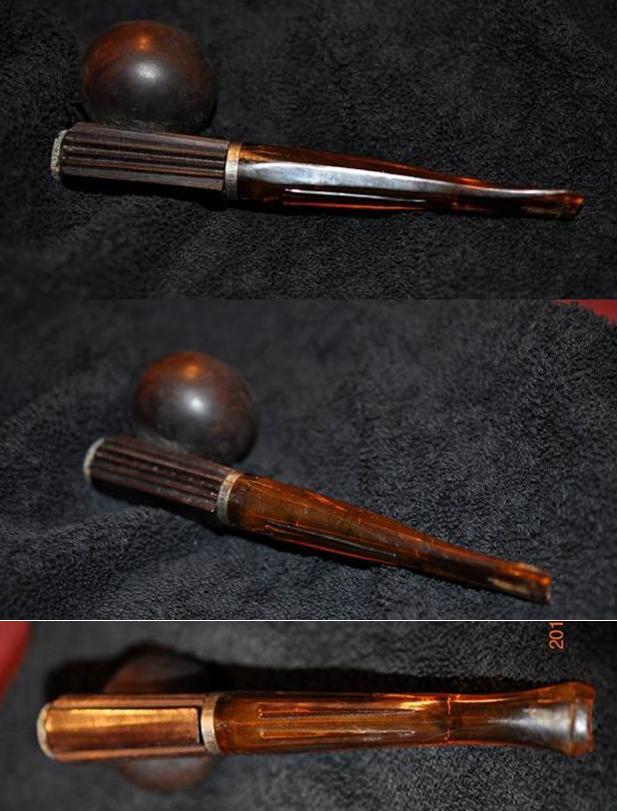
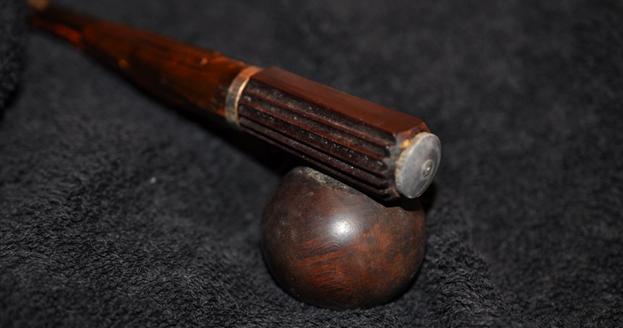
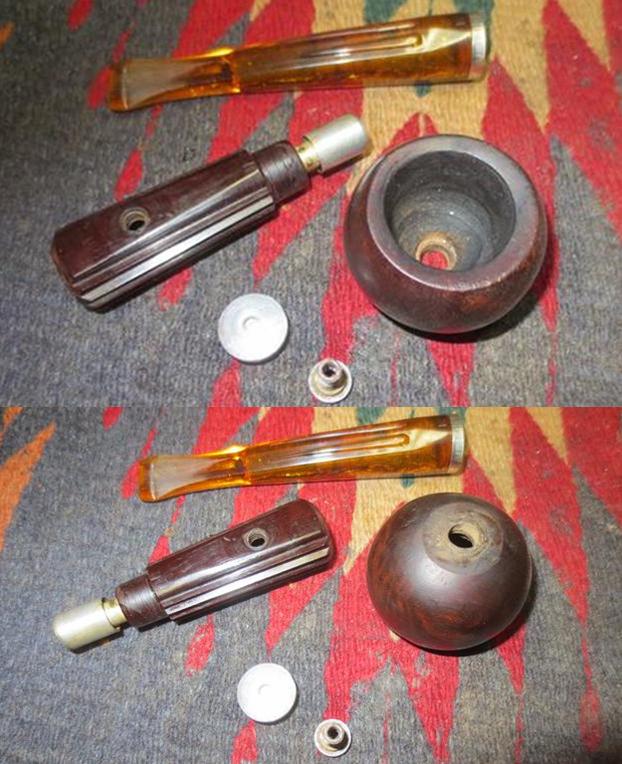
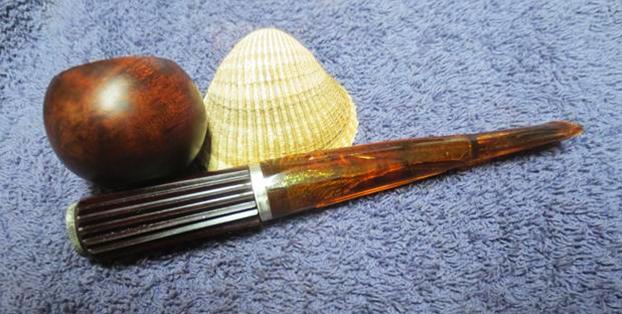
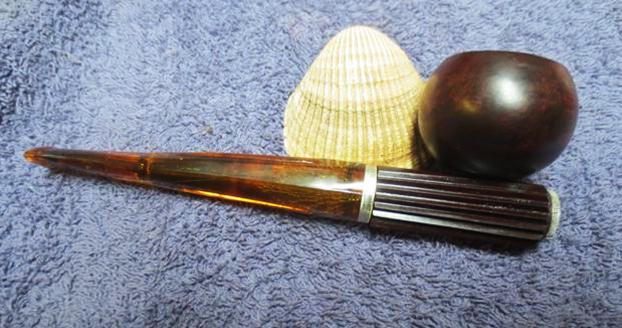
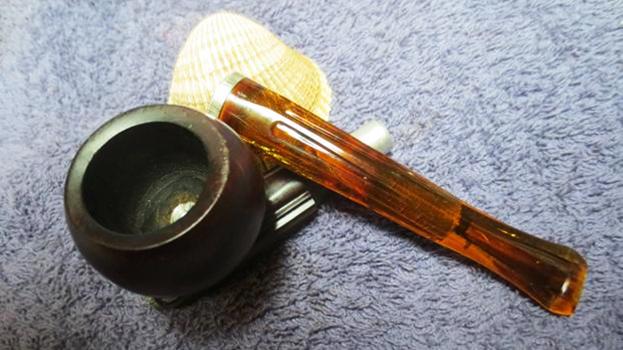
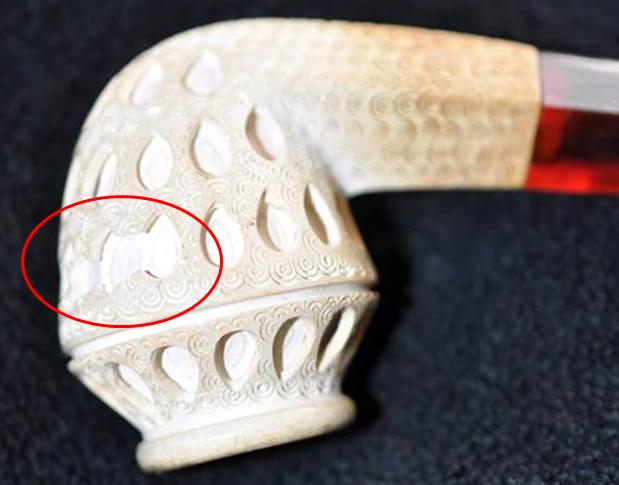
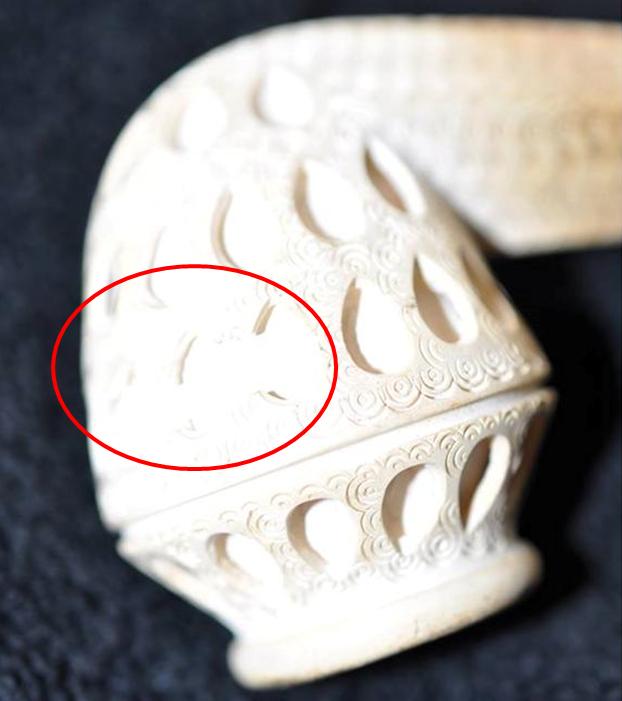
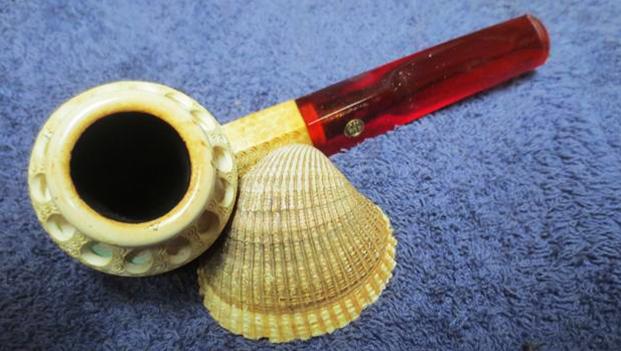
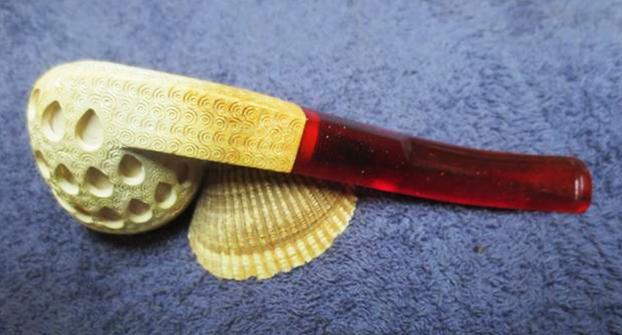
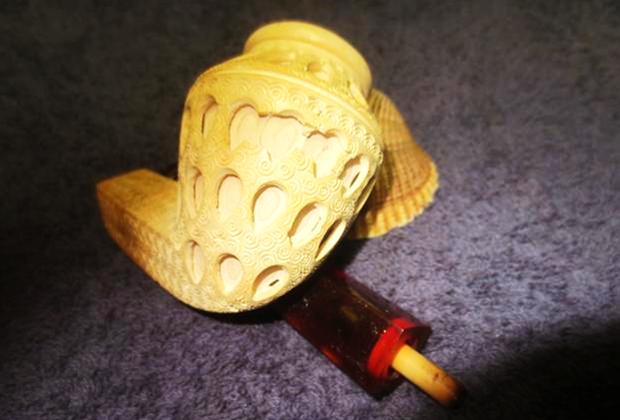
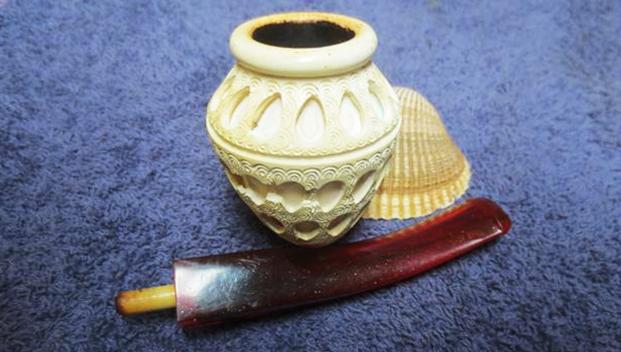
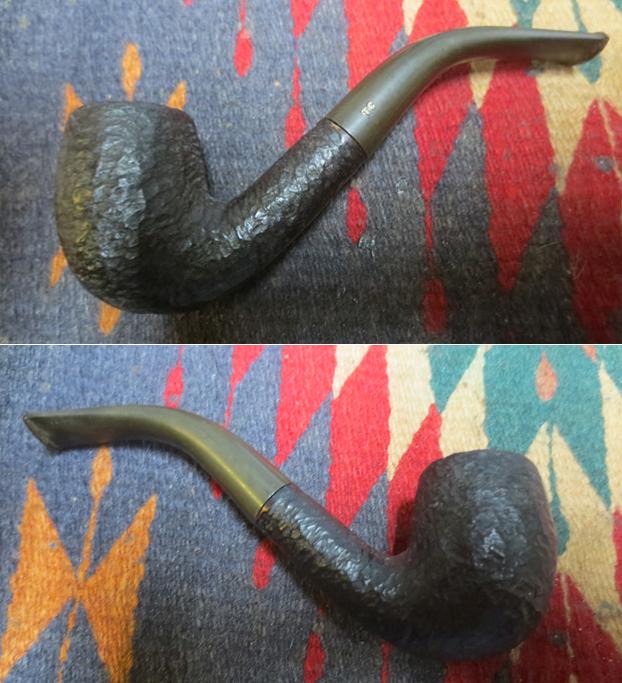
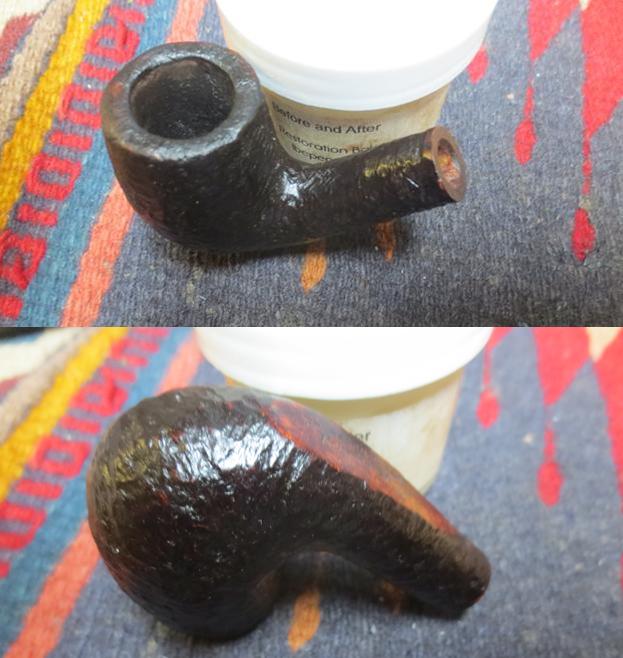
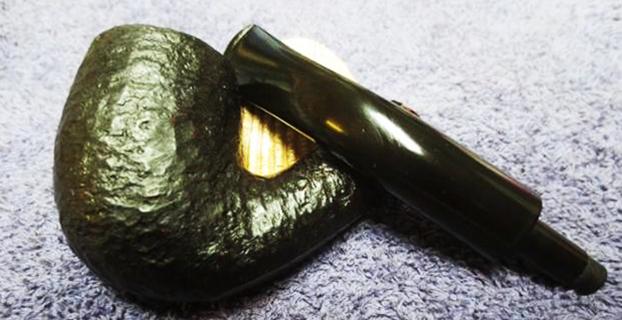
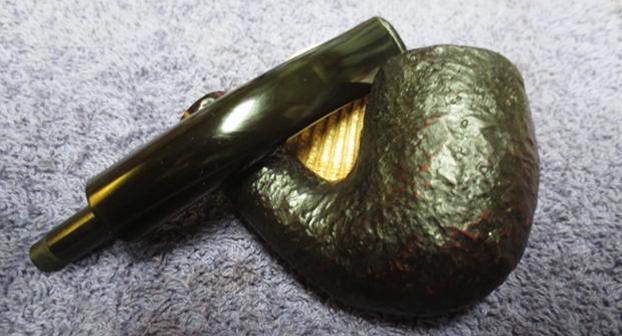
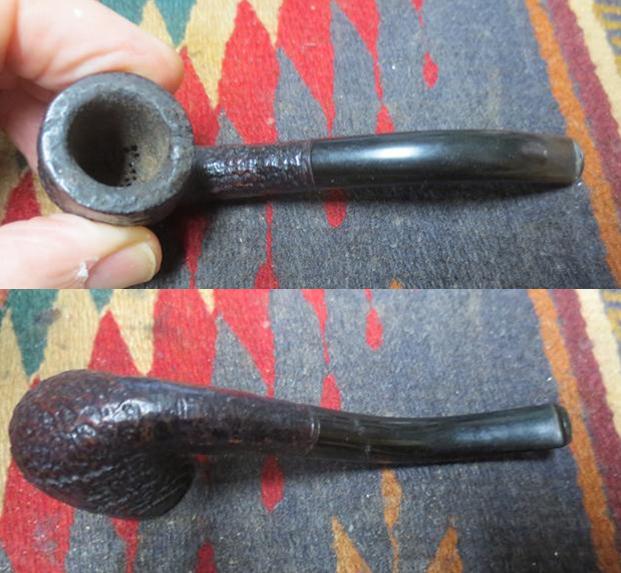
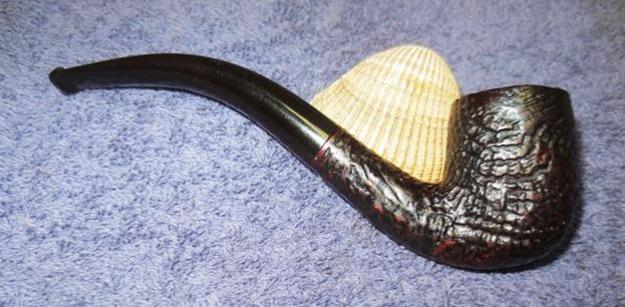
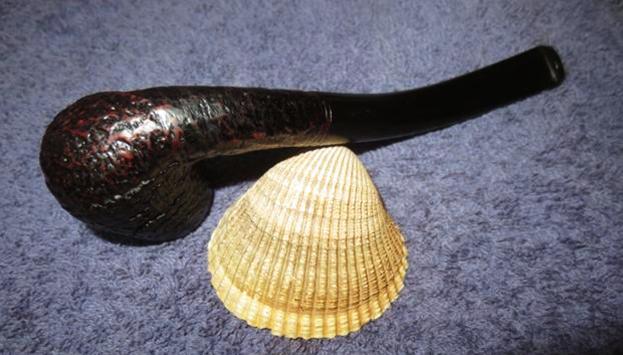
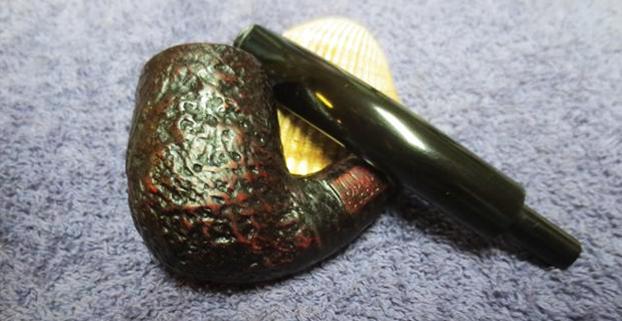
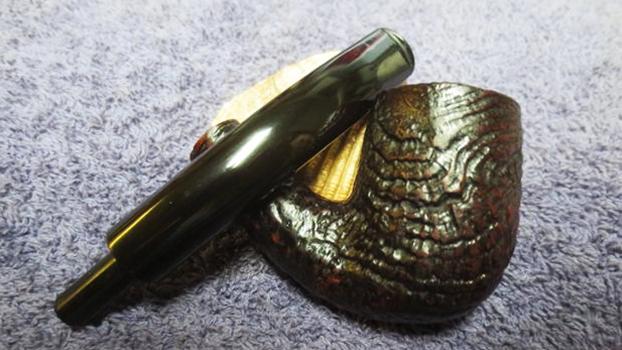
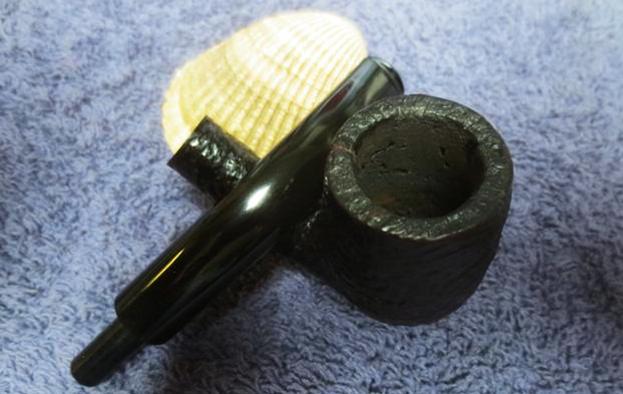
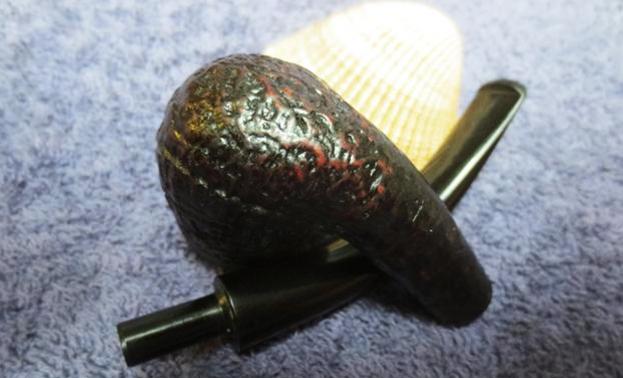
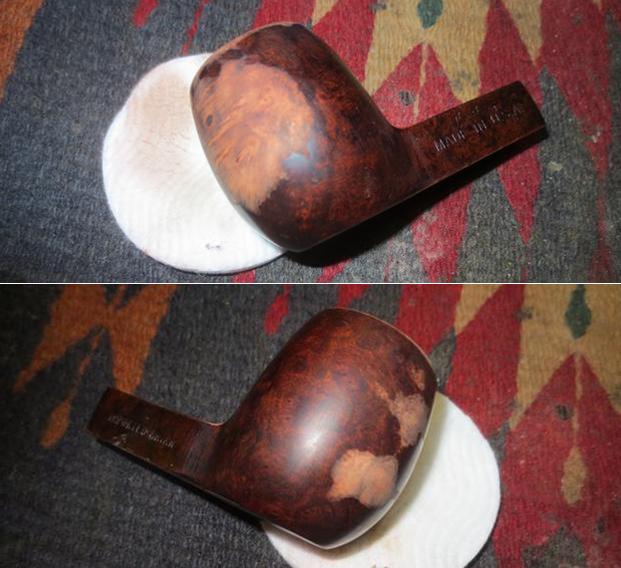
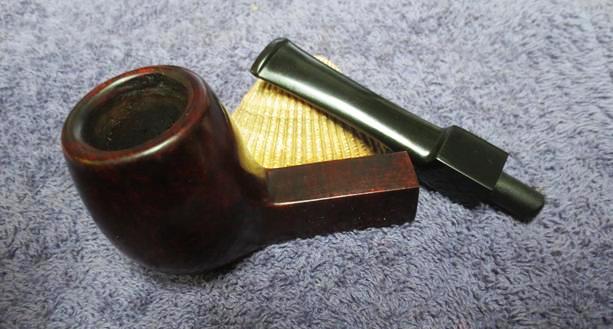
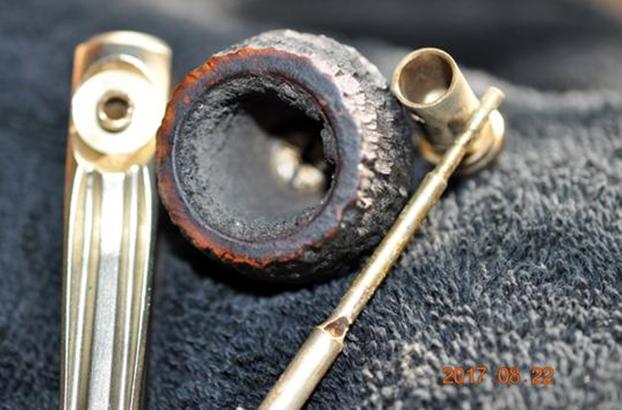
 Jeff took photos of the bowl from various angles to give an idea of the rustication pattern and the general condition of the pipe.
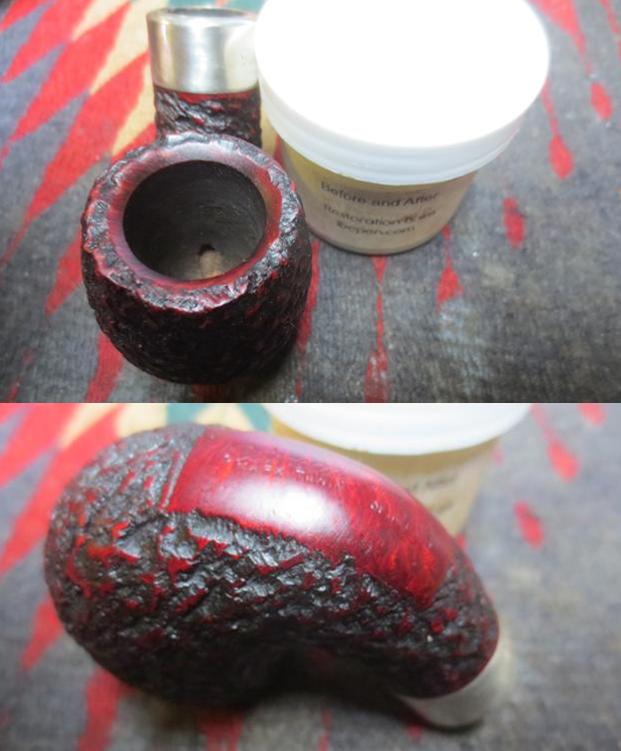
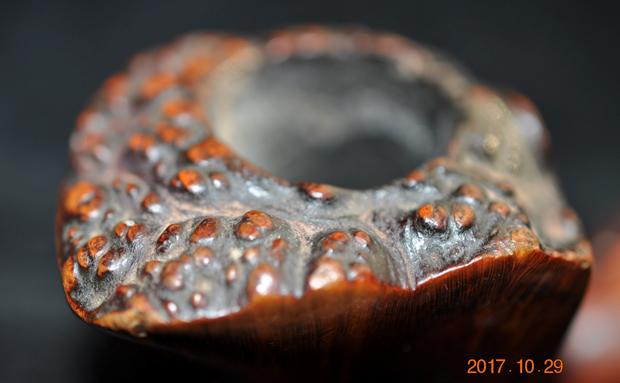
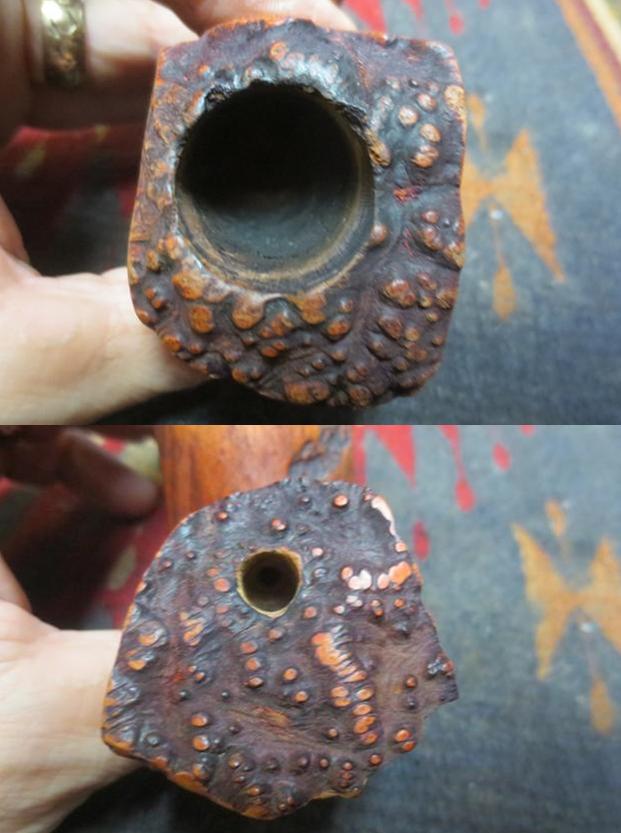
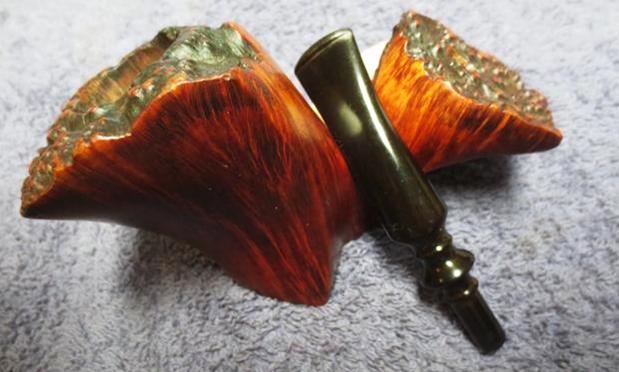
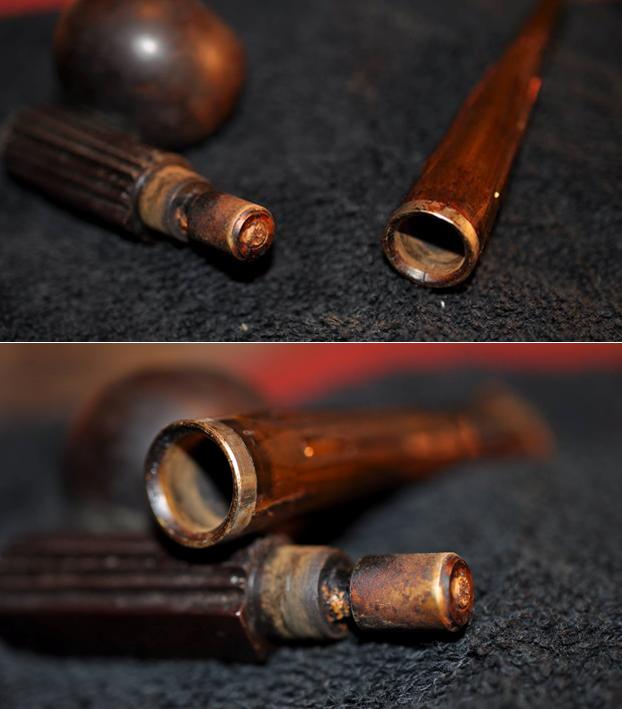
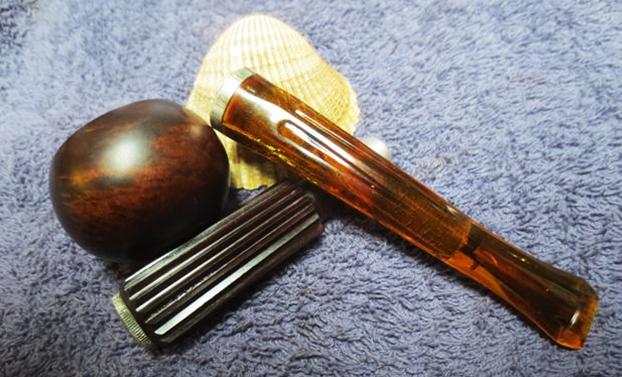
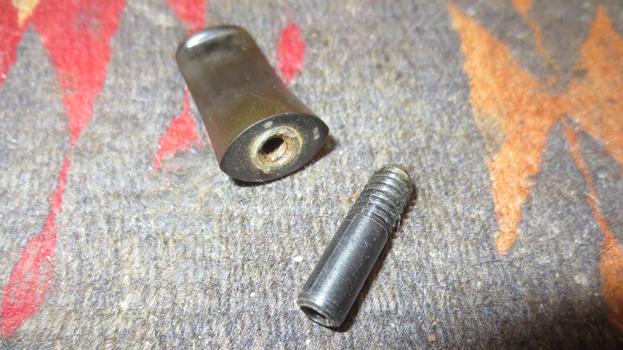
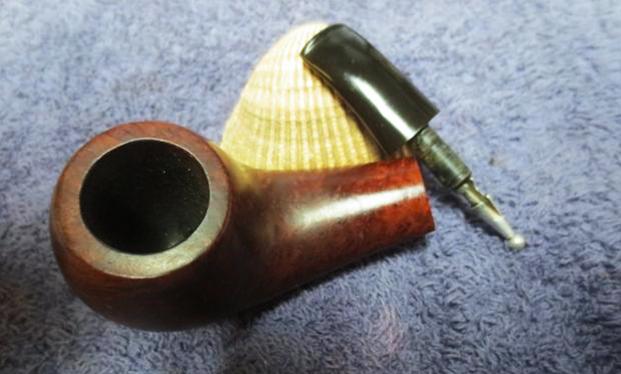
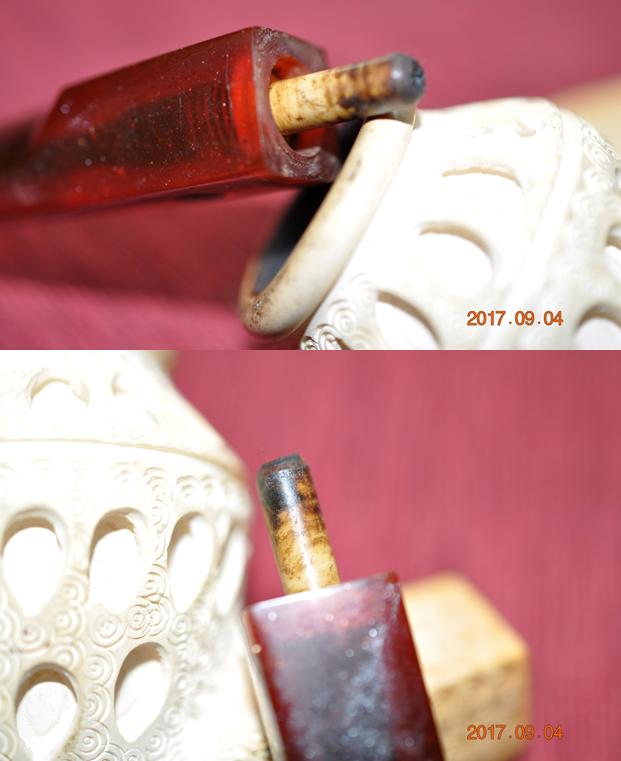
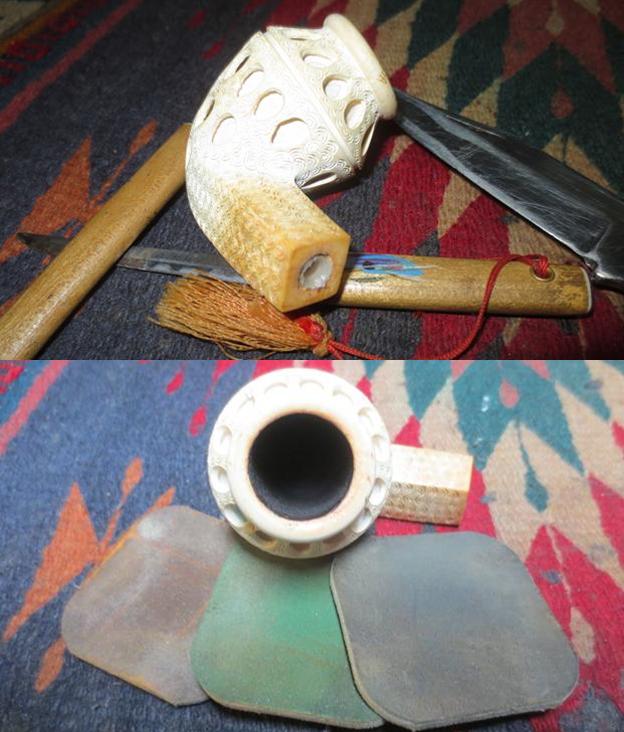
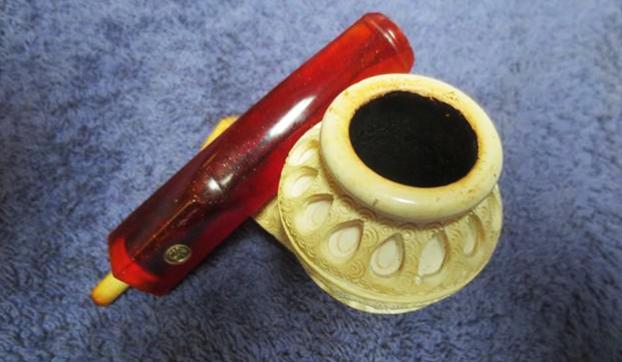
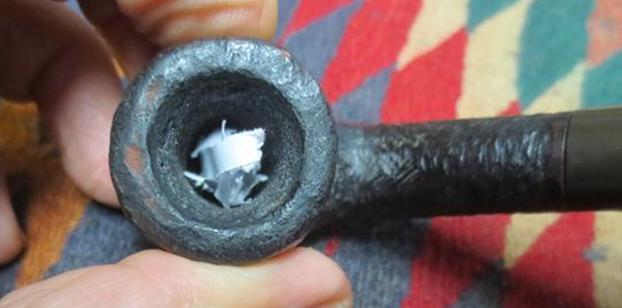
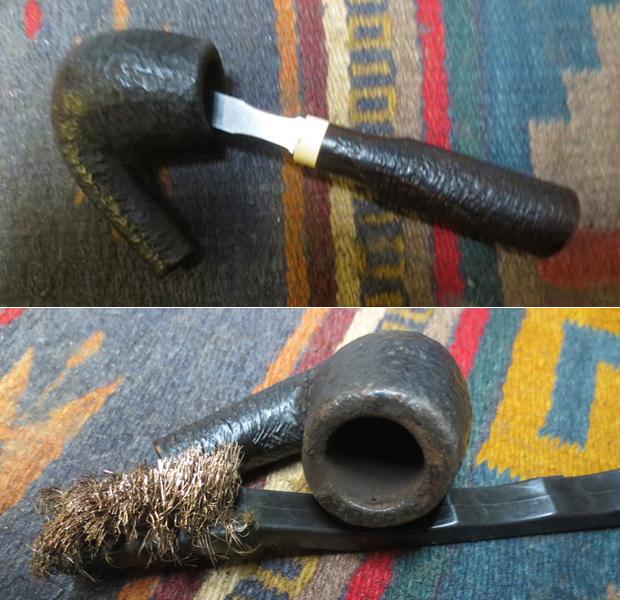
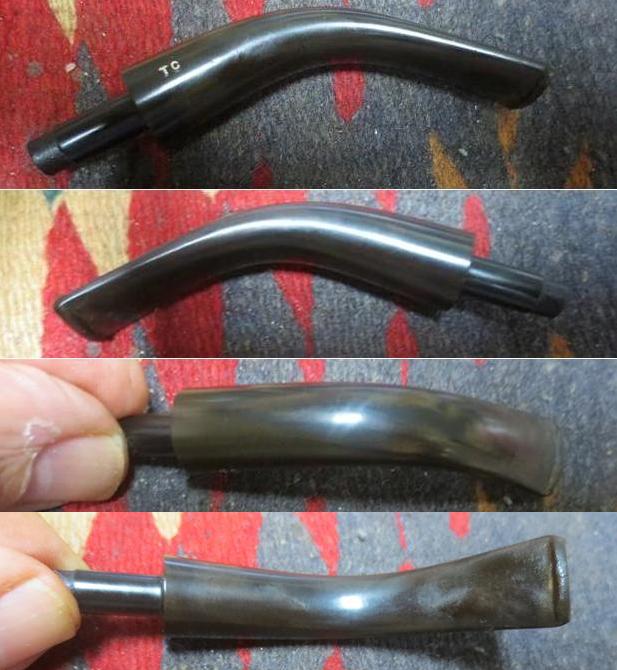
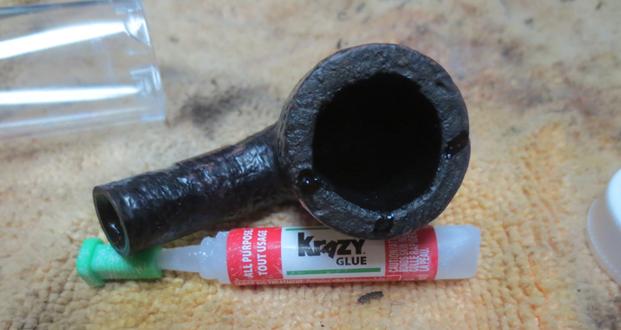
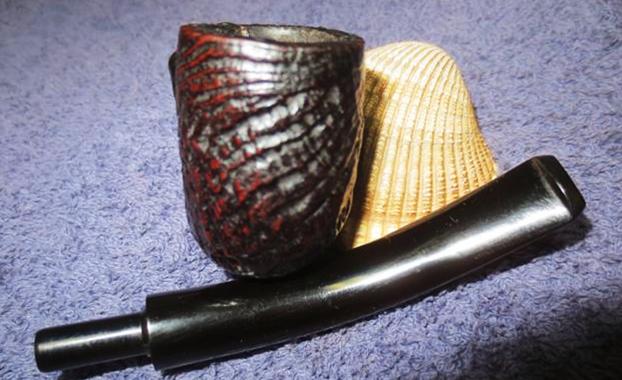
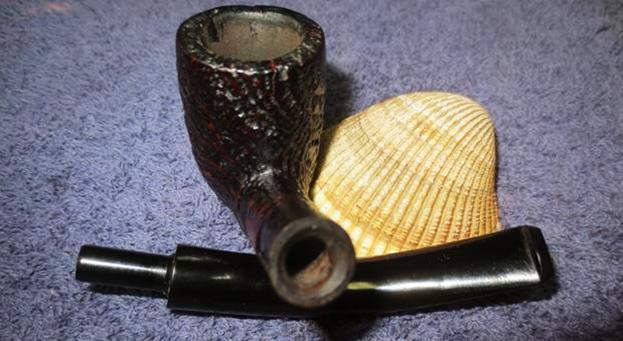
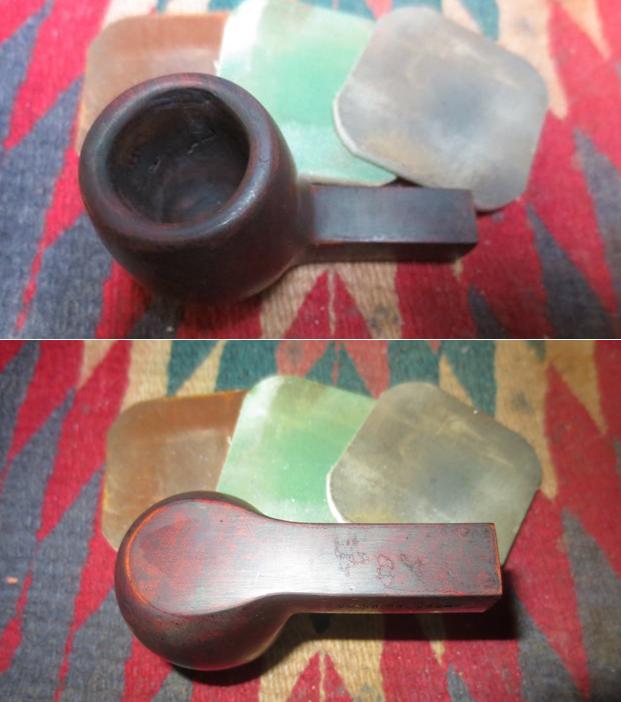
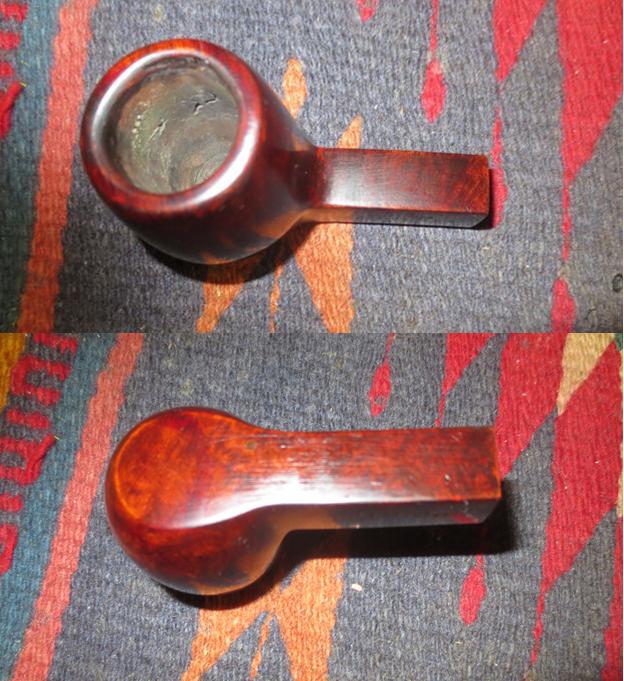
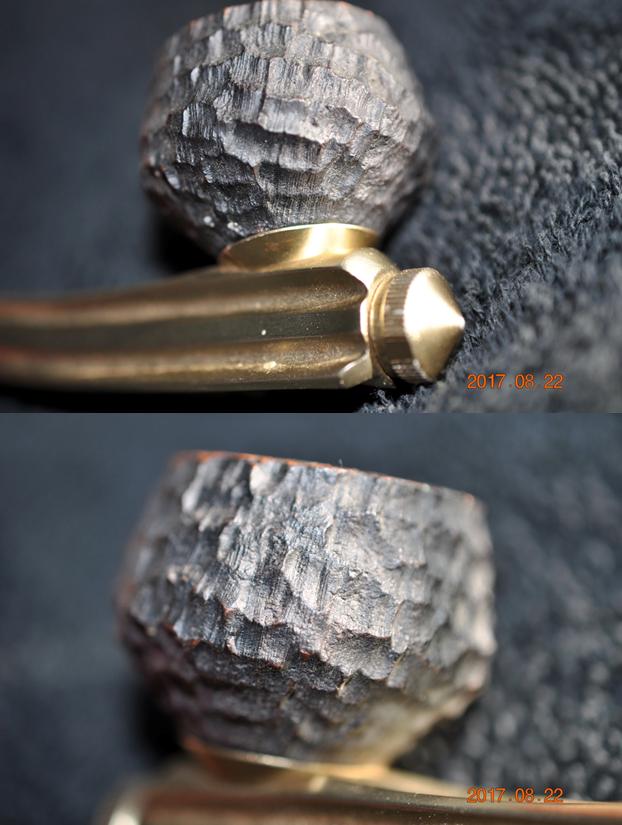 He took the pipe apart and took photos of the pieces to show how it all looked before cleaning. The valve was dirty and gummed up with tobacco juices as was the push rod. The bowl cake is noticeably thick in the photos. The screw in the bottom of the bowl was loose enough to take the bowl off without damage to the slot.
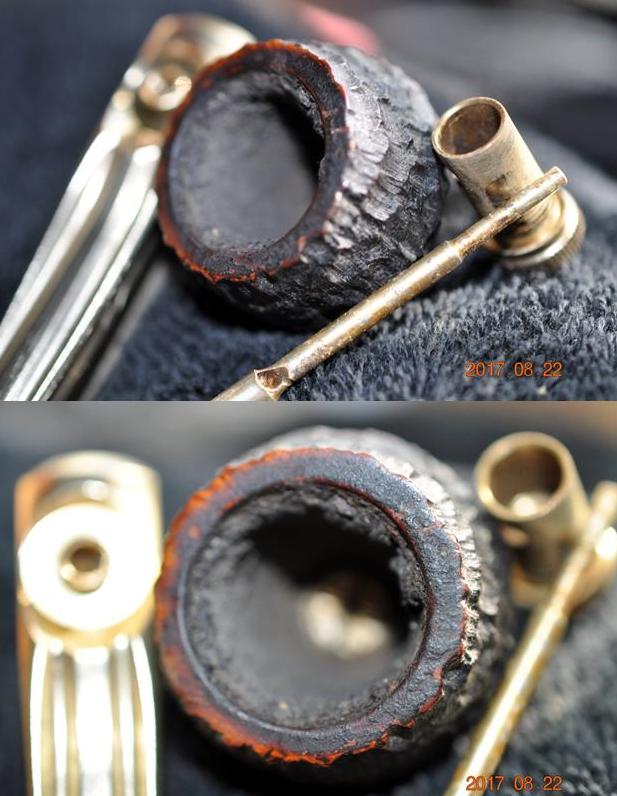
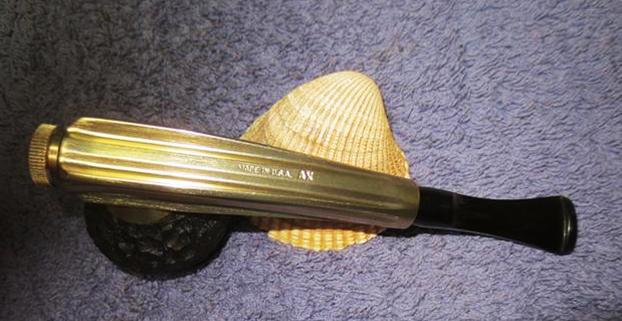
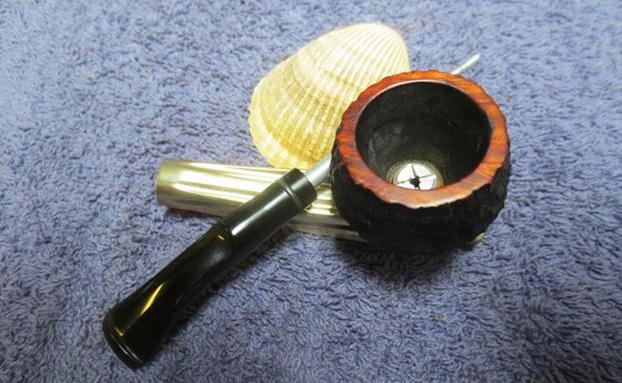
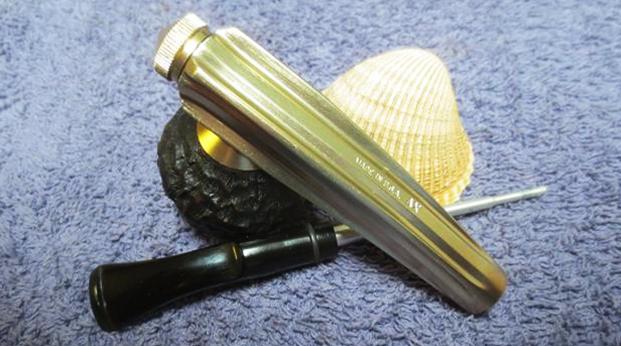
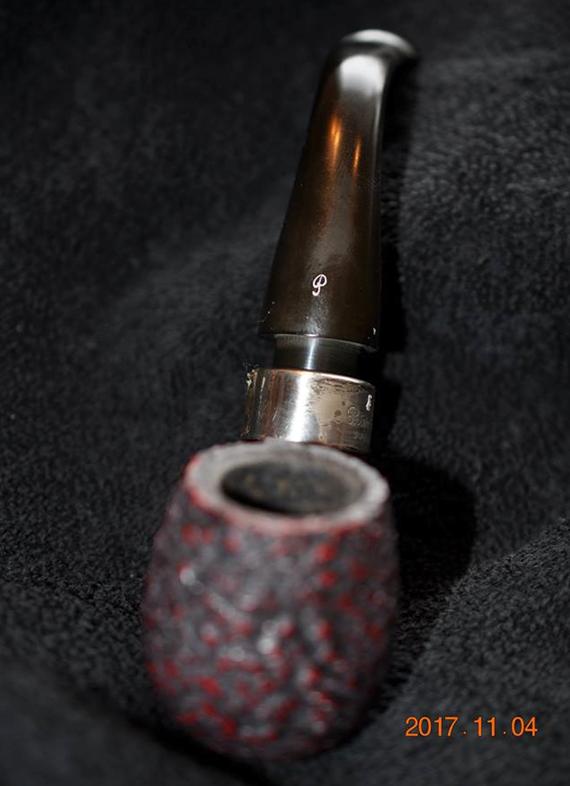
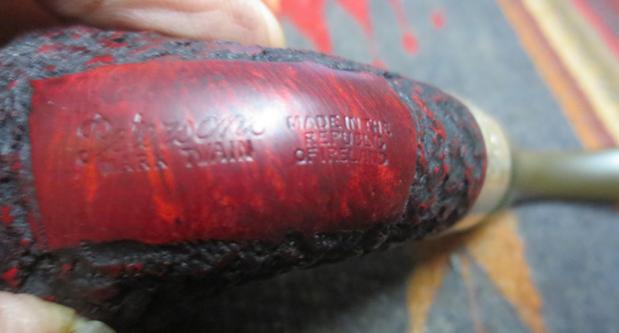
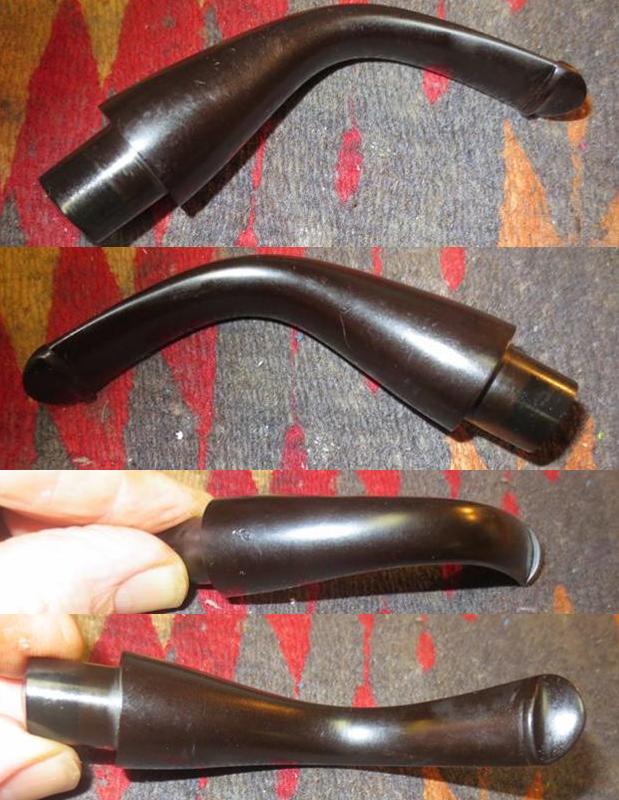
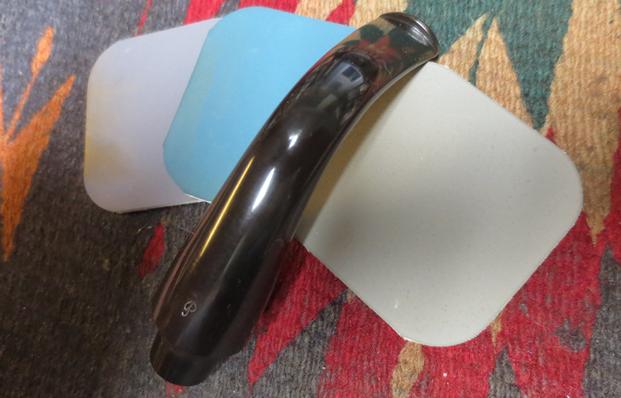
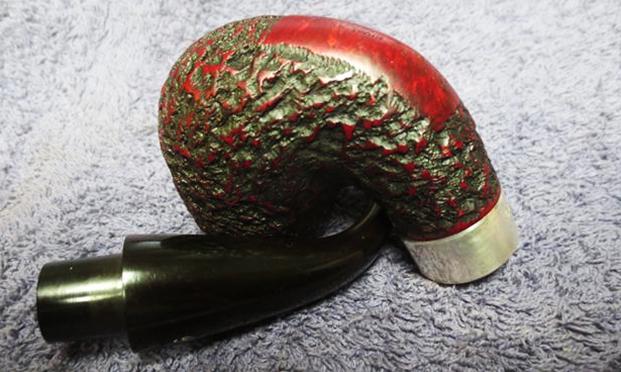
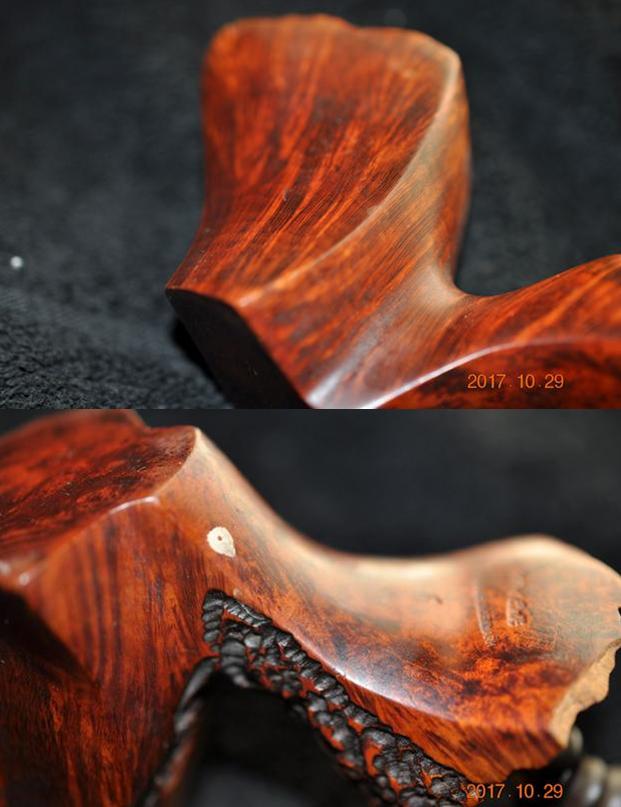
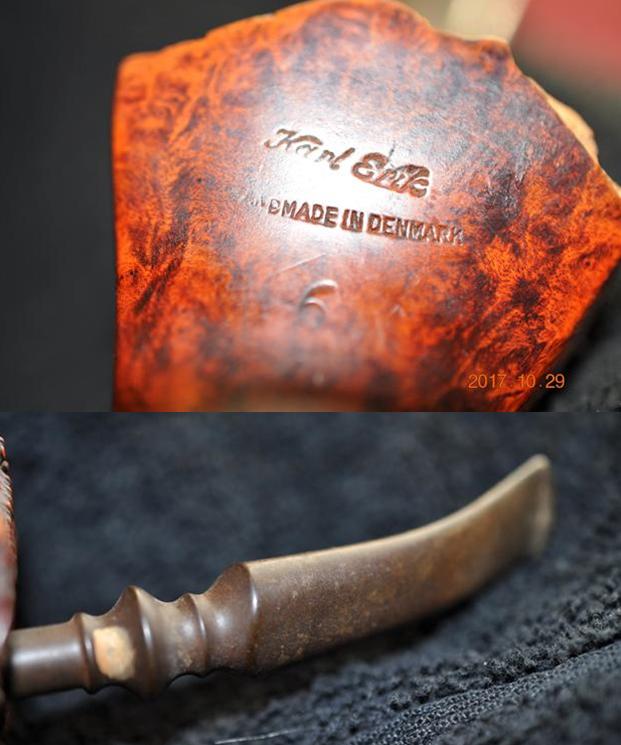
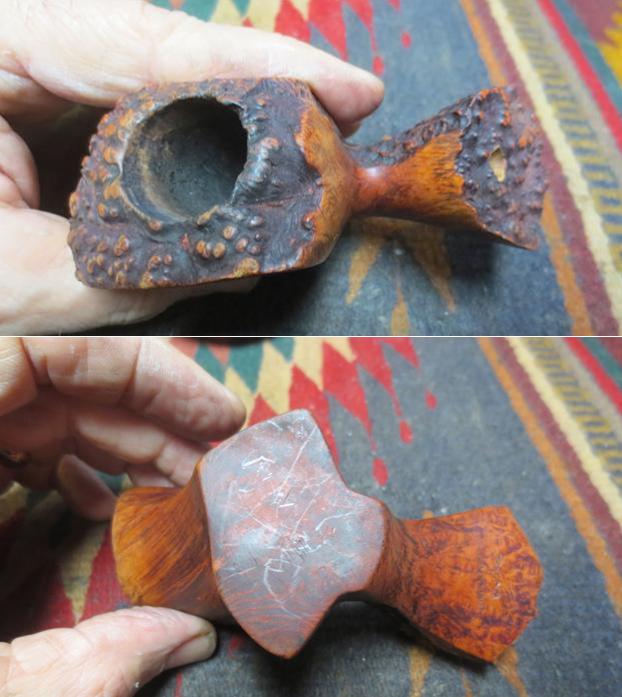
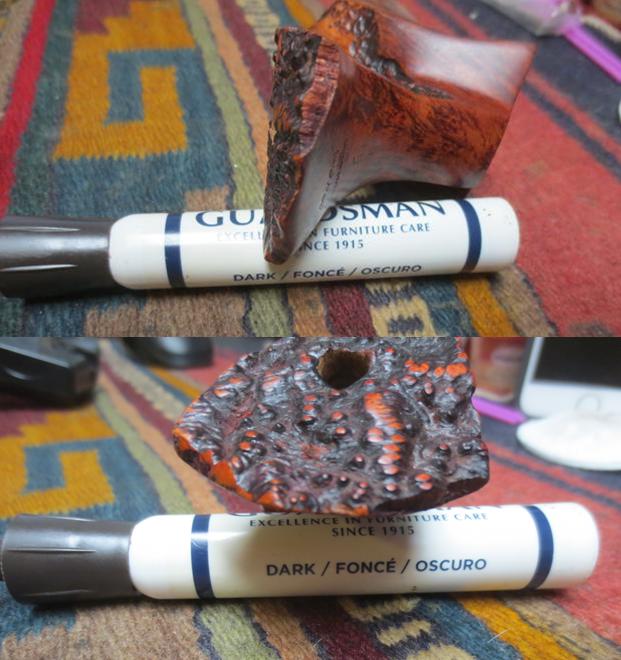
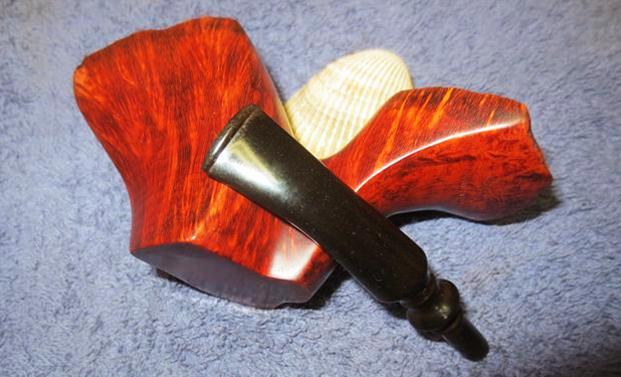
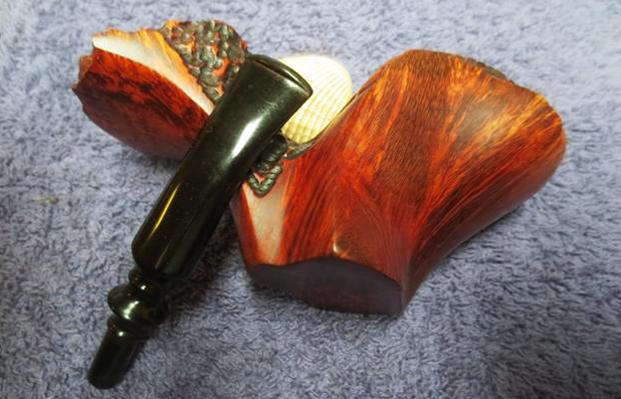
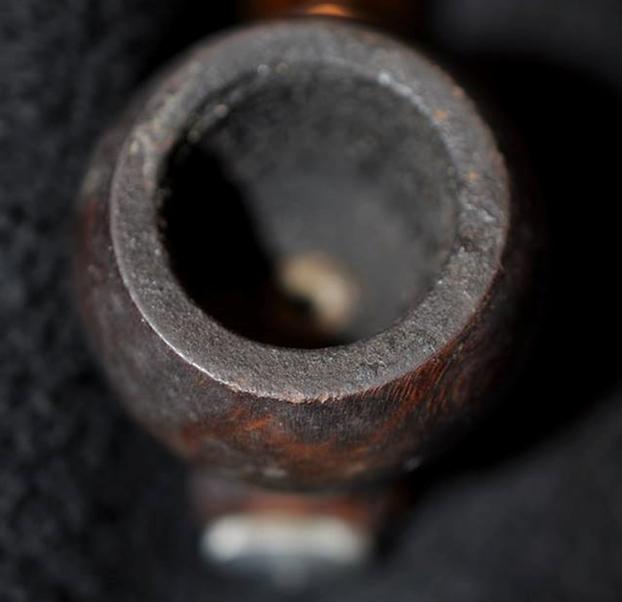
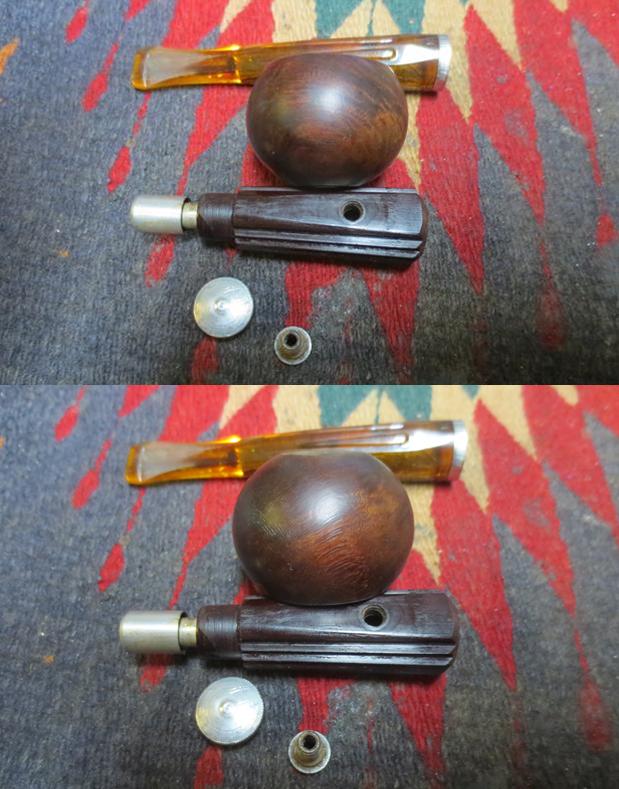
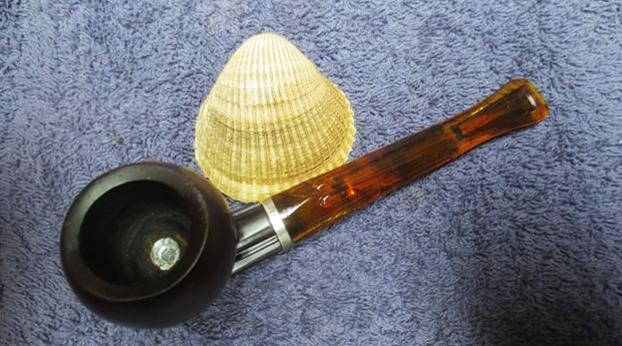
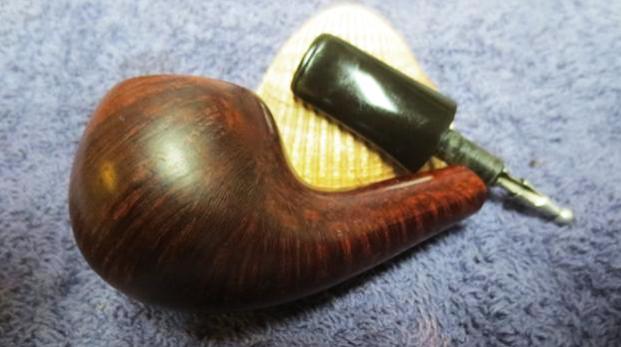
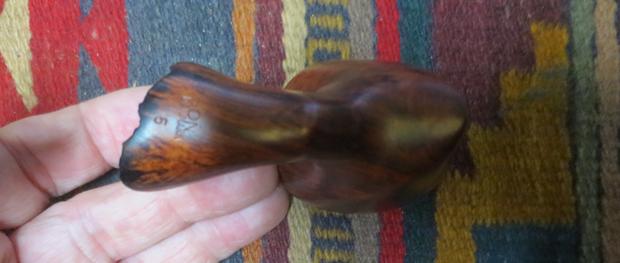
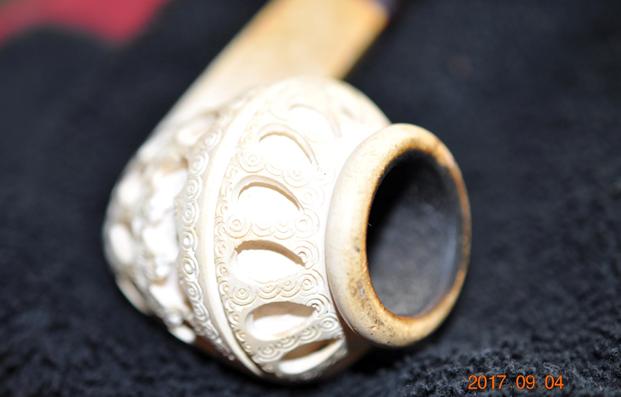
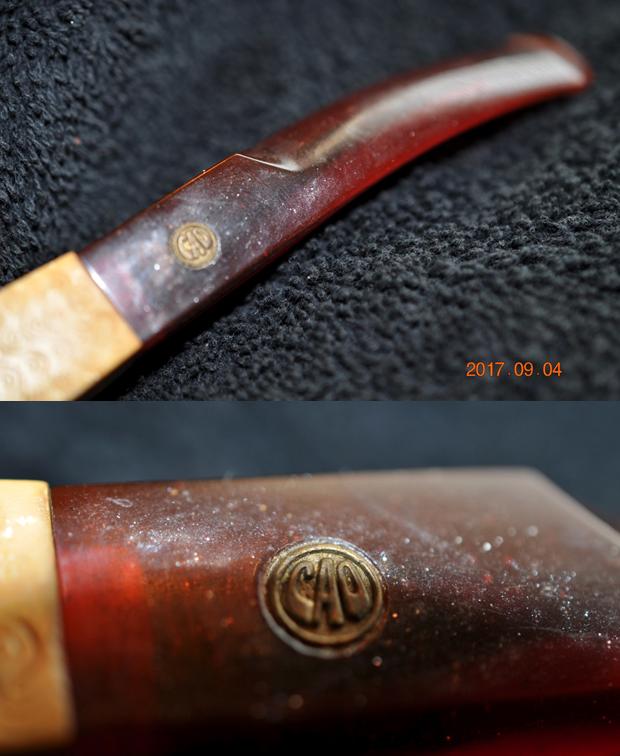
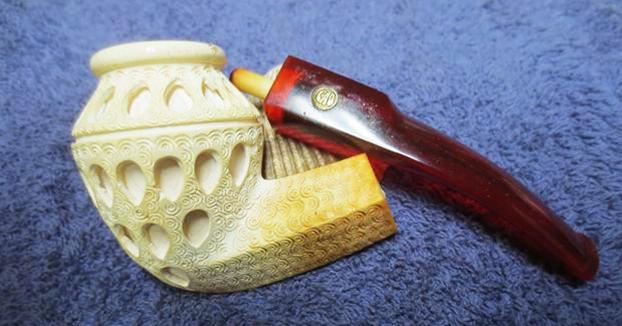
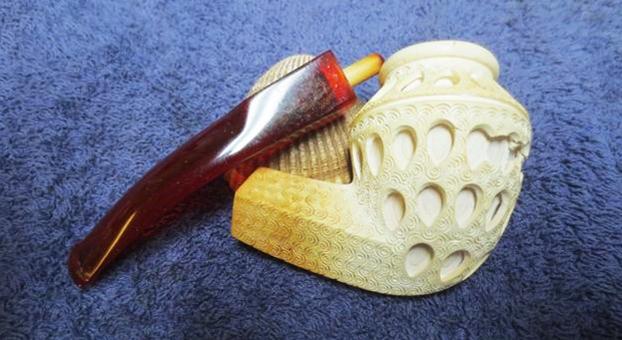
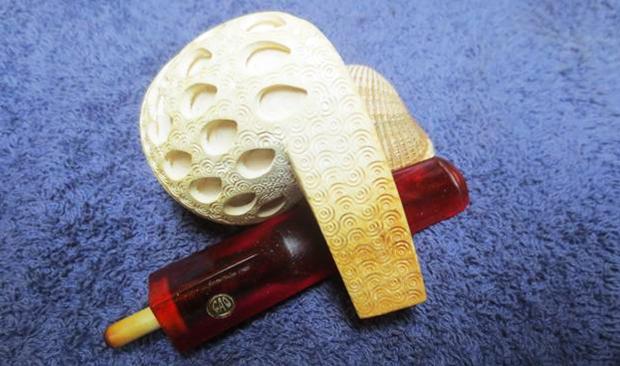
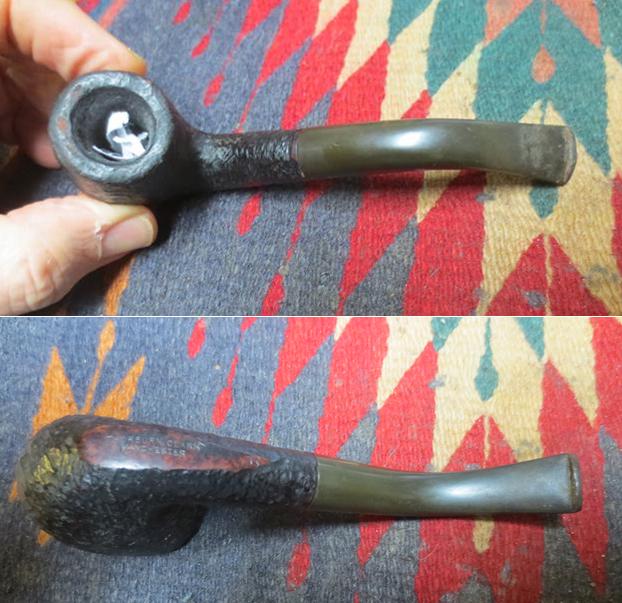
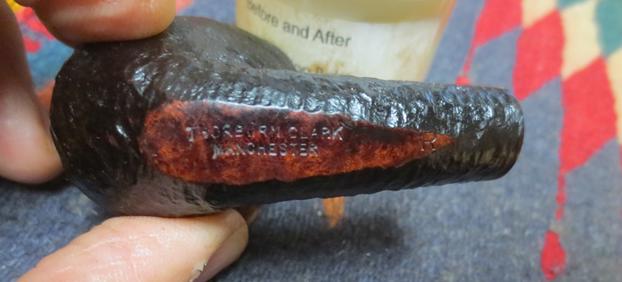
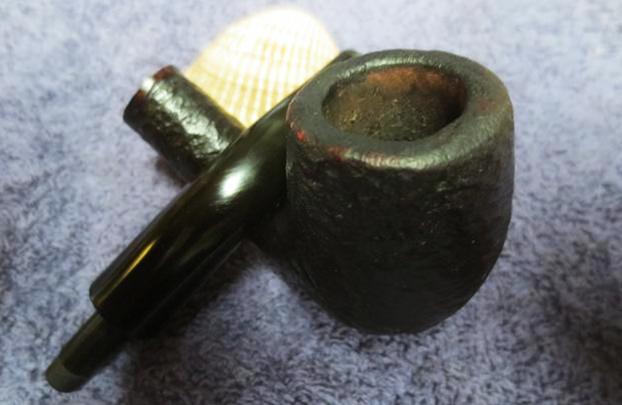
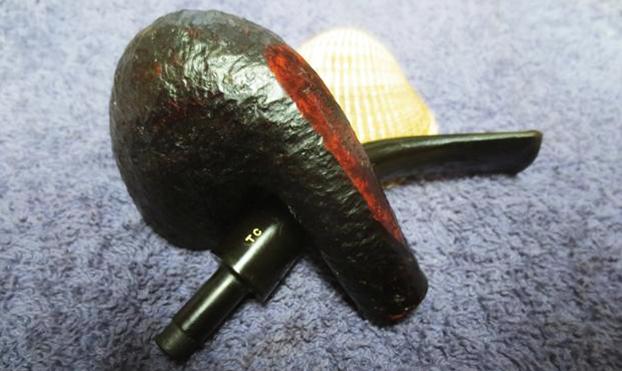
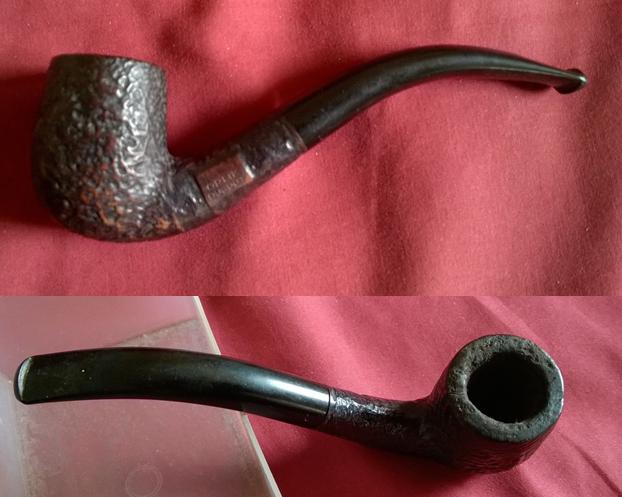
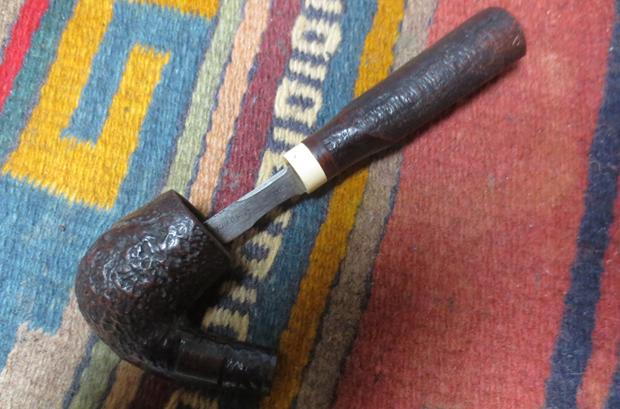
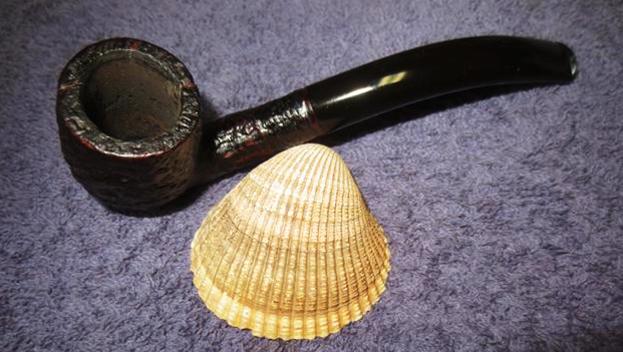
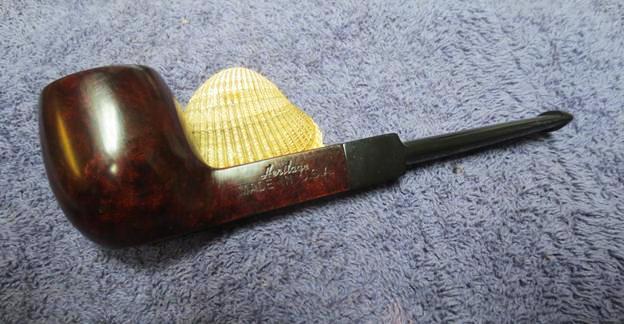
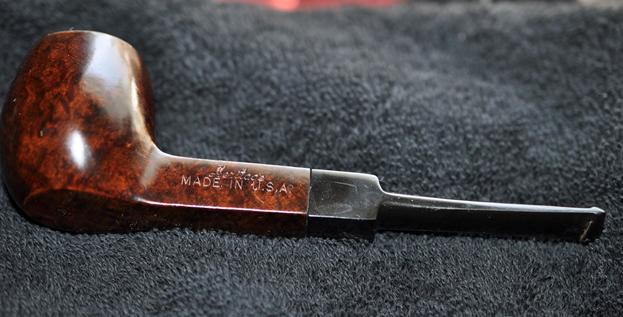
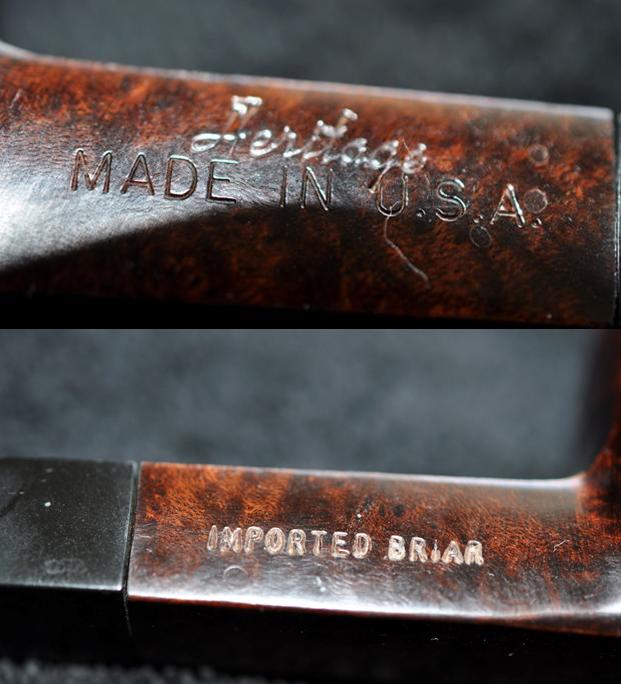
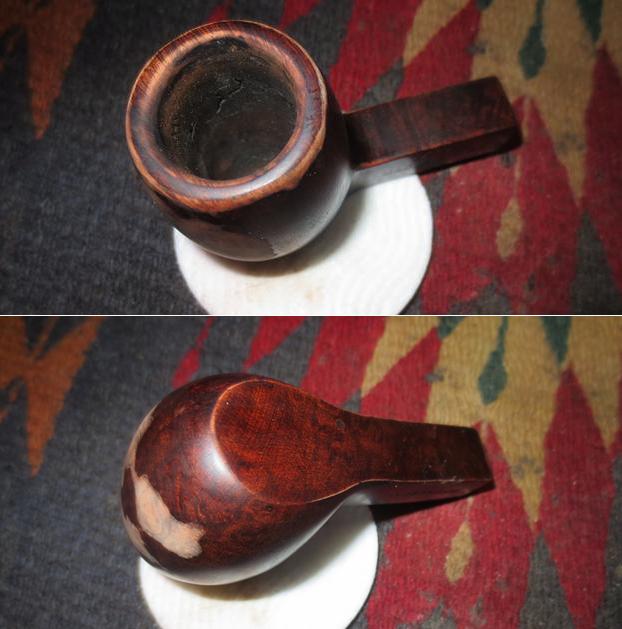
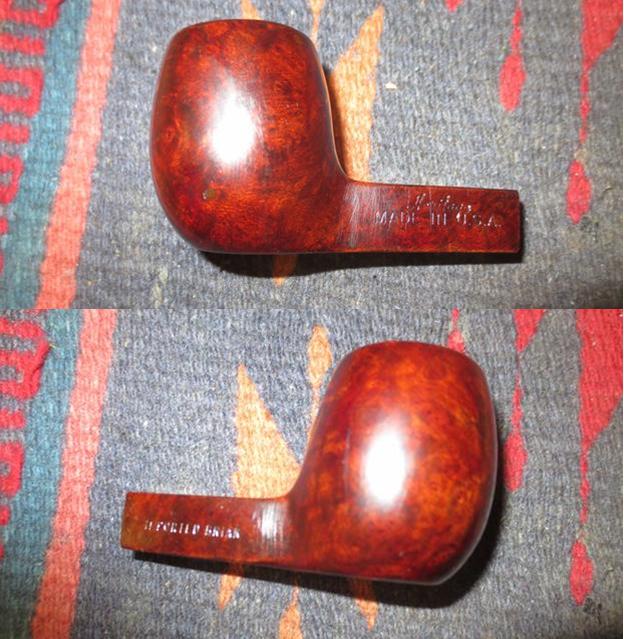
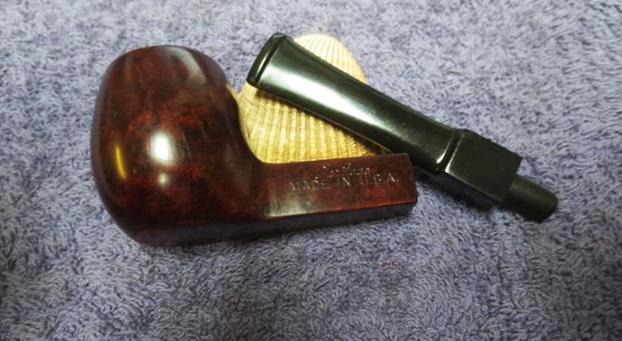
 The base was stamped Kirsten in script on the left side mid shank. On the underside it was stamped Made in U.S.A. with the letters AX following it.
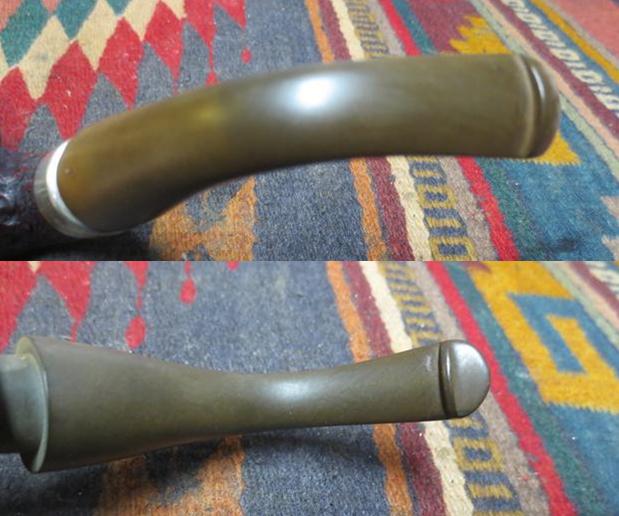
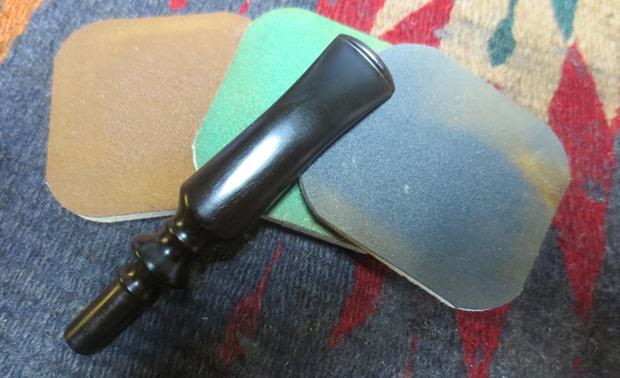
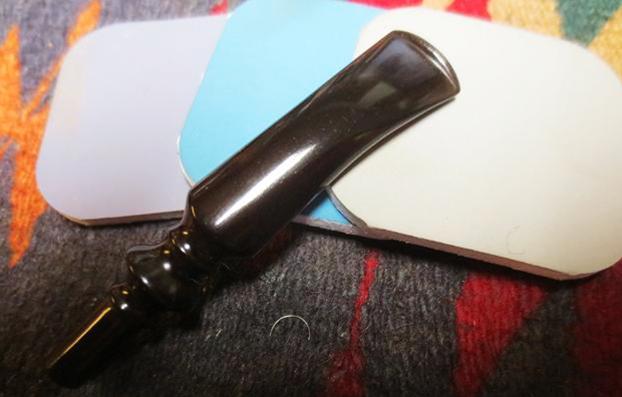
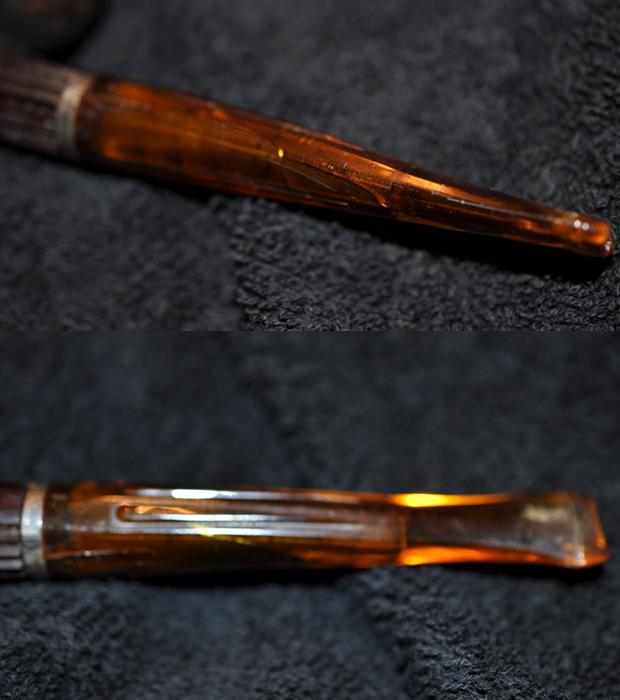
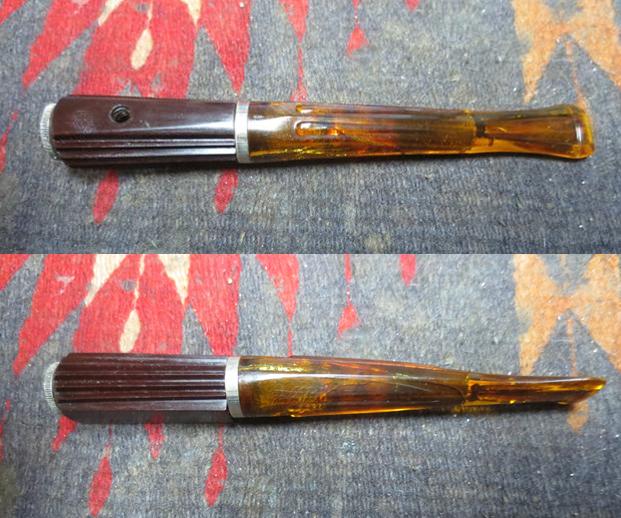
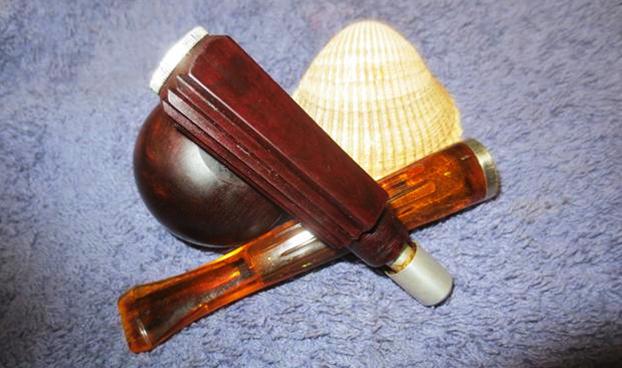
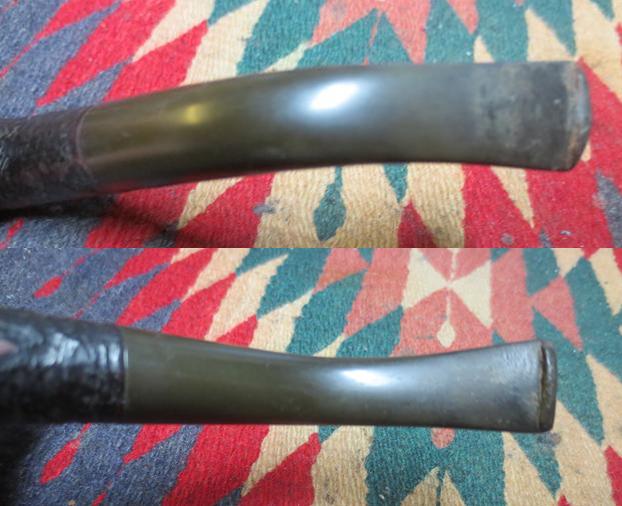
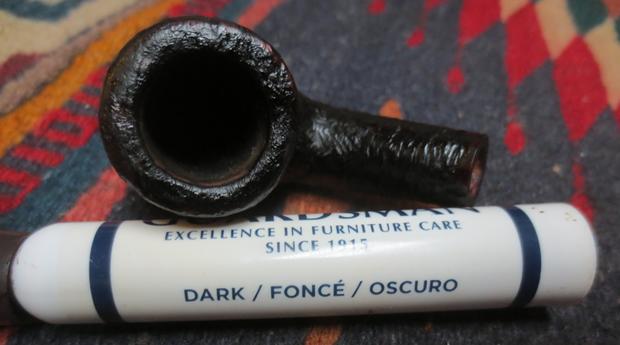
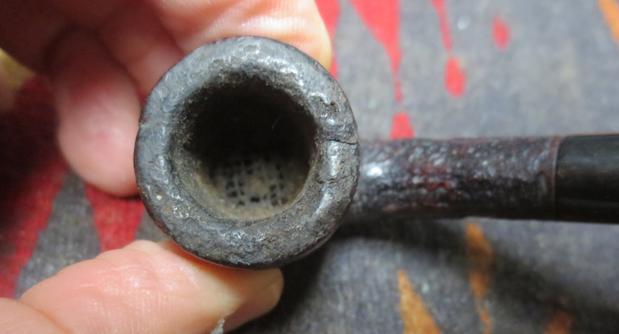
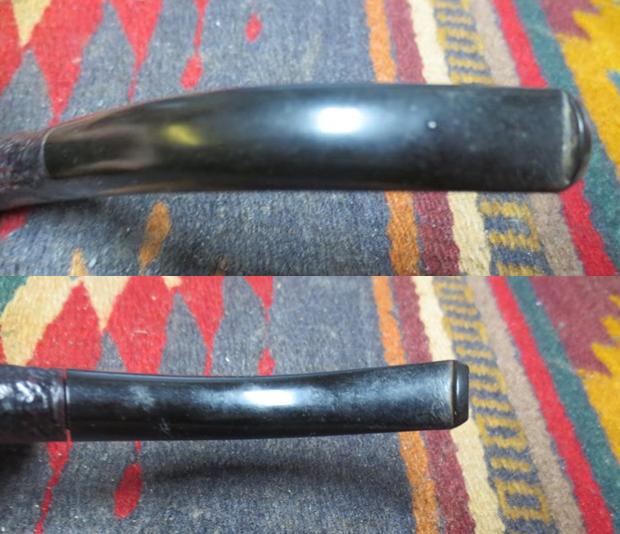
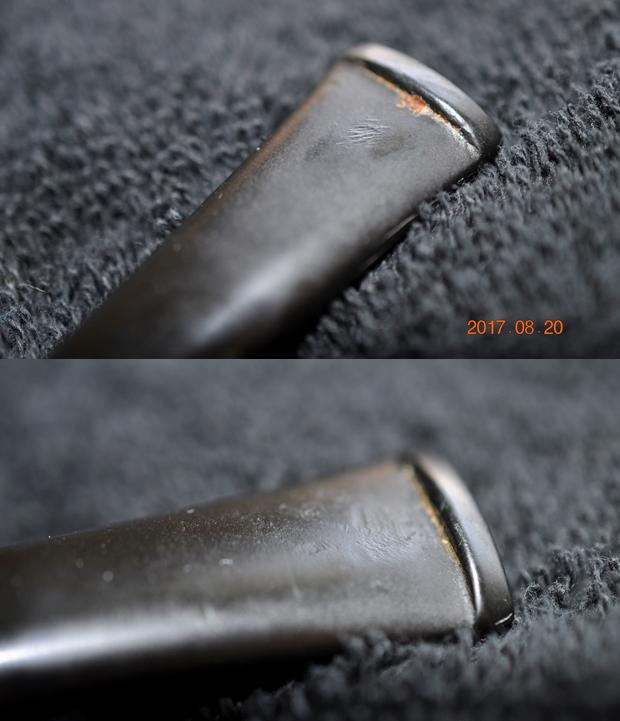
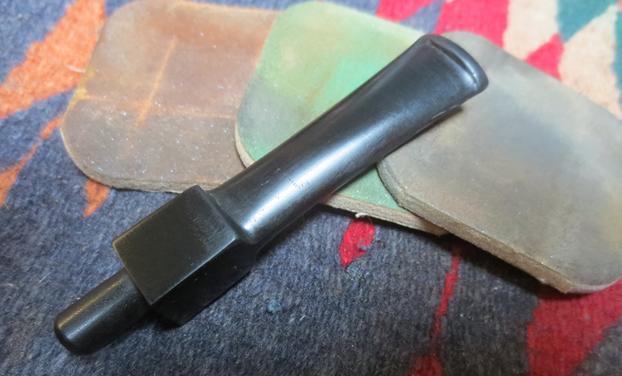
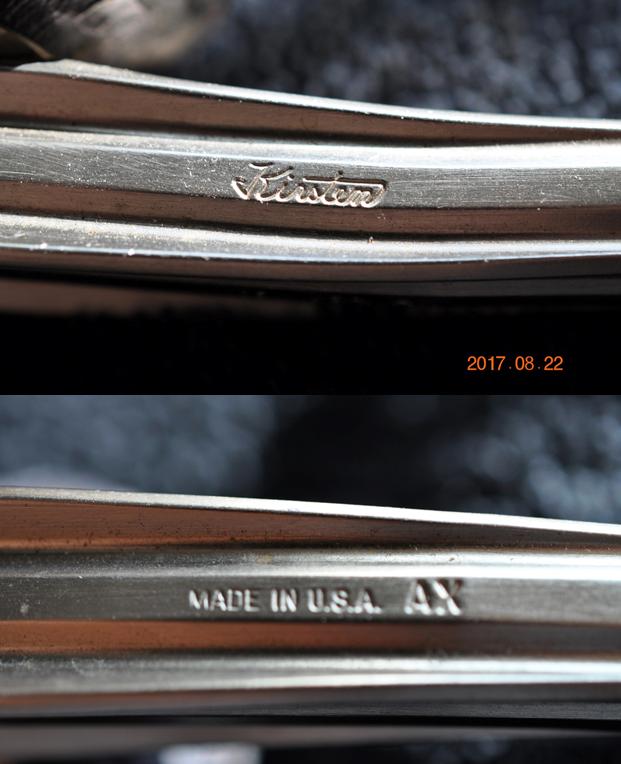 The next two photos show the oxidation on the stem and the minimal tooth chatter on the surface.
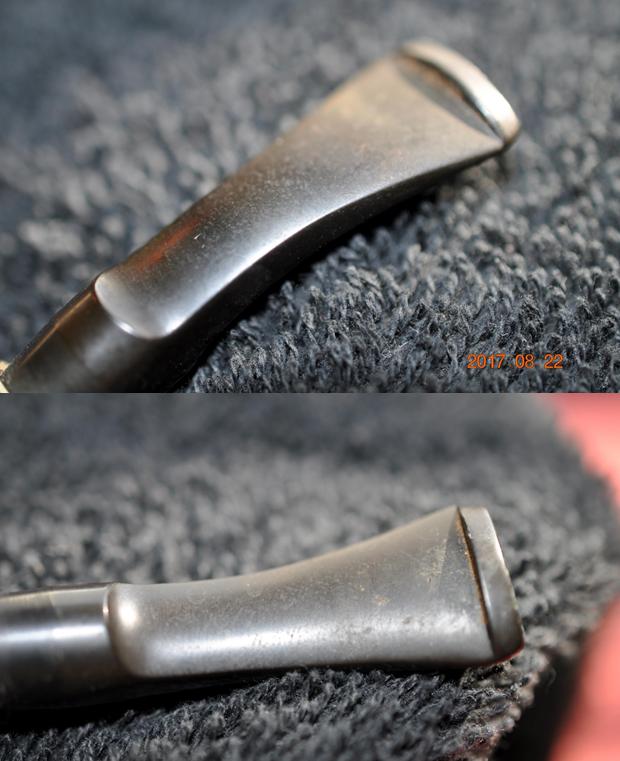
With the photos in hand I went over the details of the stamping on a previous blog that I had posted by Dave Whitney who wrote Old Briar. He gave a helpful guide to dating a Kirsten pipe by the stamping and component parts. He separated them into generations – 1, 1.5, 2, 3. Going over the details I concluded that what I was dealing with a Generation 2 pipe that was made between 1958 and 1985. Here is the link and a portion of the blog. I have italicized the portions that pertain to this particular pipe.
https://rebornpipes.com/2012/11/03/kirsten-generation-1-1-5-2-3/
Generation 2 – 1958-1985
Markings on underside of metal shank “Made in USA XL” (or app. size) and “Pat. & Pats. Pending”. The presence of O rings on both the valve and the mouthpiece and the metal cup spacer under bowl are the biggest thing that separates the Generation 1 from the Generation 2 pipes. These O rings help provide a tighter seal when the stem and apparatus are inserted into the radiator stem. Instead of “O” rings, the machining of the Generation 1 pipes was so precise the fit was exact. This generation came in the following models:
Straights
K Companion
G Gem
S Sportsman
SX Sportsman Brass
M Mariner
MB Mariner Black
L Lancer
Quarter-Bents
A Aladdin
V Vagabond
CX Cavalier Brass
T Tyrolean
Full bents
W Westerner
B Beau Geste
P Premier
F Firesider
…Generally speaking, the X added to a model letter like “S” stands for brass tone finish, i.e., “SX.” There is one exception to this: In the 1960s Kirsten made a brass tone model with an “Eternalum” finish that gave the brass tone an antiqued look. They were marked with a “X” designation following the model letter. The B added to a model letter like “M” stands for black finish, i.e., “MB.”
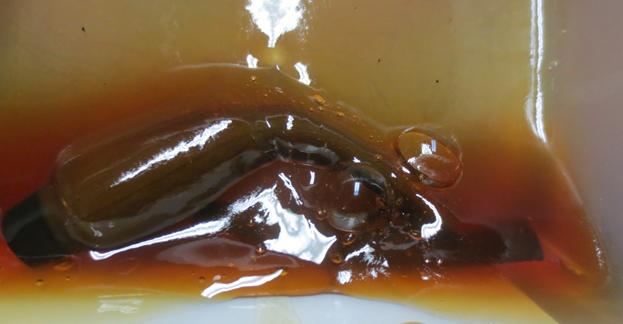
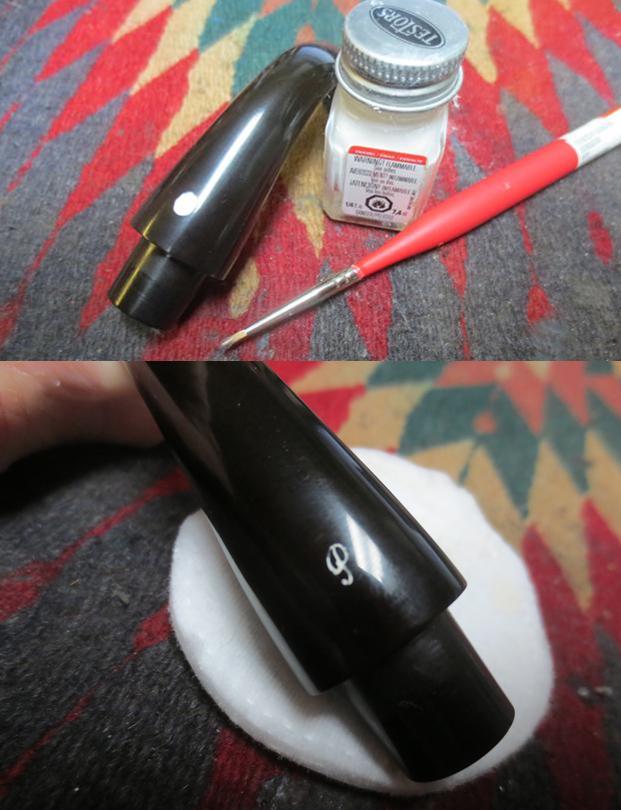
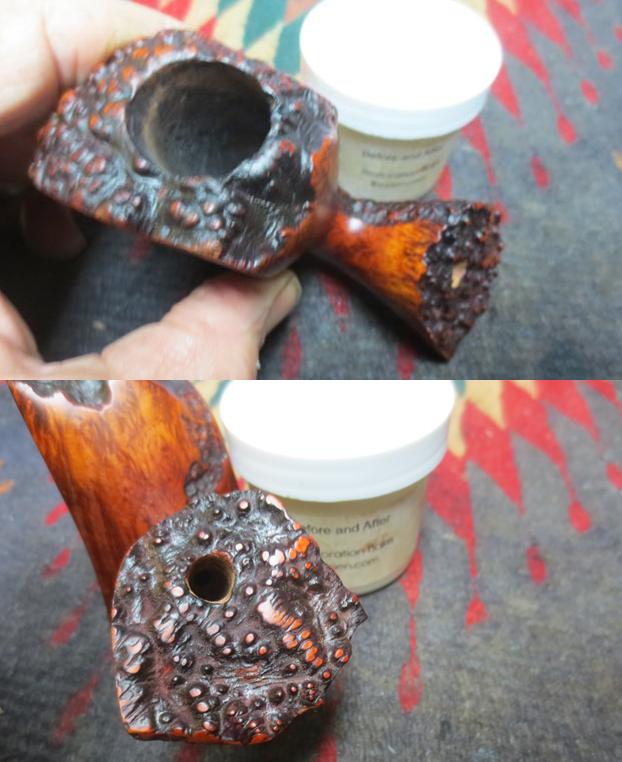
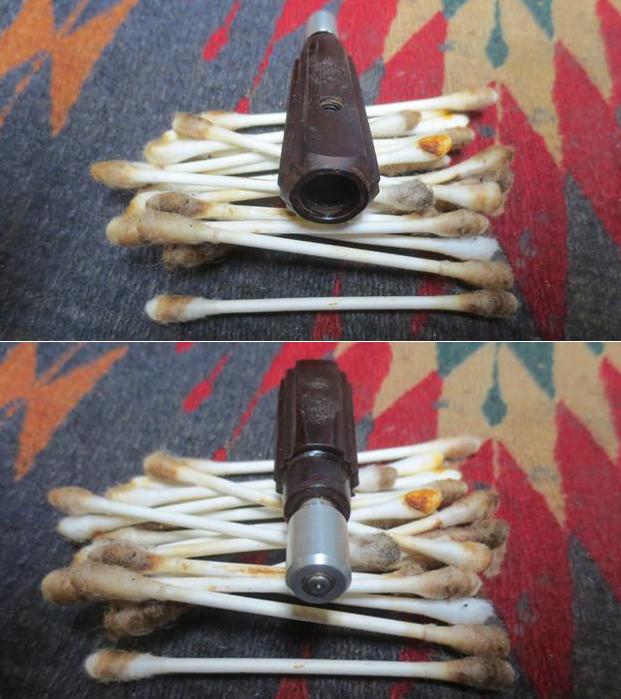
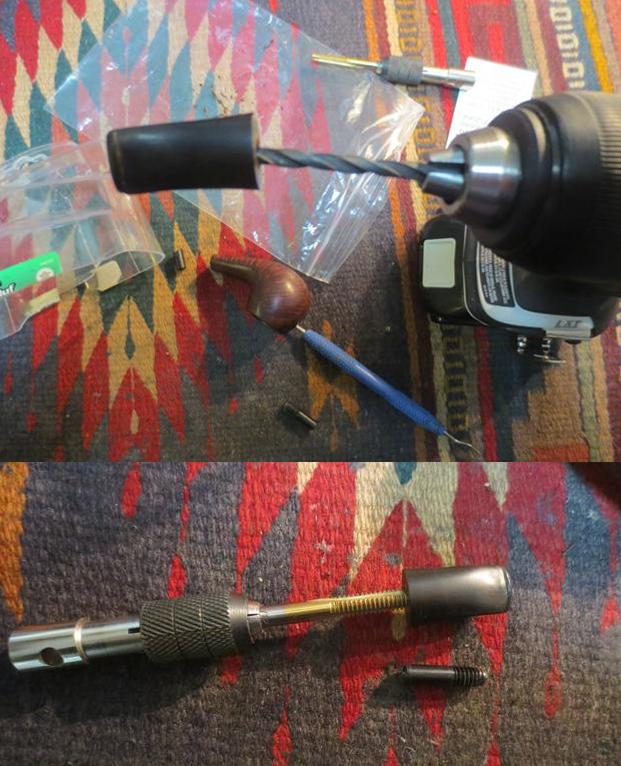
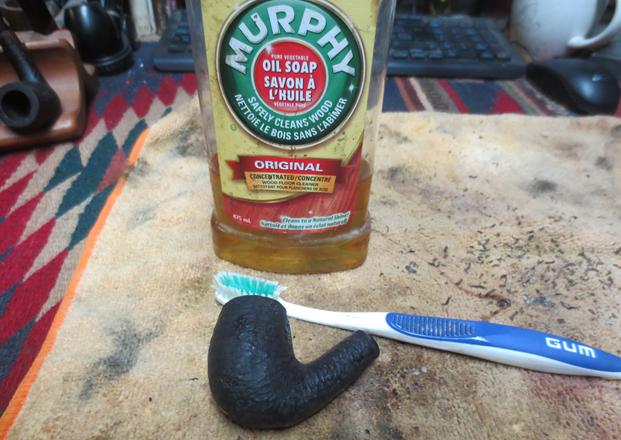
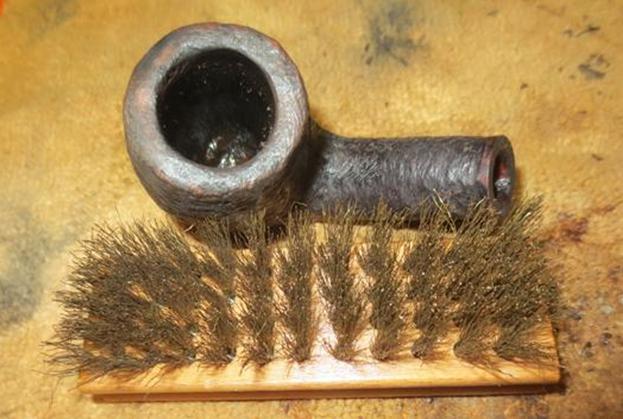
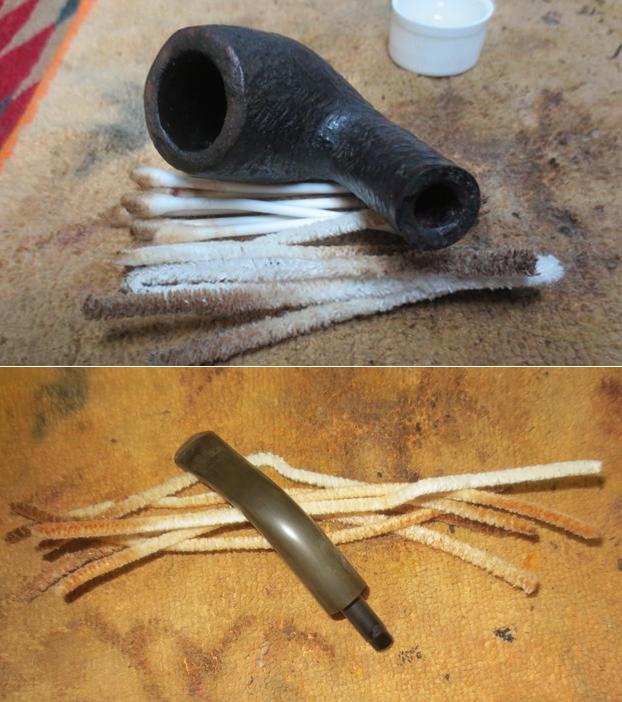
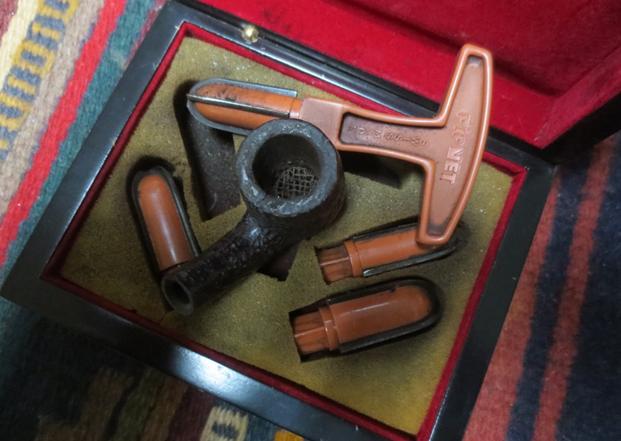
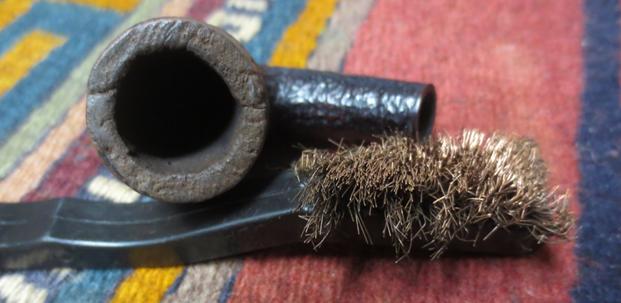
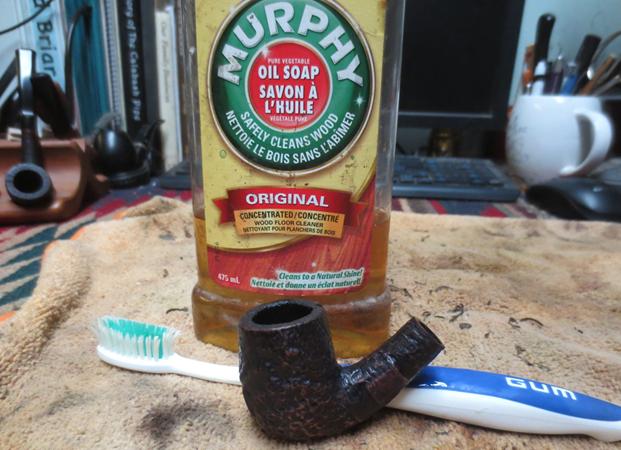
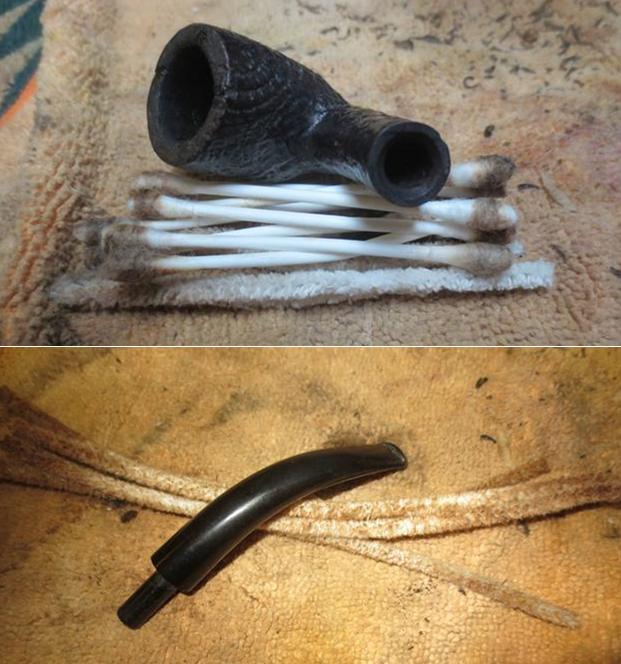
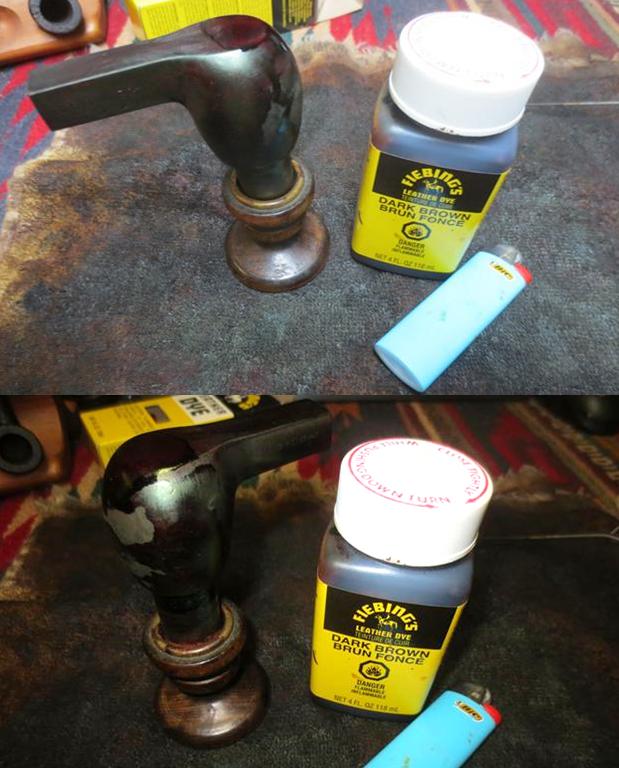
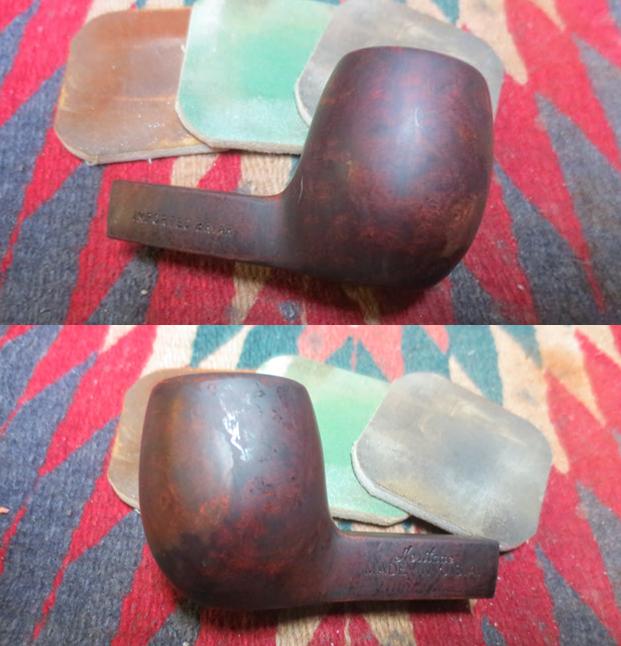
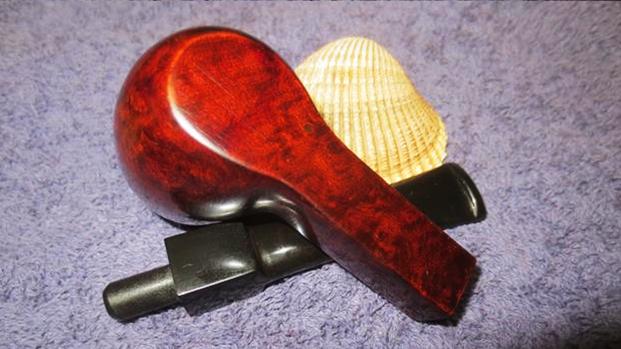
Jeff did his usual thorough clean up on this pipe. He scrubbed the inside and outside of the barrel shank with brushes and Murphy’s Oil Soap. He reamed the bowl with a PipNet reamer and finished with a Savinelli Fitsall Pipe Knife. He scrubbed the bowl exterior with the oil soap and a tooth brush and rinsed the whole pipe under running water. He cleaned the airway in the stem with pipe cleaners, cotton swabs and alcohol until it was clean. He soaked the stem in an OxyClean bath to raise the oxidation and soften it. When the pipe arrived here in Canada it was in far better condition than it was in the photos above. It cleaned up amazingly well. I took photos of it before I put on the finishing touches.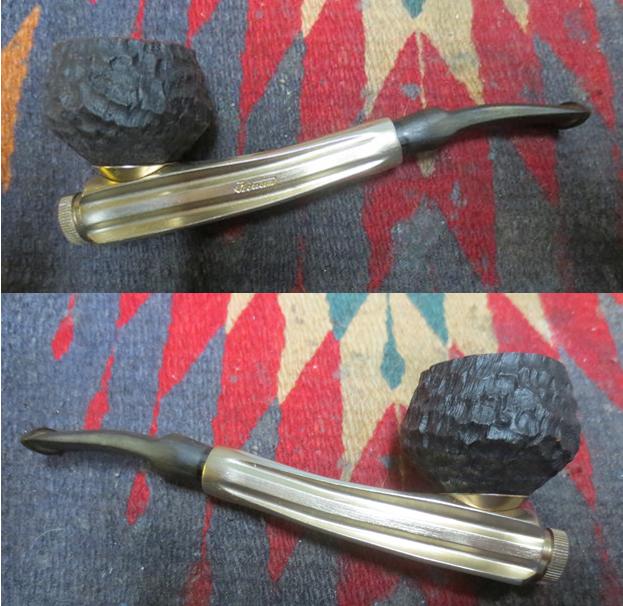
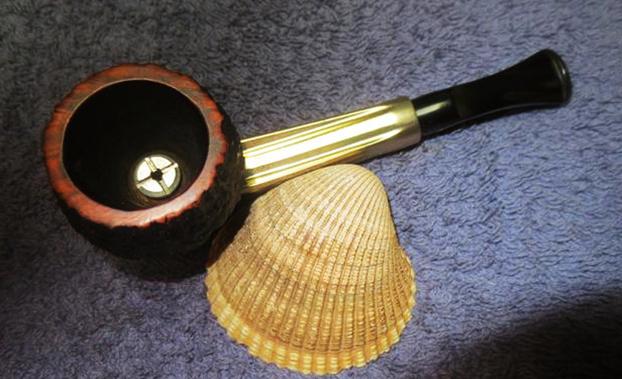
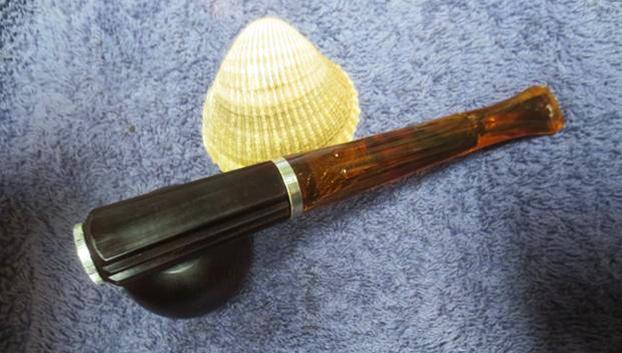
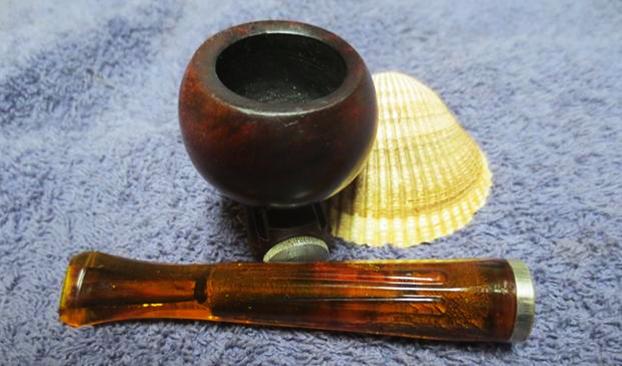
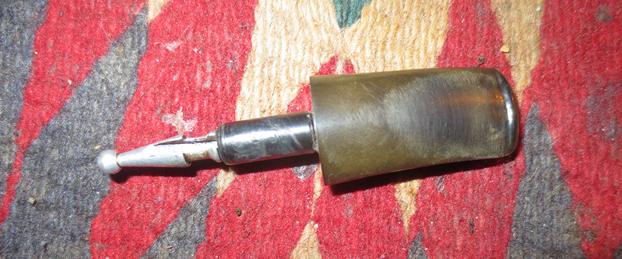
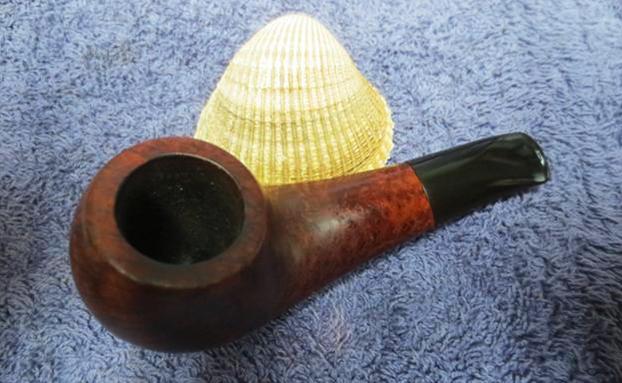
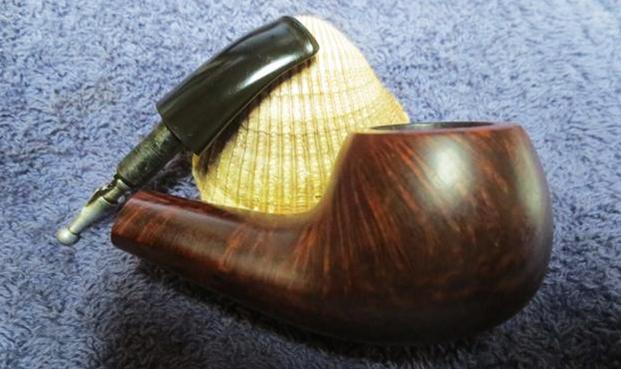
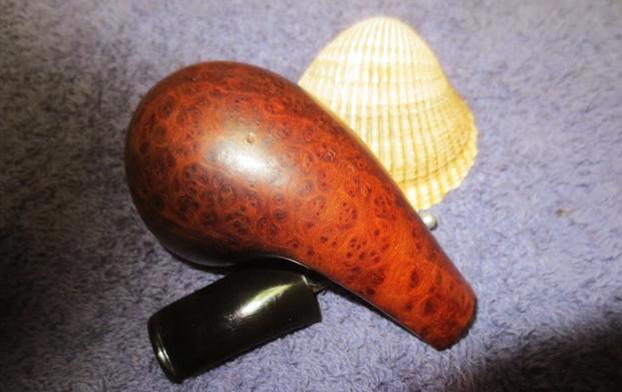
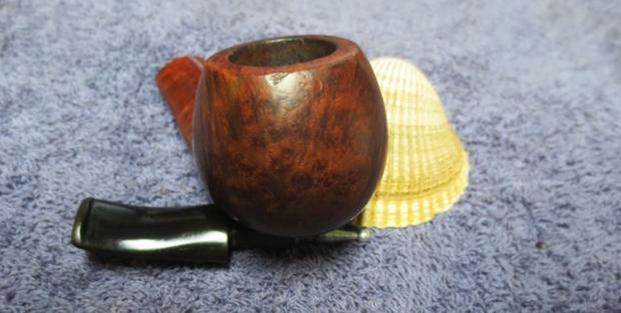
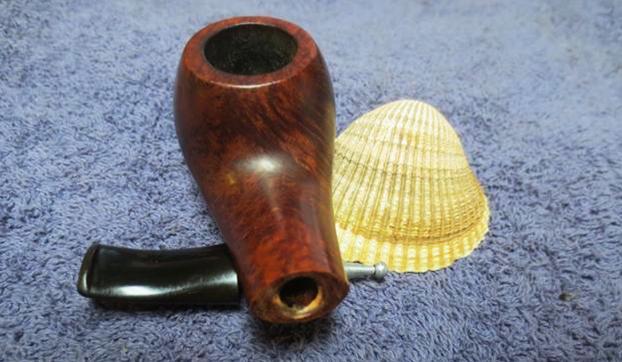
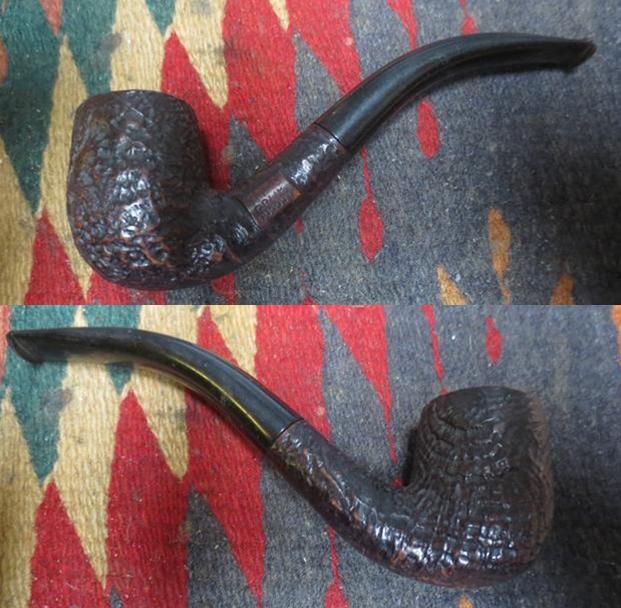
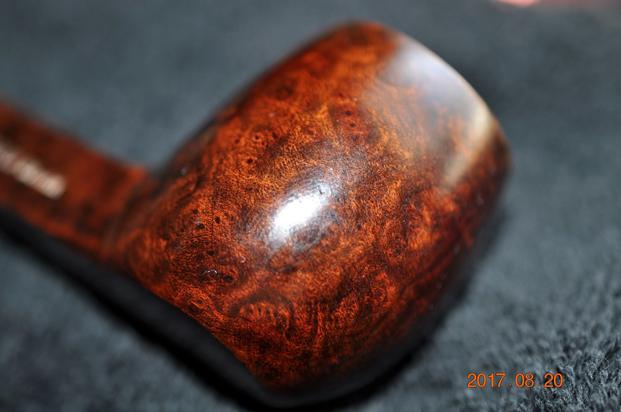
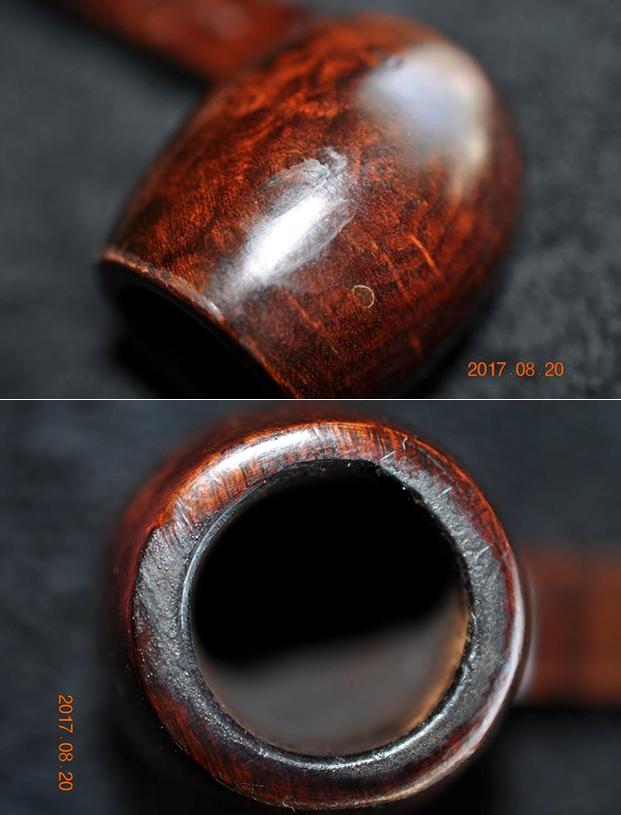
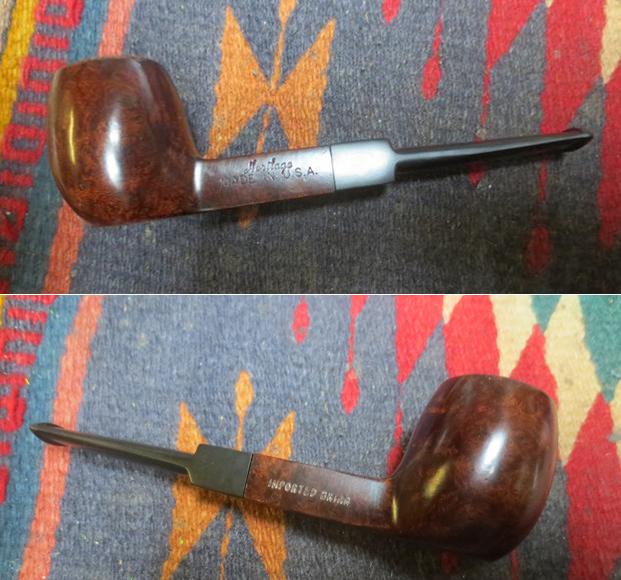
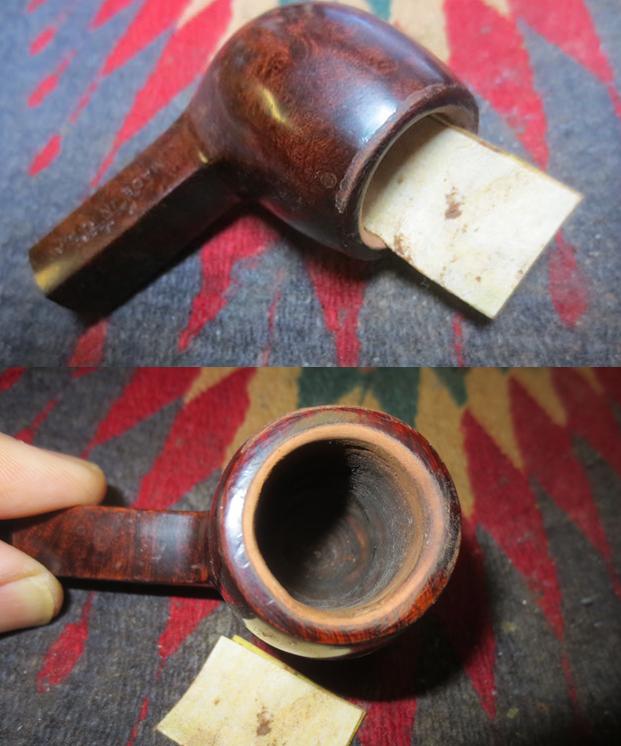
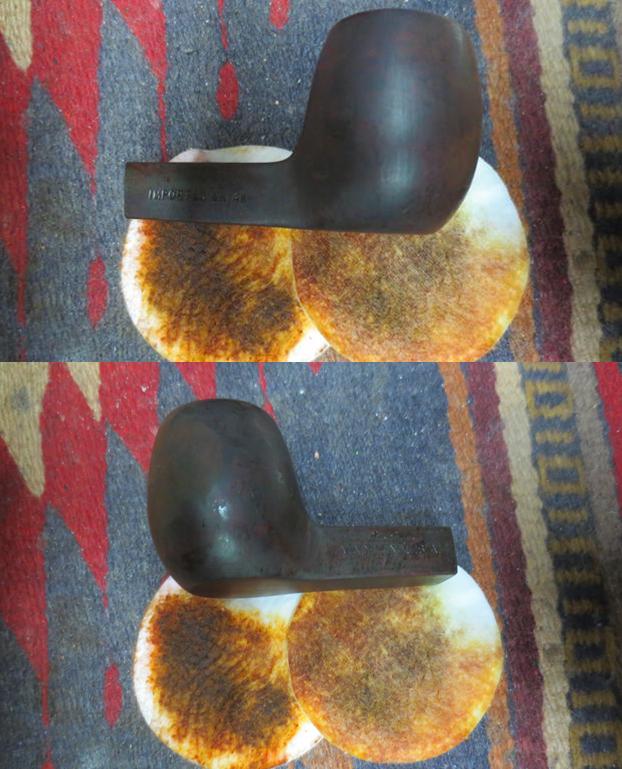
 Jeff was able to get the tars and lava off the rim and once they were gone it revealed a nicely grained smooth top on the bowl. The edges of the rim looked good and the screw in the bottom of the bowl was undamaged.
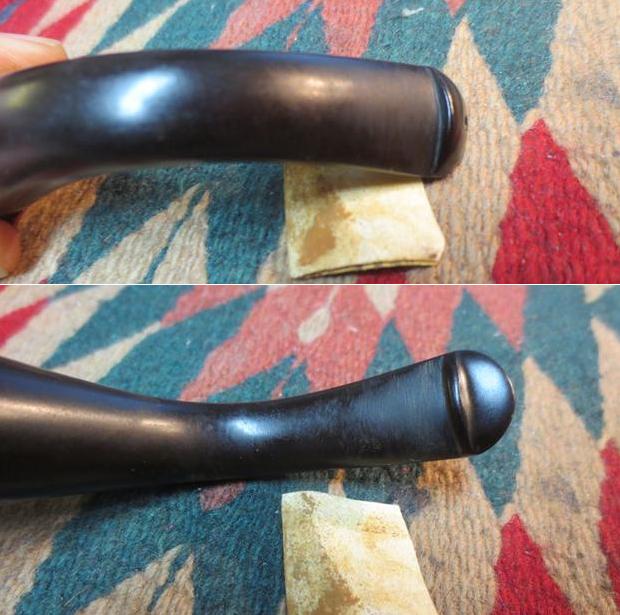
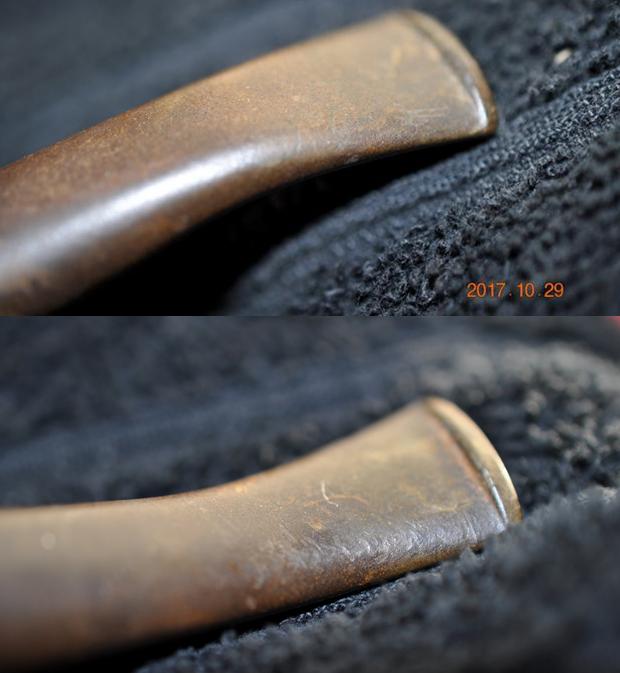
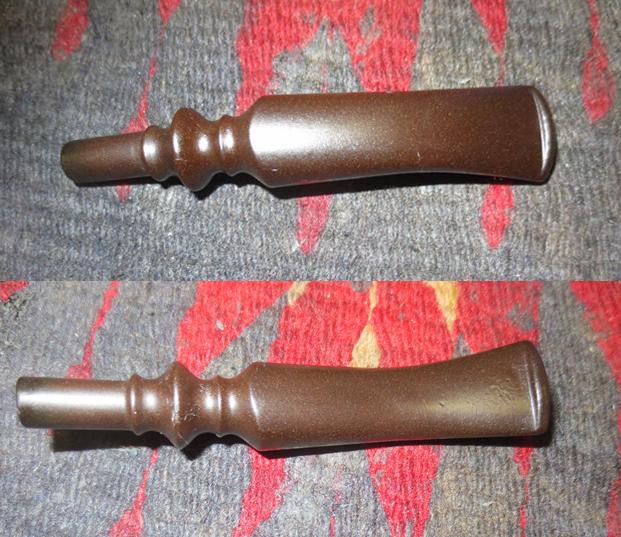
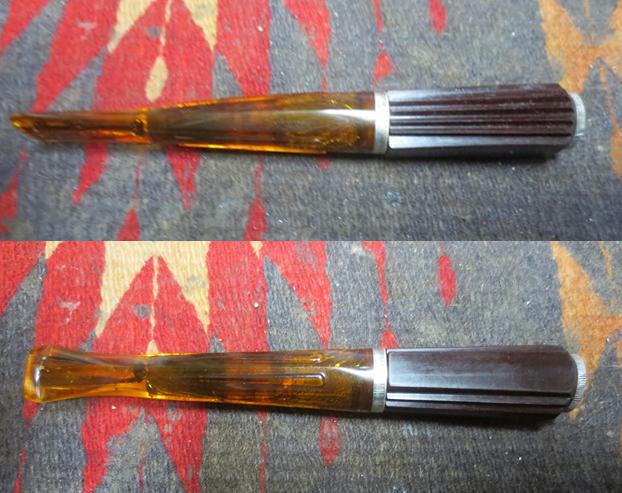
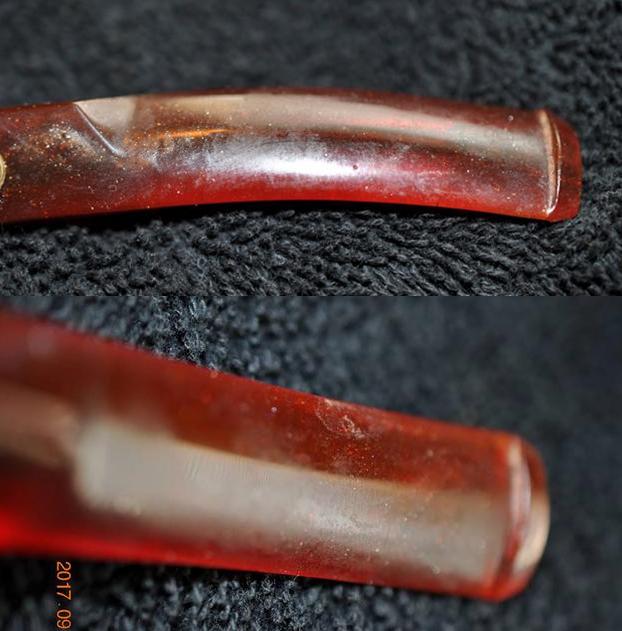
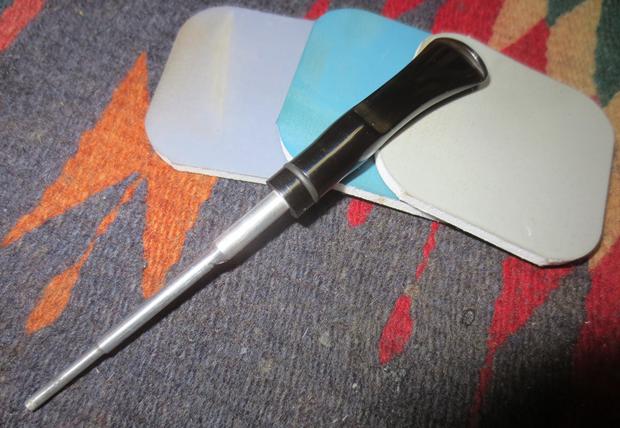
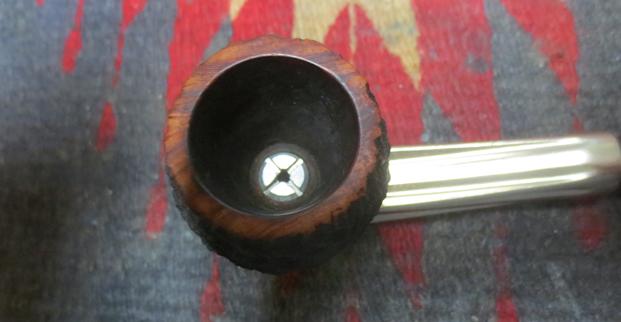 The stem needed work to remove the oxidation but even that was pretty light. There were scratches in the surface of the stem that would need to be polished out but it was in good condition.
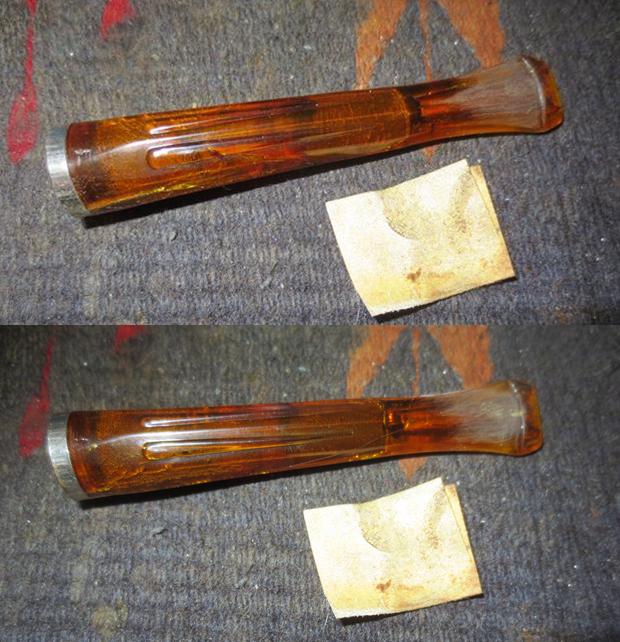
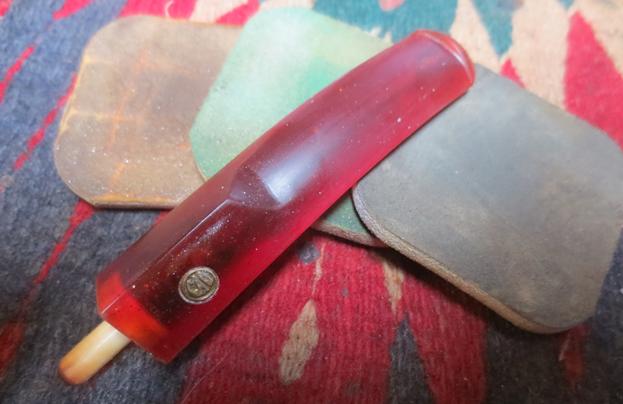
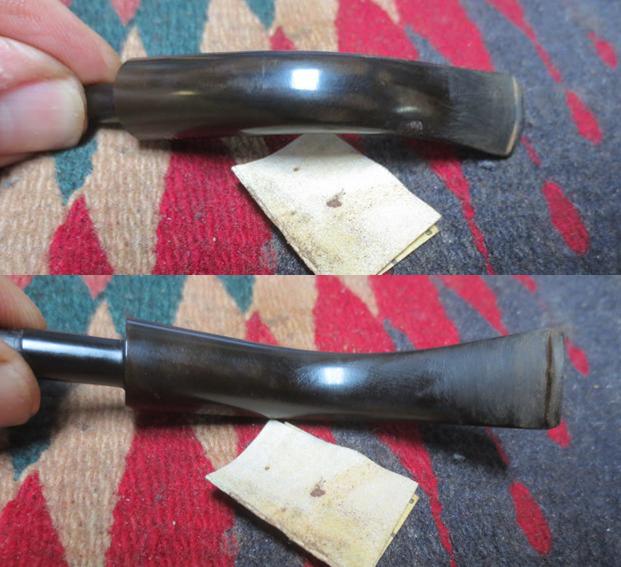
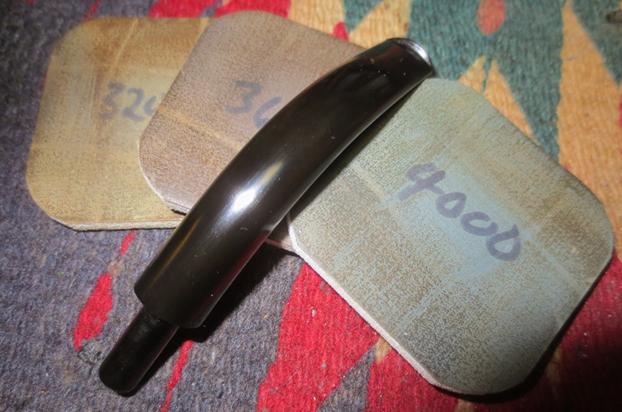
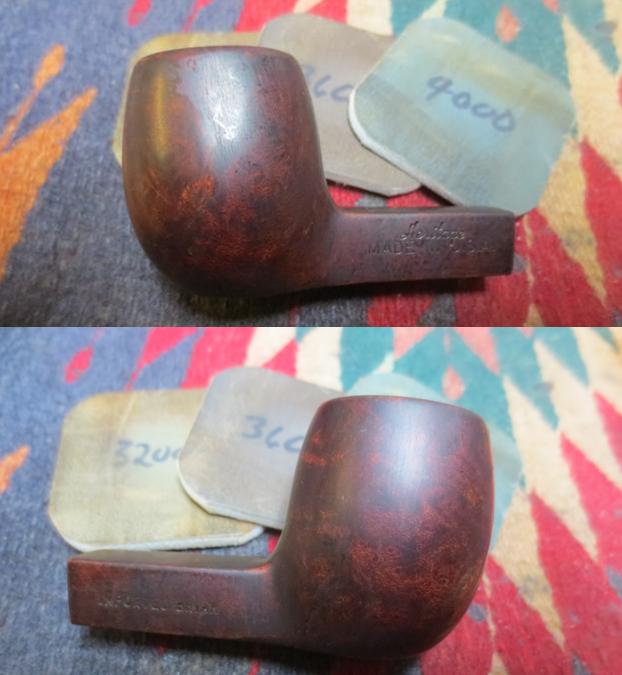
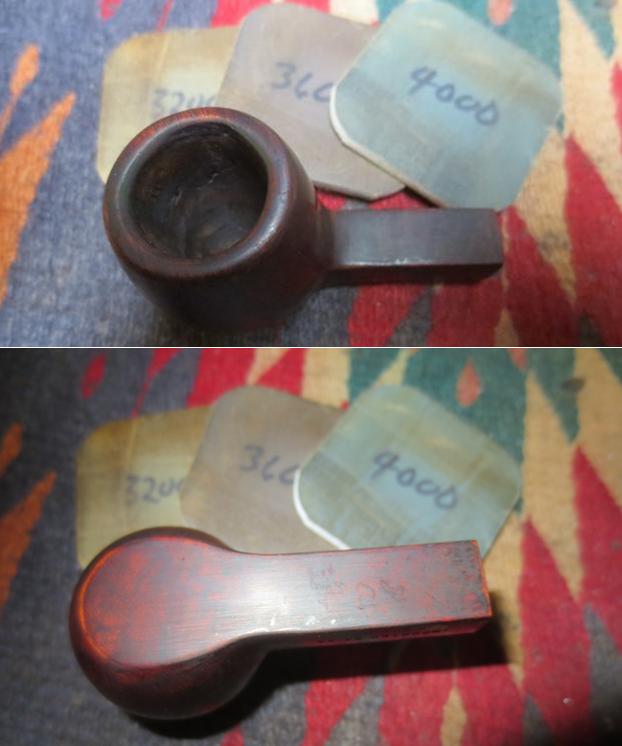
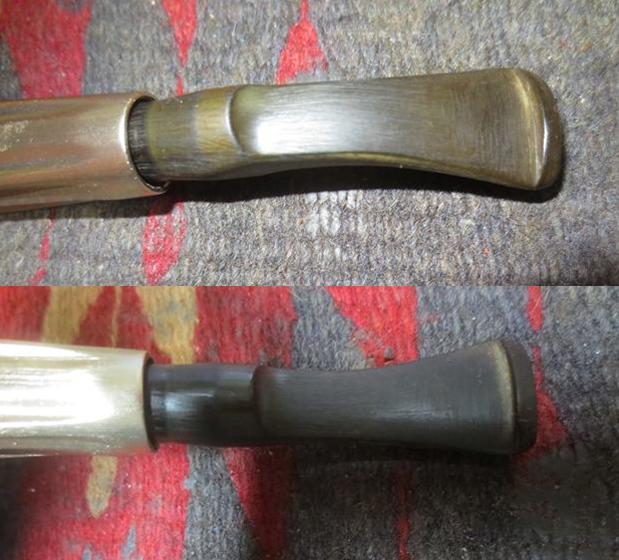 I sanded the stem with 220 grit sandpaper to remove the remaining oxidation and the tooth chatter on the top and underside near the button.
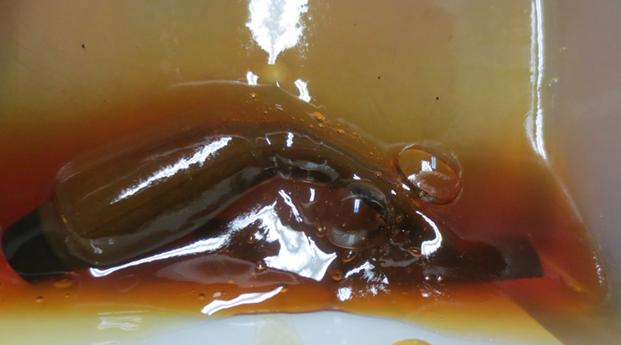
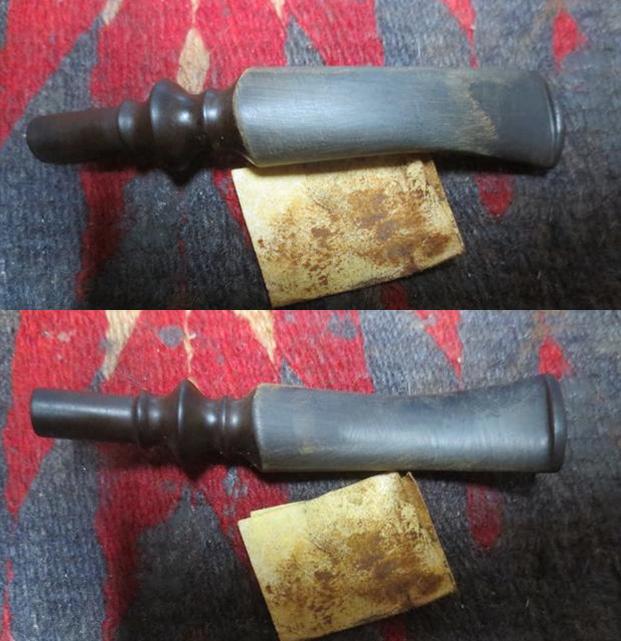
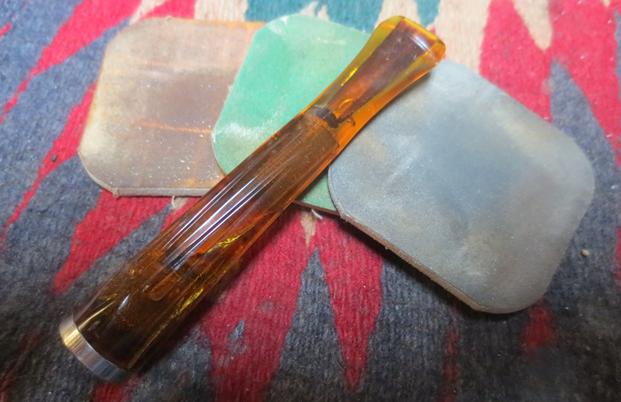
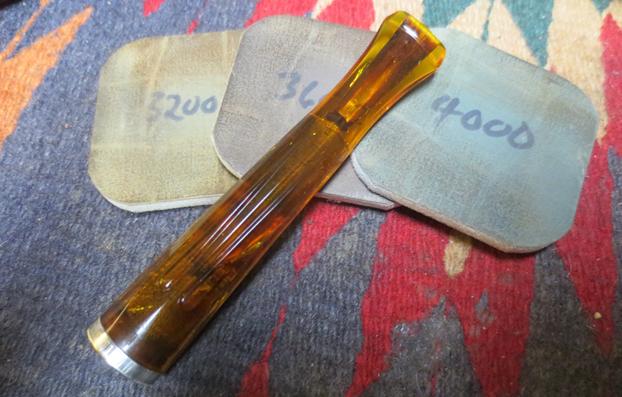
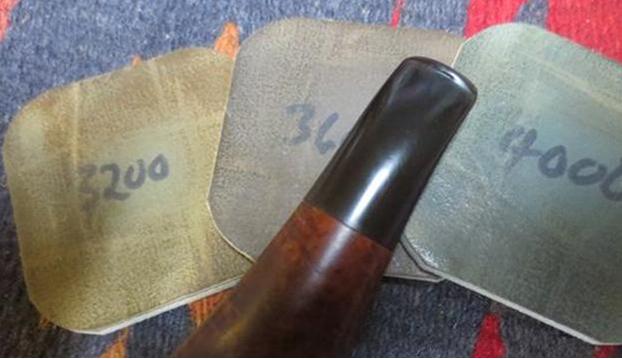
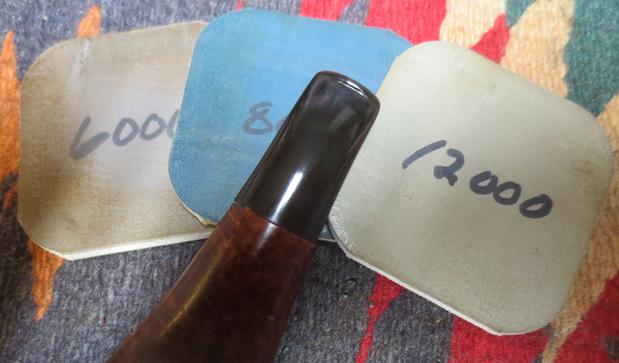
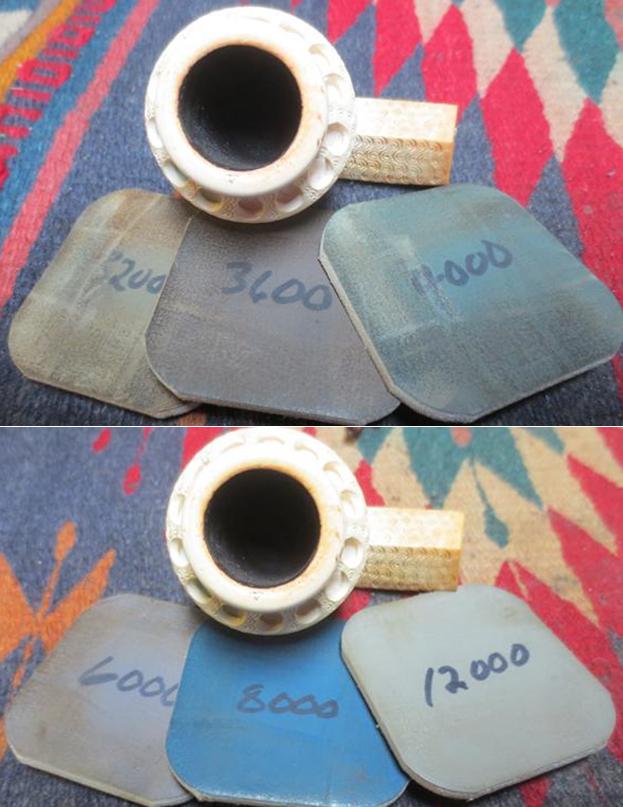
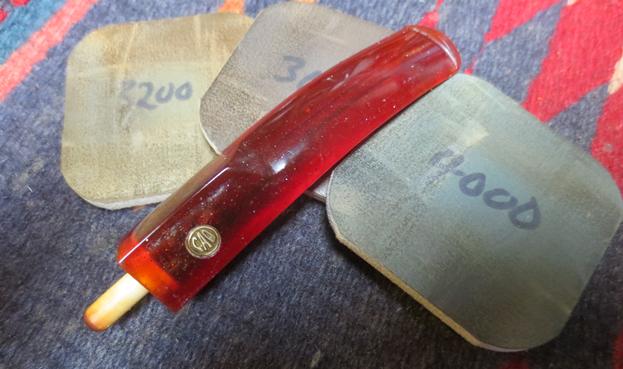
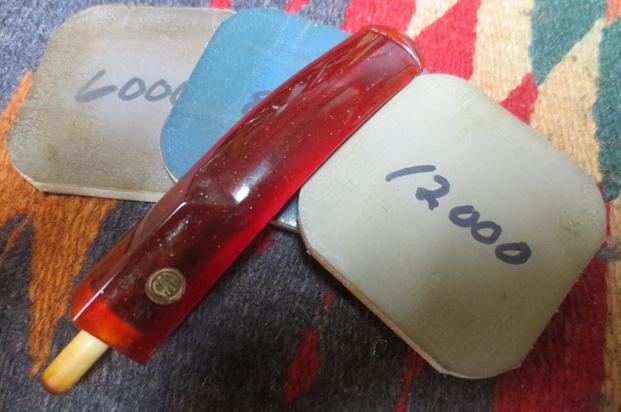
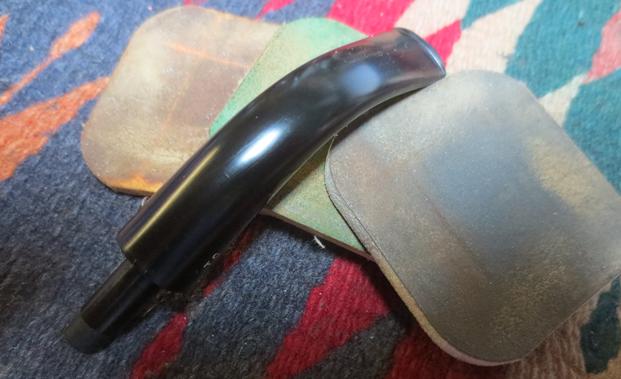
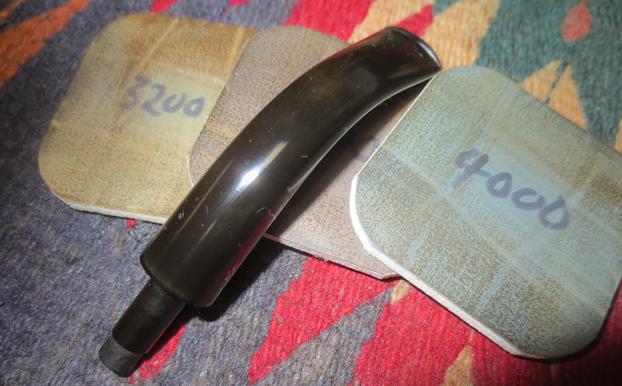
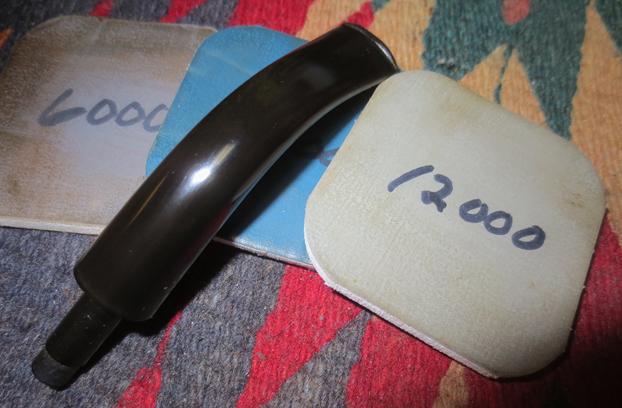
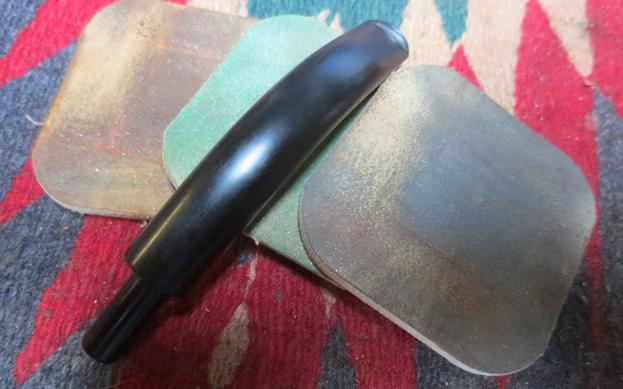
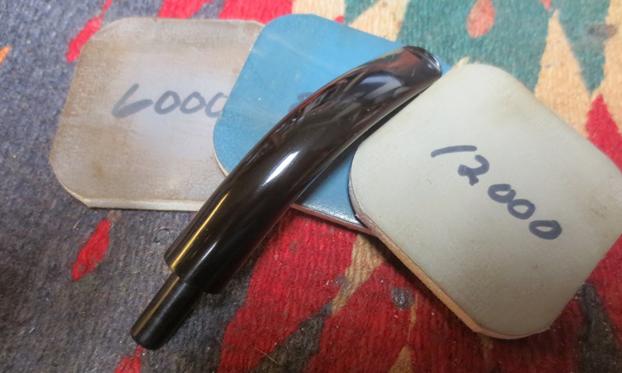
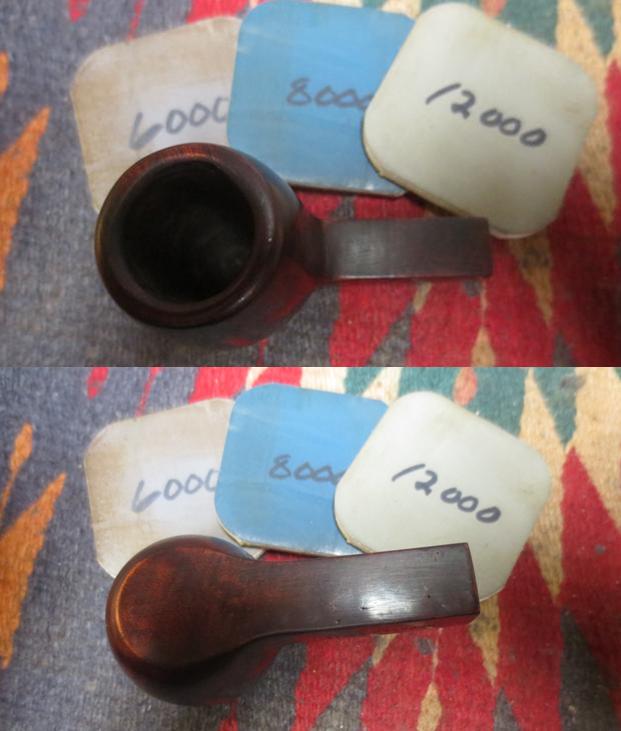
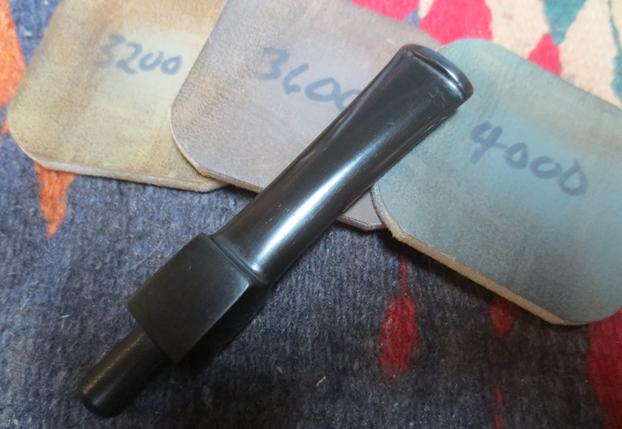
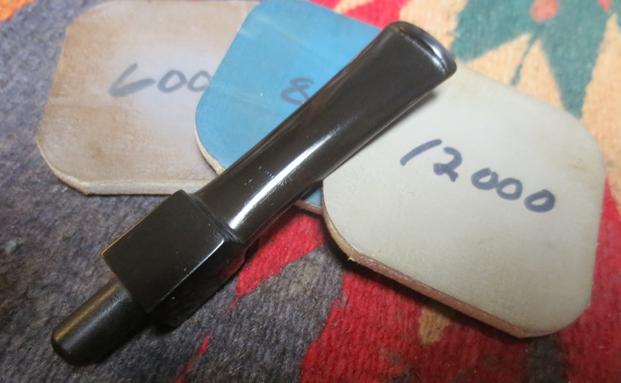
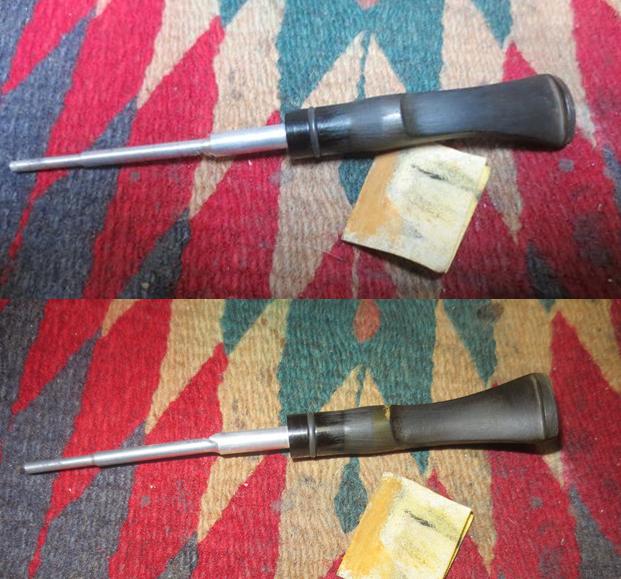 I polished the stem with micromesh sanding pads – wet sanding with 1500-2400 grit pads and dry sanding with 3200-4000 grit pads. I wiped the stem down with Obsidian Oil after each pad. I buffed the stem with red Tripoli and Blue Diamond after the 4000 grit pad to polish out the tougher oxidation. I brought the pipe back to the work table and finished polishing it with 6000-12000 grit micromesh pads. Once again I wiped the stem down with Obsidian Oil after each pad and when I finished with the last pad I set it aside to dry.
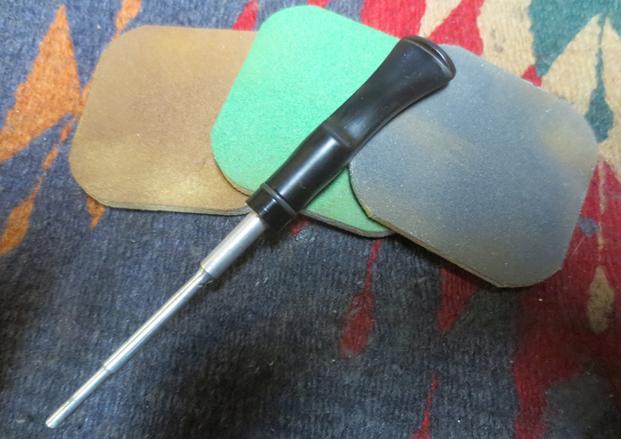

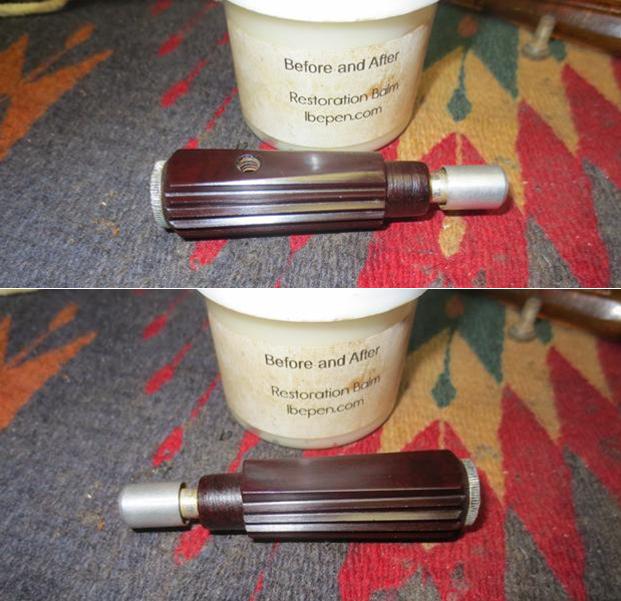
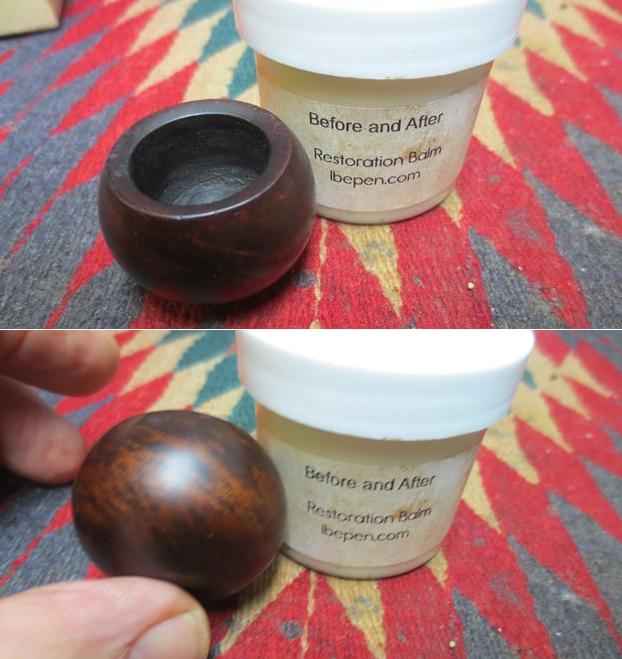
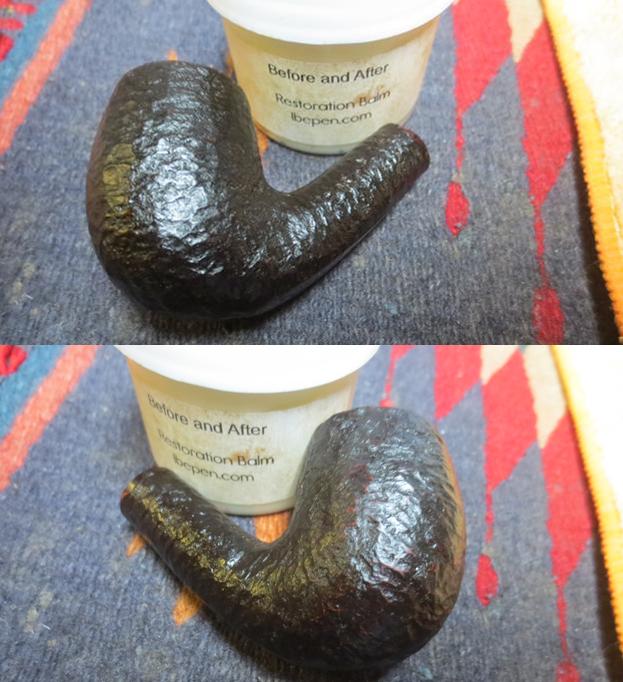
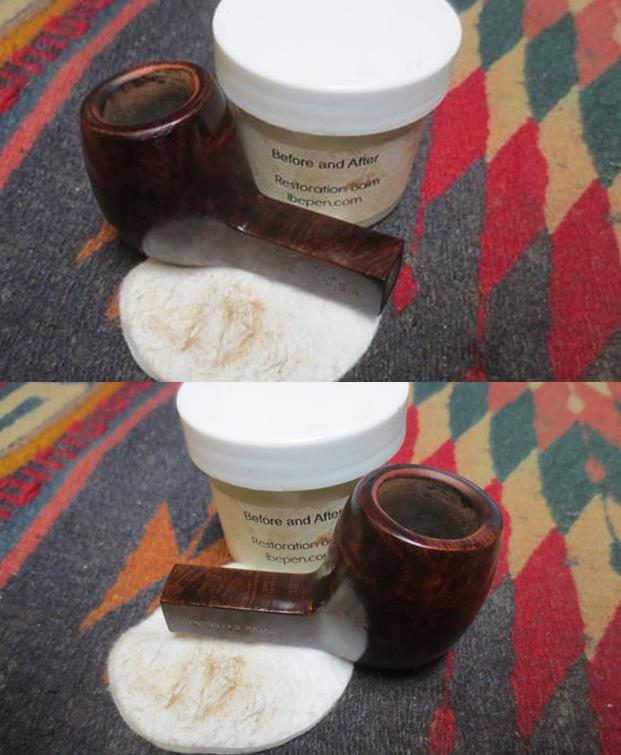
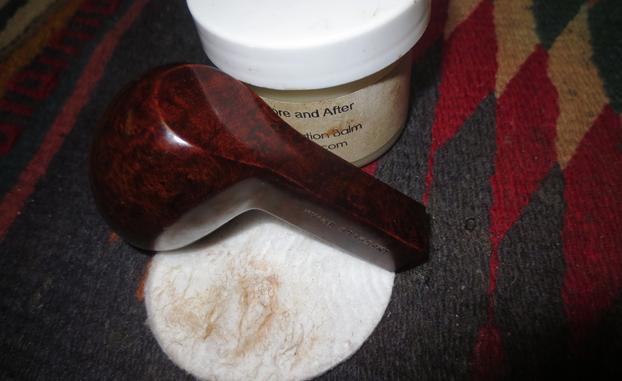
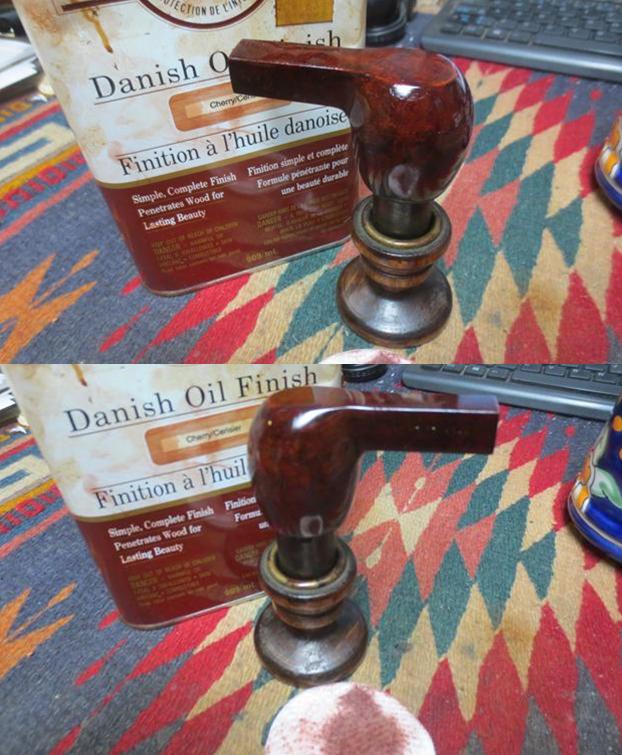
 While the oil was drying I rubbed the bowl down with Before & After Restoration Balm to deep clean and enliven the briar. I applied it by hand and worked it into the finish with my fingers. I buffed the bowl with a shoe brush and then a microfiber cloth to give it a sheen.
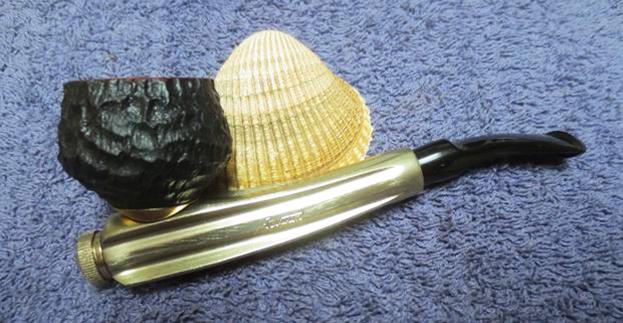
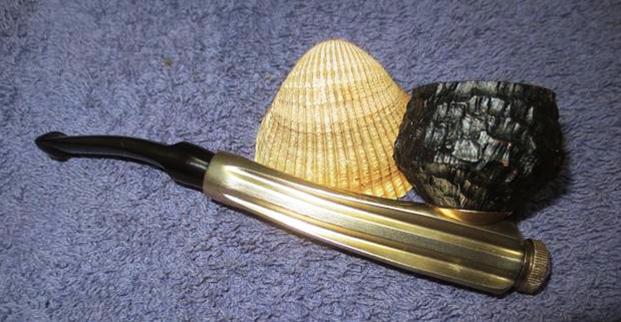
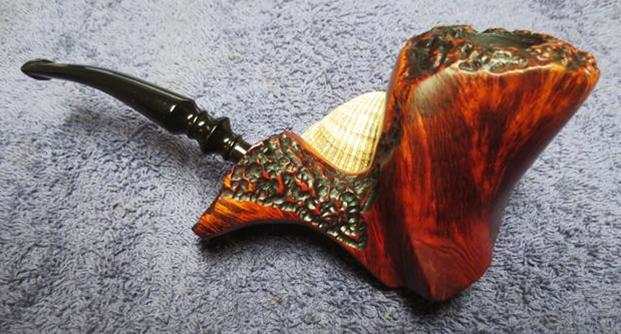
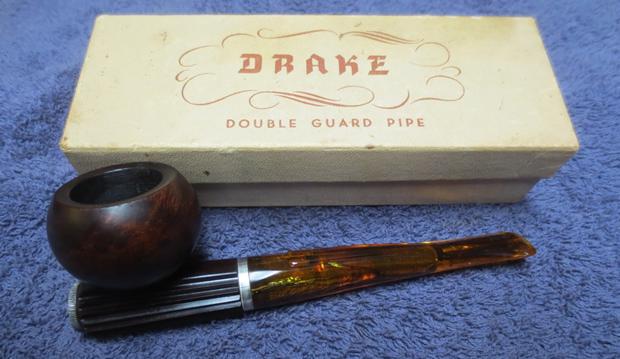
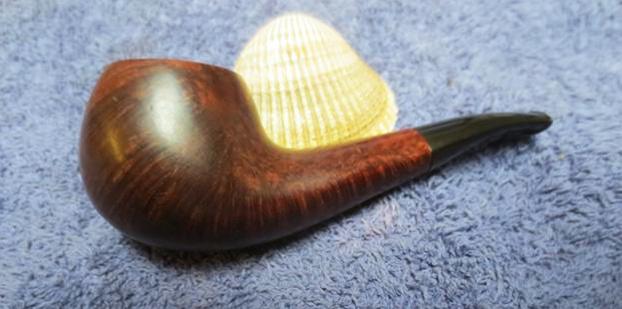
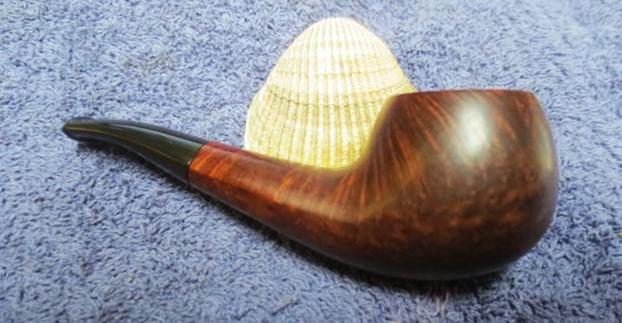
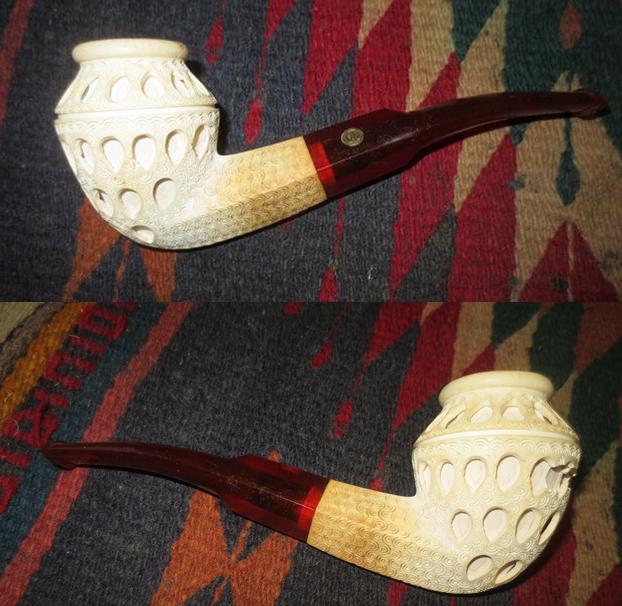
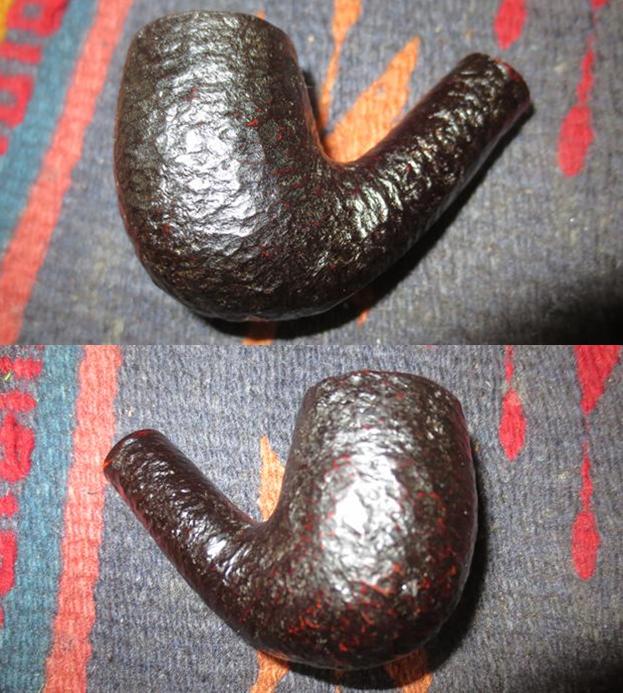
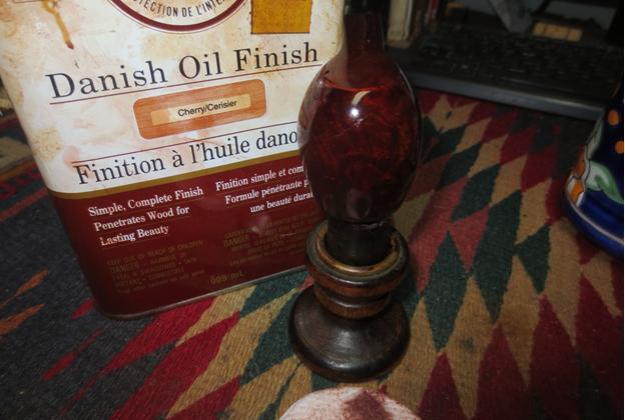
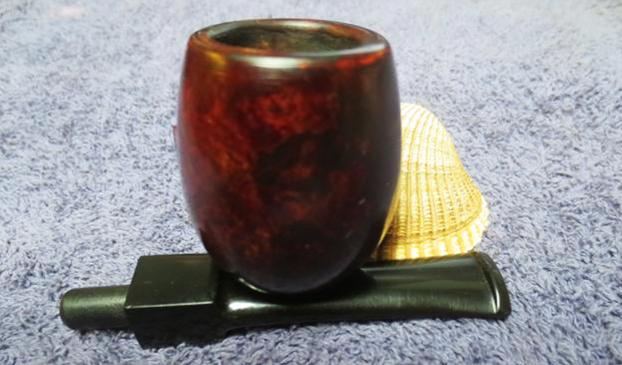
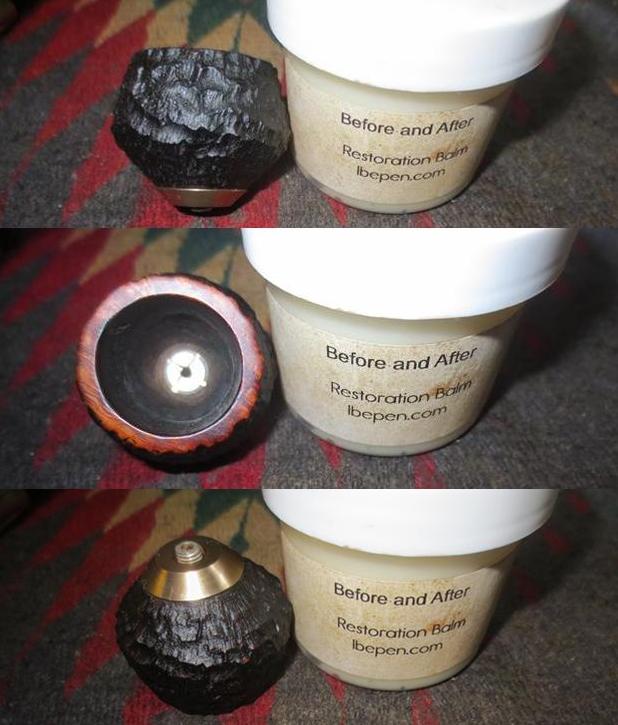 I put the stem back on the bowl and worked the pipe over on the buffing wheel using Blue Diamond to polish the bowl and shank. I used a gentle touch on the rusticated briar when I was buffing it so that the nooks and crannies of the rustication would not be filled in with the polish and make more work for me. I buffed the stem with a harder touch to raise the gloss on the rubber. I gave the bowl multiple coats Conservator’s Wax and buffed it with a shoe brush. I gave the stem multiple coats of carnauba wax. I buffed the entire pipe with a clean buffing pad to raise the shine. I hand buffed it with a microfiber cloth to deepen the shine. The finished pipe is shown in the photos below. The rich combination of dark brown and medium brown stain on the rustication and smooth rim, the Brass Tone barrel/shank/base along with the rich black of the vulcanite stem make this a stunning example of the Kirsten pipes. The dimensions of the pipe are: Length: 5 inches, Height: 1 3/4 inches, Diameter of the bowl: 1 1/4 inches, Diameter of the chamber: 7/8 inches. I will be adding this one to the rebornpipes store shortly if you are interested in adding it to your collection. It will make a fine addition to the rack. If you are interested email me at slaug@uniserve.com or send me a message on Facebook. Thanks for looking.