by Steve Laug
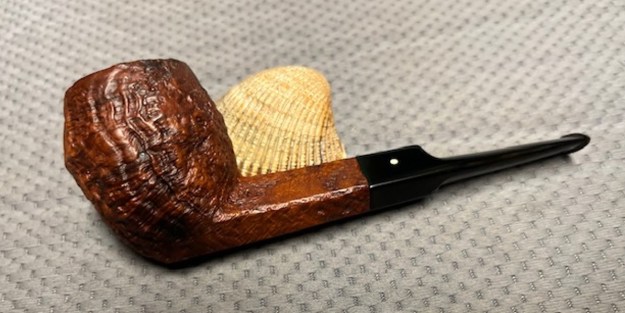
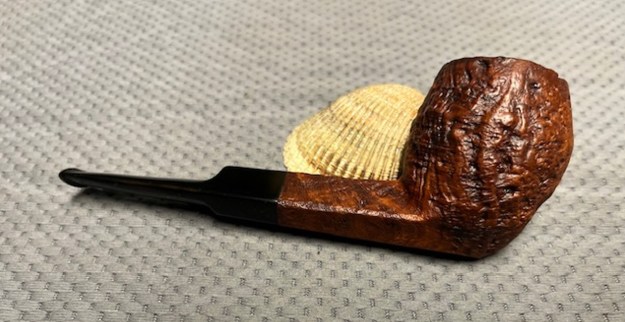
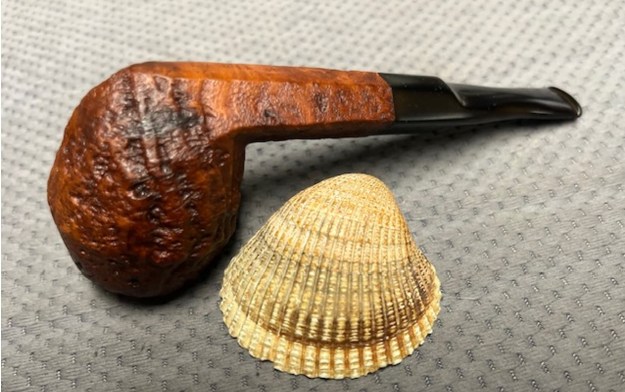
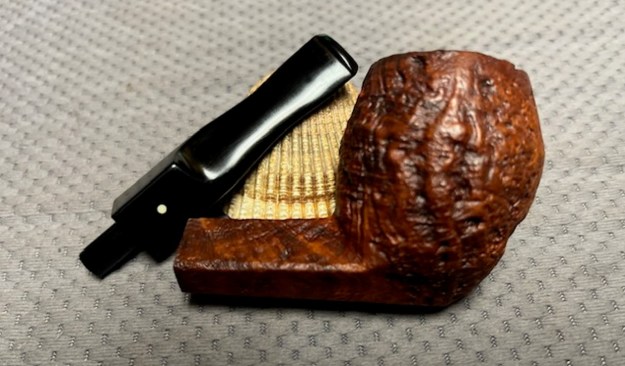
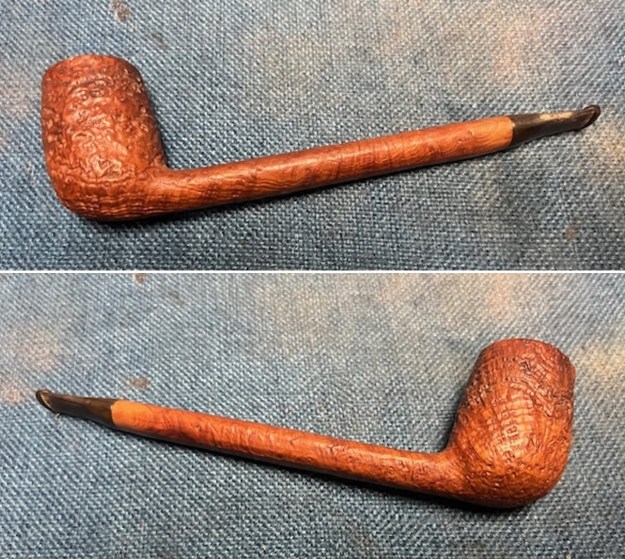
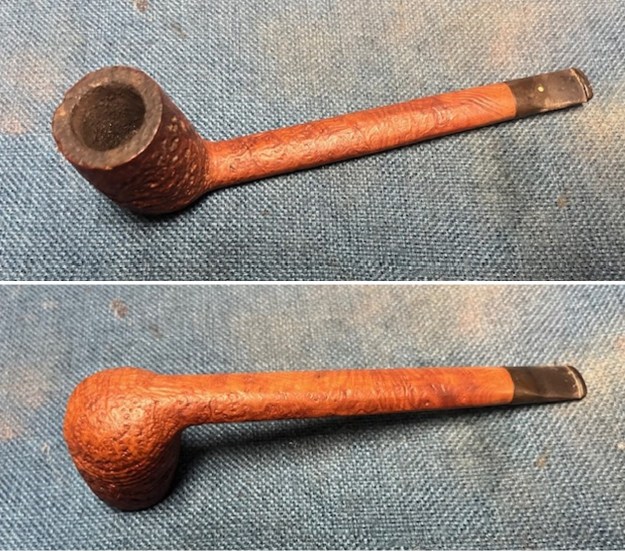
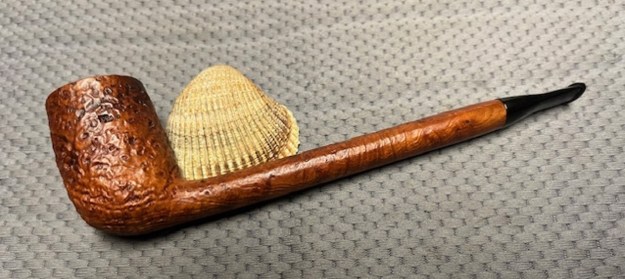
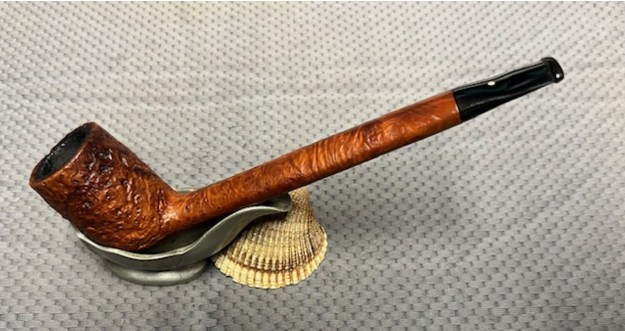
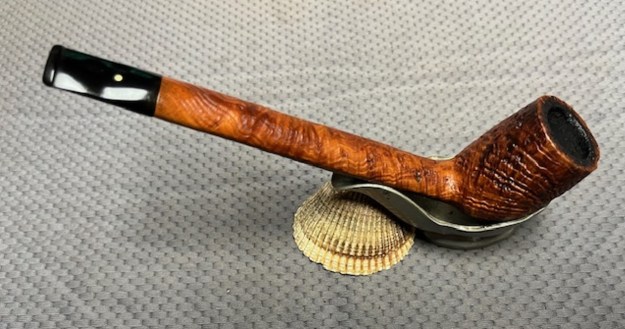
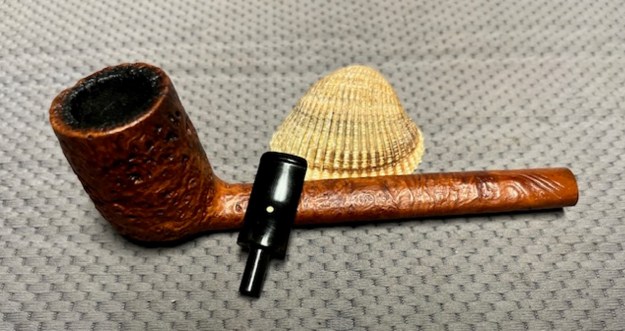
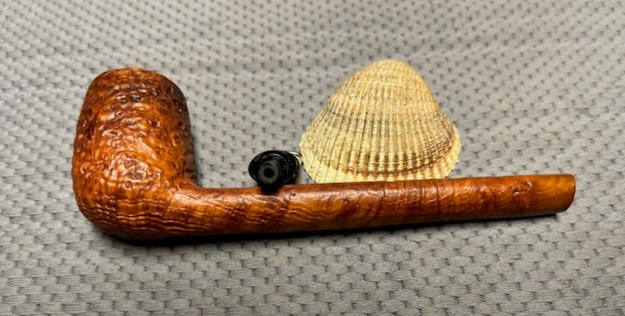
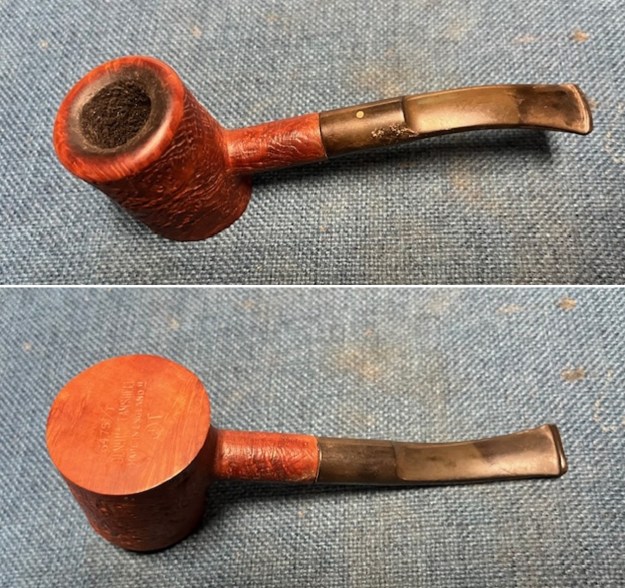
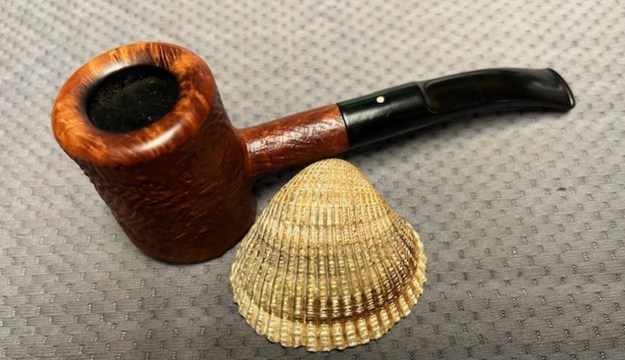
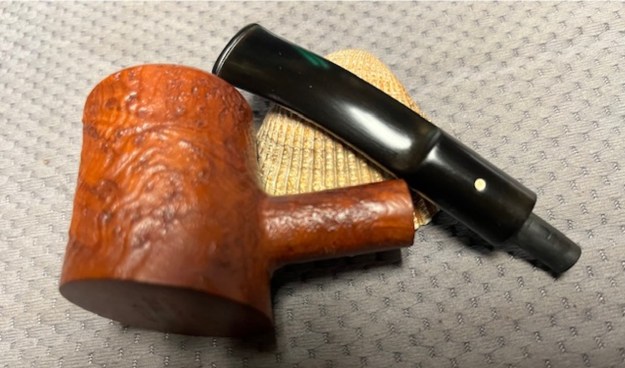
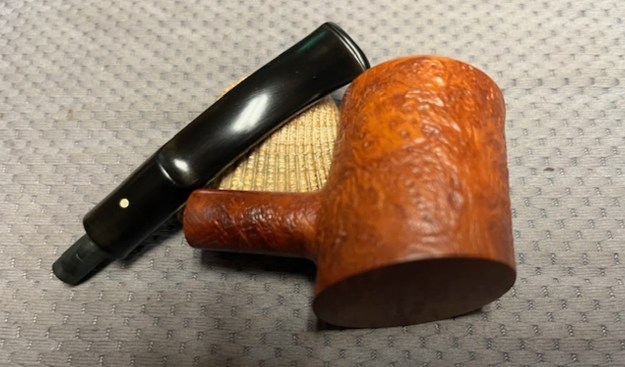
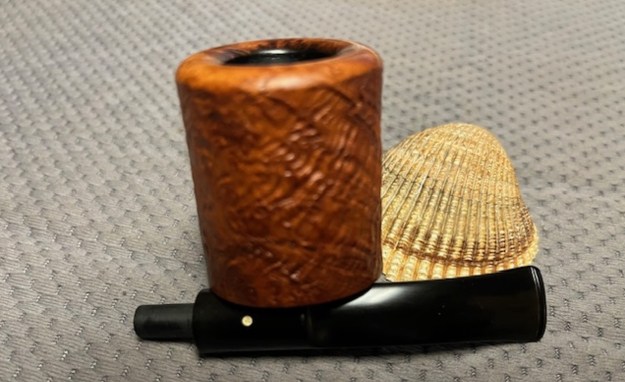
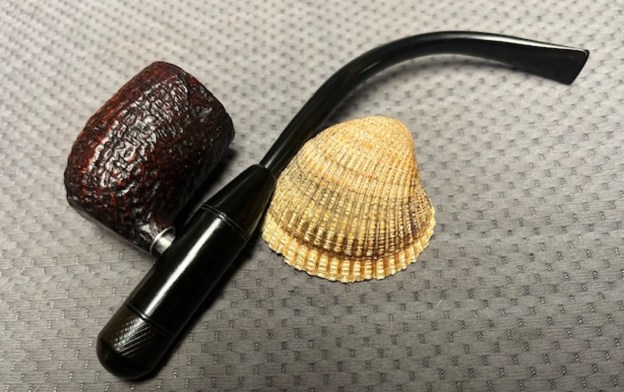
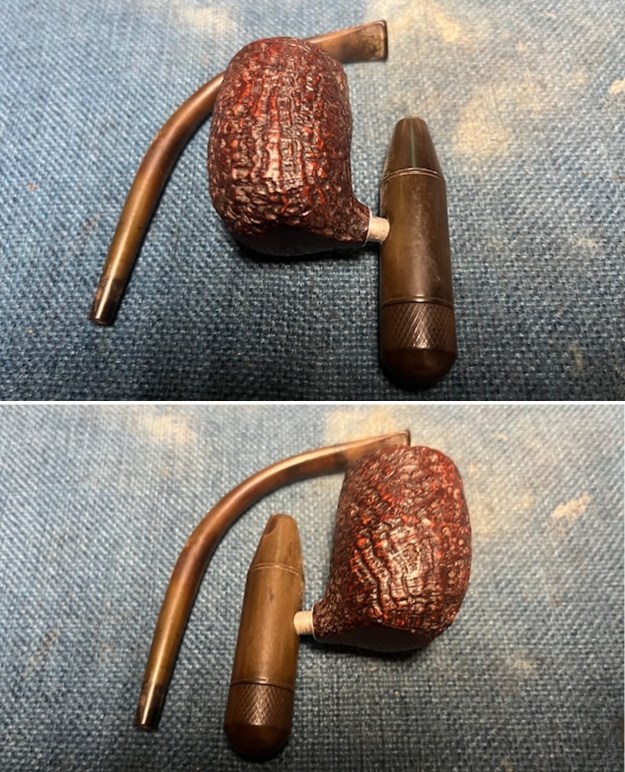
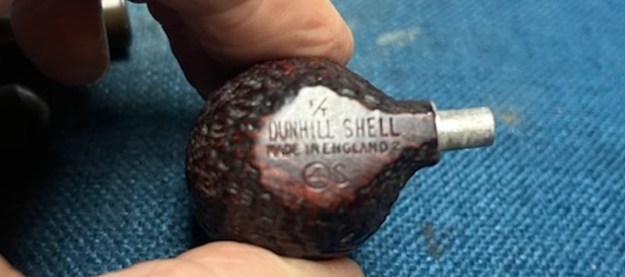
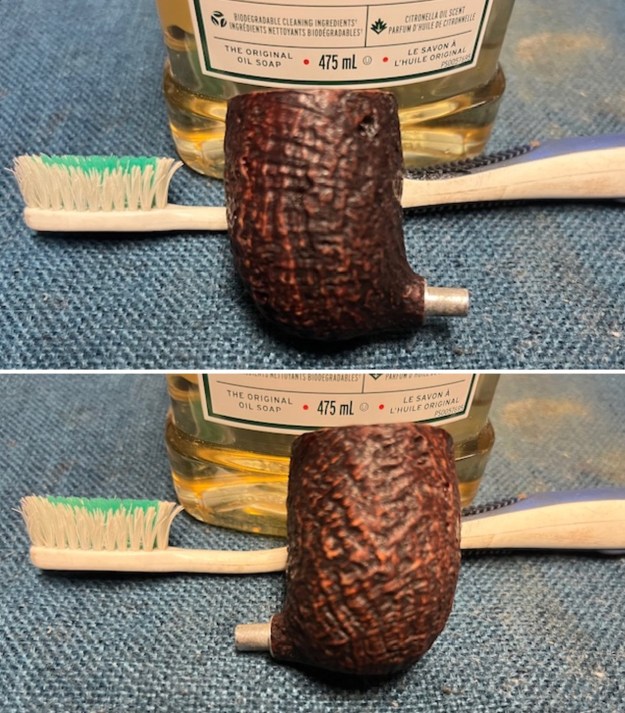
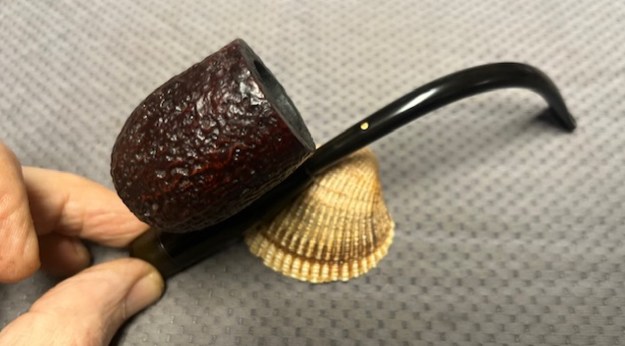
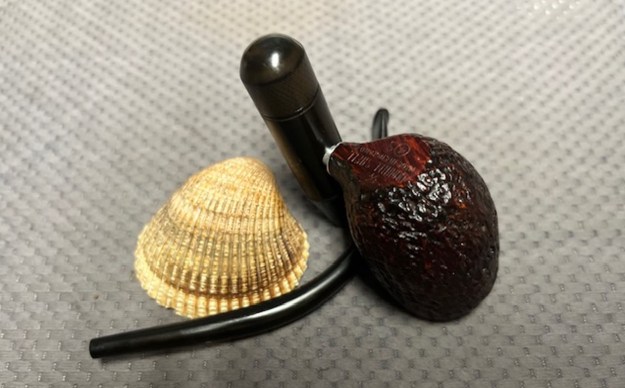
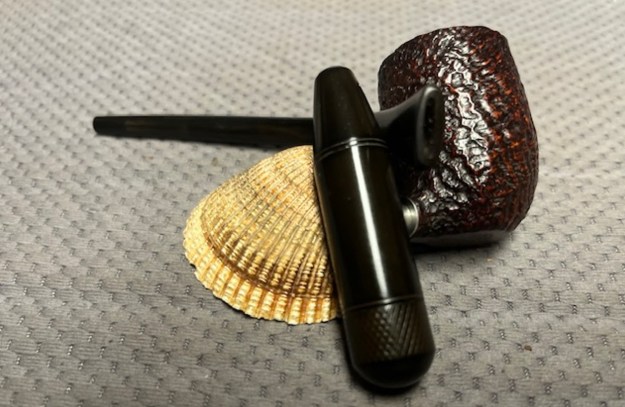
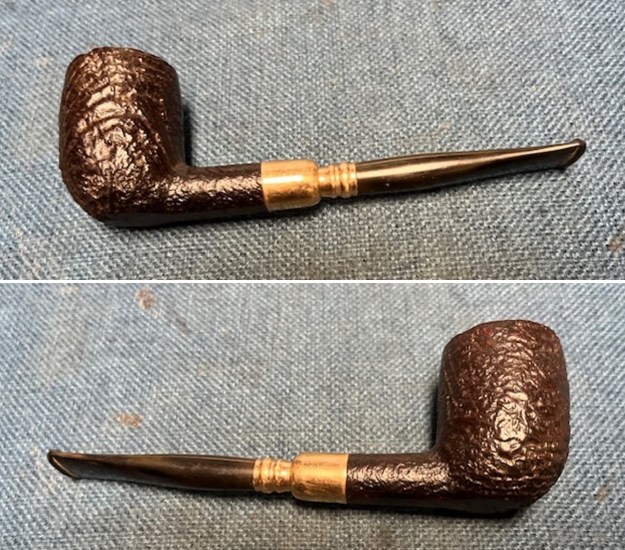
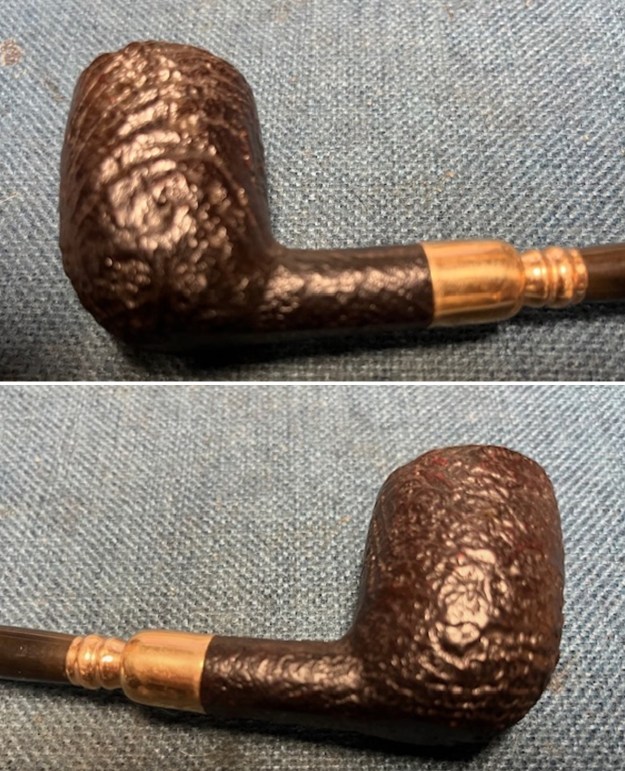
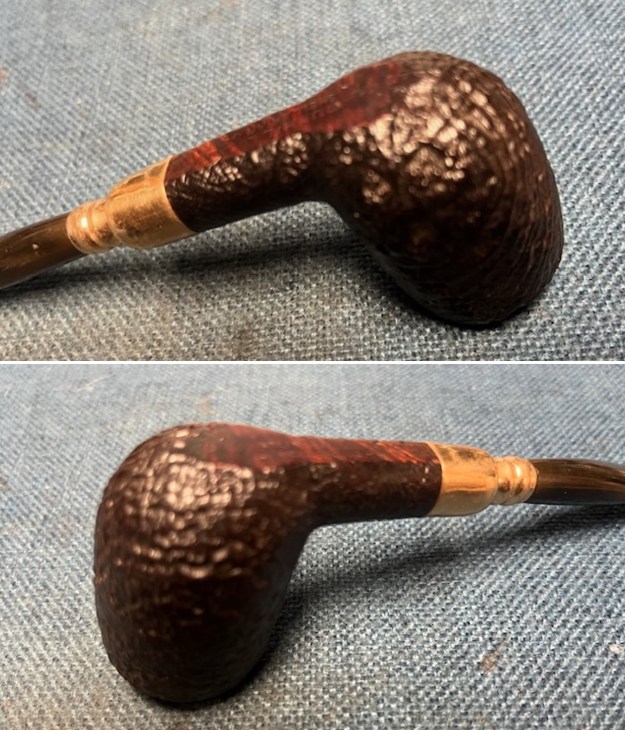
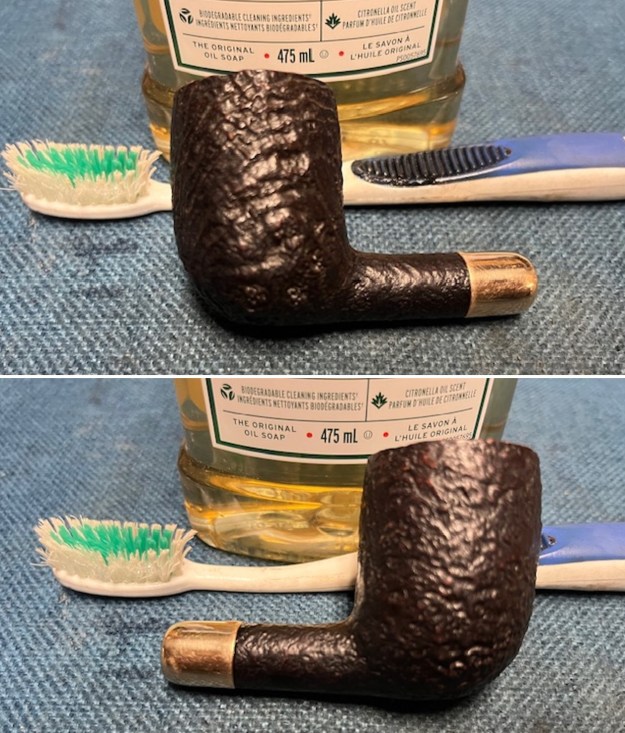
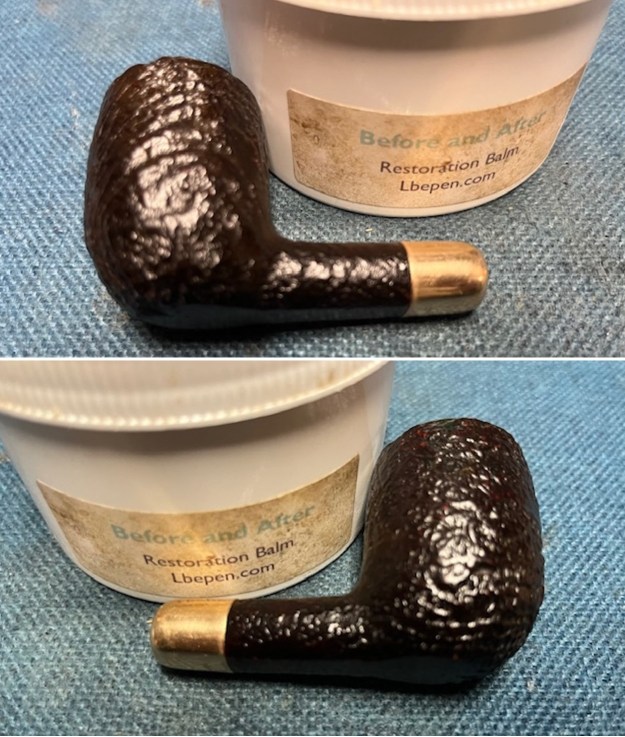
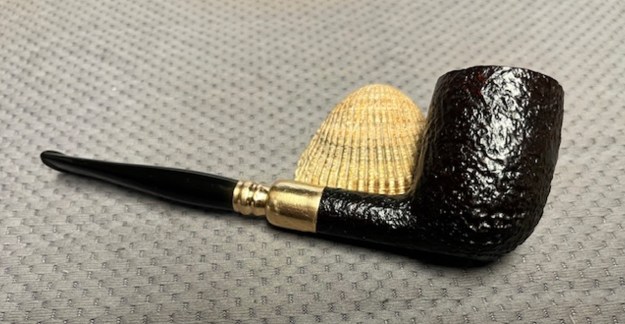
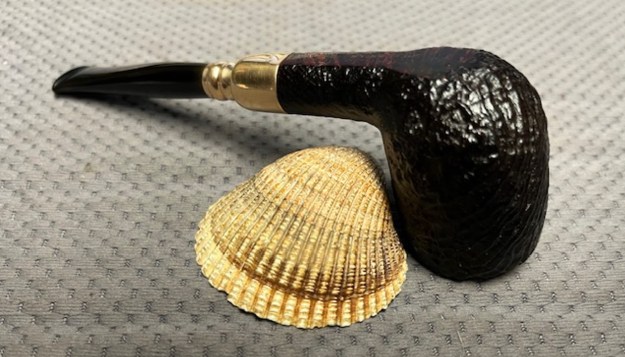
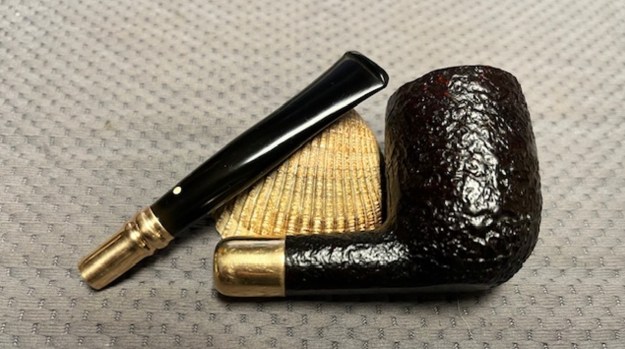
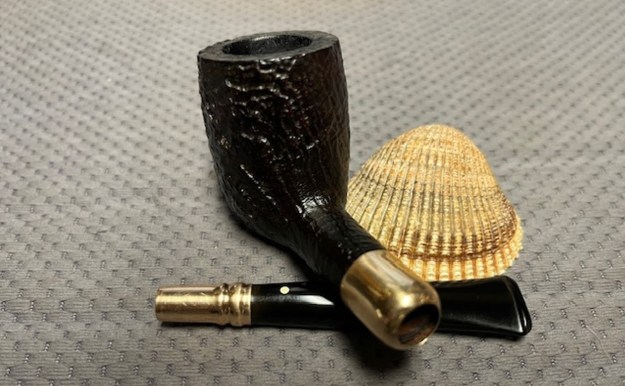
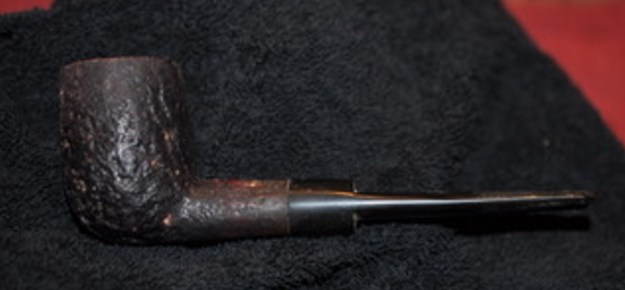
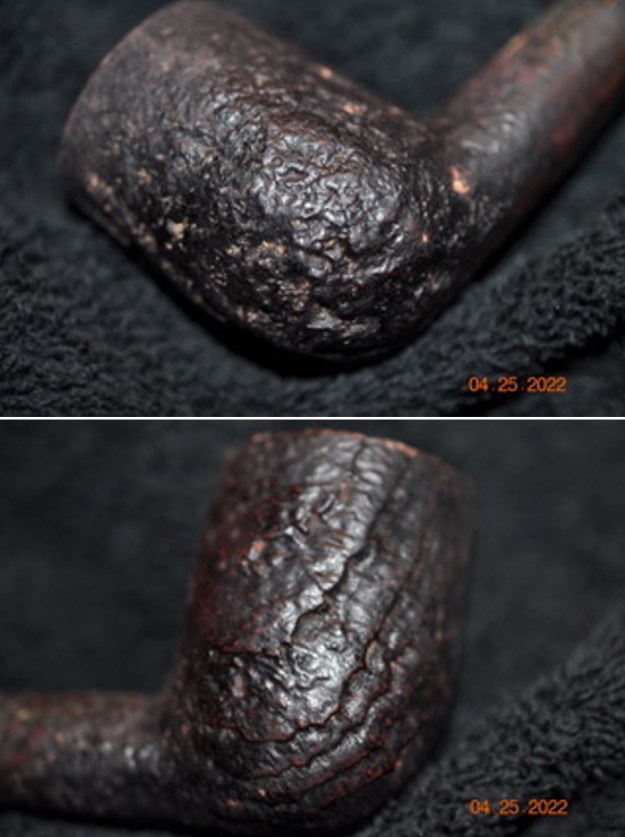
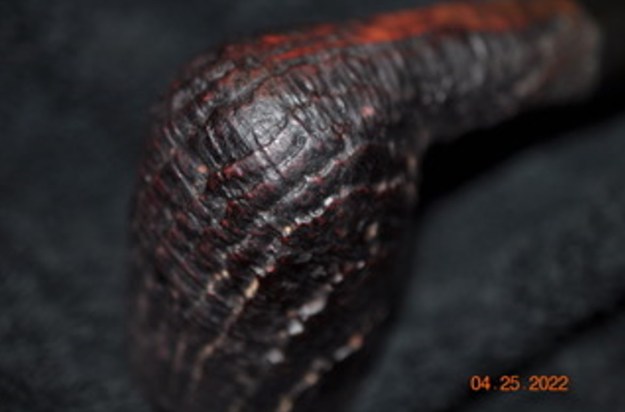
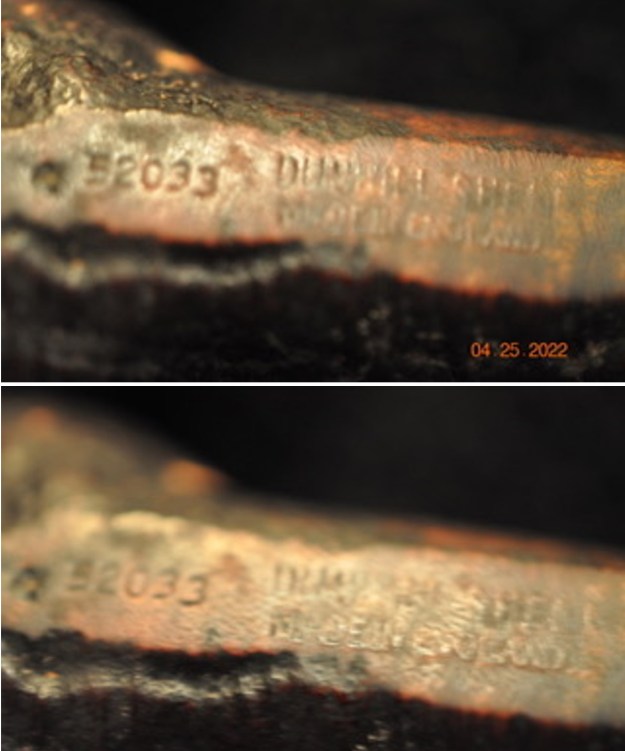
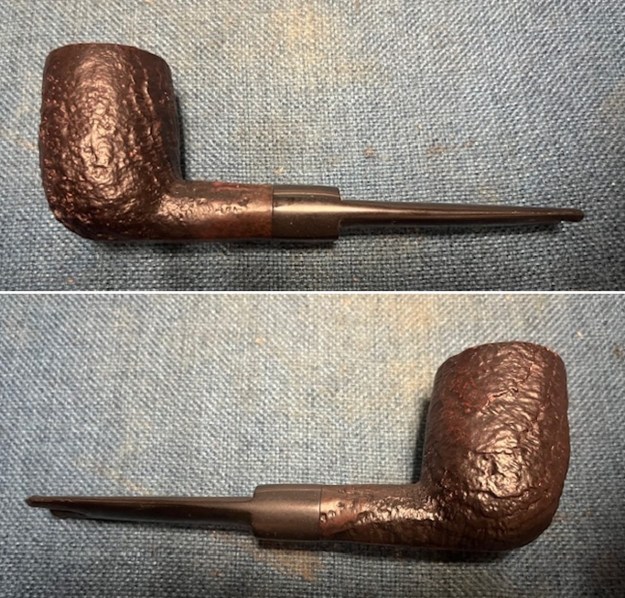
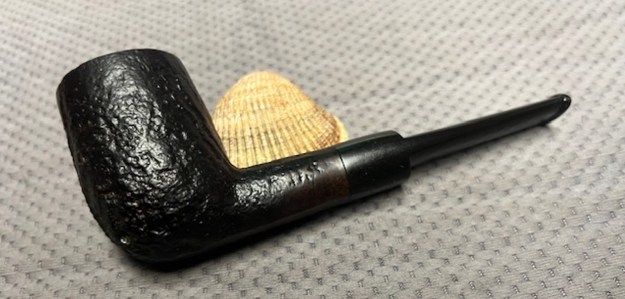
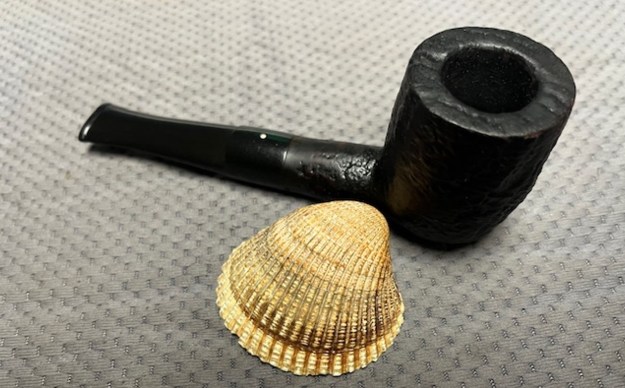
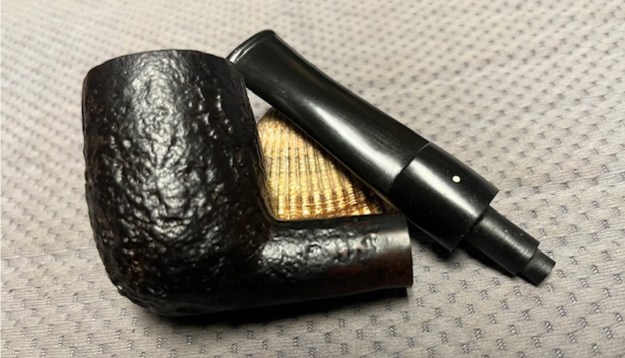
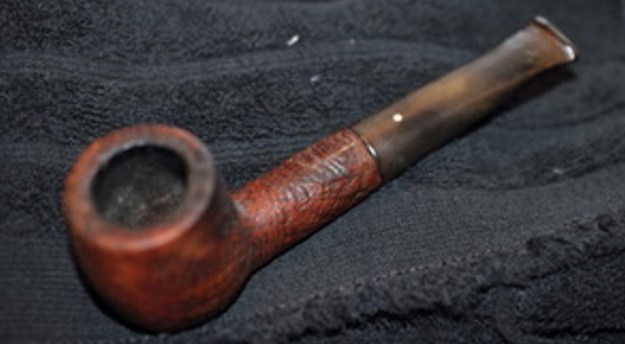
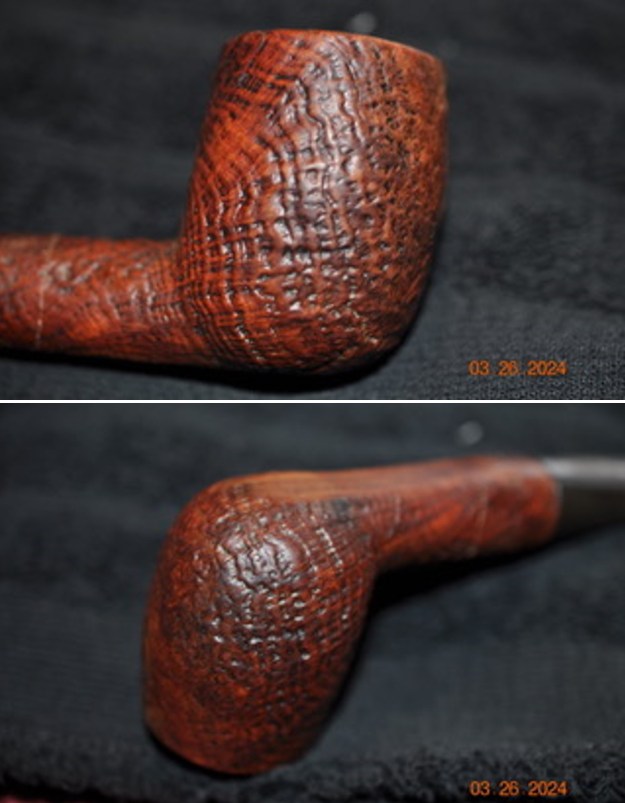
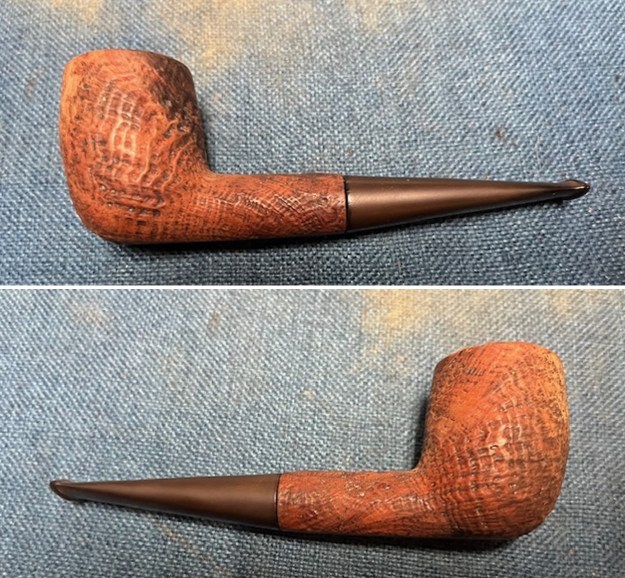
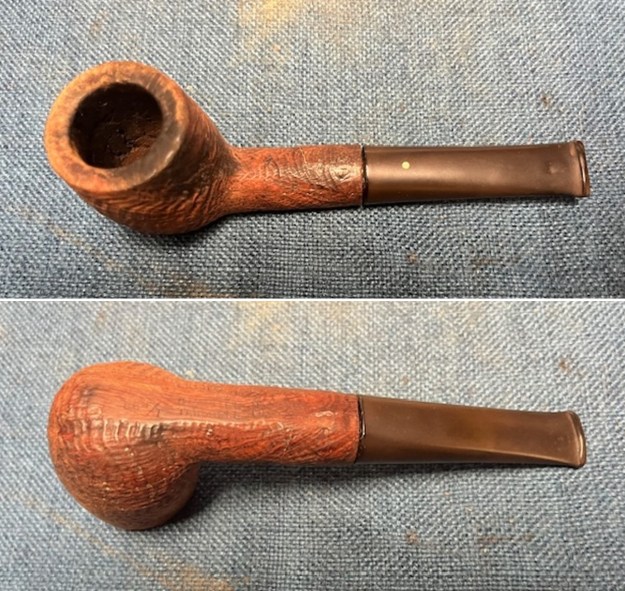
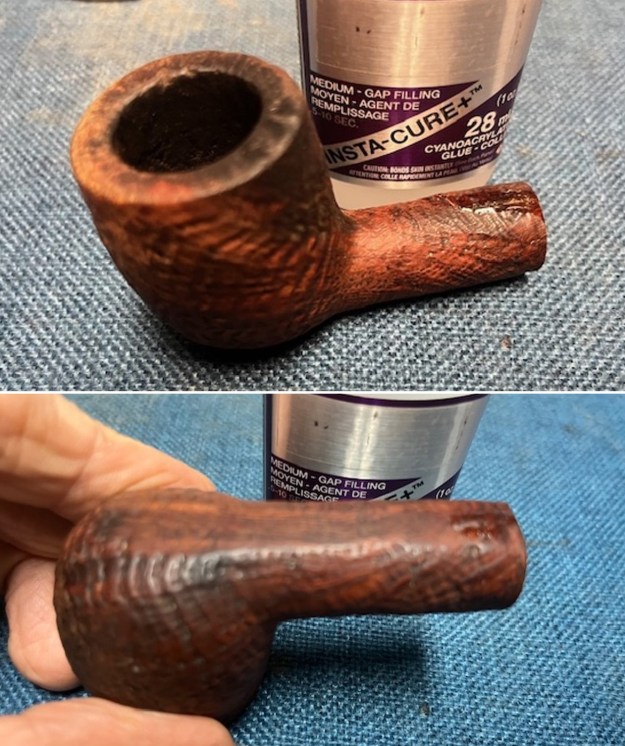
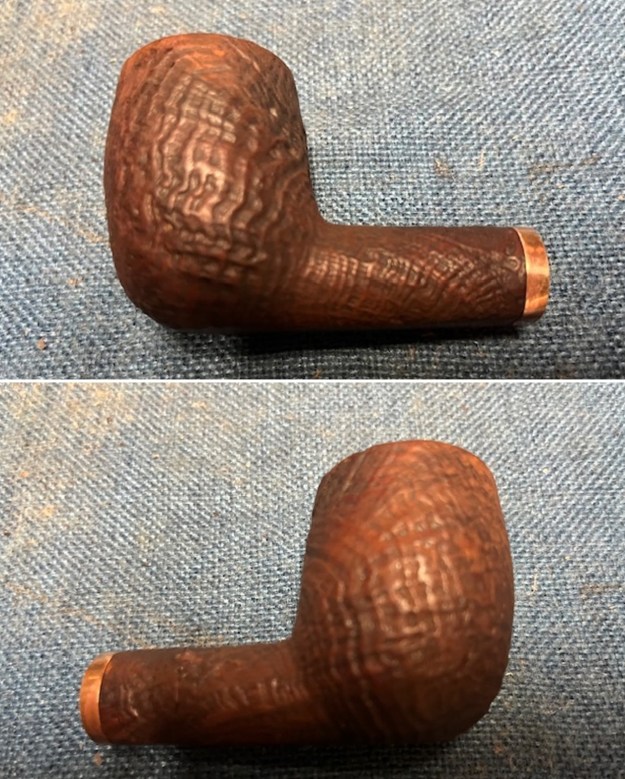
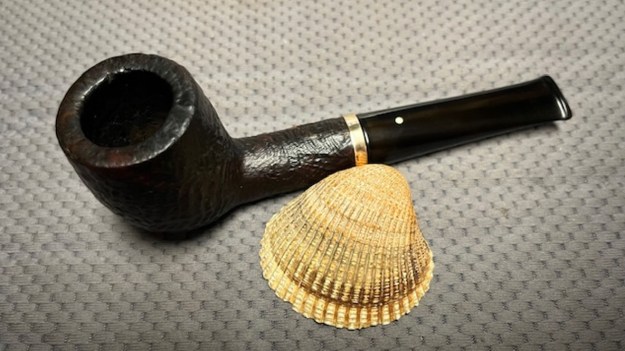
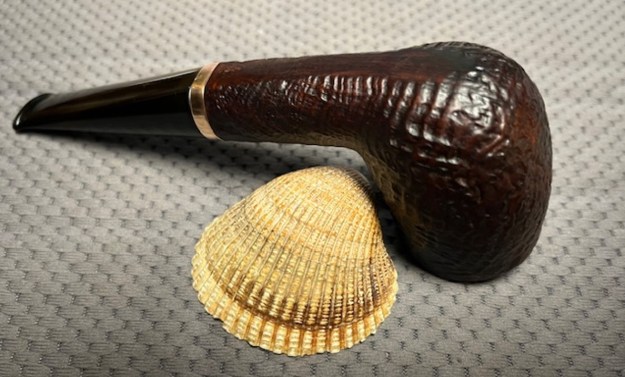
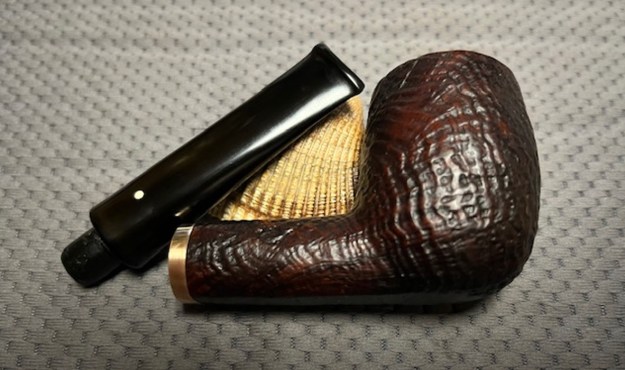
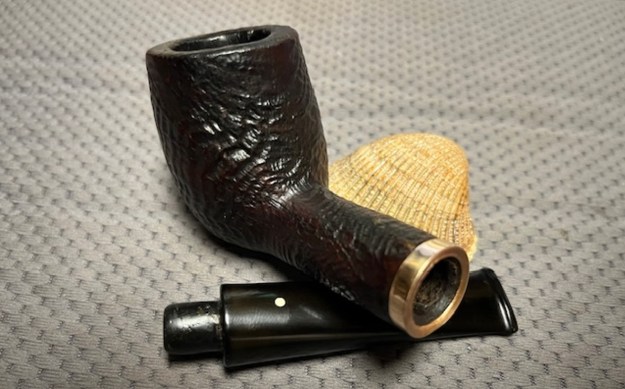
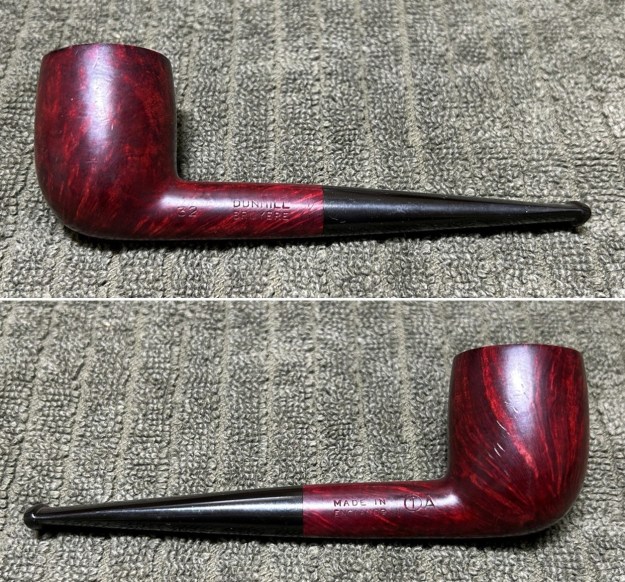
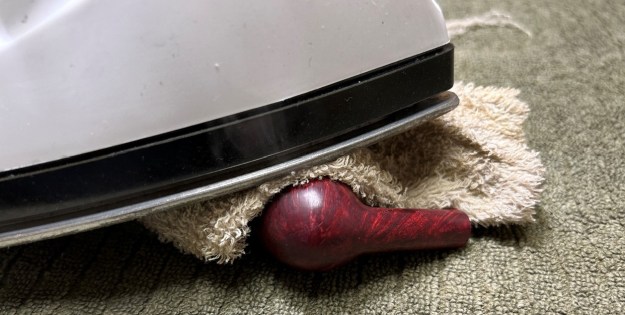
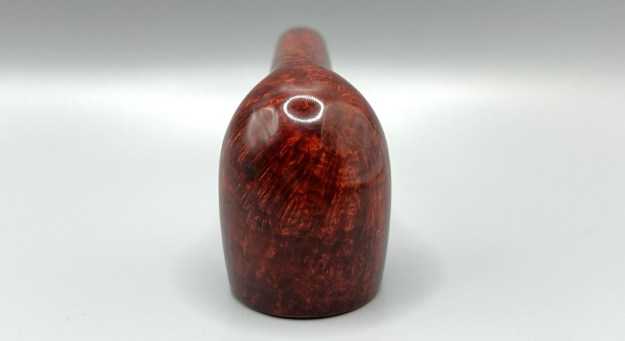
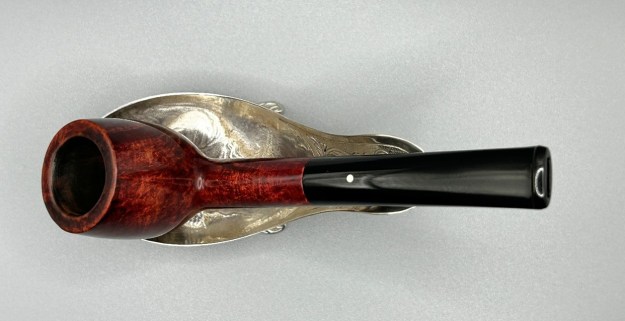
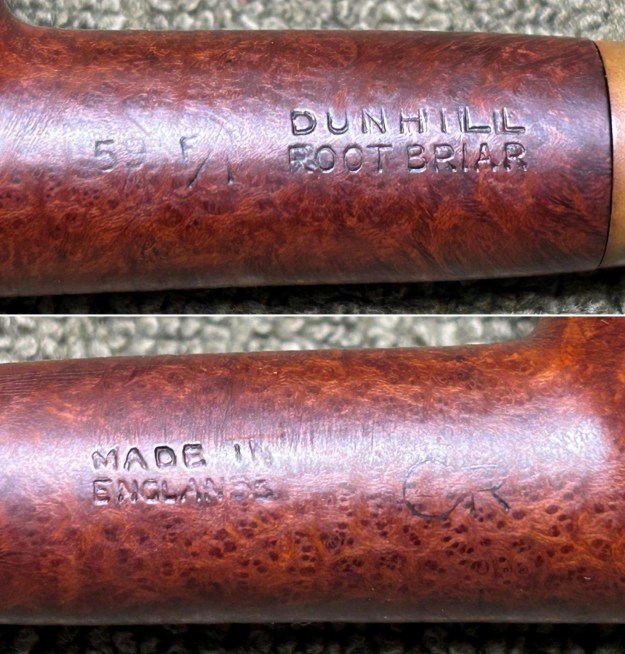
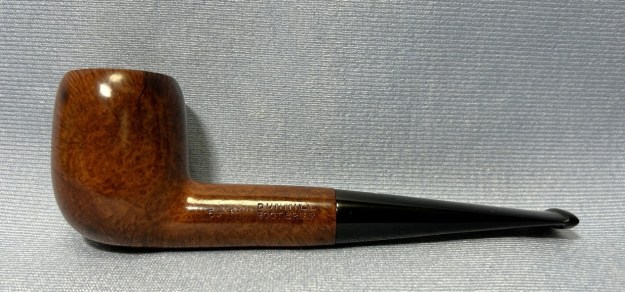
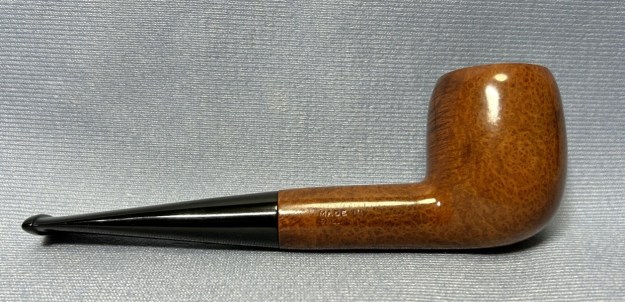
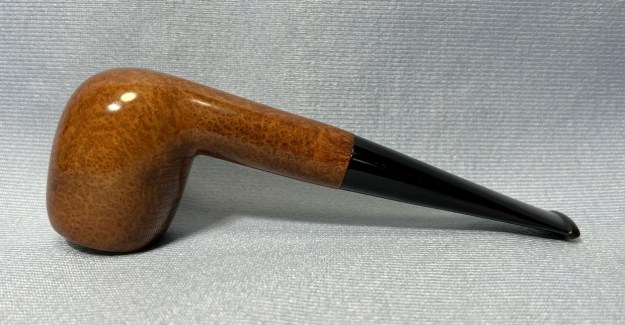
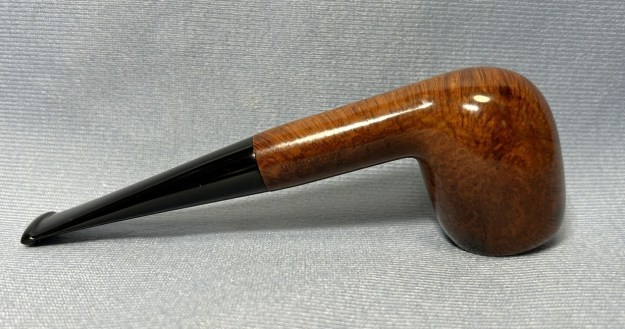
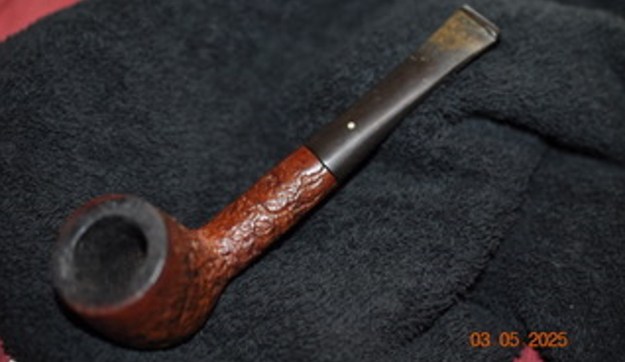
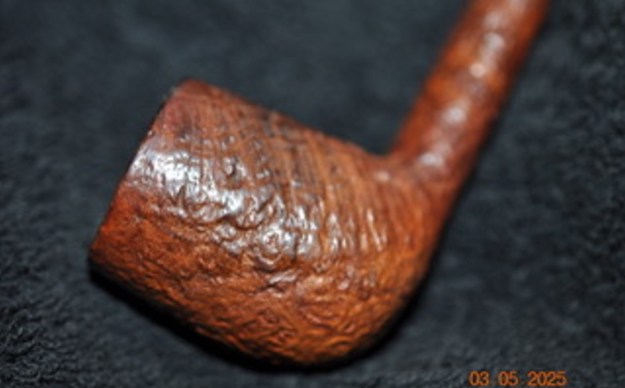
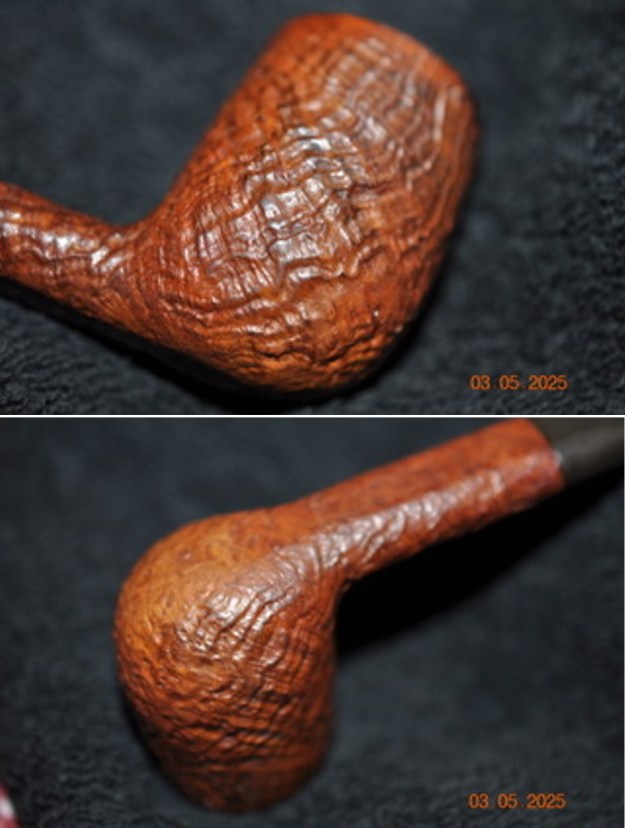
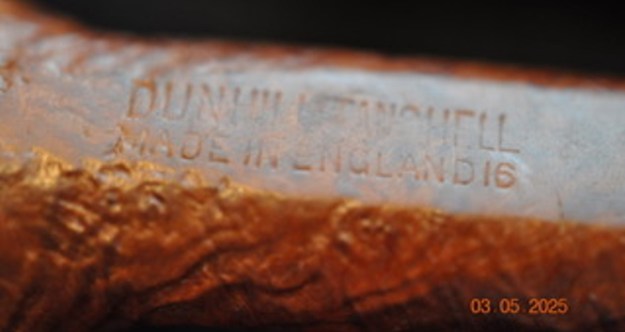
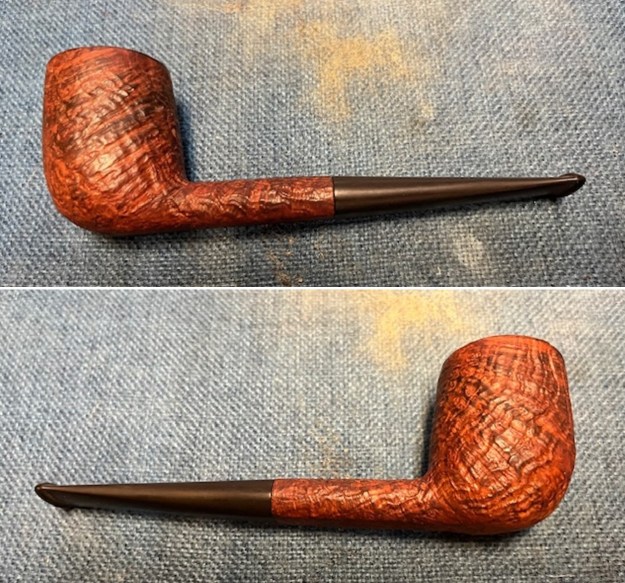
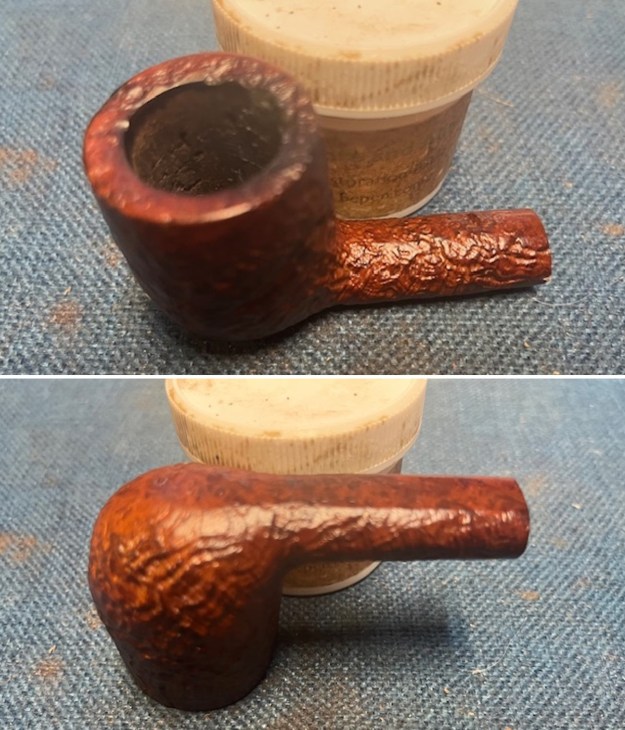
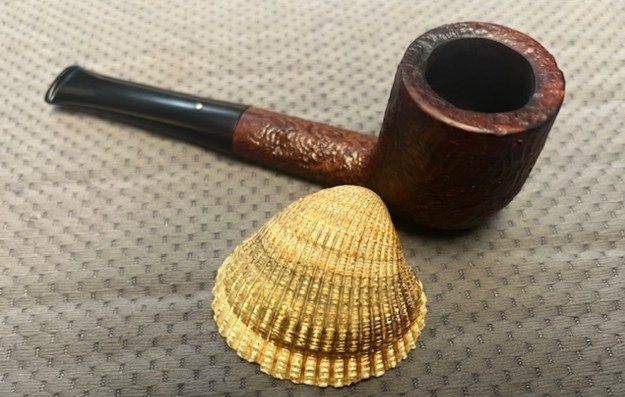
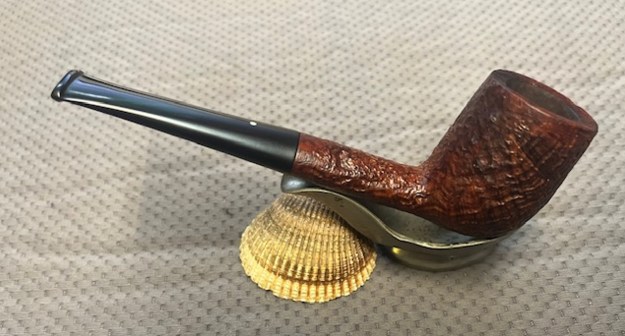
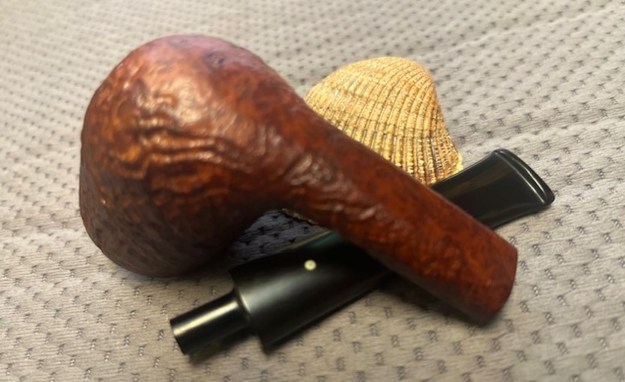
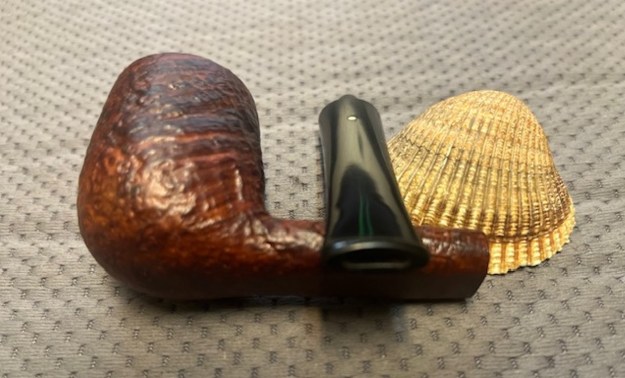
The next pipe on the table is another one that came to us from the seller in Caldwell, Idaho, USA on 07/12/2025. It is a Dunhill Tanshell Diamond Shank Straight Bulldog with a vulcanite saddle stem. It is in dirty but in good condition as can be seen in the photos below. It is stamped on a smooth panel on the underside of the heel and shank and reads OX [followed by] Dunhill [over] Tanshell [followed by] Made in England4 [over] Pat. No. 417574/34 [followed by] circle 4T. The stamping is clear and readable. The pipe has rich Tan and Brown stains on a deep sandblast finish and some amazing grain that the shape follows well. The finish was dusty and lightly dirty with grime in the nooks and crannies of the rugged, deep sandblast. The bowl had a moderate cake and there was tobacco debris in the bowl. The rim top had a thick lava coat in the sandblast rim top and edges. The original white spot short taper stem is dirty and oxidized. I took photos of the pipe to show what it looked like before I started working on it. 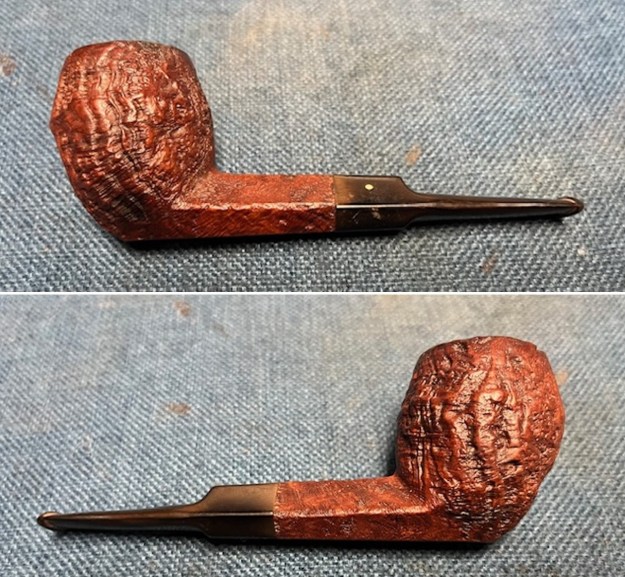
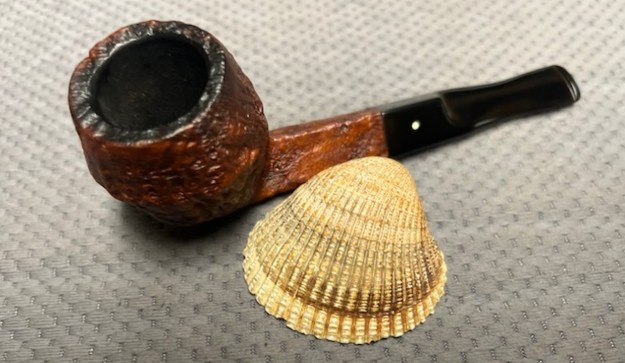
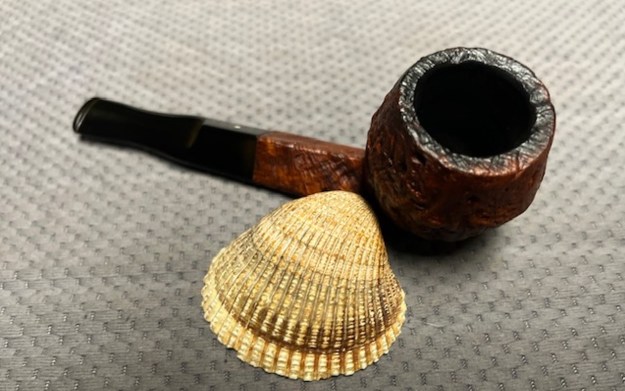
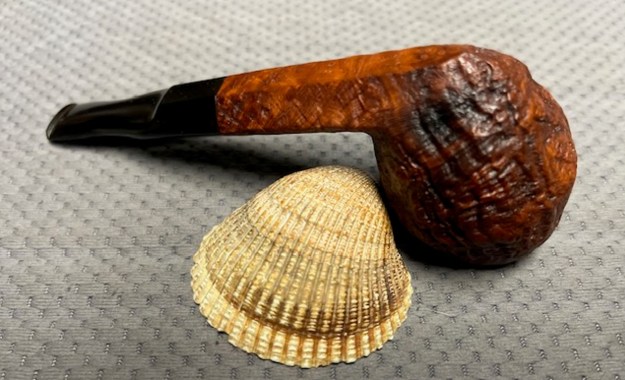
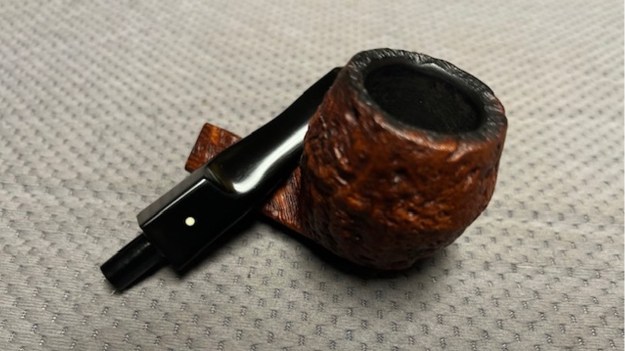
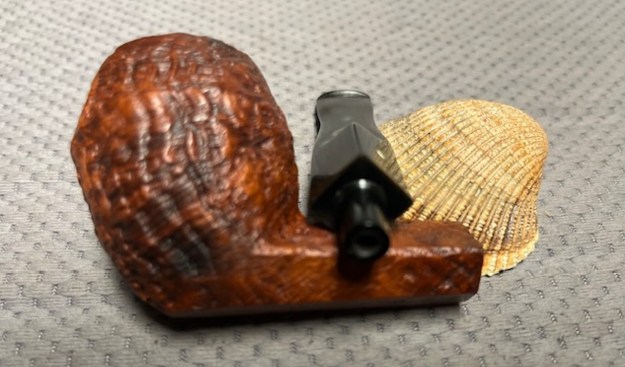
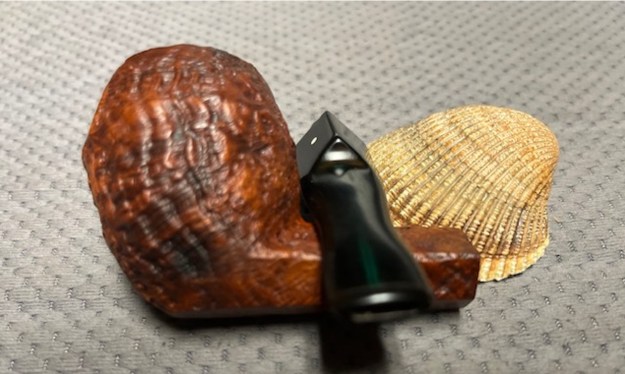
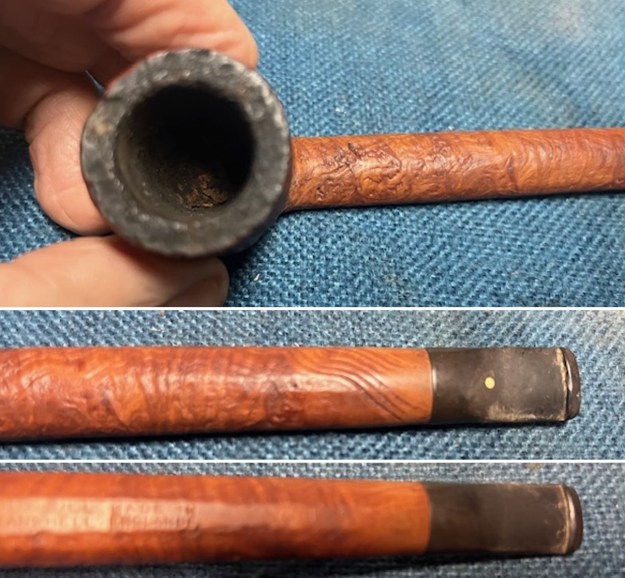
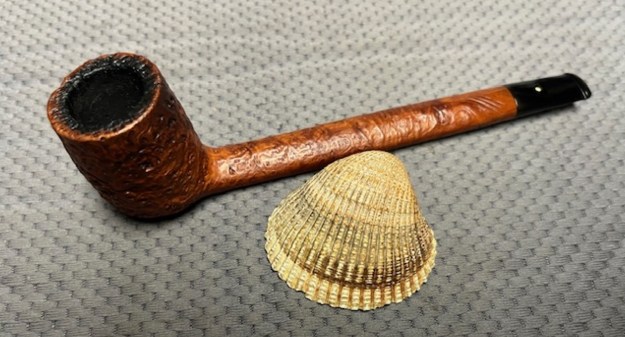
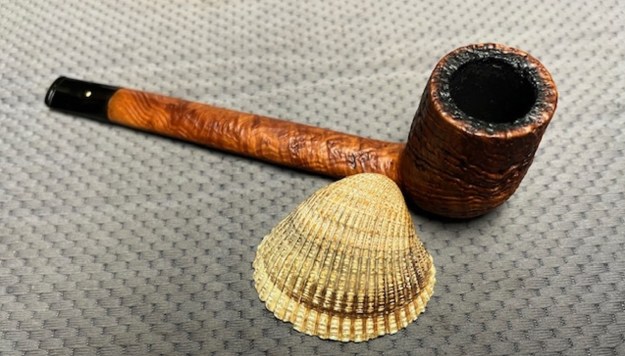
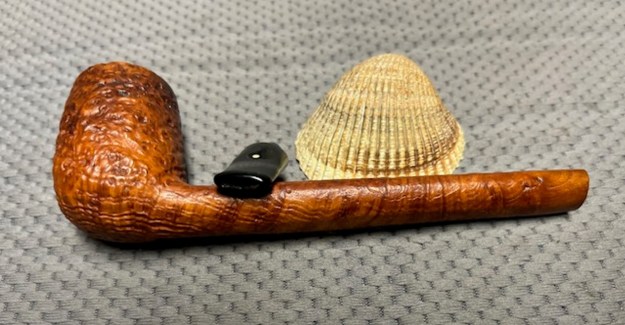
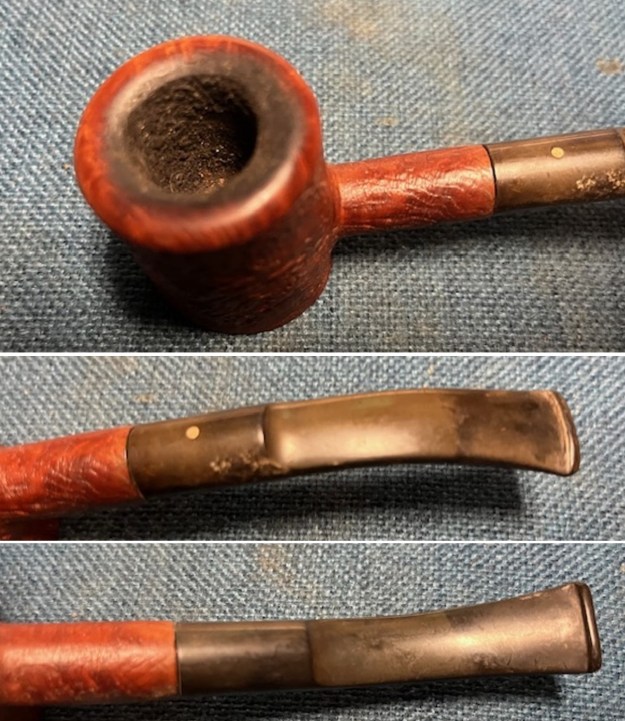
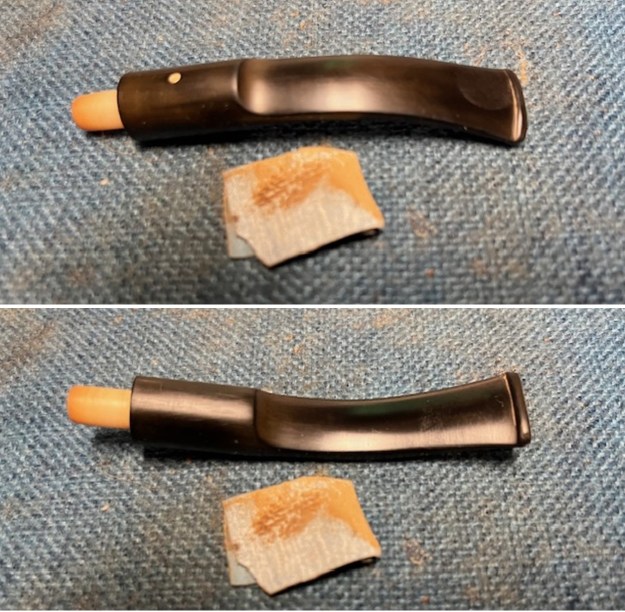
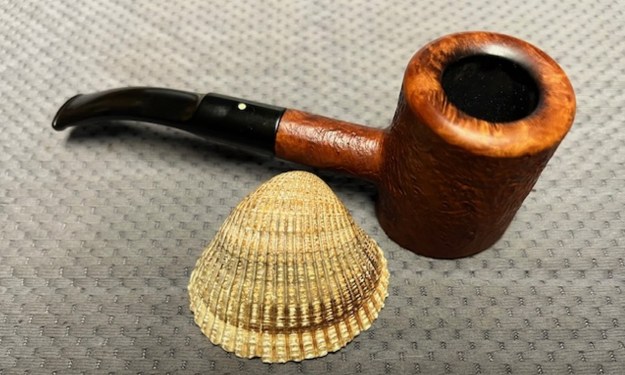
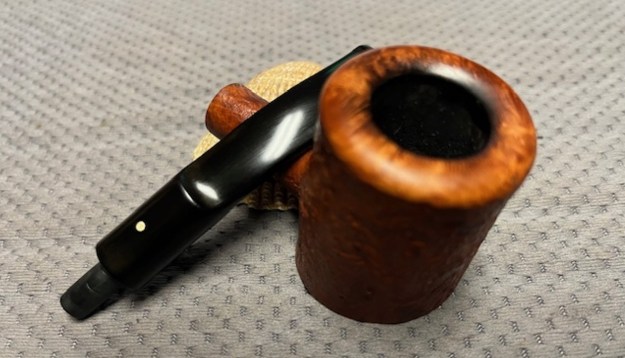
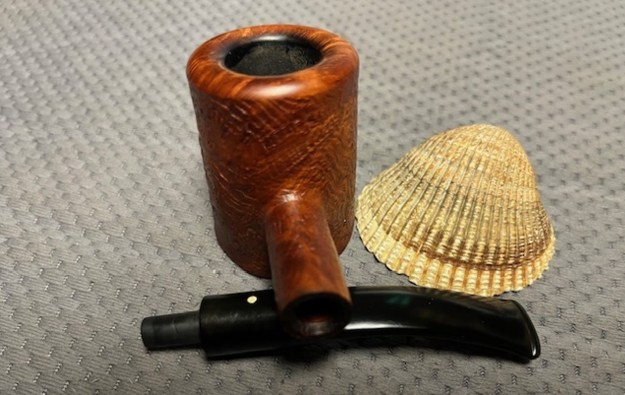
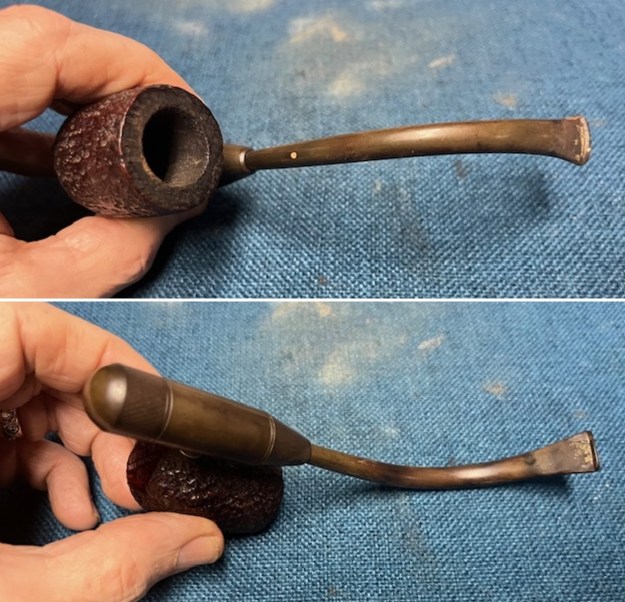
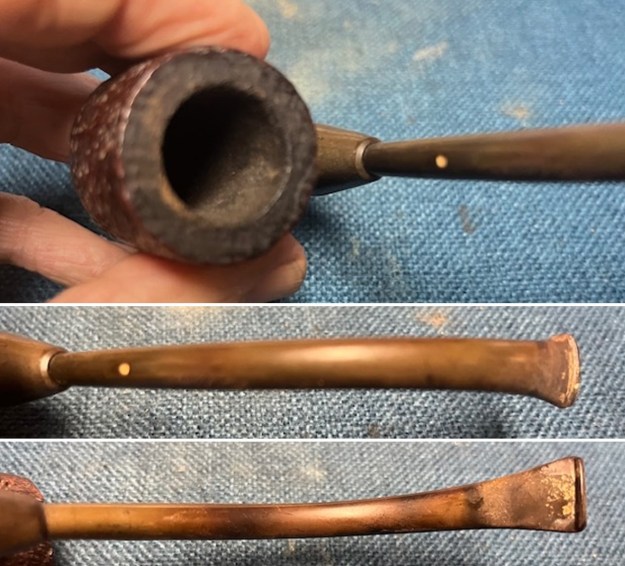
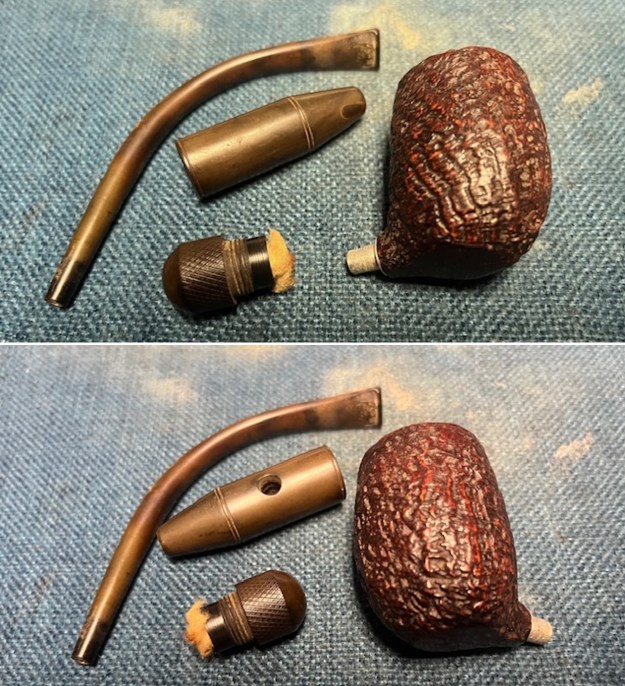
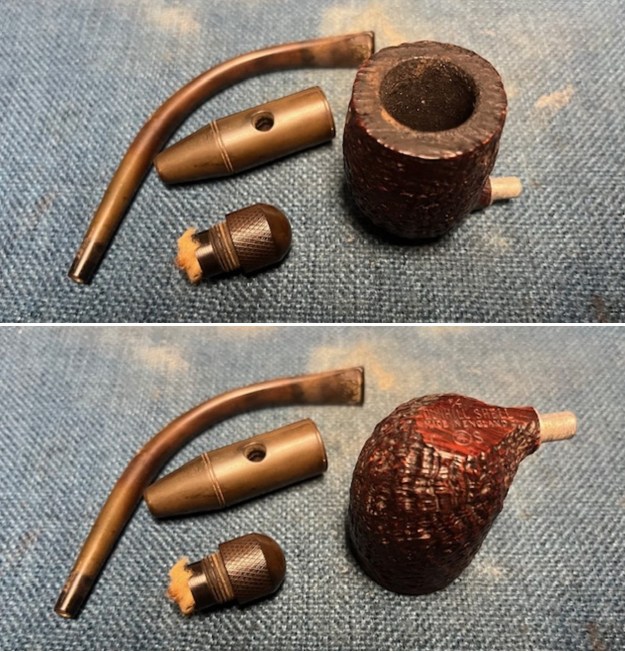
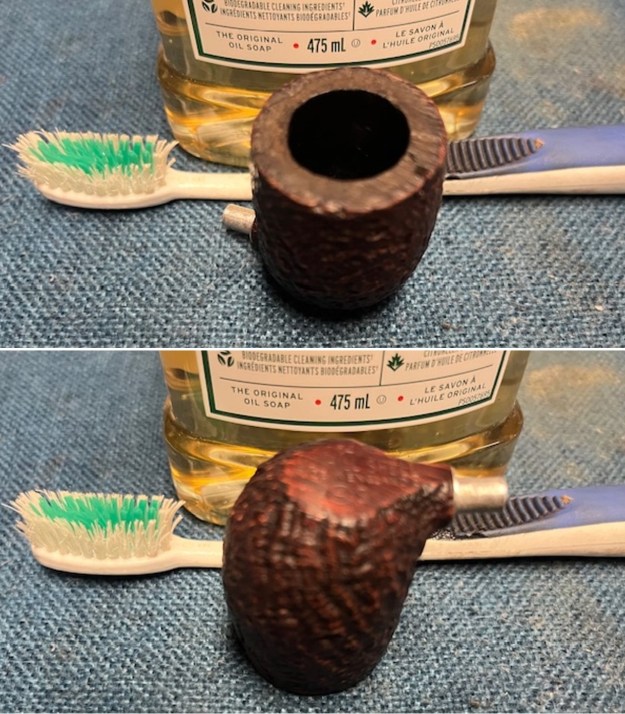
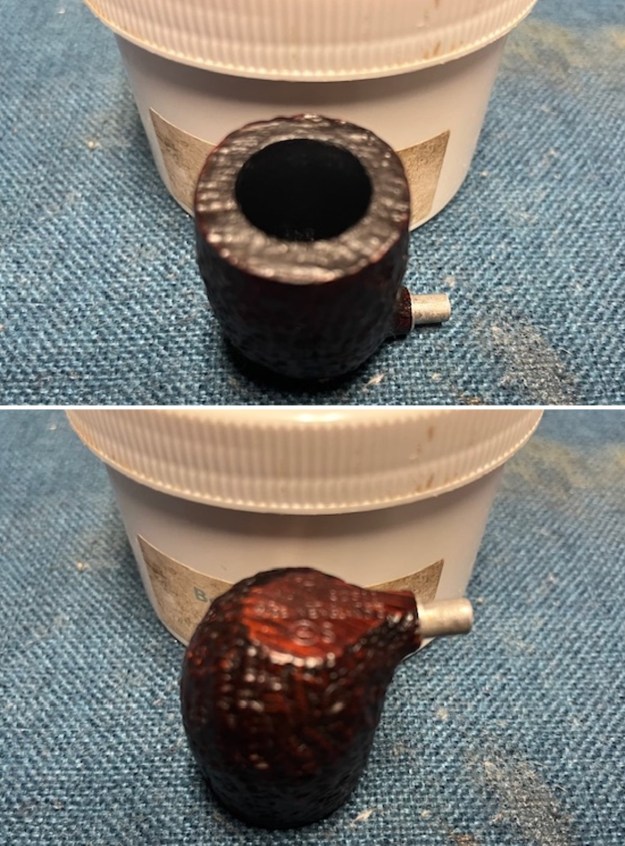
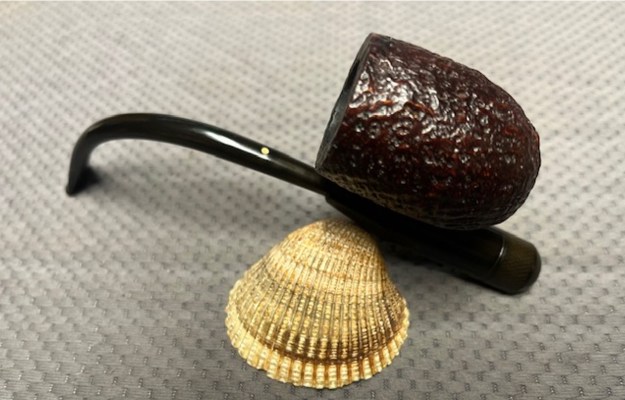
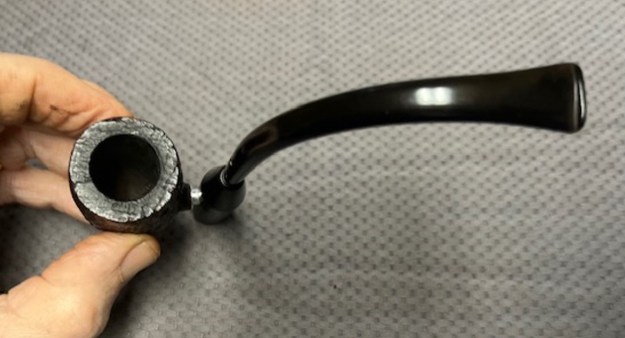
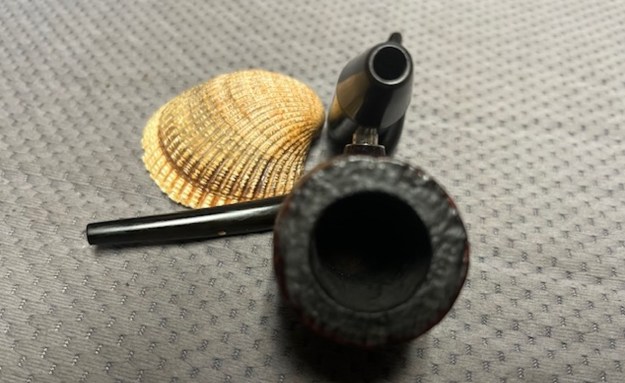
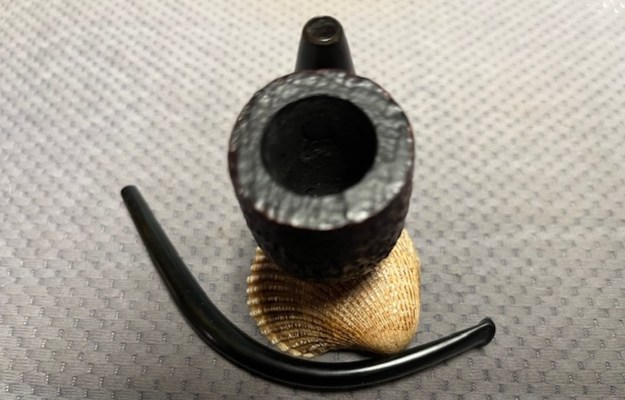
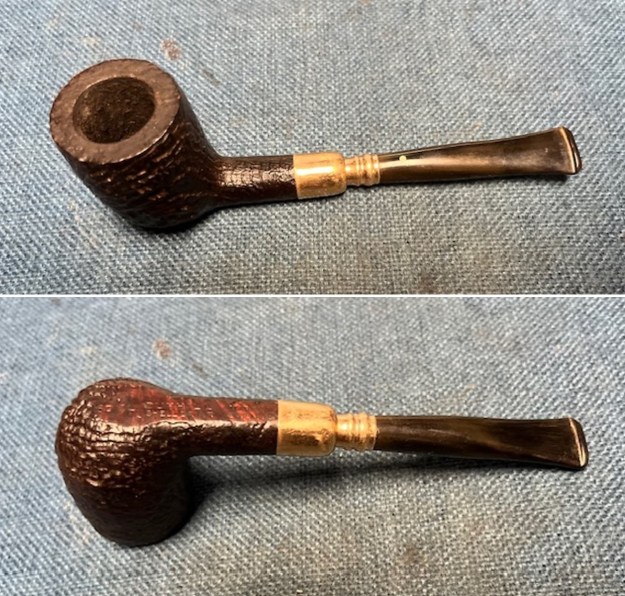
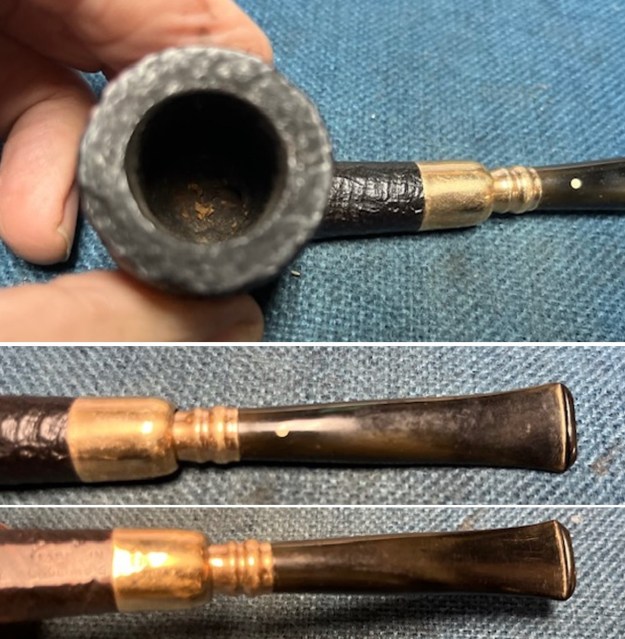
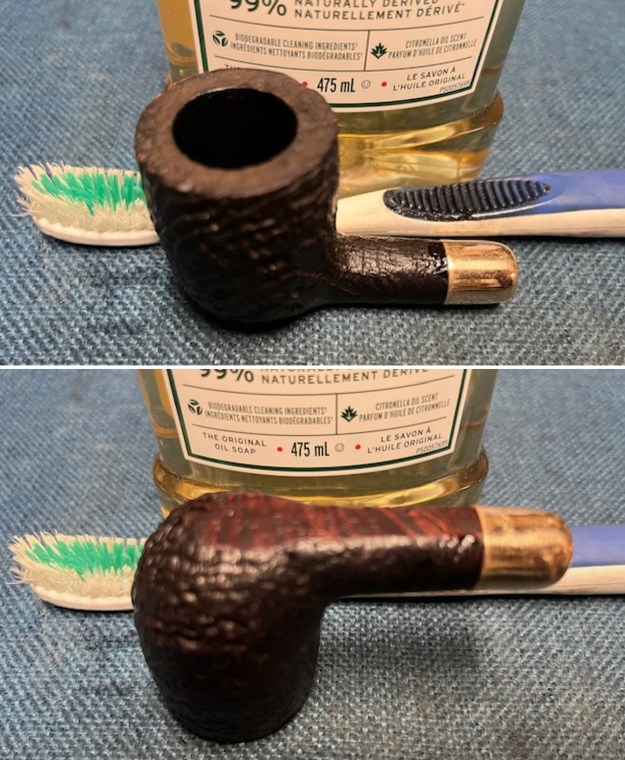
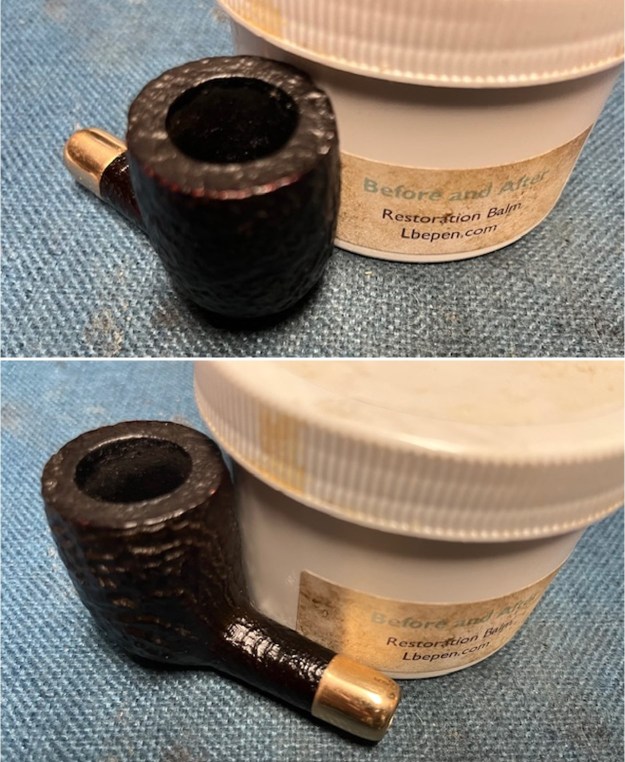
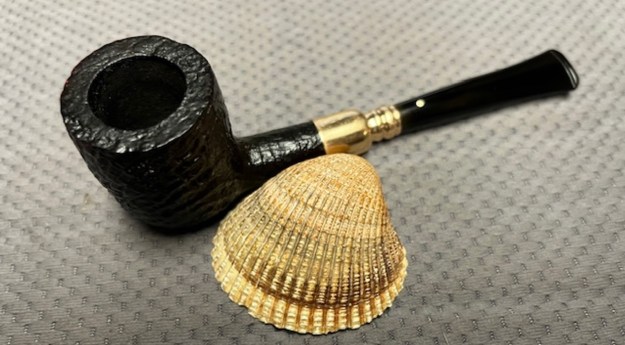
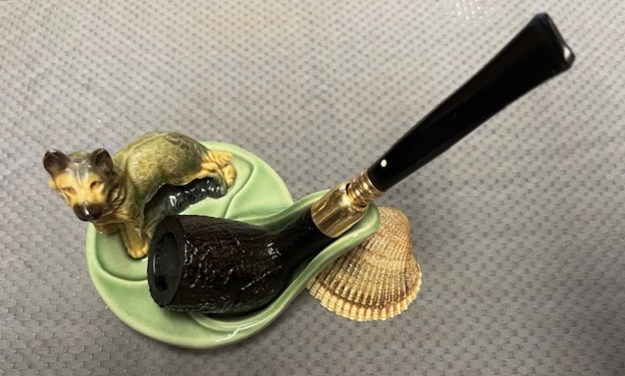
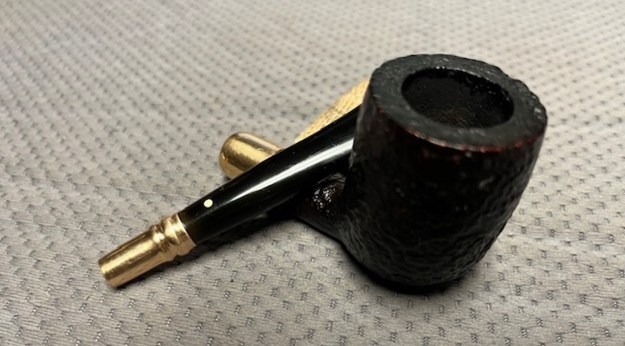
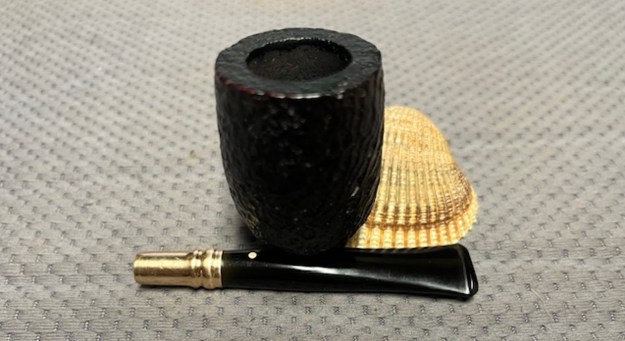
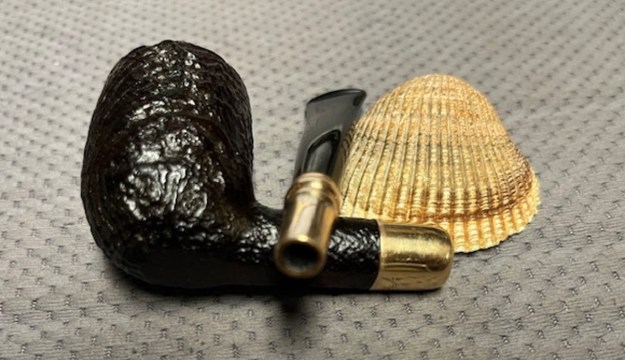
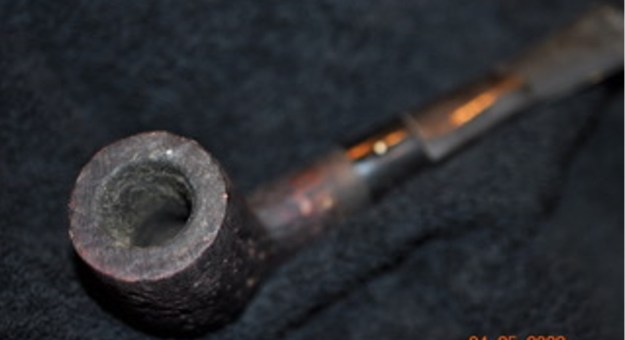
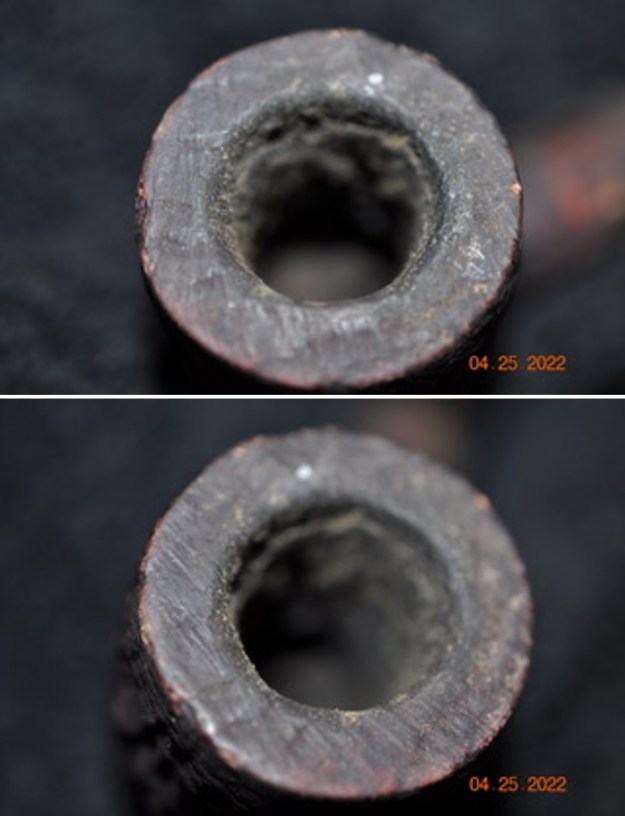
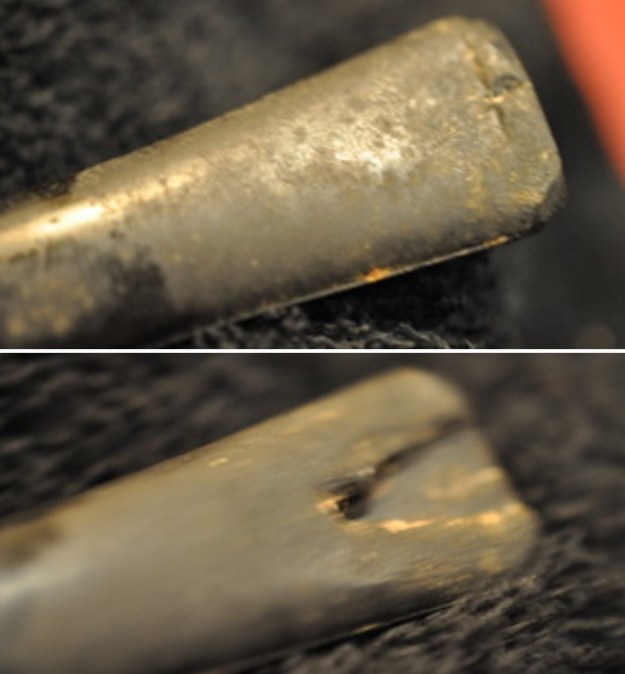
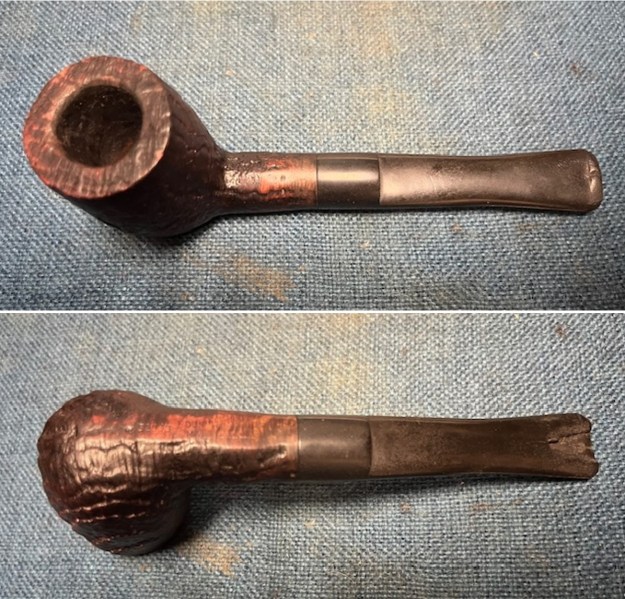
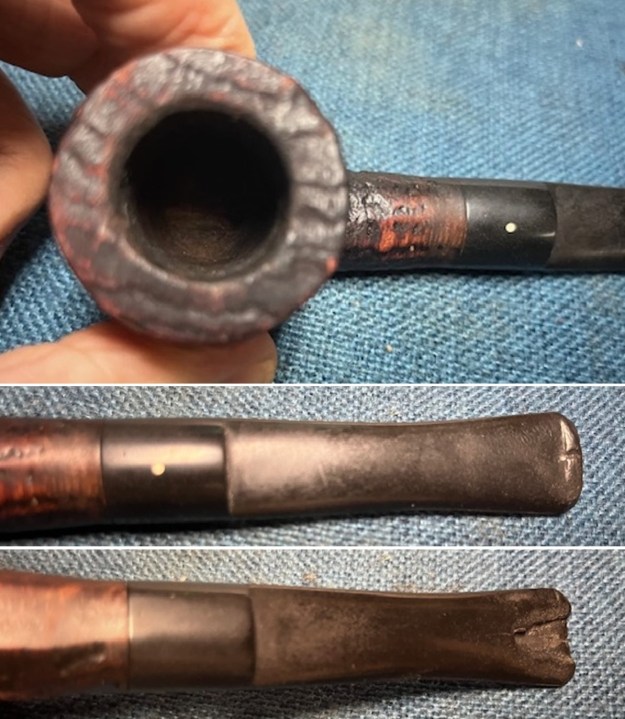
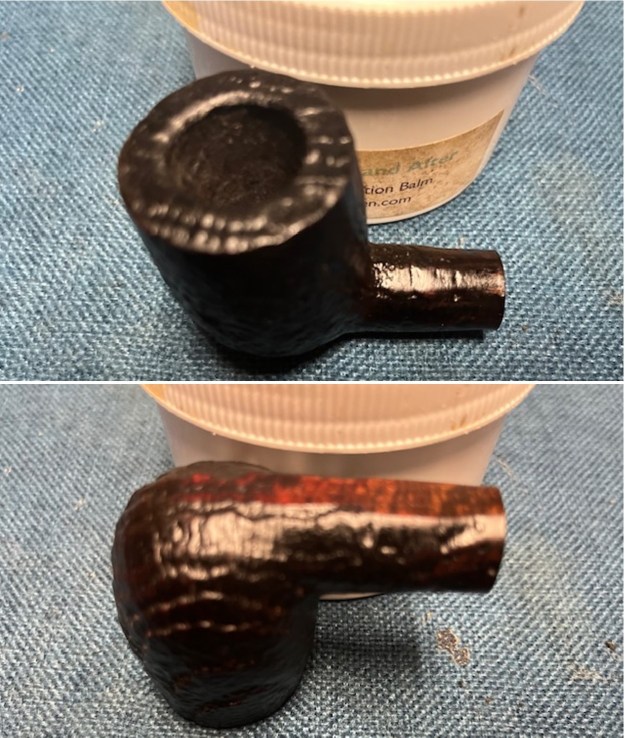
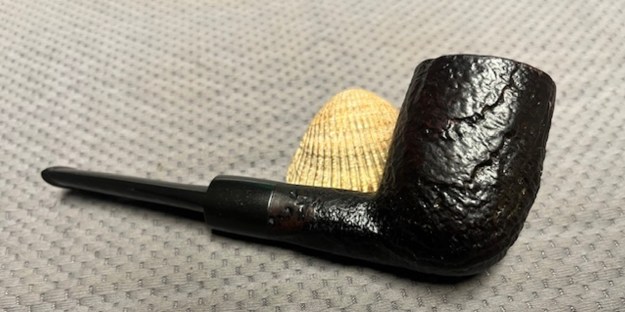
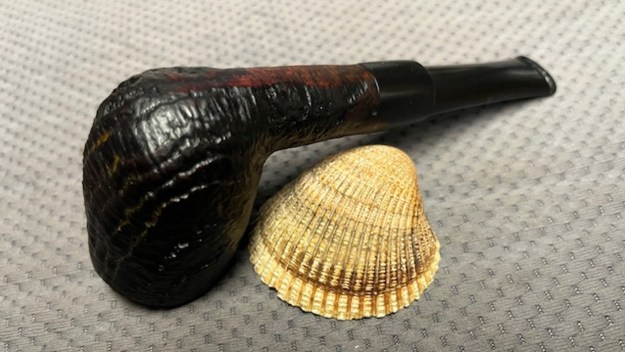
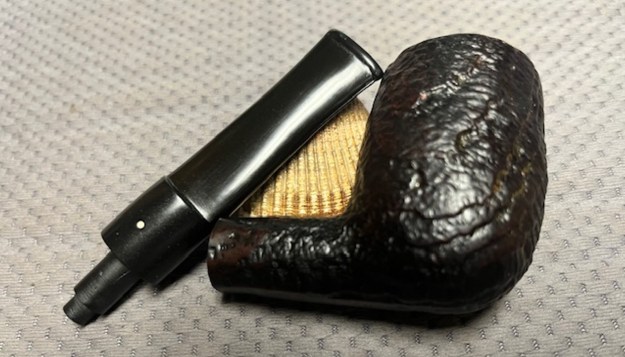
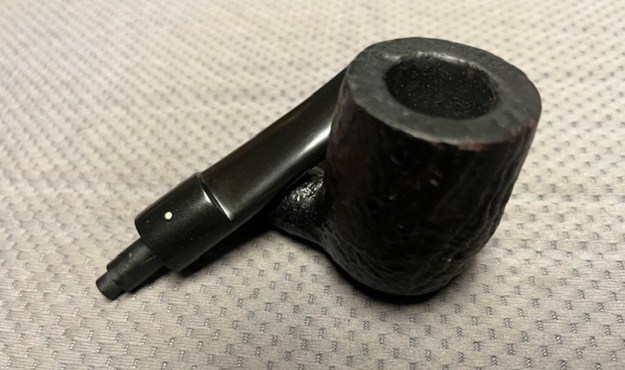
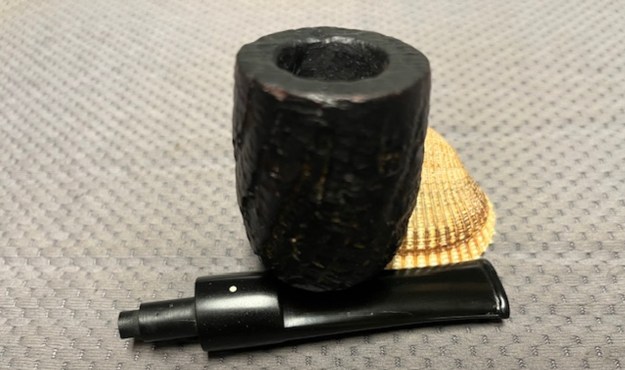
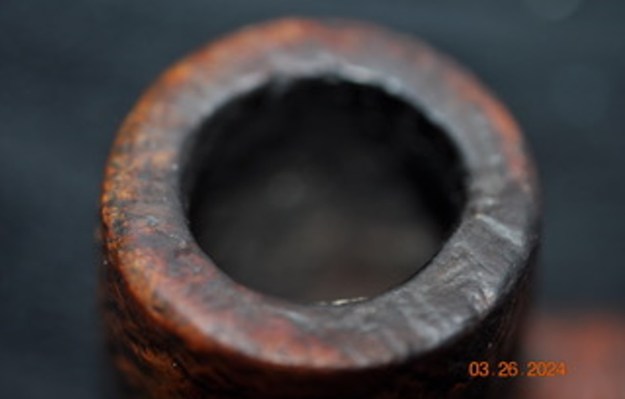
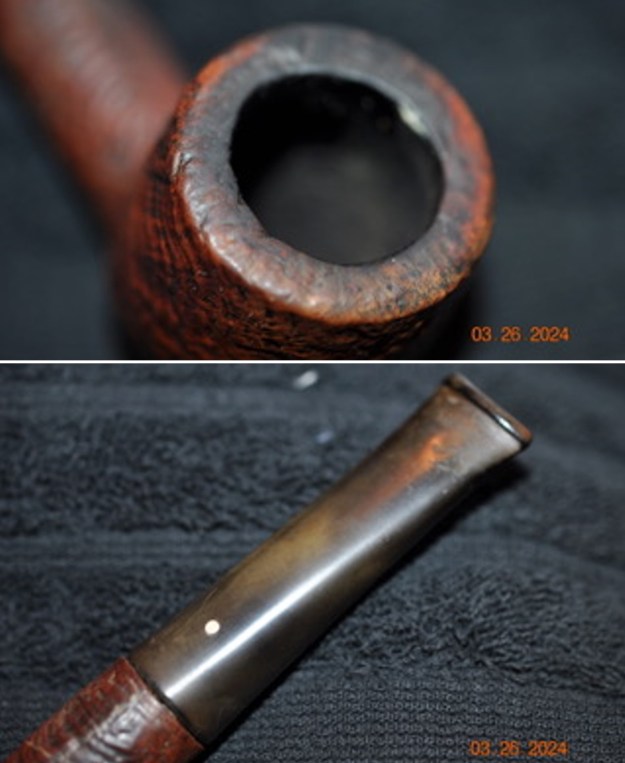
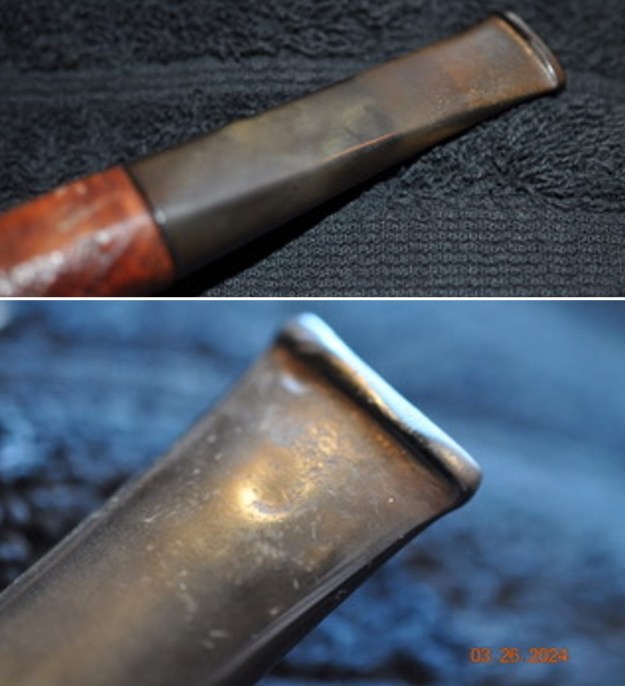
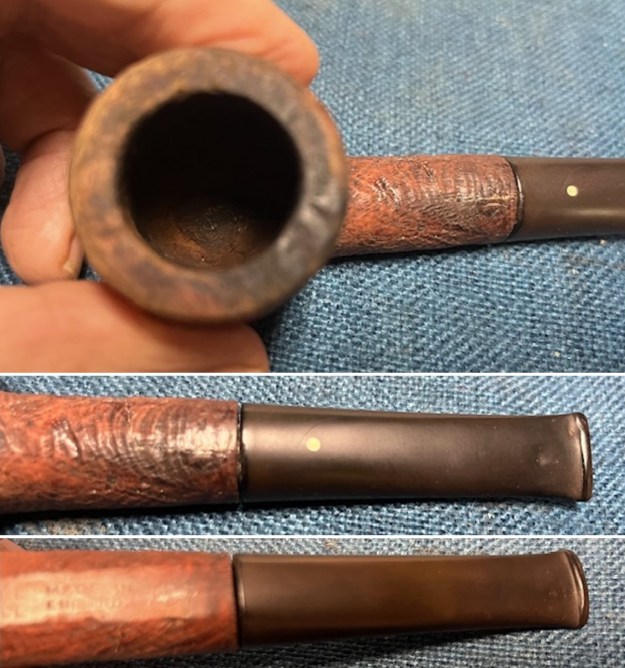
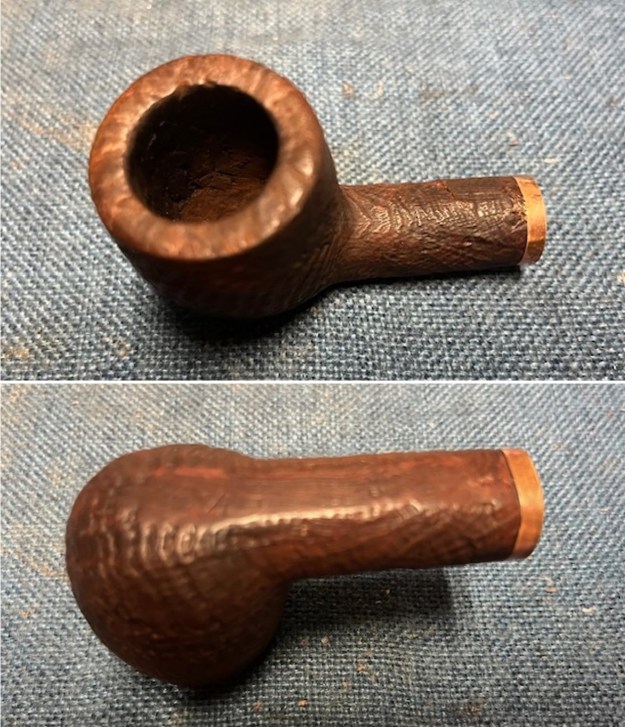
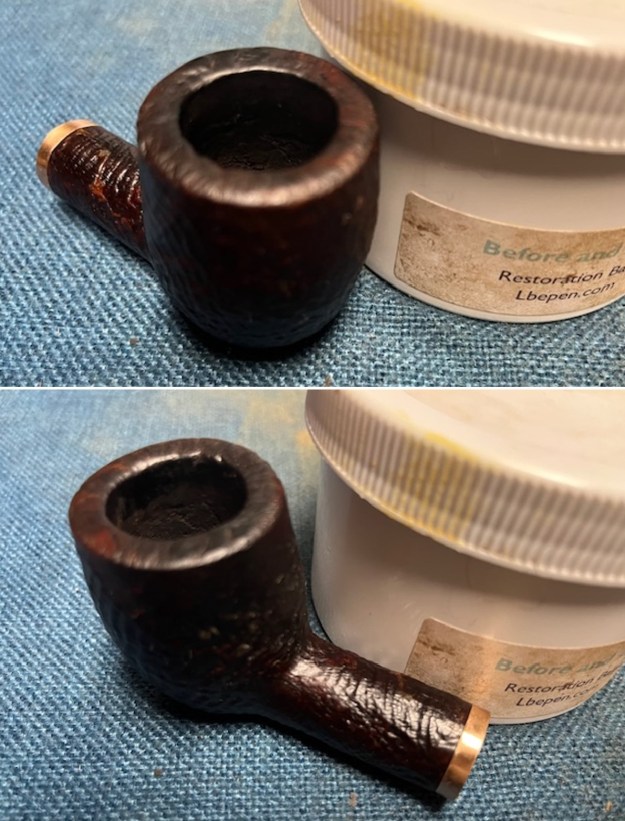
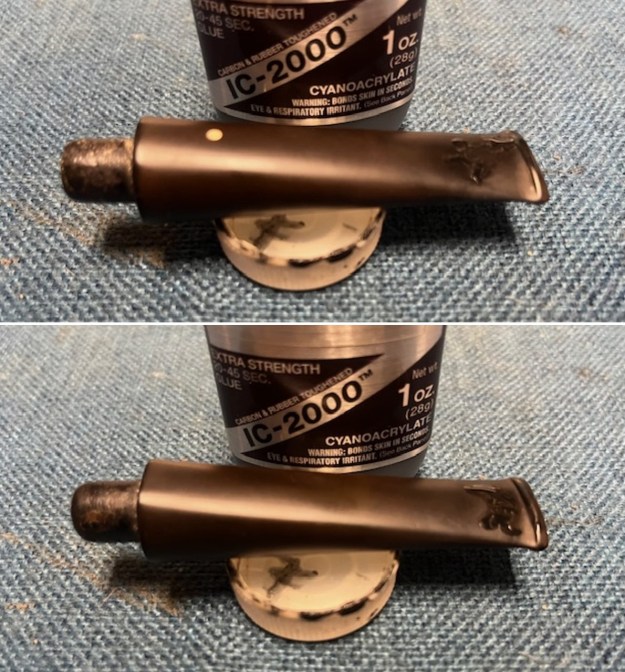
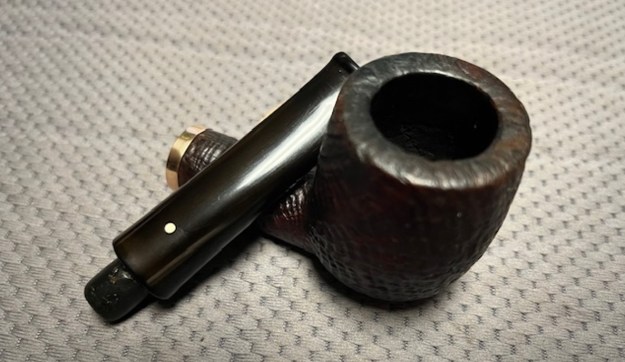
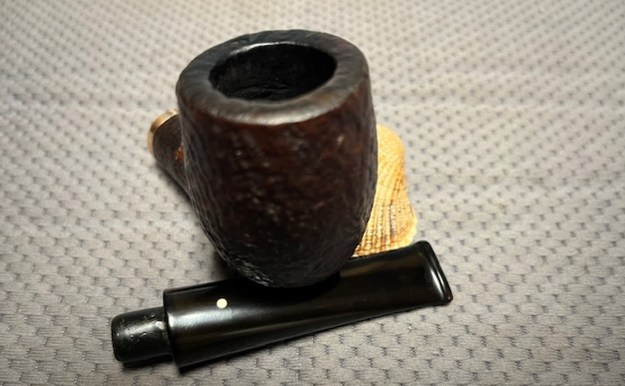
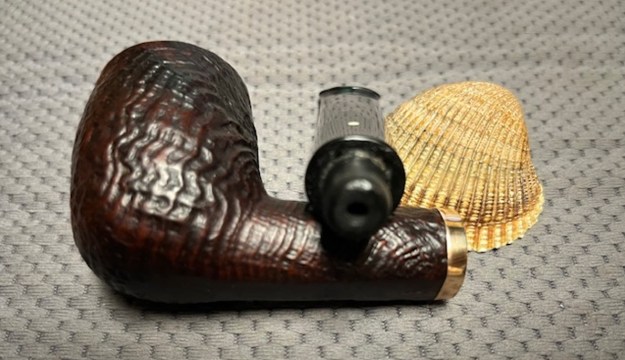
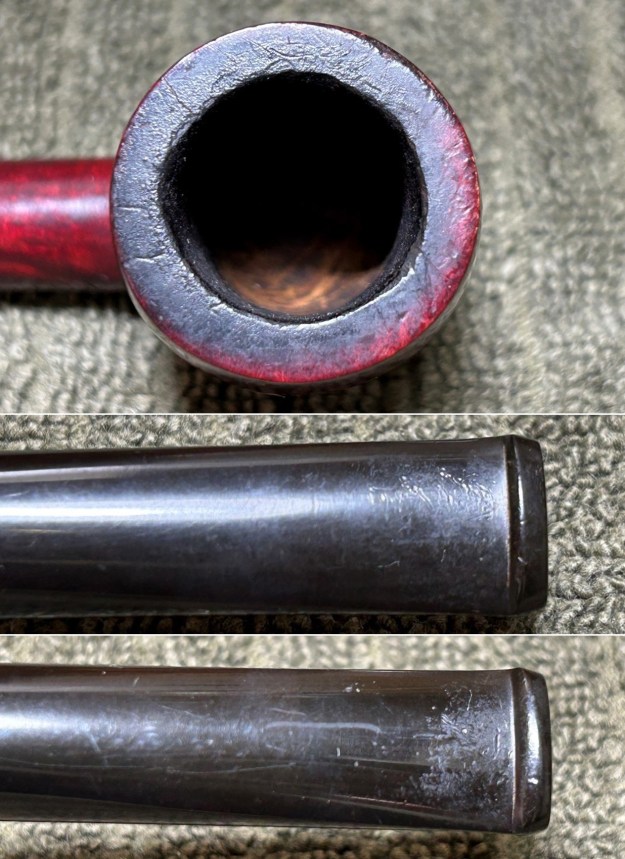
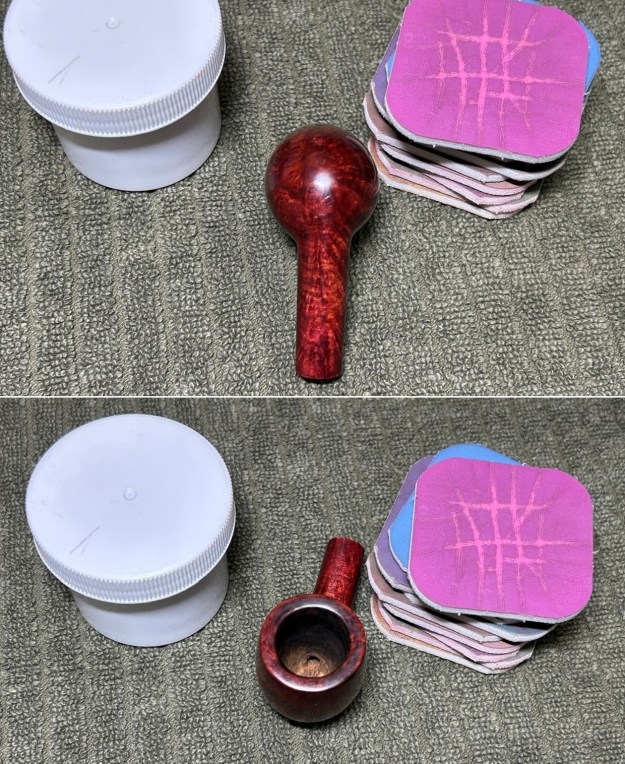
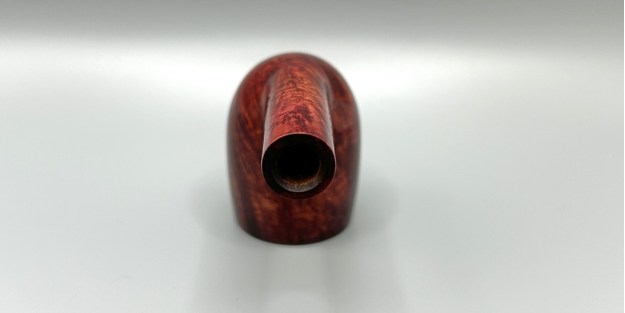
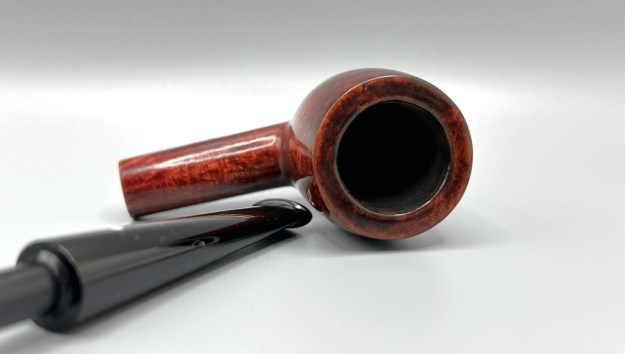
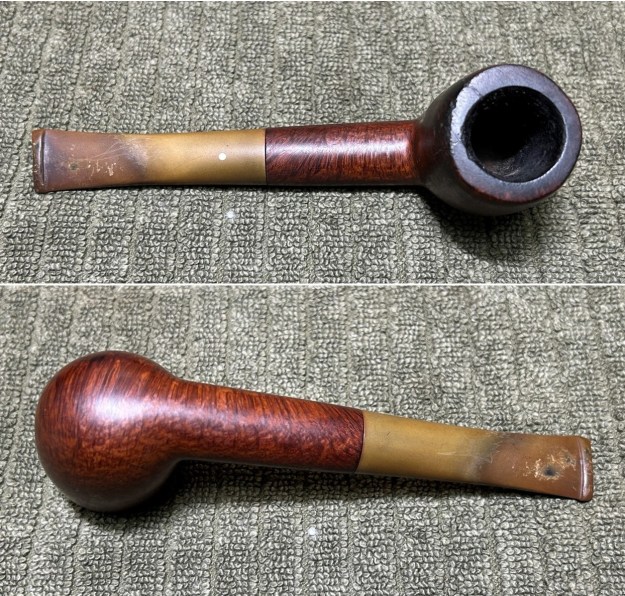
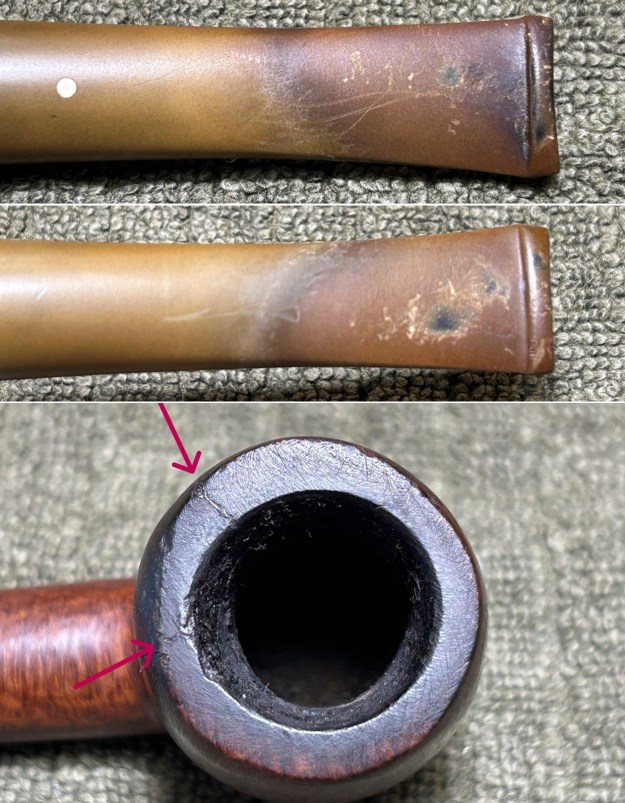
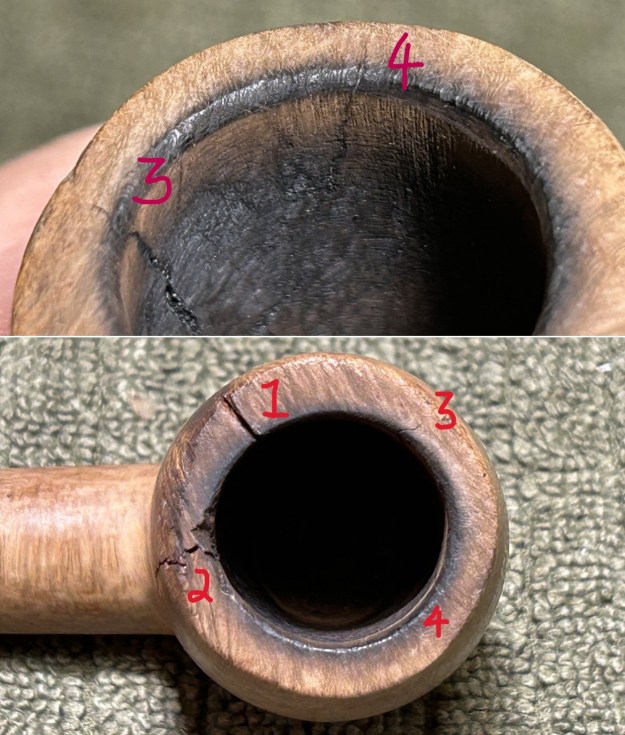
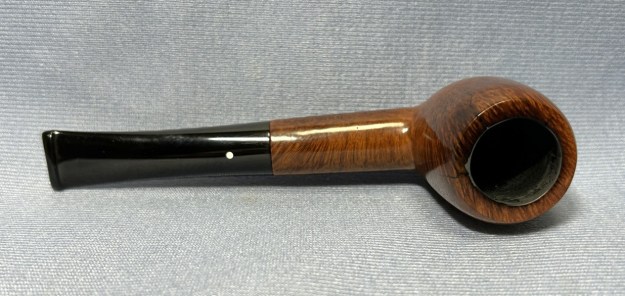
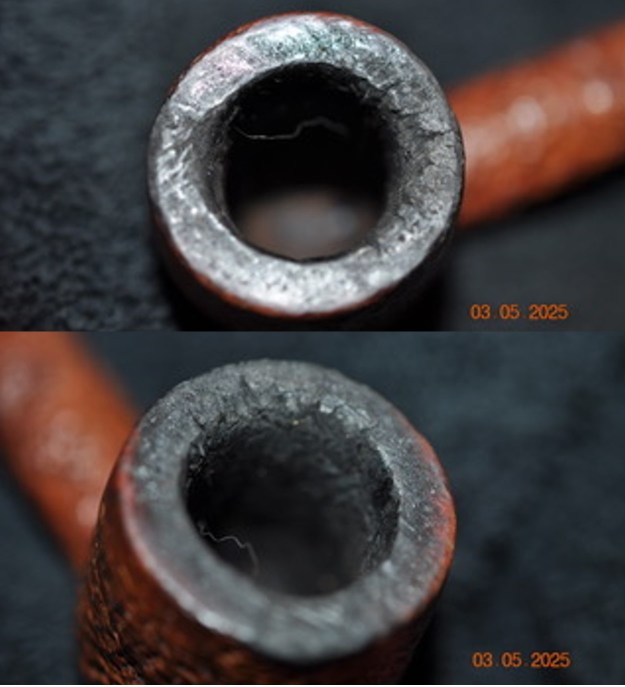
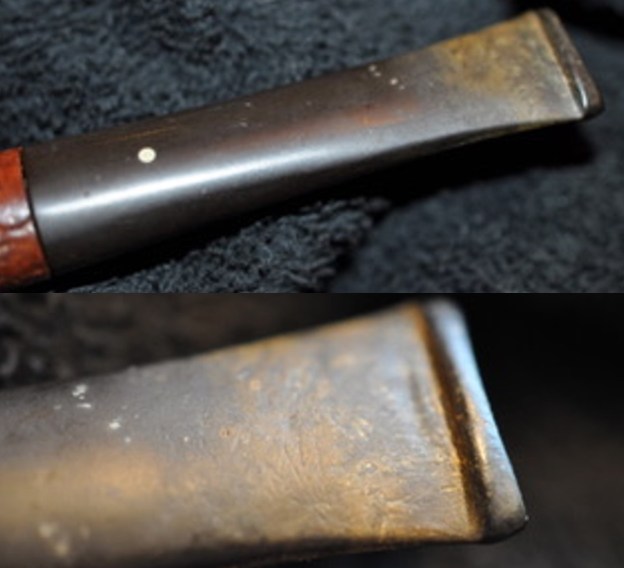
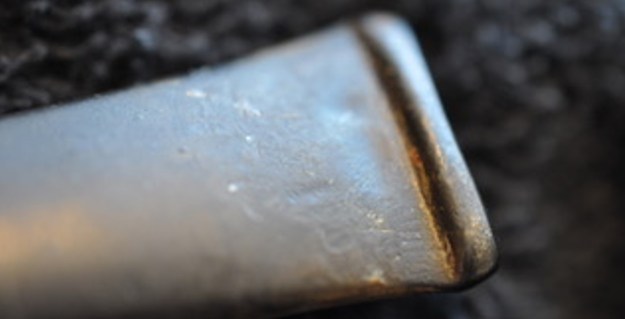
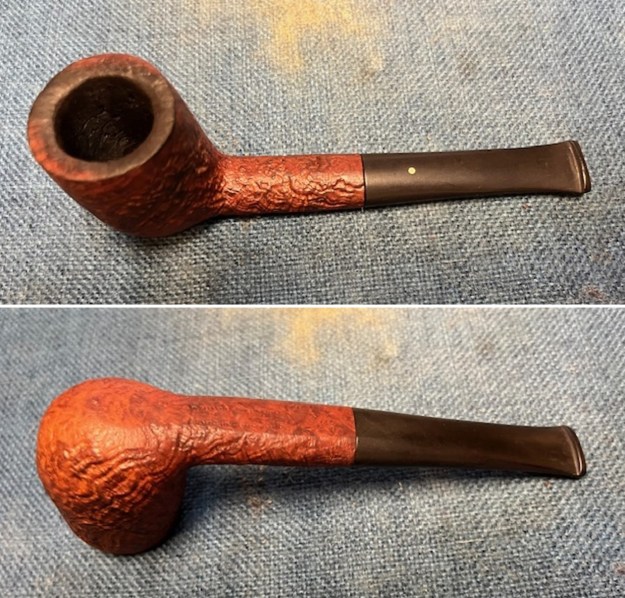
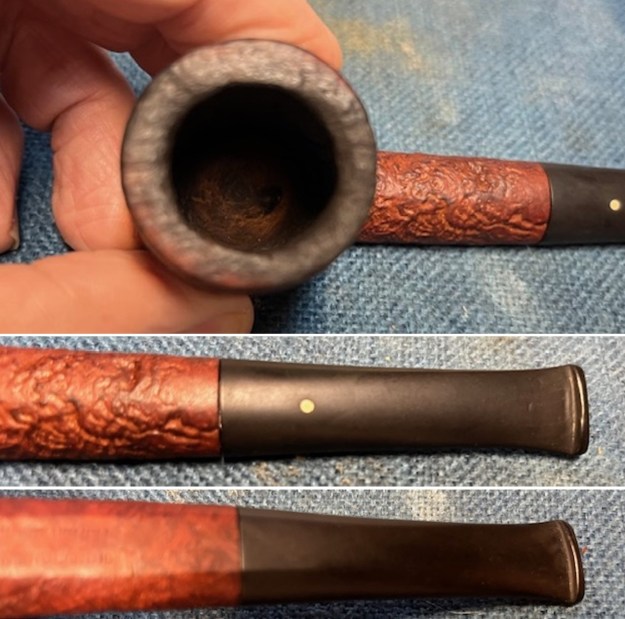
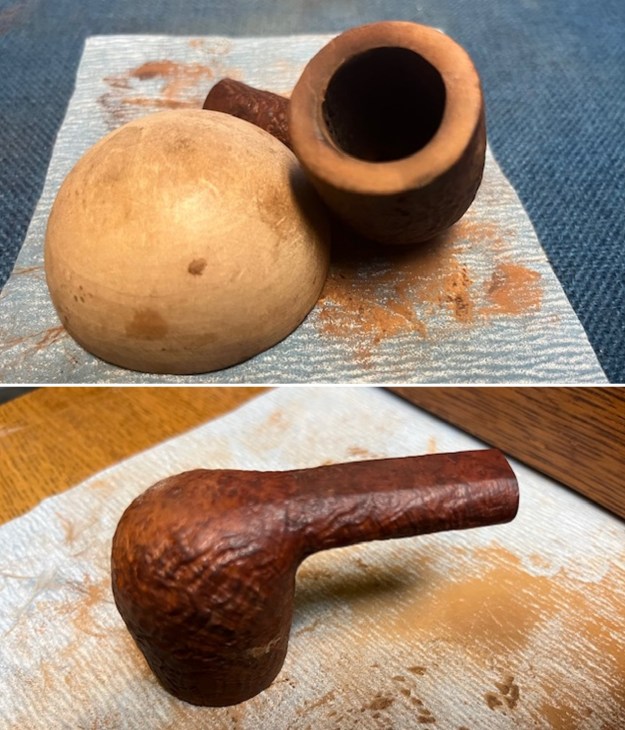
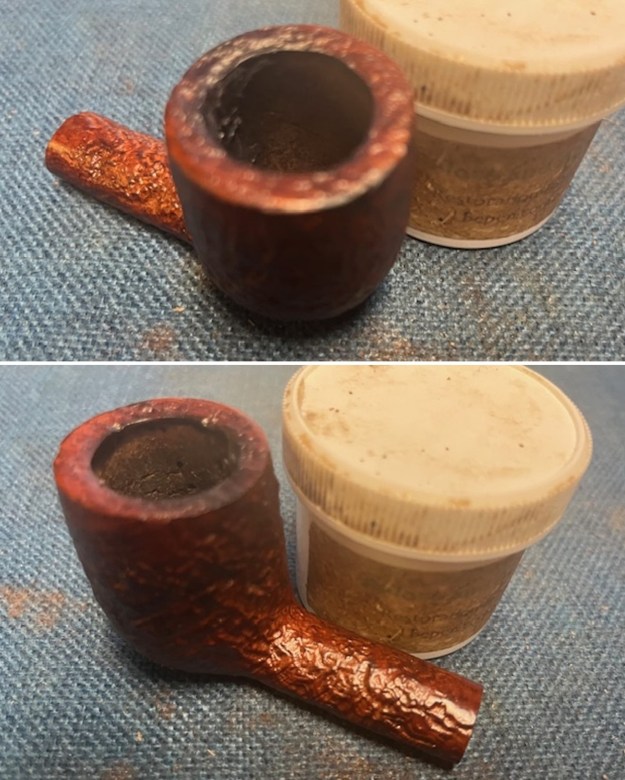
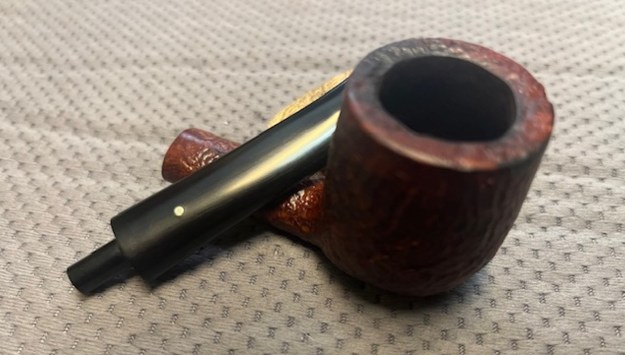
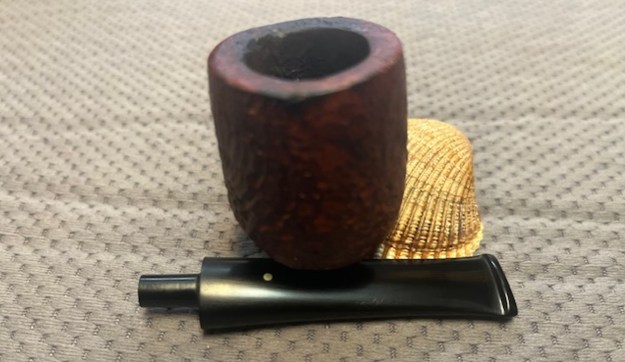
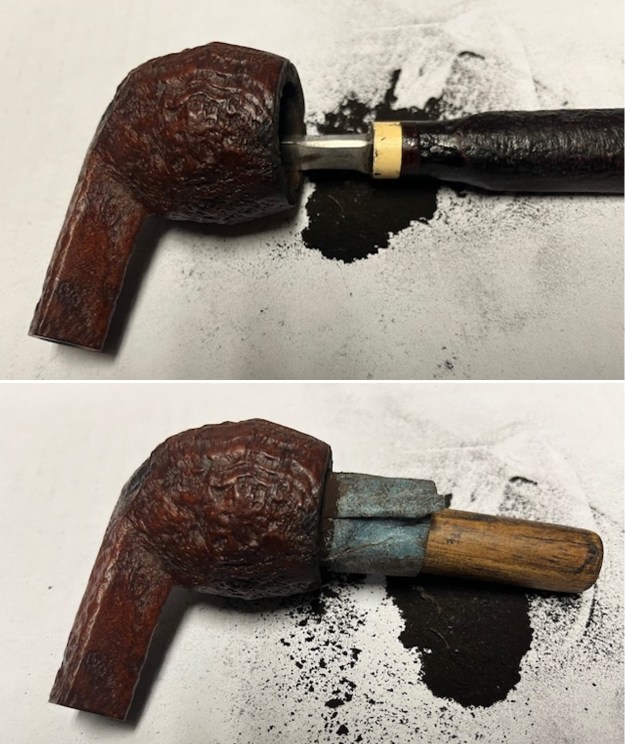
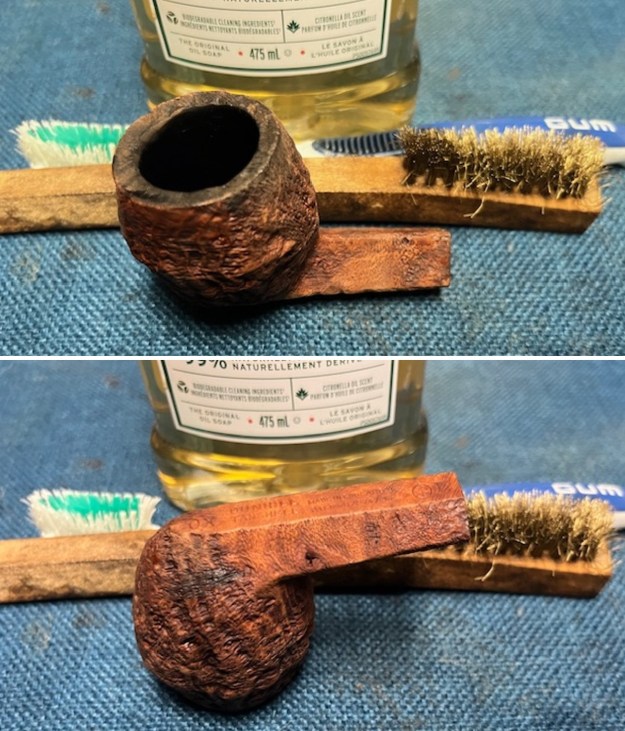
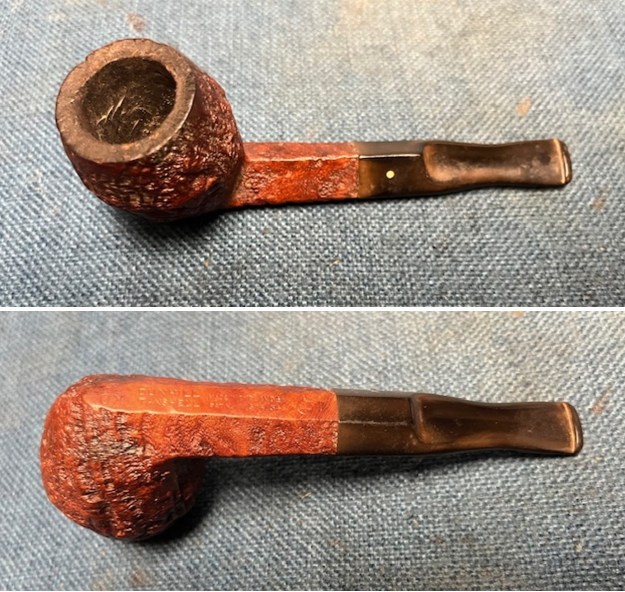 I took photos of the bowl and rim top to show the thickness of the cake and the lava coat on the rim top. There was some tobacco debris in the bottom of the bowl. The stem photos show the condition of the short taper stem ahead of the button.
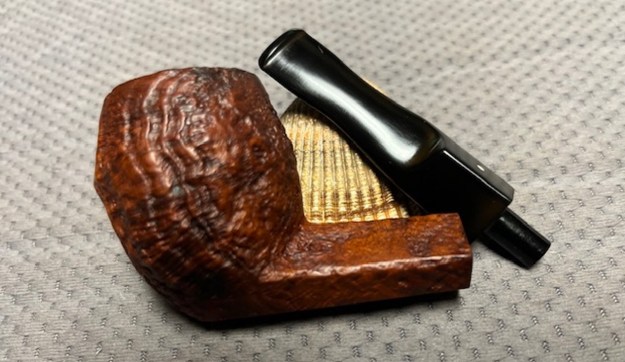
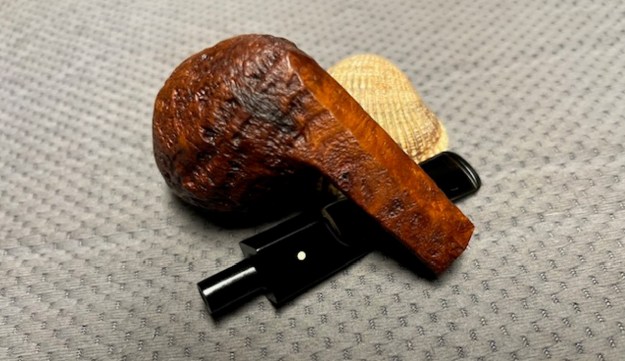
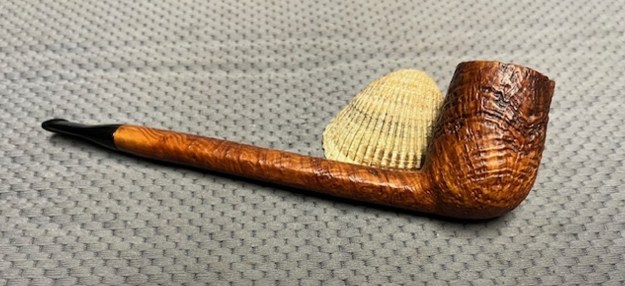
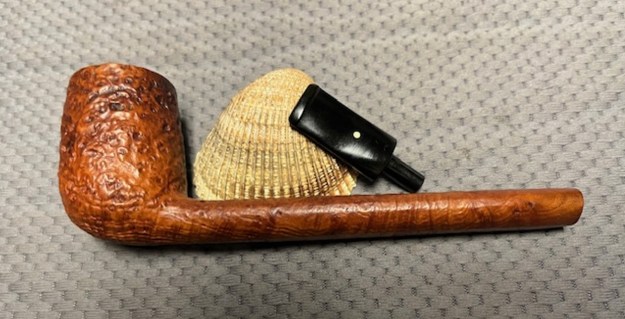
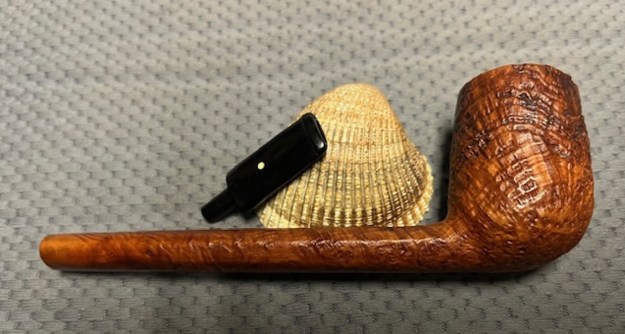
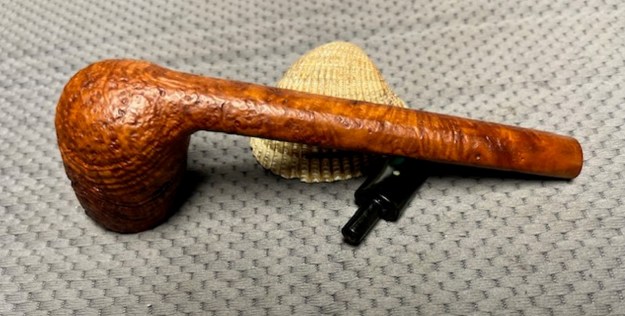
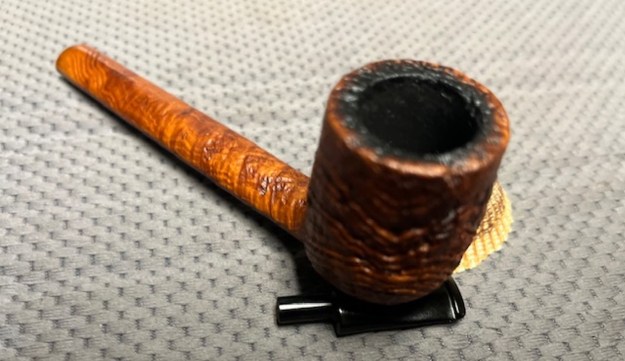
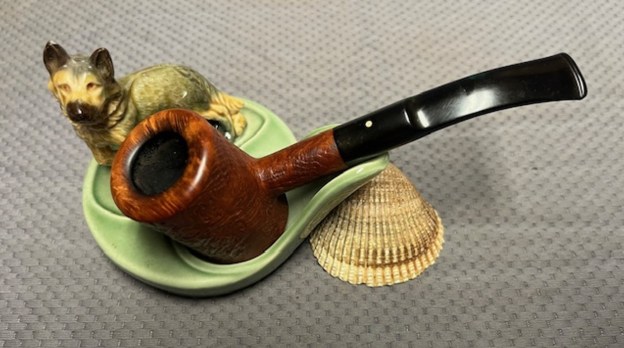
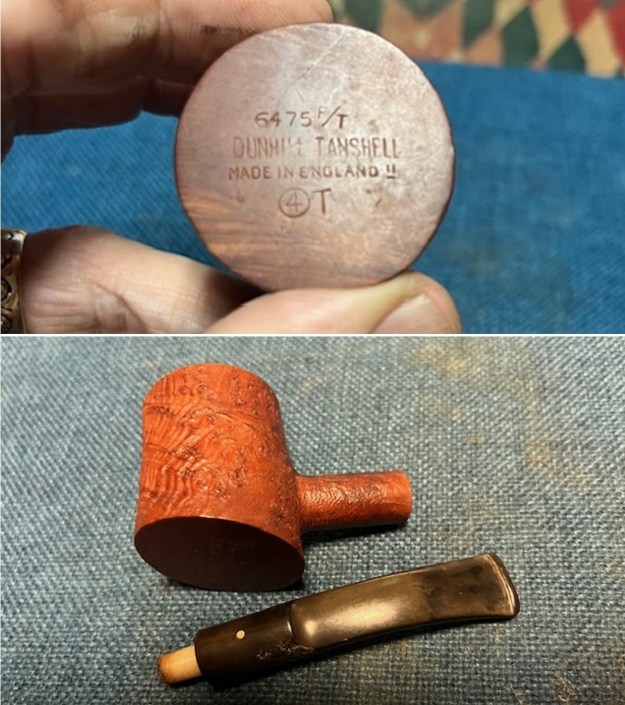
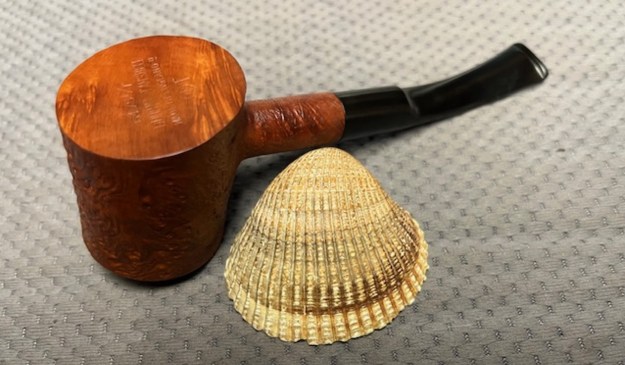
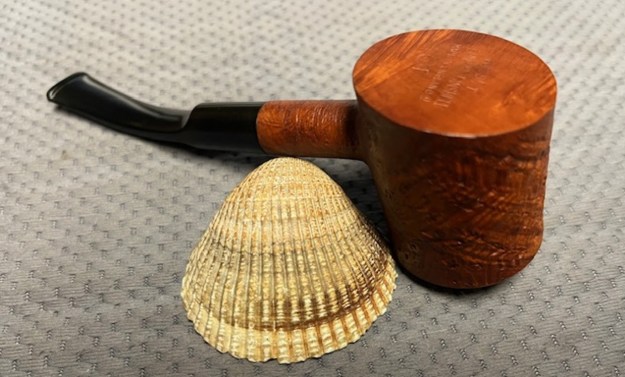
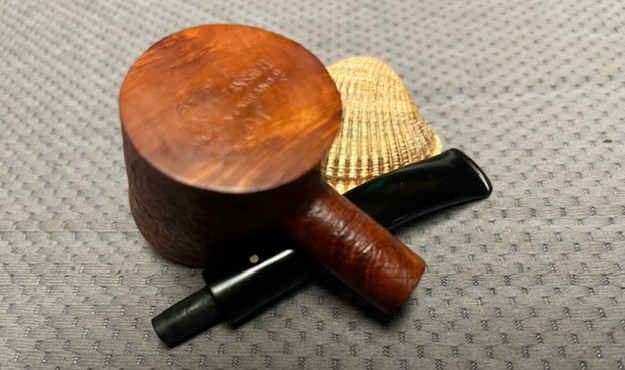
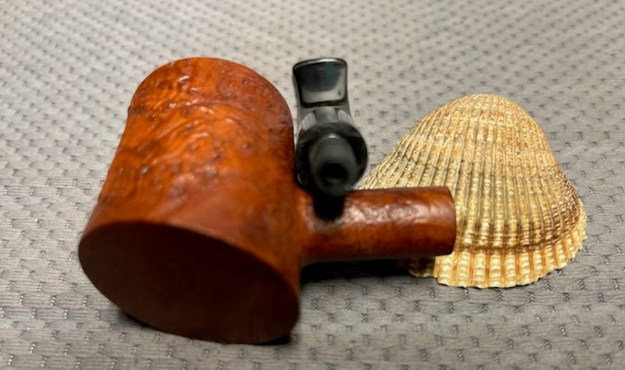
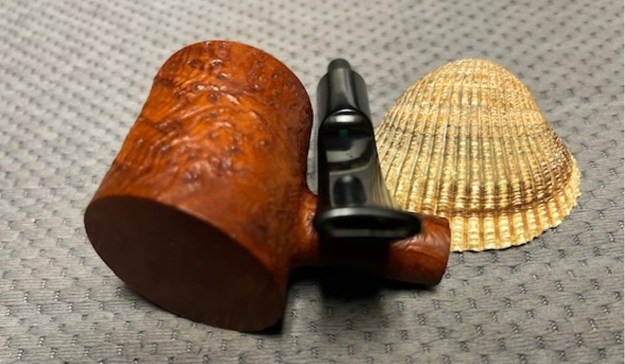
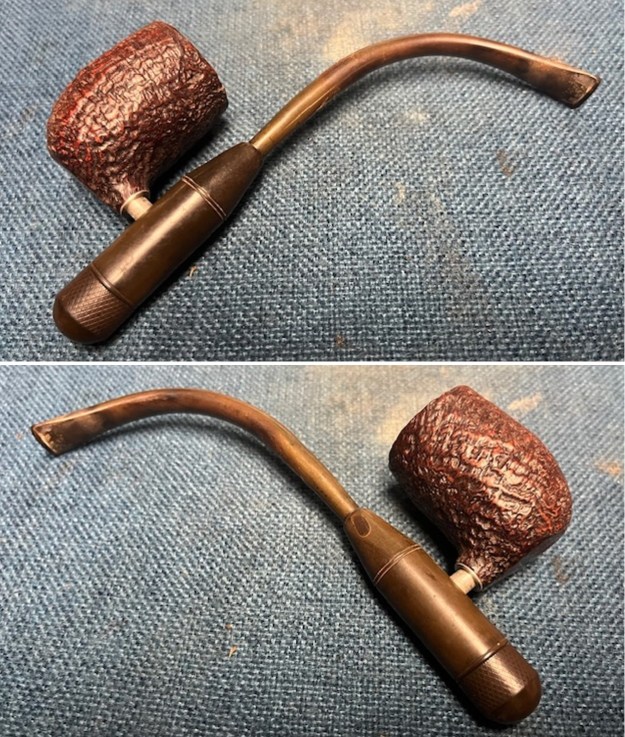
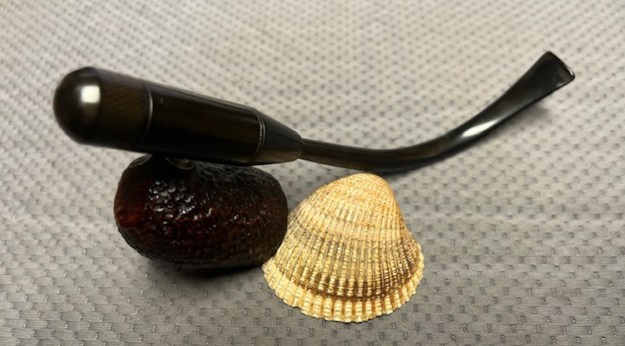
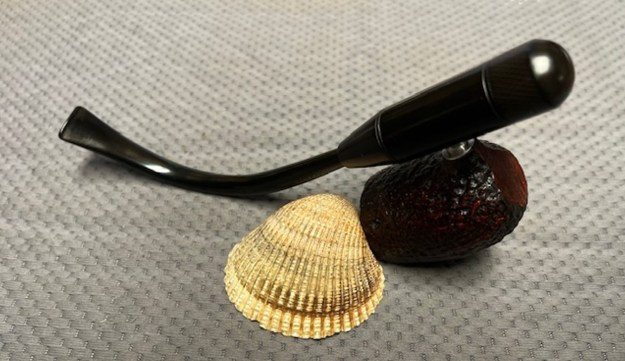
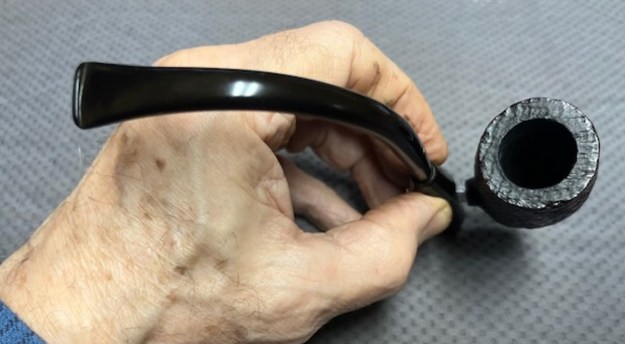
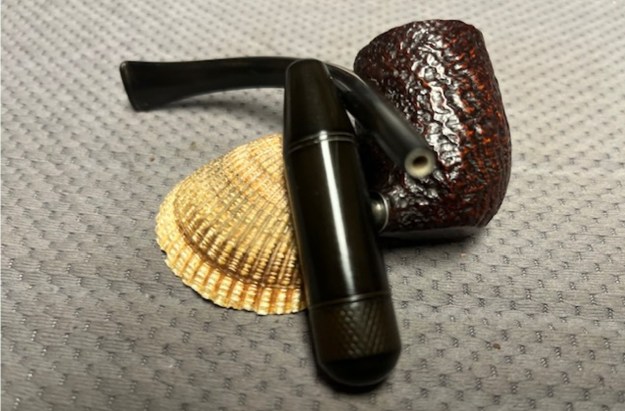
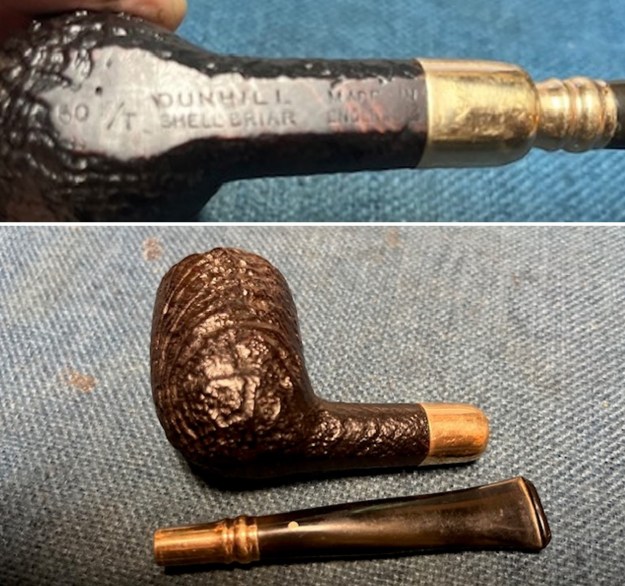
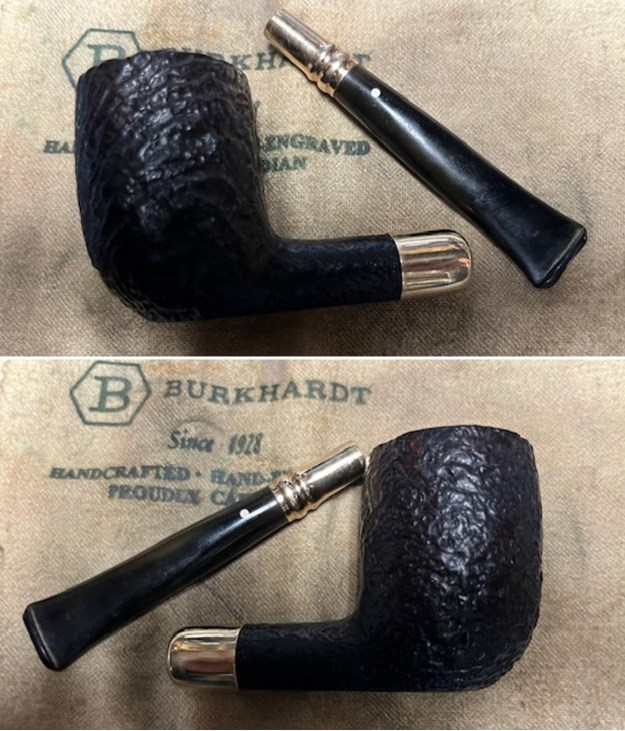
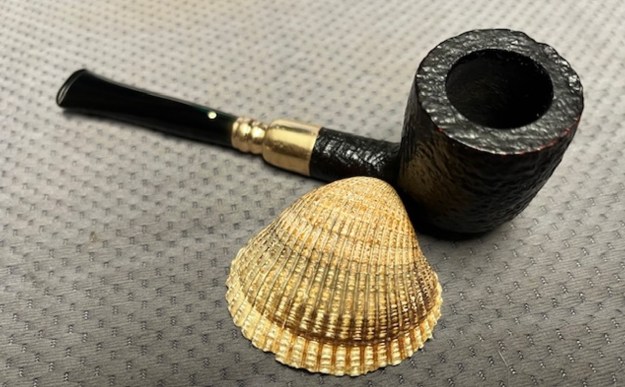
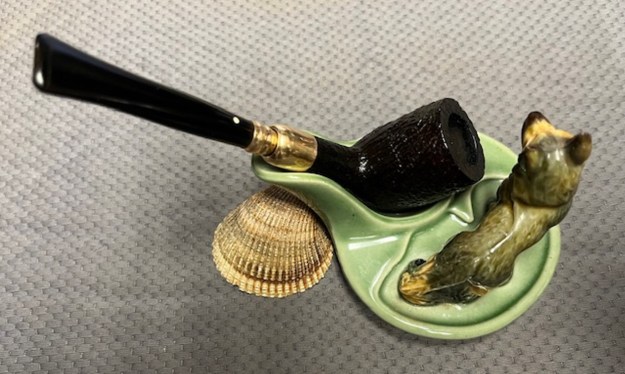
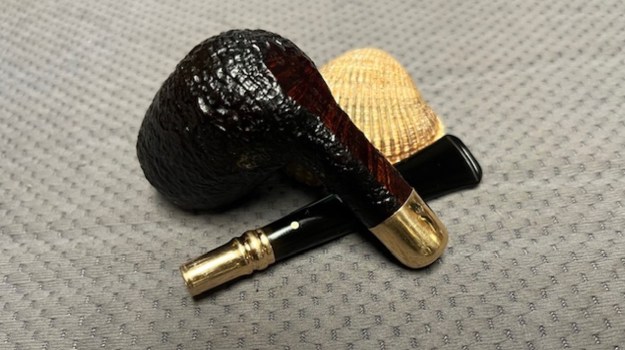
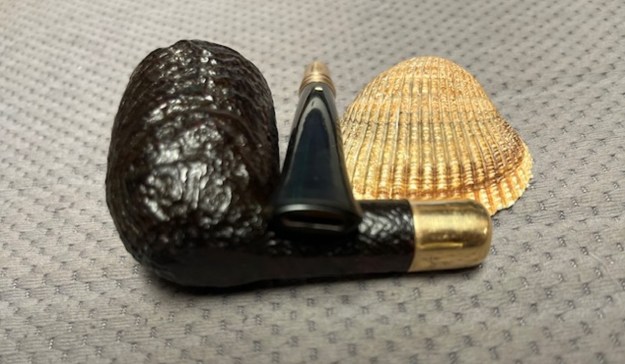
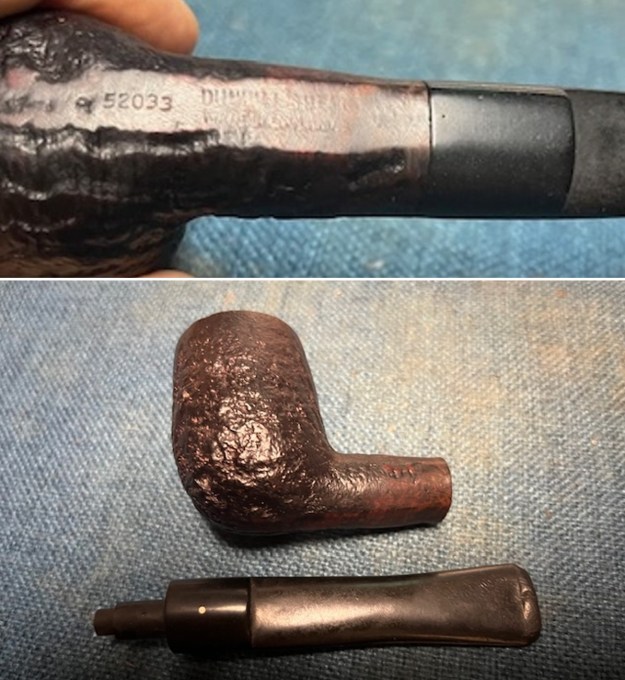
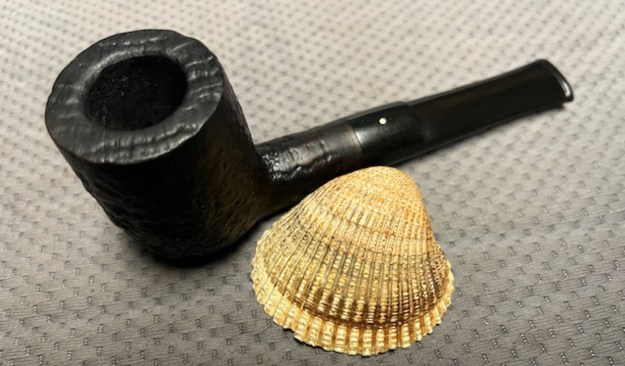
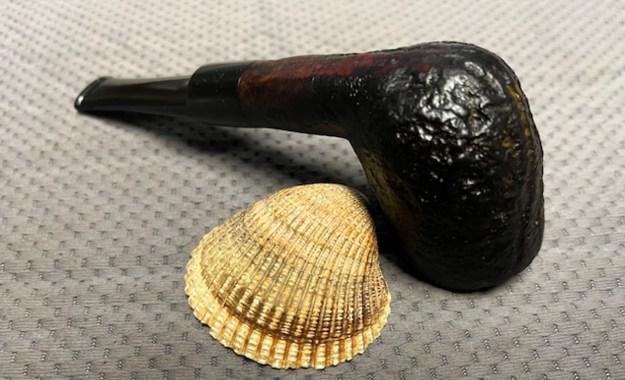
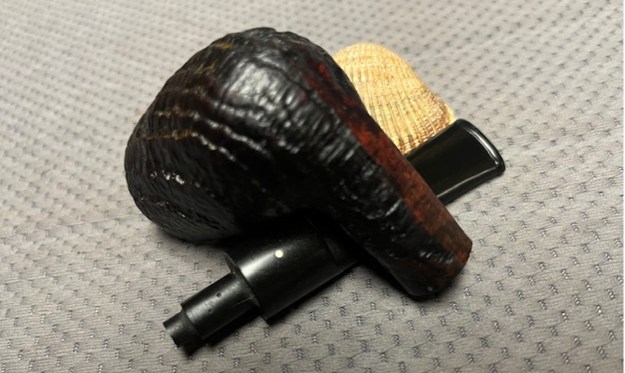
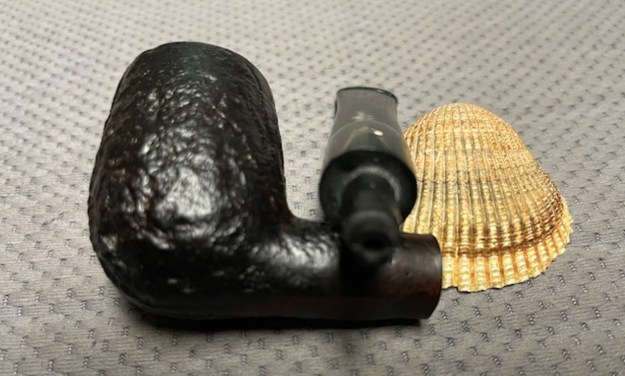
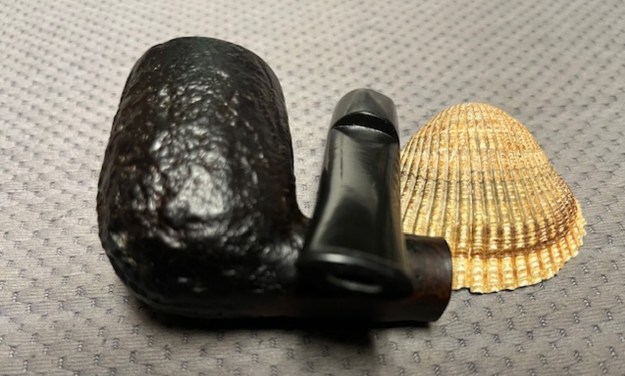
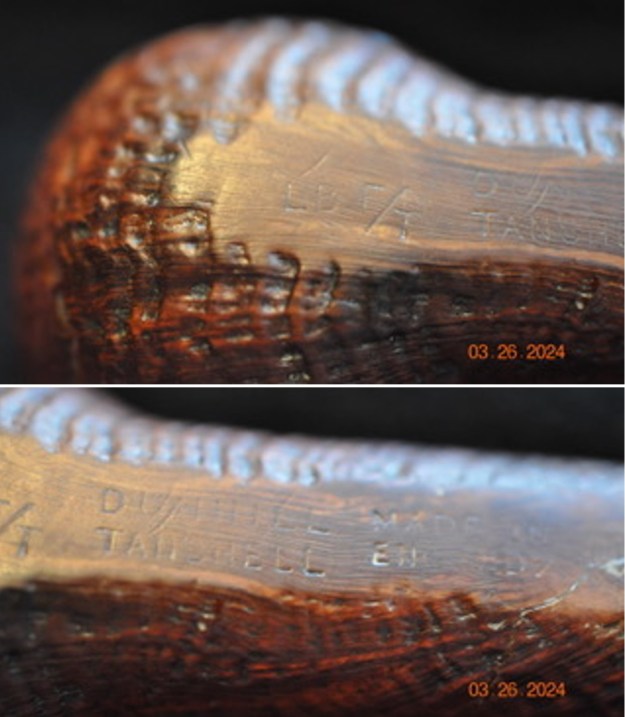
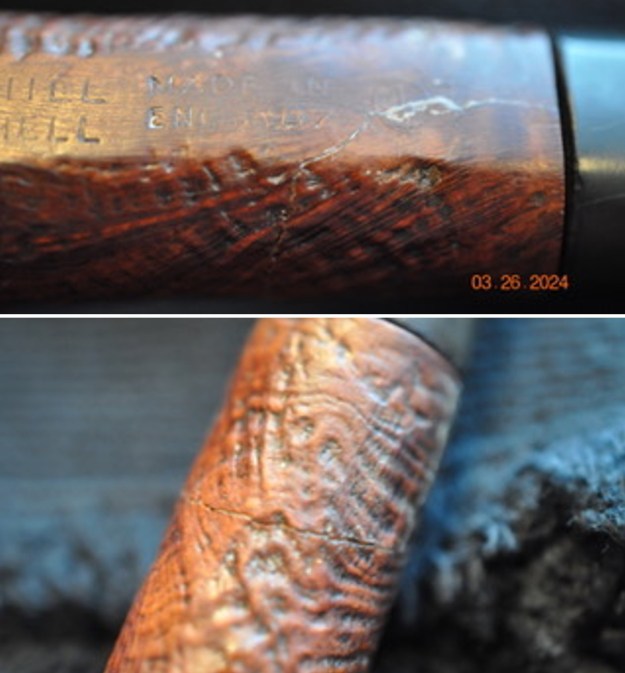
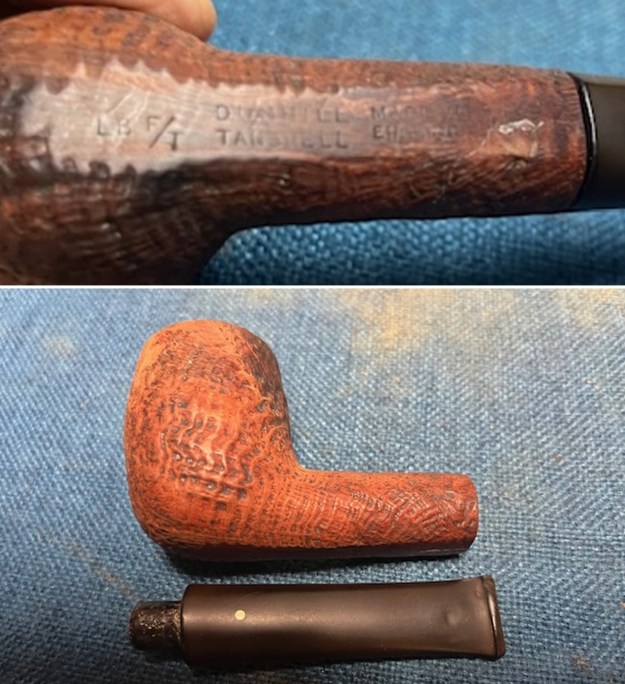
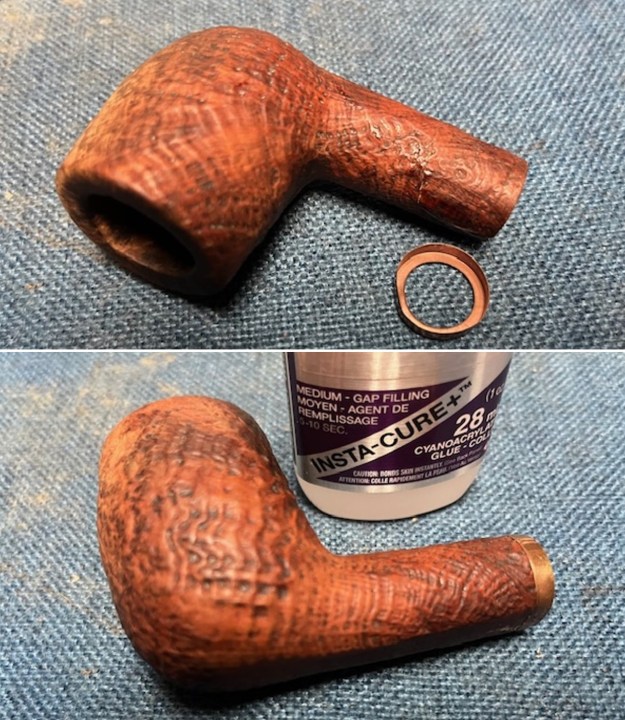
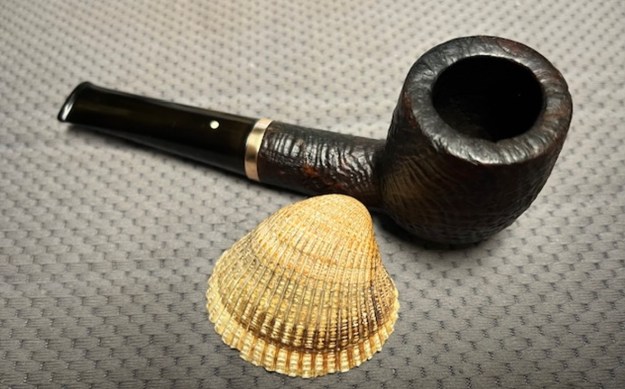
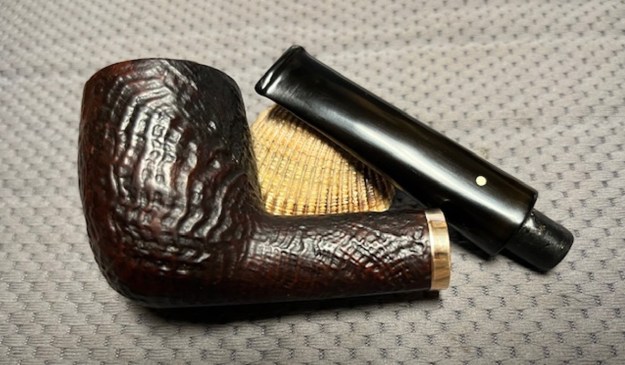
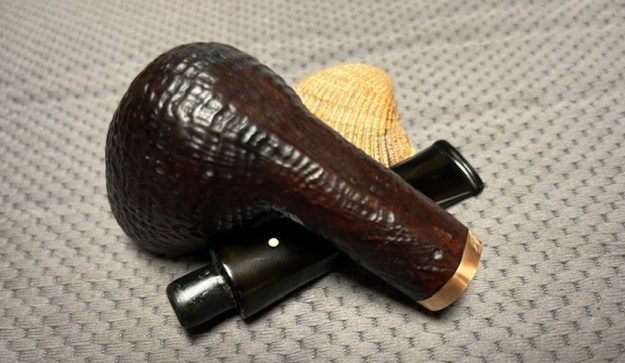
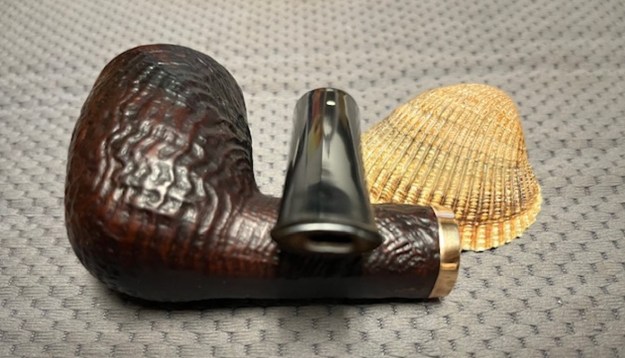
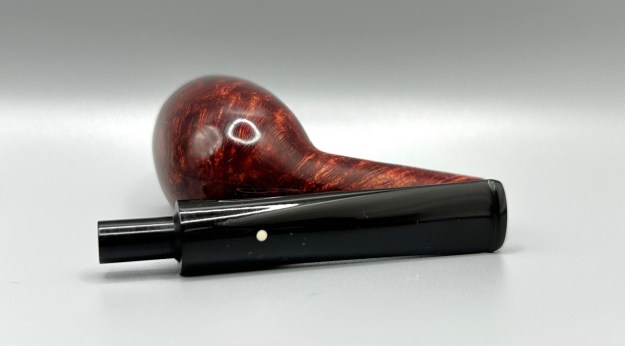
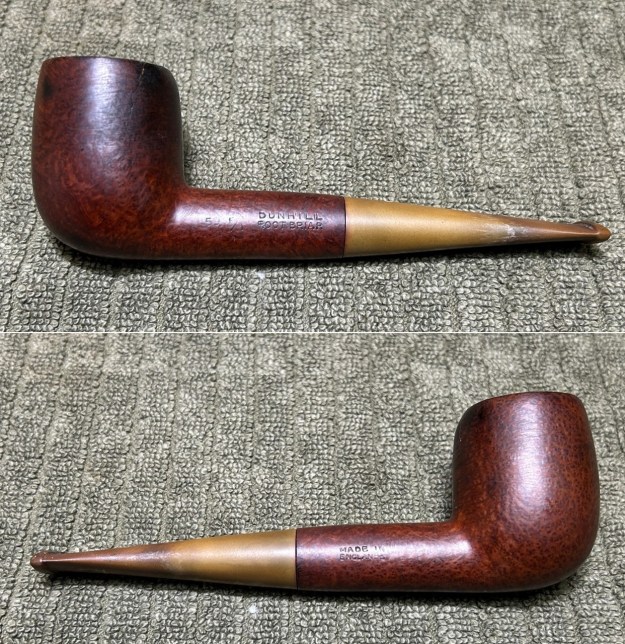
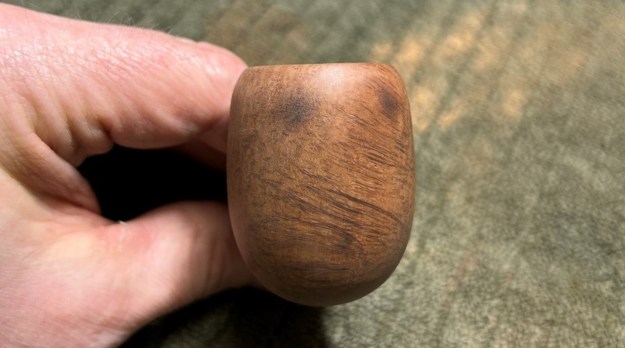
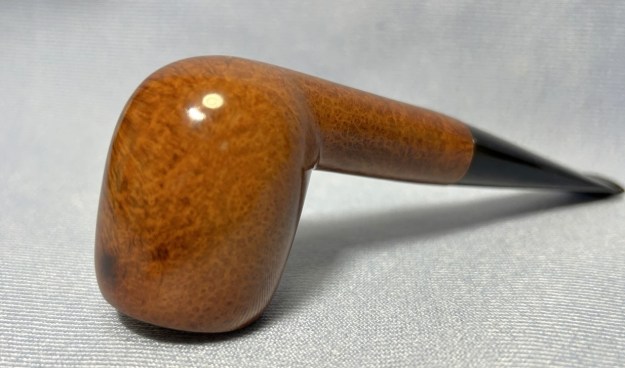
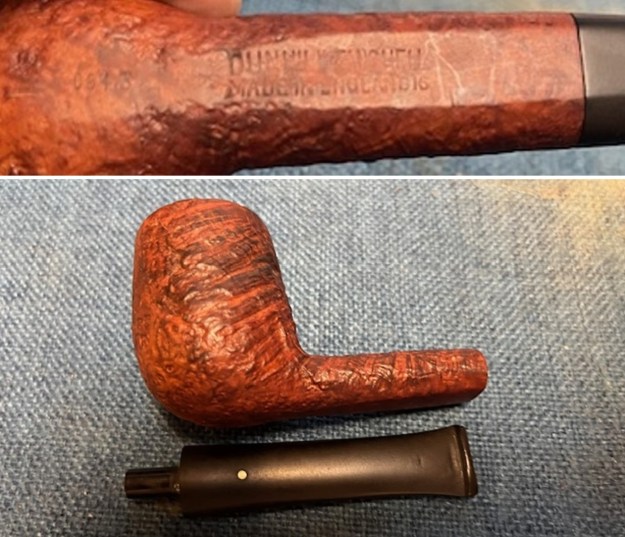
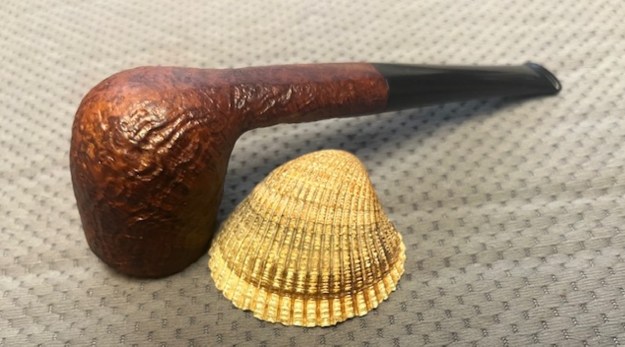
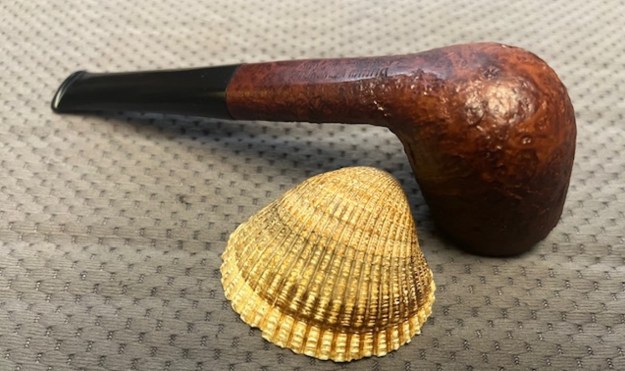
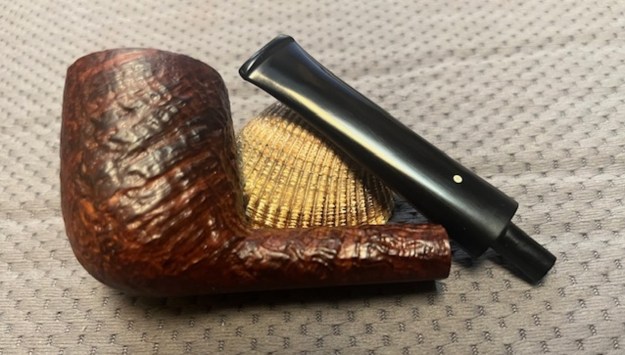
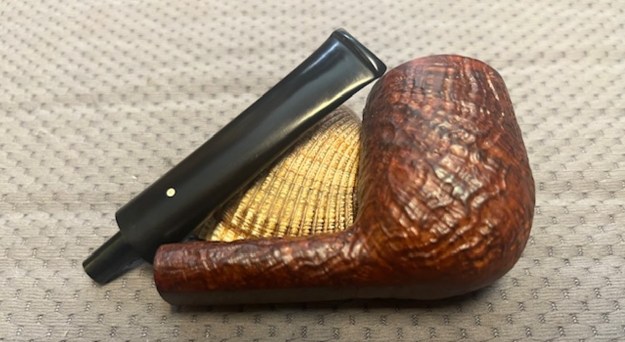
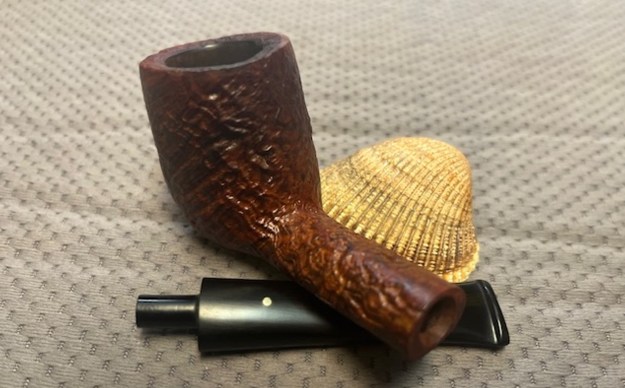
 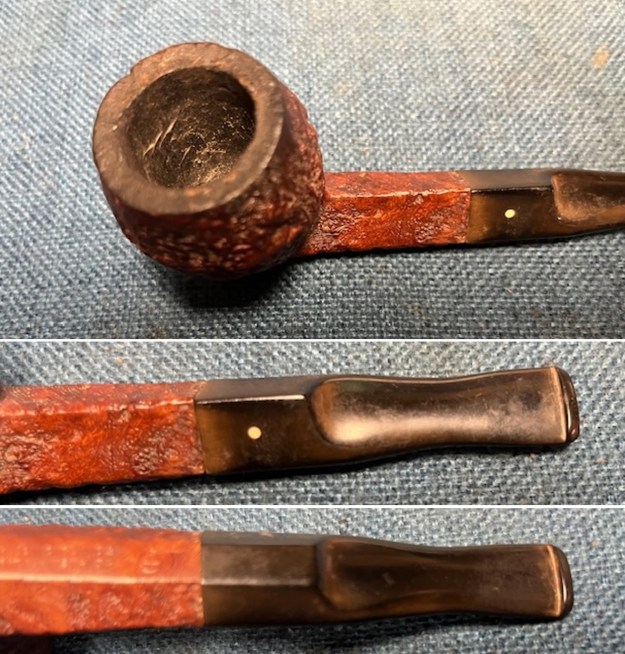 The stamping on the heel of the bowl is clear and readable as noted above. I took a photo of the pipe with the stem removed to give a sense of the proportions of the pipe. It is a real beauty.
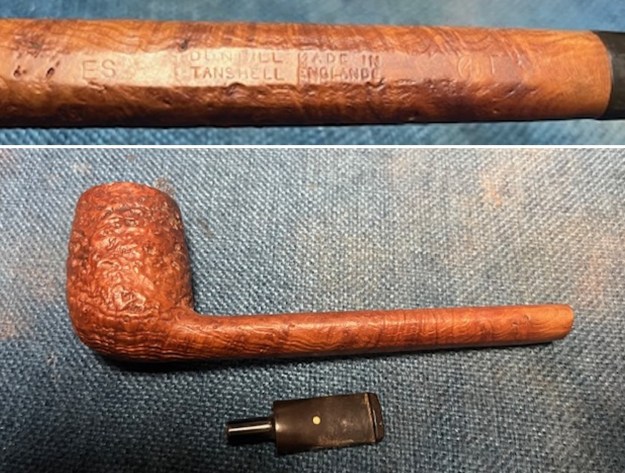
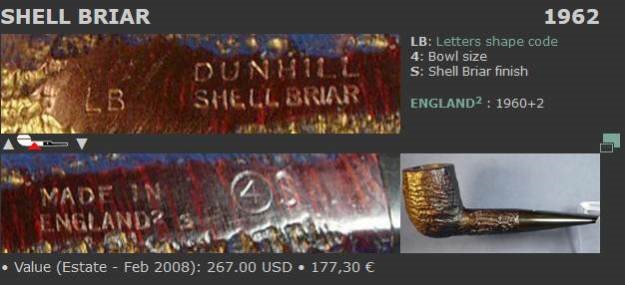
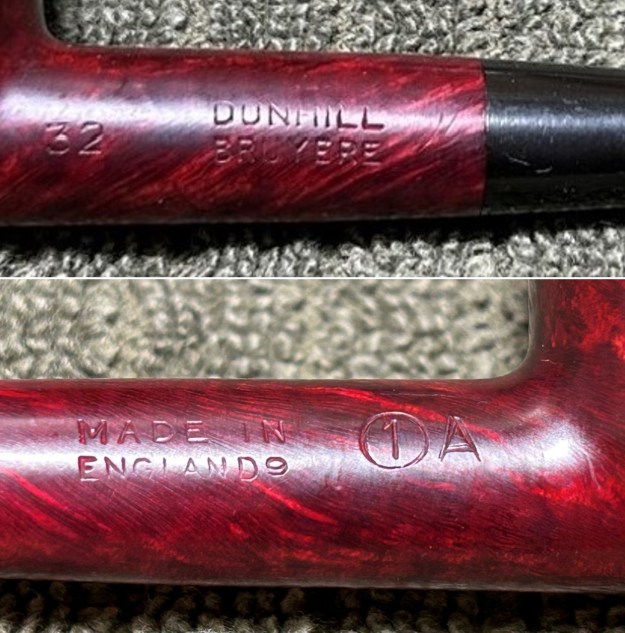
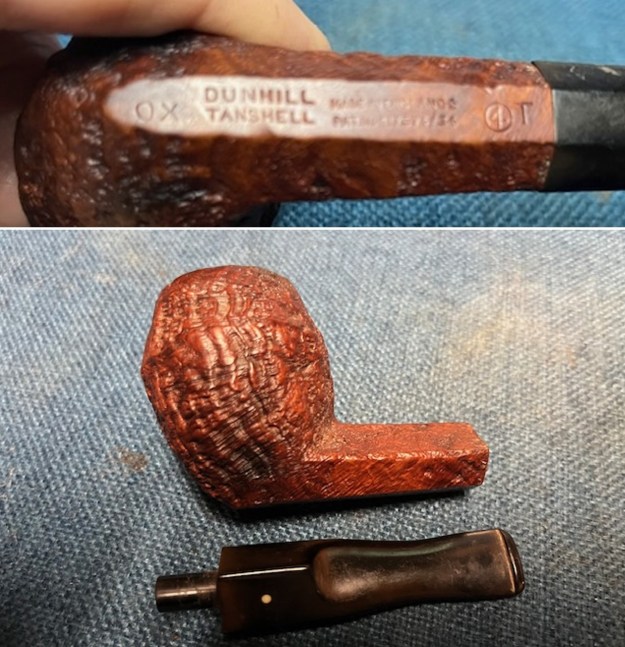 One of the first things I like to do is to unpack the stamping and understand each element in it. I turned to Pipephil’s helpful site (http://pipephil.eu/logos/en/dunhill/shell-briar1.html). The stamping is interpreted as follows: The OX is the shape of the pipe which I assume is a Bulldog. The Dunhill Tanshell is the finish. Following the Made In England4 gives the year that the pipe was made. Underneath the Pat.No. 417574/34 that tells me that this is a Patent Era pipe. The circle 4 T is the stamp for a Group 4 in a Tanshell finish.
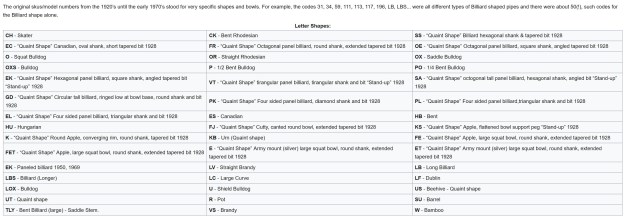
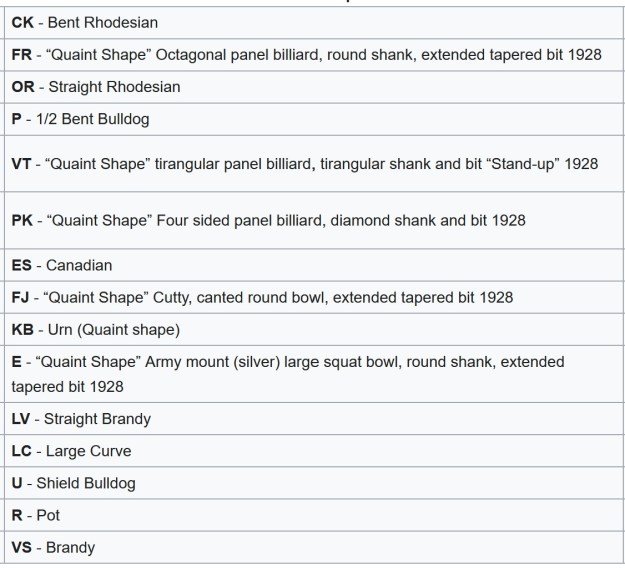
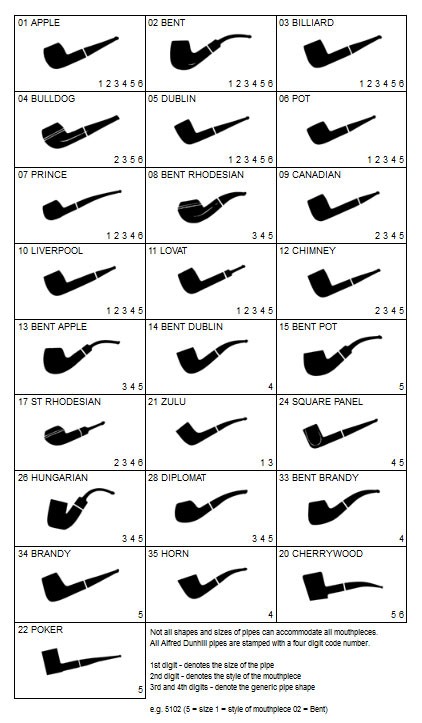
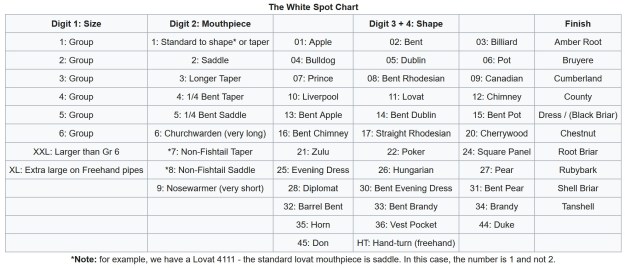
I turned to Pipedia’s shape charts on Dunhills (https://pipedia.org/wiki/Dunhill_Shape_Chart). I have included the shape charts from the site. The first is the chart as a whole and the second is a larger version of the right column.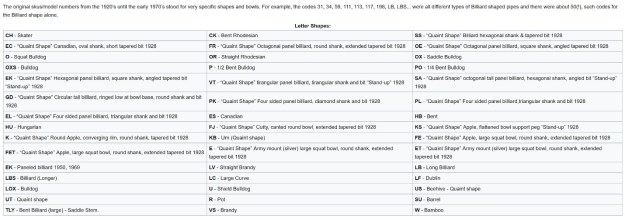
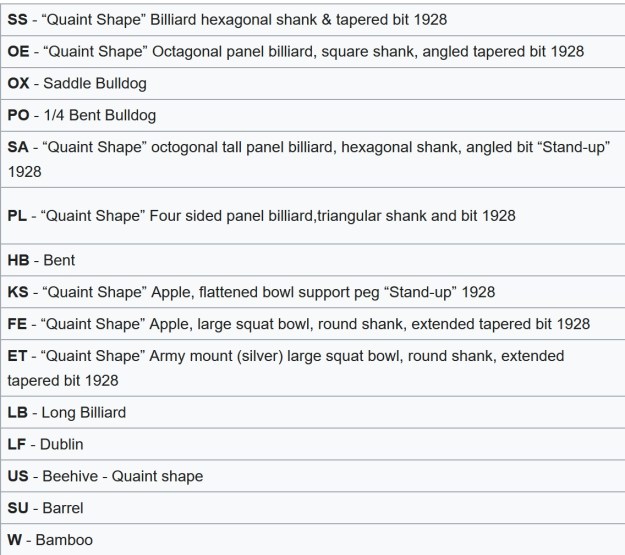 From the above information I could see that I was working on a Saddle Bulldog shaped pipe. The chart shows that the OX is the stamping for Saddle Bulldog.
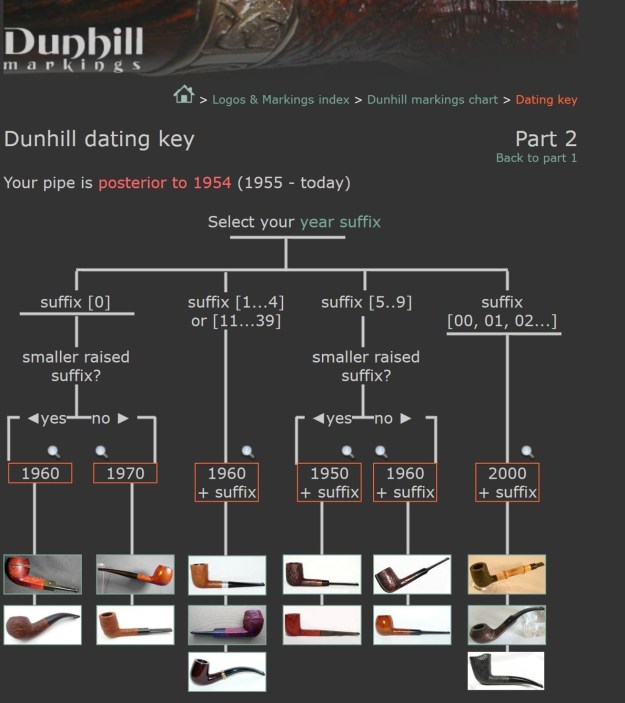
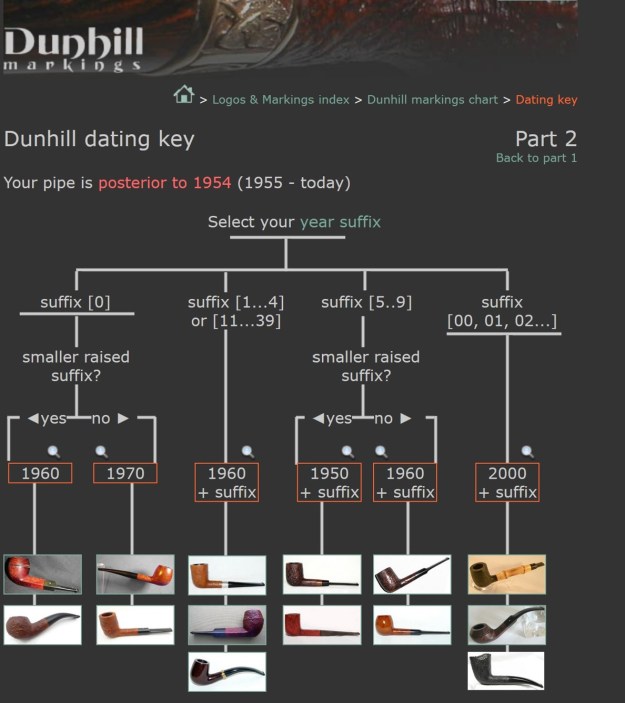
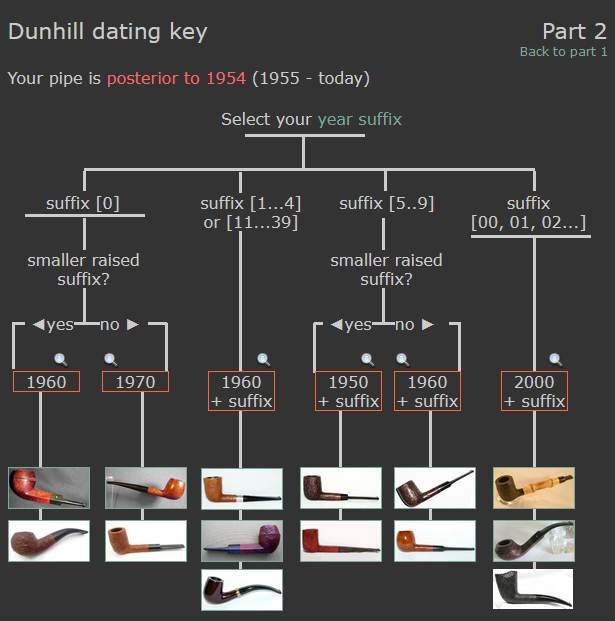
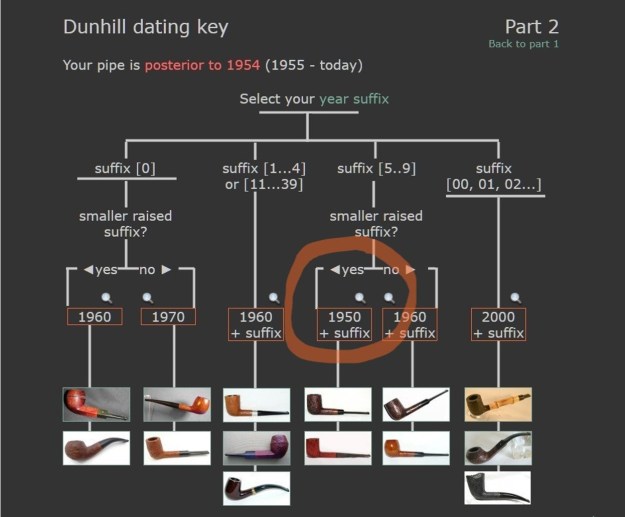
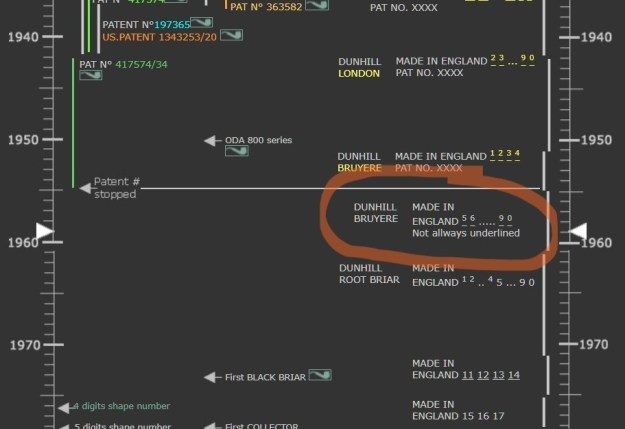
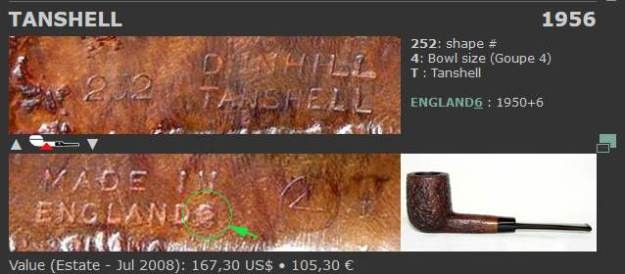
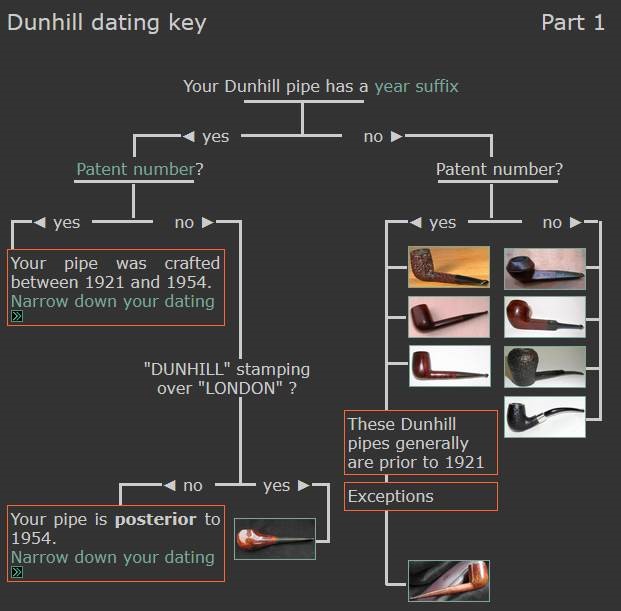
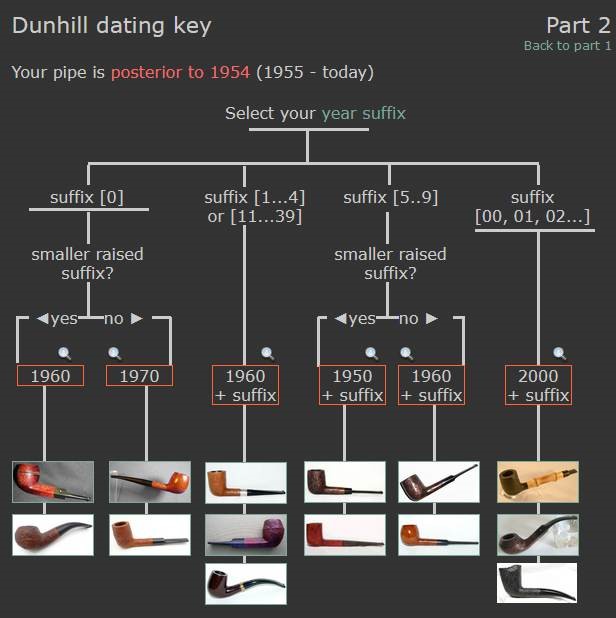
From there I wanted to pin down the date stamp 4. The pipe has a patent number on it so that will also help with the date of this pipe. I have included the Dunhill Dating Key Part 1 chart below for you to follow (http://www.pipephil.eu/logos/en/dunhill/cledat-en1.html). The first column is shows where to turn with the patent number. The pipe was made between 1921 and 1954. From there the key took me to a chart to narrow down the dating of the pipe. 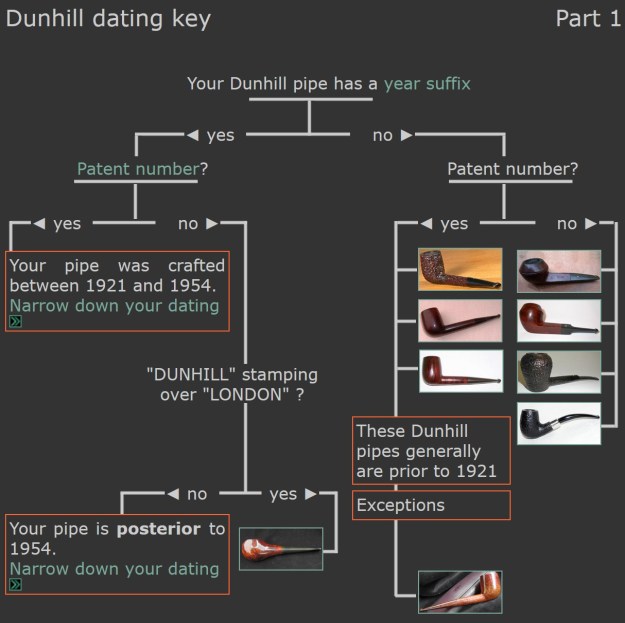 I have included the second par or Page 2 of the Dunhill Dating Key. Since the Patent No. is the same it takes me to the first column below. Since the stamping Dunhill is not aligned with Shell it takes me to the No column. Following that it takes me to the box with 1950+suffix. That tells me that the pipe is a 1954 pipe and thus the end of the Patent Era. That made it my BIRTHYEAR PIPE!
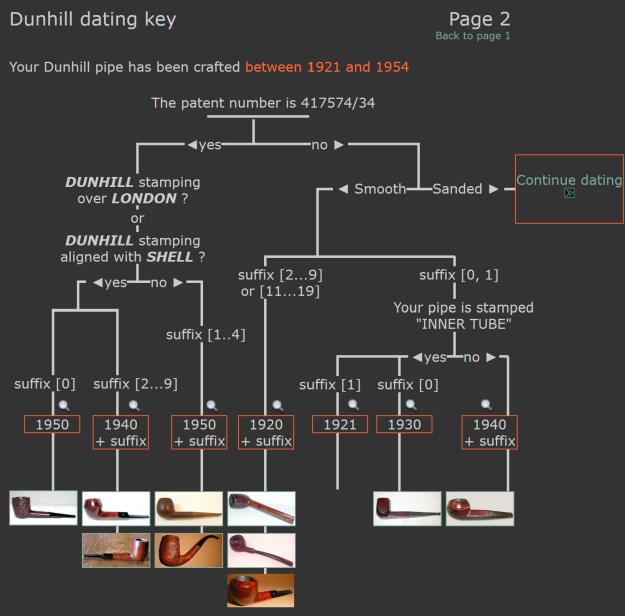 I wanted to know more about the Tanshell finish and when it was introduced by Dunhill and how that fit the Patent stamp on the bowl. I turned to a listing on Pipedia that gave me the information I was looking for (https://pipedia.org/wiki/Dunhill).
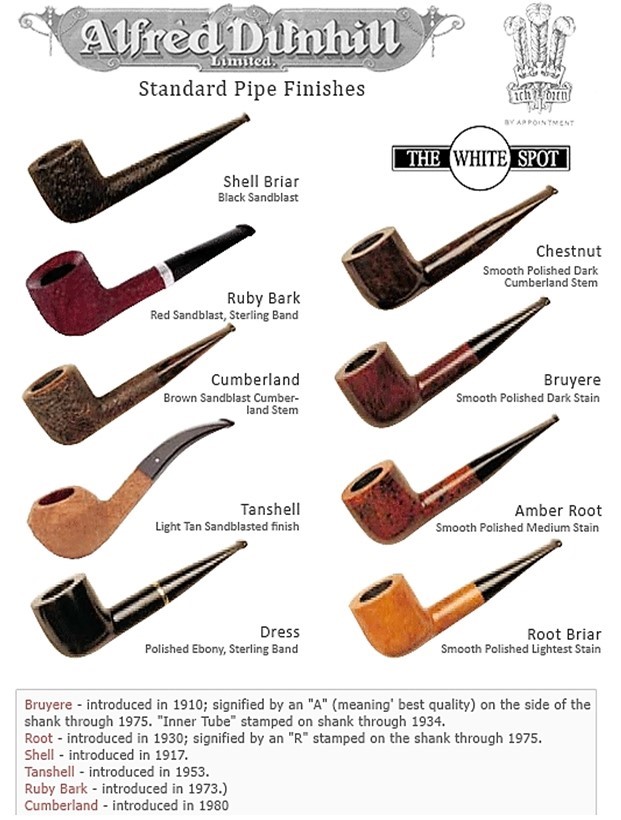
The Tanshell, introduced between 1951 and 1952, was Dunhill’s fourth major finish and its first significant post-war addition to the product line. It is a light tan sandblast, a finish achieved by using Sardinian briar exclusively through the 1960s. As Sardinian briar is considerably harder and denser than the Algerian variety, the resulting sandblast pattern is far more even and regular in its texture.
The development of the Tanshell was not straightforward. According to John C. Loring, the finish was the product of “certain processes… not previously employed”. The pipe was initially slated to be named the ‘Root Shell’, and a stamp to that effect was ordered in May 1951. Ultimately, however, the name ‘Tanshell’ was chosen, though the stamp for the new name was not received until December. This delay explains why most, if not all, Tanshell pipes manufactured in 1951 did not enter retail distribution until 1952 and were consequently stamped with a 1952 date code.[122][123]
Now I knew that I was working on a Dunhill Tanshell OX Bulldog with a Saddle stem that was made in 1954.
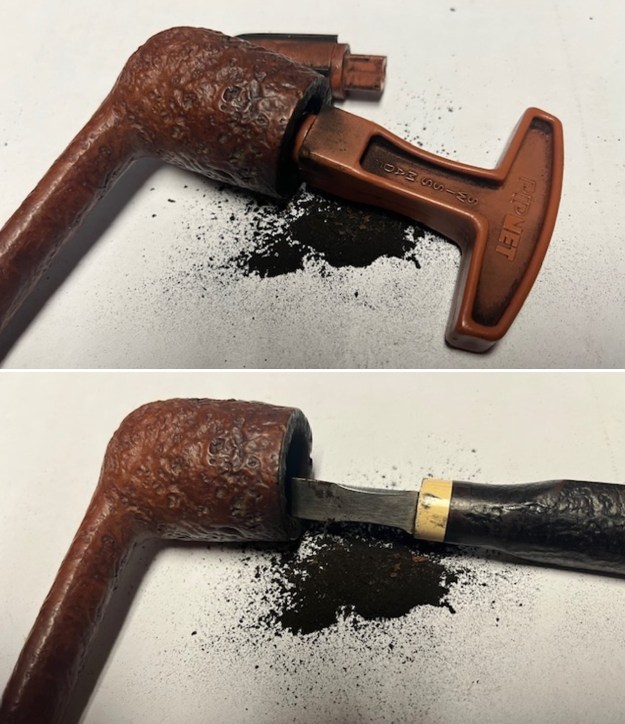
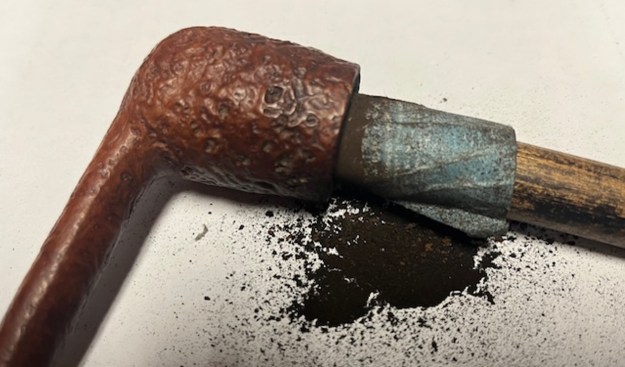
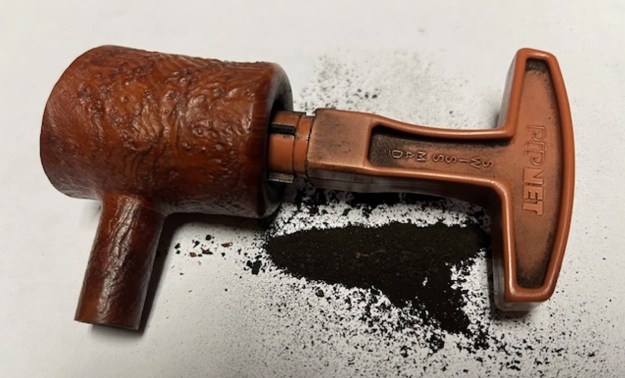
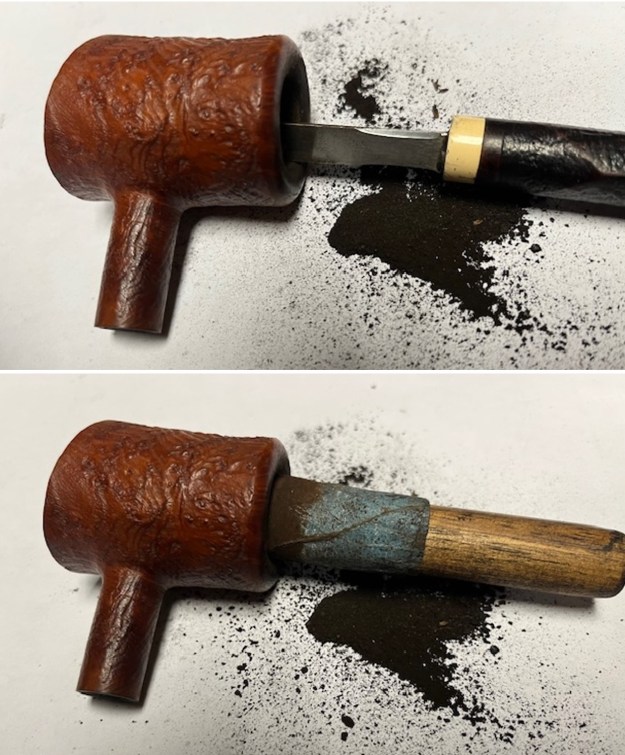
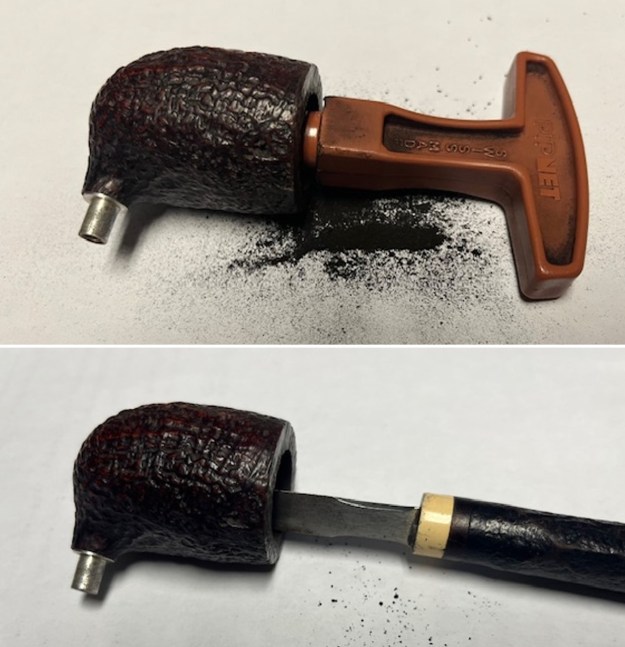
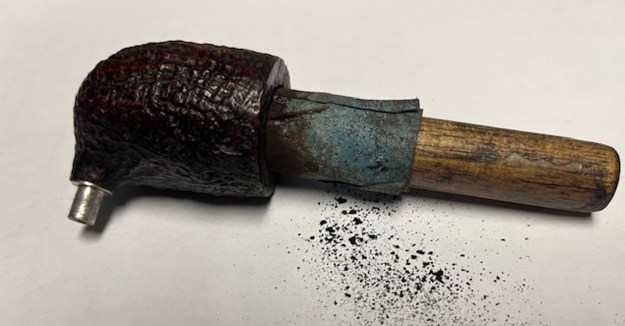
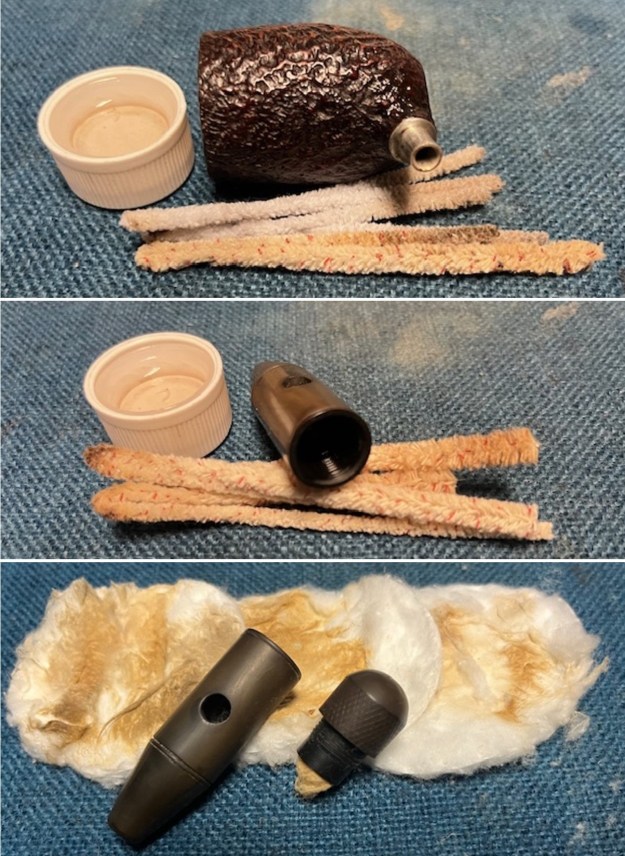
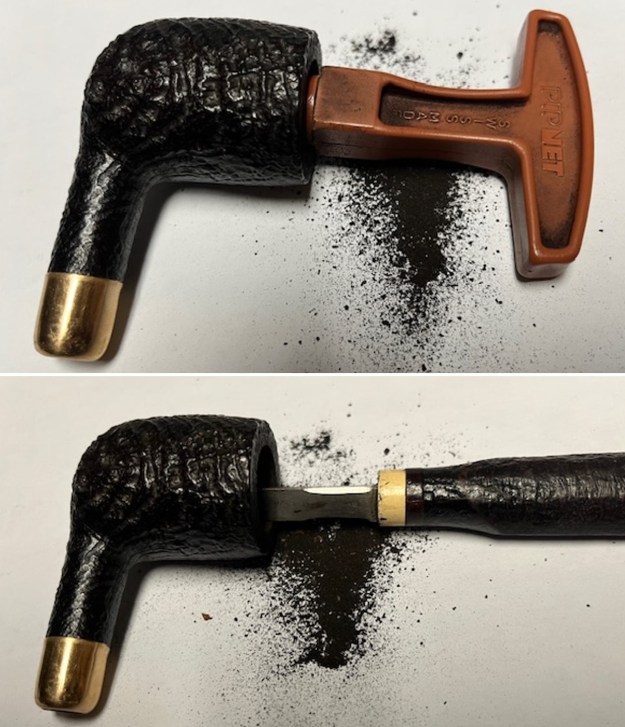
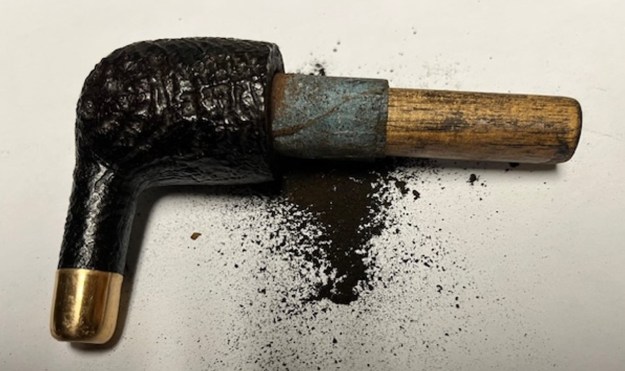
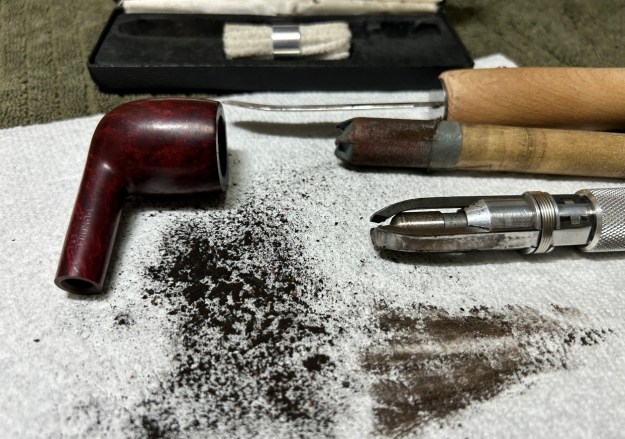
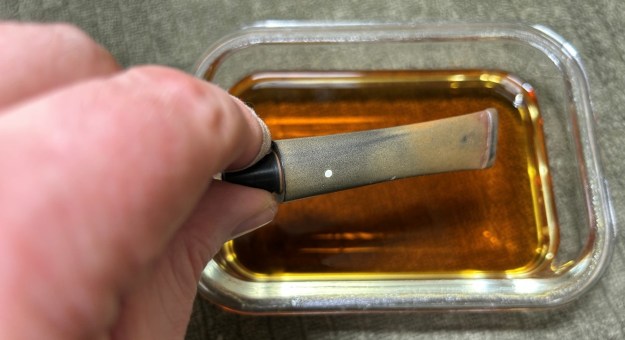
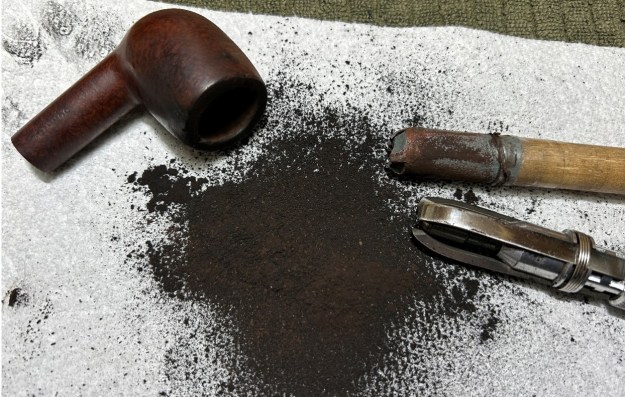
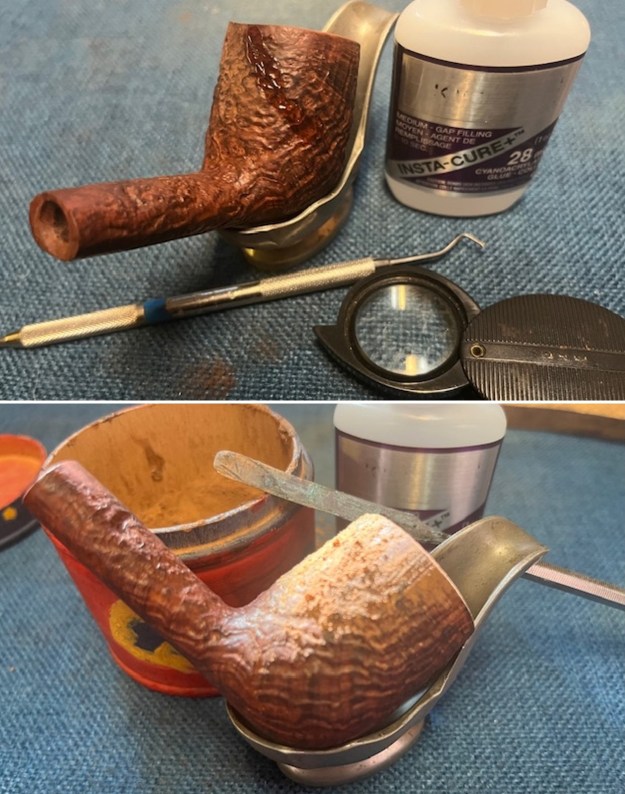
I turned to work on the pipe itself. I reamed the bowl with a PipNet pipe reamer using the cutting heads 2 and 3. I finished the reaming with a Savinelli Fitsall Pipe Knife. I sanded the walls of the bowl with 220 grit sandpaper wrapped around a piece of dowel. 
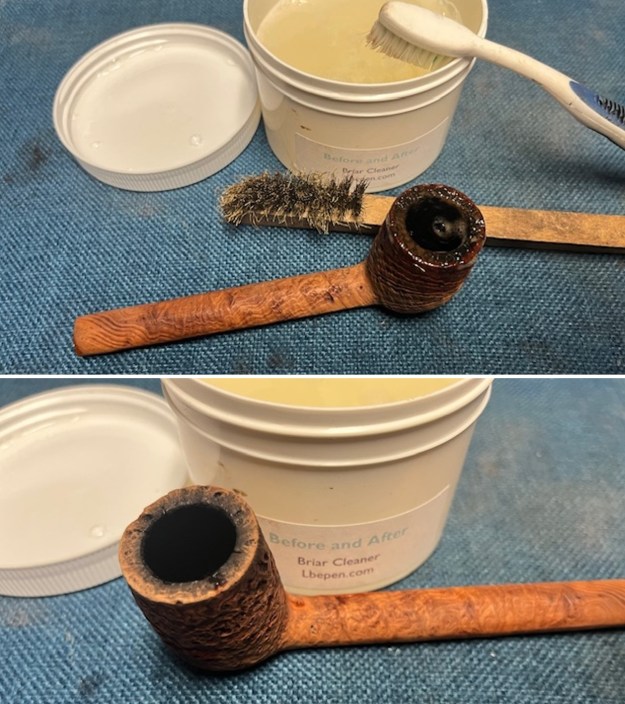
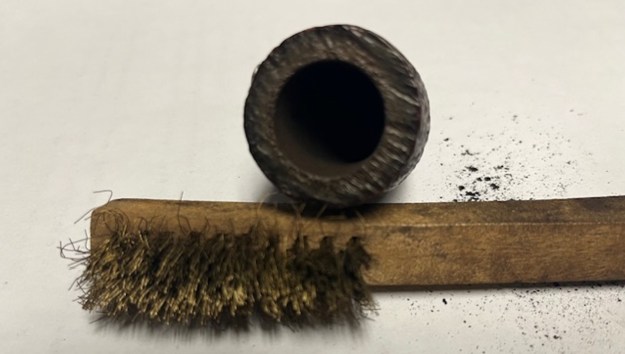
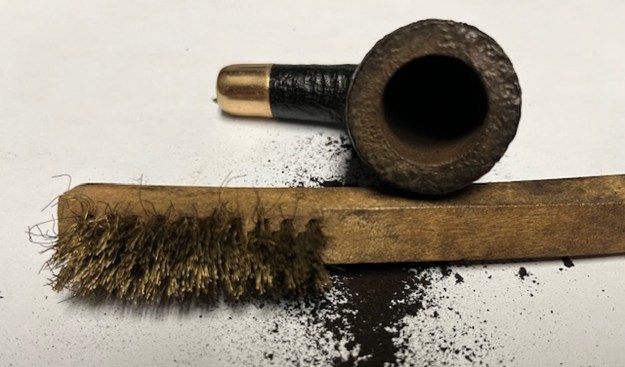
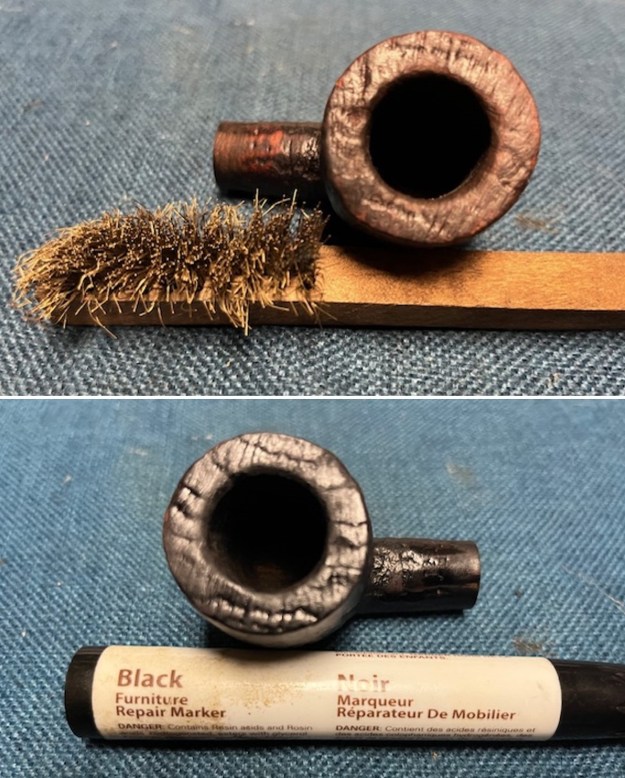
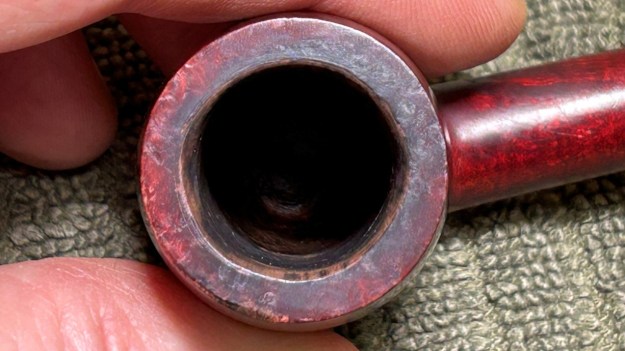
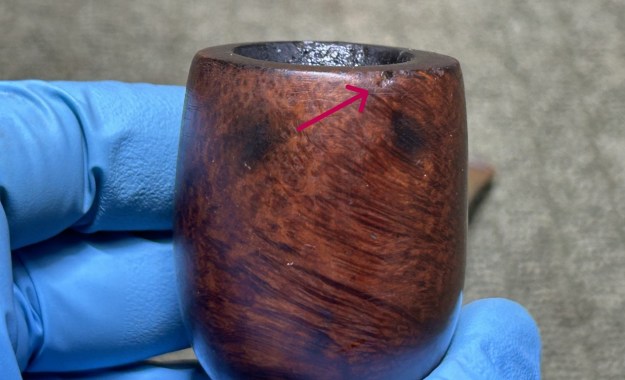
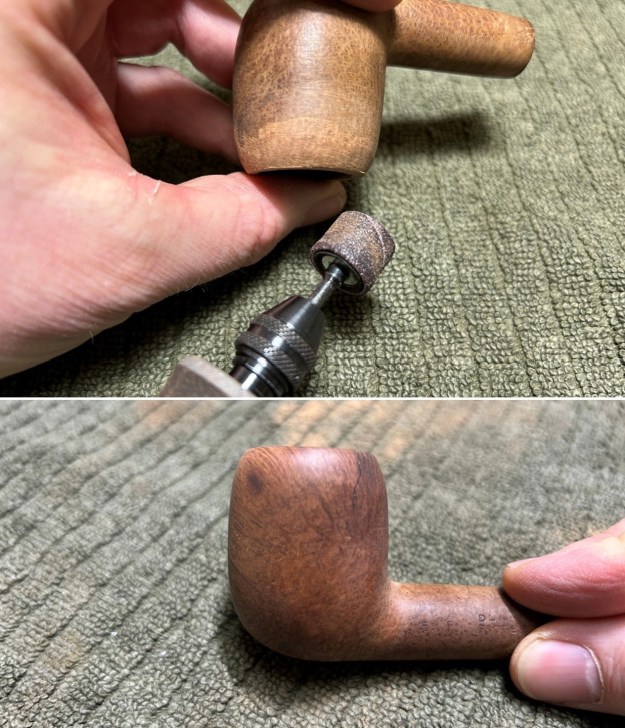
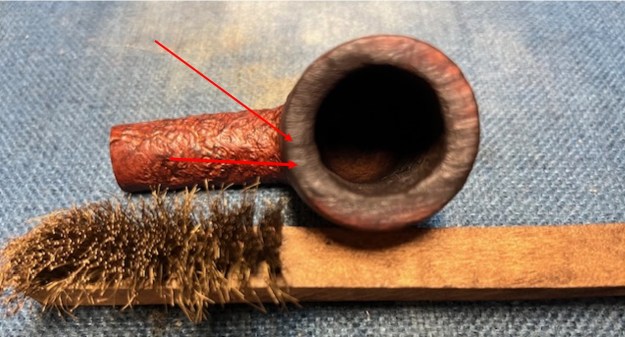
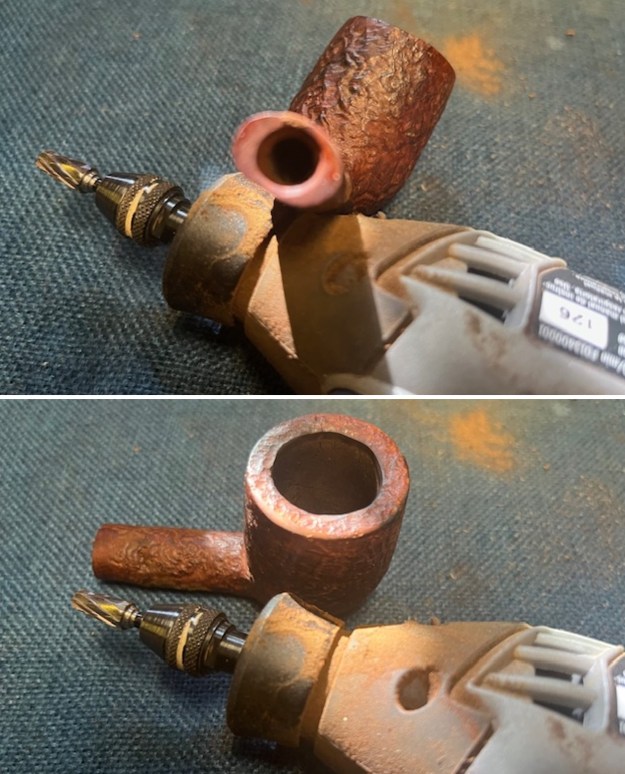
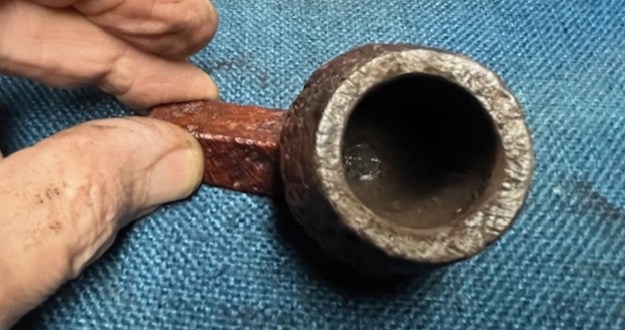
 I used a brass bristle brush to clean up the sandblast on the rim top. I also worked over the inner edge of the bowl with a folded piece of 220 grit sandpaper. I sanded it until the bowl was once again round.
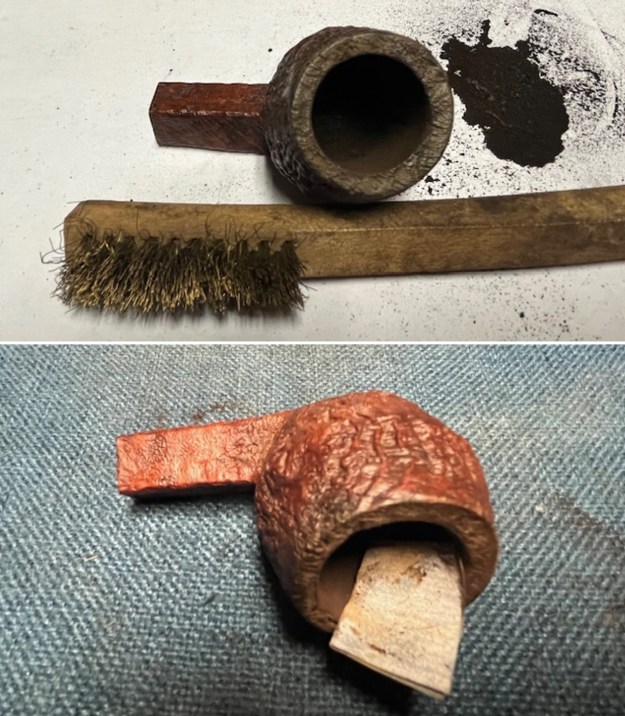
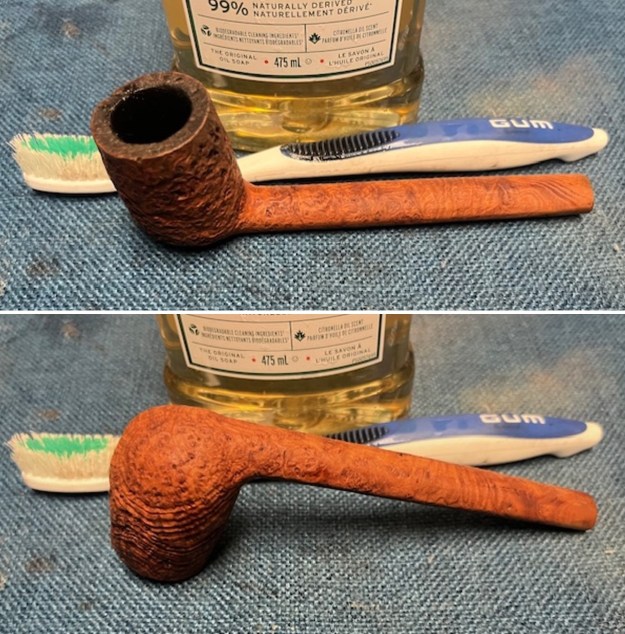
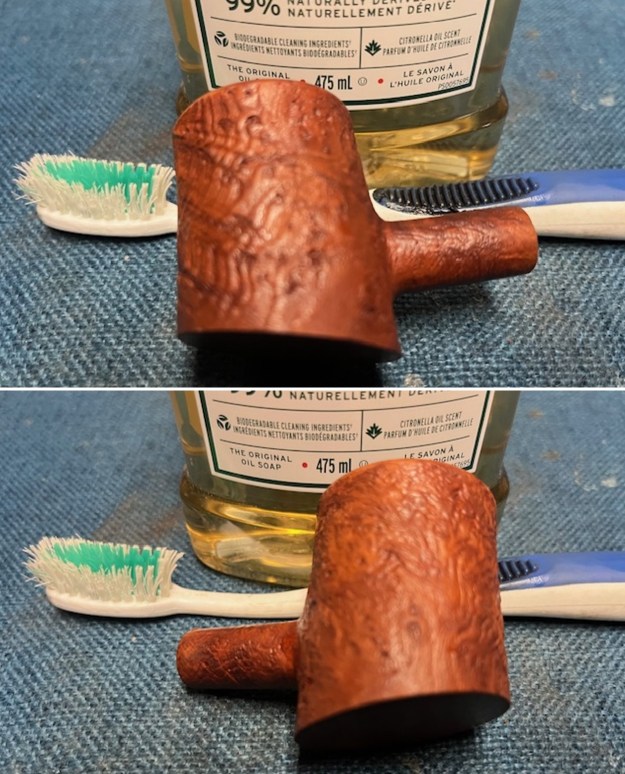
 I scrubbed the bowl and shank with a tooth brush and some undiluted Murphy’s Oil Soap. I also worked it over with a brass bristle wire brush and the soap. I rinsed it off with warm water to remove the dust and soap from the finish. I dried it off with a soft cloth and it looked much better.
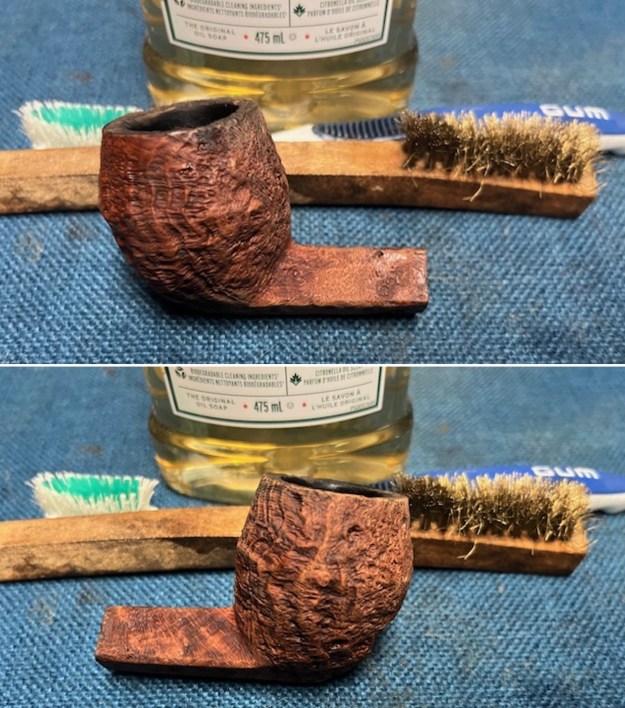
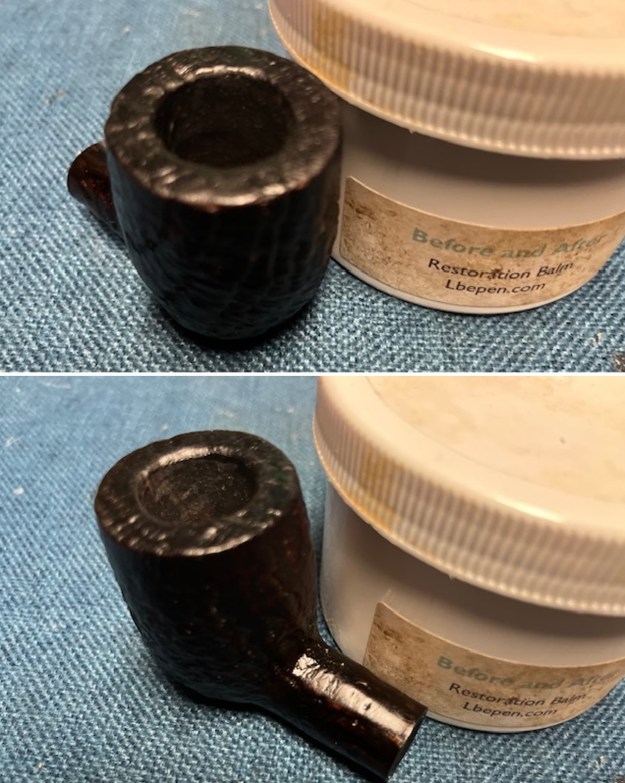
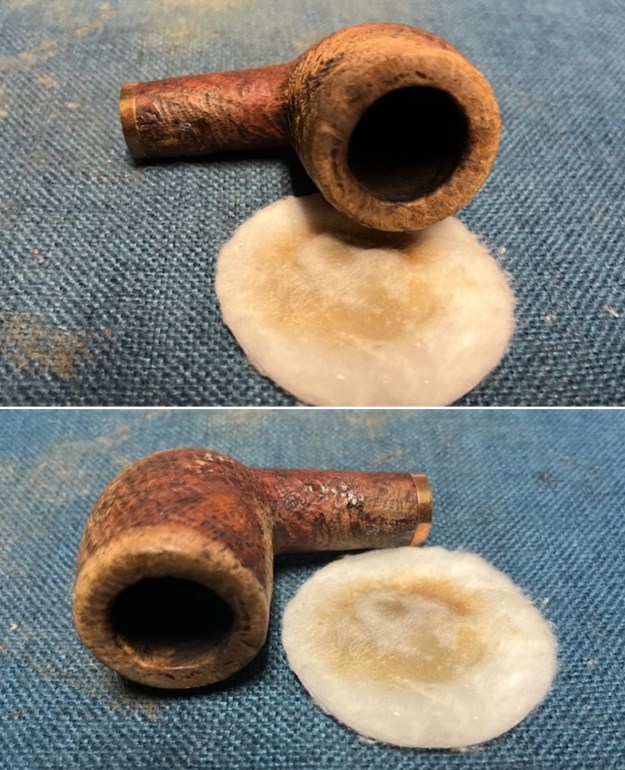
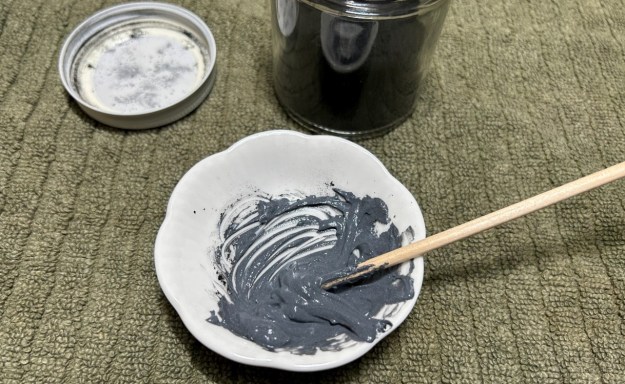
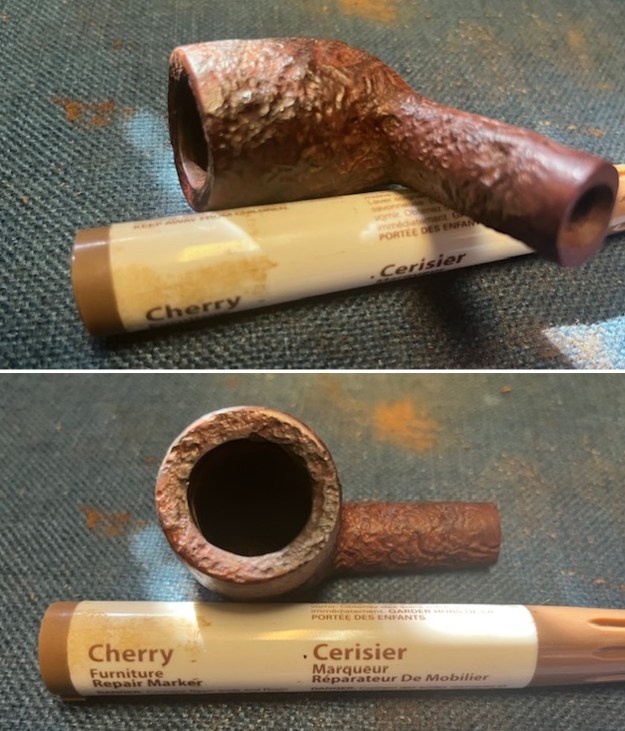
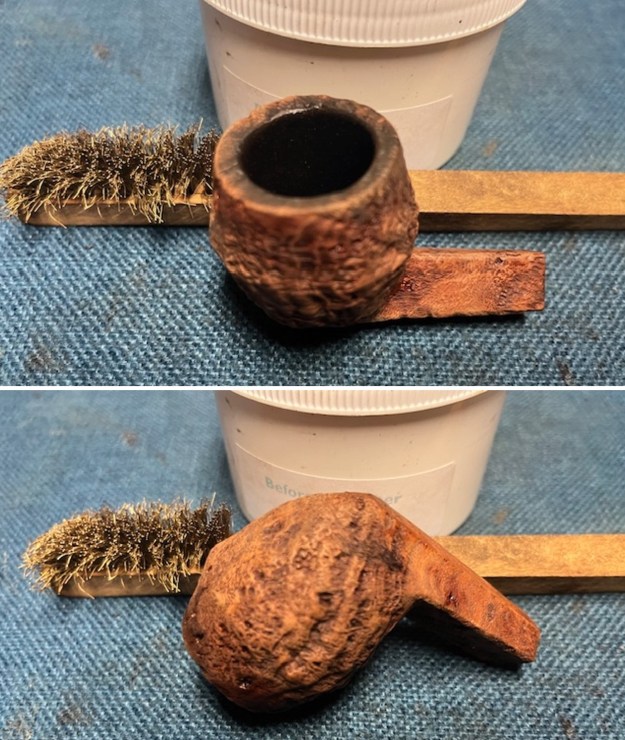
 I scrubbed it further with Before & After Briar Cleaner and a brass bristle brush to work the cleaner into the grooves. I rinsed it off and repeated the process until it became cleaner. There is still some darkening in the sandblast that will not come out but it is clean and significantly better.
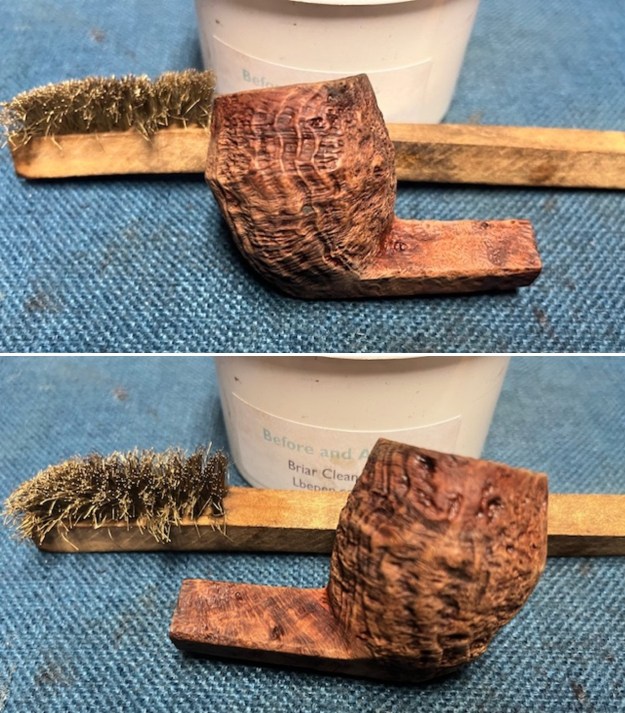
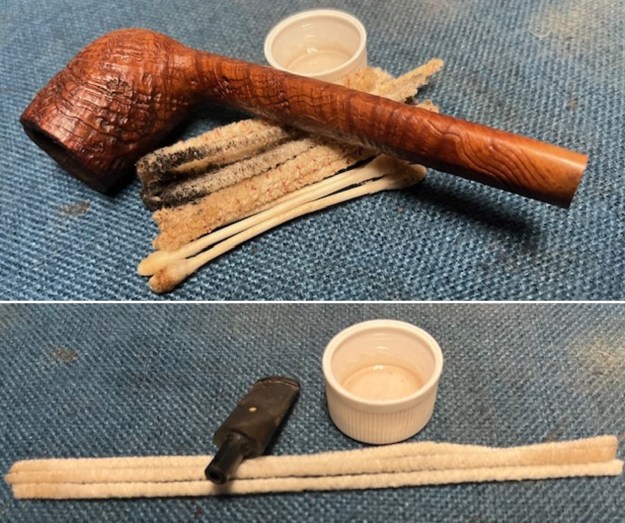
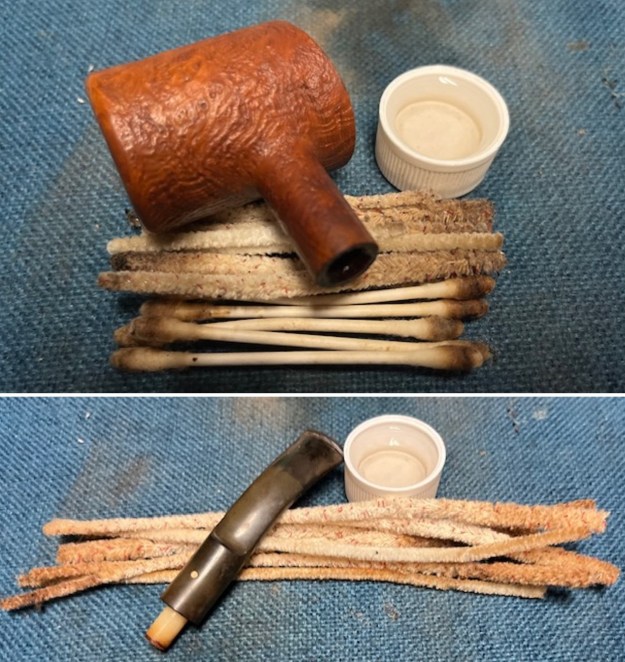
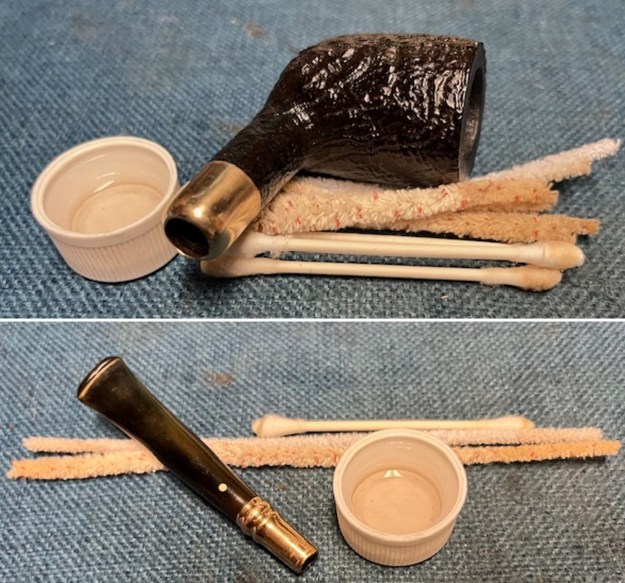
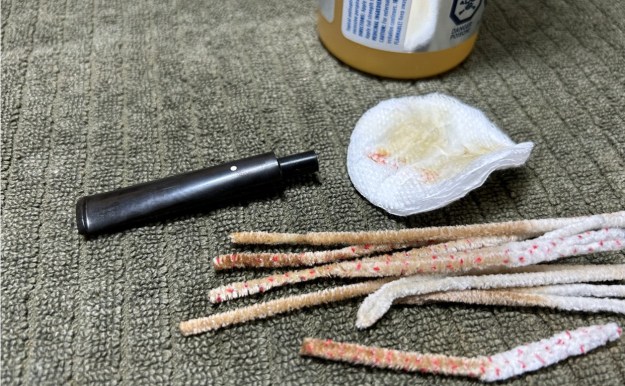
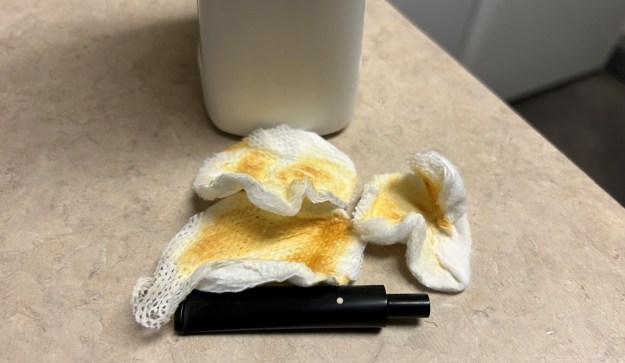
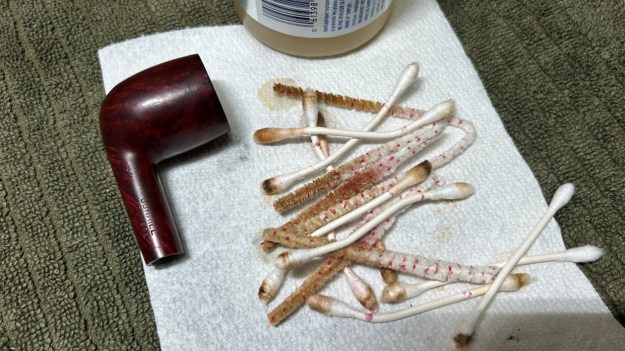
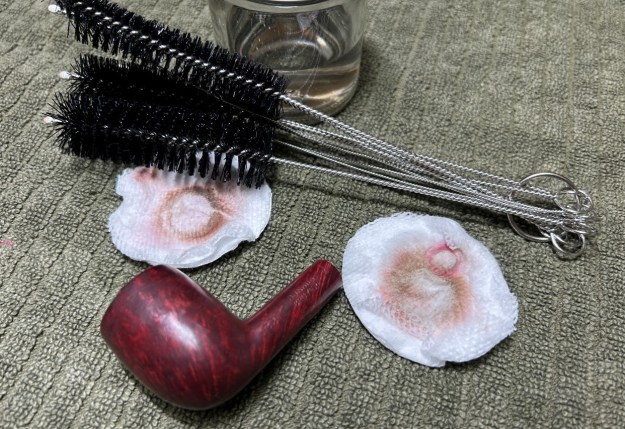
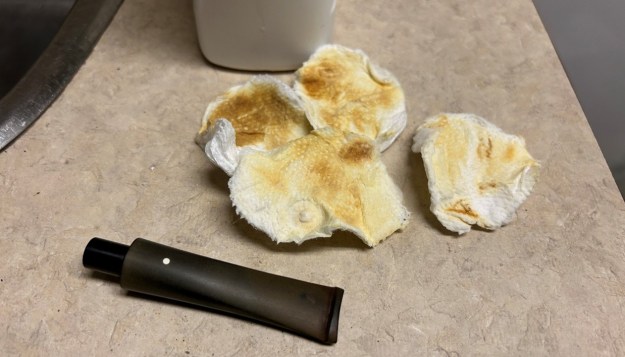
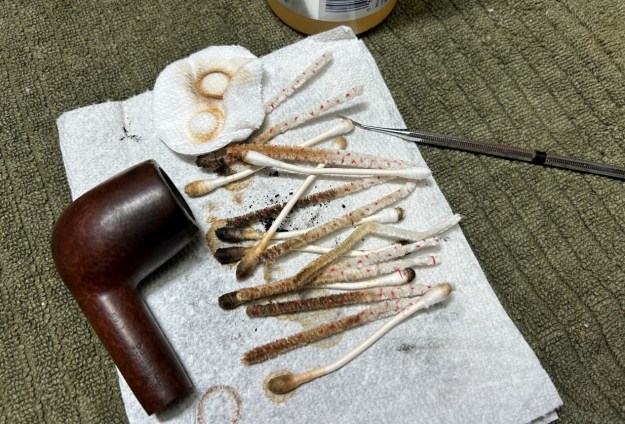
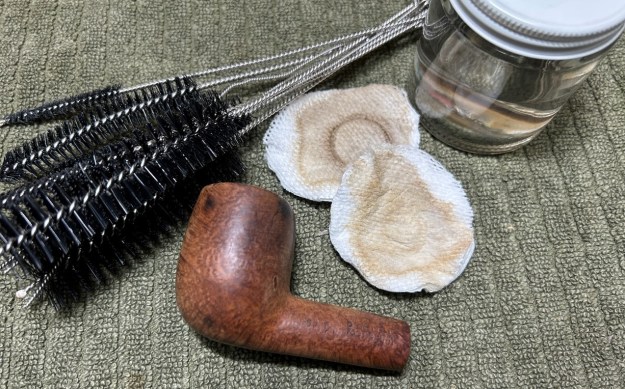
 I remembered that I had not cleaned the shank. I think the 1954 date – my birth year excited me enough that it escaped me. I cleaned out the inside of the shank and the airway in the stem with alcohol, cotton swabs and both bristle and regular pipe cleaners.
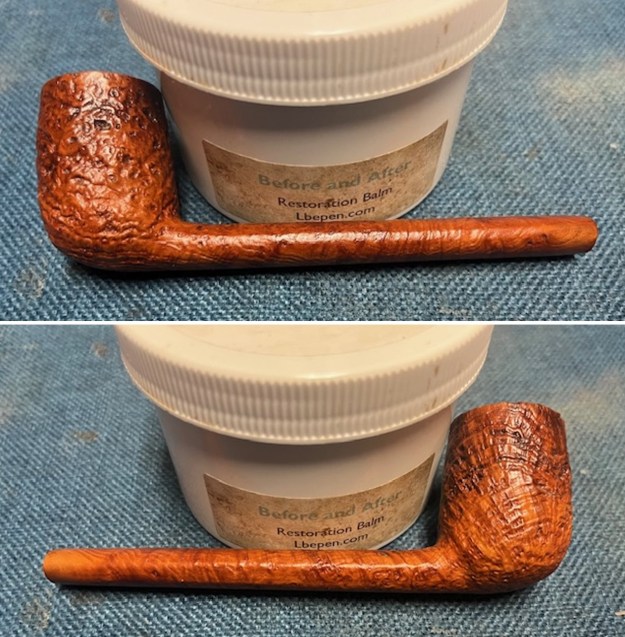
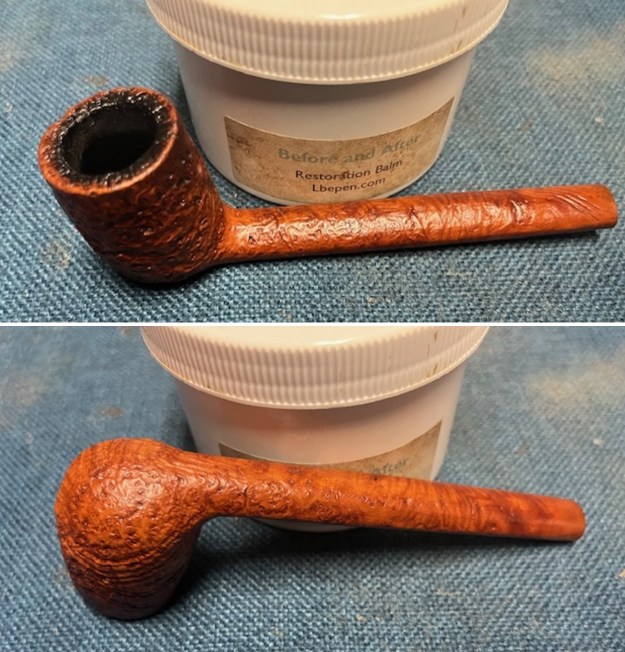
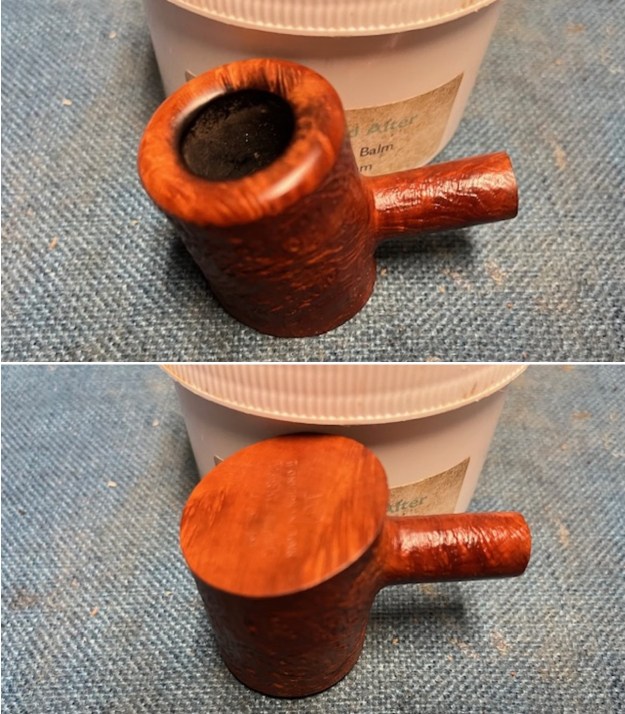
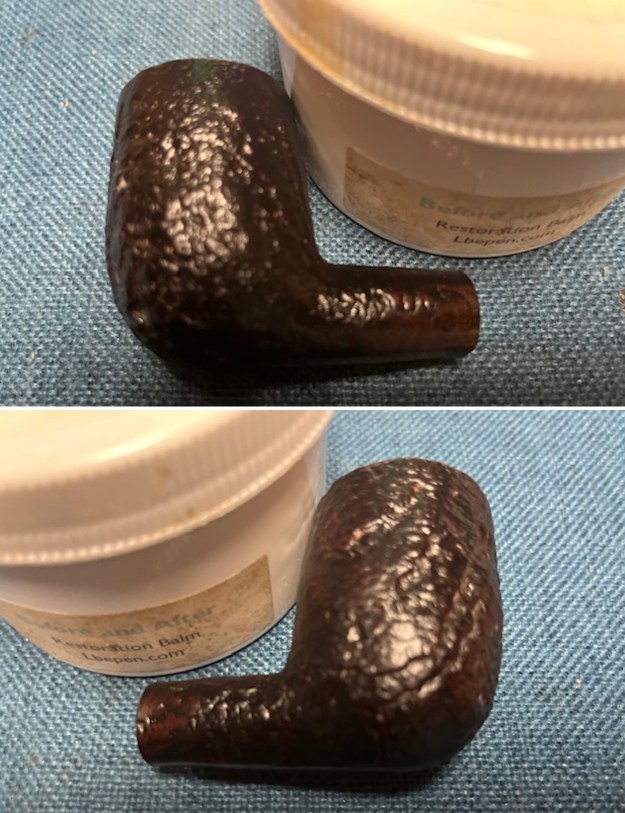
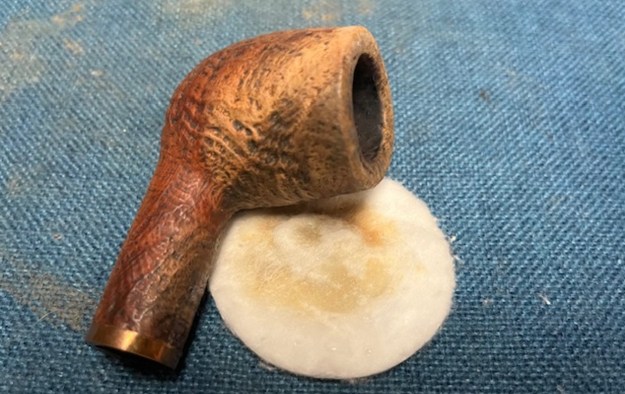
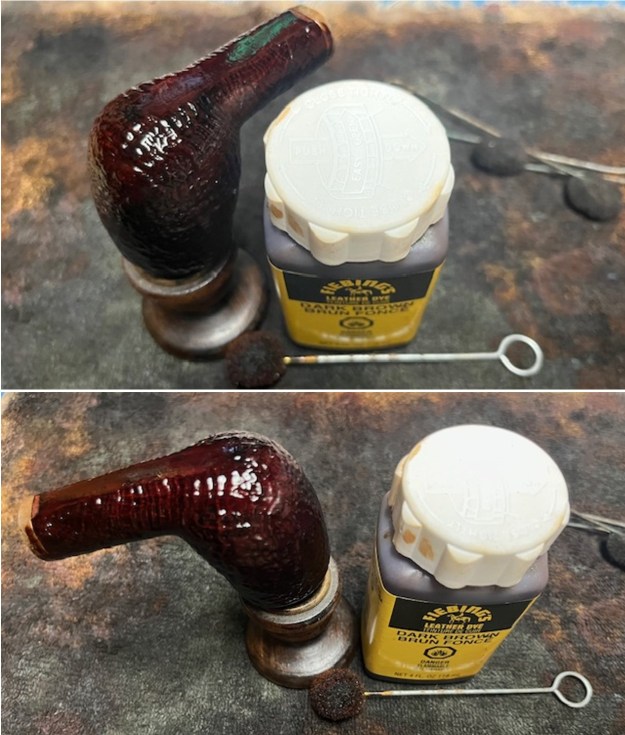
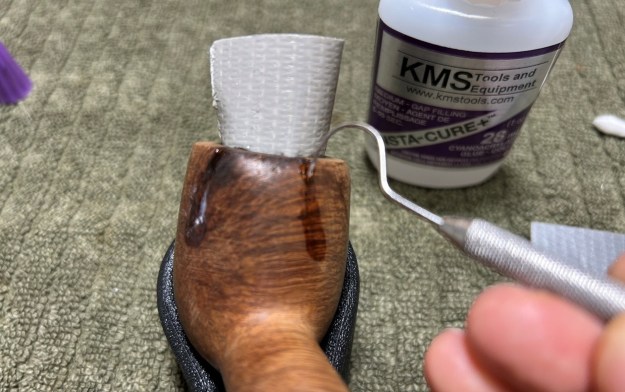
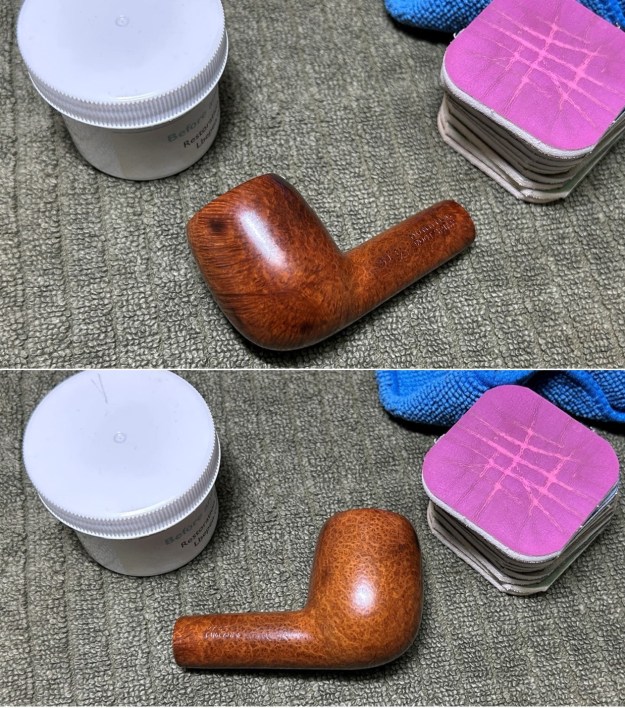
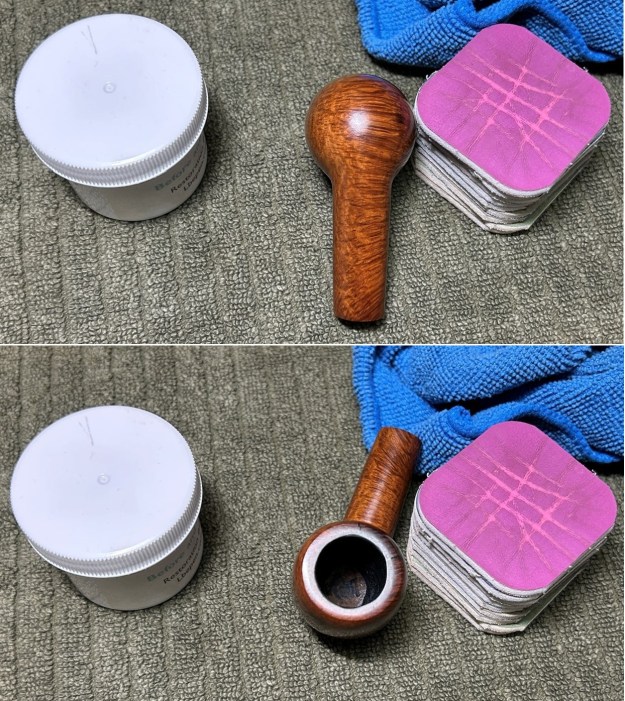
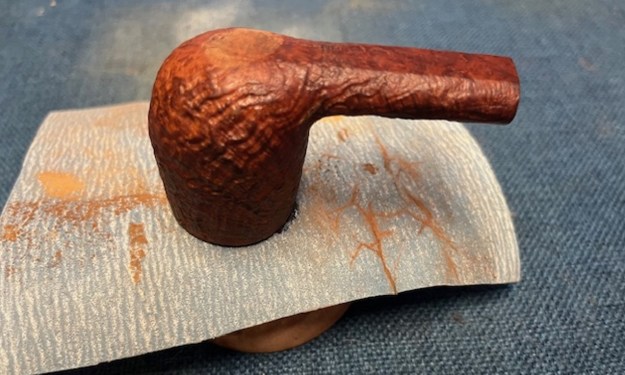
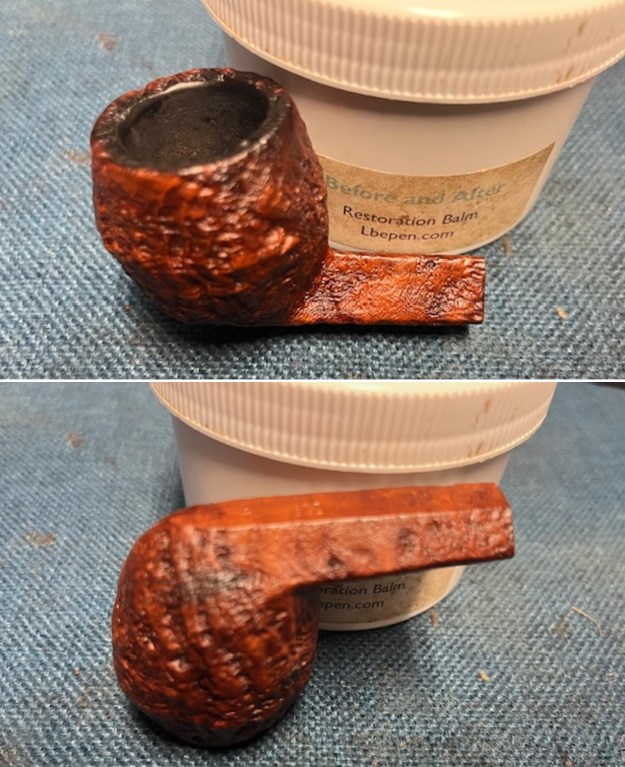
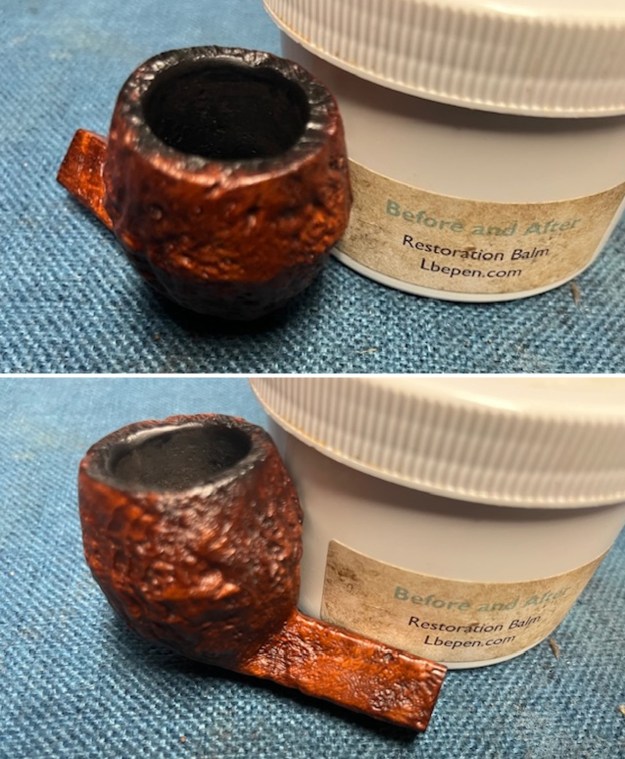
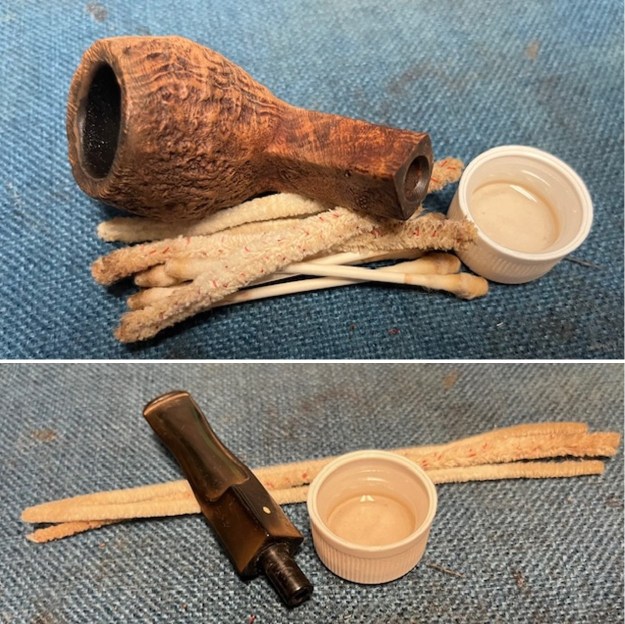 I rubbed the briar down with Before & After Restoration Balm. I worked it into the briar with my fingertips and a horsehair shoe brush to work it into the nooks and crannies of the sandblast finish. The product works to clean, enliven and preserve the briar. I let it sit for 10 minutes then I buffed it with a cotton cloth to deepen the shine. The briar really comes alive with the balm.
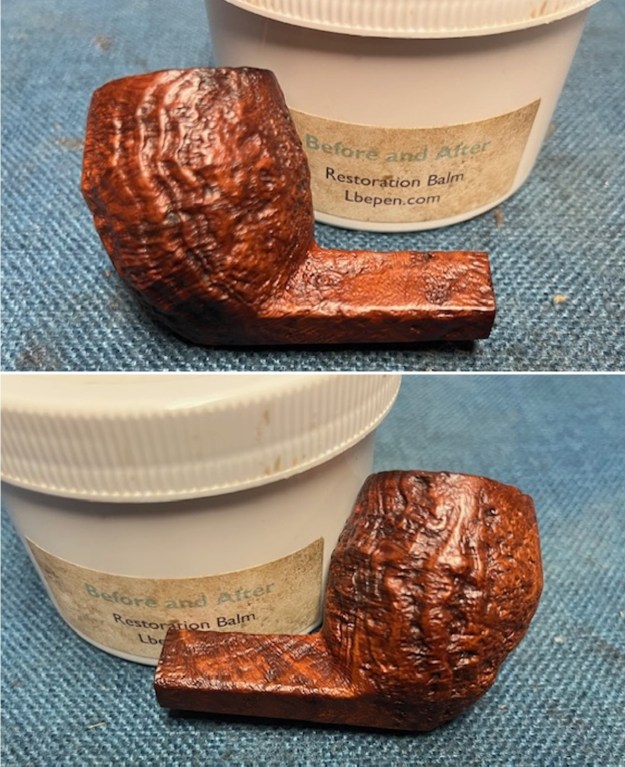
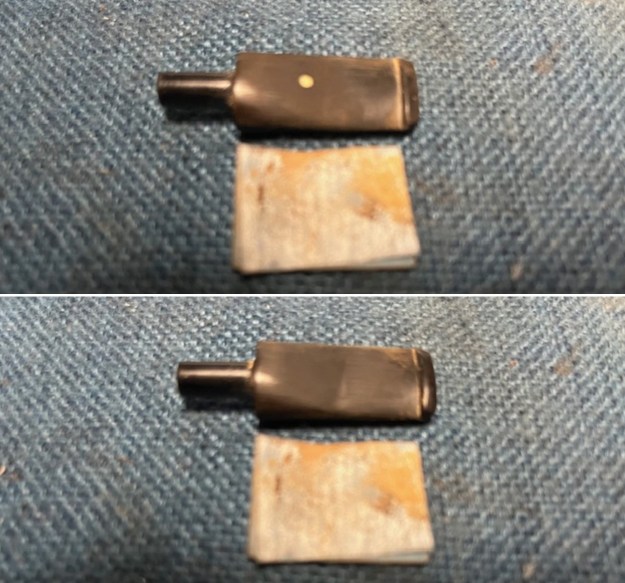
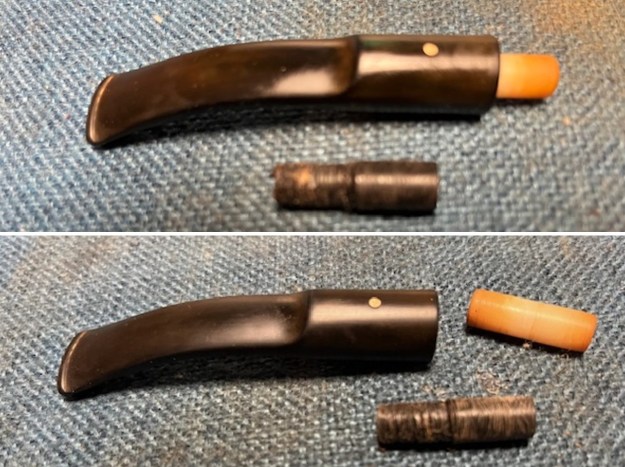
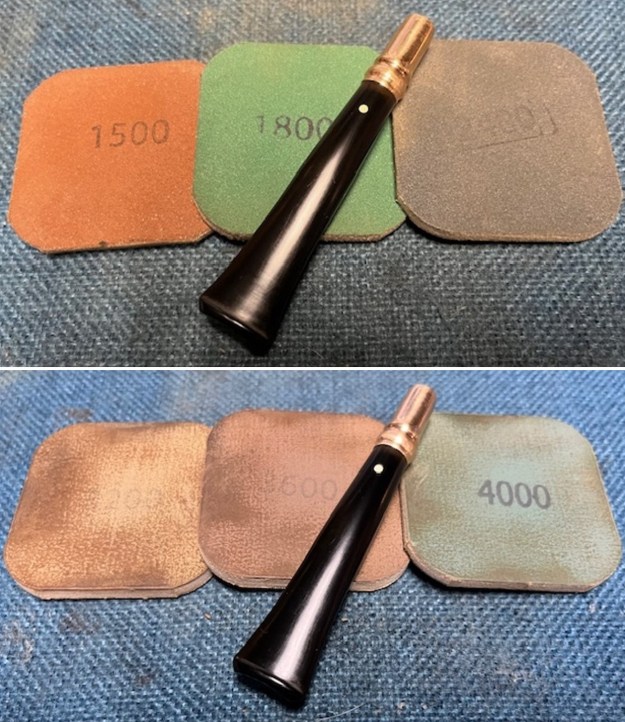
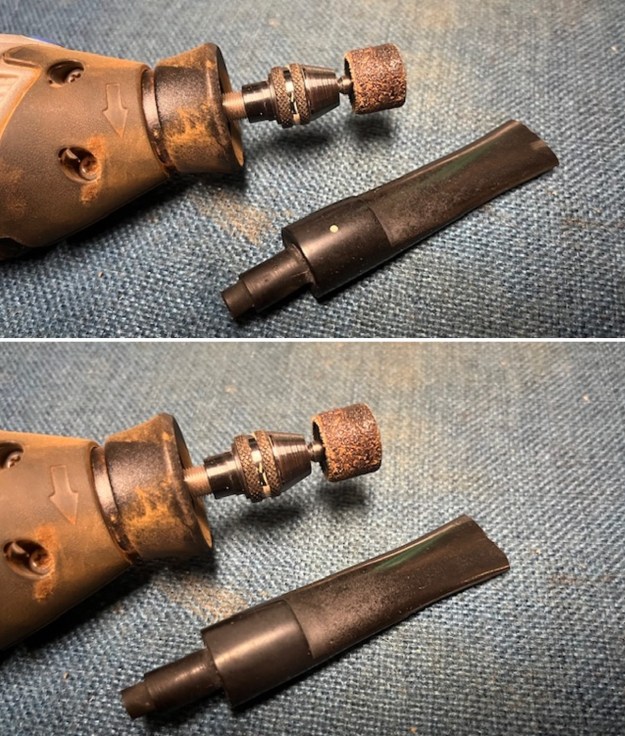
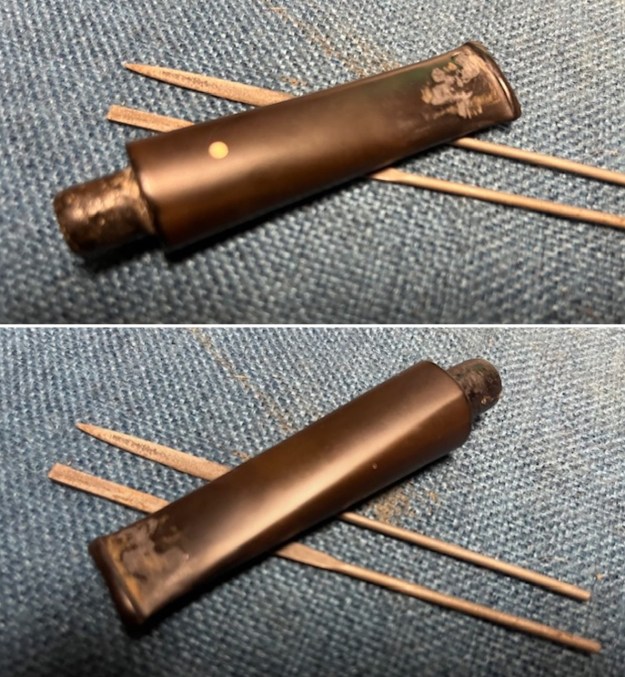
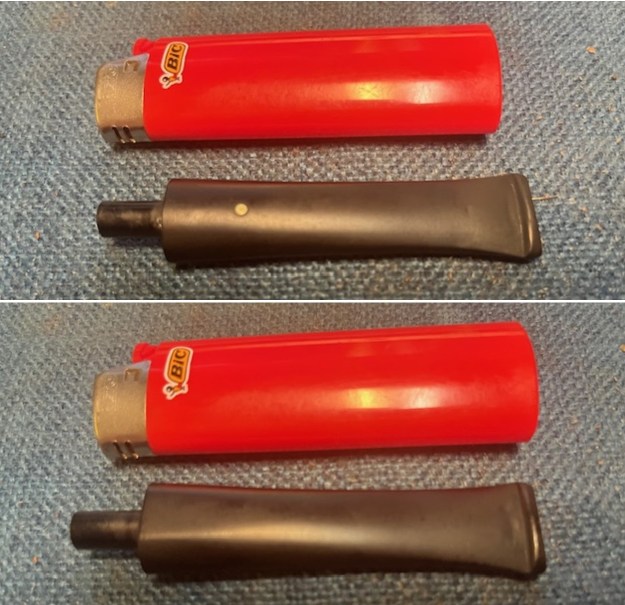
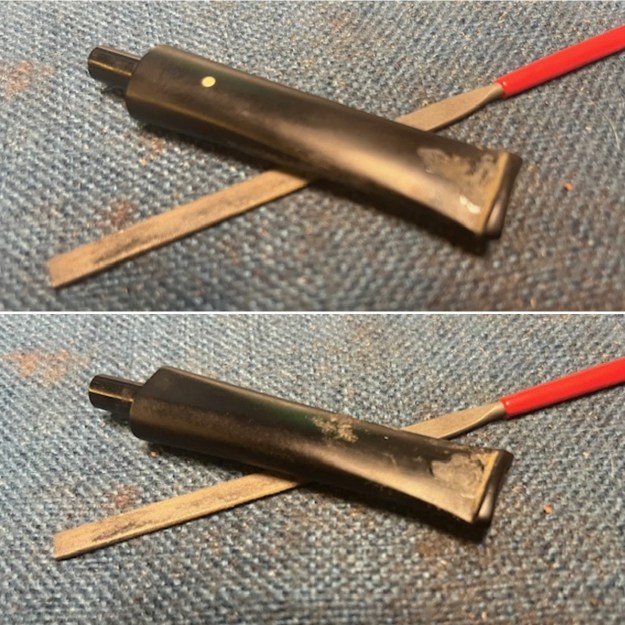
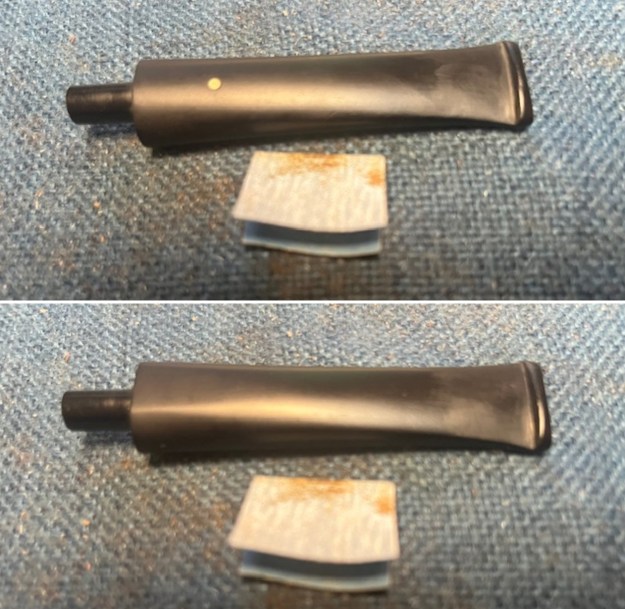
 I set the bowl aside and worked on the stem. I sanded the oxidation and the tooth marks and chatter with 220 grit sandpaper. I was able to remove all of the tooth damage on the stem and the majority of the oxidation.
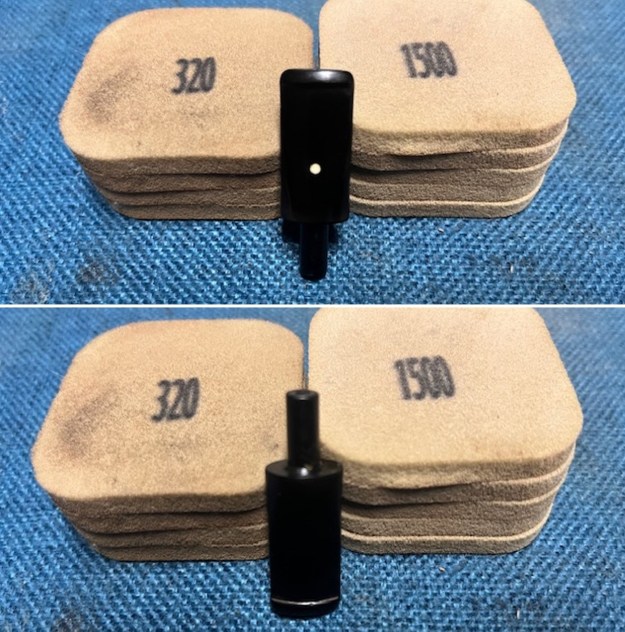
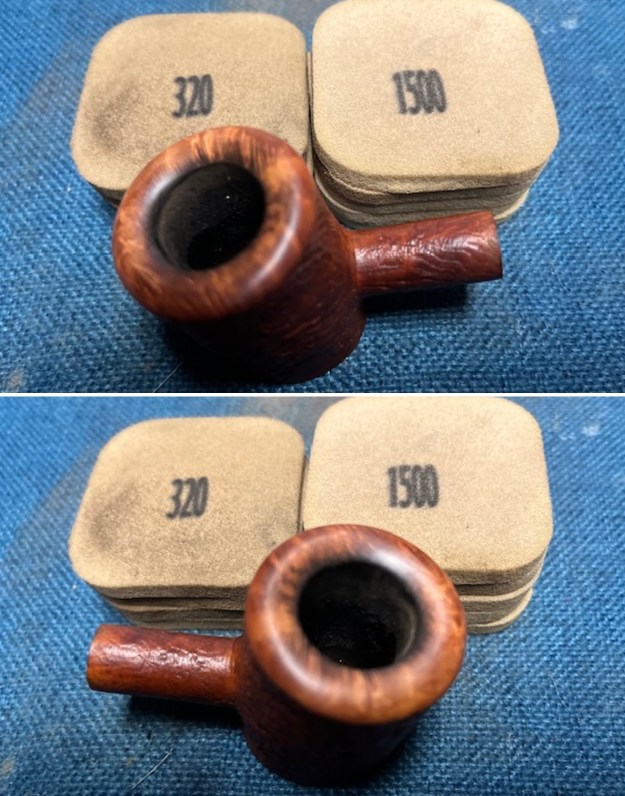
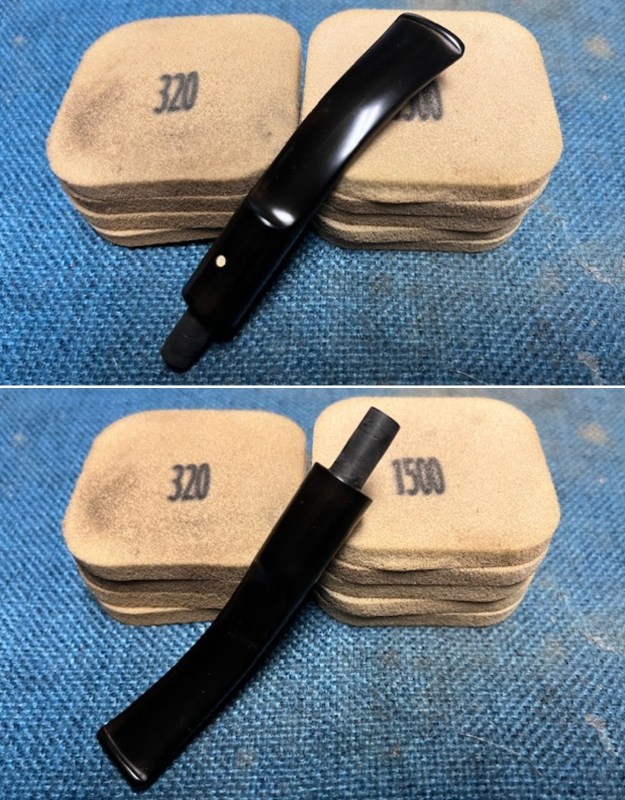
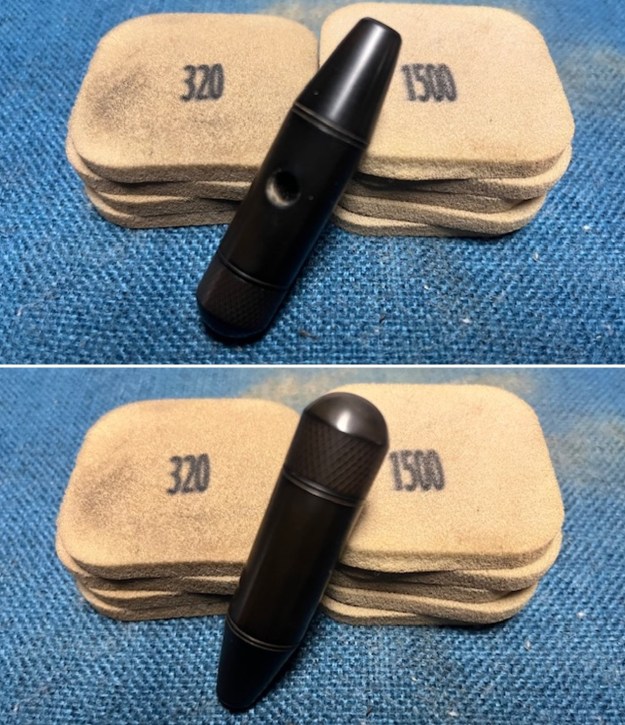
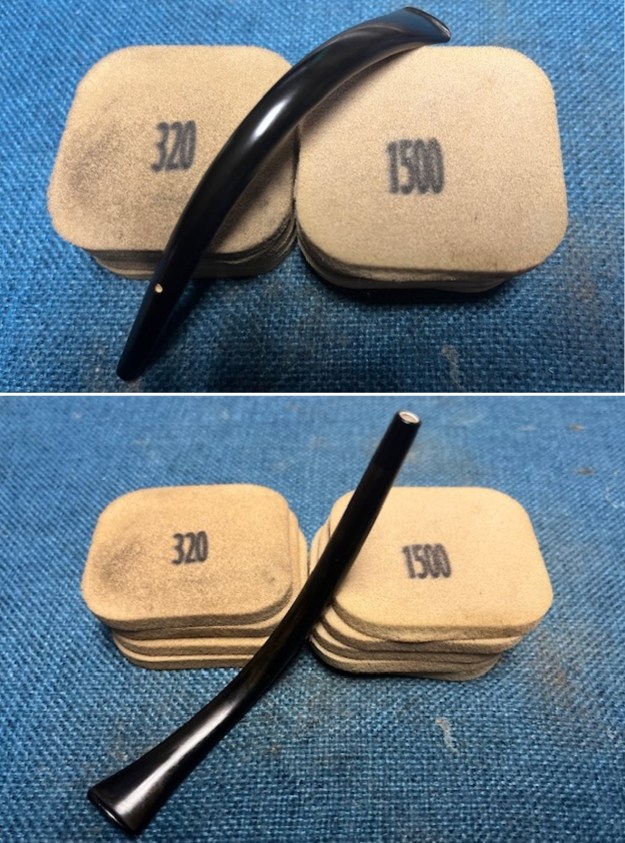
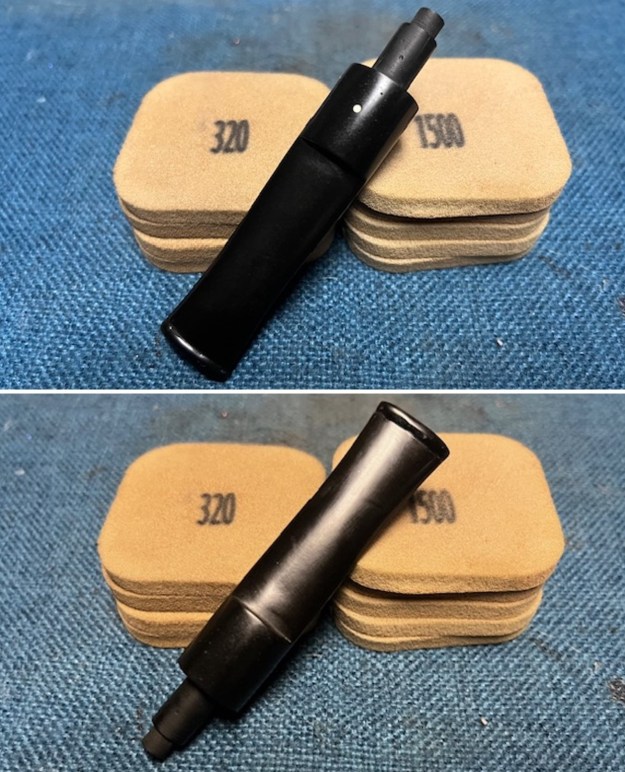
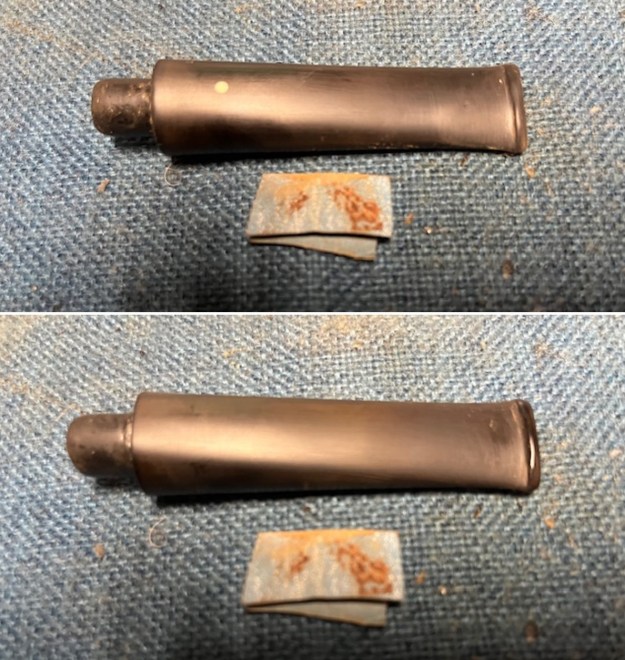
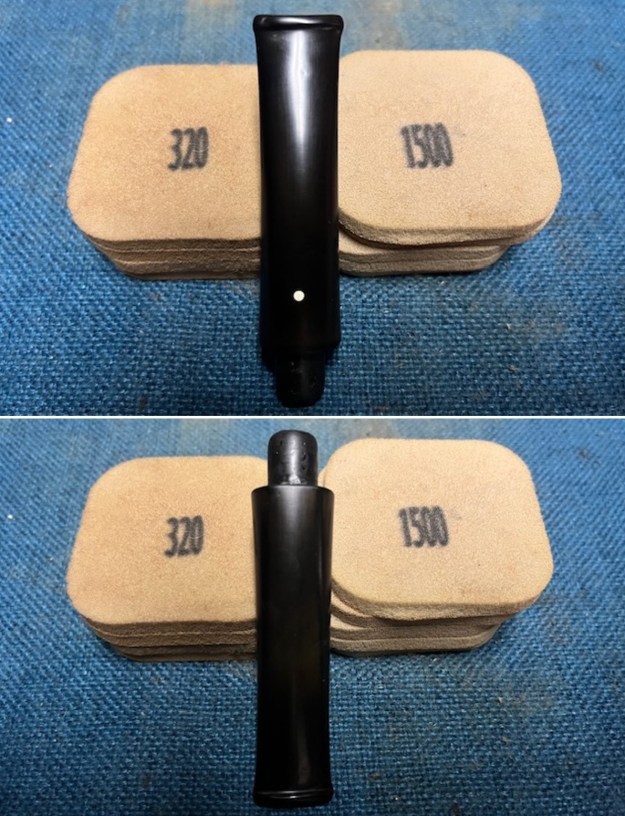
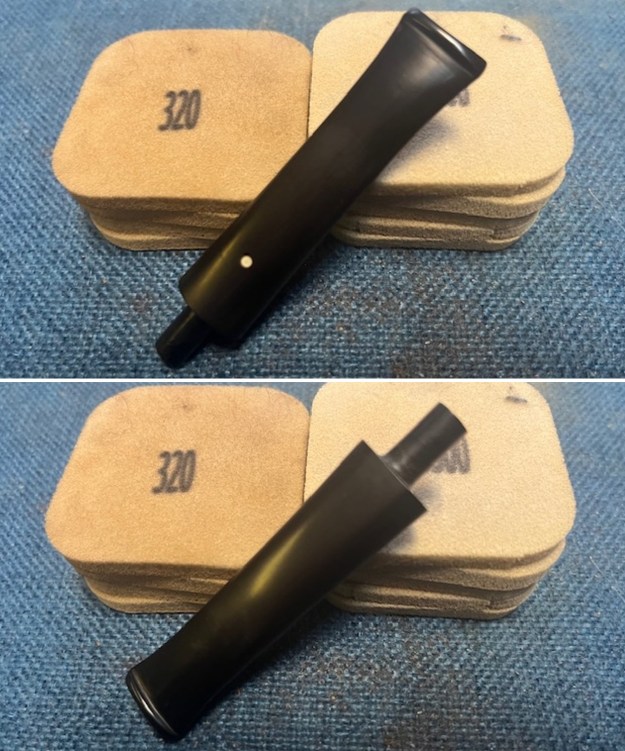
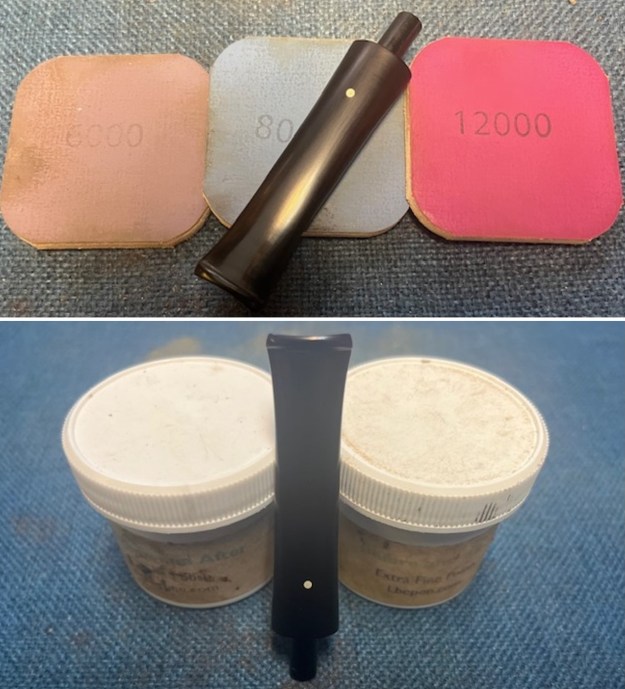
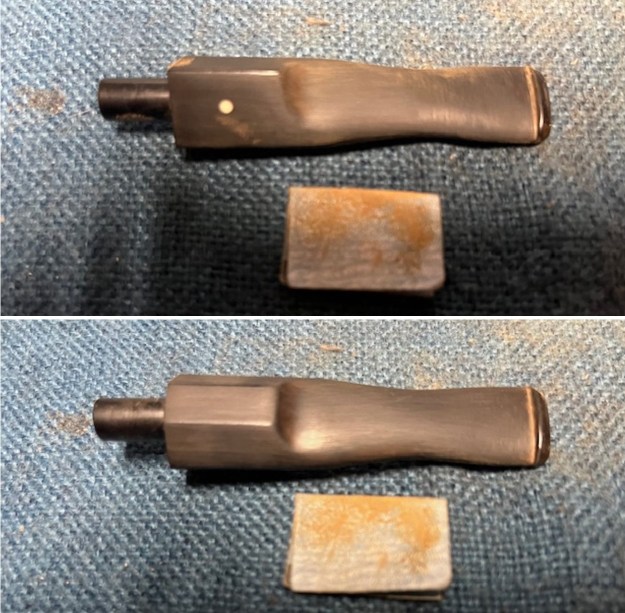 I sanded the stem and tenon surface with 320-3500 grit 2×2 inch pads. I wiped the stem down with an Obsidian Oil cloth after each sanding pad.
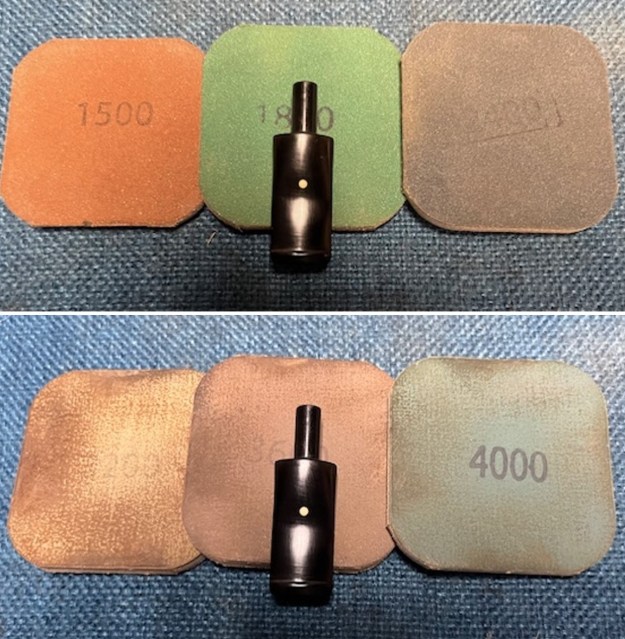
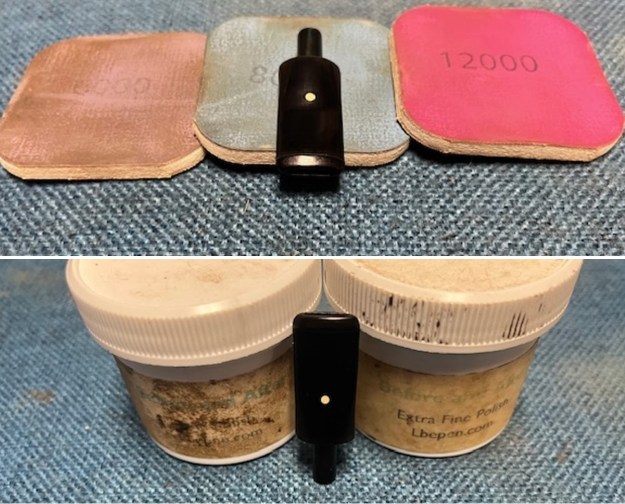
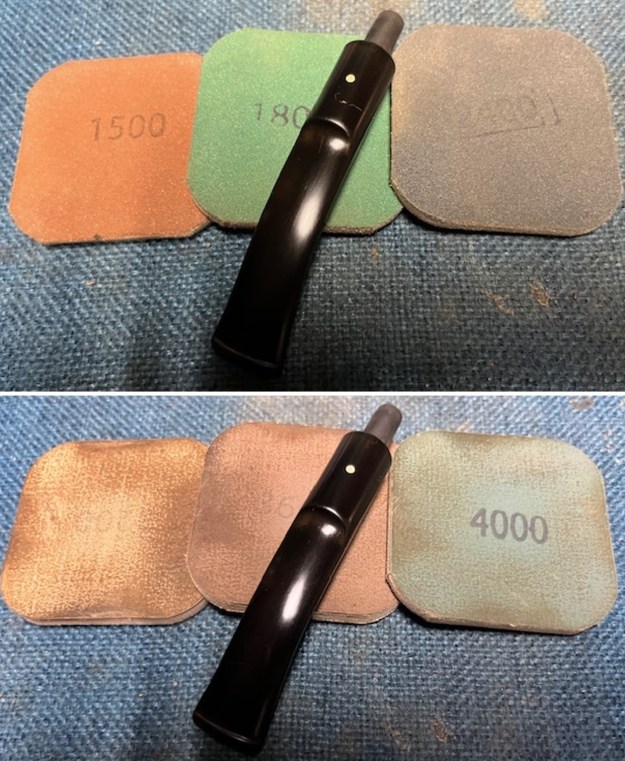
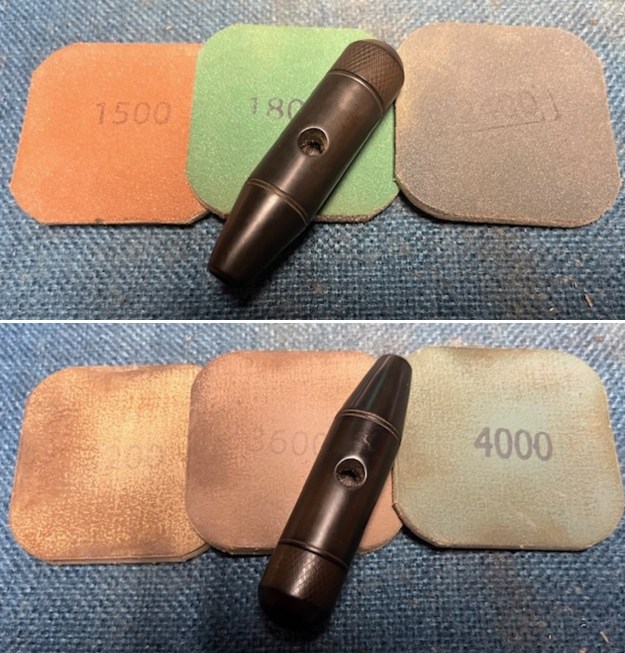
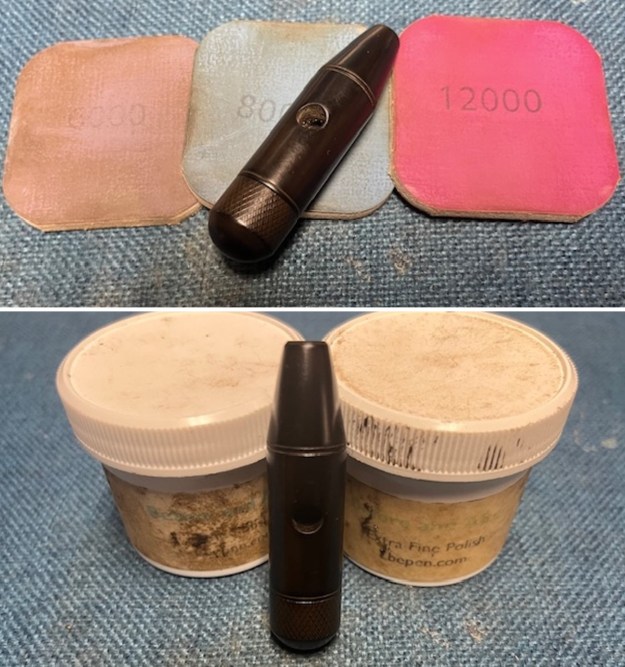
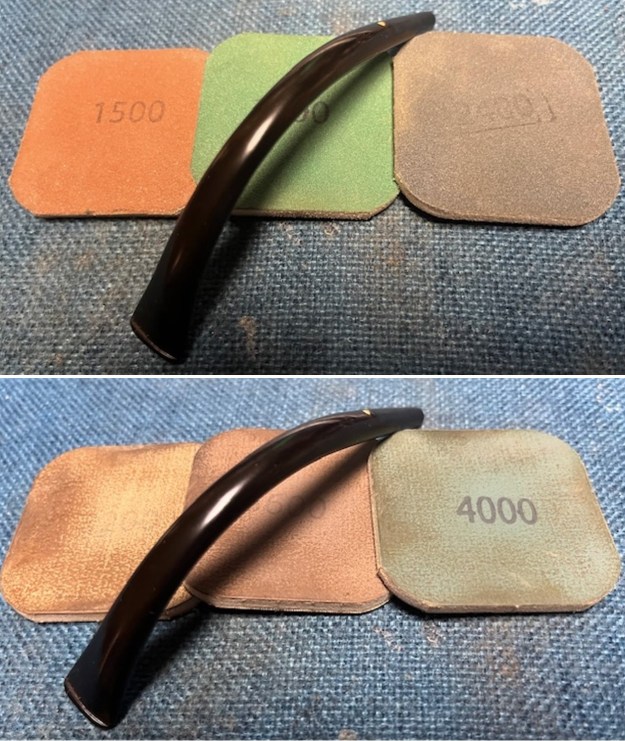
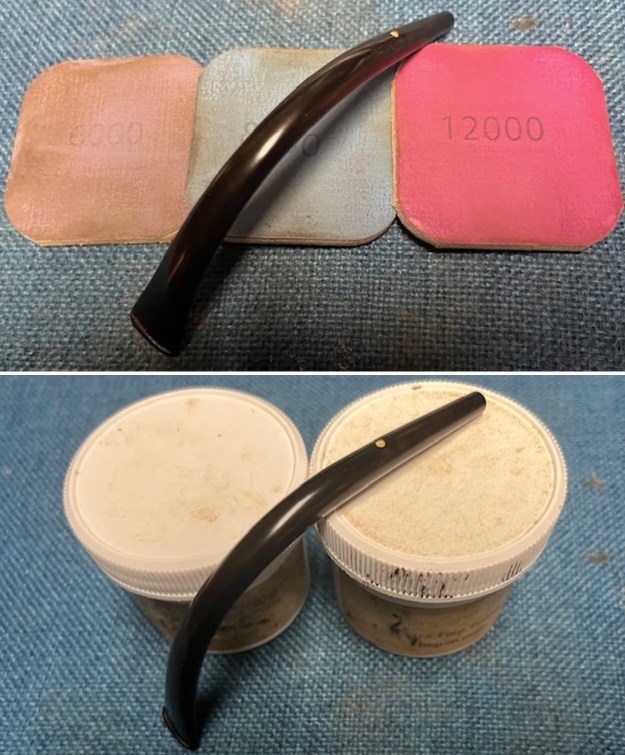
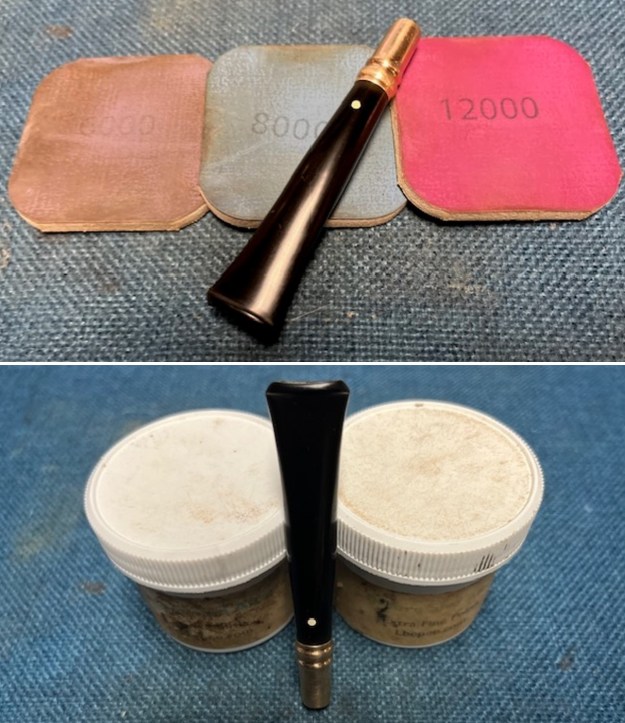
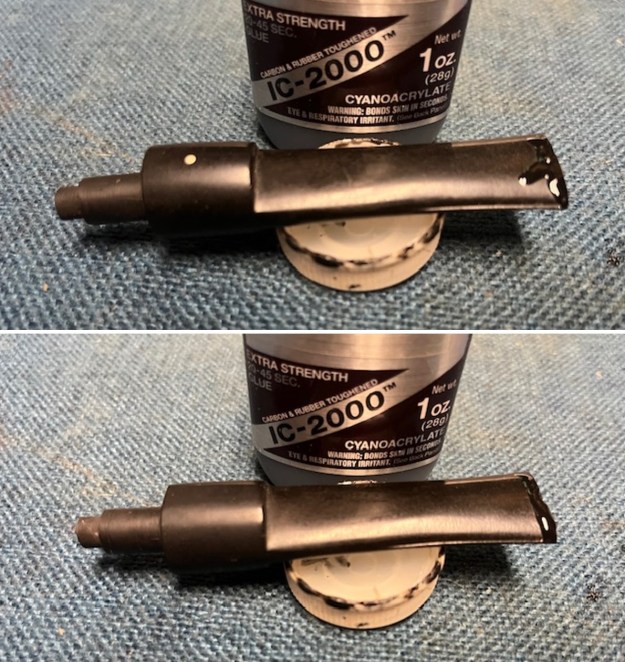
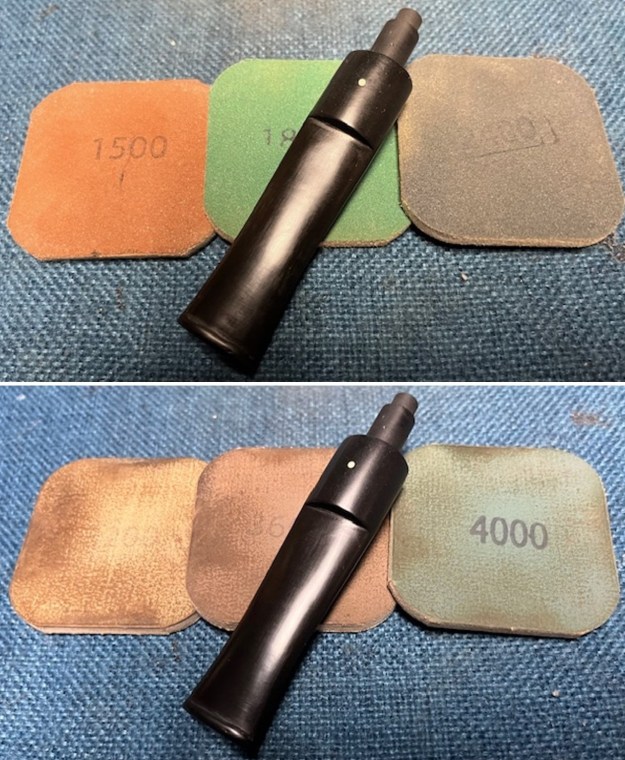
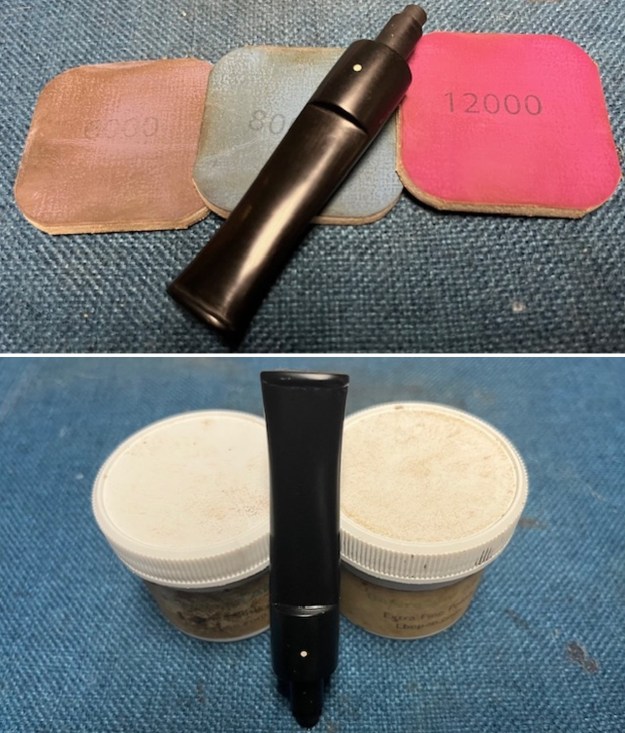
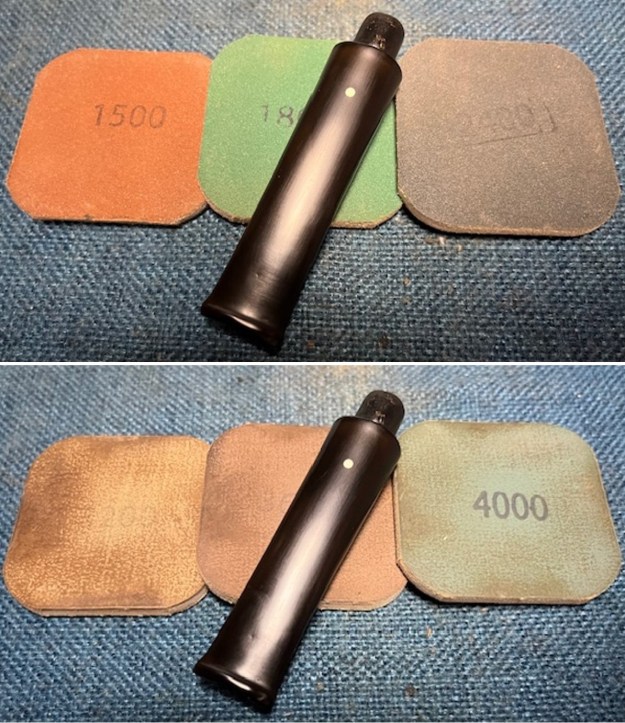
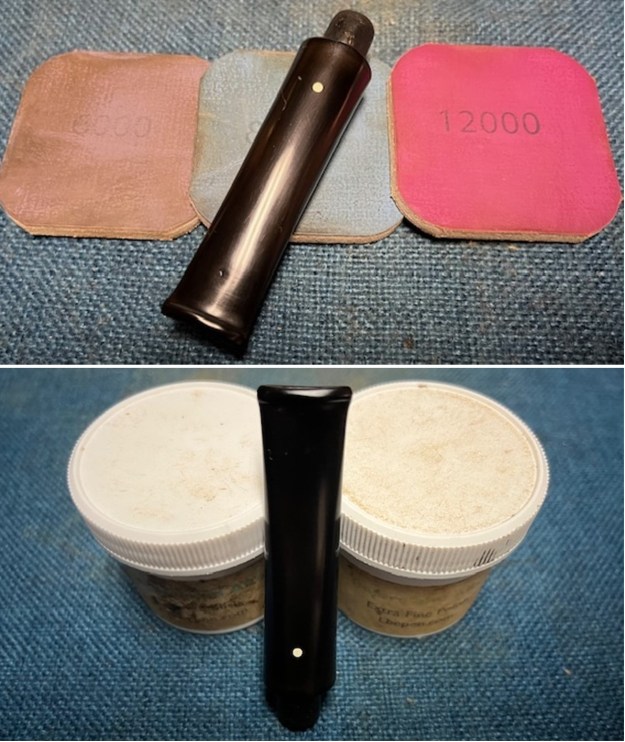
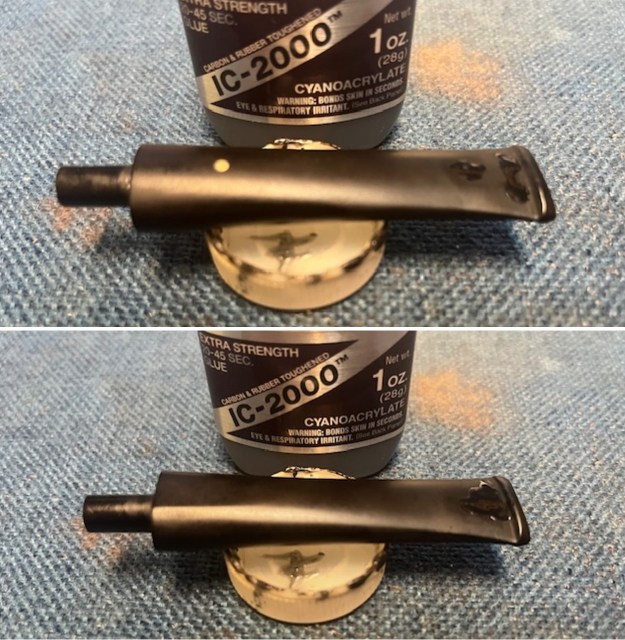
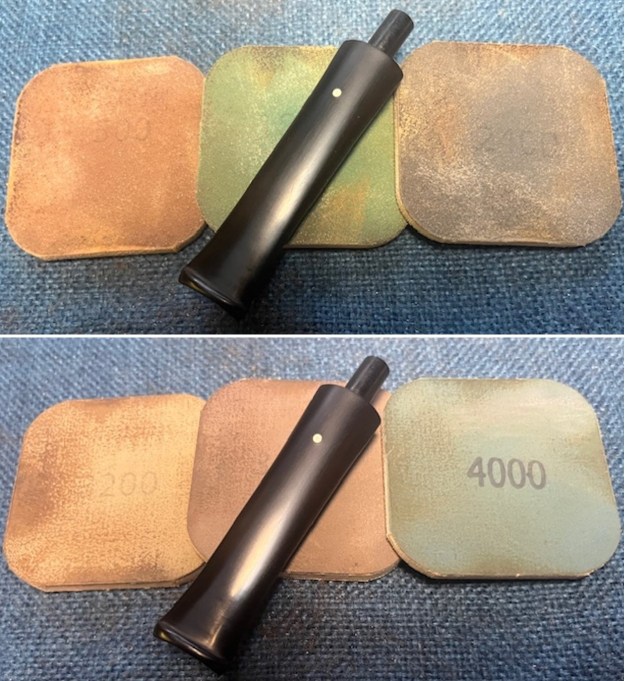
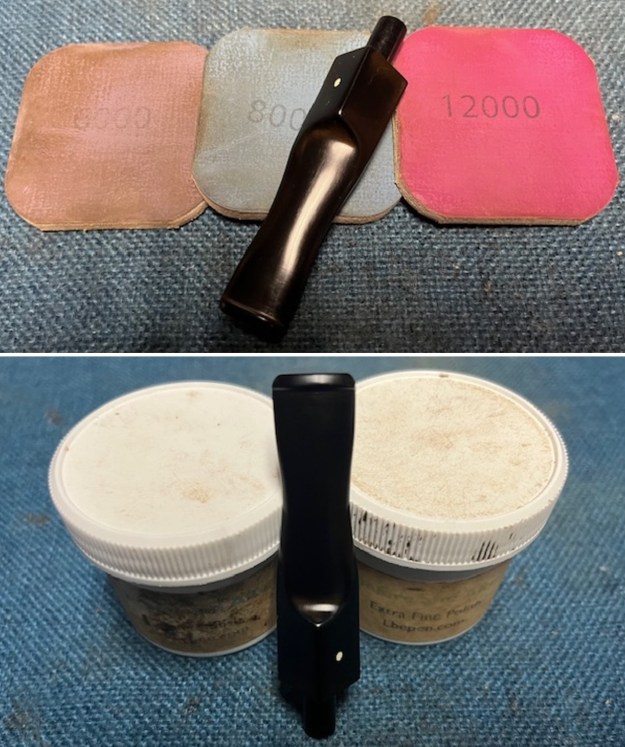
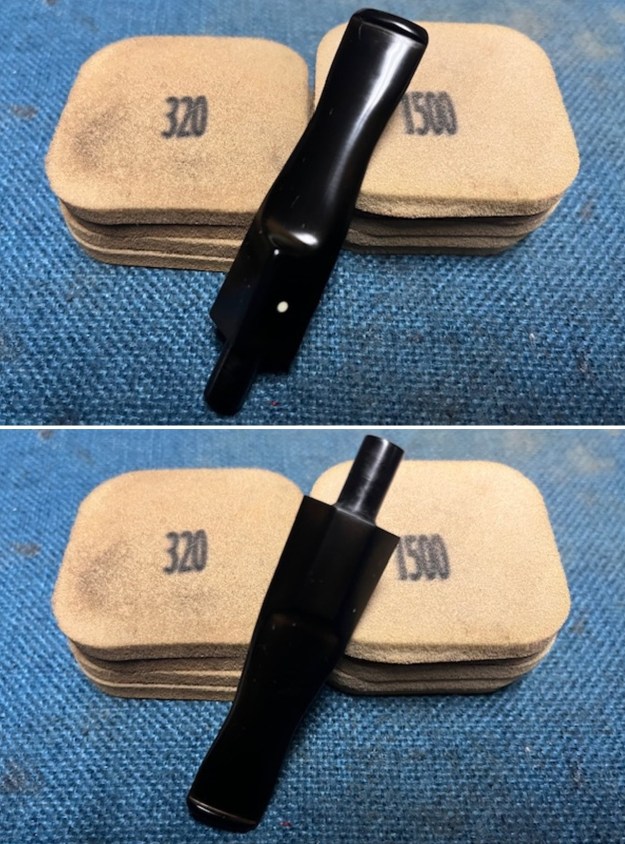 I polished the vulcanite with micromesh sanding pads – 1500-12000 grit pads. I wiped it down with Obsidian Oil after each sanding pad. I used Before & After Pipe Polish – both Fine and Extra Fine to further polish the stem.
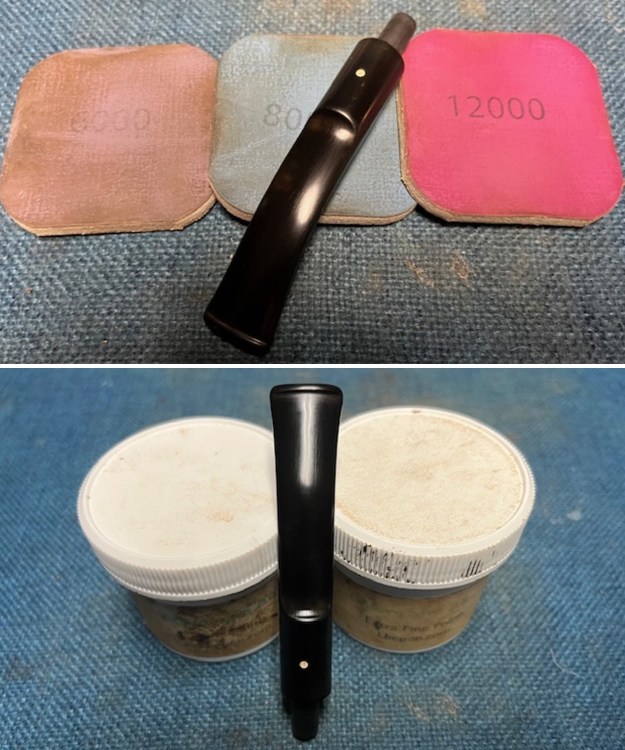
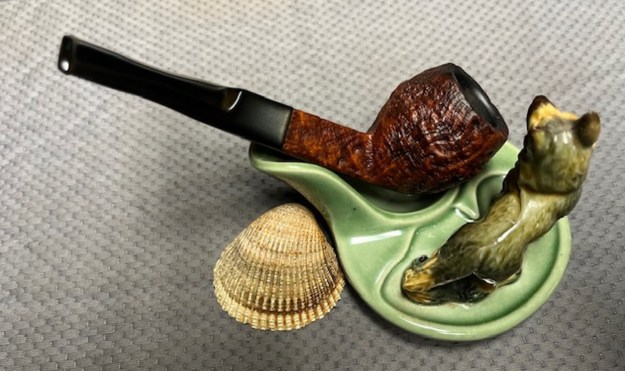
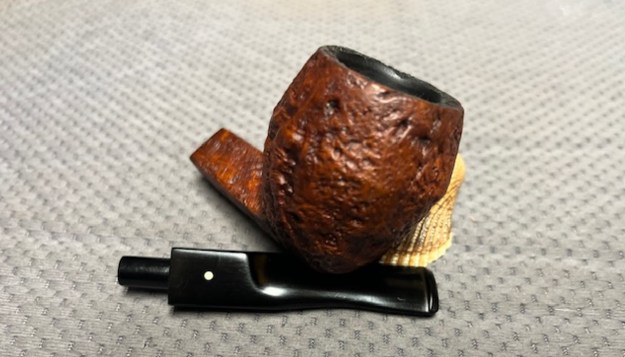
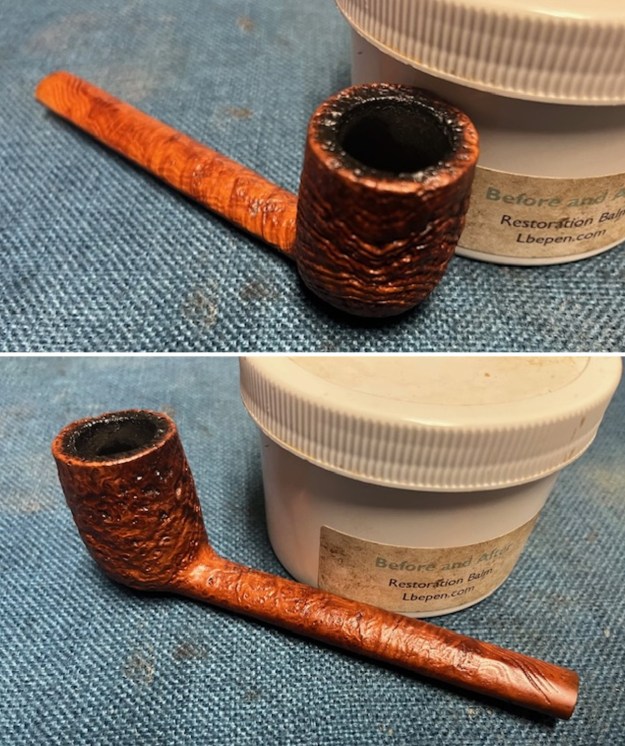
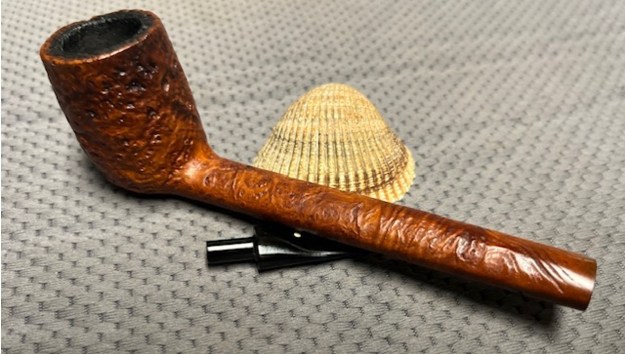
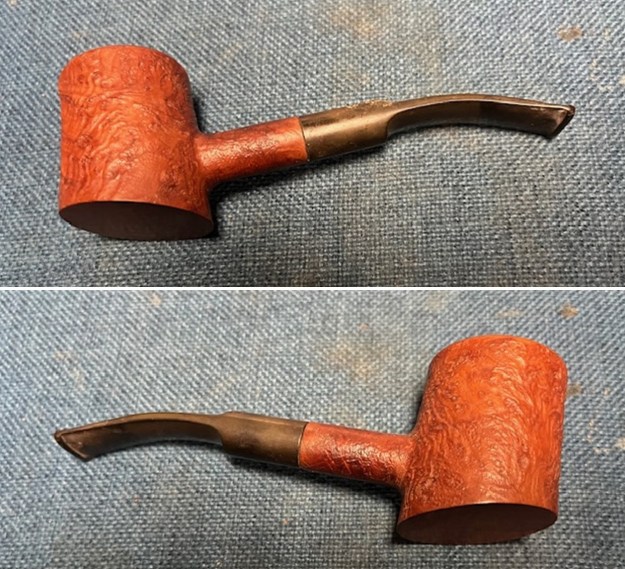
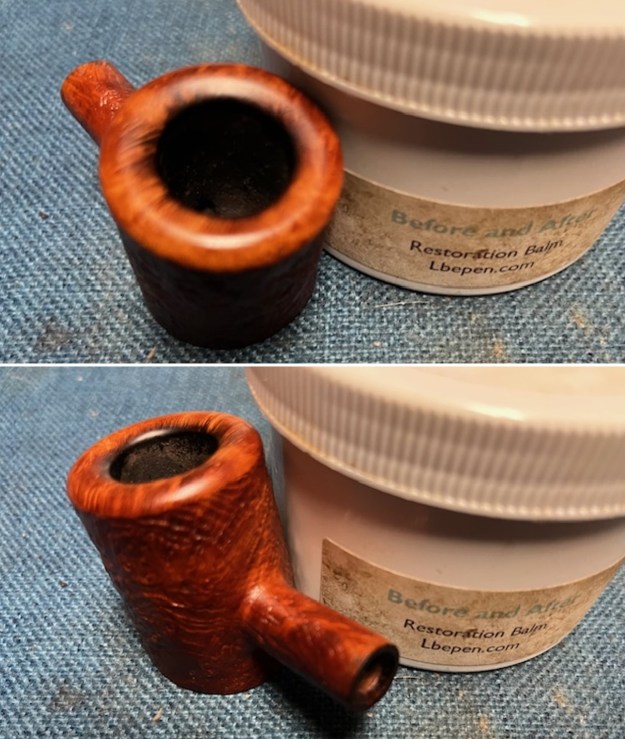
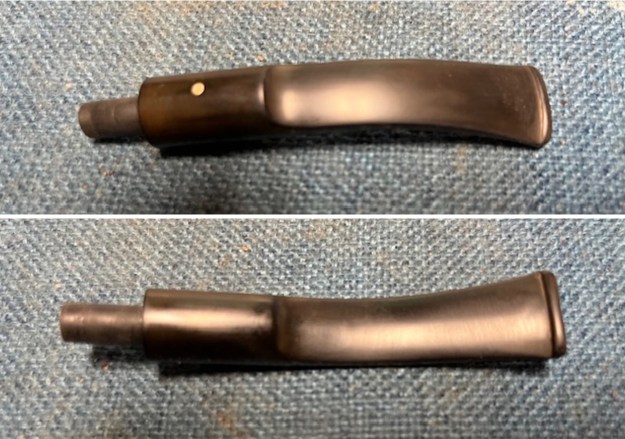
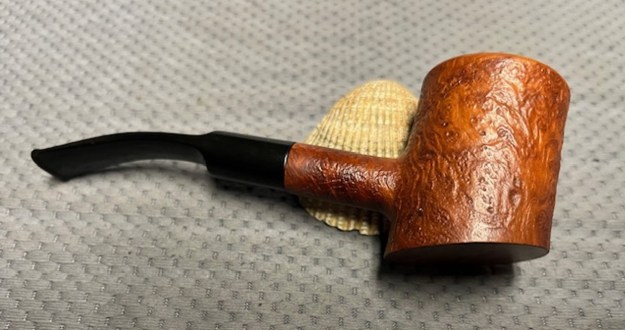
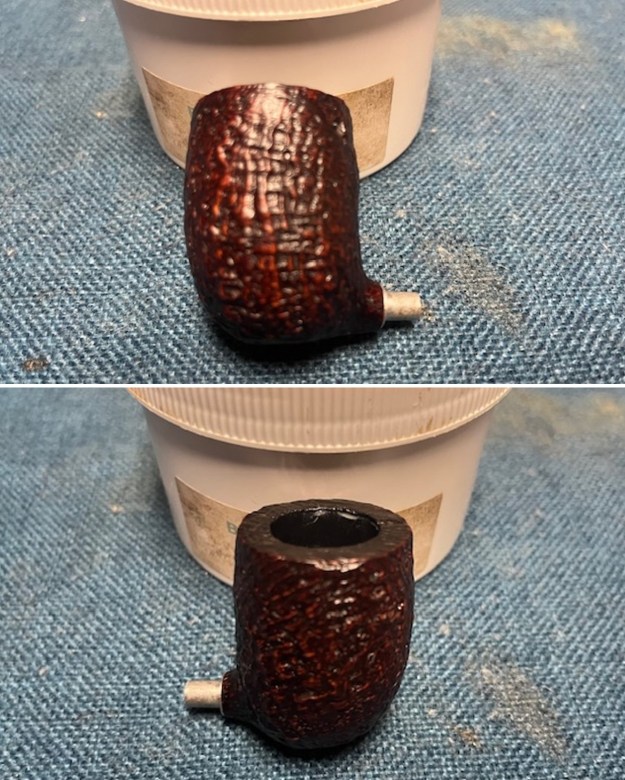
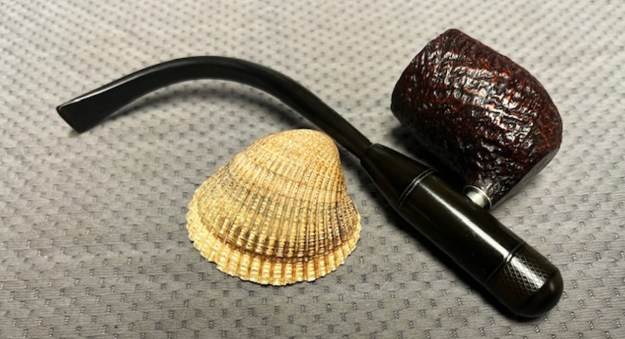
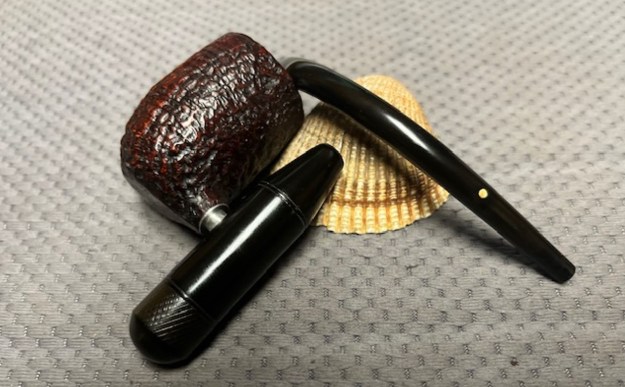
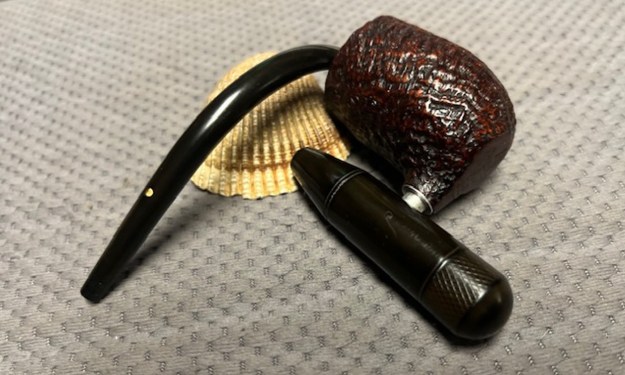
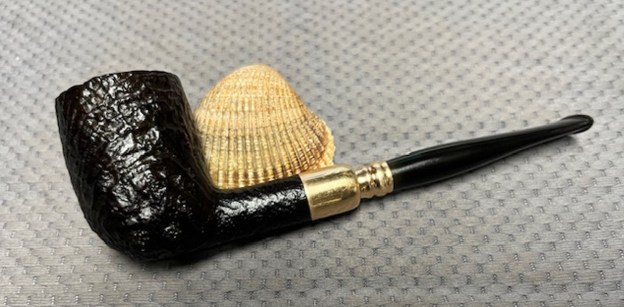
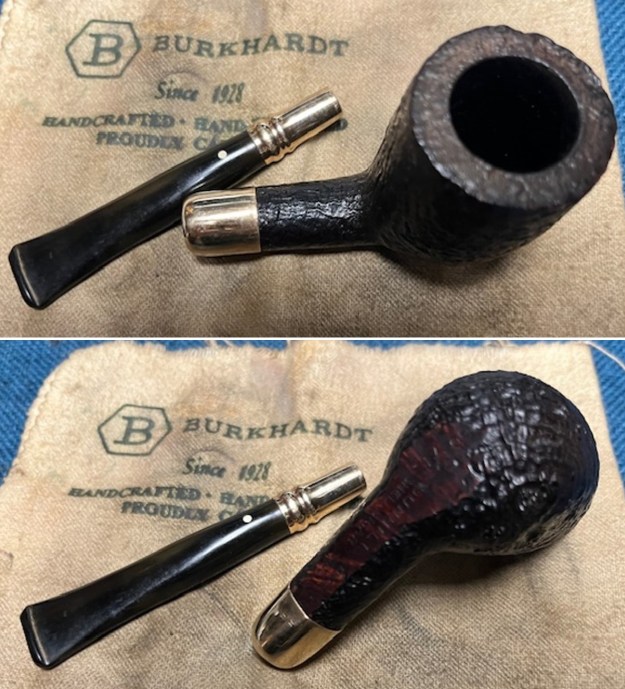
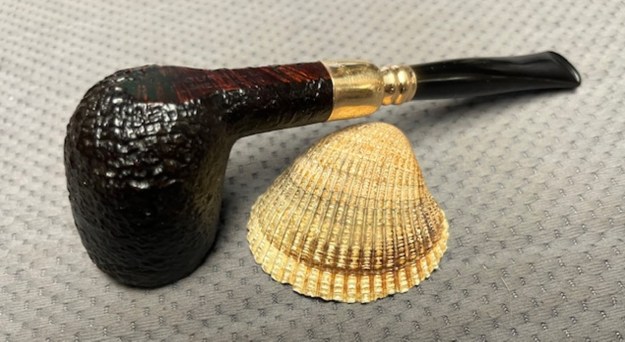
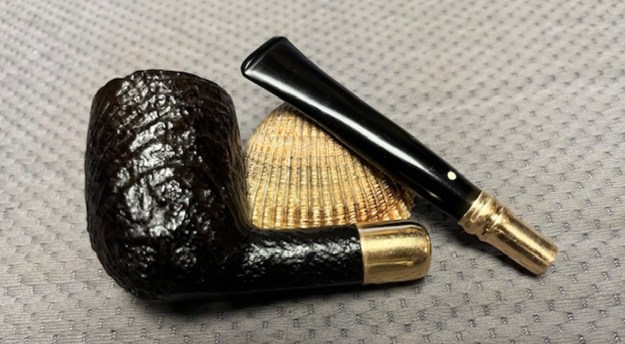
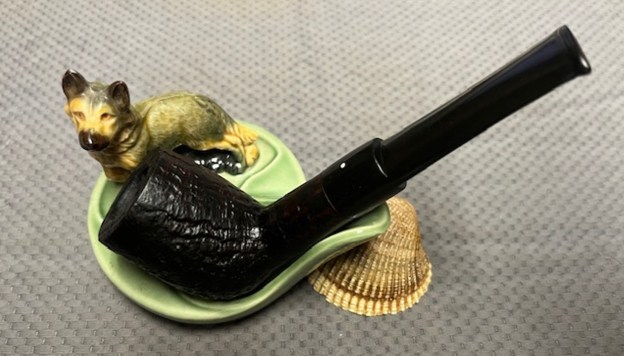
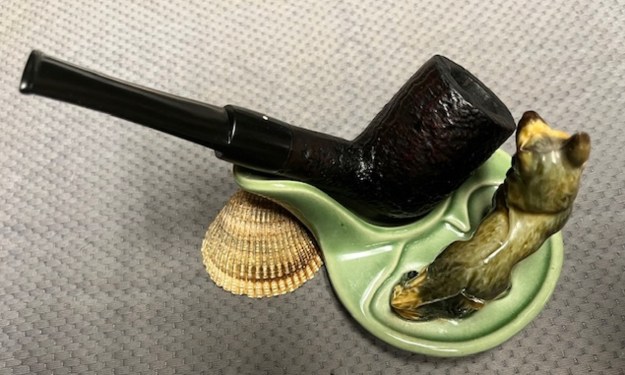
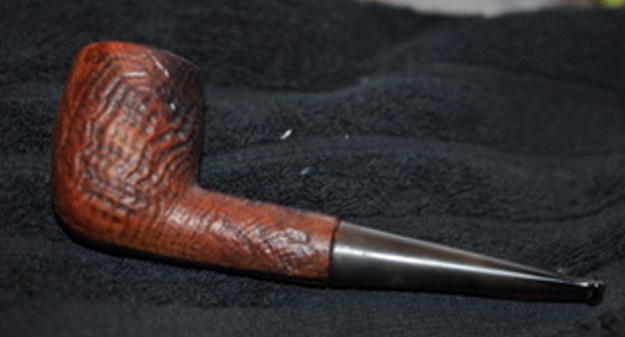
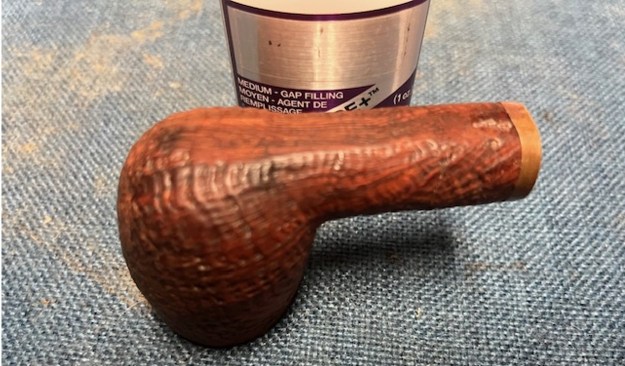
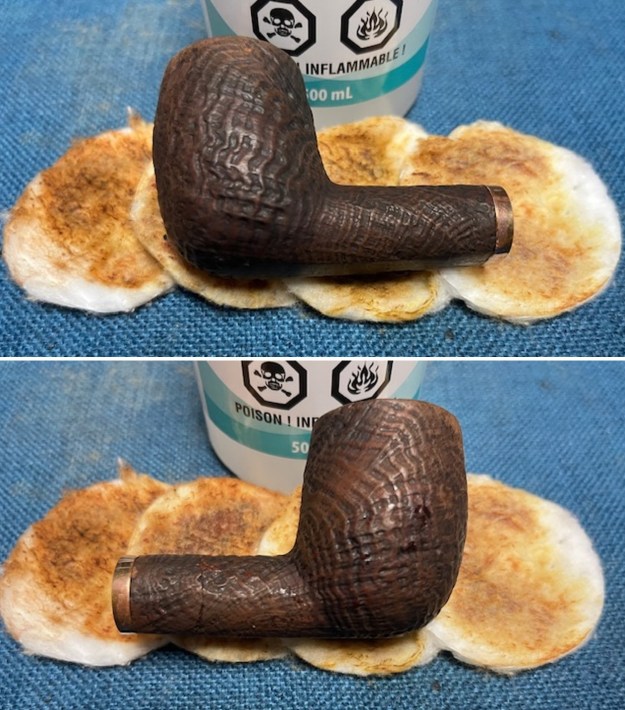
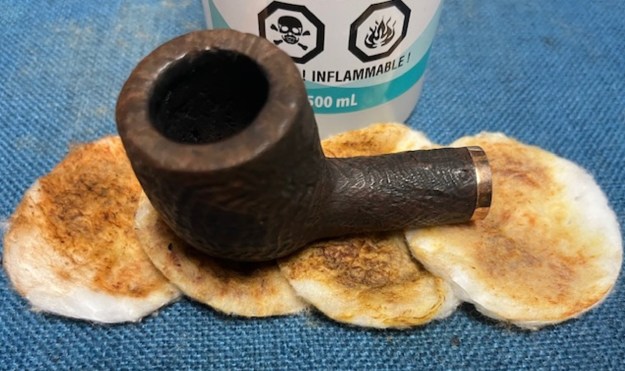
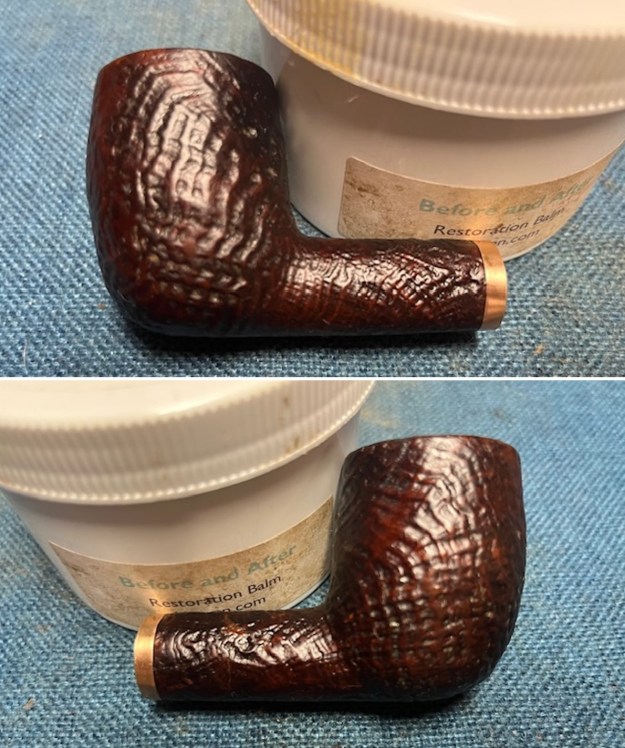
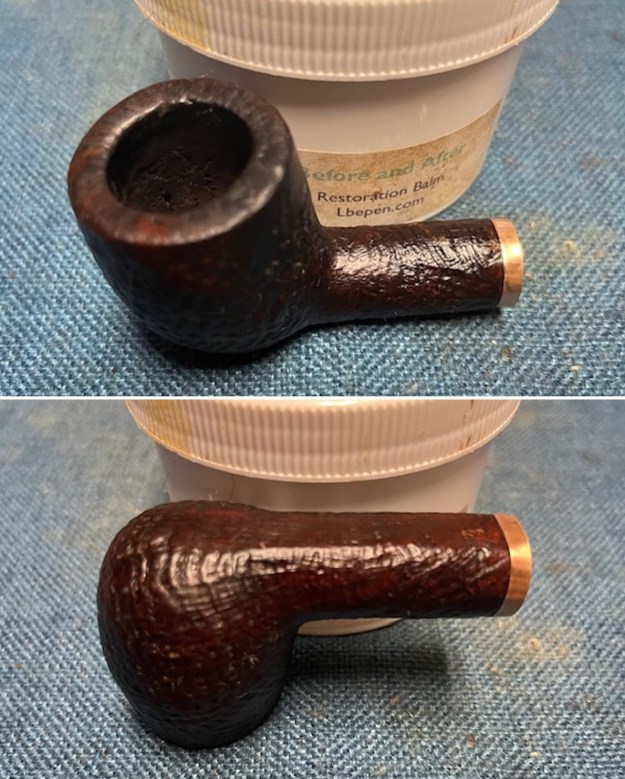
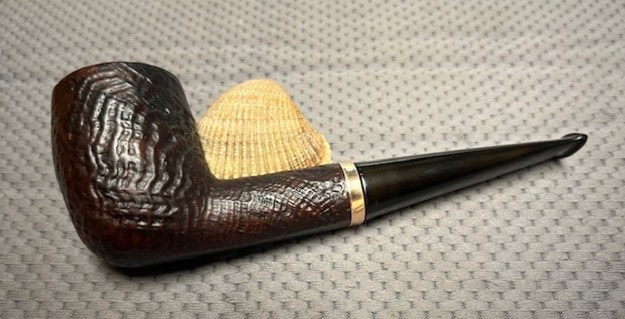
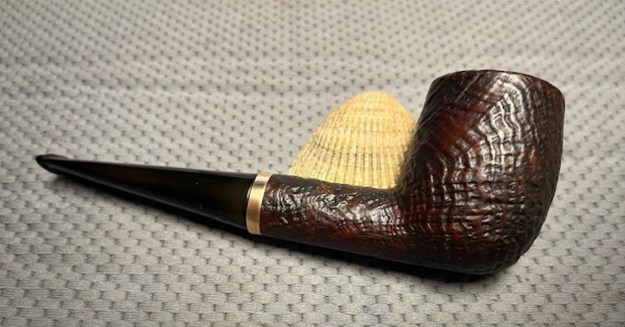
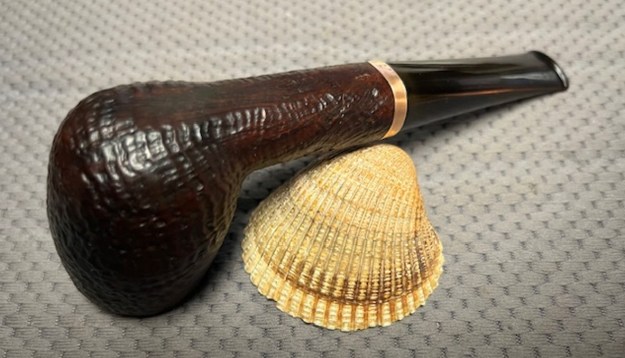
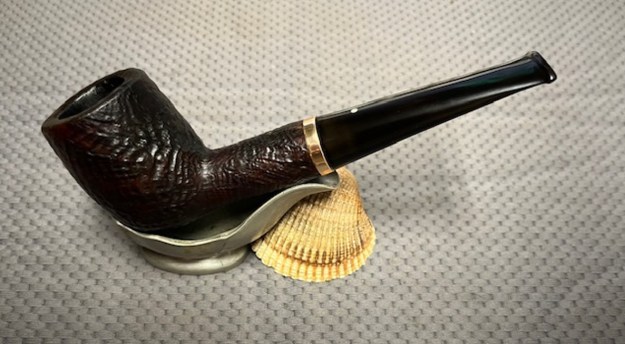
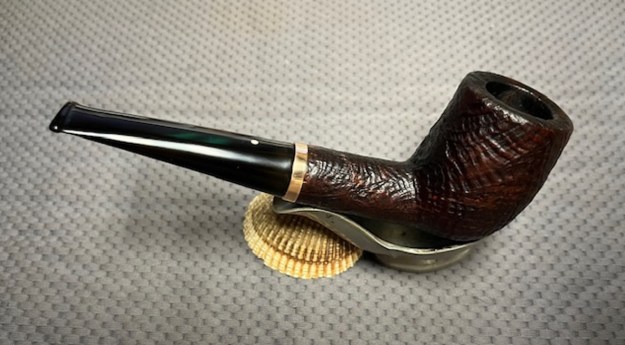
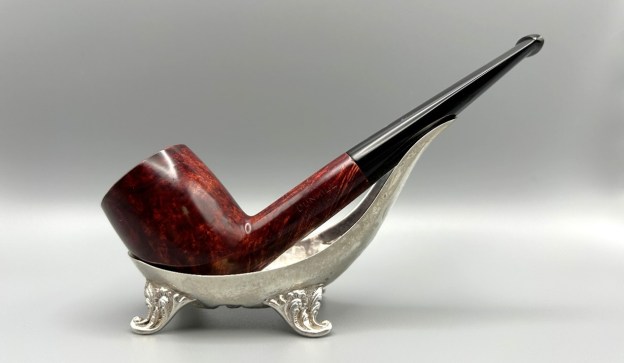
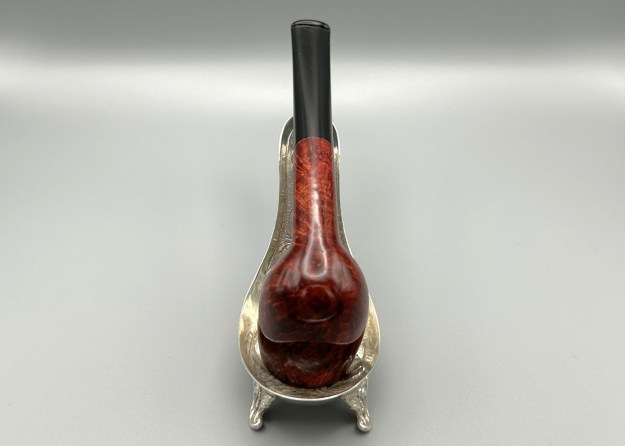
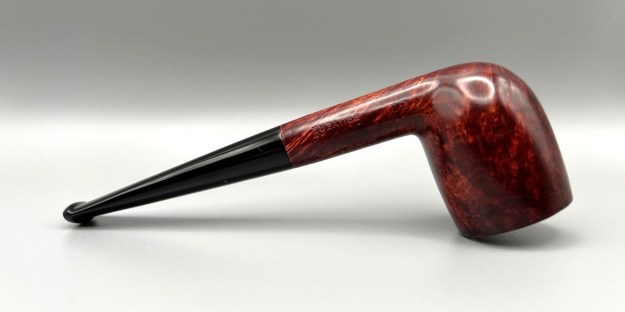
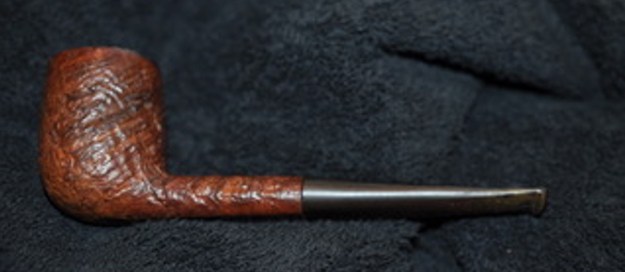
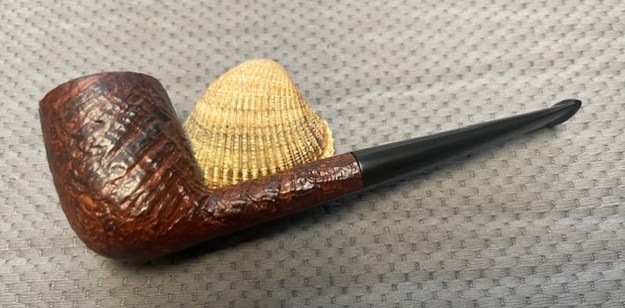
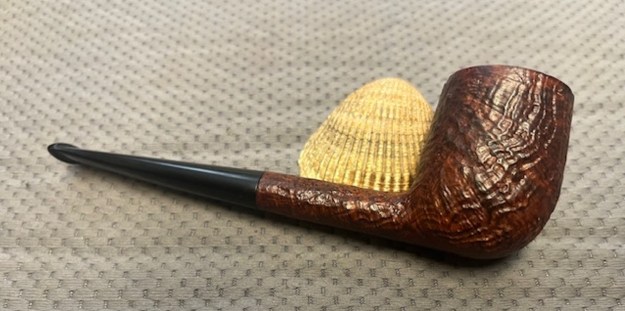
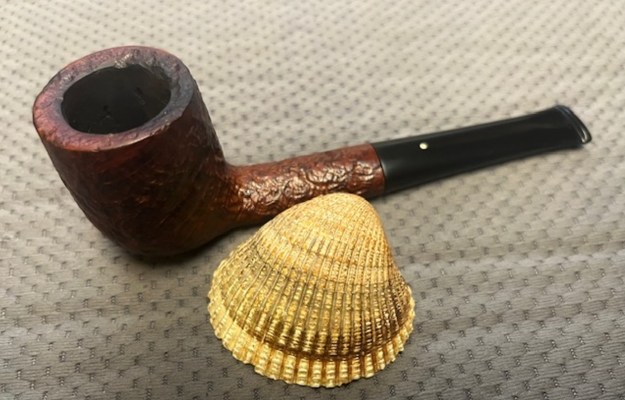
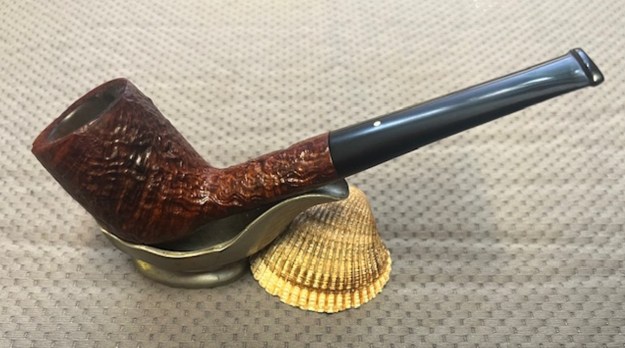
 I the polished vulcanite saddle stem and the Sandblast Bulldog bowl with Blue Diamond to polish out the remaining small scratches and raise the shine. I gave the stem several coats of carnauba wax and the bowl several coats of Conservator’s Wax then buffed the pipe with a clean buffing pad to raise the shine. I hand buffed it with a microfiber cloth to deepen the shine. The pipe polished up pretty nicely. This turned out to be a beautiful Dunhill Tanshell OX Saddle Stem Bulldog. The finished pipe is shown in the photos below. The dimensions are Length: 5 ½ inches, Height: 1 ¾ inches, Outside diameter of the bowl: 1 ¼ inches, Chamber diameter: 7/8 of an inch. The weight of the pipe is 1.20 ounces/34 grams. Thanks for walking through the restoration with me as I worked this beautiful little Dunhill sandblast. This one turned out to be a birthyear pipe for me – a 1954 so I will be adding it to my collection. Thanks for looking.