Blog by Steve Laug
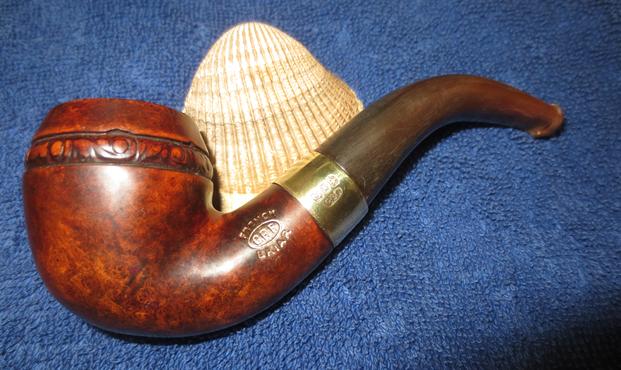
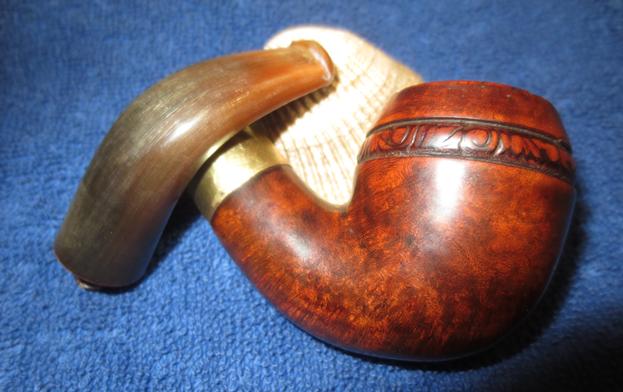
The next pipe I chose to work on from the lot of the lot of pipes my brother and I picked up on our virtual pipe hunt in Montana is another C.P.F. French Briar. This one is a Rhodesian shape with a chubby shank. It is an interesting shape and the carving around the band separating the cap from the body of the bowl. The band on the shank is loose and has turned so that the C.P.F. stamp on the band is on the other side. The finish is very dirty and the rim cap and top is heavily damaged. The horn stem is worn and there is tooth chatter on the top and underside of the stem near the button. There is a wrinkle in the horn on the underside mid stem. The stem looks like someone has either wrapped it or there is a gasket to keep it in place. The photos below show what it looked like before my brother did his clean up on it. If you would like to read about some of the others I have restored I have written about them in individual blogs. They include a CPF horn stem bulldog, a CPF French Briar bent billiard and a CPF Remington French Briar military mount billiard. (You can access them by clicking on the CPF Name above for a hyperlink to the blog). Just a reminder – CPF stands for Colossus Pipe Factory. The brand was made in the late 1880s and 1890s.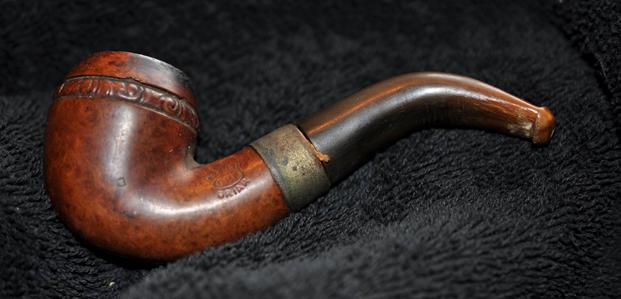 Jeff took the above photo and the photos that follow to show the condition of the pipe before he cleaned it up. This sad little Rhodesian comes from the same era as the other pipes in this find – the late 1880s – early 1890s. If I thought the silver mount billiard was in bad shape this one was in worse condition than any of previous pipes I had worked on from this lot. It was worn and was in rough condition. The finish was worn off and appeared to be flaking in place. There were a lot of nicks, scratches around the outside of the bowl. The outside of the bowl was covered with grime, grit and was peeling. The rim of the bowl and top edge of the pipe were in abysmal condition. The rim had been knocked out on hard surfaces and burned. There were huge chunks missing all around the rim top. The front of the bowl was in worse condition than the back and sides. The height of the top cap was different all the way around. Once again there was a thick, crumbling cake buildup in the bowl and the lava from the bowl overflowed onto the damaged top of the rim. The band on the shank end was oxidized and the stamping on it was almost illegible. The horn stem had tooth marks on the top and underside near the button. There is a wrinkle in the horn on the underside mid stem.
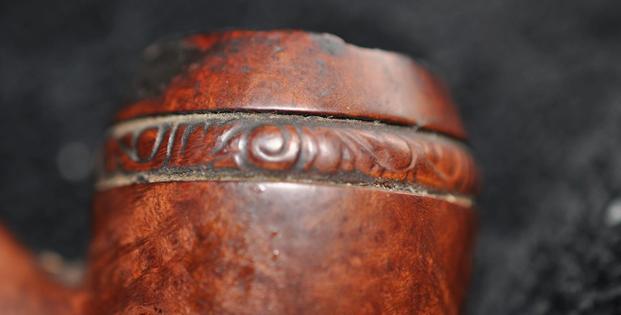
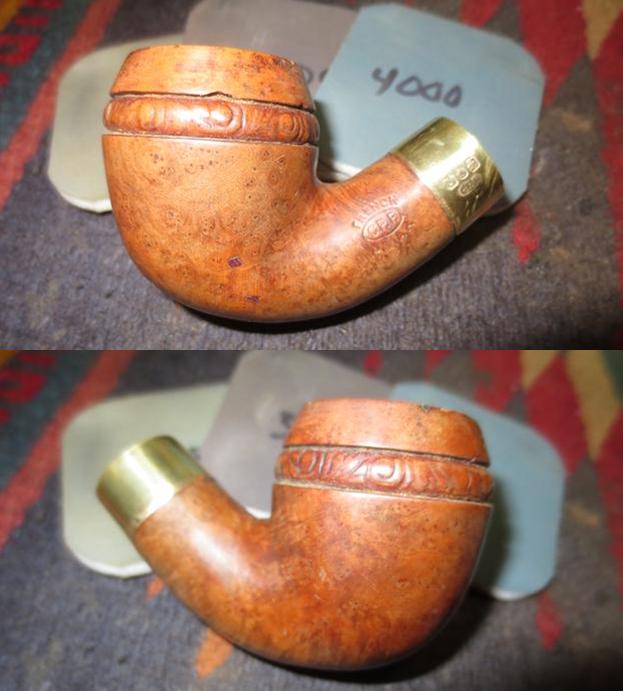
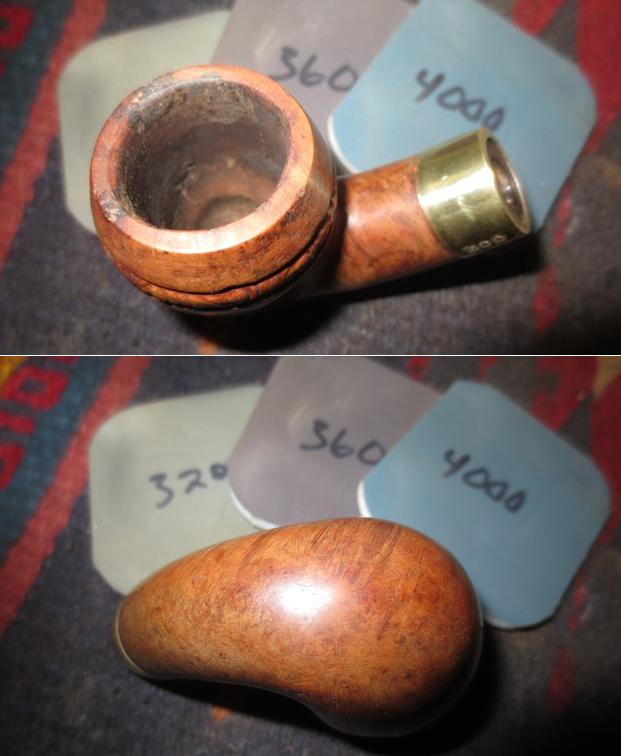
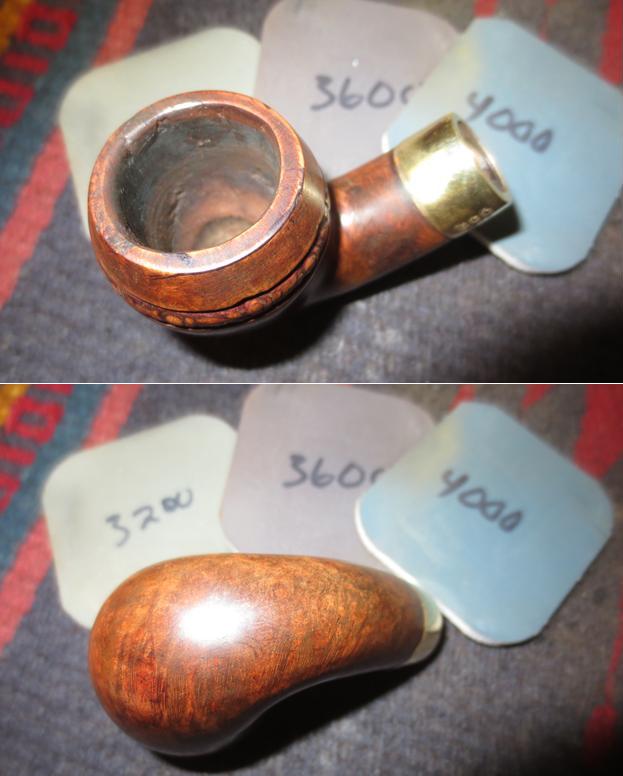
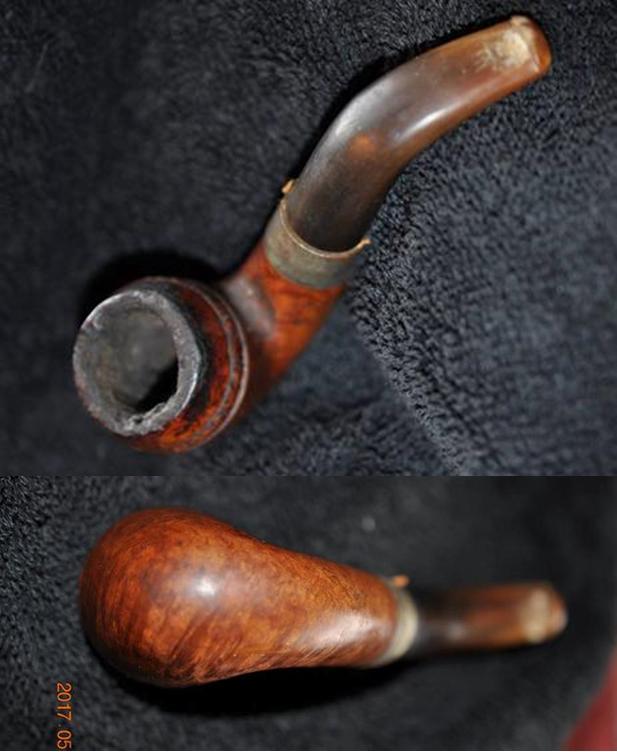 Jeff took close up photos of the rim top to show how bad it looked before he started the clean up. The thick cake and lava overflow on the rim filled in a lot of the damage. The full extent of the damage would be revealed once the cake was removed and the lava was cleaned. The third photo below shows the rim from one side and you can see the damage on that side.
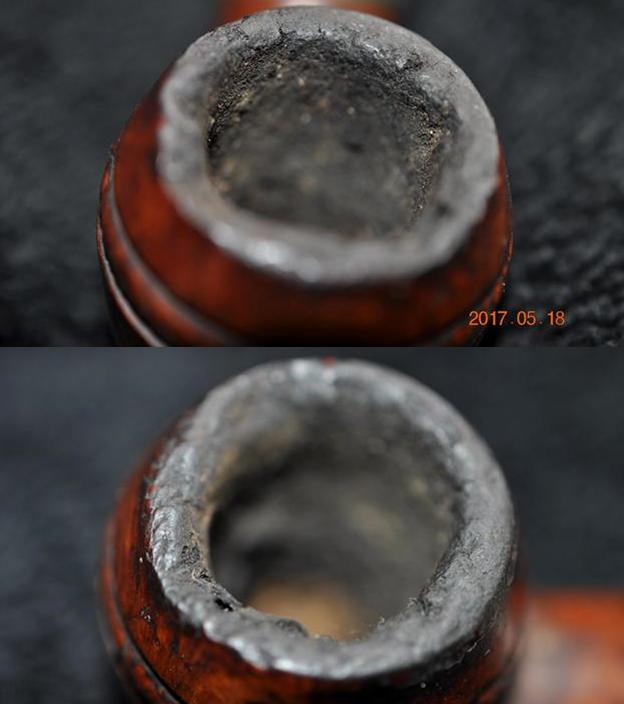
 The next two photos show the condition of the bowl sides and the flaking finish. The damage on the rim edge also can be seen in the pictures.
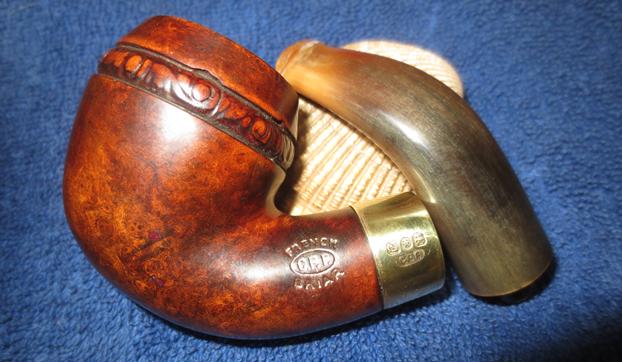
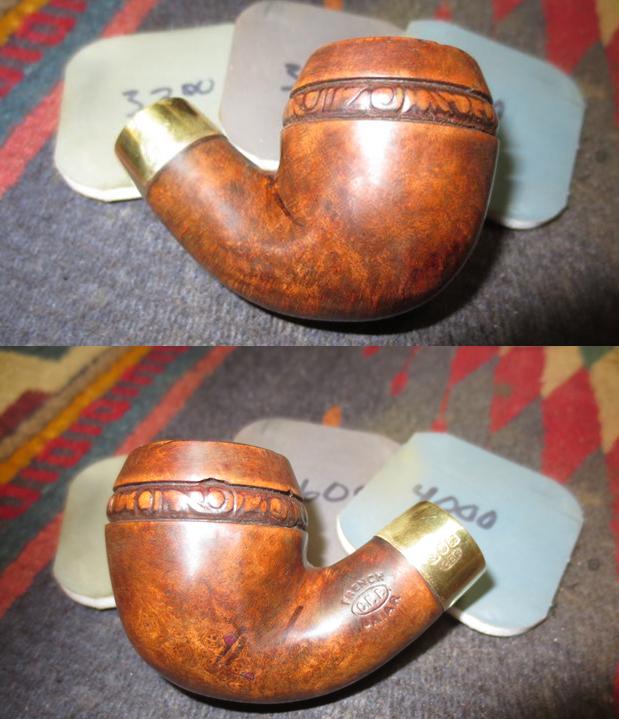
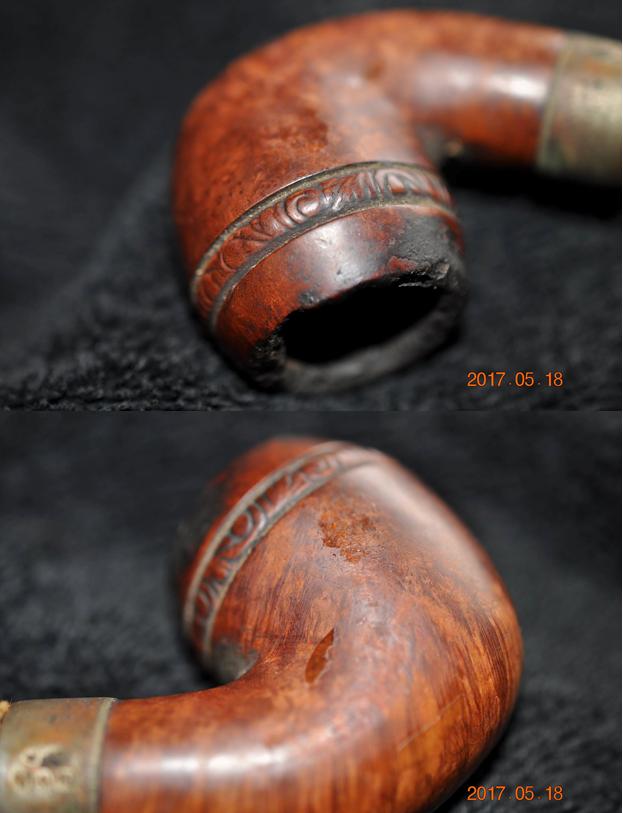 The stamping on the left side of the shank was readable – it had the C.P.F. logo in an oval with the words French Briar above and below the oval. The band on the shank end had the faux hallmark stamps that I was familiar with as well as the C.P.F. oval. The second photo shows something in between the shank and the stem.
 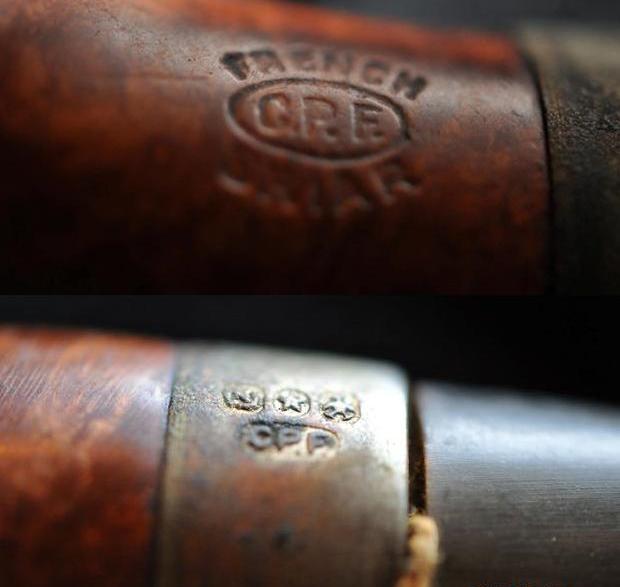 The first photo below shows the stem and the wrapping or gasket between the shank and stem. It is followed by photos that Jeff took when he removed the stem showing the wrapping – a thread of twine wrapped around the tenon to hold it in place in what appeared to be worn out threads in the mortise itself.
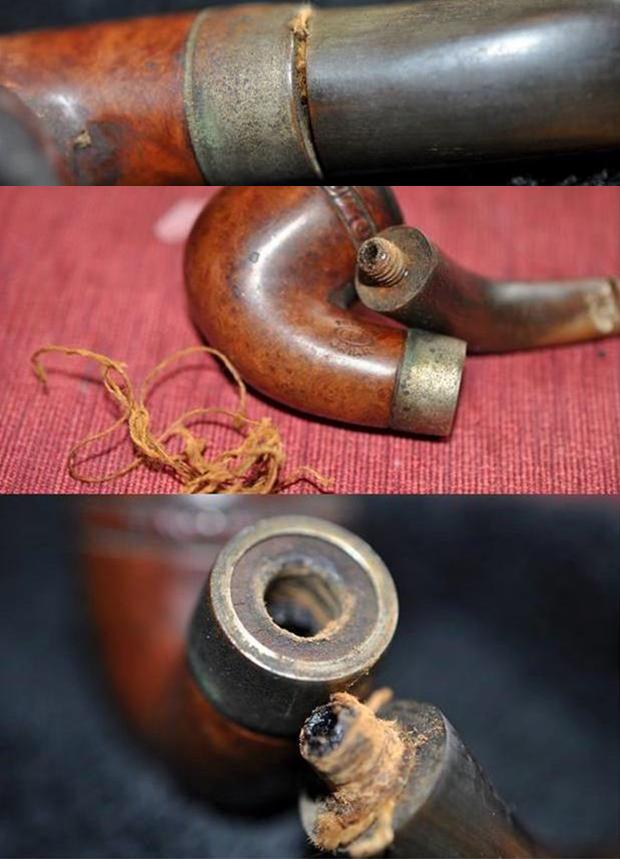 The horn stem showed some tooth chatter, bite marks and what looked like wrinkles on the underside, but it was in better condition than the other previous horn stems I had worked on.
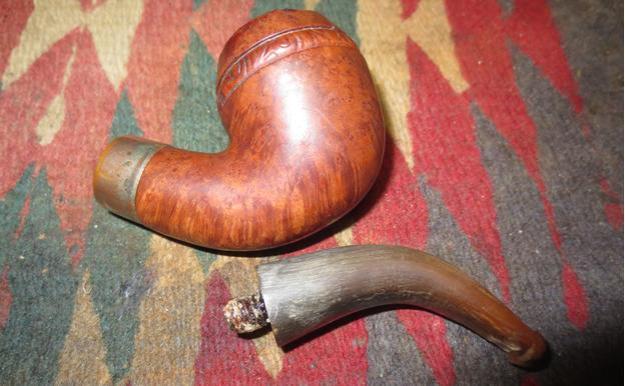
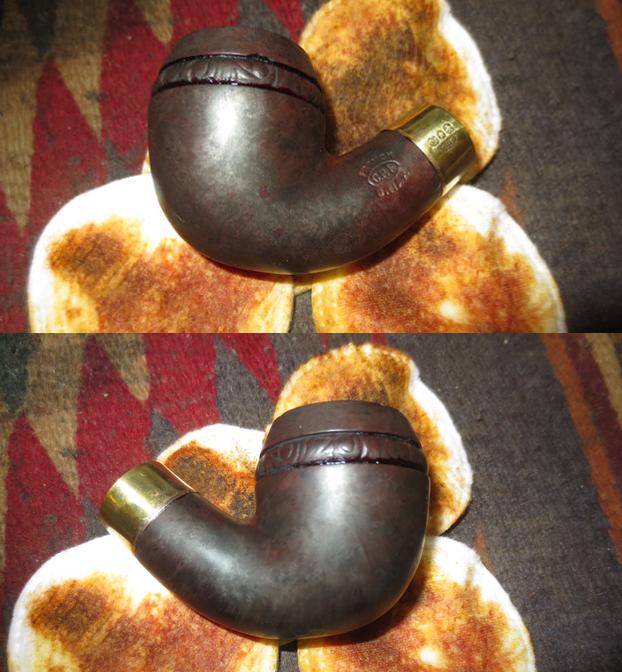
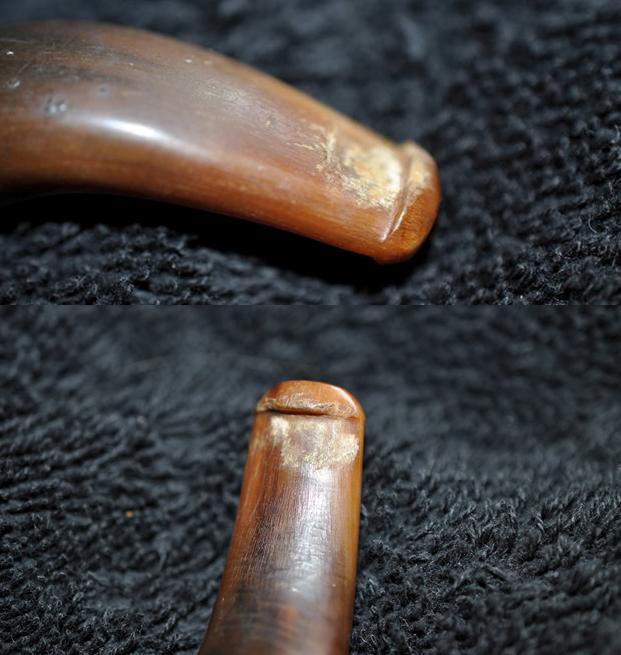 Following his usual pattern, Jeff thoroughly cleaned the pipe. He reamed the bowl with a PipNet reamer and tidied up with a Savinelli Fitsall Pipe Knife. He scrubbed out the mortise and the airway in the shank and the stem with pipe cleaners, cotton swabs and alcohol. He scrubbed the exterior of the pipe with Murphy’s Oil Soap to remove the grime and grit on the bowl. He scrubbed the damaged rim top with a tooth brush and the oil soap. He scrubbed the band and stem at the same time to clean it. I took photos of the pipe to show the condition it was in when it arrived in Vancouver. You can see the damaged rim top and edges and the fill on the right side of the bowl. The condition of the briar is rough and the stem is oxidized.
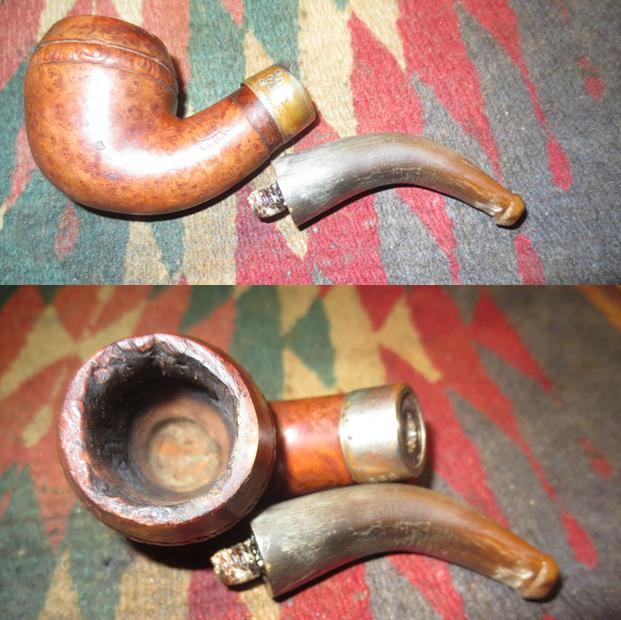
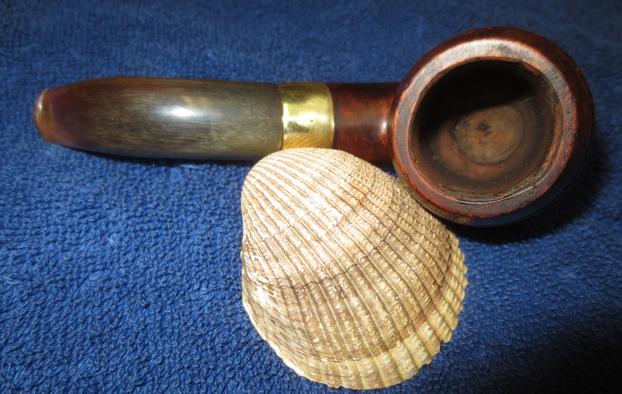
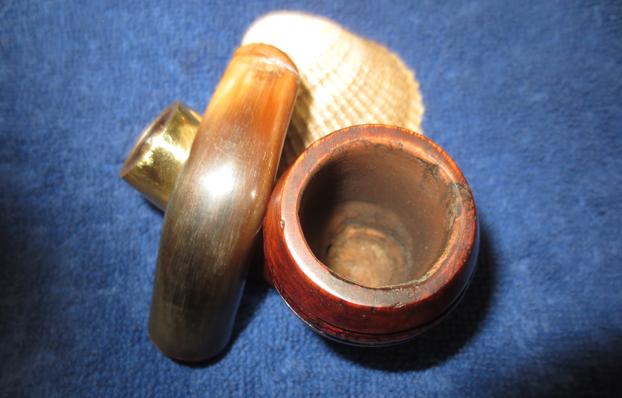
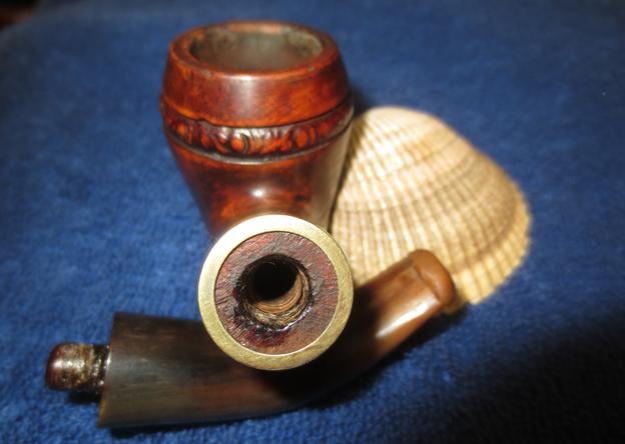
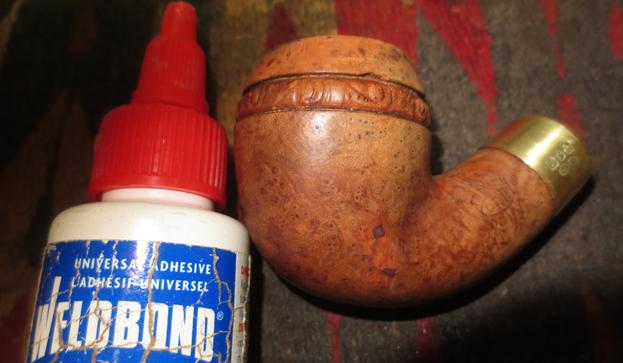
 The band was loose so I removed it from the shank to clean it. I took a photo of the pipe parts.
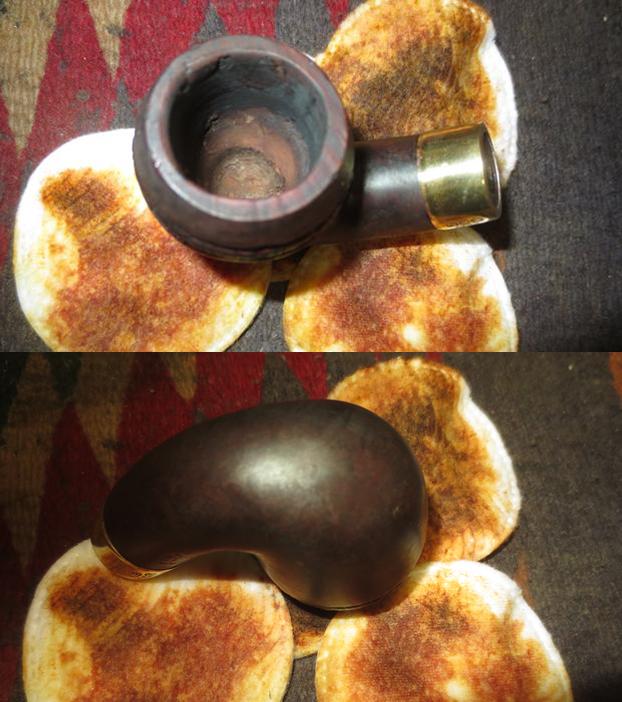
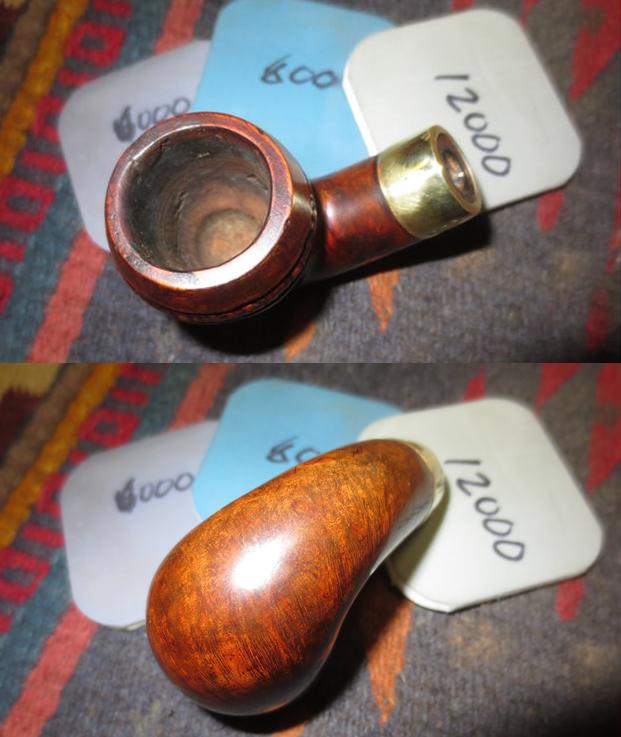
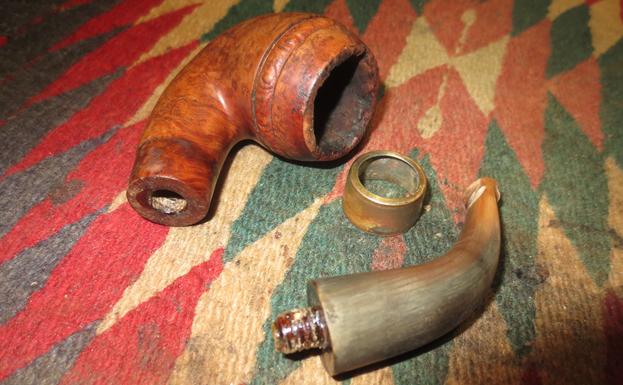 I took a close up photo of the rim top to show how great a job my brother did on it but also the extent of the damage that would need to be addressed in the repair.
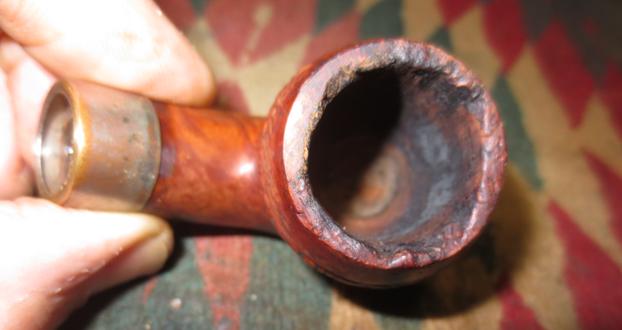 The stem was clean in decent shape. Very few tooth marks were on the top and bottom sides and those would be easy to deal with. The button was in excellent condition.
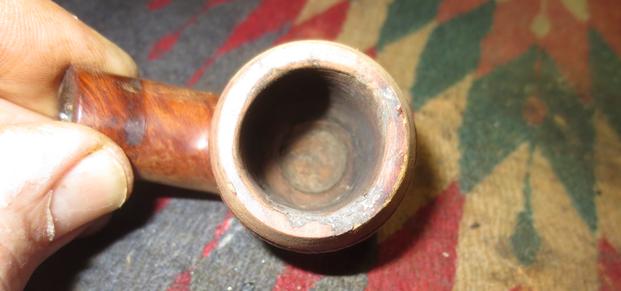
 I mixed a putty of super glue and briar dust to use for rebuilding the rim on the bowl and the top edge. The damage was quite significant so the repair would be extensive. I was hoping that it would work. Once it dried I topped the bowl on the topping board with 220 grit sandpaper and worked the inner edge with a folded piece of the same sandpaper. The repair came out quite well and gave me something to work with in the finished pipe.
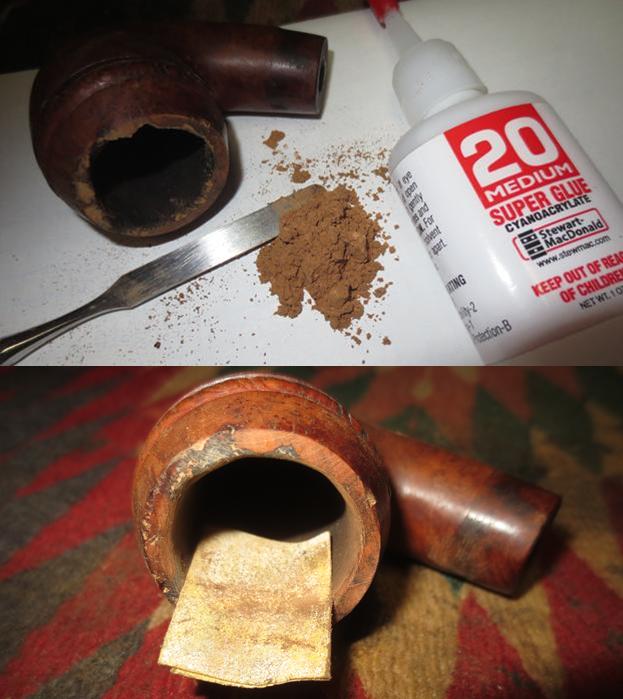
 I polished the band with 1200-12000 grit micromesh sanding pads to remove the tarnish and corrosion from the surface. It worked really well and left behind a polished brass band. When I finished polishing the band I used an all purpose glue to glue it in place on the shank with the stampings aligned with those on the briar.
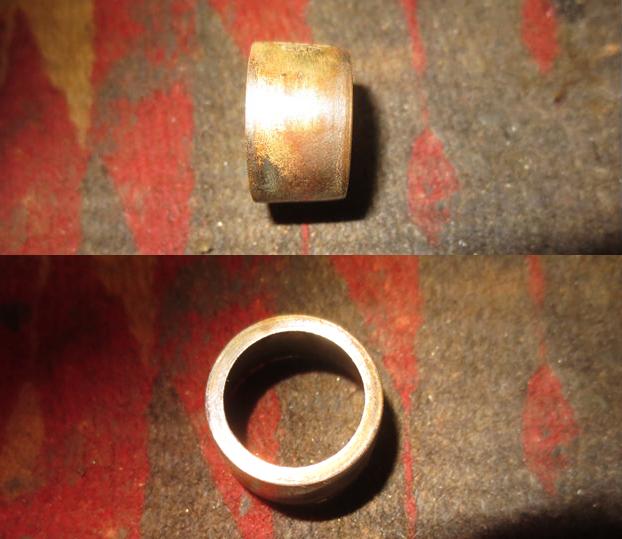
 I wiped down the bowl with alcohol on a cotton pad to remove the remaining sanding dust from the bowl and any grit that had accumulated in the carvings from my sanding.
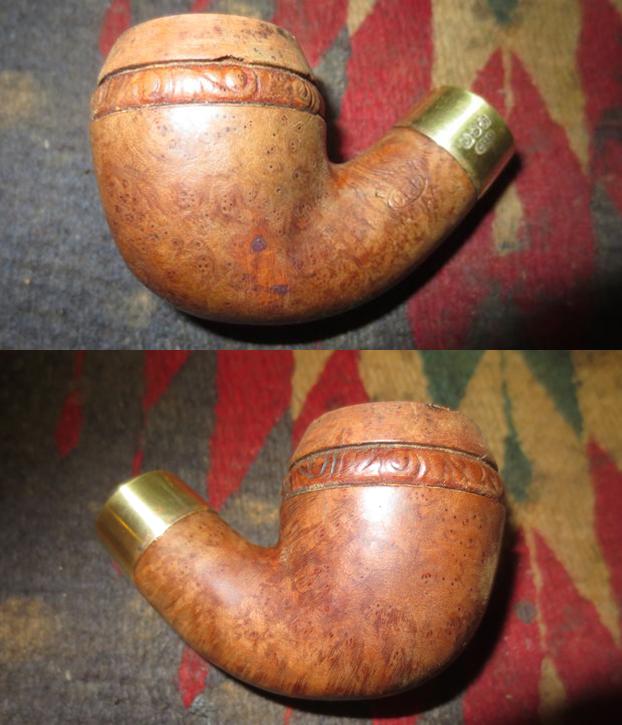
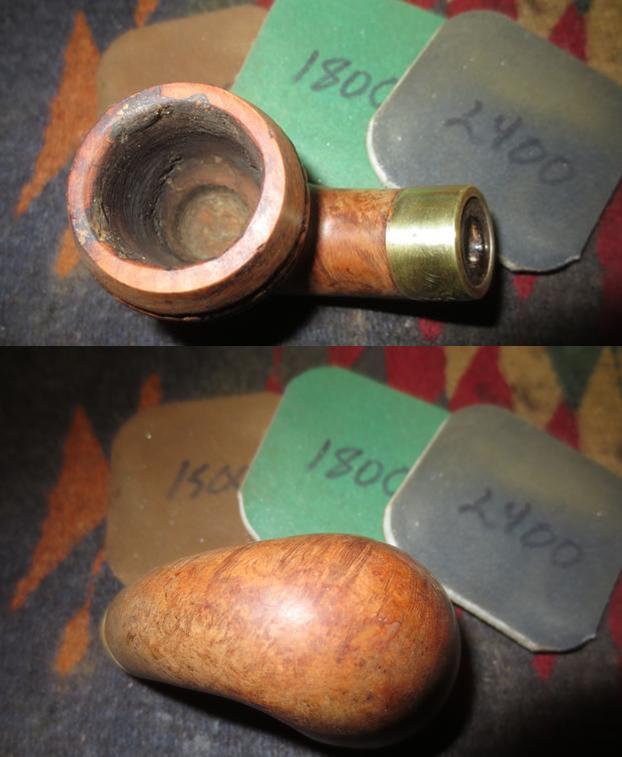
 I polished the briar with micromesh sanding pads – wet sanding with 1500-2400 grit pads and dry sanding with 3200-12000 grit pads. I wiped the bowl down with a damp cotton pad to remove the dust after each set of pads.
 I stained the bowl with a dark brown aniline stain mixed with isopropyl alcohol in a 50/50 ratio. I flamed it and repeated the process until I was happy with the finish. I wiped the bowl down with cotton pads wetted with isopropyl to thin the stain and give it more transparency. When I finished that I buffed it with red Tripoli and sanded it down with 1500-12000 grit micromesh pads to polish it and give it the look that I was aiming for. The pictures tell the story.
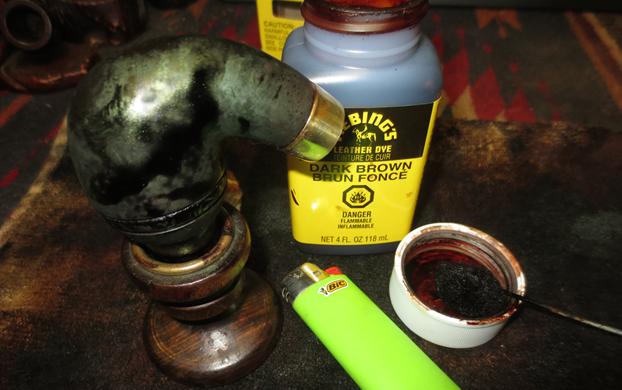


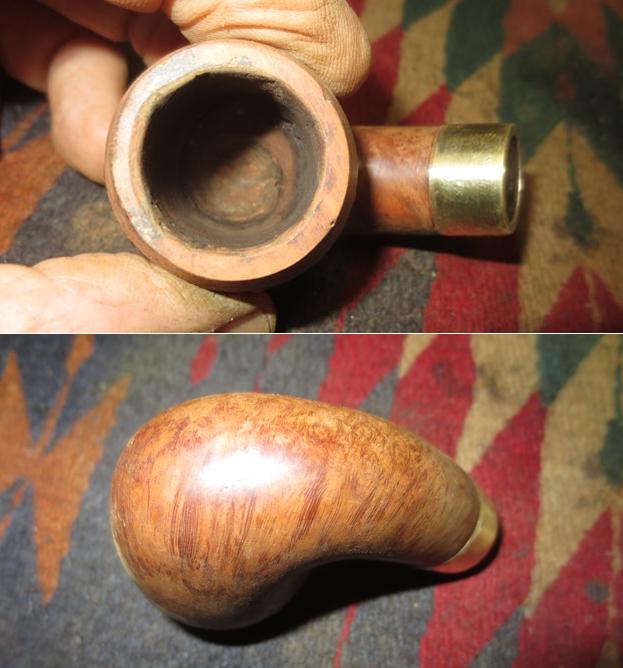
 With the bowl done, except for the final buffing I turned my attention to the stem. The first thing I had to deal with was the worn threads in the mortise. I decided to fill in the threads on the tenon with super glue and make the stem a push stem. I could have removed the threaded tenon and inserted a new push tenon like those on meerschaum pipes but I wanted to keep the original look of the tenon and mortise so I figured that I could convert the stem to push status by simply building up the threads. I layered on clear super glue until I had the build up shown in the photos below. I still needed to sanded it smooth and reapply a final coat but you can see the process.
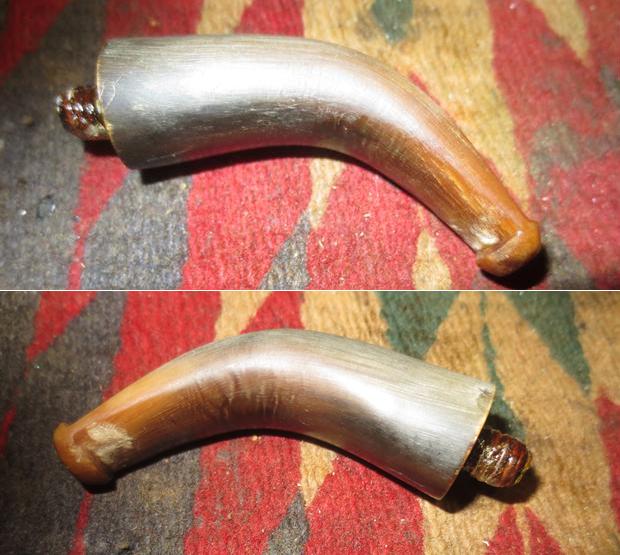 I sanded out the tooth marks in the stem and worked on the “wrinkles” in the underside of the stem with 220 grit sandpaper until they were smooth. I worked on some of the marks at the tenon end of the stem at the same time as it seemed rough to touch.
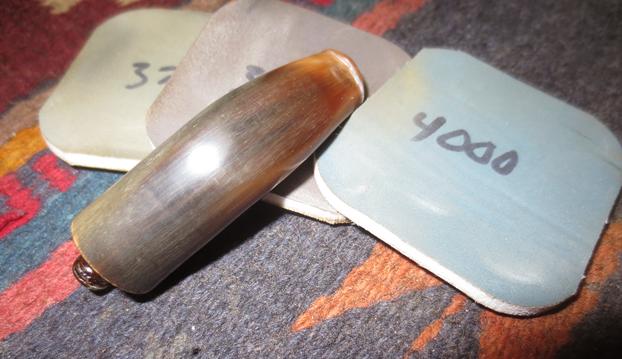
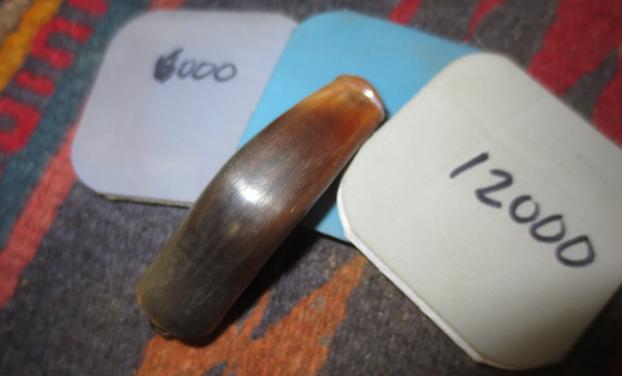
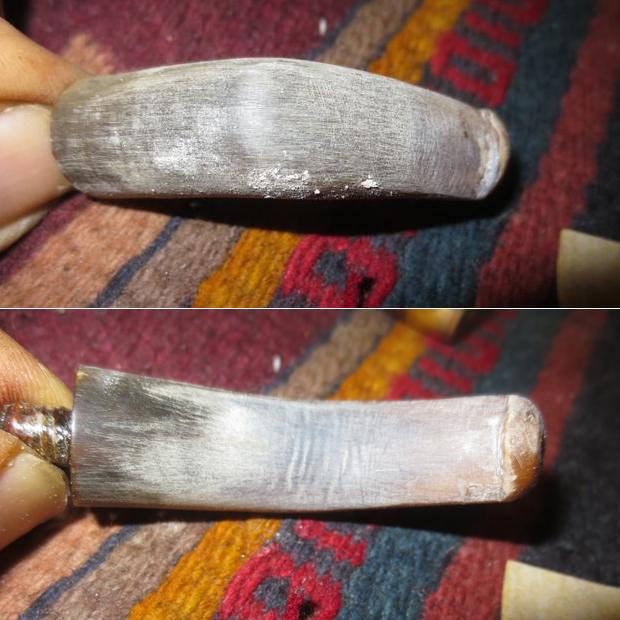 I polished the stem with micromesh sanding pads – wet sanding with 1500-2400 grit pads and dry sanding with 3200-12000 grit pads. I rubbed the stem down with Obsidian Oil after each pad to give the horn some needed oil to help with the dry feel that it had after over a hundred years of smoking. You can follow the development of the shine in the photos that follow. I love the feel and look of polished horn. There is nothing quite like it for translucency and feel.
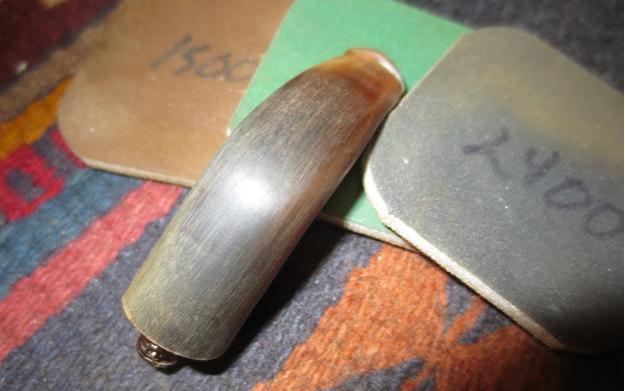
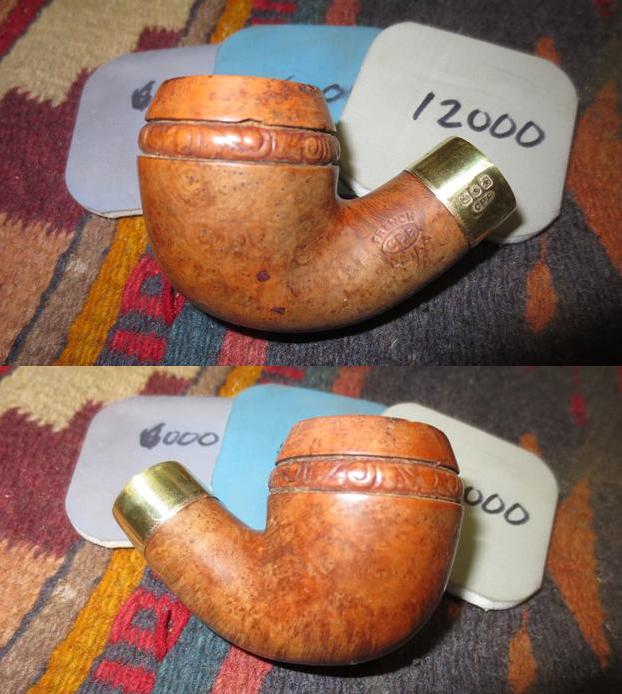
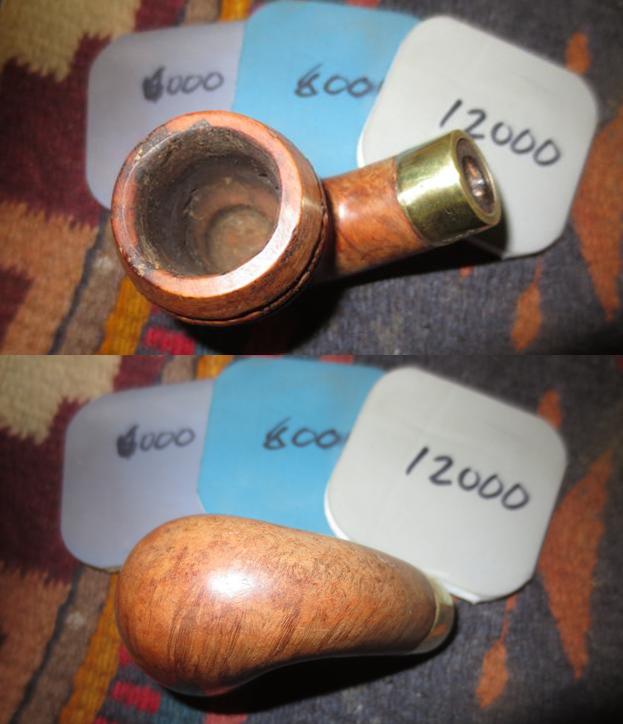
 I had forgotten to touch up the gold leaf in the stamping on the shank up to this point so I applied some Rub ‘n Buff European Gold to the stamping with a cotton swab and rubbed off the excess. The stamping on this pipe was in excellent condition so it came out really readable.
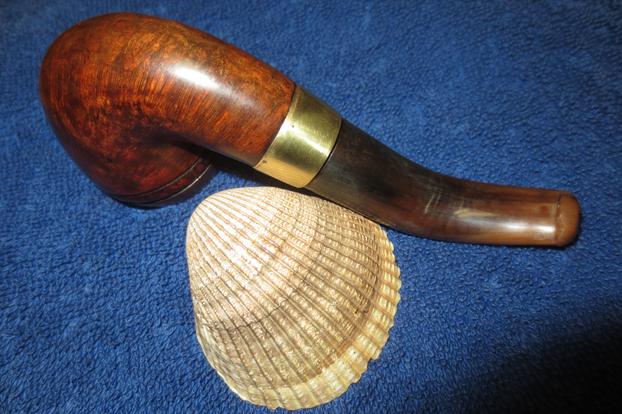
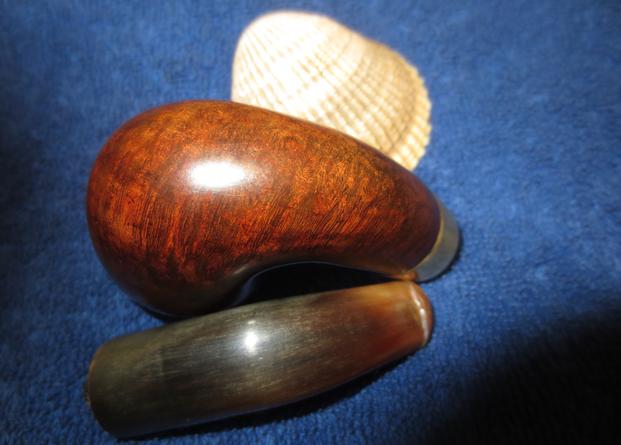
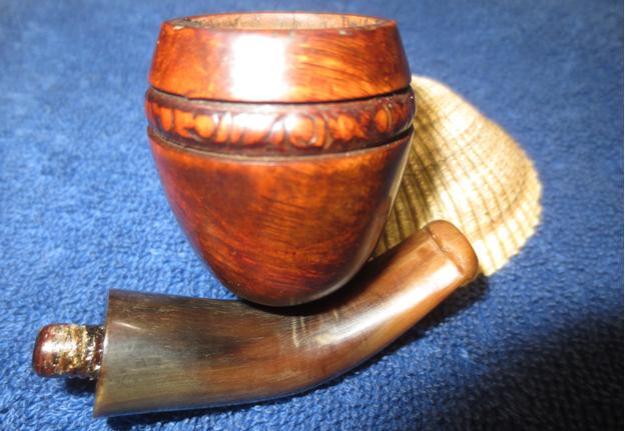
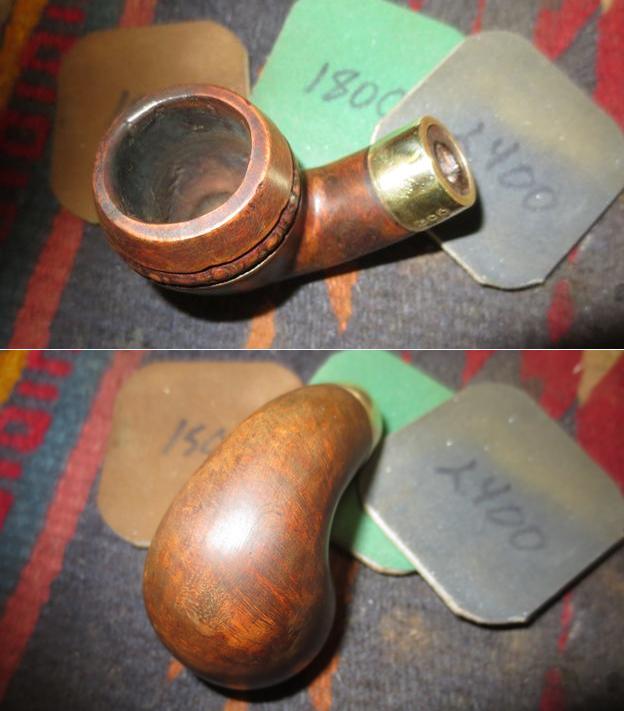
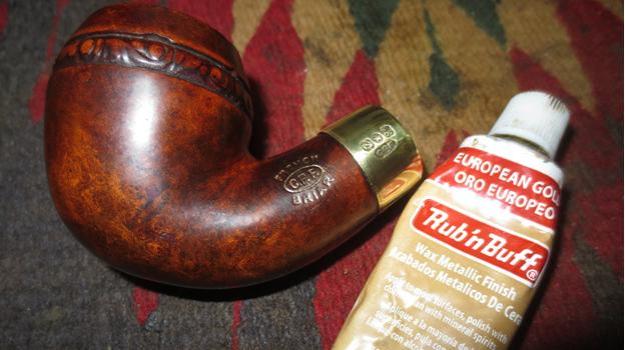 I buffed the pipe and stem with Blue Diamond on the buffing wheel to polish out the scratches that remained and to give it a shine. I was careful to avoid damaging the gold stamping on the shank. I gave the pipe multiple coats of carnauba wax to protect the horn and the briar. I buffed it with a clean buffing pad to raise the shine on the horn and the stem. I hand buffed it with a microfiber cloth to deepen the shine. The finished pipe is shown below. I am pretty happy how it came out considering what I started with. The rim and cap look the age of the pipe but the damage is gone and the pipe is ready for another 100 years. Thanks for going through the process with me on this challenging restoration.