Blog by Dal Stanton
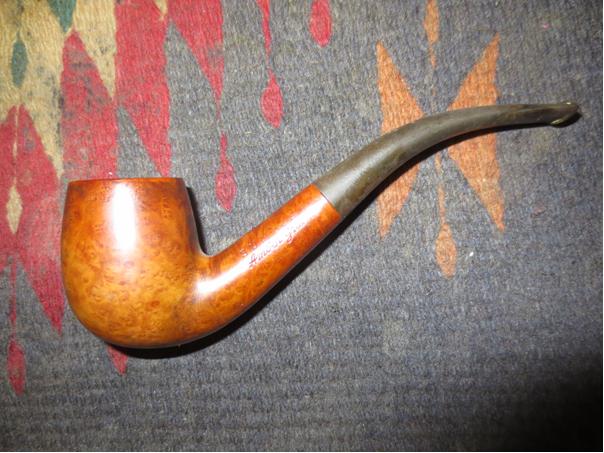
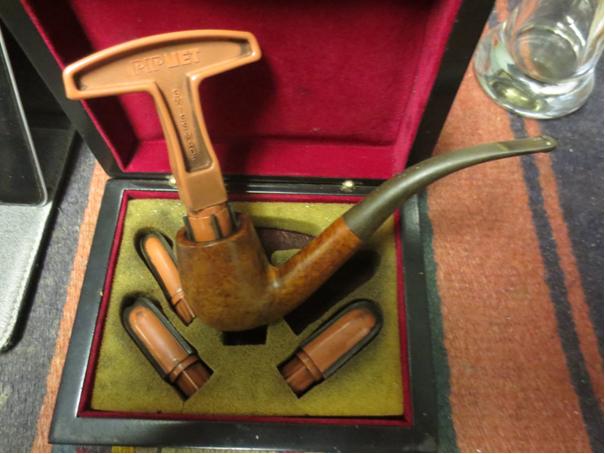
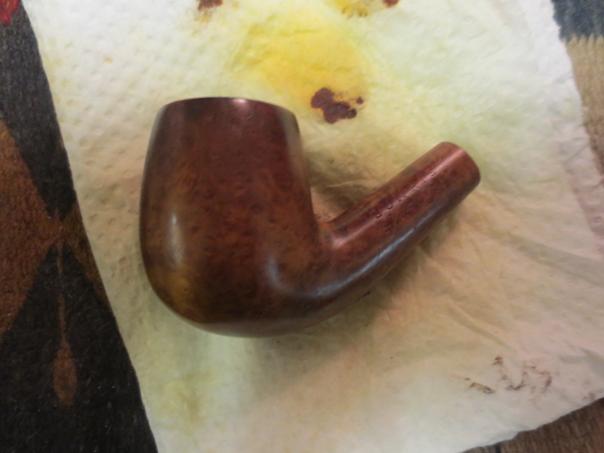
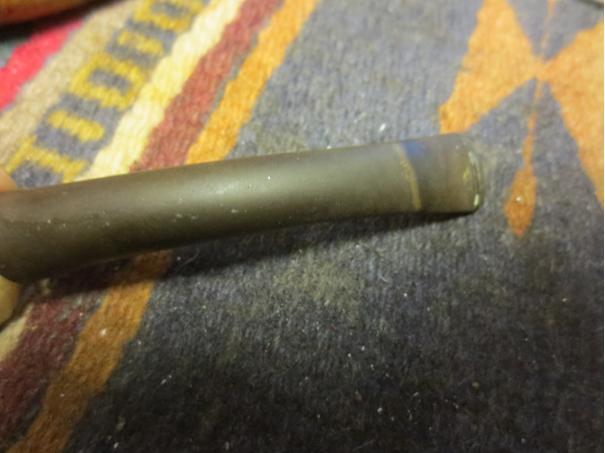
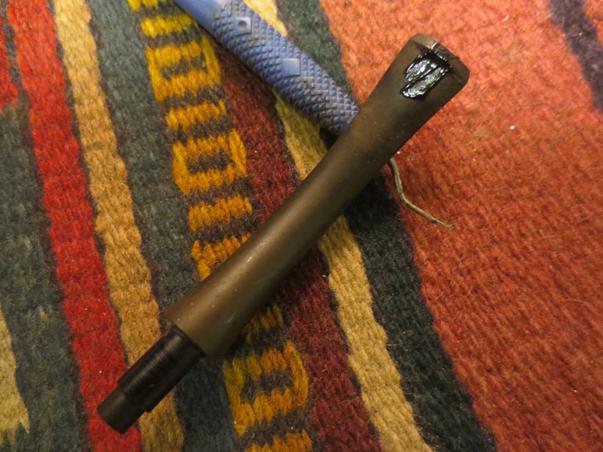
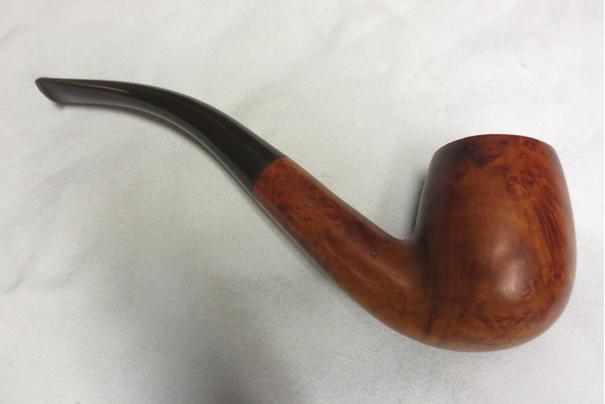
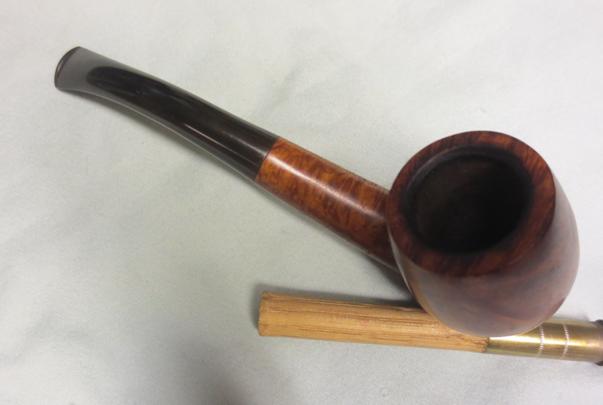
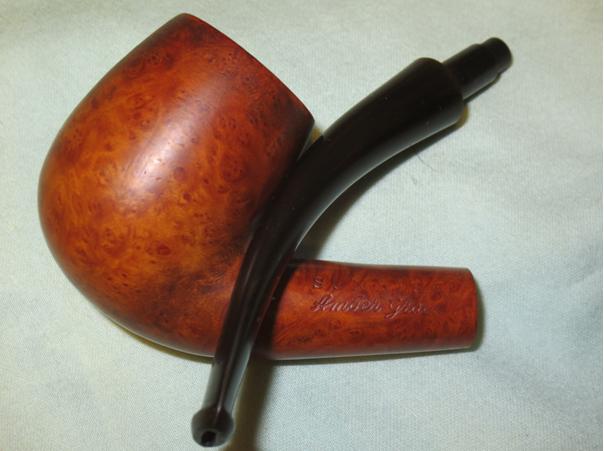
The next pipe on my desk was commissioned by Nathan, a pipe man from St. Louis. Nathan’s multiple trips to my virtual ‘Help Me!’ baskets in the online collection I call, For “Pipe Dreamers” Only!, resulted in 4 very nice pipes being commissioned by Nathan each benefiting the Daughters of Bulgaria – women and girls who have been trafficked and sexually exploited. Nathan’s communications with me indicated that he was happy to help a great cause. Here are the pipes Nathan has in the Pipe Steward queue: a Savinelli Dry System, Pipstar Dublin Sitter, Lorenzo Carnevale Sanremo Italy Rusticated Squat Apple and the Comoy’s Sunrise Volcano H 16 now on the table. The Comoy’s Sunrise Volcano came to me in the acquisition of a large eBay lot I’ve called the ‘Lot of 66’. It came from a non-profit in Georgetown, Texas, called the Caring Place which I was happy to support. Here are some of the original pictures I took when the Lot of 66 arrived.
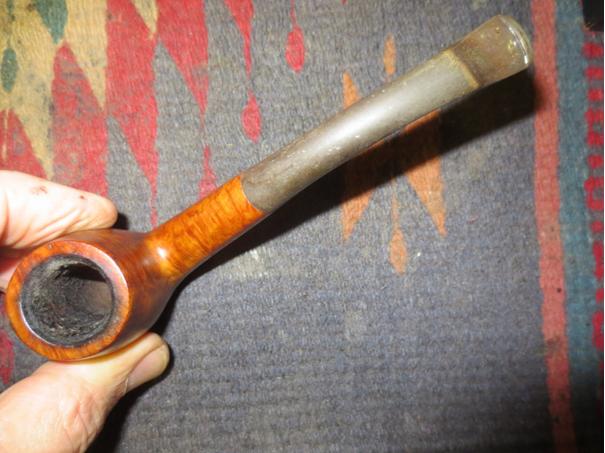
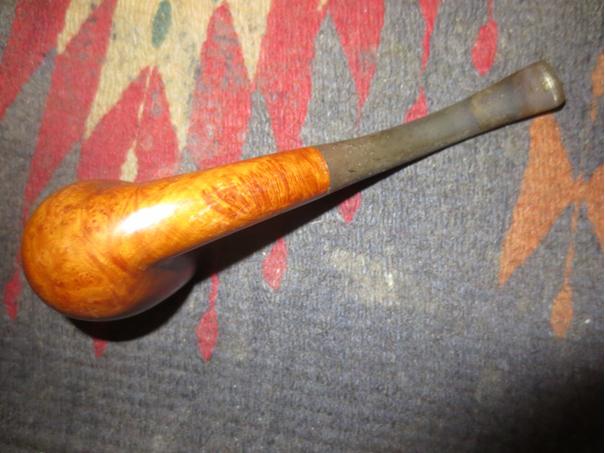

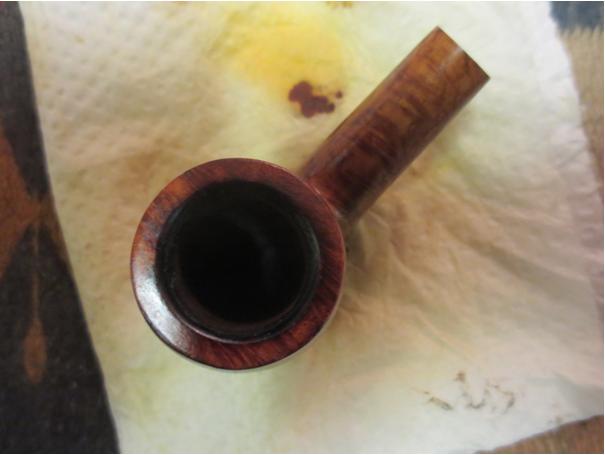
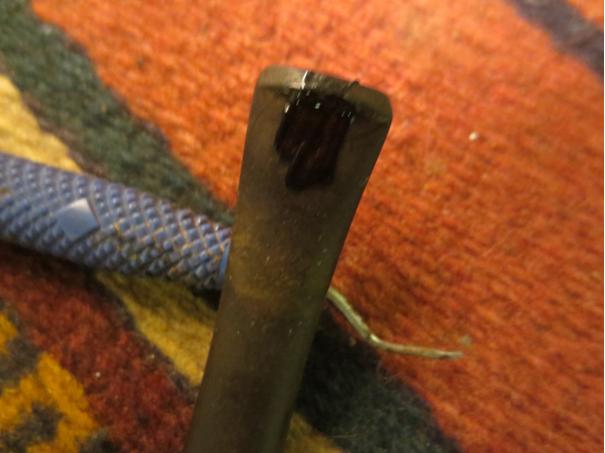
 The nomenclature is located on the upper and lower panels of the oval shank. On the upper side is stamped, ‘Comoy’s’ [over] SUNRISE. On the lower shank panel is stamped to the left the rounded, MADE IN LONDON [over] ENGLAND. To the left and above is stamped ‘H’, a random letter. Below and to the right is stamped the shape number, ‘16’ which indicates a number after the Cadogan acquisition of Comoy’s in 1979 when the shape numbers were reduced from 3 to 2 digits. The stamped ‘C’ on the stem also is consistent with a post Cadogan pipe. I looked on Pipedia to see how the shape number, ‘16’ would be described. I discovered that it’s not listed there. I’ve restored other Comoy’s with the ‘H’ stamped on the shank and from what Steve has shared with me, what he has heard is that the random letters indicate a certain parts replacement regimen.
 Even though the shape number is not listed in the Comoy’s listing on Pipedia, I’m calling this a Volcano. The dimensions are: Length: 5 1/4 inches, Height: 1 3/8 inches, Rim width: 1 1/8 inches, Chamber width: 3/4 inches, Chamber depth: 1 1/4 inches – a nice, more diminutive size. The oval shank flowing into the slightly bent stem creates a genuinely nice flow.
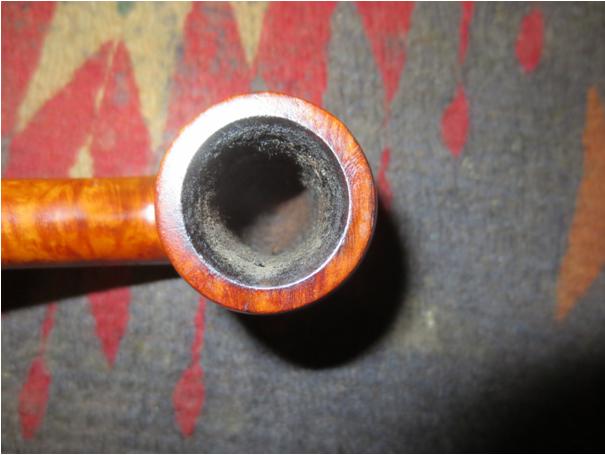
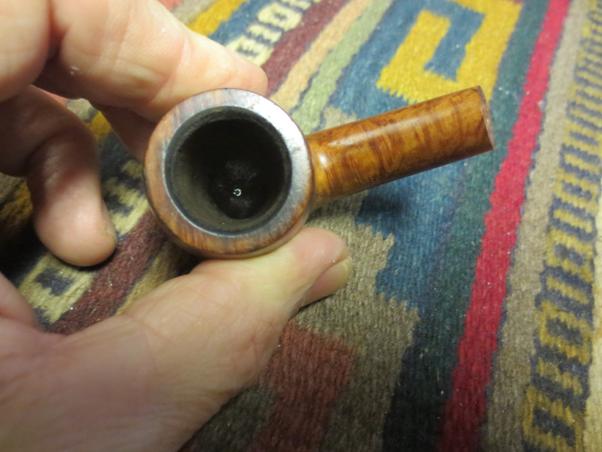
  The original color of the stummel leans in the direction of an Oxblood/reddish hue which is now pale. The chamber appears to have been cleaned somewhat with no cake build up. The rim has some lava build up which should clean off with little problem along with the rest of the stummel which bears minor nicks and bumps. The grain looks good – no fills jump out at me. The stem has some chatter but not major. There is oxidation which will be addressed. To begin the recommissioning of this Comoy’s Sunrise Volcano for Nathan, the stem’s airway is cleaned with a pipe cleaner wetted with isopropyl 95%.
 It then joins other pipes in the queue for a soak in Mark Hoover’s product, Before & After Deoxidizer (www.ibepen.com) which does a good job on stems that are not too heavily oxidized. I allow the stem to soak for a few hours.
 After taking the stem out of the soak, I squeegee off the liquid with my fingers and use cotton pads wetted with alcohol to wipe off the raised oxidation. Another pipe cleaner also wetted with isopropyl 95% clears the airway of remnants of the Deoxidizer.
 To start the process of conditioning the vulcanite stem, paraffin oil is applied, and the stem is put aside to absorb the oil.
 Turning now to cleaning the stummel, I start by cleaning the chamber. The cake buildup is almost non-existent, and I give the chamber walls a quick scraping using the Savinelli Fitsall Tool. I then sand the chamber with 240 paper wrapped around a Sharpie Pen. The chamber is in good shape. Little effort to clean is needed – a nice change!
 Next, turning to the external surface, undiluted Murphy’s Oil Soap is used to clean with a cotton pad. A brass wire brush, which is not harmful to the briar, is used to help clean the rim along with scraping it very carefully with the edge of my Winchester pocketknife.
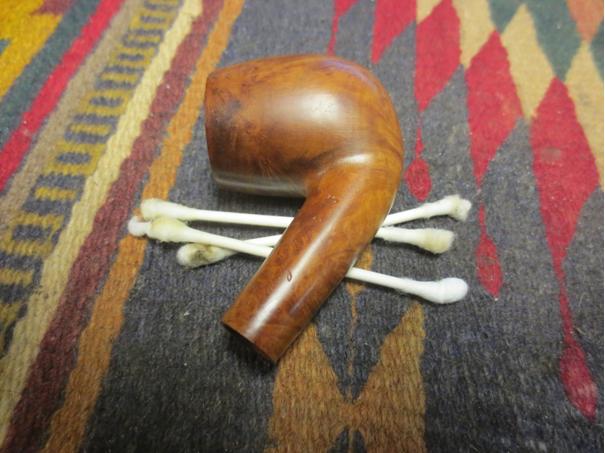
 Then the stummel is taken to the kitchen sink to continue the cleaning with warm water using shank brushes to clean the mortise with anti-oil liquid dishwashing soap. After a thorough rinsing, the stummel is brought back to worktable to continue cleaning the internals with cotton buds and pipe cleaners. A couple buds and a pipe cleaner confirm the cleaned stated of the internals. Moving on.
 Taking a closer look at the stummel, the Oxblood/reddish finish is very thin and has disappeared from the edge of the rim which has a nice rounded sloping pitch toward the chamber – a stylistic touch for the volcano shape. The rim cleaned up nicely and along with the rim, the finish is thin but present. I see no fills that need attention.
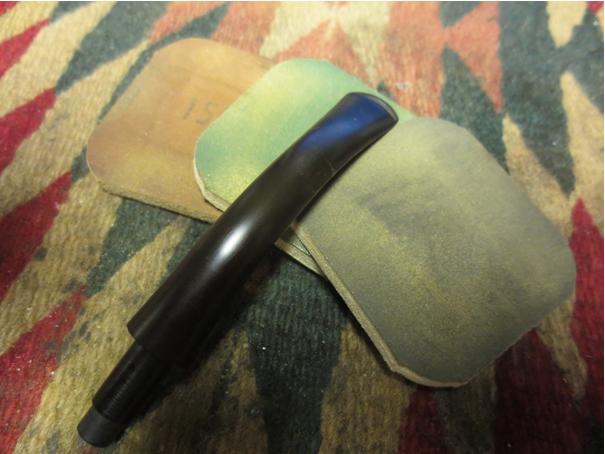
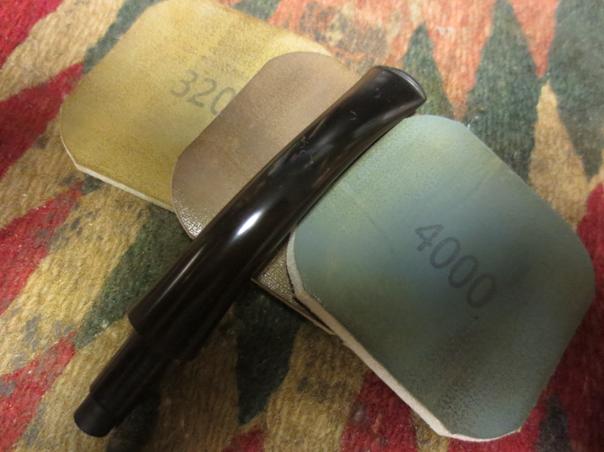
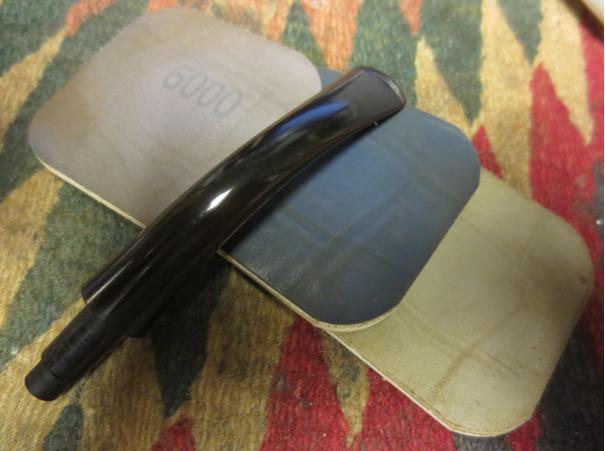
 To clean the surface of the minor nicks, I proceed to using the full regimen of micromesh pads on the stummel surface. I begin by wet sanding with pads 1500 to 2400 and then dry sand with pads 3200 to 4000 and 6000 to 12000.
 After the micromesh process, it is evident that the finish has lost its original luster and what is left is a pinkish tint that is not attractive. However, the micromesh sanding did bring out the grain very nicely. To make sure the surface is clean of the old finish, acetone on a cotton pad is used to wipe the stummel. The results reveal the former color.
 I will apply a new dye to the stummel, and I will begin with an undercoat of Oxblood and if needed, follow with a dye wash of red aniline dye. I’ll see how the first phase goes before deciding on the second. After assembling the staining module on my desk, I begin by warming the stummel with the hot air gun to open the briar helping the grain to be more receptive to the dye. After warm, I use a folded pipe cleaner to apply Fiebing’s Oxblood Leather Dye to the stummel. After painting a section with the pipe cleaner, the dye is this ‘flamed’ using a lit candle combusting the wet aniline dye. When lit, the alcohol in the dye combusts and leaves behind the pigment set in the briar grain.
 After a thorough covering a few times over, the flamed stummel is set aside for several hours to allow the new dye to settle in.
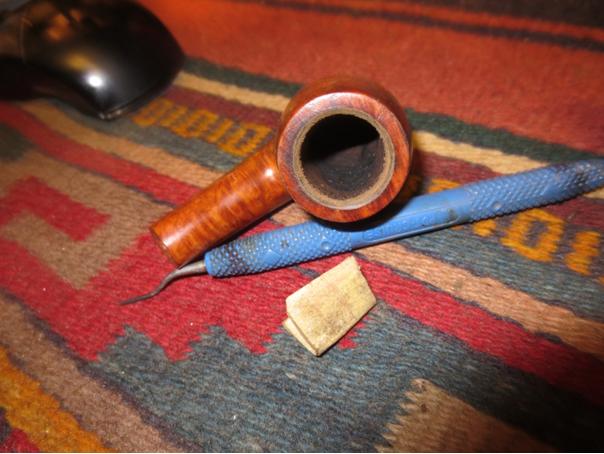
 With the stummel resting, I turn to the Comoy’s stem. There is minor damage to the bit.
  Using a needle file, I refresh the lines of the button. Afterwards, using 240 grade paper, the minor chatter is sanded out on the upper and lower bit.
 To address any residual oxidation, the remainder of the stem is sanded with 240 grade paper. A plastic disk helps to guard against shouldering the stem facing.
 Transitioning now to 600 grade paper, the entire stem is wet sanded. This is followed by applying 000 steel wool.
 Ugh! During this sanding phase, the Comoy’s ‘C’ factory stamping was damaged. This I don’t like. This mishap will not be easy to restore as thin as the factory stamping is. Unlike the older inlaid Comoy’s ‘C’, this stamping is more of a painting of a ‘C’ as there is no impression in the vulcanite for new paint to hold.
 Avoiding the ‘C’, I continue with the full regimen of micromesh pads is applied beginning with wet sanding with pads 1500 to 2400. Following this, pads 3200 to 4000 and 6000 to 12000 are used to dry sand. Between each set of 3 pads, Obsidian Oil is applied to continue conditioning the stem and protect it from future oxidation.
 Restoring the Comoy’s ‘C’ stamping has no good options as my regretful pining has produced. Simply to paint a ‘C’ on the surface is not easy to do and it is resting on the surface and will be easily wiped away without too much effort. I considered attempting to engrave a ‘C’ but without machine shop precision, I’m left to freehand and that leaves no room for errors. My hand is not that steady! In the end, the only option open to me is to paint a ‘C’ building on the remnant of the original. I apply white acrylic paint several times and then carefully shape the lettering with a toothpick. It’s slow work. I’ve done the best I could. I move on.
 With the fired stummel ready to unwrap after applying Oxblood dye to the briar grain surface, a felt buffing wheel is mounted to the Dremel set at the lowest speed. Tripoli compound, a coarser abrasive compound, is then used to ‘unwrap’ the flamed crust of dye – removing the excess dye leaving the dyed grain that has absorbed the pigment.
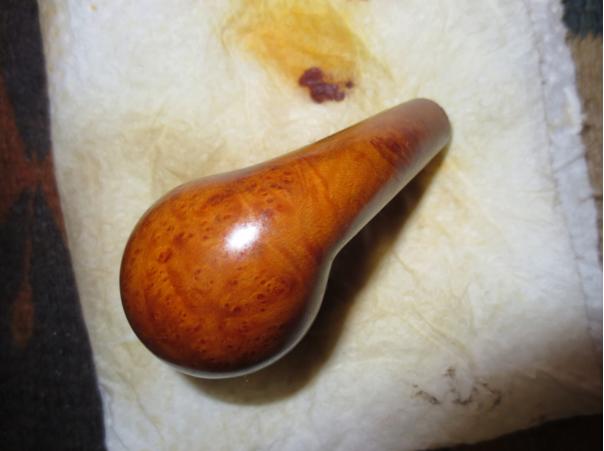
 I pause to take a picture showing the contrast of the unwrapping process.
 I mentioned earlier that I anticipated doing a ‘dye wash’ using a red aniline dye over the Oxblood. This I decide to do using a pipe cleaner. I simply paint the dye on the stummel and after covering it thoroughly, I put the stummel aside for several hours for the dye to settle in.
 After the dye had dried enough to handle the stummel, I rejoin the stem and stummel to examine the fit. I notice a gapping on one side of the oval shank/stem fitting which I’ve pictured below.
 Attempting to remedy this gap, I use a folded piece of 240 grade sanding paper wedged between the stem and shank on the opposite side of the stem from the gapping – the tight side. After gently compressing the shank and stem against the sanding paper, I move the paper back and forth in a sawing motion to sand down the tight side resulting in closing the gap on the other side of the stem/shank – hopefully! After a few attempts, checking and repositioning the paper, the gap is reduced and the seating of the stem into mortise is now much better.
 After several hours, the red dye has seasoned long enough. With a cotton cloth buffing wheel mounted on the Dremel and set at about 40% full power, Blue Diamond compound, a finer abrasive compound, is applied to the surface to remove excess dye and to smooth the briar surface.
 Next, to help avoid dye leaching onto the hands of the new steward when the pipe is initially put into service, I heat the stummel with the hot gun to emulate the initial use of the chamber. After heating the stummel, I give the stummel a vigorous hand buffing with a cotton cloth to remove the dye loosened by the heating. I forgot to picture this, but the old t-shirt cotton cloth used had red residue.
 The final step is to apply carnauba wax to the stem and stummel. After mounting another cotton cloth wheel onto the Dremel with the speed the same, the wax is applied to the pipe. Following applying a few coats of wax, the pipe is given a hearty hand buffing to raise the shine.
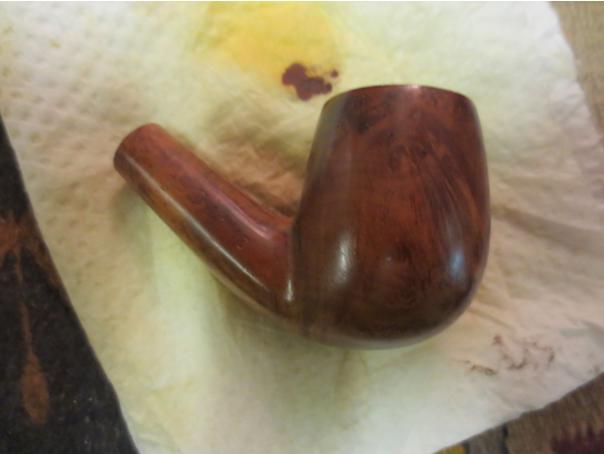
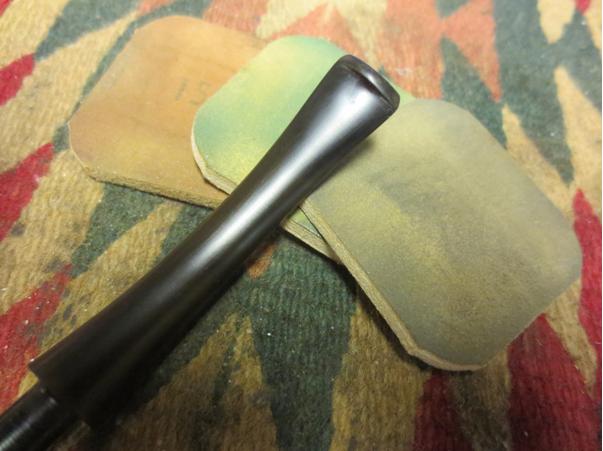
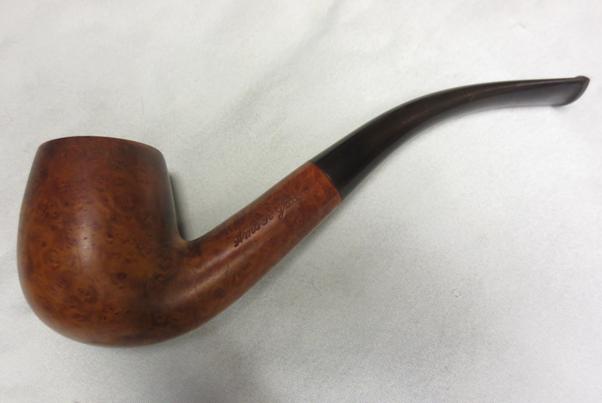
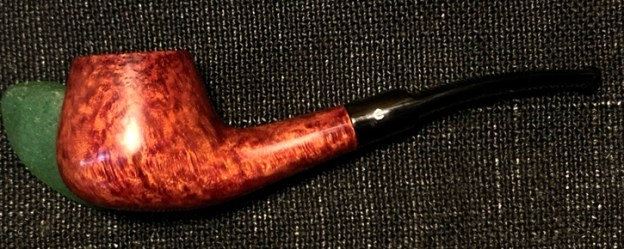
 The Comoy’s Sunrise turned out well. The grain pops now and the Volcano shape, with the wide heel, fits well in the hand ready for a new steward. The only disappointment was the ‘friendly fire’ damage done to the Comoy’s ‘C’ stem stamping – ugh! Nathan commissioned this Comoy’s Sunrise and will have the first opportunity to acquire it in The Pipe Steward Store benefitting the Daughters of Bulgaria – women and girls who have been trafficked and sexually exploited. Thanks for joining me!