by Steve Laug
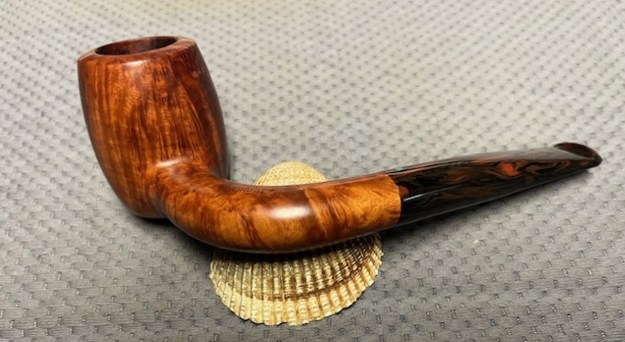
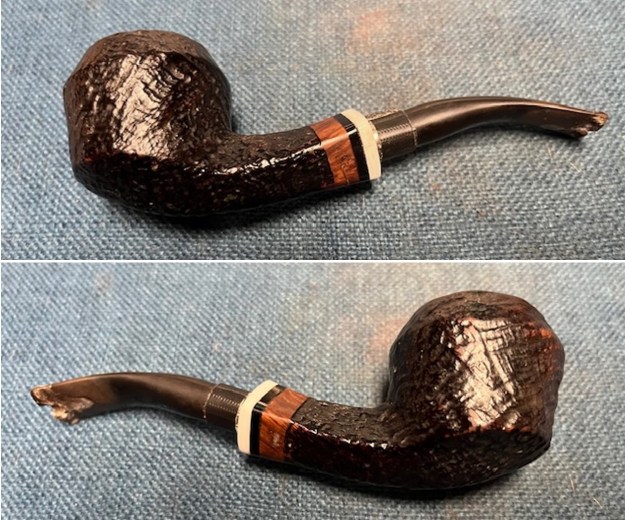
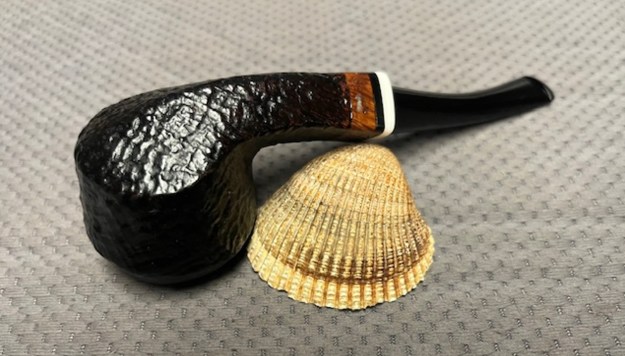
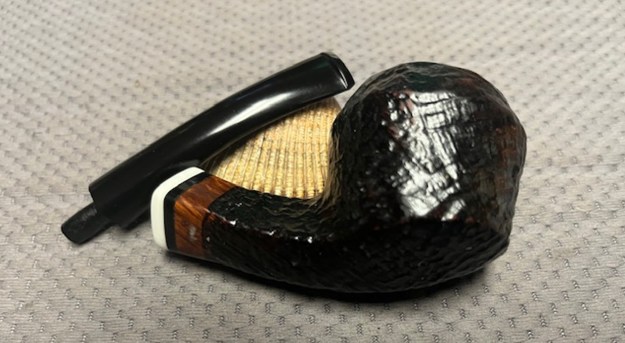
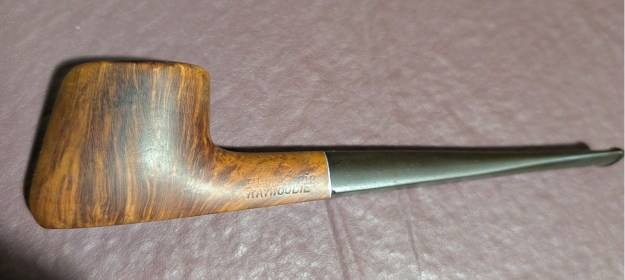
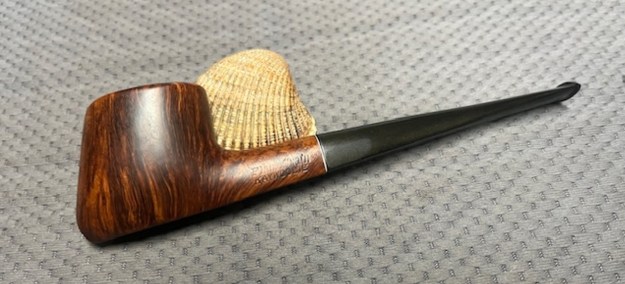
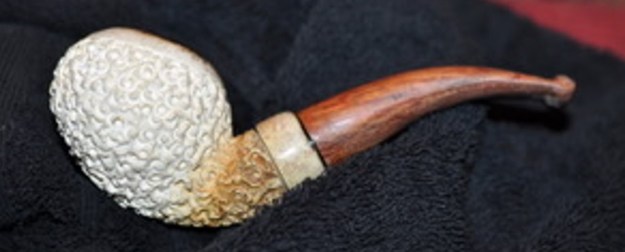
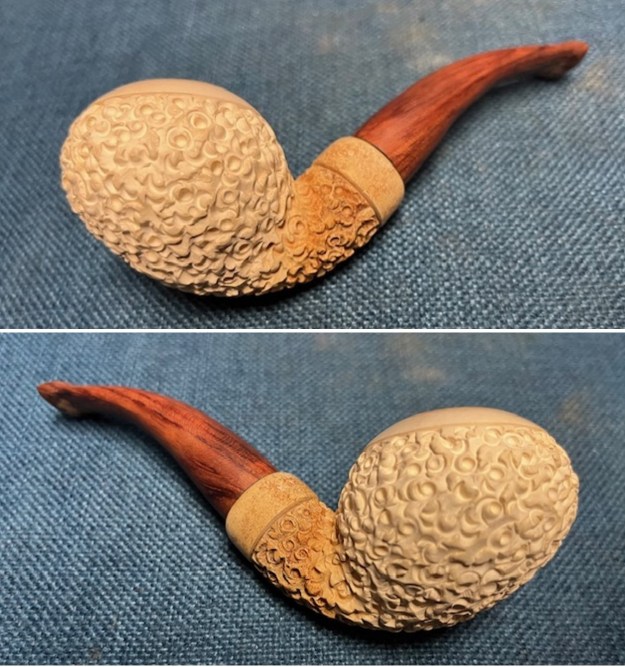
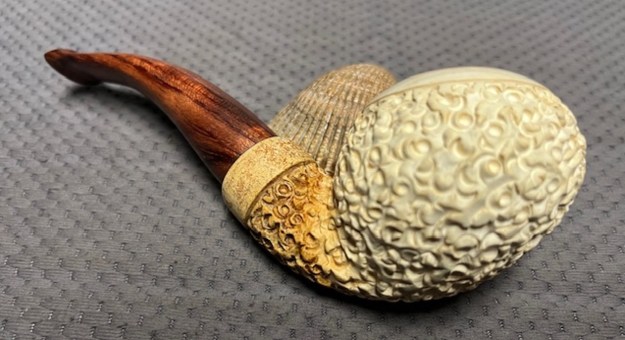
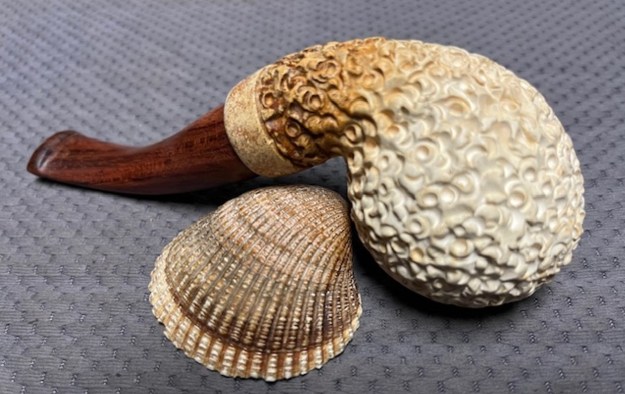
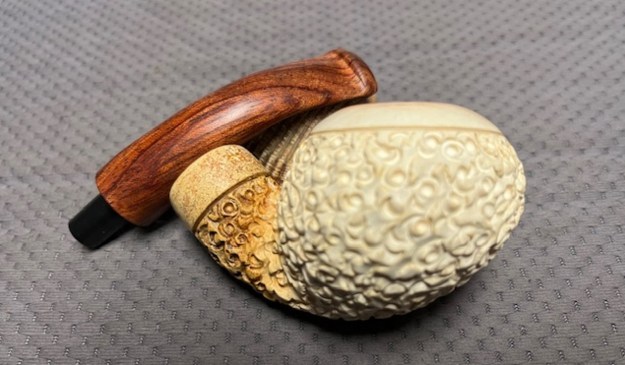
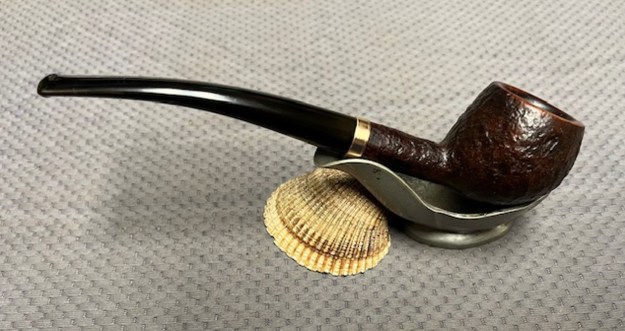
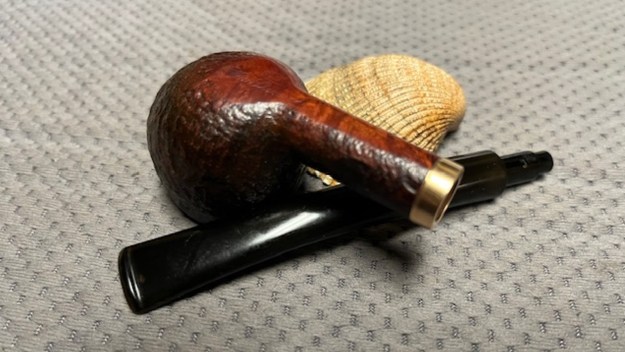
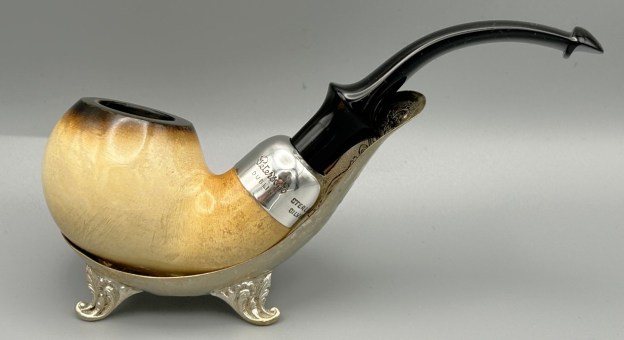
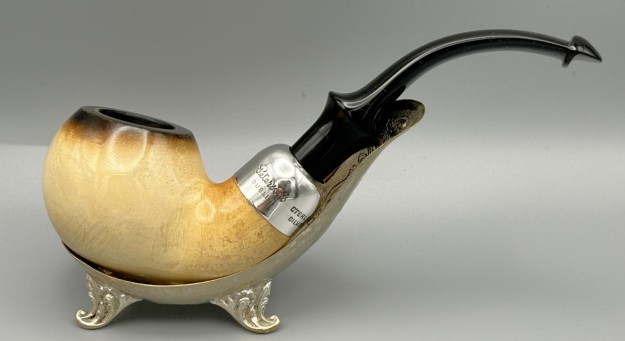
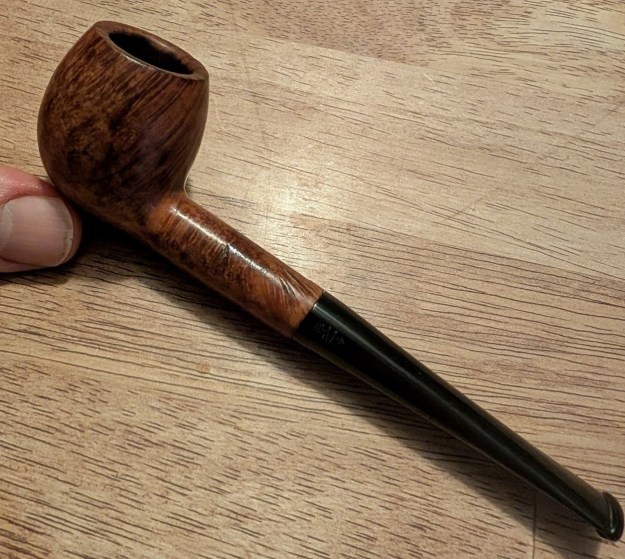
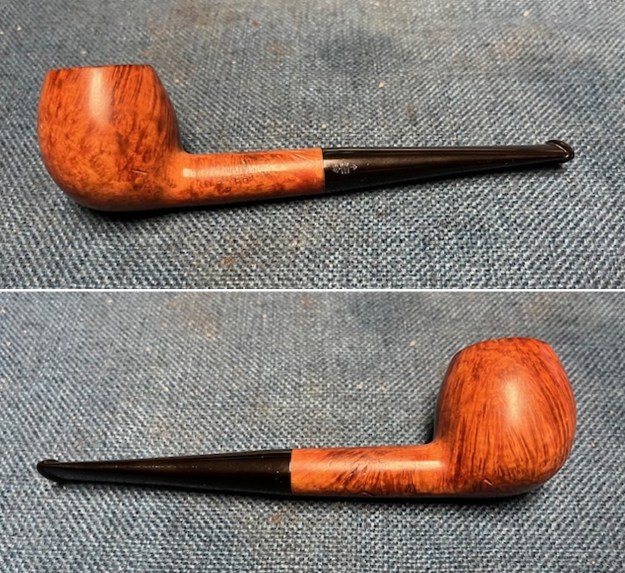
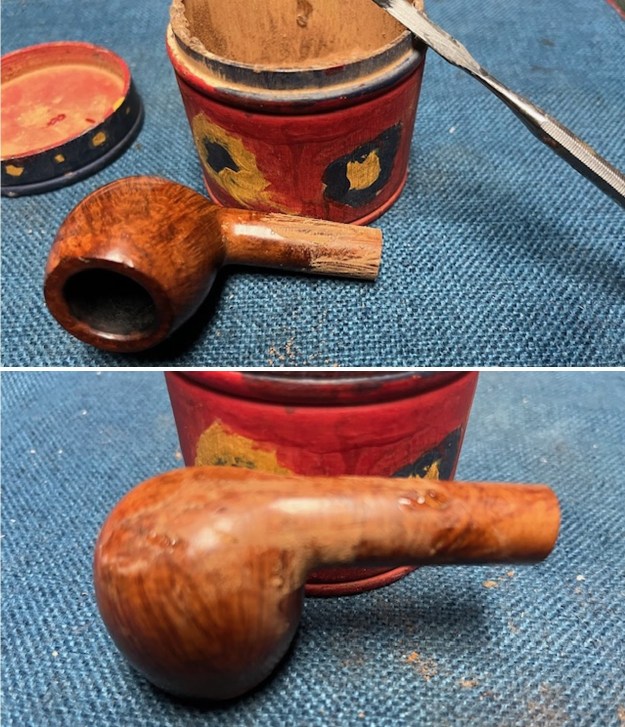
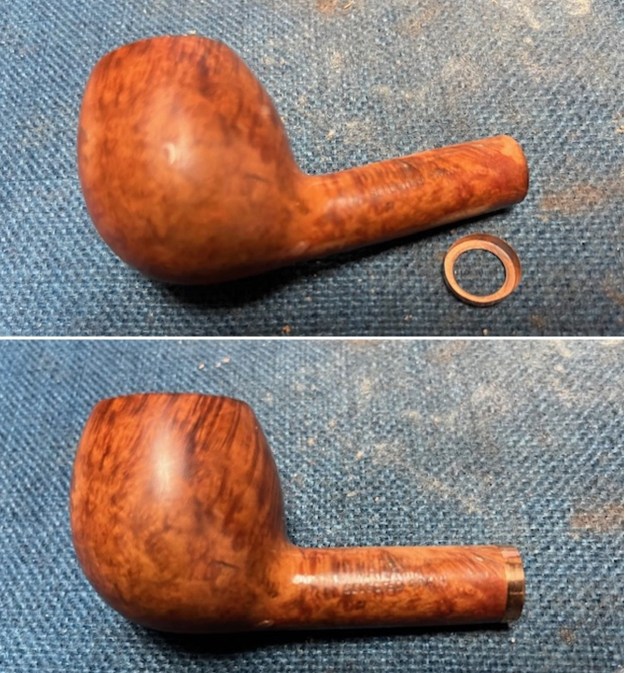
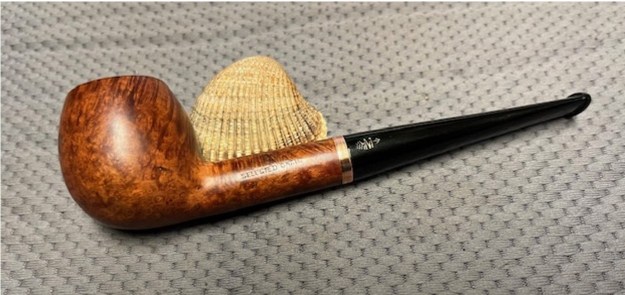
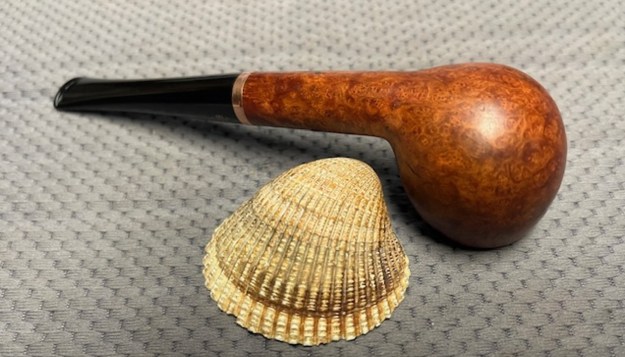
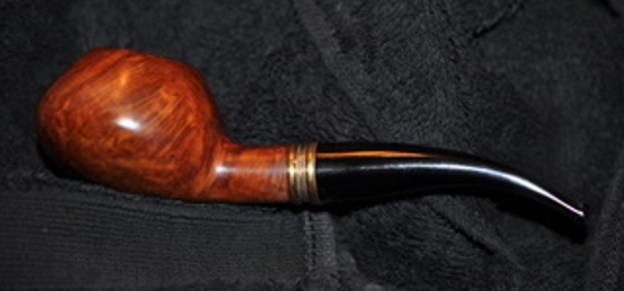
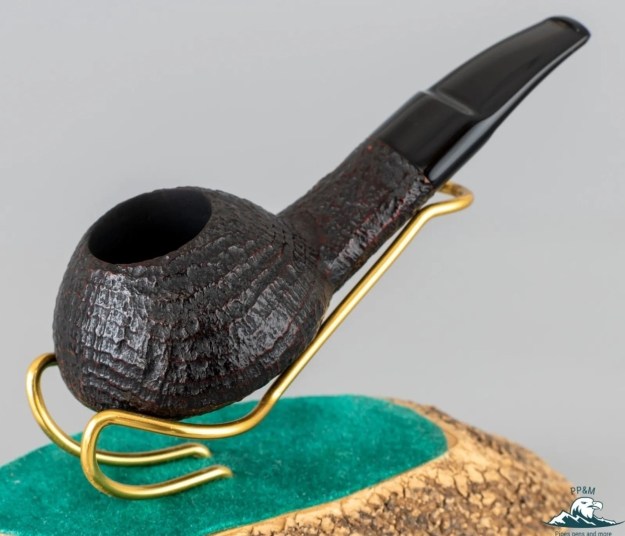
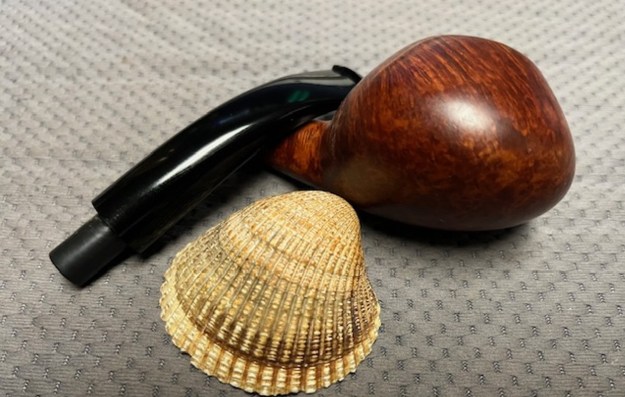
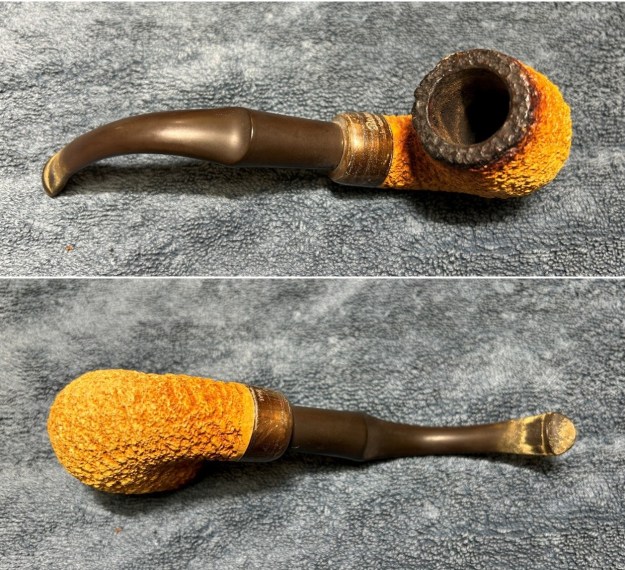
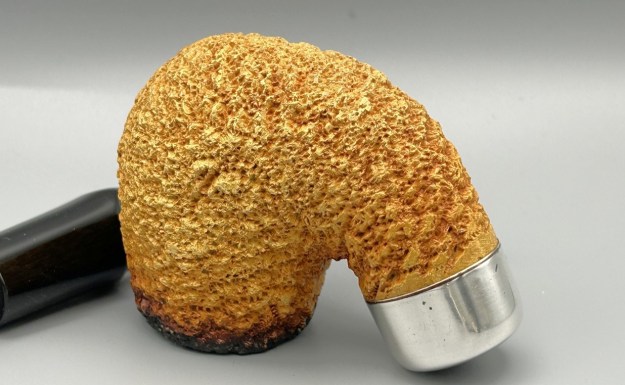
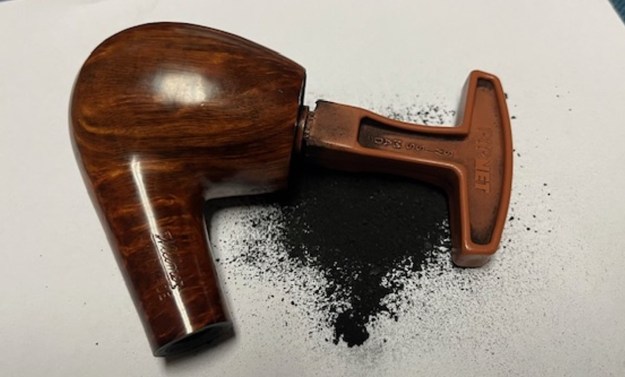
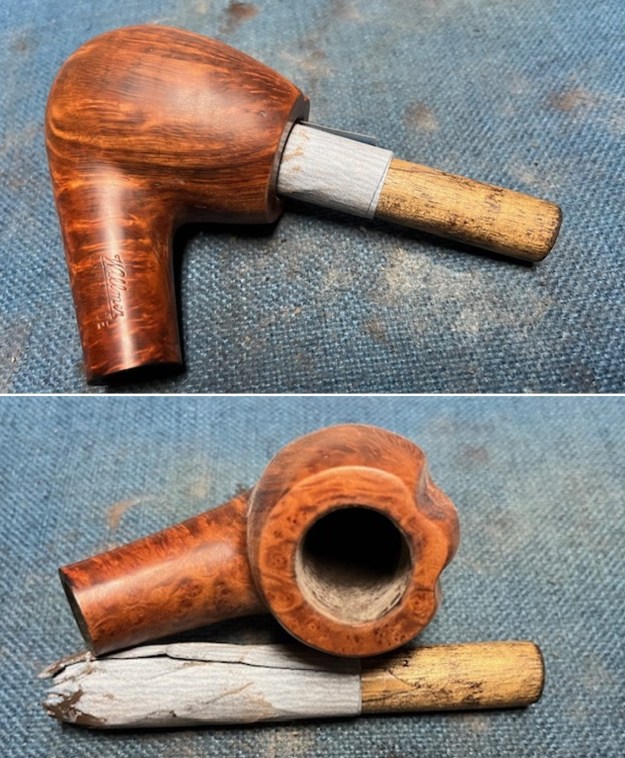
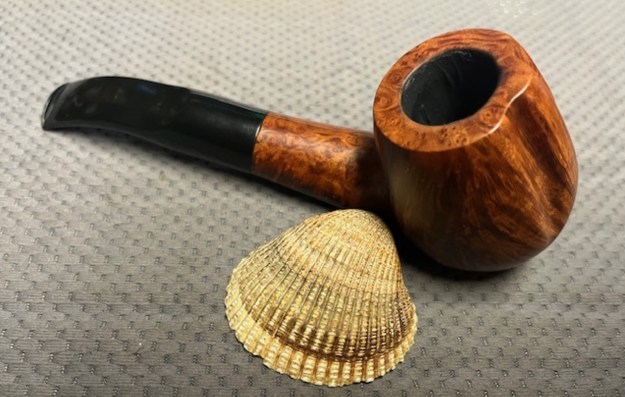
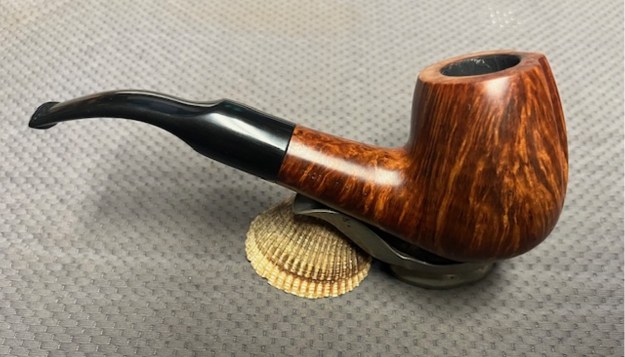
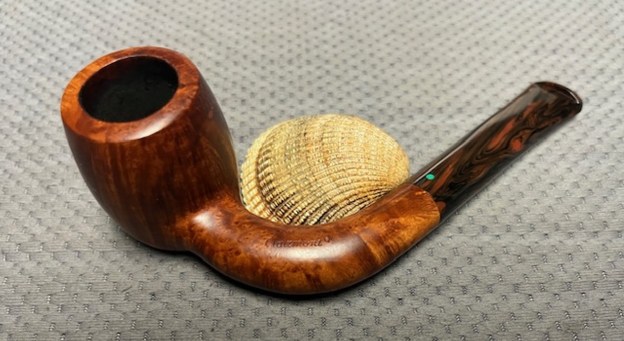
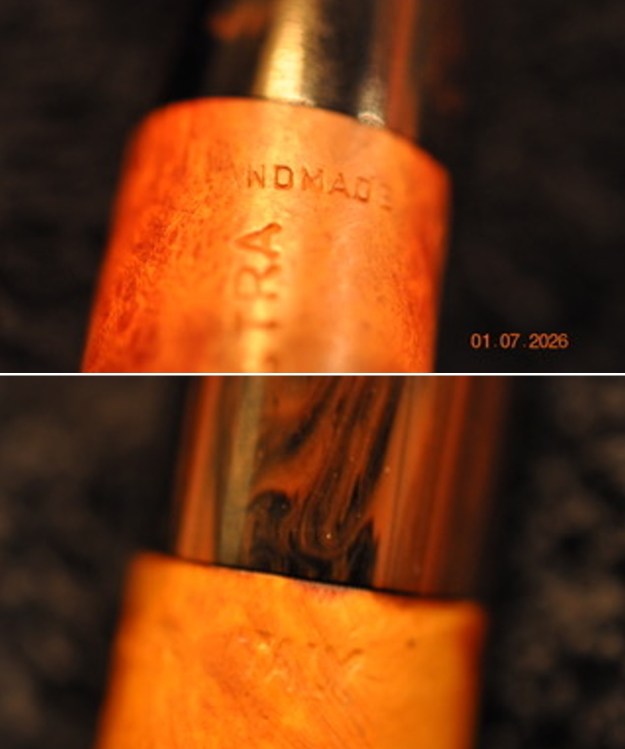
This particularly interesting right-angle Billiard pipe was purchased from a seller in Santa Cruz, California, USA on 05/28/2024. It is carved in a way that chases the grain and a bent rounded shank with a Cumberland stem. It is stamped on the topside of the shank and reads Clairmont and on the underside of the shank it is stamped 1 Ano Destra and right next to the shank it is stamped Handmade. The smooth 90 Degree Angle Billiard shaped pipe is dirty but the grime does not hide the beautiful looking combination around the bowl and shank. The stain brings out the straight grain around the bowl and shank sides and the birdseye on the top and underside of the shank and the rim top and heel of the bowl. The pipe had a moderate cake in the bowl and a light coat of lava on the top and inner edge of the bowl. There was grime ground into the smooth finish. The shape of the rim is slightly crowned. The acrylic Cumberland taper stem is dirty and has what looks like debris left behind by a Softee Bit. It had light tooth marks and chatter on both sides near the button. The pipe must have been a great smoker judging from the condition it came it. Jeff took photos of the pipe before he started his work on it. 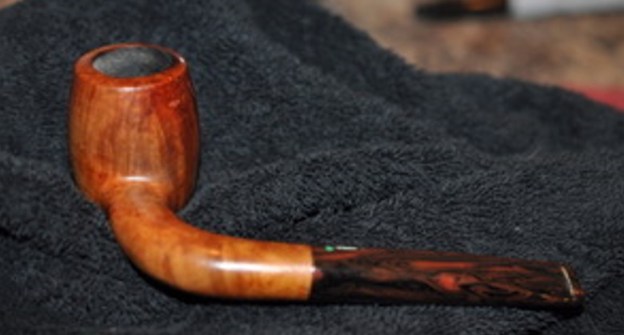
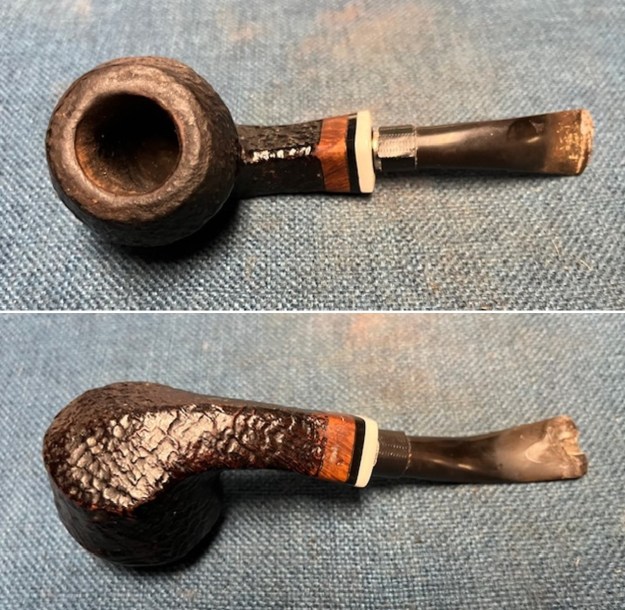
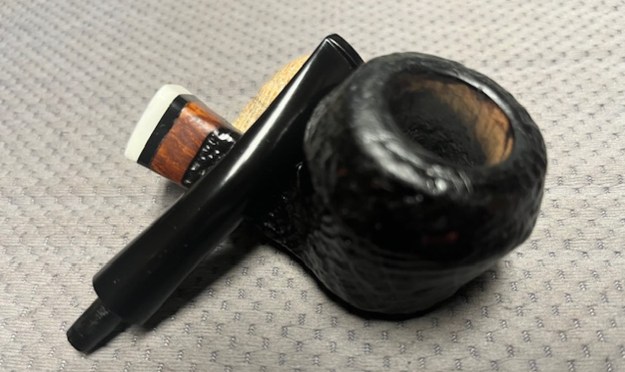
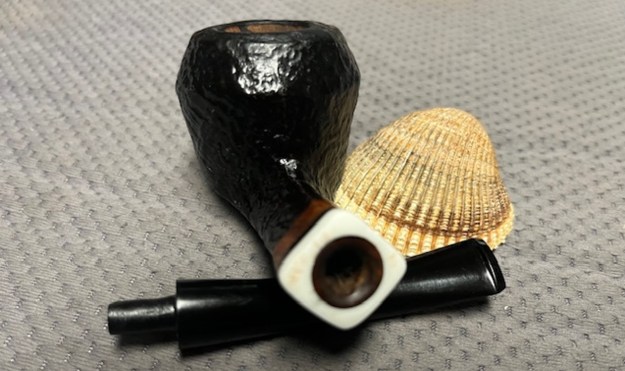
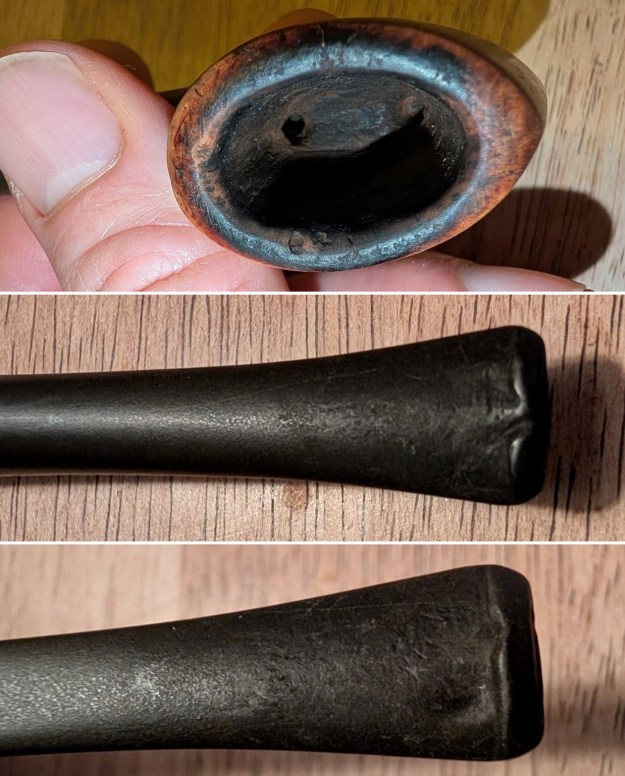
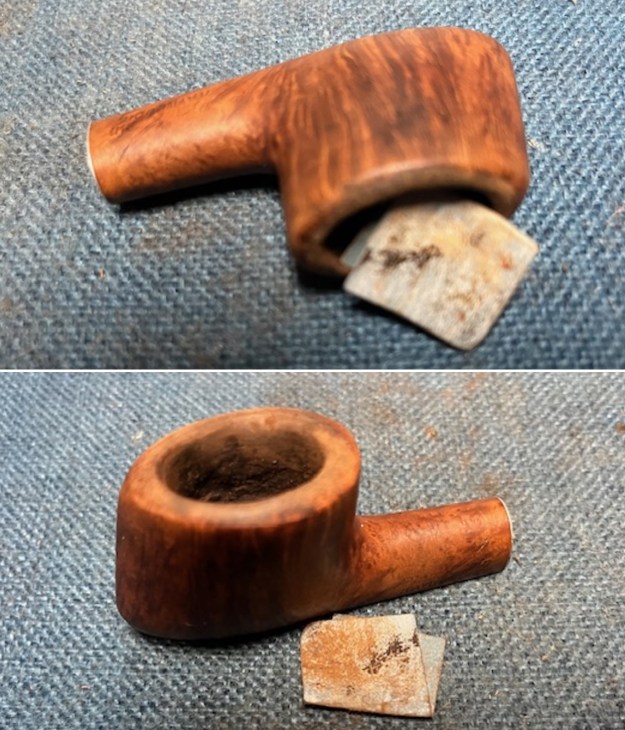
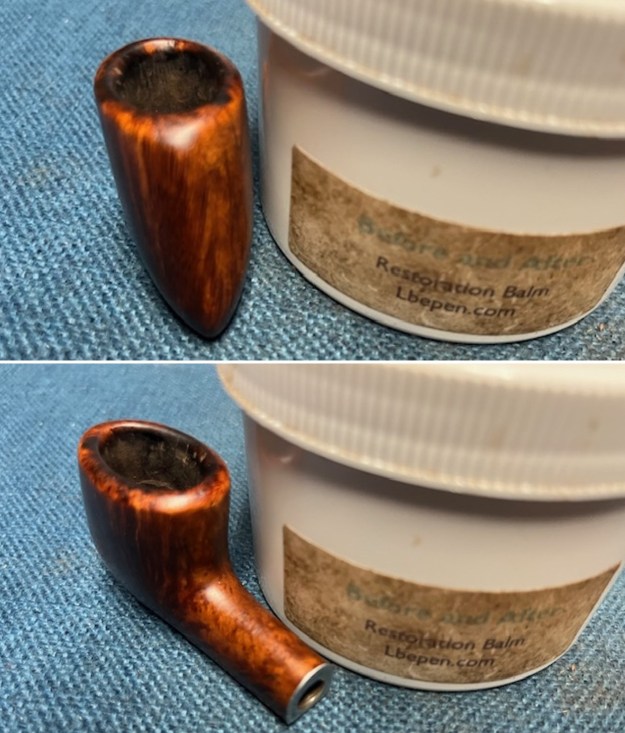
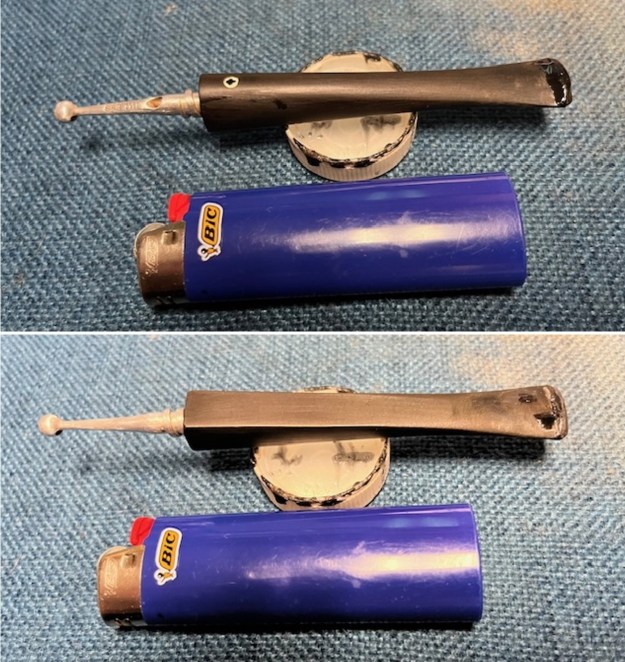
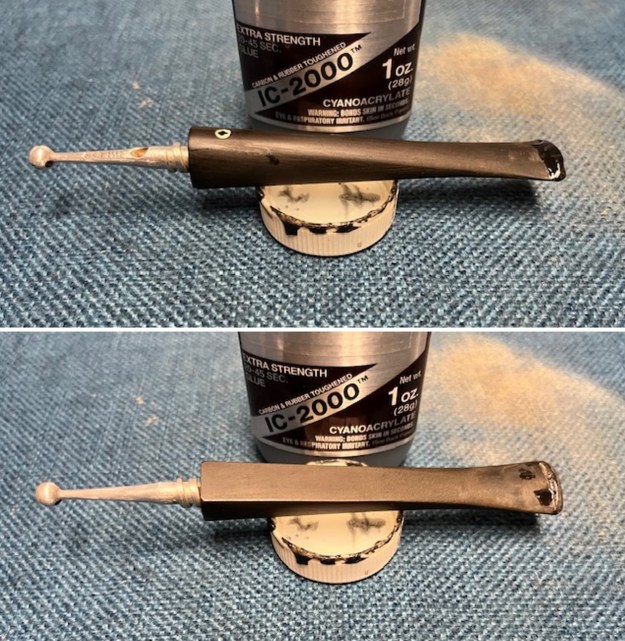
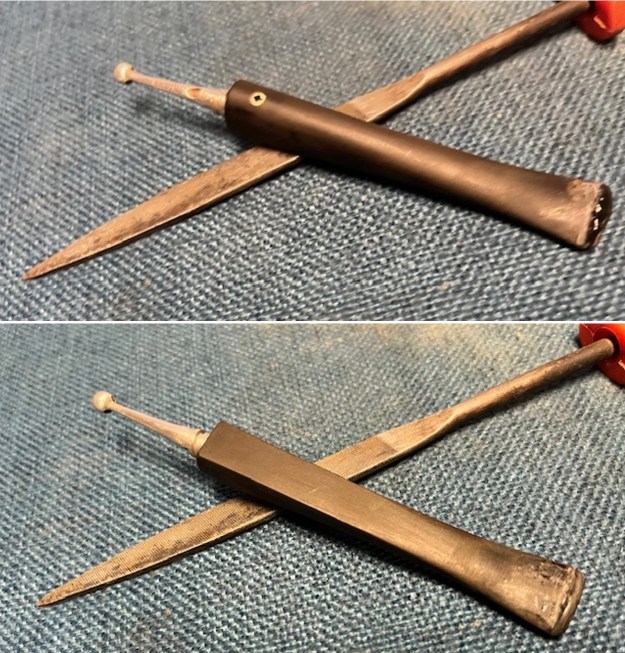
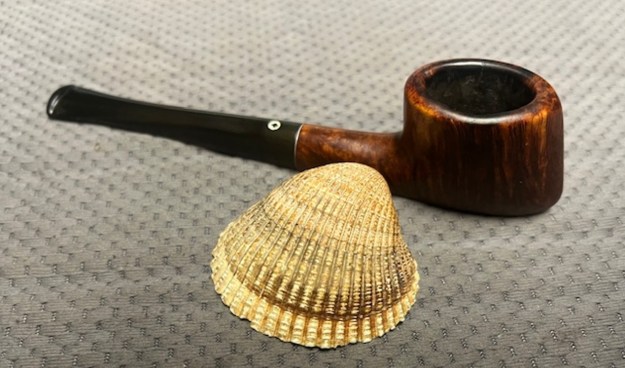
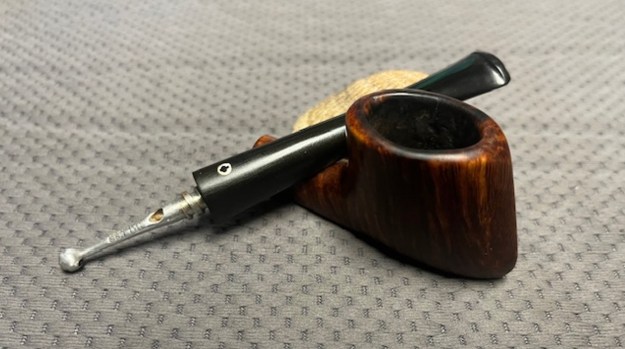
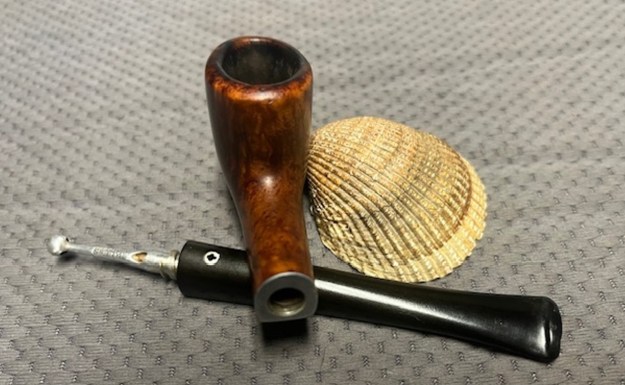
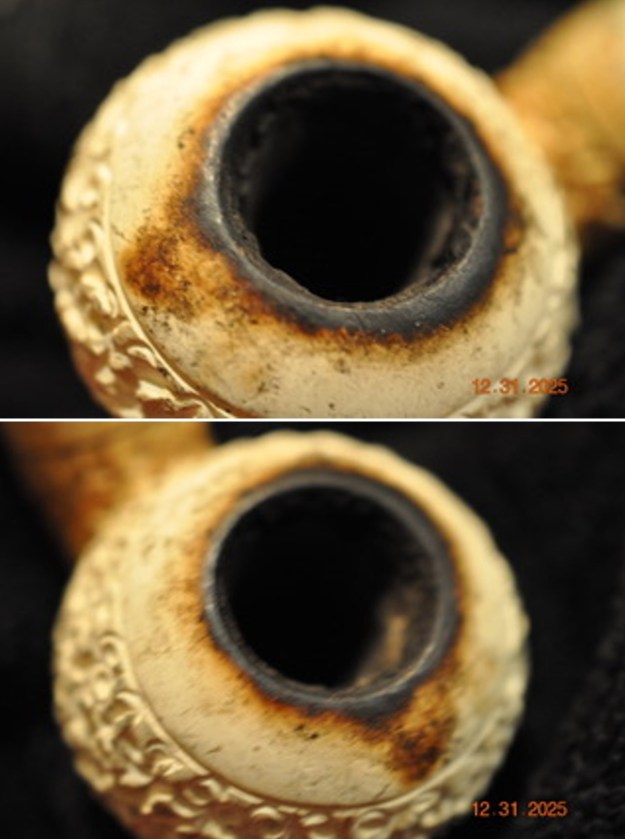
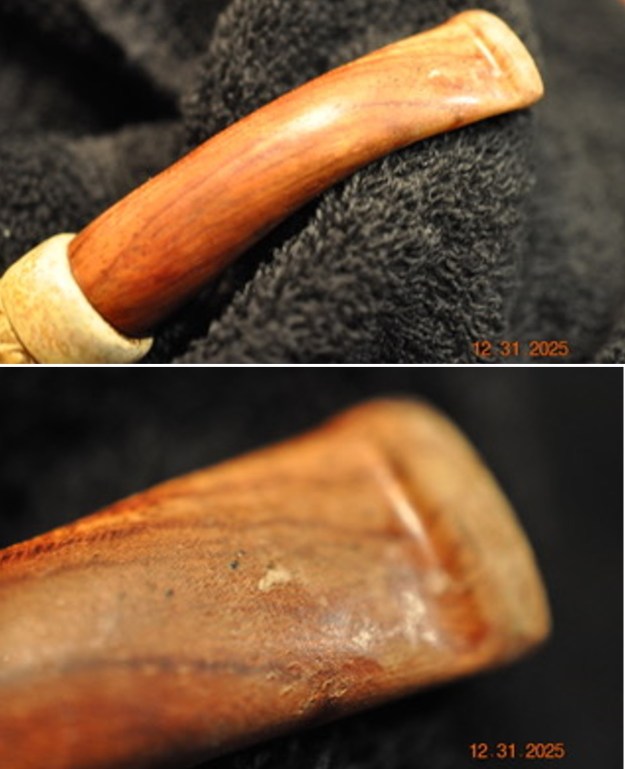
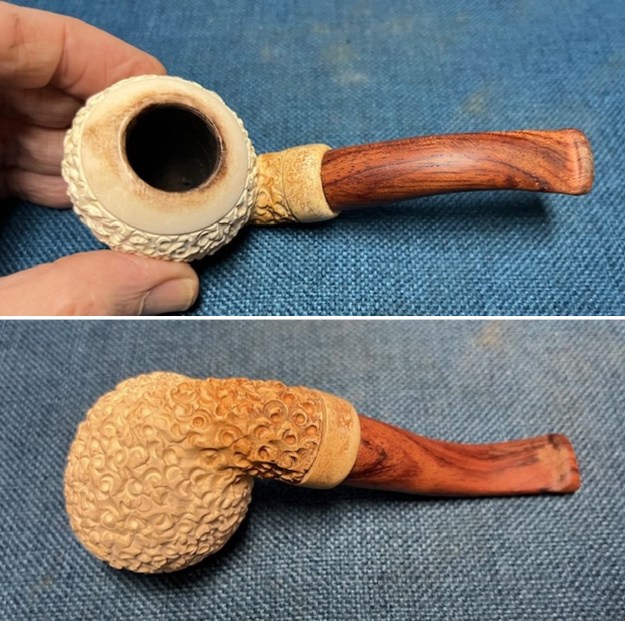
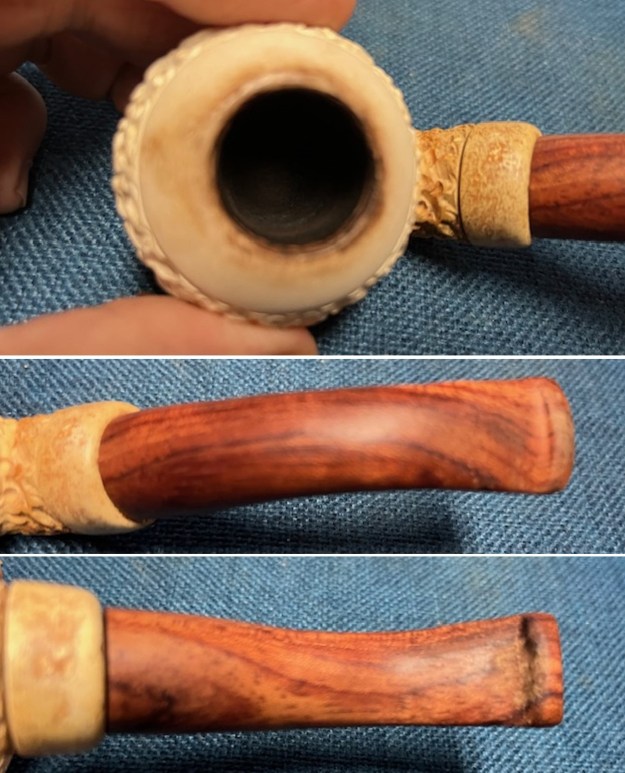
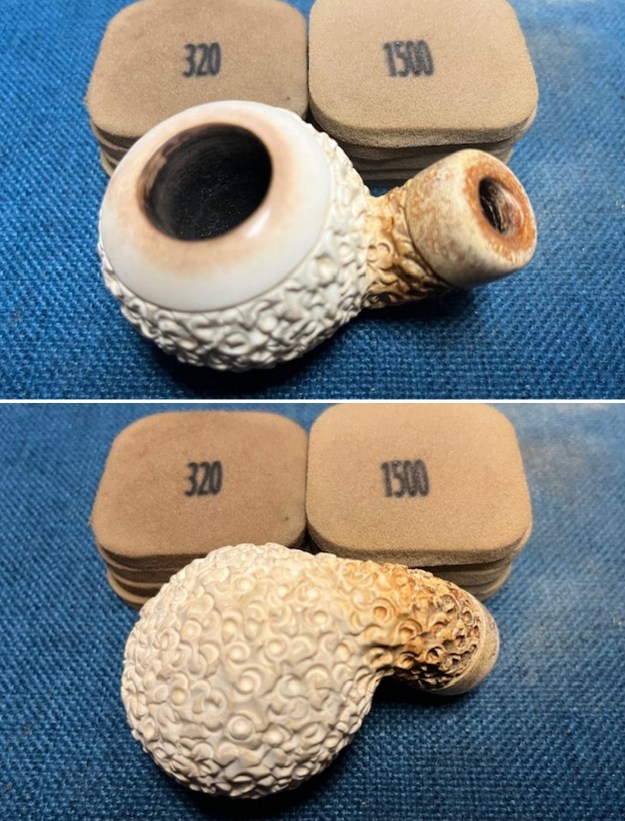
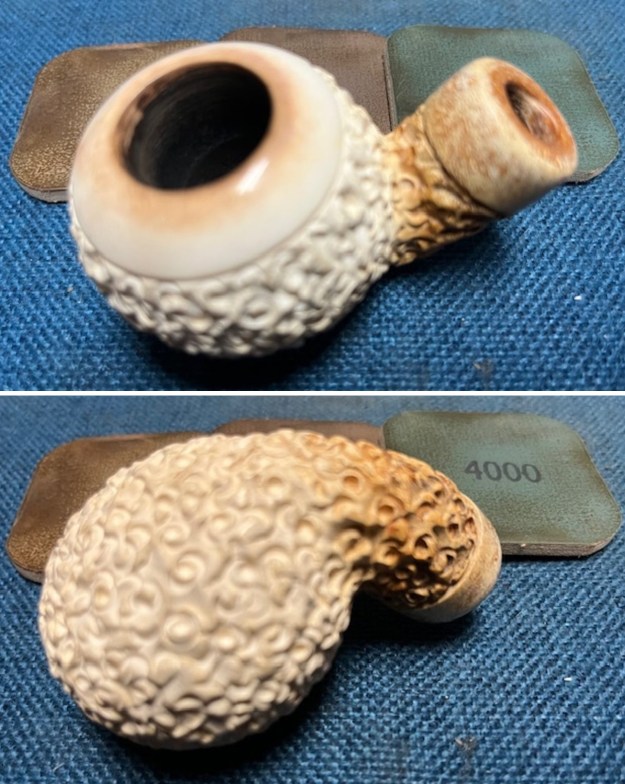
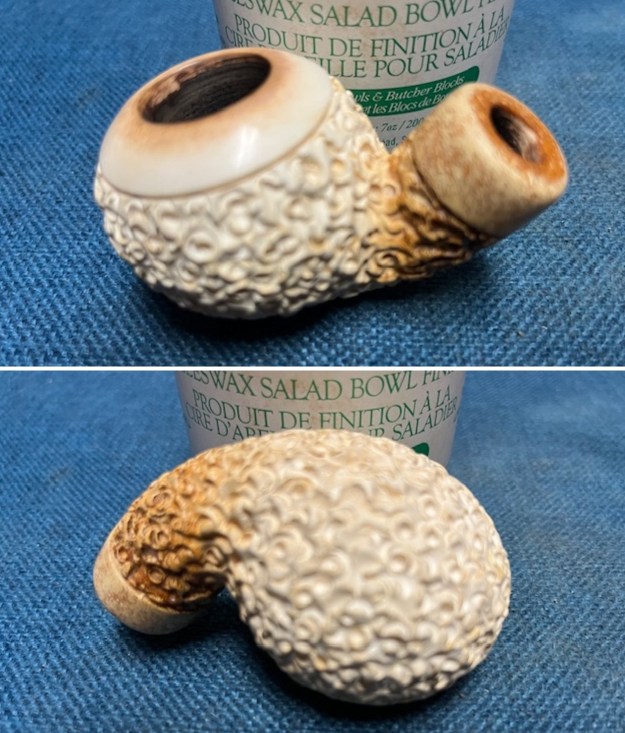
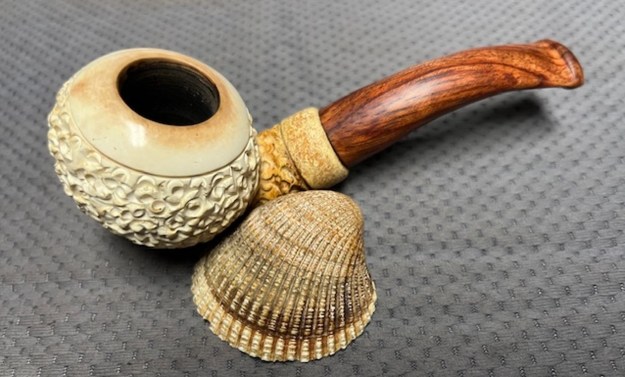
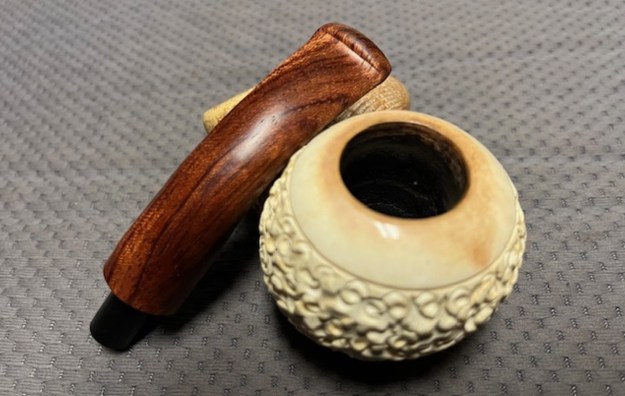
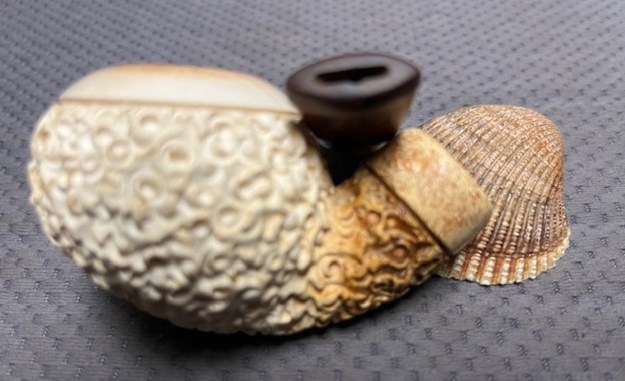
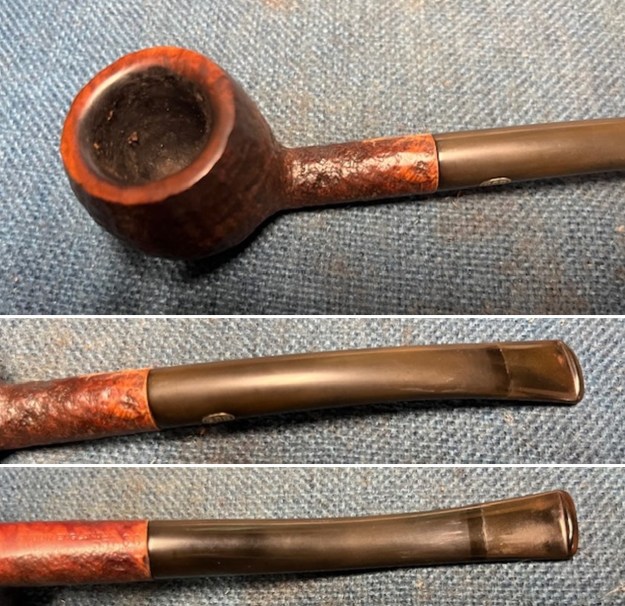
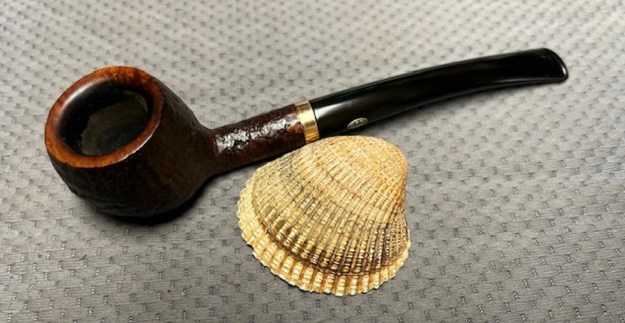
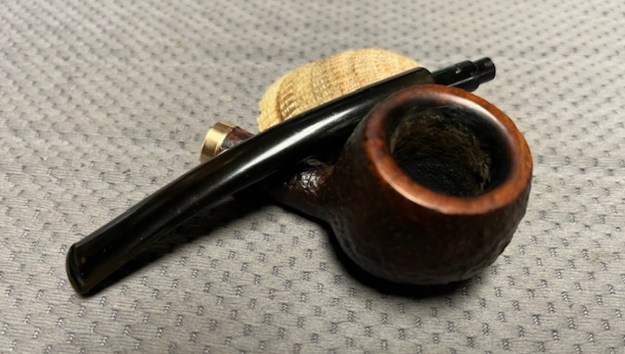
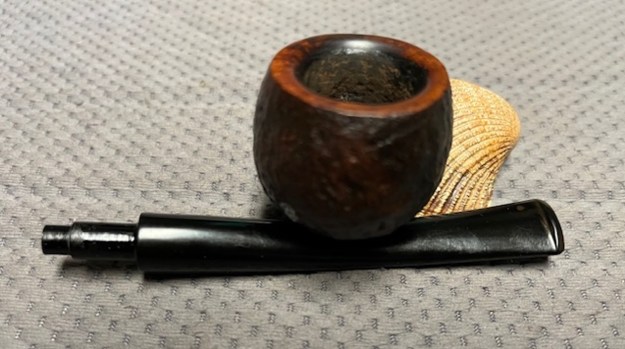
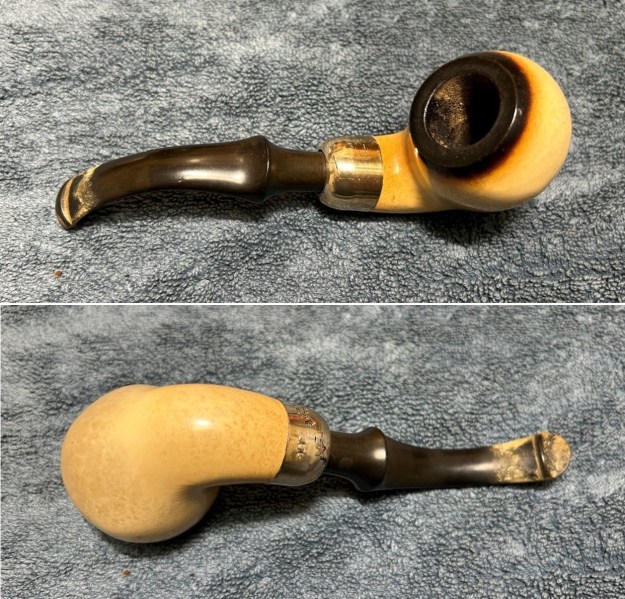
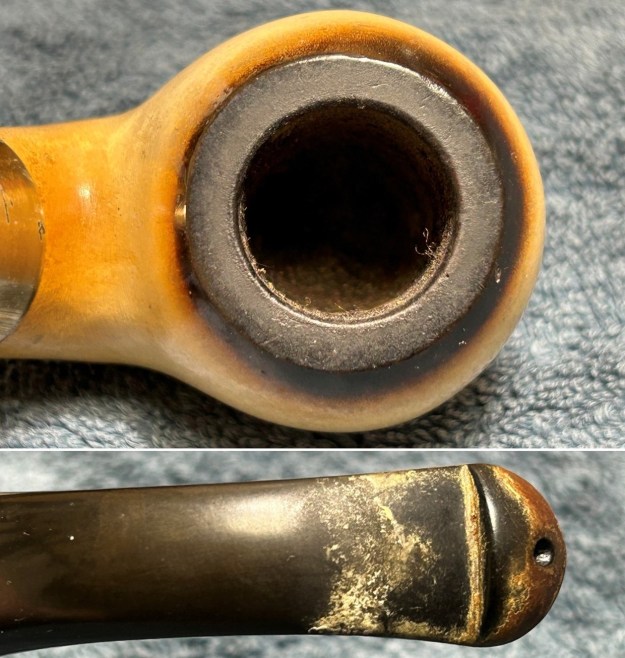
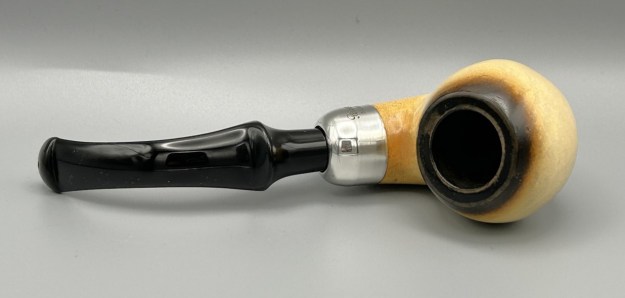
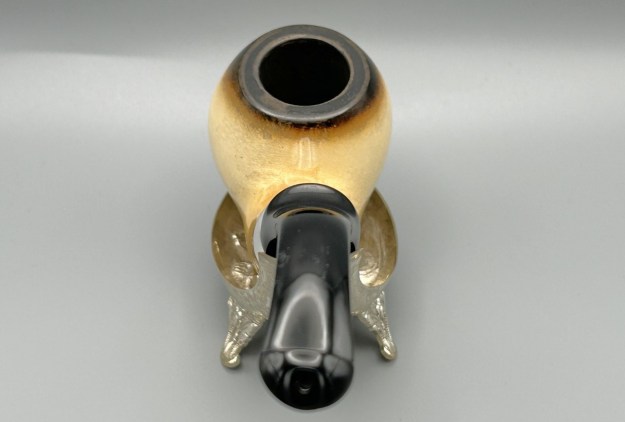
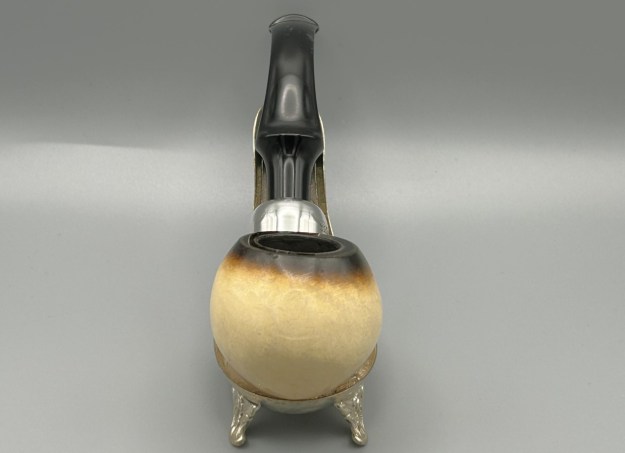
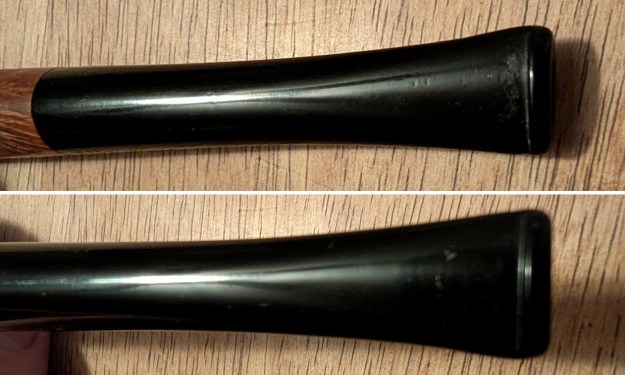
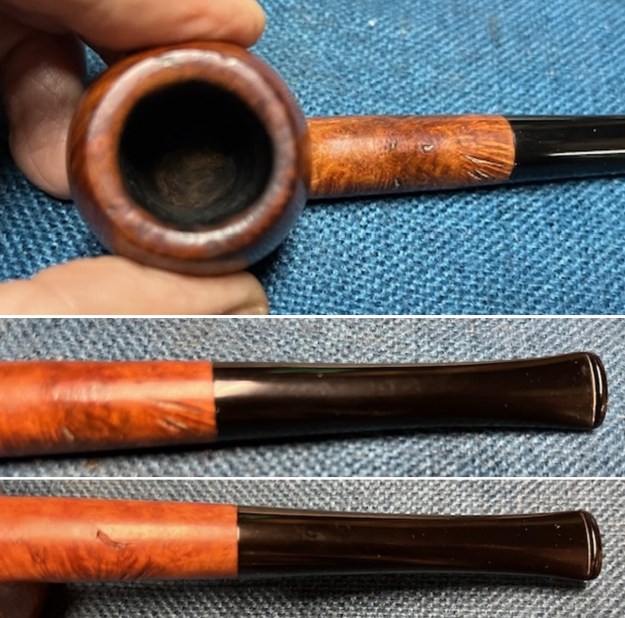
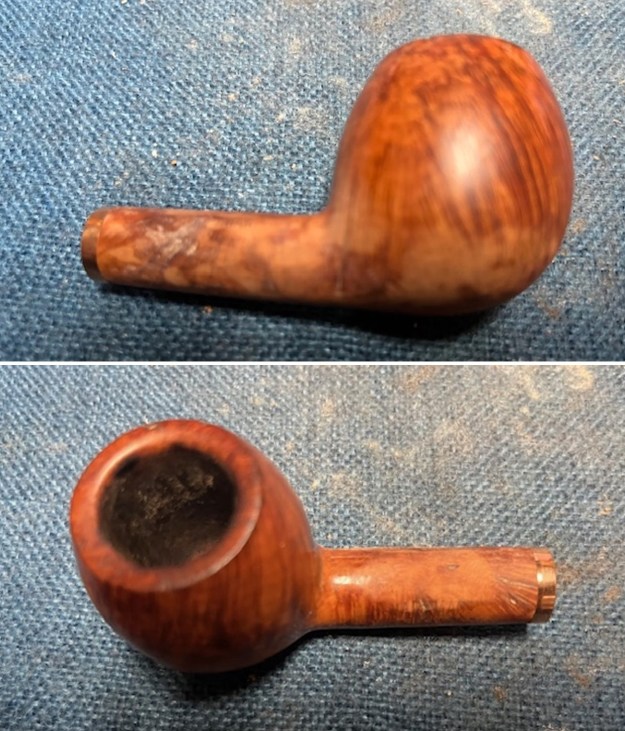
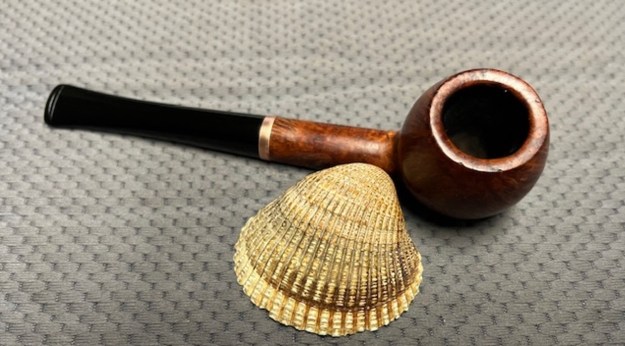
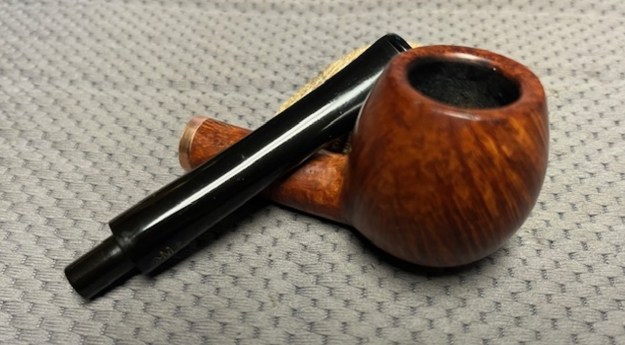
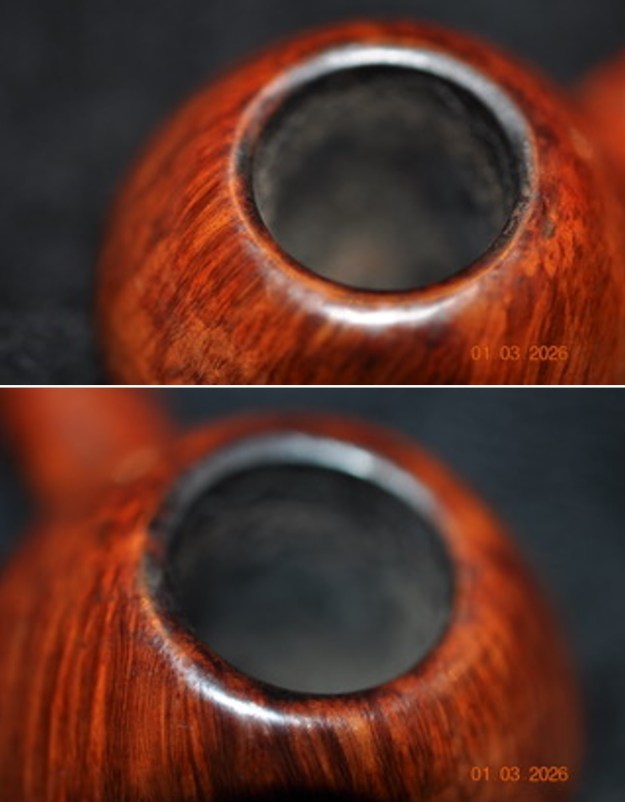
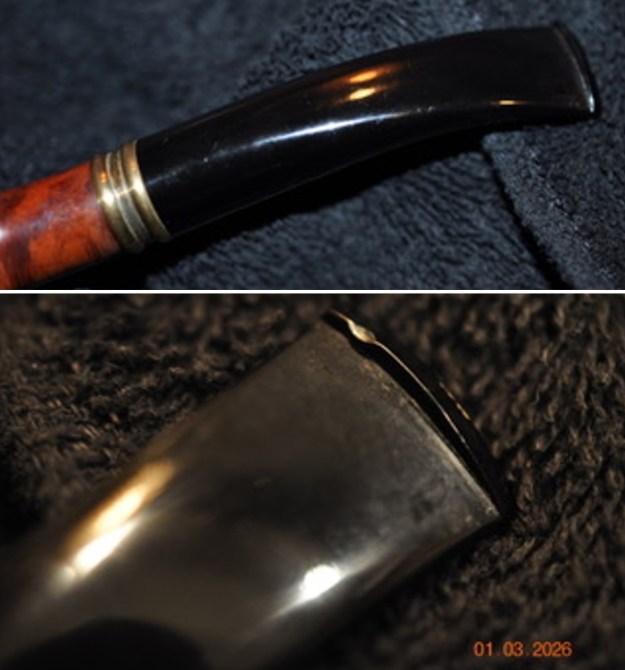
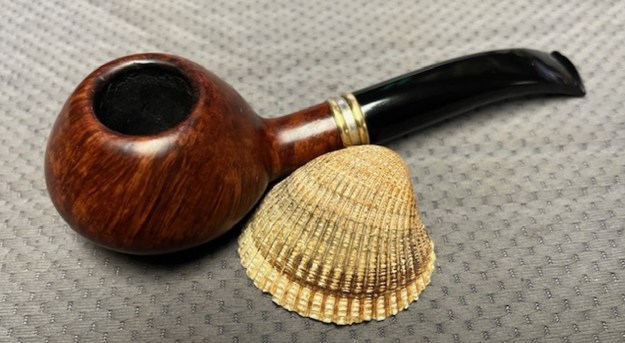
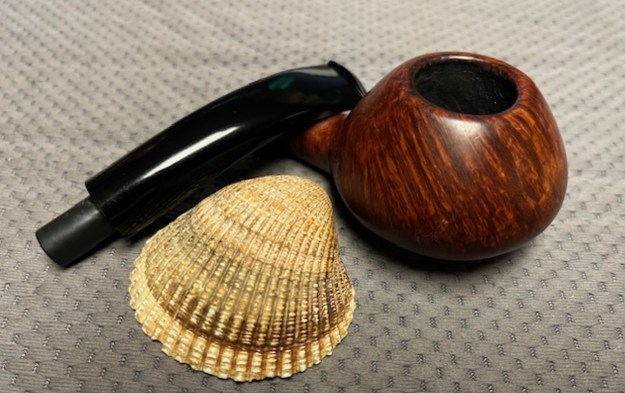
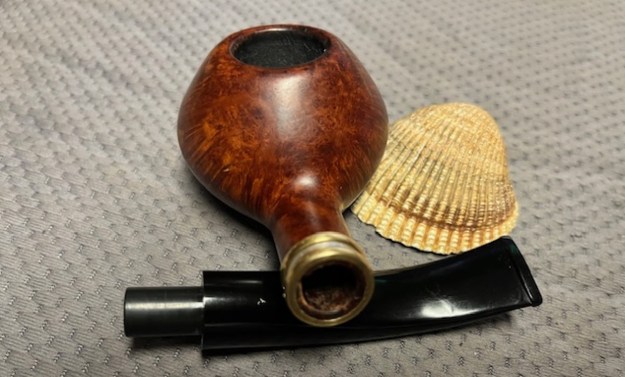
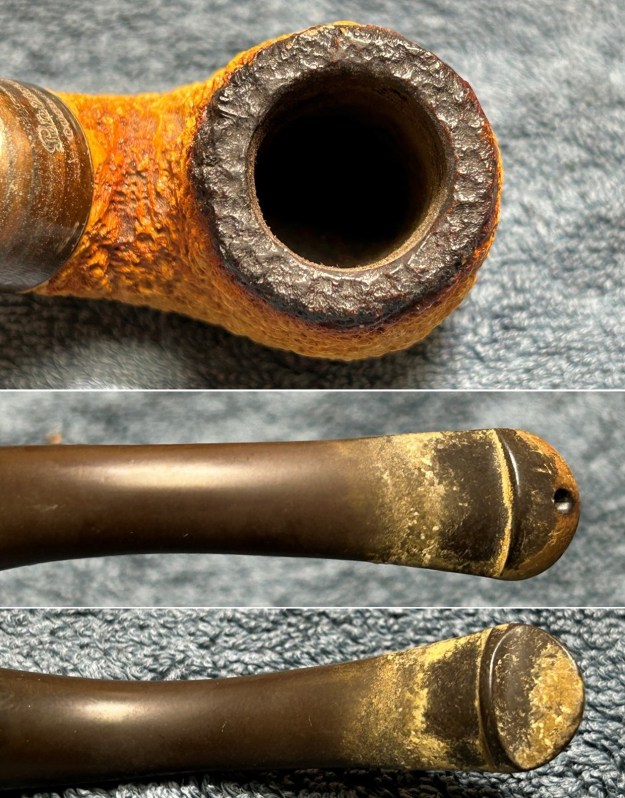
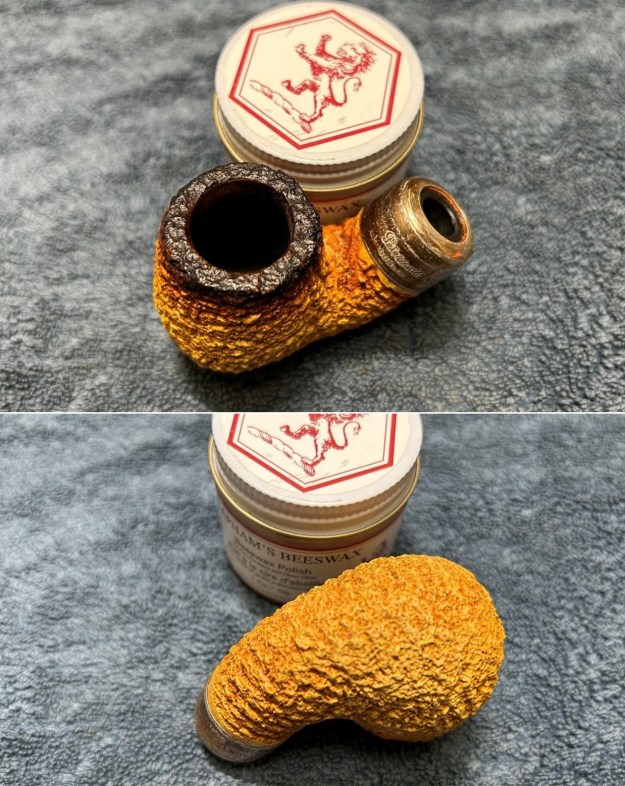
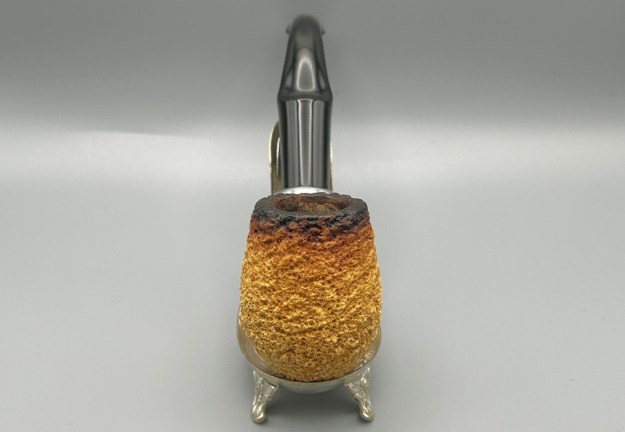
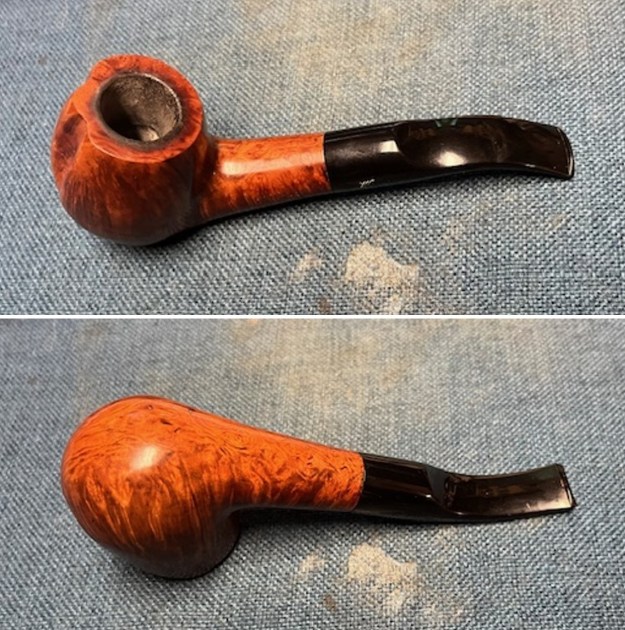
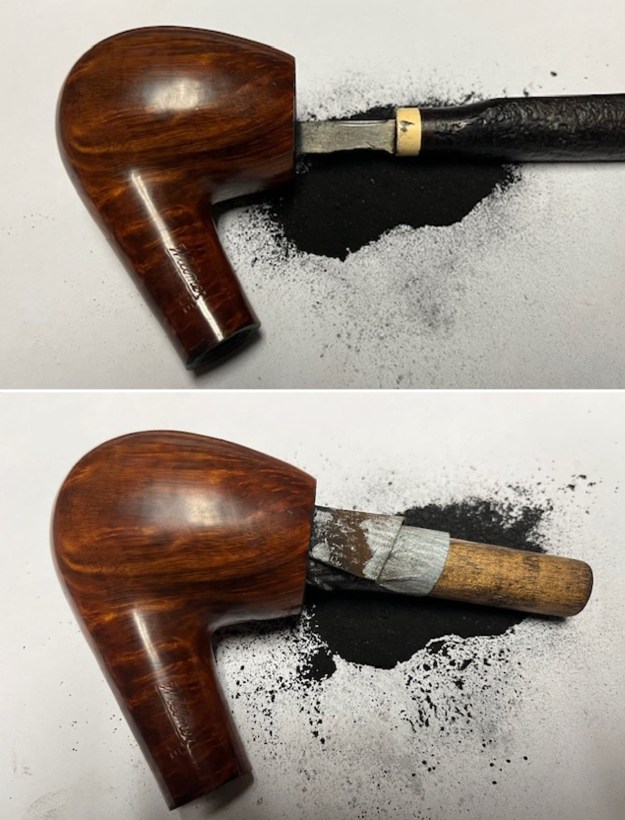
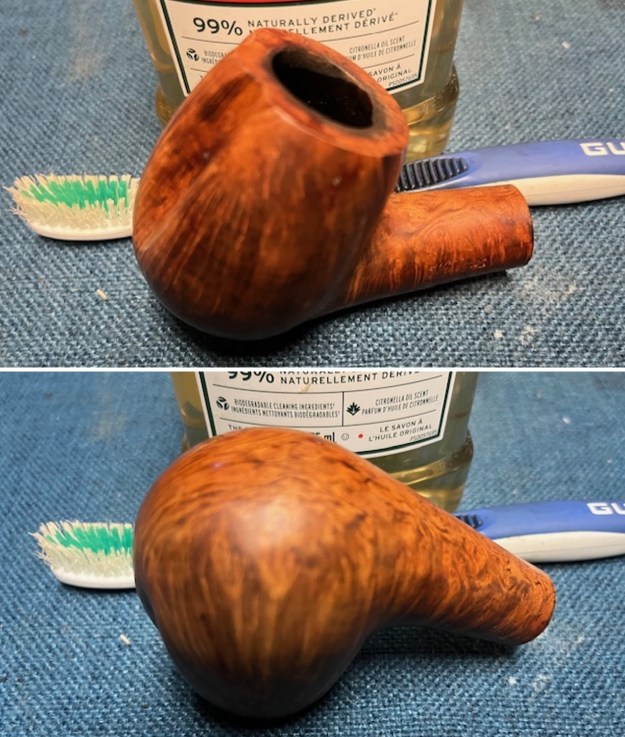
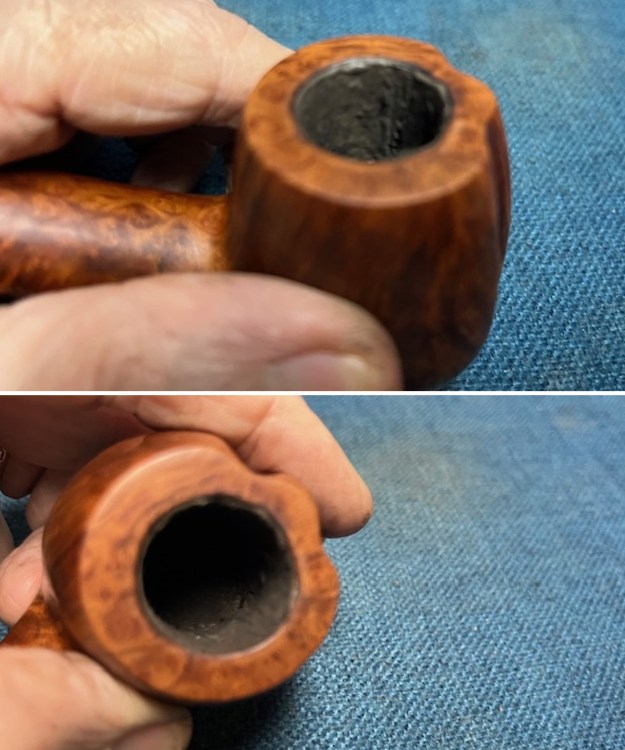
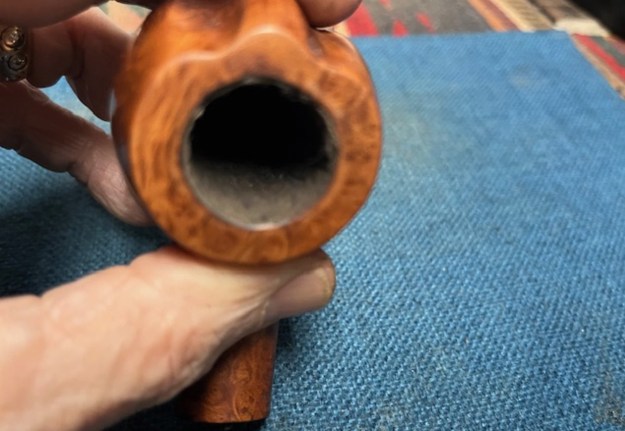
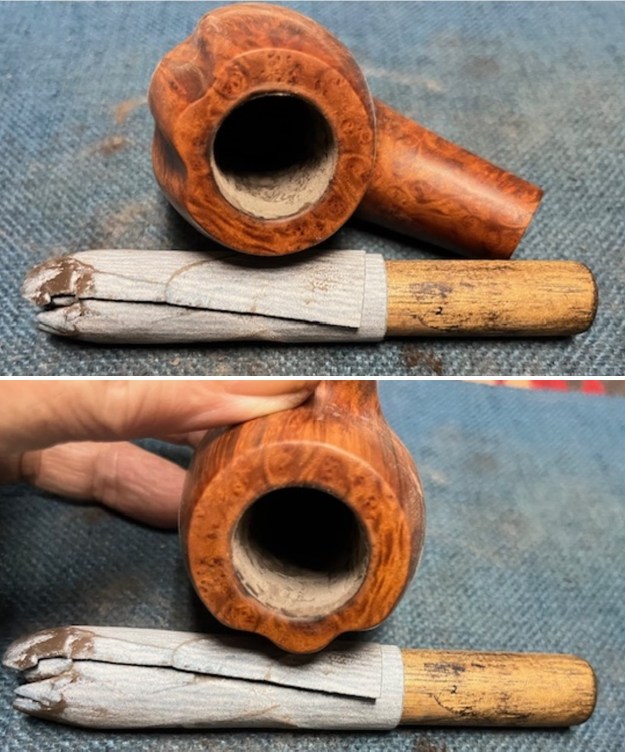
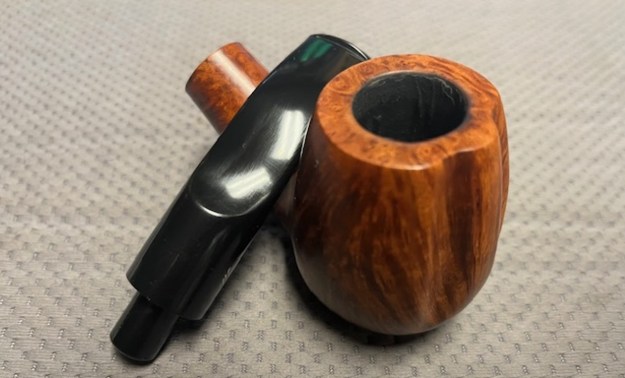
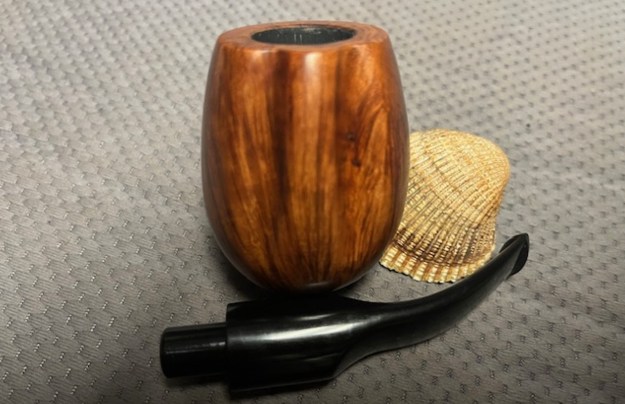
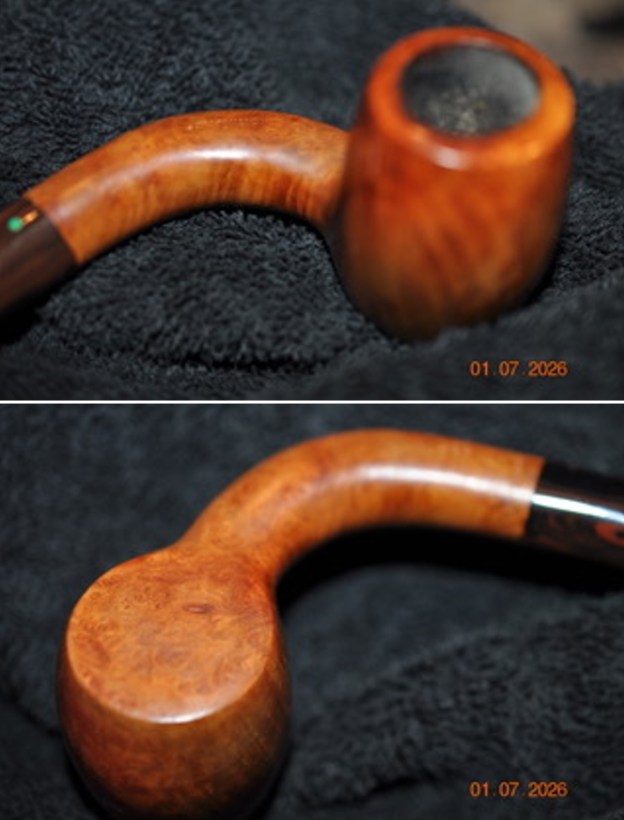
 Jeff took photos of the rim top and the stem to show the condition of the pipe when we received it. You can see the cake in the bowl and the light lava on the rim top and inner edge of the bowl. The Cumberland acrylic stem was dirty and had light chatter and tooth marks on both sides near the button.
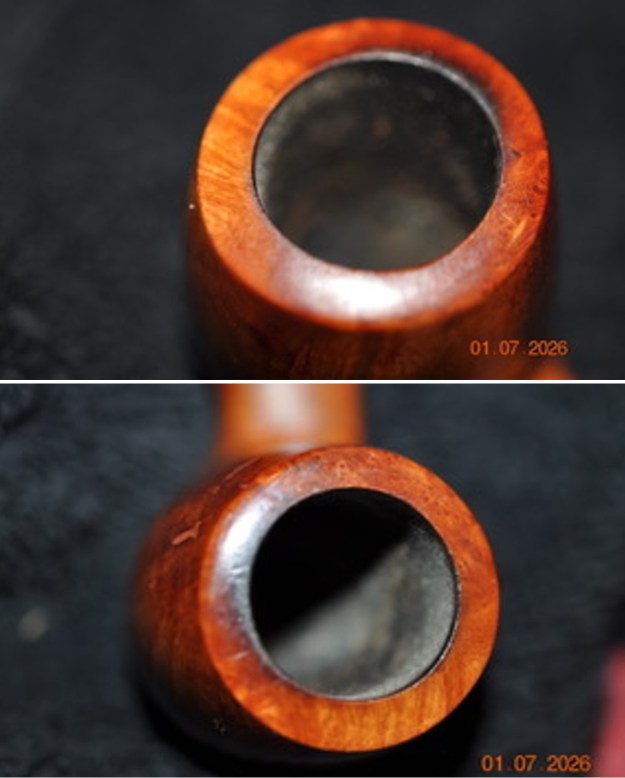
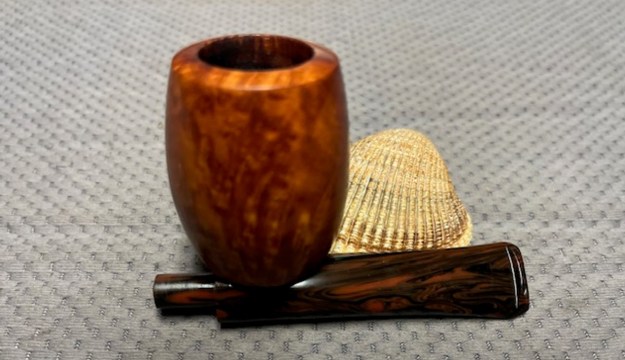
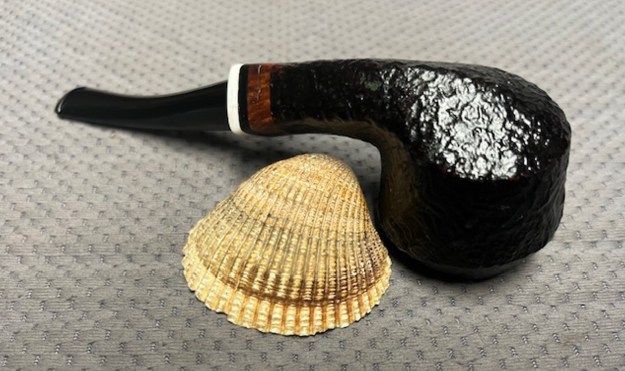
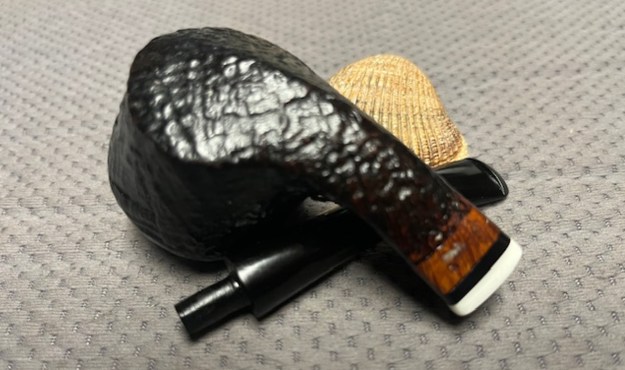
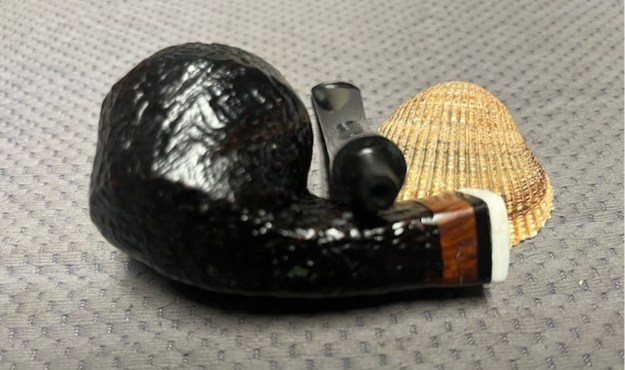
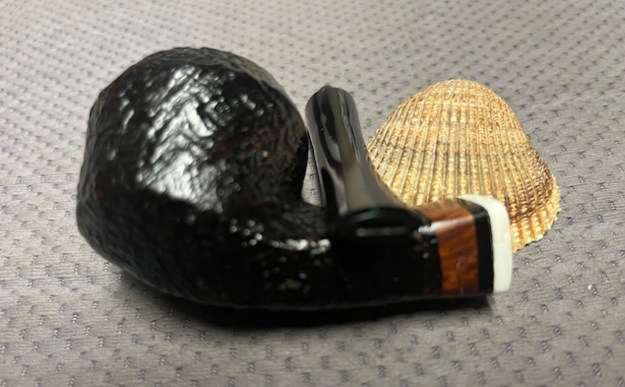
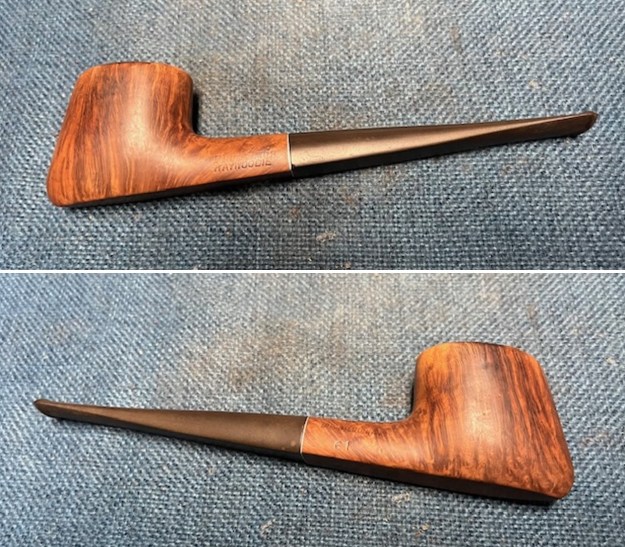
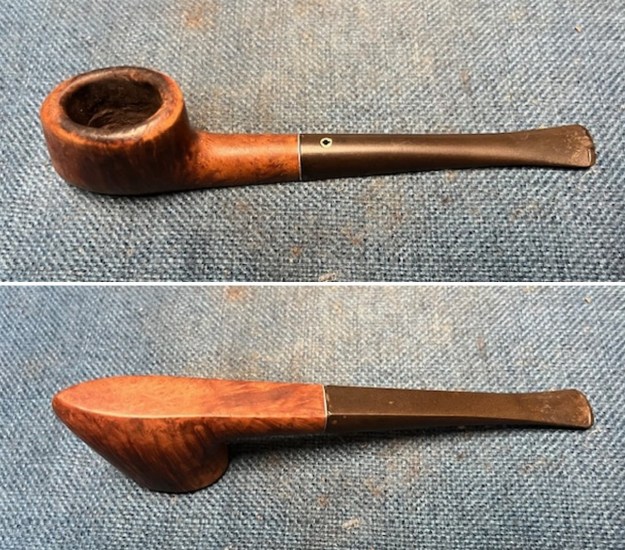
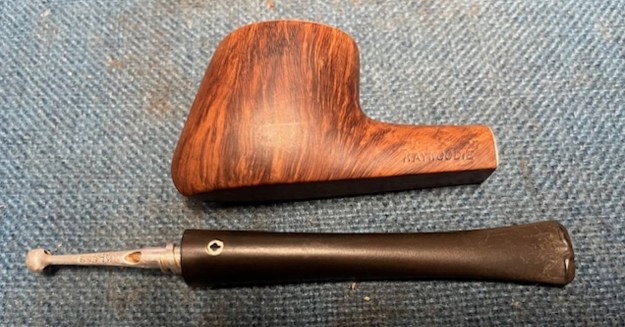
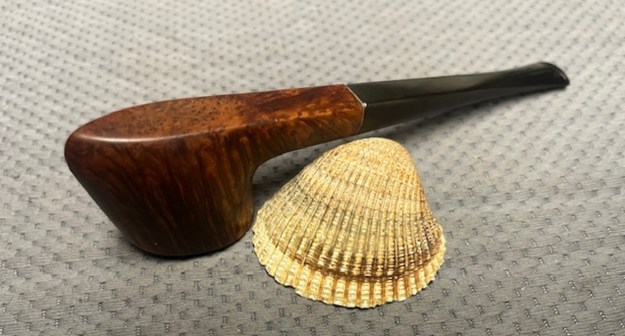
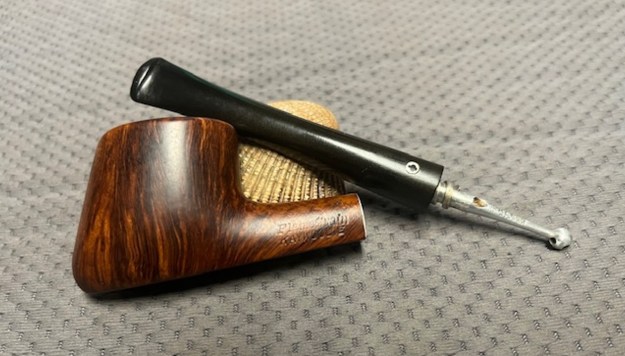
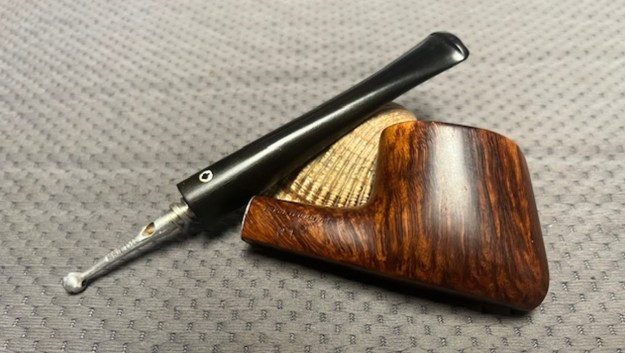
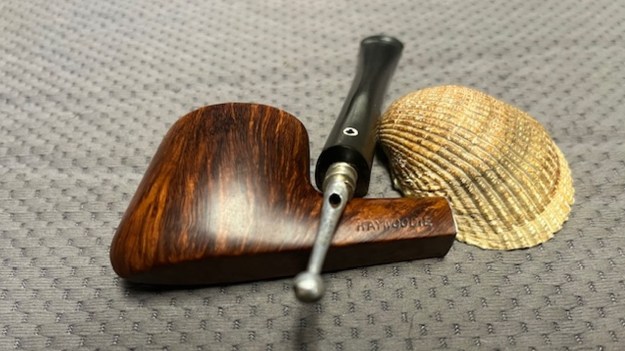
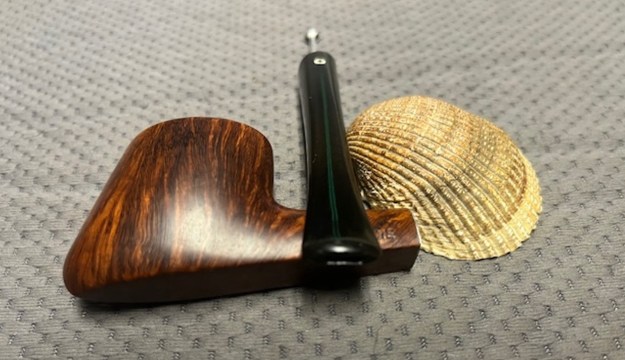
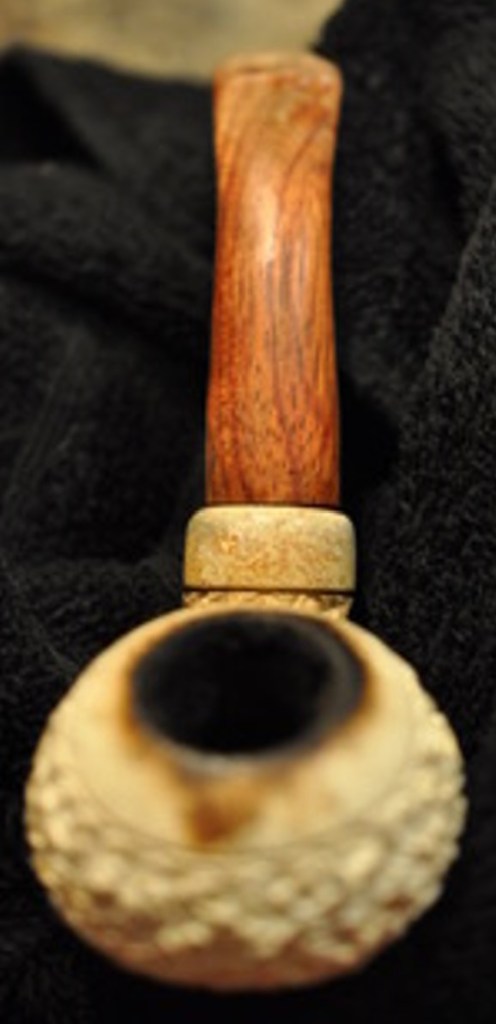
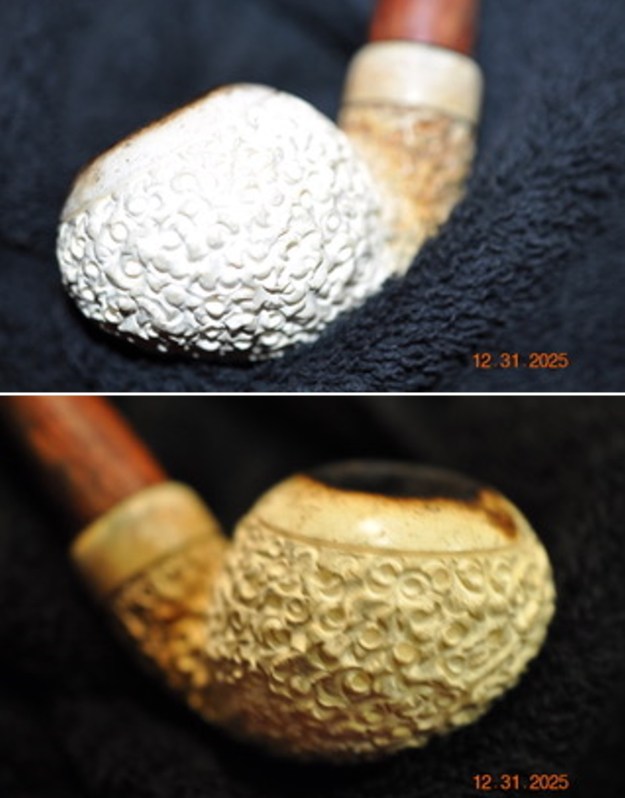
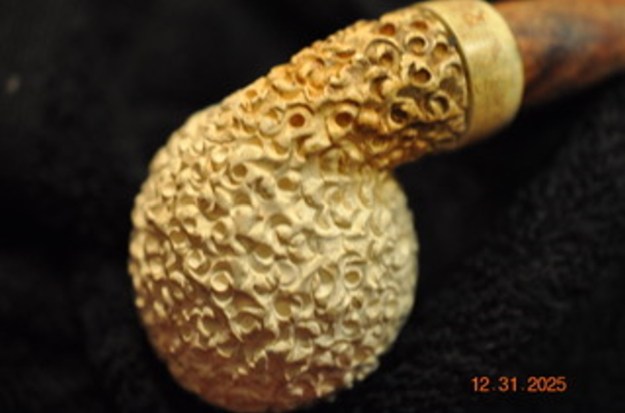
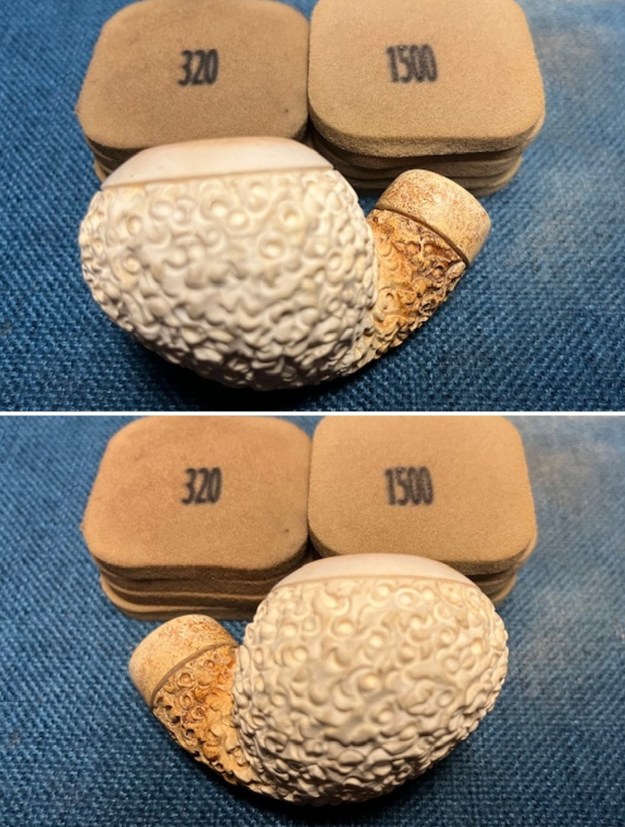
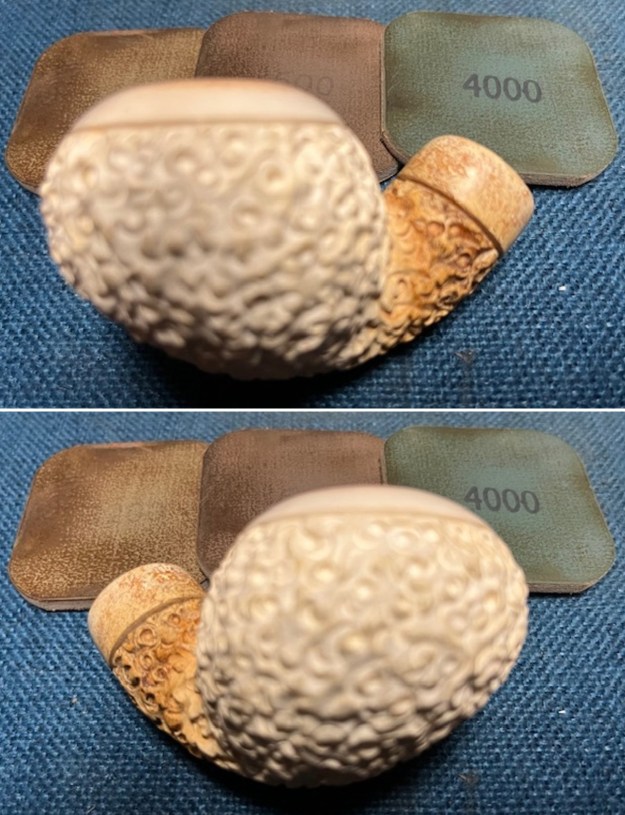
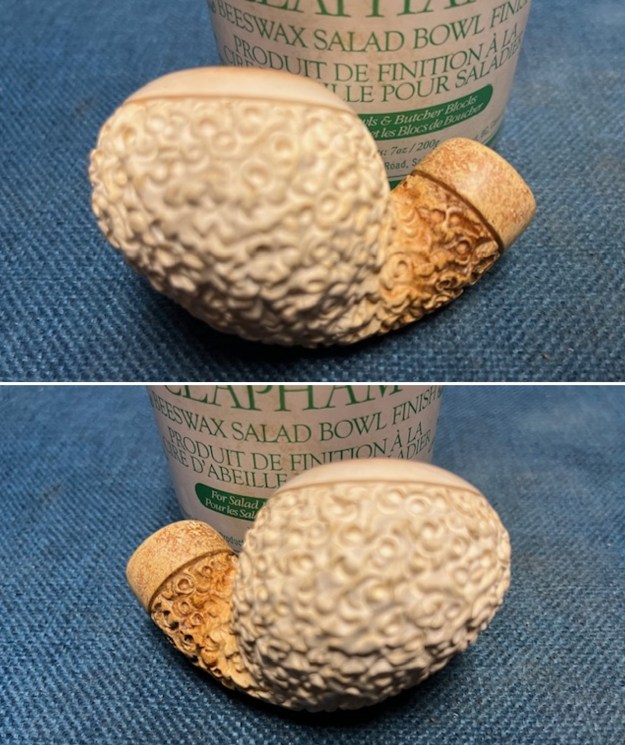
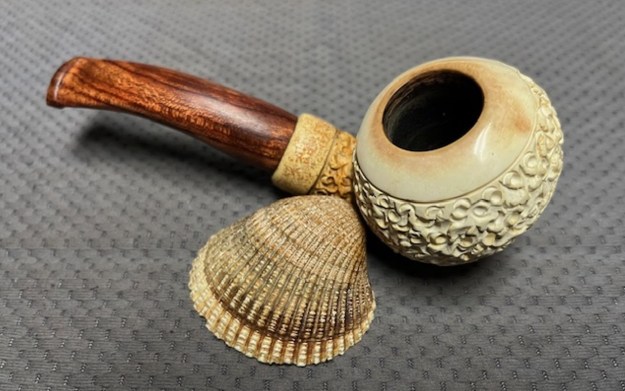
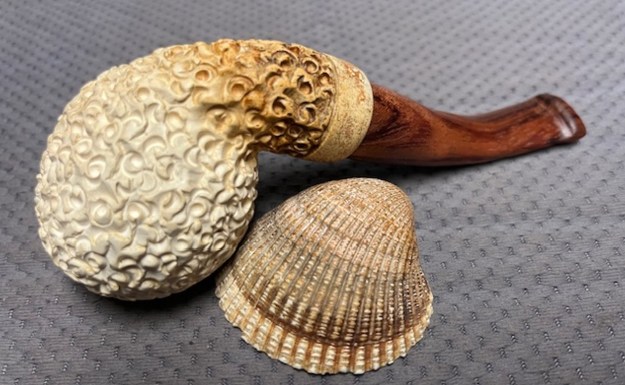
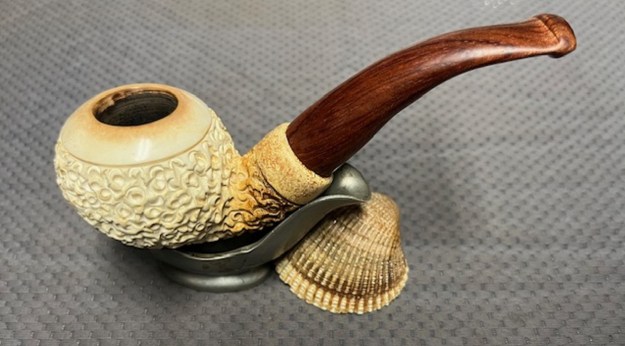
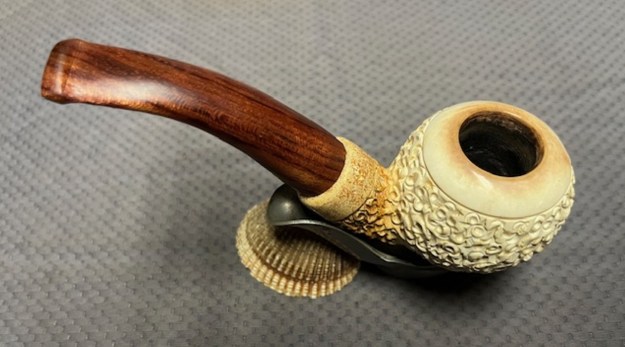
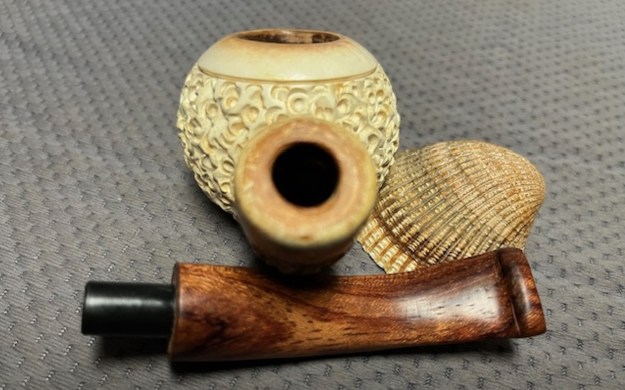
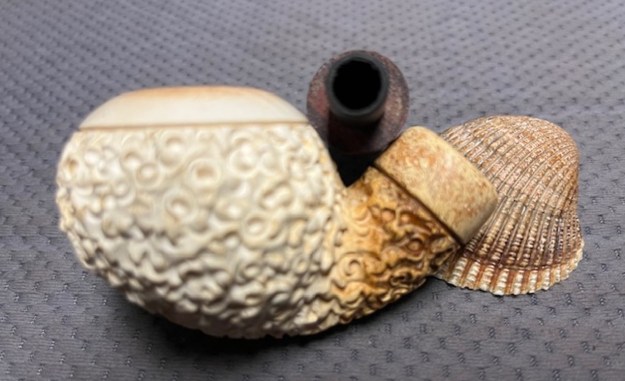
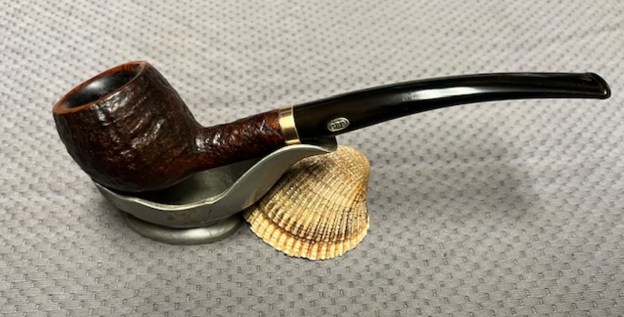
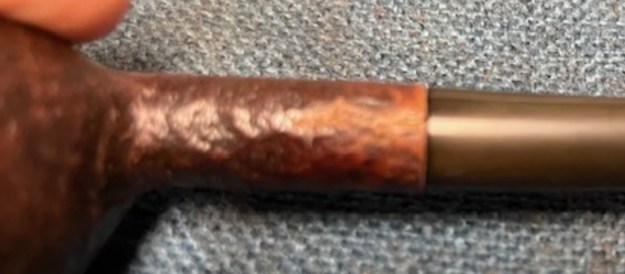
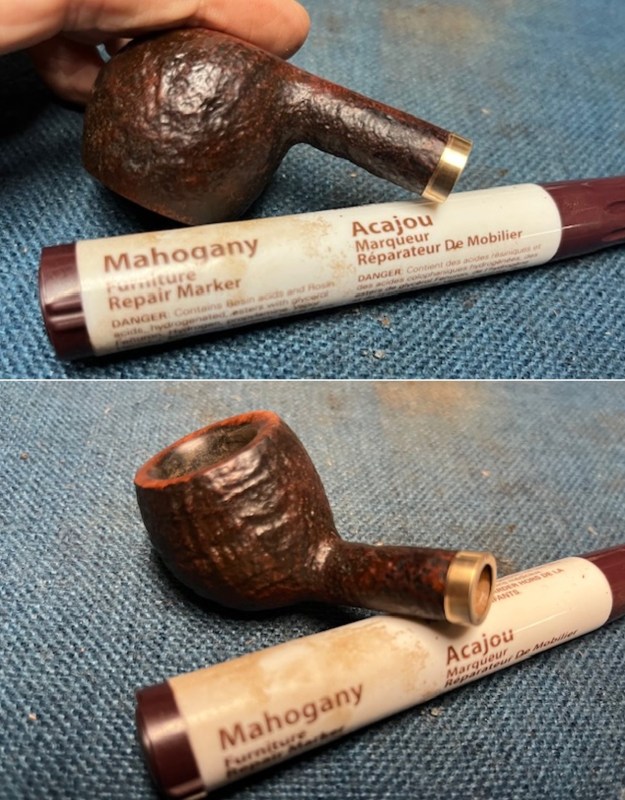
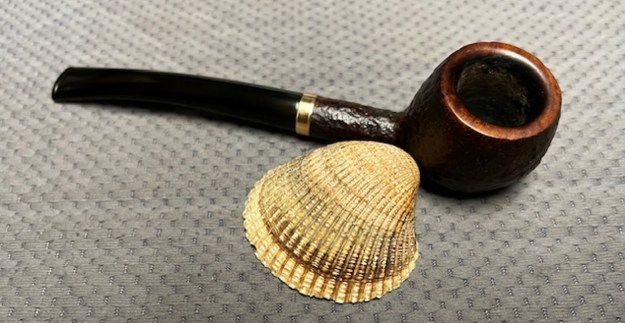
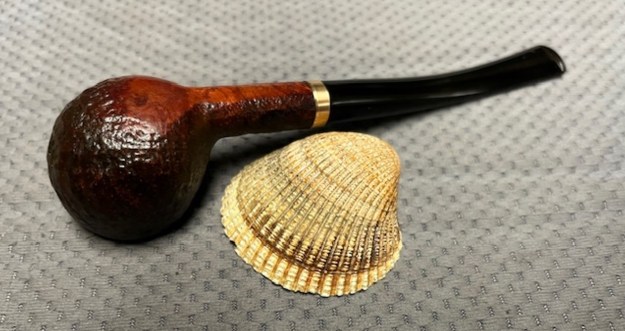
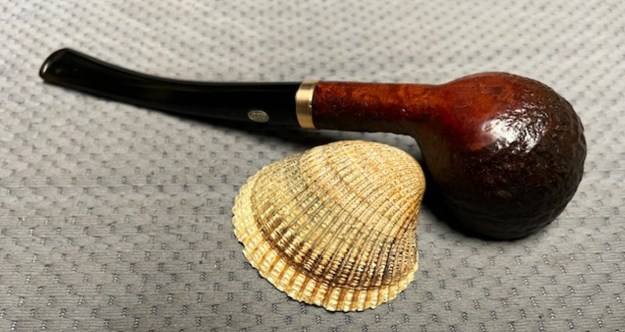
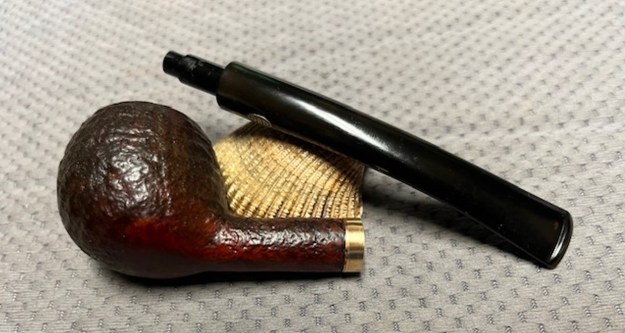
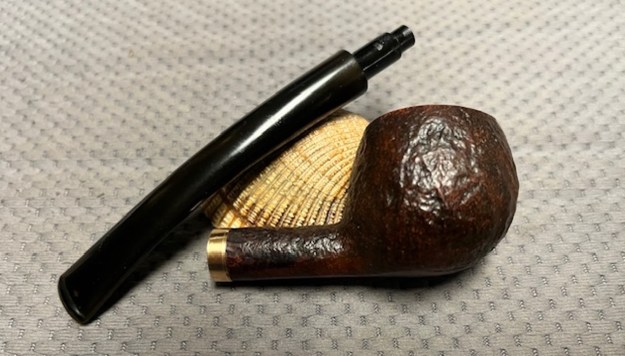
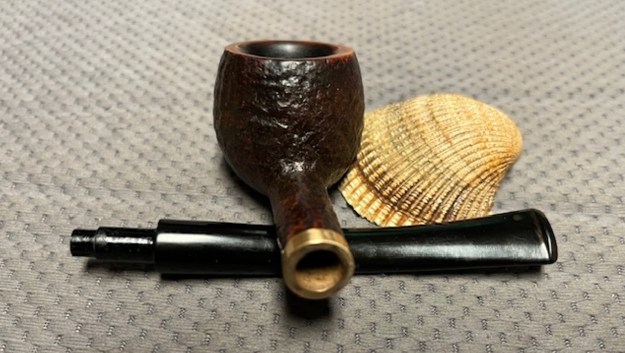
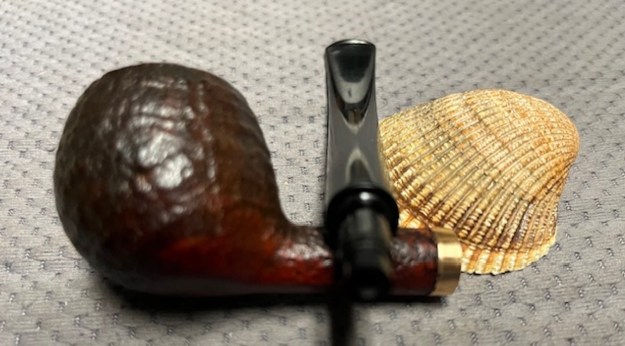
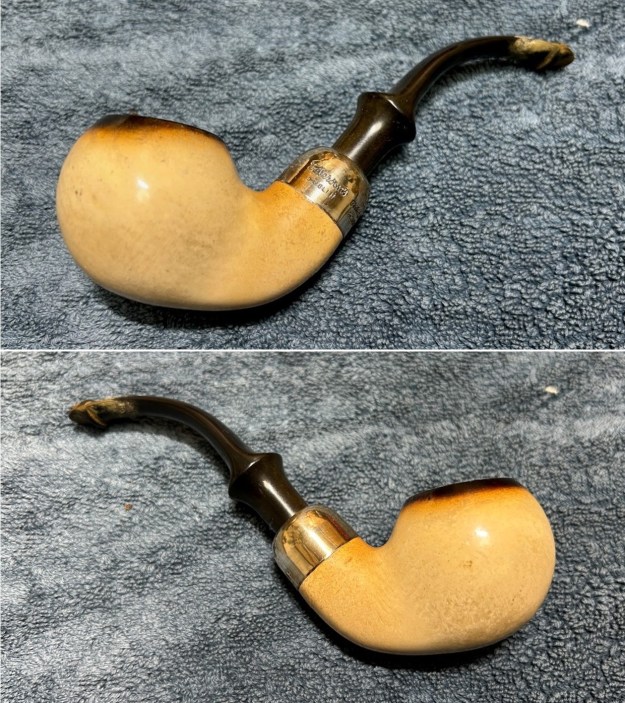
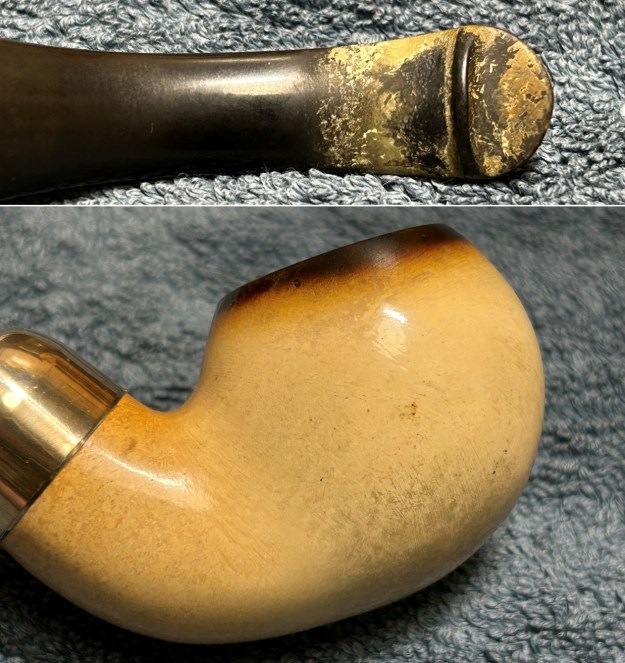
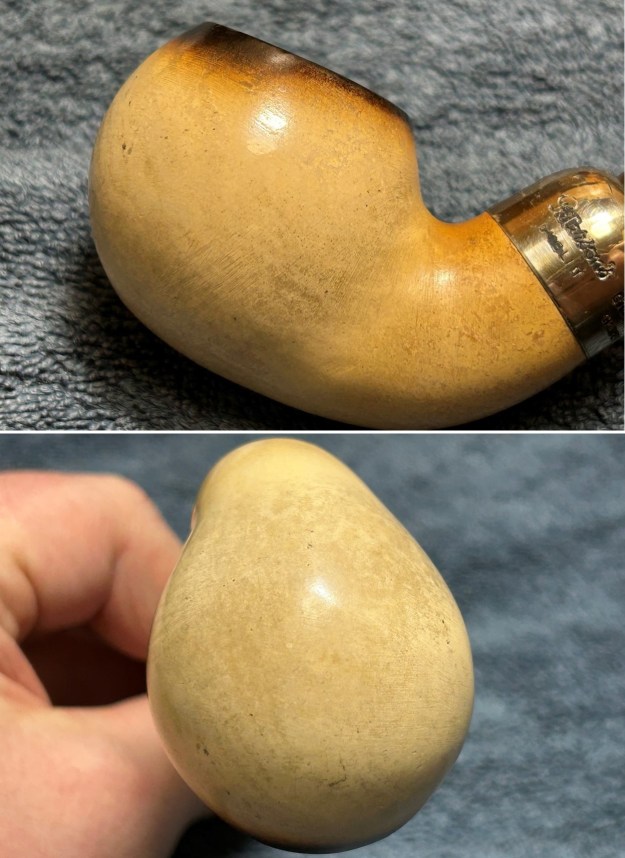
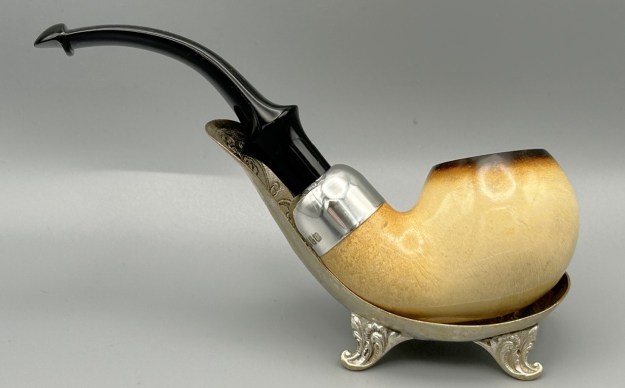
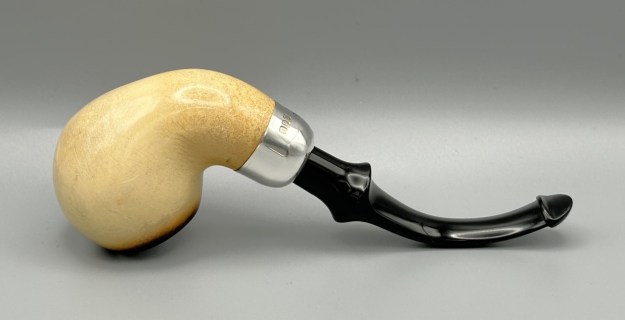
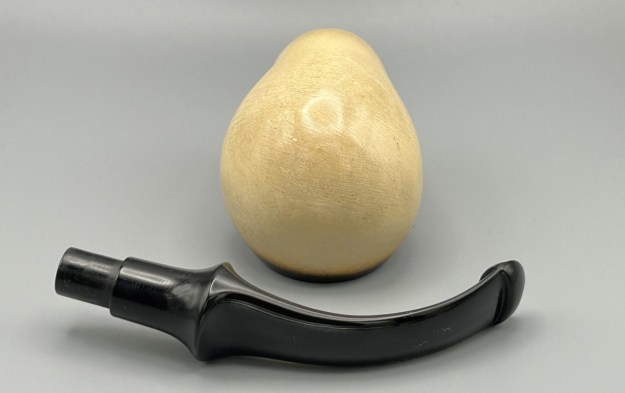
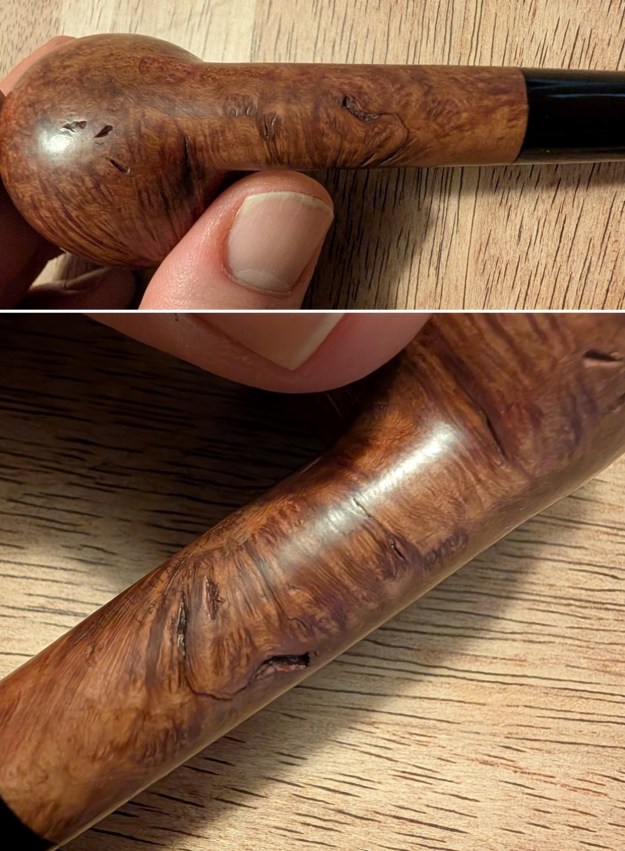
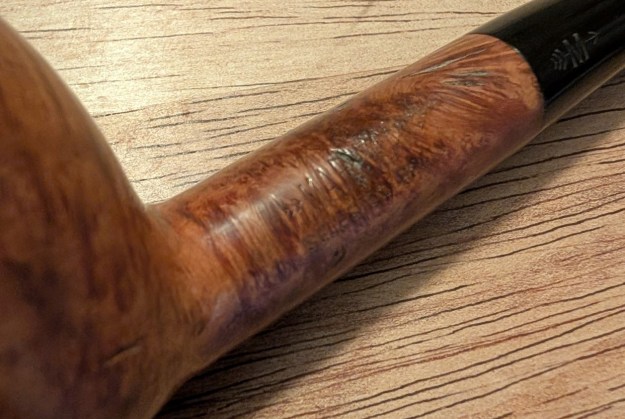
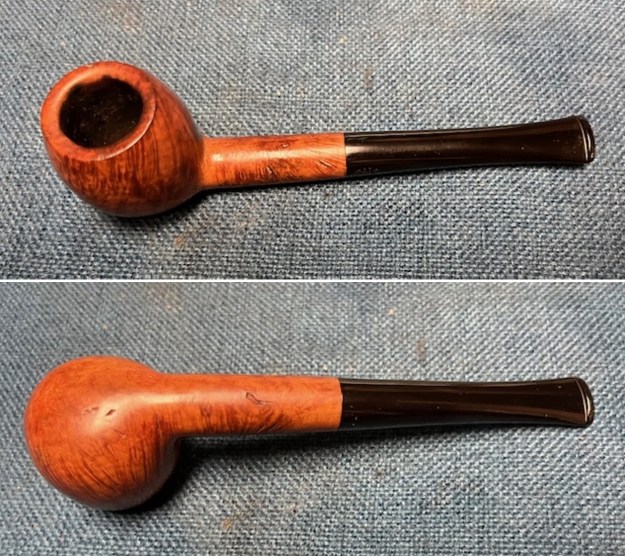
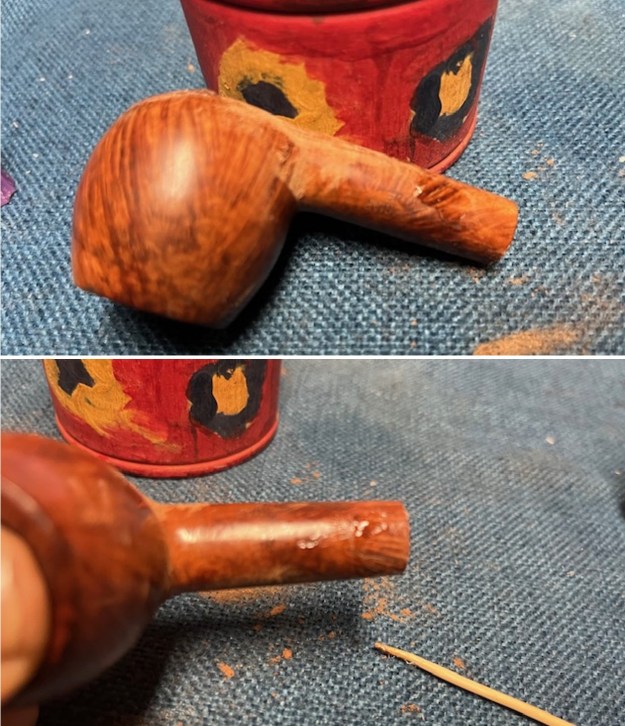
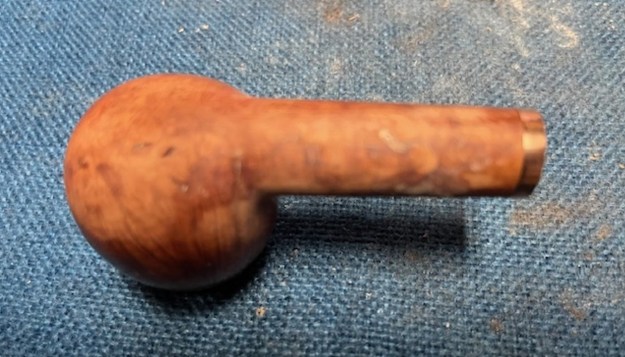
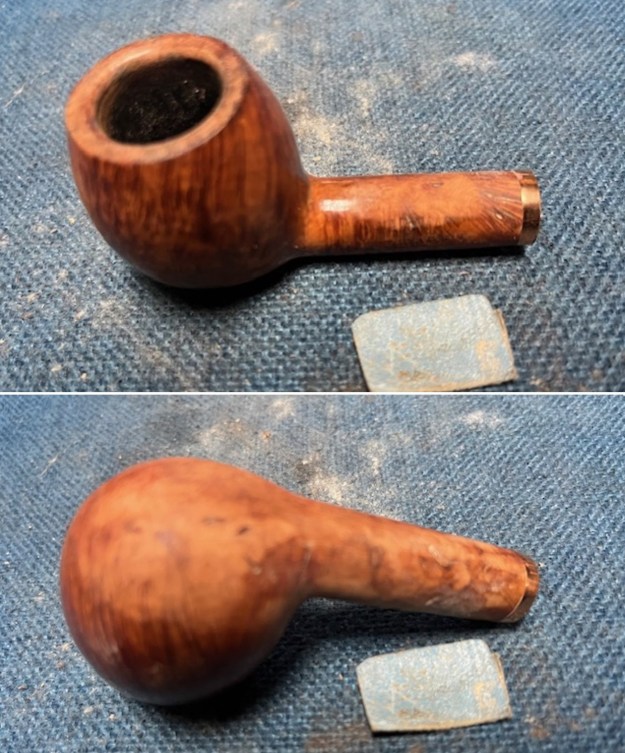
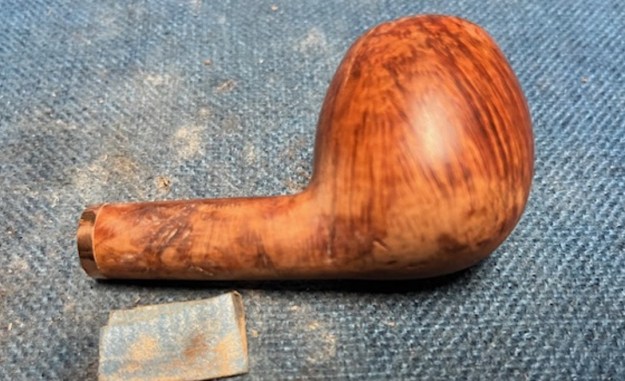
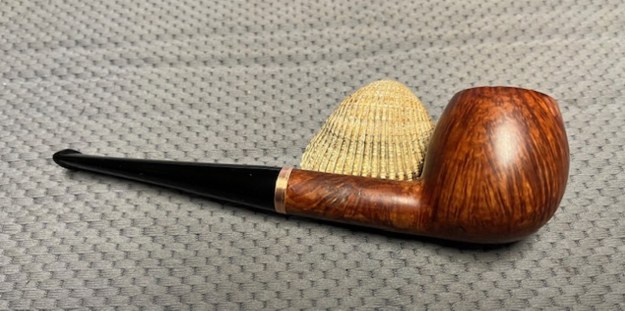
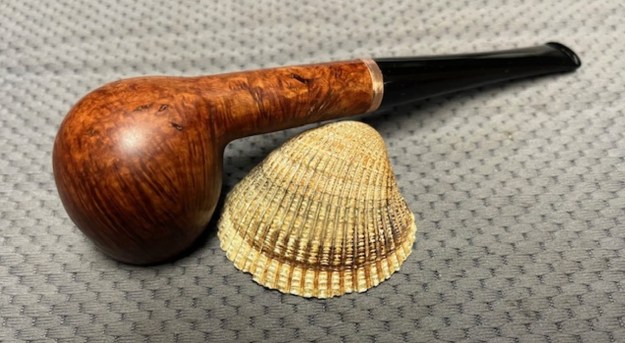
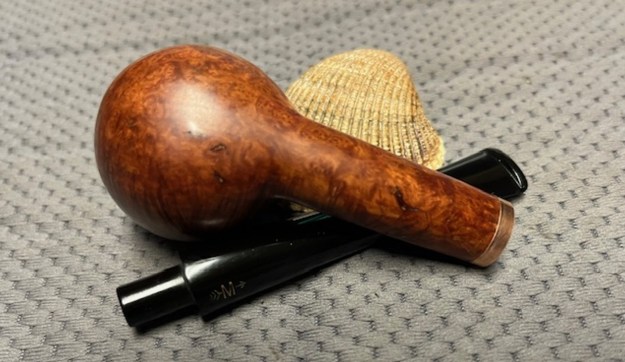
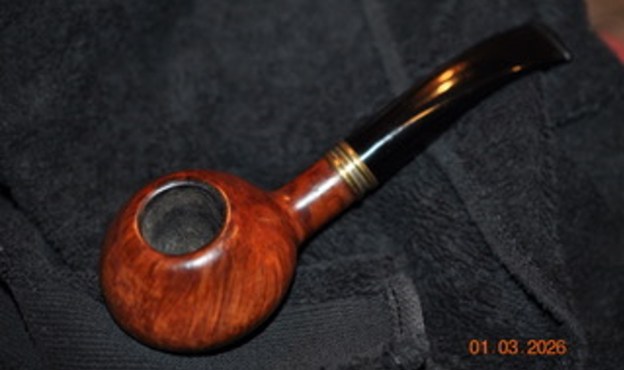
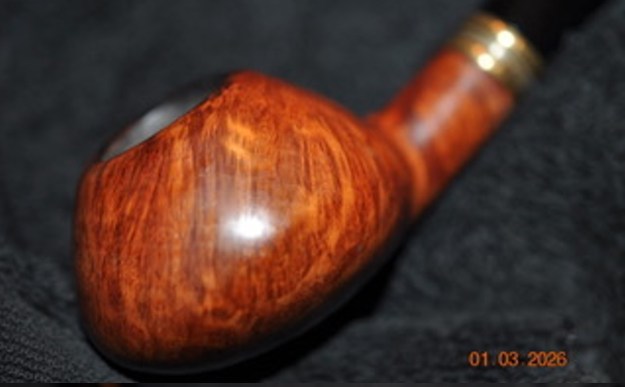
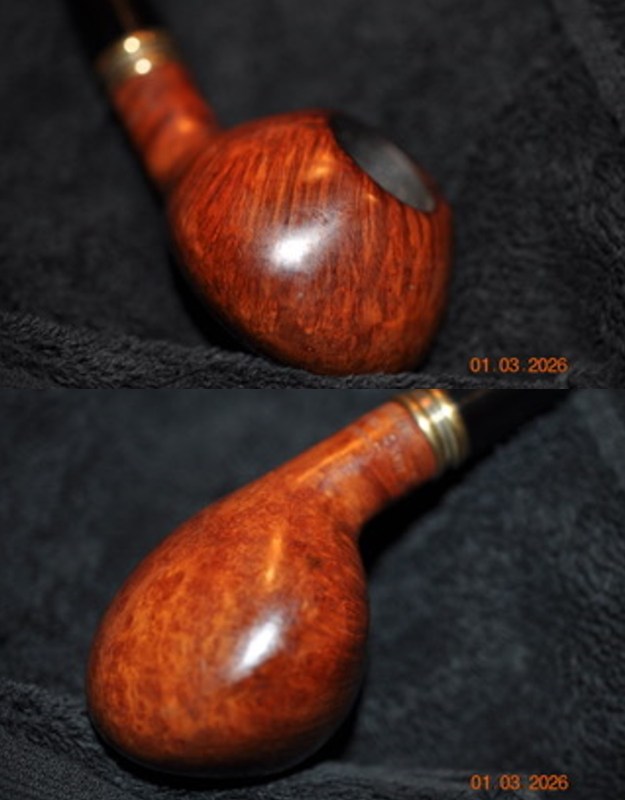
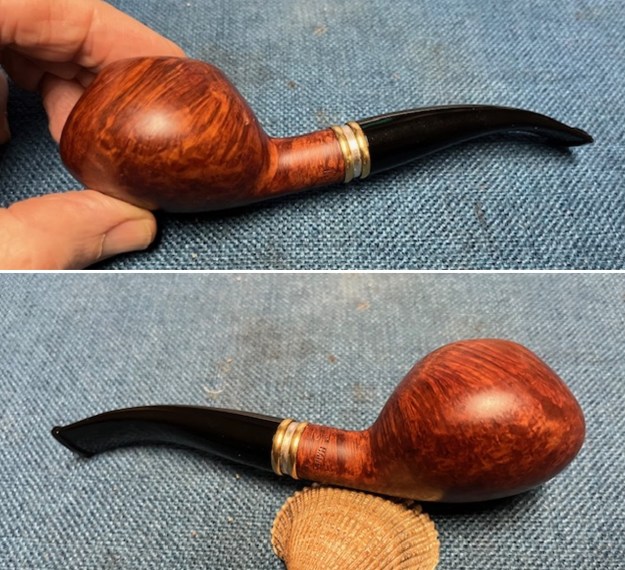
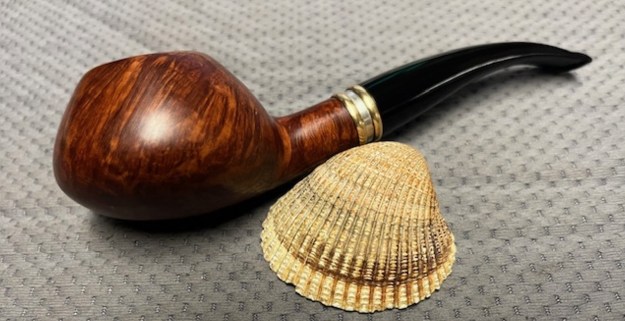
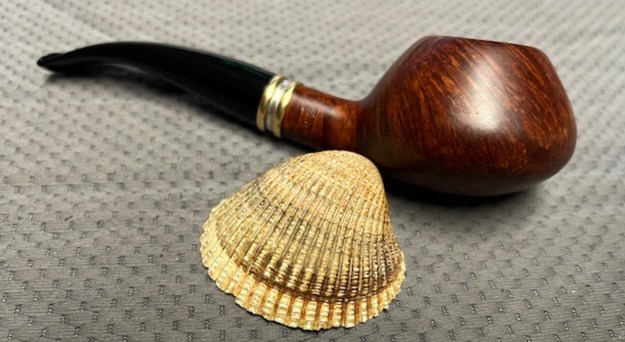
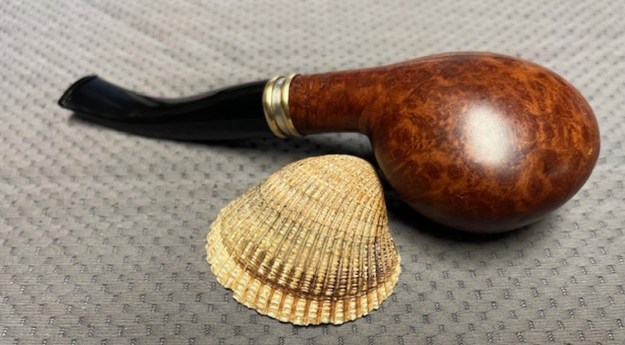
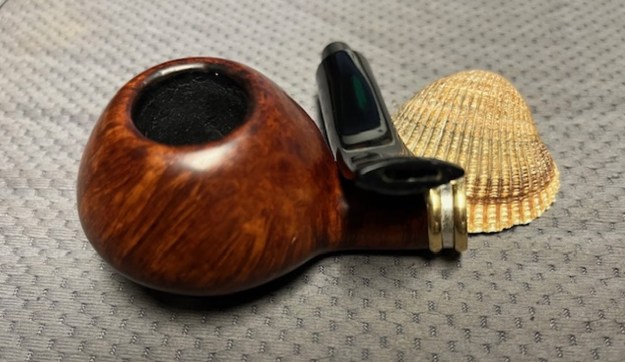
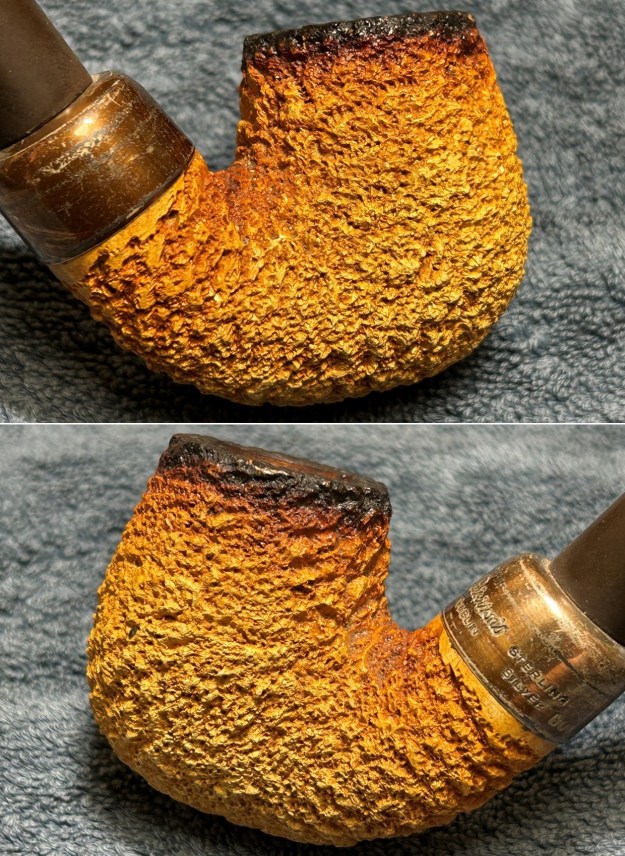
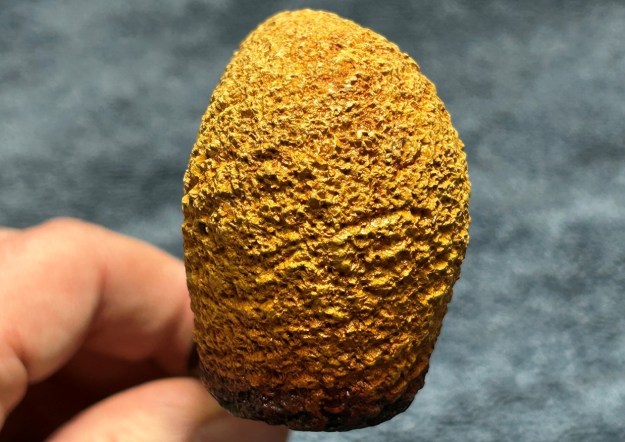
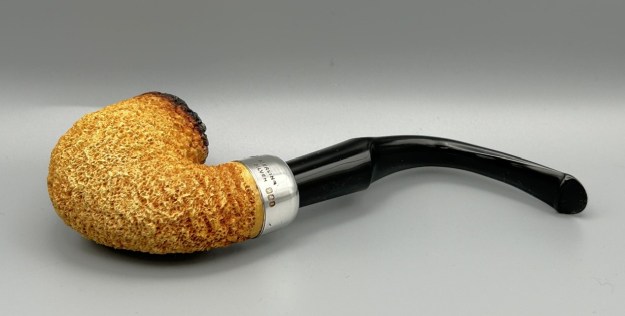
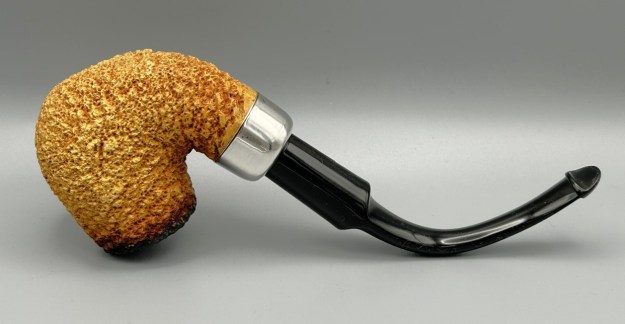
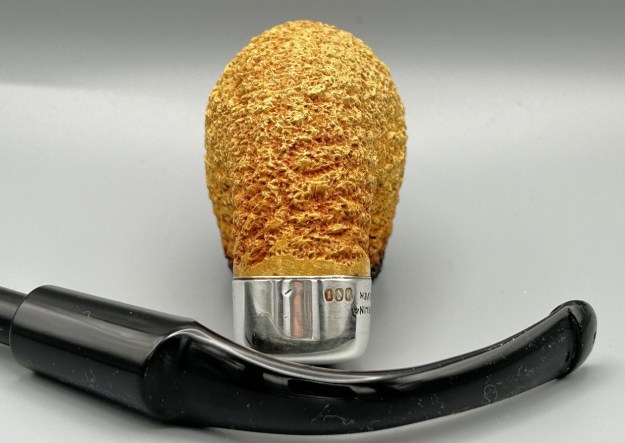
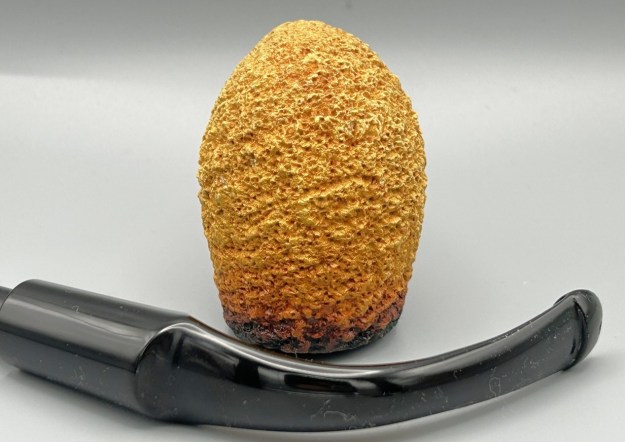
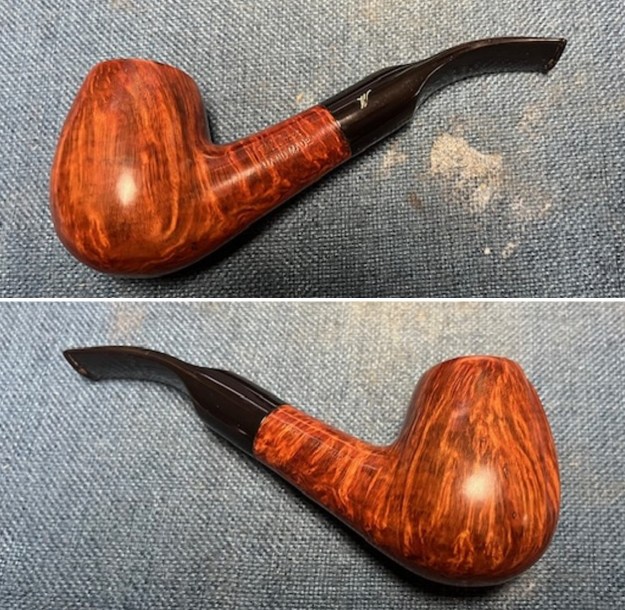
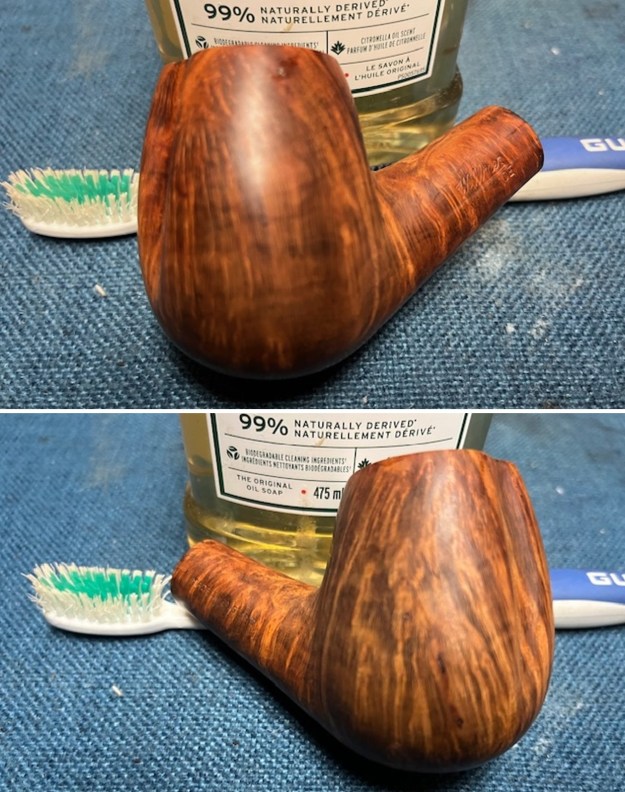
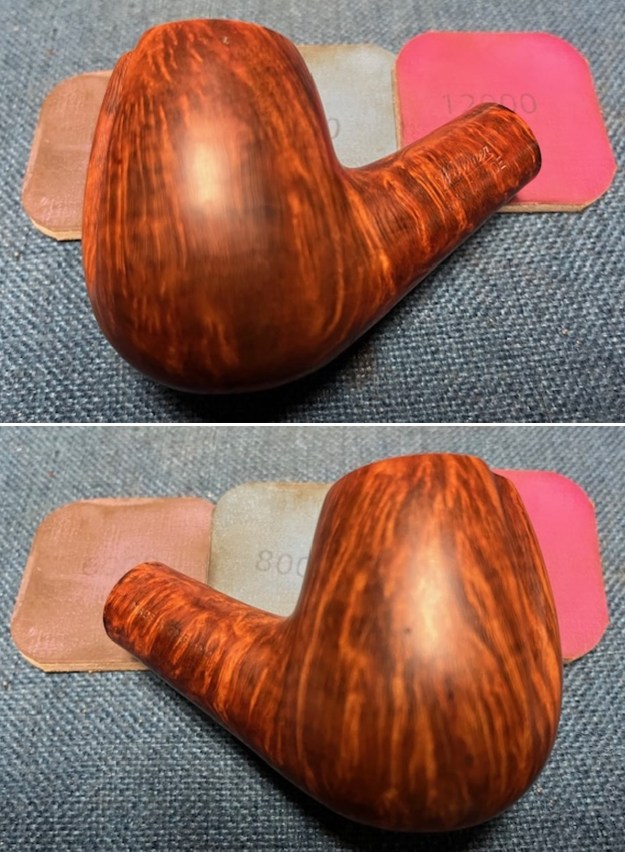
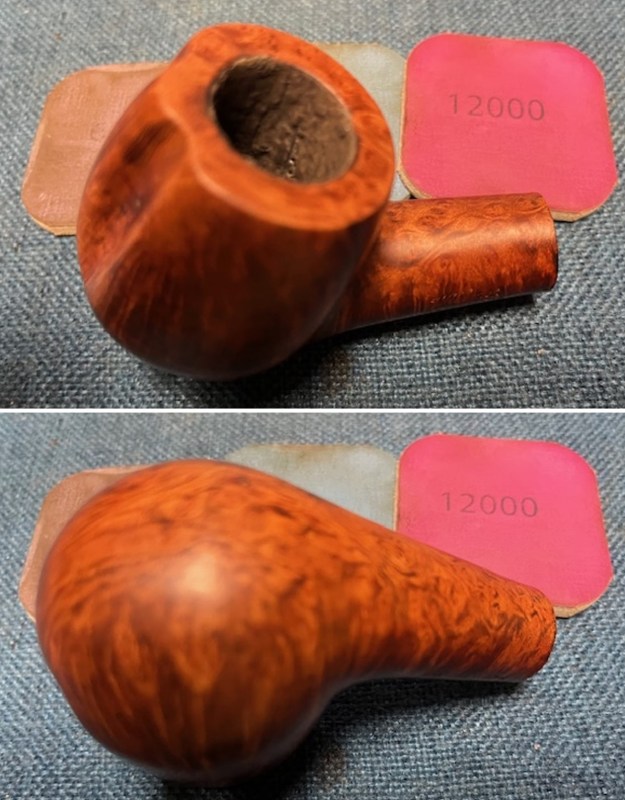
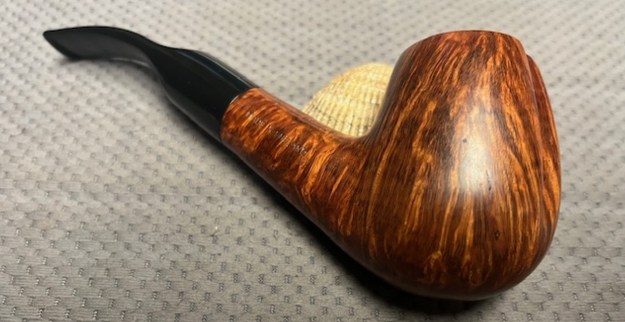
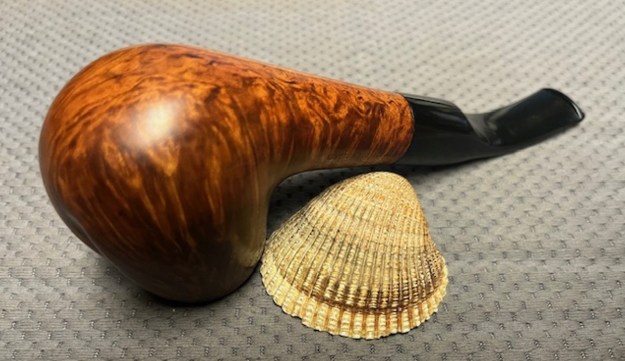
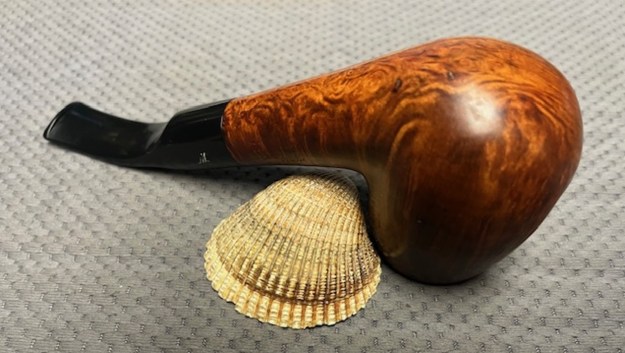
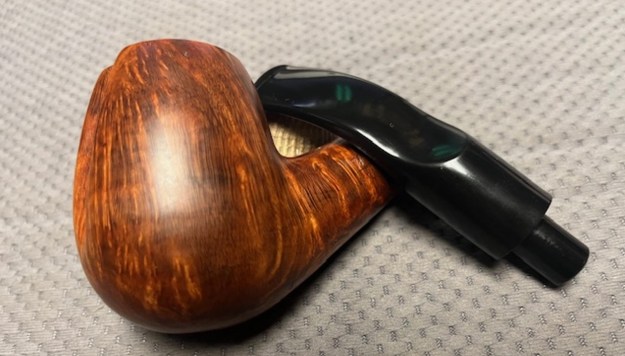
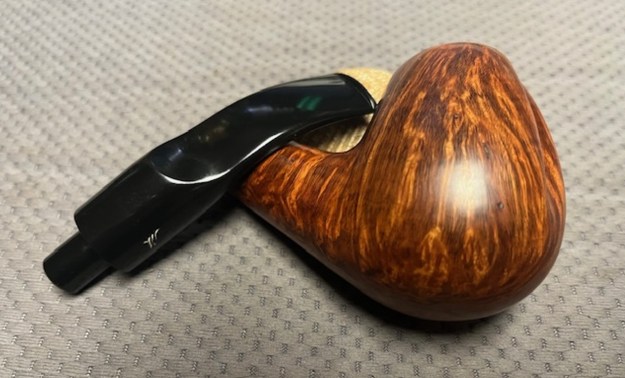
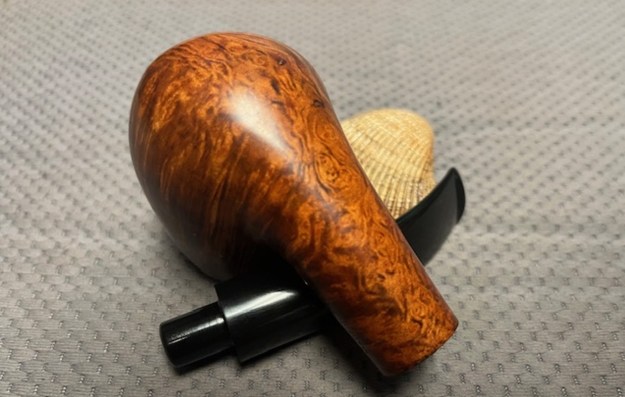
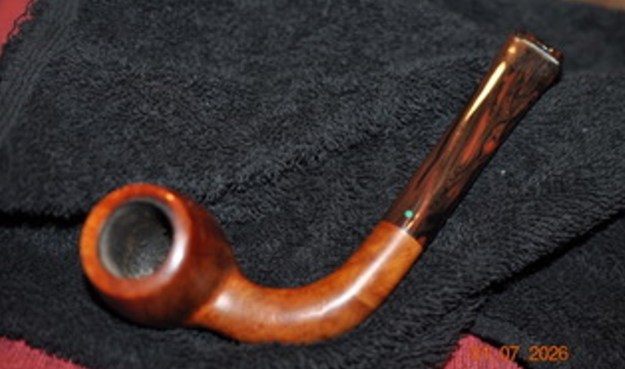
 He took photos of the sides of the bowl and the heel to give an idea of the shape and the condition of the briar around the bowl. It really is a nicely shaped pipe that has a very unique look.
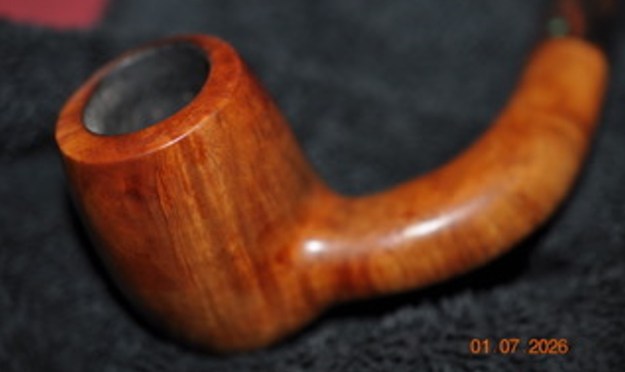
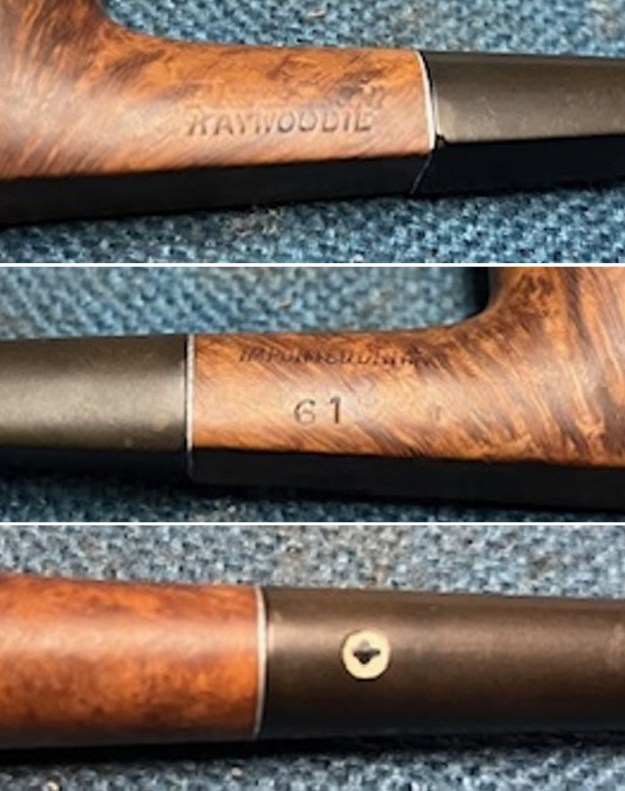
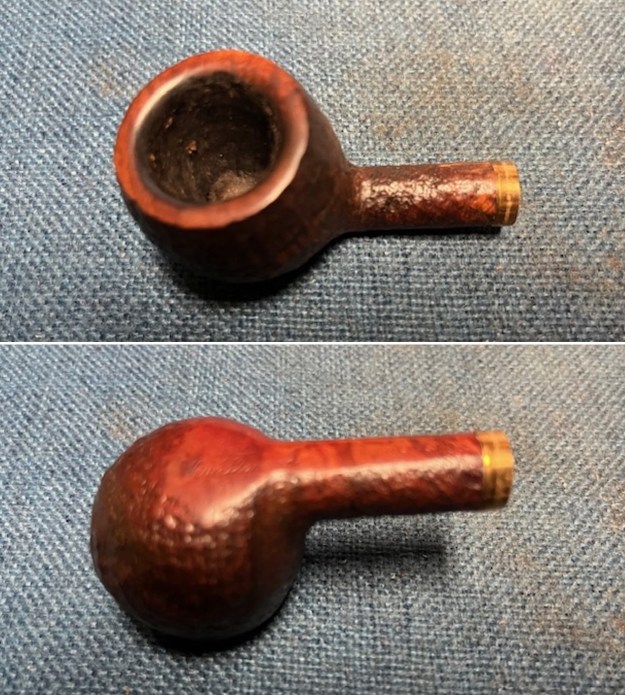
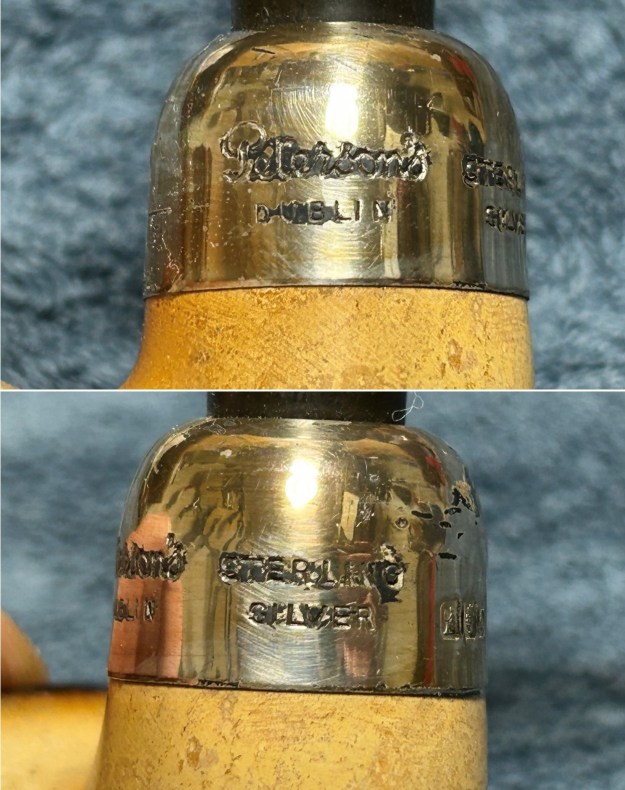
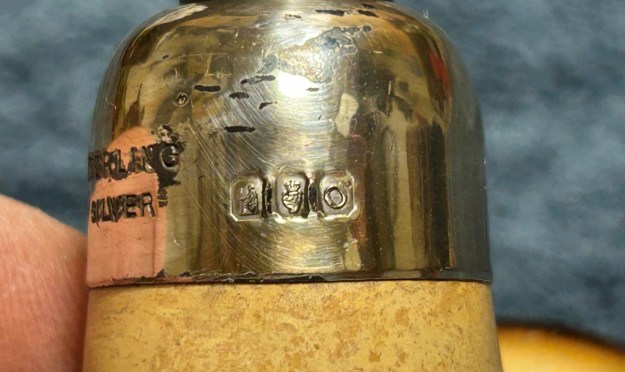
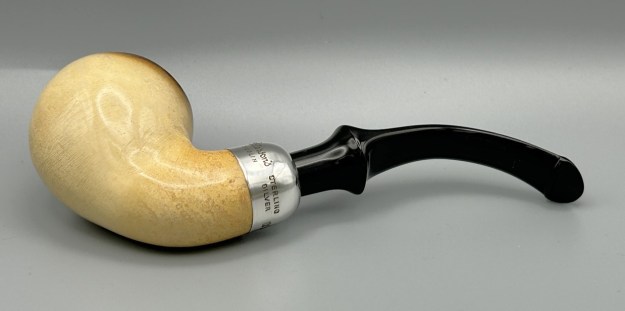
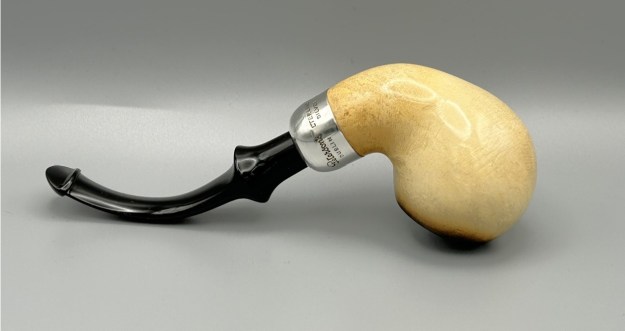
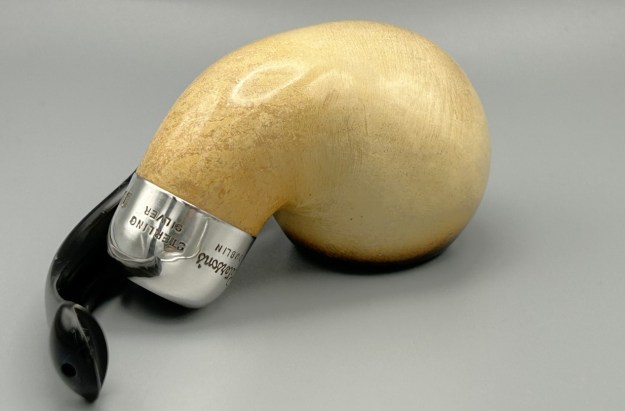
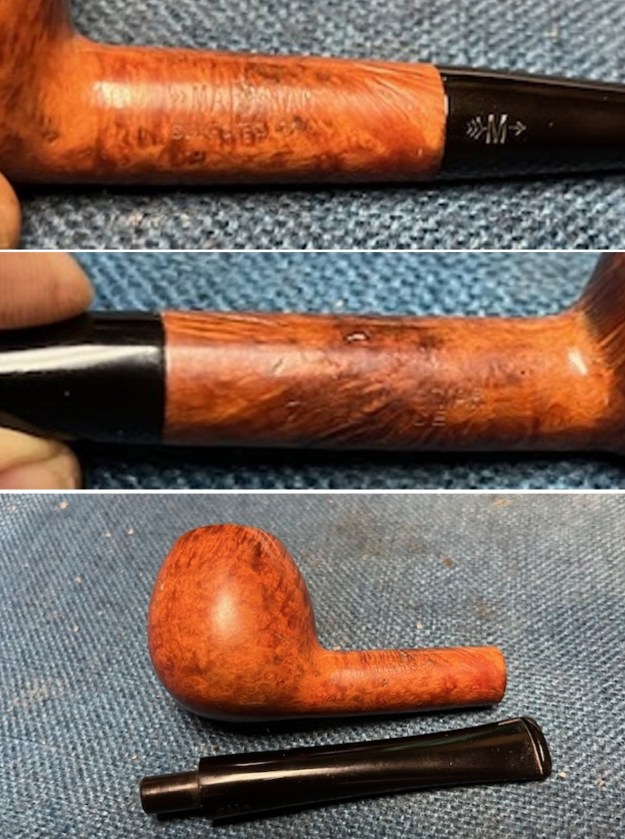
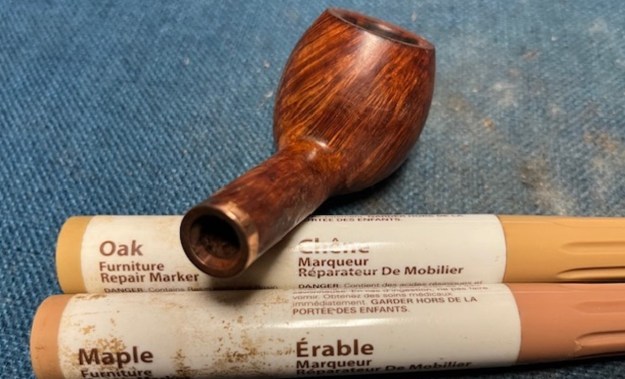
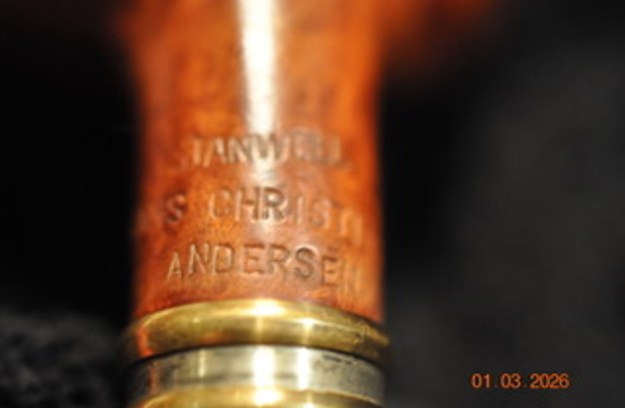
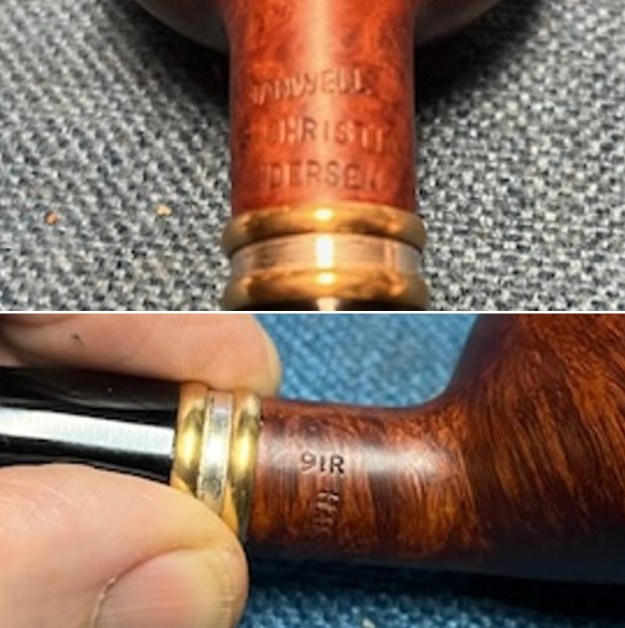
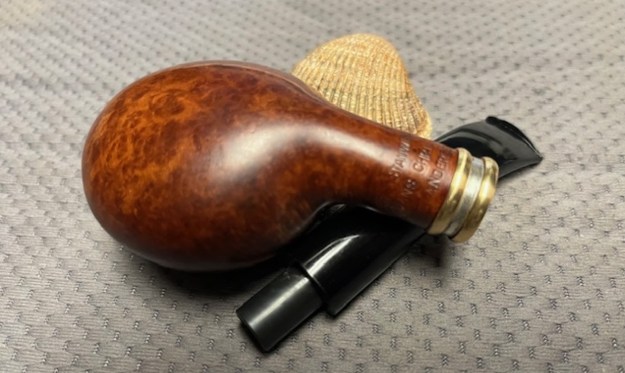
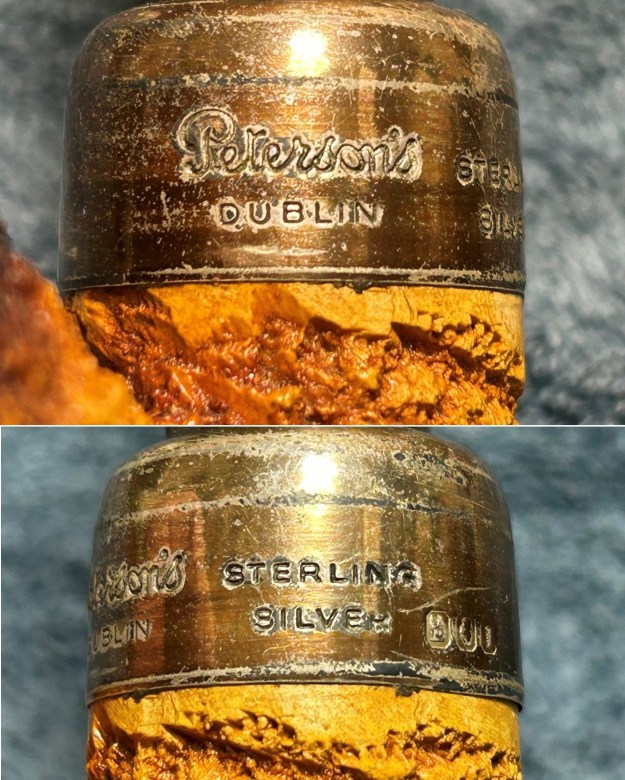
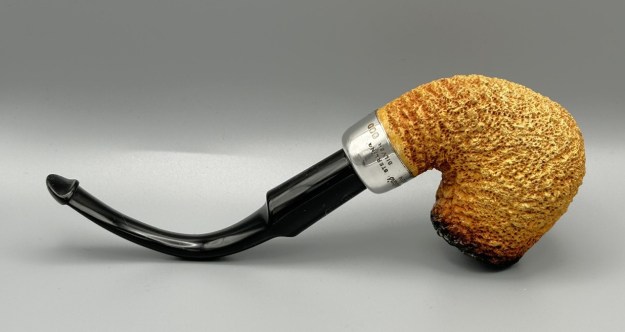
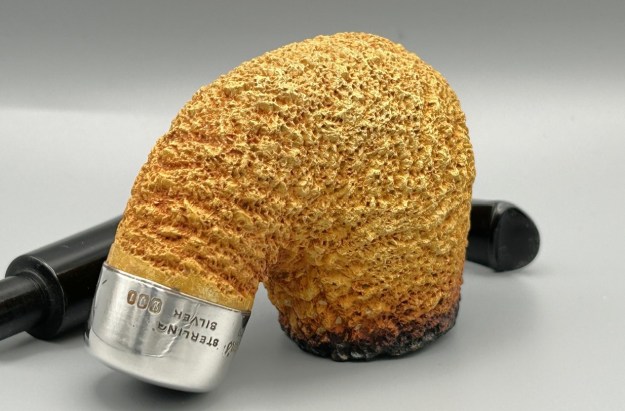
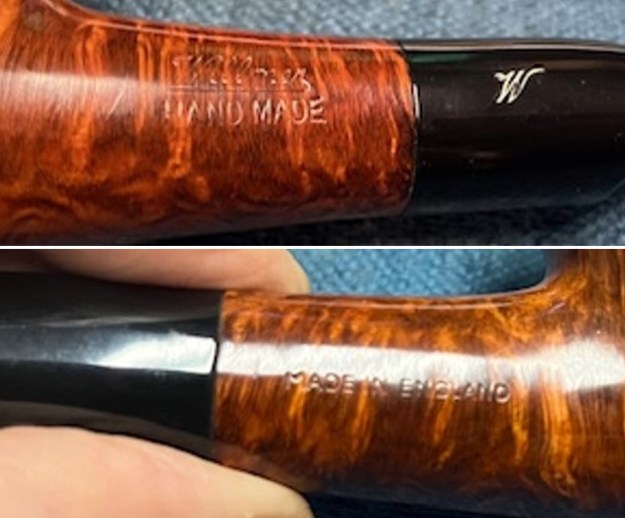
 The next photos Jeff took shows the stamping on the top and the underside of the shank. It is clear and readable as noted above.
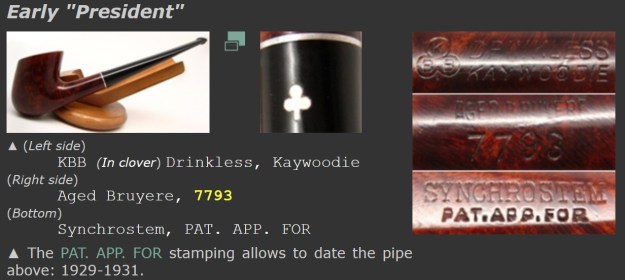
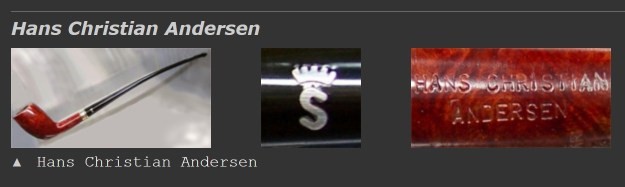
 I really wanted to understand who had made the Clairmont pipe. I had not heard of the brand before and have not worked on one. I turned to Pipephil’s site to see what I could learn from there (http://www.pipephil.eu/logos/en/logo-c5.html). Generally the site has a great summary of information and in this case it did as well. I have included a screen shot of the section and have included the side bar information below the photo.
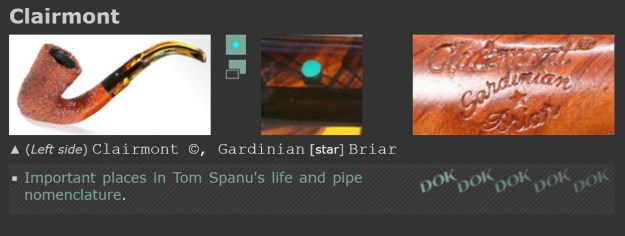 Brand created by Alberto Paronelli in the 1970’s. Pipes usually were crafted by Tom Spanu. “Clairmont” is a francization of “Chiaramonti”, birthplace of Tom Spanu (see dok). See also: Casteldoria, Castelsardo
With that information I knew that the pipe had been crafted by Tom Spanu for a brand created by Alberto Paronelli during the 1970s. The Clairmont name was a francization of the Italian word Chiaramonti which was the birthplace of Tom Spanu.
I turned to Pipedia for more information on the brand. It gave a one line confirmation of the information from Pipephil (https://pipedia.org/wiki/Italian_Pipe_Brands_%26_Makers_A_-_C). I have included the line below.
Clairmont – Alberto Paronelli / Tomassu Spanu; Gavirate (Varese). Highgrade pipes, discontinued.
The added information was that it was a Highgrade pipe that is no longer made.
From there I turned to an article on Tommaso Spanu (https://pipedia.org/wiki/Spanu). I quote the information below as well as an update on the death of Tommaso Spanu in the Fall of 2015. I have made the sections on the Clairmont pipes in bold.
Novarte S.N.C. di Spanu Tommaso
Update: We are sad to report that it has come to our attention that Tommaso Spanu passed from this World in the Fall of 2015 to join the many great Italian pipe makers that came before him. Our hope is that Tommoso’s sons and brother will continue the Spanu pipe making tradition. We can also enjoy the legacy he leaves in the many pipes he has made over the years.
In 1963 Tommaso Spanu left his home in Sardinia and wandered to Northern Italy to become a pipemaker. His uncle had managed an apprenticeship for him in Gavirate, in the province of Varese, with it’s many pipe manufactures. His exceptional talent soon attracted the attention of Alberto Paronelli (→ Paronelli), the grand seigneur of Italian pipe business. Paronelli, a famed pipe designer himself, arranged that the best pipe craftsmen schooled his young fosterling and personally taught him in pipe design and styles. Soon Spanu reached a remarkable level of skills and began to work on the Clairmont pipes, a high-grade brand produced for and distributed by Paronelli. A little later the bulk of the Clairmonts was made by Spanu who was even allowed to stamp them with his own name additionally.
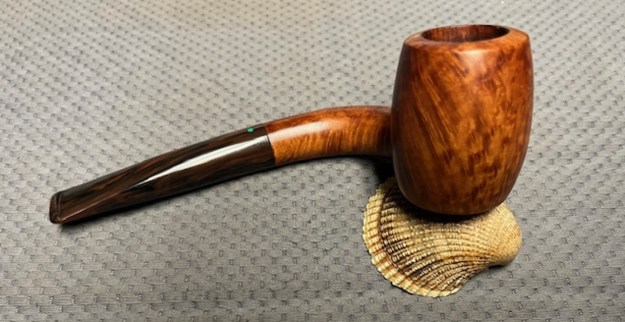
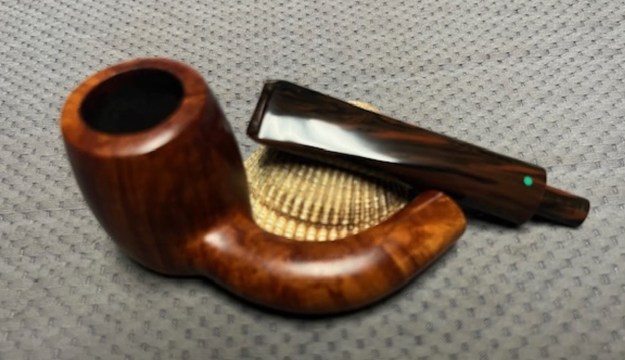
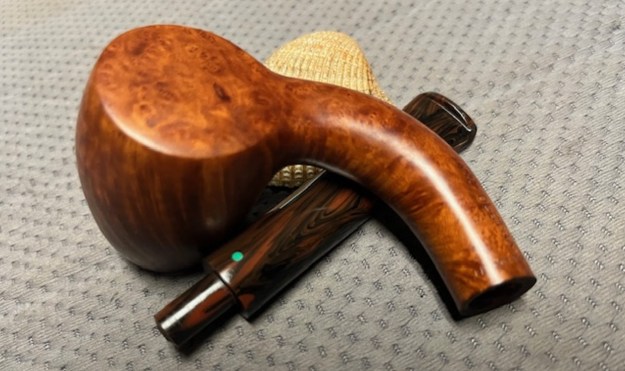
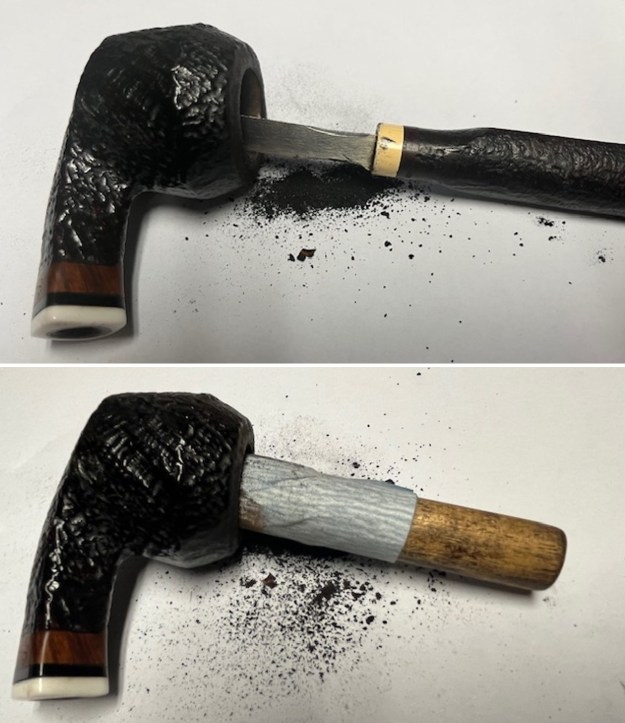
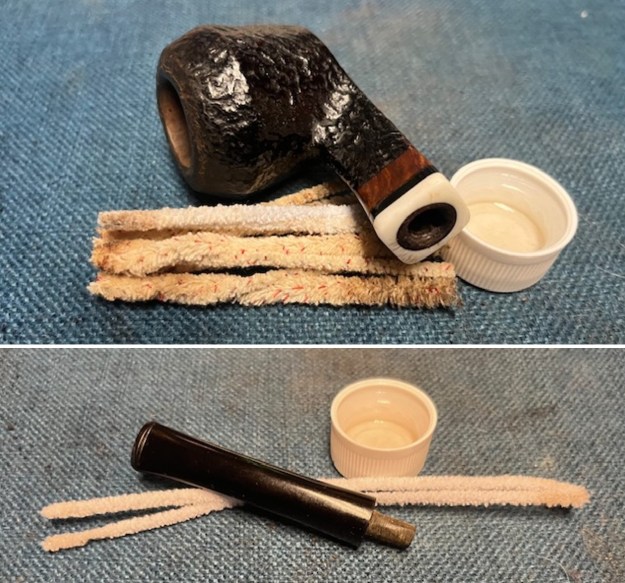
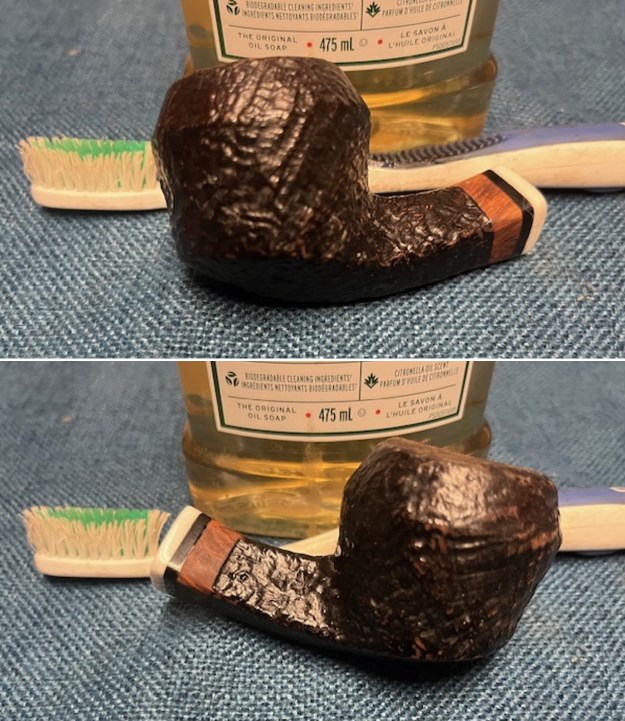
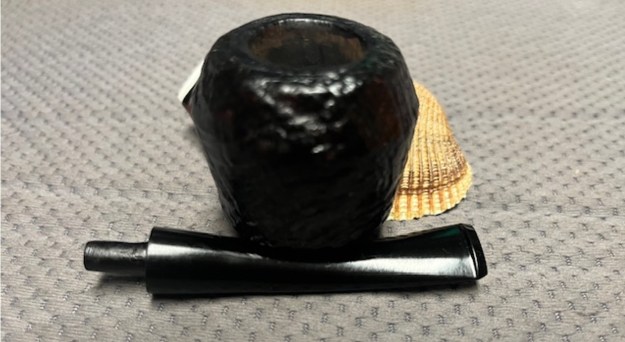
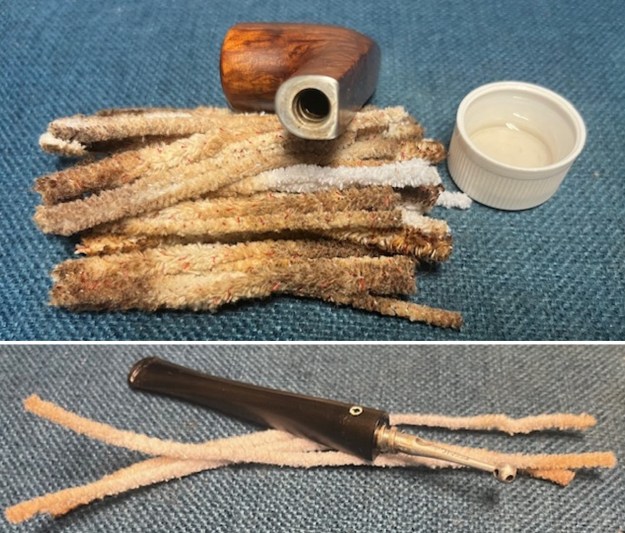
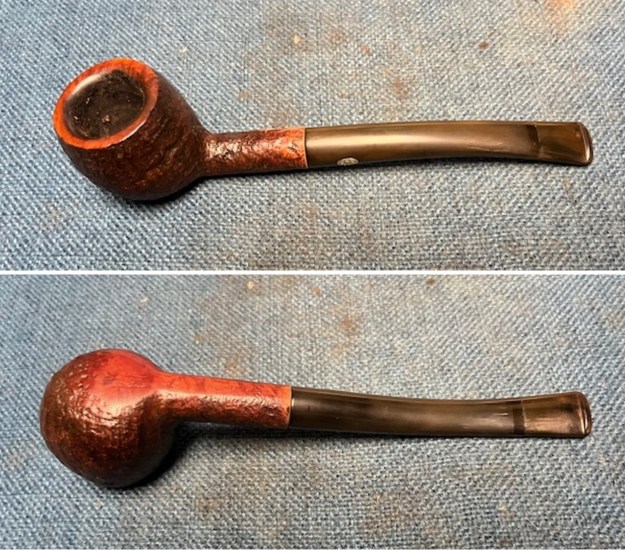
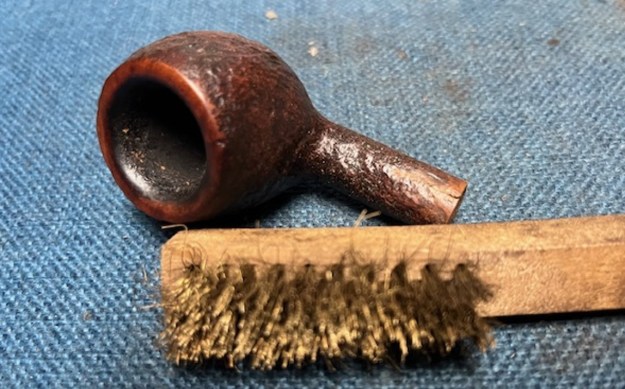
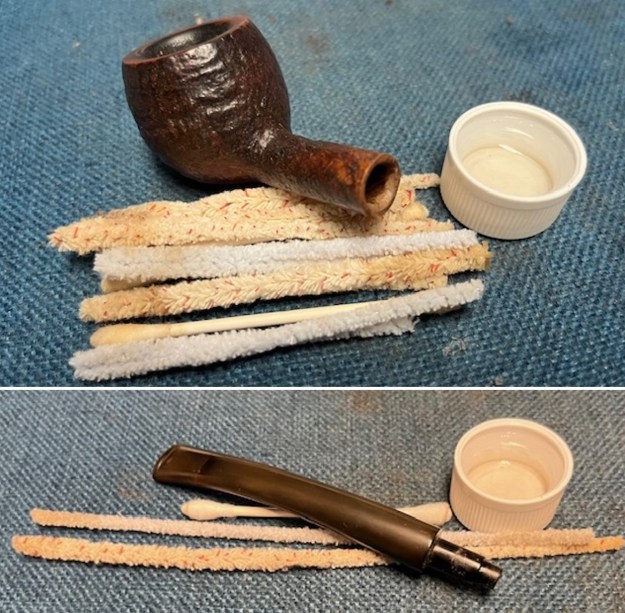
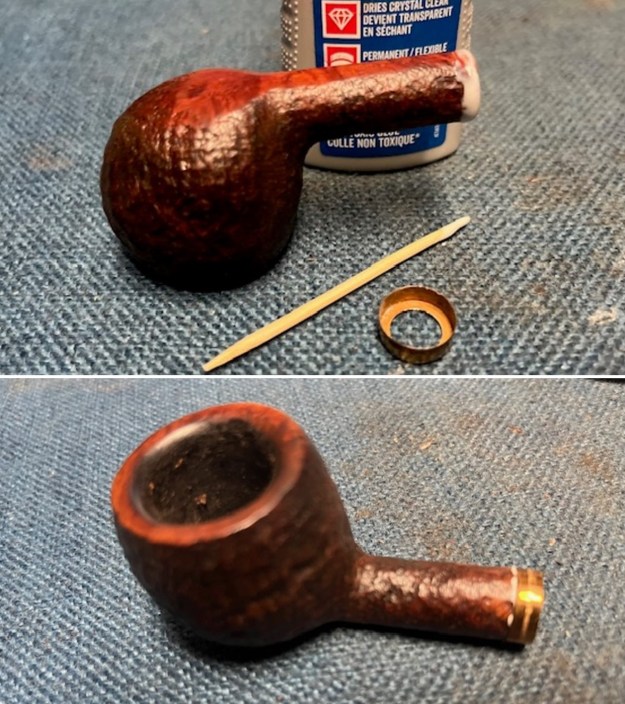
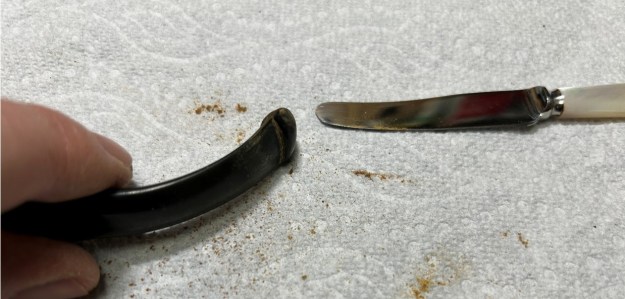
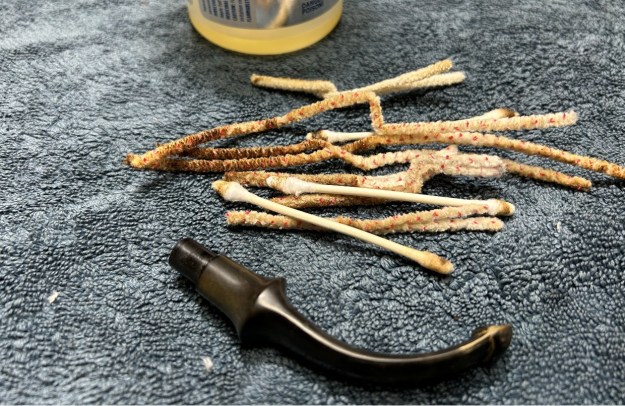
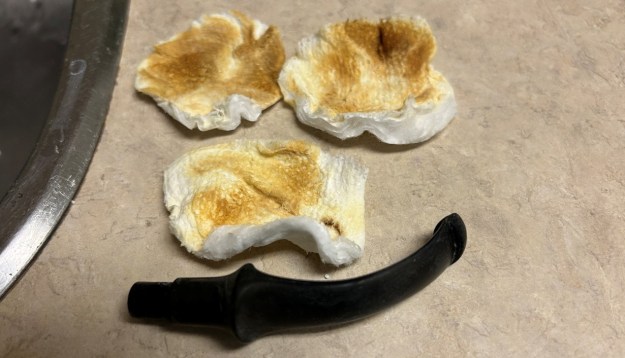
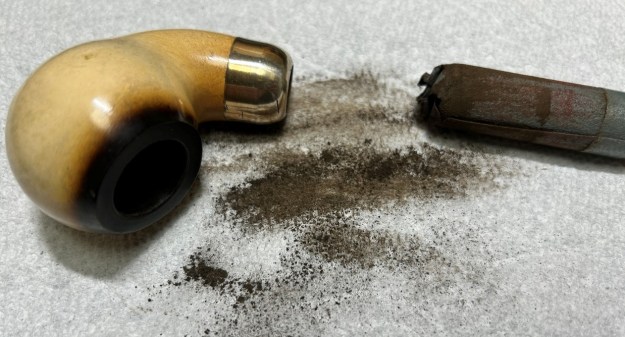
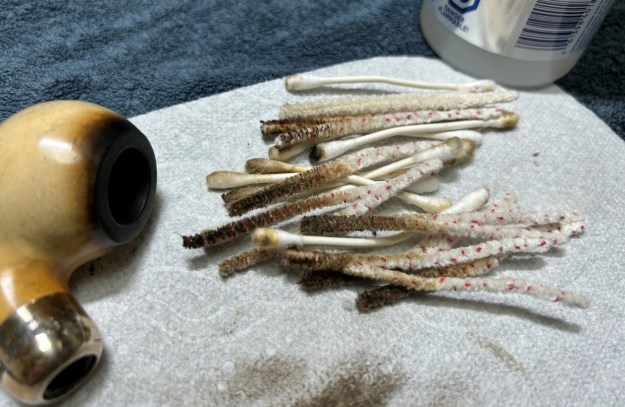
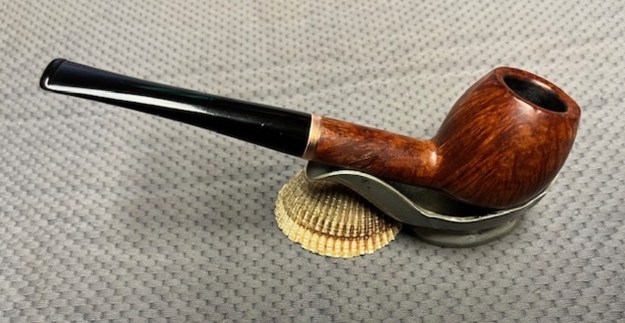
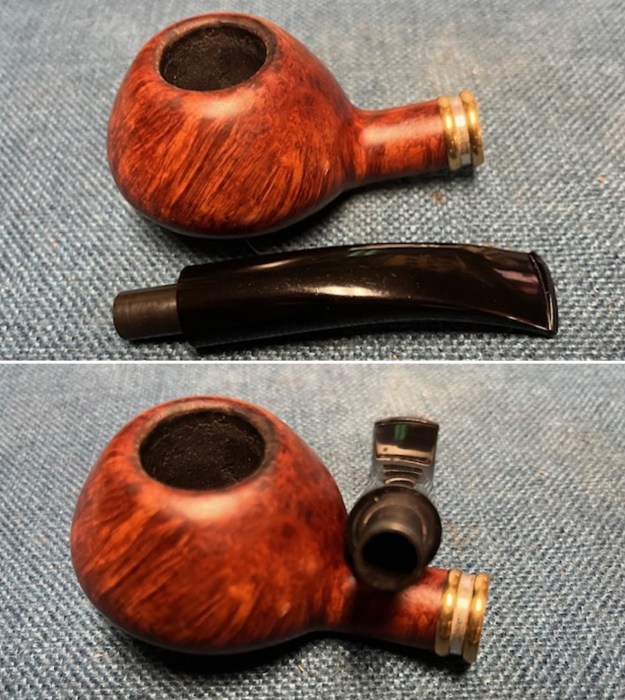
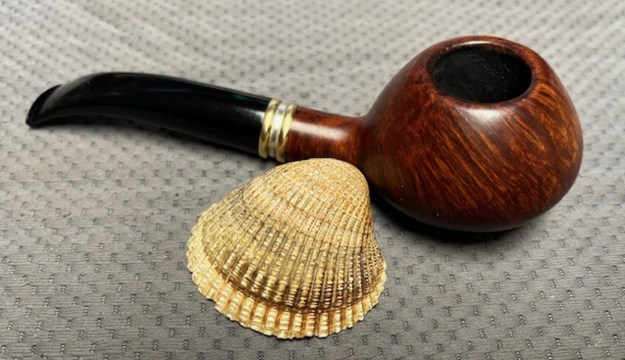
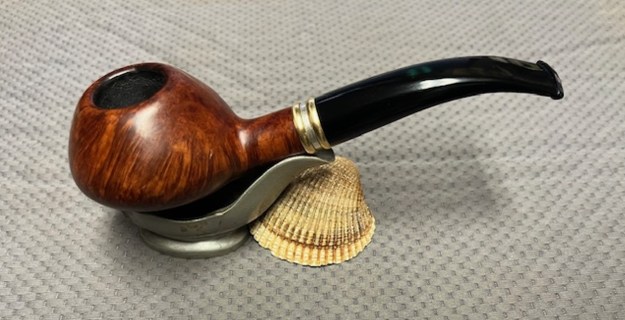
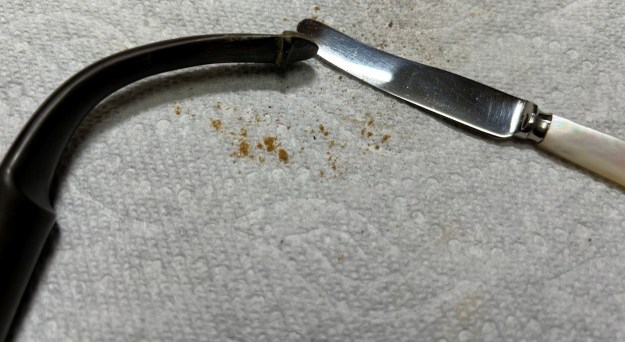
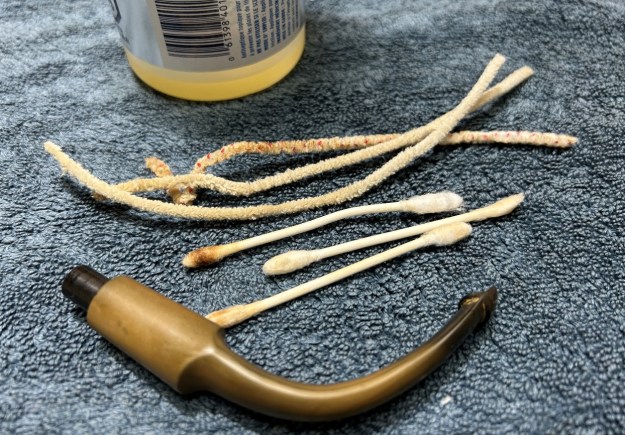
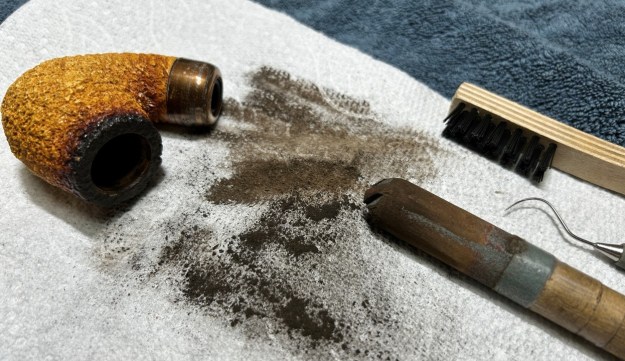
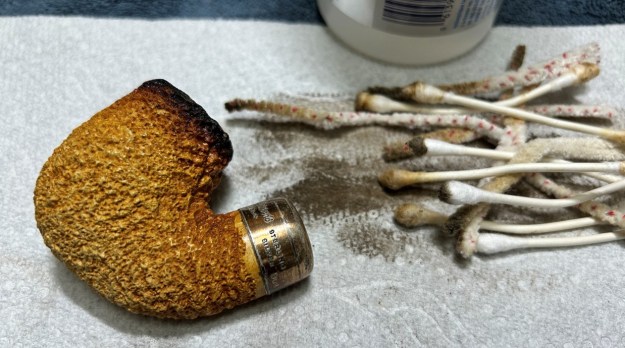
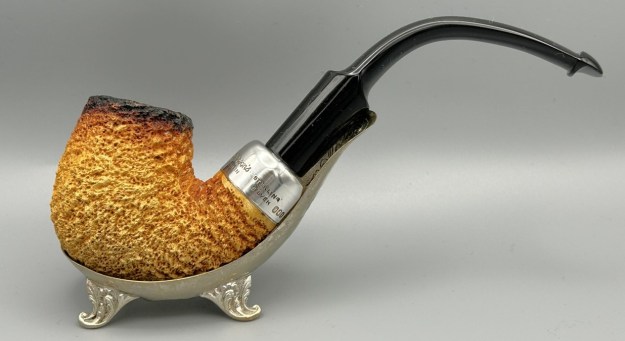
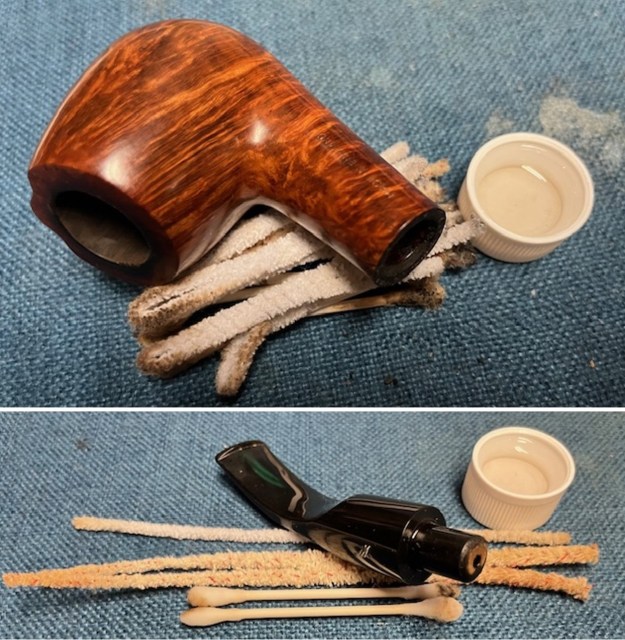
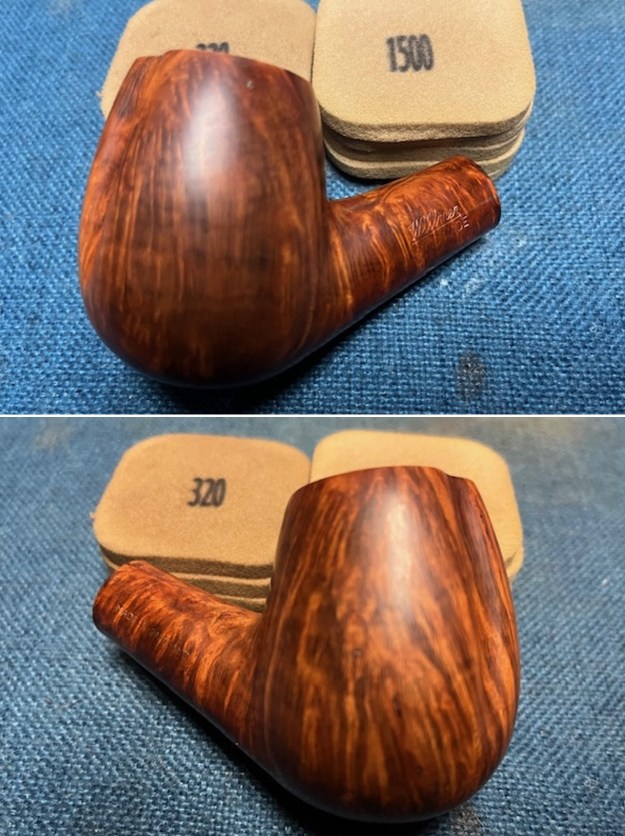
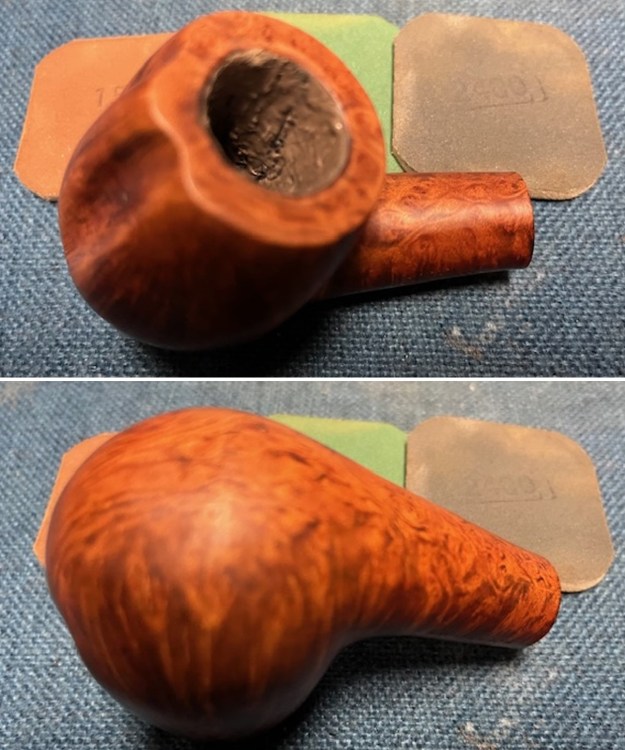
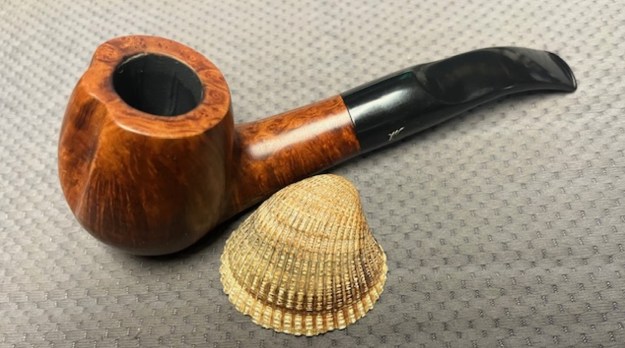
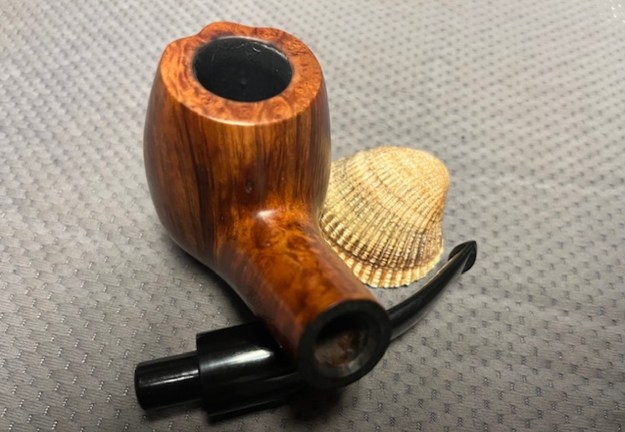
Jeff had done a great job cleaning up the pipe as usual. He reamed the pipe with a PipNet reamer and cut back the cake back to the bare briar. He cleaned up the walls with a Savinelli Fitsall Pipe Knife. He scrubbed the interior of the bowl, shank and the airway in the stem with pipe cleaners, cotton swabs and alcohol to remove the tars and oils. It was surprising how easily the pipe cleaners went through the curved shank to the bowl. He scrubbed the exterior of the pipe with Murphy’s Oil Soap and a tooth brush to remove the grime from the finish. He scrubbed the exterior of the stem with Soft Scrub. He rinsed it off with warm water to remove the cleaner. It looked very good when I brought it to the worktable. I took photos of the pipe when I brought it to the work table. The briar is really very stunning!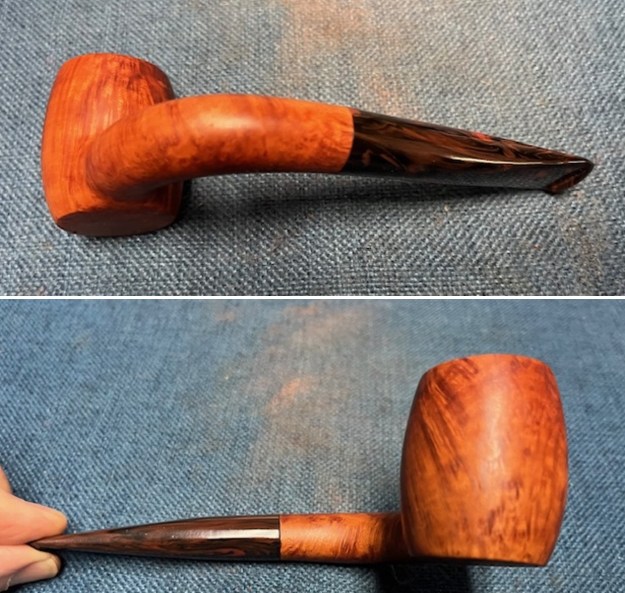
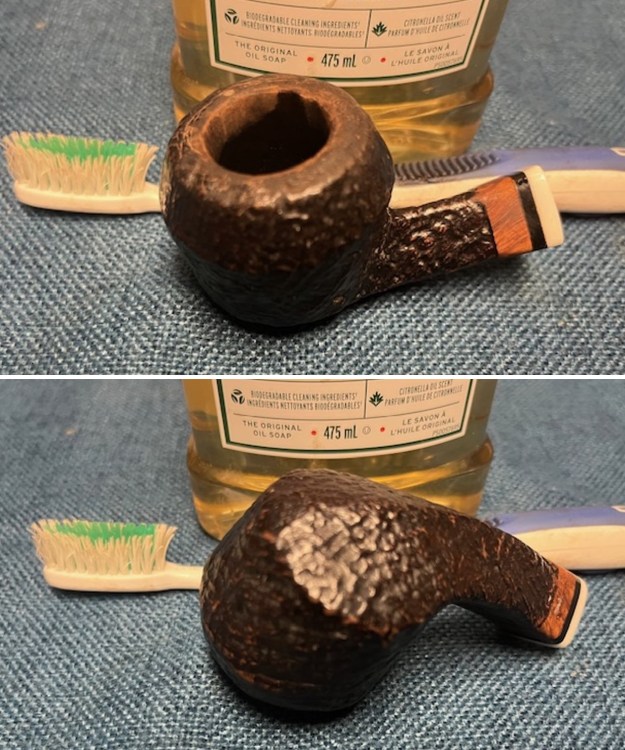
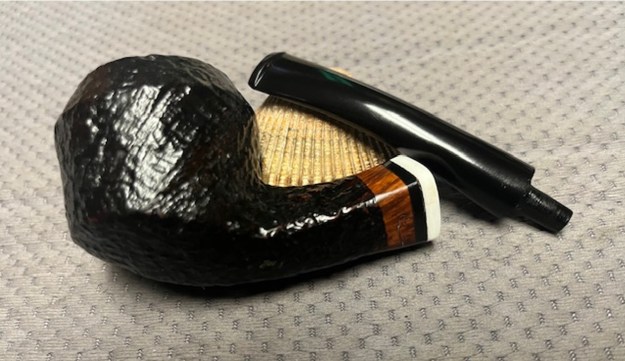
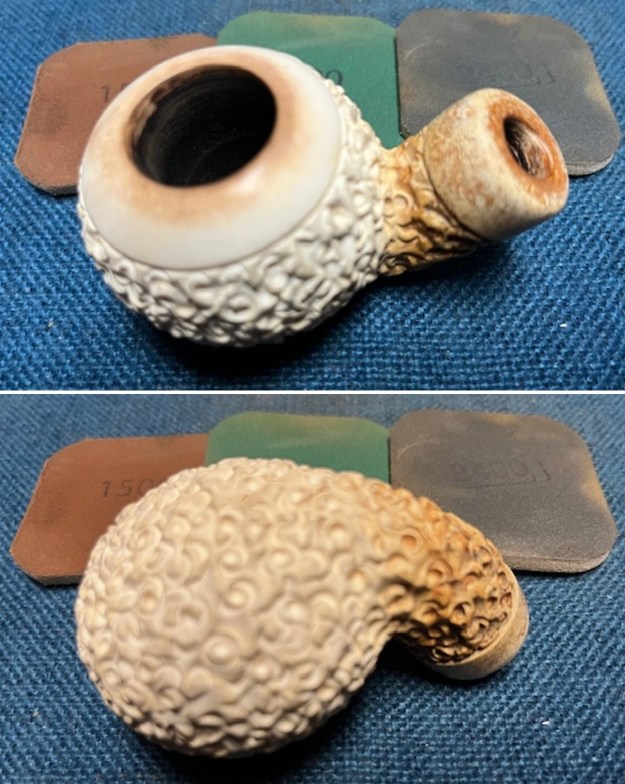
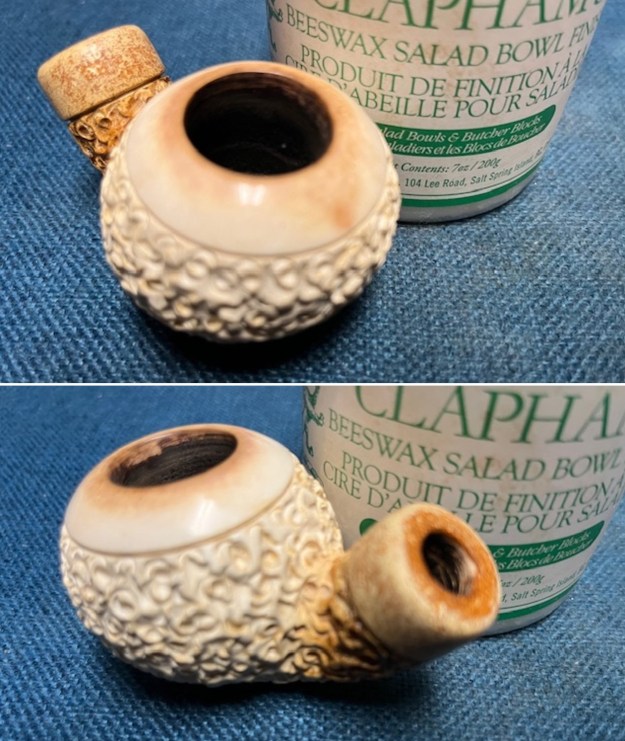
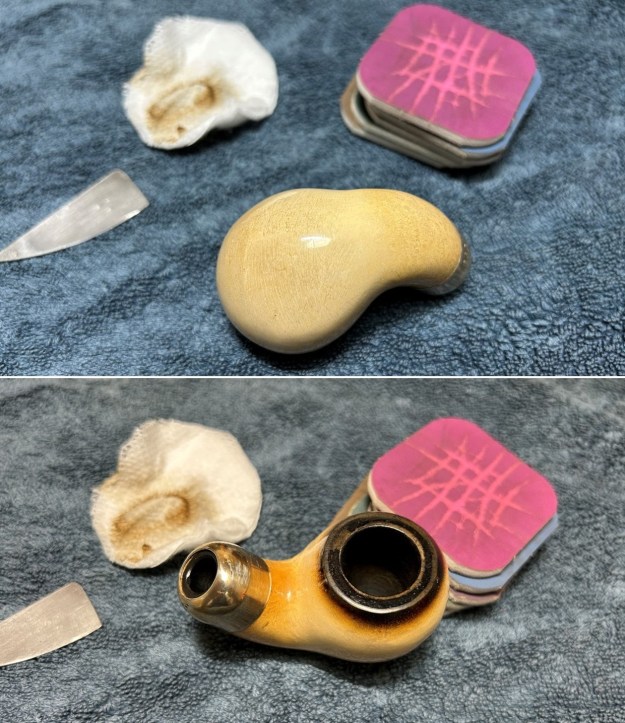
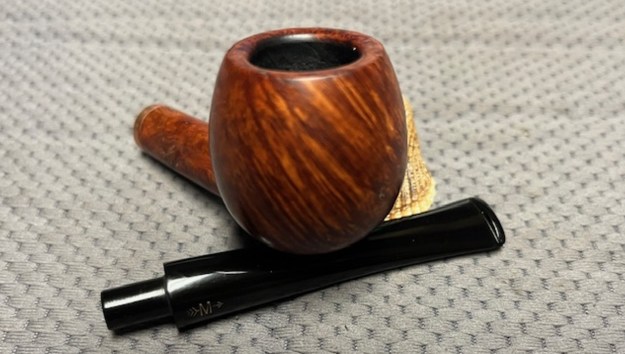
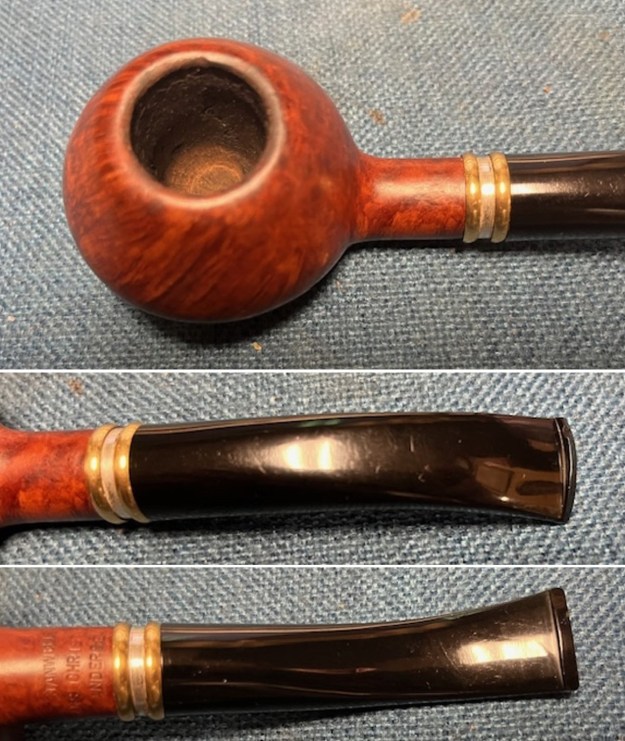
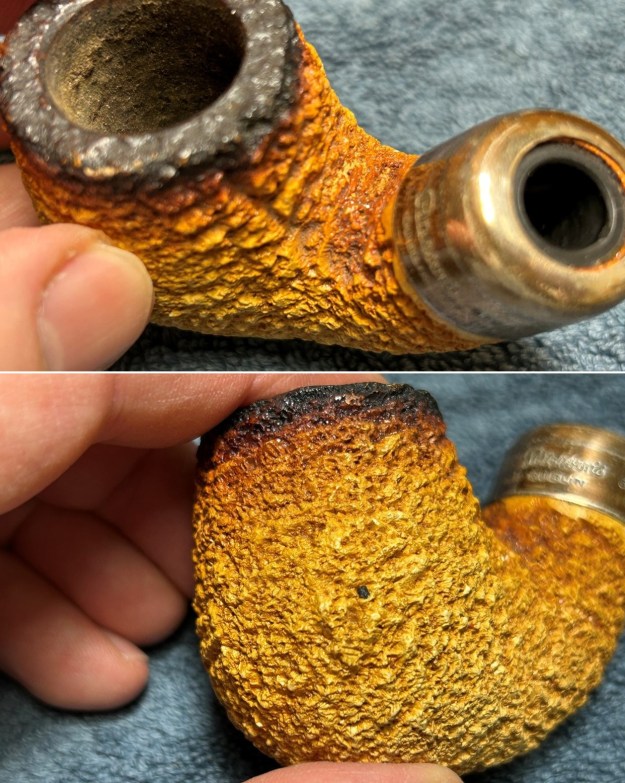
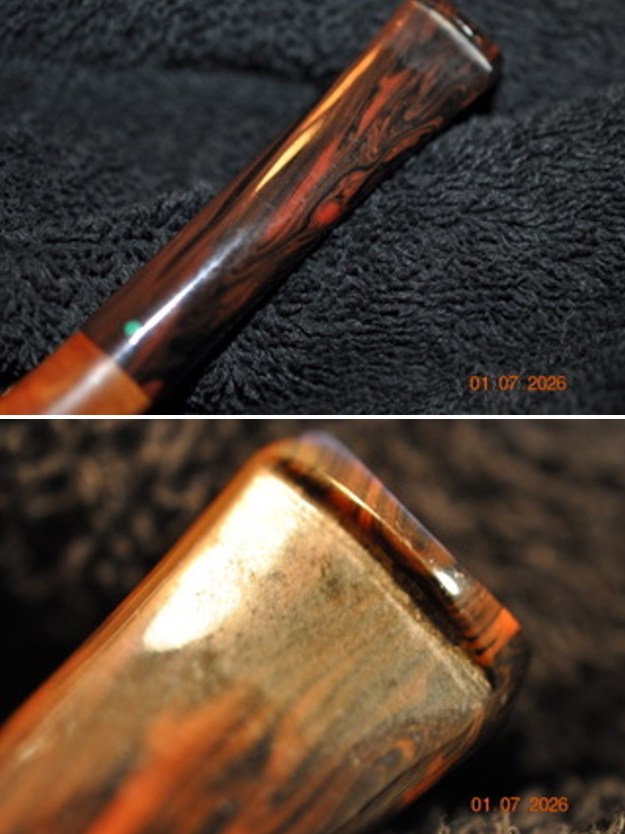
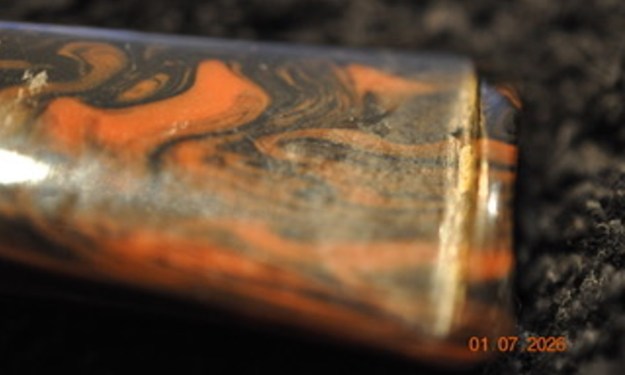
 I took close up photos of the rim top and the stem surface. I wanted to show how well it had cleaned up. The rim top and edges looked very good. I took photos of the stem to show the condition it was in. There were light tooth marks and chatter against the button edge on both sides. Green dot inset logo in the stem looks very good.
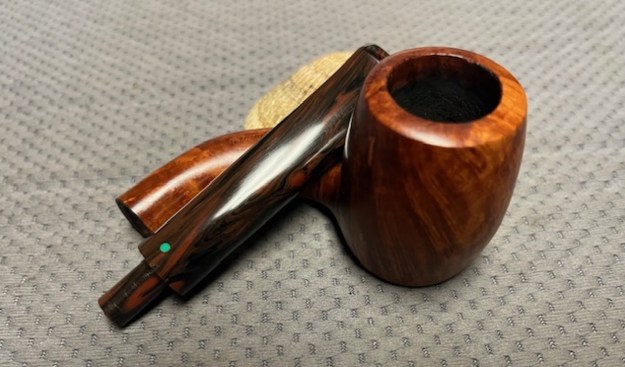
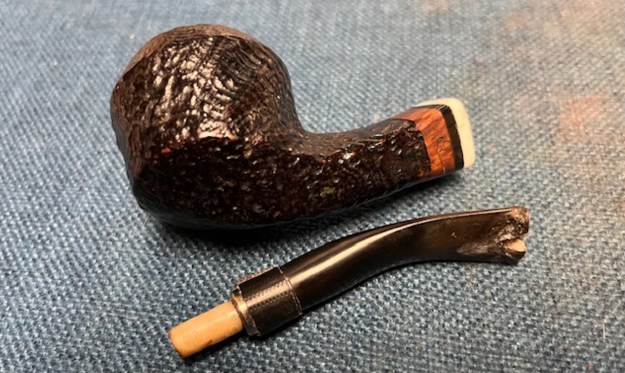
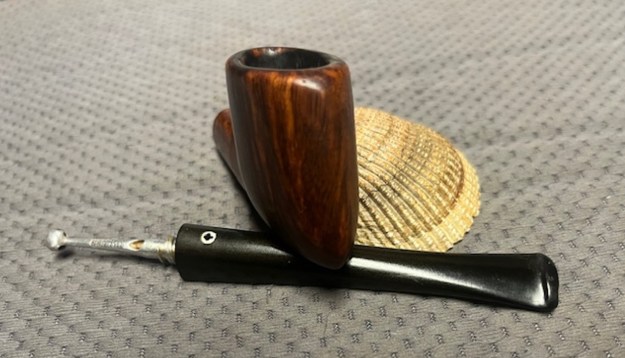
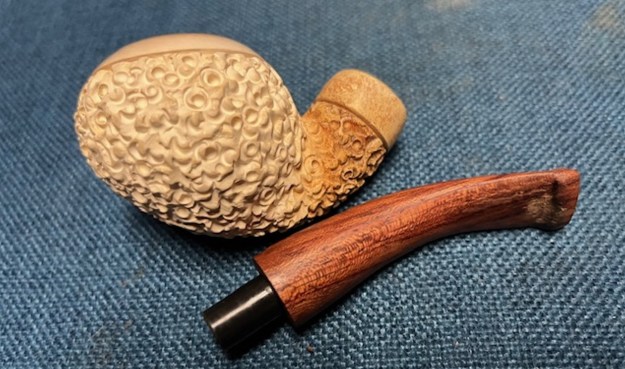
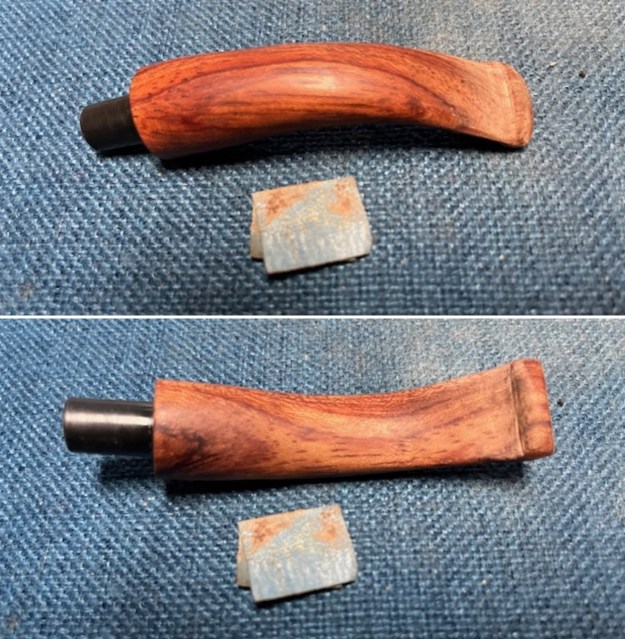
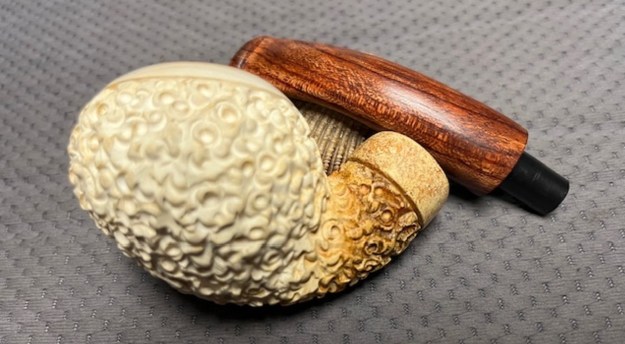
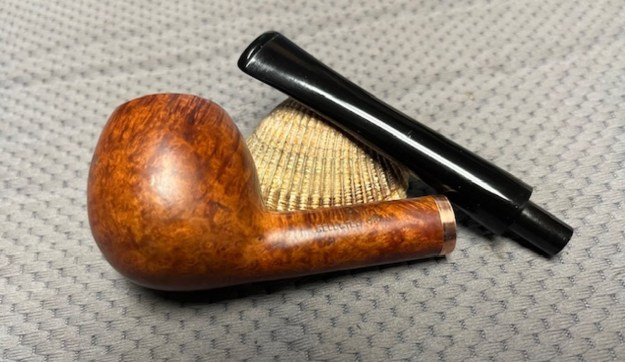
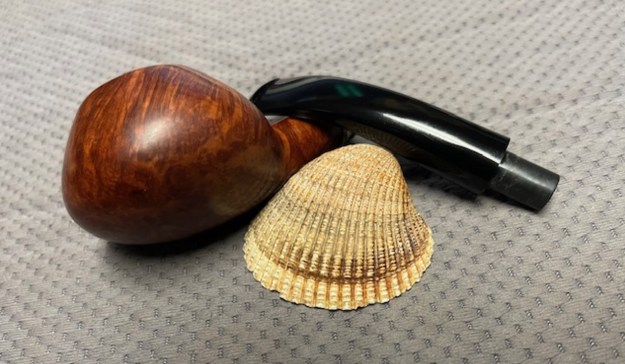
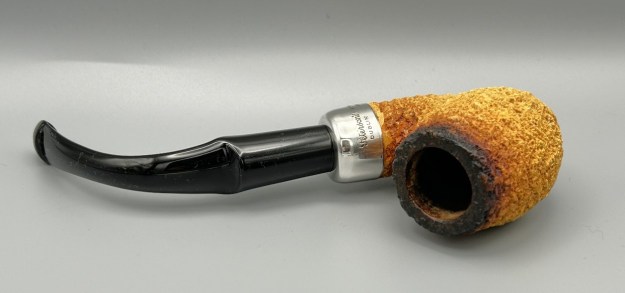
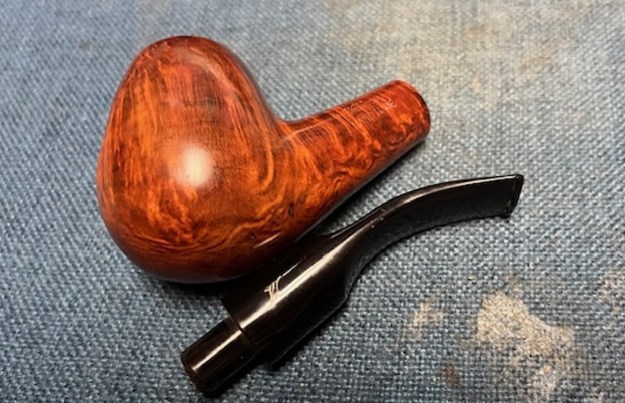
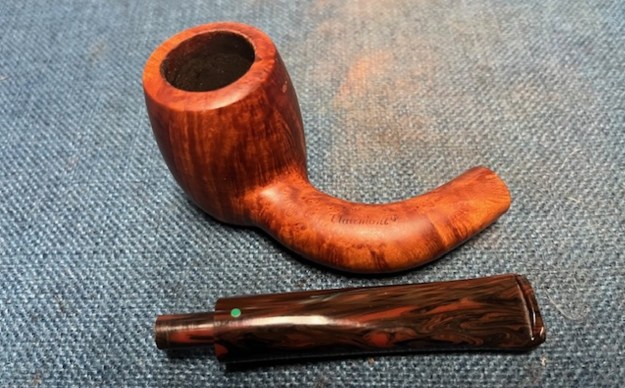
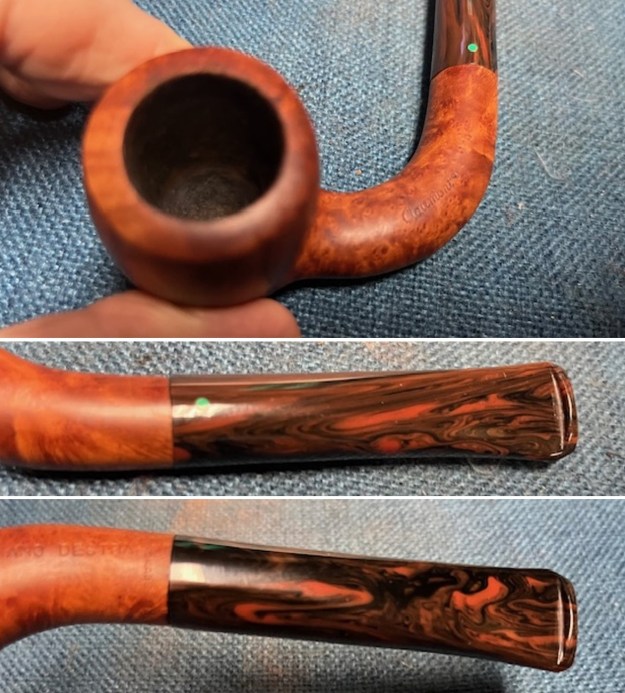 I took a photo of the stamping on the underside of the shank. You can see that it is stamped as noted above. It is clear and readable. I took the pipe apart and took a photo of the pipe. It is a good looking pipe with incredible grain.
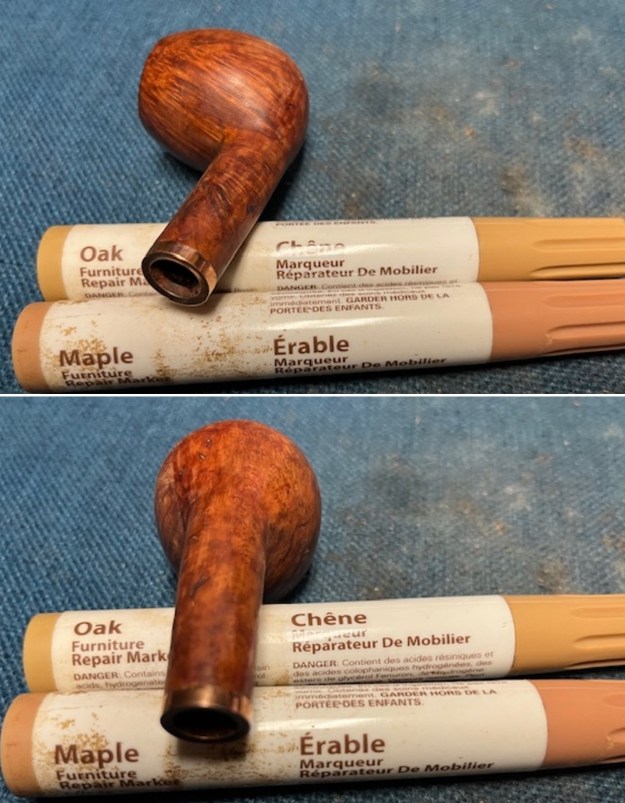
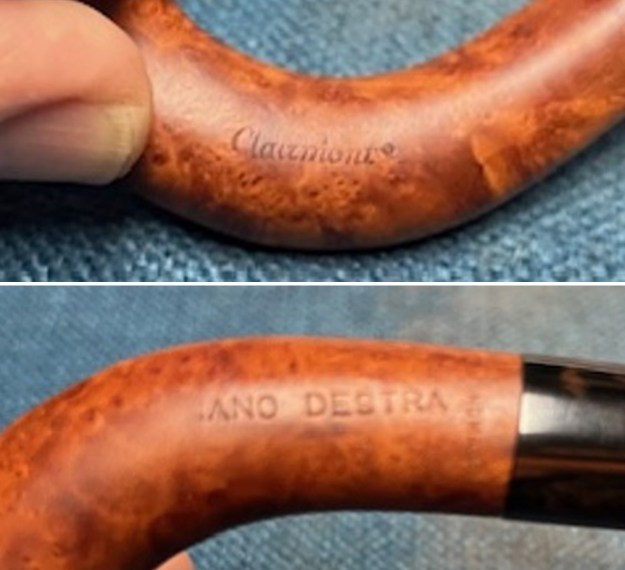
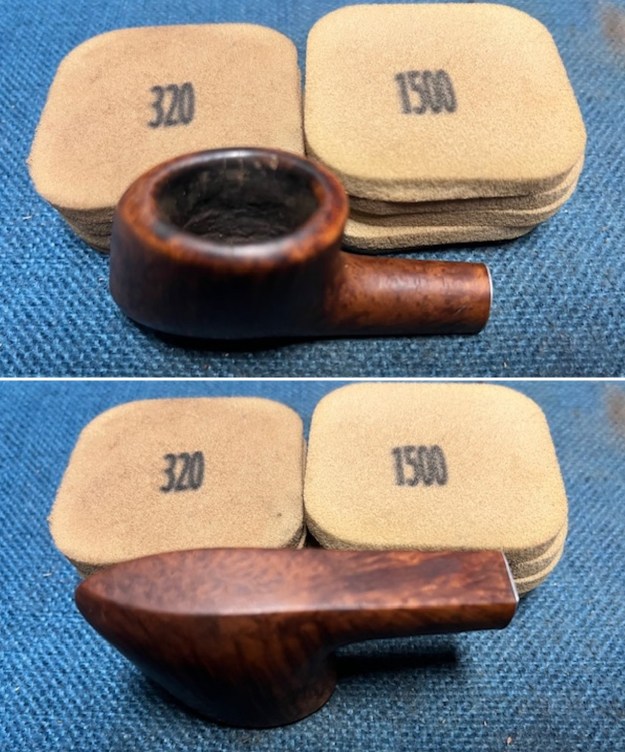
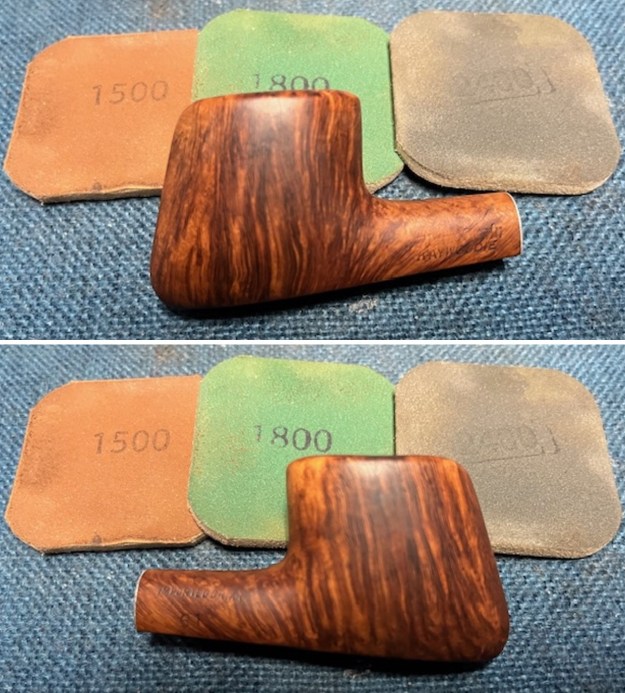
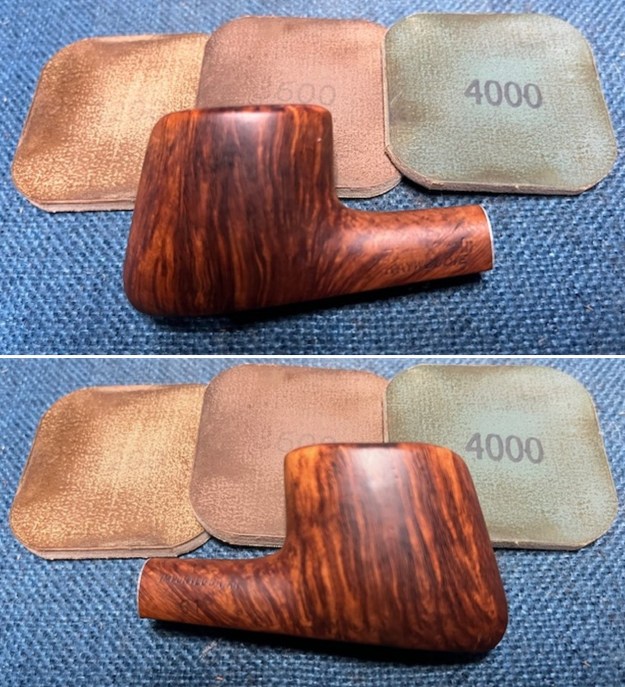
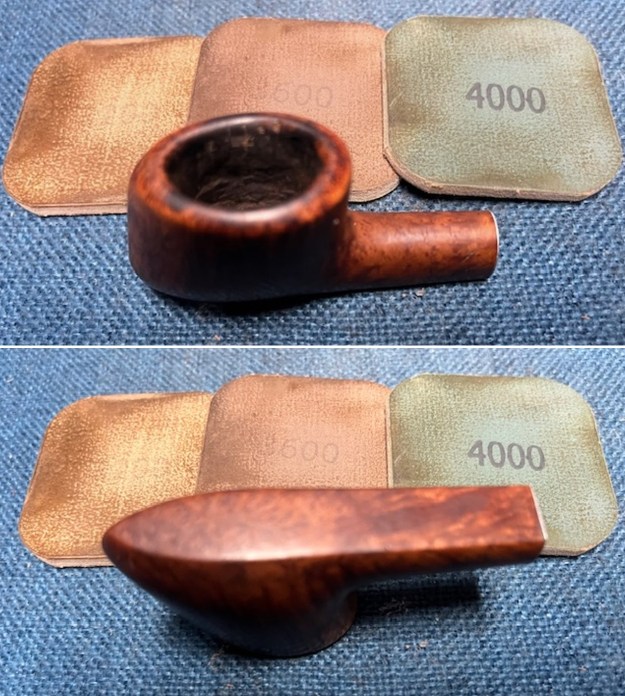
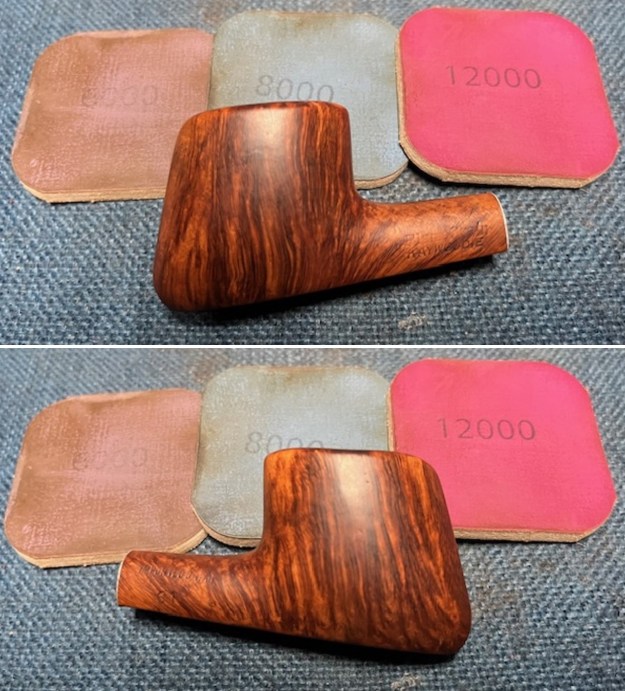
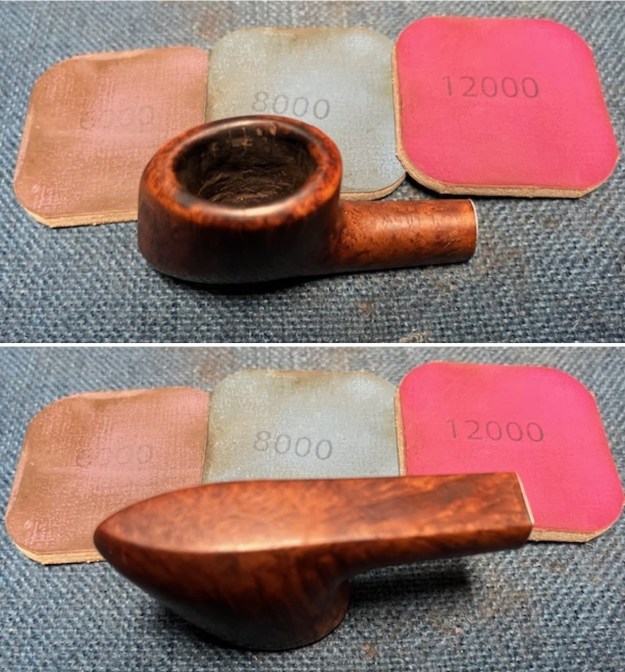
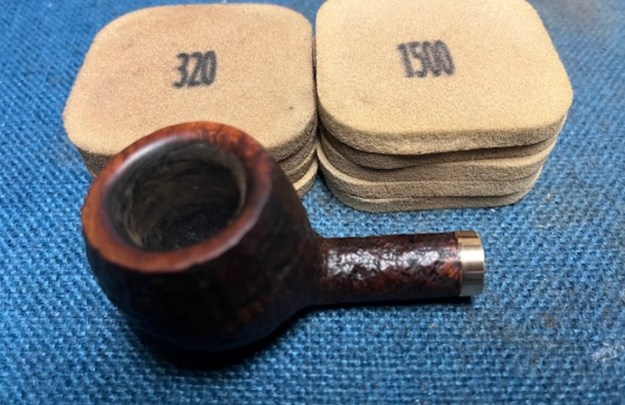
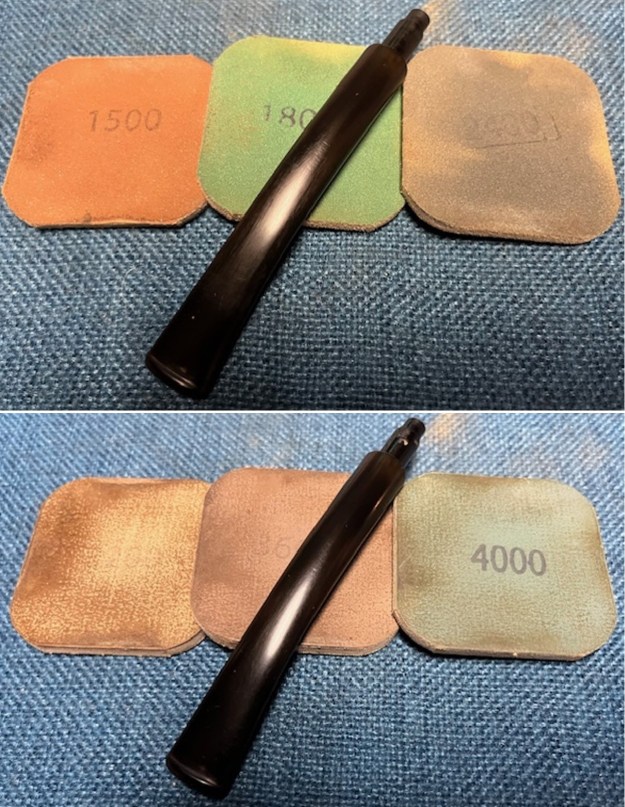
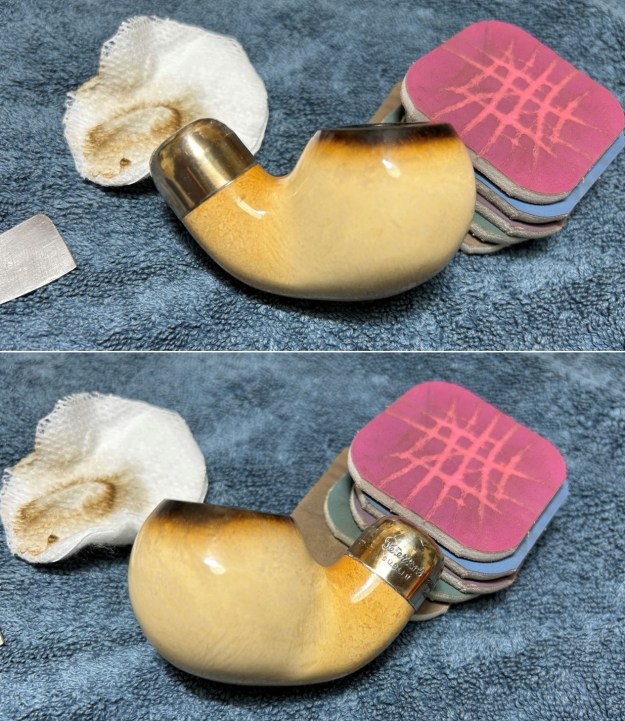
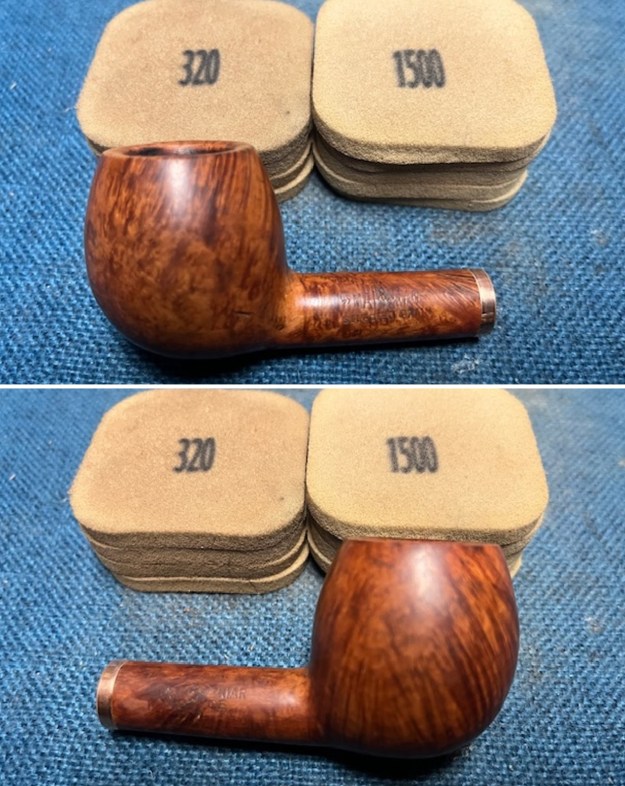
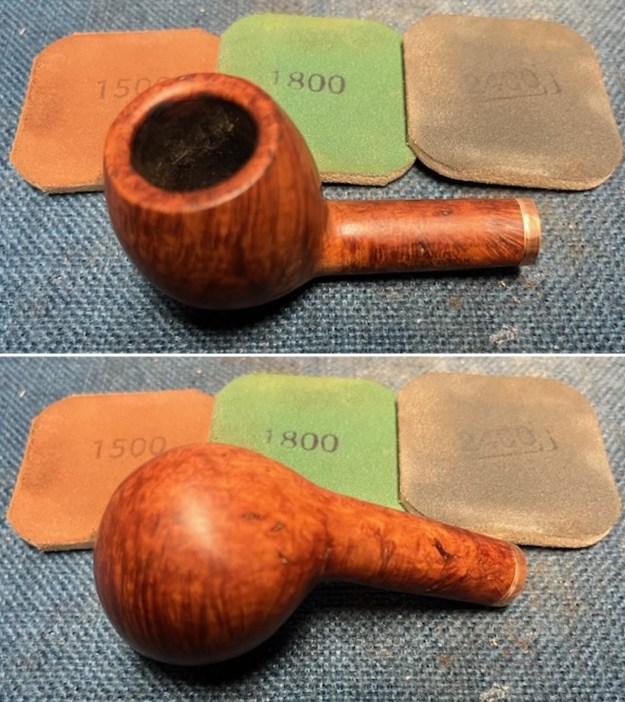
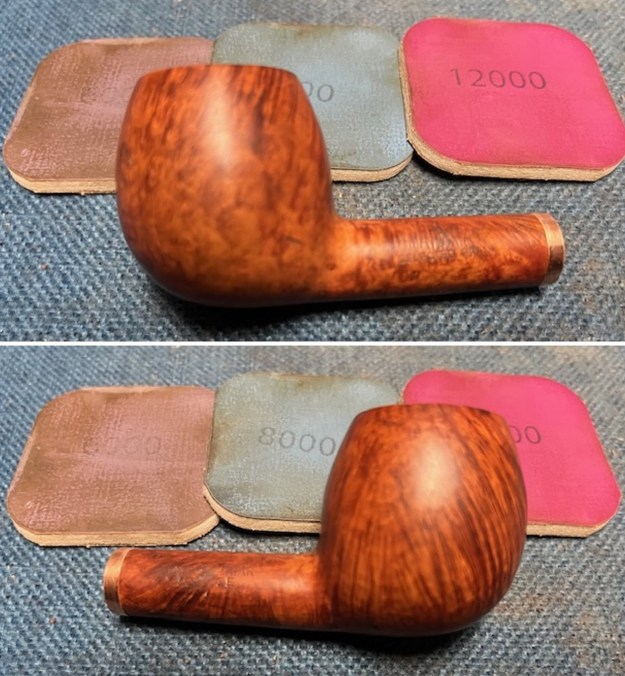
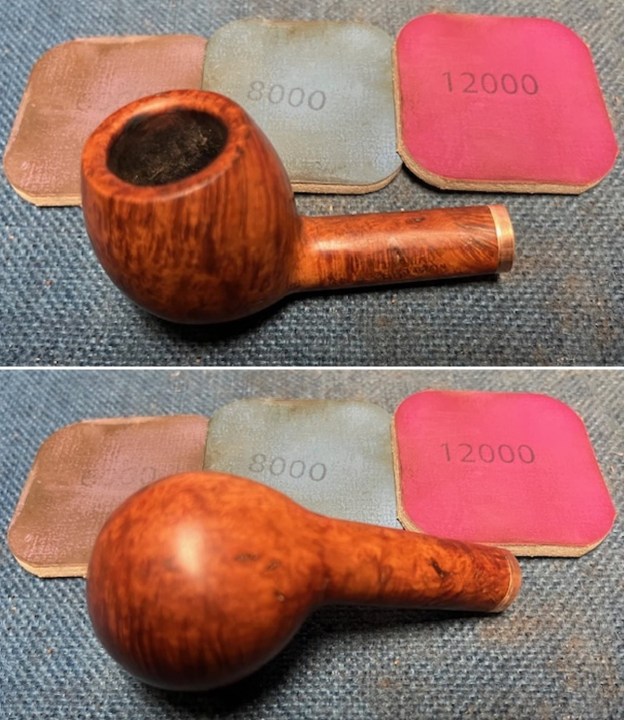
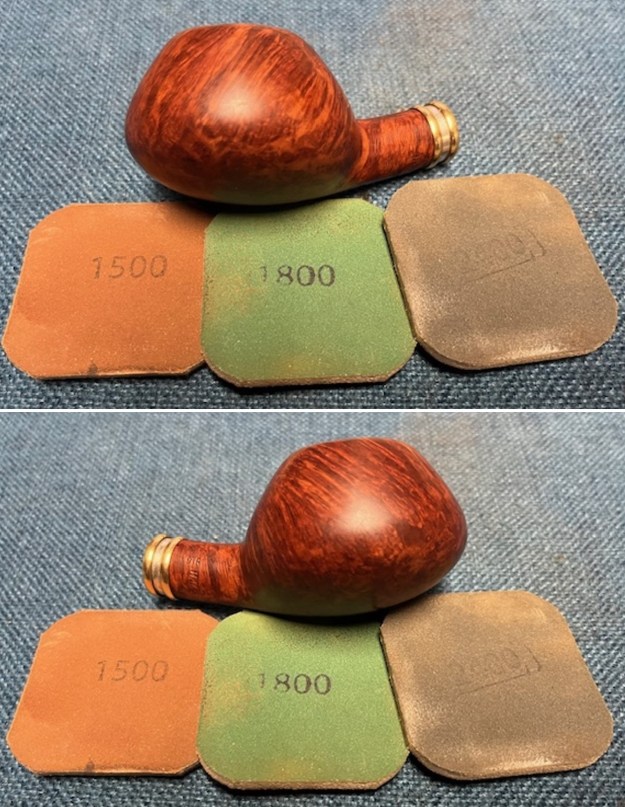
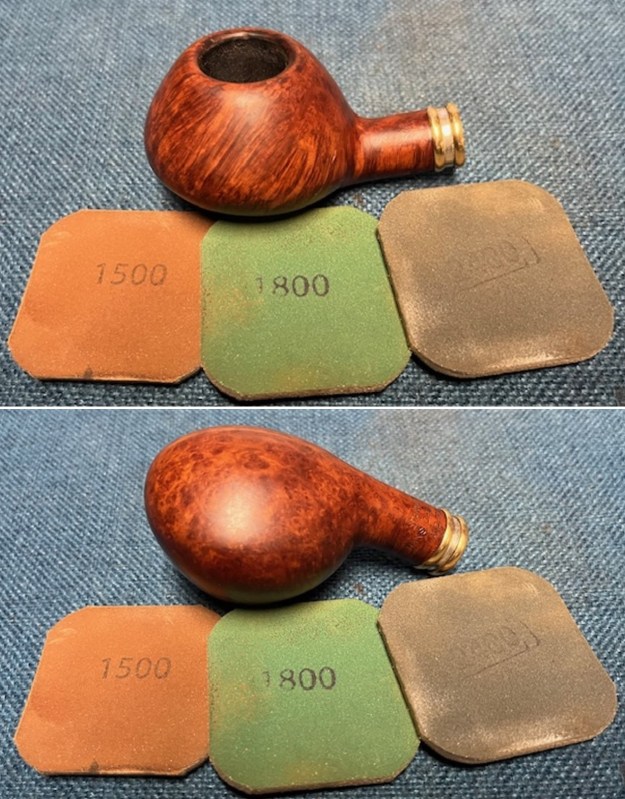
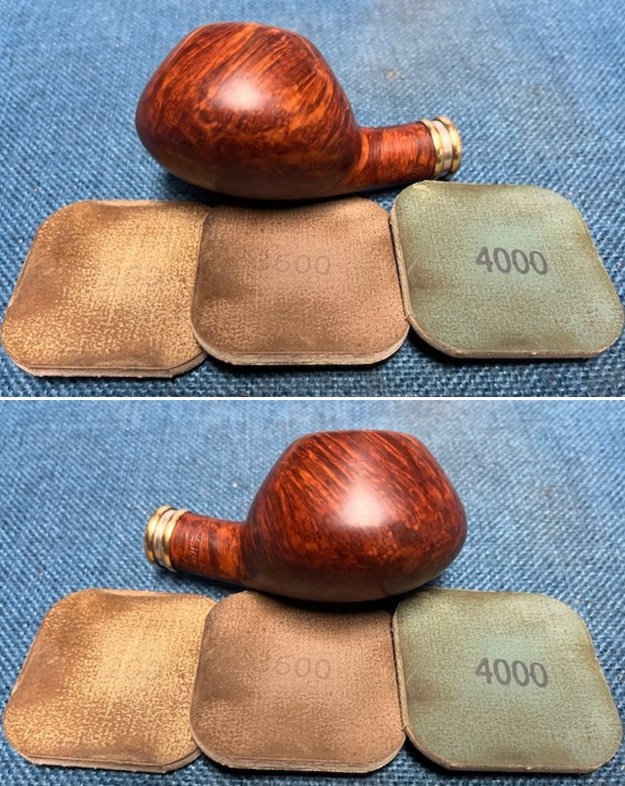
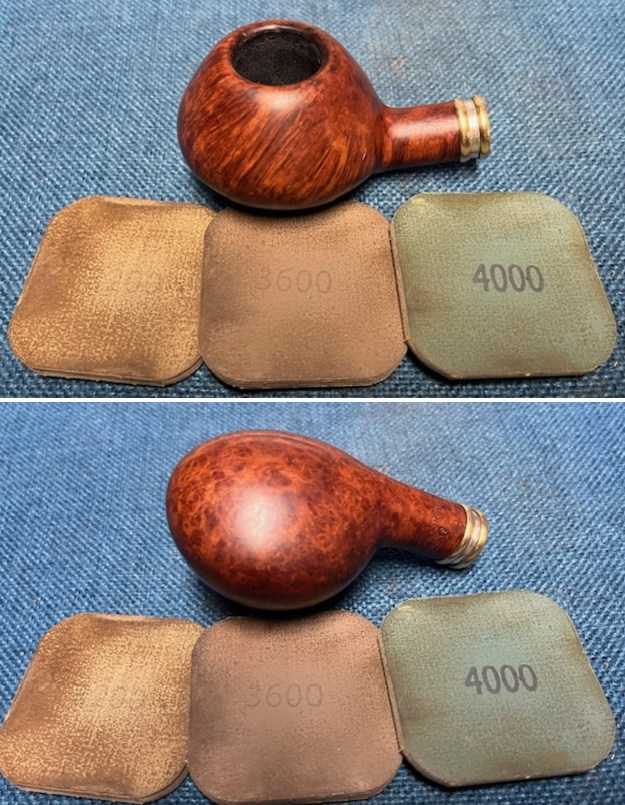
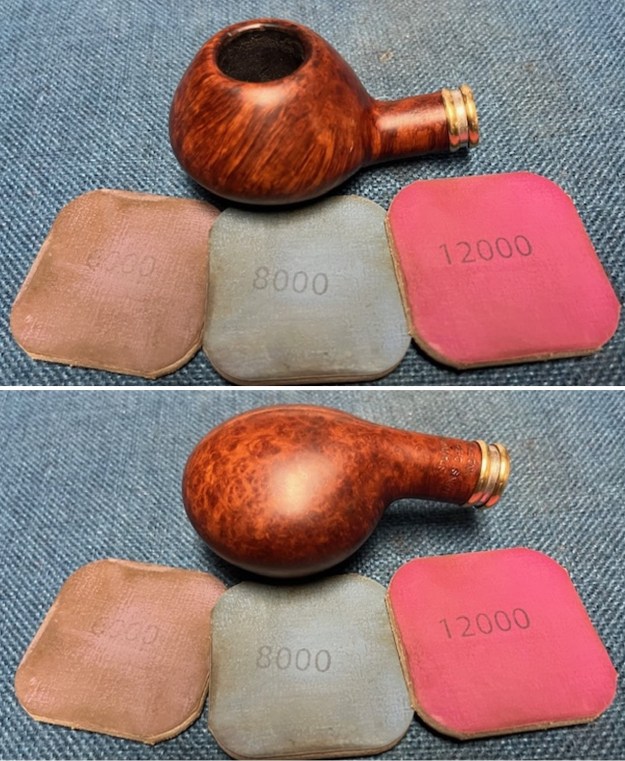
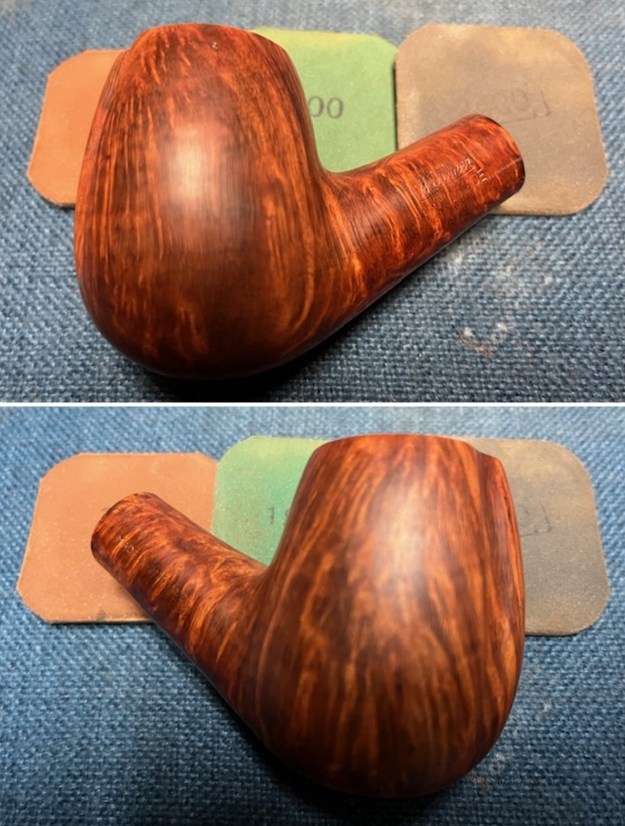
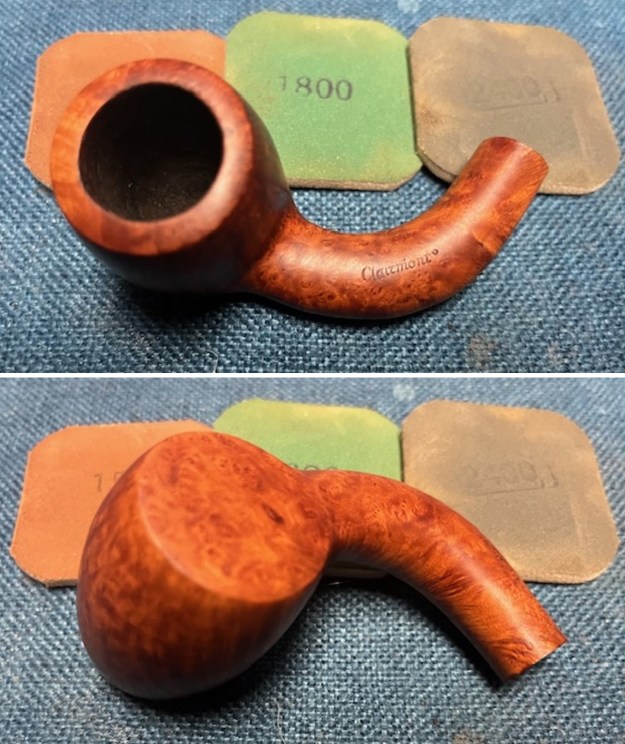
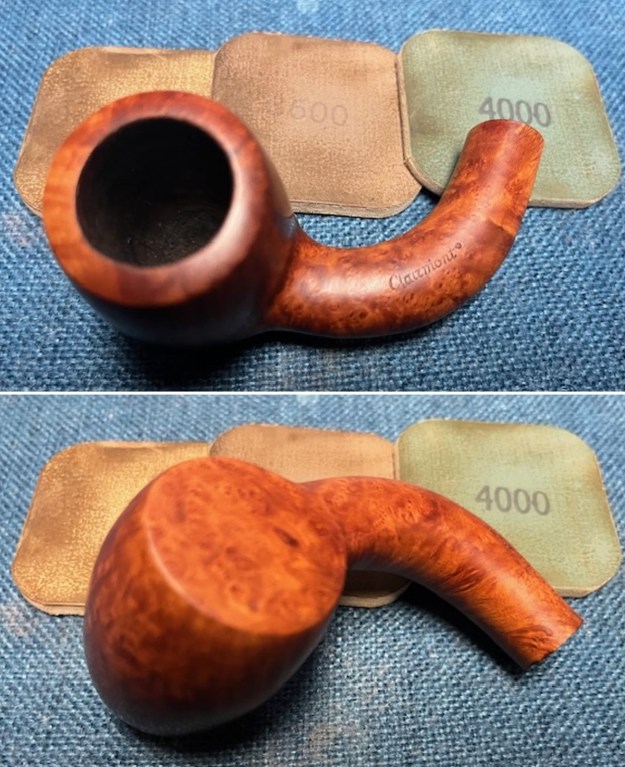
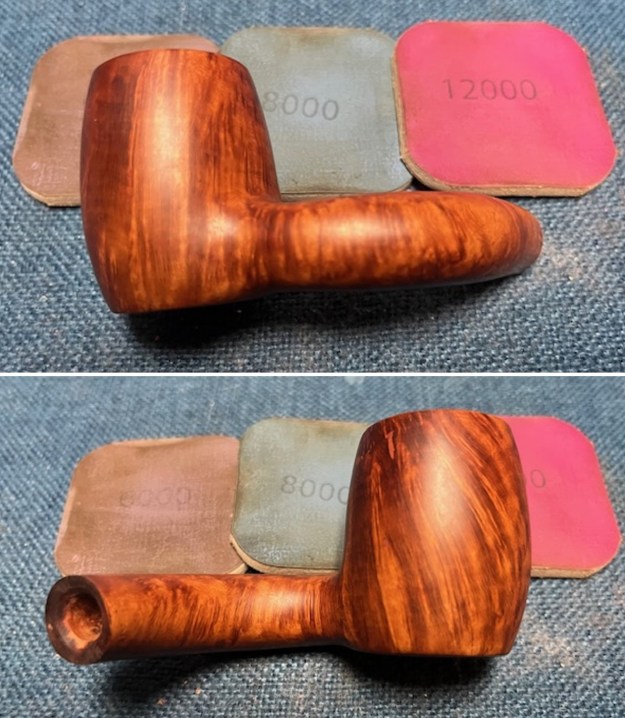
 I polished the briar with micromesh sanding pads – dry sanding with 1500-12000 grit pads. I wiped the bowl down after each pad with a damp cloth to remove the sanding dust. By the end of the process they looked very good.
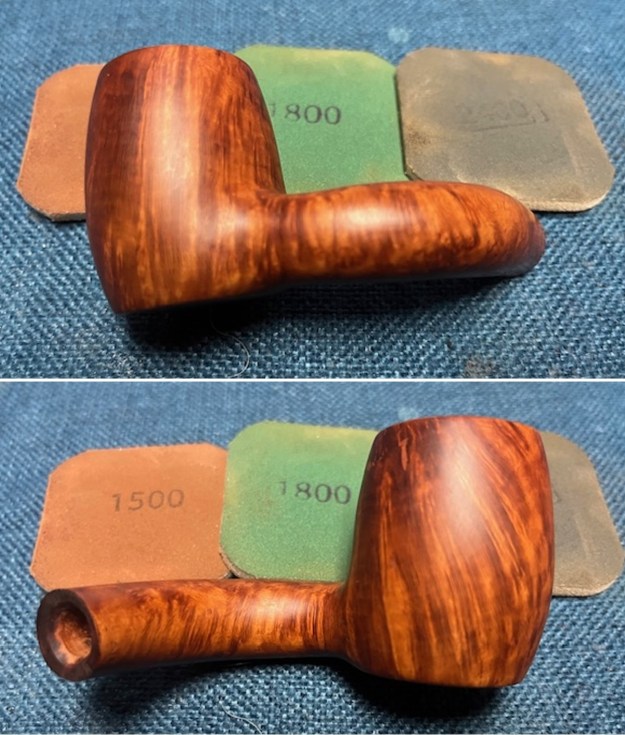

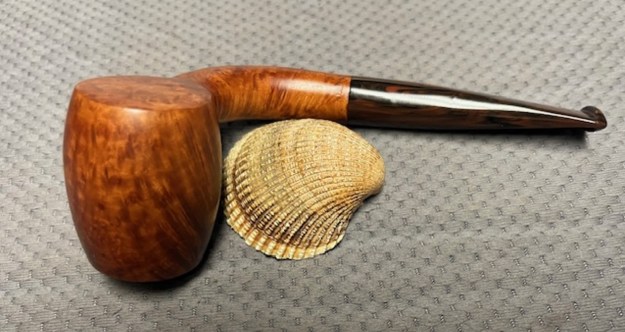
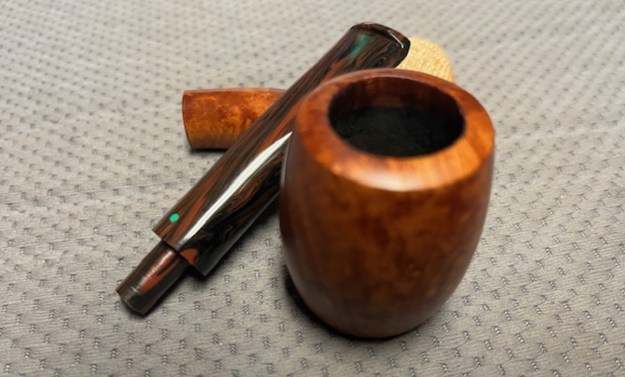
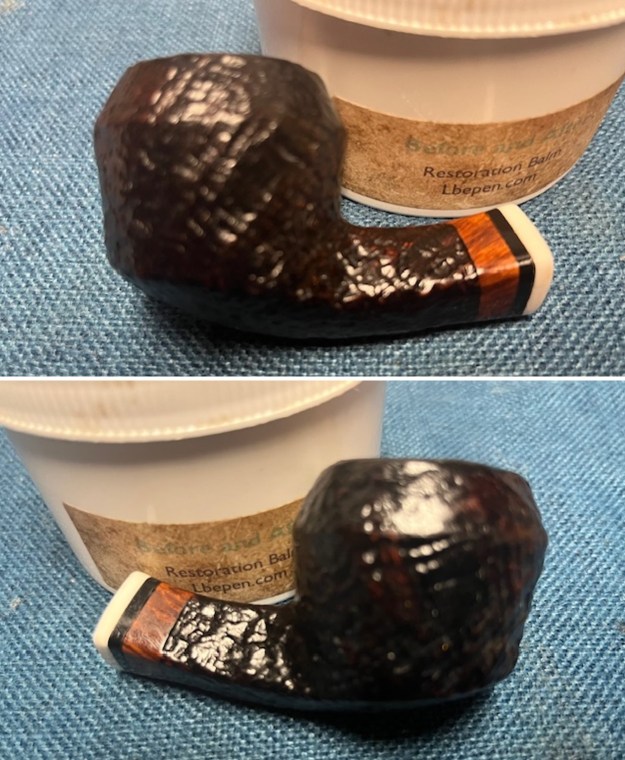
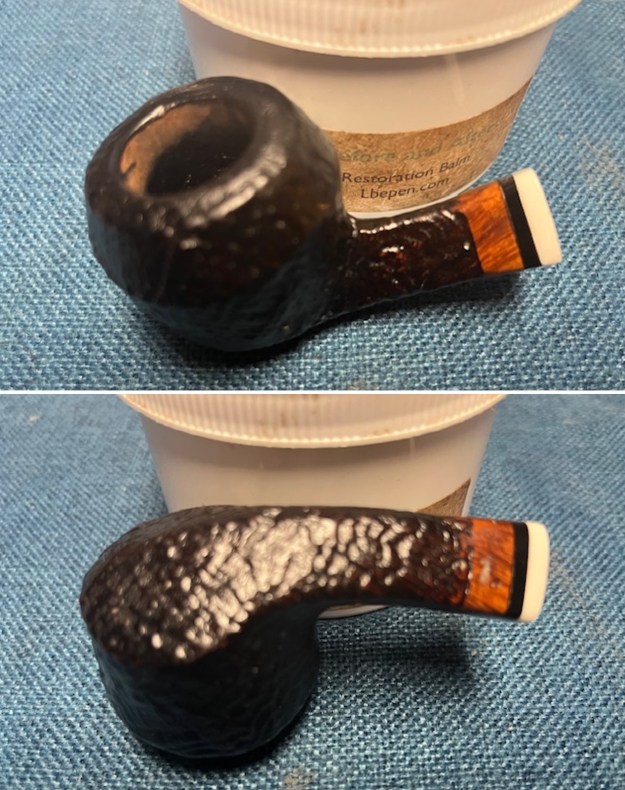
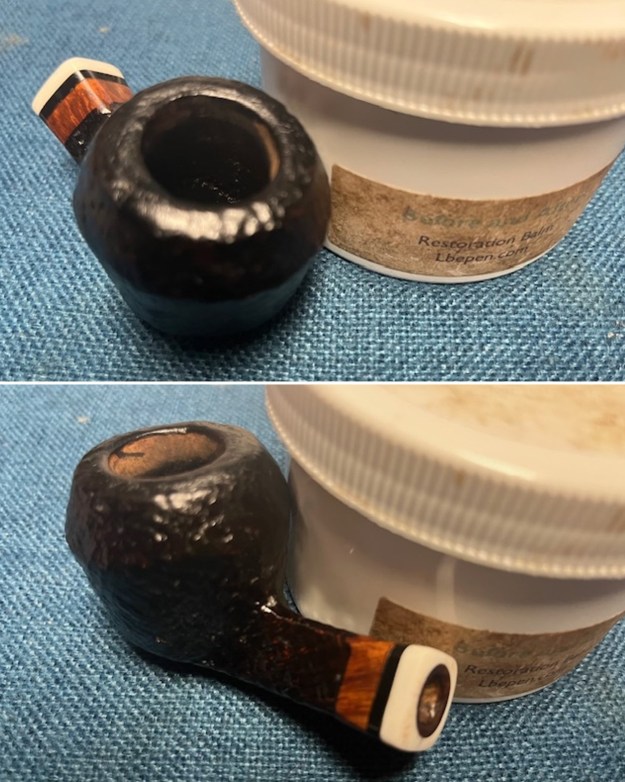
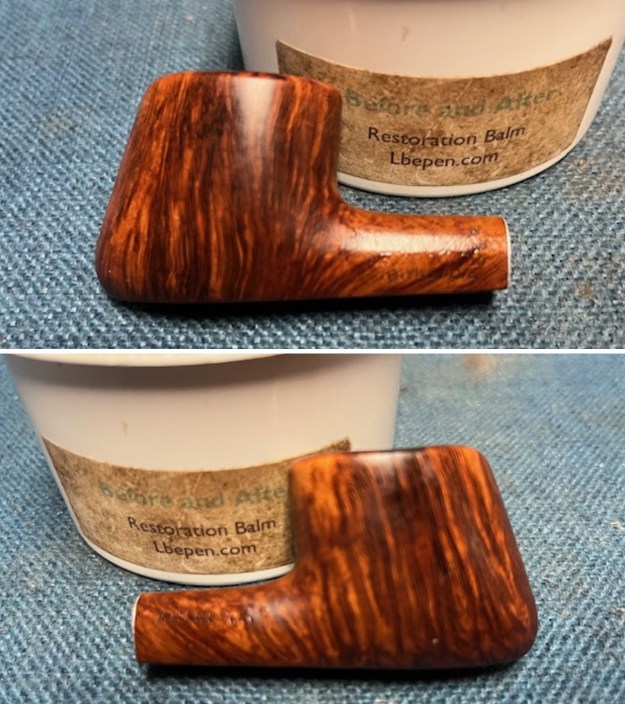
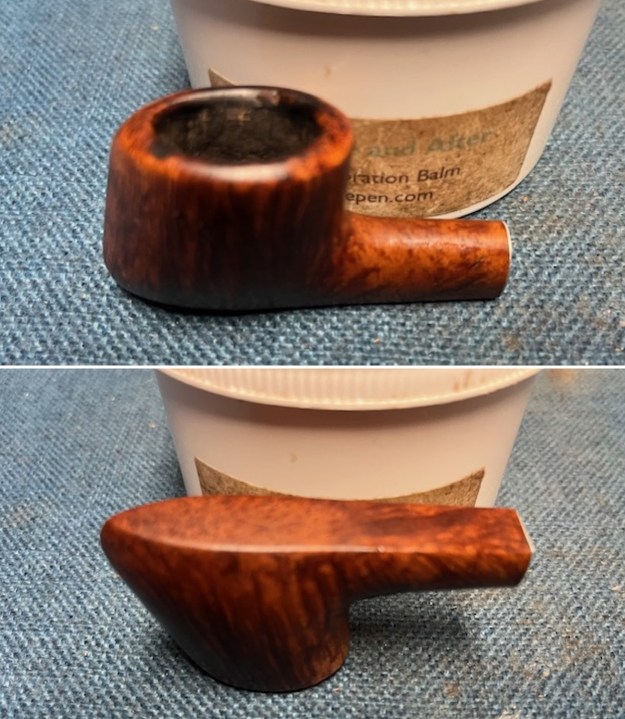
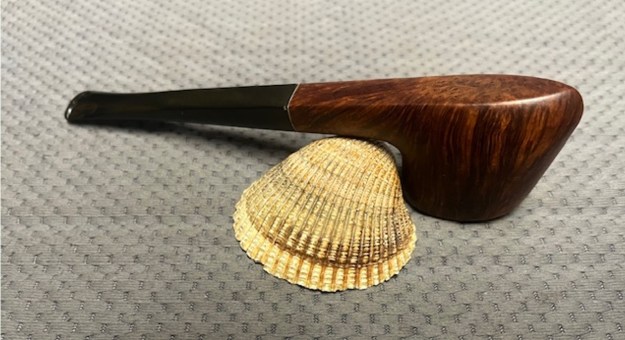
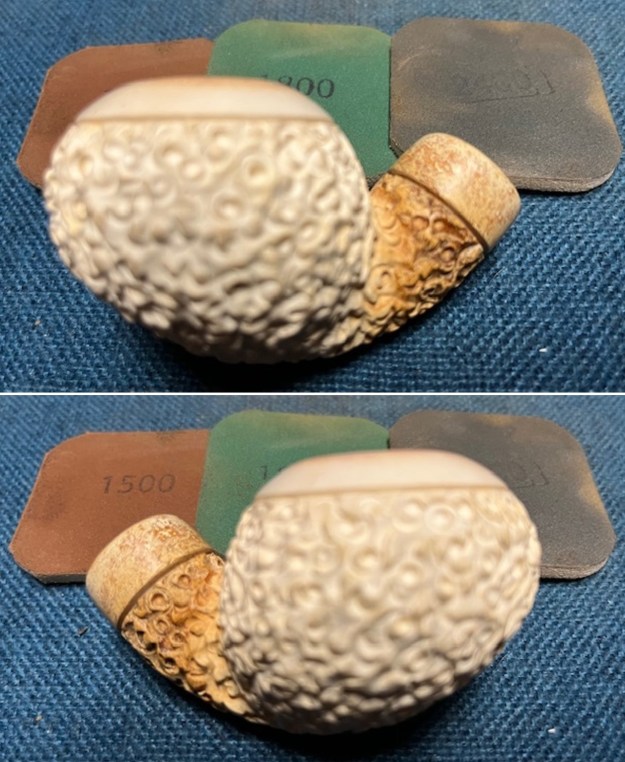
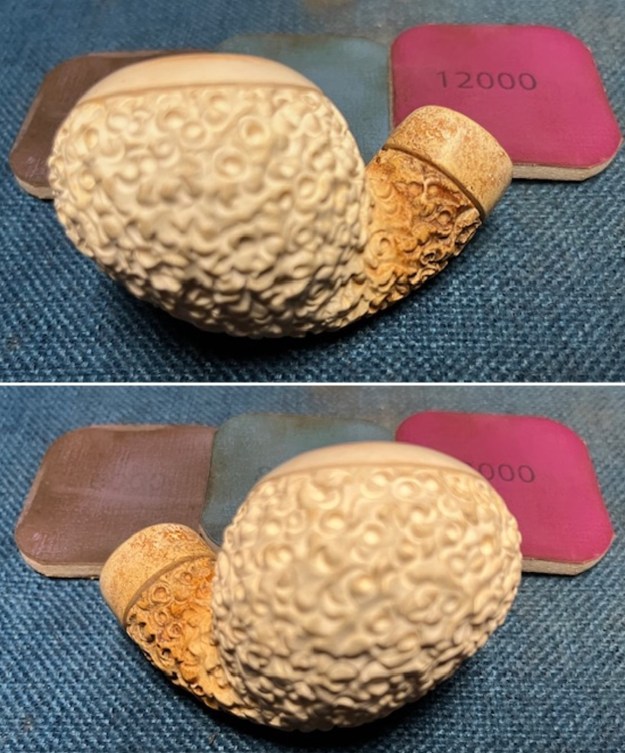
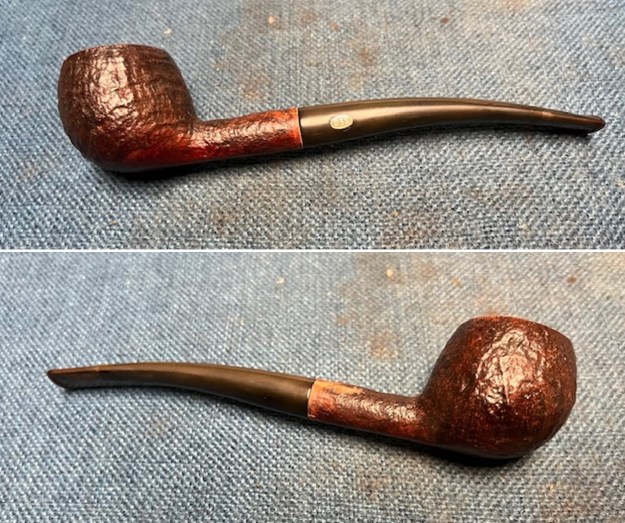
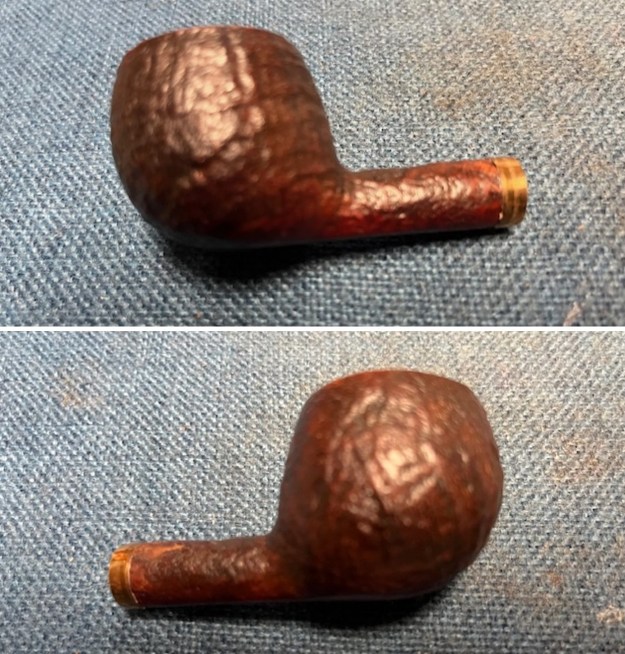
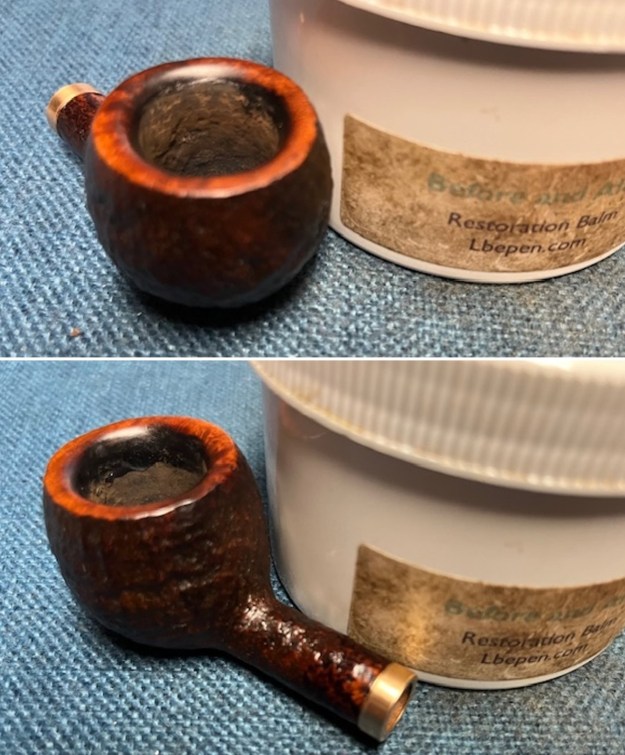
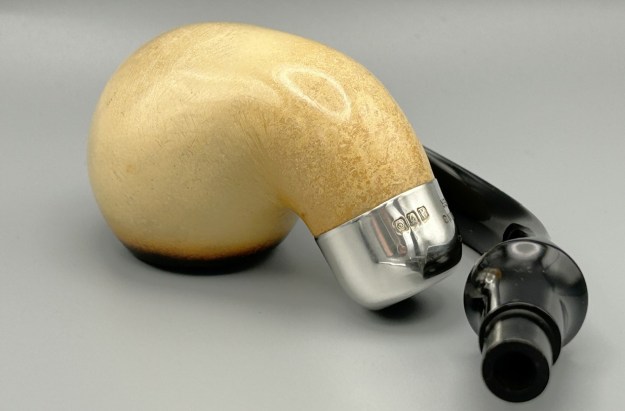
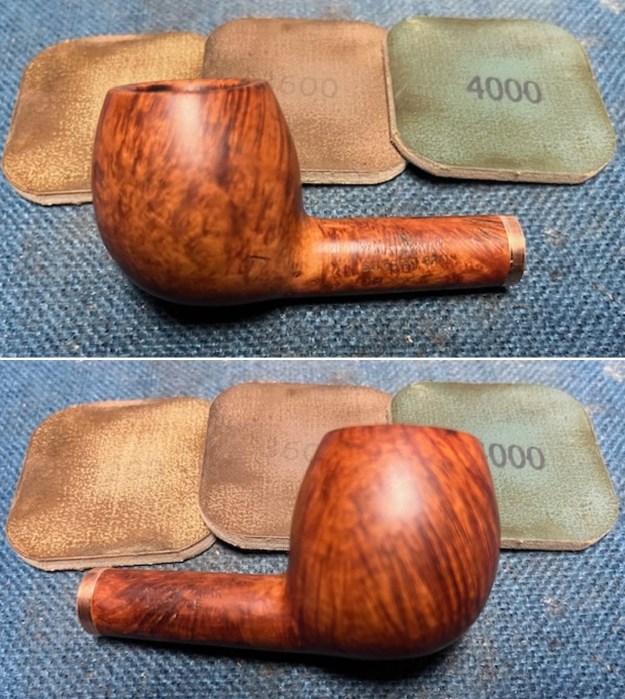
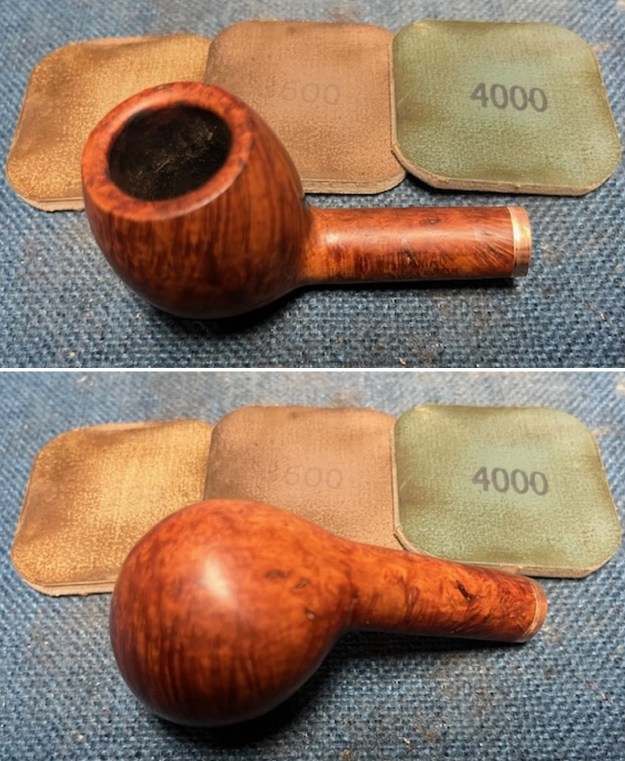
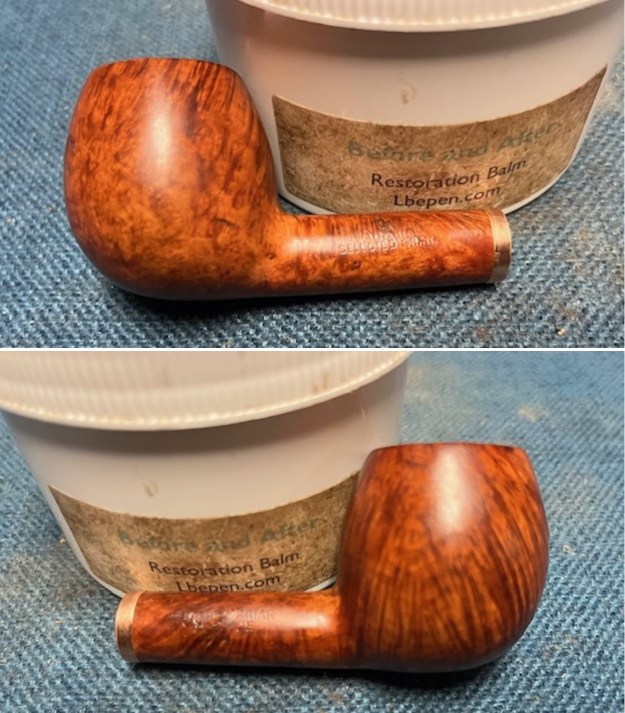
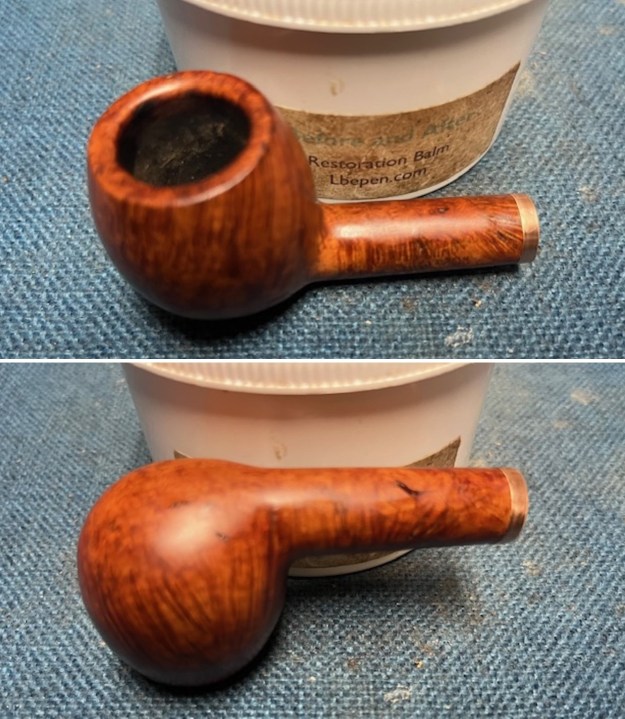
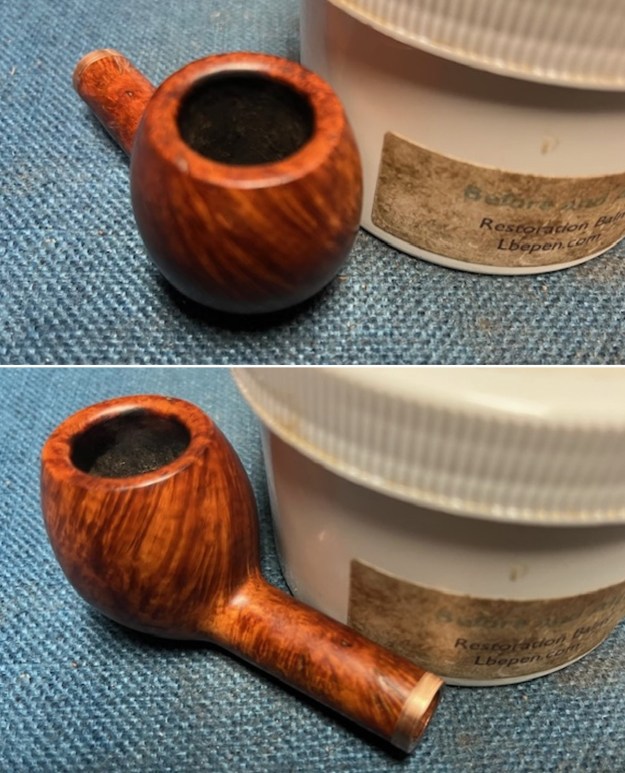
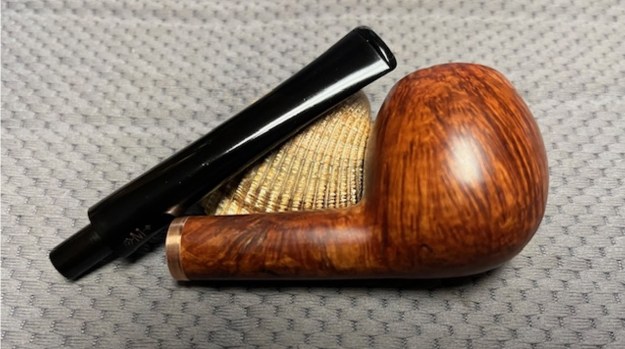
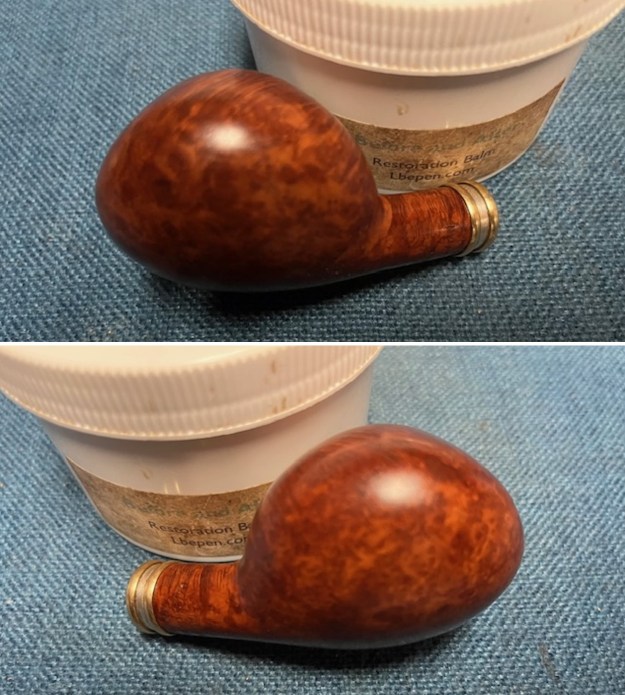
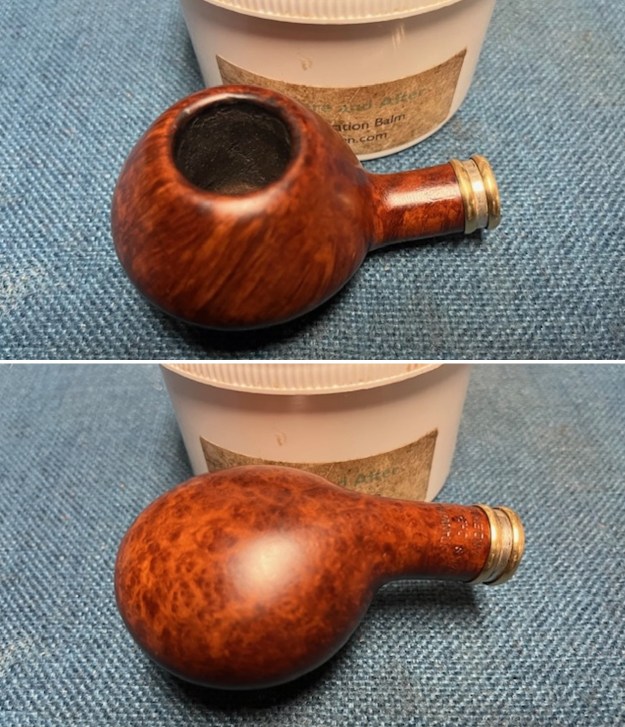
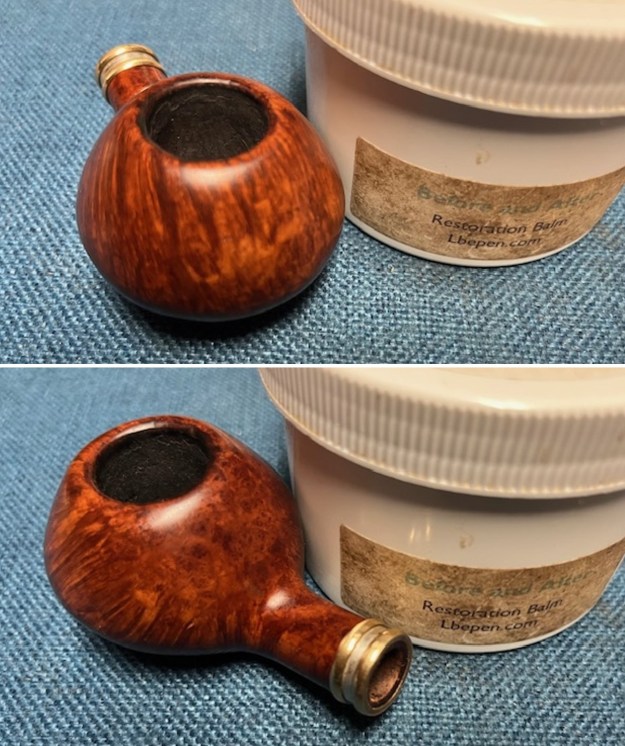
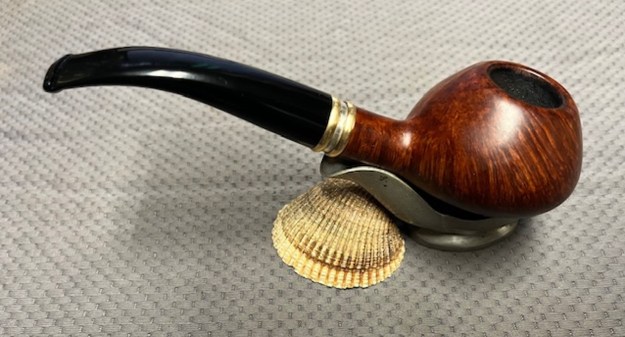
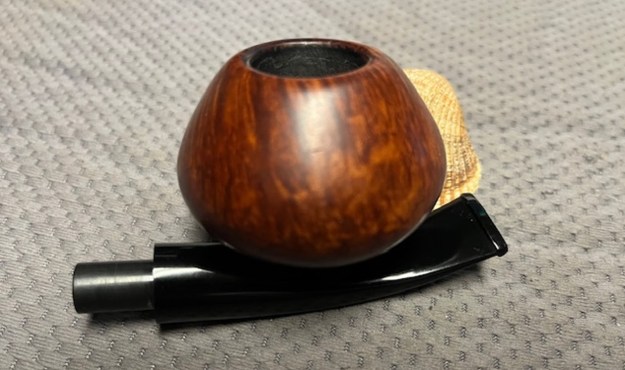
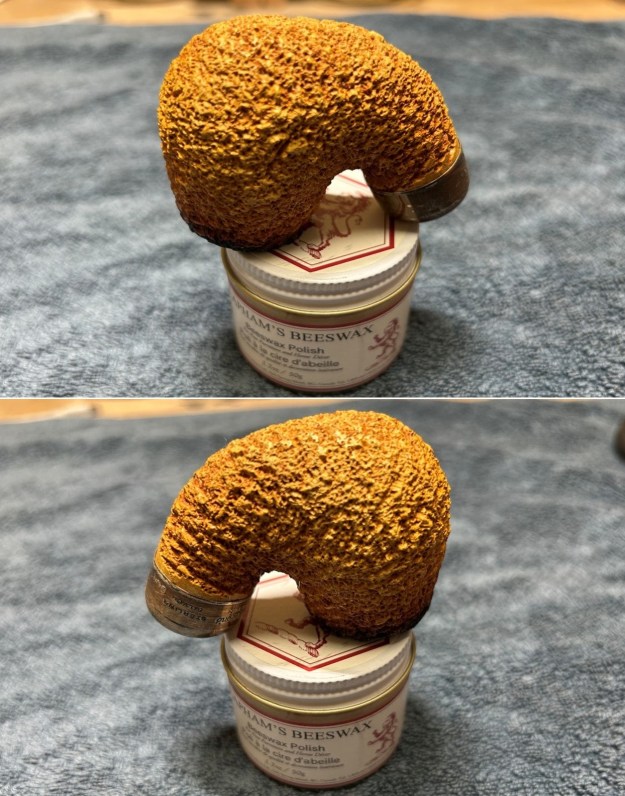
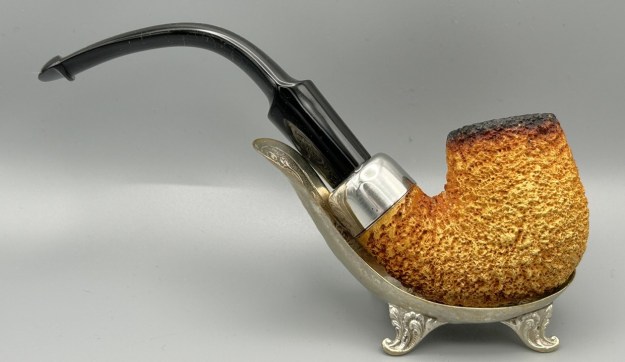
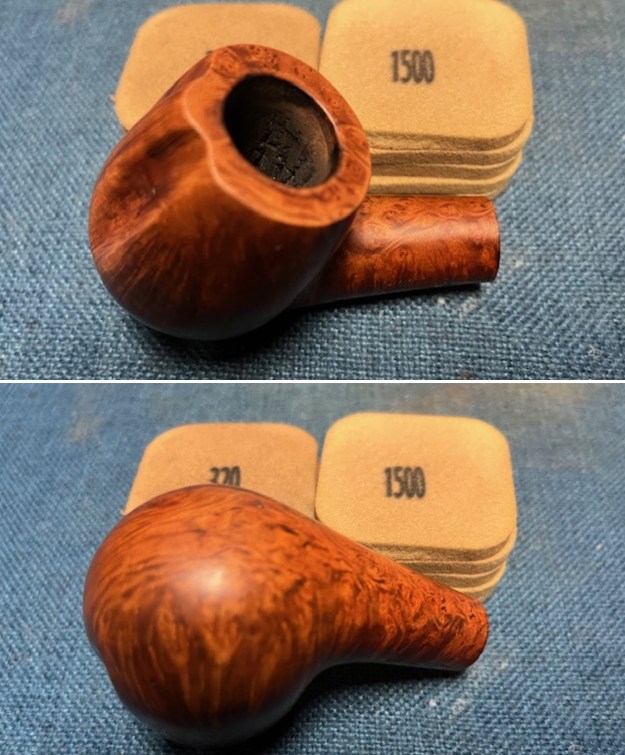
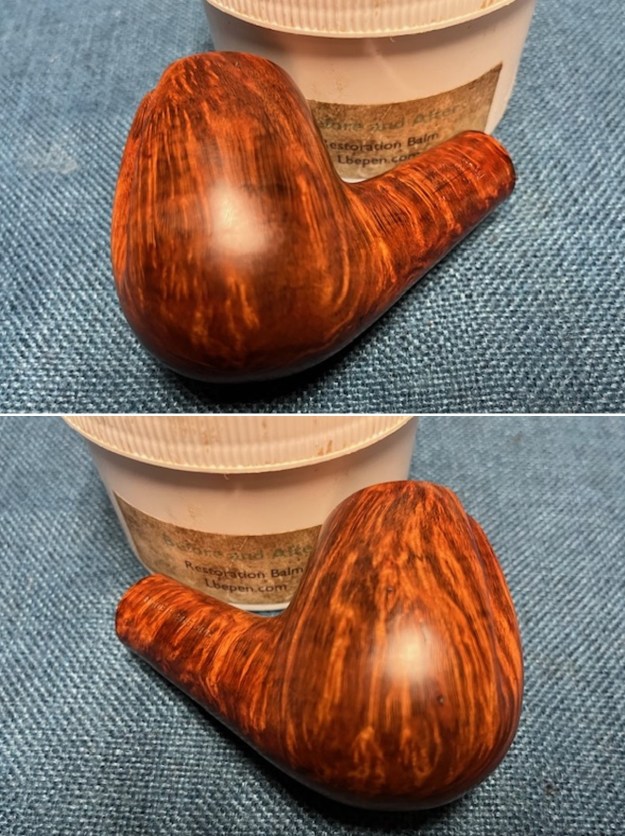
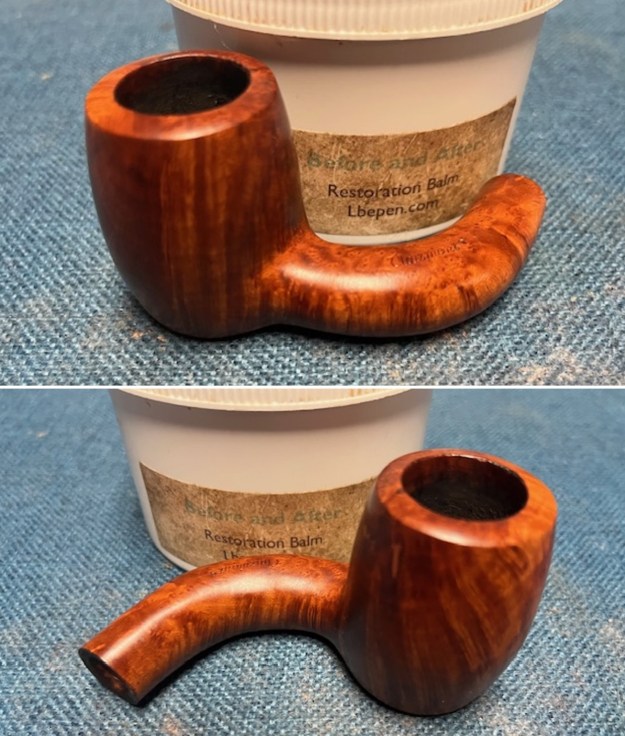
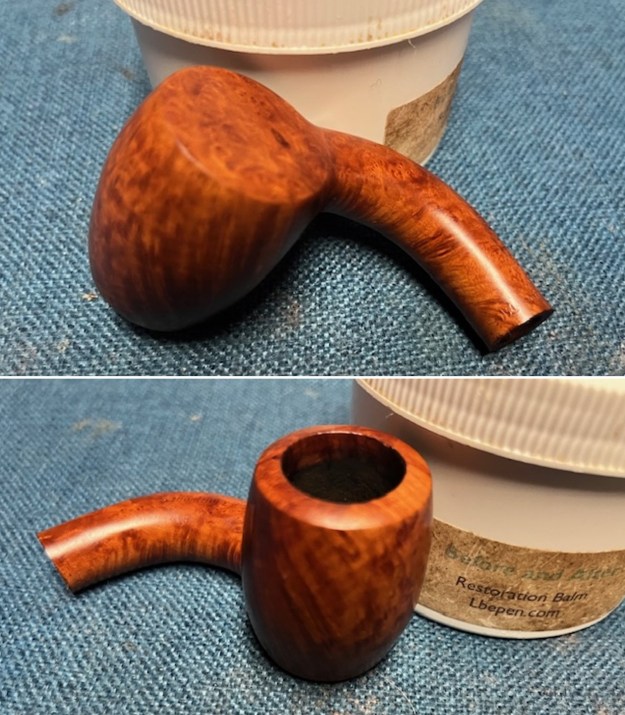
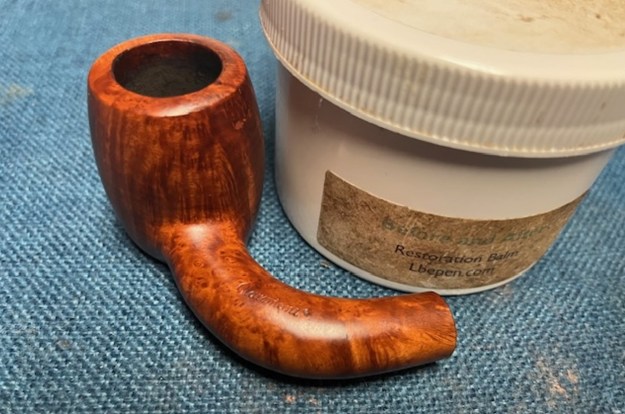
 I worked some Before & After Restoration Balm into the surface of the briar with my fingertips to clean, enliven and protect the briar. I let the balm sit for 15 minutes and then buffed with a cotton cloth to raise the shine. The photos show the bowl at this point in the restoration process.
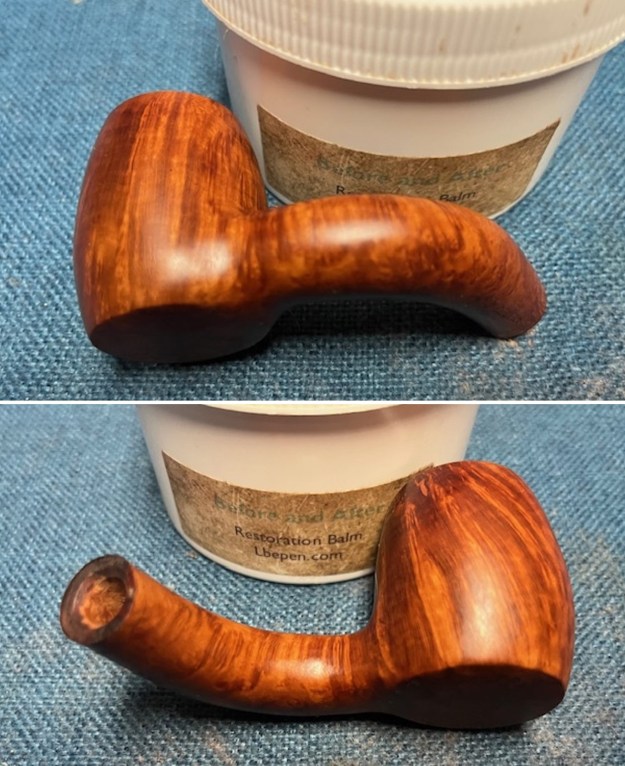
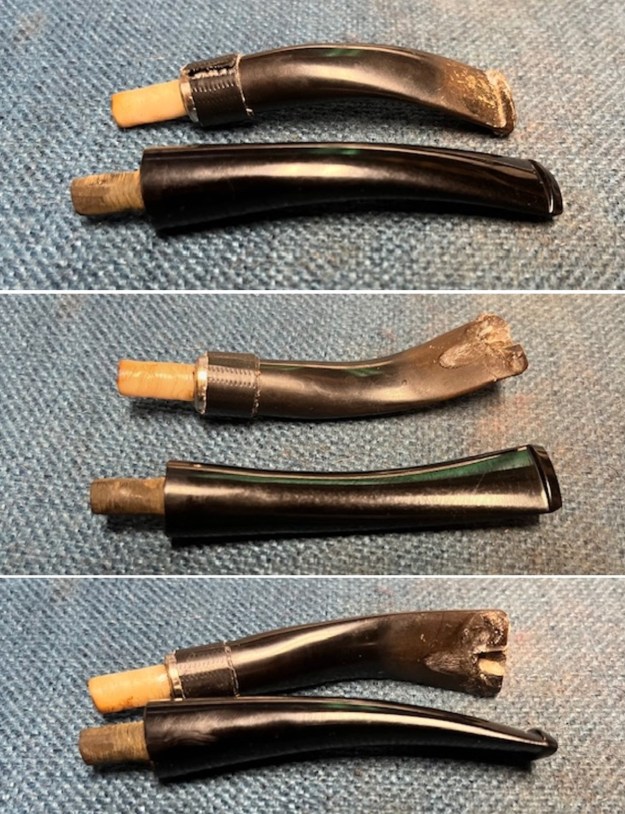
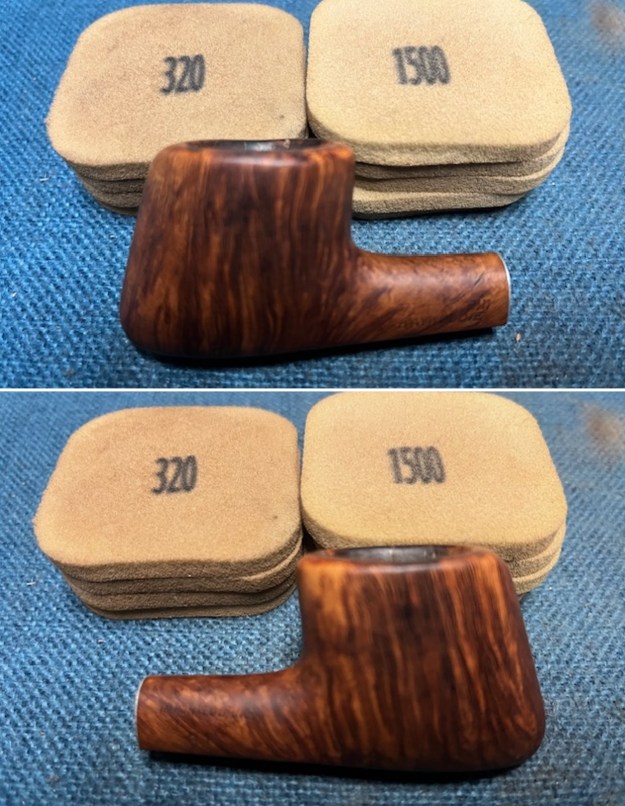
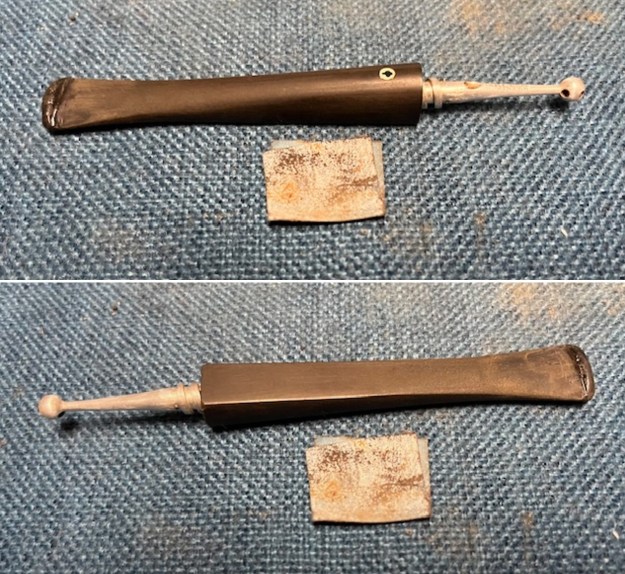
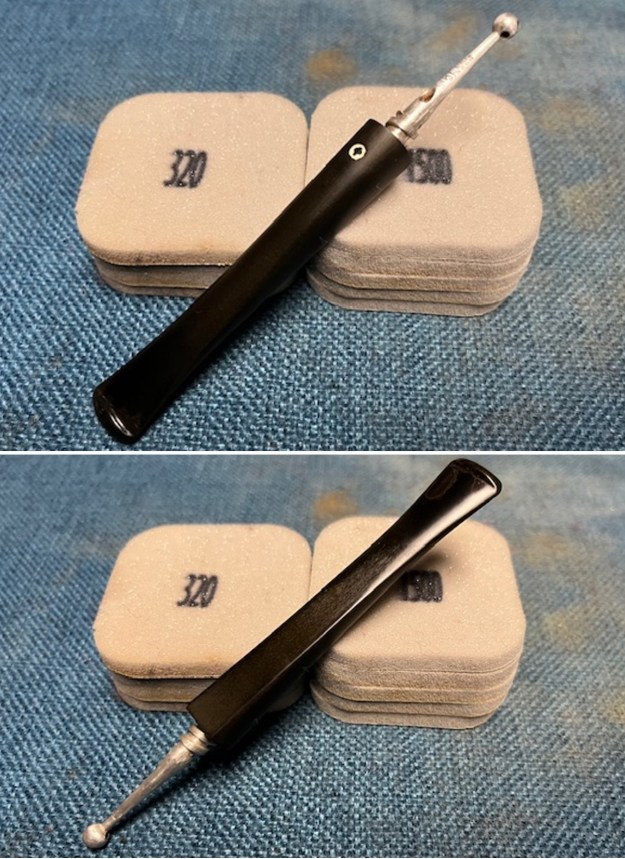
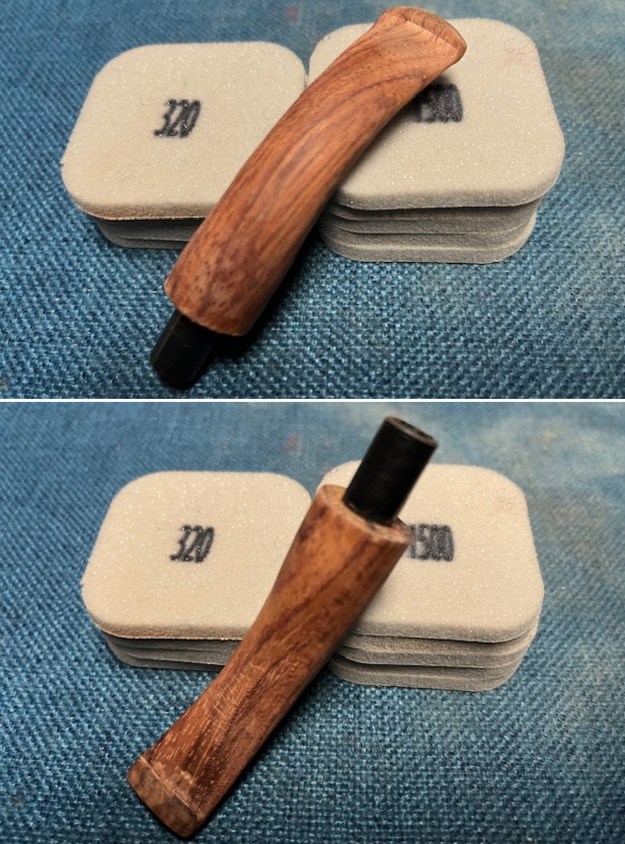
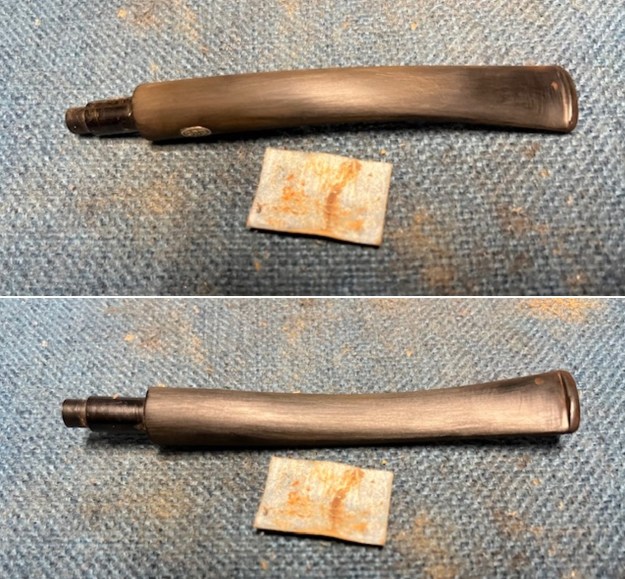
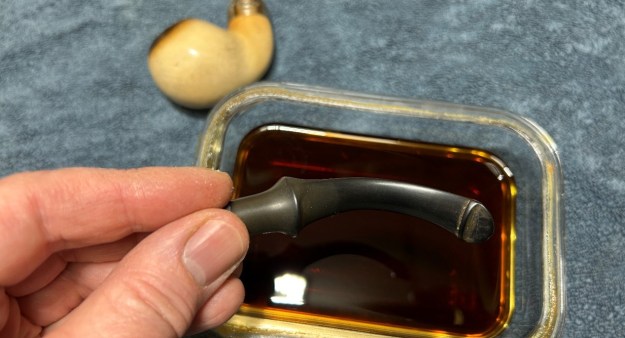
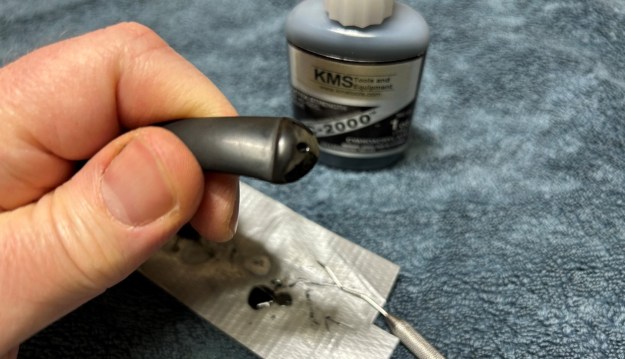
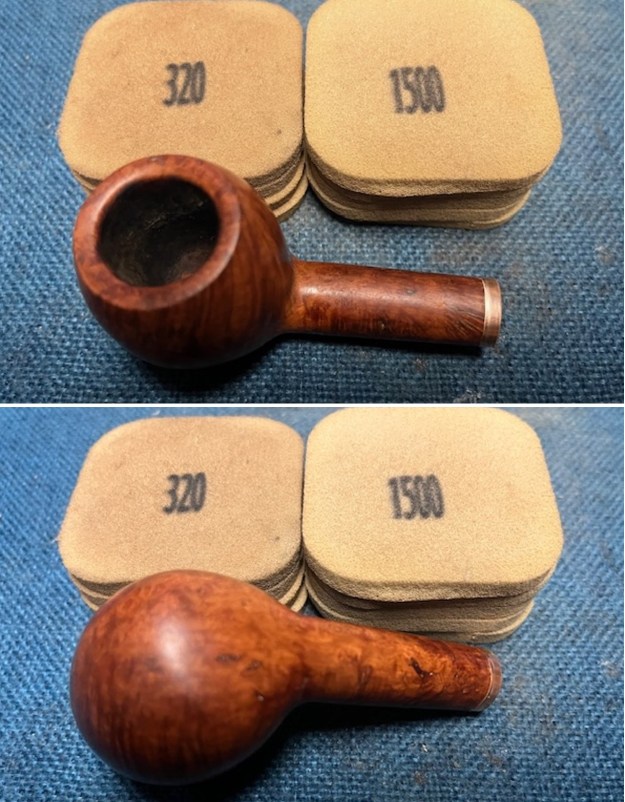
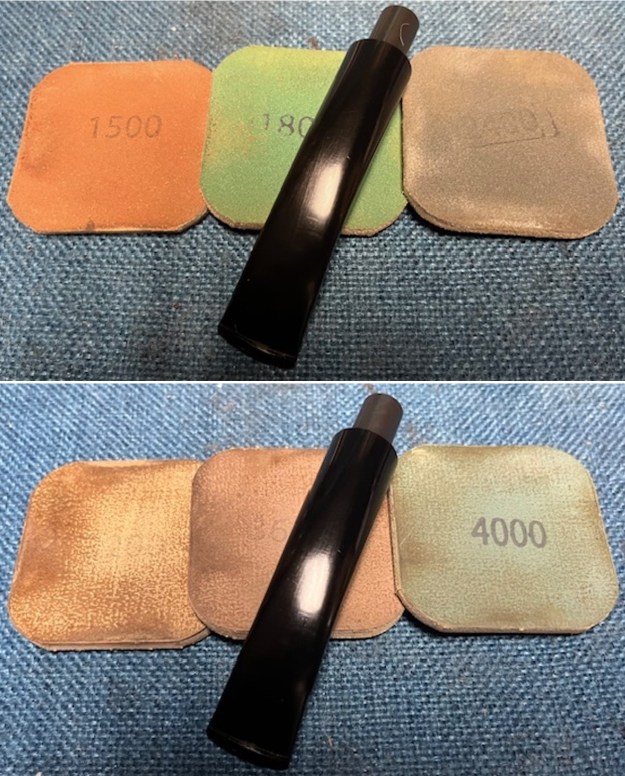
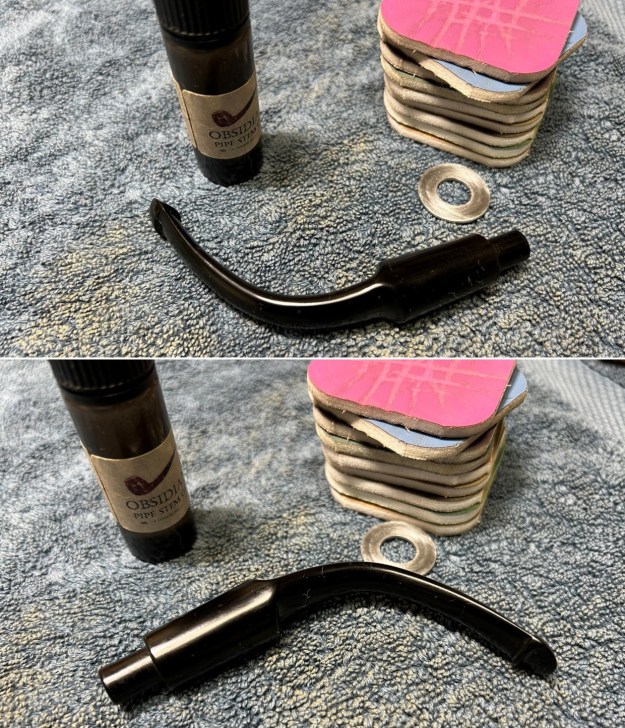
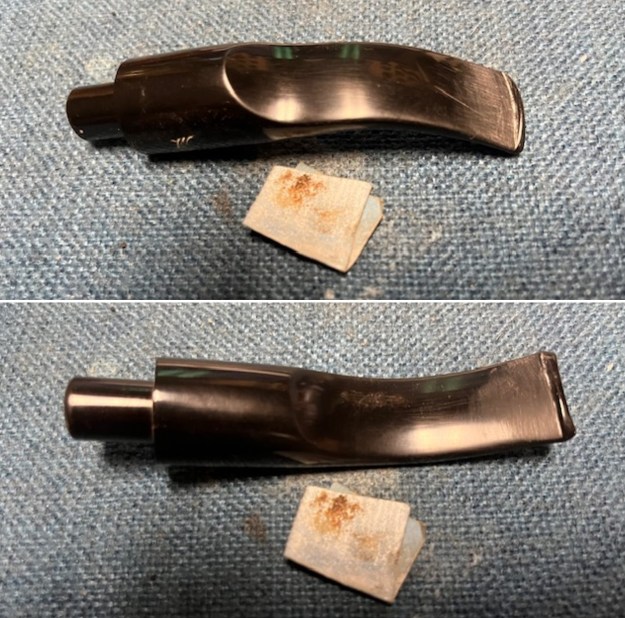
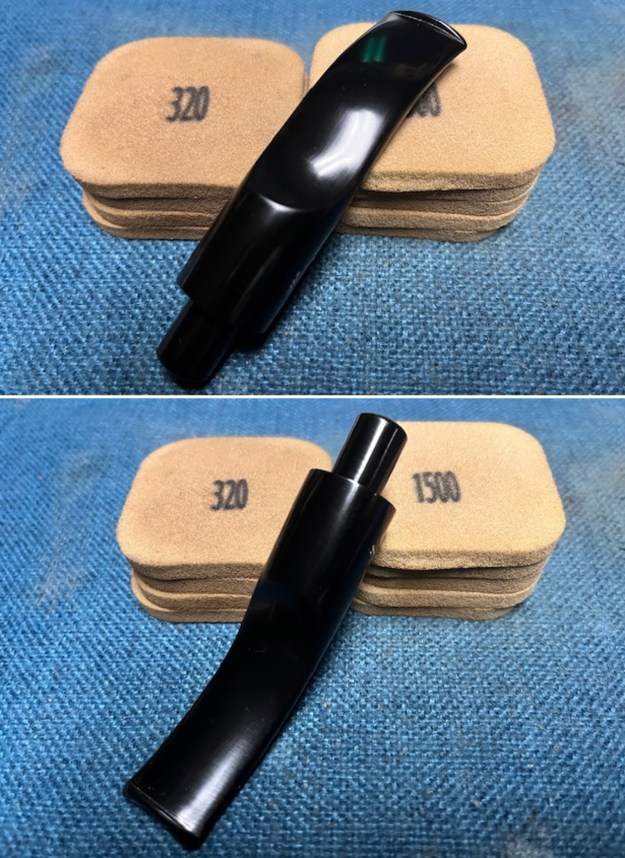
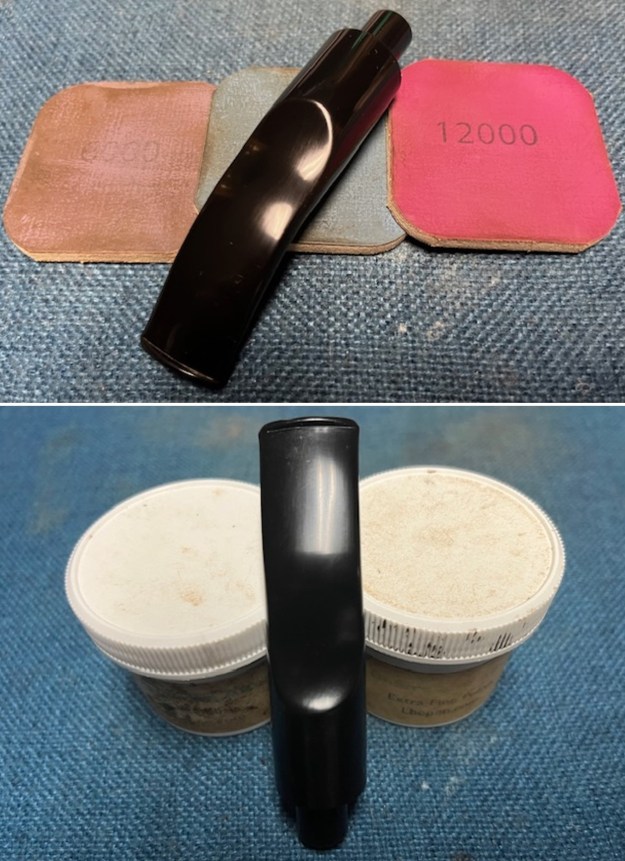
 I set the bowl aside and turned my attention to the stem. I sanded the stem with 320-3500 grit sanding pads to remove the tooth marks and chatter against the button edge. I wiped it down after each sanding pad with a damp cloth. Once it was finished the stem looked really good.
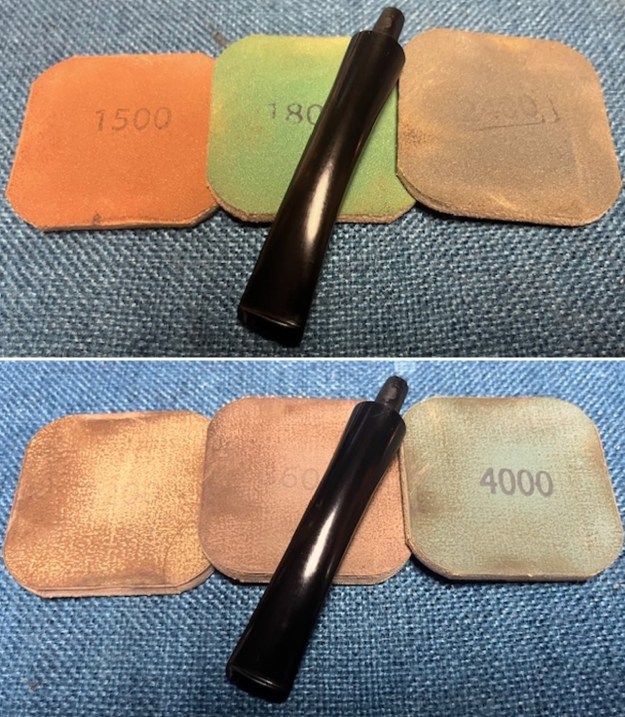
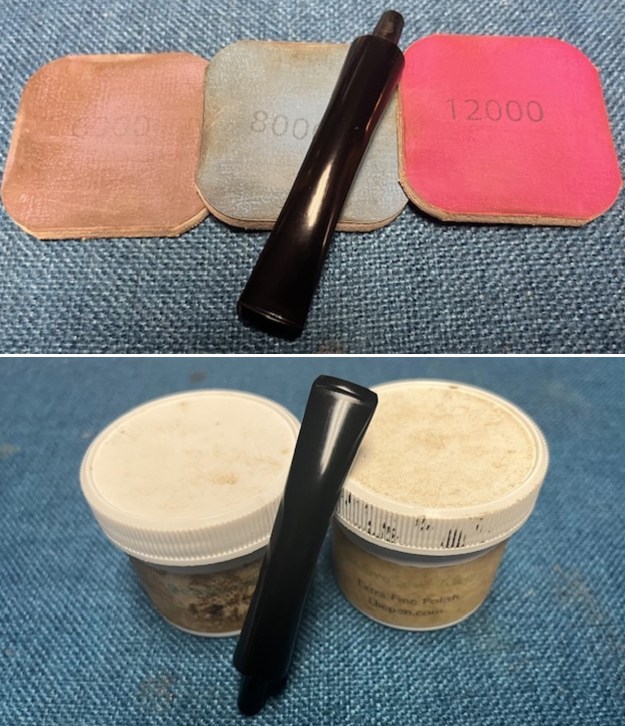
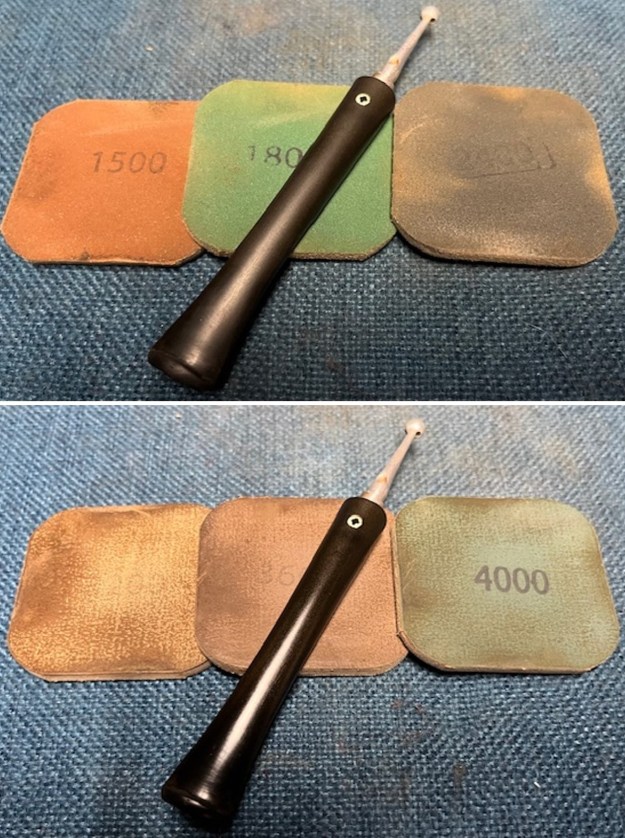
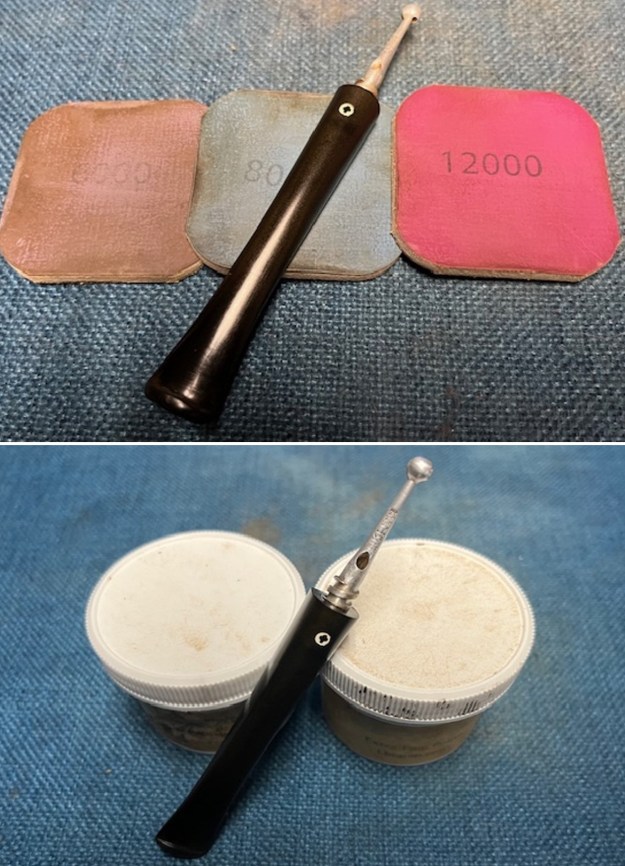
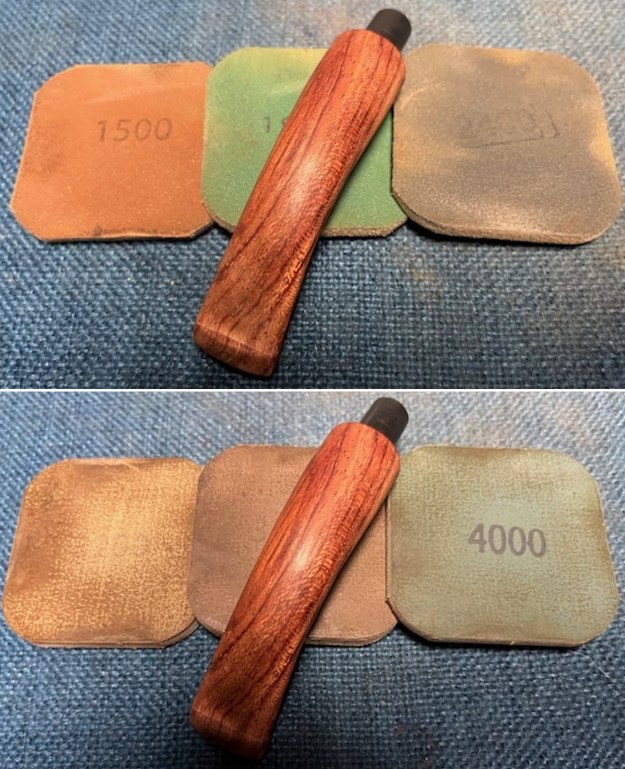
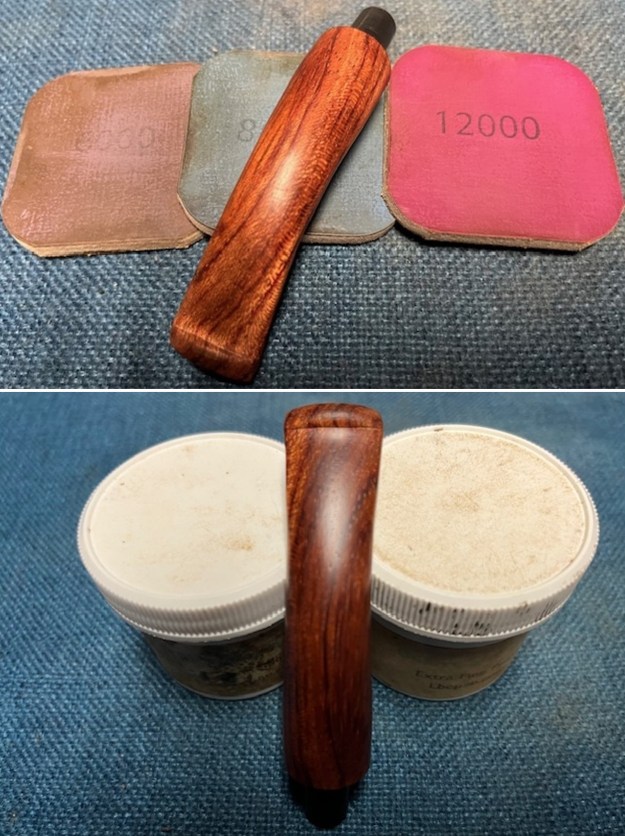
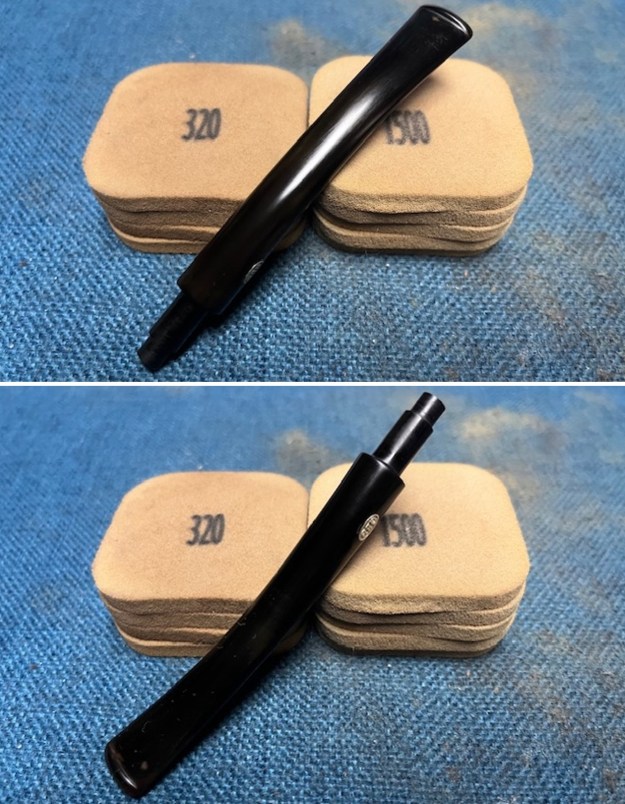
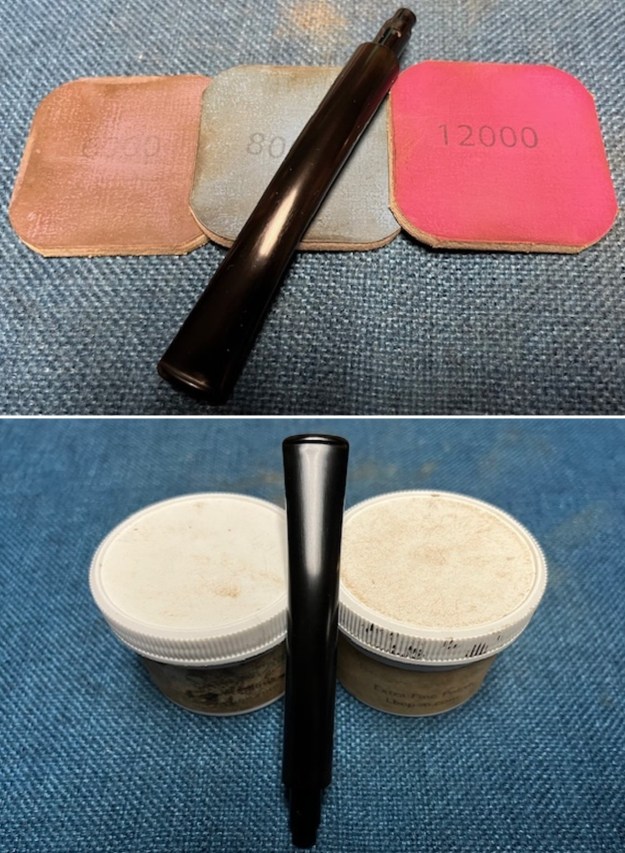
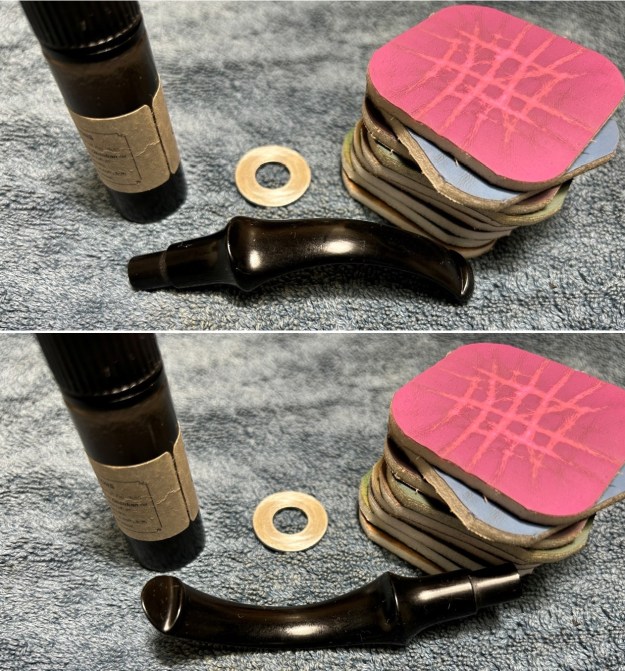
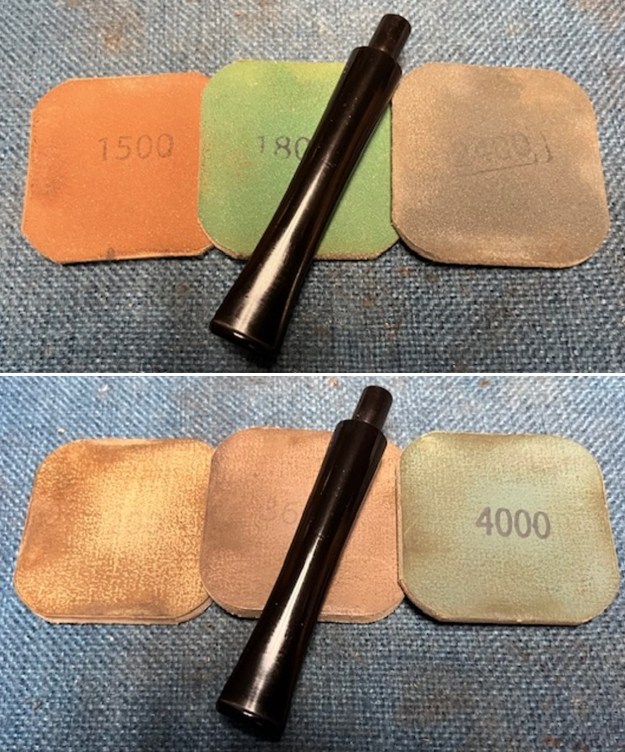
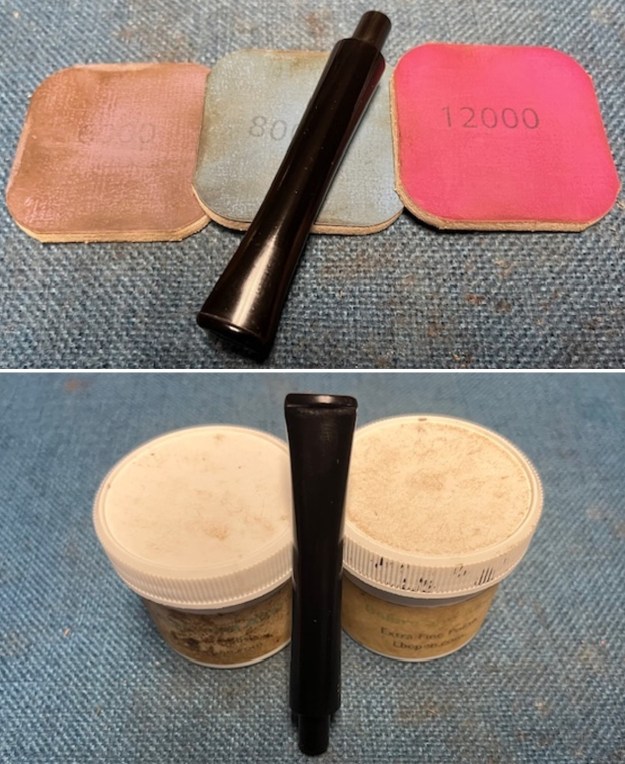
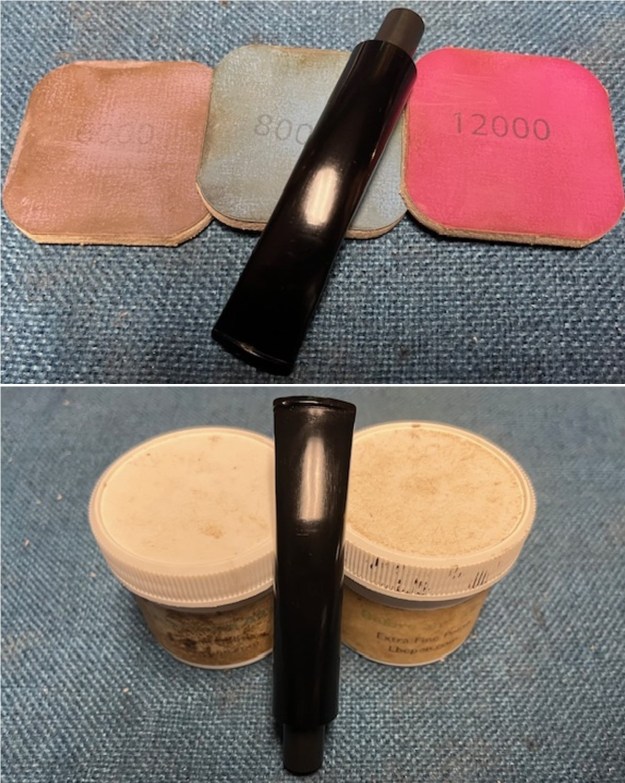
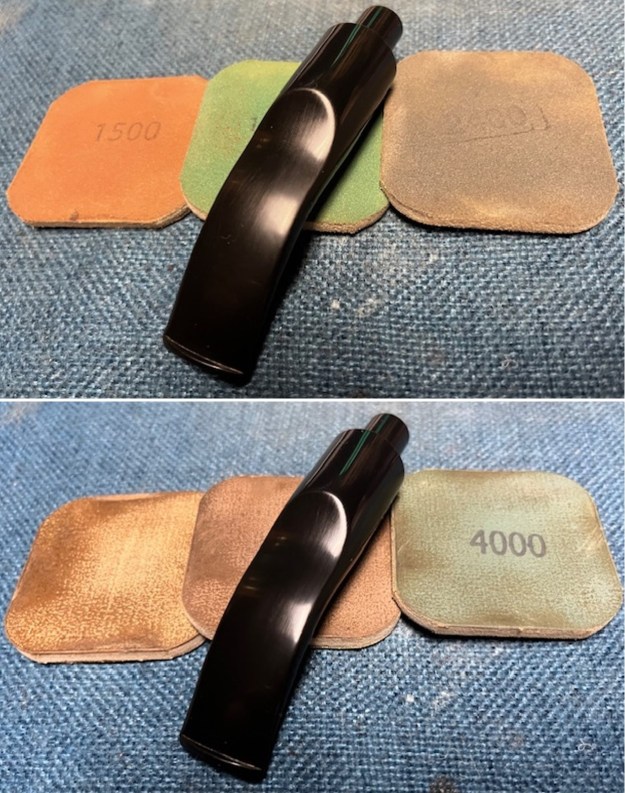
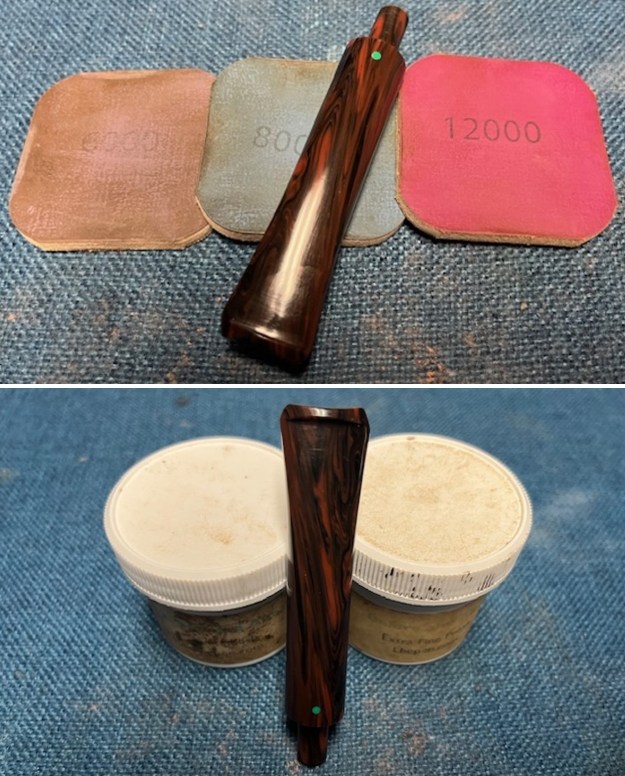
 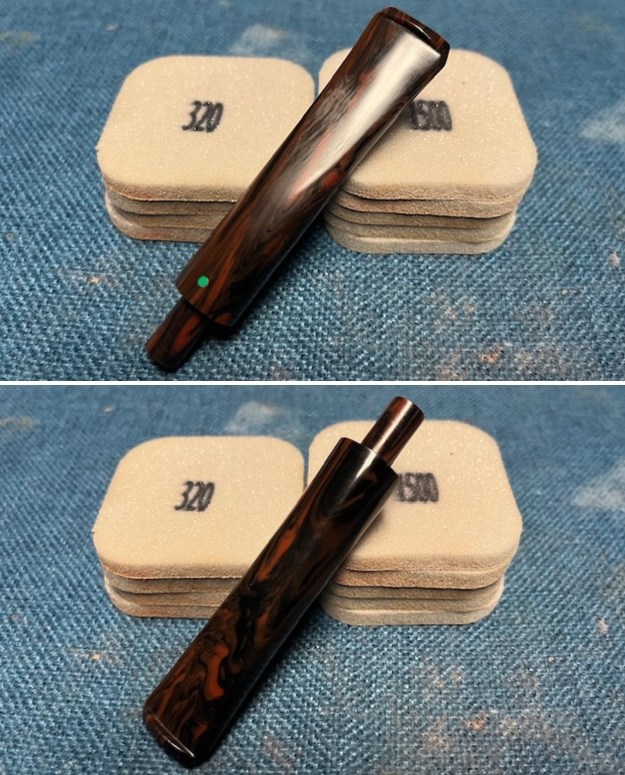 I polished the stem with micromesh sanding pads – dry sanding with 1500-12000 grit sanding pads. I wiped it down after each sanding pad with Obsidian Oil. I polished it with Before & After Pipe Stem Polish – both Fine and Extra Fine.
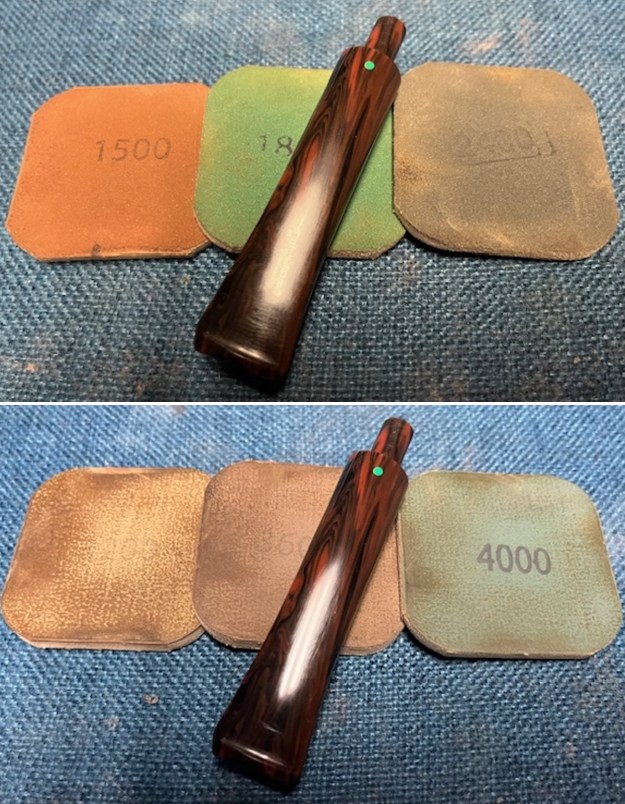
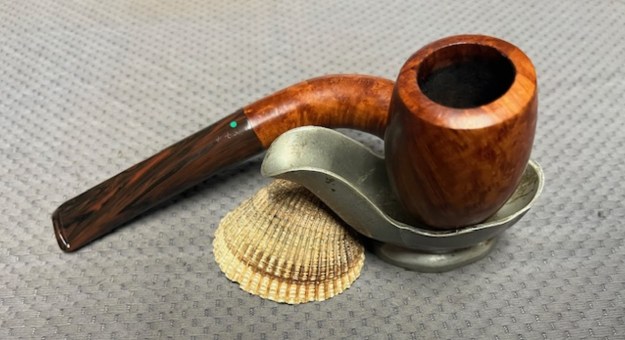
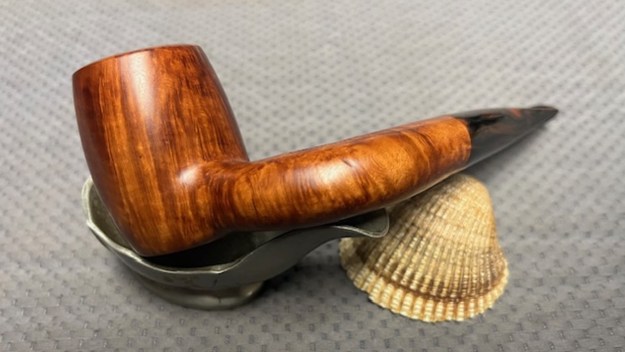
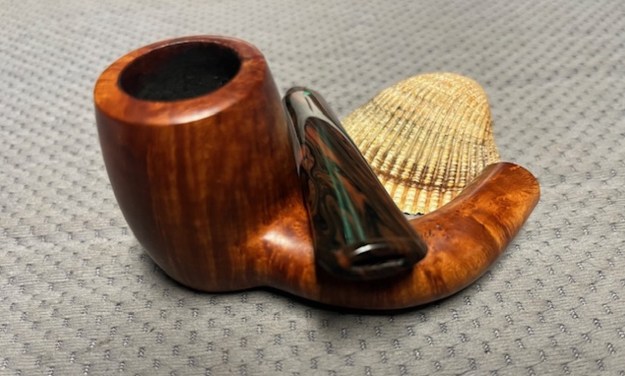
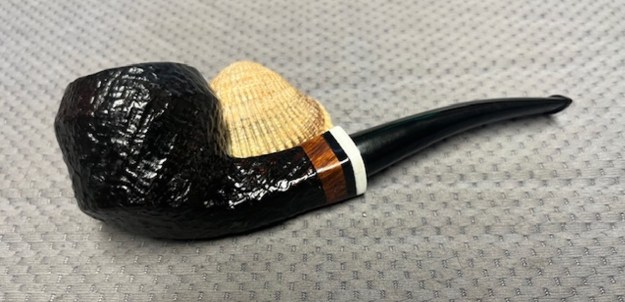
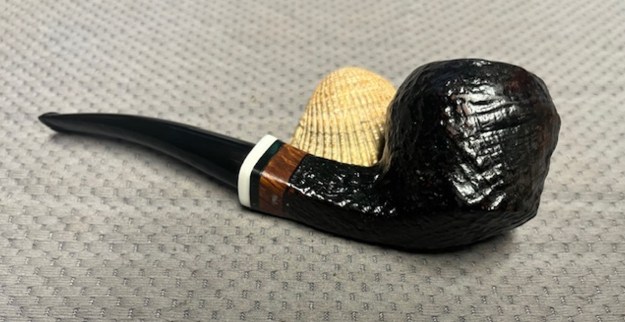
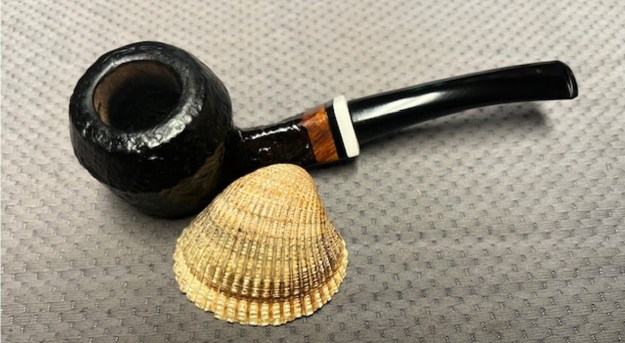
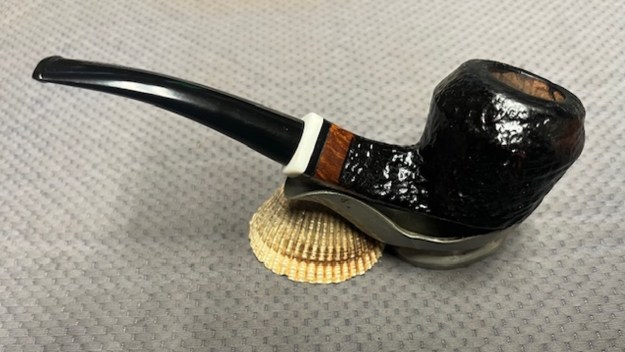
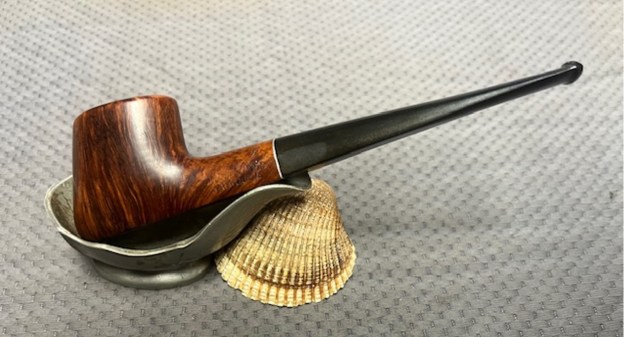
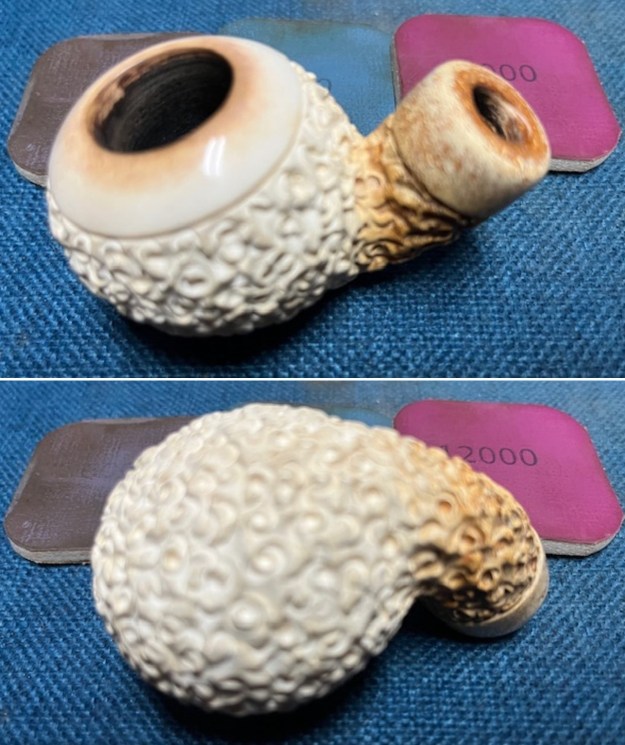
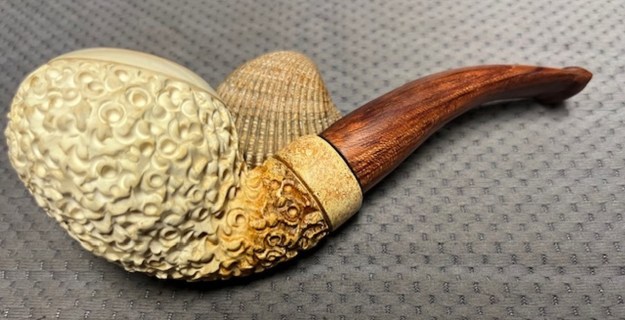
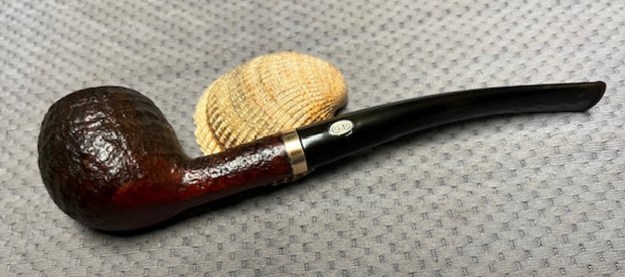
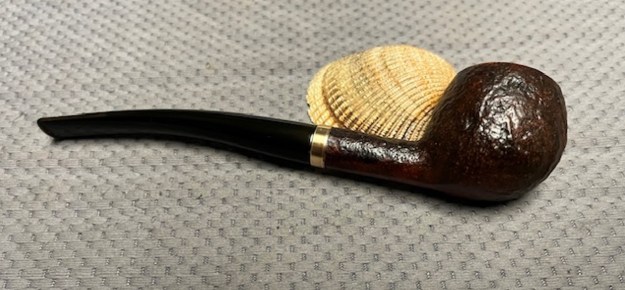
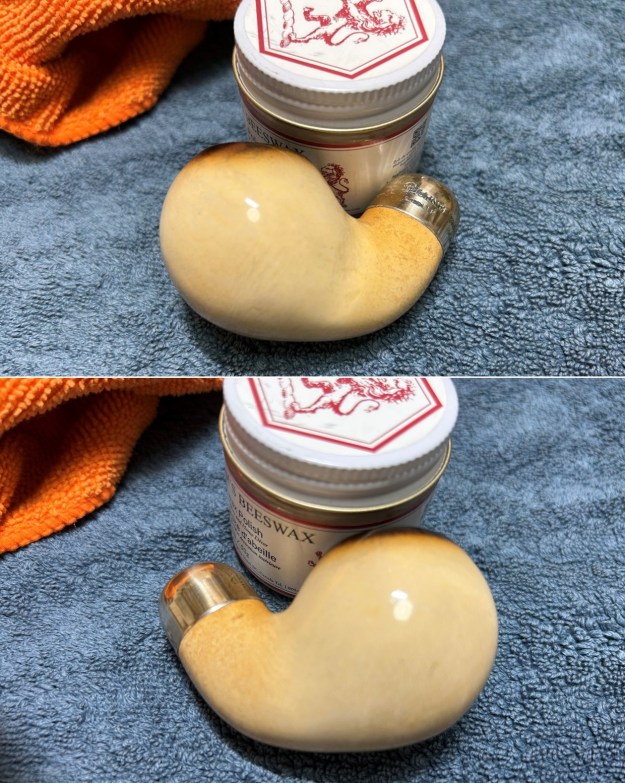
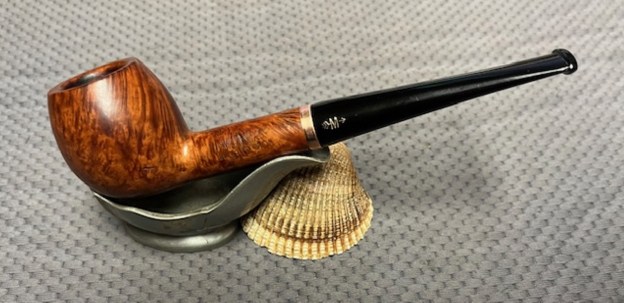
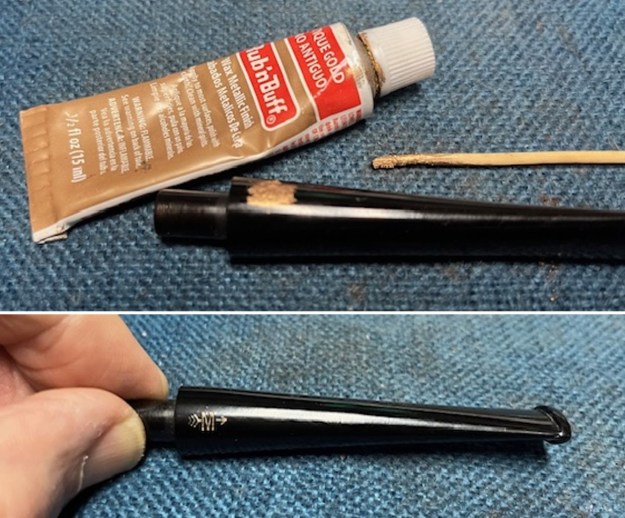
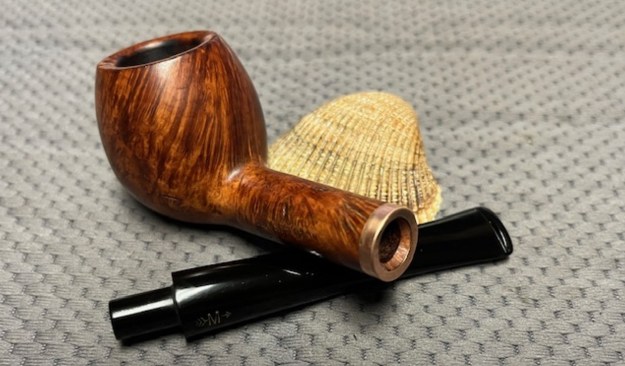
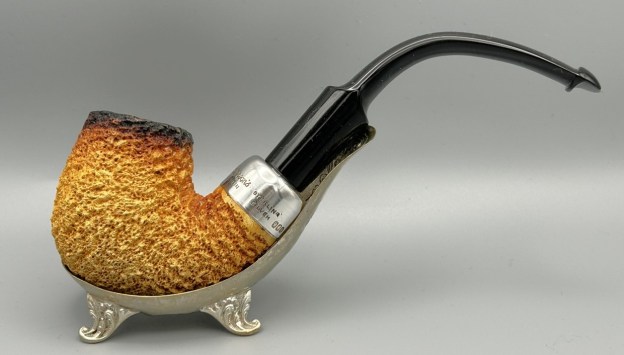
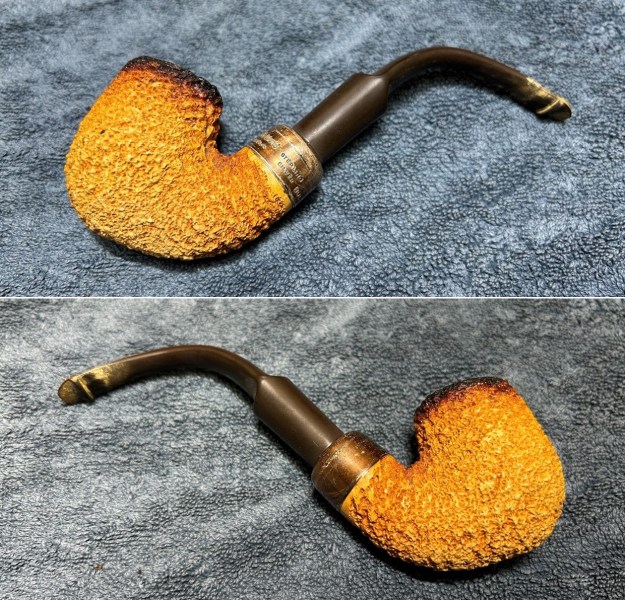
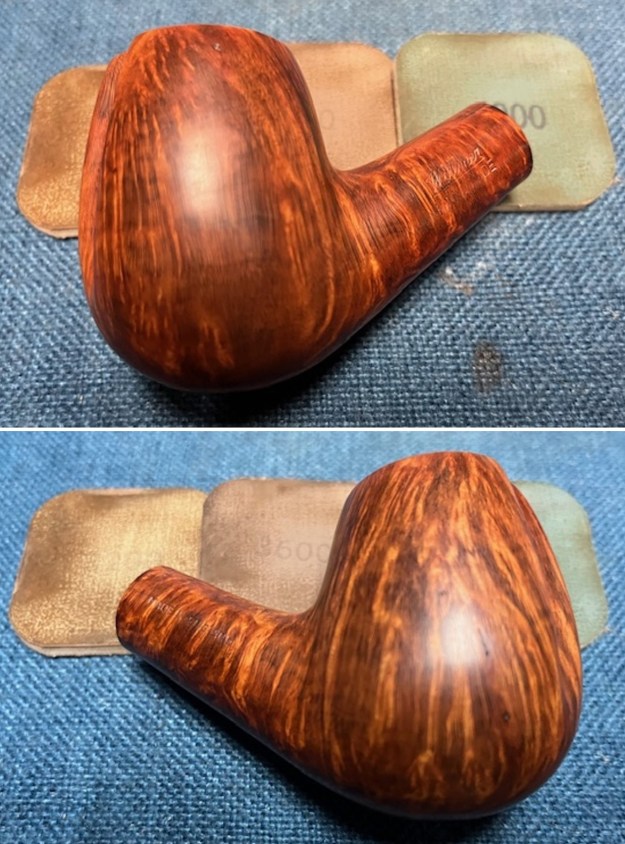
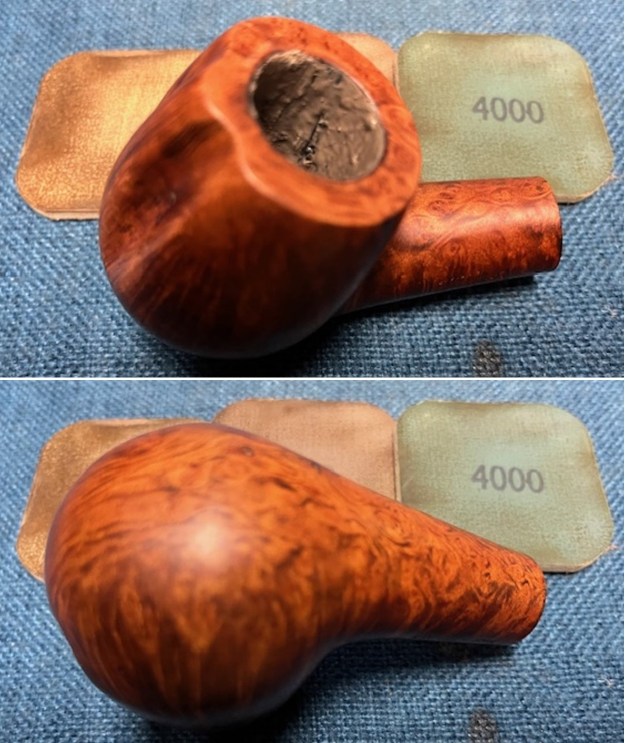
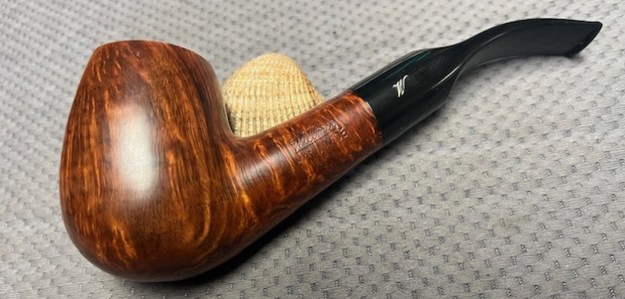
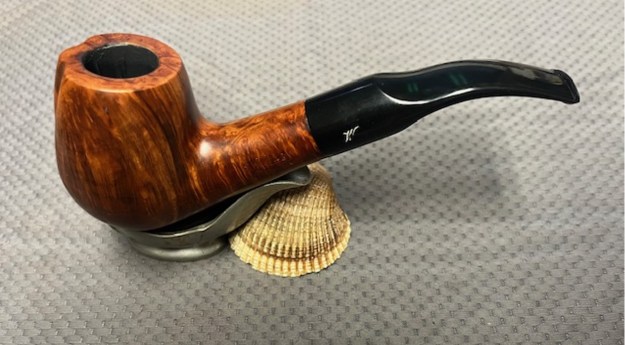
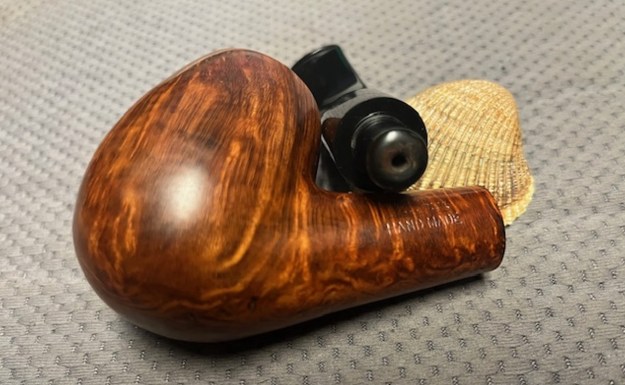
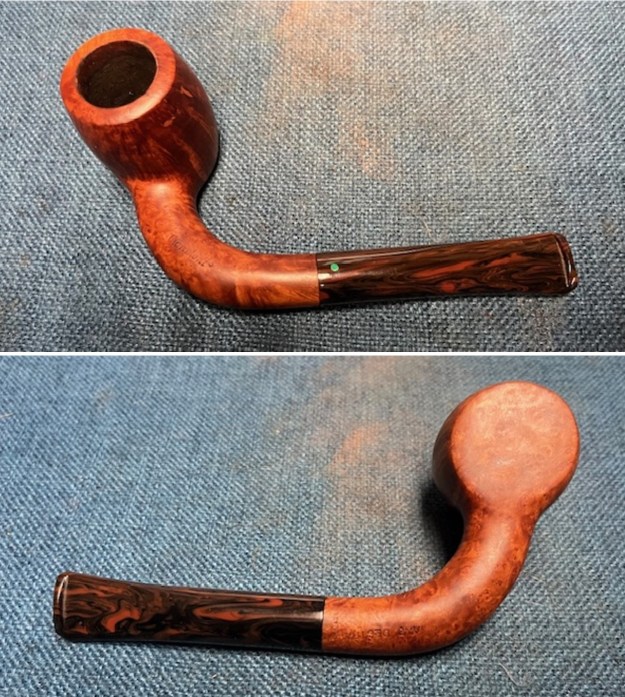
 I am excited to finish this Tom Spanu Handmade Clairmont 1 Ano Destra with a Cumberland acrylic taper stem. I put the pipe back together and buffed it with Blue Diamond on the buffing wheel. It looked excellent without the damaged spacer on the stem. The fit was excellent. I gave the bowl multiple coats of and the stem multiple coats of carnauba wax. I buffed the pipe with a clean buffing pad to raise the shine and hand buffed it with a microfibre cloth to deepen the shine. It is fun to see what the polished bowl looks like with the grain just popping on all sides. This Spanu Made Clairmont 1 Ano Destra Handmade is nice looking and the pipe feels great in my hand. It is light and well balanced. Have a look at it with the photos below. The dimensions are Length: 6 inches, Height: 1 ¾ inches, Outside diameter of the bowl: 1 ¼ inches, Chamber diameter: ¾ of an inch. The weight of the pipe is 50 grams/ 1.76 ounces. It is a beautiful pipe and one that will be on the Italian Pipe Makers Section of the rebornpipes store soon. If you are interested in adding it to your collection let me know. Thanks for walking through the restoration with me as I worked over this pipe. Thanks to each of you who are reading this blog.