Guest Blog by Robert M. Boughton
Member, International Society of Codgers
Member, North American Society of Pipe Collectors
http://www.naspc.org
http://www.roadrunnerpipesnm.biz
http://about.me/boughtonrobert
Photos © the Author 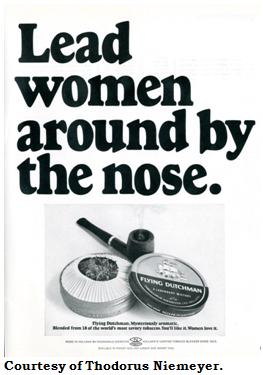
INTRODUCTION
I came across a more subtle but still rather sexist yet humorous comment concerning the perceived relationship of women to pipe enjoyment, this time in the older ad above for Flying Dutchman tobacco. No longer in production, it was an aromatic blend of Kentucky Burley, Cavendish, Virginia, Oriental Turkish and “Other/Misc.” Sounds pretty good to me. But it makes me flash on an email I received from a friend on Smokers Forums UK. Her name is Liz. She wrote:
“I always wanted to smoke a pipe even when I was a child. I had seen photos of my dad smoking a pipe but he had quit smoking by the time I was born. I started smoking cigarettes in my early teens and the desire to smoke a pipe became stronger once I became an adult and started to do a lot of camping. I thought it would be very nice to sit by the campfire and smoke a pipe.”
Here comes the sad crux of Liz’ response. “But as a woman, I never felt comfortable or confident enough to go in a store and buy one. Finally in 2004 I got the nerve to go in the tobacco shop and buy a pipe. I used the excuse that I was buying it for my brother. [Emphasis added.] …I had no one to teach me anything about smoking the pipe so what I learned I found on the internet.”
I was struck by the eloquent and poignant plight of a woman I have come to think of as supremely confident and self-assured in all matters, albeit that our friendship is based in the ether world. This is a woman I should very much like to meet some day in person. Liz’ reluctance to purchase a tobacco pipe, at a tobacconist, for herself as a woman who had always wanted to partake of the pleasures she rightly imagined she would discover (around a campfire, no less, and as an alternative to the pernicious and addictive additives in cigarettes), plucked a mournful acoustic chord in my heart like listening to Albinoni’s Adagio for guitar alone on a torrential night.
This in turn sparked a connection to the woman in my previous blog of this series, the person who inspired me to tackle the subject in the first place with her soft-spoken, somewhat tentative inquiry to Chuck, at my local tobacconist, asking if he had any ladies pipes. After I read with delight and growing admiration for the fine woman Liz’ responses revealed her to be from the several questions I posed to her as a preliminary breaking of the ice in an ongoing interview process, I played back my mental tape of Chuck’s encounter with the good lady in search of a suitable pipe, and doing so recalled the trepidation in her voice and body language. With some amazement, I realized that she had probably worked herself up for untold years to that moment when at last she was determined to ask for that which she had always wanted!
As a man, I am compelled to declare that this clear and present state of social antipathy toward women who wish only to savor a pipe – and indeed the attitude must be widespread, or else I could not have come in contact with two ladies in hardly a month with the same reluctance to buy something so basic that they fancied obtaining – is intolerable. I mean good Lord, have we come so short a distance from the days when women on their own volition and in the strength of groups protested the double standard of cigarette smoking as chic by men while the practice was viewed as vulgar by females? Alas that science was not what it is today, and many beautiful pioneering civil rights women perished early from the intrinsic impurities and carcinogens of cigarettes. And let’s not forget the infamous bra burning demonstration so popular when I was a youngster (and to my natural titillation, no pun intended). With hope, therefore, these blogs will help to alleviate the barriers.
VARIOUS BRAND LADIES PIPES
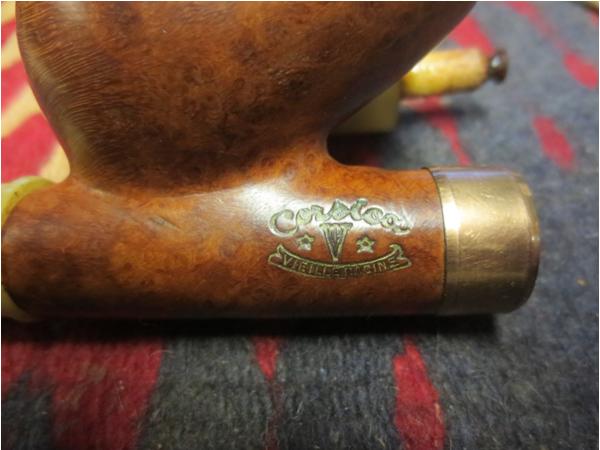
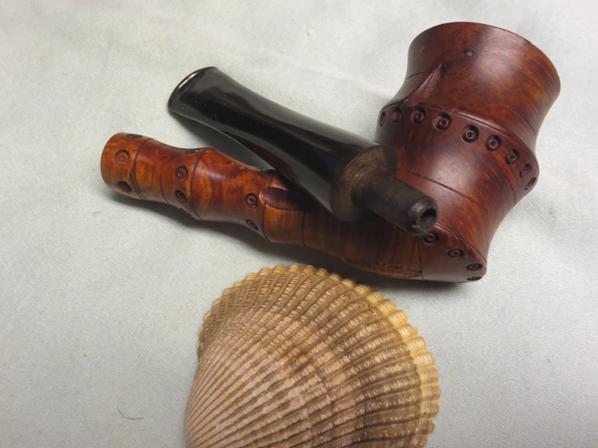
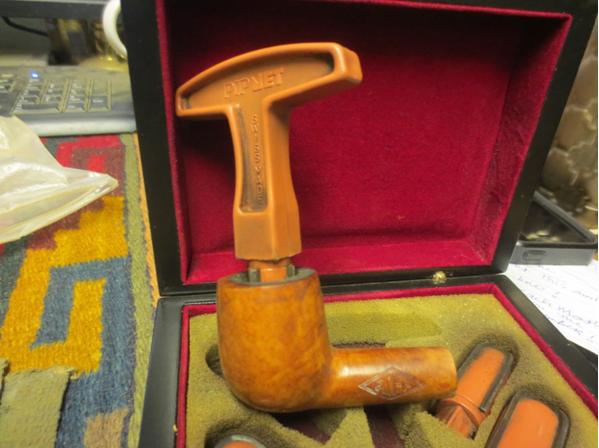
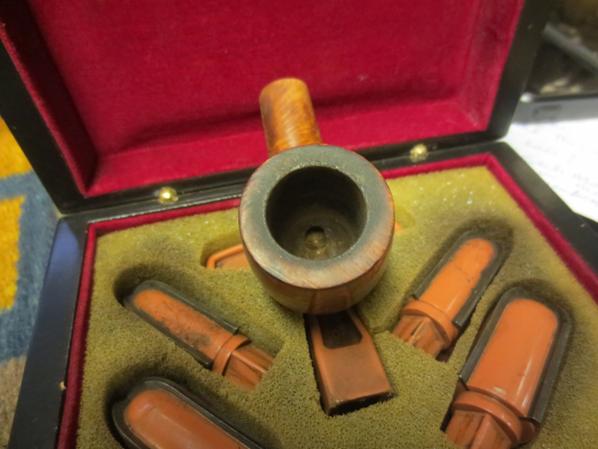
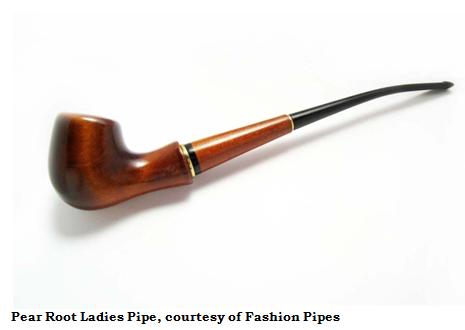
I noticed Peterson’s had at least one ladies pipe, and reader/blogger Mark Irwin, who read my previous blog on this subject, urged me to include some of them during the course of the series. Here are several samples of fine ladies pipes, starting with a Peterson I found offered in Italy, per Mark’s suggestion.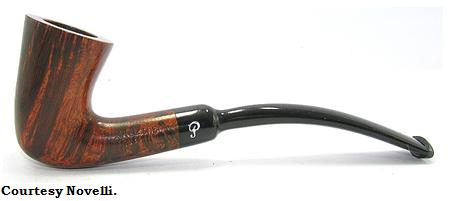 Paddy of SF let me know that his wife has a sweet collection of Savinelli 606 pipes, at least one for each day of the week, like the following example. BTW, Paddy writes, the missus also has “one Castello of a similar shape which she received as a gift.” Good company, indeed.
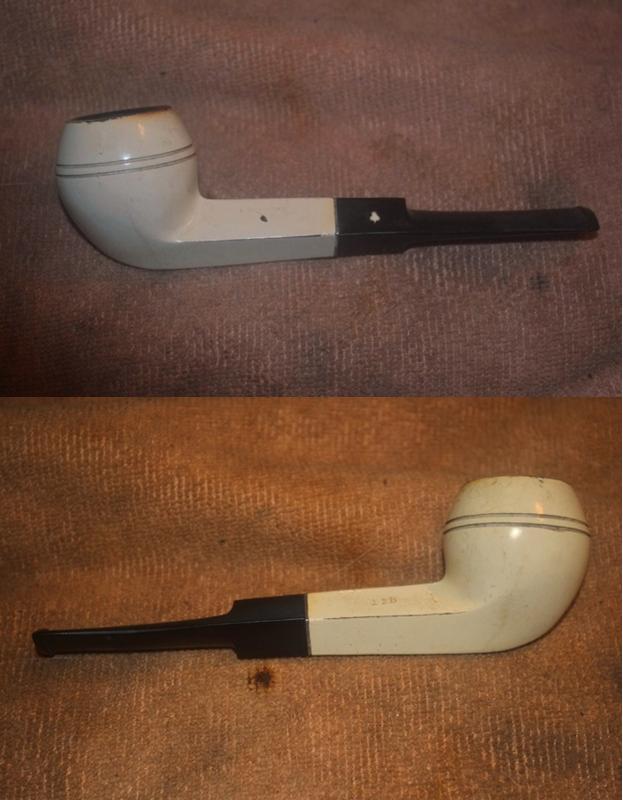
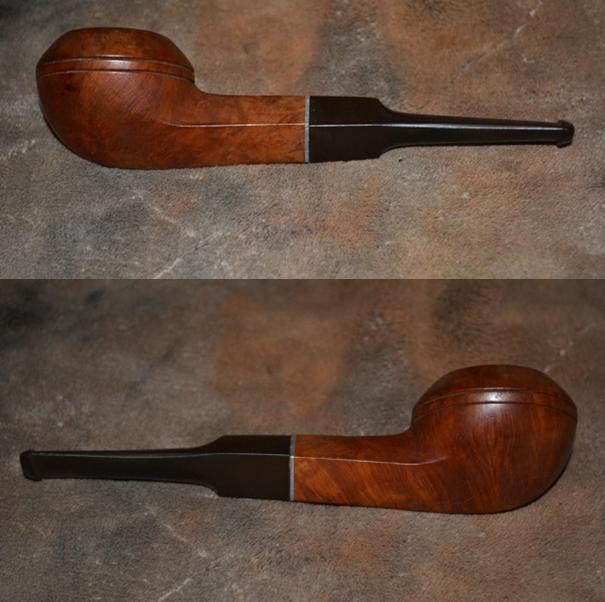
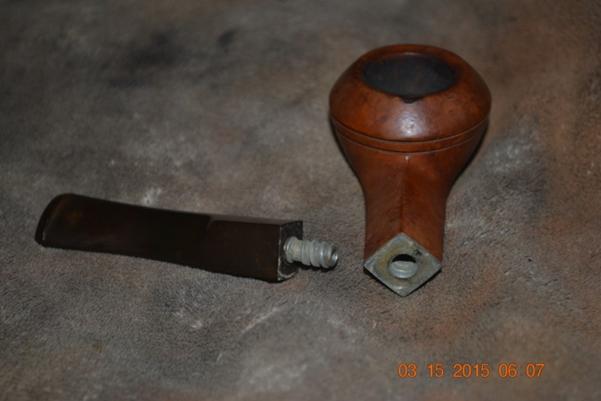
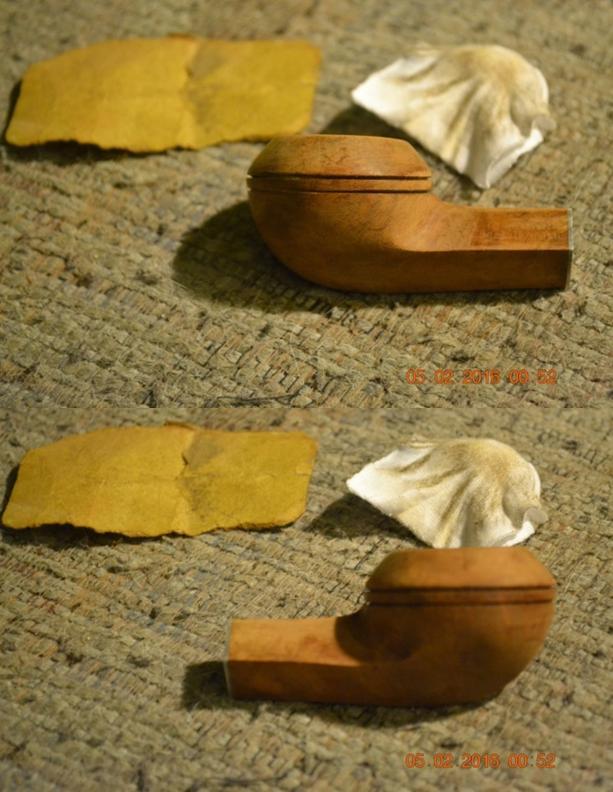
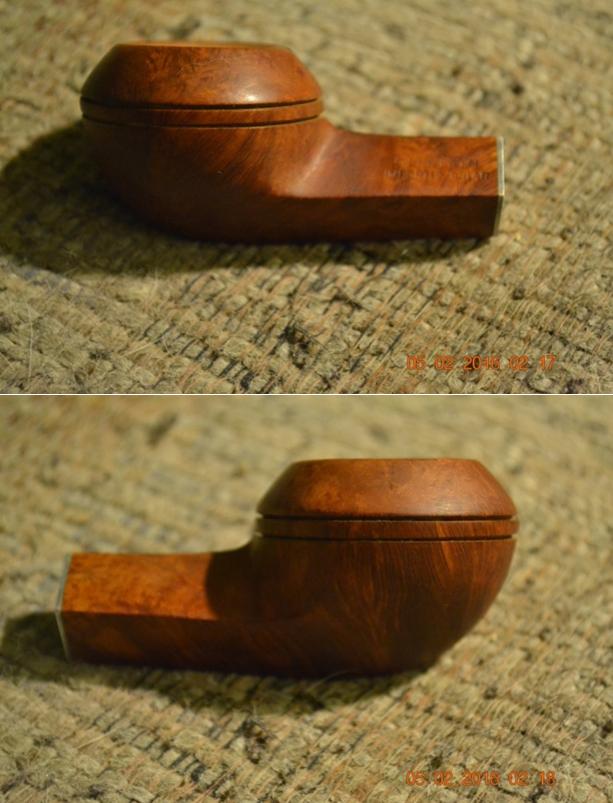
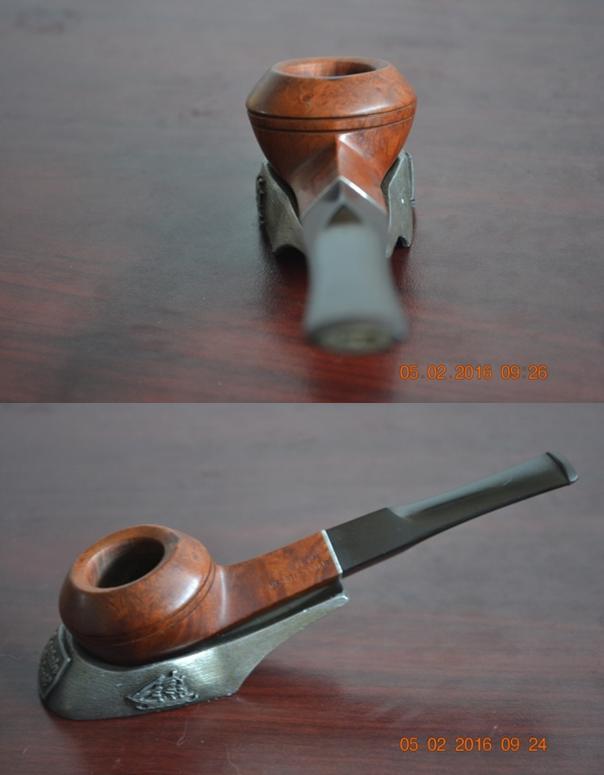
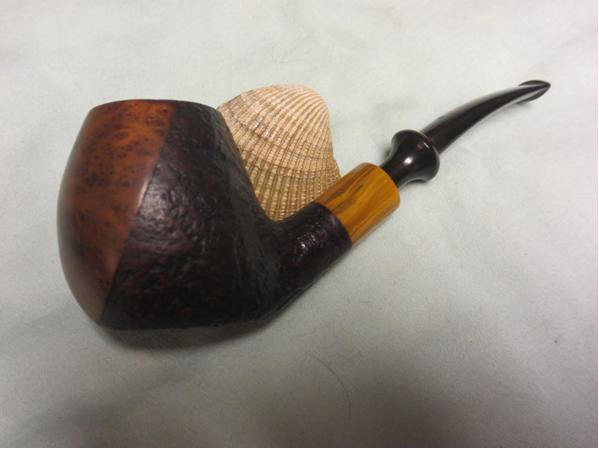
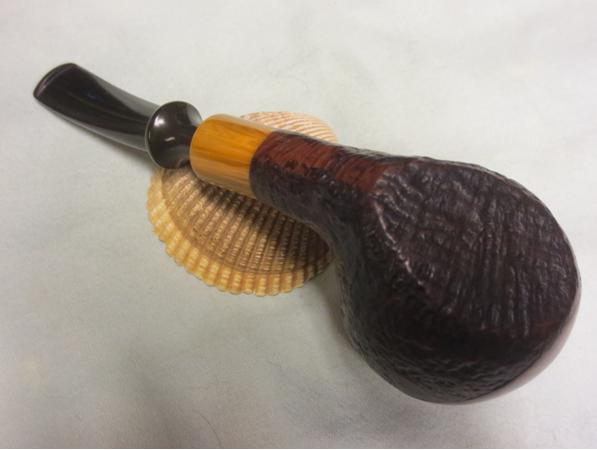
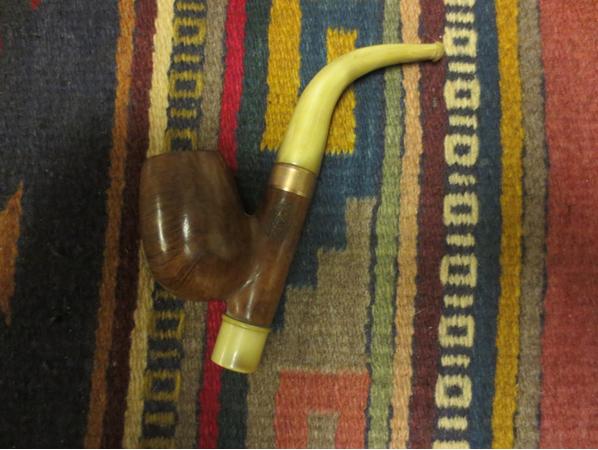
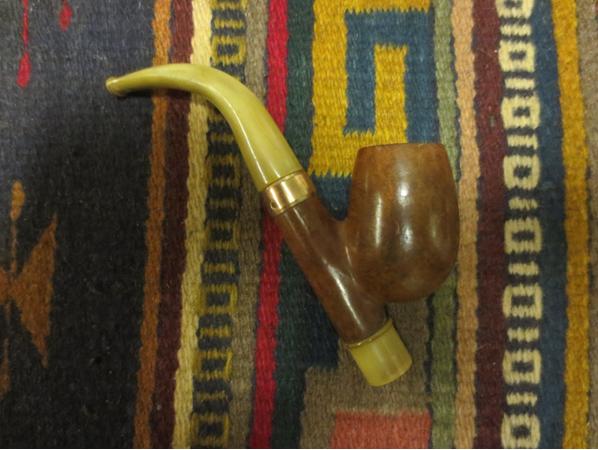
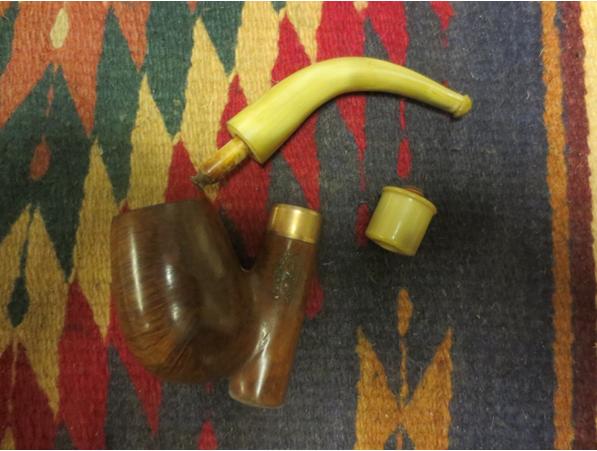
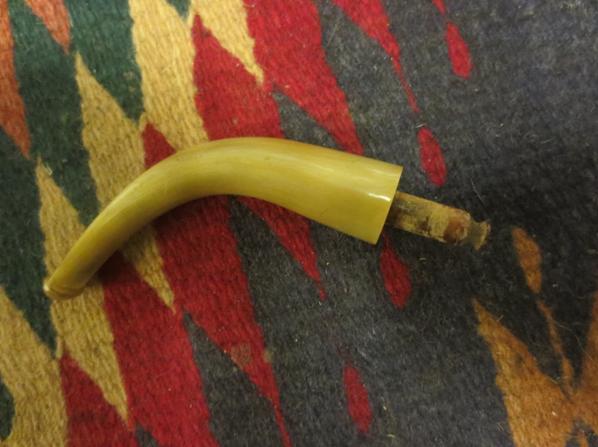
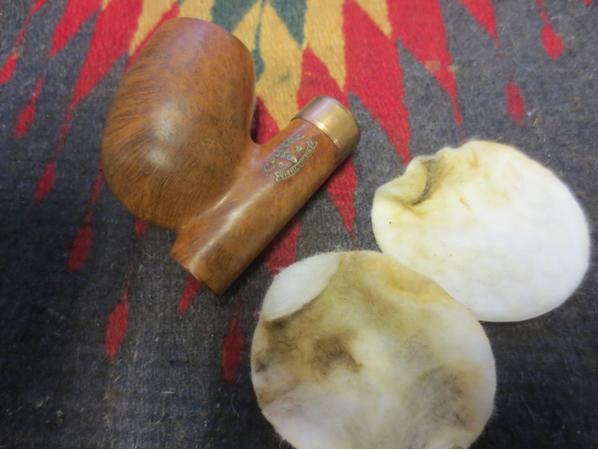
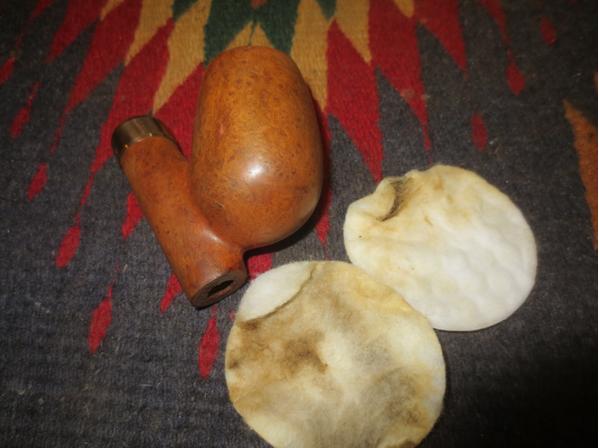
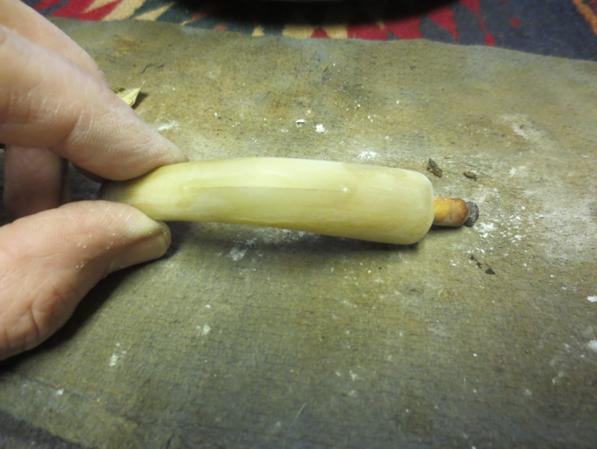
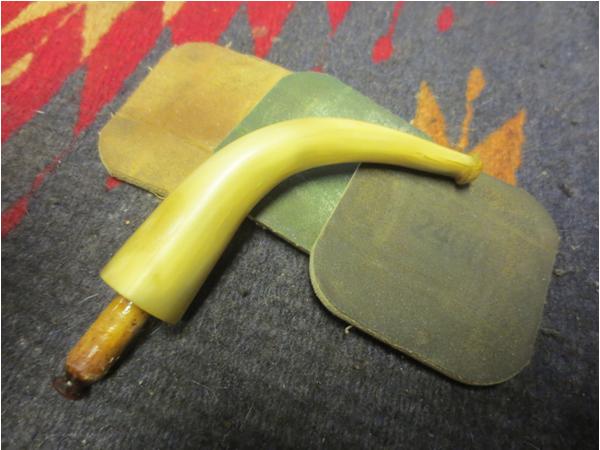
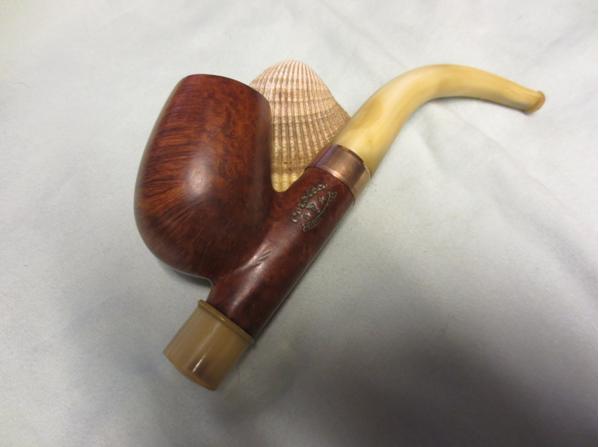
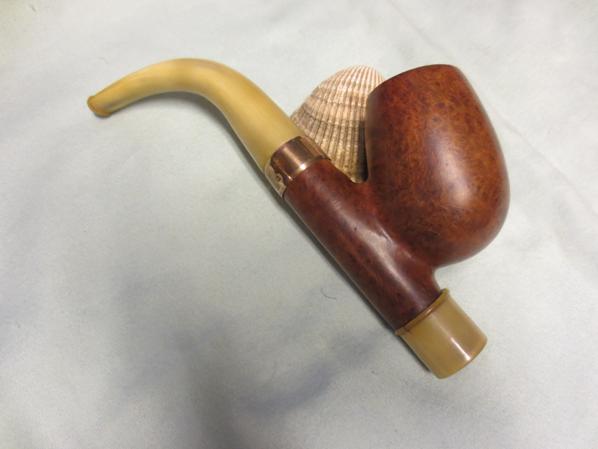
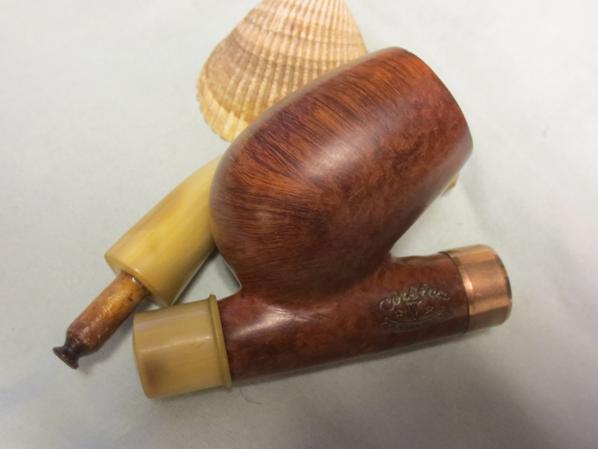
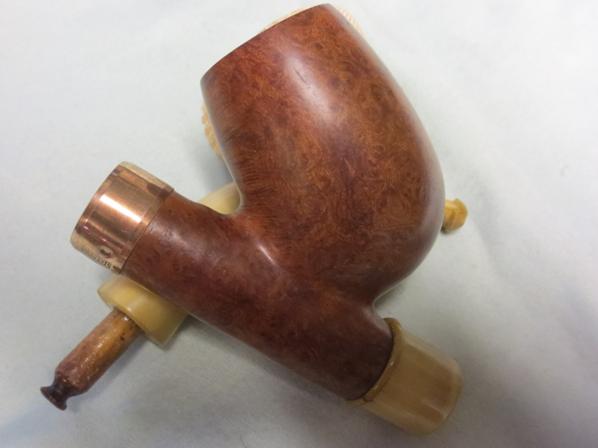
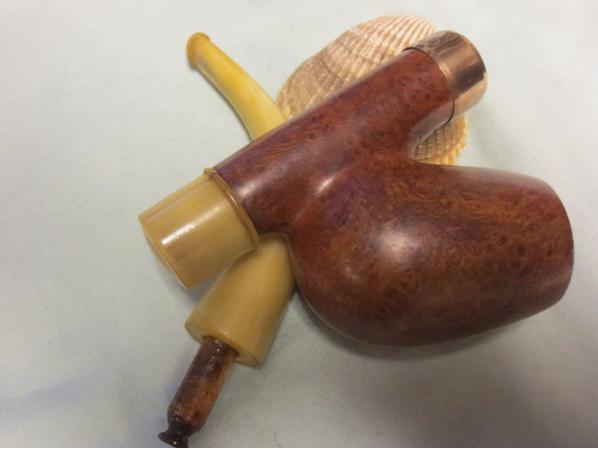
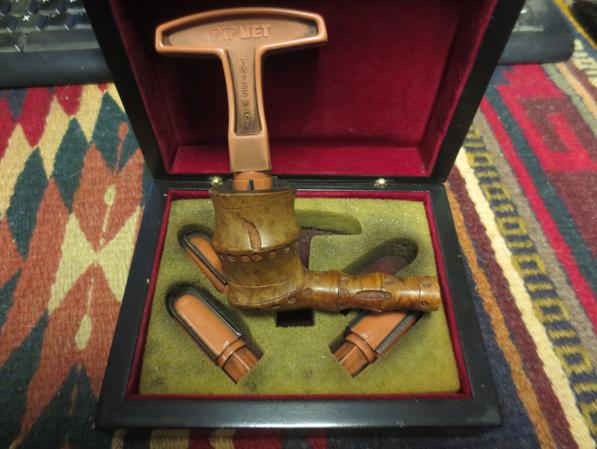
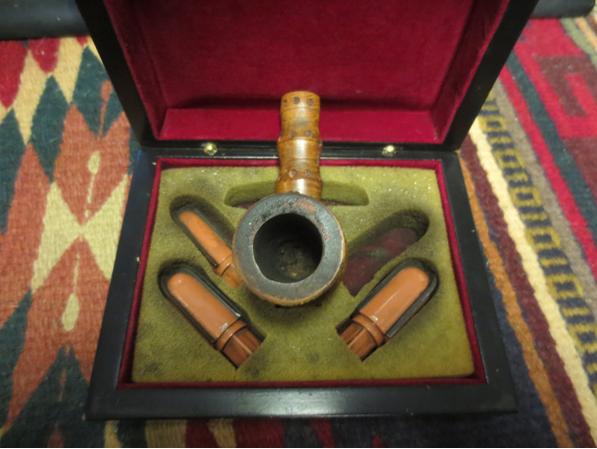
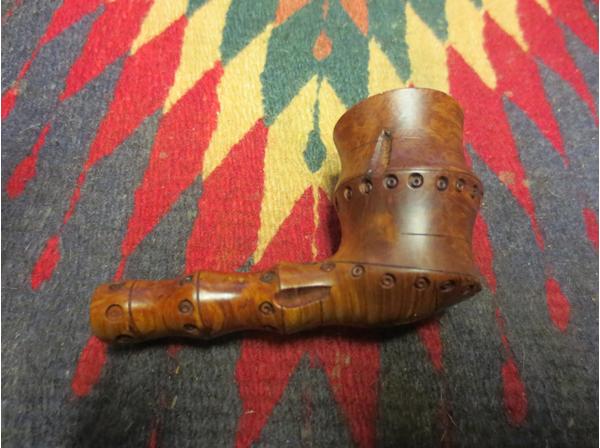
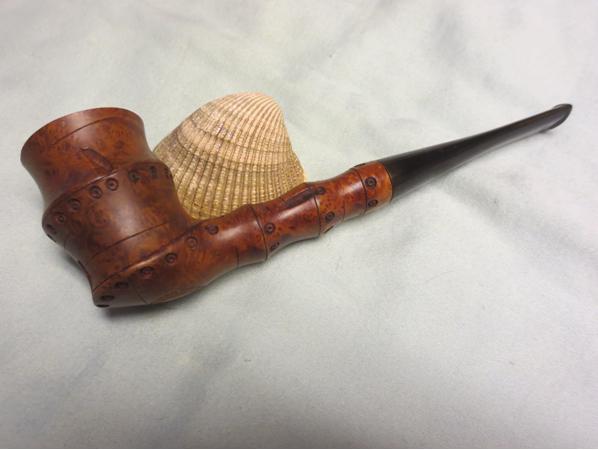
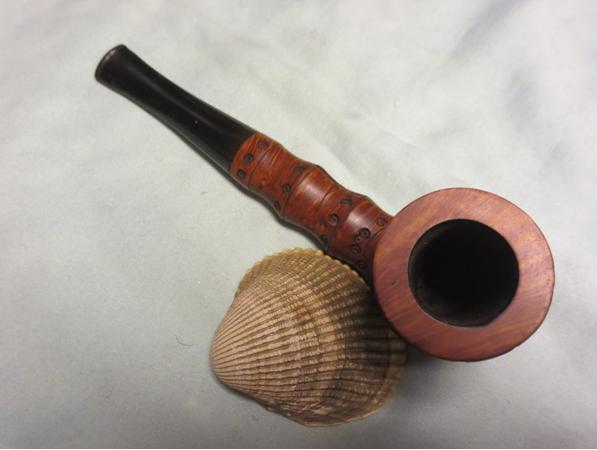
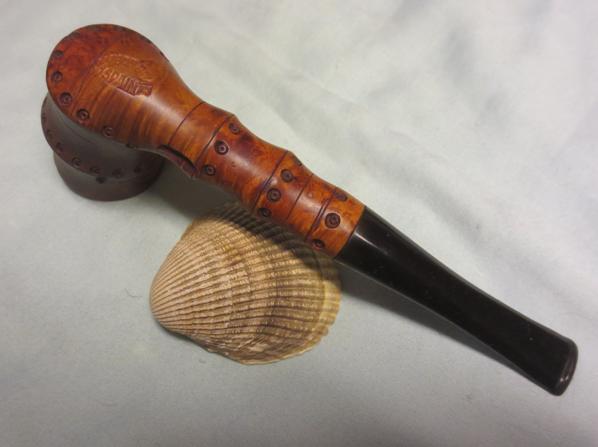
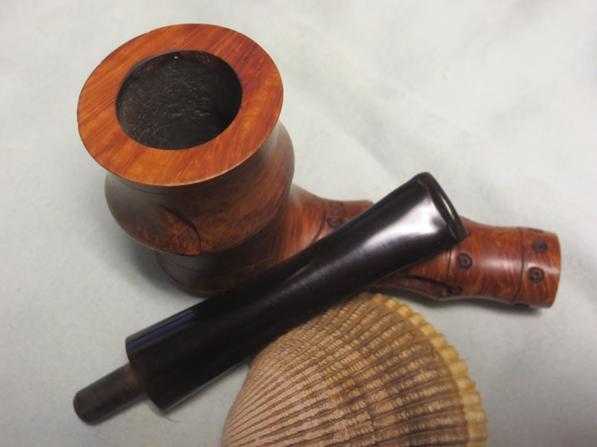
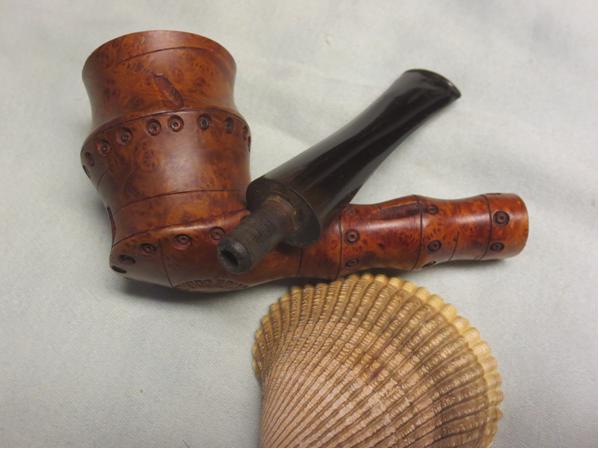
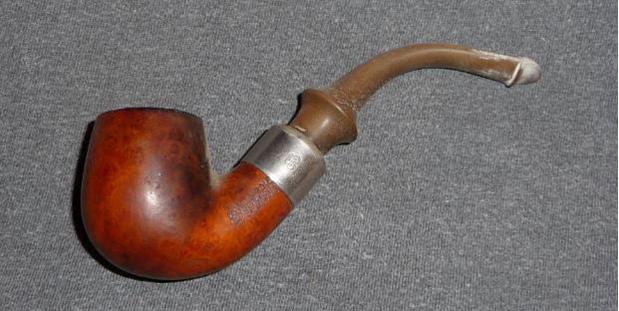
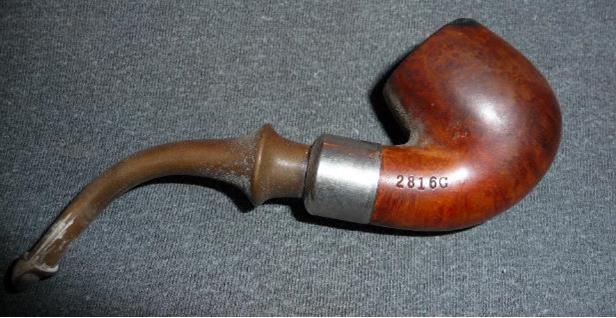
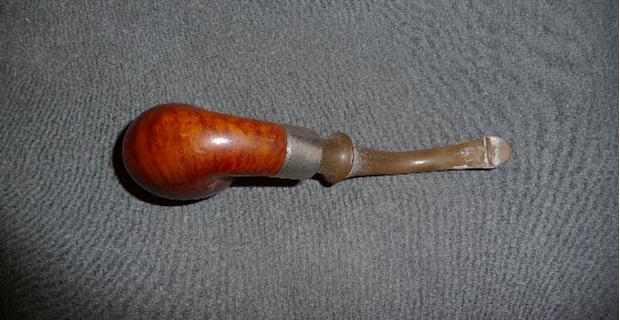
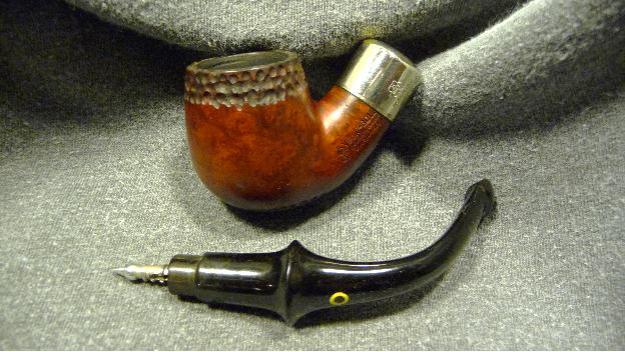
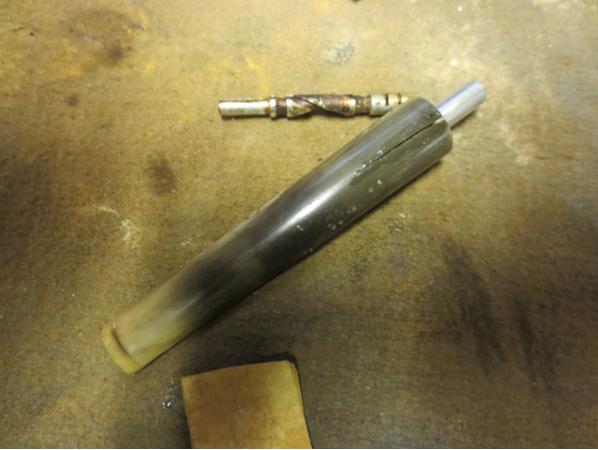
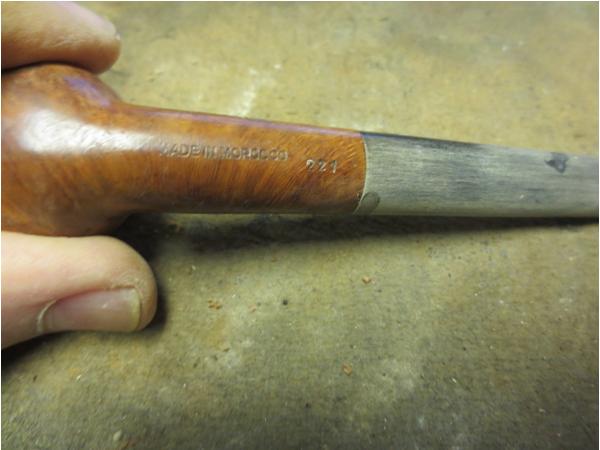
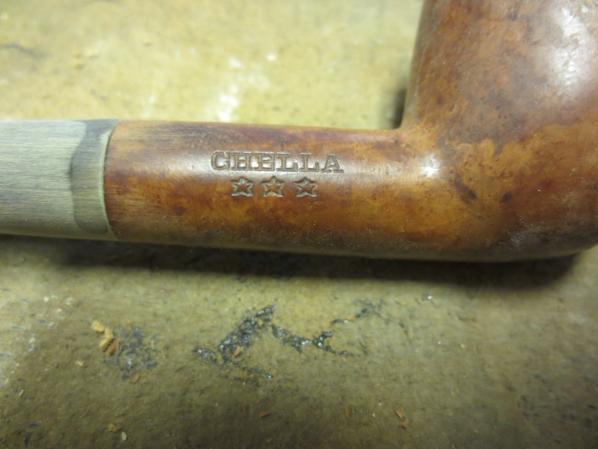
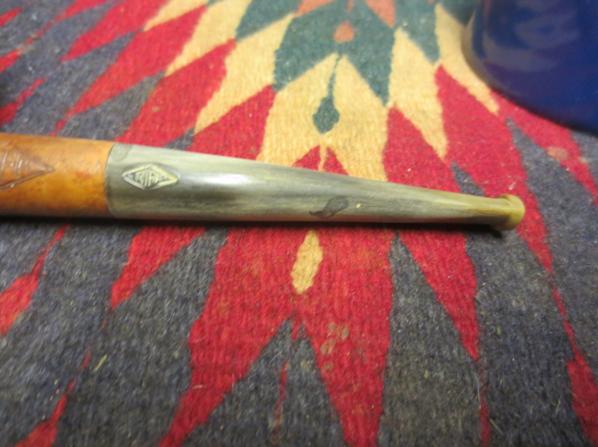
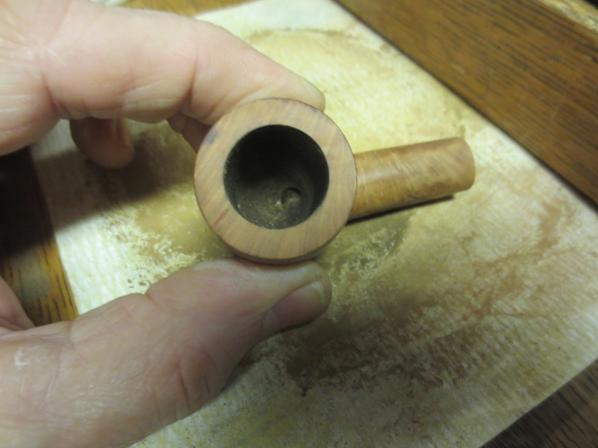
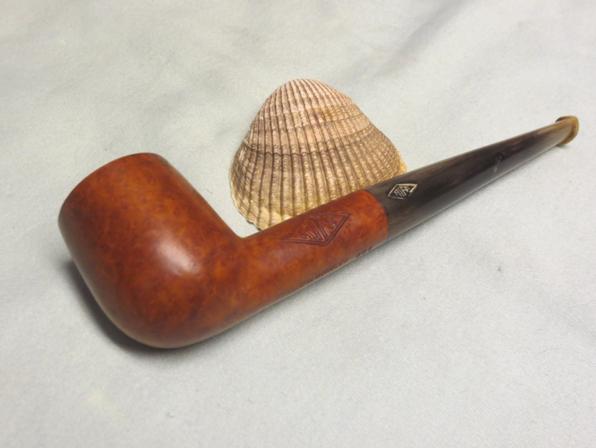
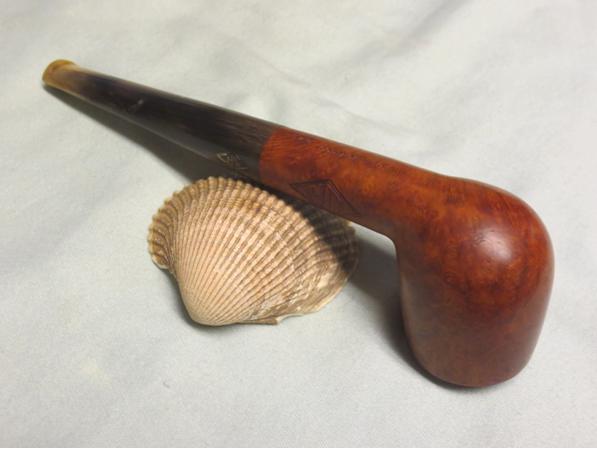
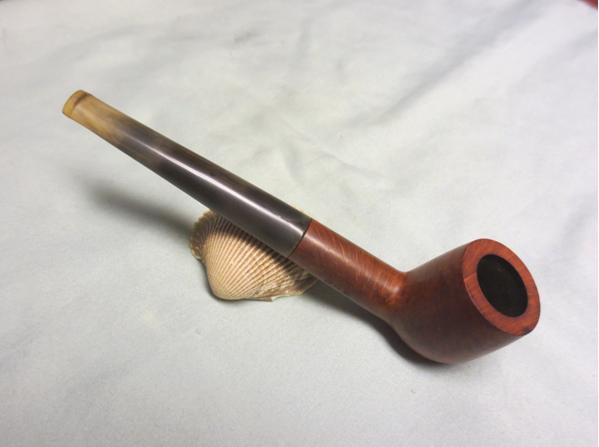
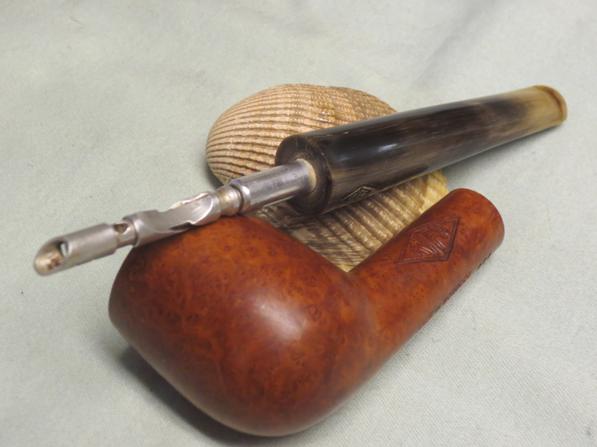
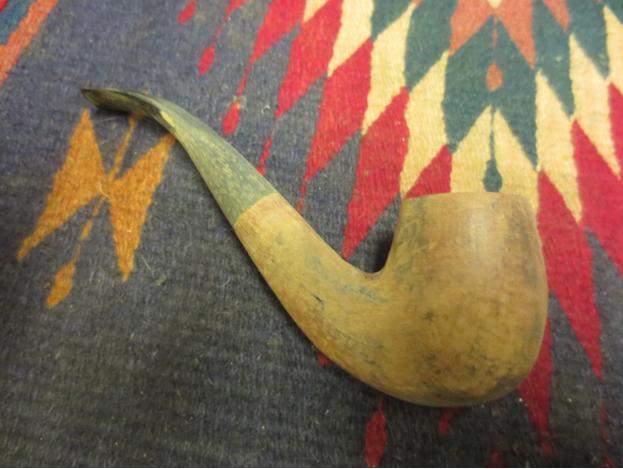
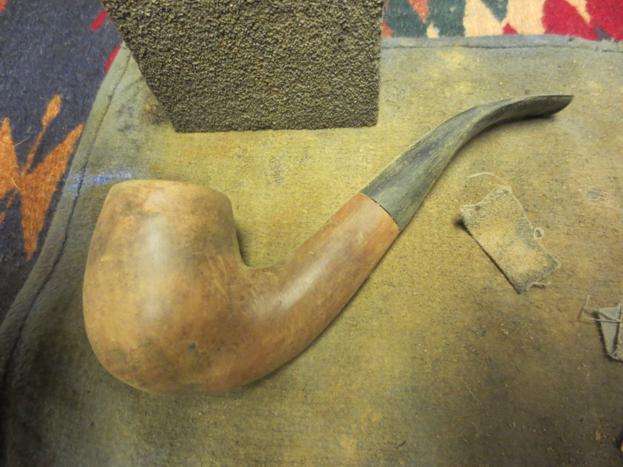
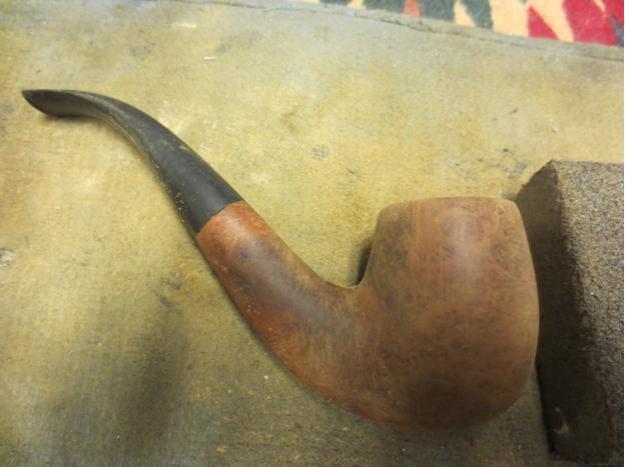
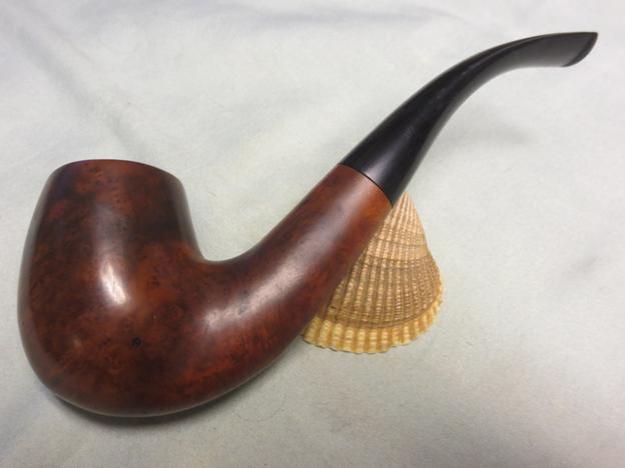
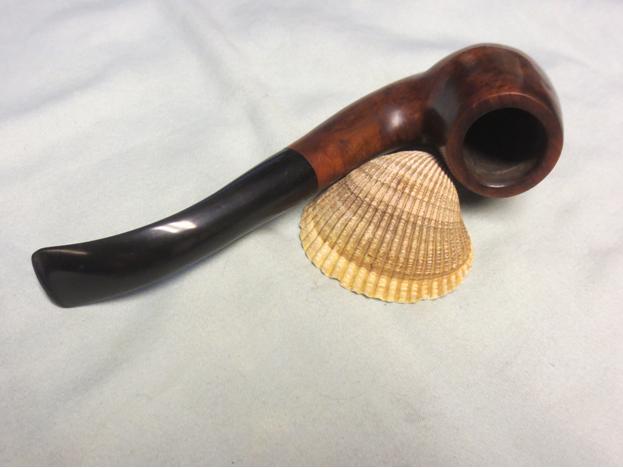
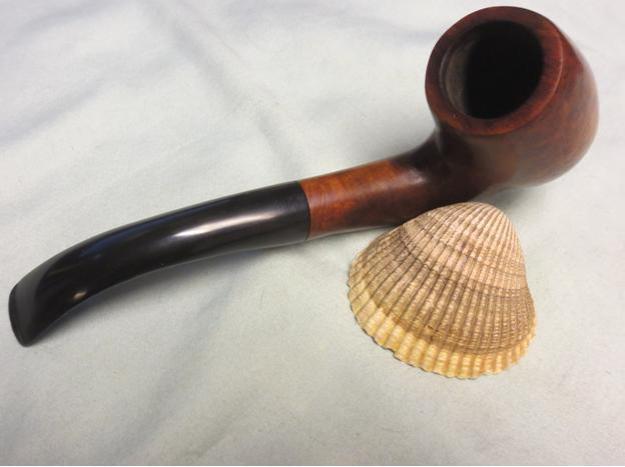
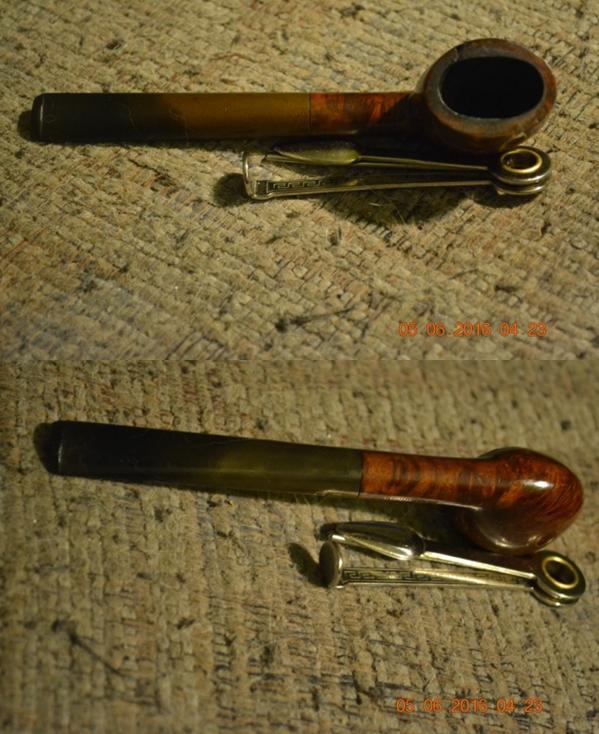
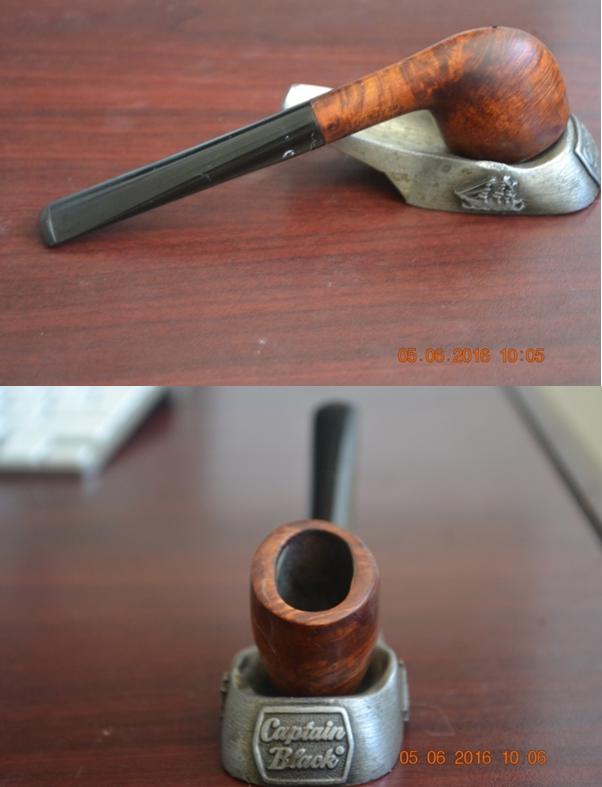
 And now, here is the Clinton Real Briar Oval as it came to me.
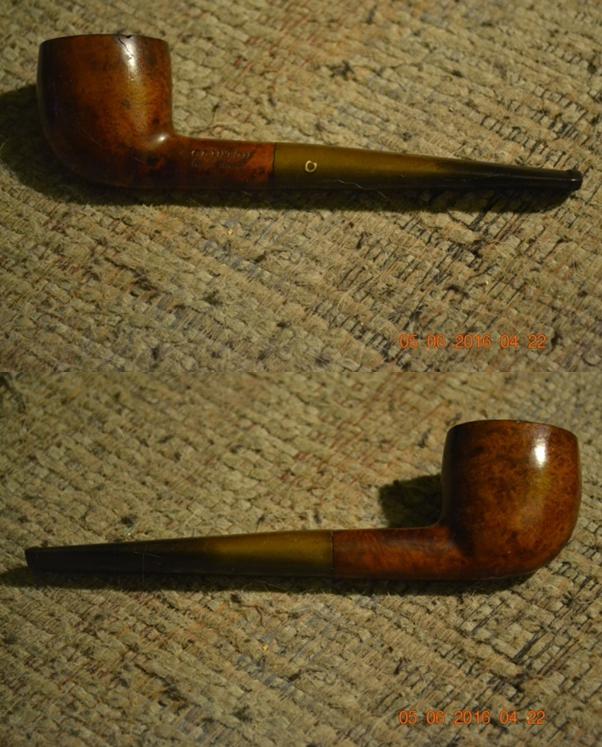
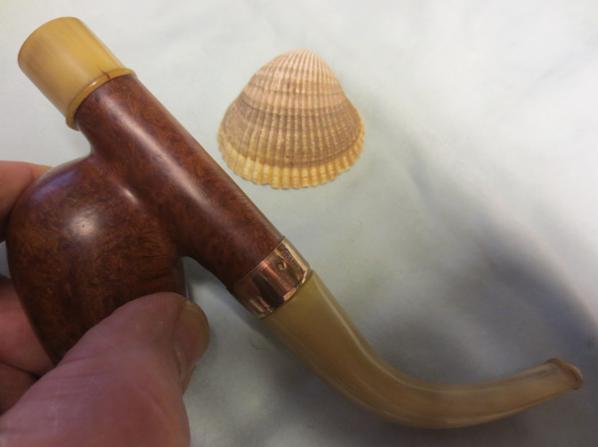
 RESTORATION
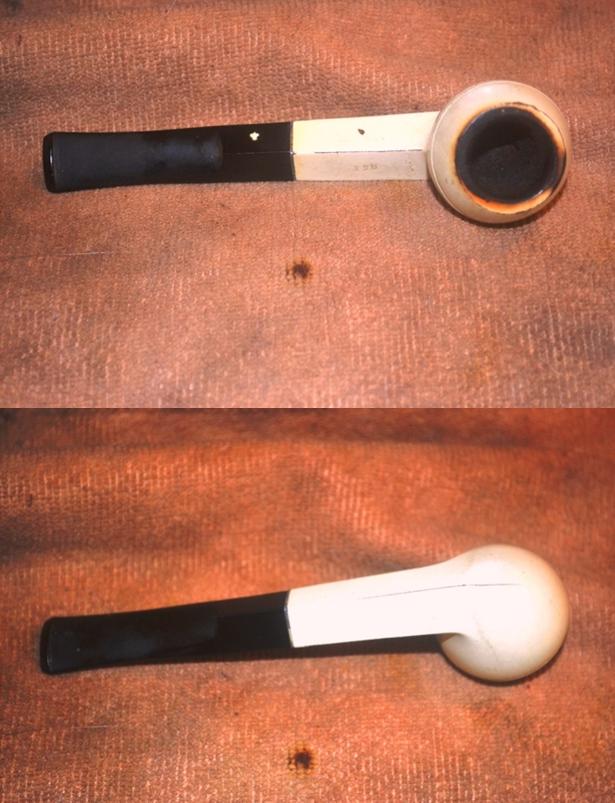
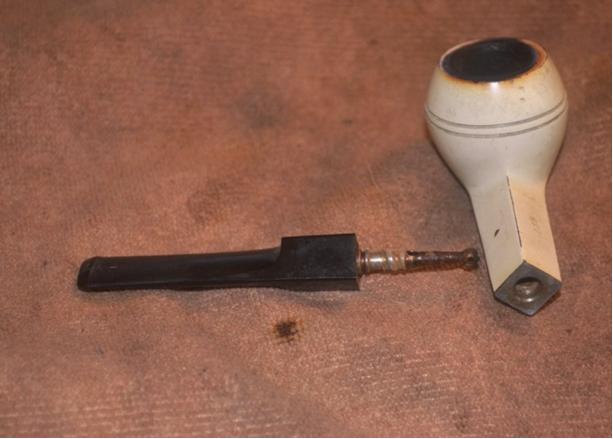
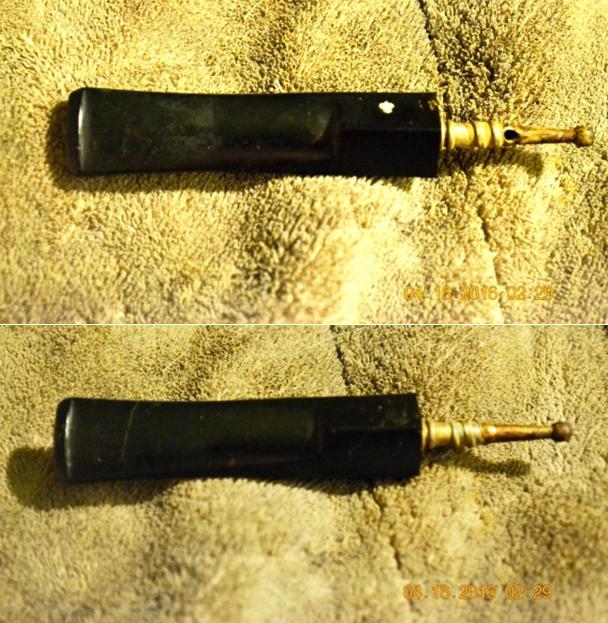
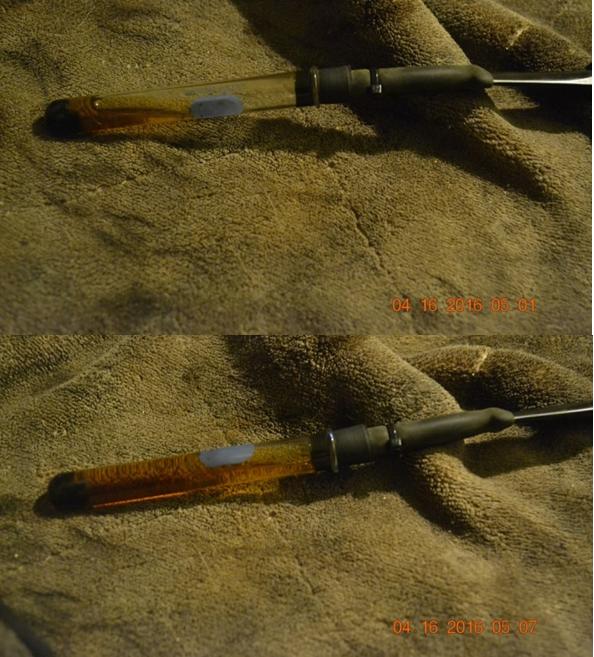
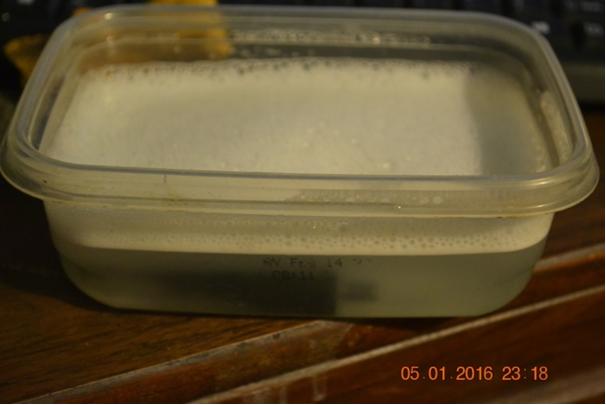
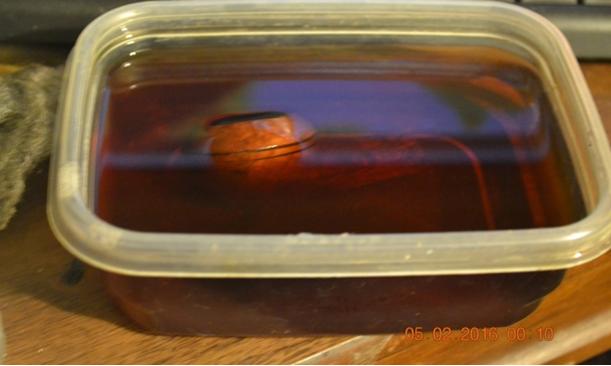
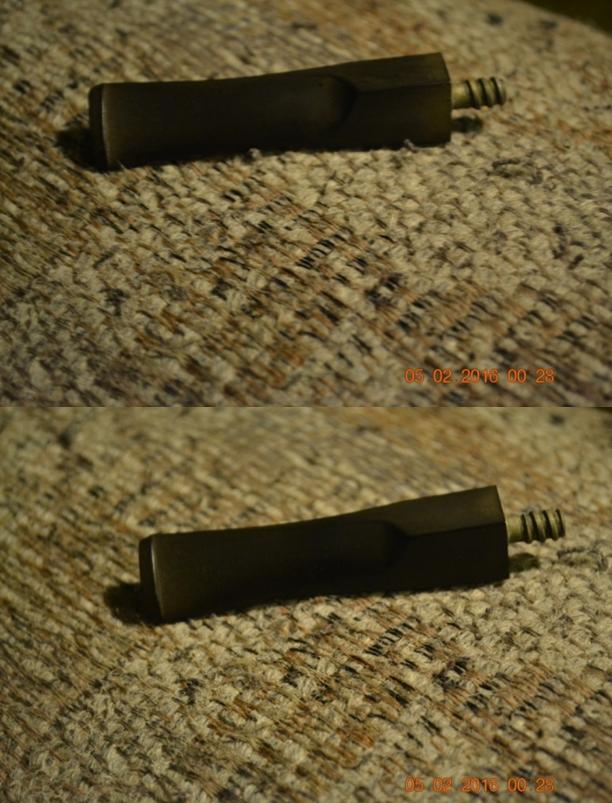
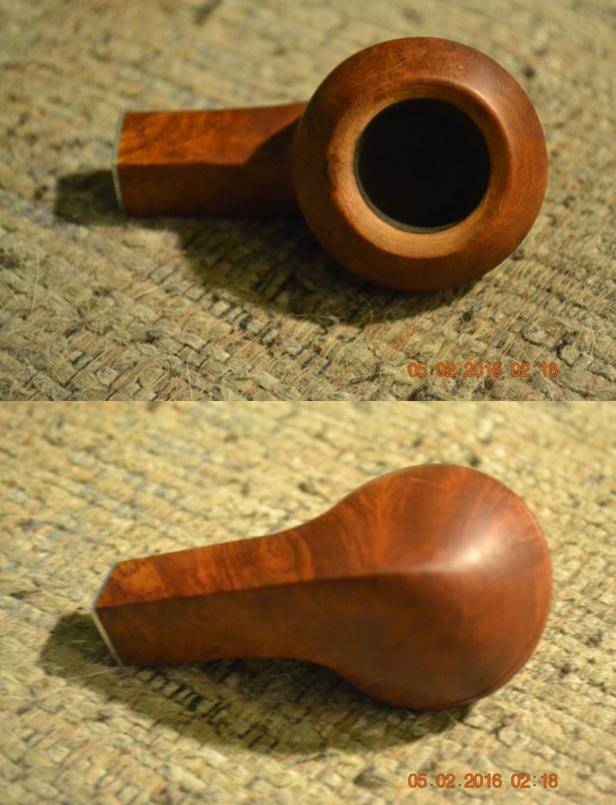
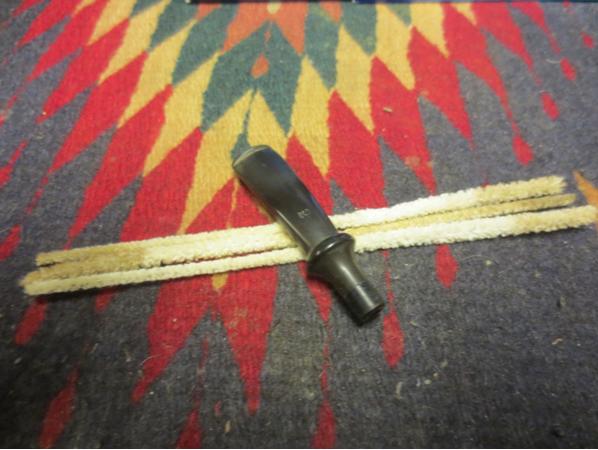
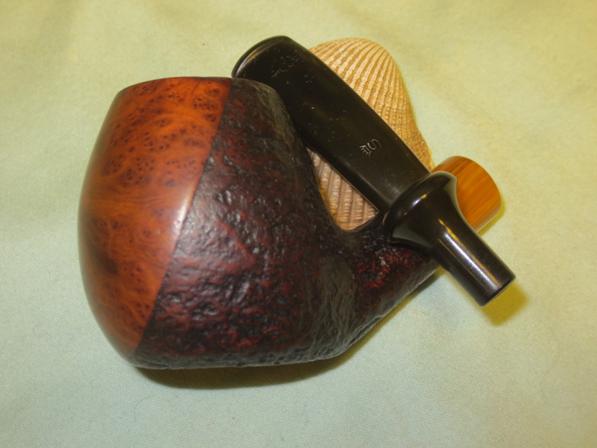
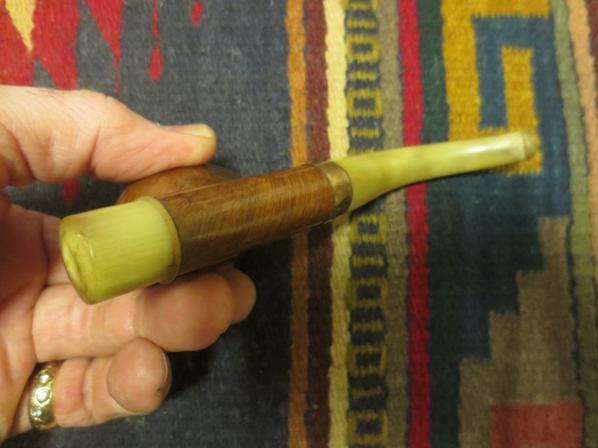
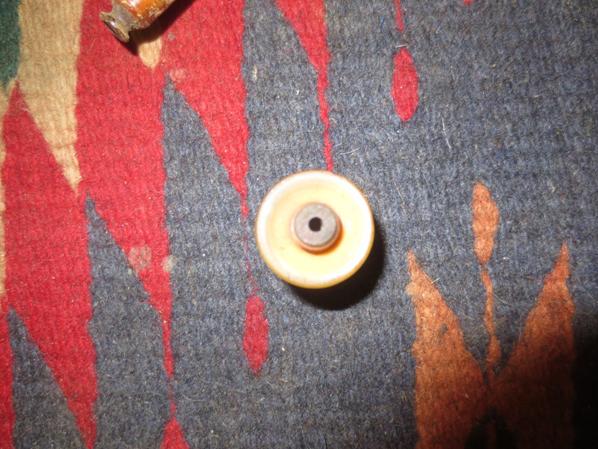
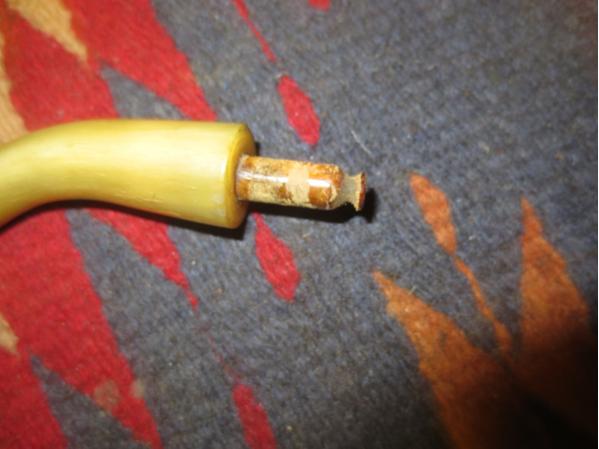
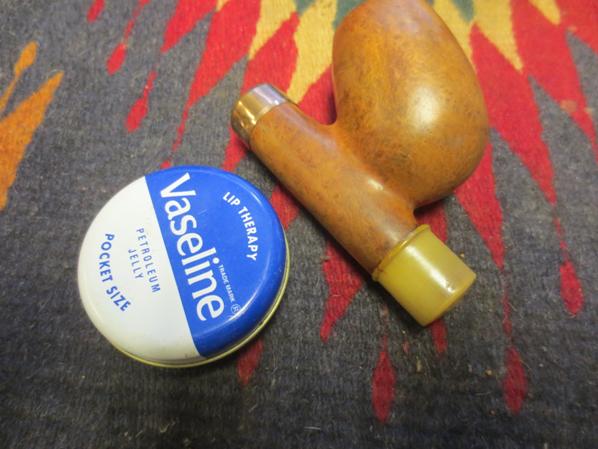
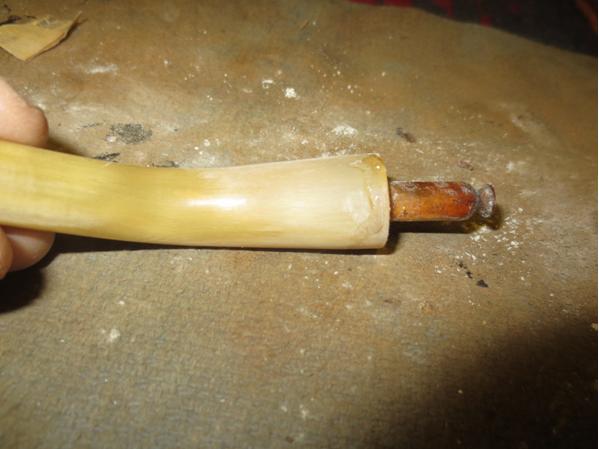
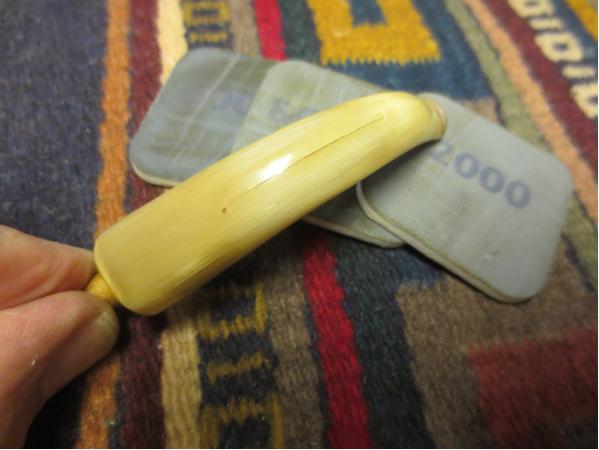
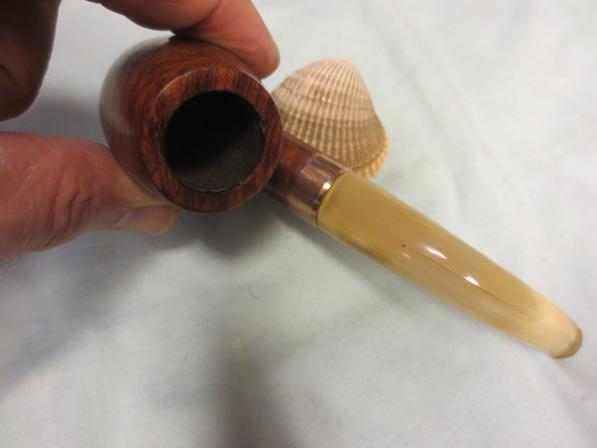
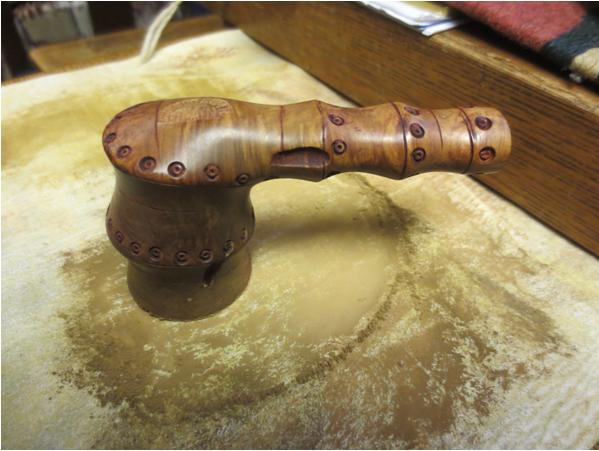
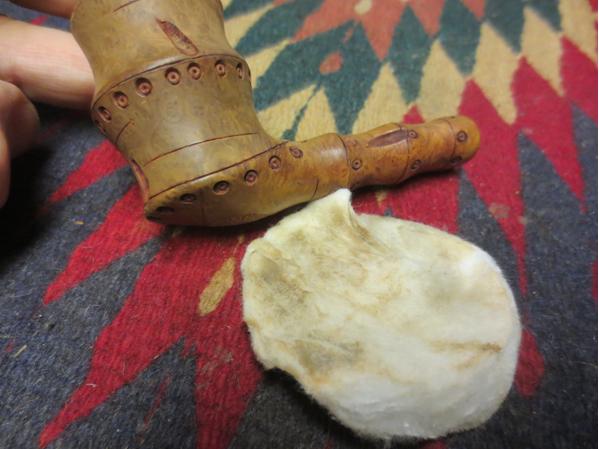
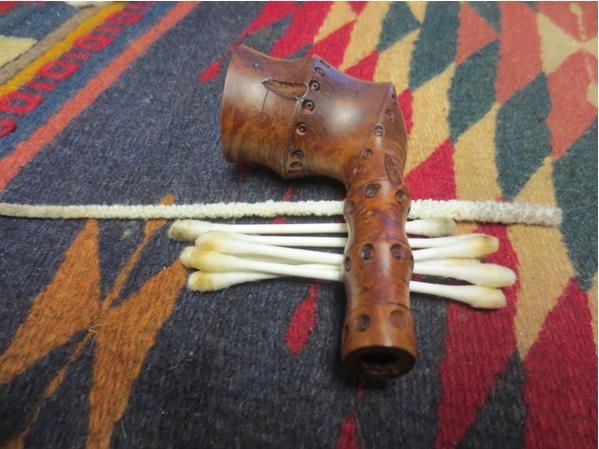
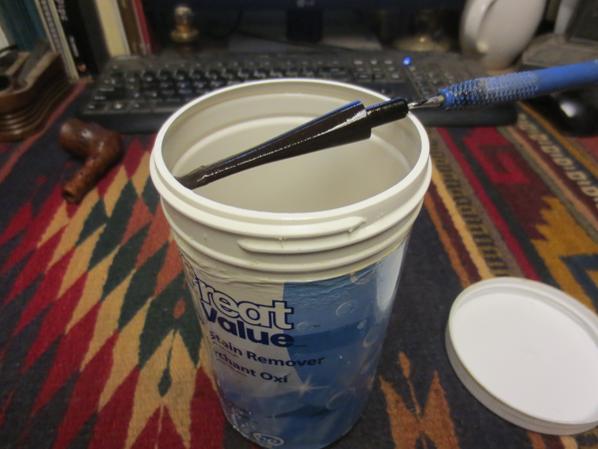
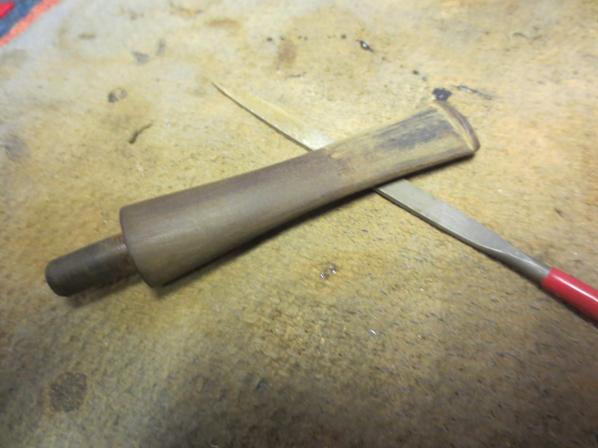
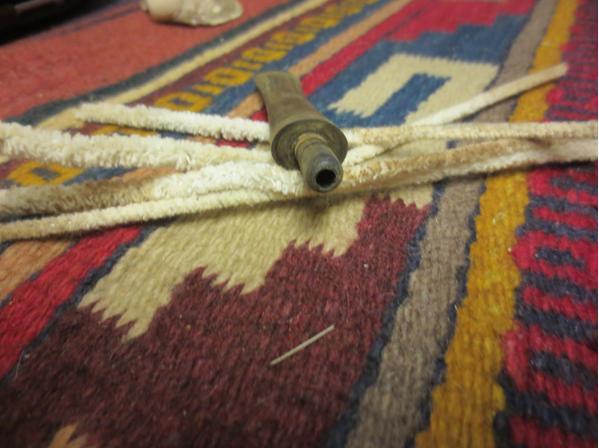
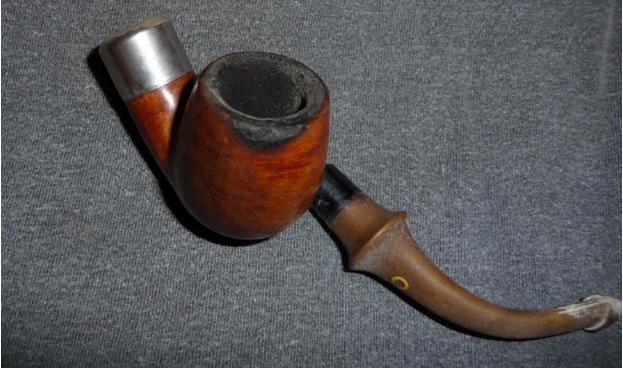
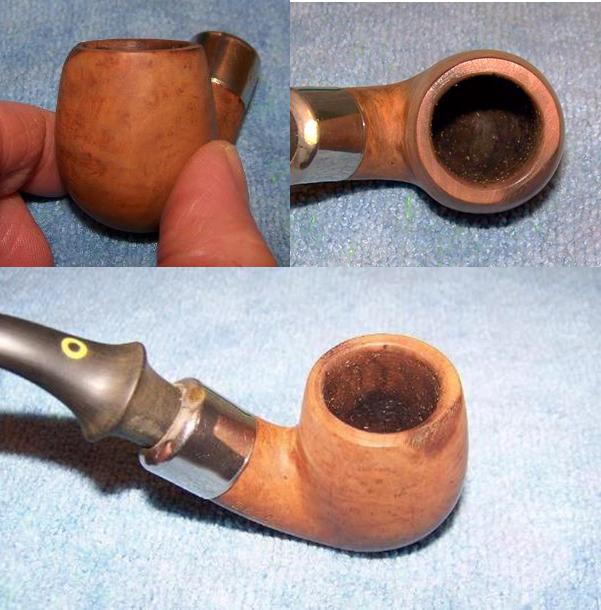
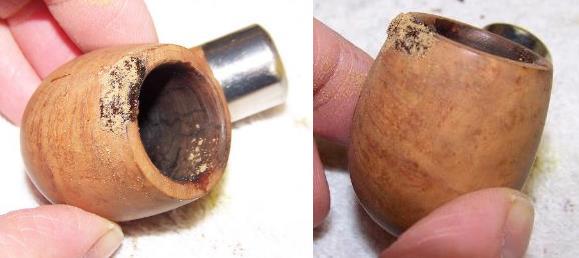
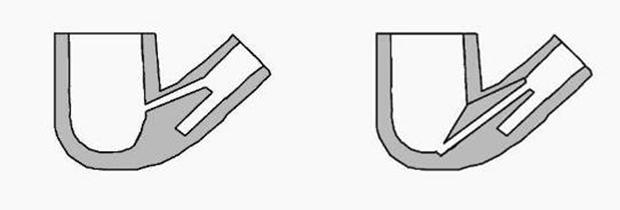
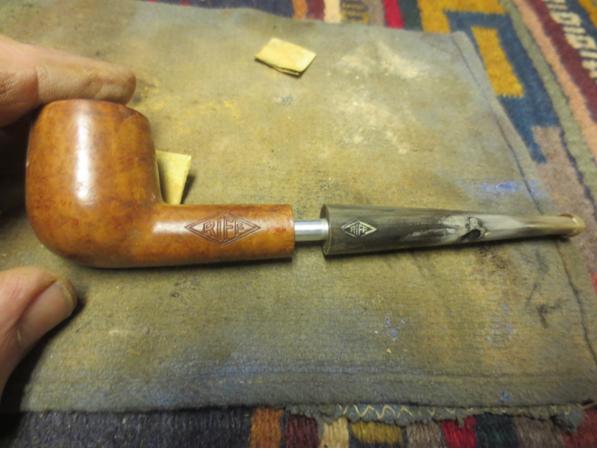
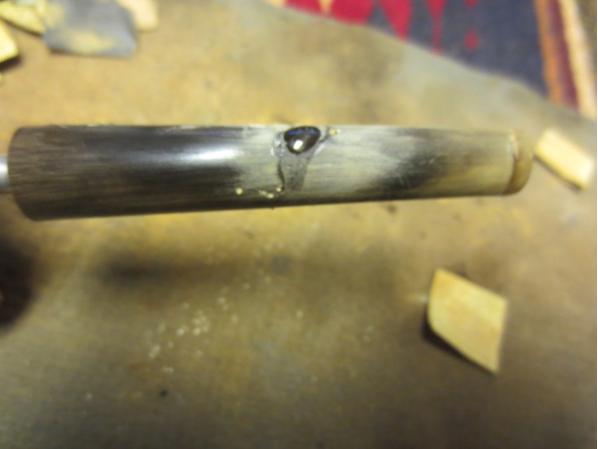
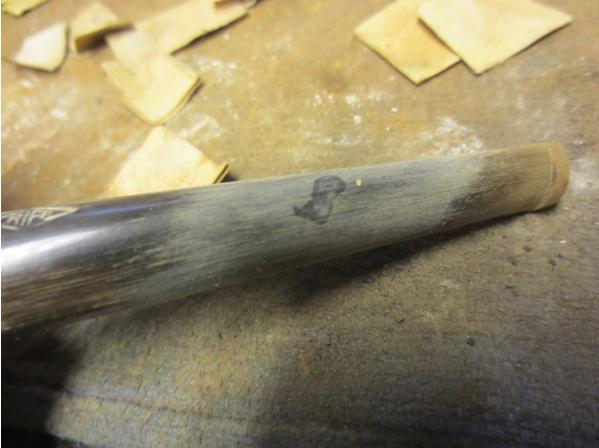
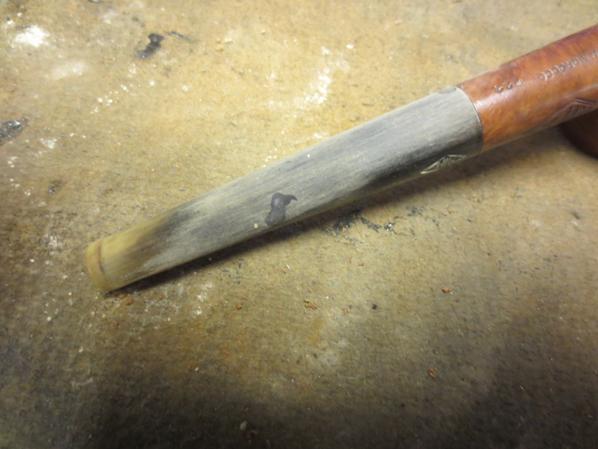
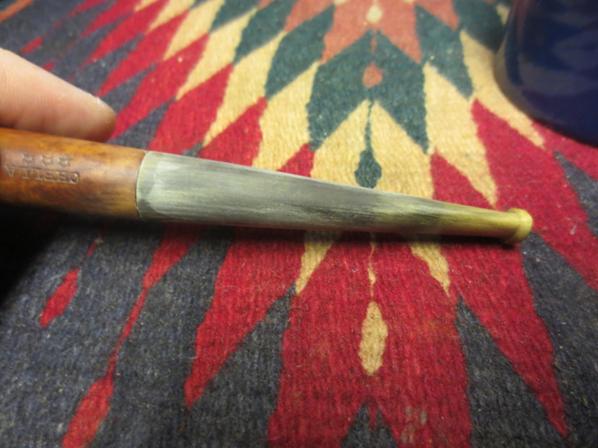
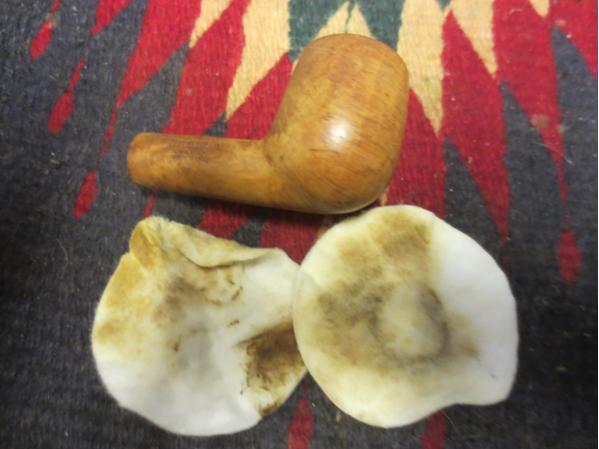
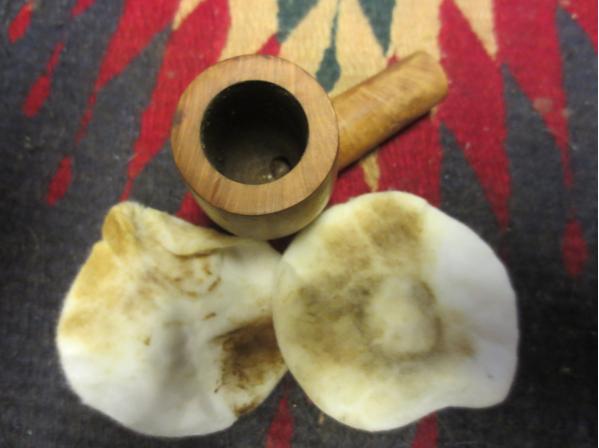
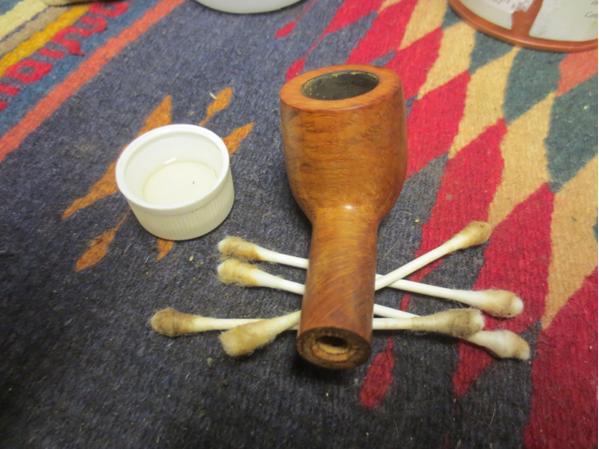
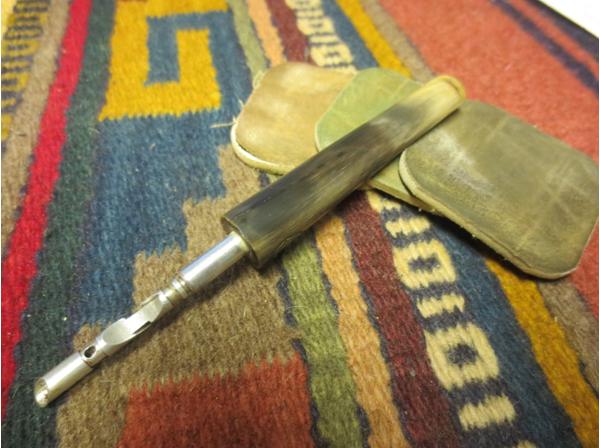
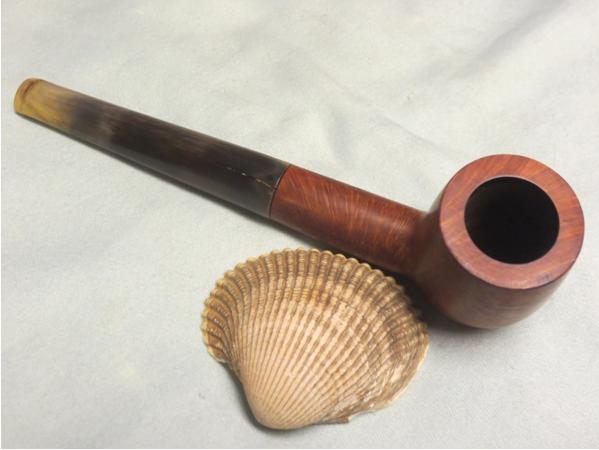
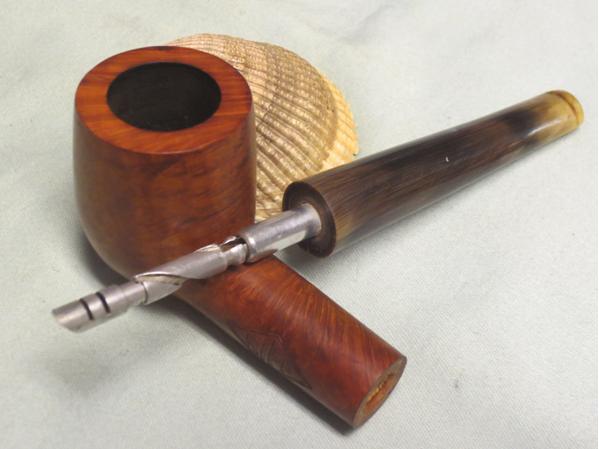
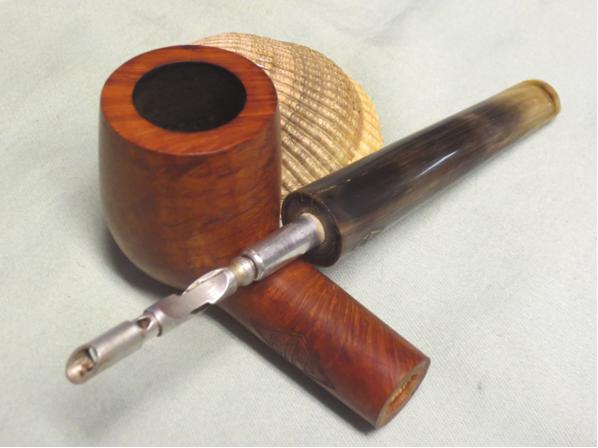
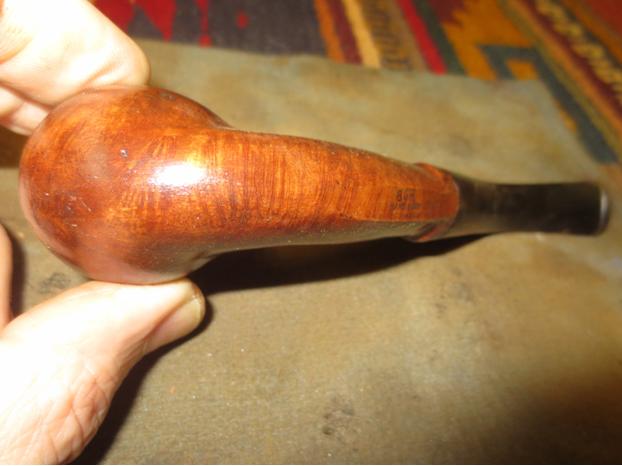
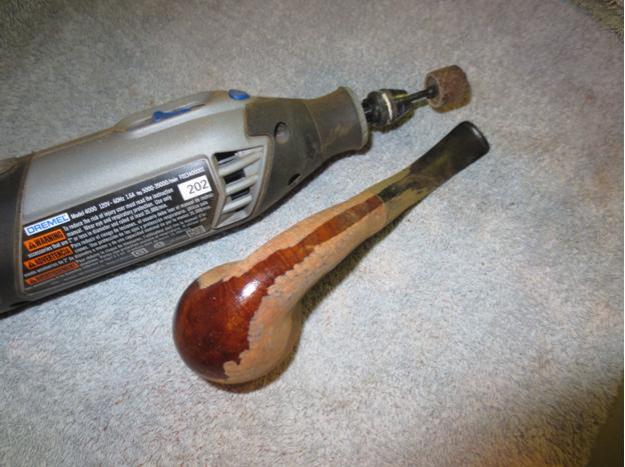
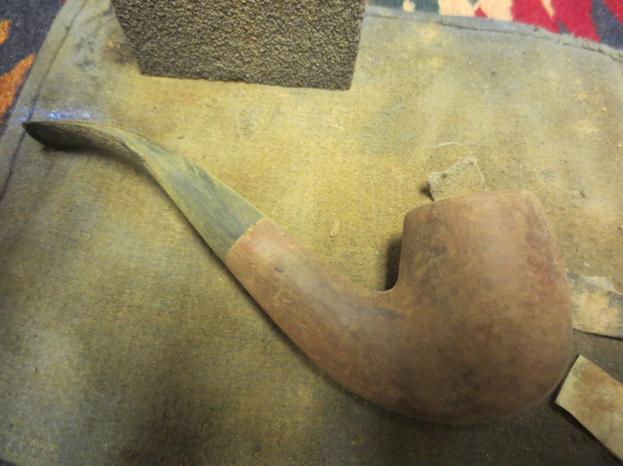
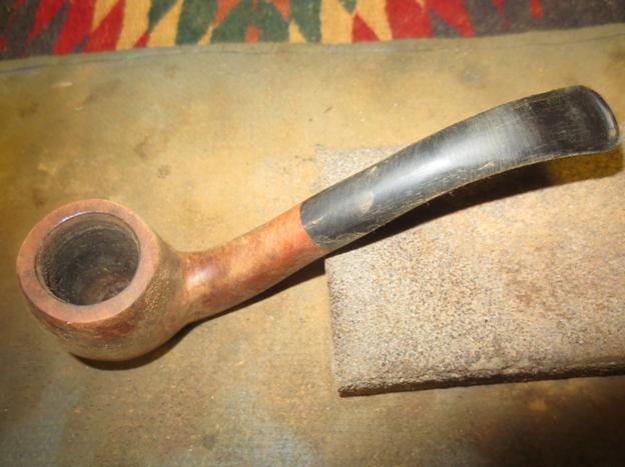
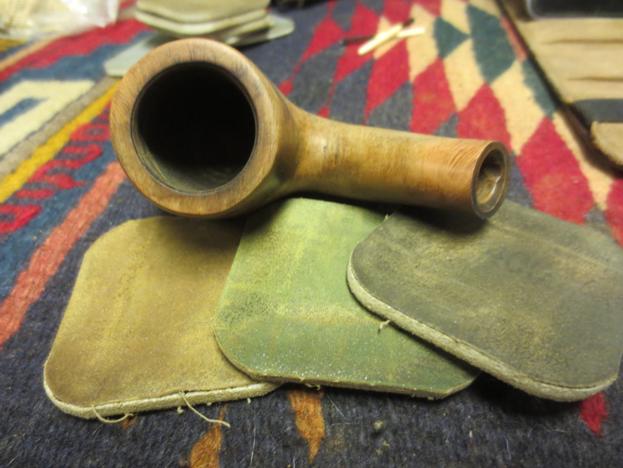
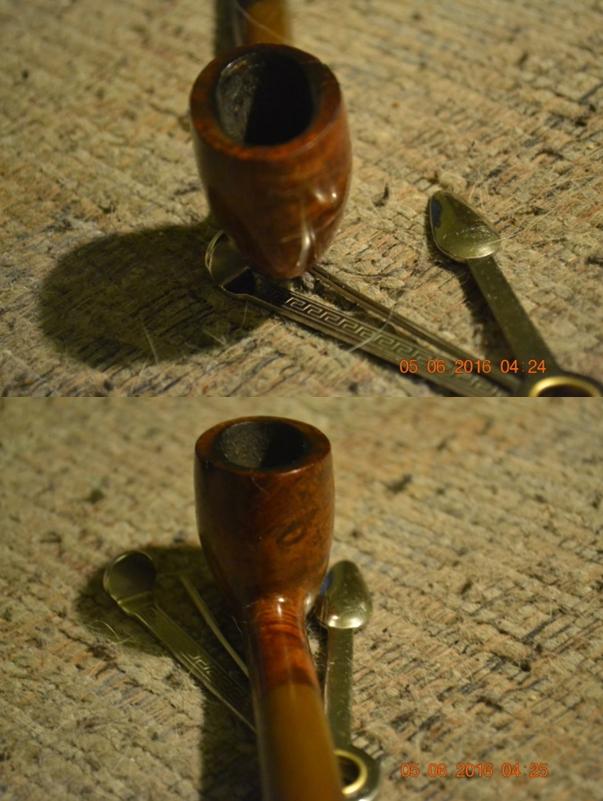
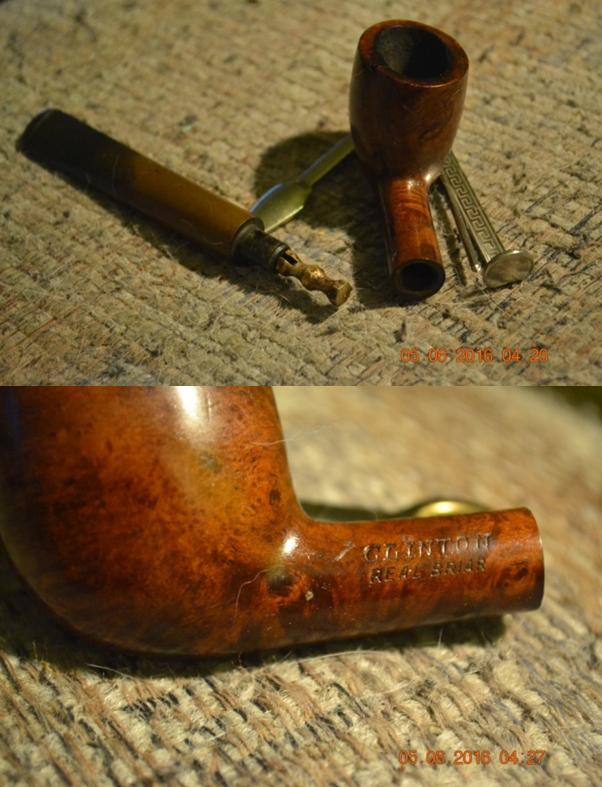
The Clinton, as well as the FRASA I restored for my first of these seven blogs, has an unusual stinger tenon, heightening my surprise that neither of them seems to have any discernible history, not even as seconds. In addition to the tenon, the Clinton also has a distinctive upside-down C on the bit.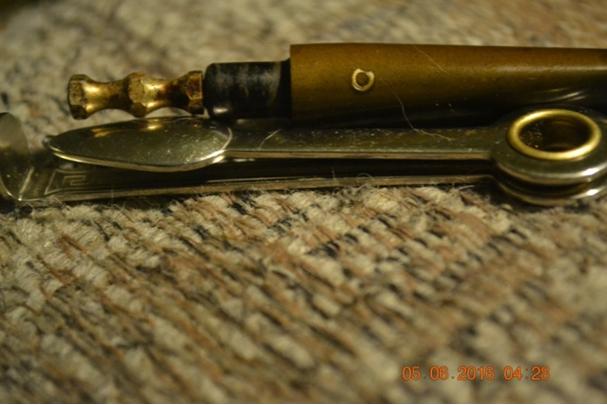 By way of synopsizing the pipe’s chief and obvious problems, the bit was badly discolored, there was a crack on the upper left side of the bowl extending from the rim downward (but not penetrating into the chamber), and the stain was far too dark for my taste, given the apparent decency of the obscured grain. And so I began by soaking the bit in an OxiClean bath and the stummel in some used Everclear I keep on hand for such occasions.
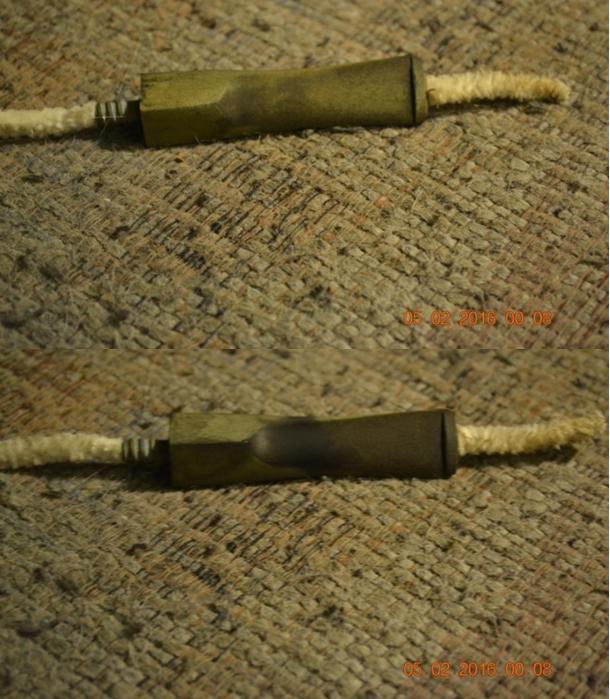
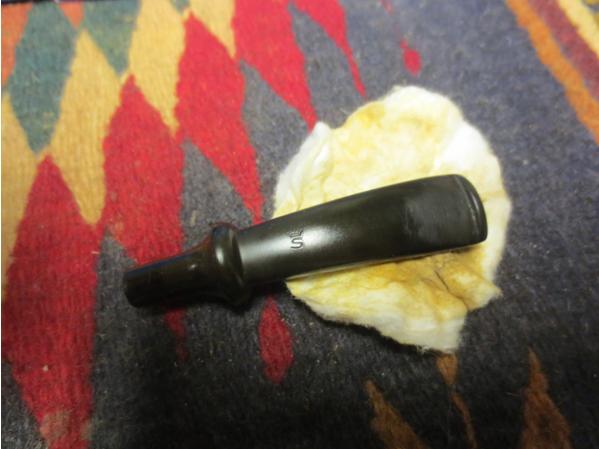
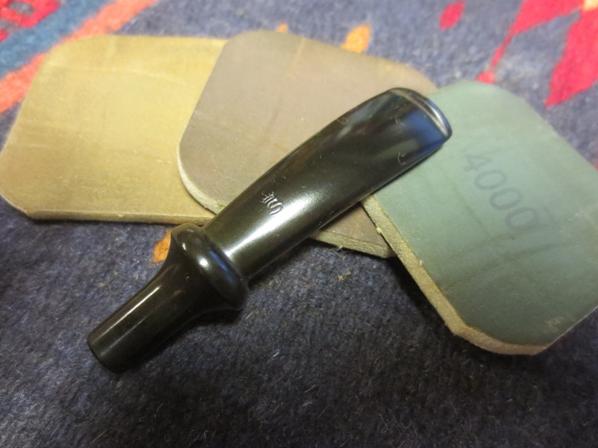
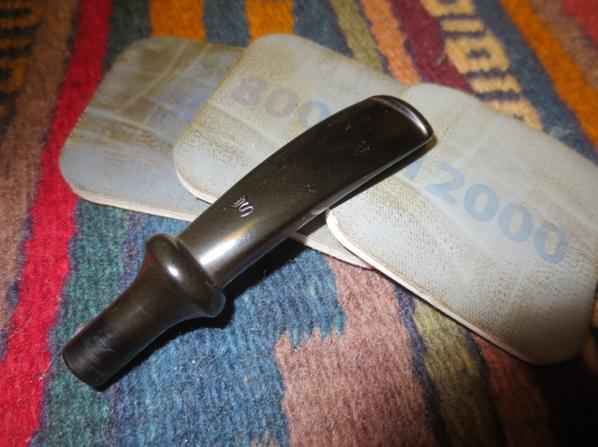
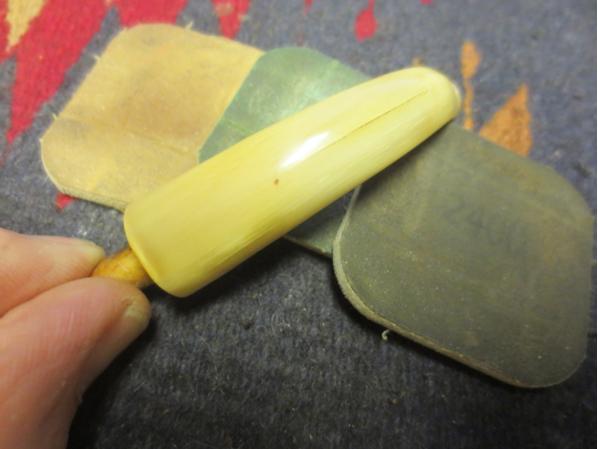
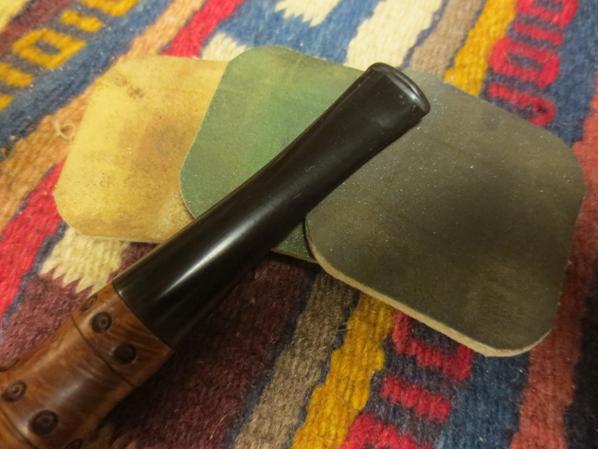
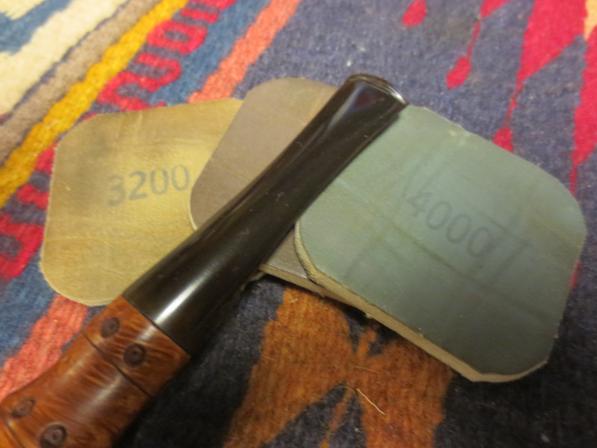
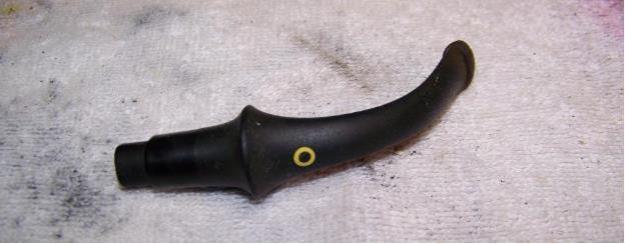
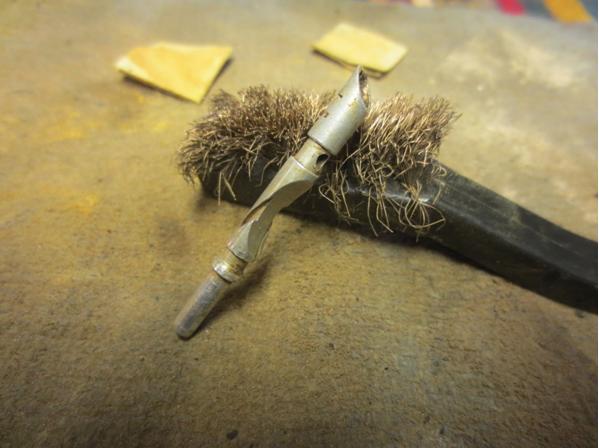
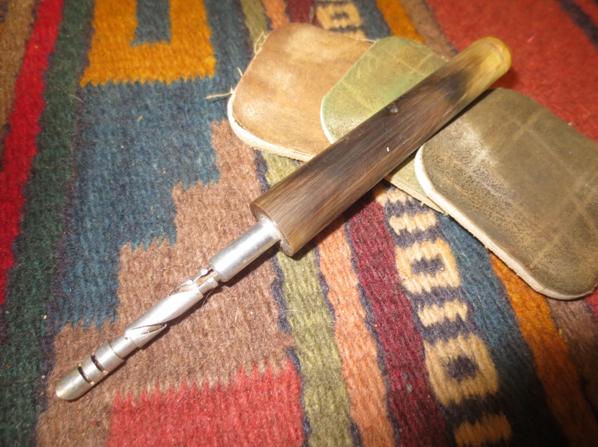
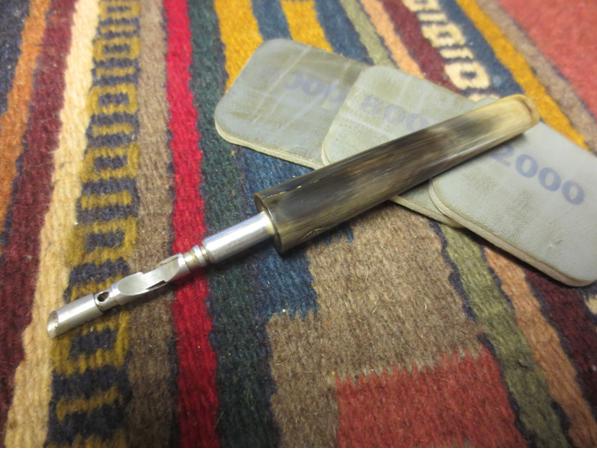
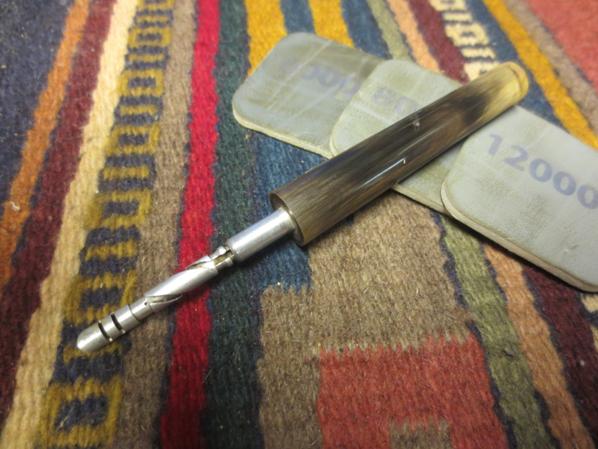
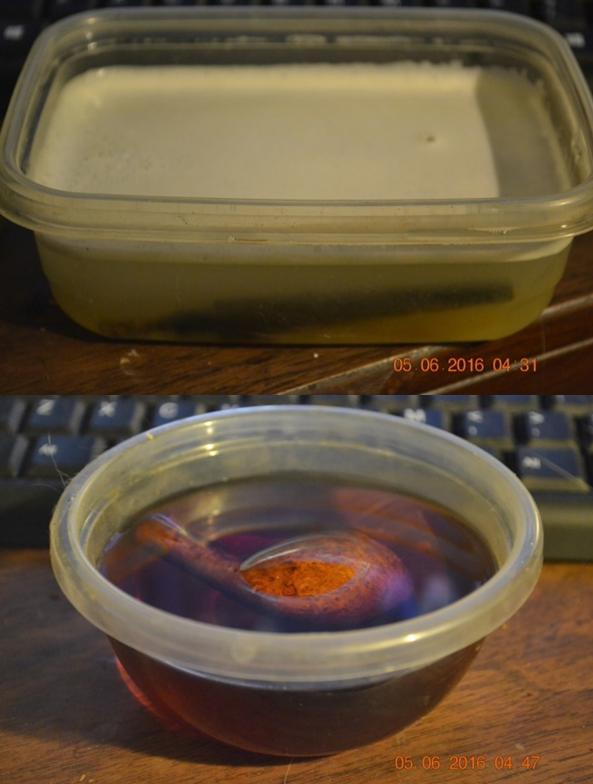 The bit was ready first, about a half-hour later, and I removed it from the soak and rinsed it, then took out the stinger and ran a soft cleaner through the airway. I wiped the stinger clean with a soft cotton gun cleaner square and sanded both sides of the bit’s lip end with 200-grit paper. Then I wet micro-meshed the entire bit from 1500-12000 and had a nice bowl of D&R Two-Timer Gold in my Peterson Killarney Straight Bulldog Dress Pipe. I ordered the beautiful black “ebony” pipe online during a brief overwhelming fixation on these pipes that also landed me a sleek Nat Sherman. Both remain favorites.
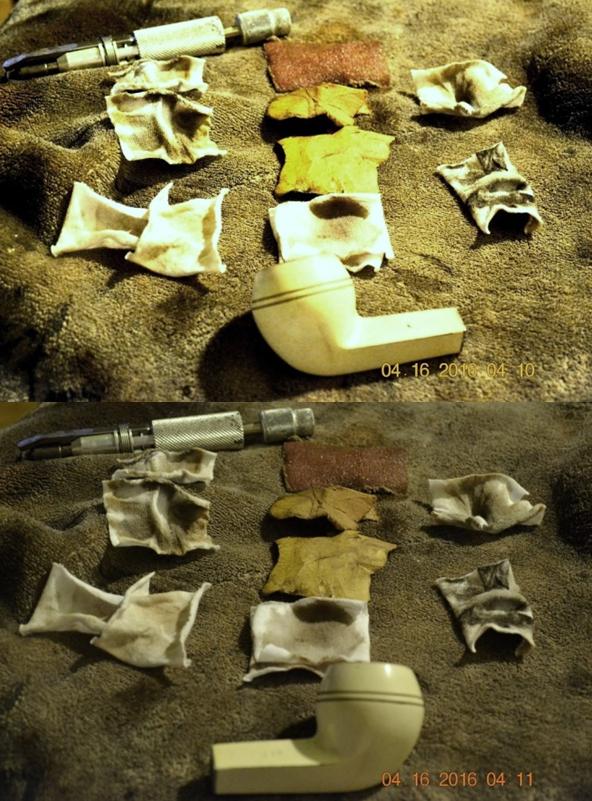
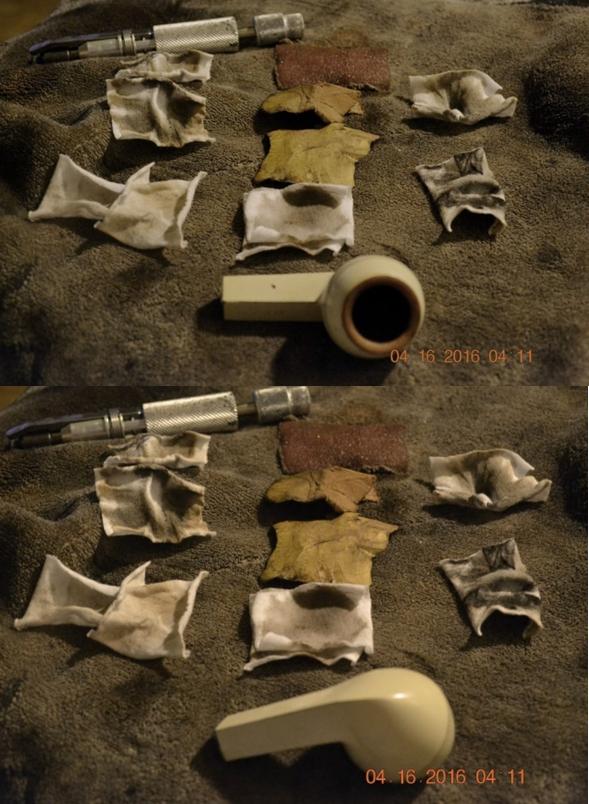
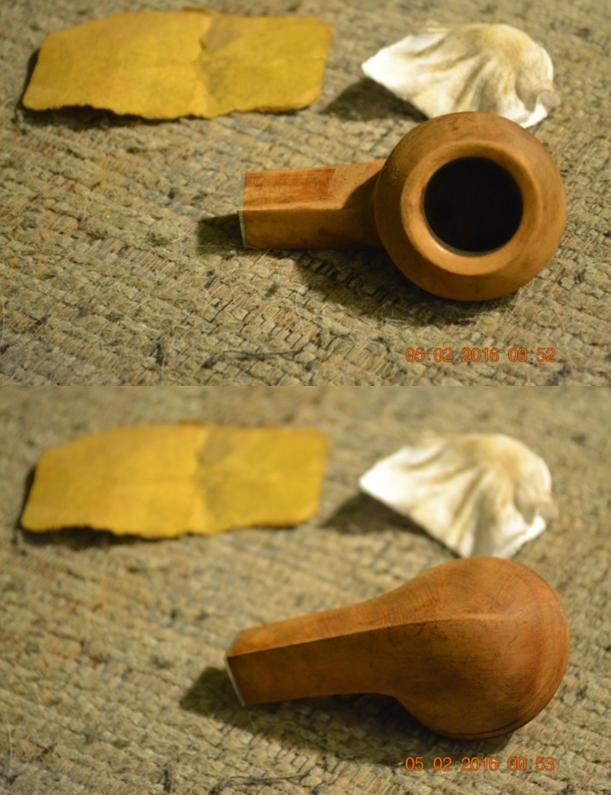
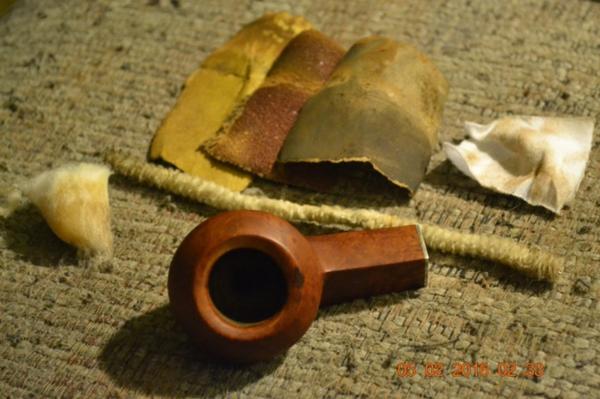
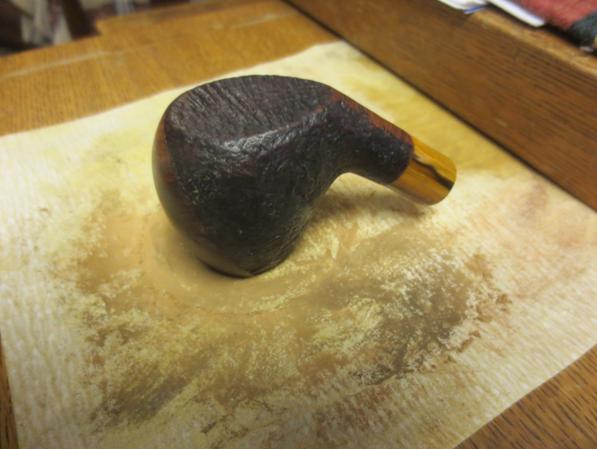
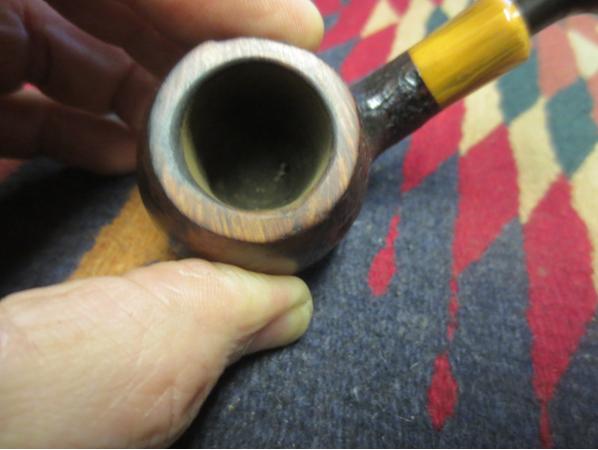
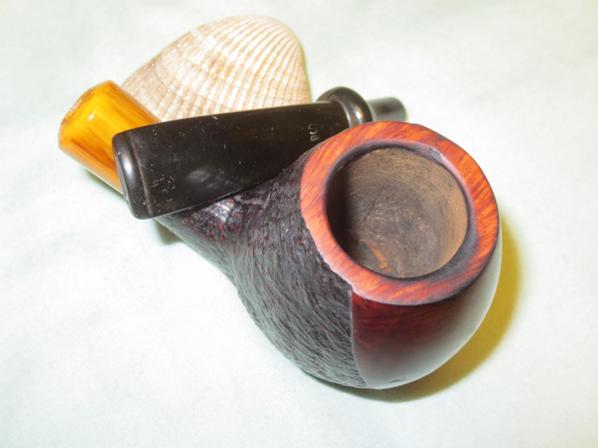
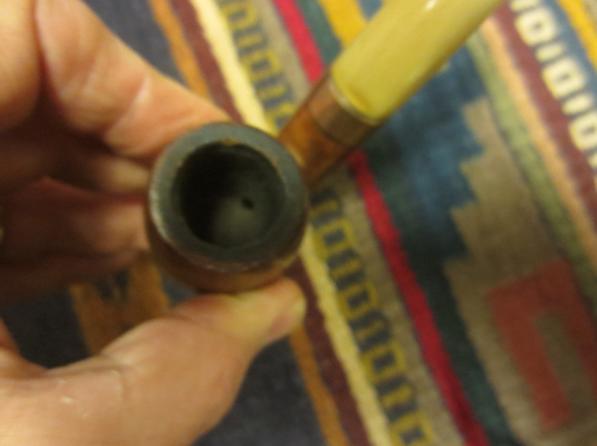
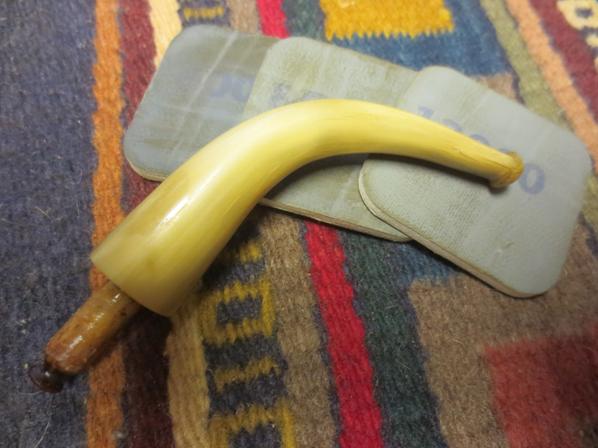
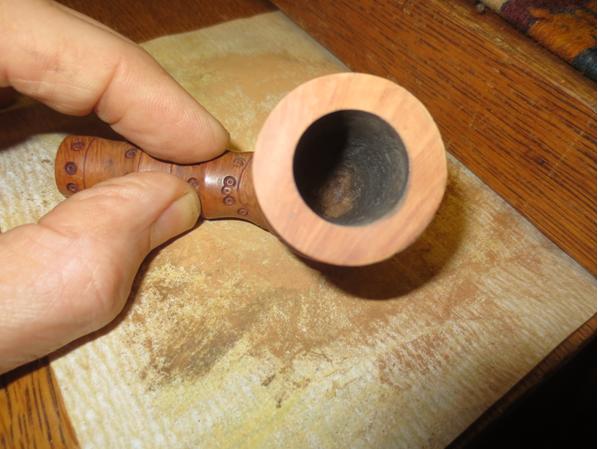
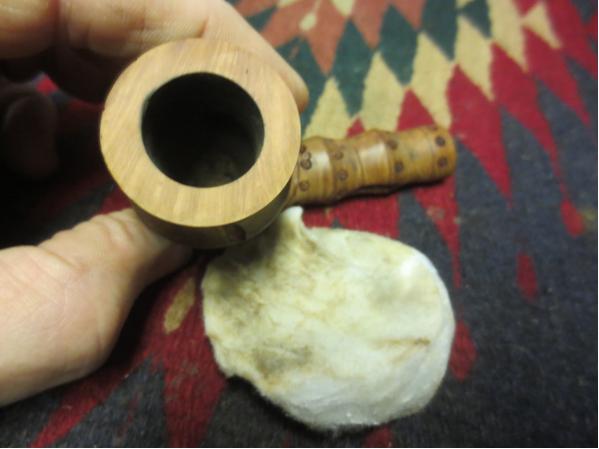
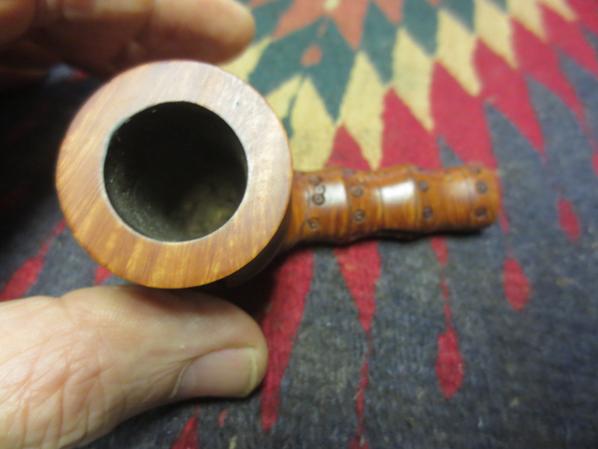
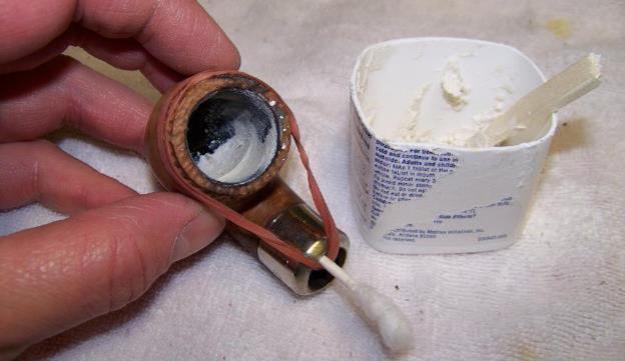
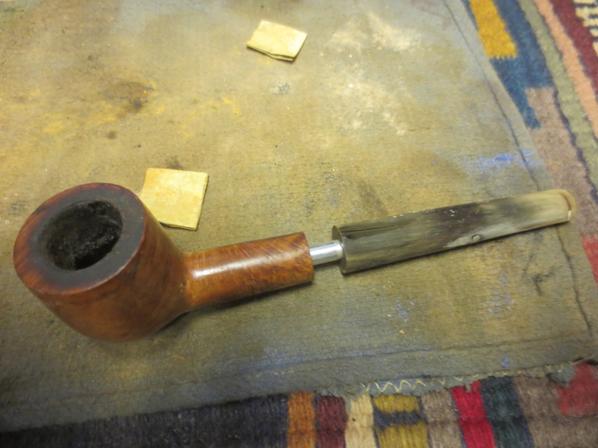
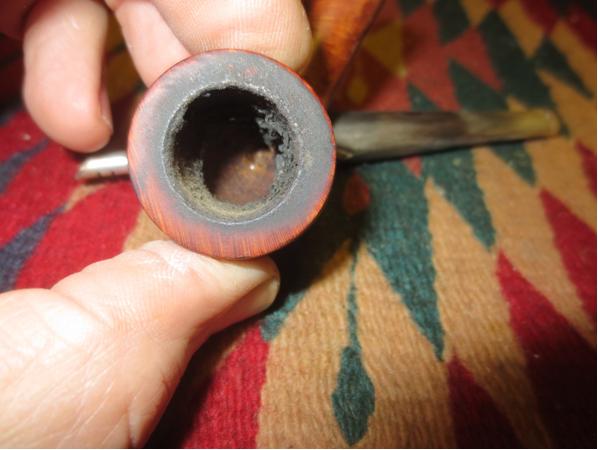
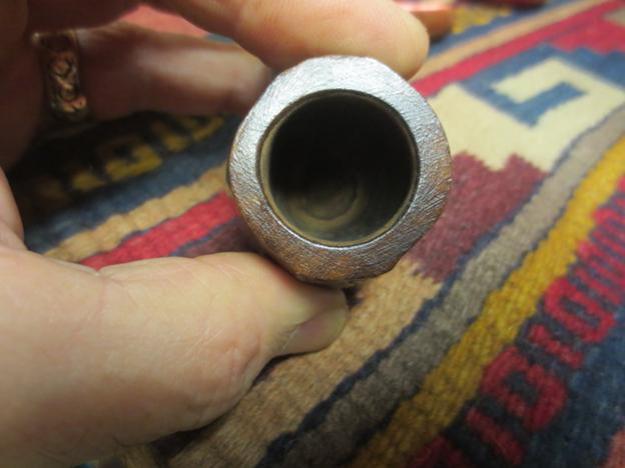
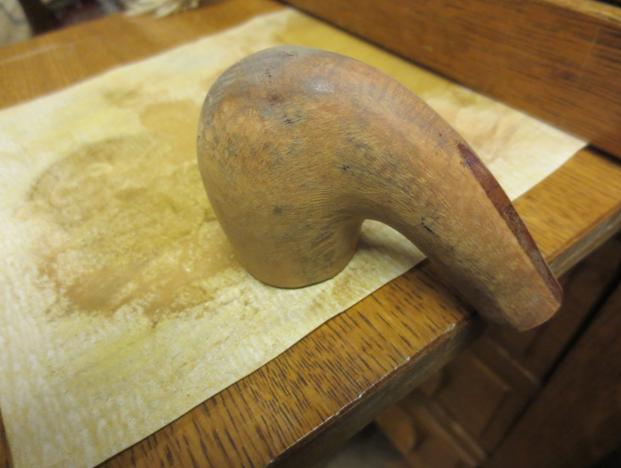
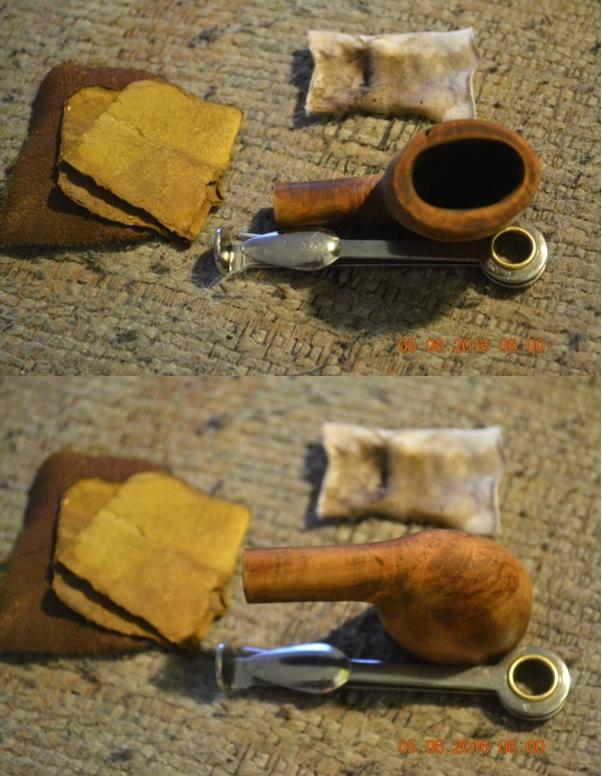
That Everclear strip lasted just long enough for my consummate Burley mix to work its way down to a fine ash – or maybe I made it last the proper time, as was my prerogative! Whichever the case may have been, I had a couple more handy cotton cloth squares ready, one to stuff into the chamber with a pinkie and twist so I could clean out any residue there and hold the body in place while I scrubbed the still wet outside of the wood with the other. Look at the scum that would have ended up trapped below the stain I later applied. Some would ask what it would matter. I like to think the devil is in the details. With considerable difficulty given the tiny chamber diameter (1” in length and 1” deep but a mere 0.5” across), I coaxed a small, limp piece of 150-grit paper inside and somehow worked it up and down enough to make a difference, then switched to 200- and finally 500-grit., finishing with a cotton cloth square with a squirt of purified water to remove the extra char. On the outside, I used 200-grit paper to clear away the stubborn remaining stain and residue from the Everclear soak.
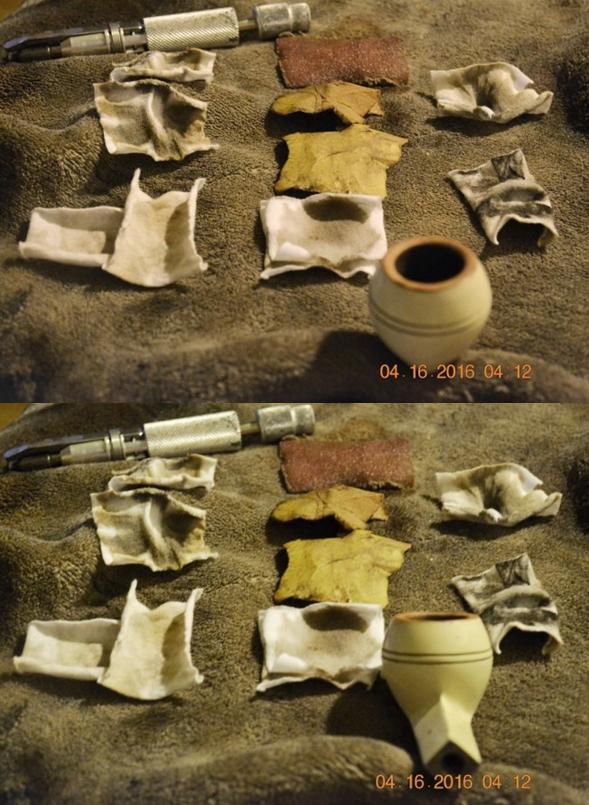
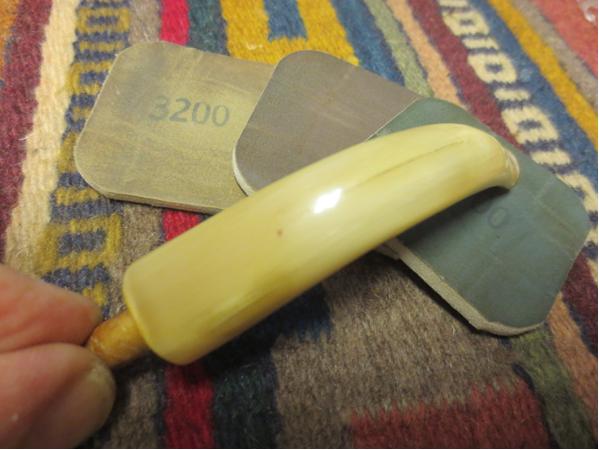
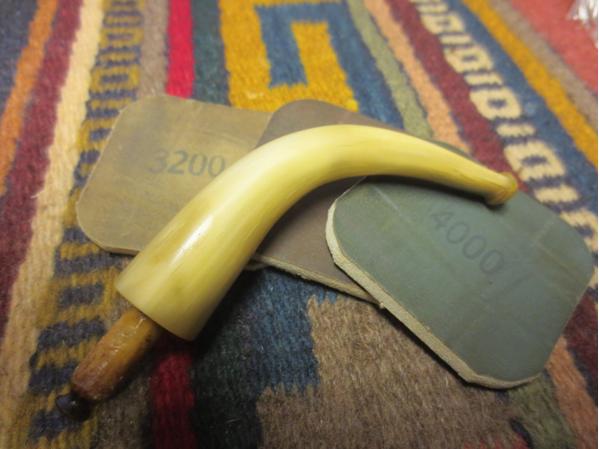
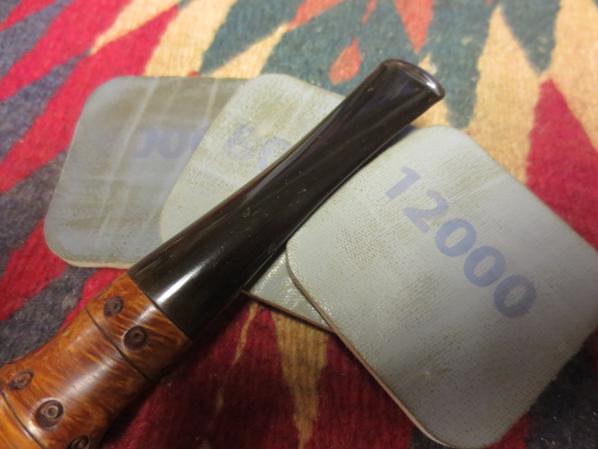
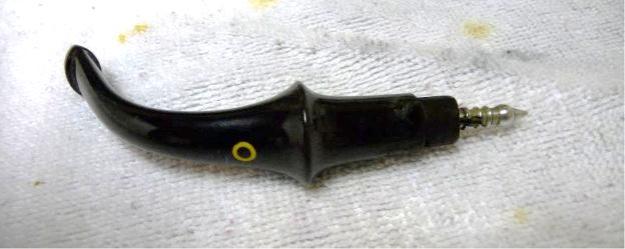
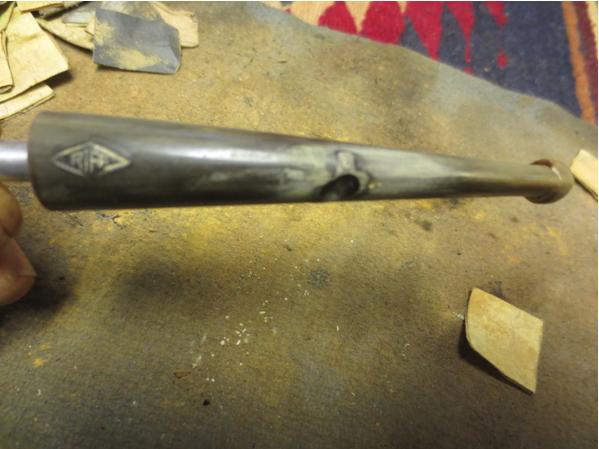
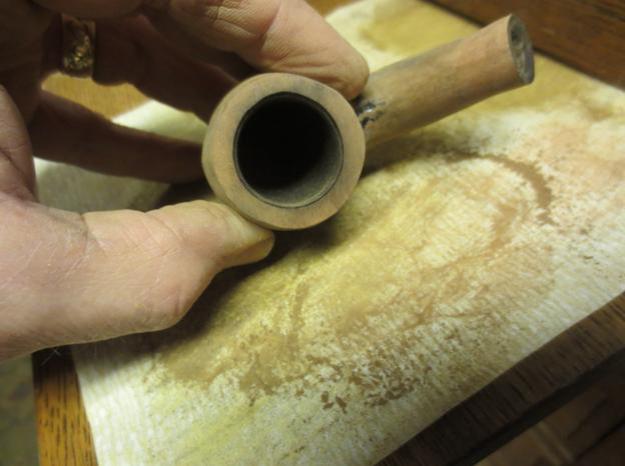
 I micro-meshed from 1500-12000.
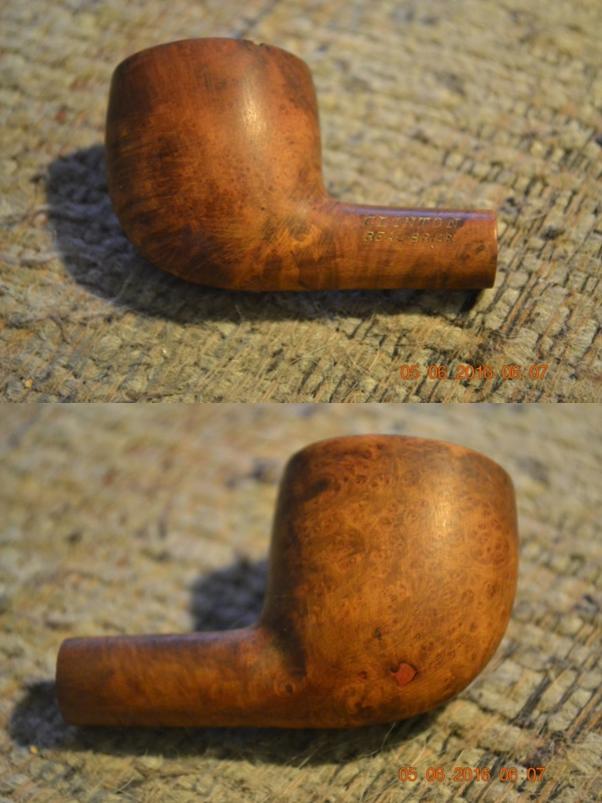

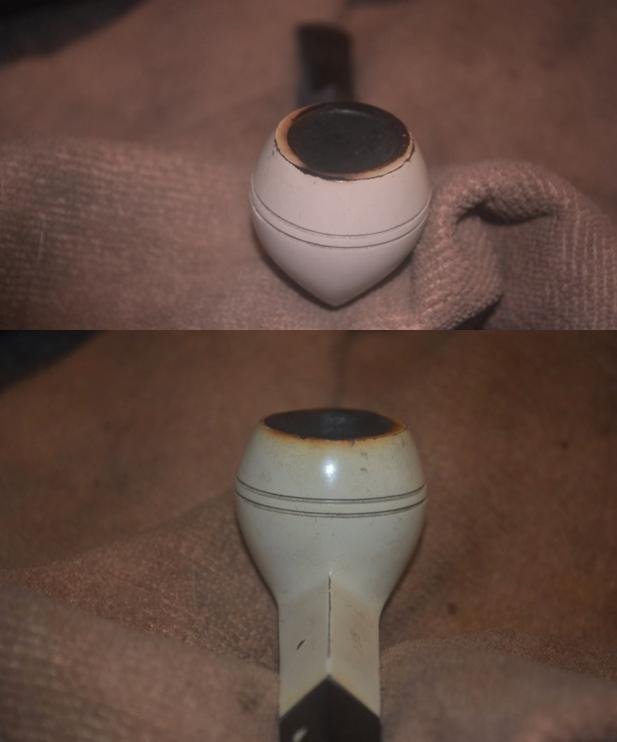
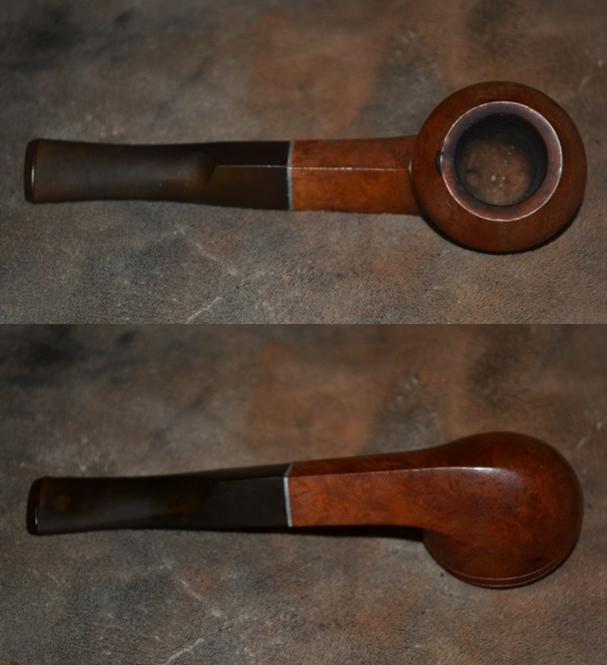
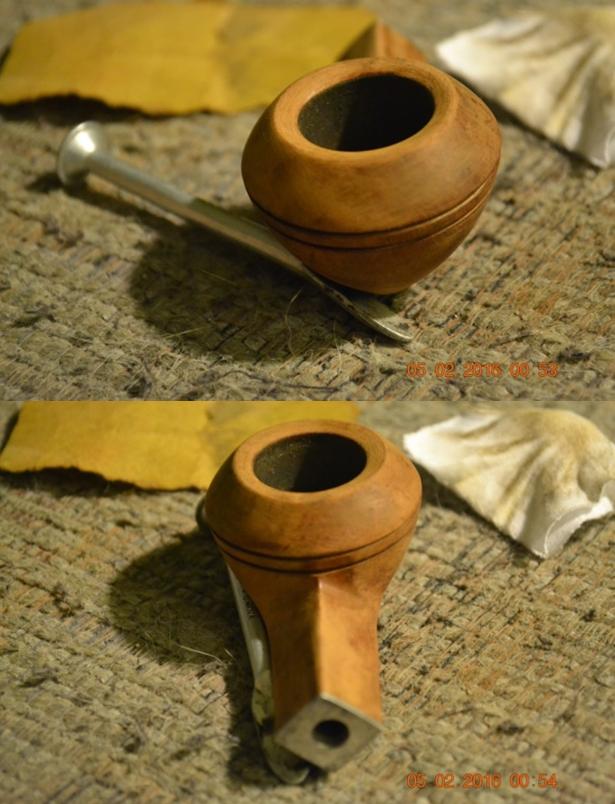
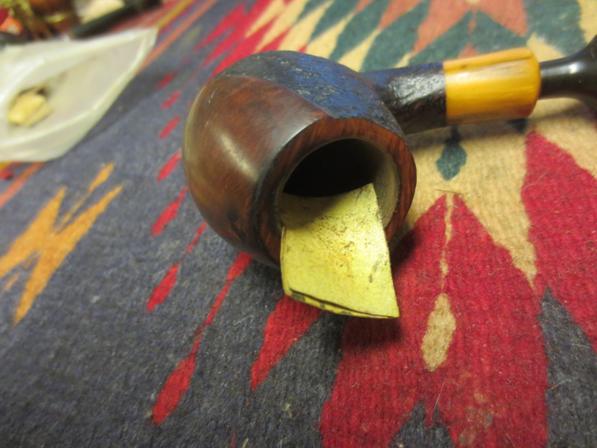
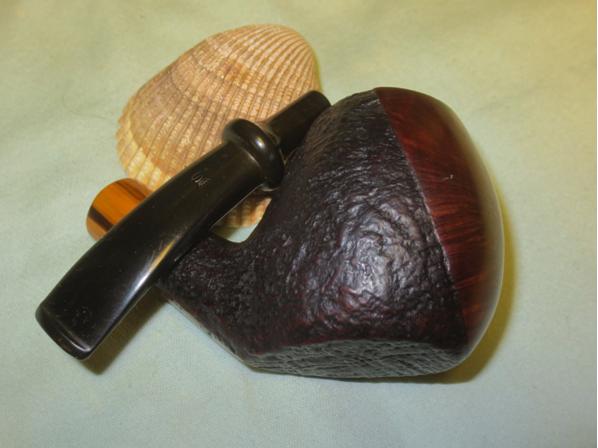
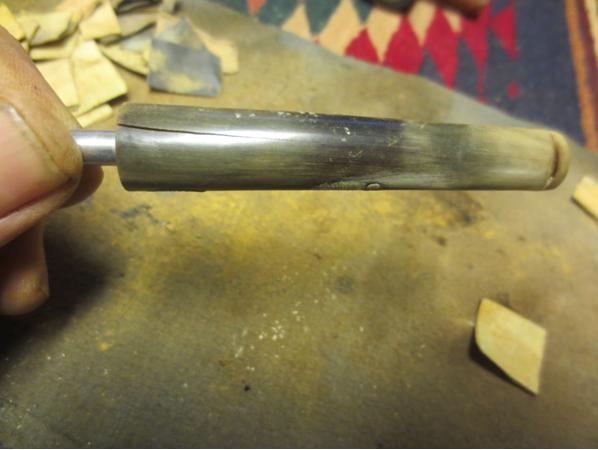
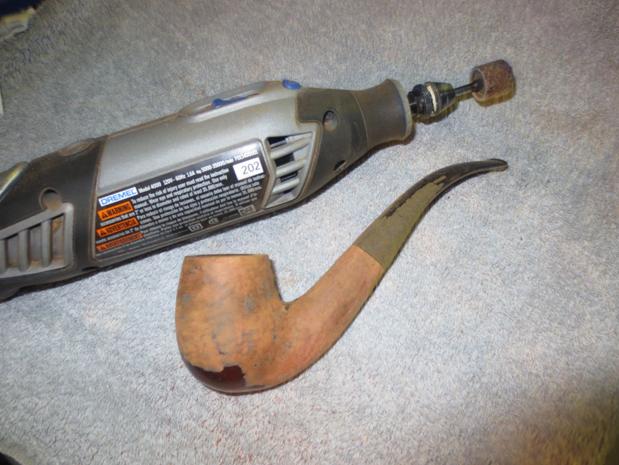
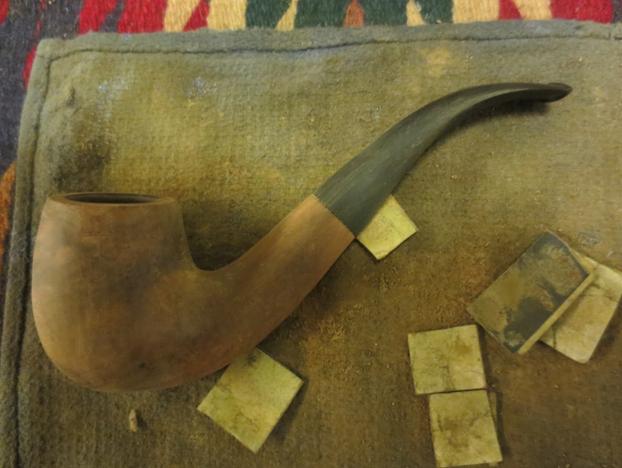
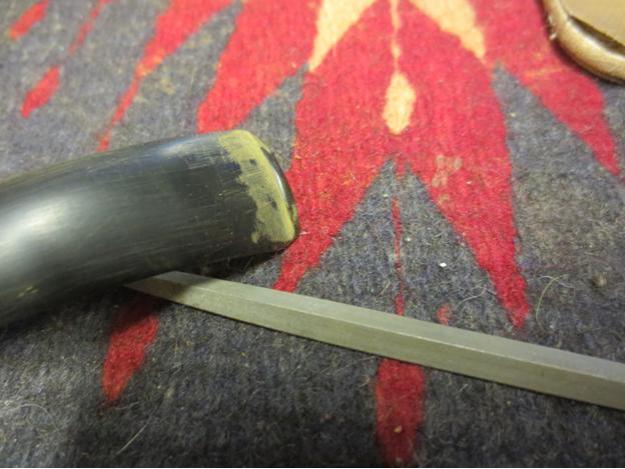
 I was ready at last to consider the crack.
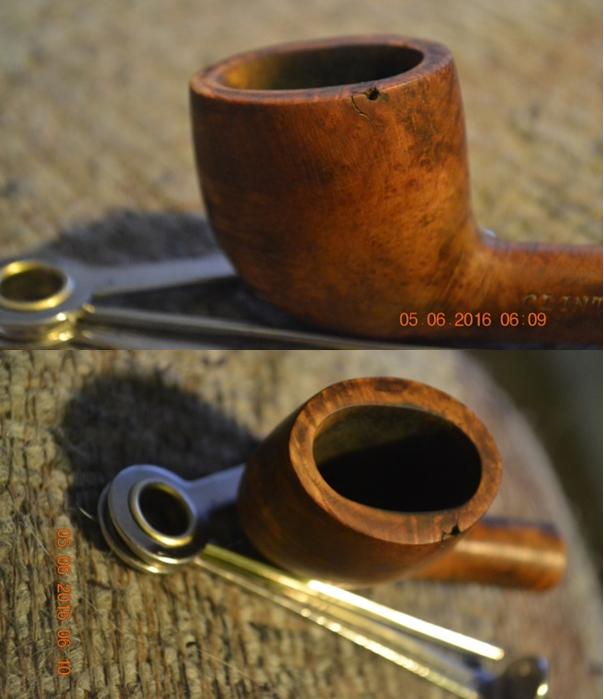 It looks pretty nasty, doesn’t it? Again, the consensus was to shave down the rim. Having Executive Power of veto, I opted for a fix I never tried before with a little concerted sanding of the rim with 150-grit paper, it comes down appreciably.
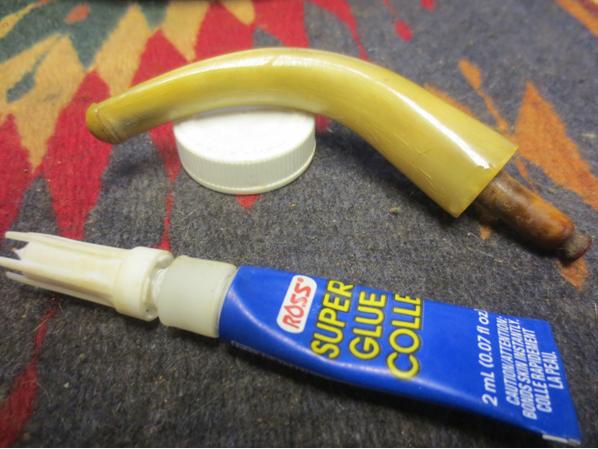
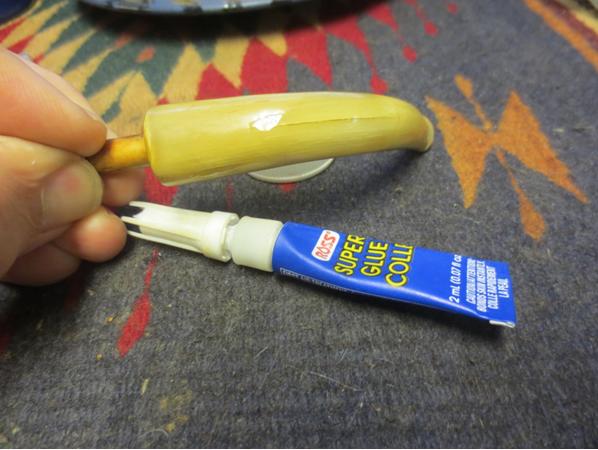
 Then I got a wild hair to do the unthinkable. I retrieved my file, an old, wrecked briar stummel I’ve kept for several years knowing I would never dare to try restoring it and some Super Glue, and scrape off enough of the wood to make a nice pile of super fine particles. I’ll tell you right now, the first two attempts at mixing Super Glue with the briar particles and then moving the ultra-fast-drying gloop to the top hole in the Clinton didn’t turn out well. Eventually I conclude the trick is sprinkling some of the fine wood into the gap and then sealing it with a kiss of glue.
 I did hasten to scrape some of the excess glue into the hole and remove the rest using the edge of a business card. When it was dry, which was in almost no time at all, I retorted the pipe Before the finishing touches, I sanded it down to smoothness with 200-grit paper and re-micro-meshed.
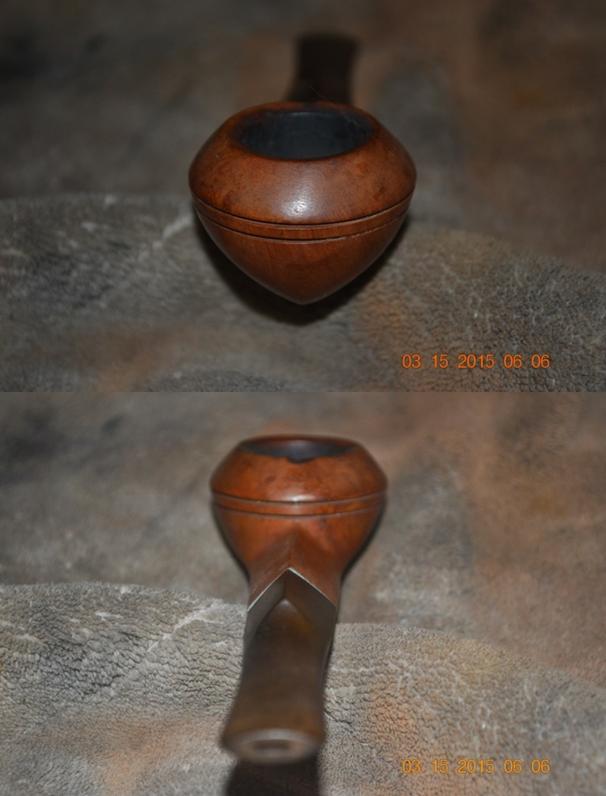
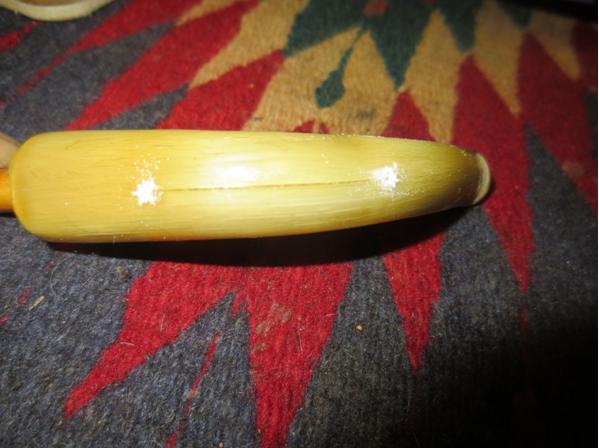
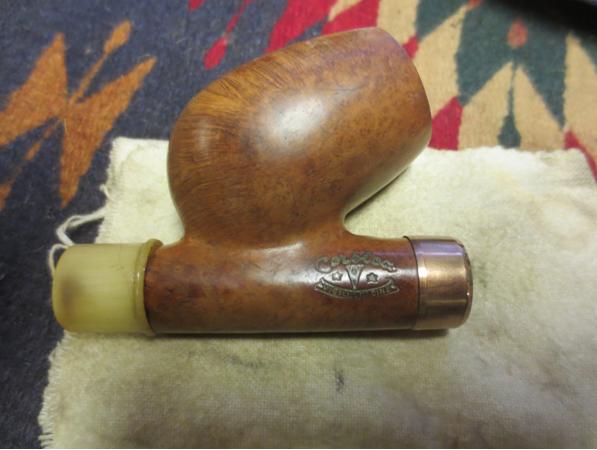
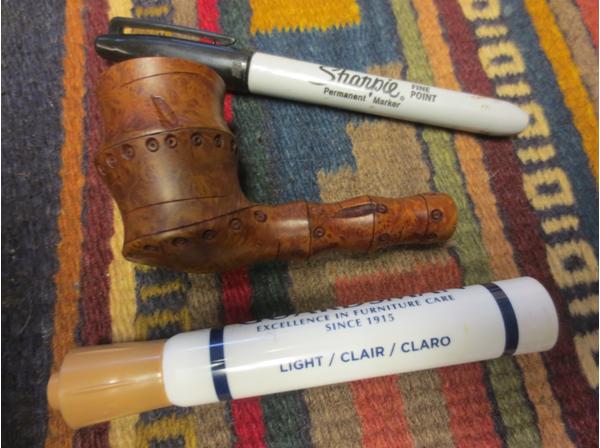
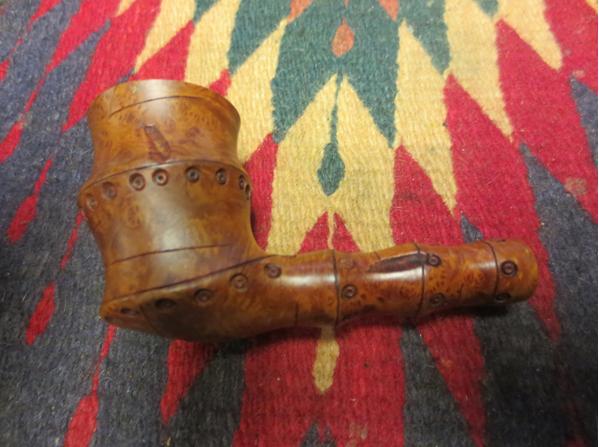
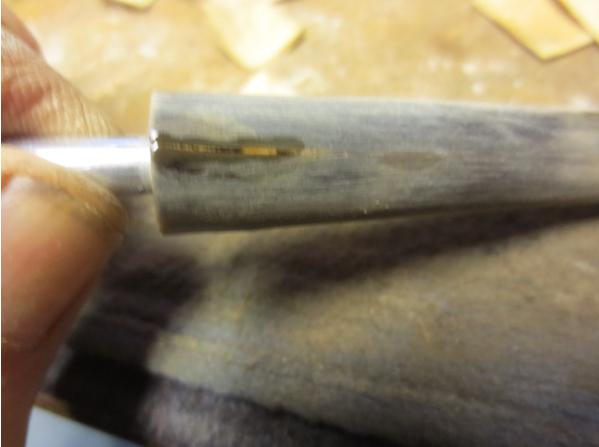
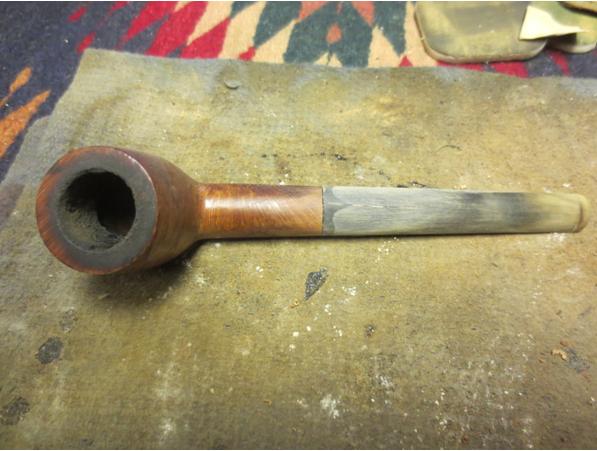
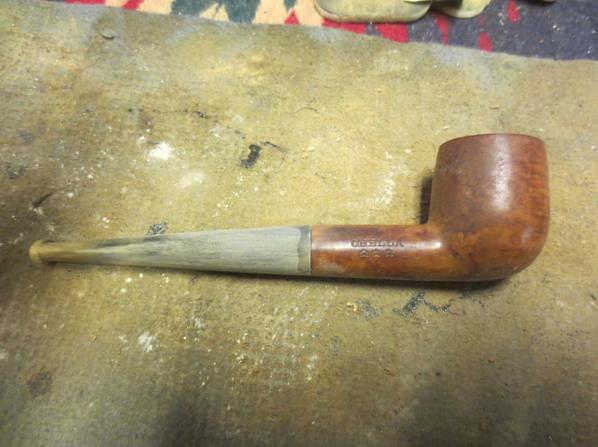
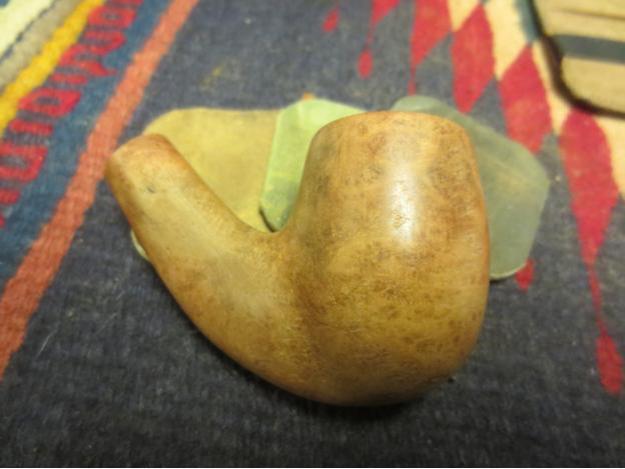
Afterward, taking the matter under full advisement and consideration, I mulled over Lincoln Marine Cordovan (burgundy) to stain it, which might have been overkill, and a mix with that and two or three times more Feibing’s Brown. I chose the latter, of course. I mixed the two stains in my small Tupperware. 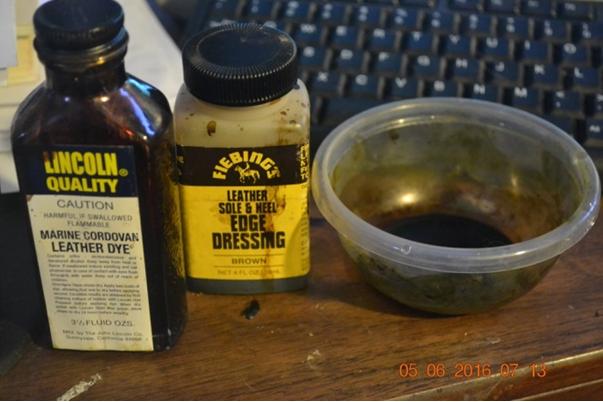 Staining the surface of the Clinton stummel for the most part had a nice effect, not counting the serious accentuation it gave to the small remaining hairline crack beneath the one I sealed on the rim. Therefore, following the same process I so painstakingly learned before, only going straight to the effective method, I prepared more briar shavings and, Super Glue at the ready, set the stummel down left side up and sprinkled the dust over the area where the crack was forming. After using another business card (what else are they good for?) to get the most of the particles, I squeezed a nice precise dot of glue over the spot and spread it out to let it dry in a thin coat.
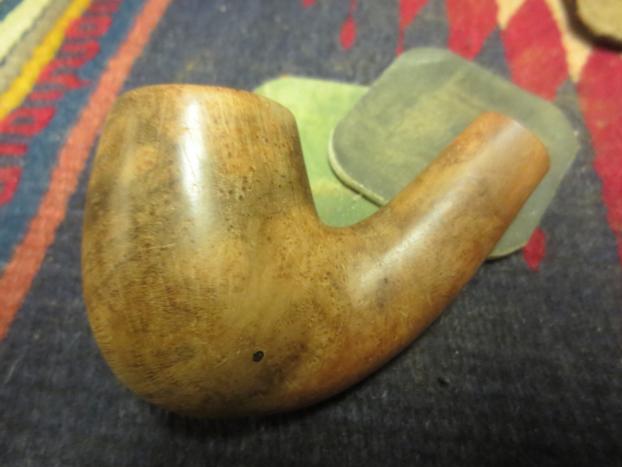
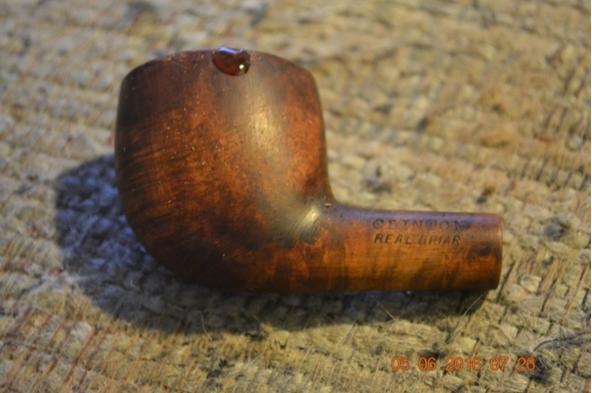 Of course I was forced to sand down the resulting obnoxious big round shiny bump, and in the process some of the surrounding stained surface, but it was worth it knowing the integrity of the pipe would be sound and none of my pipe aficionado friends with their eagle eyes would spot the former crack. Here is after sanding and before touch staining.
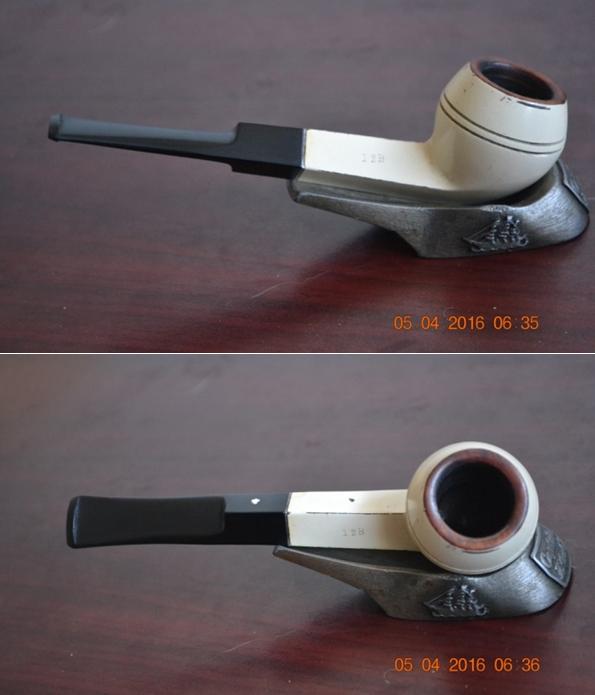
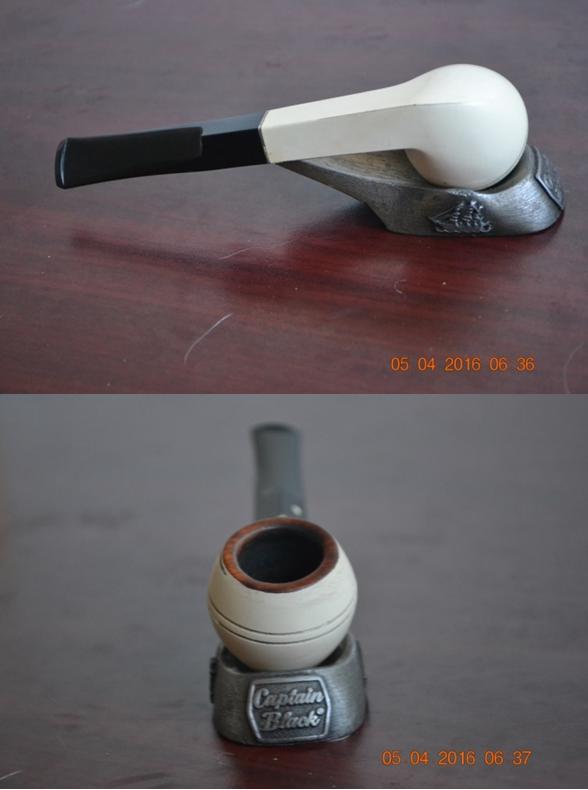
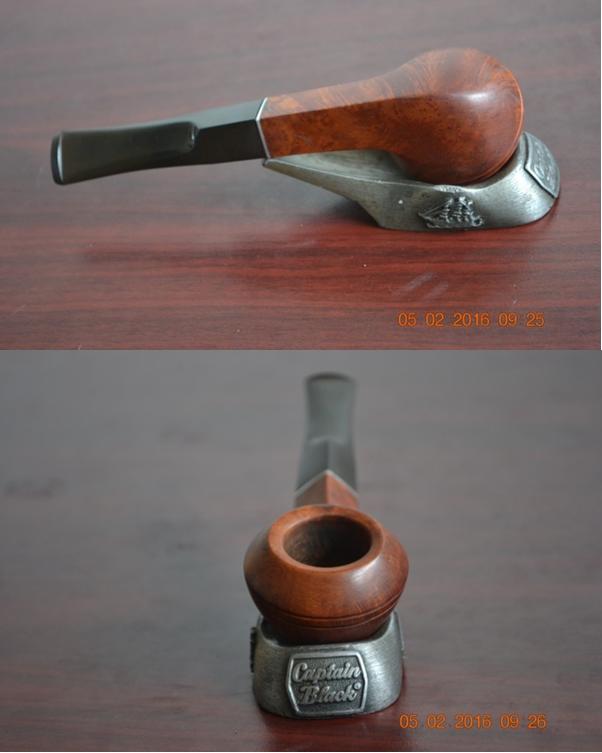
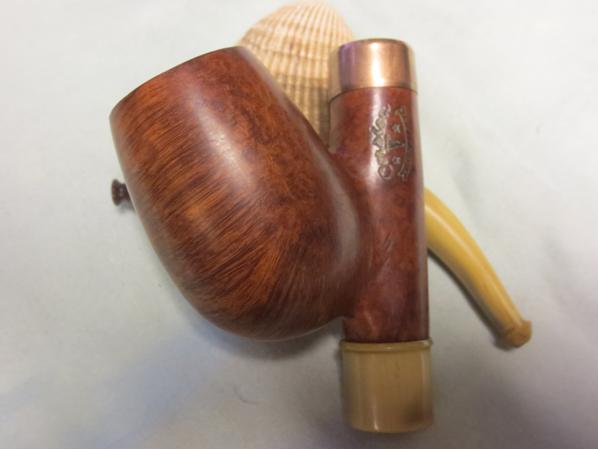
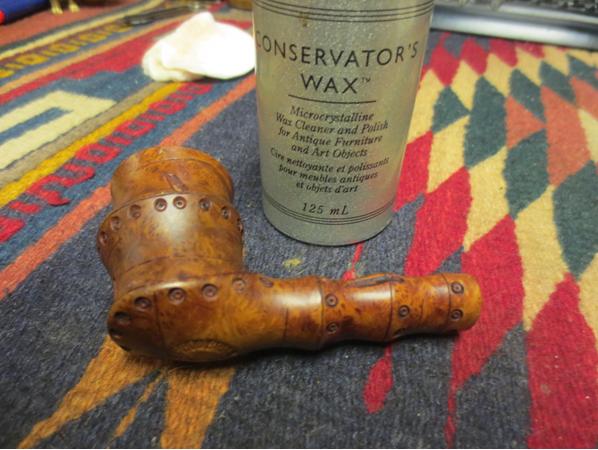
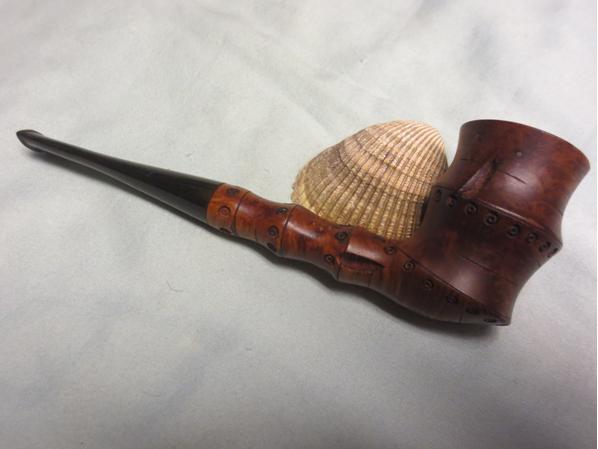
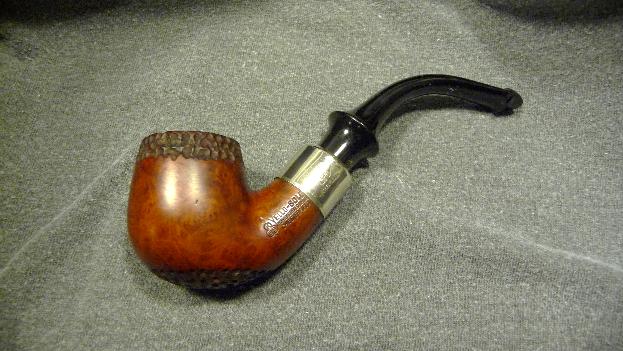
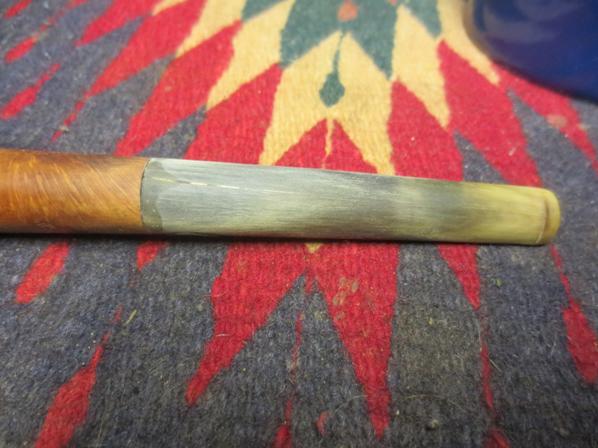
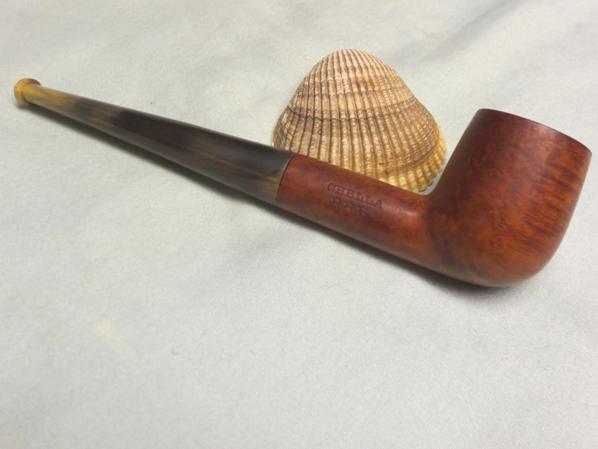
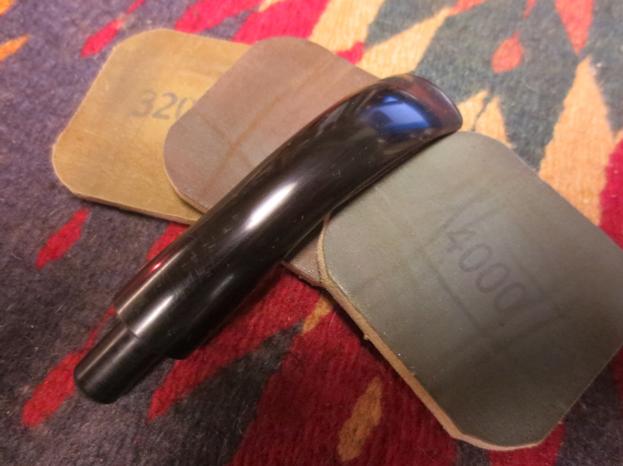
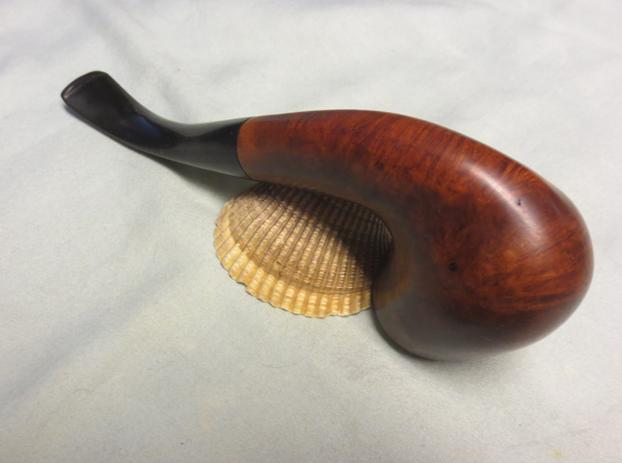
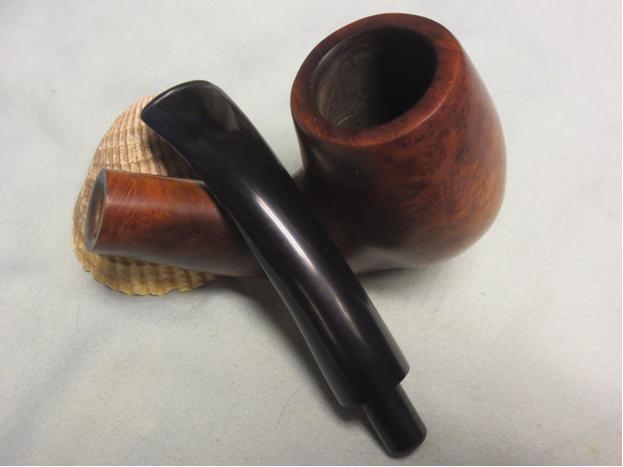
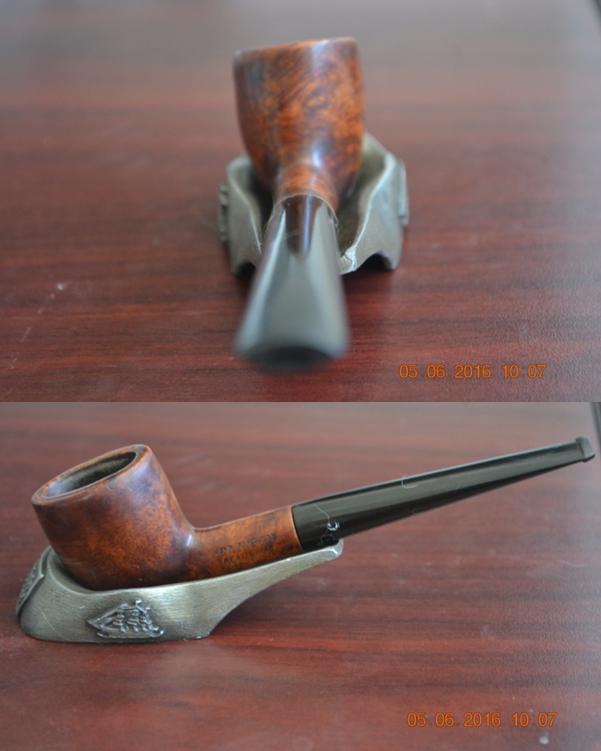
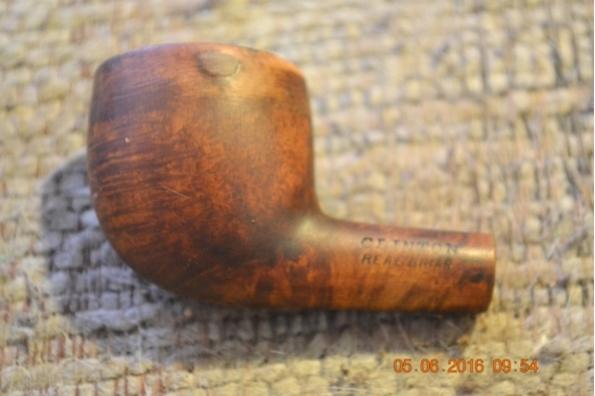 And now for the finished product, after buffing with white Tripoli, White Diamond and carnauba. Red and white Tripoli, White Diamond and carnauba gave this bit a higher than usual shine.
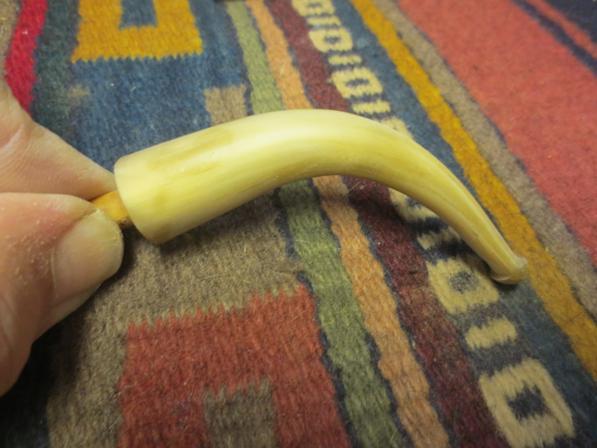
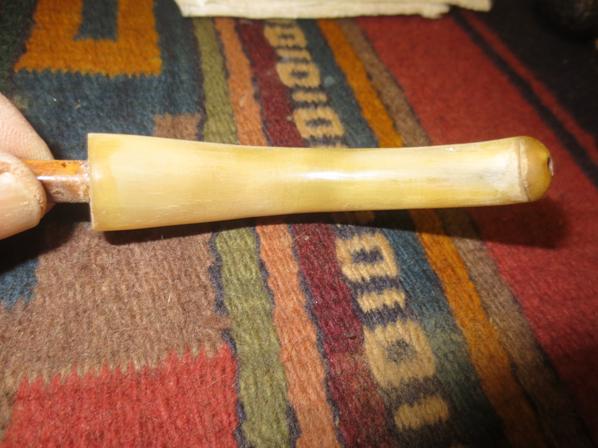
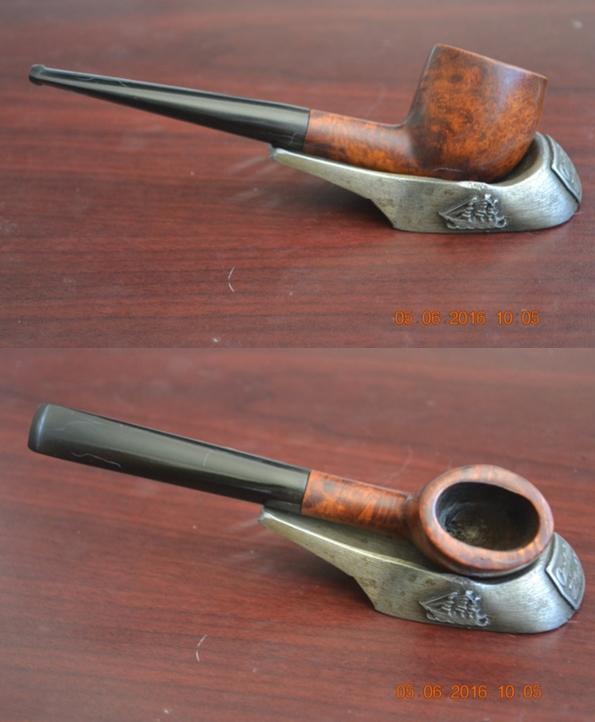
 CONCLUSION
However lighthearted the ad with which I opened this installment of the series was intended to be, women are not here to be led around by the nose in the pursuit of so-called manly pleasures. Granted, no doubt, for the most part the pleasure of partaking of tobacco pipes has always been more the purview of men, but to think that women are incapable of such finer sensibilities of life is sheer sophistry, and shamefully self-deceptive and fallacious reasoning at that.
Furthermore, women need not have masculine qualities to favor the subtle qualities of pipe appreciation. And although most humans are capable of normal synaptic reflexes, the electrical impulses generated do not produce identical stimuli tickling the pleasure centers of the brain and kicking out uniform reactions. On the contrary, the magnificence of the human brain is that everyone’s reaction to a given stimulus is unique.
Why, then, should anyone be deprived of the deeply personal reflections facilitated by the mere puffing of a favorite tobacco in a like pipe? These are propositions that we hold to be self-evident, that all people are created equal. I would no more give up my pipes than my gun. Call me a radical or a revolutionary, but don’t call me a redneck or late for dinner.
SOURCES
https://www.smokingpipes.com/smokingpipesblog/single.cfm/post/top-pipe-picks-for-ladies Ladies pipes
https://www.youtube.com/watch?v=eo7IJY4ZjCU The Ladies of the Youtube Pipe Smoking Community
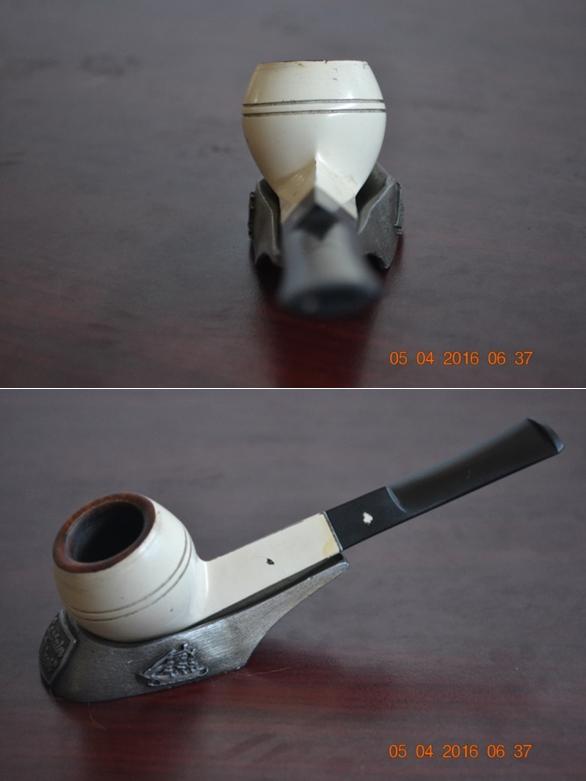
 I bought a lot of pipes a while back that had one of these early Dr. Grabow pipes. Before I started cleaning this one up I started digging around the net to see what I could find out about it as I had never seen the propeller logo before. I mainly collect old Kaywoodies and as such didn’t know much about the older Grabows other than the few I have being great smokers. The bottom of the shank is stamped with the patent number 1896800. I went to the U.S. patent website and searched the number. The patent date is February 7th, 1933. I was unable to save the images but the patent looked to be on stinger design. From reading the patent, it seems the stinger and threaded stem were designed to help strengthen the pipe shank with the insert. The shape of the stinger was designed to also be used as a bowl scraper.