Tag Archives: bowl topping

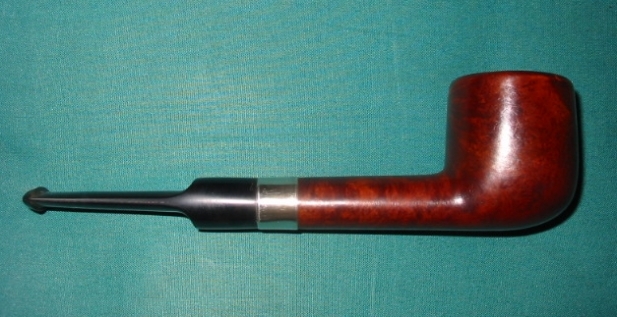
This little Dr. Plumb Bulldog is a beauty


Blog by Steve Laug

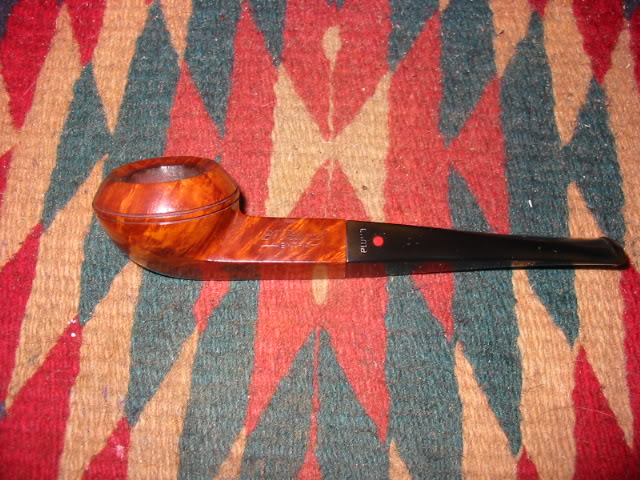
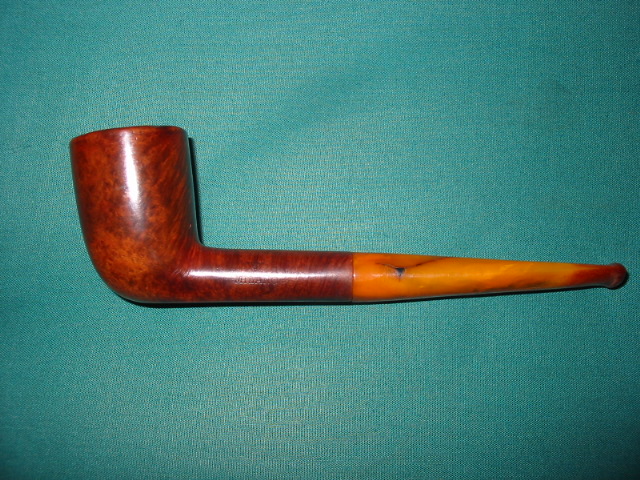
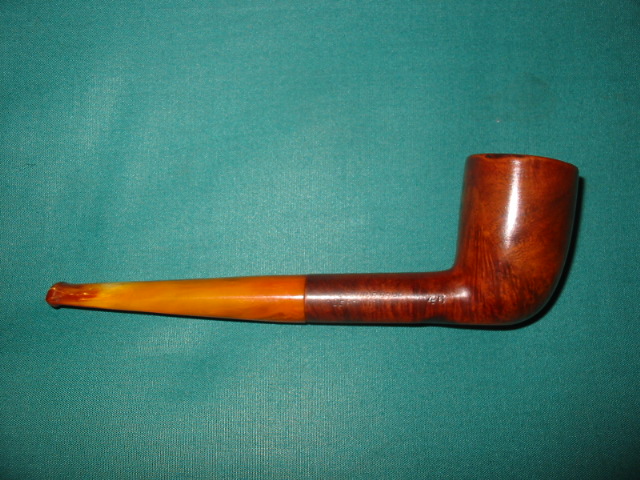
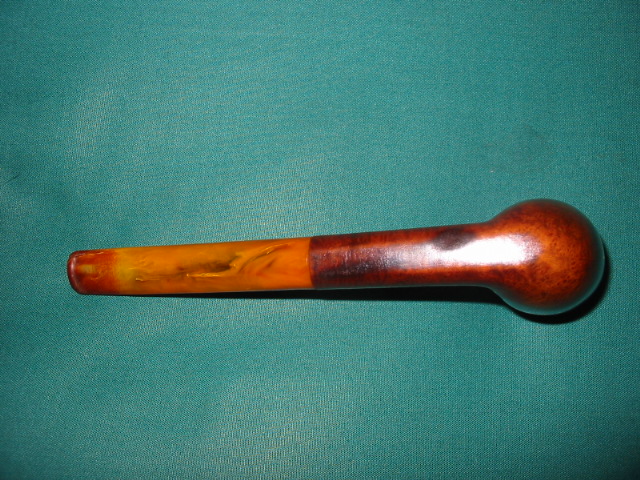
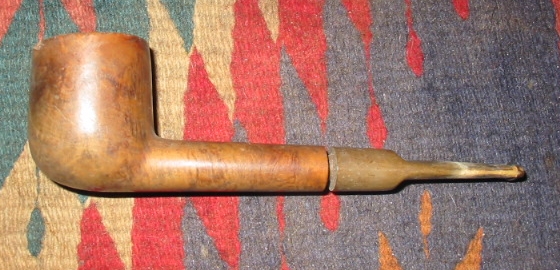
This little pipe came to me via a friend in Germany. I finished cleaning up what has turned out to be a very nice squat straight bulldog that is stamped Dr. Plumb Extra on one side and 13 D.R.G.M. on the other. I have been familiar with Dr. Plumb pipes for quite a while and love the fact that they were a GBD seconds line. In fact they often share the same numbering system for shapes. This little guy had some serious issues when I took it under my wing. It needed a bit of work. The bowl was scorched along the front outer edge of the rim as it looked to have been lit with a torch lighter. The finish was shot and not only faded and washed out but also pitted and darkened along the bowl sides. The stem was oxidized and a bit chewed on the end. The stinger apparatus was dark and filled with tars and hardened tobacco oils.

My friend had started removing the burn mark and the bowl angles were slightly out or line. I finished removing the scorched briar and reworked the angles on all the outer edges of the bowl to keep the perspective and rim correct. I gave a ream and clean to remove any of the remaining cake and the sanding dust that had become embedded in the cracks in the cake. I put the bowl in the alcohol bath and then worked on the stem.

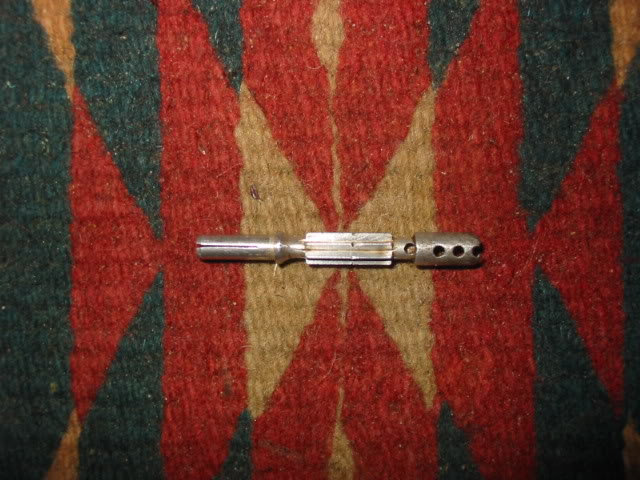
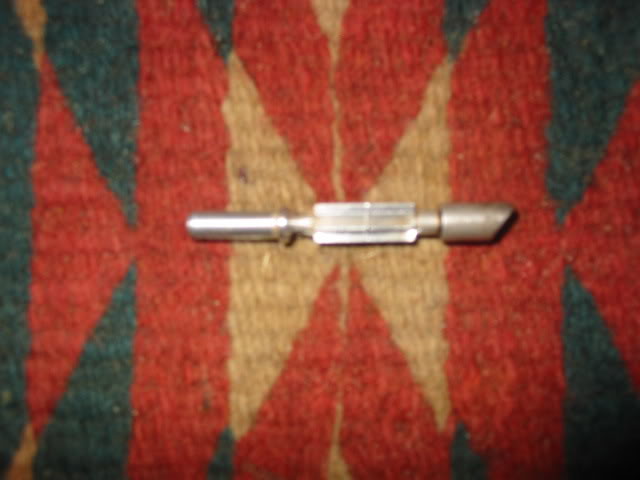
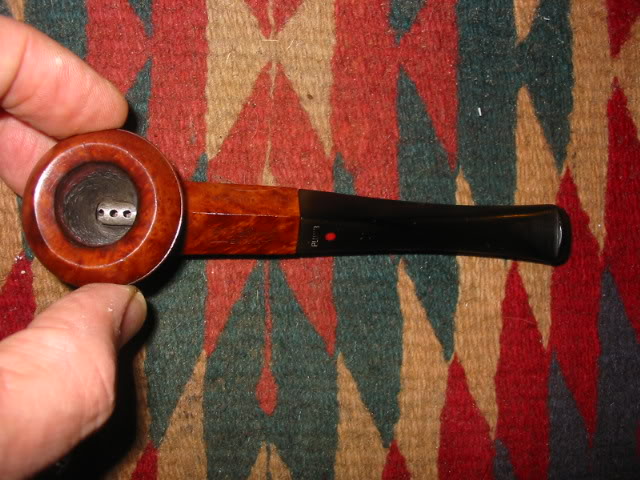
The pipe had the strangest stinger contraption I have ever seen that extends into the bottom of the bowl. It almost looks like a motorcycle exhaust pipe. I have inserted a few pictures of the stinger and fit in the bowl. I removed the stinger and placed in a small bowl of alcohol to soak. The stem was badly oxidized – not the brown oxidation that sat on the surface but a deep oxidation that left the stem a deep brown under the surface. I had been soaking the stem in Oxyclean while I worked on the burn on the rim of the bowl so that when I removed it from the water the oxidation had been brought to the surface. I used my buffer to remove the surface oxidation that had softened. I use Tripoli at this stage and work the stem carefully on the buffer to avoid rounding the shoulders on the stem. Then I sanded it with 240 grit sandpaper until it was matte black and clean. I then sanded it with 400 and 600 grit wet dry sandpaper and water to remove the scratches. I finished the stem by sanding with the micromesh pads 1500-6000 grit until the stem had a sheen to it. ImageImage

I then took the bowl out of the alcohol bath and dried it off. I sanded it with the 1800-2400 grit micromesh pads until the surface was free of scratches and grooves and was smooth. Then I refinished it with an oxblood aniline stain to bring out the red highlights in the briar. I put the stem back on the pipe and took it to the buffer to buff with White Diamond. Once finished I gave the whole pipe several coats of carnauba wax. ImageImageImage

Rebirth of a WDC Milano Dublin


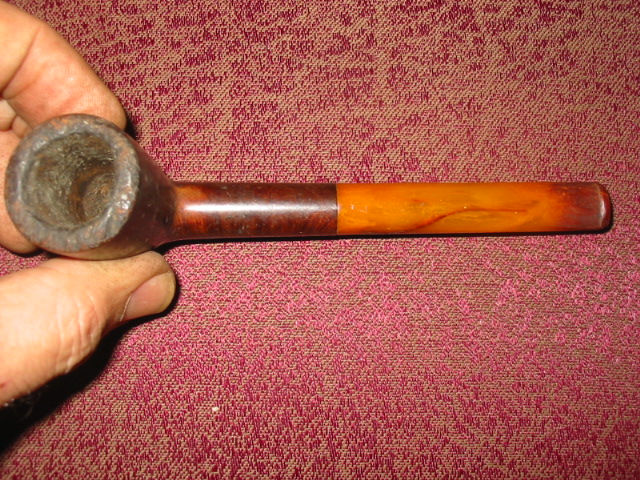
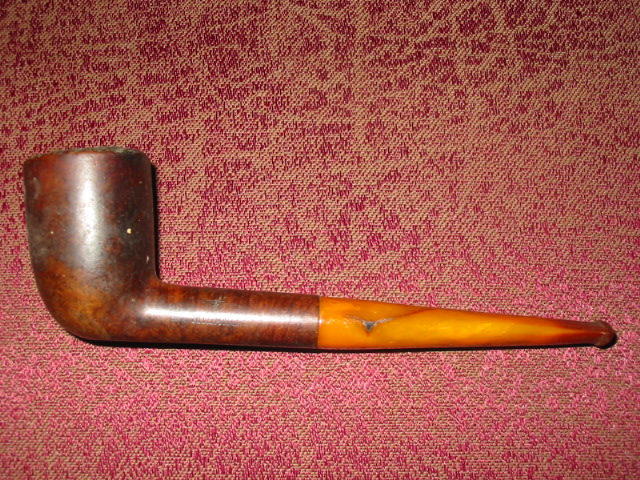
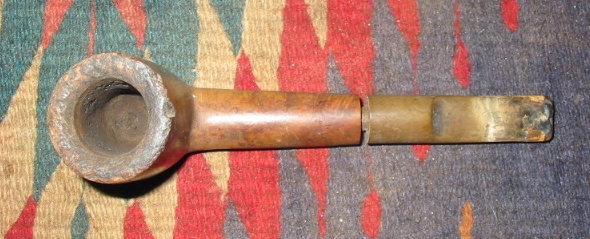
This old WDC Milano was a challenge that I wanted to take on and see how it would turn out. In the pictures below you can see the state of the pipe when I received it. The stem was deeply darkened in the button area as well as scratched and marked with tooth chatter on the first inch of the stem. The bowl was badly caked – much of the cake had broken away in chunks and what remained was soft and crumbling. It also appeared to have been reamed with a pocket knife and had nicks and cuts around the inner edge of the rim and the resulting effect left the bowl way out of round. The finish was damaged and parts of the stain had rubbed away and what was left was underneath layers of black grime. The sides of the bowl and the bottom side of the shank both showed signs of having been laid in an ashtray and burned with a cigarette. The burn on the bowl side was not deep and would be easily addressed but the one on the shank was pretty deep. I would have to take out as much as possible without changing the integrity of the shape. That gives you a pretty clear assessment of the damages facing me as I decided to work on this old pipe.

ImageImage

I reamed and cleaned the bowl back to the bare wood in order to remove the crumbling and cracked soft cake in the bowl. My thinking was that a good clean surface would encourage the build-up of a proper cake. With a sharp knife I worked on the inner rim. I worked to get it evened out with the knife and then turned to a folded 1 inch piece of 240 grit sandpaper to smooth out the roughness of the inner rim and to bring it back as close as possible to being round. The roughness of the rim required topping to even it out as well. I used my normal procedure of sandpaper anchored on a solid flat hard surface and turning the bowl clockwise or counter clockwise into the sandpaper – exercising caution to keep the bowl flat on the surface and vertical in order to keep the rim flat and not slanted. To remove the burn mark on the bowl and on the shank took a little time. On the bowl side it was not deep so it only needed to be sanded to remove the damage. But on the shank I scraped until I got to hard wood and then sanded. Once I had solid briar under the burn I put the bowl in an alcohol bath to remove the grime and the remaining finish. I left it overnight to soak and turned my attention to the stem.

The stem has a steel tenon and insert that is the system in these old Milano pipes. It seems to be some sort of condensing chamber to collect the moisture generated in a smoke. In any case this one was filled with tars inside and coated with them on the outside. I cleaned it out with a shank brush, bristle pipe cleaners and then fluffy ones until they came out clean. The outside of the condenser I scrubbed with 0000 steel wool to polish and remove the grime and tars. The aluminum polished up nicely and the tenon looks like new. The Bakelite stem took a bit more work and creativity. I cleaned the inside of the stem scrubbing it with soft scrub and bristle cleaners. I was able to remove much of the interior stains. I sanded the exterior of the stem to remove the tooth chatter and external discolouration. I sanded it with 400 and 600 grit wet dry sandpaper and then the usual course of micromesh pads from 1500-6000 grit. I finished by buffing the stem with Tripoli, White Diamond and carnauba wax.

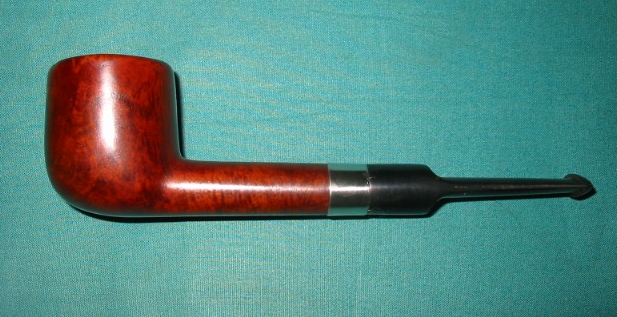
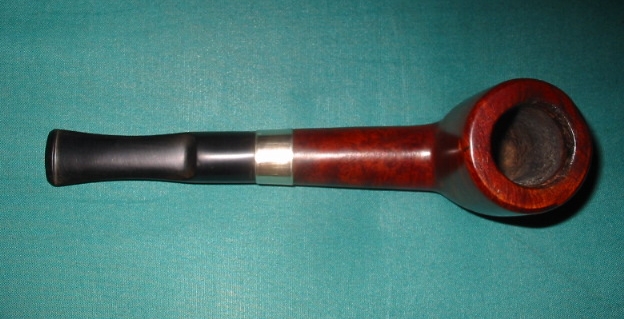
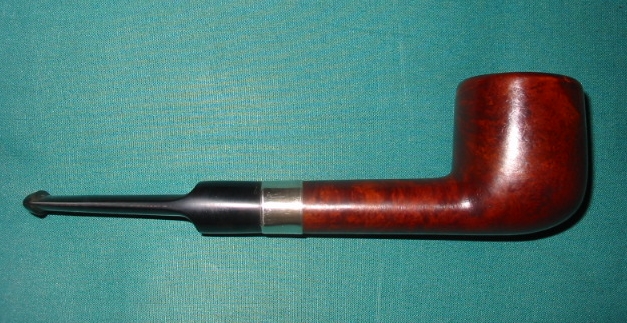
I put the stem aside and removed the bowl from the alcohol bath and dried it off. I sanded the bowl with 1500 and 1800 grit micromesh to remove any remaining finish. I also sanded it with 3200 and 4000 grit micromesh to polish the bowl. I restained it with an oxblood stain. I flamed the stain and then took the pipe to the buffer and buffed the pipe and stem with White Diamond and carnauba wax. Below are the pictures of the finished pipe.

ImageImageImageImage

From Sow’s Ear to Silk Purse


Blog by Steve Laug

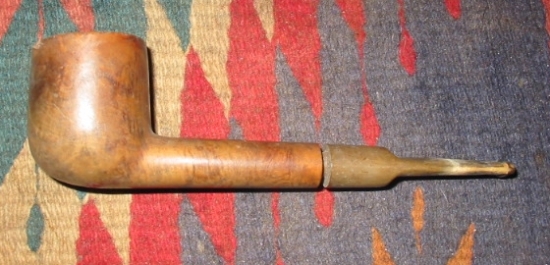
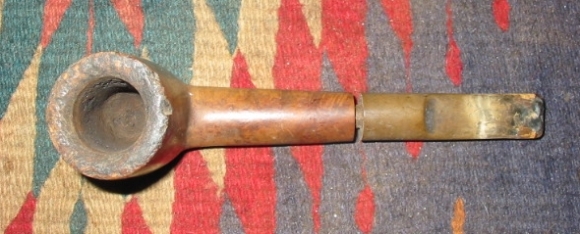
This morning I decided to do a few more refurbs on pipes from my box. It is getting low on options as I have reworked the majority of the interesting ones. There are about 25 or so pipes to choose from now and many are in a real state of disrepair. As I sorted through them I came upon this one. I took it out of the box and turned it over in my hands. The bowl was clogged with the remnants of the last smoke – dried tobacco and sticky tars. I decided that this was the first pipe I would work on today. It would be a challenge to see if anything beautiful could come from this mess. It was a beat up old pipe. I think the previous owner must have always had it in mouth and chewed on it like a piece of straw and then used it to hammer nails. The top was chipped and dented with valleys and mountains and the whole covered in a thick coating of tars – pipe lava. The stem was gnawed on had deep dents and tooth marks. It was oxidized to a rich brown that stank of sulfur.

The first step in the process for me is always to ream the bowl and clean out the detritus of the past. I used a dental pick to get the remaining dottle out of the bowl and to make way for my reamers. I find that the dental pick works well as it is sharp enough to break into the hardened ball of tobacco remnant and remove it quickly. I work it around to clean out any loose leftovers so that I can work on the hardened cake that is left in the bowl. This one had a thick cake that was a bit crumbly and soft once the tobacco ball was removed. It would need to be reamed back quite a bit. I generally ream back to bare wood on these old timers as I want to start a hard cake that is not built upon the old crumbling base cake that was in the pipe when I started. I used the PipNet reamer on this one. I fit the cutting head into the T handle and began to carefully turn the reamer into the bowl. I generally do this over a plastic bucket as it is a mess. The coarse dust of the carbon that is cut away is a black cloud if you are not careful. I proceed slowly as it is easy to angle the cutting head and take the bowl out of round. Once it is done I tap out any dust that remains before moving the pipe to my work desk.
 ImageImage

On the desk I had placed a work surface that was washable and then took out the soft cotton wash cloths that I use to remove grime and stains and wet them with Isopropyl. I washed down the outside of the bowl including the rim. It removed much of the dirt the first pass and I continued to scrub until the cloth came back clean. For this part of the process I leave the old stem in place as it serves as a handle for me to hang on to while I am working with the bowl. I picked at the grime on the top of the bowl a bit with the dental pick and decided that indeed this one was a candidate for topping. The two pictures above show the pipe after the reaming and cleaning of the bowl. It is ready to be topped.

In preparation for topping the bowl I use a flat surface – either a hard flat board or a piece of glass to which I anchor the sand paper. This time however I wanted to try out a new trick that I had learned from a friend on one of the online forums so I anchored a piece of 240 grit sand paper on a Masonite clipboard and put the clipboard on the desk top. Topping the bowl is a careful process that involves keeping the rim flat on the sand paper and turning it either clockwise or counter clockwise until the chips and dents are minimized. The trick is to take if far enough to remove the majority of the dents and chips without changing the overall profile of the bowl. Too much of the top removed changes the pipe rather than merely restoring it. As I sand the top of the bowl I stop to check it regularly to see if I have removed enough of the damage to the bowl. On this particular pipe it took me quite a bit of time to take it down slowly to the point it was smooth enough to do the next step in the process.

Often once the top is close to being smooth enough the last remaining dents can be steamed out and then a minimal amount of sanding will finish the job. On this particular pipe the top was smooth after sanding it. There was no need to remove any further dents. However there were some major chips out the outer edge of the rim. To remove them would have involved sanding off a fairly significant amount of the top and would have changed the overall look of the pipe. I decided instead to chamfer the edges on the outer portion of the rim. I used a piece of sand paper held at an angle that I maintained throughout the sanding. The idea was to hide the battered edge and remove some of the damage while minimizing some of the larger chips. Once I had the outer rim repaired to my satisfaction I did the same to the inside rim to regain some of the roundness of the bowl. The previous owner seemed to have used a knife to remove cake so there were major chunks taken out of the inside edge. Chamfering the inner edge took care of most of the damage and made the rest relatively invisible to a quick glance.

I then cut a stem to fit – turning the tenon on a precast stem and also taking off the excess vulcanite on the area where the stem joined the shank. I wanted to get the fit to be precise without gaps. Once I had the fit correct and just needed to sand out the scratches I put the bowl in the alcohol bath to let it soak and remove the stain. I continued to work on the stem while it soaked. I generally leave the bowl in the bath for a minimum of 30 minutes and have even left them over night in an extremely dirty bowl. Once I take it out of the bath I wipe it down with a dry cotton cloth and let it dry. I then sand the bowl down to remove any scratches in the surface. I start with a 400 grit wet dry sand paper and work my way through the Micro-mesh pads 1500, 1800, 2400, 3200, 4000, and 6000 to get a good smooth surface. As I worked on the shank I noticed a fine crack that became evident as I removed the grime from the inside of the shank. I heated a nickel band and pressure fit it to the shank to take care of the crack.

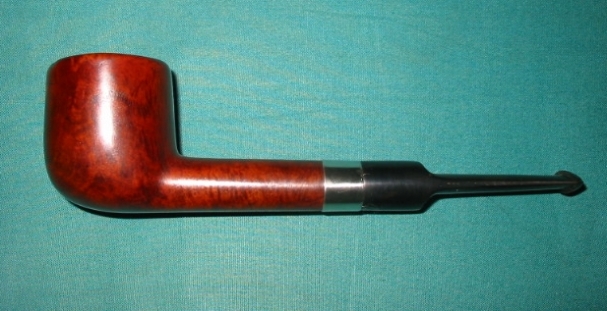
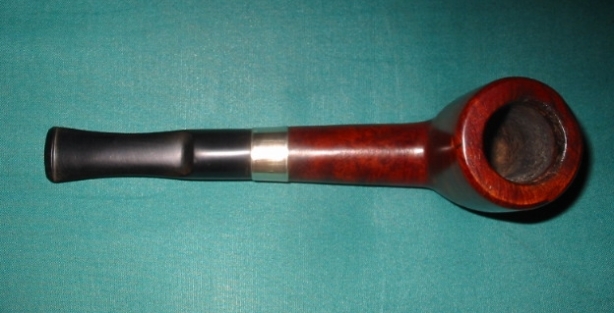
I finished the bowl by re-staining it with a medium brown stain as an undercoat and then buffed and sanded it yet again. A top coat of oxblood stain followed that sanding. I find that the two coats of stain complement each other and add some depth and patina to the pipe that only the one colour does not give. It was then polished on the buffing wheel with White Diamond and then given several coats of carnauba wax. I had also finished the stem and put it on the bowl and buffed and waxed the entirety.

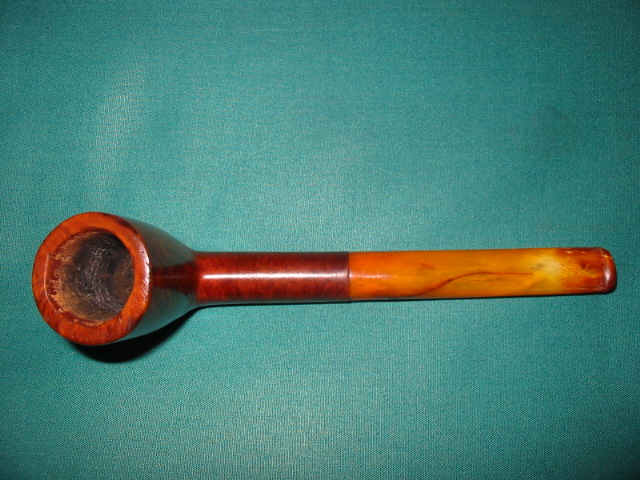
This is the finished product. I think you would agree it has ceased to be a sow’s ear and has become a silk purse!
ImageImageImage