Tag Archives: bowl – refinishing

Refurb on an old WDC “Falcon” style pipe


Blog by Steve Laug

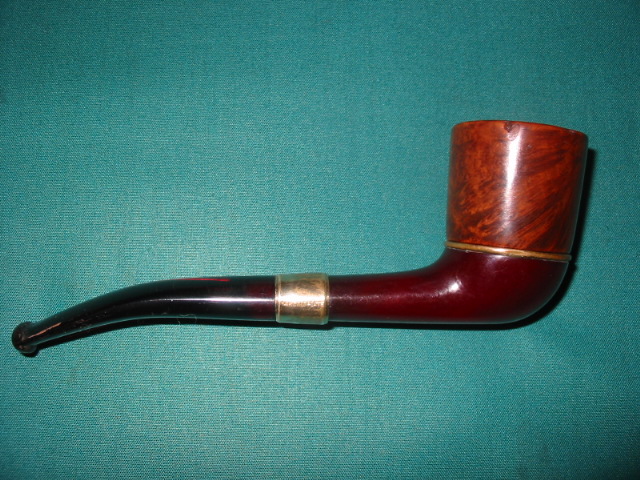
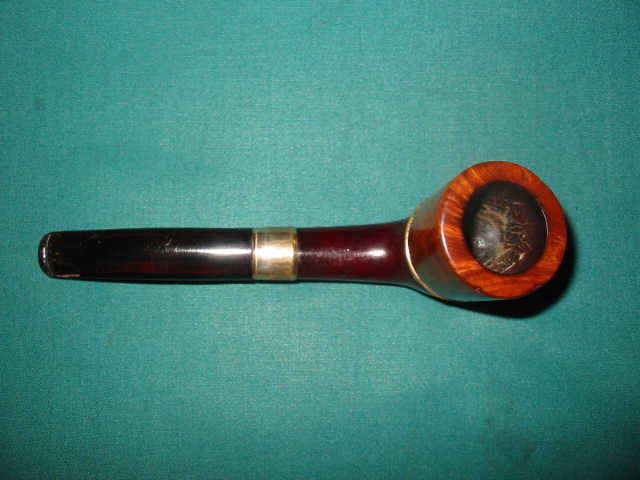
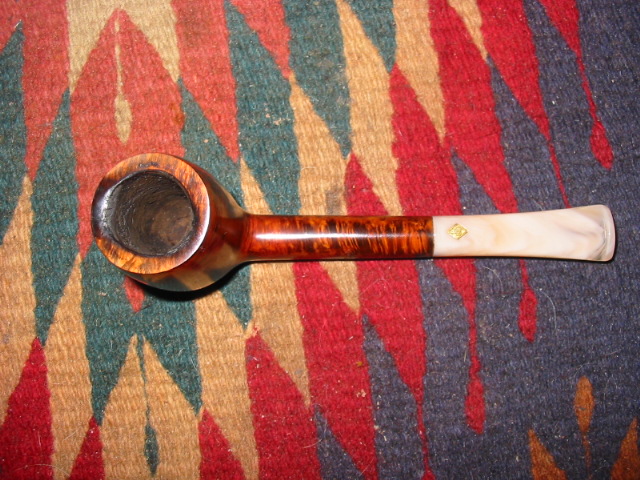
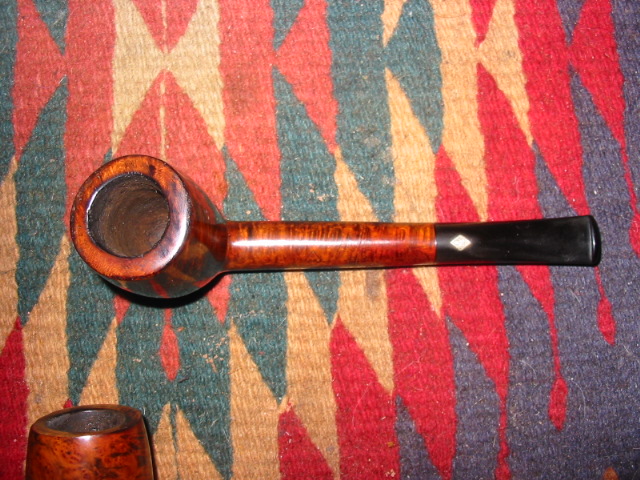
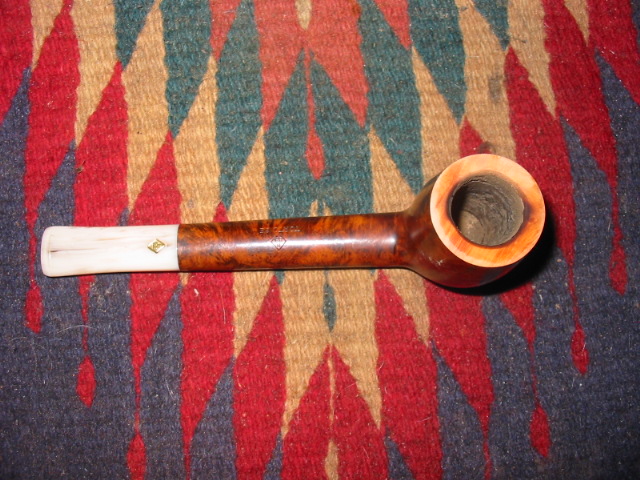
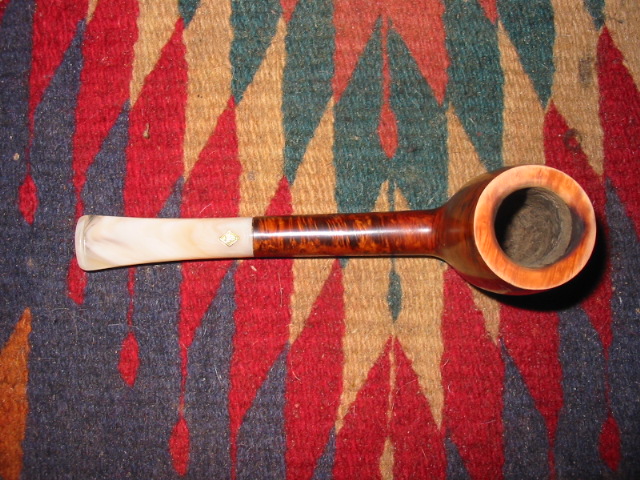
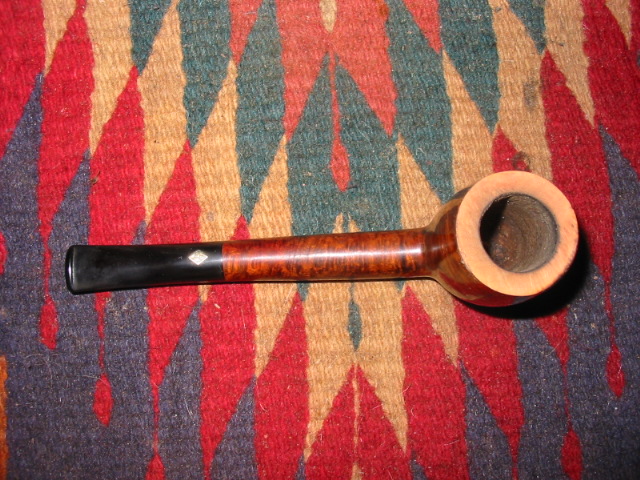
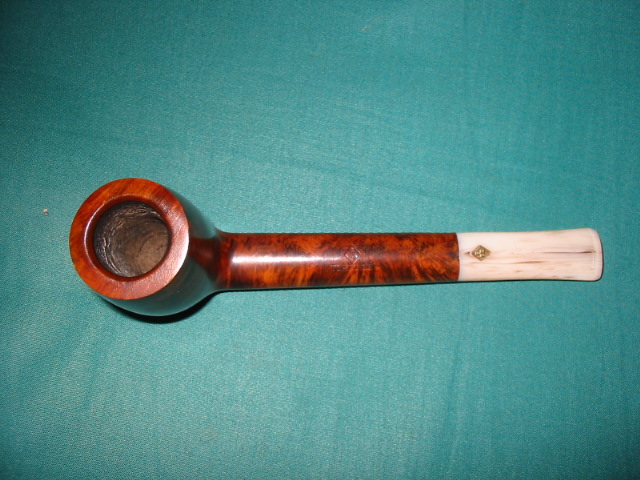
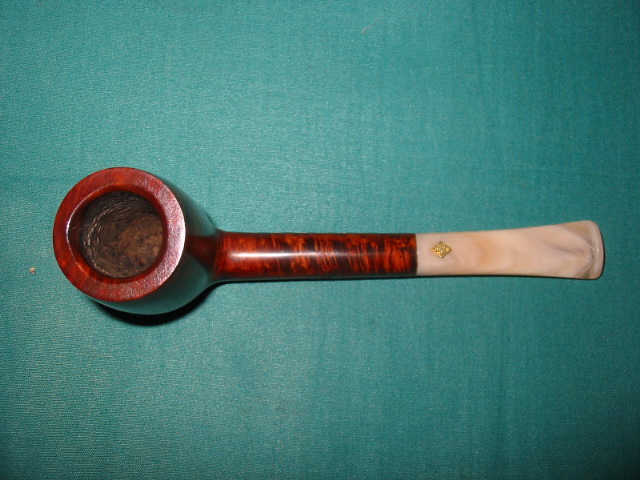
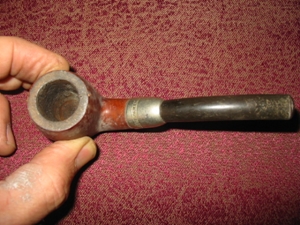
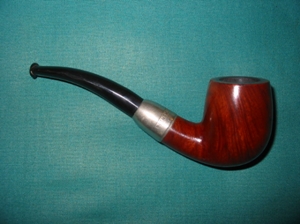
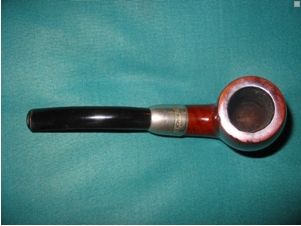
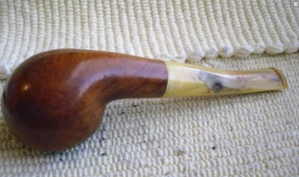
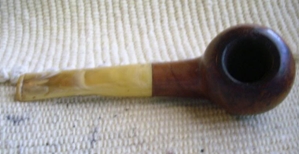
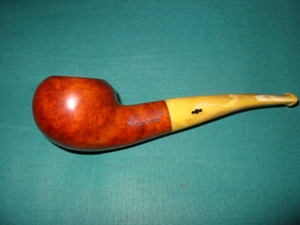
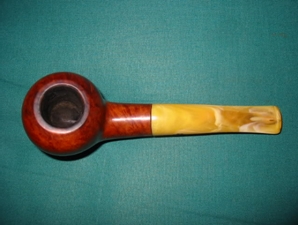
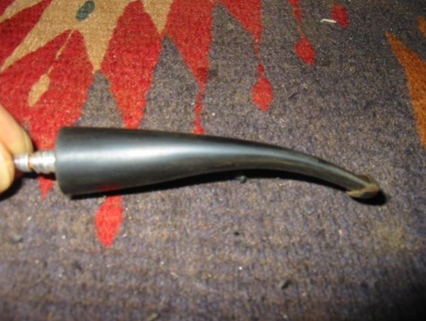
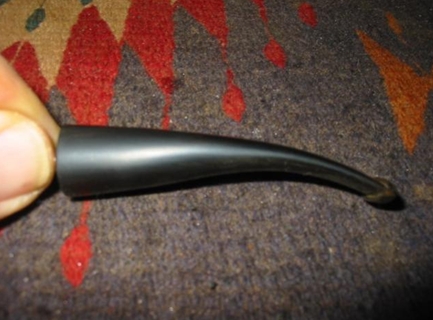
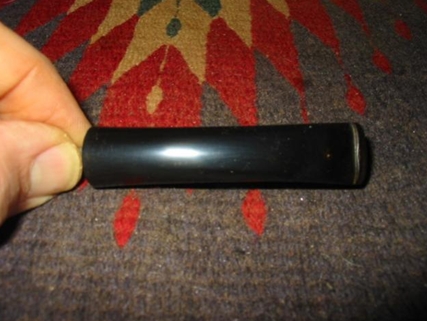
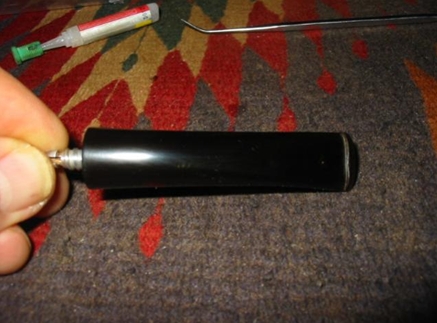
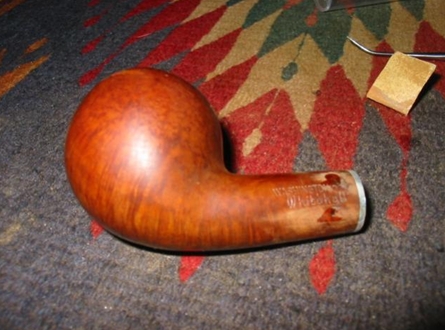
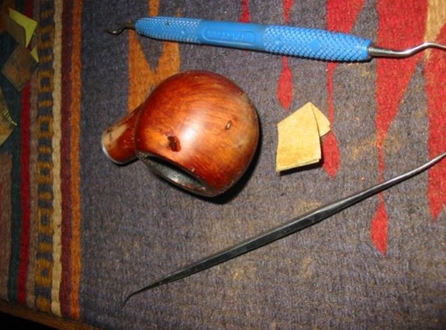
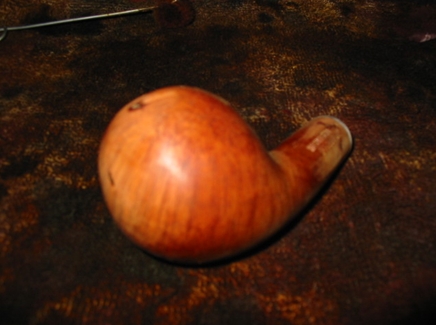
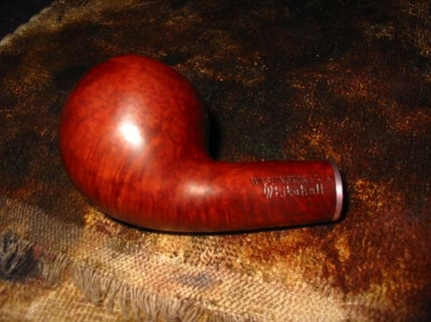
I refurbished this old WDC pipe a while ago now and thought I would post it for its historical value. I have called it a Falcon style pipe in that the bowl is removable and thus interchangeable with other WDC bowls. The stem and bowl bottom are Bakelite and the bowl itself is threaded briar bowl with an airway on the bottom. This one needed a bit of work as can be seen from the first two pictures below. The bowl was badly caked so I reamed it, sanded it and cleaned it. Then I had to top it as the rim seemed to have been used as a “hammer” and was seriously dented and chewed along the out edges of the bowl. Once the bowl was topped I decided to strip the finish from the bowl and restain and polish the bowl as a whole. I wanted to keep with the older style reddish brown stains that I had seen on other WDC pipes that I have so I used an oxblood understain and the overstained it with Medium Brown aniline. I buffed the finished bowl with Tripoli and White Diamond while holding it with a finger inserted in the bowl and holding on to the bowl with the other hand. I did not want the buffer to snatch it out of my hand while I was buffing it. I finished by giving the bowl a polish with carnauba wax and a soft cotton flannel buff.

The bowl seats in the Bakelite bottom on top of a brass ring that seems to act as both decoration and gasket to the bowl connection. It needed some cleaning and polishing as it too had dents and scratches in the surface.

The Bakelite receptacle bottom that the briar bowl screwed into was very dirty and I cleaned it out with cotton swabs and alcohol and then polished the inside with a soft cloth. The stem was rough with deep scratches and gouges in it. I sanded it with 400 and 600 wet dry sandpaper and a bit of water to give the grit a bite. Then I finished with micromesh pads in 1500, 1800, 2400, 3200, 4000 and 6000 grits. Upon completion of the sanding I buffed the stem with Tripoli and White Diamond.

Here are pictures of the pipe after I reamed it with a Pipnet Reamer (T-handle with interchangeable heads).

ImageImage

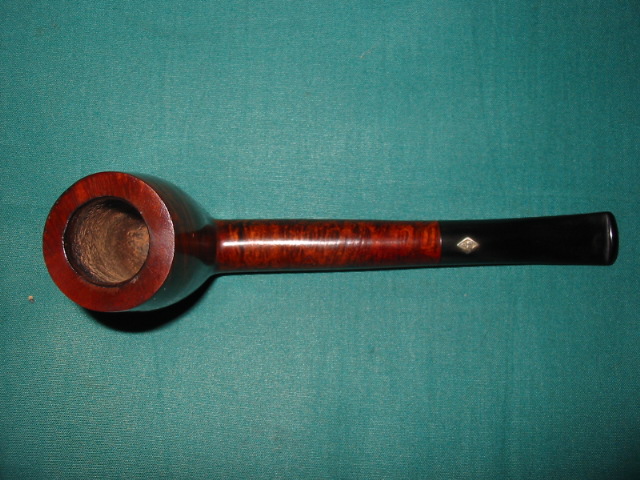
Here are pictures of the pipe after it has been finished:
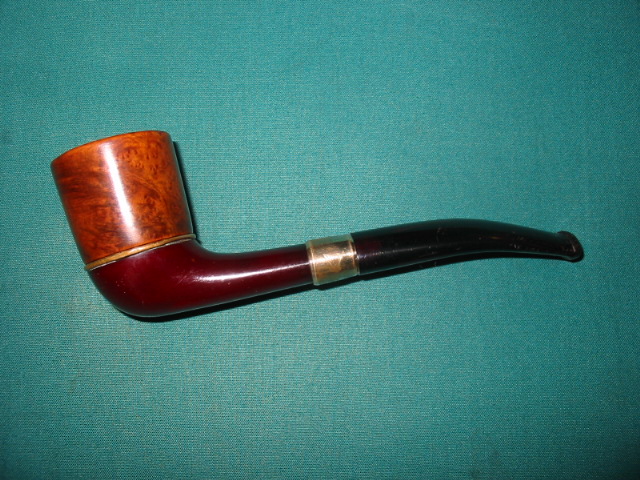
ImageImageImage

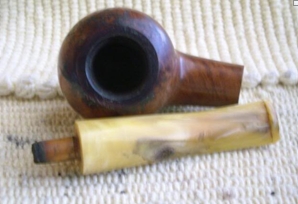
I also thought some of you might be interested in seeing a picture of the pipe taken apart. I have included a picture of the cleaned version for you to get an idea of what the pipe looks like when taken apart.

Image

A Trio of BBB’s in need of topping!


Blog by Steve Laug

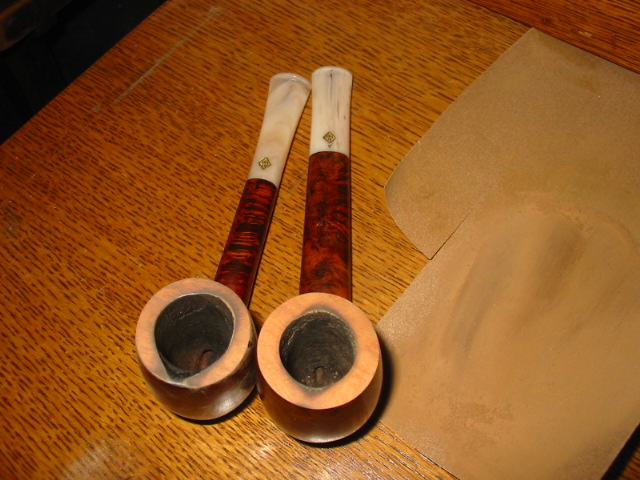
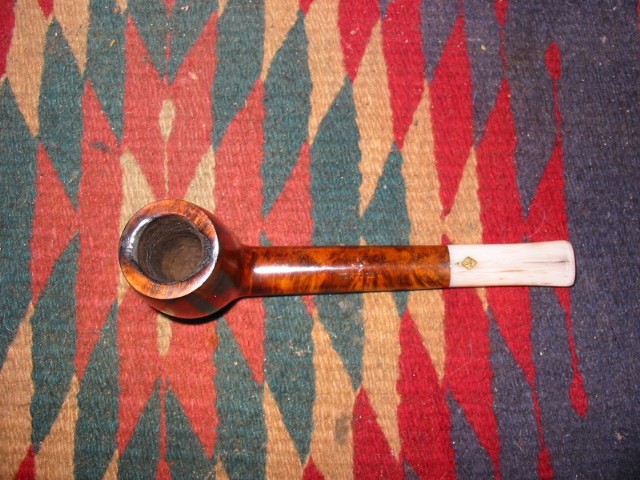
Tonight I went to work on a trio of BBB’s I just purchased. Two of them, those stamped BBB Tortoise (with the ivory stem) looked to have come from the same pipe smoker wielding the same torch lighter. He had in essence cut a trough across the top of the rim from front right to back middle. In the three photos below you can see the damages to the rims. The top photo shows the oval shank Canadian and the second shows the round shank Liverpool. The third one is a BBB Silver Grain and it looked to have been used as a hammer. The outer edges of the rim were rough and beaten and the rim itself was marred with dents. Besides the damage to the rim the Tortoise Liverpool had a cracked shank that I needed to repair. That repair will be the subject of another blog post.  

ImageImageImage

I have a board on my desk that I attach a piece of 220 grit sandpaper to and use that to top the bowls. In the picture below it is to the right of the two Tortoise pipes. I hold the bowl flat against the sandpaper and rotate it to remove the damaged portions of the briar. It is important to keep the bowl perfectly flat against the board and paper so that the top remains flat. It is very easy to sand an angle to the bowl if you are not careful with this process. In the picture the two bowls have been sanded to remove the finish and the top layers of the darkening. Both bowls have a slight trench burned into the surface that moves from the front right to the rear centre. The topping will need to be deep enough to remove the damage yet not too deep to change the profile of the two pipes.

Image

In the next series of two pictures you can begin to see that the rims are returning to a normal and the troughs are disappearing under the sanding. The top photo is of the Canadian and it is pretty close to being finished in this photo. The second photo shows that the trough in the Liverpool is also disappearing though it will take a bit more sanding.

ImageImage

The Silver Grain Liverpool also was topped using the same process to remove the damage to the outer rim and the top of the rim. The nicks and dents on the tops and the damage to the edges made it necessary to top this bowl as well. It was a much simpler process as the rim did not have a deep trough across it but rather rough edges on the outer edge of the rim. The picture below shows the final result of the topping on that pipe. Once it was topped with the 220 grit sandpaper I moved to a fine grit sanding block – 400 grit and then on to the micromesh pads to polish the sanding marks out of the rim. I finished the sanding by buffing it with Tripoli and White Diamond to remove any remnant of the sanding marks.

Image

I then used a small one inch square piece of sandpaper folded in half and held at an angle to sand a slight bevel into the inner rim of the two Tortoise pipes. This took care of the inner damage that remained after topping the bowl. I then sanded the two pipes in the same manner as described for the Silver Grain above. Finishing with 6000 grit micromesh and then buffing with Tripoli and White diamond. I stained the trio with a medium brown aniline stain applied to the surface with a dauber. It took two coats to cover the fresh briar of the repairs. The stain was wiped off and the pipes were taken to the buffer when dry.

Image

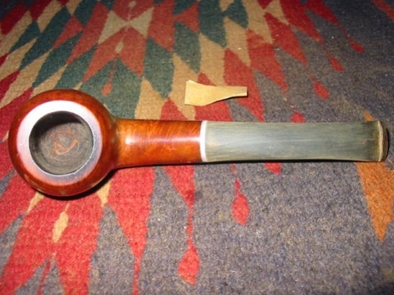
The three pictures below of the three pipes show the buffed rims before waxing. The stain matched exceptionally well. The inner bevel took care of the inner rim damage and the topping took care of the trough that went across the bowl. In both of the Tortoise pipes below the damage is virtually removed and the rim surface and edges look new. The rim on the Silver Grain also came out very well and is smooth and looks as good as new. The outer rim damage and the nicks on the top of the rim are gone and a smooth shiny surface is what remains.

Image

ImageImage

The final three pictures show the rims after they have been given several coats of carnauba wax and buffed to a sheen. The pipes are ready to smoke and look renewed and reborn. You can see from the process that is spelled out above that it is not difficult to do and the results are worth the effort. Take your time and proceed with caution, checking to make sure that enough of the damage surface has been removed but not too much. Once that is done it is a simple matter of sanding, staining and polishing.
ImageImageImage

Refurb on an Old BW Dog with Bling


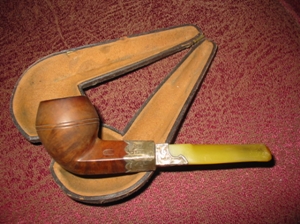
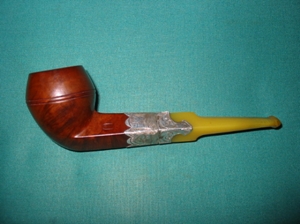
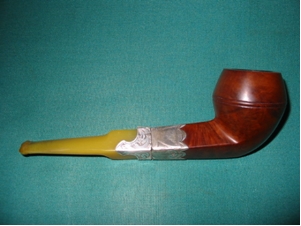
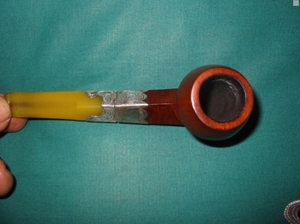
This one is another mystery to me. Because I am always picking up these old timers I have a habit of researching out as much information as I can once they have arrived and I can see the stamping and hallmarks up close. This one bears the hallmarking of the Anchor which tells me it is made or assayed in Birmingham, the Lion which tells me it is Sterling silver and the date letter that though worn looks to be a capital E which would date it as an 1850 pipe. That is as close as I can tell to the date and time frame for this old timer. There is also a Makers Mark in the silver stamped BW and the briar of the pipe is also stamped BW. I cannot find any information on that maker in all of my searching so that is where it stands. If anyone reading this can shed light on the initials and what they may refer to I would deeply appreciate it. Until then I have a nice old bulldog from 1850 that smokes exceptionally well and it is a mystery regarding its maker.
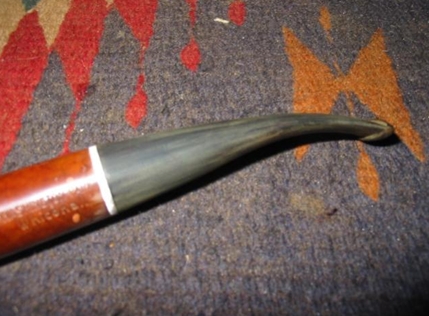
When the pipe arrived it was in rough shape. The silver was very tarnished and dull looking. It was also scratched and much worn in places. The bowl had a very spotty finish with just the remnants of the original stain. The rim was tarred and the bowl heavily tarred and caked. The stem is made of some amberoid substance or may be Bakelite. It seems to be a softer material than the hard Bakelite. It has a bone tenon that was over turned so the stem was off to the side. The button also has an orific hole in the button instead of the newer slotted button.

I reamed the bowl and cleaned it with Isopropyl alcohol and many pipe cleaners and cotton swabs. I sanded the bowl to remove a bit more of the cake and take it back to the wood. I then put the bowl in an alcohol soak to remove the remnants of finish and the grime that was worked into the surface of the pipe. Once I removed it from the alcohol bath I re-stained it with Cherry stain. The stem was crackled a bit – lots of tiny spidering all over the surface so I did not want to chance using alcohol on it as it can cause more spidering and cracking. So I cleaned it with Gojo an all purpose hand cleaner with grit suspended in liquid soap. I ran it through the stem repeatedly to remove the tars and grime inside the airway. When it was clean I rinsed it with warm water to remove any residual soap. I sanded the tooth chatter and used my needle files to recut the button as it was pretty worn. I sanded and polished the stem with micromesh pads 1500-6000 grit as is my usual practice. I also heated the bone tenon with hot water and readjusted the fit to the shank. Upon completion of the refurbishing above the pipe and stem were given a final buff with carnauba wax. I also gave the black leather pipe case a cleaning with leather renewer and a coat of wax as well.

Here is what it looked like when I got it from EBay

ImageImage

Here is what the pipe looks like today

ImageImageImage

Refurb on an old Morell Mackenzie Bent


Blog by Steve Laug

Yes a Morell Mackenzie. That is how the pipe is stamped and I had no idea what I was dealing with. I have a thing for collecting late 1800 and early 1900 pipes so when this one came up on EBay I just naturally hit the bid button. When it arrived I decided to do a bit of research on it and uncovered the following information. This is taken from a paper on BBB pipes by Jacques Cole:

“Probably one of the first filter pipes (paper filter) was the BBB “Sir Morell Mackenzie‘. That this pipe was made before 1900 is shown by a letter dated August 27, 1891 from Sir Morell Mackenzie regarding these models with longer mouthpieces. The brand survived into the 1960s.”

That is pretty clear information and fascinating as well. I had no idea of the time frame of the introduction of the paper filter in pipes. But this is a nice little pipe. It has the orific button on the mouthpiece (the round hole instead of the slotted airway). It is also a military mount stem. Inside there is a reservoir for the paper filter to sit in. It has a sterling silver shank cap and is stamped Morell Mackenzie. The briar is a nice flame grain and the bowl is well done and well drilled.

I cleaned out the reservoir and the airway to the bowl. Took a bit as I had to work a paper clip through the airway and then a shank brush and finally bristle and fluffy pipe cleaners. The shank and reservoir are now clean!! The stem was an interesting proposition. It was pretty clean as it is built to hold the other end of the paper filter. I cleaned and swabbed it out. The stem needed to be sanded to remove tooth chatter and oxidation. Then I sanded with micromesh pads and buff with Tripoli, white diamond and finally carnauba.

Here are pictures of the pipe before the cleanup:

ImageImage

Here it is after the refurbishing

ImageImageImage

KBB Yello-Bole Premier – Stem repair and refurbishing


Just received that old propeller KBB Yello Bole pipe that I picked up off ebay. The bowl is in better shape than the pictures on ebay showed it. The burned spot on the Bakelite stem on the right side bottom was actually very deep. I cleaned it with alcohol and a dental pick to take out the affected material. It was a sizeable dent. I then cleaned and dried it and used a clear epoxy to build it back up. I am sanding it now to make sure the transition is smooth but at least it is gone. The hole is filed and a bit dark but the stem has black/grey streaks in it anyway so it is functional. Here are the photos from ebay showing the before.

ImageImage

In examining the pipe it is clear that it is an old timer – propeller logo on the stem, bakelite stem, and the stamping. It is stamped KBB in a clover and Yello-Bole Honey Cured Premier over Imported Briar. Once I had repaired the stem with the epoxy as described above I scrubbed the top to remove the tars and grime. The shank and inside the stem was clogged with tars and took a lot of bristle cleaners and alcohol to get it to come out clear. The finished stem came out smooth and solid. It still shows some of the shape of the burn but the affected part was removed. The bowl was cleaned with oil soap and then hit with a quick coat of medium brown stain, polished and waxed. This time I did it all by hand without a buffer. I used the micromesh pads and I really love the way they work.

Along with the pictures above here are some shots that show the state of the bowl before cleaning.

ImageImage

Here are pictures of the finished pipe in all of its beauty.

ImageImageImage


You don’t have a buffer? Here is one refurbed without the use of a buffer.


I have one I am working on now that is interesting. It is a nice looking shape – Whitehall Washington Park Author. It had an overturned stem that did not line up and was oxidized and spotty on the stem

 ImageImageImage

I heated the stem in boiling water to loosen the glue this morning and turned it until it lined up then cooled it with water. The boiling water raised the oxidation and also softened it. The stem had a lot of marks like someone had used a pair of pliers to try to get it to line up. Pliers marks were all around the stem mid stem. The oxidation had some spots that were dark… so I sanded it and sanded it with 180 and 220 grit sand paper. I wanted to get the tooth marks and pliers marks out as well as the oxidation. The bowl is changing colours from the oils in my hands.

ImageImage
Still in the process of sanding the stem. Next I have to see what I can do to hide the bubblegum pink fills – argghh. We shall see. Will keep you posted.

I am planning on doing the stem with sandpaper and Micromesh pads only. I want to show how it can be done without a buffer. At least that is the plan for now.

This is with 600 grit wet dry sand paper.

ImageImage
The next are with 1500 and 1800 Micromesh pads. Going to work my way up to 6000 before waxing.

 ImageImage

Here is the stem after 2400 and 3200 Micromesh sanding

ImageImage

Here it is after 4000 and 6000 Micromesh sanding

ImageImage 

Here it is with the final sanding with the 6000 and then a coat of Obsidian Oil.

ImageImage 

Ok. Stem is finished. I just picked out the pink fills with a dental pick. Three of the four I have filled with briar dust and superglue.

The first picture is of the fills before picking.

Image

The next two show it picked and filled

ImageImage 

These two show the fills on the front of the bowl and the large one on the left side of the bowl. I picked out the fill in both of these larger ones and filled with the briar dust and super glue. I still need to do a bit of fine sanding as the stain will not go into the glue areas.

 ImageImage

Here is a shot of it ready for staining

Image
And here is the finished stained bowl. The fills at the shank have vitrually disappeared. The larger ones are still visible but are dark and blend in better.

ImageImageImage

And now the finished pipe:

ImageImageImageImageImage