Blog by Steve Laug
The next pipe on my “to do list” from the fellow in Dawson Creek is a Peterson Meerschaum that has some great colour to it. It is made of African Meerschaum which is denser than Turkish meerschaum and usually unevenly colour to the extent that they are stained to give the pipe a better look. This one is a mottled brown and cream coloured block. I am not sure how much of it is the aging patina and how much is the stain but I love the look of the pipe.
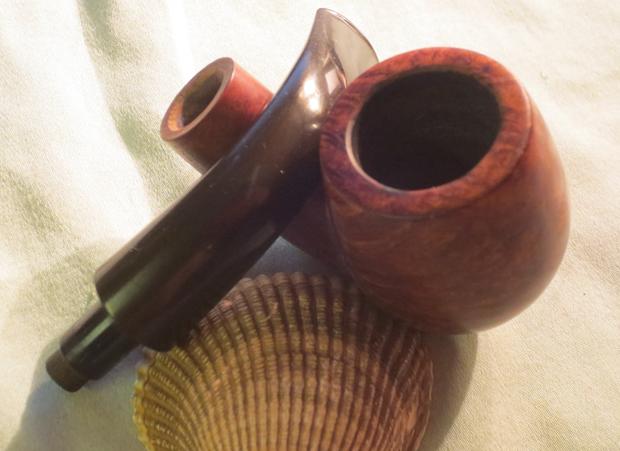
 I did a bit of hunting on the internet to try to find a photo of the pipe. It was hard to find a Meerschaum Rhodesian picture and found one that is the close to same shape. It has a flumed dark top edge or cap. The shape of the stem is a little different at the shank union than the one I am working on. The one in the photo is more pinched at the shank. The one I am working on has a band of cream coloured meer that is rounded over and the stem sits against it.
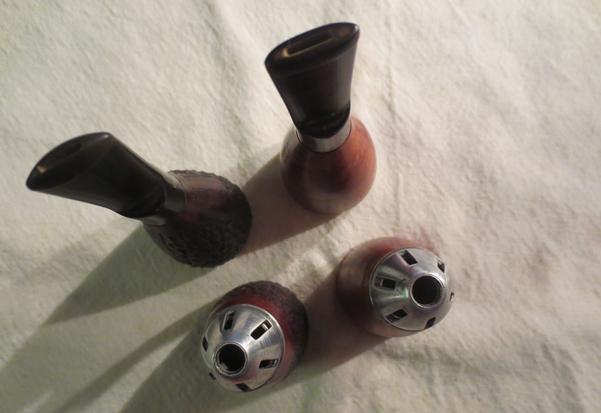
I have been watching eBay for the Pete’s and have not found one this shape. I have read that African Block Meerschaums Peterson’s are getting harder to find since the Laxey meerschaum mines shut down in 2006. I have a few of the pipes in my collection and I have found that they are heavier than Turkish meerschaum due to the inclusion of minerals and aggregate material in the Block and the fact that they were ‘Calcinated’ after being carved, to give them greater strength and durability. They will color with smoking and the use of beeswax, but it will be more of a gradual process than high-grade Turkish meerschaums.
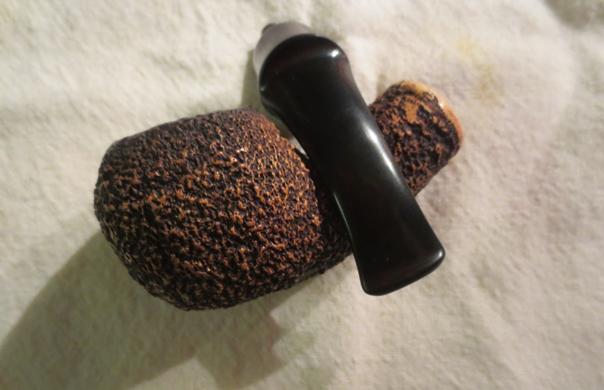
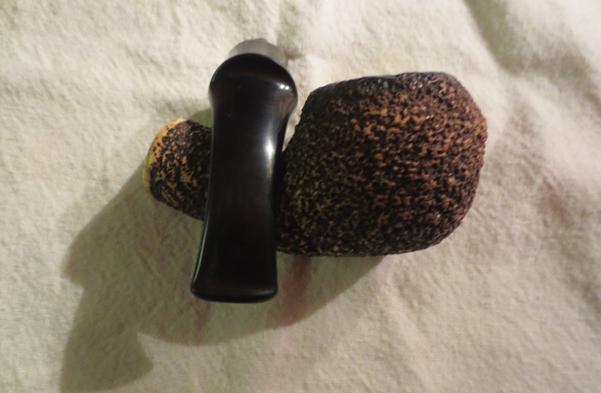
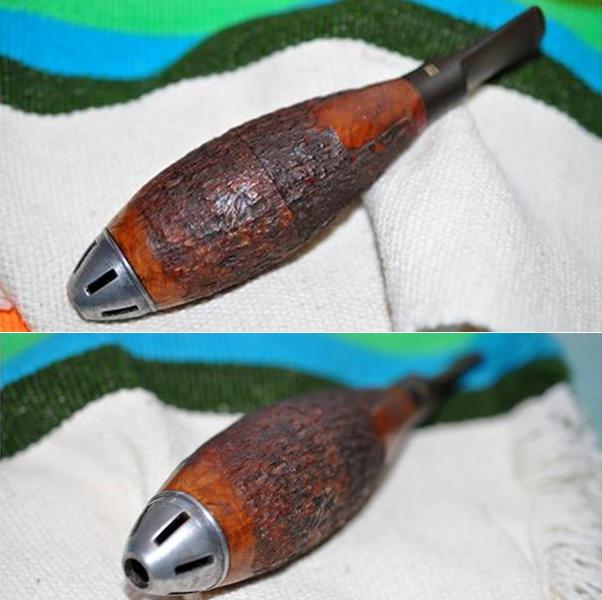
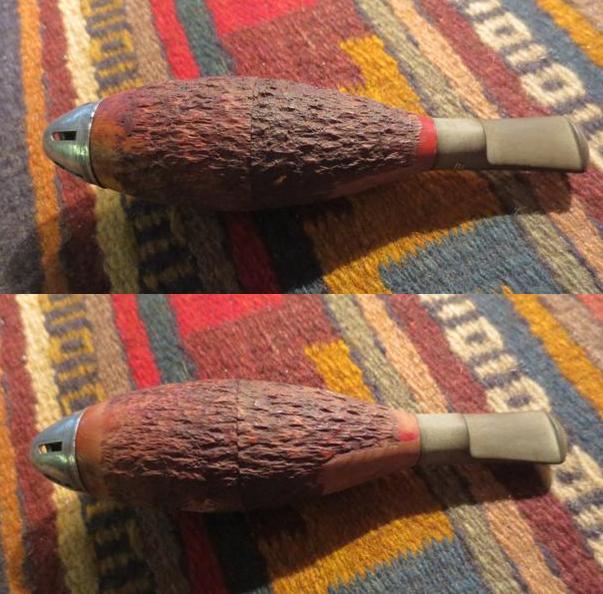
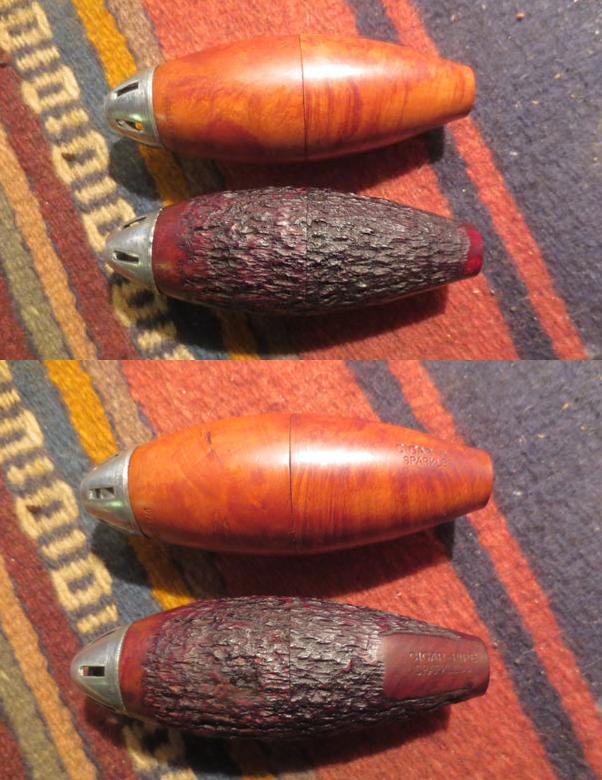
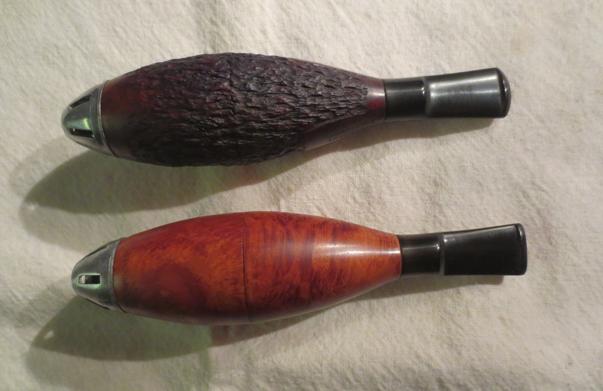
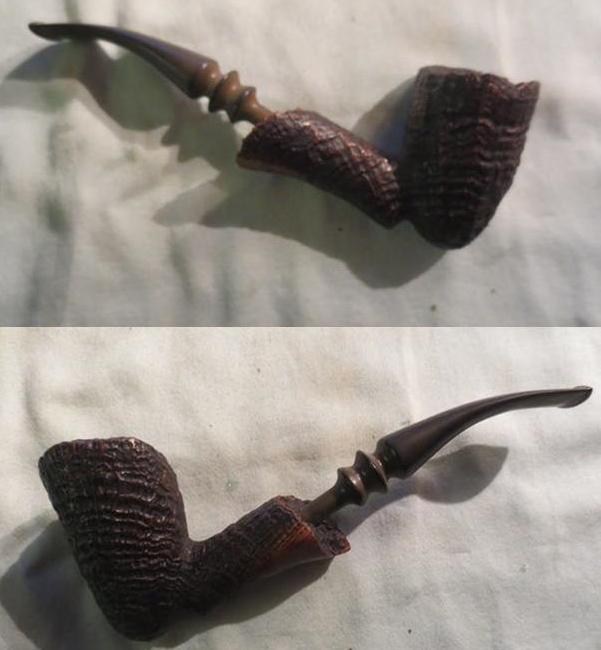
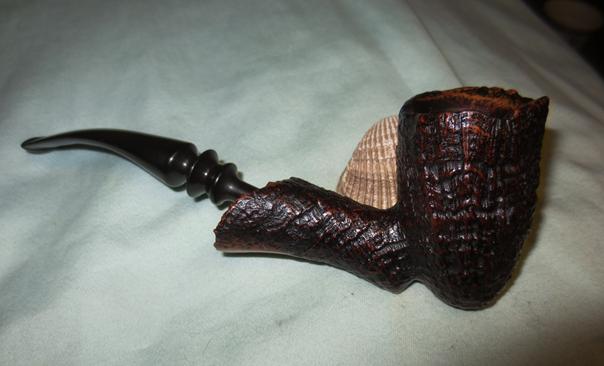
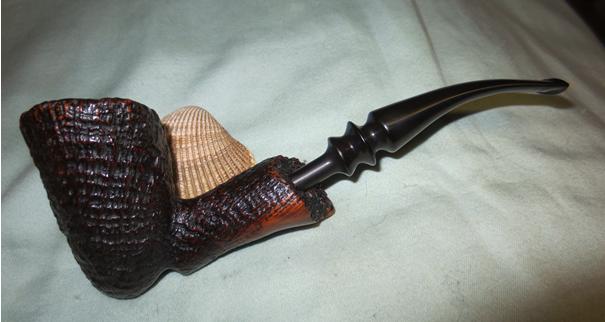
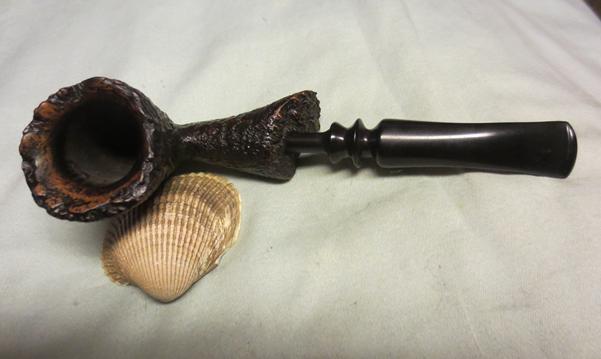
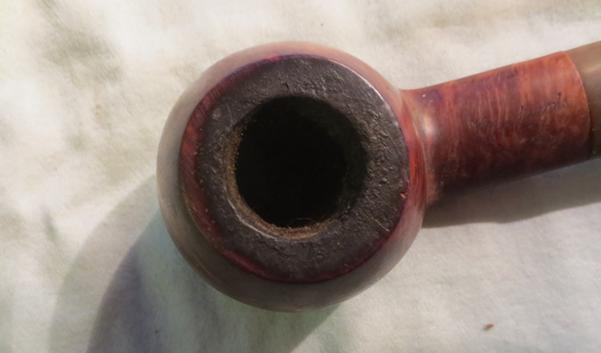
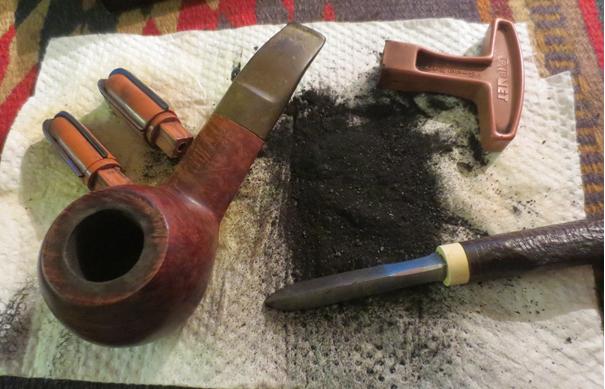
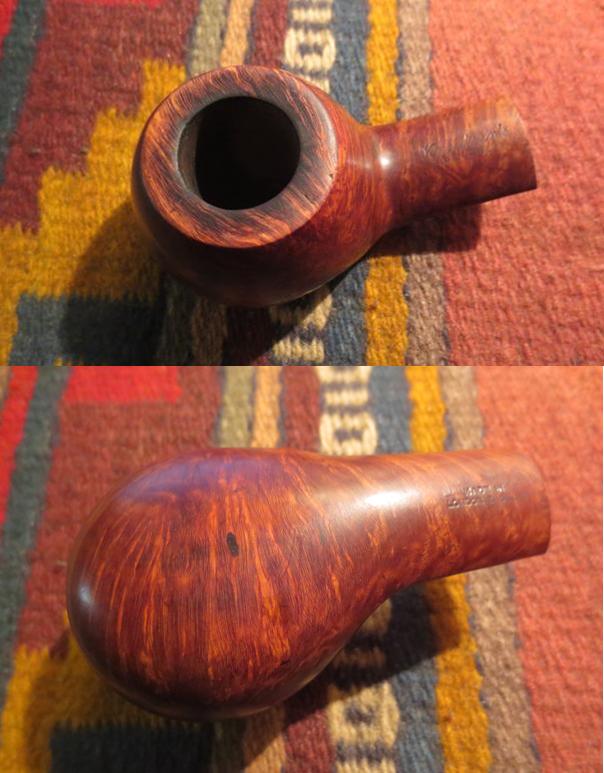
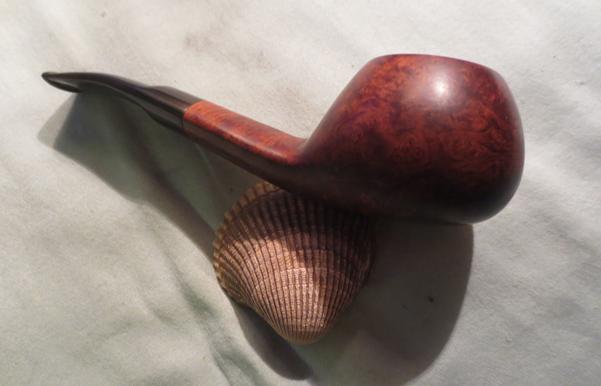
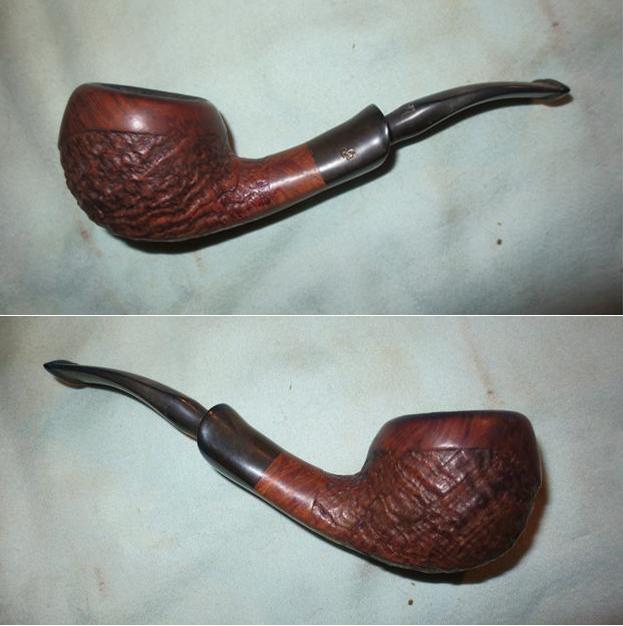
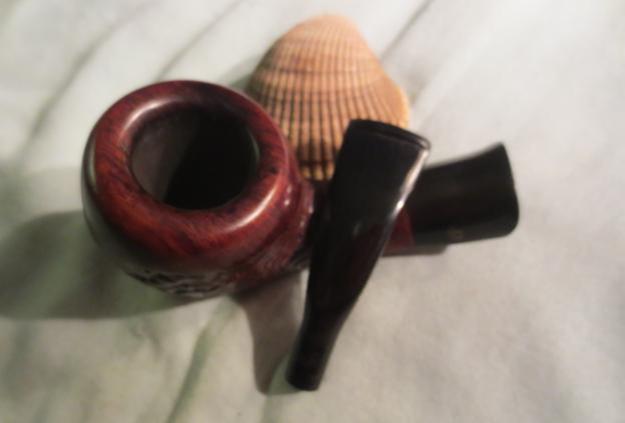
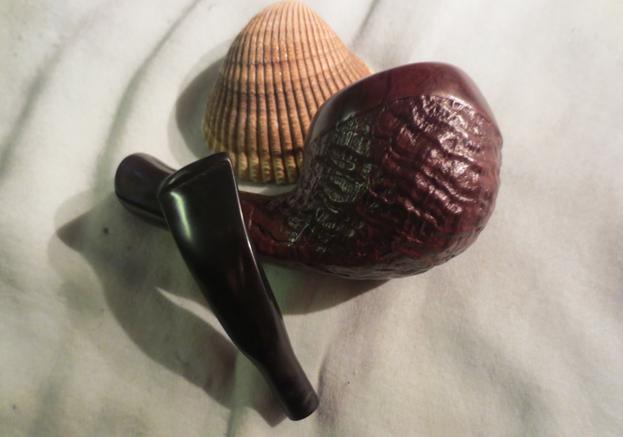
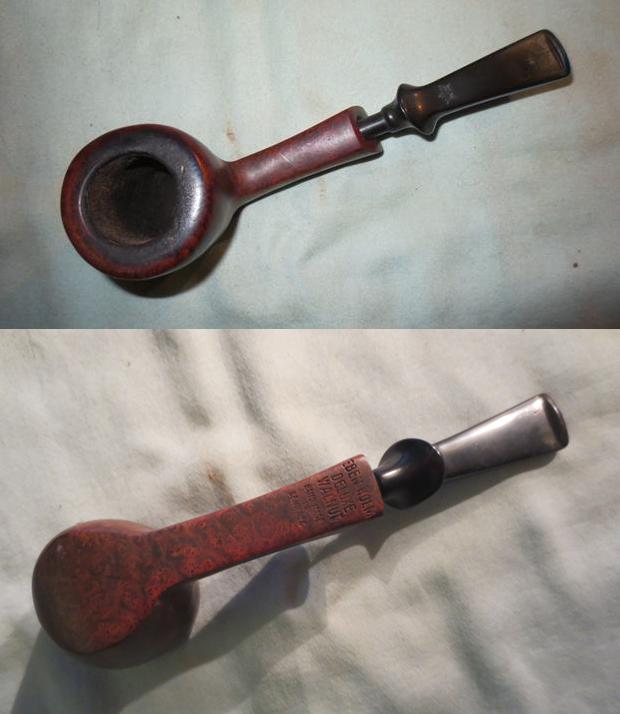
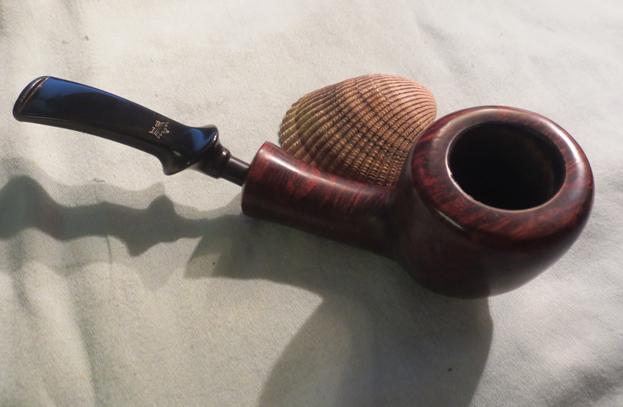
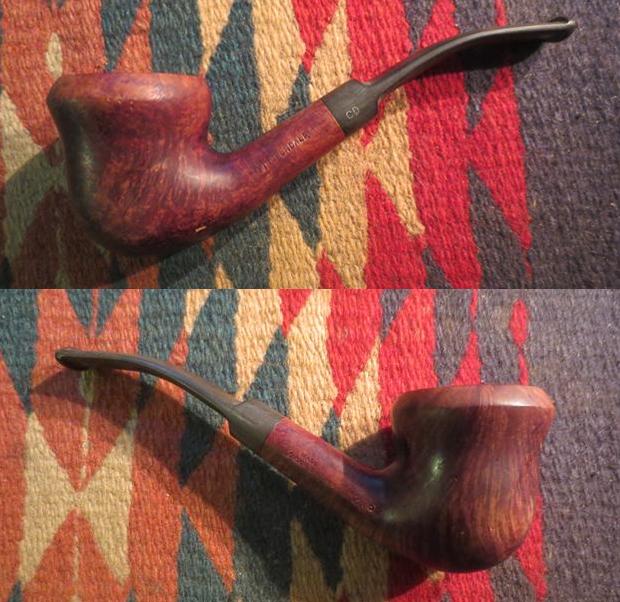
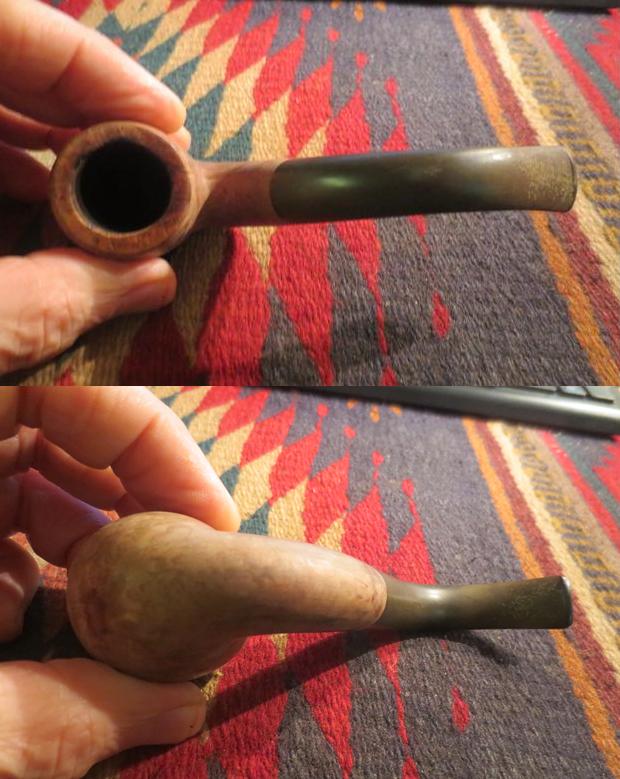
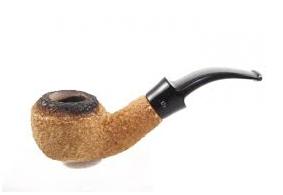
The pipe from Dawson Creek was heavily caked which bodes well for it being a great smoking pipe. The rustication on the rim was thickly cake with the overflow from the bowl. The rusticated finish on the bowl and shank was dirty. The stem was heavily oxidized and there was some tooth chatter on the top and underside near the button. The P stamp was faded though it still was deep enough for a touch up job. I was looking forward to seeing what the finished pipe would look like after the cleanup.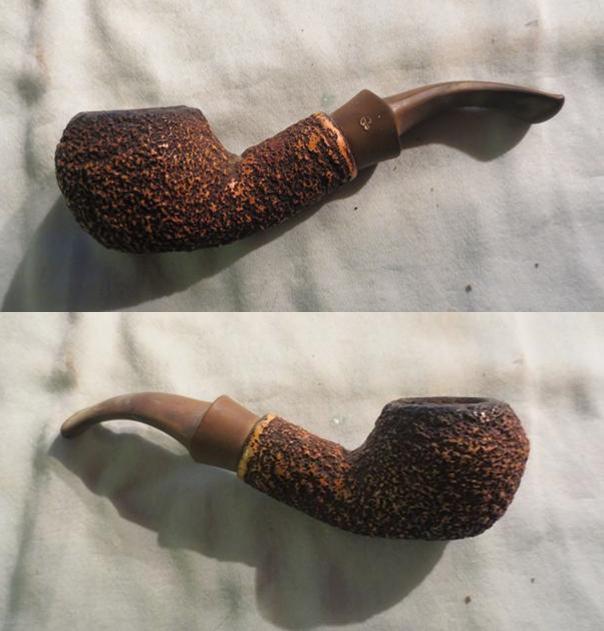
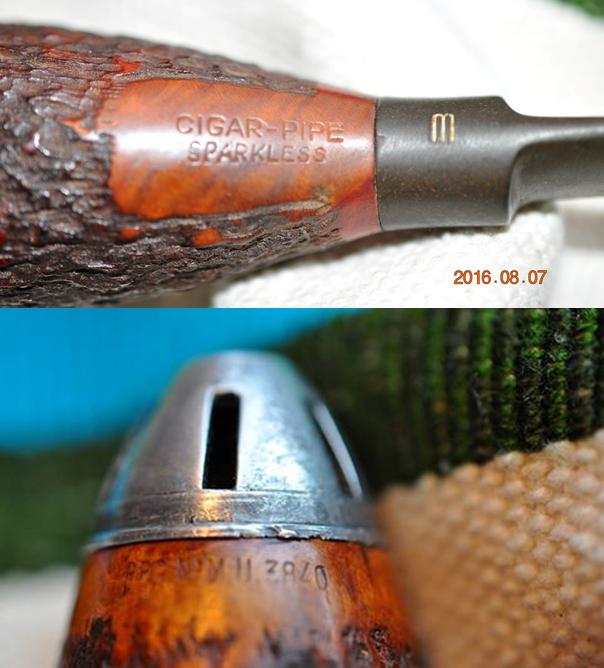
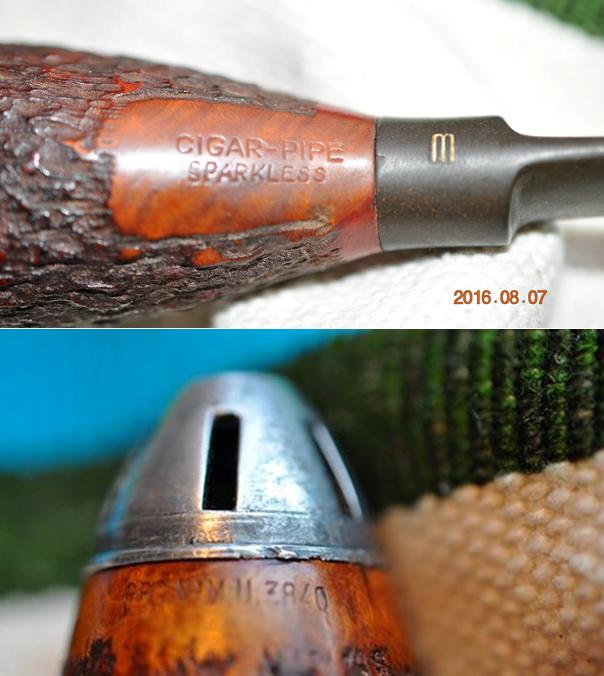
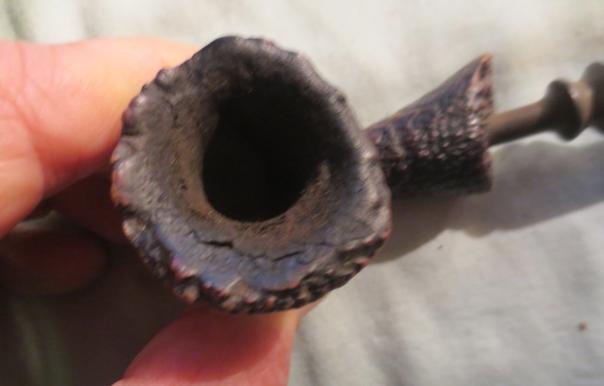
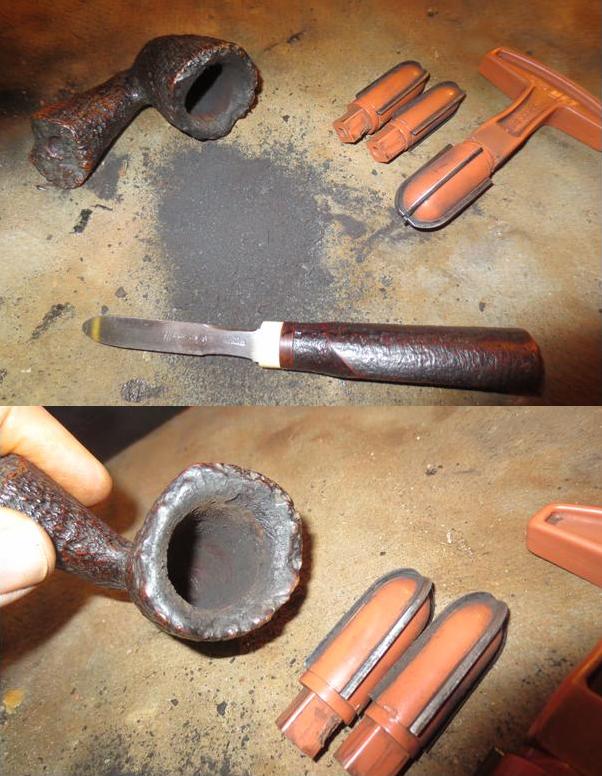
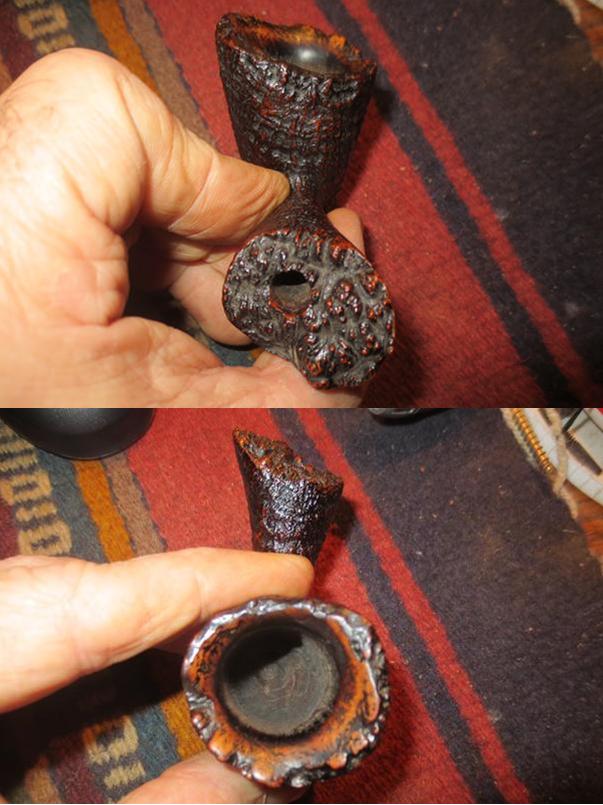
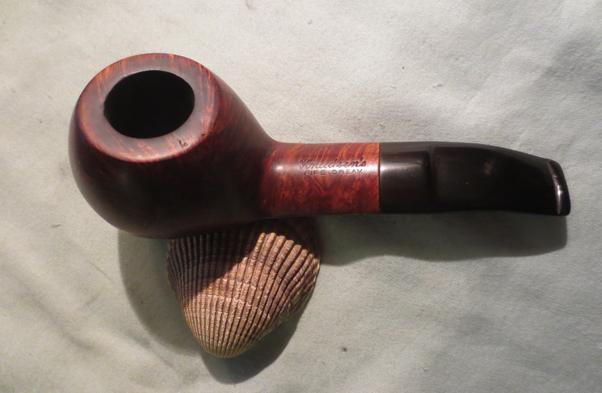
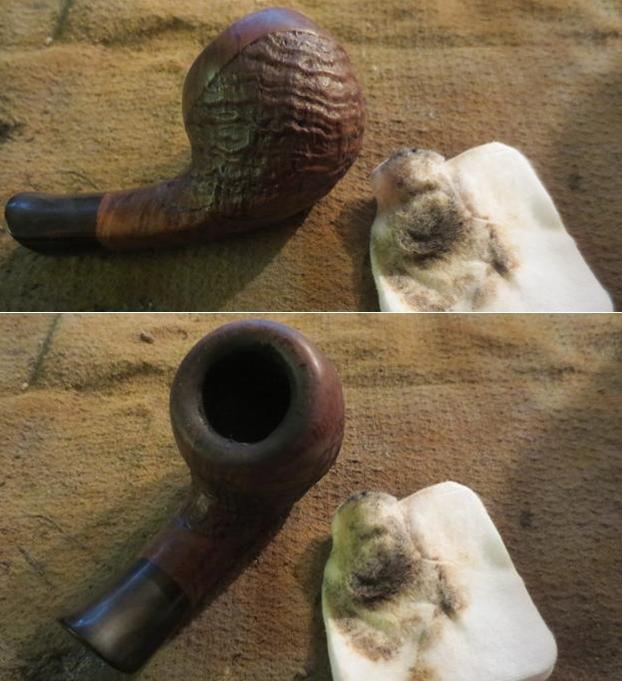
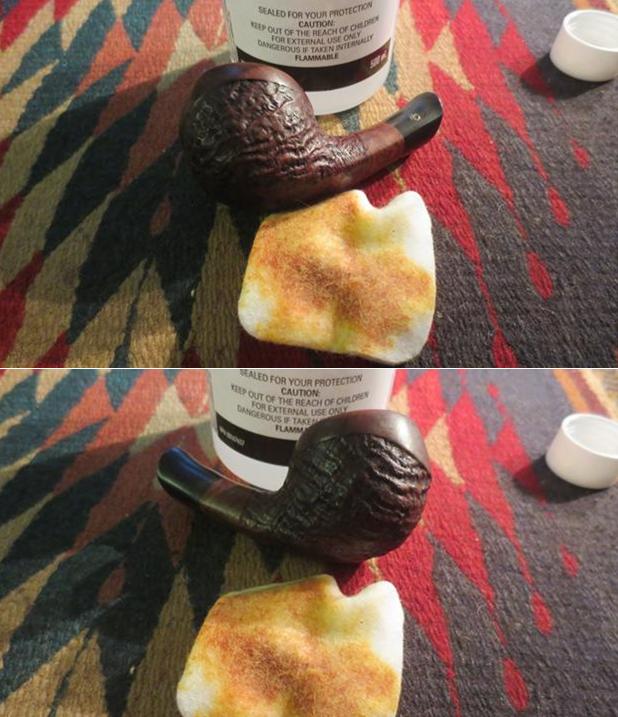
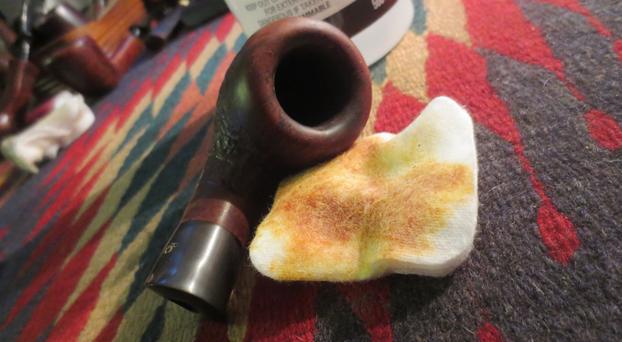
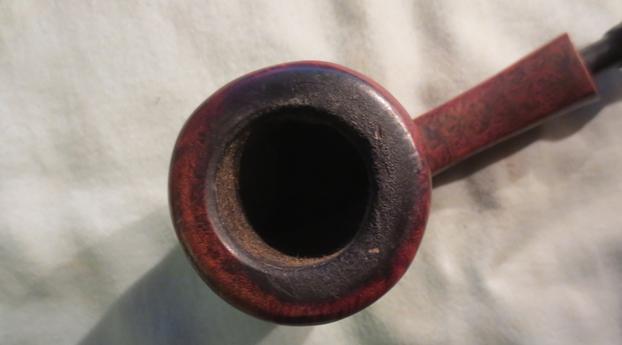
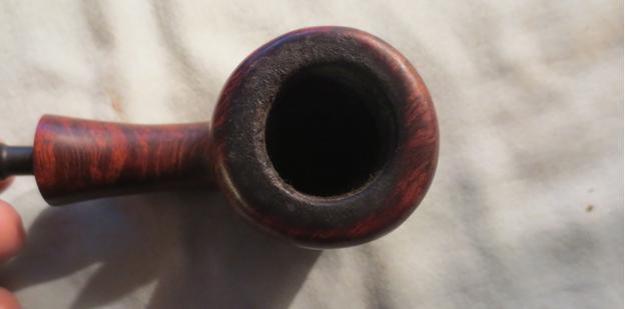
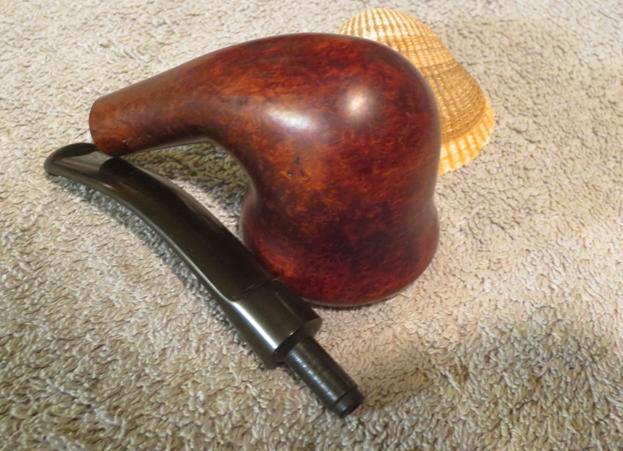
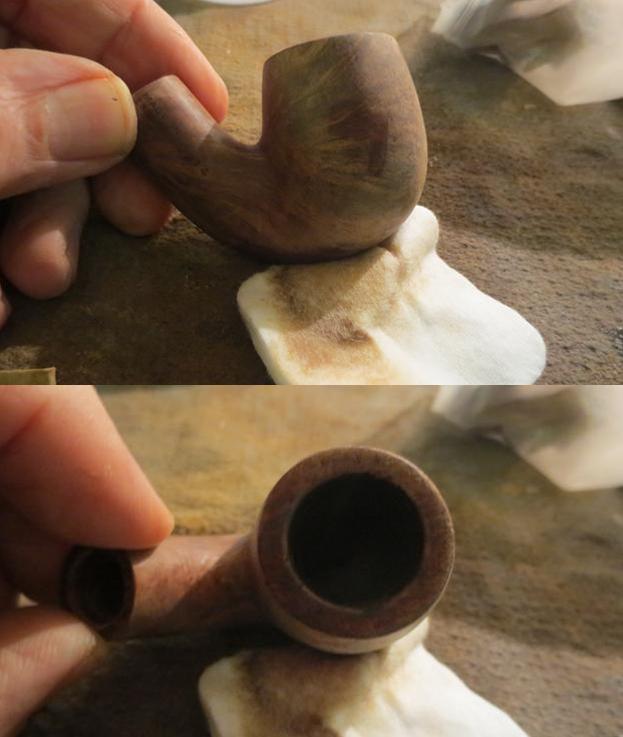
 I took a close up photo of the rim and the bowl. It shows the thick cake that is slightly sticky and has picked up a lot of dust and debris. The rustication on the rim is filled in with tars and oils to the point you cannot really see the grooves and ridges.
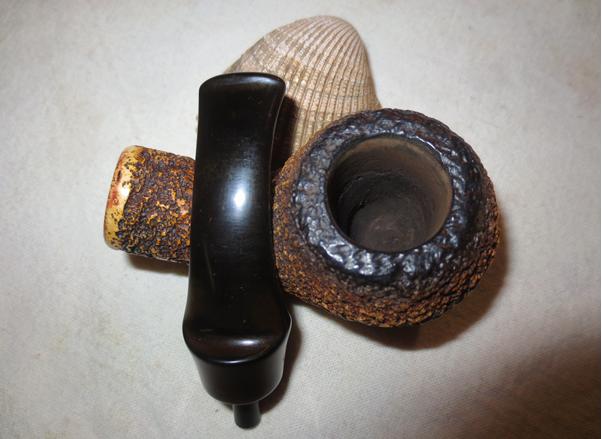
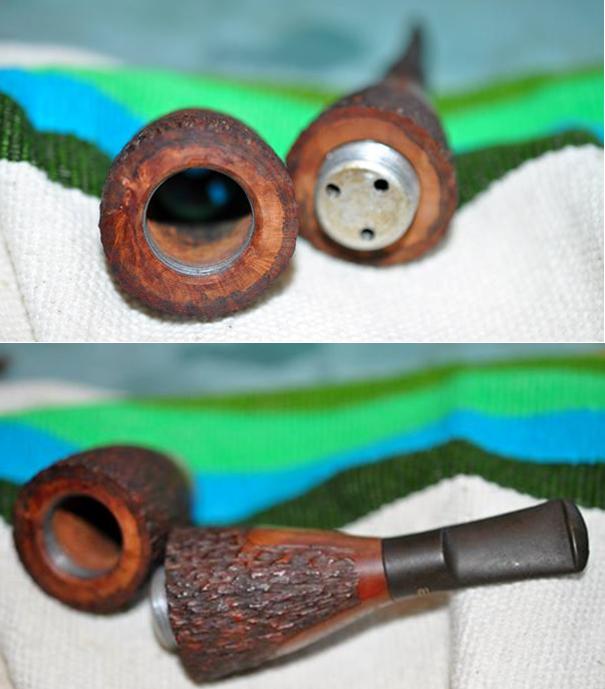
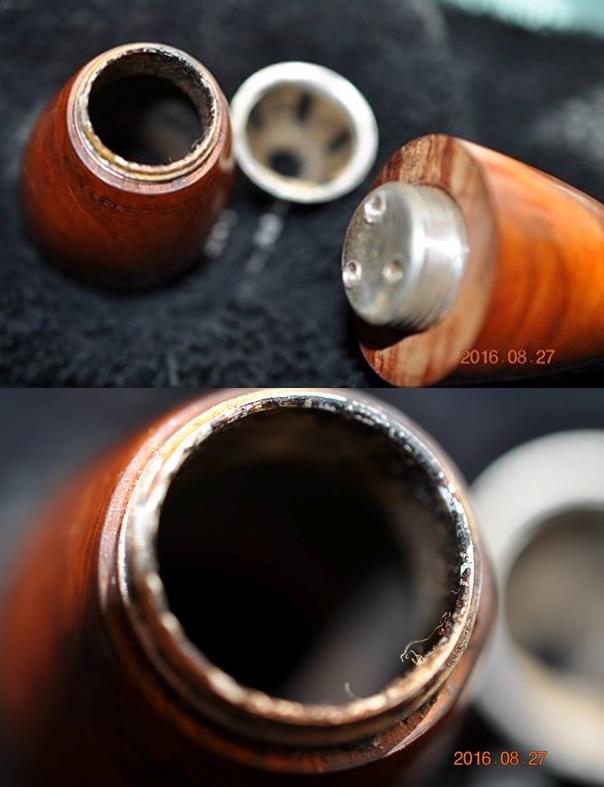
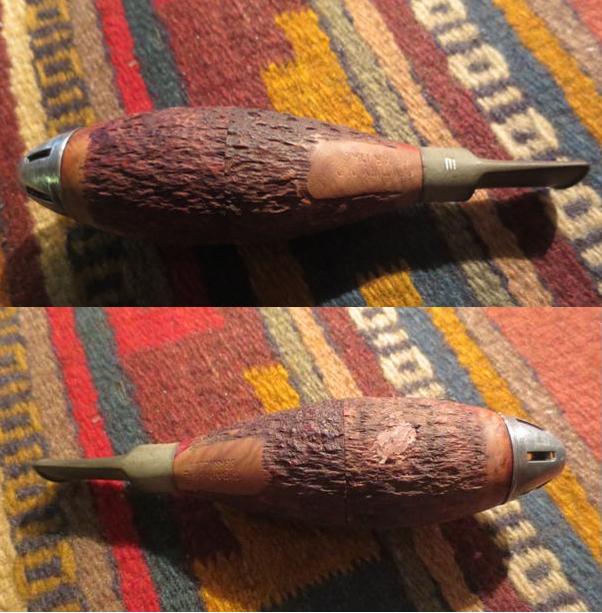
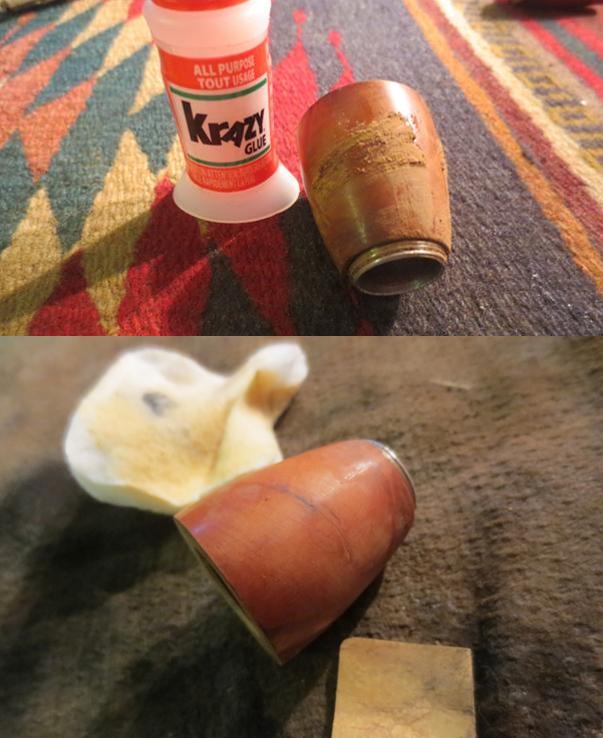
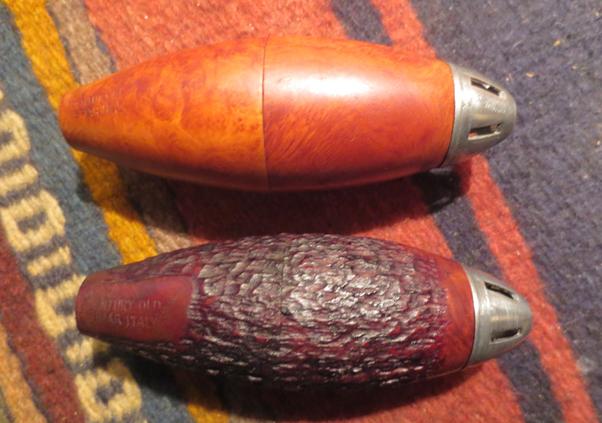
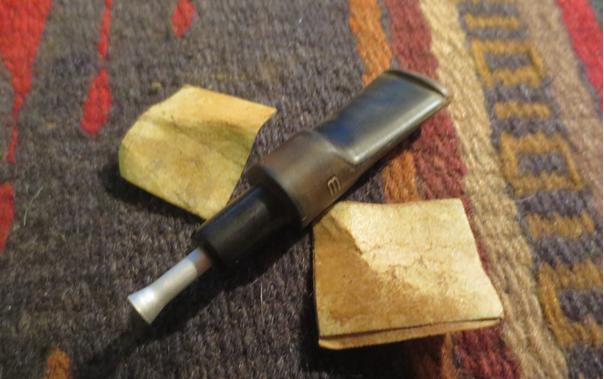
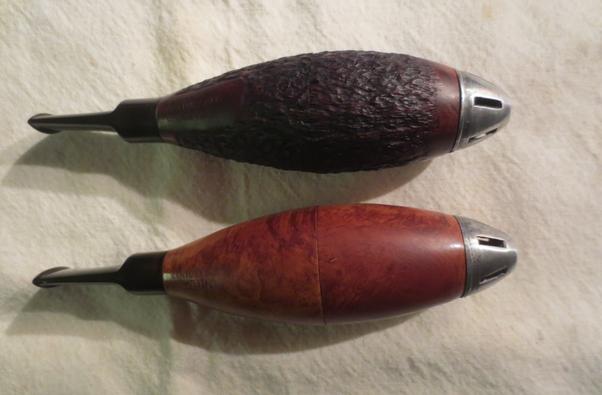
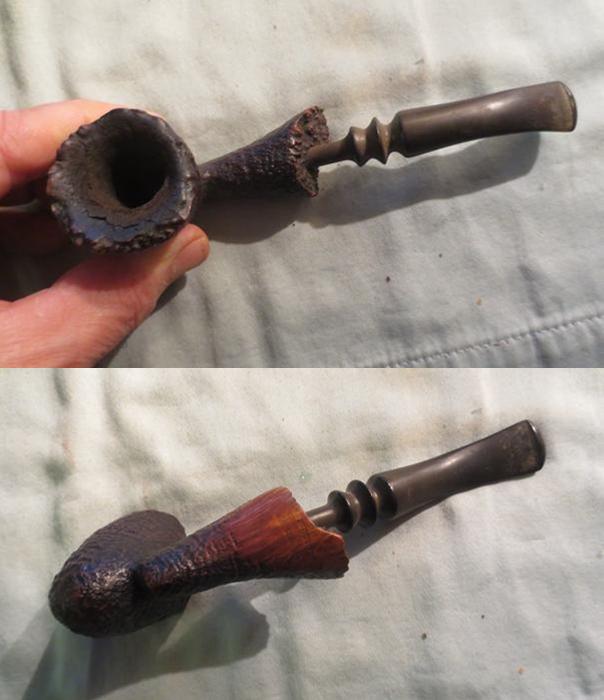
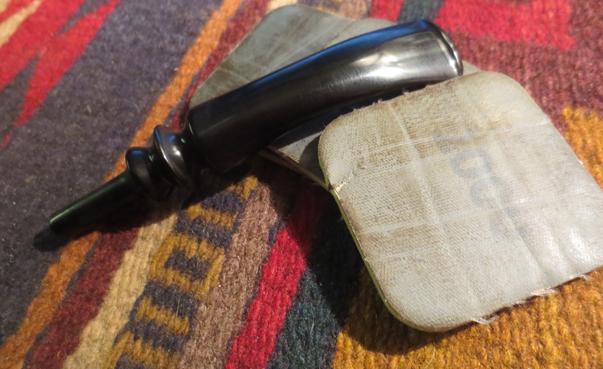
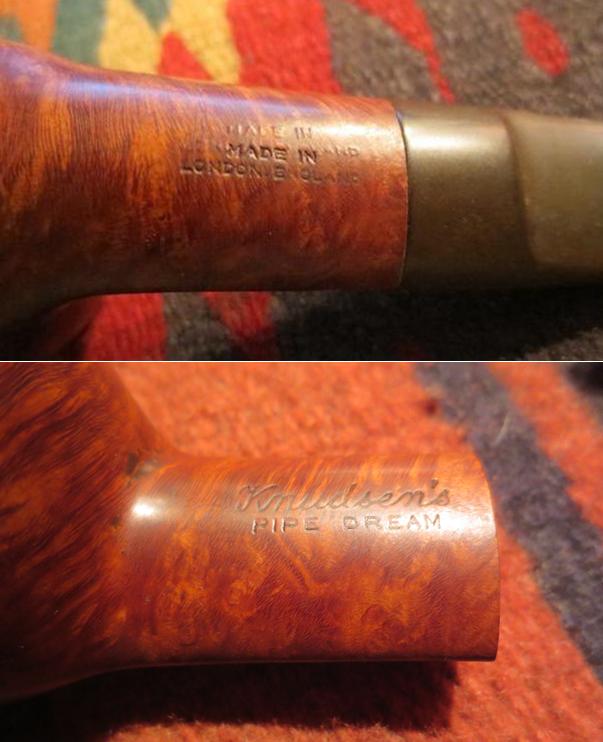
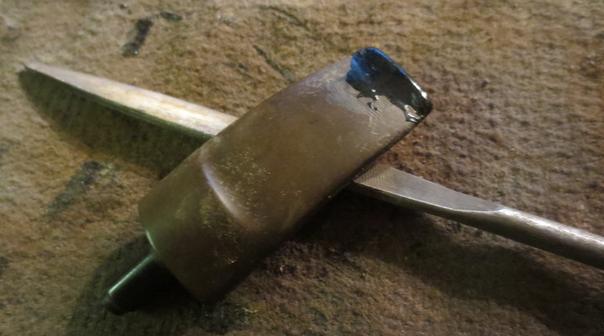
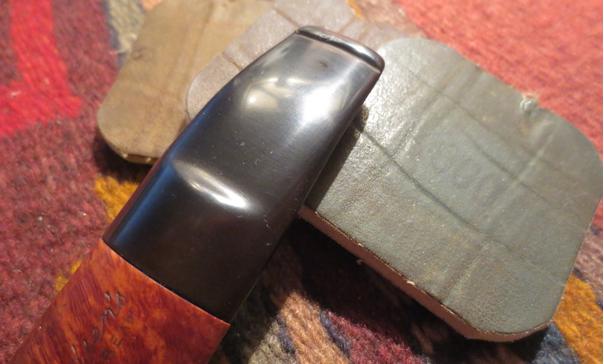
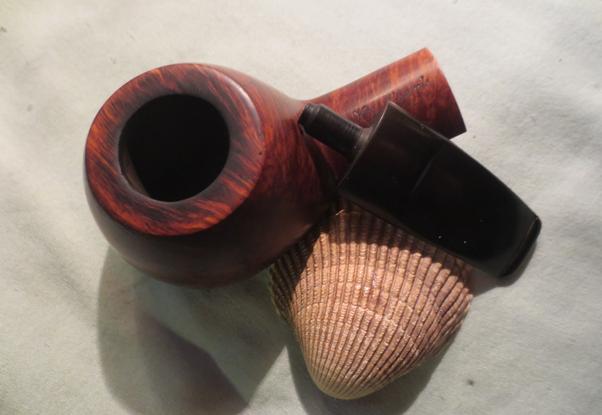
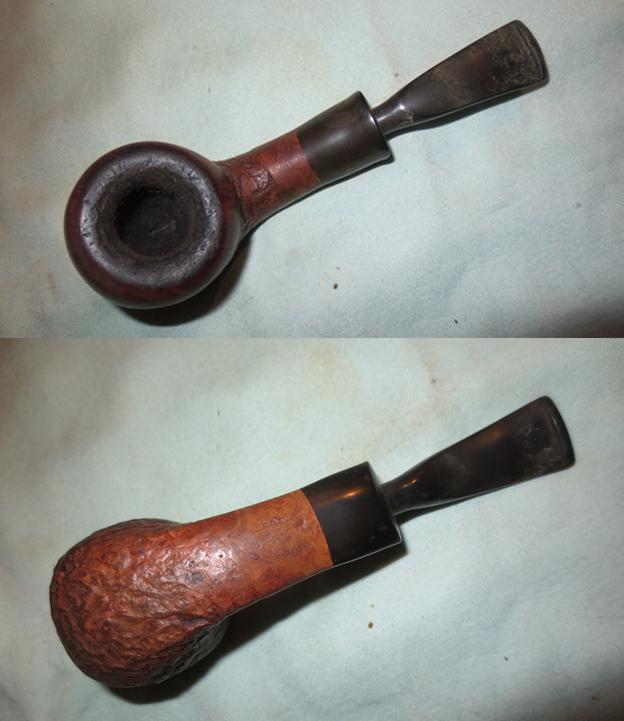
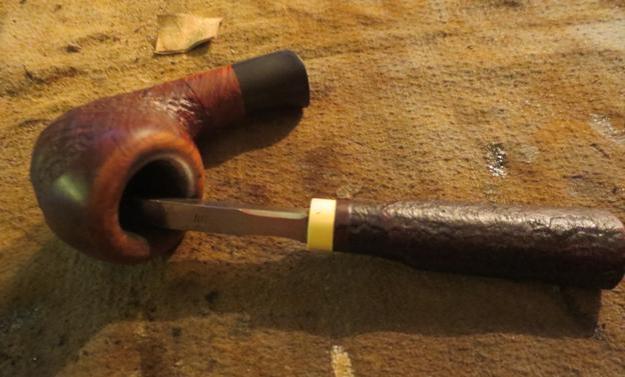
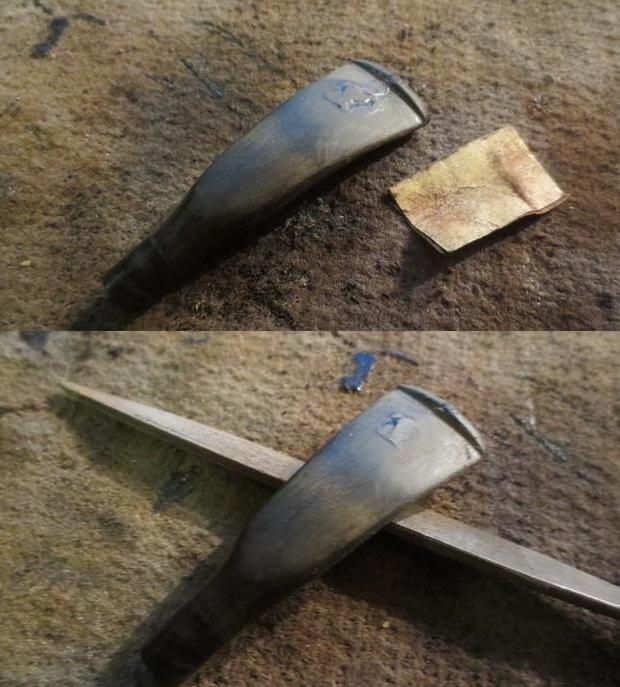
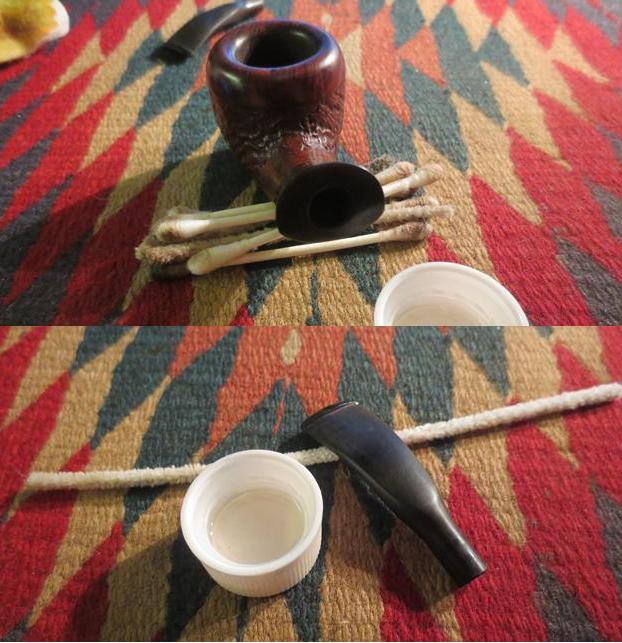
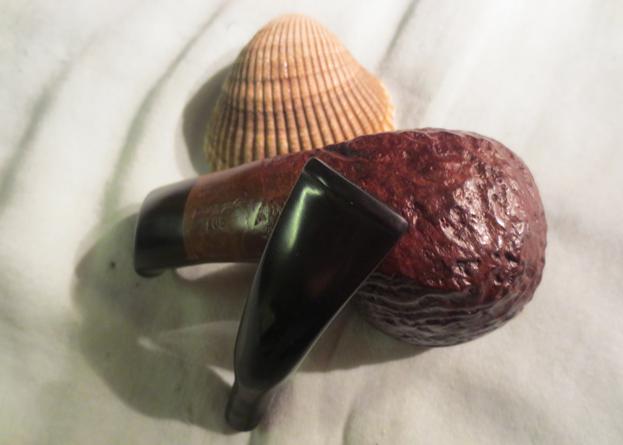
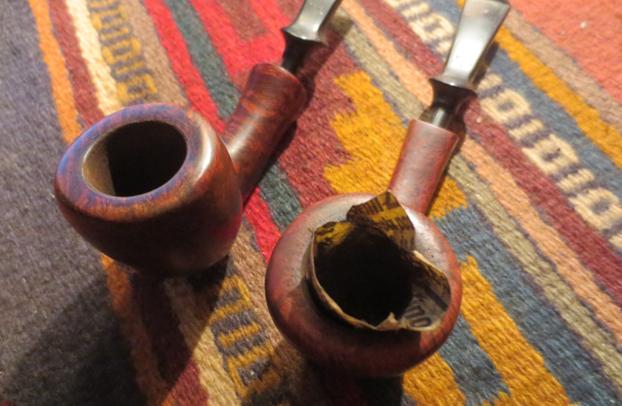
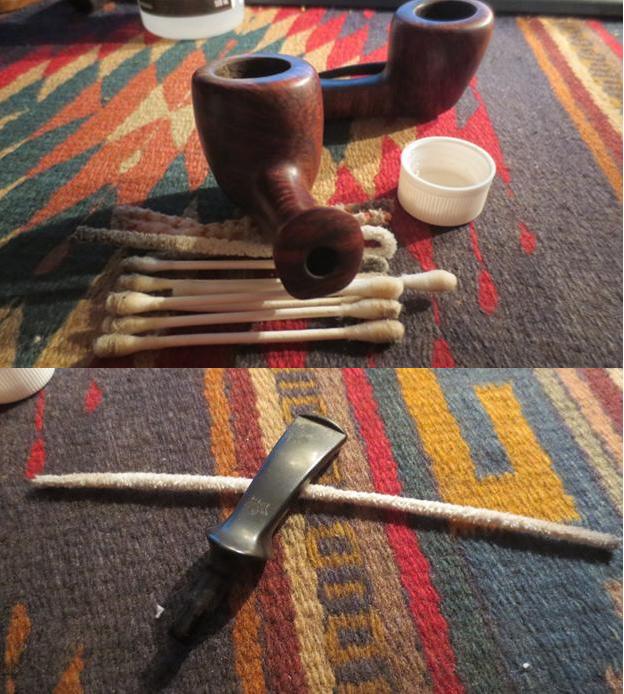
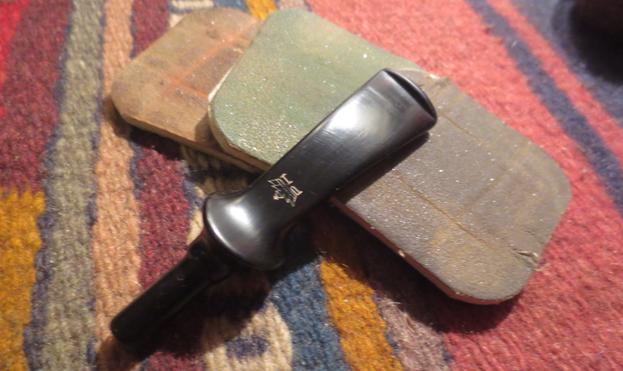
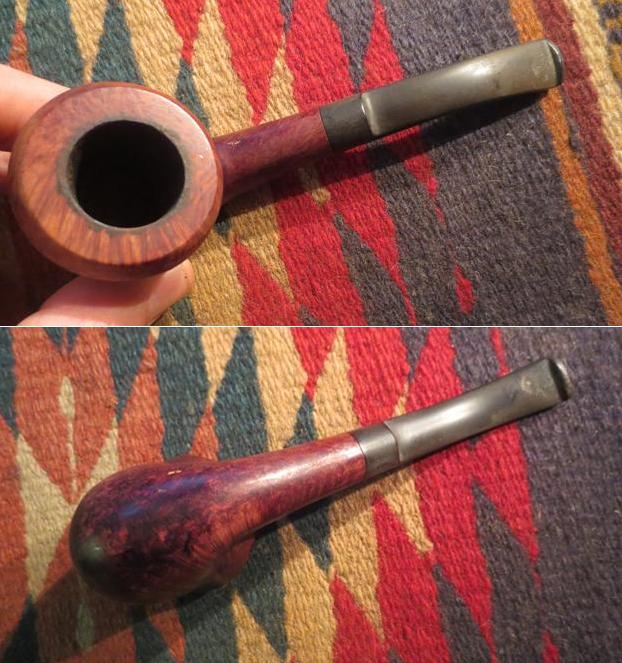
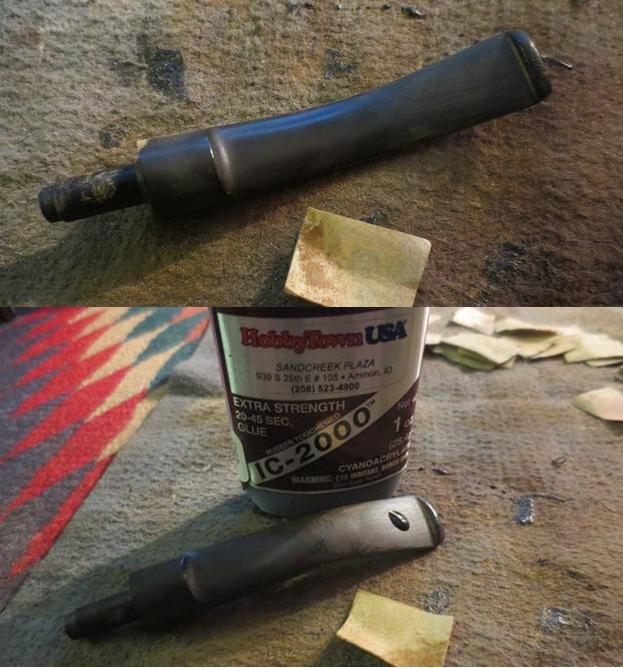
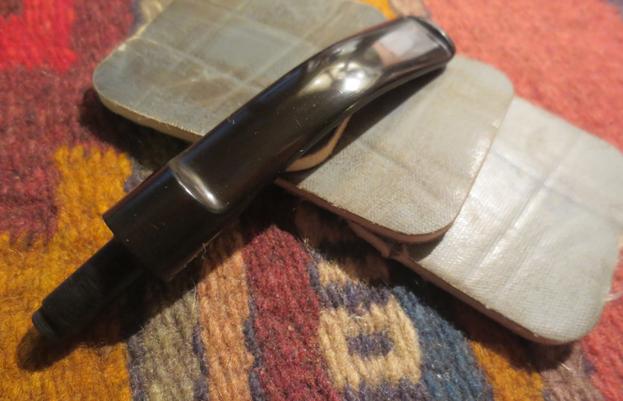
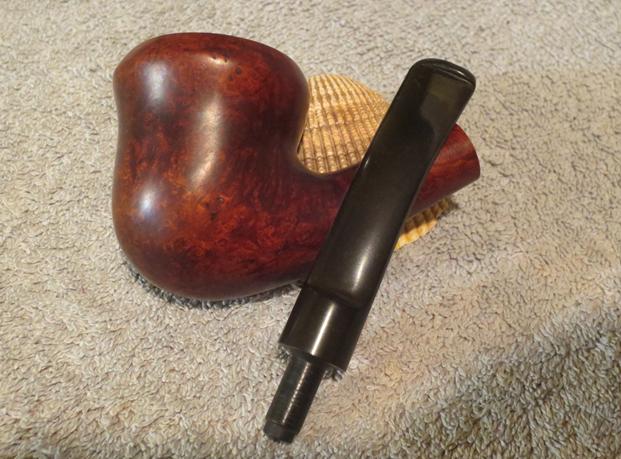
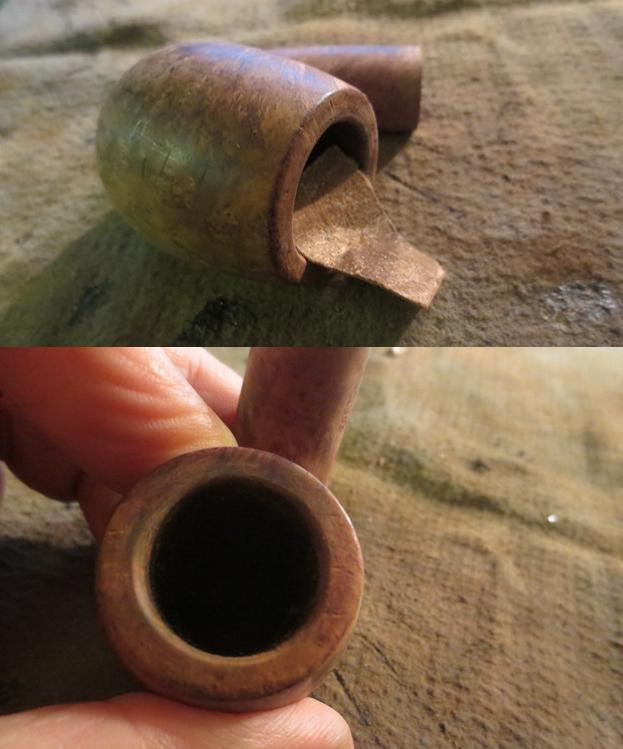
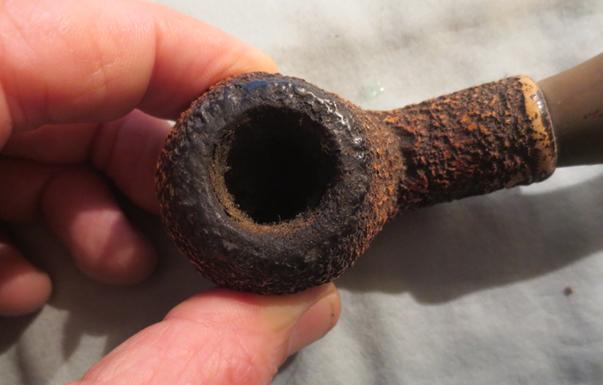 The Delrin tenon is glued into the vulcanite stem and mortise is lined with a Delrin tube. The tenon was surprisingly small in diameter for a stem this large when I took the pipe apart. The photo below shows the pipe taken apart.
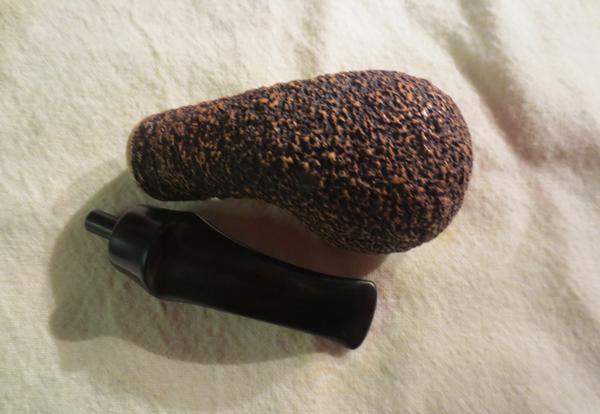
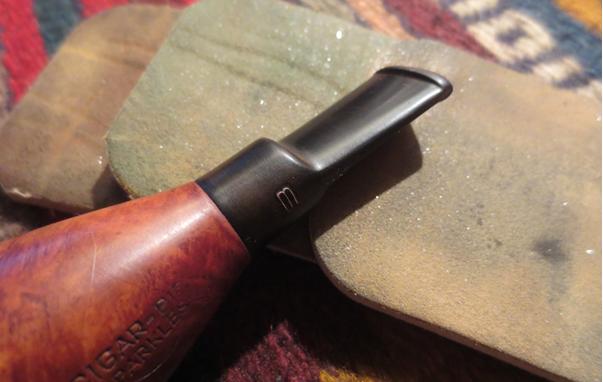
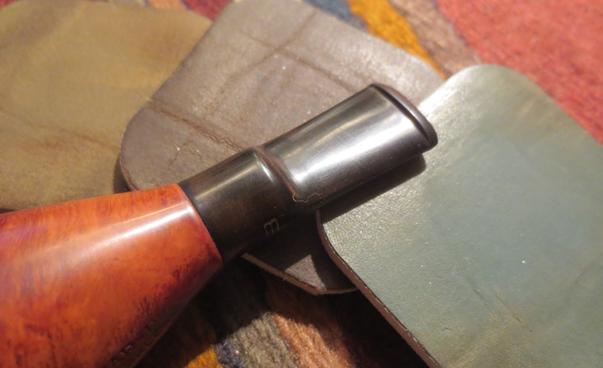
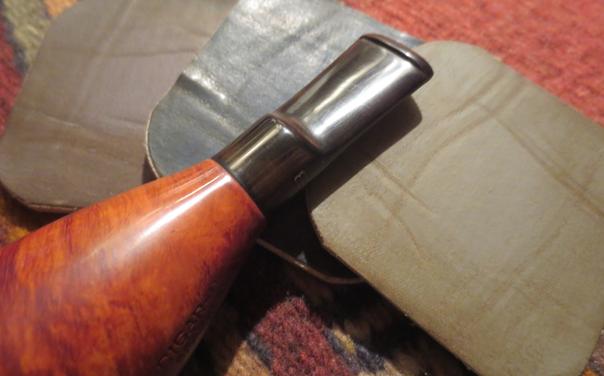
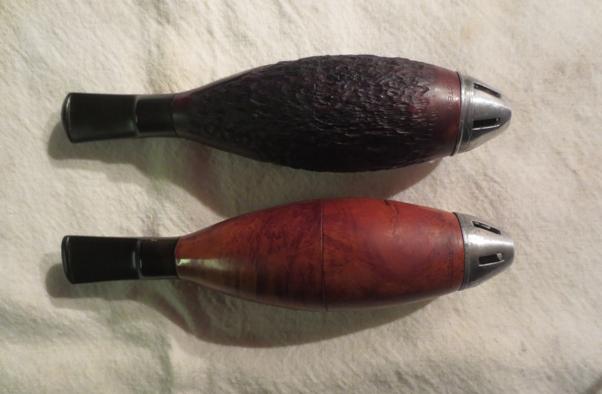
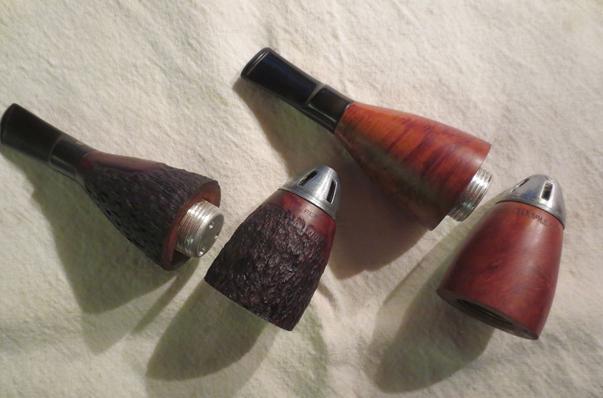
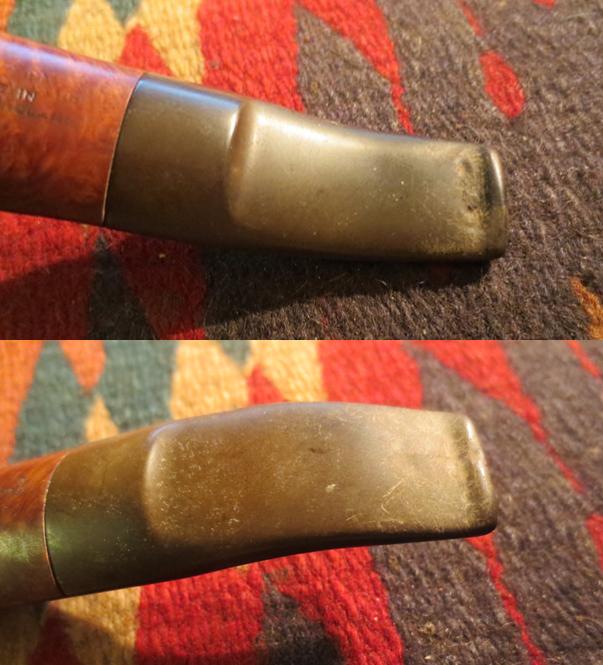
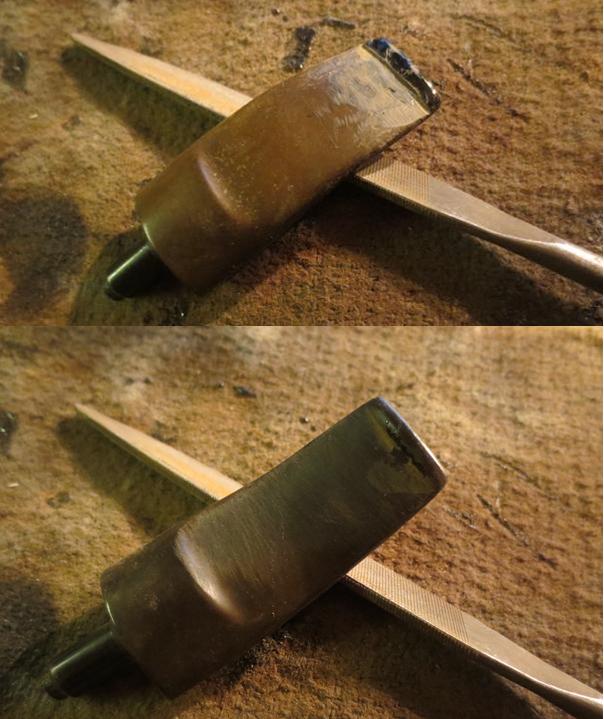
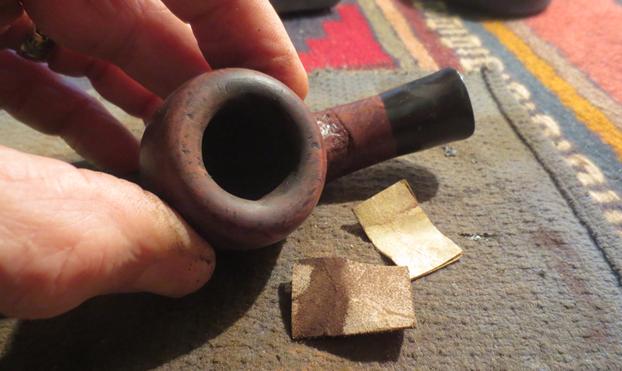
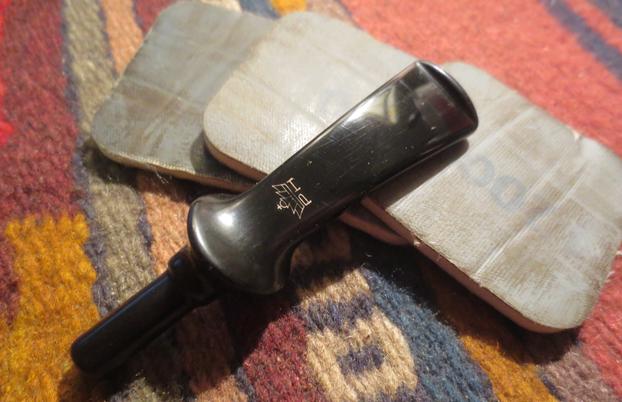
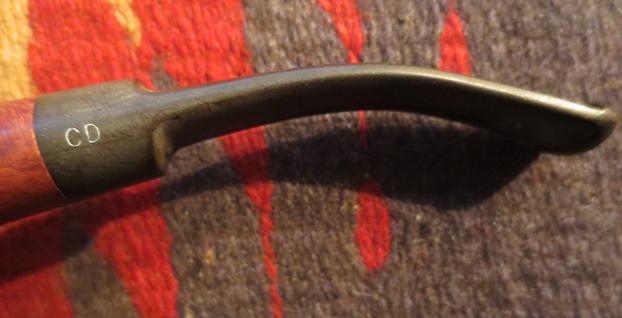
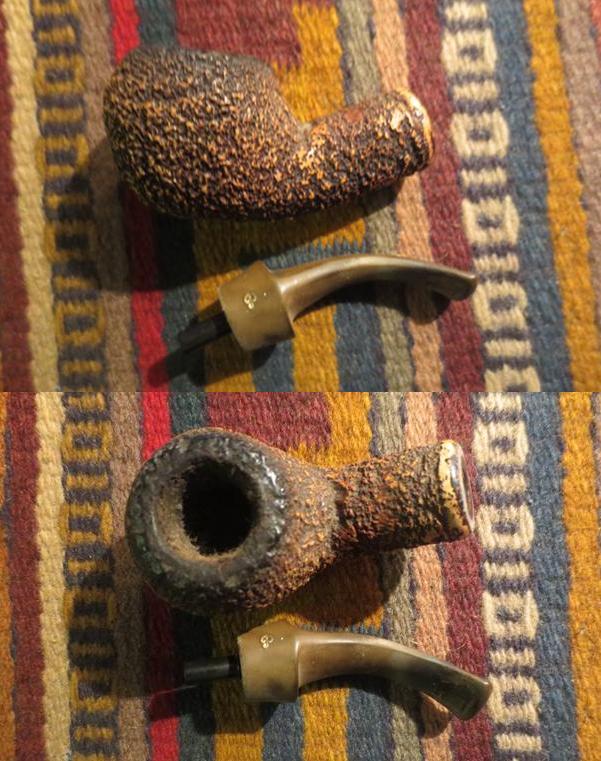 I took some close up photos of the stem to show the oxidation and tooth chatter on the stem. There was large tooth mark on the top of the stem. It is hard to see in the photos below but after the first cleaning it would be visible.
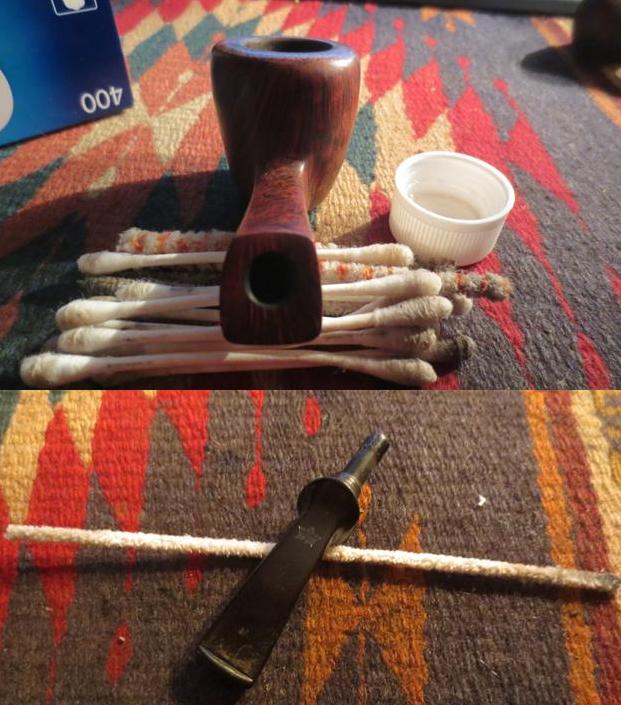
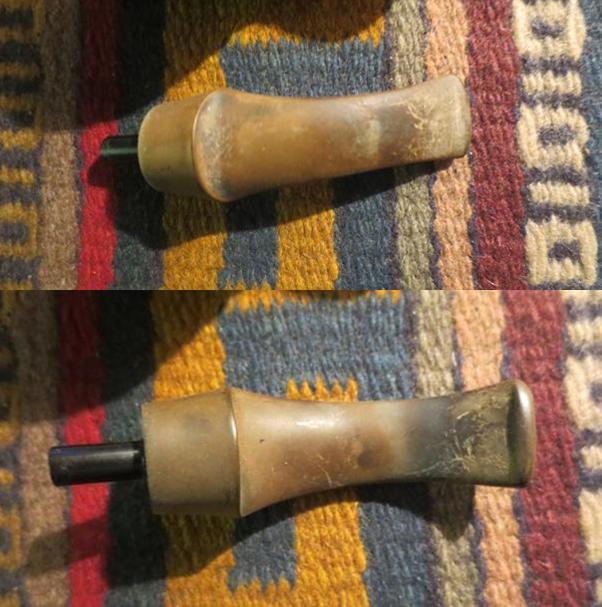 I used a brass bristle brush to scour the top of the rim to remove the thick cake and reveal the crevices and ridges below the grime. I reamed the bowl with a PipNet reamer to take out the majority of the cake. I would need to clean it further later.
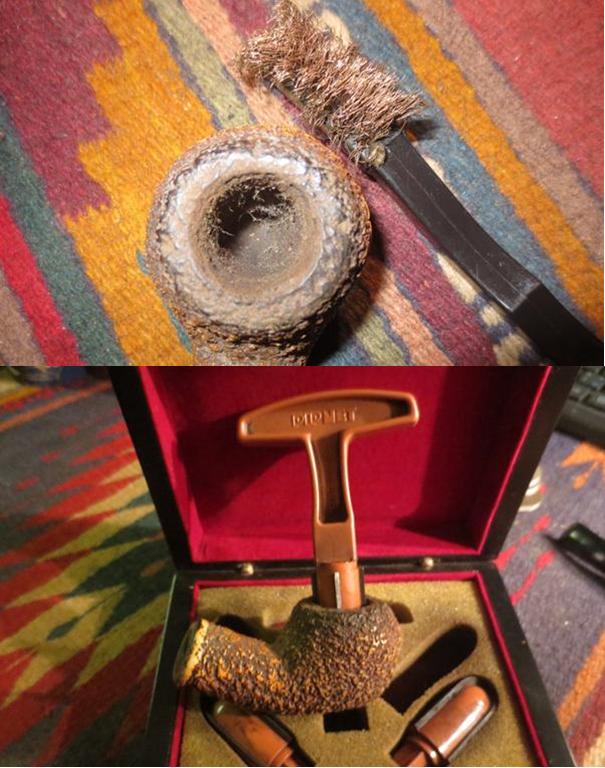 I scrubbed the externals with a tooth brush and Murphy’s Oil Soap to remove the grime and oils in the grooves of the bow and shank. I rinsed the bowl off with warm running water to remove the soap and dirt. I scrubbed it more under the running water using the tooth brush.
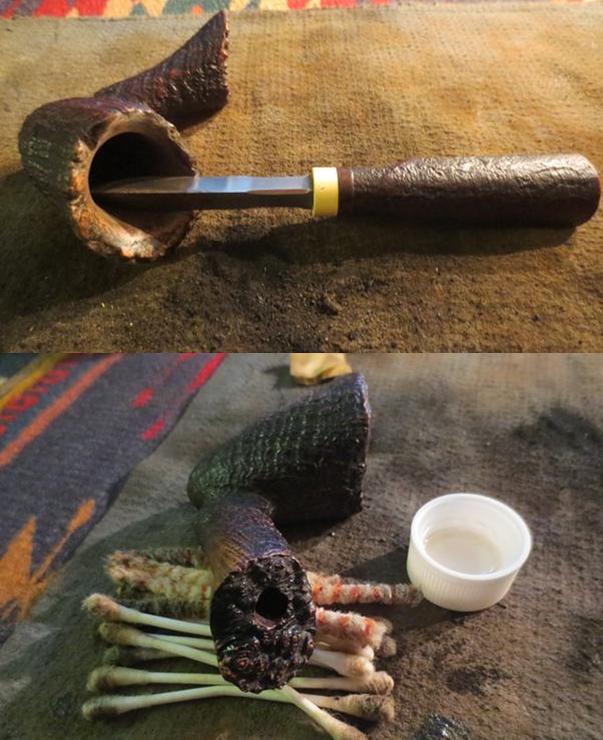
 I dried off the bowl and used Savinelli Pipe Knife to clean up the inside of the bowl and remove the last of the cake.
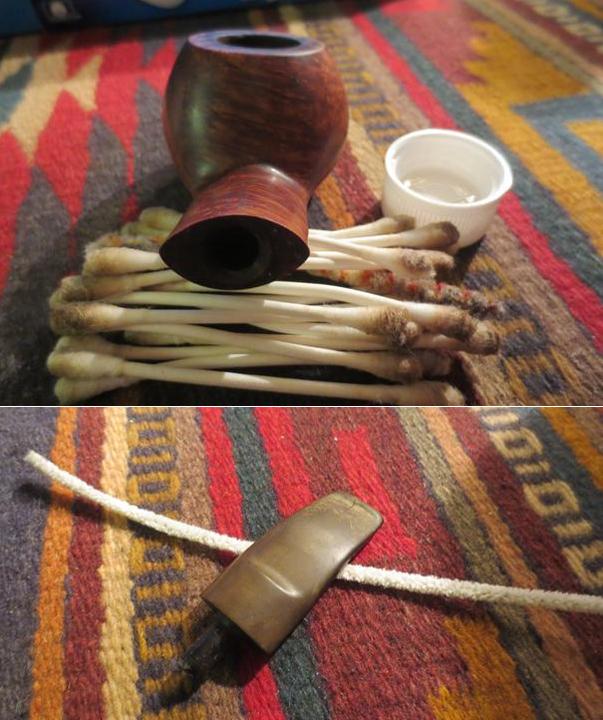
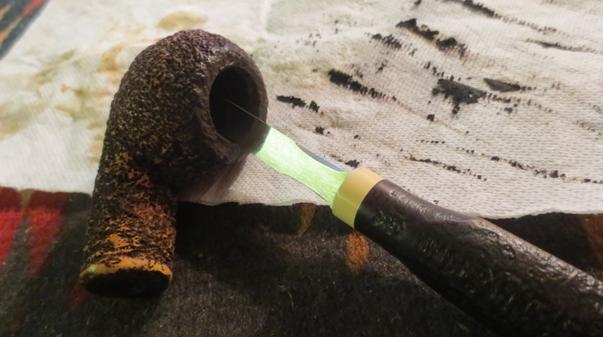 I cleaned the mortise and the airways in the shank and the stem with alcohol, pipe cleaners and cotton swabs until the internals were clean.
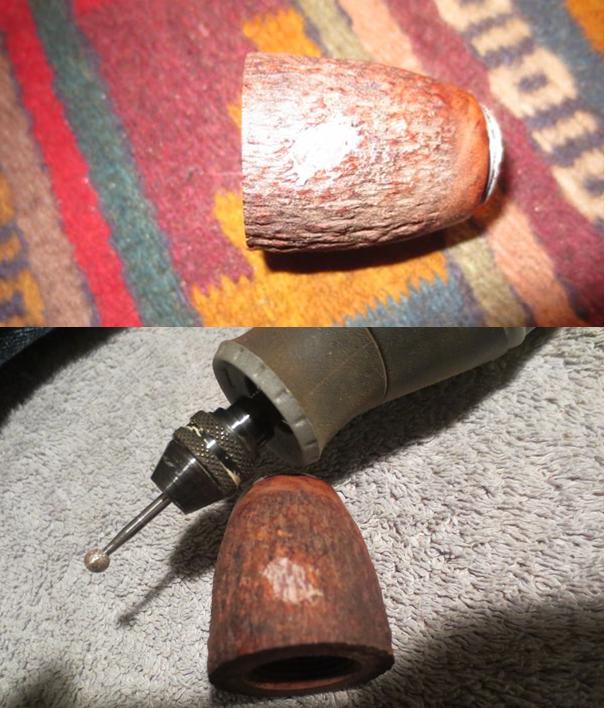
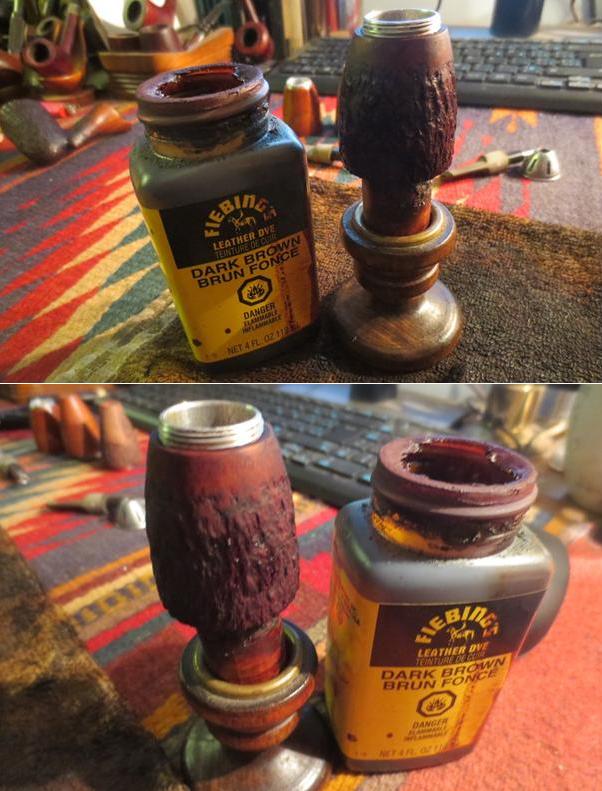
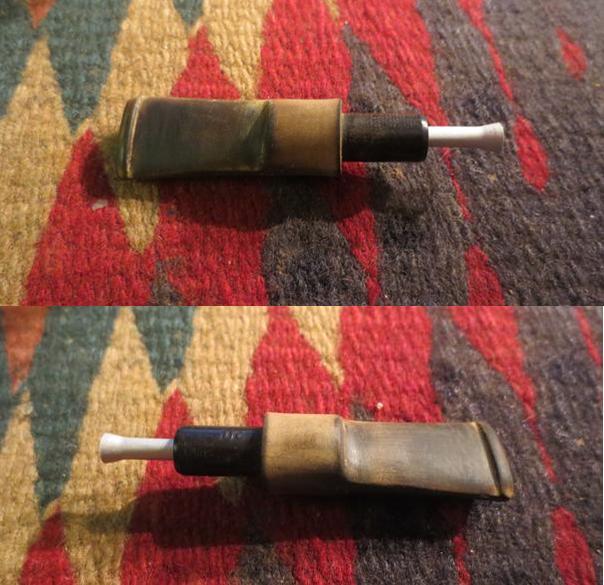
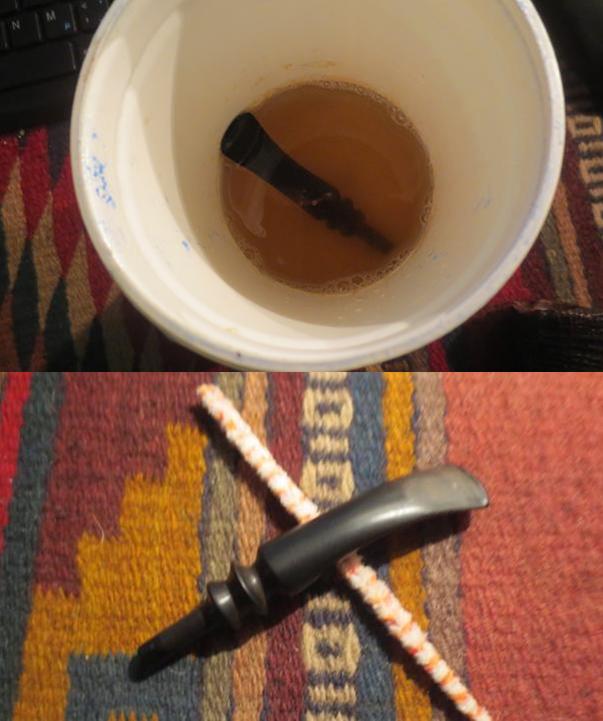
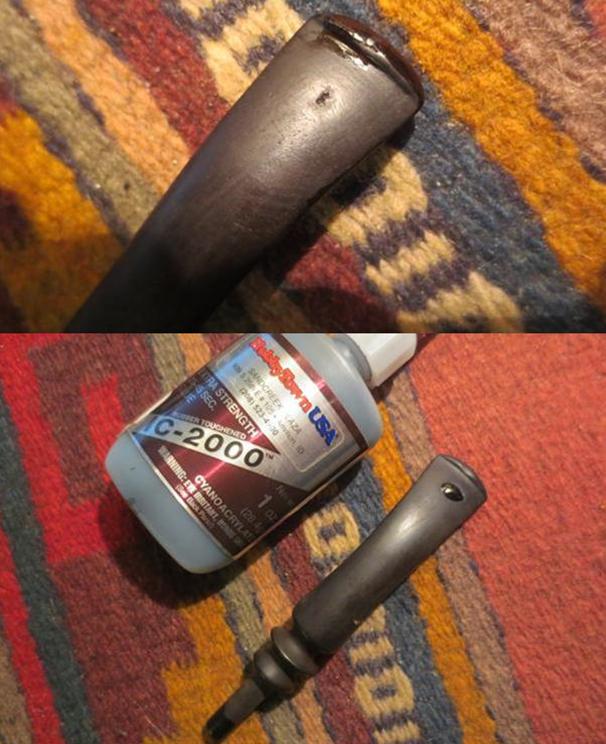
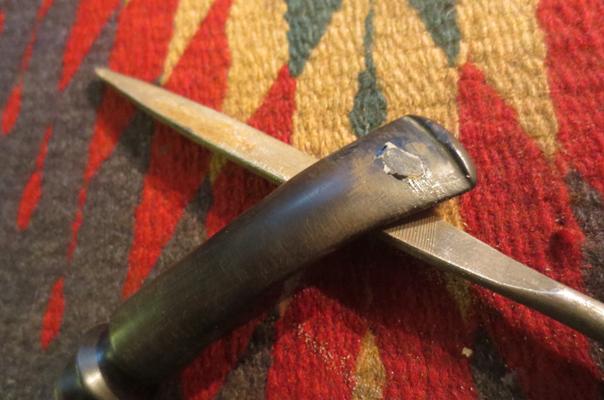
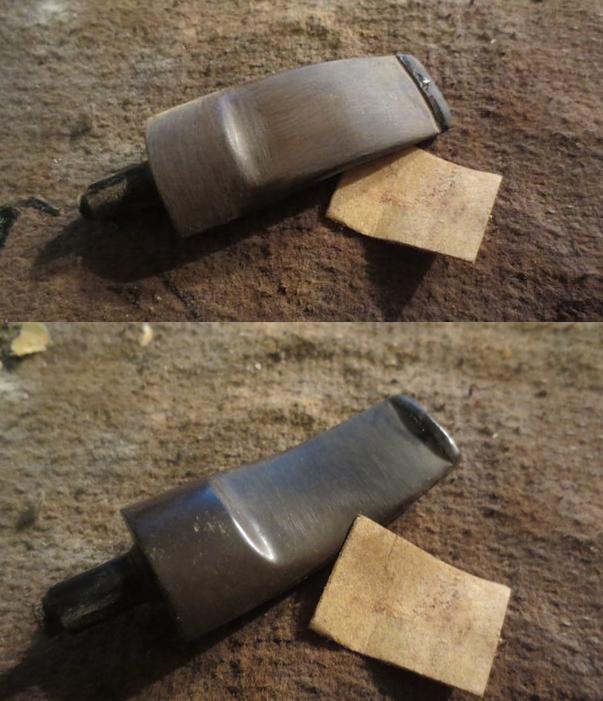
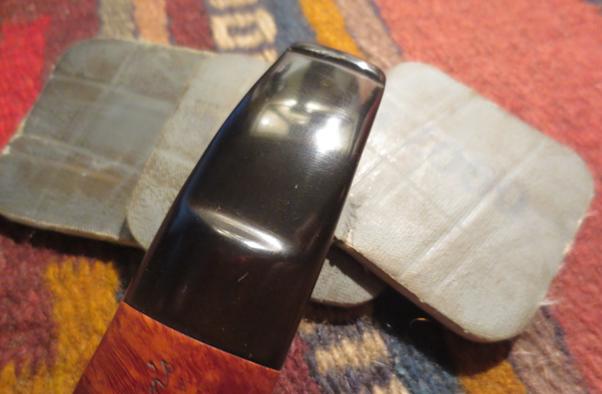
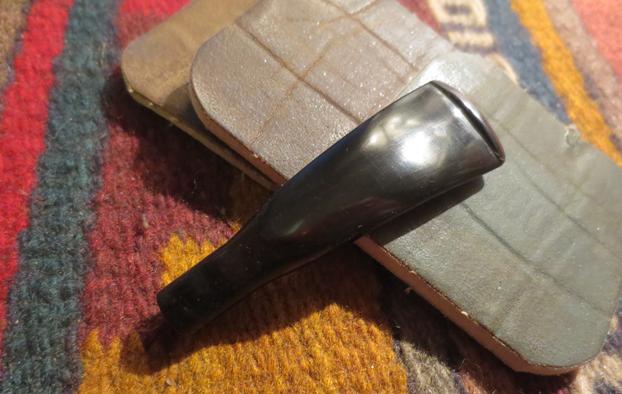
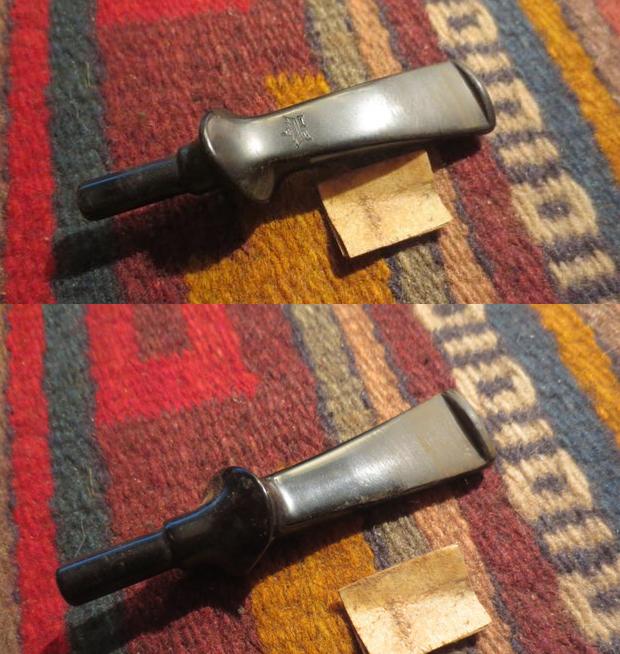
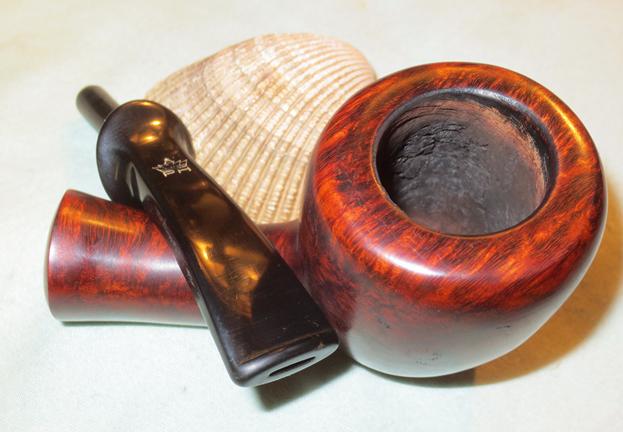
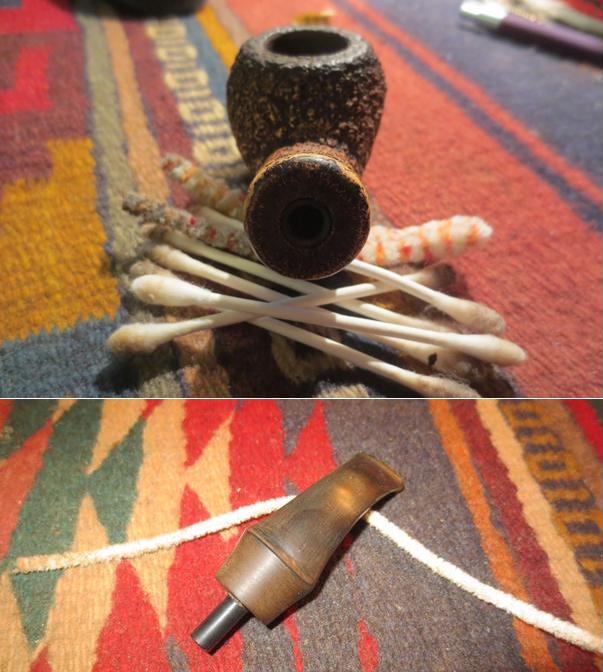 I put the stem in an Oxyclean bath and let it sit overnight. In the morning I took it out of the bath and rubbed it down with a coarse cloth to remove the loosened oxidation. I took the following photos to show the stem at this point. The second photo shows the deep tooth marks.
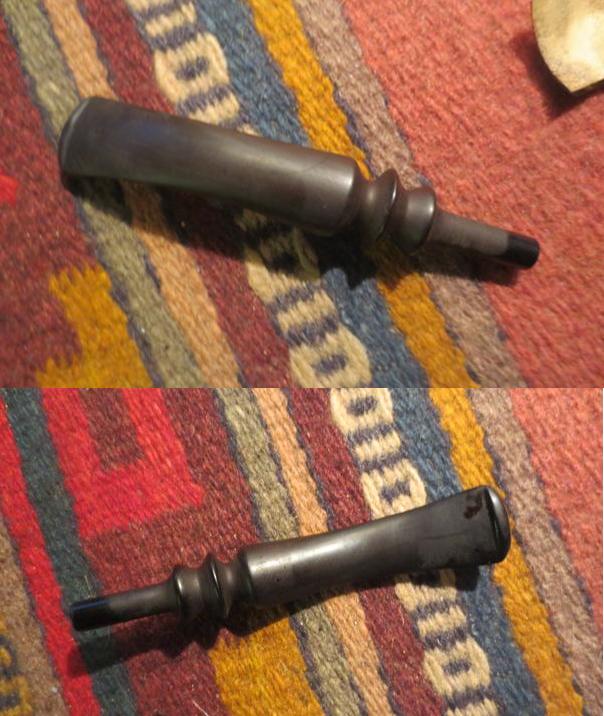
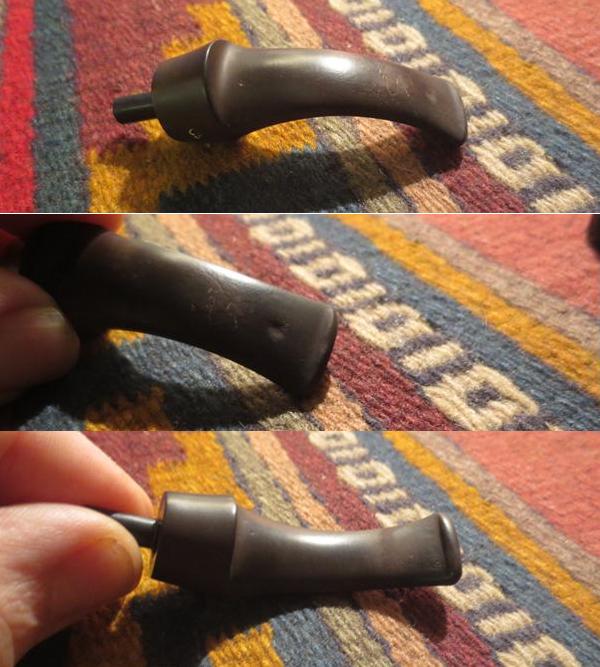 Because the dent was round and smooth I decided to try to lift it with heat. I used a Bic lighter and “painted” the dent with the heat. It took a couple of passes of the lighter before it was smooth. The dent rose up to meet the surface of the stem. I did not need to do a fill or repair on the stem.
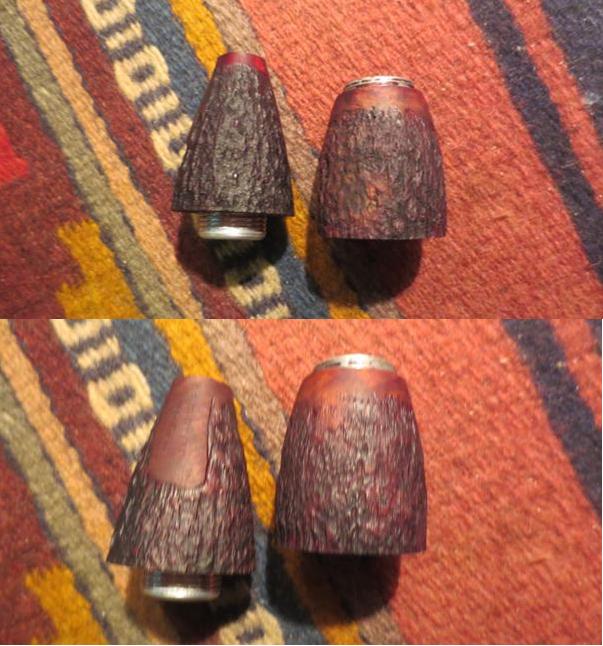
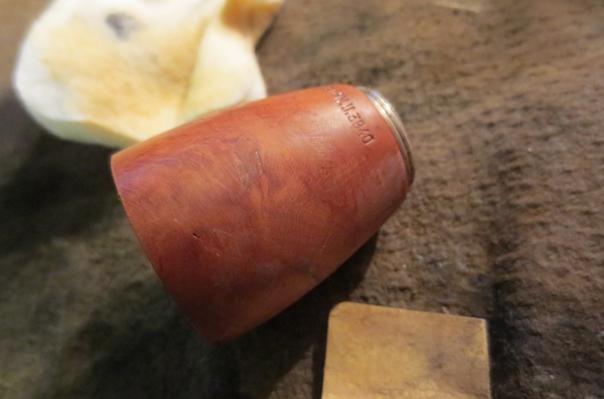
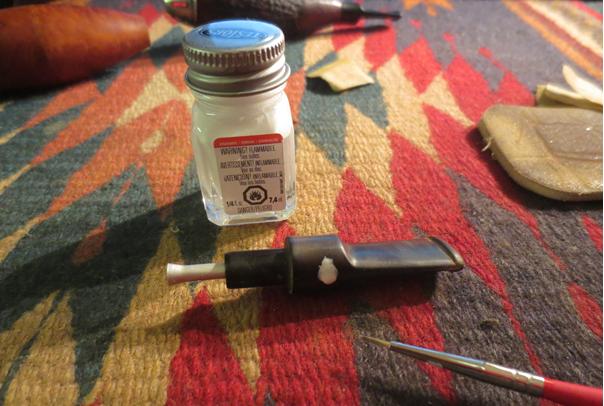
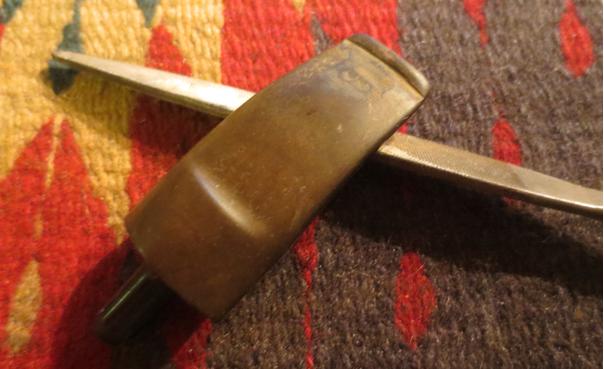
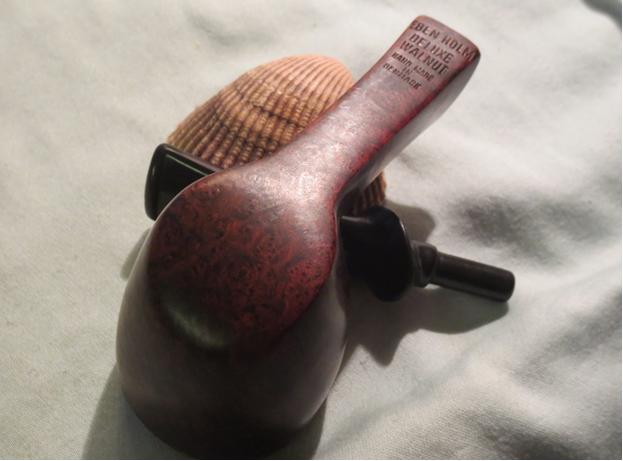
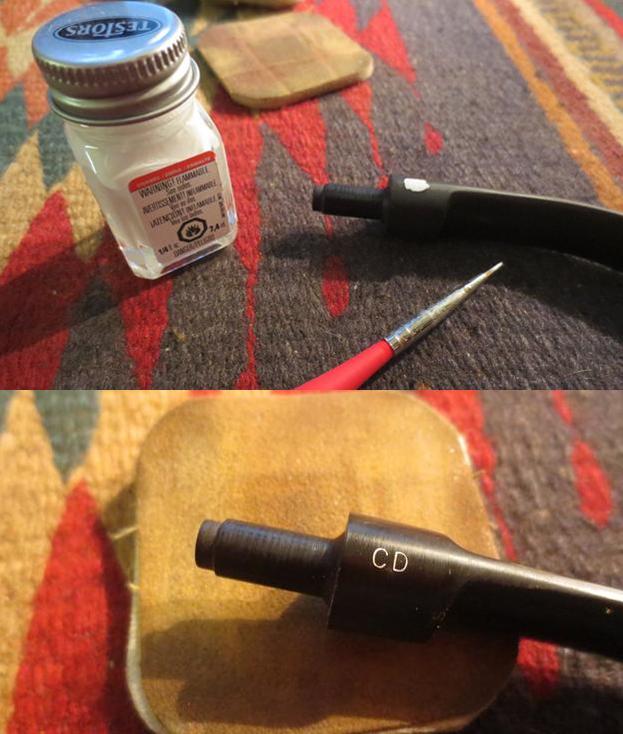
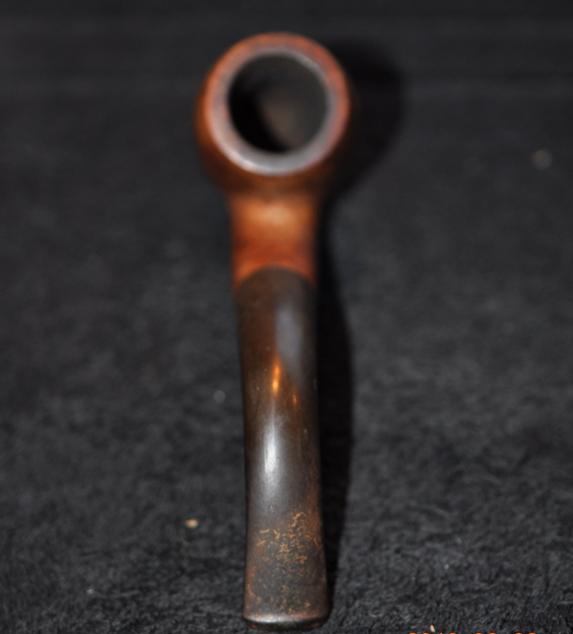
 I touched up the P stamp with white acrylic and a fine brush. I overfilled the P and let the paint dry. Once it was dry I carefully scraped it off with a sharp knife and sanded it smooth. The second photo shows the stem stamping.
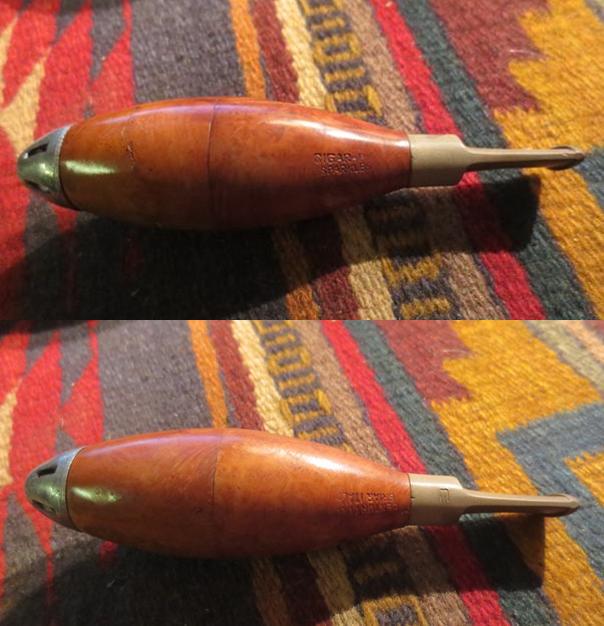
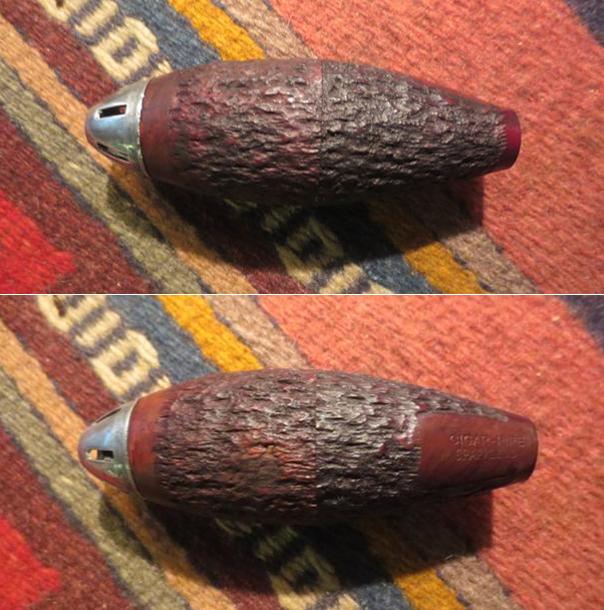
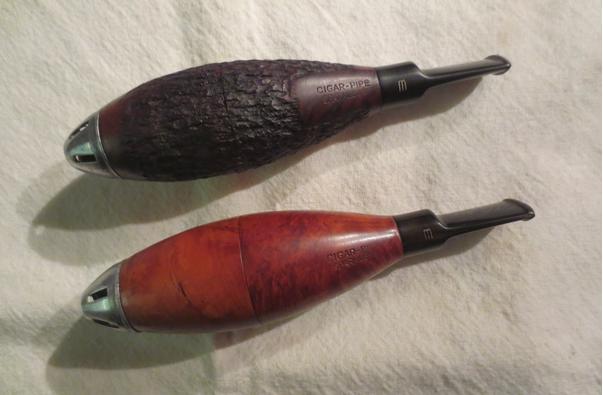
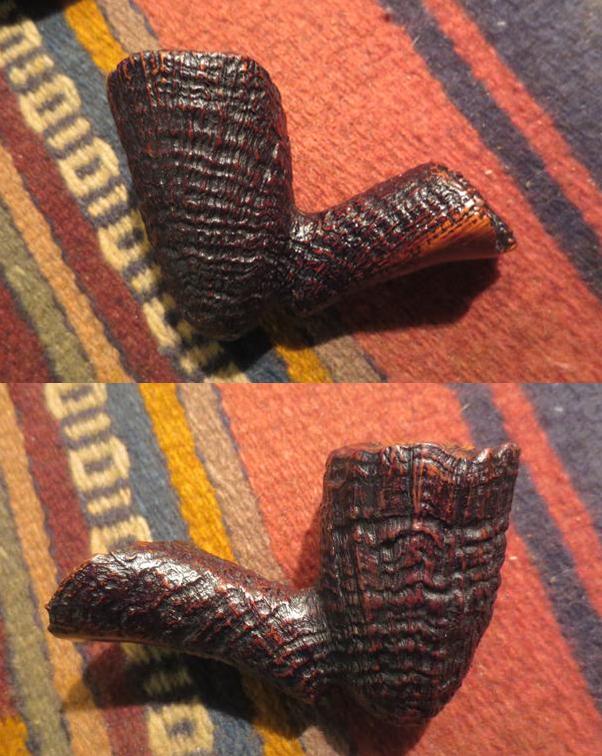
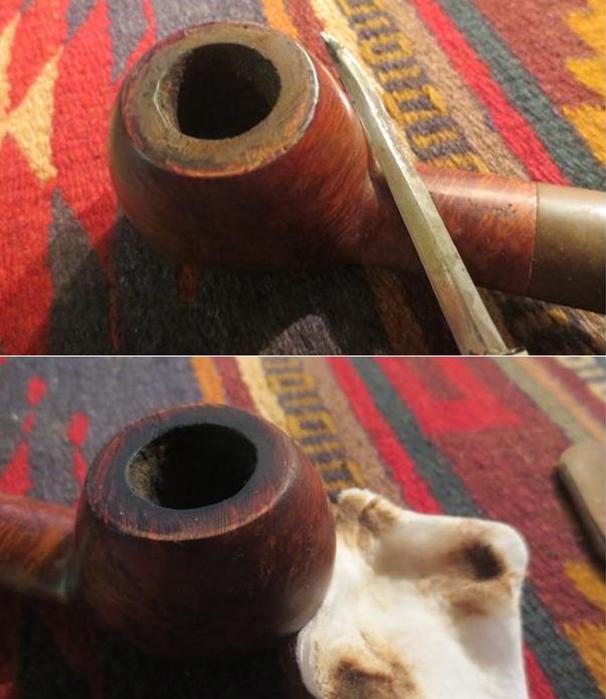
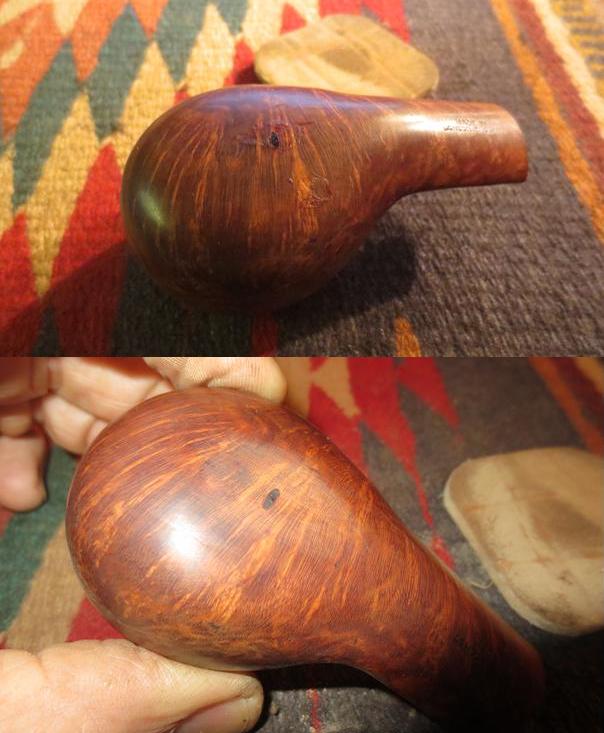
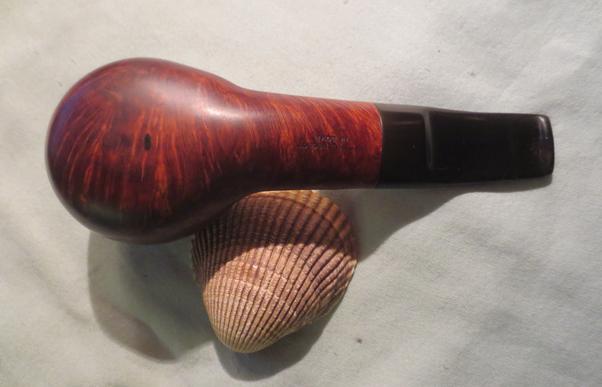
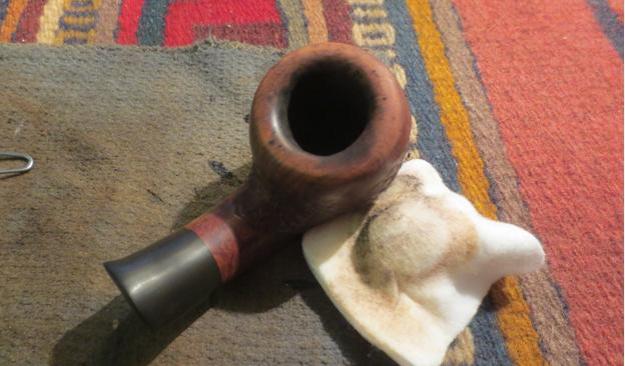
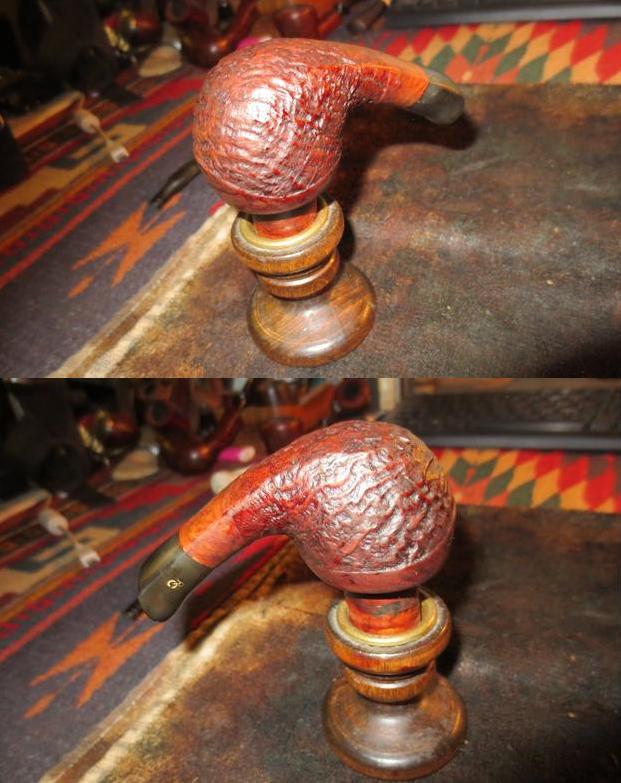
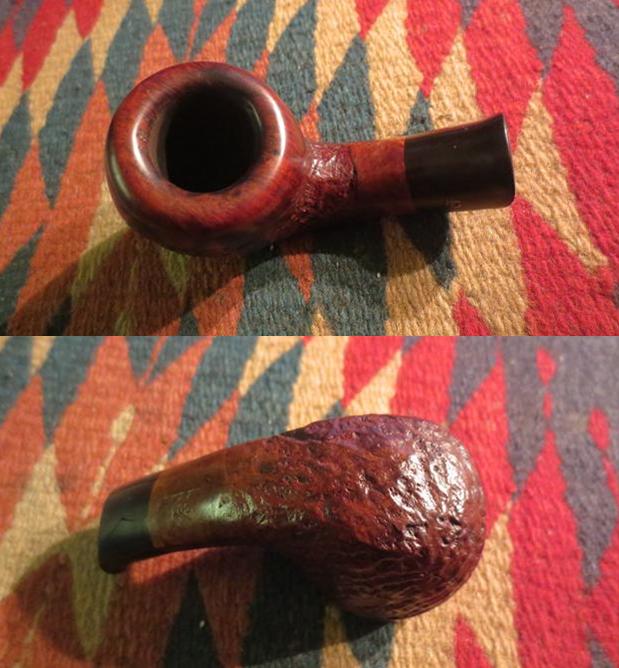
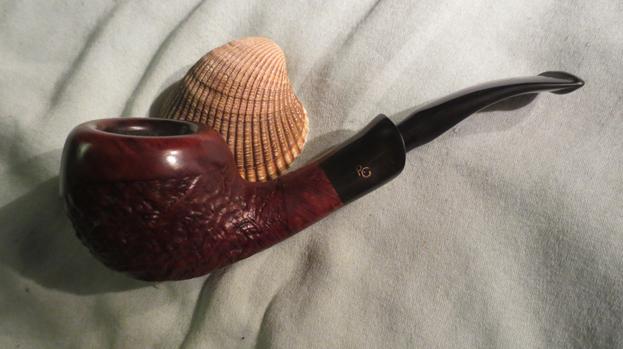
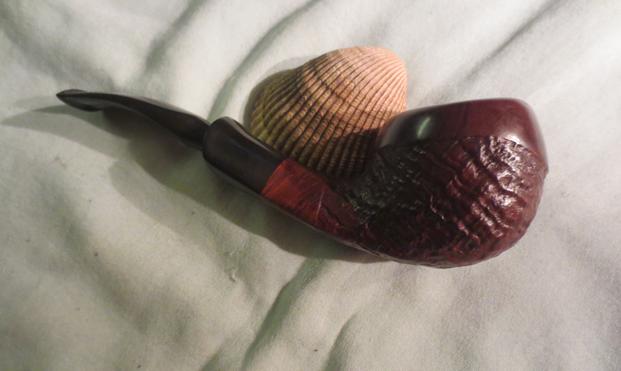
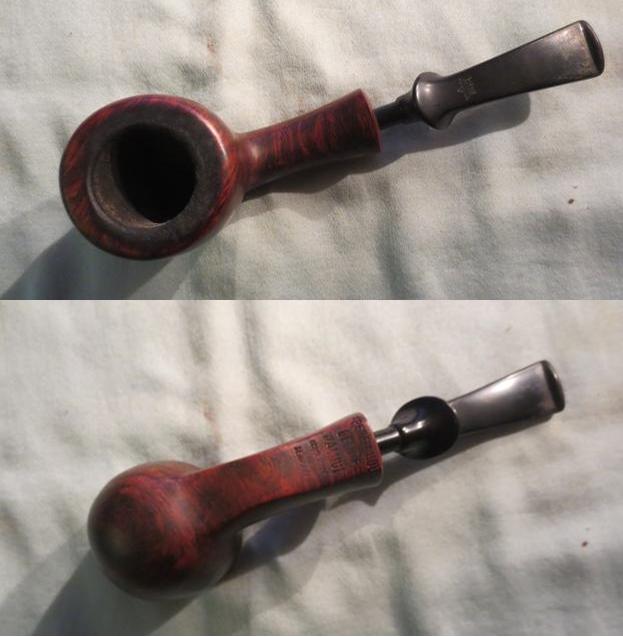
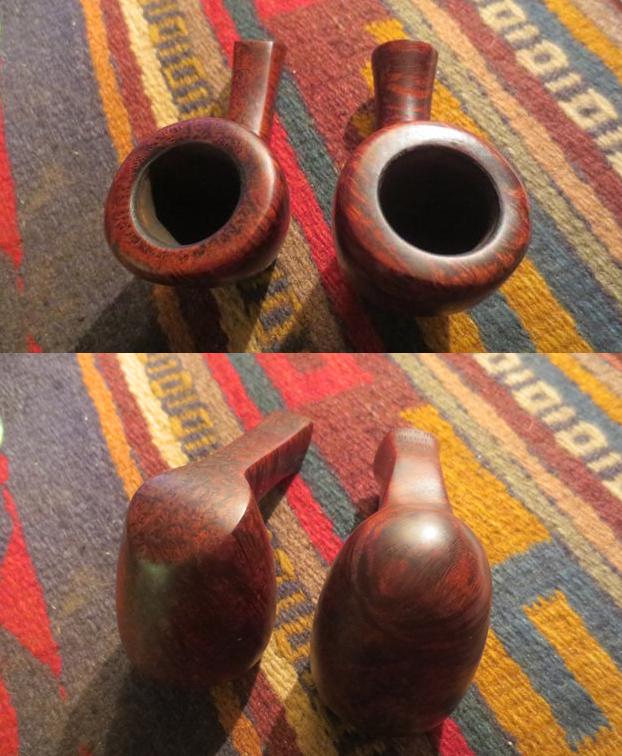
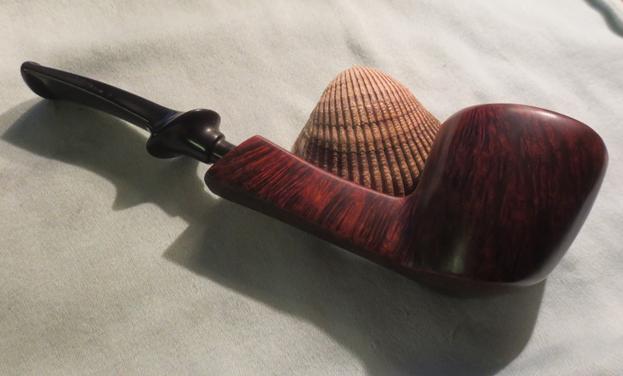
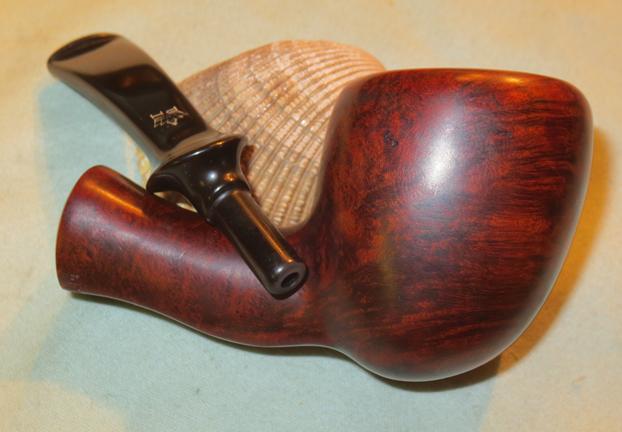
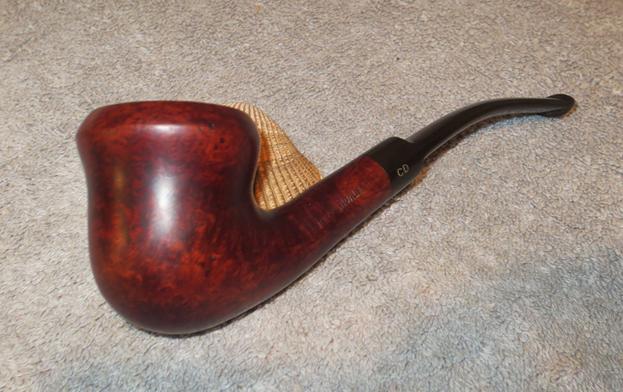
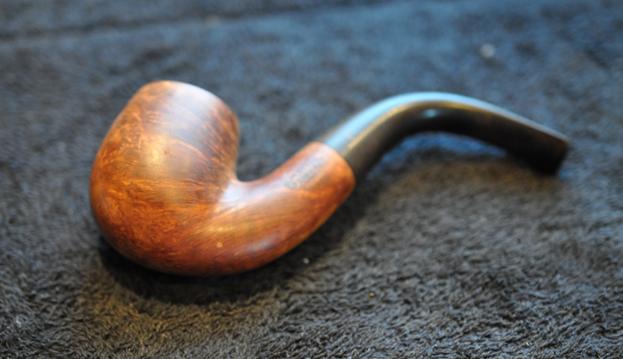
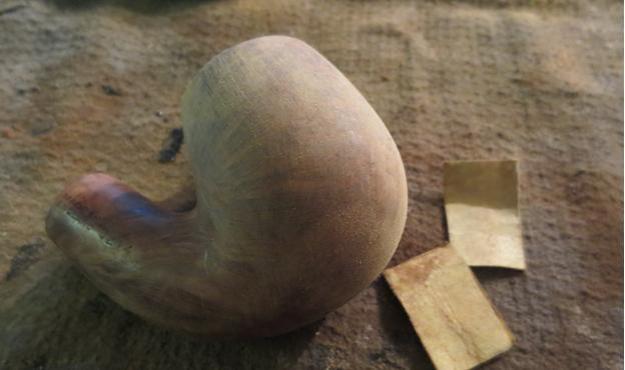
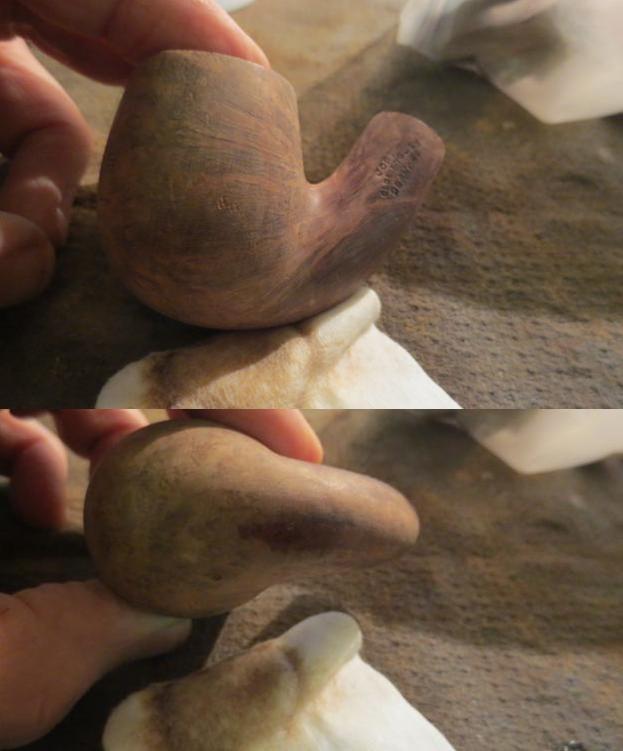
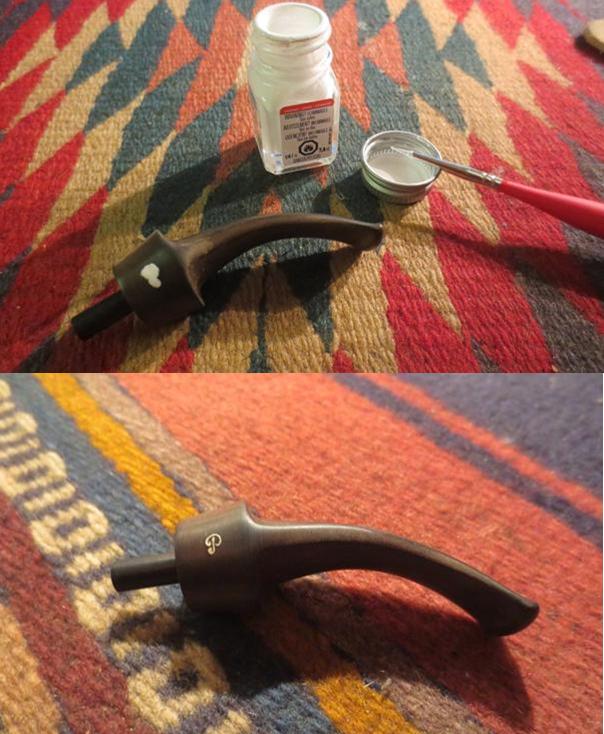 I took photos of the bowl at this point to show how it looked after cleaning.
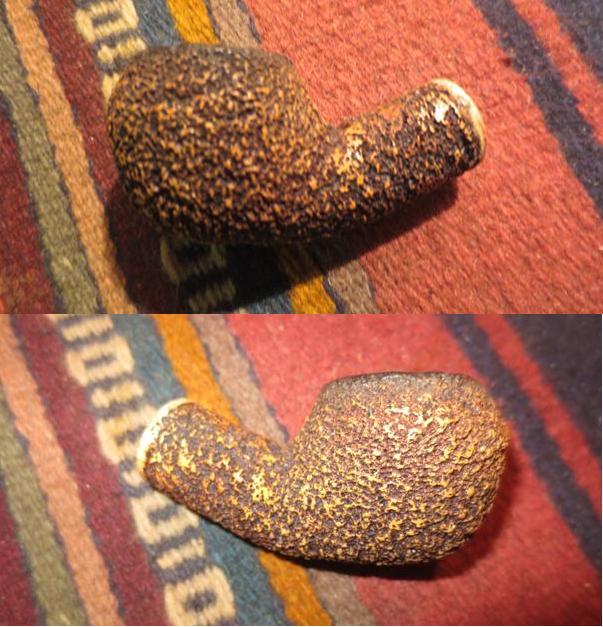
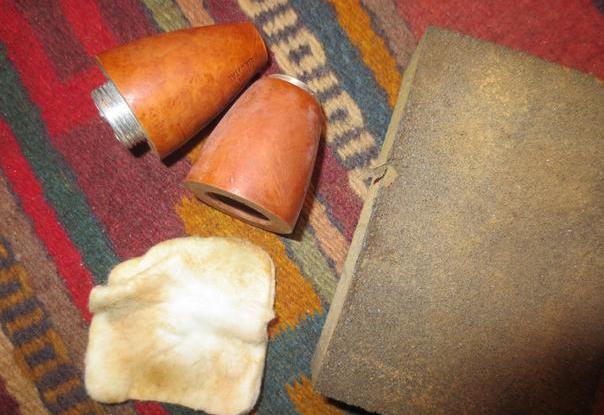
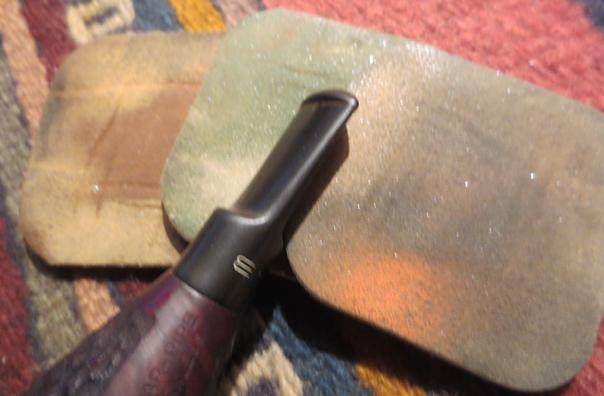
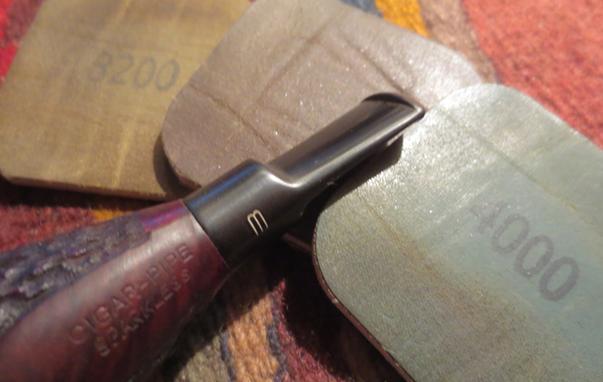
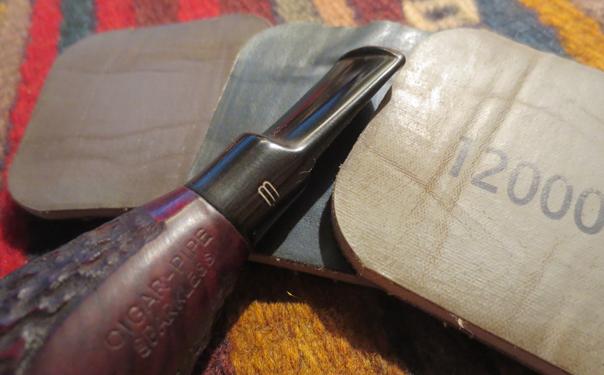
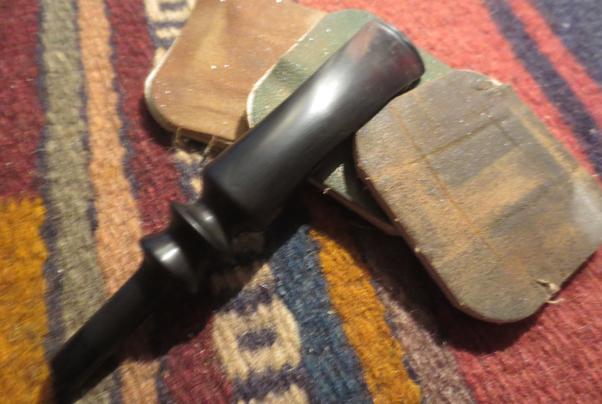
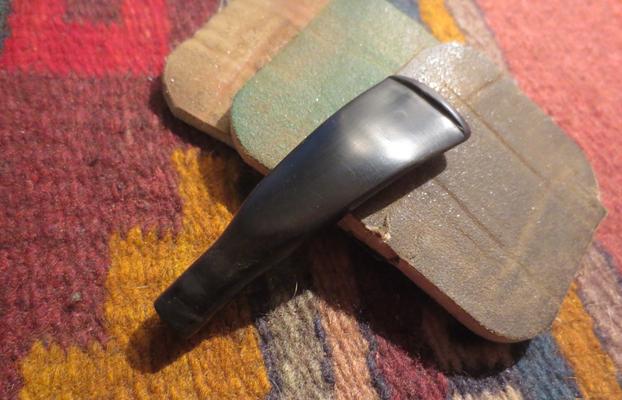
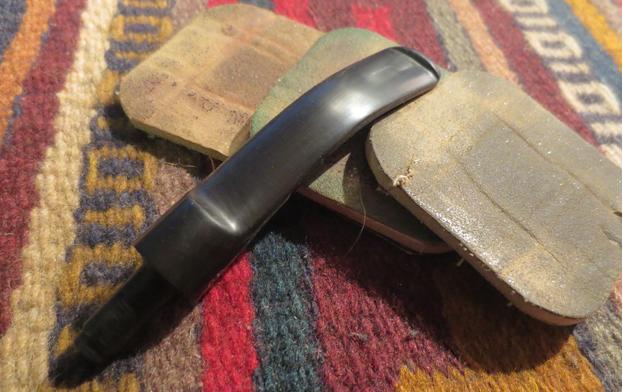
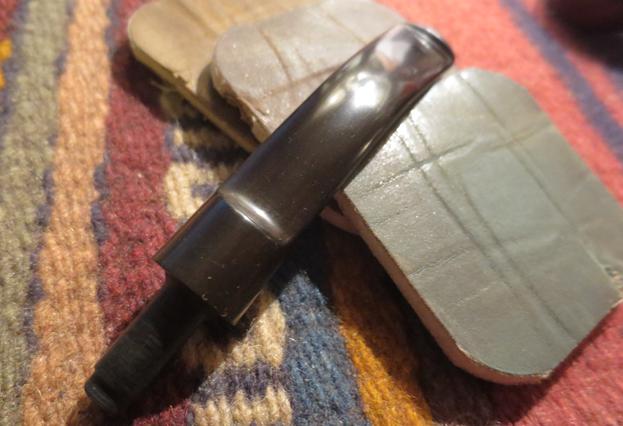
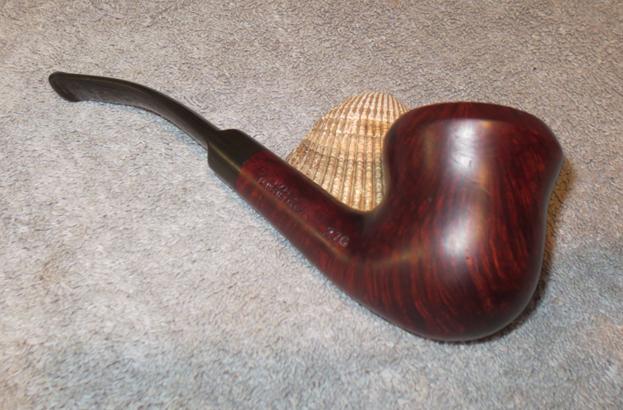
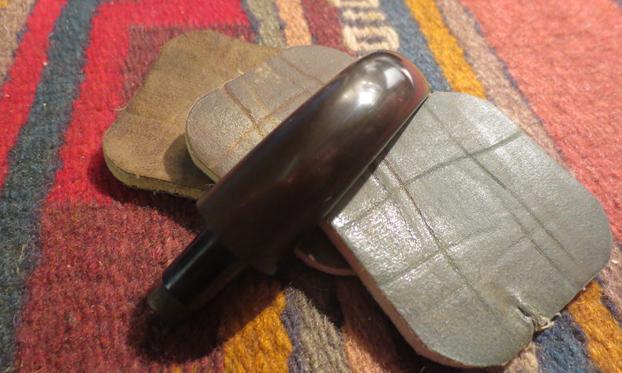
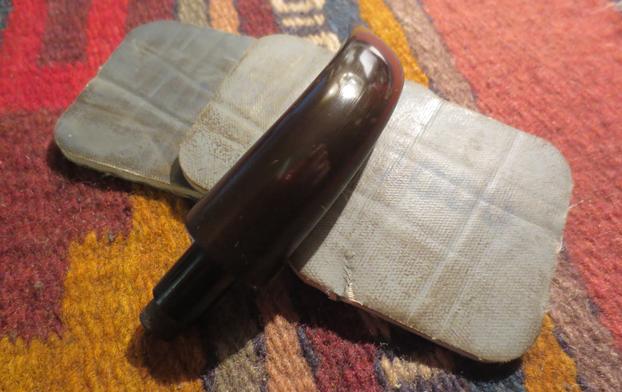
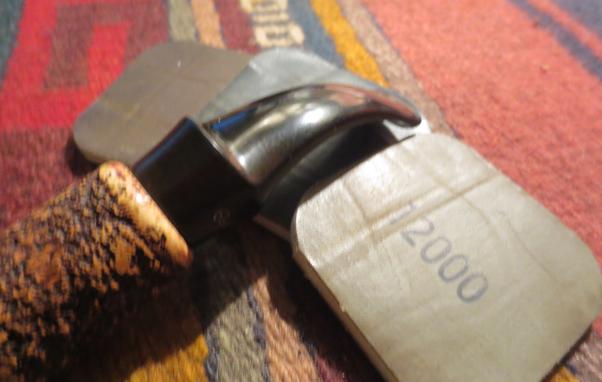
 I polished the stem with micromesh sanding pads – wet sanding with 1500-2400 grit pads and dry sanding 3200-12000 grit pads. I rubbed it down with Obsidian Oil between each set of three pads. I set the stem aside to dry.
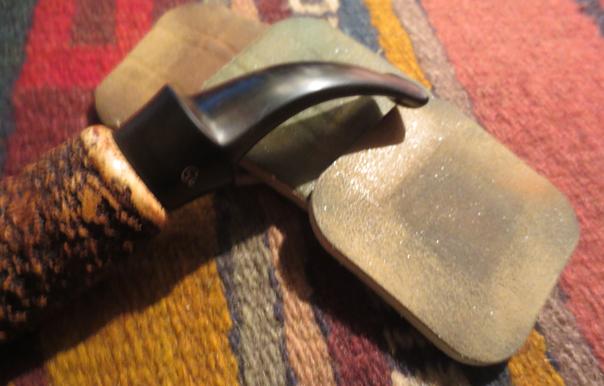

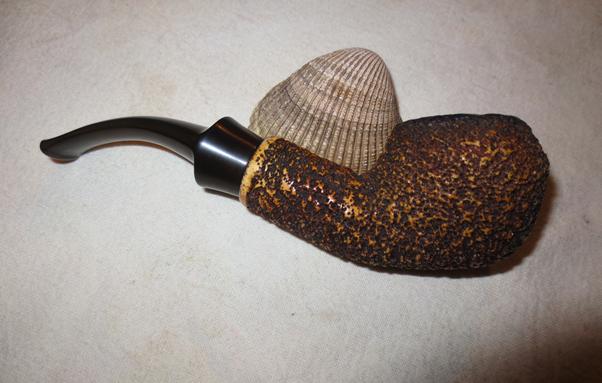
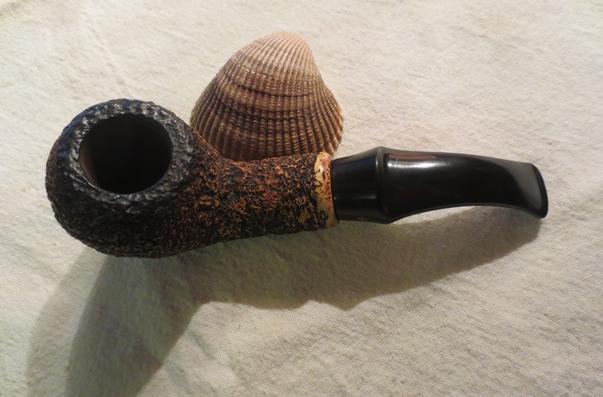
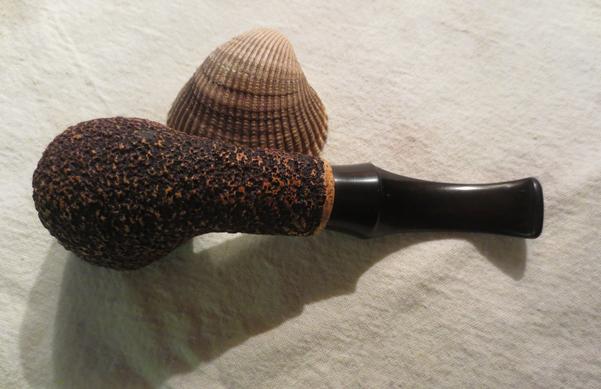
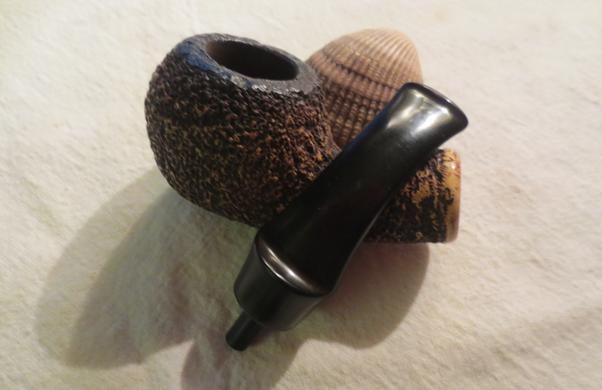
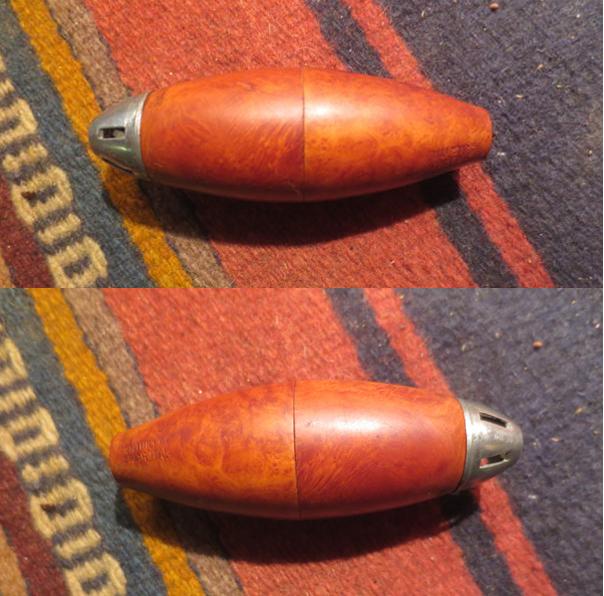
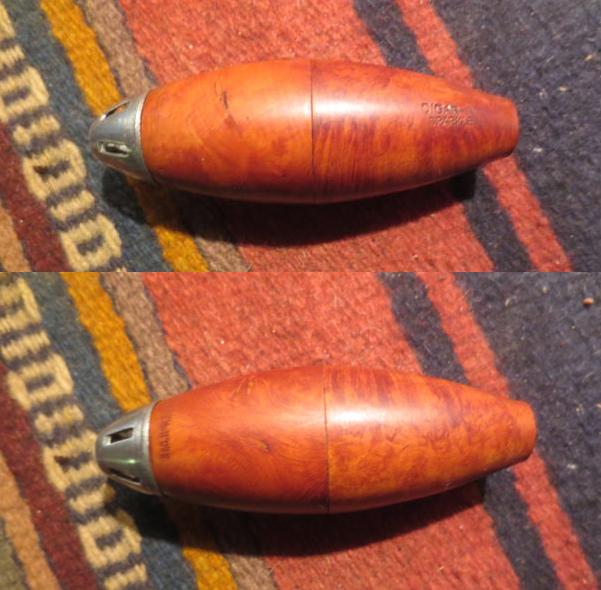
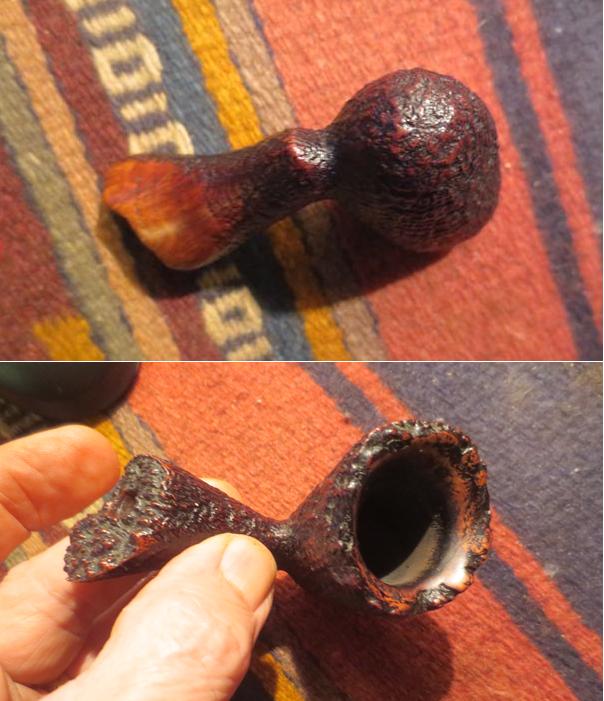
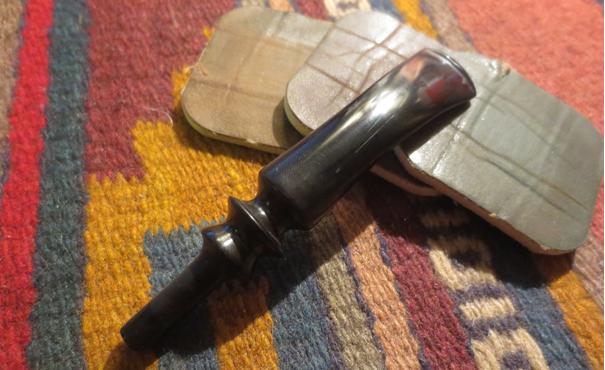
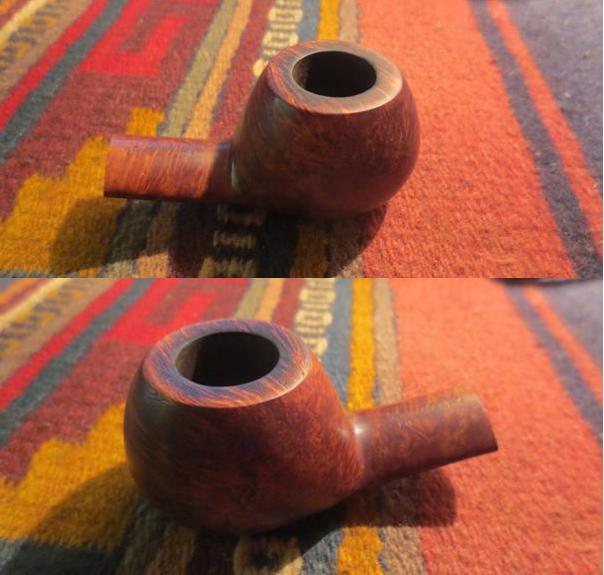
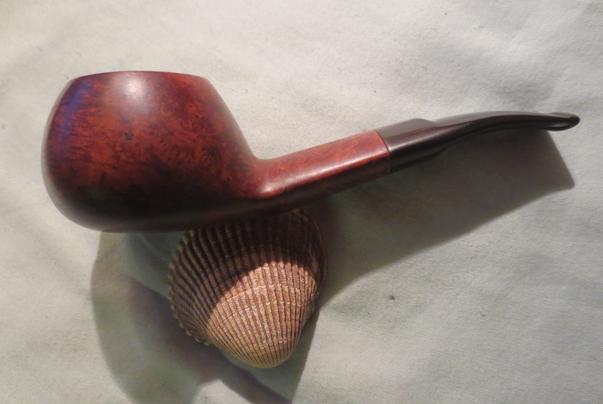
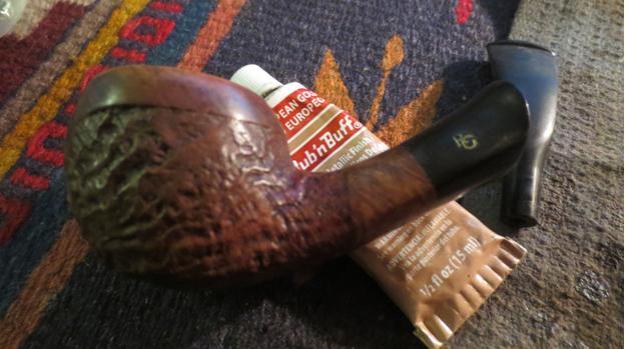
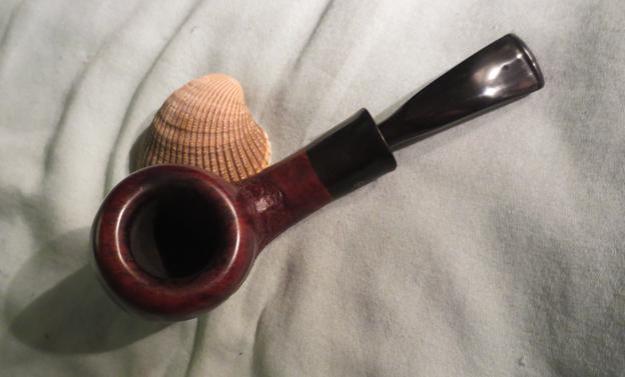
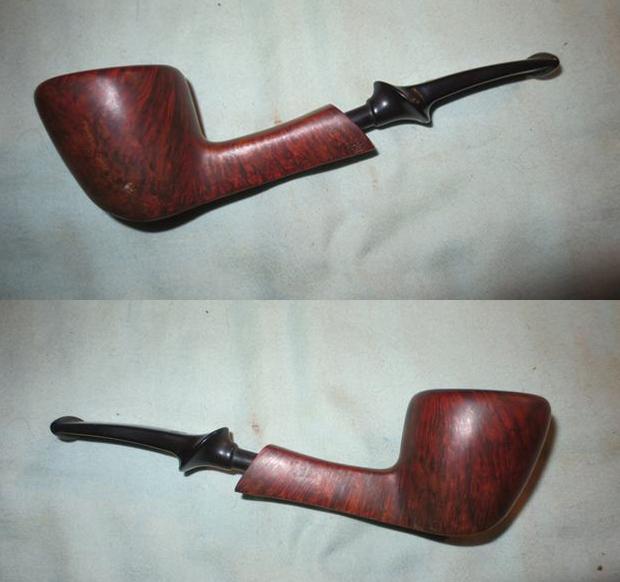
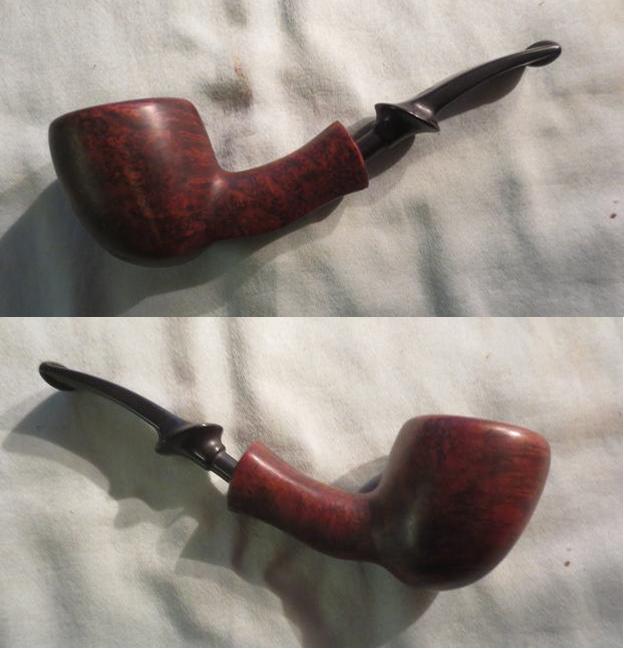
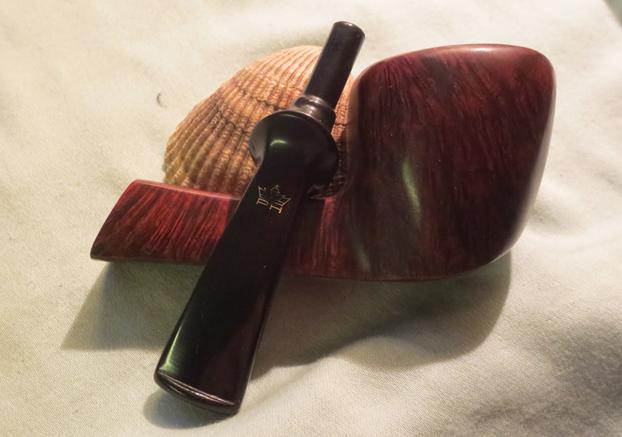
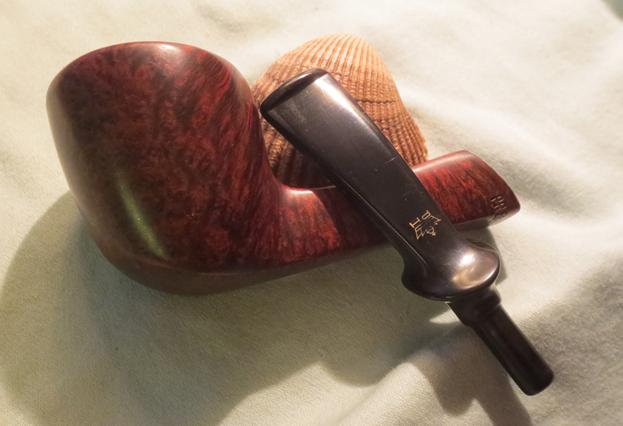
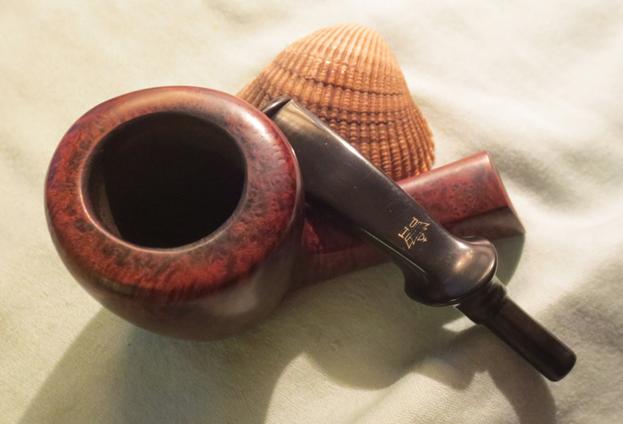
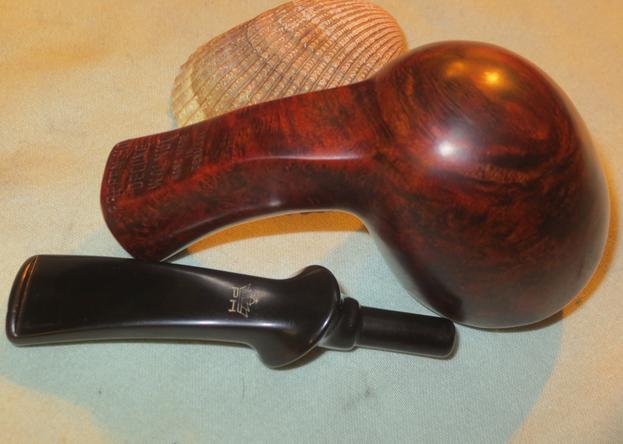
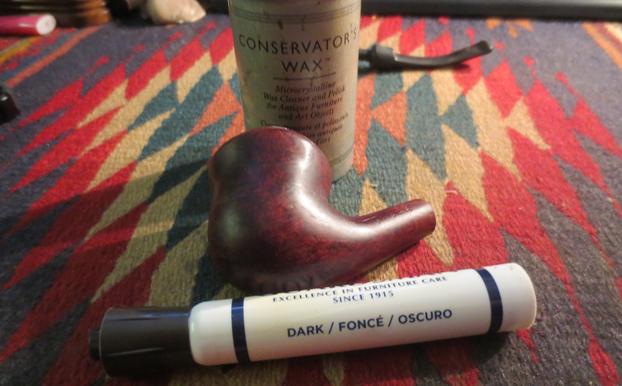
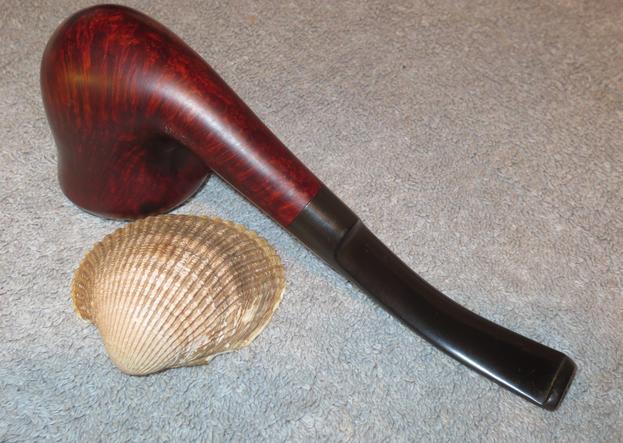
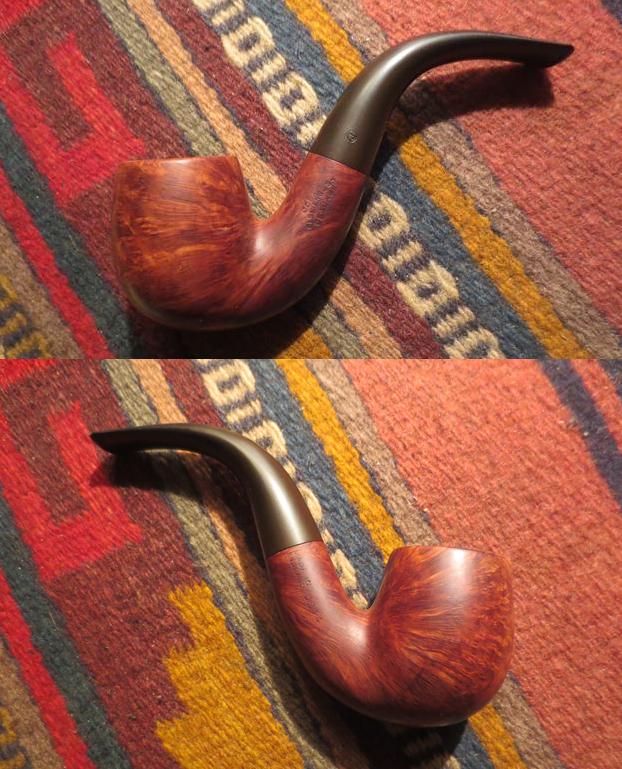
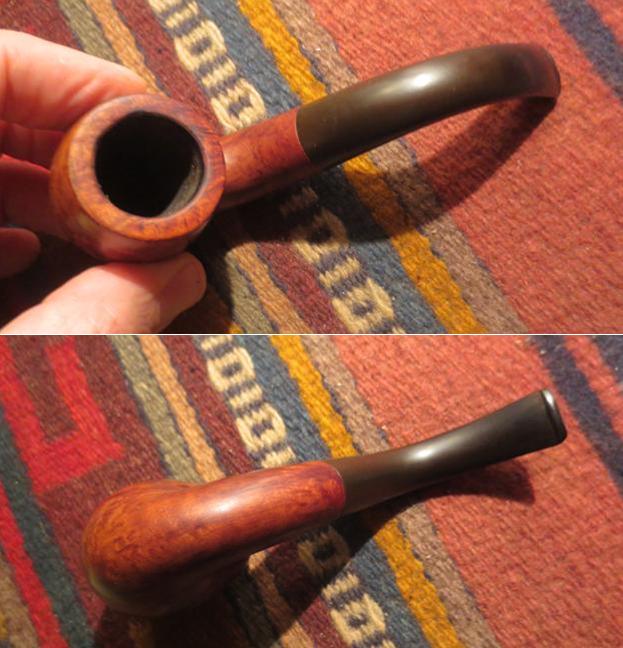
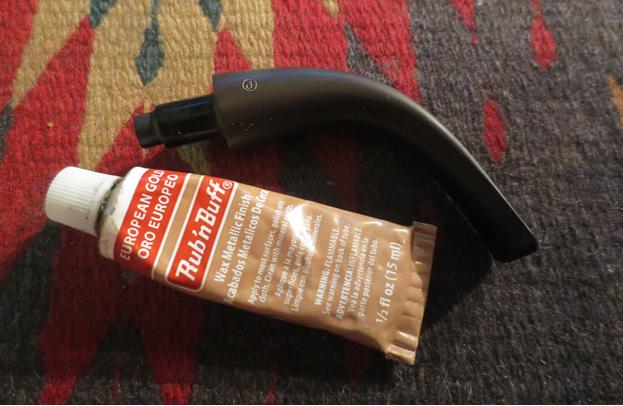
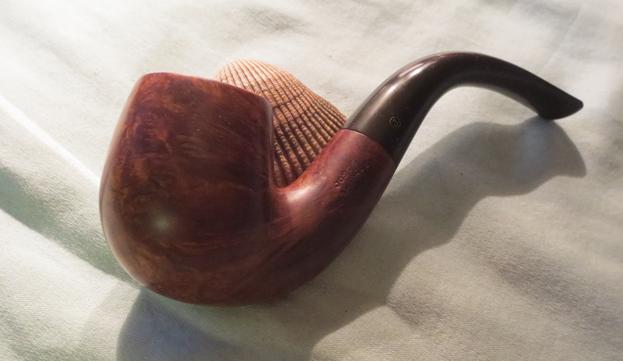
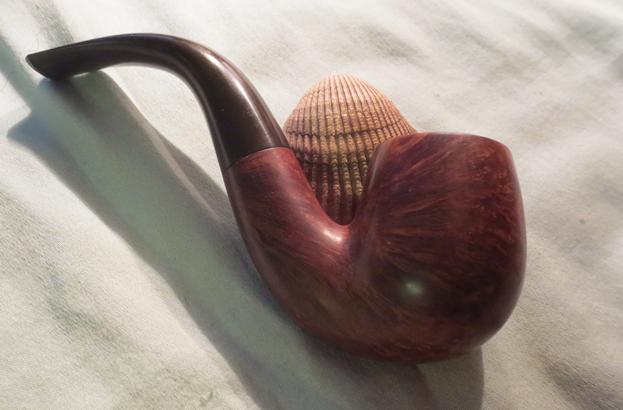
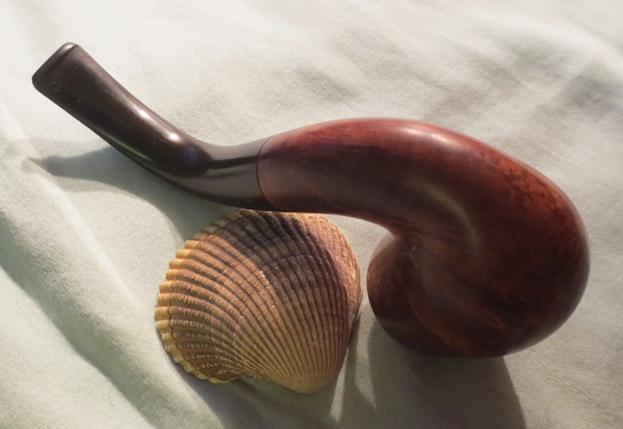
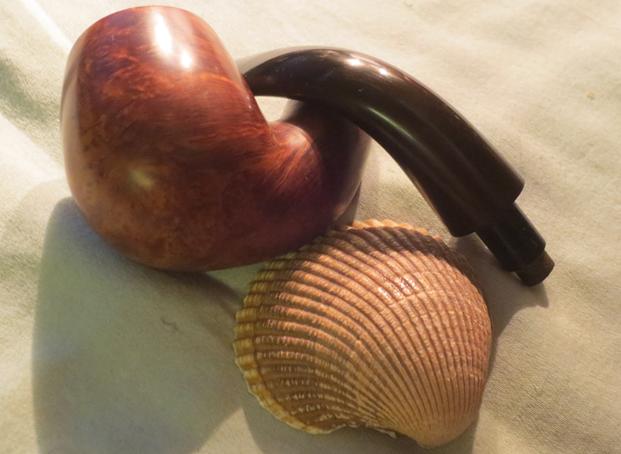
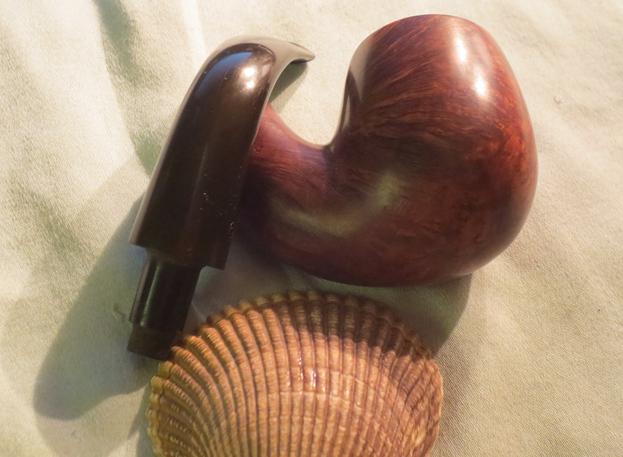
 I buffed the stem with Blue Diamond on the buffing wheel. I avoided buffing the bowl with the Blue Diamond because it would collect in the grooves and ridges of the meerschaum. I gave the stem multiple coats of carnauba wax and buffed the pipe and stem with a clean buffing pad to polish the wax on the stem. I hand buffed the pipe with a microfibre cloth. The finished pipe is shown in the photos below. I think this one will be a good smoking pipe for Steve once I send it back to Dawson Creek. Thanks for looking.