Blog by Steve Laug
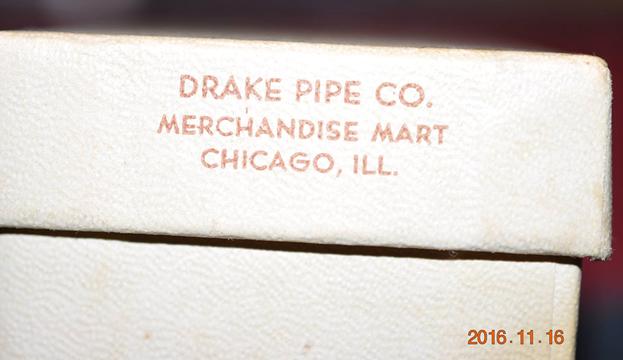
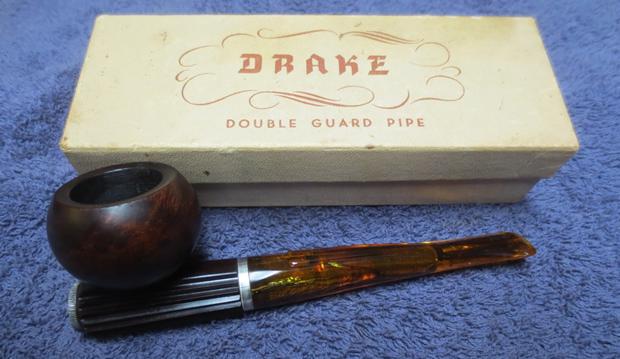
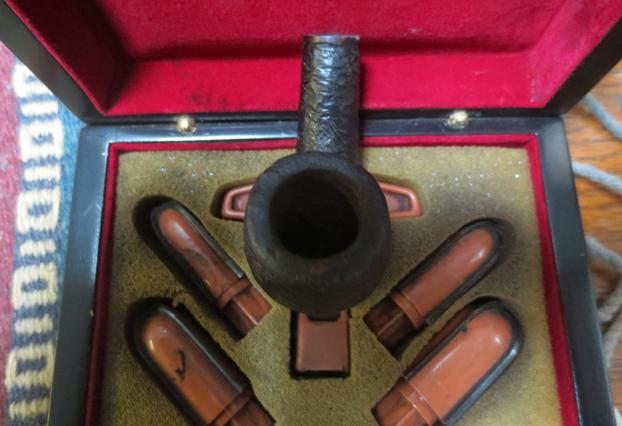
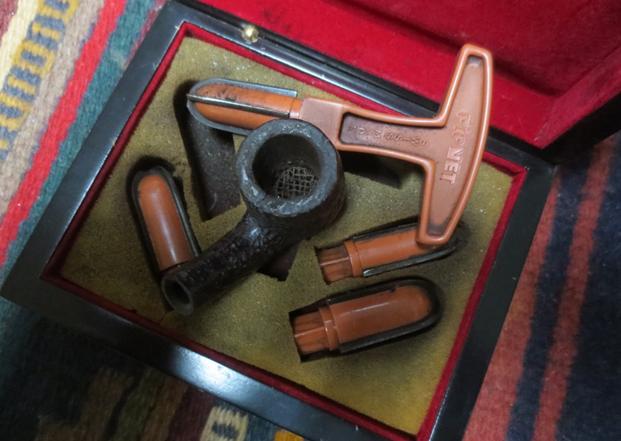
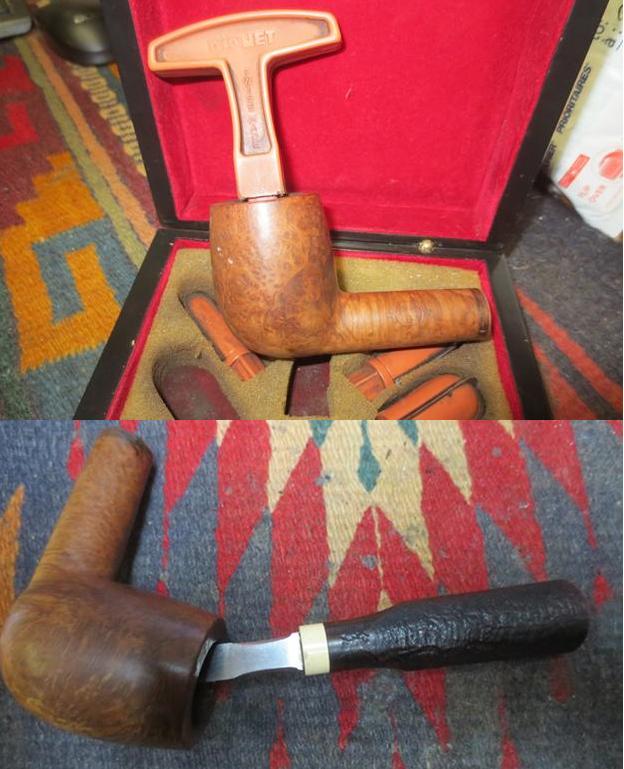
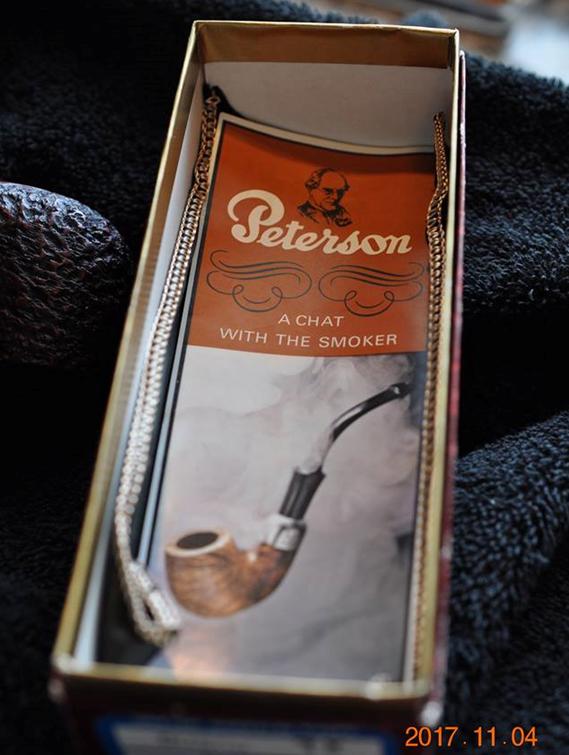
My brother Jeff found this Peterson on one of his trips. He showed me the box and then the end of the box first. The end of the box said it was a Peterson Mark Twain XL Rustic. I could not wait to see what was inside. I am slow to get my hopes up because often what the box says and what is inside are very different. 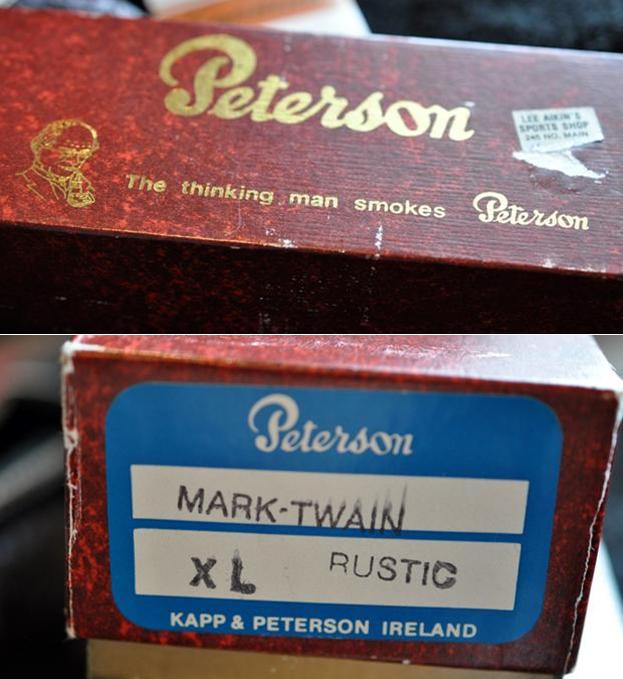 He opened the box and inside was a Peterson black satin pipe sock and the factory brochure. This was definitely looking up.
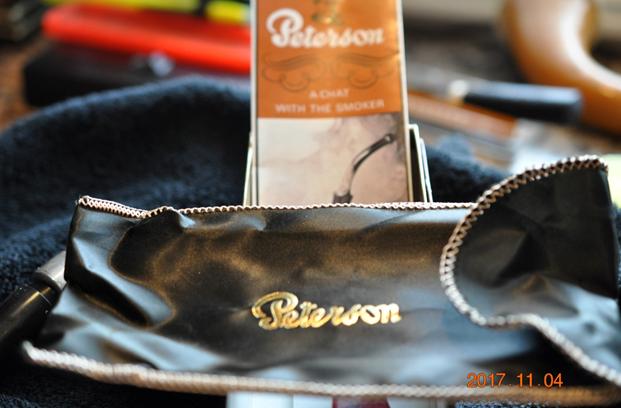
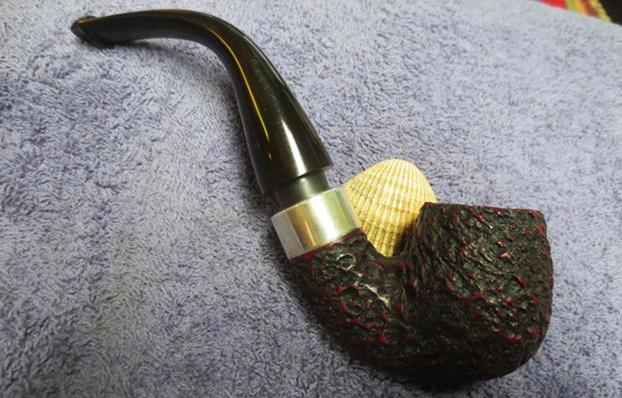
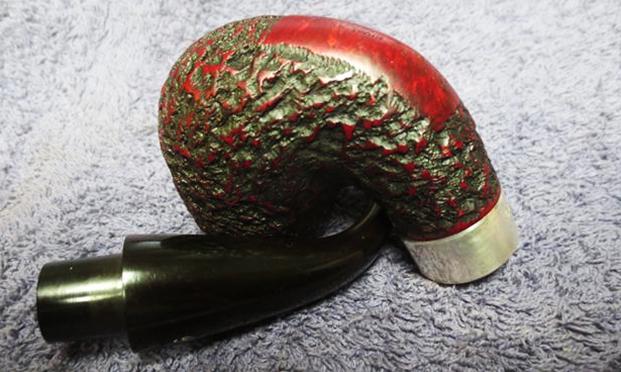
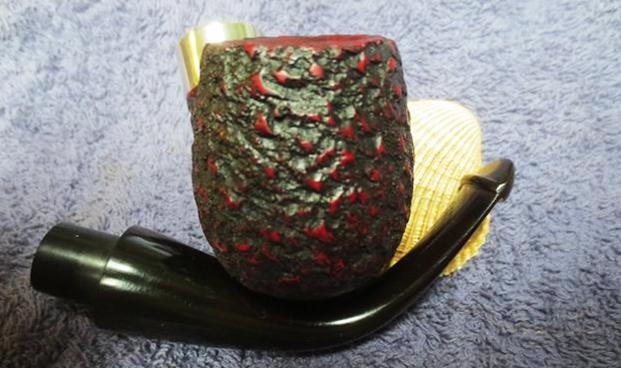
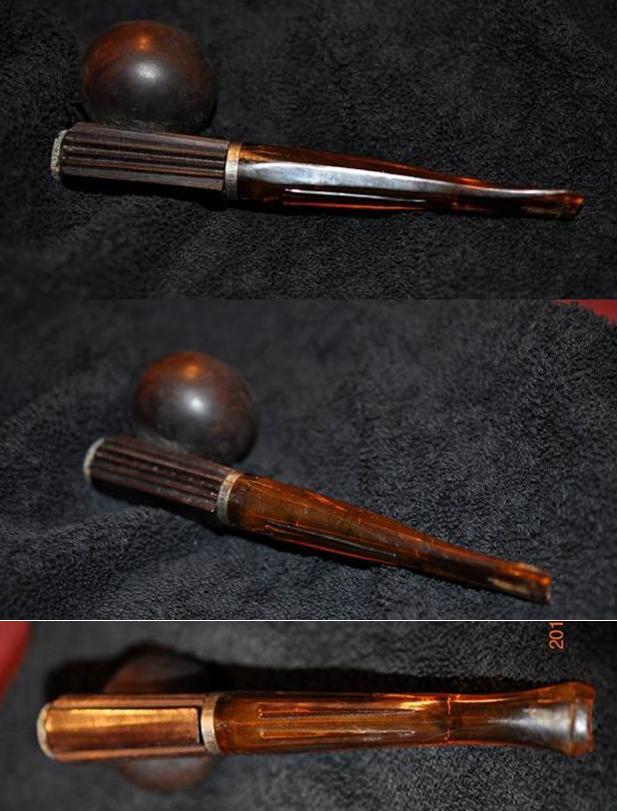
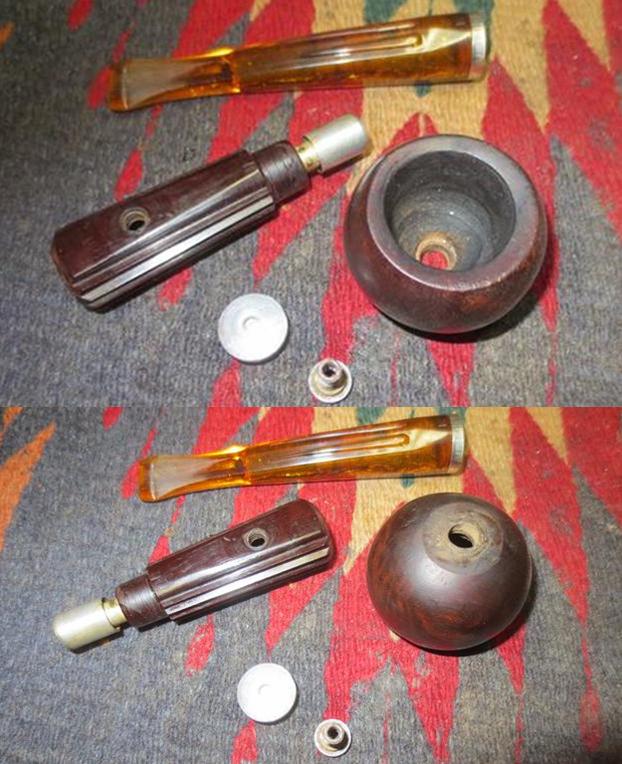
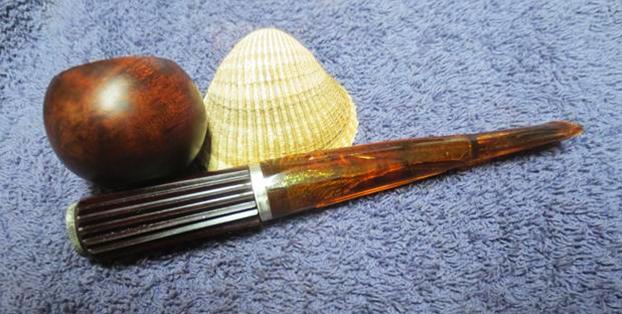
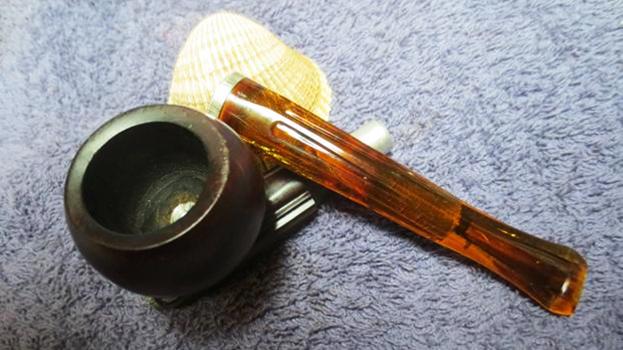
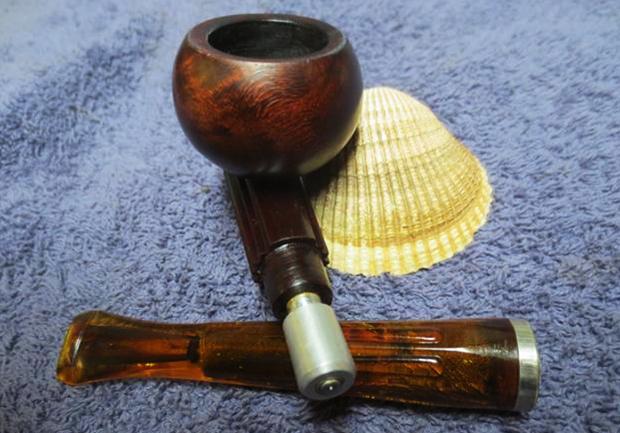
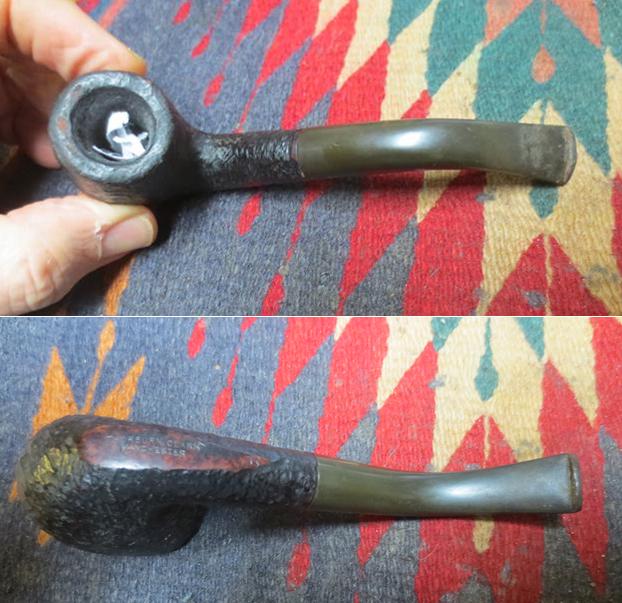
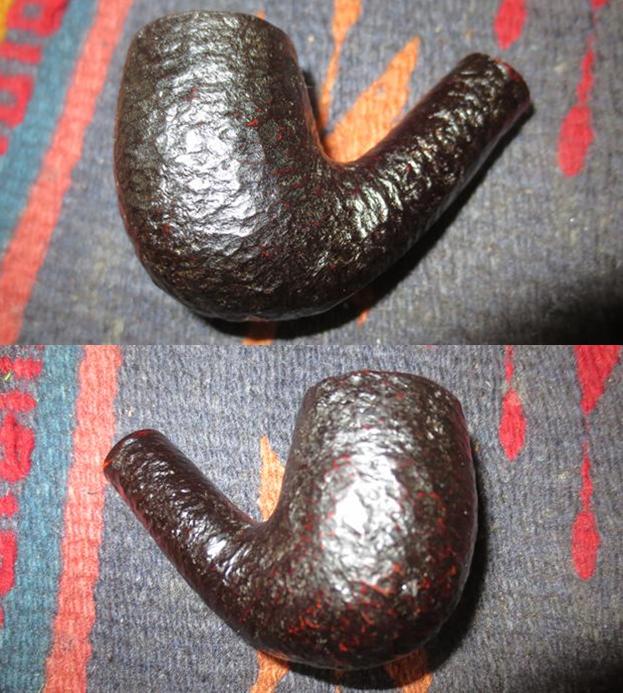
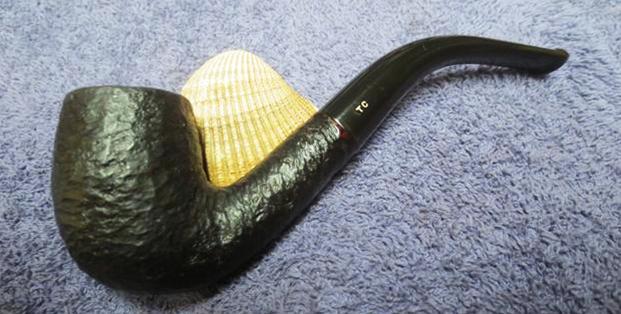
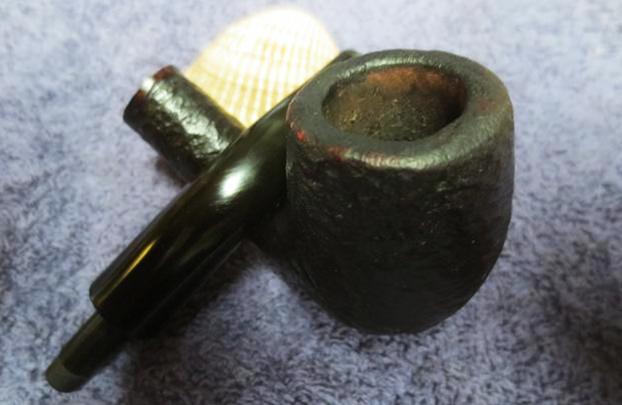
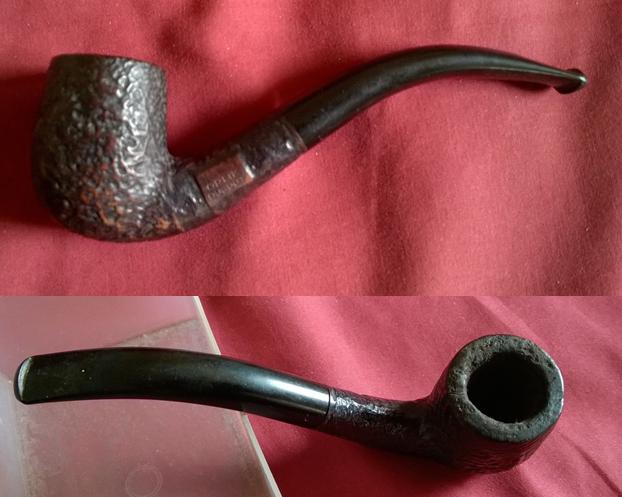
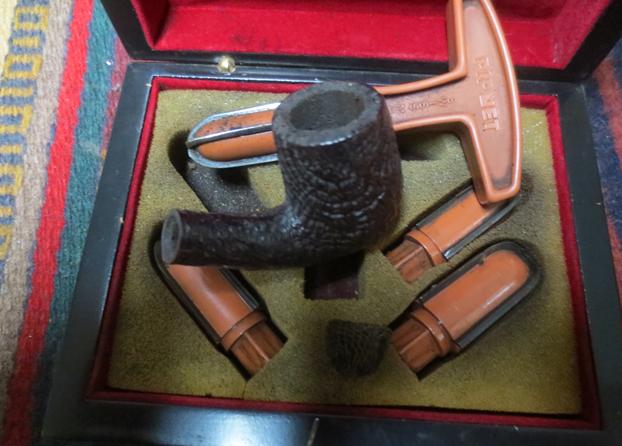
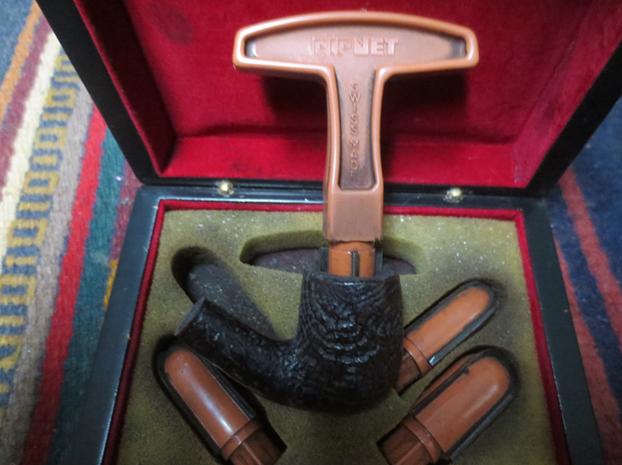
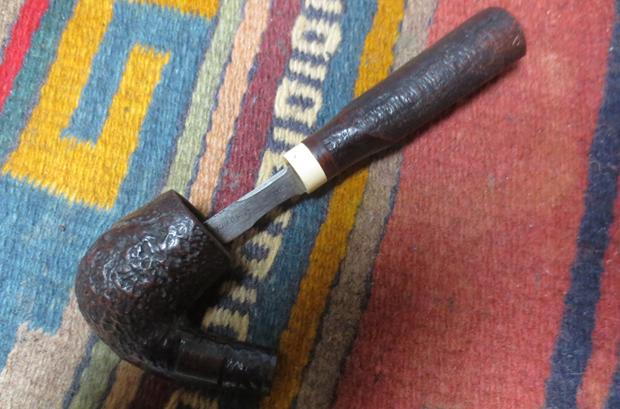
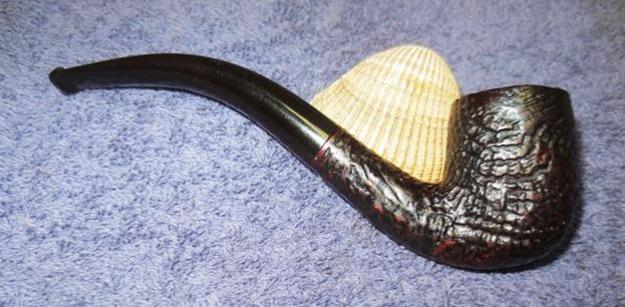
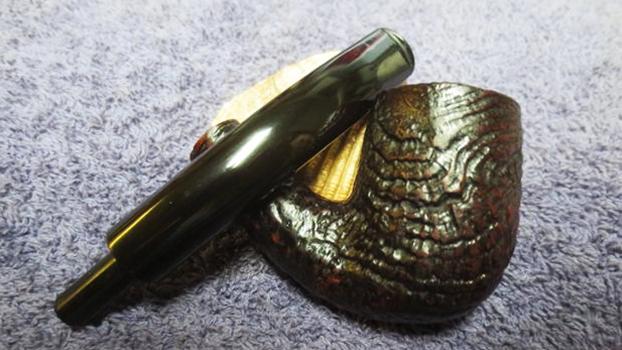
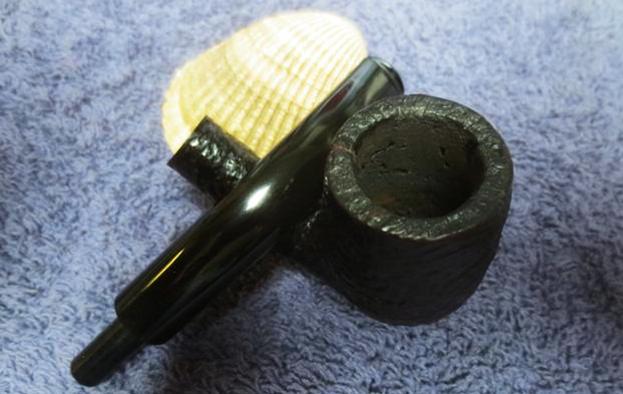
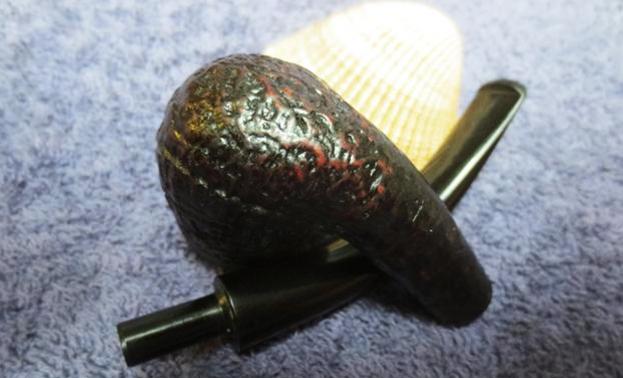
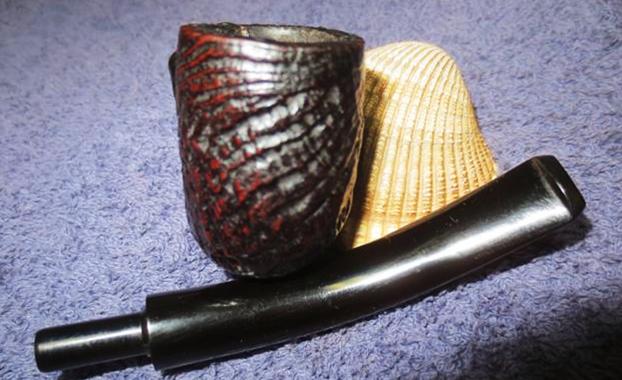
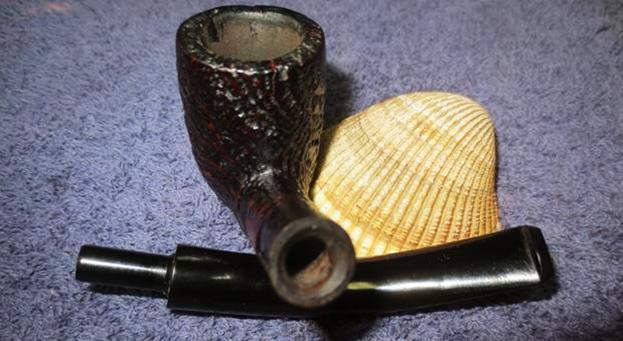
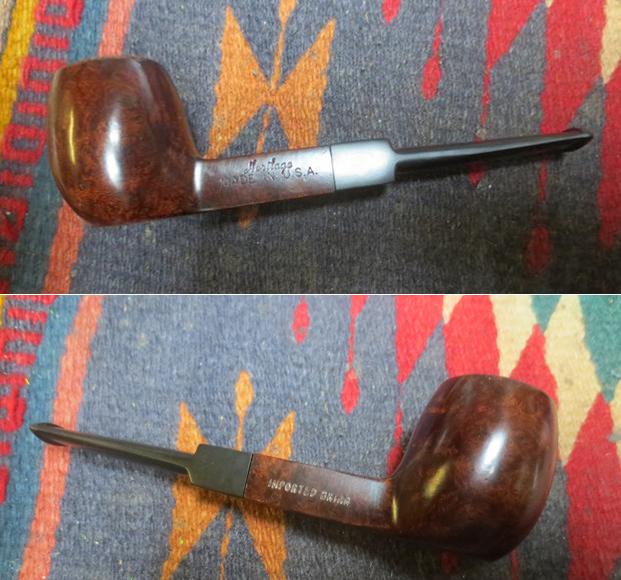
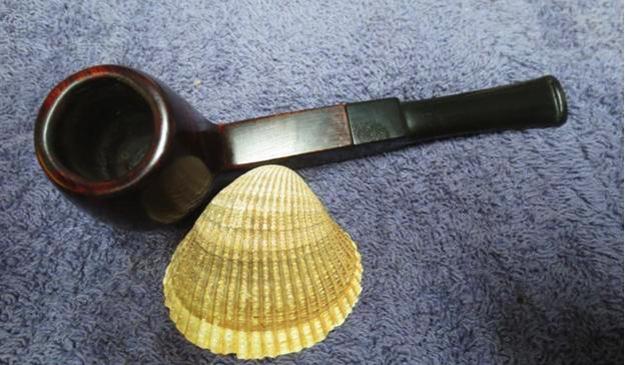
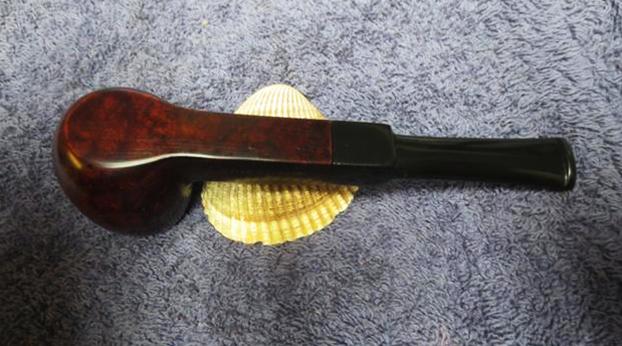
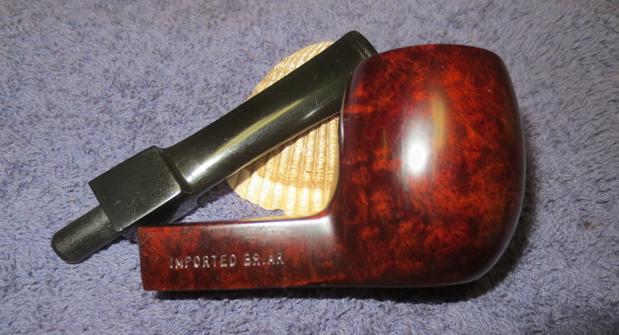
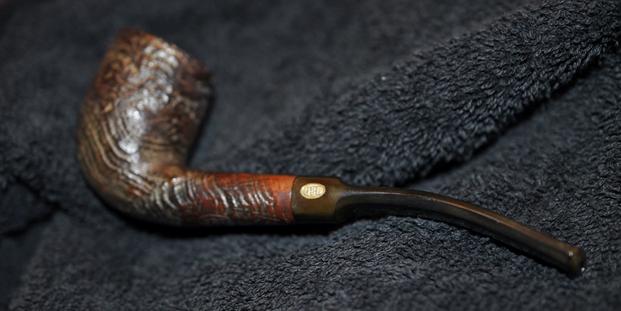
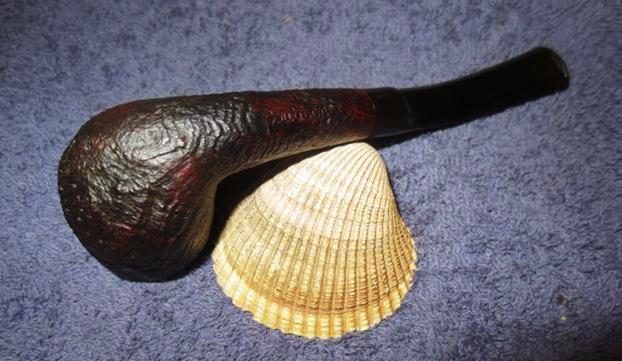
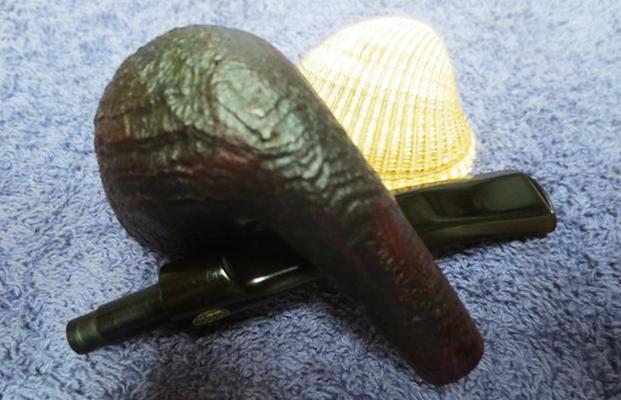
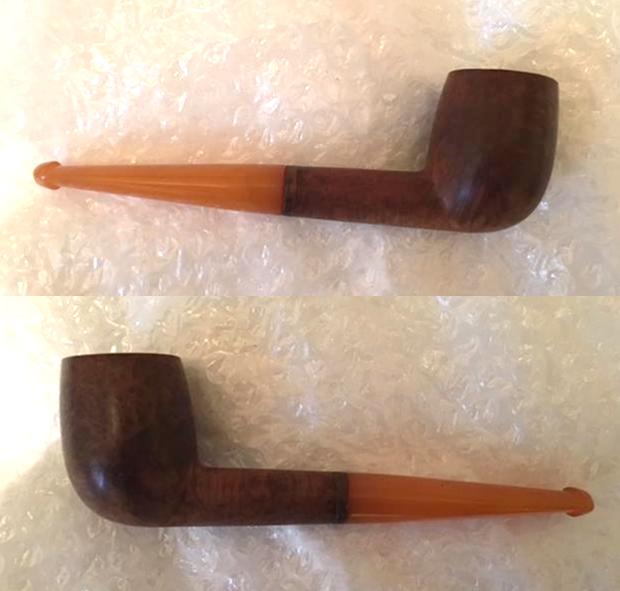
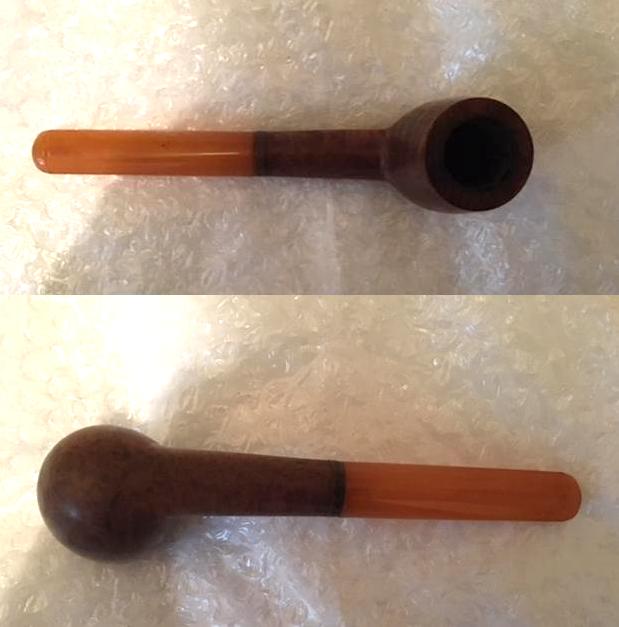
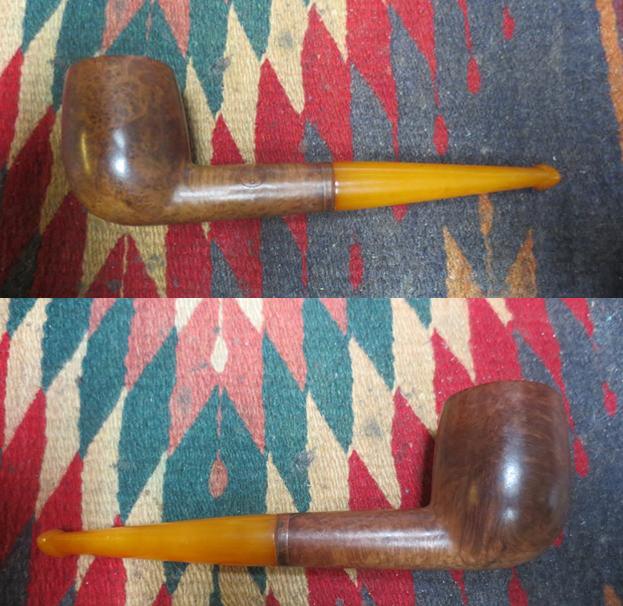
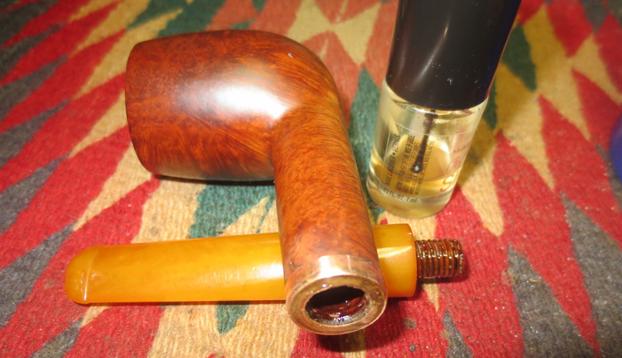
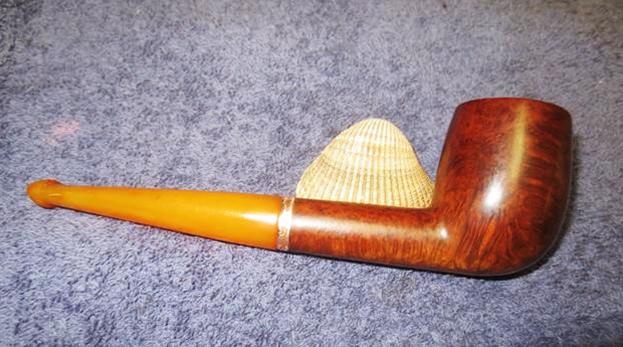
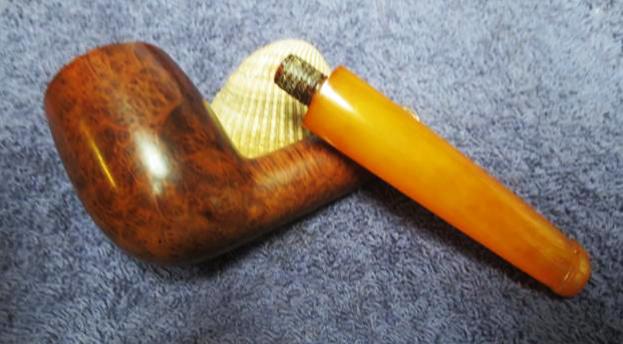
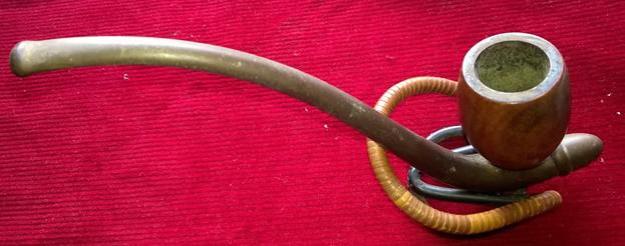
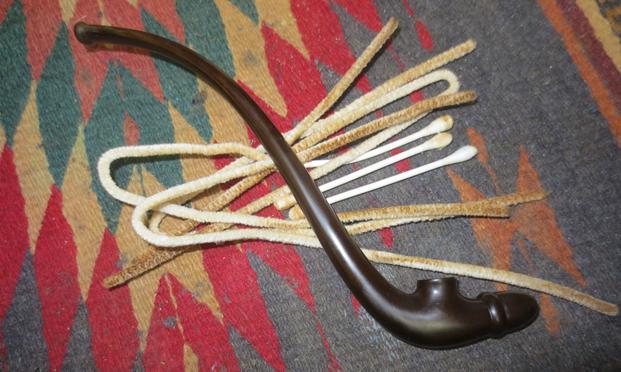
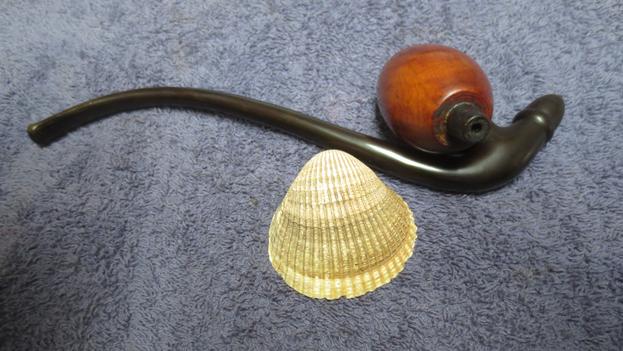
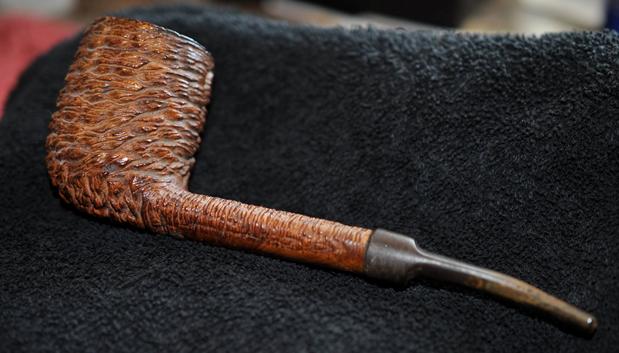
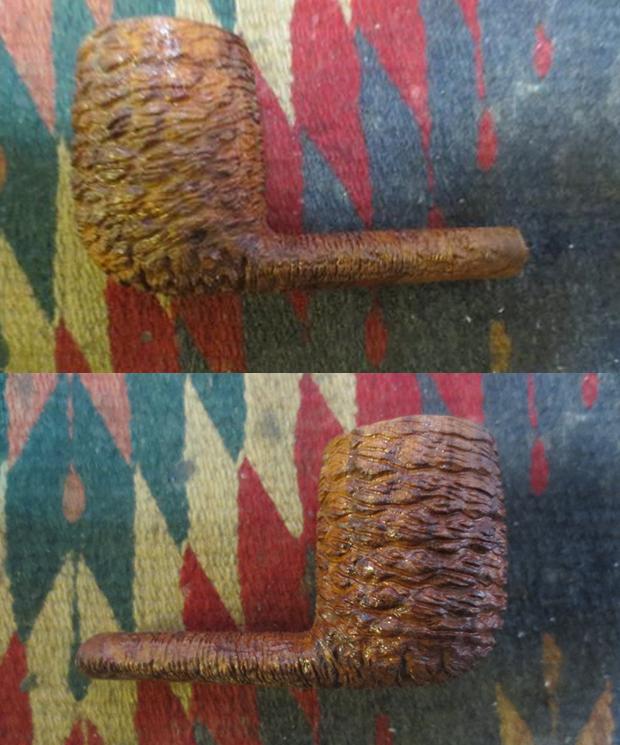
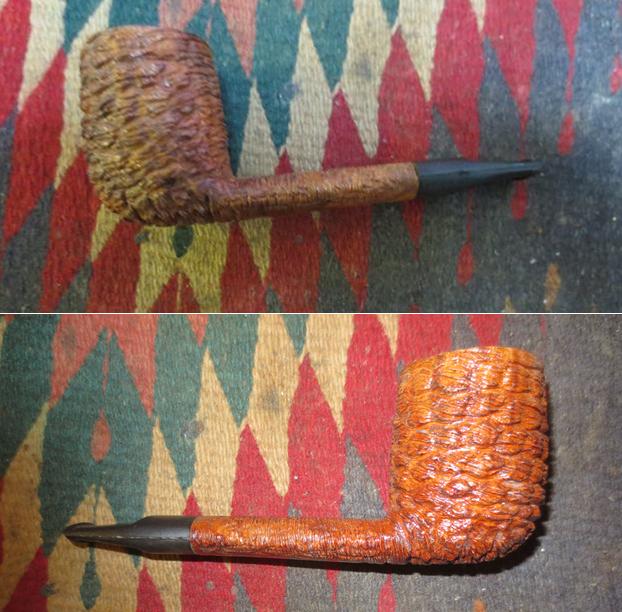
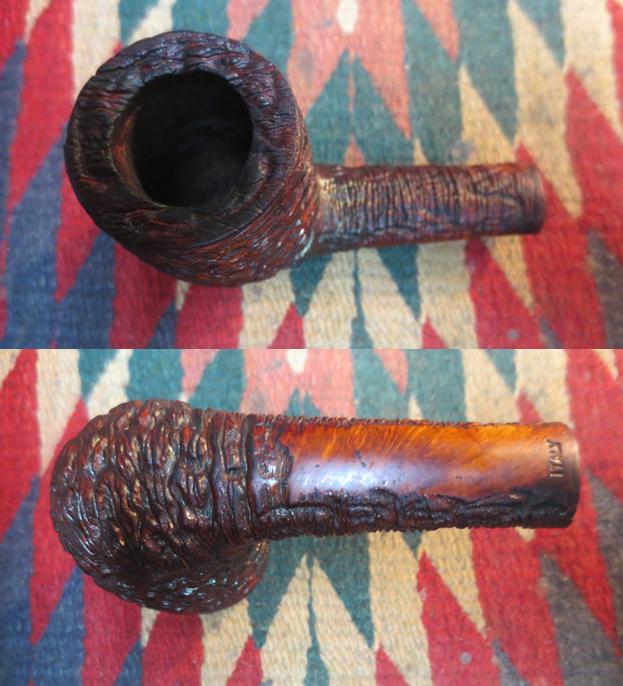
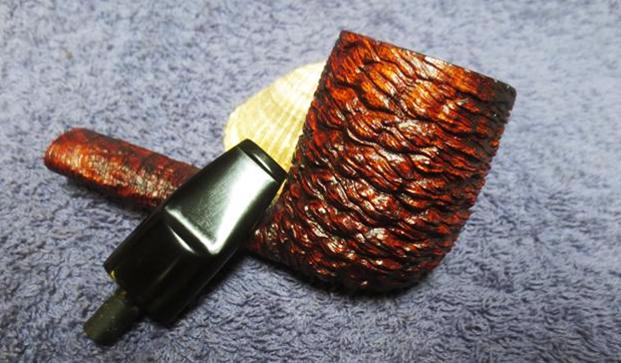
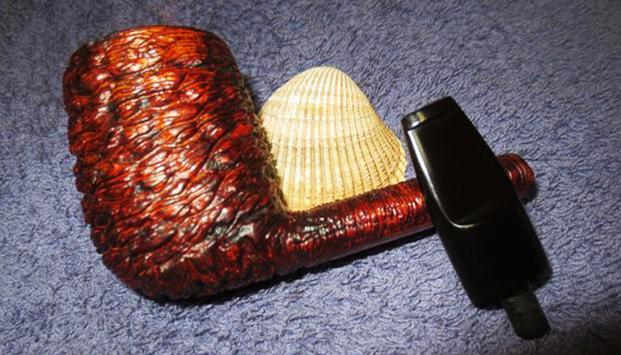
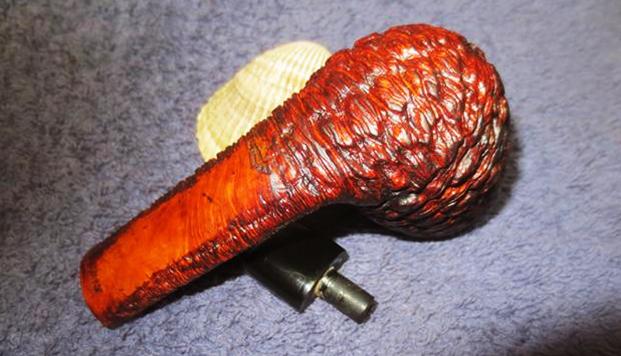
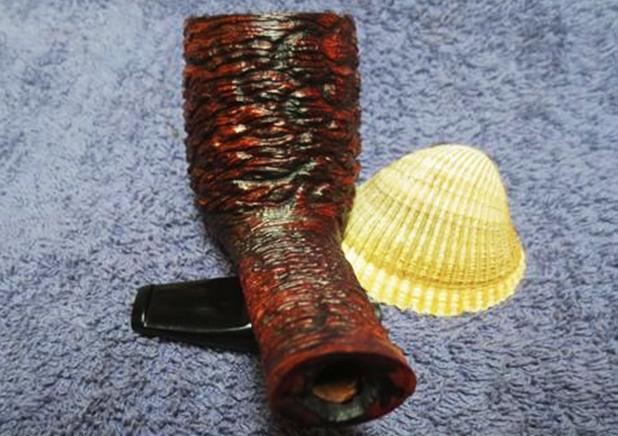
 He took the pipe out and it was exactly what the box said it was – a Peterson’s Mark Twain Rustic XL. Jeff took pictures of the pipe to show the overall condition of the find before he started his cleanup work on it.
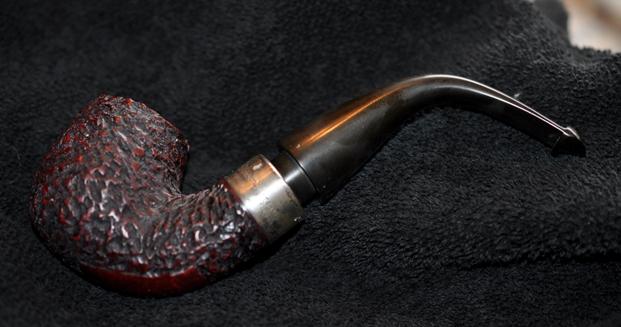
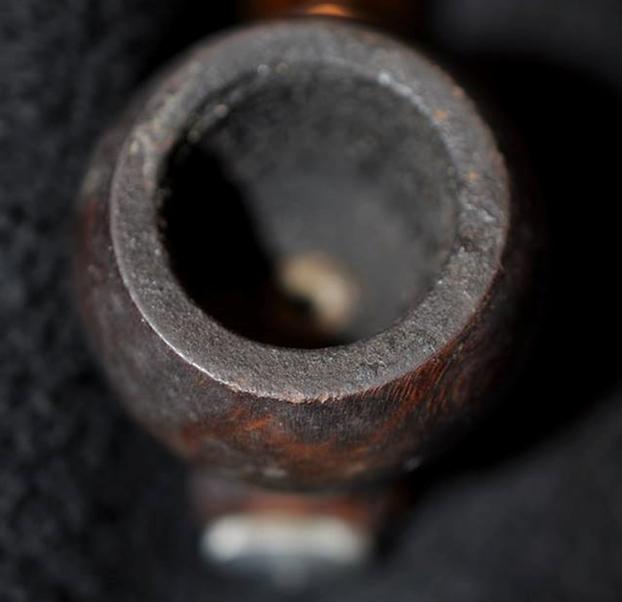
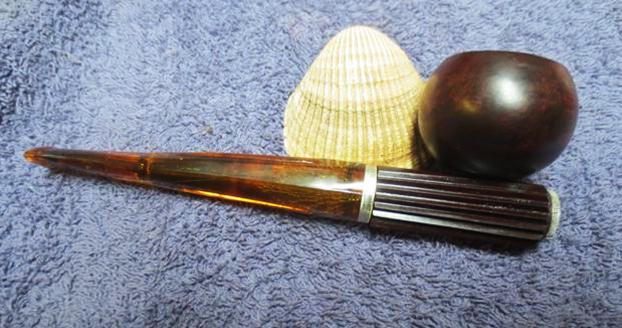
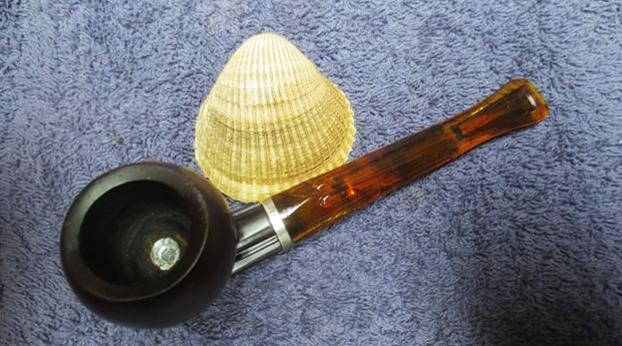
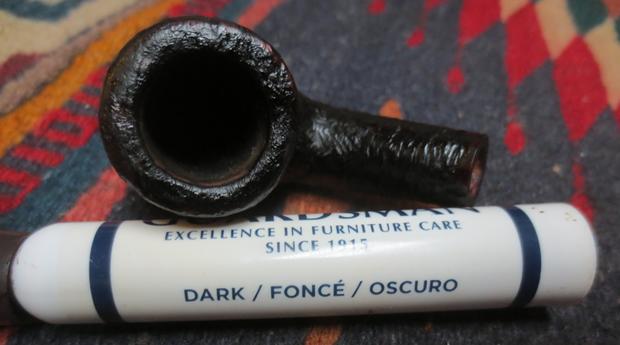
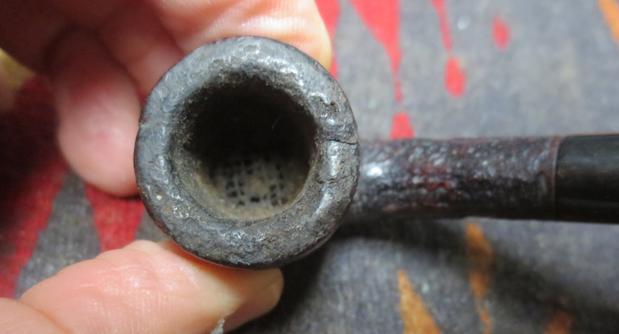
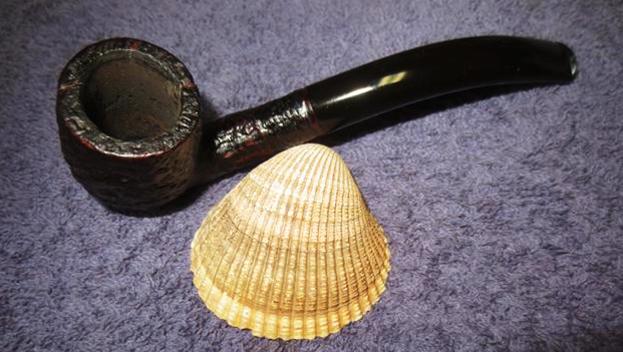
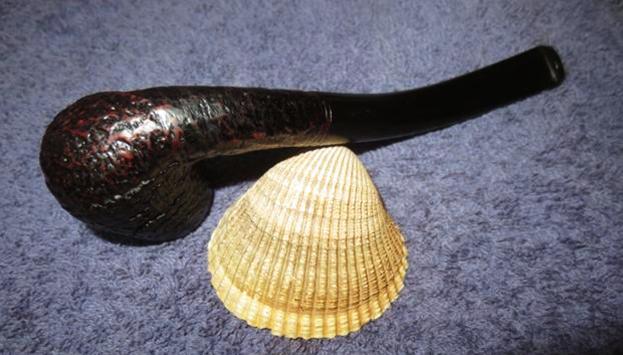
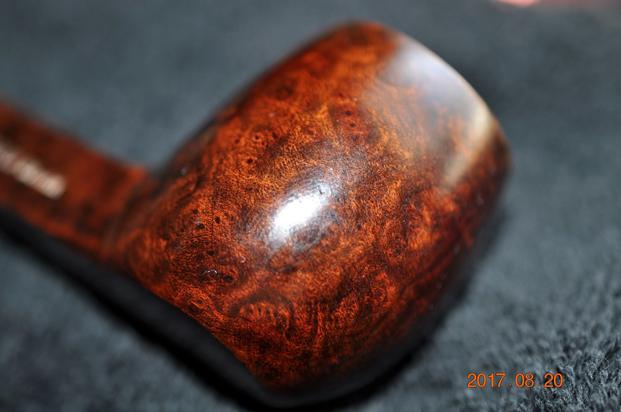
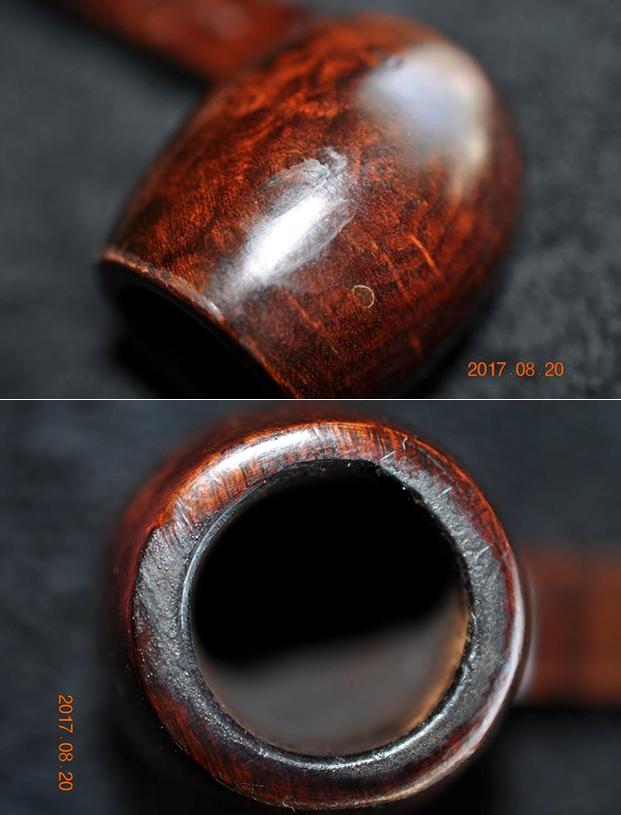
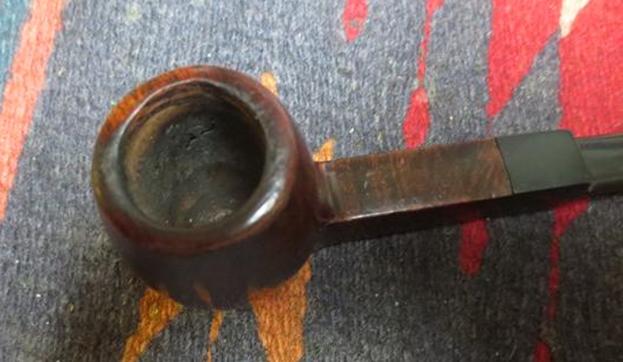
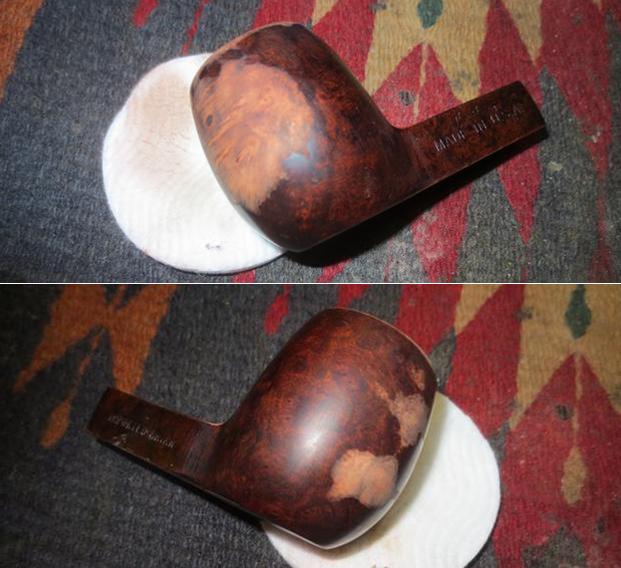
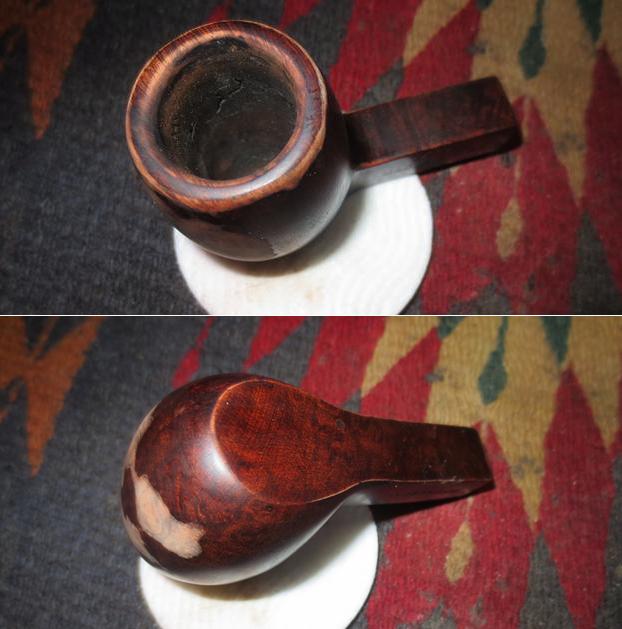
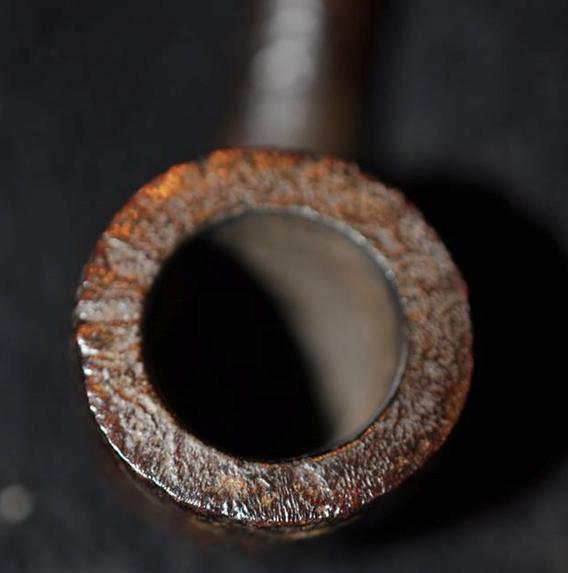
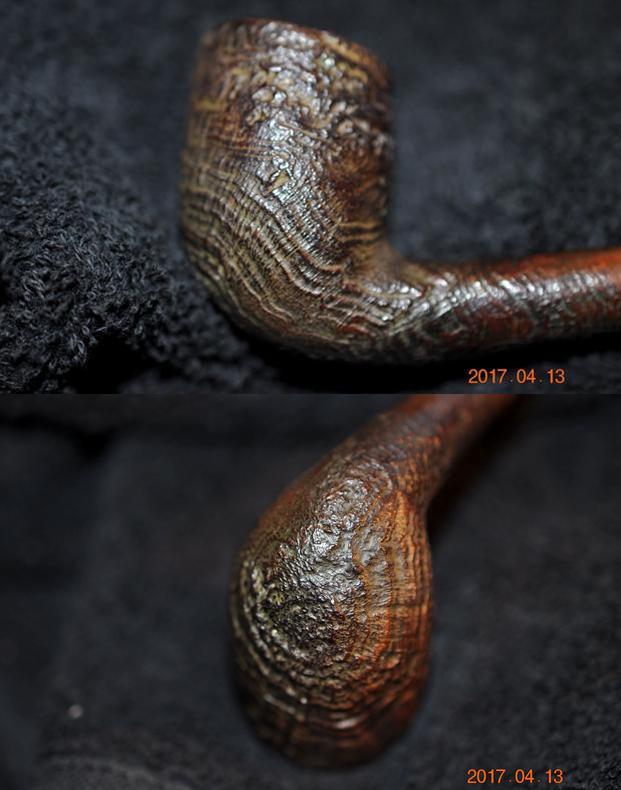
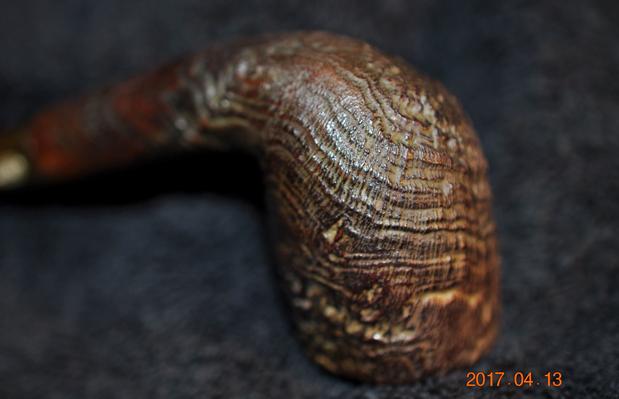
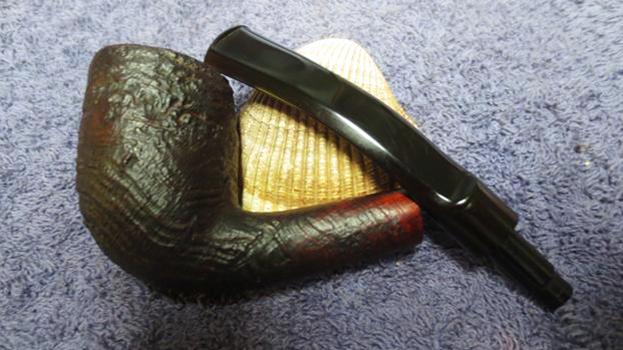
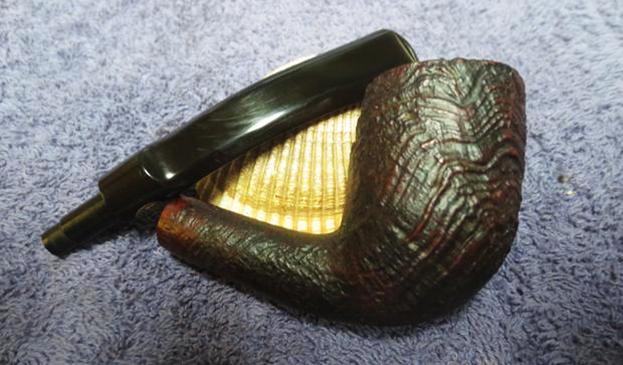
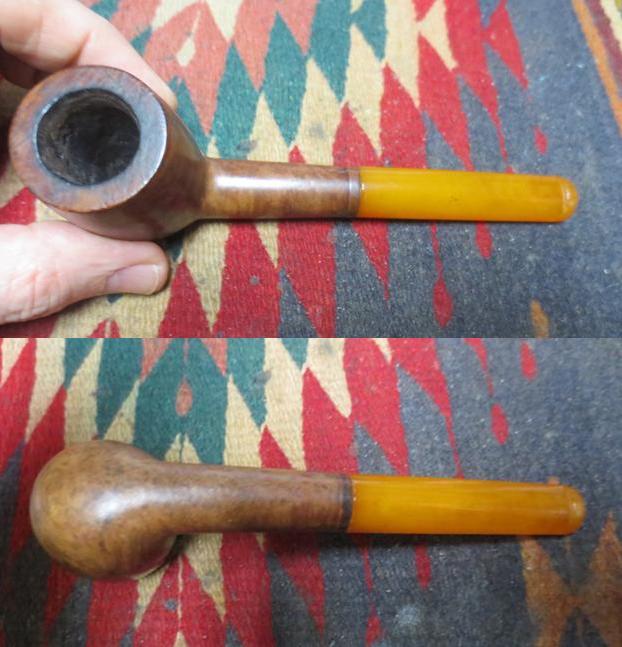
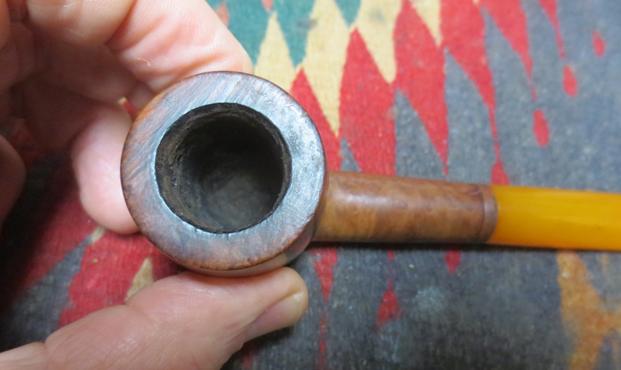
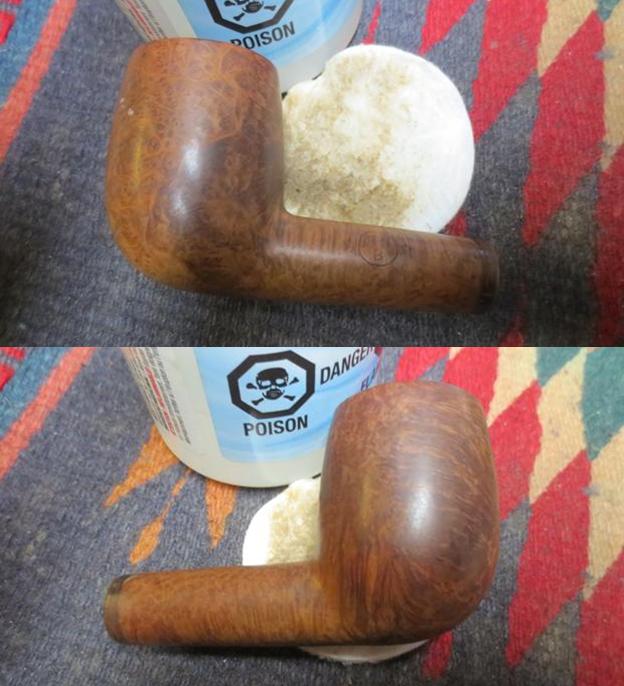
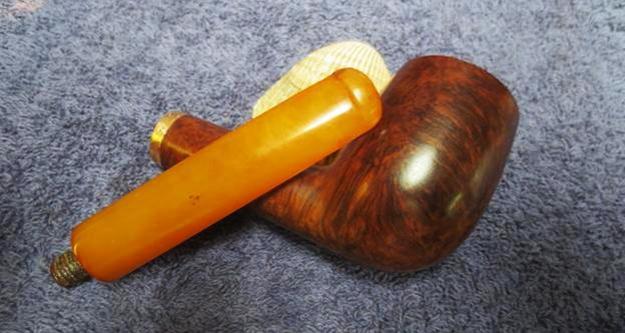
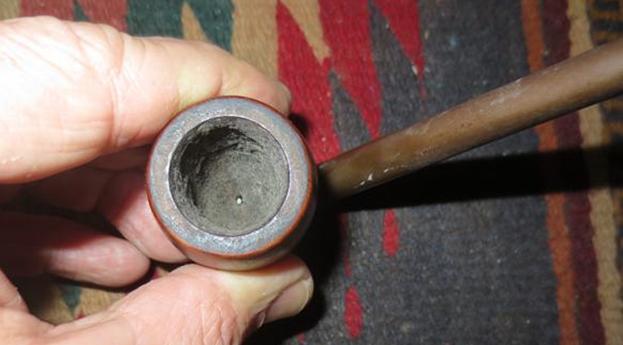
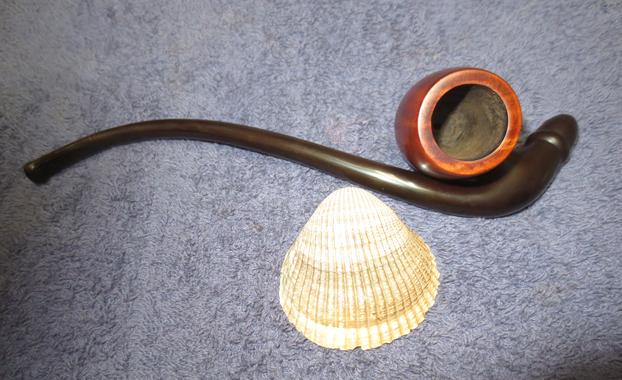
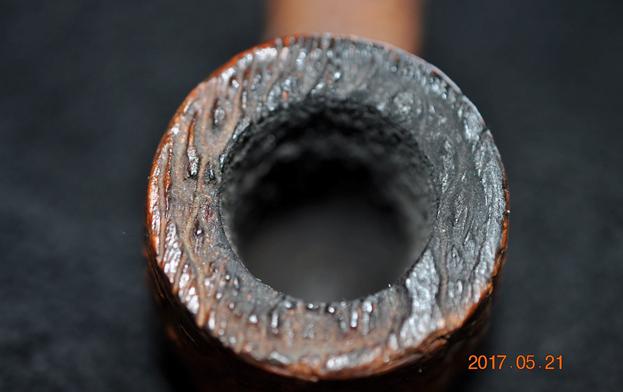
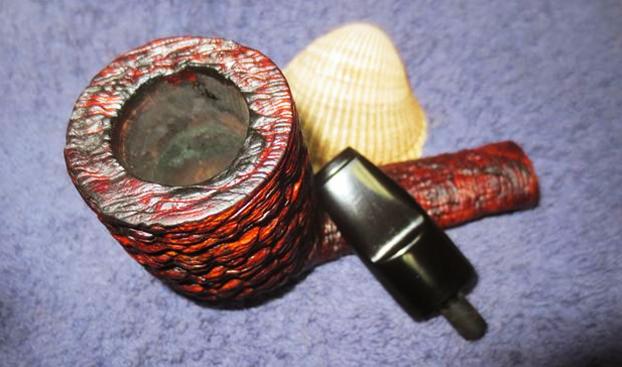
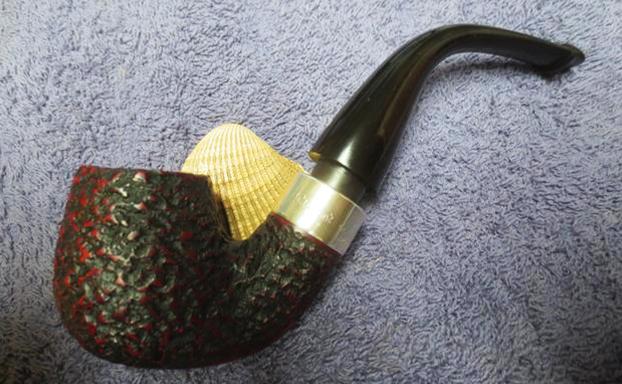
 The pipe was dirty with a lot of dust and debris in the crevices of the rustic finish and dull looking on the high spots. The bowl had a thick, hard cake and there was a heavy lava overflow on the rim top filling in the beveled area and the crevices in the finish. The inner and outer edges of the bowl looked to be in good condition.
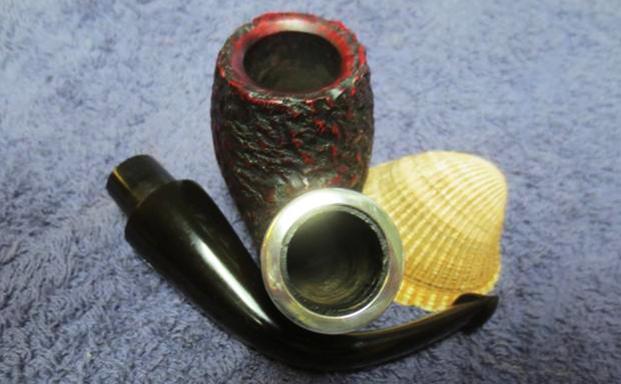
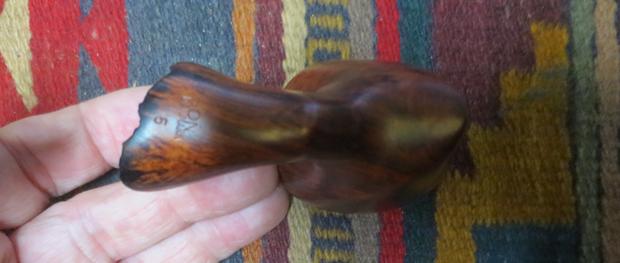
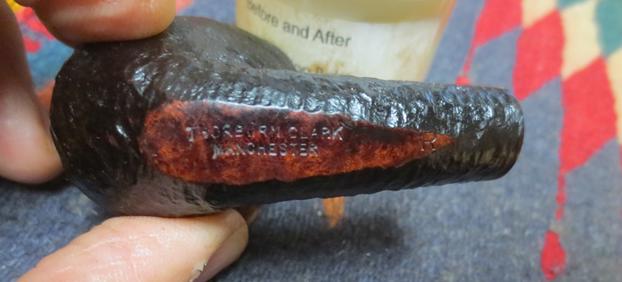
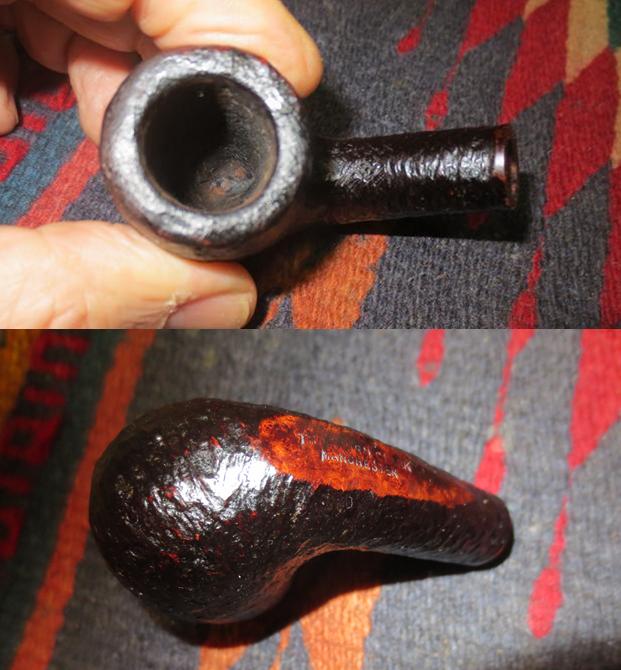
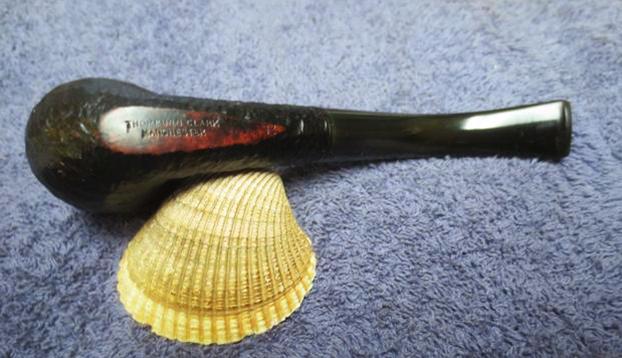
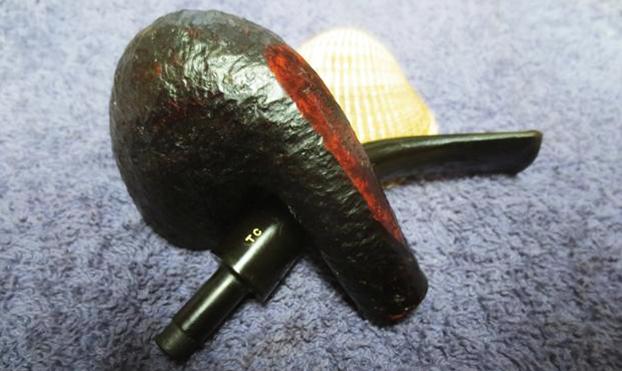
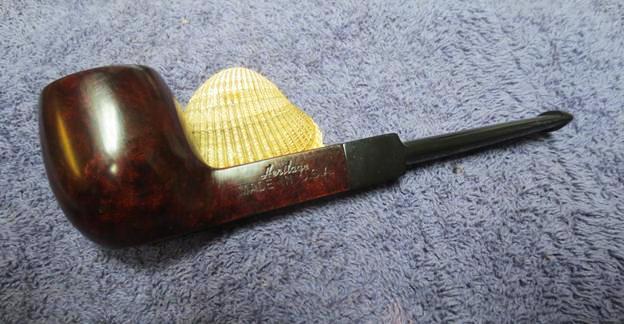
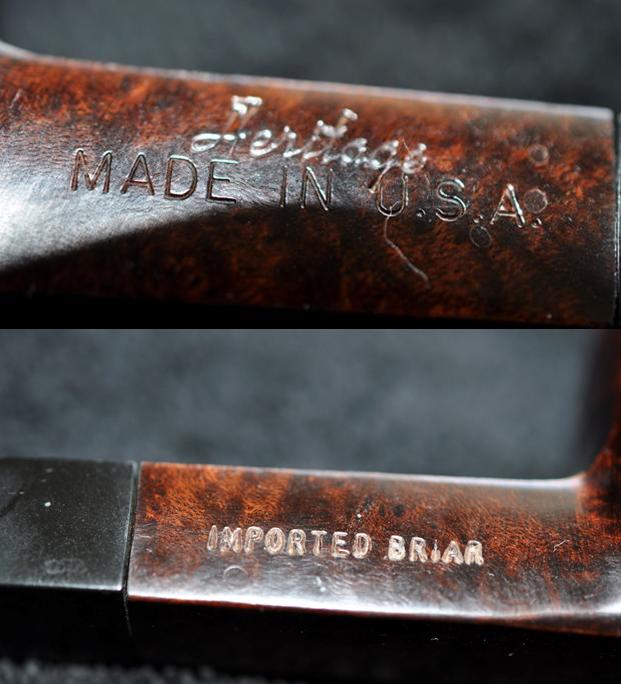
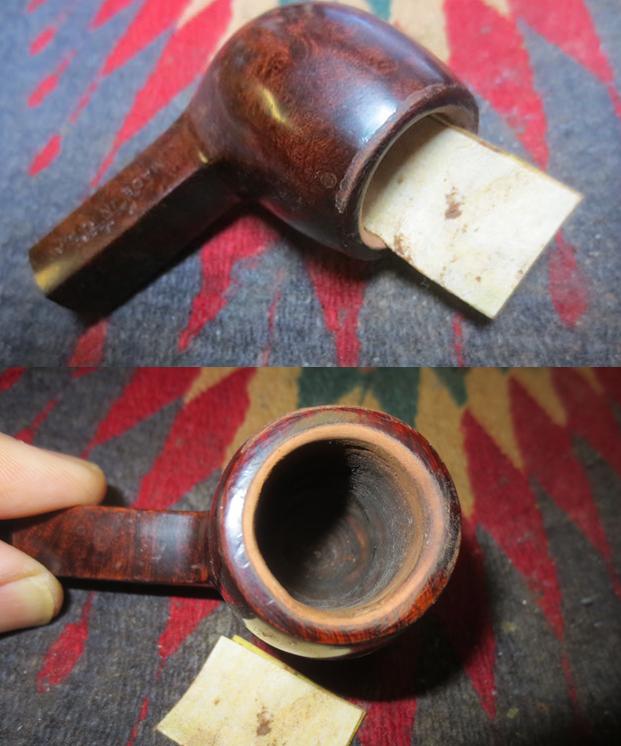
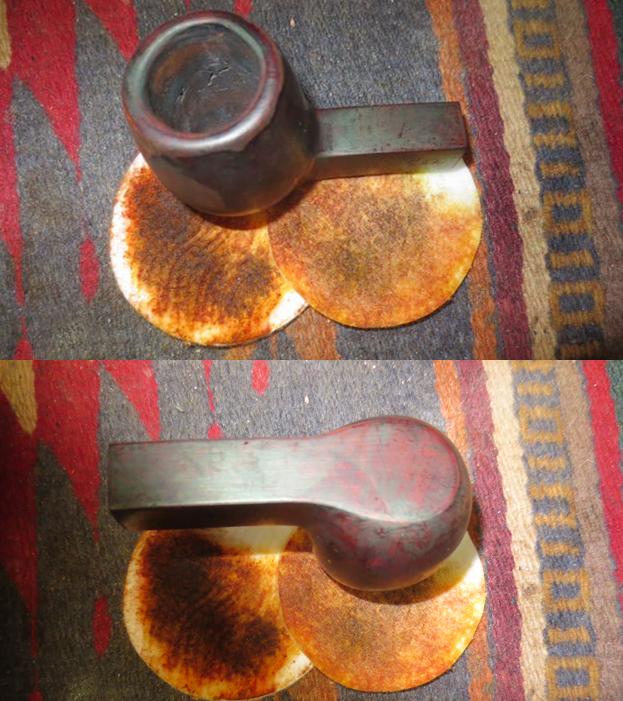
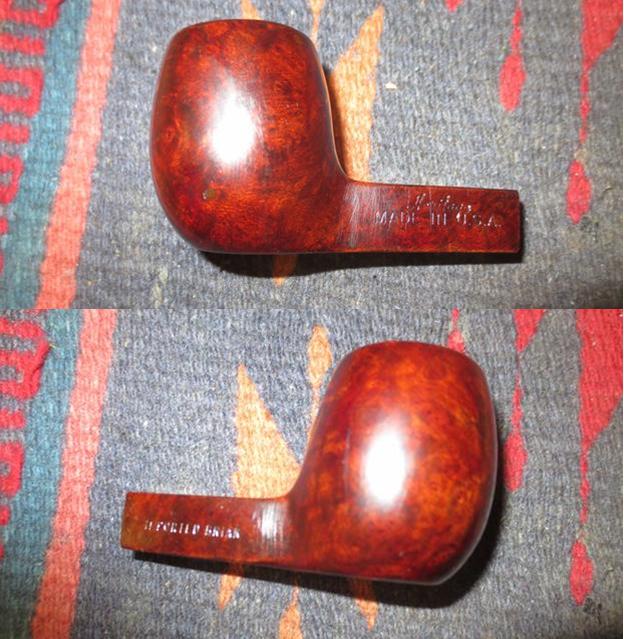
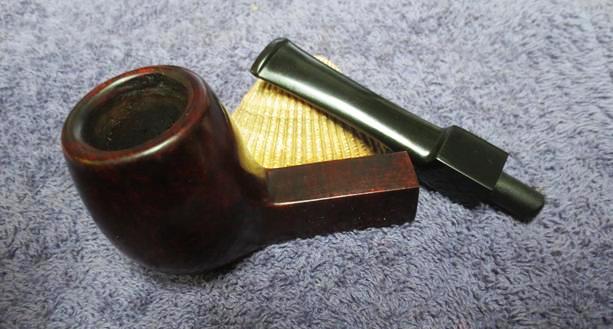
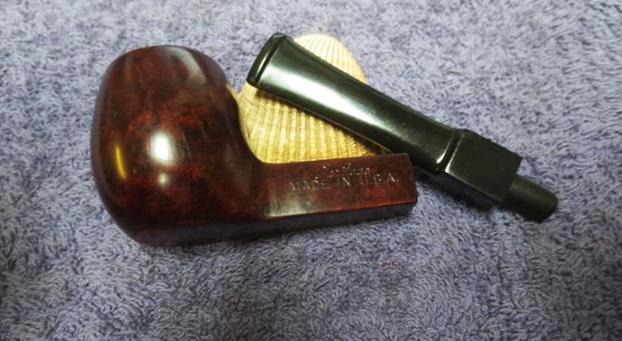
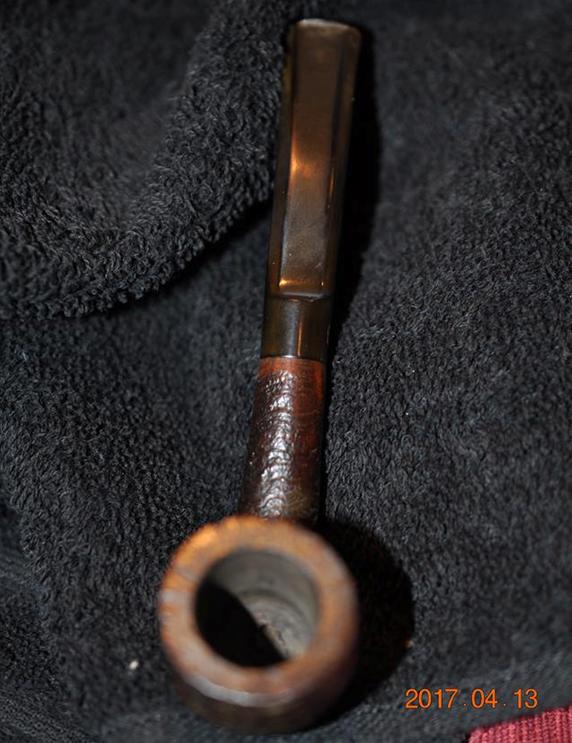
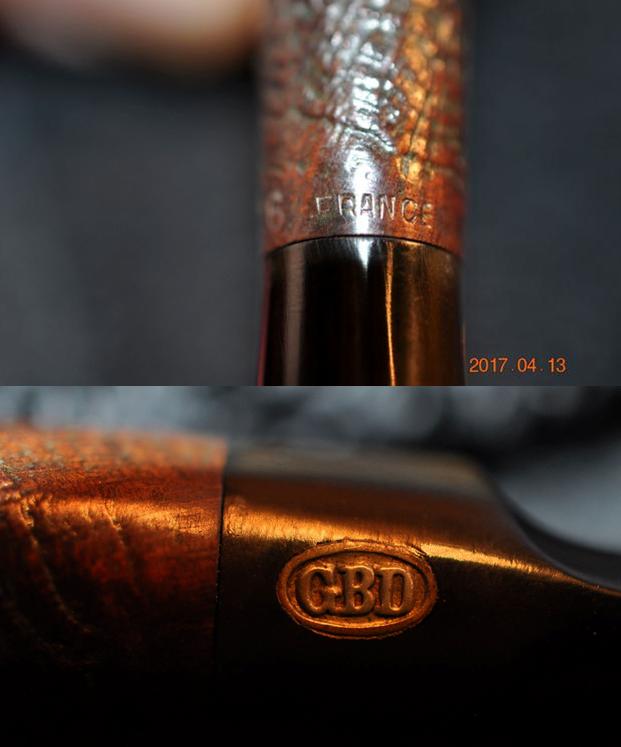
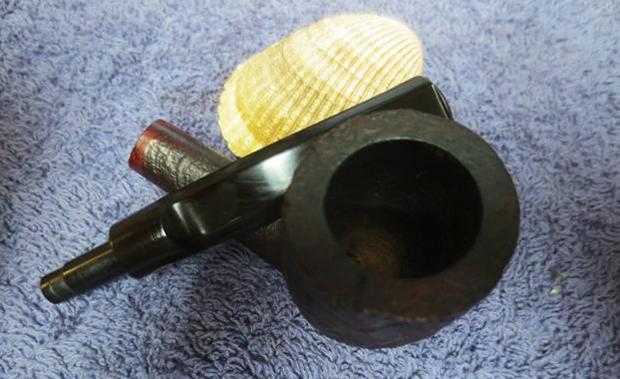
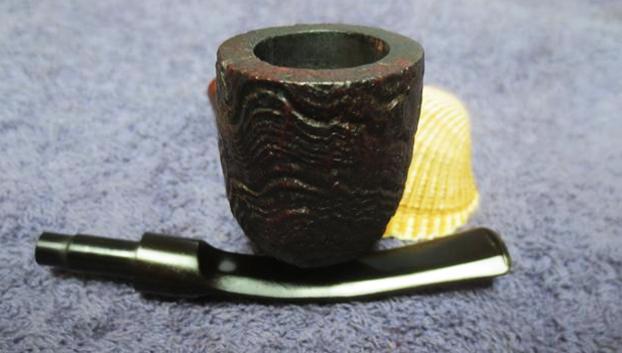
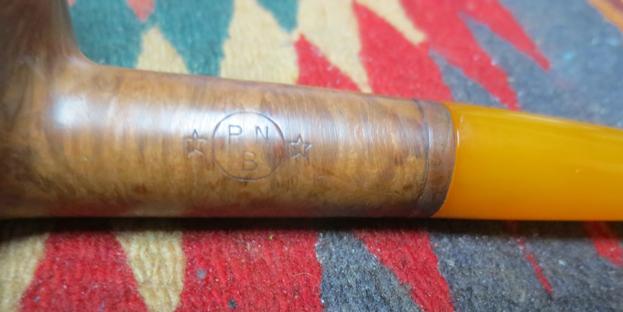
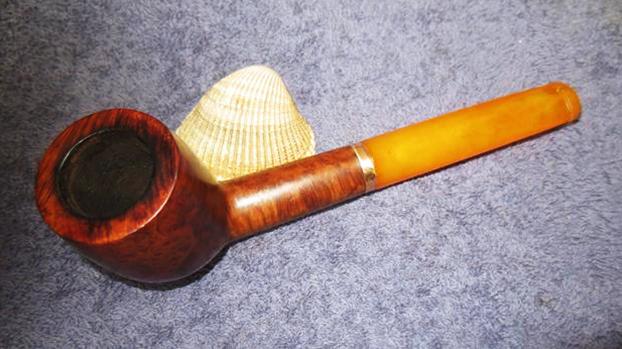
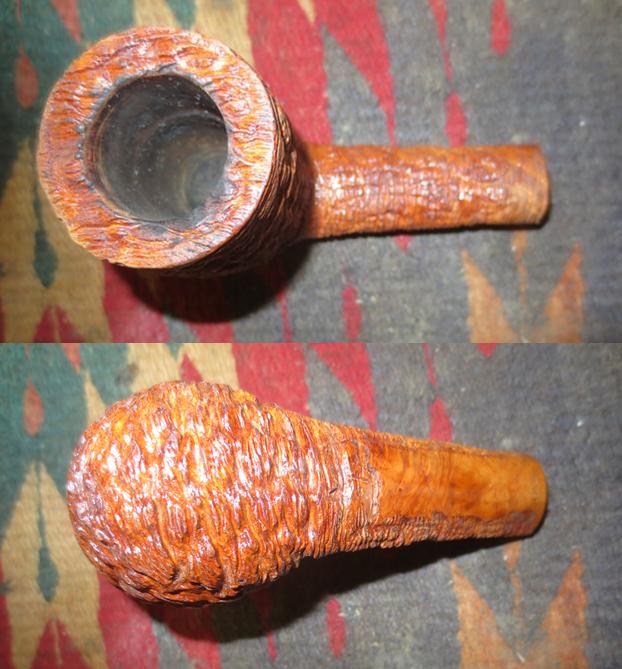
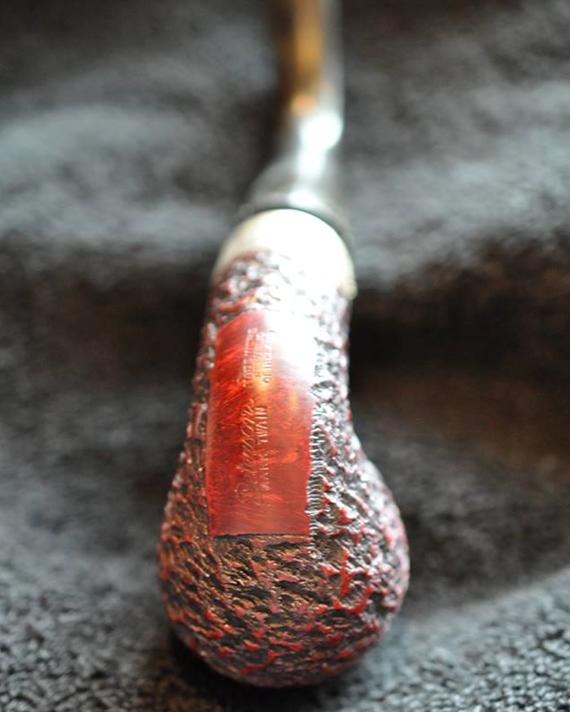
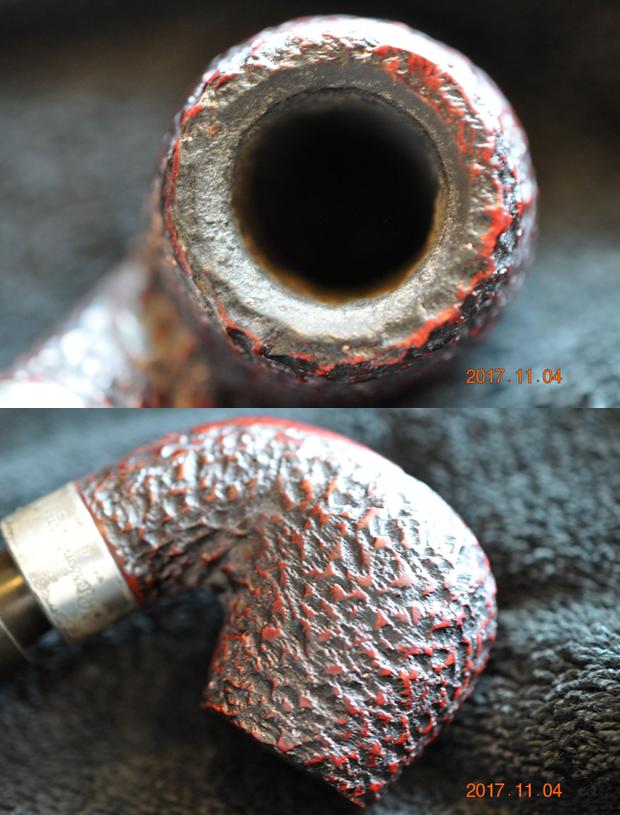 The underside of the bowl had a smooth spot that was stamped Peterson’s over Mark Twain. Next to that it was stamped Made in the Republic of Ireland.
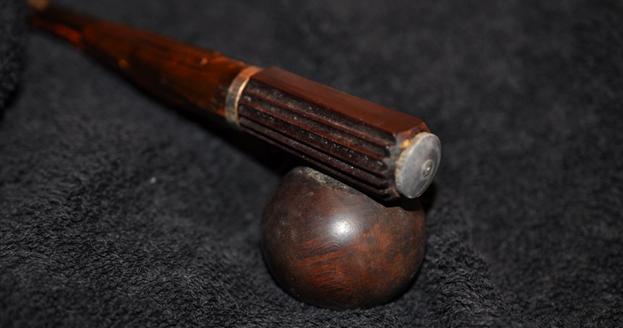
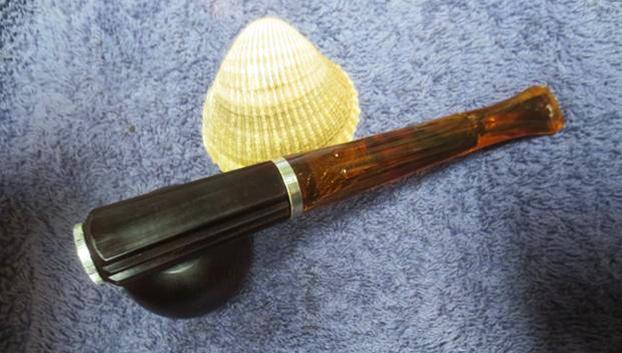
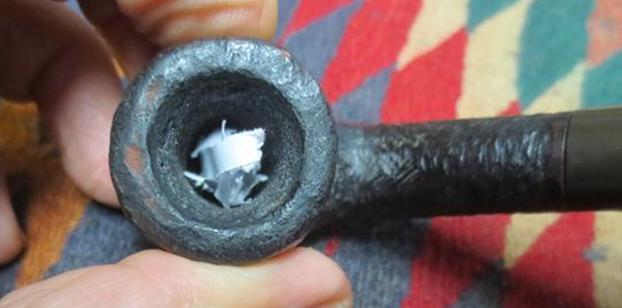
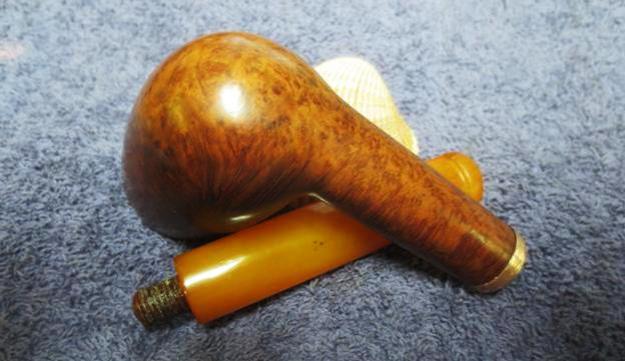
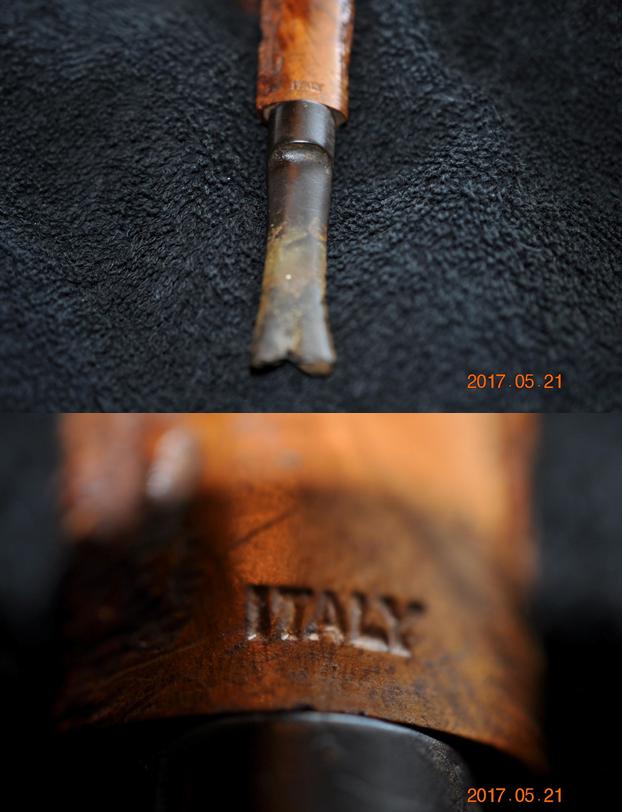
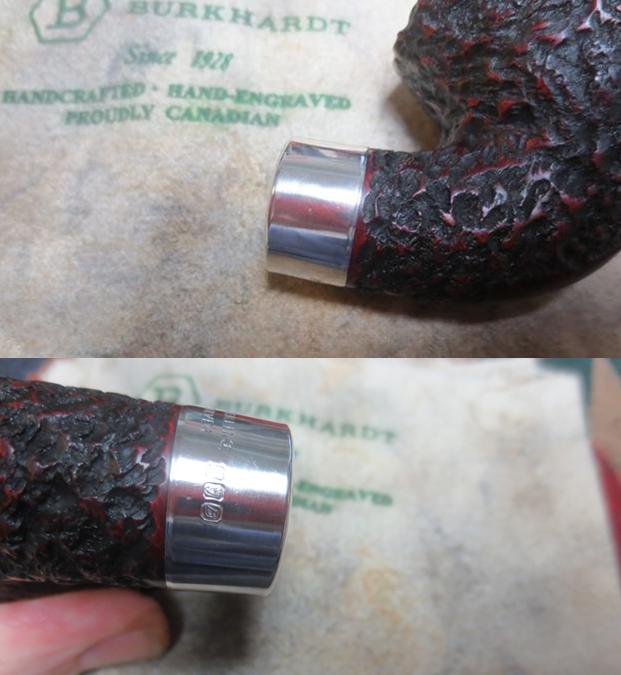
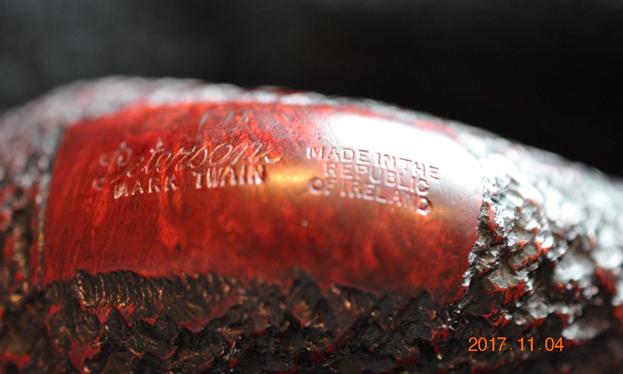 The pipe had a silver band/ferrule on the end of the shank that bore the typical Peterson’s of Dublin stamping and was stamped Sterling Silver. On the underside it had three hallmarks. The Irish sterling silver hallmarks are first a Hibernia mark (looks like a seated woman facing left) second a fineness mark (an Irish harp) finally the date code comes after those, in the form of a letter. In this case it is the upper case italic B.
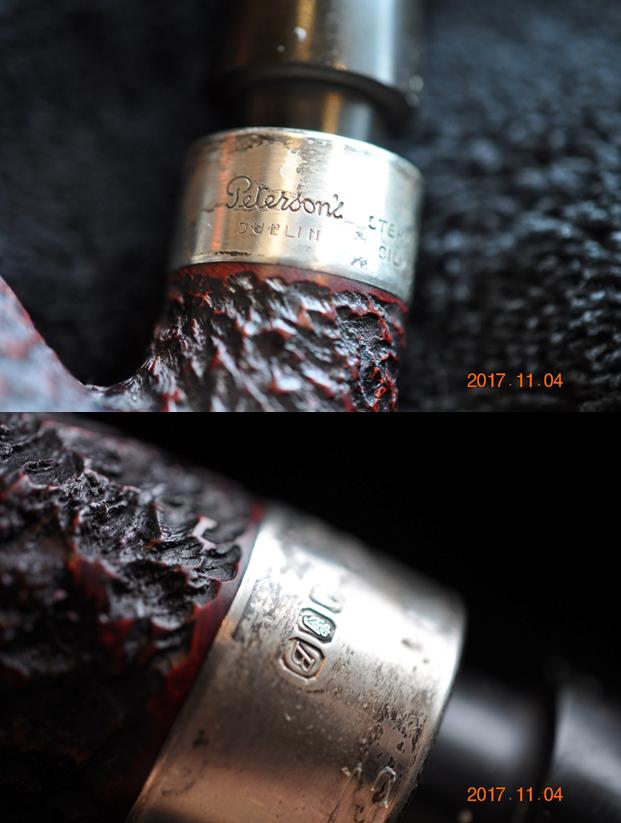 The hallmarks gave a good indication of the age of the pipe. I turned to Pipedia to have a look at the article by my old friend Mike Leverette to get a feel for the dating of the Mark Twain series. I knew there were several releases of the series but could not remember the dates. Here is the link to the article: (https://pipedia.org/wiki/A_Peterson_Dating_Guide;_A_Rule_of_Thumb). I have enclosed the section of the article pertaining in a red box in the pic below.
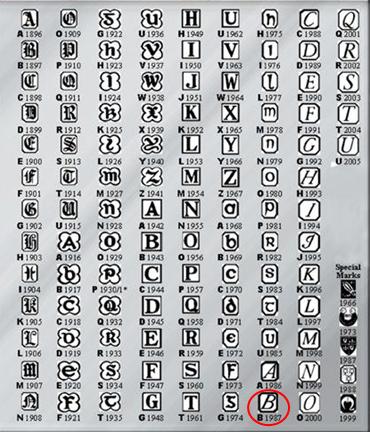 I found a Peterson Sterling Hallmark chart on the web to help pin down the date associated with the Italic uppercase B. I have circled the letter on the chart to the left with a red circle. The pipe is clearly identified as a 1987 Mark Twain. That and the fact that it did not have any number on the shank puts it squarely in the Un-numbered Edition noted above from Mike’s article. That edition of the series was made between 1983 and 1989 so this one falls squarely in the middle of the series release.
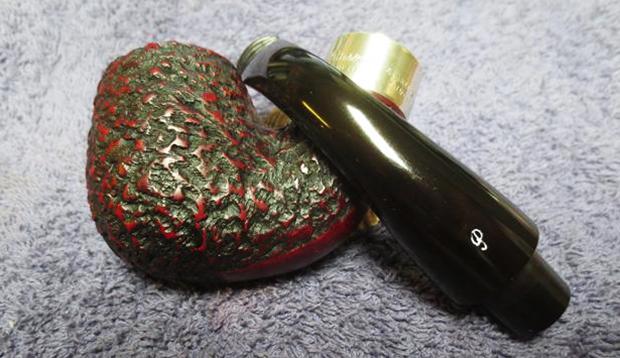
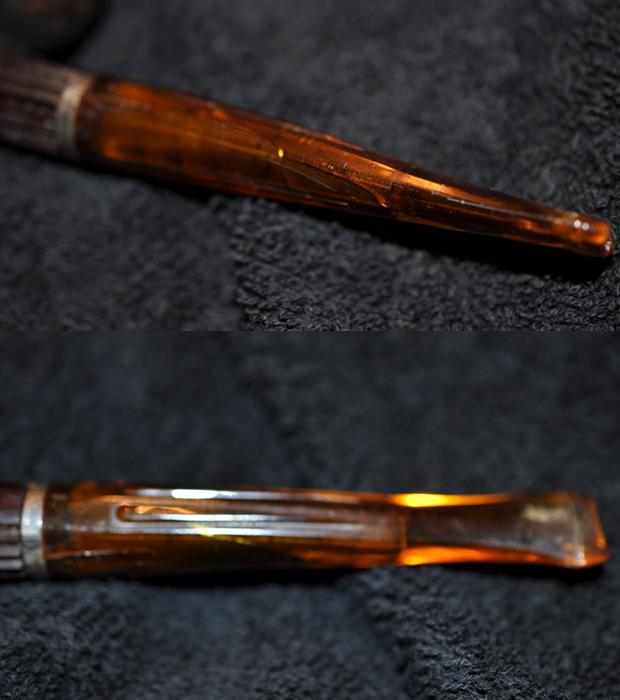
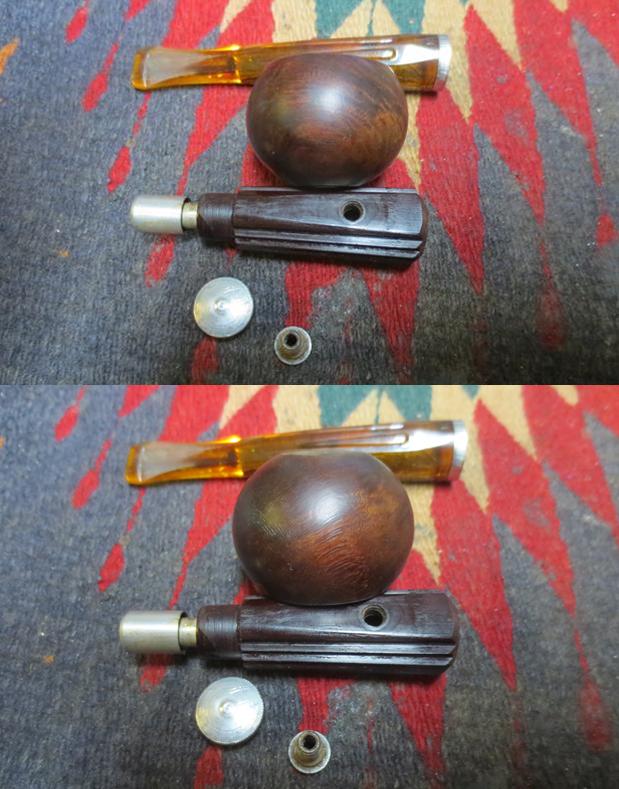
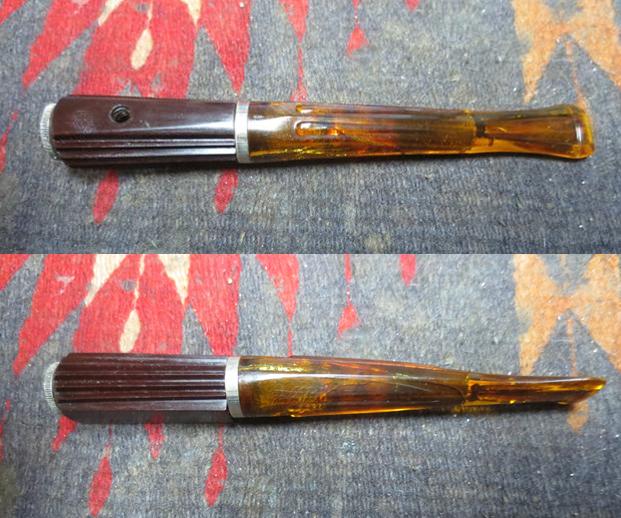
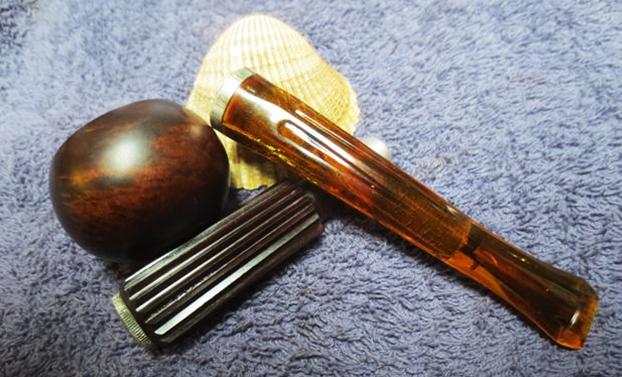
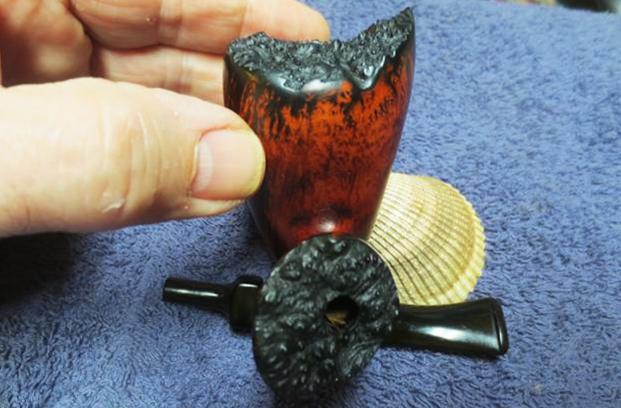
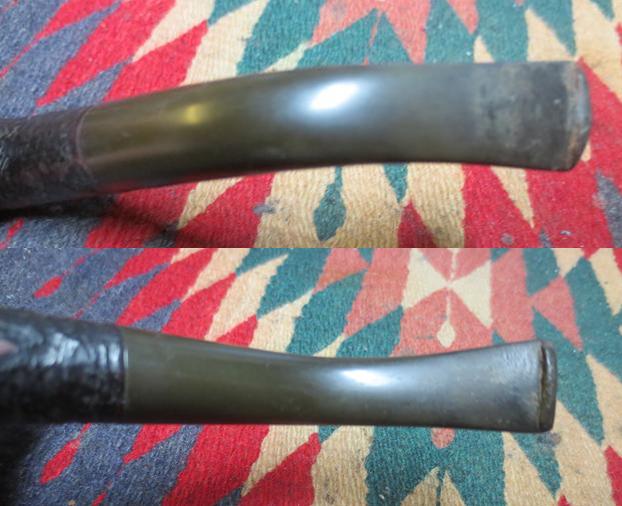
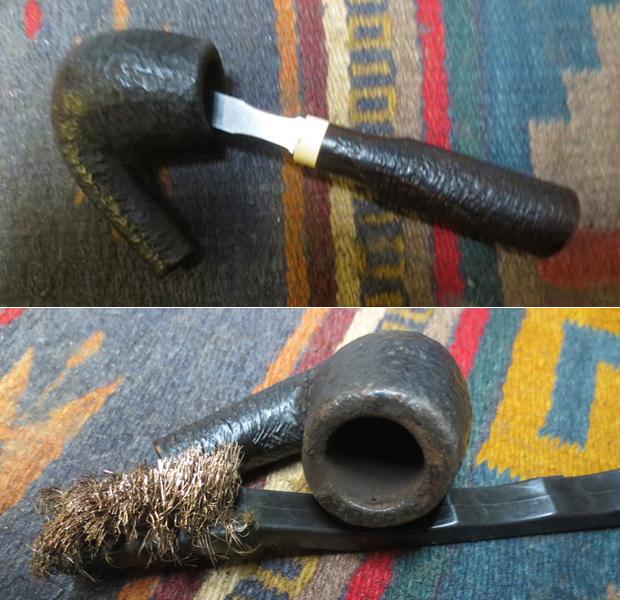
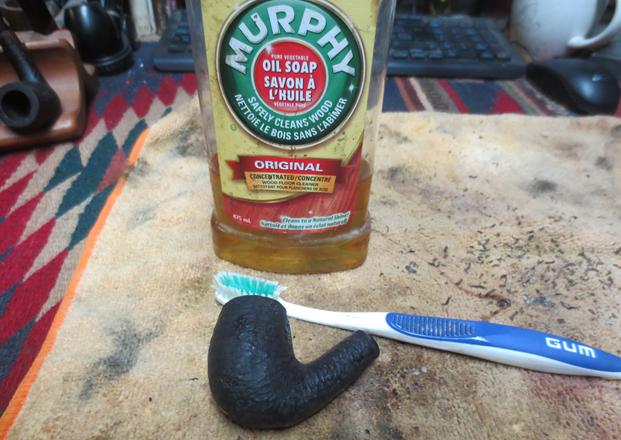
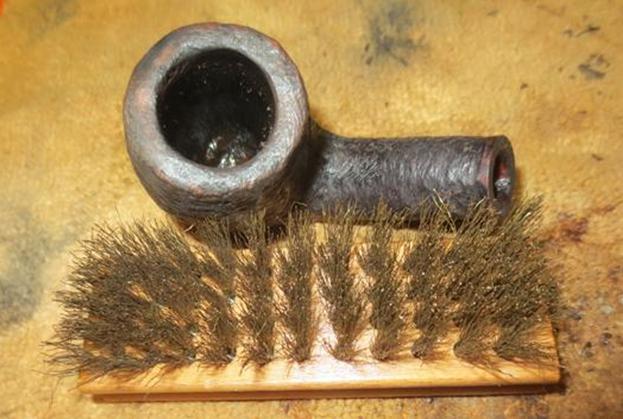
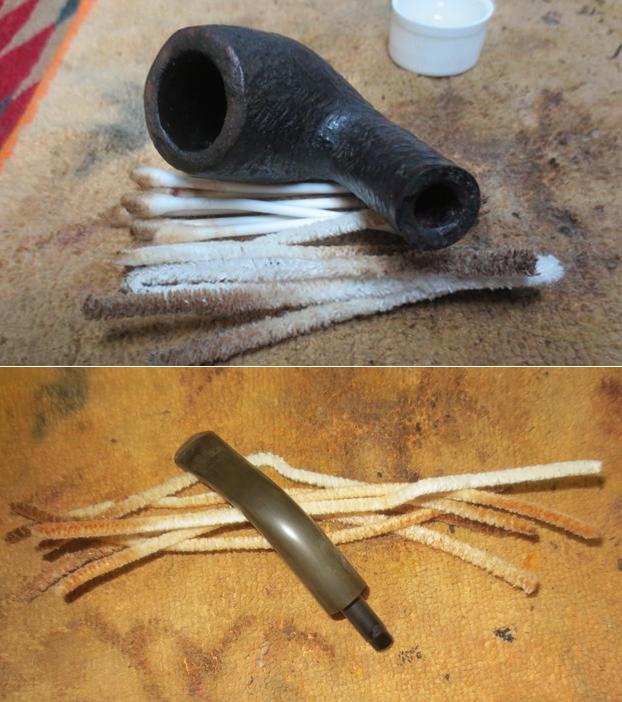
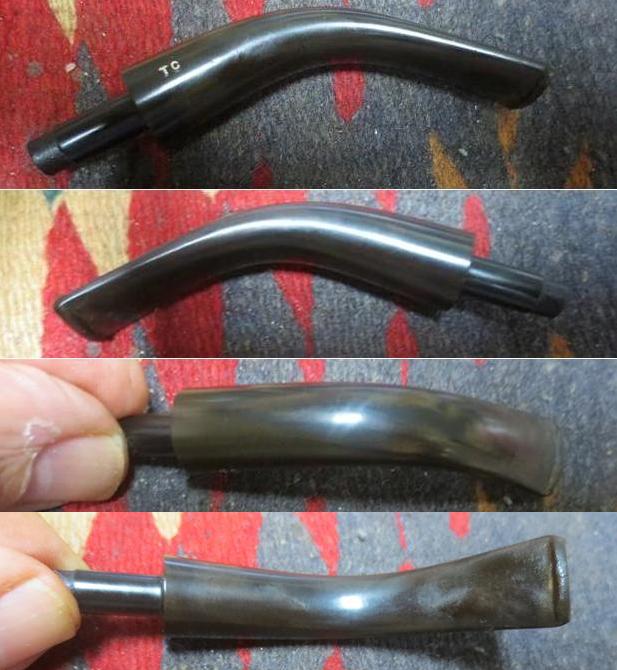
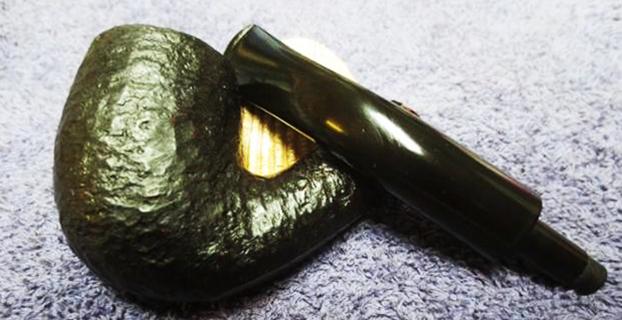
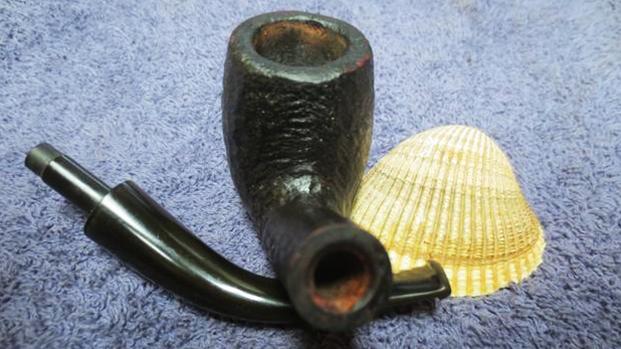
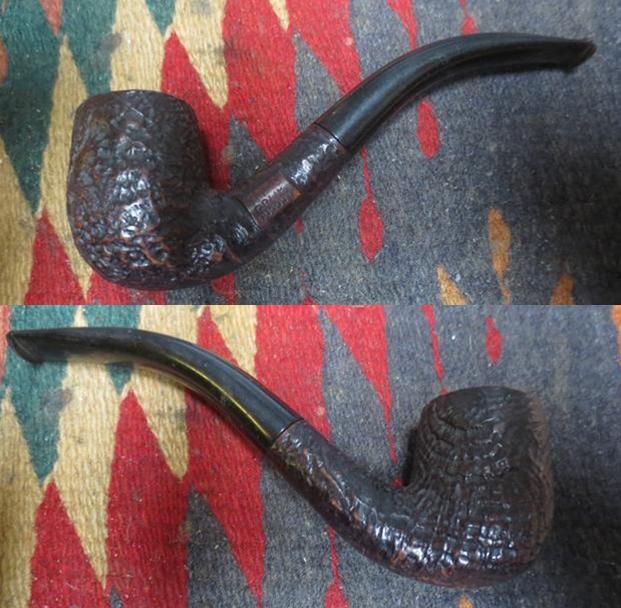
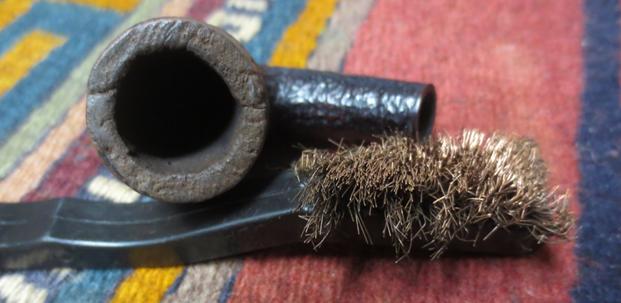
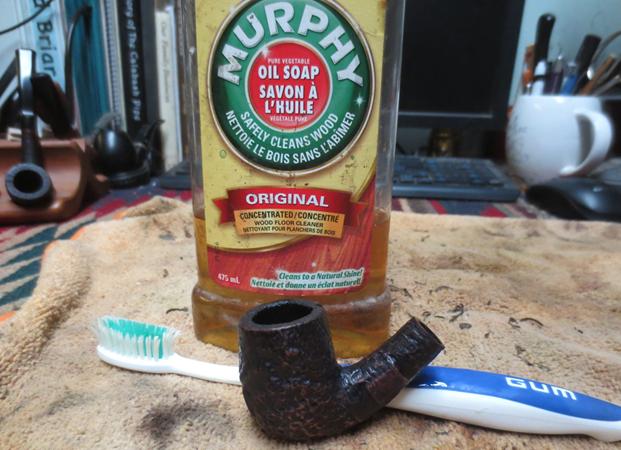
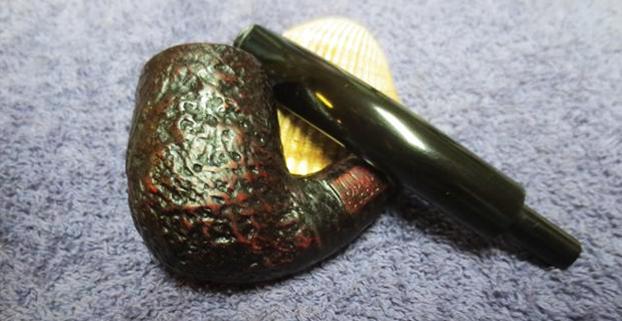
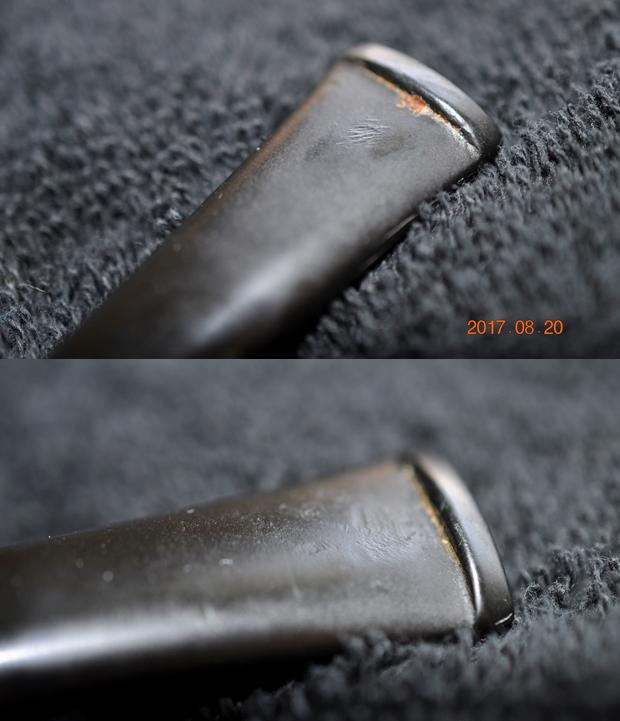
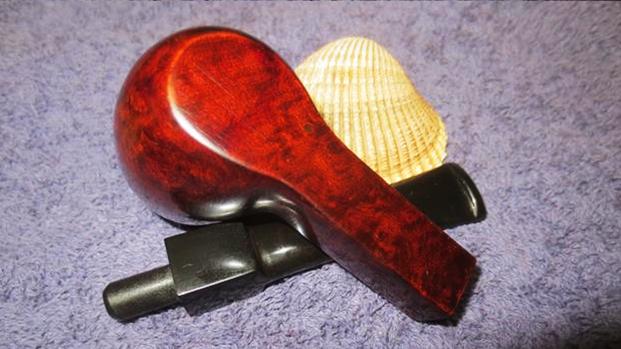
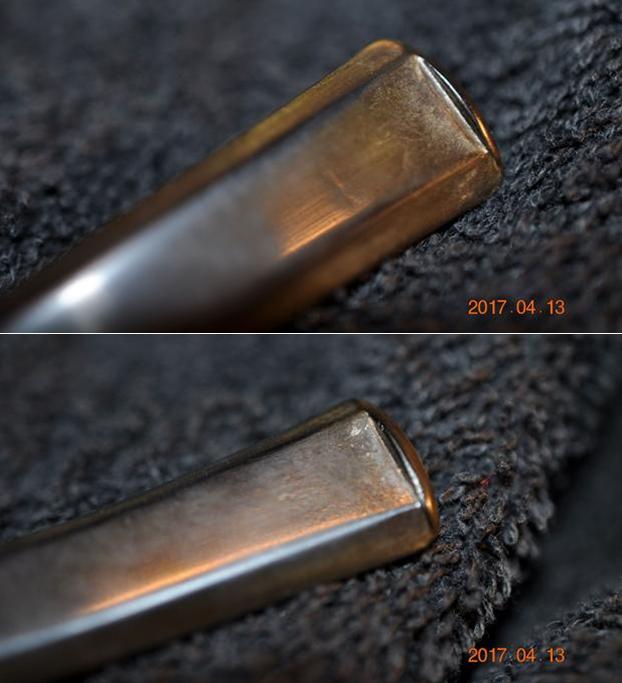
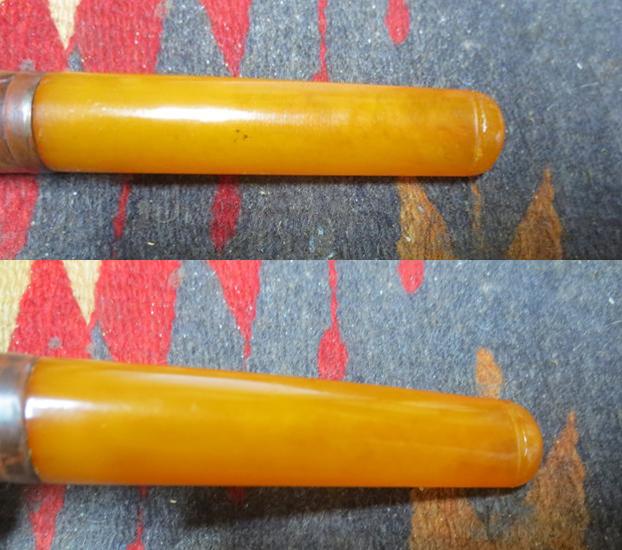
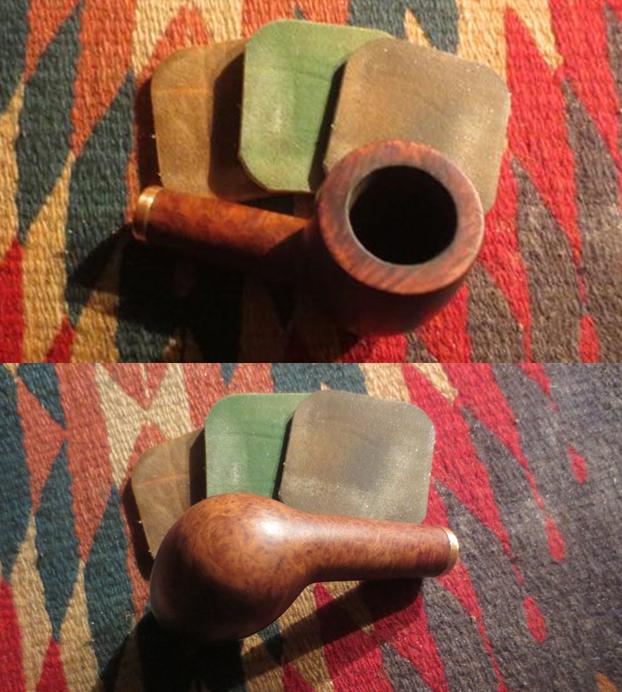
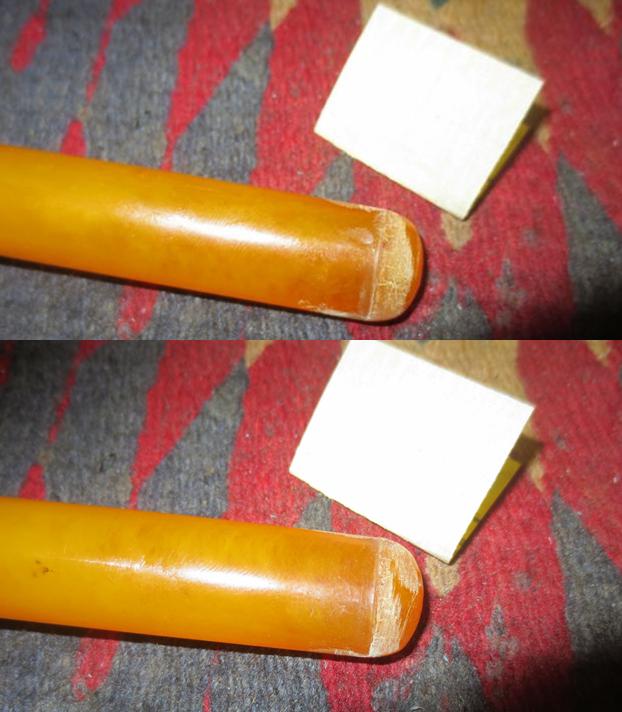
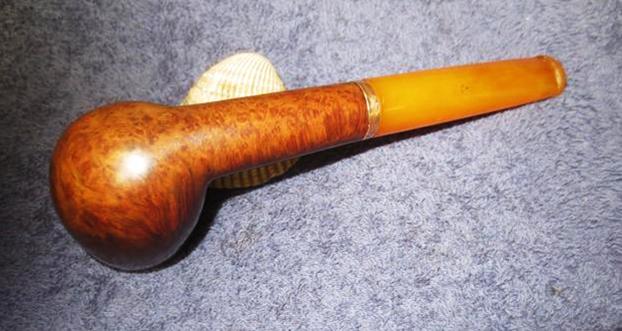
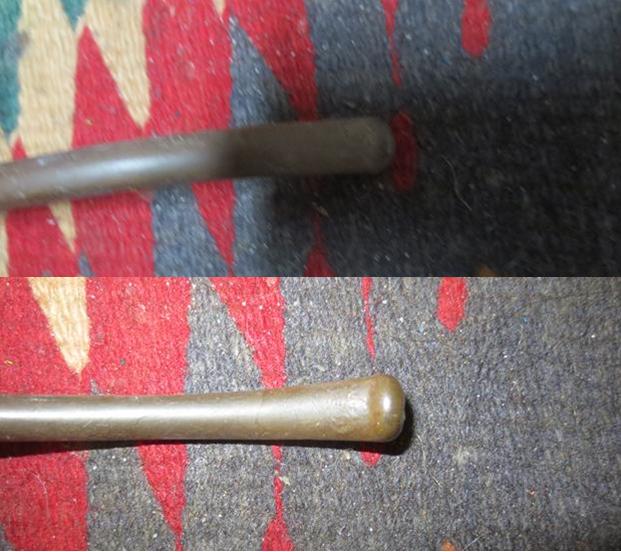
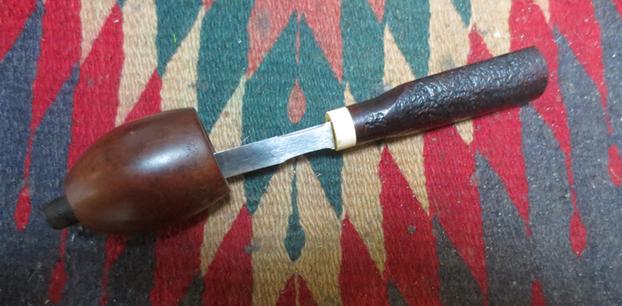
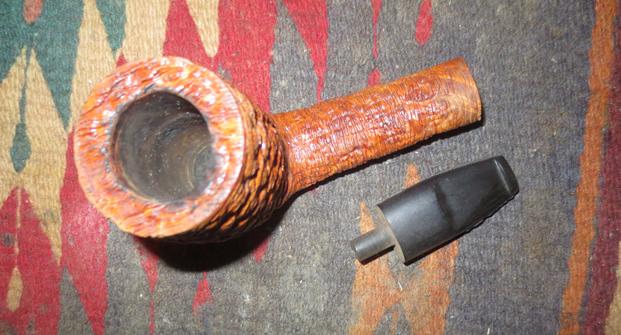
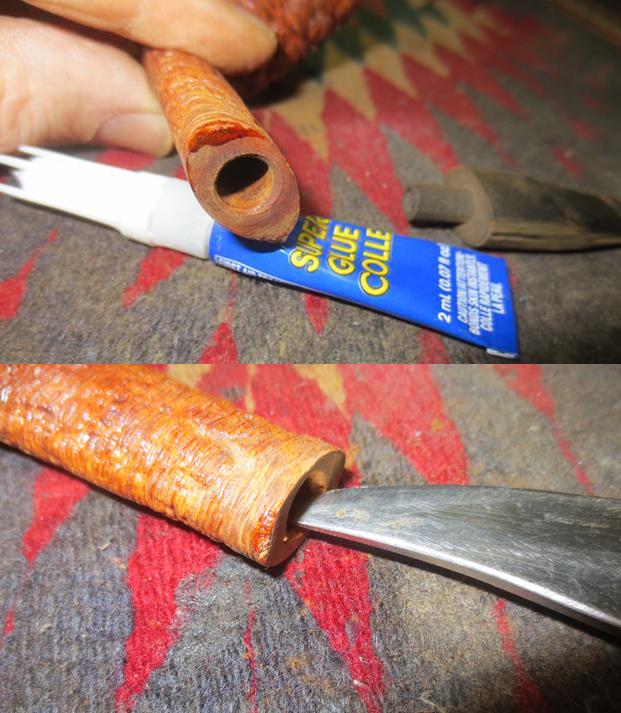
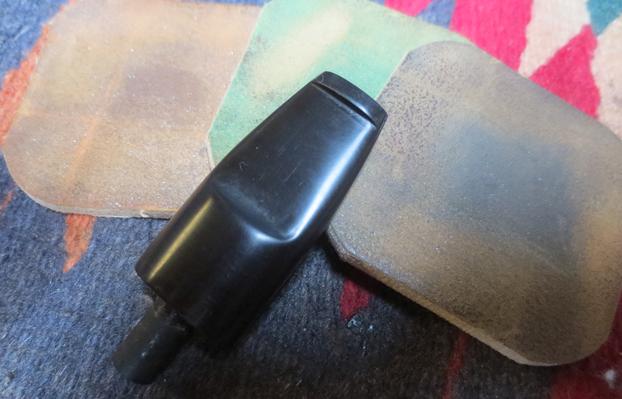
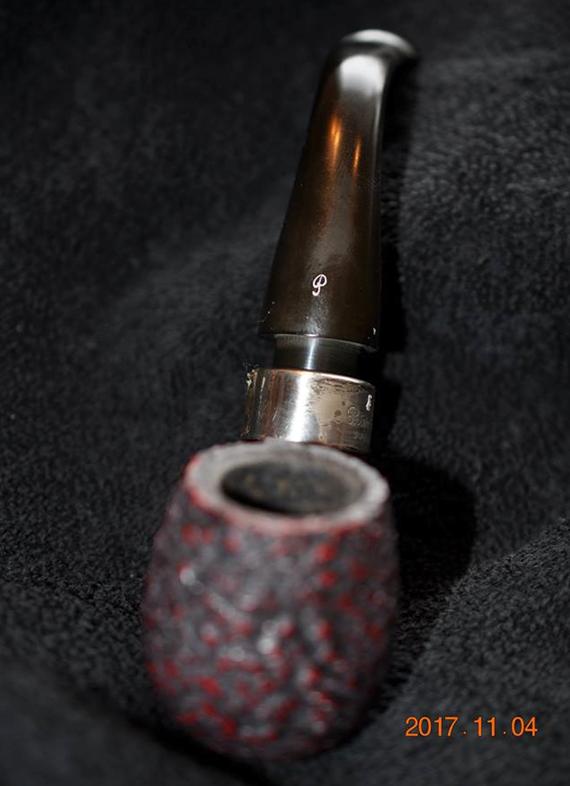
The stem was lightly oxidized but the P stamp was very clear and deeply stamped in the vulcanite material. There were light tooth marks and chatter on both sides of the stem near the button and shelf.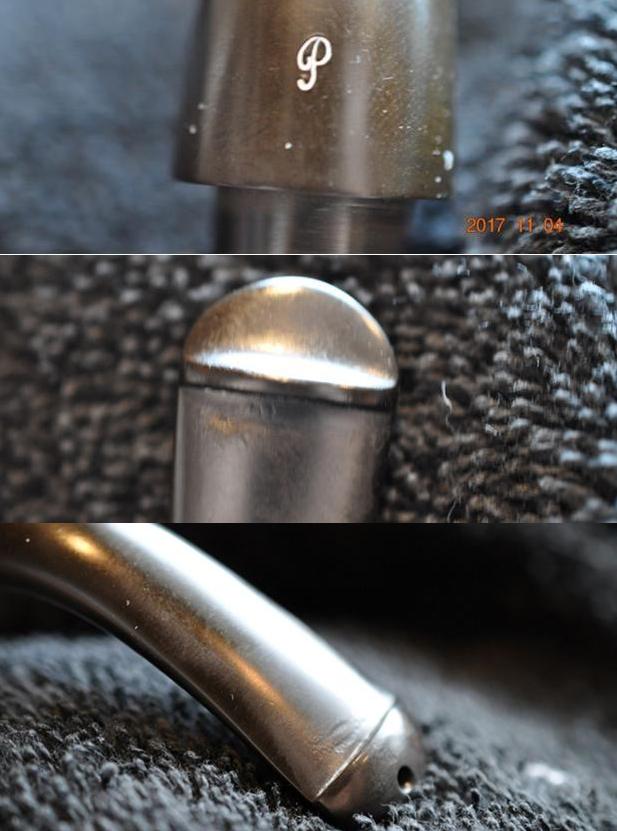 I could not wait to see the pipe after Jeff cleaned it up. He did his usual thorough clean up on the bowl and stem. He reamed the bowl with a PipNet pipe reamer and cleaned up the last bit of cake with a Savinelli Fitsall reamer. He cleaned the internals with alcohol, pipe cleaners and cotton swabs – scrubbing out the sump area that is generally very dirty. He scrubbed the exterior of the pipe with Murphy’s Oil soap and a tooth brush and was able to remove all of the dust and debris in the nooks and crannies of the rustication. He was able to remove all of the tars and lava on the rim top and leave it looking very clean. He soaked the stem in an Oxyclean bath to raise the oxidation to the surface of the vulcanite. I took photos of the pipe when it arrived. I opened the box that the pipe came in like a kid on Christmas morning. I wanted to see what he had been able to do with this pipe.
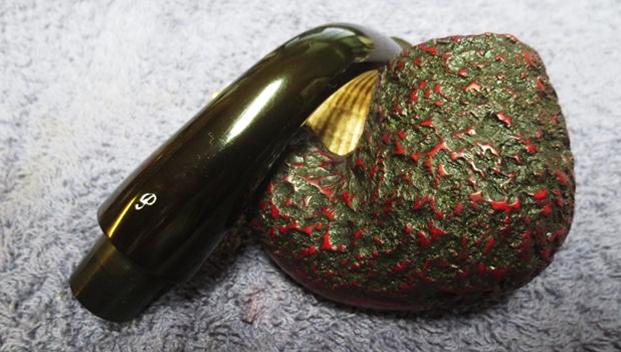
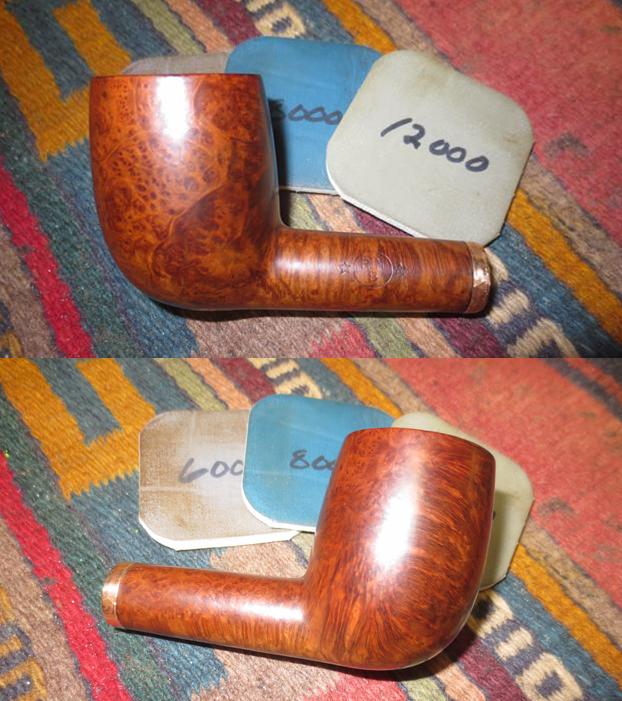
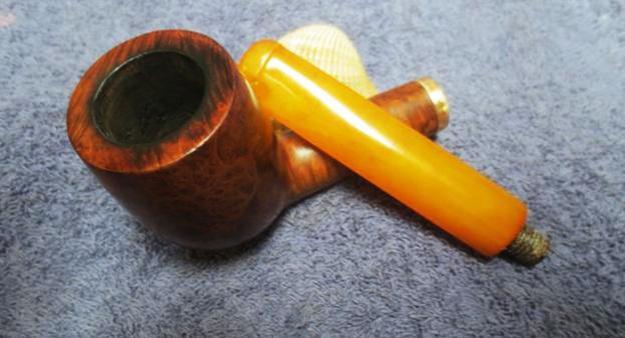
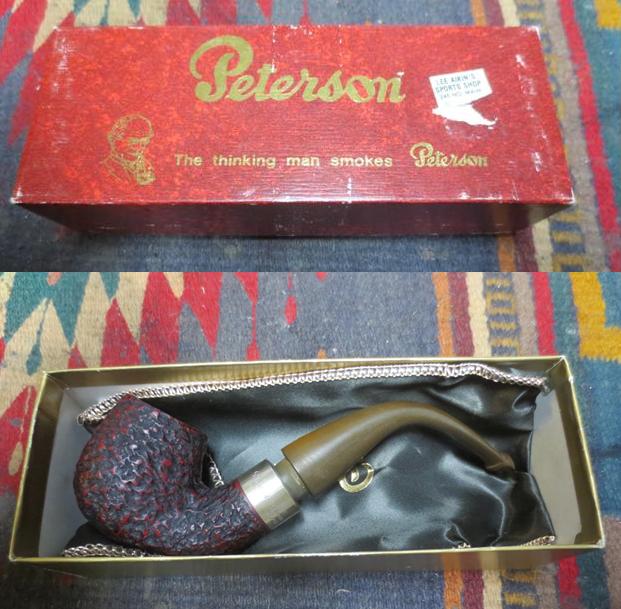 I took the pipe out of the box and took photos of it before I did my part of the restoration work on the old Peterson. Other than the oxidized stem it looked pretty good.
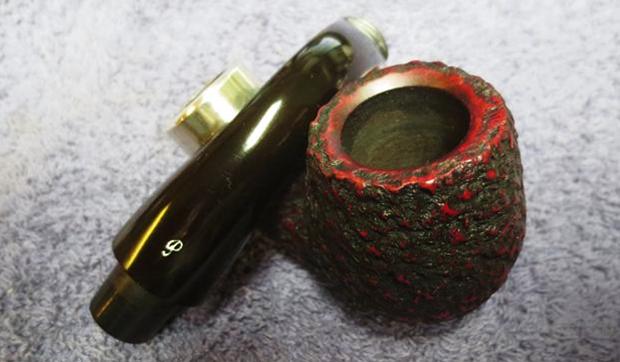
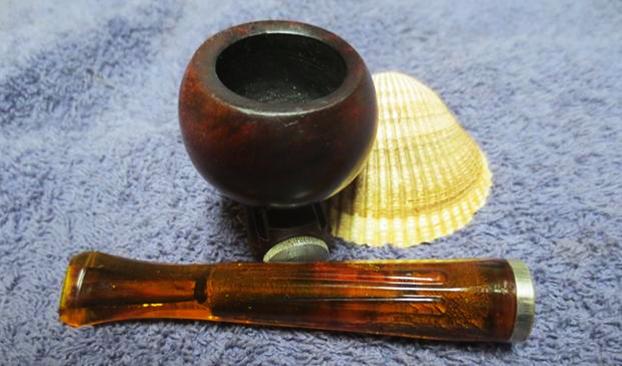
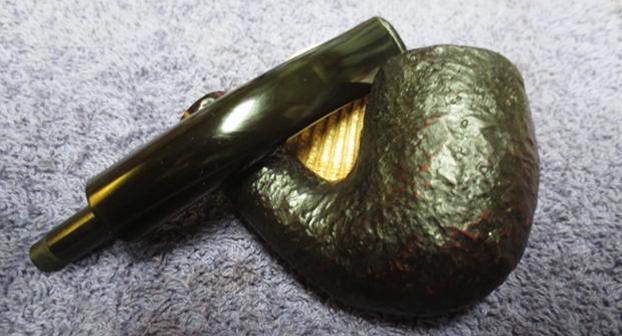
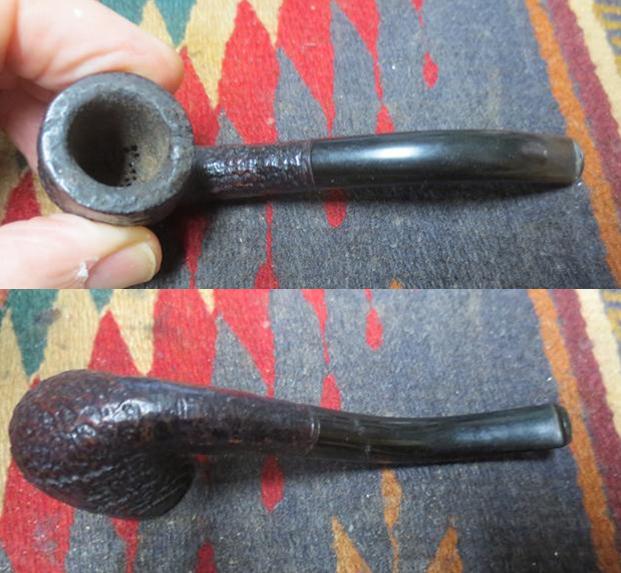
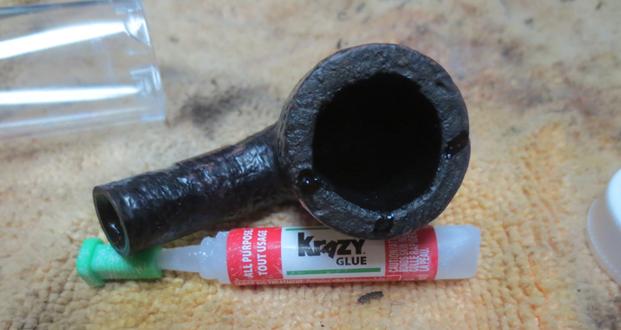
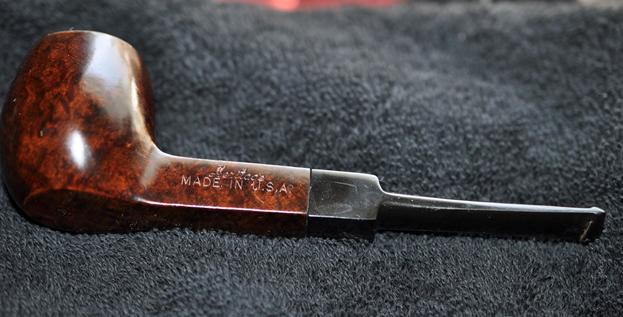
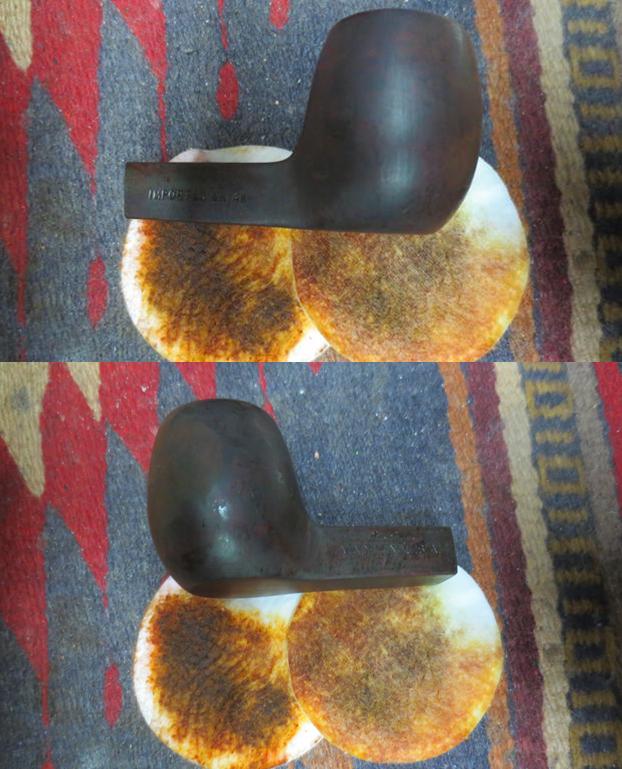
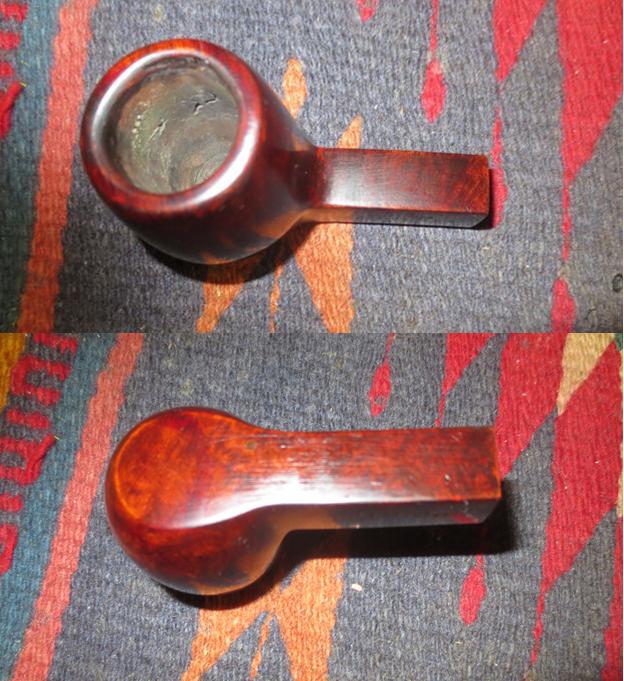
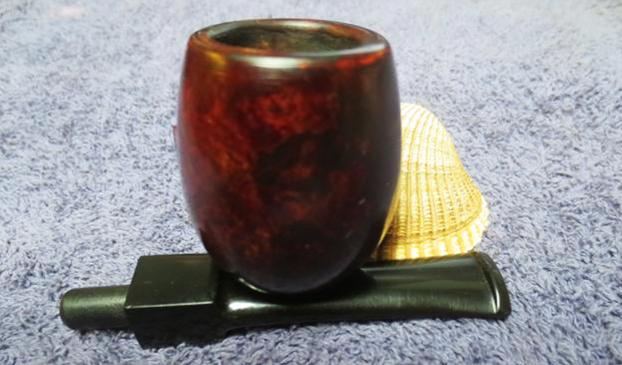
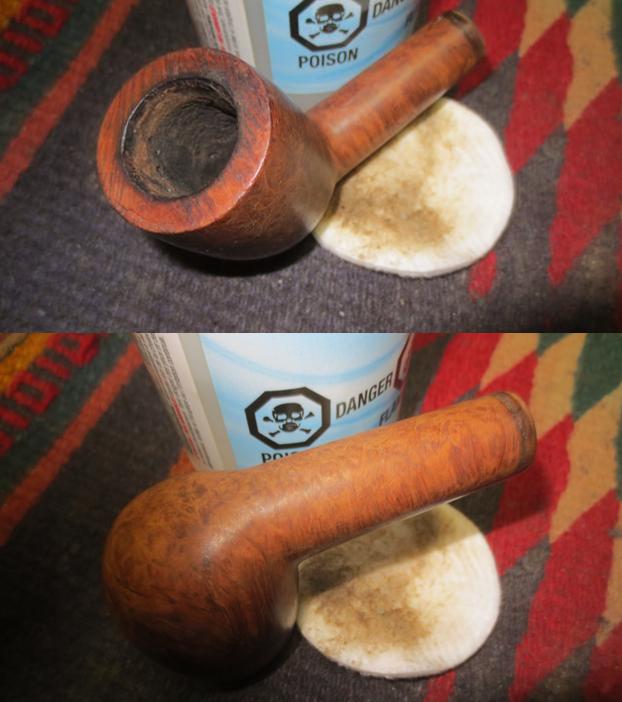
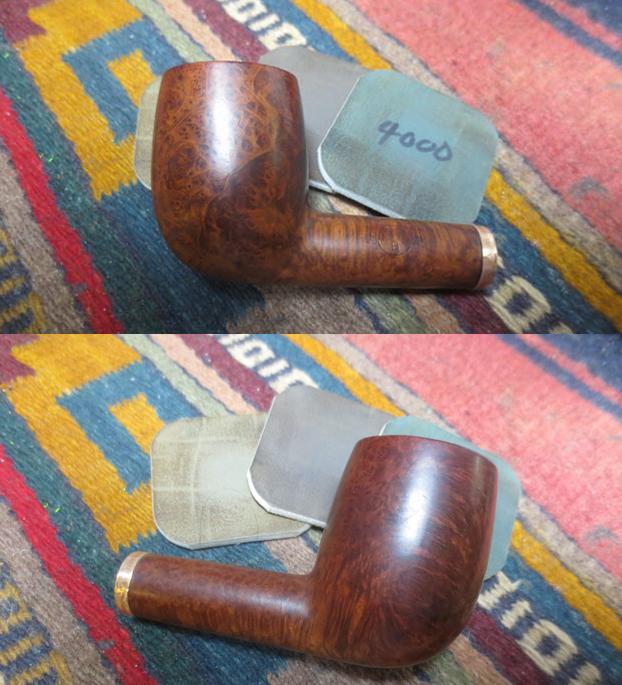
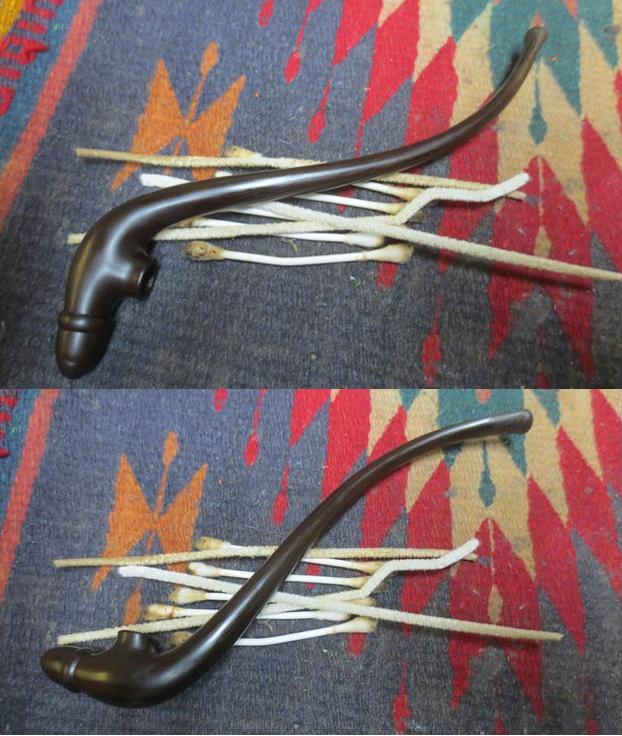
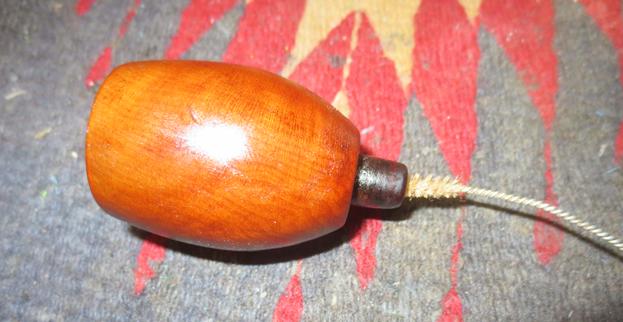
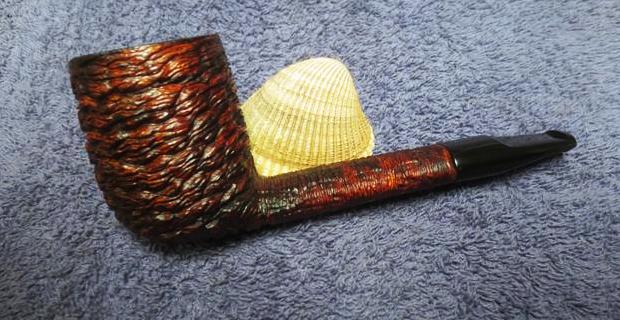
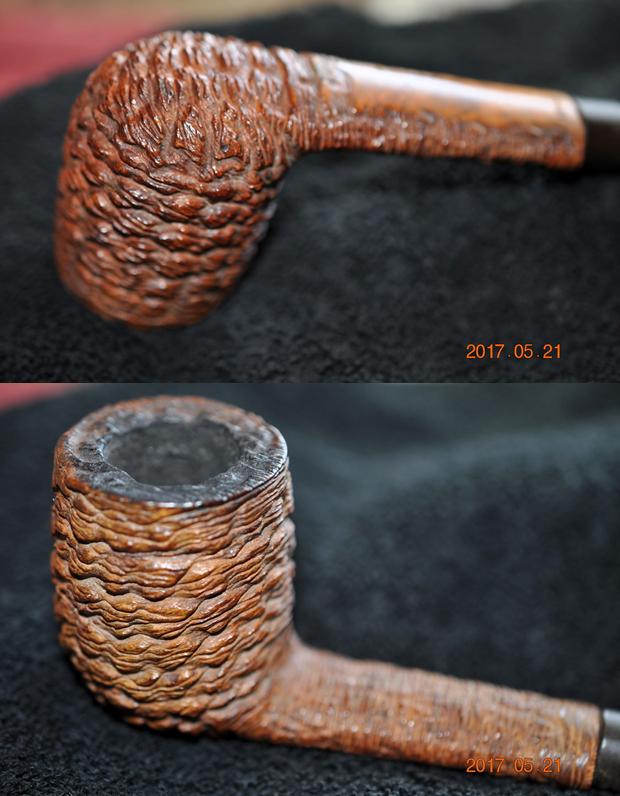
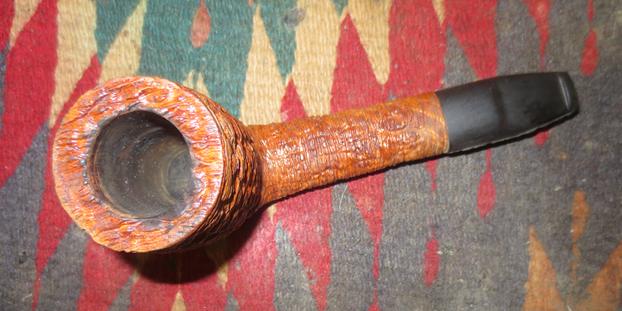
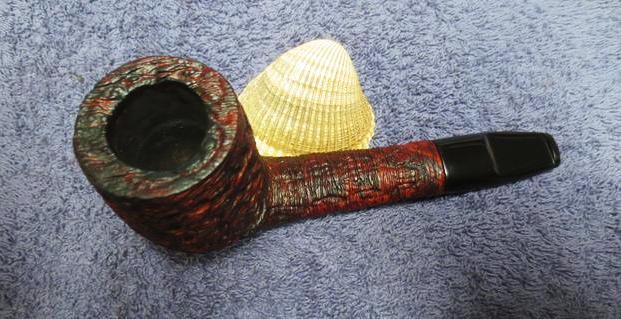
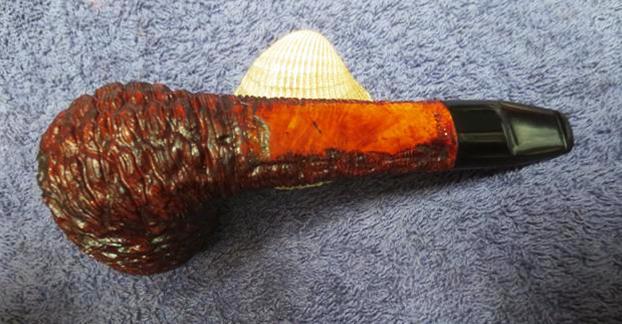
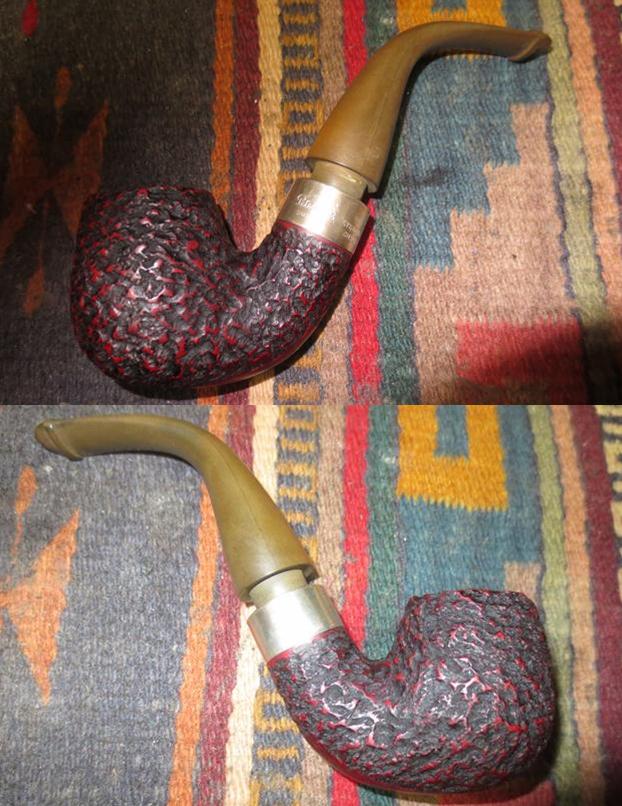 He did an amazing job on the rim top. It had come entirely clean under his workmanship on it. The inner bevel on the rim was flawless and the lava was gone leaving a clean bowl and rim.
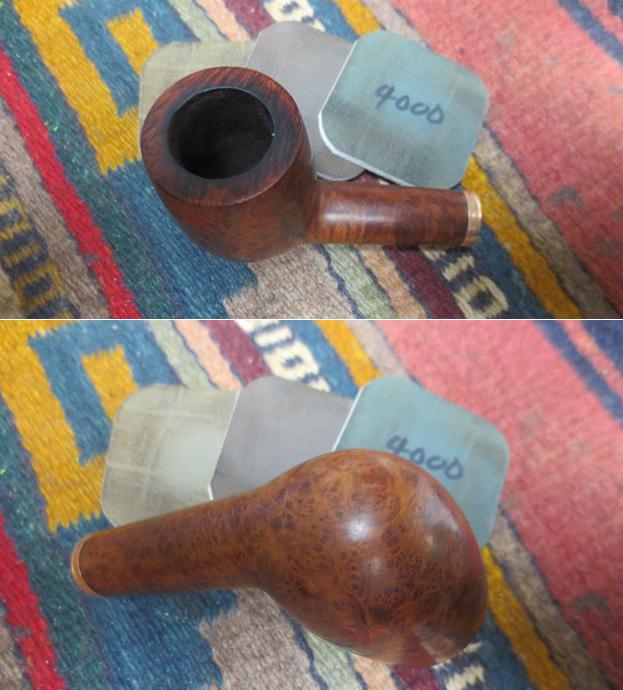
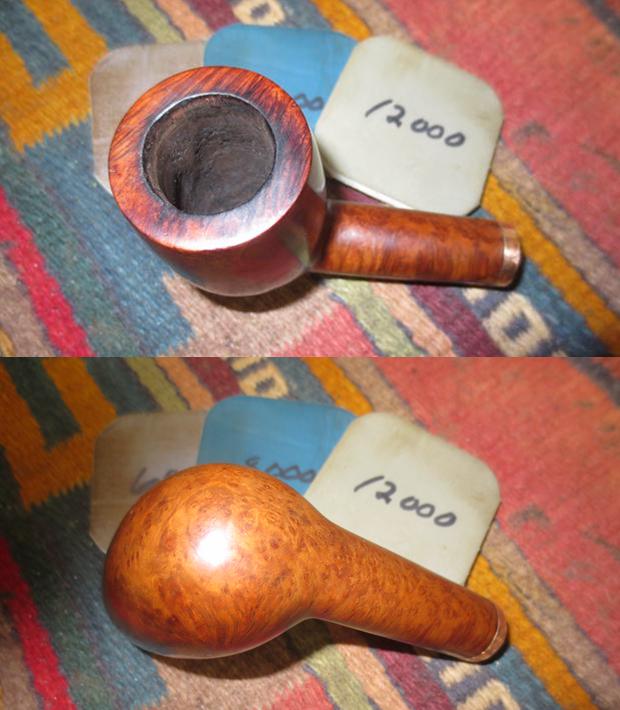
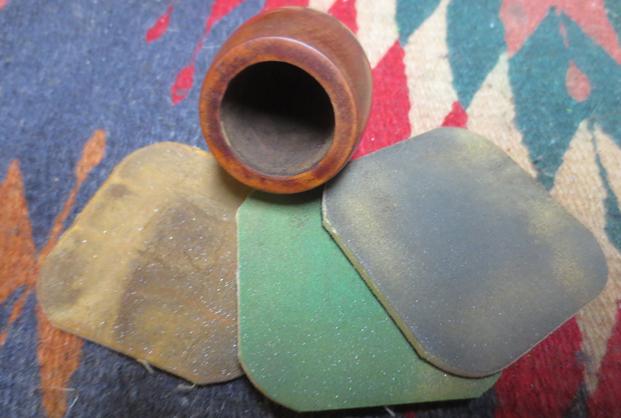
 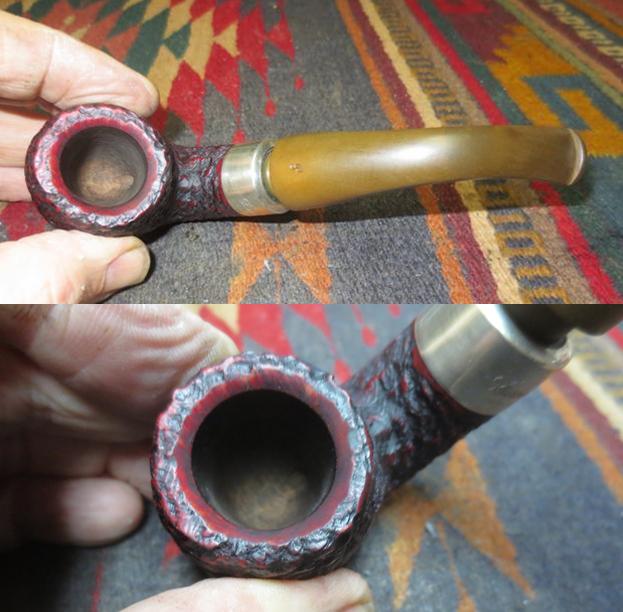 The underside of the bowl looked good and the stamping was very clear as I had surmised in the pre-cleaning photos.
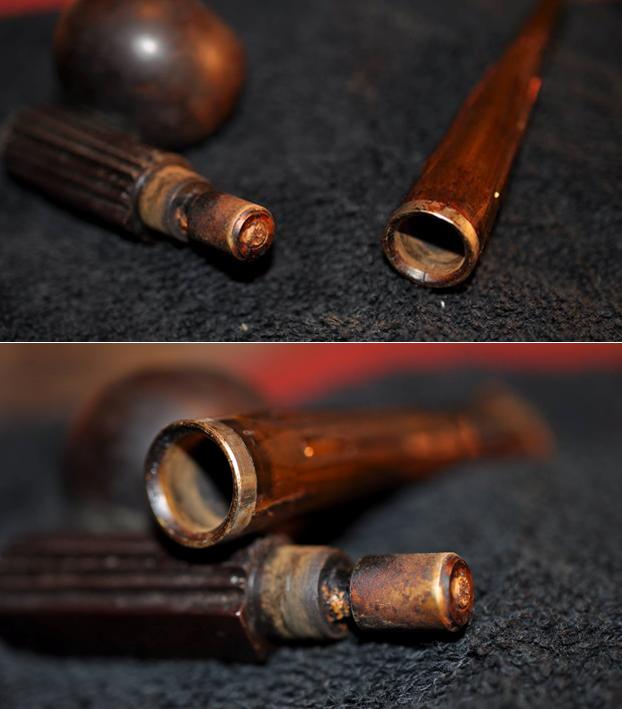
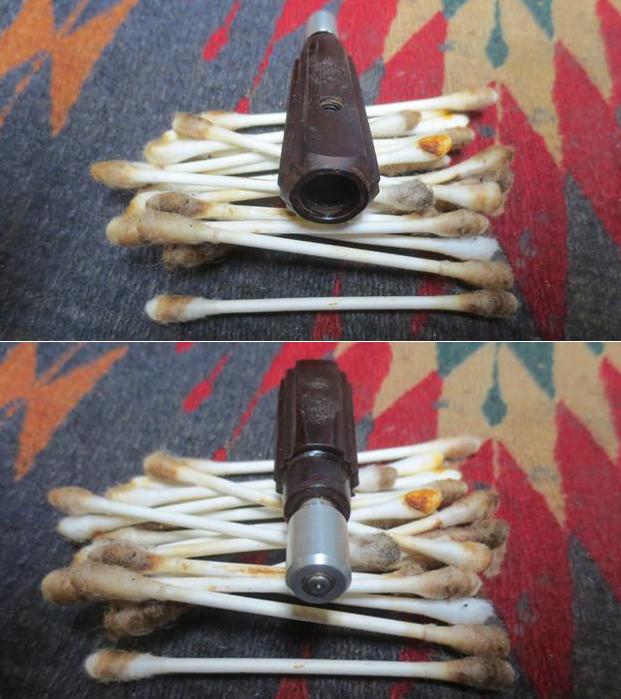
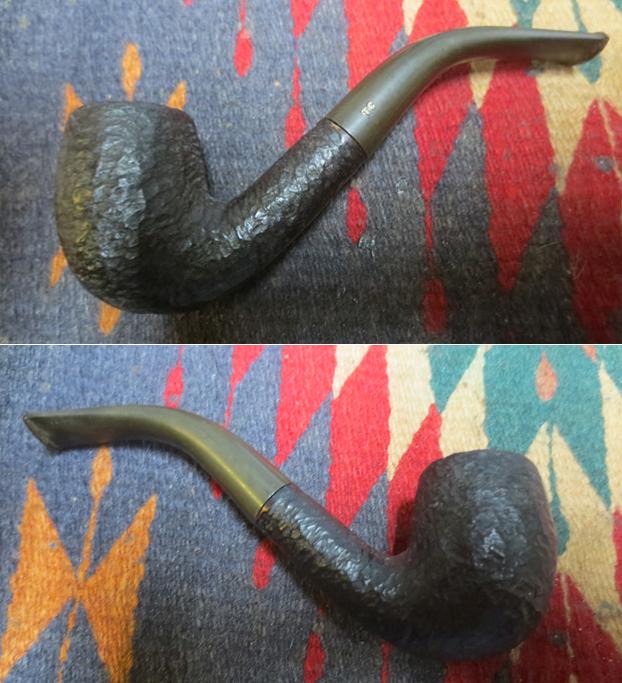
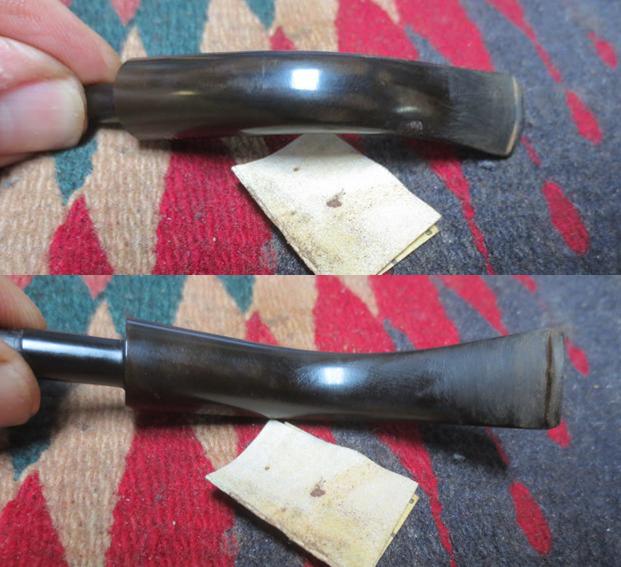
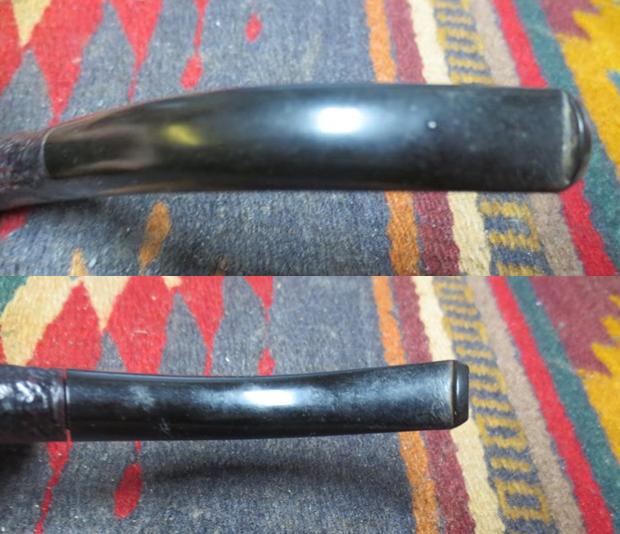
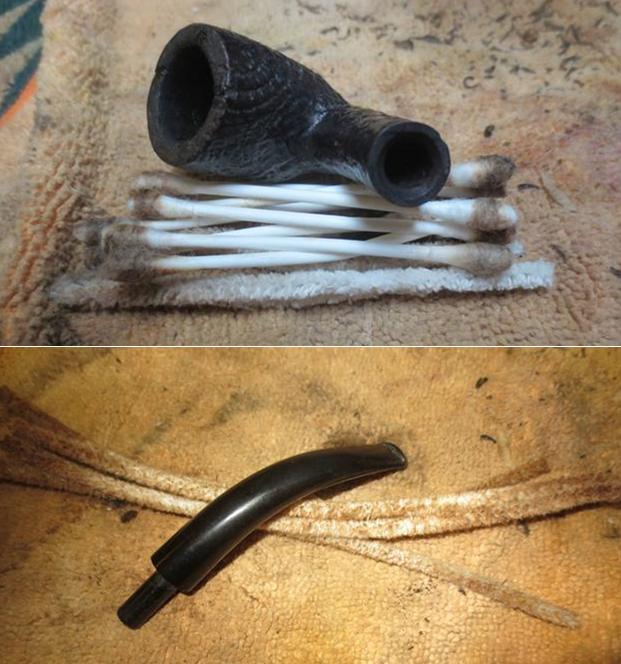
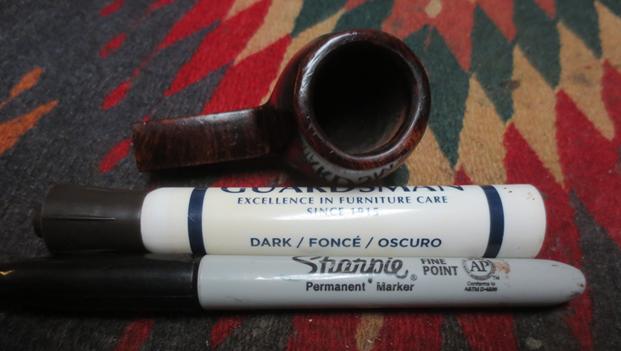
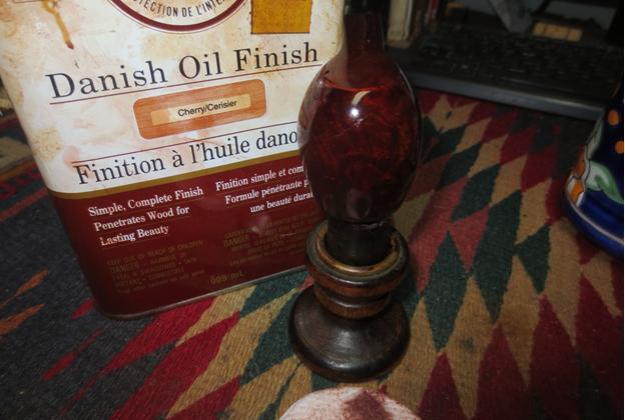
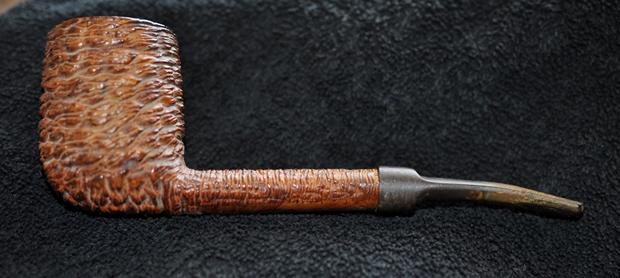
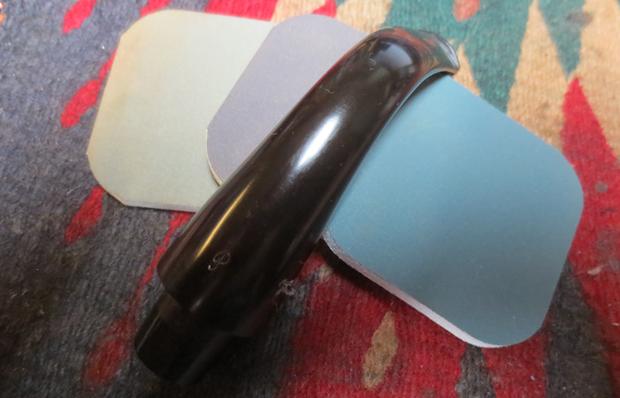
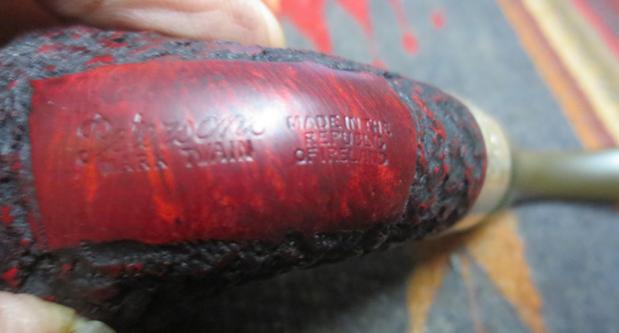 I took some photos of the stem to show the oxidation and the tooth chatter and marks.
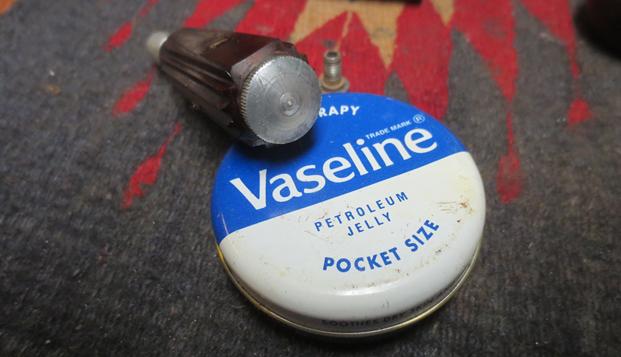
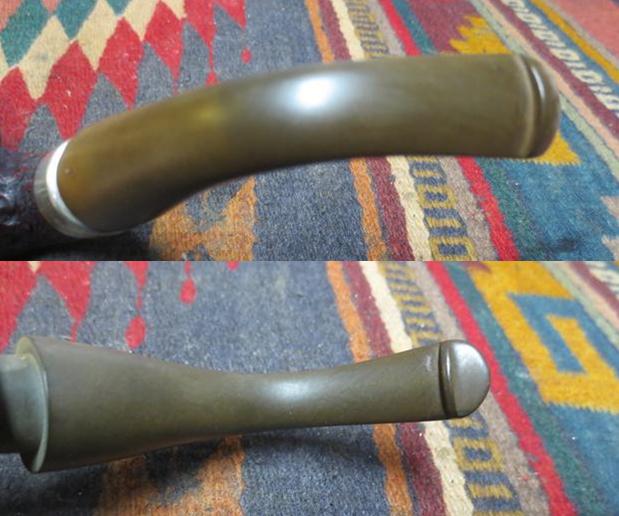 I put the stem to soak in the Before & After Stem Deoxidizer and left it overnight so that it could work its magic on the oxidation. I worked on the bowl while it soaked.
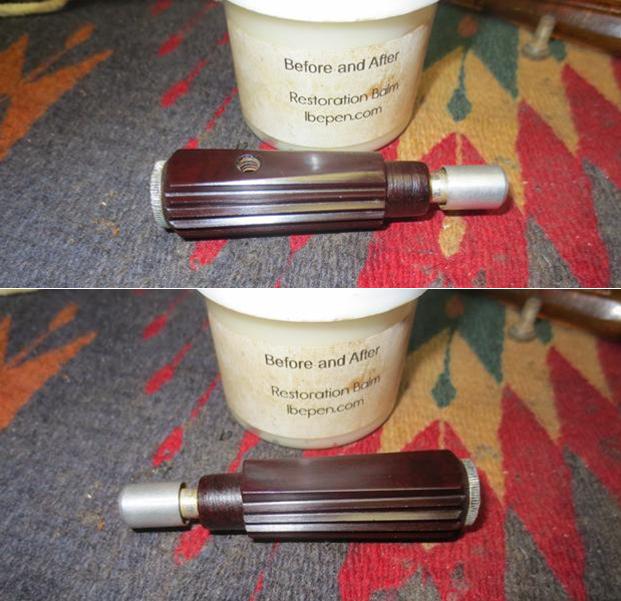
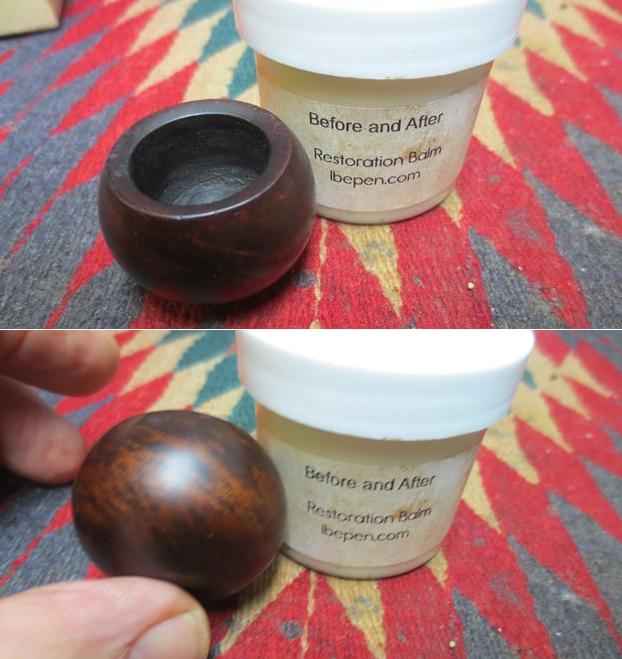
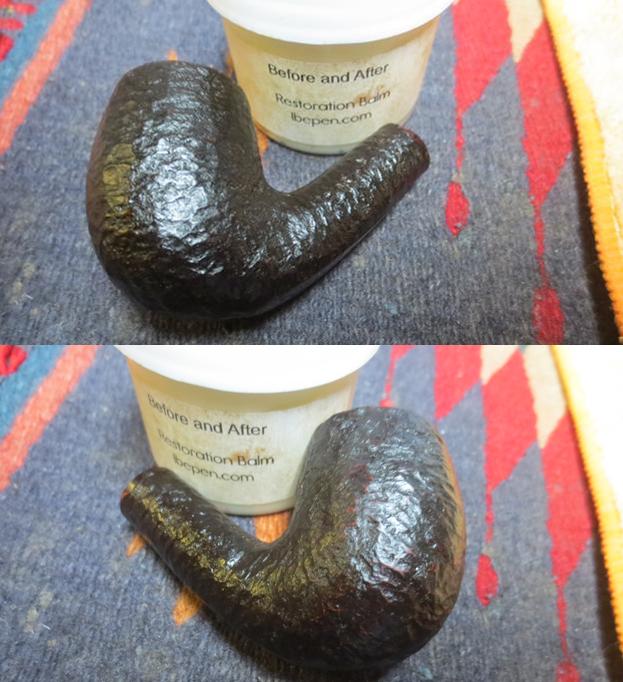
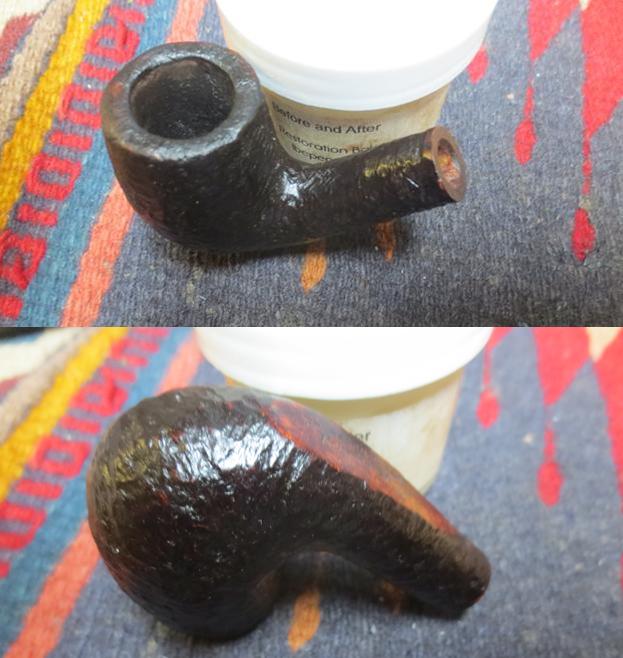
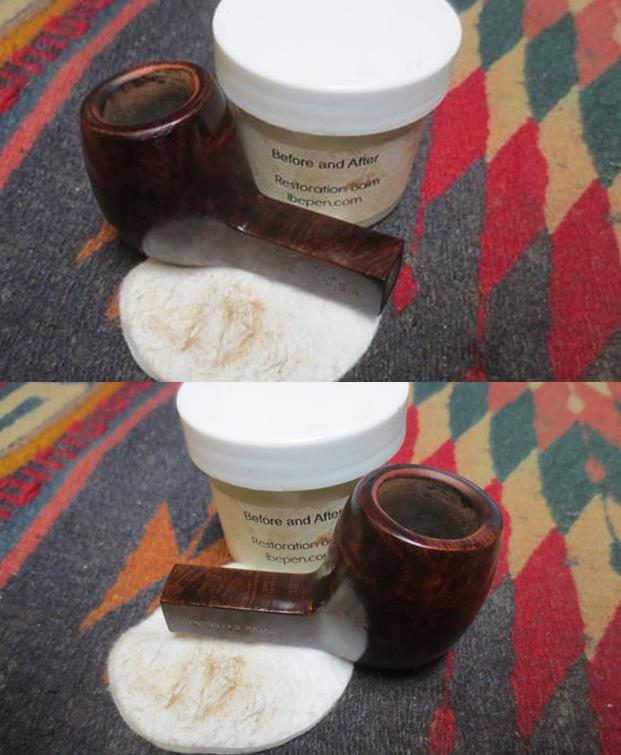
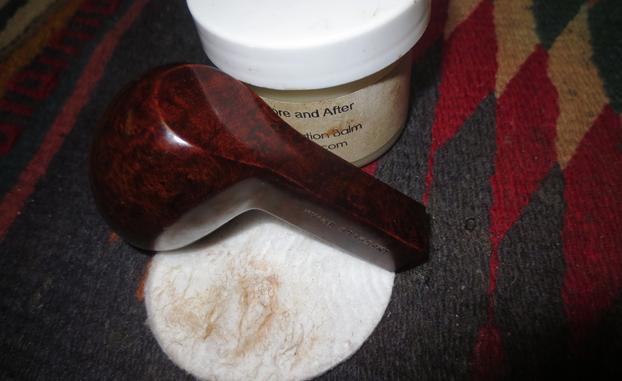
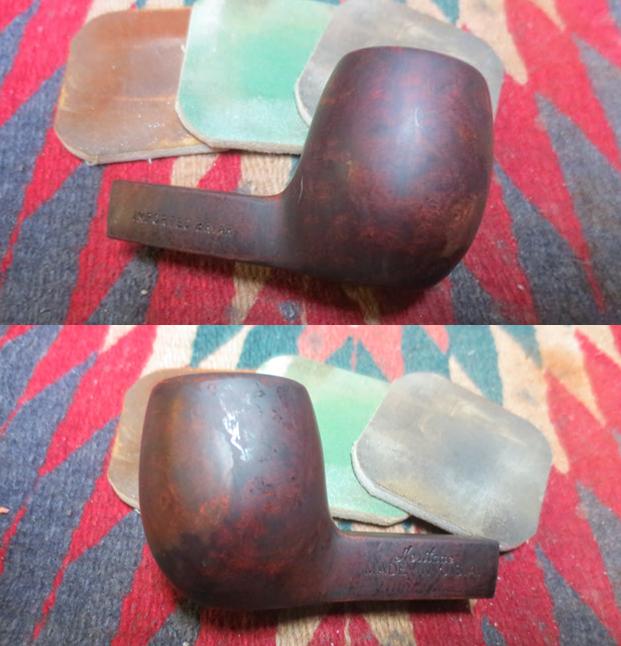
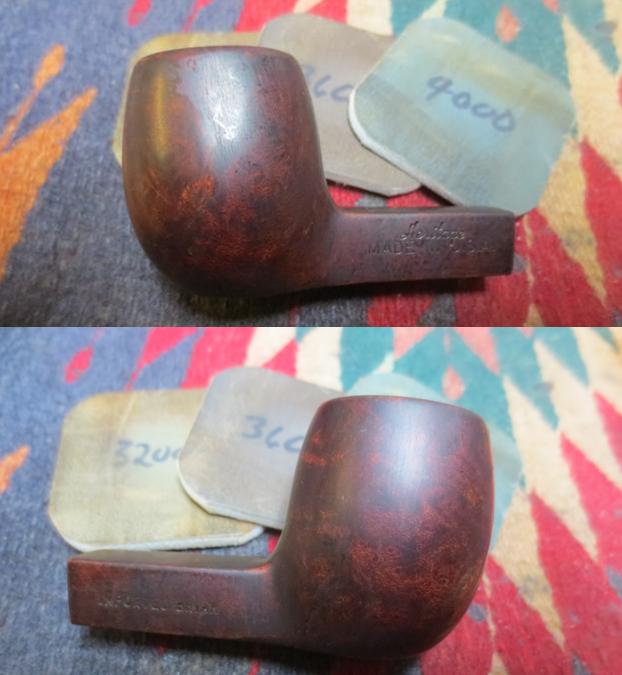
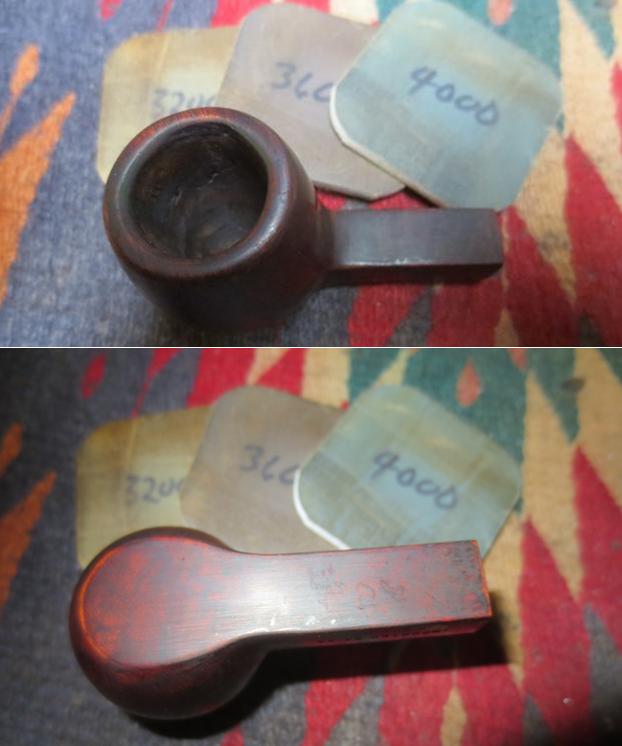
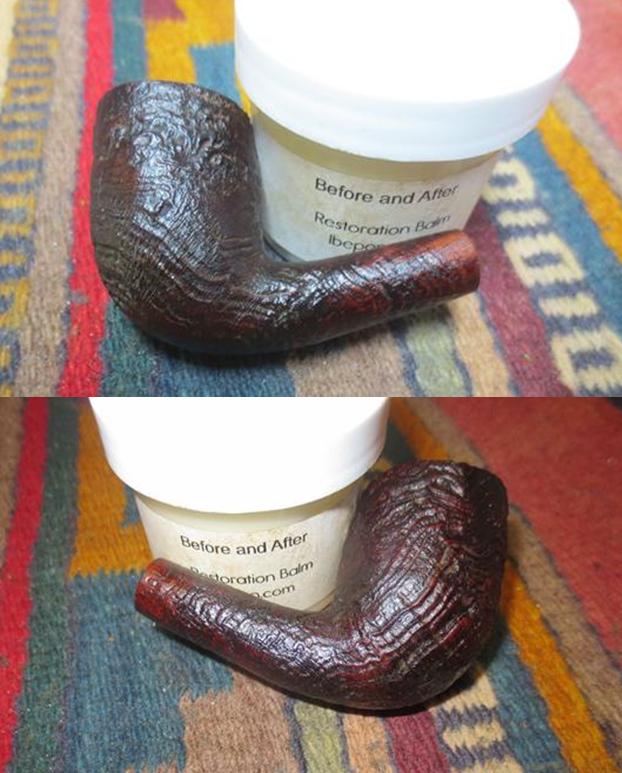
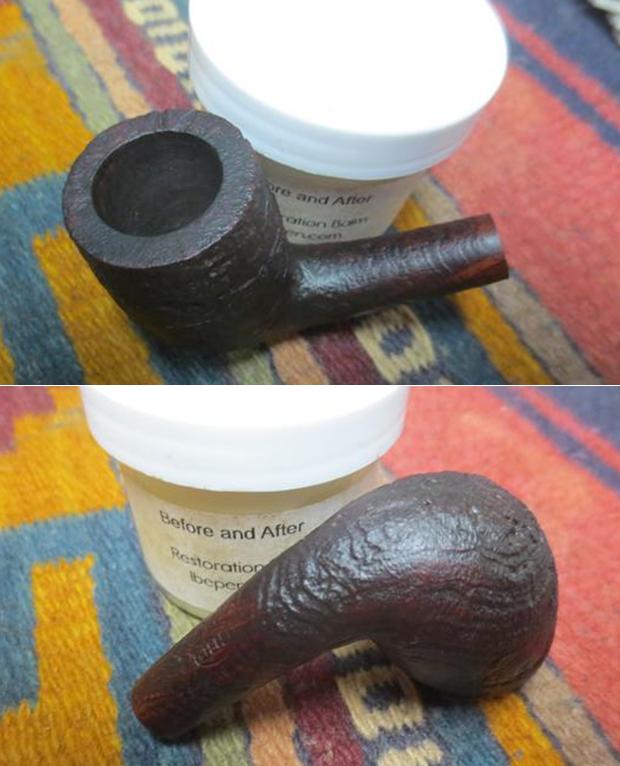
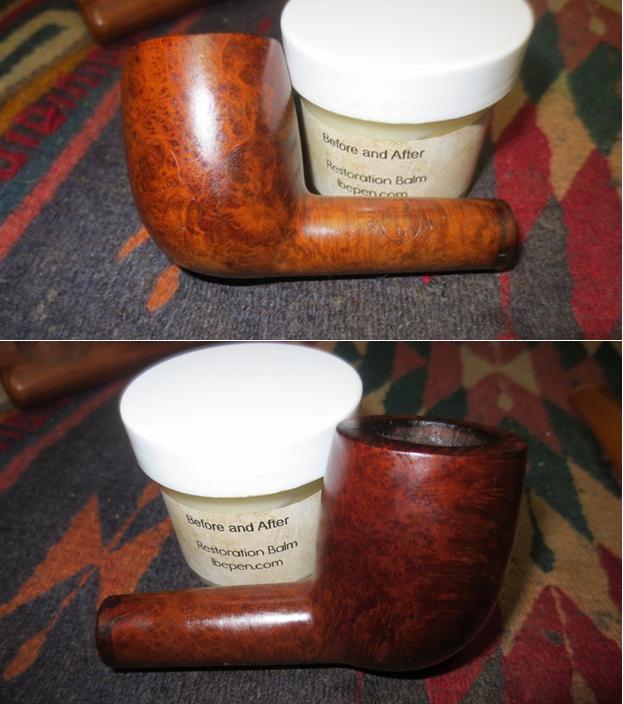
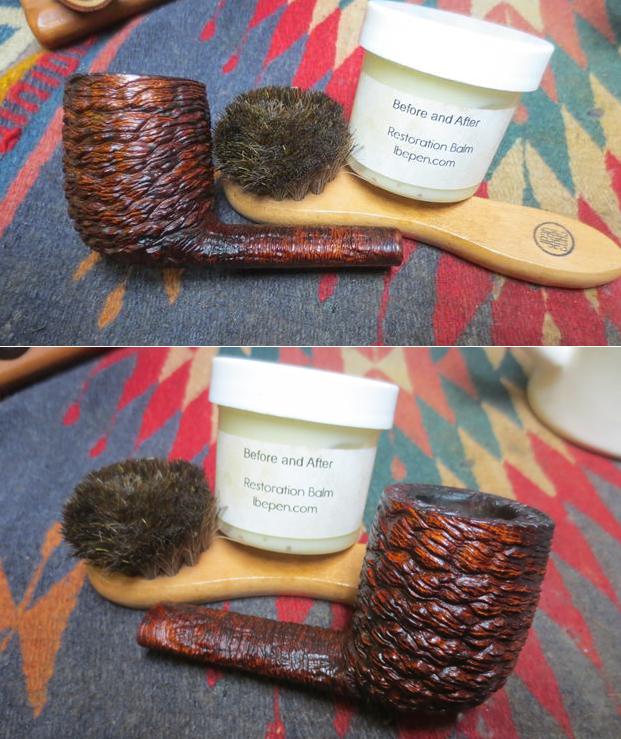
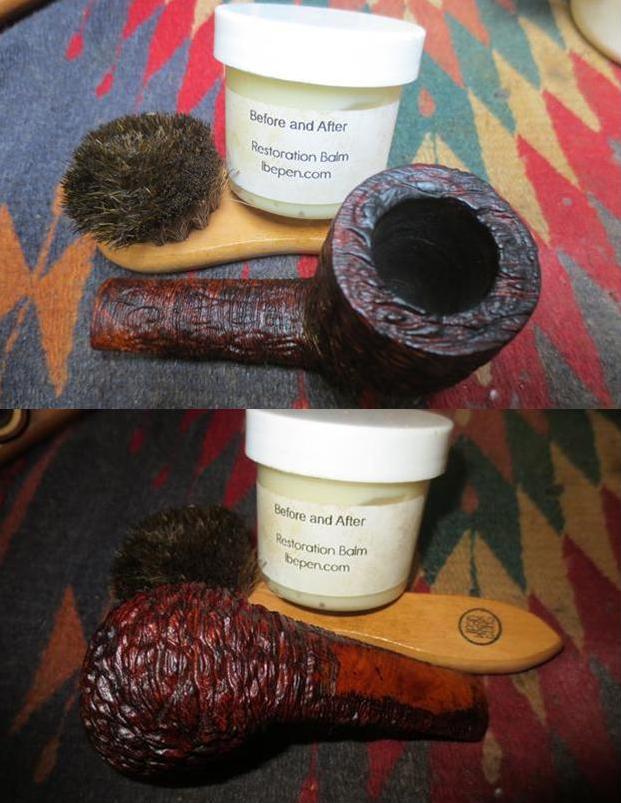
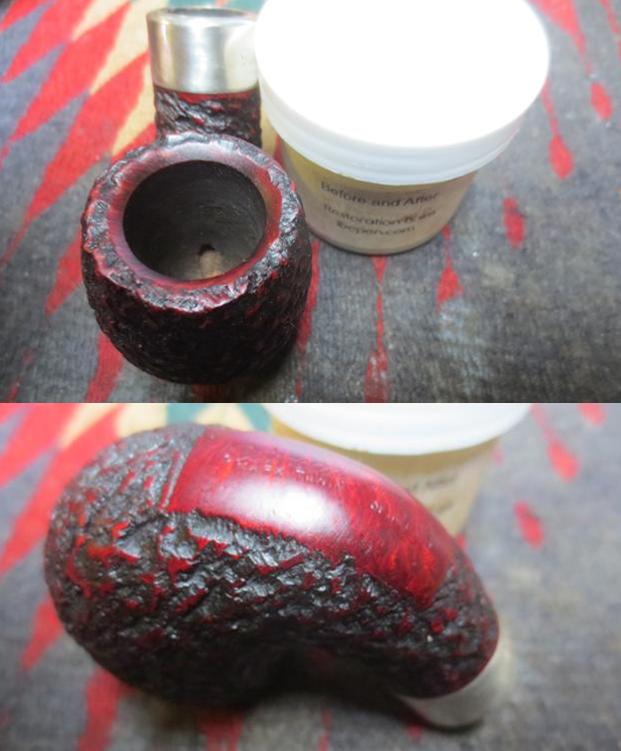
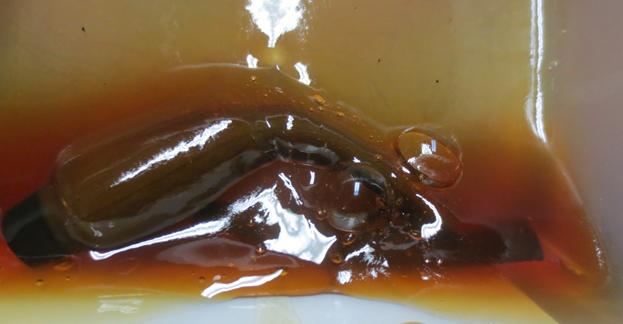 I rubbed the bowl down with Before & After Restoration Balm to clean out the deep pits and crevices of the finish and enliven and protect the briar. I hand rubbed it with my fingers and used a shoe brush to get deep into the grooves. I rubbed it off with a soft cloth and buffed it with a microfiber cloth to give it a bit of a shine. I took some photos of the bowl at this point to mark the progress in the restoration.
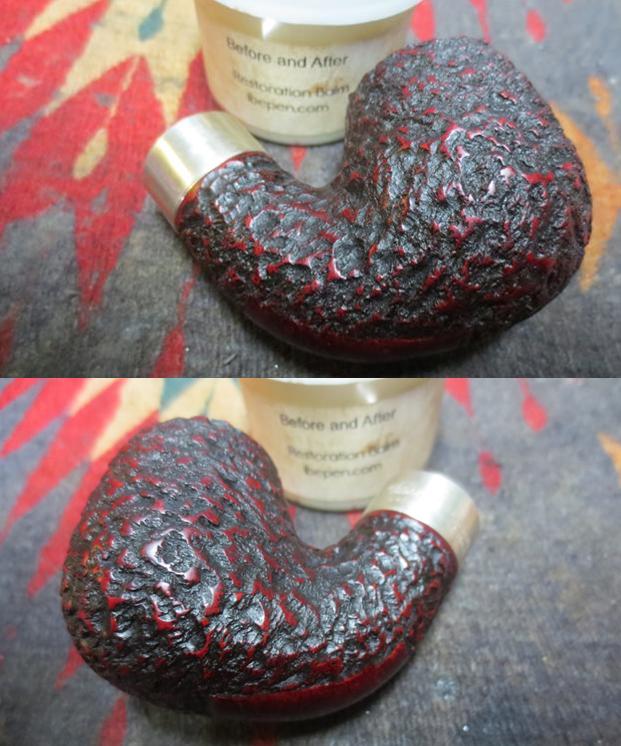
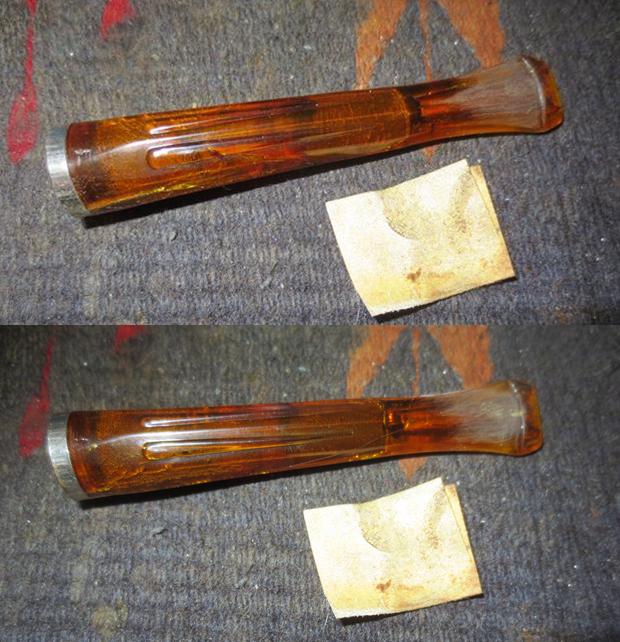
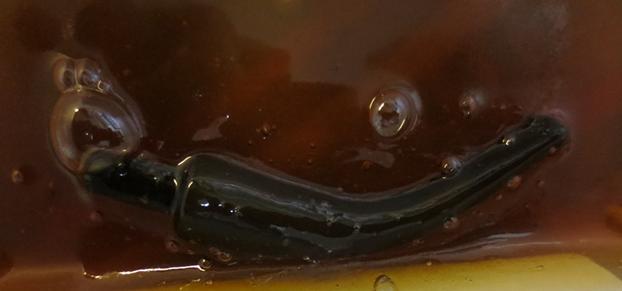
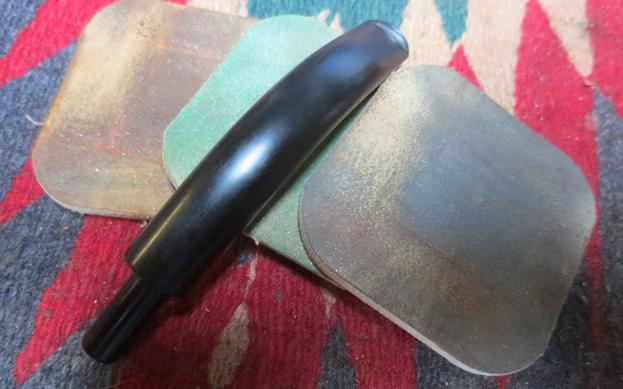
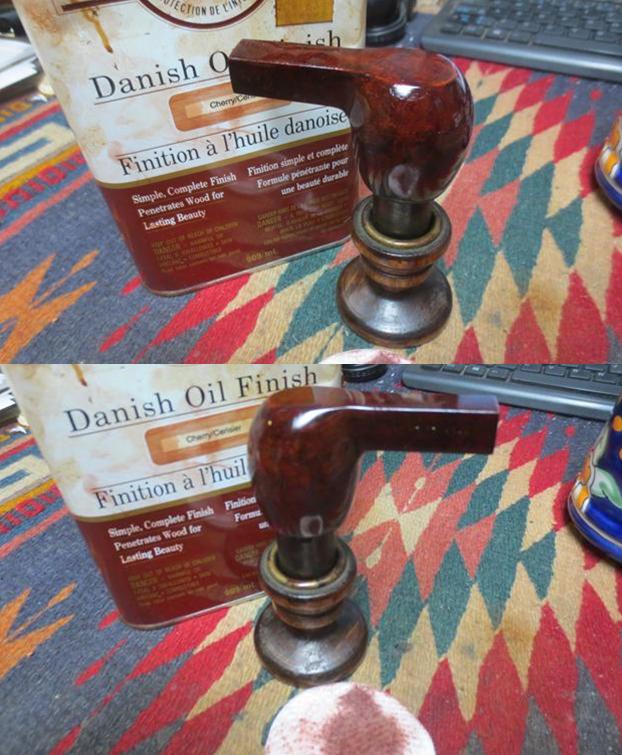
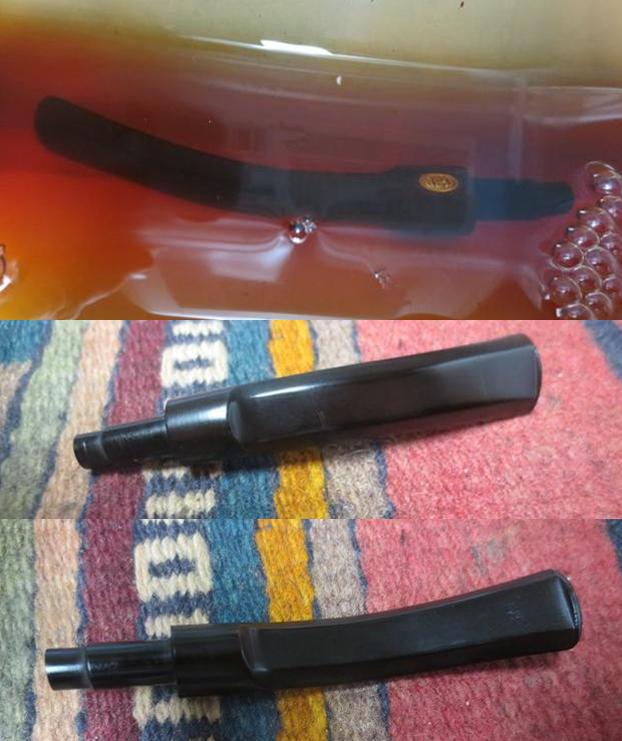
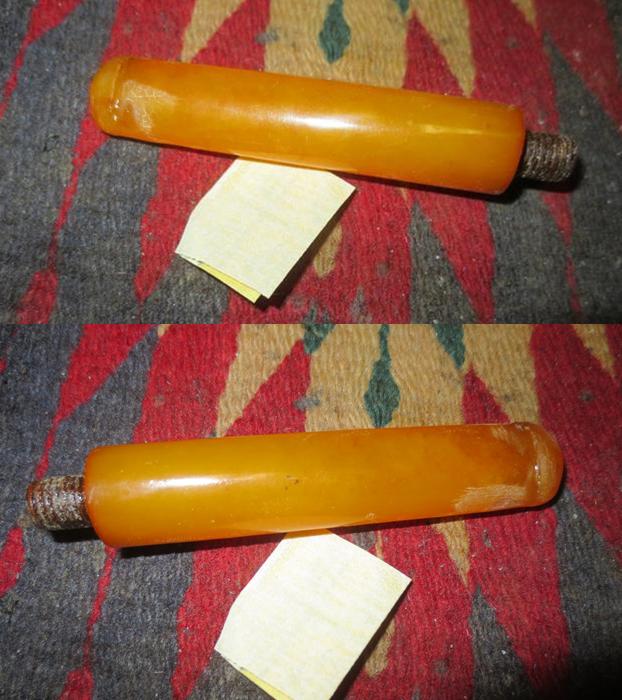
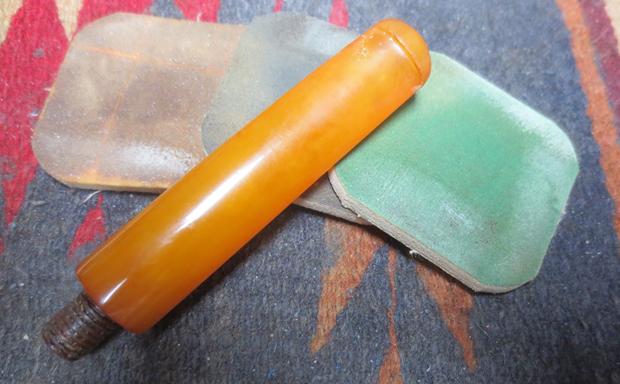
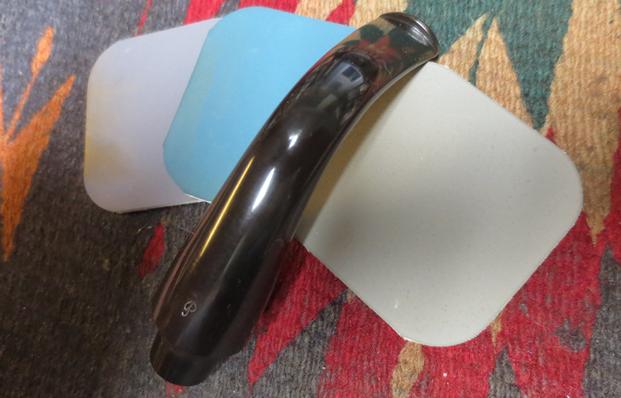
 In the morning I removed the stem from the deoxidizer and wiped off the excess deoxidizer from the surface of the stem with a paper towel. I cleaned out the airway in the stem with pipe cleaners and alcohol to remove any remnants of the bath from that part of the stem. The photos below show the stem after the soak and rub down.
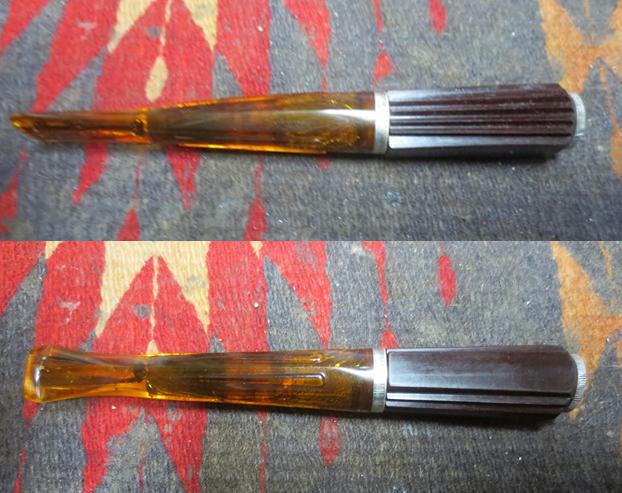
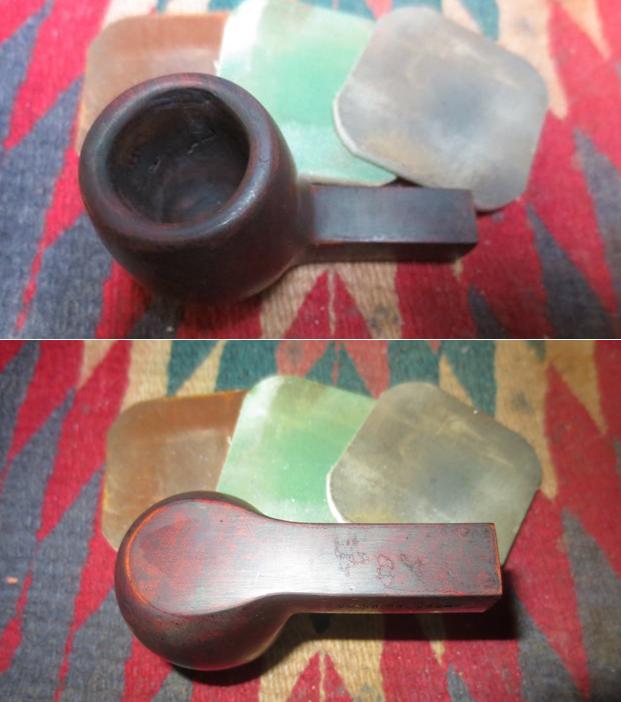
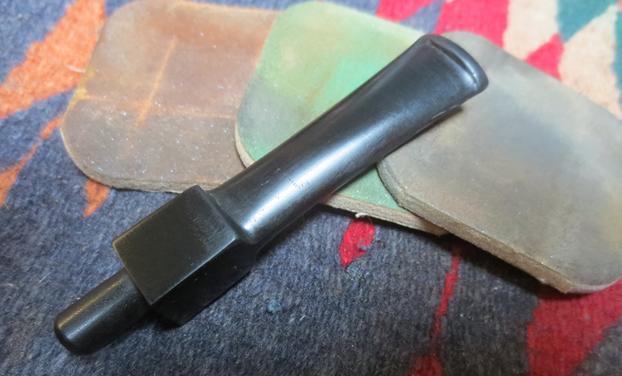
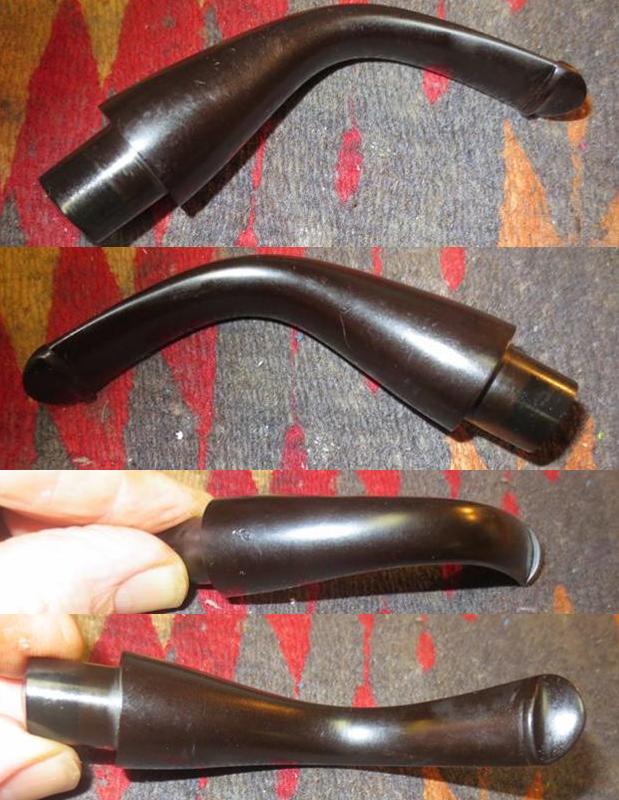 I sanded out the tooth chatter and tooth marks on both sides of the stem with 220 grit sandpaper and was able to remove all of the damaged areas.
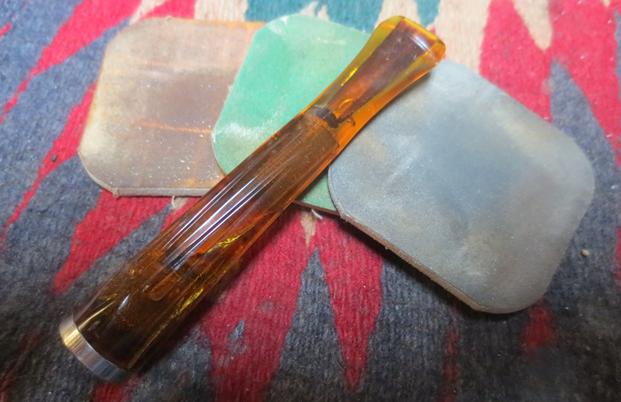
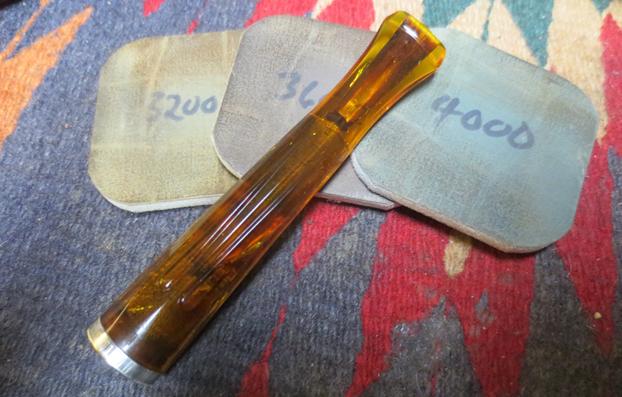
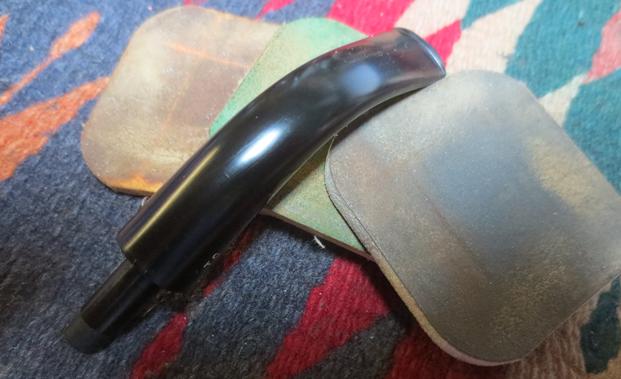
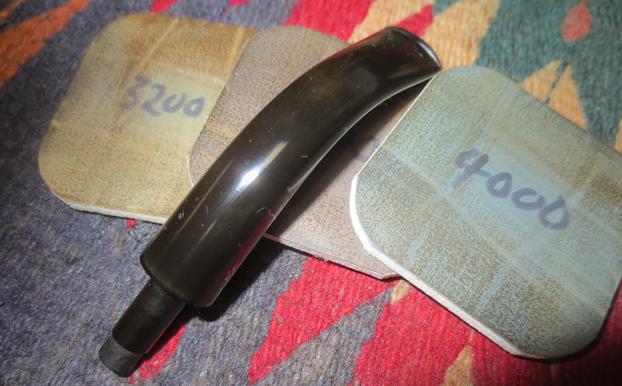
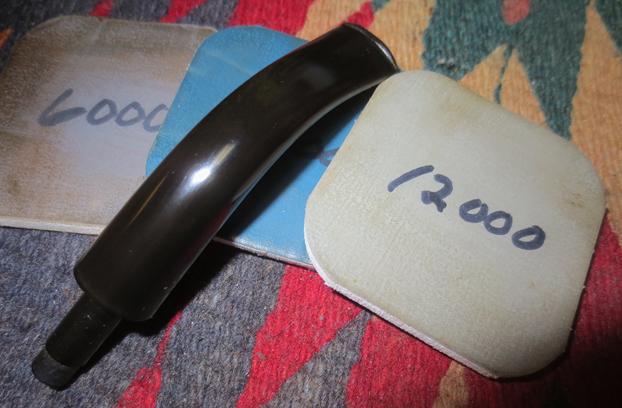
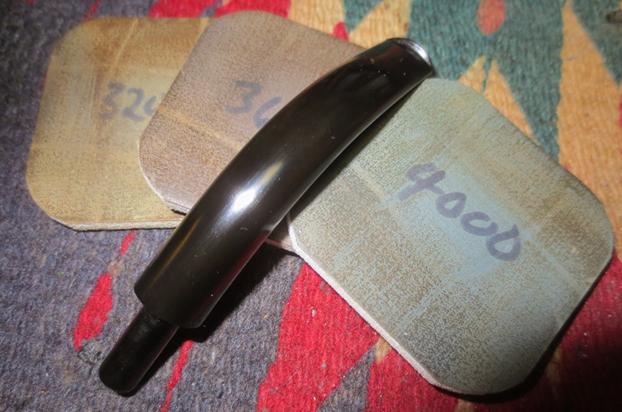
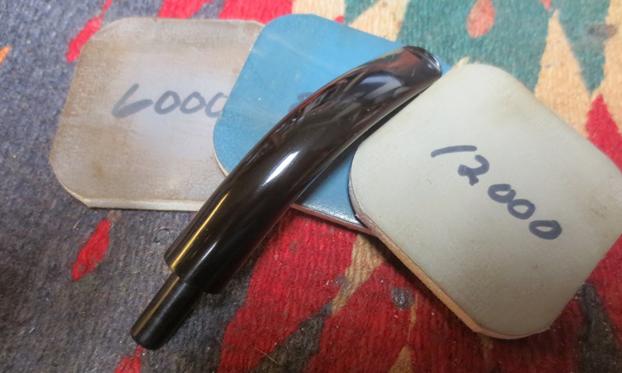
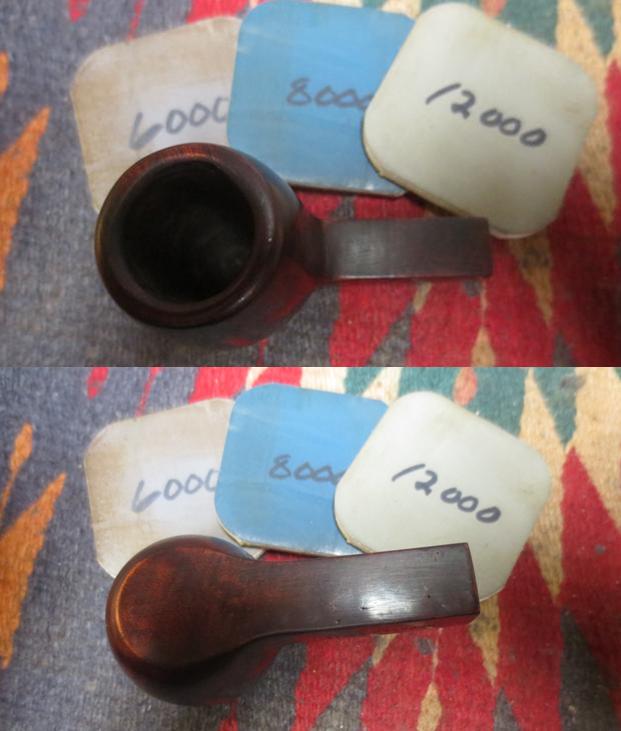
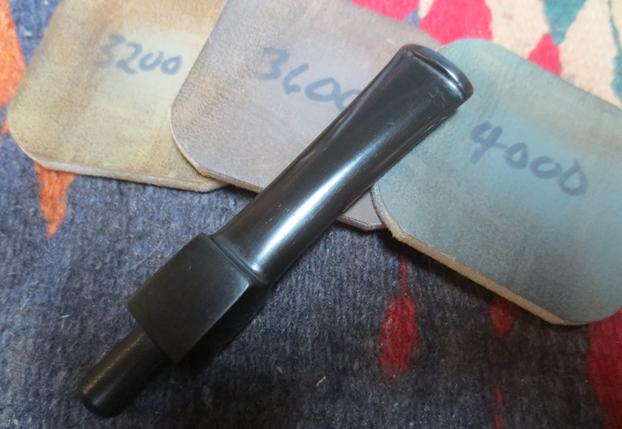
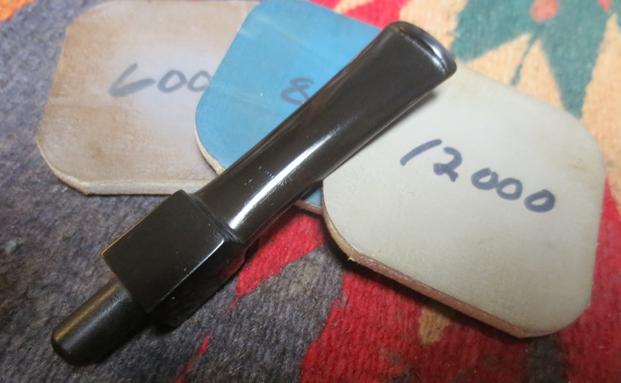
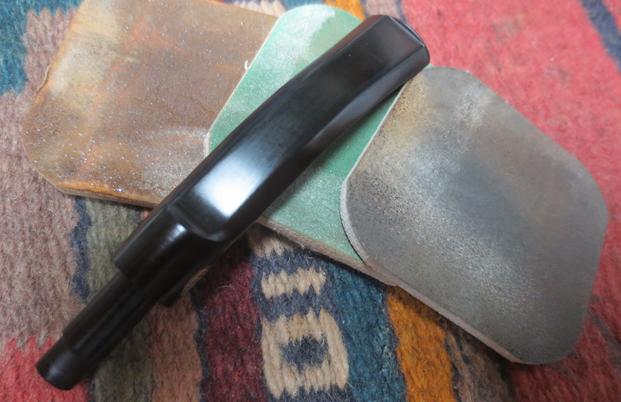
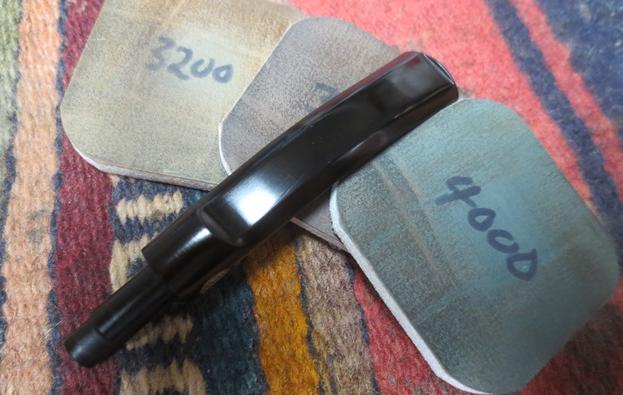
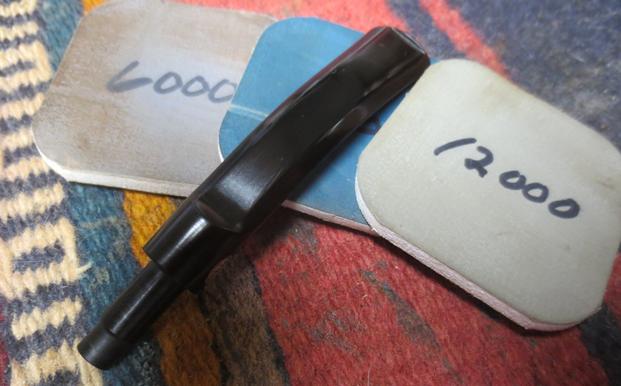
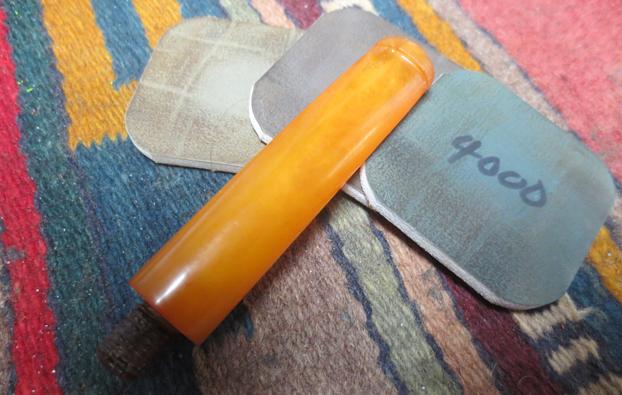
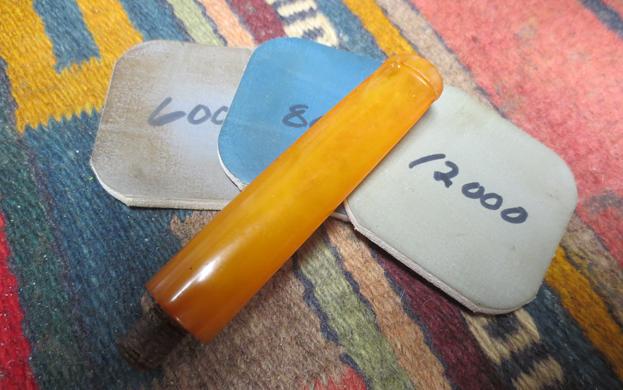
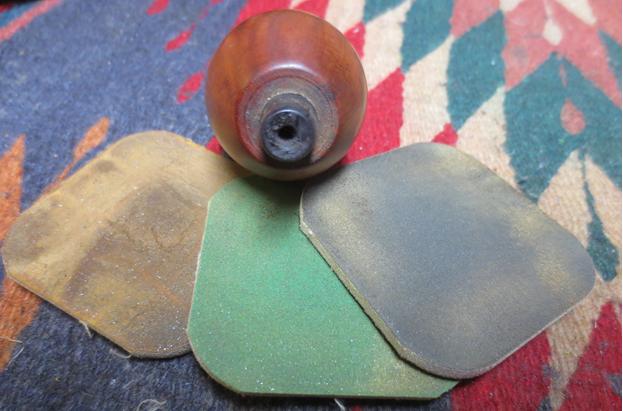
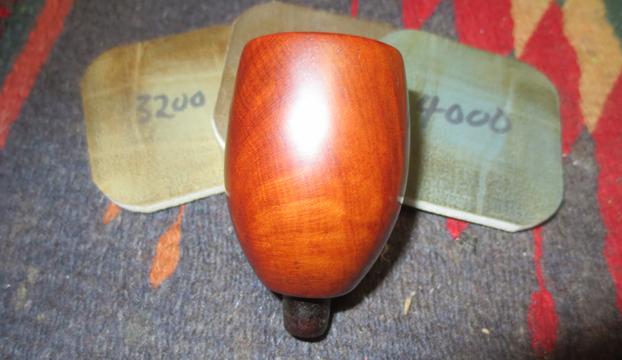
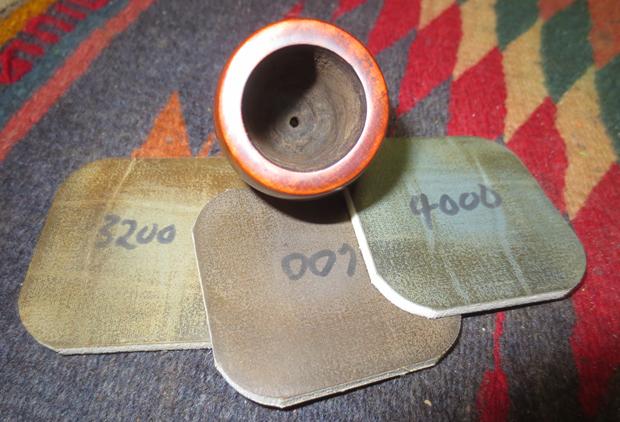
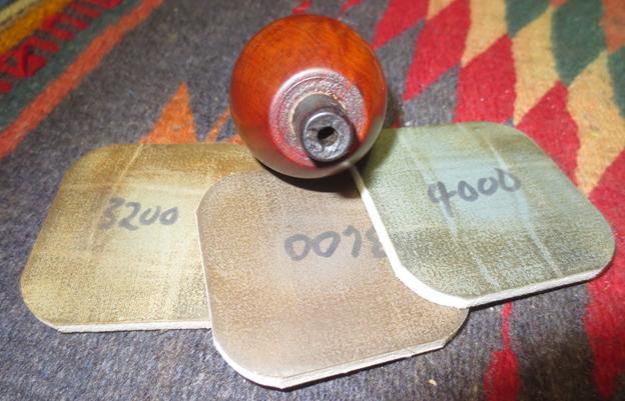
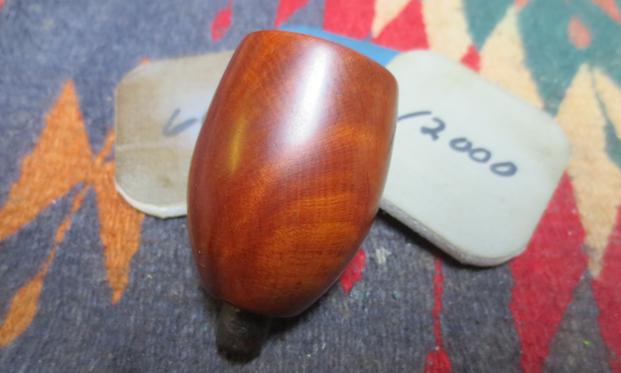
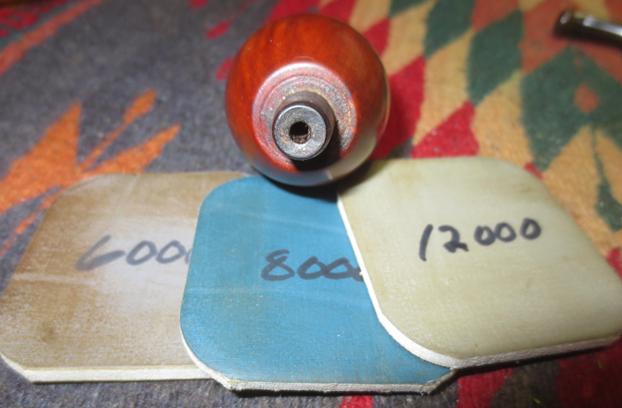
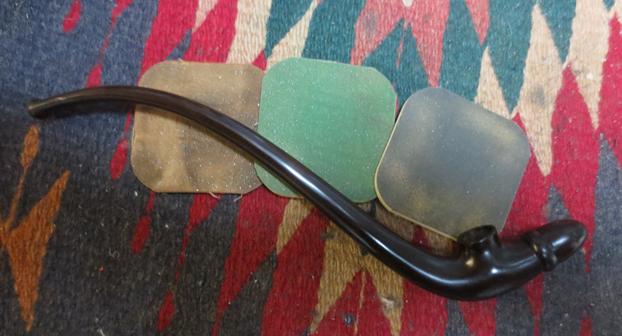
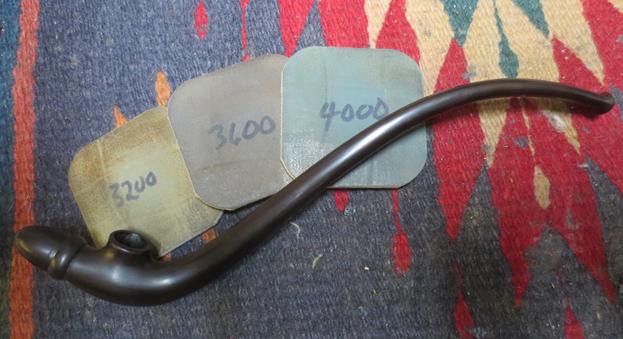
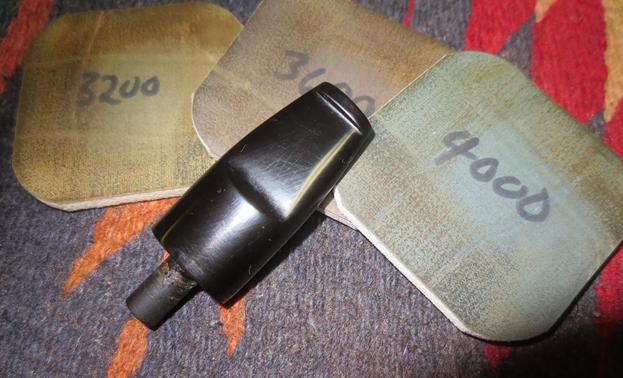
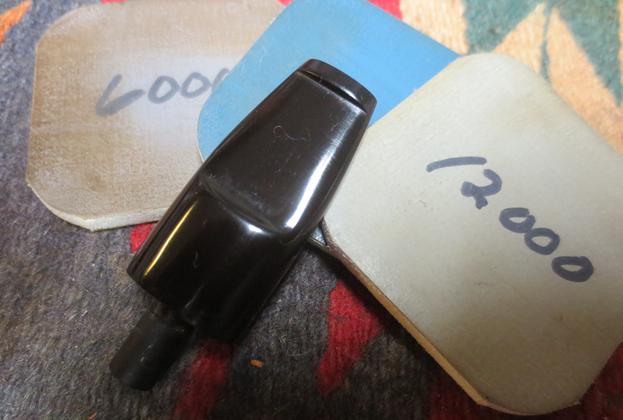
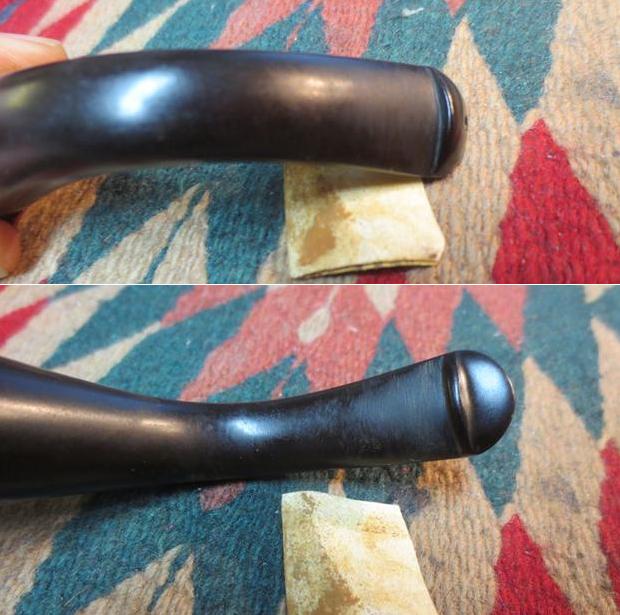 I polished out the sanding scratches and marks in the vulcanite with micromesh sanding pads – wet sanding it with 1500-2400 grit pads and dry sanding it with 3200-4000 grit pads. I wiped the stem down with Obsidian Oil after each sanding pad. I buffed the stem with Blue Diamond on the buffing wheel. I brought it back to the table and sanded it with the final three 6000-12000 grit pads. After the final pad I gave it a final coat of oil and set it aside to dry.
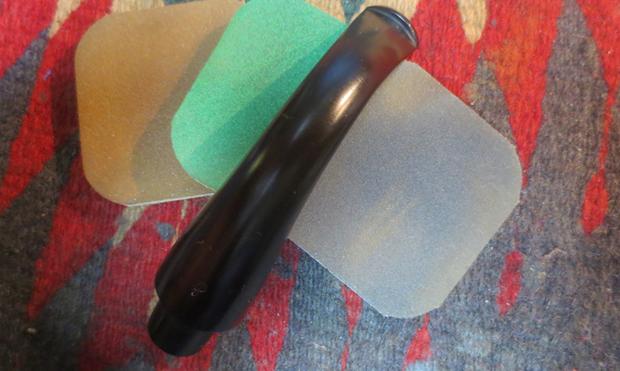
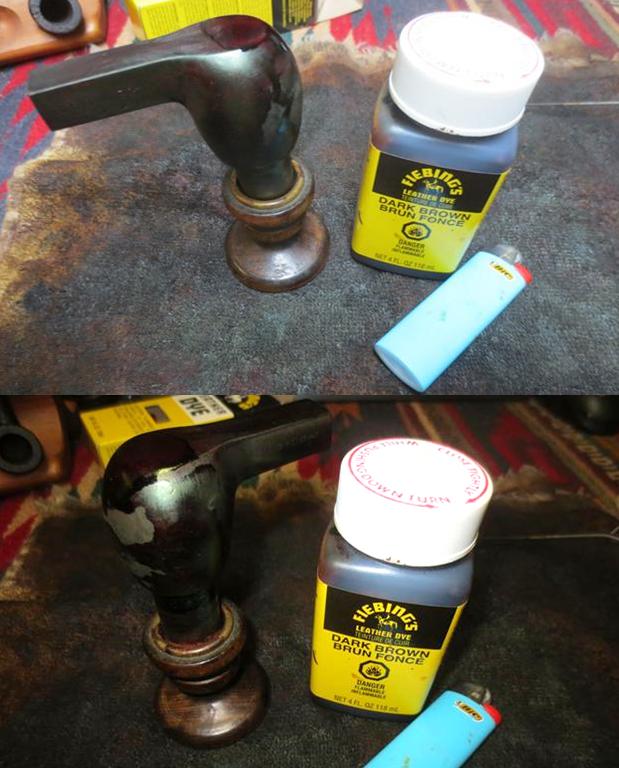
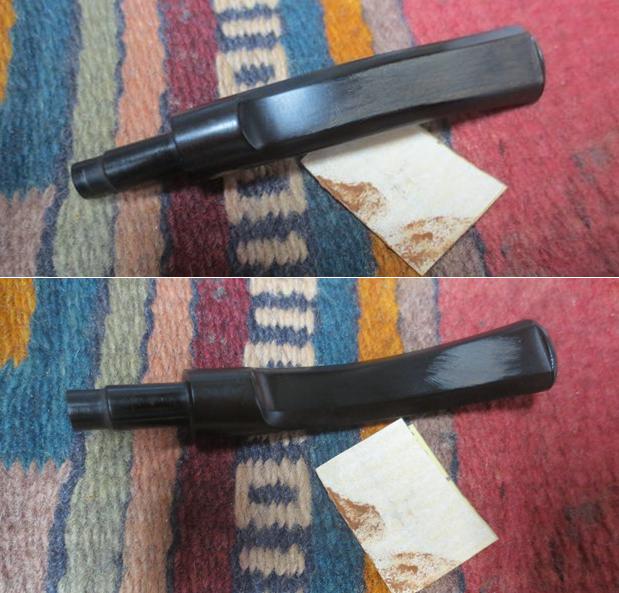
 I used some acrylic paint to touch up the stamping on the stem. I puddled the paint over the stamping with small paint brush. Once the paint dried I polished it off with a cotton pad and 6000-12000 grit micromesh sanding pads.
 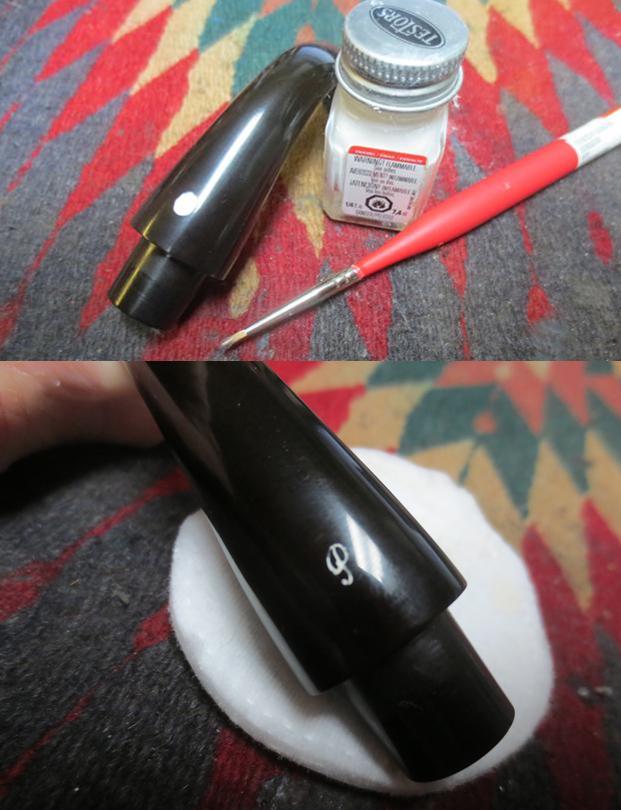 I polished the silver band with a jeweler’s cloth to remove any tarnish and polish the band to a rich shine. The stamping really stood out with the polishing.
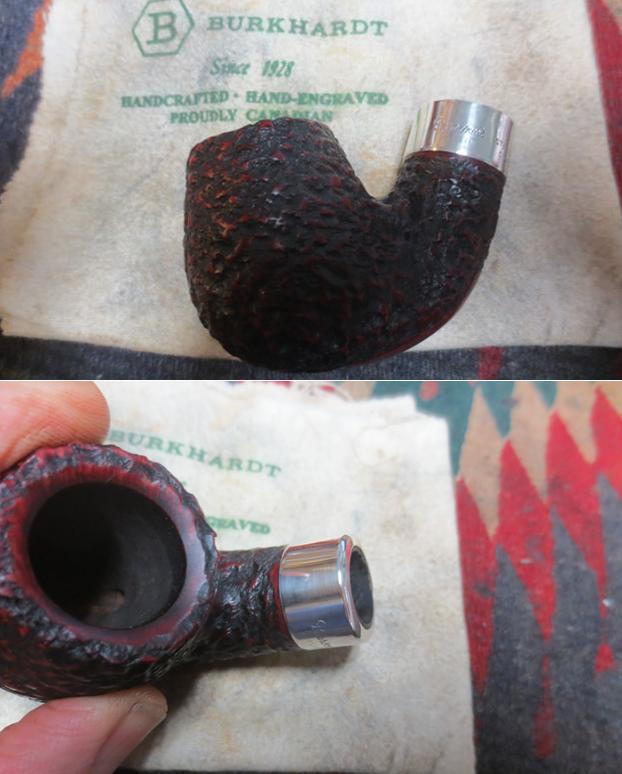
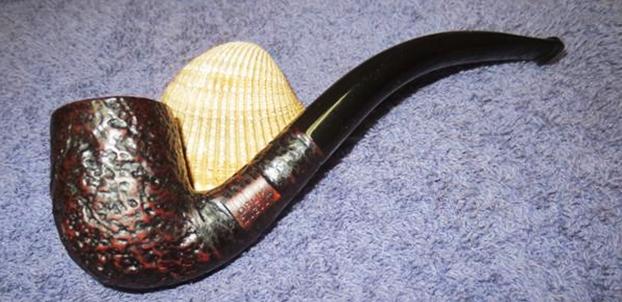
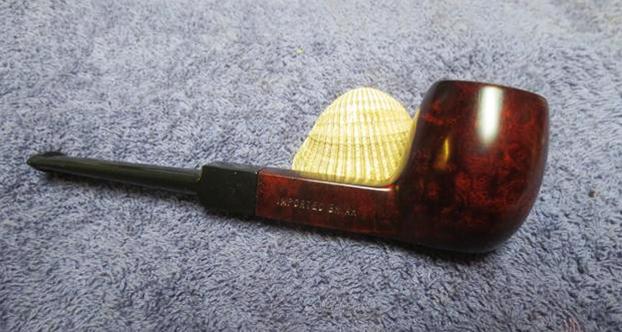
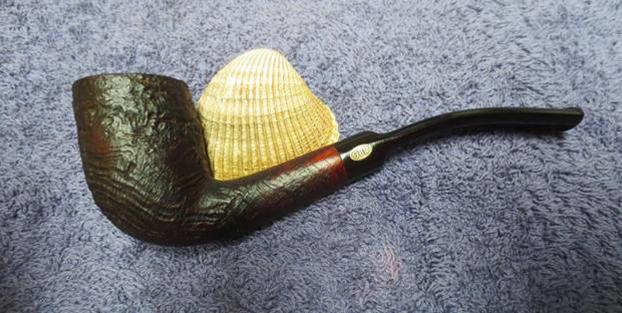
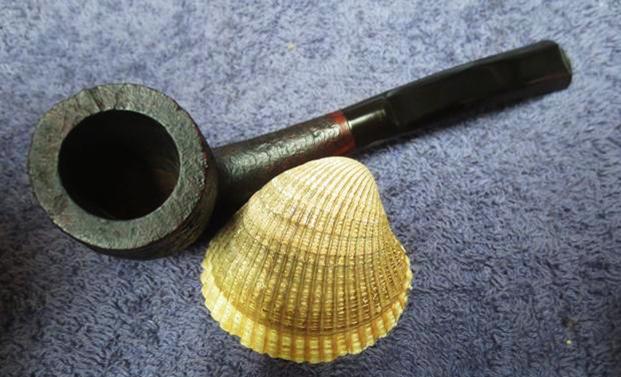
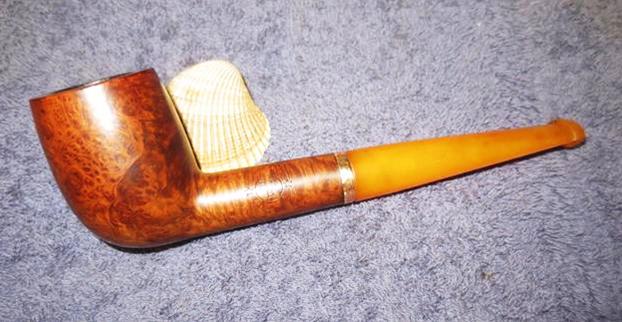
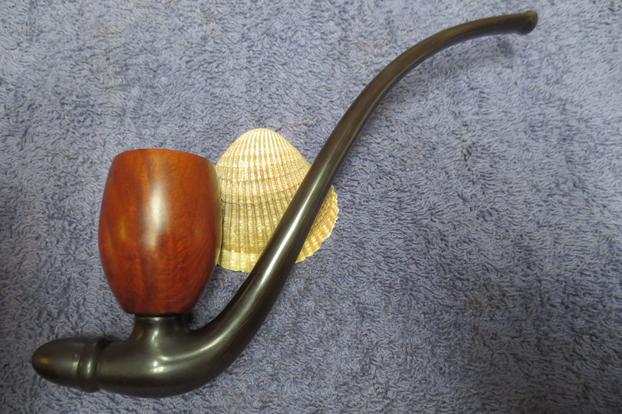
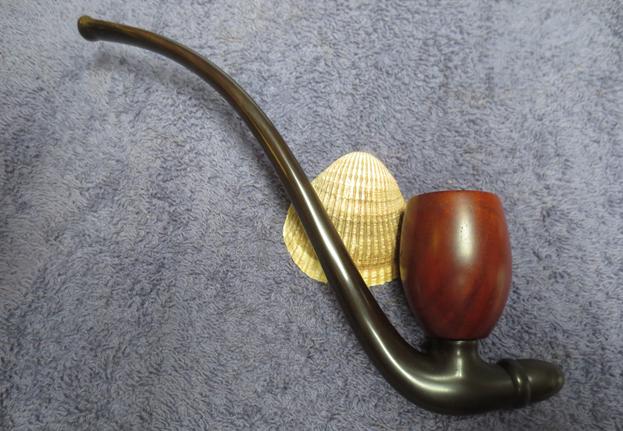
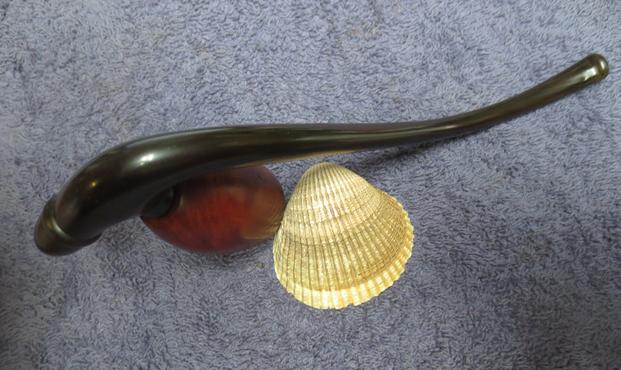
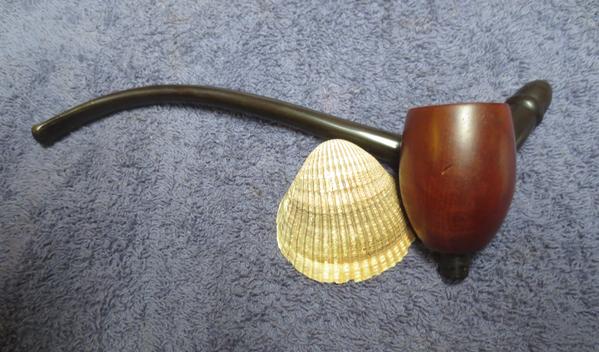
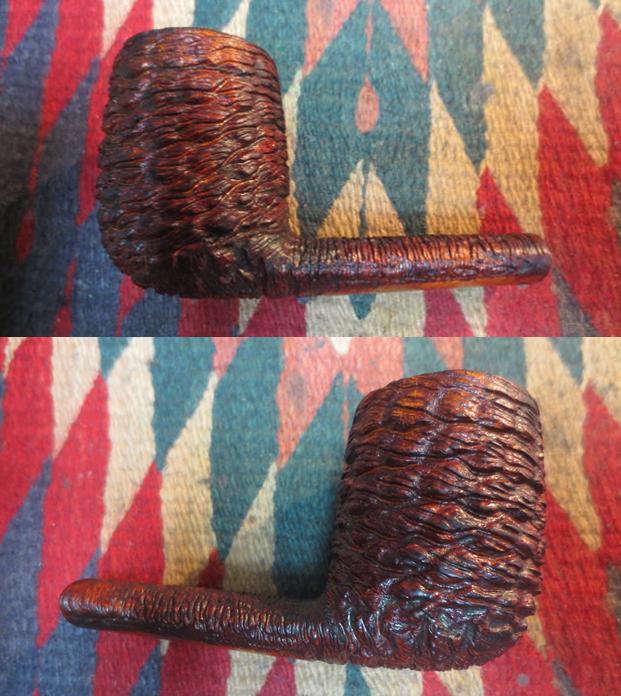
 I put the stem back on the bowl and worked the pipe over on the buffing wheel using Blue Diamond to polish the bowl and shank. I used a gentle touch on the rusticated briar when I was buffing it so that the nooks and crannies of the rustication would not be filled in and make more work for me. I buffed the stem with a harder touch to raise the gloss on the rubber. I gave the bowl multiple coats Conservator’s Wax and buffed it with a shoe brush. I gave the stem multiple coats of carnauba wax. I buffed the entire pipe with a clean buffing pad to raise the shine. I hand buffed it with a microfiber cloth to deepen the shine. The finished pipe is shown in the photos below. The combination of brown and red stain on the rustication and smooth rim and base of the pipe along with the rich black of the vulcanite stem make this an interesting and beautiful pipe. The dimensions of the pipe are: Length: 6 1/2 inches, Height: 2 inches, Diameter of the bowl: 1 3/8 inches, Diameter of the chamber: 7/8 inches. I will be adding this one to the rebornpipes store shortly if you are interested in adding it to your collection. It will make a fine addition to the rack. If you are interested email me at slaug@uniserve.com or send me a message on Facebook. Thanks for looking.