Blog by Paresh Deshpande
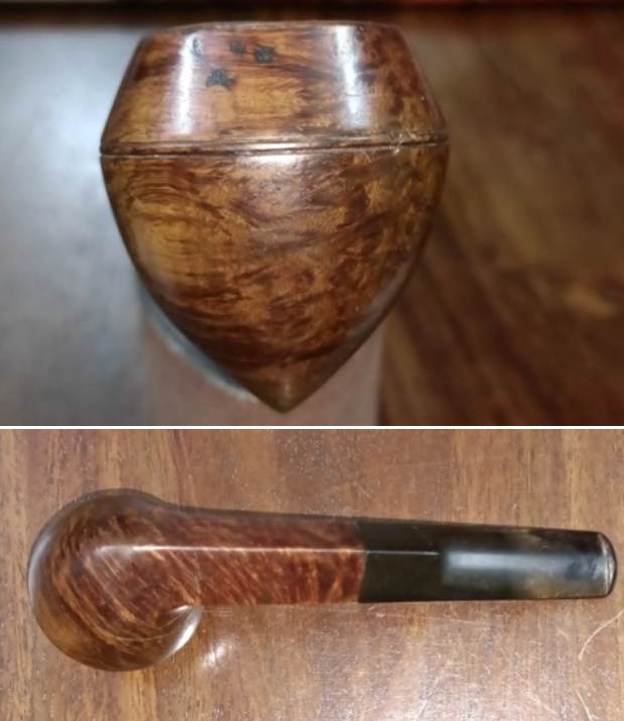
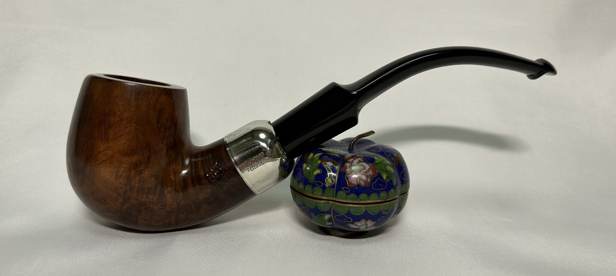
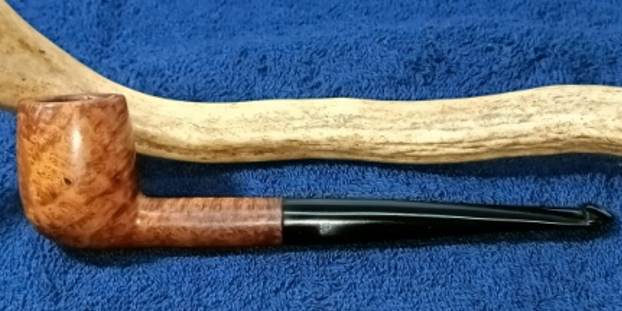
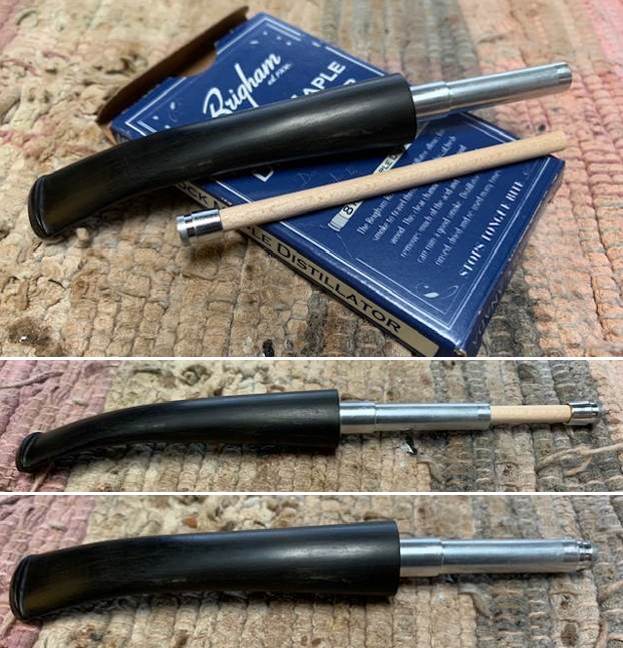
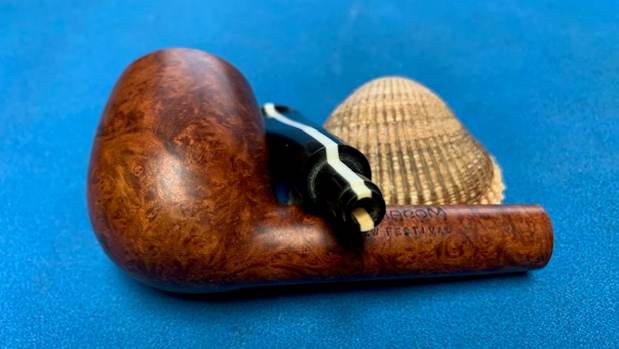
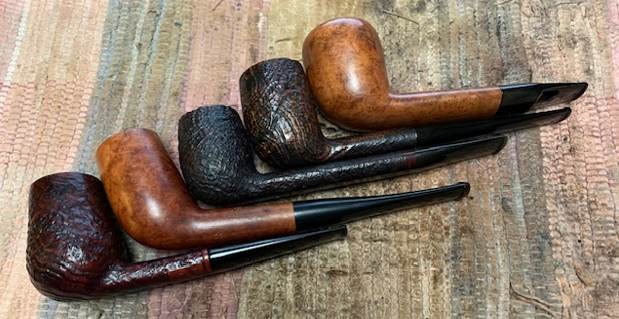
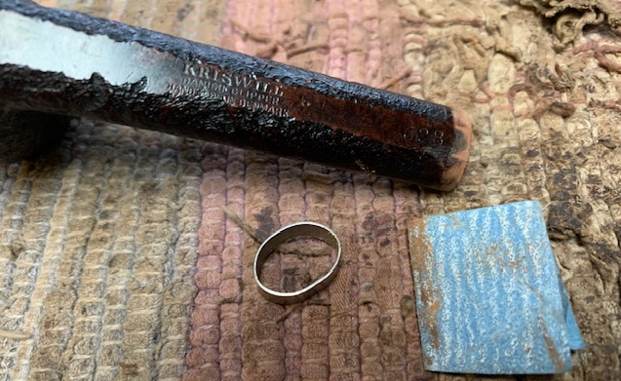
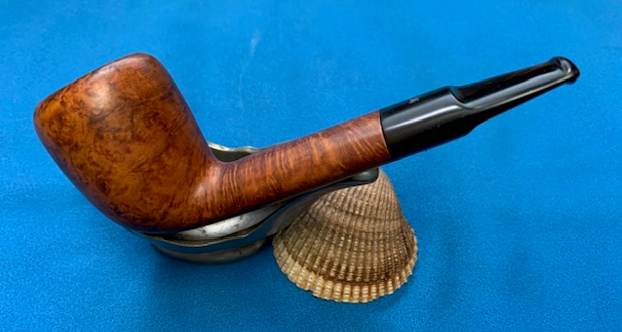
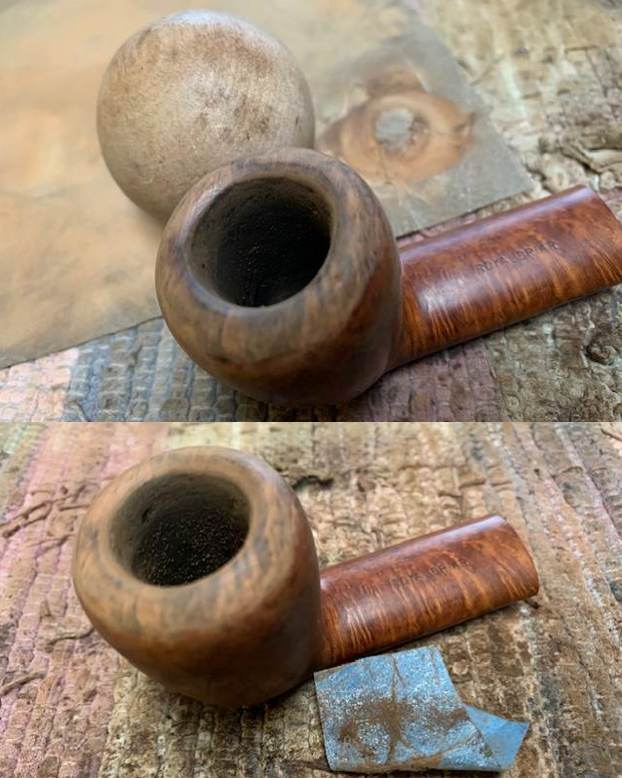
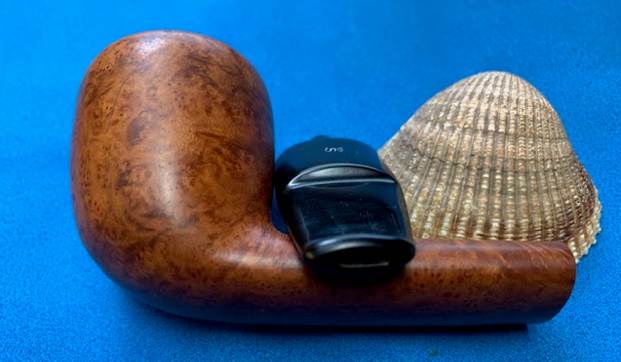
During the summer of last year while browsing on Pinterest, I came across pictures of some beautiful pipes and following the links led me to an old gentleman from the UK who was willing to sell these pipes either single or as a lot. There were around 60 odd pipes. I went through the pictures that were sent along with the rates and selected 10 pipes. After a prolonged and interesting interaction, we managed to arrive at a price point. Soon these pipes landed on the shores of India and went in to Customs hold for nearly a month. Finally, it was released and I laid my hands on these pipes after a wait of nearly 3 months! Here is a picture that I had taken moments after opening the parcel. I had restored a BARLING’S MAKE pipe from this lot earlier (indicated with a yellow pointer) and the next pipe that I have selected, again from this lot is a SMcL (indicated with a fluorescent green pointer) bent billiards with squared shank and horn stem.
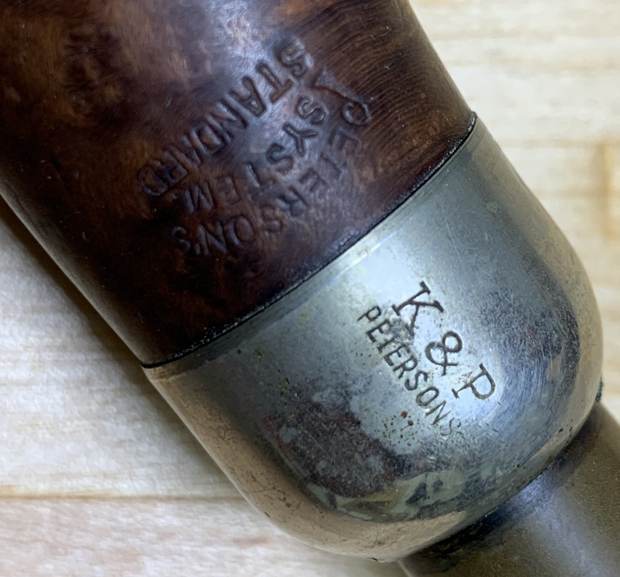
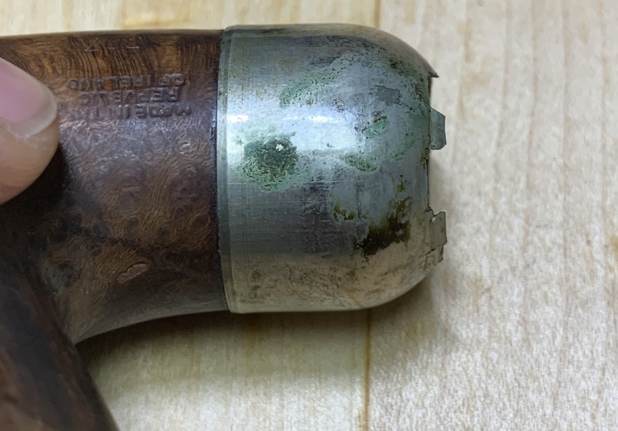
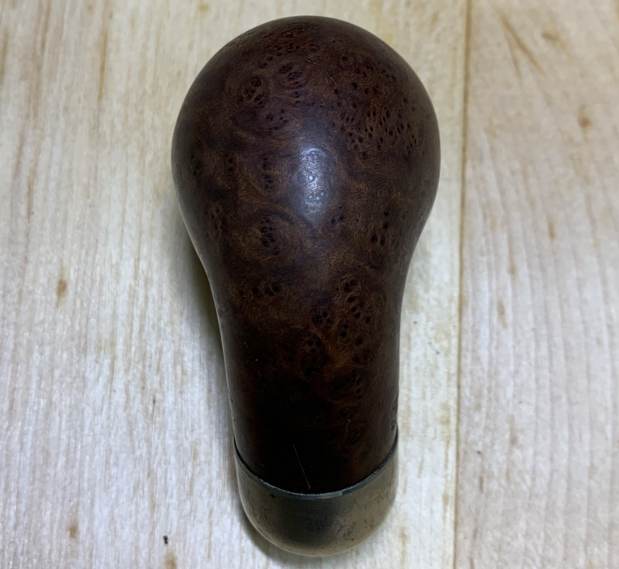
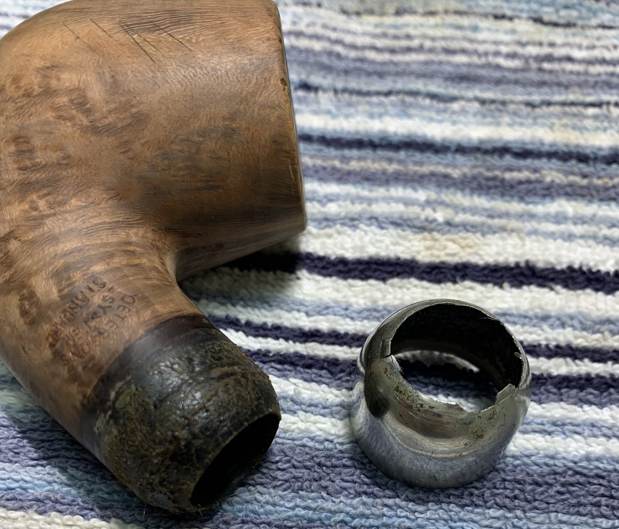
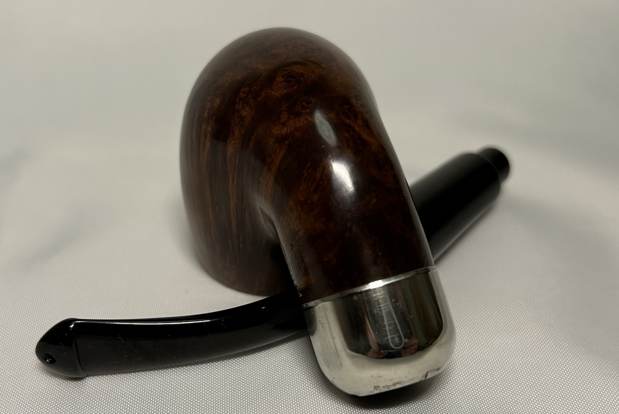
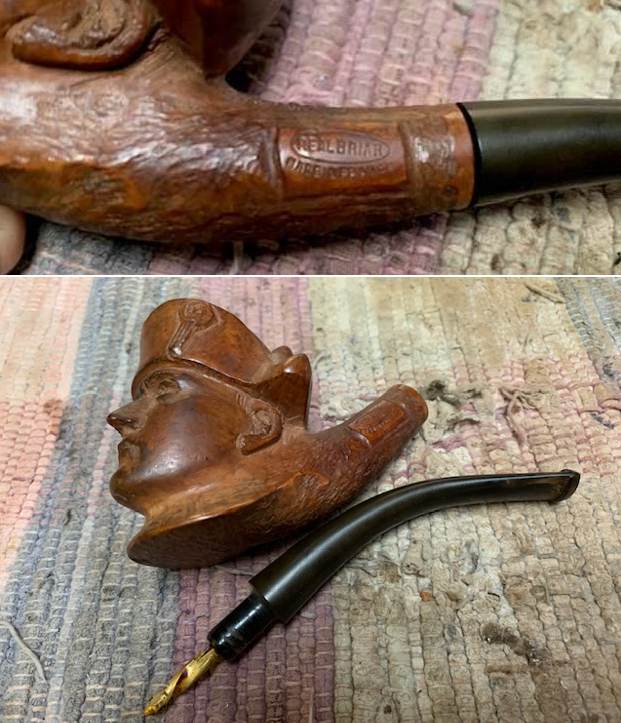
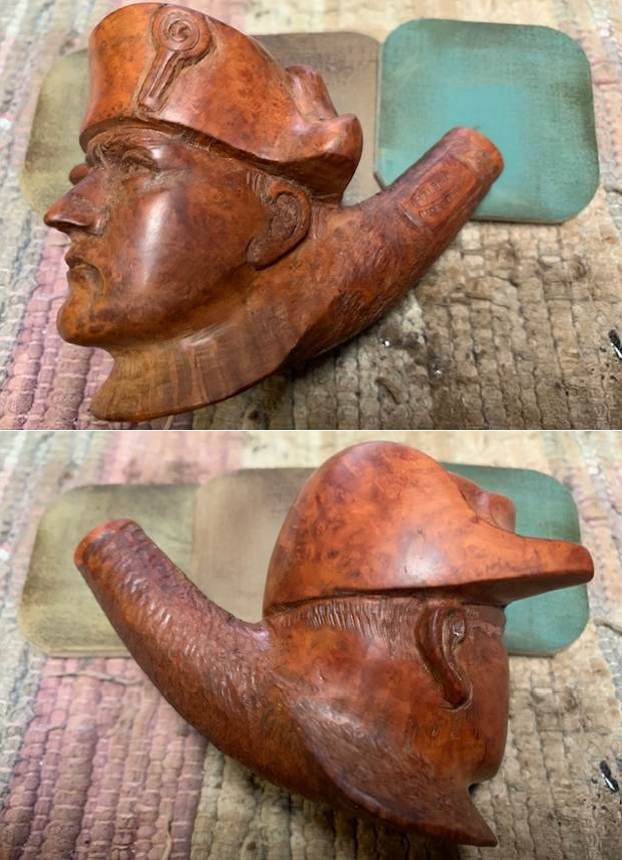
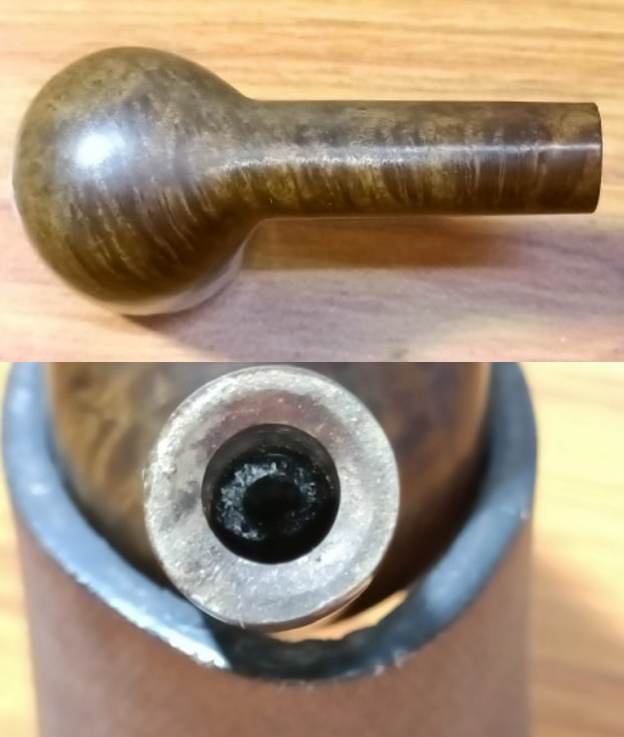
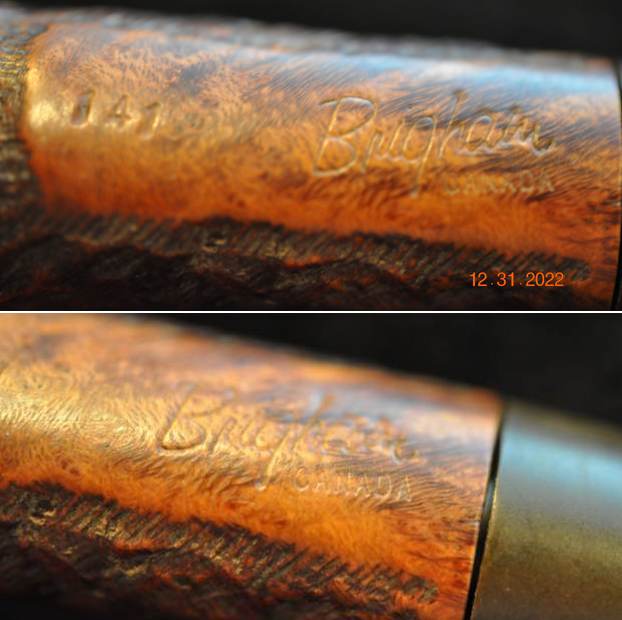
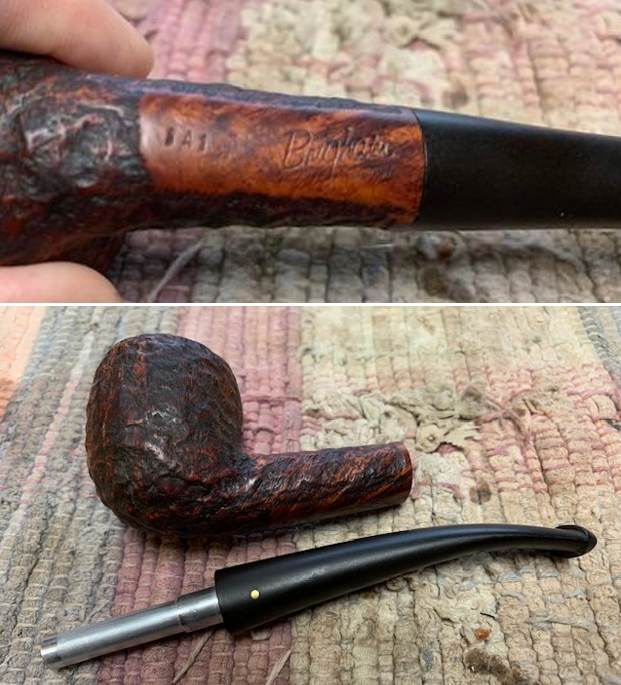
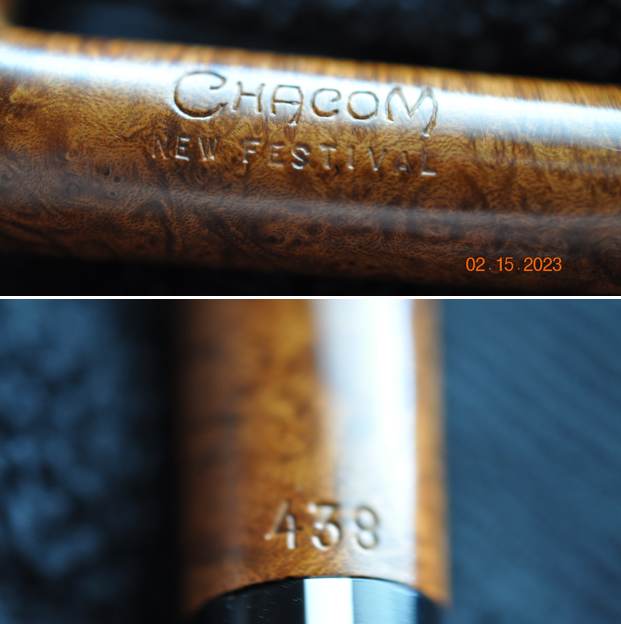
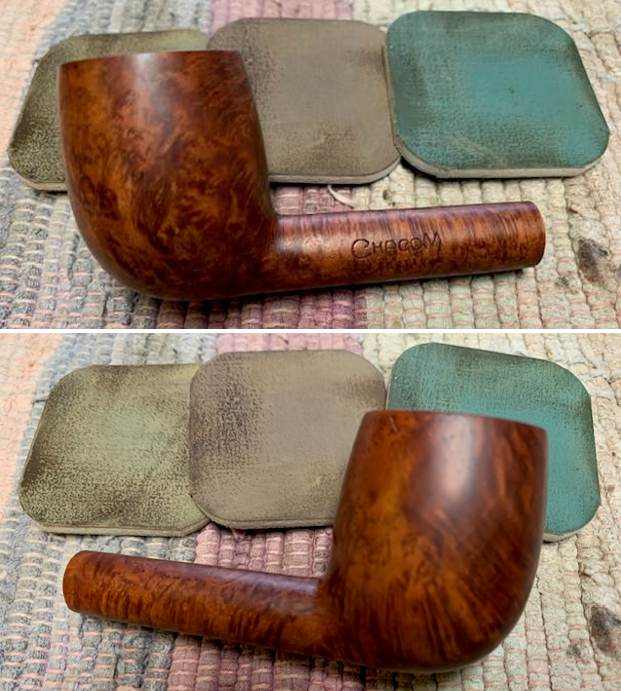
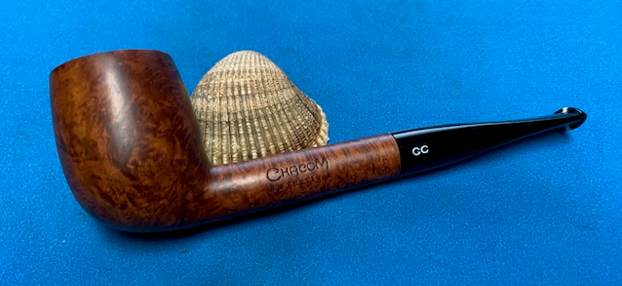
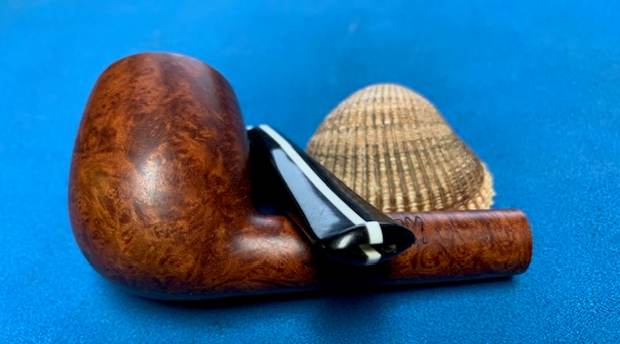
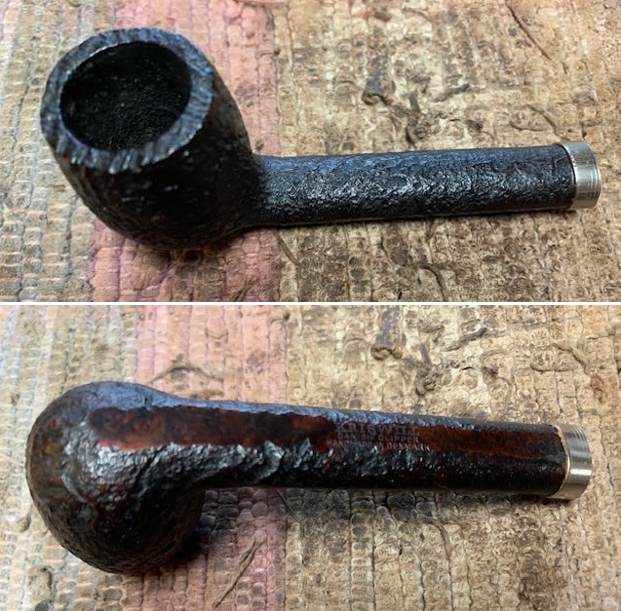
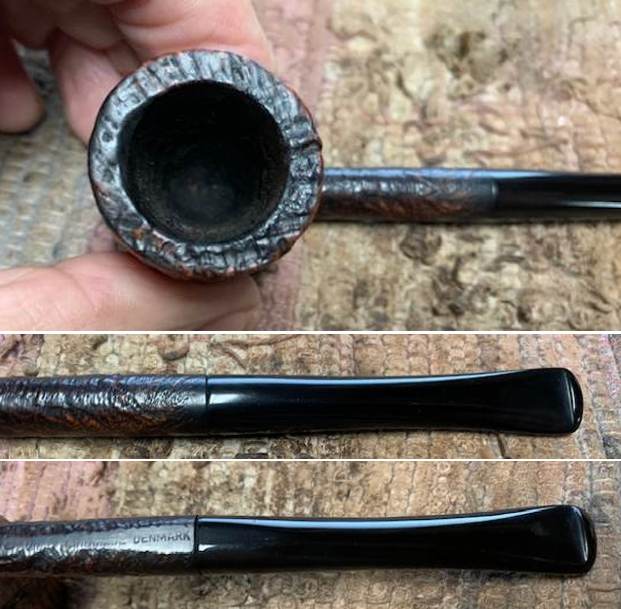
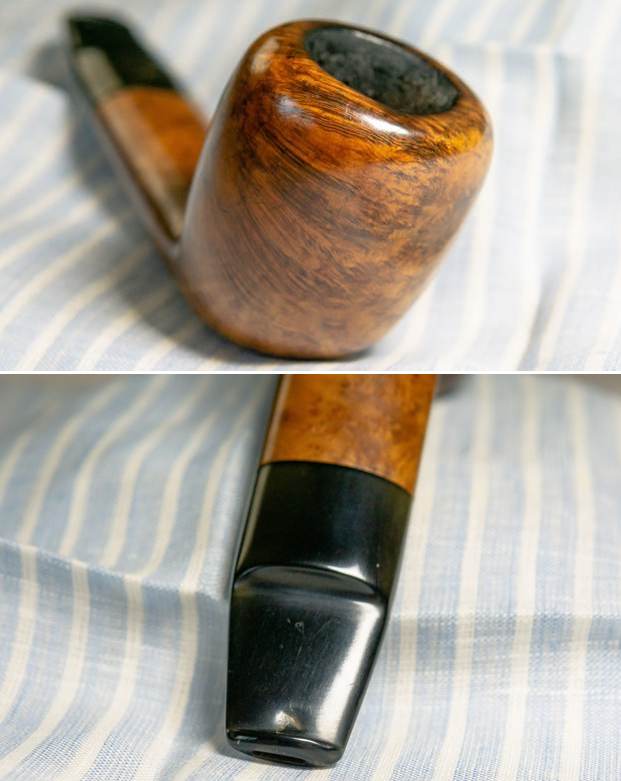
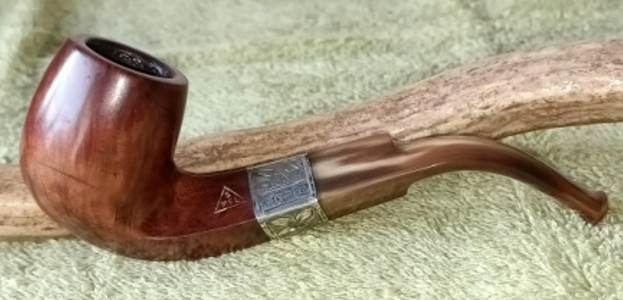
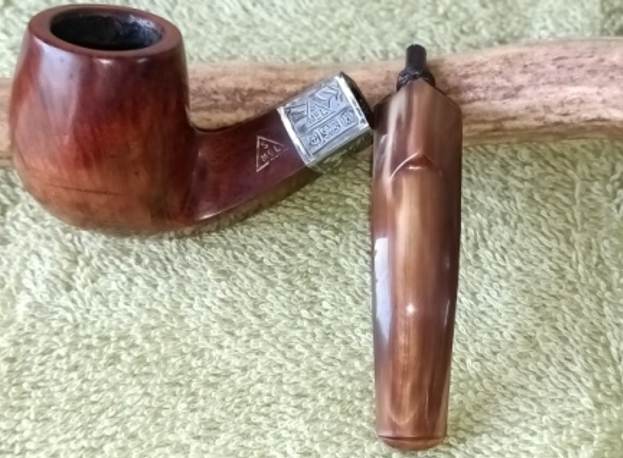
 The pipe is a classic Bent Billiards with a square shank and a saddle horn stem with a threaded tenon. It is a typical English shaped quaint sized pipe with a nice hand feel and a light weight that makes it comfortable for clenching. It has a hallmarked silver band with filigree at the shank end. The silver filigree is stamped as “SMcL” in a triangle over three sterling silver hallmarks. From right to left the first cartouche is with a date code letter “b” followed by a cartouche with LION PASSANT certifying silver quality and the last cartouche contains the “Anchor” of the Birmingham Assay Office. The shank is likewise stamped with SMcL in a triangle in golden color while the horn stem is devoid of any stampings.
 This brand though faintly familiar to me through various reads and mentions, I haven’t ever worked on a pipe from this manufacturer and neither researched this old British marquee. I decided to follow the trail along the silver filigree ferrule at the shank end bearing the hallmarks. I visited www.silvercollection.it and upon searching through the index, I came across a maker’s mark that was as seen on the pipe in my hands. The maker’s mark was described as SAMUEL McLARDY & Co. Here is the link and screen shot of the details and relevant details are highlighted.
https://www.silvercollection.it/englishsilvermarksXS3.html The next step was to date this pipe with the help of the hallmarks as seen on the silver filigree band at the shank end. The Birmingham City mark was easy to identify. The letter “b” perfectly matched up with the letter that identified it as being assayed by the Birmingham Assay office in 1901. Given below is the link that will take the readers to the relevant section of dating and the picture that I have taken with the date code letter marked in red.
https://www.silvercollection.it/englishsilverhallmarksBIR.html
I visited pipedia.org to know more the brand Samuel McLardy & Co. Given below is the link to the article on pipedia.org and have reproduced relevant information about the brand.
https://pipedia.org/wiki/Samuel_McLardy
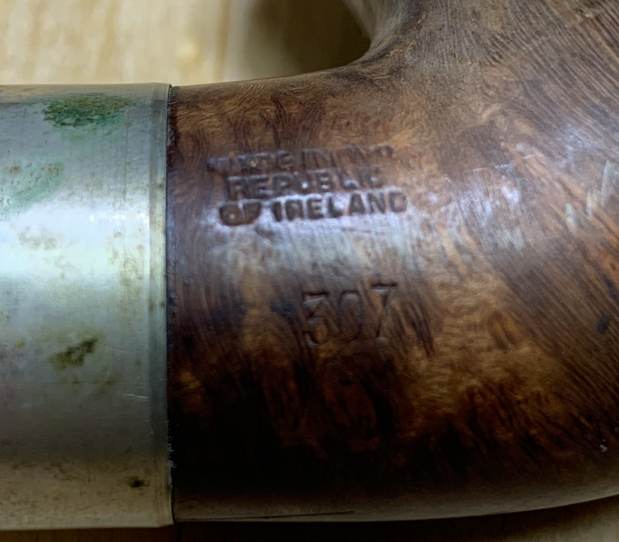
The McLardy company thanks its existence to the entrepreneurial spirit of 1 person: Samuel McLardy, born in Glasgow in 1842. He was the son of a tobacconist who also produced his own clay pipes. In the paternal shop he must have learned the profession of pipe-maker. Shortly after his 20th birthday he decided to move to Manchester to start his own company. There is remarkably little known about the history of the factory. On an old advertisement it says “established 1865” so since then there must have been a steady growth. Within a couple of decades there was a massive production of clay pipes. Around 1895 the factory owned over 500 moulds which meant yearly production was around 5 million pipes! Similar to that of Dutch factory P. Goedewaagen & Zoon in that period. Over time we find Samuel McLardy at different locations. Before 1880 that was Miller Street number 16 in Manchester and it is there where the shop grew to the size of a factory. In 1890 the company moved to Shudehill number 67 where it remained active until after 1910.
The production of clay pipes was a large part of the McLardy operation and this interesting Pipe Manufacturers Catalogue shows several clay models displayed for sale. Duco’s article, referenced above, examines the historical realities impacting the Samuel McLardy Co., (typical of other UK pipe companies) by navigating through relatively prosperous years leading up to the turn of the century, the decline of interest in clay pipes, diversification of other product lines to cope with falling revenues, WWI, the growing economic bubble of the 20s leading ultimately to the collapse of the McLardy, Co., soon after the stock market crashes in September (for UK) and October (for US), 1929. I found this last statement regarding the Samuel McLardy, Co., as a matter of public record published in archives of The London Gazette regarding the liquidation of the company. Reflective of the times, there were several companies listed in the Gazette which were being “wound up”:
The Companies Act, 1929.
Special Resolution of SAMUEL McLARDY & CO. Limited.
Passed 13th January, 1930.
AT an Extraordinary General Meeting of the Members of the above named Company, duly convened, and held at No. 20, Swan-street, Manchester, on the 13th day of January, 1930, the following Resolution was duly passed as a Special Resolution: –
” That the Company be wound up voluntarily; and that Mr. George Elder, Chartered Accountant, of Edwin Collier & Co., 3, York-street, Manchester, be appointed Liquidator for the purposes of such winding-up”.
Thus to summarize, Samuel McLardy & Co. was established in 1865 by Mr. Samuel McLardy at the age of 23. This company was an established clay pipe maker and produced about 5 million pipes a year. By 1920s, the business was no longer profitable due to WW I, declining interest in clay pipes and financial meltdown of 1929. Samuel McLardy & Co was “wound up” on 13 Jan 1930 after 65 years of its existence.
With the provenance of the pipe established beyond doubts, it was logical for me to move ahead with restoration proper of this pipe.
Initial Inspection
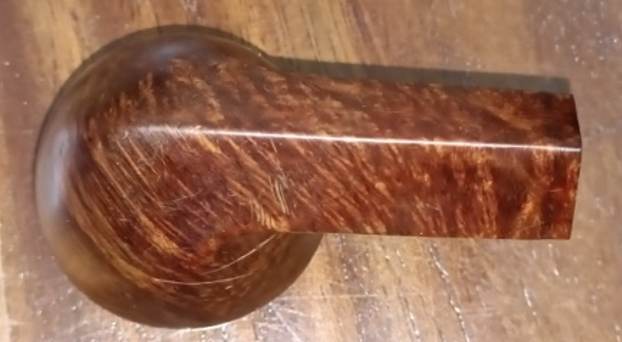
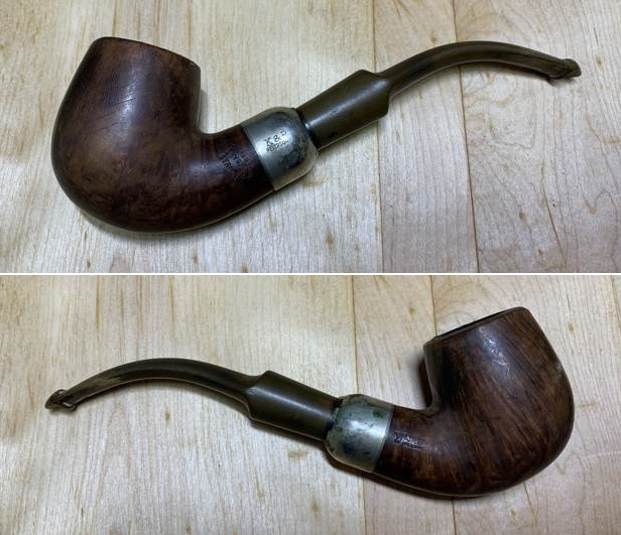
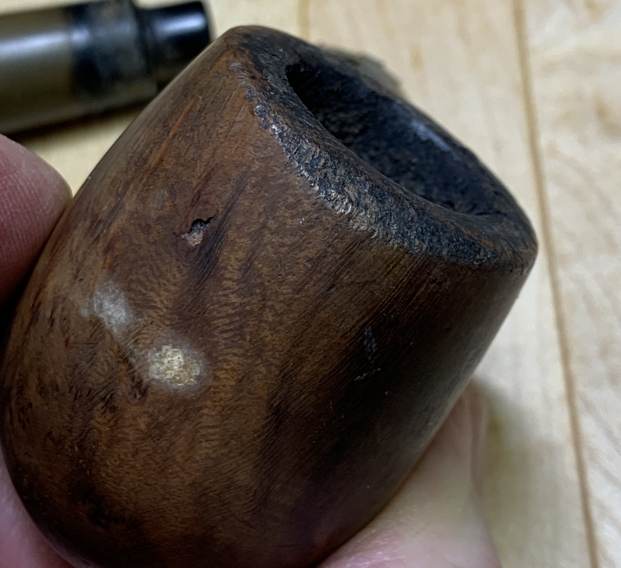
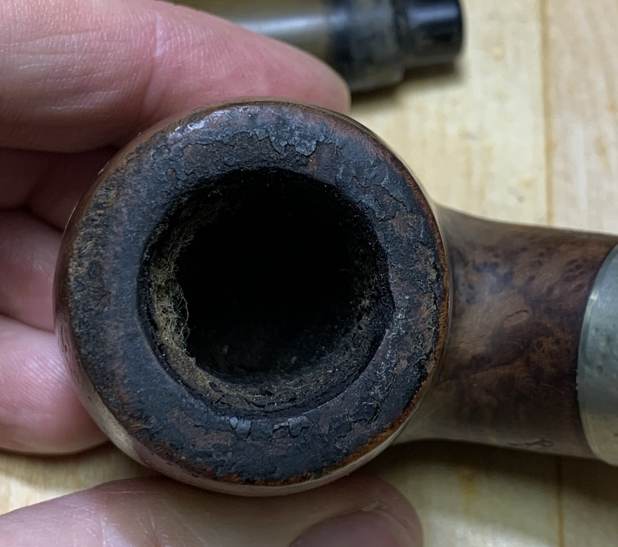
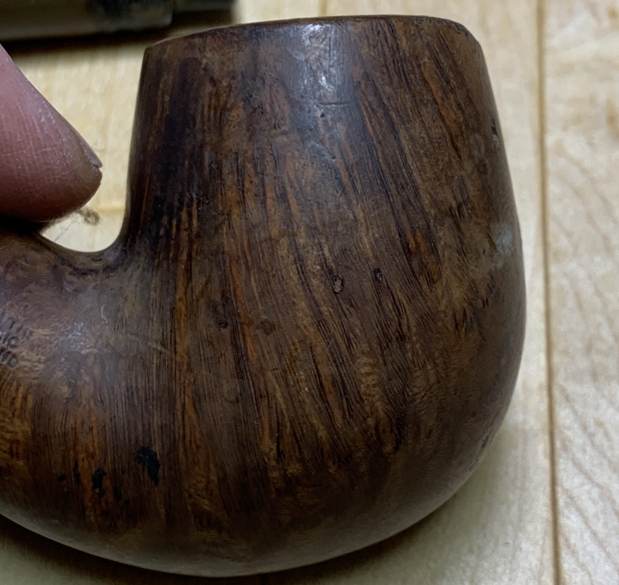
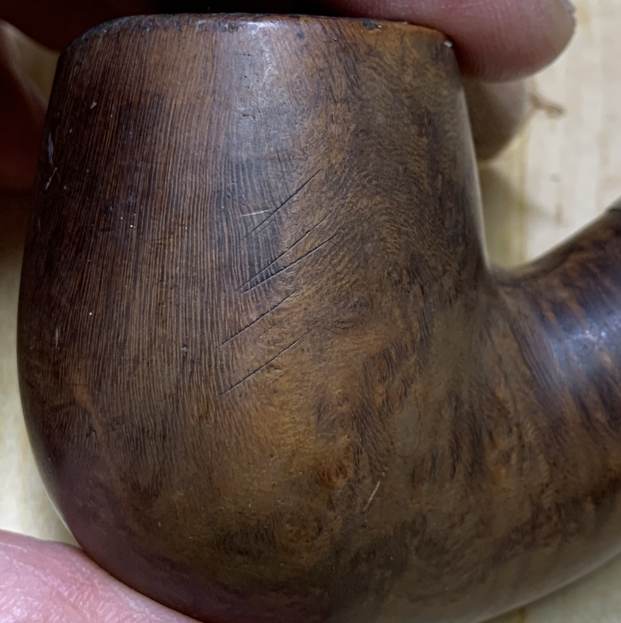
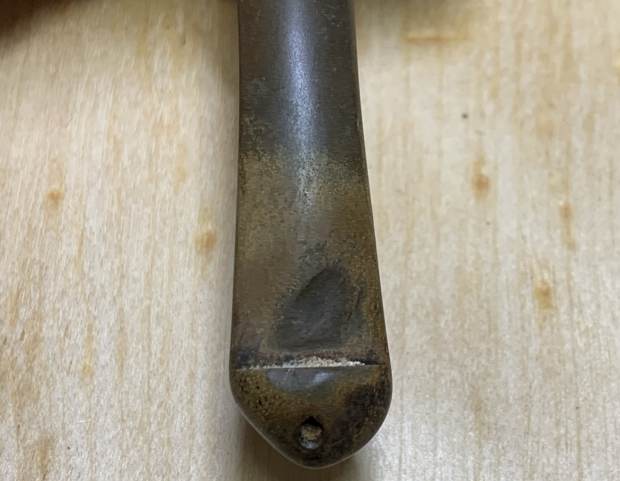
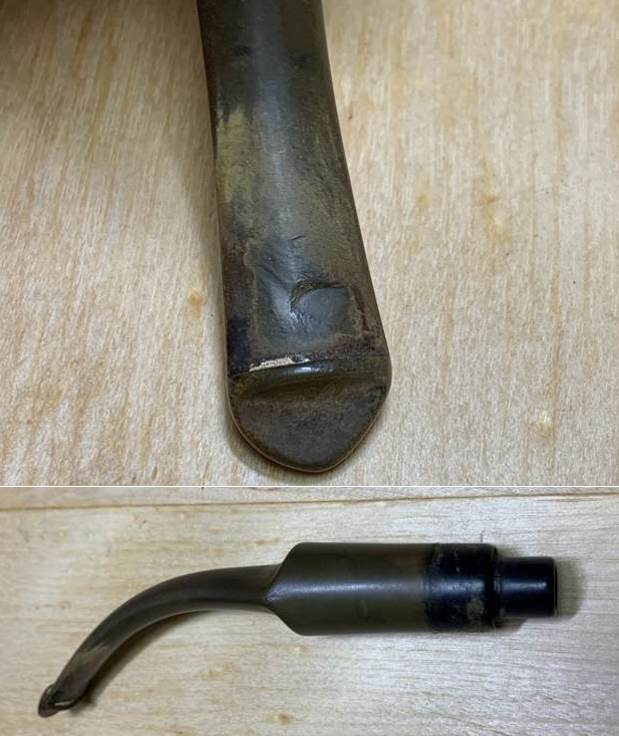
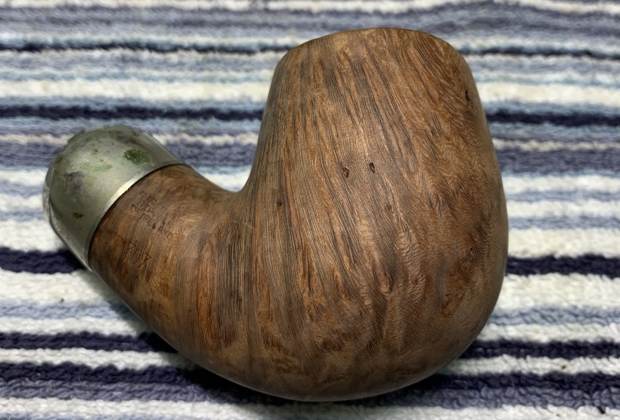
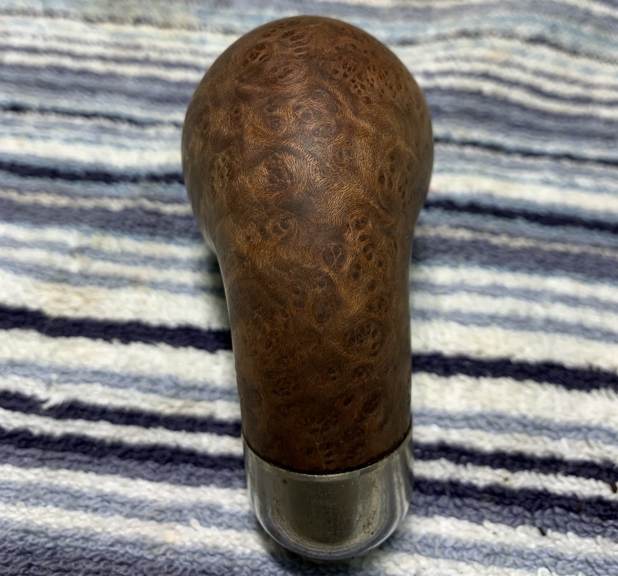
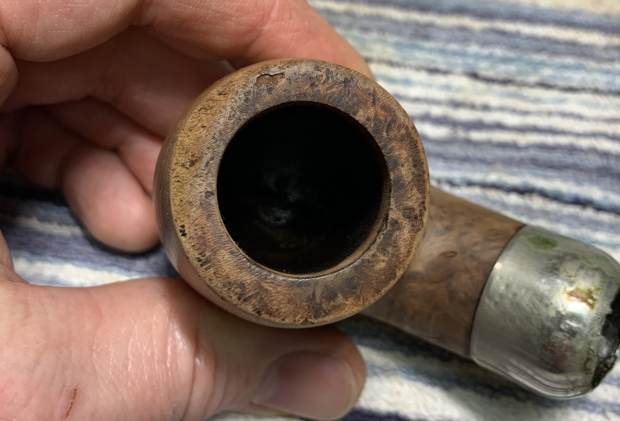
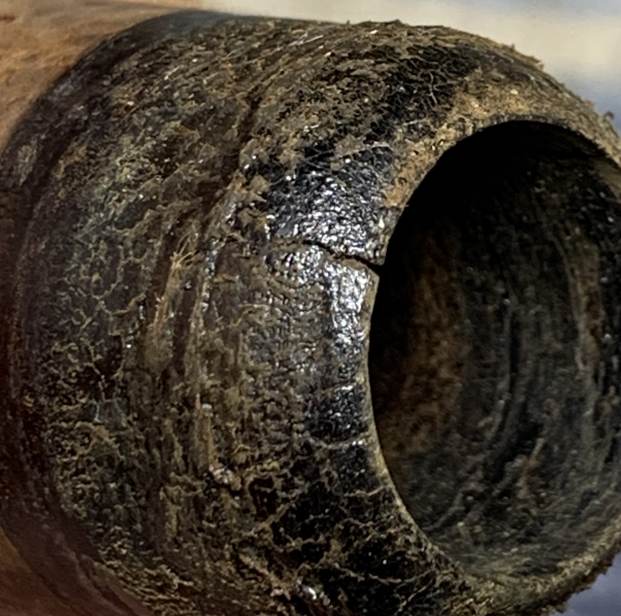
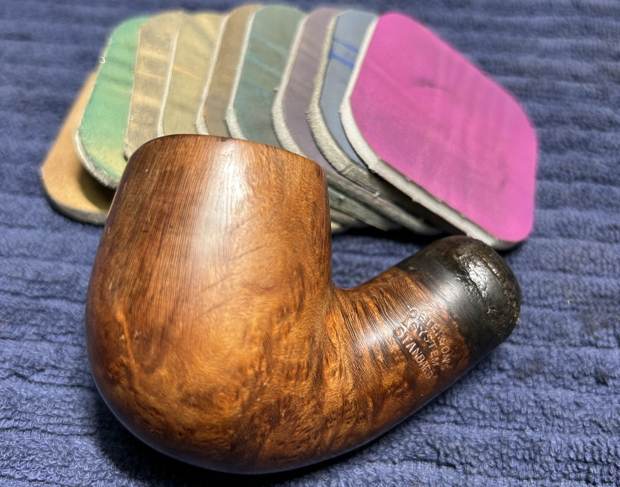
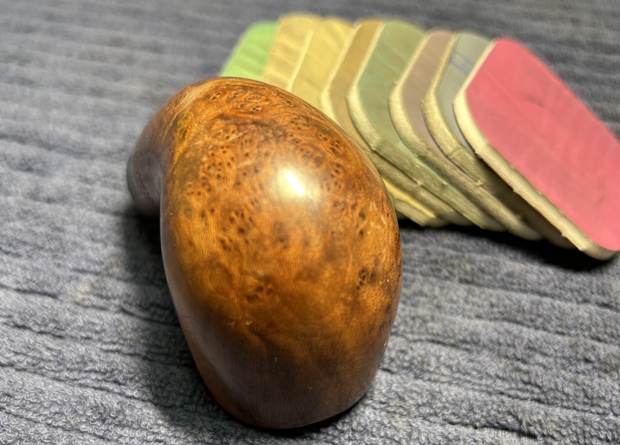
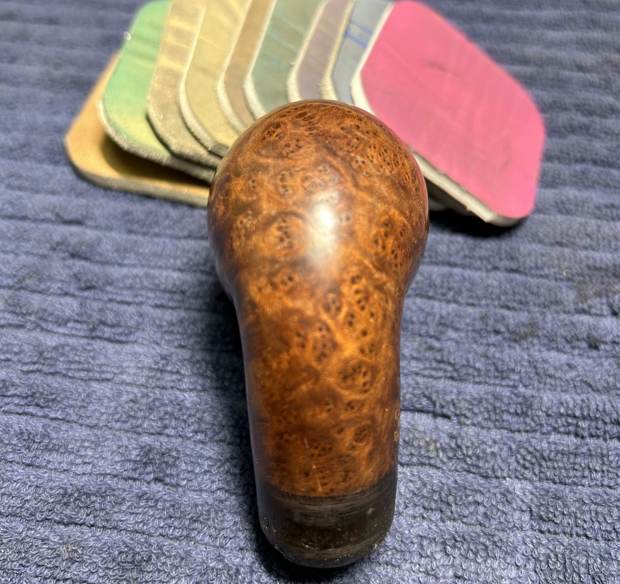
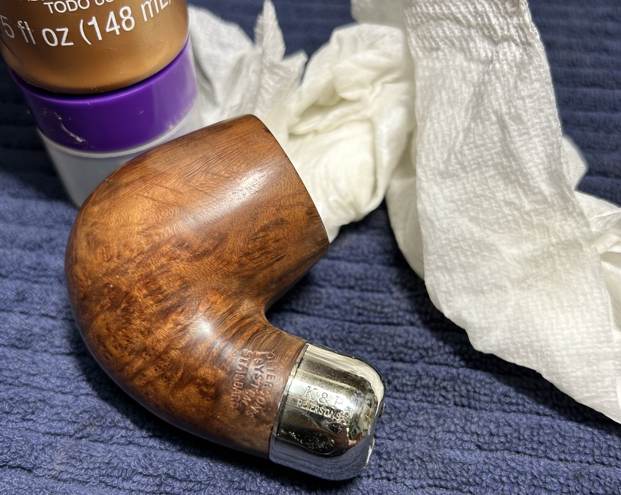
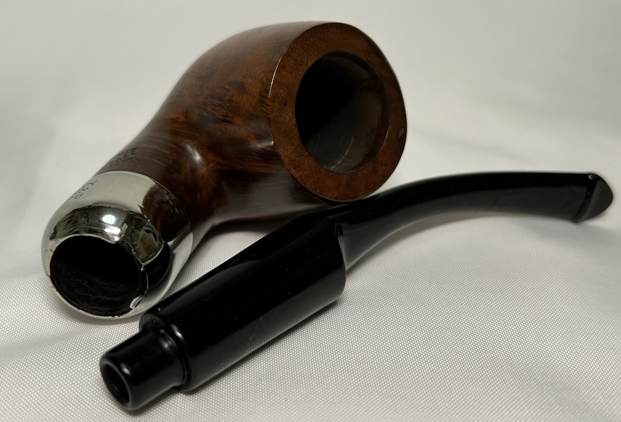
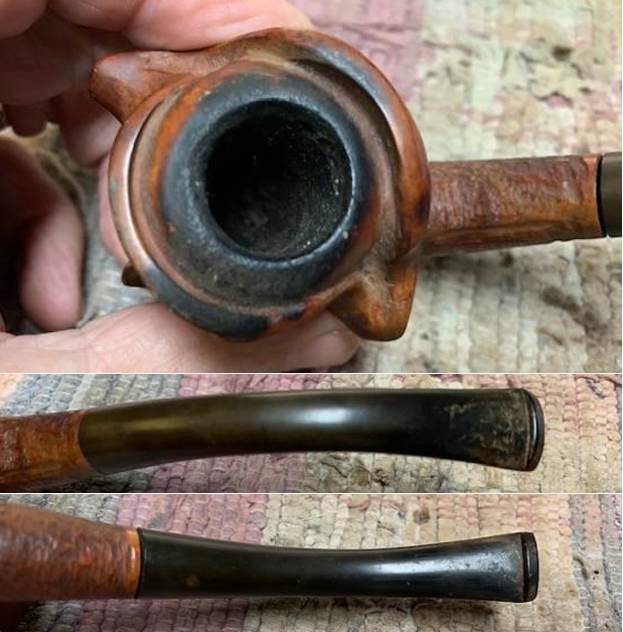
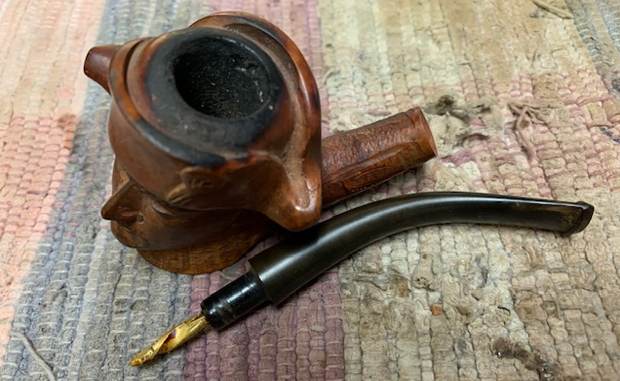
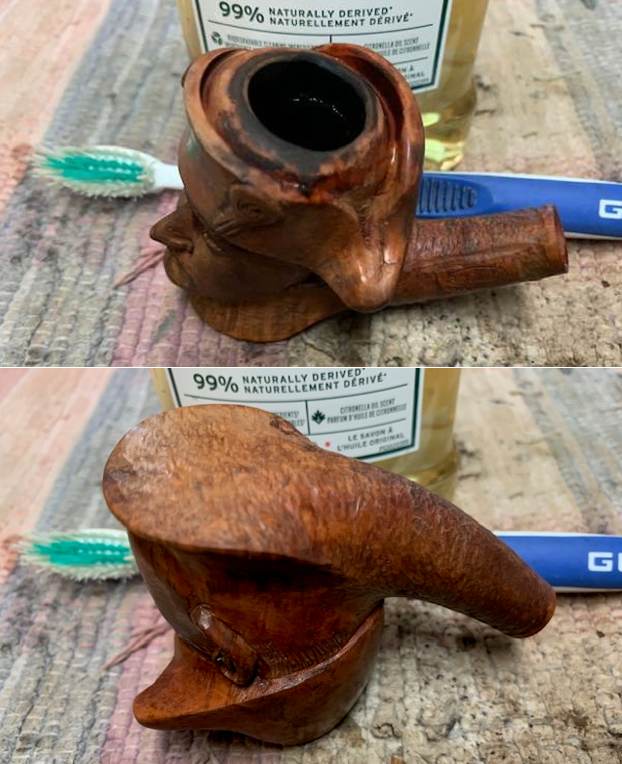
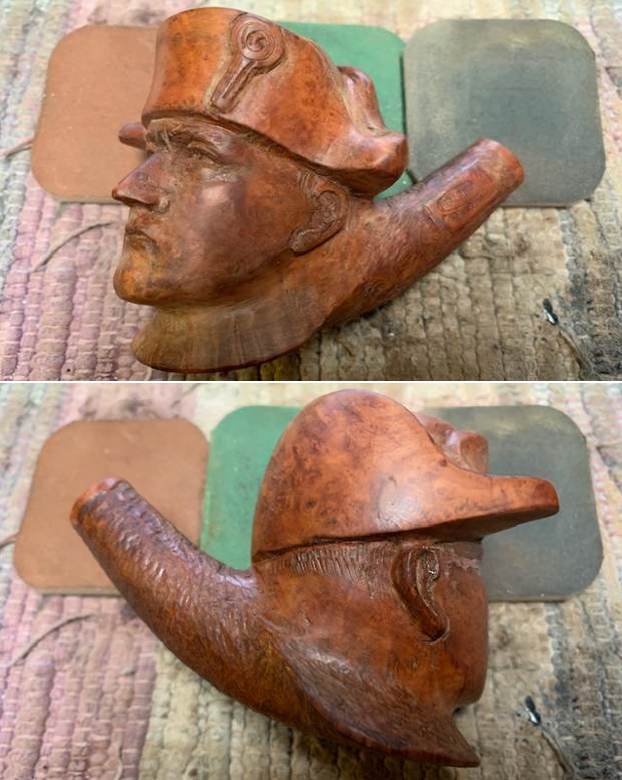
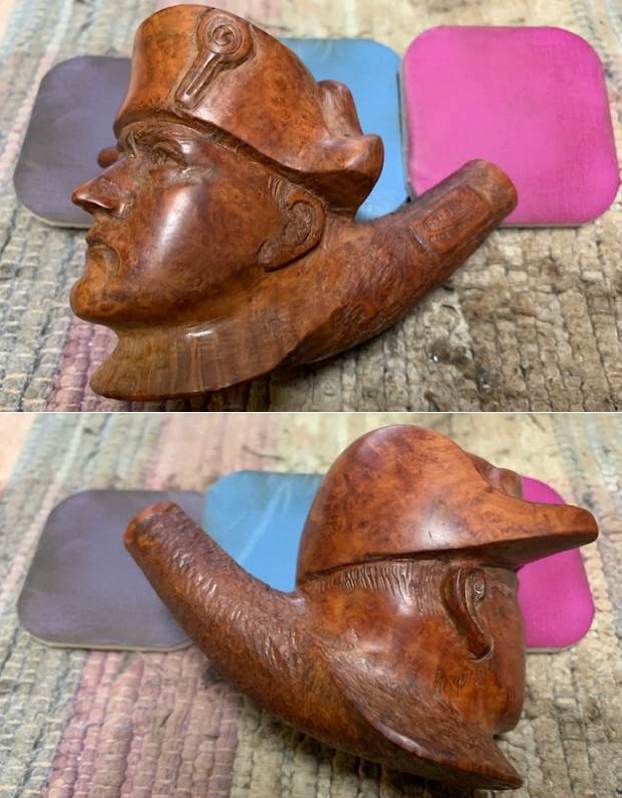
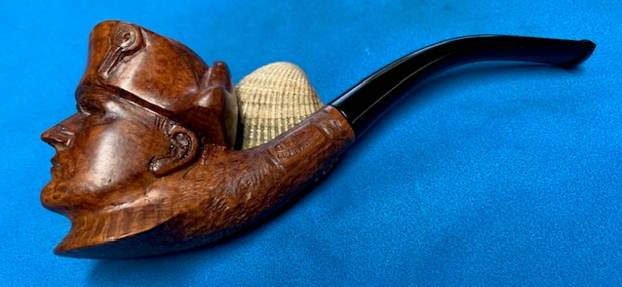
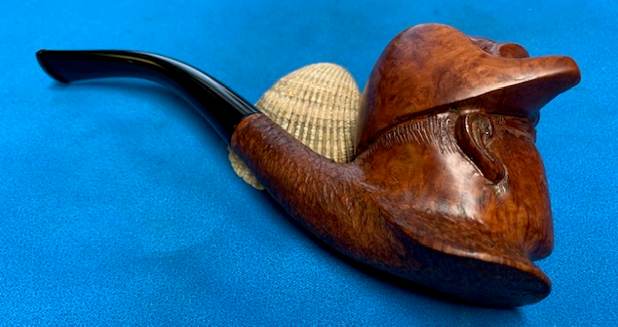
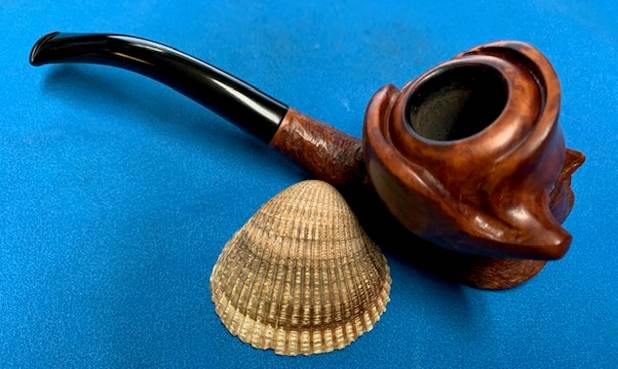
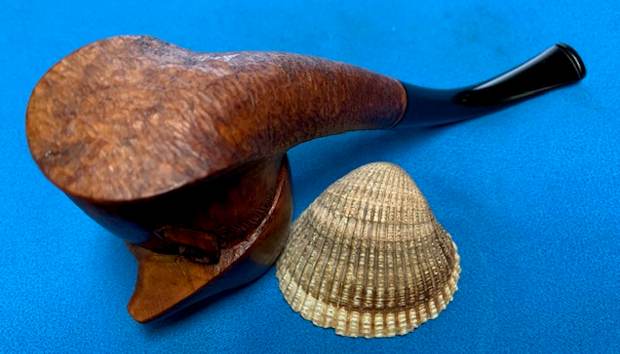
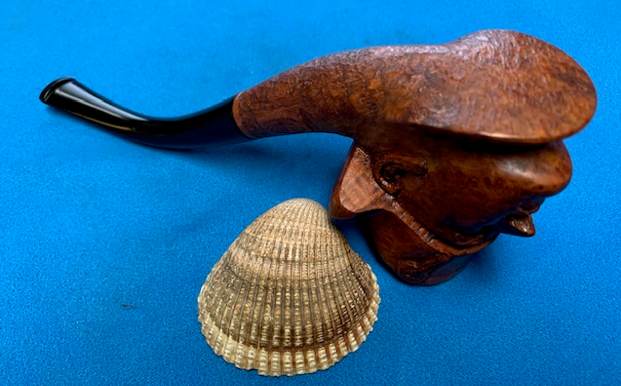
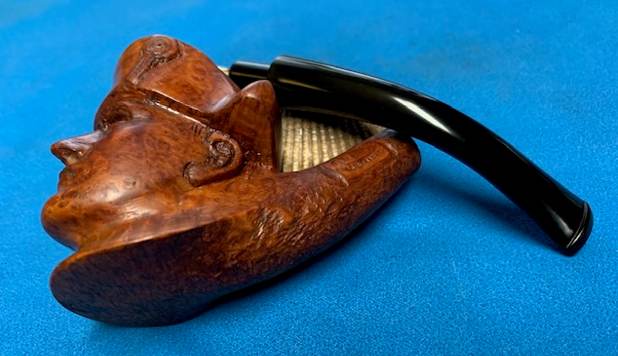
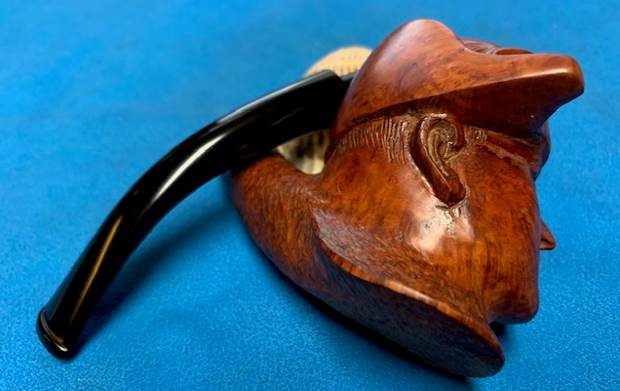
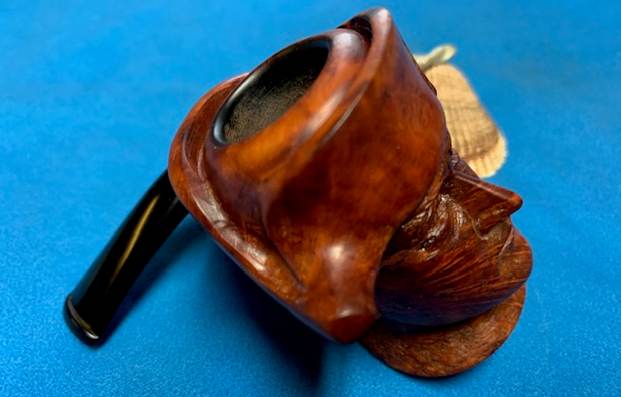
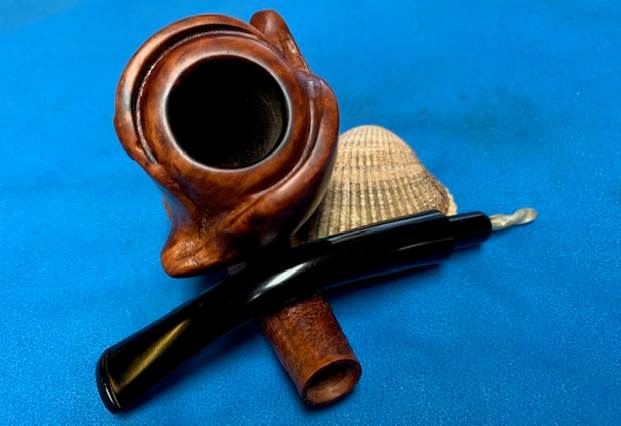
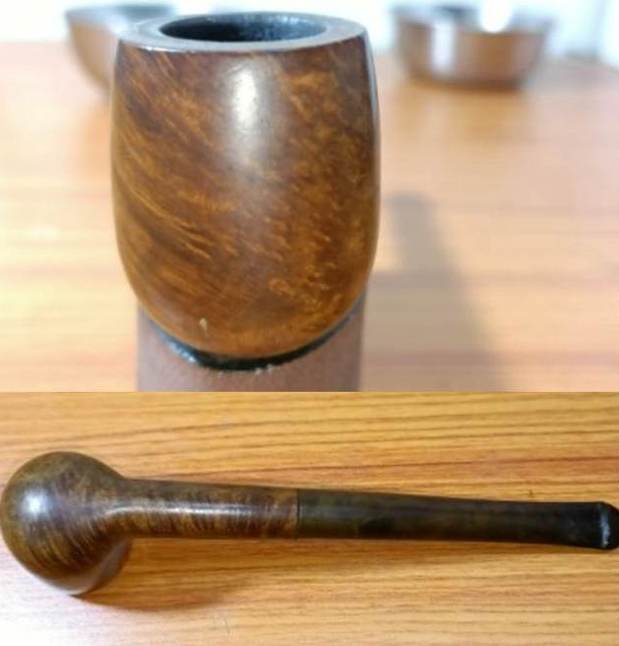
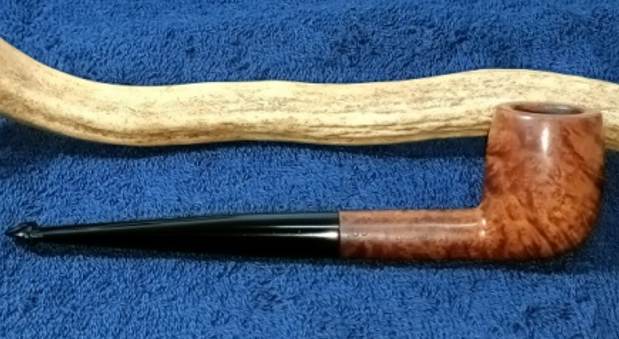
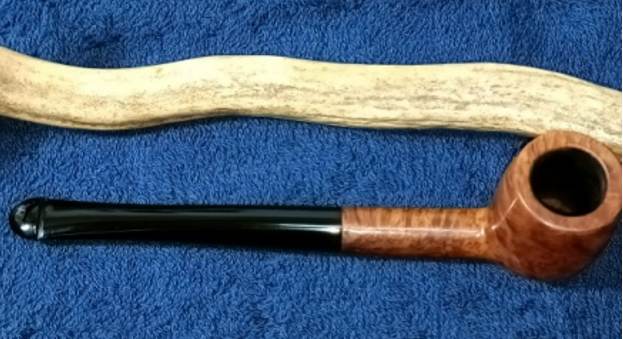
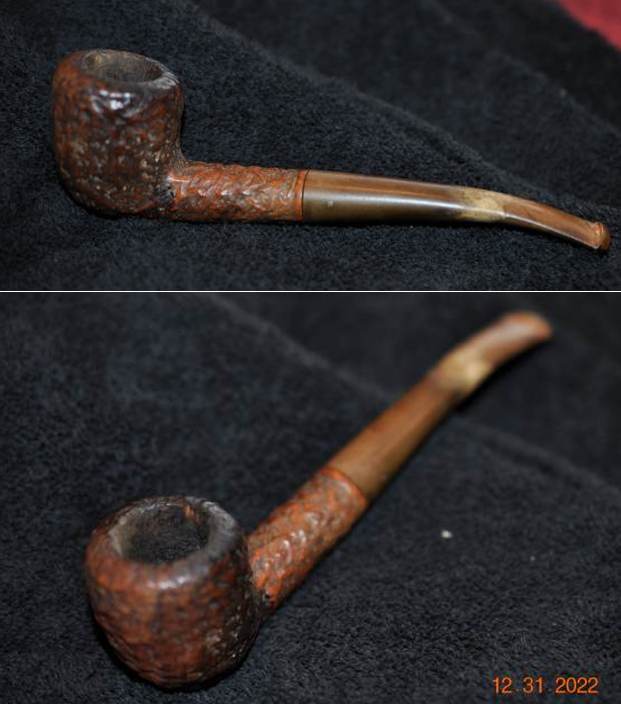
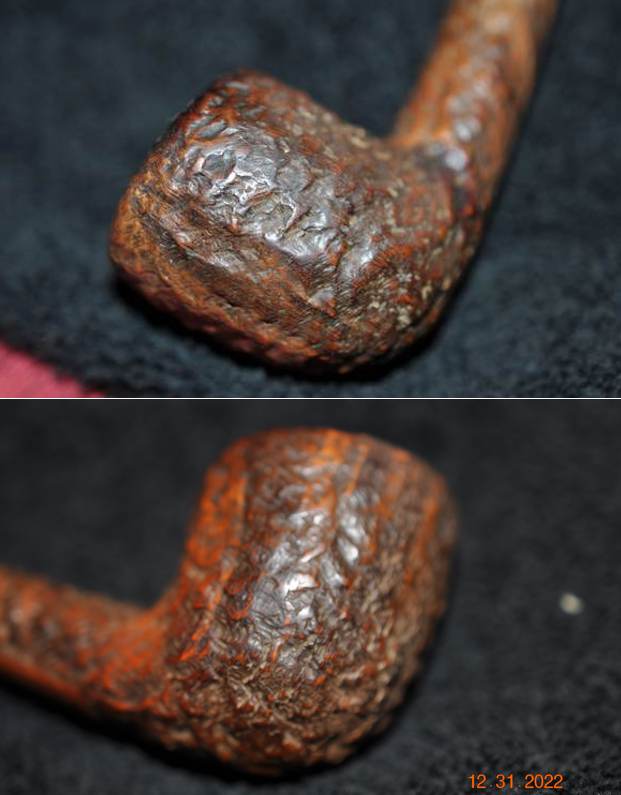
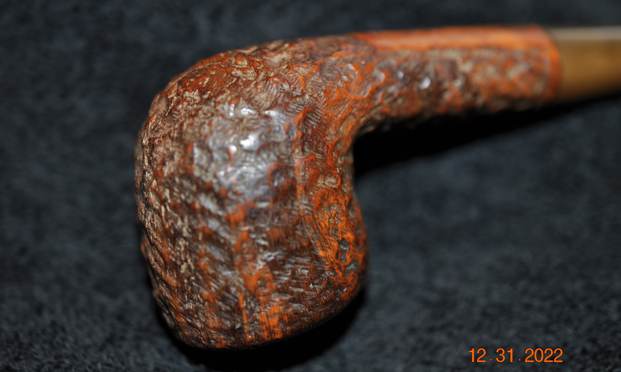
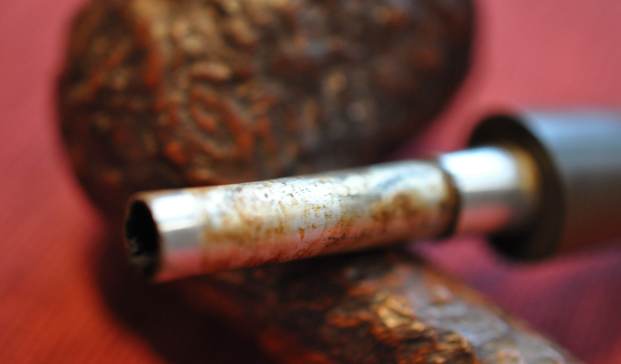
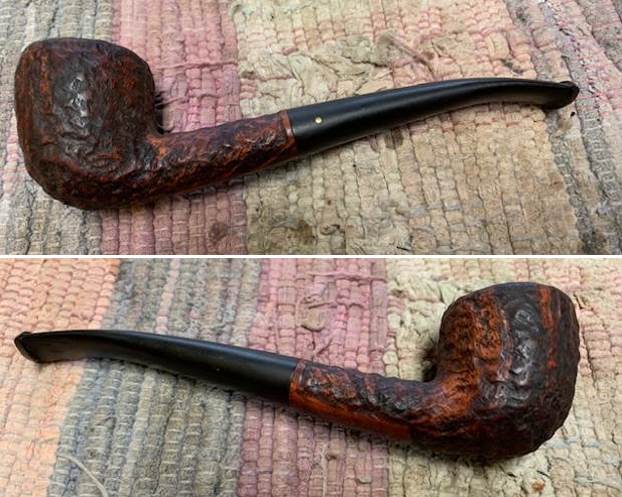
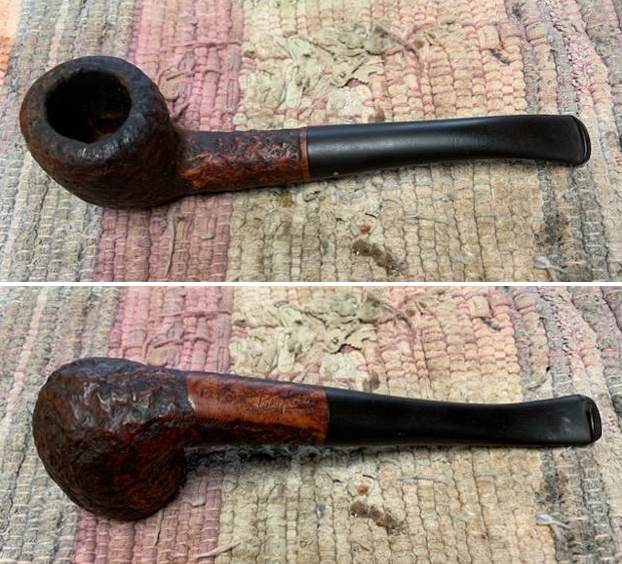
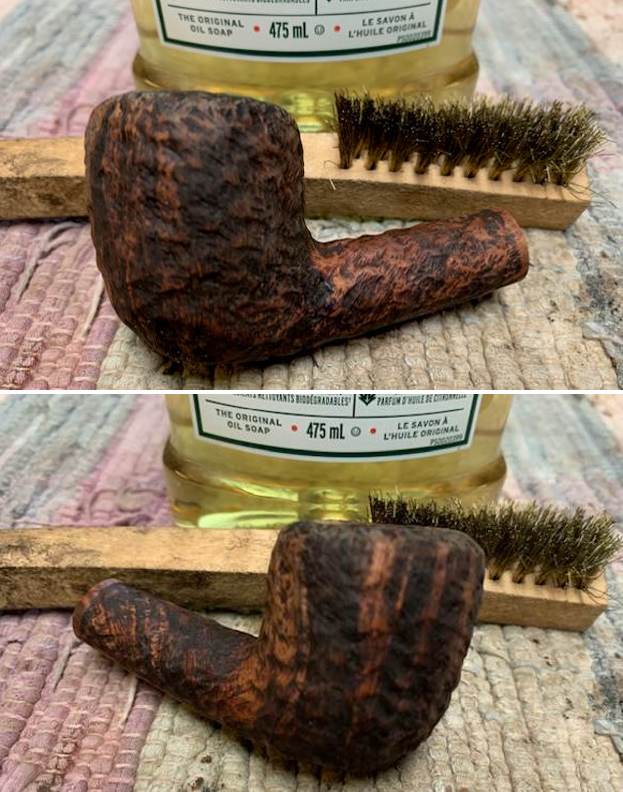
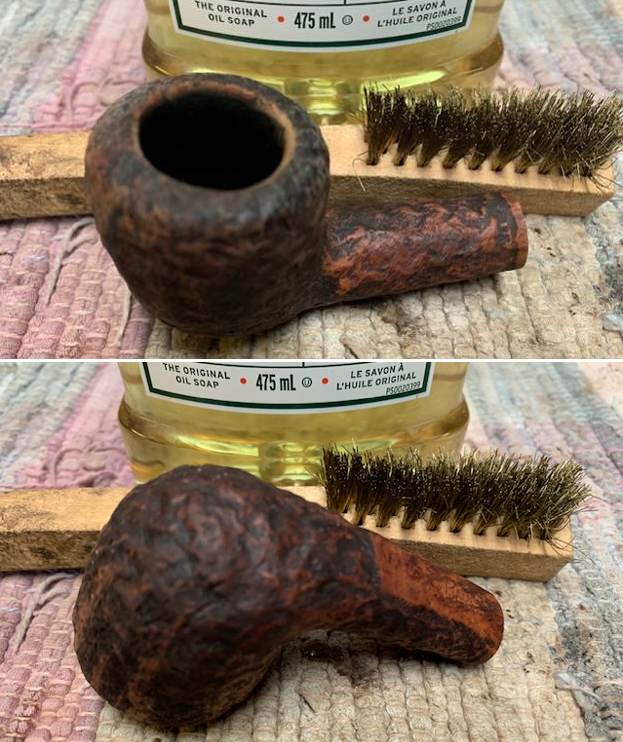
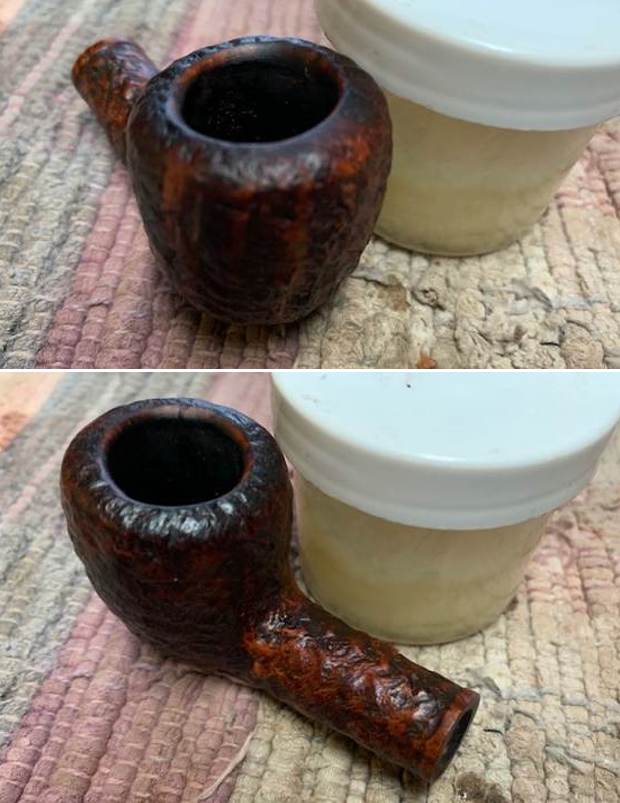
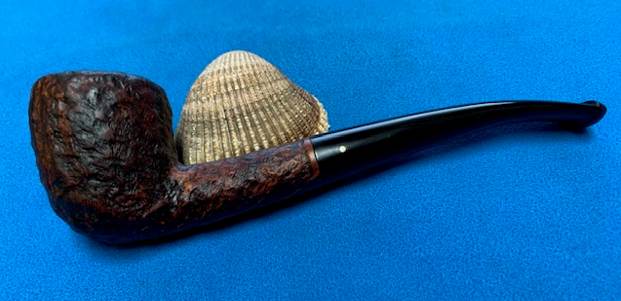
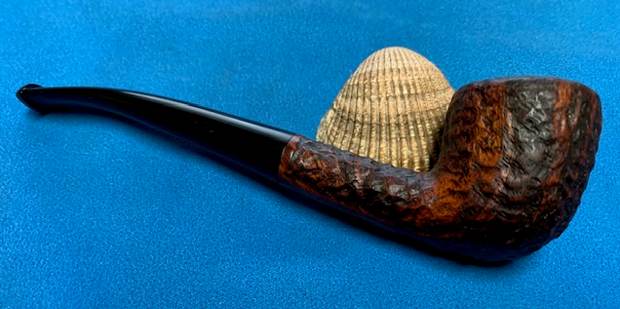
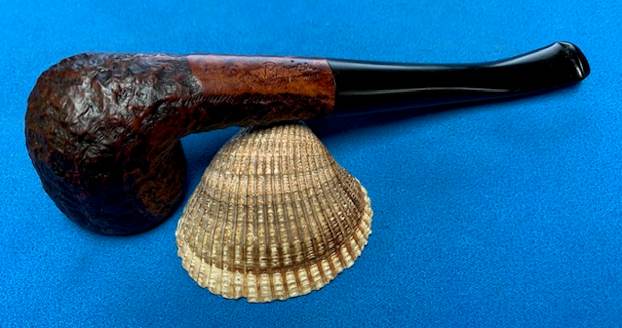
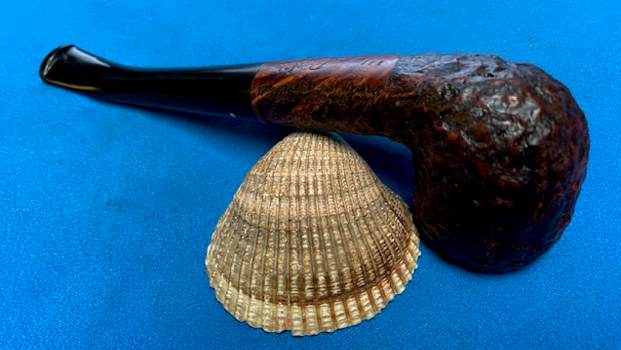
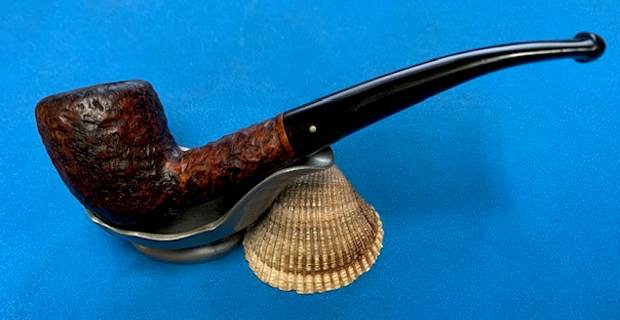
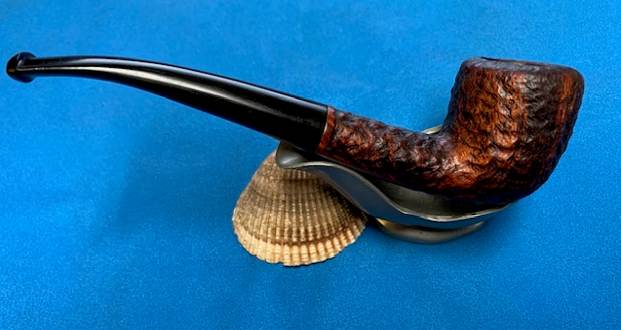
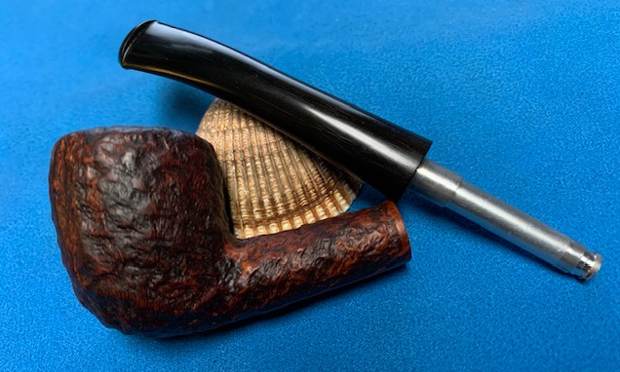
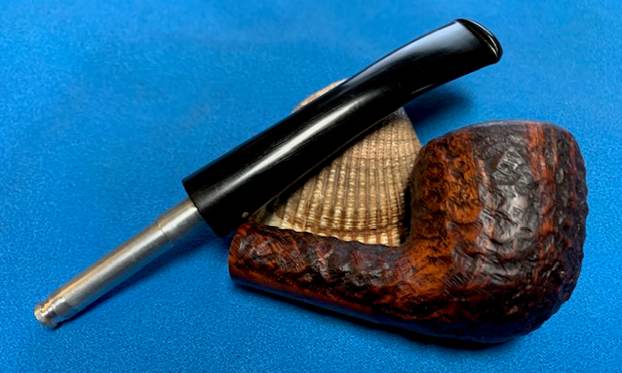
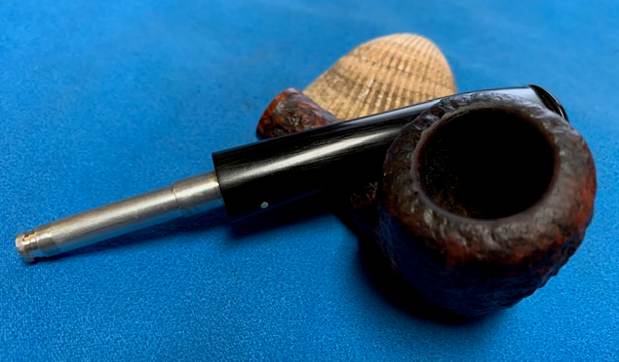
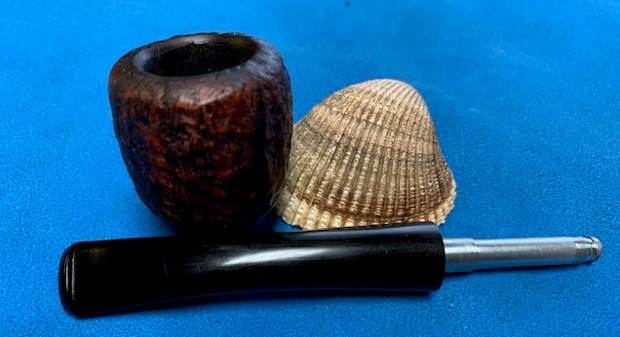
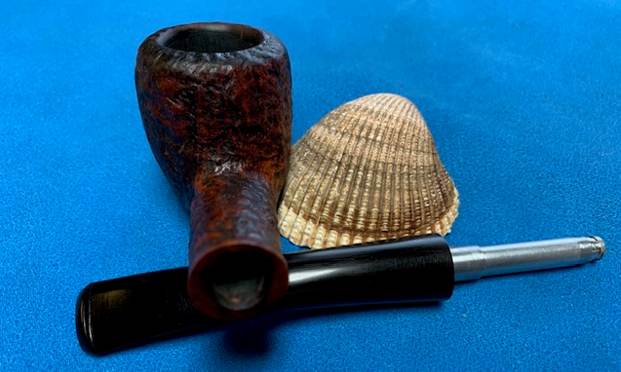
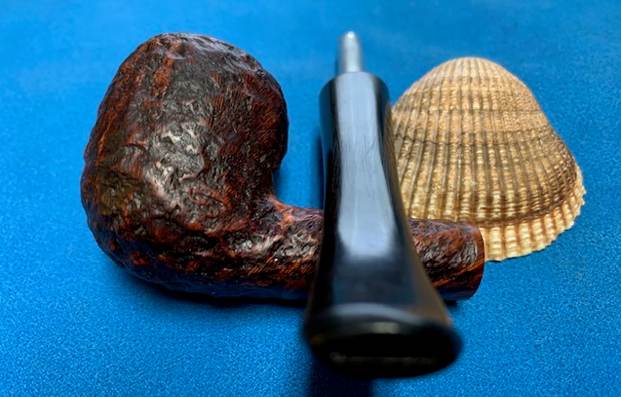
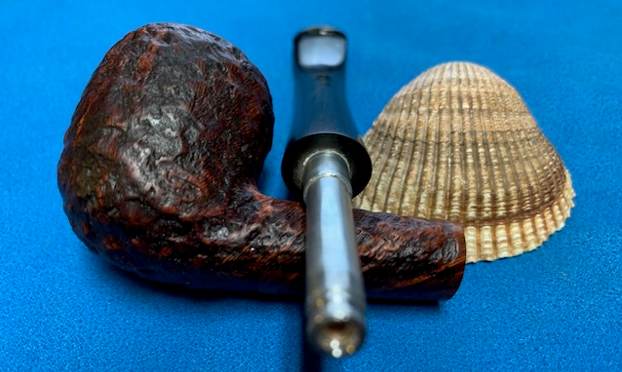
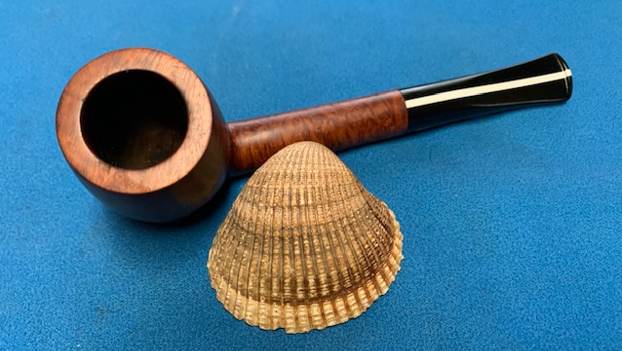
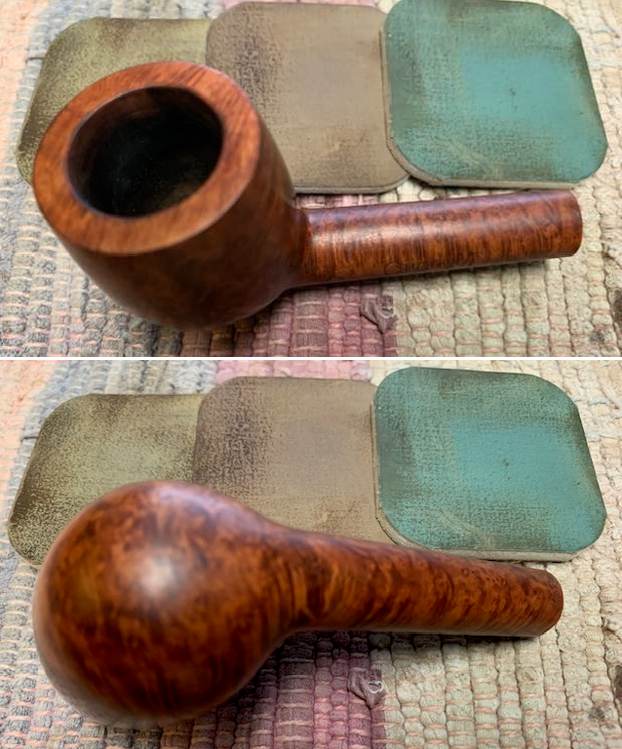
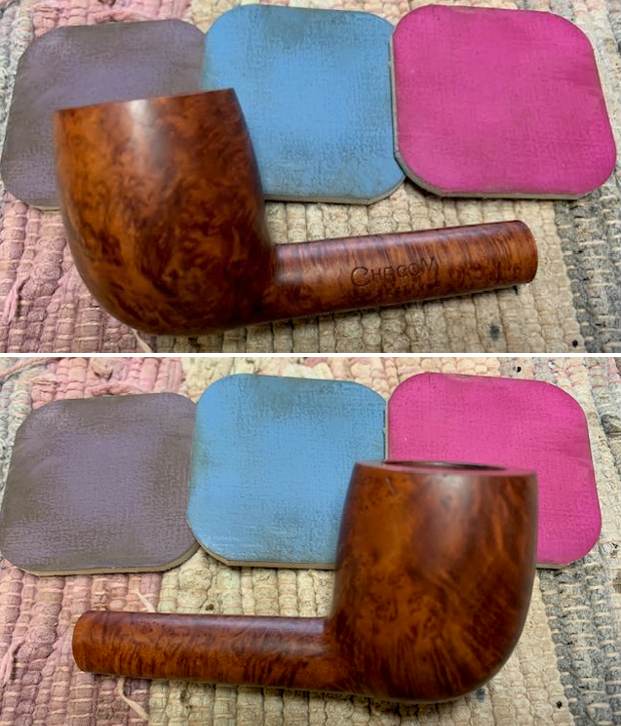
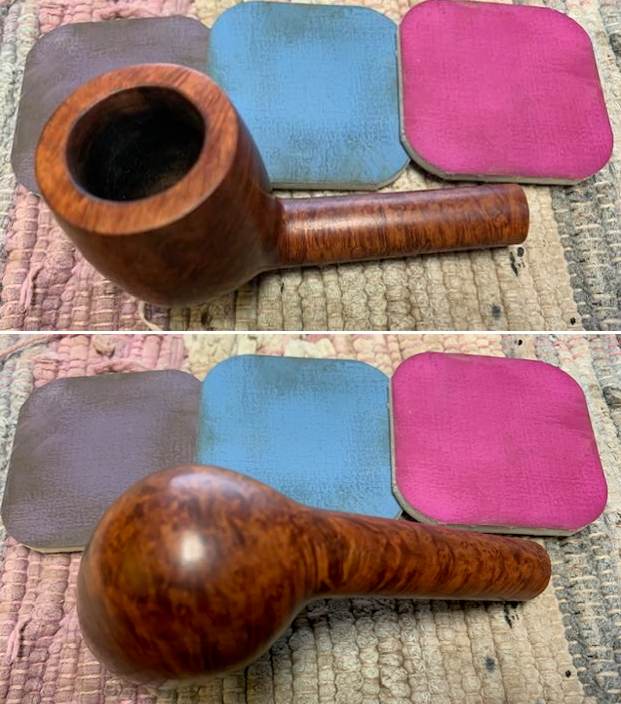
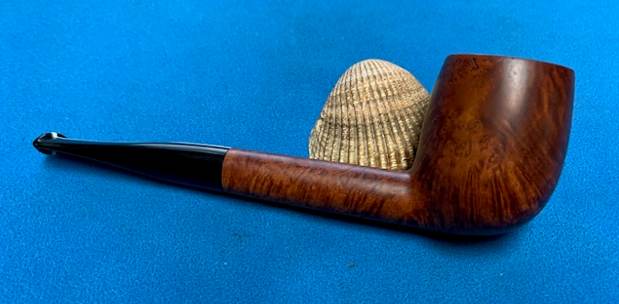
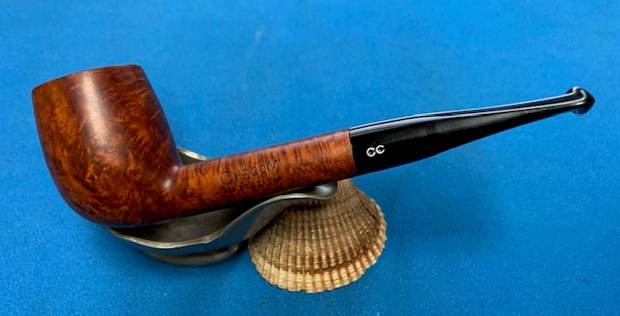
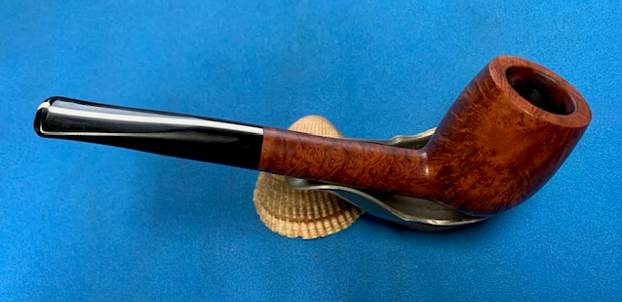
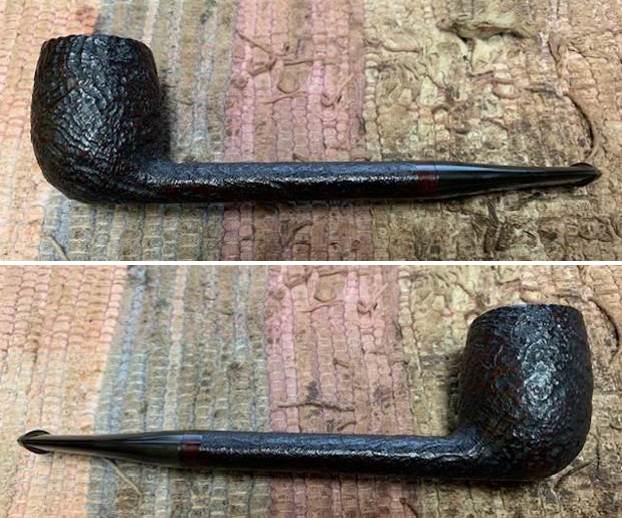
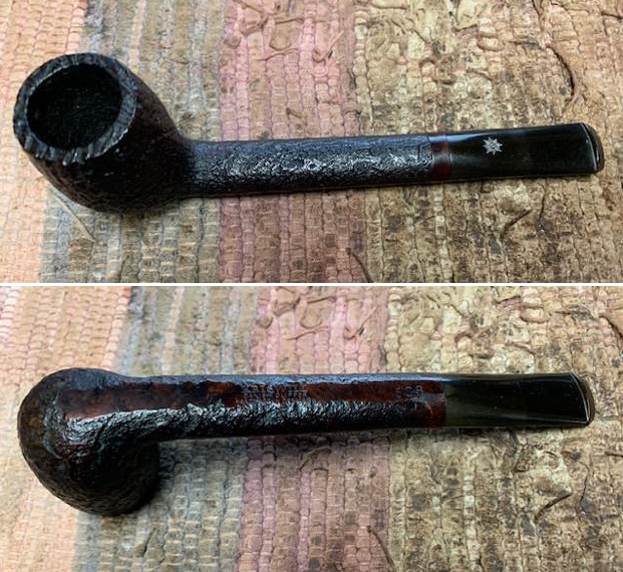
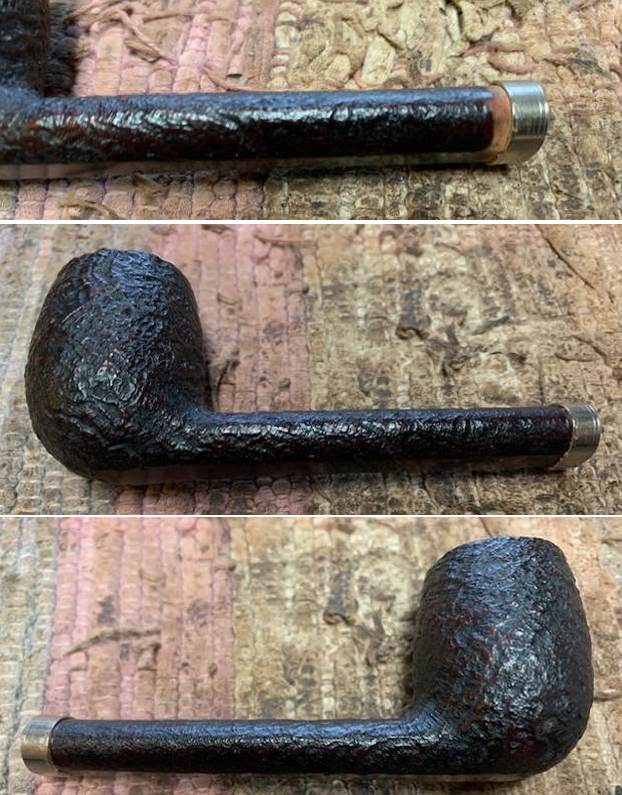
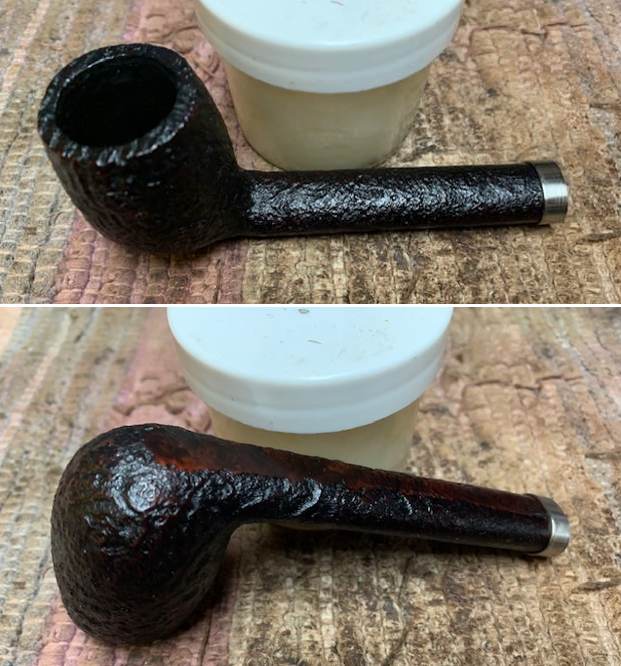
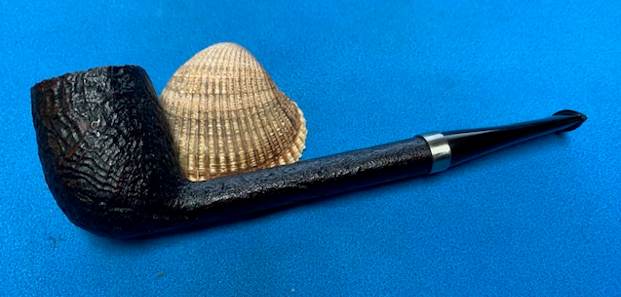
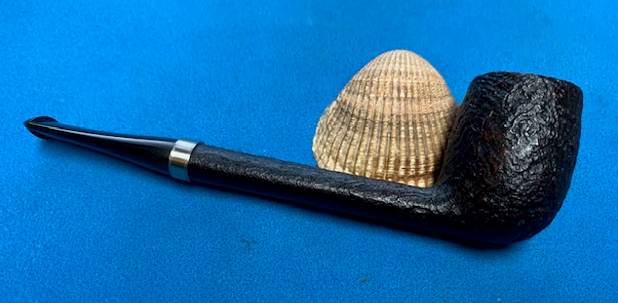
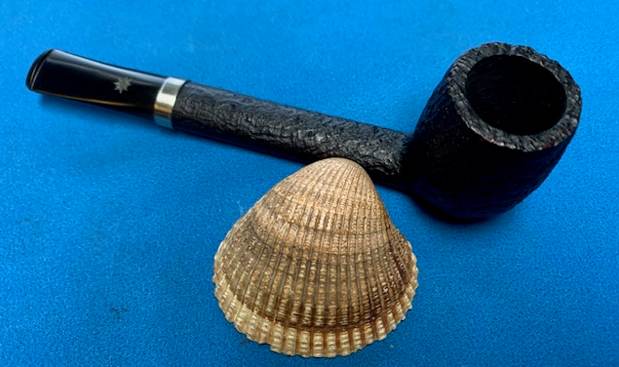
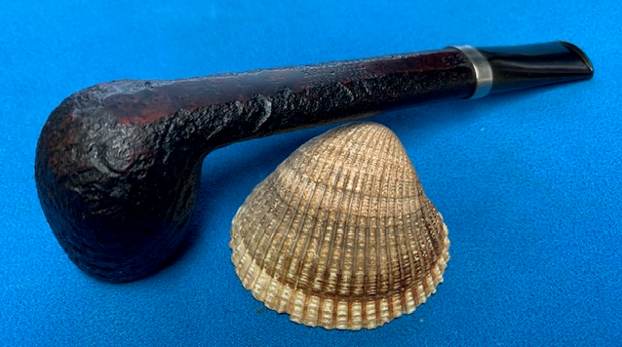
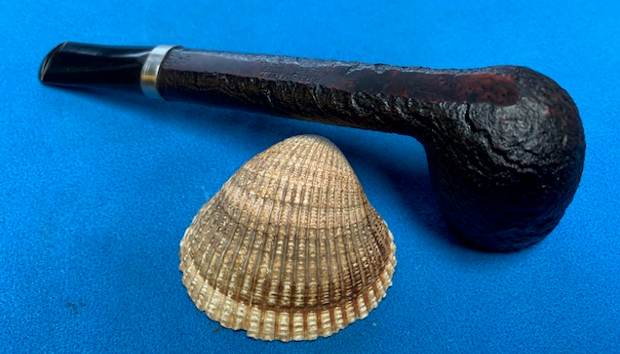
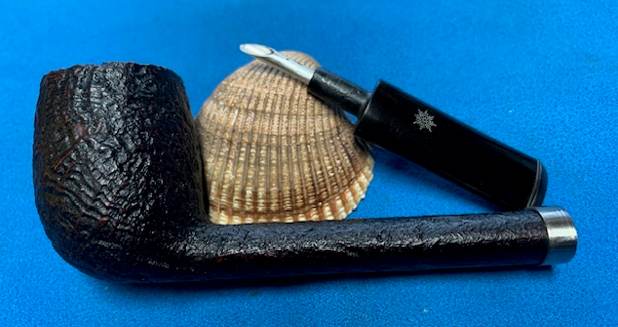
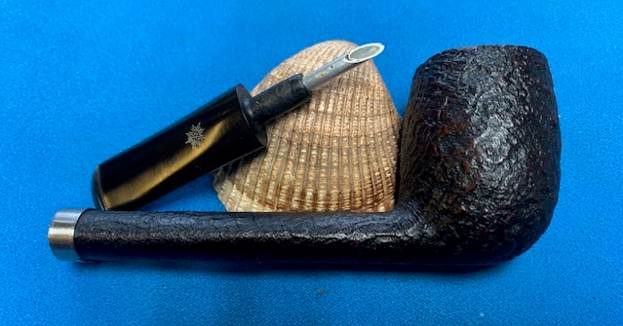
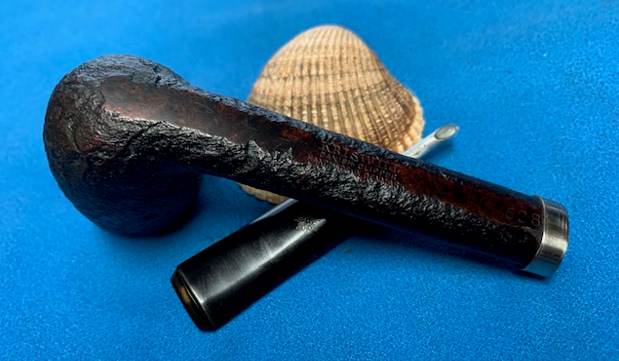
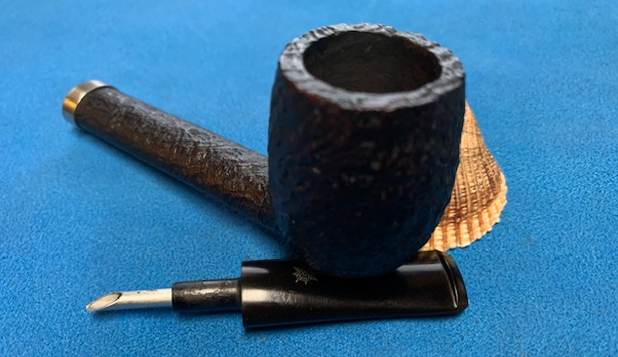
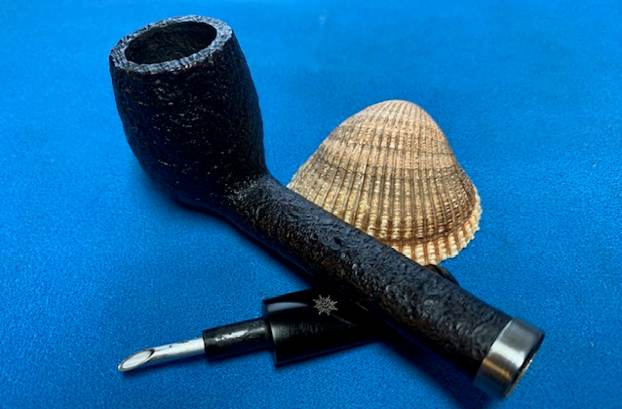
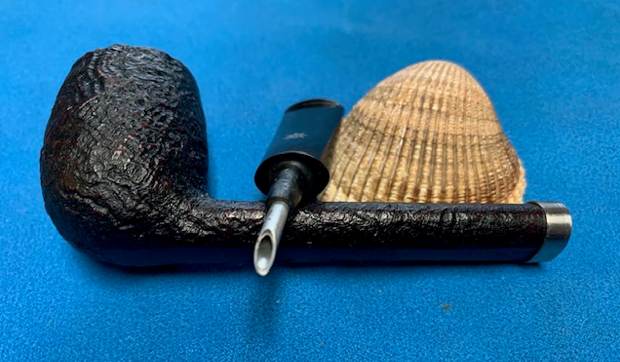
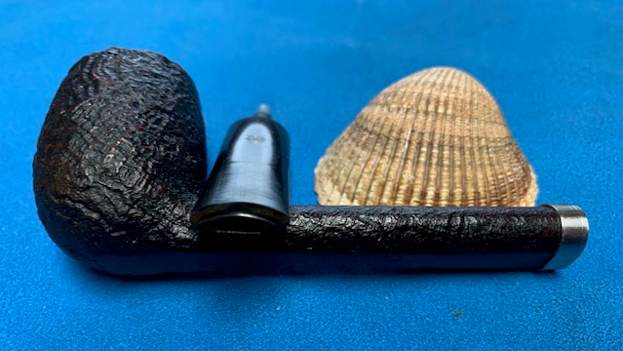
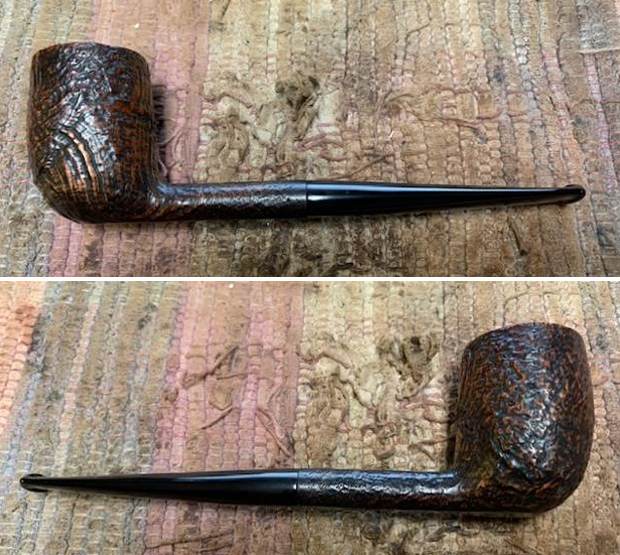
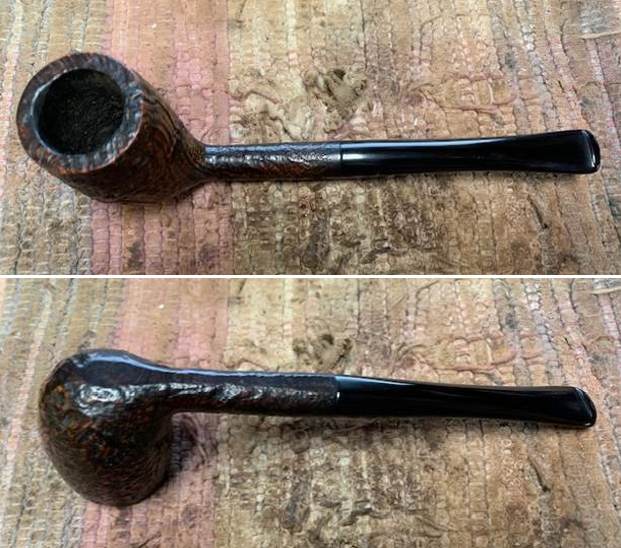
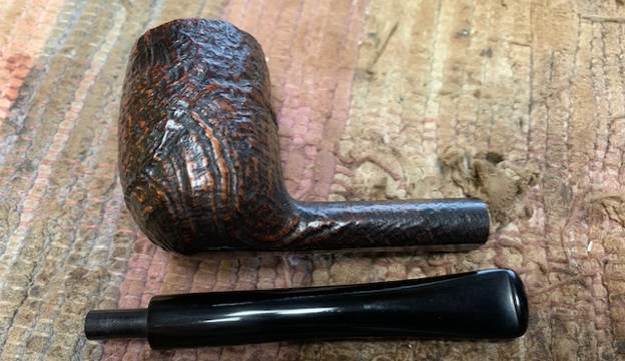
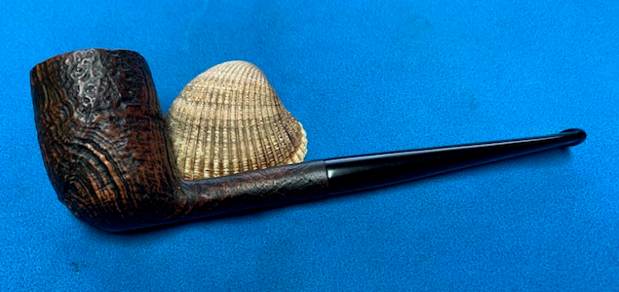
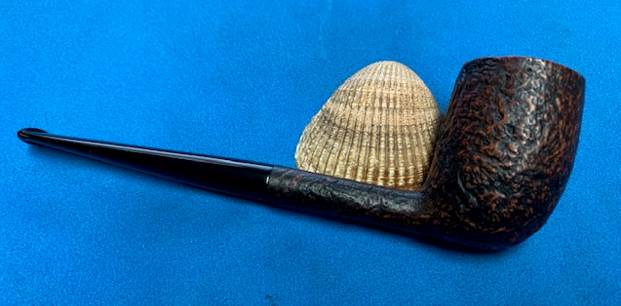
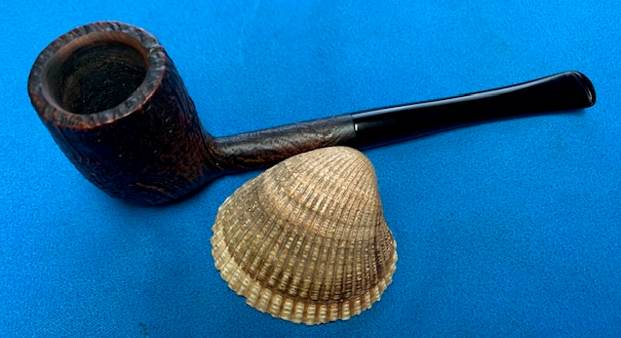
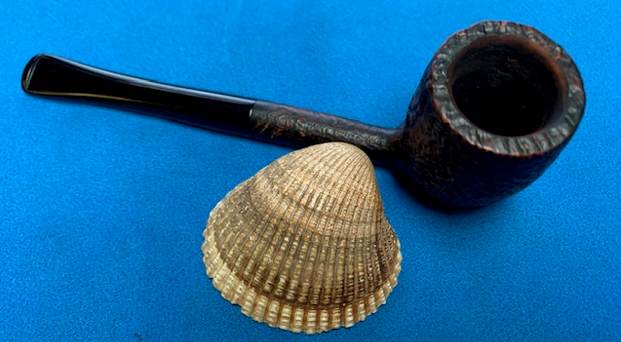
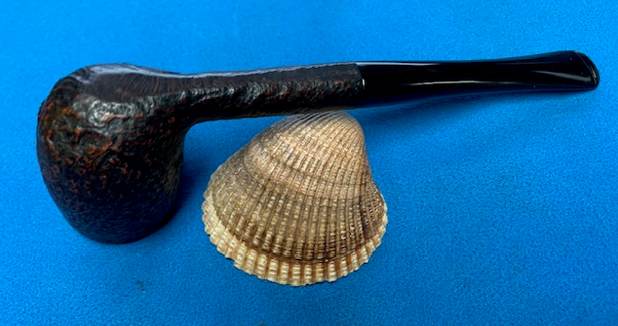
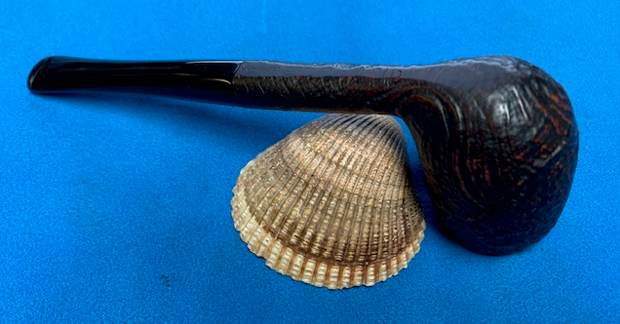
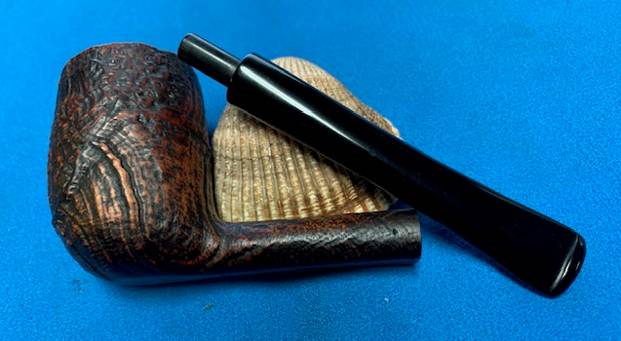
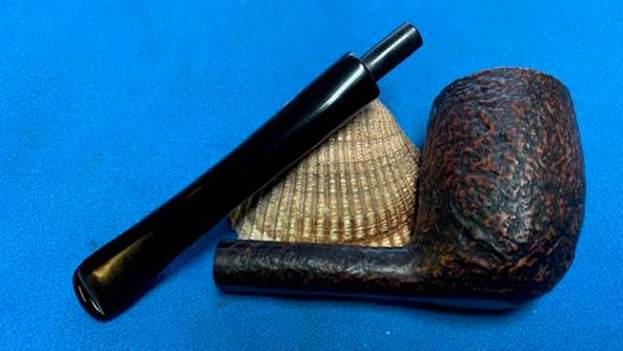
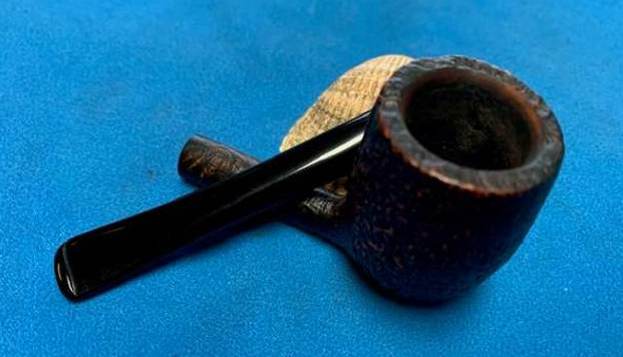
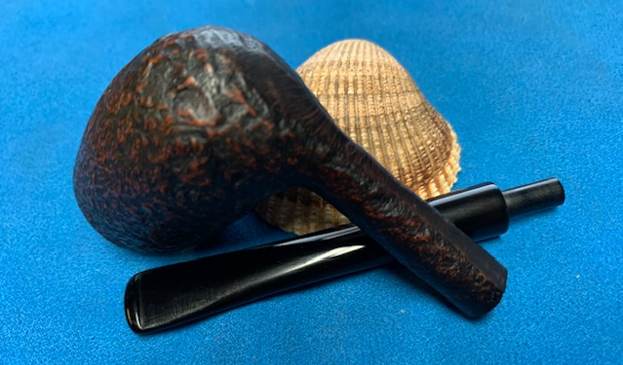
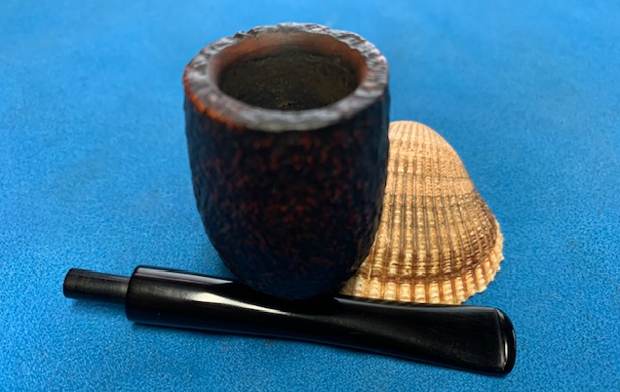
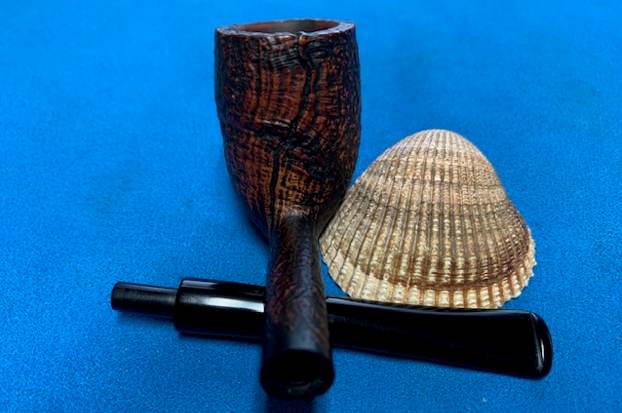
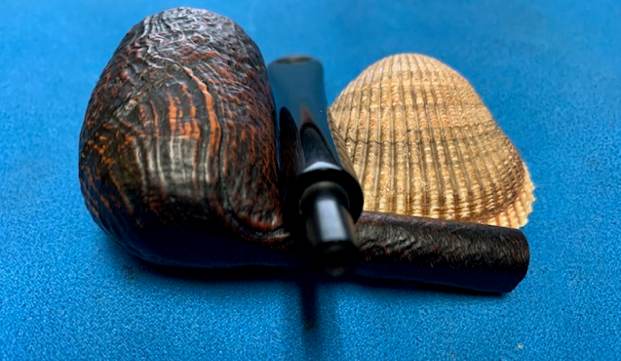
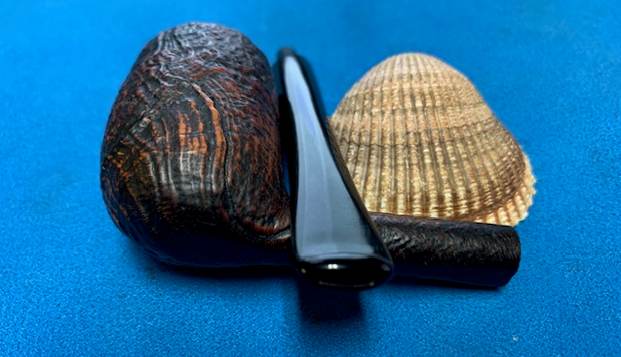
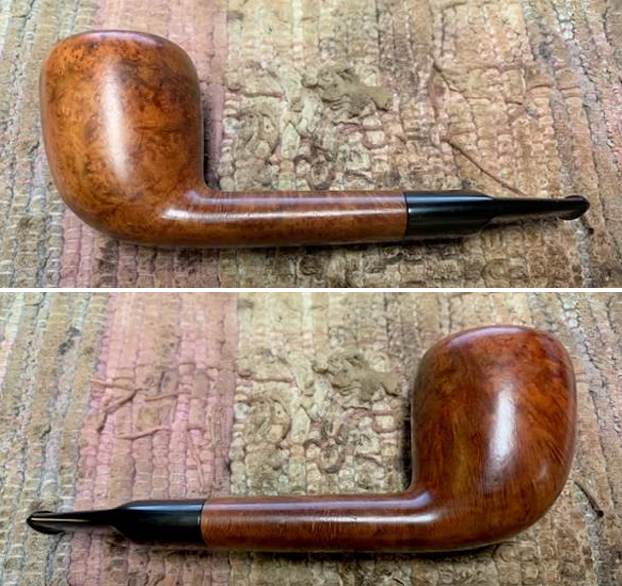
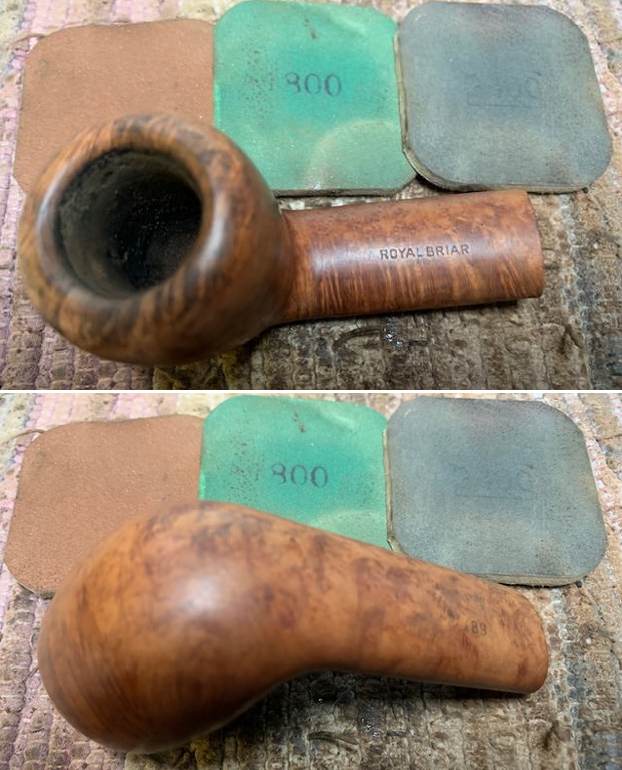
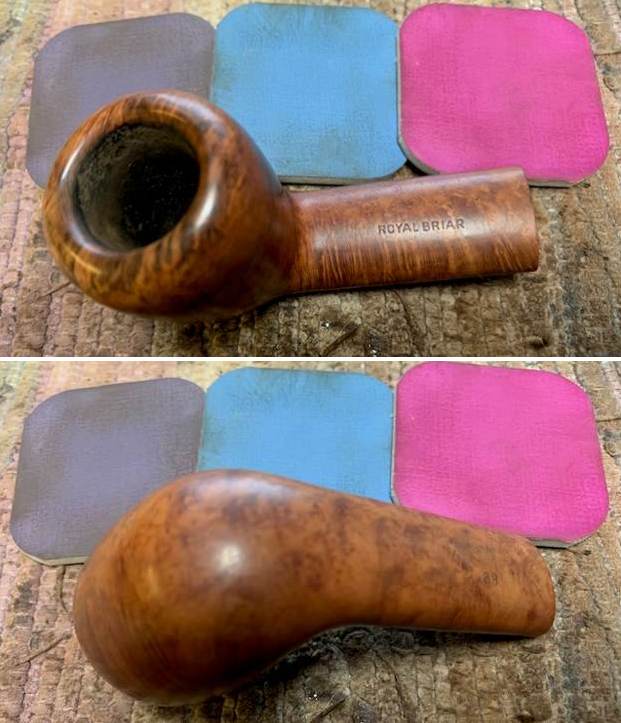
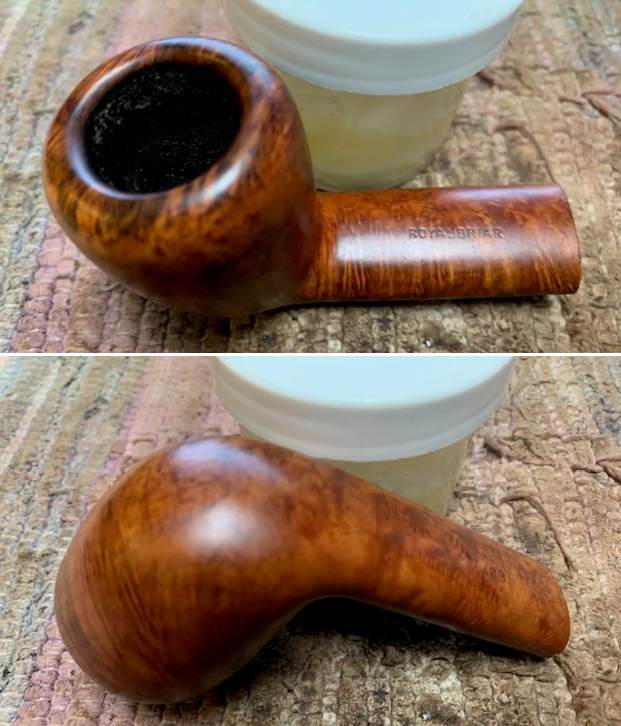
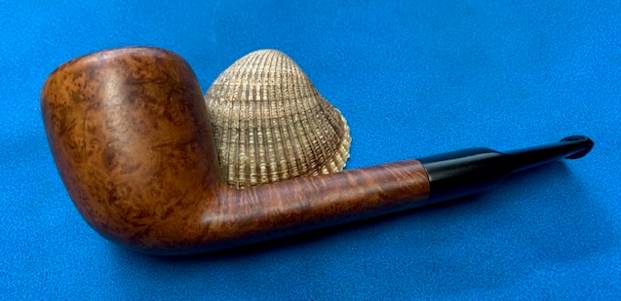
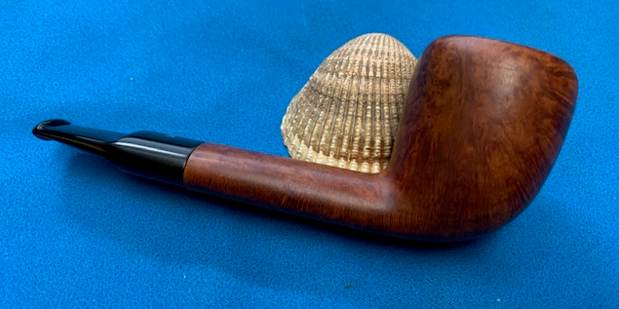
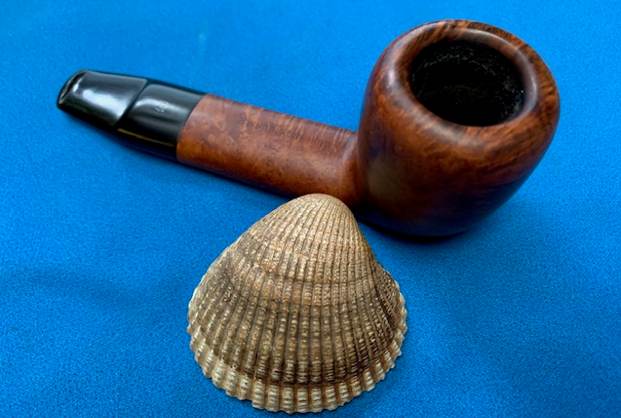
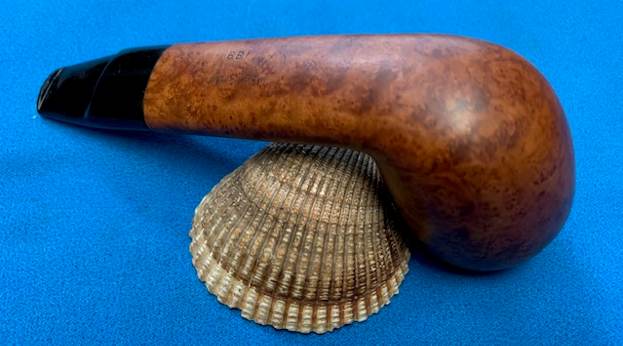
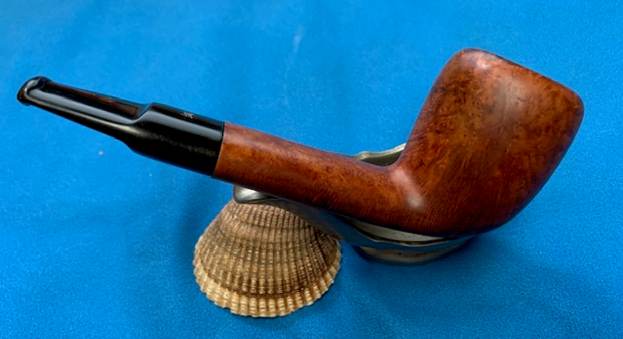
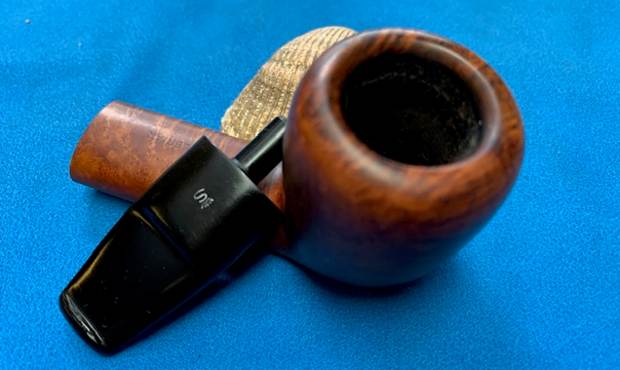
This pipe has the quintessential quaint size and shape that is nearly always seen on old British made pipes. The well seasoned briar is covered in dirt, dust and grime from decades of use. There are a couple of deep scratches on the stummel surface. There is a thick cake in the chamber with heavy overflow of cake, oils and tars over the rim top surface. The inner rim edge is uneven and charred. The outer rim edge, likewise, is peppered with dents and dings. The horn stem is in good condition with minor tooth chatter on both surfaces in the bite zone. The draw through the pipe is labored and constricted. This project should be an easy restoration, unless some gremlins are lurking unbeknown to me around the corner! Here are a few ‘before’ pictures of the pipe.

 Detailed Inspection
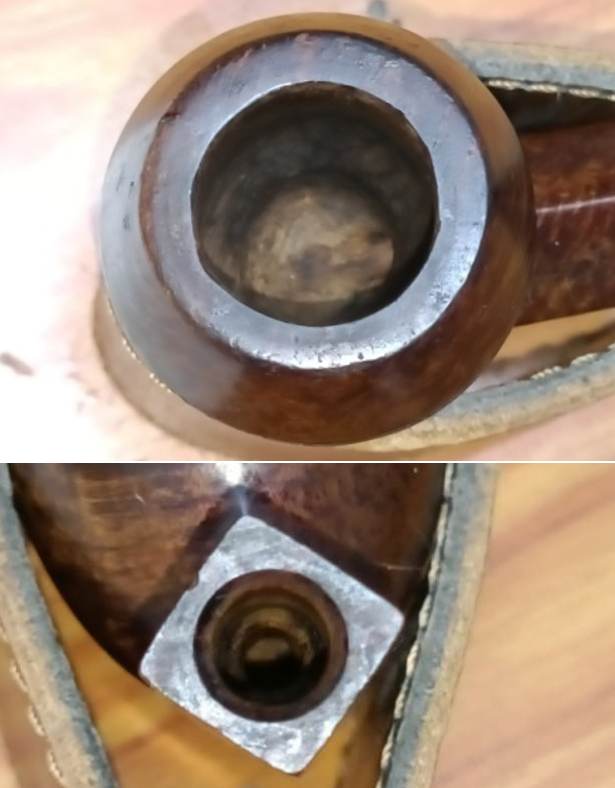
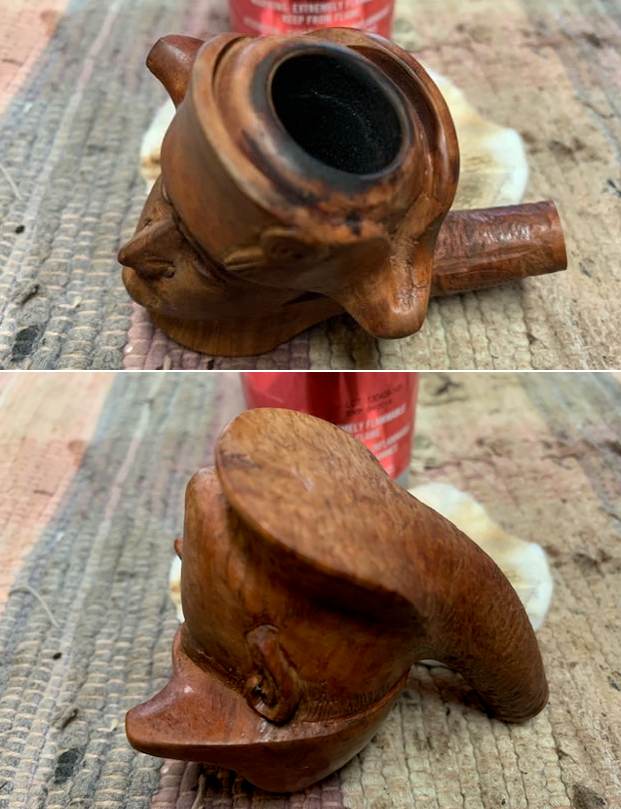
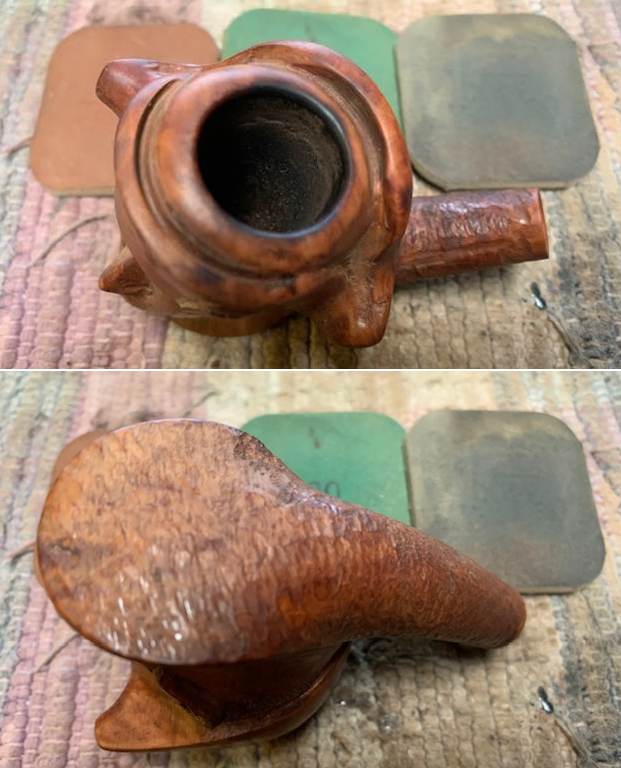
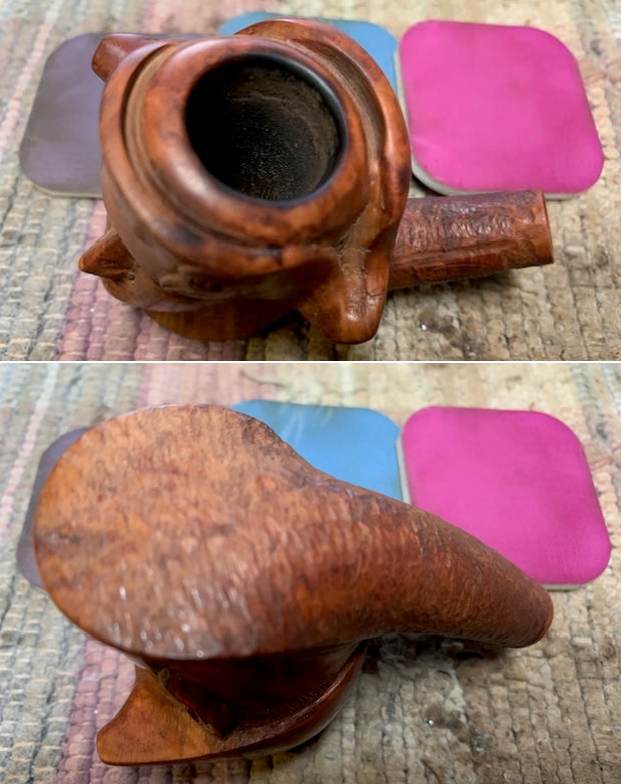
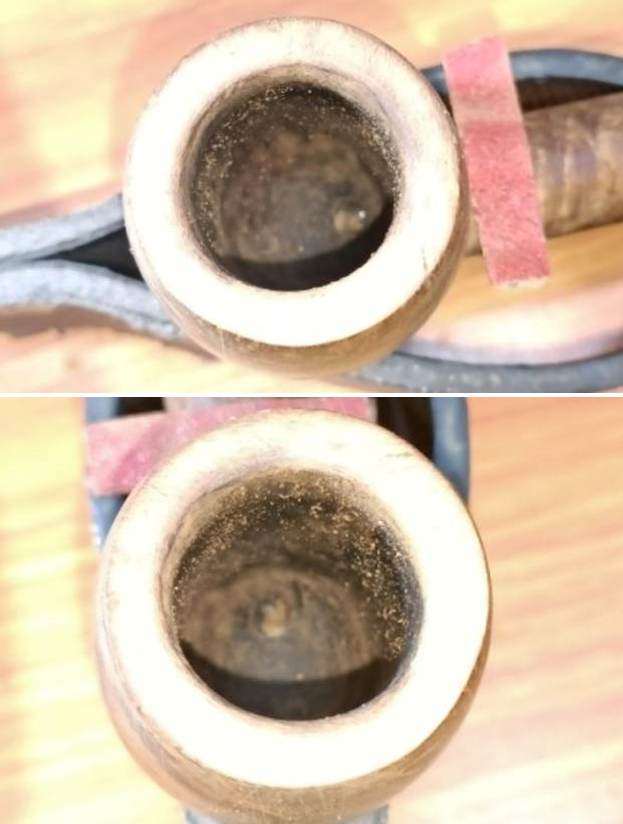
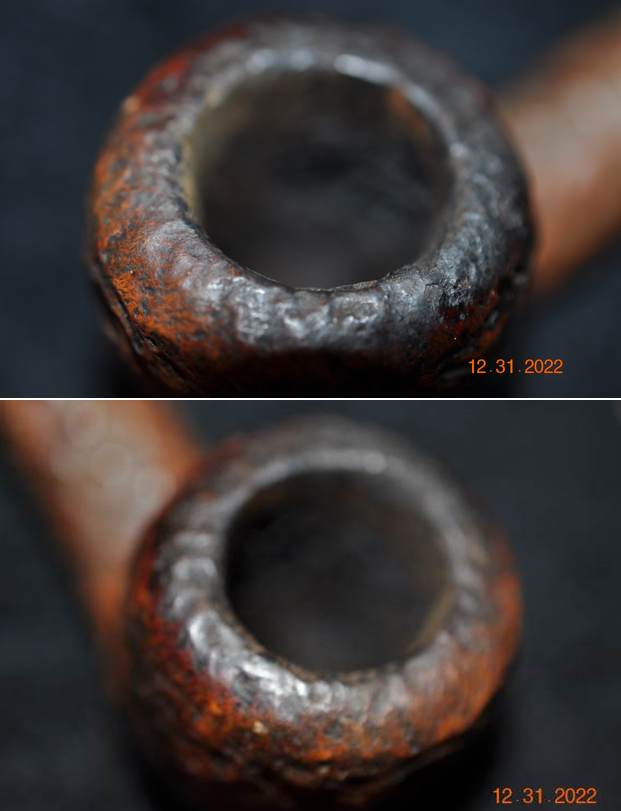
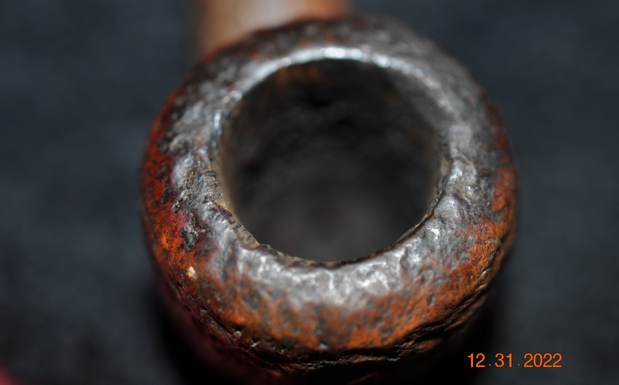
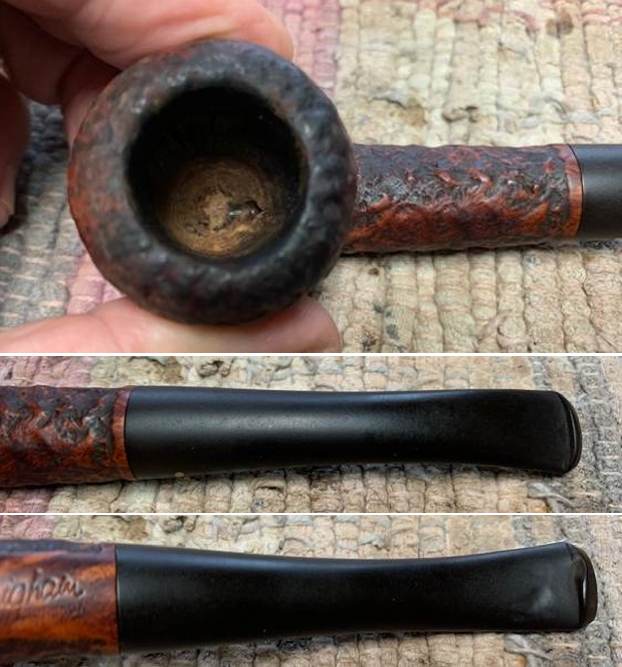
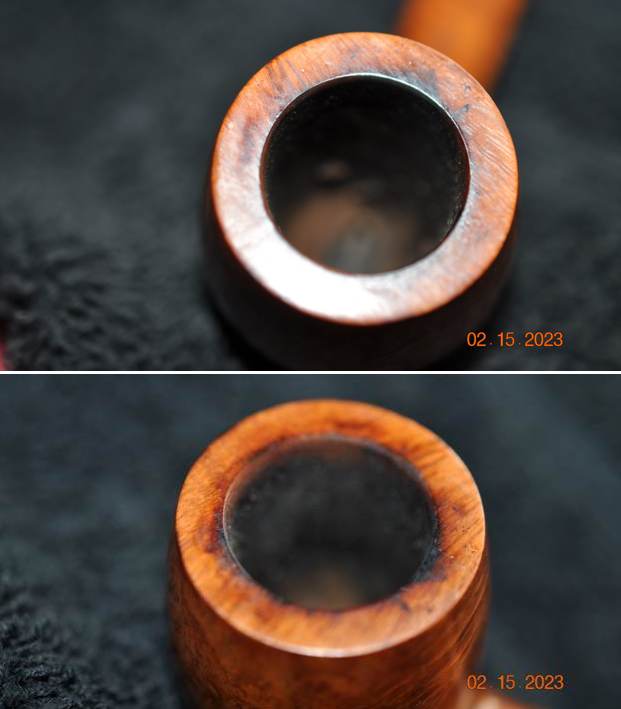
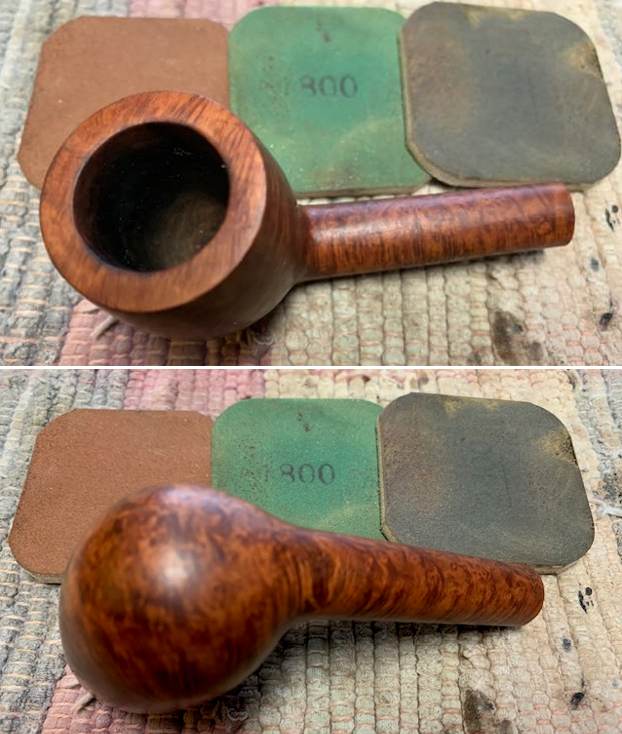
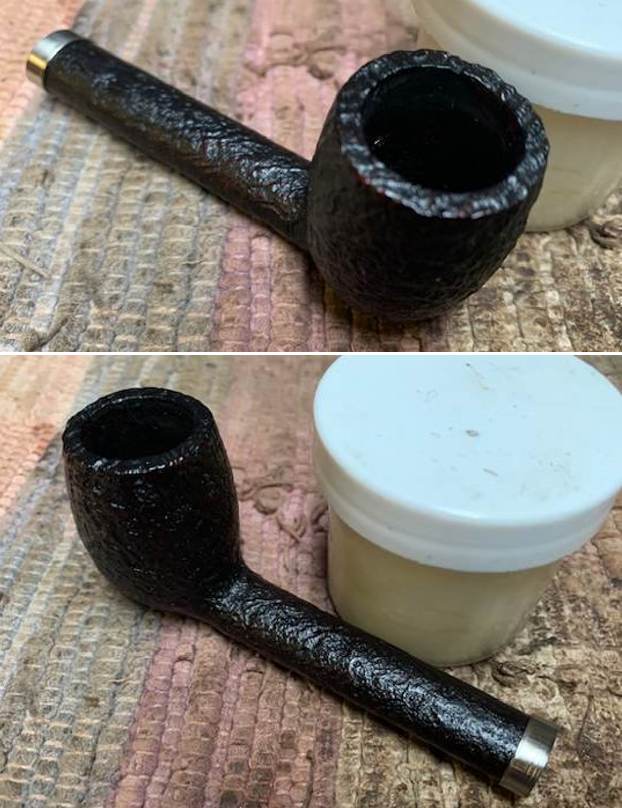
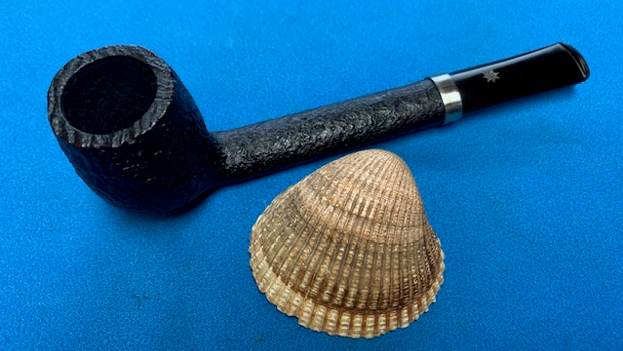
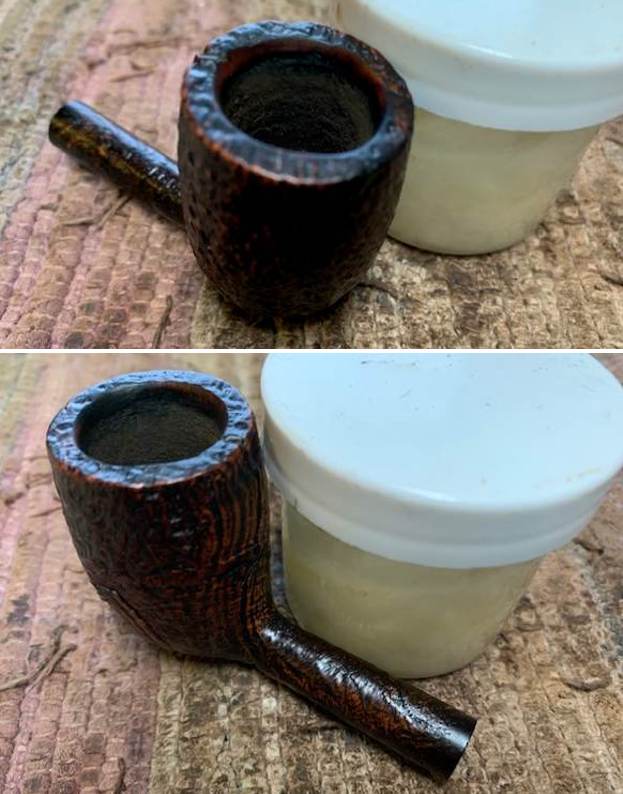
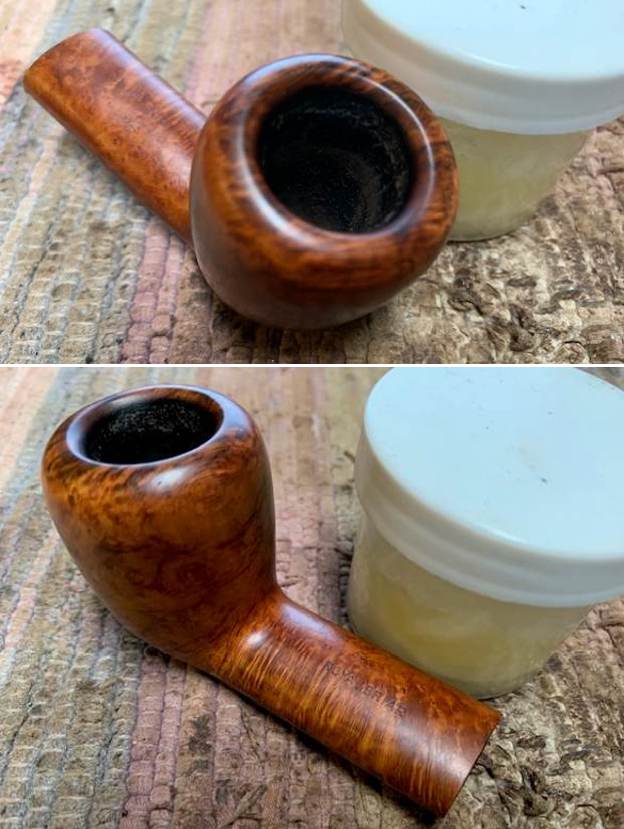
The chamber has a thick hard cake that has spilled over the rim top surface. The cake is thicker around the upper half of the chamber. The outer rim edge has dents and dings all around but is most severely damaged along the front half portion (encircled in red), a damage that can result only due to repeated strikes against a hard edged surface. The inner rim edge is unevenly gouged, probably due to use of a sharp knife to clean up the rim of the charring damage (encircled in yellow). The rim appears thinned out in a couple of places and is encircled in green. The condition of the inner walls of the chamber can be commented upon after the cake has been taken down to the bare briar. There is a strong ghost smell in the chamber which is all pervading.
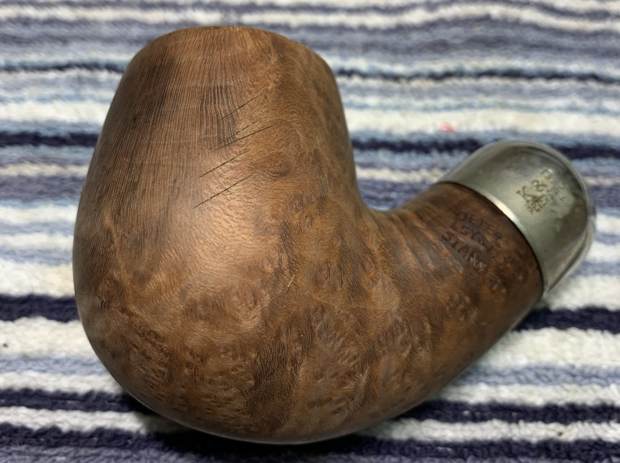
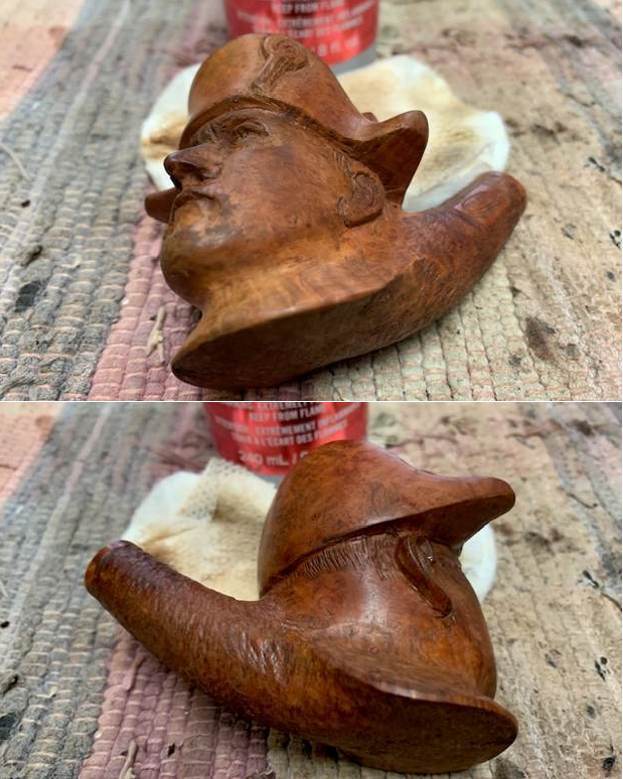
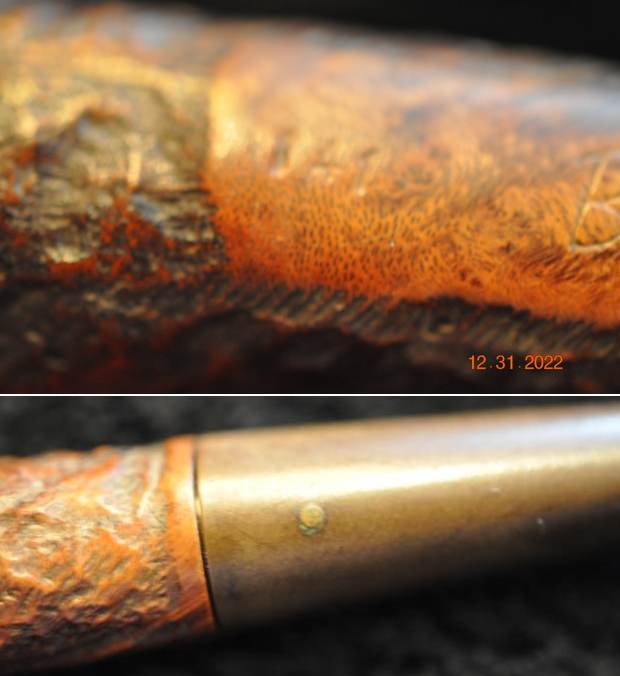
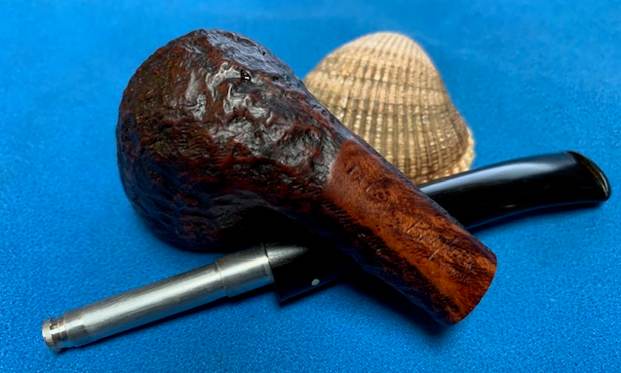
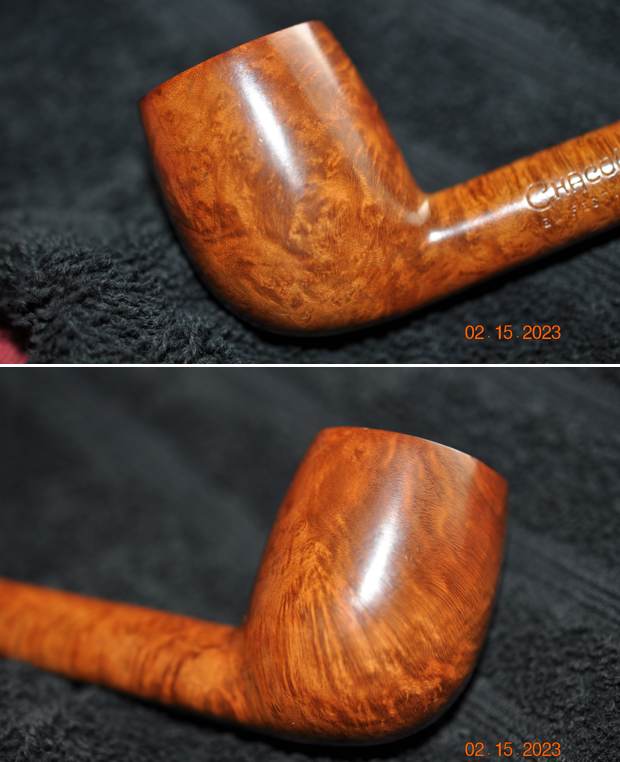
 The stummel surface is covered in dust, dirt and grime giving a dull, lifeless and lackluster appearance to the pipe. However, the briar has taken on a nice dark patina, a result of more than 120 years of usage which would be worth preserving. However, eliminating/ addressing the deep scratches (indicated with yellow arrows) on both side of the stummel and the few dents and dings (encircled in green) would entail sacrificing the patina. This is a call that I would need to take at some stage in the restoration process. The mortise is chock-a-block with old oils, tars, ashes and grime making for a labored draw. The thick cake and blocked mortise hides the draught hole from view. These issues need to be addressed.
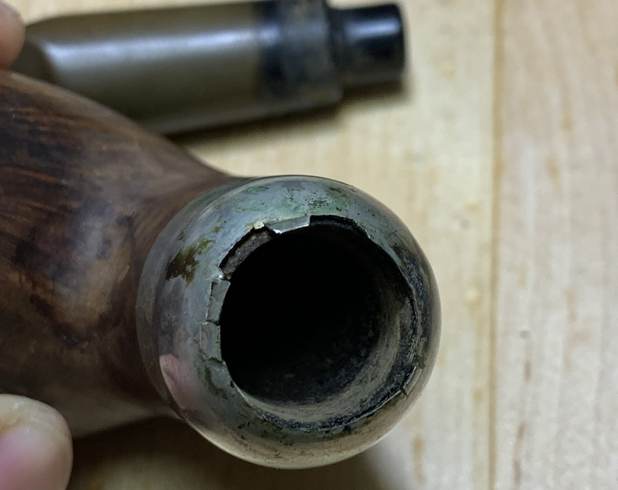
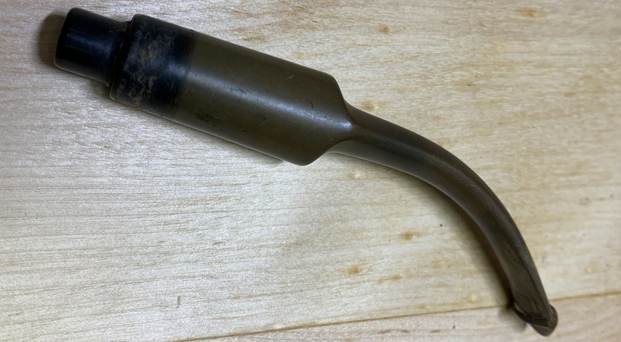
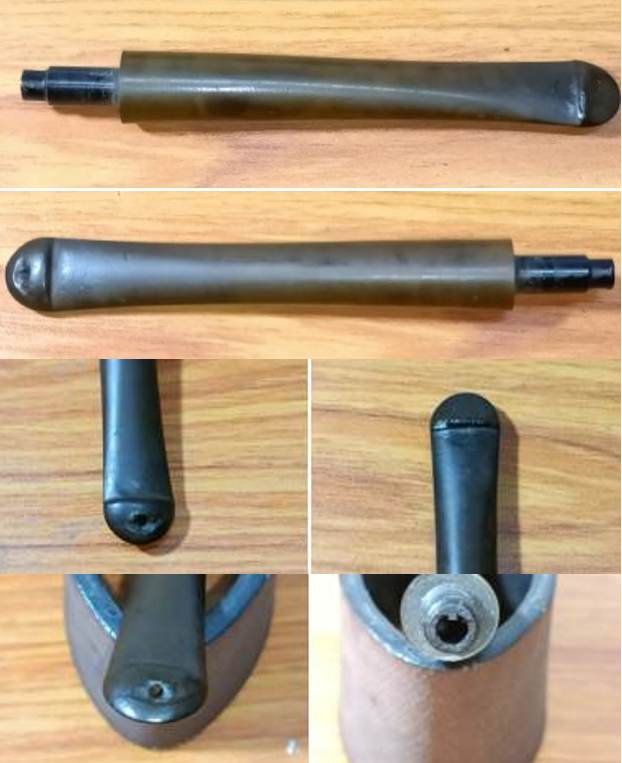
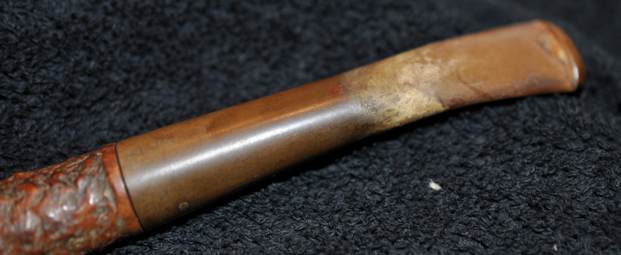
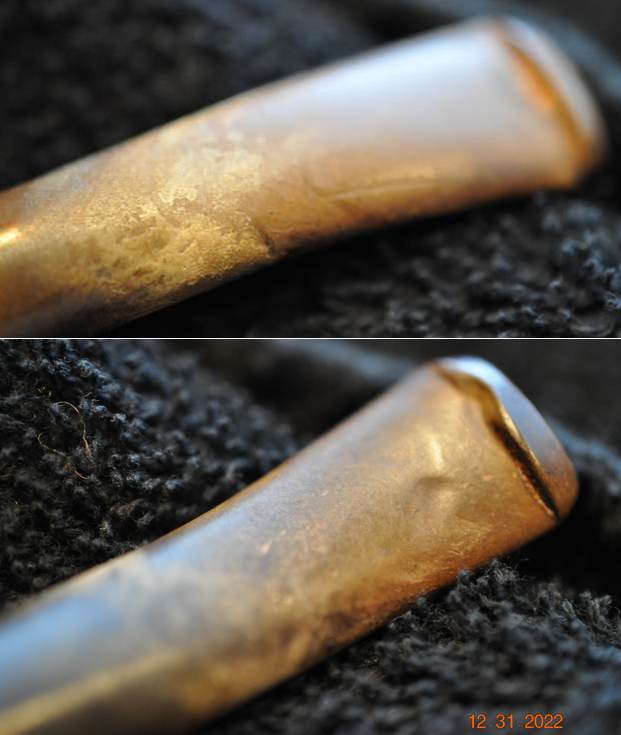
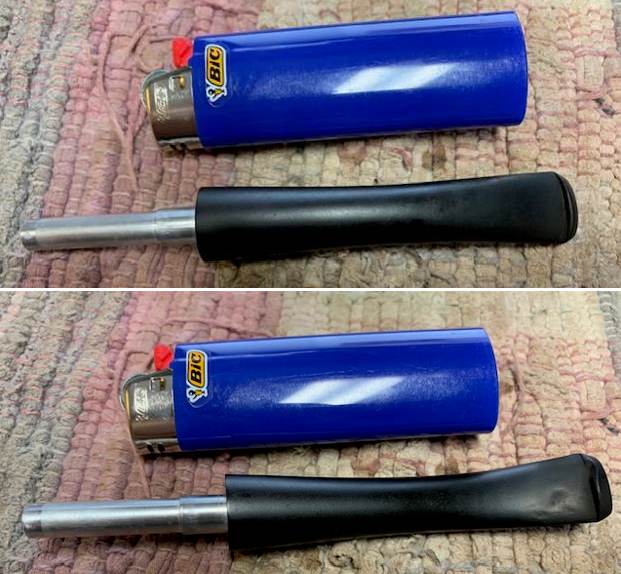
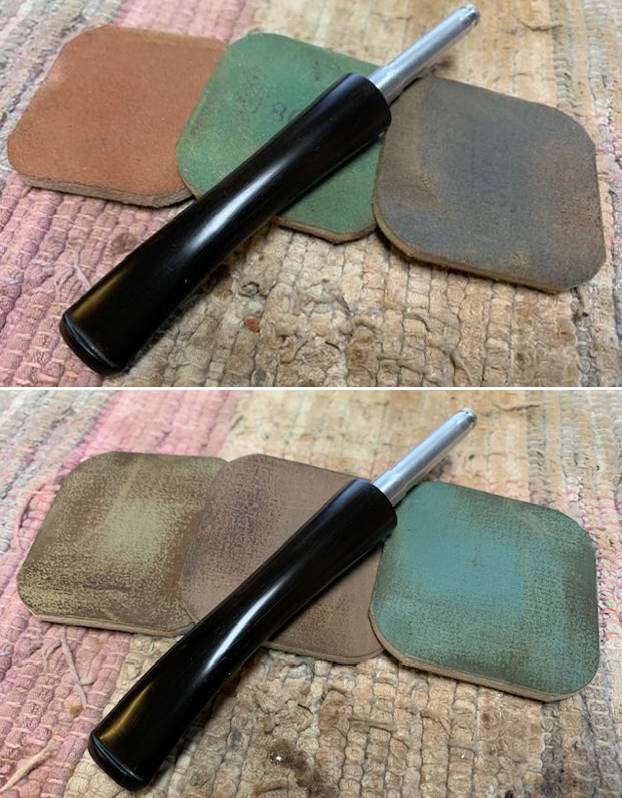
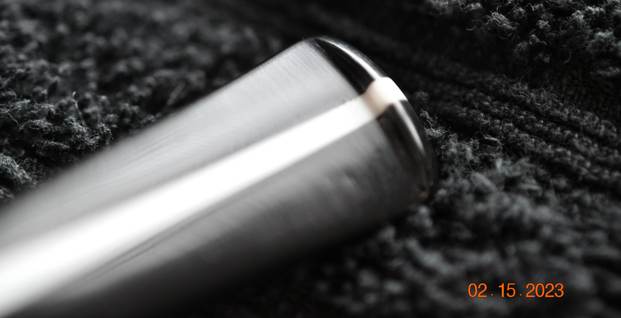
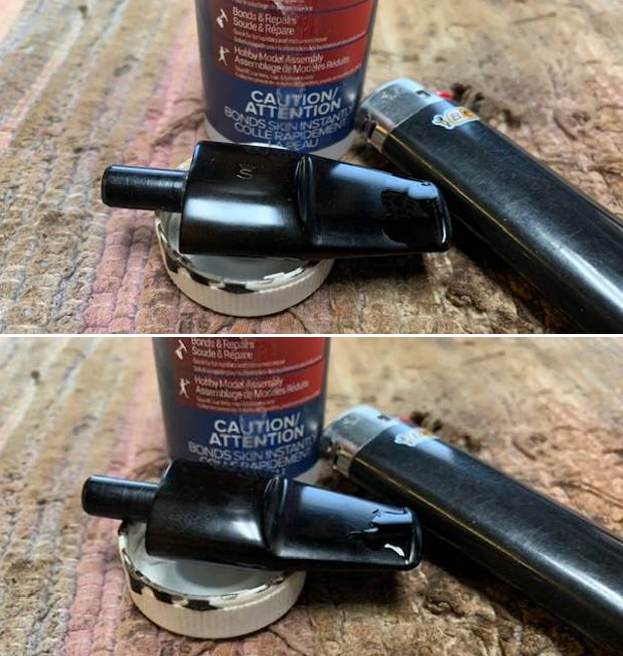
 The horn stem itself appears dull and lifeless and has some minor tooth chatter on both the surfaces of the stem. The slot is perfectly round and correct for the time period of the pipe and shows accumulation of dried tars and dirt. The threaded bone tenon also shows traces of deposition of gunk and grime within the threads and at the tenon end. The button edges are sharp and sans any major damage with a little dirt embedded at the bottom of the edges and some minor tooth chatter over the lower and upper button in the bite zone. The dark and light hues taken on by the stem over the years should polish out nicely and will add an additional touch of class to this already classy pipe.
 The Process
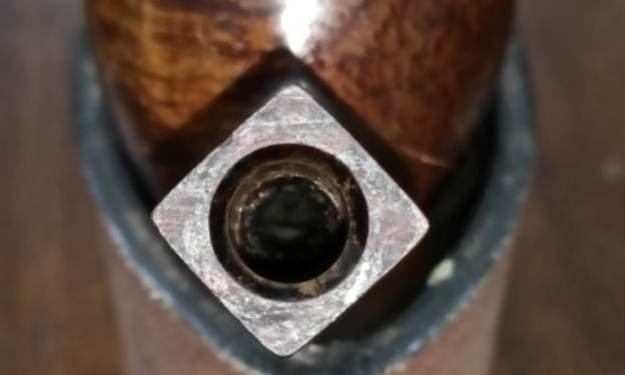
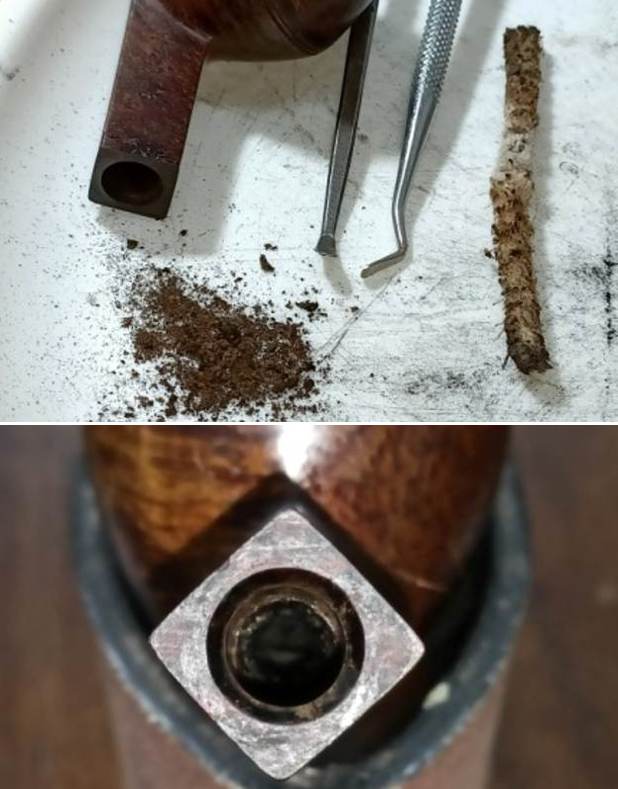
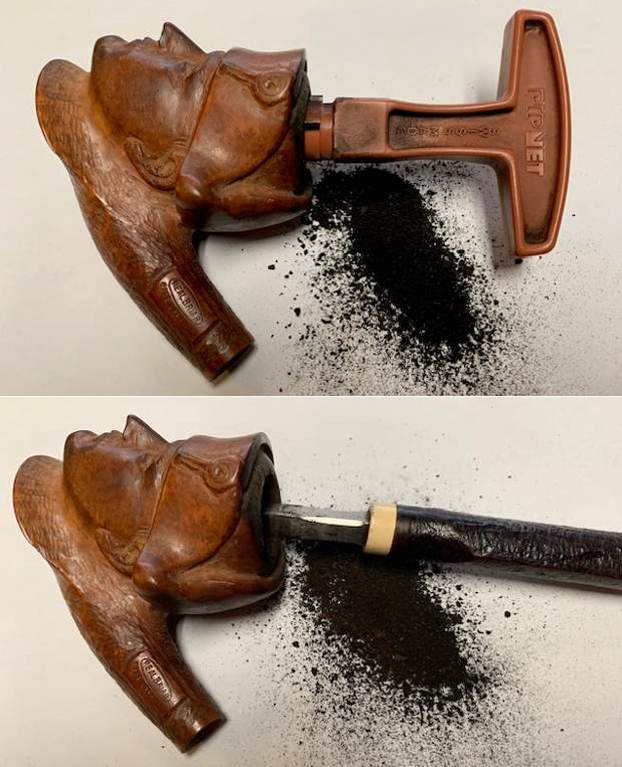
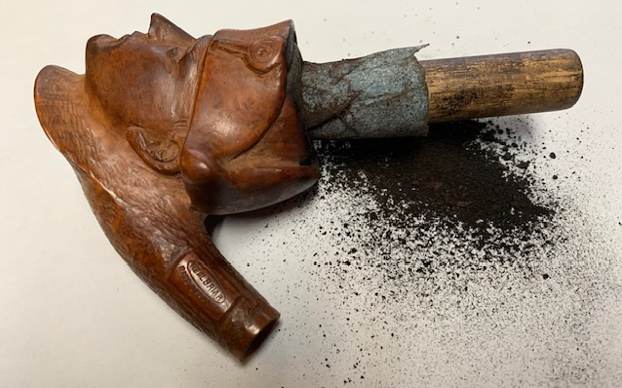
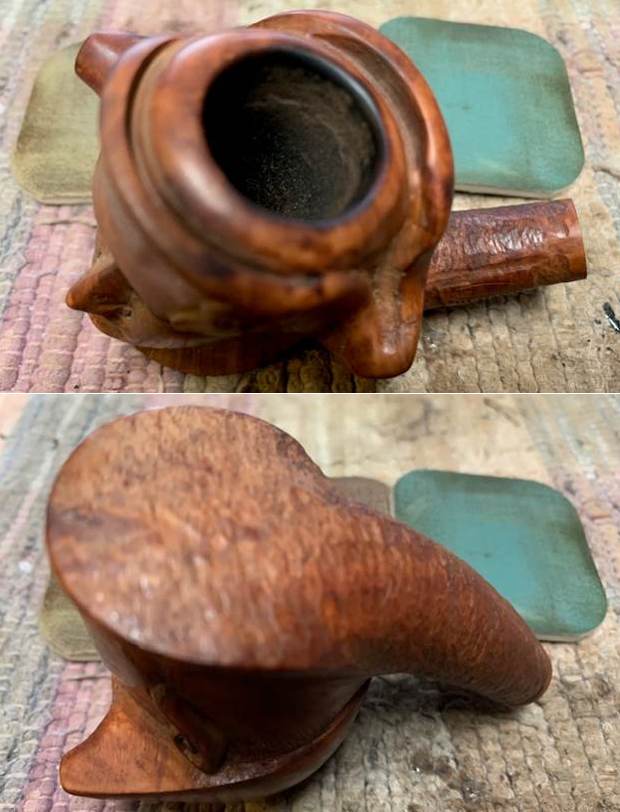
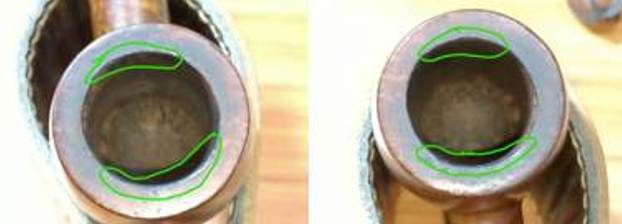
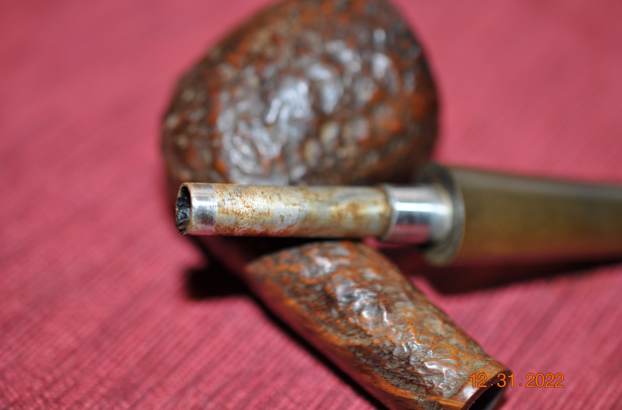
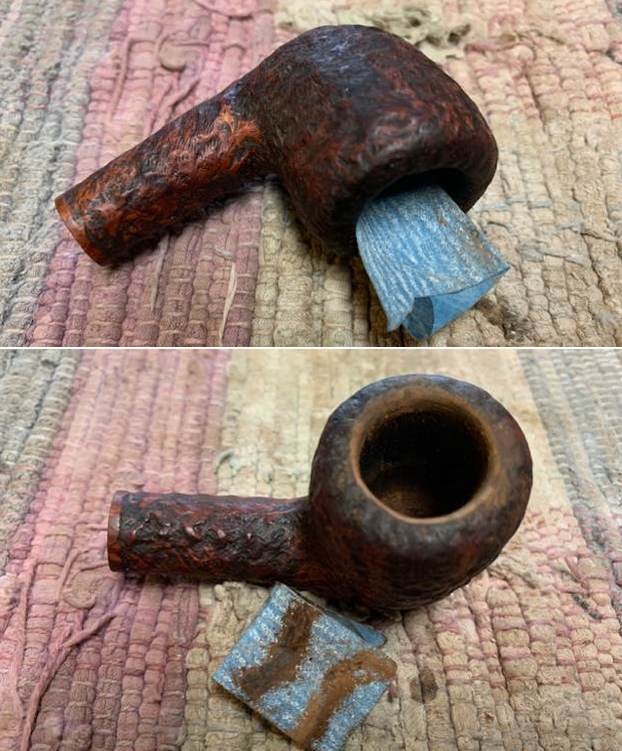
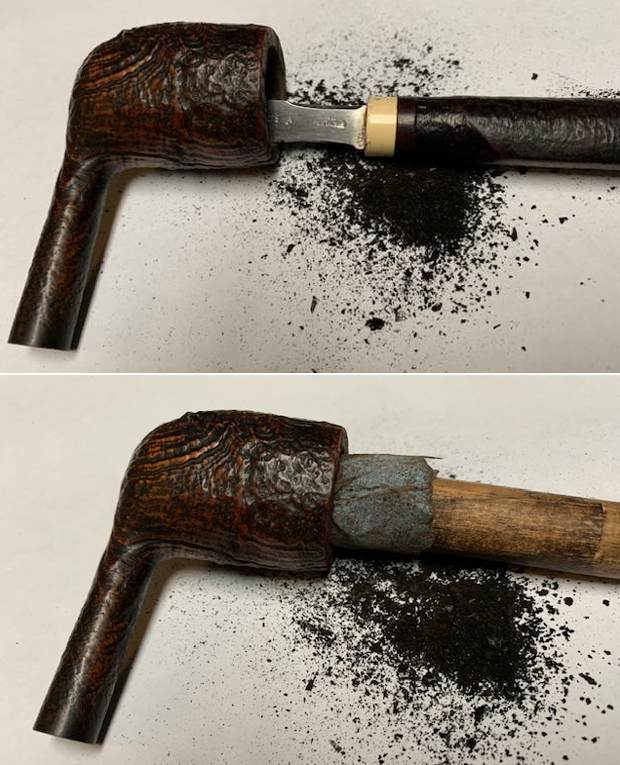
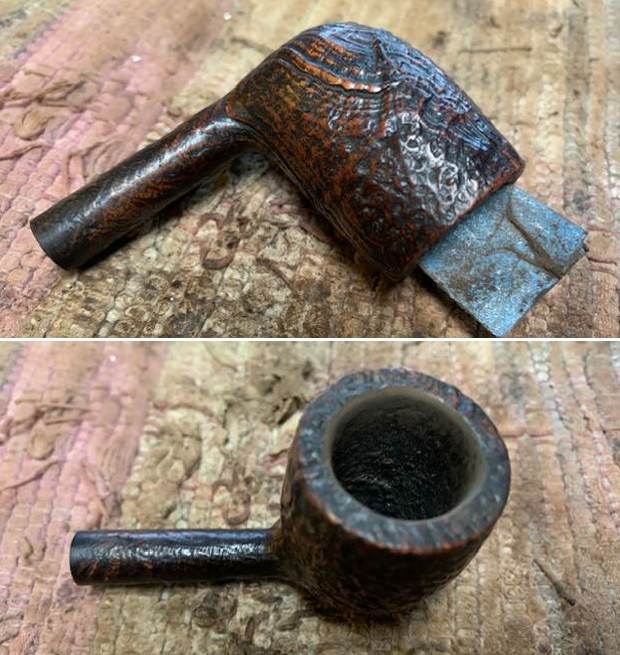
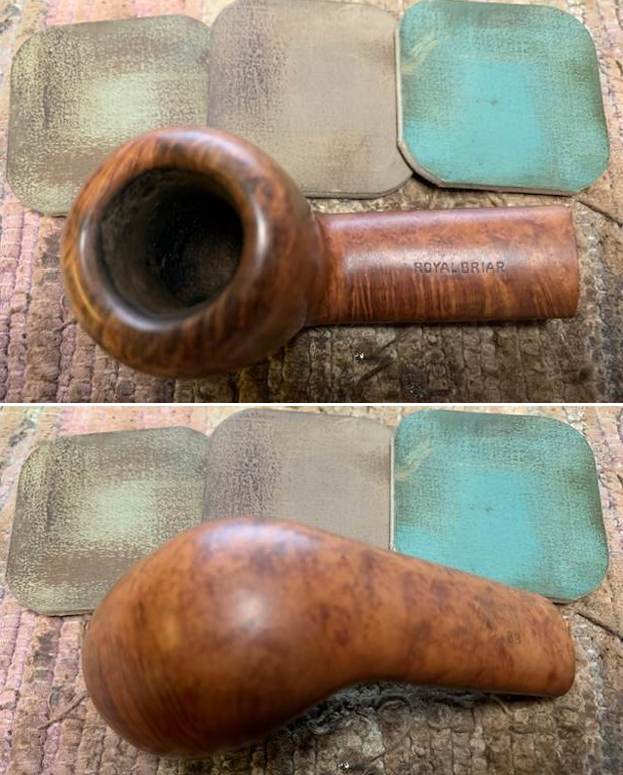
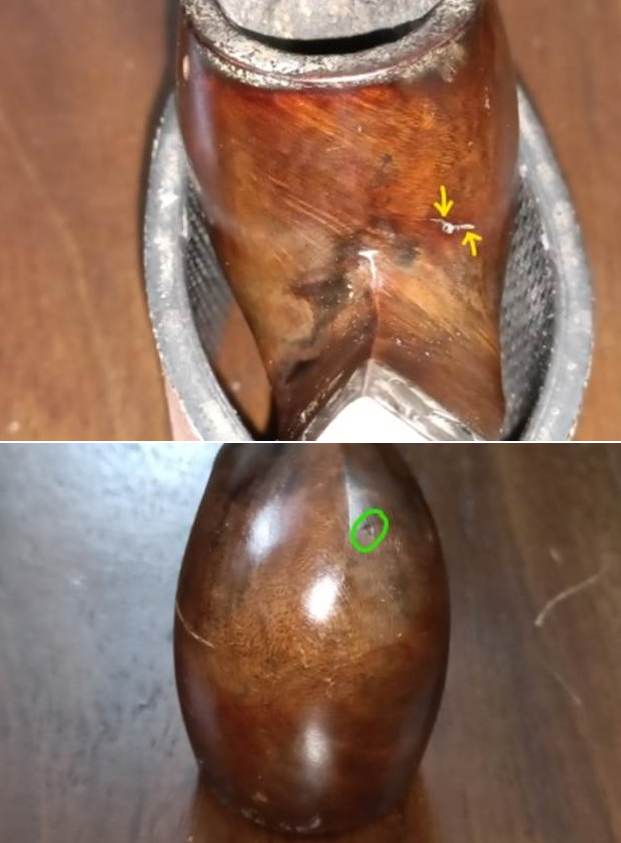
I first tried to remove the silver filigree band to check for any hidden gremlins over the shank end surface. The band came off quite easily and it was a relief to note that there were no cracks or chipped areas underneath the band as evidenced from the shank end face. Since the stummel is where maximum restoration efforts are needed, this was where I started my process to restore this pipe. I began the process of refurbishing this pipe by reaming the chamber with a PipNet reamer tool, using the second head. Using my fabricated knife; I further took the cake down to the bare briar. With a 220 grit sand paper, the walls of the chamber were rid of all the remnants of the cake, revealing smooth chamber walls. I further wiped the chamber with a cotton swab wetted with isopropyl alcohol to completely remove the sanding dust. I gently scraped the lava overflow from the rim top. Close observation of the chamber after the clean up revealed that the draught hole is not centered (centre position encircled in white) but towards the left side (indicated with green arrows). This being a manufacturing issue, there is nothing that I can do to right this wrong and even if there is something that can be done, I wouldn’t recommend it as it had previously over the last century served its owner well as can be seen from the thick cake in the chamber. The damage to the front outer edge (encircled in blue) and the out of round chamber due to damaged inner rim edge (encircled in green) can now be seen clearly and would need to be addressed.
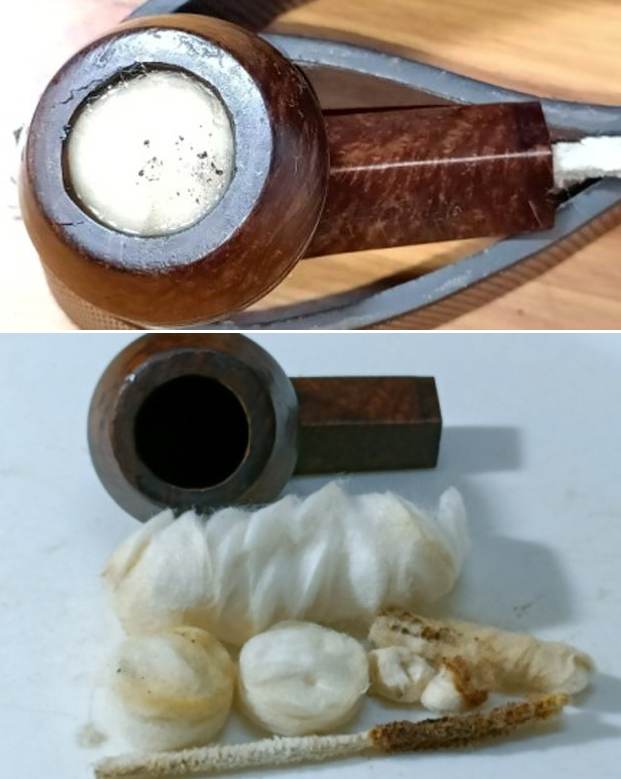
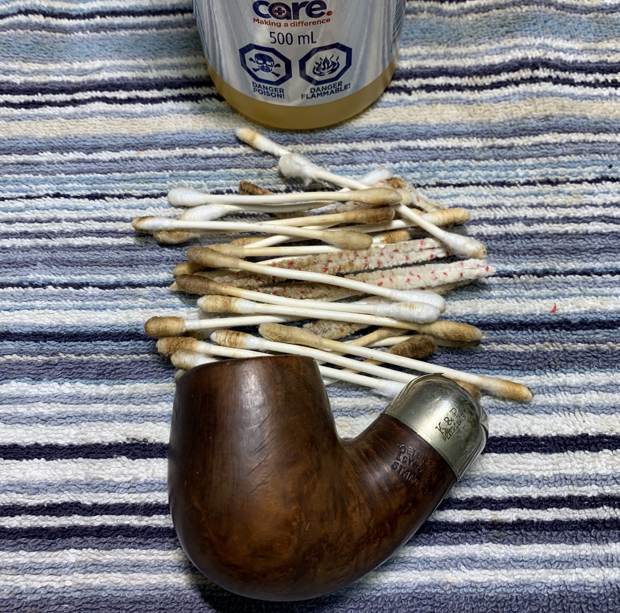
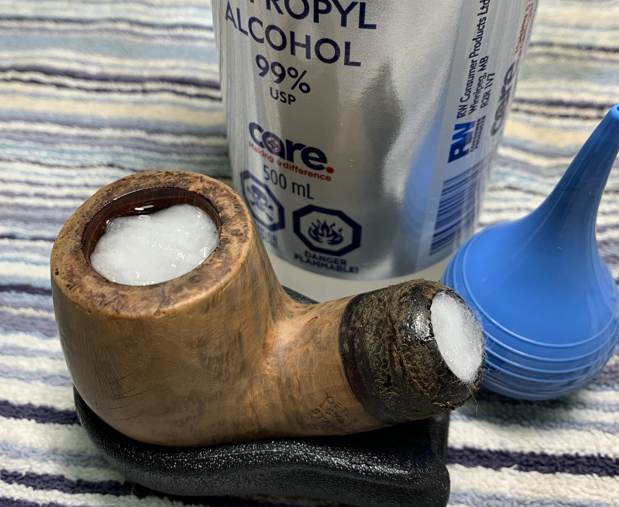
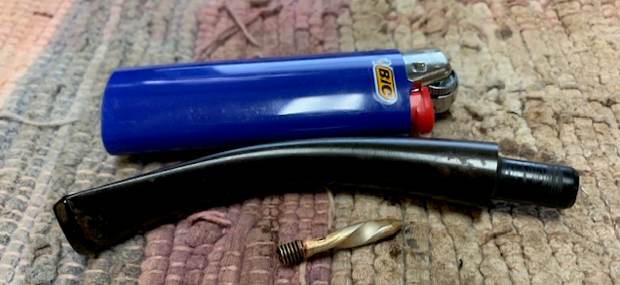
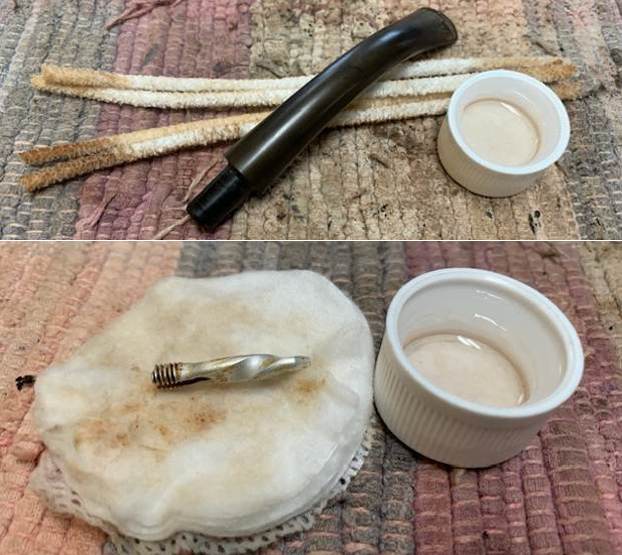
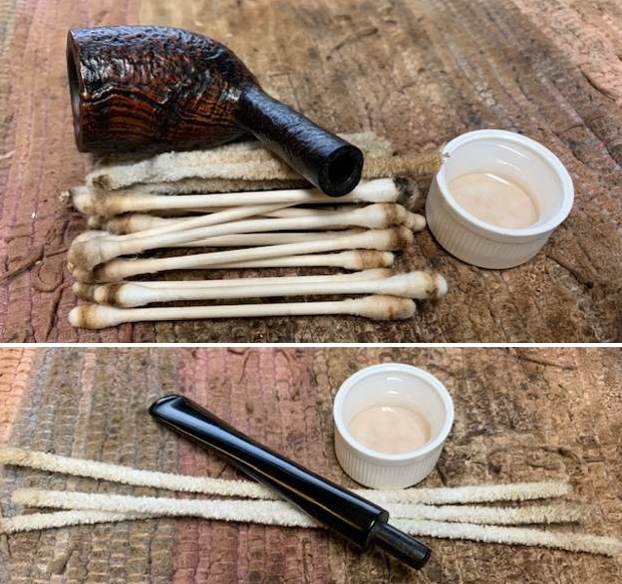
 Using cotton buds, bristled and regular pipe cleaners wetted with 99.9% pure alcohol, I carried out the preliminary cleaning of the mortise. I shall continue deeper cleaning of the chamber and mortise with salt and alcohol treatment.
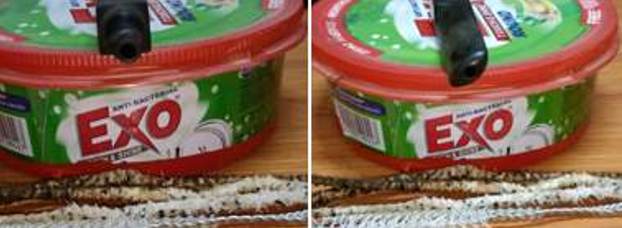
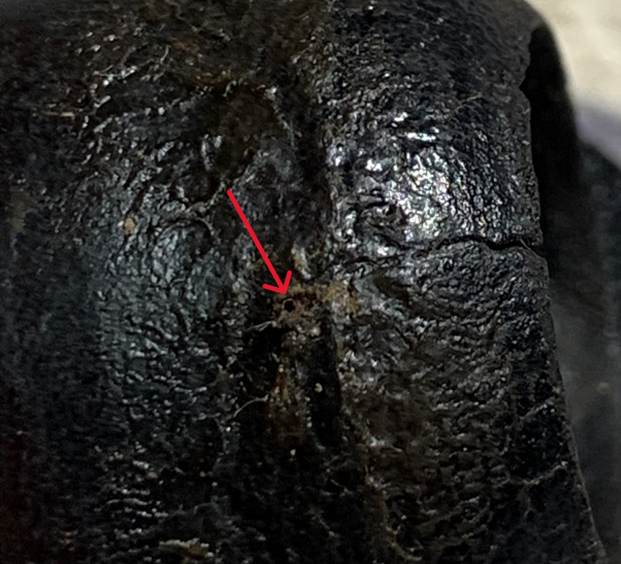
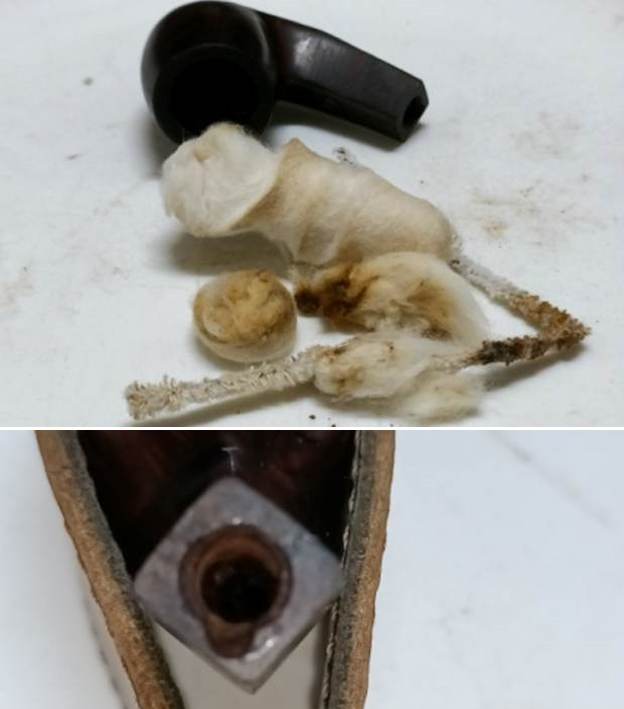
 Moving on to deeper cleaning of the chamber and the mortise…….. I use cotton balls which is an at par substitute to Kosher salt as I have realized over the years. I draw out a wick from the cotton and along with a folded regular pipe cleaner; insert it in to the mortise and through the draught hole in to the chamber. Thereafter, I pack the chamber with cotton balls to about quarter of an inch below the rim inner edge and soak the cotton balls with isopropyl alcohol up to the brim. About half an hour later, the level of alcohol had gone down, having being absorbed by the cotton. It was here that I noticed seepage on the right side of the stummel through what I had initially assumed to be a scratch. However, this patch of seepage points to a through crack which if left unattended would lead to a burn-out. I topped it up once again with alcohol and set it aside overnight. By next afternoon, the cotton and alcohol had drawn out all the remaining oils and tars from the chamber and mortise, fulfilling its intended task. I removed the cotton balls and ran pipe cleaners through the mortise to clean out all the loosened tars and gunk. I set it aside to dry out naturally. It is such unexpected curve balls that are thrown at you which make any restoration a challenging one.
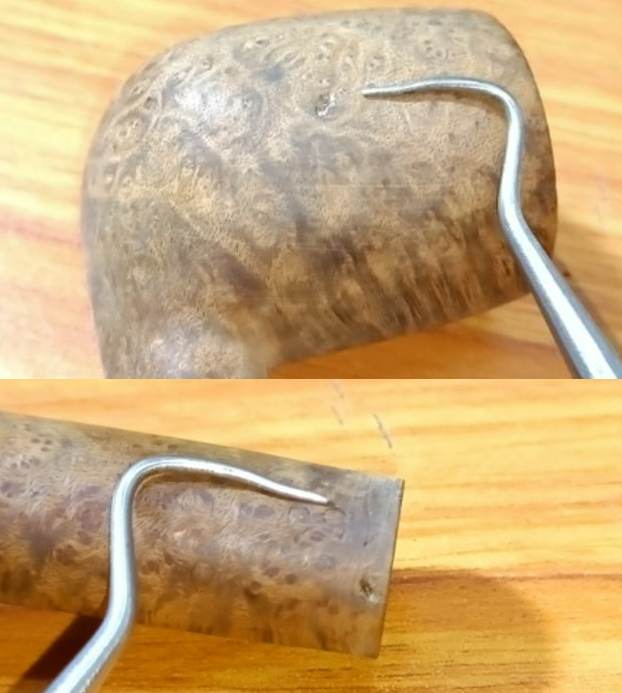
 Once the stummel had dried out completely, using my fabricated tool I scraped out the entire loosened gunk from the mortise and further cleaned it with alcohol and q-tips. I cleaned out all the debris and gunk in the crack from the outside (encircled in yellow). I also scraped the chamber walls to remove all the loosened cake and charred briar; especially form the corresponding insides of the external crack. A closer examination of the chamber walls shows the extent of damage (indicated by red arrows) and most likely this is a result of some flaw in the briar wood which was exposed during previous use and reaming to maintain cake. I would love to hear about your opinions on what had caused this damage. This issue needs to be addressed immediately to avoid ruining this 122 year old specimen of pipe history.
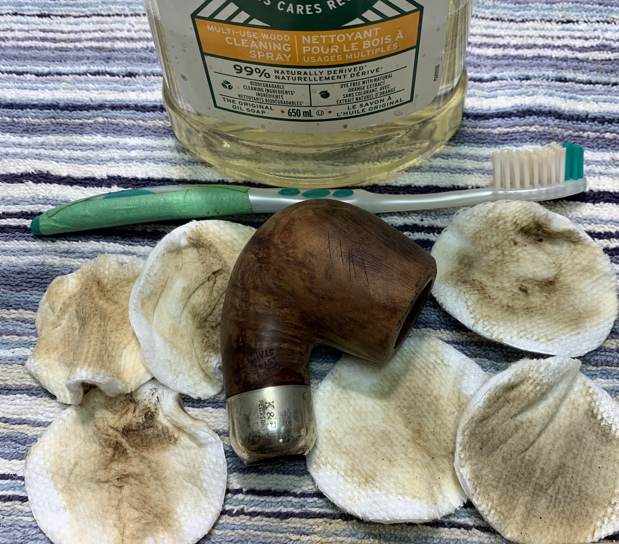
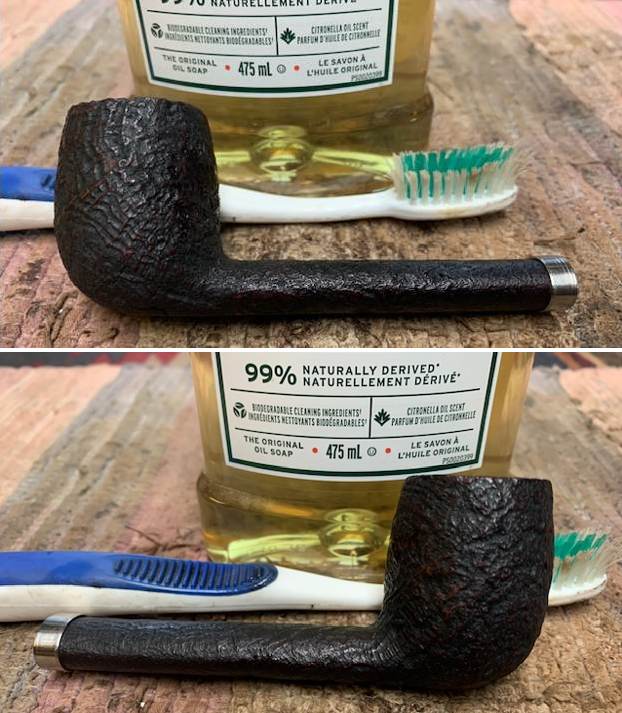
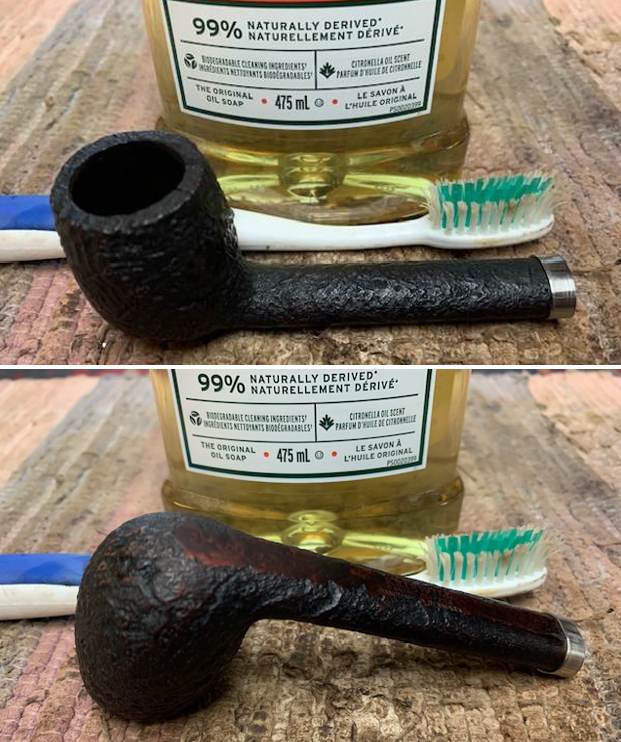
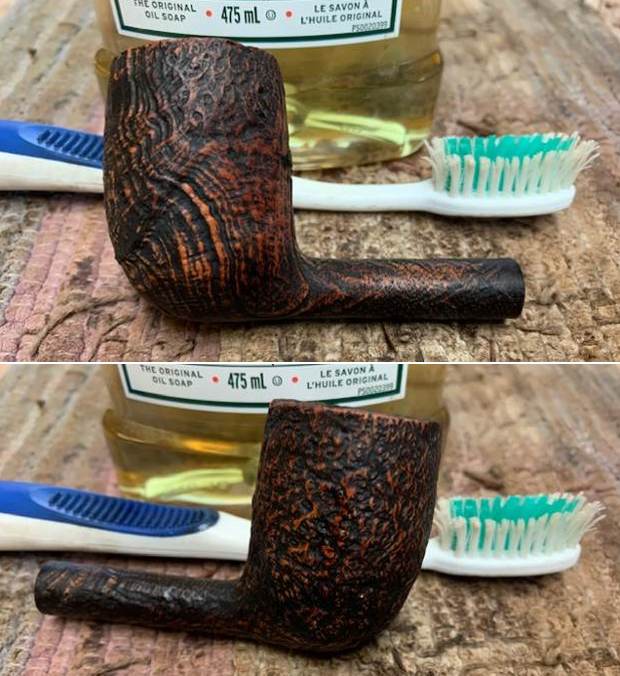
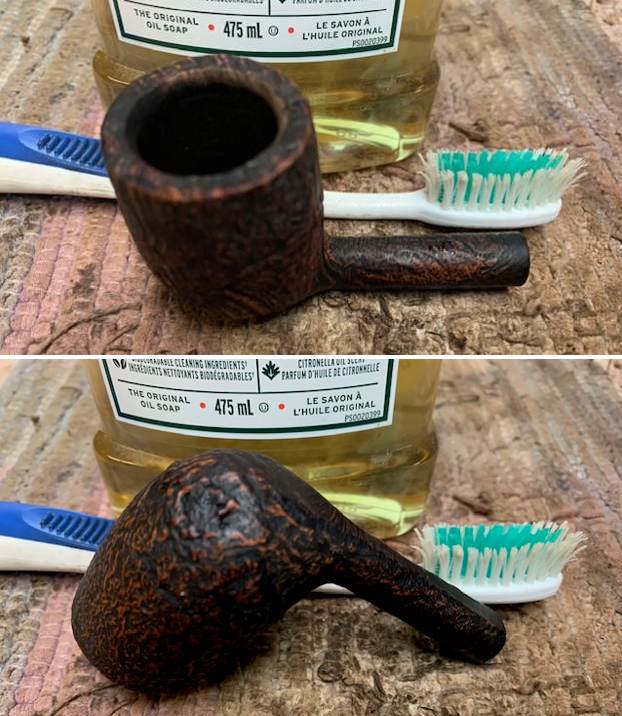
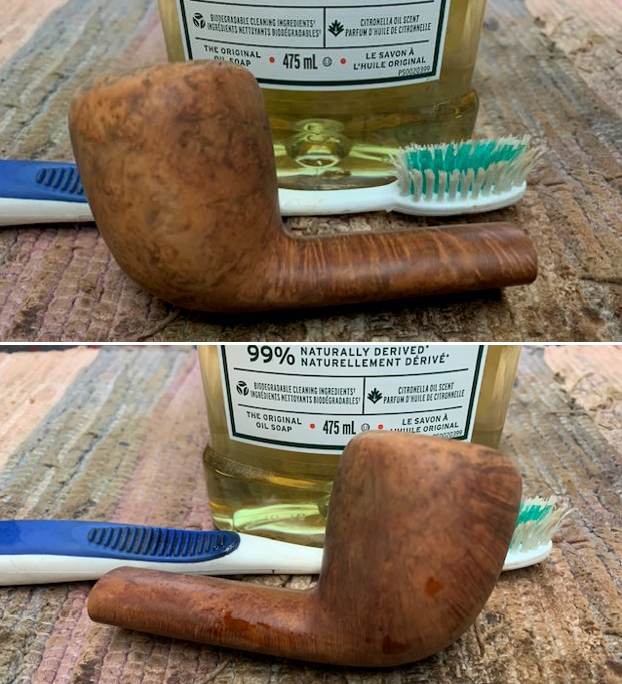
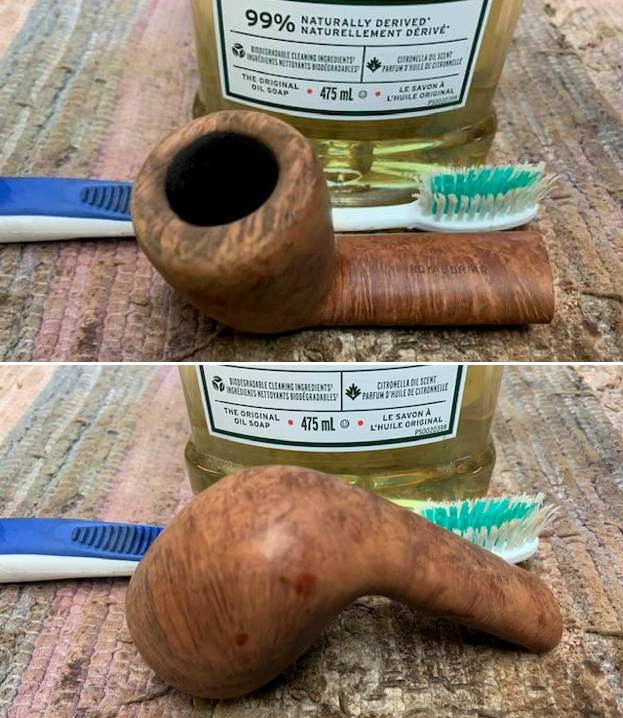
 Before moving on to addressing the above, I decided to clean the exterior surface of the stummel. I used a hard bristled tooth brush and Murphy’s oil Soap, to scrub the stummel, chamber walls and rim top. I washed the stummel under running warm water with anti oil dish washing detergent till the stummel surface was clean and dried it using paper towels and soft cotton cloth. The deep scratch on the left and the ‘now determined’ through crack on the right (indicated by green arrows) are all too clearly visible.

 I simultaneously cleaned the shank internals with the detergent and hard bristled shank brush and set the stummel aside to dry out naturally.
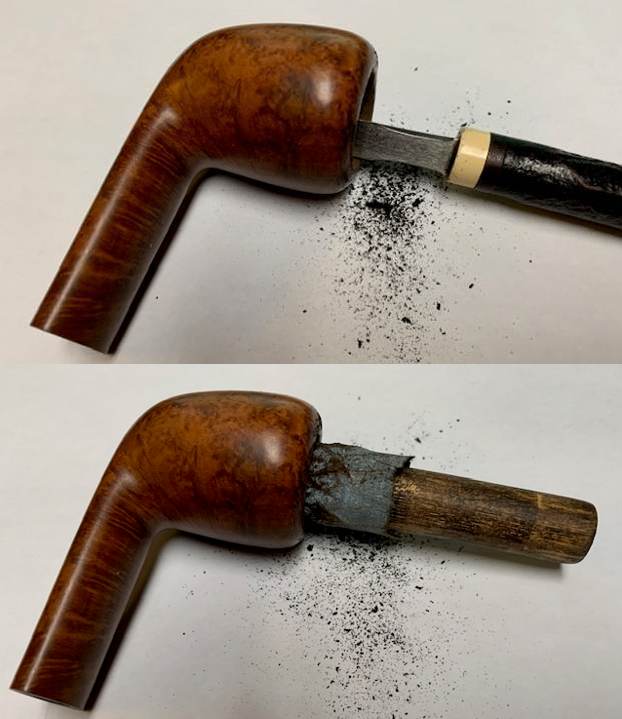
 With the stummel now clean both internally and externally, it was time for me to address the issue of the through crack on the right stummel surface. Using a sharp dental tool, I removed the charred and damaged briar from along the chamber wall until I reached the hard solid briar underneath. Similarly, I cleaned out the crack from the outside by clearing out the debris and grime and the damaged briar using the sharp dental tool.
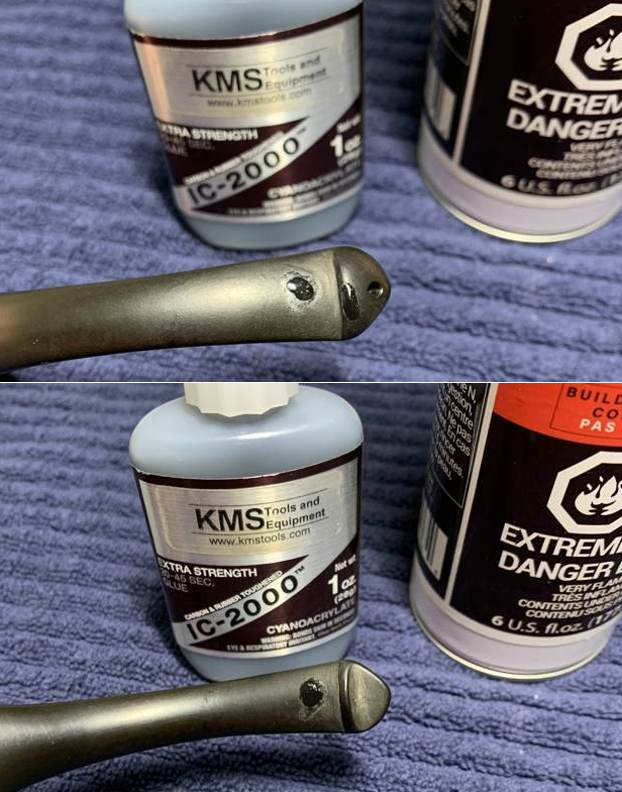
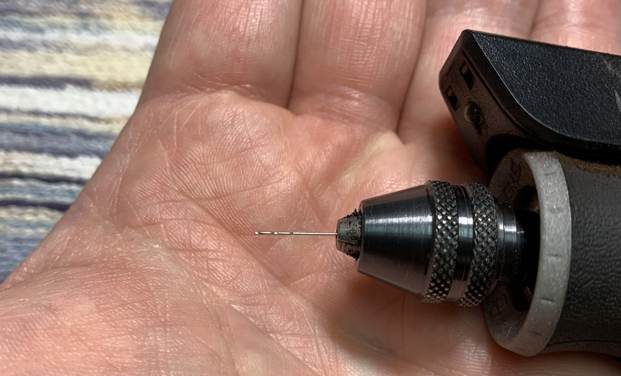
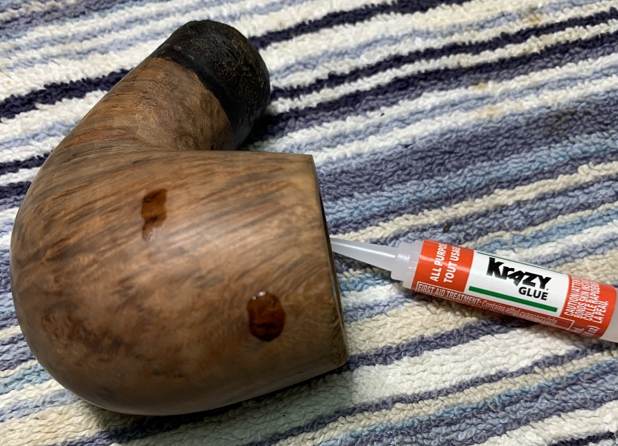
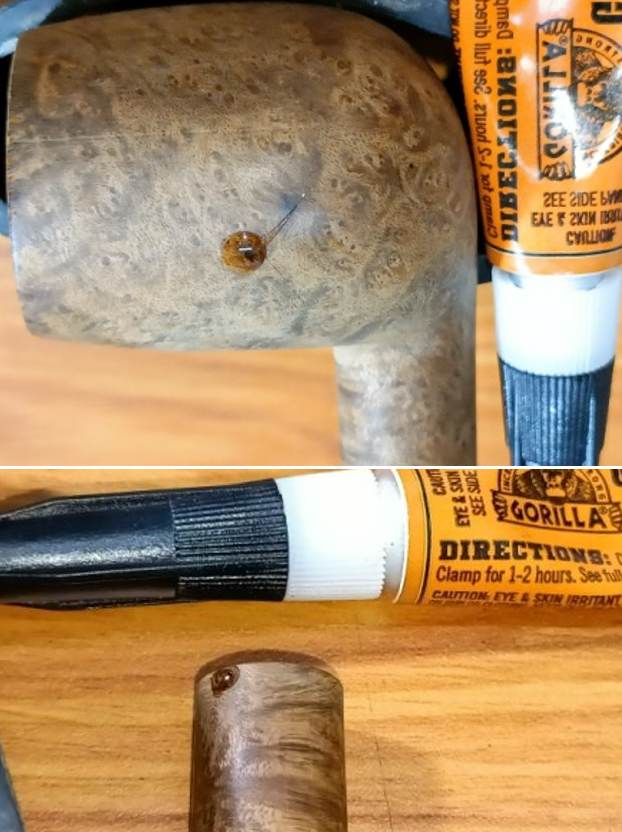
  Next, I drilled counter holes at either ends of the crack using a 1mm drill bit. These counter holes will prevent spread of the crack any further in either direction. I was careful in ensuring that the counter holes are drilled at the exact end points of the crack and that these holes were not drilled through and through. I filled this crack and counter holes with a mix of briar dust and CA superglue and set it aside to cure.
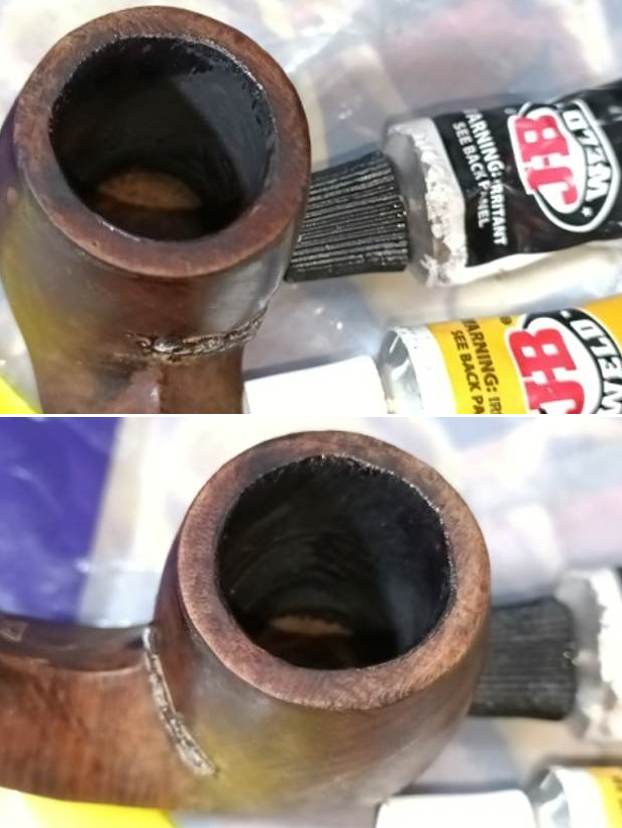
 Next I decided to fill only the heat fissure from where I had removed the charred briar with layer of J B Weld. J B Weld is a two-part epoxy Cold Weld in two tubes; hardener and steel which are mixed in two equal parts (ratio of 1:1) with hardening time of 5-6 minutes and complete curing time of 6-8 hours. I poured the contents of the two tubes and mixed it well. I applied this mix, pressing as deep and as evenly as possible, over the heat lines in the chamber wall surface. As I was applying the mix, I decided to apply this coat over the entire chamber surface as I had some of the mix remaining and it wouldn’t harm in any which way. I worked fast to ensure an even coat before the weld could harden. I set the stummel aside for the application to harden and cure overnight.
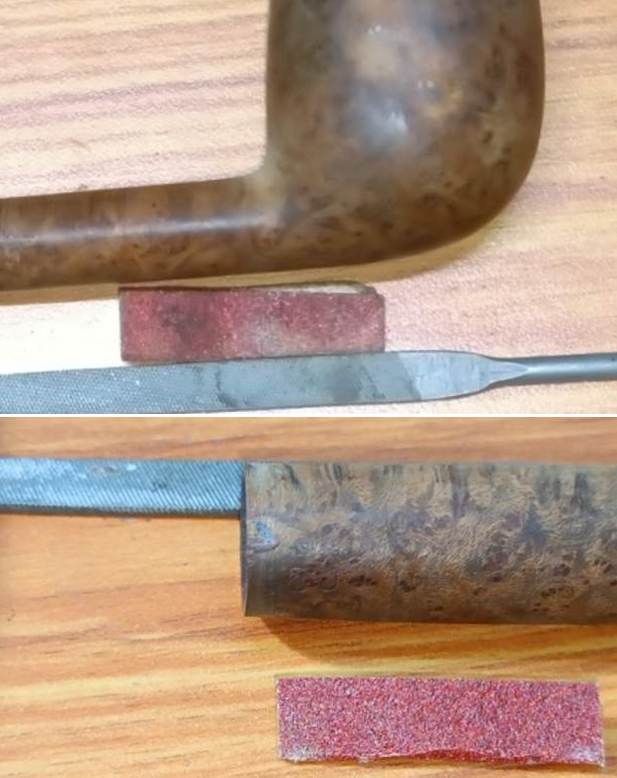
 Once the external crack fill had cured completely, using a flat head needle file, I sand this fill to achieve a rough match with the rest of the stummel surface. I further fine tuned the matching of the fill by sanding fill surface with folded piece of 220 grit sandpaper. The stummel surface was now clean and even.
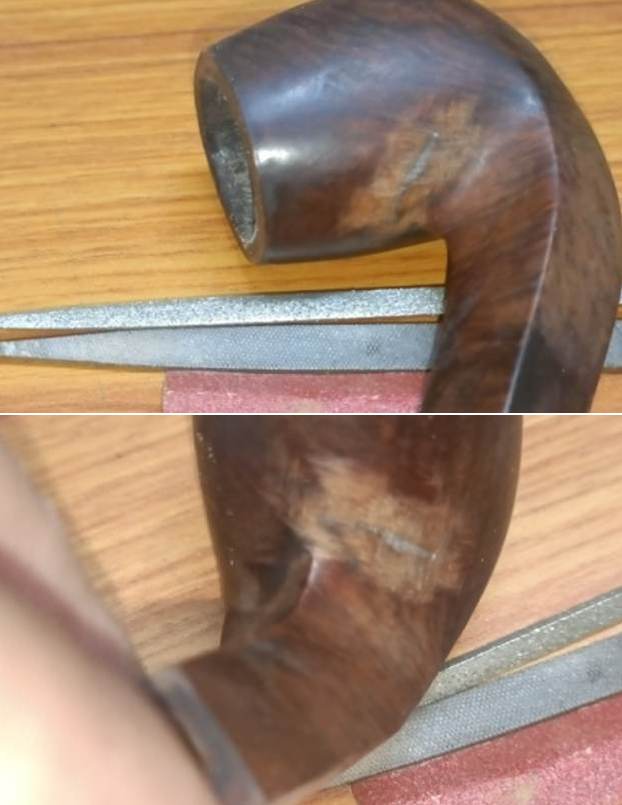 Next, with a folded piece of 150 grit sandpaper, I sand the coat of J B Weld from the internal walls of the chamber keeping just a thin layer of coat along the wall; just enough to provide an inert and heat resistant layer between the burning tobacco and the damaged briar. I shall further enhance this separation by adding a bowl coat of activated charcoal and yogurt.
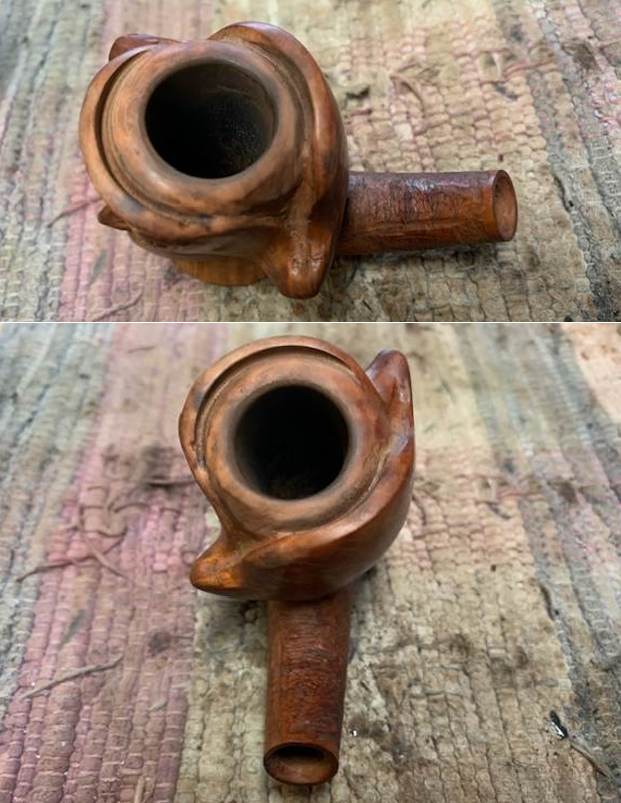
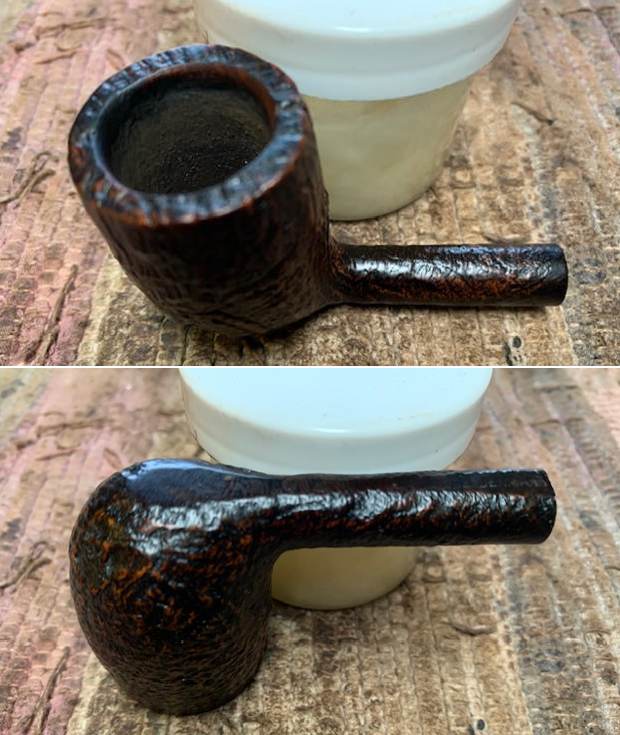
 Next I addressed the issue of the uneven rim top, damaged outer rim edges and out of round chamber. I began with topping the rim over a 220 grit sand paper, frequently checking for the progress being made. I stopped once the damaged outer rim edge was evened out to an acceptable- to- me level and the thickness of the rim top was close to even all round. To get the chamber back to round, I created a bevel over the inner and outer edge with a folded piece of 220 grit sand paper. I am pretty pleased with the progress being made thus far.
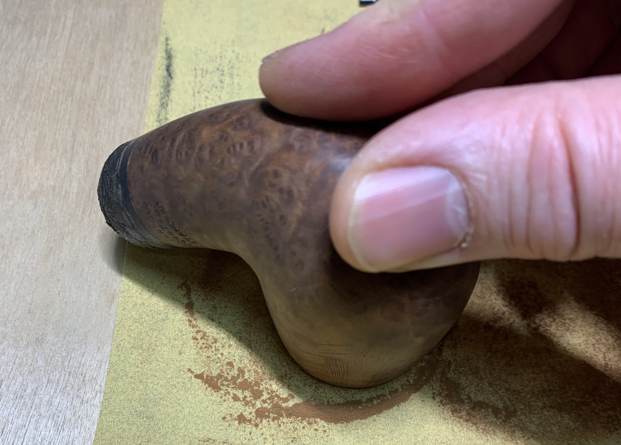
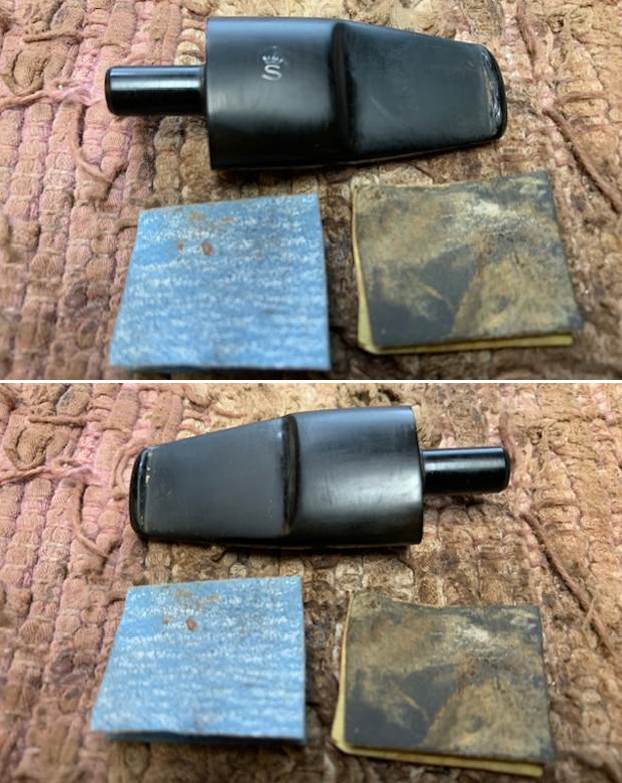
 I followed it by sanding the entire stummel surface using a piece of 320 grit sandpaper to address the scratches and the dents and dings. This was a decision which I had deliberated for a while. One of the major considerations in favor of sanding was the deep scratch on the left side which could be minimized by using sandpaper to sand it down to an acceptable level. Sanding will also help in addressing the few dents and dings and minor scratches from the surface. I had decided that the sanding would be kept to bare minimum and the scratches, dents and dings that remain shall be maintained as part of the pipe’s journey thus far.

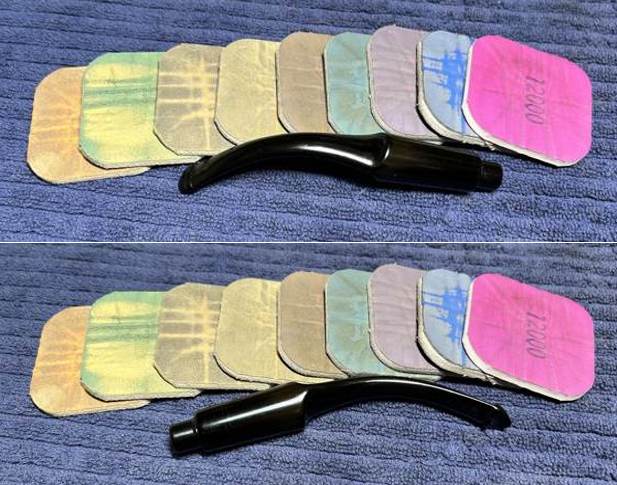
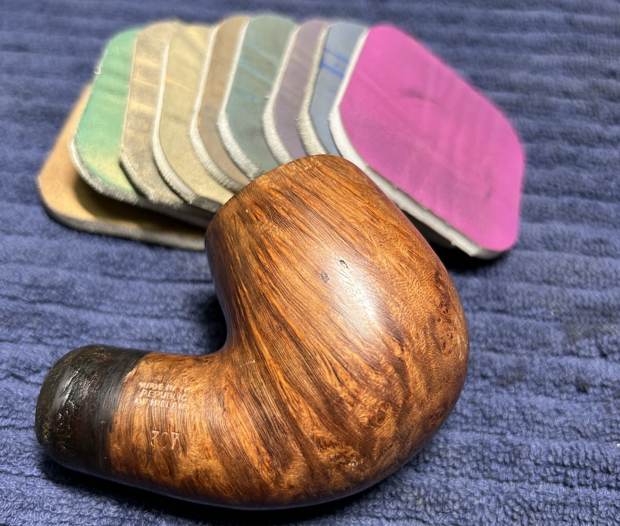
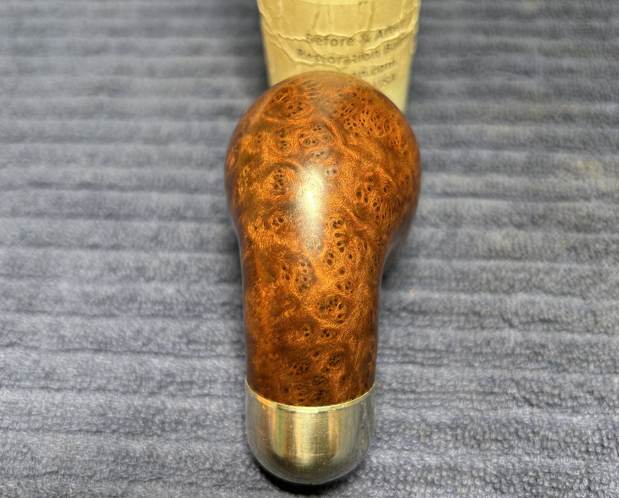
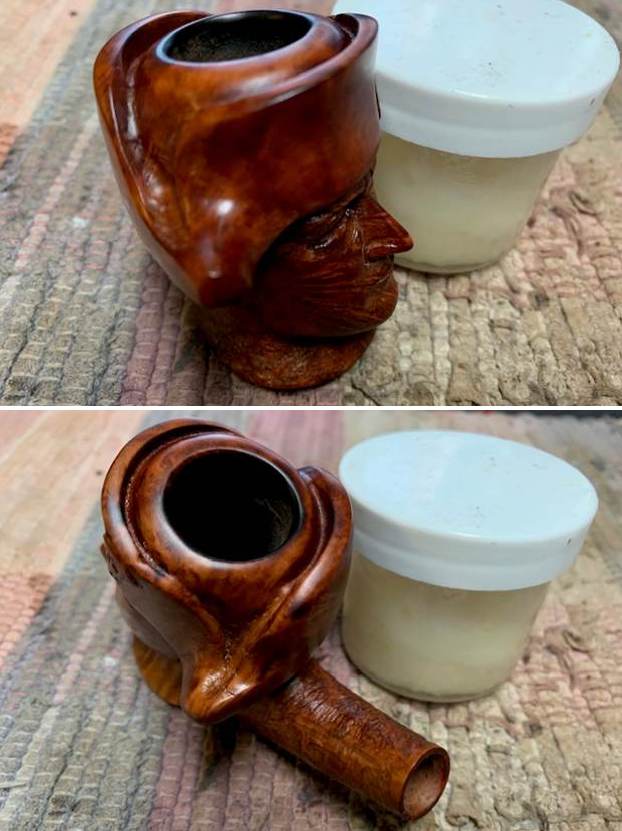
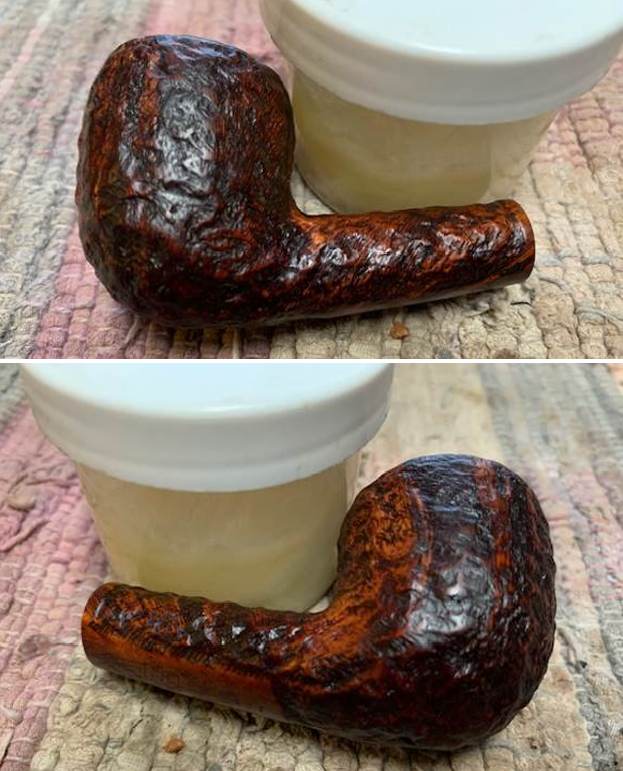
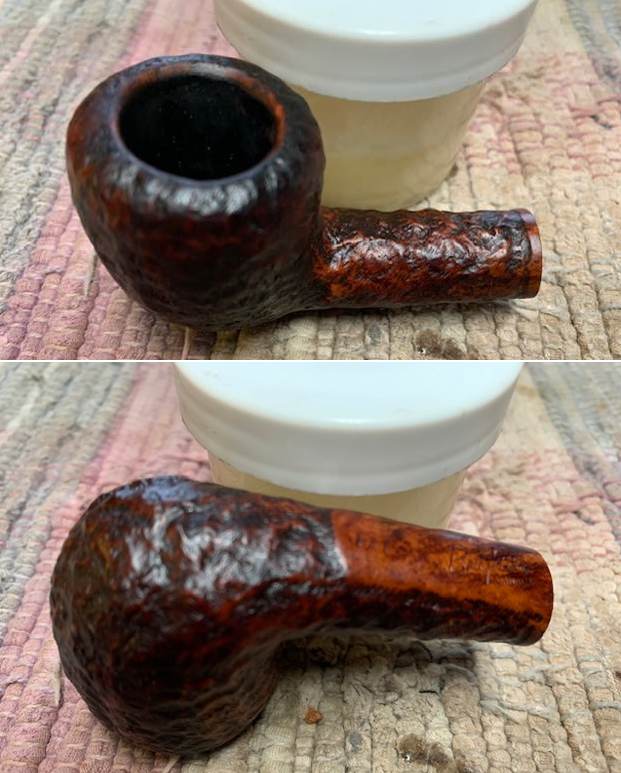
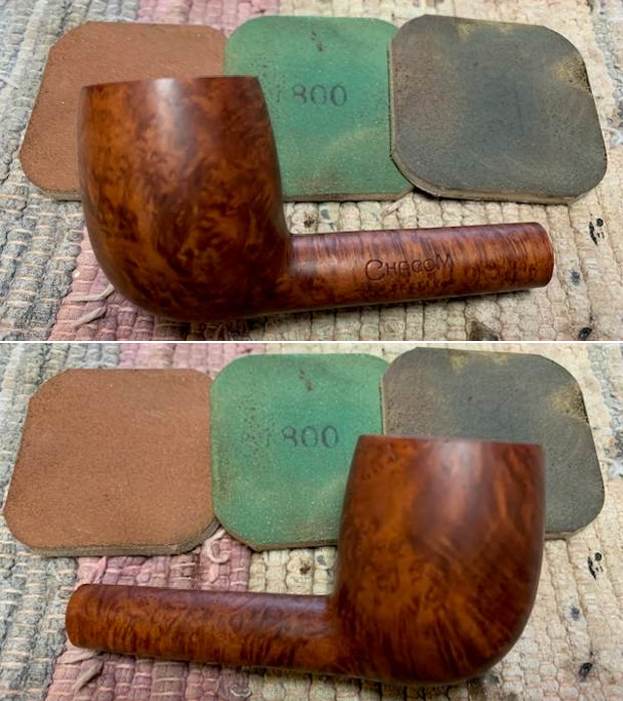
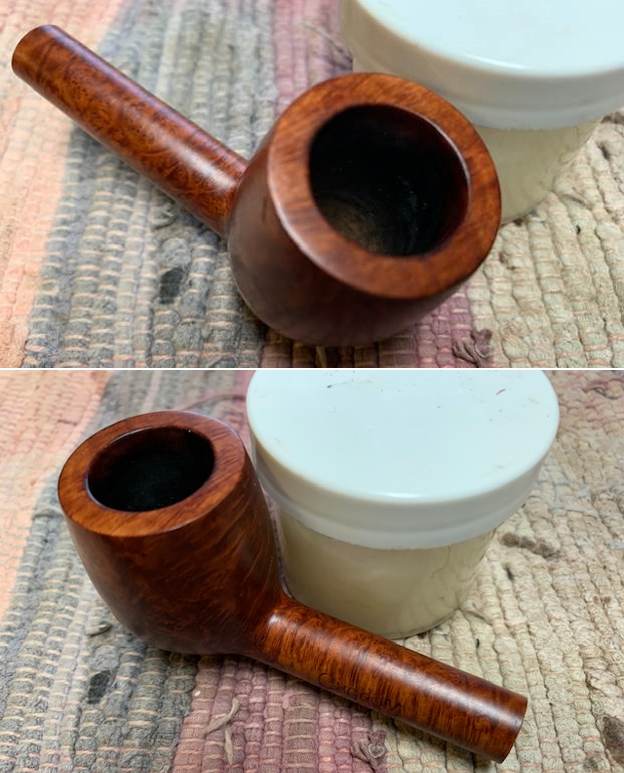
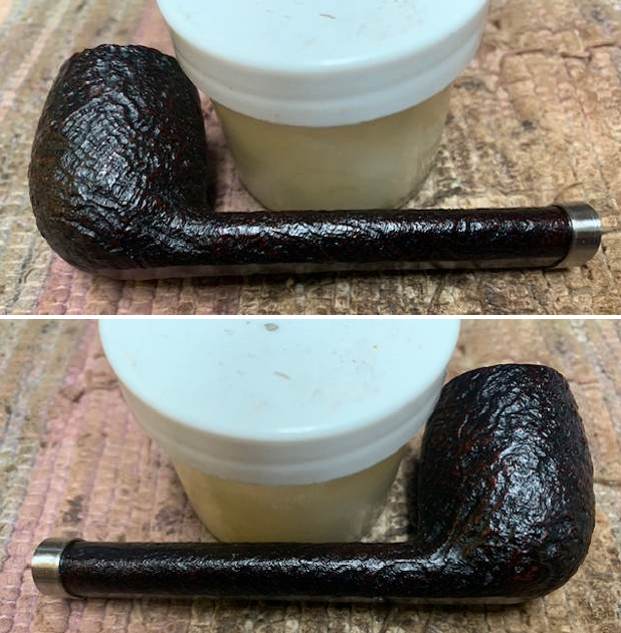
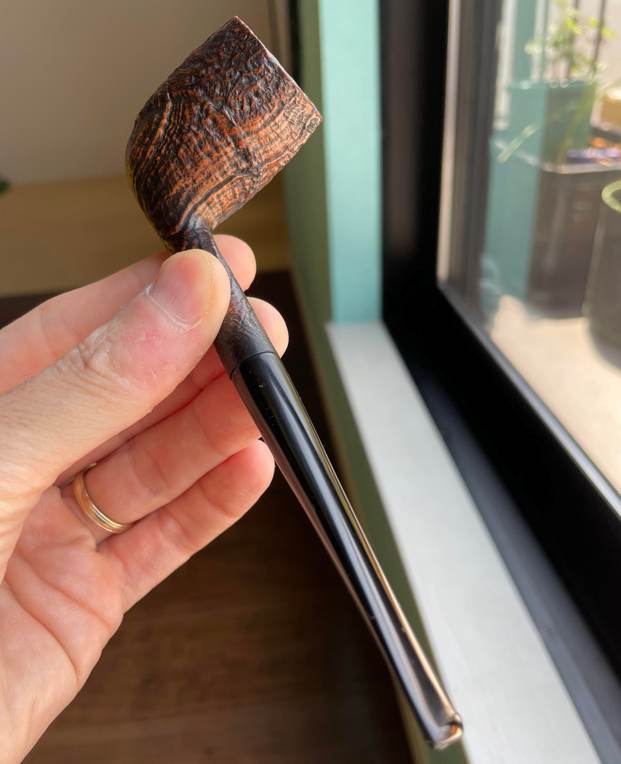
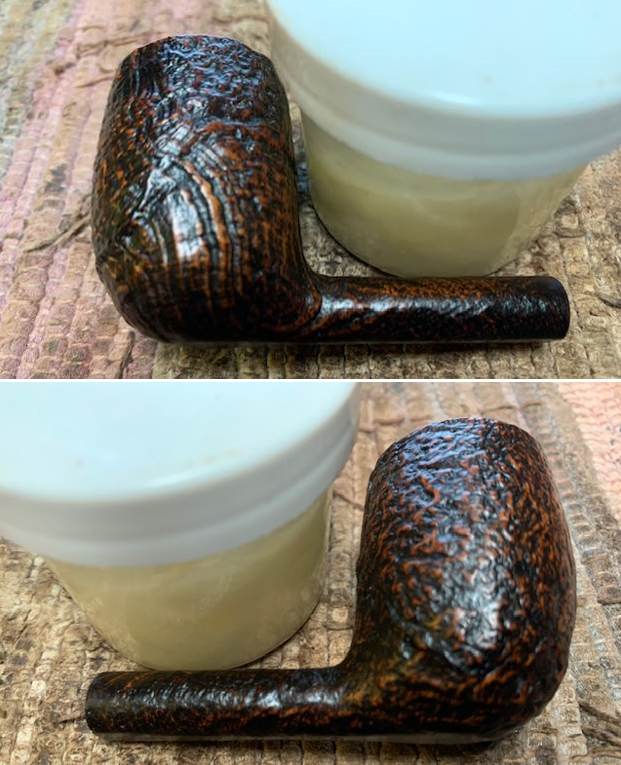
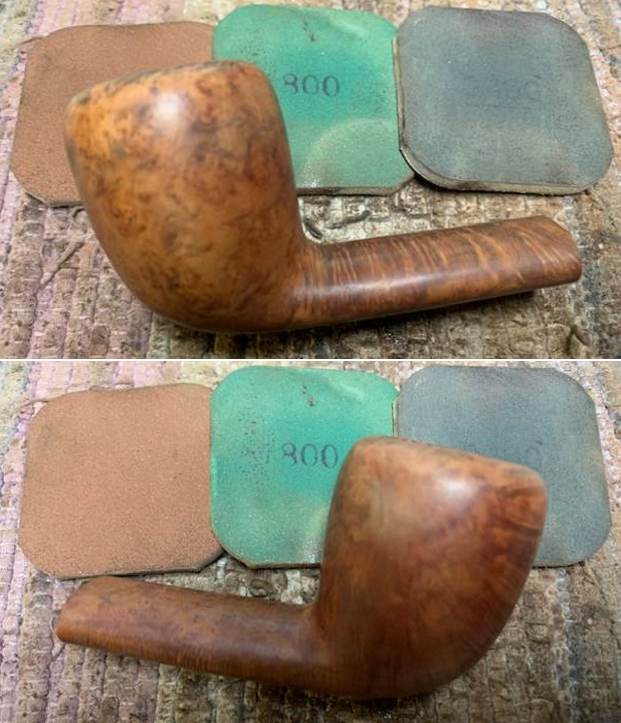
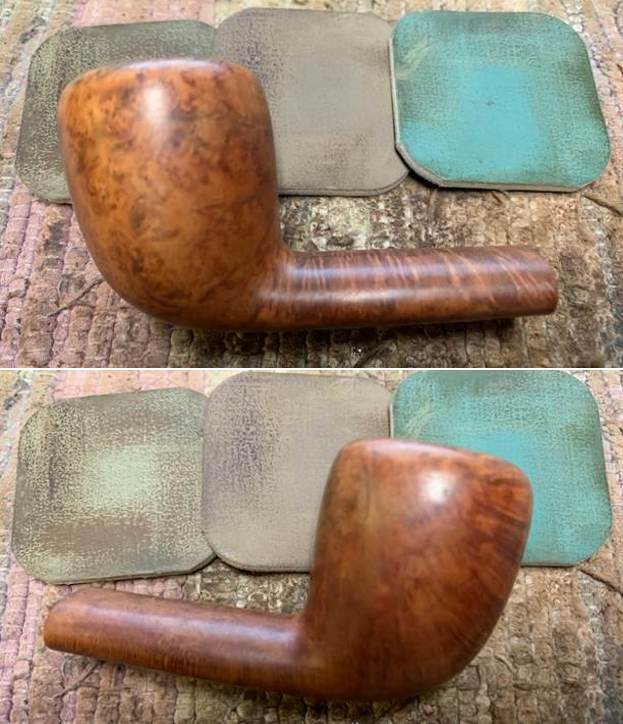
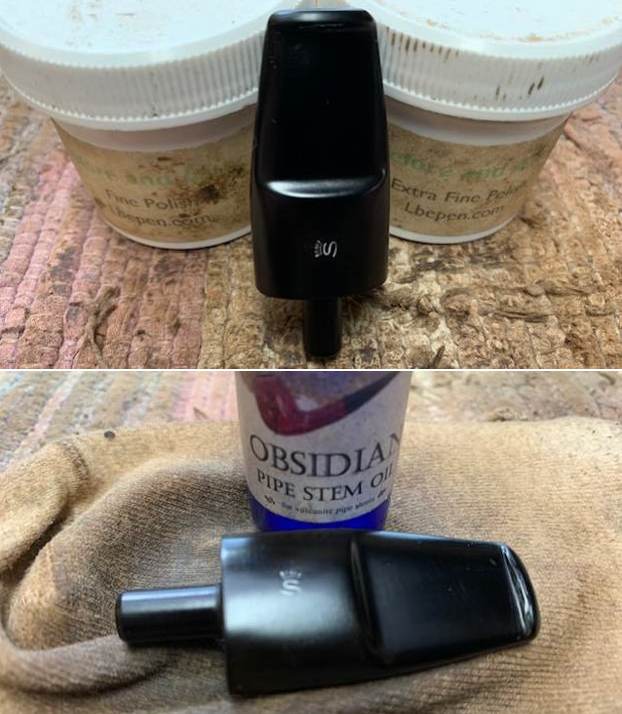
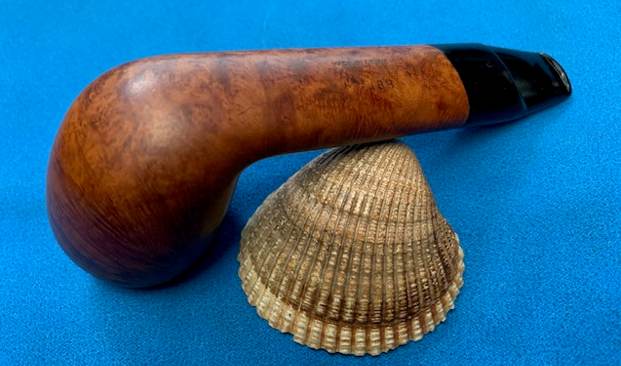
 To remove the sanding marks and bring a deeper shine, I polished the stummel with micromesh pads, dry sanding with 1500 to 12000 pads. I wiped the surface with a soft cloth at the end of the micromesh cycle. The stummel looks amazing with a deep shine. Next, I rub a small quantity of “Before and After Restoration Balm” in to the briar with my finger tips and let it rest for a few minutes. The balm almost immediately works its magic and the briar now has a nice vibrant appearance with the beautiful darkened grain patterns on full display. I further buff it with a horse hair shoe brush.

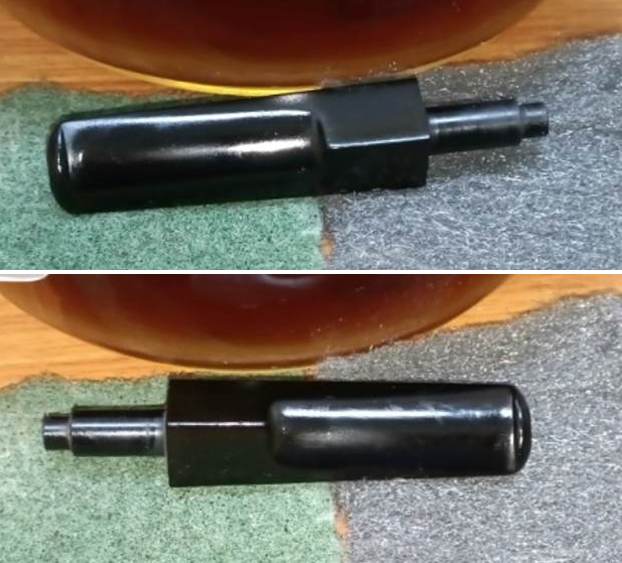
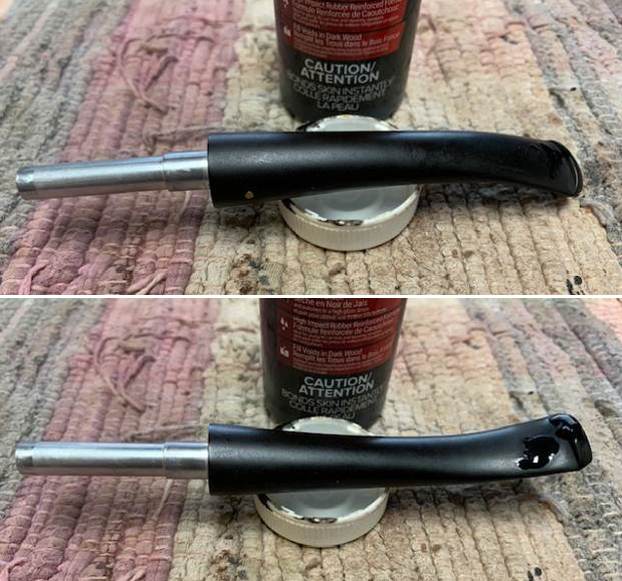
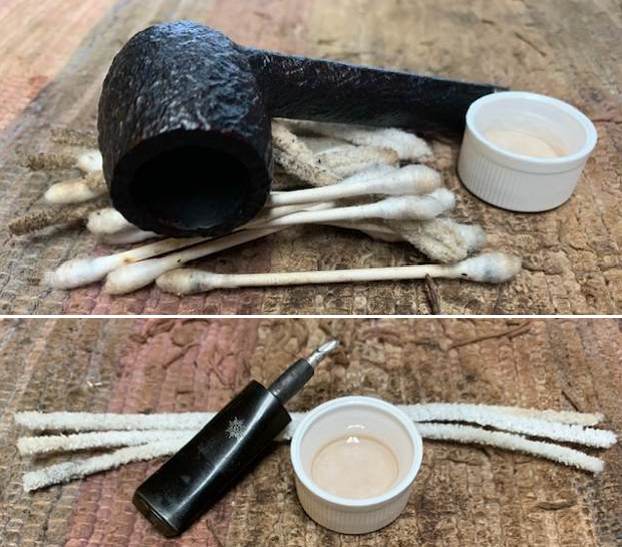
 Now that the stummel repairs/ refurbishing are completed save for the final polish, it was time to work the stem. I cleaned the internals of the stem with a thin shank brush and anti-oil dish washing soap. This ensures a thorough cleaning of the stem airway while saving me number of pipe cleaners, elbow grease and most importantly, time. With the stem internals cleaned, I scrubbed the external surface with the dish soap and Scotch Brit pad. I was particularly careful while cleaning the threaded tenon surface as the old residual oils and tars were deeply embedded in to the threads. I rinsed the stem under warm running water and wiped it with a paper napkin to dry it.
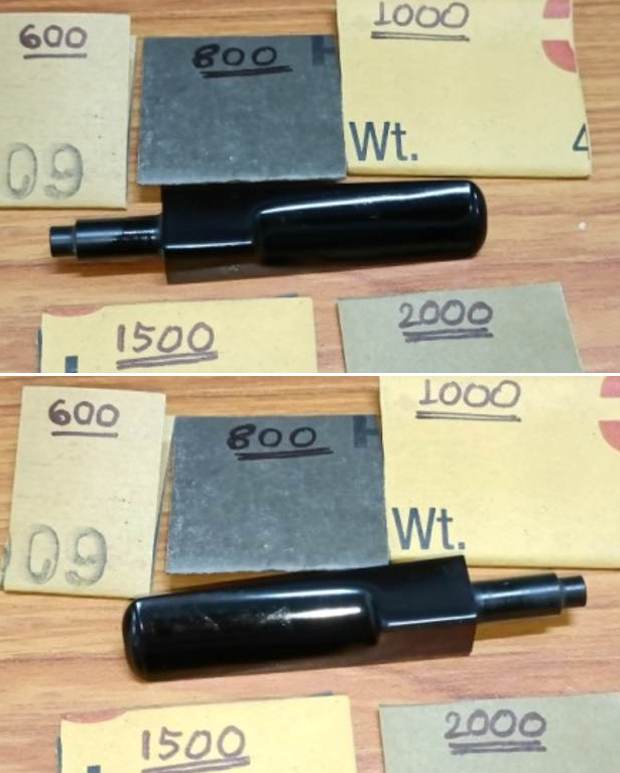
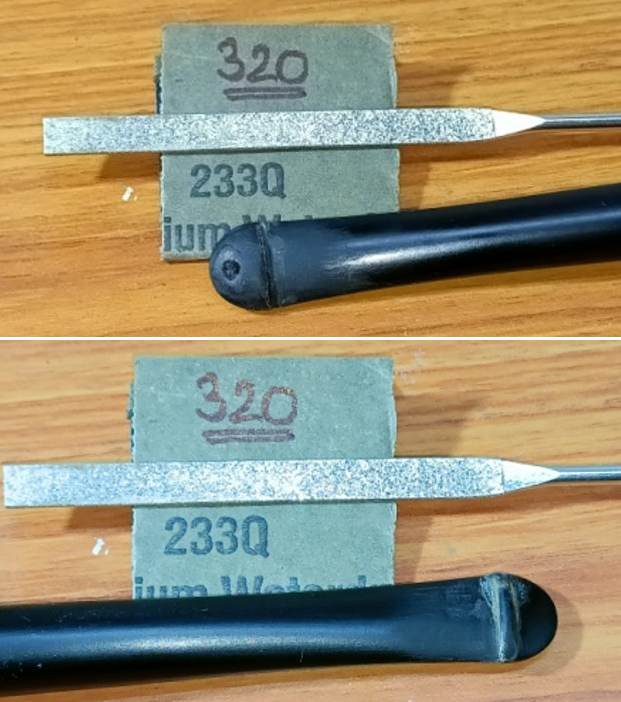
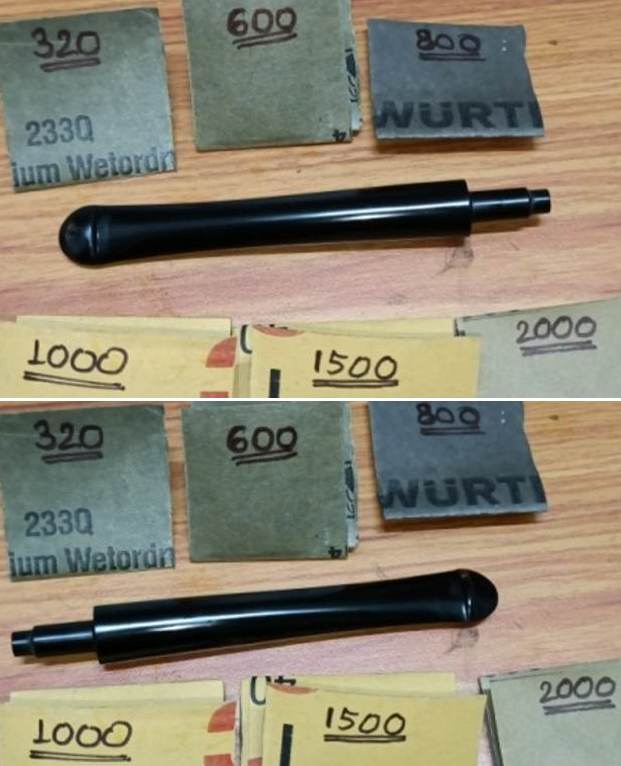
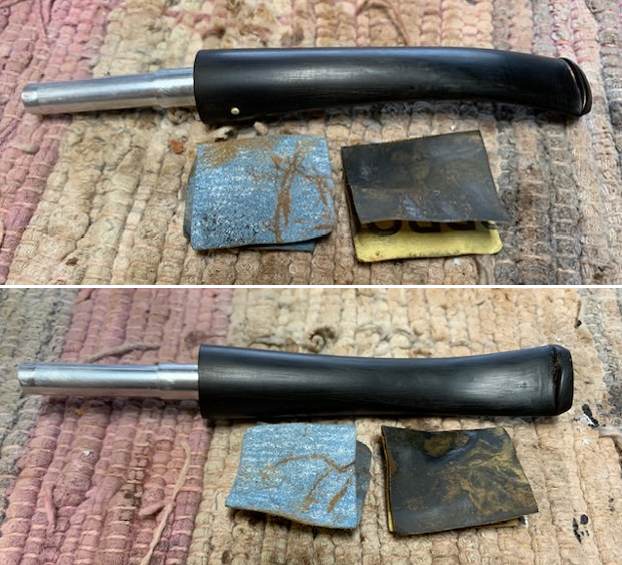
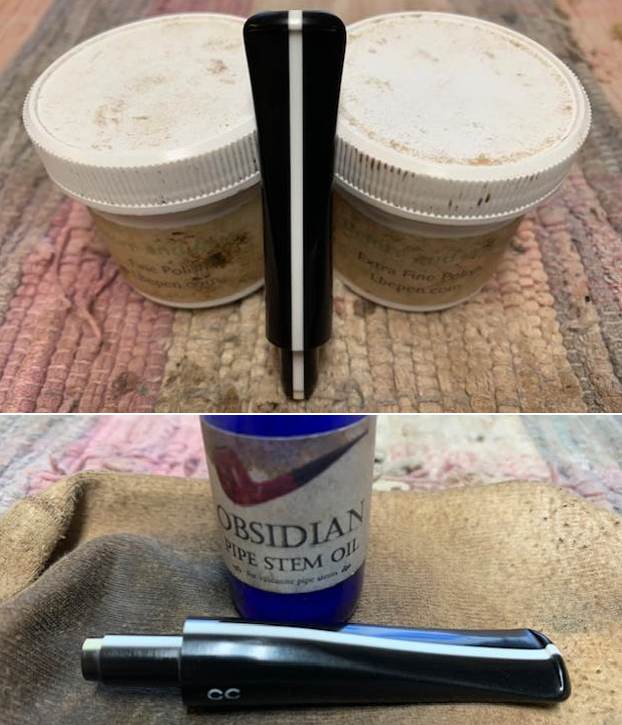
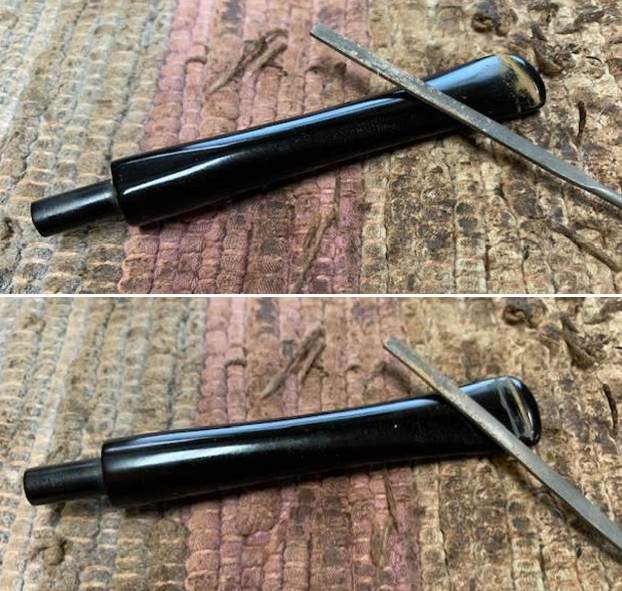
 I addressed the minor tooth chatter in the bite zone by sanding the bite zone with a folded piece of 400 grit sand paper. I could have filled the tooth indentation with clear superglue, sanded and polished the stem, but decided against this since the stem was thick and the tooth chatter was superficial enough to be addressed just by sanding it out. To eliminate the sanding marks and also bring a deep shine to the bone stem, I wet sanded the entire stem surface with 600, 800, 1000, 1500 and 2000 grit sandpapers. I rubbed a small quantity of EVO in to surface and set it aside to be absorbed by the bone stem.
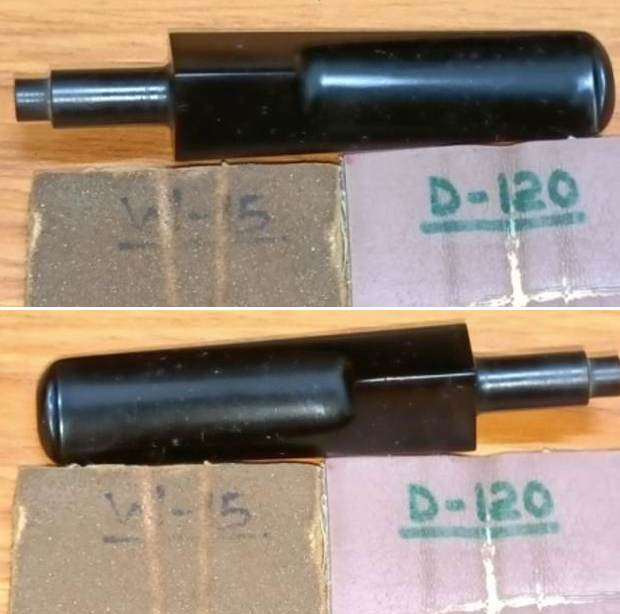
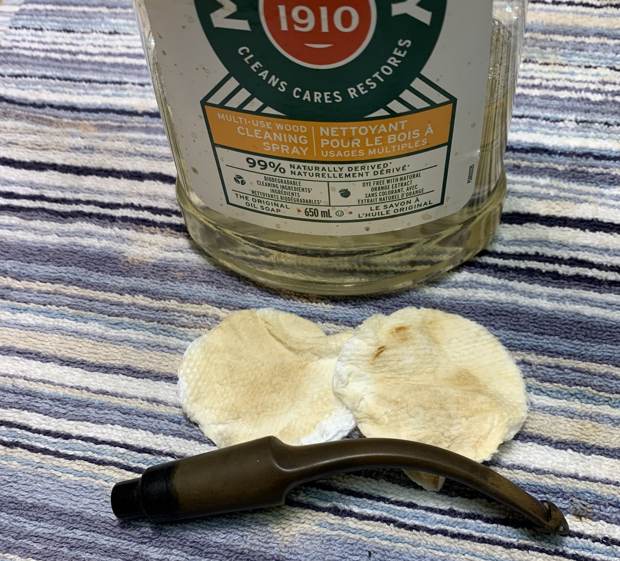
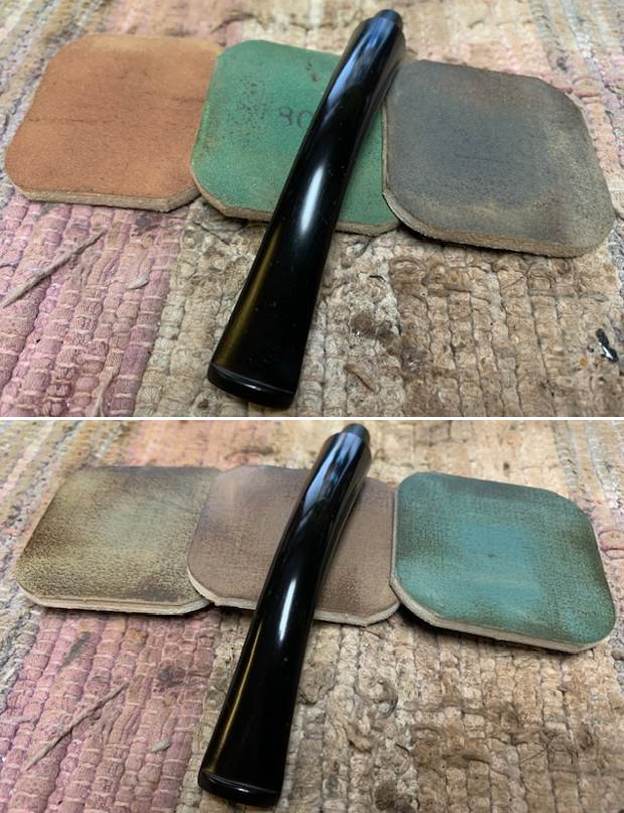
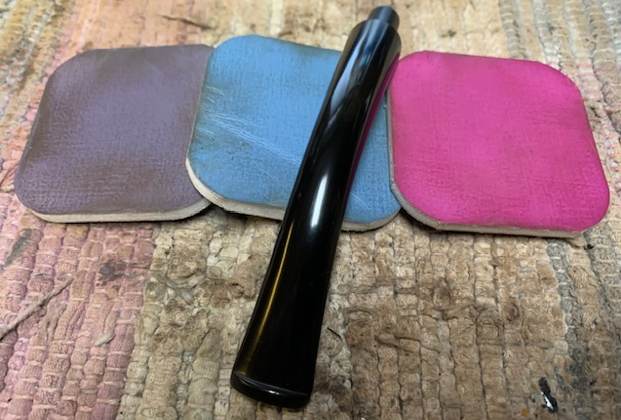
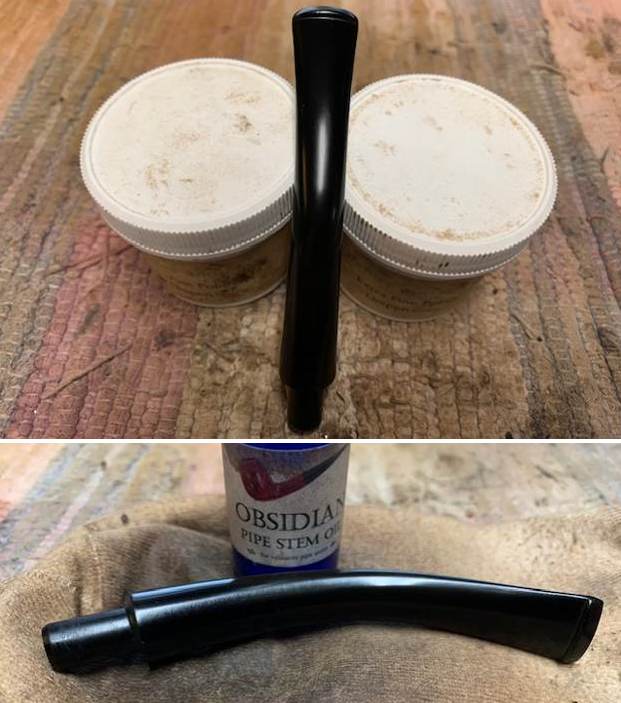
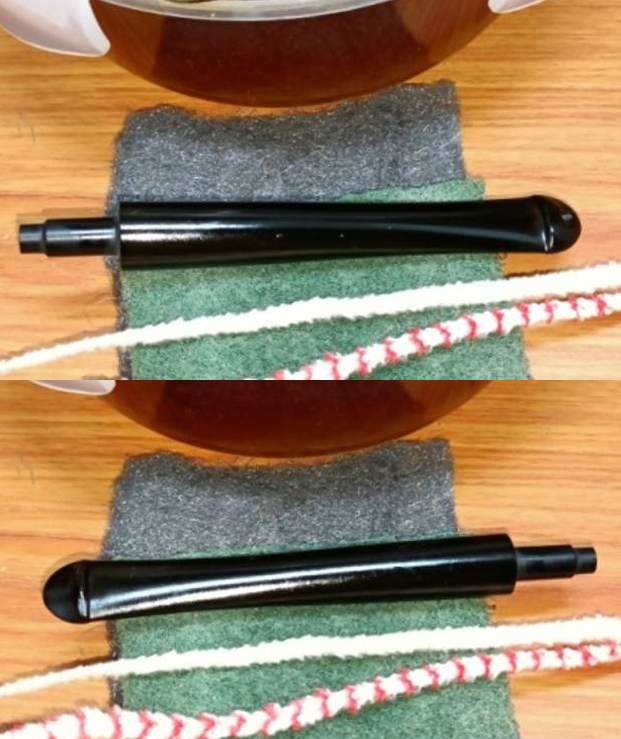
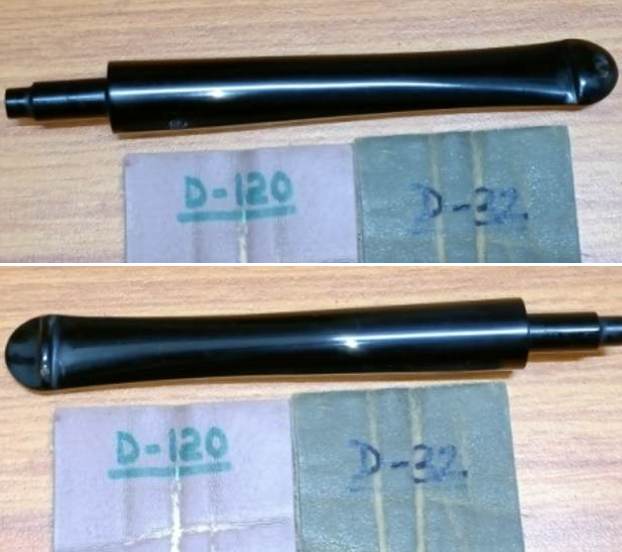
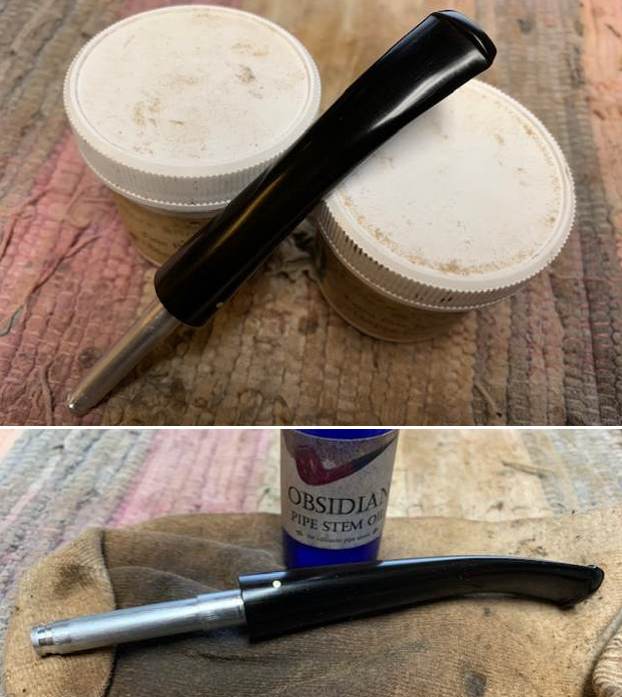
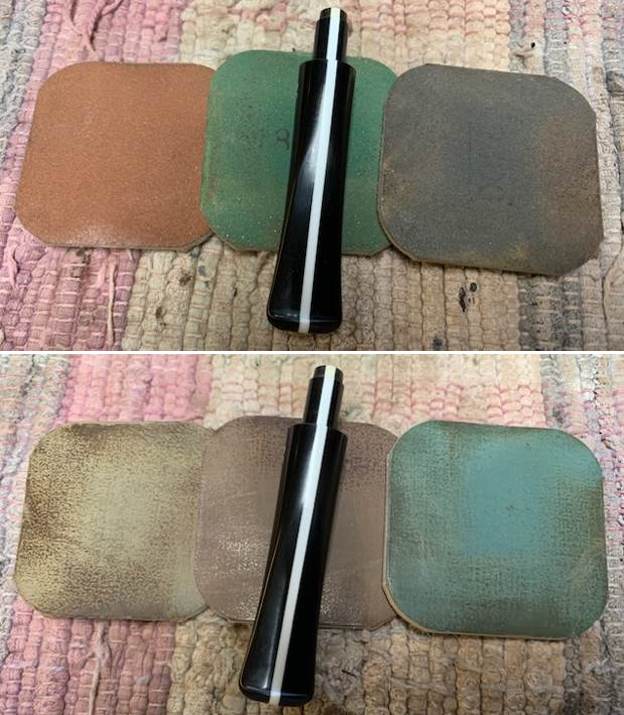
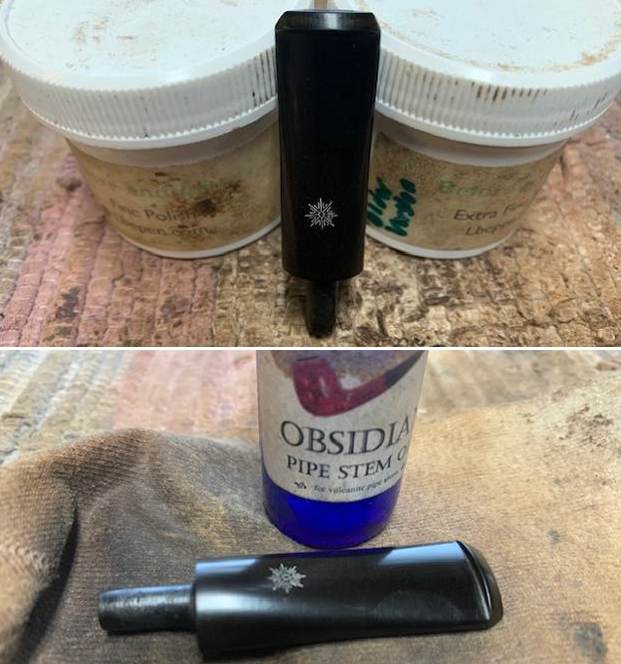
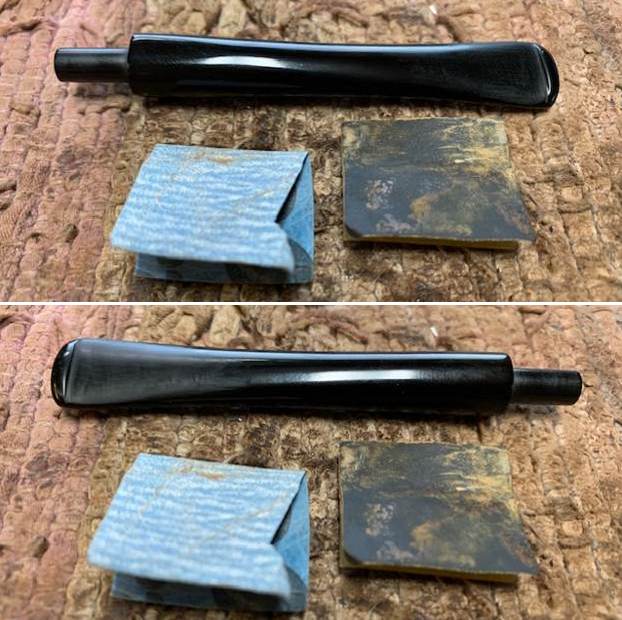
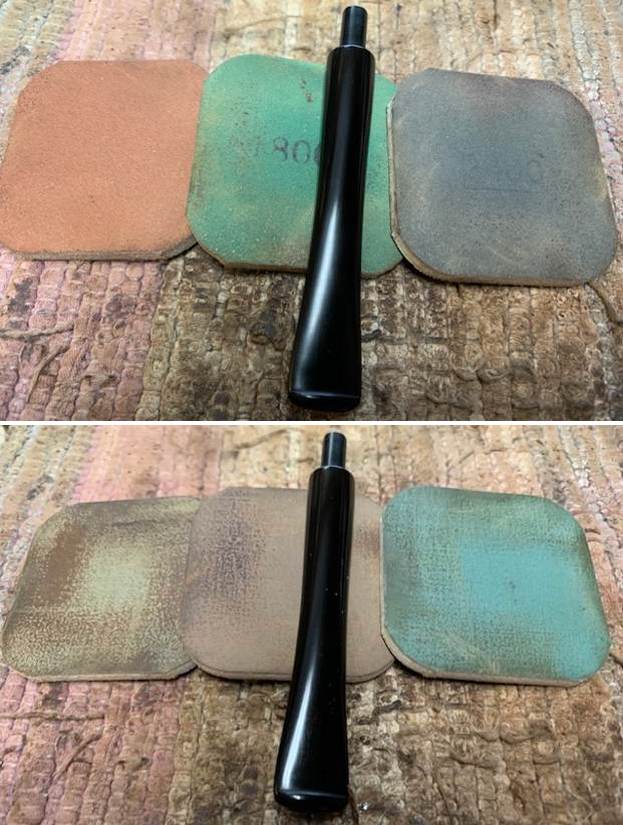
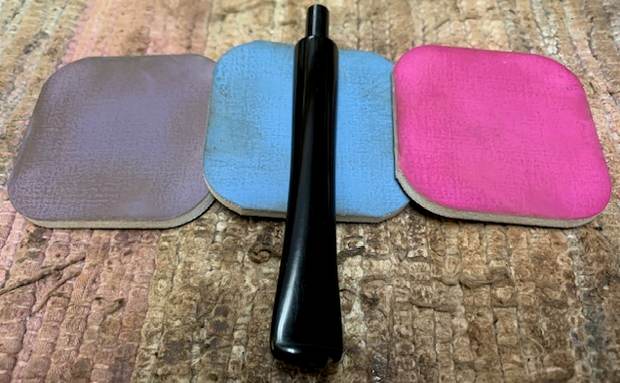
 To bring a deep shine to the horn stem, I went through the complete set of micromesh pads, wet sanding with 1500 to 12000 grit pads. I wiped the stem with moist cloth after each pad and rubbed it down with Extra Virgin Olive oil to rejuvenate the horn.
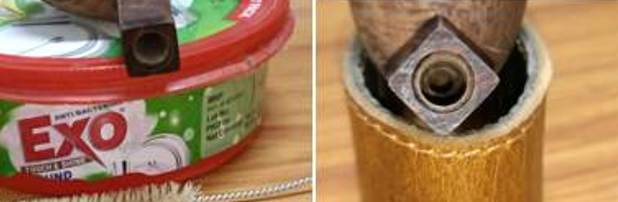
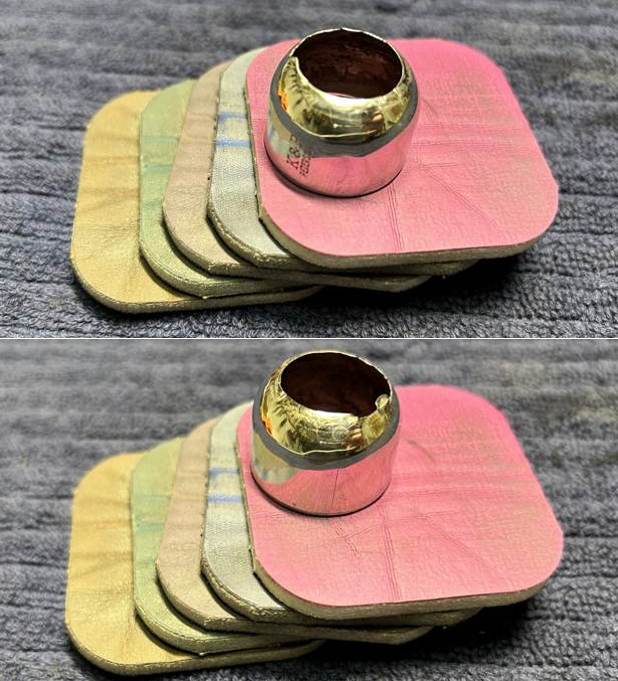
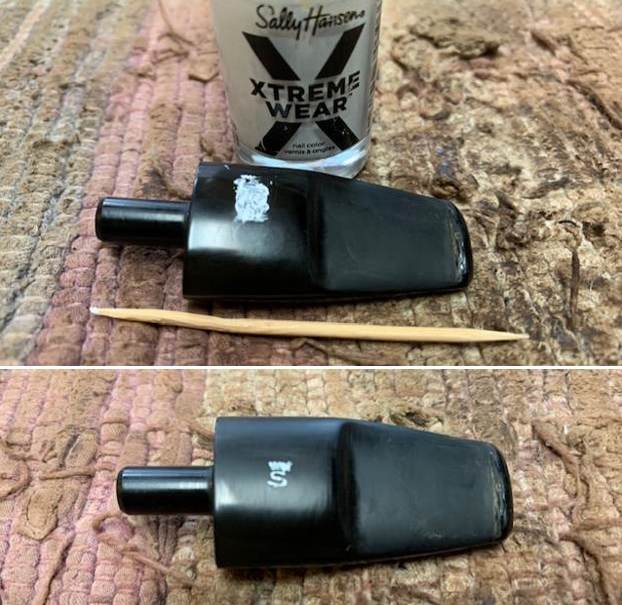
  I completed the mundane but equally important task of polishing the Sterling Silver filigree band. I used a local product that is available only in India to polish the band. The liquid polish was applied to the band and wiped it out after a few seconds. The polish completely removed the oxidation and gave a nice shine to the band which was further improved by polishing it with a jeweler’s cloth. Using CA superglue, I reattached the band at the shank end.
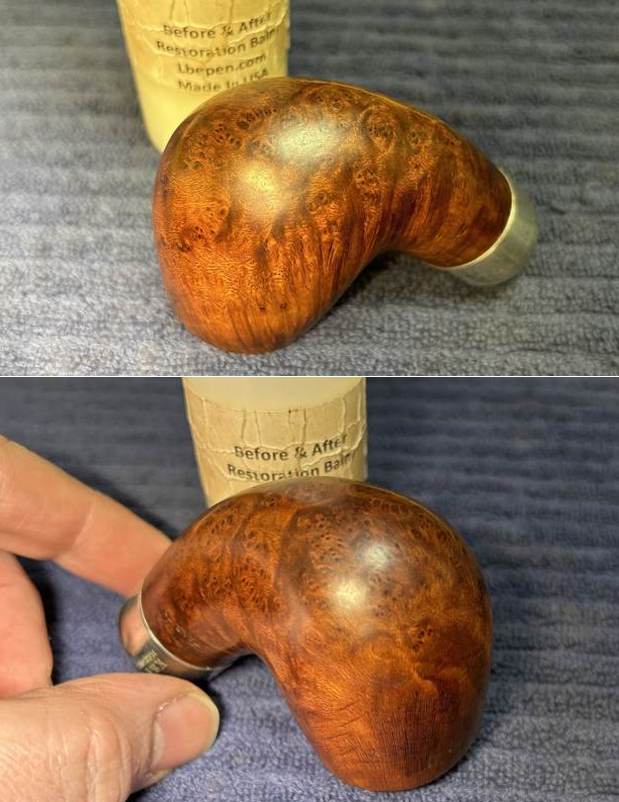
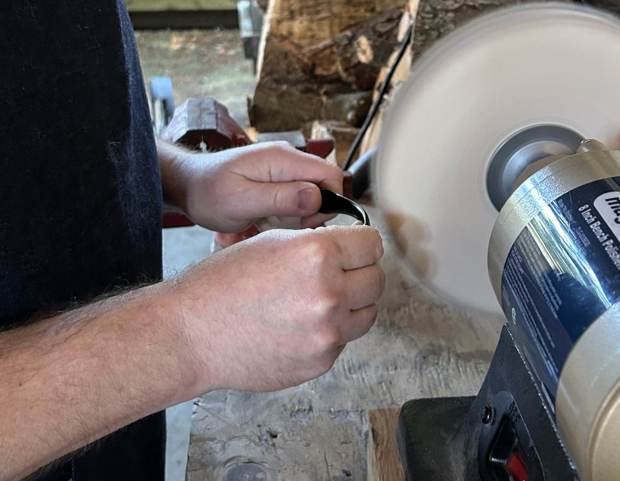
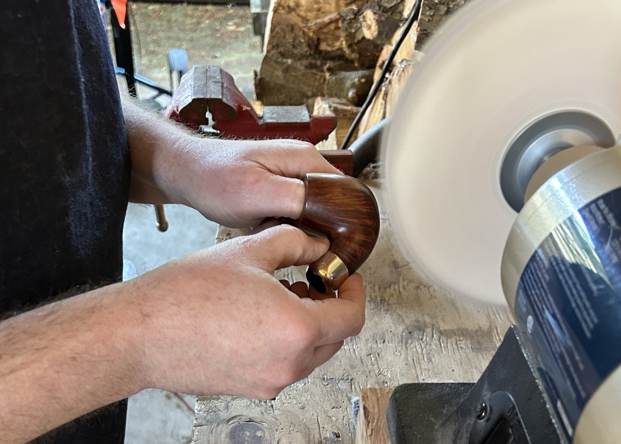
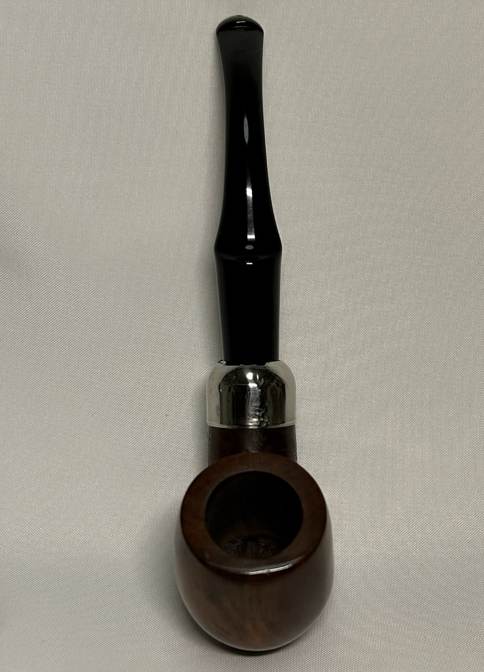
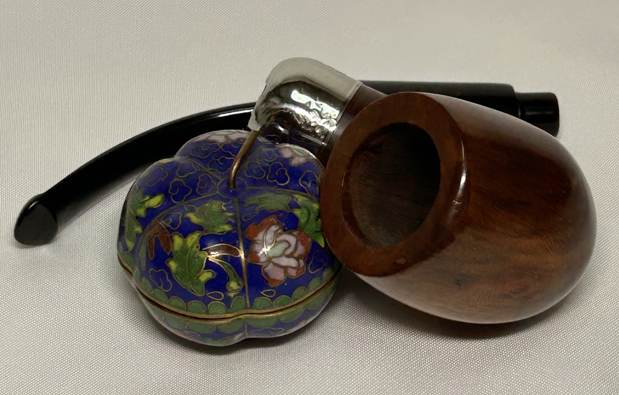
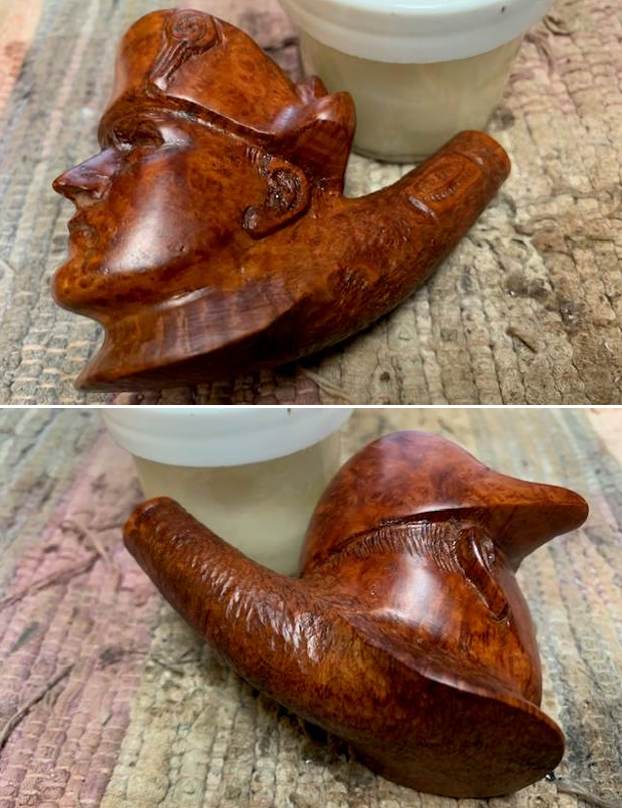
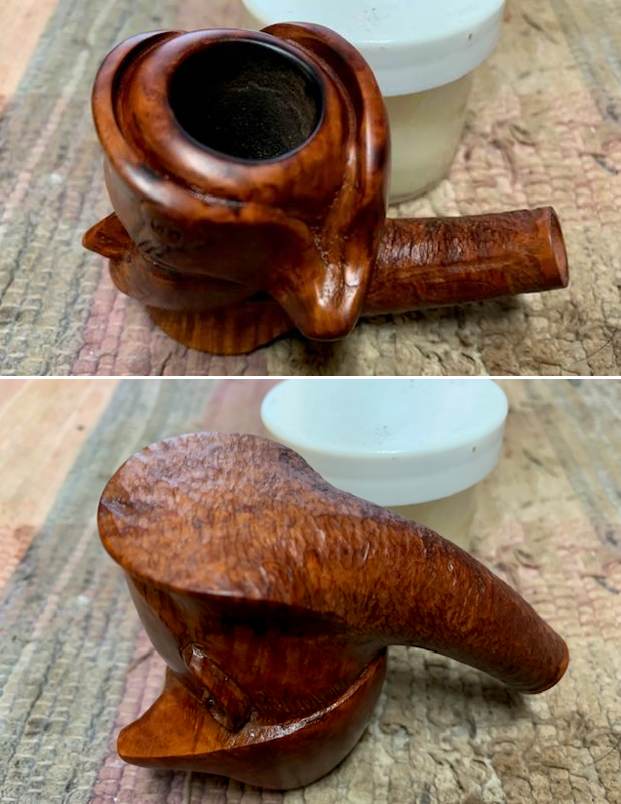
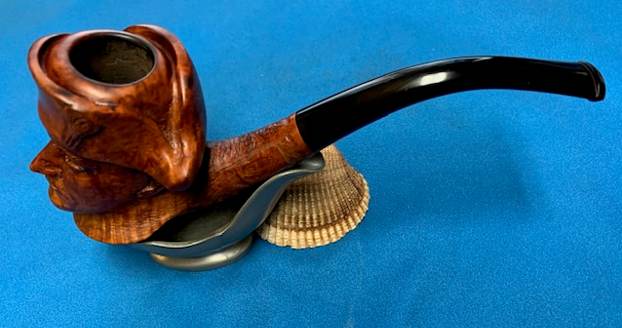
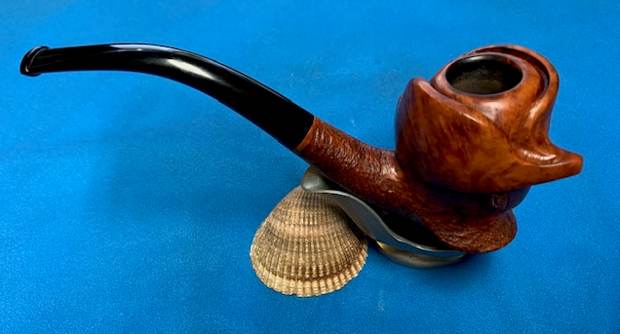
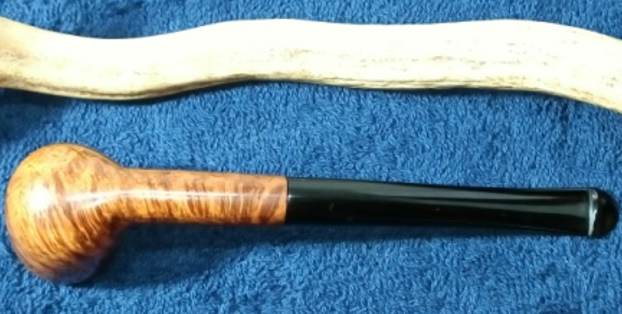
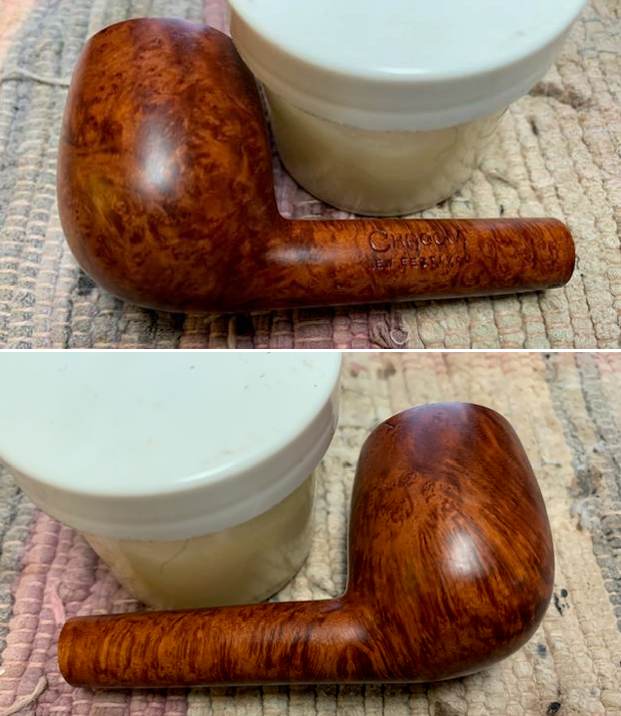
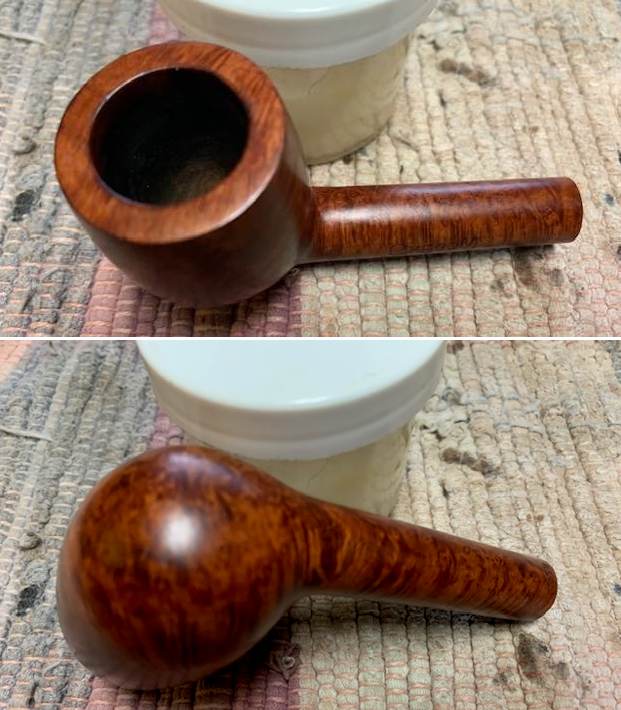
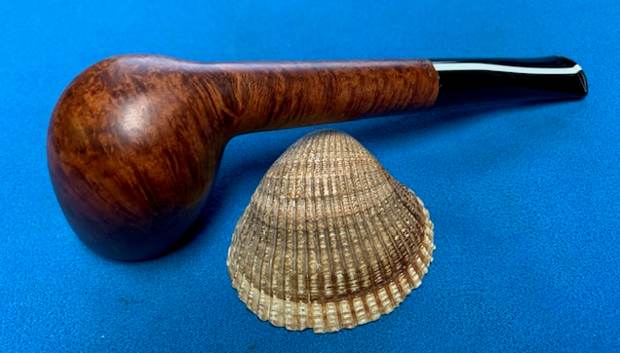
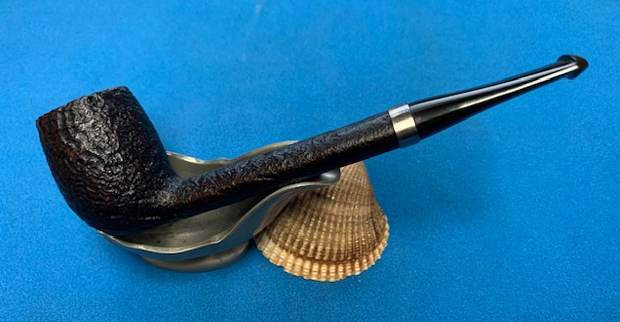
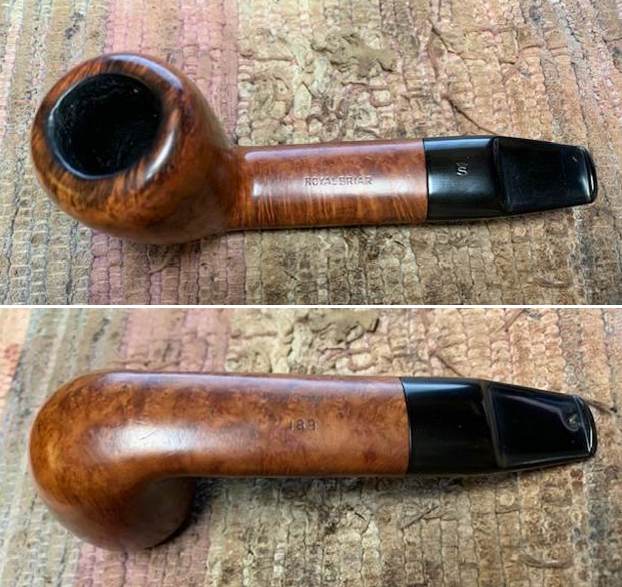
 To complete the restoration, I mount a cotton cloth buffing wheel on to my hand held rotary tool and polished the stummel and stem with Blue Diamond compound. This compound helps to remove the minor scratch marks that remain from the sanding. I mounted another cotton buffing wheel that I have earmarked for carnauba wax and applied several coats of the wax. I finished the restoration by giving the entire pipe a rigorous hand buffing using a microfiber cloth to raise the shine further. The finished pipe looks amazingly beautiful and is ready to join my collection. I only wish it could share with me its life story of the past years while I enjoy smoking my favorite Virginia blend in it or maybe an English blend or maybe just keep admiring it!!
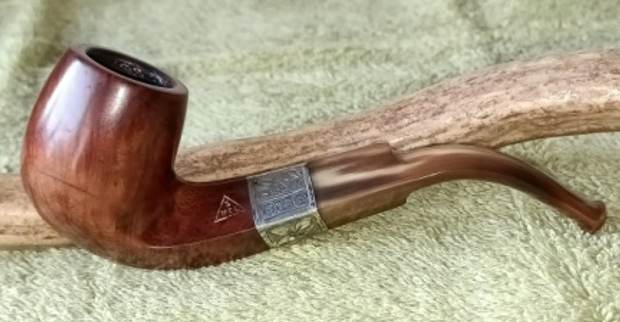


 P.S. There was only one more issue that needed to be addressed and one that could not be ignored, being a functional issue. After I had applied and sanded down the JB WELD to a thin coat, I wanted to further protect the chamber briar while adding another layer between the JB WELD and burning tobacco. I addressed this by mixing activated charcoal and plain yogurt to a thicker consistency, just enough that it would spread easily and applied it evenly all along the chamber walls after inserting a folded pipe cleaner through the draught hole to keep it open. Once dry and set, this will not only protect the walls but also aid in faster build up of cake.
 Big thank you to all the readers who have joined me on this path by reading this write up as I restored and completed this project.