by Steve Laug
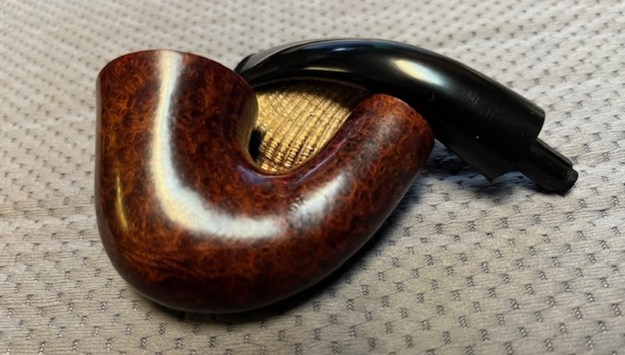
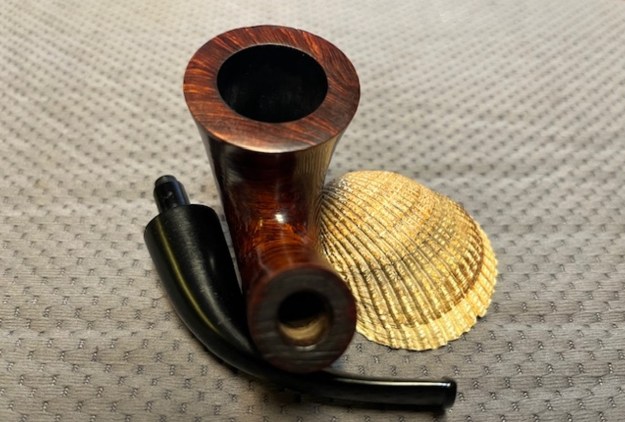
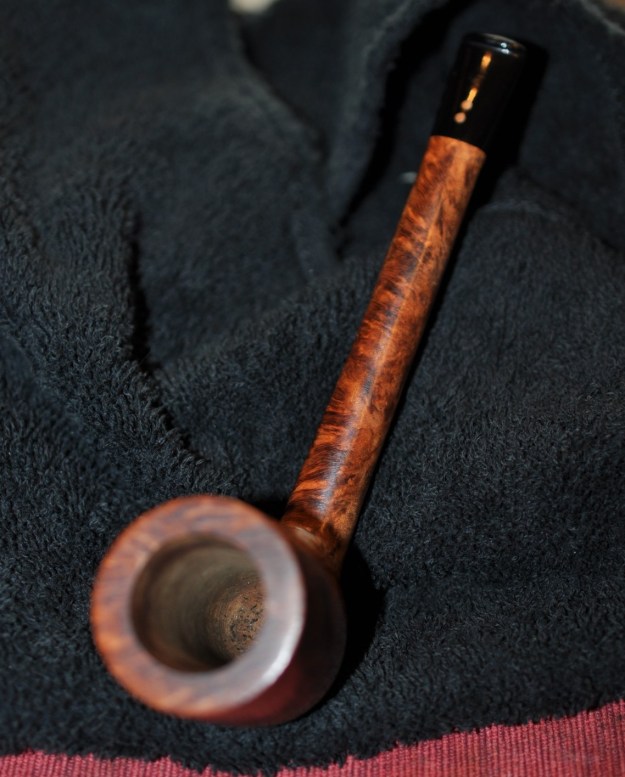
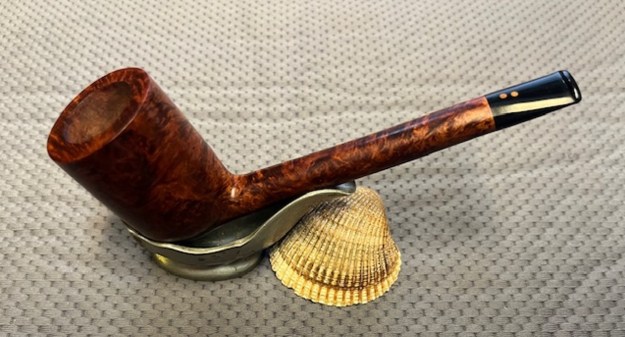
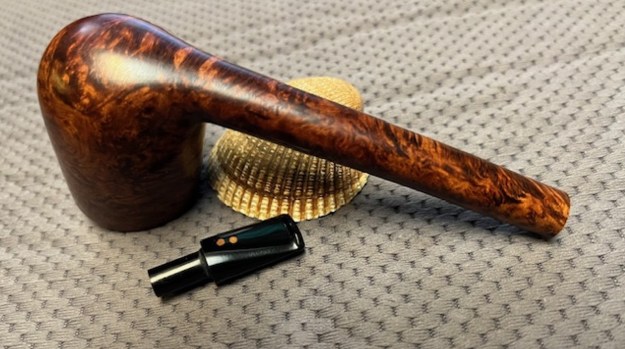
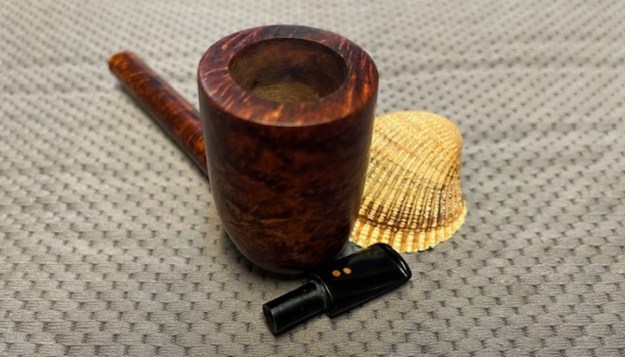
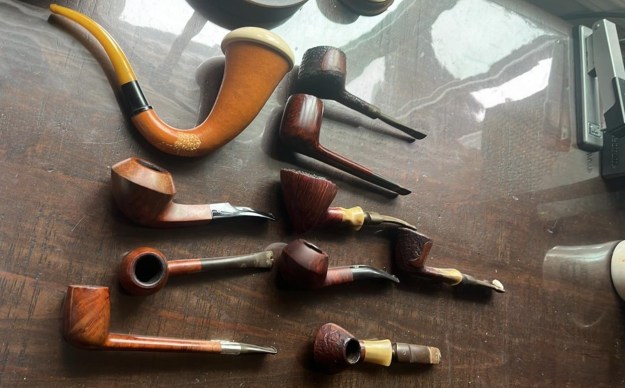
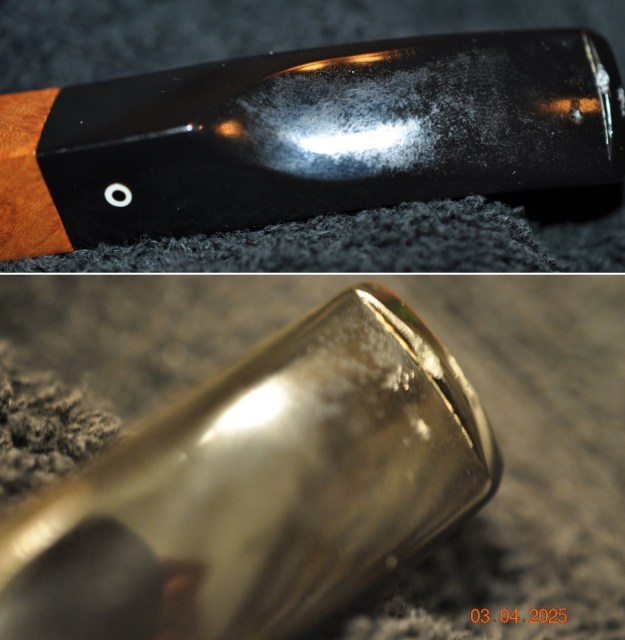
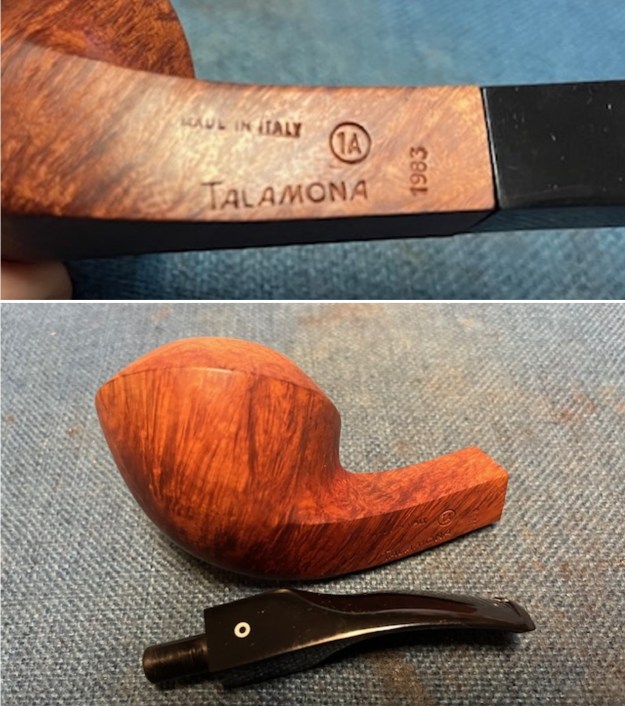
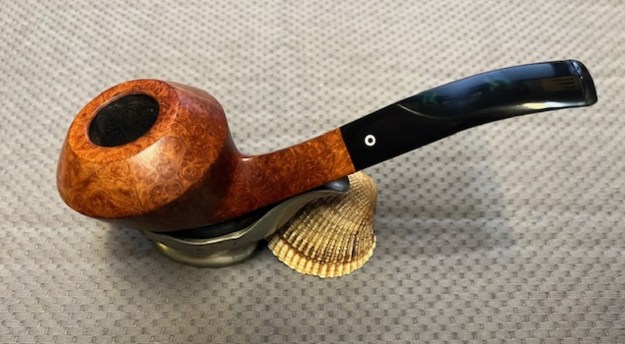
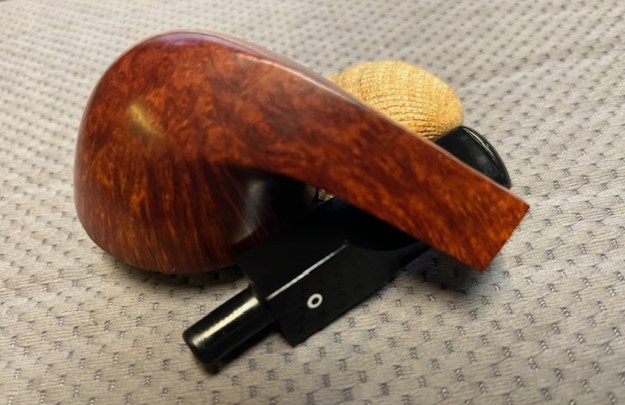
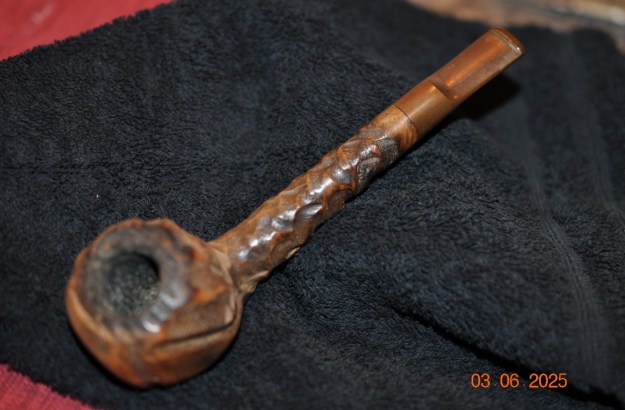
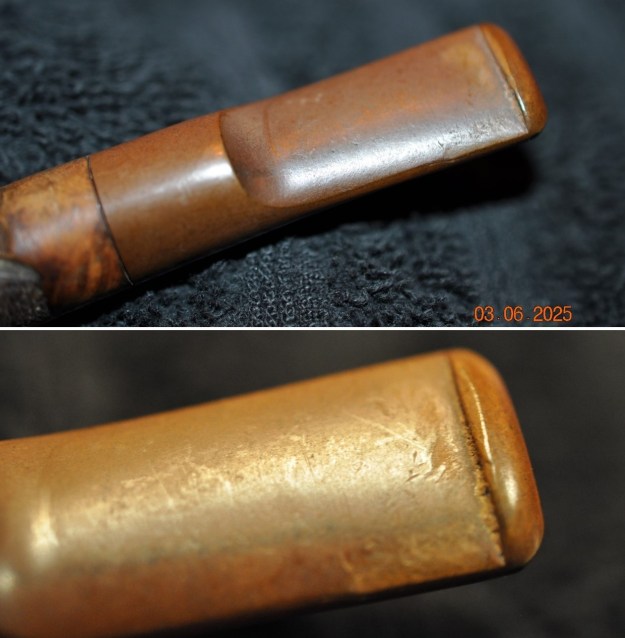
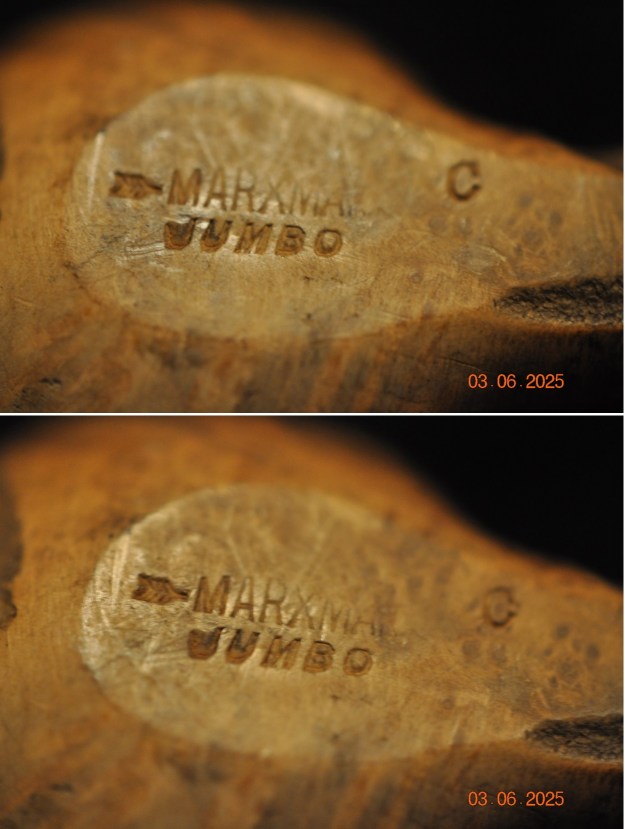
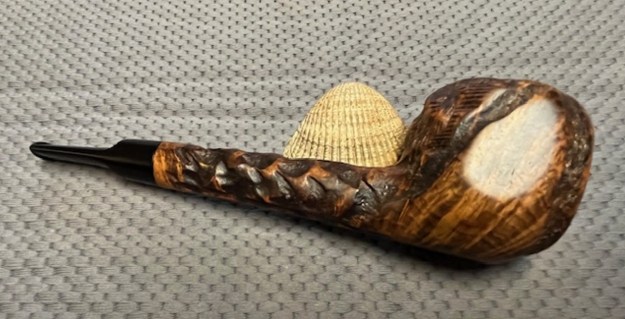
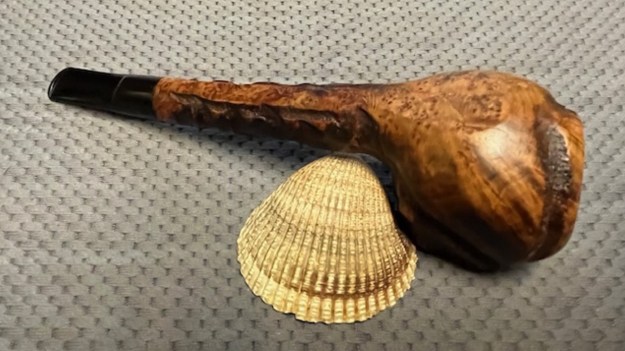
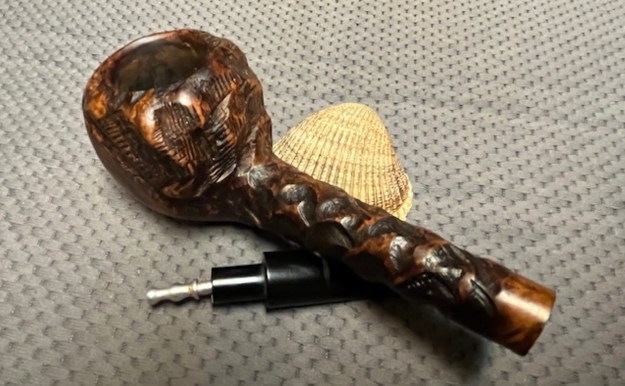
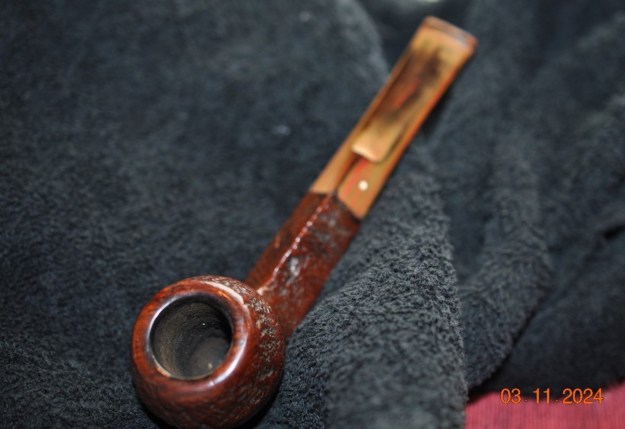
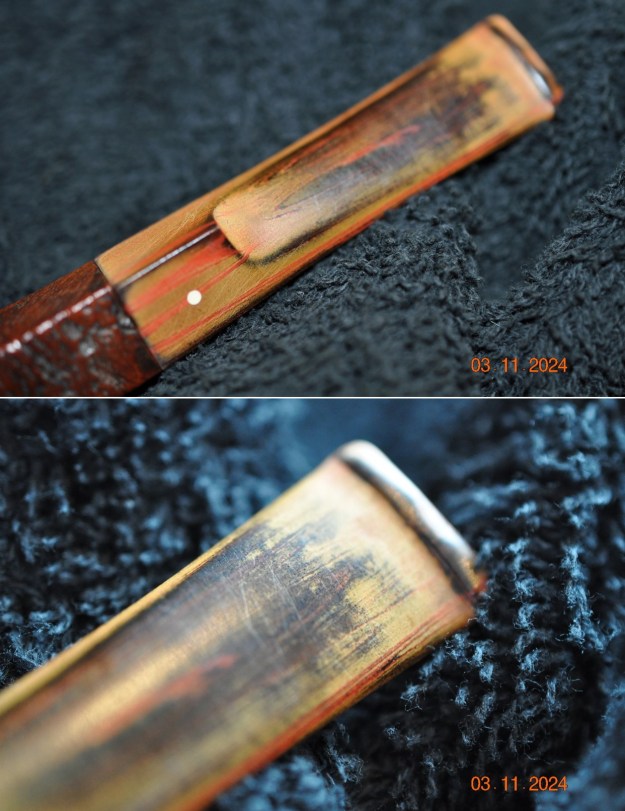
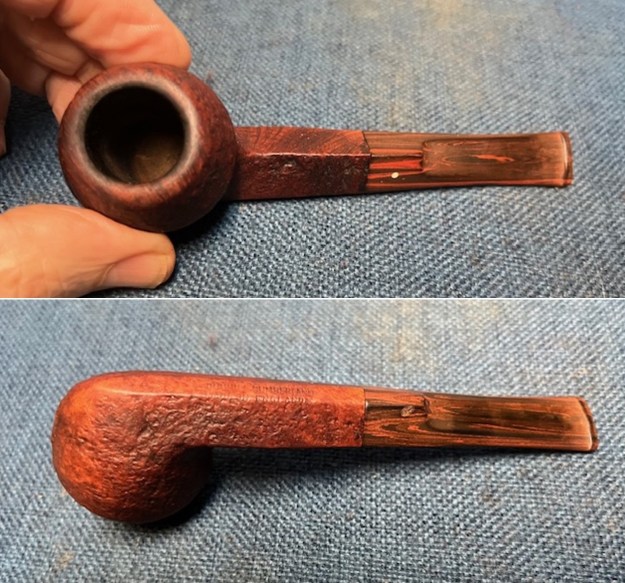
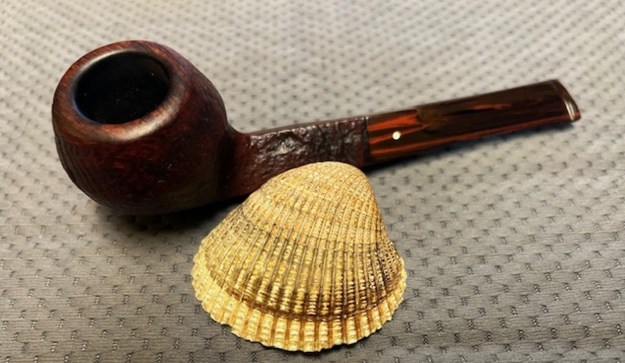
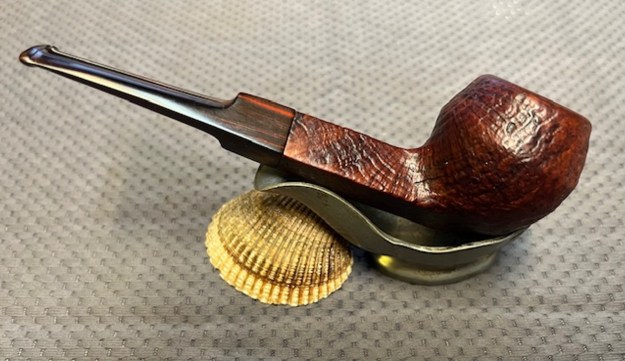
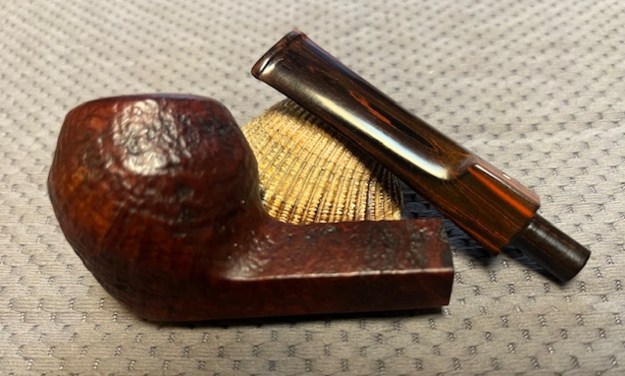
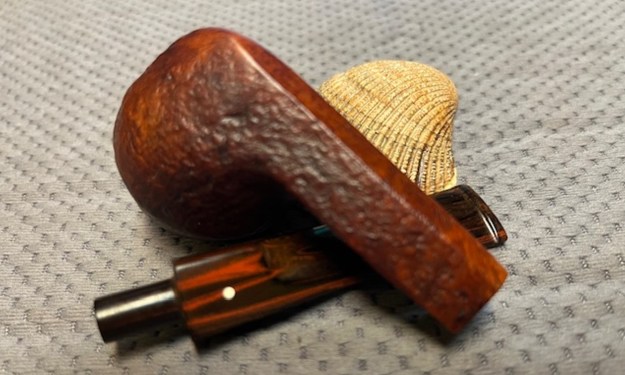
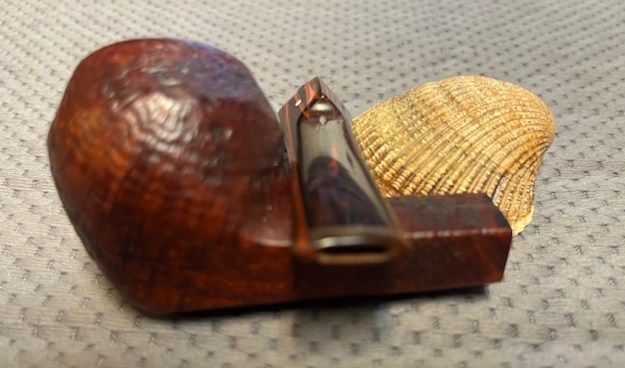
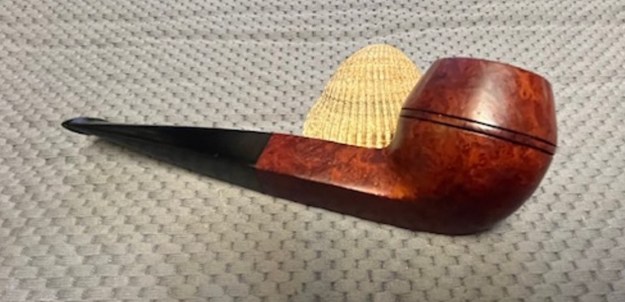
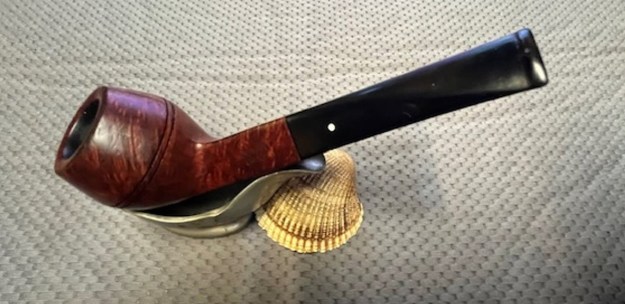
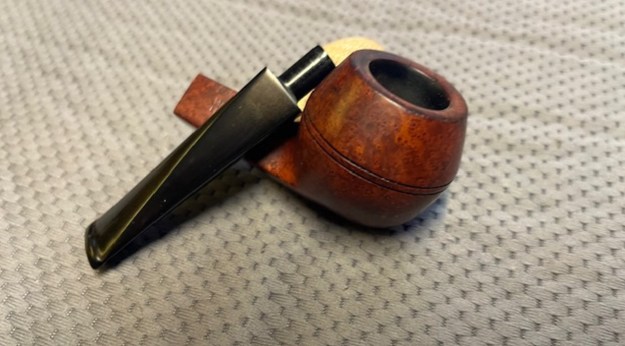
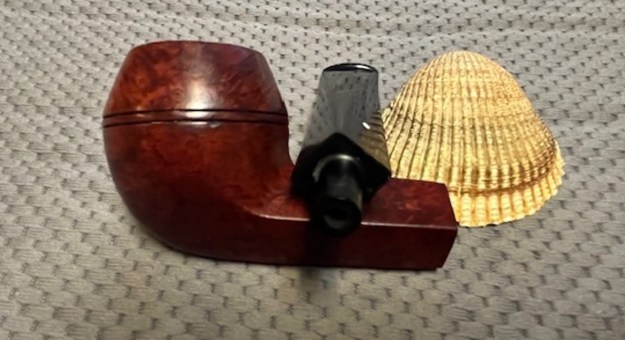
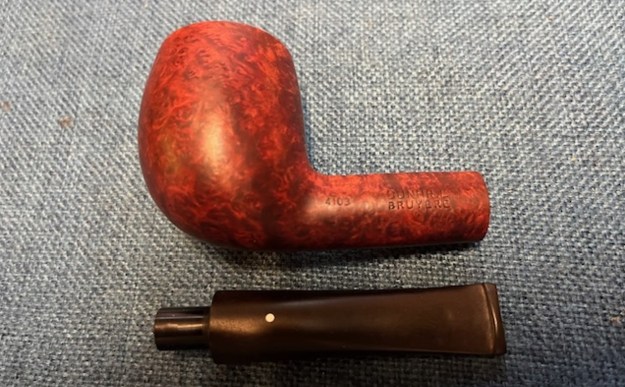
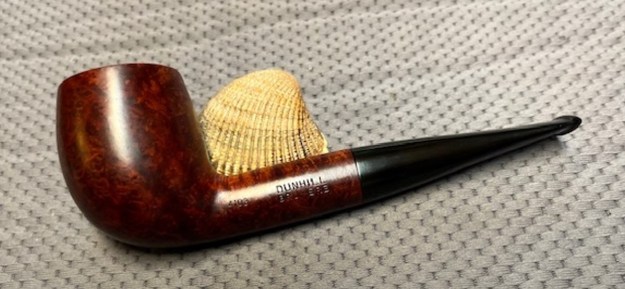
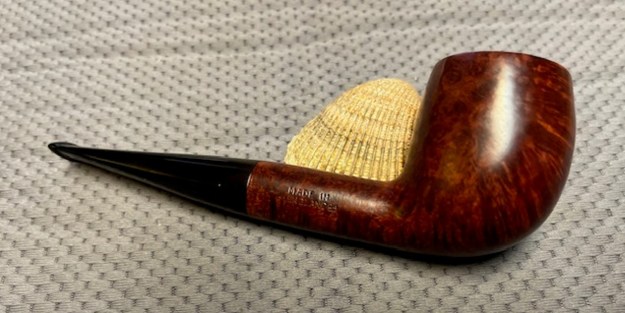
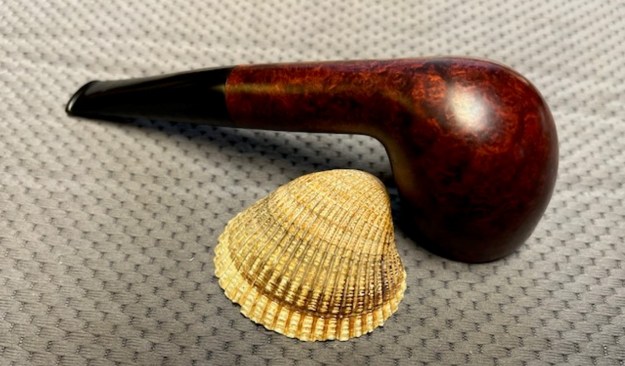
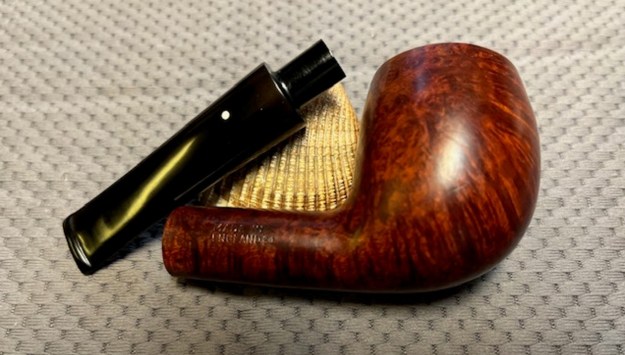
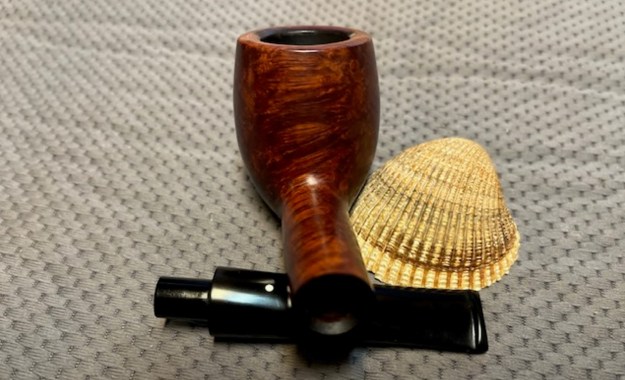
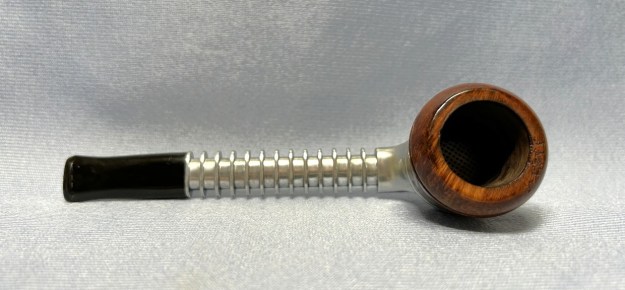
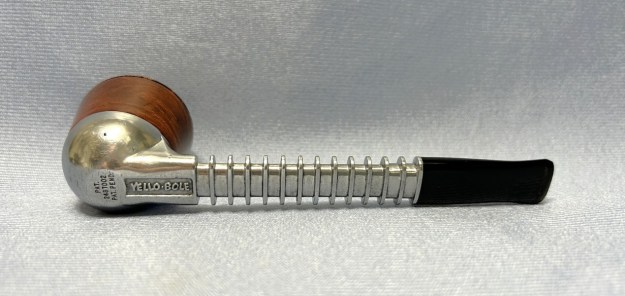
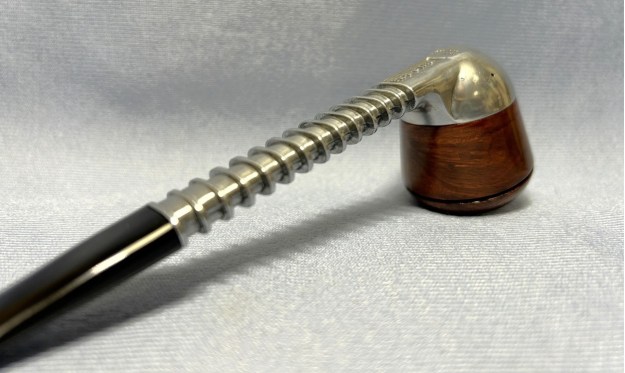
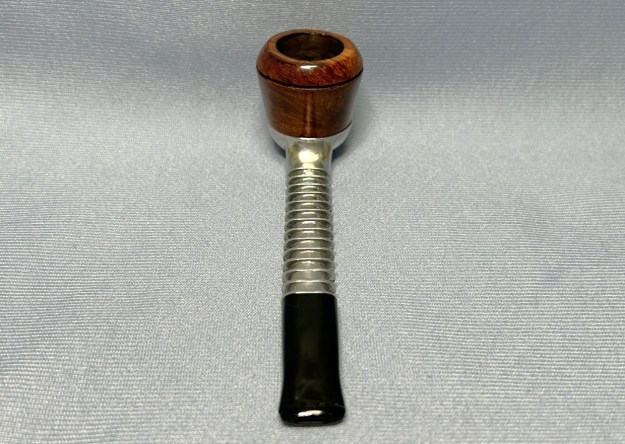
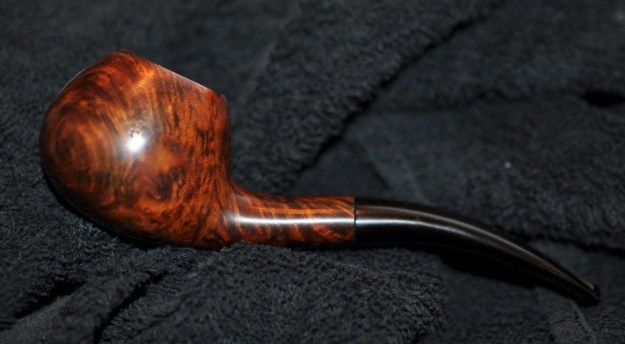
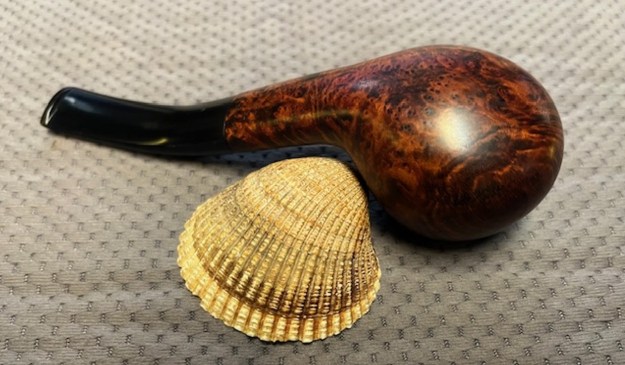
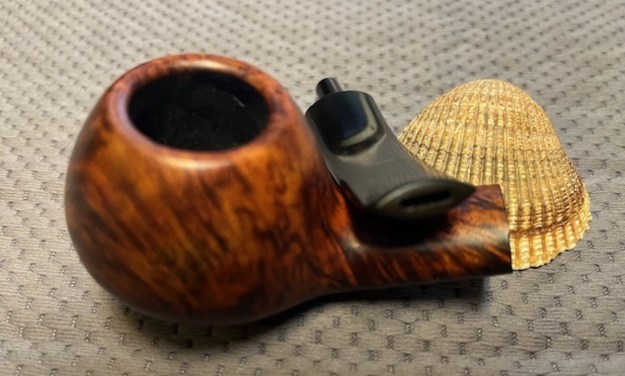
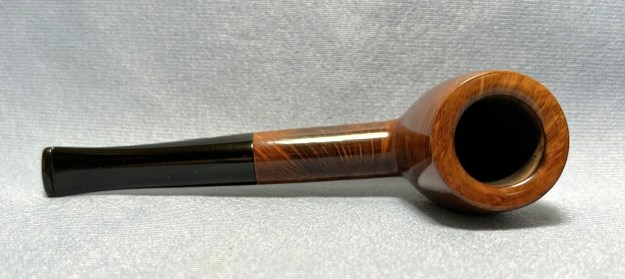
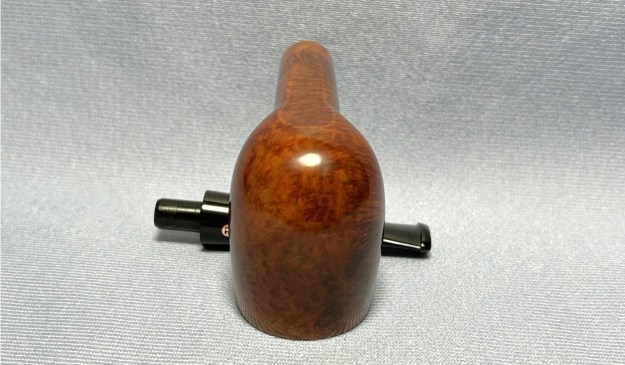
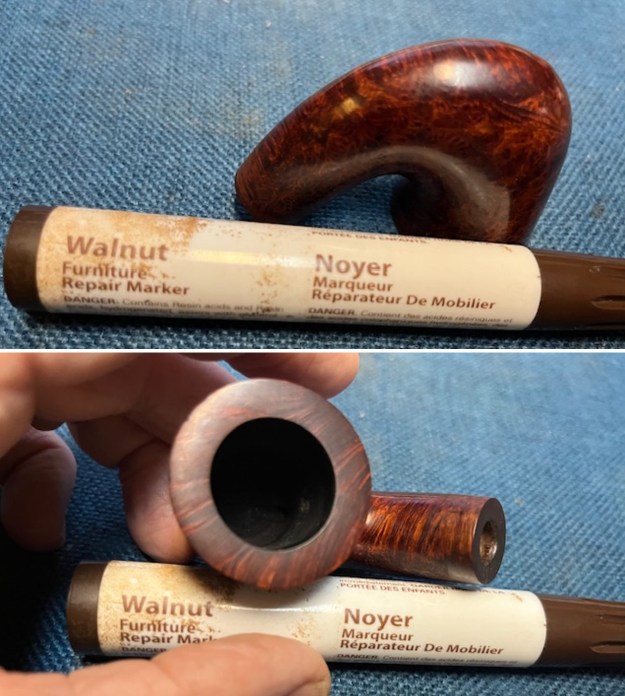
The next pipe on the table is one that we picked up in the lot from a good friend in Barrington, Rhode Island, USA on 08/22/2024. The smooth finish on this Canadian made pipe and the Julius Vesz stamping are what caught our eye. It is stamped on the left side of the shank and reads Circle 6 [over] 97 followed by Julius Vesz [over] Hand Made. It has a rich reddish, brown stain on the smooth finish that is a stark contrast to the well shaped Bent Vulcanite Stem. It is a great looking Bent Calabash shape. The bowl was clean and appears to have been recently reamed. It was a lightly smoked and well cared for pipe. The inner edge and the top look good and were clean. The stem is another issue. The shank appears to have been reshaped a bit and was rough in its fit to the shank. The left side was particularly rough. The stem itself has a poorly finished repair on a bite through on the underside ahead of the button. The white circle logo of Vesz pipes was on the left side of the stem and looks to be in good condition. Jeff took some photos of the pipe to show the general condition of the pipe before he started his clean up.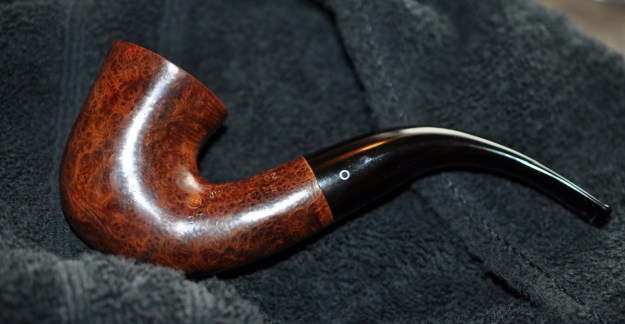
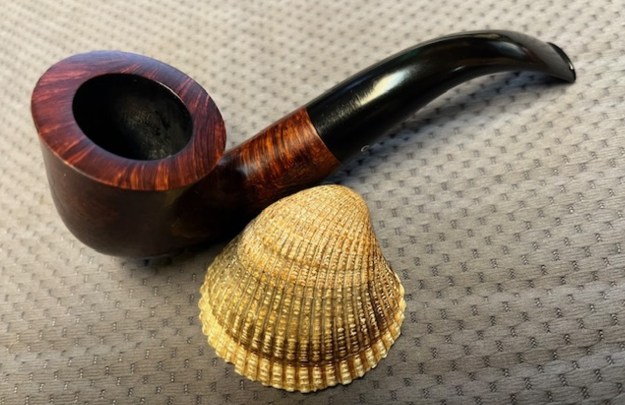
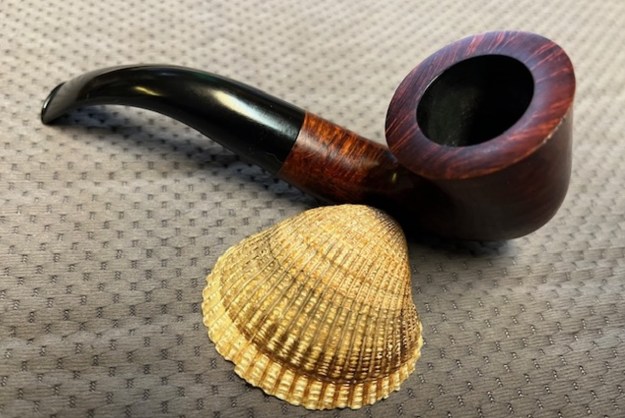
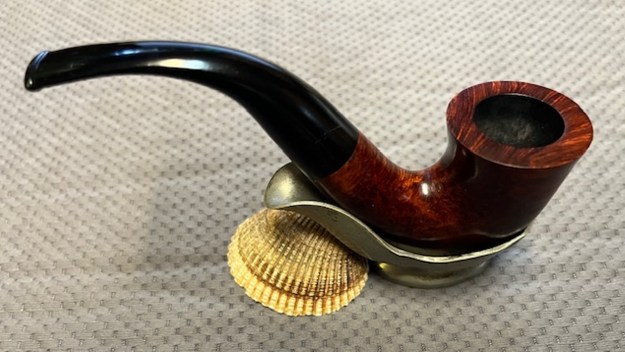
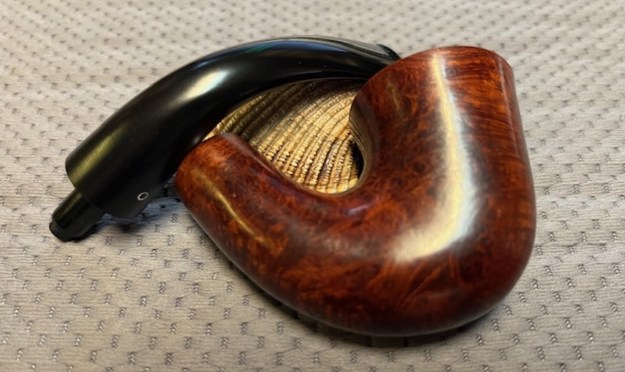
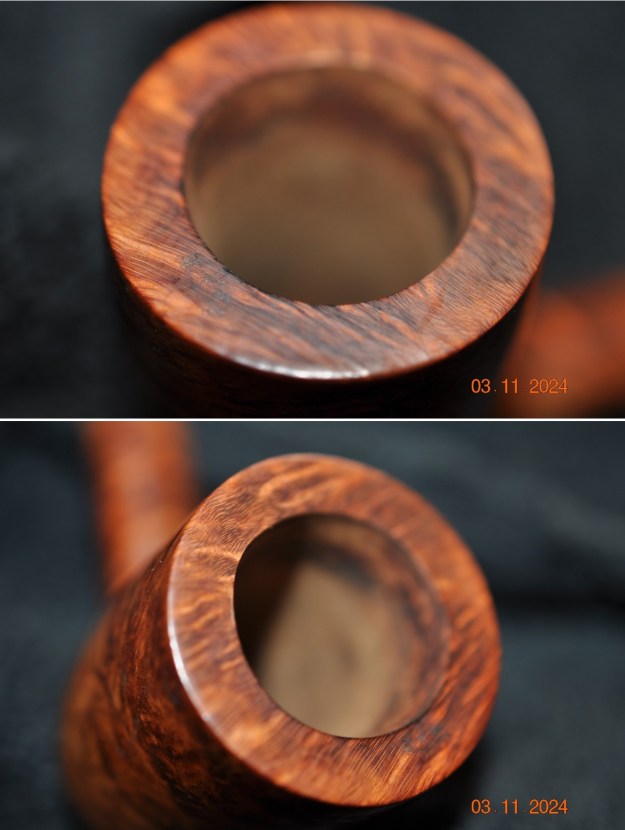
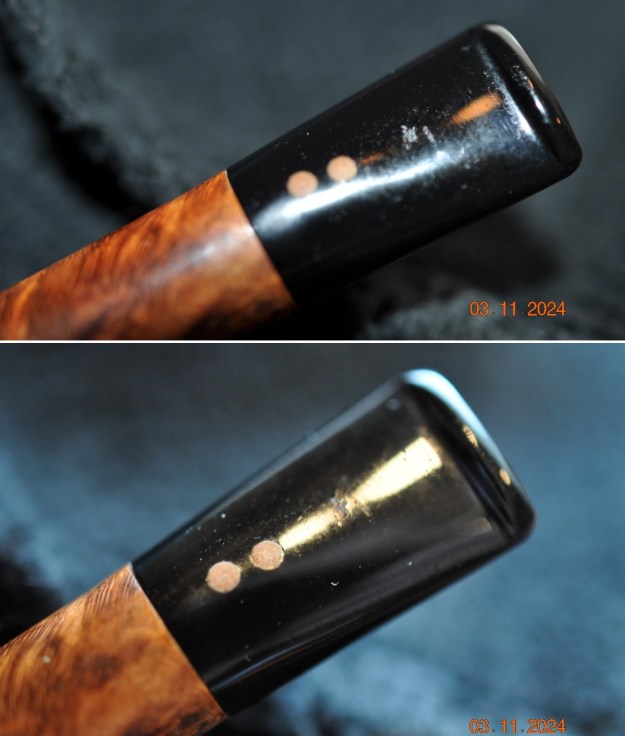
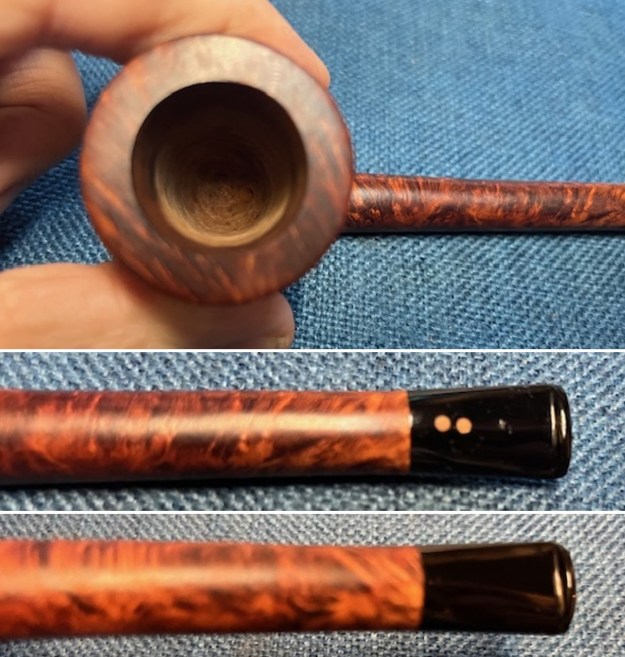
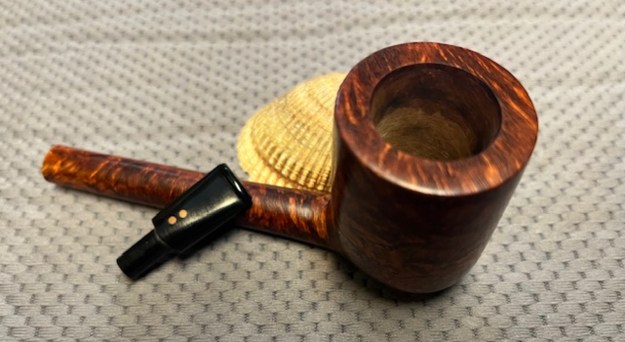
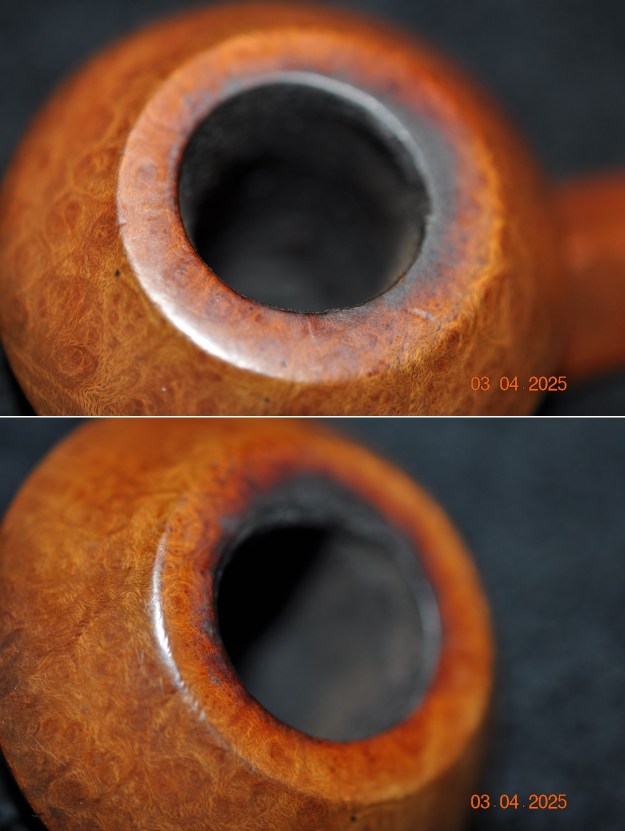
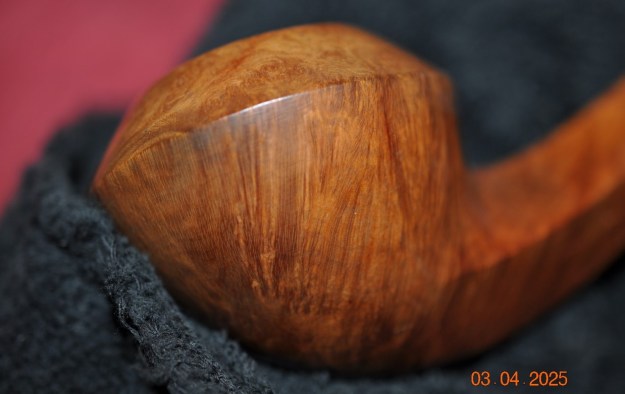
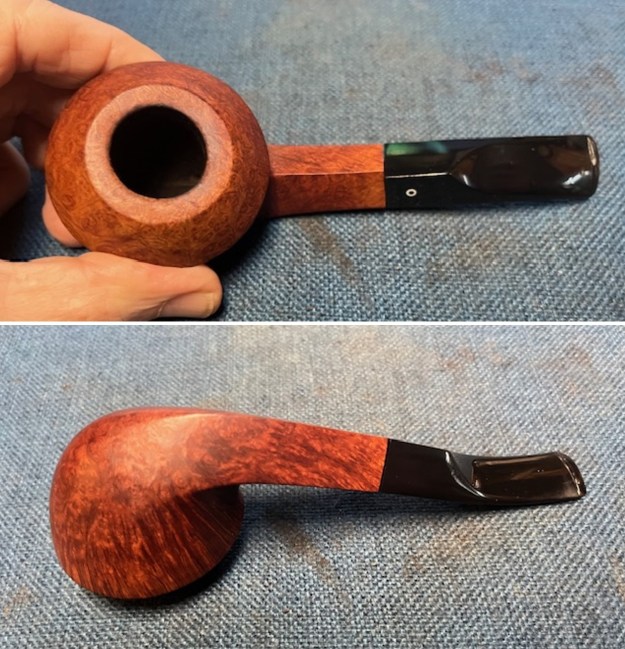
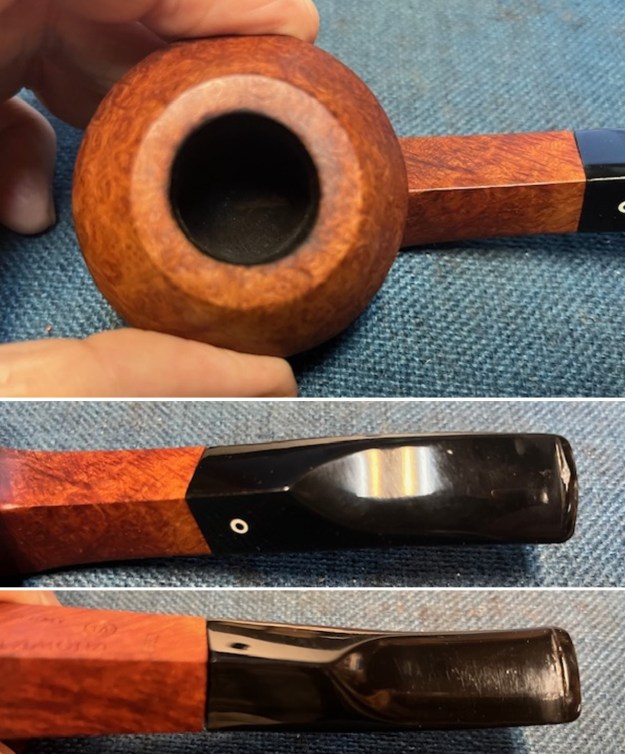
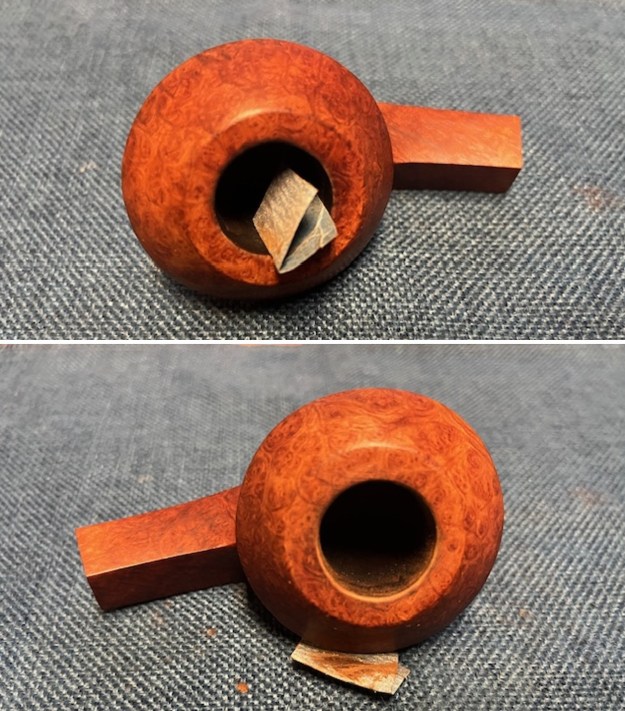
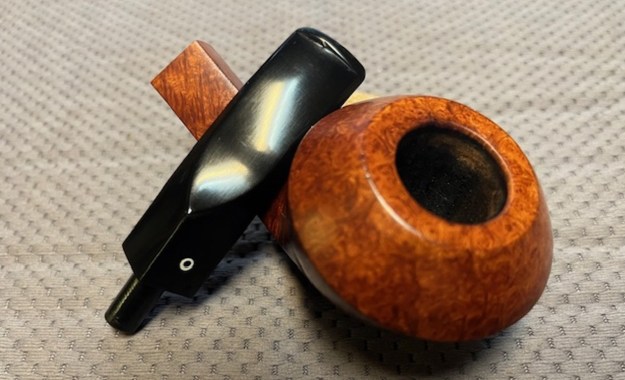
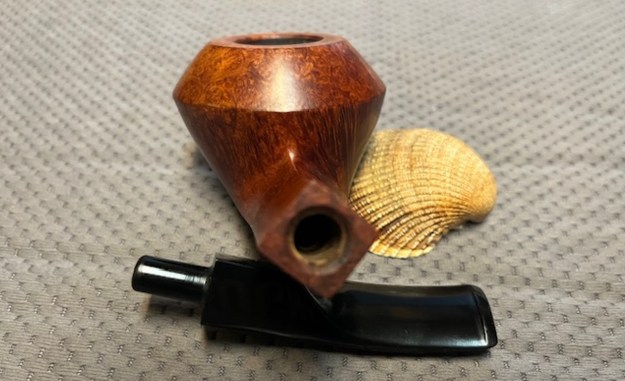
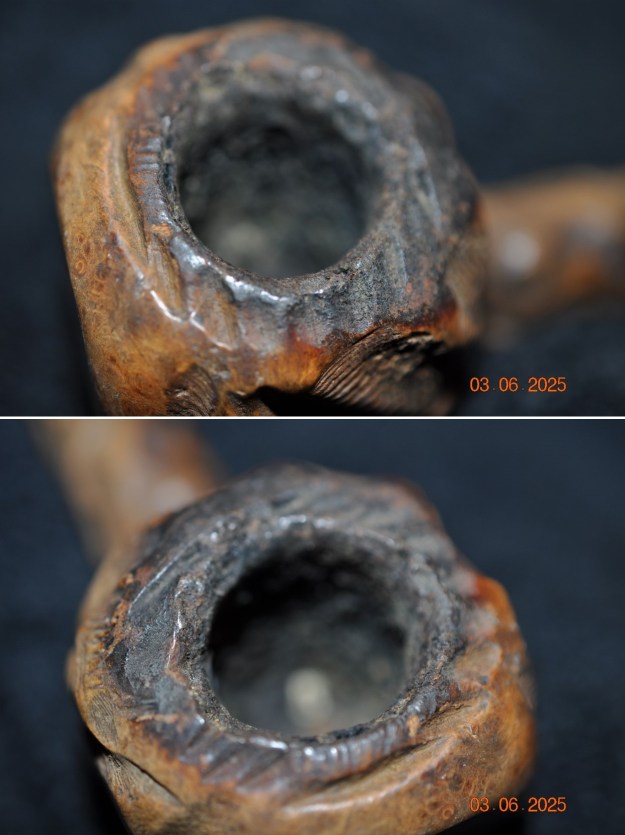
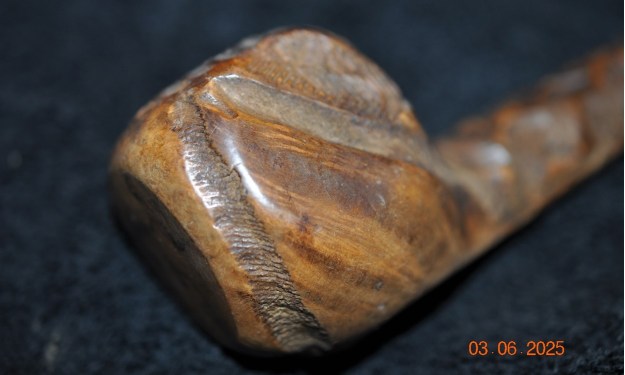
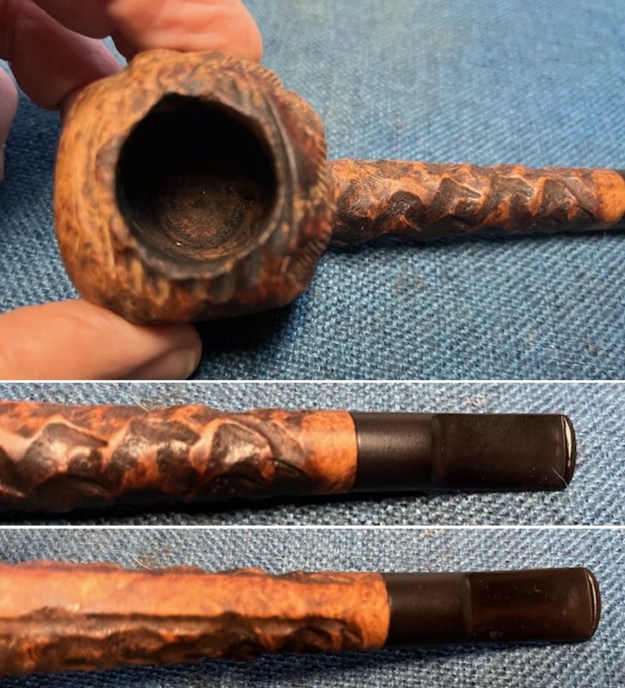
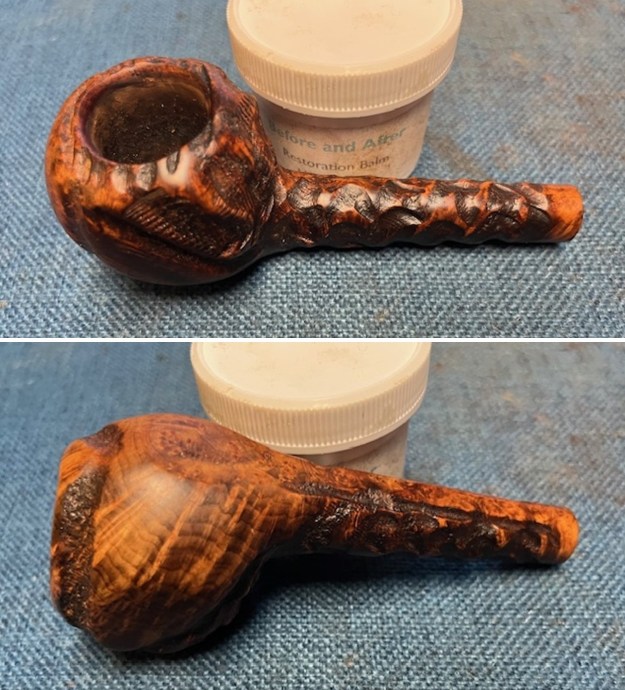
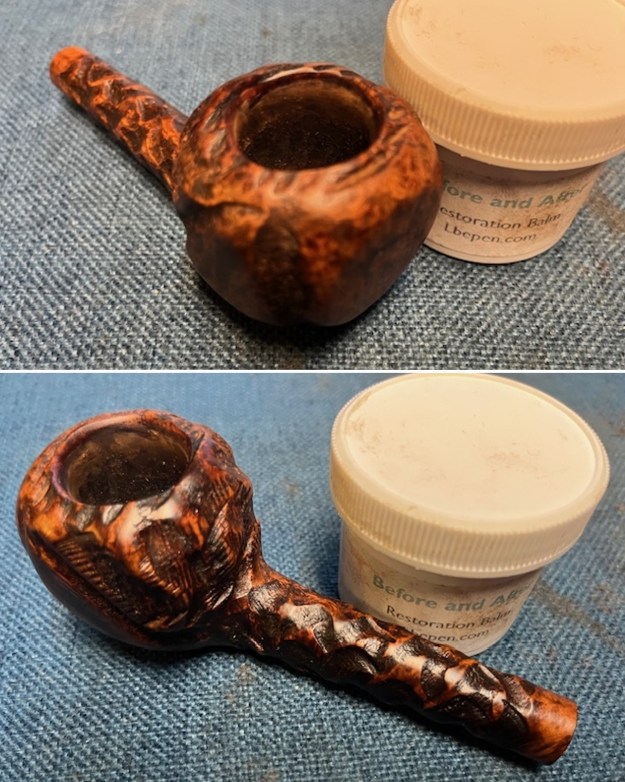
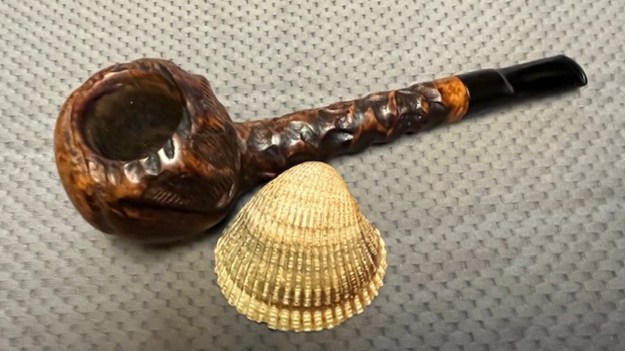
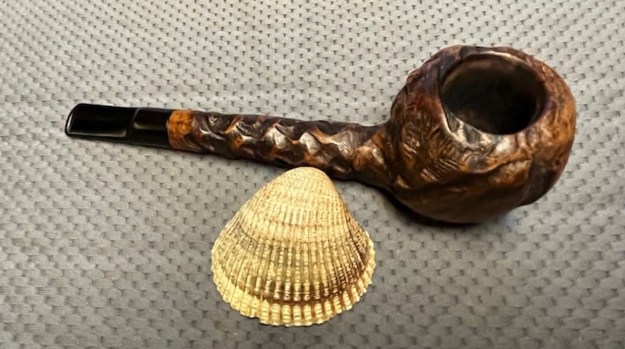
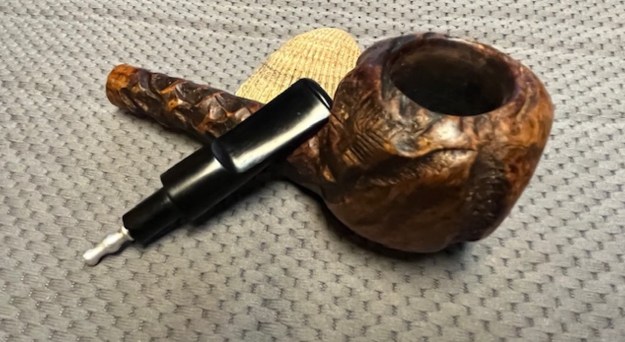
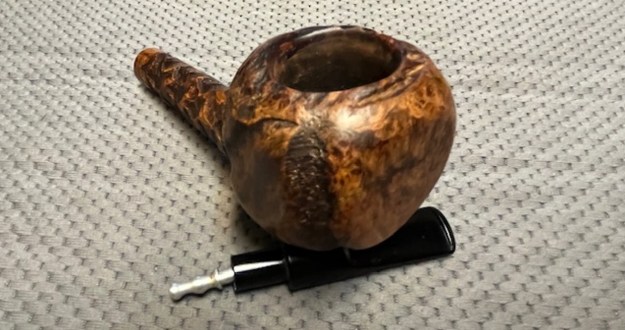
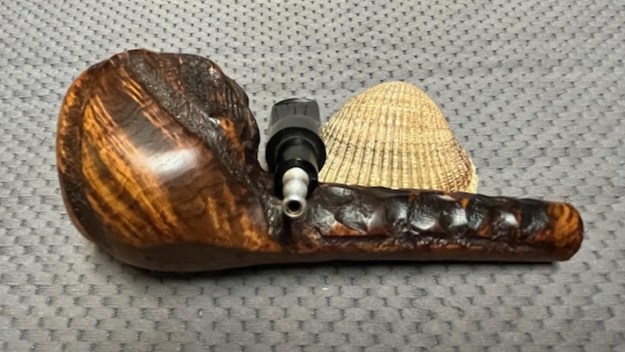
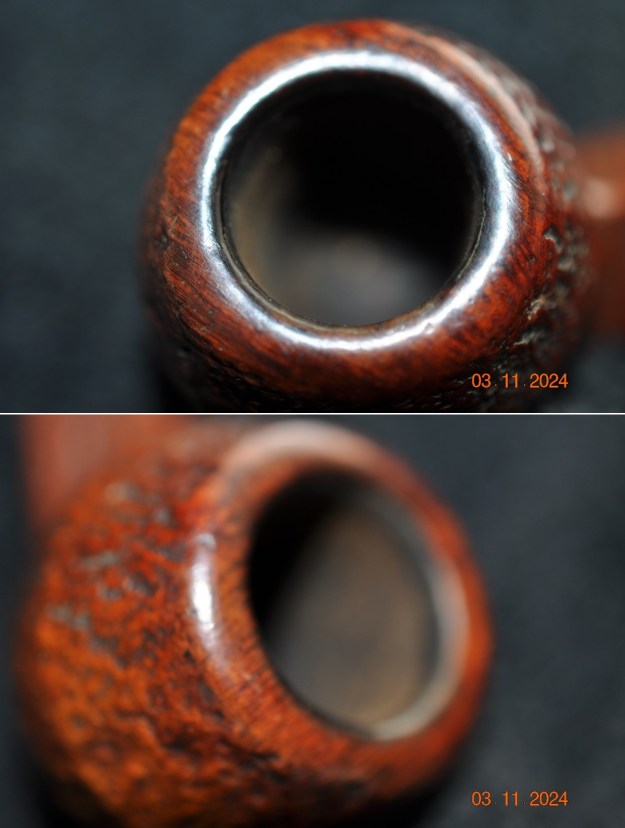
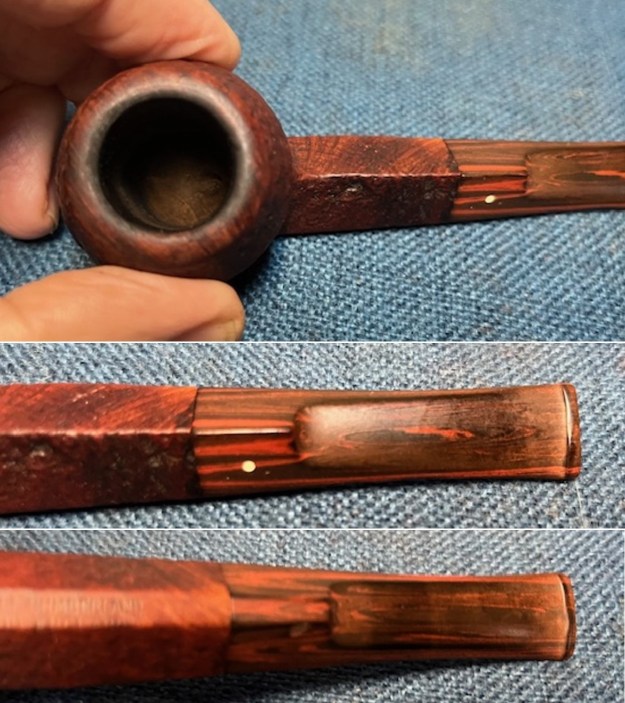
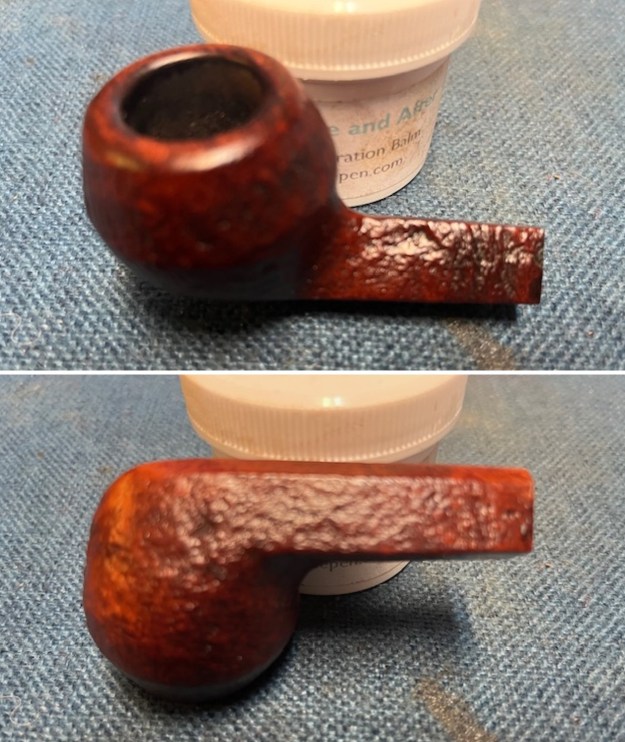
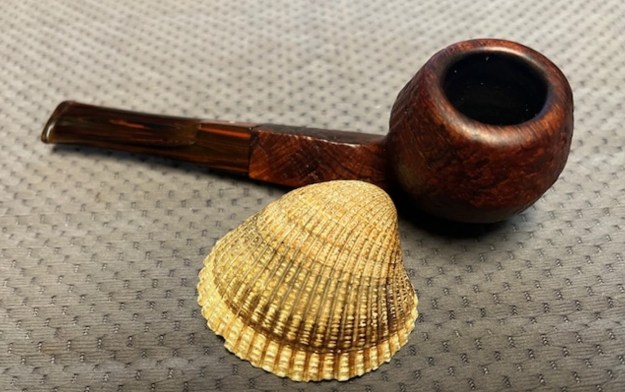
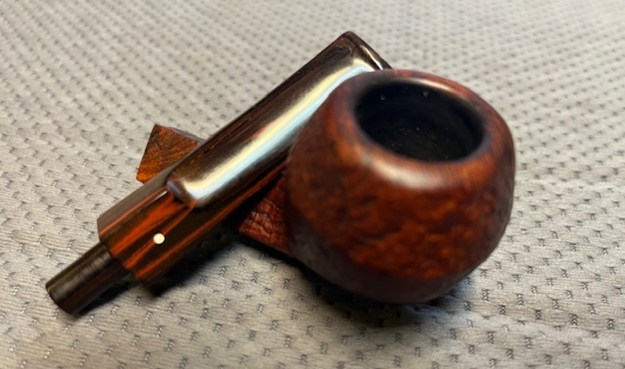
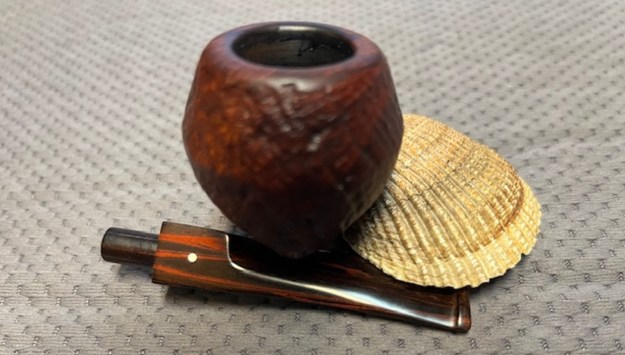
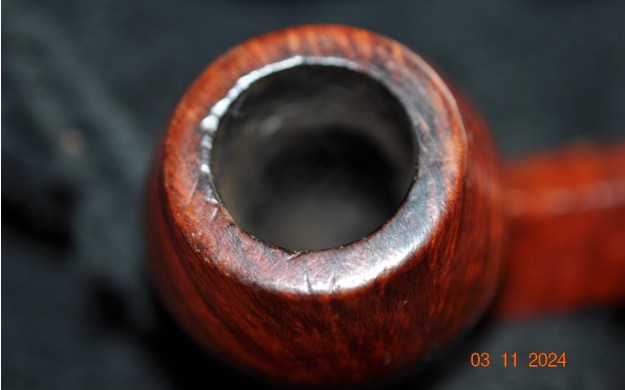
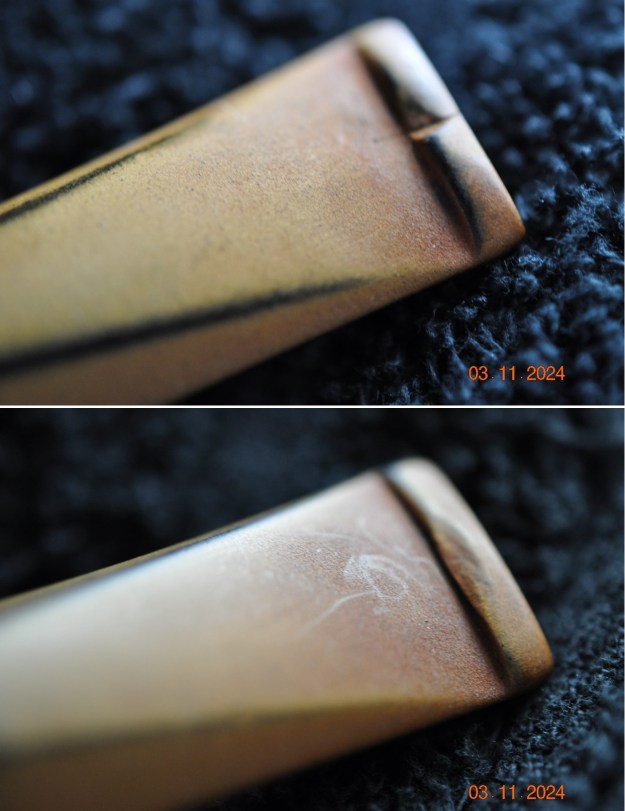
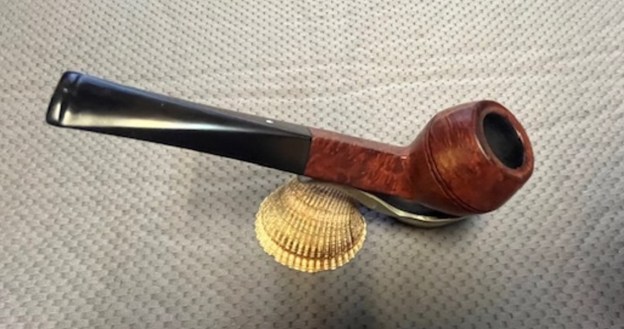
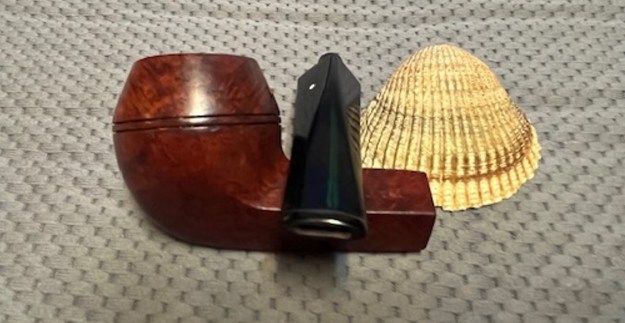
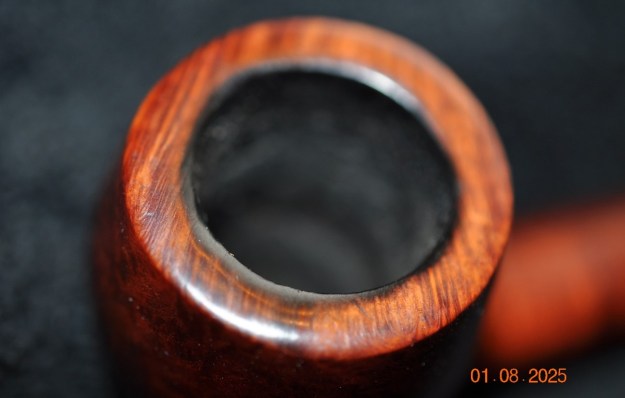
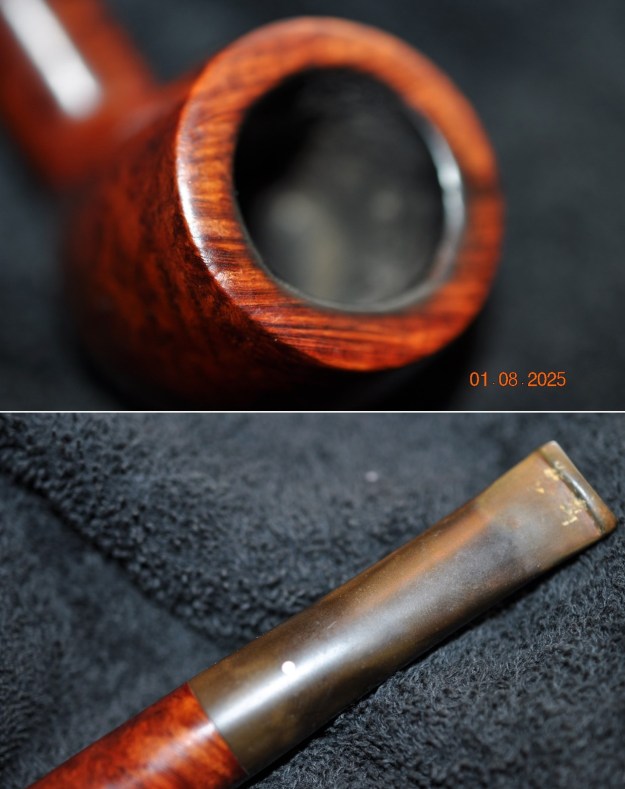
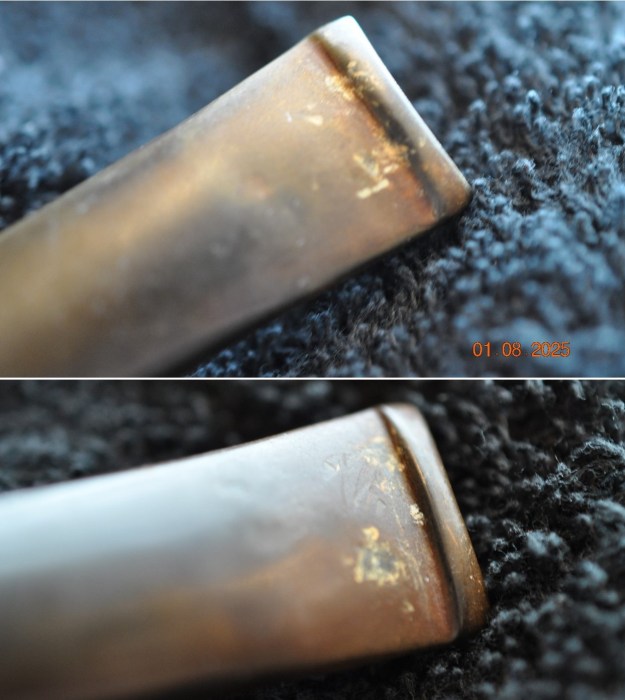
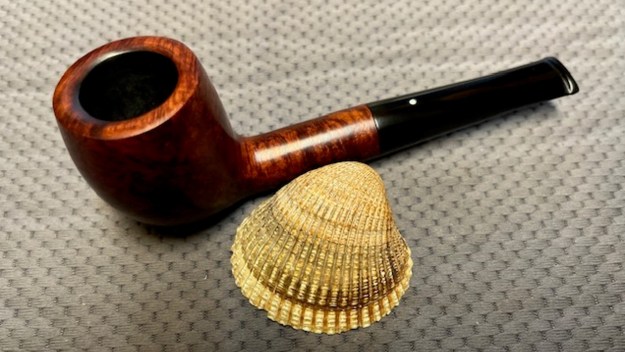
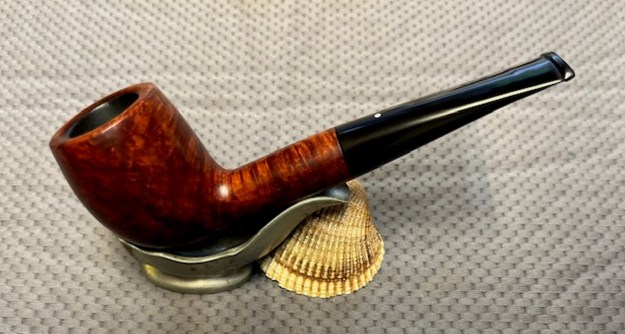
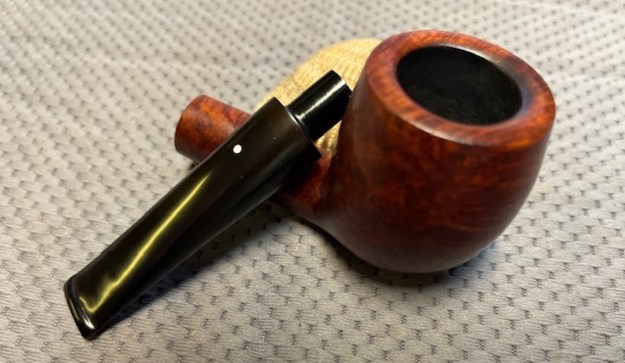
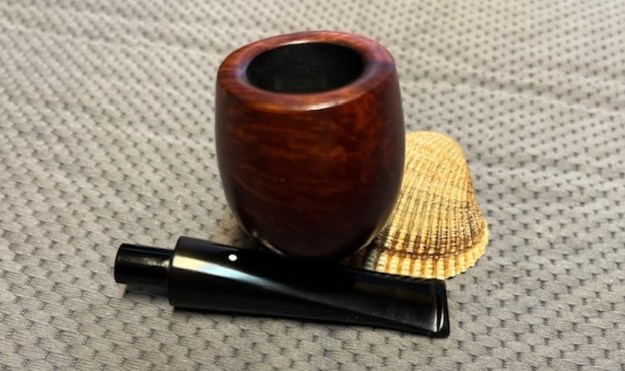
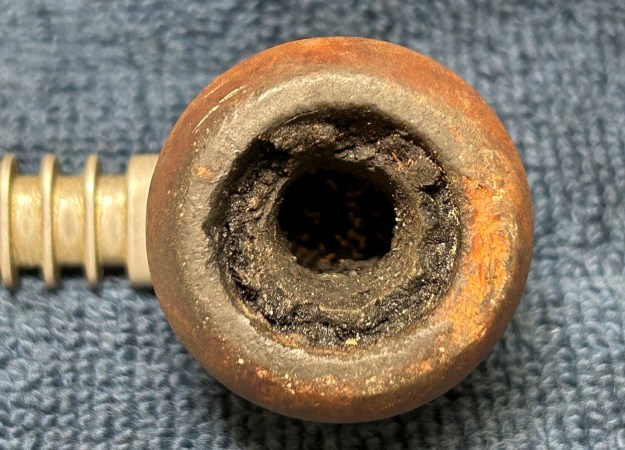
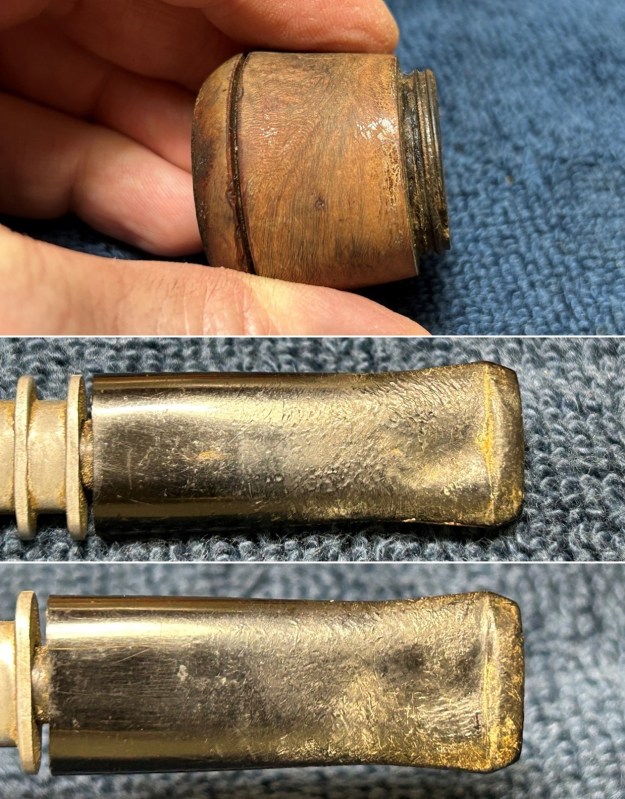
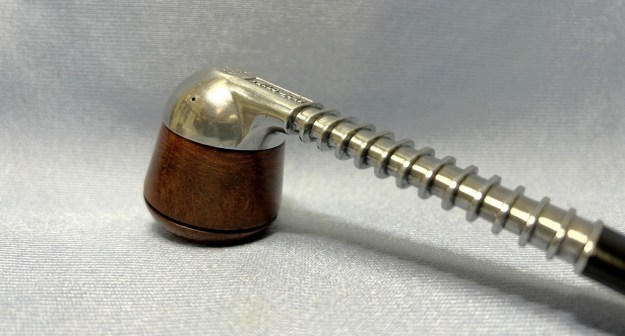
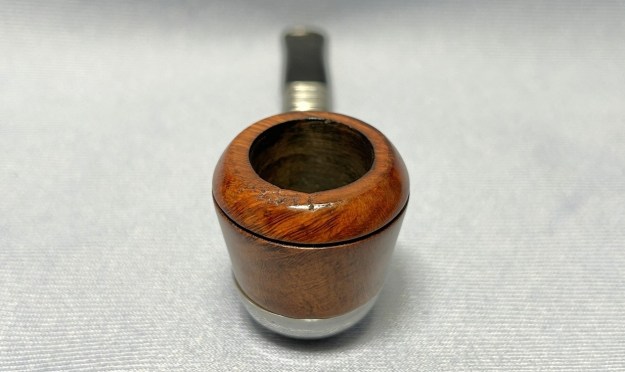
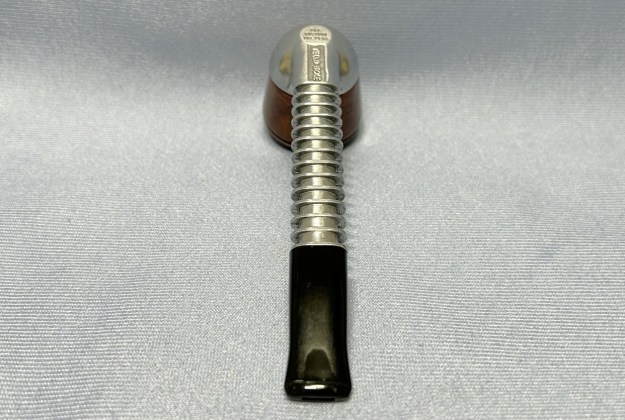
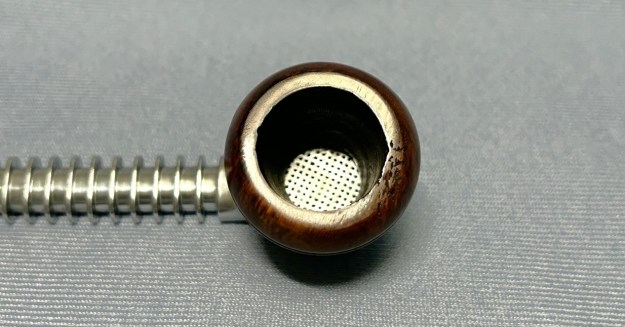
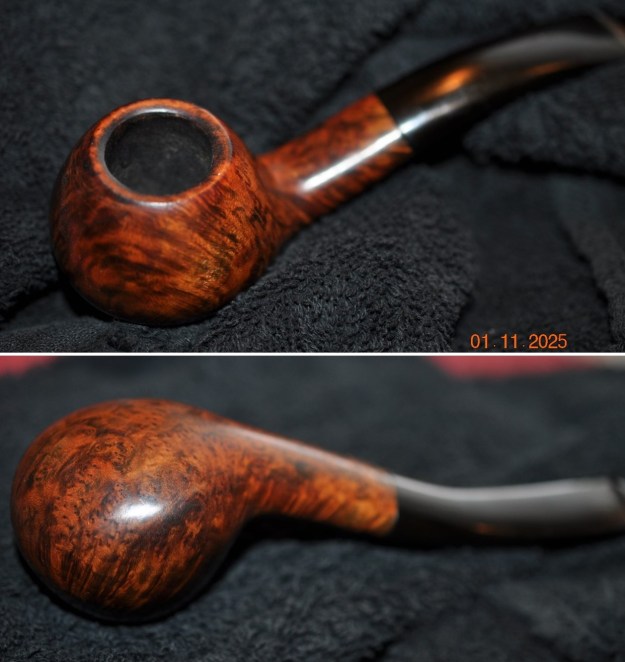
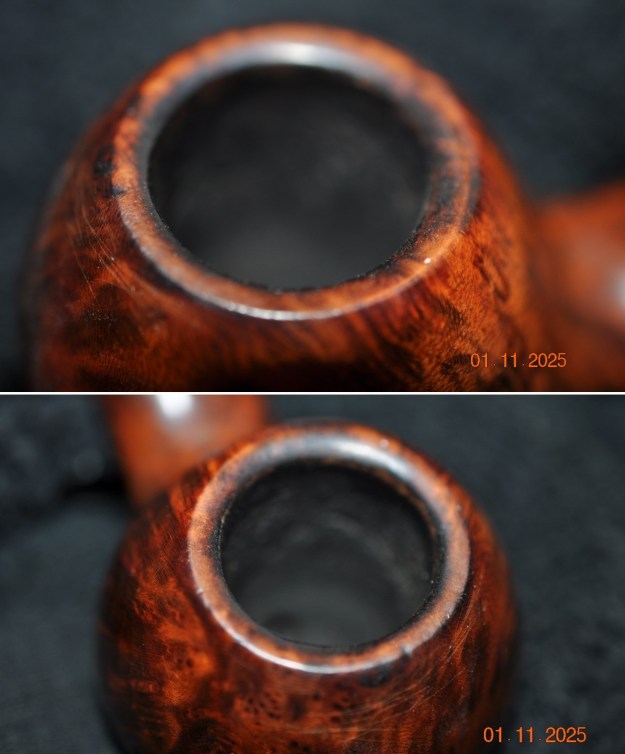
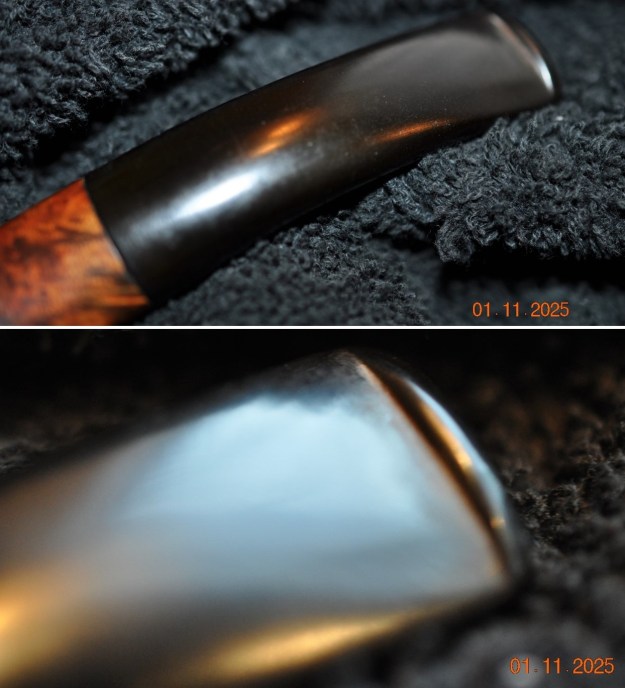
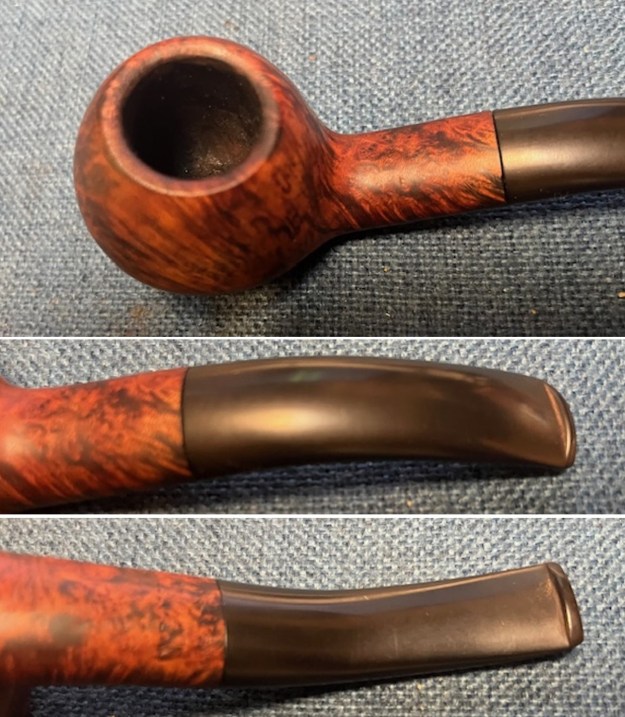
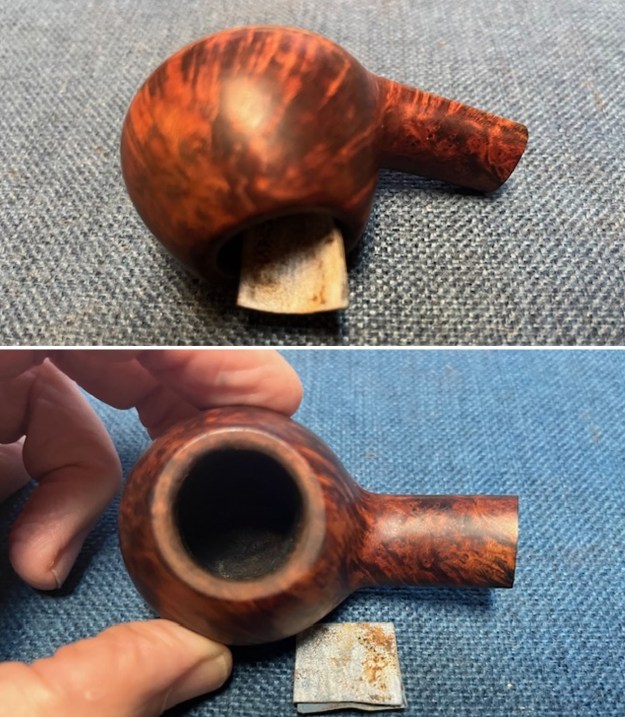
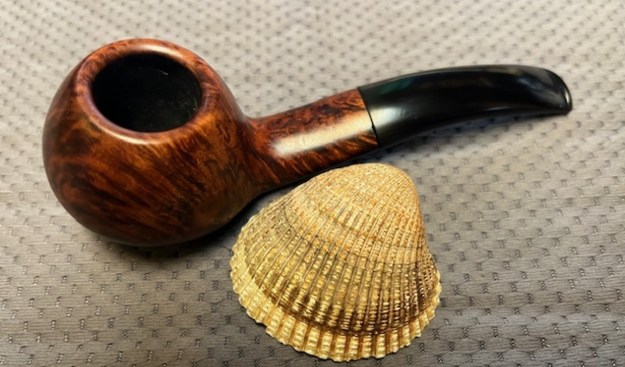
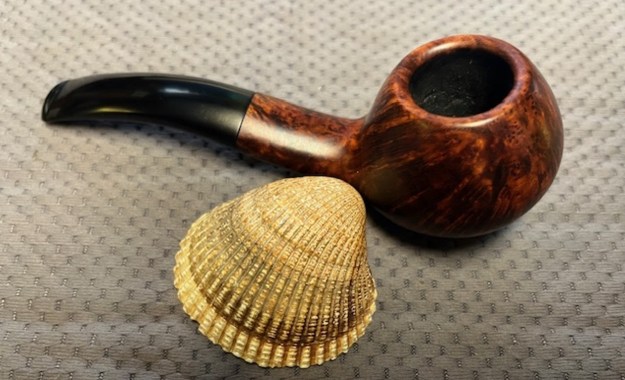
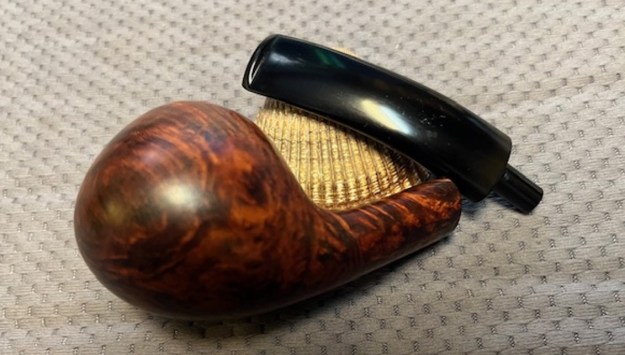
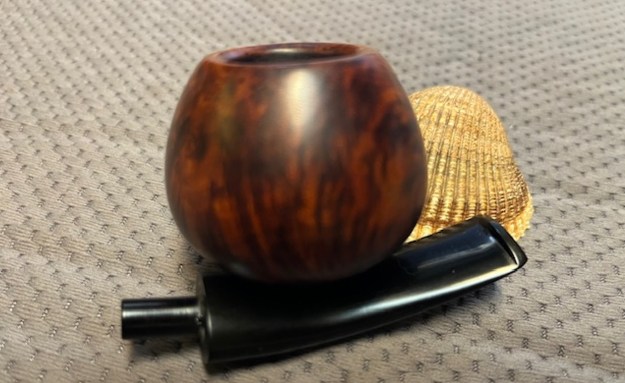
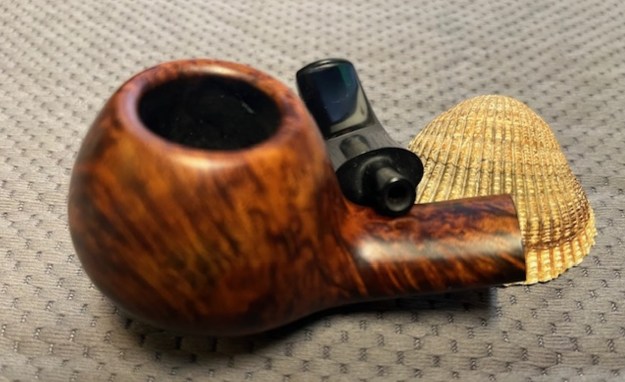
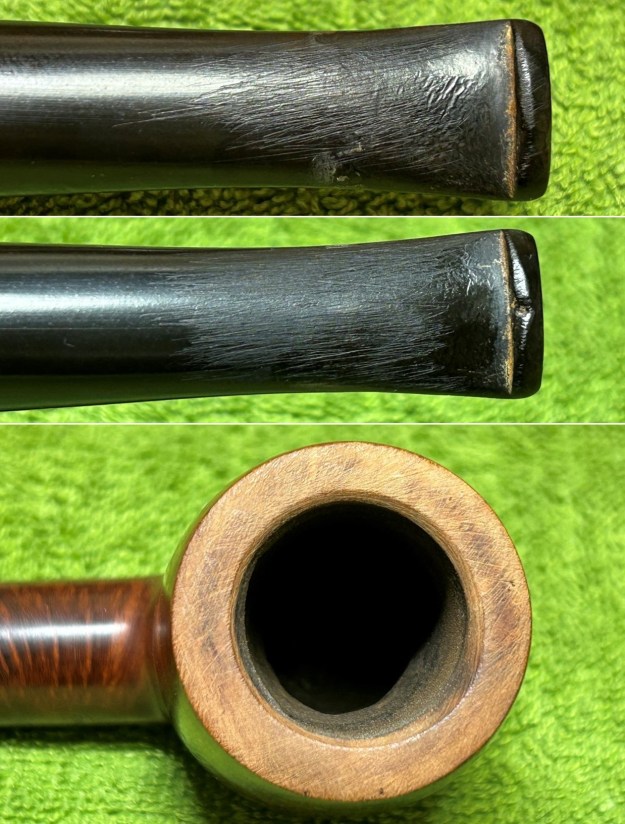
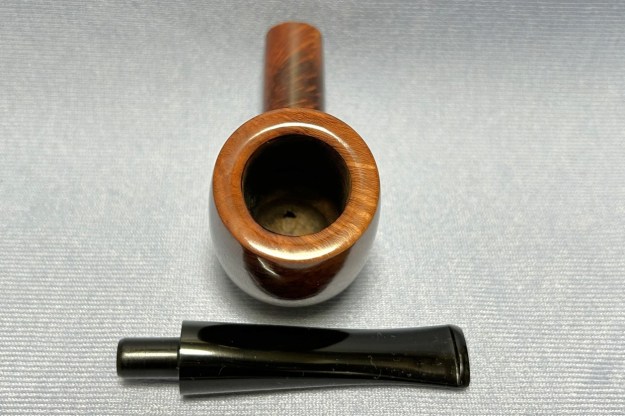
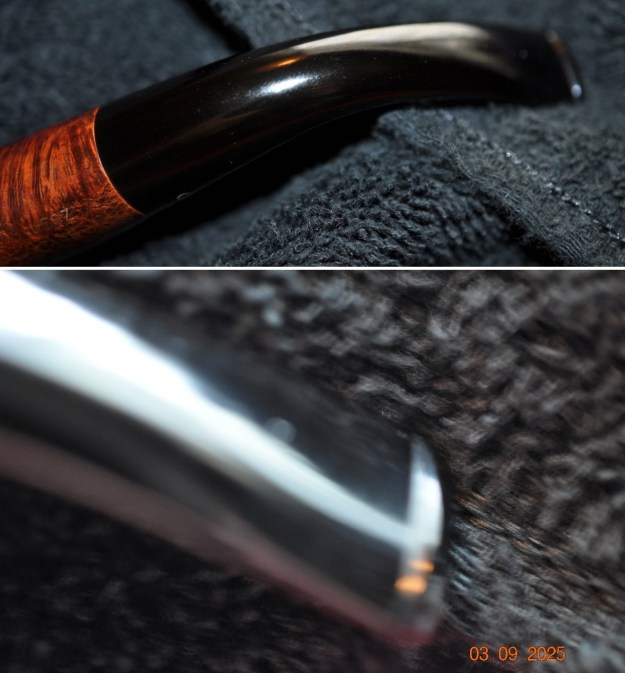
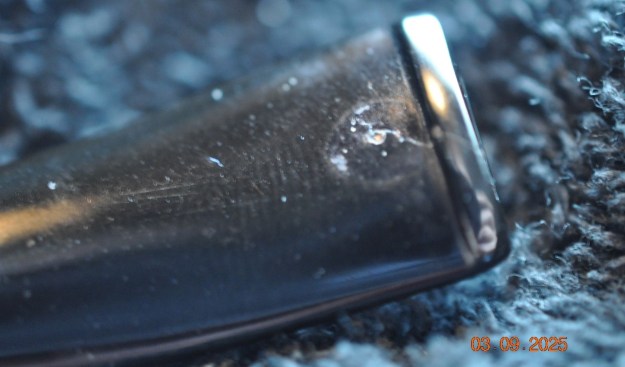
 He took a photo of the rim top and bowl to give me a clear picture of the condition of the rim top and bowl. It is quite clean and the inside of the bowl is very clean and shows that the pipe has been lightly smoked. He included photos that show the top and underside of the stem. It is as described above. The final photo below shows the repaired bite through in the underside of the stem ahead of the button.
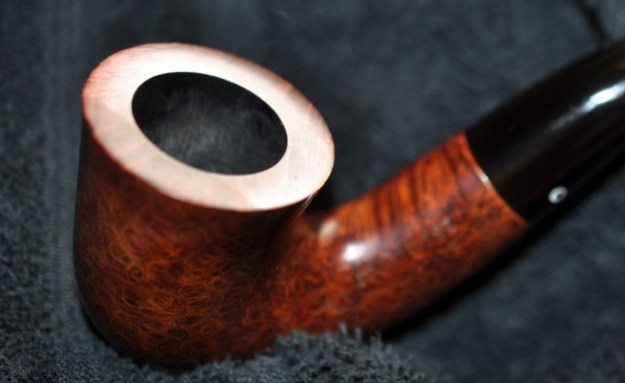
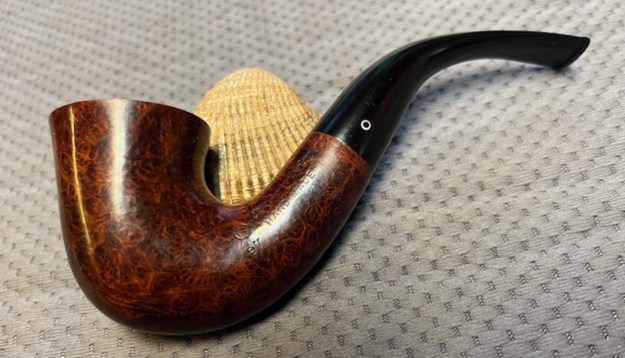
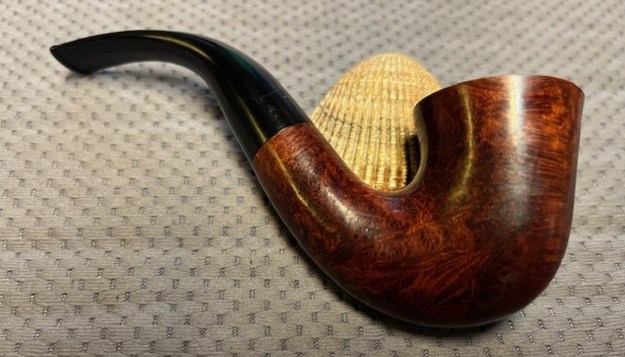
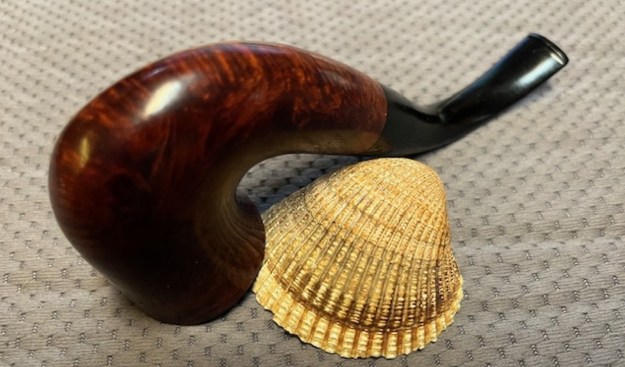
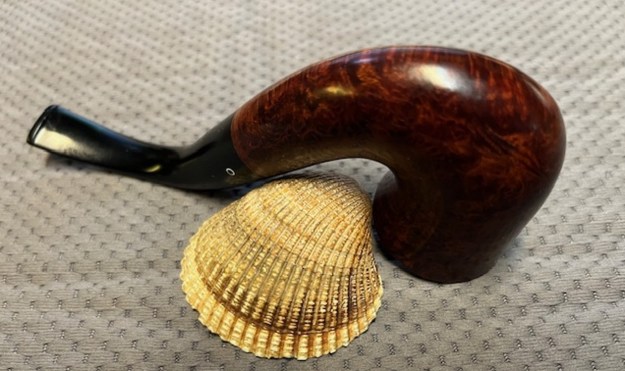
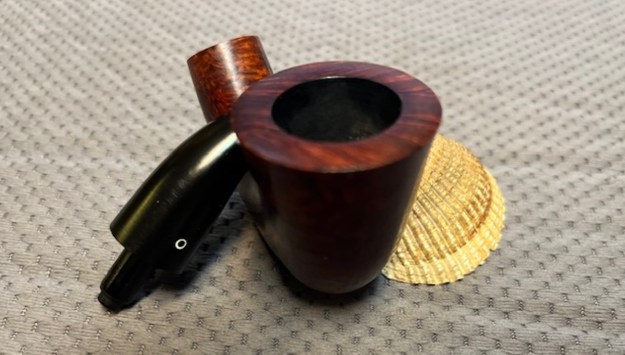
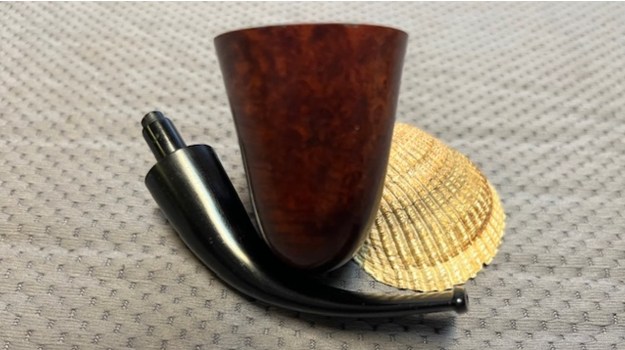
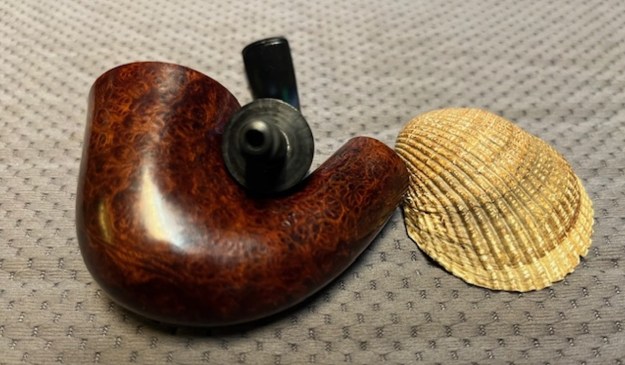
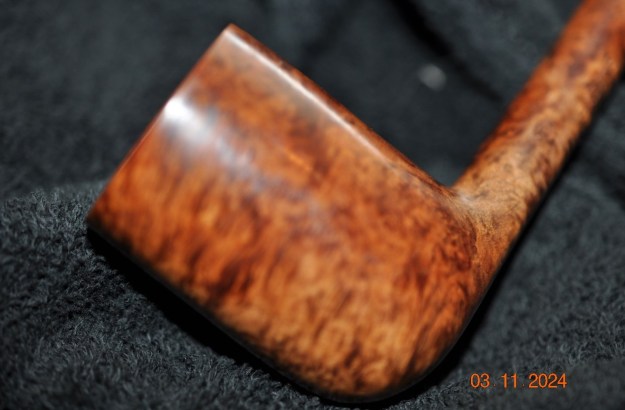
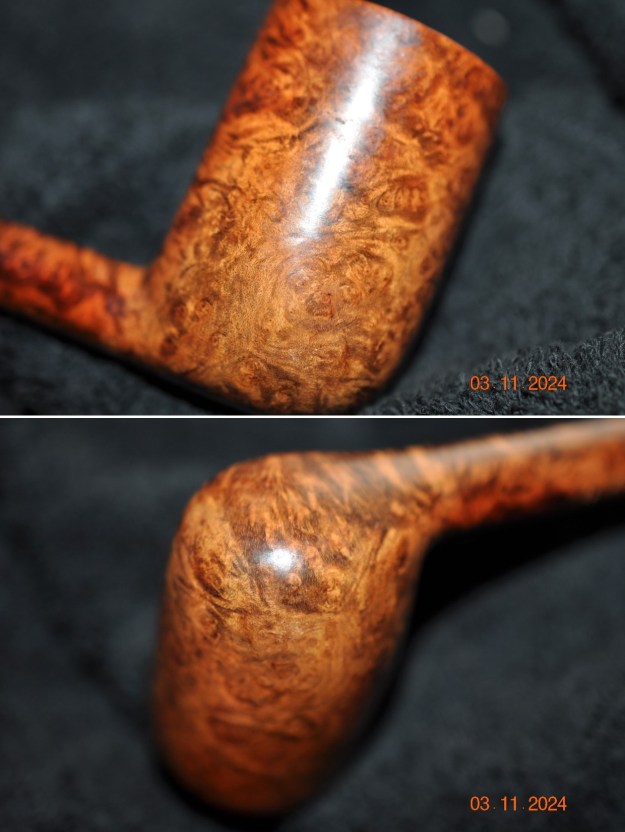
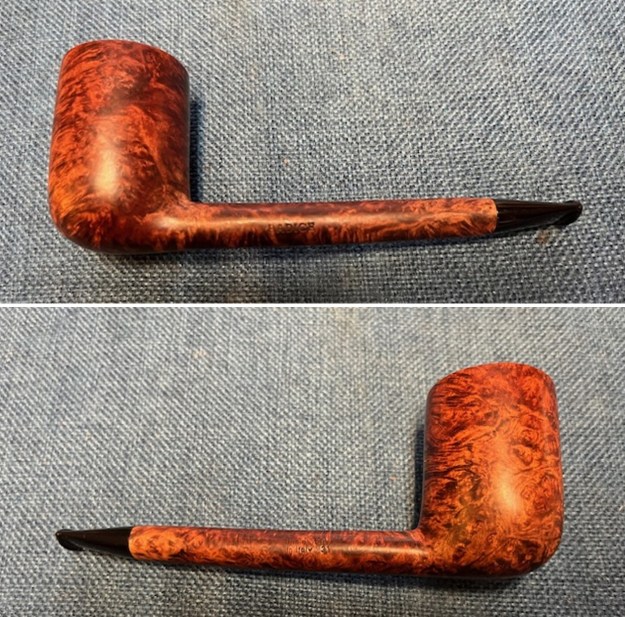
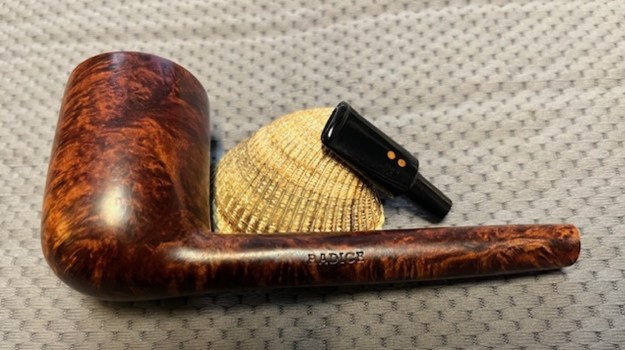
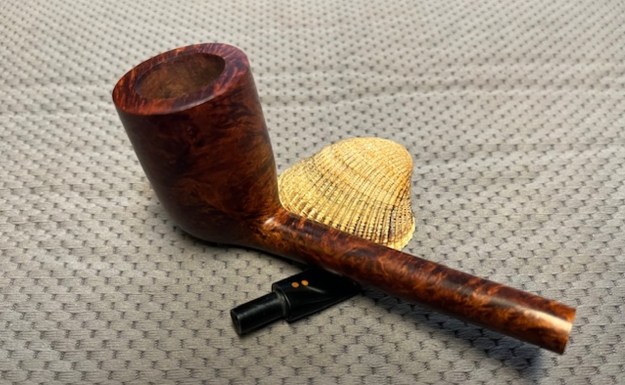
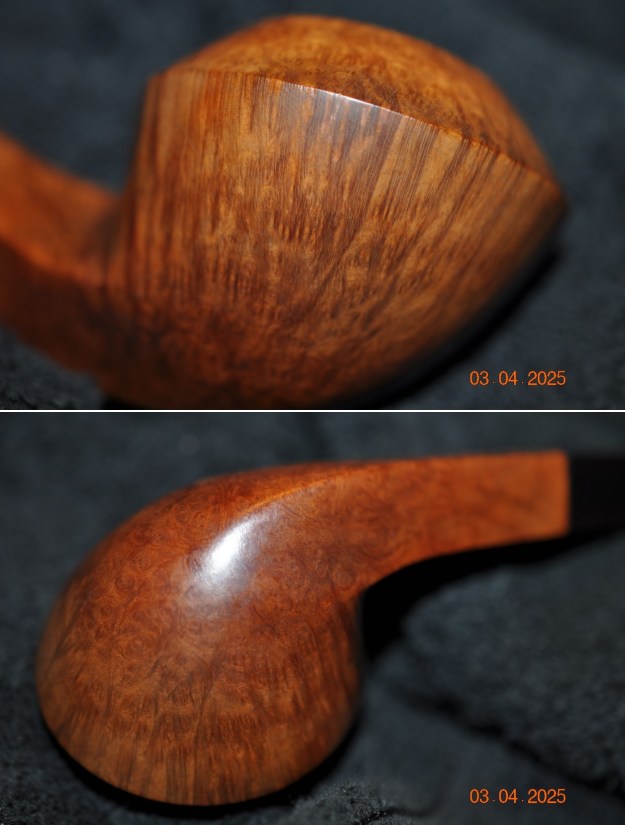
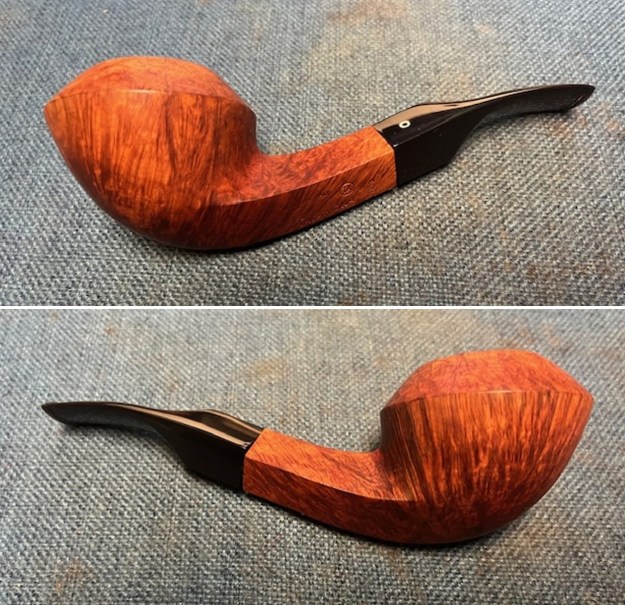
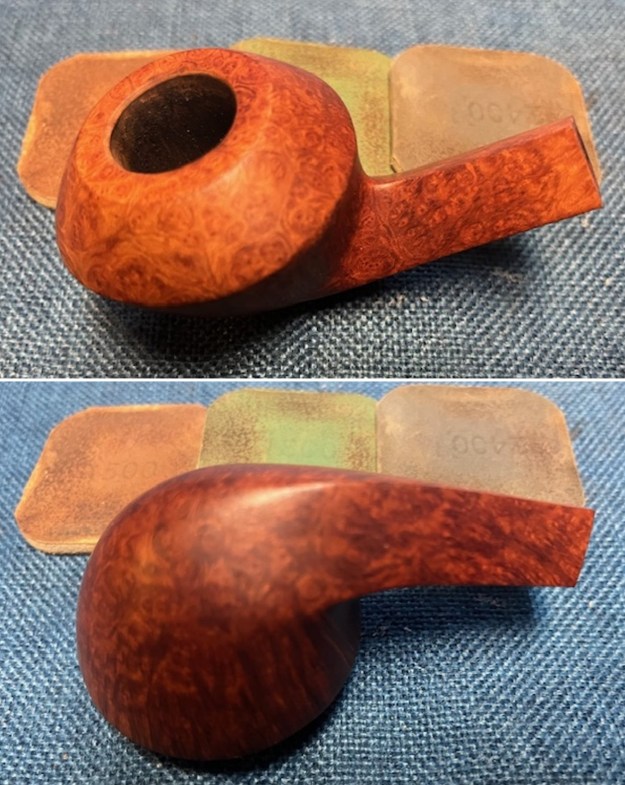
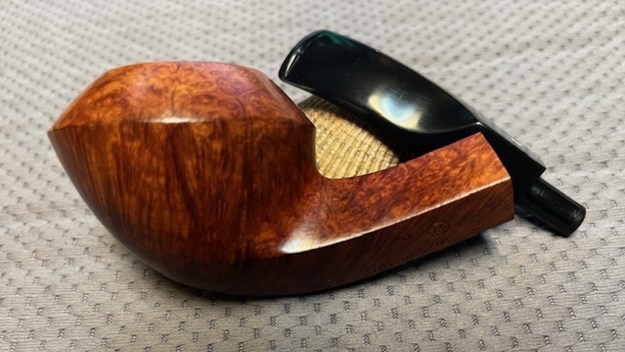
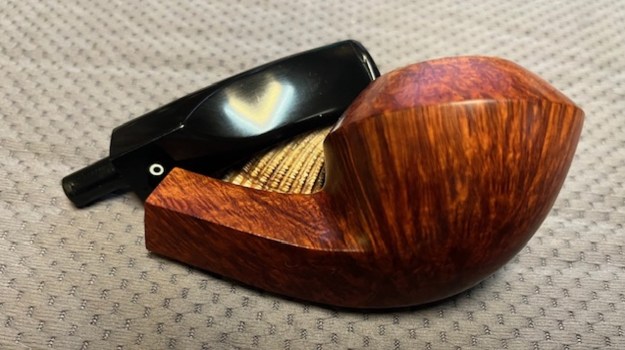
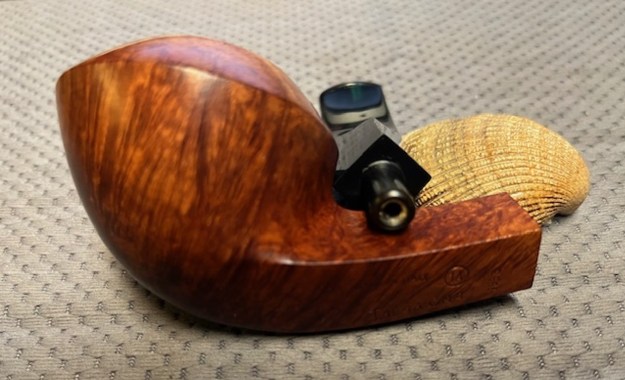
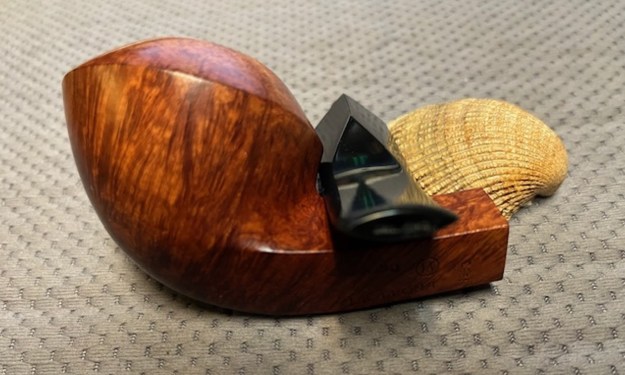
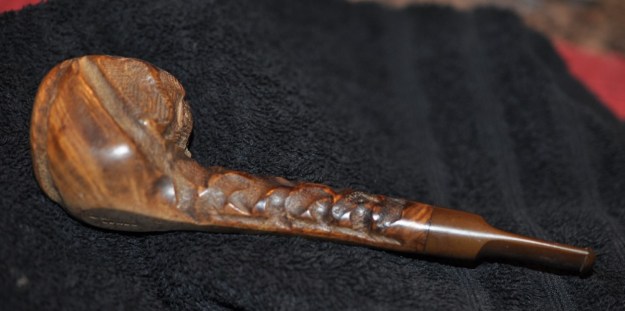
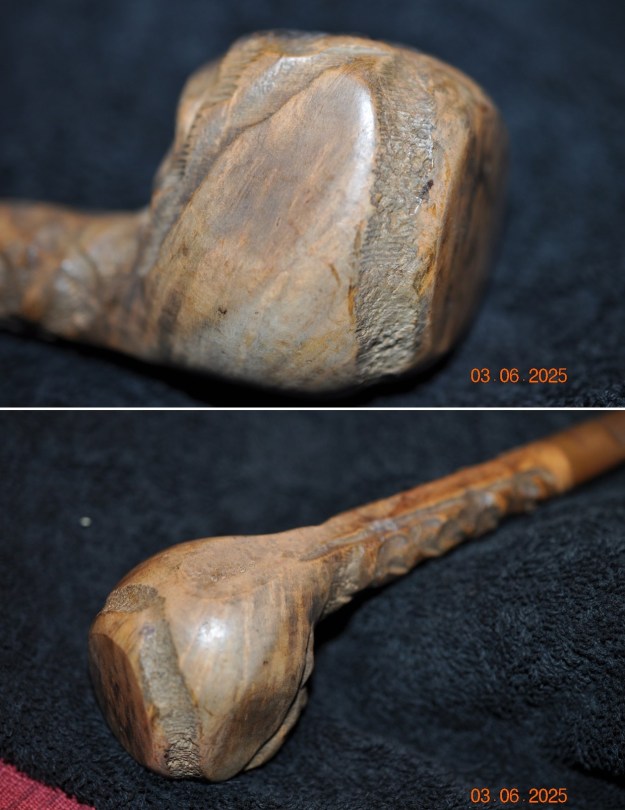
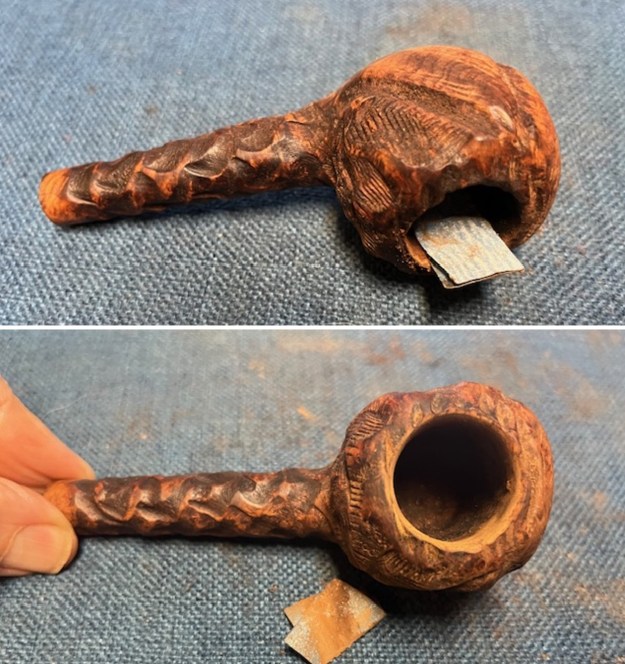
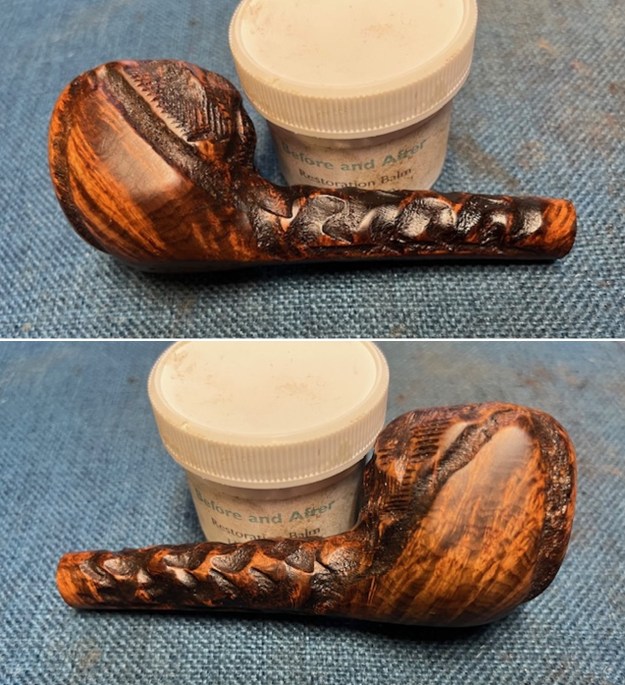
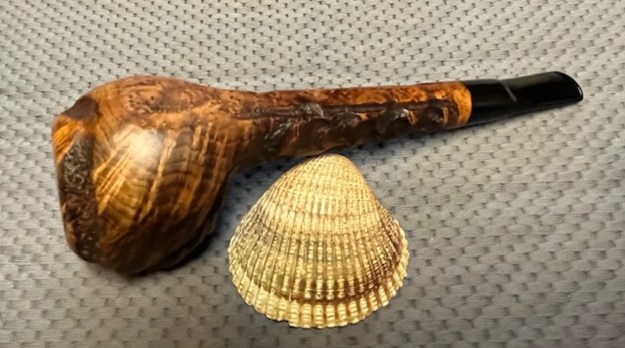
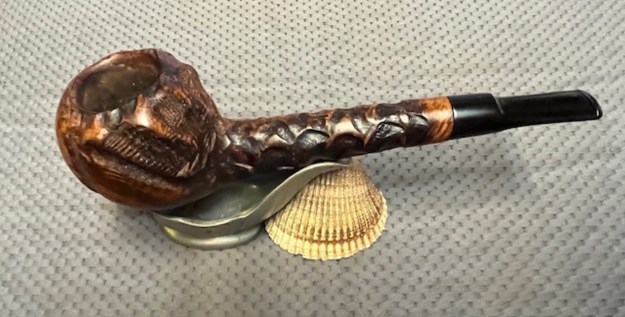
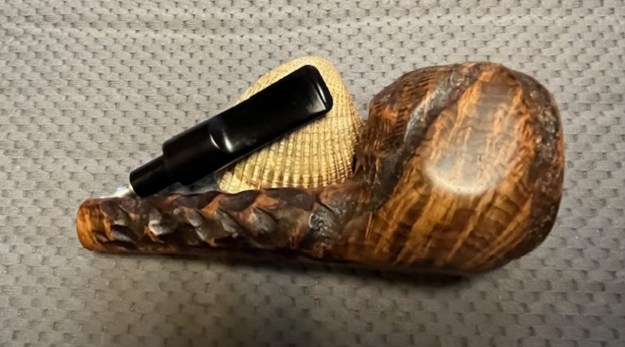
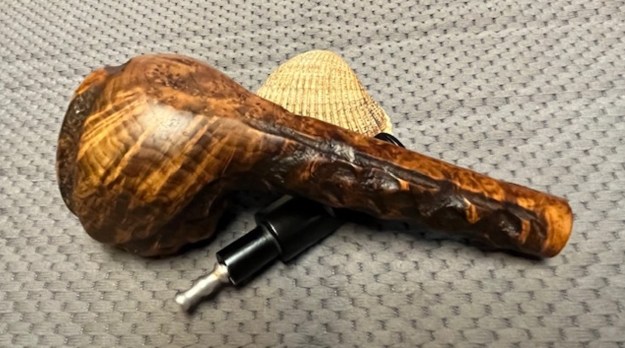
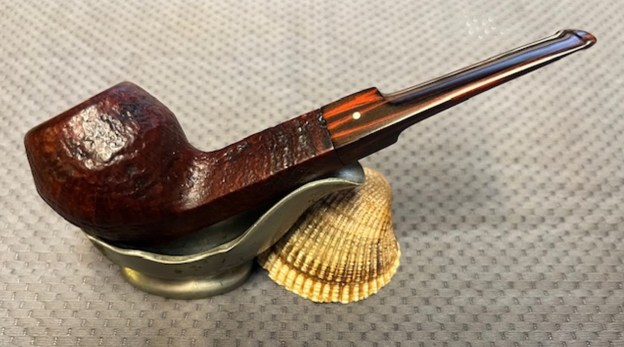
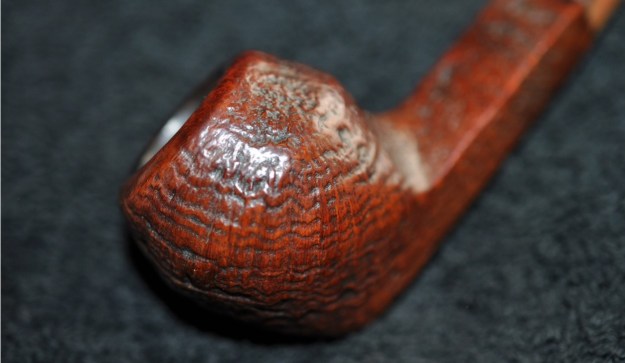
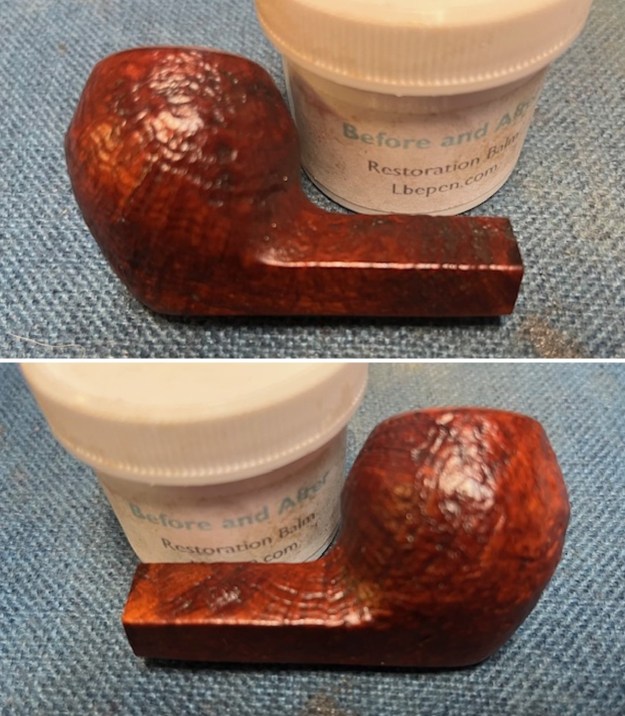
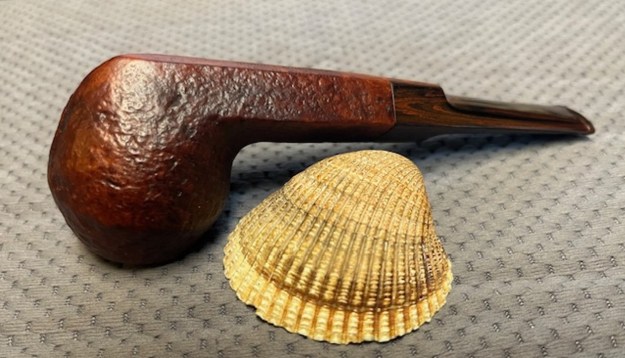
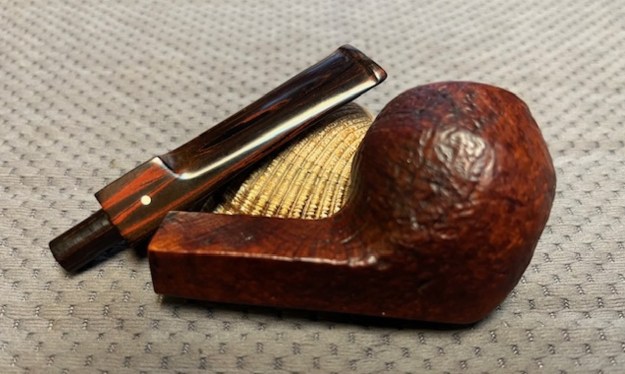
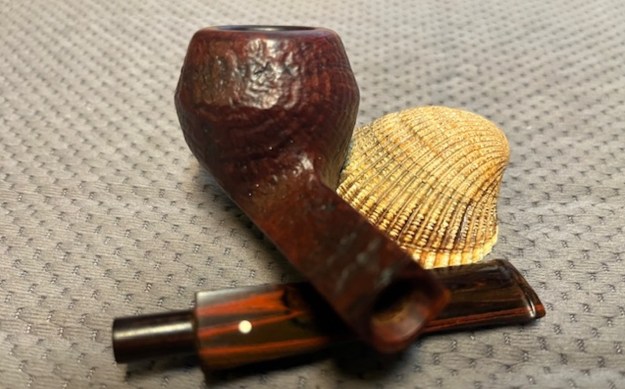
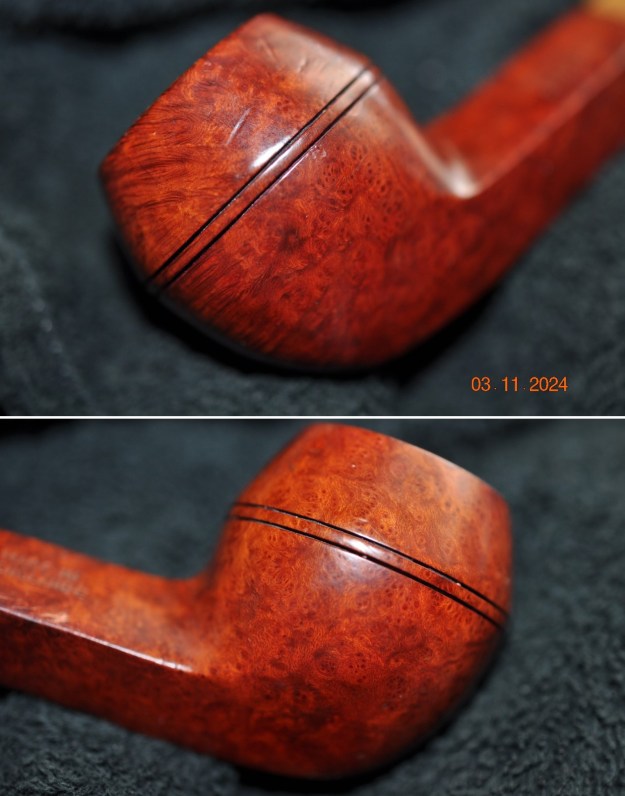
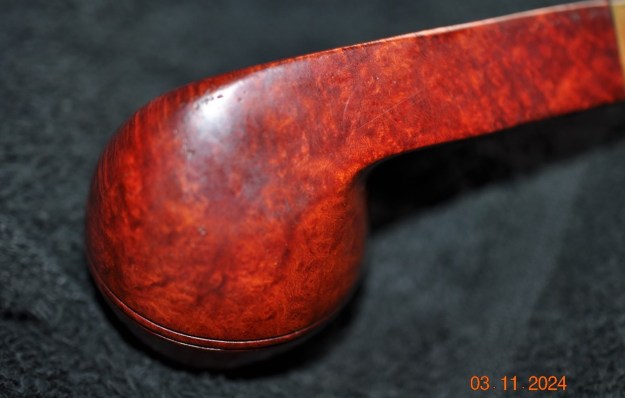
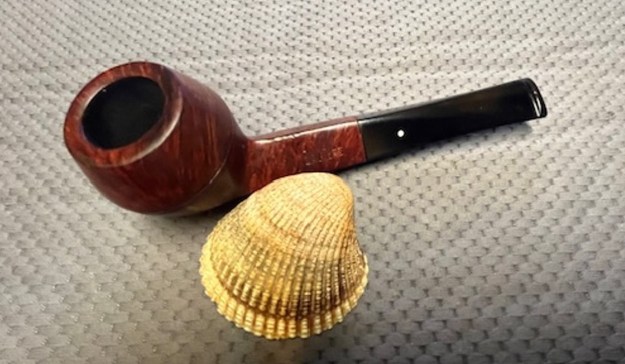
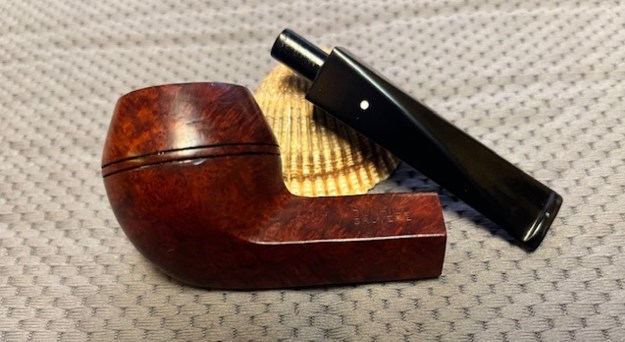
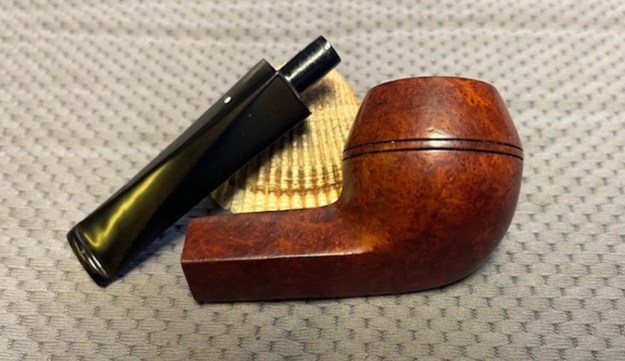
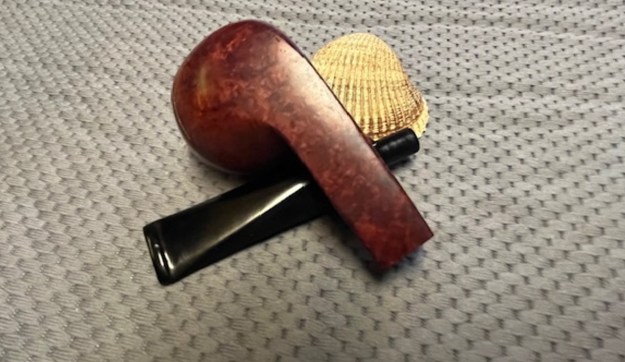
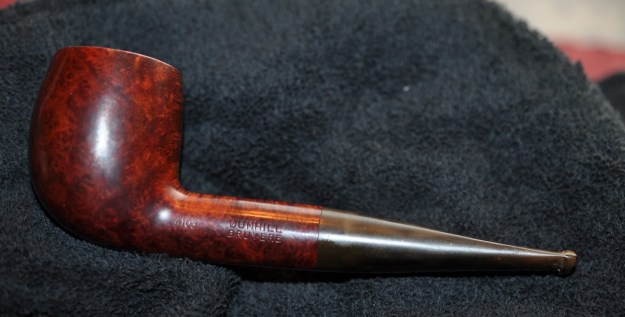
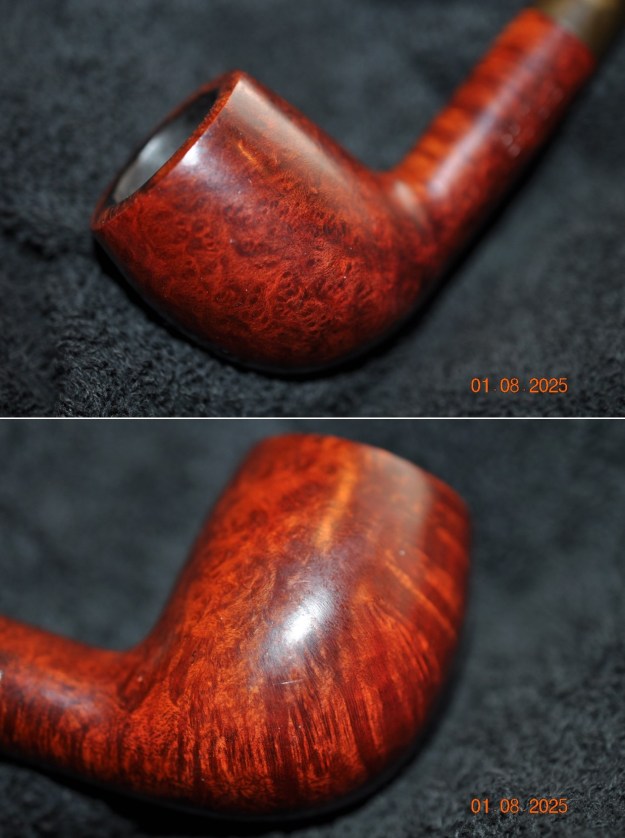
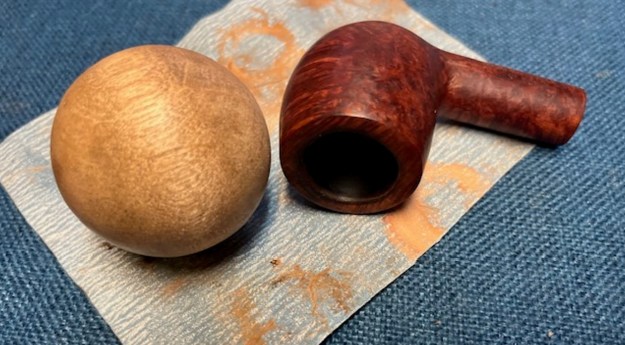
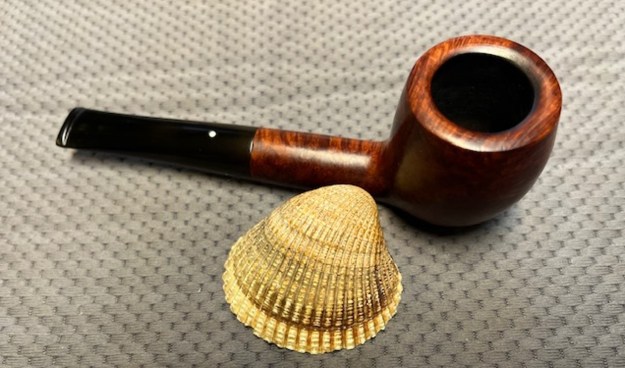
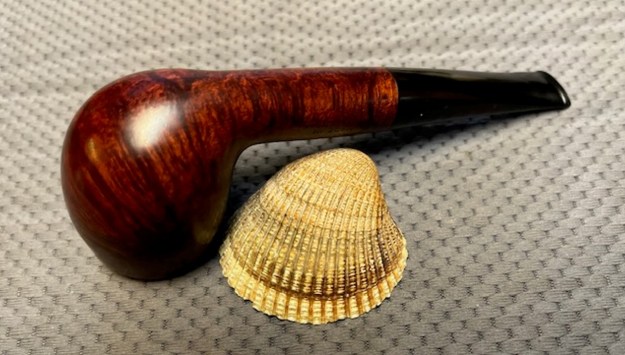
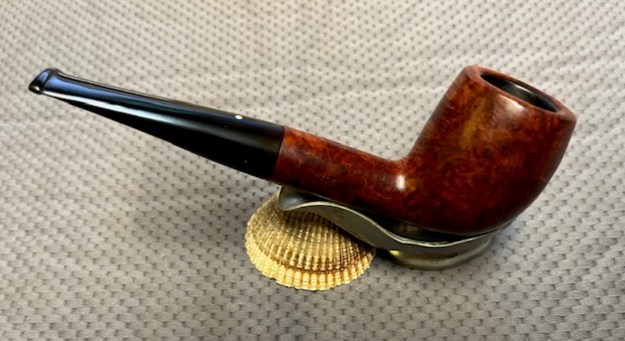
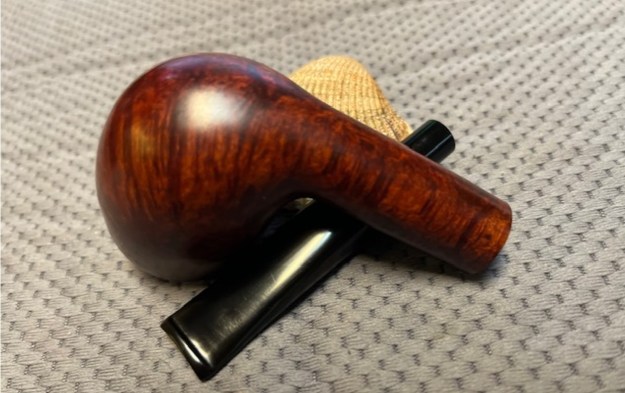
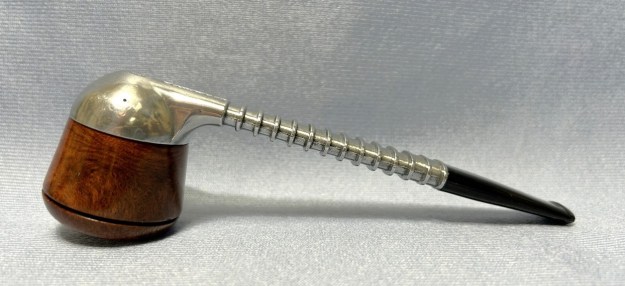
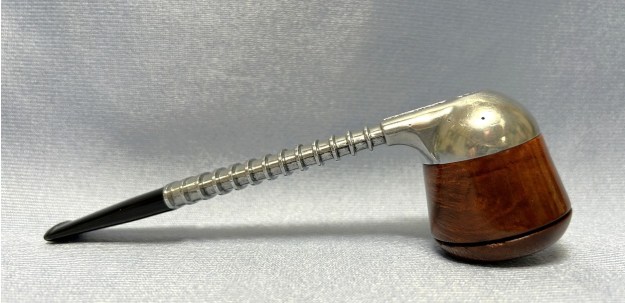
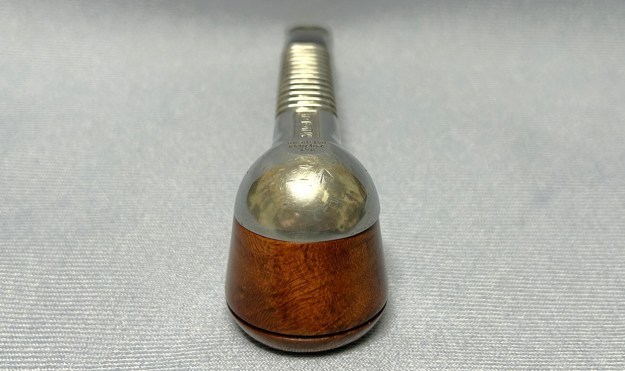
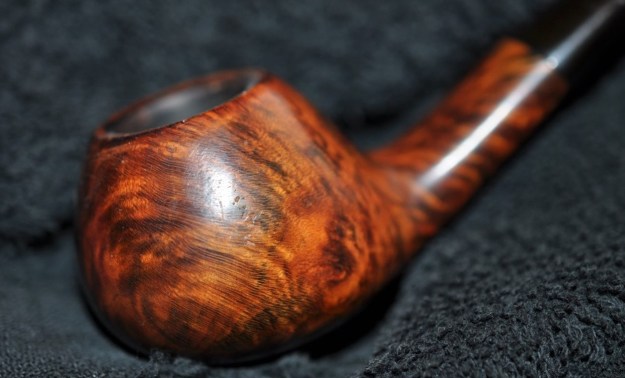
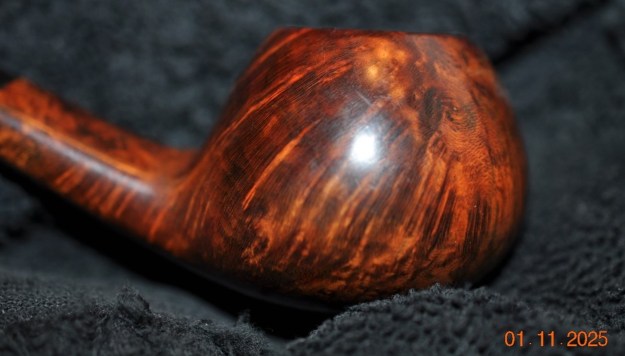
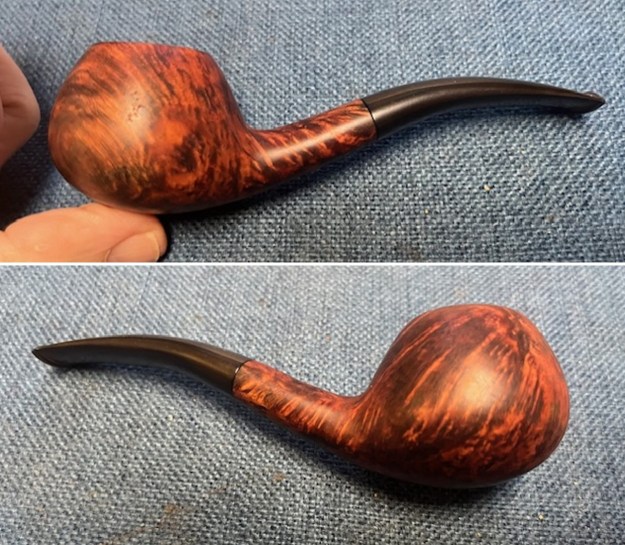
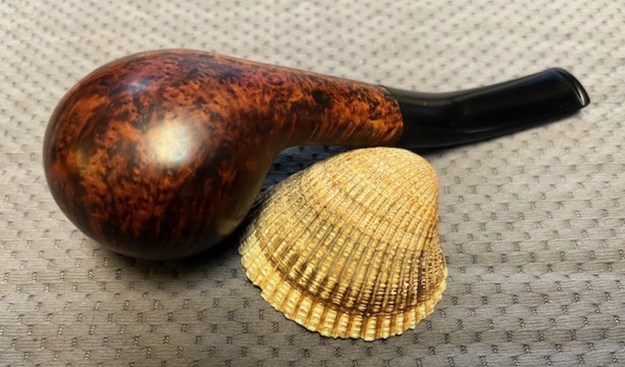
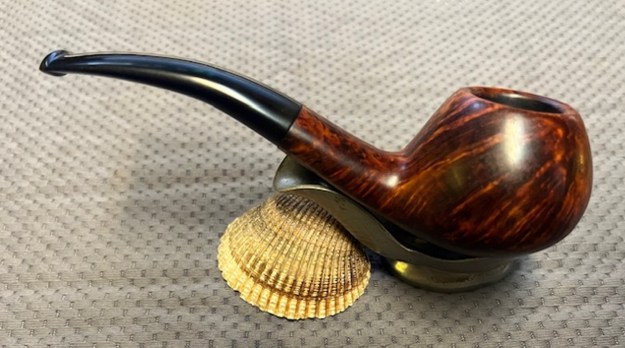
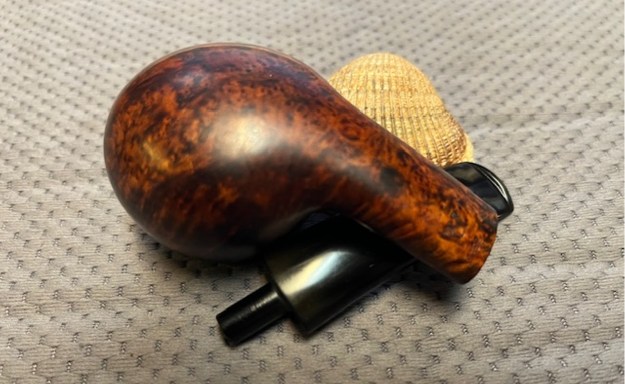
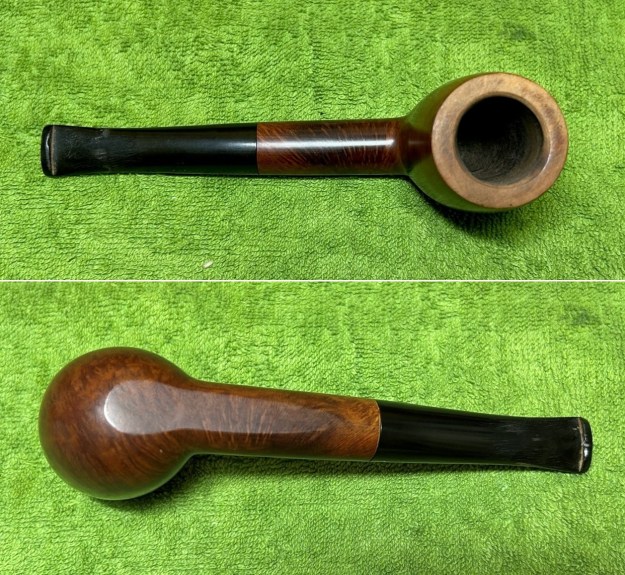
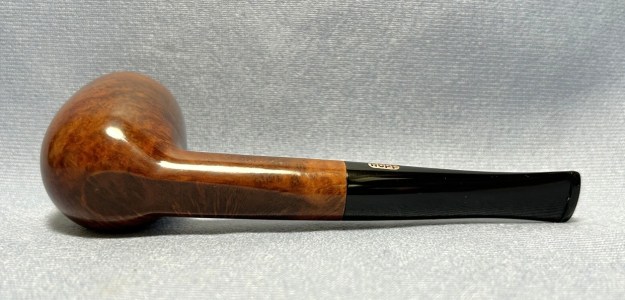
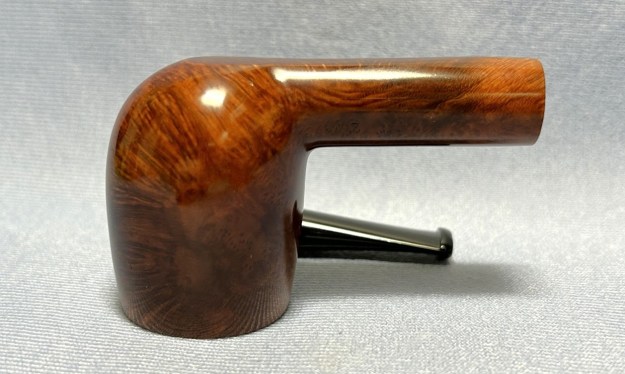
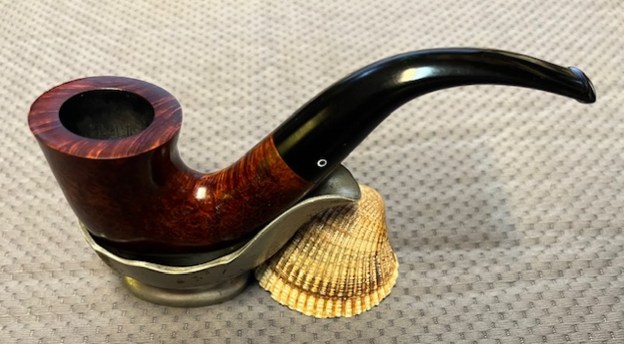
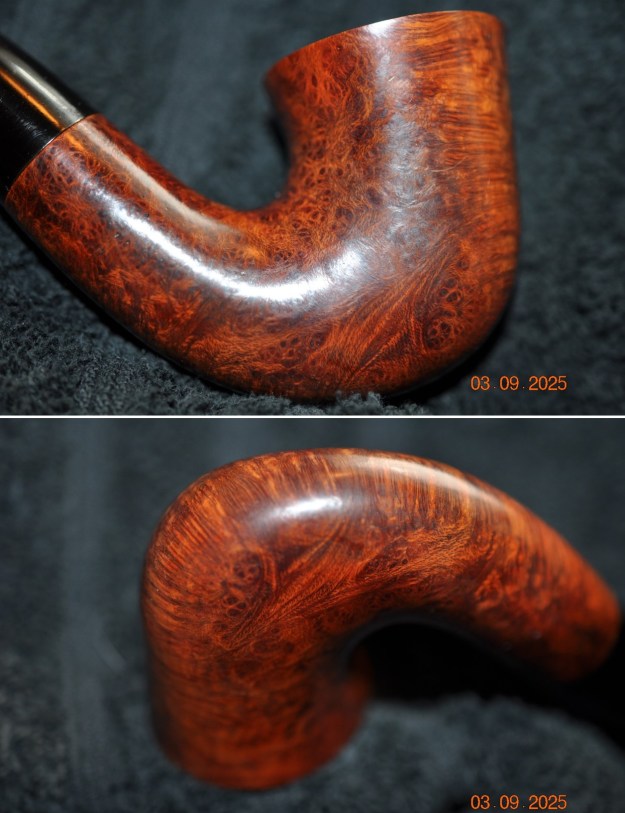
 Jeff took some photos of the sides and heel of the bowl to show the condition of the finish on the pipe. The photos showed some great grain around the bowl and shank even with the grime in the finish. It is a great looking piece of briar.
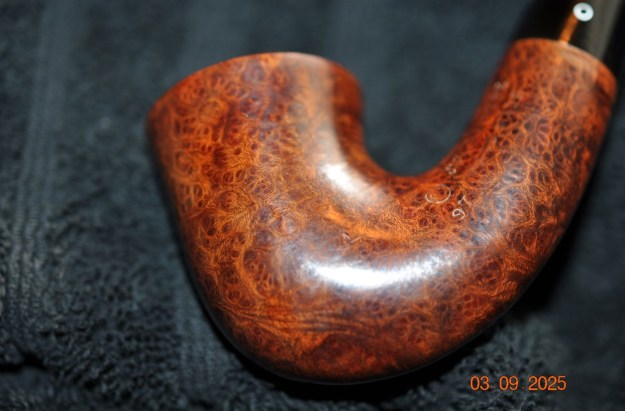
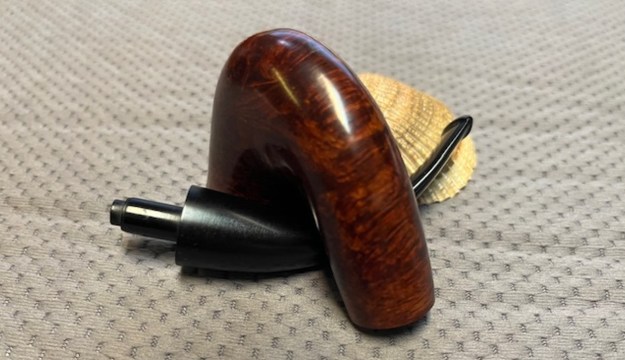
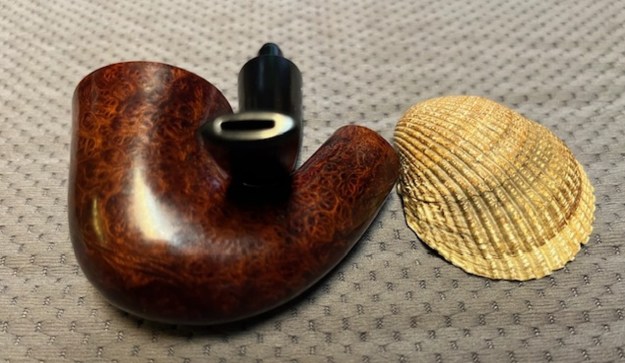
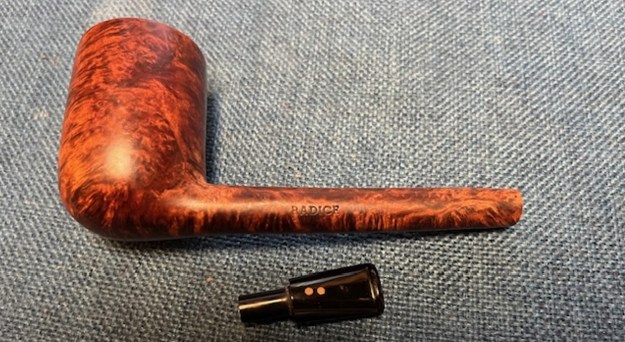
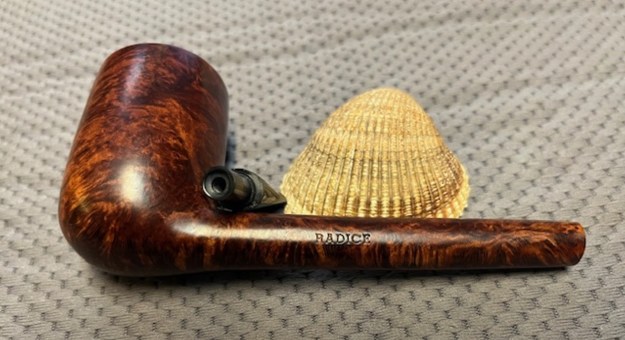
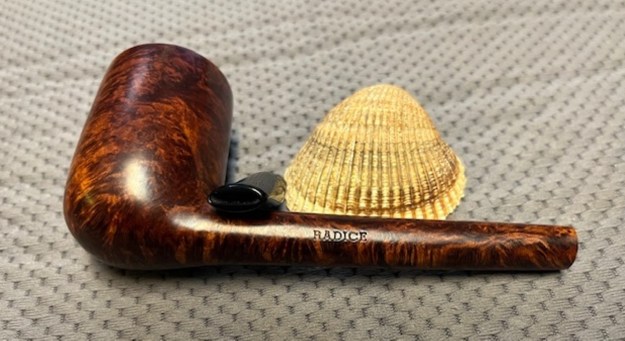
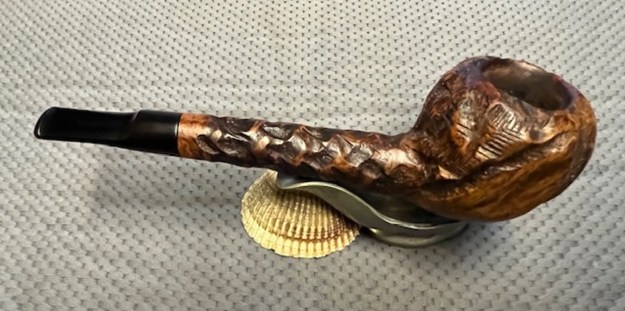
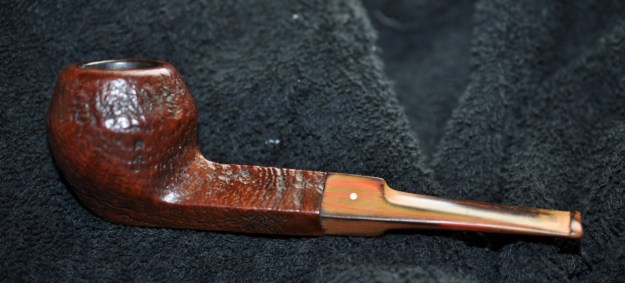
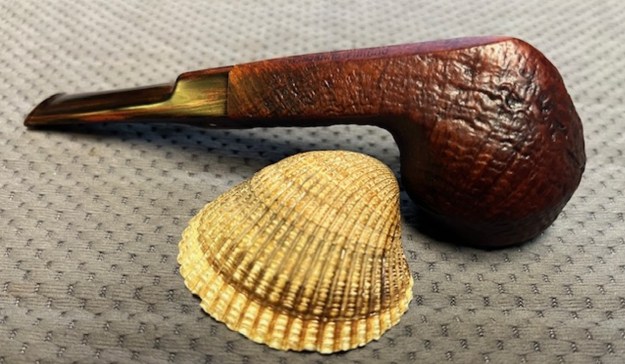
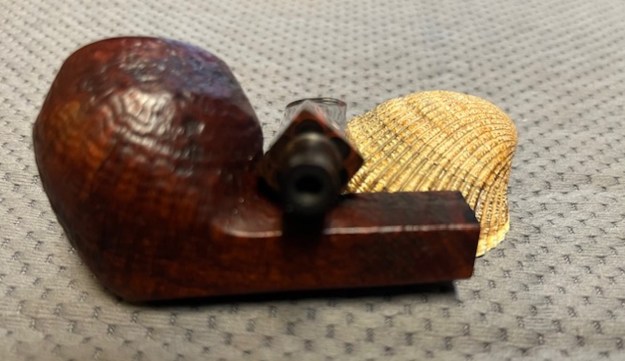
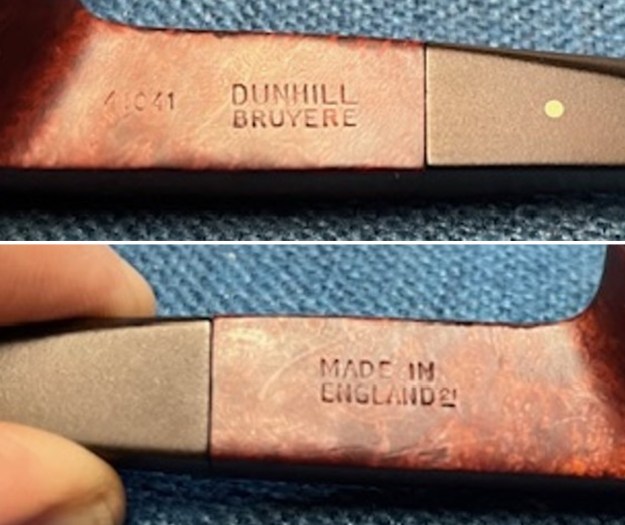
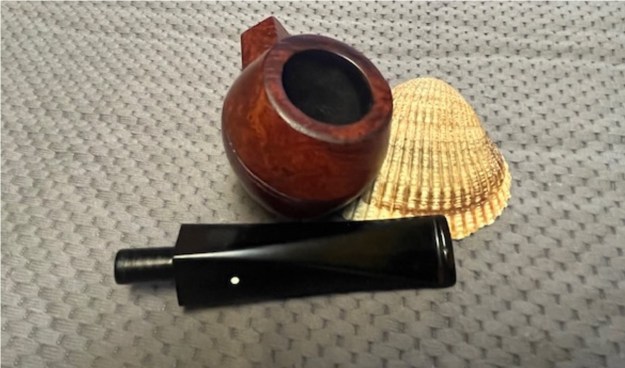
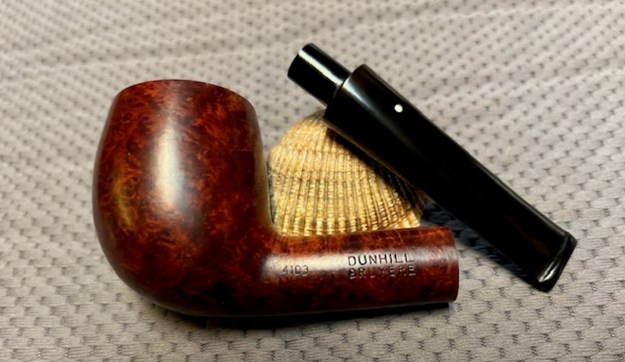
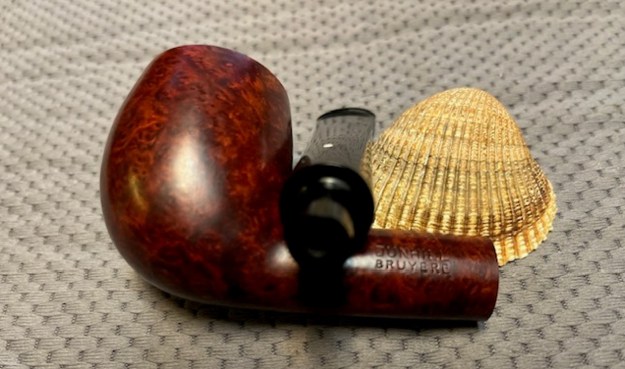
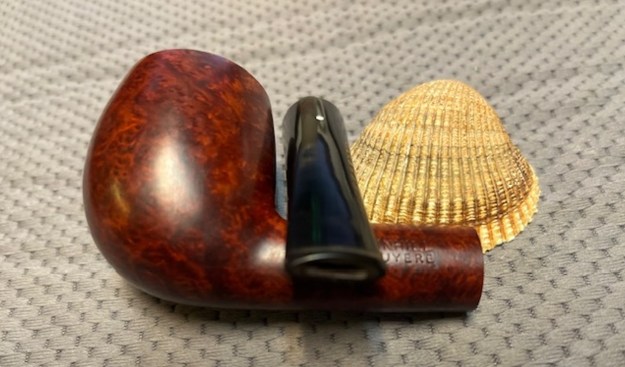
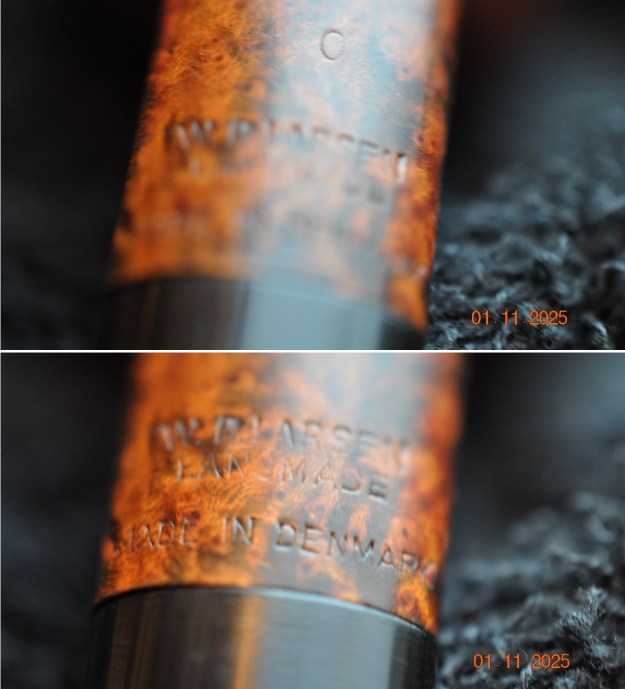
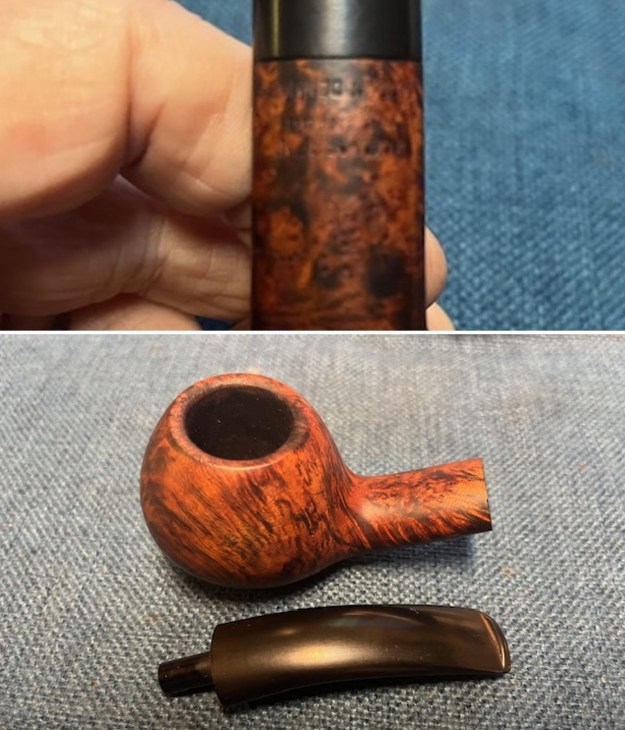
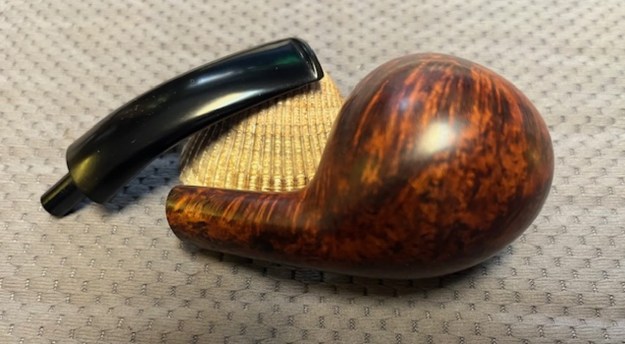
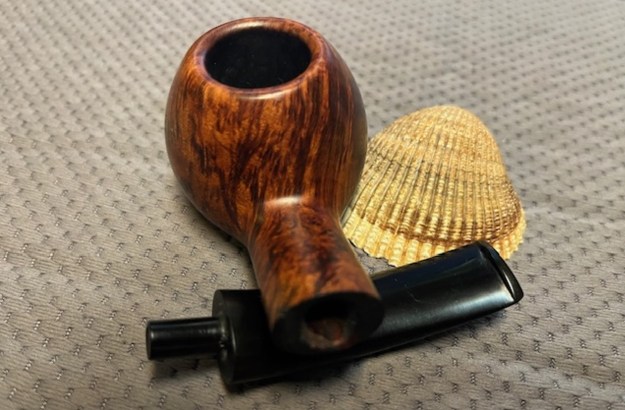
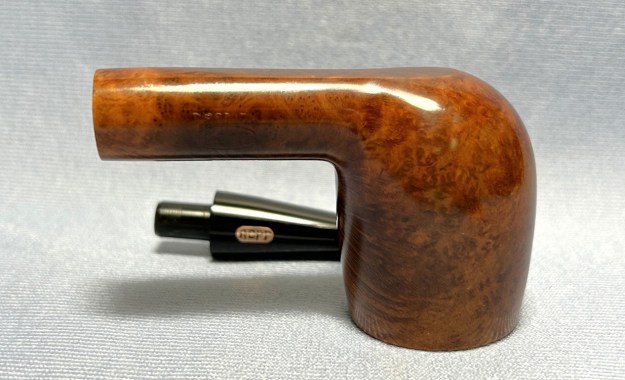
 He took photos of the stamping on the sides of the shank. It was clear and readable as noted above. He also captured the white circle logo on the left side of the bent taper stem.
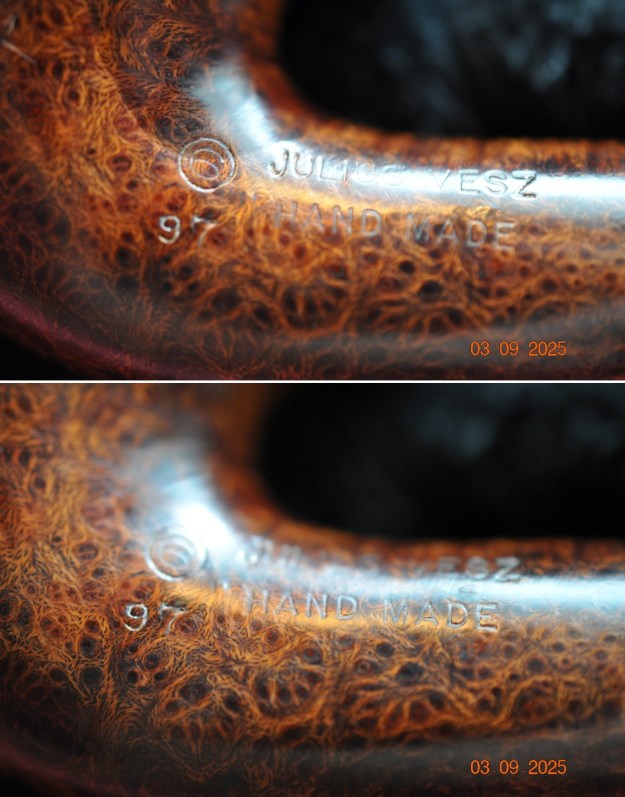
 Before I started working my part of the restoration I spent some time trying to place the hand cut line in the Vesz hierarchy. I turned to rebornpipes to have a look at some of the pieces I had written previously on the brand. The first was a catalogue I had picked up on Vesz pipes from a friend. It was an older catalogue from the time period that the brand was called Craft Pipes (https://rebornpipes.com/2016/09/13/an-older-julius-vesz-catalogue/). In going through the catalogue there was nothing that referred to the newer lines of the Vesz pipes that showed up in other places.
A piece I wrote on a Vesz Zulu gave a lot of historical background on the brand so I reread that (https://rebornpipes.com/2014/10/04/a-review-a-julius-vesz-shape-76-zulu/). I quoted a part of the article that applied to the pipe I was working on now.
My first Vesz is stamped on the left side of the shank Julius Vesz Hand Made Canada with a circle 4 stamp. I learned from correspondence with Julius’ son Rob that his dad’s Hand Made pipes were graded (in ascending order): 2 – 4 and this one is a grade 4 stamped pipe. It also bears a shape number of 76 which is the Zulu shape. The stem bears a white circle inlay that is common on his pipes.
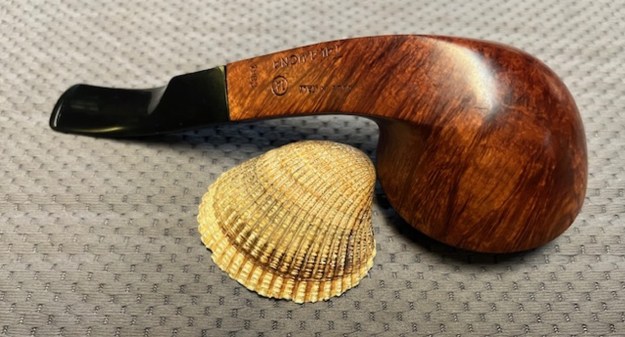
The pipe I was working on was stamped Julius Vesz [over] Hand Made and had a circle 6 stamp. That appears to be the grade stamp though it is higher than the 2-4 listed above. It also bears the shape number of 97 which is a Calabash. The stem also has a white inlay circle on the stem.
In the previous blog about I quoted from Pipedia in the piece and have included that and the link below and the information on Vesz. The picture and the material is taken from this link http://pipedia.org/wiki/Vesz_Pipes
 “Born and raised in Hungary, Julius Vesz was first exposed to pipe making through his grandfather. Although his grandfather died when Julius was only 9 years old, he can still picture his grandfather making pipes. It made a lasting impression that matured years later.
After immigrating to Canada at age 23, Vesz worked as a mechanical draftsman, but ever since a child had wanted to do something on his own. Remembering his grandfather’s pipe making and repairing, he thought perhaps he should try his hand at that also. He sought out Charlie Dollack, who had a repair shop in downtown Toronto, but while Charlie encouraged the young Vesz, he did not offer any help or instruction.
Julius continued on his own, setting up a modest shop in his own home, and was soon fixing and making pipes for several department stores, as well as United Cigar, which later turned into his main source of work. He discovered he had a unique skill, which he practiced and nurtured on his own. Like his grandfather, Vesz is motivated by a desire to create pipes that approach perfection.”
Over the years I have followed Julius Vesz’ pipes and kept an eye out for one that caught my eye. Julius Vesz is a Canadian pipe maker who has been controversial in his claim to use dead root briar. Many have argued about his choice of terms regarding the briar that he uses. But regardless of your take on that issue he makes beautiful pipes that smoke exceptionally well. His unique raindrop shaped pipes may be how many people know him. He had a shop in the Royal York Hotel, 100 Front Street West in Toronto. He now has moved out of the shop and into his home…”
Now I knew that the Hand Made pipe I had was the top of the lower line of Vesz Pipes below the Hand Cut line. It was graded 6 which is close to the top of the line. It is a beauty and it is now time to work on it!
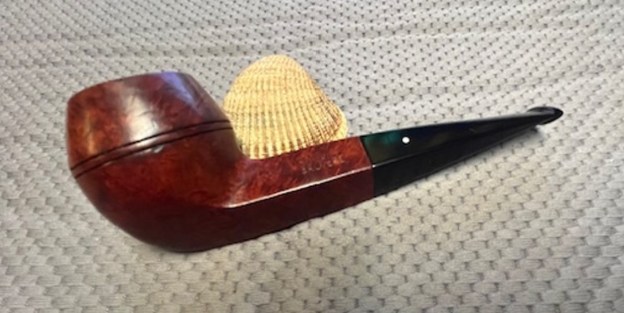
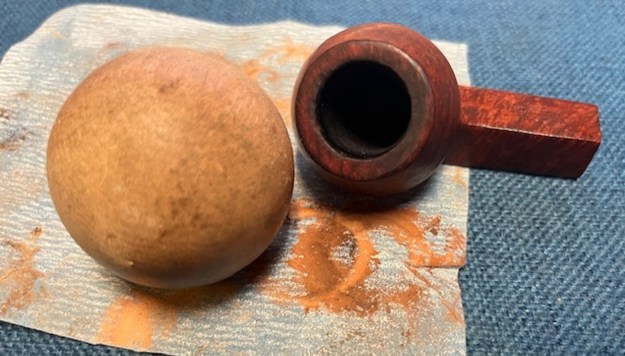
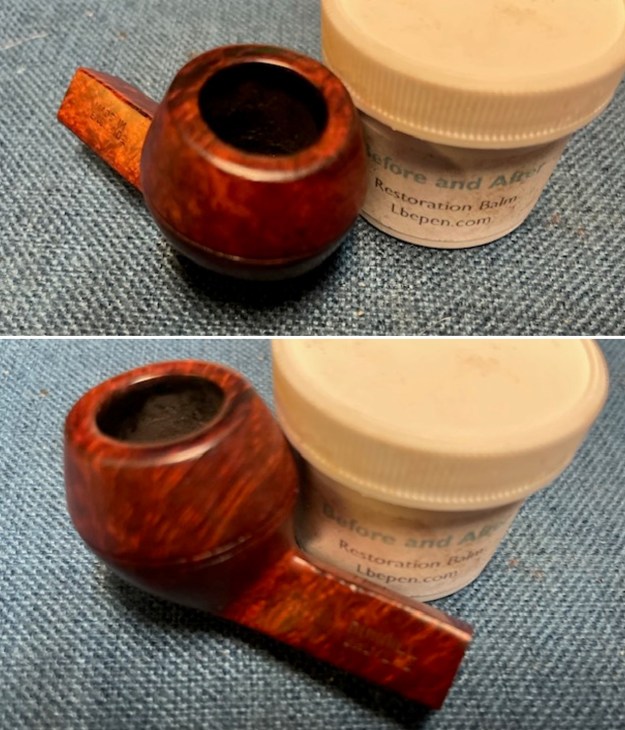
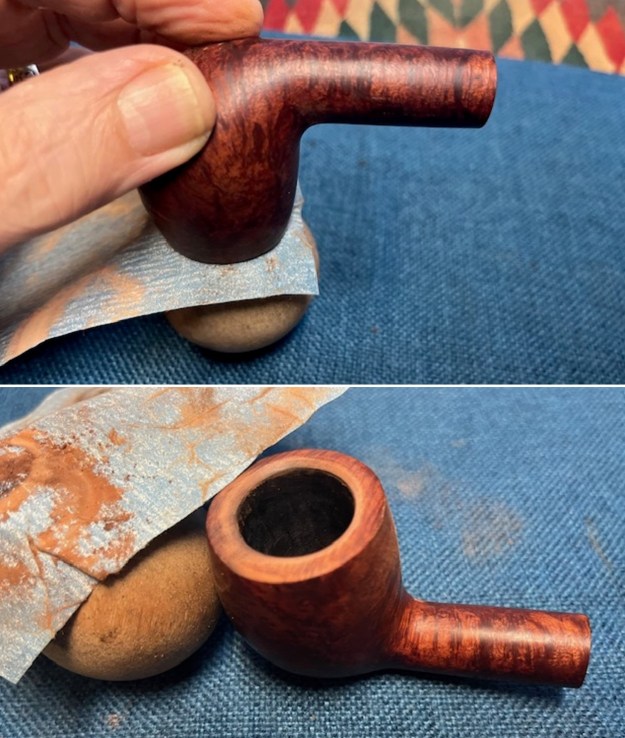
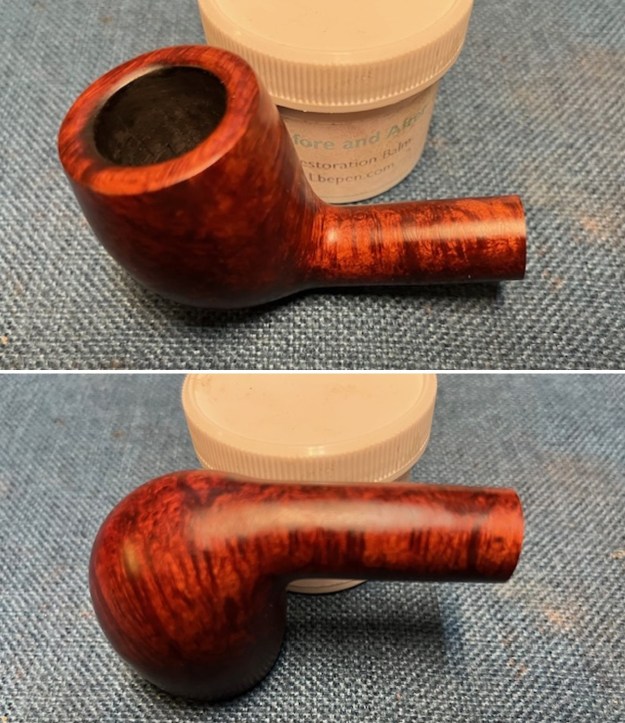
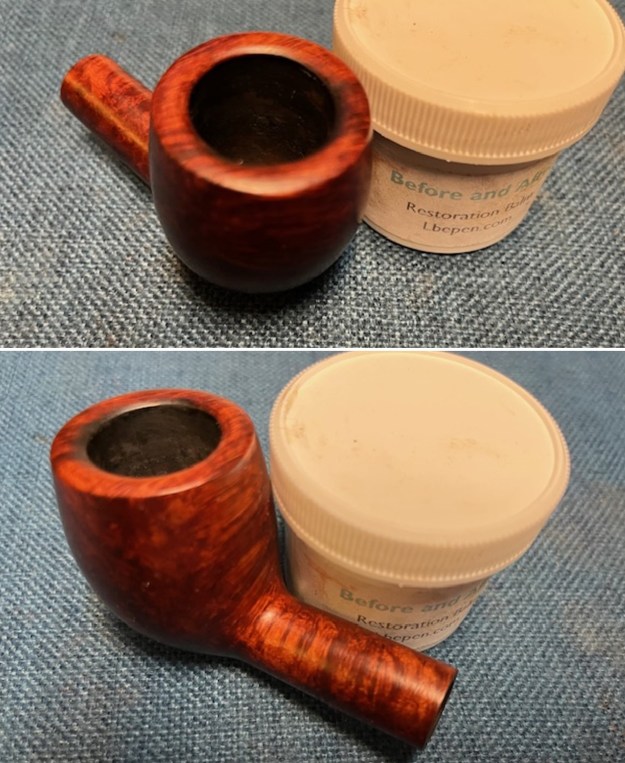
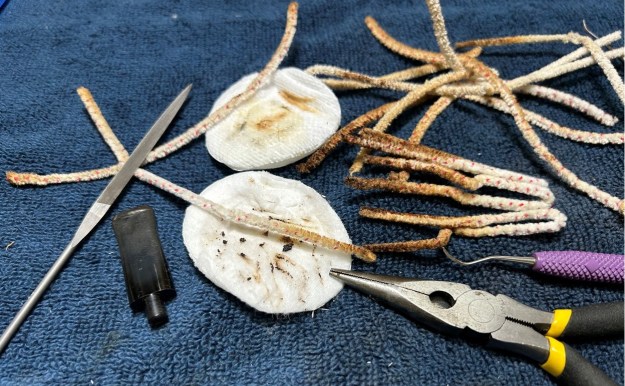
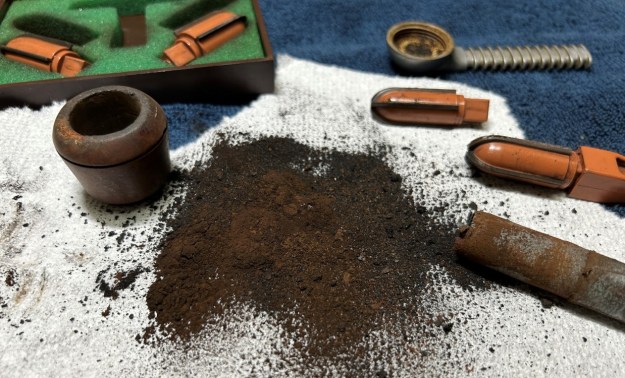
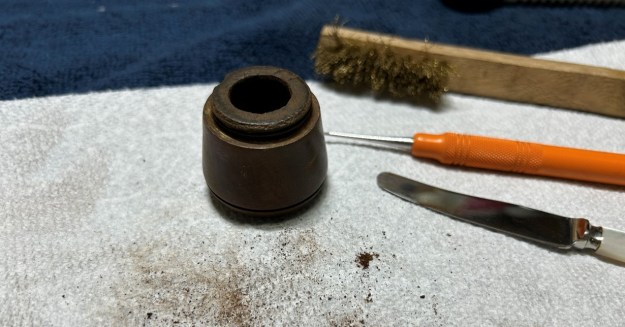
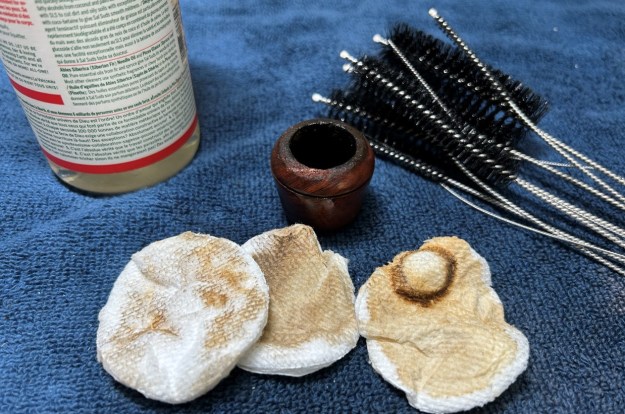
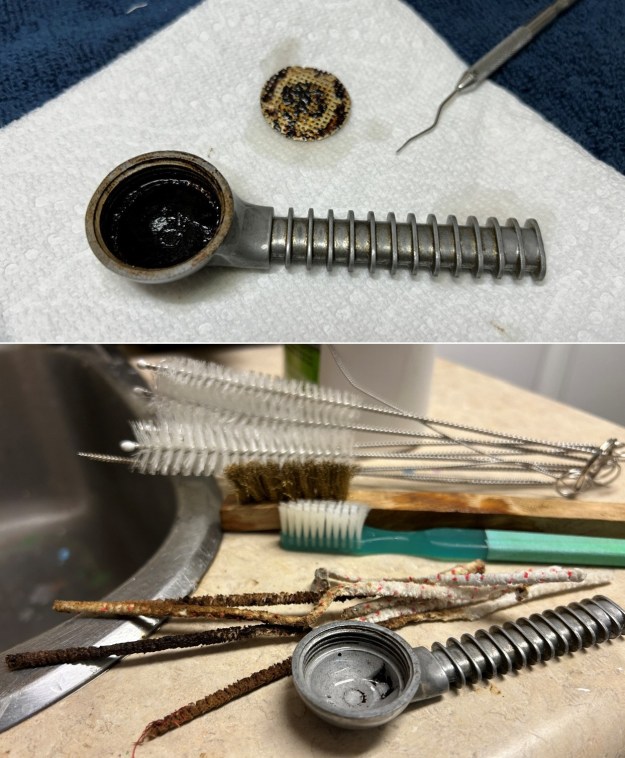
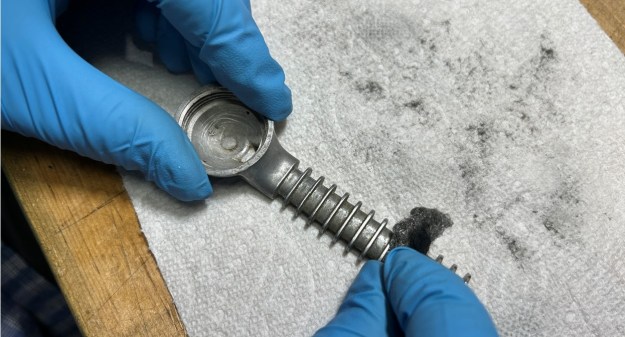
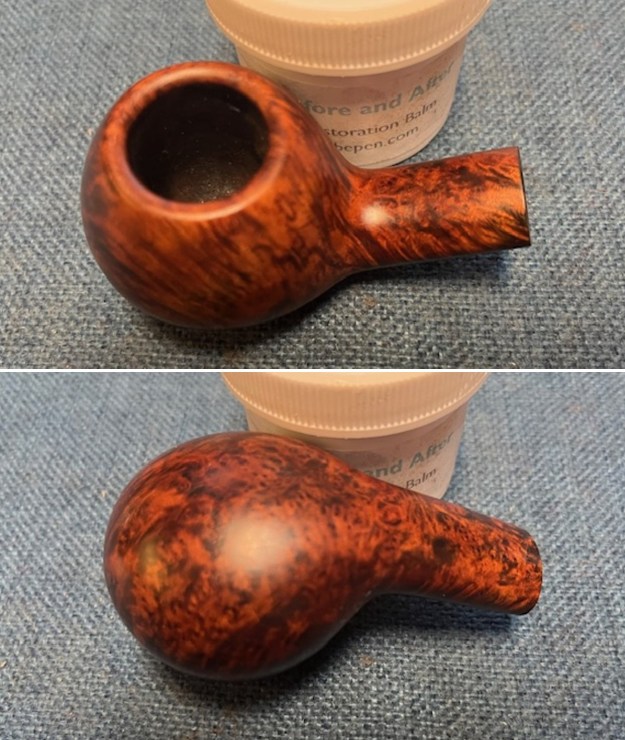
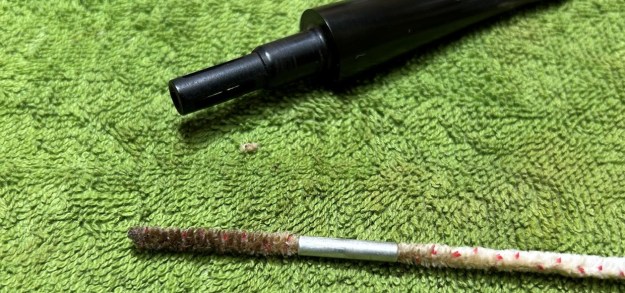
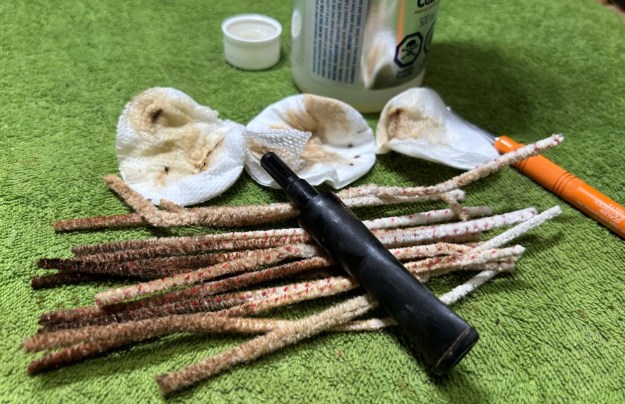
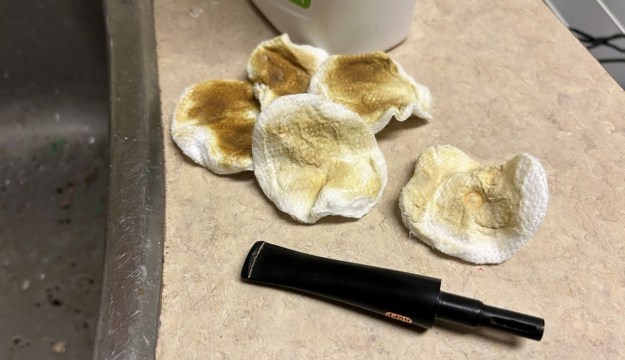
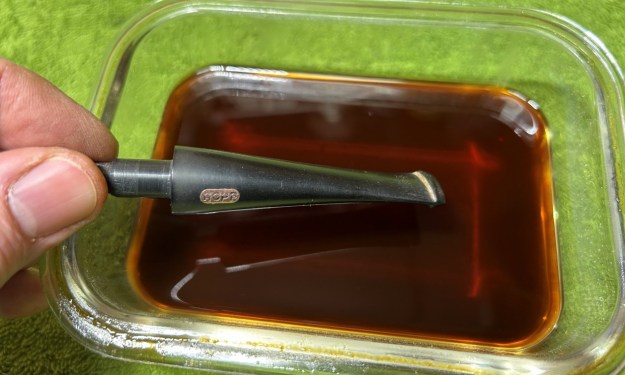
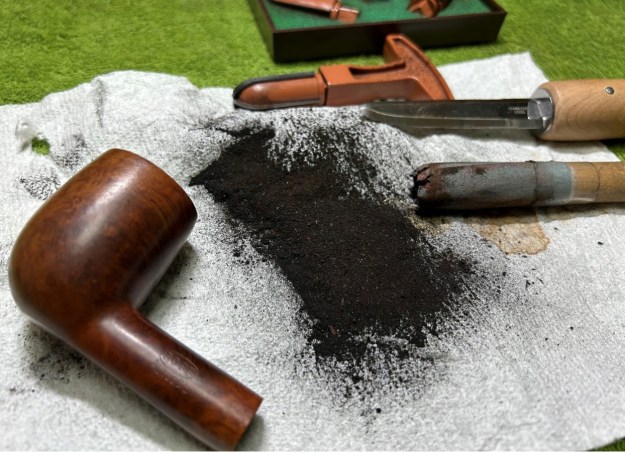
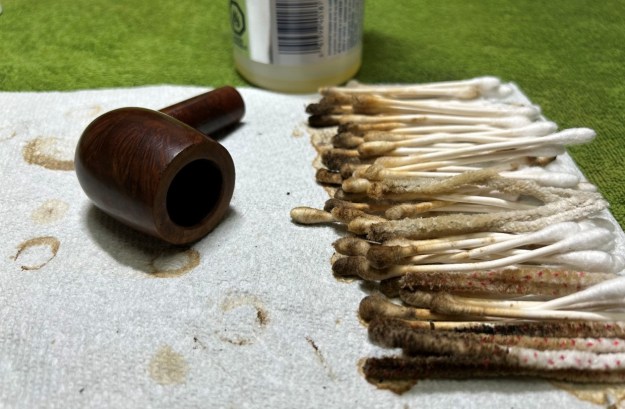
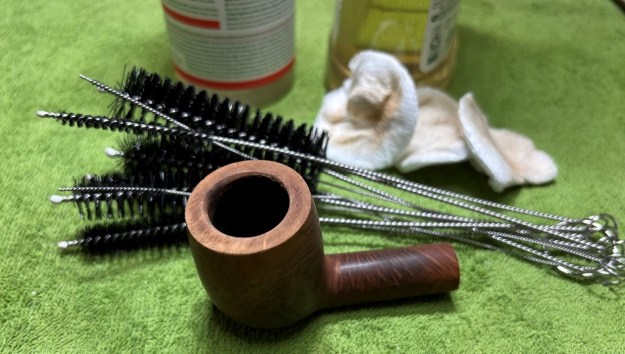
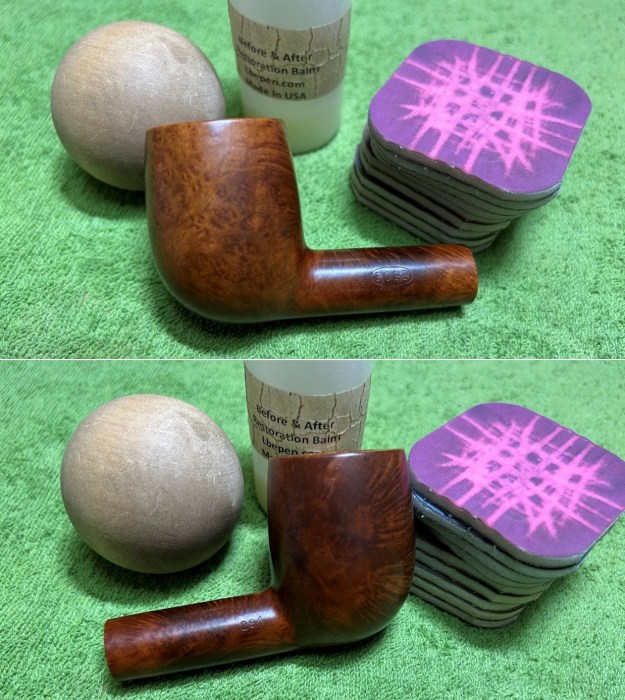
Armed with that information I turned to work on the pipe itself. Jeff had done a great job cleaning up the pipe as usual. He cleaned up the inside of the bowl with a Savinelli Fitsall Pipe Knife. The rim top and the inner edge of the bowl are in excellent condition. The bowl walls looked very good. He scrubbed the interior of the bowl and shank with shank brushes, pipe cleaners, cotton swabs and alcohol to remove the tars and oils. He scrubbed the exterior of the pipe with Murphy’s Oil Soap and a tooth brush to remove the grime from the finish. He scrubbed the inside of the stem with alcohol and pipe cleaners. He scrubbed the exterior with Soft Scrub and then soaked it in Briarville’s Pipe Stem Deoxidizer. He washed it off with warm water to remove the deoxidizer. The stem looked very good. I took photos of the pipe before I started working on it. 
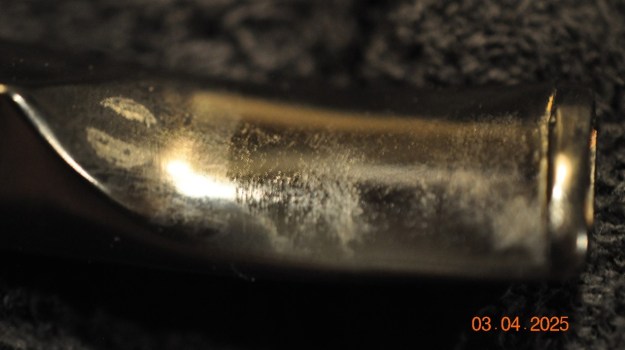
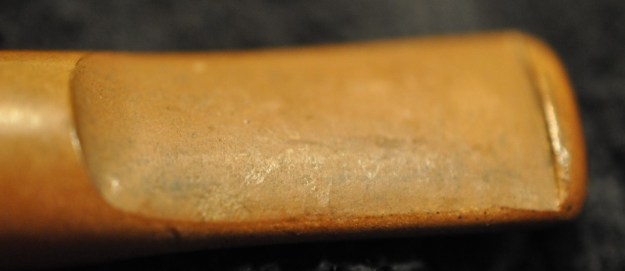
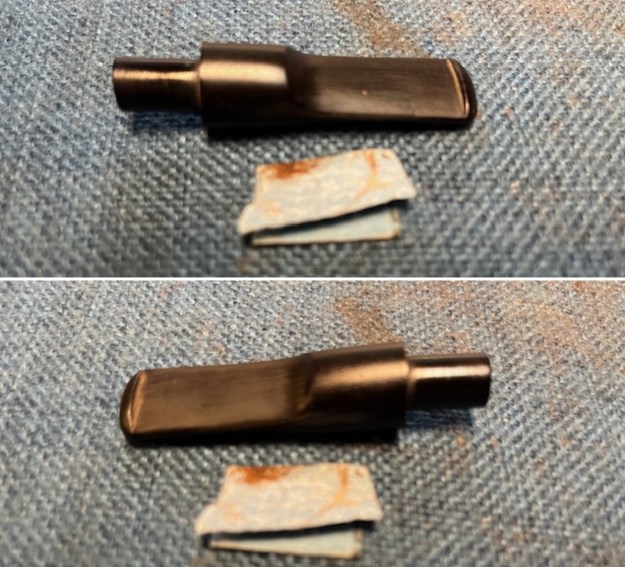
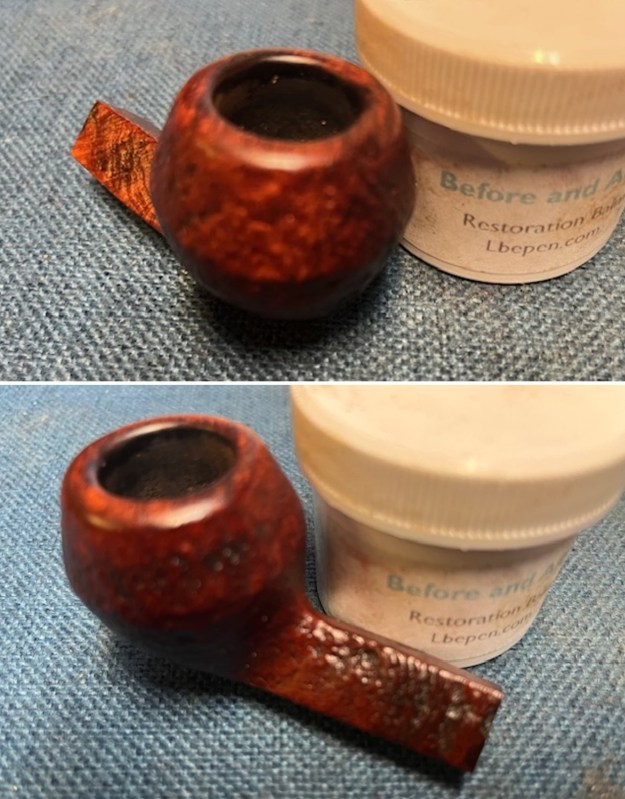
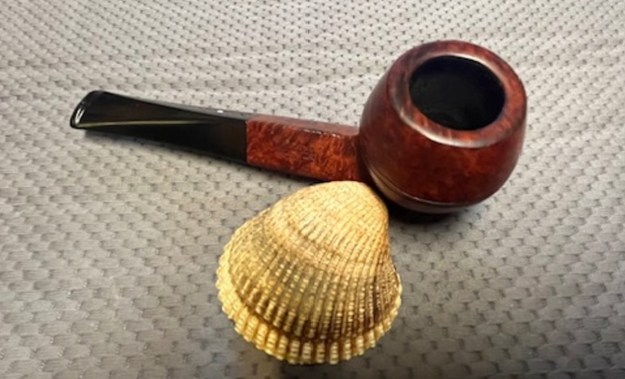
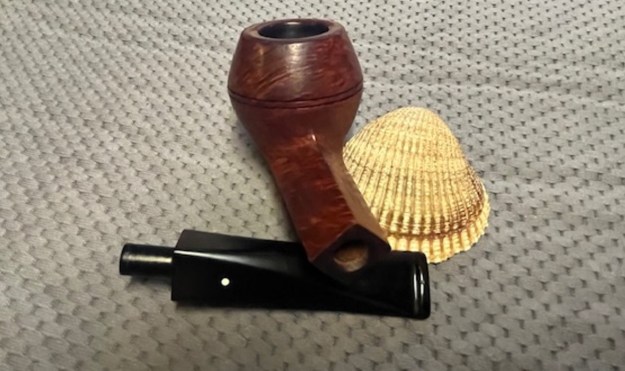
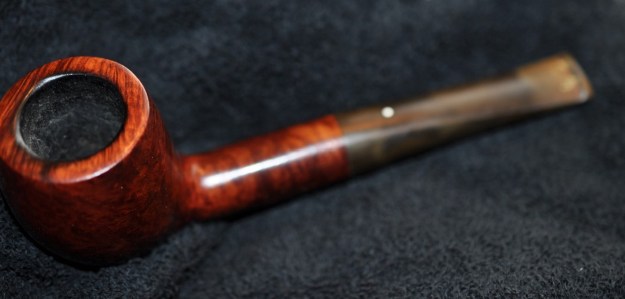
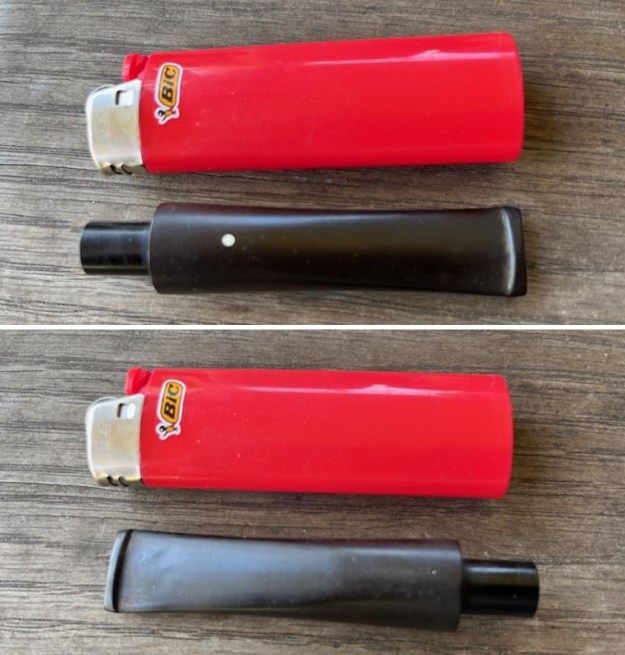
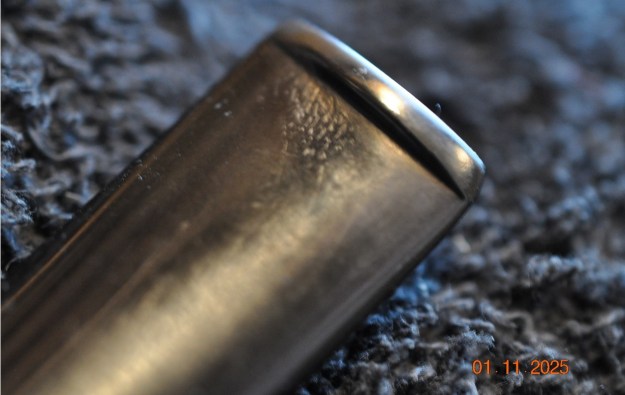
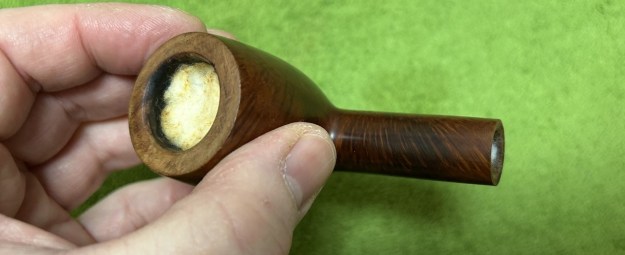
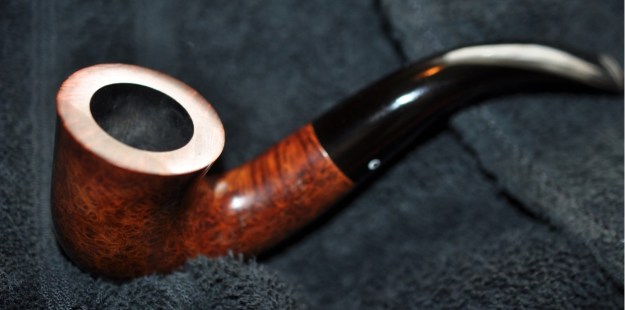
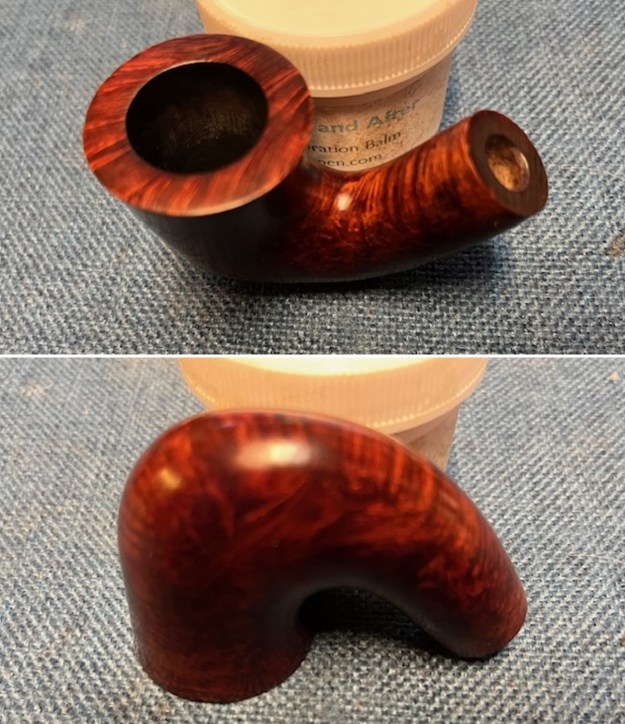
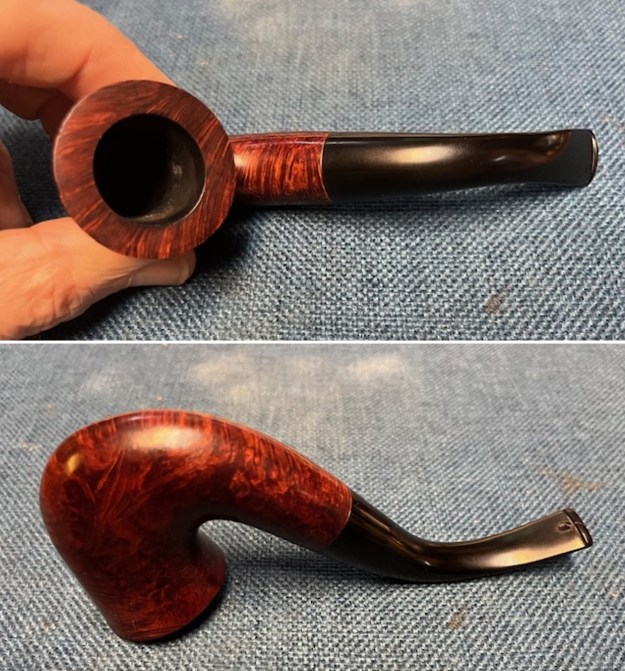 I took close up photos of the bowl, rim top and stem to show how clean the pipe was. The bowl was clean and the rim top and the inner edge look beautiful. The stem was clean and had light tooth marks and chatter on both sides. You can also see the poor repair on the underside of the stem.
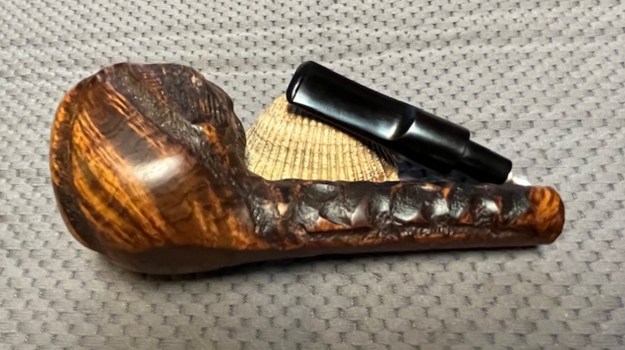
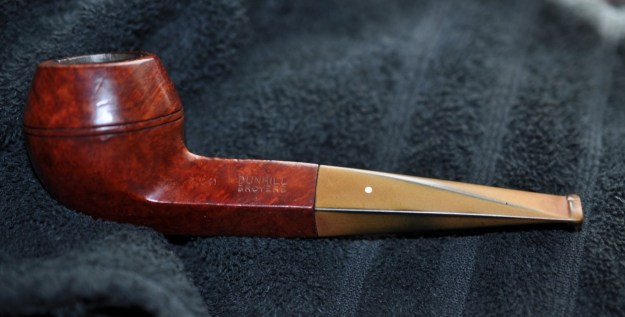
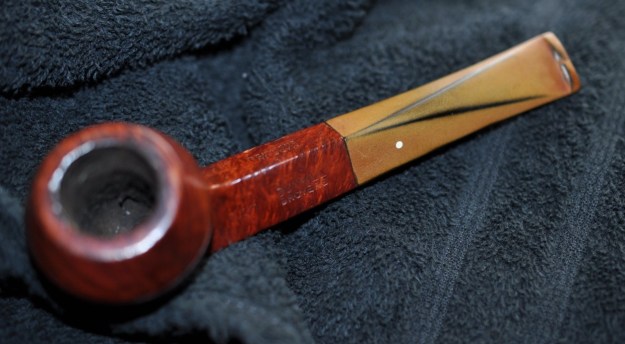
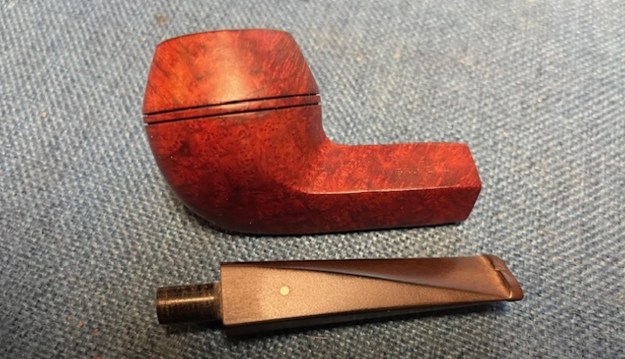
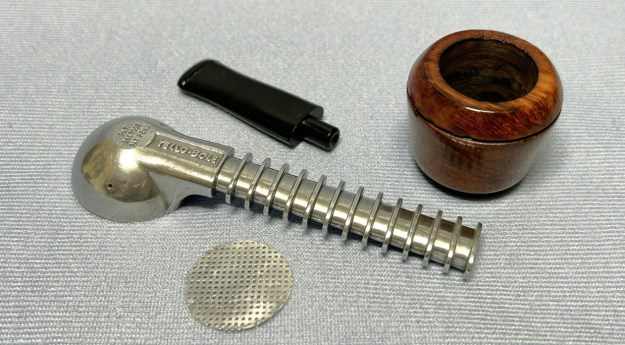
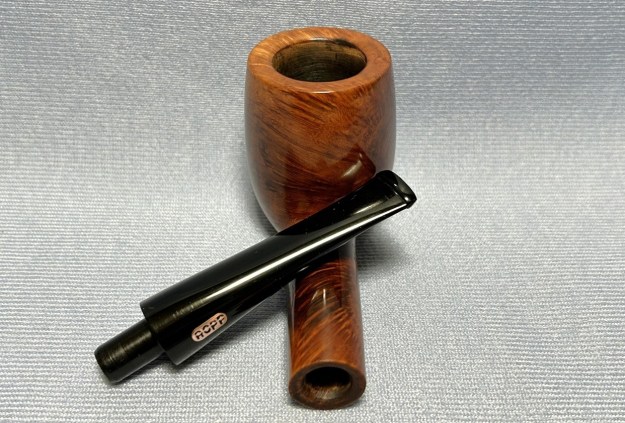
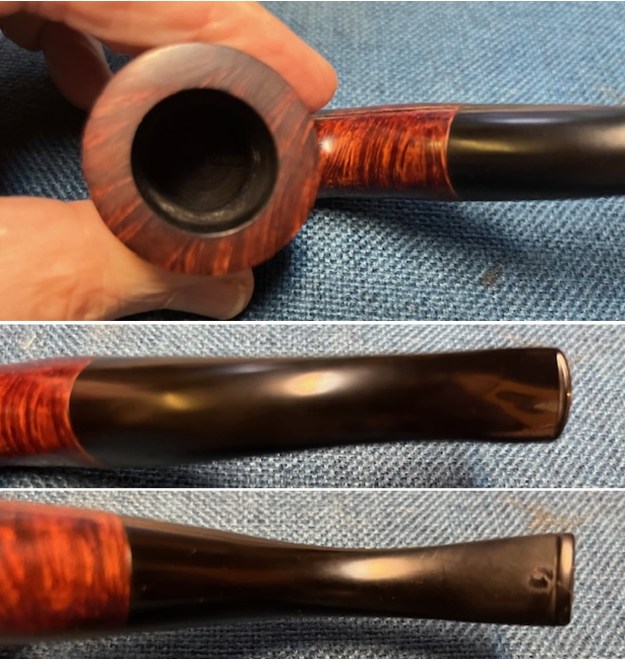 I took a photo of the stamping on the left side of the shank. It is very clear and readable and read as noted above. I also removed the stem from the shank and took photos of the pipe to show the look of the parts.
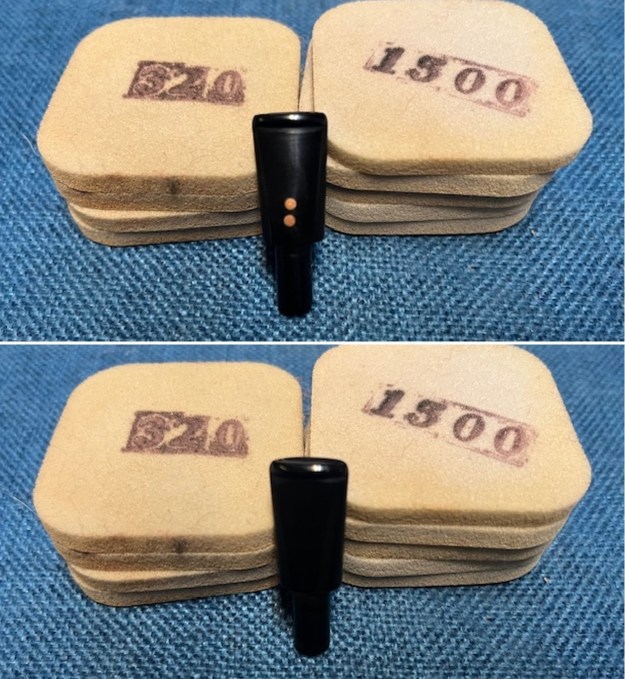
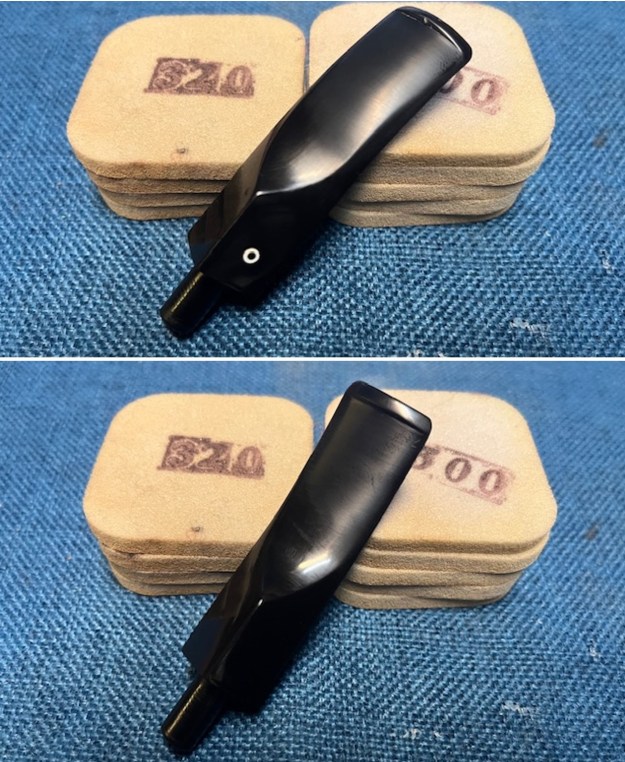
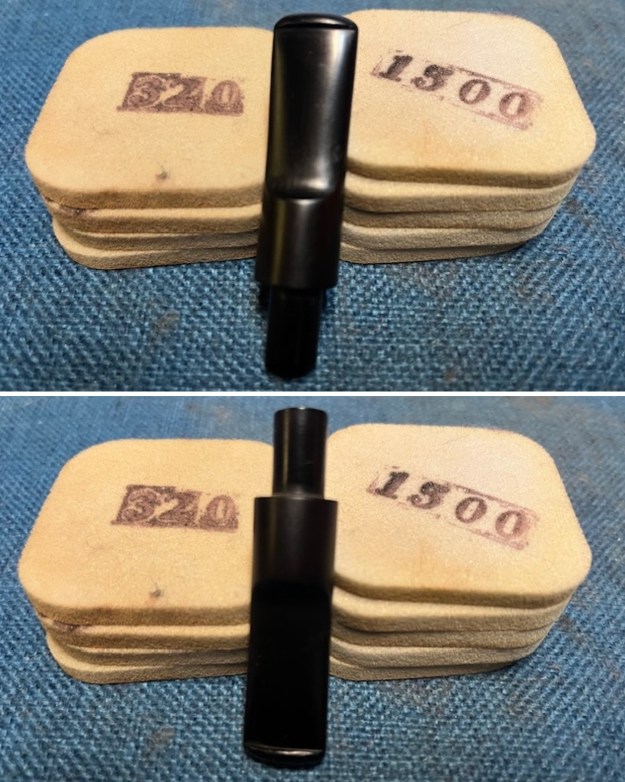
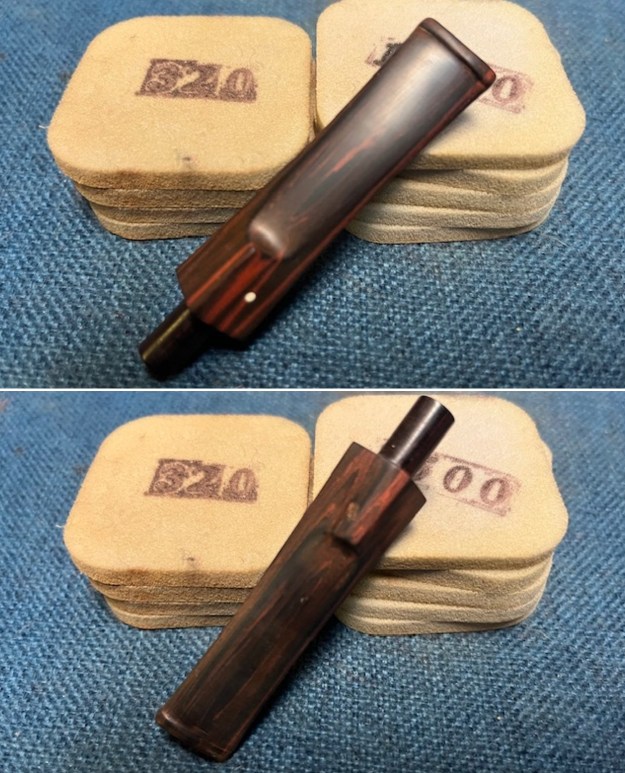
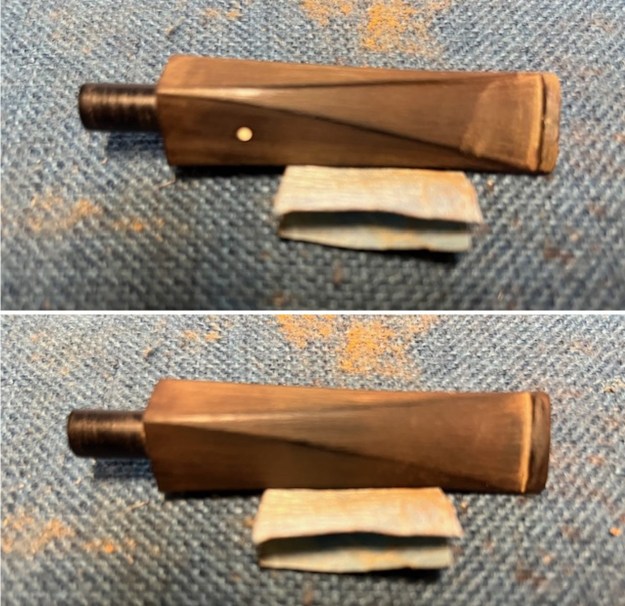
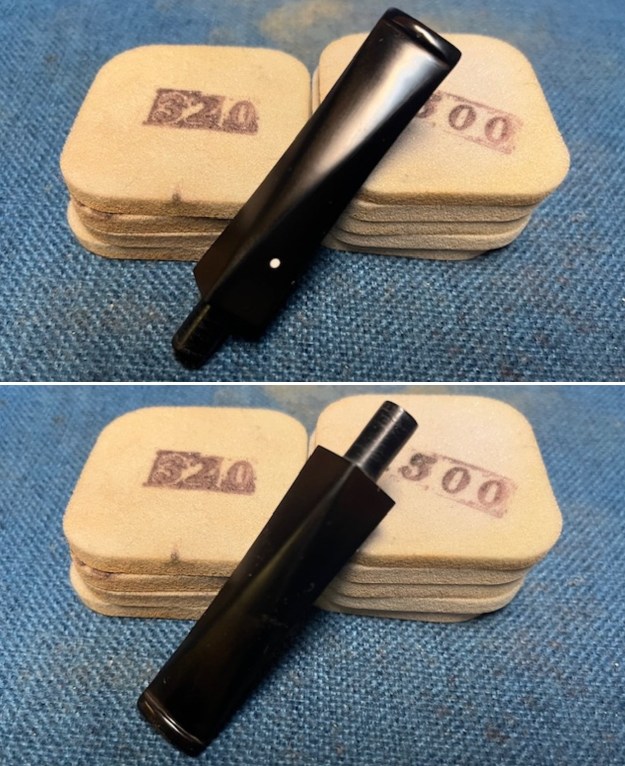
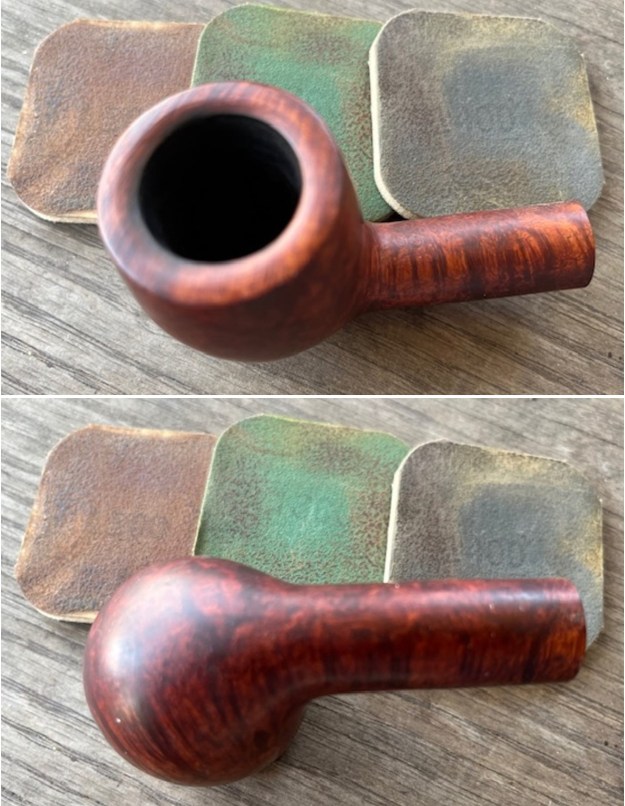
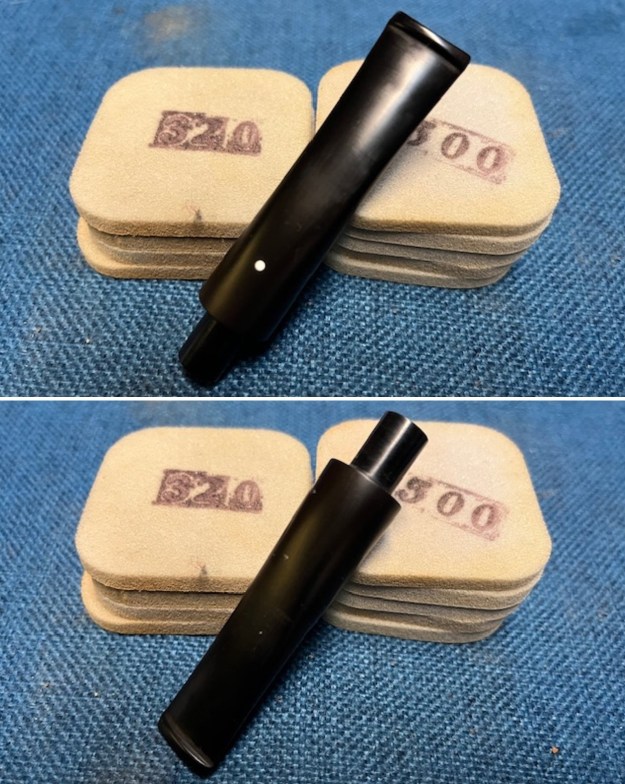
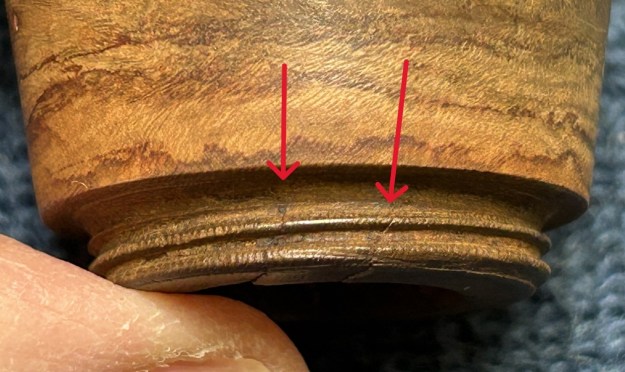
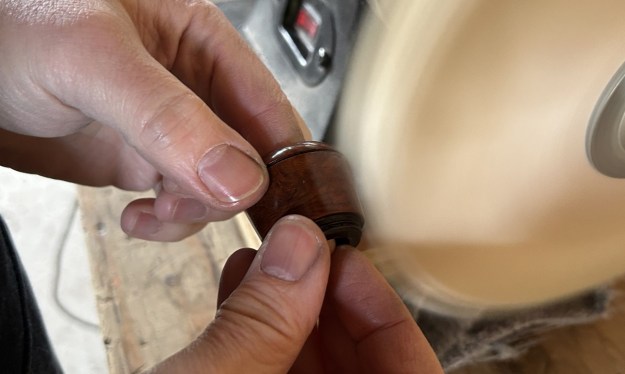
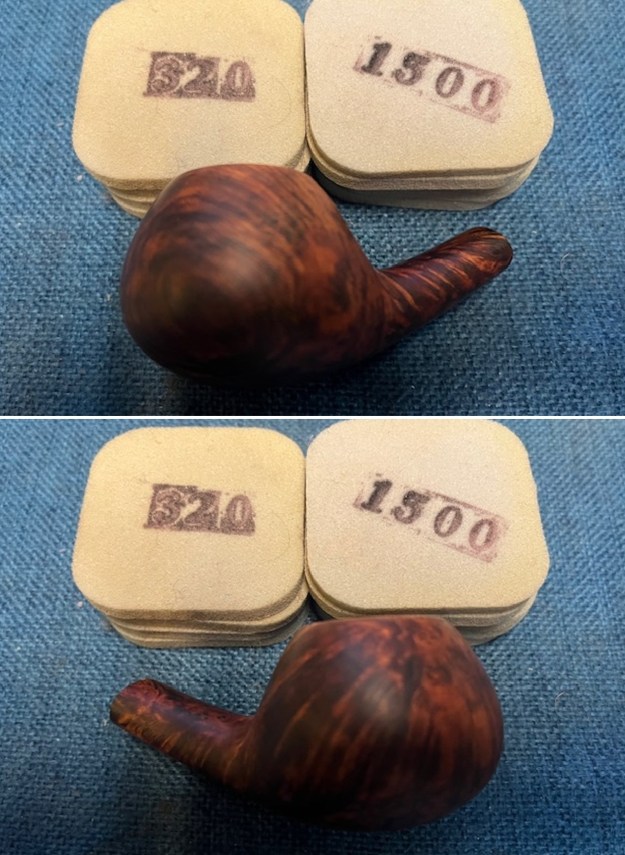
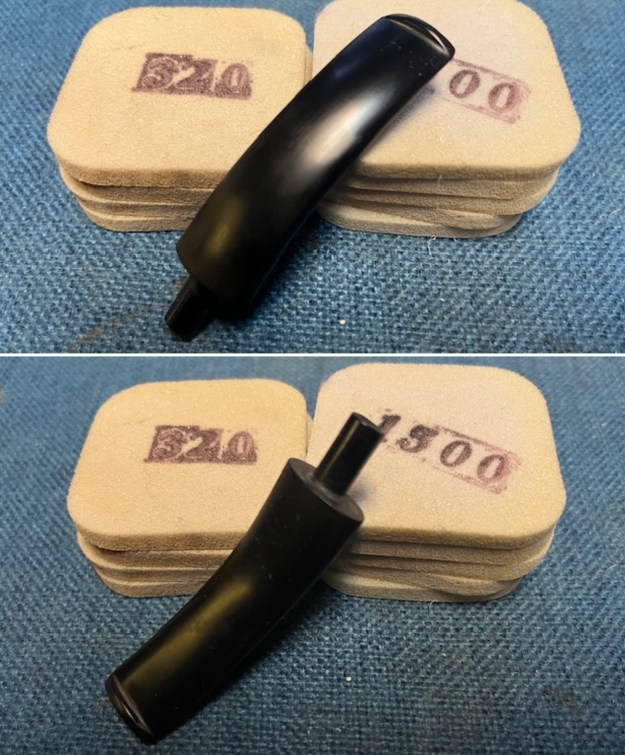
 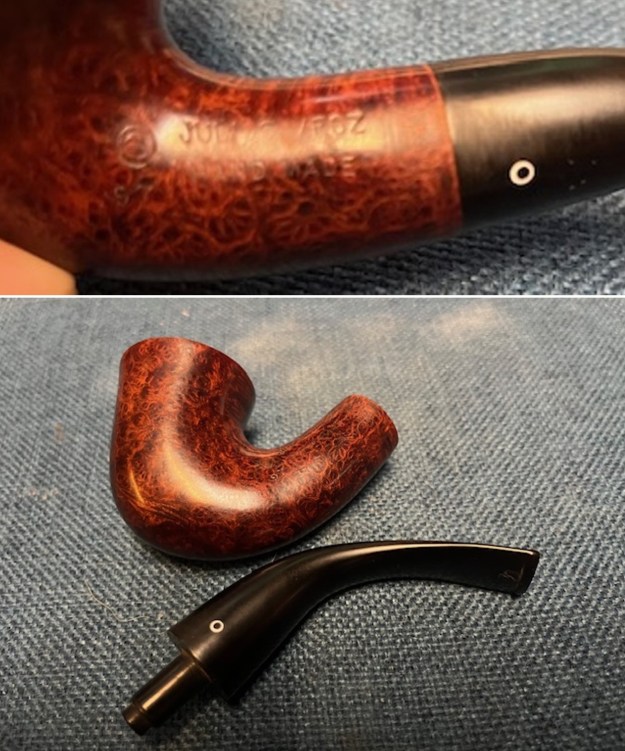 I started my work on the pipe by dealing with the roughness at the shank stem junction. I sanded it with 320-3500 grit sanding pads to smooth out the transition. It looked and felt much better.
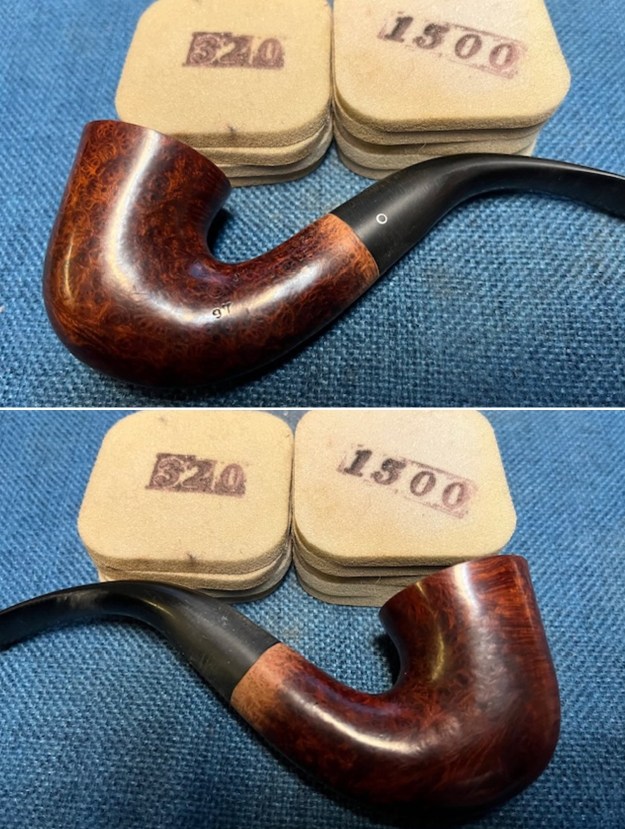
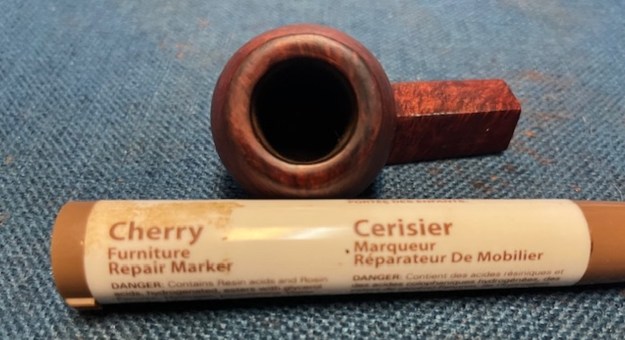
 I touched up the sanded areas on the shank with a Walnut Stain Pen. The colour matched the bowl stain very well.
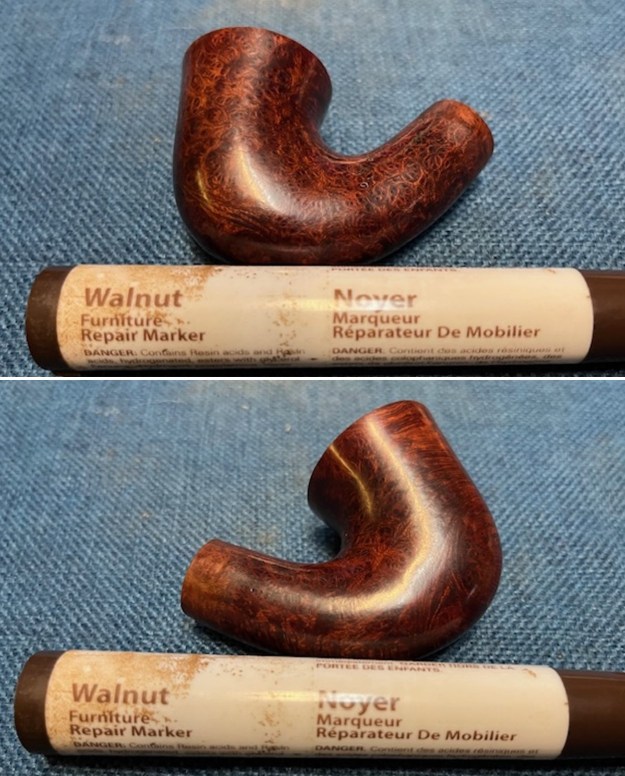
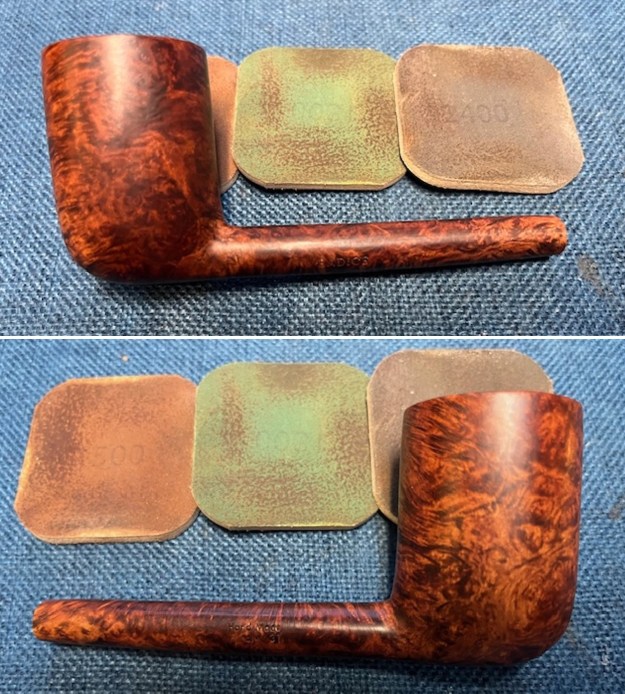
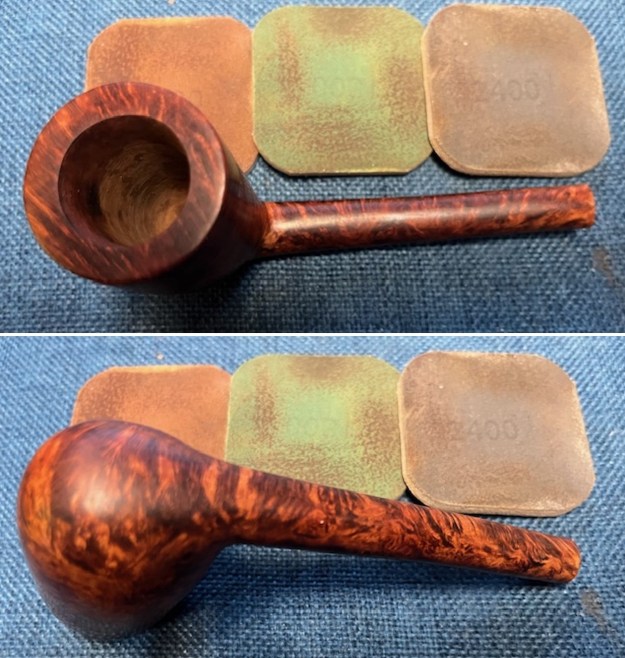
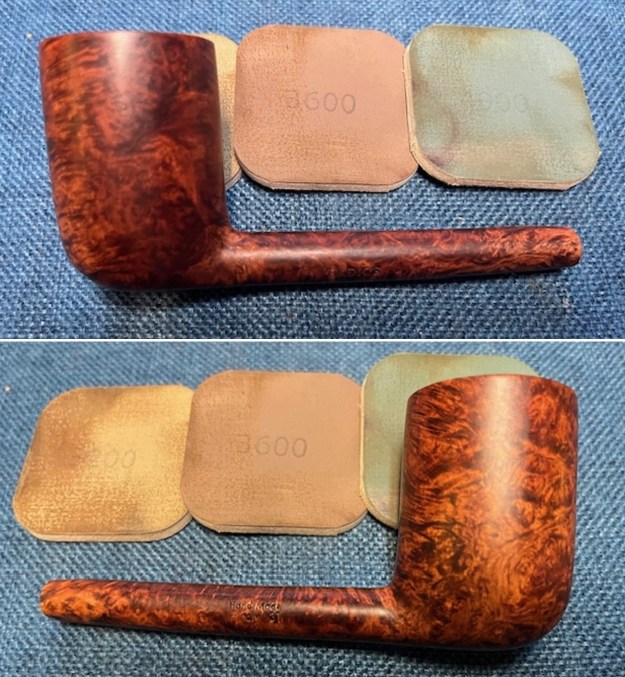
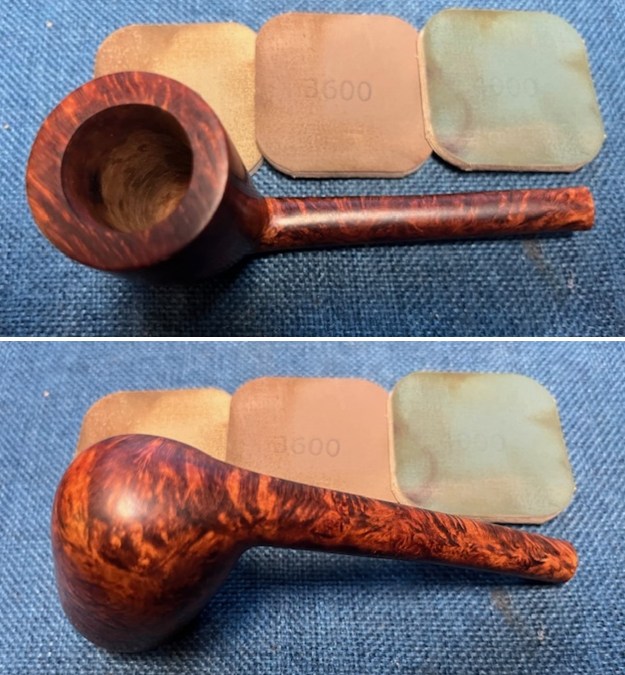
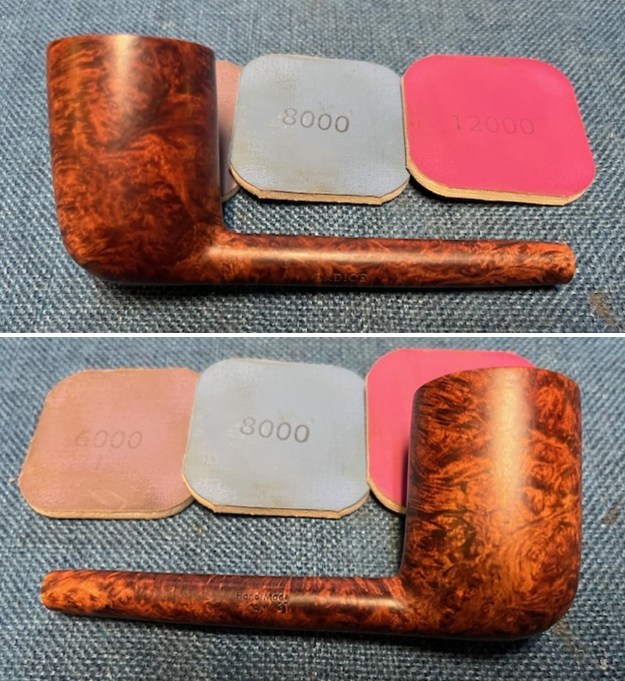
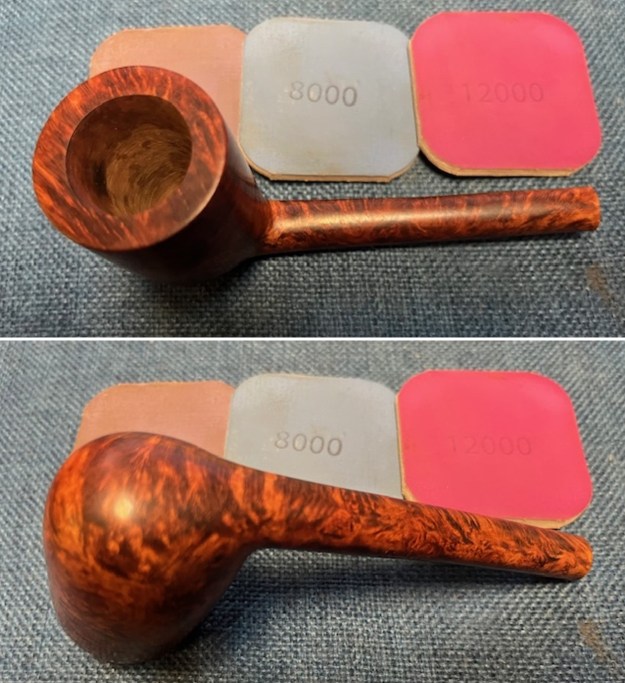
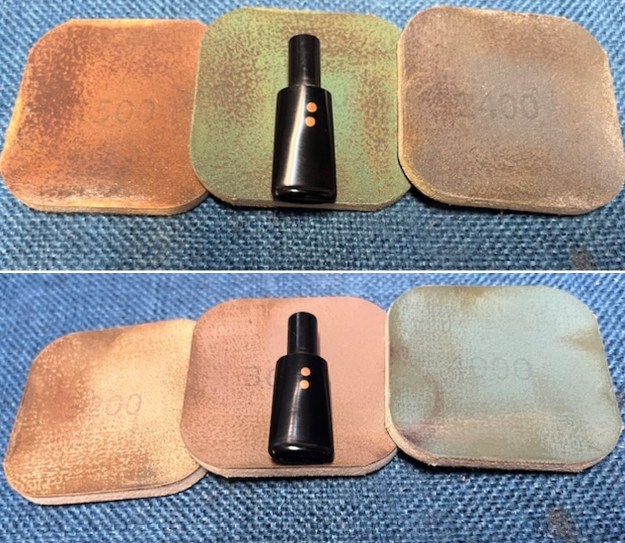
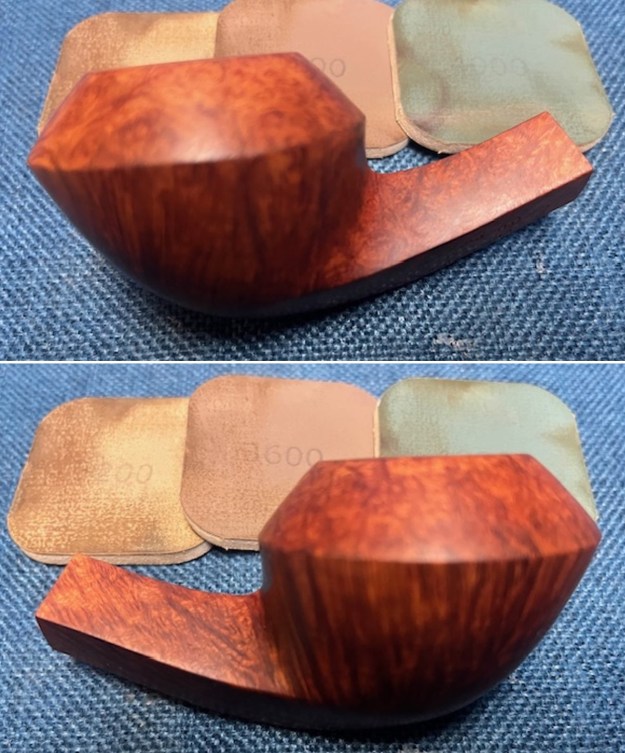
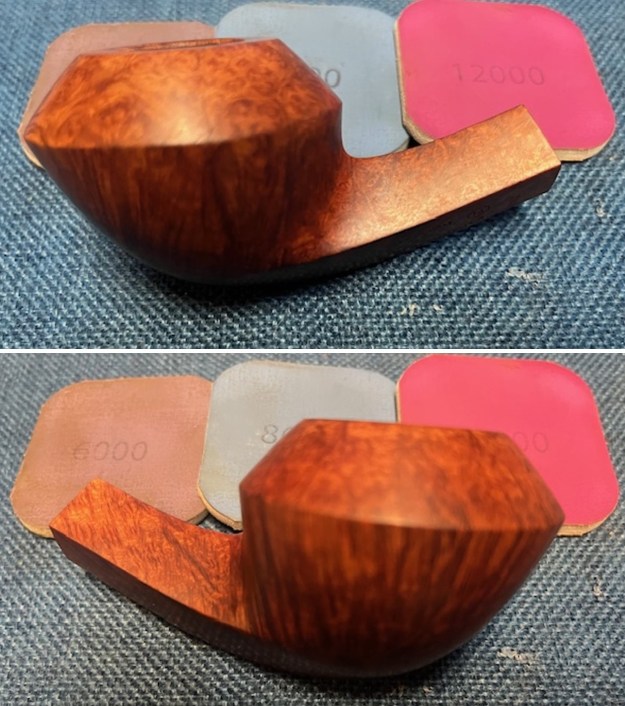
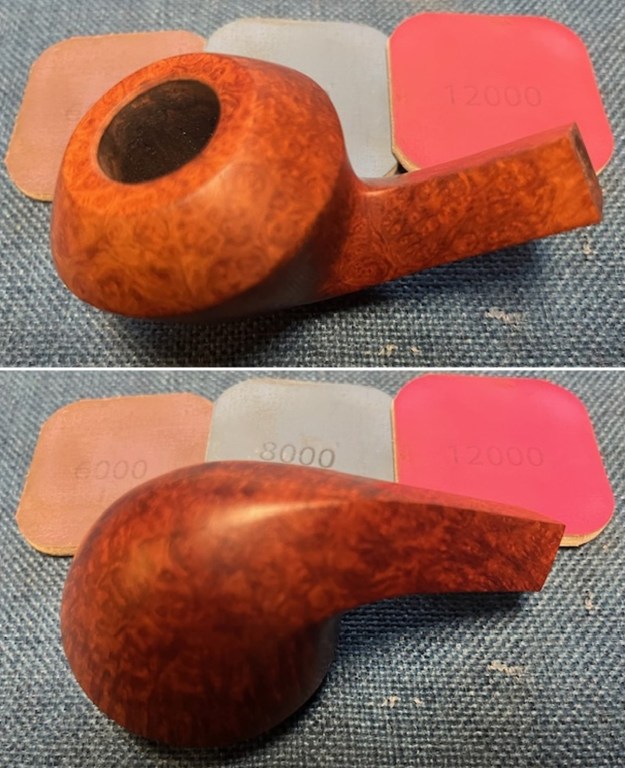
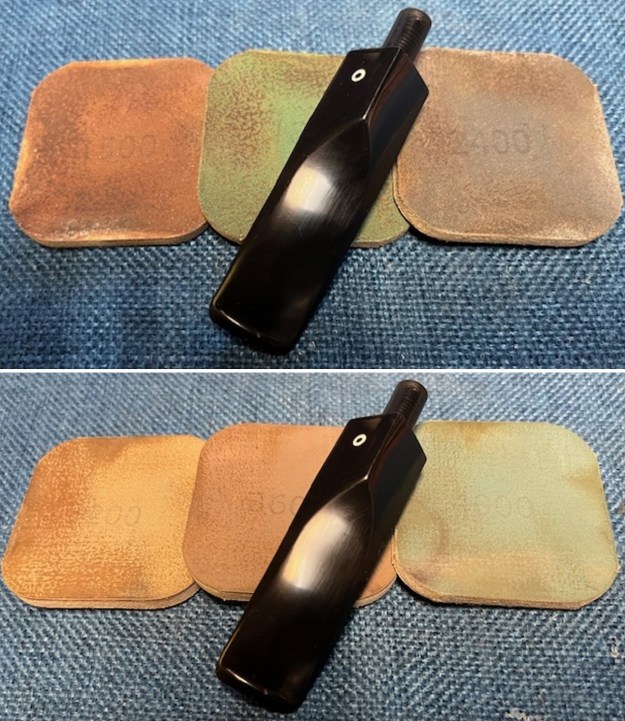
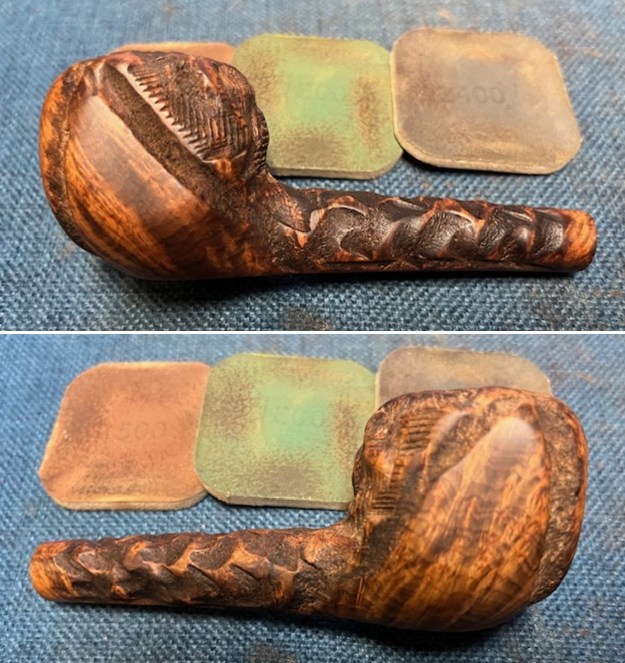
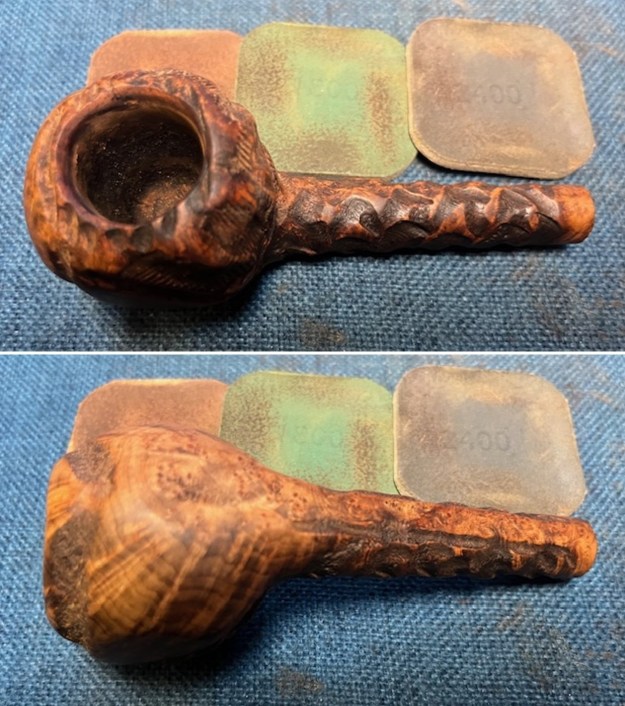
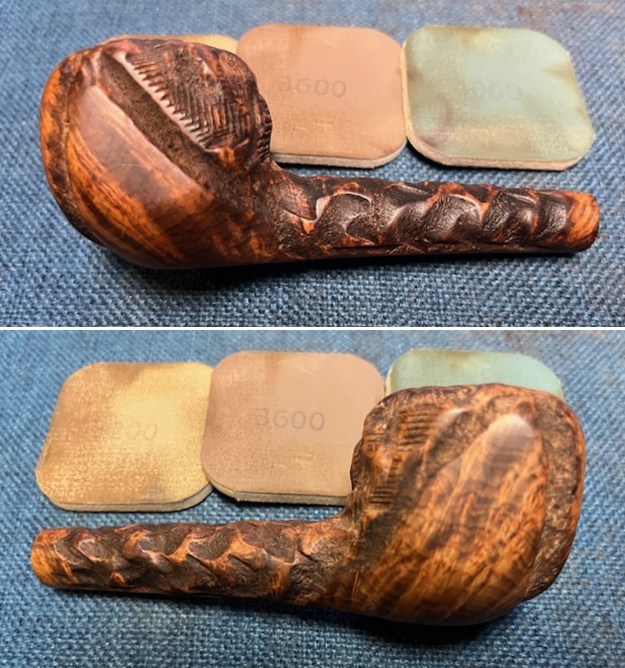
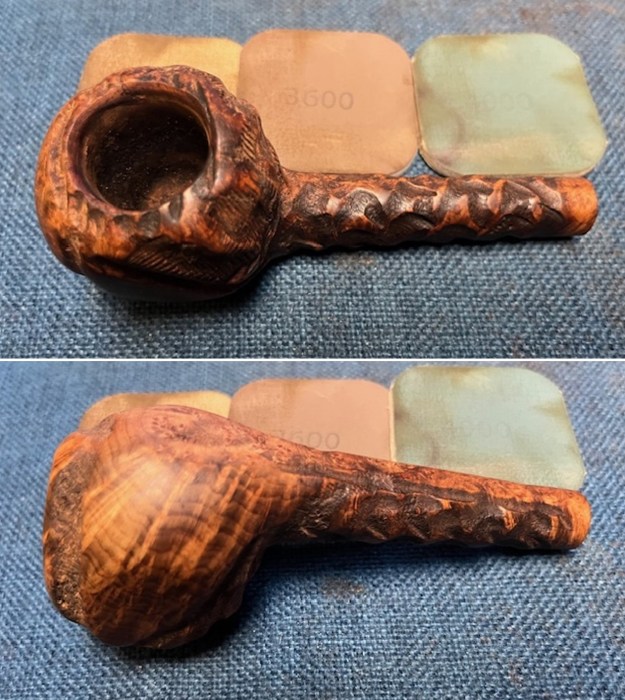
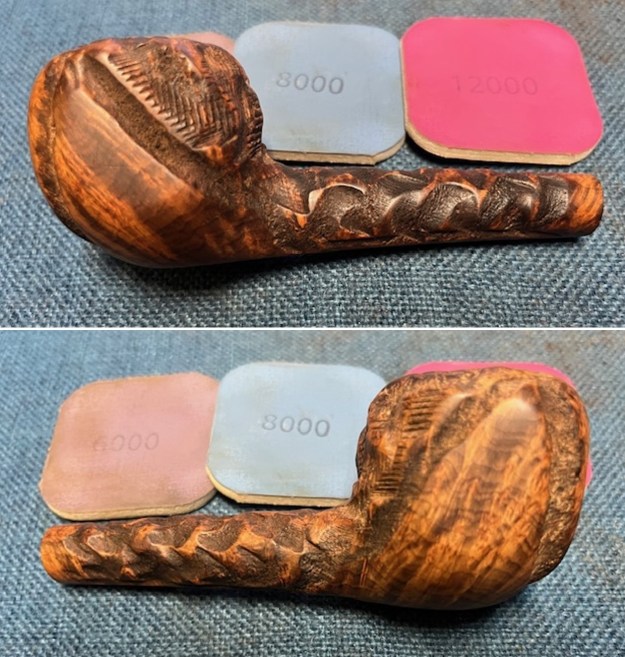
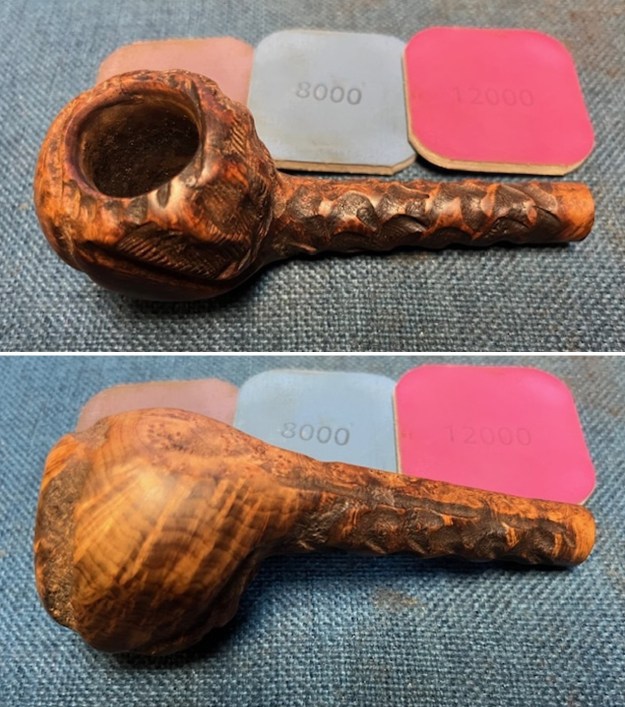
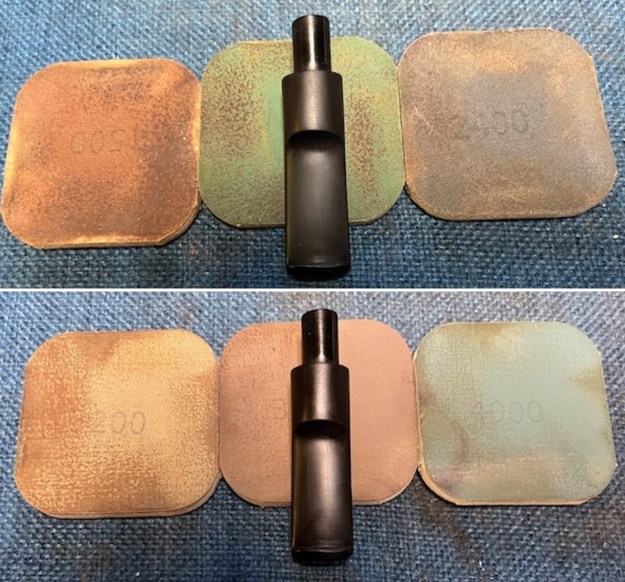
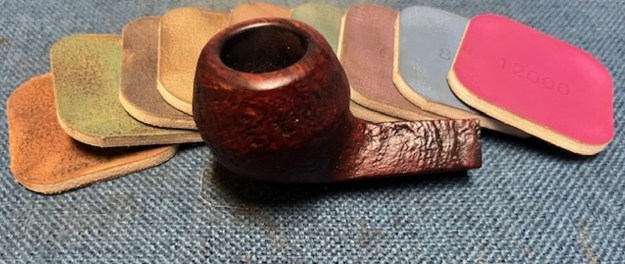
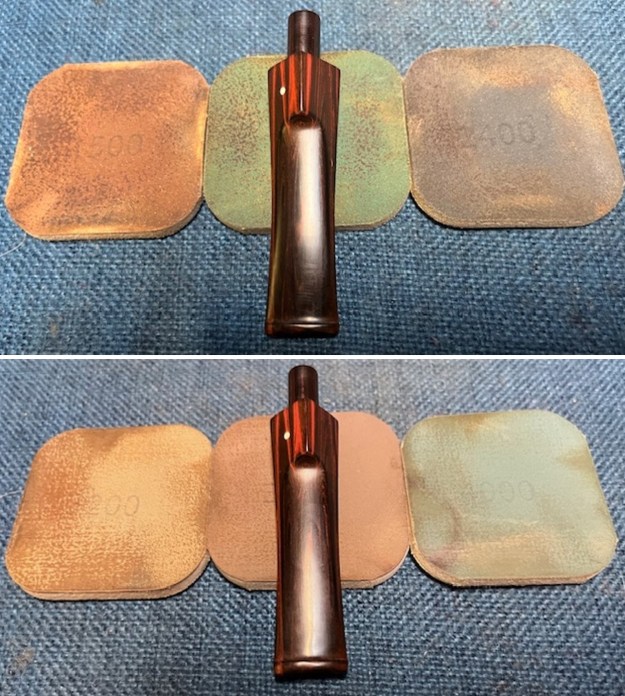
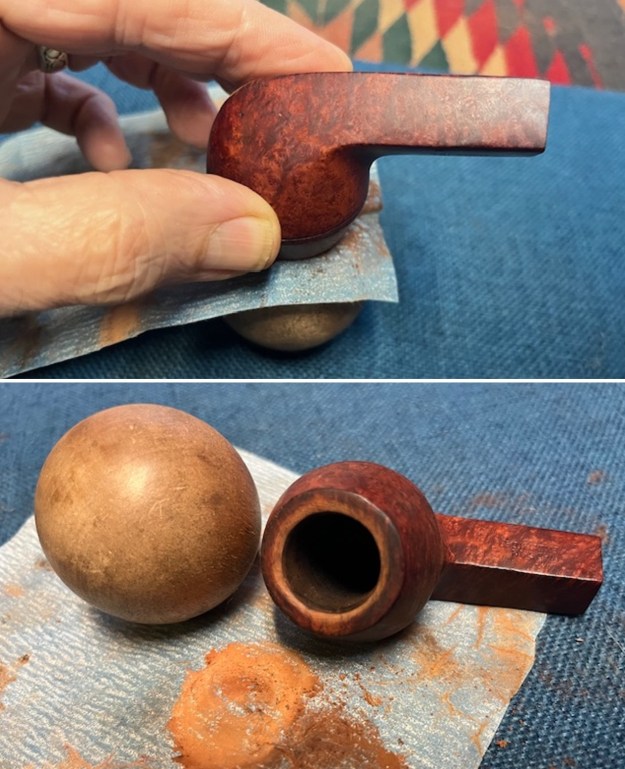
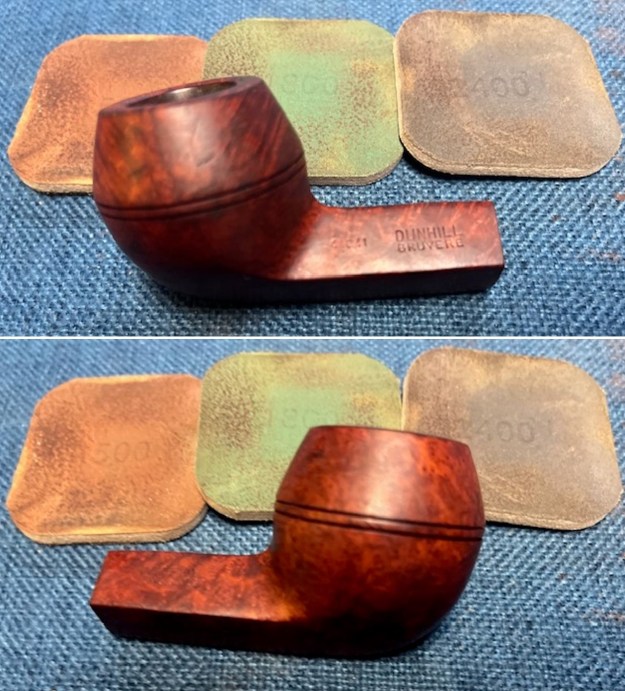
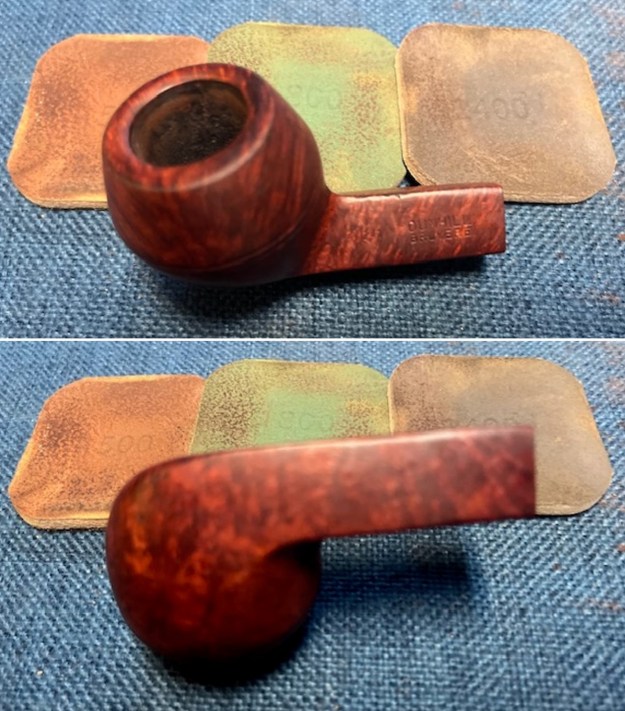
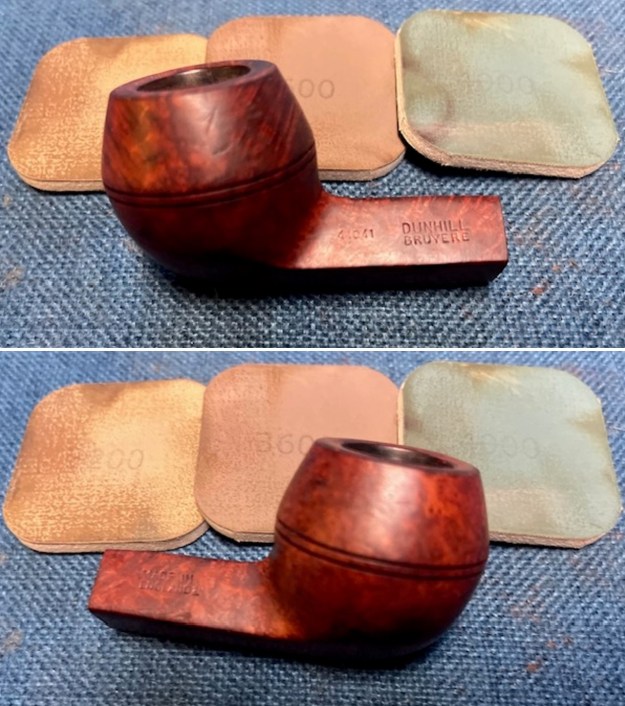
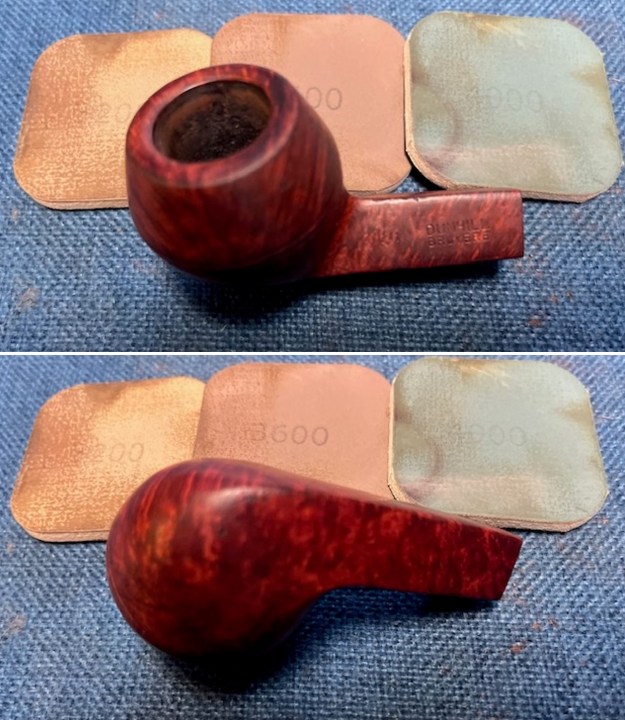
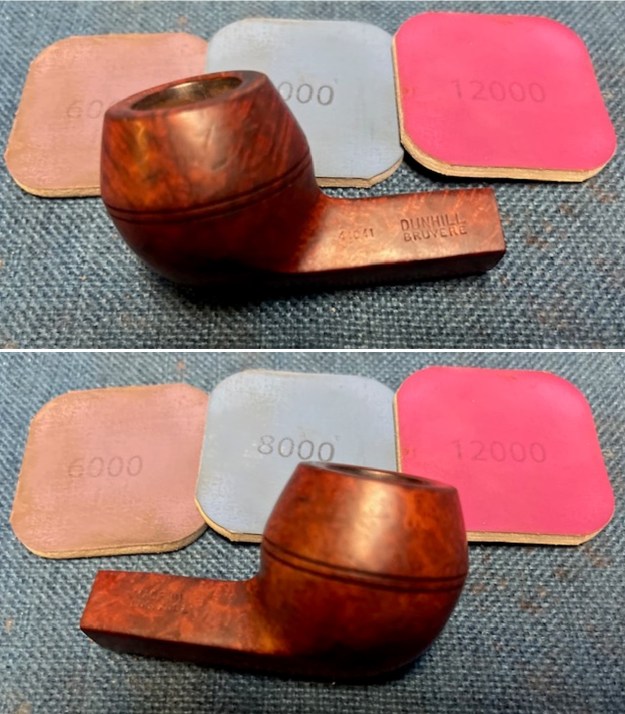
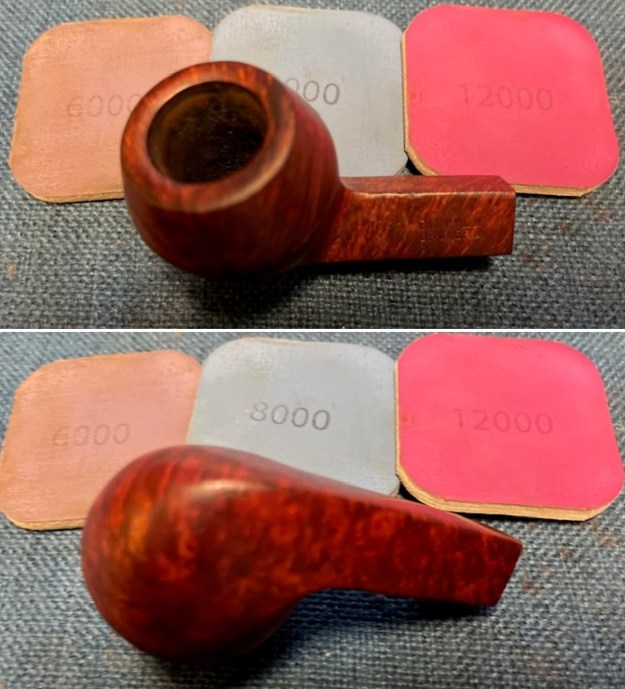
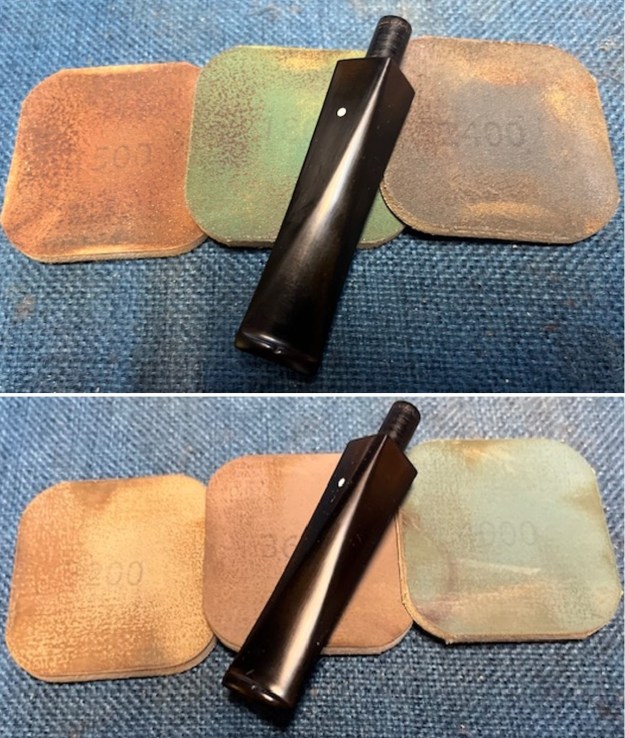
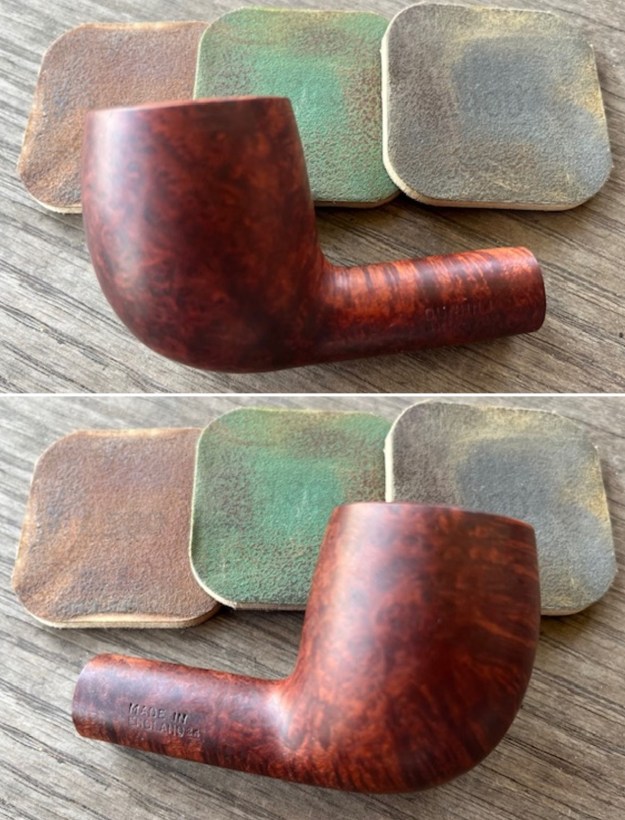
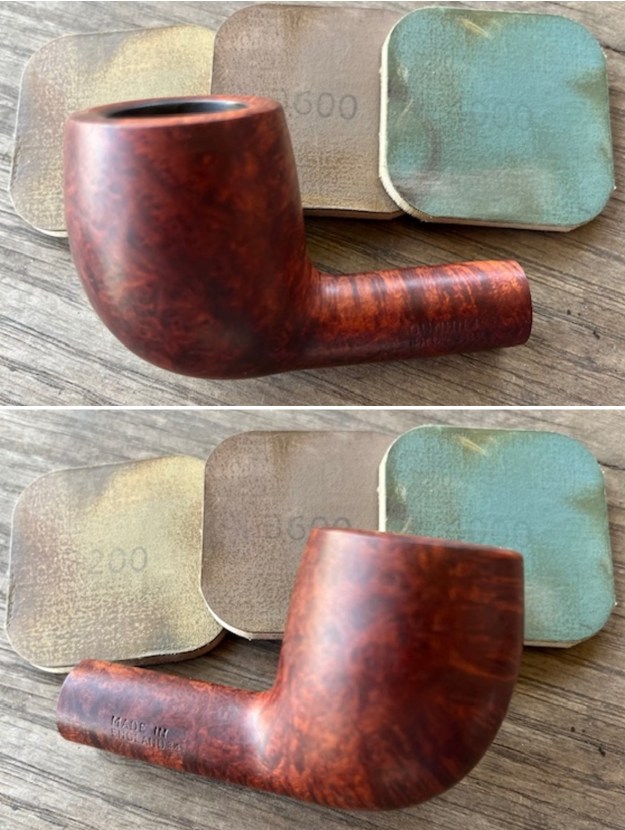
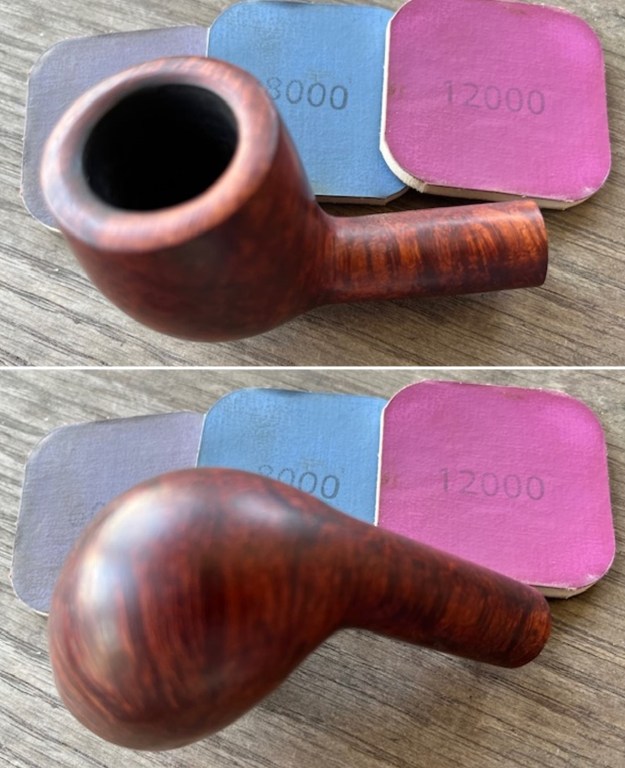
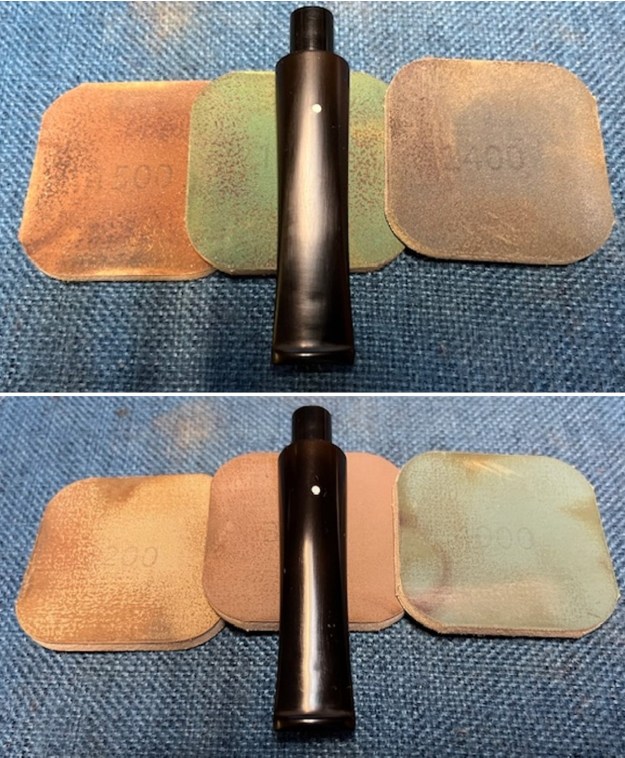
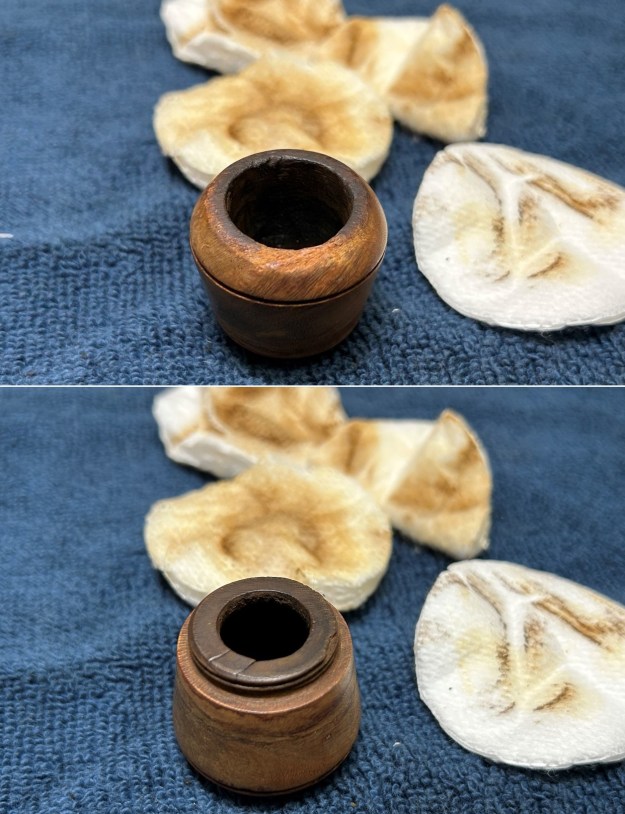
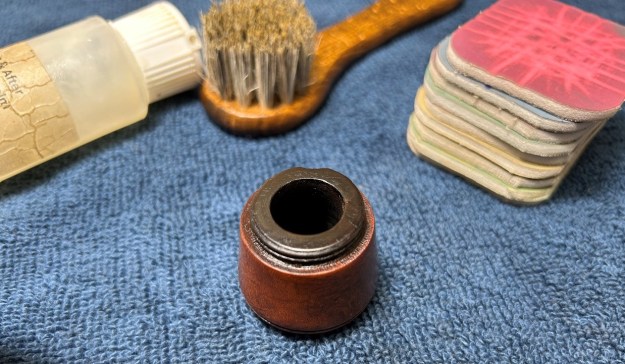
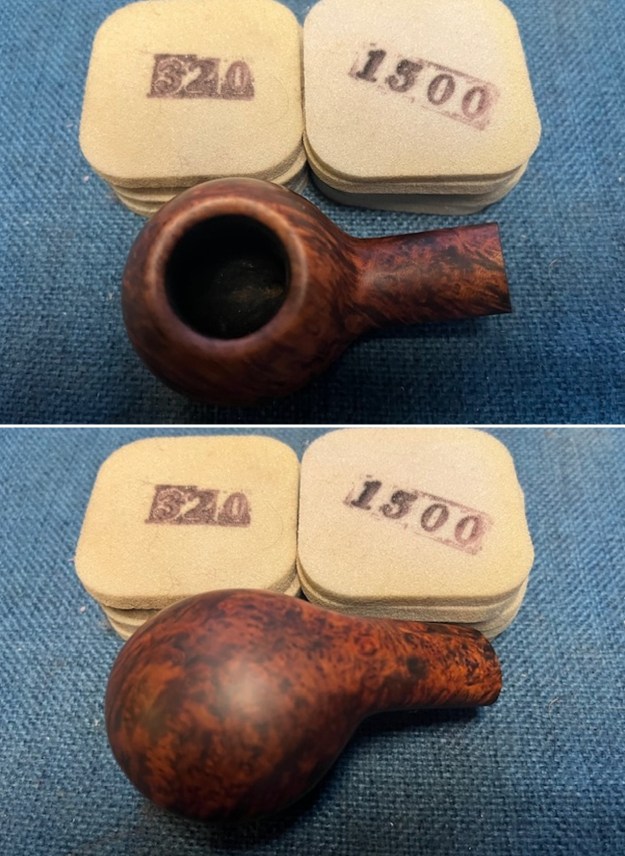
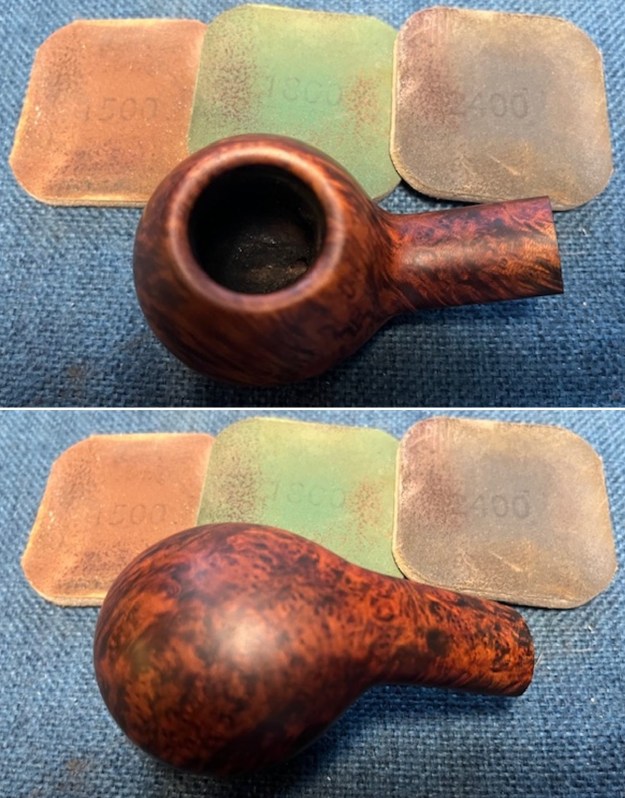
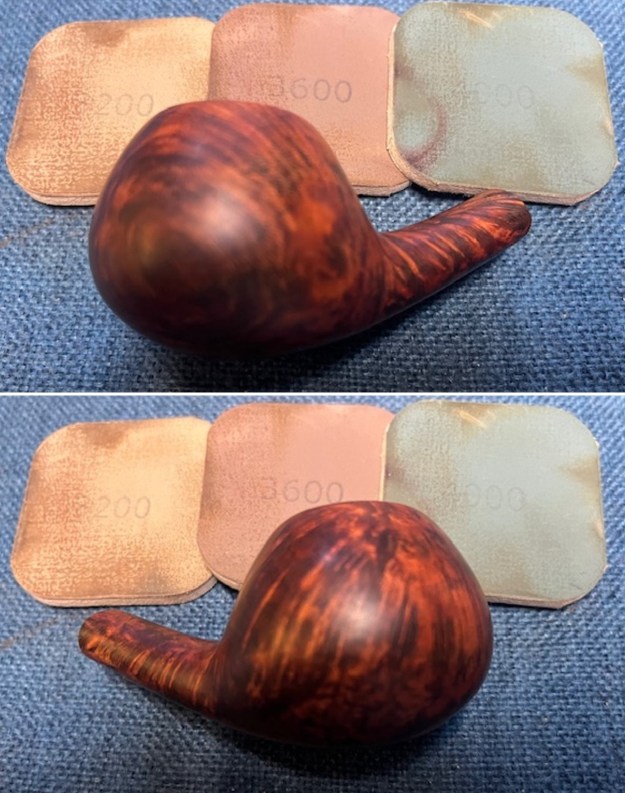
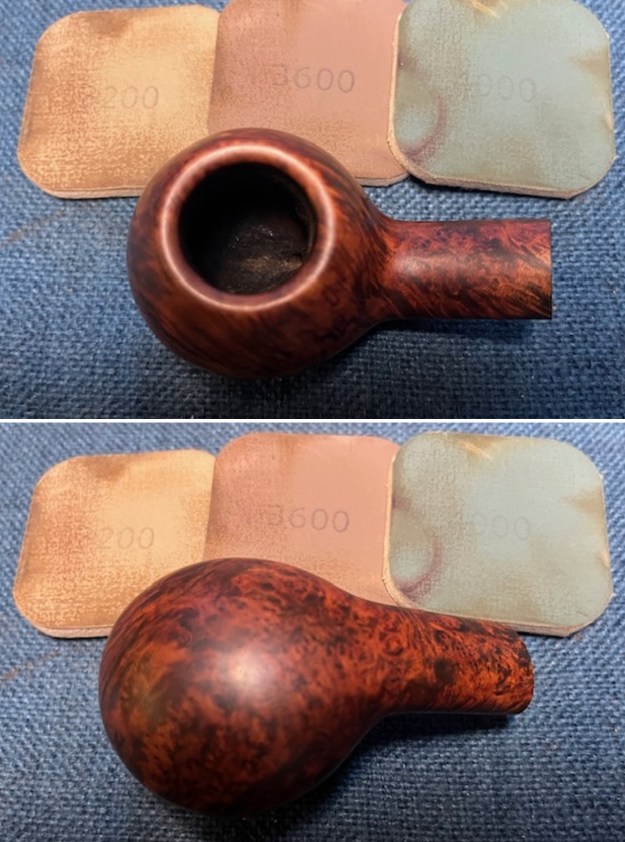
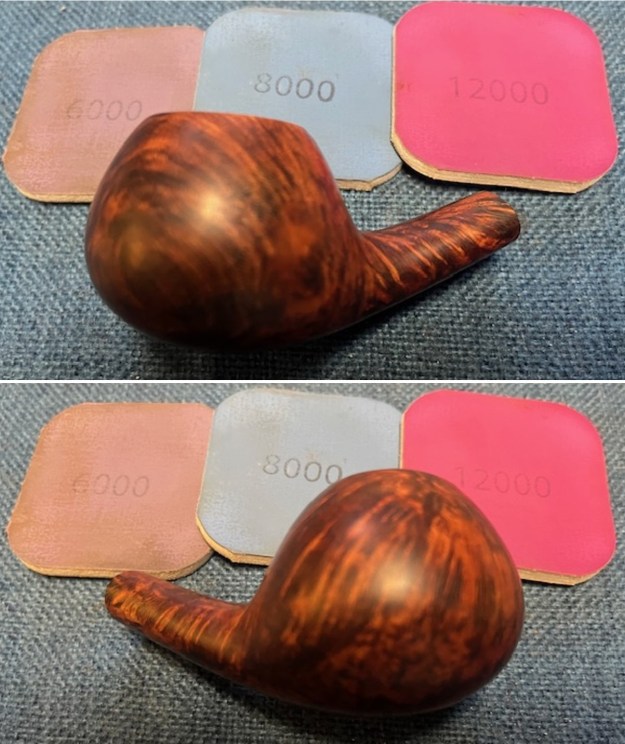
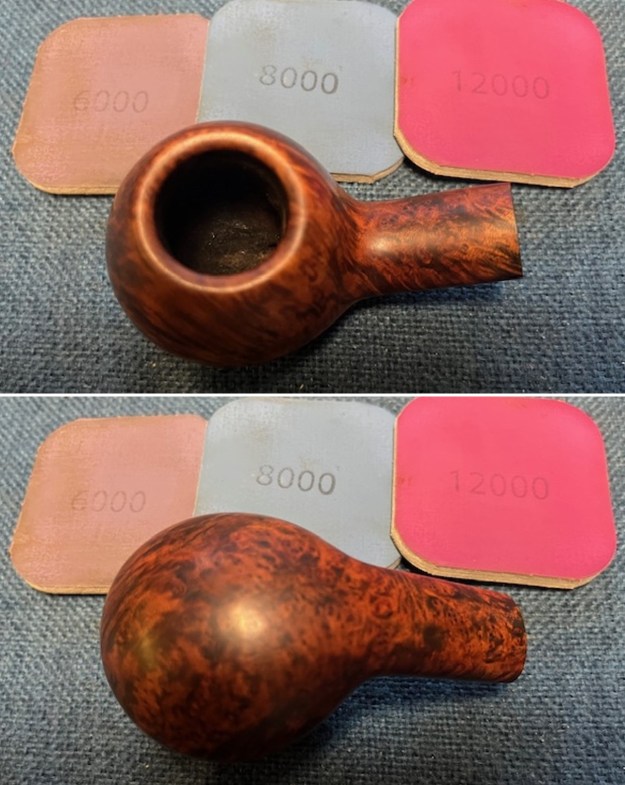
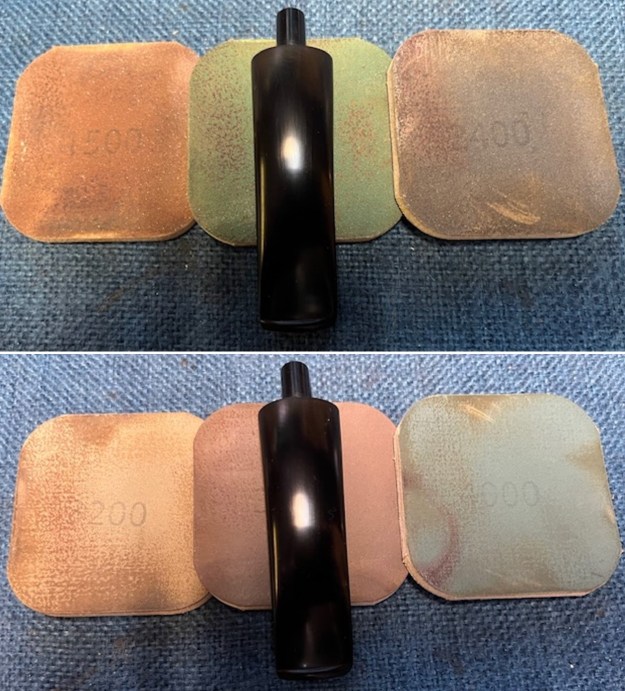
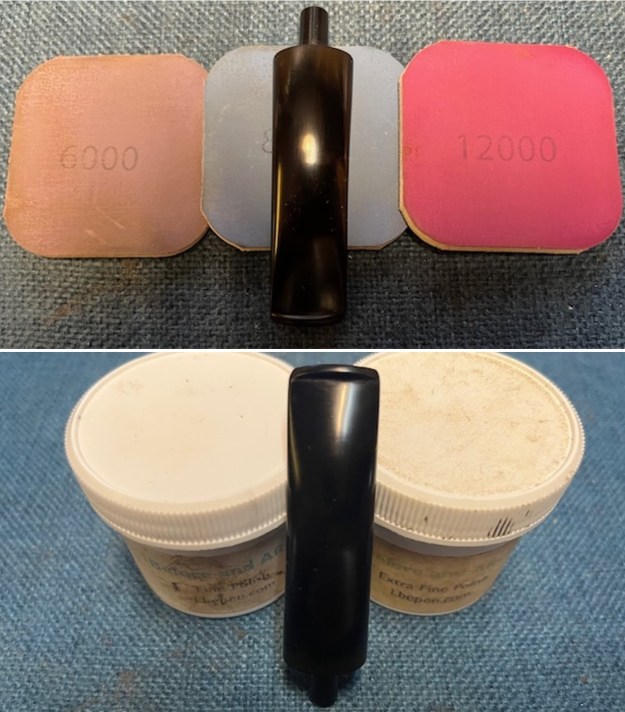
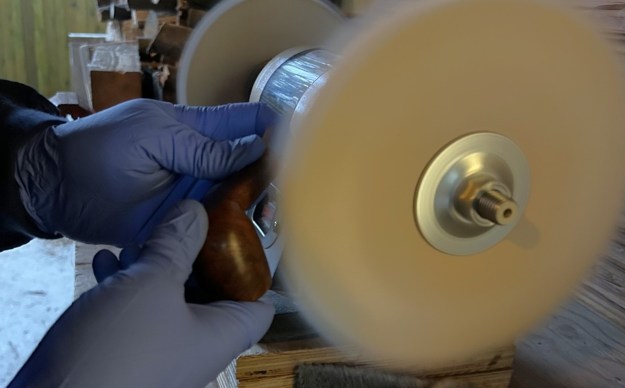
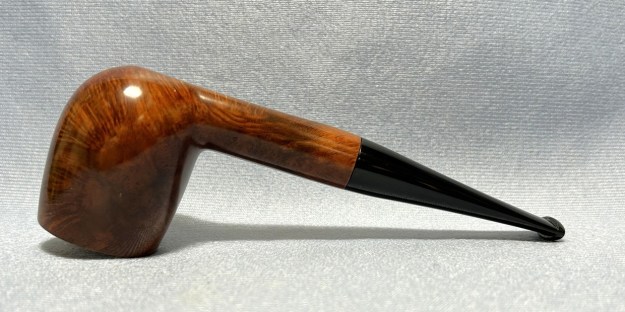
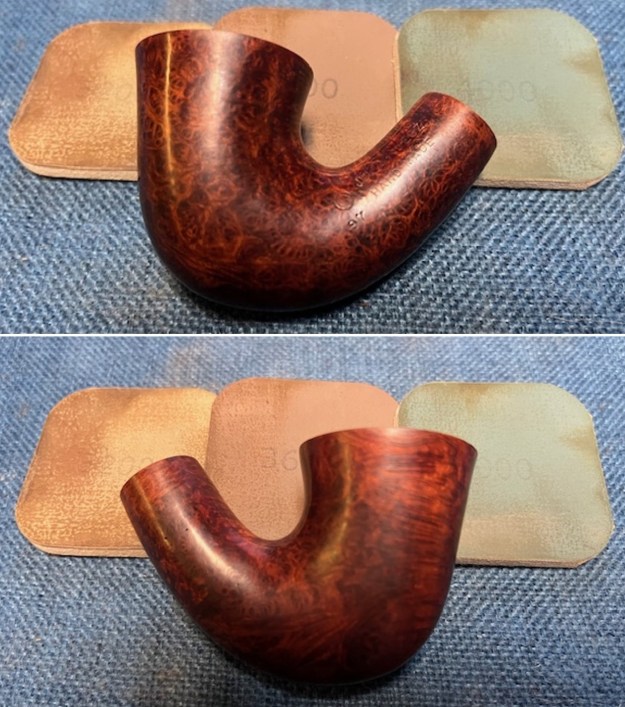
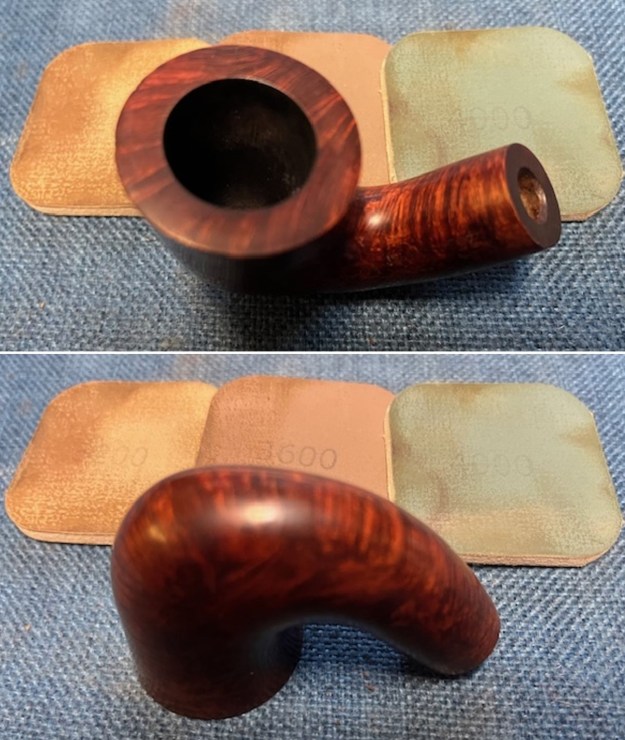
 I polished the bowl and shank with 1500-12000 grit micromesh sanding pad – dry sanding it with the pads. I wiped the bowl down with a damp cloth after each pad. It began to take on a deep shine. The shank reshape and reworking blended in very well and the colour is more and more rich with the polishing.
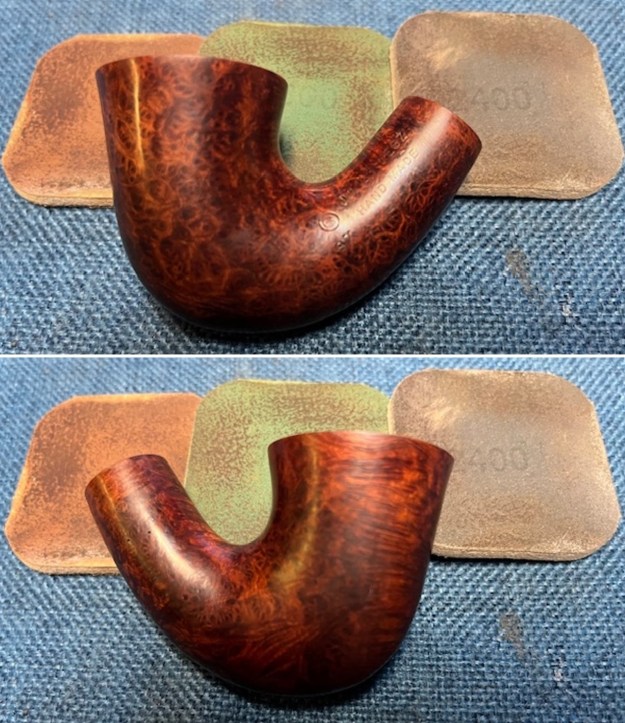
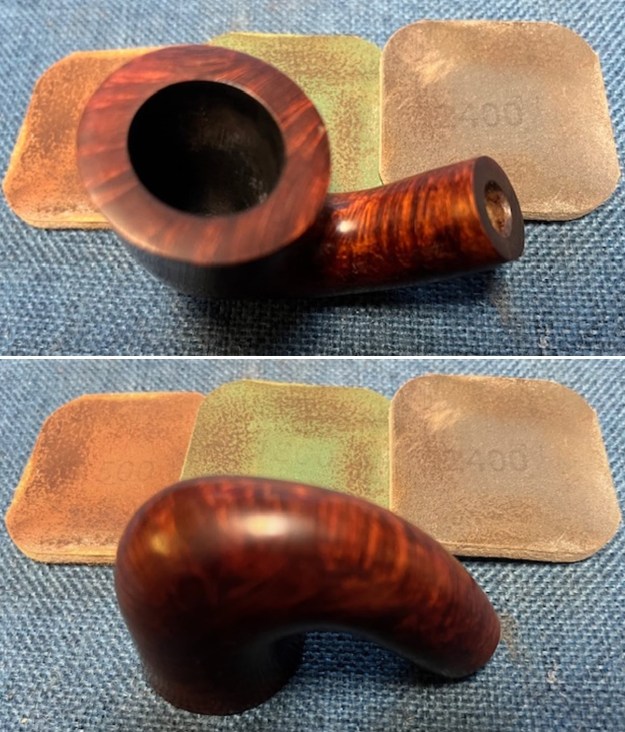
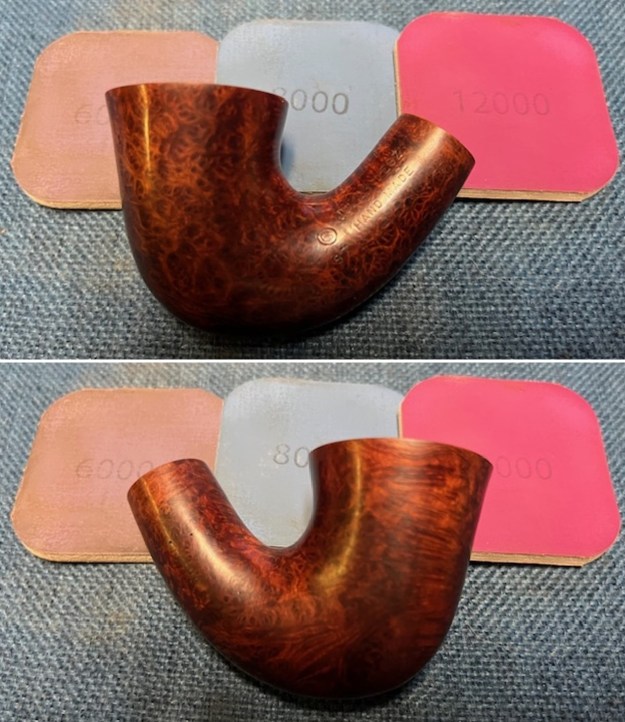
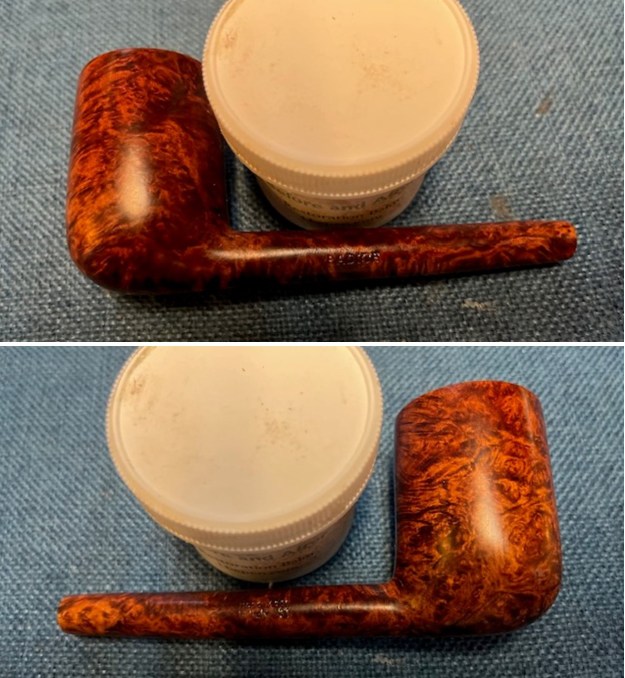
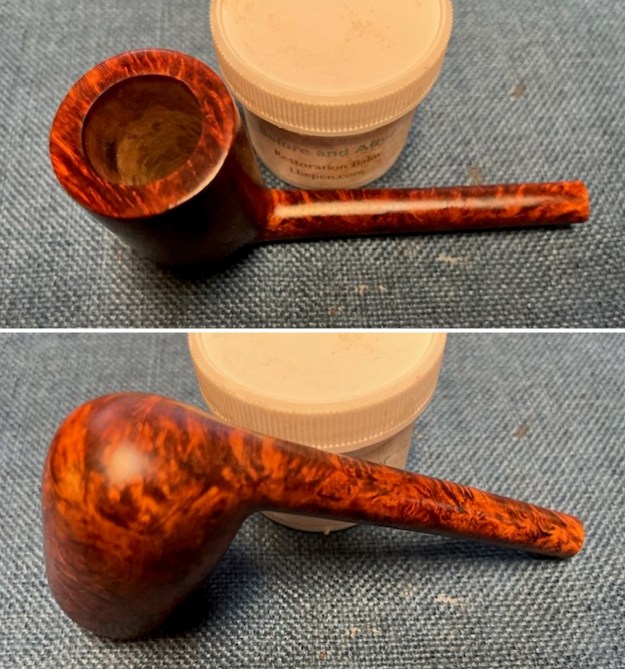
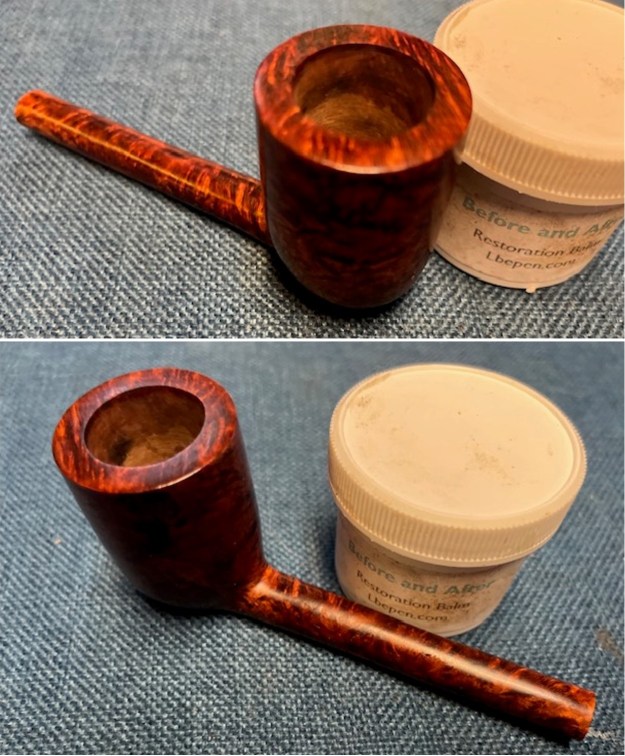
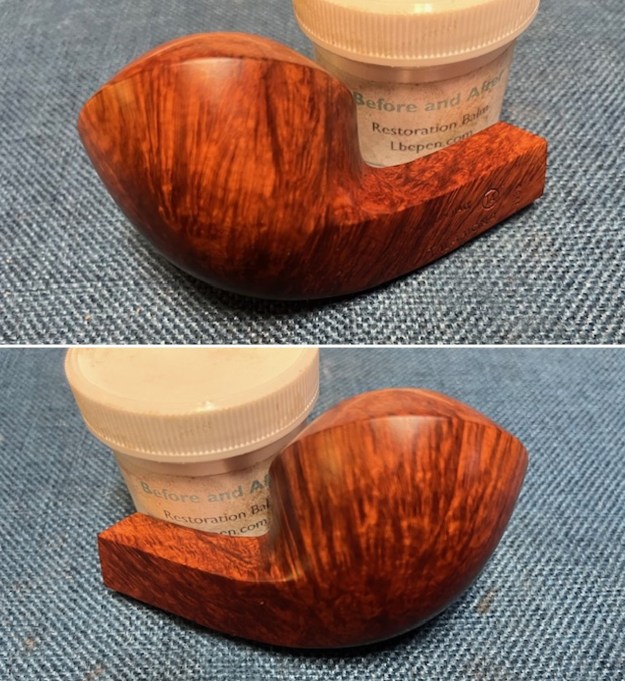
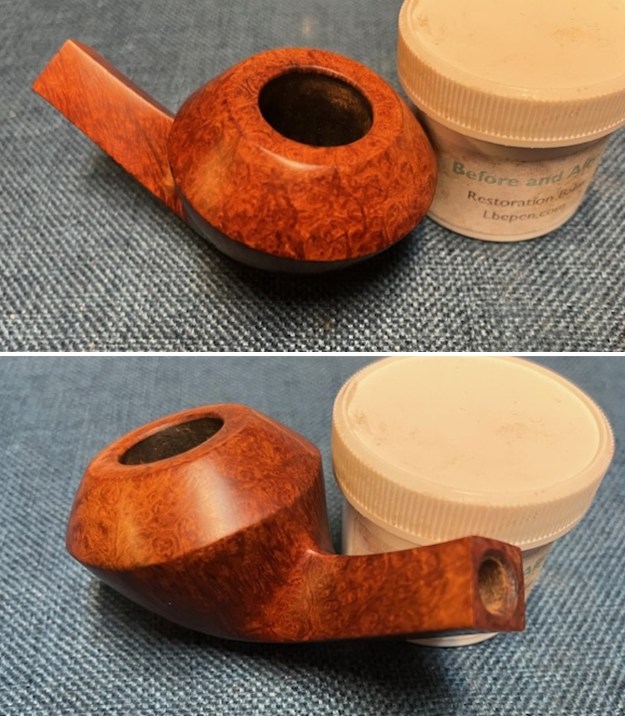
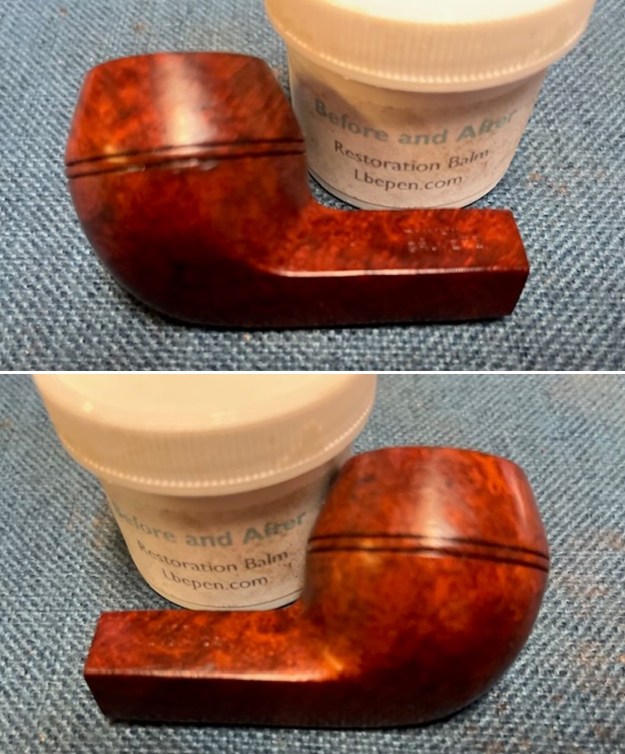
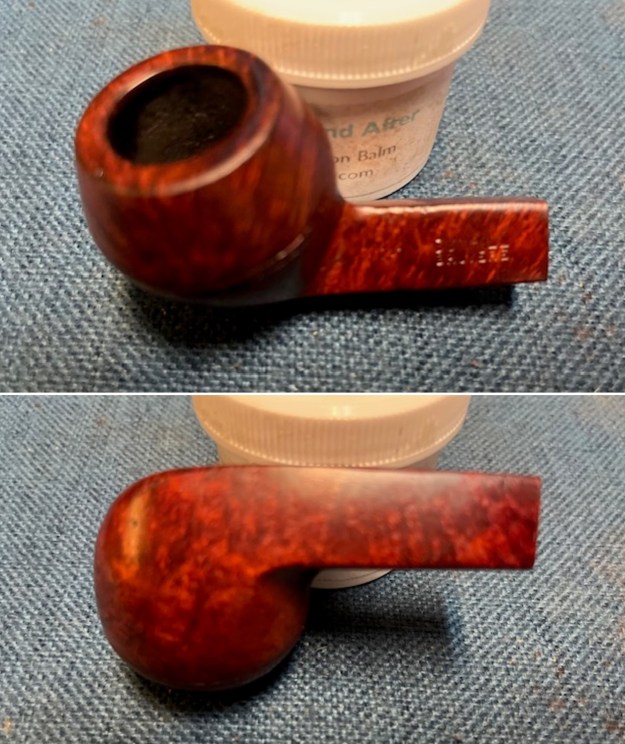
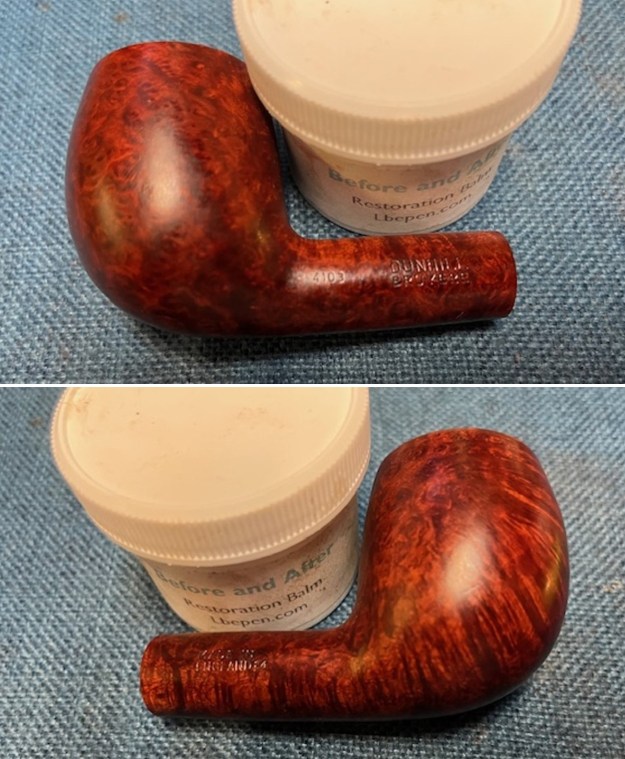
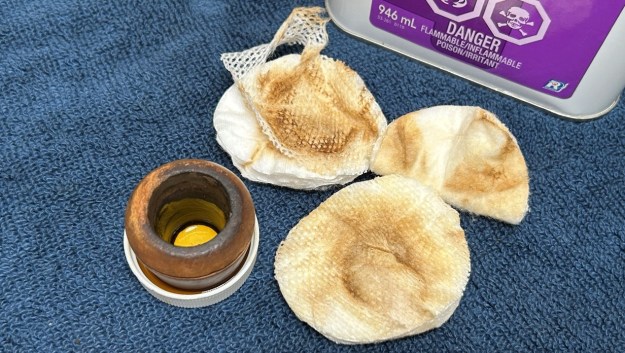
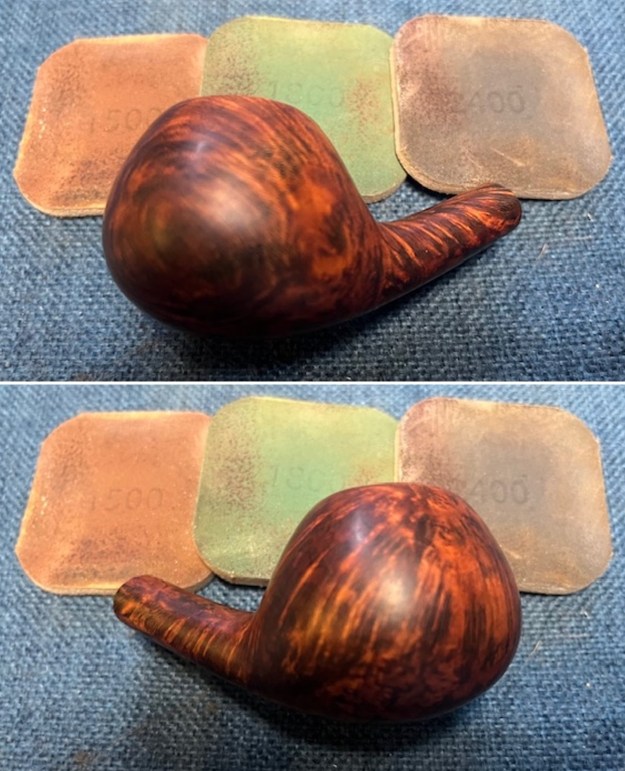
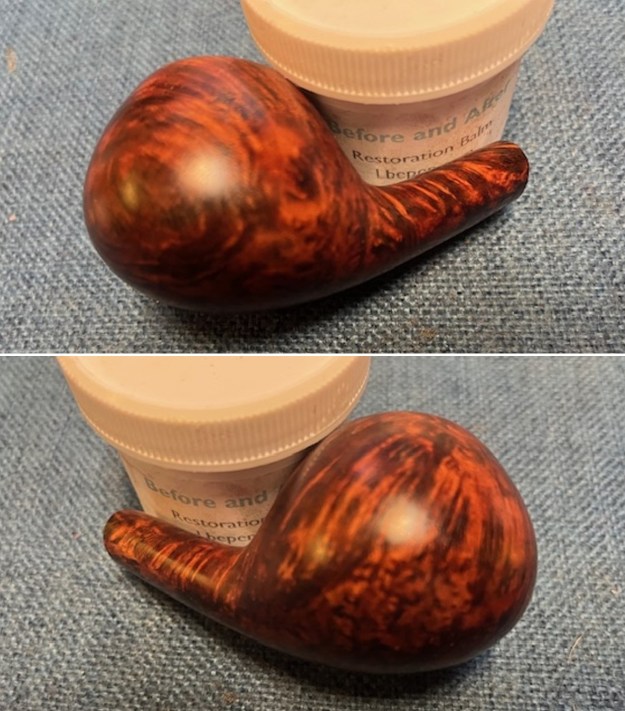
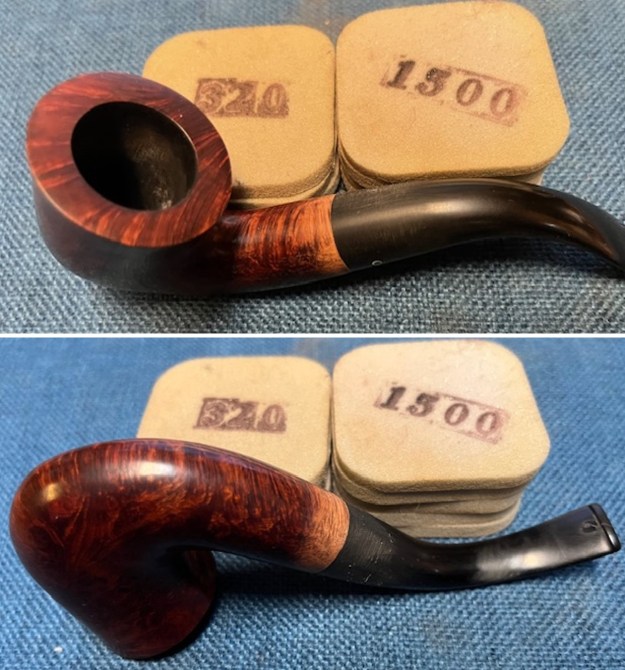
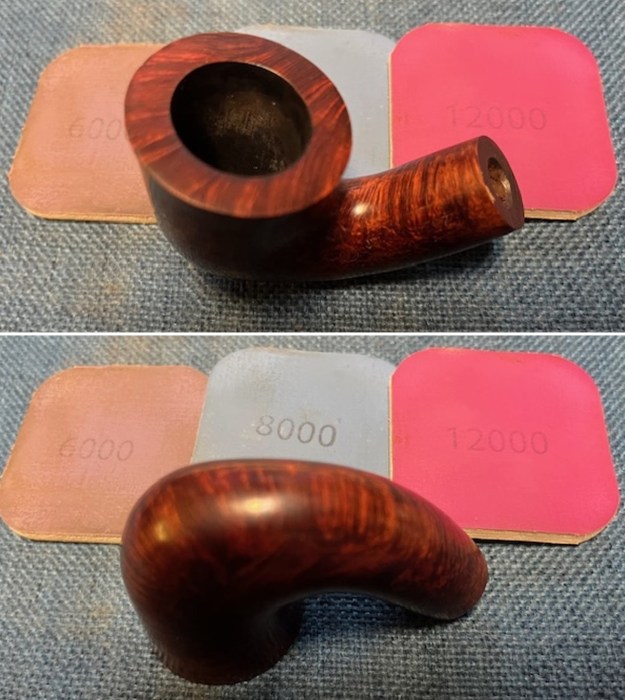 The exterior of the bowl looks better after sanding. I worked some Before & After Restoration Balm into the briar with my finger tips. I let it sit on the bowl for 10 minutes and then buffed it off with a paper towel and soft cloth. The product is a great addition to the restoration work. It enlivens, enriches and protects the briar while giving it a deep glow. It is a product I use on every pipe I restore.
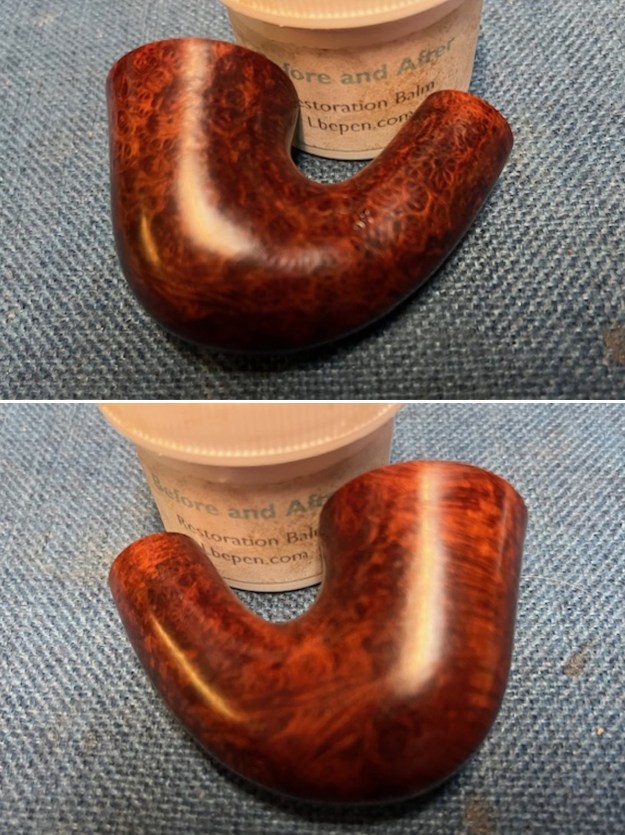
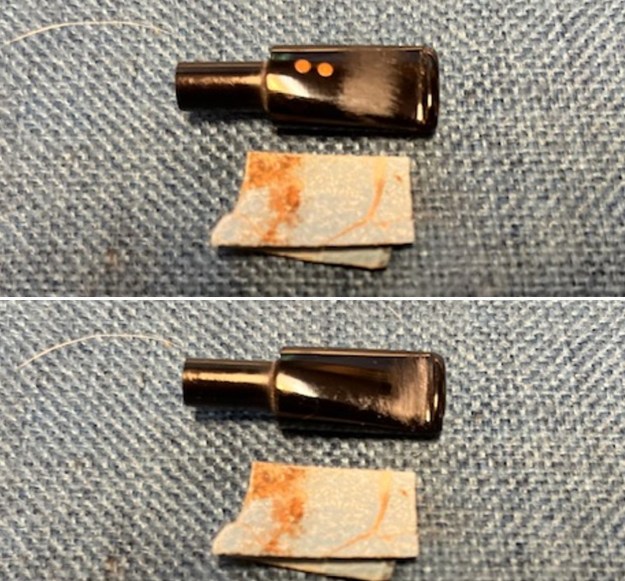
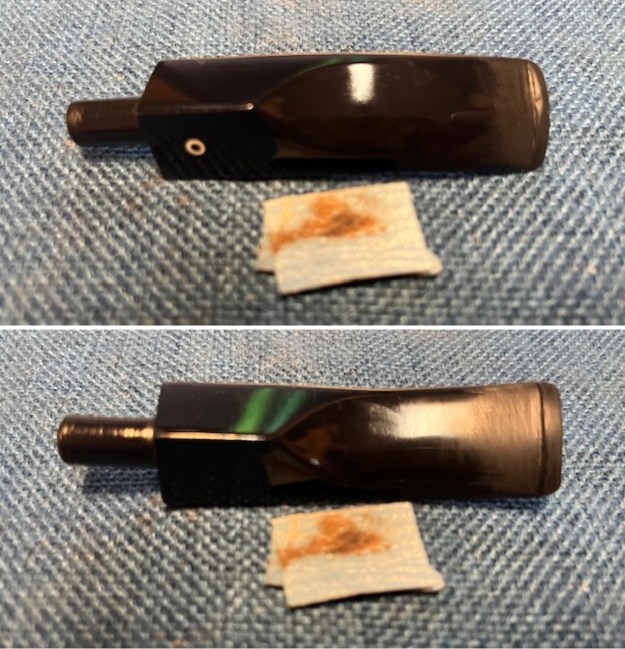
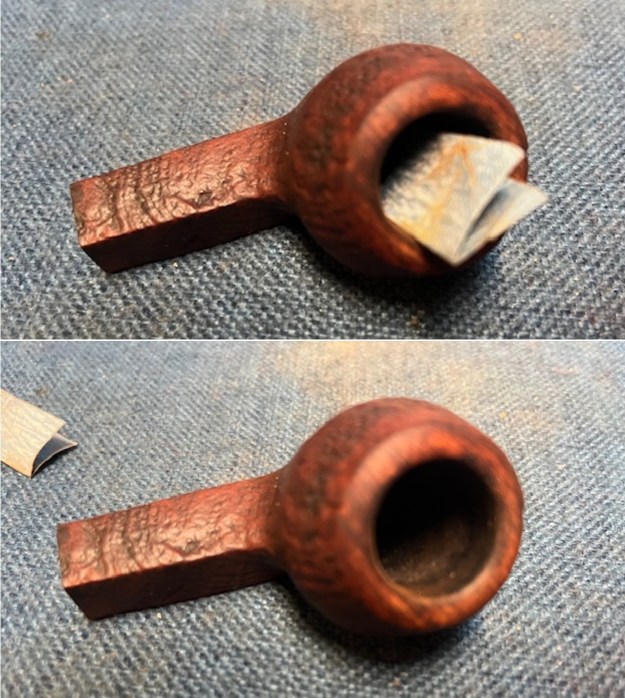
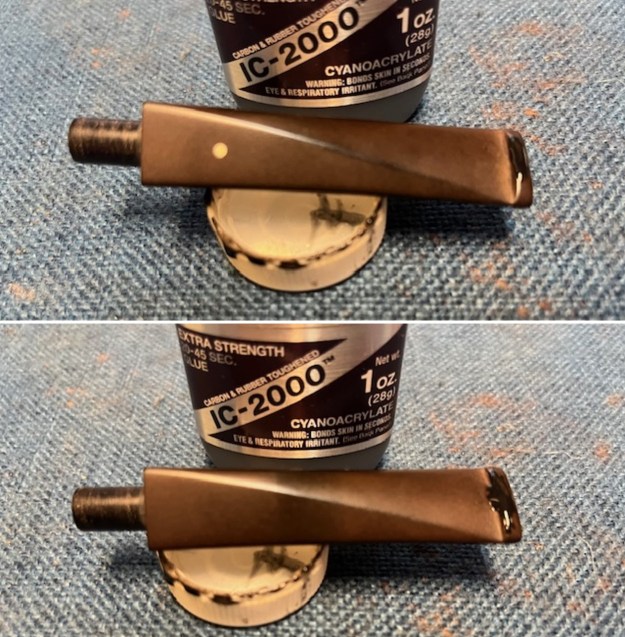
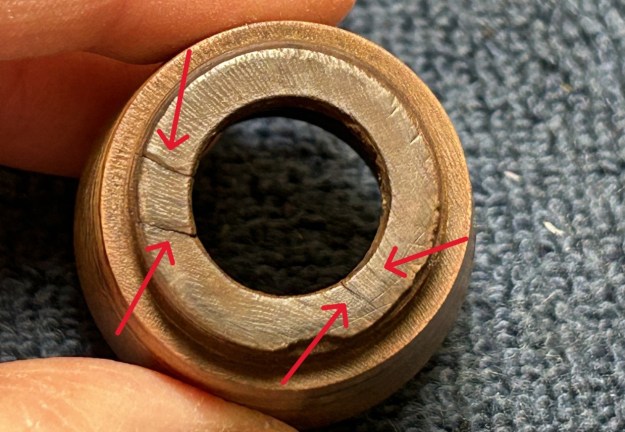
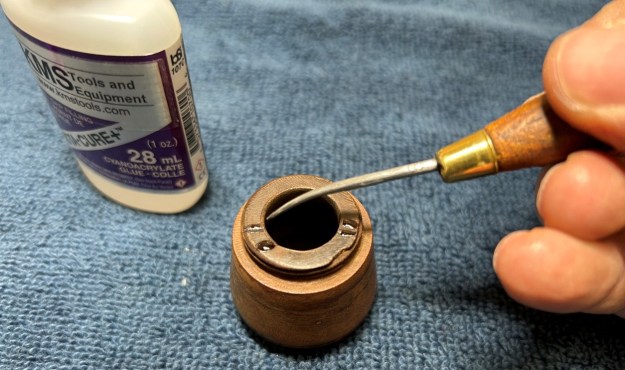
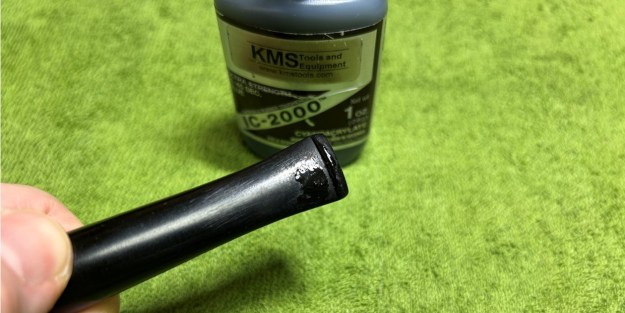
 It was ready for the next step. I used a folded piece of 220 grit sandpaper to sand out the poorly done repair on the underside of the stem. I flattened it out and cleaned off the surface of the stem. I filled in the area with black CA glue put in place with a tooth pick. I set it aside to cure.
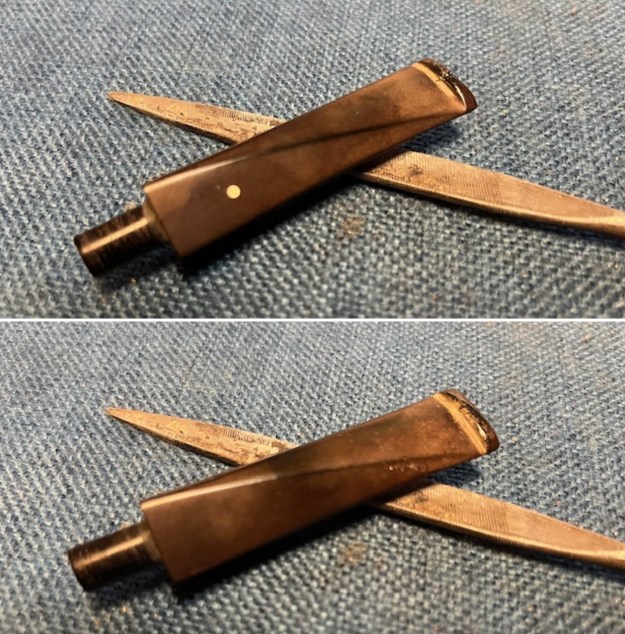
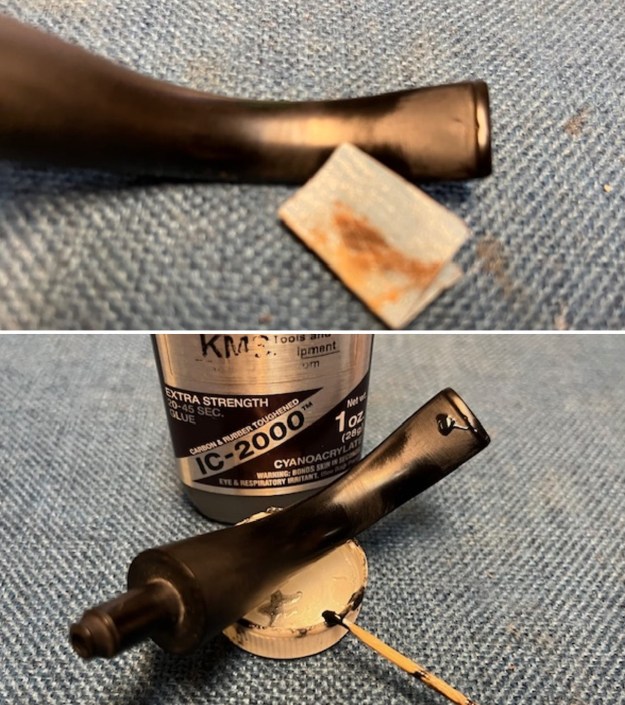 Once the repair cured I used a file to flatten out the repair and clean up the edge of the button. I sanded it further with a folded piece of 220 grit sandpaper to blend it into the surrounding vulcanite.
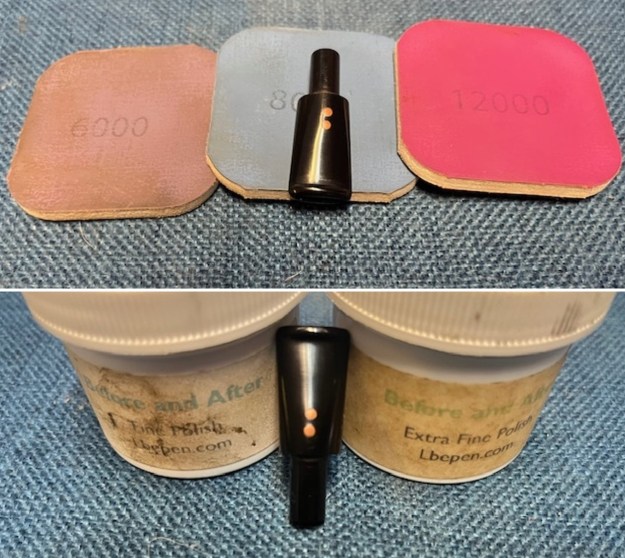
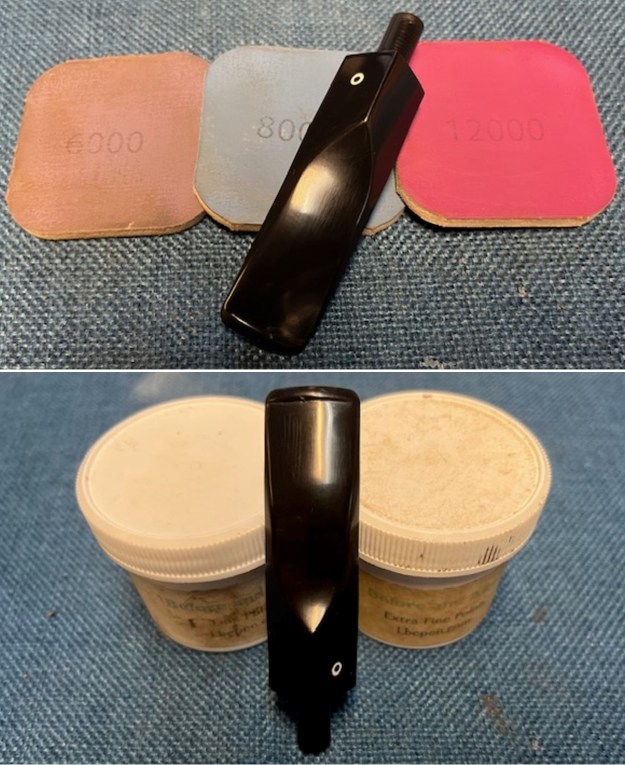
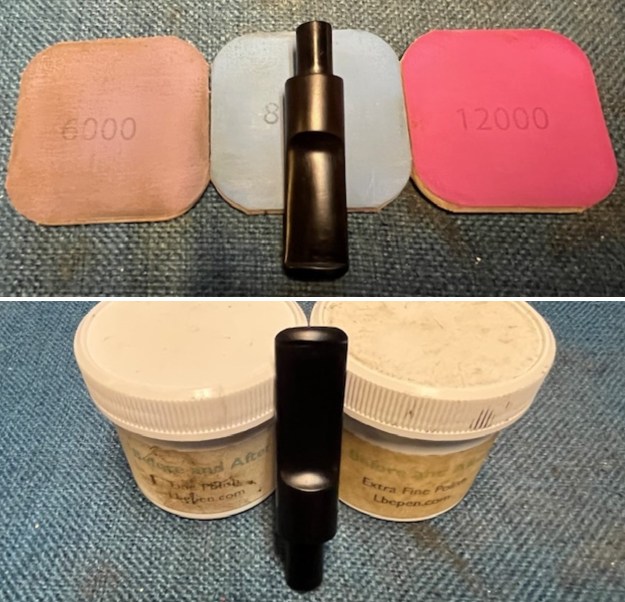
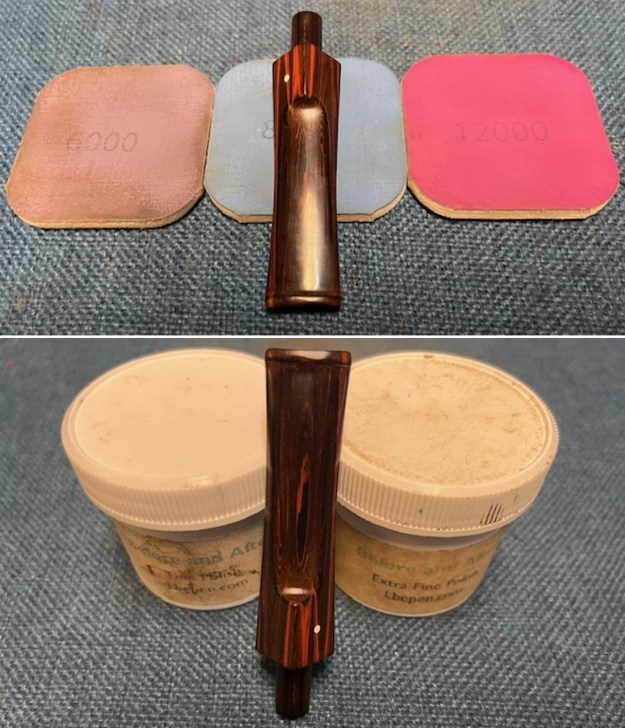
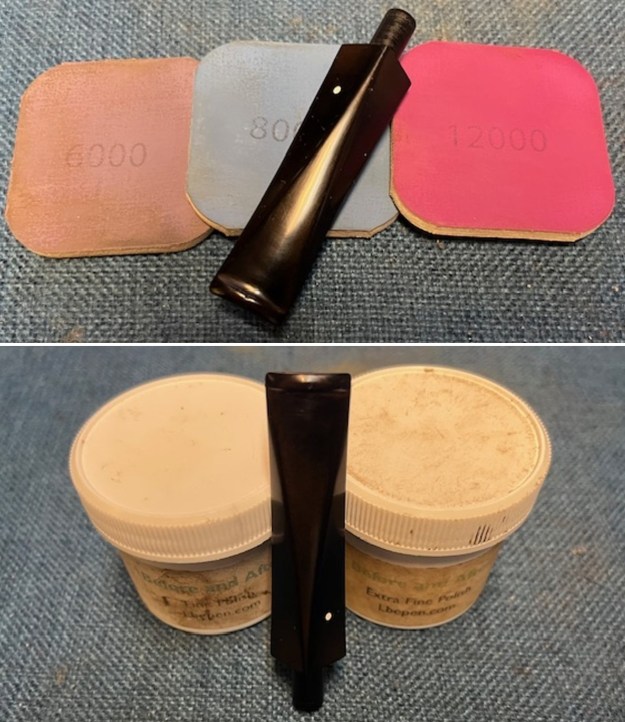
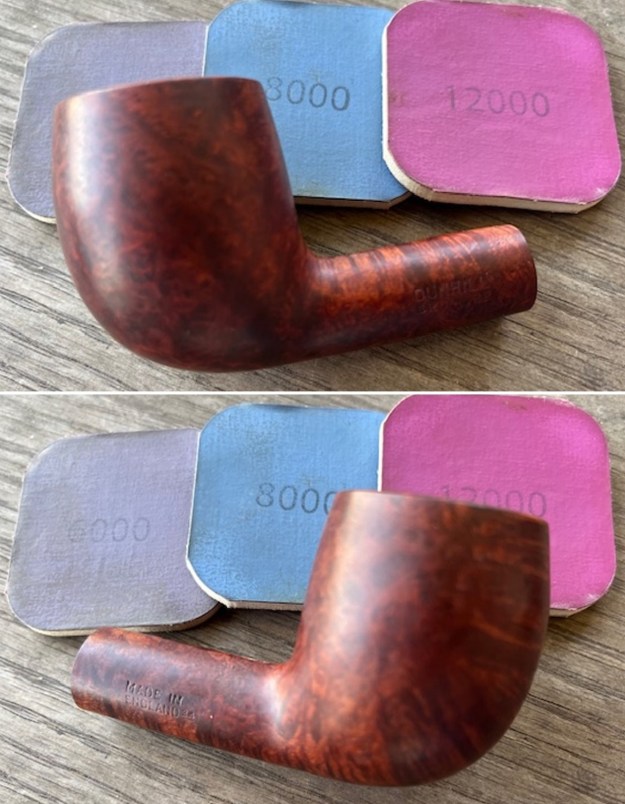
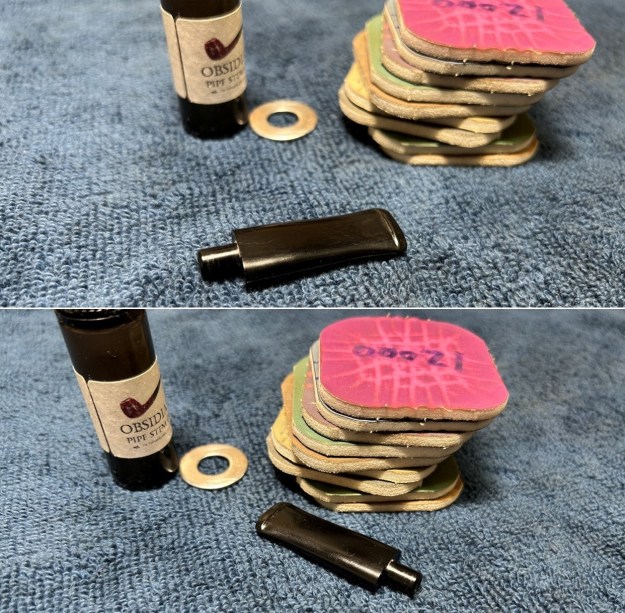
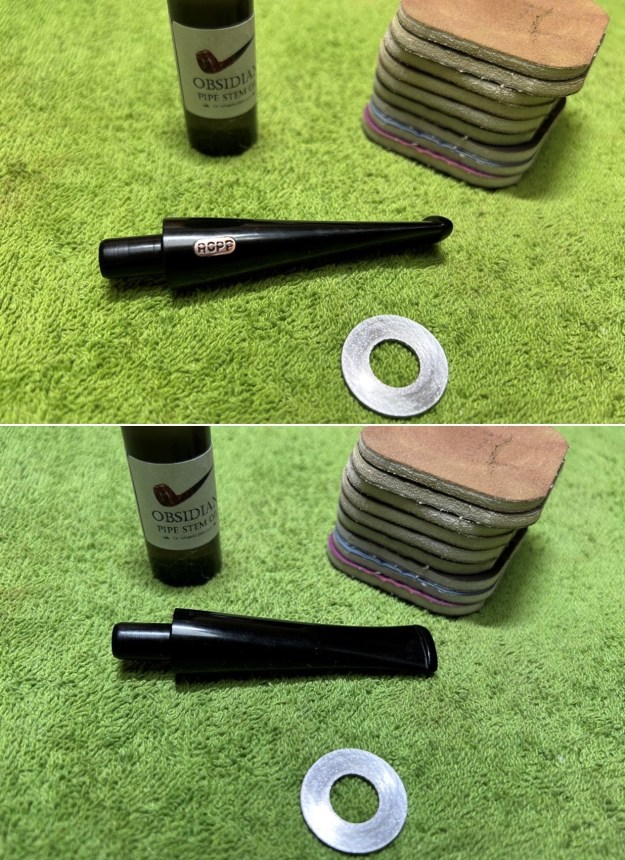
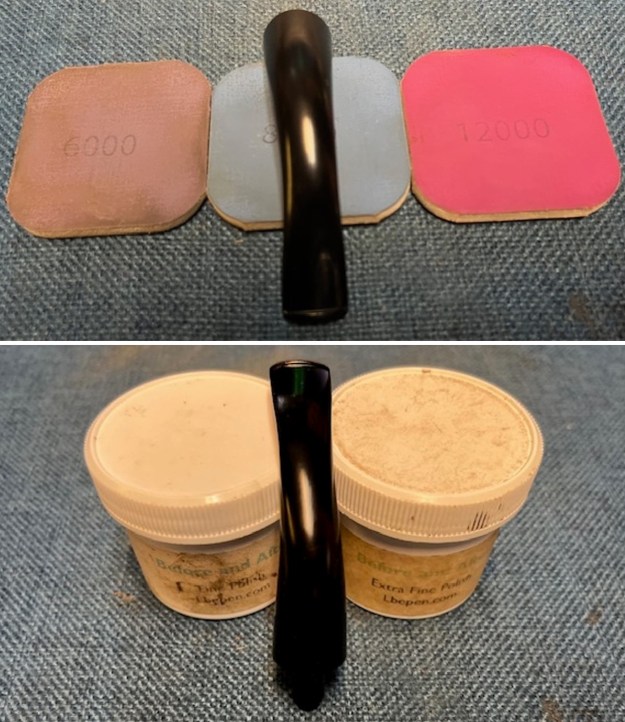
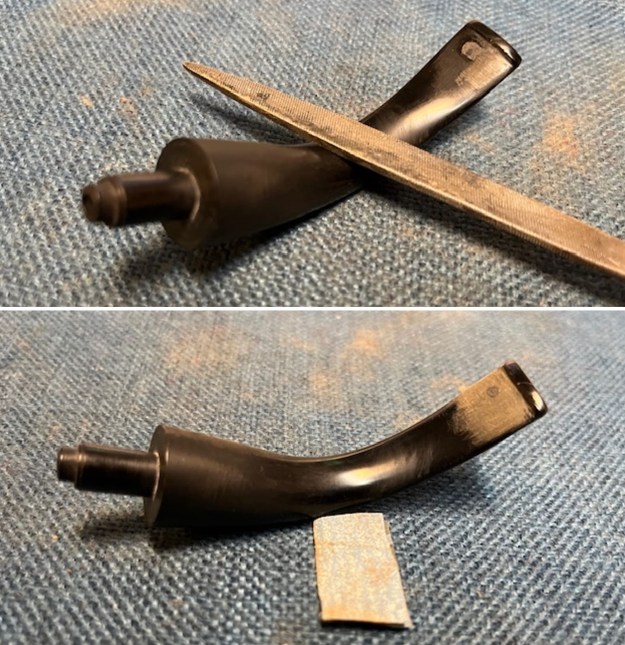 I polished the sanding repairs on the shank end of the stem and the repair of the bite through by sanding it with micromesh sanding pads. I dry sanded them with 1500-12000 grit pads. I wiped the stem down after each sanding pad with Obsidian Oil to further protect the vulcanite surface. I finished the polishing with Before & After Pipe Stem Polish – Fine and Extra Fine. I wiped the stem down a final time with Obsidian Oil and a cloth. It really looks very good.
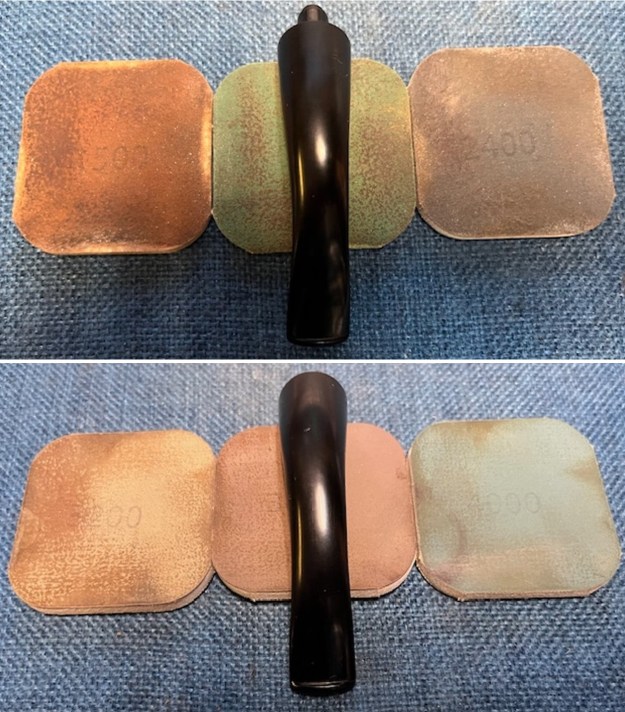
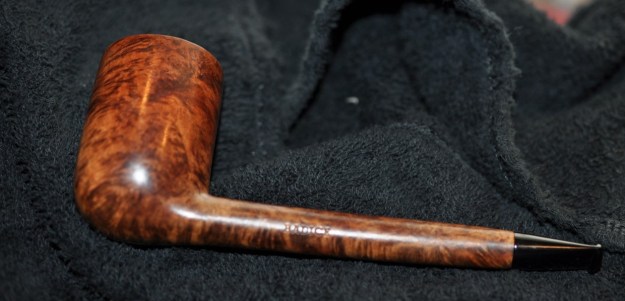
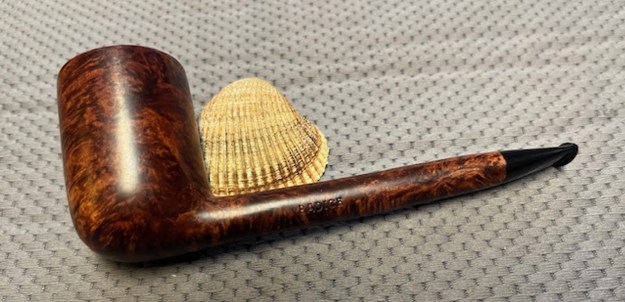
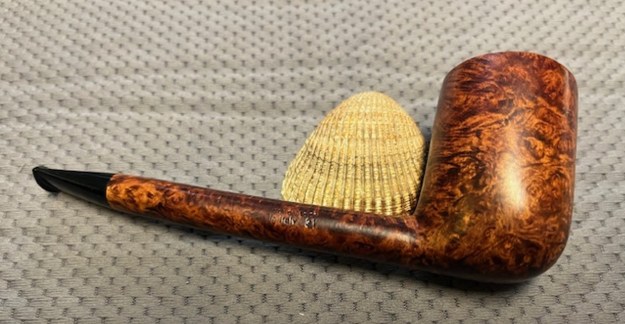
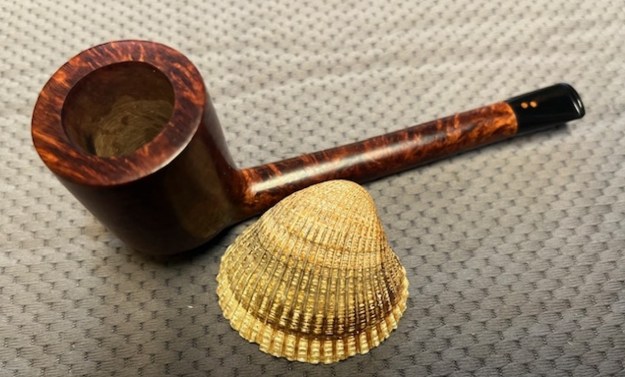
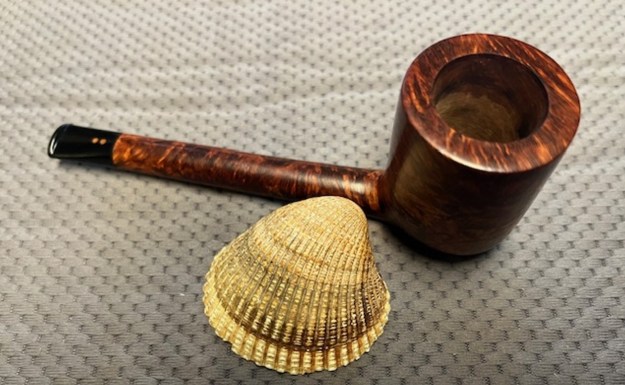
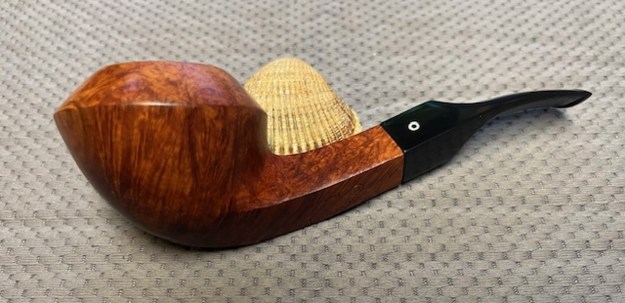
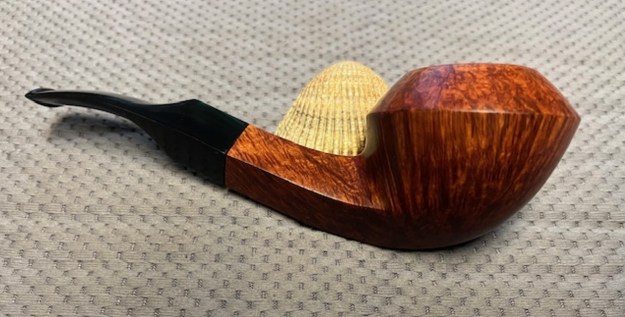
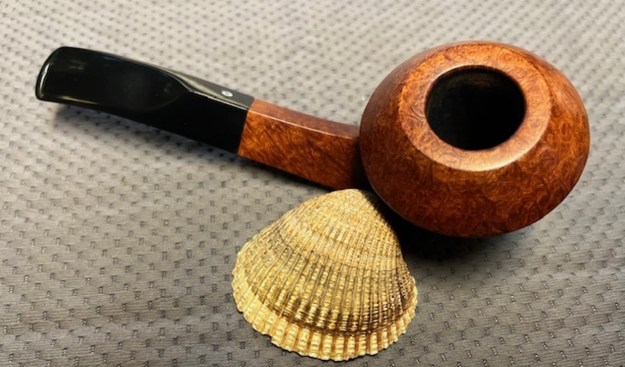
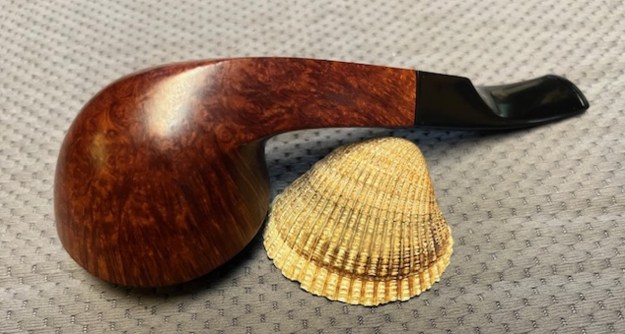
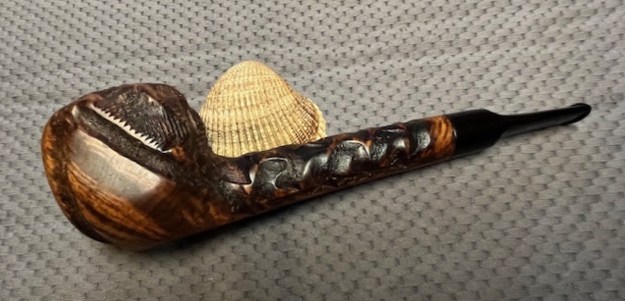
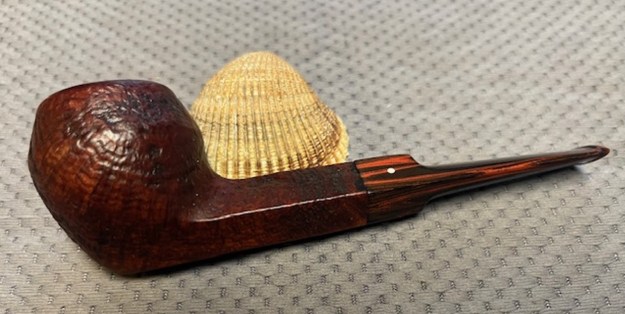
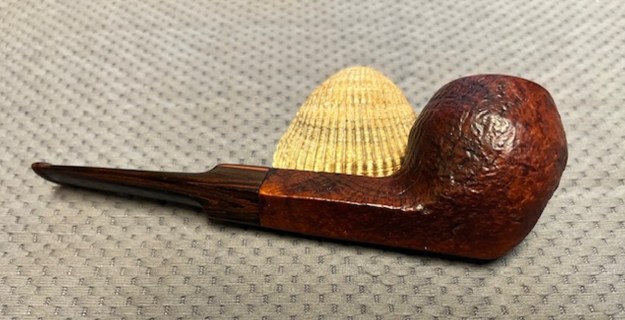
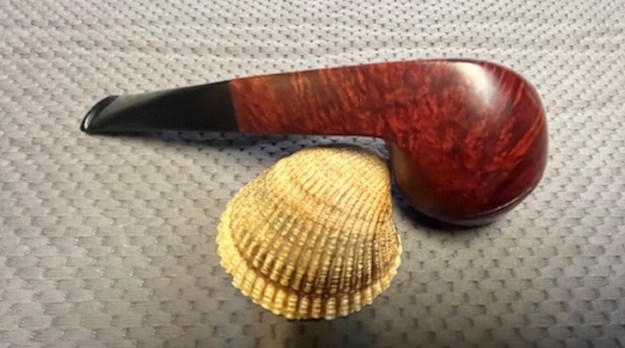
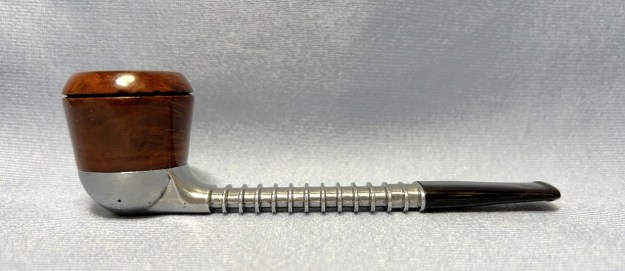
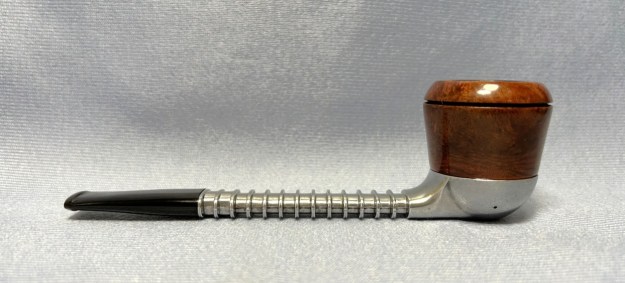
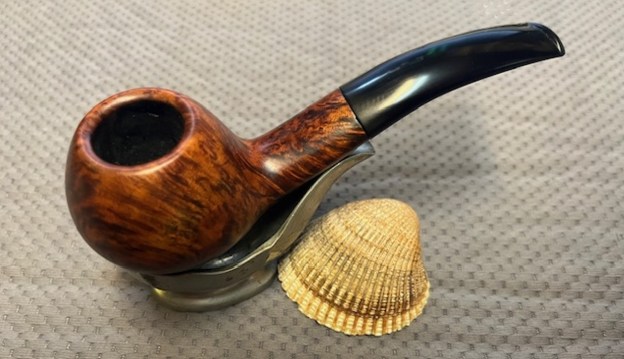
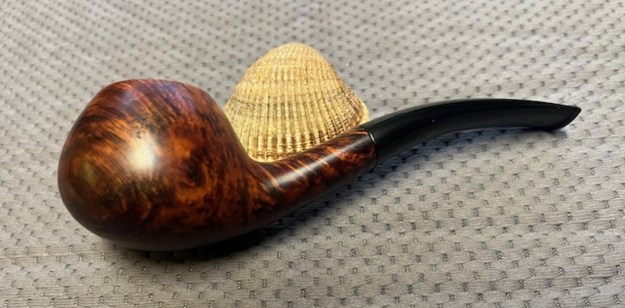
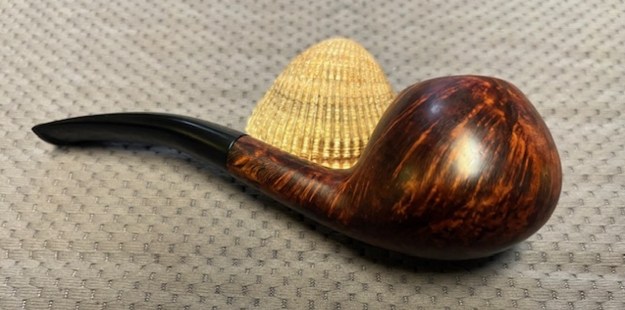
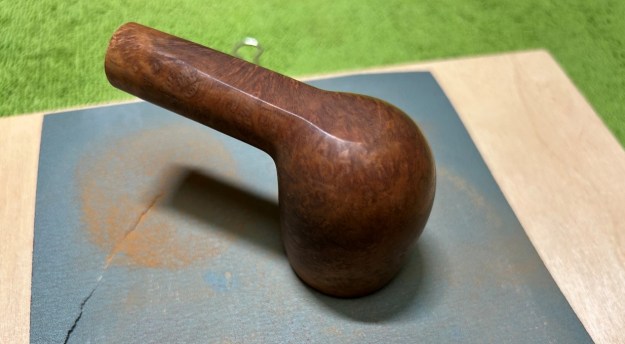
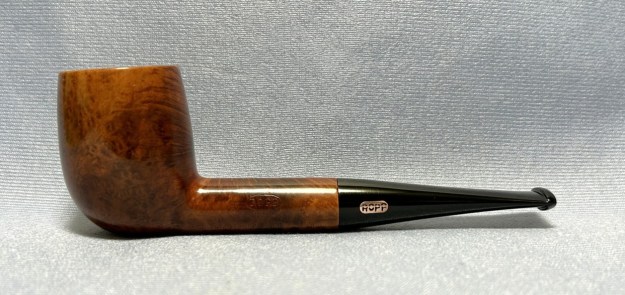
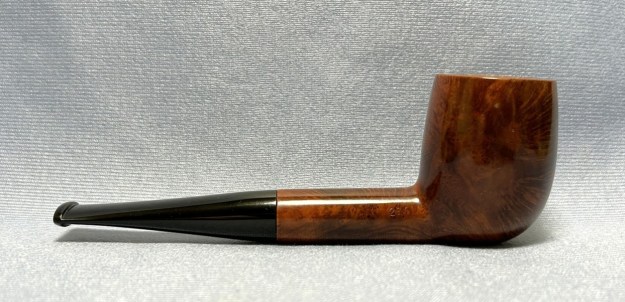
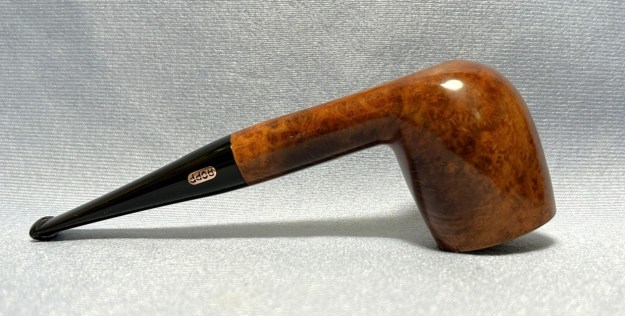
 It was great to finish the repairs and reshaping on this Julius Vesz Hand Made Circle 6 Calabash 97. I put the pipe back together and buffed it with Blue Diamond on the buffing wheel. I gave the bowl multiple coats of carnauba wax. I buffed the pipe with a clean buffing pad to raise the shine. I hand buffed the pipe with a microfiber cloth to deepen the shine. It is fun to see what the polished bowl looks like with deep sandblast all around it. Added to that the polished black, vulcanite, taper stem was beautiful. This Julius Vesz Hand Made 97 is great looking and the pipe feels great in my hand. It is light and well balanced. Have a look at it with the photos below. The dimensions are Length: 5 ½ inches, Height: 1 ¾ inches, Outside diameter of the bowl: 1 3/8 inches, Chamber diameter: ¾ of an inch. The weight of the pipe is 43 grams/1.48 ounces. It is a beautiful pipe and one that I will hold onto for awhile. I always have enjoyed Julius’ pipes and this one is a great shape.
As always, I encourage your questions and comments as you read the blog. Thanks to each of you who are reading this blog and following this restoration. Remember we are not pipe owners; we are pipe men and women who hold our pipes in trust until they pass on into the trust of those who follow us.