by Steve Laug
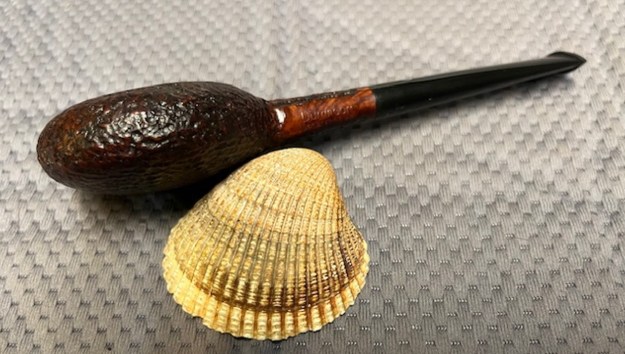
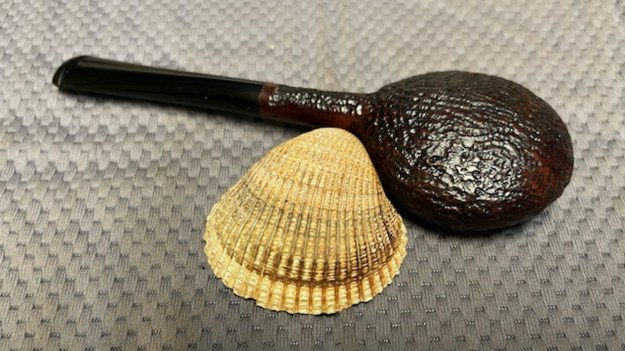
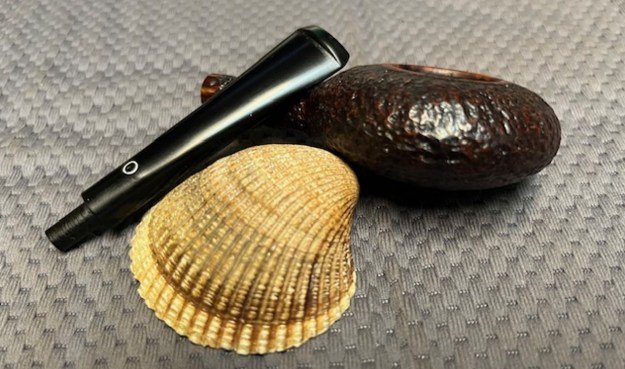
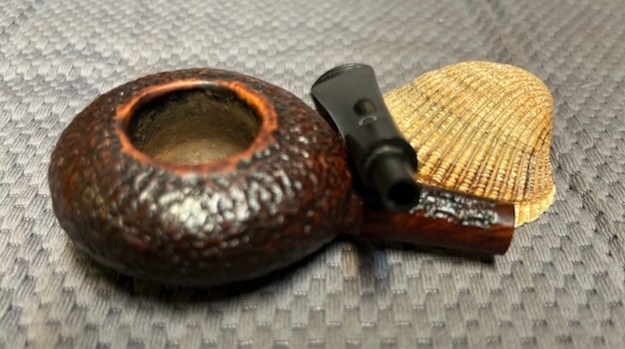
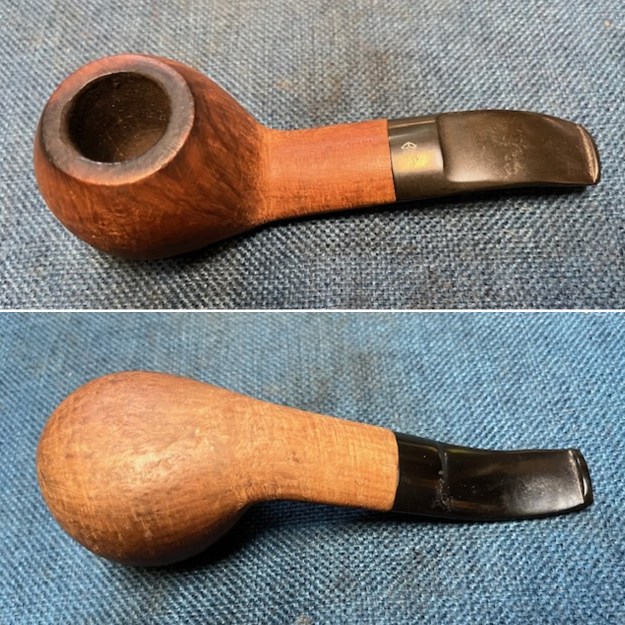
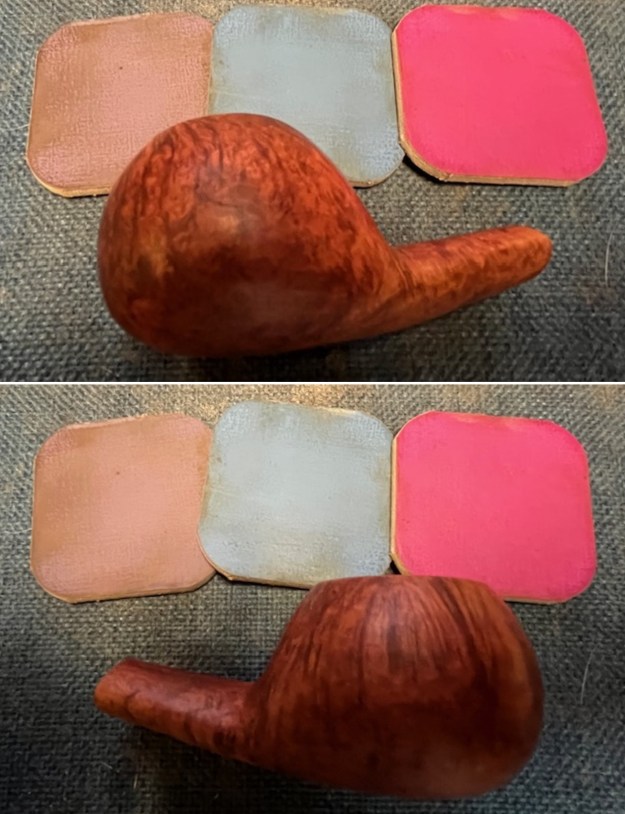
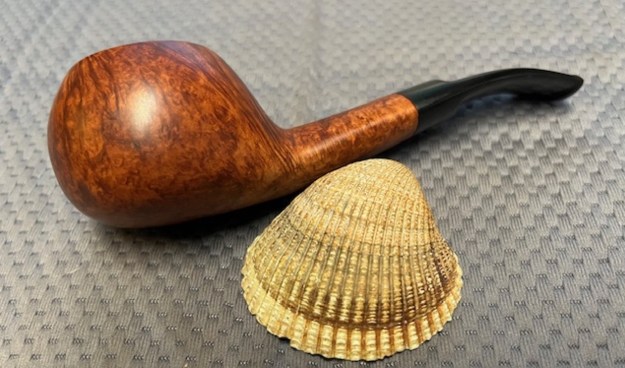
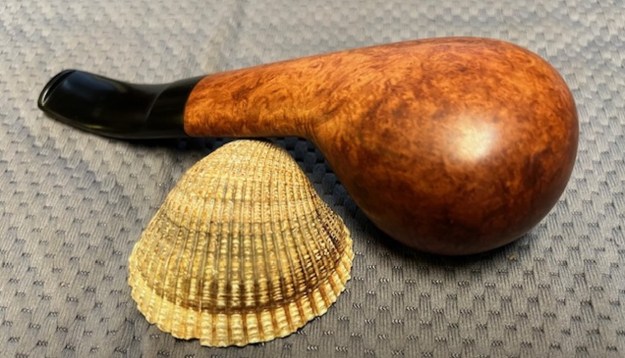
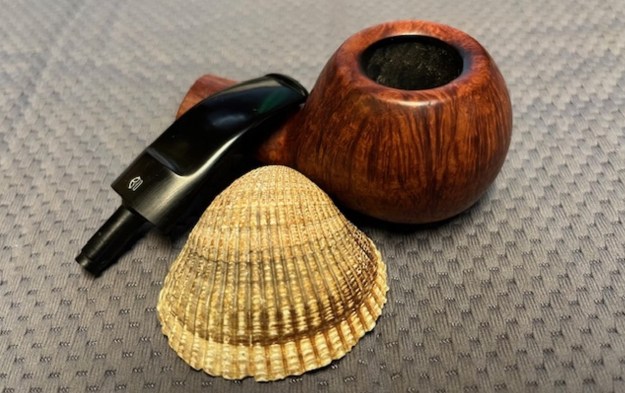
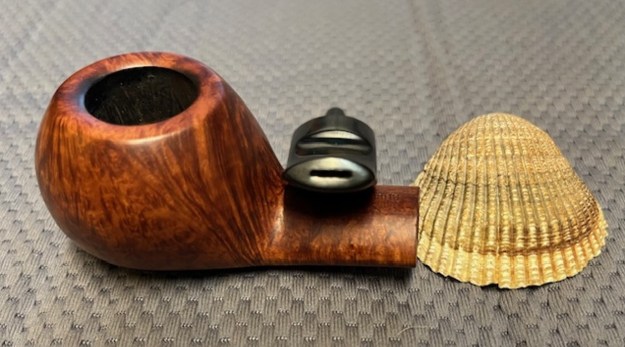
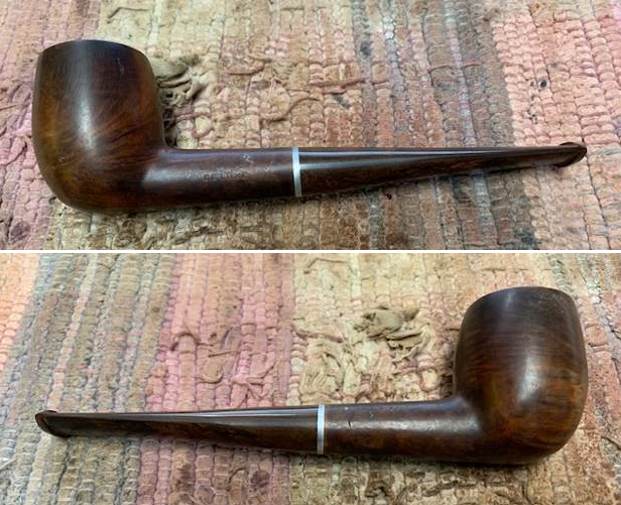
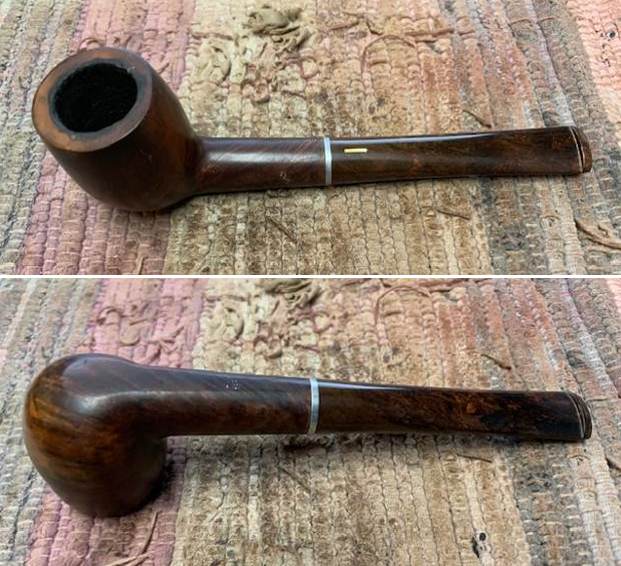
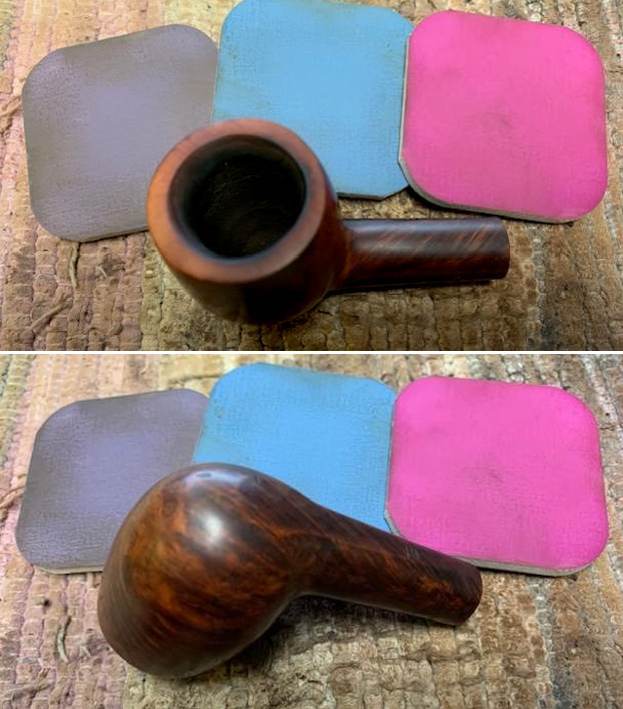
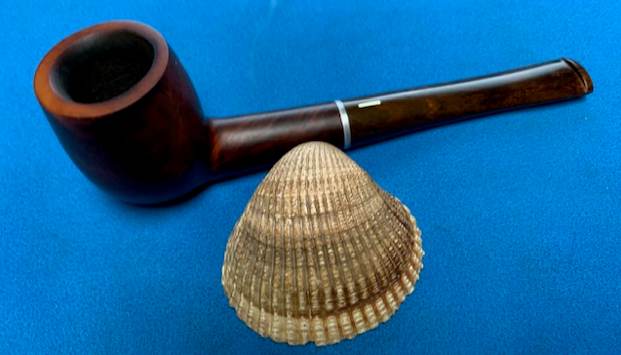
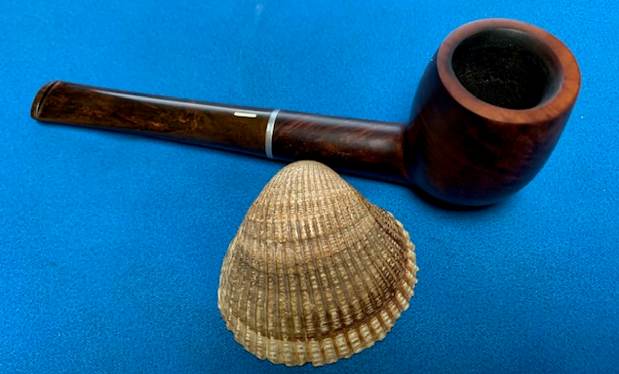
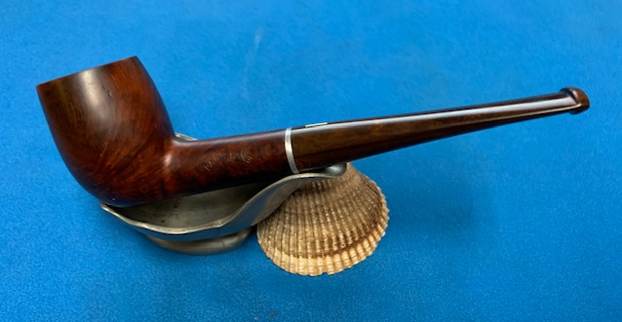
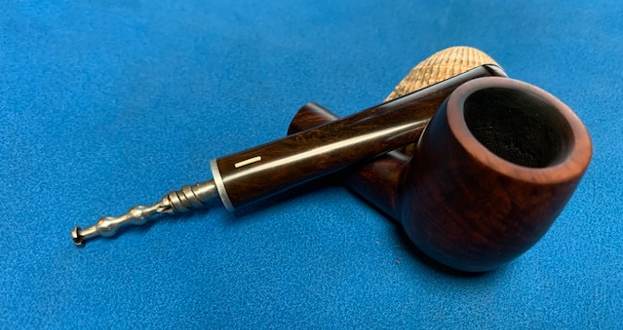
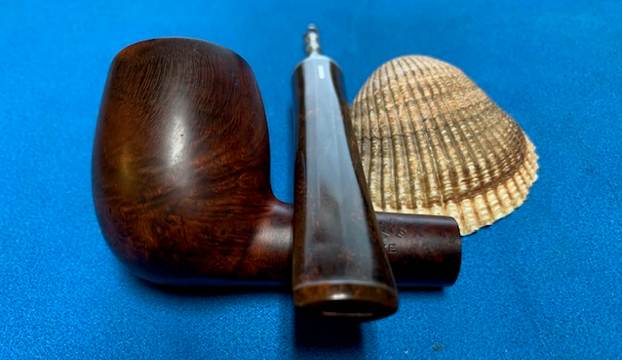
A few weeks ago, I visited my Dad and family in Idaho Falls, Idaho. My brother Jeff and I went through quite a few of our pipes and I pulled out some unique ones that I was interested in working on. I packed them and took them home with me. The next pipe is one we purchased on 05/09/2024 from an antique store in Vernonia, Oregon, USA. The pipe has a rusticated finish with a smooth panel on the left side of the shank and around the rim top. The stamping was on the left side of the shank in a panel. It read Dunmoor [over] Imported Briar. There was no shape number or other hints to the manufacture on the pipe. The bowl had a light cake in it and the rim top had some lava built up. The stem had an inserted silver O on the topside of the taper. The insert in the centre was missing. The stem was lightly oxidized and there were tooth marks on the top and underside ahead of the button. I took a few photos of the pipe in the car on the way home and have included them below.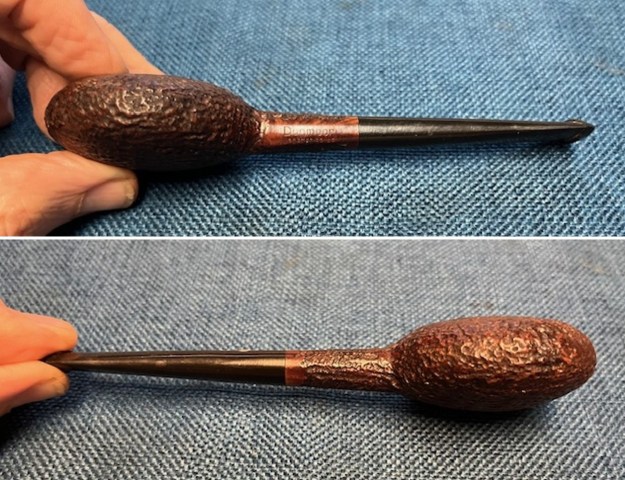
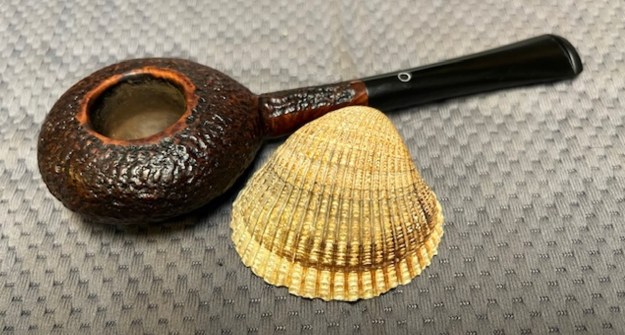
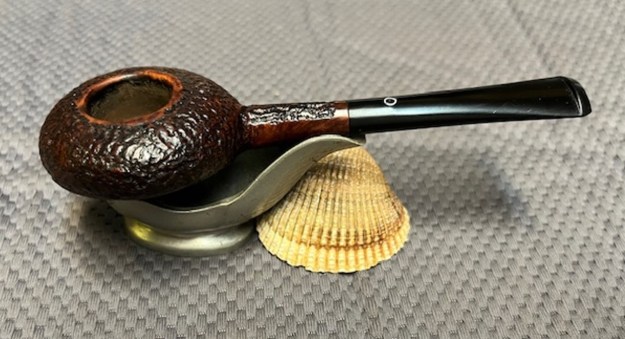
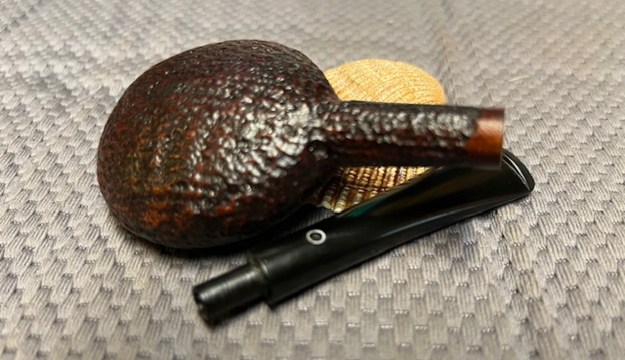
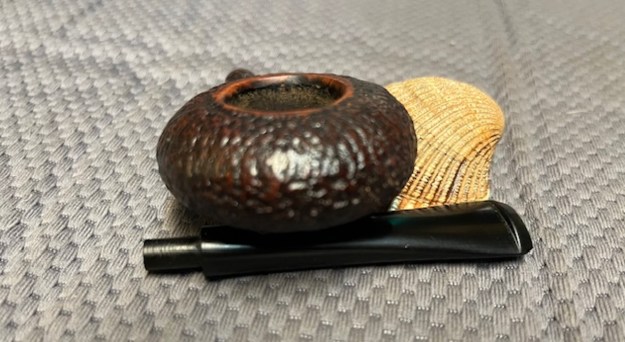
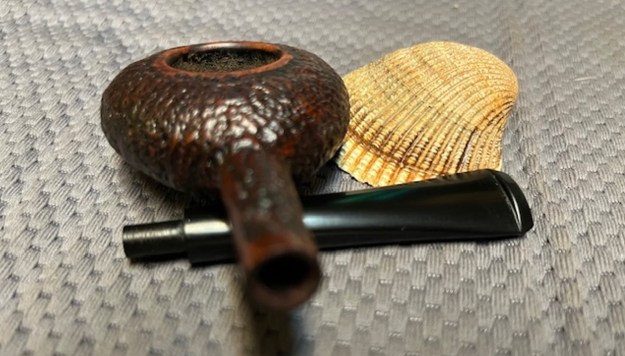
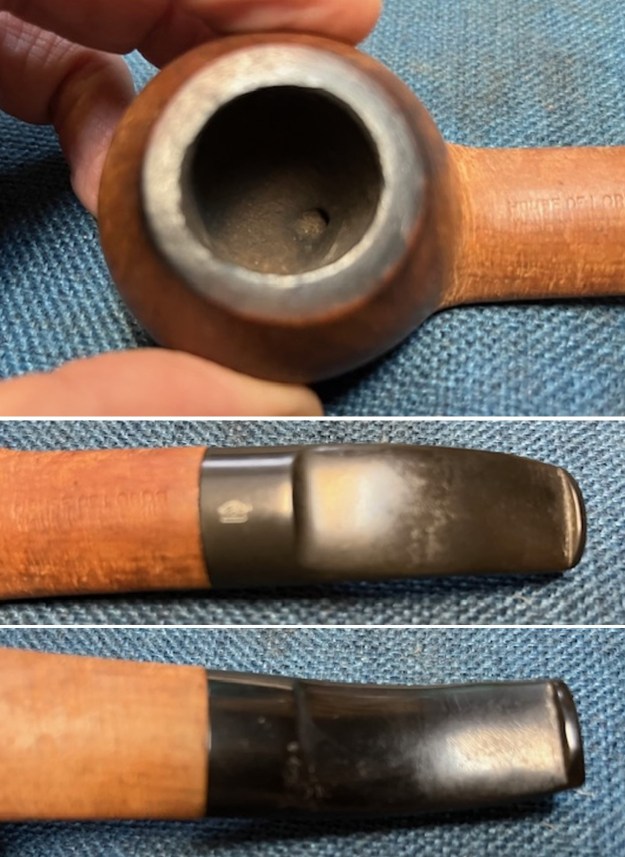
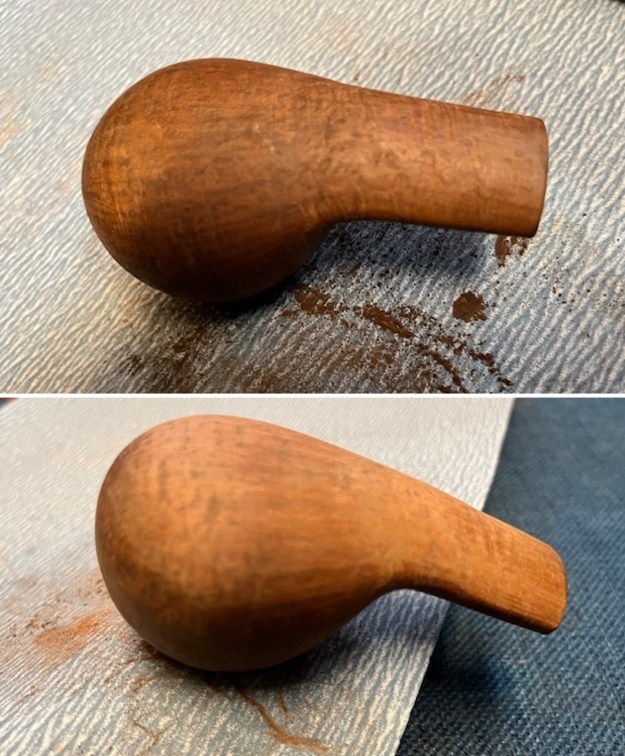
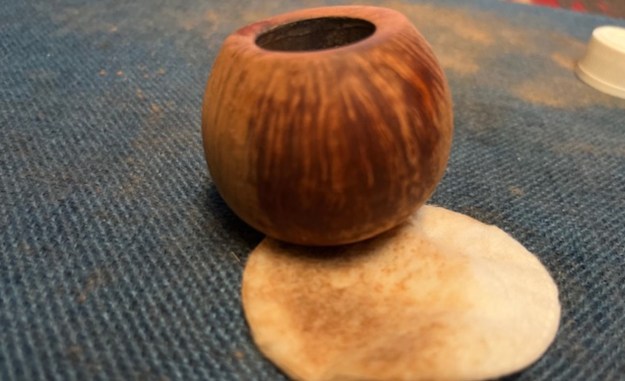
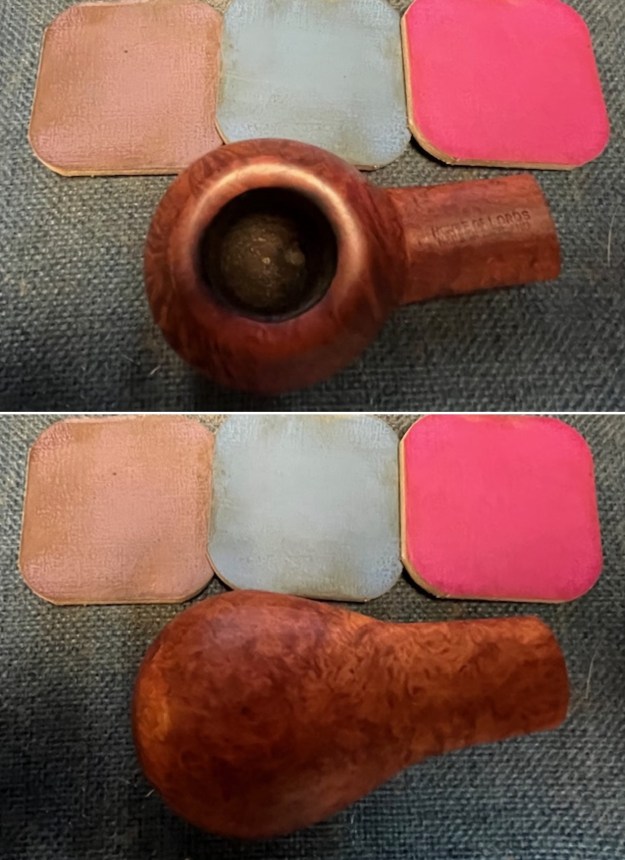
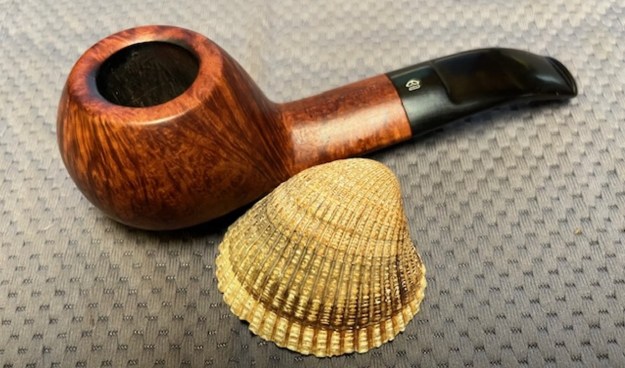
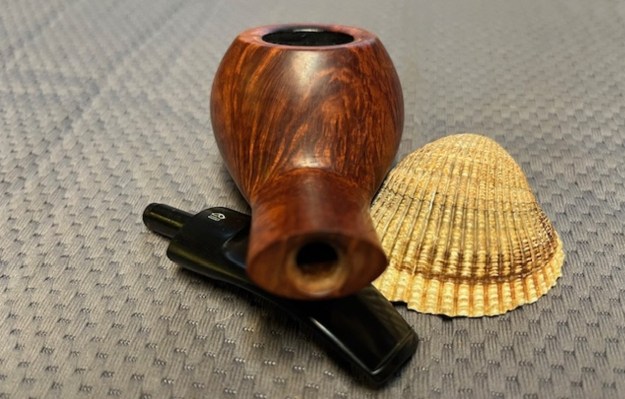
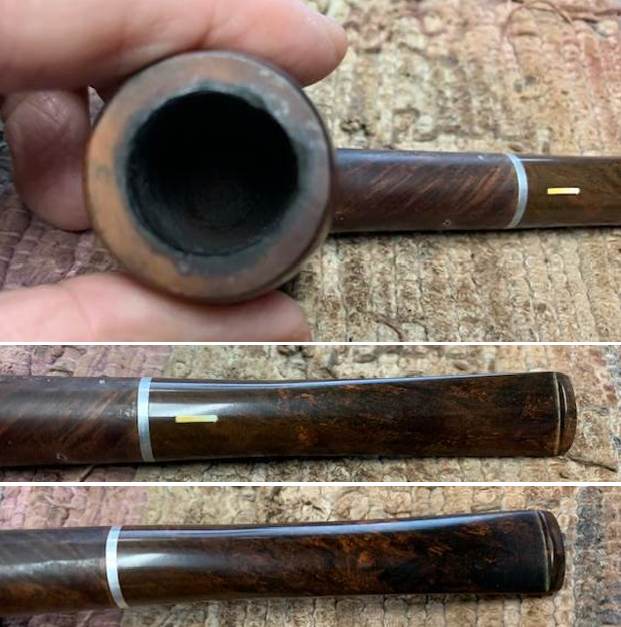
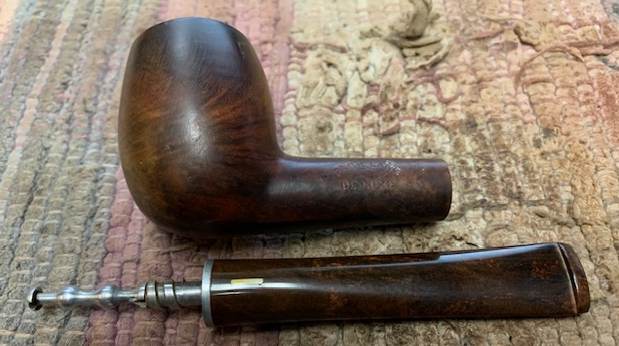
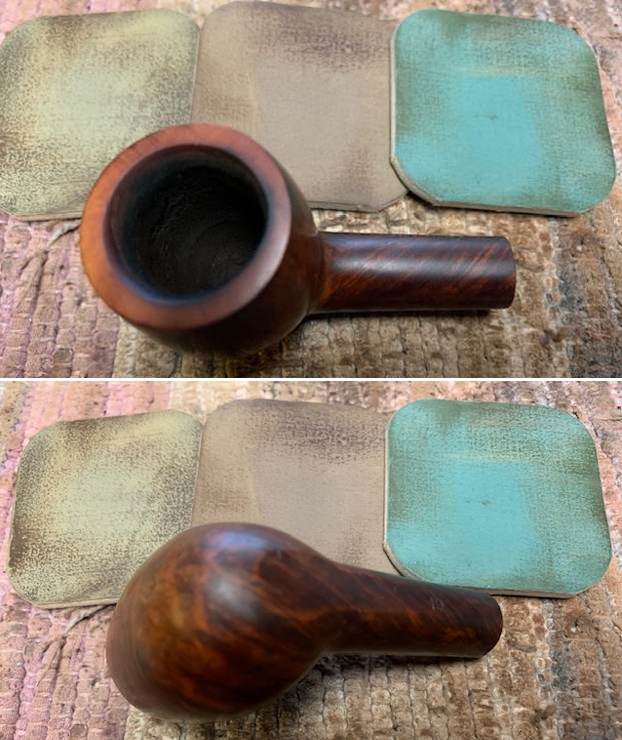
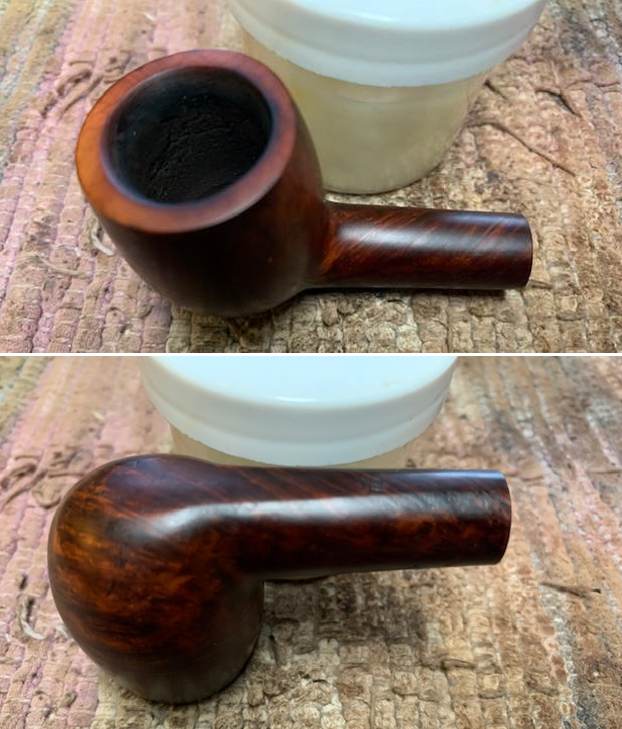
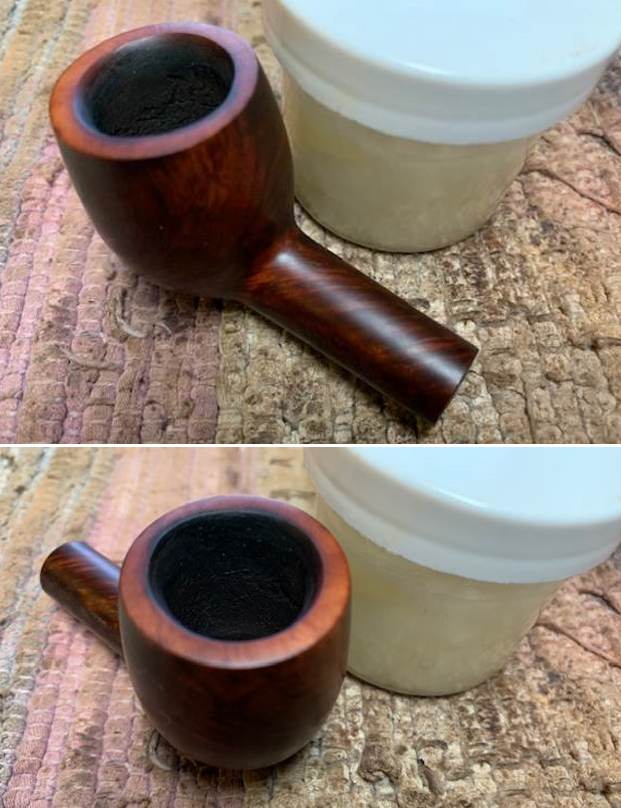
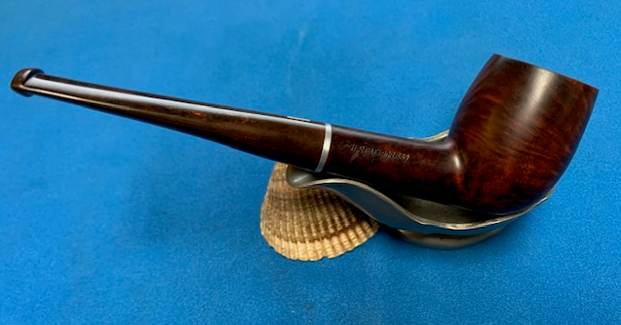
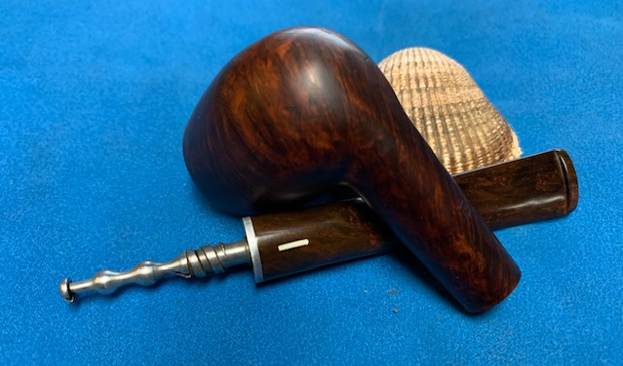
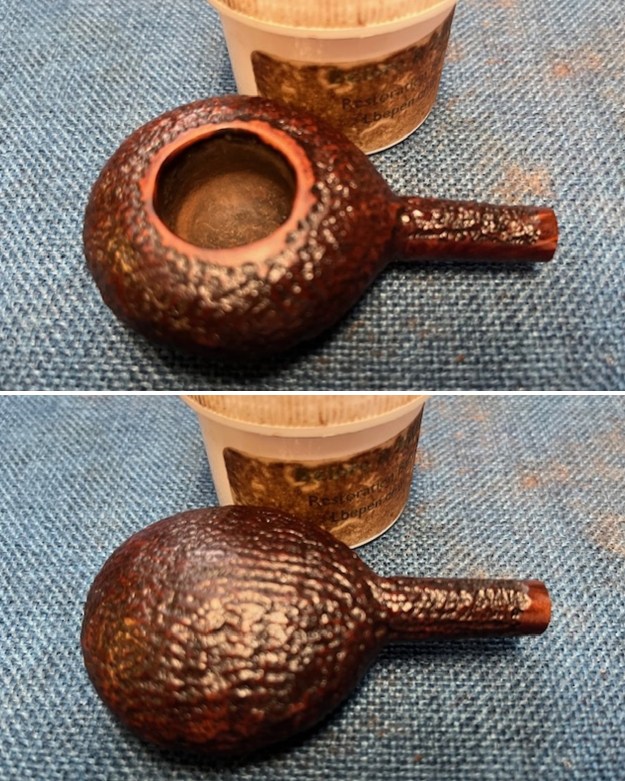
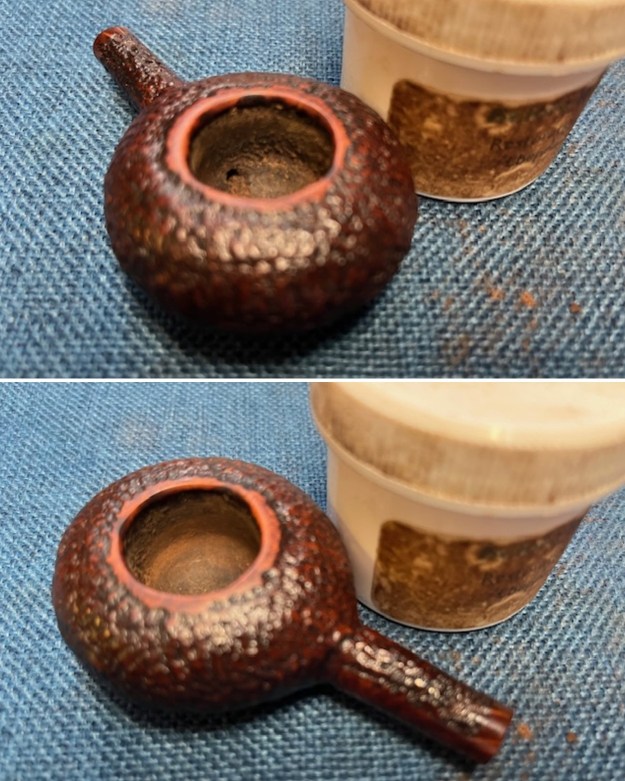
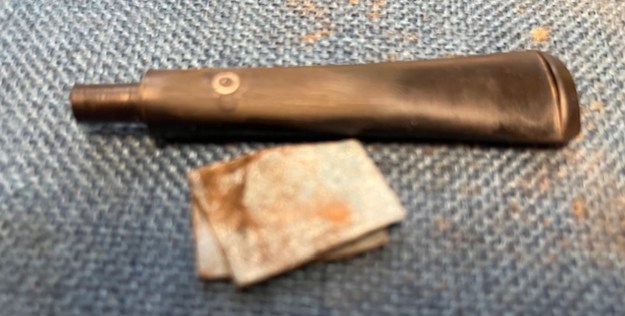
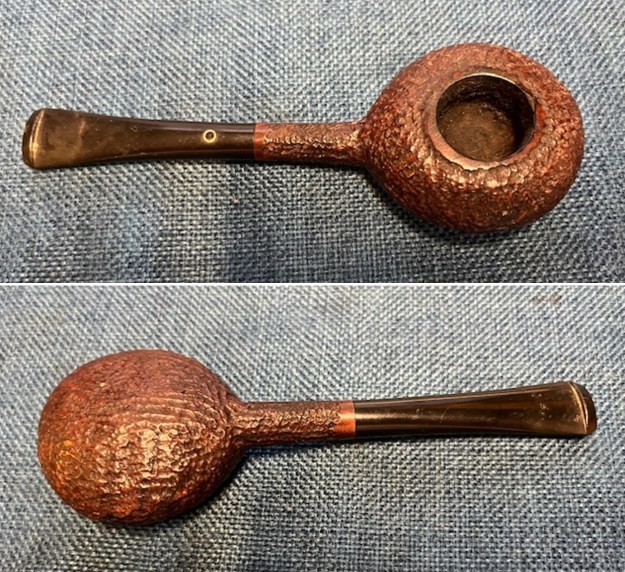 I took a photo of the rim top and bowl to show the condition of both of them. The bowl itself had a light cake on the walls and bowl bottom. The rim top showed some light lava and the inner edge was rough from being reamed with a knife and would need to be cleaned up. The photos of the stem show the light oxidation and tooth marks/chatter on both sides ahead of the button. You can also see the open hole in the centre of the stem logo.
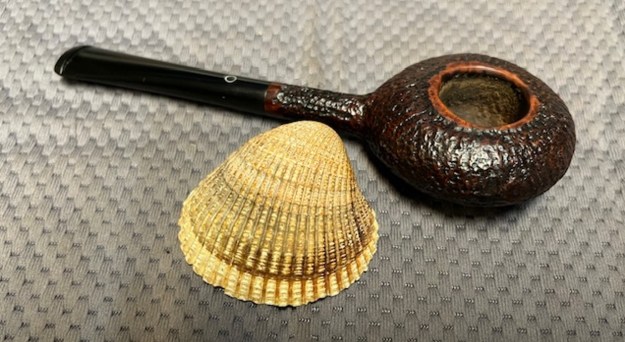
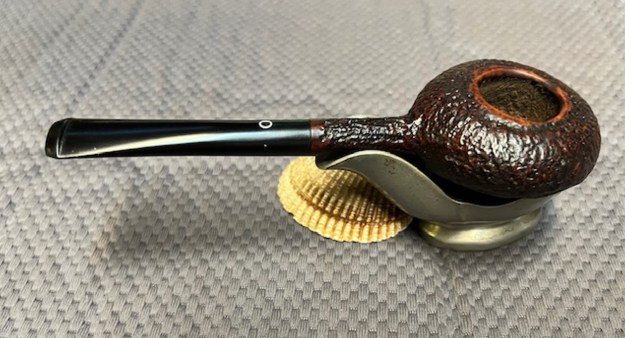
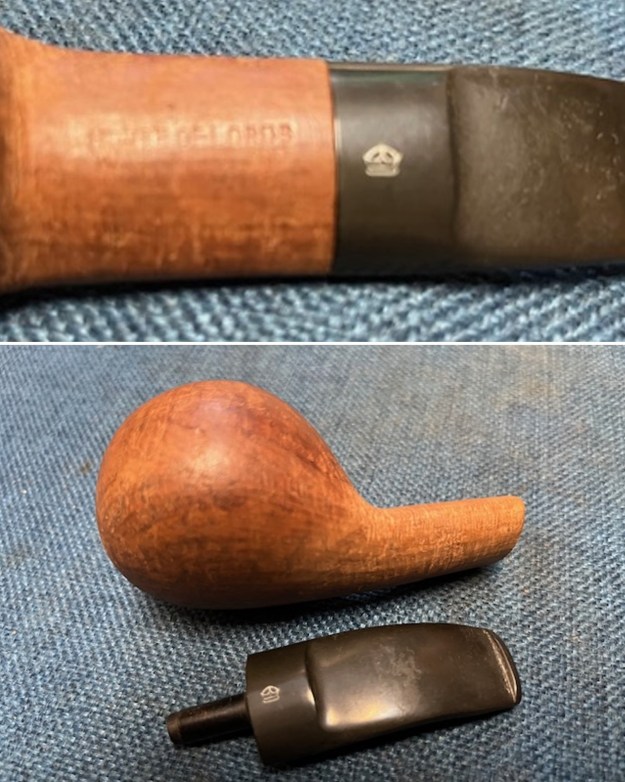
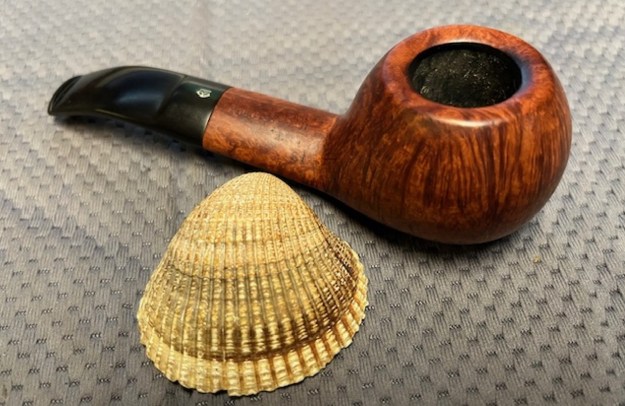
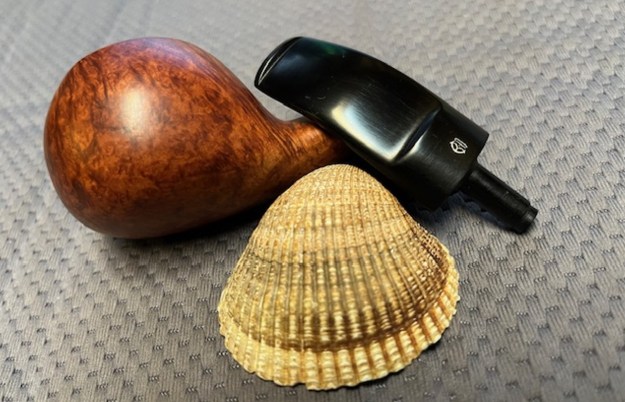
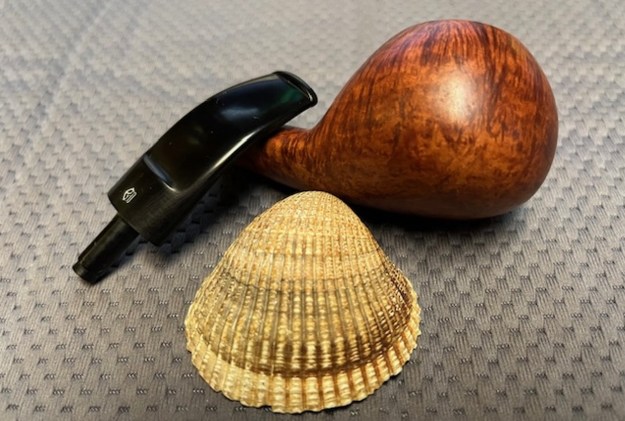
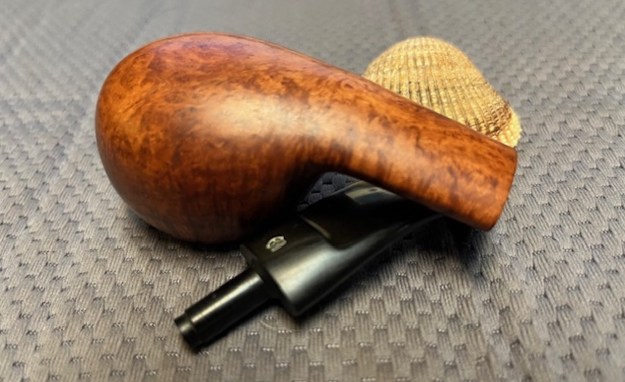
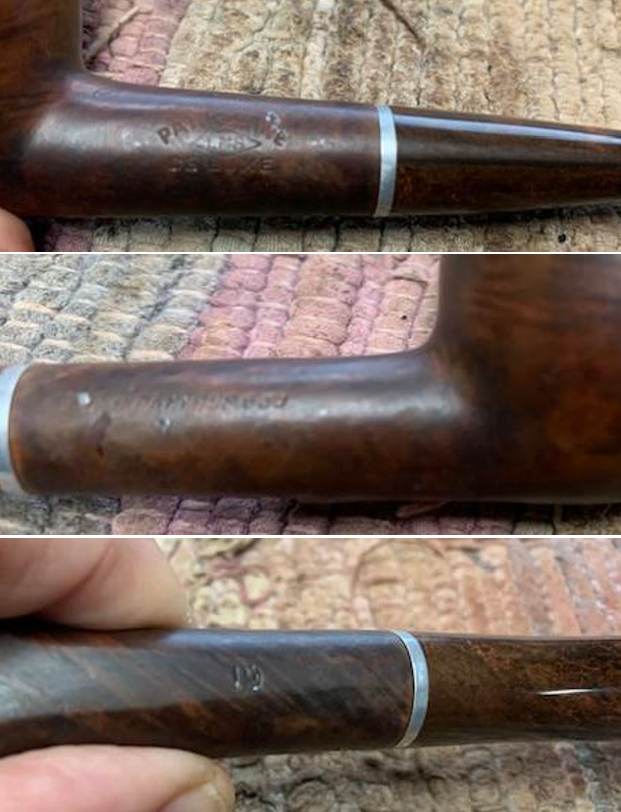
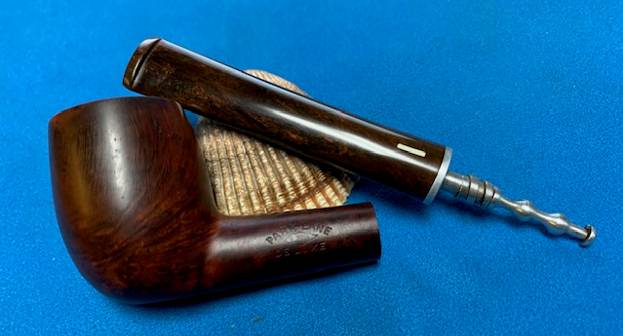
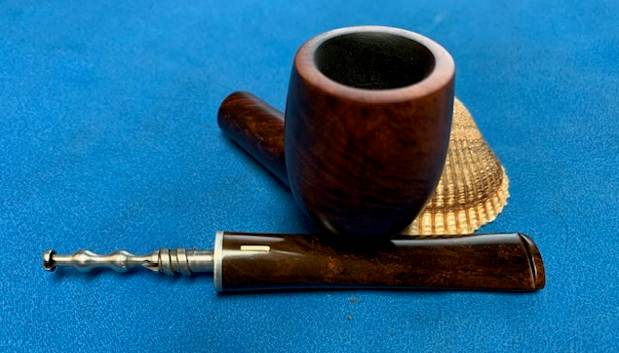
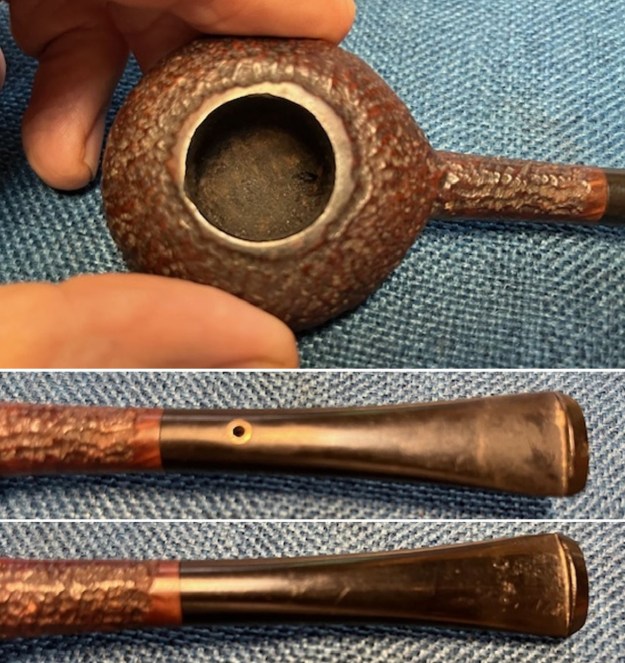 I took a photo of the stamping on the side of the shank. The stamping was clear and readable as noted above. I removed the stem from the shank and took a photo to show the proportions of the pipe.
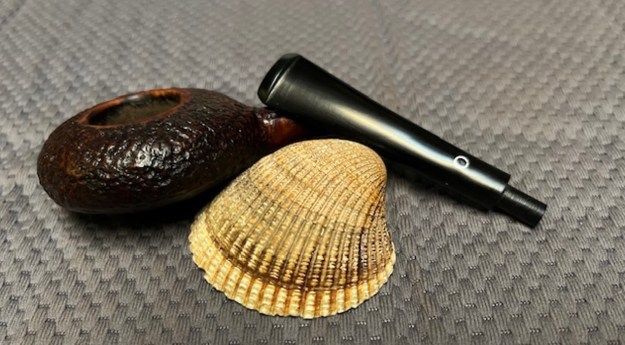
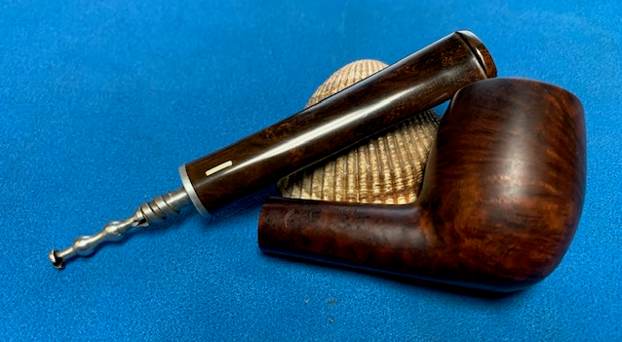
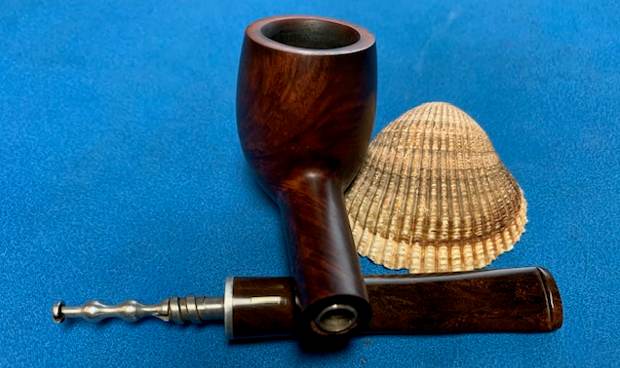
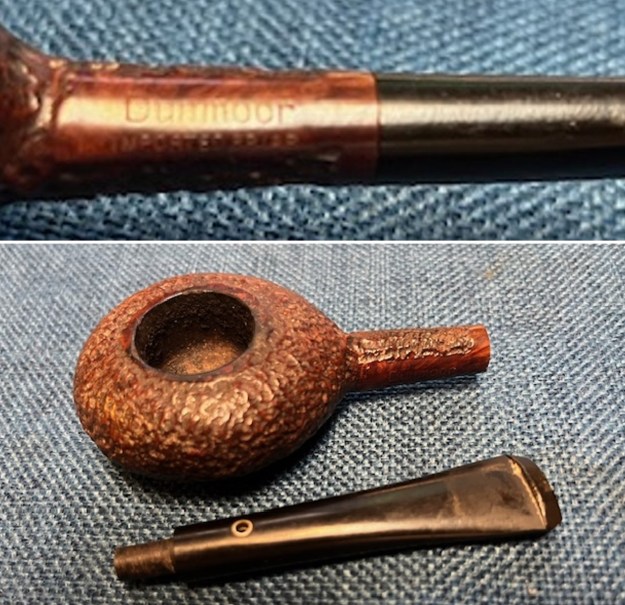 There was little information on the Dunmoor brand online. I checked all the standard sites and books of brands I have available to me. There were other Dunmoor pipes for sale all listed as US made pipes but no links to a maker. I did a final check on Pipephil’s site using the logo on the top of the stem to direct my search. There I found a US Made pipe with the same silver O on the stem surface. It appeared that the center was black. Here is the link to what is known as a Medico Cavalier (http://www.pipephil.eu/logos/en/motifs/mo-ring.html#medico). The logo seems identical. It is similar enough for me to link the two pipes. I checked my stem and found that the center of the O was missing and I could blow air through it. That would need to be fixed. I have included a screen capture of the information on the site below.
 Now it was time to work on the pipe. I used a Savinelli Fitsall Pipe Knife to clean up the cake in the shallow bowl and to scrape off the lava on the rim top. I used a dowel wrapped with 220 grit sandpaper to smooth out the walls of the bowl. I checked for damage on the bowl walls and it was in good condition.
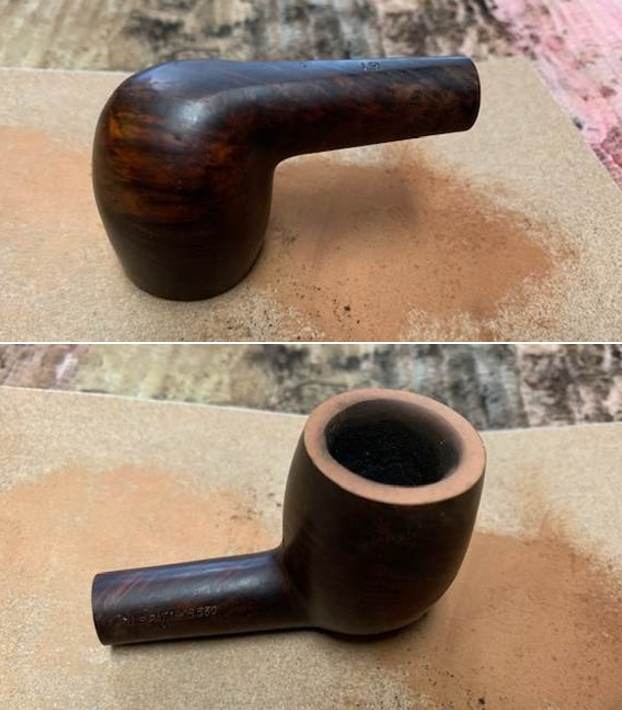
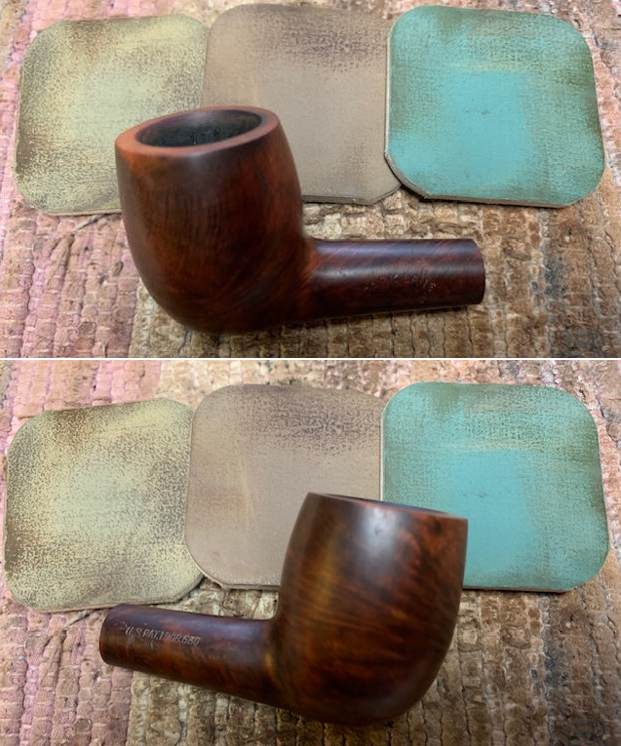
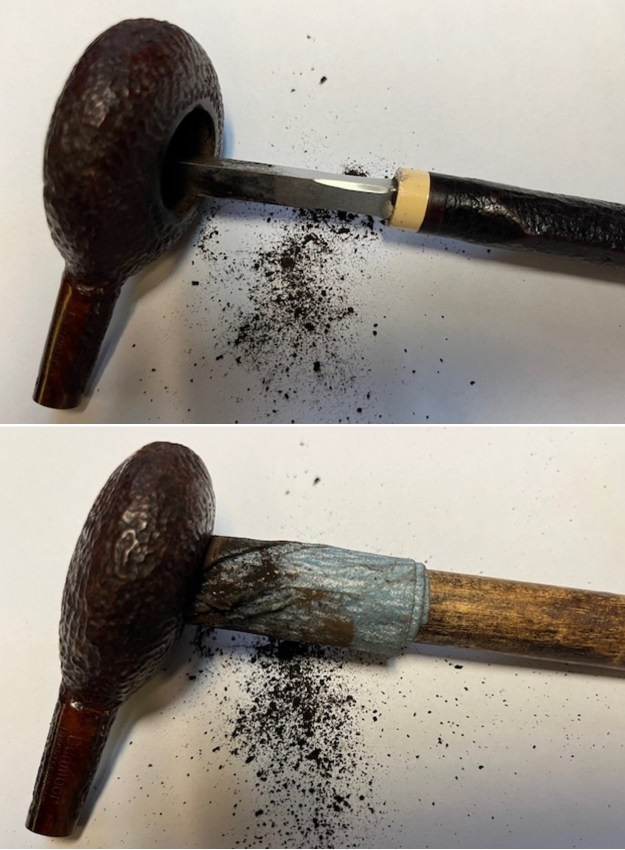 I scrubbed out the inside of the shank, mortise and the airway in both the stem and the shank. I used pipe cleaners, cotton swabs and isopropyl alcohol. It cleaned up very well.
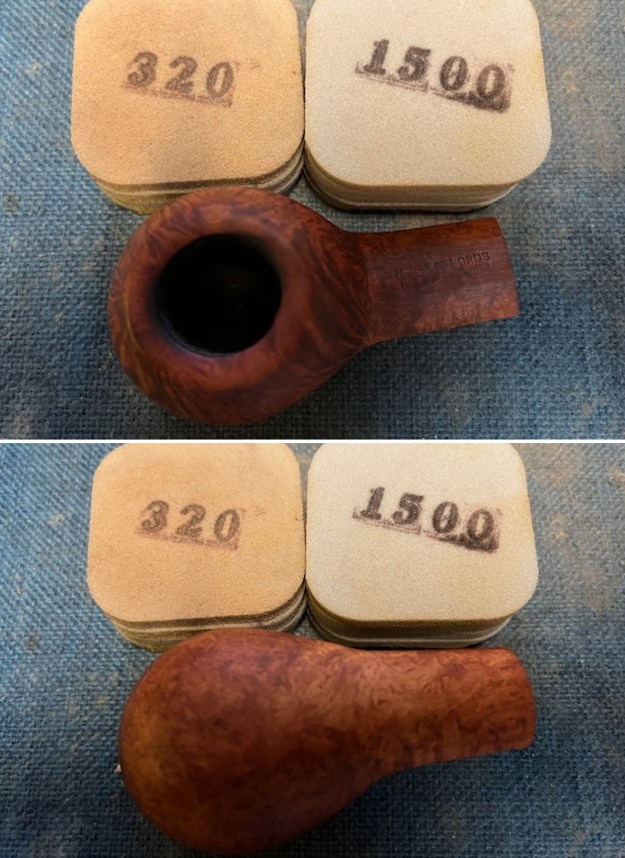
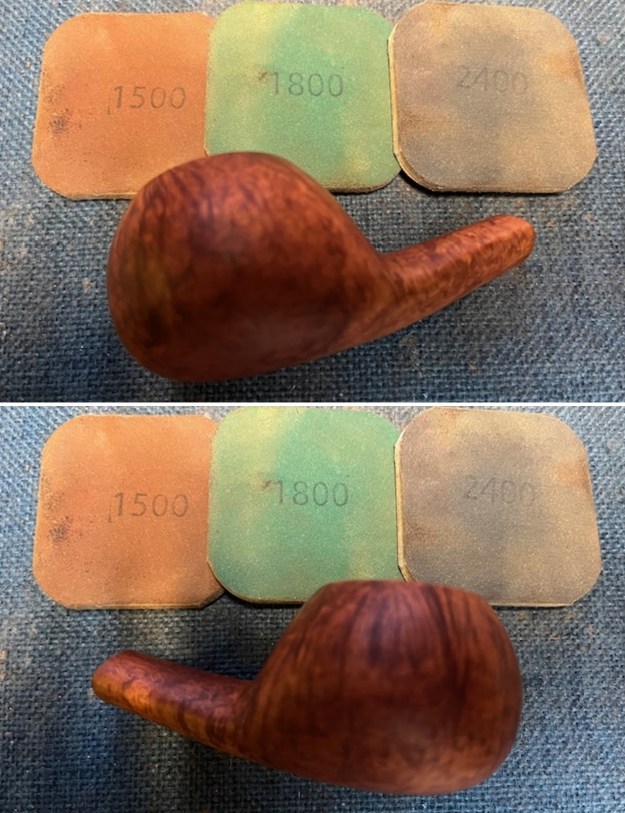
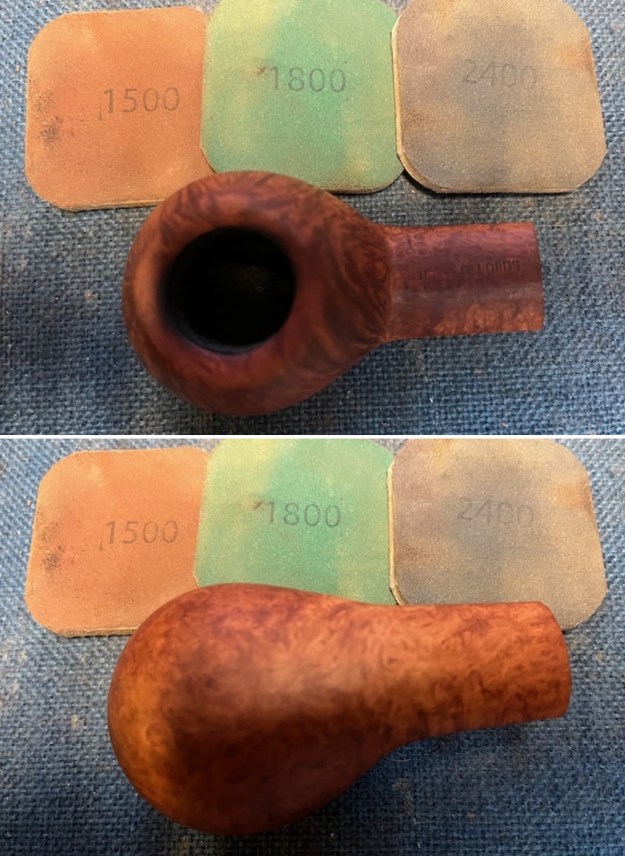
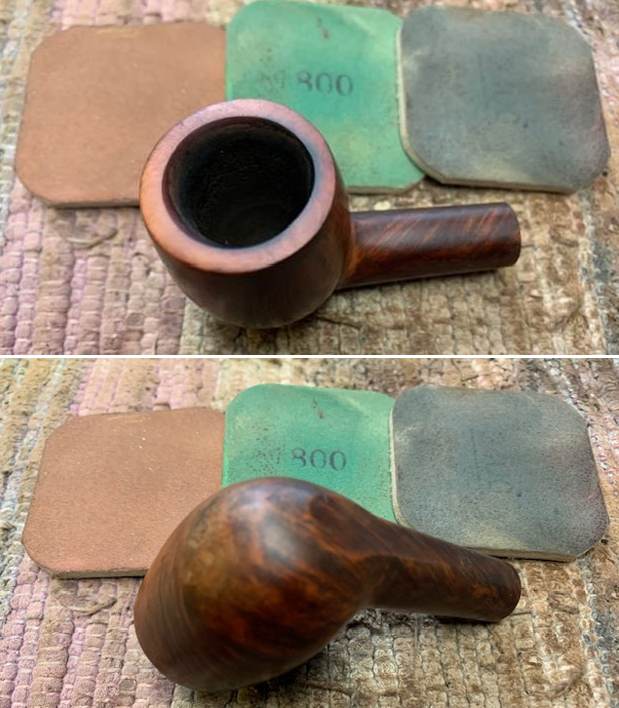
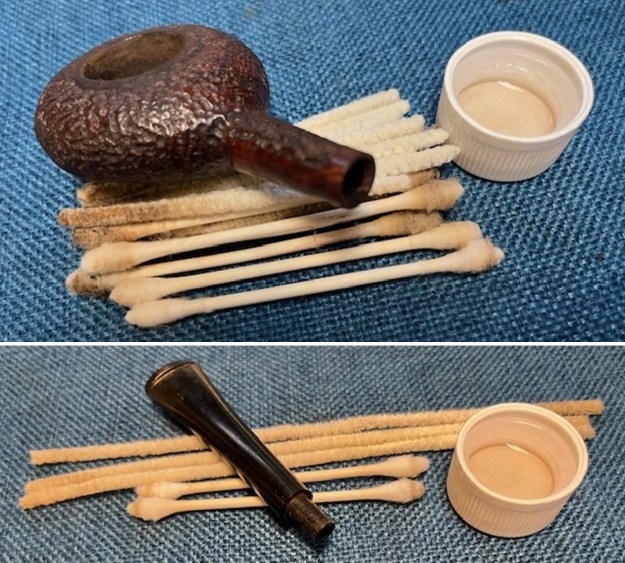 I used a folded piece of 220 grit sandpaper to clean up the damage around the bowl edge and the lava build up on the rim top. I polished it with 1500-3000 sanding pads. It is looking much better at this point in the process.
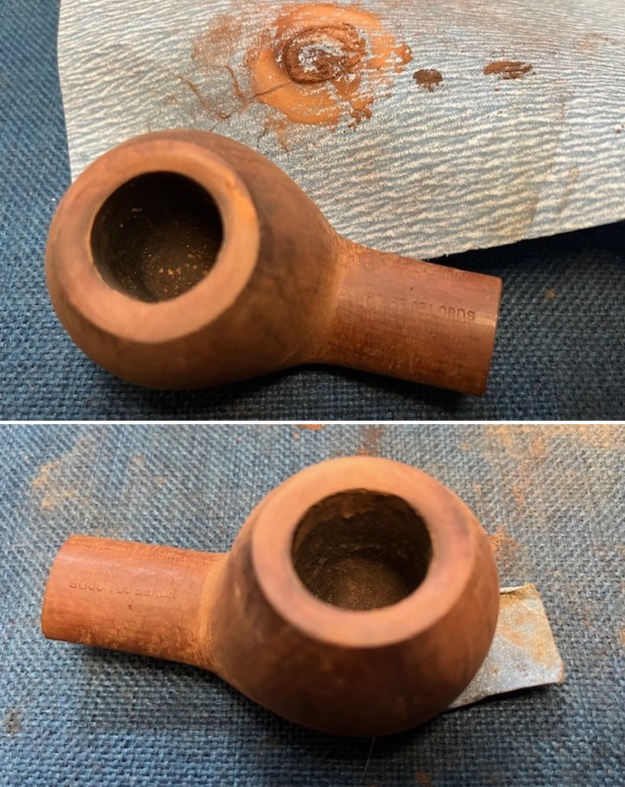
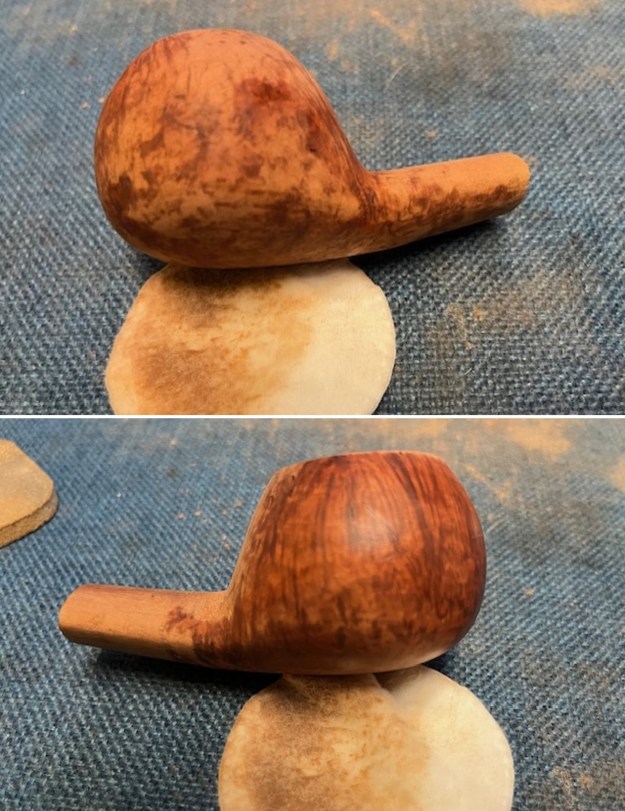
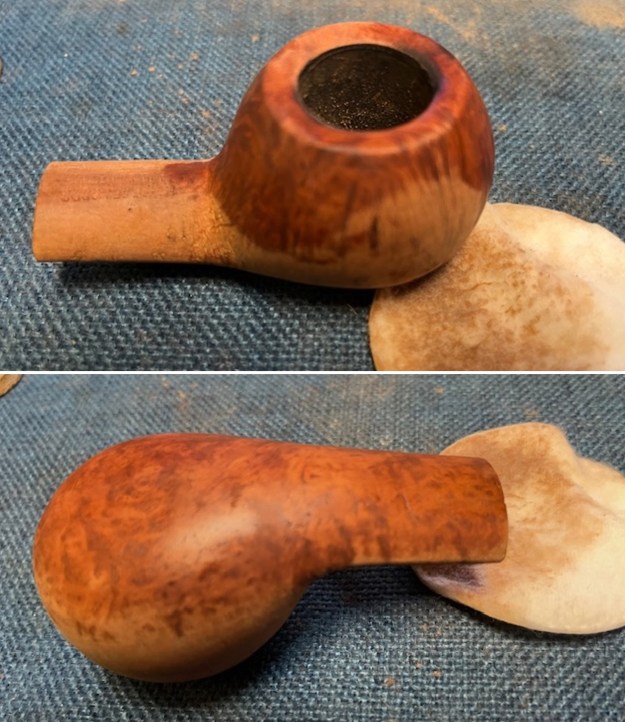
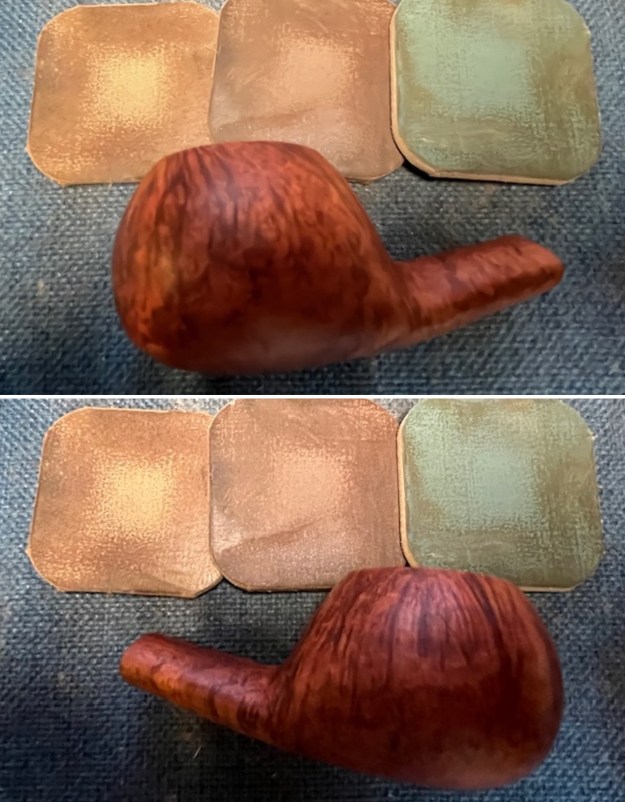
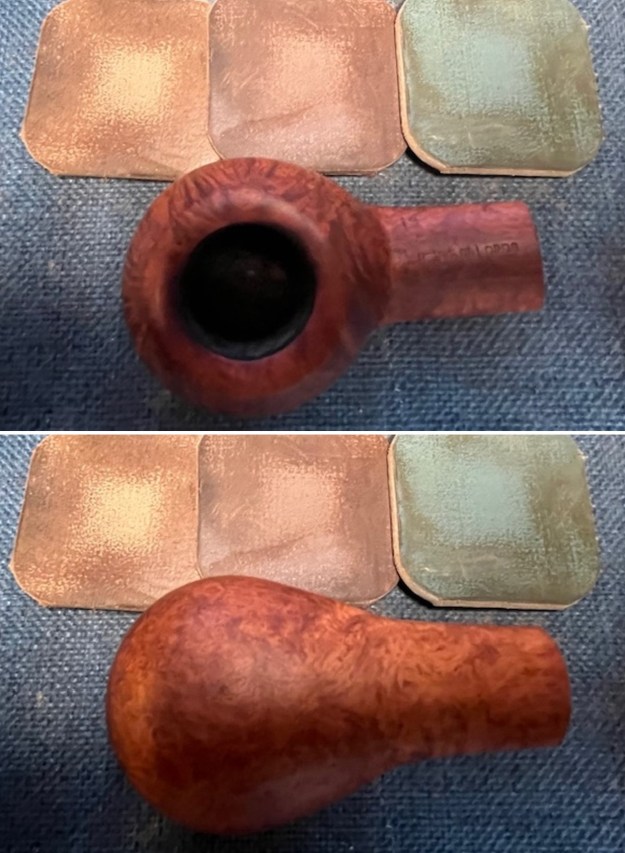
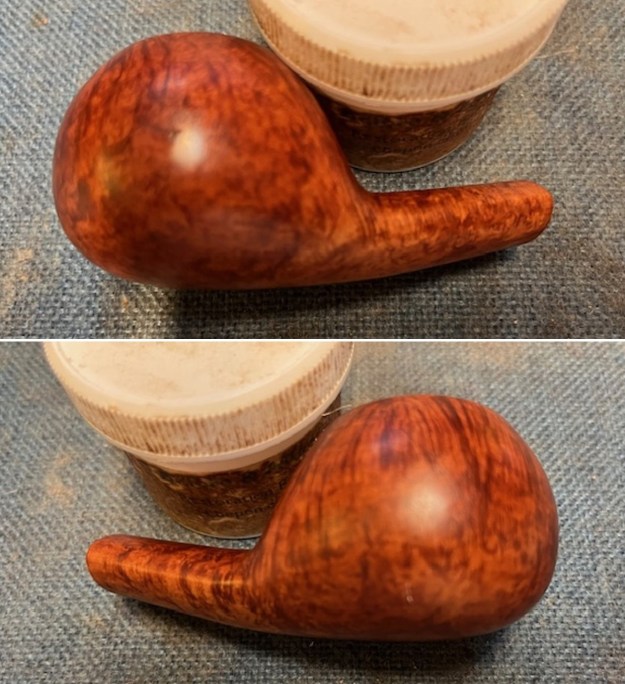
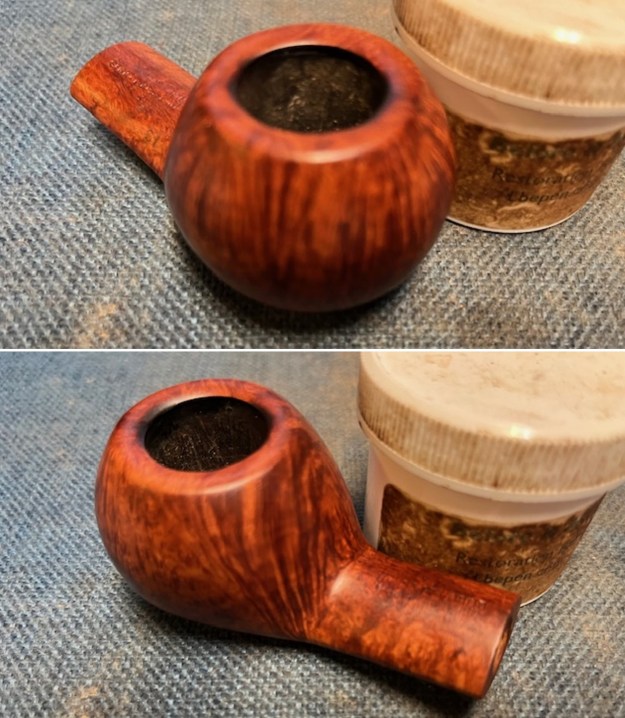
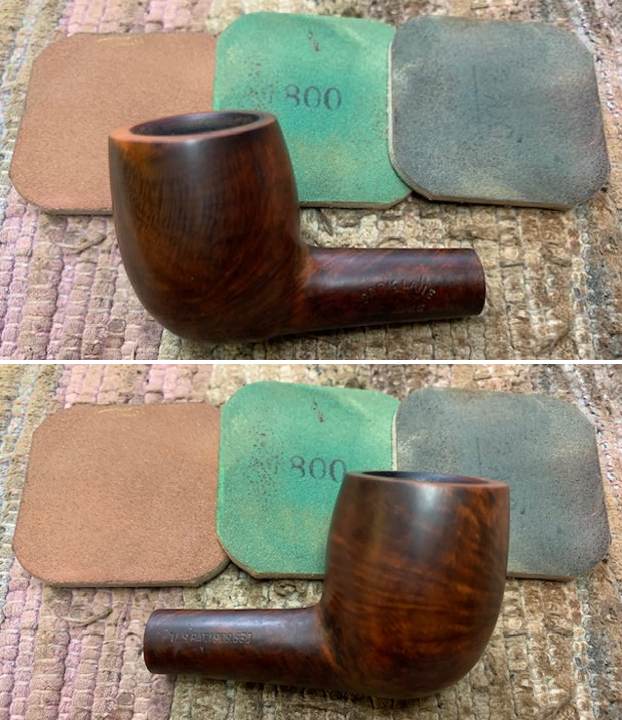
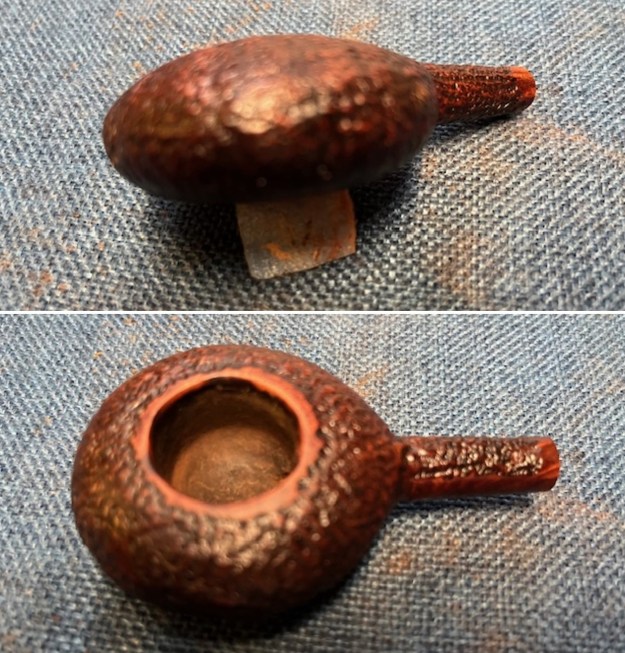 I rubbed the bowl down with Before & After Restoration Balm. It is a paste/balm that works to deep clean the finish, enliven and protect the briar. I worked it into the briar with my finger tips and a shoe brush to make sure that it covers every square inch of the pipe. I set it aside for 10 minutes to let it do its work. I wiped it off with a soft cloth then buffed it with a cotton cloth. The briar really began to have a deep shine. The photos I took of the bowl at this point mark the progress in the restoration. You see the shine that the briar has taken on and the way rustication has depth.
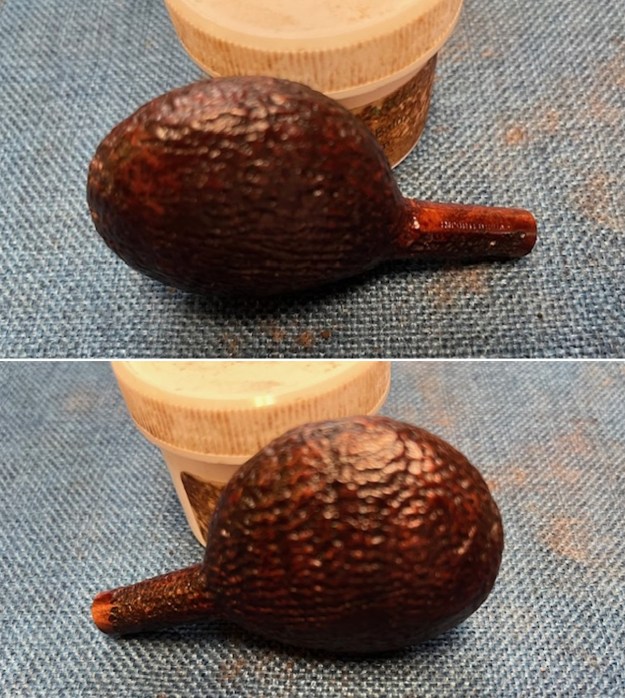
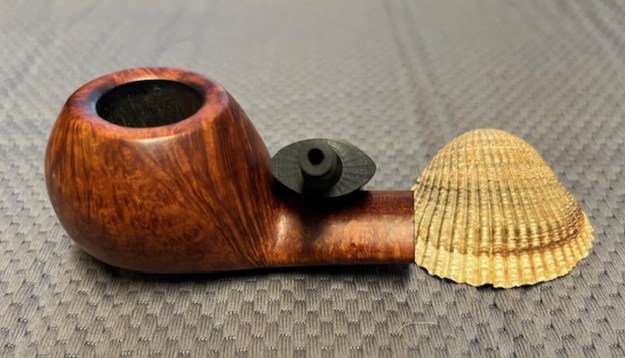
 I set the bowl aside and turned my attention to the stem. I decided to start with the missing centre dot on the logo. The issue was that without the centre dot it was wide open and air was drawn through easily diverting the airflow from the button. I cleaned out the hole in the logo with a pipe cleaner. I greased a pipe cleaner with Vaseline and inserted it in the stem from the tenon end so that it was directly below the hole. I filled in the hole with black CA glue and used some accelerator on it to cure it quickly. I removed the pipe cleaner and sanded the repair smooth with the surface of the stem.
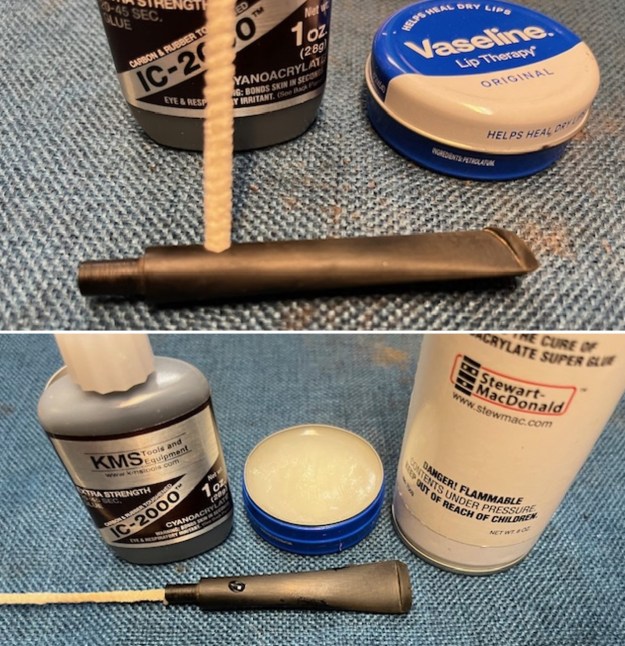
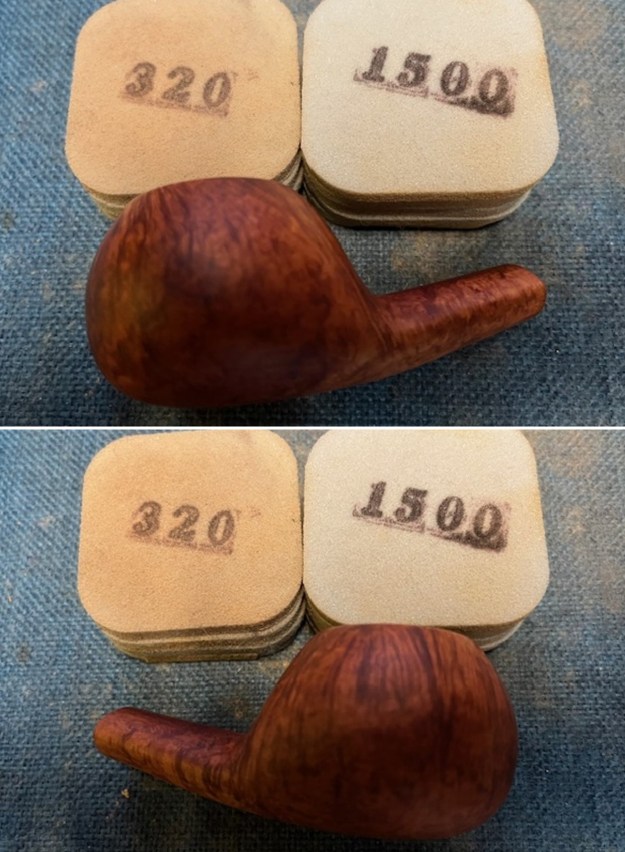
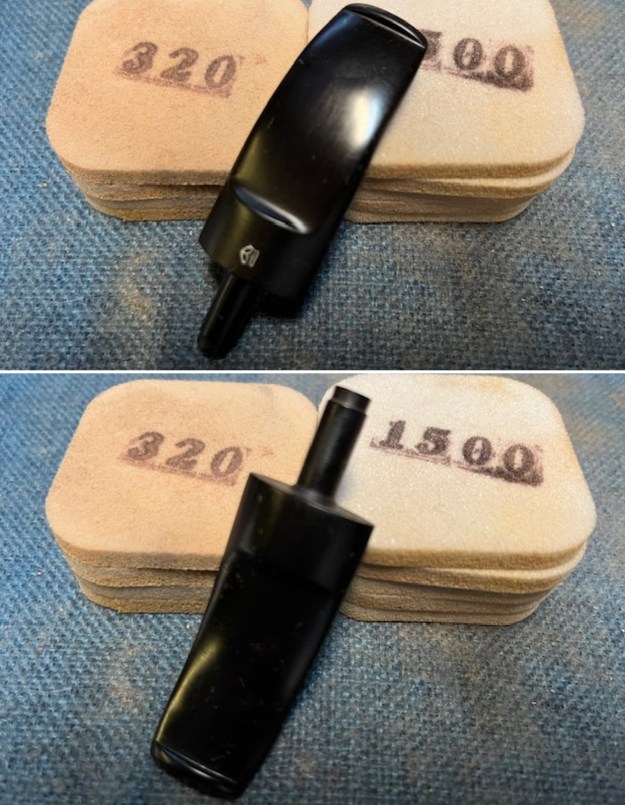
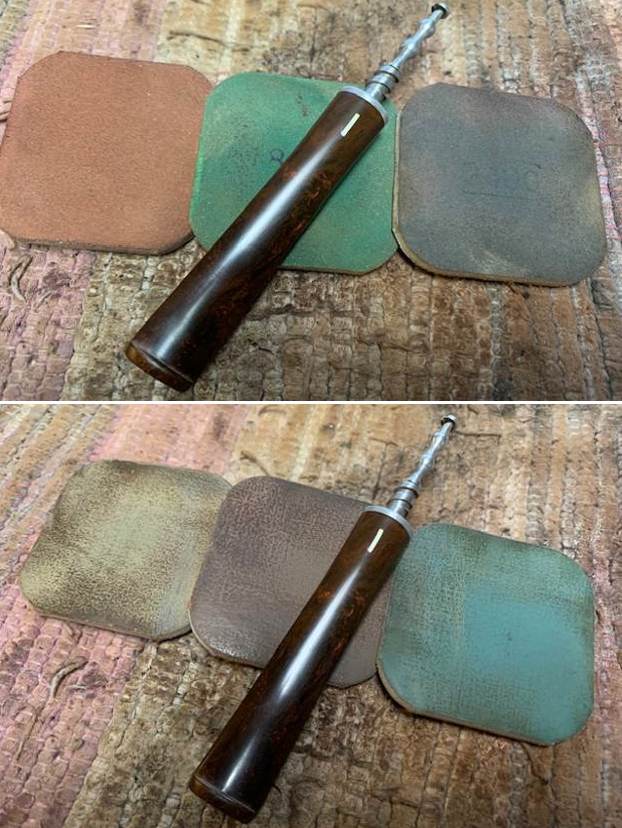
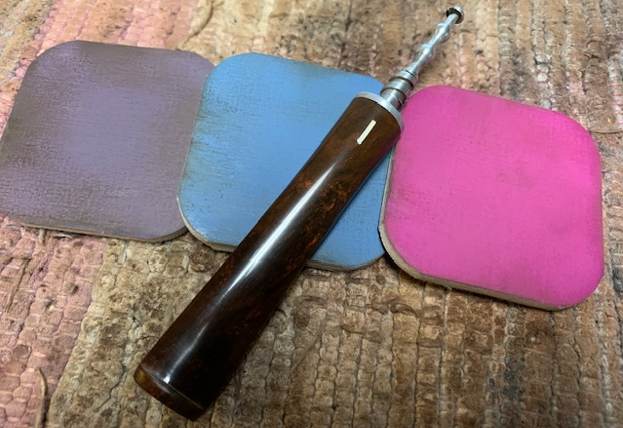
 I sanded the stem with 320-3500 grit sanding pads to break up the remaining oxidation. I wiped it down after each sanding pad with an Obsidian Oil impregnated cloth. It began to look good.
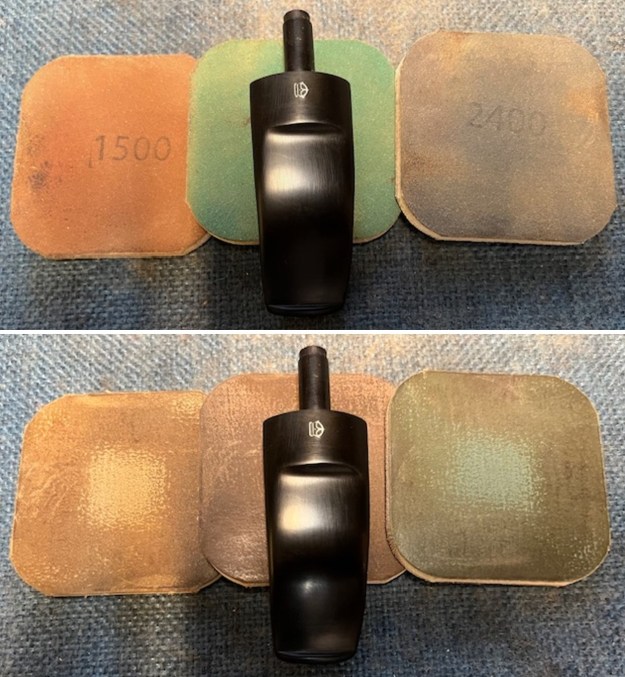
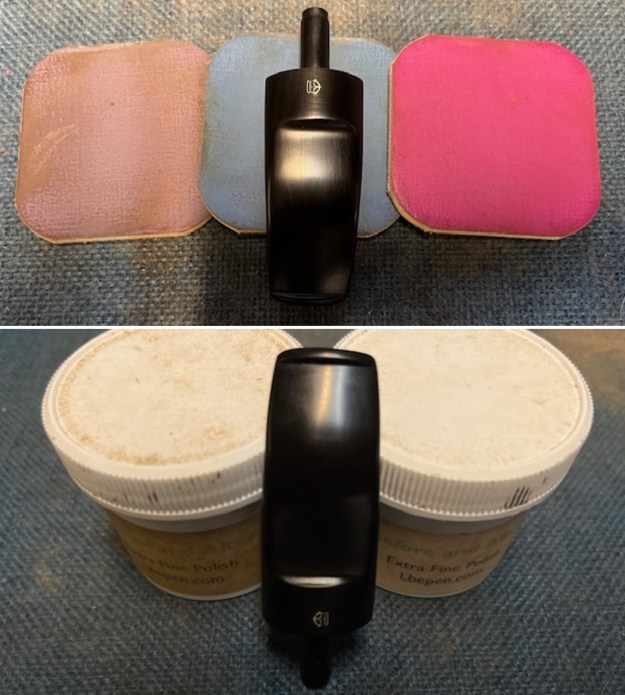
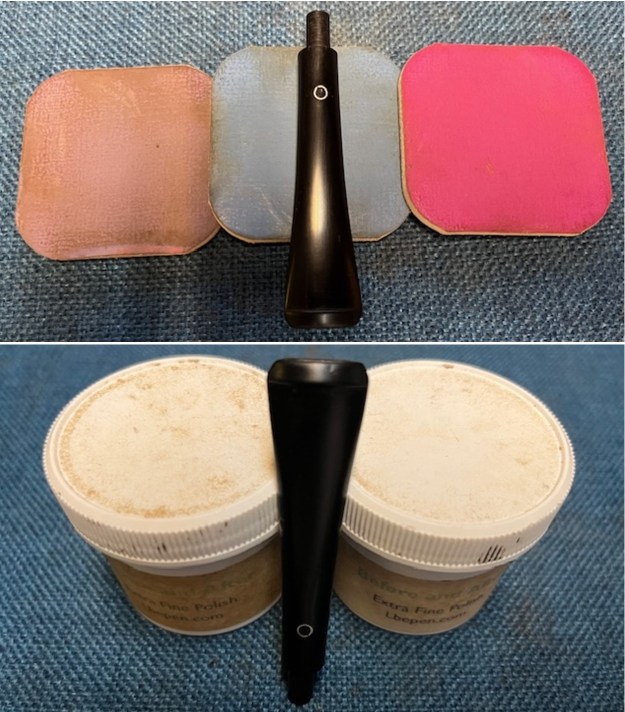
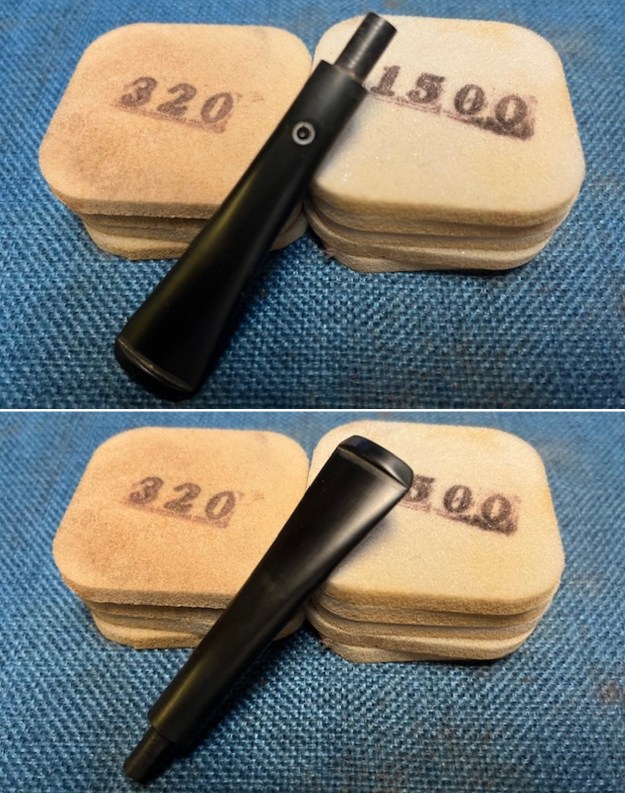 I polished the stem with micromesh sanding pads – dry sanding with 1500-12000 grit pads. I wiped the stem down after each sanding pad with Obsidian Oil. I polished it with Before & After Pipe Stem Polish – both Fine and Extra Fine. Once I had finished the polishing I gave it final coat of Obsidian Oil and set it aside to dry.
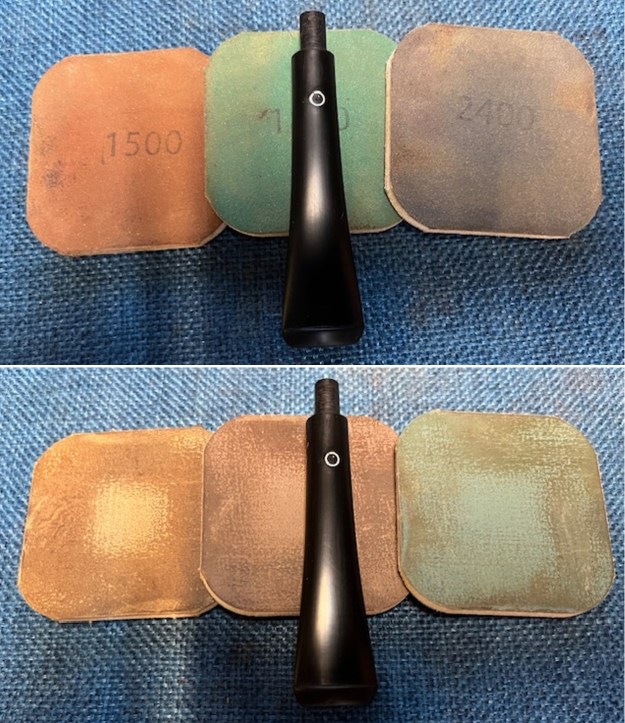
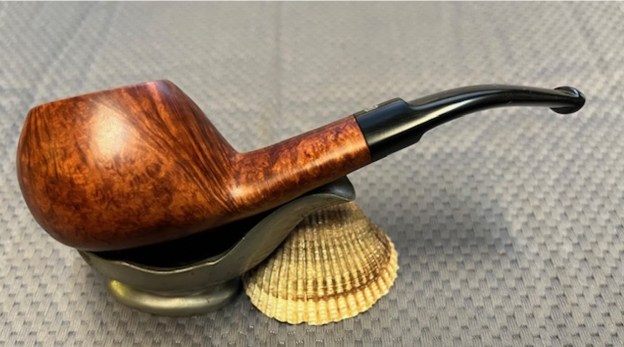
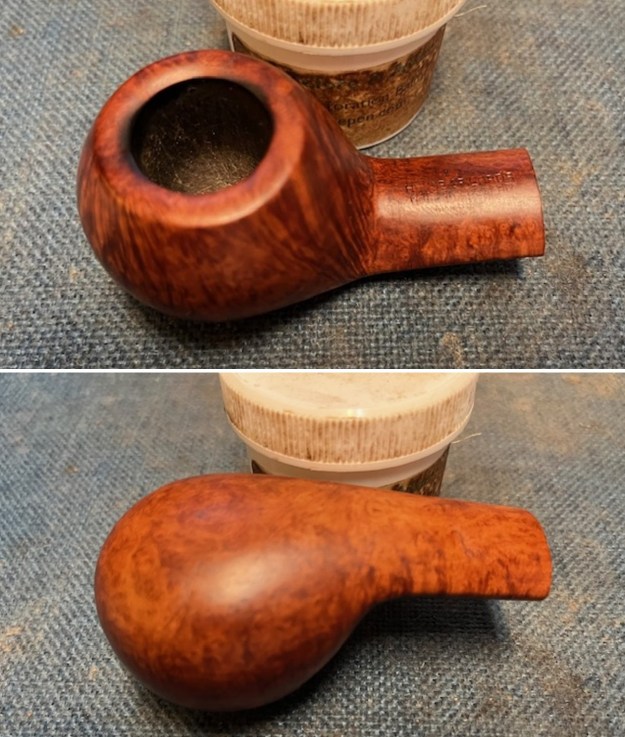
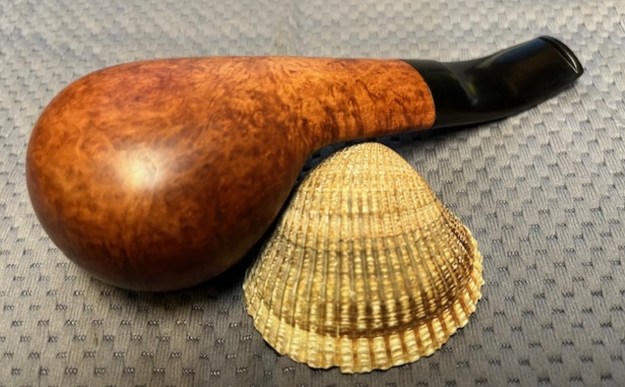
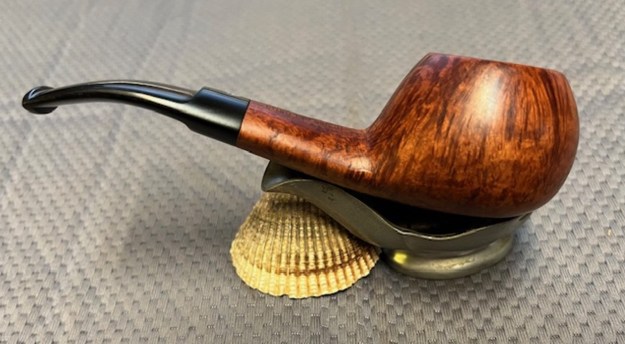
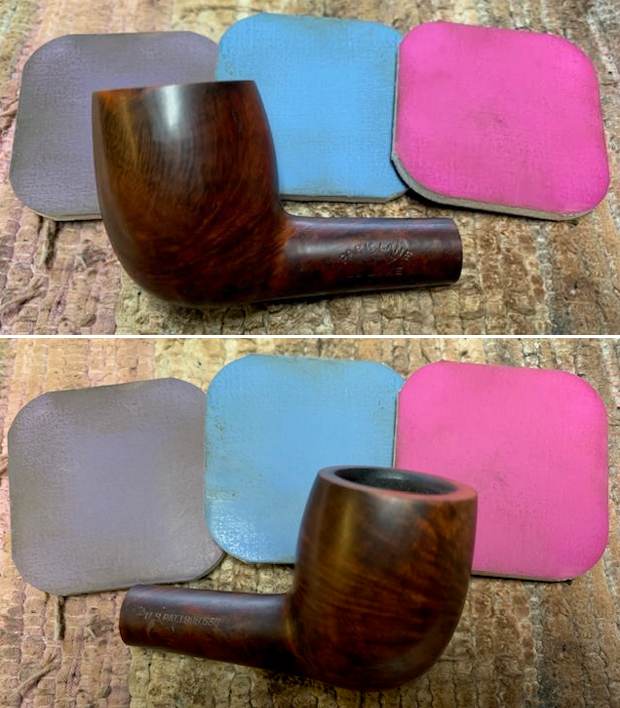
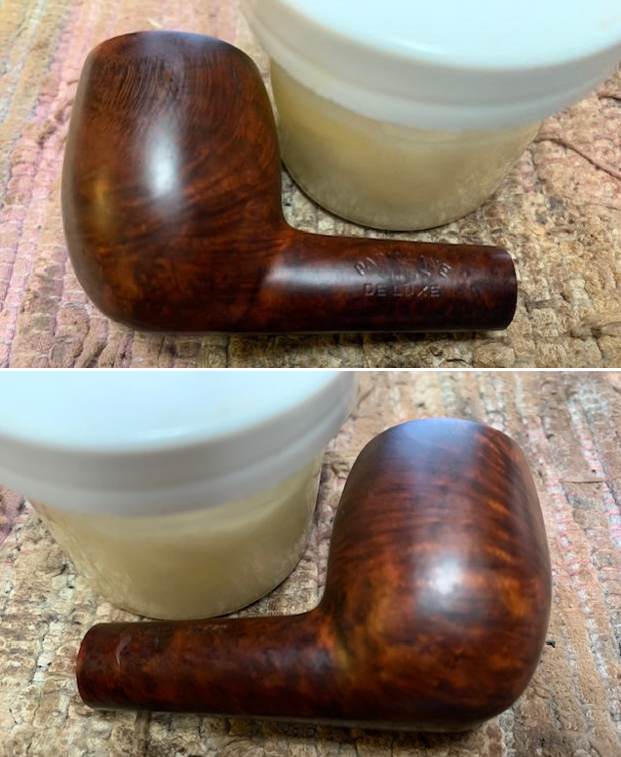
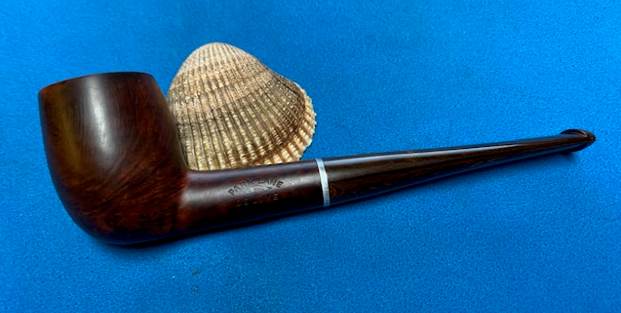
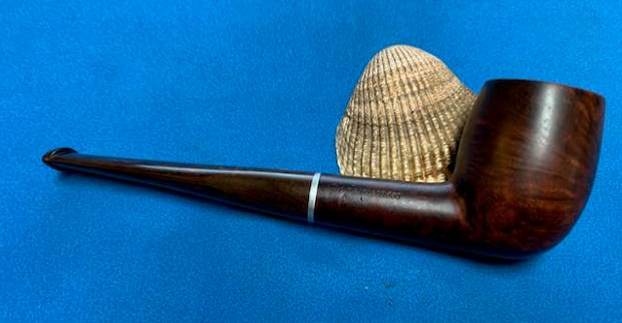
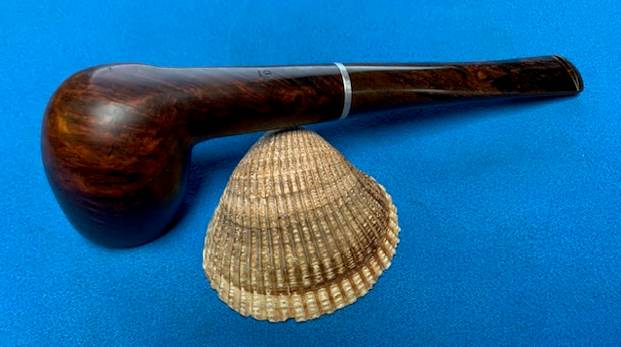
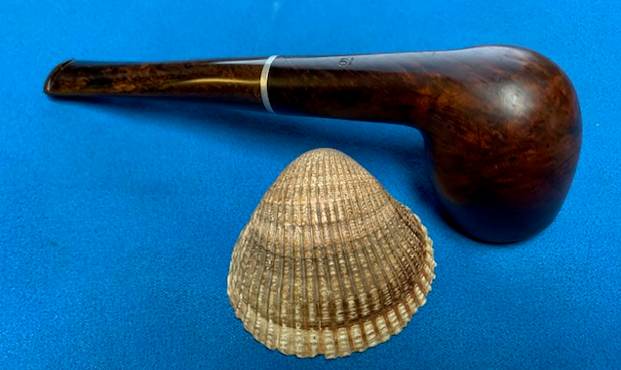
 More than usual at this point in the restoration process I am excited to be on the homestretch. I really am looking forward to the final look when I put a pipe back together, polished and waxed. I polished the bowl and stem with Blue Diamond to polish out the scratches in the briar and the vulcanite. I gave the bowl multiple coats of Conservator’s Wax and the stem multiple coats of carnauba wax. I buffed the pipe with a clean buffing pad to raise the shine. I hand buffed it with a microfiber cloth to deepen the shine. The pipe polished up pretty nicely. The finish pops with the wax and polish. The shiny black vulcanite stem is a beautiful contrast to the browns of the bowl and shank. This Dunmoor Imported Briar Squashed Tomato was another fun pipe to work on. The pipe is comfortable pipe to hold in the hand. The finished pipe is shown in the photos below. The dimensions of the pipe are Length: 6 inches, Height: 1 inch, Outside diameter of the bowl: 2 inches, Chamber diameter: ¾ of an inch. The weight of the pipe is 1.13 ounces/32 grams. I will be adding it to the rebornpipes store in the American Pipemakers Section very soon. Thanks for reading this blog and my reflections on the pipe while I working on it. As always, I encourage your questions and comments as you read the blog. Thanks to each of you who are reading this blog. Remember we are not pipe owners; we are pipemen and women who hold our pipes in trust until they pass on into the trust of those who follow us.