Blog by Steve Laug
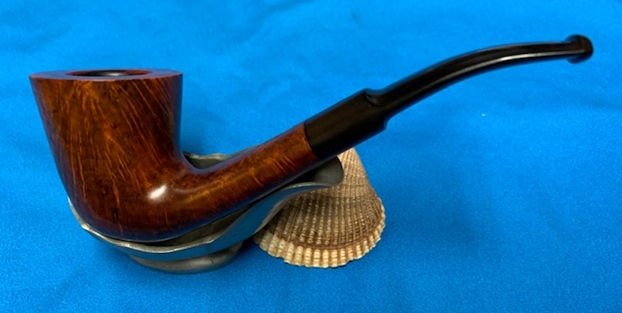
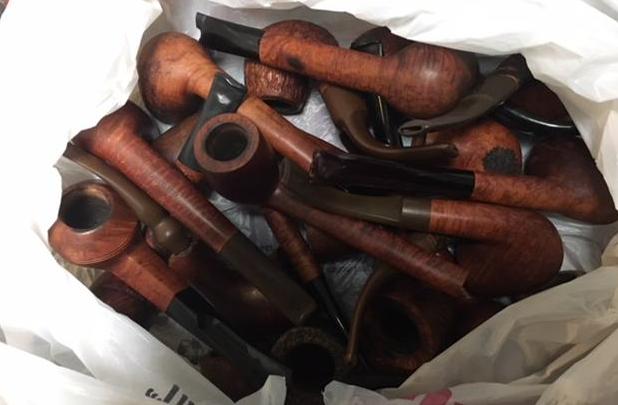
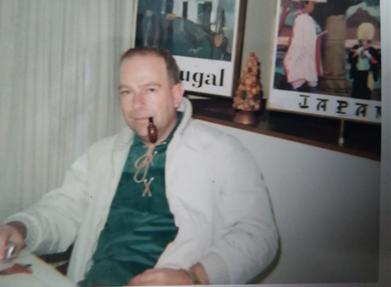
 A few weeks ago I was contacted from a fellow in Montana who was selling his pipes as they had not been used for quite a few years. I asked him for a picture and he sent me the one to the left. It included the following brands (from the top to the bottom of the photo): Savinelli Autograph 5 Freehand, Mastro de Paja Ciocco 0C Bulldog, Mastro de Paja Media 1B Bent Billiard, Ser Jacopo Delecta Octagonal Bent Billiard, Caminetto Business KS 118 Canadian, Radici Rind Rhodesian, Dunhill Bruyere ODA 836 Panel Billiard, Barontini Straight Grain B3 Freehand and a Ben Wade Martinique Hand Made in Denmark Freehand.
Almost all of them were higher end pipes and all were hand made pipes. They were a mix of finishes – smooth, sandblast and also rusticated. They were a mix of shapes as well and the majority of them were Italian Made other than the Dunhill and the Ben Wade Martinique. They were beautiful pipes and after exchanging quite a few photos of the pipes from various angles to get a sense of what was there we struck a deal. We sent him the payment and the pipes arrived in Idaho a few days after I left for Vancouver.
Jeff cleaned them all and this week I received them in Vancouver. I am impressed with the way they cleaned up and the beauty of the brands. They truly are some beautiful pipes. I just need to put the final touches on each of them and address minor issues on the bowl rims and the stems and they should be good to go. I am really looking forward to working on each of them in the days ahead.
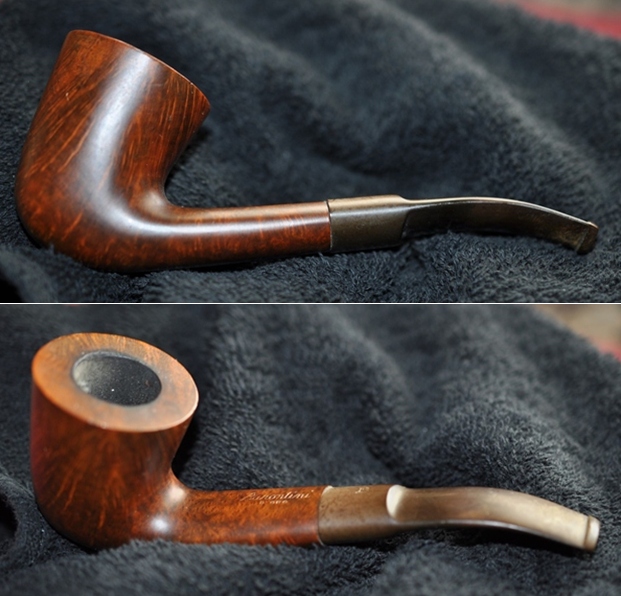
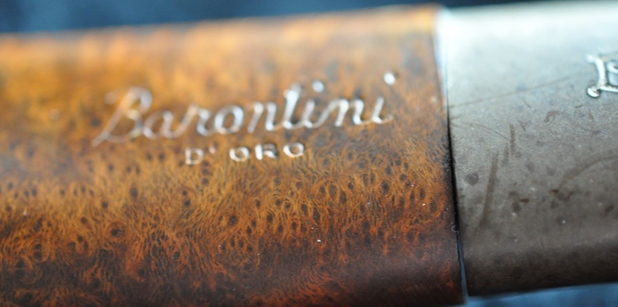
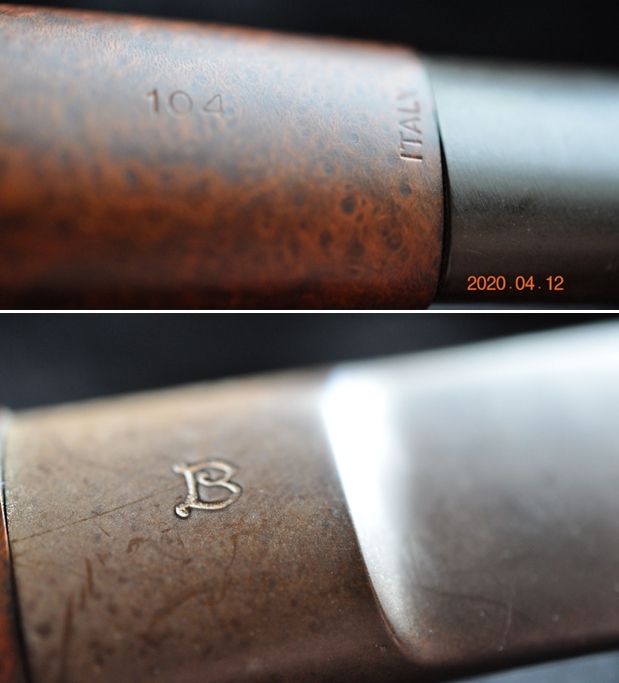
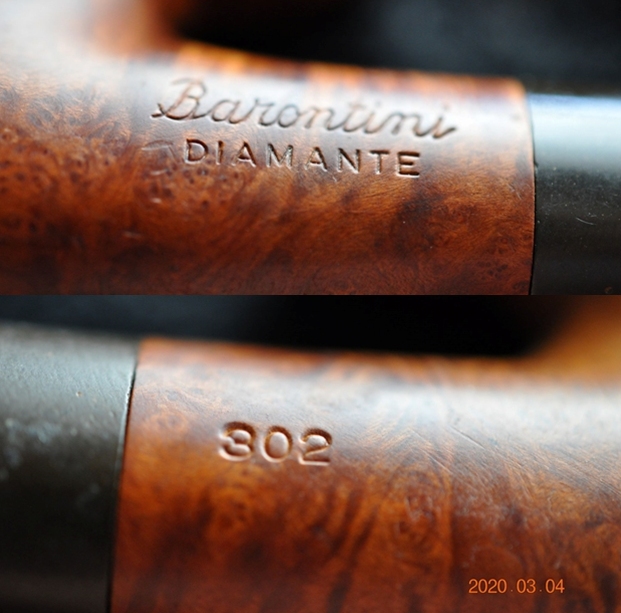
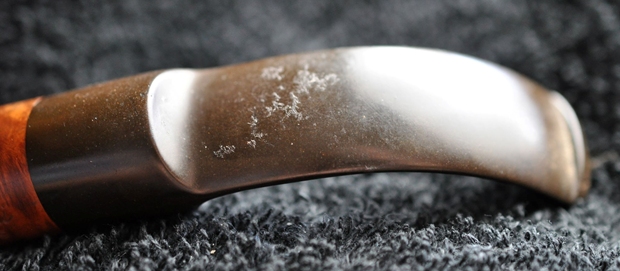
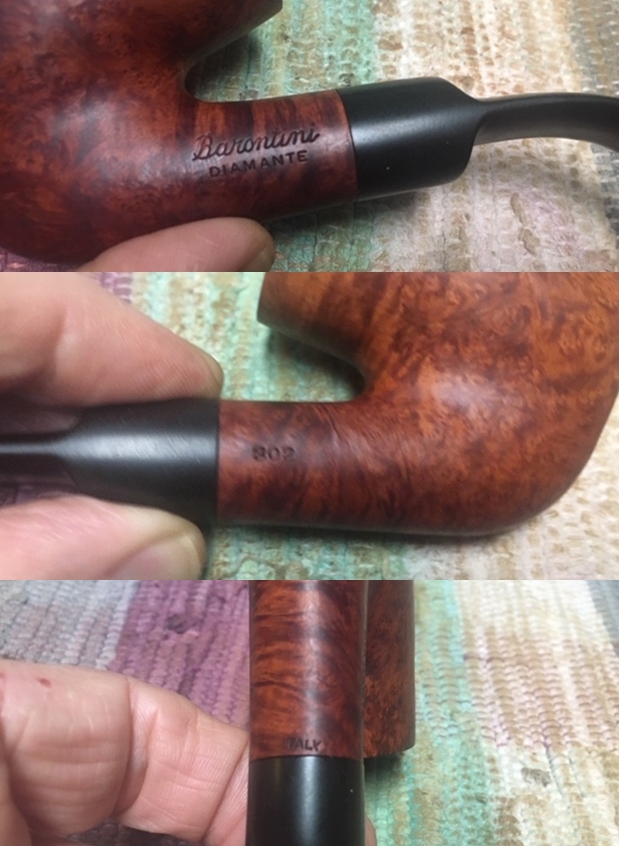
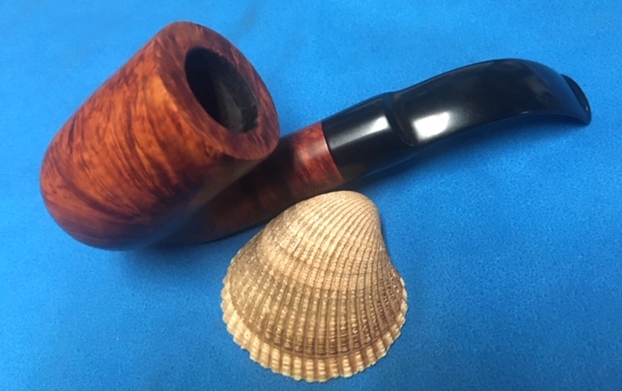
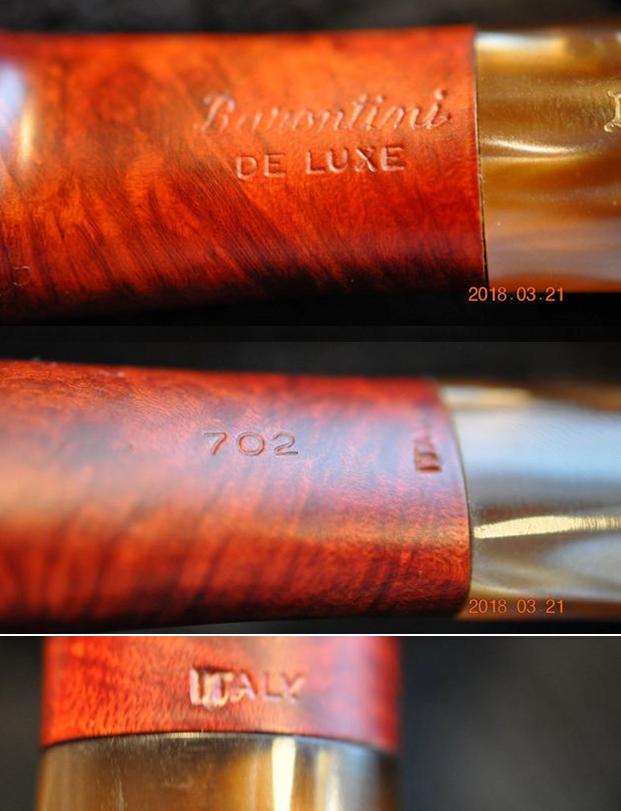
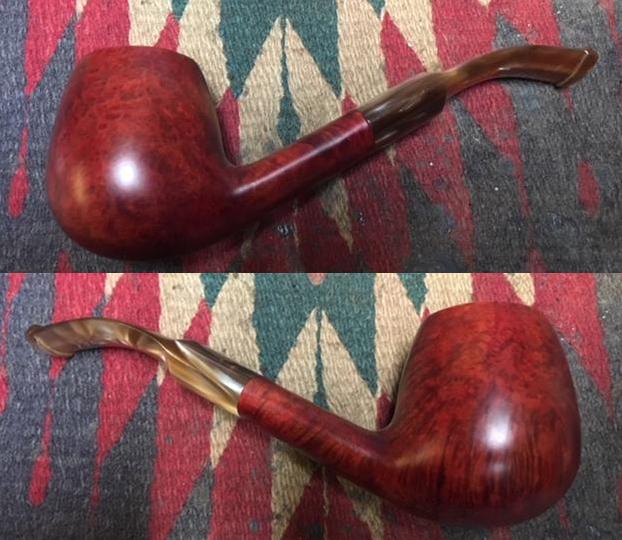
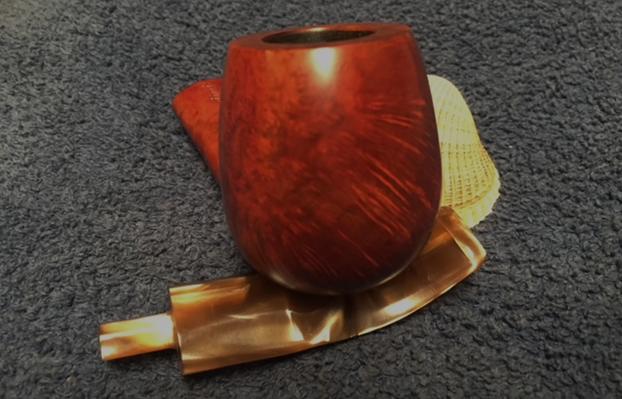
This quiet Sunday afternoon I decided to continue working on the lot. I chose to work on the smooth Barontini Freehand (possibly a Rhodesian). The Barontinis I have worked on generally are nice looking pieces of briar and have had acrylic stems. This one had a nicely grained finish and a plateau style rim top. The pipe is stamped around the sides of the bowl. It was clear and readable. On the left side it reads Barontini [over] Straight Grain. On the right side it is stamped with a B3 and vertically next to the stem it is stamped Italy. On the underside of the shank it reads Fatta [over] A Mano. The stamping is clear and readable. The medium brown stained finish was very dirty but seemed to have a shellac coat over the whole bowl and shank. The bowl had a thick cake and the plateau style rim top/inner edge had thick lava flowing up from the bowl filling in the grooves. The inner edge of the bowl was covered enough with lava that it was hard to know its condition with certainty. The saddle stem is variegated orange and cream acrylic and was dirty and had tooth marks and chatter on both sides ahead of the button. There was an inlaid logo dot on the top of the stem. It was a red dot encircled with silver. Jeff took photos of the pipe before he started his clean up work on it. 
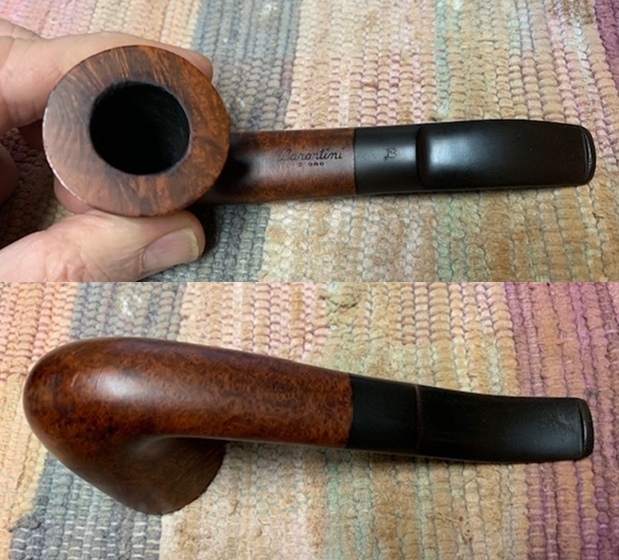
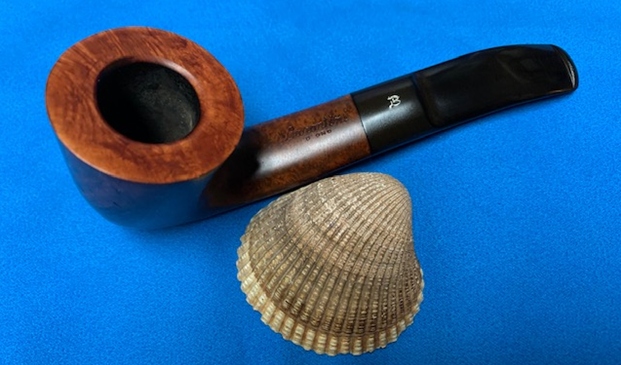
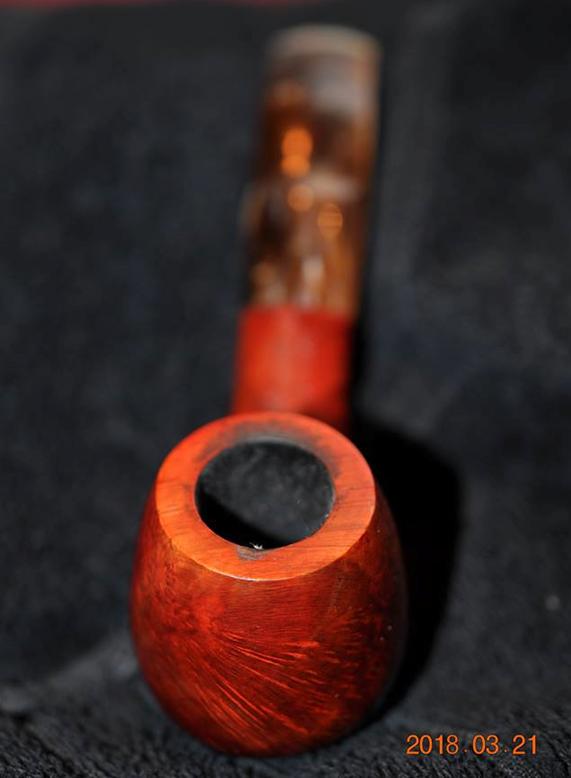
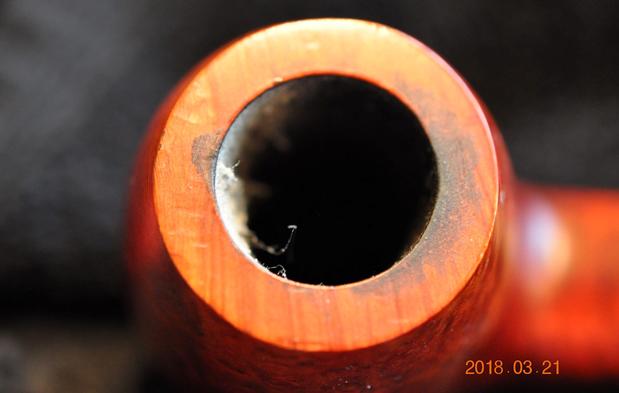
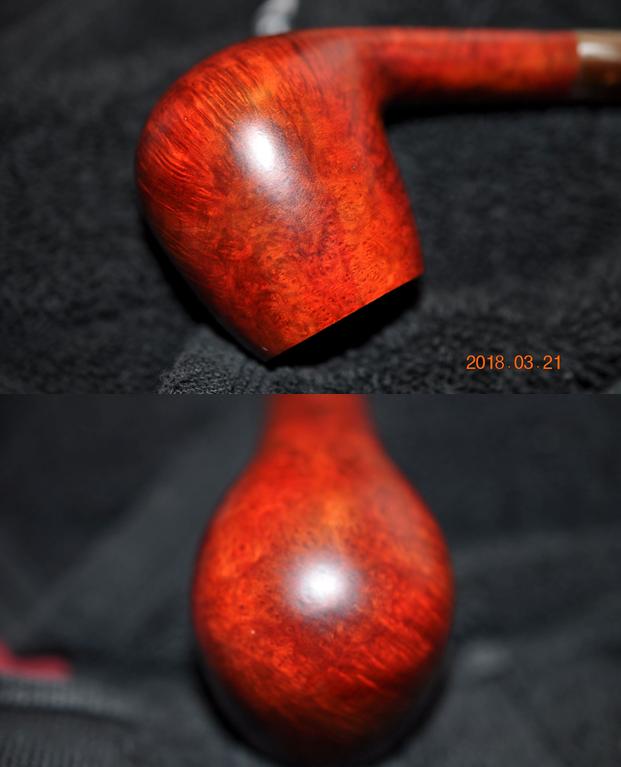
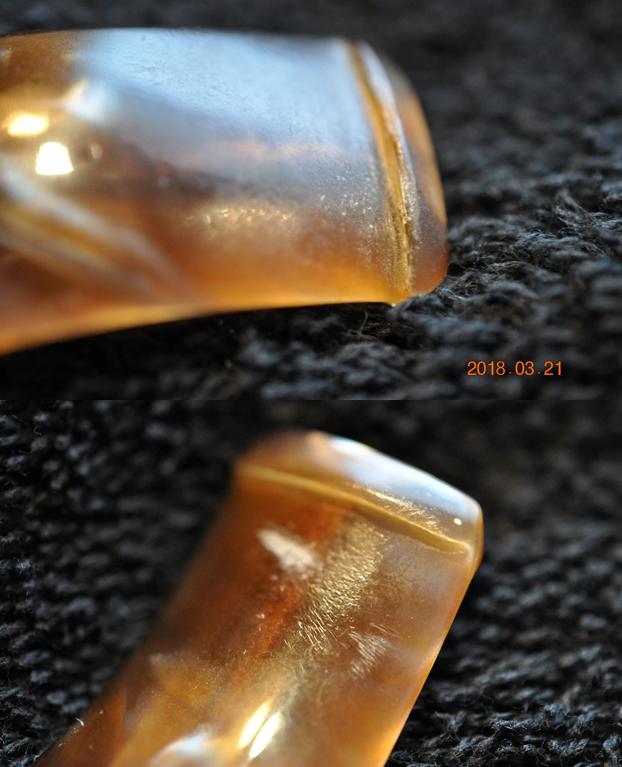
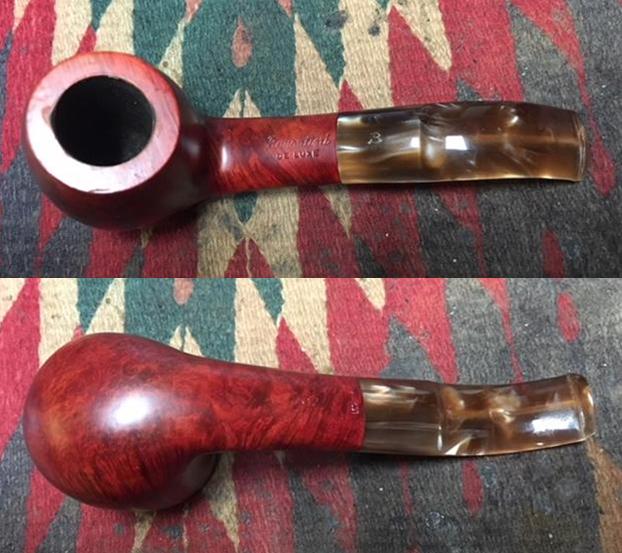
 Jeff took photos of the bowl and rim top to show what they looked like before the clean up. You can see the thick cake in the bowl overflowing as lava on the inner edge and rim top. He also took some photos of the stem to show the condition of both sides. You can see the tooth marks and chatter on the top and underside next to the button.

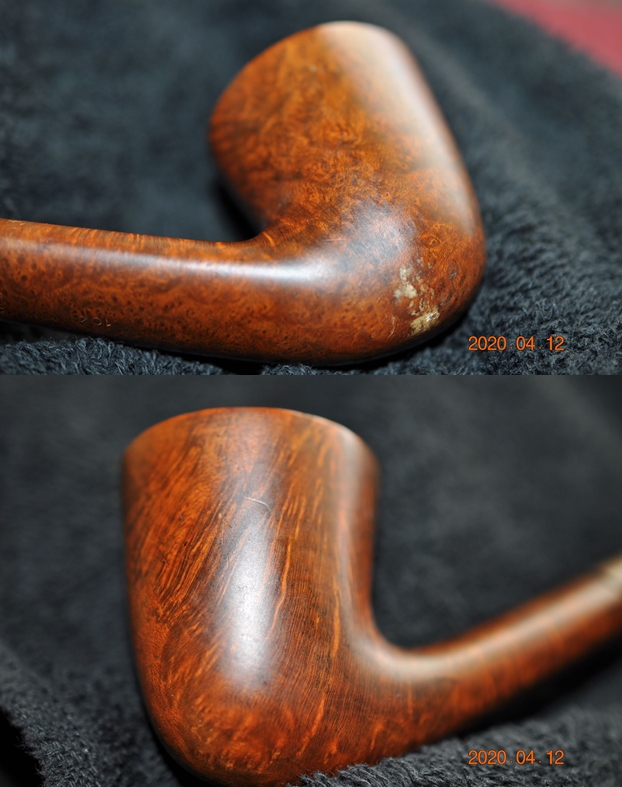
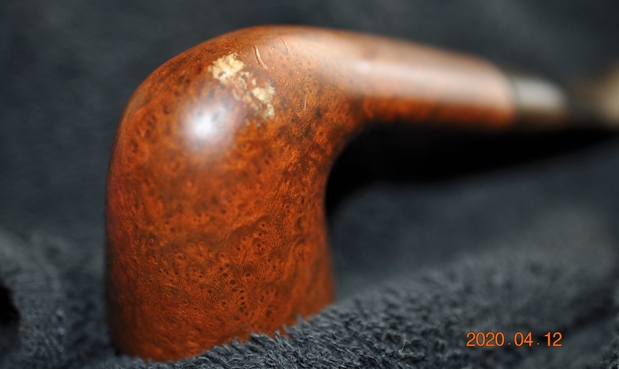
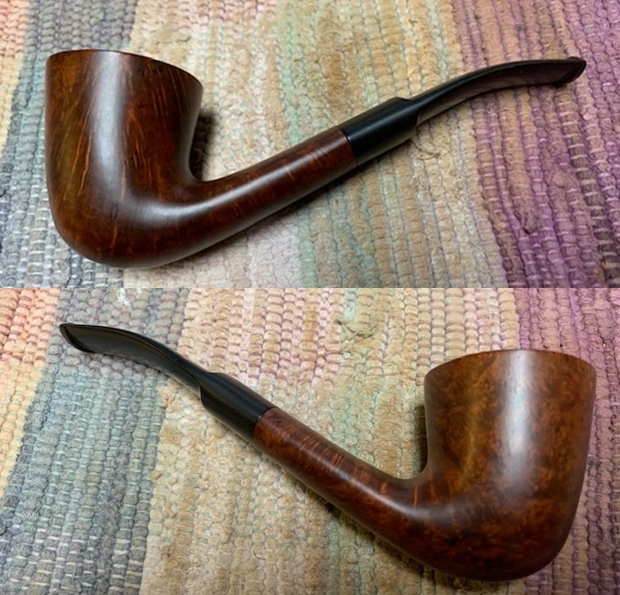
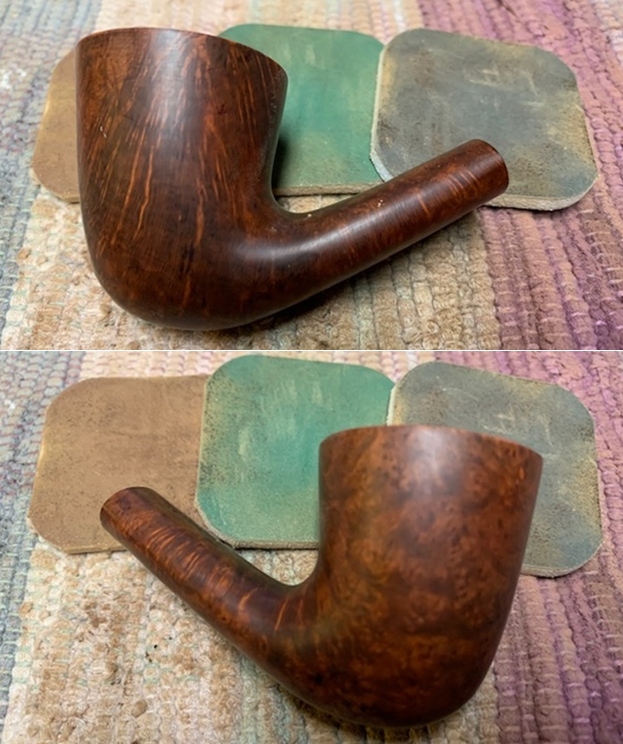
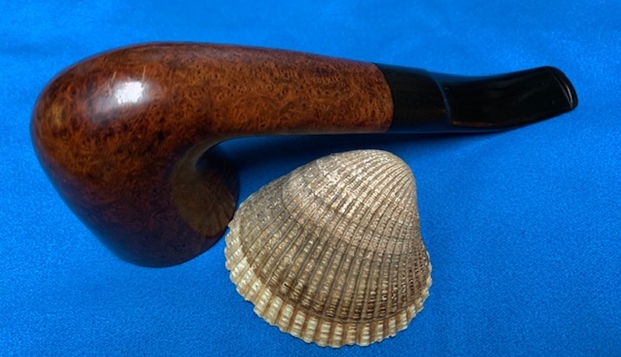
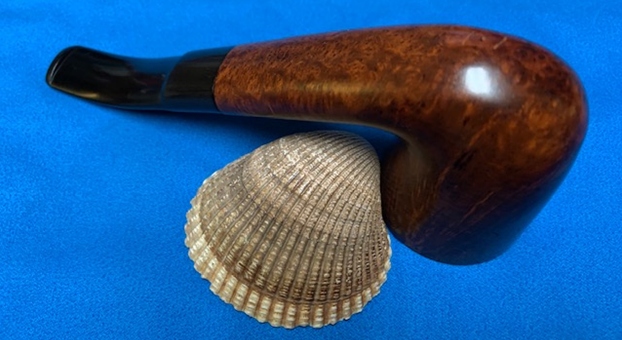
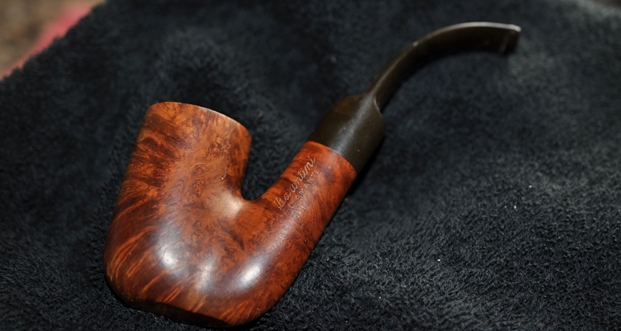
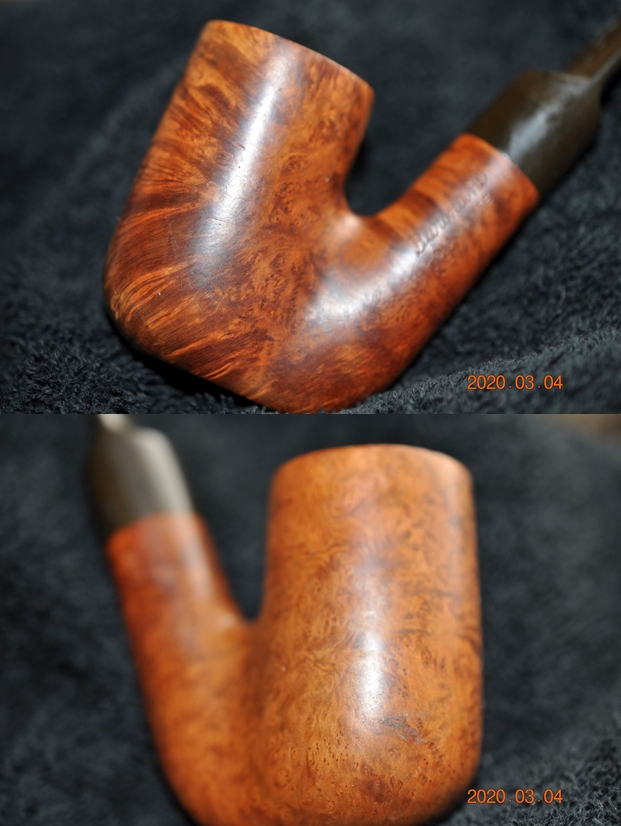
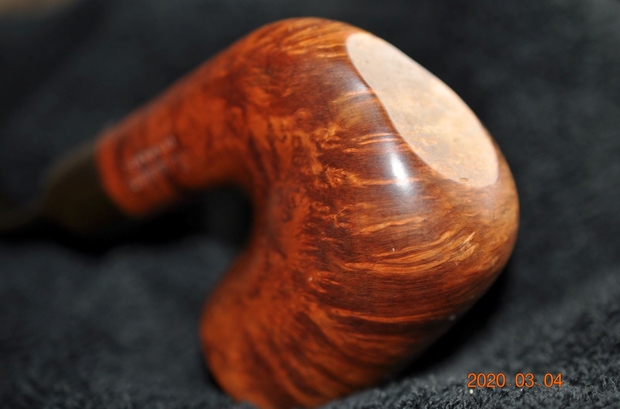
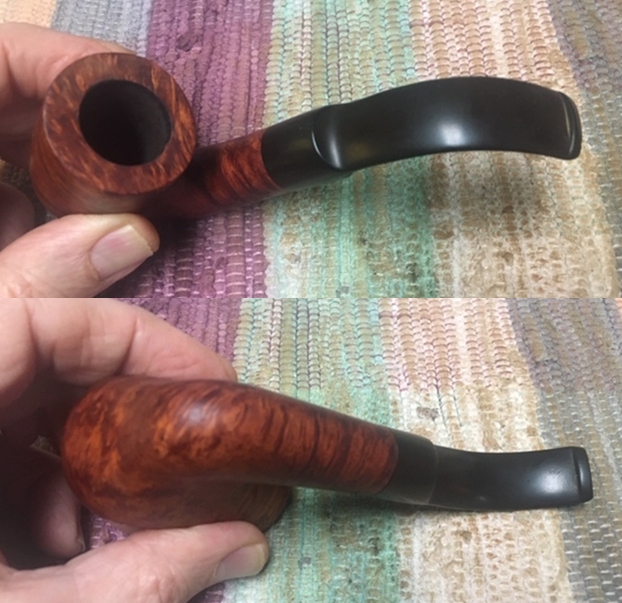
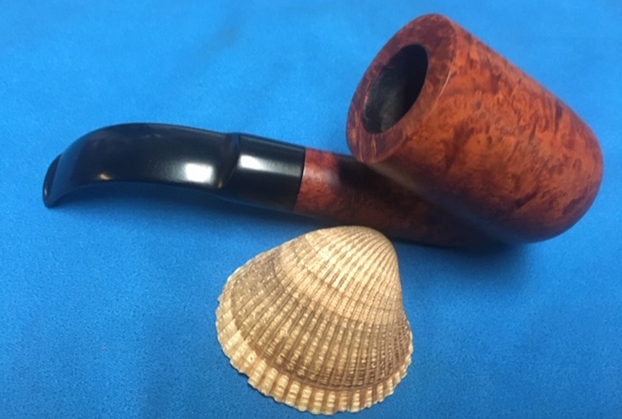
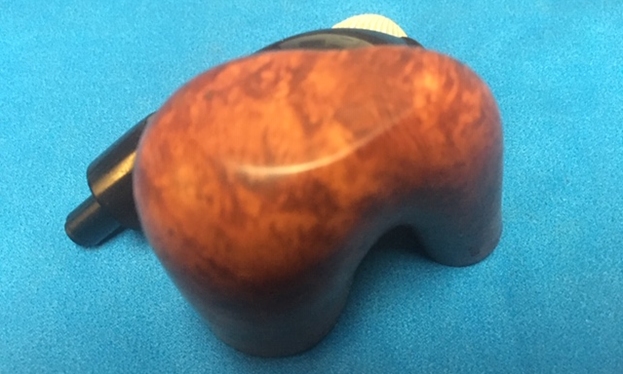
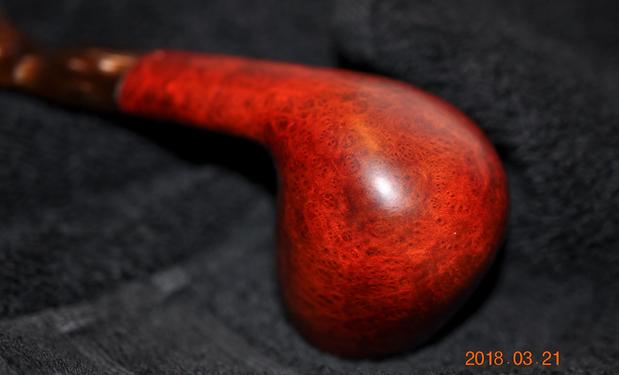
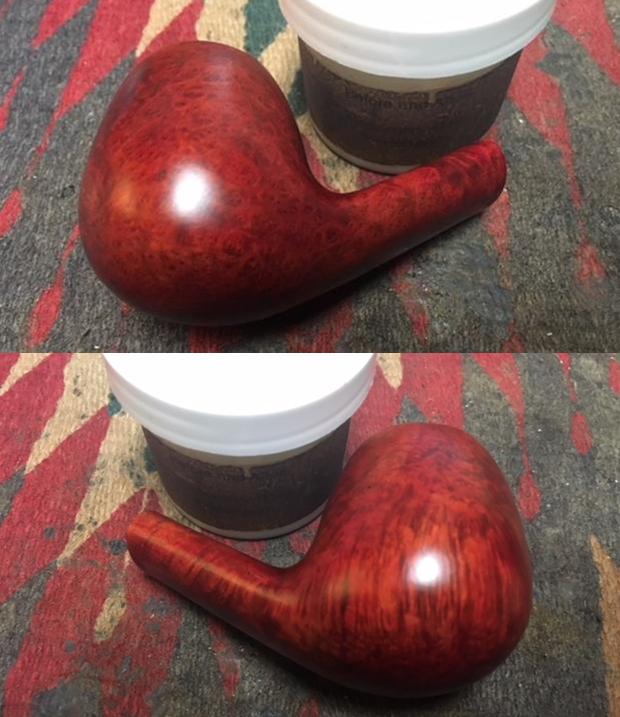
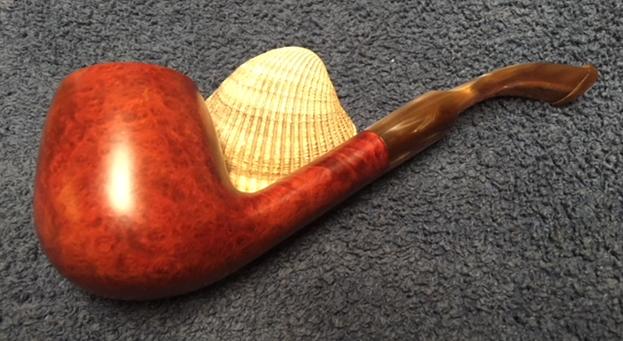
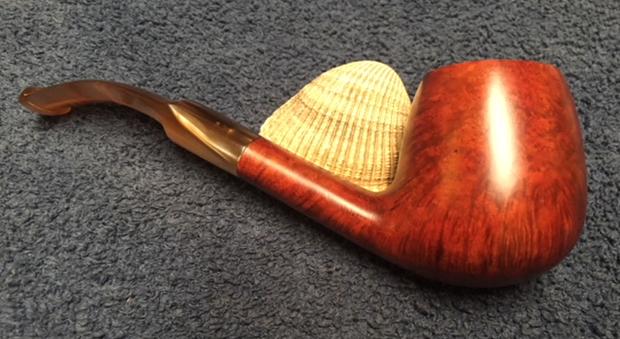
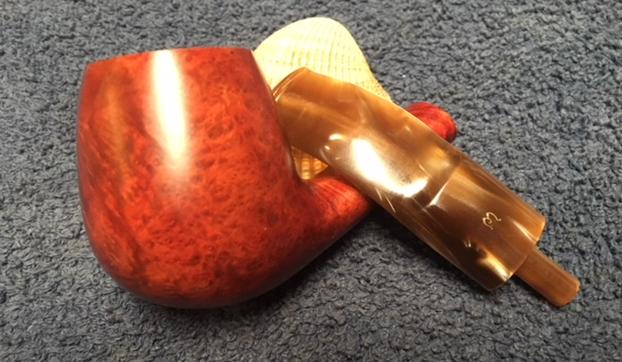
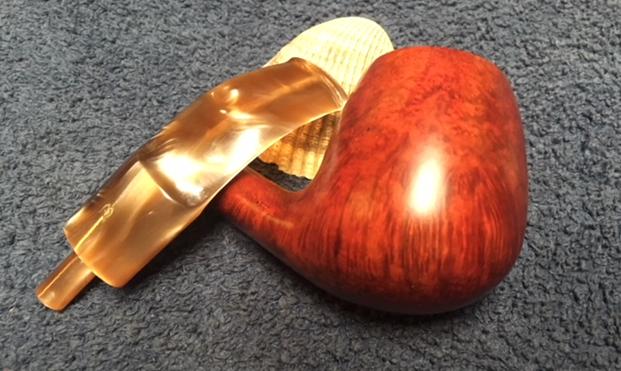
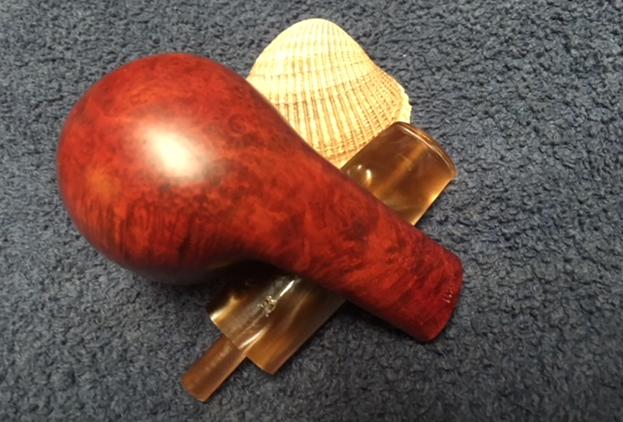
 The photos of the sides and heel of the bowl show the beautiful grain around the bowl and shank. The stain adds depth finish on the pipe. Even under the grime it is a real beauty.
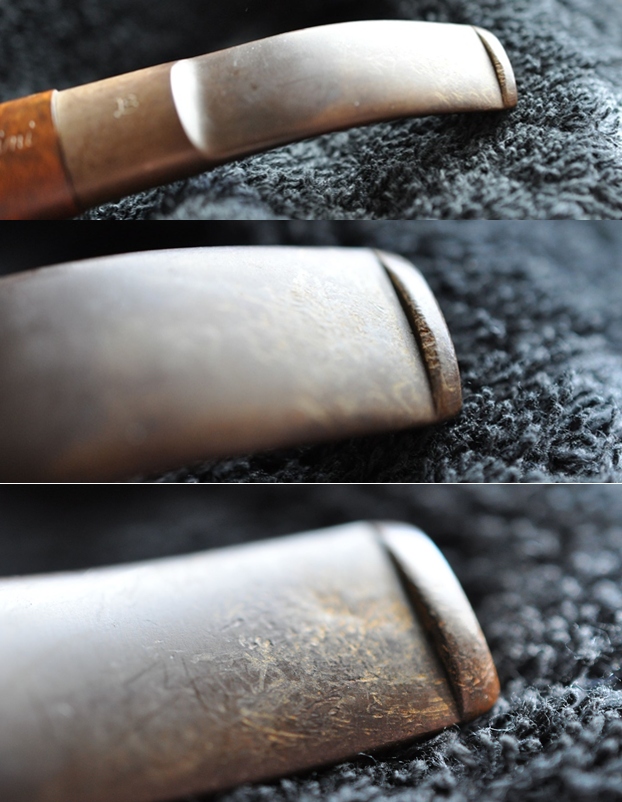
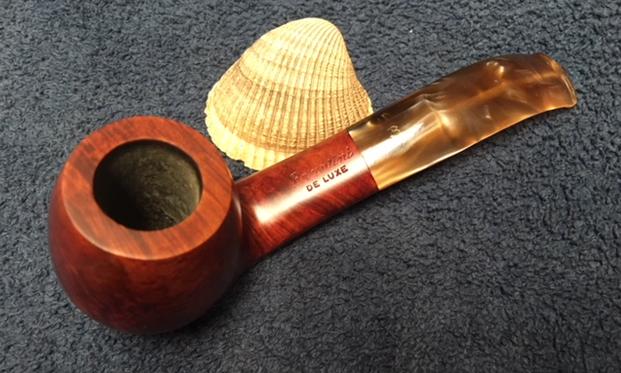
 The stamping on the sides of the shank are shown in the photos below. It is clear and readable as noted above.
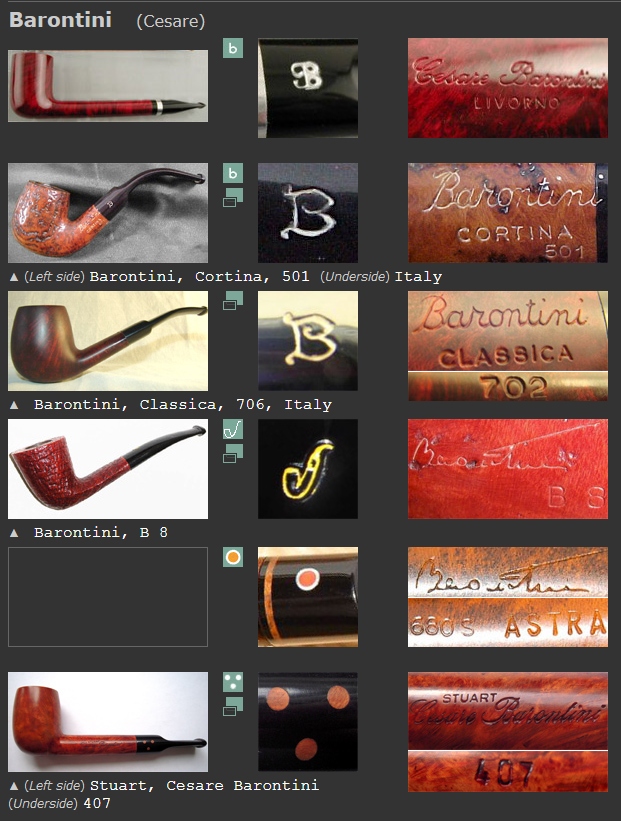
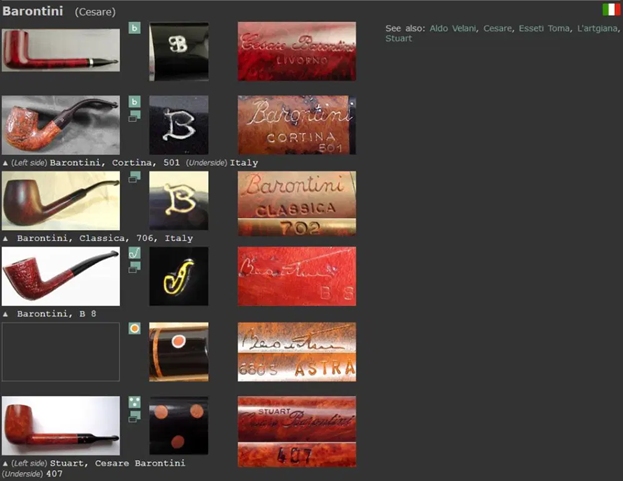
 I looked up some information on the brand on the Pipephil website to get a quick overview of the history (http://www.pipephil.eu/logos/en/logo-b2.html). I did a screen capture of the listing for the brand. The fascinating thing that I learned in this quick overview was the connection to the entire Barontini family and to other companies like Aldo Velani. It is interesting to see the breadth of the brand in the following screen capture.
 Pipedia gives further history of the brand (https://pipedia.org/wiki/Barontini,_Cesare). It is a very brief article with little information. I quote that article in full below.
In 1890 Turildo Barontini opened a factory for the production of briar. In 1925 his son Bruno began to produce the first pipes. Cesare Barontini, son of Bruno, started direction of the factory in 1955, and still runs it together with his daughters Barbara and Silvia.
Unfortunately, on neither site was there any pertinent information on the Barontini Straight Grain pipe. I decided to do a quick google search and found a listing for what appears to be the actual pipe I am working on (https://pipes.collectionhero.com/outer/view_item.php?id=55163). I include that information and photo below.  Looks like the fellow I purchased the pipe from purchased it from this auction potentially? He got it for a steal at that price as they tend to run between $90 and $120 online. I guess I will never know for sure but at least I found the pipe online. It is now time to work on the pipe itself.
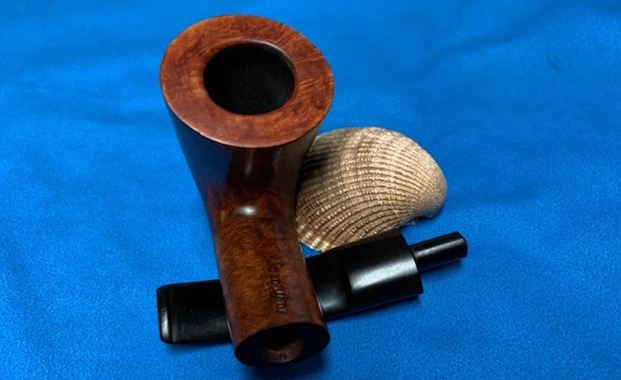
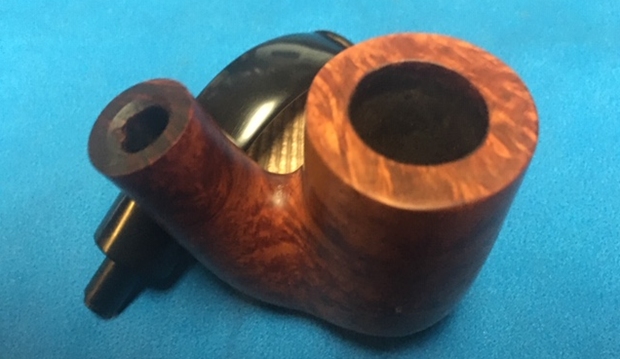
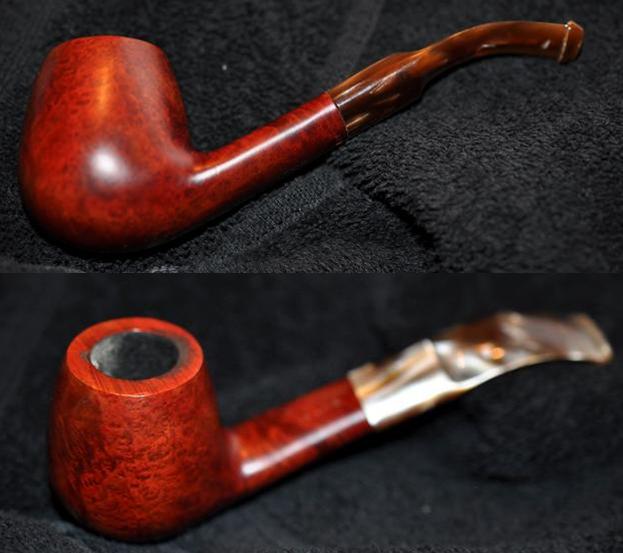
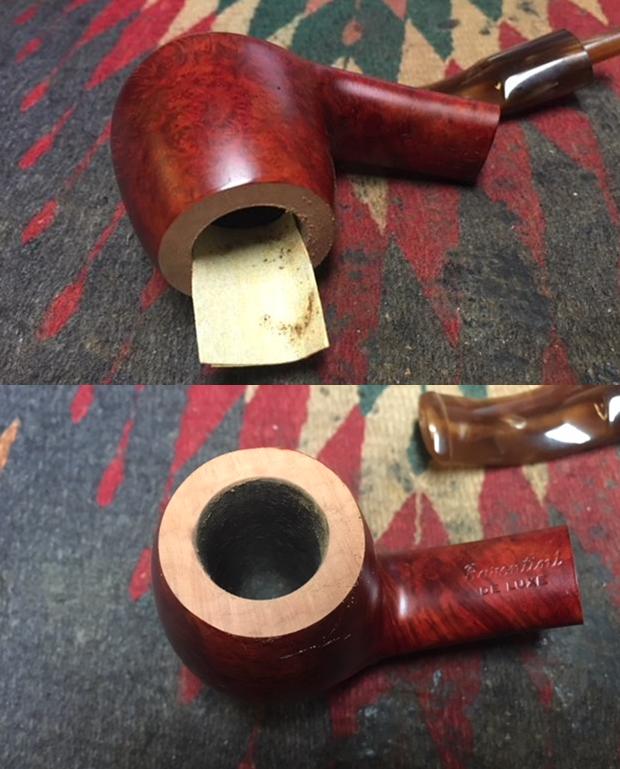
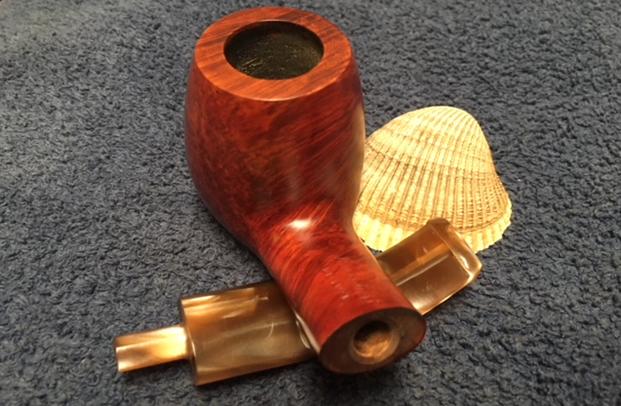
Jeff had reamed the bowl with a PipNet pipe reamer and followed up with a Savinelli Fitsall pipe knife to remove the cake. He scrubbed out the mortise and the airway in the shank and the stem with alcohol, cotton swabs and pipe cleaners. He scrubbed the exterior of the bowl, rim, shank and stem with a tooth brush and Murphy’s Oil Soap to remove the oils and tars on the rim and the grime on the finish of the bowl. He rinsed it under running water. He dried it off with a soft cloth. The rim was thoroughly cleaned and the damaged areas were obvious. Without the grime the finish looked really good. The Lucite stem would need to be worked on but I really like the profile it cast. I took photos of the pipe to show its condition before I started my work on it. 
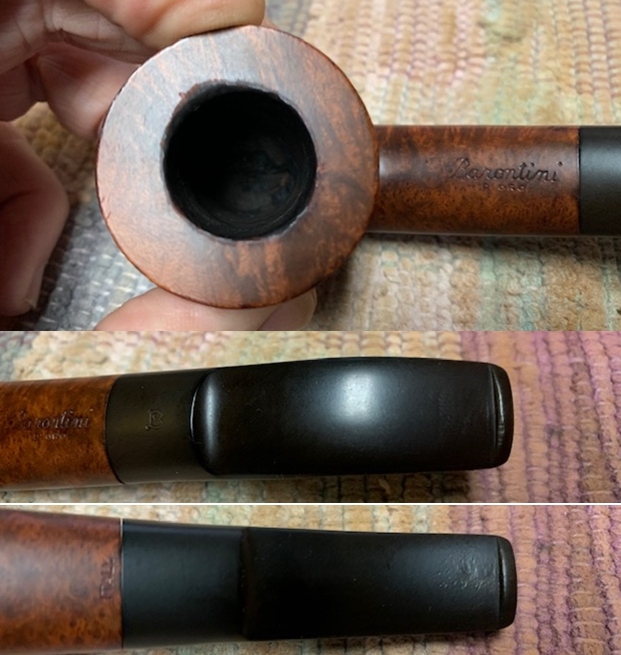
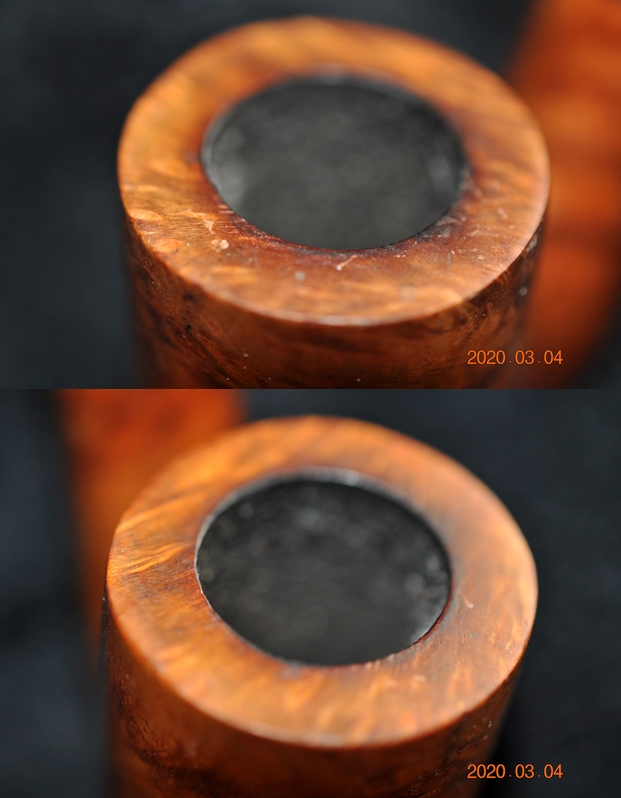
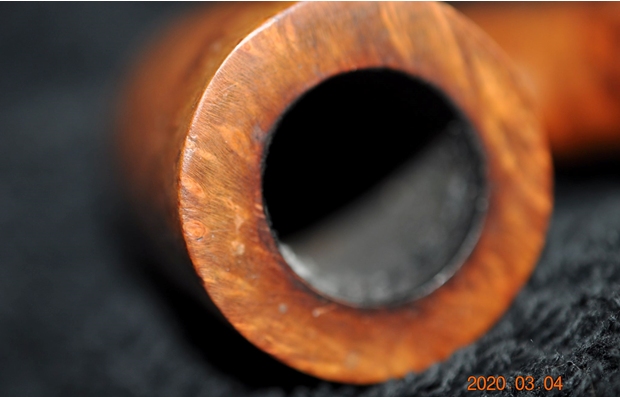
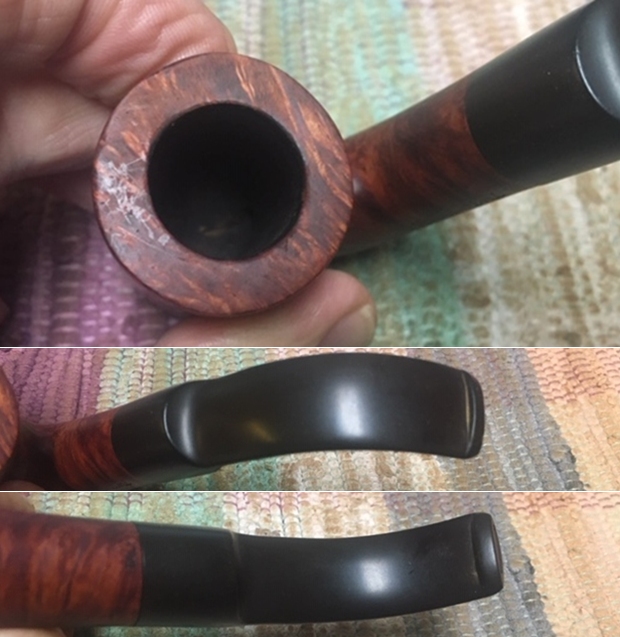
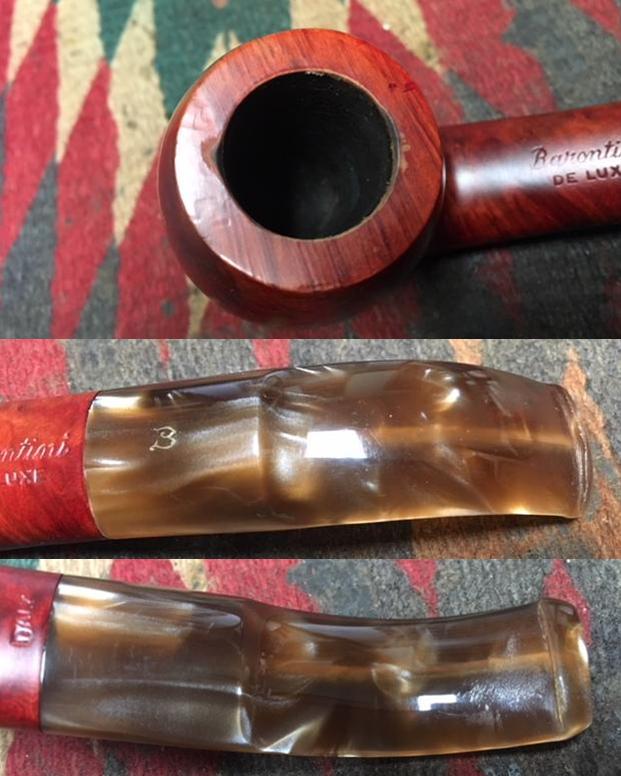
 I took close up photos of both the rim top and the stem. Jeff had been able to get the grime and lava off of the rim top and it looked very clean. The stem looked very clean. The tooth marks and chatter were predominantly near the button.
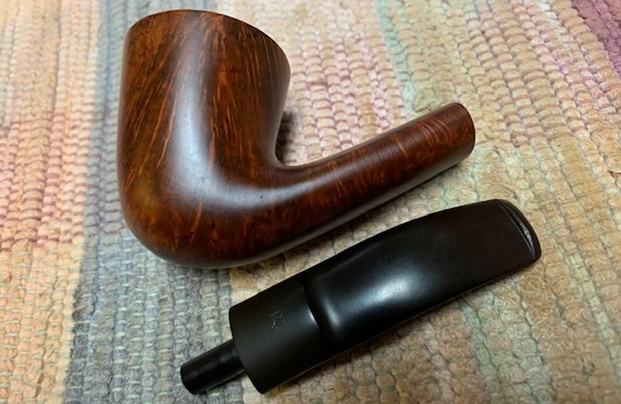
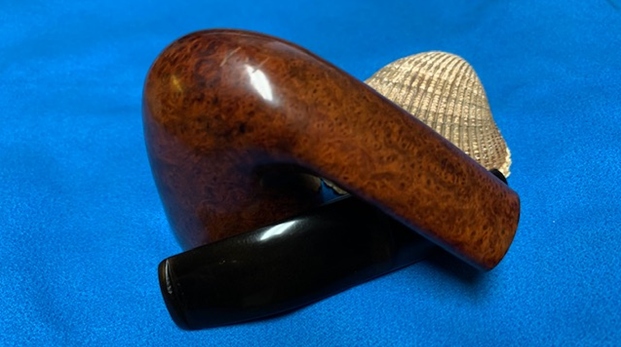
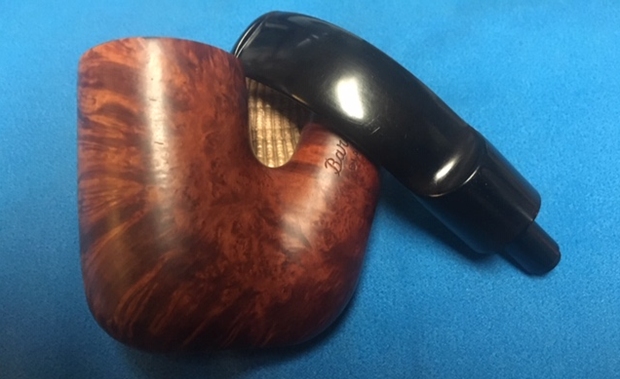
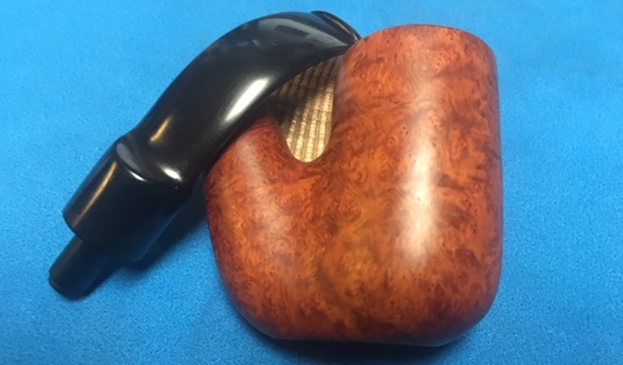
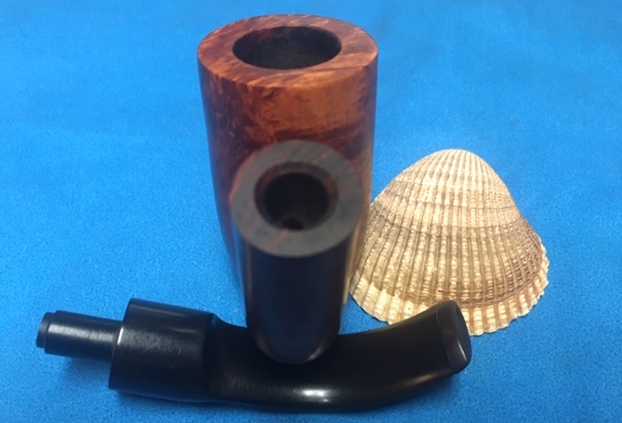
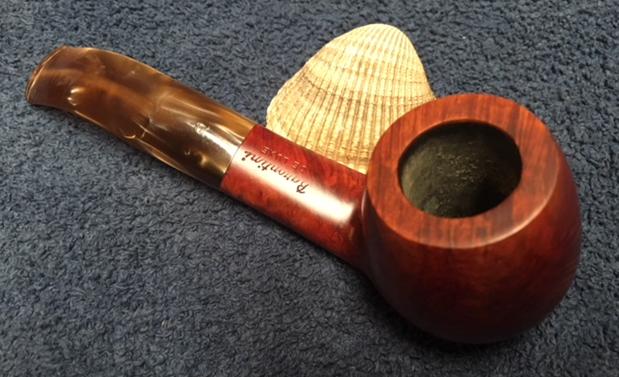
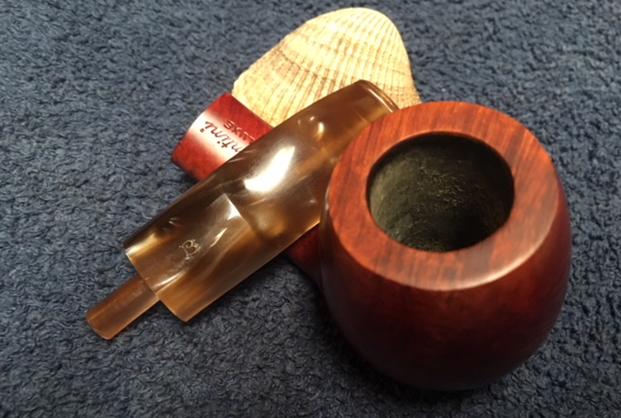
 The stamping on the sides of the shank was readable as noted above. I took photos of the stamping to show the condition and readability. I took a photo of the pipe with the stem removed to give an idea of the perspective and design of the pipe.
 I scrubbed the carved plateau rim top of the bowl with a brass bristle wire brush to remove the remaining darkening and debris in the nooks and crannies of the rim top. It looked much better once I finished.
 I wiped down the bowl with acetone to remove the shiny coat. It barely broke through the coat. I wiped it down repeatedly and then moved on to the micromesh pads.

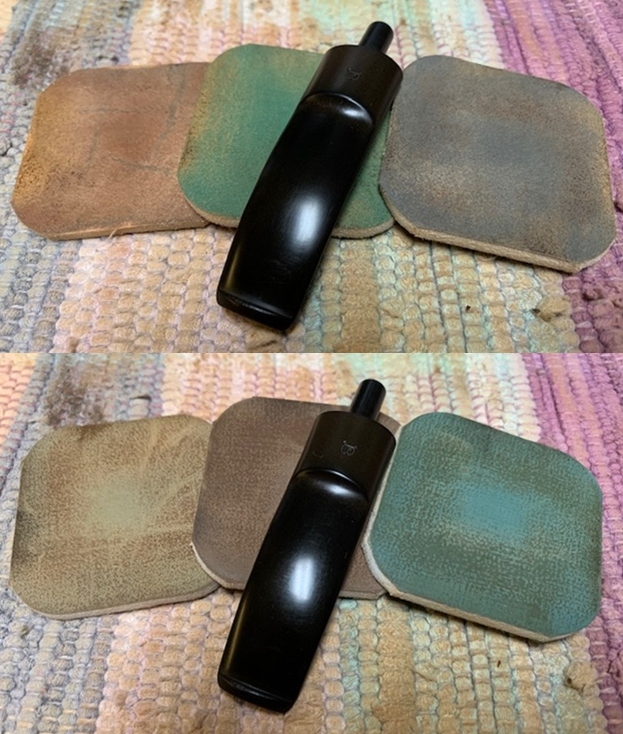
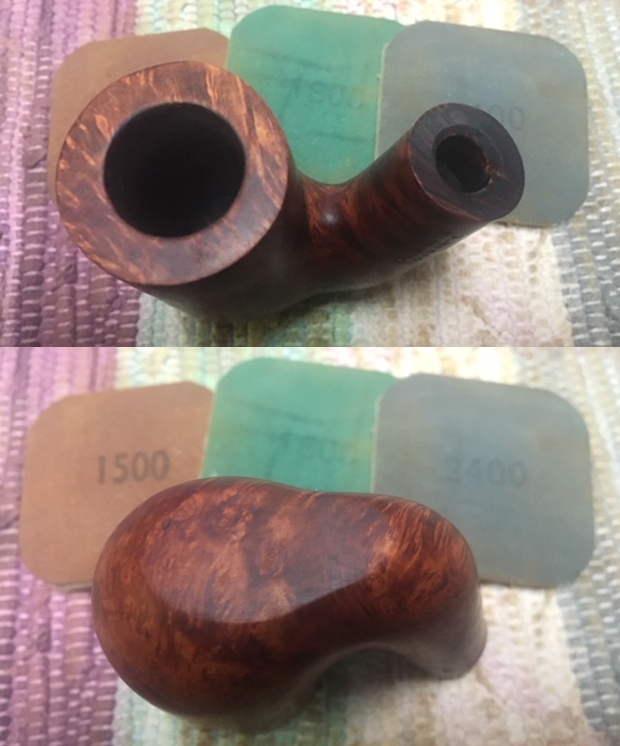
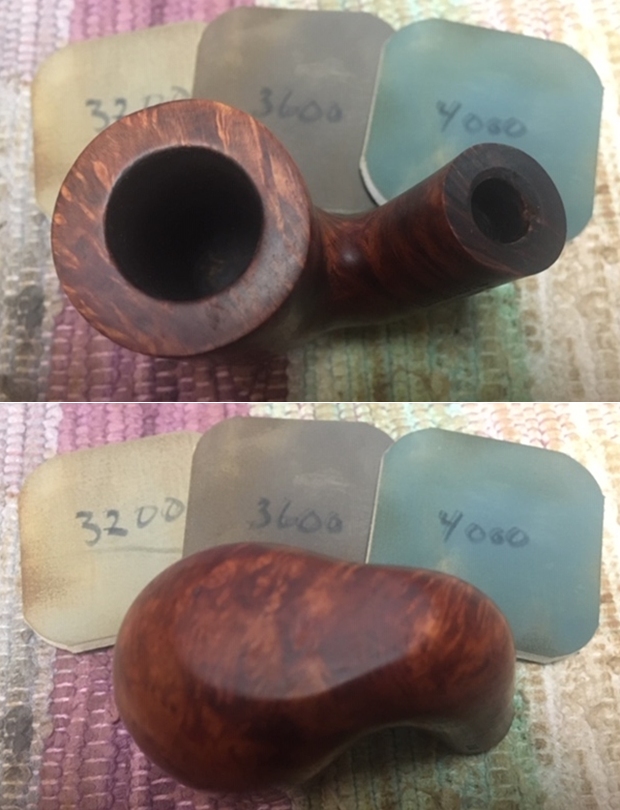
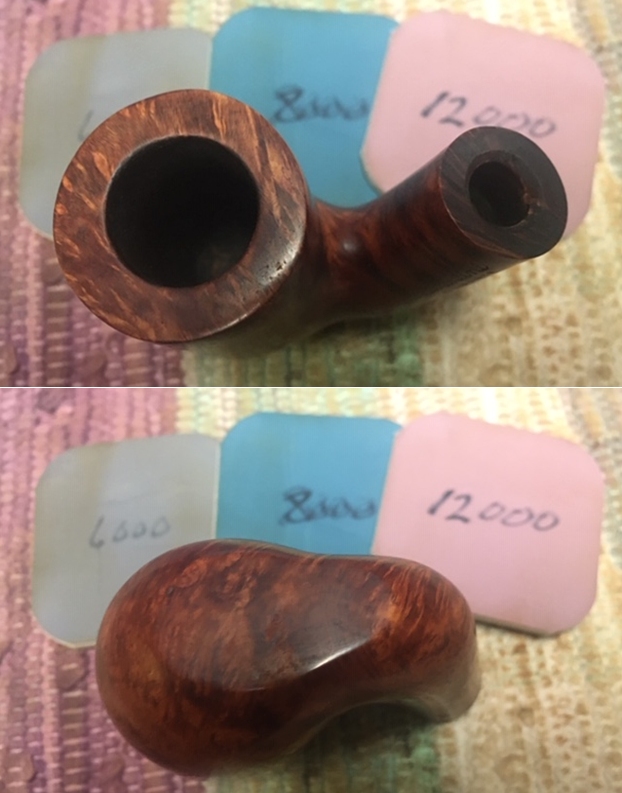
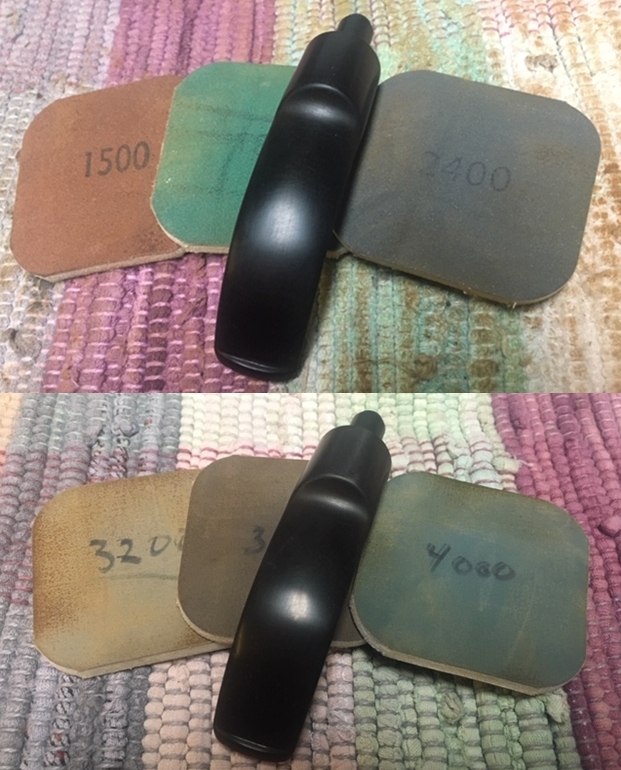
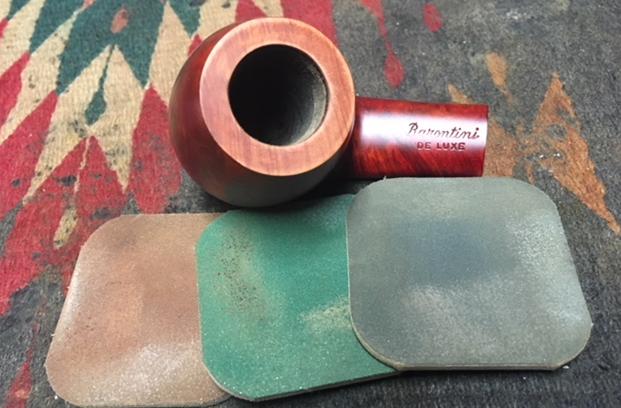
 I polished bowl with micromesh sanding pads using 1500-12000 grit sanding pads and wiping it down after each sanding pad with a pad and acetone to remove the sanding dust and debris from the finish.


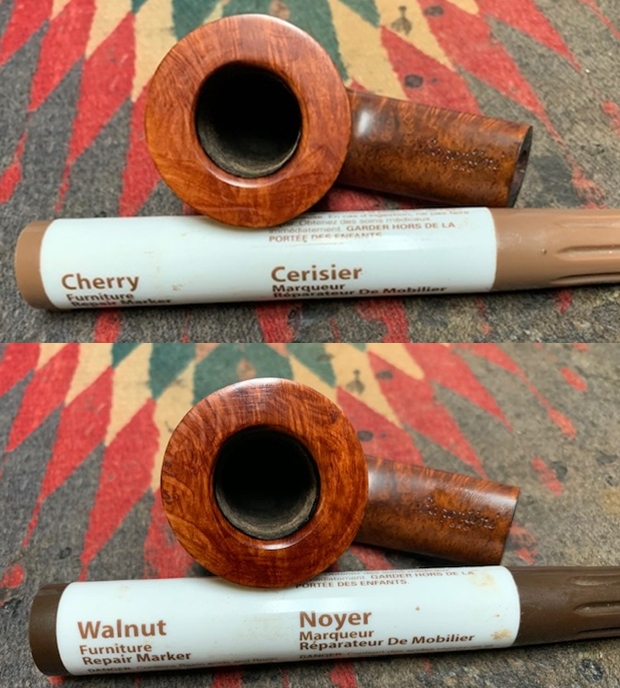
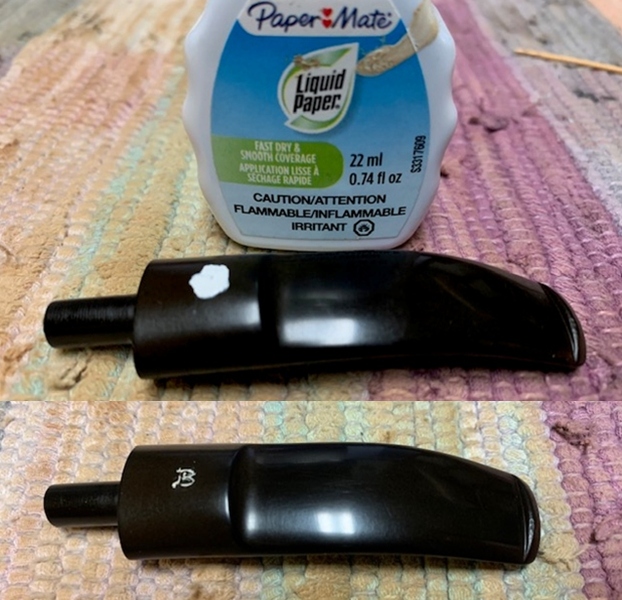
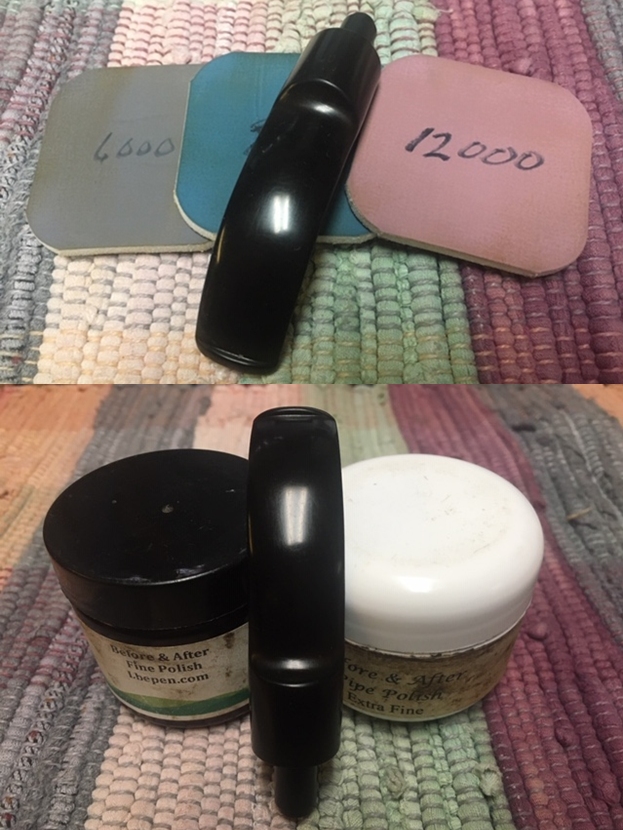
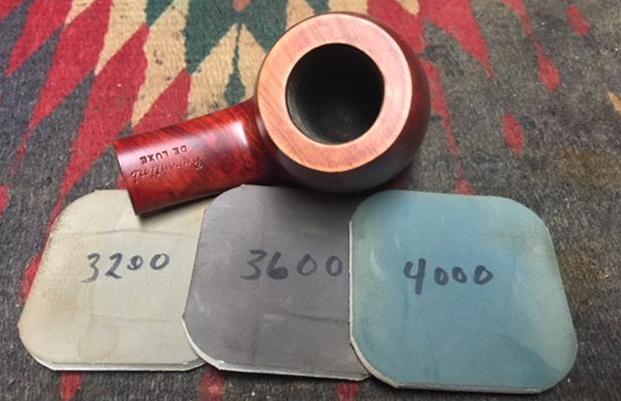
 I paused the polishing after the 4000 grit micromesh sanding pad to stain the lighter spots on the bowl and shank. I used an Oak Stain Pen to match the colour of the rest of the bowl and shank. The colour was a perfect match. I touched up the light spots on the shank end, the rim cap and spots around the bowl sides. It looks much better. I finished polishing it with 6000-12000 grit micromesh sanding pads.


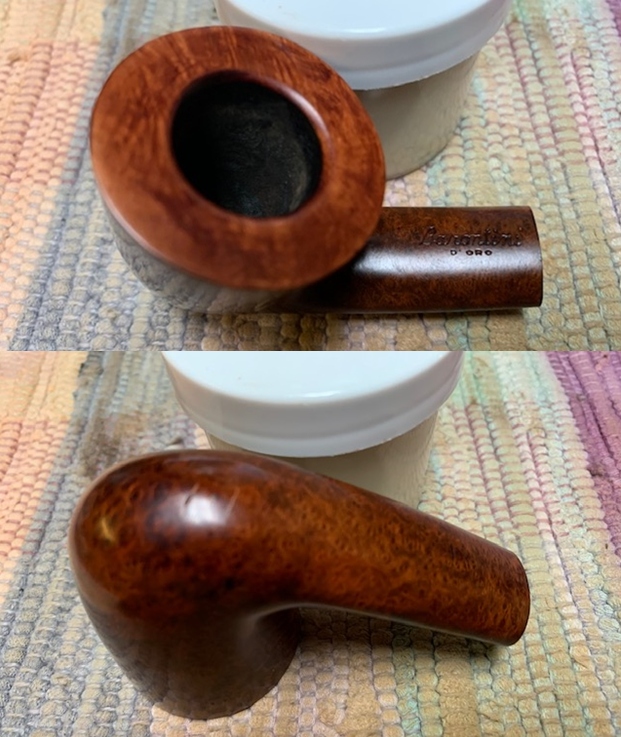
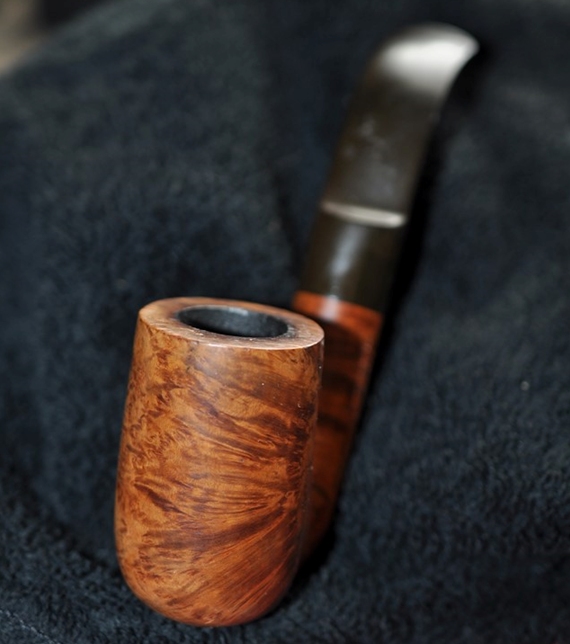
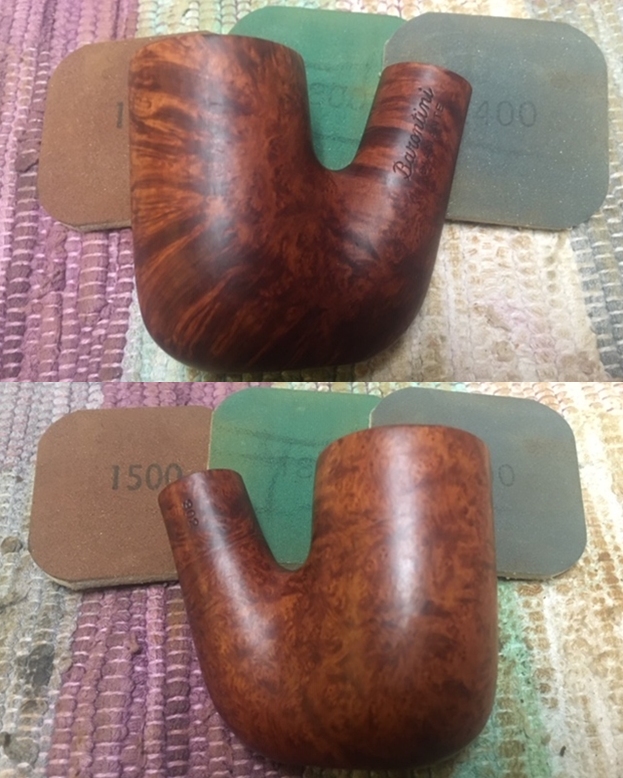
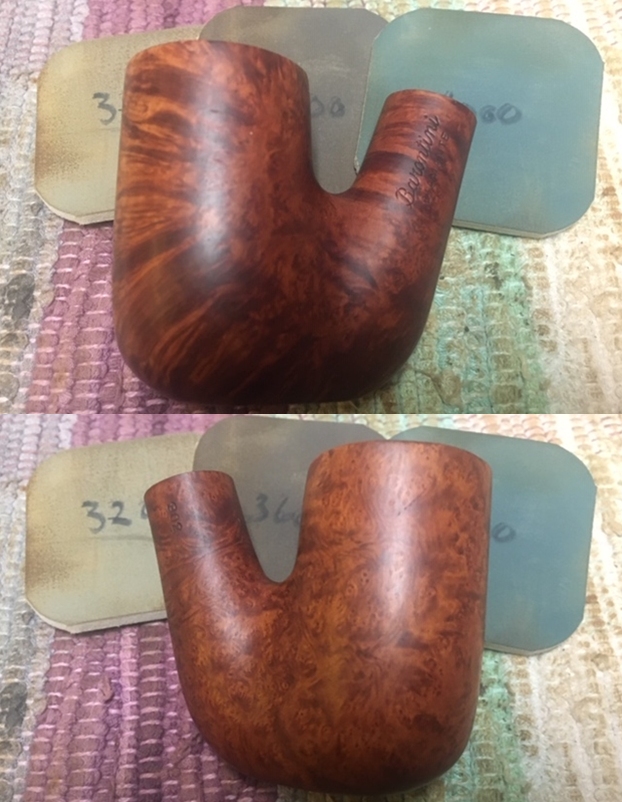
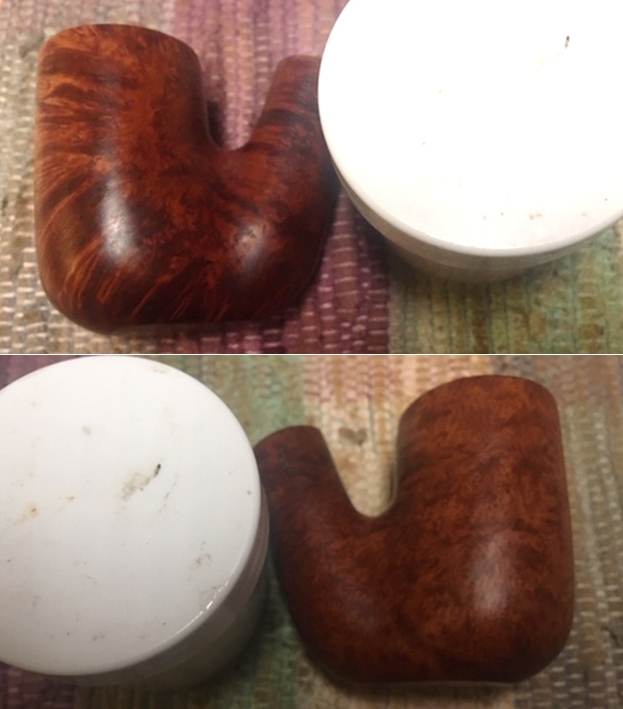
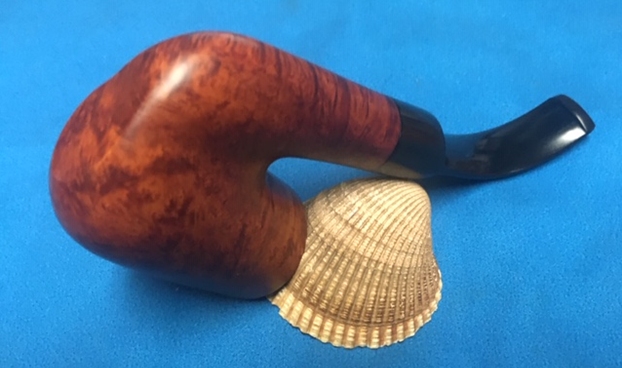
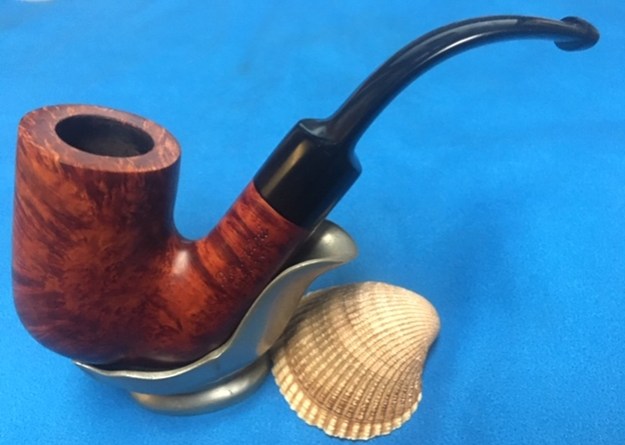
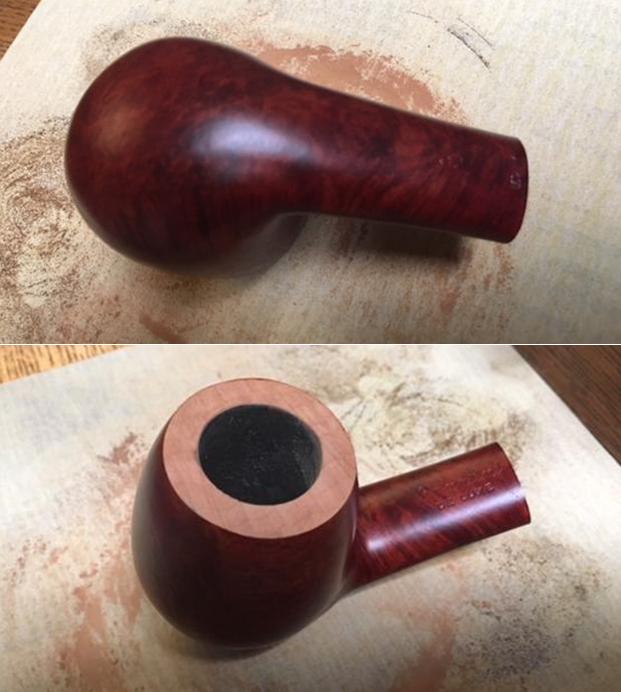
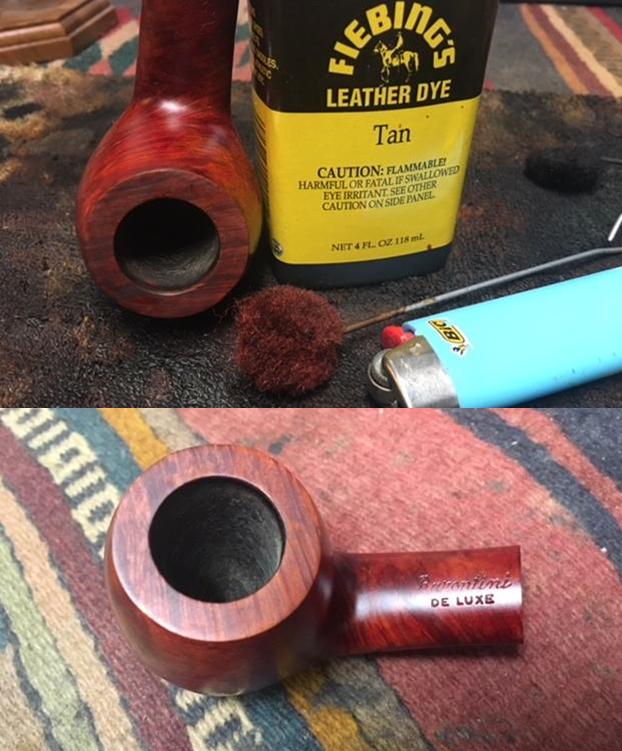
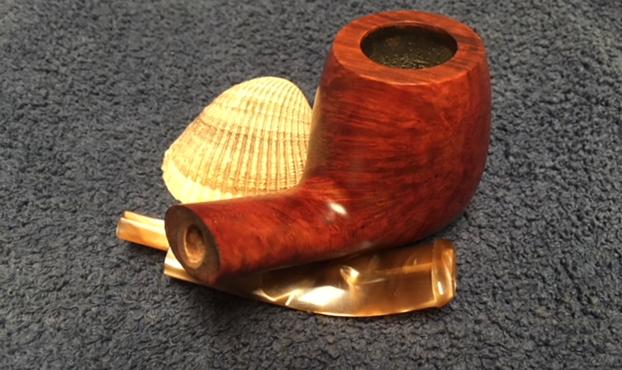
 I worked some Before & After Restoration Balm into the finish of the bowl and shank with my fingers and into the plateau carved rim top with a horsehair shoe brush. I want the product to go deep into the finish because it works to clean, enliven and protect the briar. Once I was confident that it was deeply worked into the finish I wiped it off and buffed it with a soft cloth to polish it. The pipe really began to have a rich shine. I took some photos of the bowl at this point to mark the progress in the restoration. The grain really stands out on the pipe in the photos below.

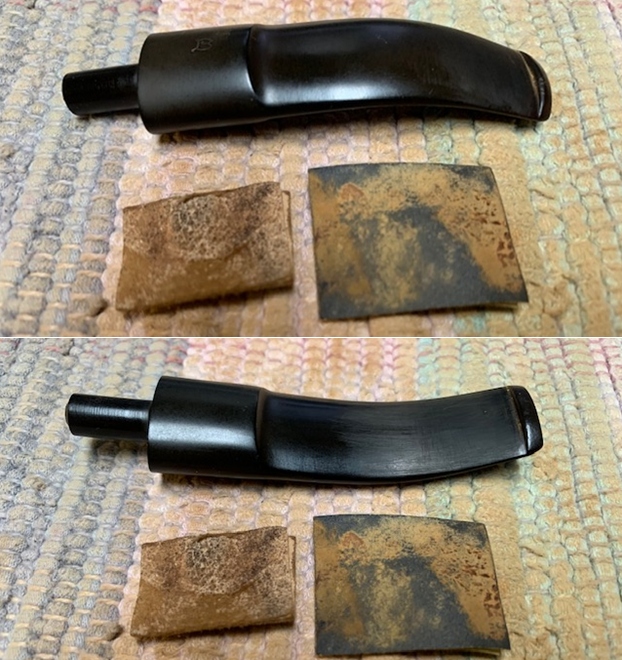
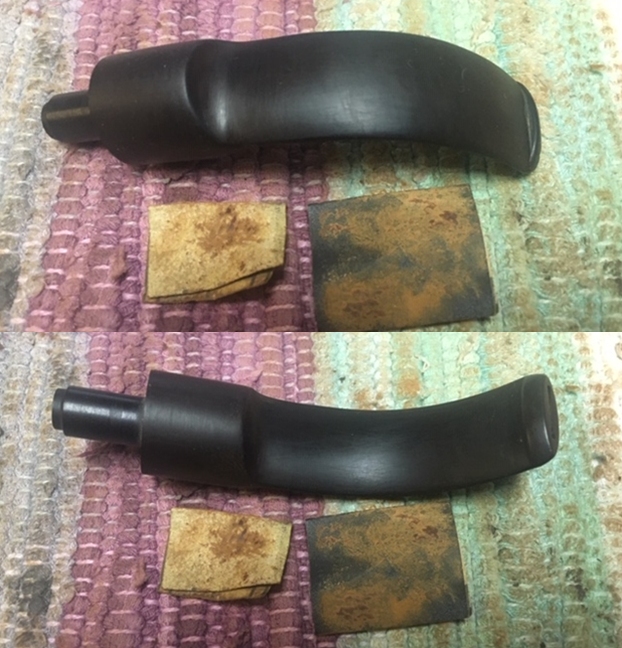
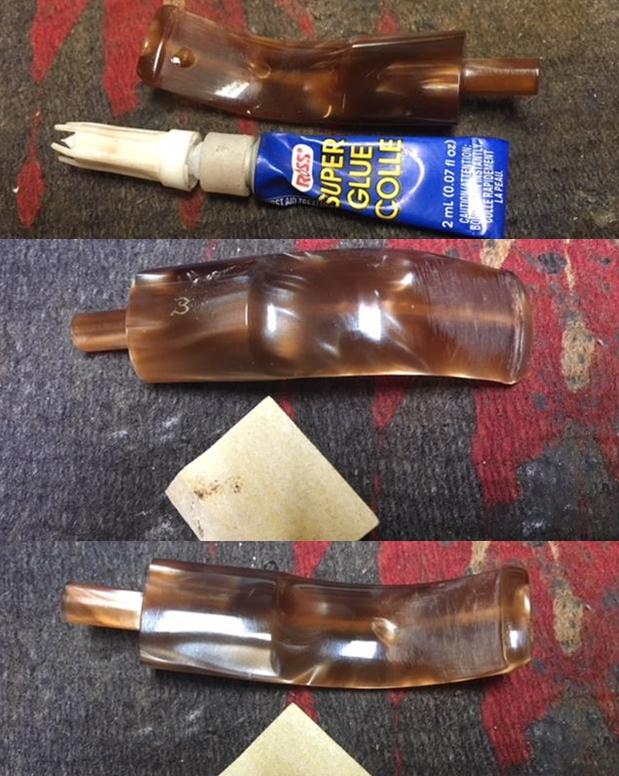
 I set the bowl aside and turned to work on the stem. I sanded the surface of the stem with 220 grit sandpaper to remove the tooth marks and chatter. I started polishing the acrylic stem with a folded piece of 600 grit wet dry sandpaper.
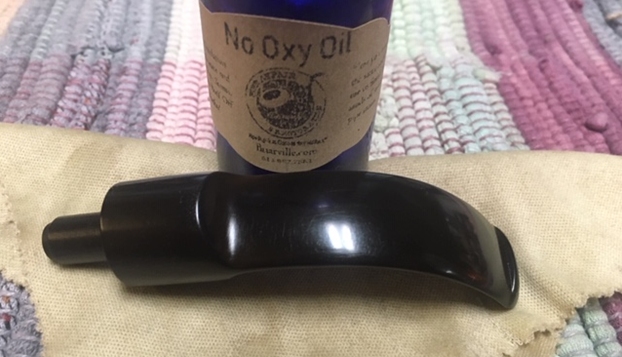
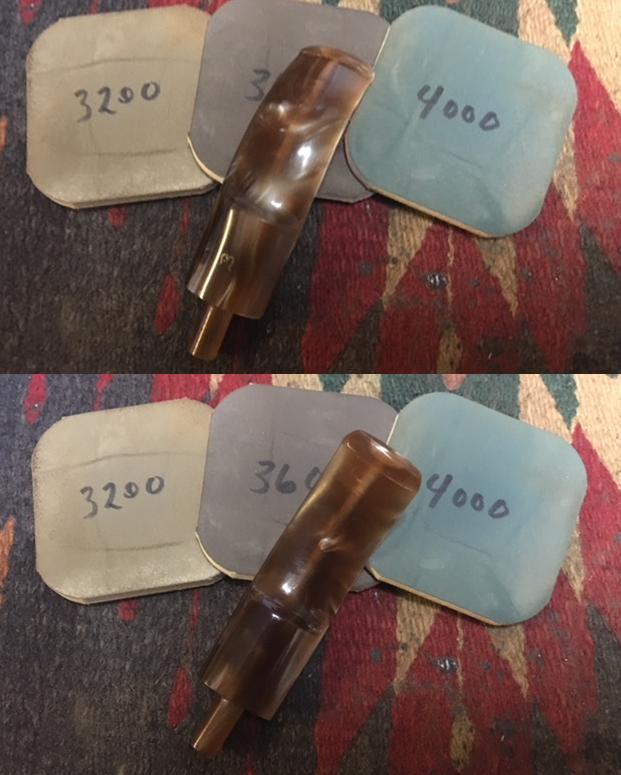
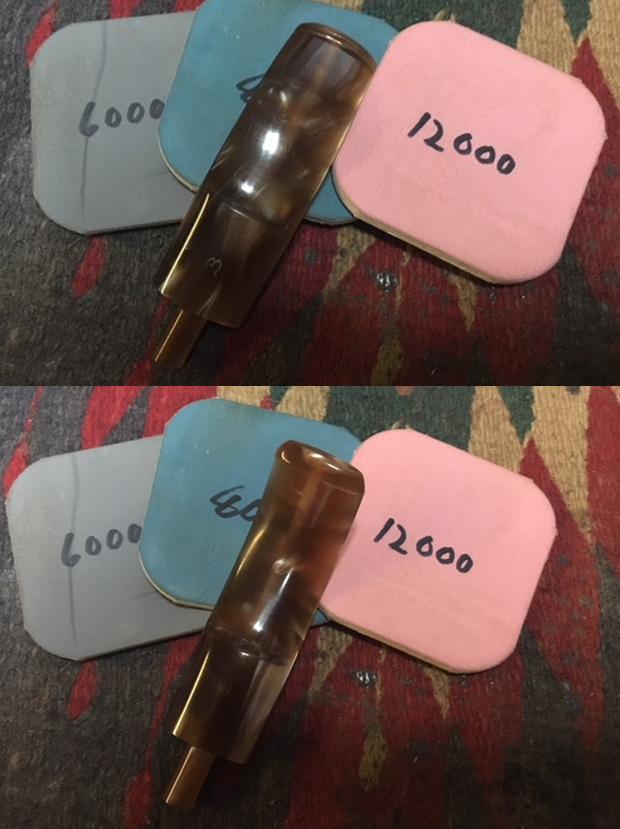
 I polished the stem with micromesh sanding pads – wet sanding it with 1500-12000 grit pads. I wiped it down with Obsidian Oil after each sanding pad. I know many think it is useless to use the Obsidian Oil on acrylic stems but I find that it is a good lubricant when I am sanding with the micromesh pads. For me it works!
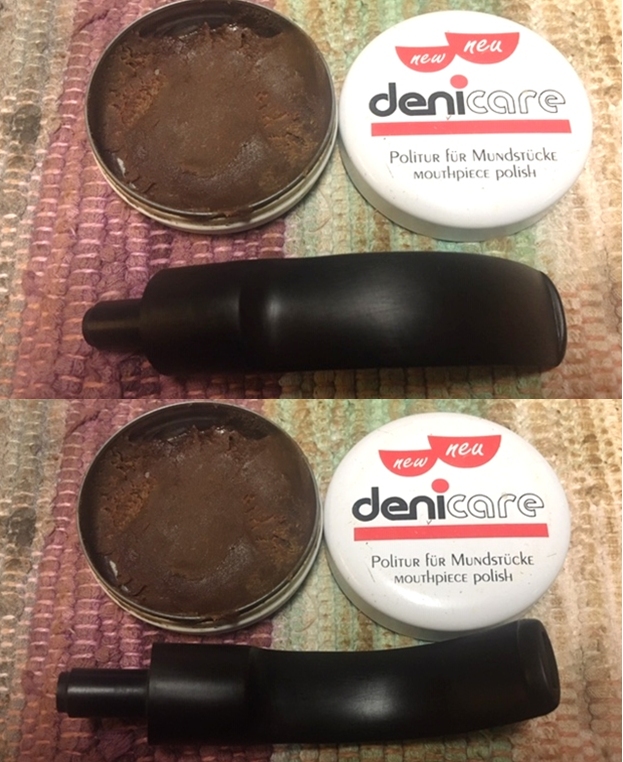
 I finished the hand polishing of the stem with Before & After Pipe Polish – both the Fine and Extra Fine polishes. I gave it a final coat of oil and set it aside to dry.
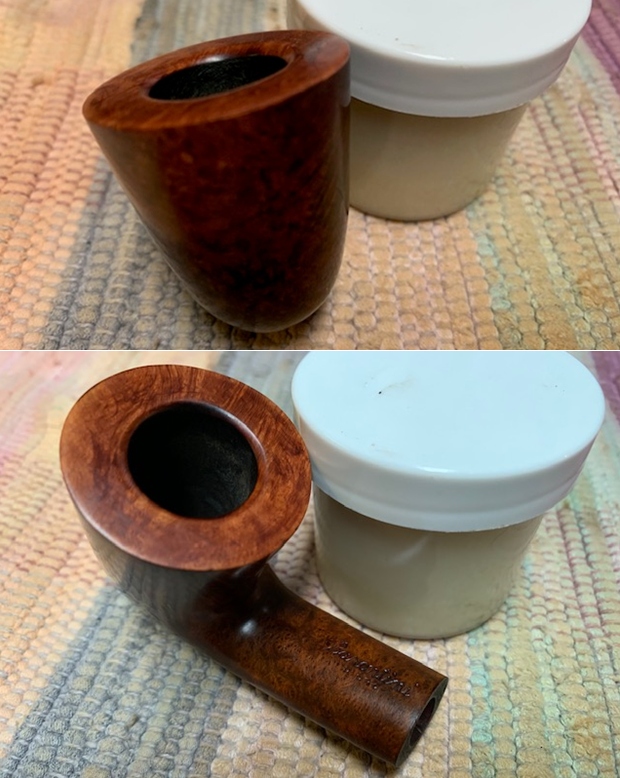
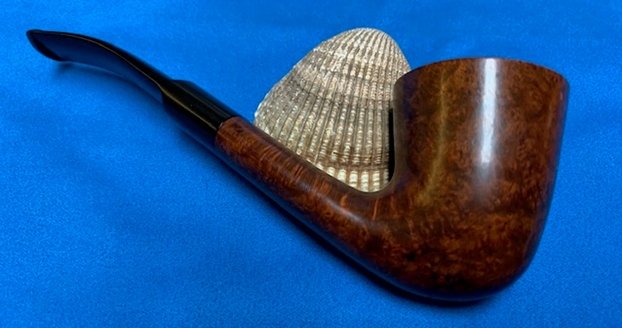
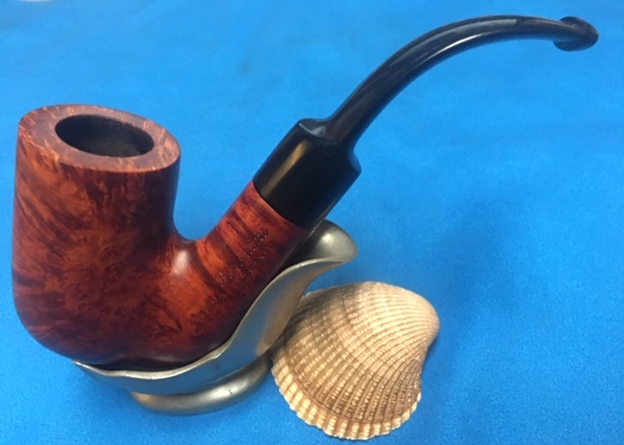
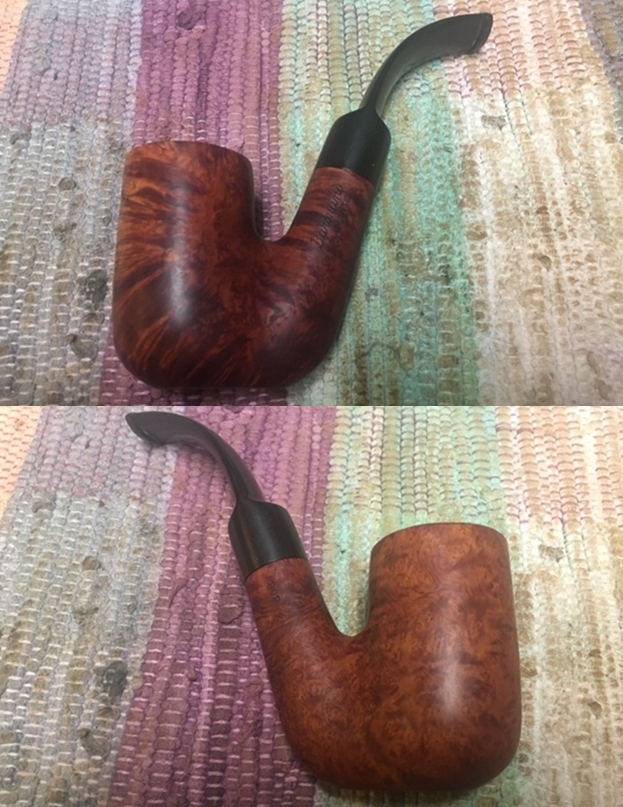
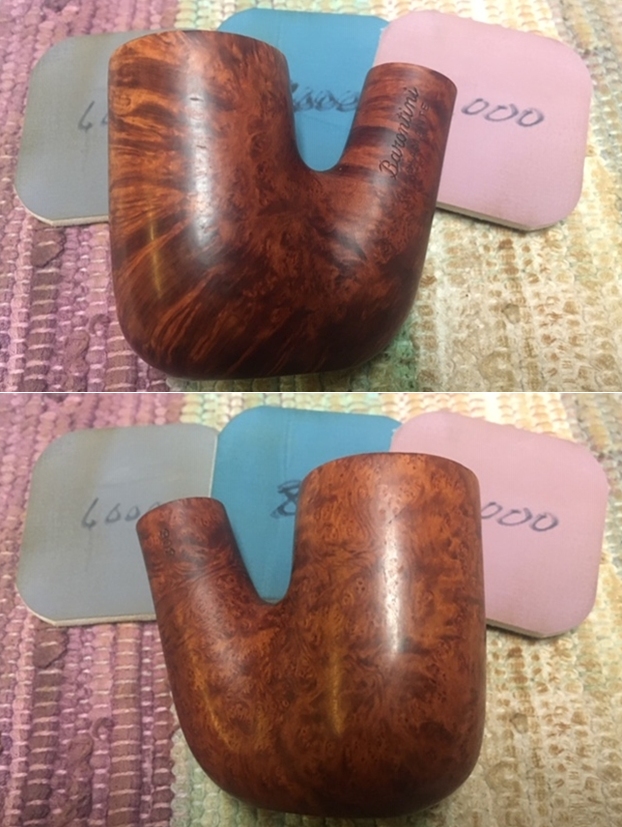
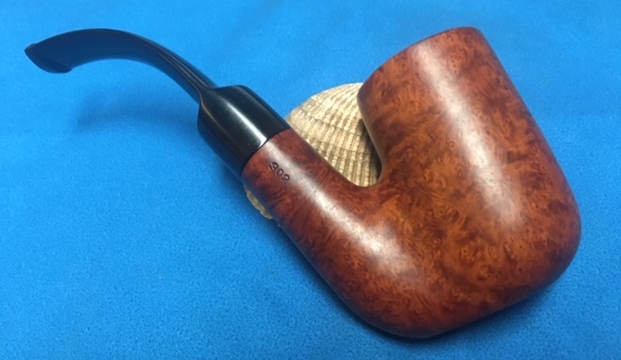
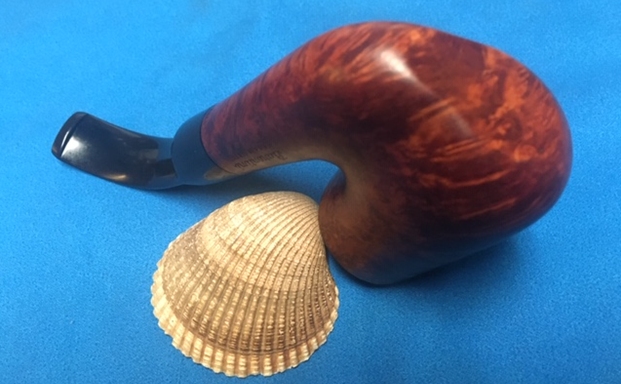
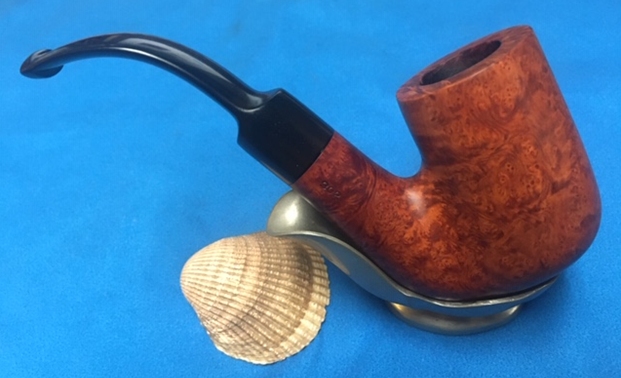
 I put the Barontini Straight Graini B3 bowl and stem back together. I polished the smooth part of the bowl and stem with Blue Diamond to polish out the scratches in the briar and the vulcanite. I gave the sandblasted bowl and shank several coats of Conservator’s Wax and the stem multiple coats of carnauba wax. I buffed the pipe with a clean buffing pad to raise the shine. I hand buffed it with a microfiber cloth to deepen the shine. The pipe polished up pretty nicely. The medium brown stains worked amazingly well with the polished orange acrylic stem. The grain around the bowl and shank and looks quite remarkable. This is truly a beautiful Barontini Straight Grain Freehand pipe. The finished pipe is shown in the photos below. The dimensions of the pipe are Length: 5 ½ inches, Height: 2 ¼ inches, Outside diameter of the bowl: 1 1/8 inches, Chamber diameter: 7/8 of an inch. The weight of the pipe is 1.76 ounces/51 grams. I will be putting it on the rebornpipes store shortly in the Italian Pipemakers Section. Thanks for walking through the restoration with me. Cheers.
As always, I encourage your questions and comments as you read the blog. Thanks to each of you who are reading this blog. Remember we are not pipe owners; we are pipe men and women who hold our pipes in trust until they pass on into the trust of those who follow us.