Blog by Steve Laug
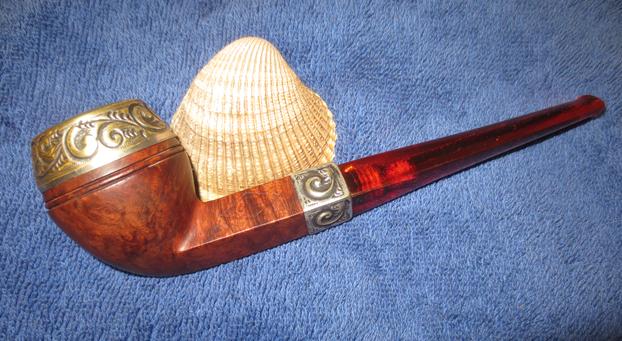
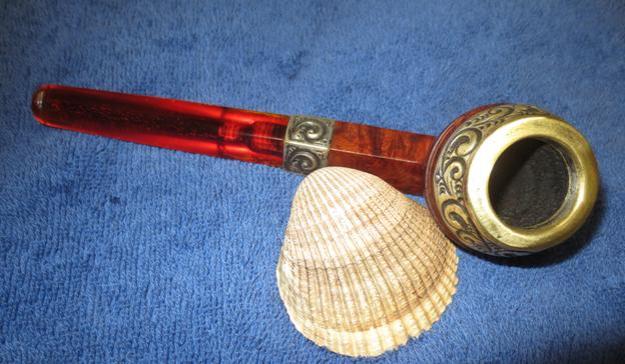
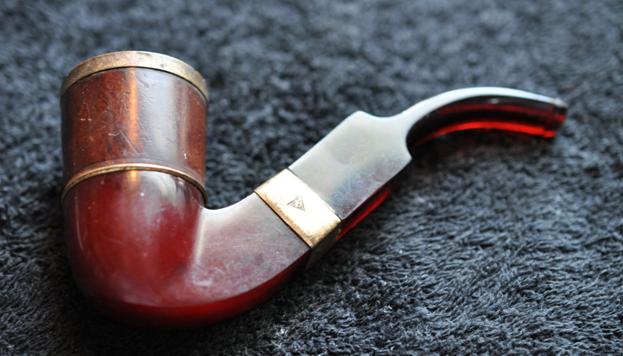
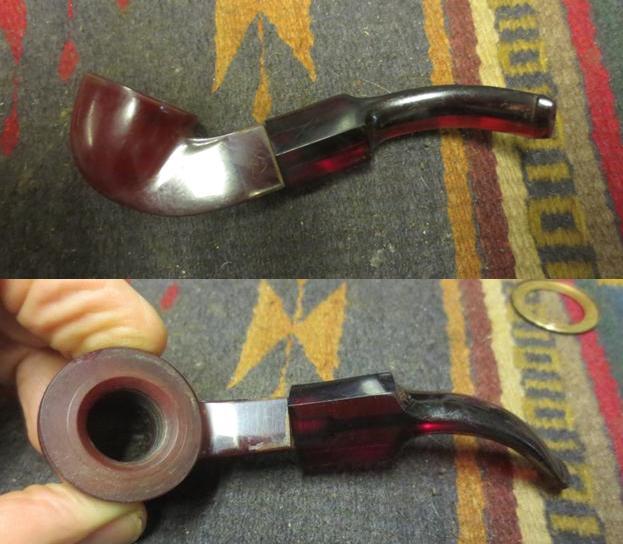
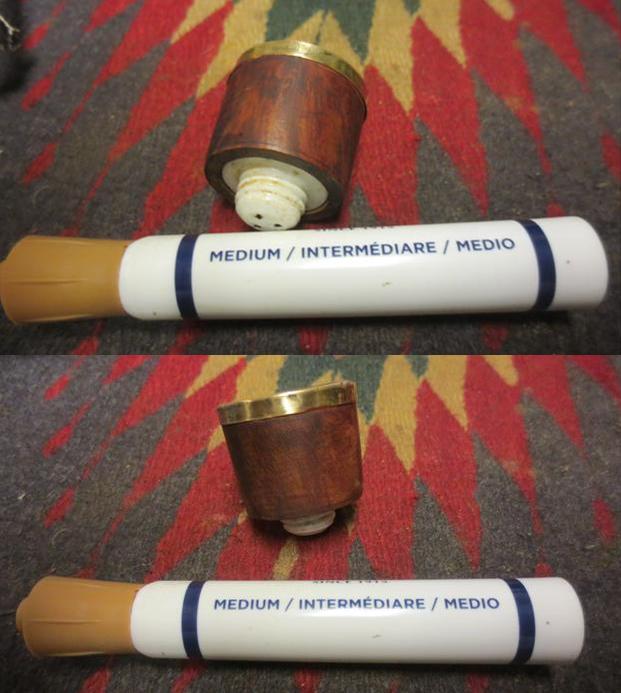
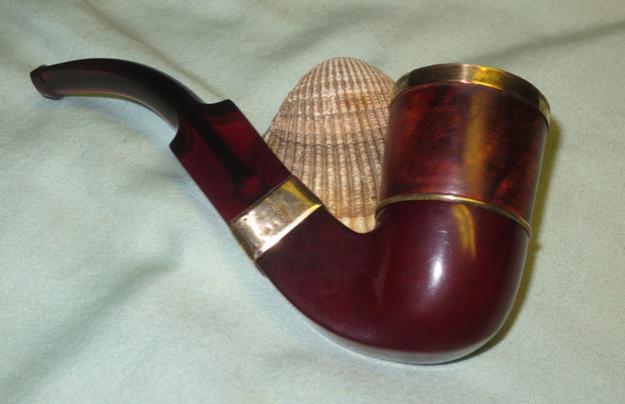
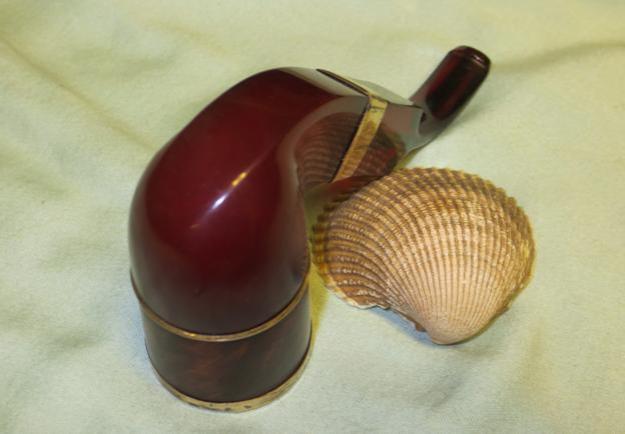
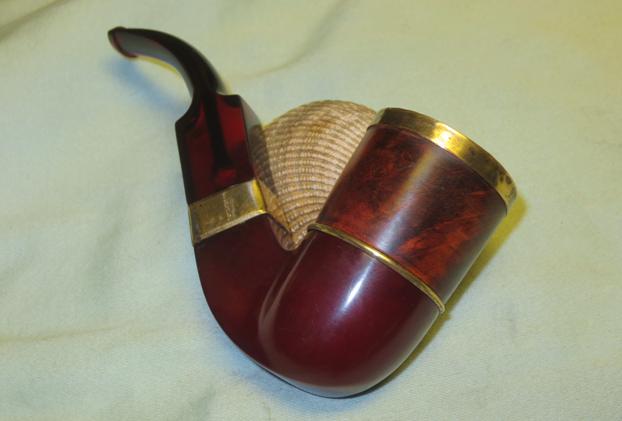
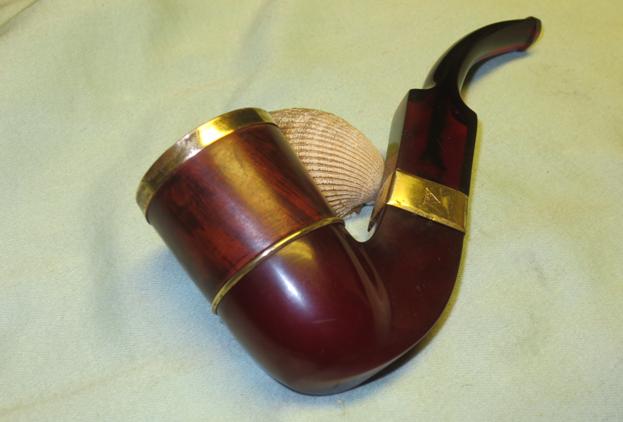
In the fall I received an email from a reader of the blog about a pipe she had questions about. She sent me photos of the pipe and the Diamond P logo on the metal rim cap and shank band. The band and the cap were polished brass. I did some looking and could not find anything that narrowed down the maker of the pipe. I wrote her back and offered to purchase the pipe from her. She sold it to me and shipped it to my brother Jeff. The base of the bowl is made out of Redmanol or Bakelite. The liner of the bowl held in by the brass rim cap is clay. The airway is in the bottom of the bowl and there is a chamber below that that feeds the smoke into the airway in the stem. The stem is also Bakelite and has tooth chatter on both sides ahead of the stem. Here are the photos she sent me of the pipe.
 The next two photos show the Diamond P stamp on the band and the rim cap.
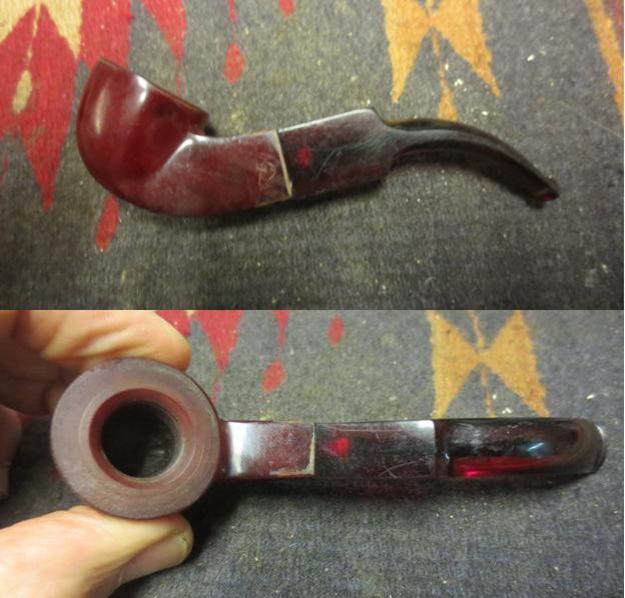
  Jeff took photos of the pipe when he received it in the mail. This was another dirty pipe with a lot of wear and tear. I love seeing those old uniques smoked so much. It is a good sign that it was a good smoker. The pipe has no stamping on the Bakelite shank or the bowl. The Brass rim top had a Diamond P on the front of the cap and on the right side of the brass band on the shank. I would need to check that out. The brass was oxidized is spot on both the rim and the band. The band had been bent somewhere along the way and would need to be flattened. The golden yellow Bakelite base was dirty and the you could see the grime in nicks on the surface. The bowl had a thick cake that flowed over the top of the smooth rim in a lava coat in spots around the bowl. The inner edge was also heavily coated in those spots that it was hard to assess its condition. The rim top seemed to be dented on the top surface and edges. The stem was a golden yellow Bakelite saddle stem that had oils that darkened and obscured the airway from the place where the stem hits the band through the airway in the button. It had some light tooth marks and chatter on both sides ahead of the button. Jeff took photos of the pipes before he started his clean up work.
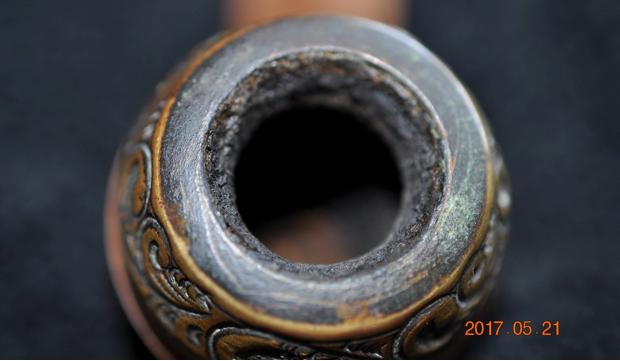
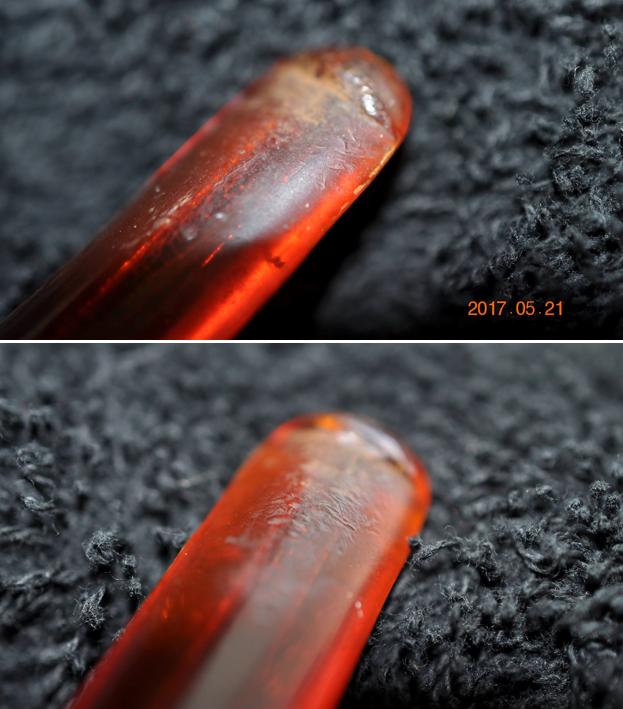
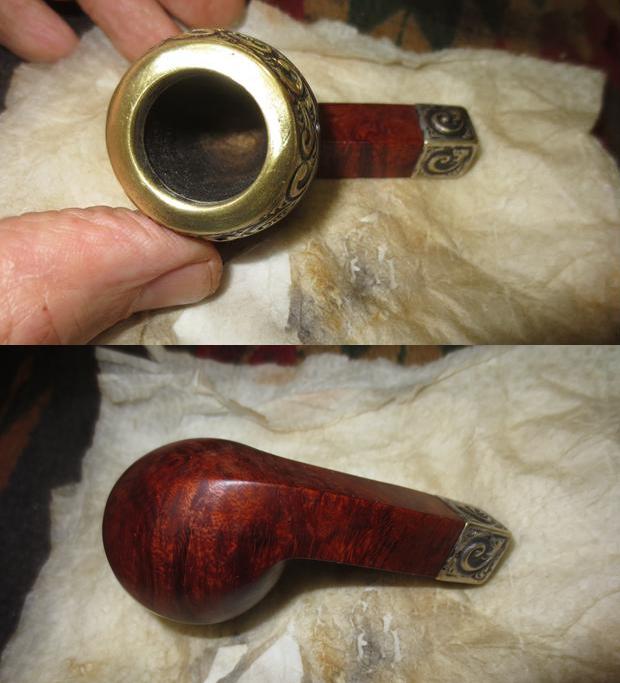
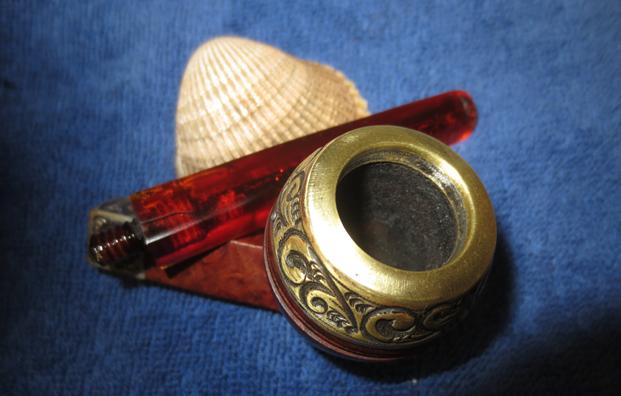
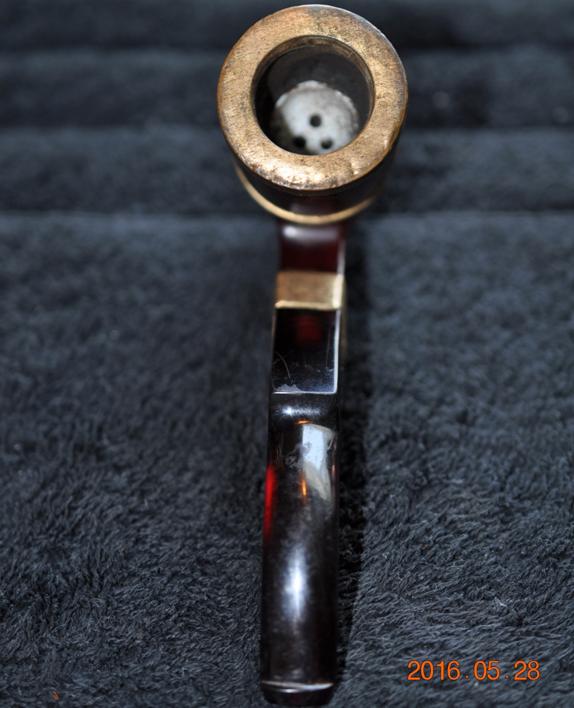
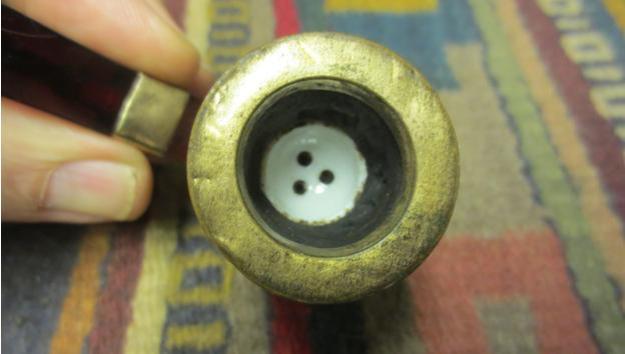
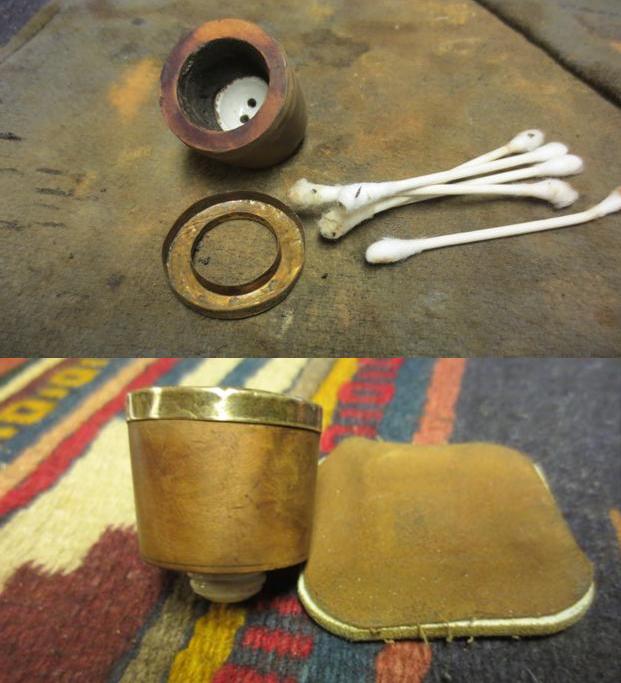
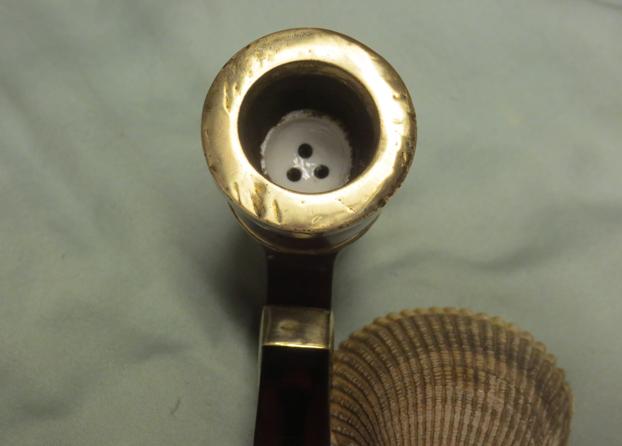
 He took photos of the bowl and rim top to show the condition of both. The tars/lava coat on the rim top is thick and needs to be removed. The cake in the bowl is quite thick and the airway in the bottom of the bowl seems to be plugged. He also captured the tooth marks in the surface of the stem on both sides ahead of the button.

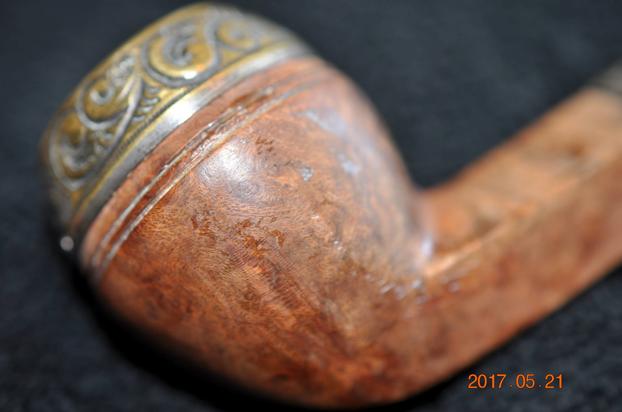
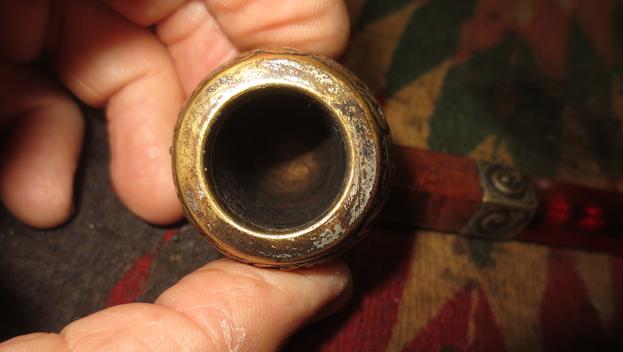
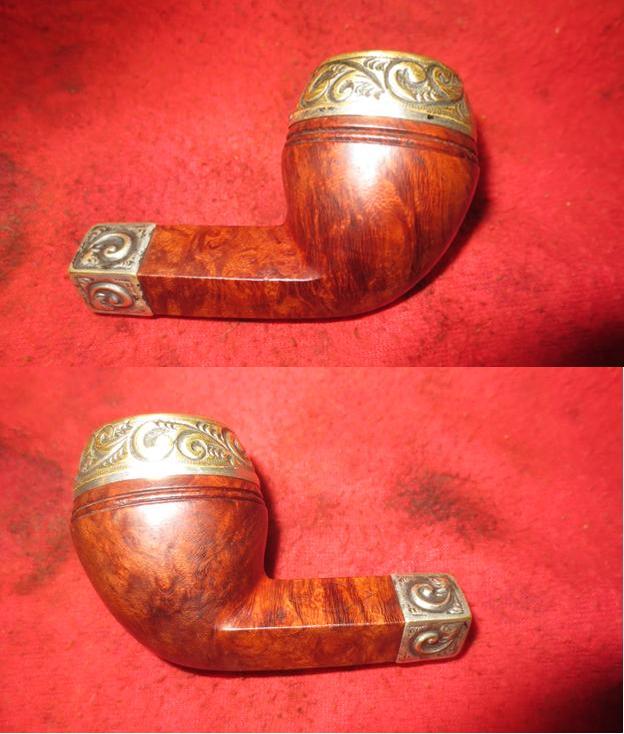
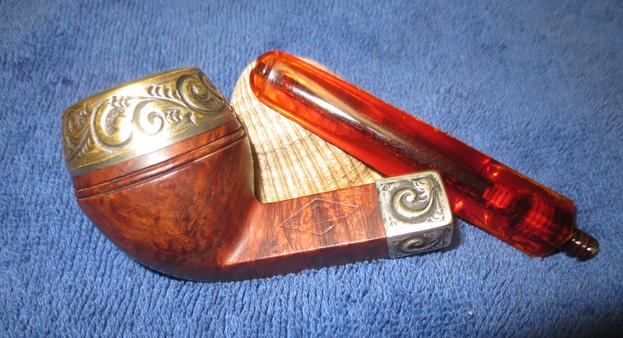
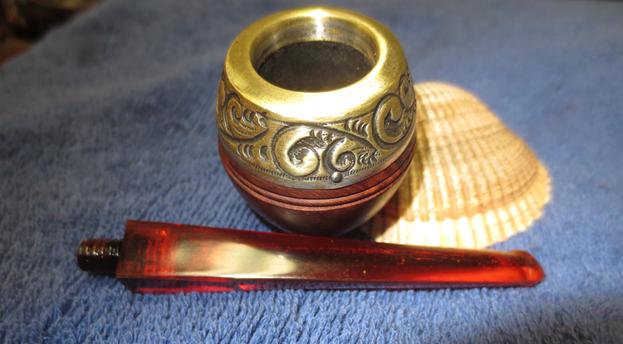
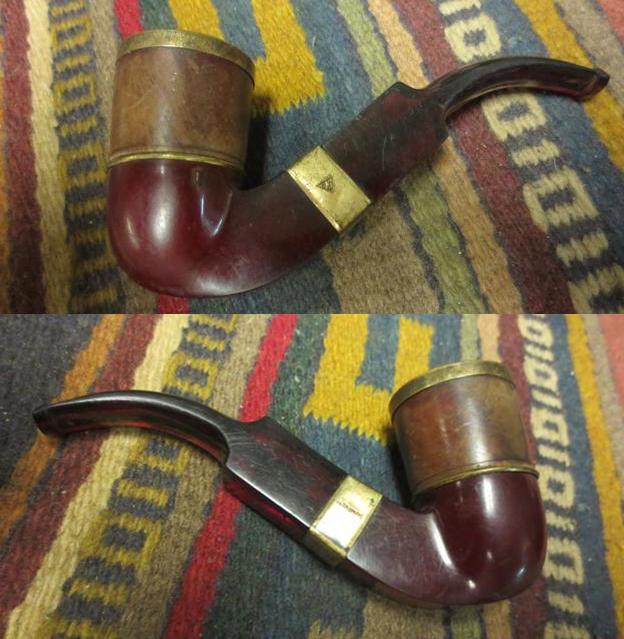
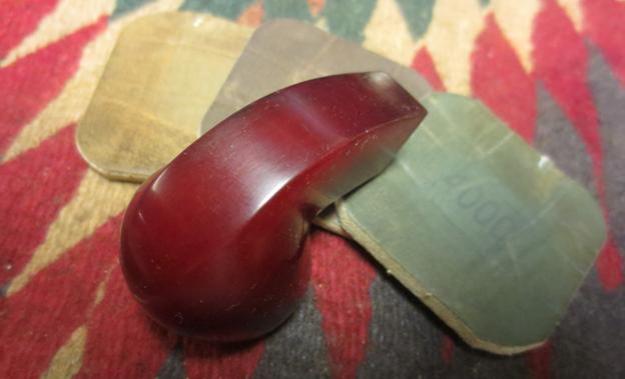
 He took photos of the bowl sides and heel of the bowl to capture the colour and the shape. You can also see the oxidation and wear on the brass rim cap and band.
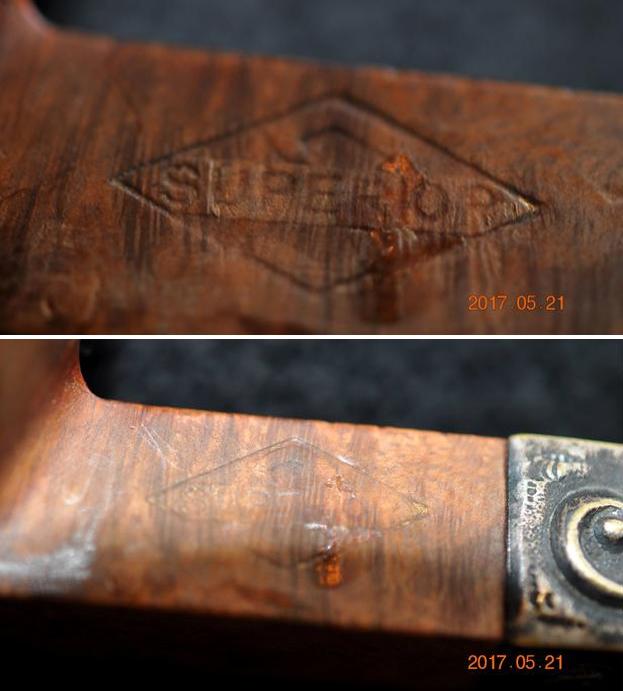
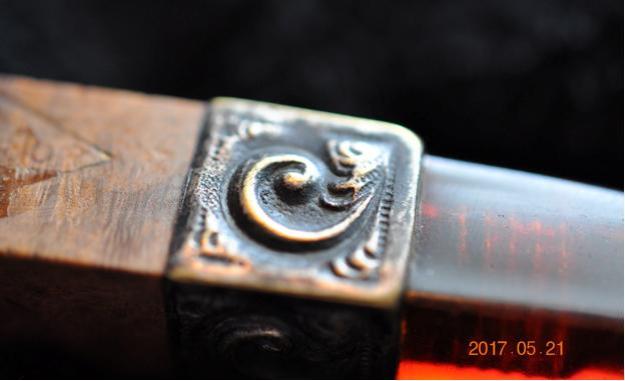
 Jeff sent photos of the logo on the right side of the band as well as a Patent stamp on the shank side that I had not seen in my earlier correspondence on this pipe.
 I did a Google search and came upon this summary of the patent along with Patent application including descriptions in detail and drawings of the bowl and the insert inside as well as how it is held in place (https://patents.google.com/patent/US1542838A/en?oq=US+Patent+1542838). It is an interesting piece that seems to come from the period of 1921-1942. It appears that the application was granted in 1925. Here is the summary in full.
Inventor
Current Assignee
REISS PREMIER PIPE Co
REISS-PREMIER PIPE Co
Worldwide applications
1921 US
Application US434480A events
1921-01-03
Application filed by REISS PREMIER PIPE Co
1921-01-03
1925-06-23
Application granted
1925-06-23
1942-06-23
Anticipated expiration
Status
Expired – Lifetime
There was also a note on the summary that I have included below.
A24F1/22 – Tobacco pipes with arrangements for cleaning or cooling the smoke with arrangements for cooling by air, e.g. pipes with double walls.

 With that new information, thanks to the patent number, I know what I am dealing with. It is an old timer – potential from the 1920s. The outer bowl is Redmanol or Bakelite and the inner bowl is clay. The rim cap has a cork gasket and is slid or pressed on to the top of the bowl. It was definitely a part of the ongoing search for a cooler and drier smoke. Now it was time to work on it.
From that information I had a couple of other things to check out. I wanted to see if there was a link for the Diamond P logo on the metal on the pipe and I wanted to learn more about Reiss-Premier Corp. I turned to Pipephil (http://www.pipephil.eu/logos/en/logo-r3.html) and looked for the logo. Interestingly it took me to a listing under the Redmanol name and a link to Reiss-Premier Corp as well. I have done a screen capture of the section on the site and have included it and the side bar information below. Redmanol is not exactly a pipe brand but the name of a synthetic material, a phenol-formaldehyde resin very close to Bakelite, first developed in 1907 by Leo Hendrik Baekeland. Redmanol and also Condensite were competitors to Bakelite. The courts found that Redmanol and Condensite both infringed on Baekeland’s patents, and in 1922 the three companies merged as the “Bakelite Company”.
I next turned to Pipedia to look up information on the Reiss-Premier Corp and see what I could learn there (https://pipedia.org/wiki/Reiss-Premier_Co.). I have included a photo of their building in New York and the brief article from Pipedia below. The interesting point for me is that the original company was in Chicago and founded in 1922 by the merger of two companies. It is in that time frame that this Redmanol pipe was made. The Reiss-Premier Corporation was founded on June 22, 1940 in New York as the successor to the Reiss-Premier Pipe Company of Chicago. That company was in turn founded in Chicago, Illinois in 1922 by Jacob D. Burger, again as a successor company to two former pipemaking concerns, Reiss Brothers of Chicago and Premier Briar Pipe Company. The company was located in the south half of the fifth floor at 32 to 40 South Clinton Street in Chicago. Four years later, in 1926 Reiss-Premier Pipe Co. was issued a trademark for the term “Drinkless”, made famous on so many Kaywoodie pipes, and for which they used the slogan “You can’t get a drink from a drinkless pipe”.
In August of 1926, Reiss-Premier Pipe Co. purchased Kaufmann Bros. & Bondy and a year later the Kaywoodie pipes began to sport the Drinkless stinger. By 1928 Reiss-Premier had moved their production to Union City, New Jersey, and in December of that year were granted a patent for a cigarette and cigar holder. The following month the company moved again, purchasing the factory building of Paul G. Mehlin & Sons, piano manufacturers and taking over a part of that four story building.
After Reiss-Premier Pipe Co. became Reiss-Premier Corporation they continued to innovate, and in 1947 trademarked the “Synchro Stem” system used on decades of Kaywoodie pipes.
The Reiss-Premier Corporation was purchased in March of 1955 by S.M. Frank but remains an active corporation in the state of New York.
Now it was time to work on the pipe. Jeff carefully reamed the bowl with a Savinelli Fitsall Pipe Knife. He scrubbed the exterior with Murphy’s Oil Soap and a tooth brush to clean off the grime off the finish and the overflow of lava on the brass rim cap. The cleaning had removed the grime on the rim top. He mentioned he could not remove the stem but he cleaned up the internals of the pipe as best he could with pipe cleaners, cotton swabs and alcohol to remove all of the oils and tars in the pipe. The inside of the stem was very clean. He scrubbed the stem surface with Soft Scrub to remove the grime and oils that were on it. The fit of the stem to the shank was very good, snug enough that Jeff was uncomfortable trying to remove it. It was hard to know if the tenon was friction fit or threaded with a pipe this old. When it arrived here in Vancouver it was a clean pipe and I knew what I had to work with. I took photos of it before I started my part of the restoration.
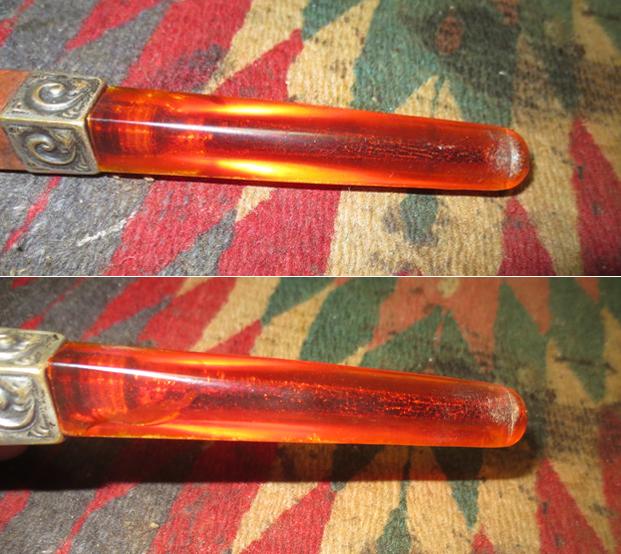
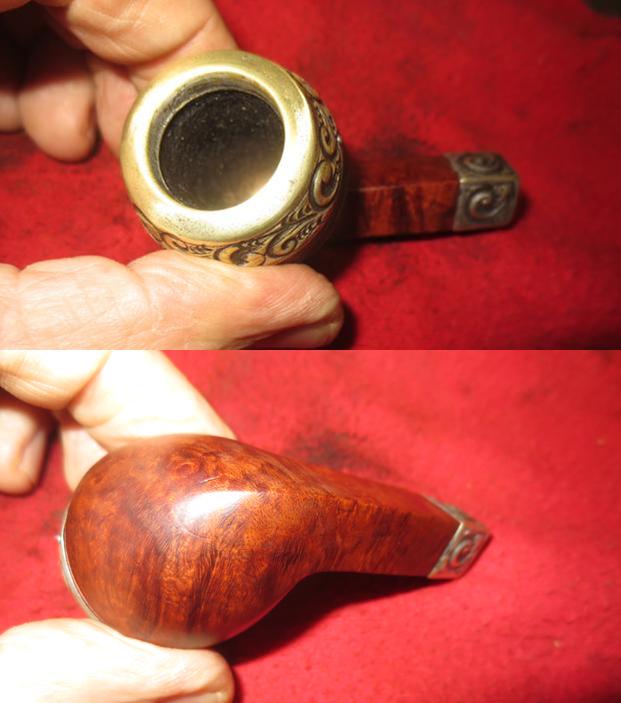
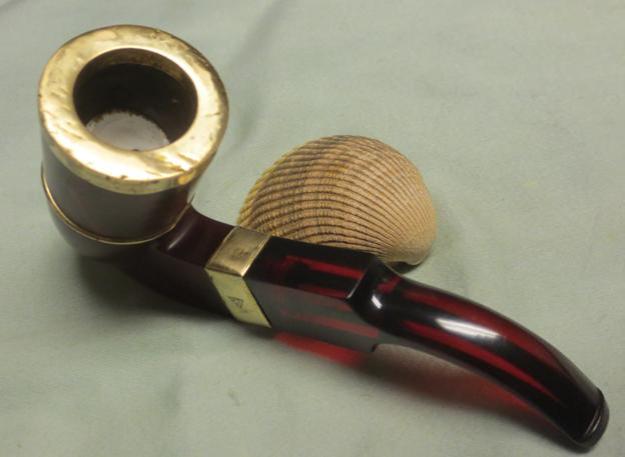
 I took a photo of the rim top and the stem to show their condition. Jeff was able to clean up the cake and the lava overflow that was shown in the rim and bowl photos above. The rim top very clean with the oxidation and lava gone. There were a lot of dents and nicks in the surface and the outer edge of the bowl that told a story of its journey. The stem looked much better with a clean airway in the stem. The tars and oils that had been there are gone. There were tooth marks and chatter on both sides near the button.
  I took photos of the patent number stamp and the Diamond P logos on the metal of the band and the rim cap. They are all in good condition and readable as noted above.
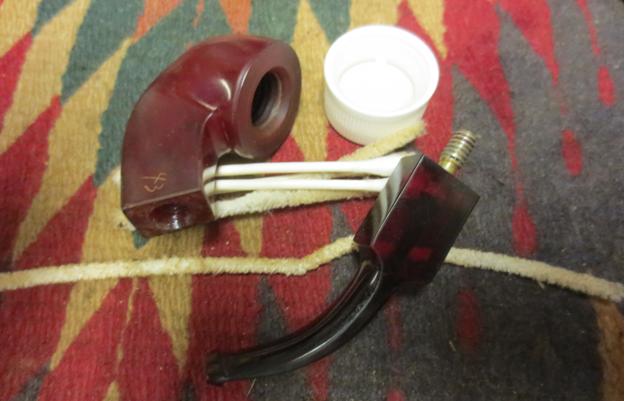
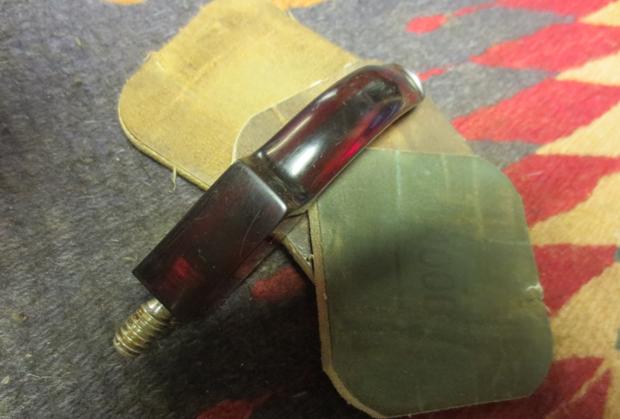
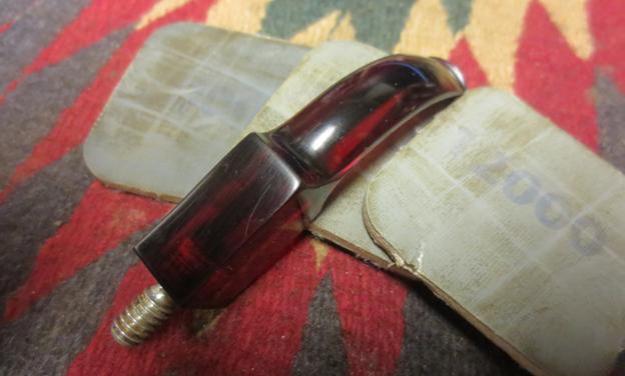
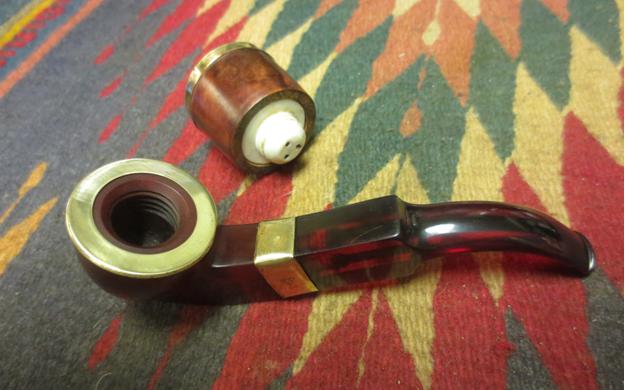
 I carefully wiggled the stem and figured out it was not threaded. I slowly turned it free of the shank to find that the tenon was metal. The shank and the tenon were very clean so Jeff had been successful in his clean up even without removing the stem. I ran several pipe cleaners through the mortise and the tenon and they came out spotless other than removing dust from those areas. I took a photo of the pipe with the stem removed to show the tenon and the look of the parts. It is a great looking little pipe.
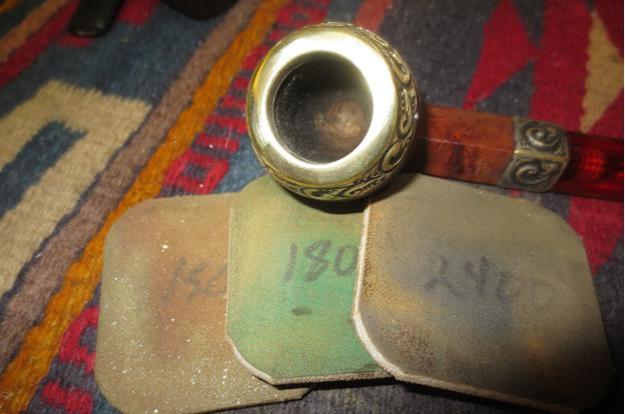
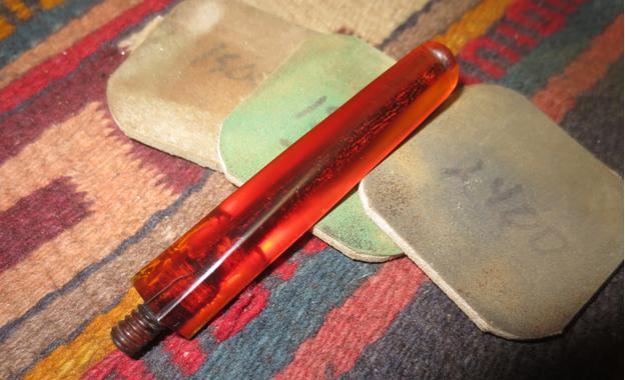
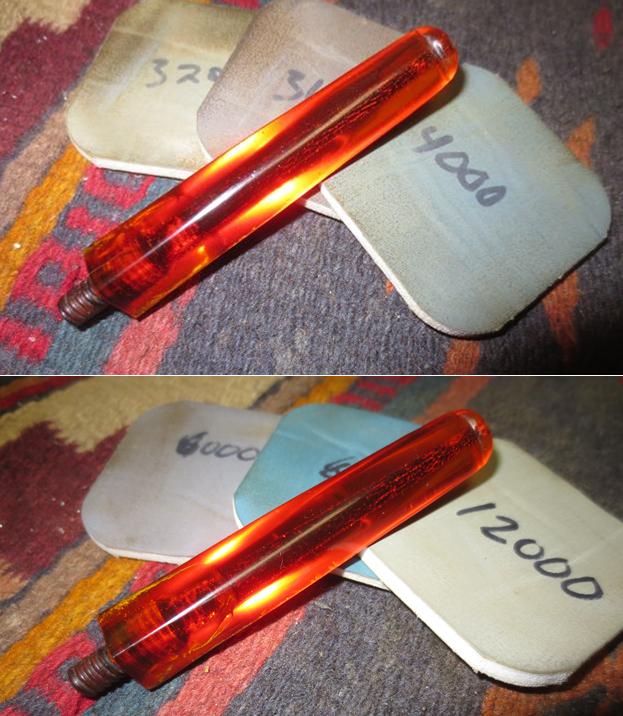
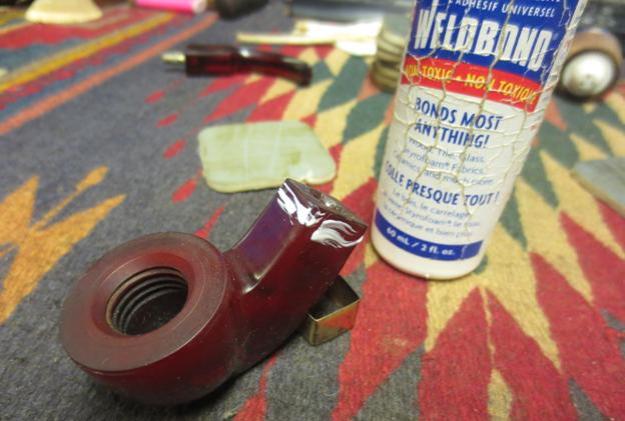
 I started my work on the pipe by addressing the nicks and scratches in the brass rim cap and shank band. I polished them with micromesh sanding pads – dry sanding with 1500-12000 grit pads and wiping them down after each sanding pad. While I could not remove them all I was able to smooth them out significantly.
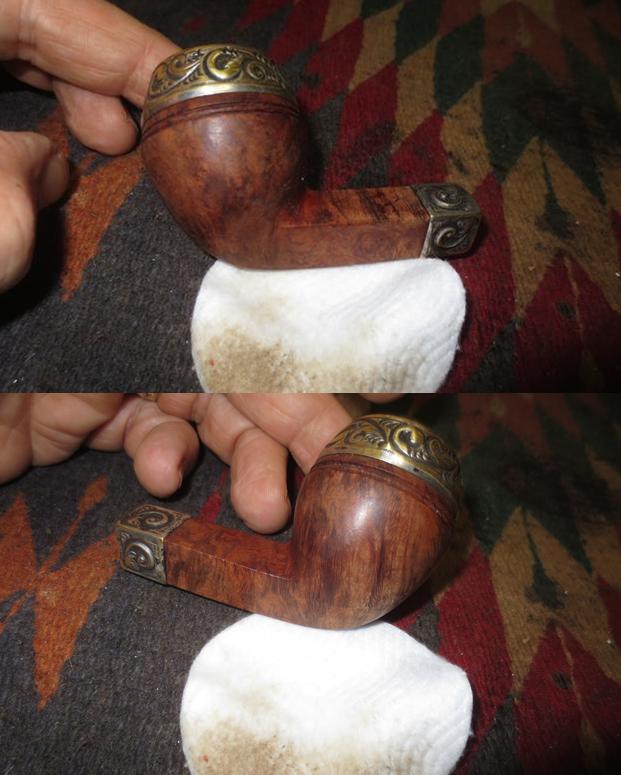
 Jeff’s clean up on the bowl and base had been excellent and I gave it a quick buff with a soft cloth and it was finished.
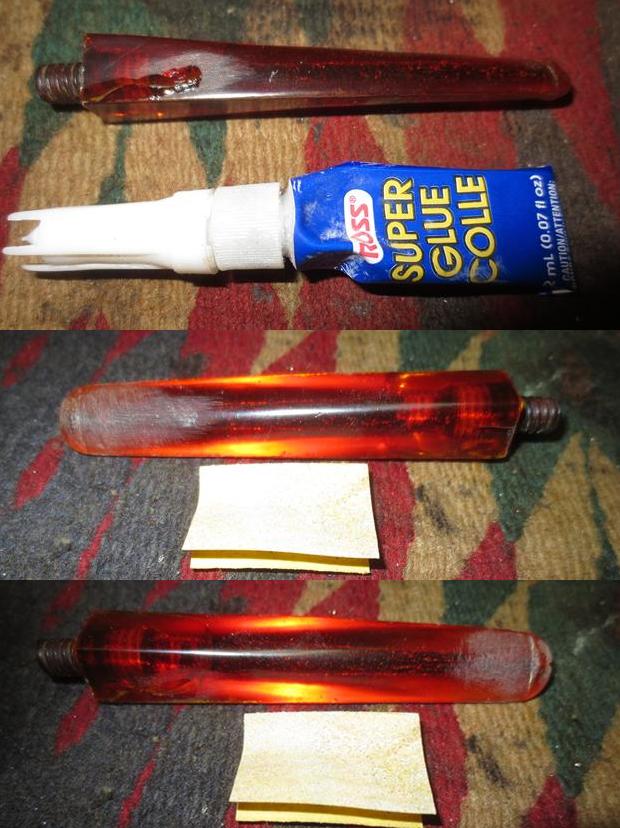
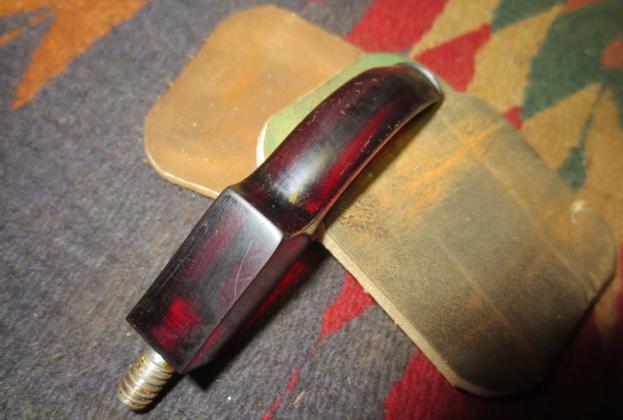
 I set the bowl aside and worked on the stem at this point in the process. I filled in the tooth marks on the surface with clear CA glue. Once the repairs cured I smoothed them out with 2 inch sanding pads – dry sanding with 320-3500 grit pads and wiping it down after each pad.
 I polished light tooth marks and chatter out of the stem with micromesh sanding pads – dry sanding with 1500-12000 grit pads. I wiped the stem down after each sanding pad with Obsidian Oil.
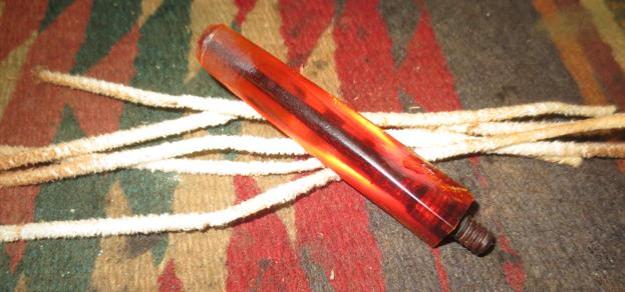
 I polished the stem with Before & After Pipe Stem Polish – both Fine and Extra Fine. I gave it a coat of Obsidian Pipe Stem Oil. It works to protect the stem from oxidizing. I set it aside to dry.
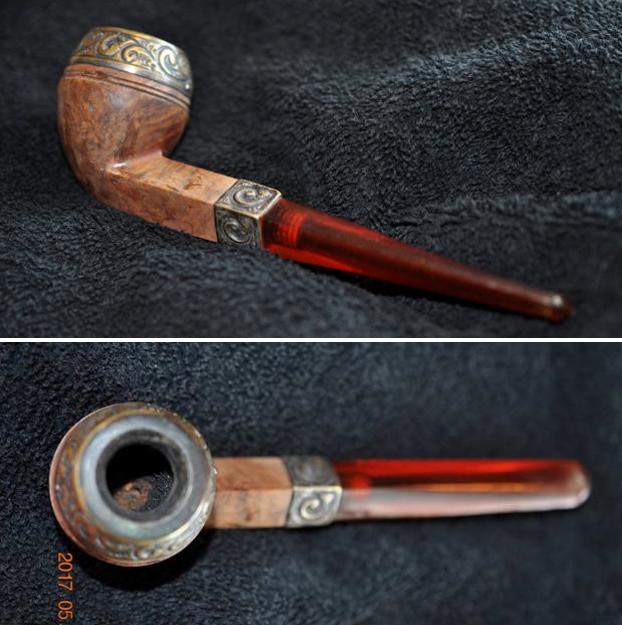
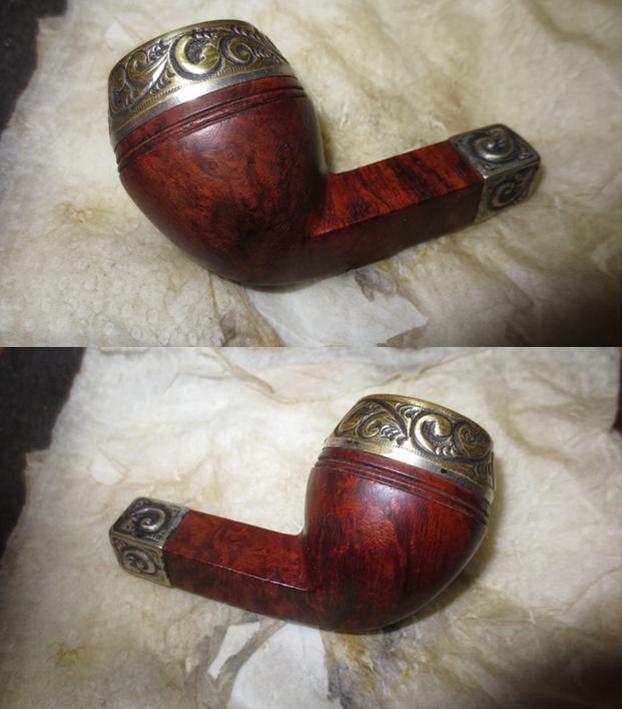
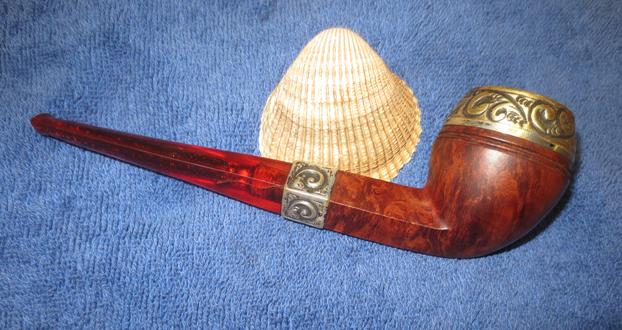
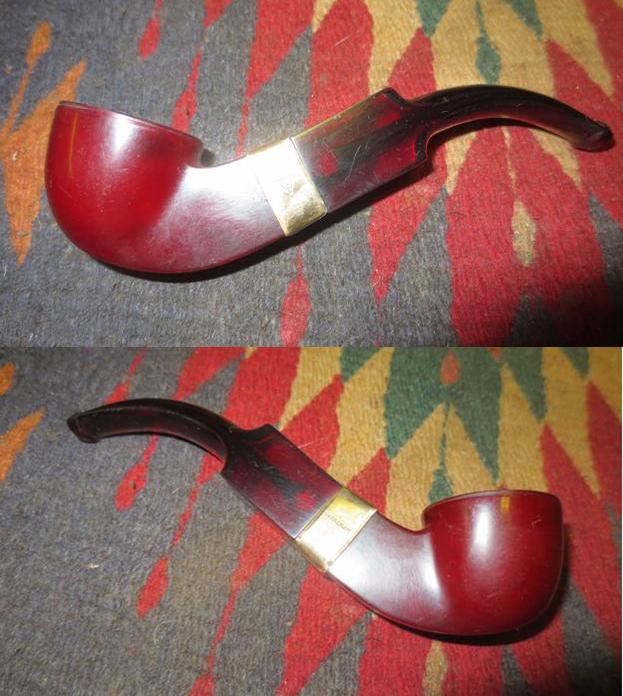
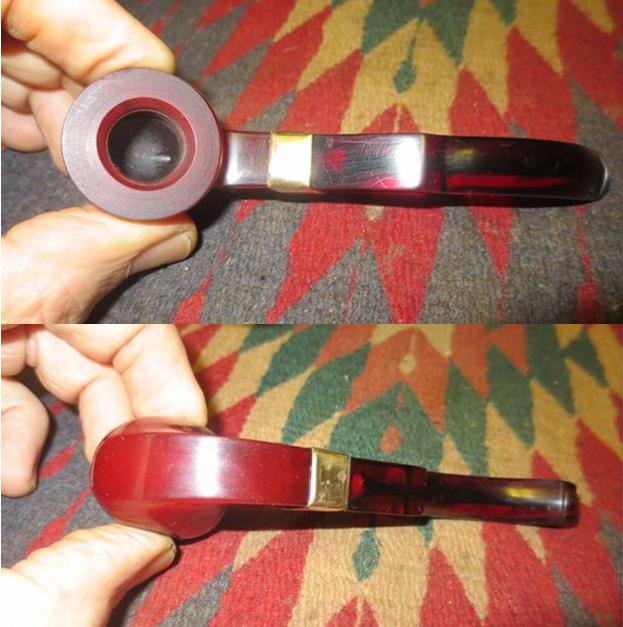
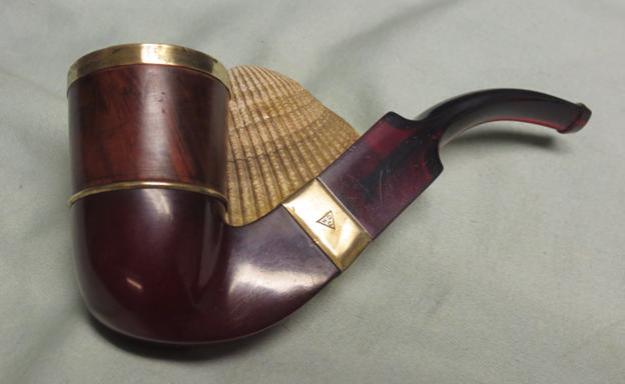
  I put the stem back on the Redmanol System Pipe with a Clay insert bowl and a Redmanol stem Made for Reiss-Premier and took it to the buffer. I buffed the bowl and stem with Blue Diamond to polish the briar and the acrylic. Blue Diamond does a great job on the smaller scratches that remain in both. I gave the bowl and the stem several coats of carnauba wax and buffed the pipe with a clean buffing pad to raise the shine. I hand buffed it with a microfiber cloth to deepen the shine. I am amazed at how well it turned out. The finished pipe is shown in the photos below. This is a beautiful Redmanol System Pipe – the Redmanol saddle stem and smooth finish combine to give the pipe a great look. The dimensions of the pipe are Length: 5 inches, Height: 1 ¾ inches, Outside diameter of the bowl: 1 ¼ inches, Chamber diameter: ¾ of an inch. The weight of the pipe is 2.08 ounces/59 grams. This is a pipe that I will be hanging onto for my own collection of odd old timers. Thanks for walking through the restoration with me on this beauty!
As always, I encourage your questions and comments as you read the blog. Thanks to each of you who are reading this blog. Remember we are not pipe owners; we are pipe men and women who hold our pipes in trust until they pass on into the trust of those who follow us.