Blog by Andrew Selking
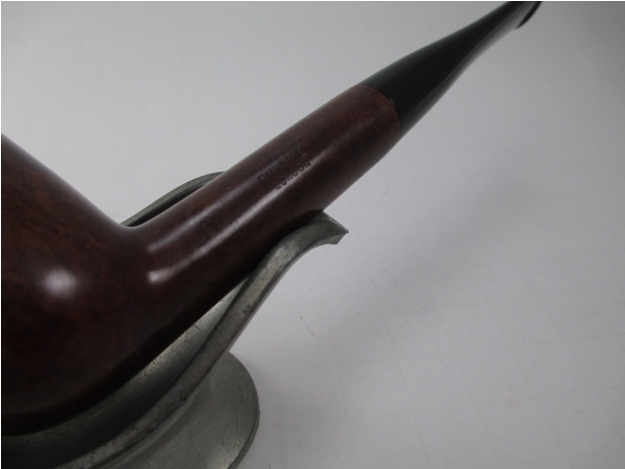
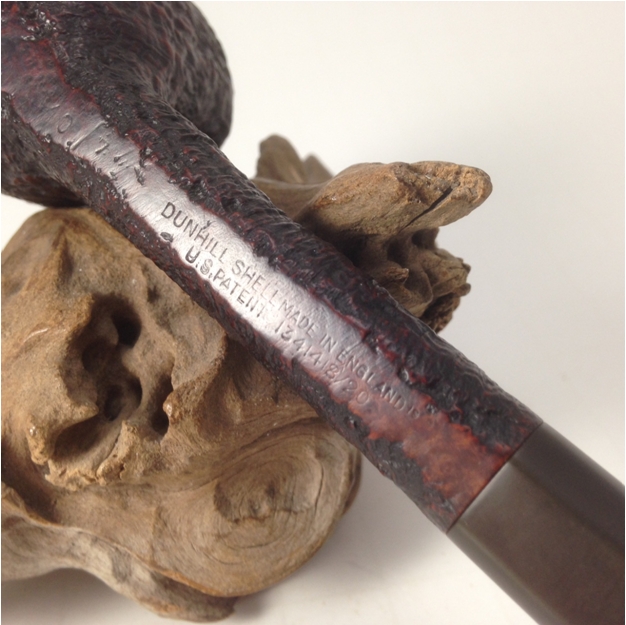
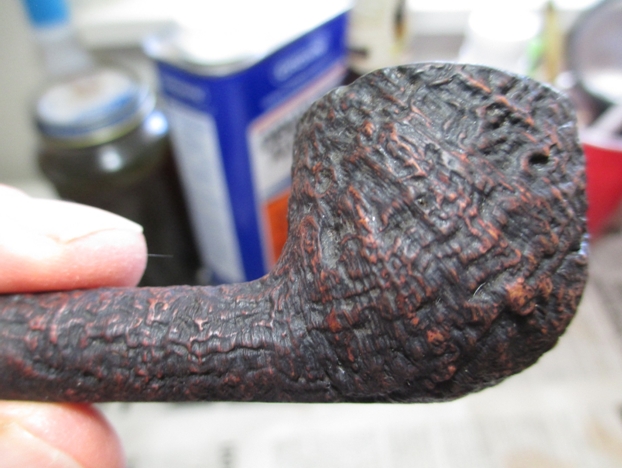
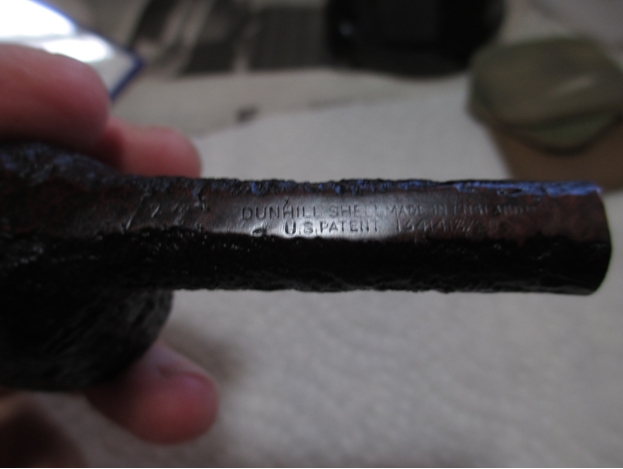
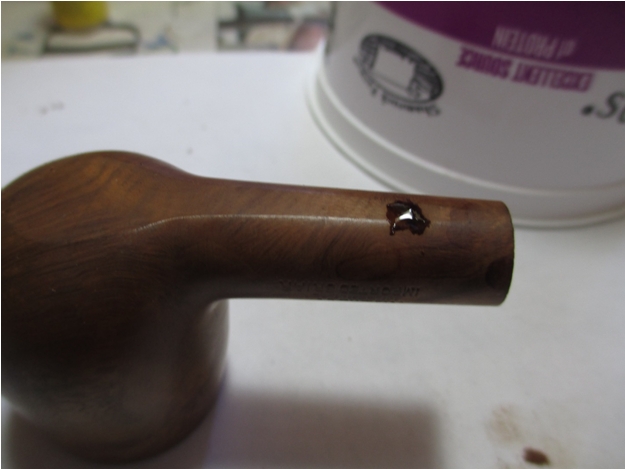
I stumbled across this Dunhill while browsing eBay. A little bit of research indicated this was a desirable patent-era pipe from the collector’s range, which used a better of briar. The pictures indicated a lot of tar build-up (I actually don’t mind tar, it seems to protect the rim from some of the abuse of knocking out the pipe) and some dark spots that might hide scorch marks or burn through. The stem looked decent, free of significant chatter or bite through, so I decided to take a chance.
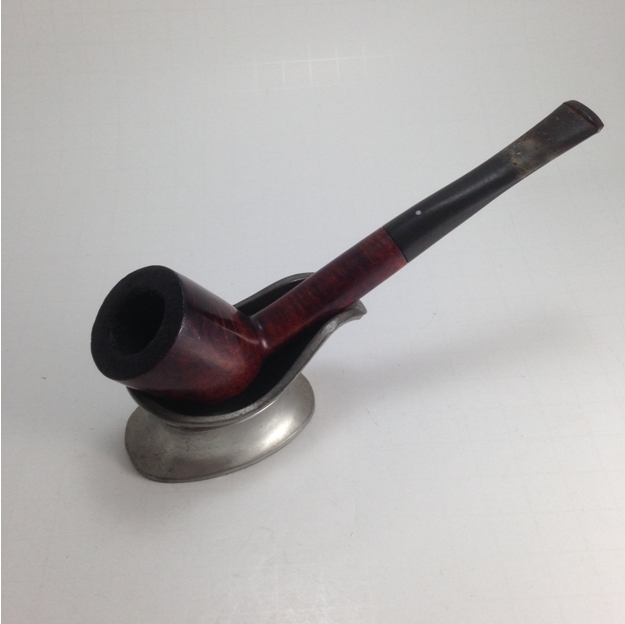
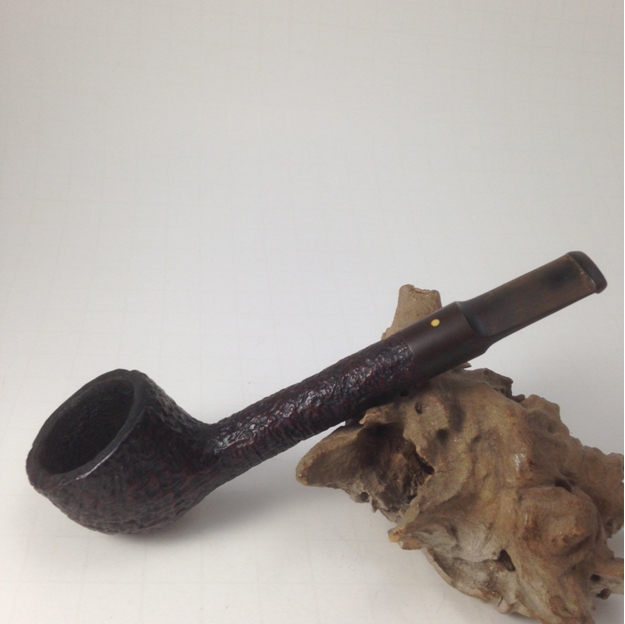
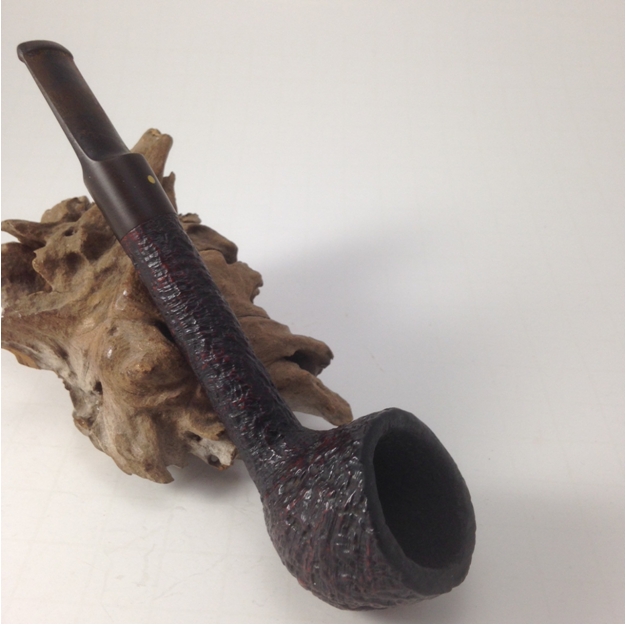
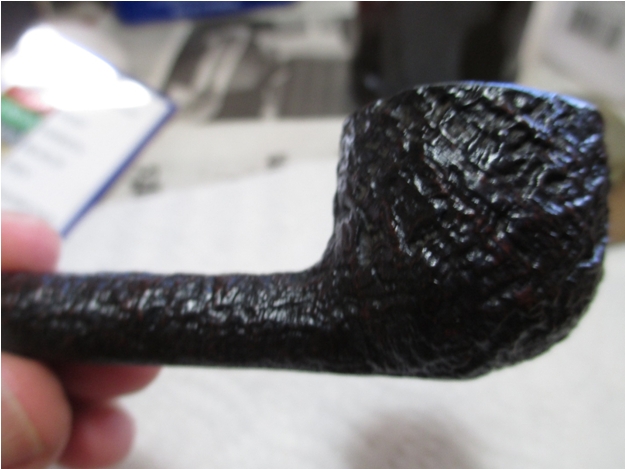
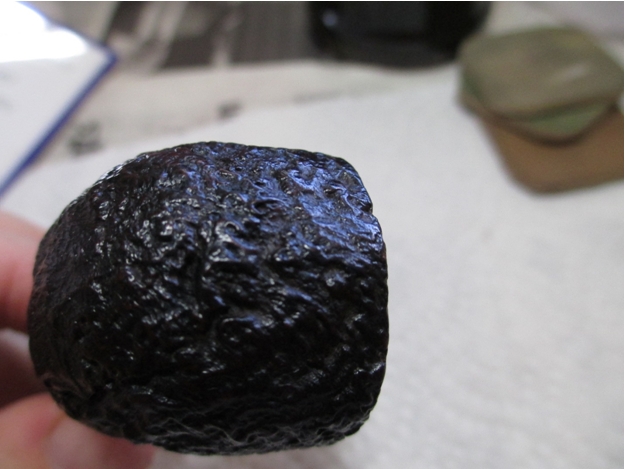
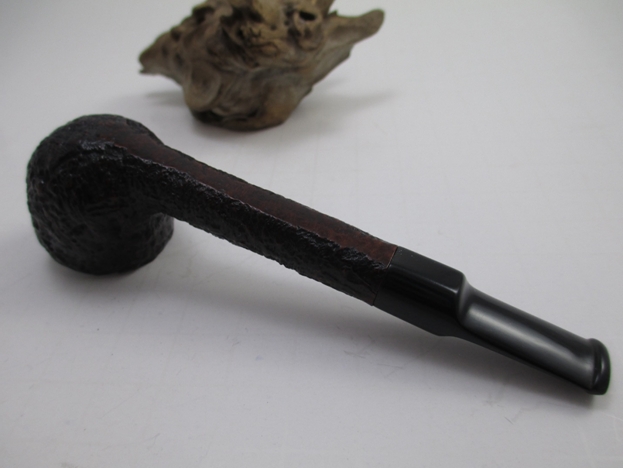
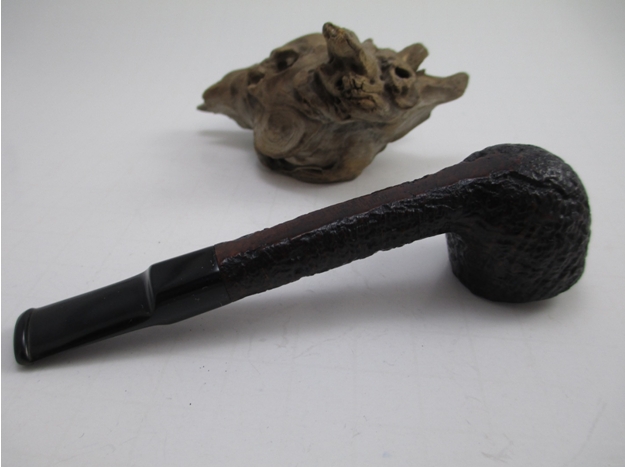
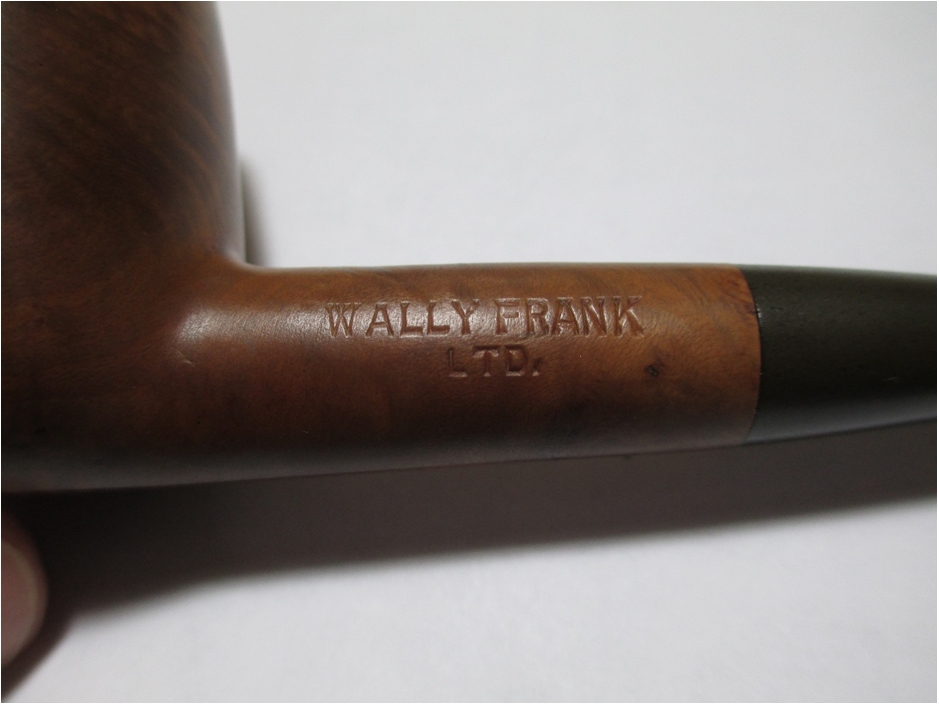
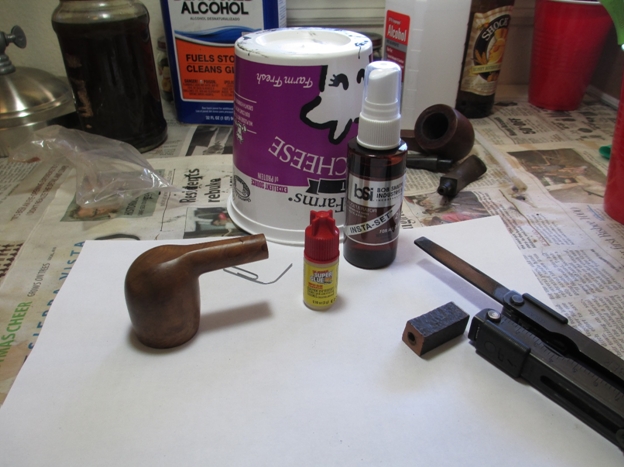
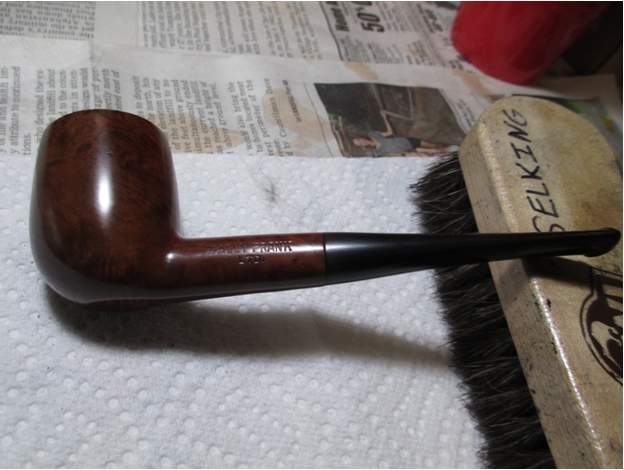
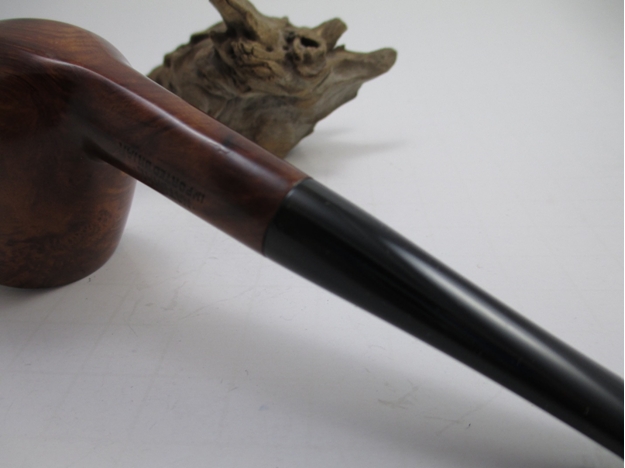
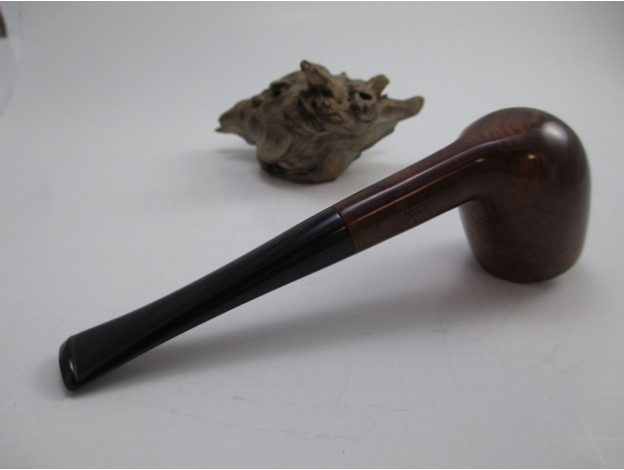
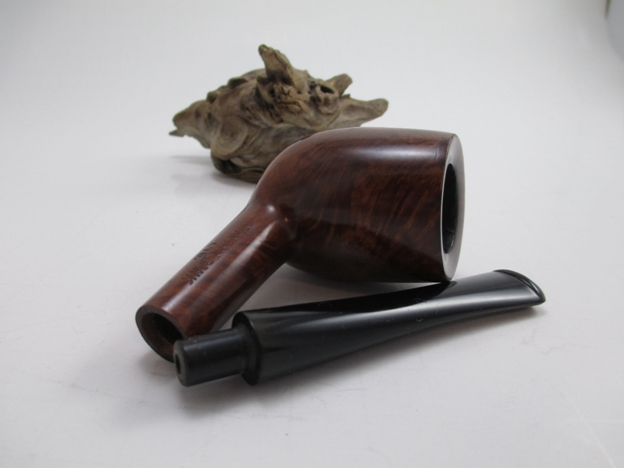
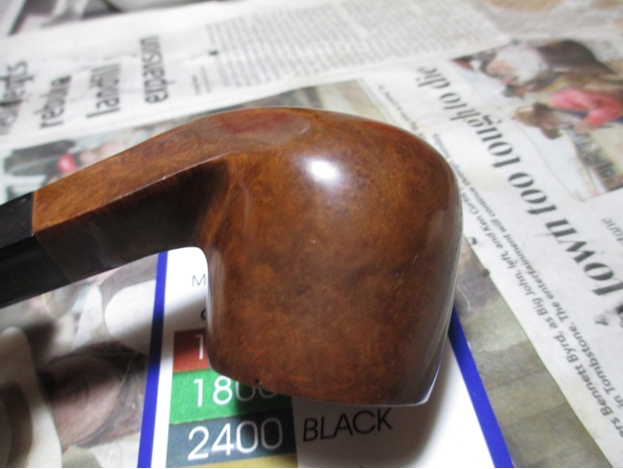
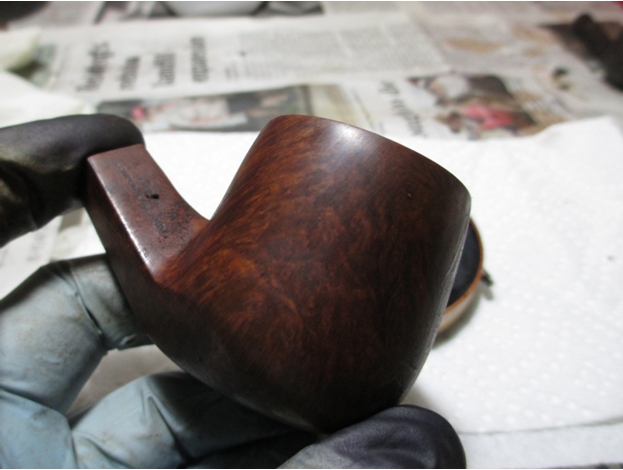
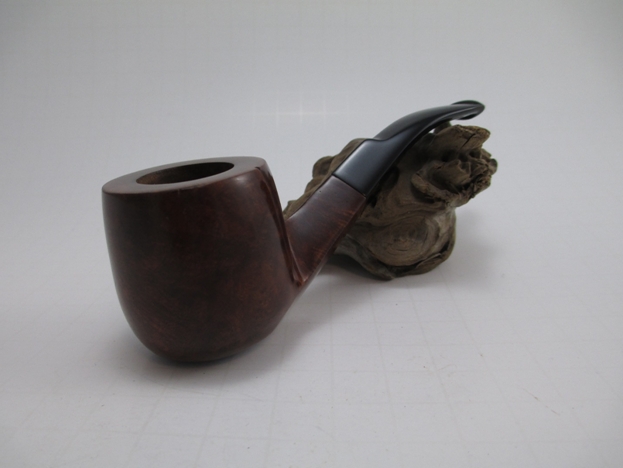
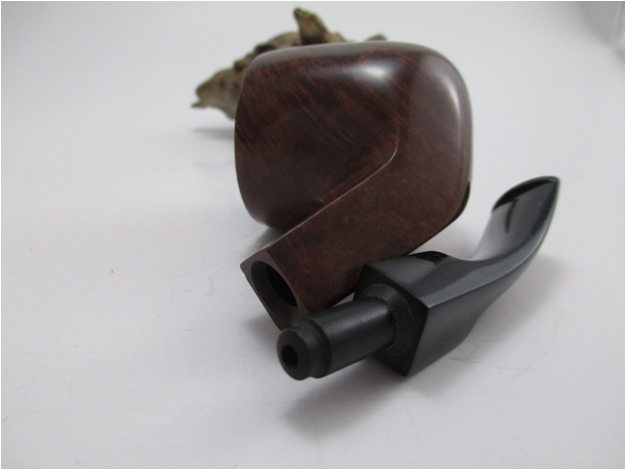
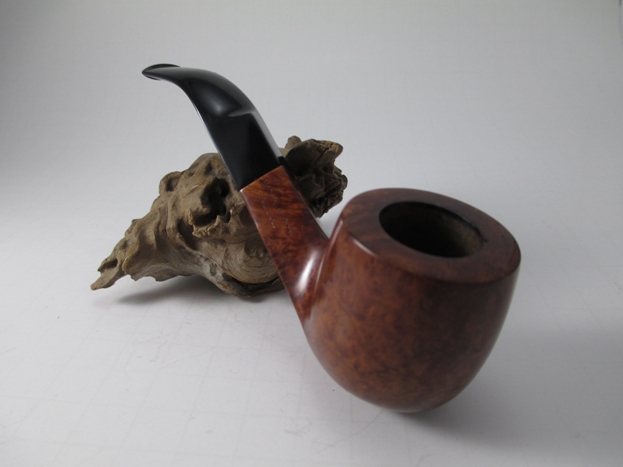
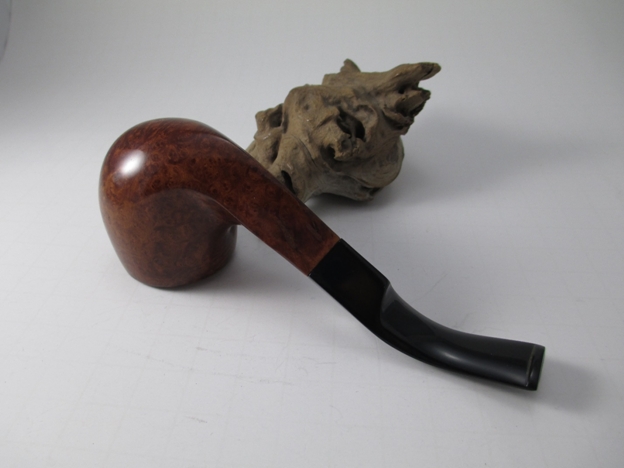
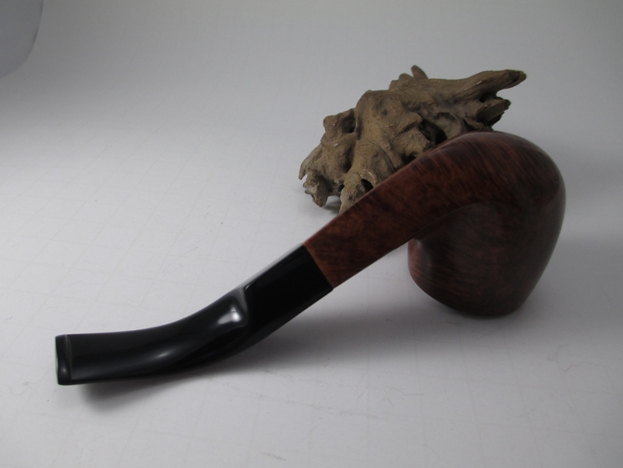
Here’s what the pipe looked like when it arrived.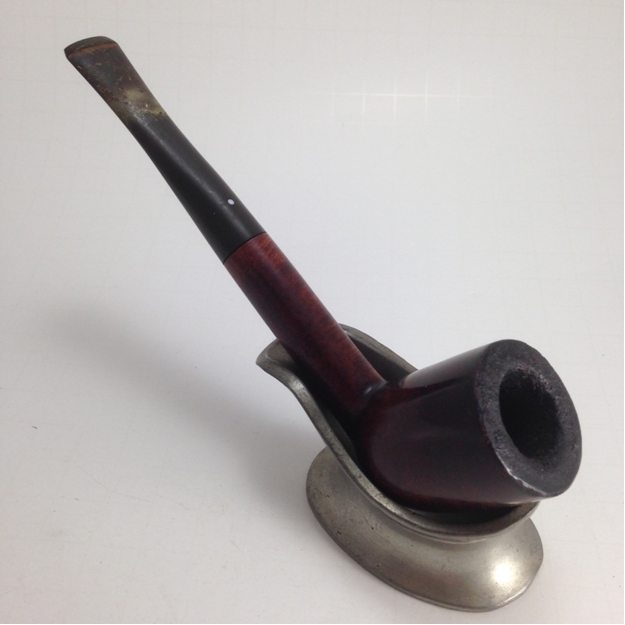
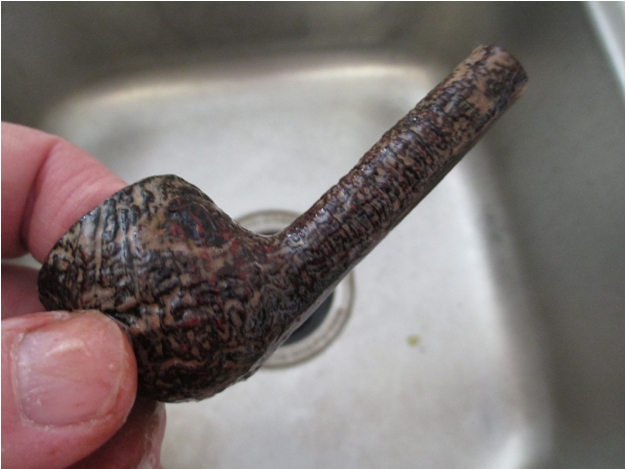
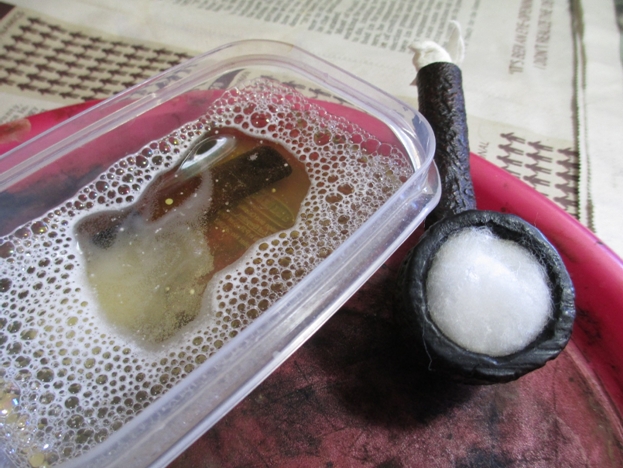
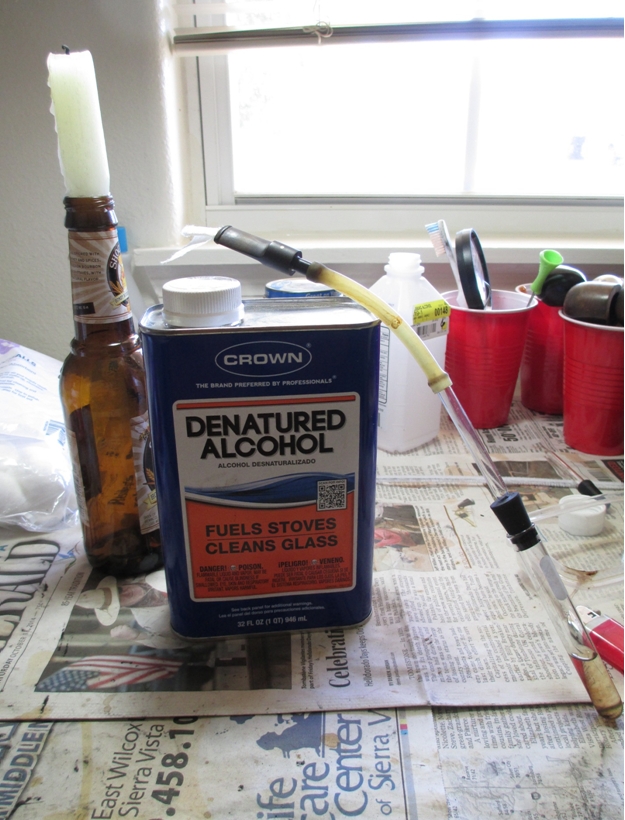
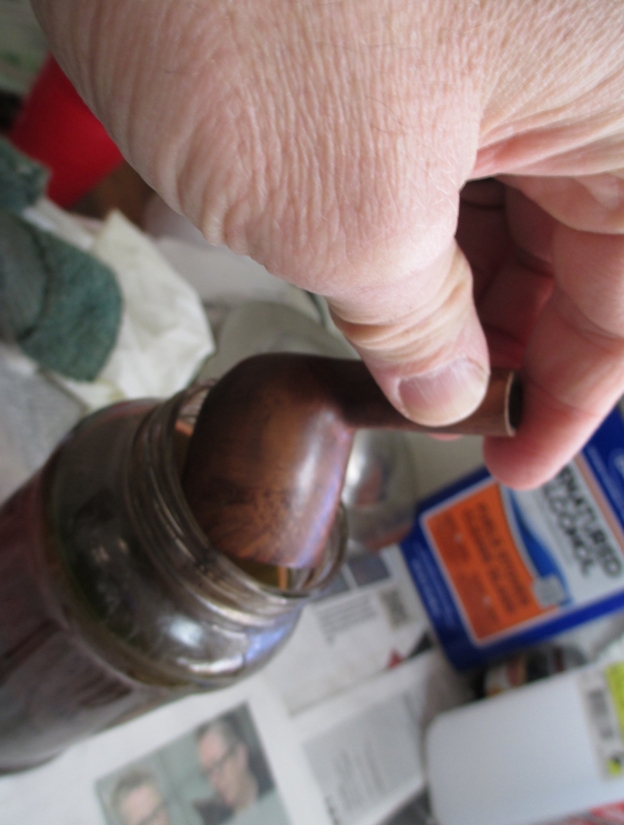
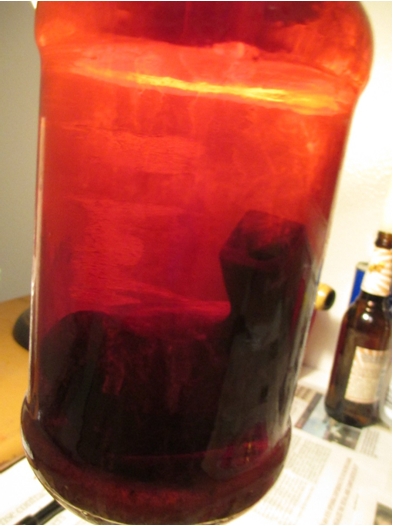
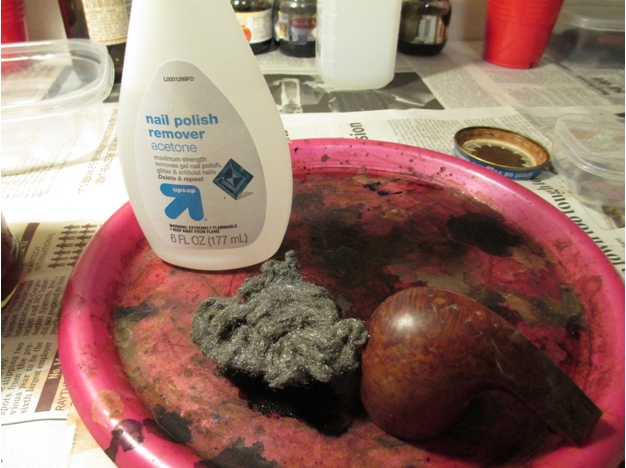
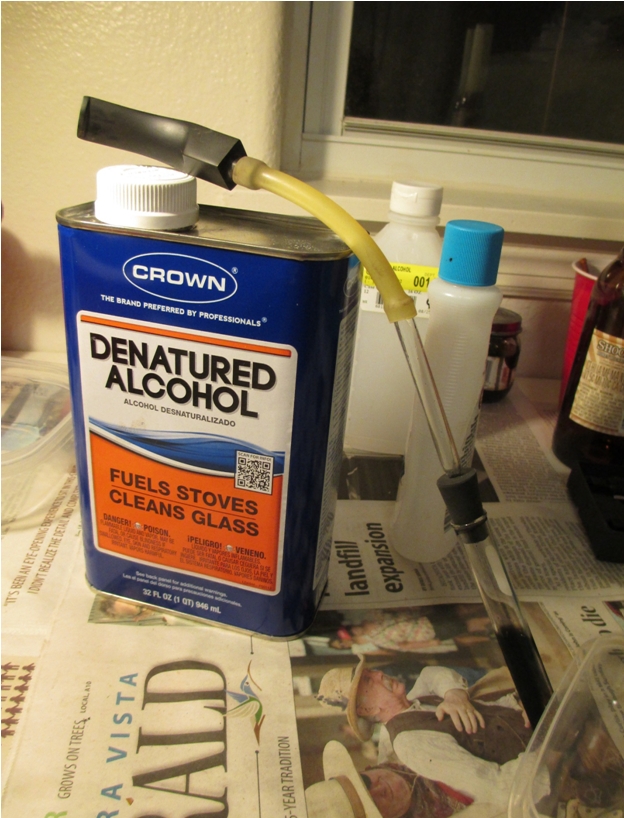
 The first order of business was to loosen the tar and heave cake, so I dropped the bowl in the alcohol bath.
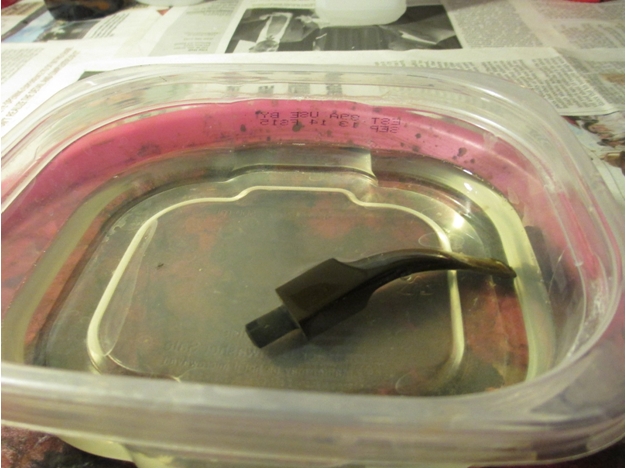
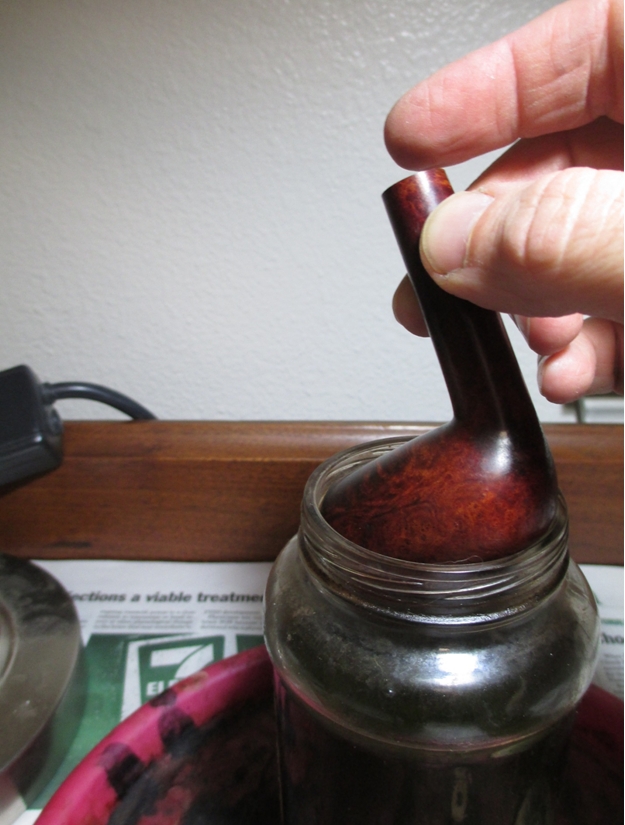 Next I turned my attention to the stem with the Oxyclean bath (yes it is taking a bath with another Dunhill stem, which I will write about later).
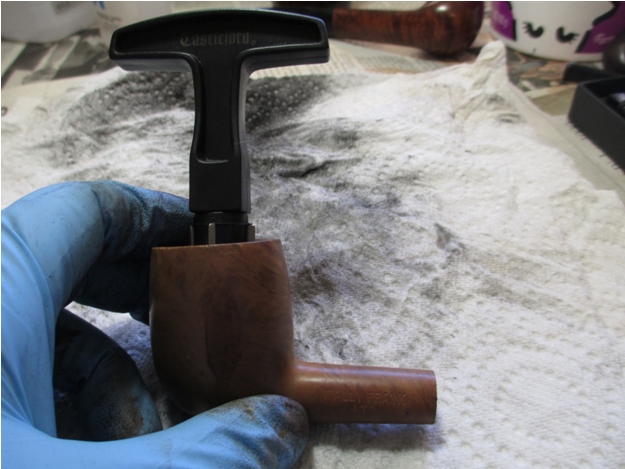
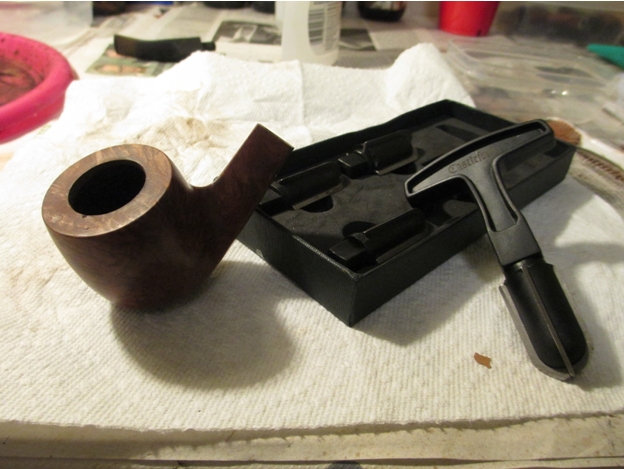
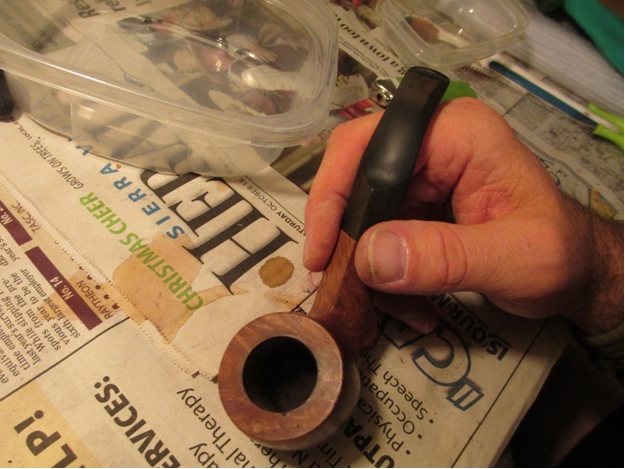
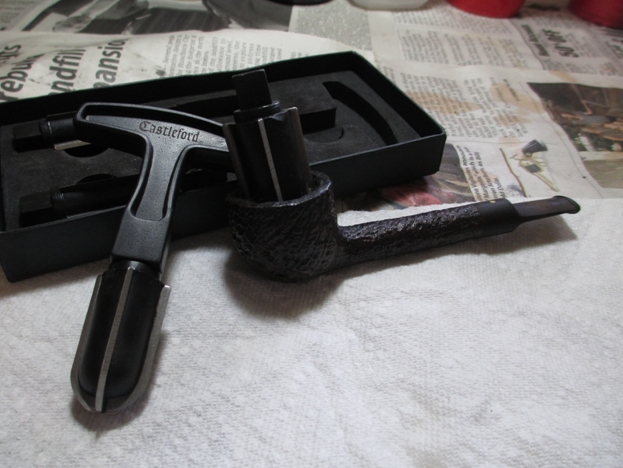
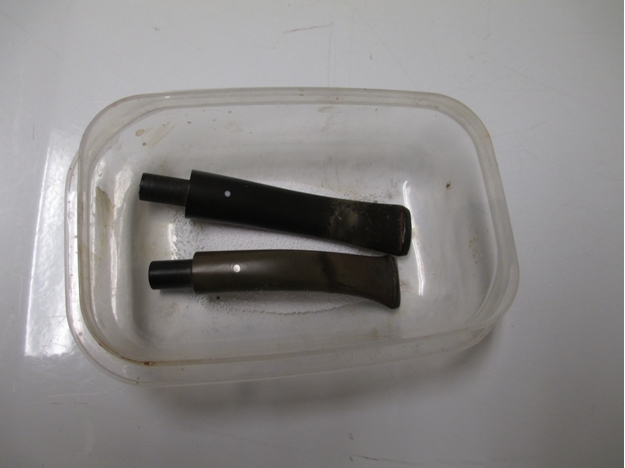 After a good long soak, I broke out my Castleford reamer and removed the cake back to the wood.
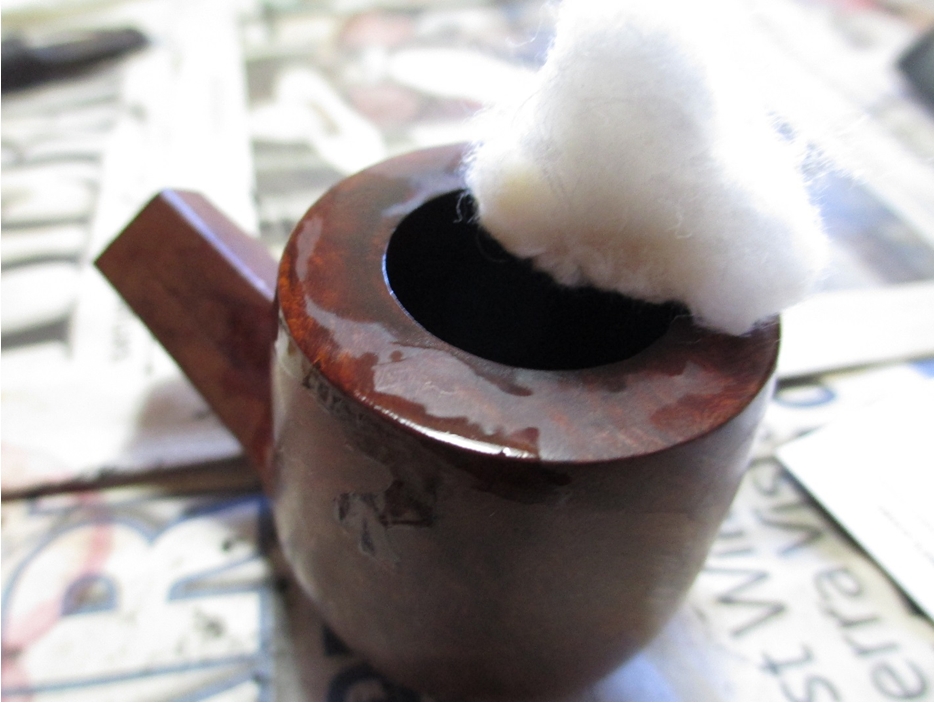
 After cleaning the inside of the bowl, I used some 0000 grade steel wool in an attempt to remove the tar.
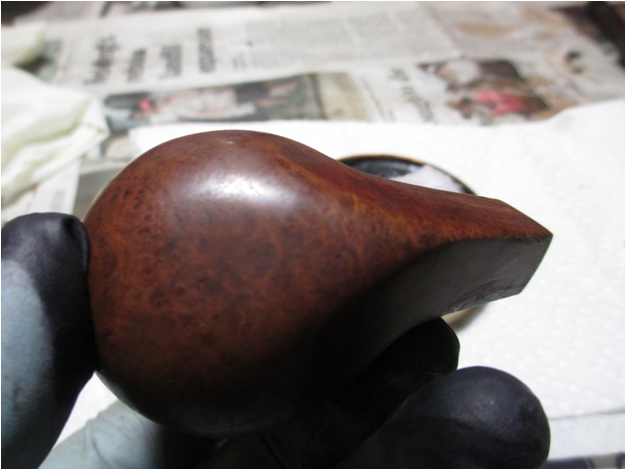
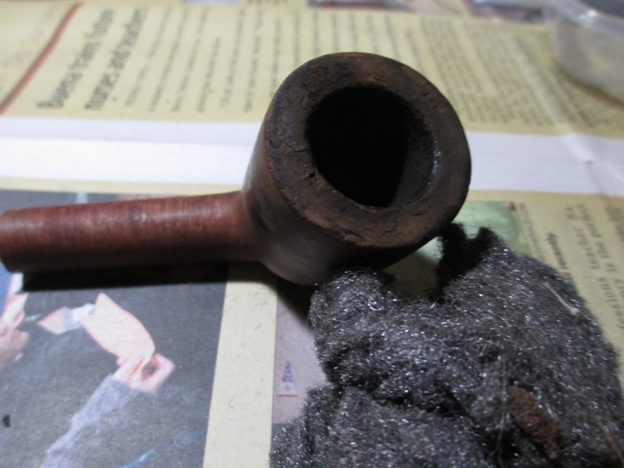 Usually that works, but there was some rim damage that necessitated topping.
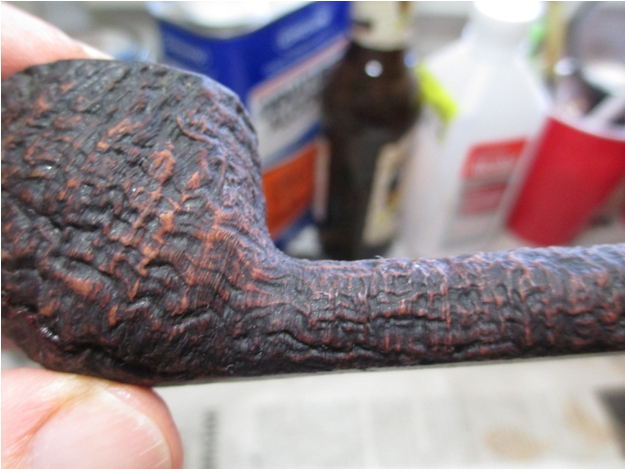
 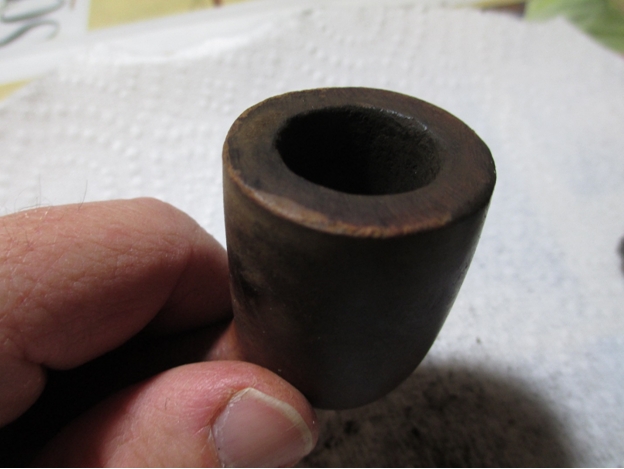 I use a piece of glass that I found to ensure an even surface when topping.
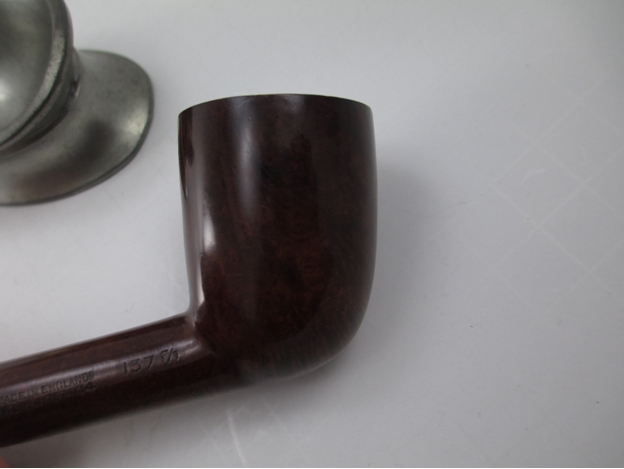
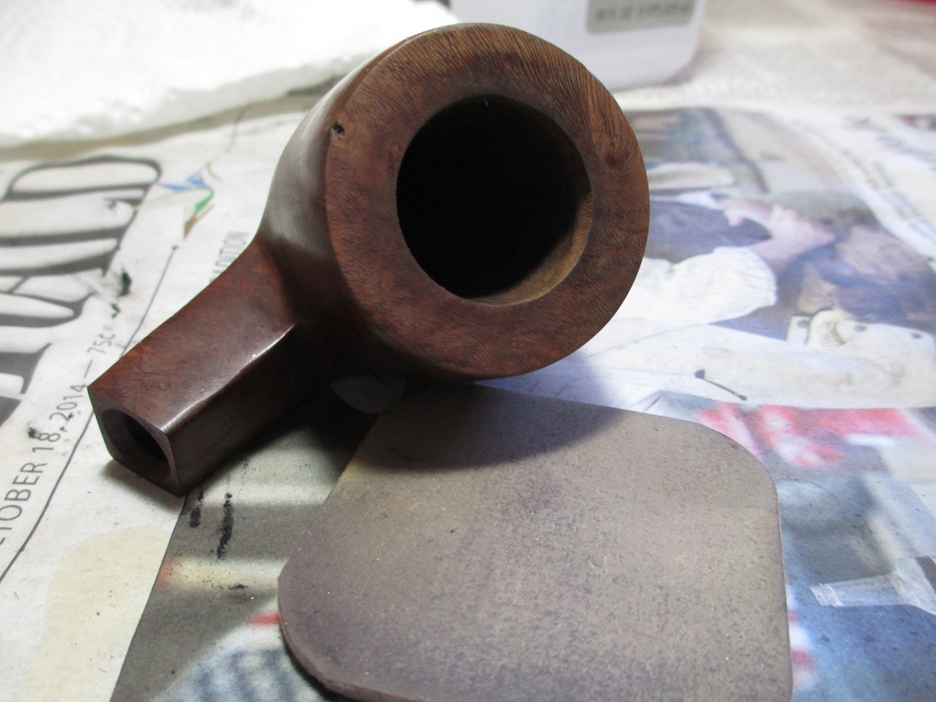
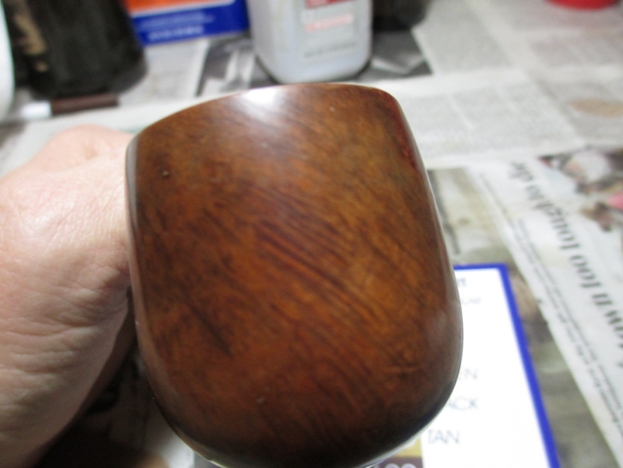
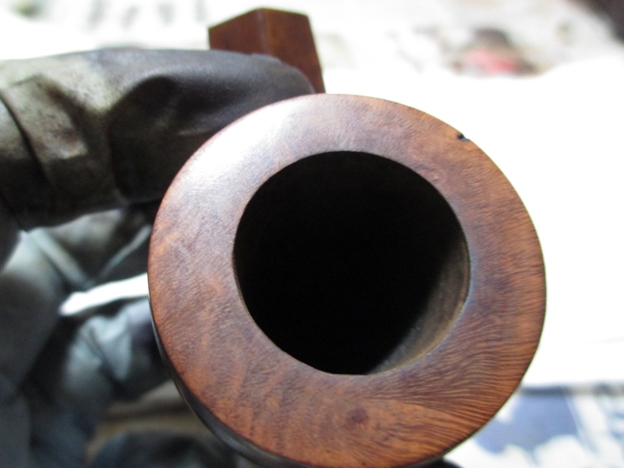
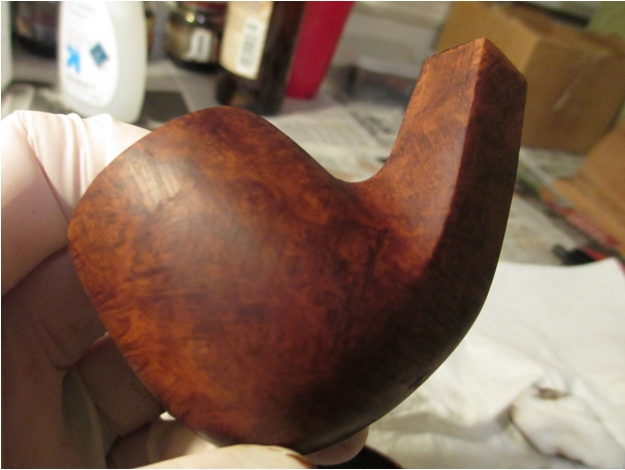
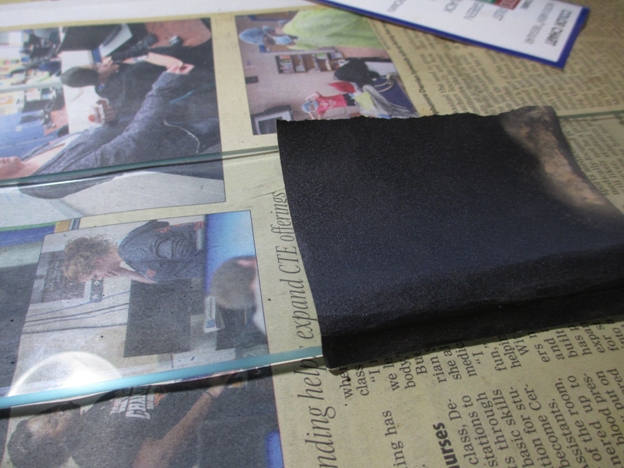 I also use a relatively fine grit (400 grit) paper when doing something like this. I find that it makes the final sanding easier and I don’t inadvertently remove more than I wanted to. Here is what the bowl looked like after topping.
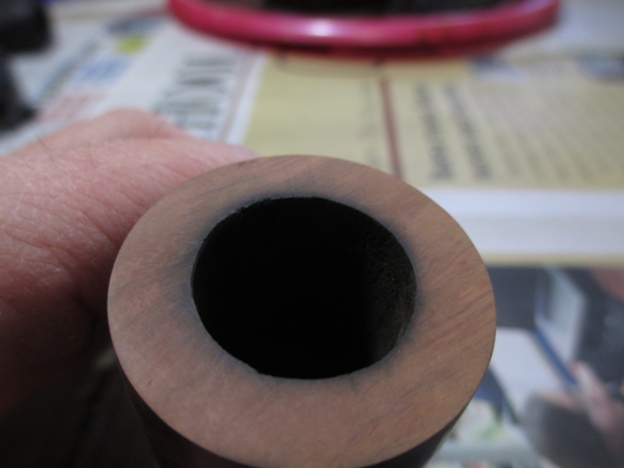 Next I tackled the inside of the shank using the retort.
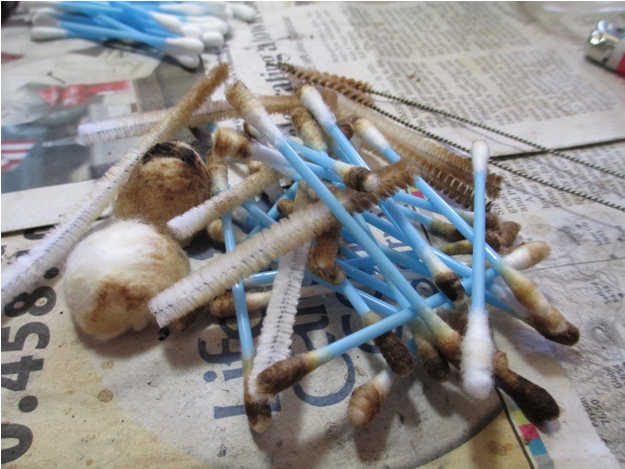
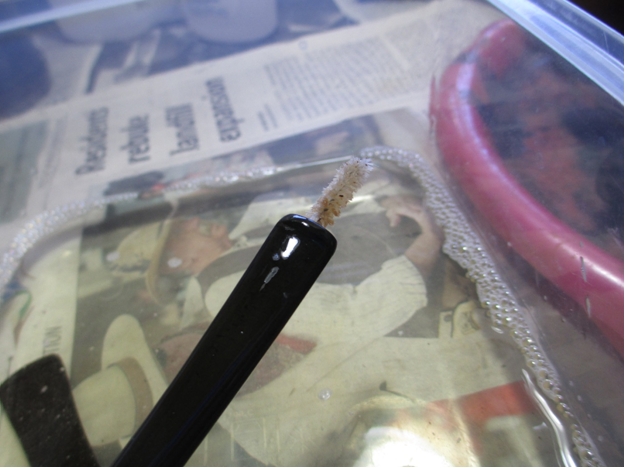
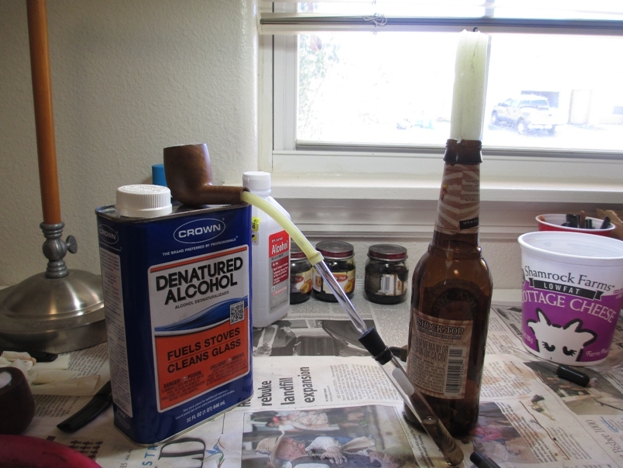
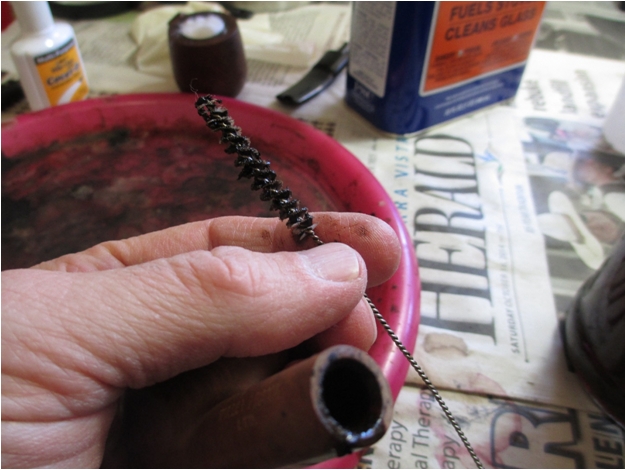
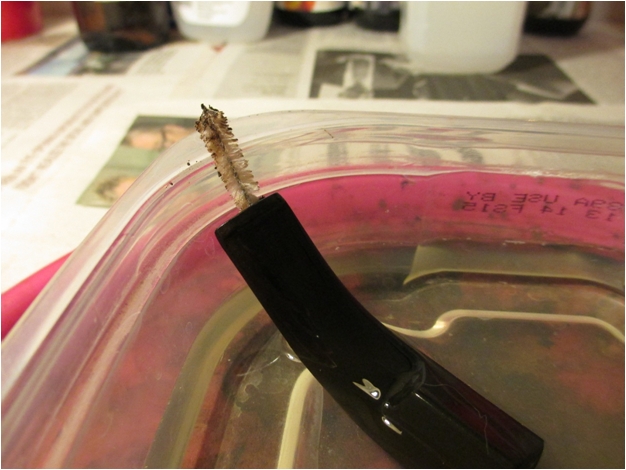
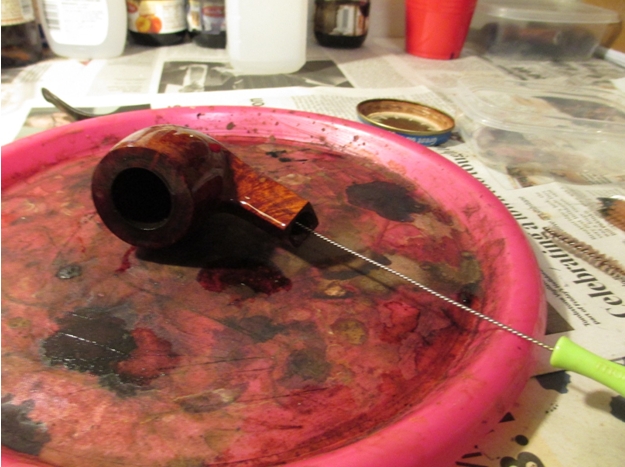
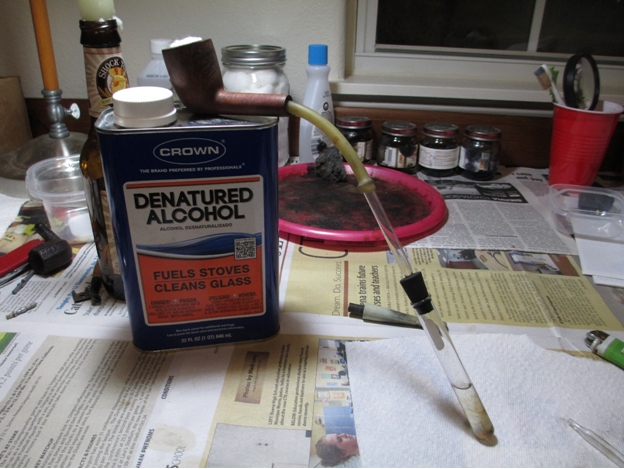 There is nothing like boiling alcohol to loosen up built up tar and tobacco. This is what the brush looked like after the first pass.
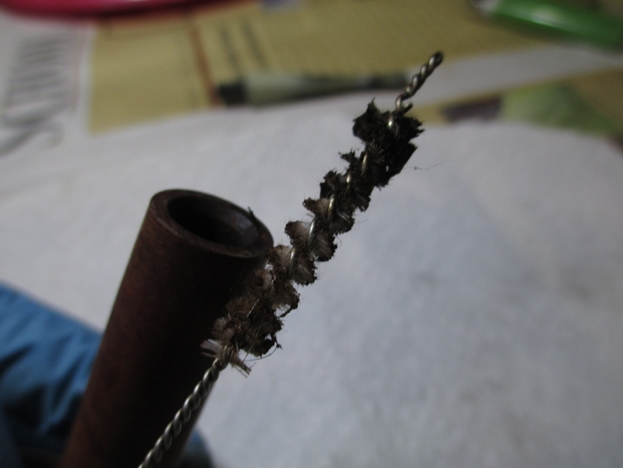 In case you’re wondering what I do to clean the brush in between passes, I swish it in the jar I use for soaking the bowls. The sediment settles to the bottom and since soaking in alcohol is only one step in the process, I don’t worry too much about it.
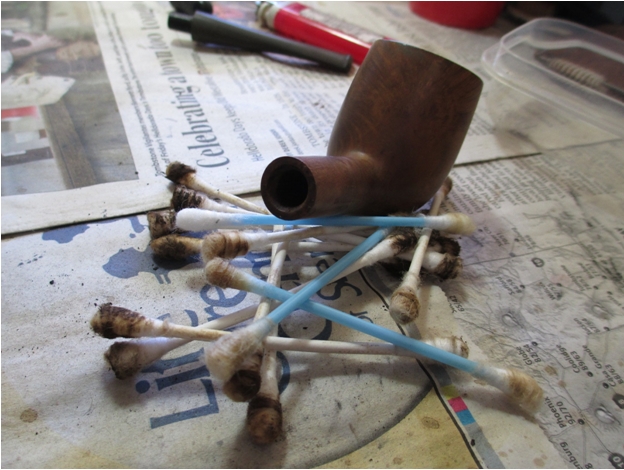
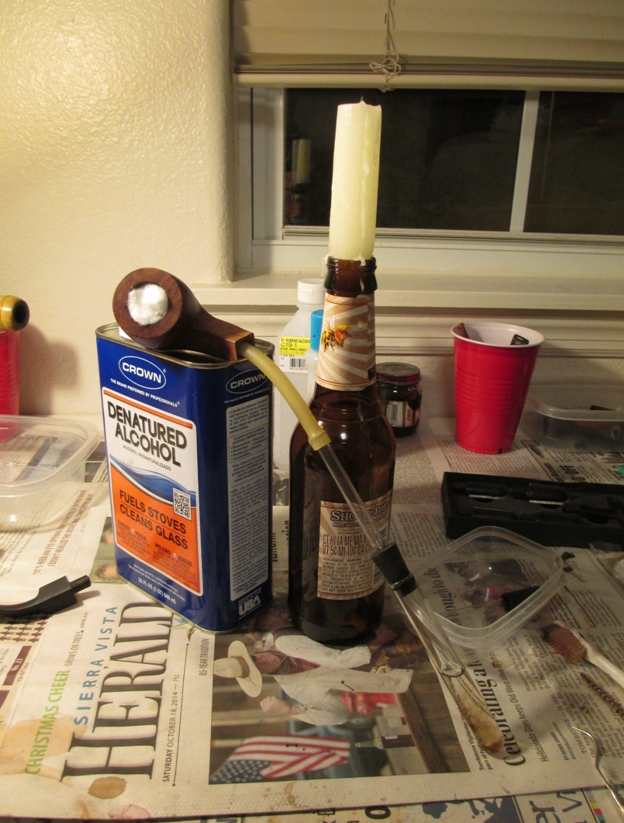
Once the brush no longer captured a bunch of gunk, I moved on to q-tips dipped in rubbing alcohol. In my opinion, rubbing alcohol works fine for general cleaning, but it does not work well for mixing with stain or for doing the retort. As you can see, it took a good amount of q-tips before the shank came clean.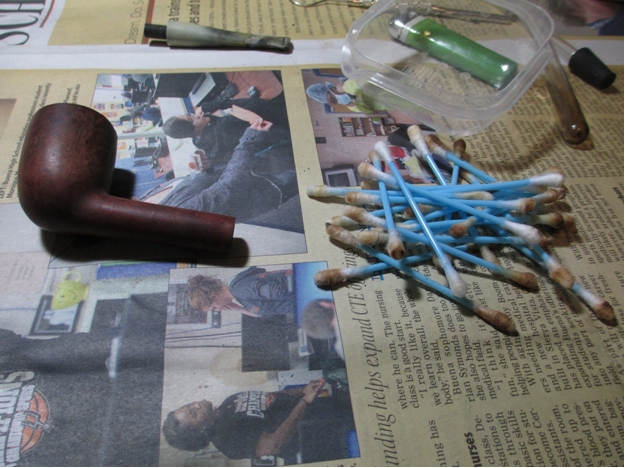 Next I used the retort on the stem. As always, I made sure to plug the end to ensure the dirty alcohol didn’t boil over and shoot out the end (that’s always hard to explain to your significant other).
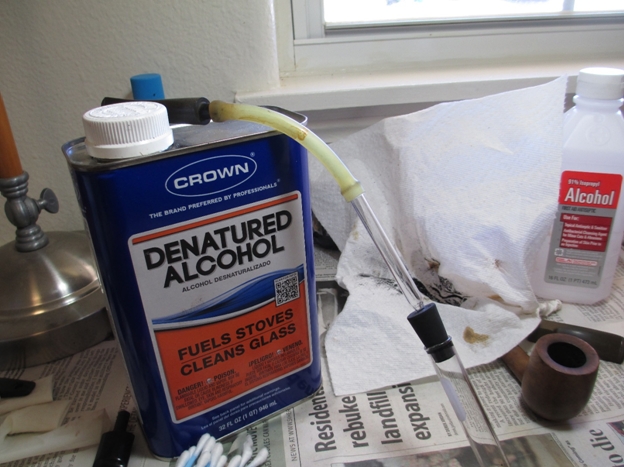
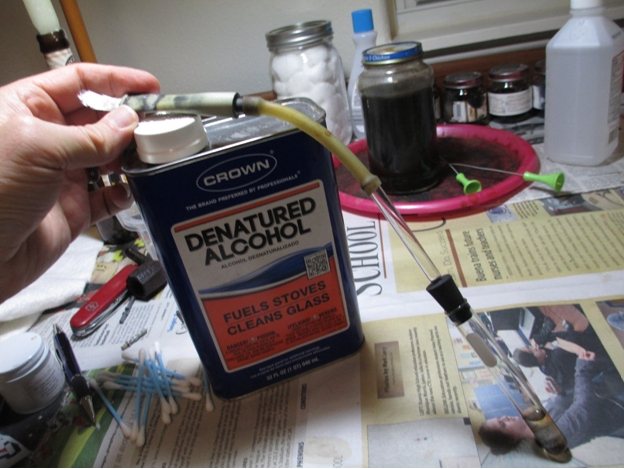 The stem was pretty nasty, as you can see from the residual alcohol in the test tube.
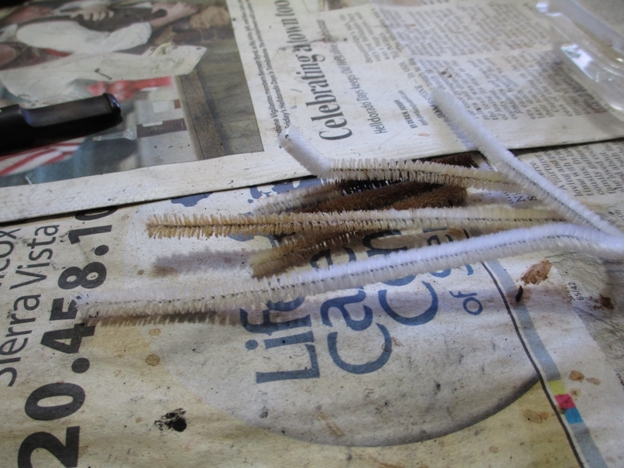
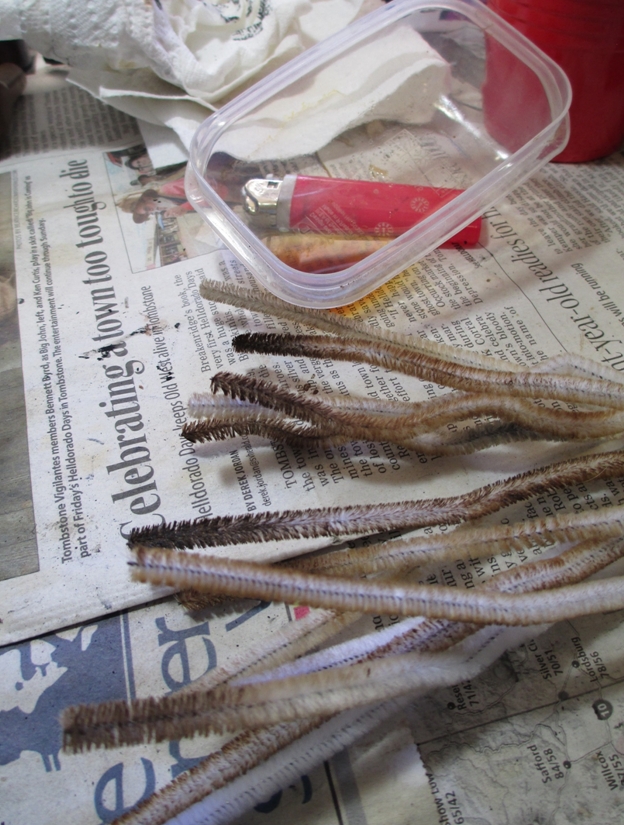
 After using a pile of fuzzy sticks (I get them in the craft section at Wal Mart, they’re cheaper than pipe cleaners and longer), the inside of the stem was finally clean.
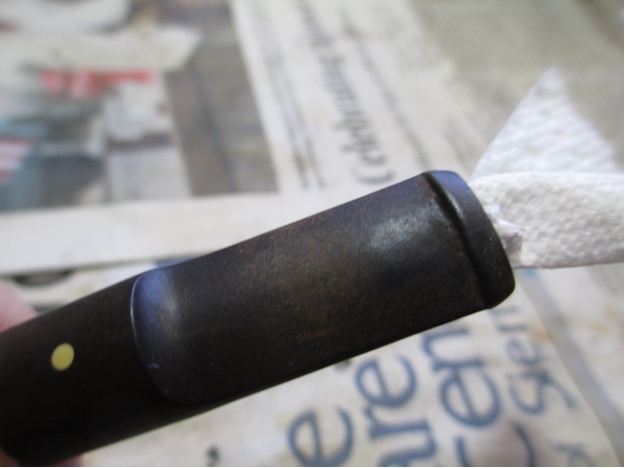
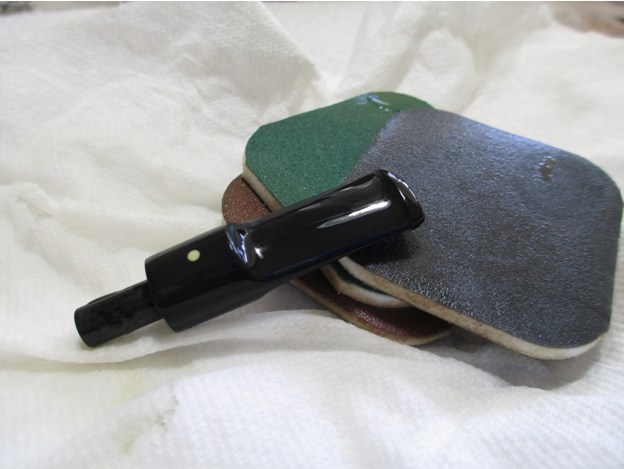
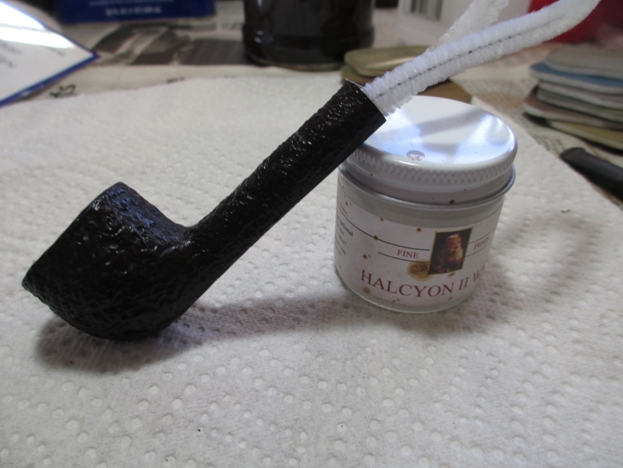
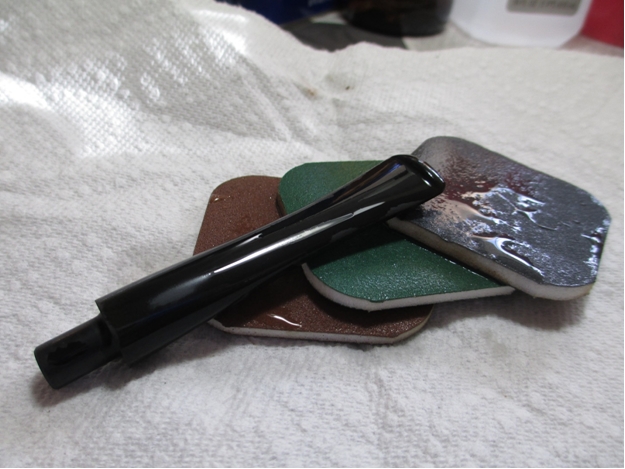
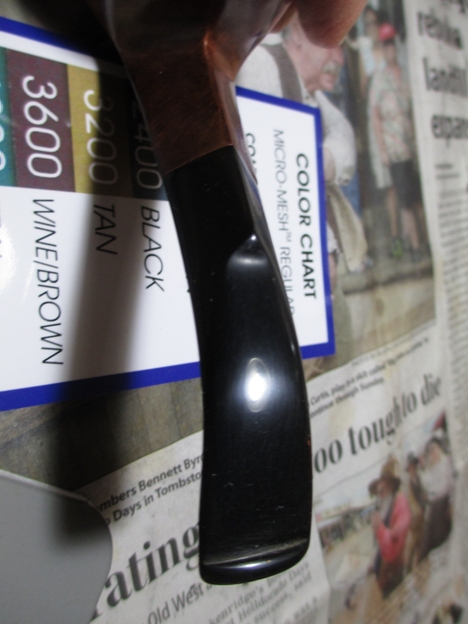
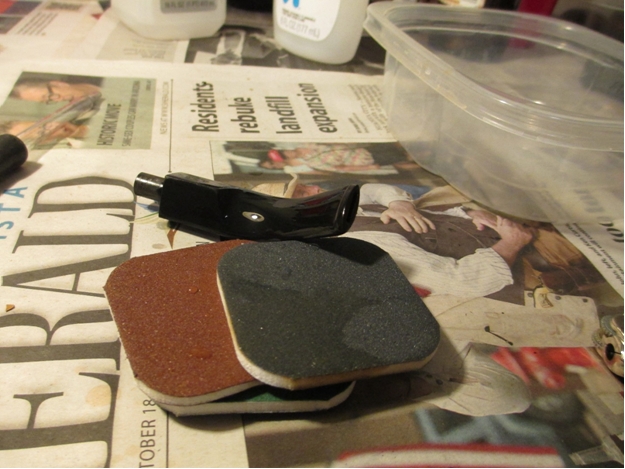
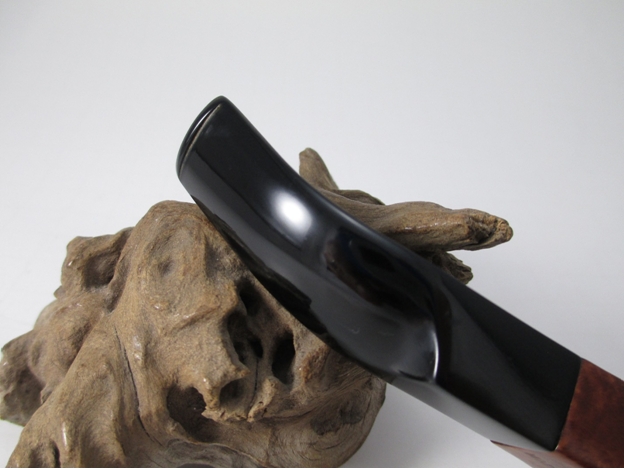
 Starting with the stem, I used 400 grit wet/dry sandpaper with water to remove the oxidation. I then moved on to 1500-2400 grit micro-mesh pads with water. I find that the wet sandpaper does a good job getting into the little crease on the underside of the button. It’s also helpful to occasionally dry the stem off and see if there’s still any oxidation left, it’s easy to overlook when the stem is wet.
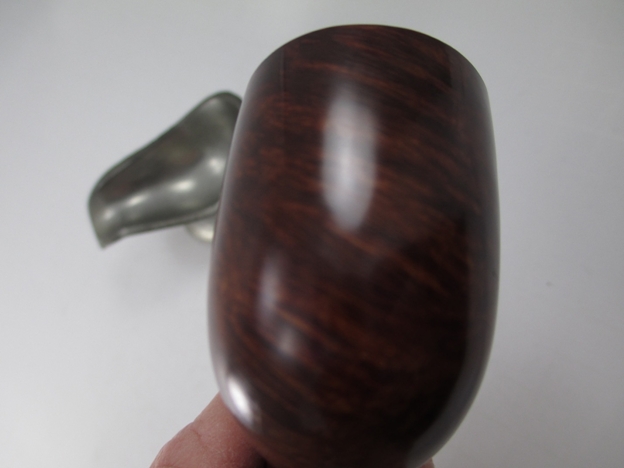
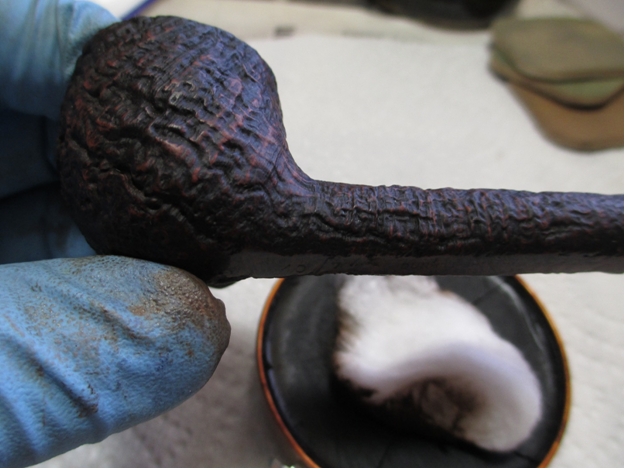
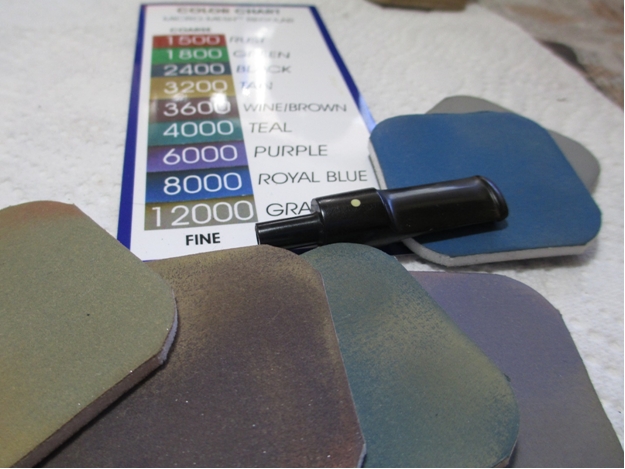
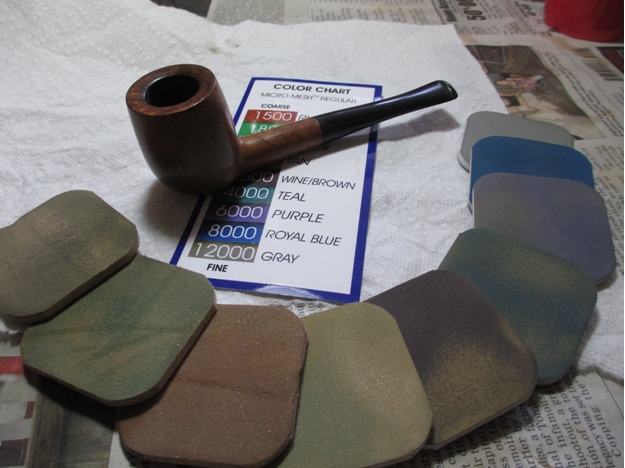
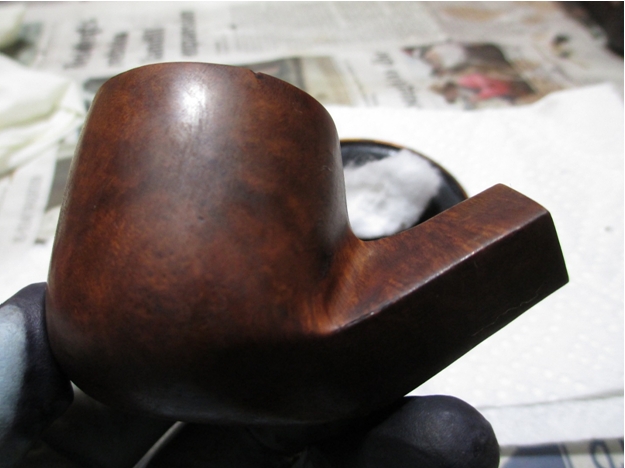
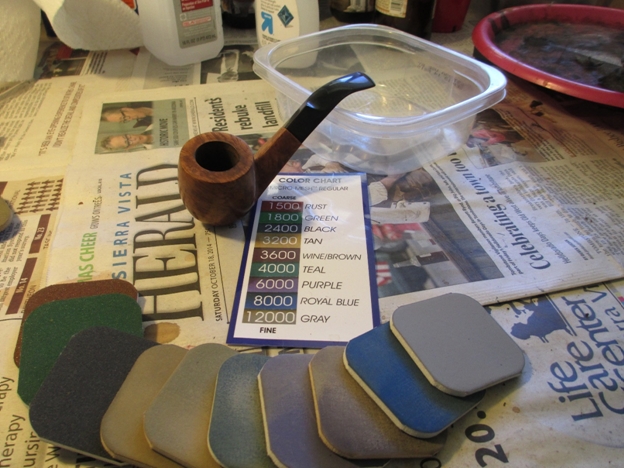
 I use the same progression of micromesh on both the bowl and the stem, although I don’t use water with the bowl. Here is the pipe after going through the entire progression 15000 through 12,000.
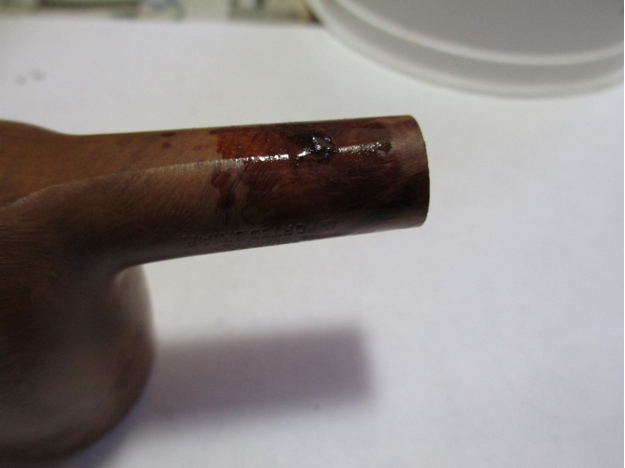
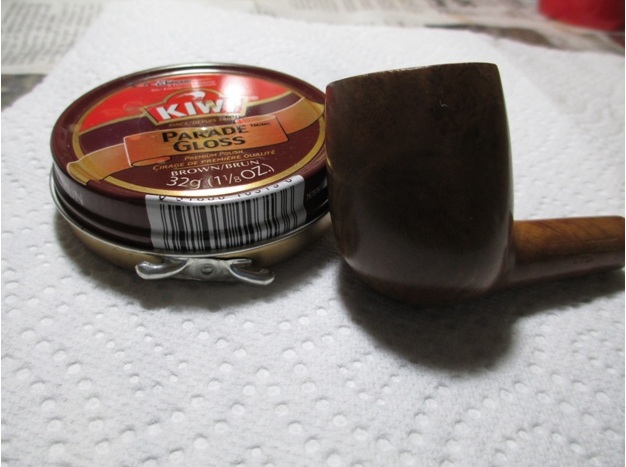
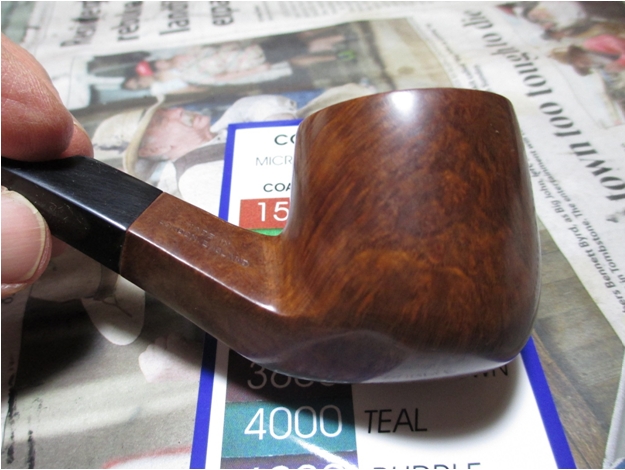
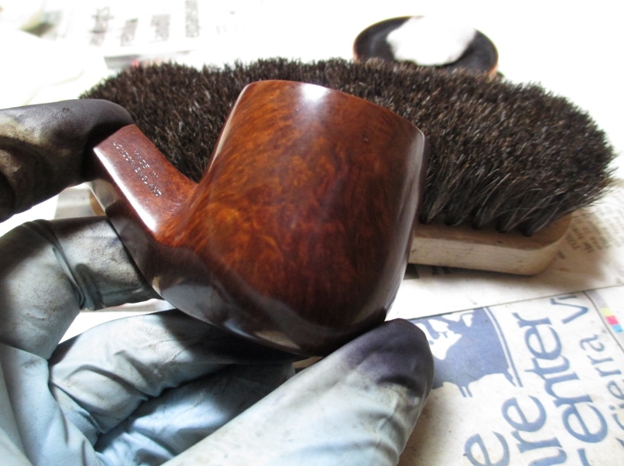
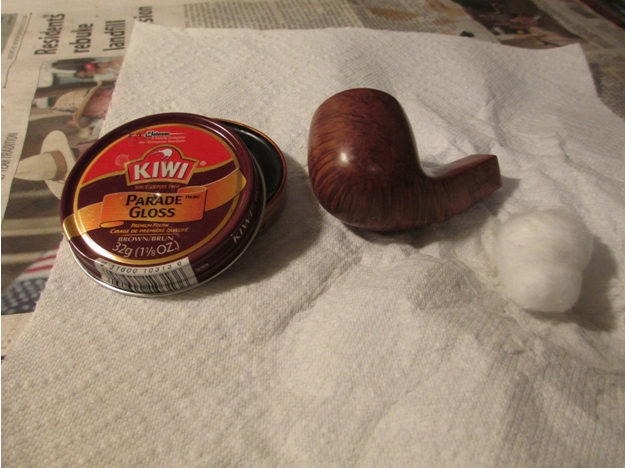
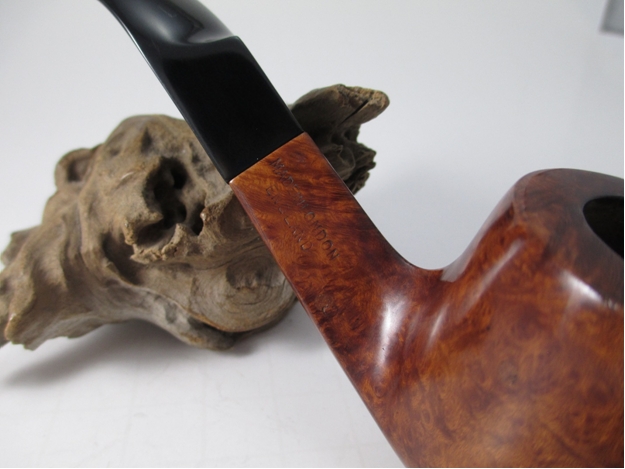
 I stained the bowl with Pimo Pipe Supply’s mahogany stain, diluted with denatured alcohol and flamed to set.
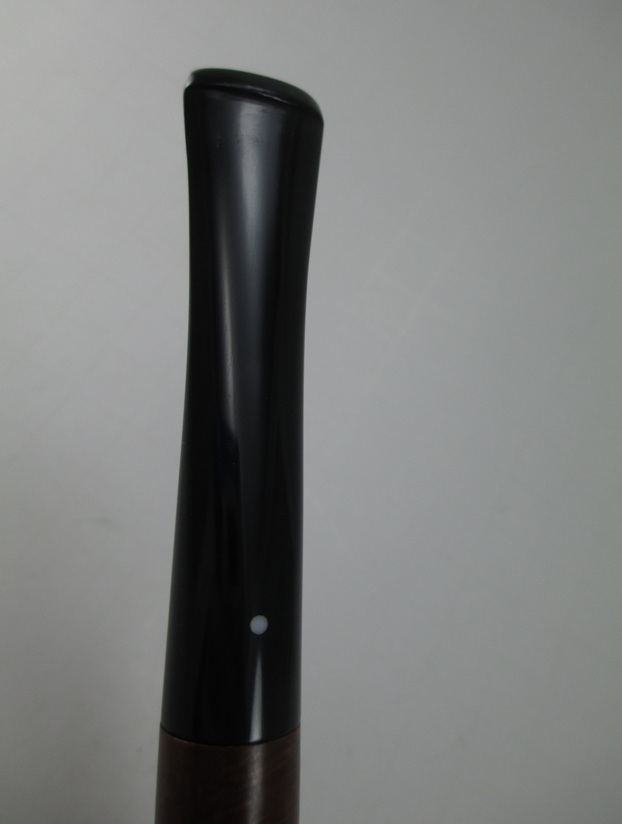
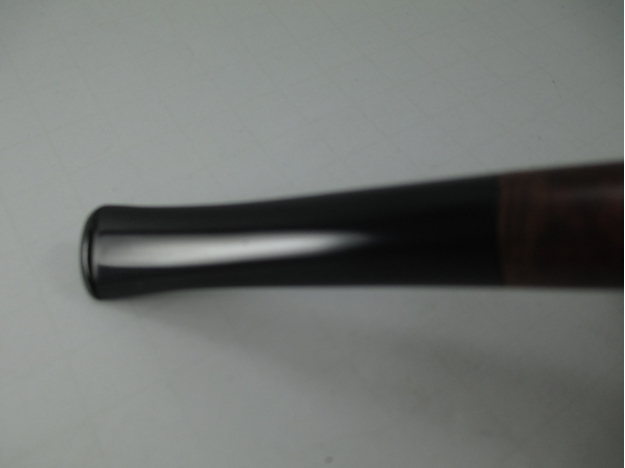
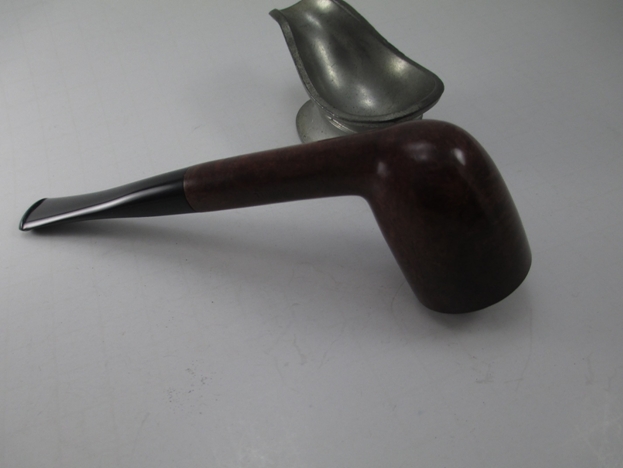
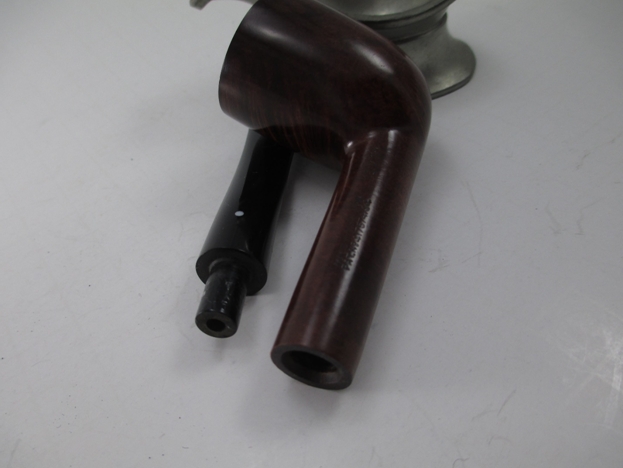
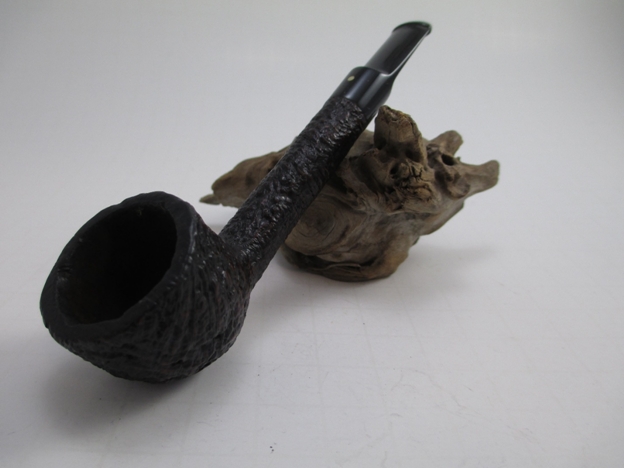
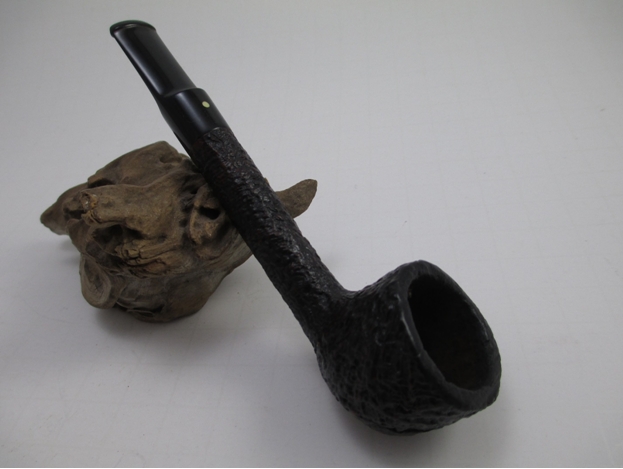
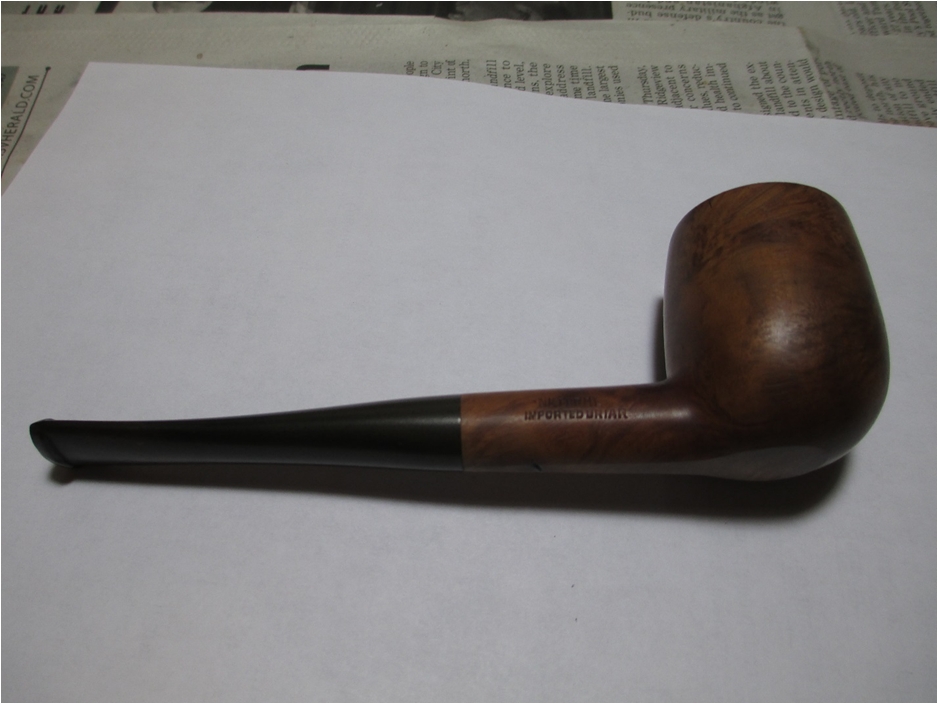
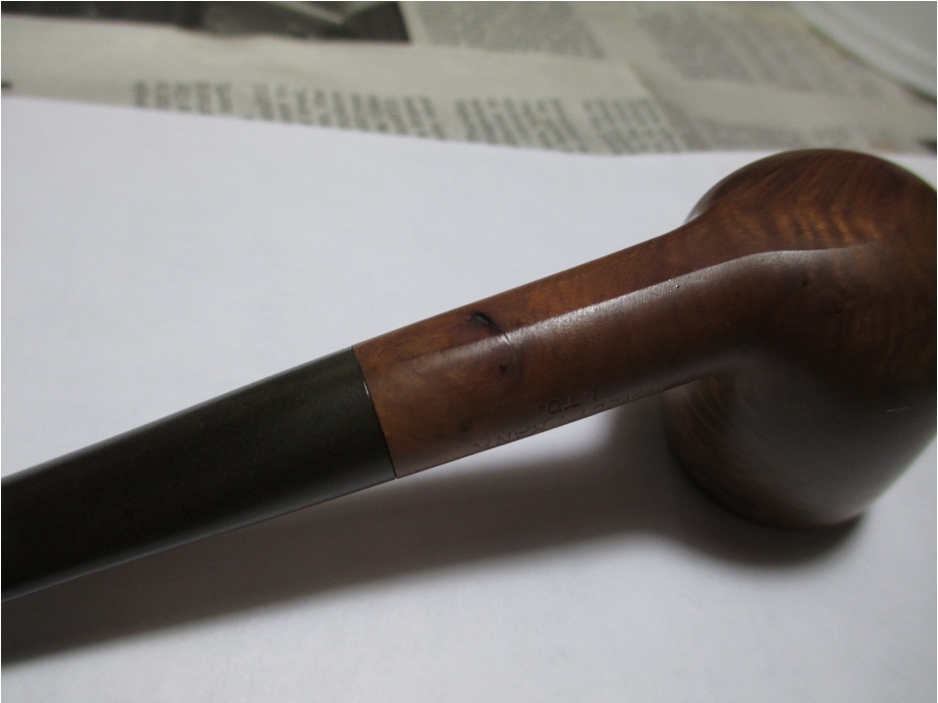
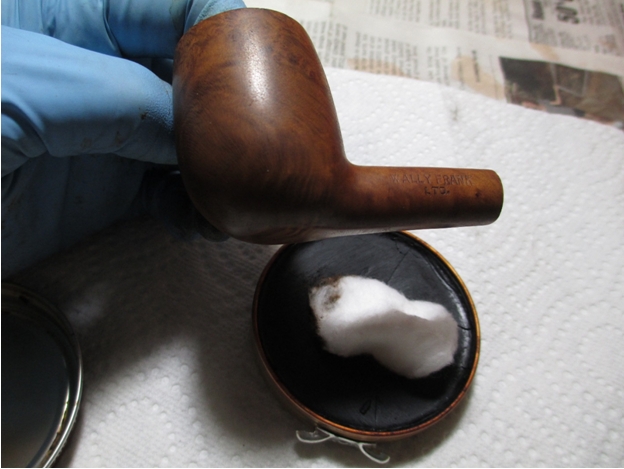
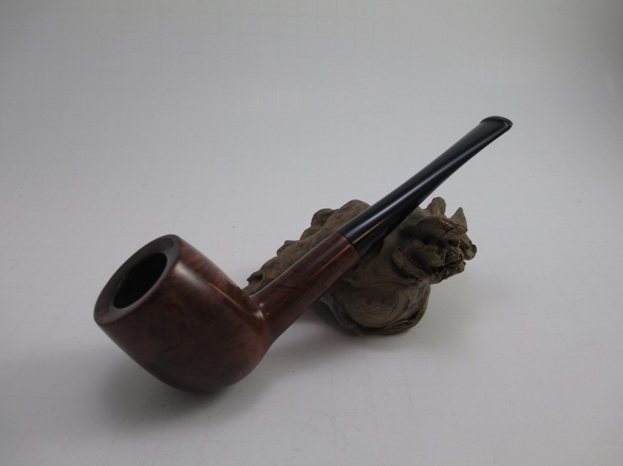
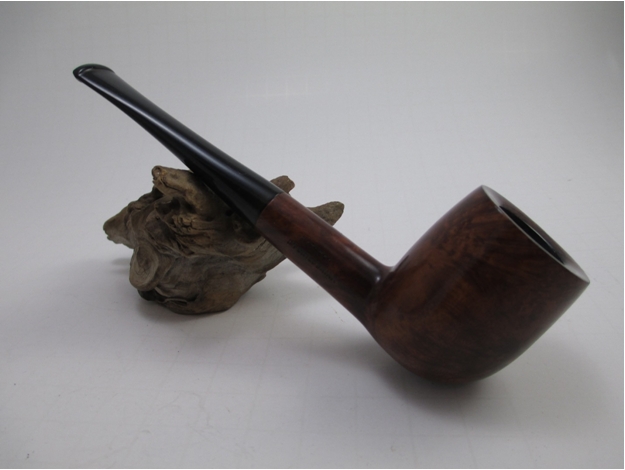
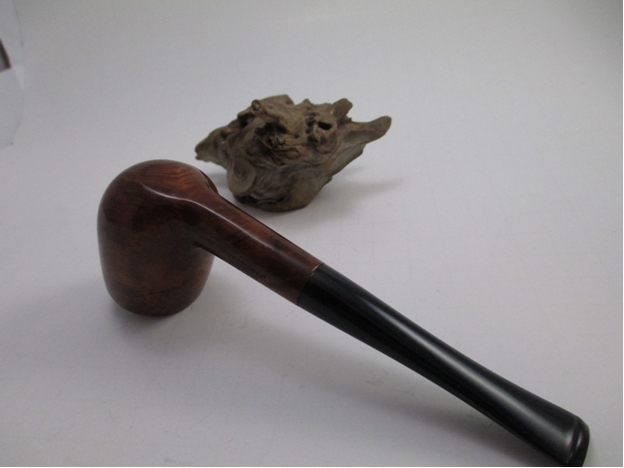
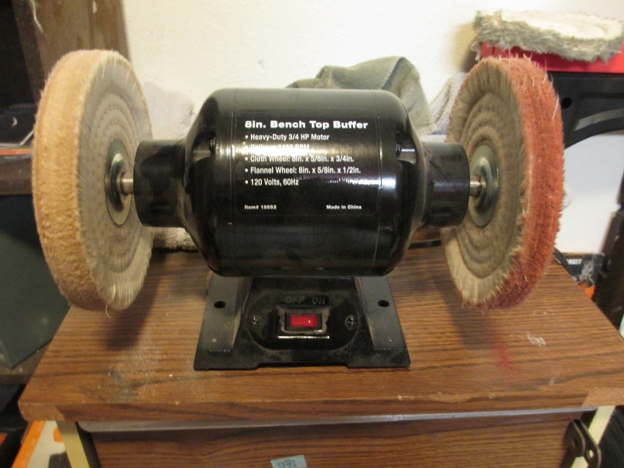
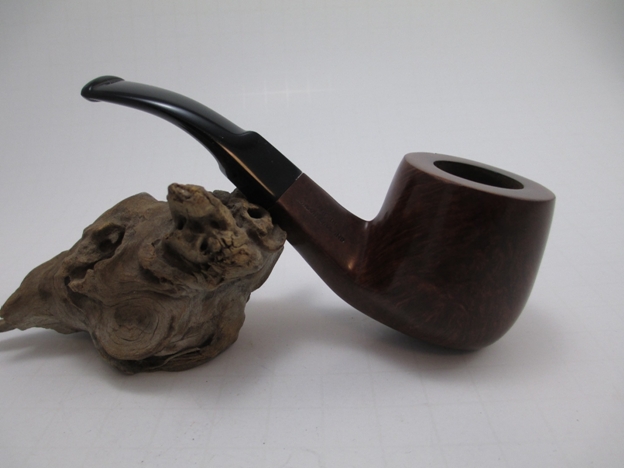
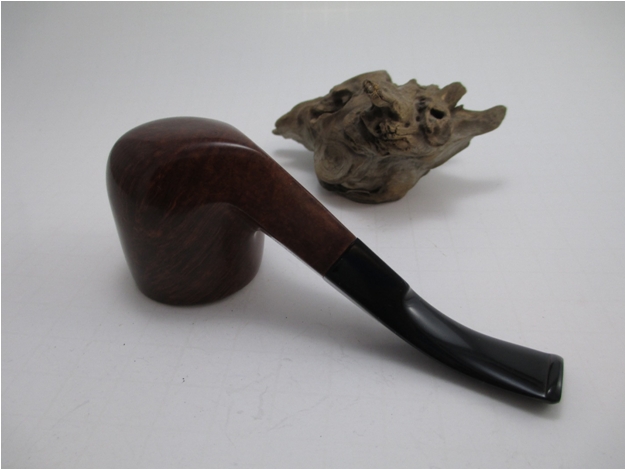
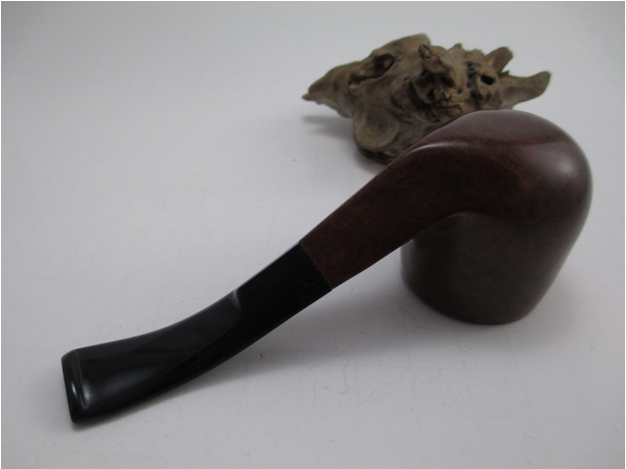
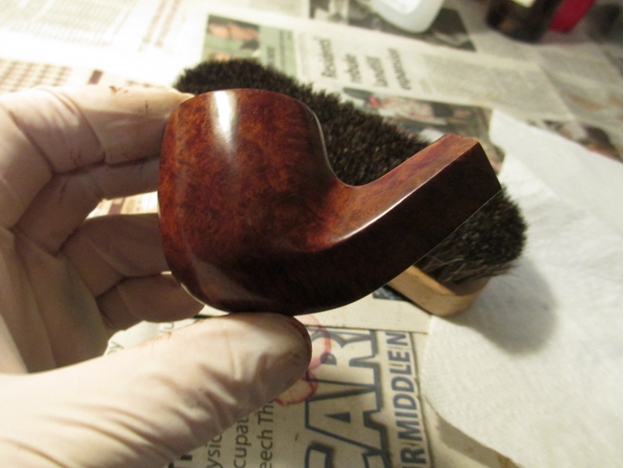
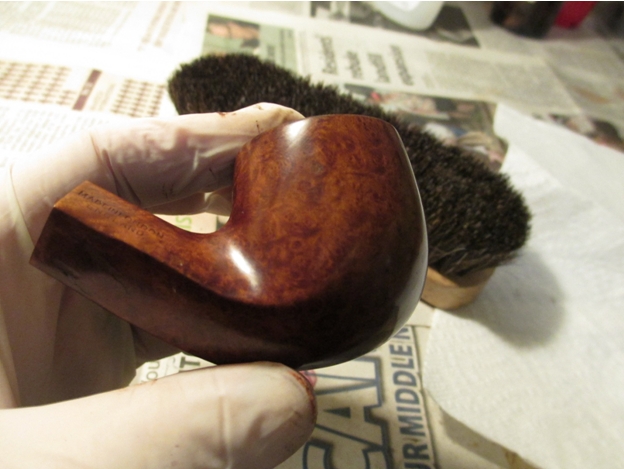
Next I took the bowl and stem to the buffing wheel, where I used some white diamond and a couple of coats of carnauba wax. Here is the finished result.


