by Kenneth Lieblich
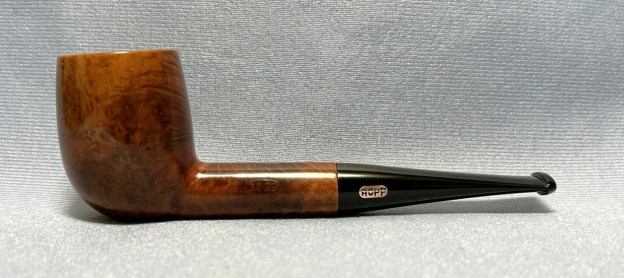
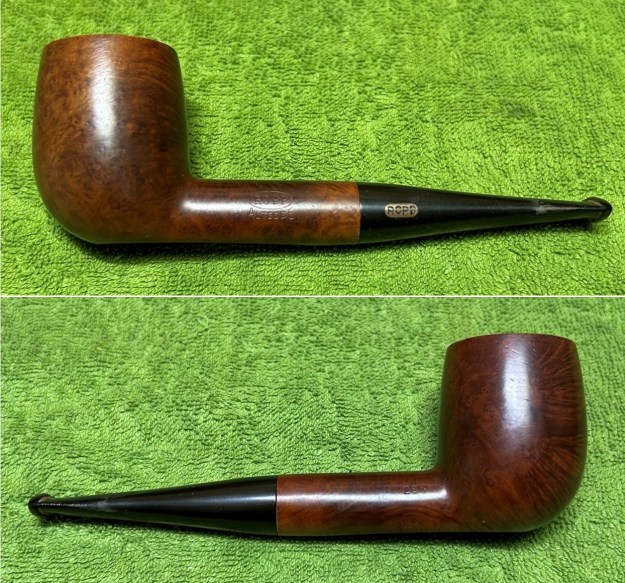
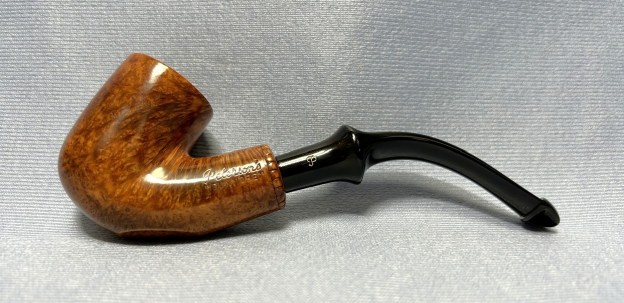
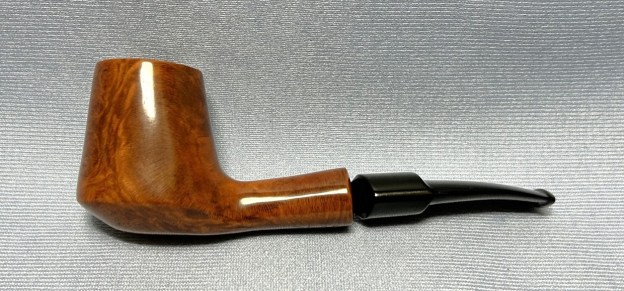
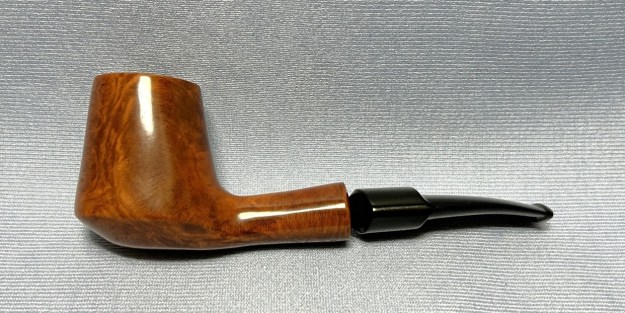
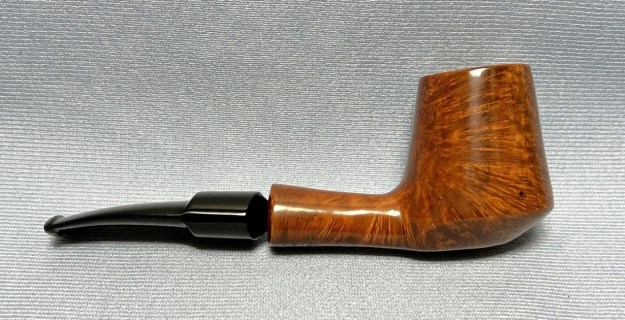
A gentleman recently contacted me to ask if I would restore his Airograte Yello-Bole. I was happy to take on the project, as it was an interesting pipe – and it looked like it could use some TLC. In the end, the pipe turned out very well, but it was a very labour-intensive cleaning and restoration. Take a close look at the before and after photos – I think they speak for themselves. This pipe has had a hard life, but it must have been greatly loved. This restoration made the pipe look so much better, but the battle scars of the past will always be with it – and so they should be! They are part of its history. 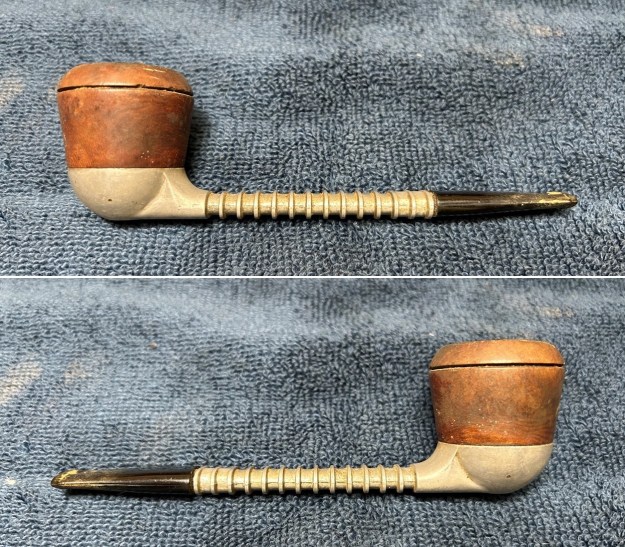
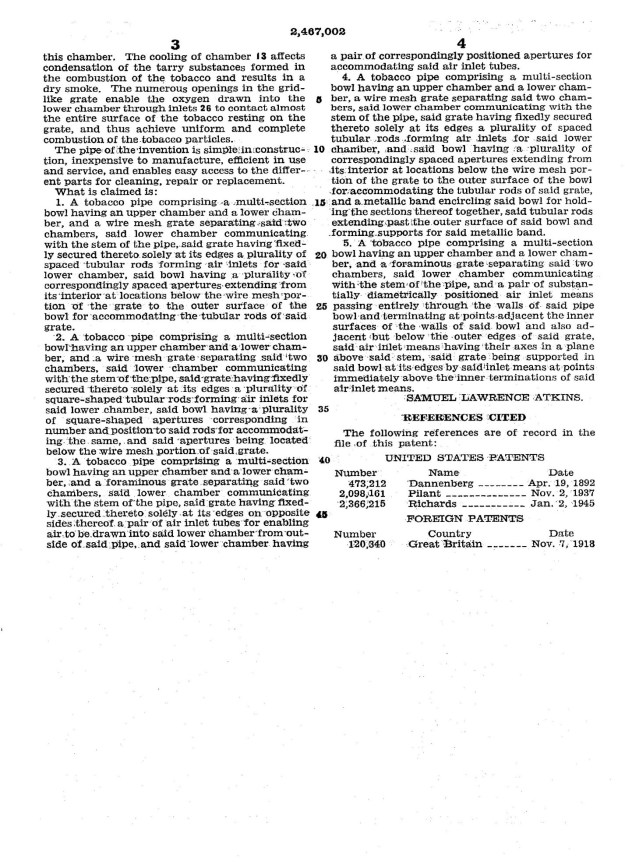
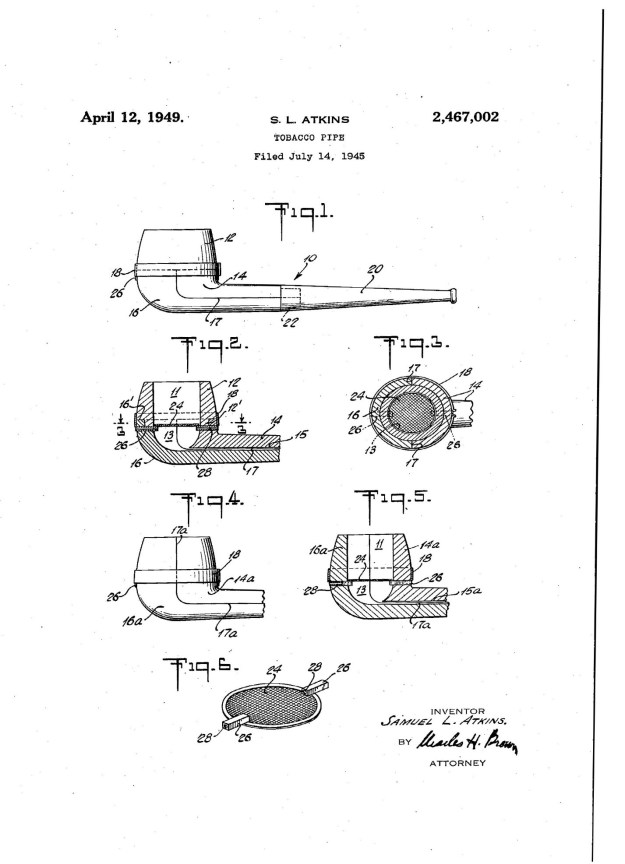
 Let’s talk about the background of the pipe. The patent on the Airograte dates to 1949, and I have included the pages from the US Patent Office below, for those who wish to read them:
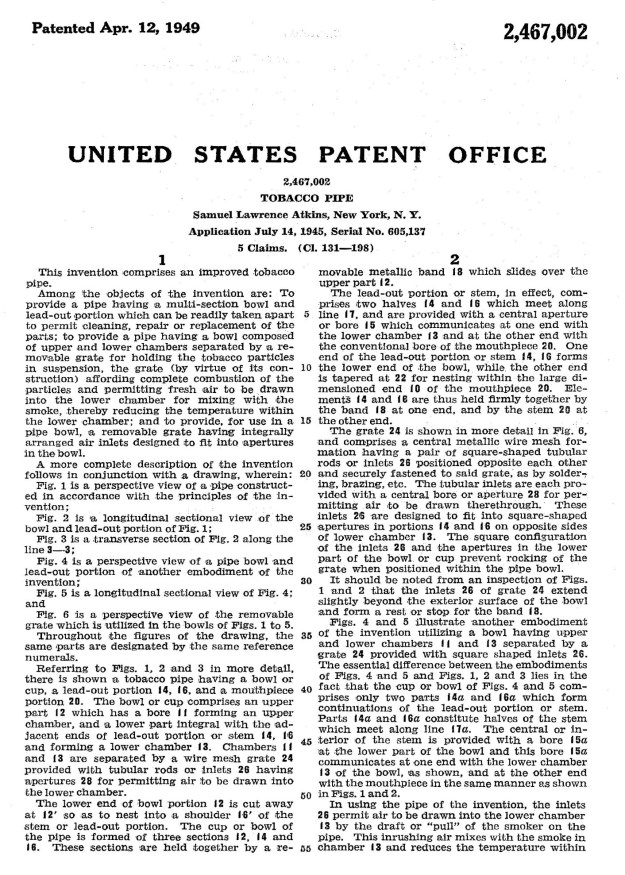
 I also found a blurb from inside the box of an Airograte Yello-Bole from years ago. I’ve included the photo below, but I also typed out the words in case you can’t quite make them out:
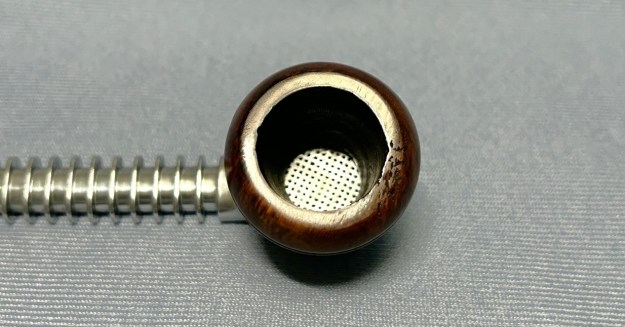
Airograte Yello-Bole introduces an entirely new principle in pipe smoking. One of the basic, patented features is a removable metal grate which holds the tobacco in suspension. This allows fresh air to be drawn into, and circulate through, the lower aluminum chamber resulting in a cool, dry smoke. The metal grate may be easily washed and cleaned. Ordinary cleansing tissue will wipe clean the aluminum chamber and bottom of bowl. Shank and bit should be cleaned with a pipe cleaner. Airograte Yello-Bole’s design and patented construction give better combustion and moisture evaporation. Result? No messy juices, no bite, no bitterness, no drag and no smelly heel. Interchangeable bowls in assorted shapes are available. Buy an extra bowl… Smoke one, rest the other. Each bowl is caked with Real Honey. You’ll enjoy Airograte Yello-Bole because it’s the sweetest, driest, coolest pipe smoking sensation!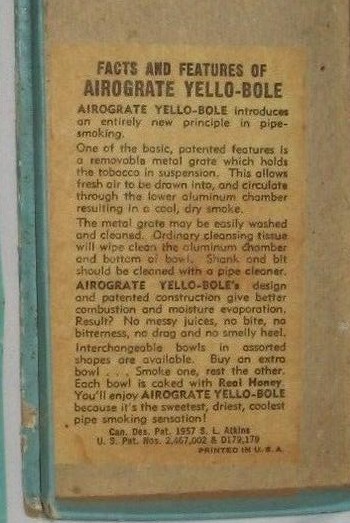 On Pipedia, there is a good article about the history of the Yello-Bole company and its progenitor, Kaufmann Bros. & Bondy. On the Airograte itself, Pipedia says:
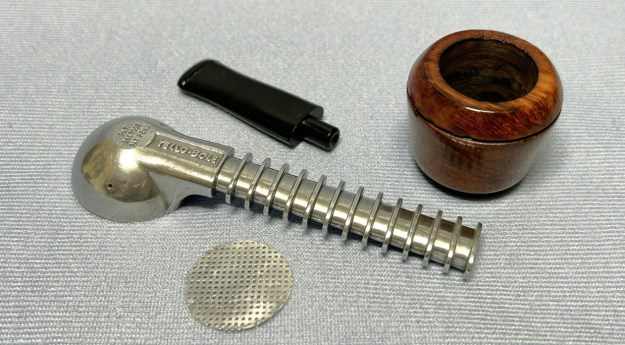
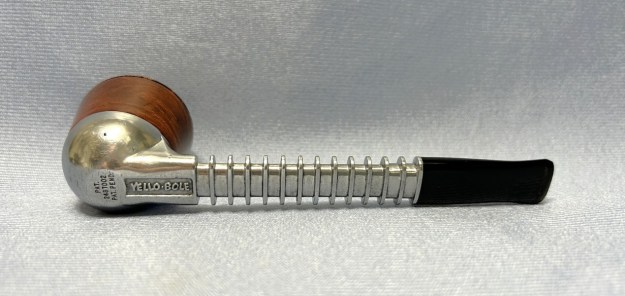
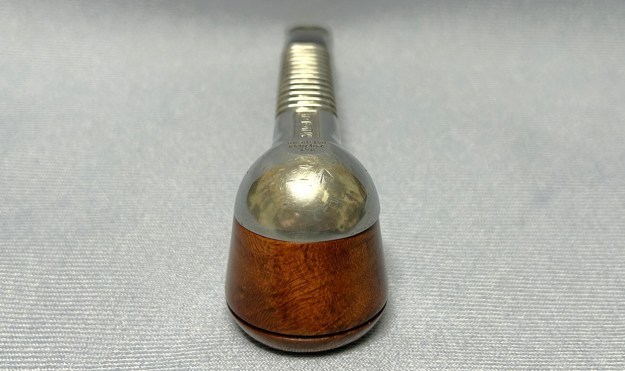
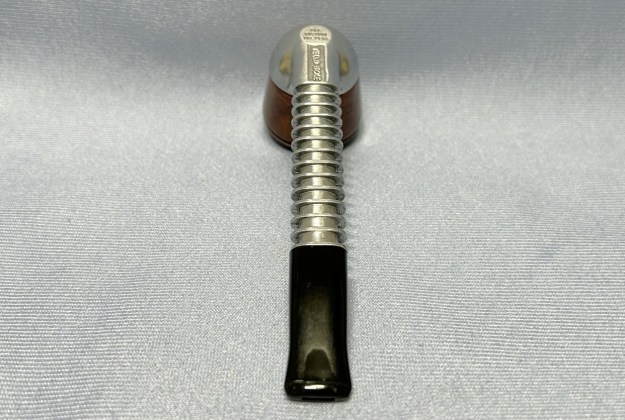
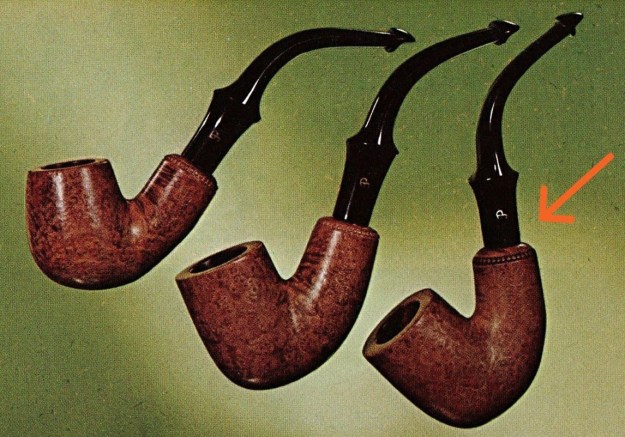
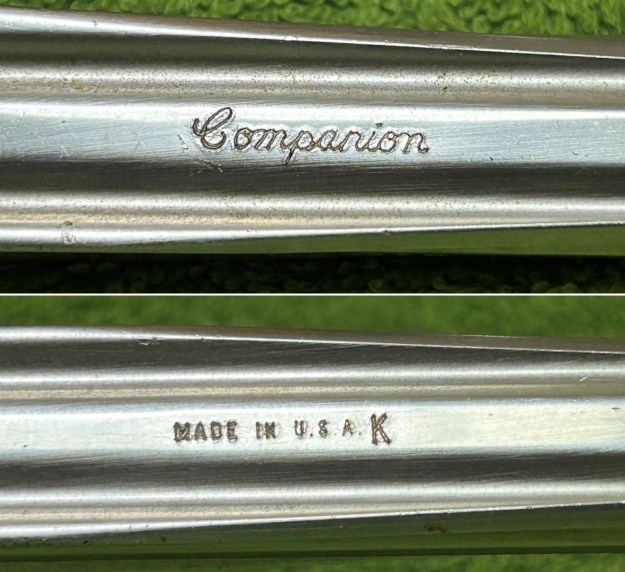
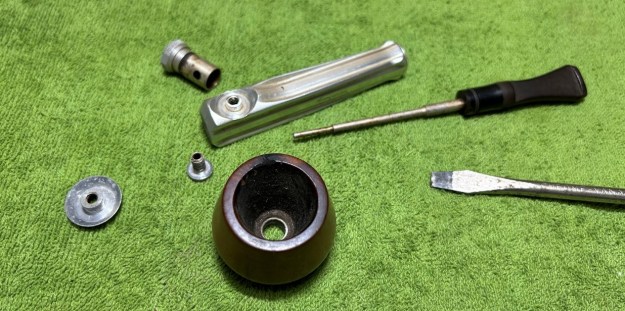
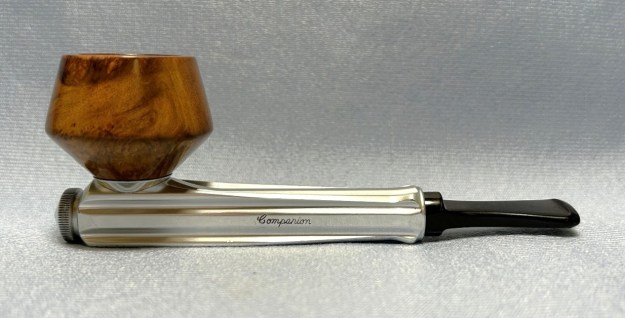
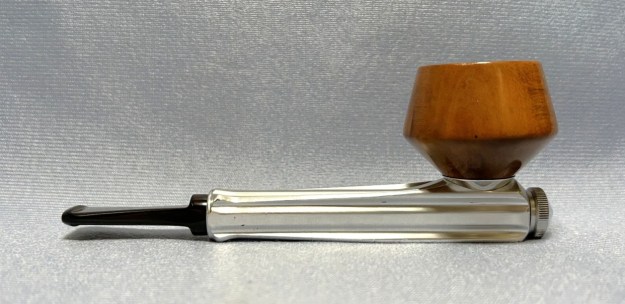
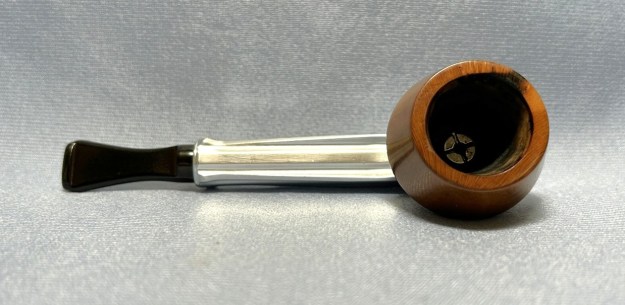
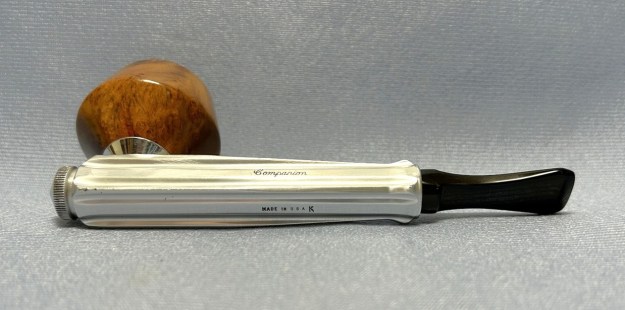
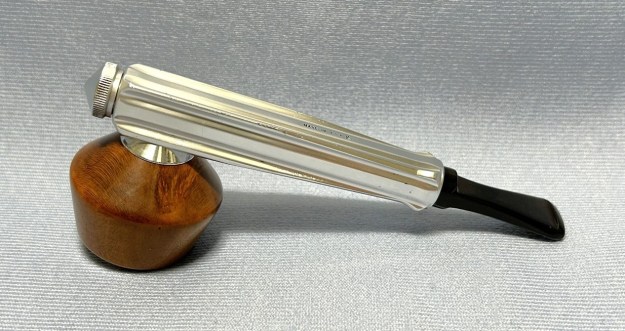
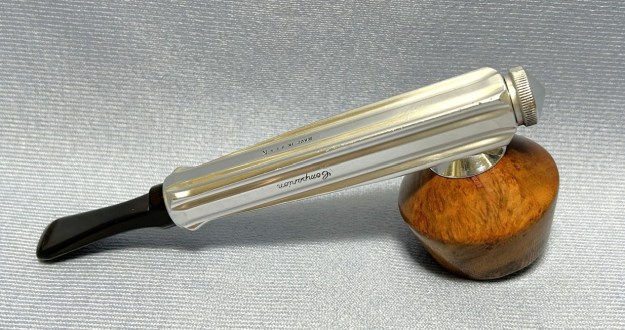
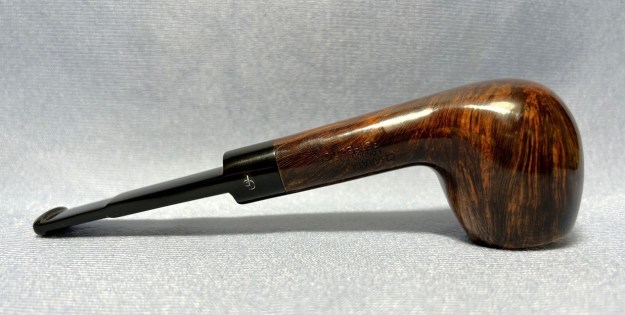
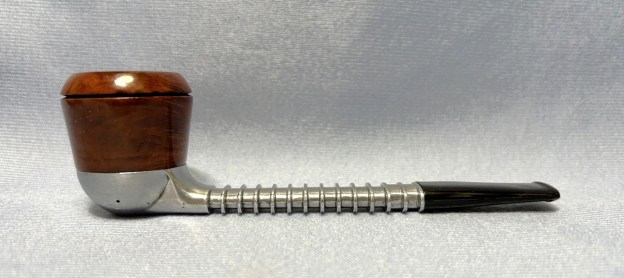
The Yello Bole Aristocrat Airograte: An Aluminum and wood pipe with a twist. This pipe doesn’t have a bowl per say, but more a briar cylinder that screws into the base of the body. At the bottom of the bowl is a metal grate, thus allowing air to be pulled through all the tobacco and reducing any chance of clogging. The lower bowl catches all moisture and tar reducing bite. These pipes can be had in a silver/chrome finish as well as a soft gold finish. The stem of these pipes has cooling fins up each side, and can be found in a straight or bent form. Steve has written several blogs about the Airograte and here is one of his comments about it:
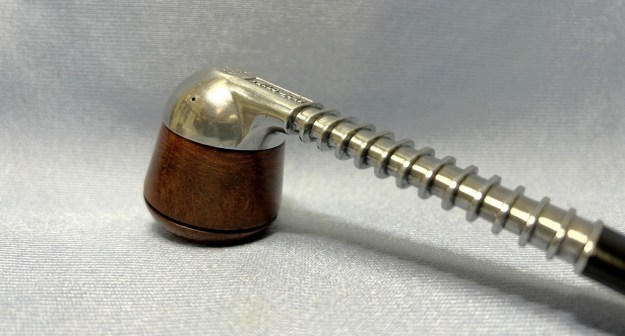
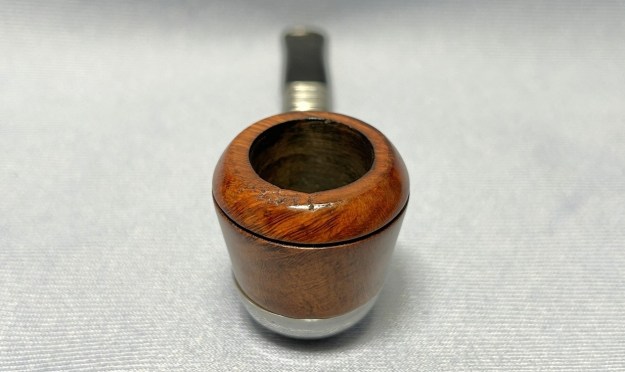
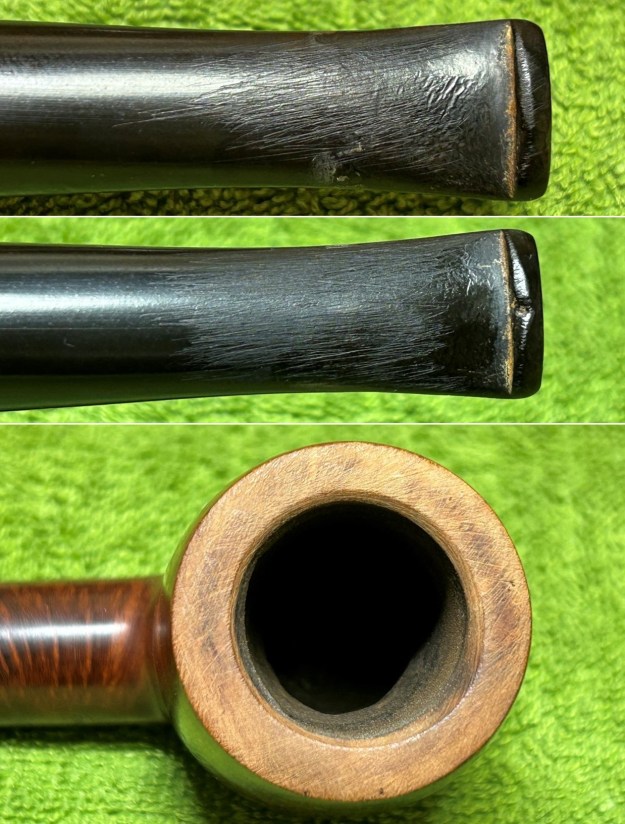
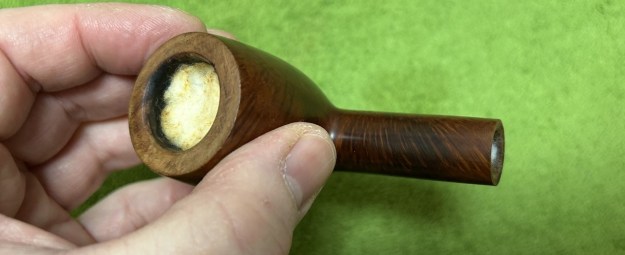
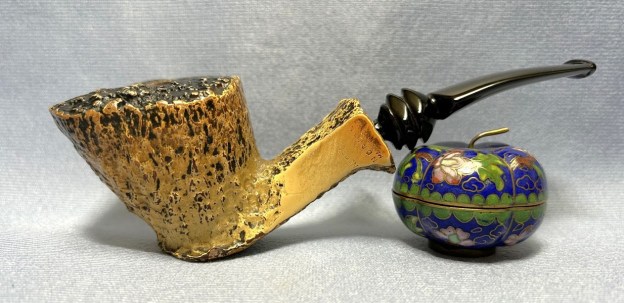
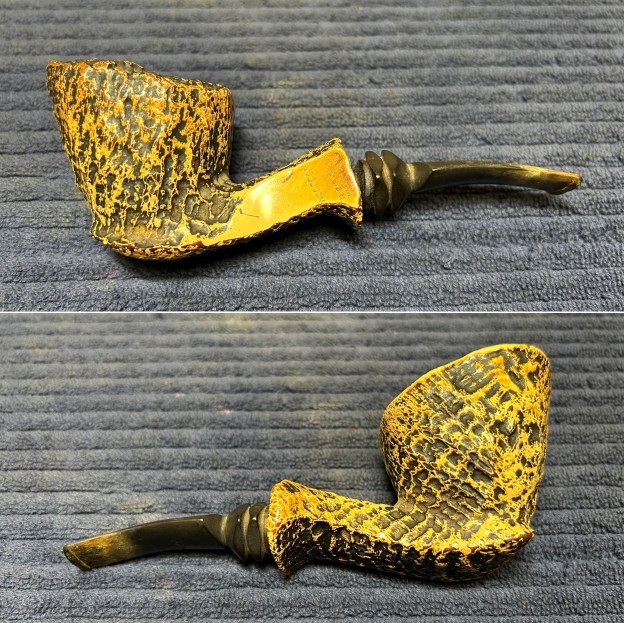
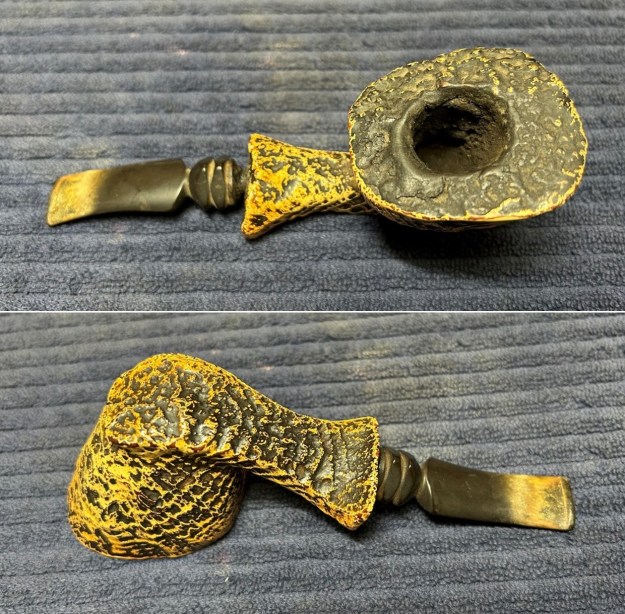
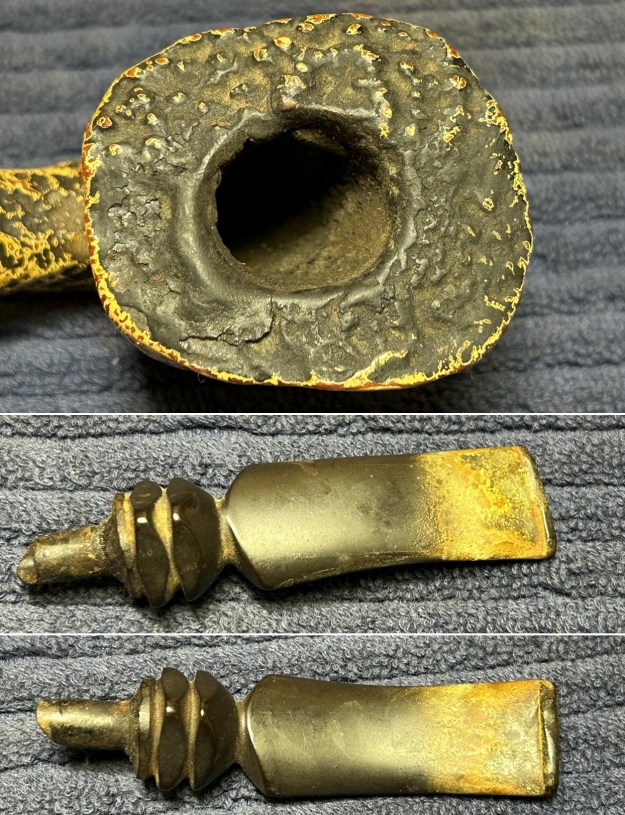
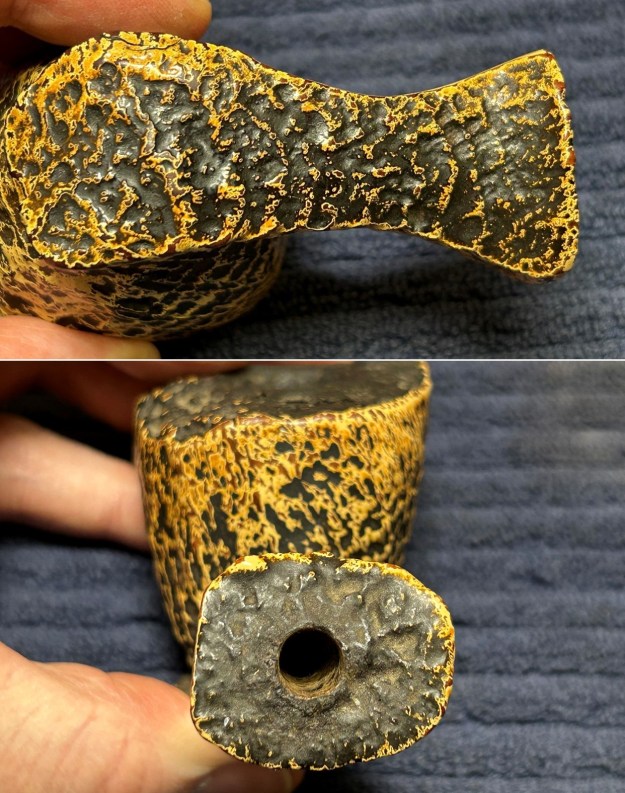
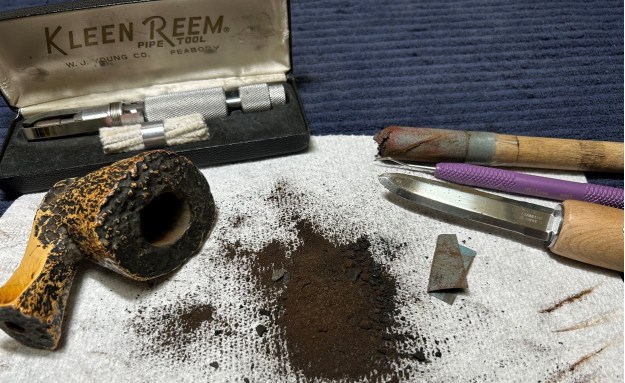
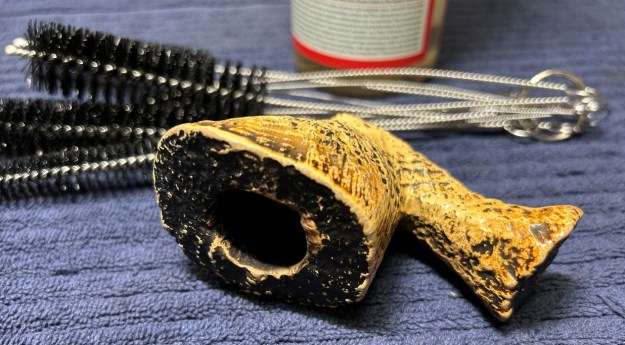
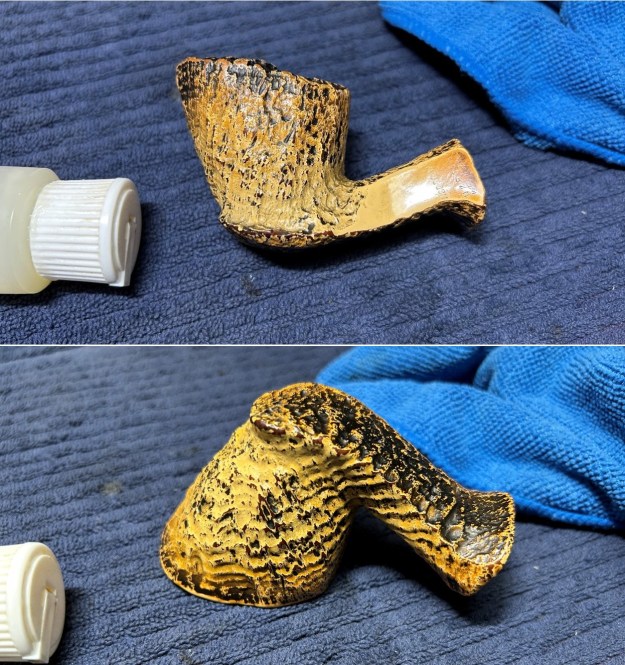
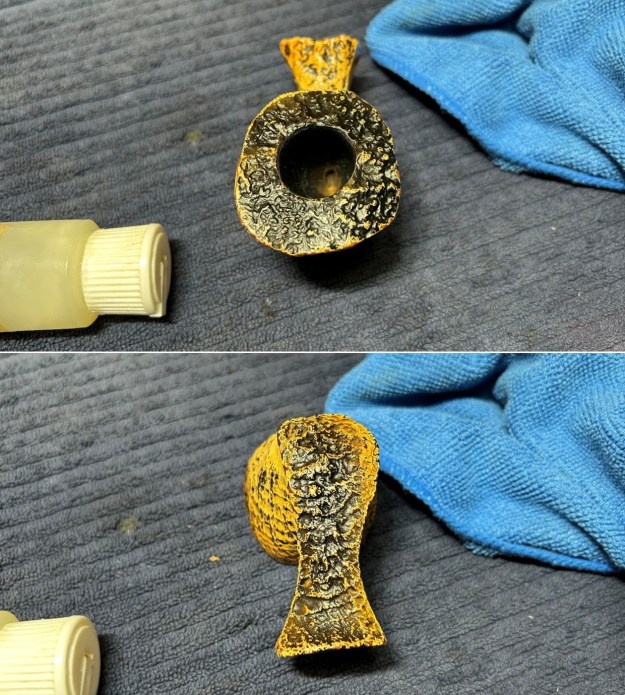
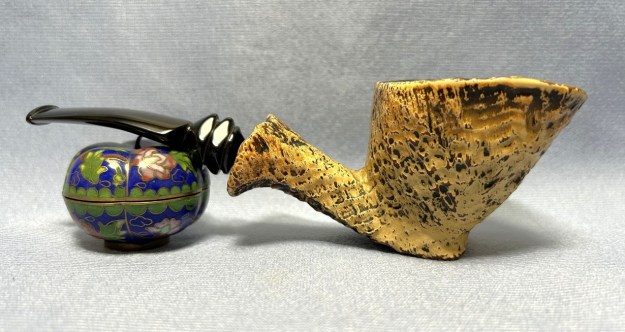
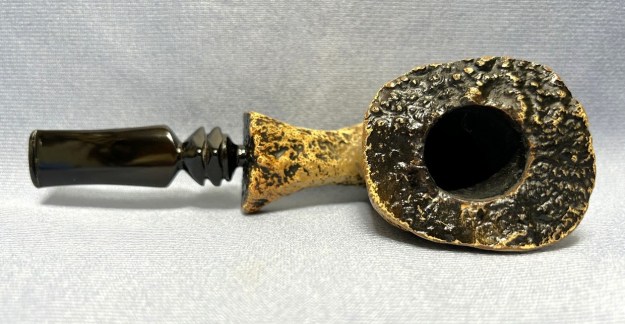
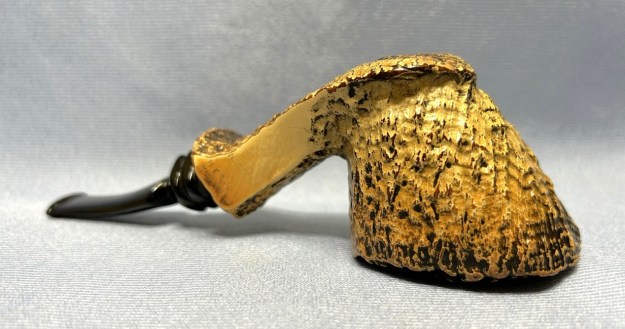
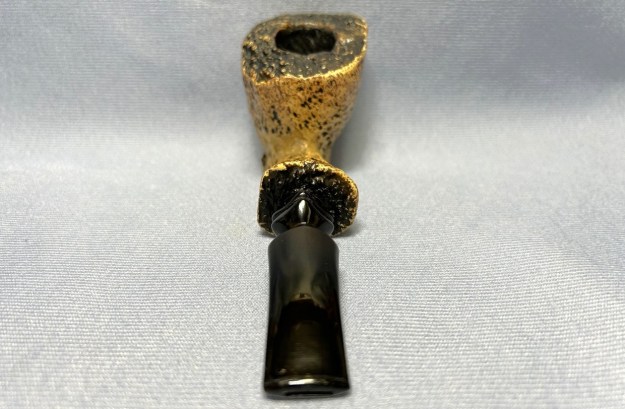
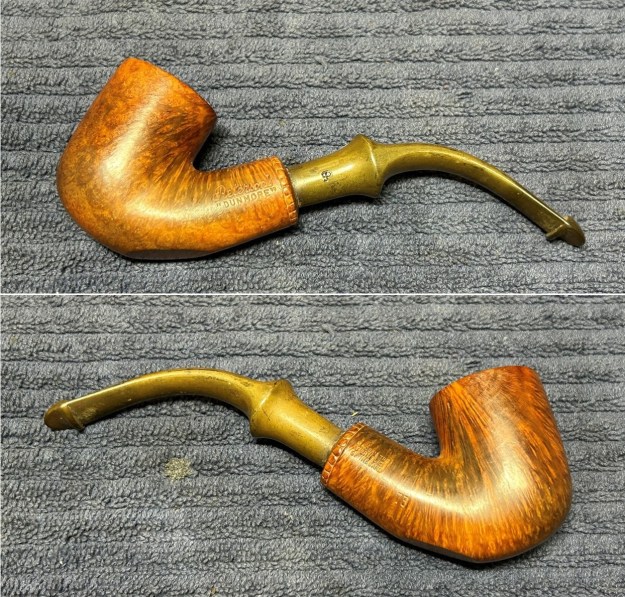
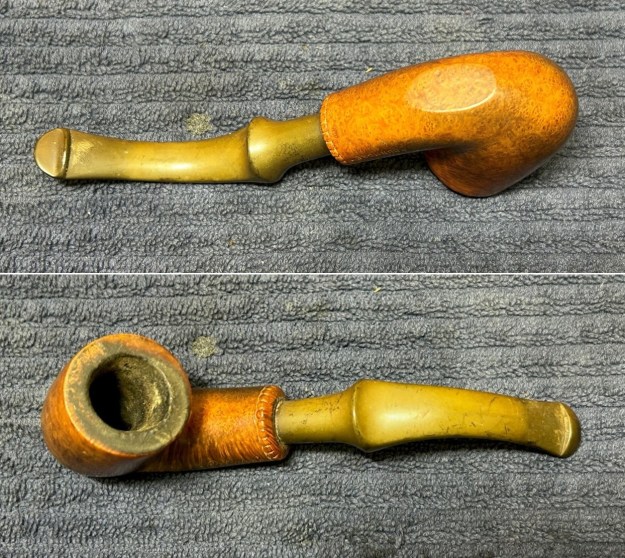
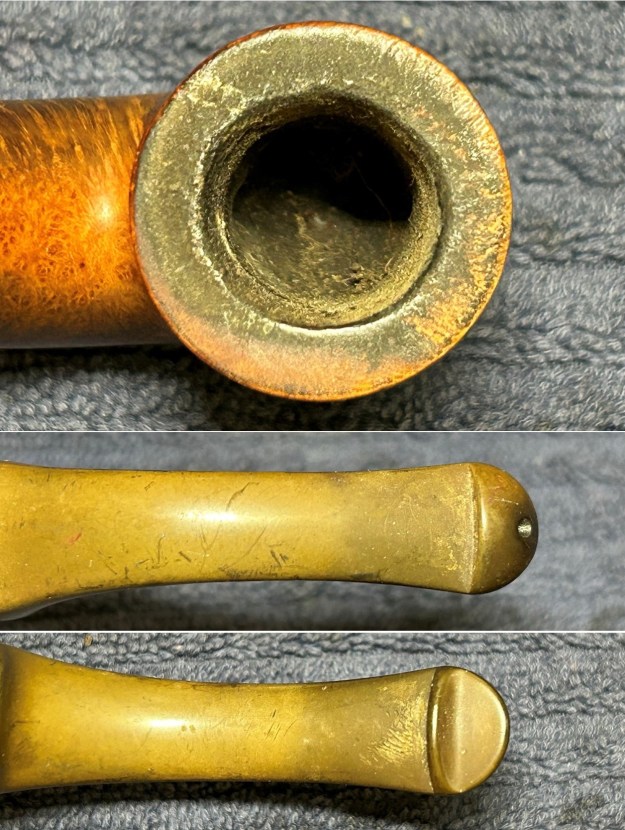
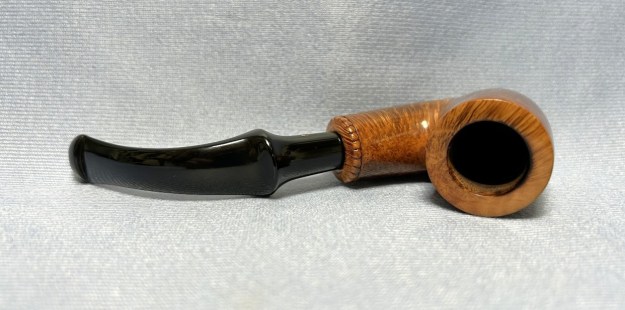
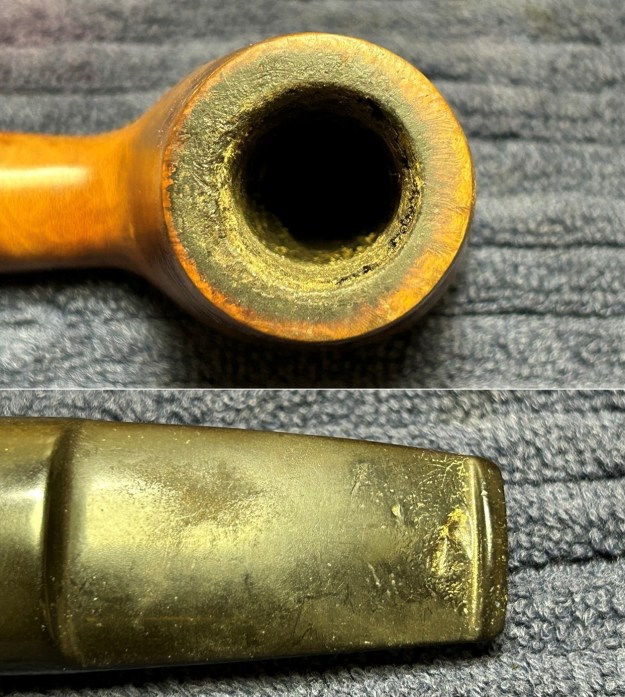
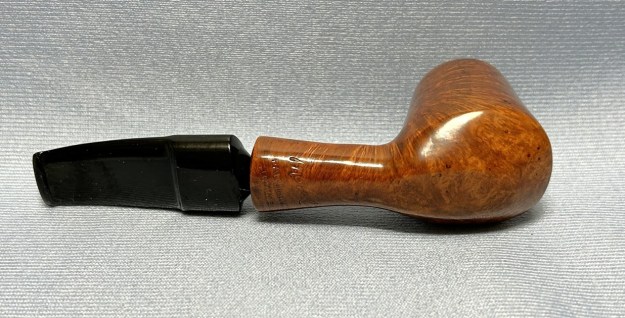
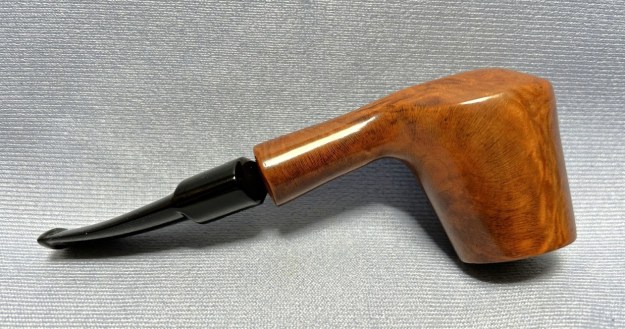
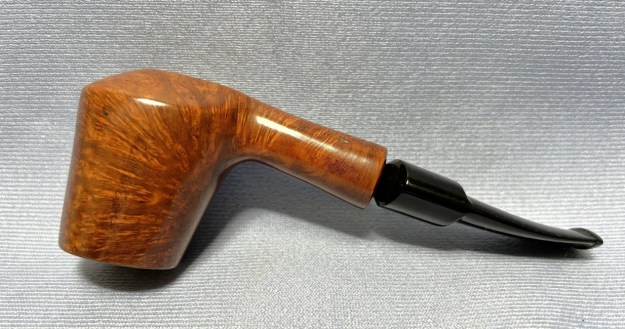
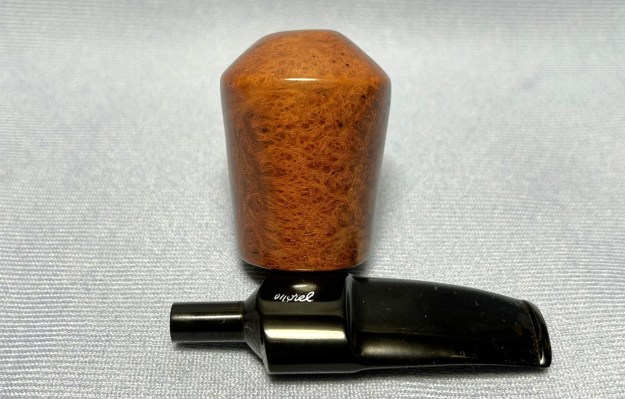
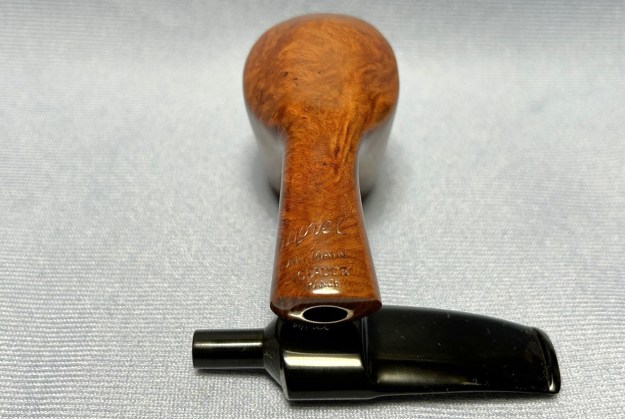
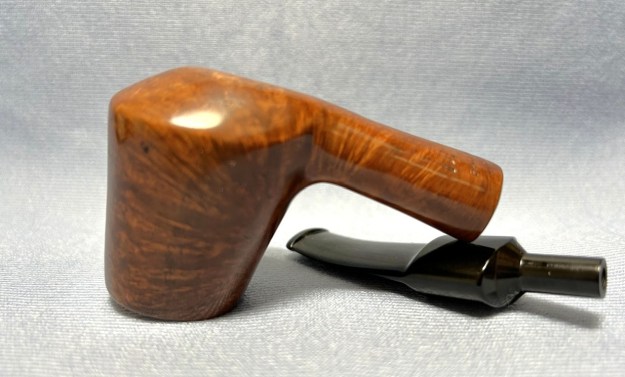
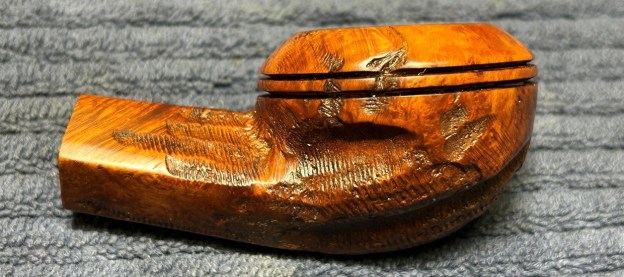
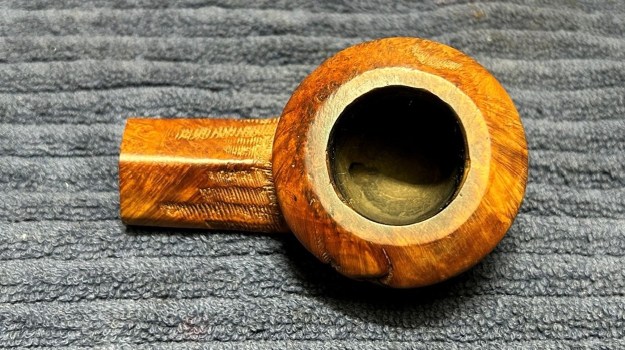
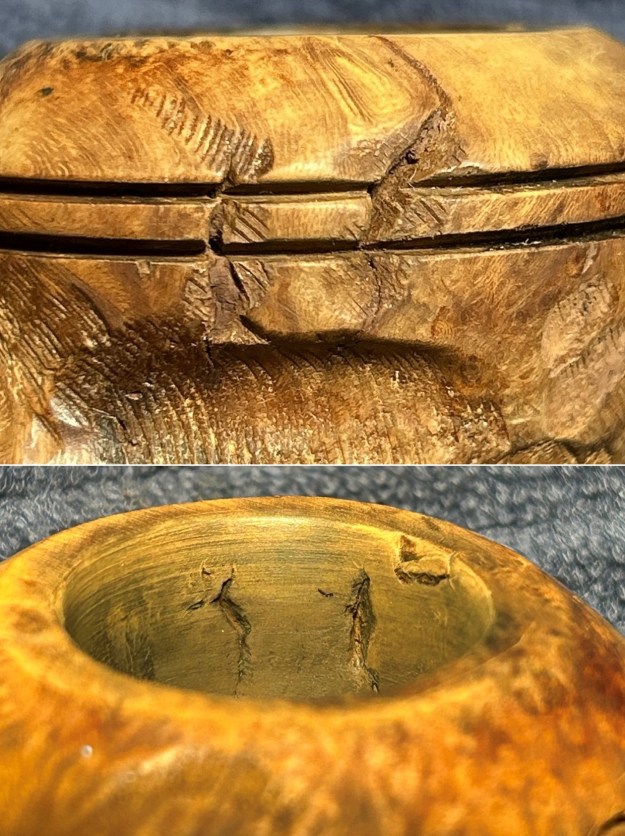
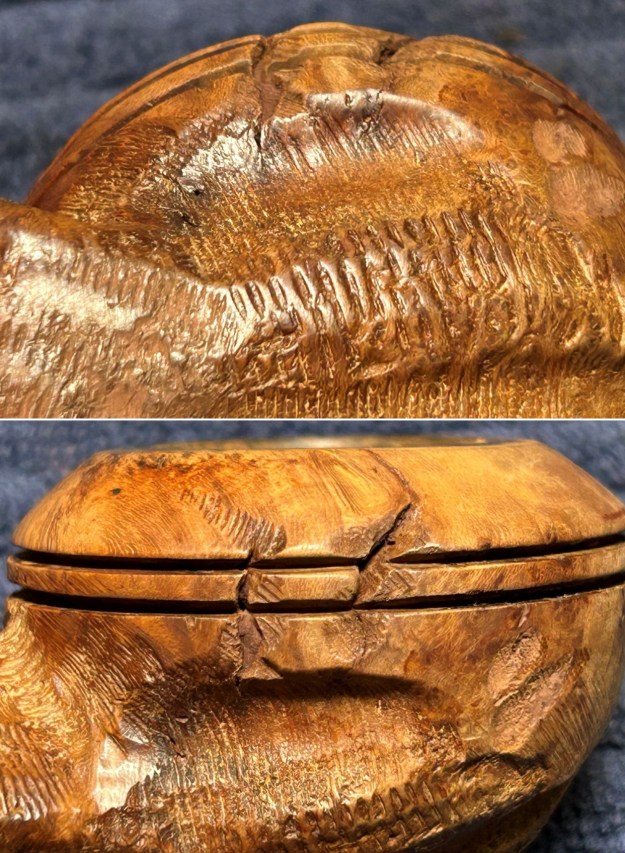
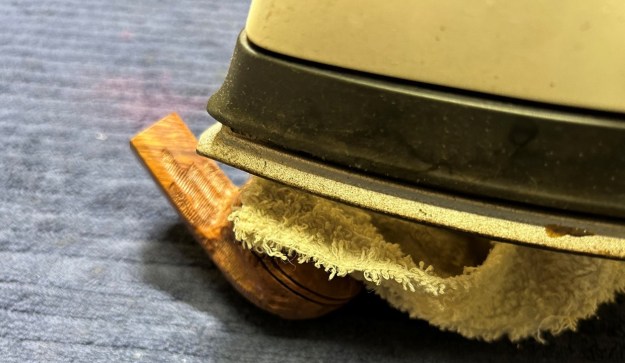
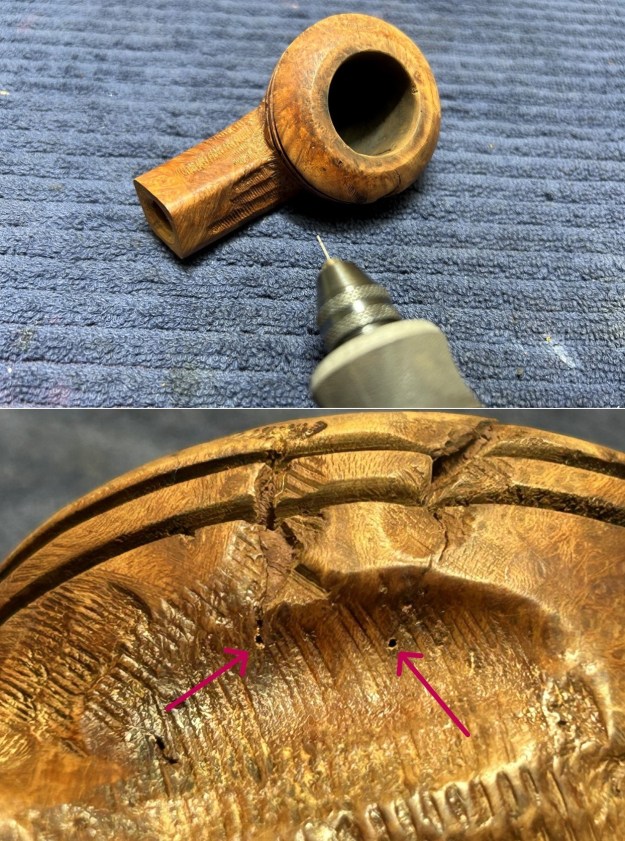
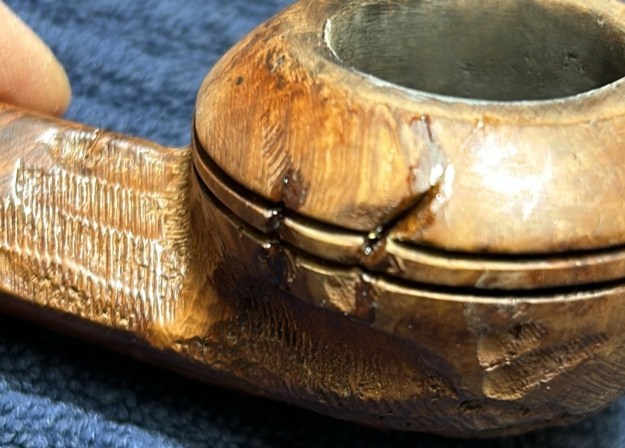
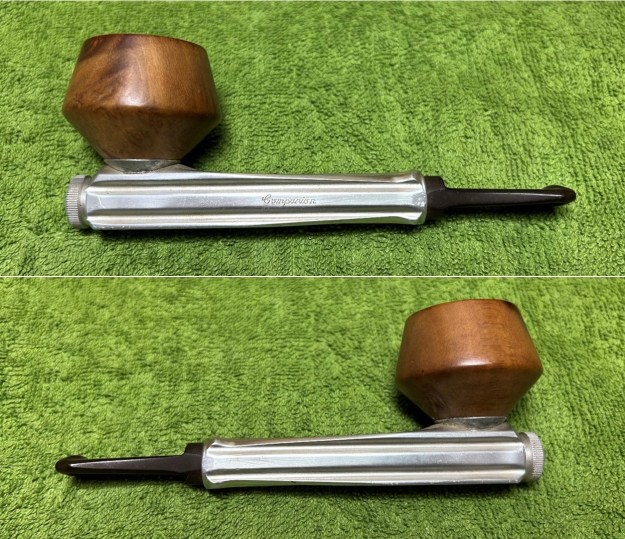
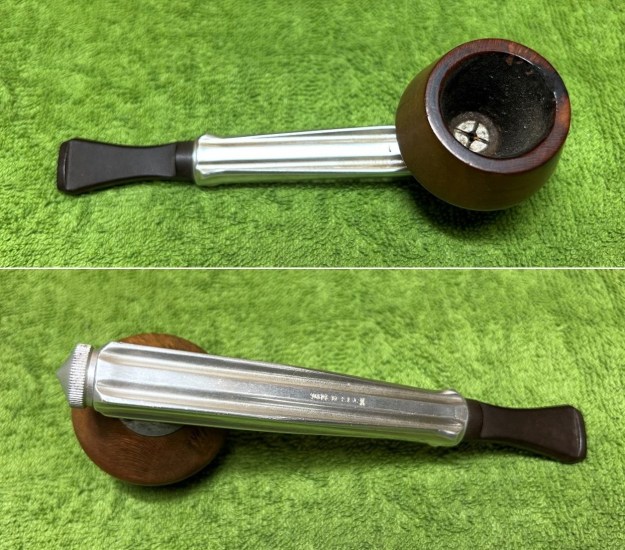
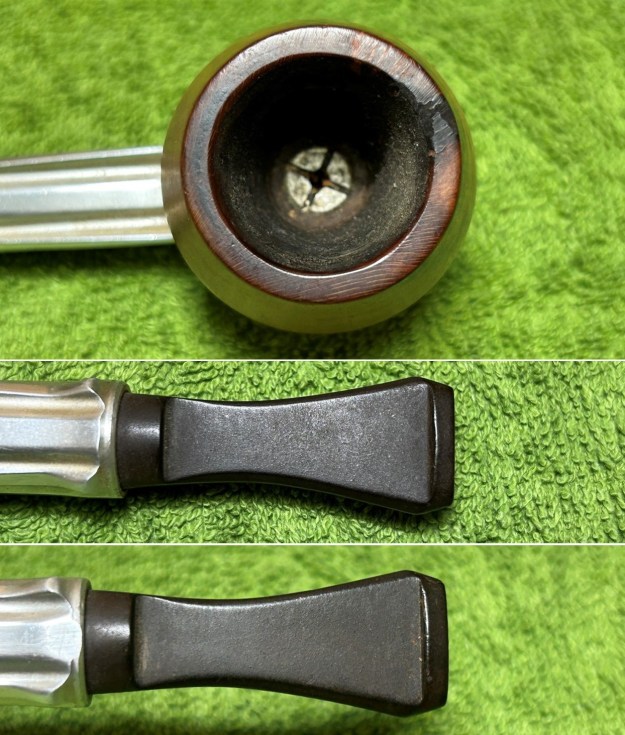
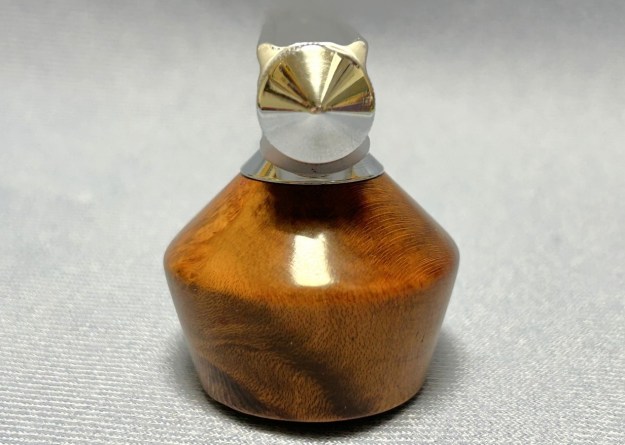
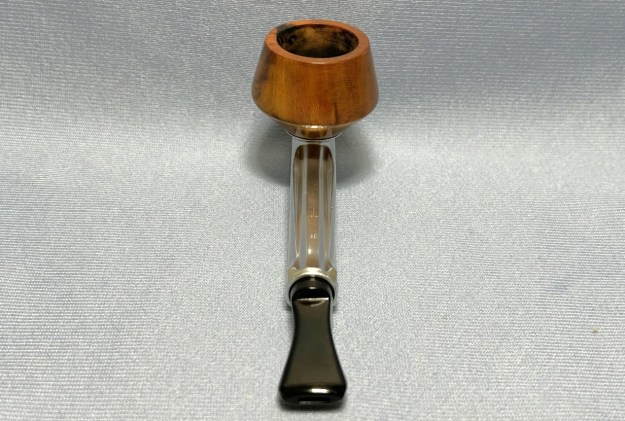
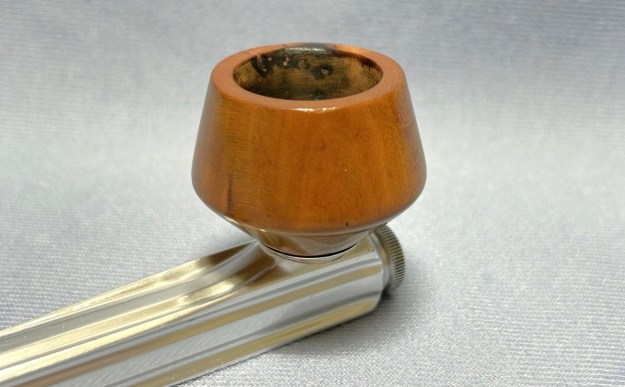
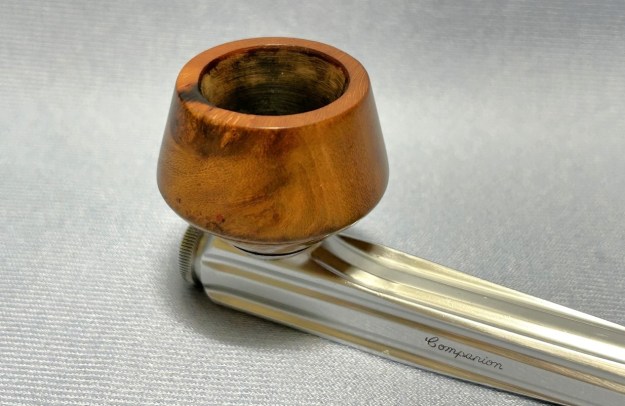
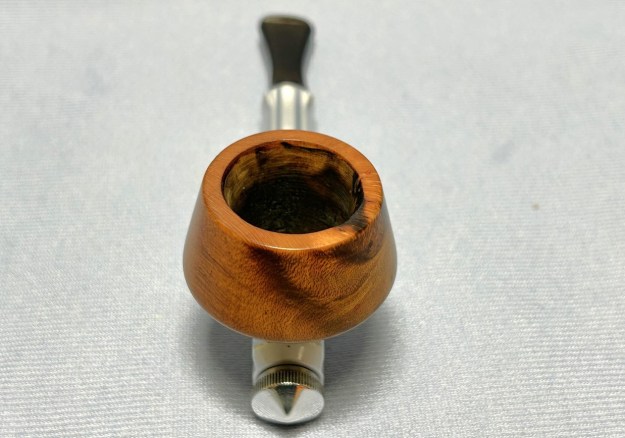
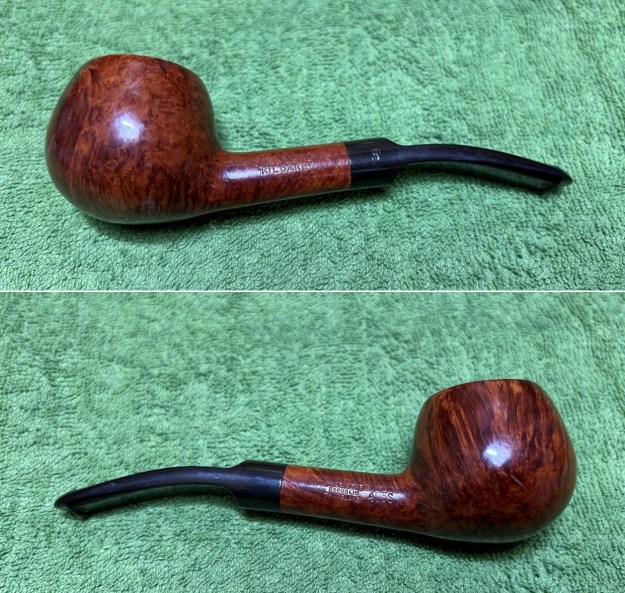
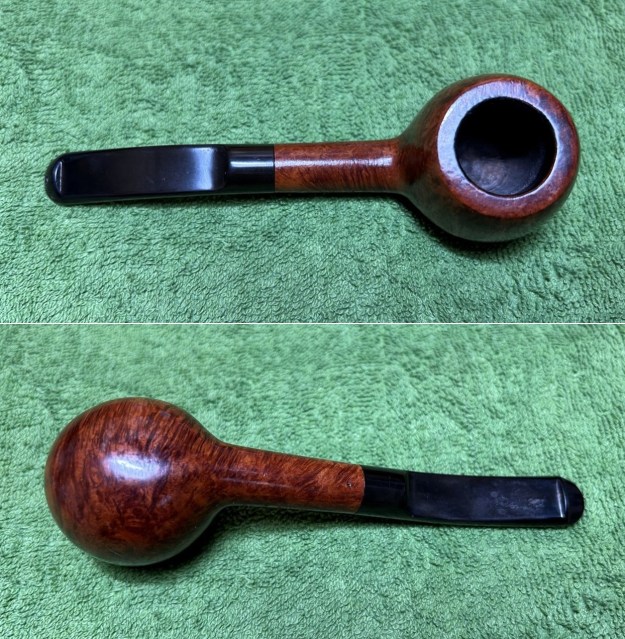
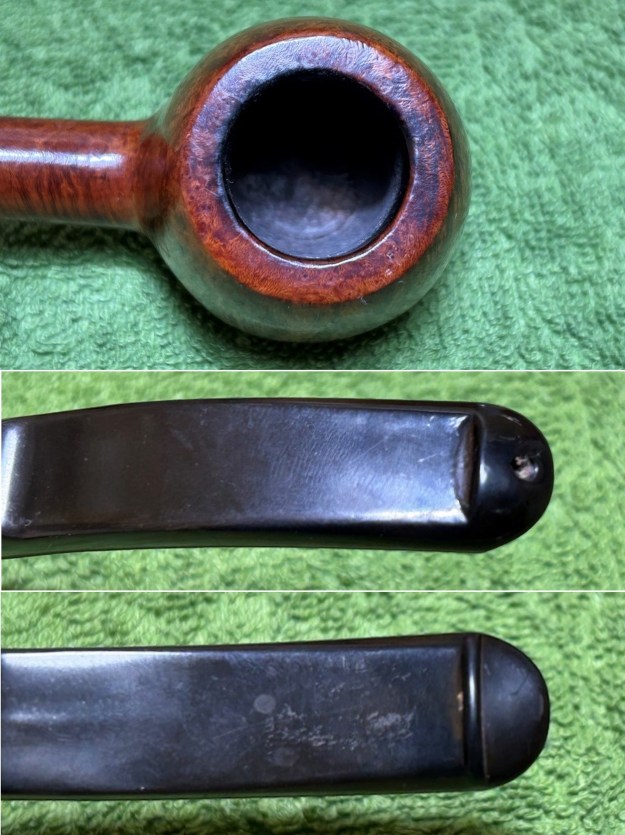
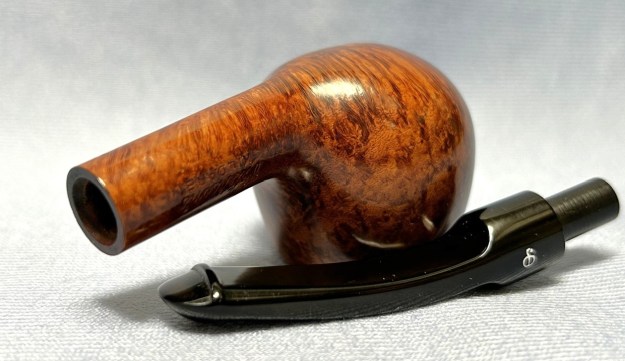
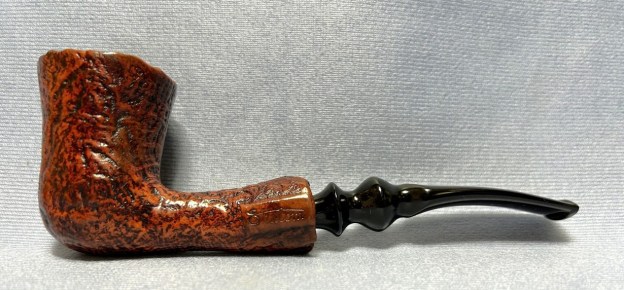
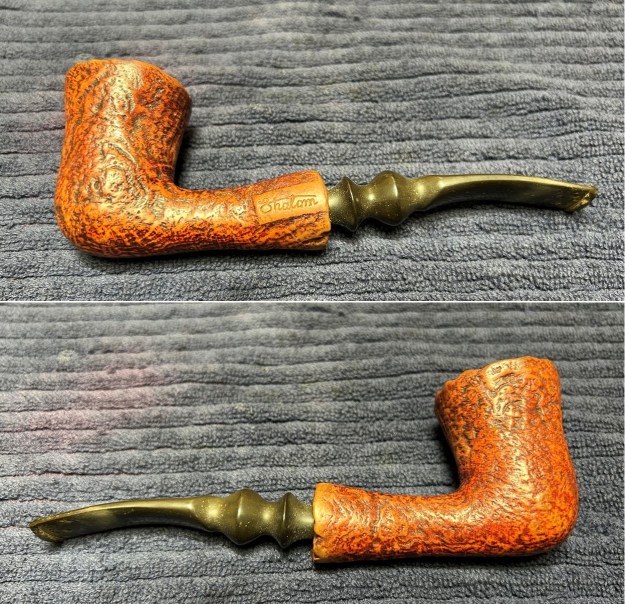
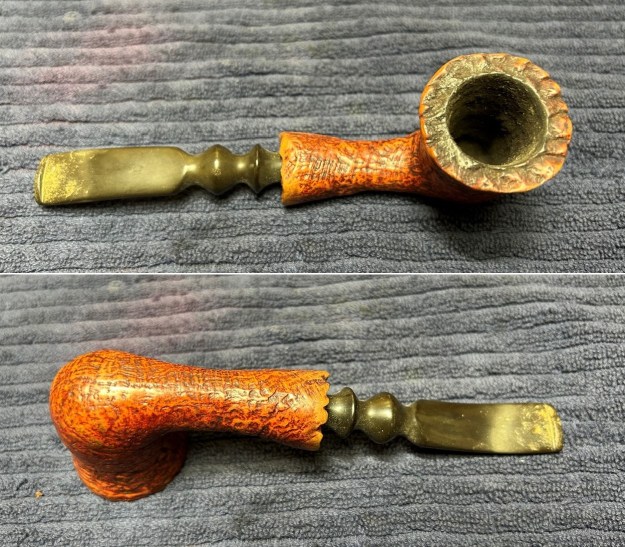
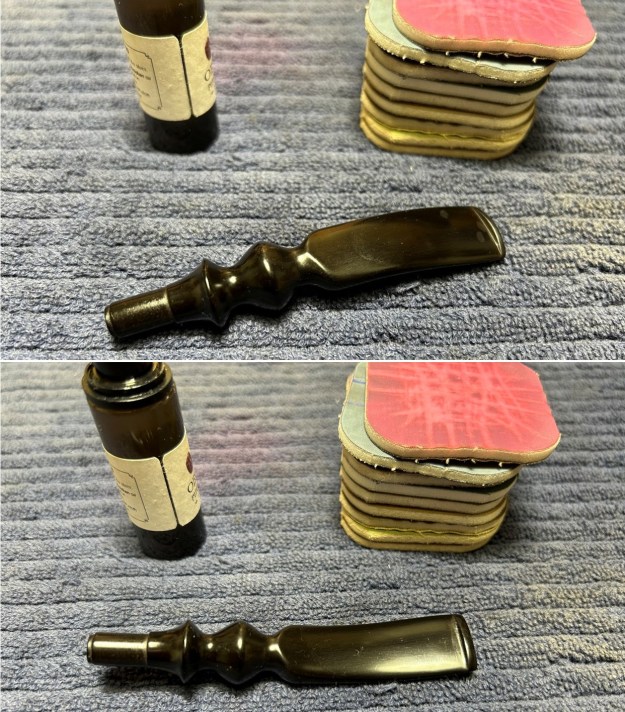
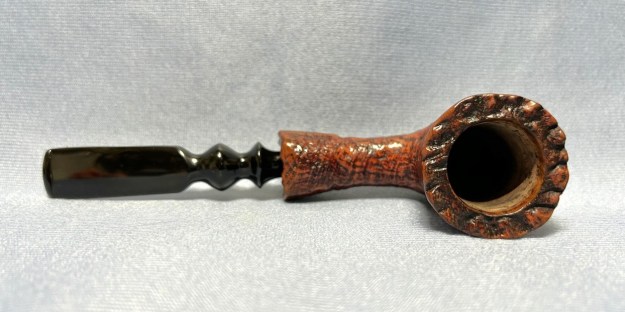
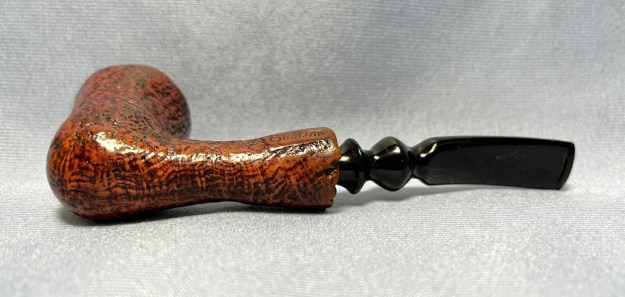
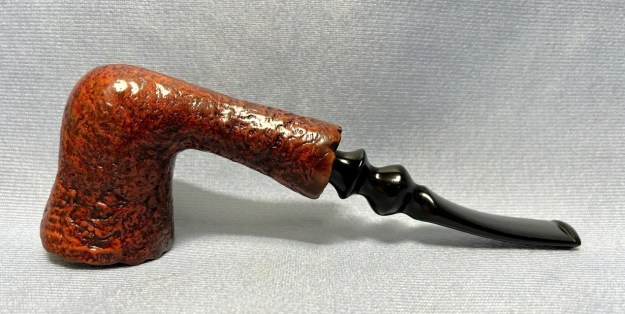
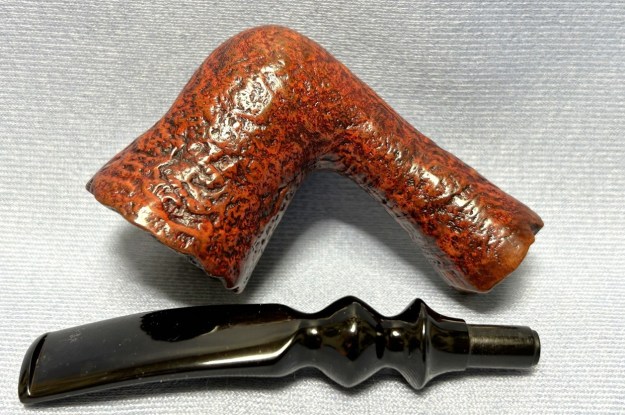
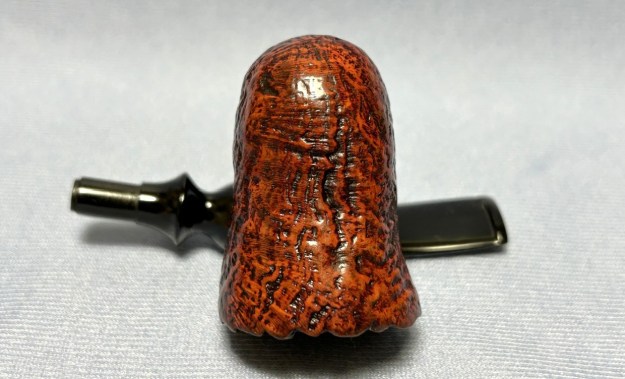
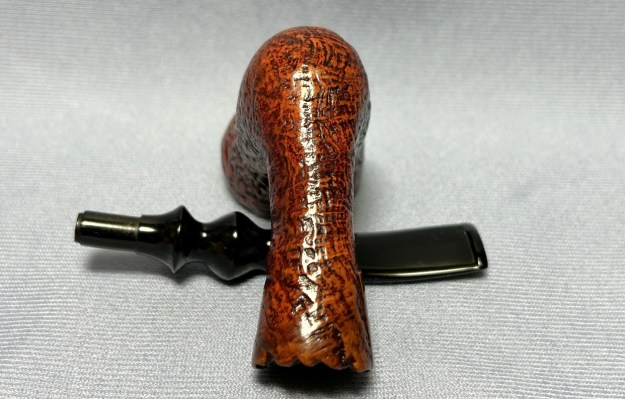
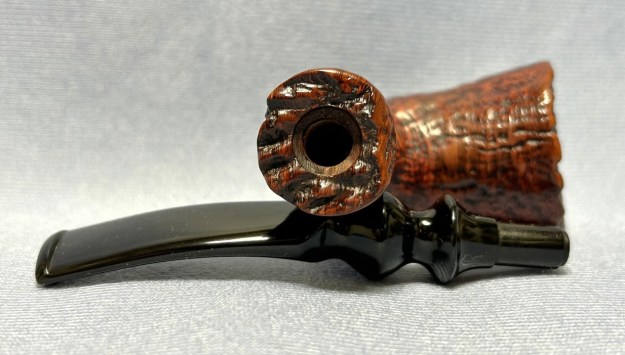
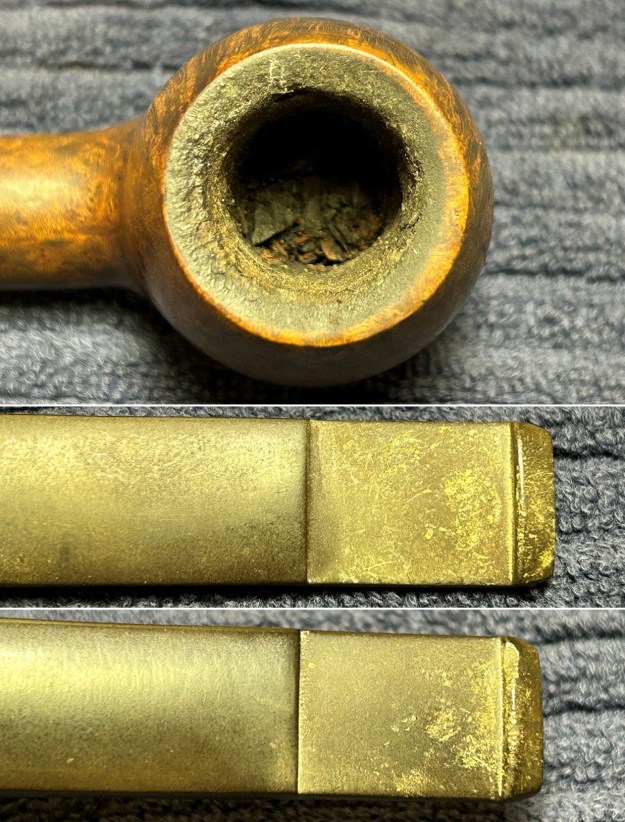
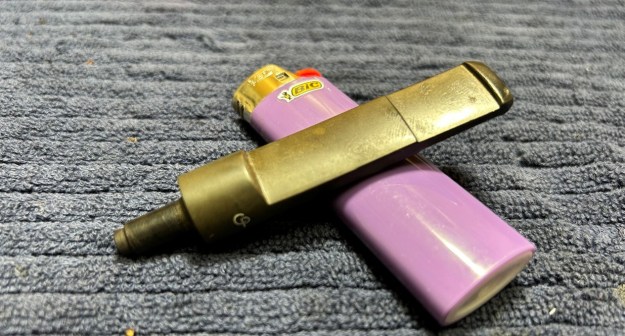
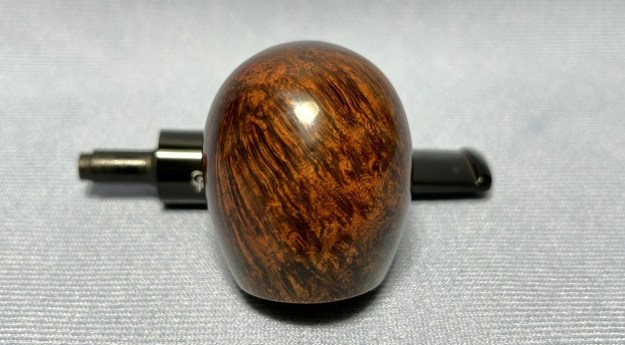
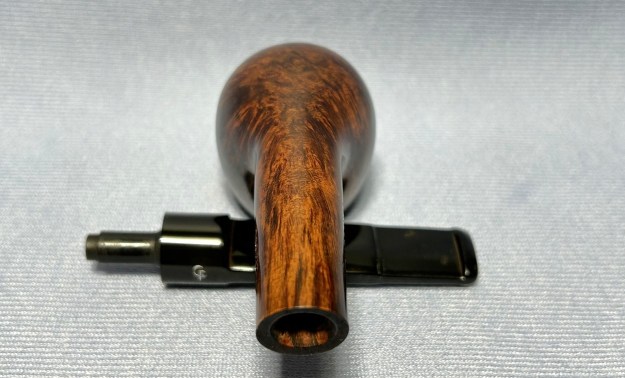
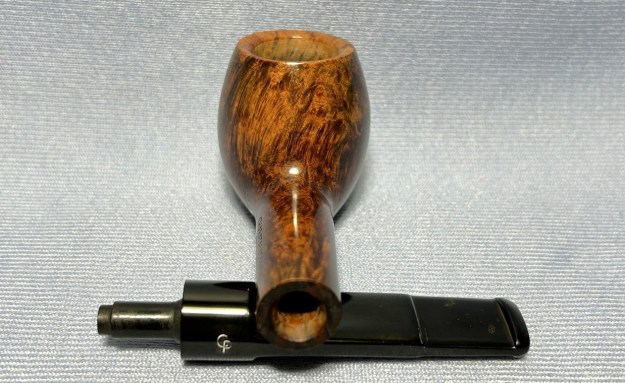
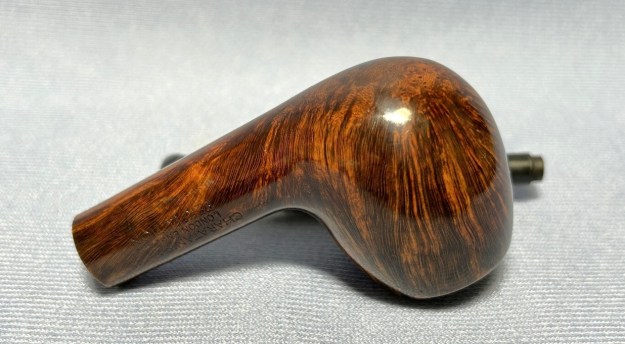
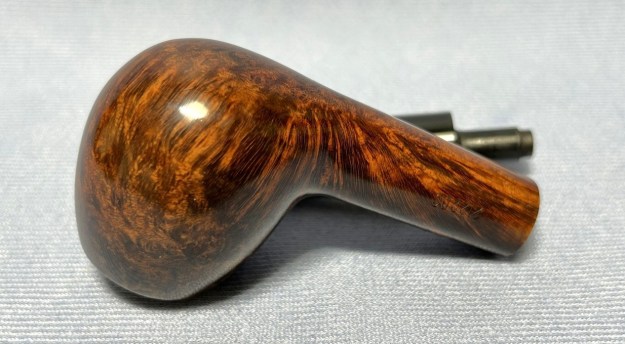
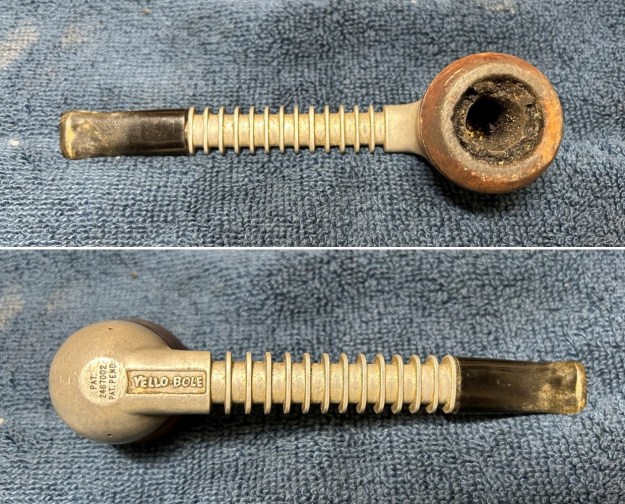
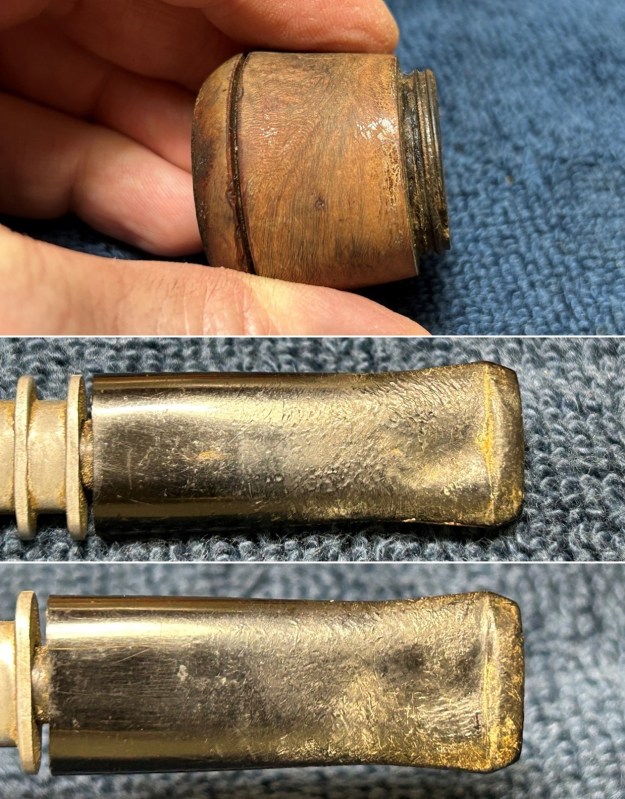
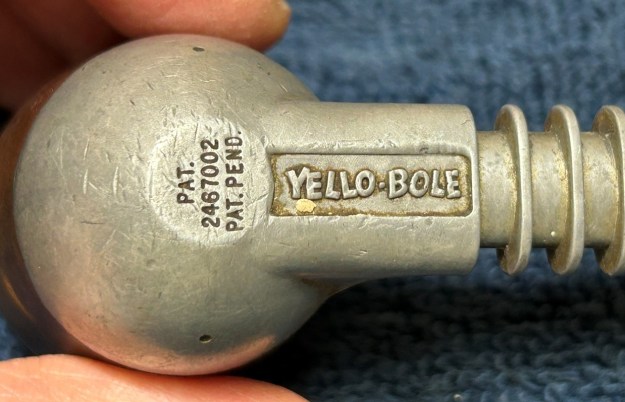
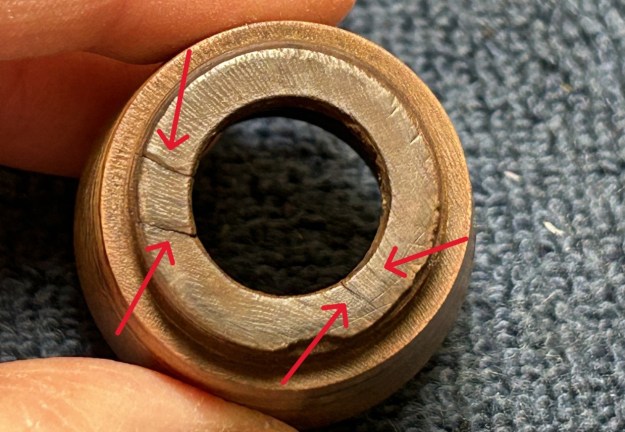
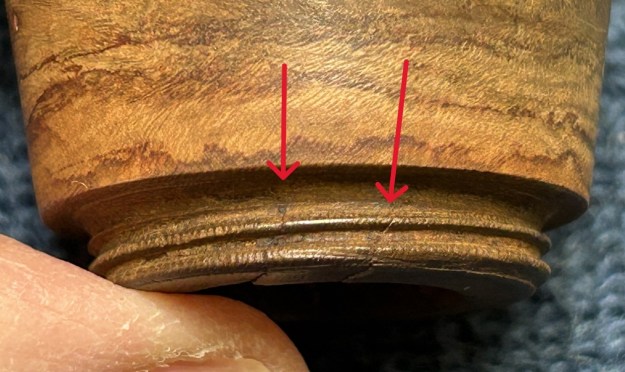
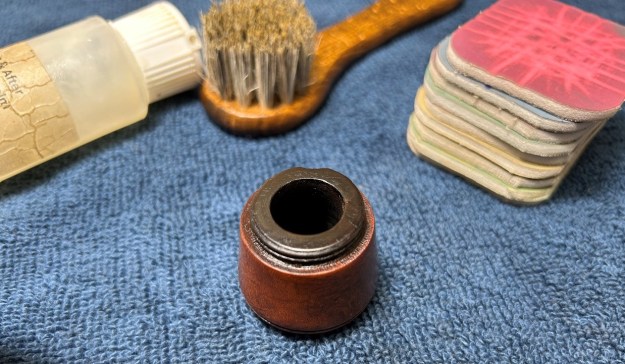
The Airograte Pipe was also made by Yello-Bole and was their version of the Falcon pipe or the Dr. Grabow Viking. It had a metal base and shank with an interchangeable bowl. Yello-Bole made a variation to the theme by make the bowl more of a tube and inserting a metal grate between the bowl and the base for dry smoking air flow. It also had the Nylon Bit like the Grabow and the Falcon version. These pipes sold for $5.95 and you could purchase a variety of interchangeable bowls for the base. Let’s examine the condition of this pipe a little more closely. The bowl is dirty-beyond-dirty. As you can see, the chamber is absolutely choked with old cake and there is a lot of lava on the rim. To make matters worse, there is a serious abrasion on the rim. On the underside of the bowl, there are small cracks in the base which extend into the screw threads. The stem was, sadly, no better. There is plenty of calcification on the bit. Fortunately, since the stem is made of a hard nylon, there is no oxidation. However, the tooth marks, dents, and chomps on this stem are among the most severe I’ve seen in a long while. The photos do not accurately convey just how concave (and low) these tooth marks are. The aluminum body of the pipe was dull, dirty, and heavily scratched. Some of those scratches would come out, but some wouldn’t. Unsurprisingly, the metal grate was clogged with tobacco filth.
Suffice it to say that I had my work cut out for me!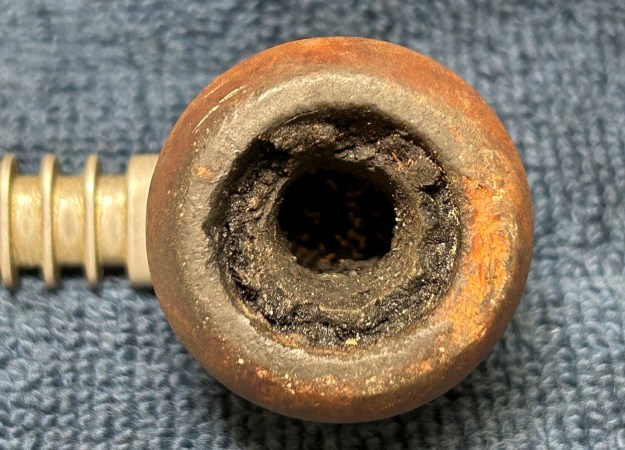
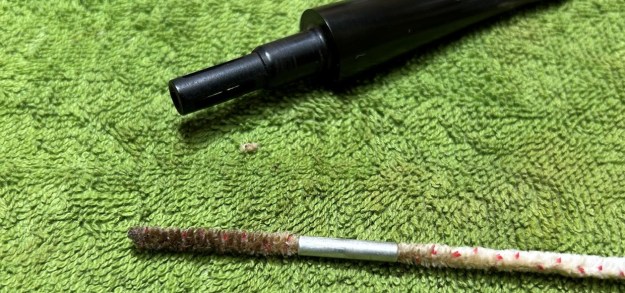
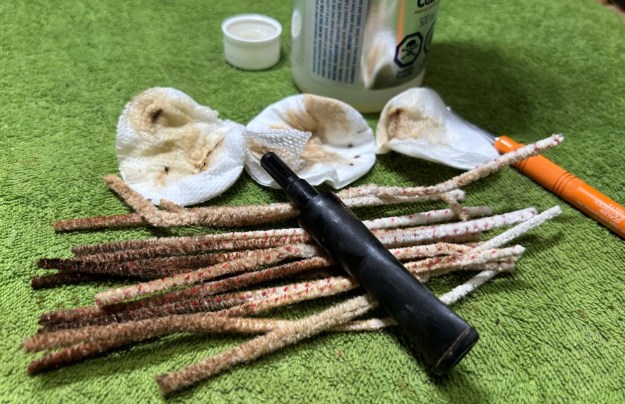
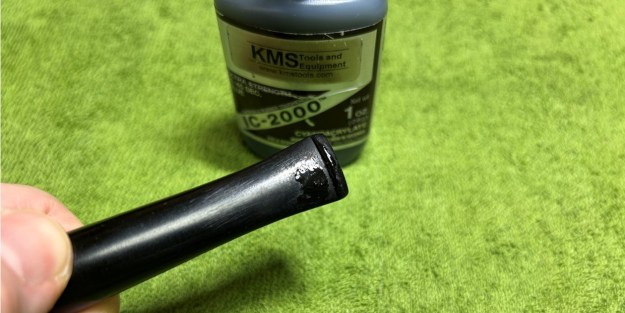
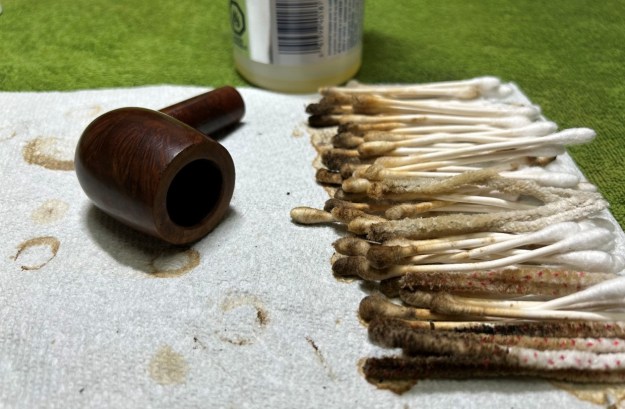
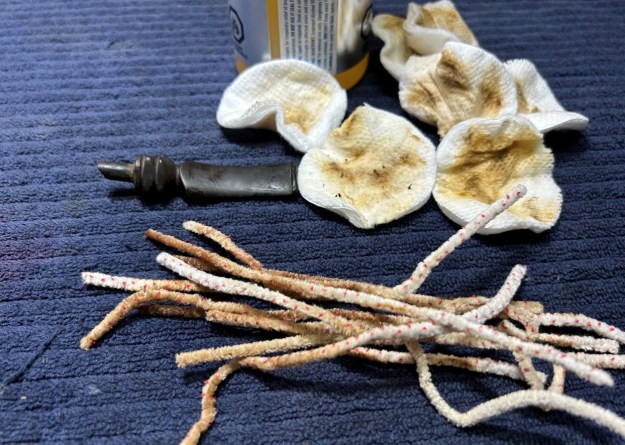
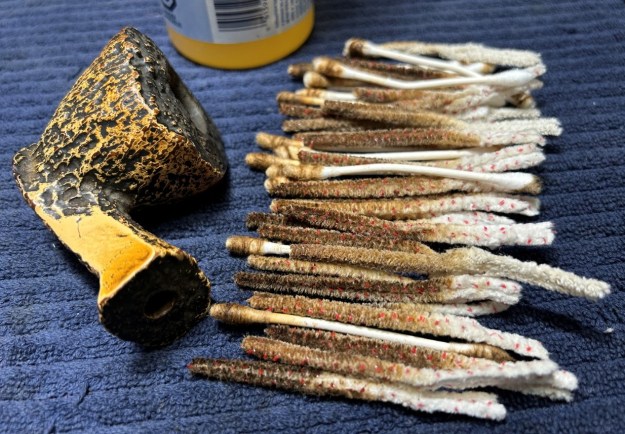
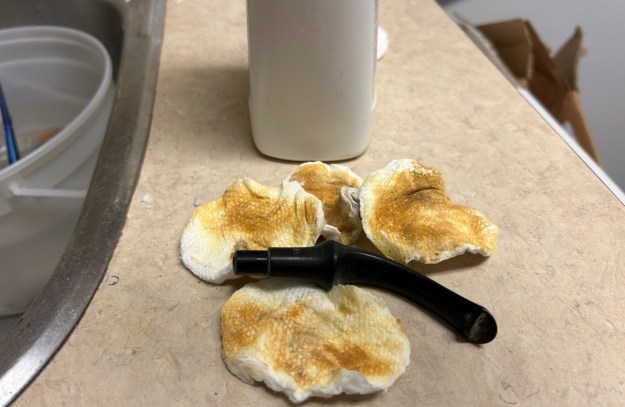
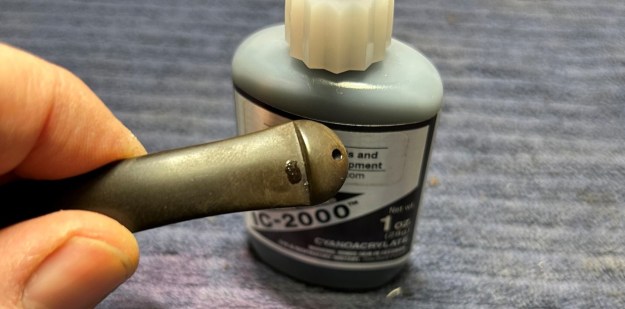
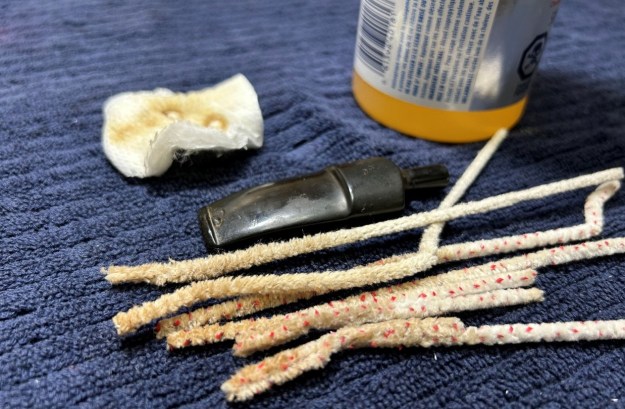
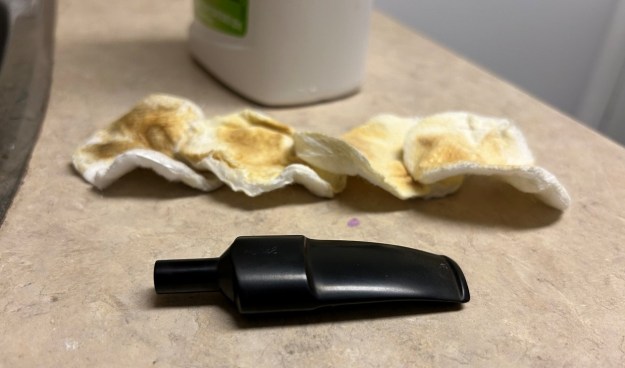
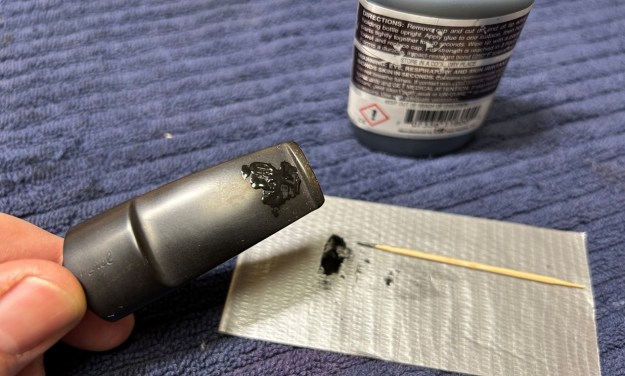
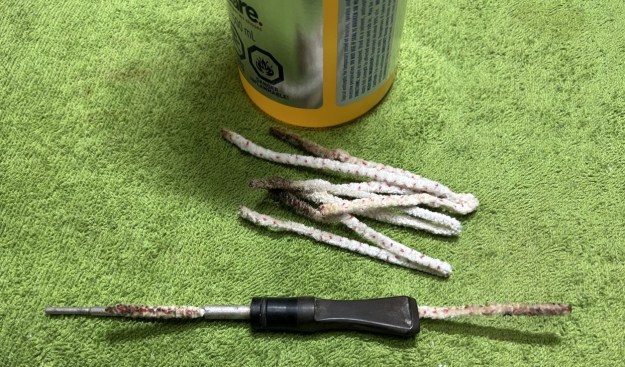
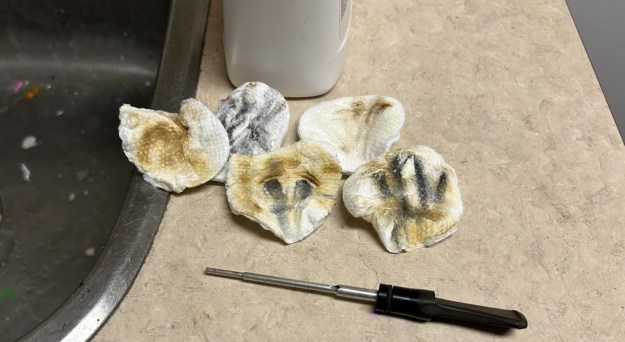
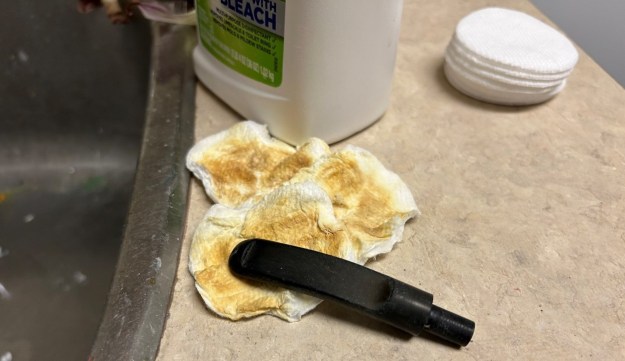
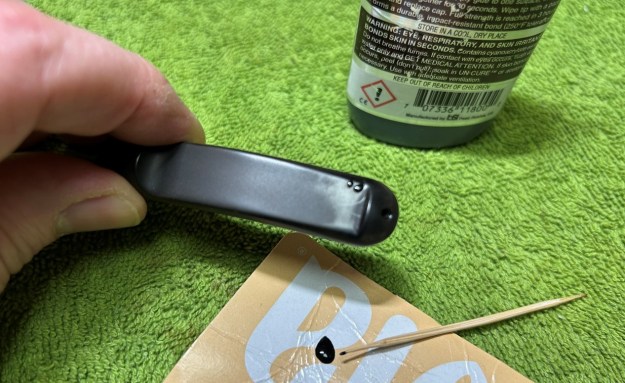
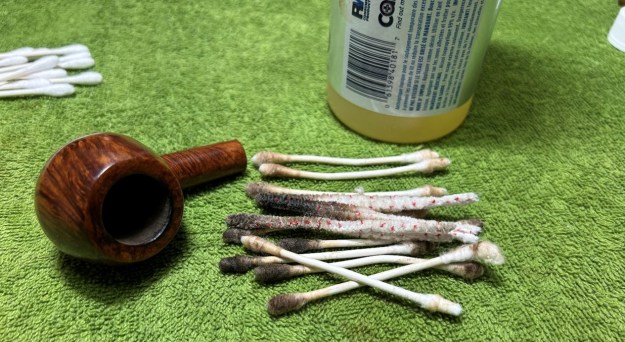
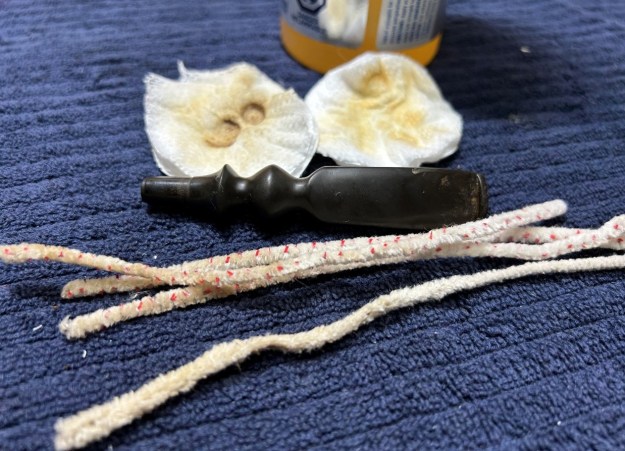
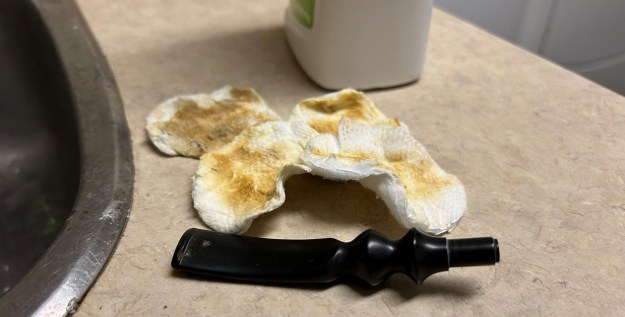
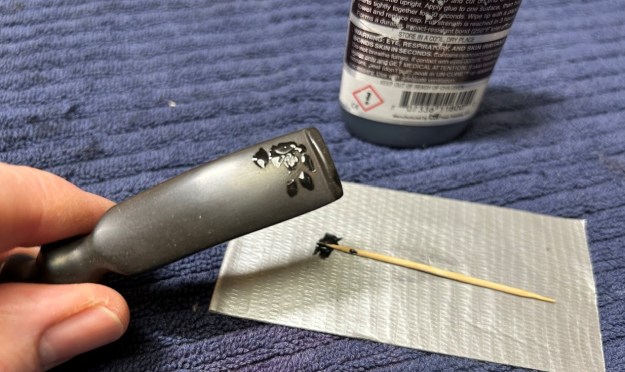
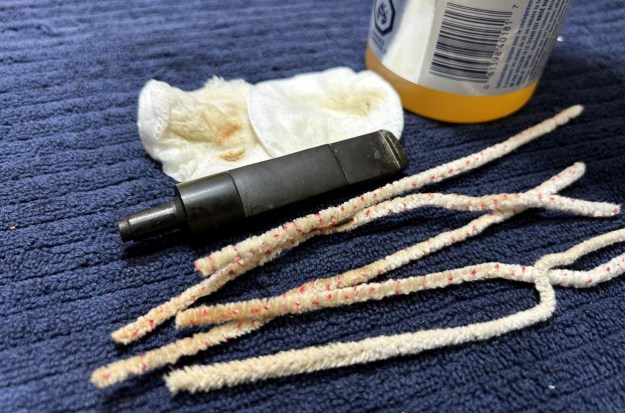
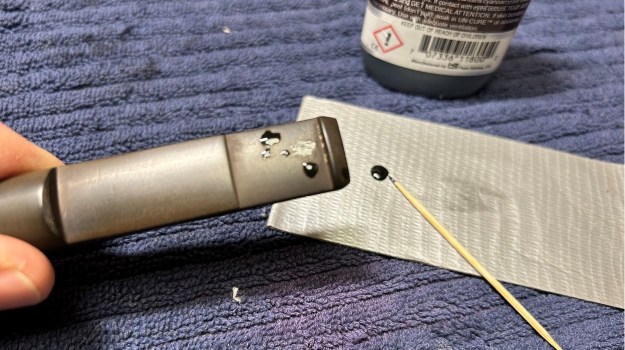
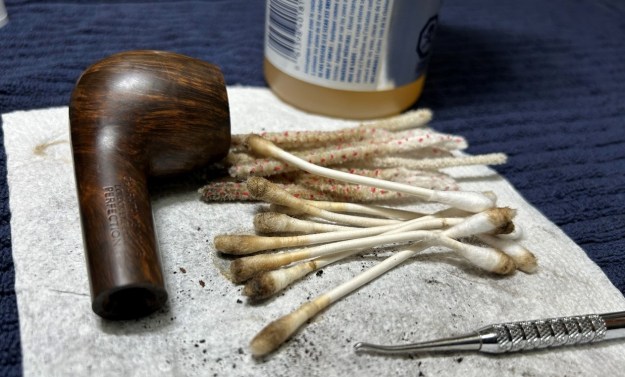
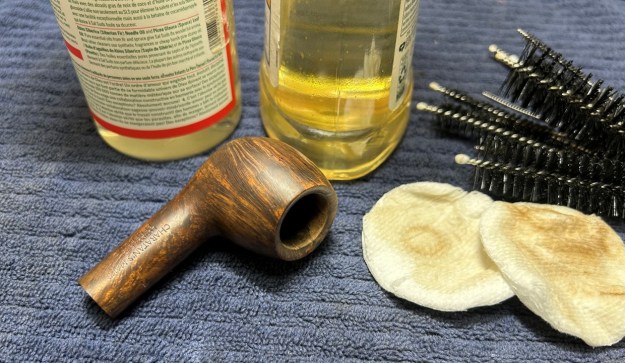
 Let’s begin with the stem. As it is made of nylon, there was no oxidation – and no oxidation means no need for deoxidation fluid. I used 99% lemon-infused isopropyl alcohol on a few cotton rounds and scoured the stem. Then, I cleaned the inside of the stem with pipe cleaners dipped in the alcohol. I scrubbed thoroughly to make sure the interior was clean. I used ‘zillions’ of pipe cleaners for this stem. Now that the stem is clean and dry, I set about fixing the marks and dents in the nylon. This was done by filling those divots with black cyanoacrylate adhesive, impregnated with carbon and rubber. This took a lot of work (and more than one try) to get right. I left this to cure and moved on. Sorry – I neglected to take a photo of this step.
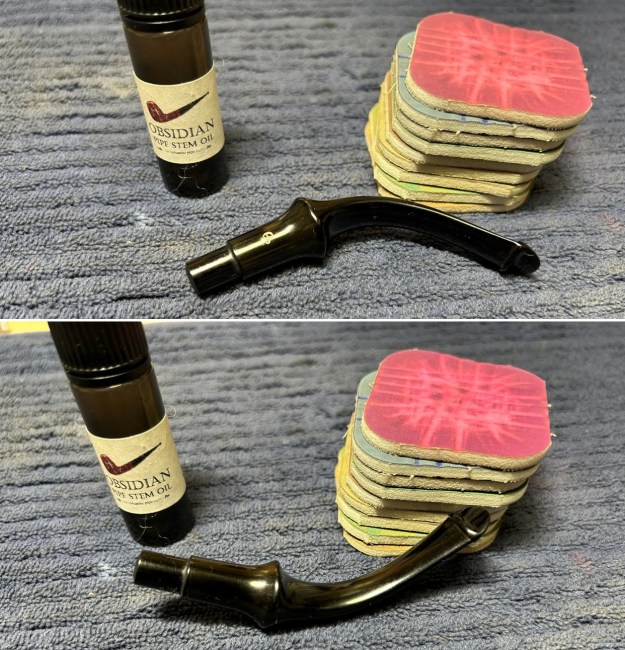
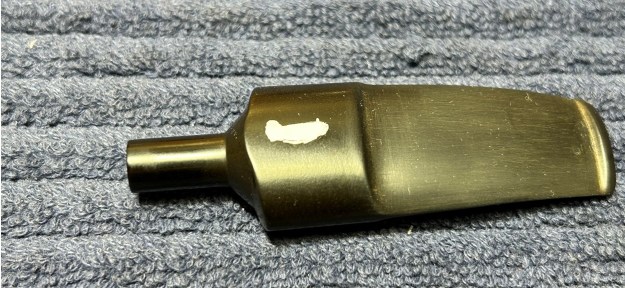
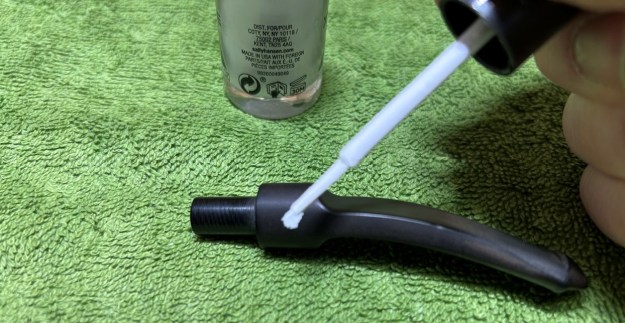
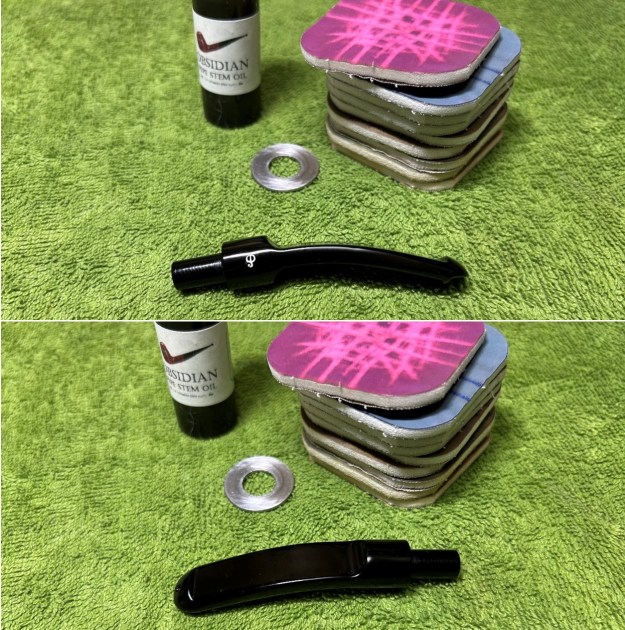
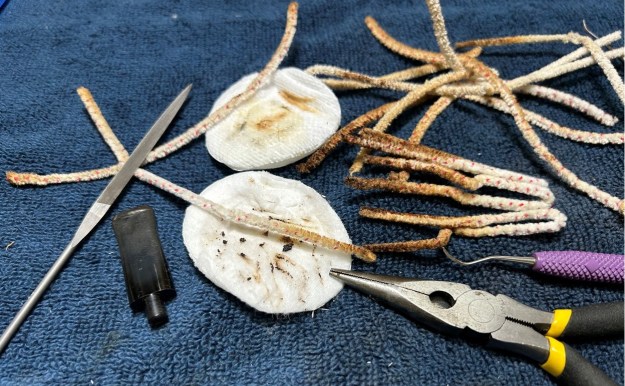 The penultimate step for the stem is sanding. First, with my set of needle files, I reduce the bulk of the cyanoacrylate repairs. I want to remove the excess adhesive as near to the surface as possible, without cutting into the nylon. Following that, I use all nine of the micromesh sanding pads (1,500 through 12,000 grit) to sand out flaws, even out the nylon, and provide gentle polishing of the finished surface. I also apply pipe-stem oil while using the last five micromesh pads. There was a wonderful, deep black shine to the stem when I was done, but I had to do this whole process twice, as I wasn’t happy with the initial results.
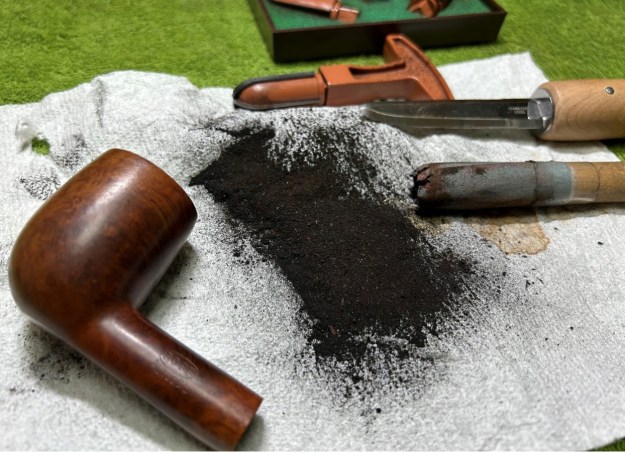
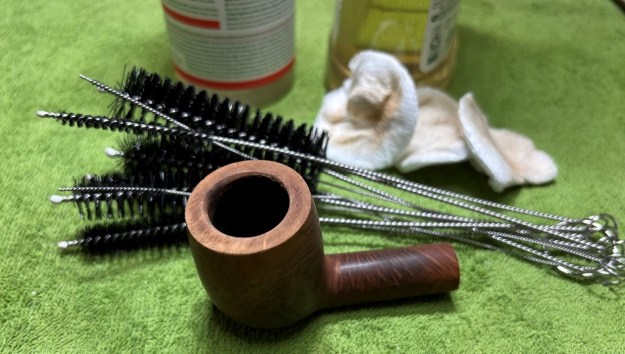
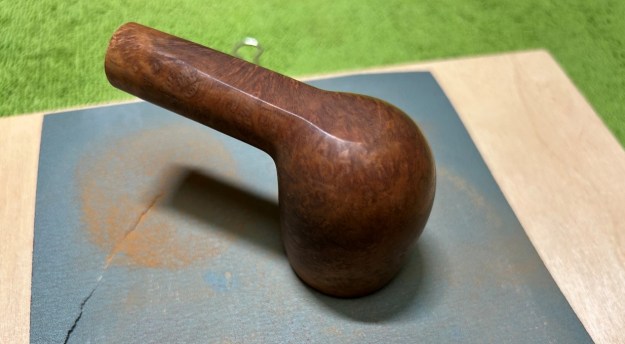
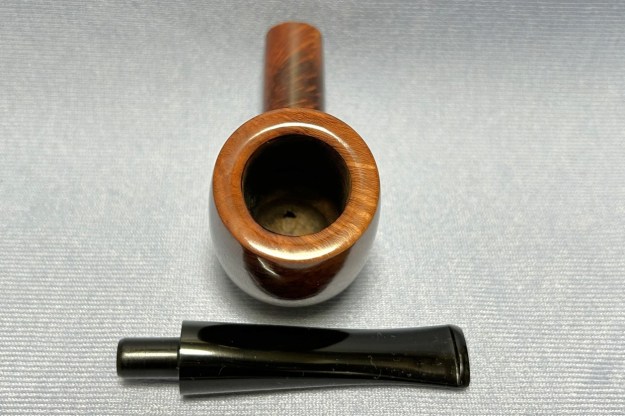
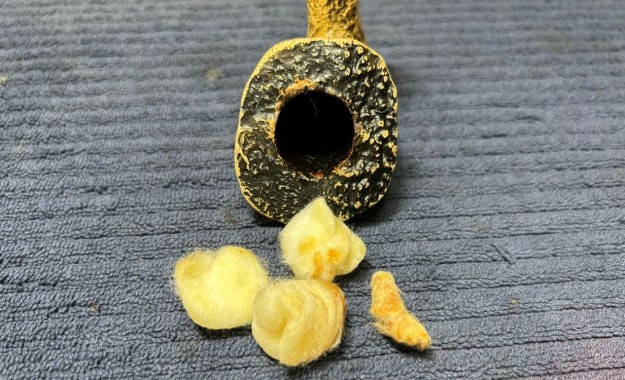
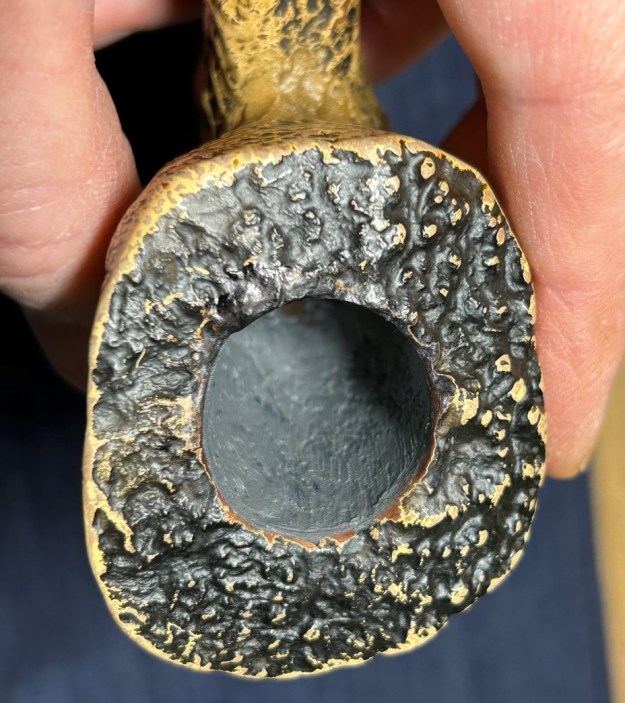
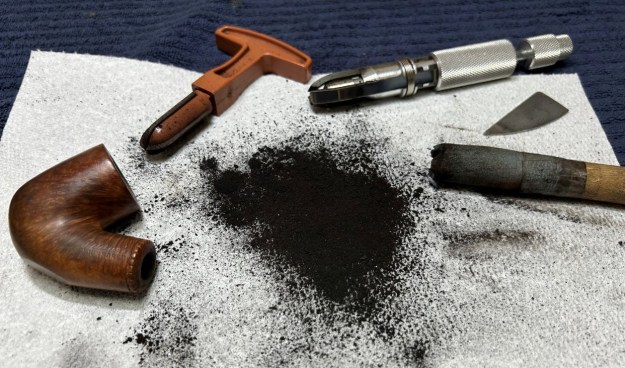
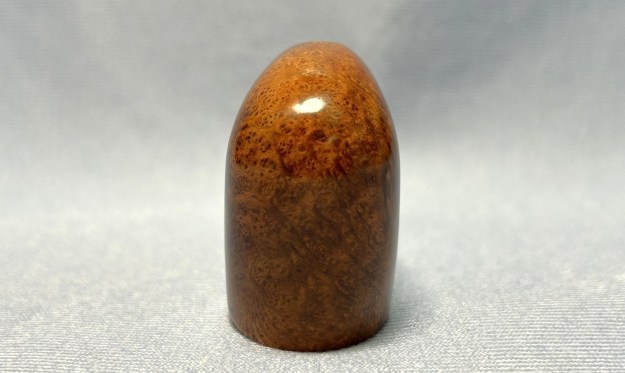
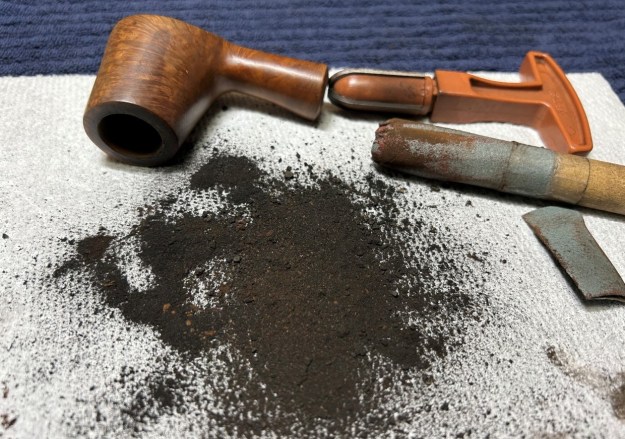
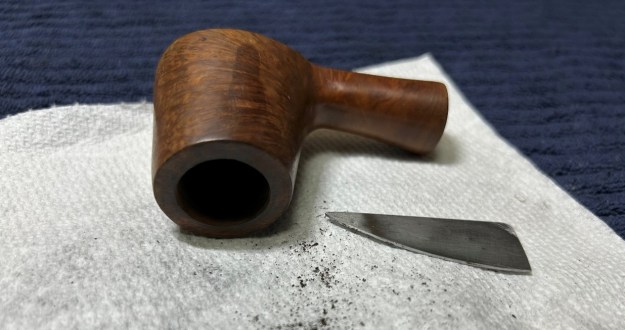
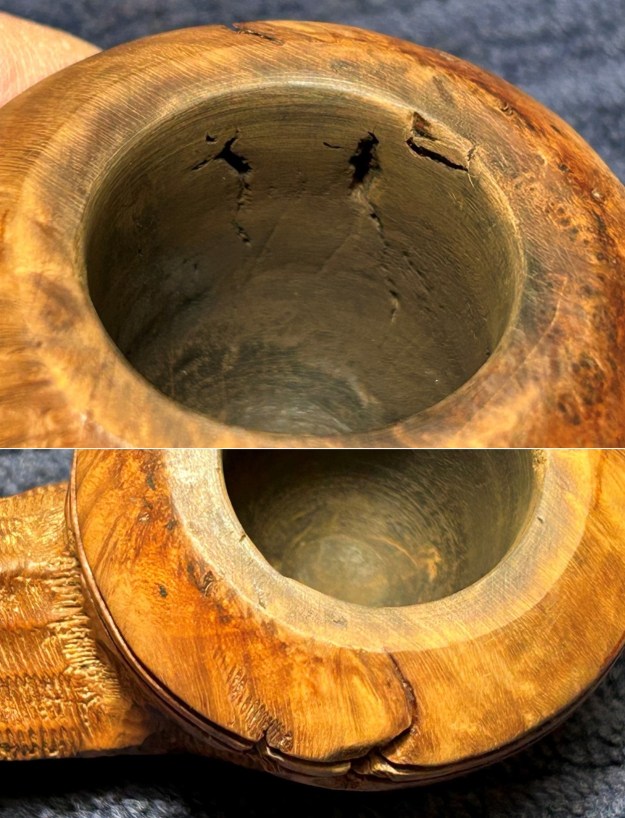
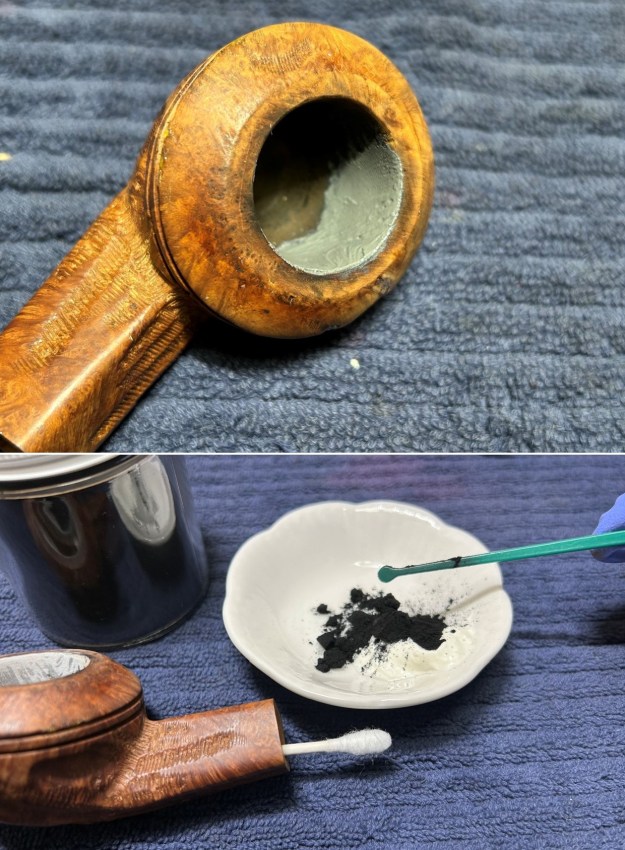
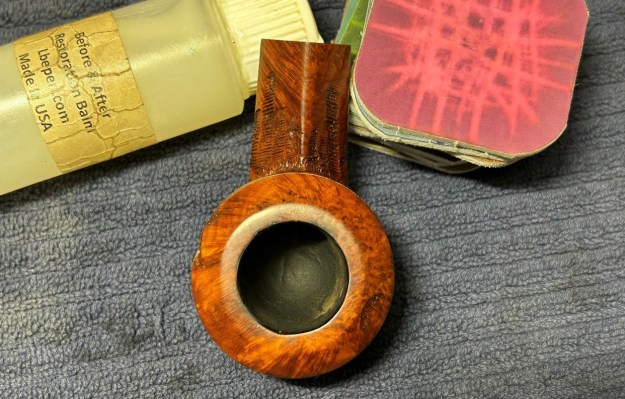
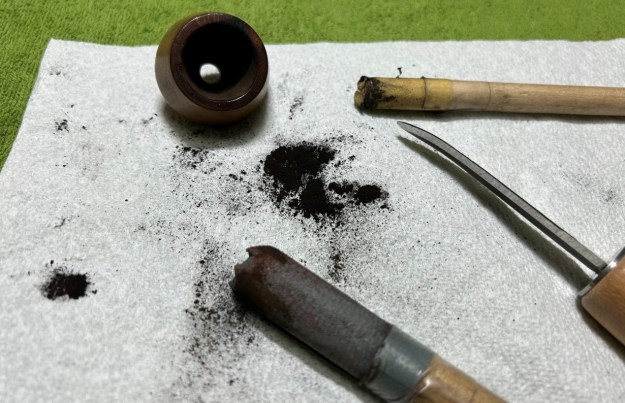
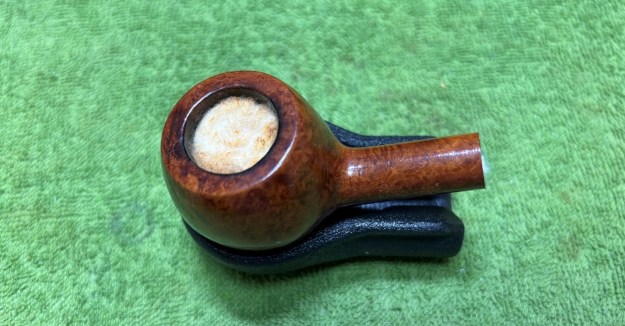
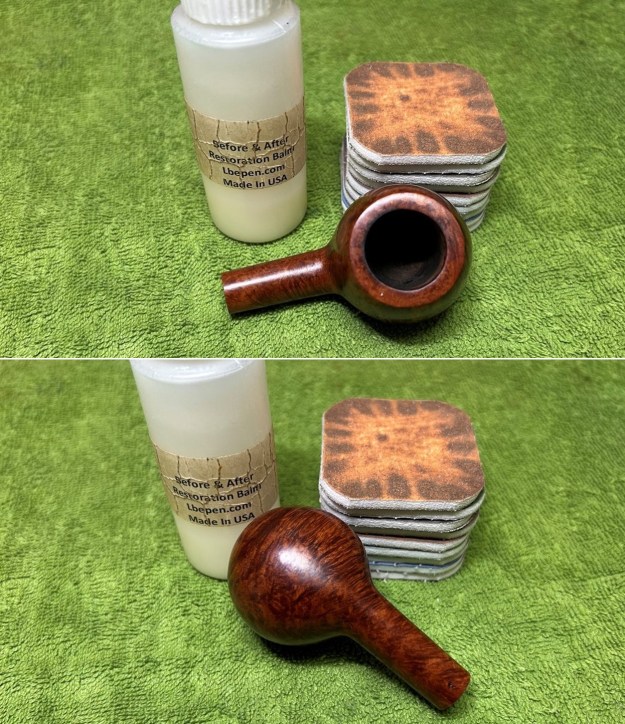
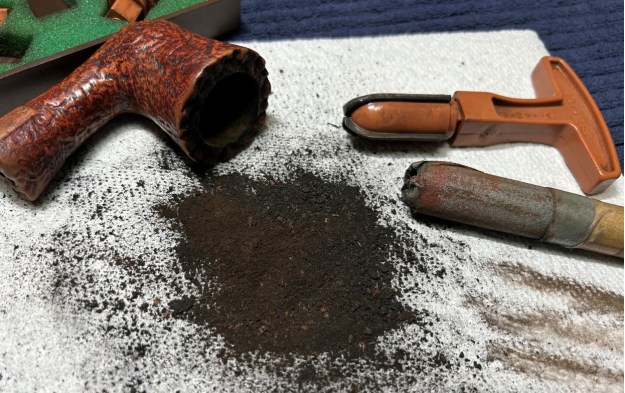
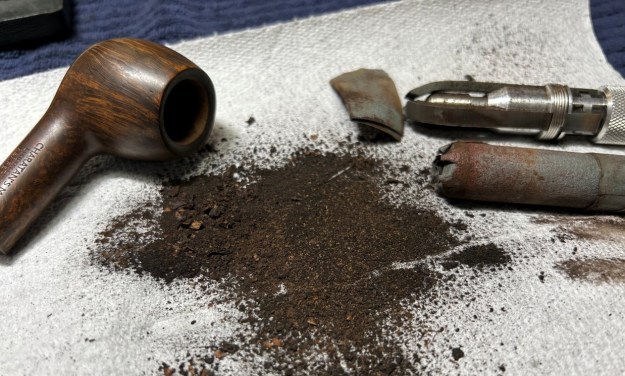
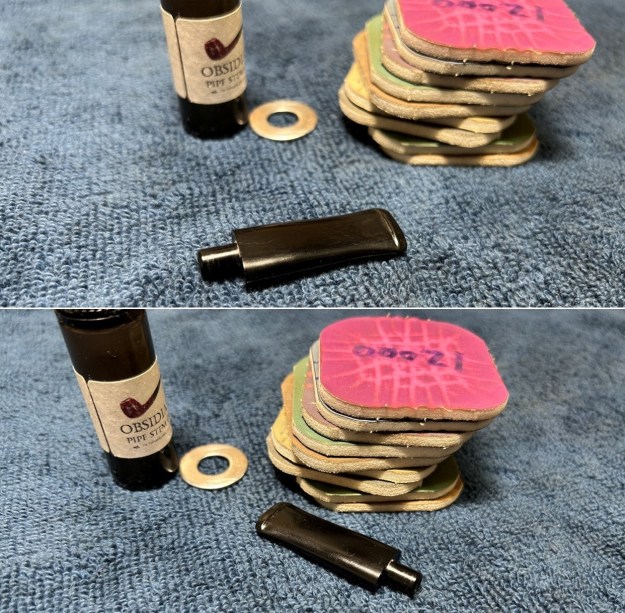 Now that the stem is (nearly) complete, I can move on to the bowl. The first step for me is to ream it – that is to say, remove all the cake inside the bowl. This accomplishes a couple of things. First (and most obviously), it cleans the bowl and provides a refurbished chamber for future smoking. Second, when the old cake is removed, I can inspect the interior walls of the bowl and determine if there is damage or not. I used a reamer and a piece of sandpaper taped to a wooden dowel. Collectively, these ensure that all the debris is removed. To my surprise, the walls were in decent shape, but, as I mentioned earlier, there were tiny cracks in the base of the bowl.
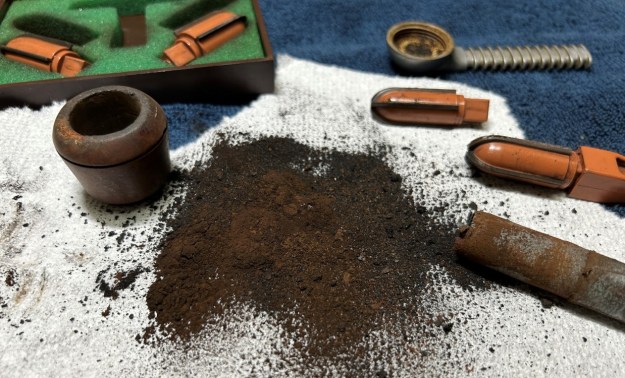
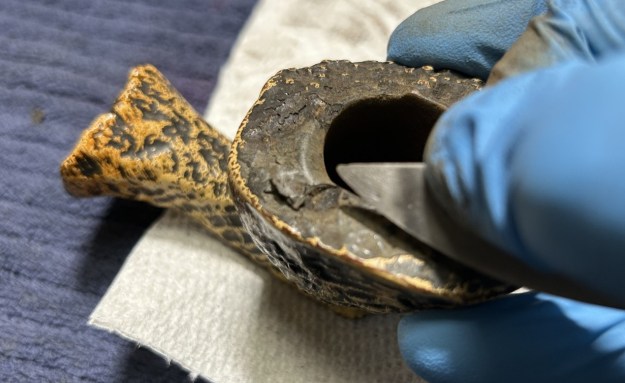
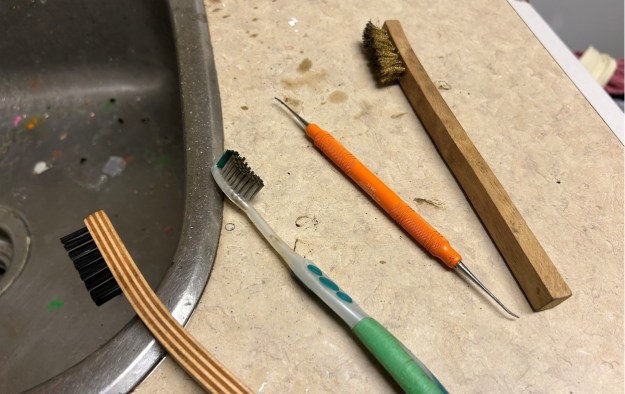
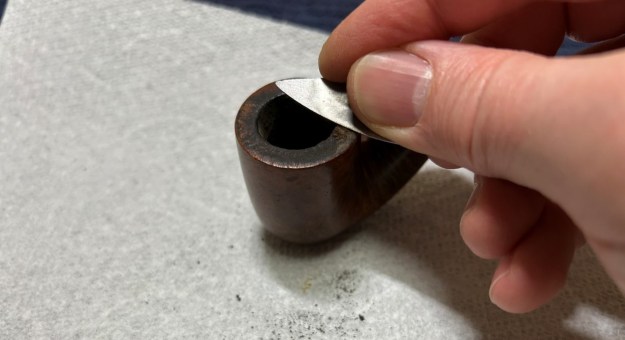
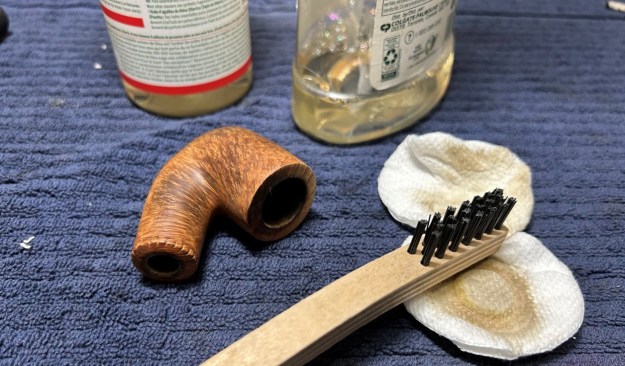
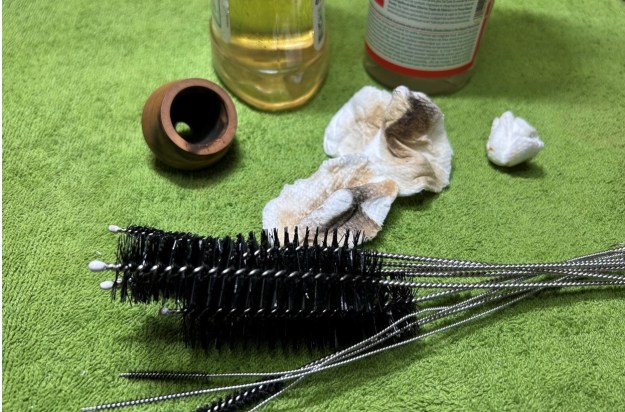
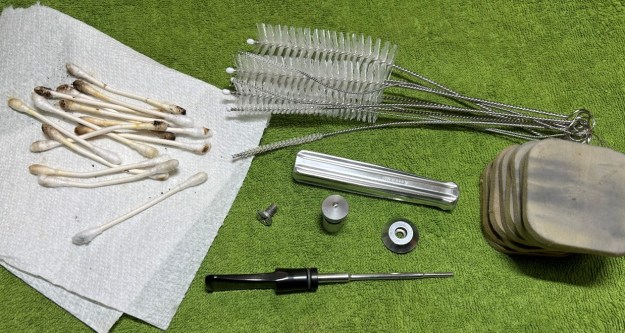
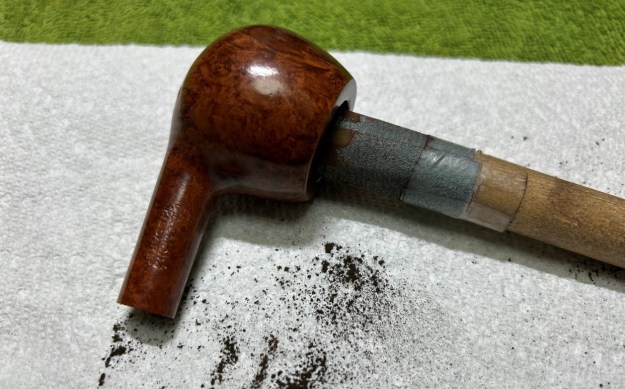
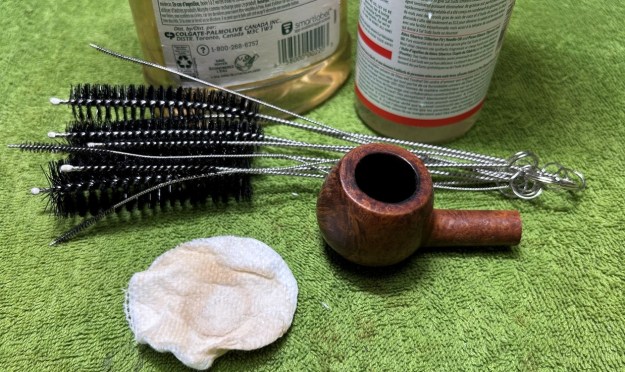
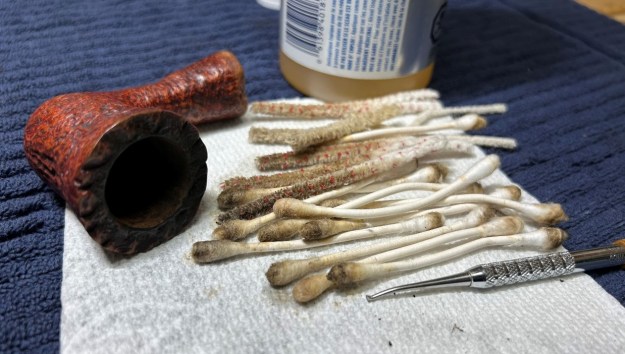
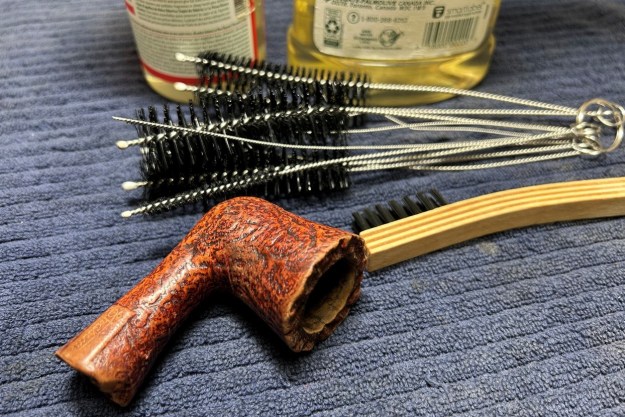
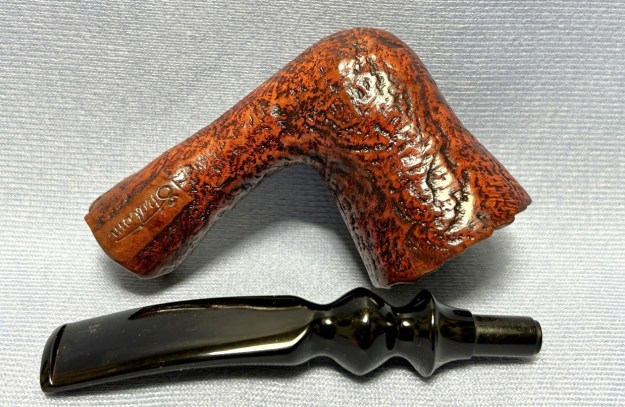
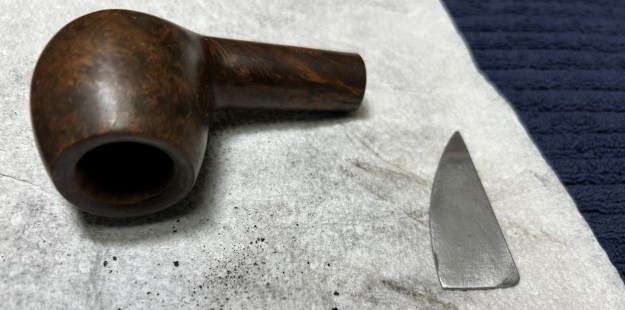
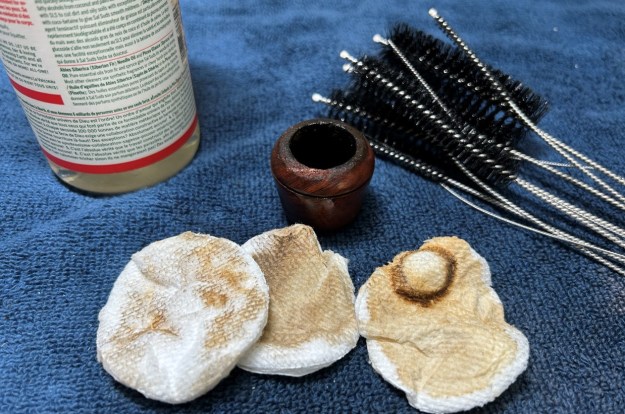
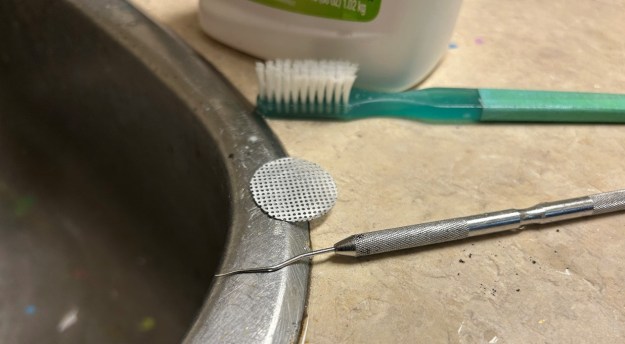
 To tidy up the briar, I also wiped down the outside with some oil soap on cotton rounds (and a toothbrush). This does a good job of cleaning any latent dirt on the surface of the briar. One of the difficulties in maintaining an Airograte Yello-Bole is that the wooden threads of the bowl are impregnated with the awful filth at the bottom of the metal shank. I used a brass-wire brush, a dental tool, and a small butter knife to try and clean things up. This didn’t help much. So, the next step of the cleaning process was to scour the inside of the bowl with some soap and tube brushes. This also didn’t help the base much.
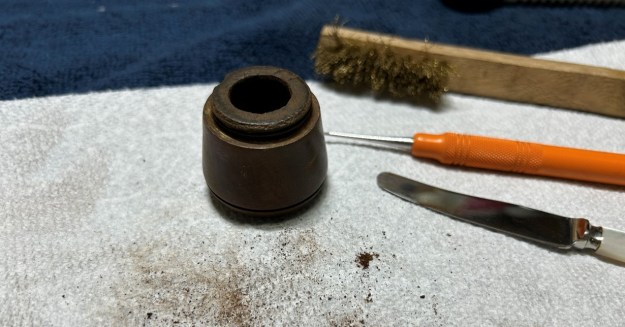
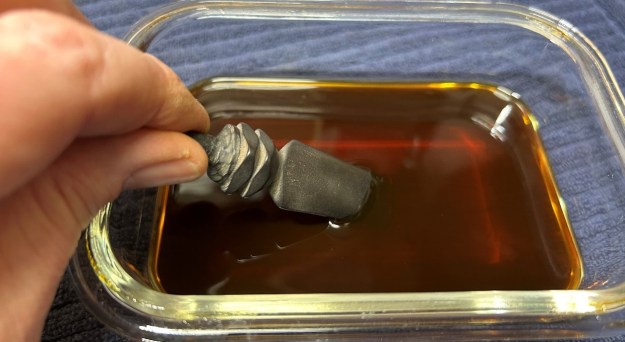
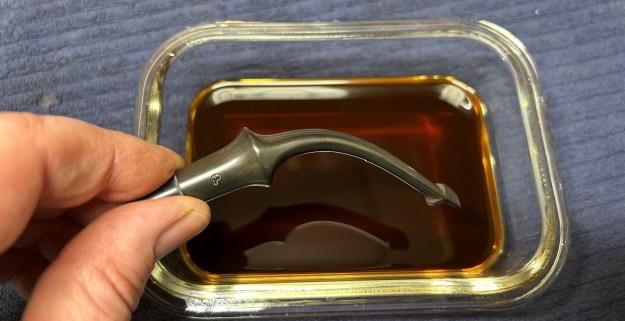
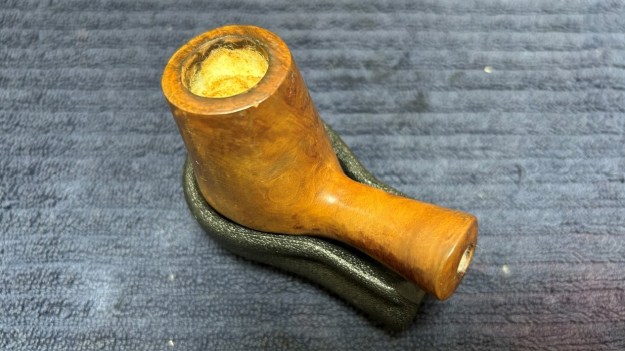
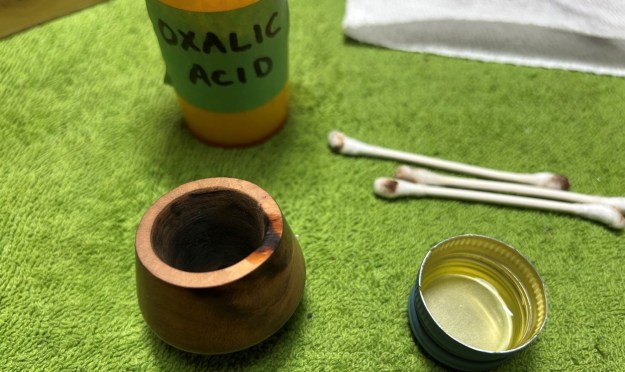
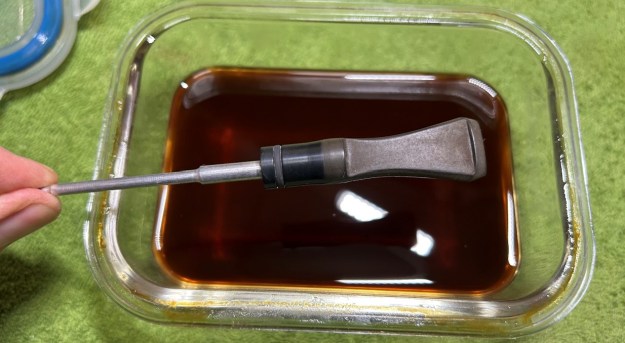
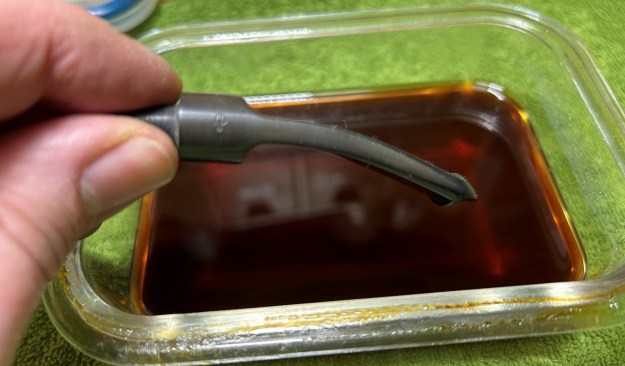
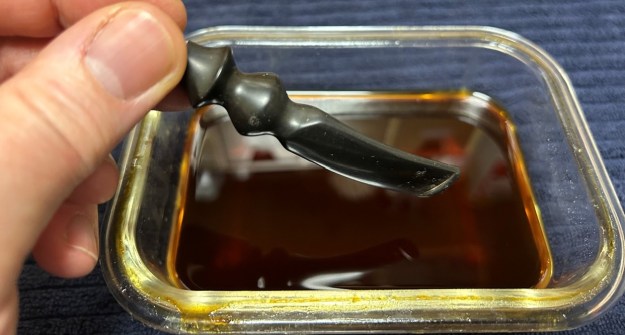
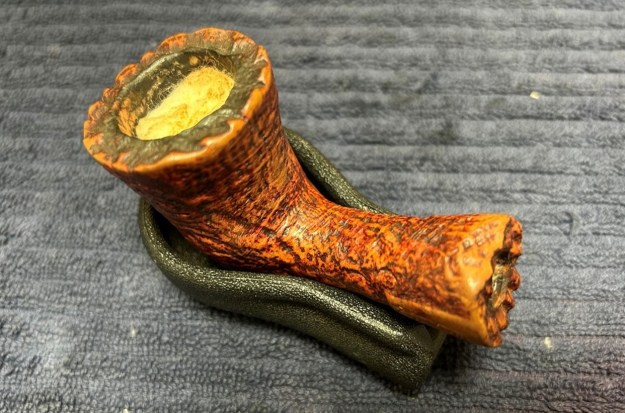
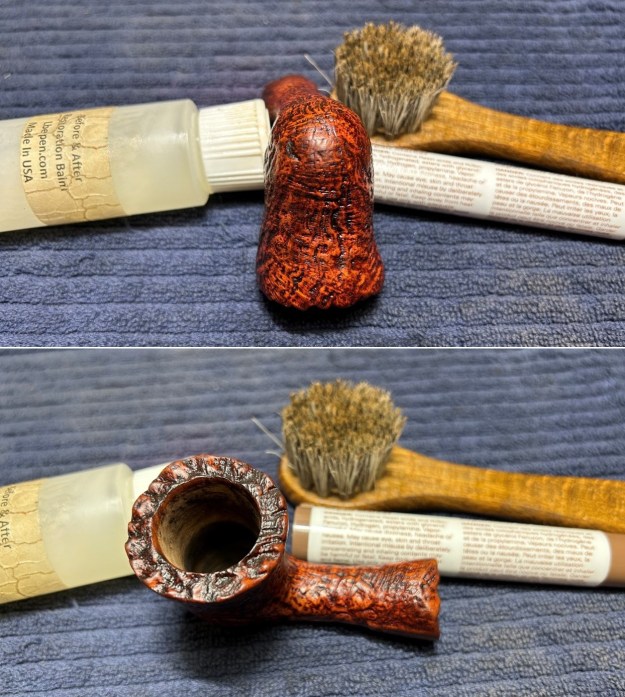
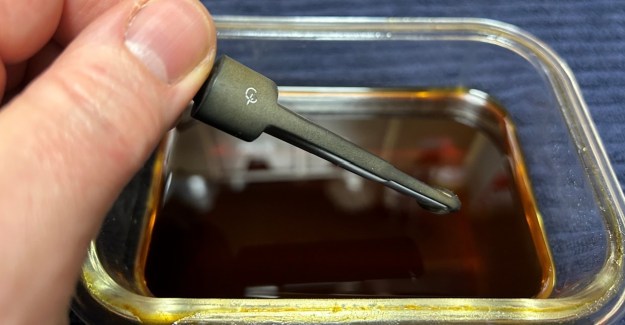
 So, I poured some acetone into a small container and soaked the bowl’s threads for a little while. This helped quite a bit. I continued to wipe with some cotton rounds and it cleaned up fairly well. Quite frankly, this bowl was never going to be new again, but I was satisfied with it after soaking.
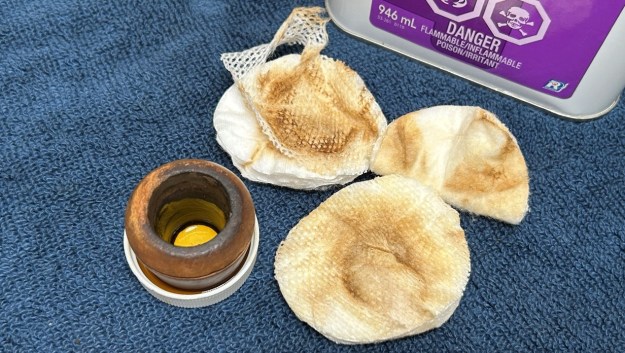
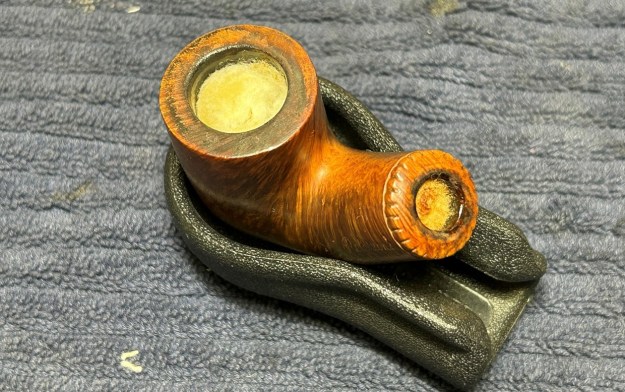
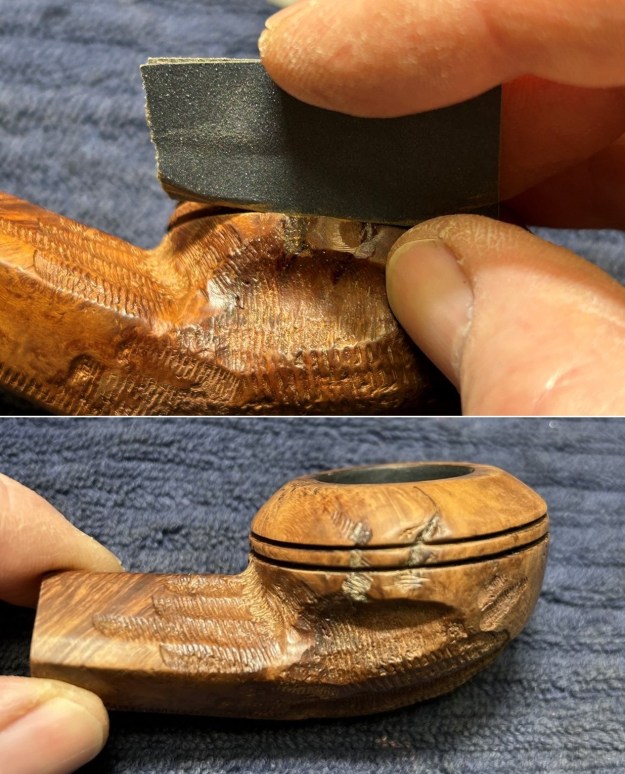
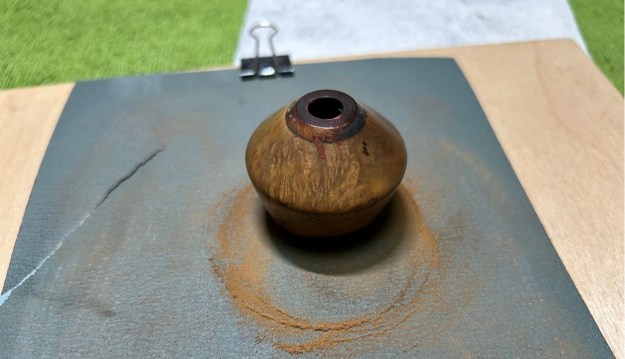
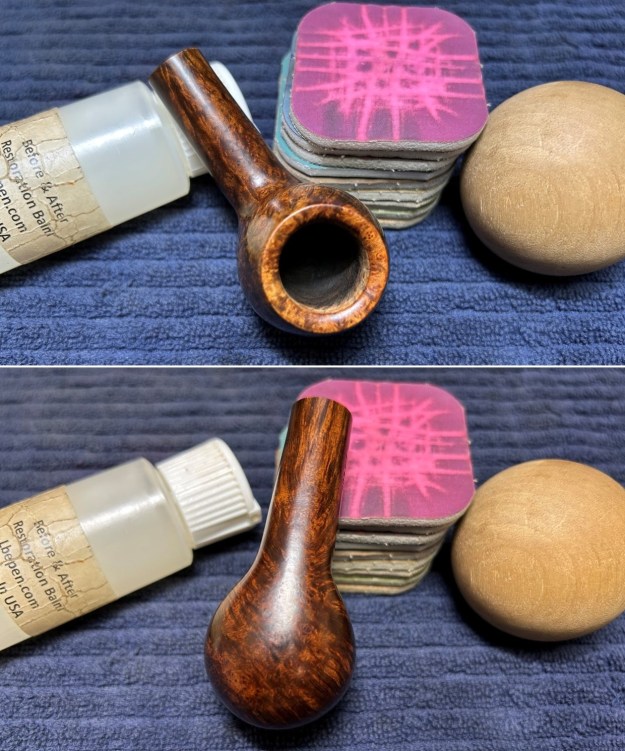
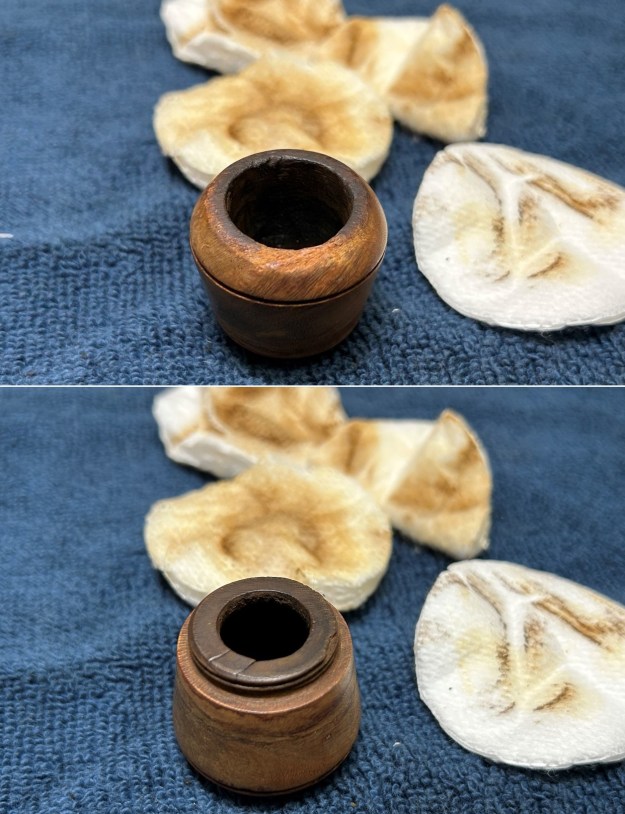 The damage to the rim is significant. In order to lessen (but not eliminate) the nicks on the rim, I ‘topped’ the pipe – that is to say, I gently and evenly sanded the rim on a piece of 220-grit sandpaper. This effectively minimizes the damage, without altering the look of the pipe. There will always be some sign of the wound on the rim, but, as I’ve said before, it is part of the pipe’s history.
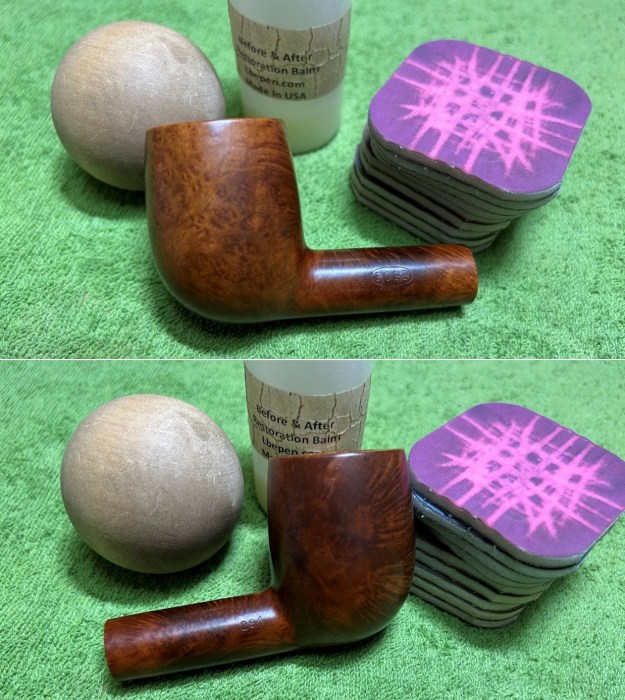
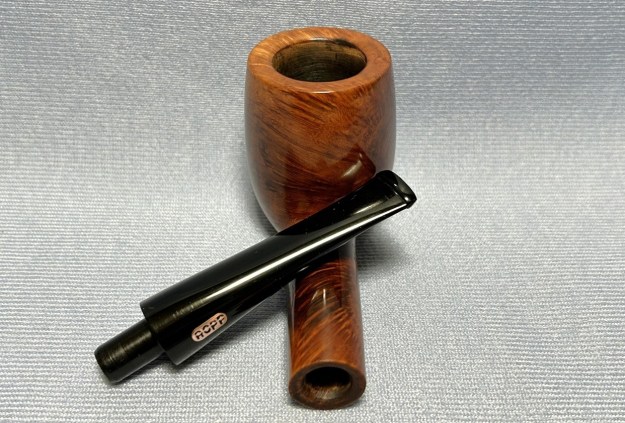
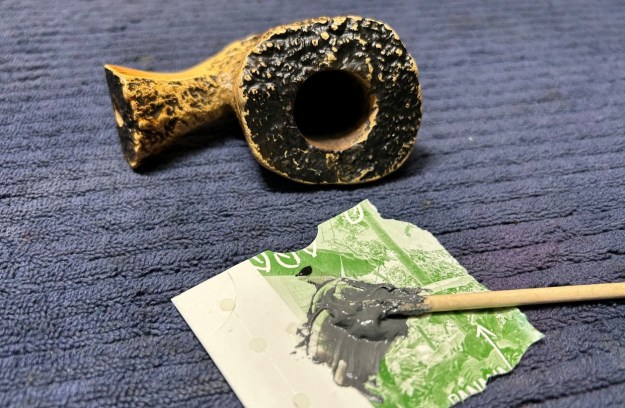
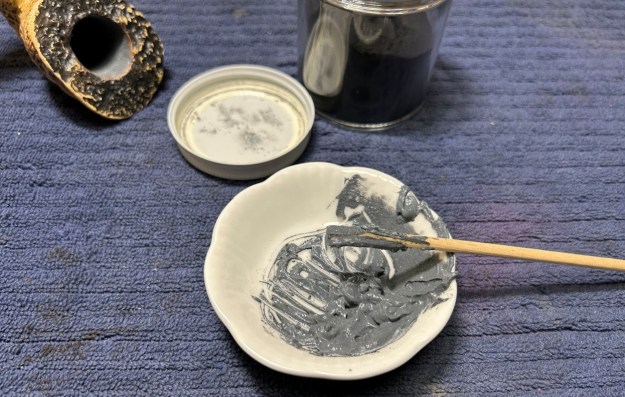
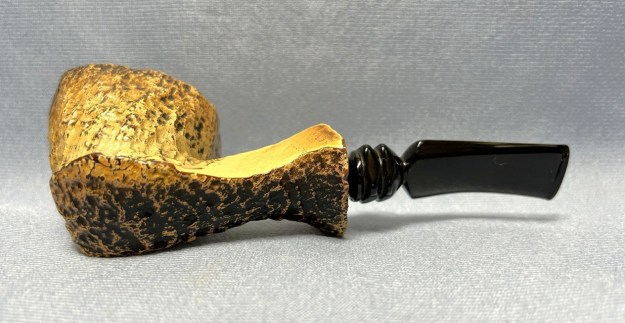
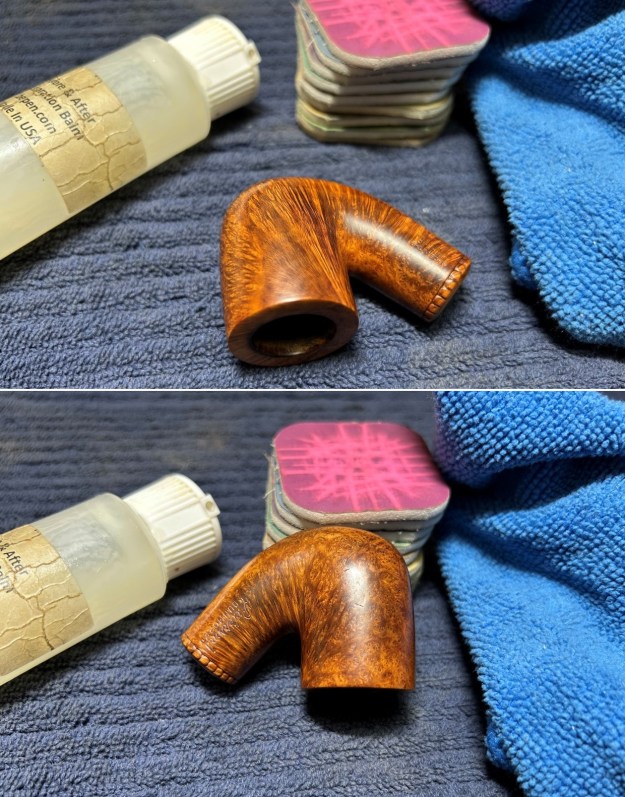
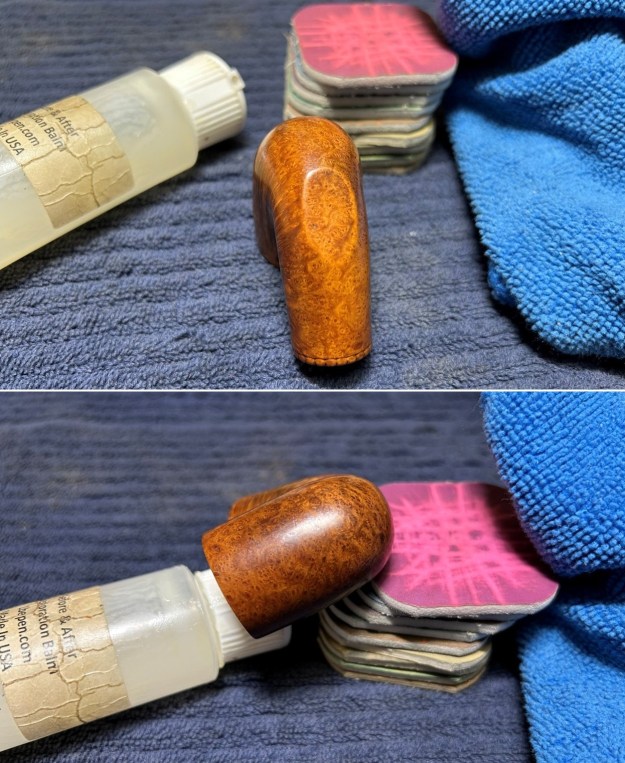
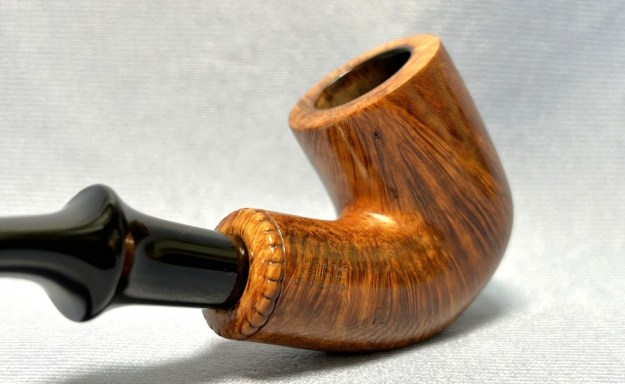
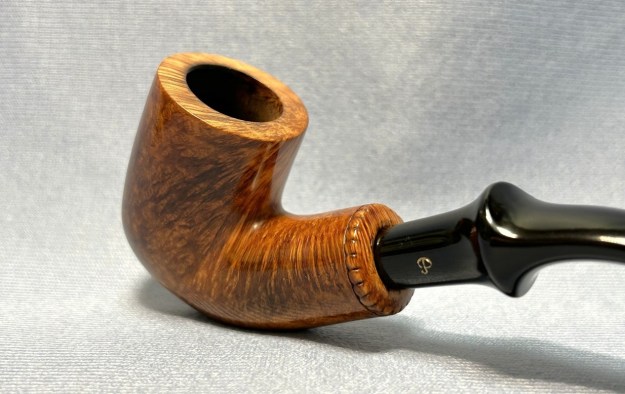
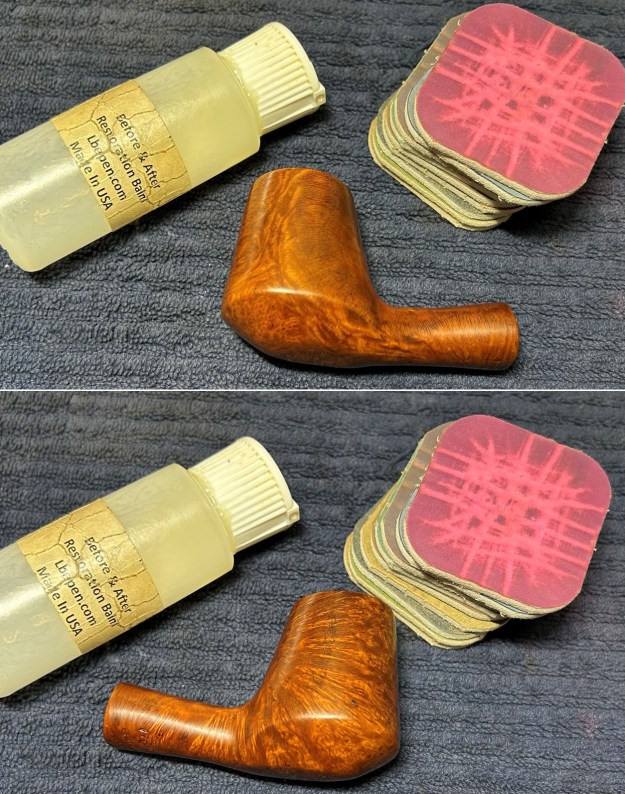
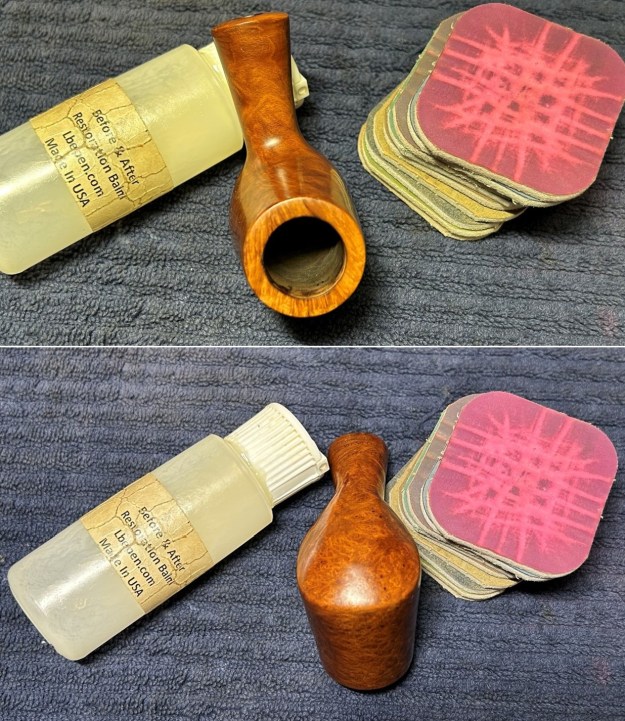
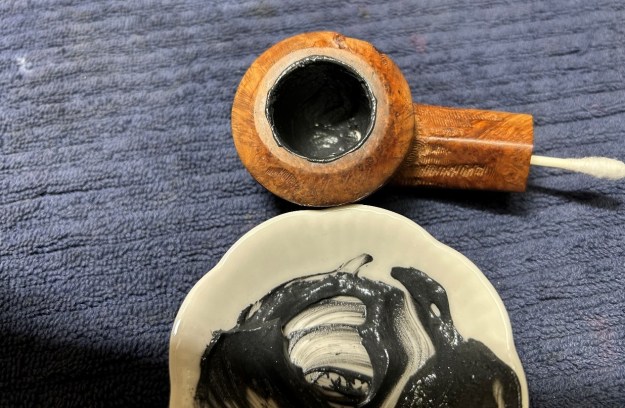
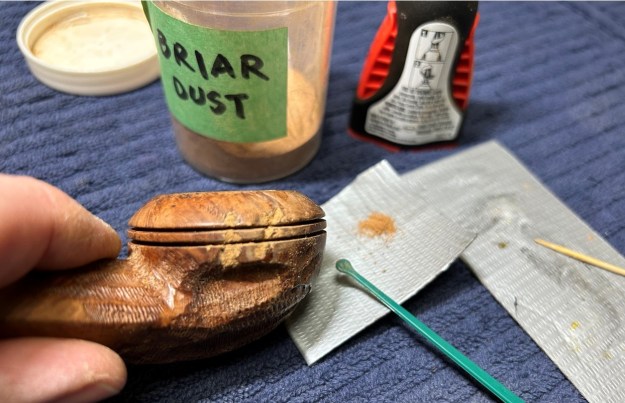
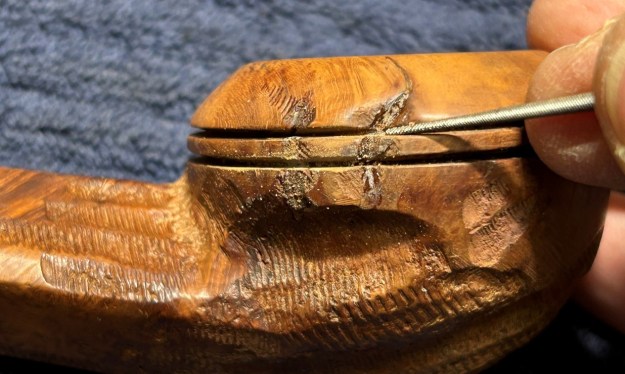
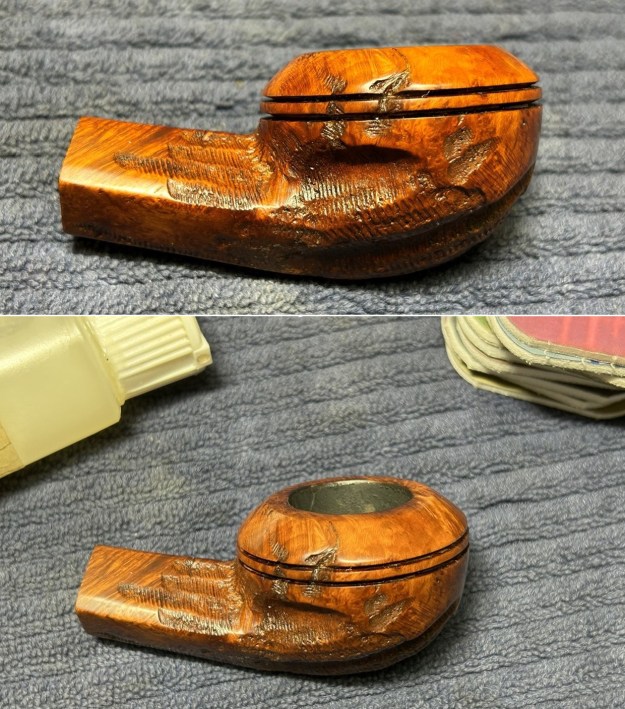
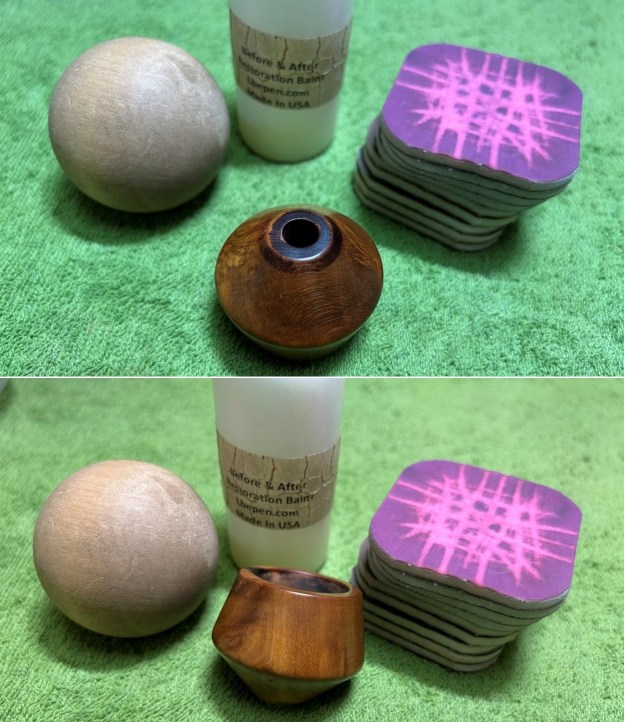
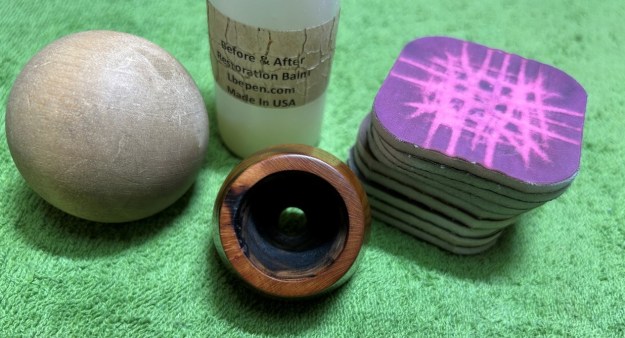
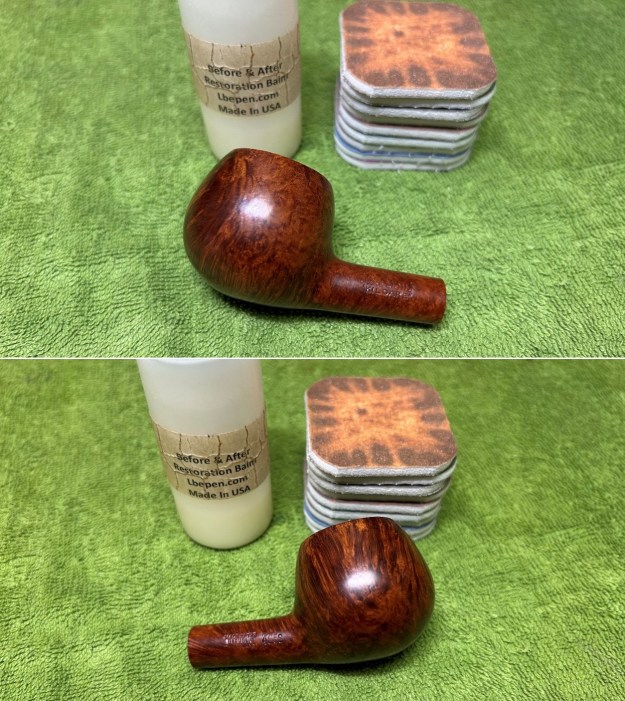
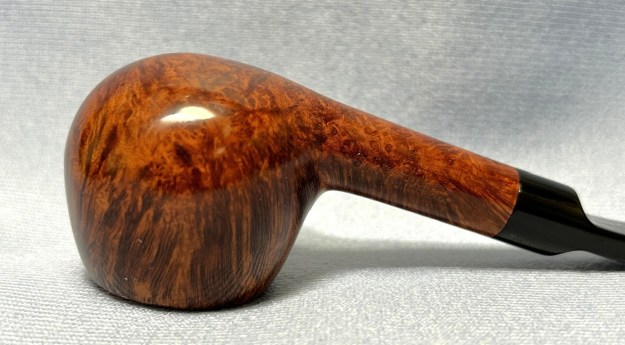
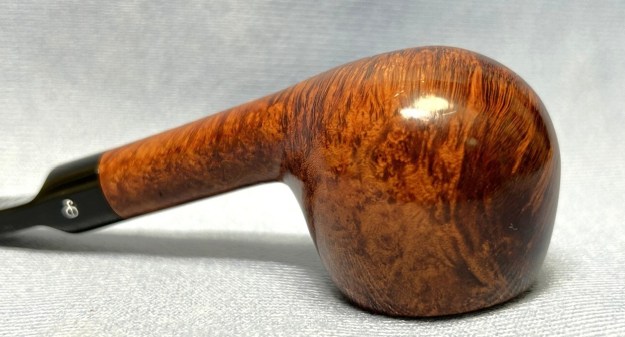
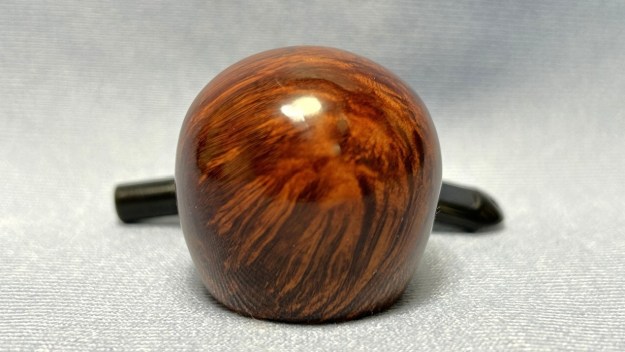
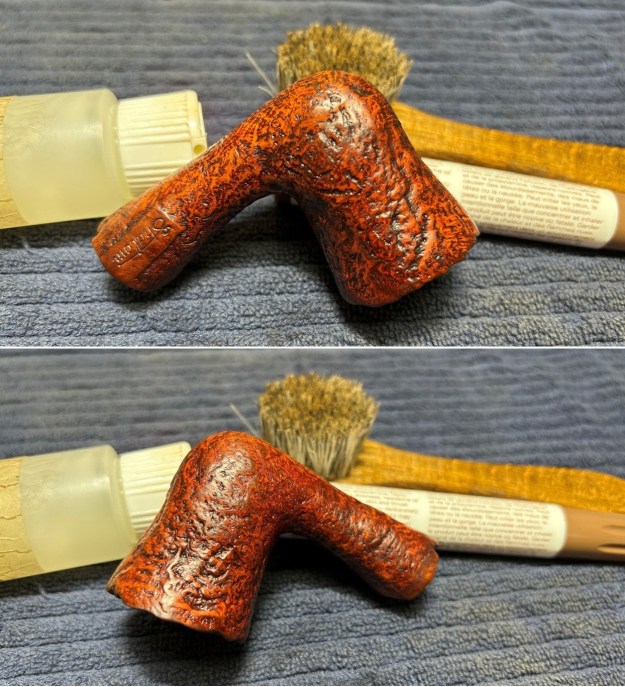
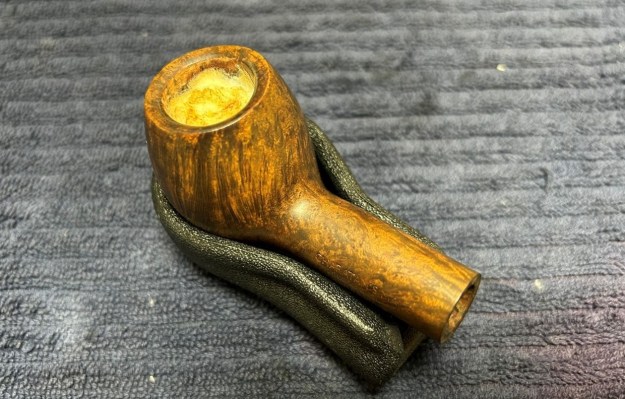
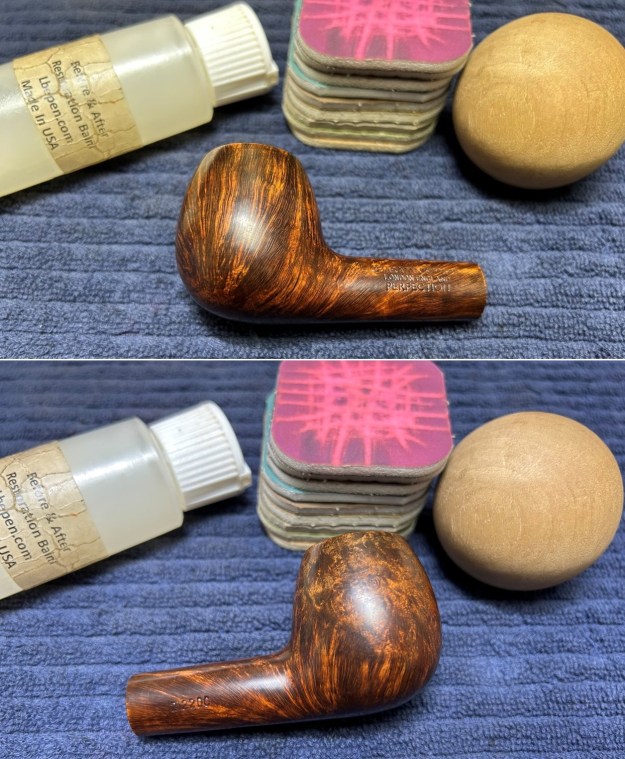
I decided to repair the tiny cracks in the briar next. This was initially straightforward enough: I was able to fill them with cyanoacrylate adhesive. However, it ended up being a bit tricky because I didn’t want to risk affecting the bowl threads by gumming them up with glue! I acted carefully and the repairs worked out perfectly.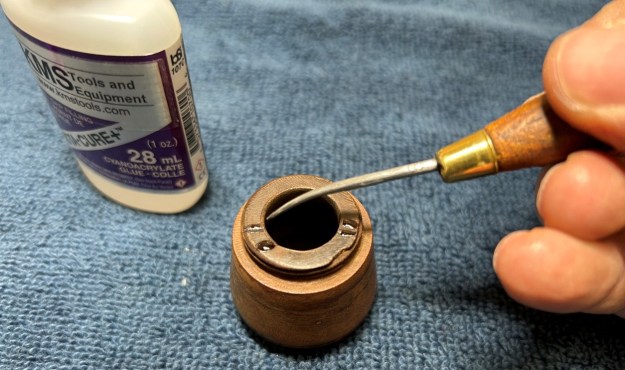 At long last, I used all nine micromesh pads (1,500 through 12,000 grit) on the outside of the bowl to finish it off. This sanding minimizes flaws in the briar and provides a beautiful smoothness to the wood. I rubbed some Before & After Restoration Balm into the briar and let it sit for 20 minutes or so. The balm moisturizes the wood and gives a beautiful depth to the briar. I then buffed it with a microfibre cloth.
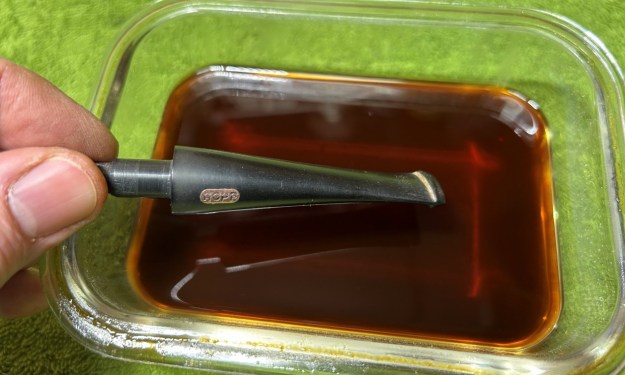
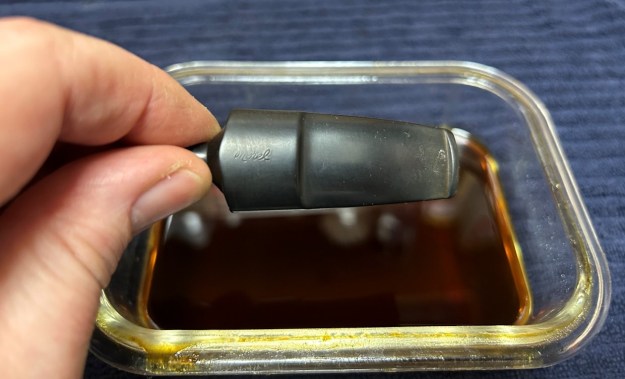
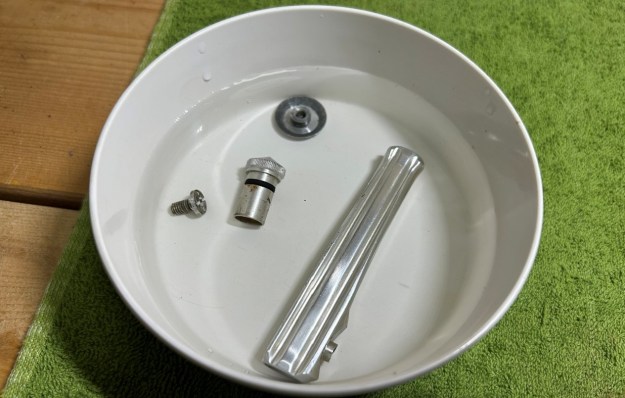
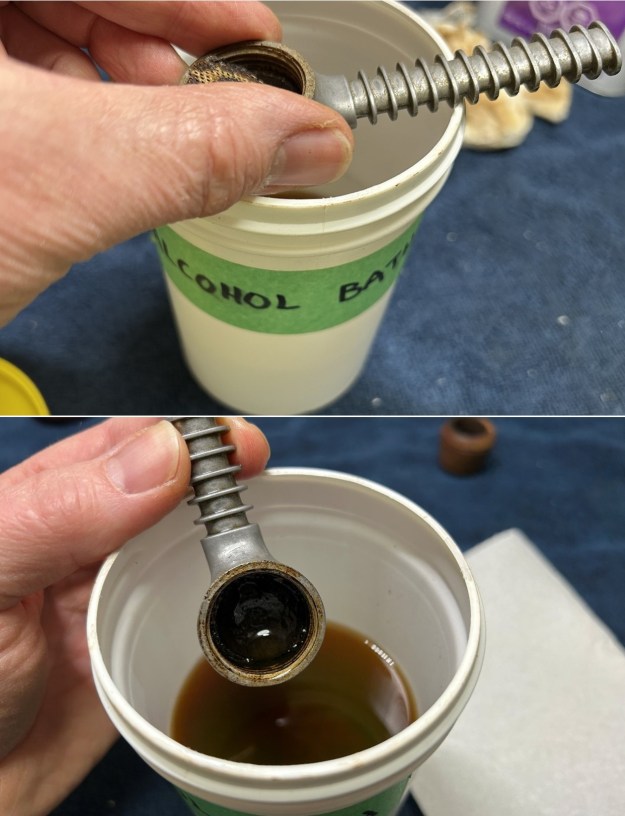
 I’ve done the nylon, I’ve done the briar – now on to the two pieces of aluminum: the shank and the grate. As both were so dirty, I decided to drop them in an isopropyl alcohol bath and let them sit overnight. This accomplished precisely nothing. I then used my technique from above and dropped both bits in acetone for a while. This worked much better! A lot of filth came off. With that inspiration, I took both pieces to the sink and scrubbed them inside and outside with my cream cleanser. Now we’re getting somewhere! Over the next little while, I used several tools with acetone etc. to get into all the nooks and crannies in order to really clean everything well.
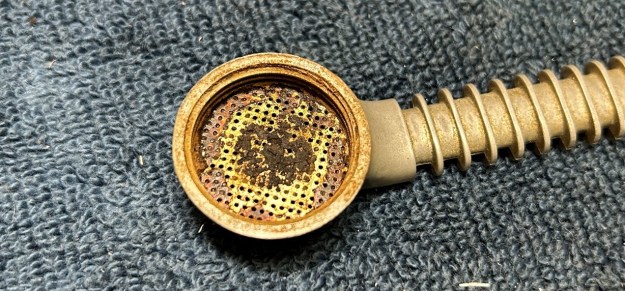
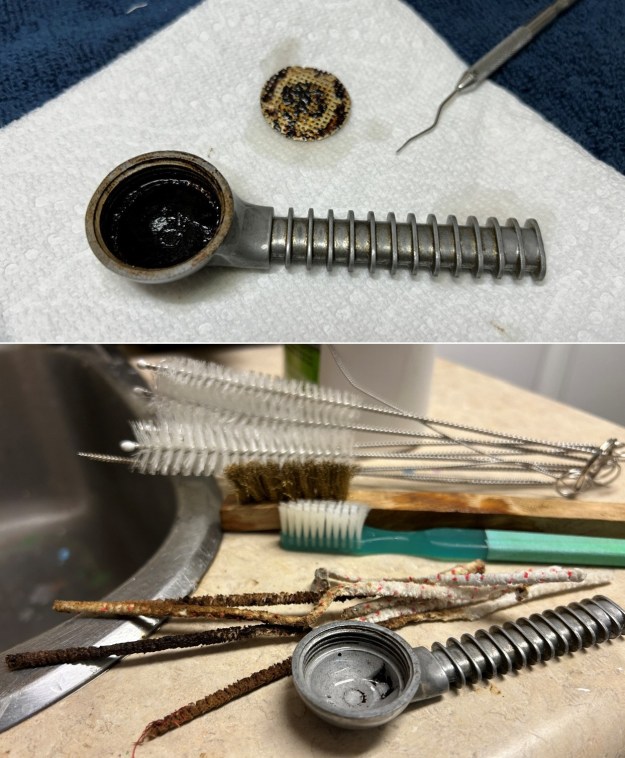
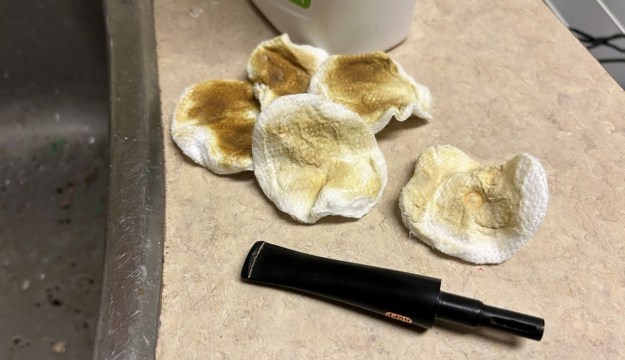
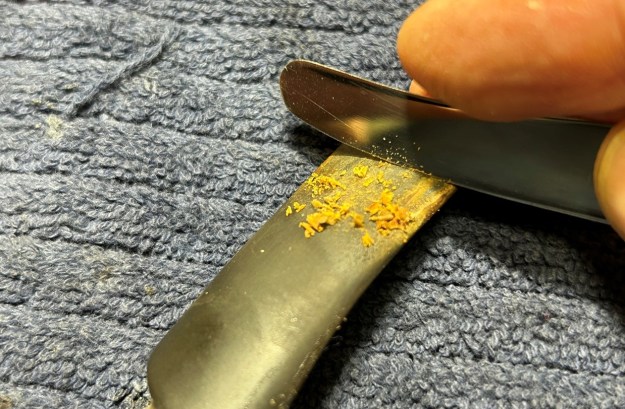
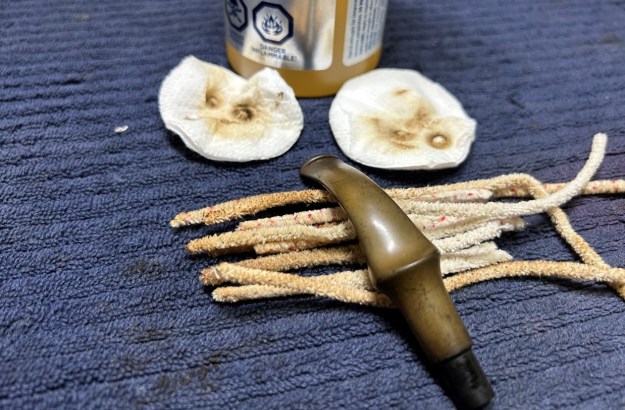
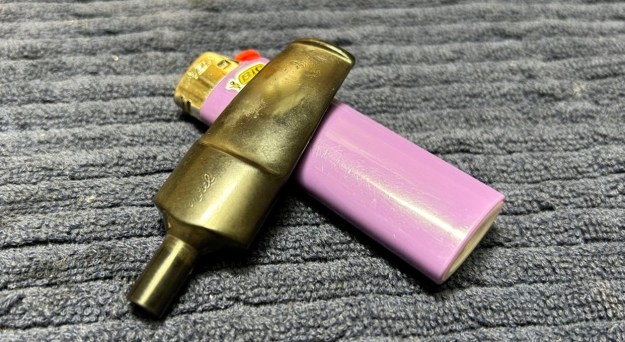
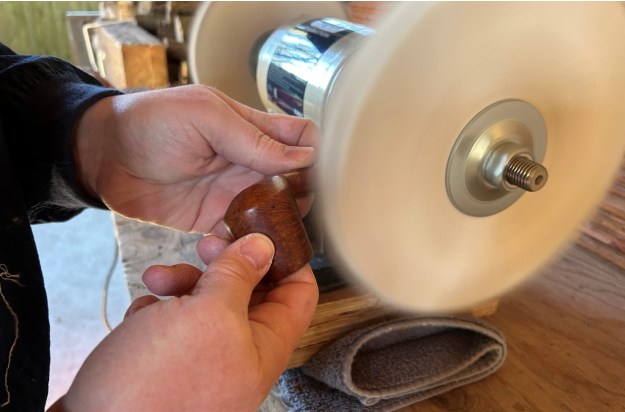
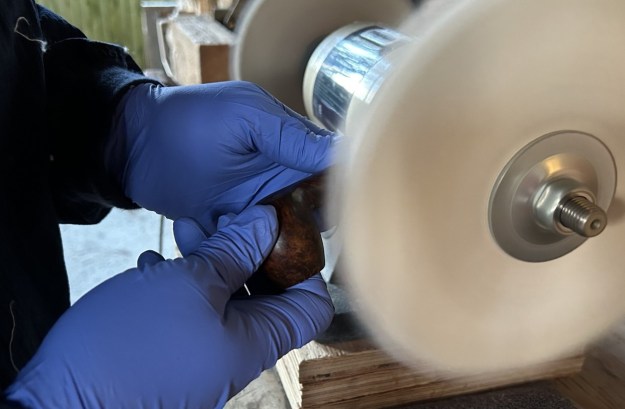
 Now to bring some shine back! Polishing up the aluminum was troublesome because of the grooves on the side. I used some 0000 steel wool to give a beautiful polish to the shank. This worked very well, but it’s such a mess! I laid out some paper towel to catch the debris because it goes everywhere. I did the same procedure on the grate as well.
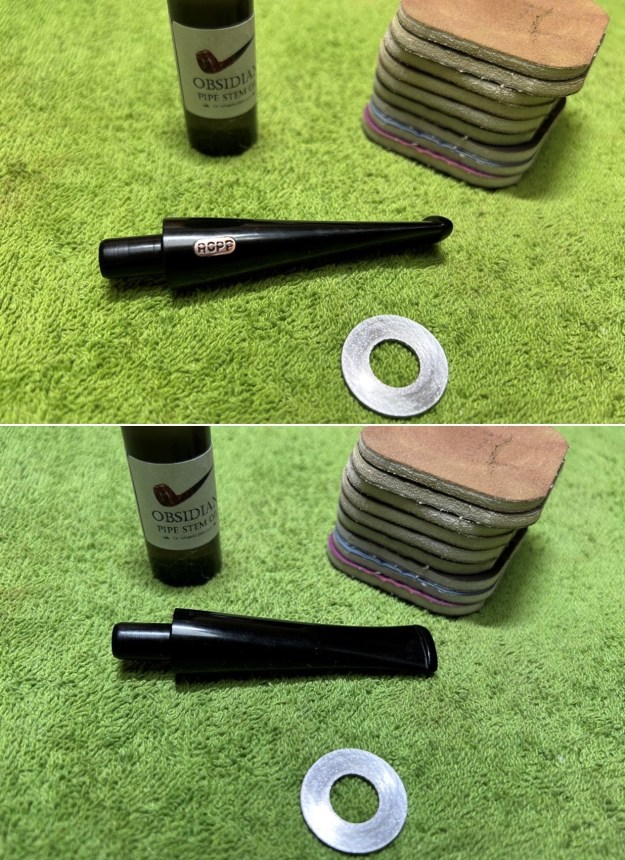
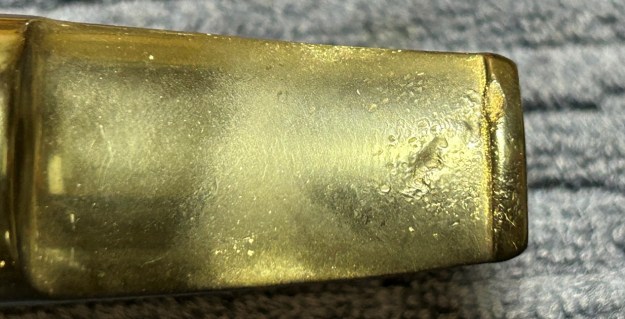
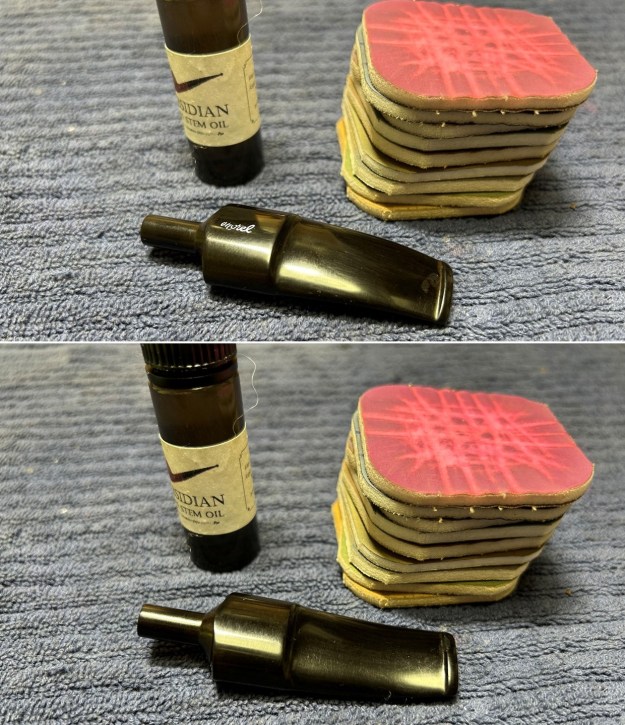
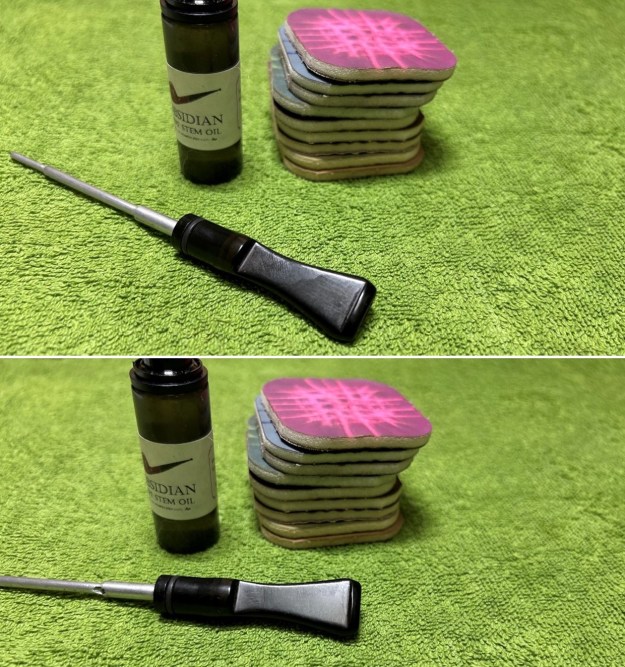
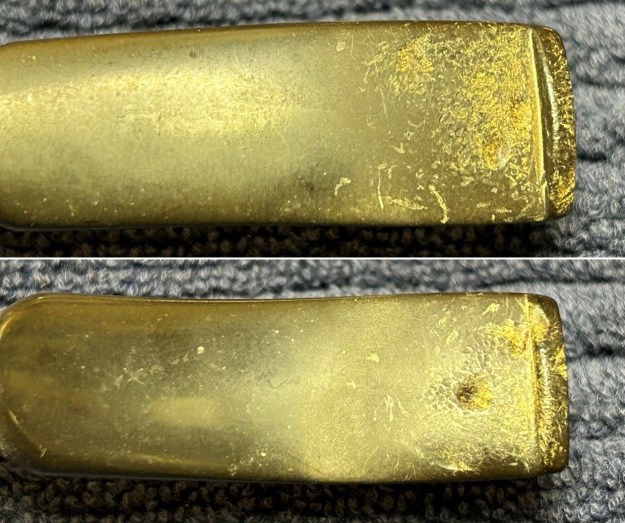
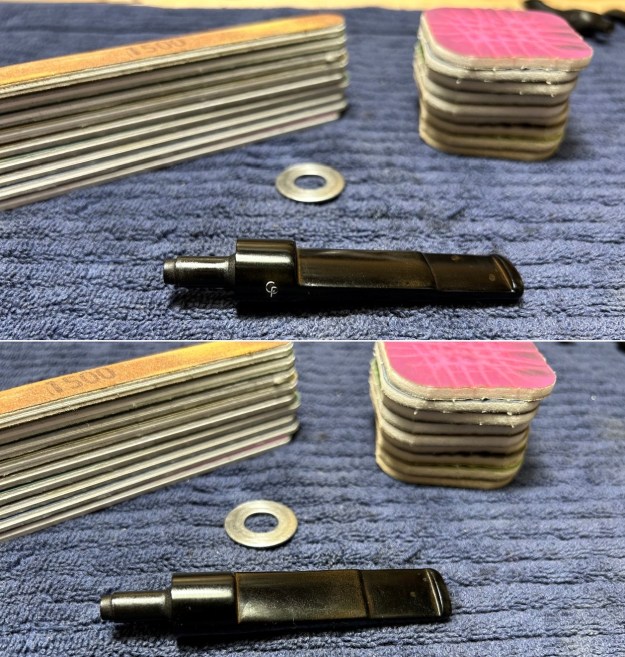
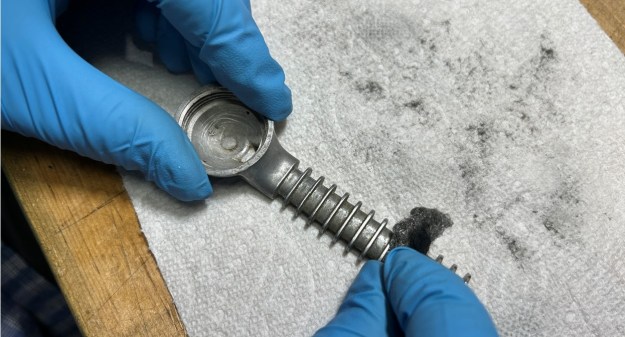 You can see in the following photo the difference that steel wool makes. On the left is the unsanded metal and on the right is the metal after an initial pass of steel wool. This is promising!
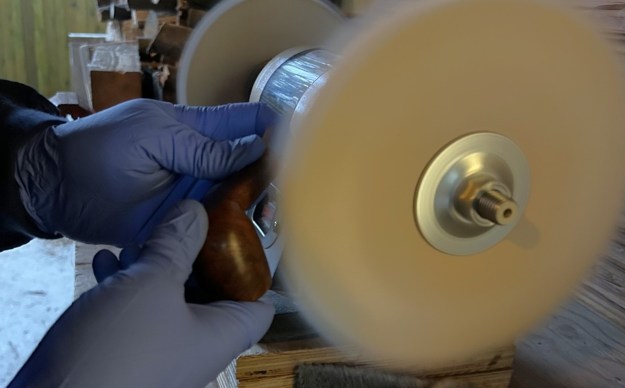
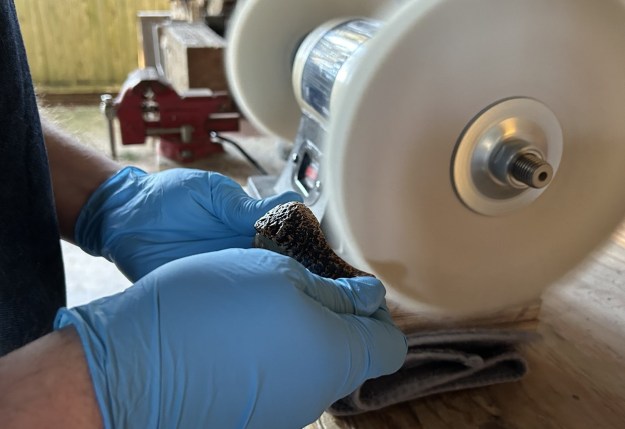
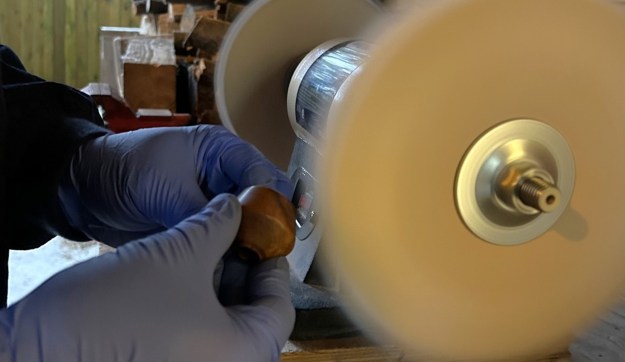
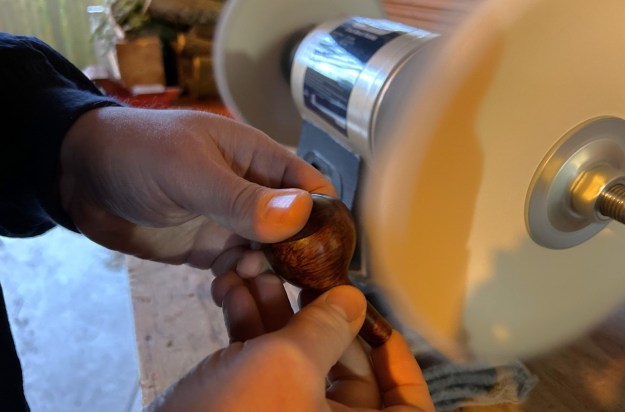
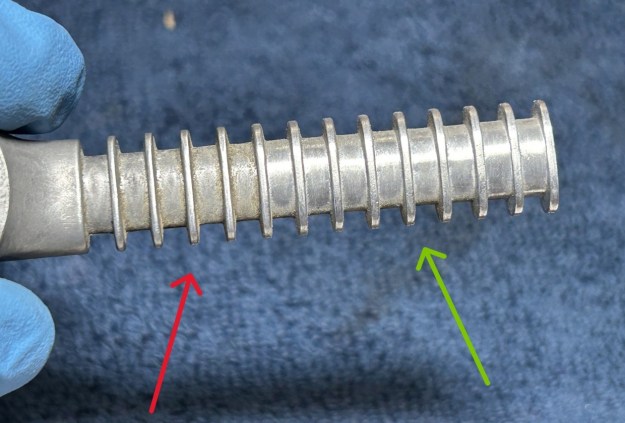 The buffing procedure was different because of the metal – although the briar bowl and nylon stem did receive the normal White Diamond and carnauba wax treatment. I used Red Tripoli first and White Diamond second to polish the metal shank nicely. It came out so well! When I went back to my workbench, I cleaned the grooves in the metal with some soft pipe cleaners – just to remove any slight, remaining polishing compound. I then took a microfiber cloth to wipe the metal parts of the pipe to make it shine!
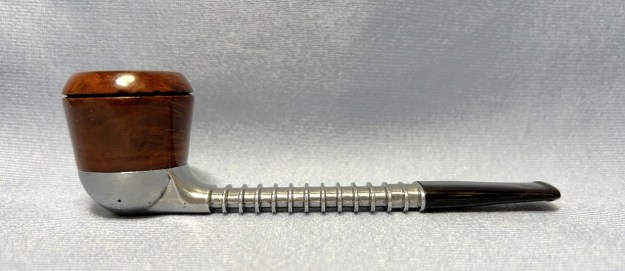
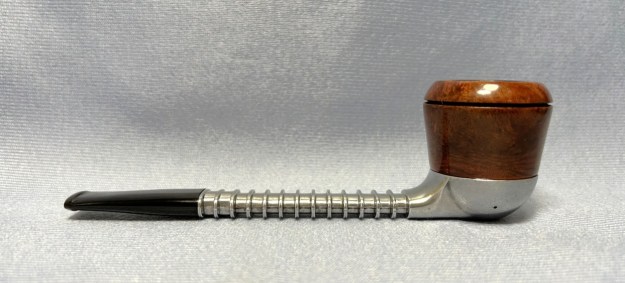
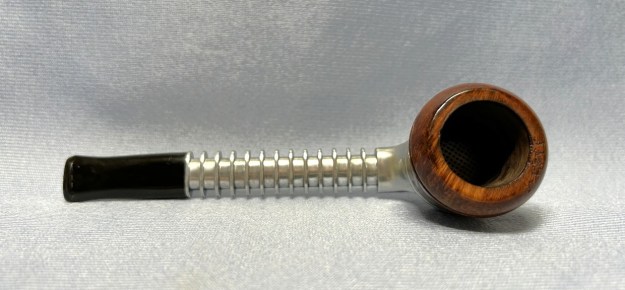
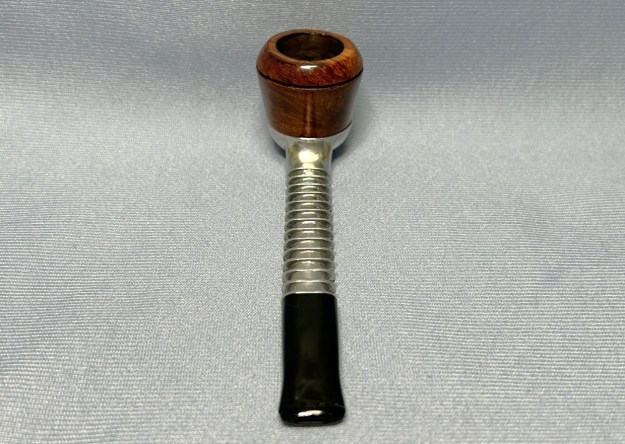
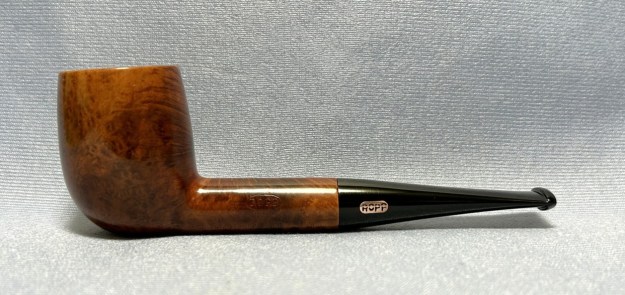
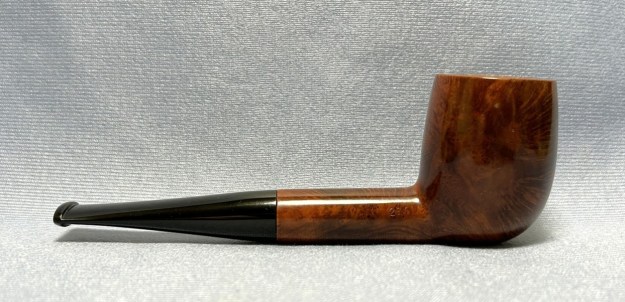
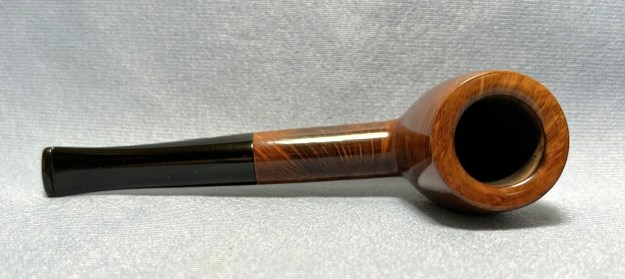
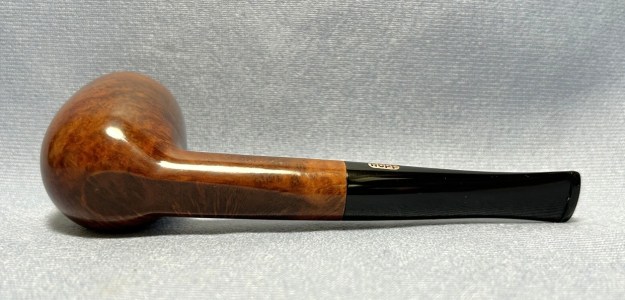
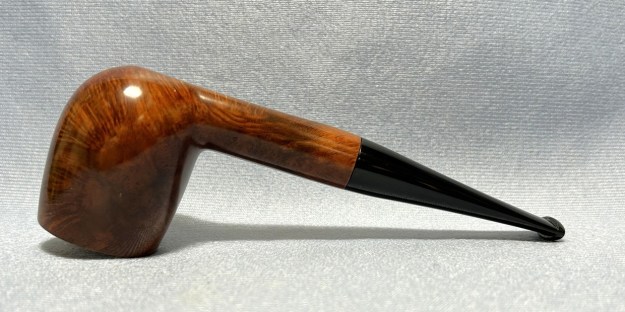
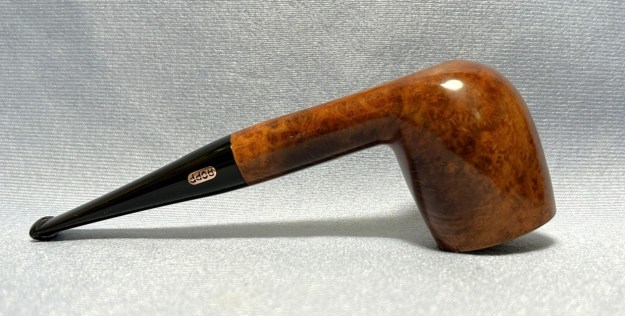
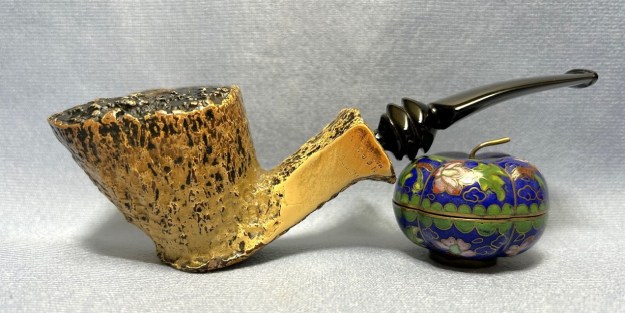
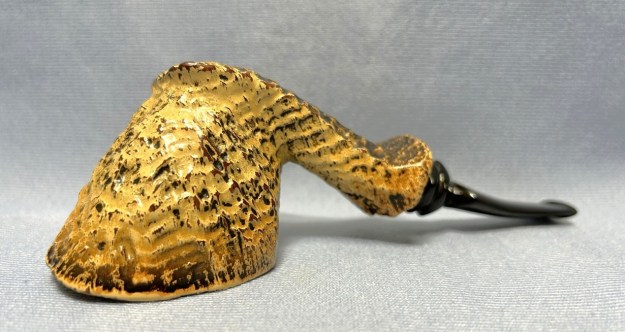
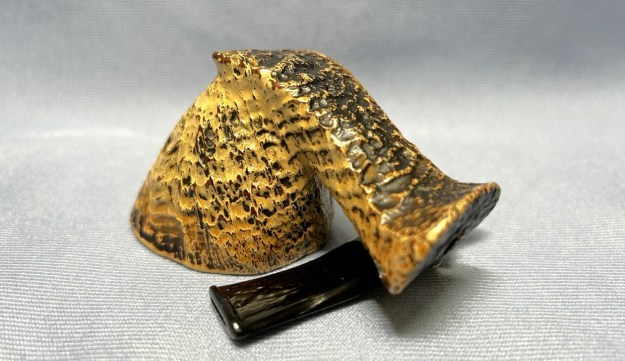
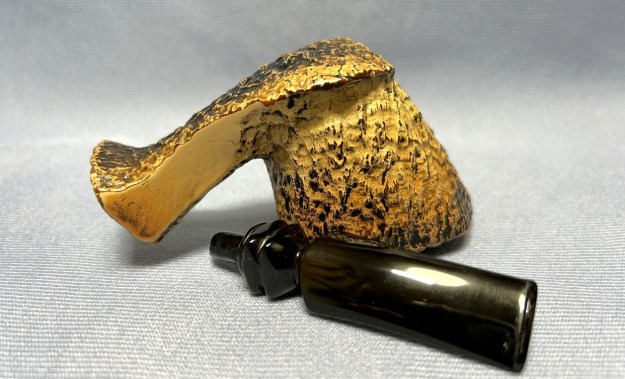
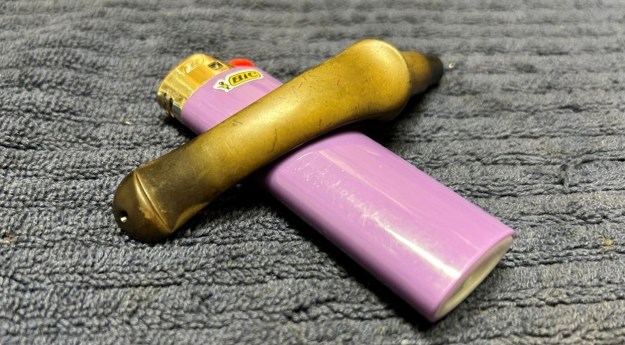
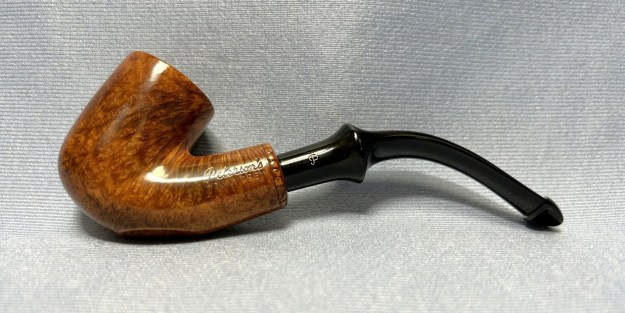
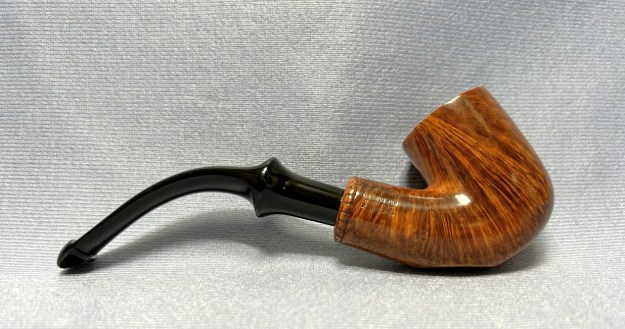
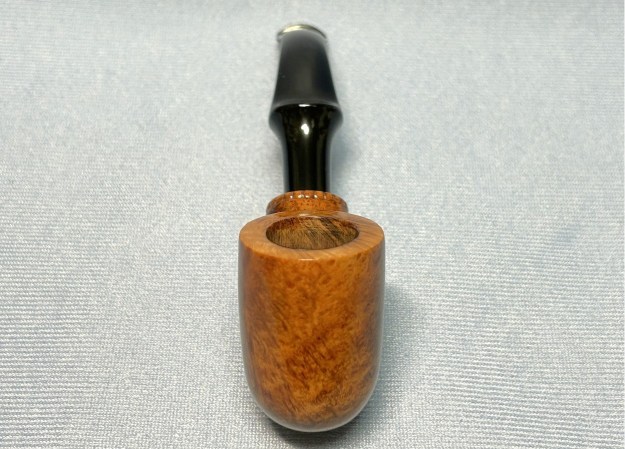
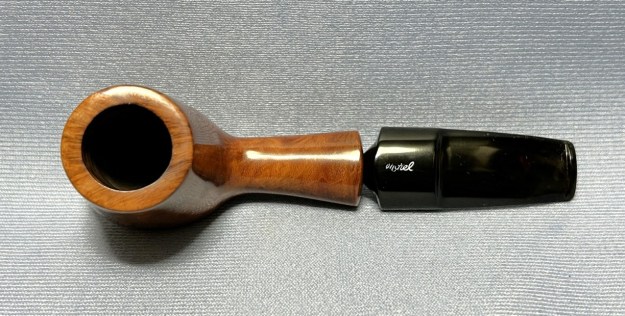
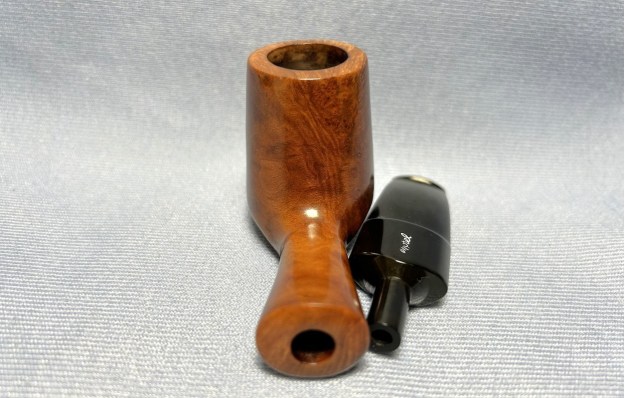
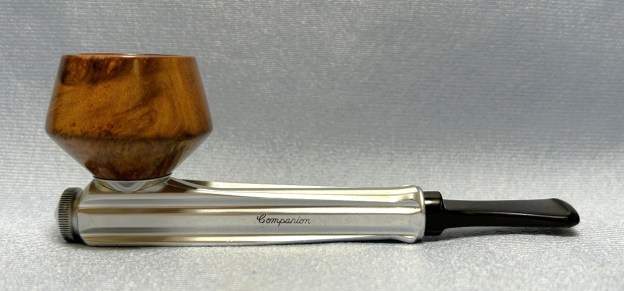
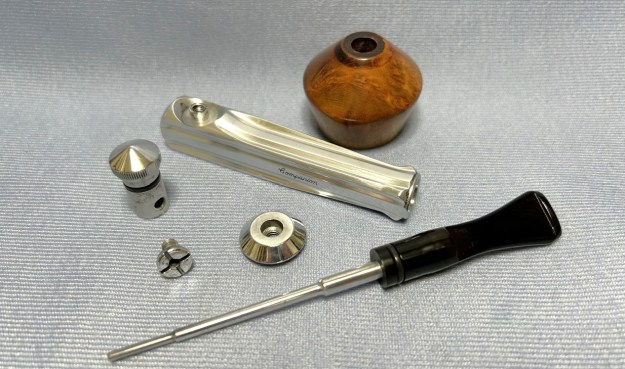
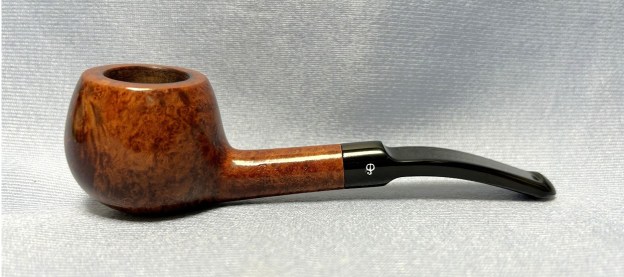
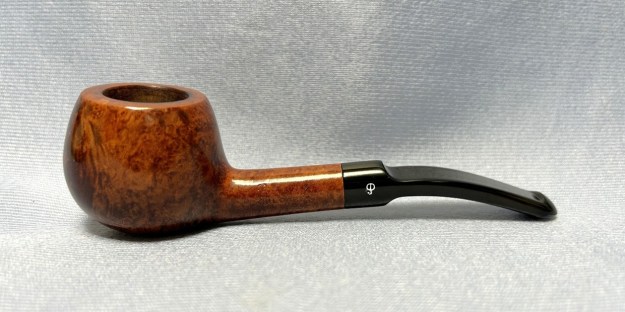
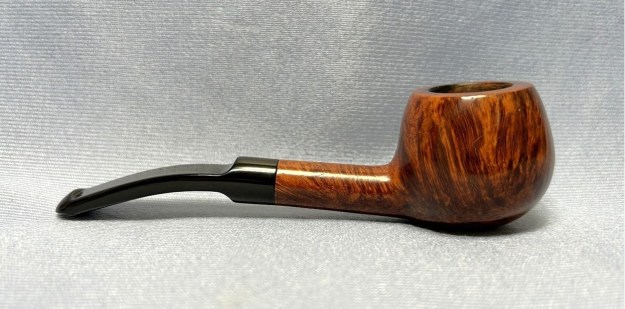
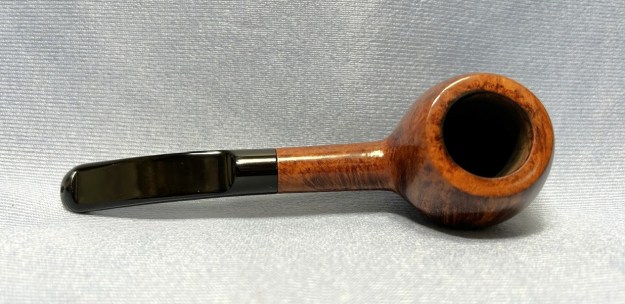
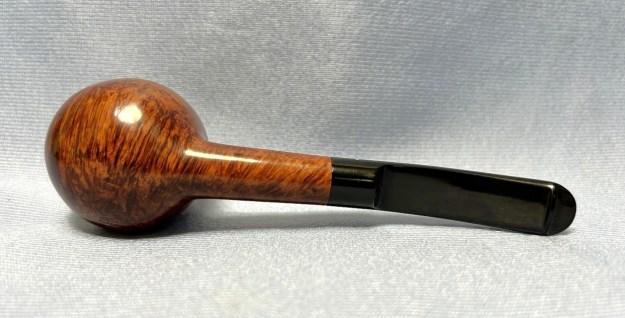
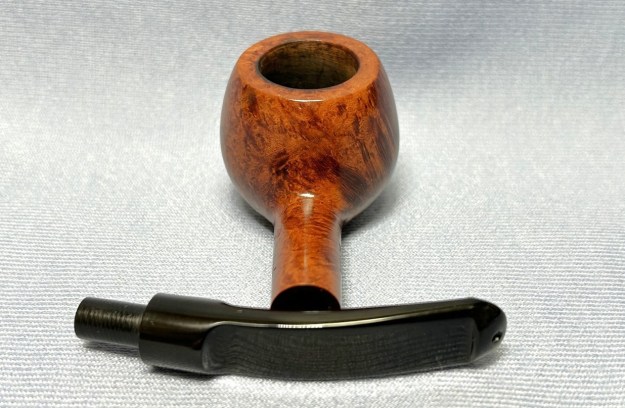
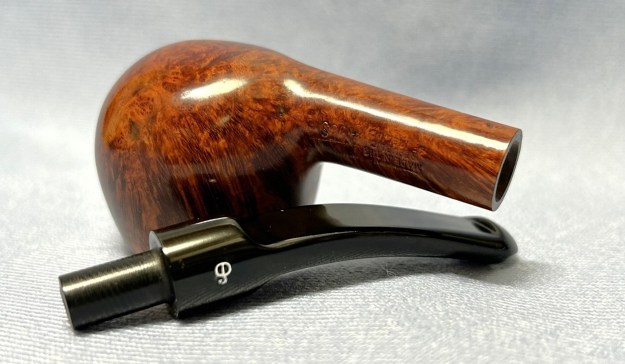
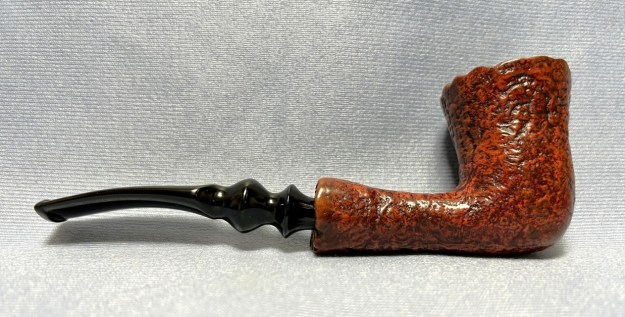
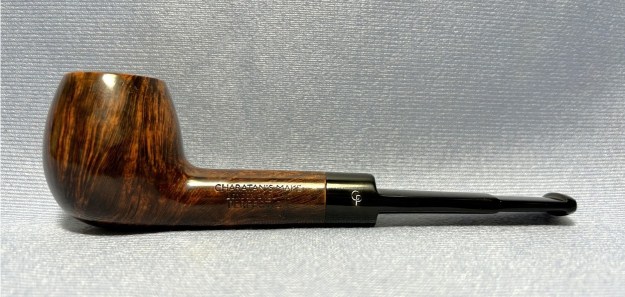
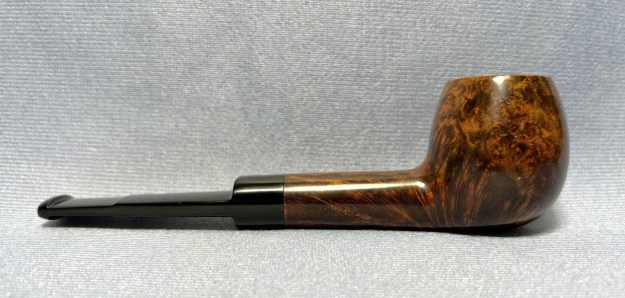
 Wow. That was quite the restoration job! This Airograte Yello-Bole looks so much better and I am happy to send it back to its owner. It was a lot of work, but I learned a lot and I am pleased with the results. The approximate dimensions of the pipe are as follows: length 5⅔ in. (144 mm); height 1⅝ in. (41 mm); bowl diameter 1⅜ in. (36 mm); chamber diameter ⅞ in. (21 mm). The weight of the pipe is 1¼ oz. (37 g). I hope you enjoyed reading the story of this pipe’s restoration as much as I enjoyed restoring it. If you are interested in more of my work, please follow me here on Steve’s website or send me an email at kenneth@knightsofthepipe.com. Thank you very much for reading and, as always, I welcome and encourage your comments.