A Review – A Steve Morrisette Tomato


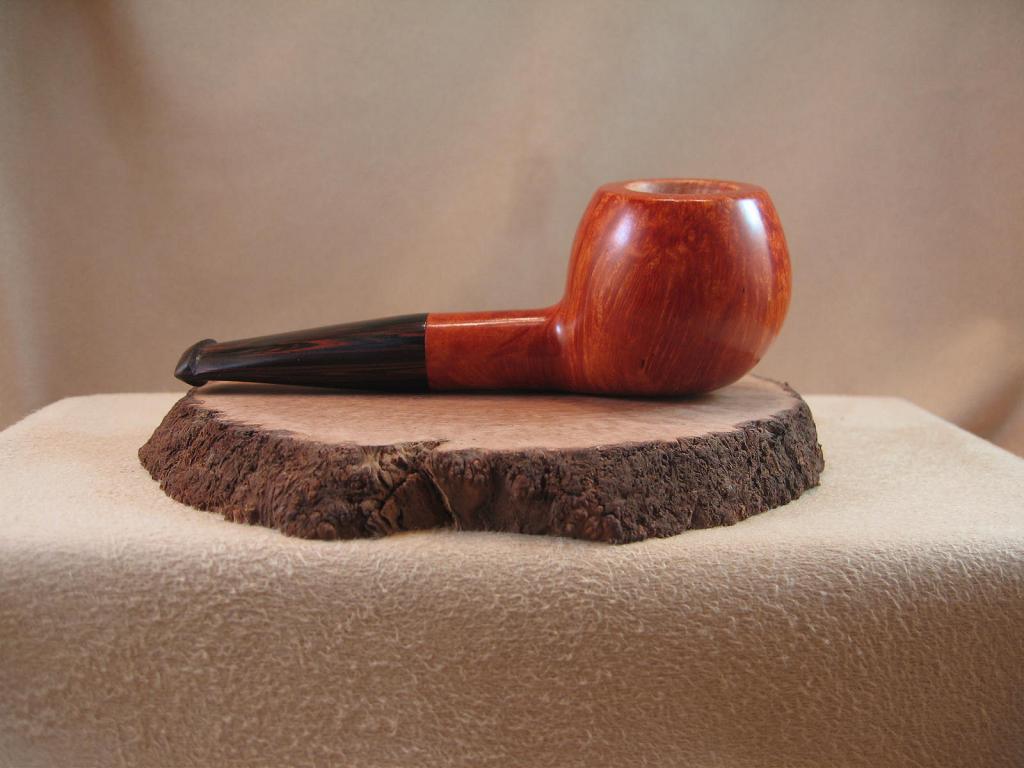
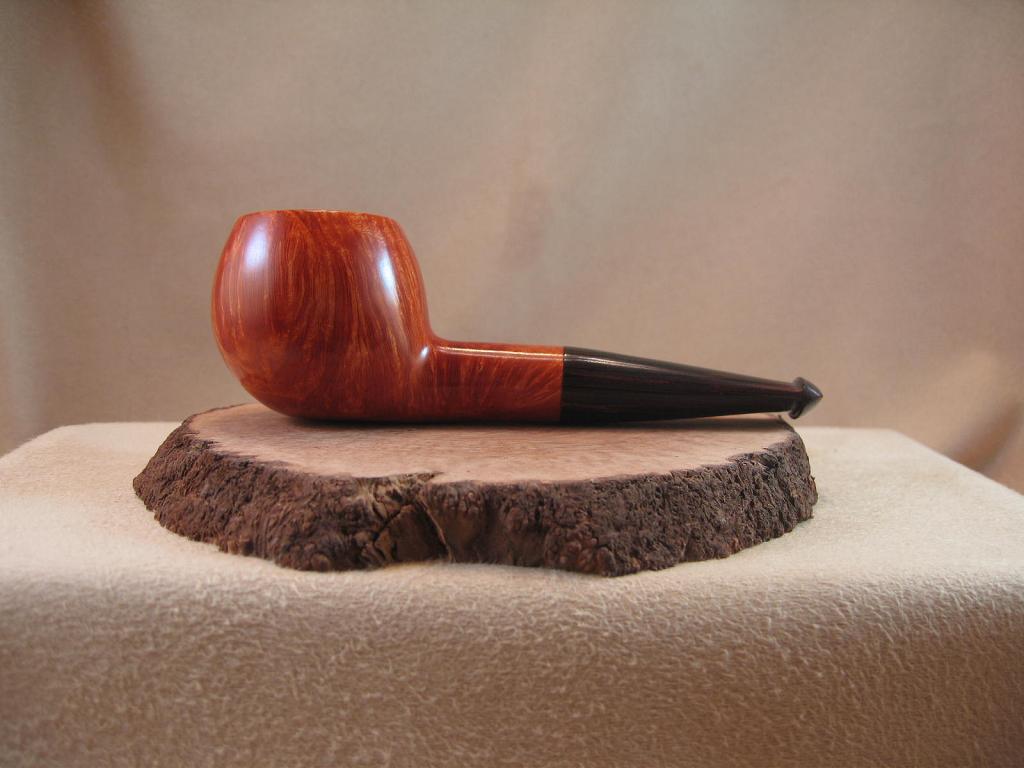
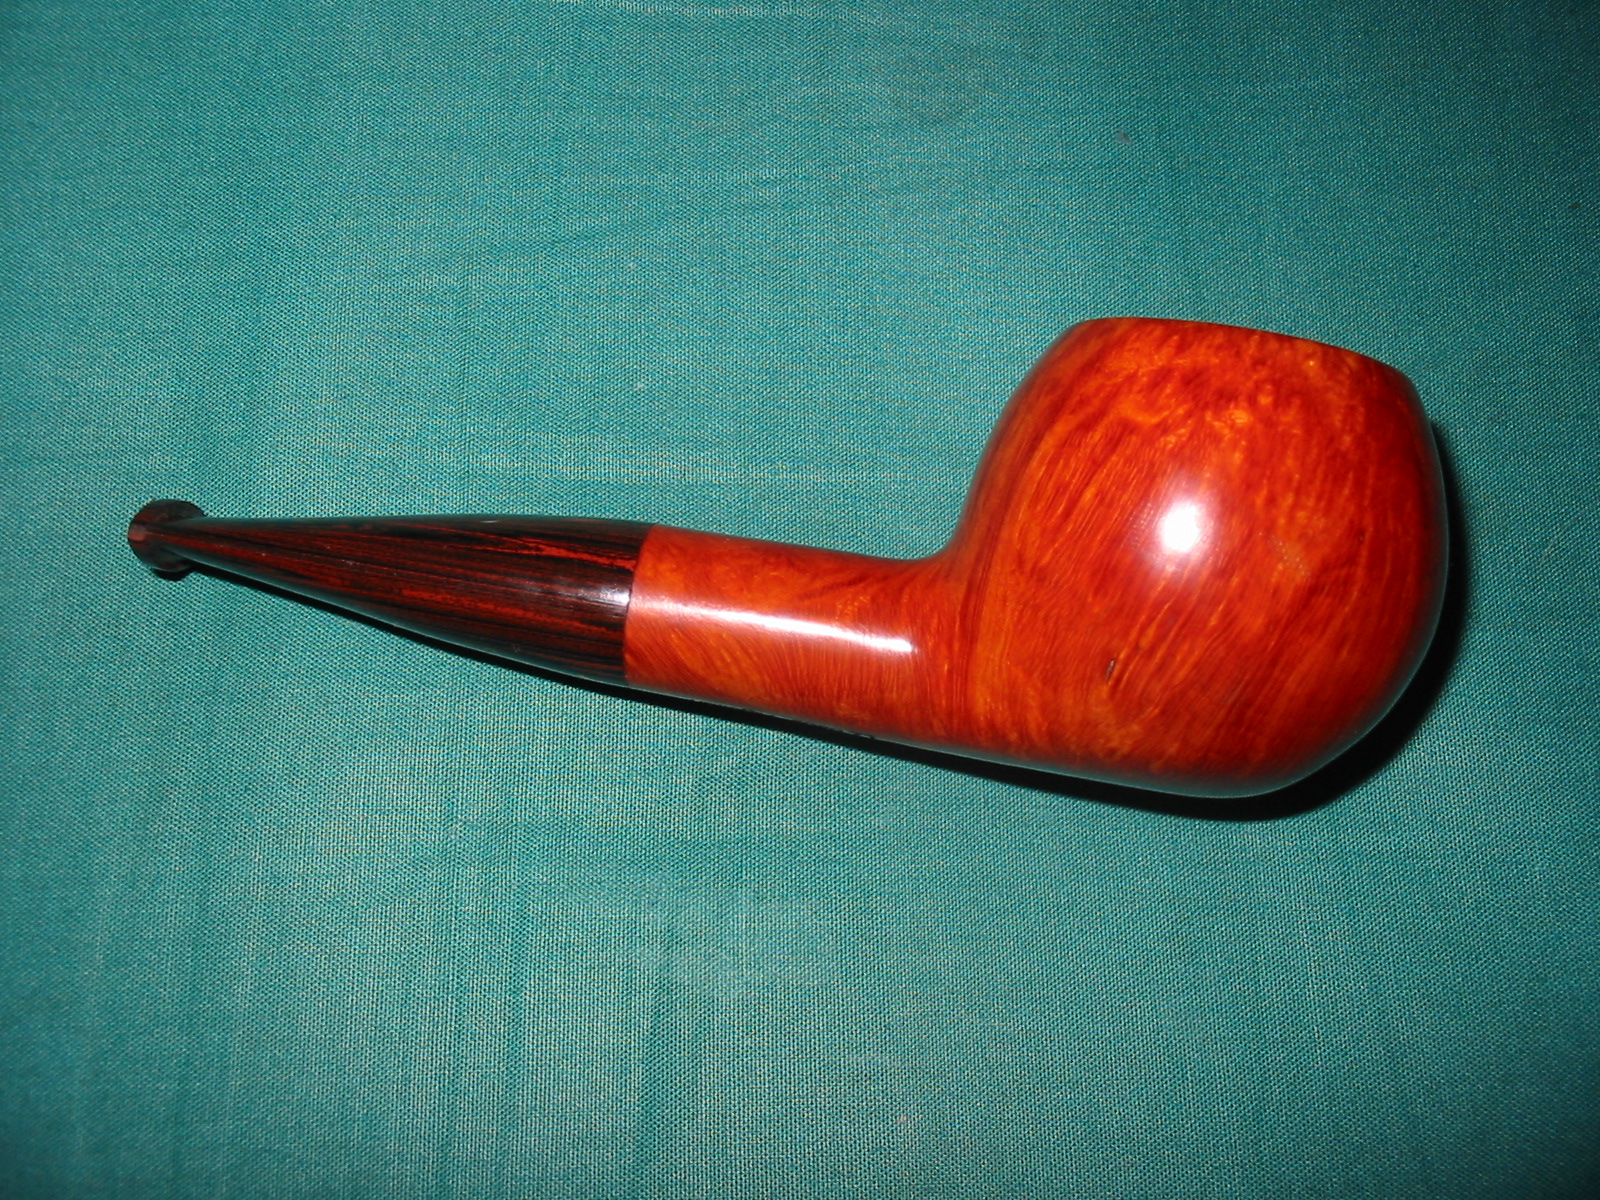
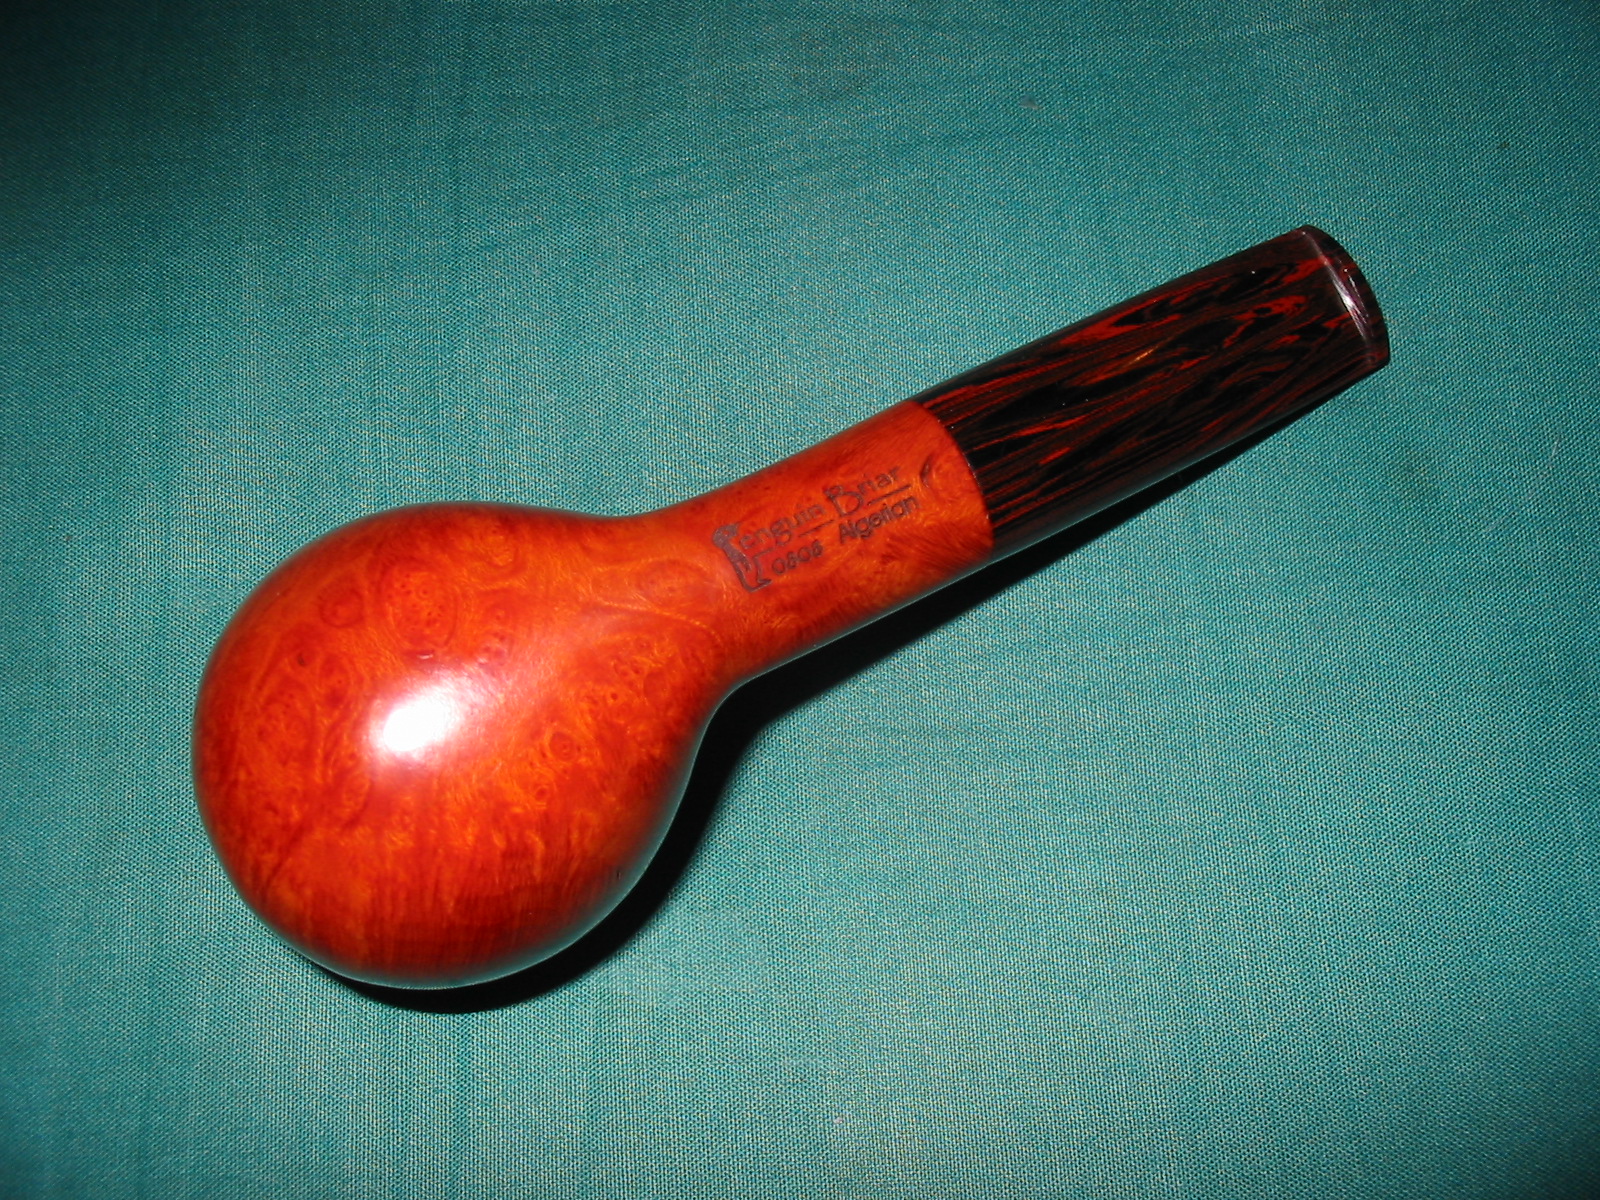
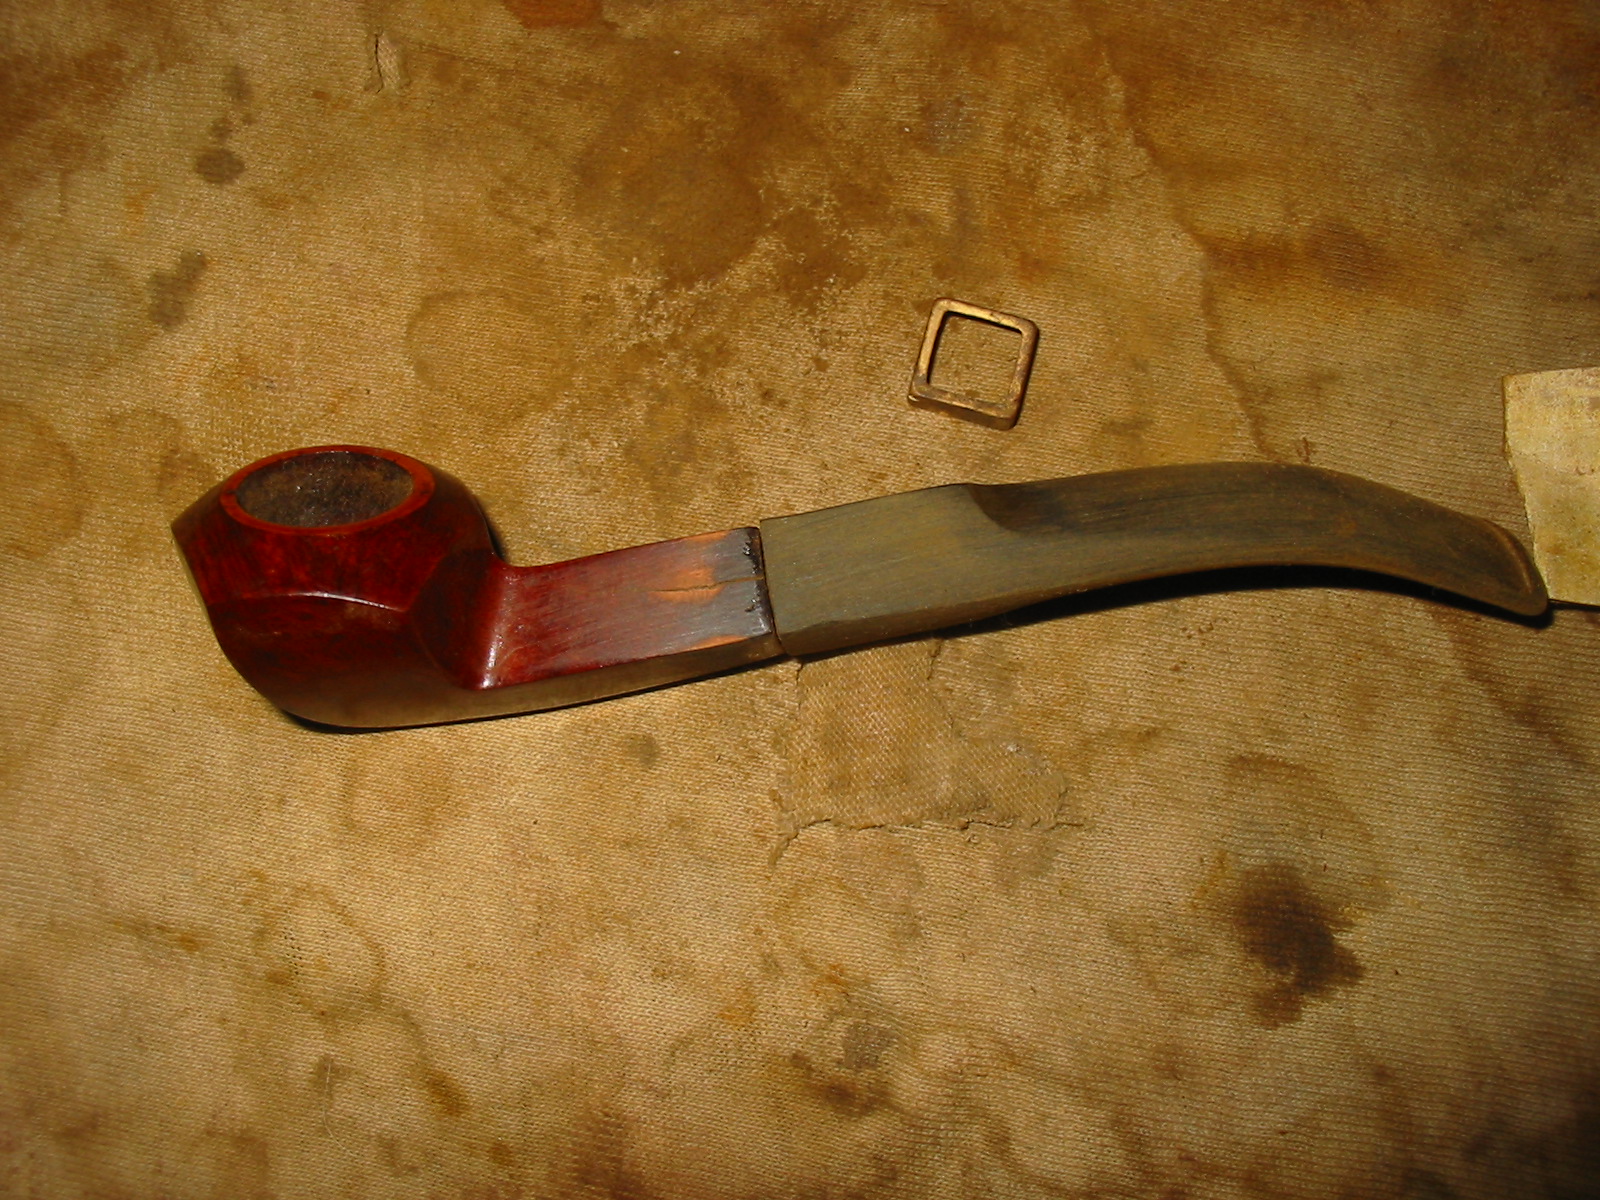
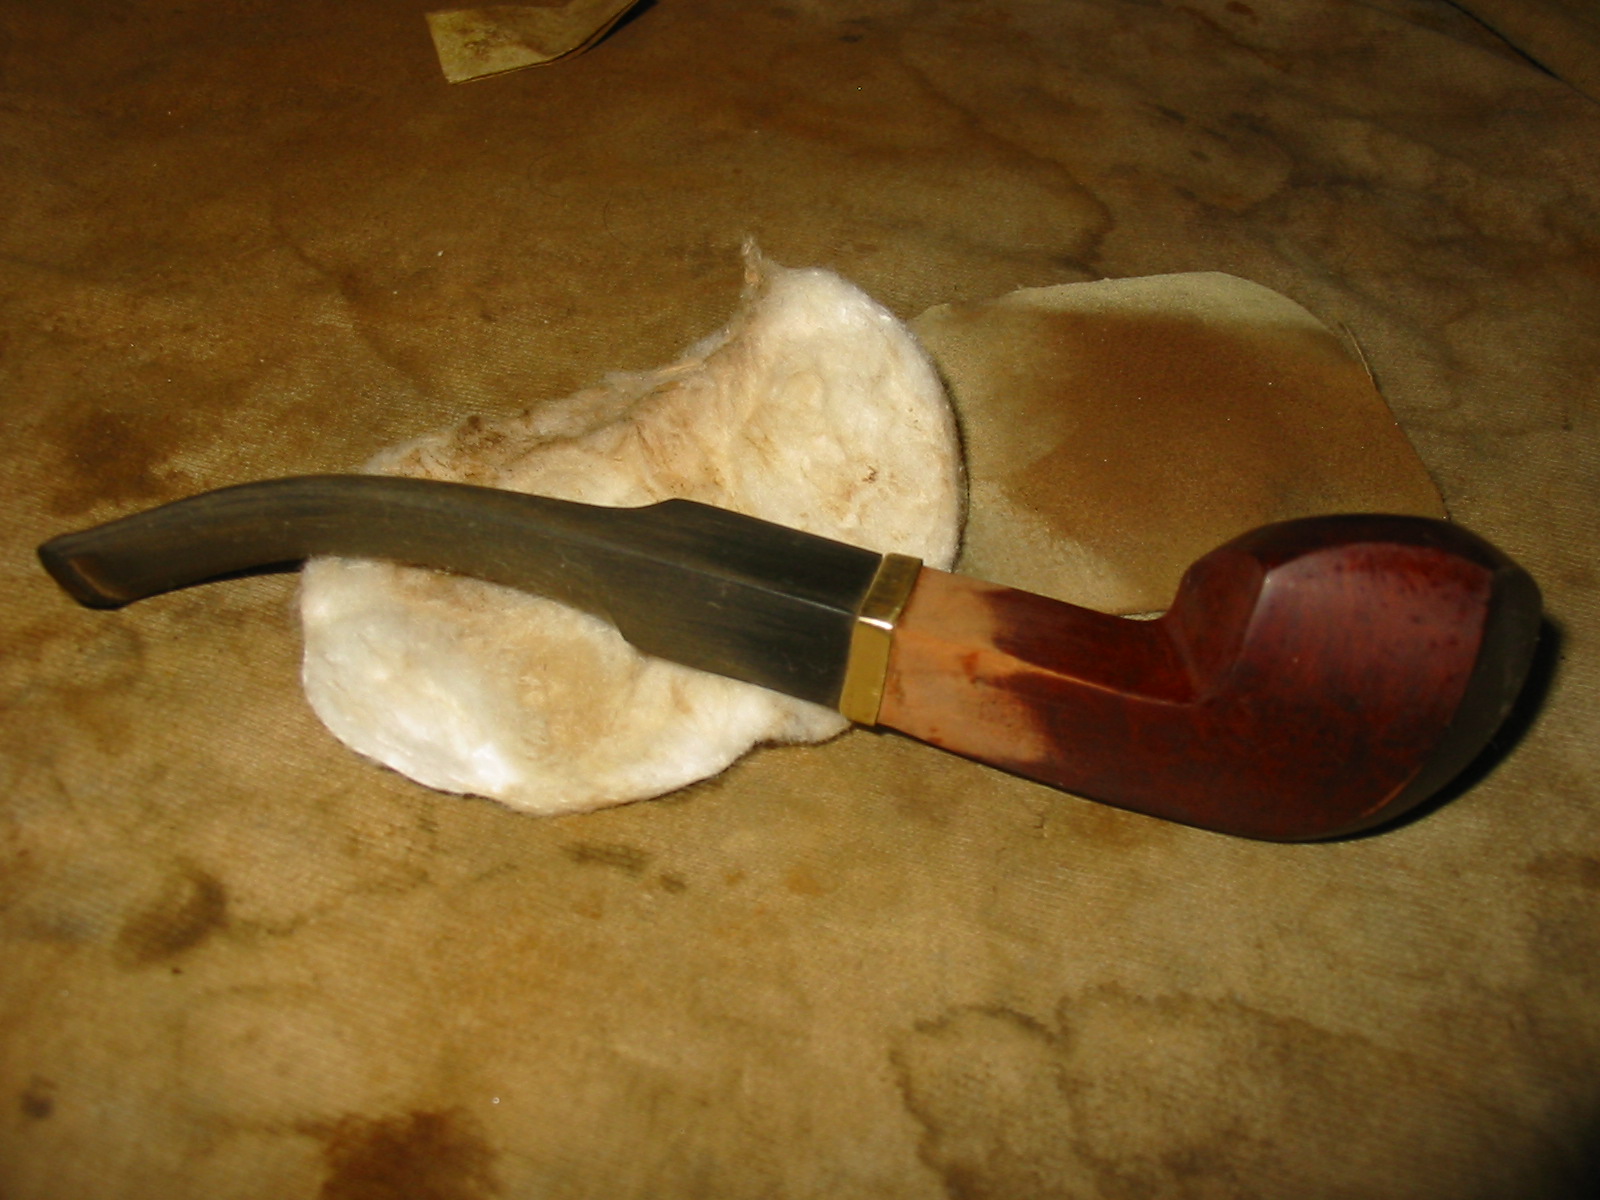
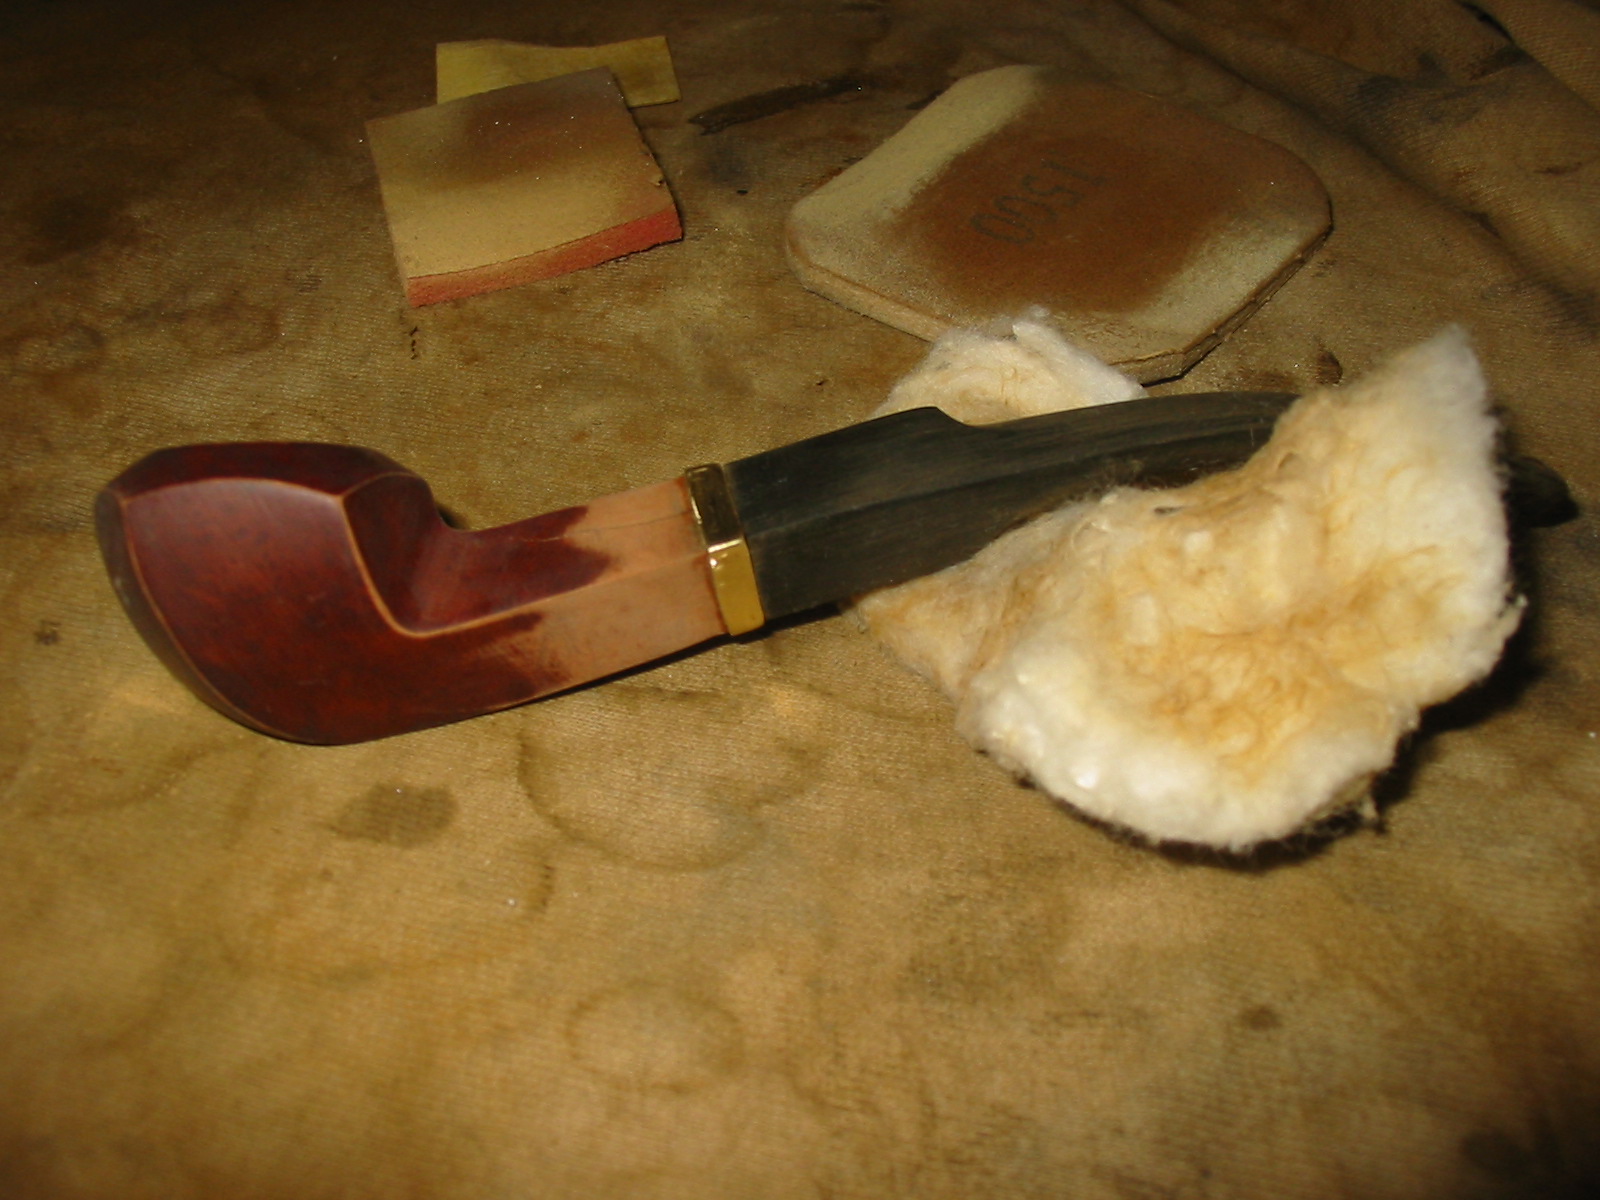
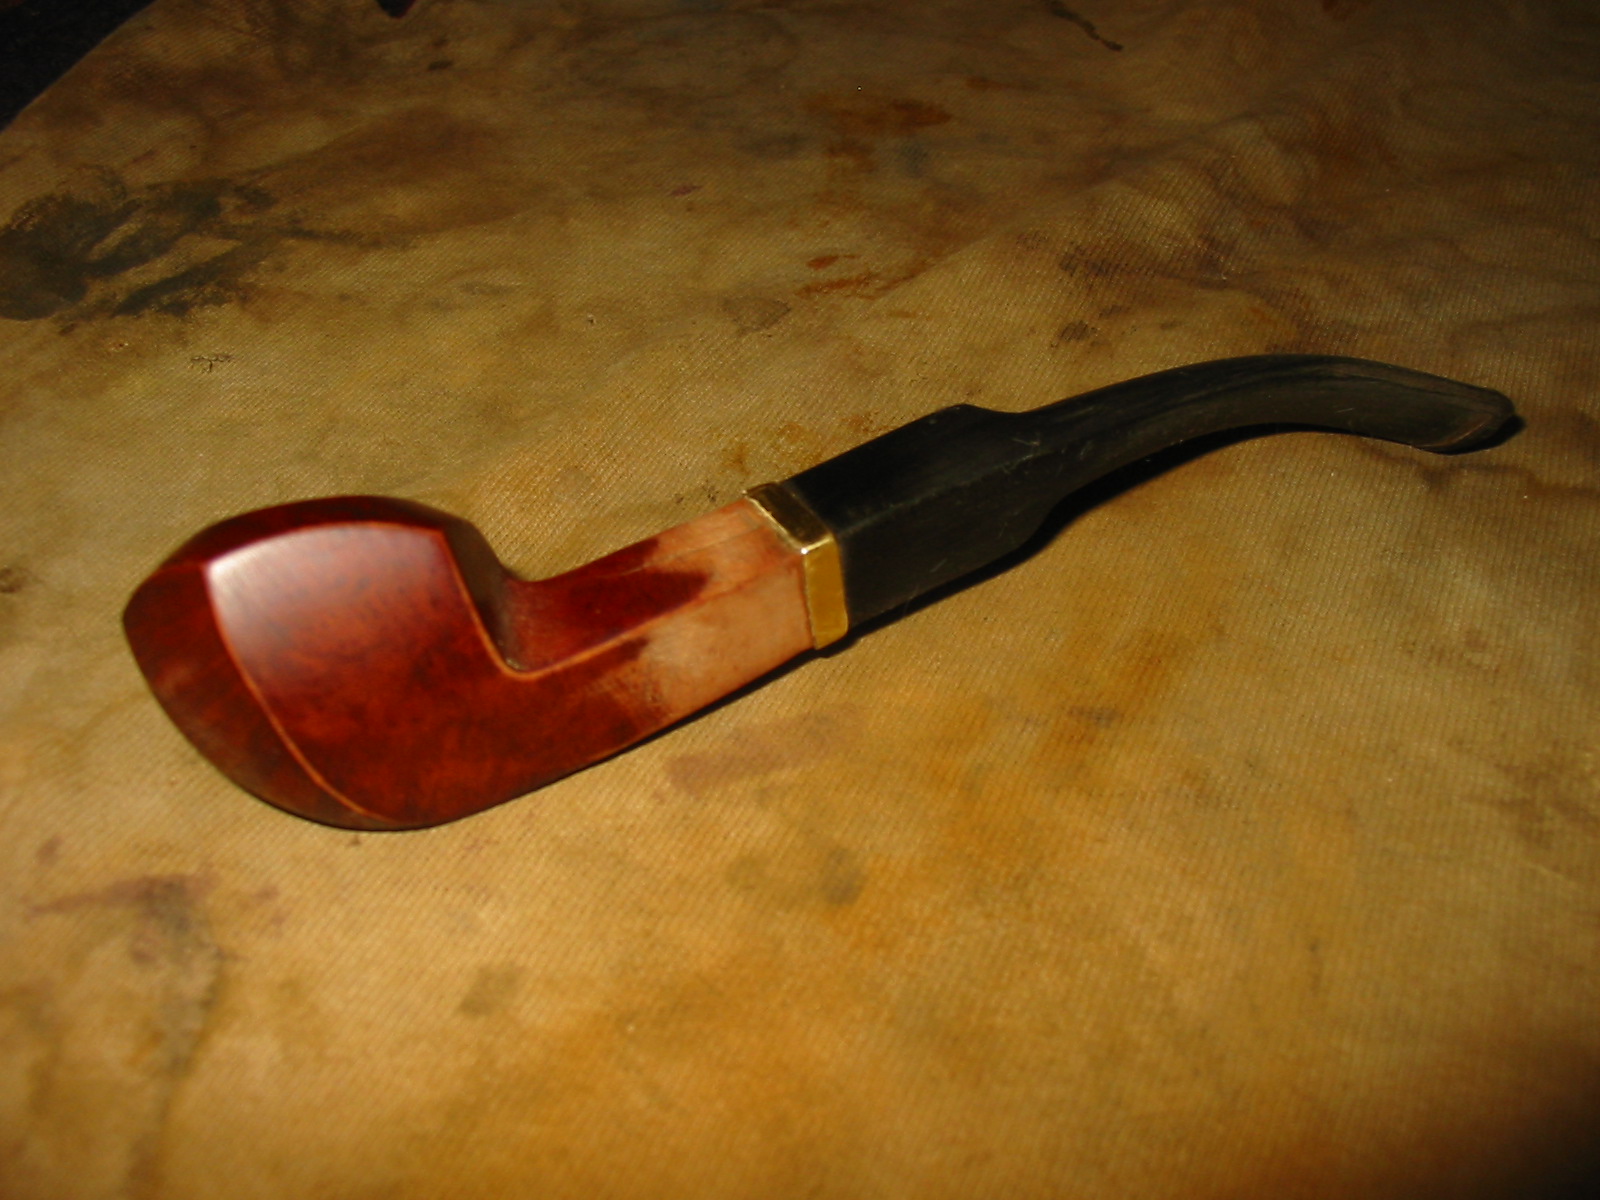
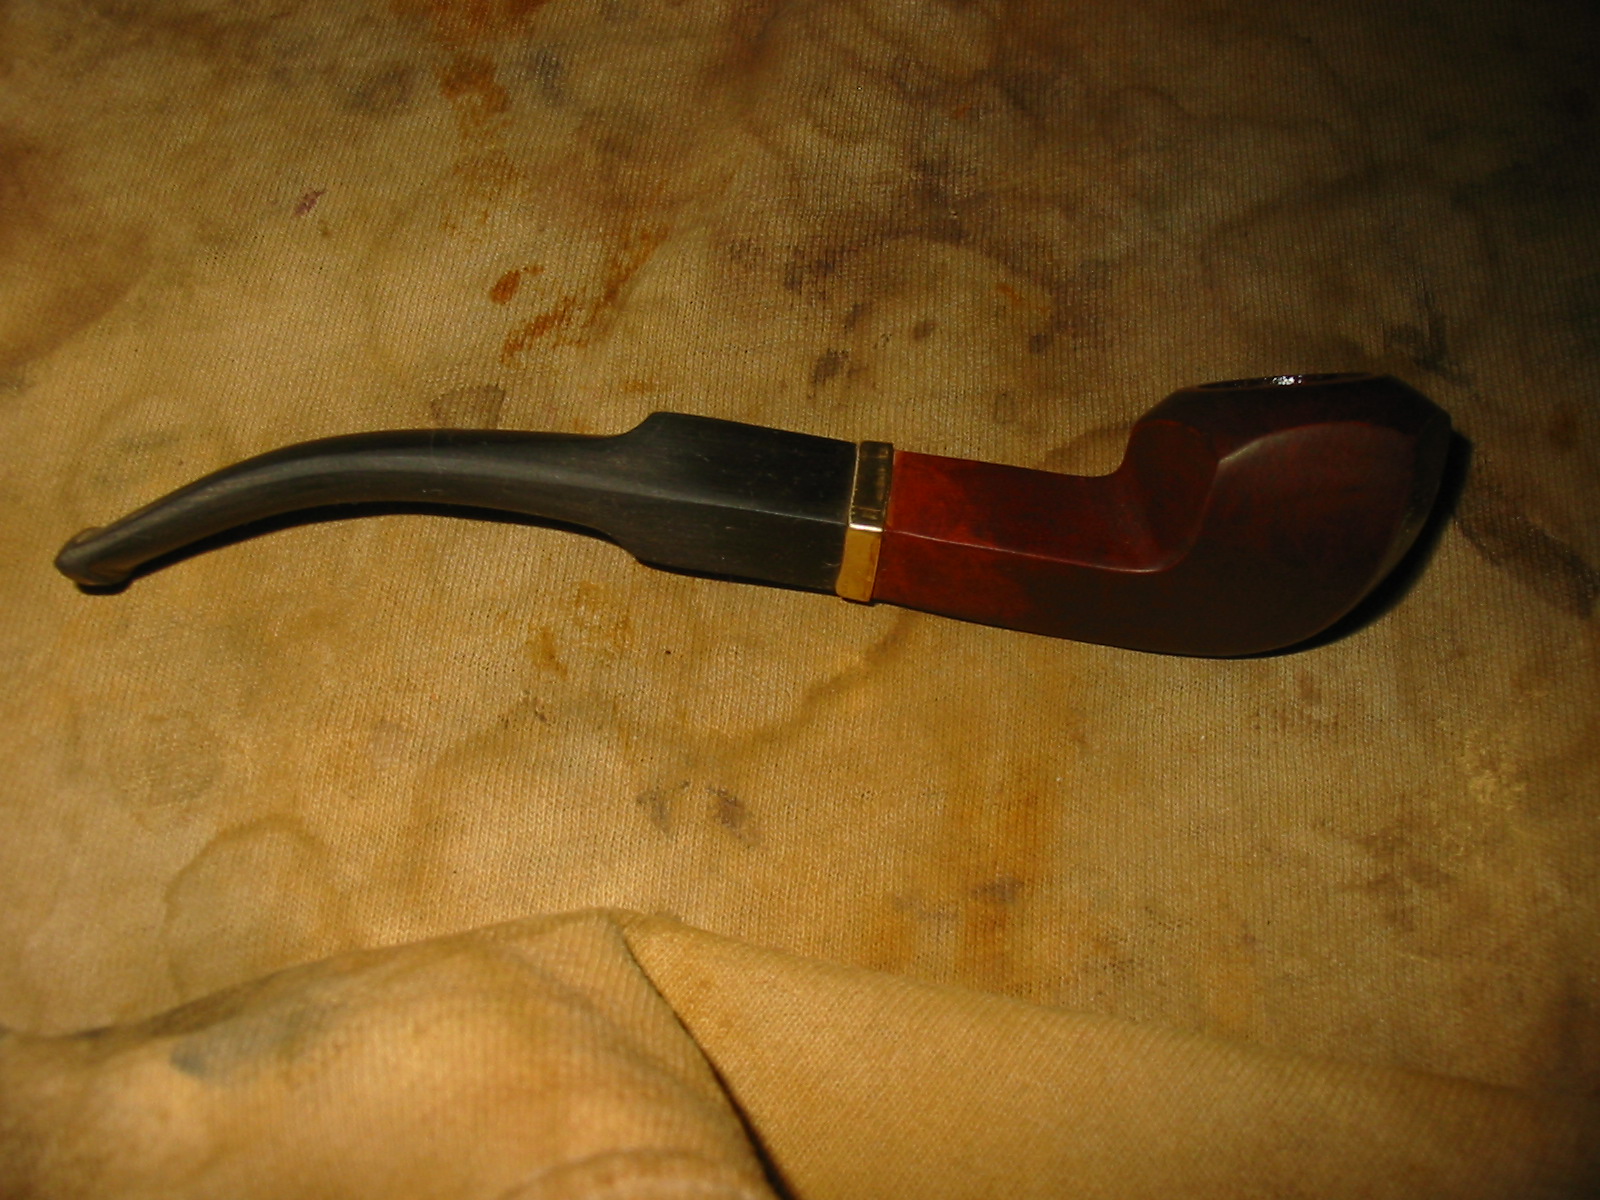
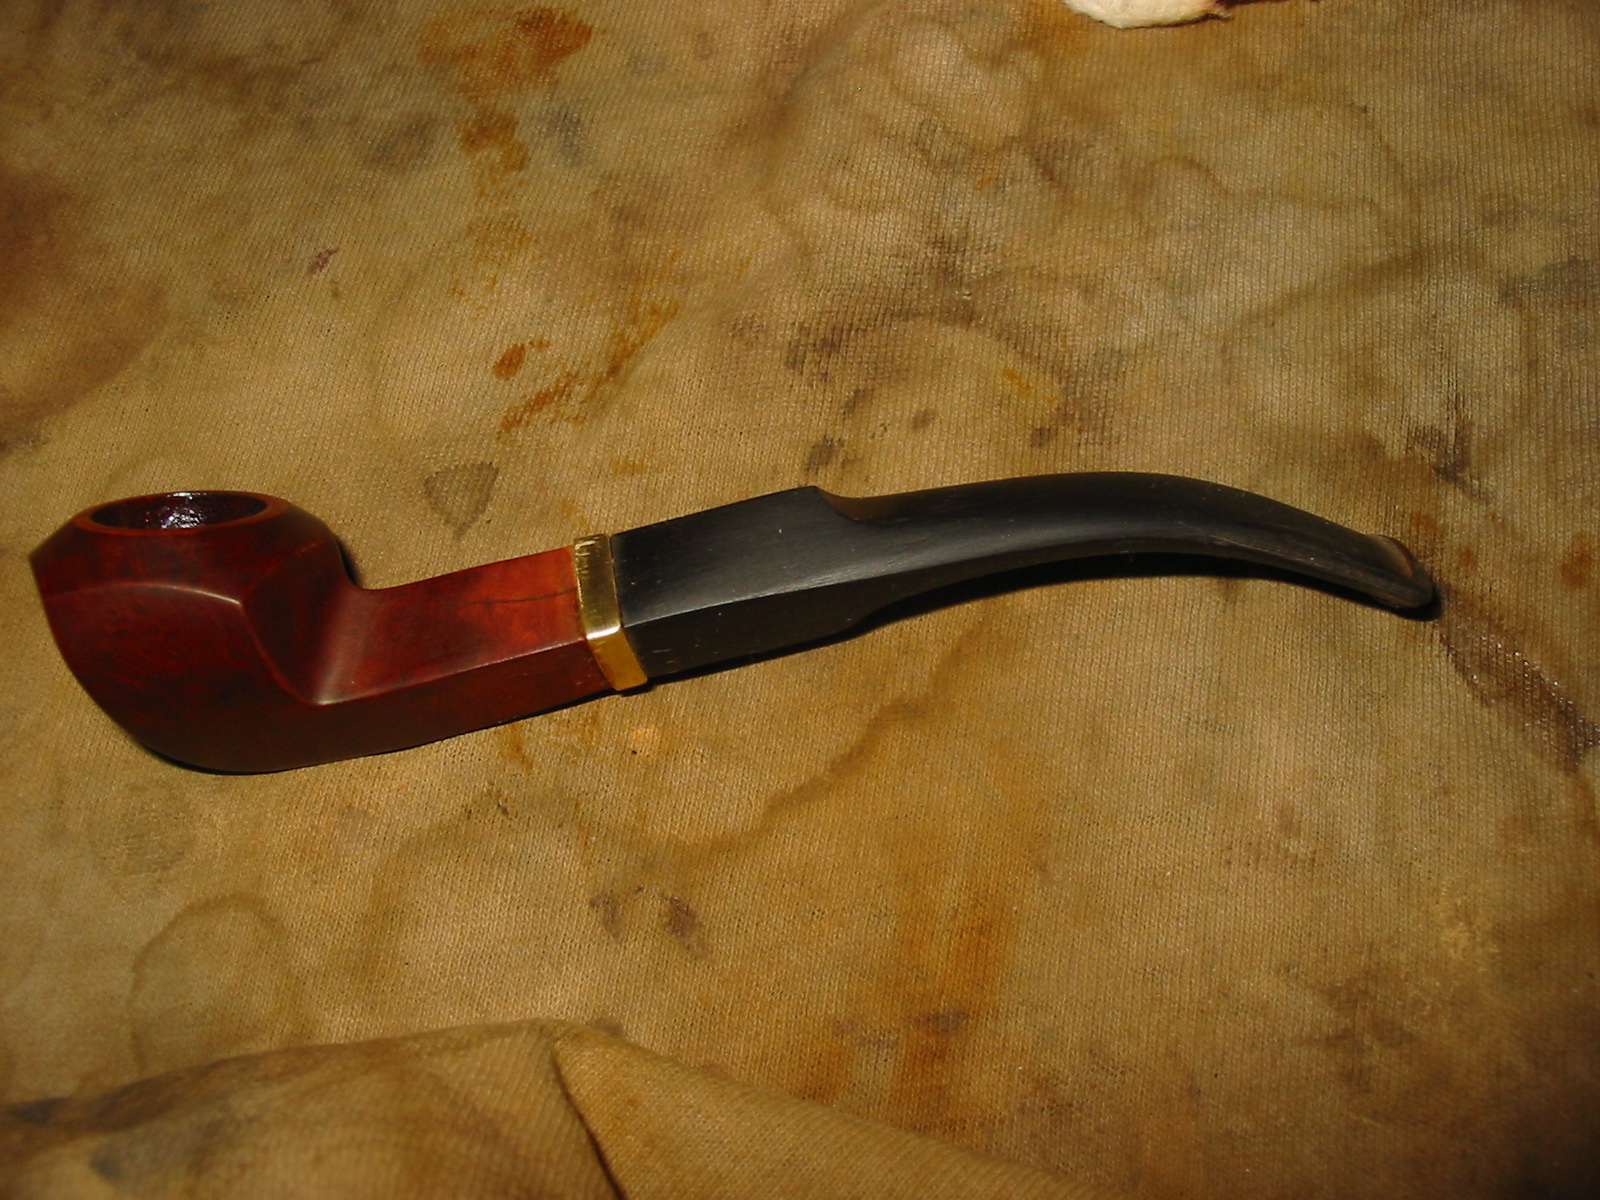
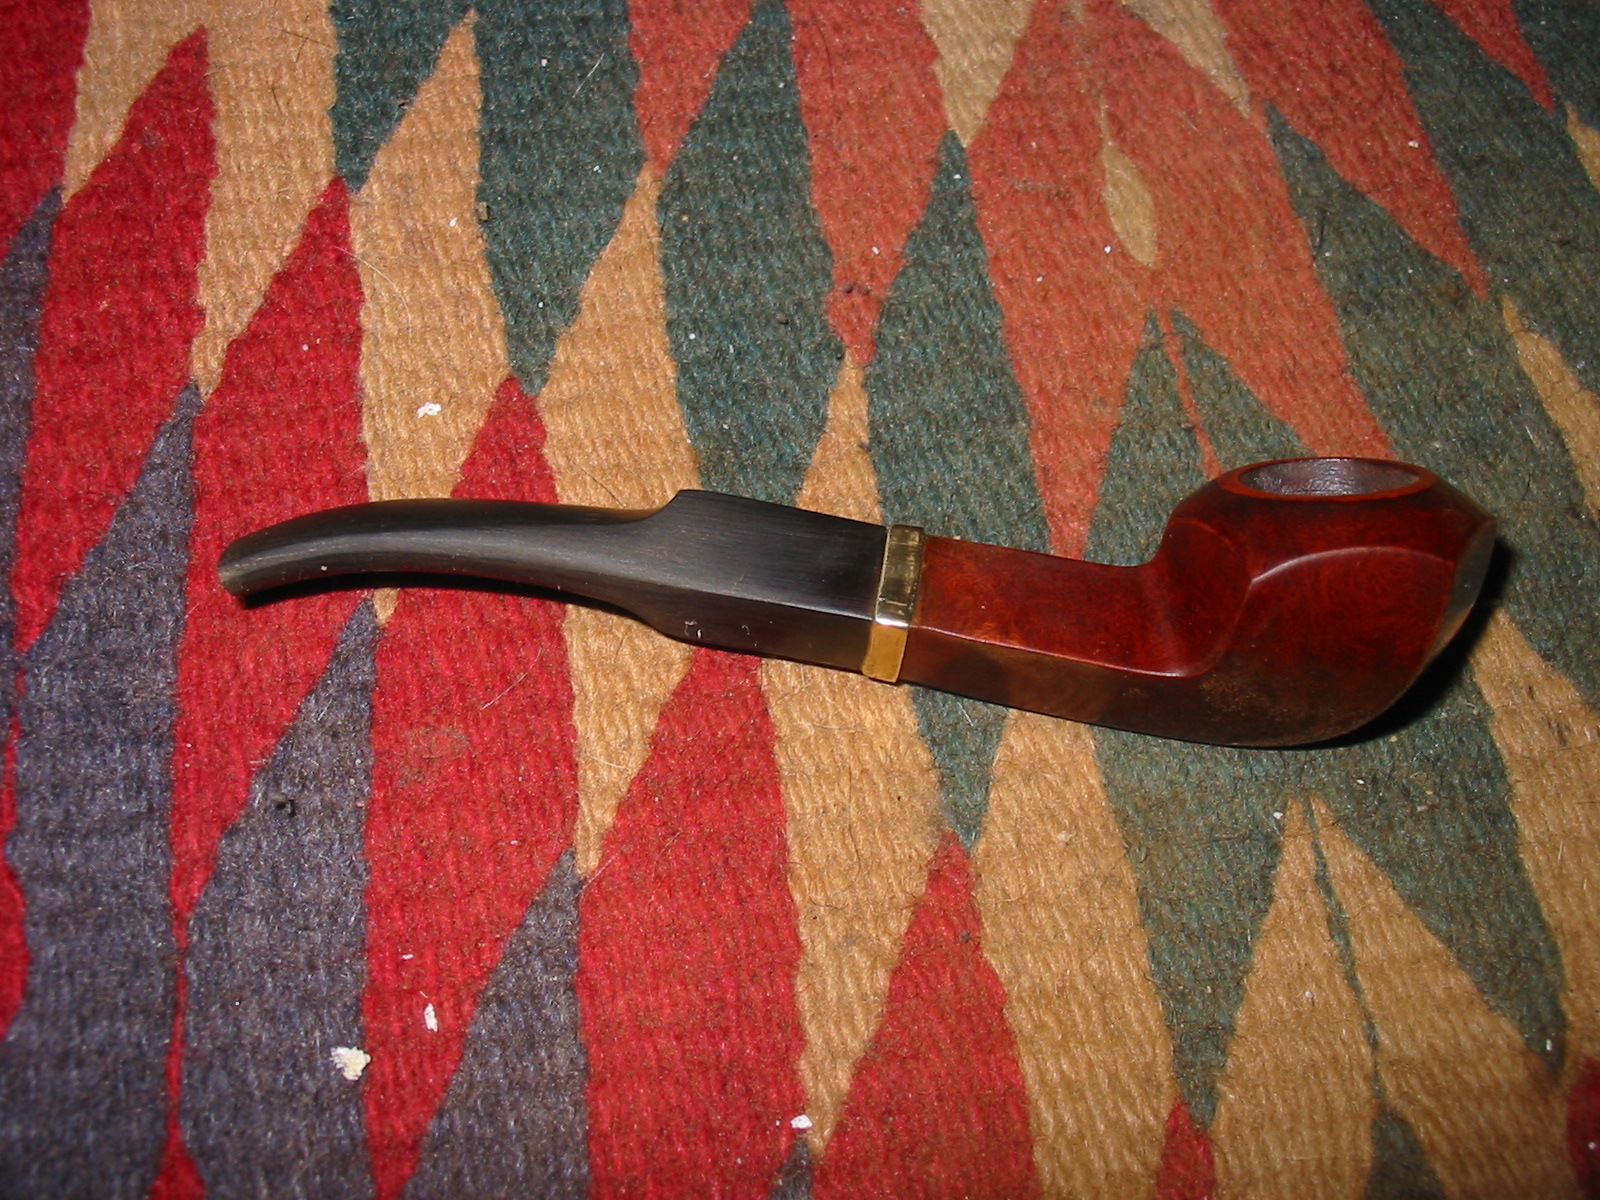
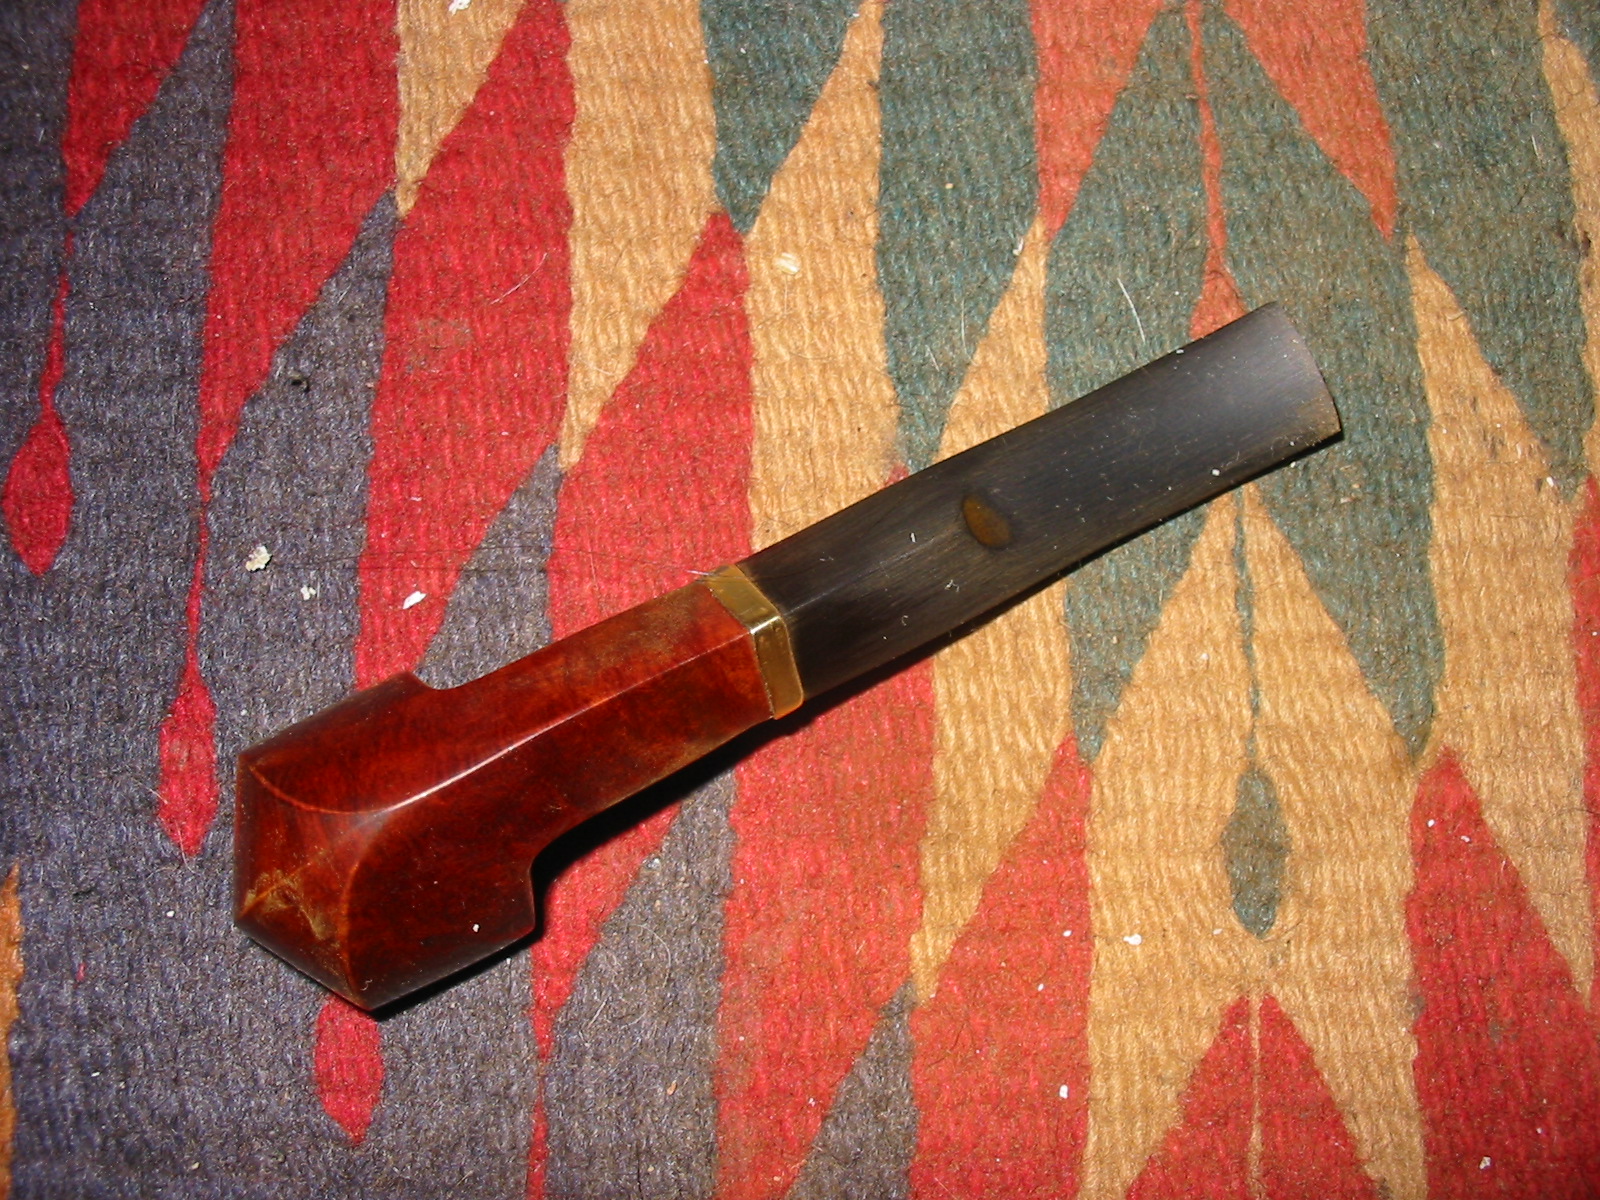
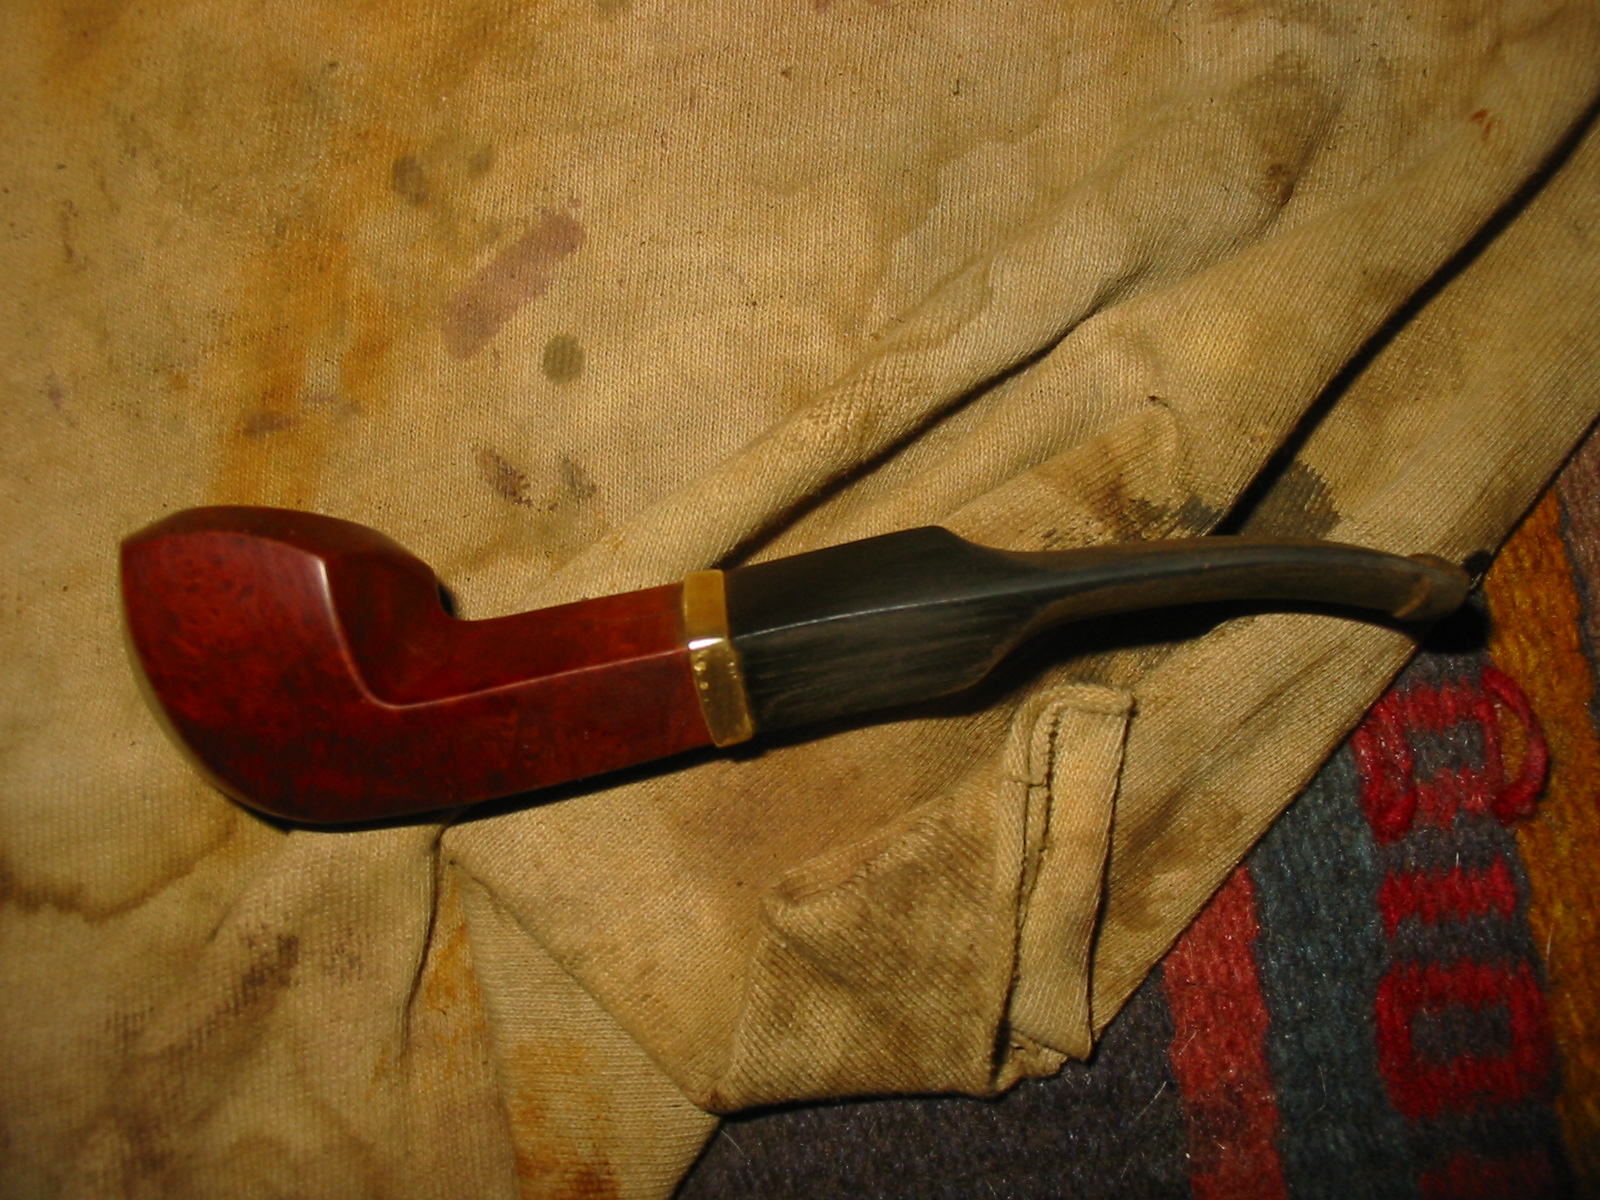
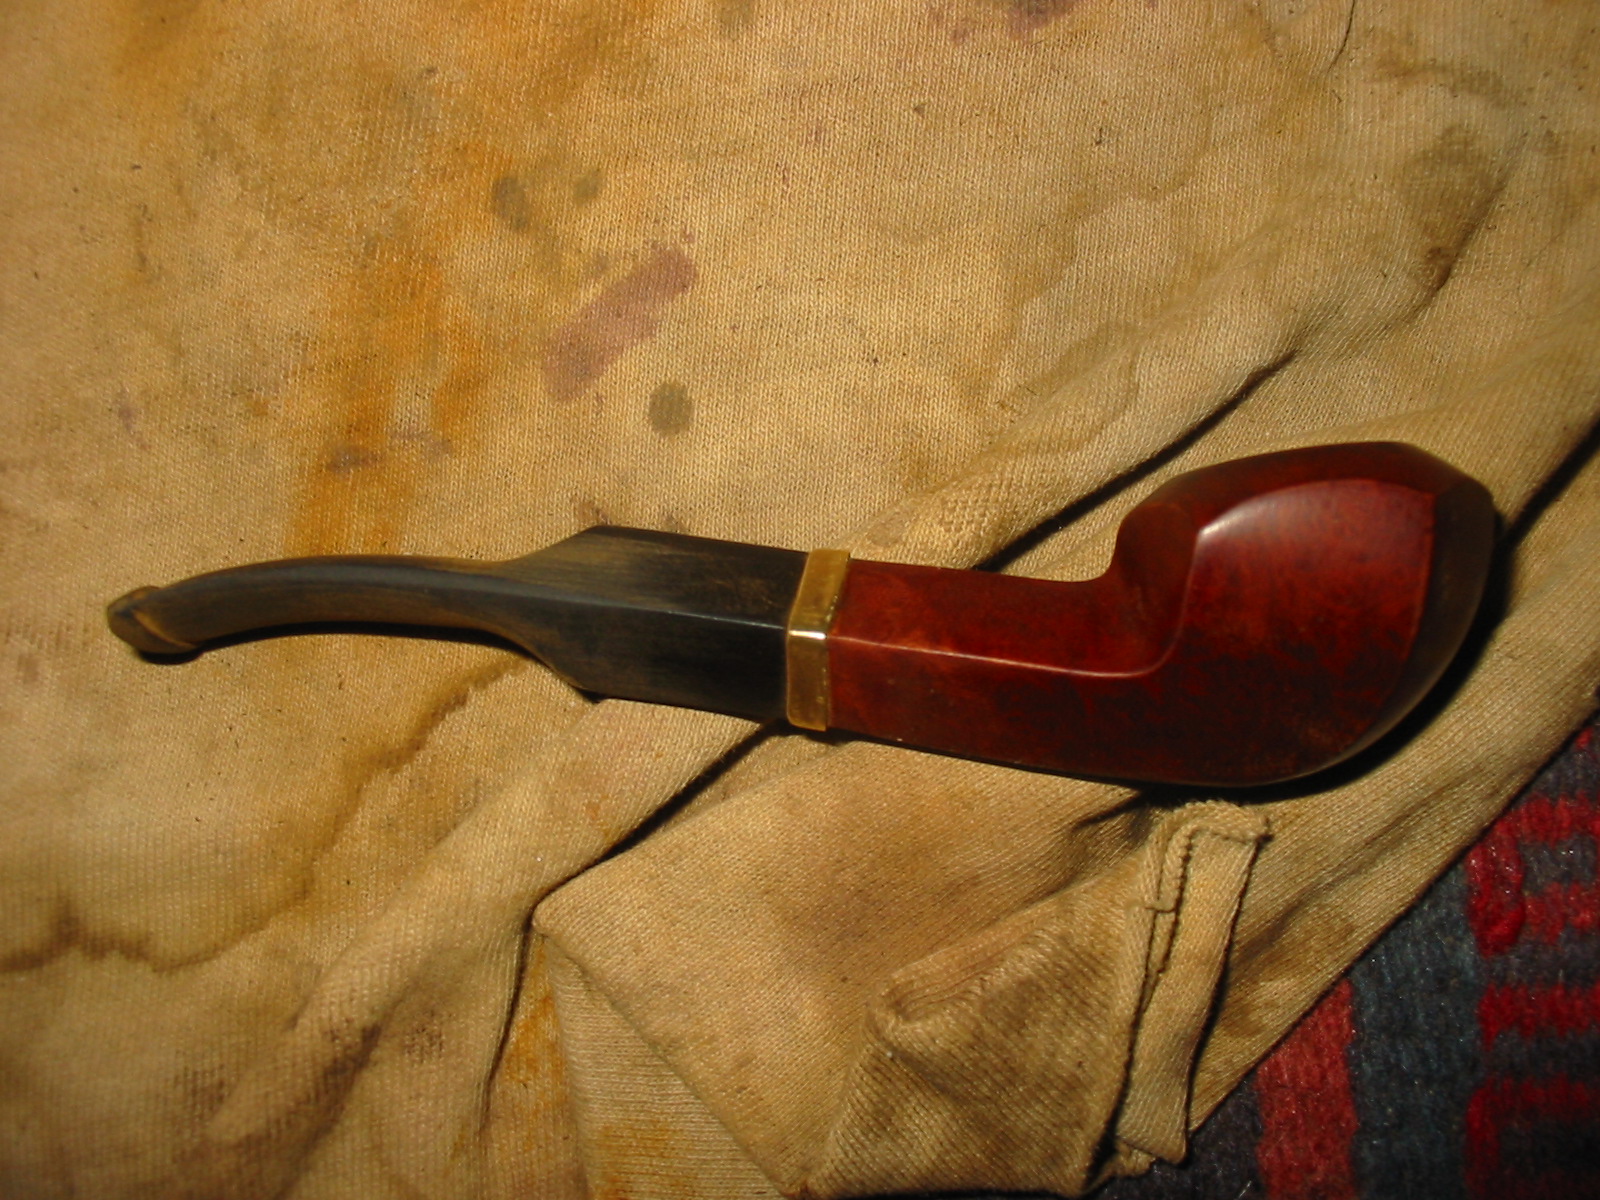
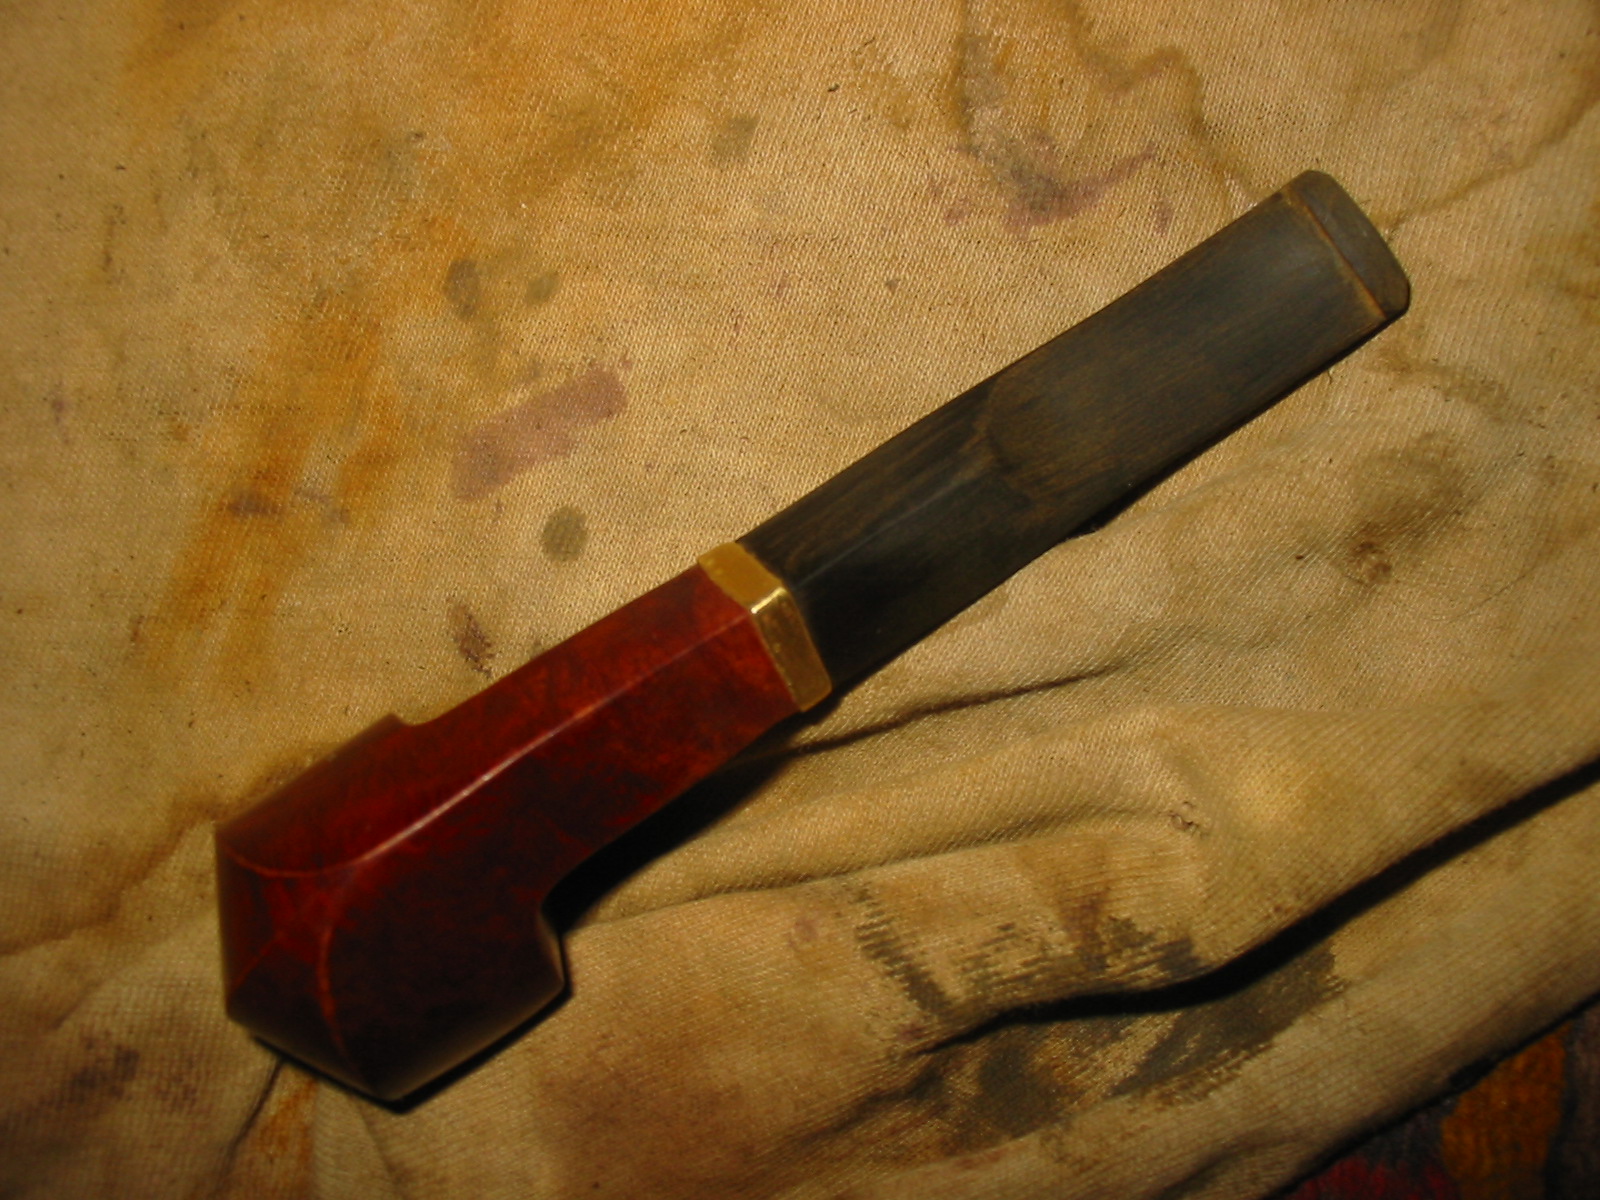
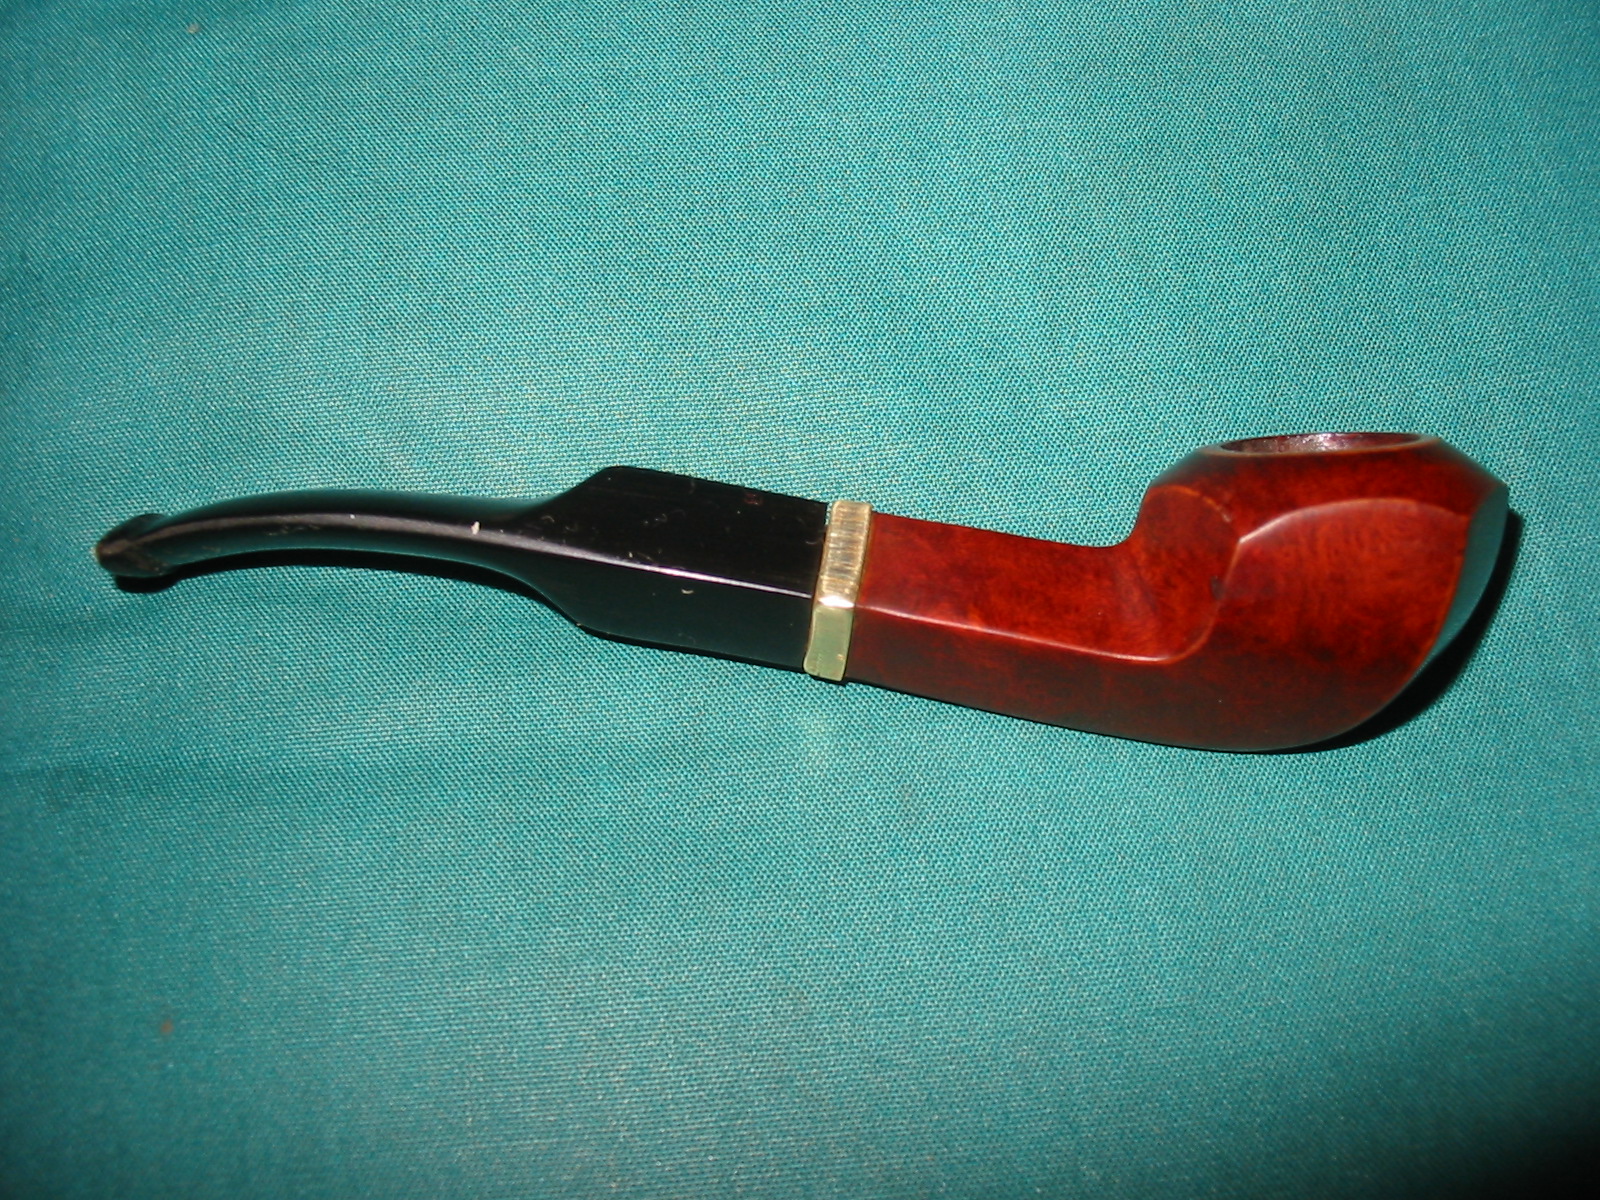
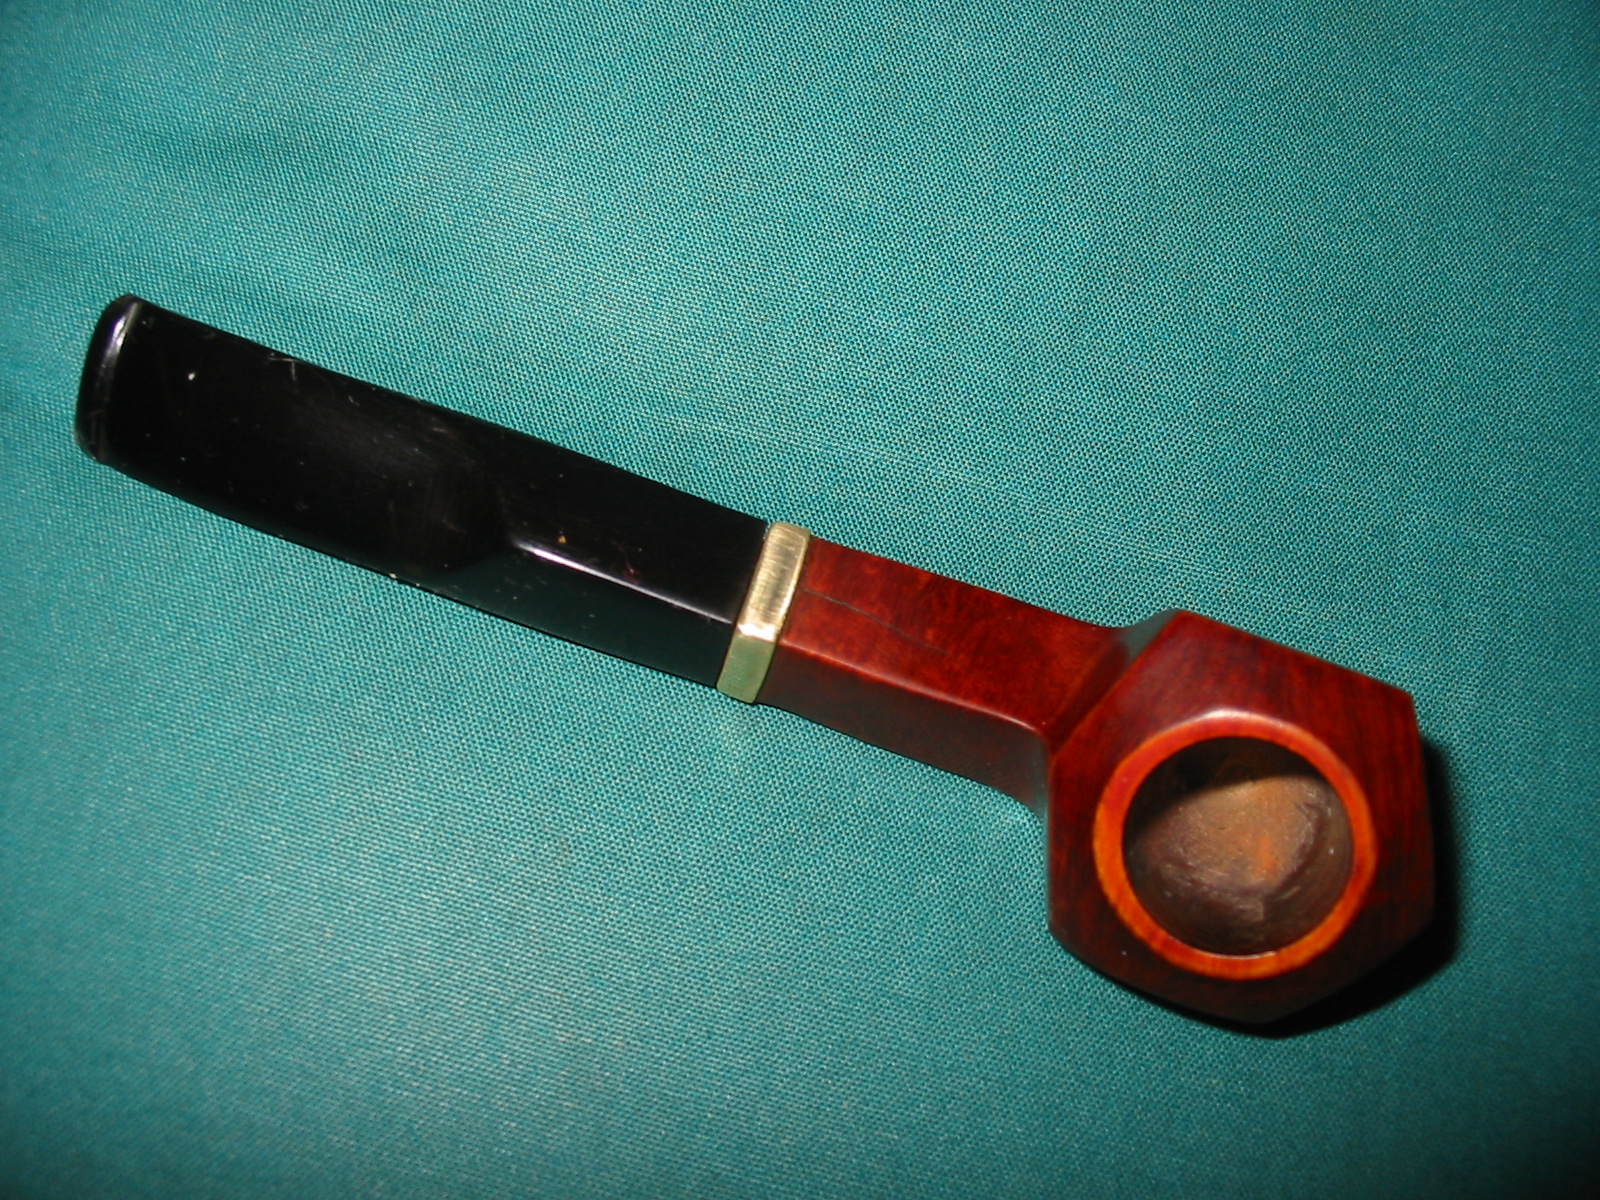
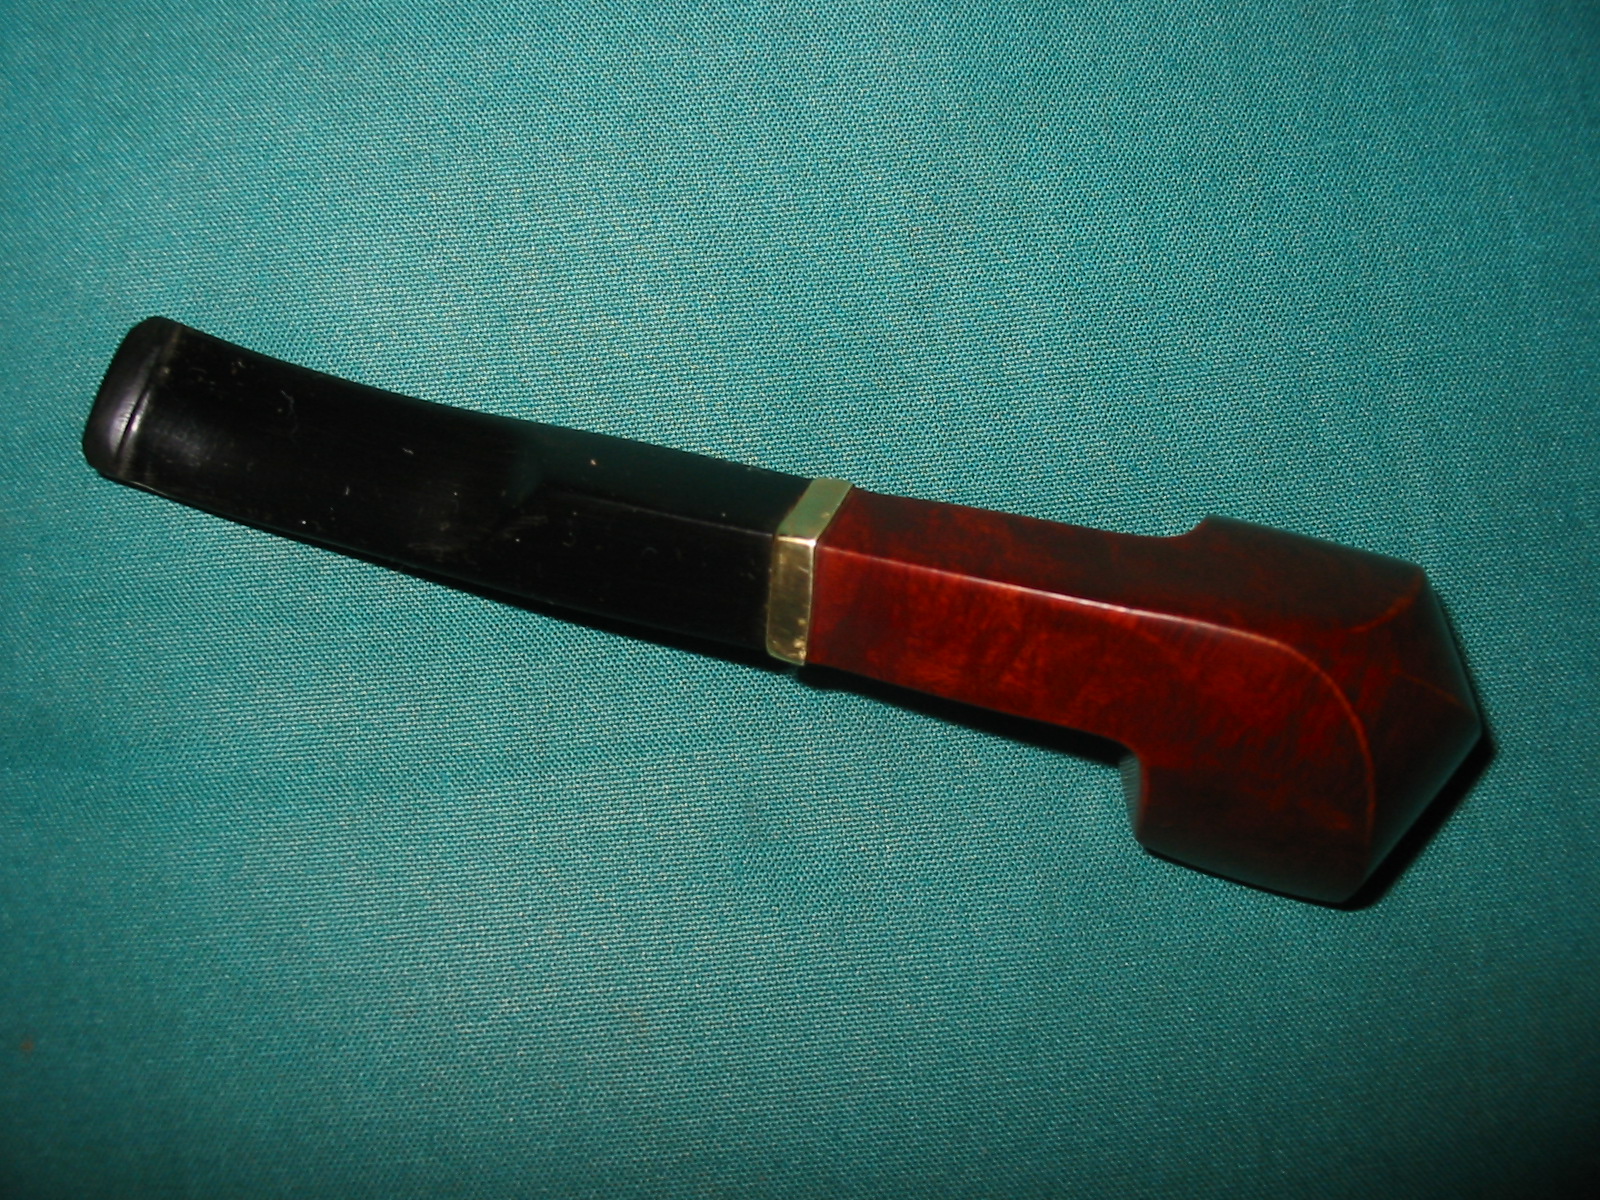
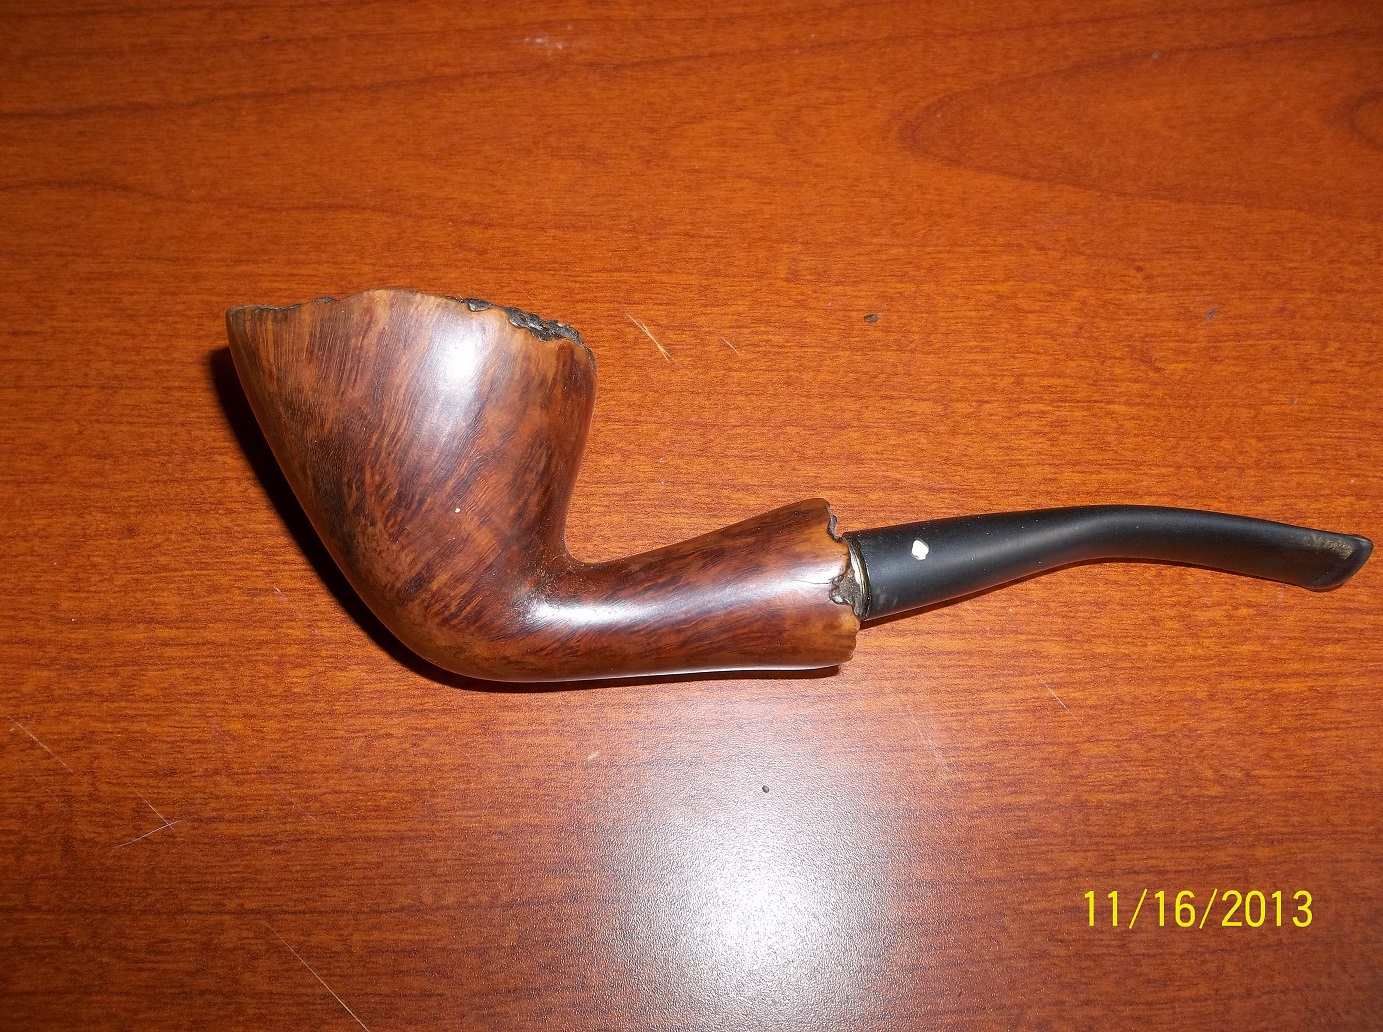
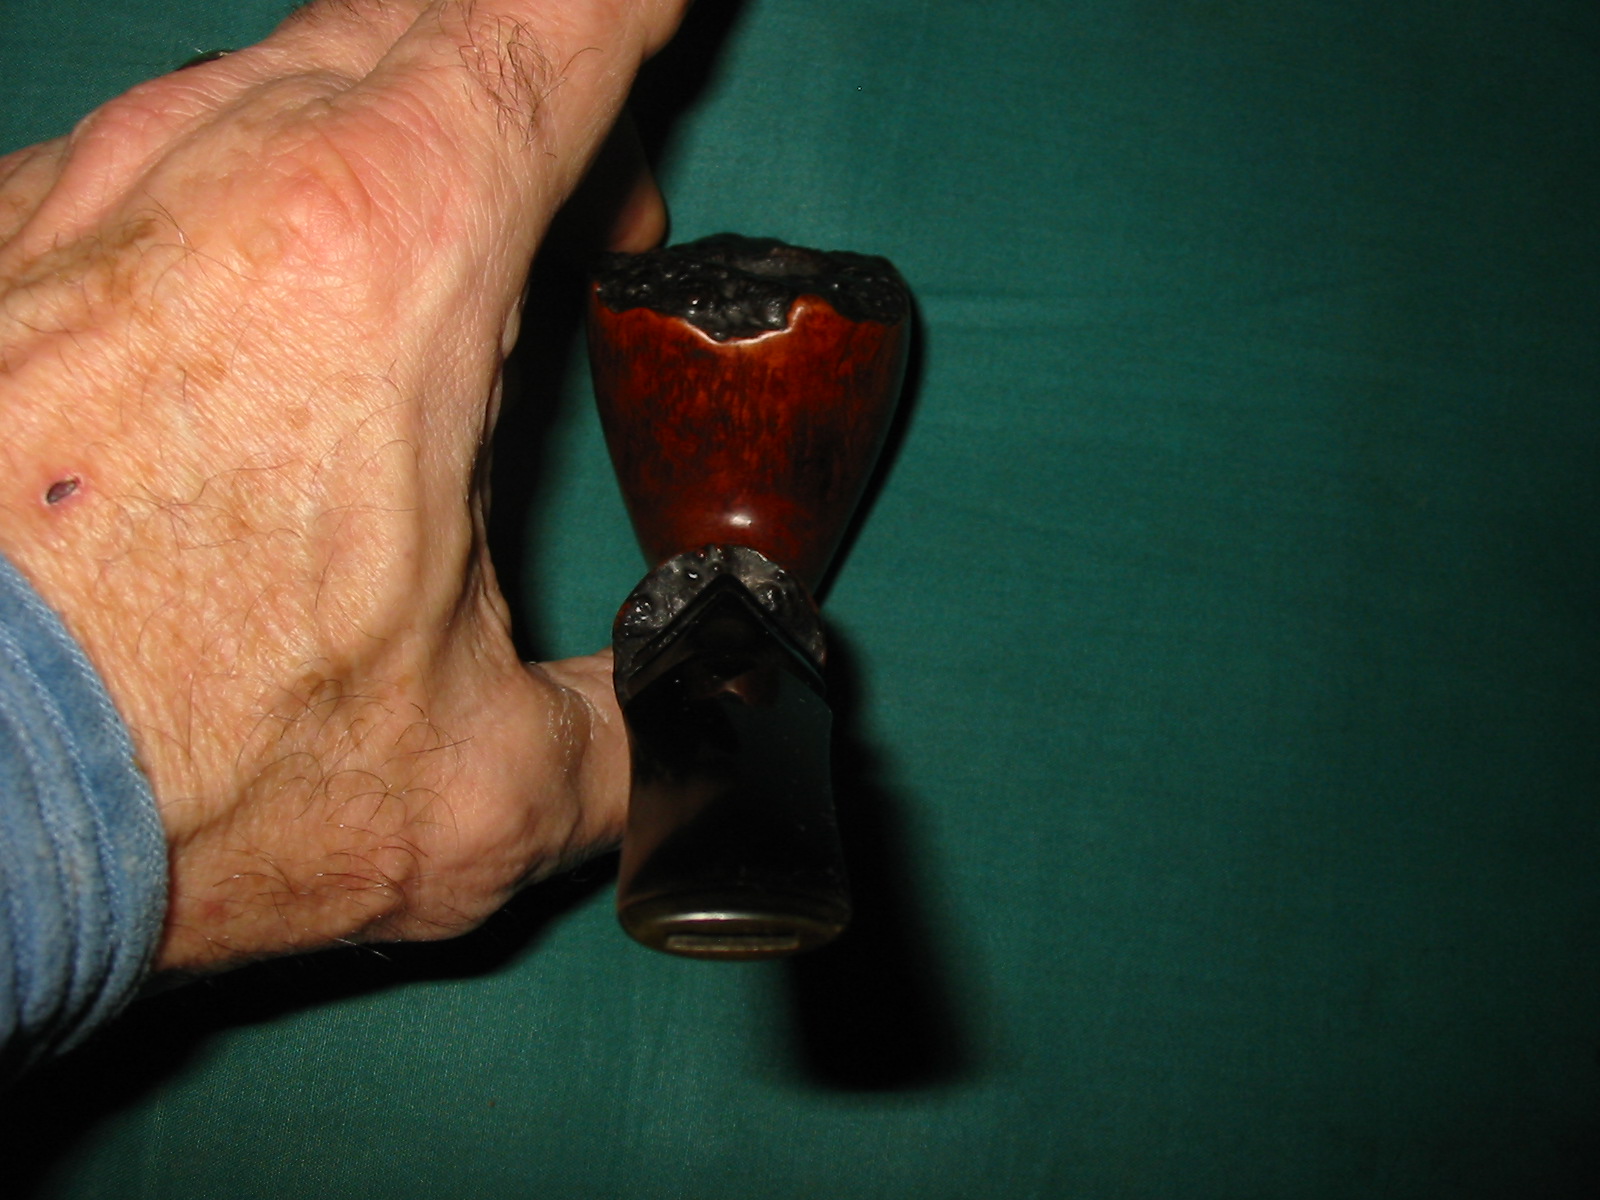
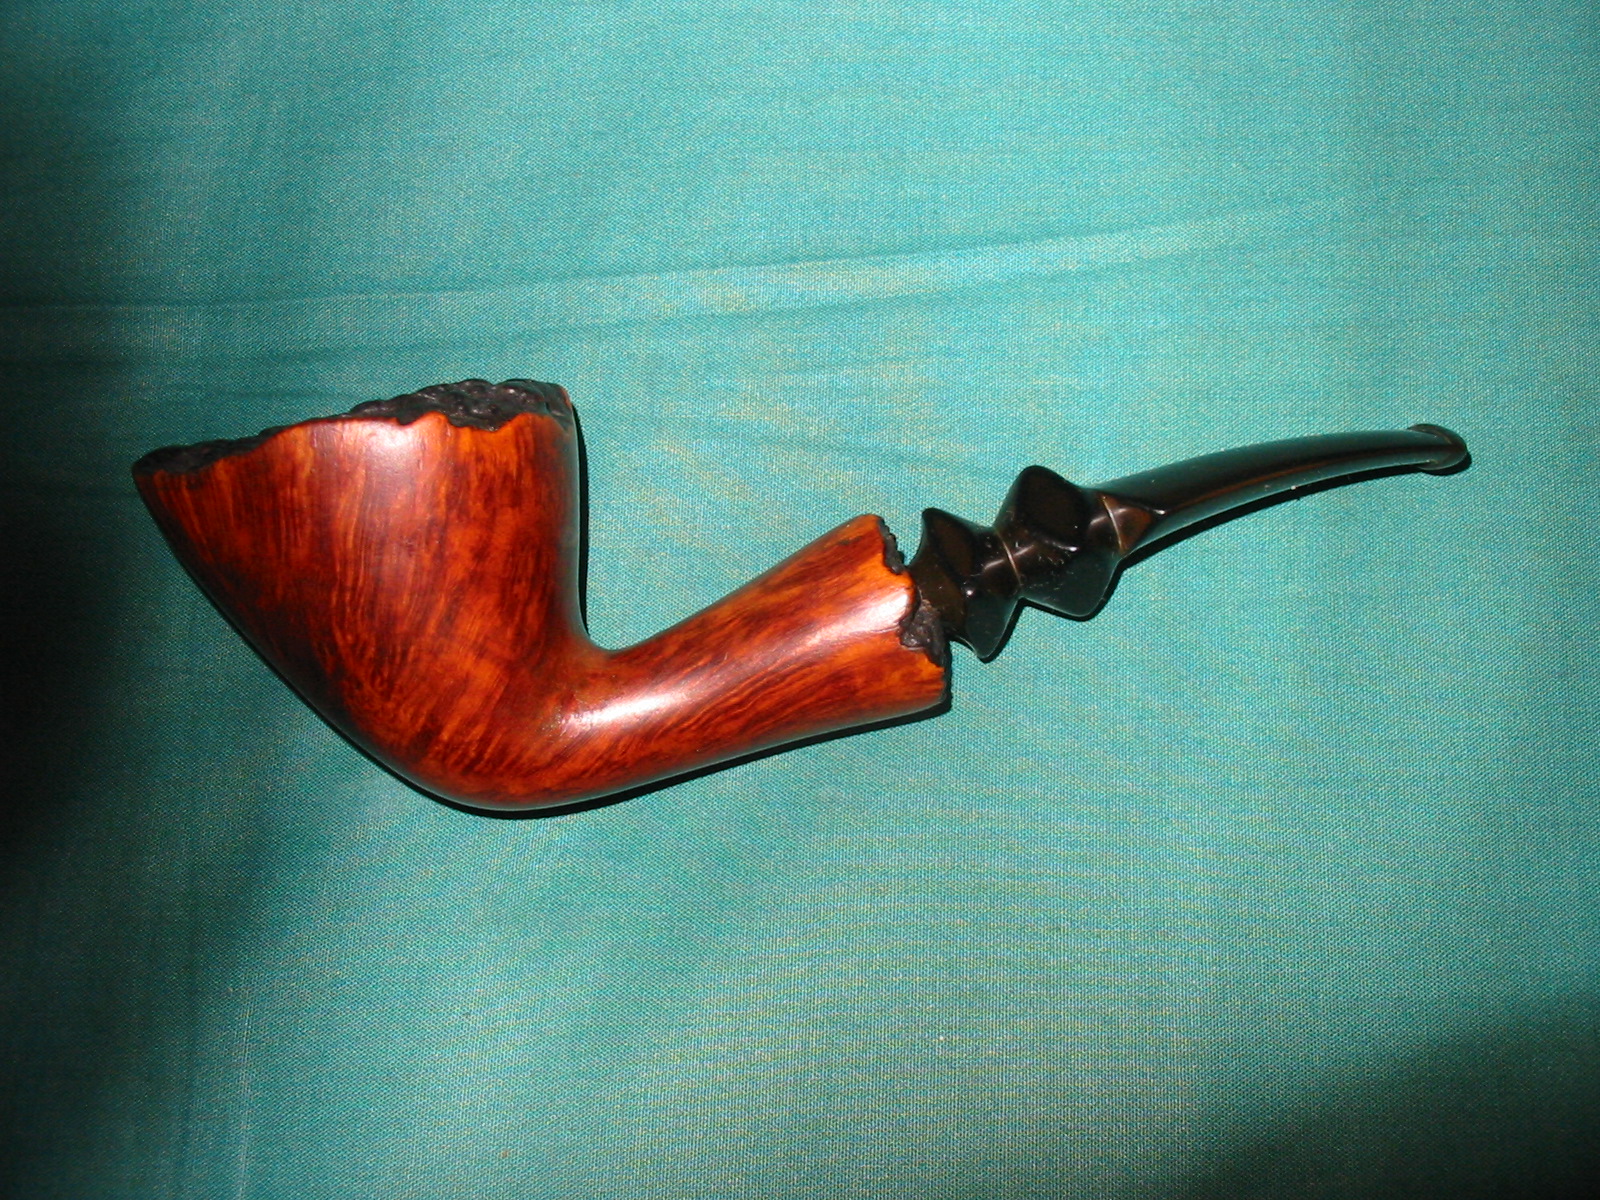
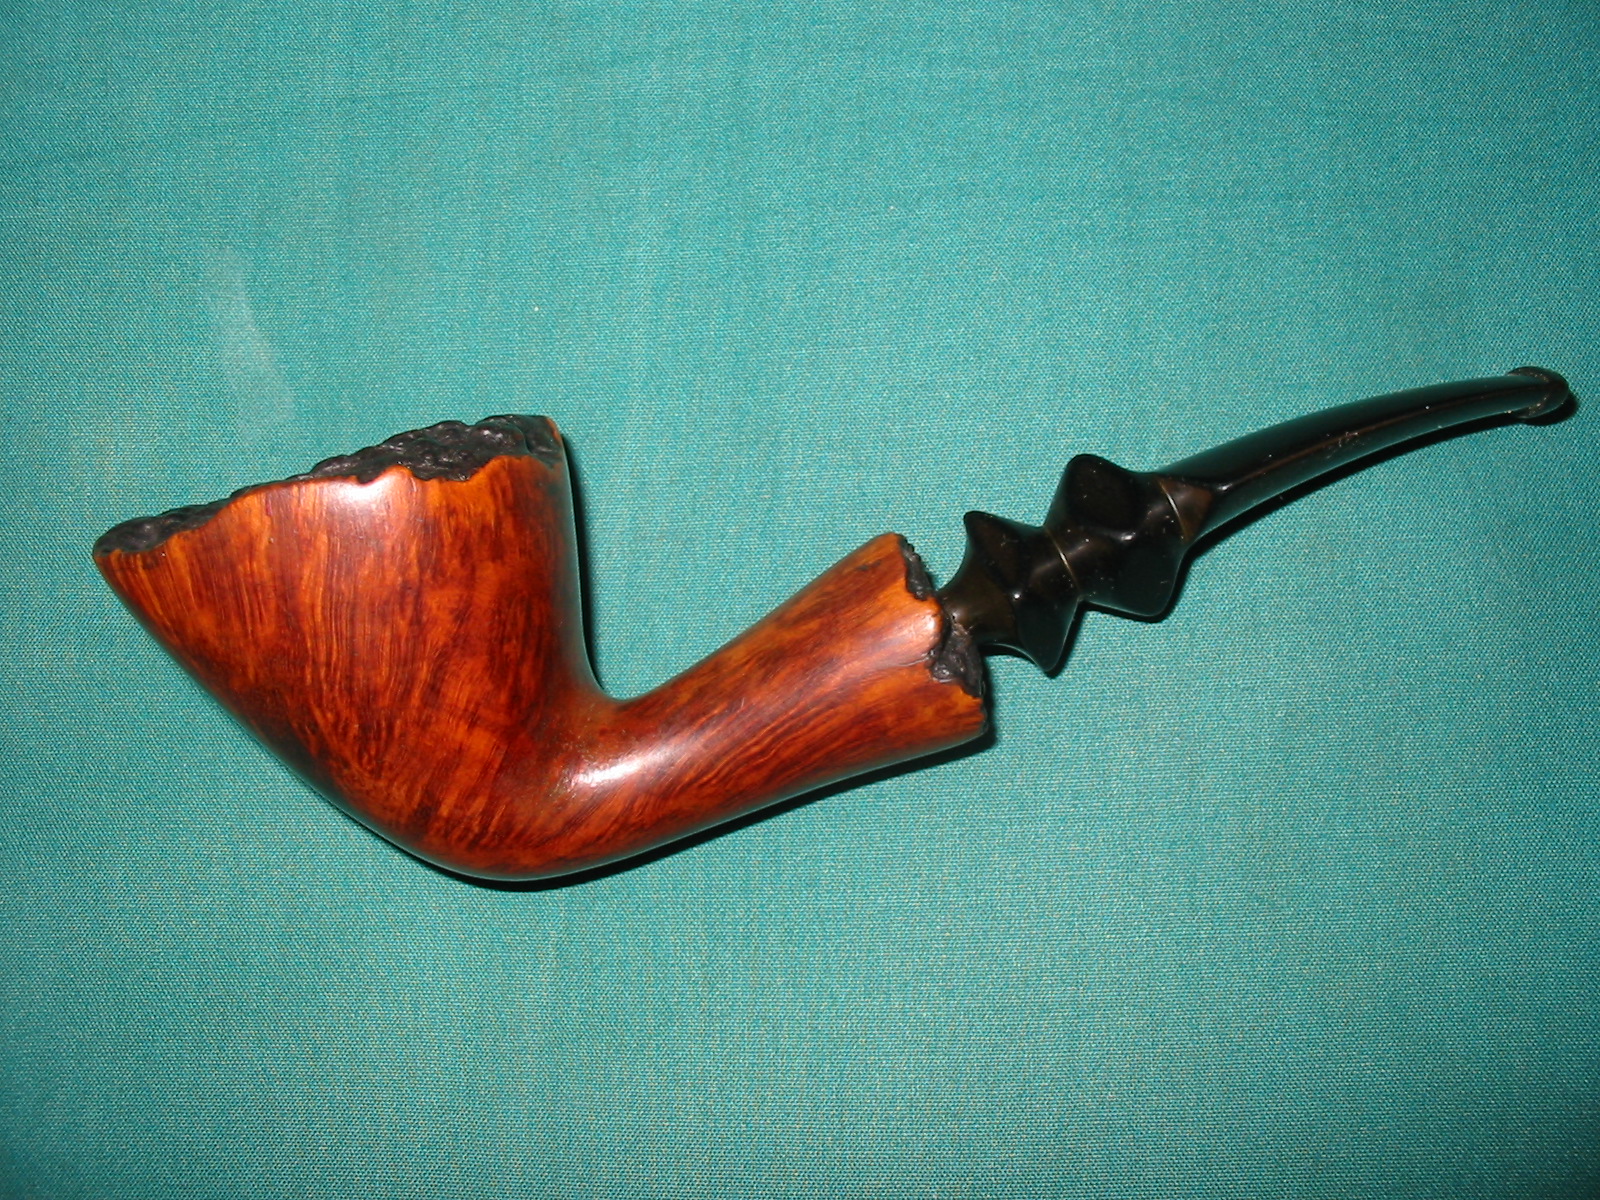
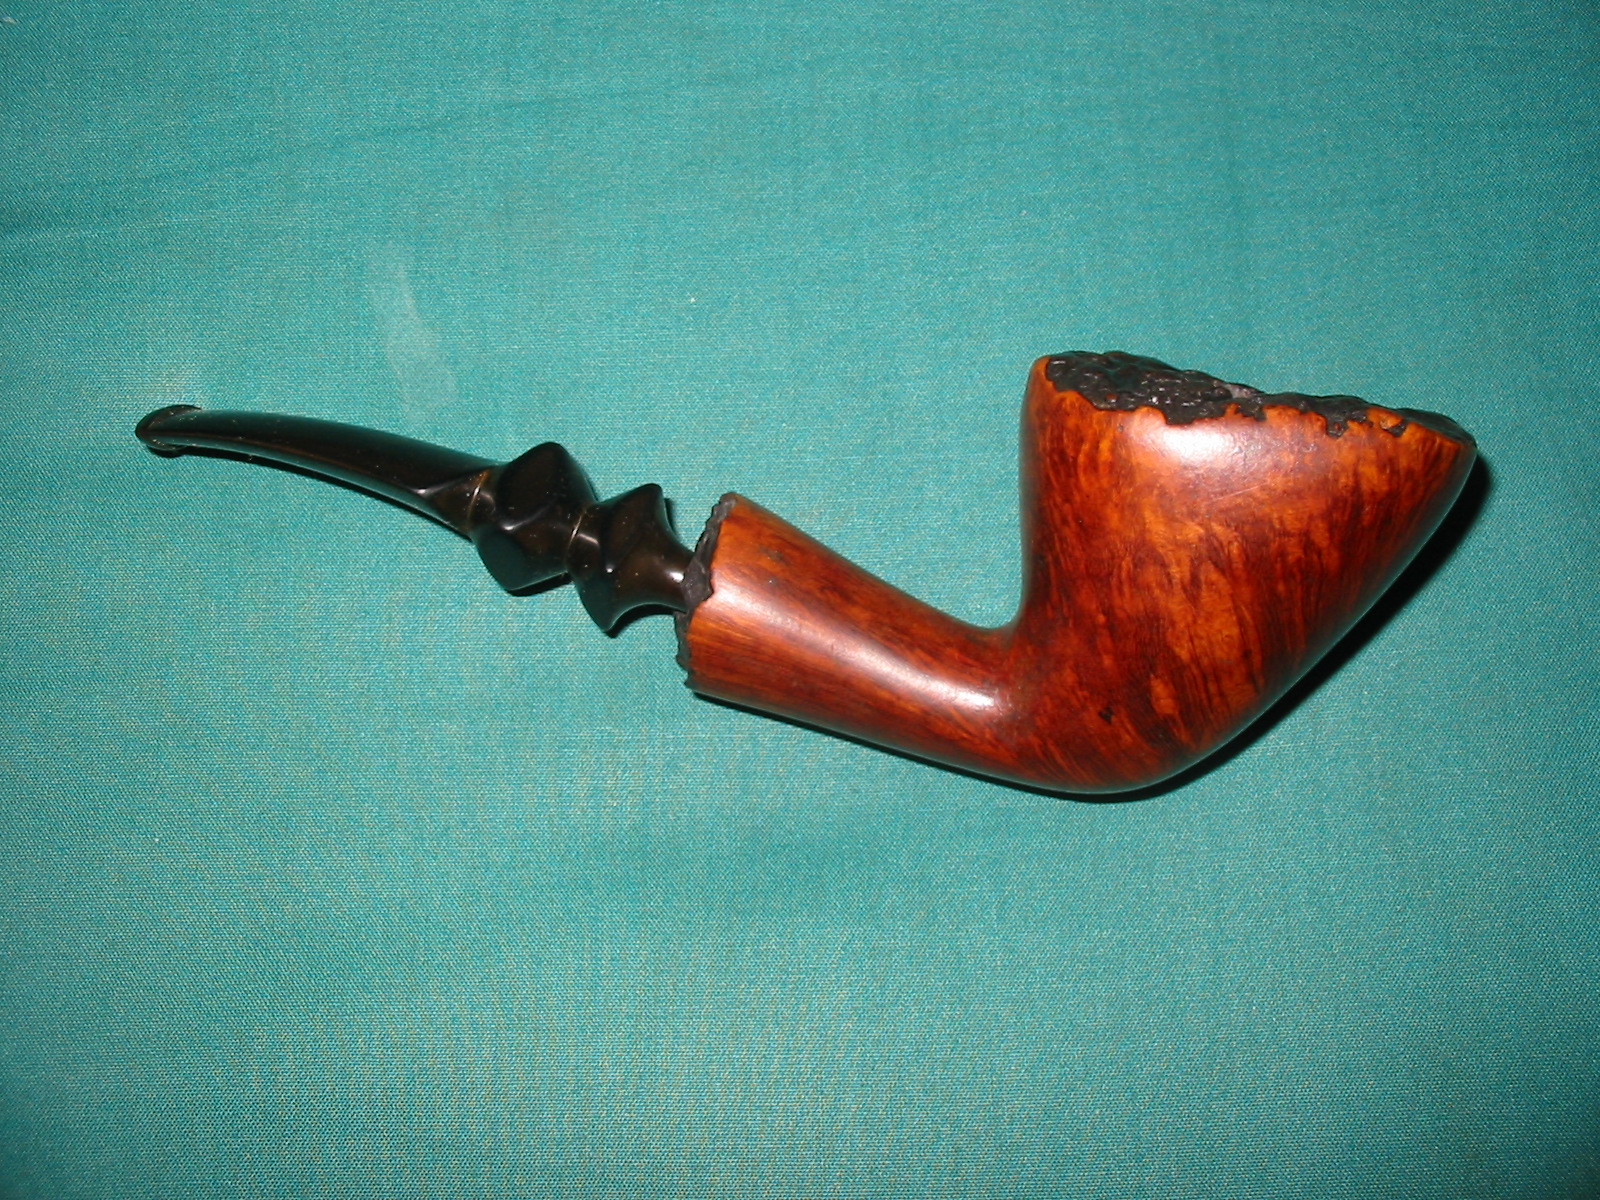
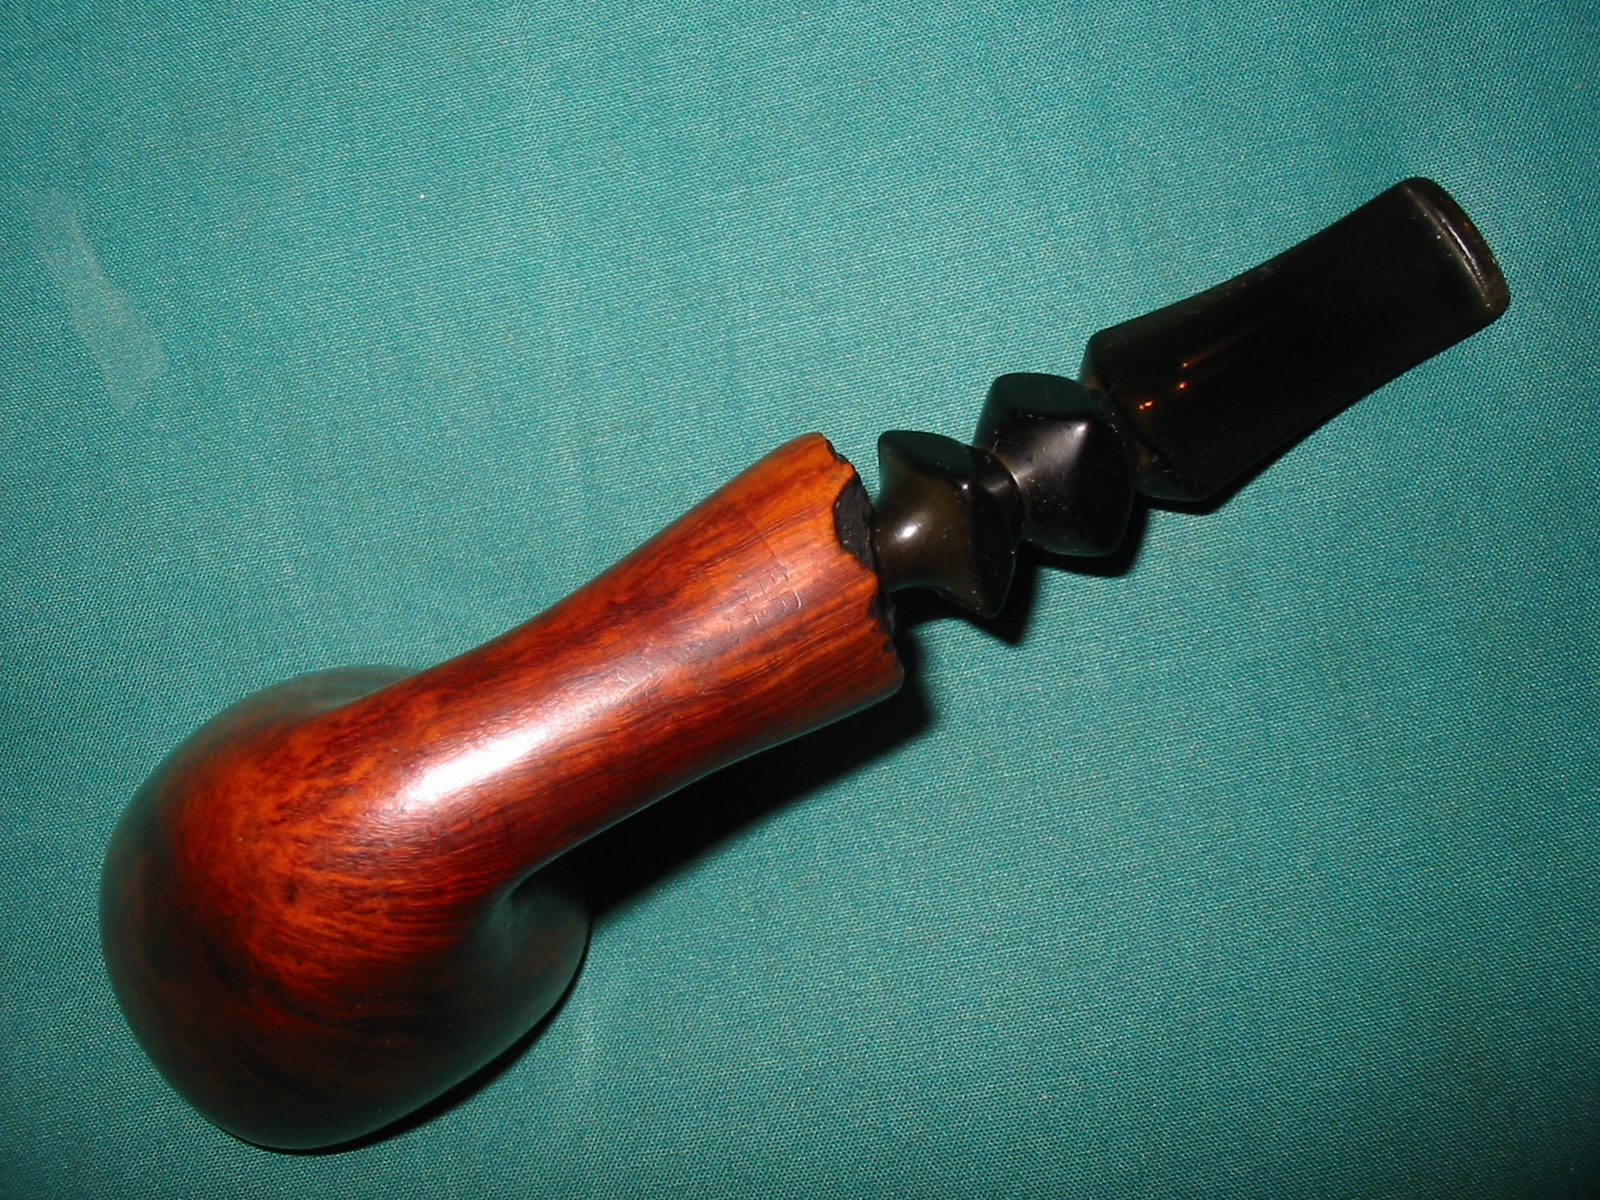
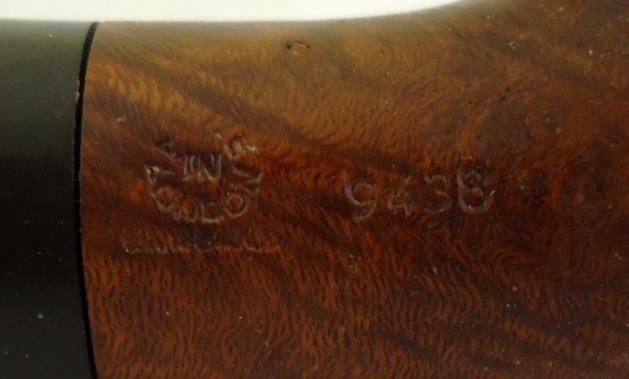
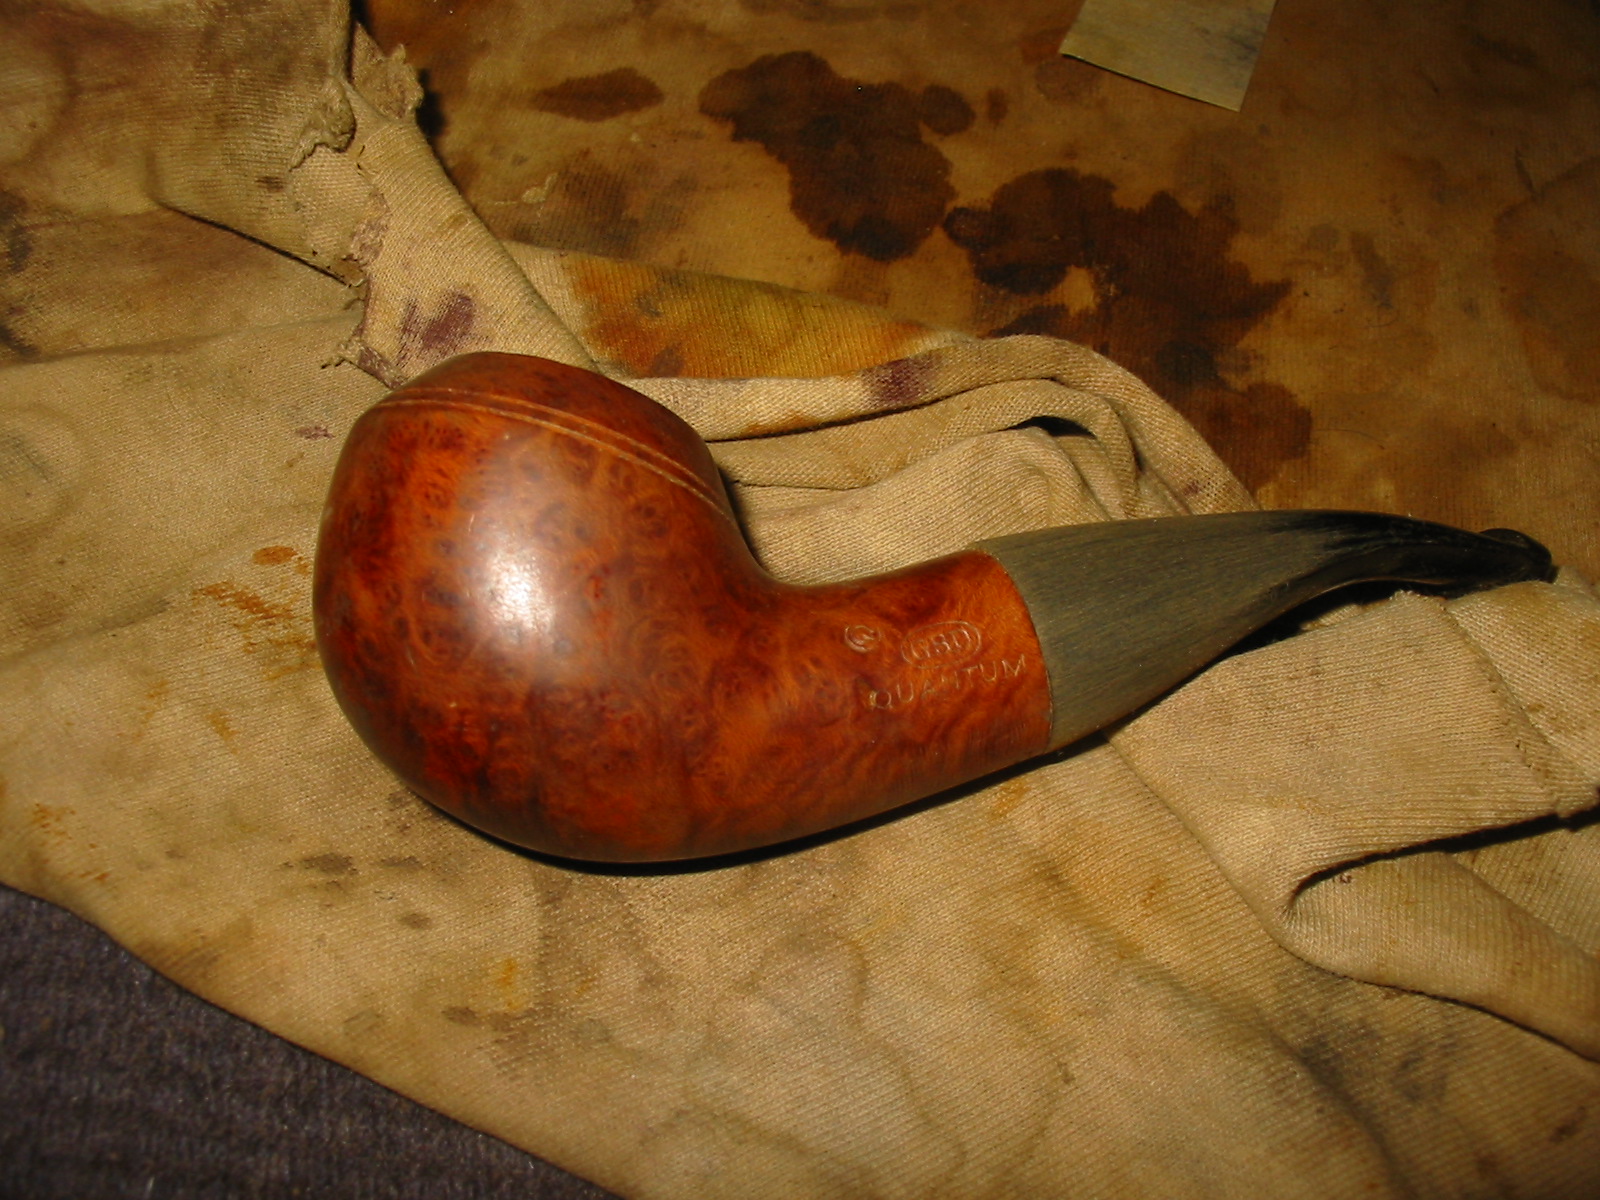
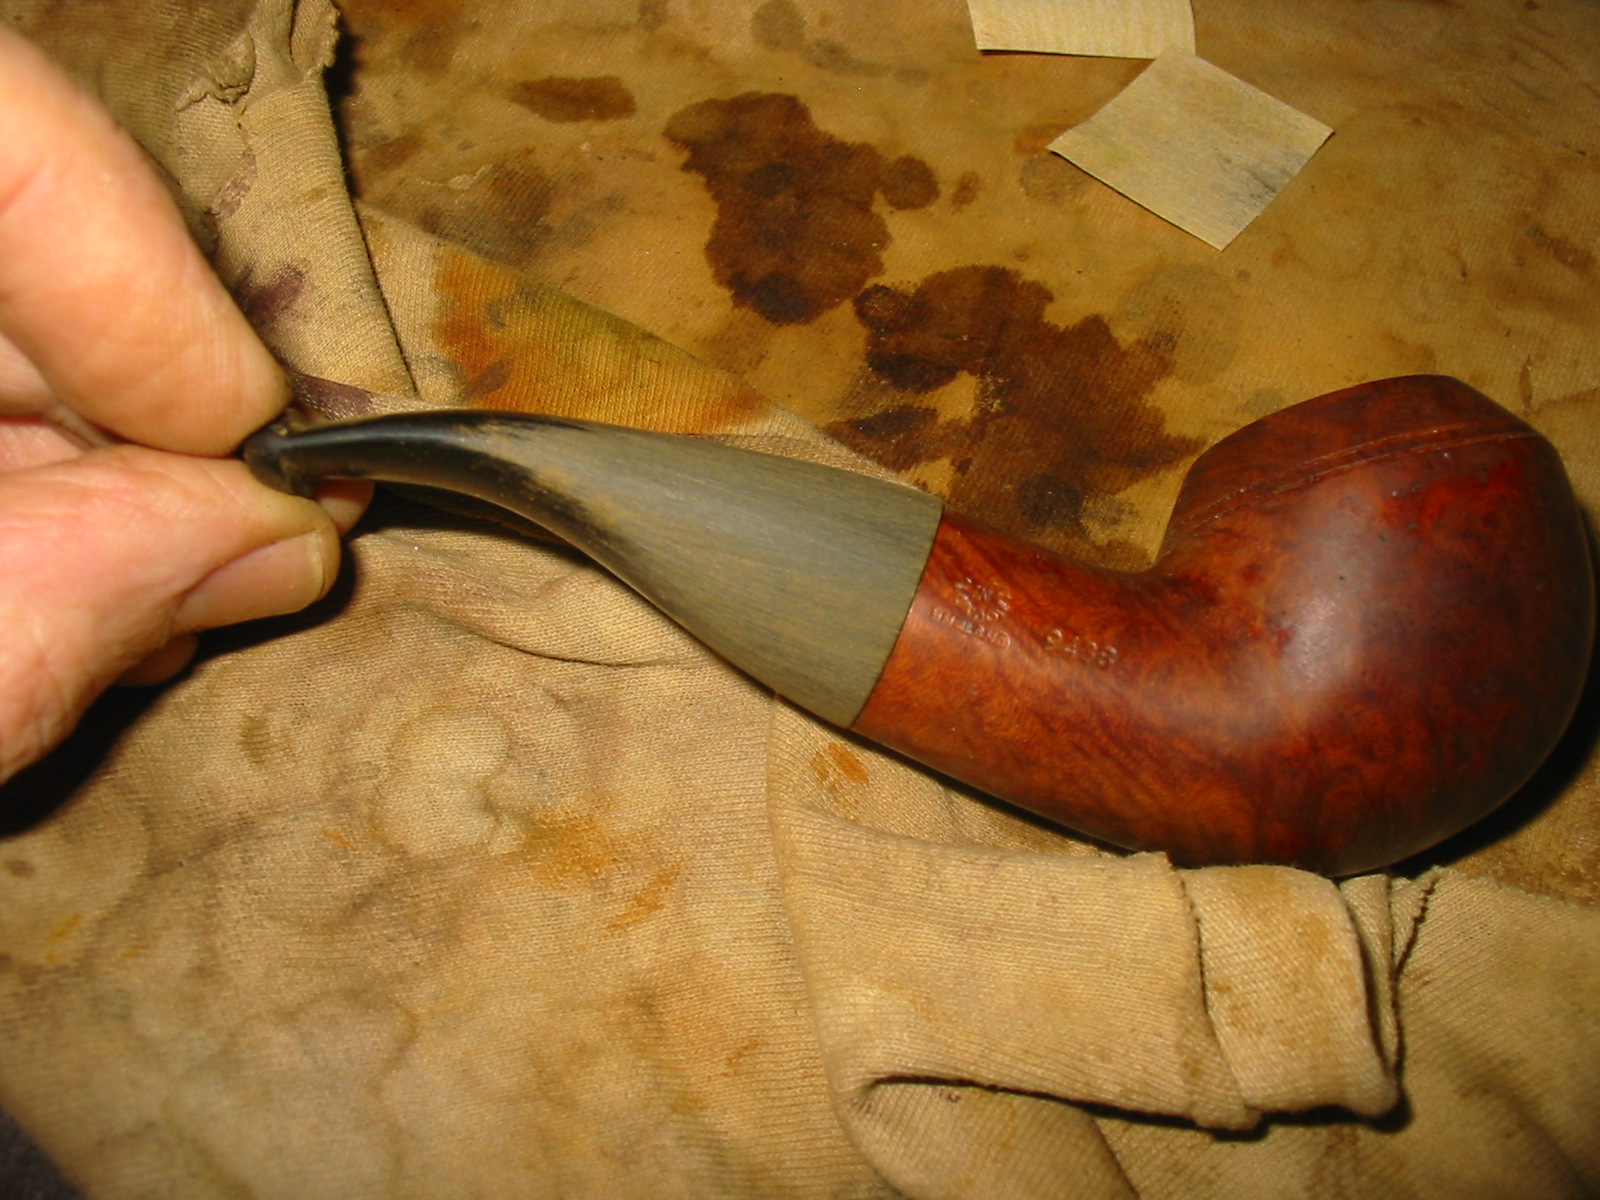
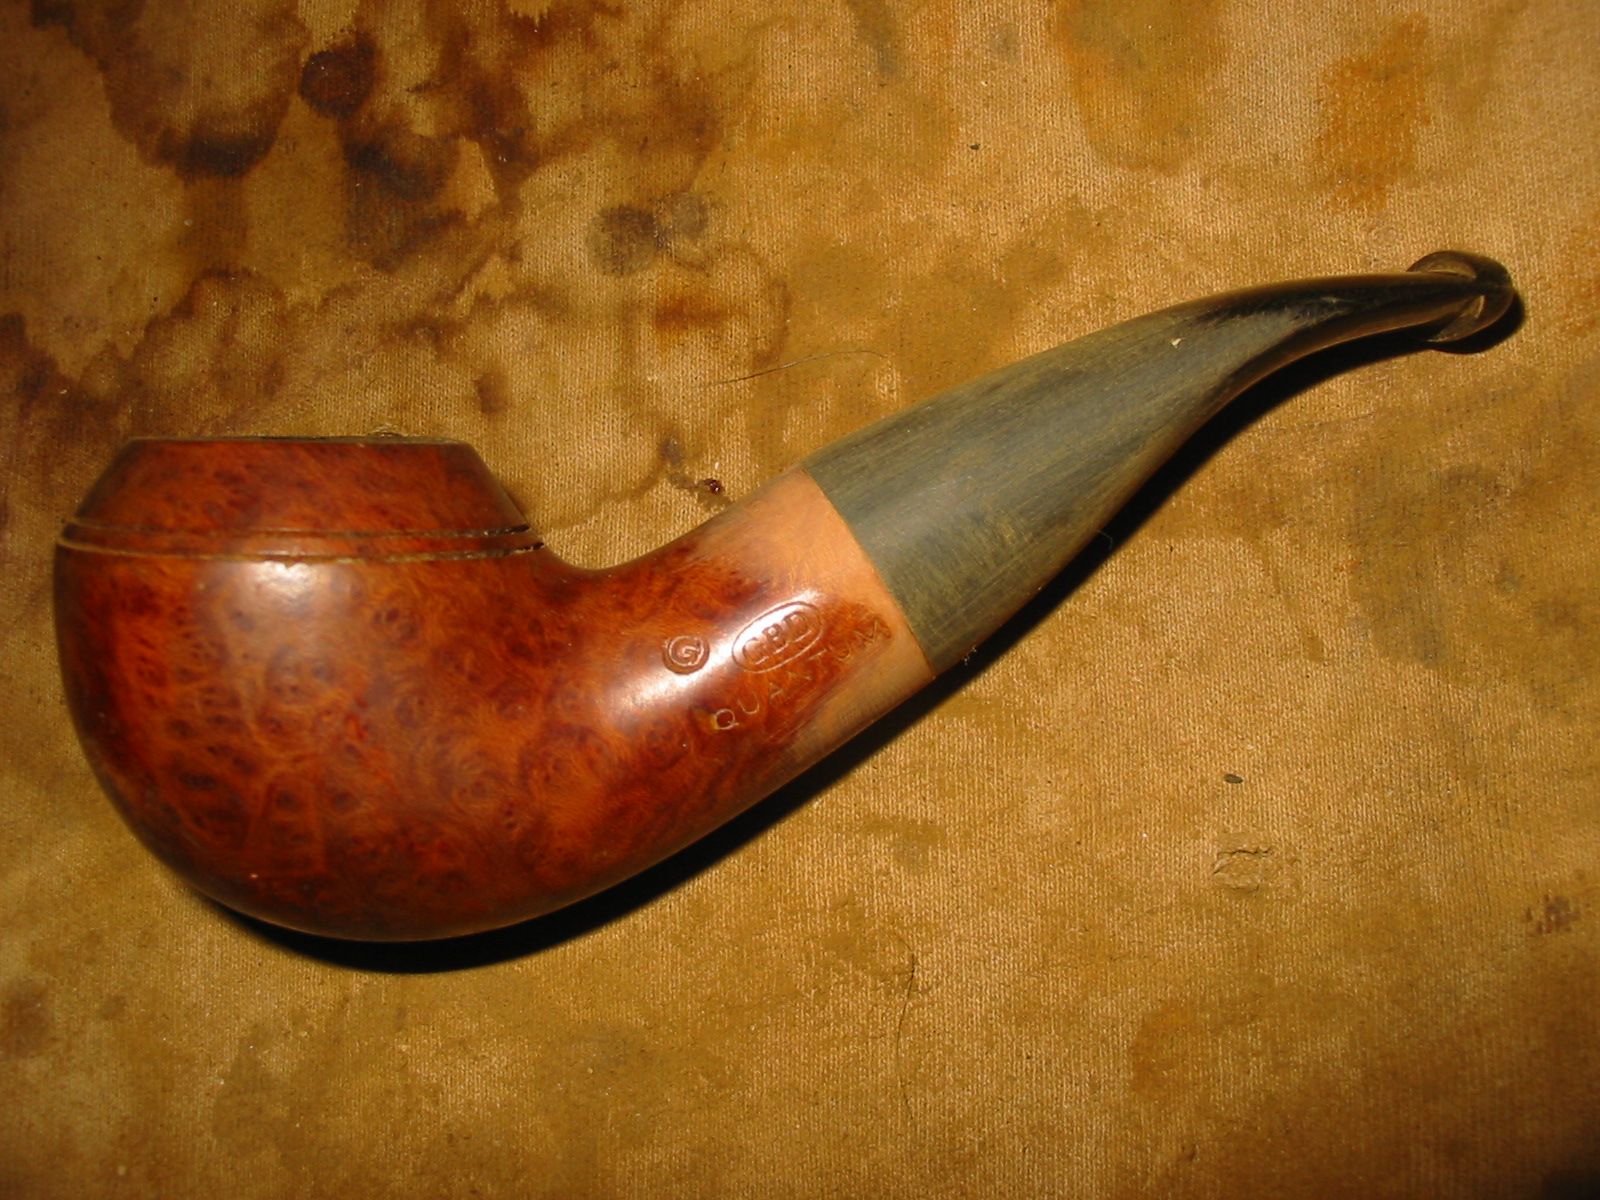
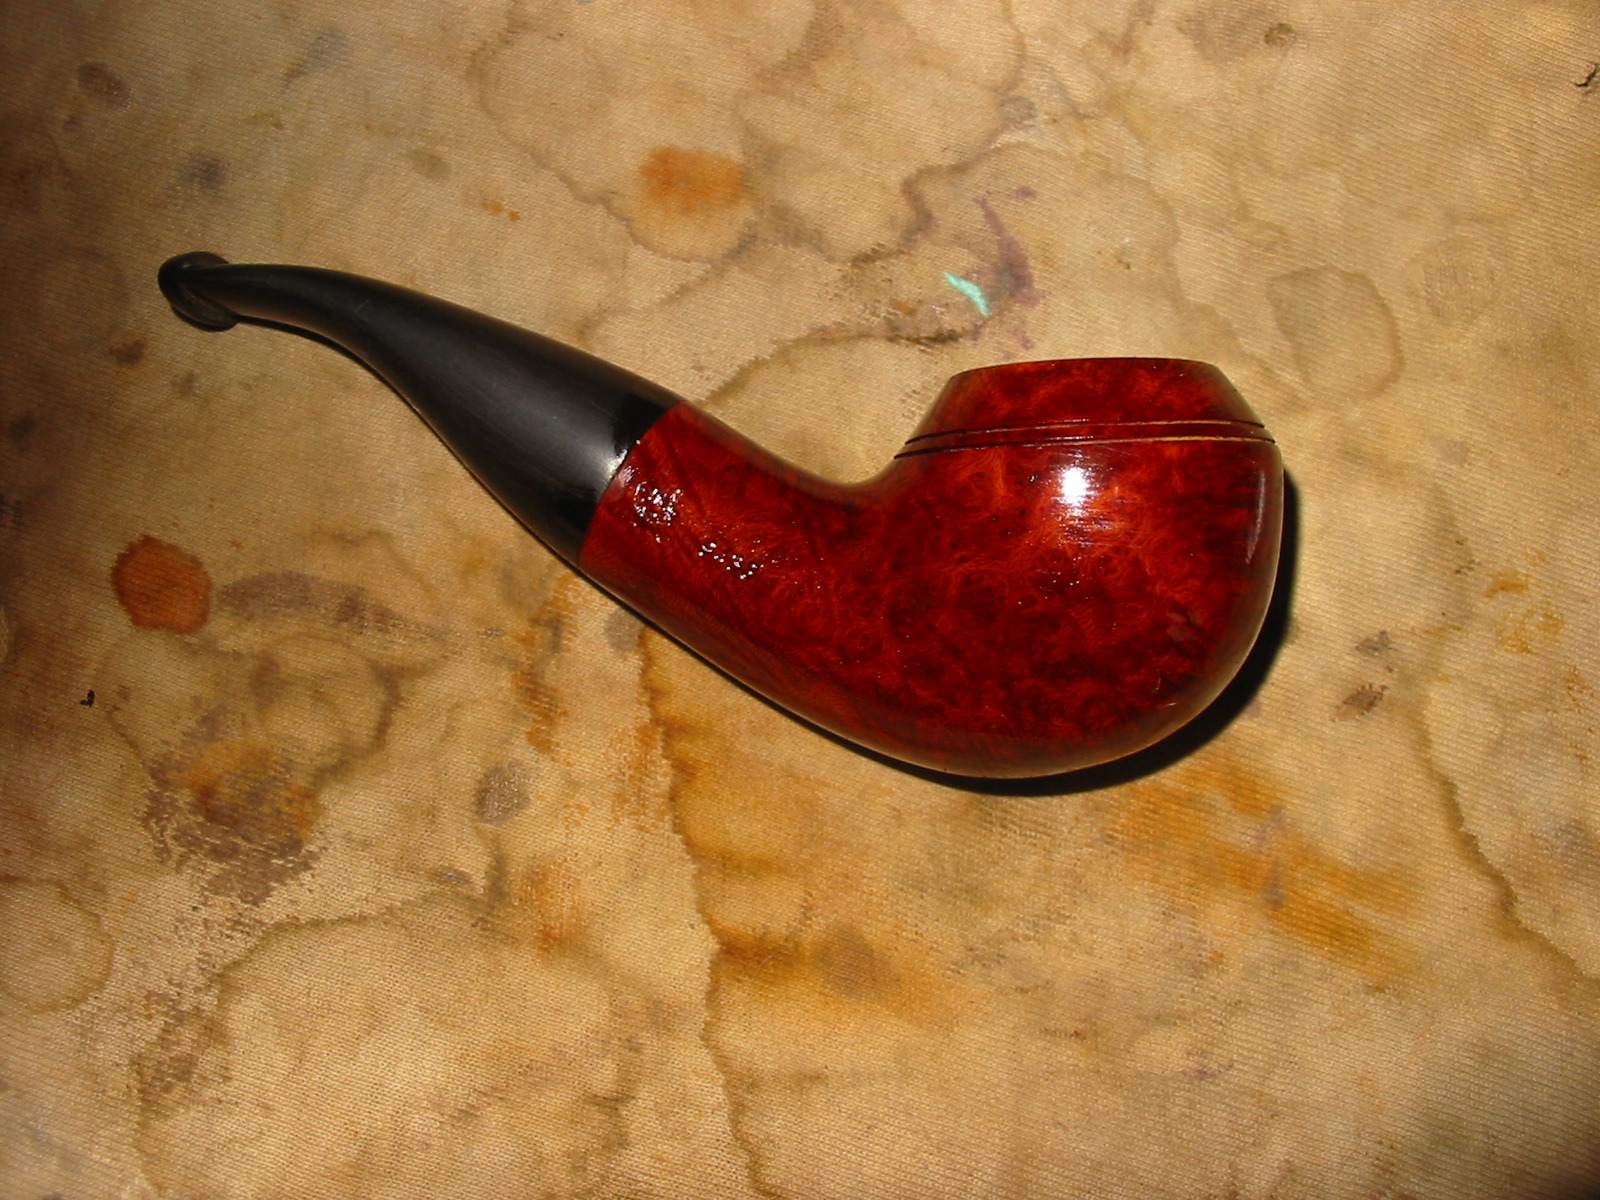
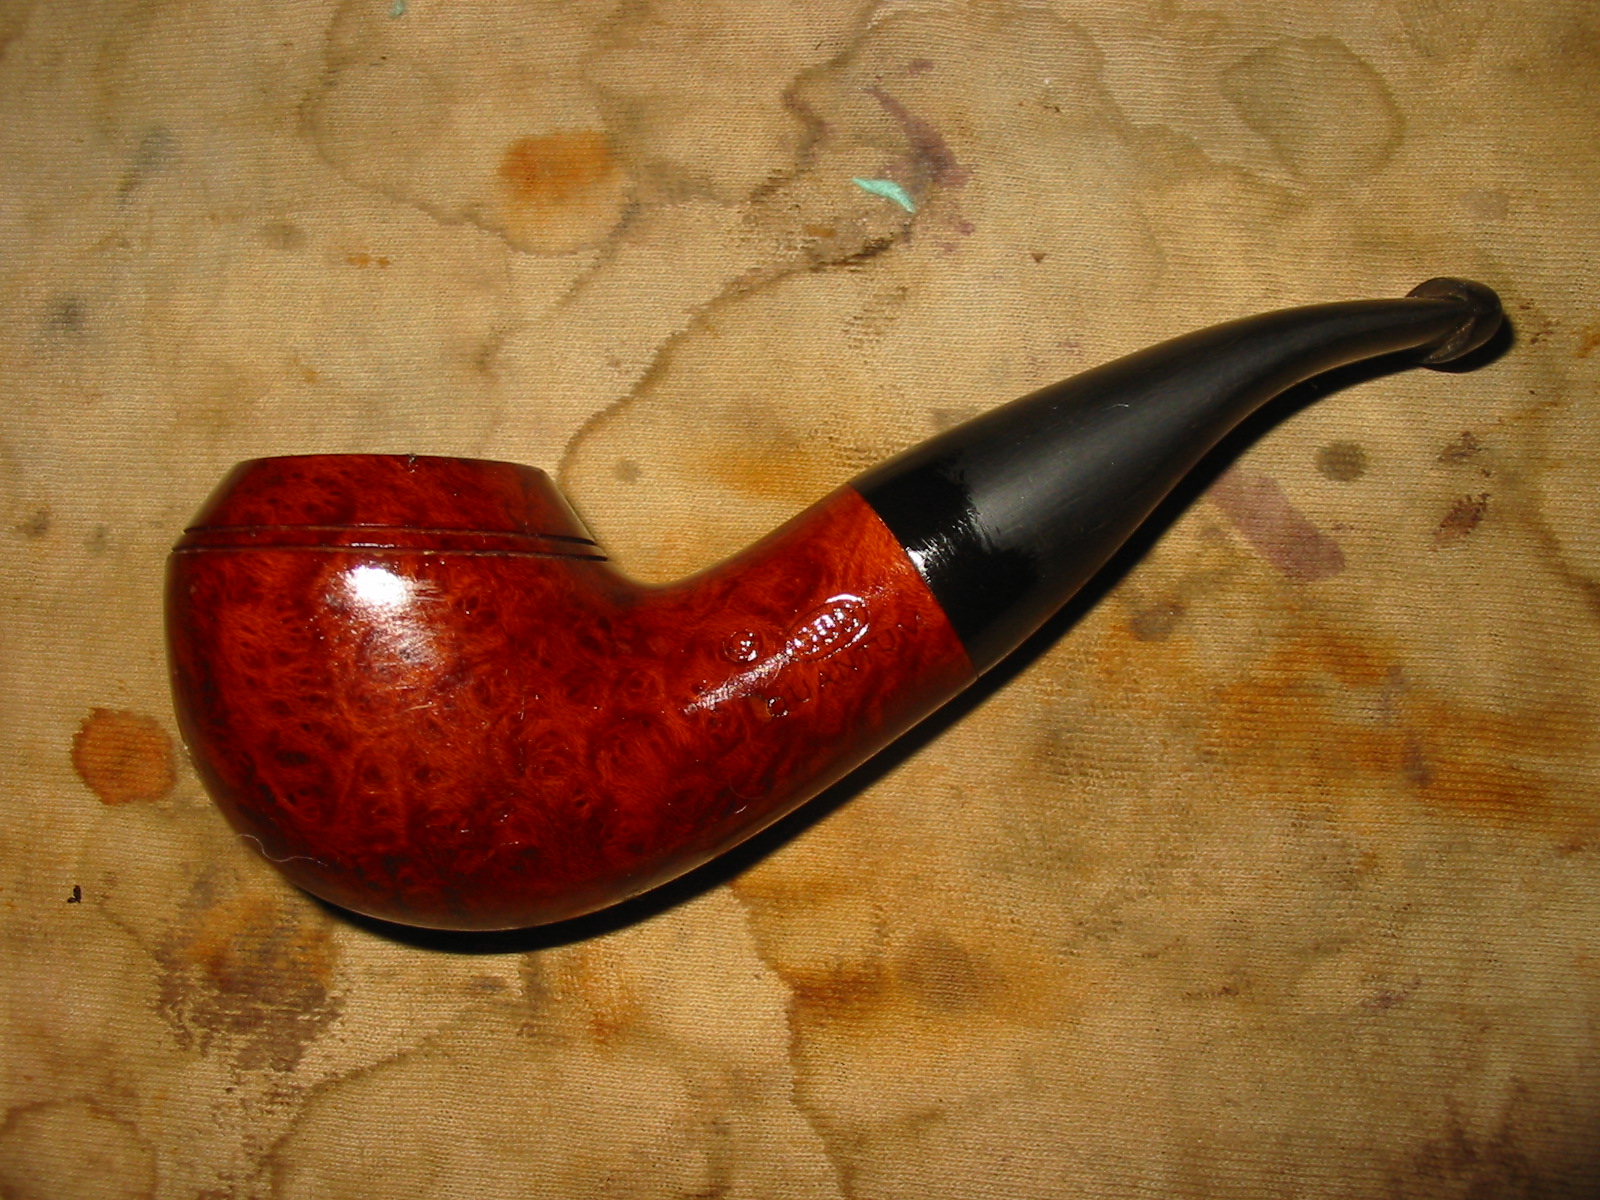
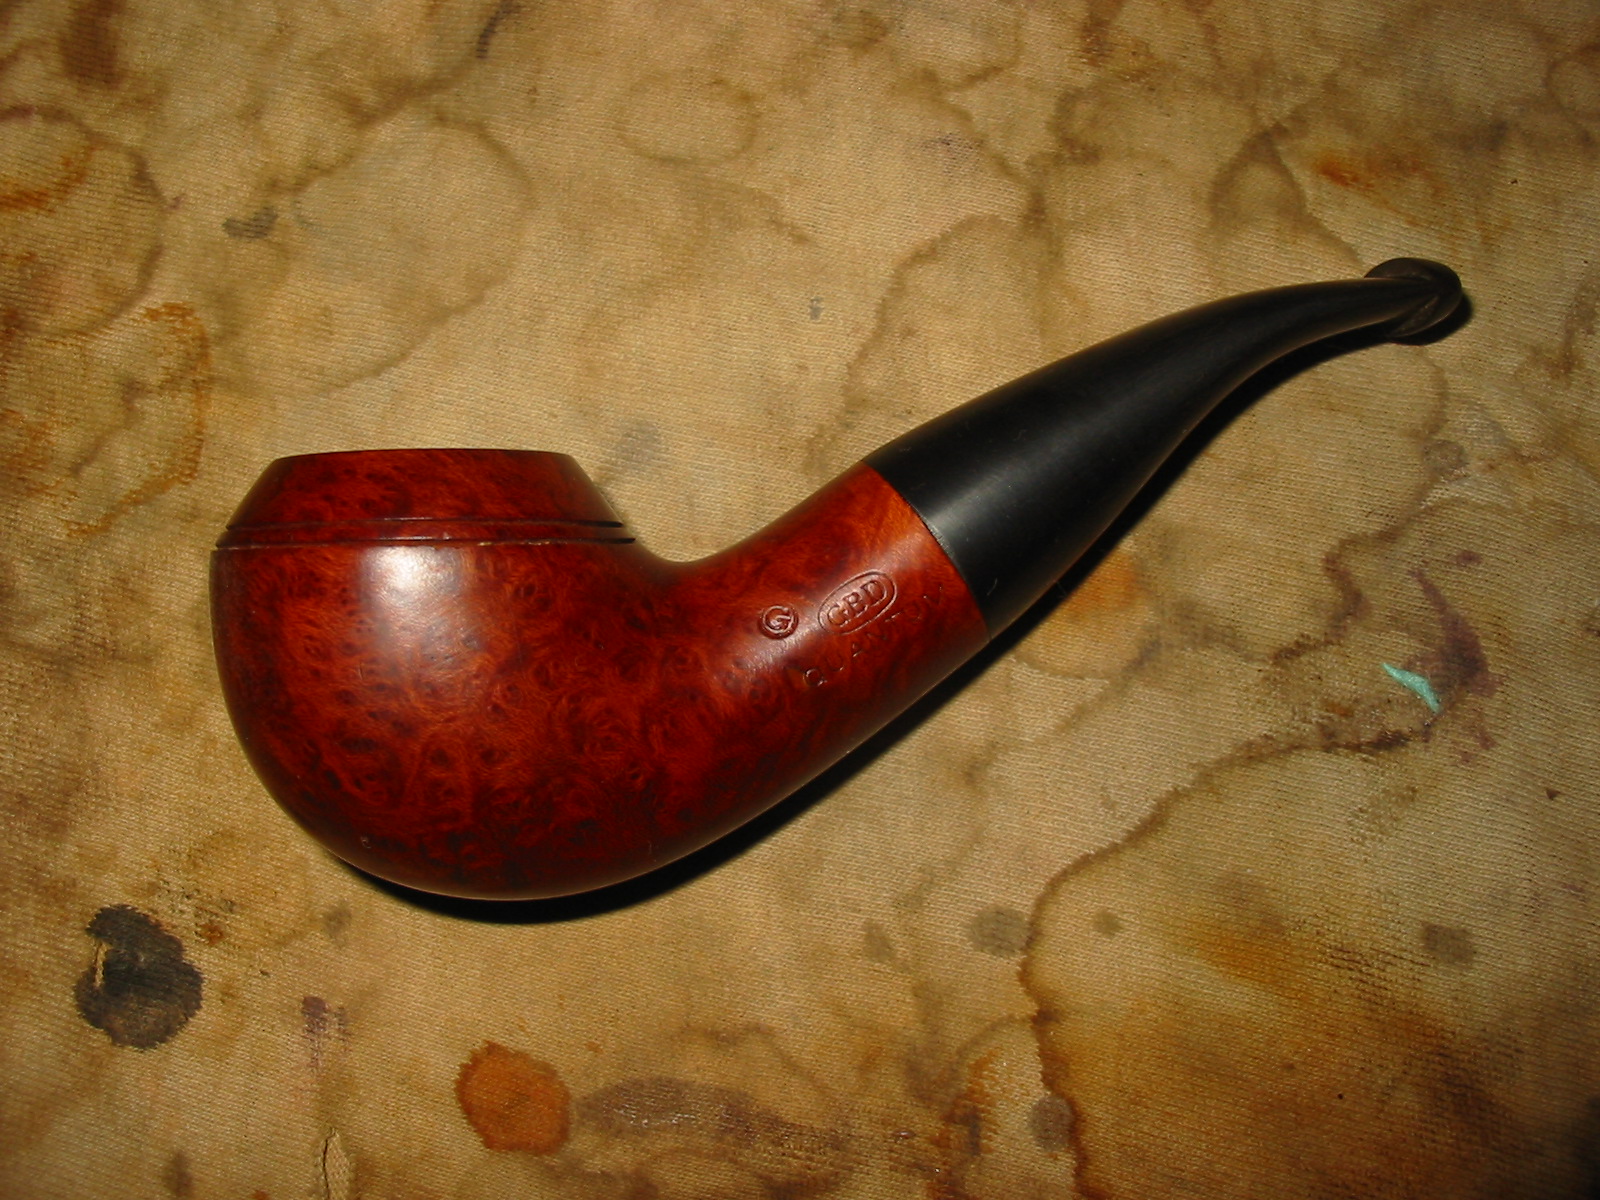
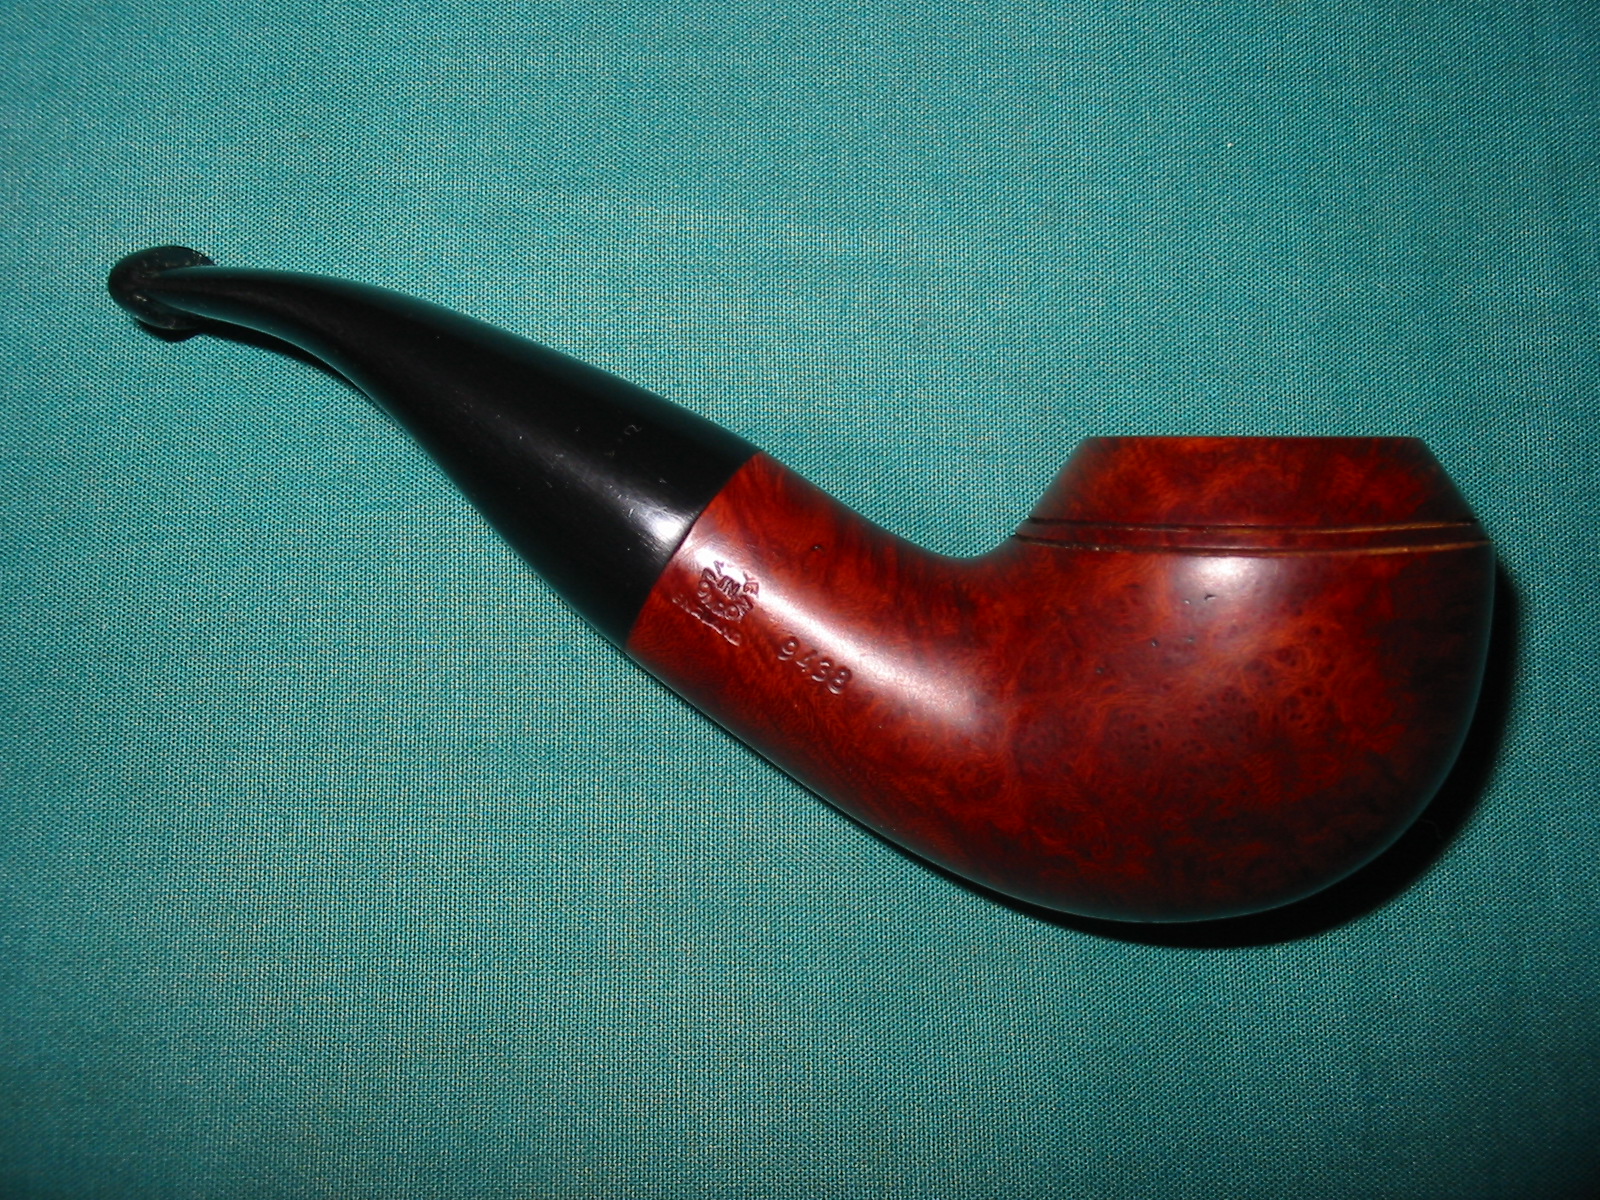
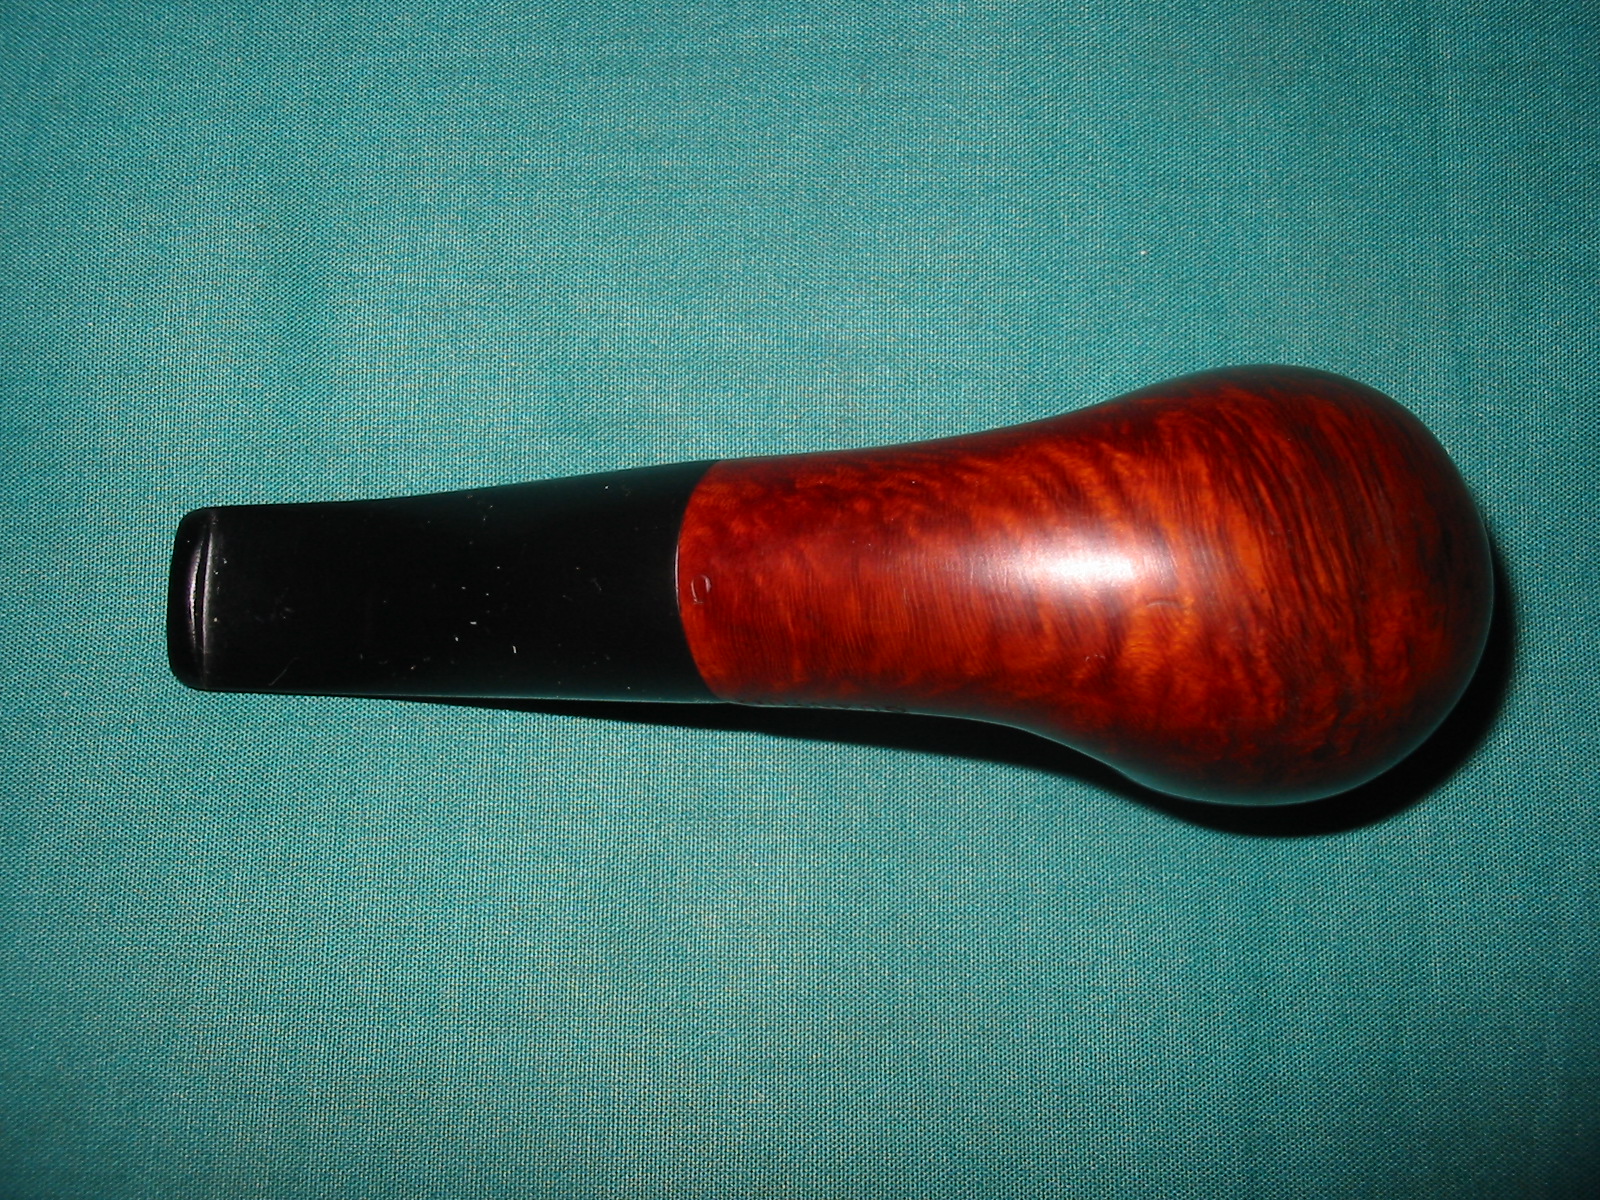
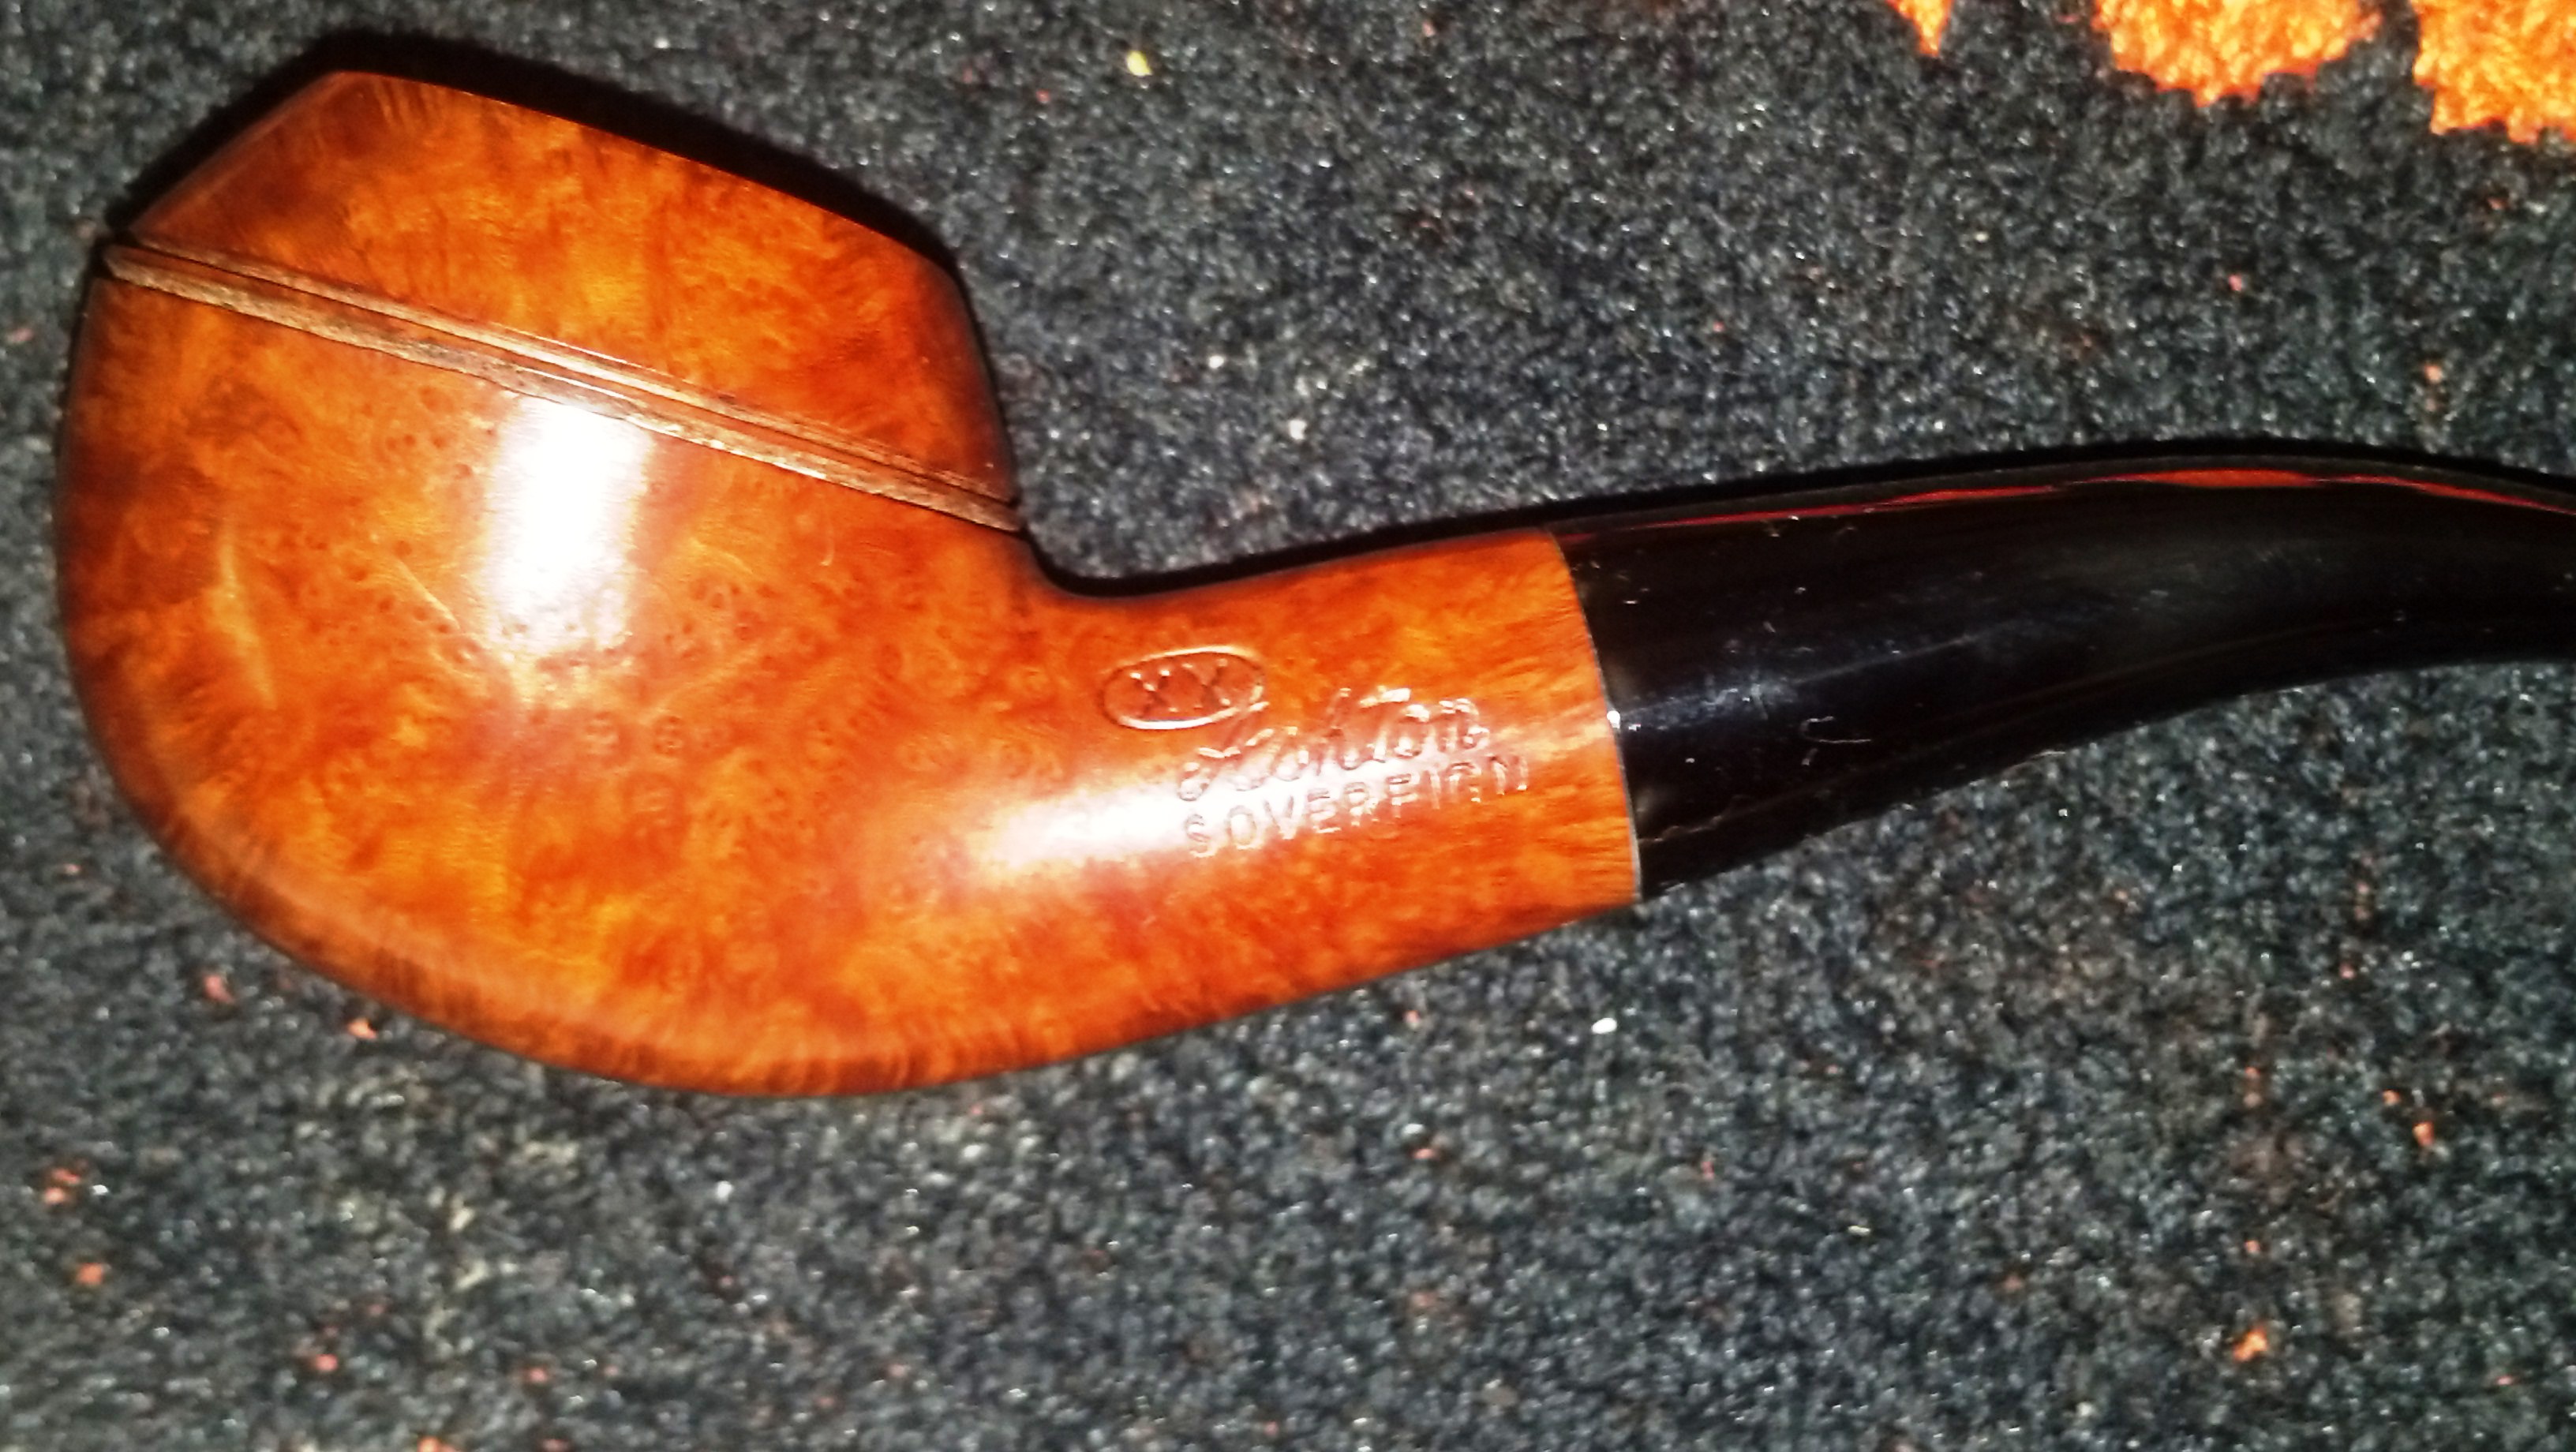
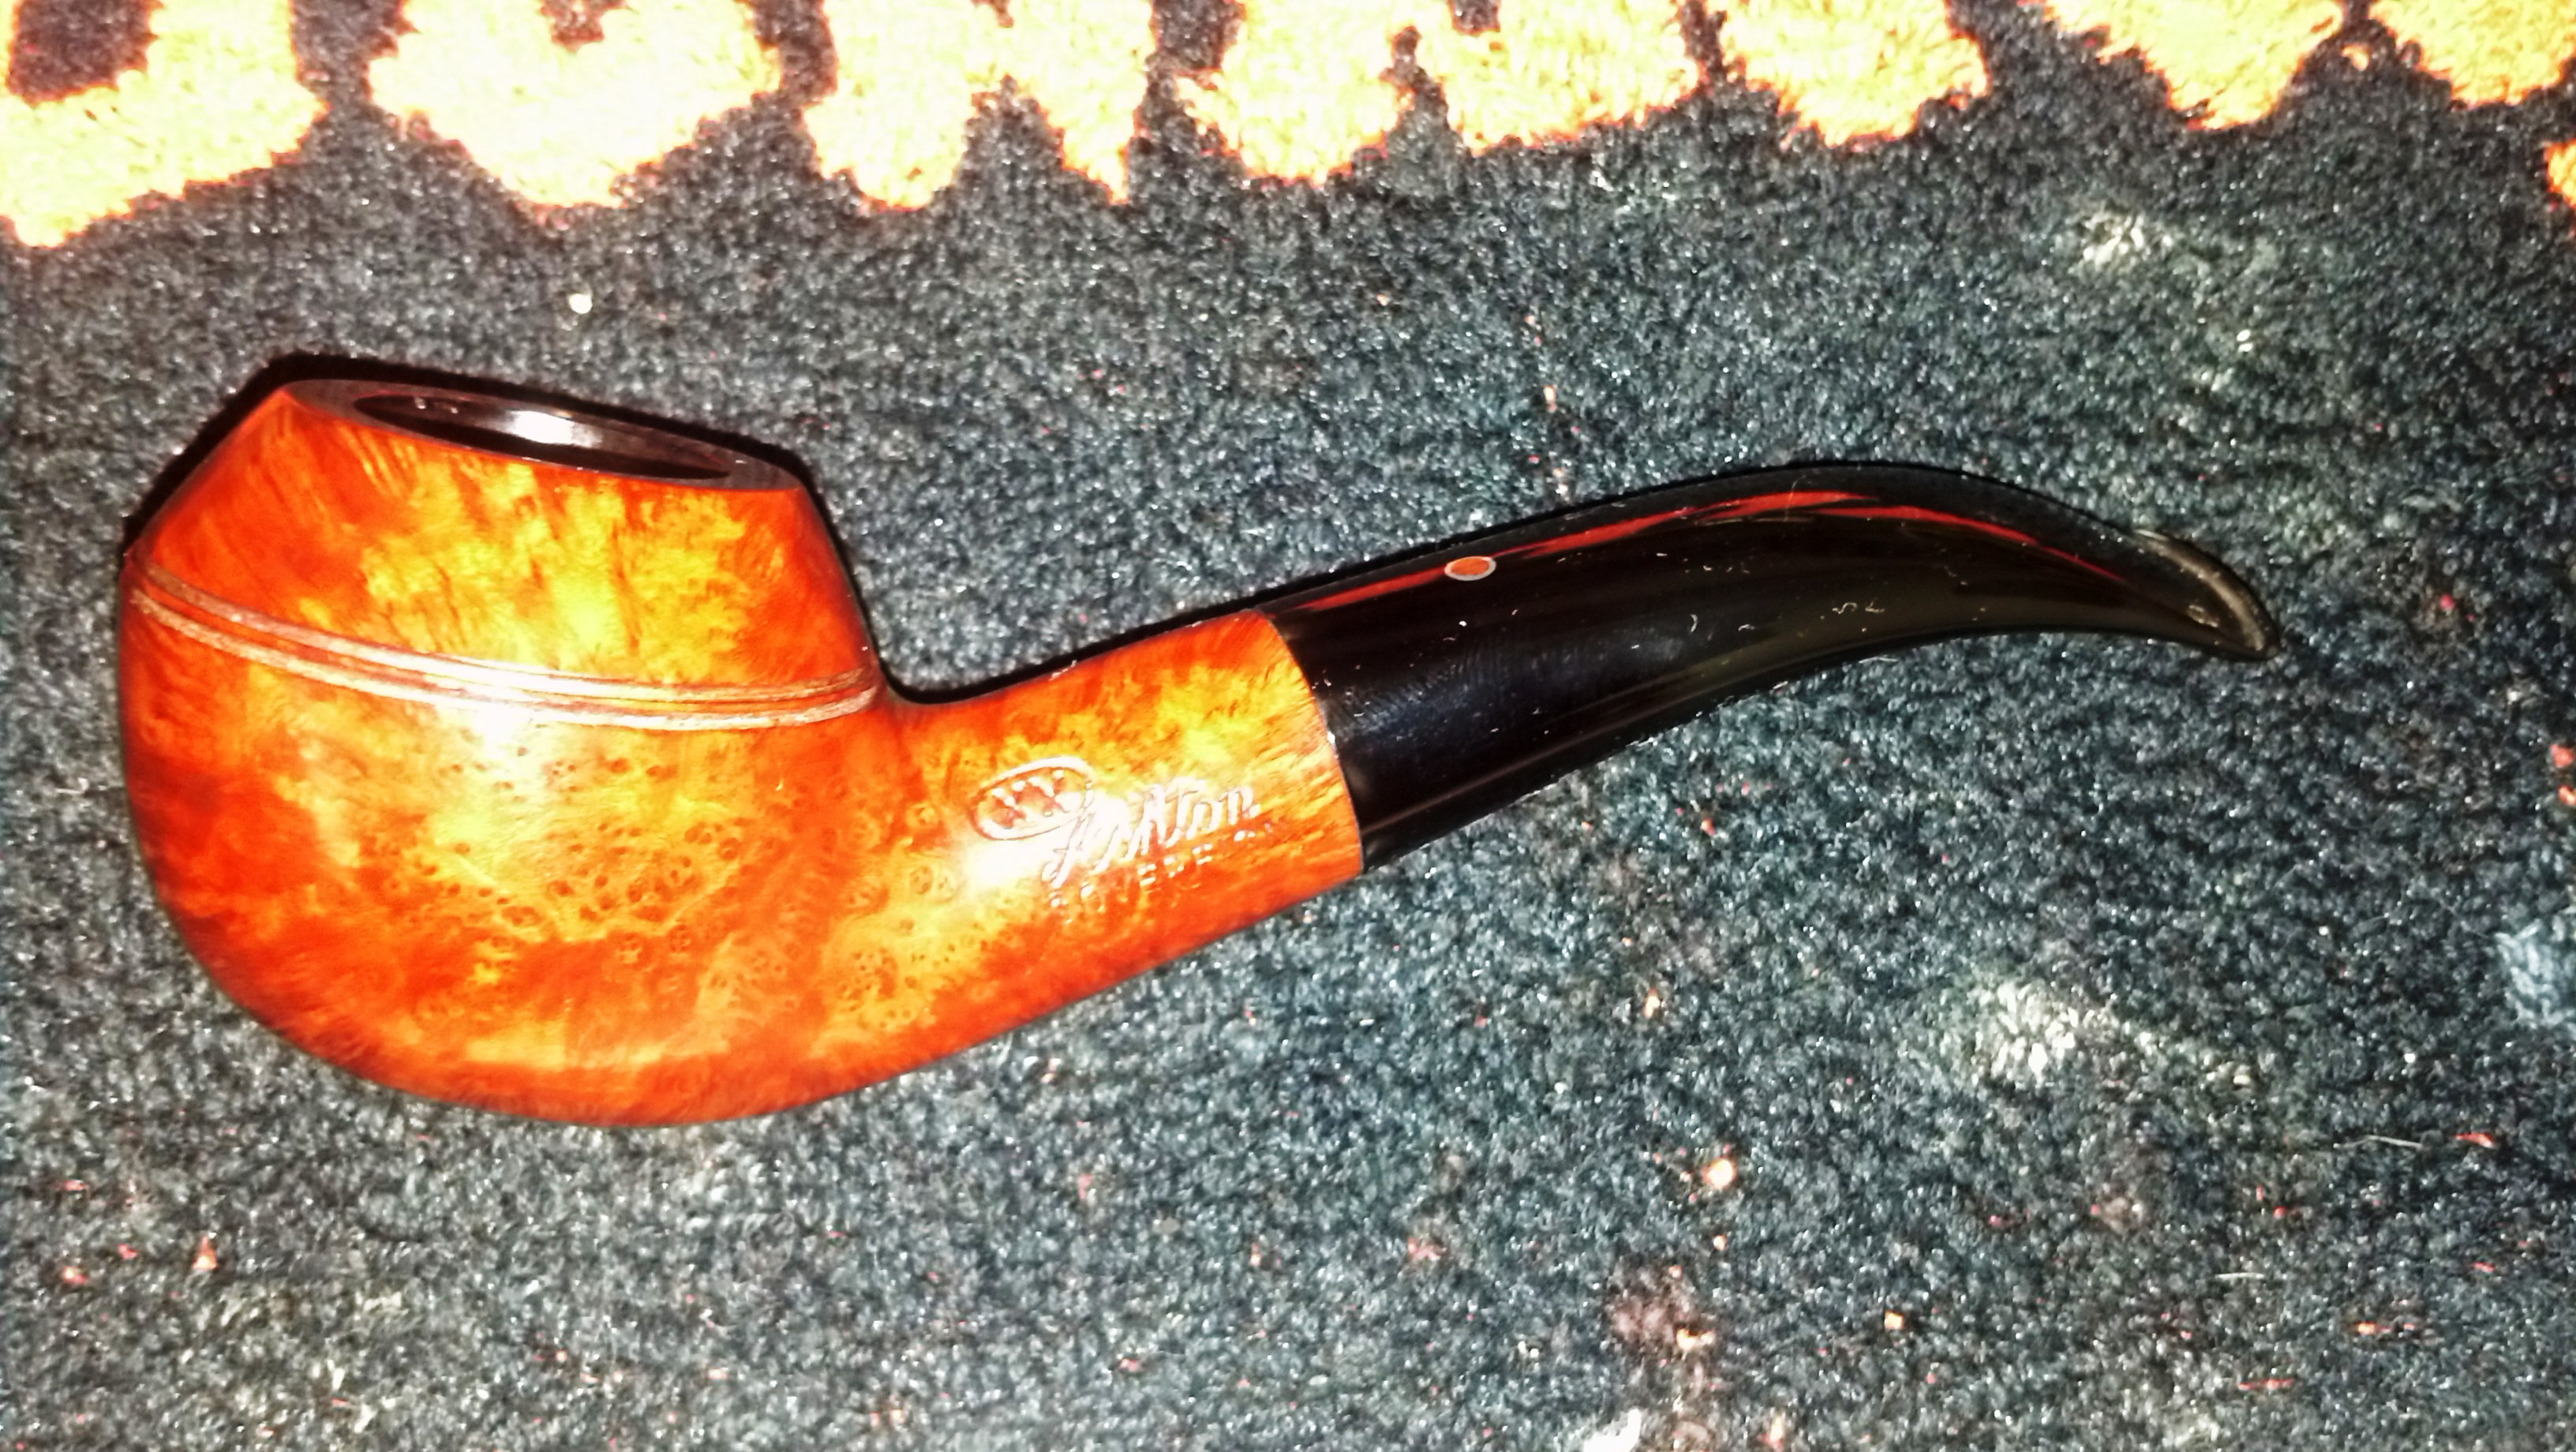
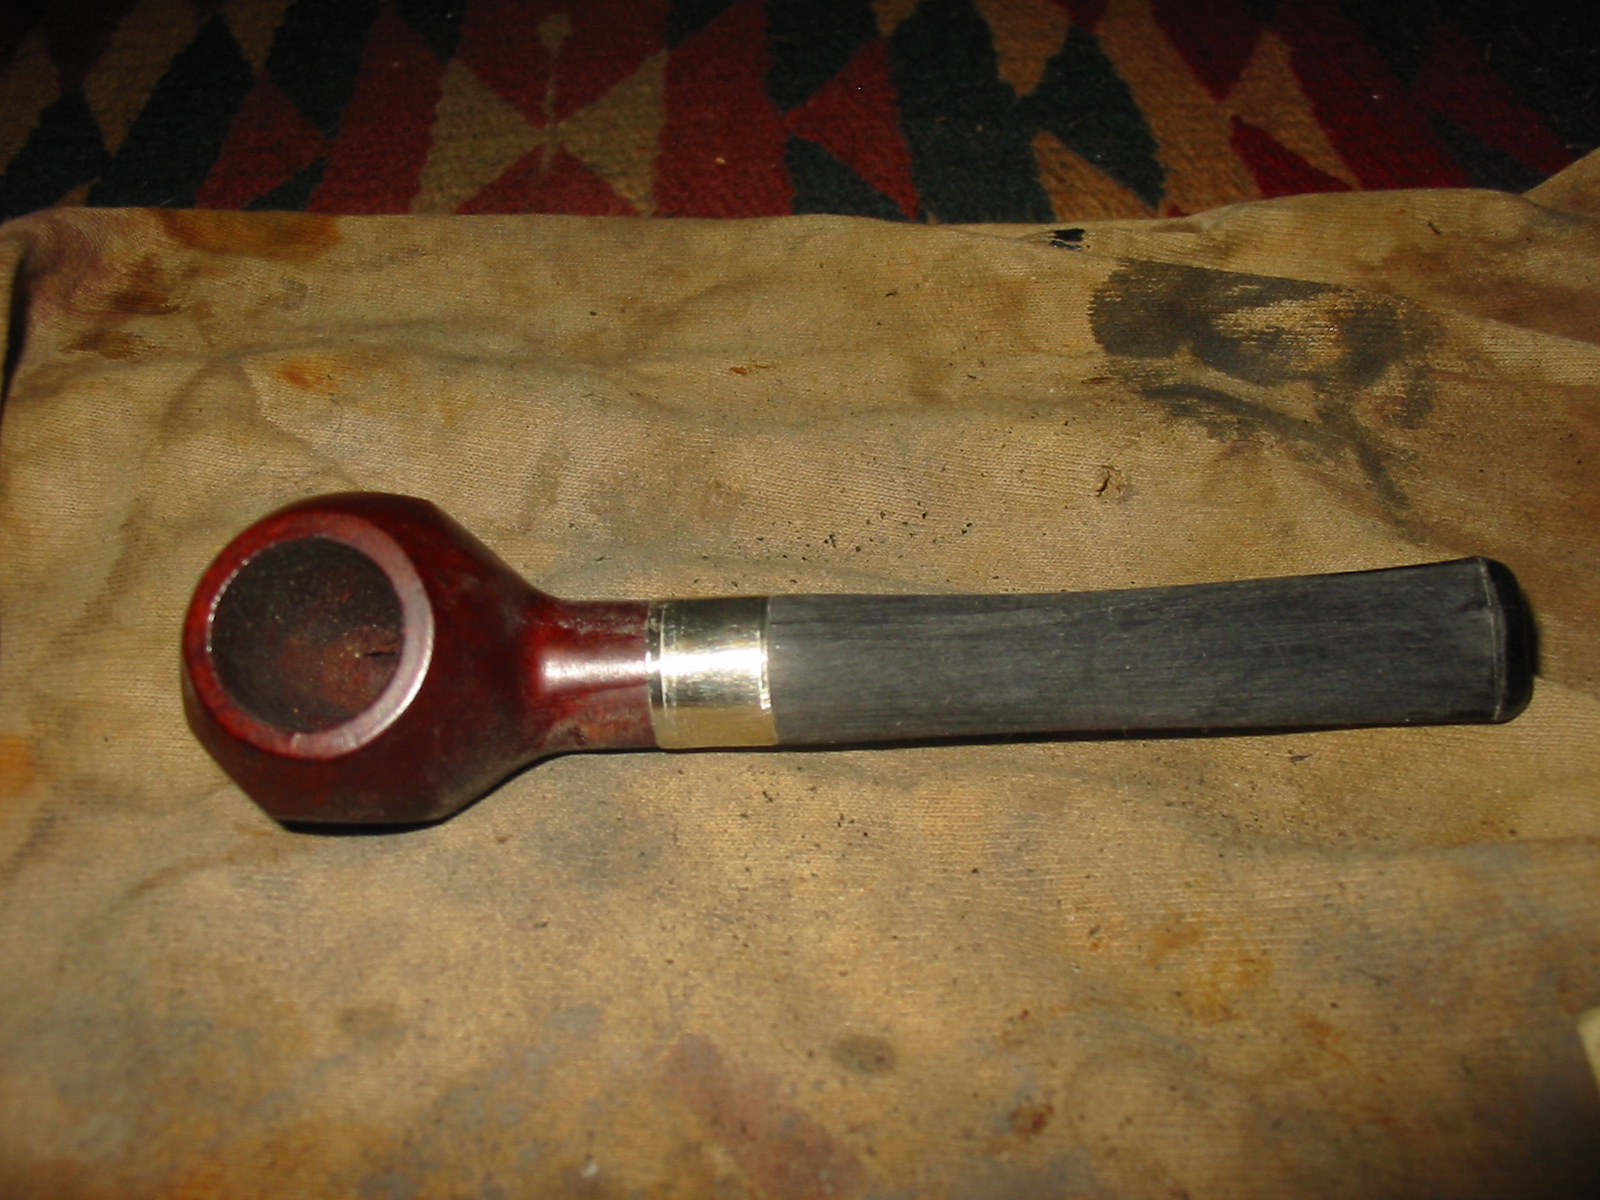
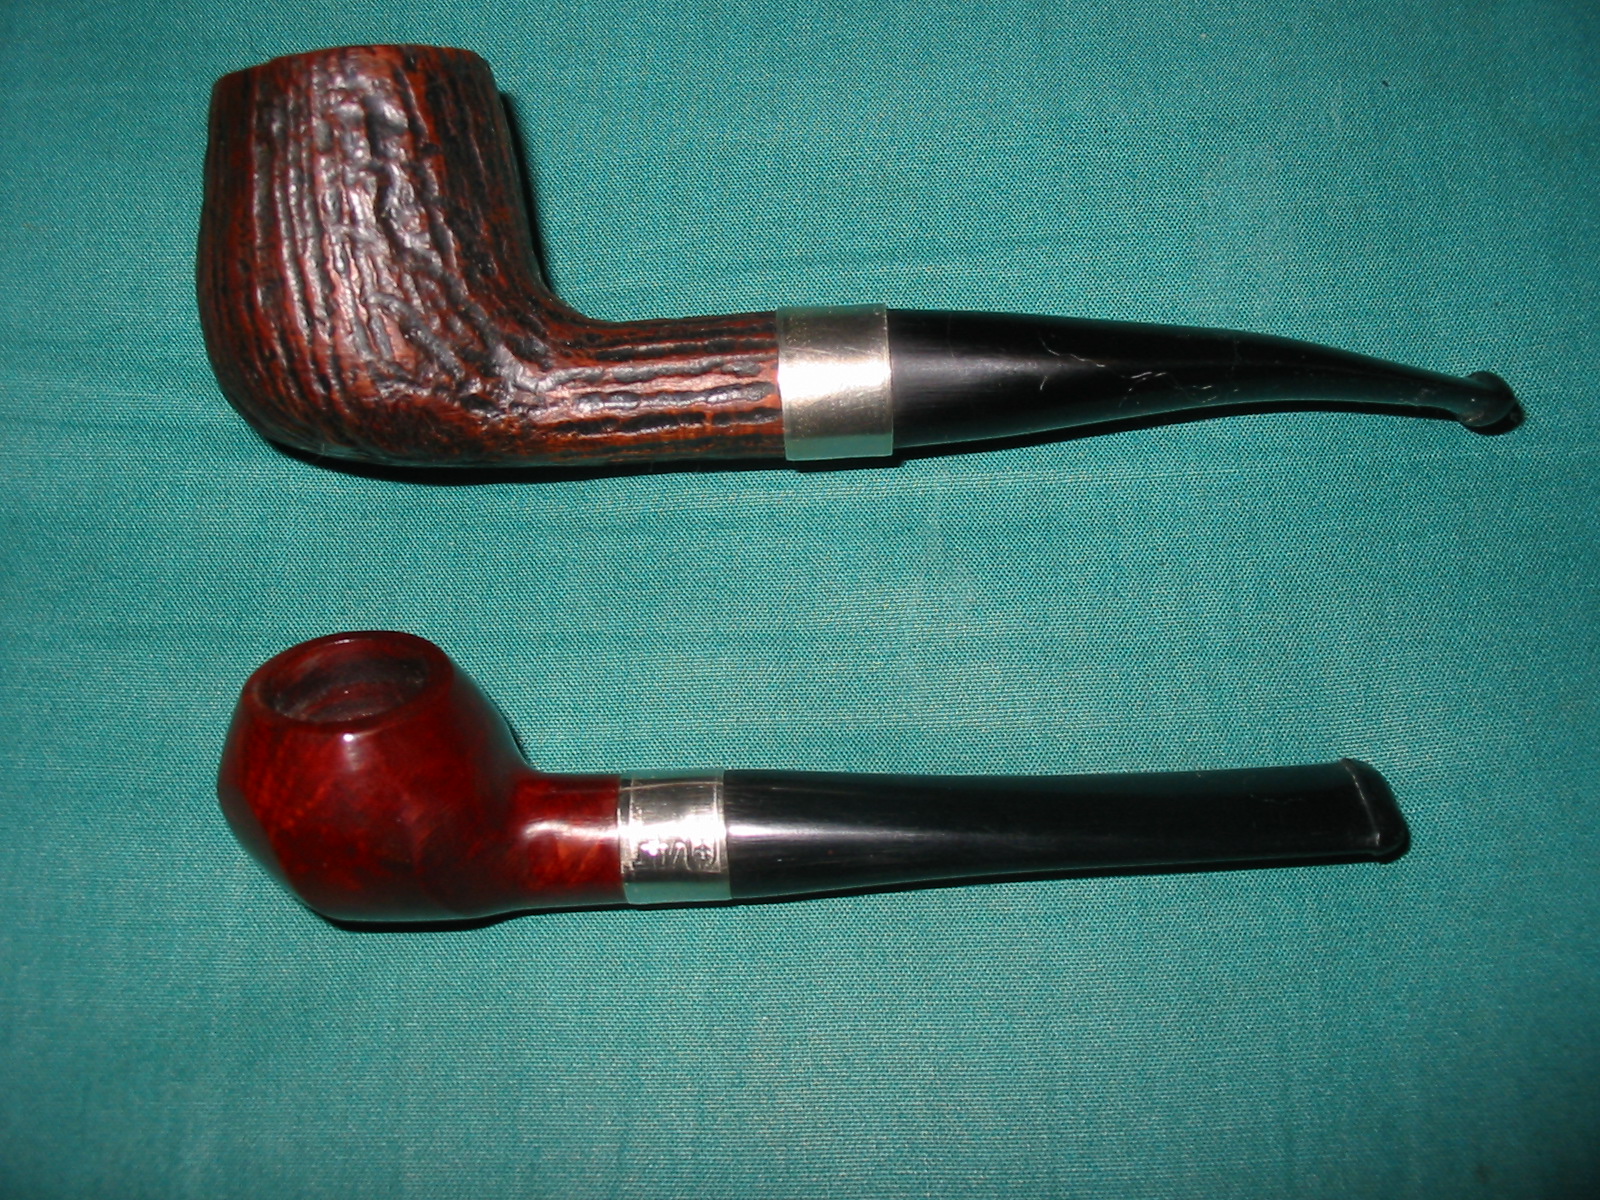
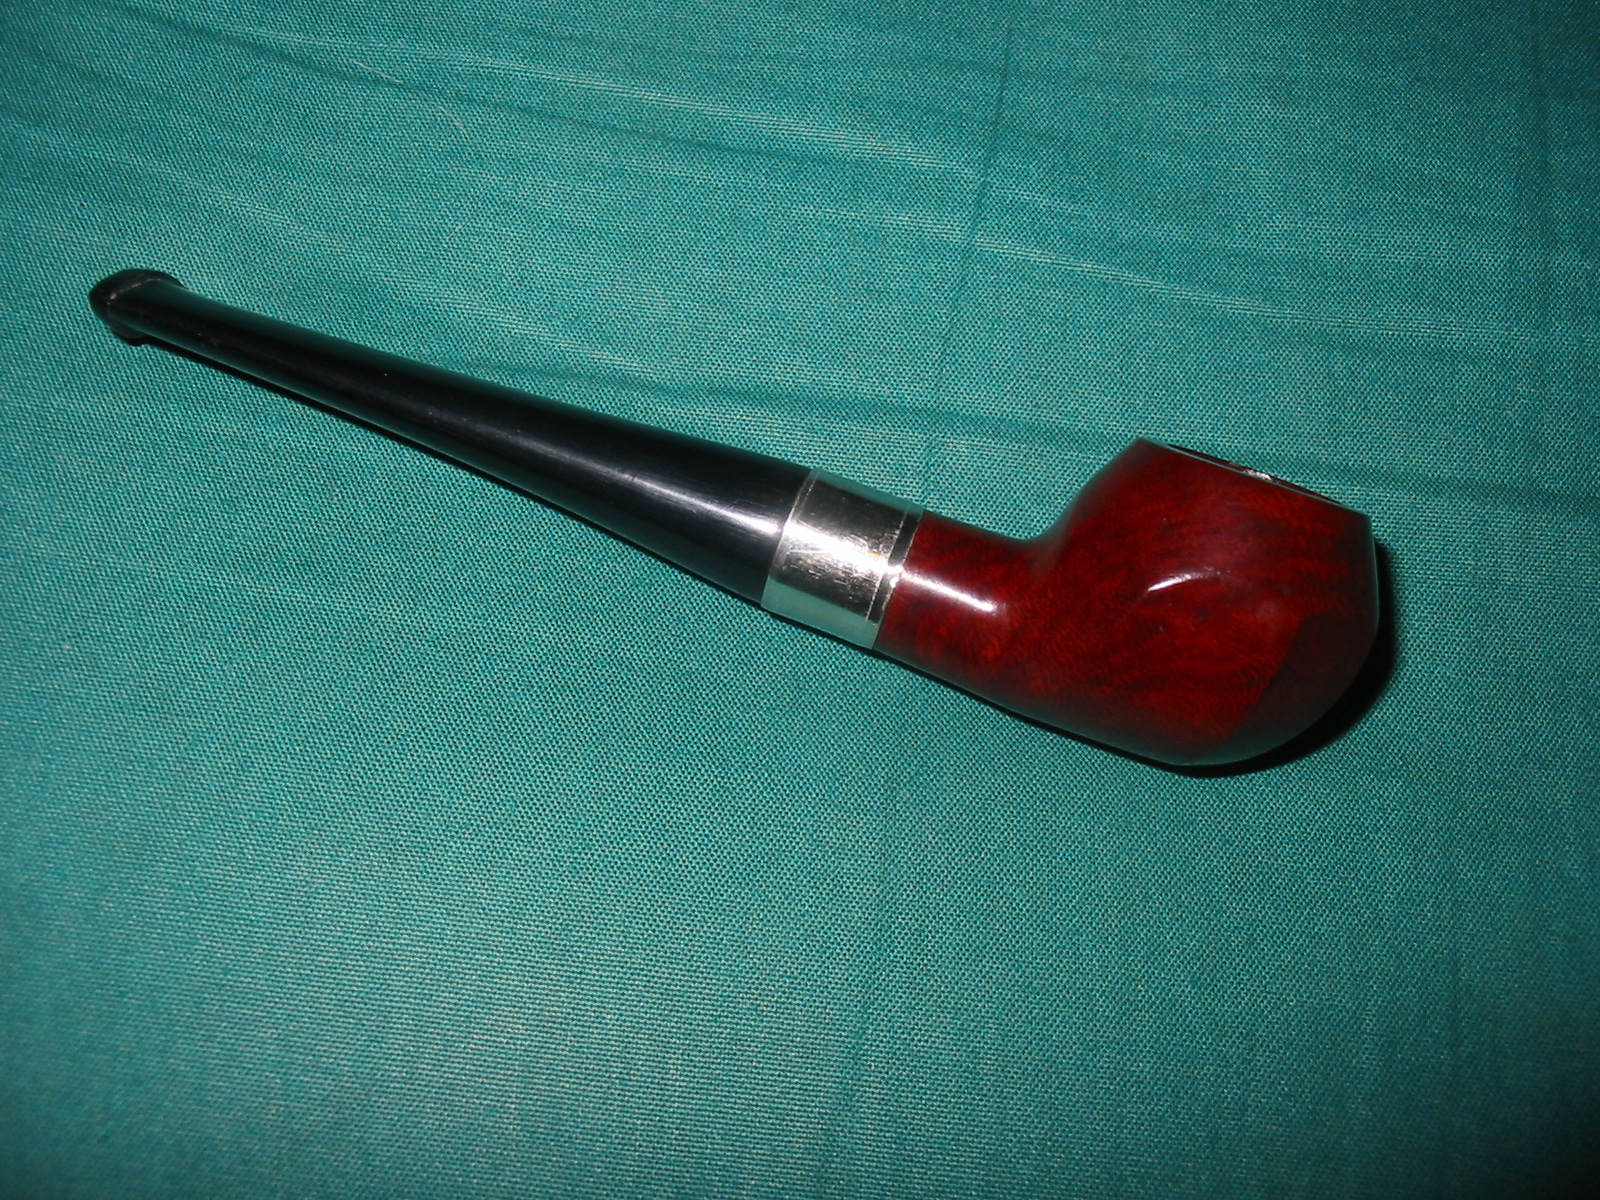
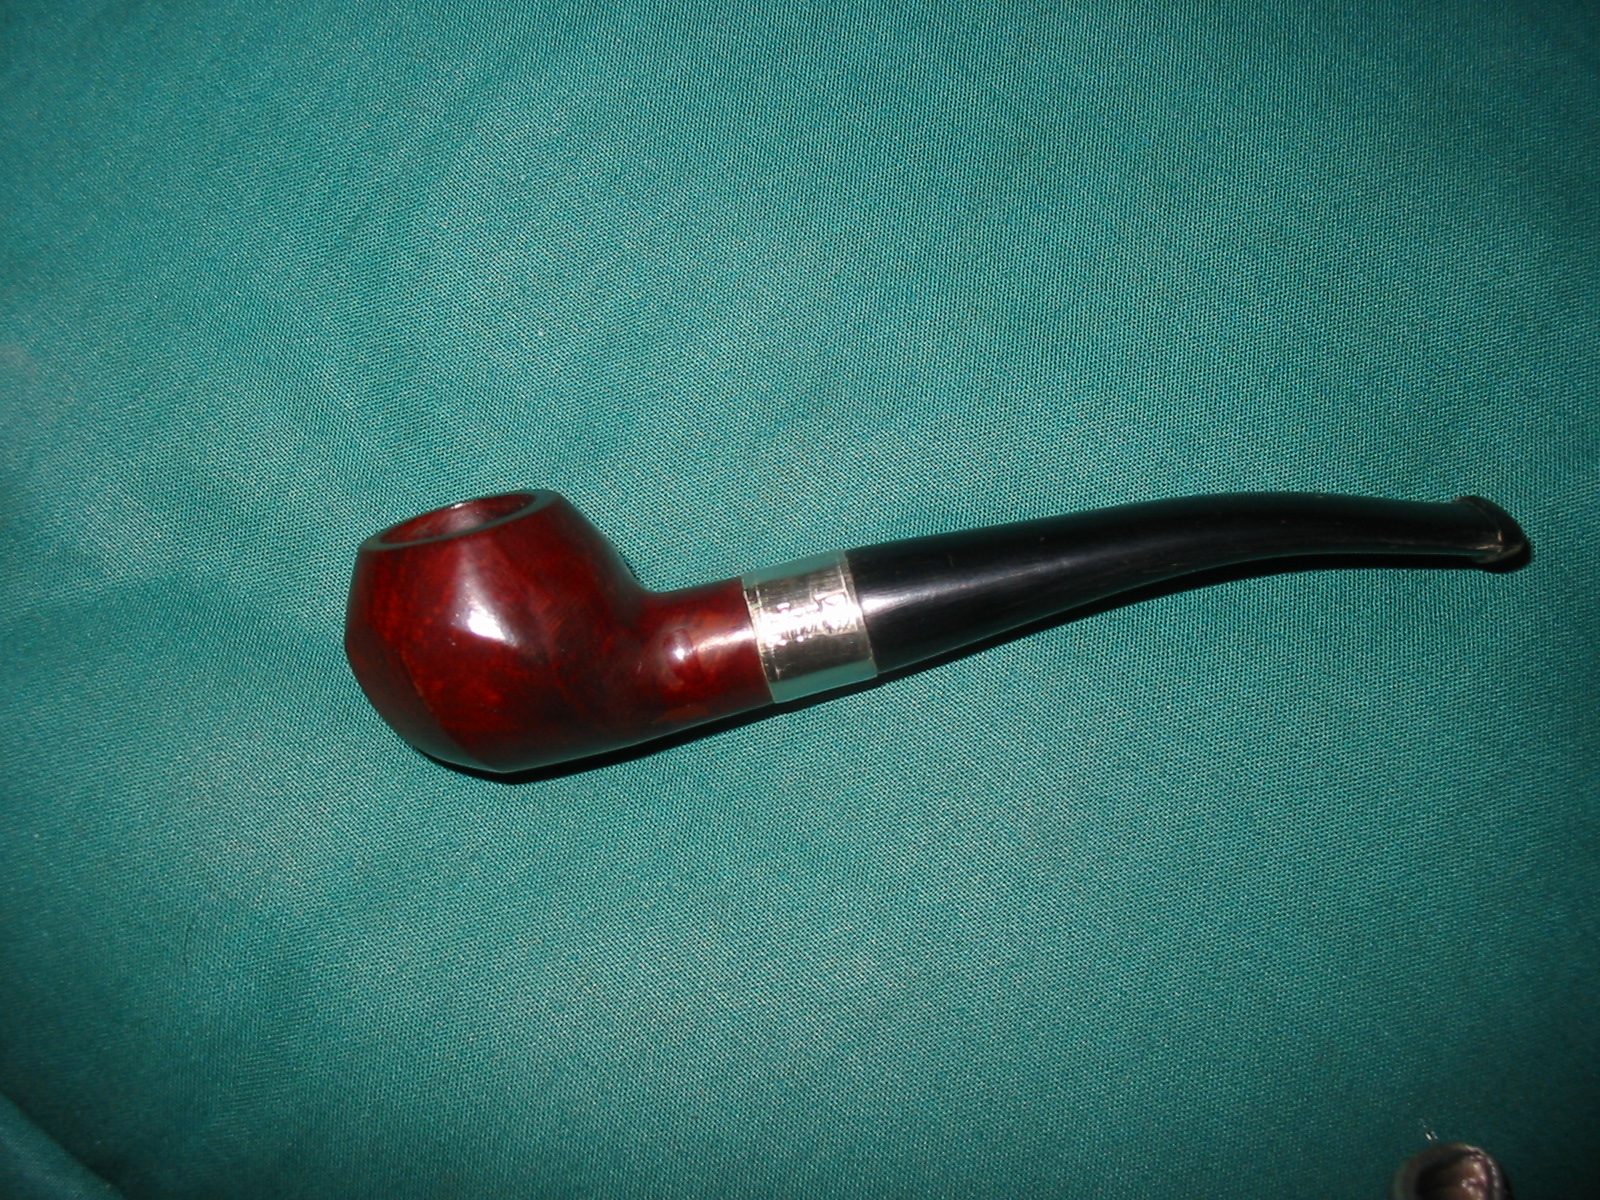
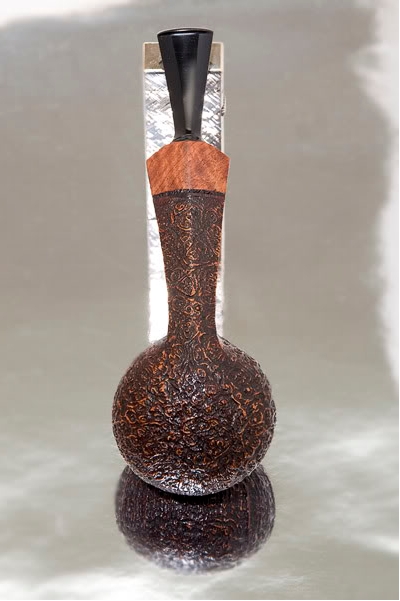
I commissioned this pipe from Steve and had a great time working with him as he designed and executed the work. The pipe is a beauty. Its length is 5 ½ inches and the bowl height is 1 3/8 inches. The bowl diameter is 1 ¾ inches. The chamber diameter is 3/4 inches and depth is 1 1/8 inches. It sports a hand cut acrylic stem. The pipe is a small squashed tomato shape with a ¼ bent stem that fits well in the hand. The shank is shaped like a shield with the right and left sides curving up to a rounded point on the top of the shank. The underside of the shank is a flattened peak with centre ridges that runs the length of the shank. The lower edges of the right and left side are sharp and straight lines that run the length of the shank. From the top the shank flares wider as it moves toward the stem. It has band of black acrylic and then an amboyna shank extension. The stamping is an older Steve Morrisette stamping.
Morrisette4

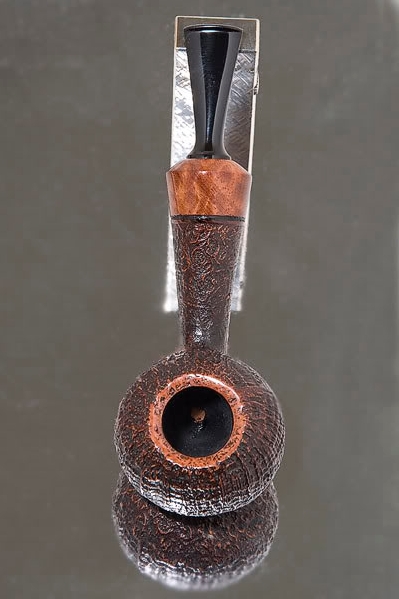
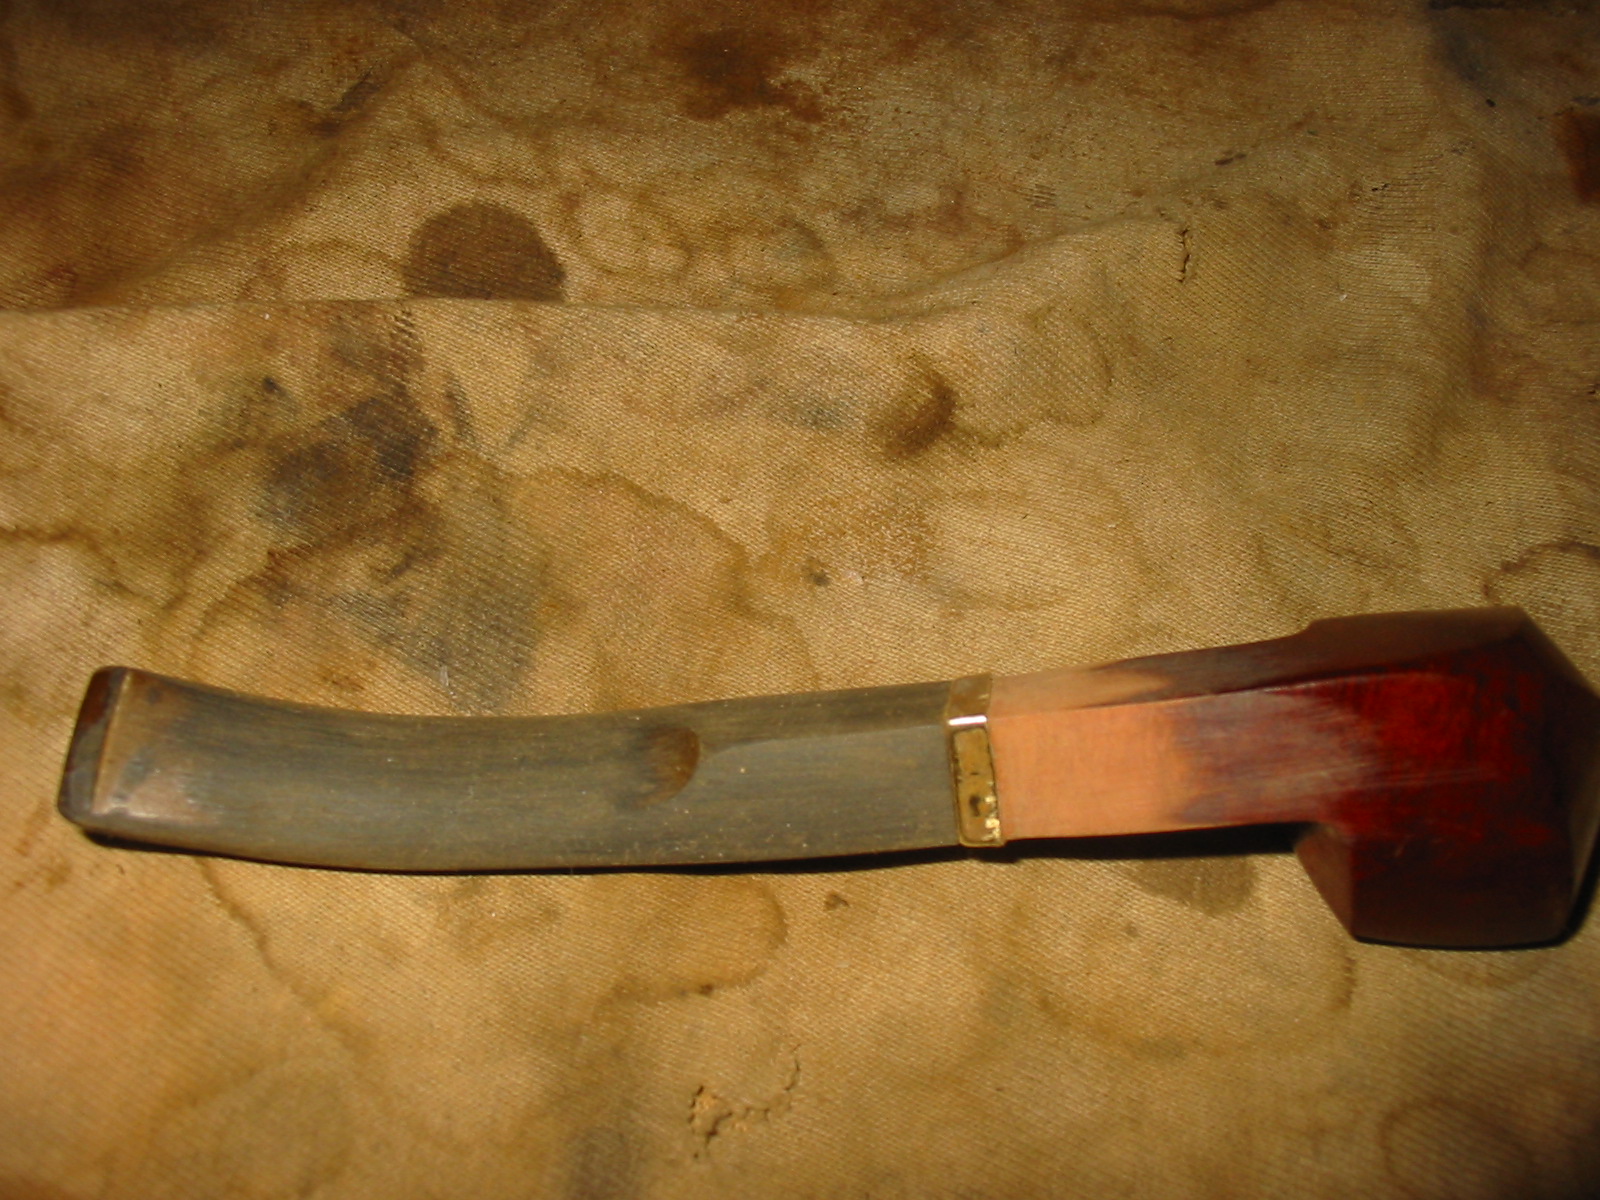
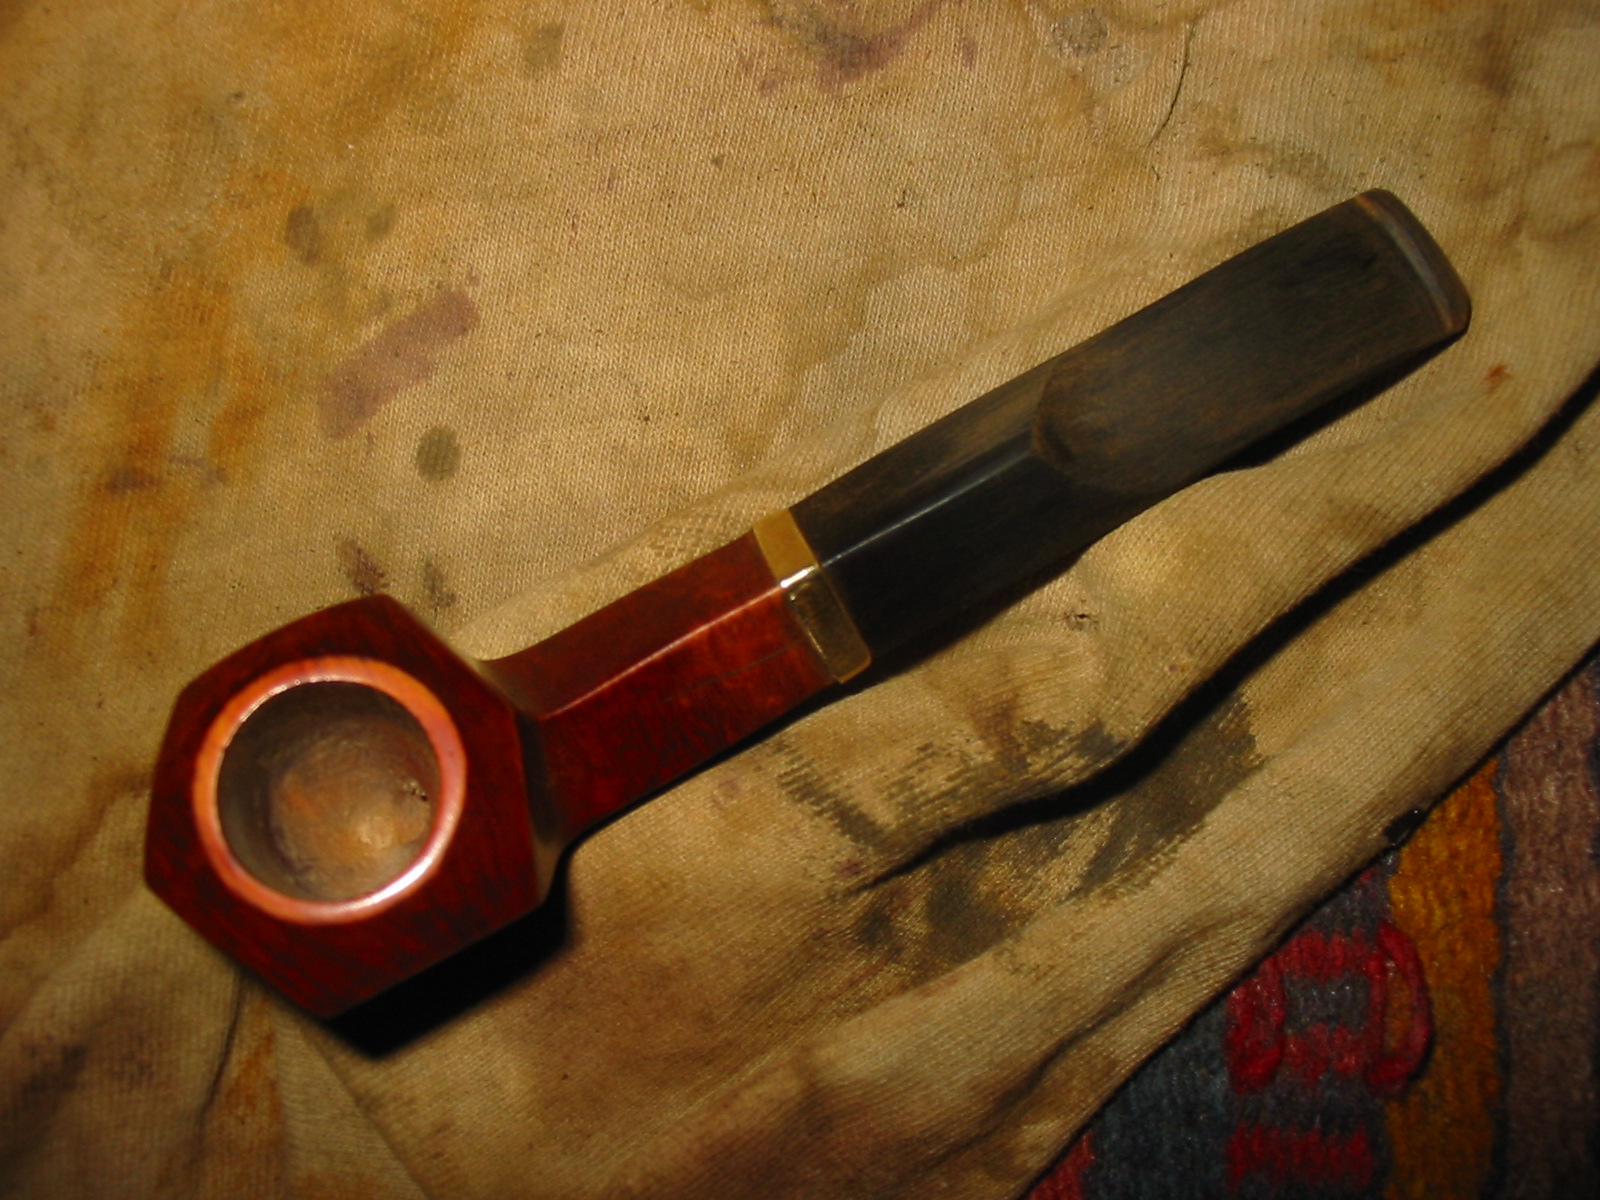
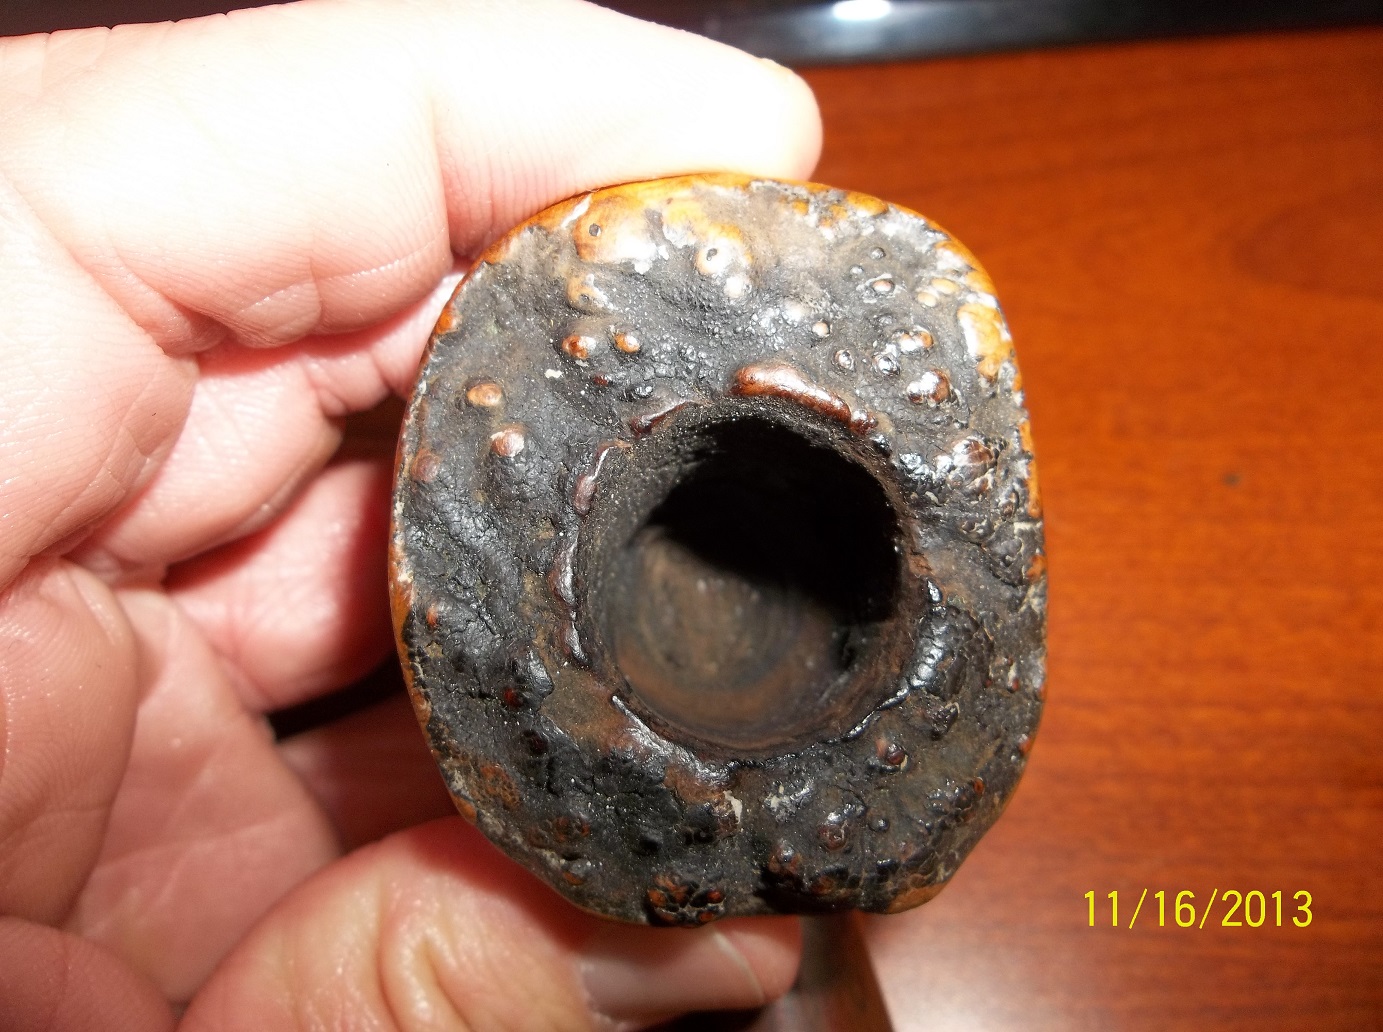
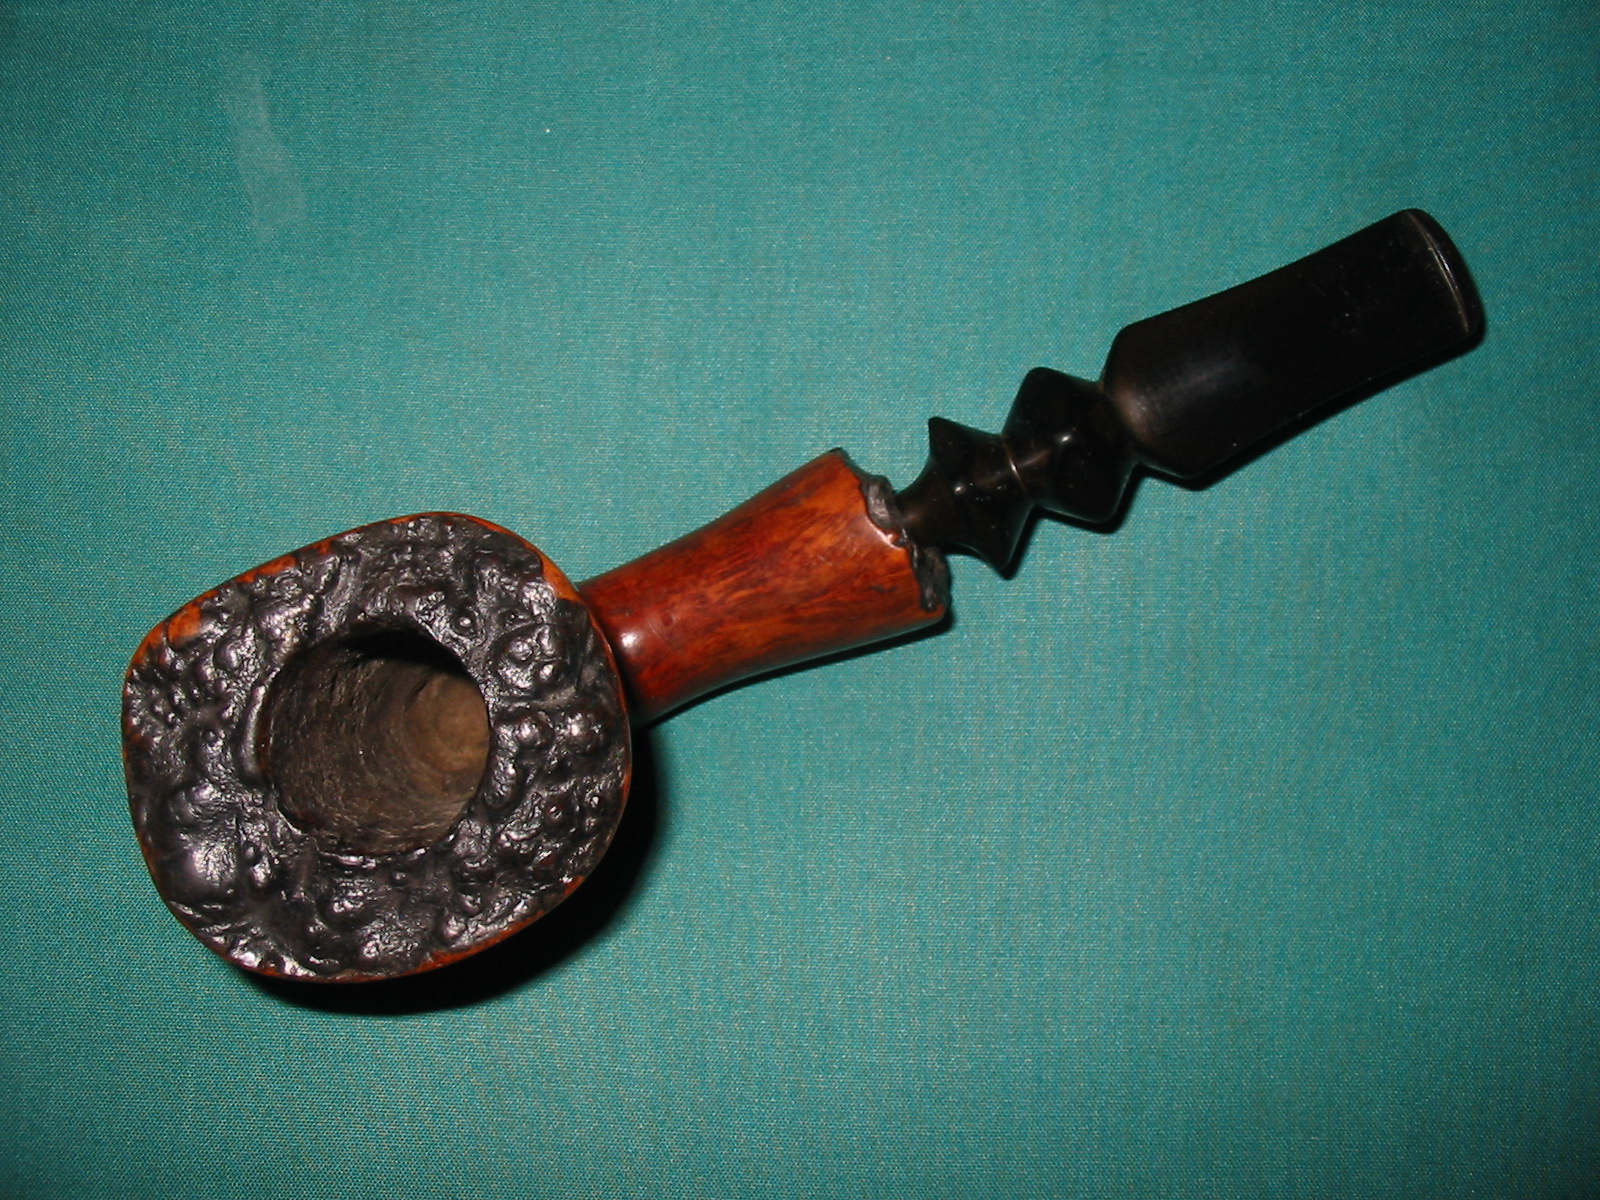
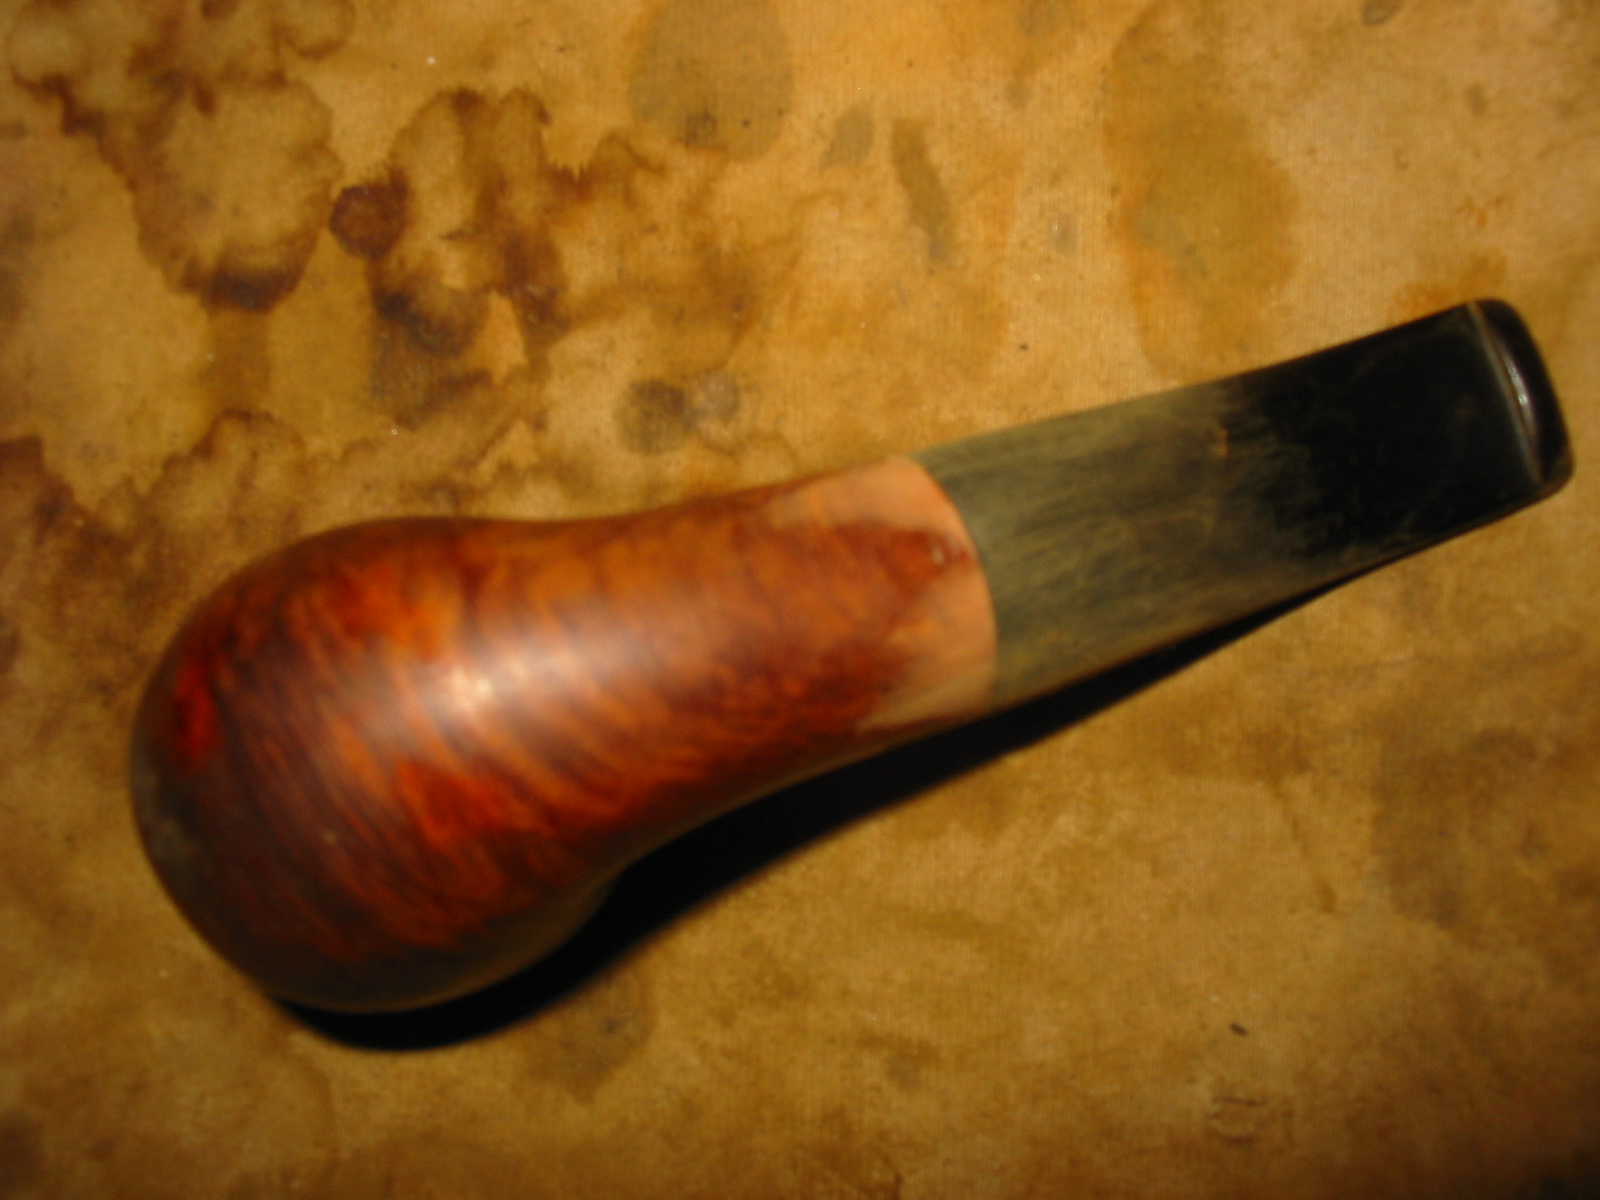
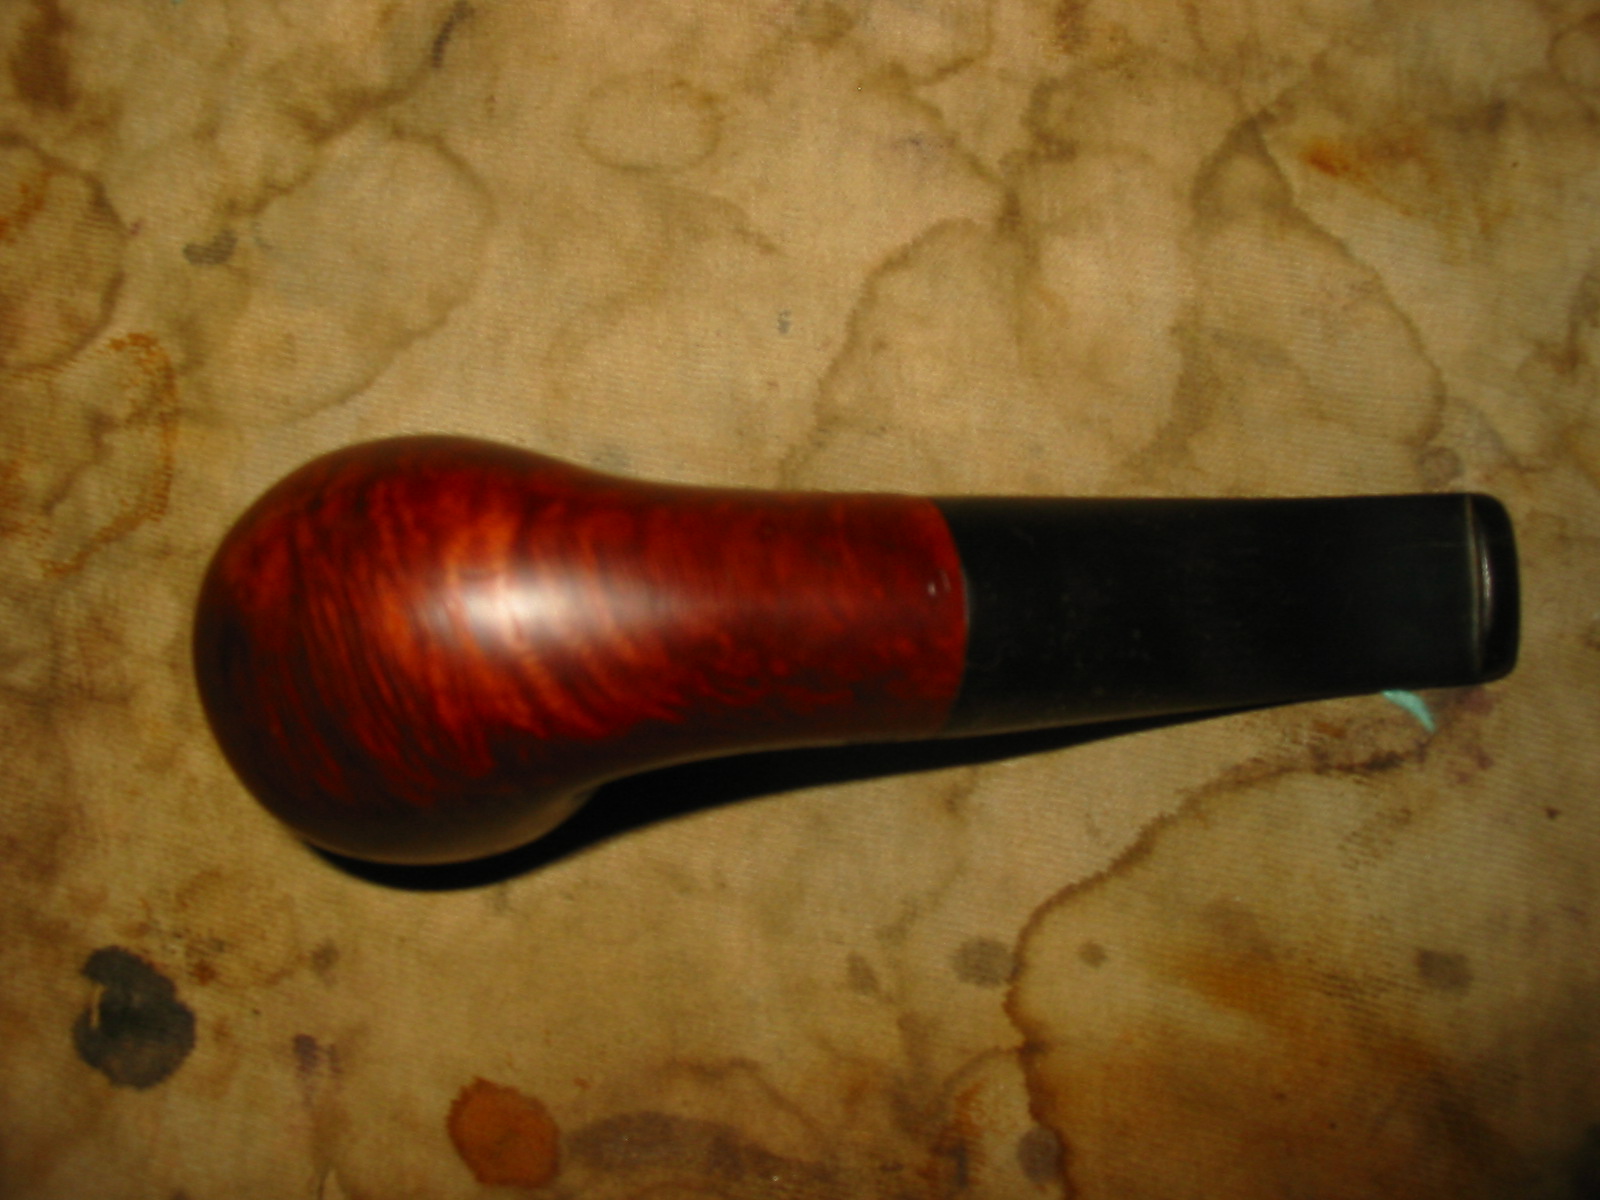
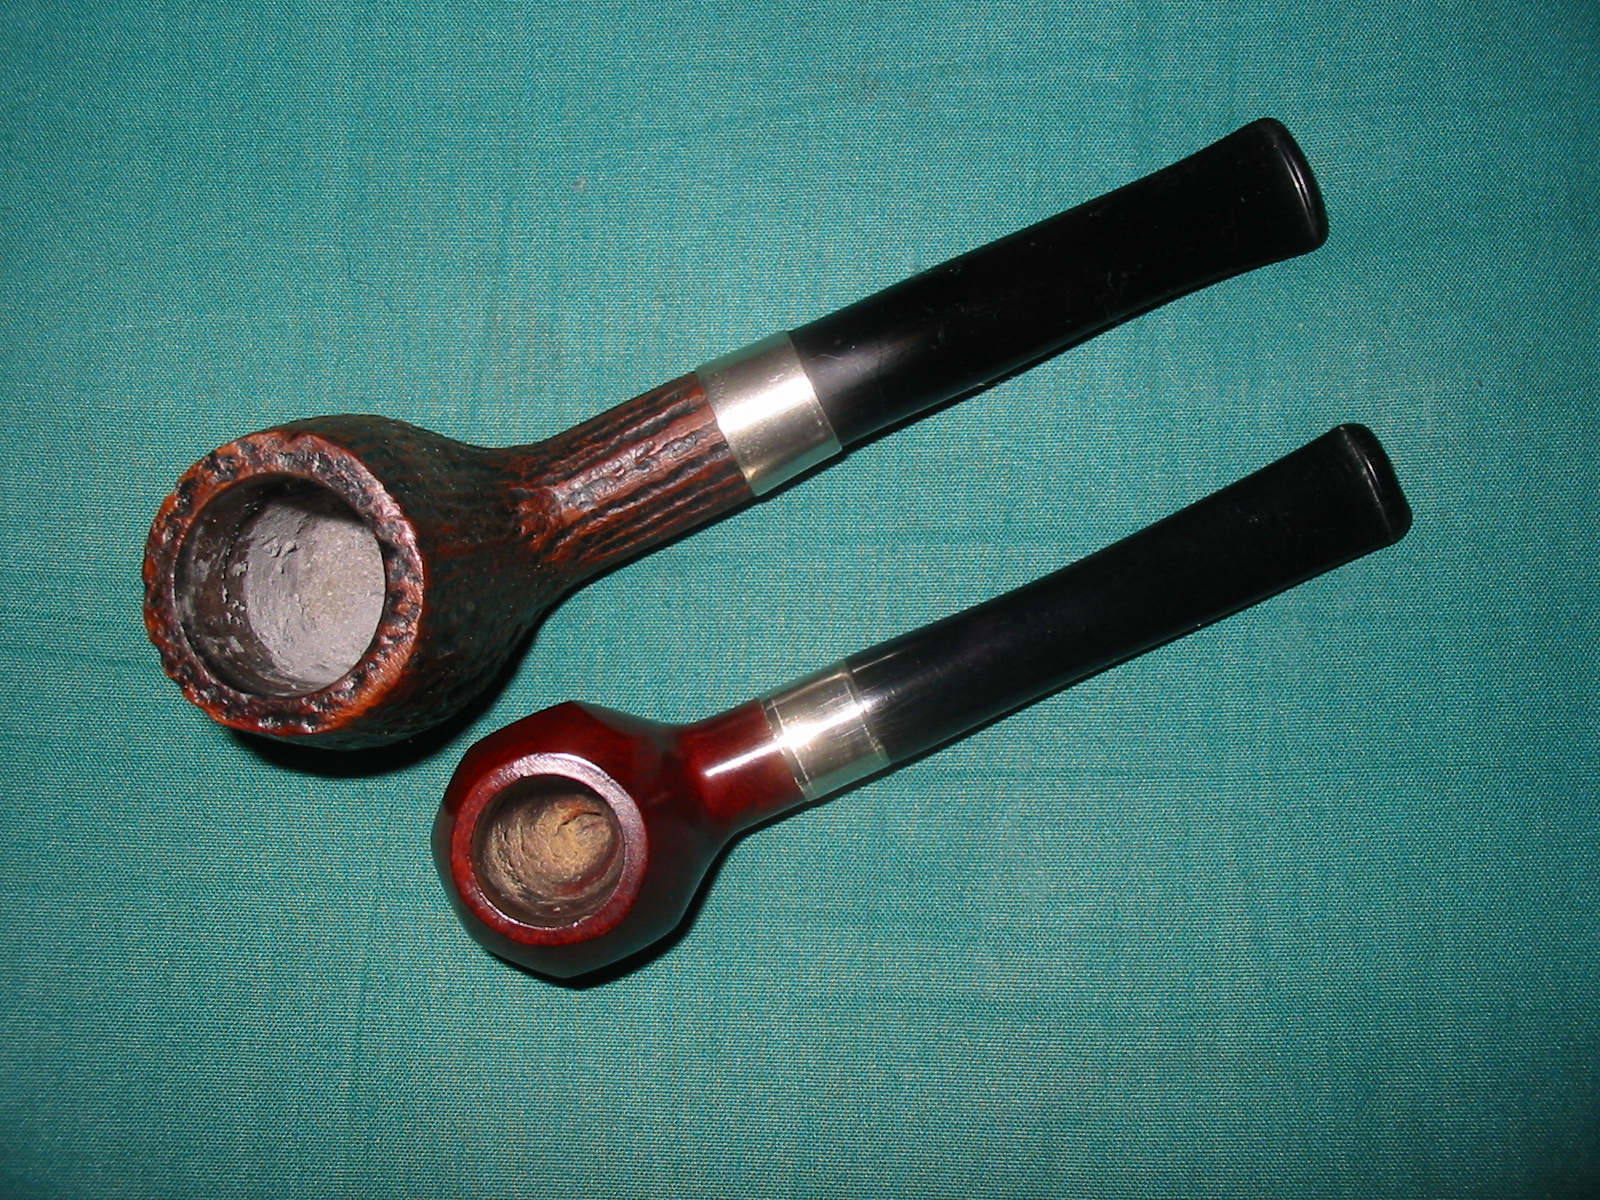
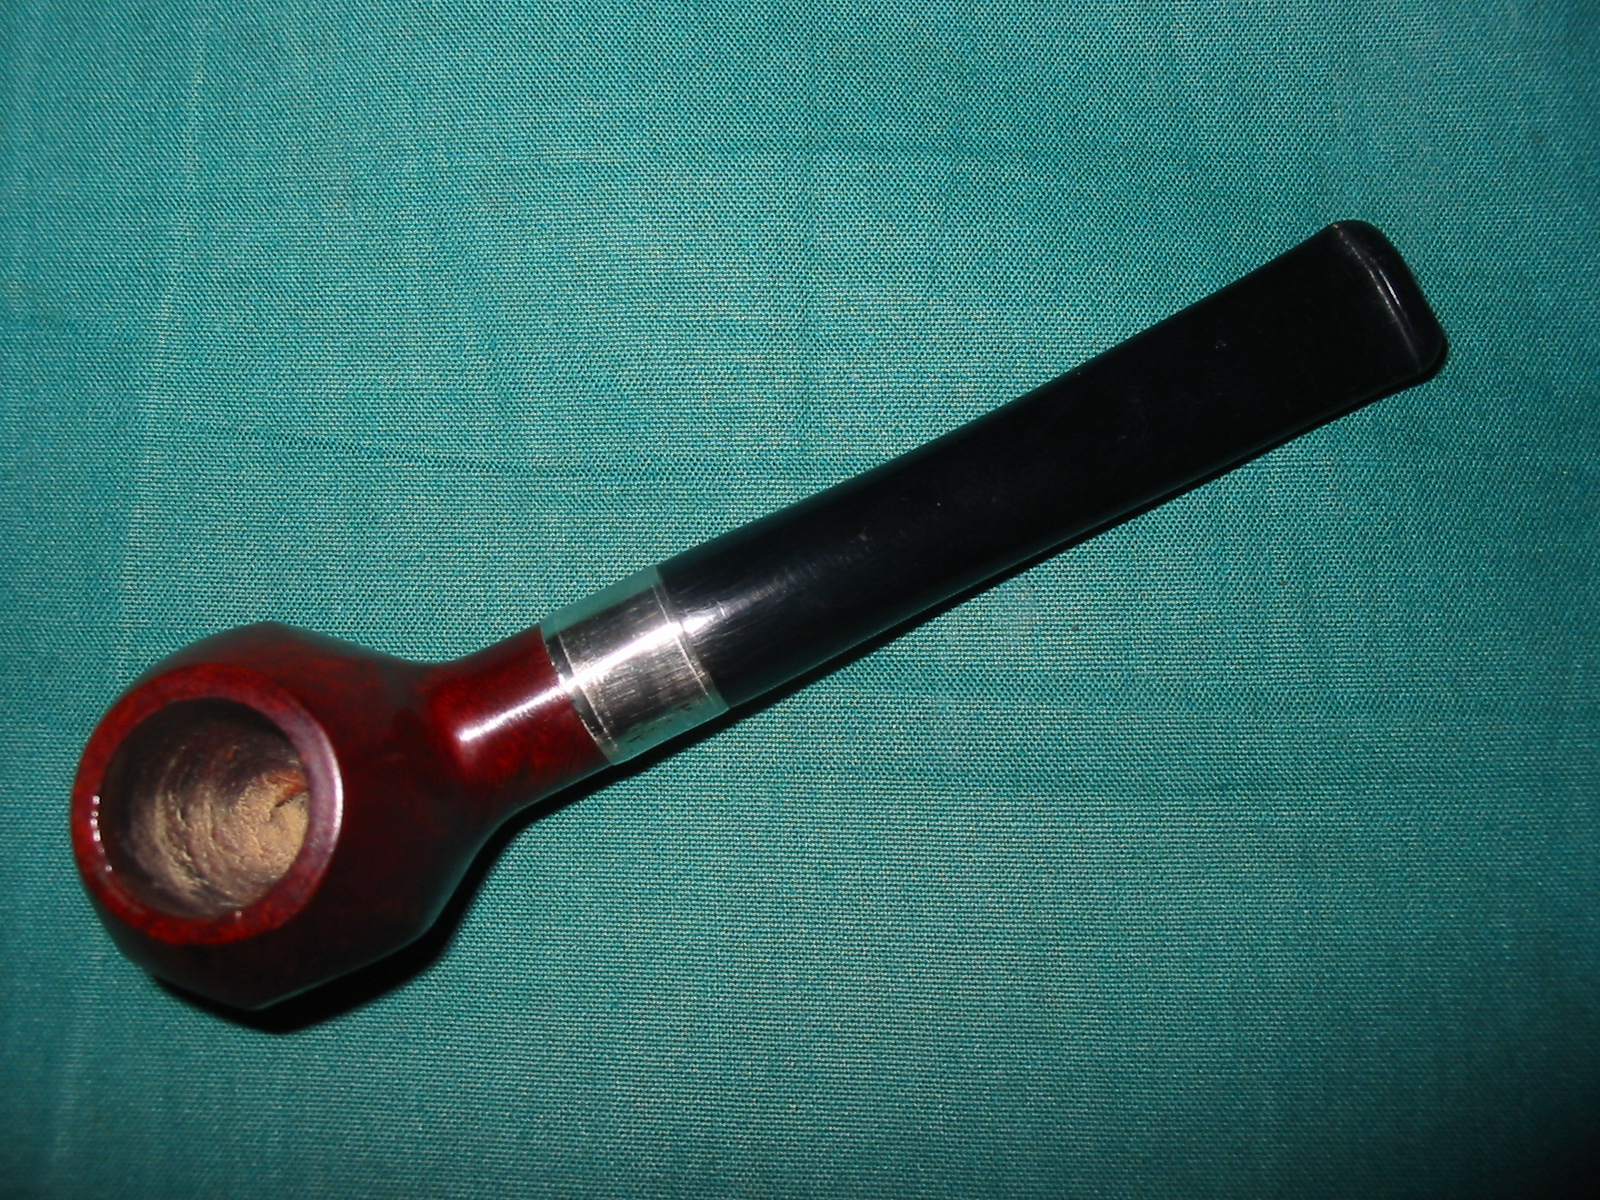
The finish on the outside of the pipe is a sandblast that is visually very pleasing. It is not too deep a blast but highlights the ring grain on the sides, front and back of the bowl and on the bottom edge of two angular sides of the shank. On the bottom of the bowl and shank is a beautiful sandblasted birdseye that highlights the pattern of the grain. The rim was sandblasted and then sanded smooth leaving a few small birdseye grain visible under the smoothed out blast. There is a thin smooth band between the acrylic band and the shank that was also sandblasted. The mortis is countersunk so that the stem sits into the shank extension. There is a very tactile feel to the sandblast on the bowl and shank that feels great as the bowl warms during a smoke.
Morrisette2

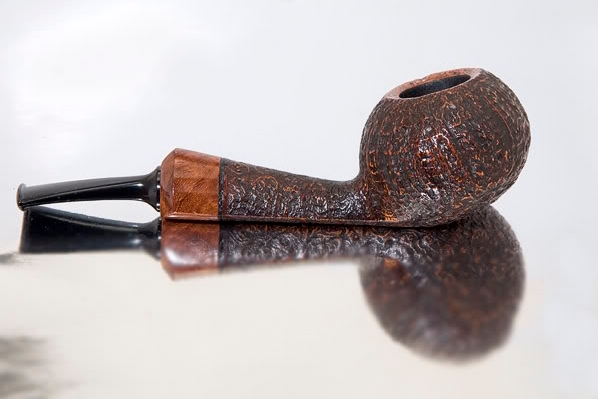
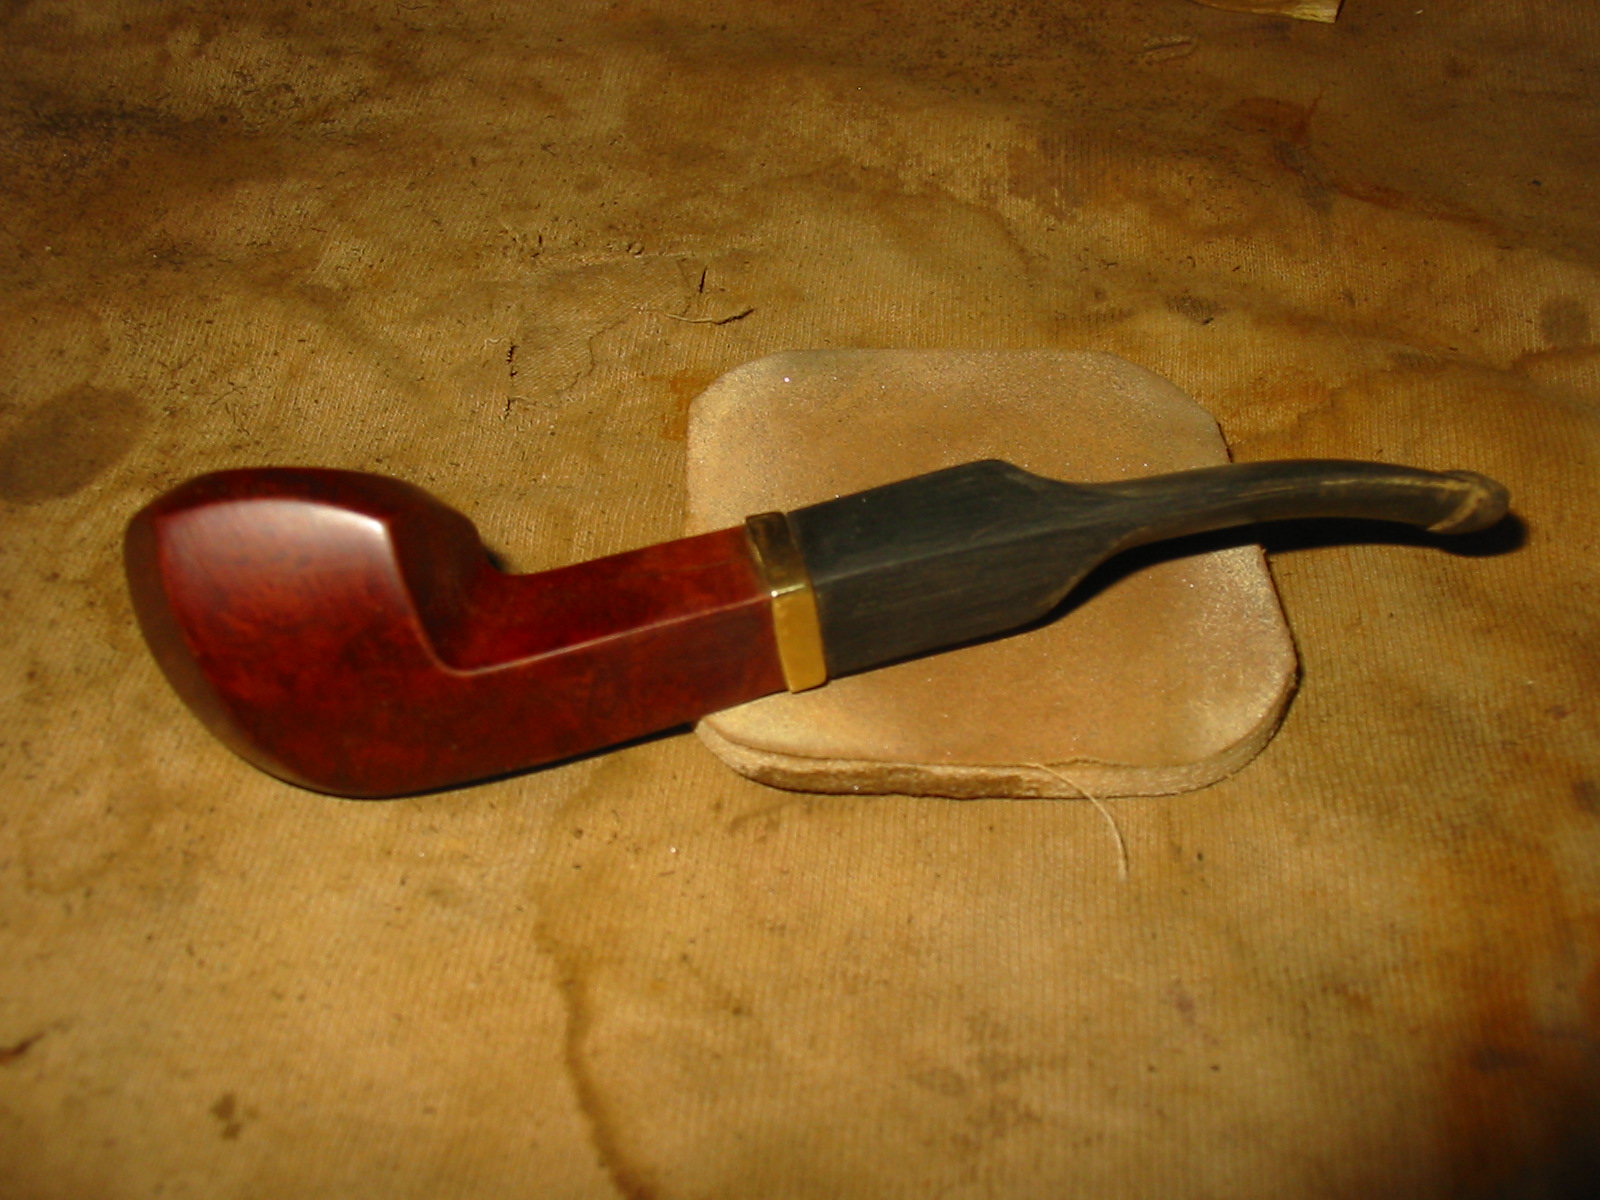
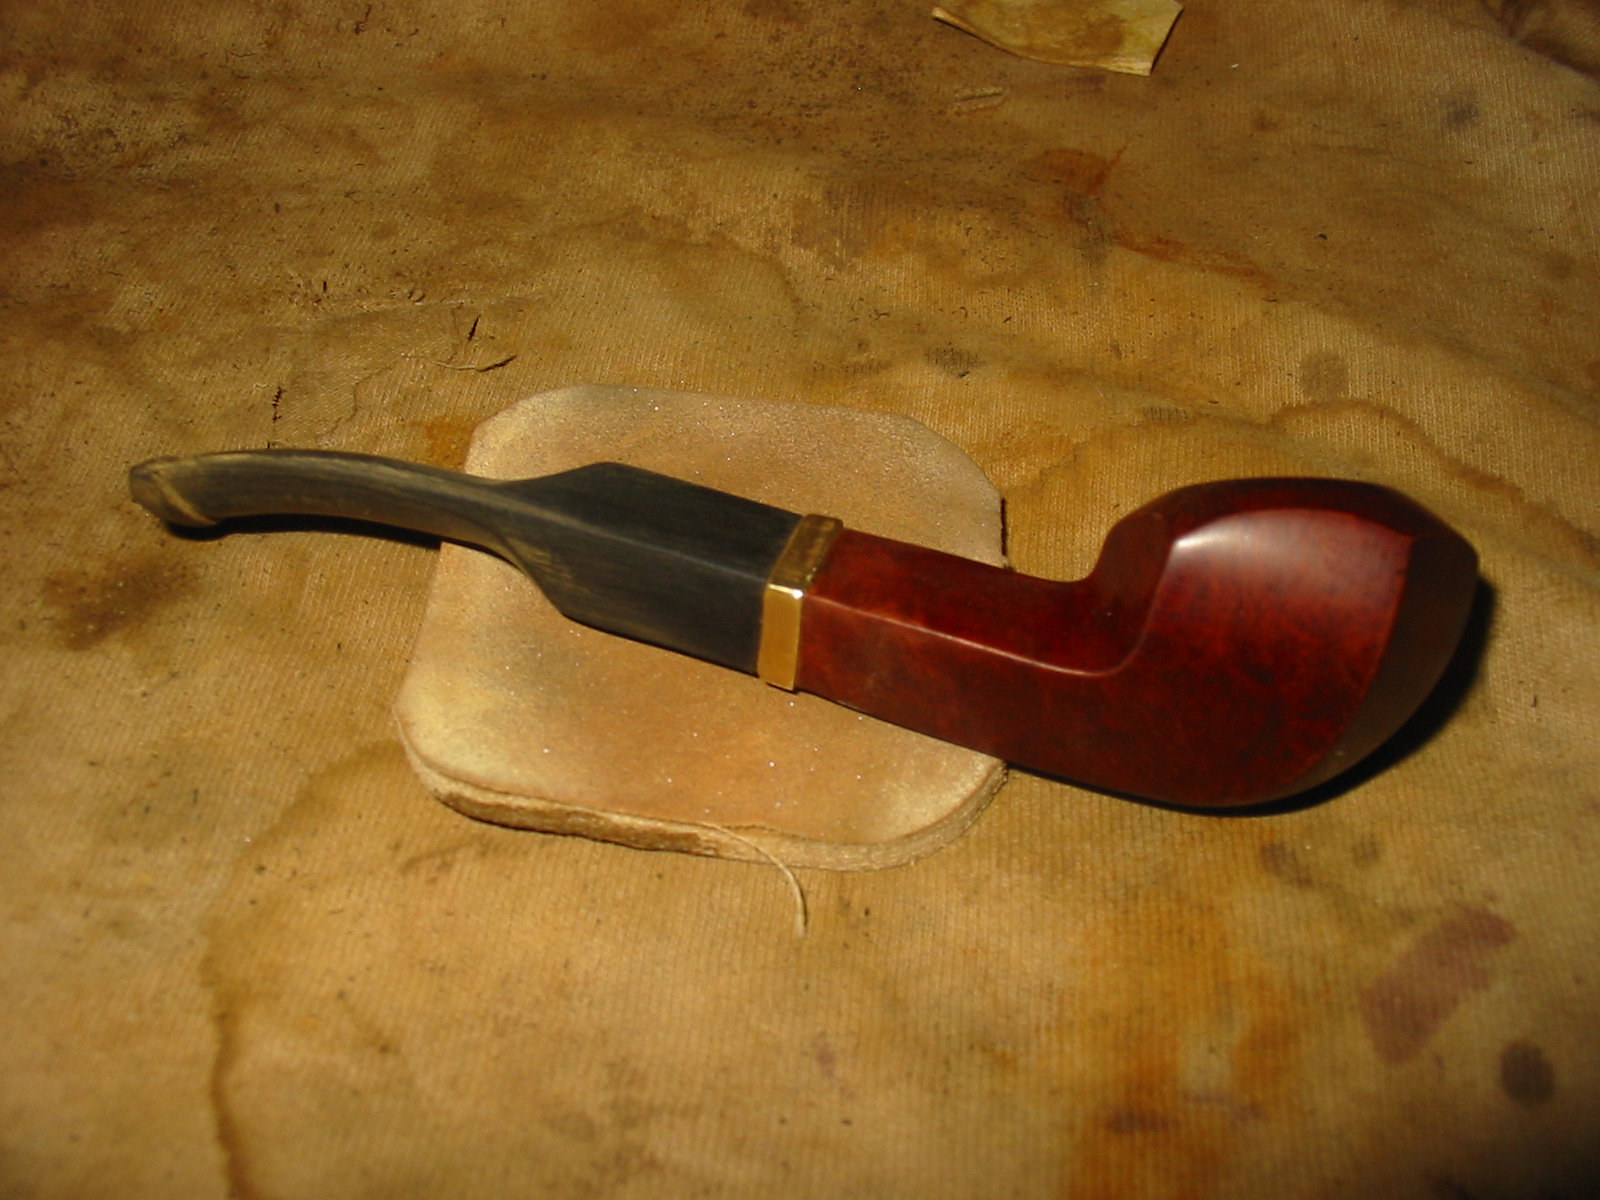
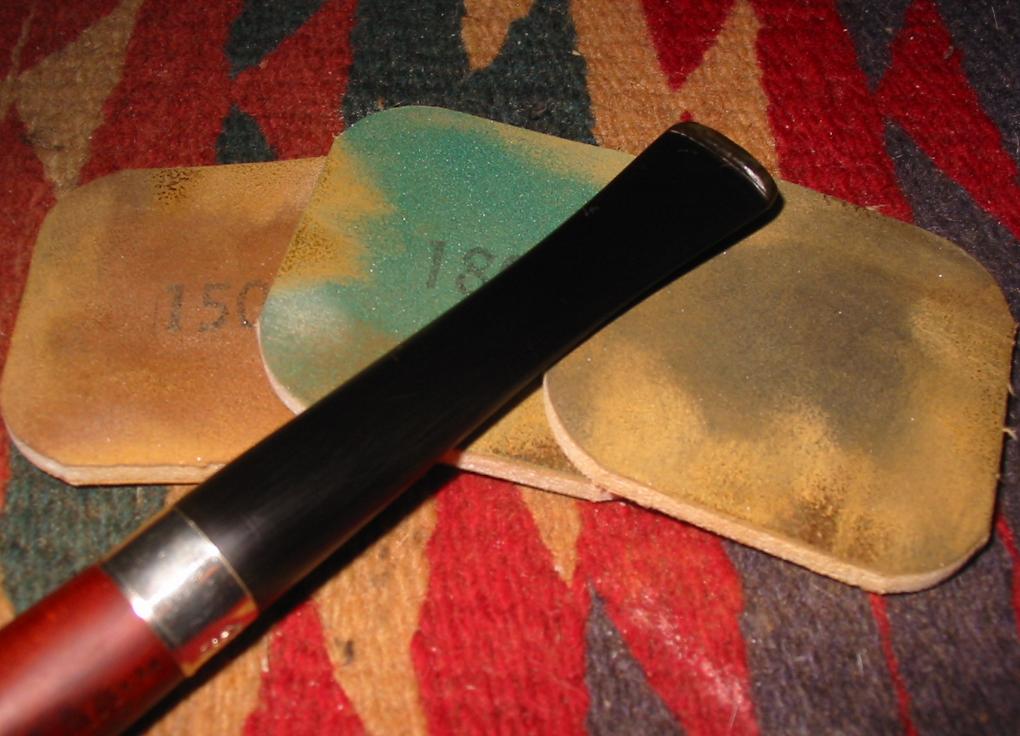
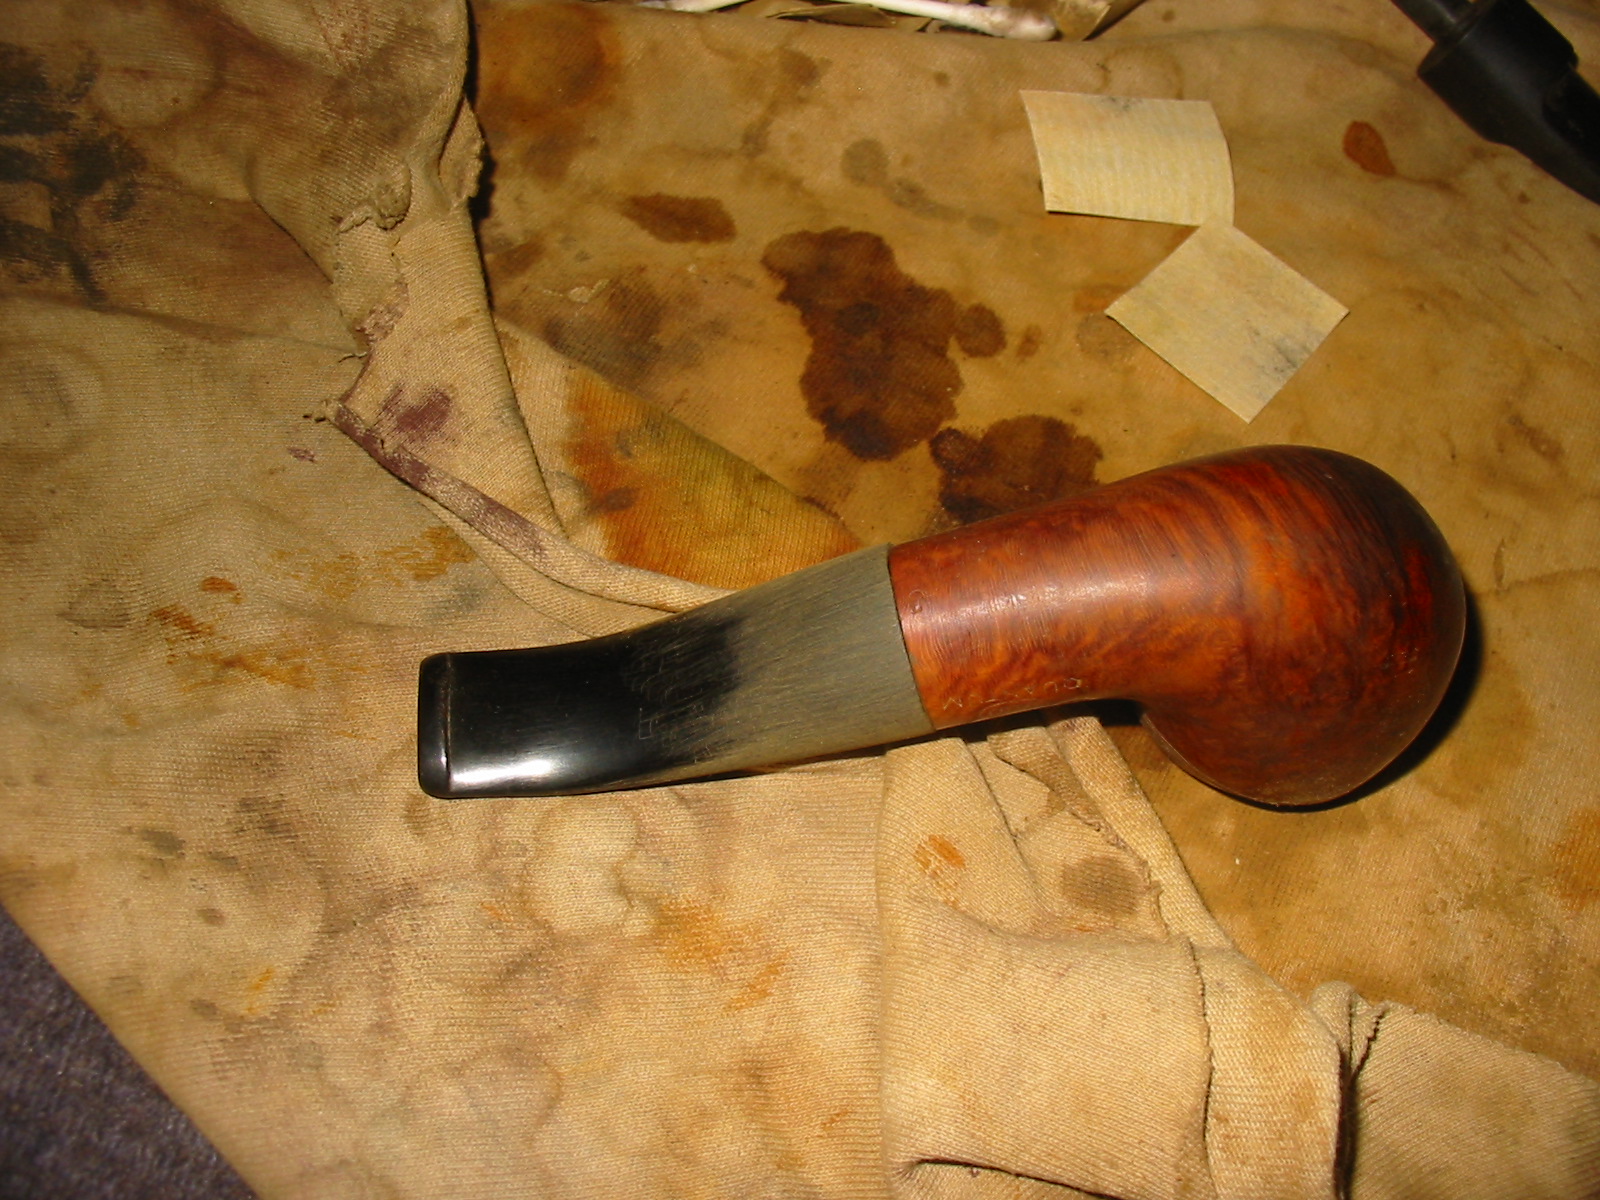
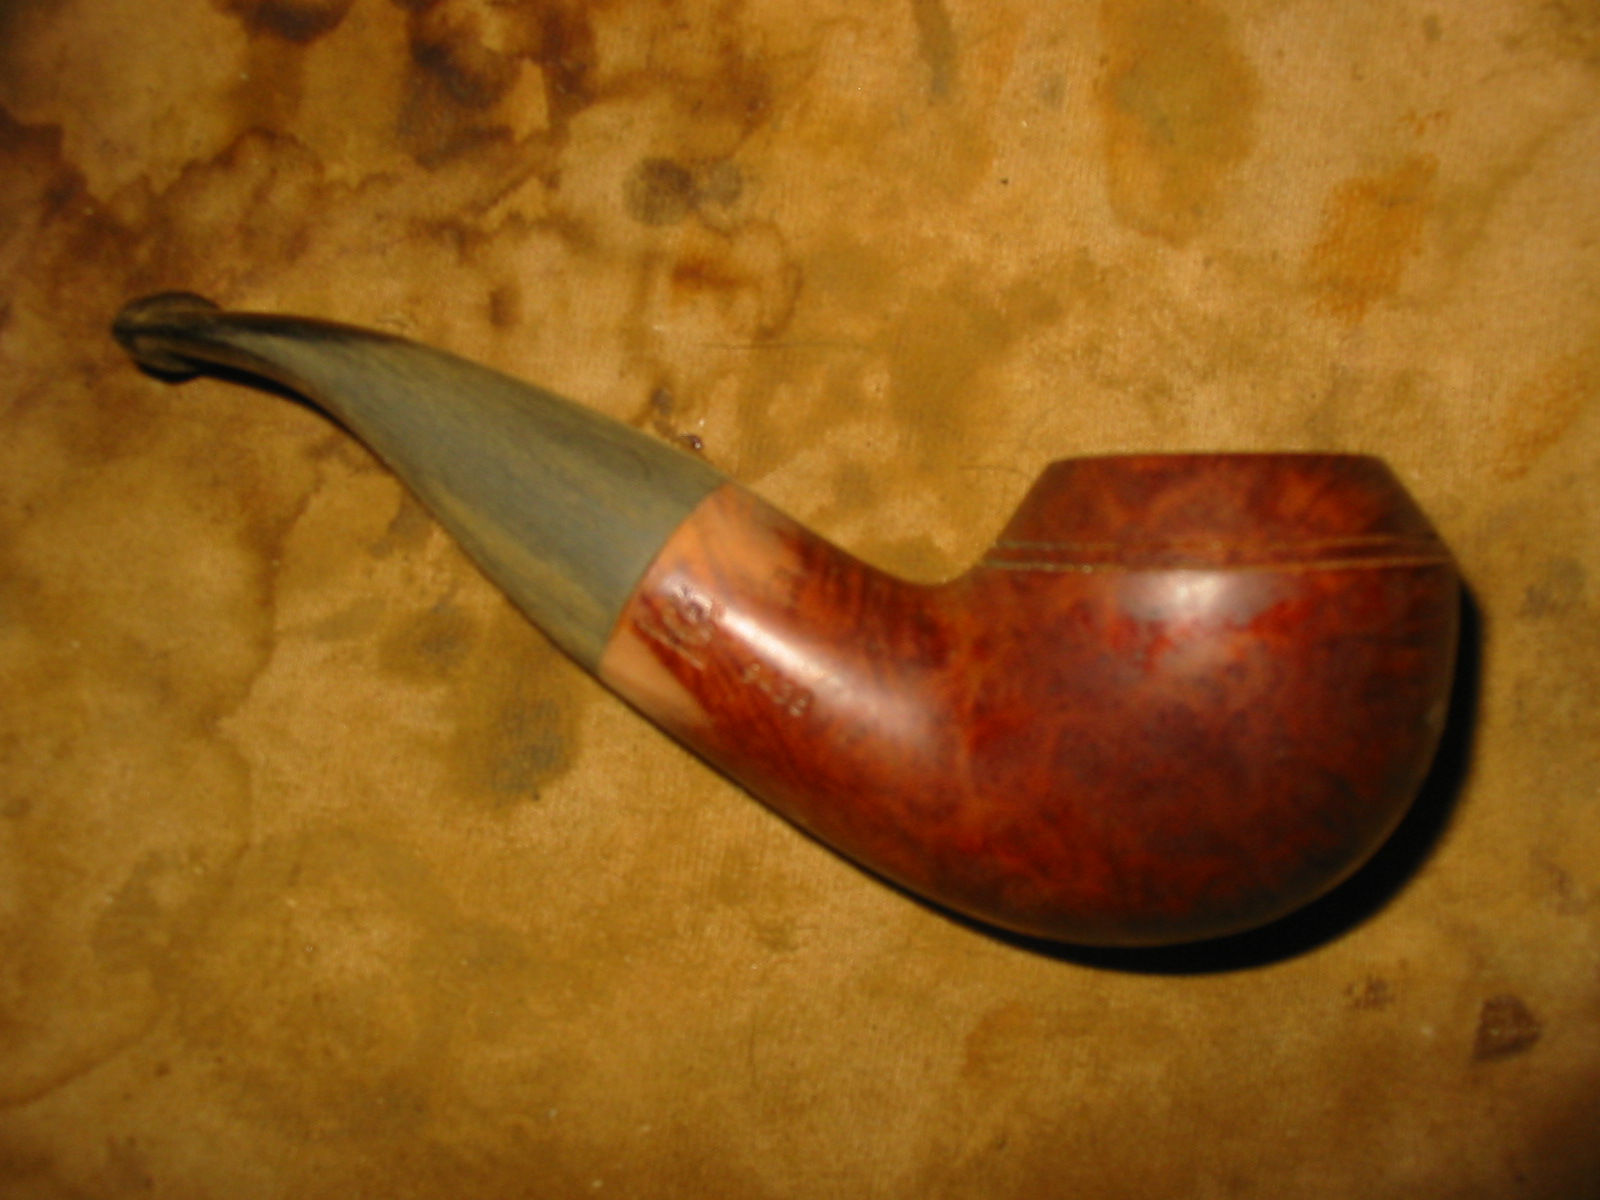
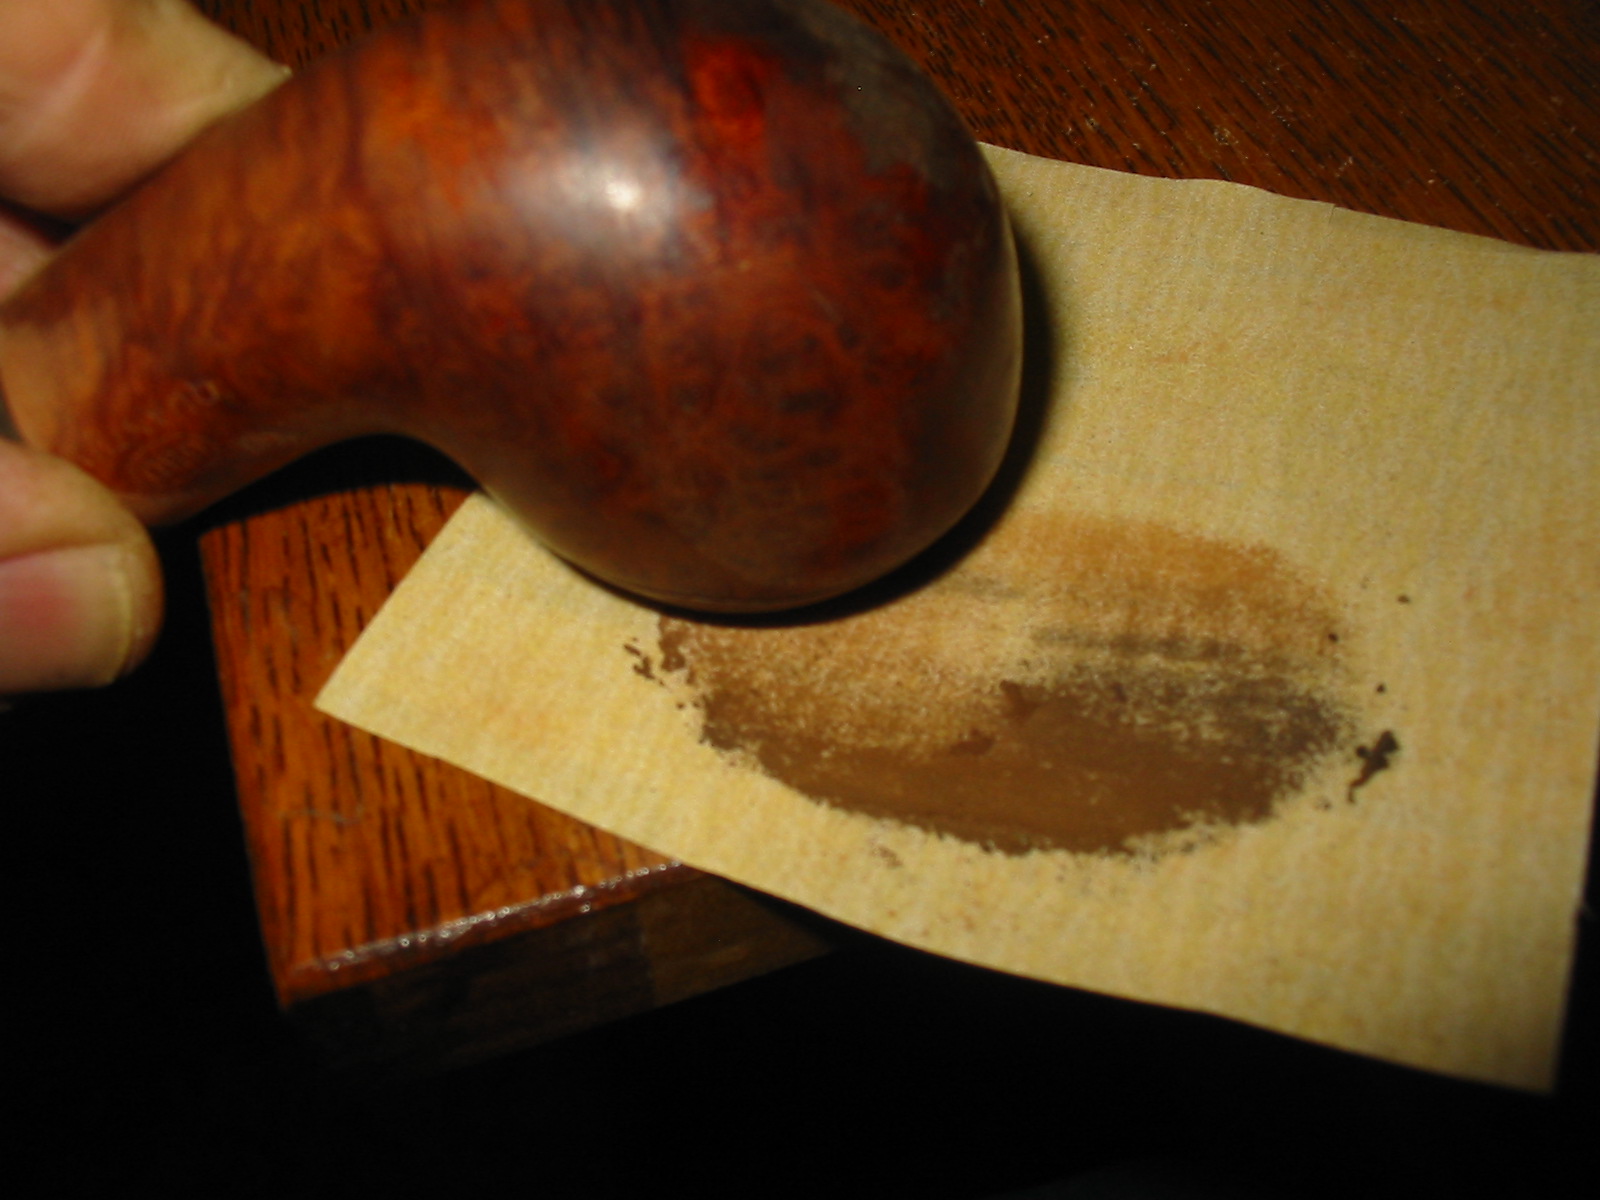
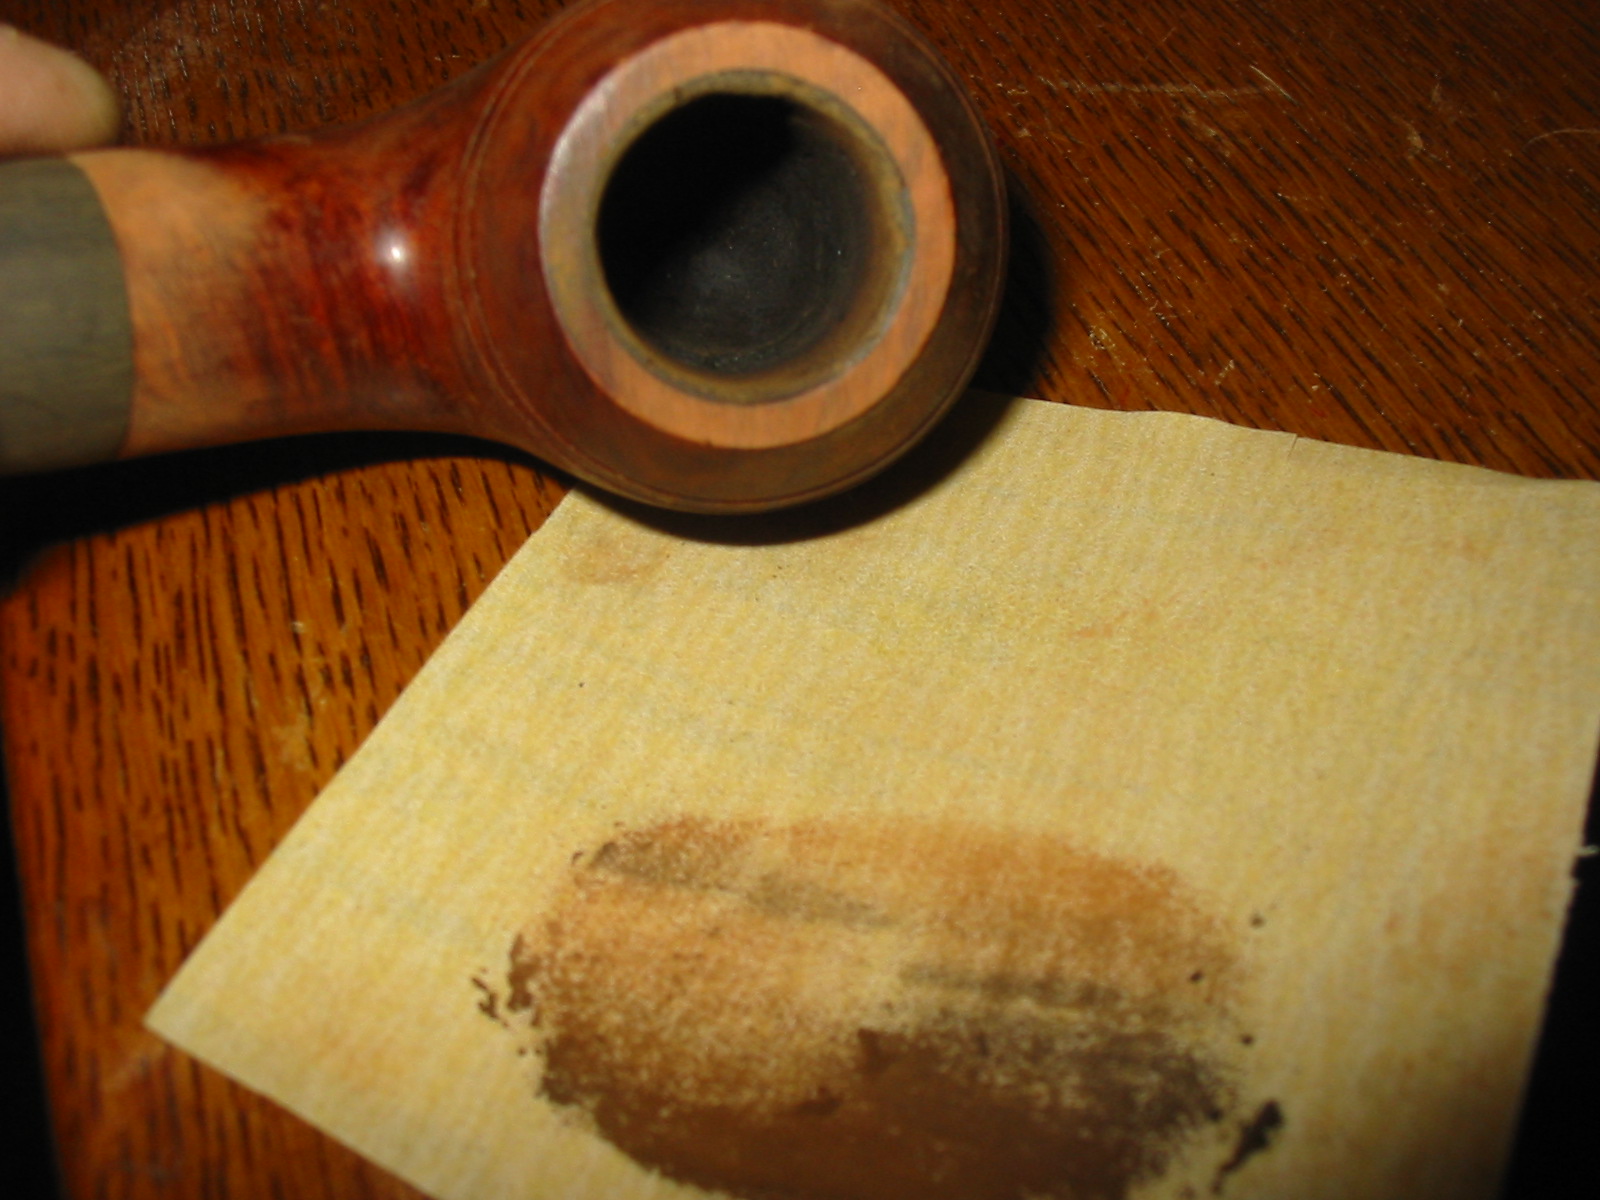
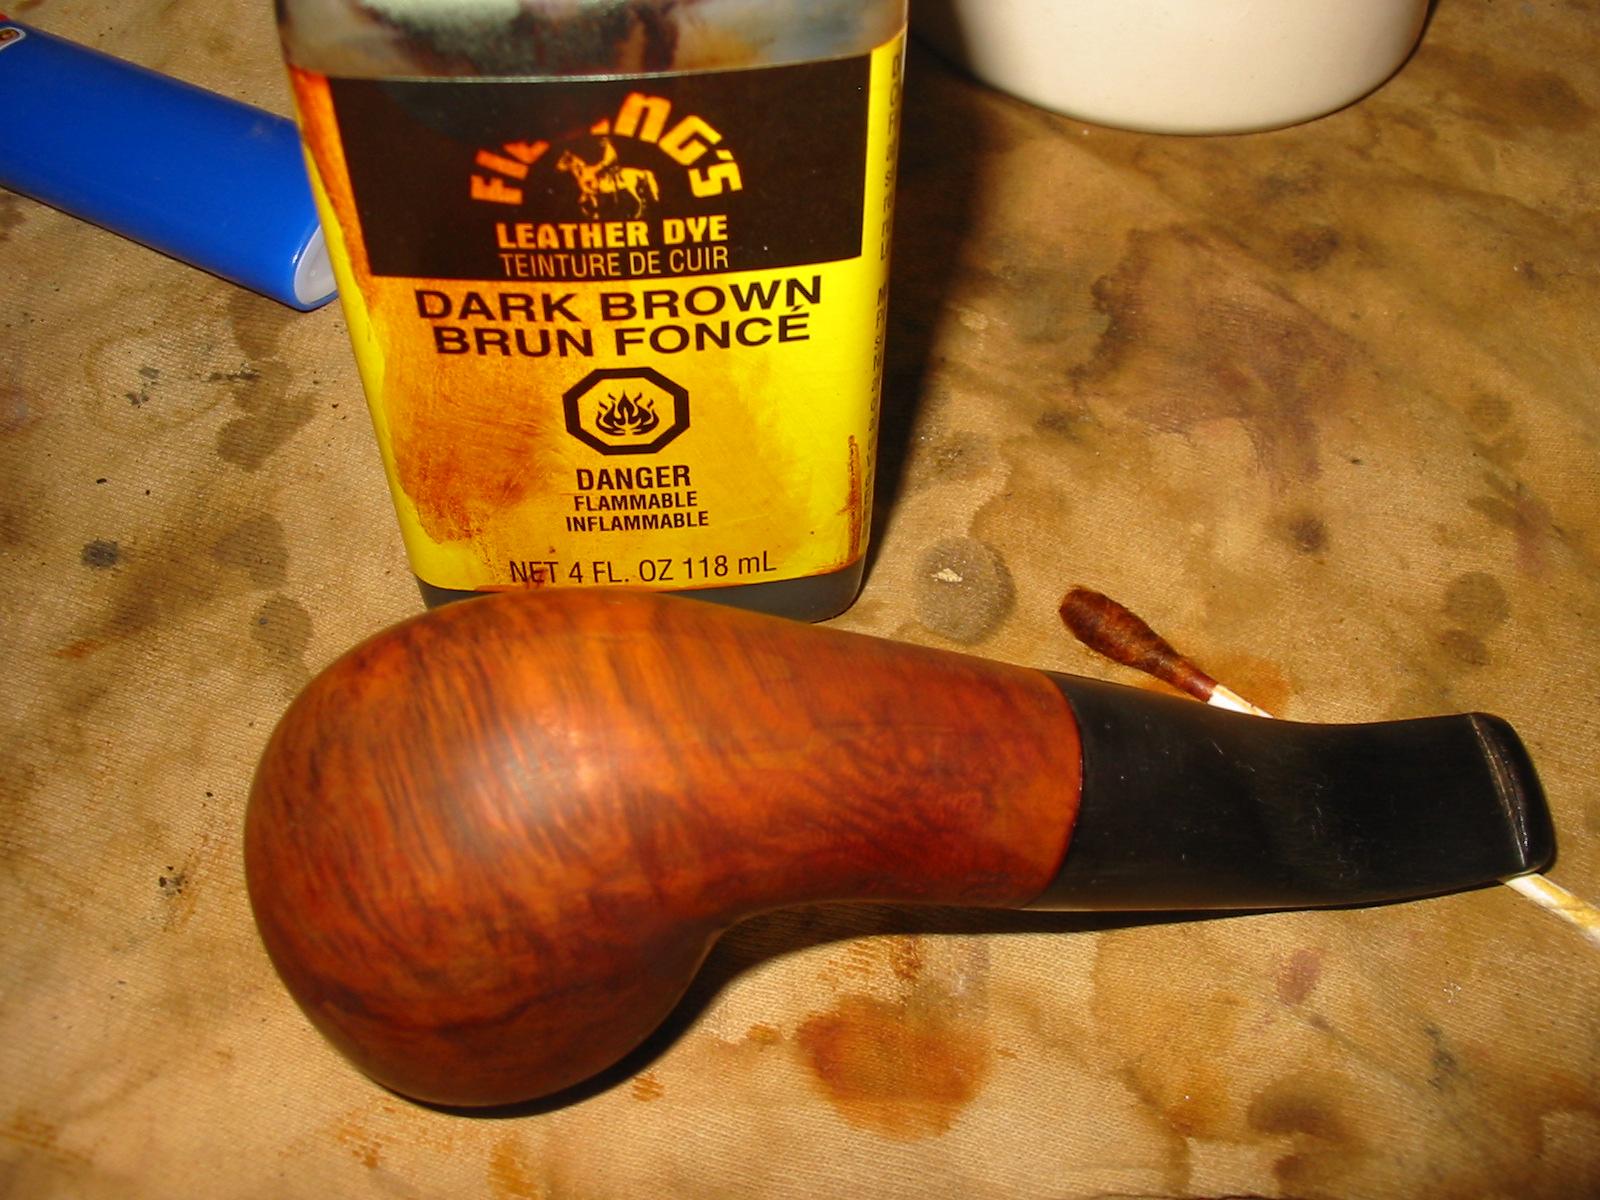
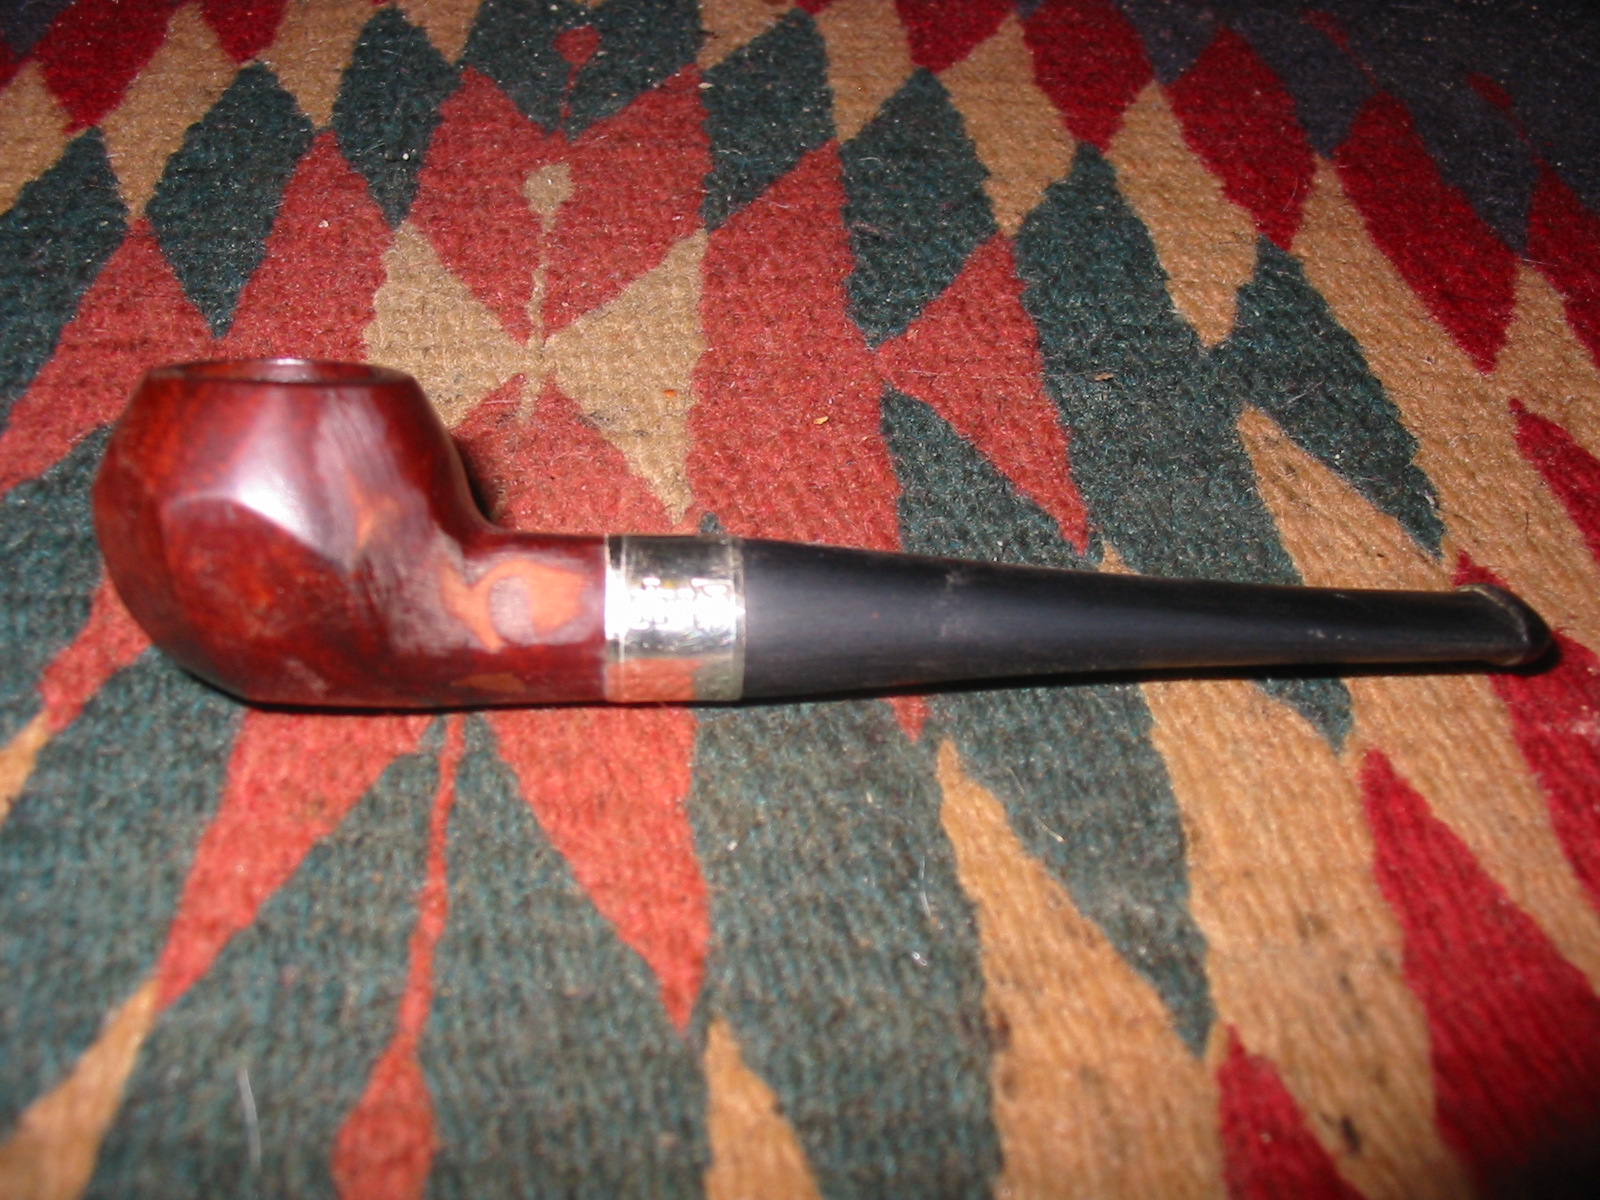
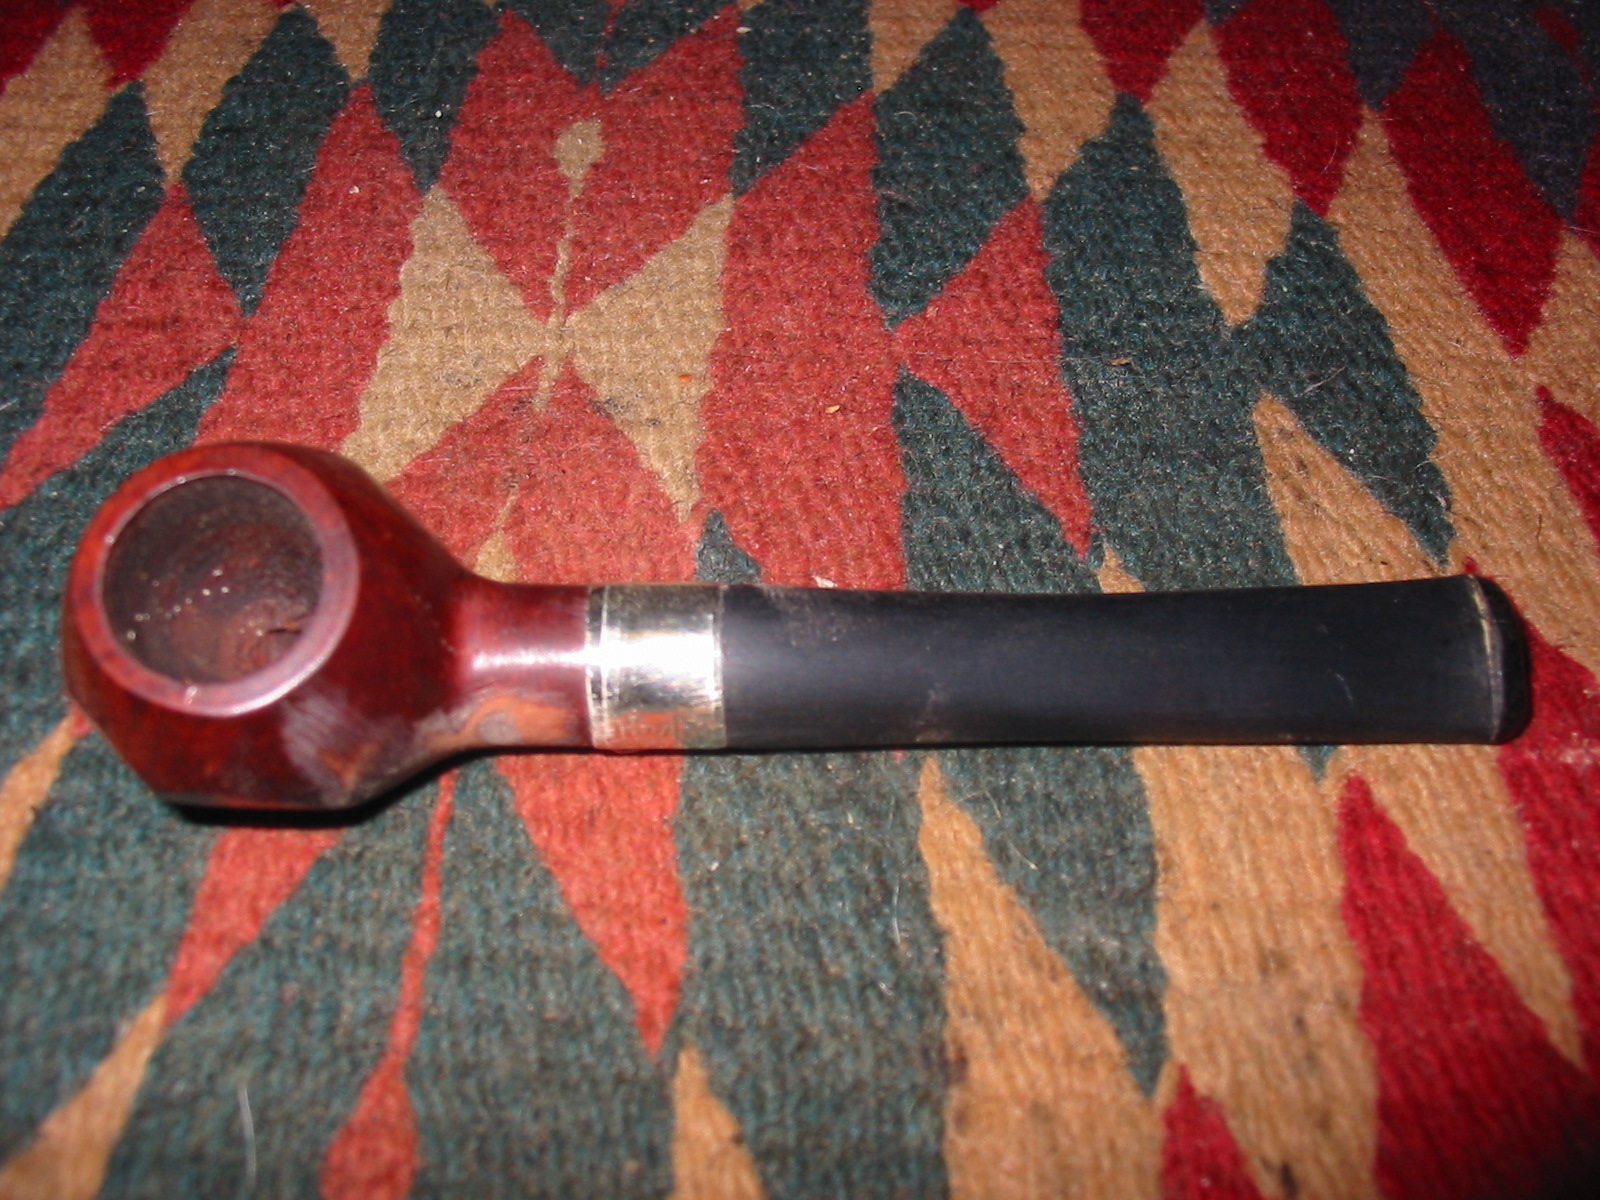
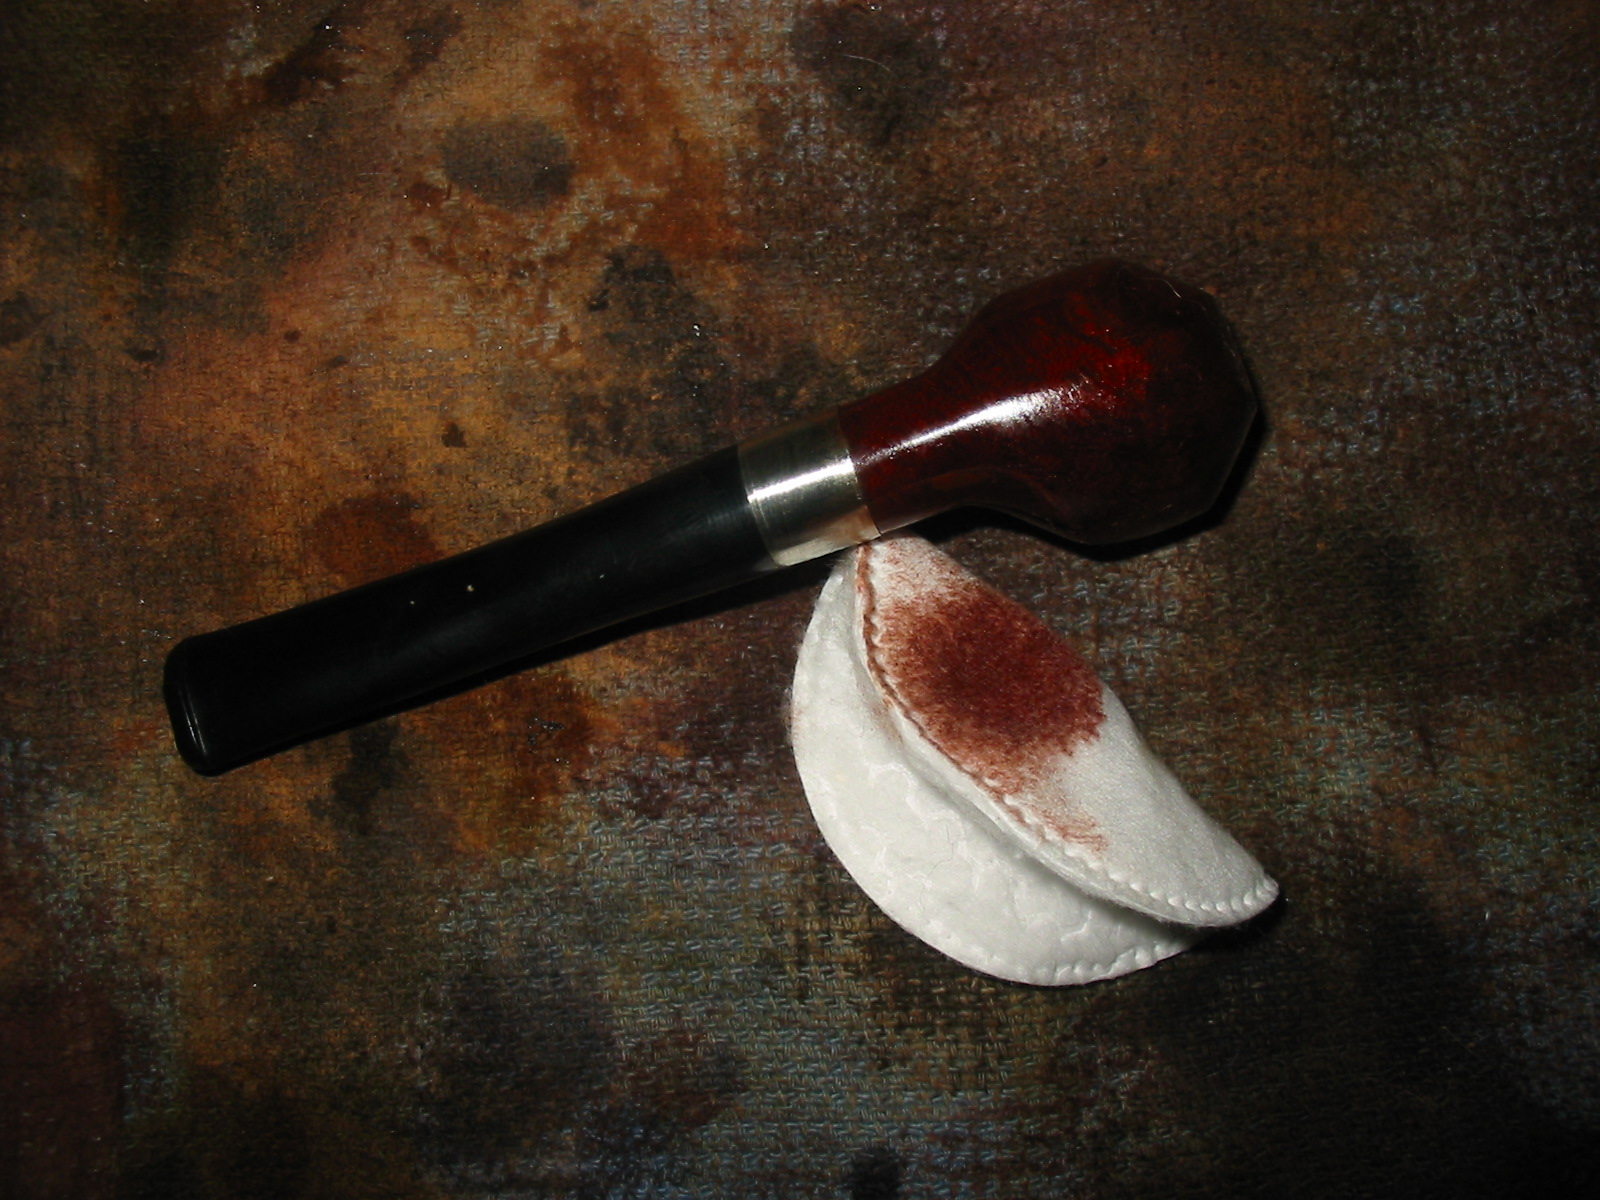
The bowl is stained with a dark brown or black under stain that goes deep into the grooves of the blast and highlights the deeper parts of the blast and the rings and whorls on the birdseye. The higher parts of the blast are stained with a medium brown stain that is a perfect match to the colour of the shank extension. The medium brown is relatively smooth on the rim and on the thin band just ahead of the acrylic band on the shank. In contrast to the bowl and shank Steve cut a black acrylic stem that picks up the thin black band on the shank. The blacks/dark brown stain on the sandblast also provides contrasting highlights to the total package of the pipe. Steve did a great job on the stain and finish of the pipe.
Morrisette5

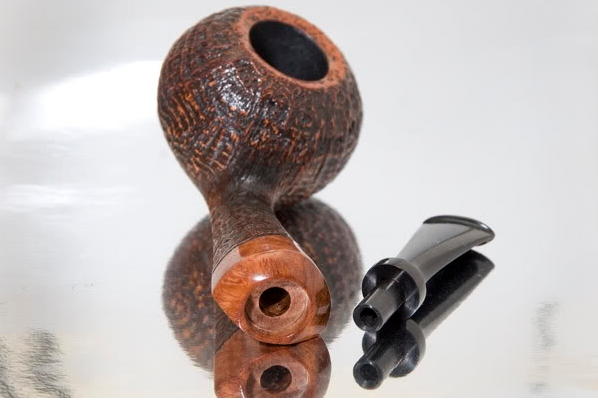
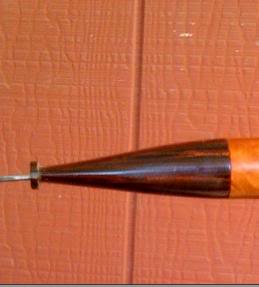
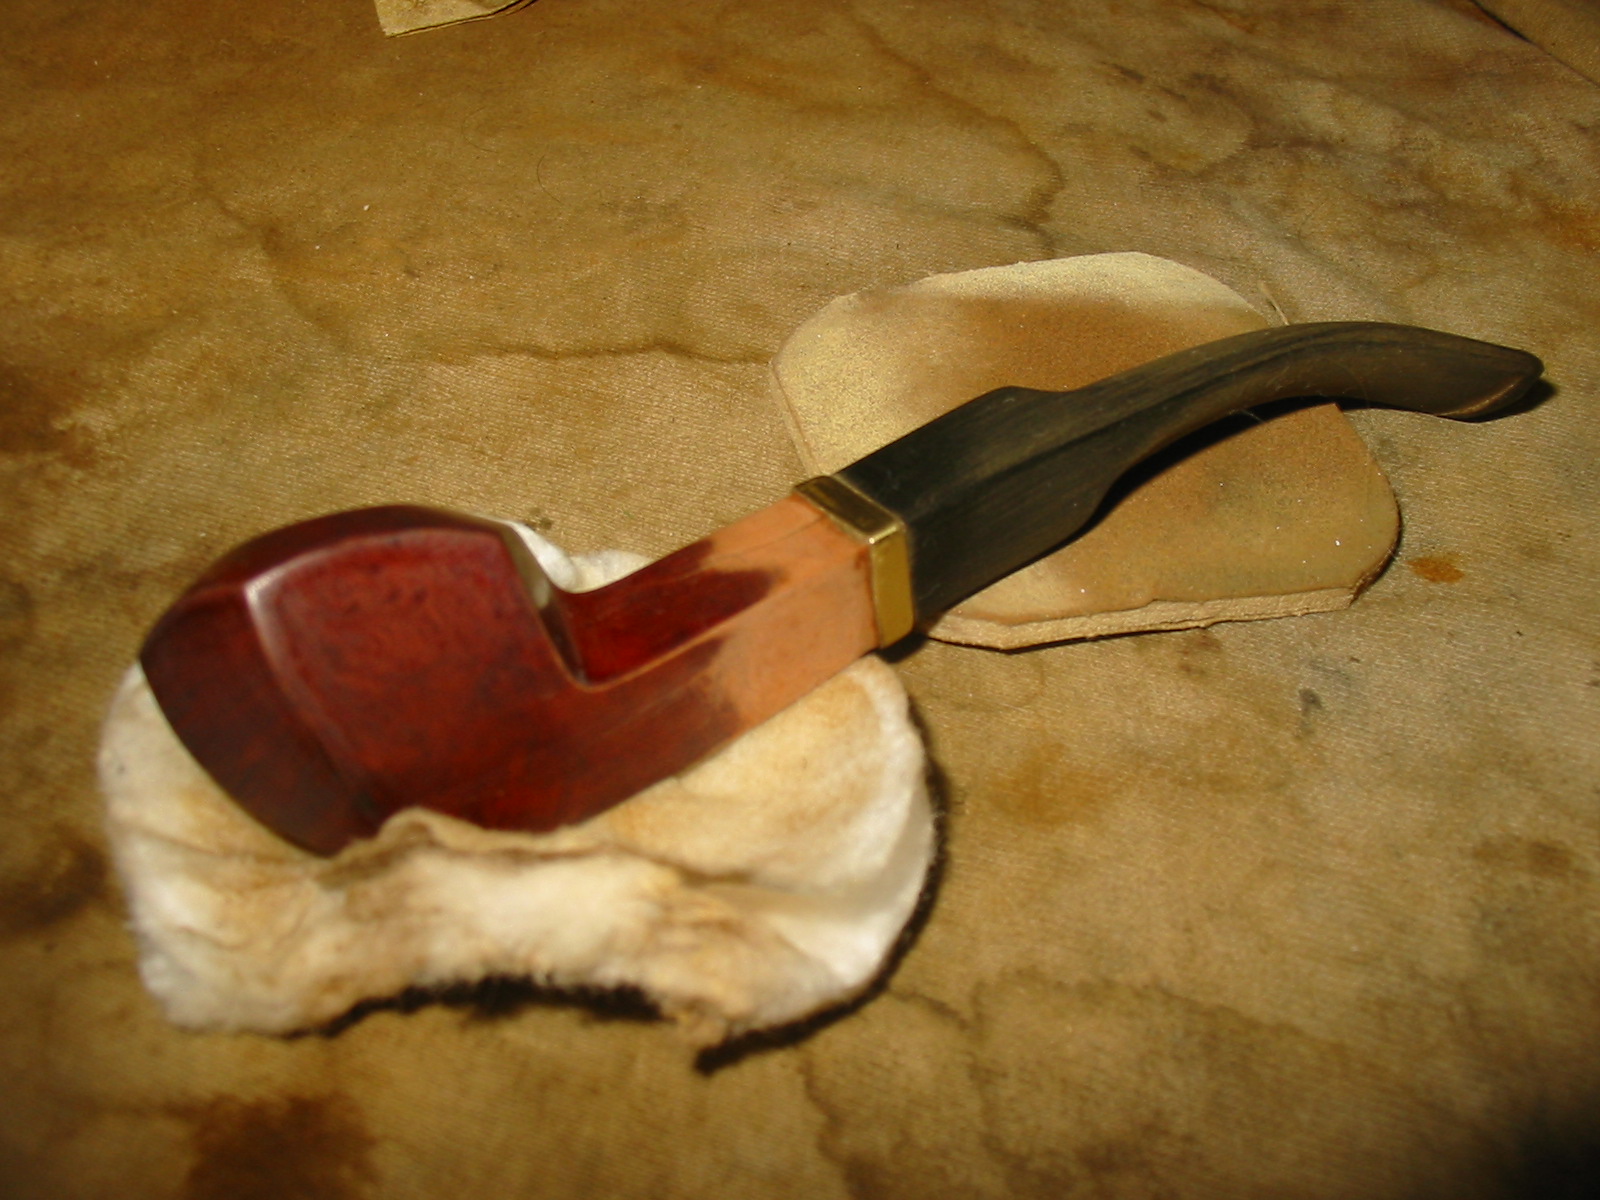
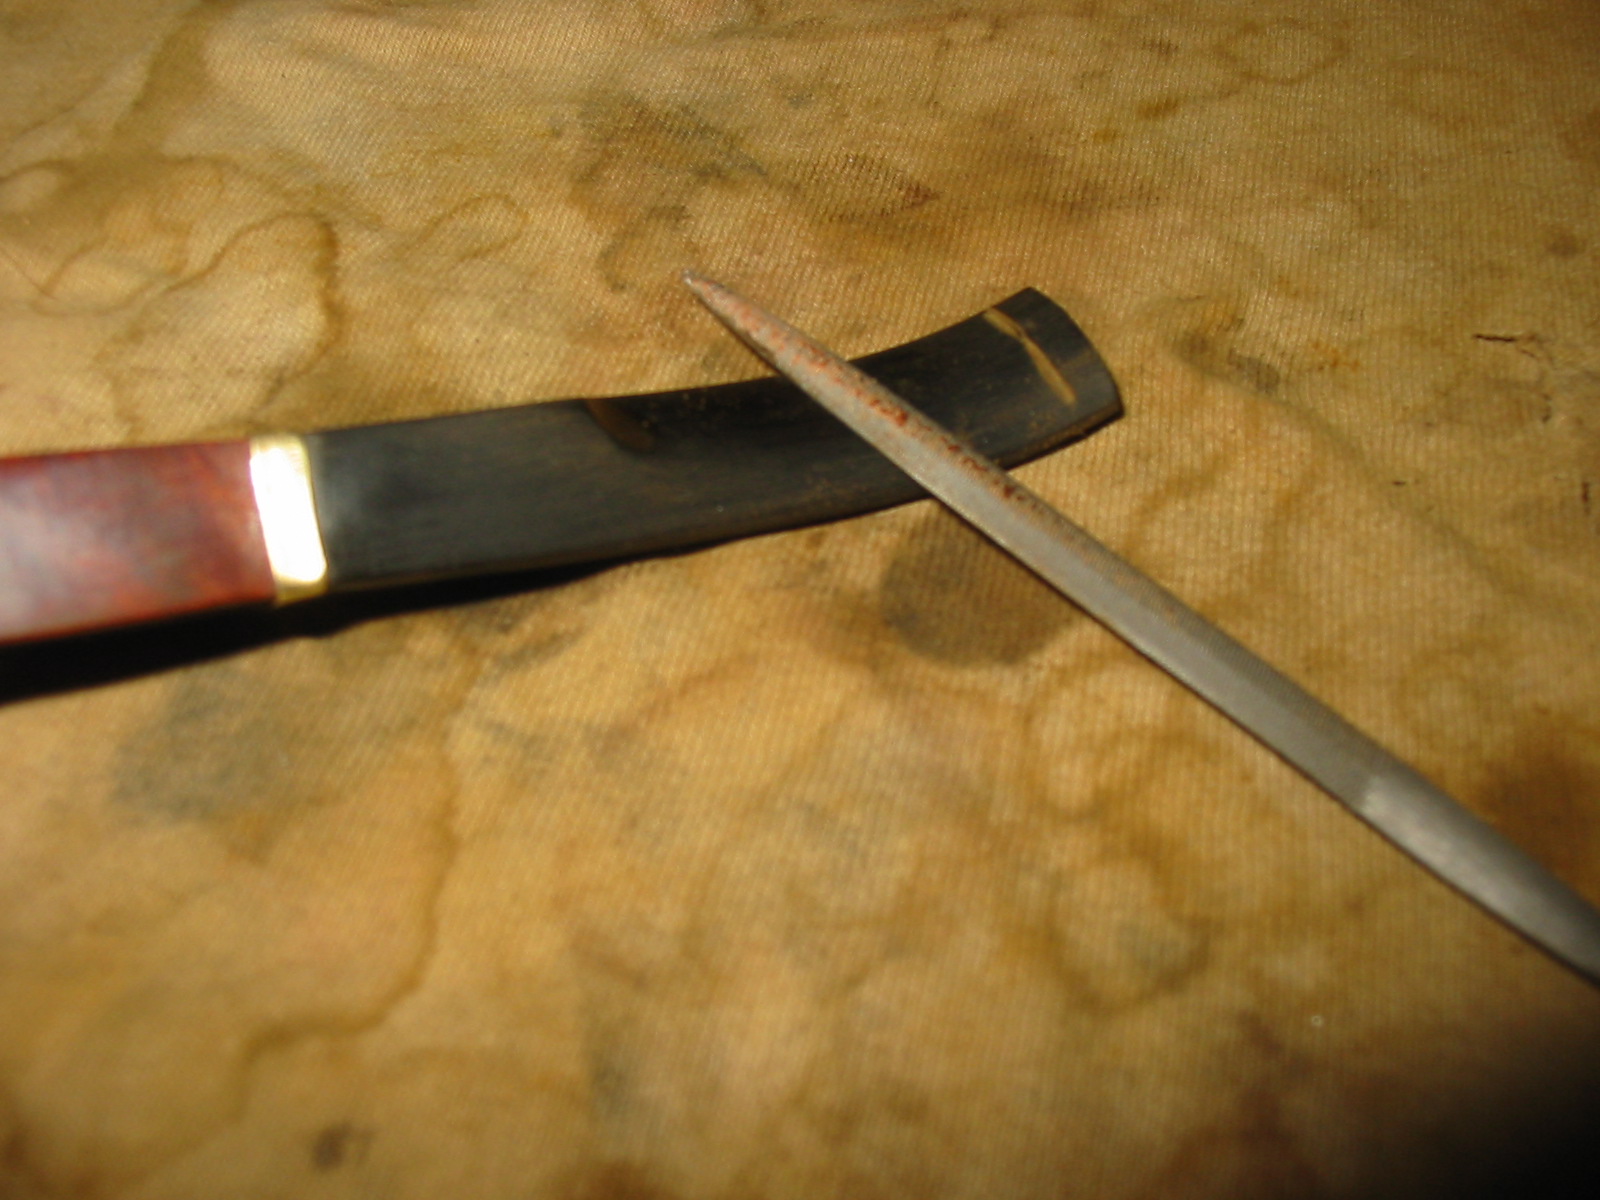
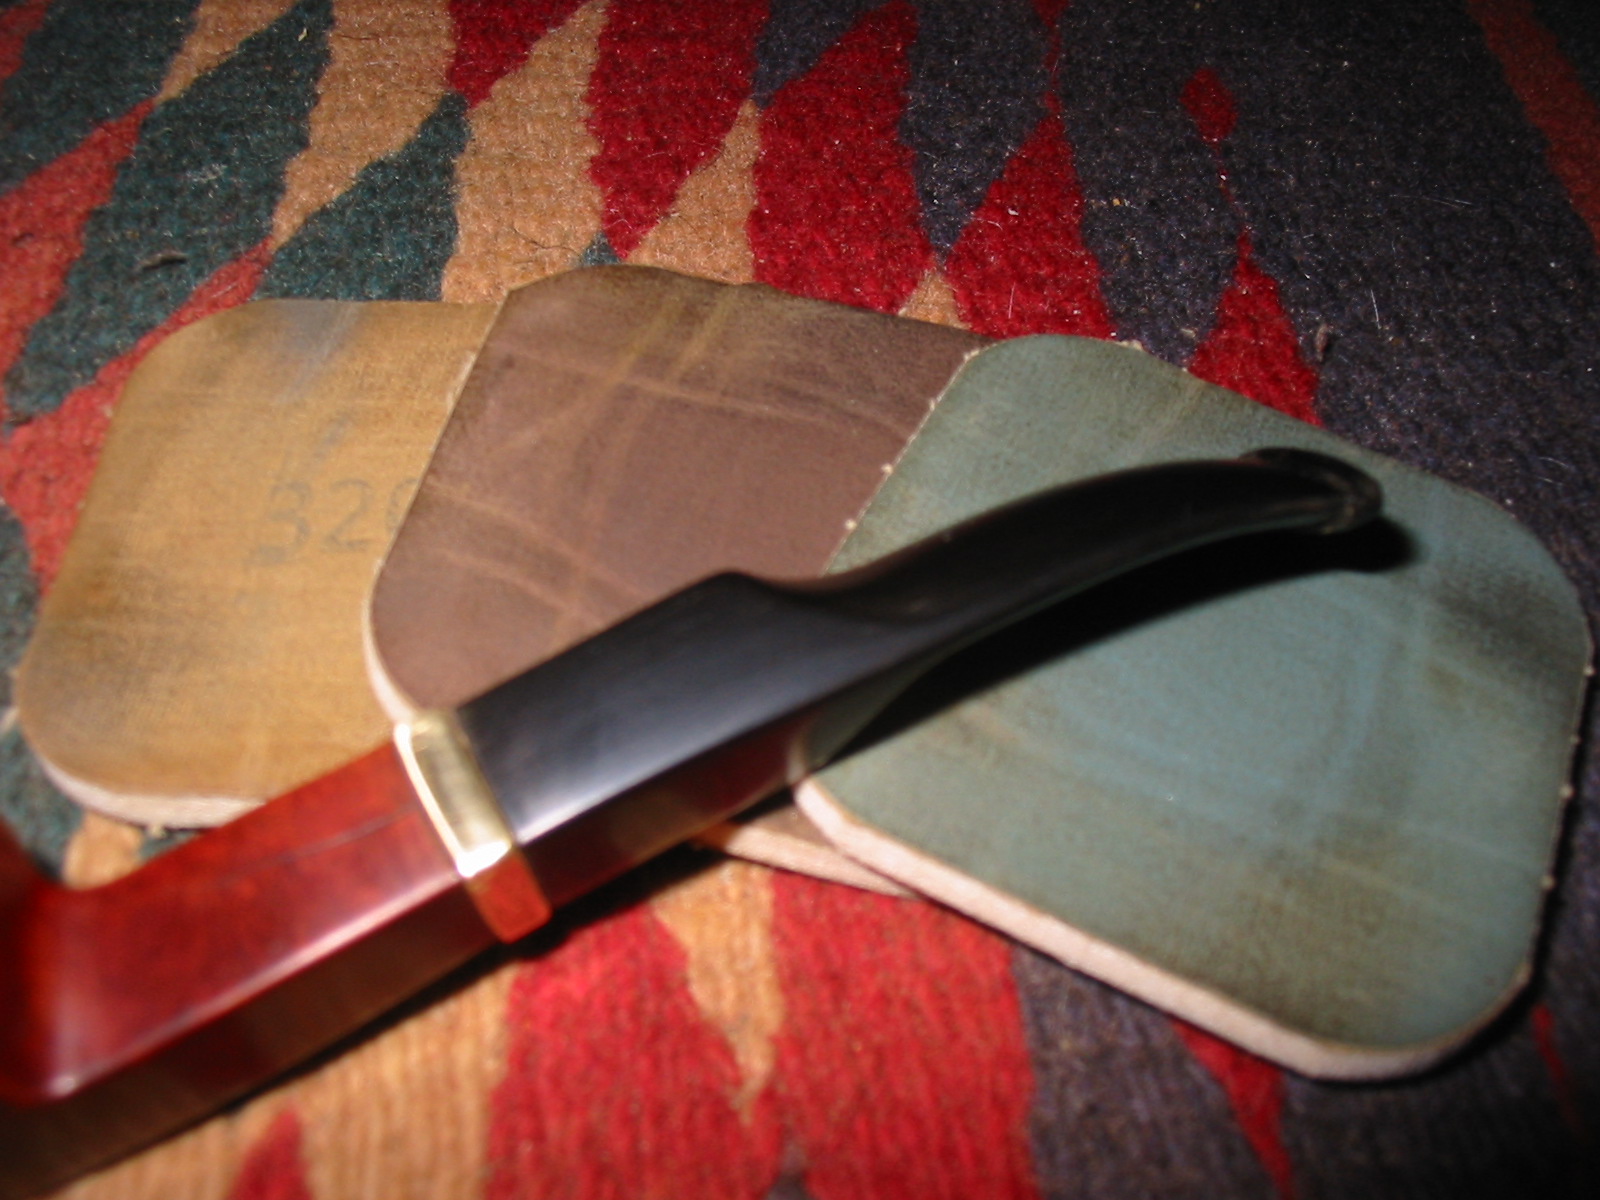
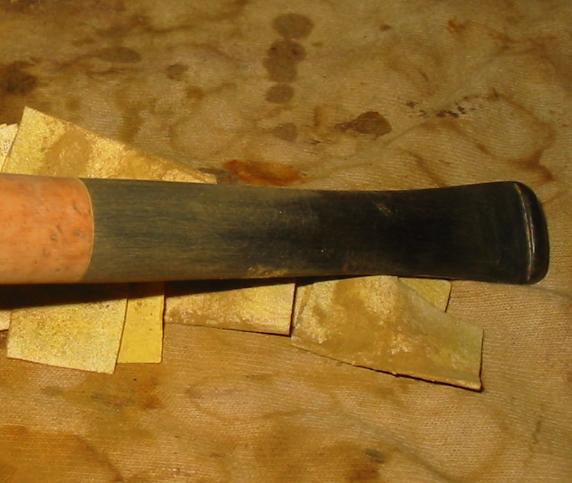
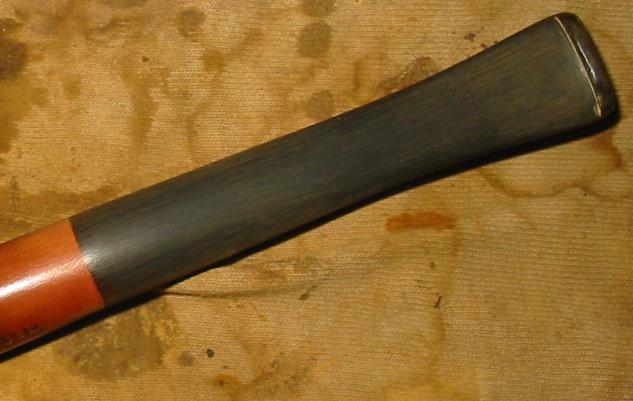
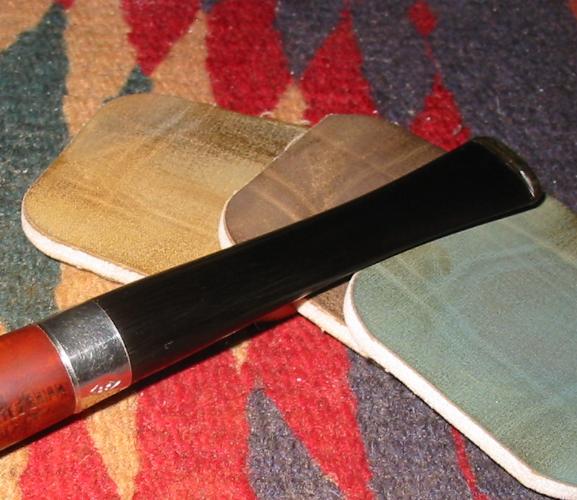
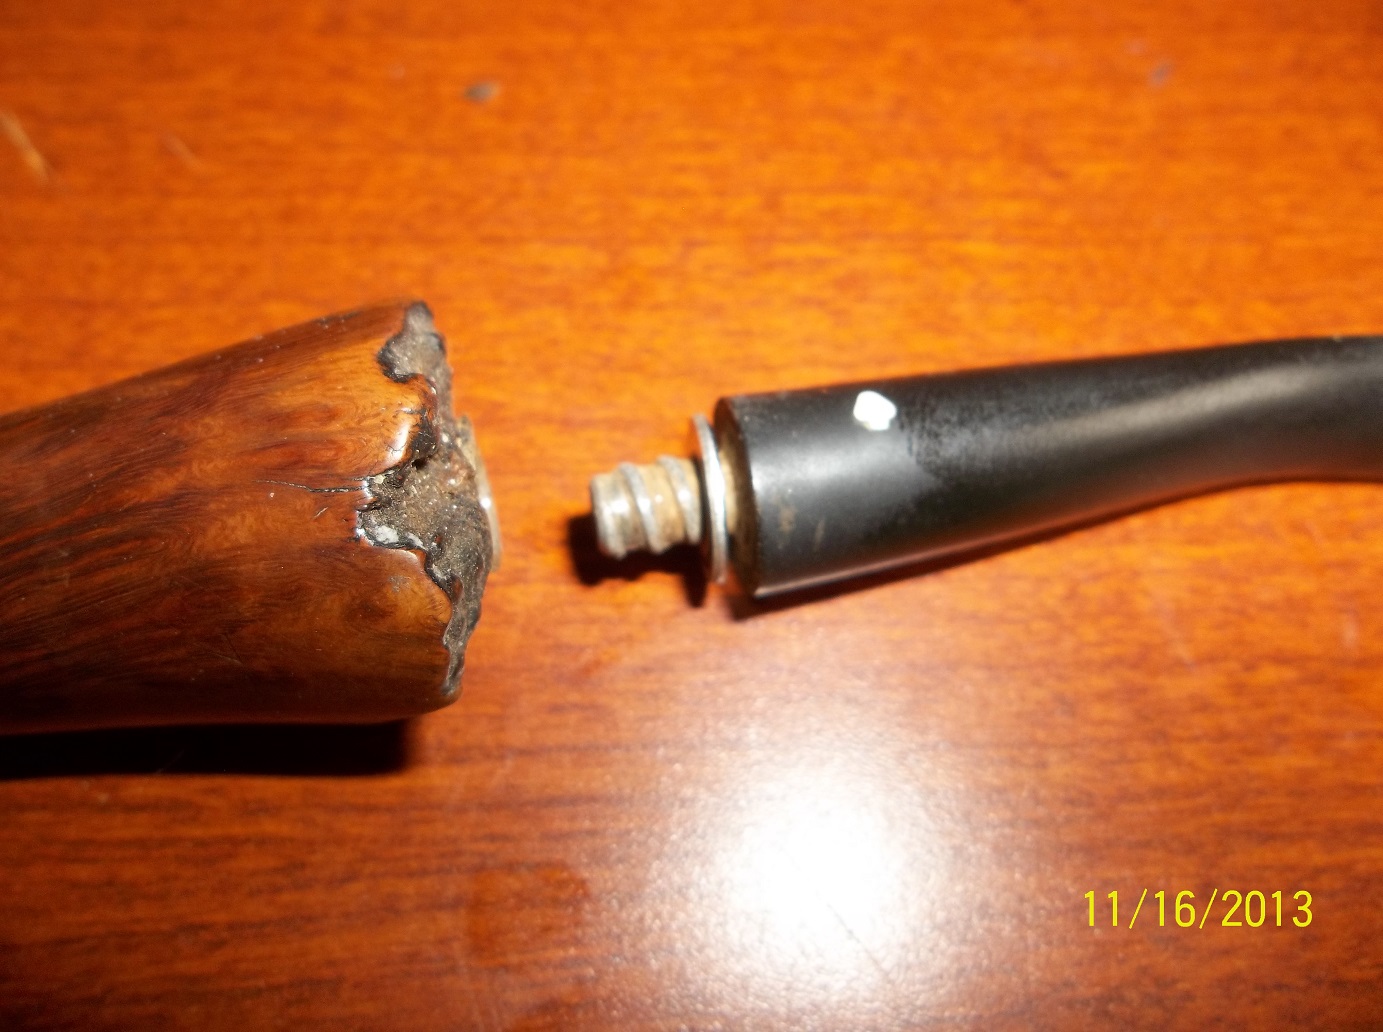
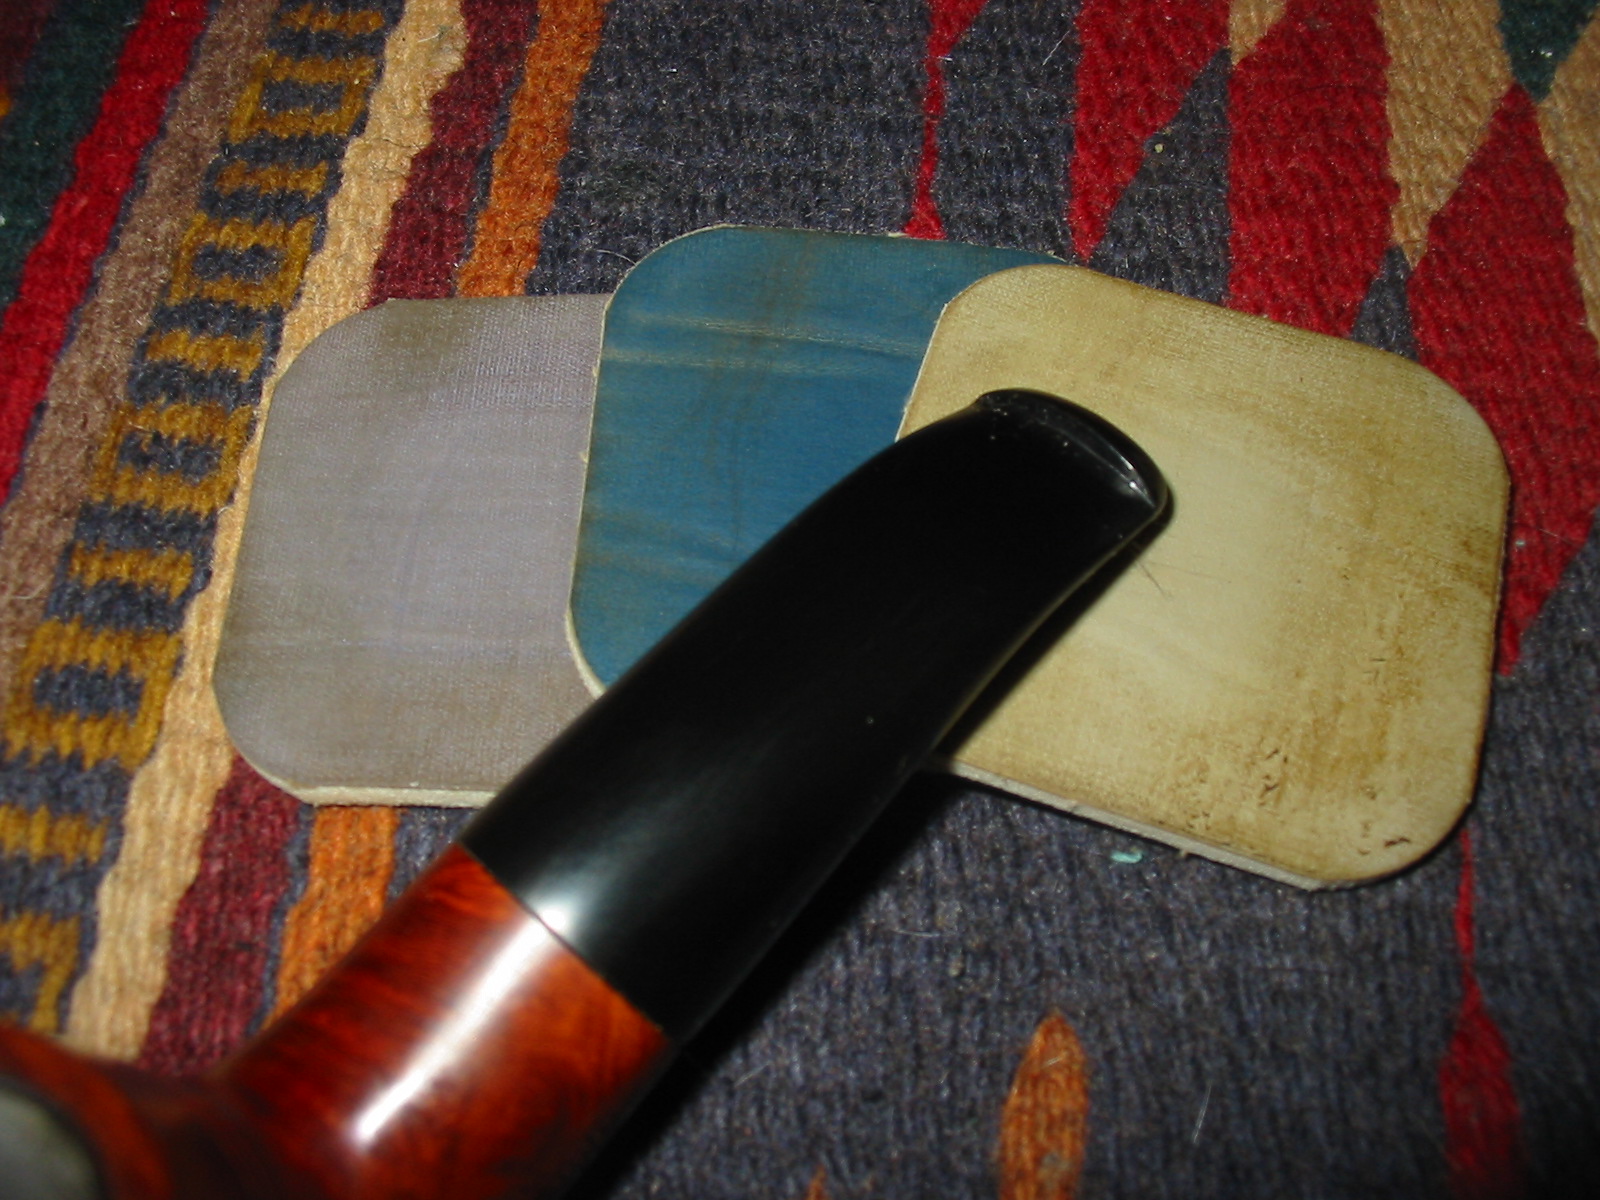
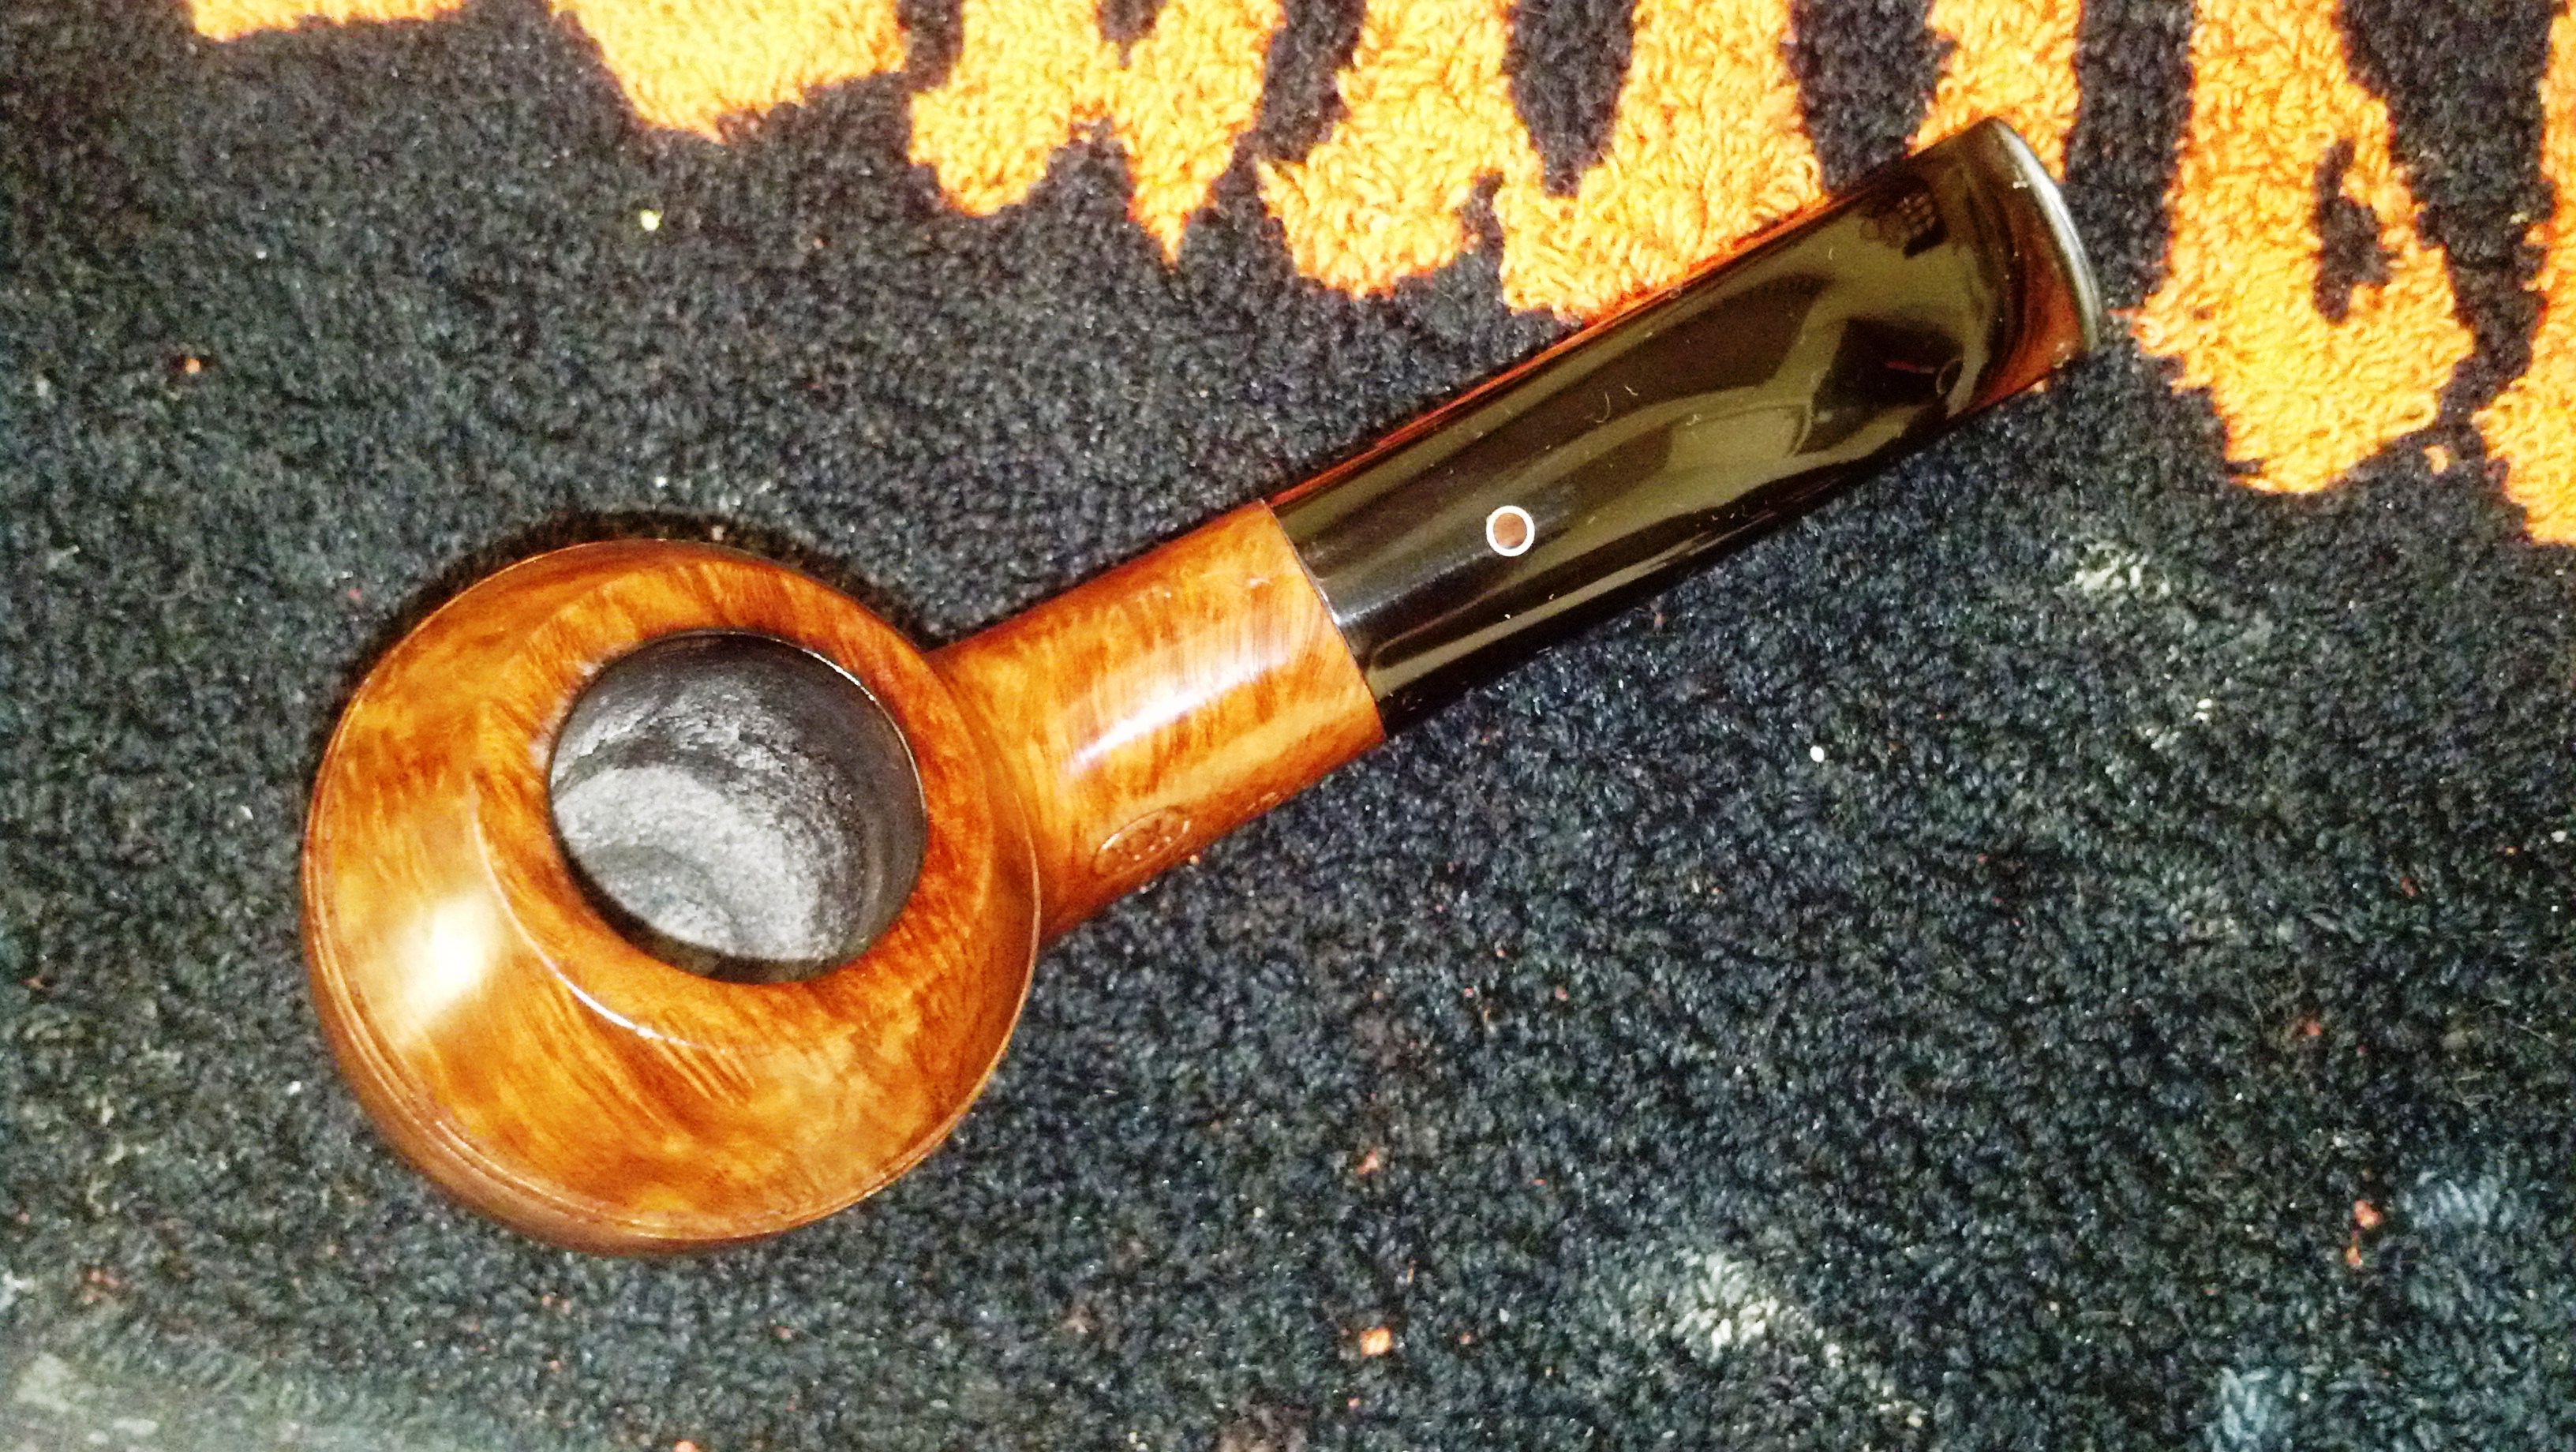
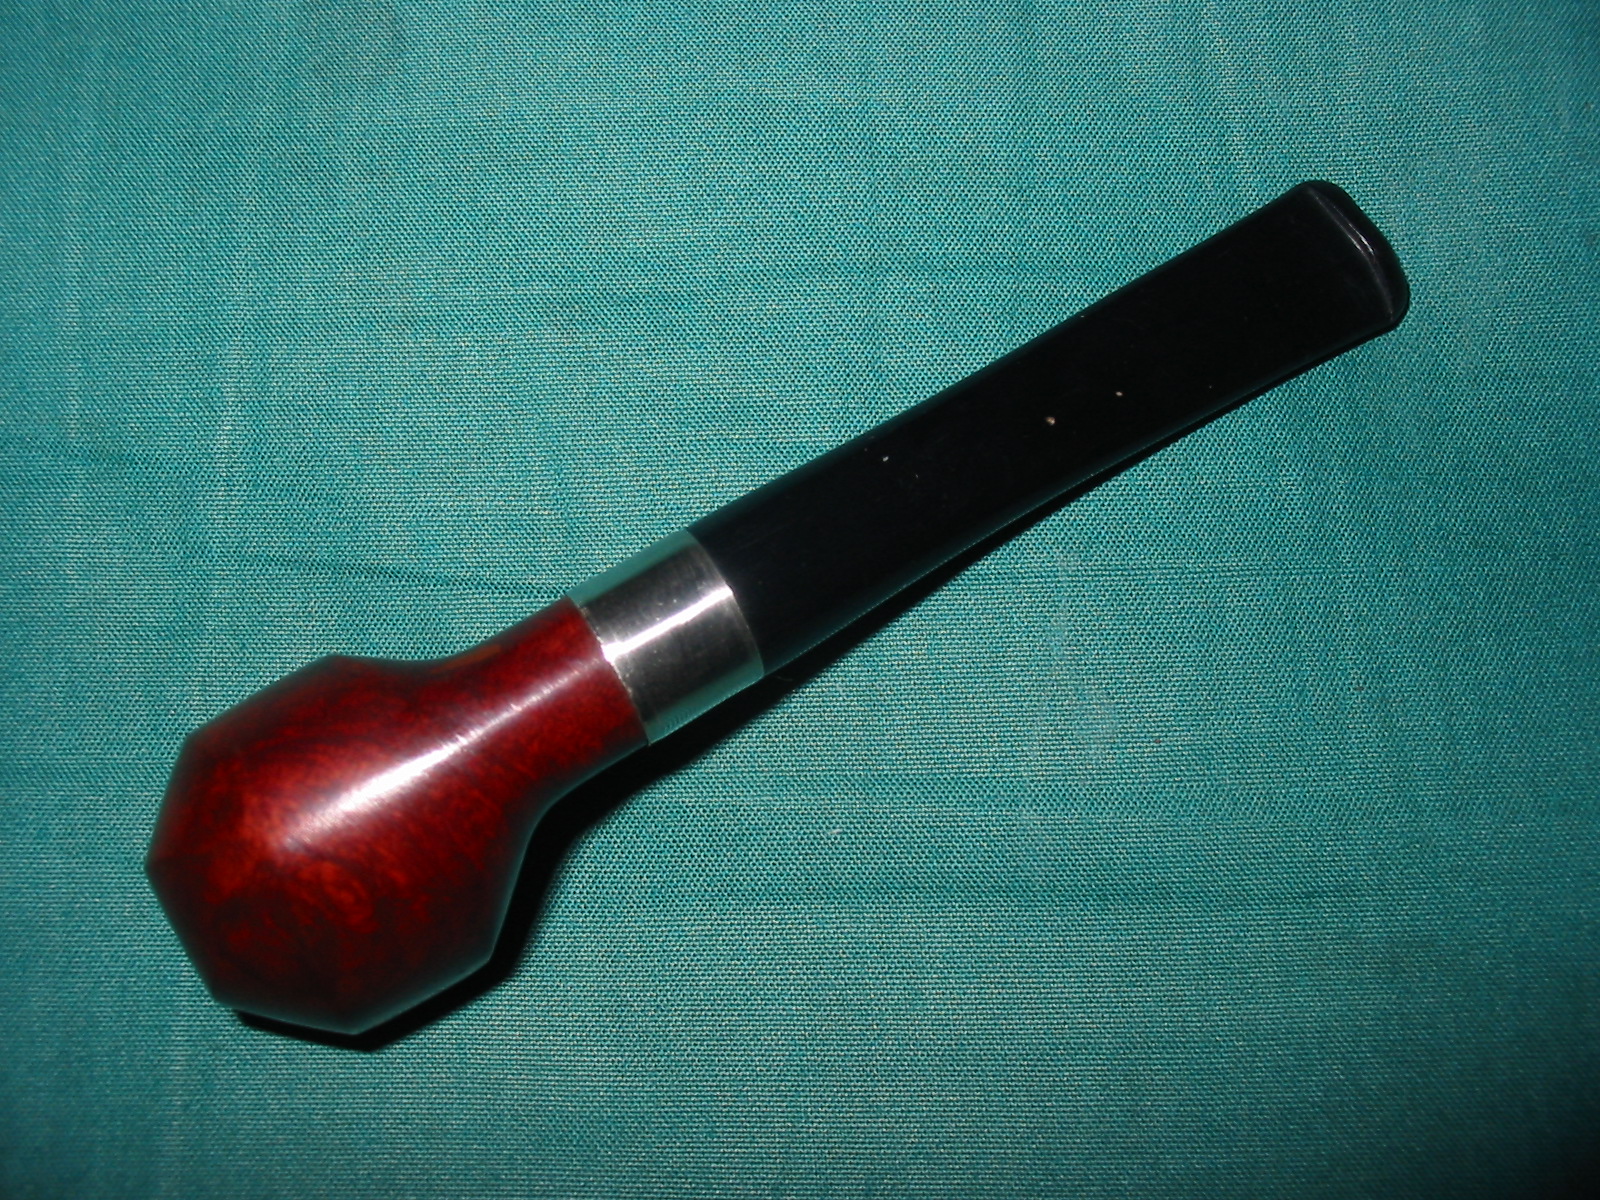
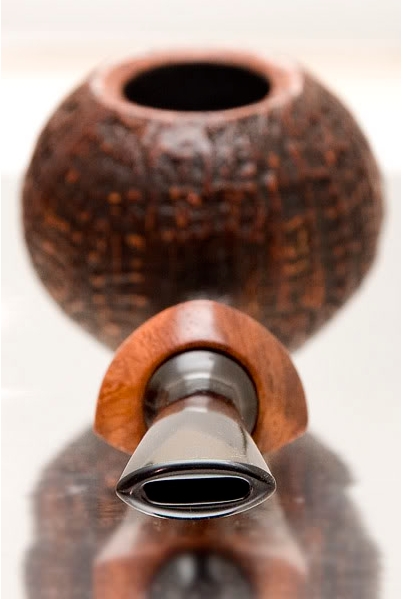
The stem itself very nicely worked. It is an acrylic stem that is cut at the same flared angles as the shank. The shank extension is crowned and the stem is inset into the crown giving it a very delicate look. The delicate look and feel of the stem deceptive for it has strong lines that form the smooth flat sides of the stem and taper toward the button on both sides. Steve did an amazing job shaping the stem. The short blade of the stem is thin and has a good even tapered flow from the saddle to the button. It is matched in terms of angles on the top and the bottom and on the left and right side of the stem. The design along with the slight bend makes it fit very comfortably in the mouth. It also rests well enough that it can be clenched quite easily. The Delrin tenon has been set into the acrylic of the stem and is the same length as the mortise. The fit is snug. The end of the tenon has been funneled for good airflow.

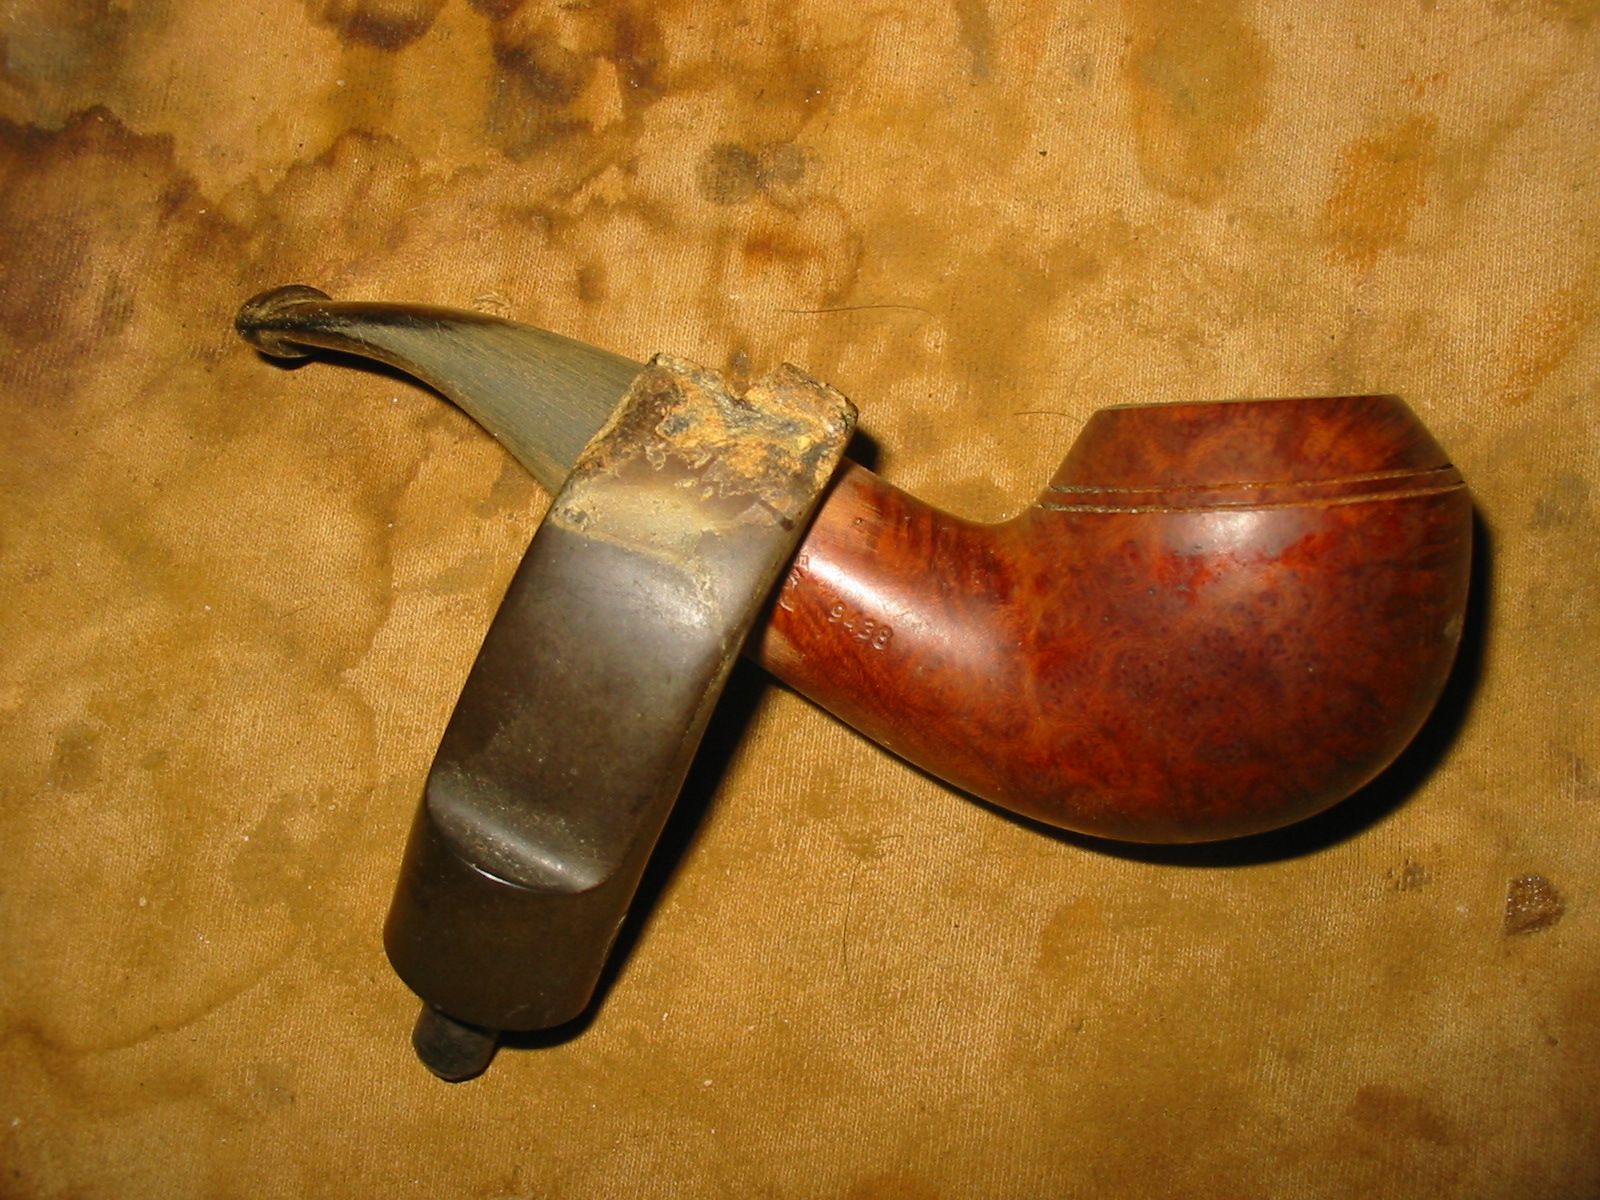
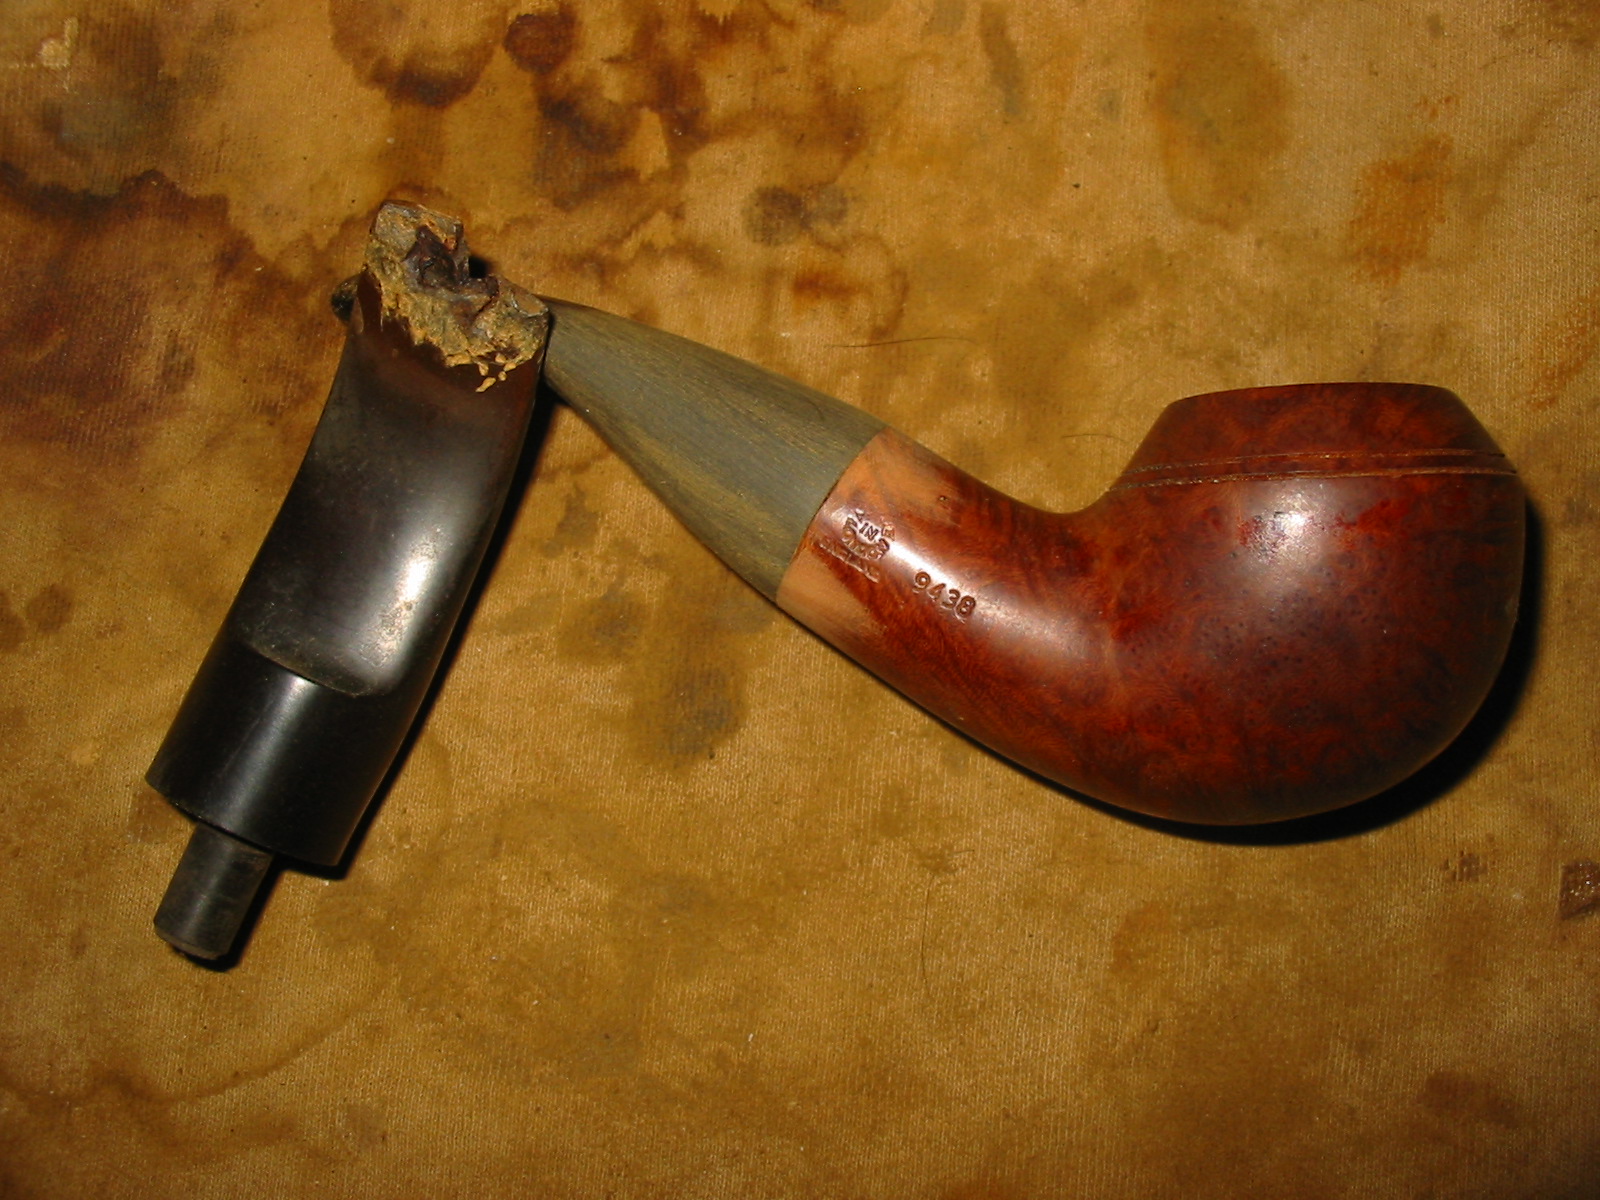
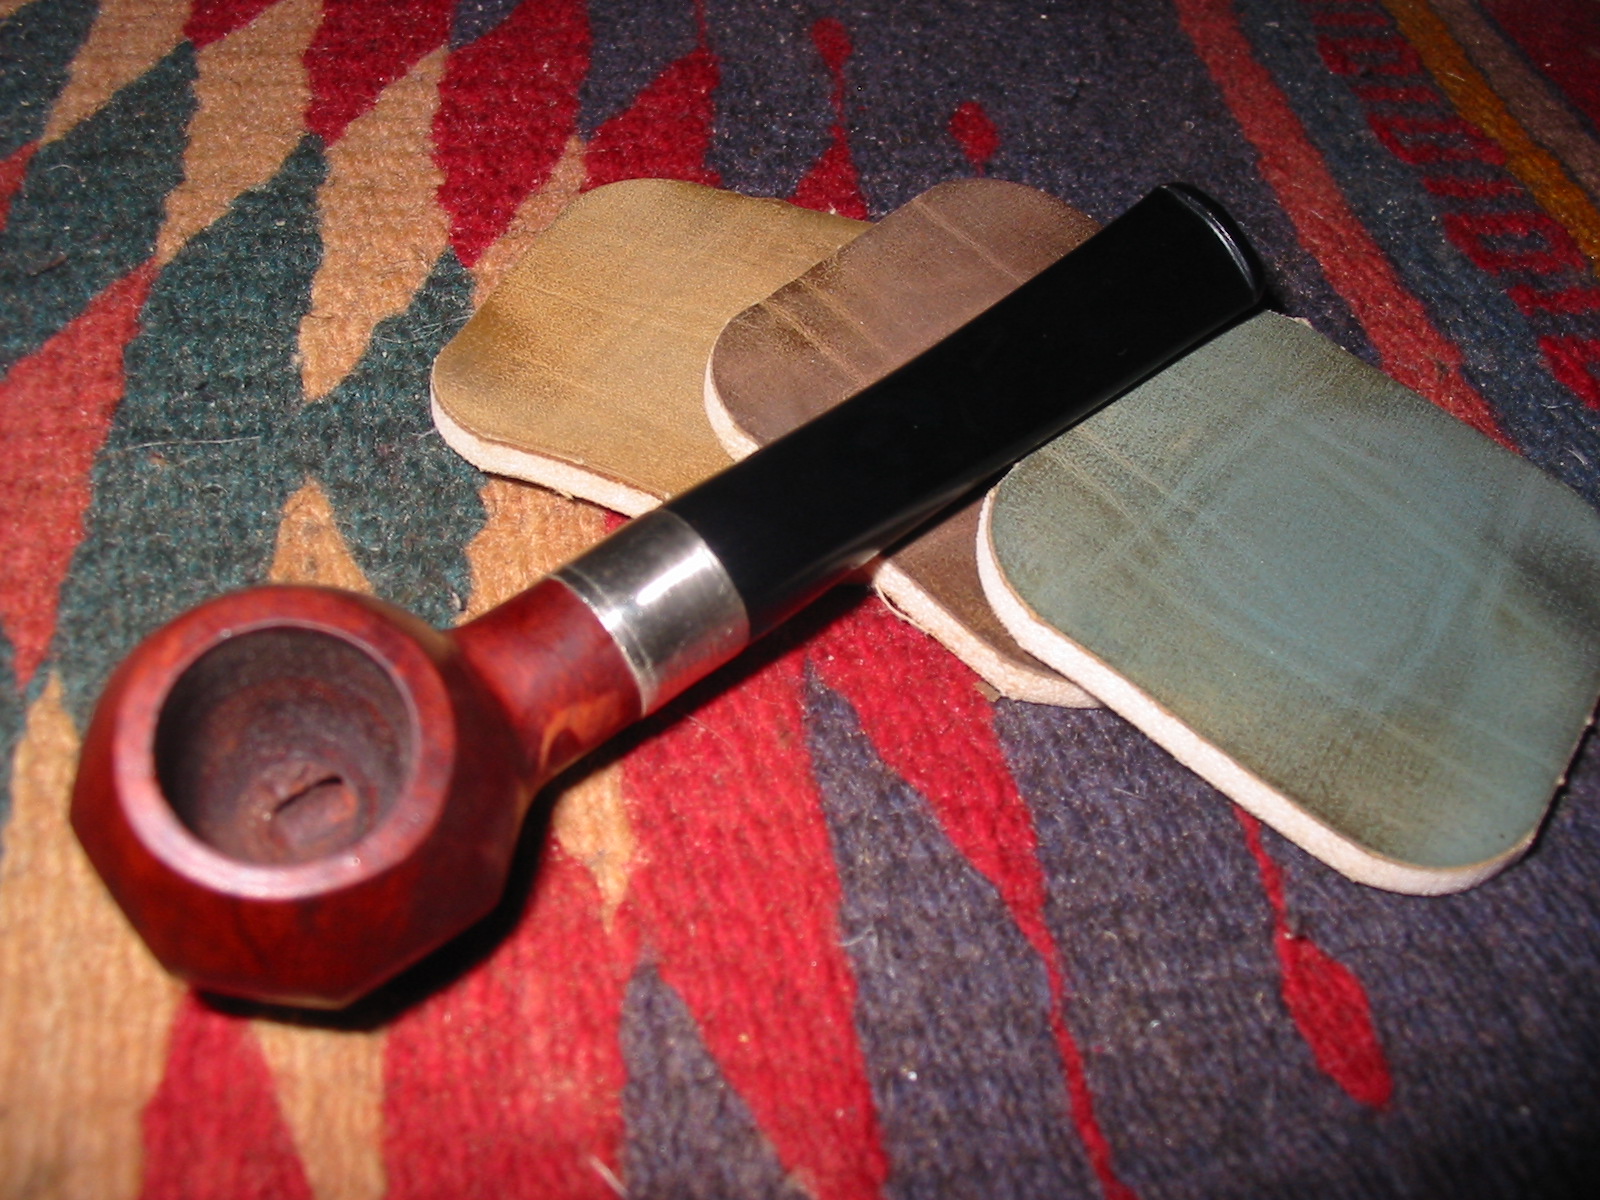
The button is very thin in width but is elevated above the surface of the stem so that it gives a good edge for holding behind the teeth. It is thinner on the edges with a gentle rise at the centre top and bottom. The slot in the end of the button is inward at the same angles as the exterior of the stem to deliver a mouthpiece that has the same diameter from start to finish. It is also wide open and oval with the same distance from the outer edge of the button to the inner edge of the slot all the way around.
Morrisette6

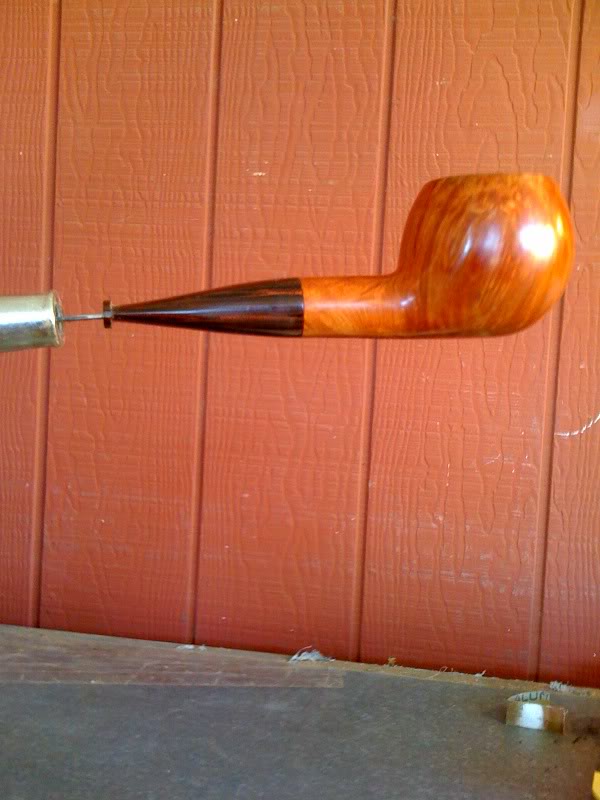
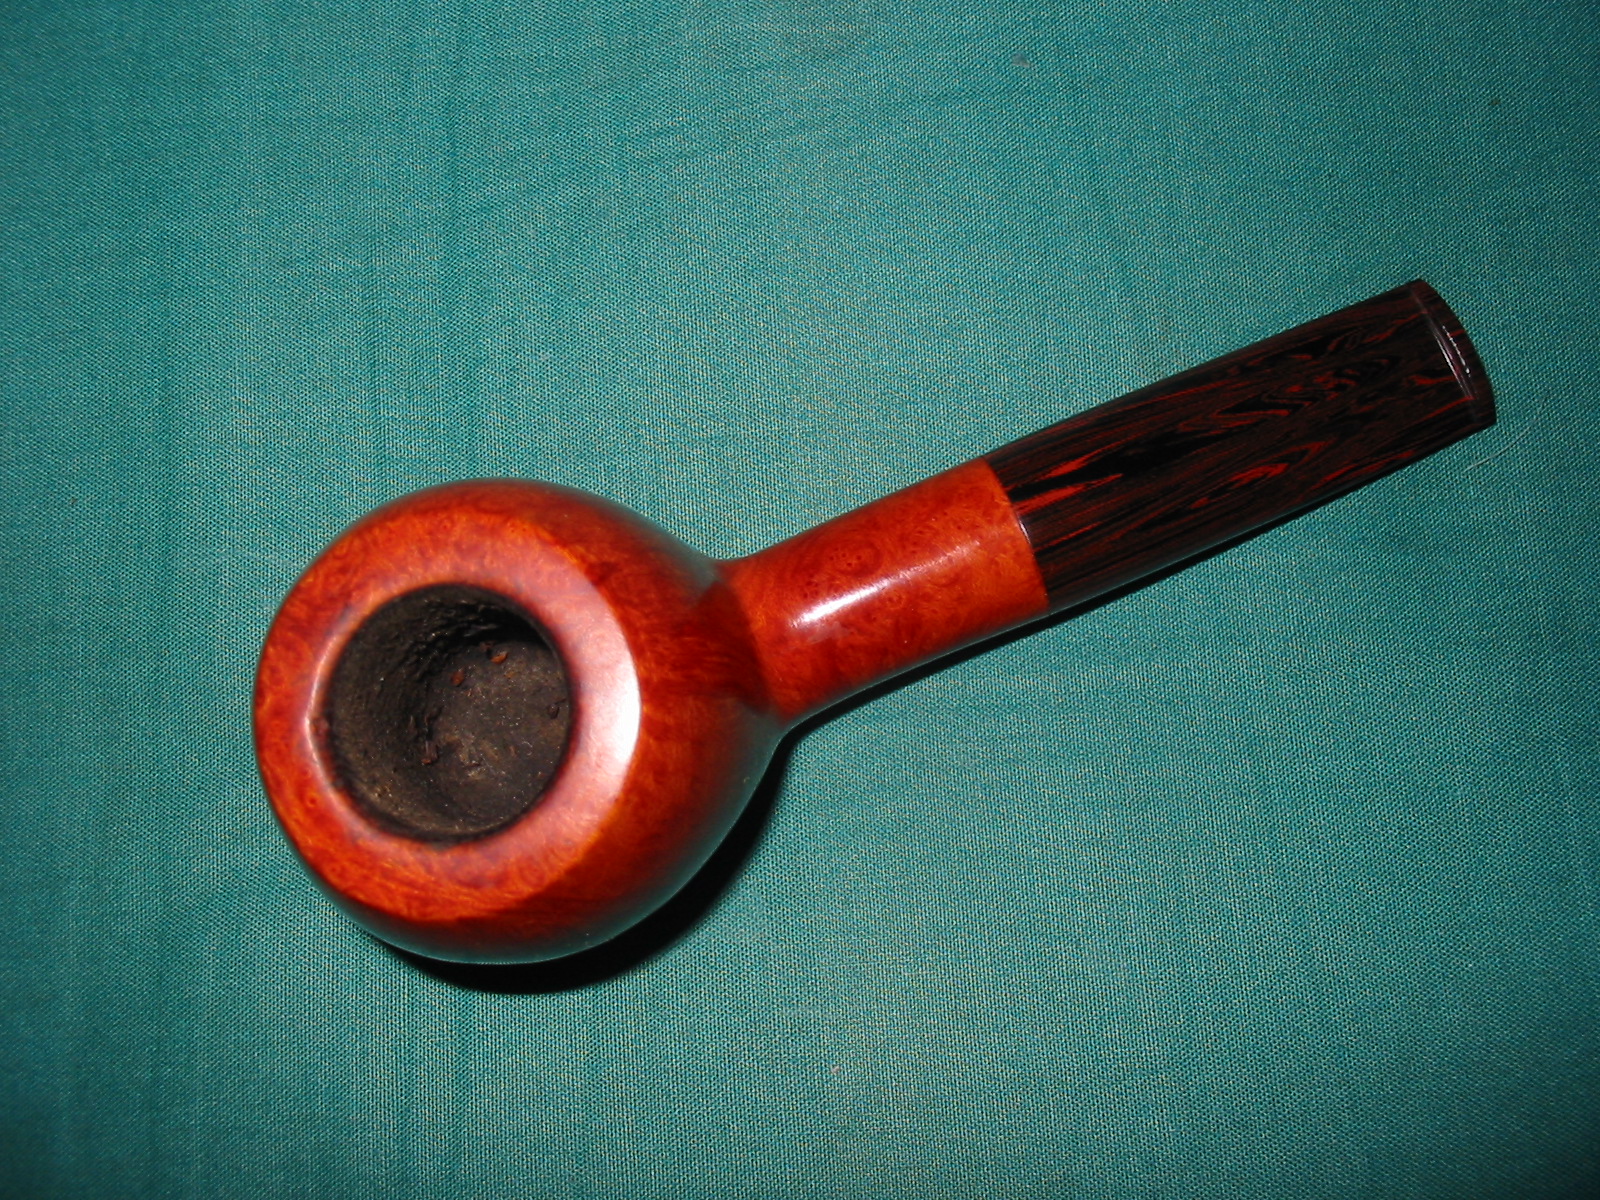
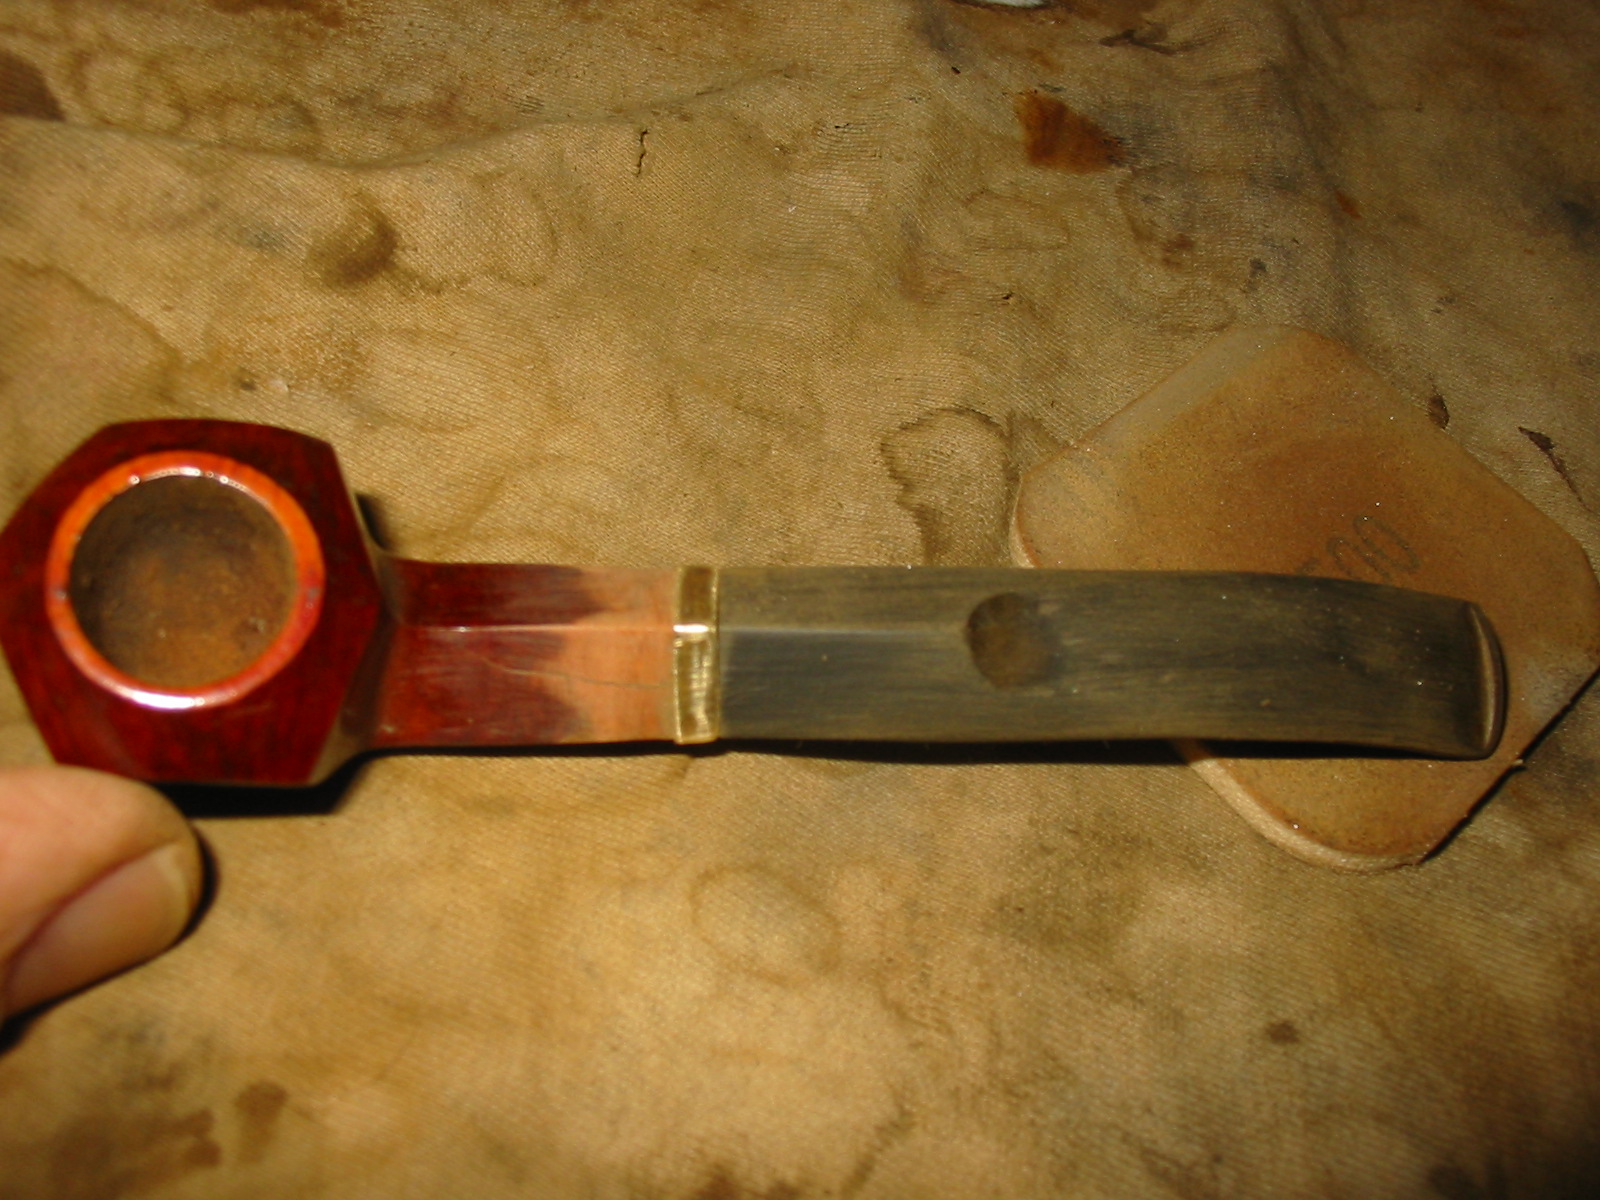
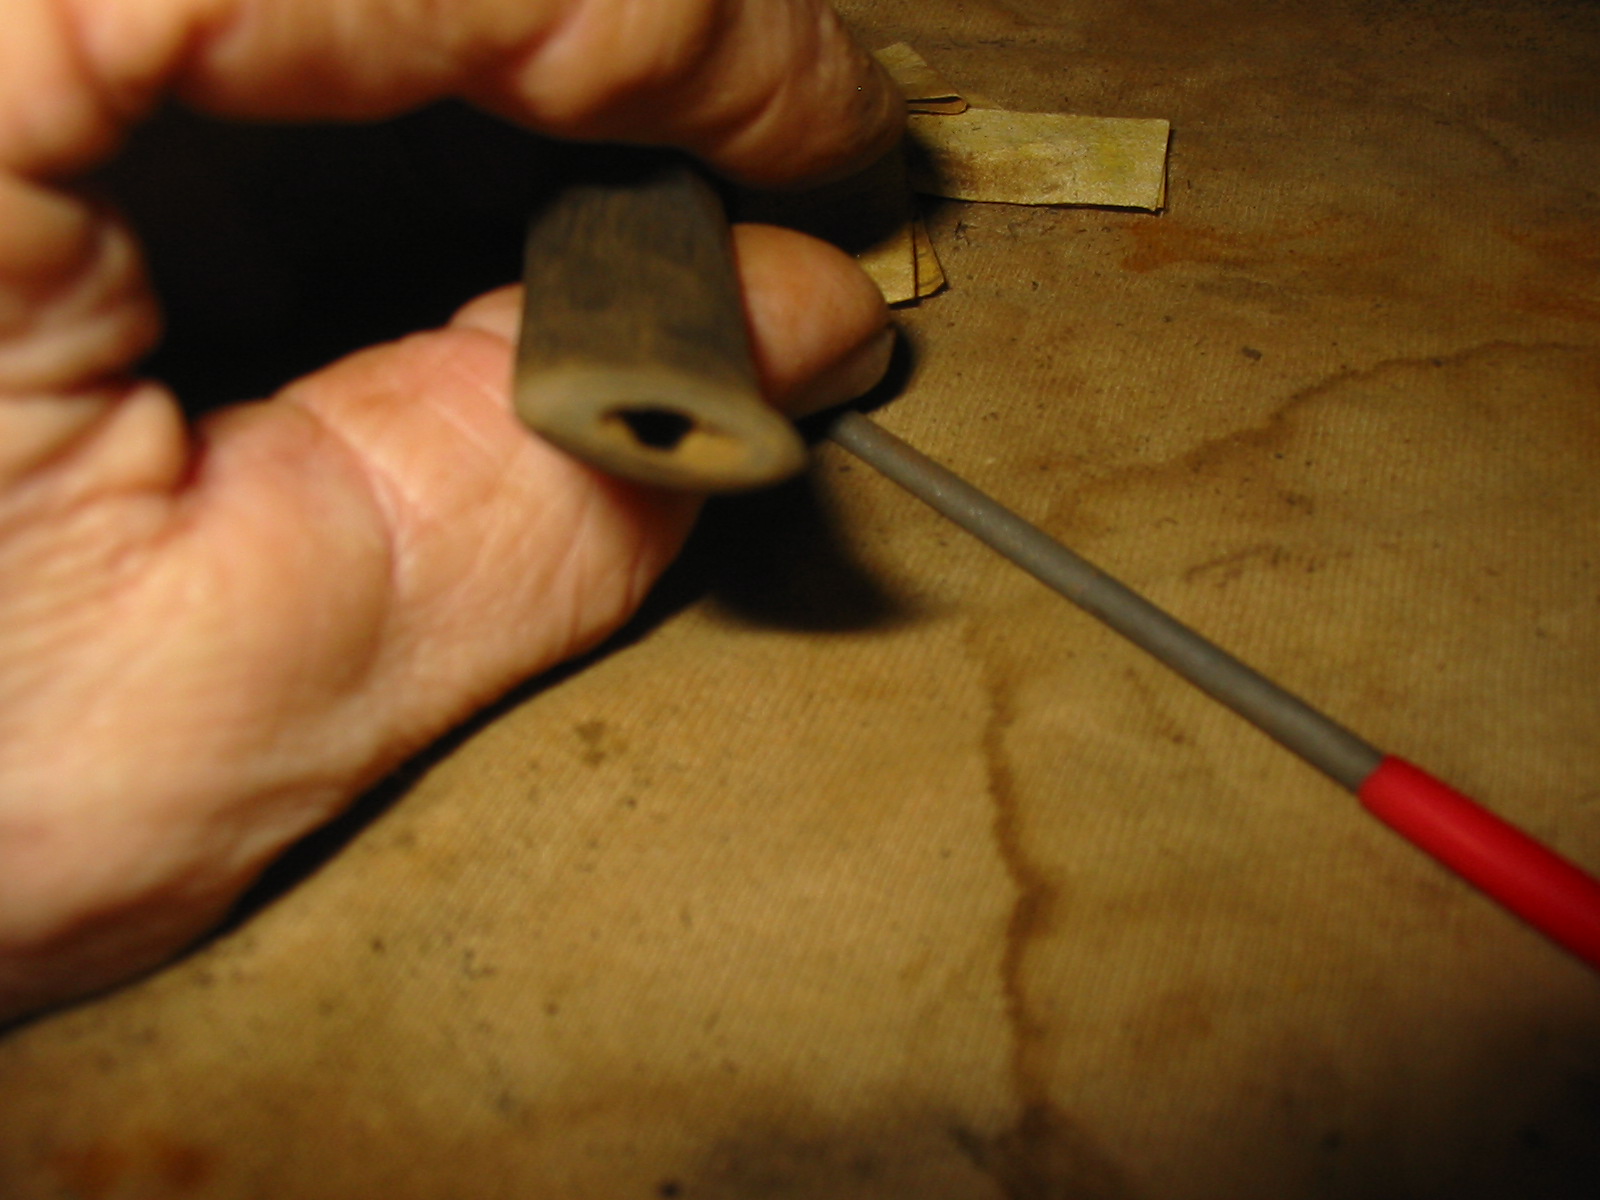
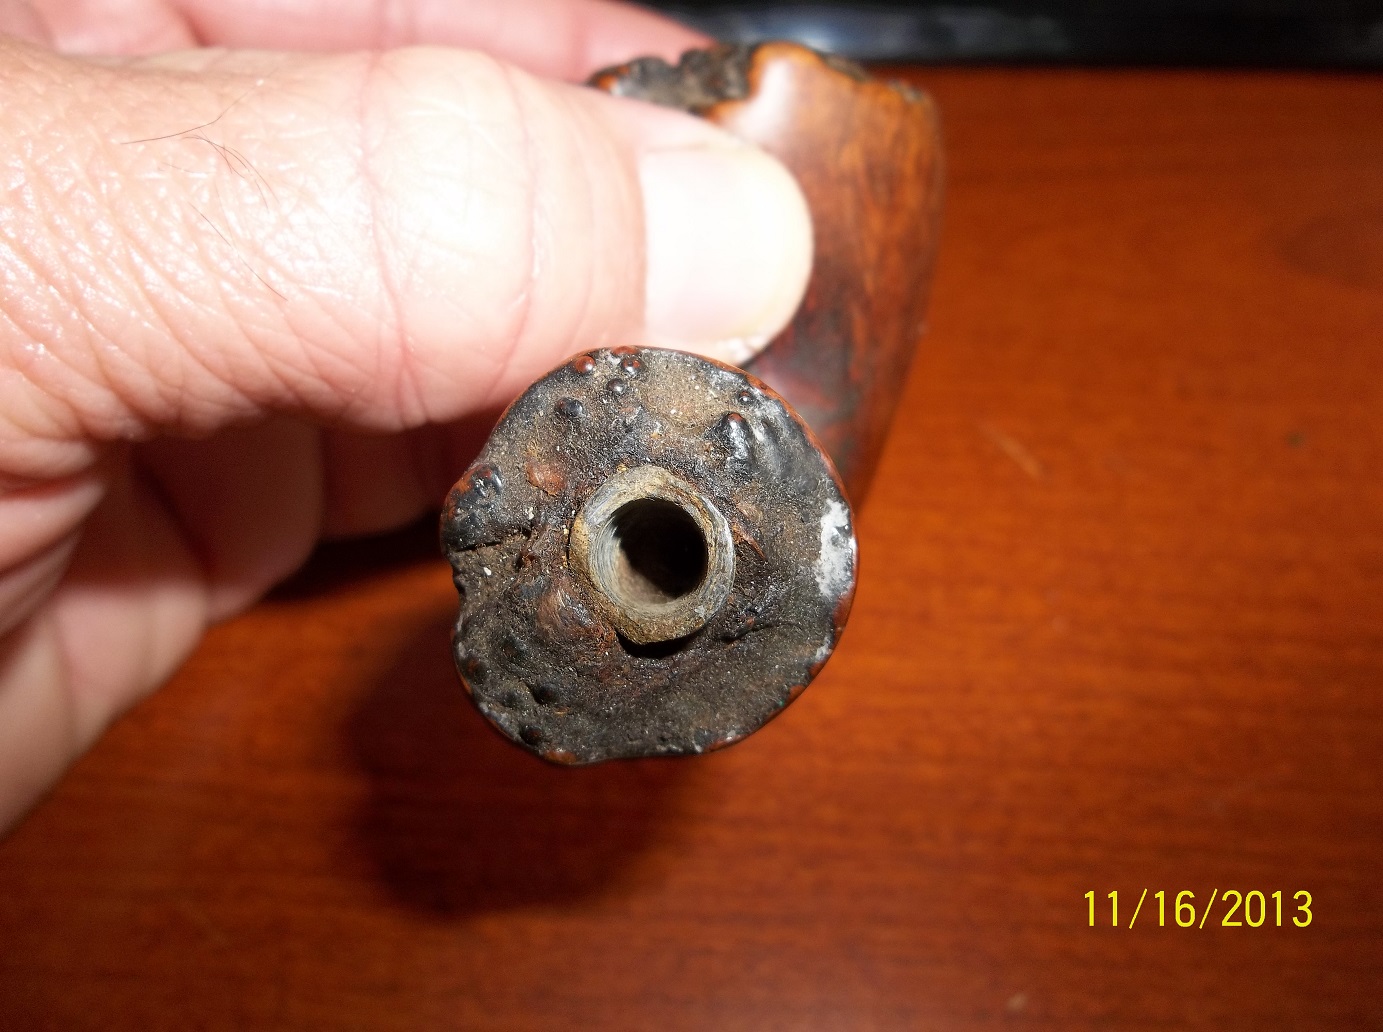
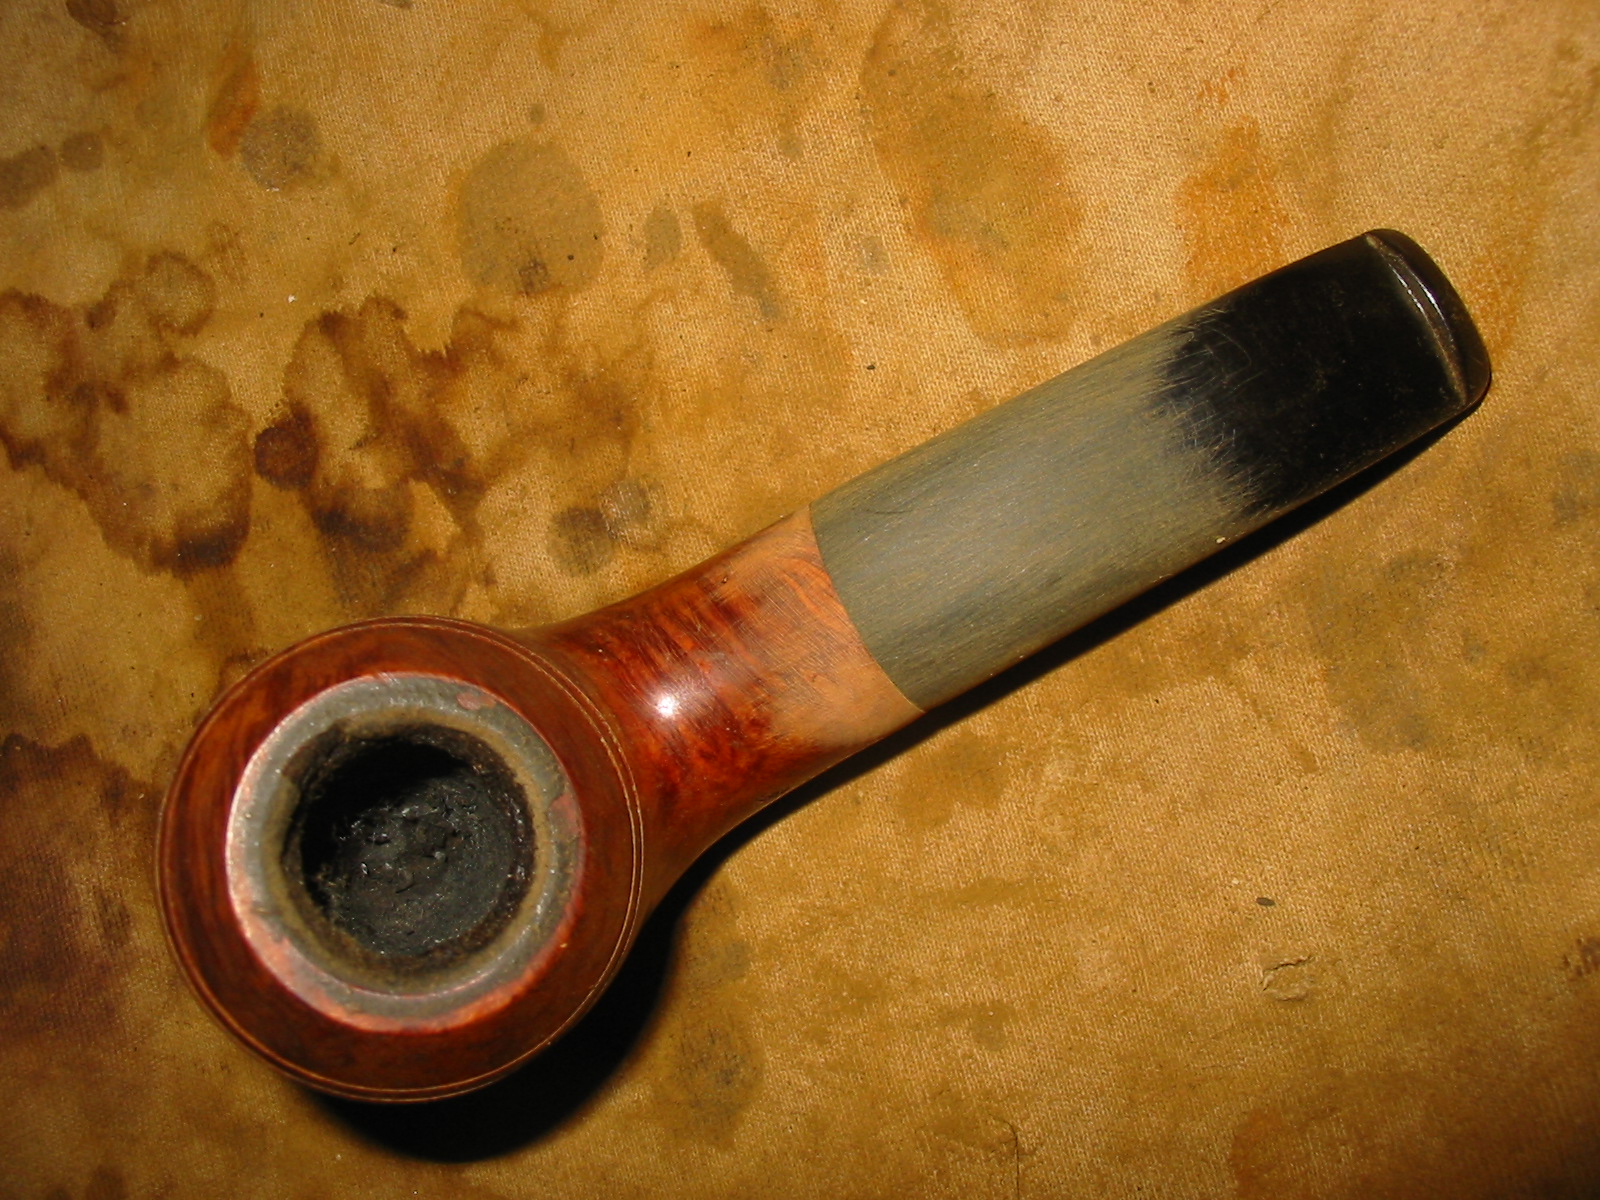
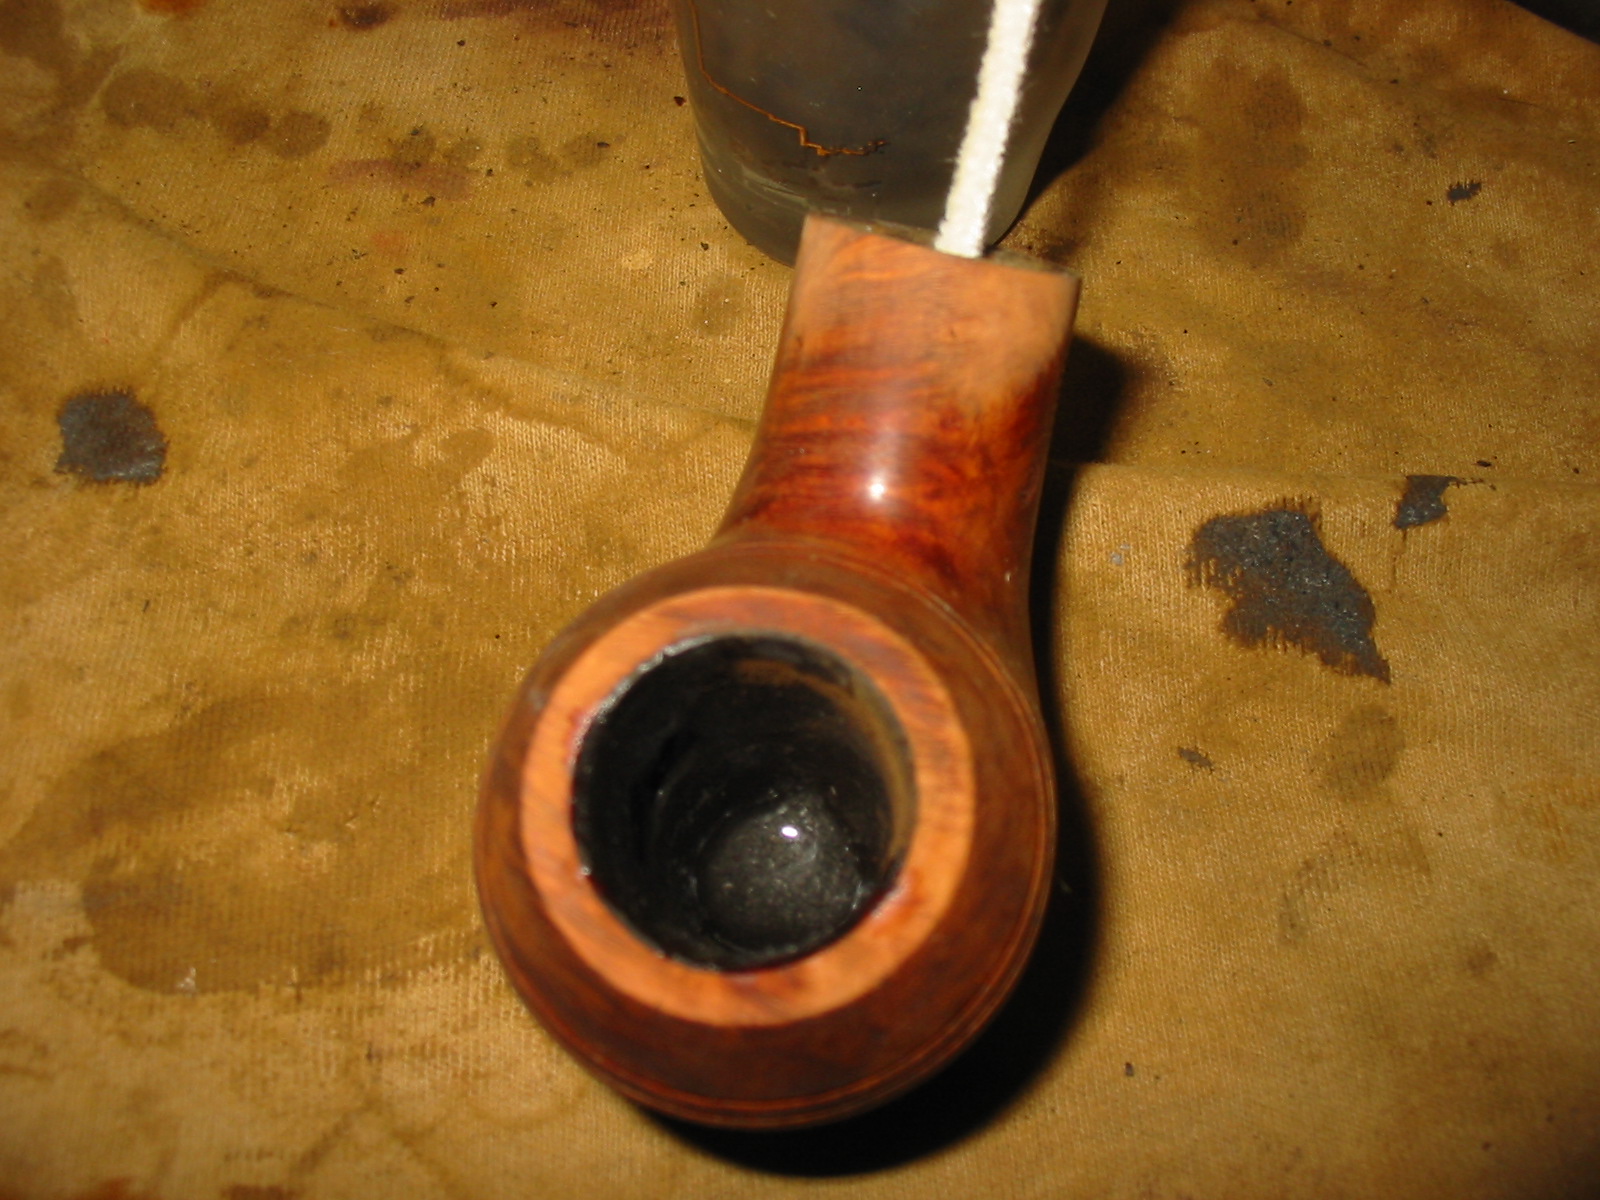
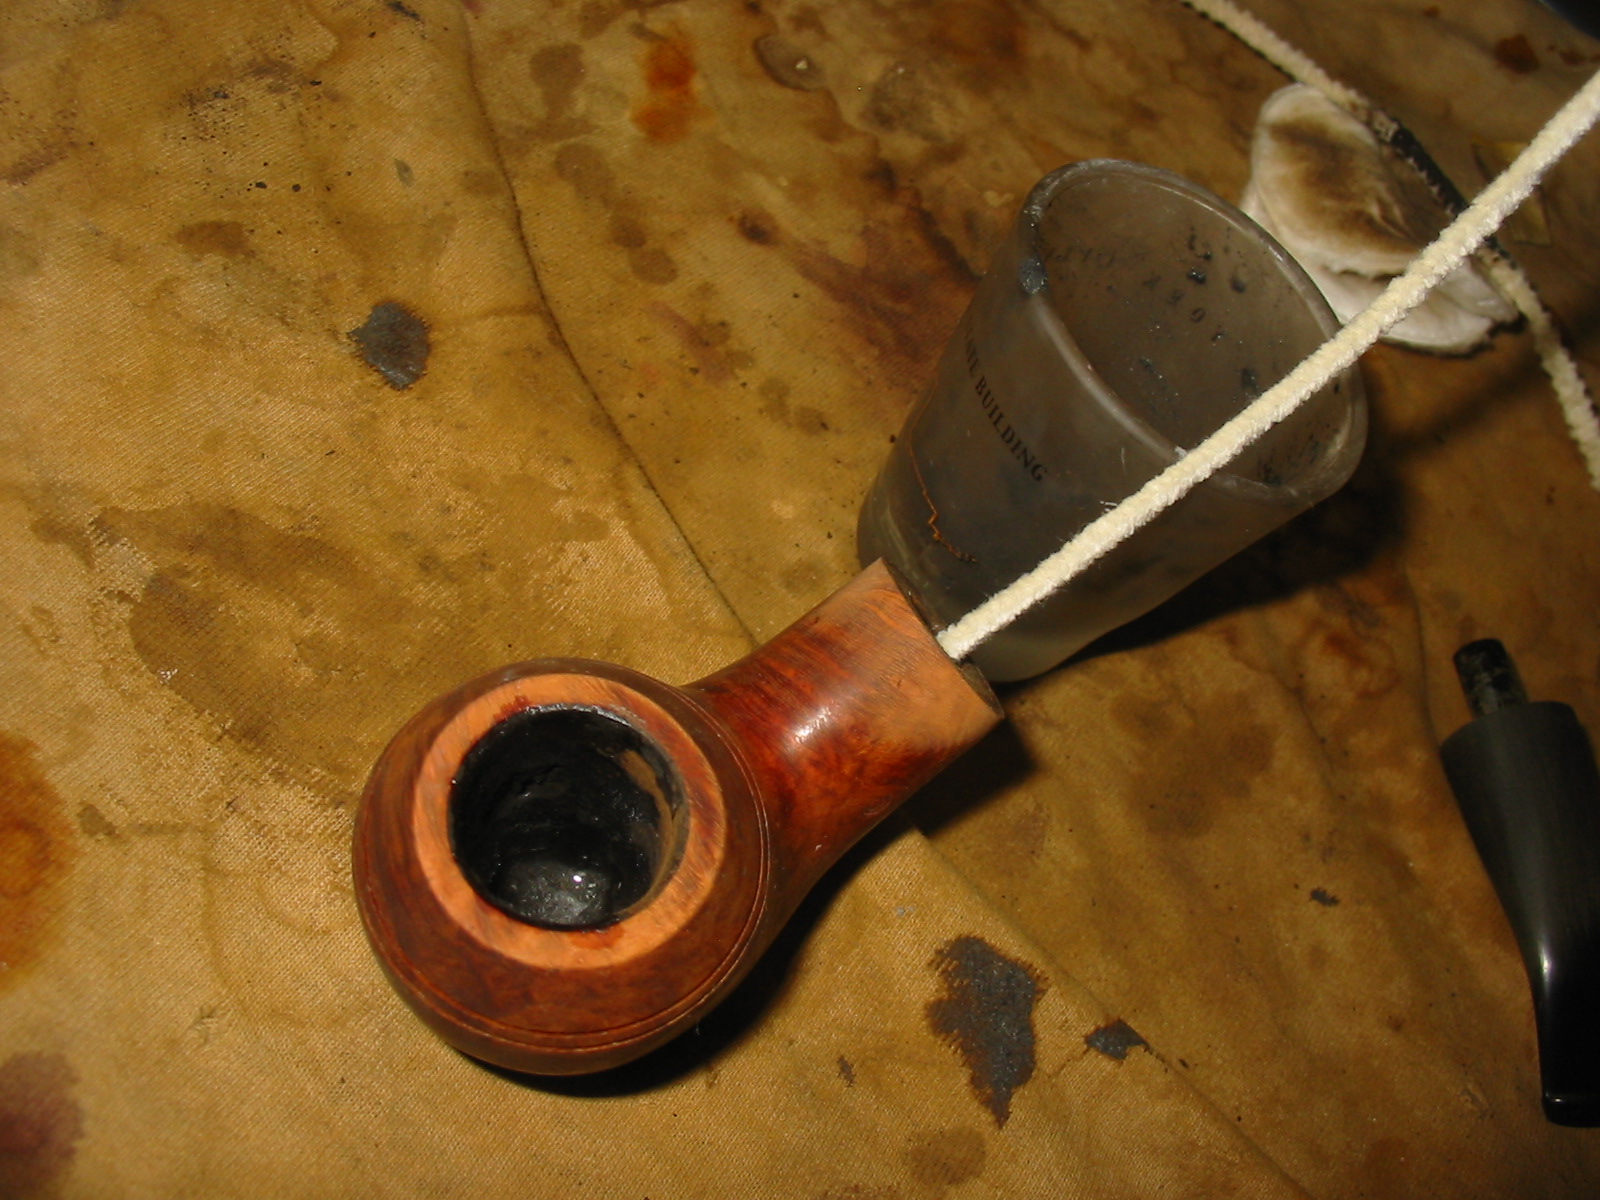
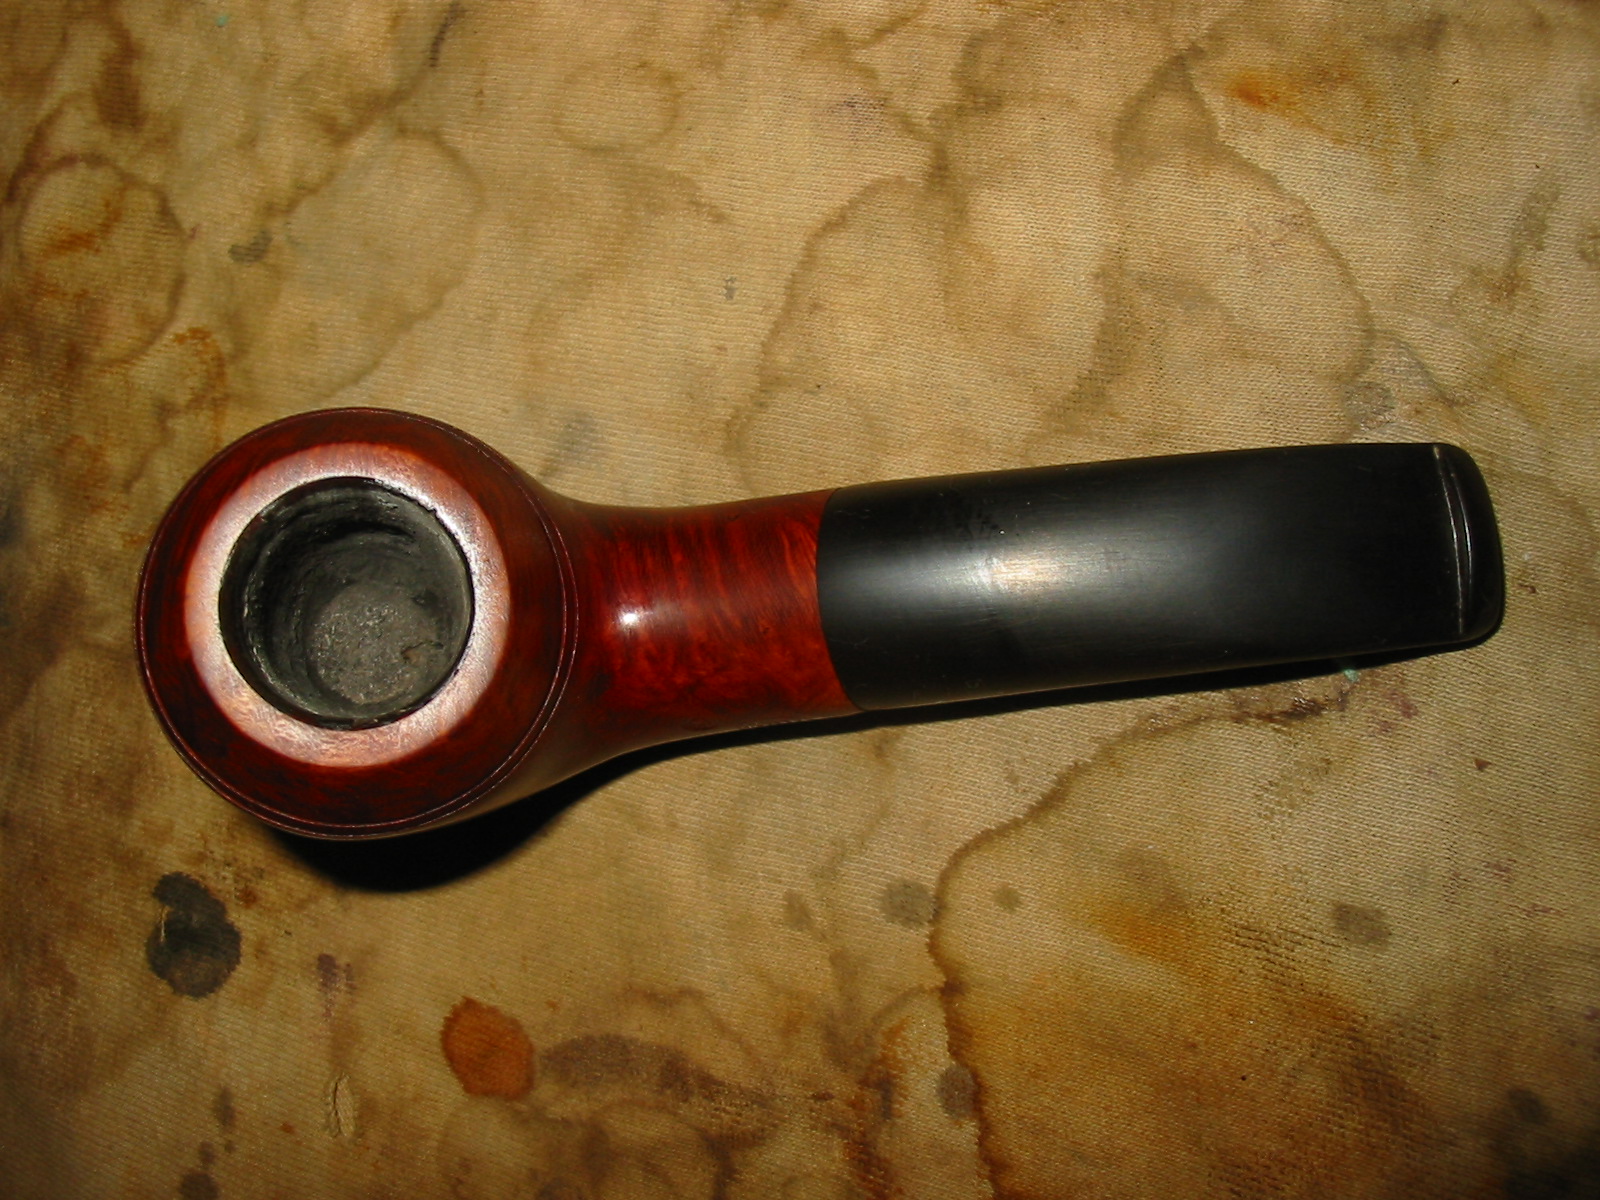
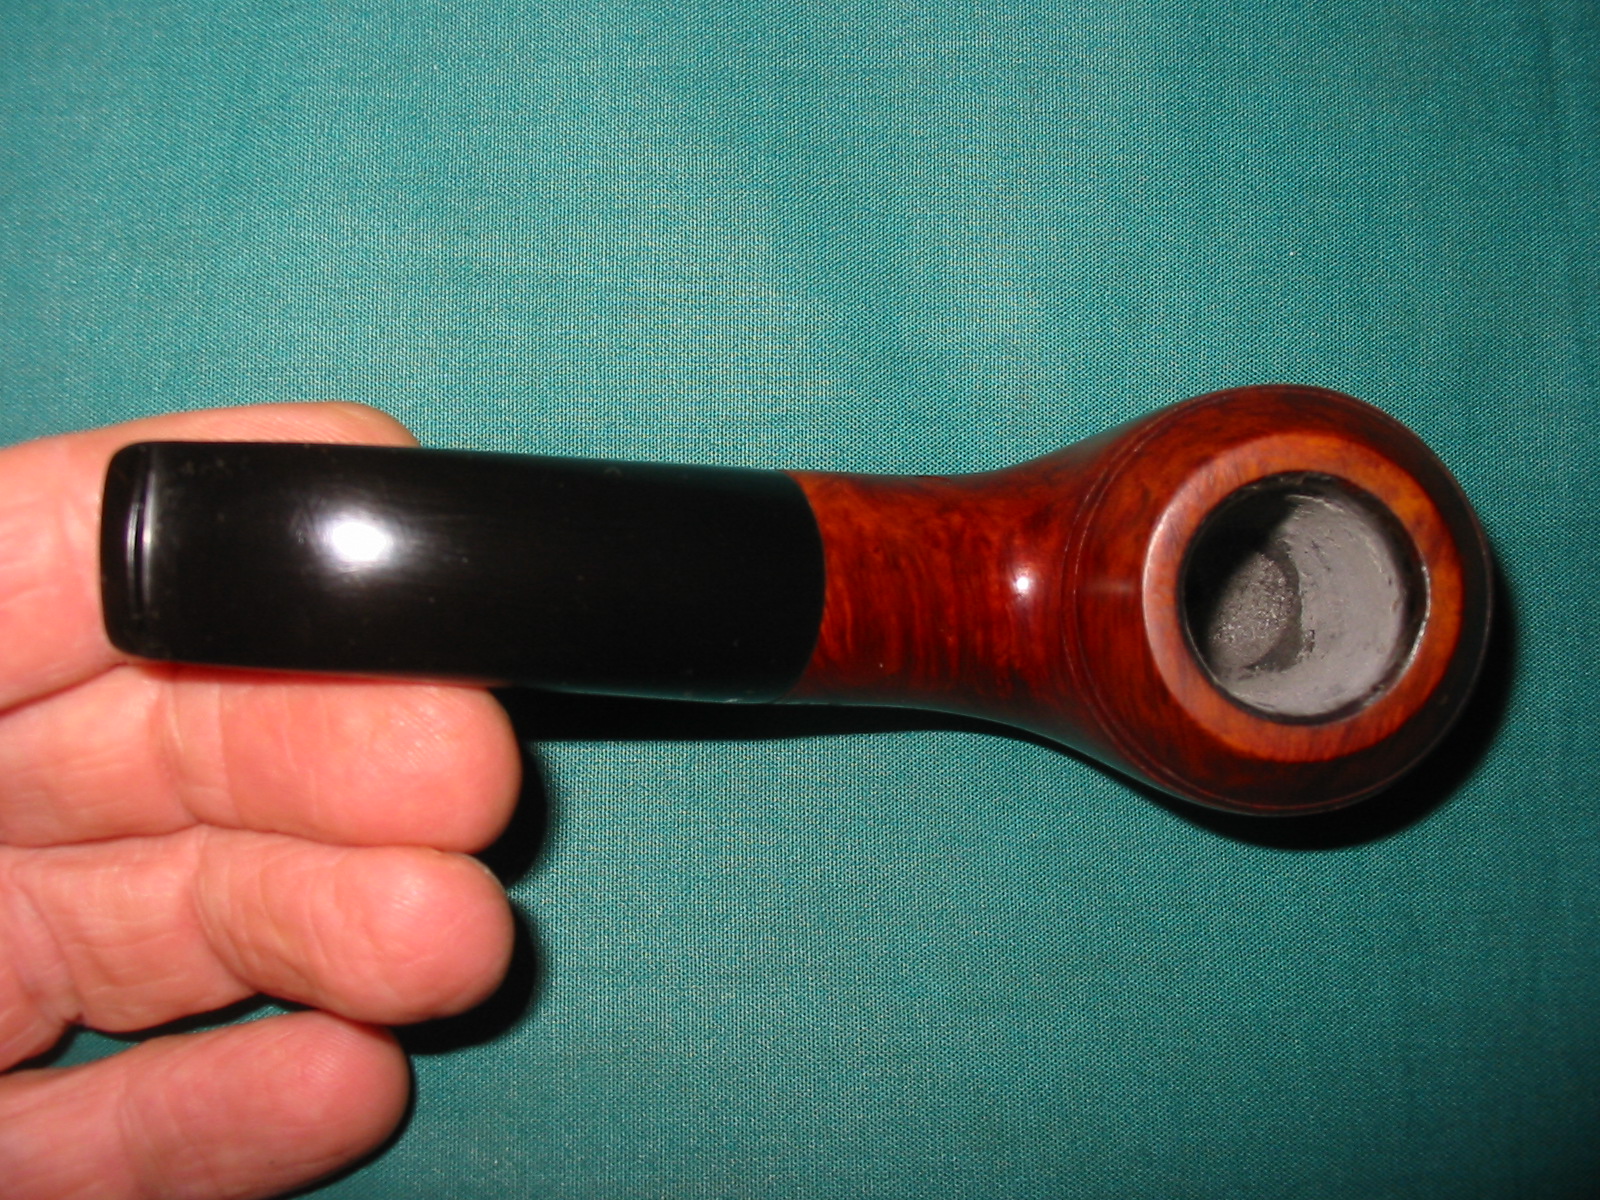
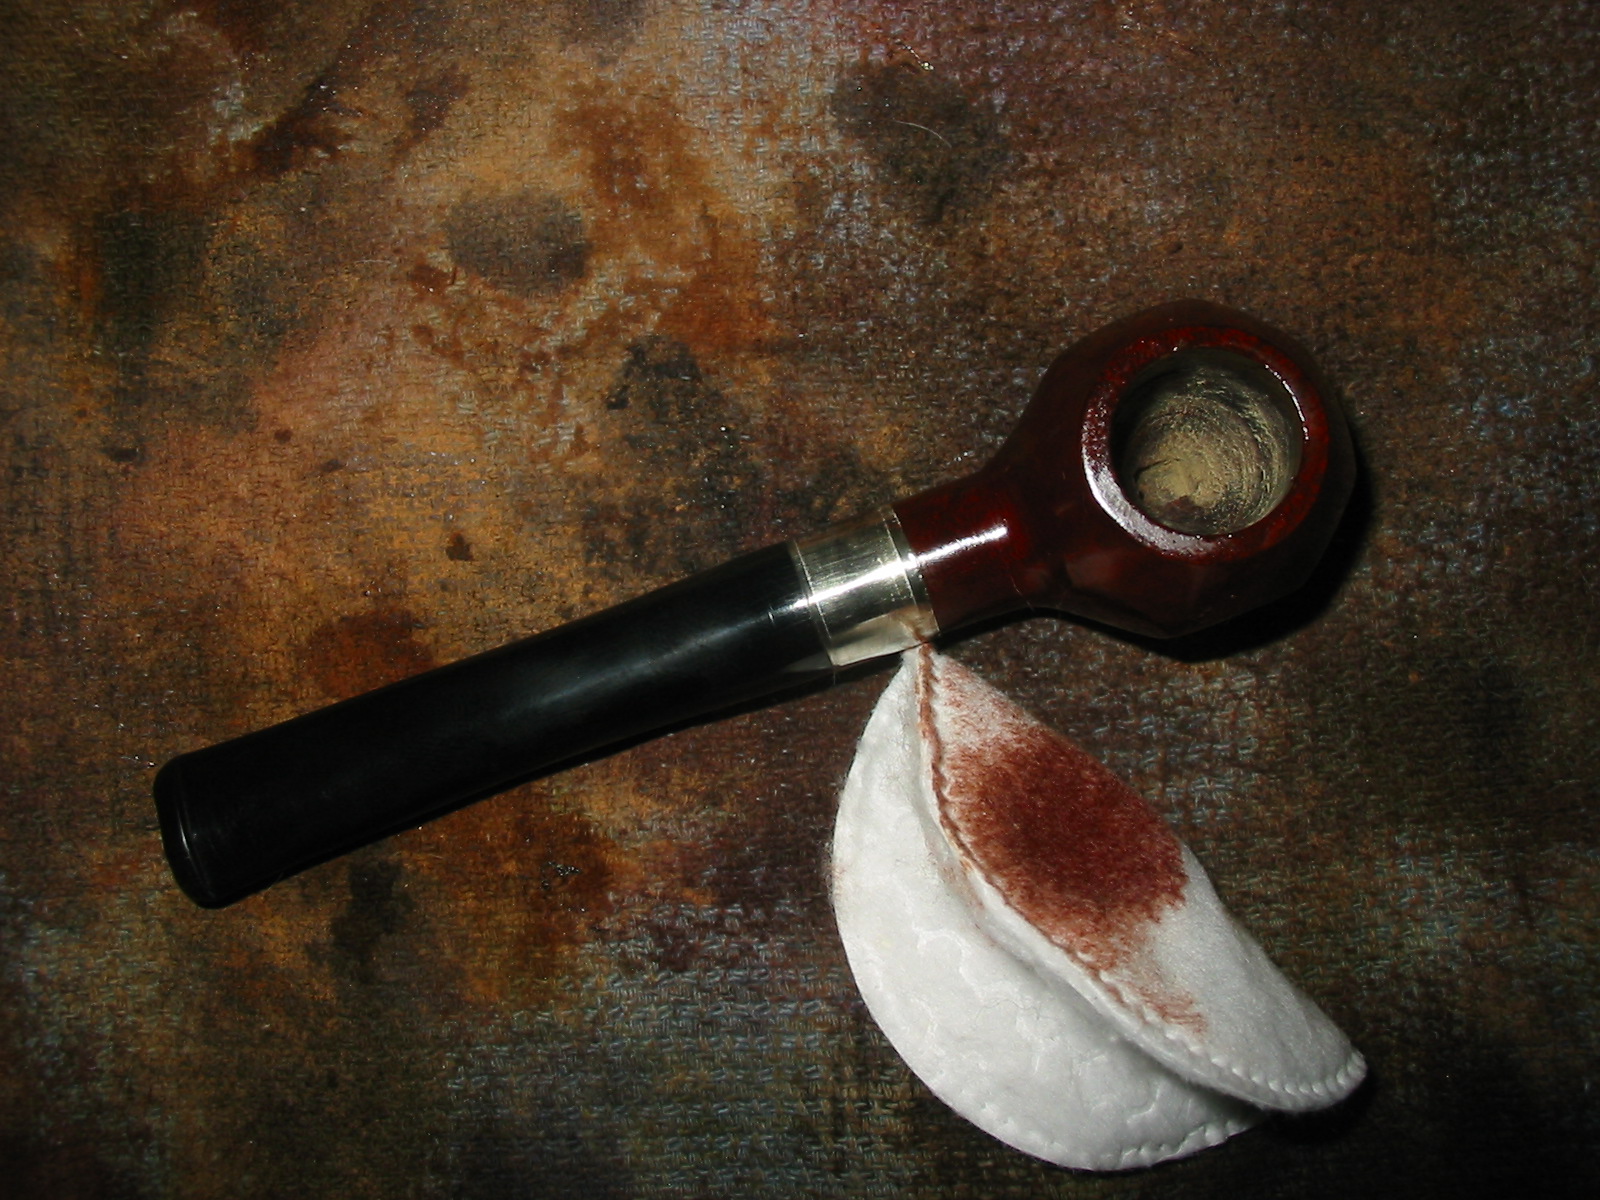
The mechanics of the pipe are well done. The bowl chamber came with a bowl coating that seemed to be a combination of carbon and a neutral binder. The bowl is drilled at an angle back toward the shank in order to maximize the depth of the bowl with the thin profile of the bent tomato shape. It is also a conical bowl. Steve did a great job with that alignment. I removed the bowl coating before I smoked it and there were no pits or checking in the bowl. The draught hole is centered at the bottom of the bowl and seems to have a slight slope from the bottom to the top of the airhole. There is a very easy and open draw to the pipe. The fit of the stem in the inset shank extension is smooth and tight. The tenon sits deep in the mortise – if not exactly the same length then impressively close! The fit of the tenon is also smooth. The drilling of the draught in the shank is centered in the end of the mortise. The tenon on the stem is drilled to match it and there is no misalignment to the two. The air pulls clearly through the pipe with no whistling at all. Using a light to shine through the various airways reveals smoothly executed airways on the inside. Very nice work on the drilling Steve it is extremely well executed.
Morrisette3

I have been smoking it since I received it and am very happy with it. I have smoked Virginia flake and broken flake tobaccos in it and it packs easily and stays lit. Smoking it is a pleasure and is uncomplicated and effortless. I purchased this one quite awhile ago before Steve moved south to work in a new shop. I have been pleased with it from the start as it has always smoked smooth with none of the new pipe break in woes. Thanks Steve for a well-made pipe that smokes as good as it looks! I am not sure you remember making this one for me but it is one of my favourites.

A Review – A Penguin Briar Straight Apple


I commissioned a straight apple pipe from Kim Kendall of Penguin Briar in August of 2008 and I have had the years since to enjoy it now. It is a beautiful little straight apple sporting a hand cut Cumberland stem. It is stamped with laser cut lettering – Penguin Briar with the emblematic Penguin over 0808 Algerian. It was cut from Algerian briar that was well cured and had been in Kim’s shop for a while getting acclimated. The briar has one small flaw on the bottom of the shank between the stamping and the stem on the underside of the shank and a small one on the right side low on the bowl. Otherwise it is a very clean piece of wood. I don’t have the weight of it. But the measurements are as follows. The tobacco chamber is drilled ¾ inches by 1-3/16 inches deep. The pipe itself is 1 5/8 inches wide and 1 5/8 inches tall.The overall length of the pipe is 5 inches.
Penguin1

Kim did a great job laying out the shape on the briar. The grain is a mix of flame and straight around all sides, front and back of the bowl and the sides of the shank. There is birdseye on the rim, bottom of the bowl and the top and bottom of the shank. The pipe has a smooth finish and is stained with a 2-step process to bring out the grain. The bowl is round and an apple shape. It was Kim’s take on a Dunhill 3101 shape. The grain is decent on the pipe. I am not sure which stain Kim used first but the understains appear to be darker and serve to make the grain stand out. The overstain is almost an orange red. The combination gives a dimensionality to the finish and matches the Cumberland stem colour well.
Penguin2

The stem is a hand cut Cumberland taper that angles back to the sloped button where it flares to the same width as the shank junction. It gives the pipe a stubby look like a nose warmer even the pipe is five inches long. It is made of quality material as it has not oxidized in the years I have had it. The tenon is an integral part of the stem and is chamfered inward to form a dished end that is well-polished. The button is the size and shape that works for me–an oval that curves from the edges with a rise to the centre top and bottom, forming an eye shaped end view. It is also slanted from the front of the button to the slot giving it a slightly pointed look.The lip on the button fits well behind the teeth for a comfortable feel. The slot in the end of the button is also funneled and flattened to deliver a mouthpiece that has the same diameter from start to finish. Kim also rounded the ends of the slot giving it a finished look. It is a comfortable and well executed pipe. A pipe cleaner passes easily through the pipe with no obstruction.
Penguin3

Kim has well-crafted airflow dynamics in his pipes. The draught is clean and easy with no whistling or tightness. It has an easy draw that makes smoking it a pleasure. The bowl chamber is drilled to 3/4 of an inch diameter. The tobacco chamber was uncoated and sanded smooth. The cake built up on the bowl very easily. The draught hole is centered perfectly above the bottom of the bowl and seems to have a slight funnel leading into the shank and stem. The fit of the stem to the shank is excellent – smooth and tight with no light showing at the joint. The tenon fits well in the mortise and sits deep in the mortise against the bottom. The airway is in the centre of the mortise and aligns with the airway in the tenon. The edges of the tenon have been polished and rounded and the airhole countersunk so that it meets the airway in the mortise. Looking at the airways with a flashlight it is clear to see that they are smooth and polished with no rough edges. The interior of the pipe is smooth and polished from the button to the bottom of the bowl.

I broke this pipe in, as is my custom, with some aged McClellands 5100. I have kept it as a dedicated Virginia pipe and it has always delivered a good tasting smoke. It continues smoke cool and dry and deliver good flavor with the Virginias that I choose to smoke in it.

I had been smoking the pipe for some time and was quite pleased with the craftsmanship of Kim’s work. Then out of the blue Kim contacted me with an apologetic request to be given the opportunity to rework the stem and button area on the pipe. He said he had refined his stem and button work and really wanted to bring the one he had made for me up to date with a refined stem and button. I shipped the pipe back to him for his reworking. He sent me the following two photos of the stem work while the pipe was in the mail.
Penguinafter-1

Penguinafter2

When it arrived it was clear to me that he had changed the taper on the stem making it thinner and thus more comfortable in the mouth. He also thinned down the button itself making it less chunky and more defined in its overall look and feel. The angles of the junction of the taper and the button were cut sharper and cleaner. The overall comfortableness of the stem was greatly improved and the feel in the mouth was superb. Though I am not a clencher, the pipe was now easily clenched behind the teeth. Here are some pictures of the pipe after Kim’s stem work.
IMG_3064

IMG_3065

IMG_3066

IMG_3067

Kim has provided me with a great smoking pipe, light weight and comfortable in the hand and mouth. If you have not given Penguin Briars a look, here is the link to the website http://www.penguinbriar.com/ . I don’t think that you can go wrong with his pipes.

The Pipe Hunt – Rule # 6: Never let them see your excitement


Growing up I remember a wrestling coach in high school giving us his wisdom regarding our opponents from a particularly tough school. “Never let them see you sweat” was his rule about setting a climate in which you could win over an opponent. For me Rule #6 is a variation on that adage. While a seller is not an opponent they are nonetheless your opposite in the purchase of a particular pipe. To put it simply Rule 6 is “Never let a seller see your excitement about what you have found”. I know this goes contrary to everything in me that wants to shout when I have found a super deal. When I turn over a pipe of a certain shape or colour, or move a pipe from underneath several others I can feel the adrenalin rise as my instinct about the pipe is met with an affirmative. It is at that moment that I hold back my exclamatory “yes” and carefully add the pipe to the lot I am carrying around the shop or have the seller carry it to the cash register to hold until I finish my hunt through the shop. I hold “yes” in and save the exulting until I am in the car or on the pipe forums!

Truthfully, this rule should probably be moved somewhere toward the top of the list of things I keep in mind when on a pipe hunt, because it has become a part of me on the hunt. I am quiet as I move through the store with the clerk as they unlock the cabinets that hold the pipes that I want to see. To help tame my enthusiasm I pick up pipes from the pipes on display that I have no intention of purchasing and “carefully” look them over and make quiet comments. Finally when I have gone through the lot I pick up the object/s of my attention and make a few general comments about the condition. Typically the clerk then carries it to the front for me and I am free to keep looking for more pipes. Though sometimes I carry the new find around the shop with me while I look at other pipes.

Even at the cash register I do not let on about my excitement over a find. I keep up the banter if I am in the mood or just quietly pay the bill and leave the shop. I have found that most sellers in shops or antique malls have no idea regarding the value of their old pipes and rather see them as stage props – hence a high price, or as dirty items that have a minimal value – hence a low price. The only time I talk about the prices is if the prices are outlandish. For instance recently I was in a Northern Alberta town here in Canada and the owner was selling a relatively new Grabow with a chewed stem for $120. I showed her on my phone what a new cost and she shrugged and said that in her town the local theatre guild and actors pay the prices she has for these items to use in their plays. Needless to say I kept my coin in my pocket and shook my head as I walked away.

I am looking for seller who sees the pipes they have as old and dirty items that they hope will sell but are not holding their breath over. I have found some great deals this way. I will give three examples from different times and years of my pipe hunting to illustrate the point. I found a nice mid 50’s Dunhill Shell billiard at a local thrift shop for $12. The sticker covered the white dot on the stem but the shape and blast caught my eye.
DunhillBilliard

I found a small group 2 sized saddle billiard Dunhill Tanshell from the 60’s for under $20 in an antique mall in the US. It was hidden in a box of old junk pipes in a far corner of the shop. It was not locked in a cupboard but rather in an old porcelain jar with the stems inserted in the jar and the bowls sticking out the top. The blast on the pipe caught my eye so I pulled it out of the jar for a better look and found that I was holding a Dunhill.
Tanshell001

More recently I came across a beautiful Comoy’s Gulidhall Liverpool for $30 in a shop in the Edmonton. It was on a shelf with other old beat up pipes and ratty pipe bags, broken pipe racks and old tins. It was toward the back of the shelf but the grain on this pipe caught my eye and it came with me the rest of the hunt in that shop.
IMG_0778

The trick to this rule is to look and when you see them either pick them up and carry them with you or if the case is locked, note the case number and get the dealer to take them out of the case for you to examine. If the dealer unlocks the case for you then they typically want to carry them to the front for you. Play it cool with this and say that you will continue walk about the shop to look and “think” about your purchase.

You might wonder about the necessity of this rule but I can tell you it is critical in working deals and ongoing future deals with sellers. They key is to know that when you walk away happy with your amazing find, that they also are more than happy to have rid themselves of what they see as an eyesore. I have watched the price change drastically when a seller picks up on my excitement about the great price on a particular pipe. They read my reaction and I have seen the prices both escalate and de-escalate based on my response. I have had them decide quickly to not sell the pipe and when I came back at a later date the price was pushed through the roof and no longer something I would buy. I have also had them immediately back peddle and raise the price while I was standing there with excuses of mismarked prices or mistaken identification. It is critical to play your cards close to your chest when working a deal on these pipes. The words of a Kenny Rogers song, the Gambler hold true here; “You have to know when to hold ‘em and know when to fold ‘em.”

I have learned the lessons of this rule the hard way. It is very difficult to contain my excitement when I find highly valuable, collectible pipe. It is hard to not get worked up with the joy of the find. But I have found that if I do not let the cat out of the bag while I am looking the seller will let go of it at a bargain price of even less than it is marked or at the very least will not jack up the price so that next time you pass through the pipes are marked double and triple the price you paid for the first one. This rule is well worth remembering and practicing as you work the hunt.

Good hunting!

Restemming and Refinishing a Tiny Bulldog


I had one more miniature pipe bowl in my box of pipes for refurbishing and I thought I would finish up the third of the lot. It needed a diamond shaped saddle stem to match the shank on this little bulldog. The bowl was coated with a thick coat of varathane or some kind of plastic coat. It had a small crack in the shank under the brass band. I also was without a stem. The trouble with these little pipes is being able to turn a tenon down far enough to fit the shank.
IMG_2993

I went through my box of stems and found a diamond shank saddle stem that would do the trick. I turned the tenon down as far as possible with the PIMO tenon turning tool and then used the sanding drum on the Dremel to get the tenon size close. I hand finished the fit with 220 grit sandpaper until I had a snug fit on the stem. The stem was a regular sized stem to fit a group 4 bulldog so it was about ¾ inch per side. I reduced the diameter a side at a time with the Dremel until the stem sides were roughly 3/8 inch per side. The Dremel and sanding drum took off the majority of the excess material and then I hand sanded it to fine tune and adjust the angles of the stem and sides.
IMG_2994

The band was loose so I removed it while I sanded the stem to match the shank. Since I planned on stripping the finish off the pipe and refinishing it I sanded both the shank and the stem in the process. Once I had a clean smooth fit I reglued the band in place on the shank with wood glue and pressed it into place.
IMG_2995

IMG_2996

IMG_2997

IMG_2998

IMG_2999

IMG_3000

I wiped down the bowl with acetone on a cotton pad to try and break through plastic finish on the pipe. It did very little to break down the finish. I sanded the bowl and rim with 220 grit sandpaper and then with 1500 grit micromesh to remove the finish. I repeated the acetone wash after sanding and found that it was more effective once the plastic coat was broken down.
IMG_3001

IMG_3002

IMG_3003

IMG_3004

IMG_3006

I restained the bowl with a dark brown aniline stain and flamed it to set the stain. I repeated the process until the coverage was what I was aiming for with the undercoat of dark brown stain. I then gave it a top coat of oxblood aniline stain to get better coverage for the sanded bowl. There were still problems with the stain coat but I set it aside for the time being and turned my attention to the stem.
IMG_3007

IMG_3008

The stem was too long in the photos above and gave the pipe an awkward disproportionate look rather than refined look of a miniature bulldog so I cut it down with a sanding drum on the Dremel. I removed slightly over one inch of the length – cutting the stem back to the end of the bend. I cut it straight and made sure that the line of the end of the stem was squared both vertically and horizontally.
IMG_3009

IMG_3010

IMG_3011

IMG_3012

With the length cut back I then recut the button on the end of the stem with needle files. I began by cutting in the line of the button on the underside and the topside of the stem and then used the files to trim back the thickness of the stem from the saddle to the new line of the button. I used a rasp to thin down the thickness of the stem as well. I wanted a graceful flow to the taper of the blade of the stem so I worked it until it was thinner on both the top and bottom sides of the stem from the saddle to the button.
IMG_3013

IMG_3014

IMG_3015

The next series of seven photos show the gradual transformation of the thick and chunky stem after I had first cut the button to the sleeker look of the stem after the file work. I continue to shape the blade with the needle files until the flow looked right and the edges of the stem were tapered with the line of the diamond saddle.
IMG_3016

IMG_3017

IMG_3018

IMG_3020

IMG_3021

IMG_3022

IMG_3023

I reshaped the slot in the button with the needle files into an oval and opened up the airway into a funnel into the blade of the stem. I sanded the end of the button and the opened slot with a folded piece of sandpaper to smooth out the airway.
IMG_3019

IMG_3024

I sanded the stem with a fine grit sanding sponge to minimize the scratches left behind by the 220 grit sandpaper and to give shape and form to the button. The next series of four photos show the shortened and reshaped stem. The length now matches the proportion of the pipe and the angle of the bend and the shape of the button are finished. All that remains is to continue to sand and polish the stem.
IMG_3025

IMG_3026

IMG_3029

IMG_3030

I sanded the stem with micromesh sanding pads from 1500-12,000 grit to remove the scratches and fine tune the shape of the stem. Each grit of pad gave a more refined look to the newly formed stem and button.
IMG_3031

IMG_3032

IMG_3033

IMG_3034

IMG_3035

I sanded the bowl with the micromesh sanding pads at the same time as the stem and when finished I restained and flamed the bowl with the dark brown aniline stain until the coverage was better than previously. I buffed the pipe and the stem with White Diamond and then gave it multiple coats of carnauba wax. I buffed it with a soft flannel buffing wheel to bring up the finished shine. The final photos below show the finished pipe. It is finished and ready for its inaugural smoke.
IMG_3036

IMG_3037

IMG_3038

IMG_3039

I have included some pictures of the pair of tiny pipes that I restemmed – the little Rhodesian and now the little bulldog. They make a nice pair of little pipes.
IMG_3043

IMG_3044

IMG_3045

IMG_3046

Shaping a Stem with a Dremel and Sandpaper


Over the past three years I have been working and developing my own process of fitting stems to pipe bowls. I use both stem blanks and older recycled or reinvented stems that I have collected over the years. It is rare that either of them actually fit the diameter of a shank right from the stem bin. Sometimes I am able to get close to a good fit after turning the tenon and sometimes it is a bit more work. There have been times when I have had to shape a thin taper out of a saddle bit and times I have had to shape a saddle out of a large tapered stem. Doing this I have learned a few tricks that work for me.

While I was restemming an old basket pipe from the bottom of my refurbishing box I thought I would document the process of shaping the stem using a Dremel and sandpaper. In the case of the stem below you will notice that I decided to sand the shank and restain the whole pipe. I don’t always do that and in fact it is rare that I do unless the pipe is one that I intend to totally rework anyway. The stem I chose was a recycled one probably from a City DeLuxe pipe or at least one that bore the five point star stamping. In this case I intended to sand out the stamping as the diameter of the stem was larger than that of the shank. The four photos below show the stem from top, bottom and left and right sides to give an idea of the size of the stem when I started.
Stem1

Stem2

Stem3

Stem4

I use a Dremel with a large sanding drum to remove the excess material from the stem at the shank stem junction. I am careful to not damage the shank in the process but push the end of the sanding drum as close to the shank as I can. The next series of four photos show the stem after the sanding drum has done its work. The diameter of the stem is very close to that of the shank at the end of this process.
Stem5

Stem6

Stem7

Stem8

The remainder of the fine tuning of the fit I do by hand with folded sandpaper to shape and match the stem and the shank. On this pipe the finish on the pipe was a heavy dark varnished stain that I was going to remove from the pipe for refinishing so I sanded the shank the same time I sanded the stem. The next five photos show the stem and shank after sanding with 220 grit sandpaper to match the two surfaces.
Stem9

Stem10

Stem11

Stem12

Stem13

I buffed the stem and shank with red Tripoli to remove some of the surface scratching before I went on to sand the stem with a medium grit sanding sponge. The next two photos show the stem after sanding with the sanding sponge. The stem and shank fit is very tight and smooth and the feel of the transition from briar to vulcanite is almost seamless.
Stem14

Stem15

On this pipe I decided to band the shank for cosmetic purposes so the remaining photos show the shank banded. You will note though from the above photos that the stem fit is actually very smooth and clean. I sanded the stem with micromesh sanding pads to remove the scratches and bring out the deep shine of the polished vulcanite. The final three photos show the fit of the stem after sanding with the micromesh sanding pads. From this point I wiped the stem down with Obsidian Oil and then buffed it with carnauba wax to finish the work.
Stem16

Stem17

Stem18

A Complete Reworking of a Zettervig Freehand


Blog by Steve Laug

I was chatting with a friend on one of the pipe forums that I frequent and he asked me about restemming an older 60’s vintage Zettervig freehand for him. I had a couple of stem possibilities sitting here so I figured why not. He sent the following pictures to show how the previous owner had pressed a Dr. Grabow metal mortise into the mortise of the Zettervig and then cut back a Grabow screw on tenon and added a metal washer as a spacer and screwed in the Grabow stem. He had reamed the pipe and done an internal cleaning before he sent it to me. But the externals looked pretty much the same as it does in the photos below. The plateau on the shank end was dirty and faded and the plateau on the rim was the same with a buildup tars that made the crevices and grooves in the plateau almost non-existent. It too was faded and worn looking.
Zettervig1 (1)

Zettervig1 (2)

Zettervig1 (3)

Zettervig1 (4)

I had no idea about the brand and not read anything about it. I did a bit of digging to see what I could learn about it. I am always curious about learning about brands that are unfamiliar to me. The following comes from Pipedia
“In the 1960’s and into the early 1970’s Ole Zettervig had a shop in Copenhagen, Denmark where he was carving high quality pipes equal to Stanwell, Larsen, Anne Julie, Thurmann, Bang and others. These early pipes were marked “Copenhagen” and are very collectible. He sold his shop at some point in the 70’s and moved to Kolding and continued to produce pipes as a hobby, but the quality of briar and workmanship is said to not equal the early production. The later pipes he now marked as Kobenhaven rather than Copenhagen, and these were sold by Ole at flea markets throughout Europe.” http://www.pipedia.org/wiki/Zettervig
When it arrived I drilled out the metal insert in the shank and cleaned up the shank with pipe cleaners and cotton swabs. I then sorted through my stems and found several possibilities. I sent him the following two photos of the stem options and he chose the one that is inserted in the pipe. It actually came from a Danish Freehand that I had here and restored. I like less chunky stems so this one went to the parts bin. He liked it so it was the stem that I would work on for this pipe.
IMG_2923

IMG_2924

IMG_2925

I gave the pipe a cleanup reaming with the PipNet reamer and cleaned out the shank one last time. I scrubbed the bowl and the plateau on the shank and rim with Murphy’s Oil Soap and a brass tire brush to break away the tarry buildup. I rinsed it under running water to remove the soap. I wiped the bowl down with acetone on a cotton pad to remove the remaining finish and then sanded the bowl and the shank with micromesh sanding pads 1500-2400 grit to polish the minute scratches that were present. I stained the plateau portions of the pipe with a black aniline stain and then wiped them down with a cotton pad wetted with Everclear to give the black a little transparency. I gave the rim and shank end a light buff with White Diamond. The newly stained plateau is visible in the photos below.
IMG_2927

IMG_2928

I also stained the bowl with an oxblood aniline stain. I applied and flamed it and reapplied and reflamed until I had the coverage that I wanted on this pipe. The photo below gives a side view of the pipe.
IMG_2926

I buffed the bowl and stem with White Diamond. I then took it back to the work bench and sanded the stem and the bowl with micromesh sanding pads from 1500-12,000 grit to give the finish on the stem and bowl a deep shine. Once I had finished that I took to the buffer and gave it multiple coats of carnauba wax to protect and shine it even more. The finished pipe is in the photos below. It is now on its way back to its owner.
IMG_2980

IMG_2981

IMG_2982

IMG_2983

Installing a GBD Rondelle on a New Stem


Today I finished restemming a GBD 9438 with a new tapered stem. The original saddle stem was unrepairable. I removed the rondelle from that stem and studied how it had been installed. From the appearances of the stem it looked like it was heated and pressed into the vulcanite. Once the rondelle was pressed in it was removed and then glued in place. I used a soldering iron to heat and press the rondelle into the vulcanite. I placed it on the surface of the stem where I wanted it to end up. I measured the distance from the shank stem junction on the original stem and set this one in the same place.
IMG_2984

I plugged in the soldering iron and pressed the tip into the rondelle. I pressed it against each of the ends and the middle until is sank into the surface of the stem. Once it was set and the oval was marked in the stem I took it back to the work table to glue it in place. I lifted it from the stem and used a two part epoxy to glue it in place. I put a spot of the glue mix into the oval divot on the stem and pressed the rondelle into place.
IMG_2986

IMG_2987

IMG_2988

When the glue had set I sanded around the rondelle with micromesh sanding pads from 1500-2400 grit. I wanted to smooth out the vulcanite around the rondelle and shine the stem again. In the photo below I have included the original stem to show the pressed divot of the rondelle in the vulcanite. The GBD letters were pressed into the surface and left their mark. The divot under the rondelle on the new stem looked identical to this before I glued it in place.
IMG_2990

The two photos below show the finished installation of the rondelle in the stem. The fit of the rondelle is approximately the same as it was in the original stem. It is a nice finishing touch to the restoration of this old pipe. Thanks to those of you who commented on the previous restoration article on this pipe and encouraged me to use the rondelle on the stem. I appreciate the suggestions and now will enjoy the finished look of the pipe.
IMG_2991

IMG_2992

A GBD Quantum 9438 Given a New Look and New Life


I am always on the lookout for Rhodesian shaped pipes and 9438s in particular. I have a few that I picked up before they became so sought after. So when I picked up this 9438 Rhodesian for $9.99 on Ebay recently I figured I had a deal. I am pretty sure that the reason for the low price was the condition of the stem and the look of the pipe in the photos on the sale. I was hoping that the bowl was actually in better shape than it looked. I knew that the stem was ruined and a real mess but the bowl looked like it had some life left in it. To me the price it was listed at made it worth bidding on and I won it. I had several possible solutions in mind for the pipe if the bowl was as salvageable as it looked. One possibility is that I have a terribly over reamed 9438 that I could salvage the stem from and utilize on this pipe. If that does not work, my second possibility is to make a new taper stem for it. At the moment I am leaning toward the taper stem. I have included the photos from the seller to give an idea of the pipe’s condition.
GBD1

GBD3

GBD5

GBD6

GBD7

When it arrived it was in worse shape than the photos alluded to, if that is possible. The bowl was badly caked and the rim was caked and slightly scorched. That part was actually not a big issue to me. I could easily take care of that. The finish was shot as expected so that was no surprise. But the stem was not only chewed and broken but also was quite brittle. It was almost as if it was rotted. To cut it off back to the solid material would make the stem very short and stubby. There were also no guarantees that the rest of the stem was not in the same condition once I removed the ruined portion. The shank was dirty and there was a lot of build up inside.

The stamping is actually quite unique. I have not seen a 9438 stamped this way. On the left side of the shank it is stamped with a letter G in a circle to the left of the GBD in the oval as normal. Underneath it is stamped QUANTUM, which is a line I am not familiar with in the GBD family. On the underside of the shank next to the stem is stamped with a J. On the right side it is stamped Made in London in a circle with the “in” inside the circle. Underneath it reads England. Next to that is the 9438 stamping. All of these stampings leave me with many questions. I know from previous study that the oval Made in London stamping, a Comoy’s like stamping, dates it as a Cadogan era pipe and that would likely put it in the 1980’s. The parts that leave me wondering are the G in a circle stamp on the left side and the line QUANTUM. I have never seen or heard of either of those stampings. I have included the next three photos to show the stamping on the shank for those of you who are interested.
GBD2

GBD4

GBD9

I checked my over reamed GBD 9438 to see if it would work on this pipe. It is a Perspex stem and would look quite nice. However, the stem was already a repair and the shank diameter was slightly smaller so that was a no go. I was left with my second option mentioned above – to fit a new taper stem on it. Since the pipe was already in need of a lot of work fitting a taper stem on it would not be an issue. I was pretty sure that I had a vulcanite taper stem that would be a close fit. I went through my stem box until I found the fat taper stem I was looking for. The tenon was too large so I turned it with the PIMO Tenon Turning Tool until it was a close fit to the shank and then took it back to the work table to hand sand it to a snug fit. The two photos below show the new stem. The first photo shows the new stem alone and the second one shows it in comparison with the damaged stem. It is slightly shorter and the shape of the end of the stem tapers more than the original chewed one.
IMG_2932

IMG_2934

The diameter of the stem at the shank was slightly larger than the shank so I sanded it with 220 grit sandpaper to get a good fit between the shank and the stem. I carefully sanded the shank to clean up the fit and make a smooth transition. I wanted to avoid all of the stamping to leave it as pristine as possible.
IMG_2935

IMG_2936

IMG_2938

IMG_2939

IMG_2940

IMG_2941

IMG_2942

IMG_2943

The next two photos show the extent of damage to the old stem. I wanted to have those photos for comparison purposes and to give an idea of how short I would have to cut back the original stem to remove the damage.
IMG_2944

IMG_2945

I reamed the bowl with the PipNet reamer until it was bare wood. In doing that I found that underneath the cake, on the right side about half way down the inside, there was some charring on the wall. It was the beginning of a burn through in that area. I cleaned up around the area with sandpaper and picked at it with the dental pick. In doing so I found that it was still solid and not too deeply damaged. It would require some damage control and protection so I coated it with some pipe mud. The airway entered the bowl a bit high as well so I raised the bottom of the bowl with the pipe mud at the same time. I may well give it a bowl coating to further protect it but will decide that in the future.
IMG_2946

IMG_2950

IMG_2951

The rim also needed to be lightly topped to remove some of the damage there that I could not steam out or repair. I did that with a piece of sandpaper on a board and lightly sanded the rim until it was smooth and the damage minimized. I used a folded piece of sandpaper to bevel the inner edge of the rim to match what remained in the undamaged portion of the rim.
IMG_2947

IMG_2948

I wiped the bowl down with acetone on a cotton pad to clean up the finish and remove the remaining stain. I have found that when I am planning to restain a bowl it is easier blend the sanded portions and the remainder of the bowl when I wash down the finish with acetone before restaining.
IMG_2949

I removed the GBD oval from the old stem with a dental pick. I am still deciding whether to insert it on the new stem or to save it for later use on another old pipe in need of one. Time will tell. I always scavenge as much as is usable before discarding old pipe parts.
IMG_2954

IMG_2955

I washed the pipe down with acetone another time to further clean it up and prepare it for staining. This final wash removed the rest of the finish nicely and I sanded the bowl with micromesh sanding pads 1500-2400 grit to further prepare it.
IMG_2957

IMG_2958

IMG_2959

I warmed the briar with a heat gun and then stained it with a dark brown aniline stain. I flamed it and reapplied the stain and reflamed it until it had an even coat of the brown stain. I mixed the aniline stain with isopropyl alcohol – 2 parts stain to 1 part alcohol. I wanted the grain on the pipe to show through the stain and I also was using it as the undercoat before giving it a slightly darker topcoat.
IMG_2960

IMG_2961

IMG_2962

IMG_2963

I buffed the pipe with White Diamond and then applied a Danish Oil Walnut stain as the top coat. It is a mixture of stain and linseed oil and gives a great finish when put over the top of the previous stain coat. The first three pictures below show the pipe while the stain is still wet. I wiped it down with a soft cotton cloth and hand buffed it to give it an initial shine (Photos 4-7).
IMG_2964

IMG_2965

IMG_2966

IMG_2968

IMG_2969

IMG_2970

IMG_2971

Once the bowl was finished I put it aside and worked on the stem. I had already sanded it with a fine grit sanding sponge so now it was time to sand with the micromesh sanding pads. I wet sanded with 1500-2400 grit pads and dry sanded with 3200-12,000 grit pads. Each successive grit of micromesh deepened the shine in the vulcanite.
IMG_2973

IMG_2974

IMG_2975

I wiped it down with Obsidian Oil, rubbed it down afterwards when it had dried and then buffed it lightly with White diamond. I reinserted it in the shank and then buffed the entire pipe with White Diamond and gave it multiple coats of carnauba to protect and give it a shine. I gave the bowl a second coat of pipe mud on the damage section to fill the shrinkage that had occurred as the pipe mud dried. It is drying and curing now but I look forward to firing up a bowl soon. I like the new look of the pipe and definitely like the taper stem. The shorter stem gives it a stubby look but it actually less than ¼ inch shorter than the saddle stem on my other 9438s.
IMG_2976

IMG_2977

IMG_2978

IMG_2979

Here are a couple of photos with the rondelle inserted in the stem and a bit more of a bend applied to the stem.
IMG_2991

IMG_2992

Fixed a Stem Gap on an Ashton


This Ashton Sovereign was purchased as an estate, and I’ve owned it for several years. The pipe smokes great and the size is perfect (XX). I’m not sure if the stem is acrylic or “Ashtonite” as Jimmy Craig seems to use both materials. The pipe had a fairly large gap at the top of the stem that has bothered me since I took it out of the shipping box and every time I smoke it. Here’s a shot of the pipe which shows the gap.

Ashton_Sovereign_Rhodesian_XX_2011_Gallery

This morning, I decided to try and re-angle the tenon to reduce the gap. I warmed some water in our Sunbeam “Hotshot” water heater. I dipped the tenon in the water, right to the edge of the stem and held it in for about 30 seconds. I inserted the stem into the shank and it went snugly up to the shank. This evening it appears my fix held.

I was surprised that the hot water made the stem very dull and at first I was worried that it might be permanent. I was able to buff that section of the stem (mounted to the pipe) with some White diamond rouge, which brought back the shine.

Ashto_Stem_Fix (2)

Ashto_Stem_Fix

Ashto_Stem_Fix (1)

A Tiny Rhodesian Restored and Restemmed


Here is another pipe from the bottom of the refurbishment box. It is a little Rhodesian that I had ignored for a while. It measures 4 3/8 inches long stem included. The bowl is 1 ¾ inches long and 1 inch tall. The inner diameter of the bowl is ½ inch and the bowl depth is ¾ inch. The bowl was in pretty decent shape and was unsmoked. There was a fill on the left side of the bowl and a slight divot on the shank next to the bowl. The end of the shank had some pretty deep nicks in it and would make a tight fit between stem and shank impossible. Half the battle in restemming these small pipes is finding a stem that will work and then turning the tenon to fit the small mortise. This one was no exception. I had a stem that would work it was 2 5/8 inches long and was made out of nylon. It was an old WDC pipe stem. The shoulders were well rounded and the tenon was short.
IMG_2894

IMG_2895

I reduced the diameter of the tenon with a sanding drum on a Dremel. I laid the sanding drum against the surface of the tenon and let it ride around the tenon until the diameter was close. Then I sanded it until the fit was snug. The mortise was not that deep due to the size of the pipe so I needed to shorten the tenon to the same depth as the mortise. I used the Dremel and sanding drum to achieve that as well.
IMG_2896

Once I had a good tight fit on the stem I sanded down the bowl and wiped it down with acetone on a cotton pad to remove the finish. I pressure fit a small nickel band on the shank to provide a smooth transition between the bowl and stem and to cover the deep nicks or gouges on the end of the shank. I sanded the stem with 220 grit sandpaper to remove the excess material on the diameter and make a good fit against the end of the tenon.
IMG_2897

IMG_2898

IMG_2899

IMG_2900

IMG_2901

I sanded the area around the divot in the shank and cleaned it with acetone. I then filled the divot with clear superglue and sanded it again once the glue had dried. I wanted to have a smooth transition between the bowl and shank without the divot showing. I sanded it with 220 grit sandpaper and then with a medium grit sanding sponge. I also sanded the stem at the same time and then wiped the entirety down with acetone.
IMG_2902

IMG_2903

I sanded the bowl and the stem with micromesh sanding pads. I wet sanded with 1500-2400 grit pads and dry sanded with the 3200-12,000 grit pads. When finished I rubbed it down with Obsidian Oil and then took it to the buffer and lightly buffed the stem with White Diamond. I say lightly because I have learned that a heavy hand on the buffer will make a mess out of a nylon stem and you will have to start over with the sanding process.
IMG_2904

IMG_2905

IMG_2906

I took the pipe back to the worktable and stained it with a dark brown aniline stain. I applied the stain and flamed the pipe several times until I had an even coverage on the sanded areas and they blended in well with the rest of the pipe.
IMG_2907

IMG_2908

I buffed it with White Diamond and then gave it a top coat of oxblood stain. I have found that the combination of the two stains helps hide the fills that were present as well as the repairs that had been done with superglue.
IMG_2909

IMG_2910

IMG_2911

IMG_2912

I buffed the entire pipe again with White Diamond and then gave it multiple coats of carnauba wax to bring the shine out on the pipe. In order to help you appreciate the small size of the pipe I have included the next two photos. The top pipe in the photos is group 4 sized. In contrast, the tiny Rhodesian is a group 1.
IMG_2921

IMG_2922

The finished pipe is pictured below and I think it will be a nice little flake pipe for the Virginia smokers in the lot.
IMG_2913

IMG_2914

IMG_2915

IMG_2916

I received two comments below about giving the stem a slight bend so this morning I did just that. Below is a photo of the new look! Thanks Greg and Chiz.
IMG_2930