Many years ago now, I was searching for information on the Beall Wood Buff System and came across this article by Eugen Schlaak, a woodworker from Niagara Falls Ontario Canada written August 15, 2006. I devoured his article on the system and on the modification he made to it for his own use. I found his write-up on the various supplies he used also helpful. I remember hunting down the Beall system and gathering supplies based on Eugen’s recommendations. While they are written for wood turners and hobbyist bowl makers the principles and tools are very applicable to those of us who work with the restoration of pipes for a hobby. The article below is the complete text of Eugen’s article. Enjoy the read! – Editor
Many systems always existed for polishing properly sanded work produced on the wood-turning lathe, but all components required to achieve good end results had to be assembled by the wood turner and in many cases also had to be purchased from different sources.
Some years ago the BEALL Tool Company started marketing a kit with all the necessary components, such as the wheels, buffing compounds and the hardware required to fix the different wheels to the lathe output shaft or a freestanding motor.
This kit is called “The Beall Wood Buff” system and is an easy, three-step wood polishing system which produces astonishing results on bare or oiled wood. It mainly consists of three graded polishing wheels, Tripoli compound, White Diamond compound and Carnauba wax.
The buffing system can be used on any surface finish, not only on penetrating finishes, but extreme care has to be taken that the heat created by the buffing wheel does not melt the finish previously applied to the surface, such as on a lacquer finish.
I have been using this system since its inception with much success, but I added another additional step to the polishing routine, by using a coat of “Renaissance” brand micro-crystalline wax as the final step. This product is marketed as a furniture conservator’s wax which protects any surfaces against finger marks and airborne pollutants, as well as providing some moisture resistance. This particular brand is manufactured by Picreator Enterprises Ltd, in London England and is available through many woodturning supply stores in Canada and the USA. This combination of micro-crystalline waxes (petrochemical based) is also widely used by art galleries and museums all over the world on many other surfaces besides wood, such as on leather.
The major components, including a keyless chuck are shown in Figure 1.
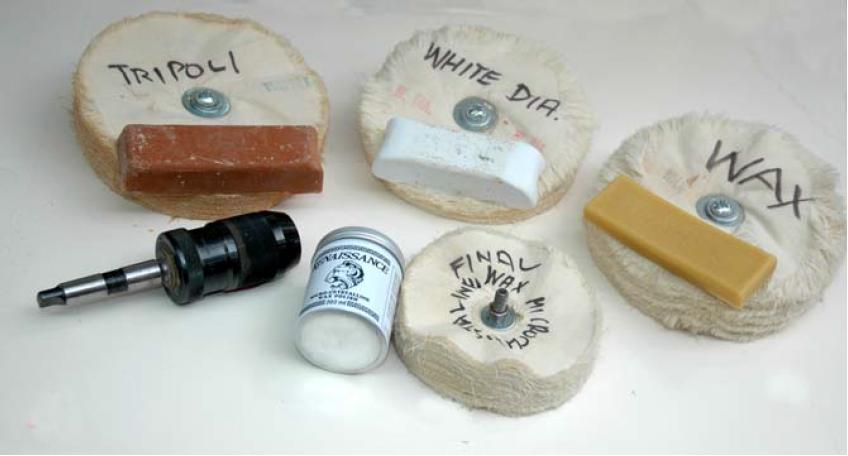
Figure 1
There are many ways to mount these polishing wheels to the lathe and/or motor shafts and all components for this task are included in the kit produced by Beall Tool Company.
In my shop I have used a keyless chuck with an attached # 2 Morse taper shaft adapter in my head stock spindle and properly inserted this assembly will not come loose during usage, as is evident in later illustrations.
A model “SUPRA “, 5/8” capacity keyless chuck produced by “RHOEM” in Germany (shown in the photos), including the adapter, can add as much as $ 200.00 to your tool inventory, if you purchase this chuck intended to be used for the machine shop environment and metal work. But this one is very accurate easy to tighten and will last forever.
But for use on the wood-turning lathe there are many less expensive chucks available produced off shore.
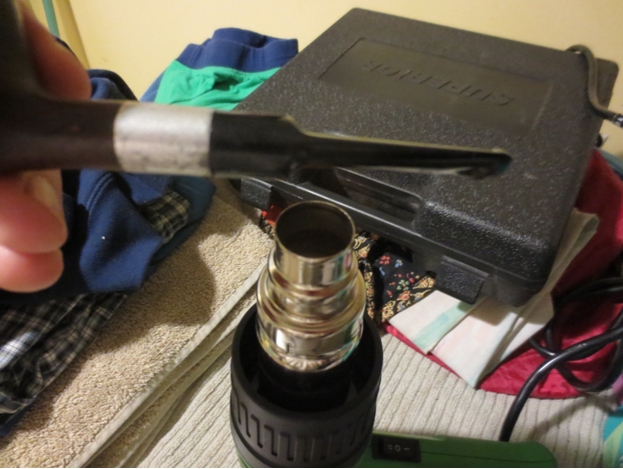
A keyed chuck will also suffice, but considerable time can be saved using a key less chuck when the buffing wheels are changed frequently. Fig. 2 shows a typical assembly using the heavy duty “RHOEM” chuck. A slight tap with a soft mallet may be required to seat the Jacobs taper securely in the lathe drive spindle at the headstock.

Figure 2
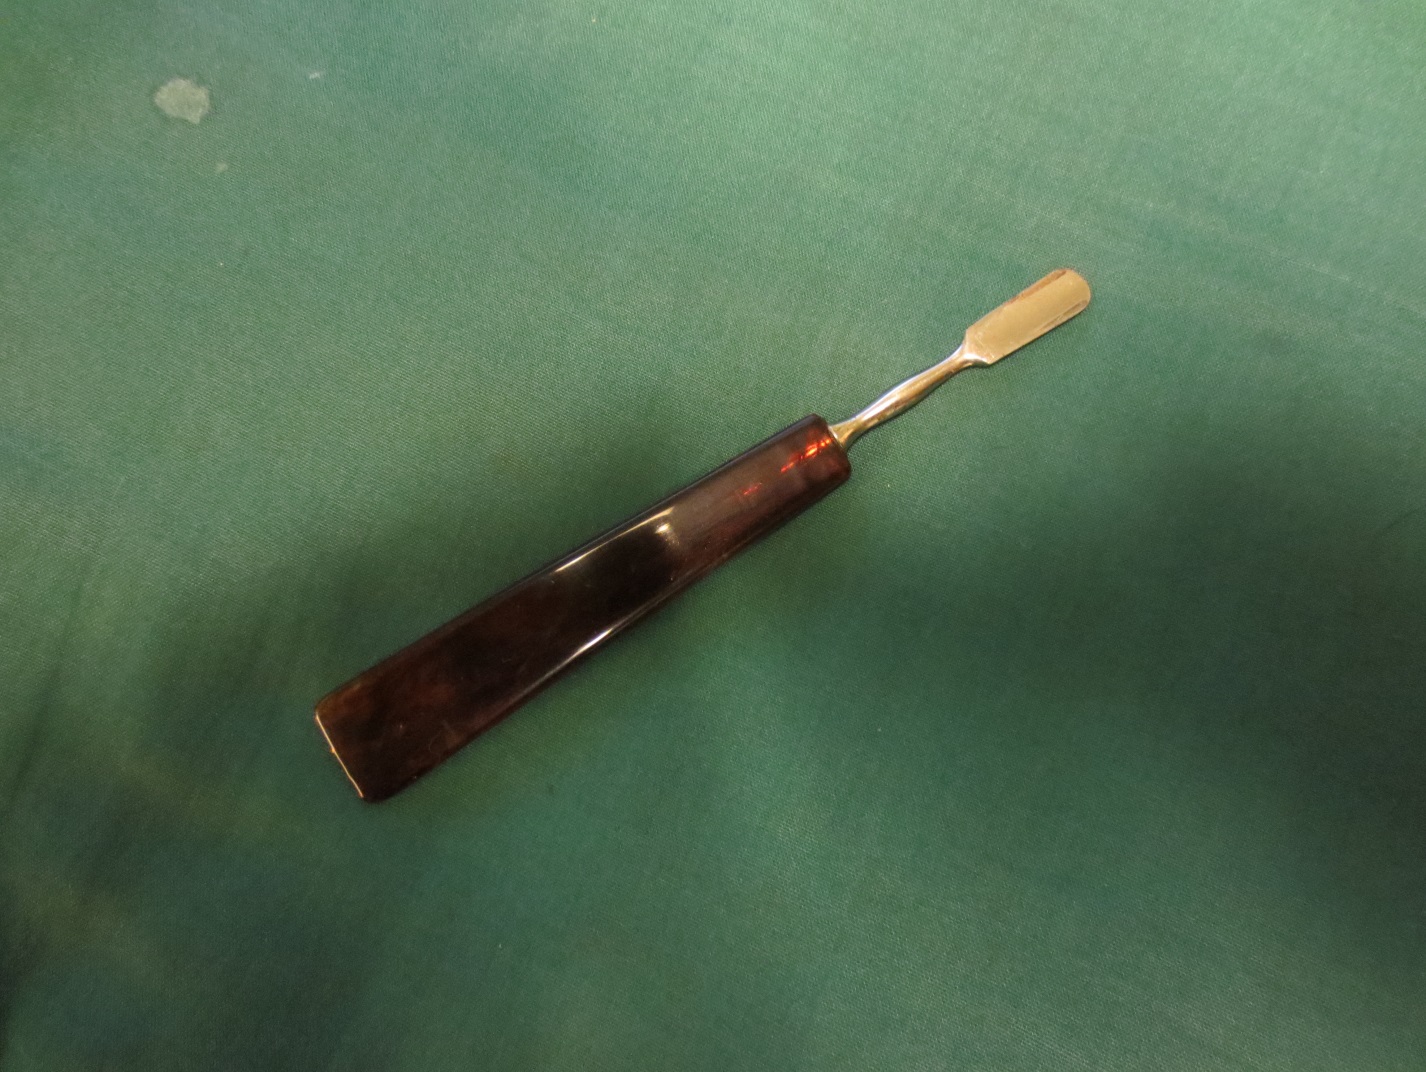
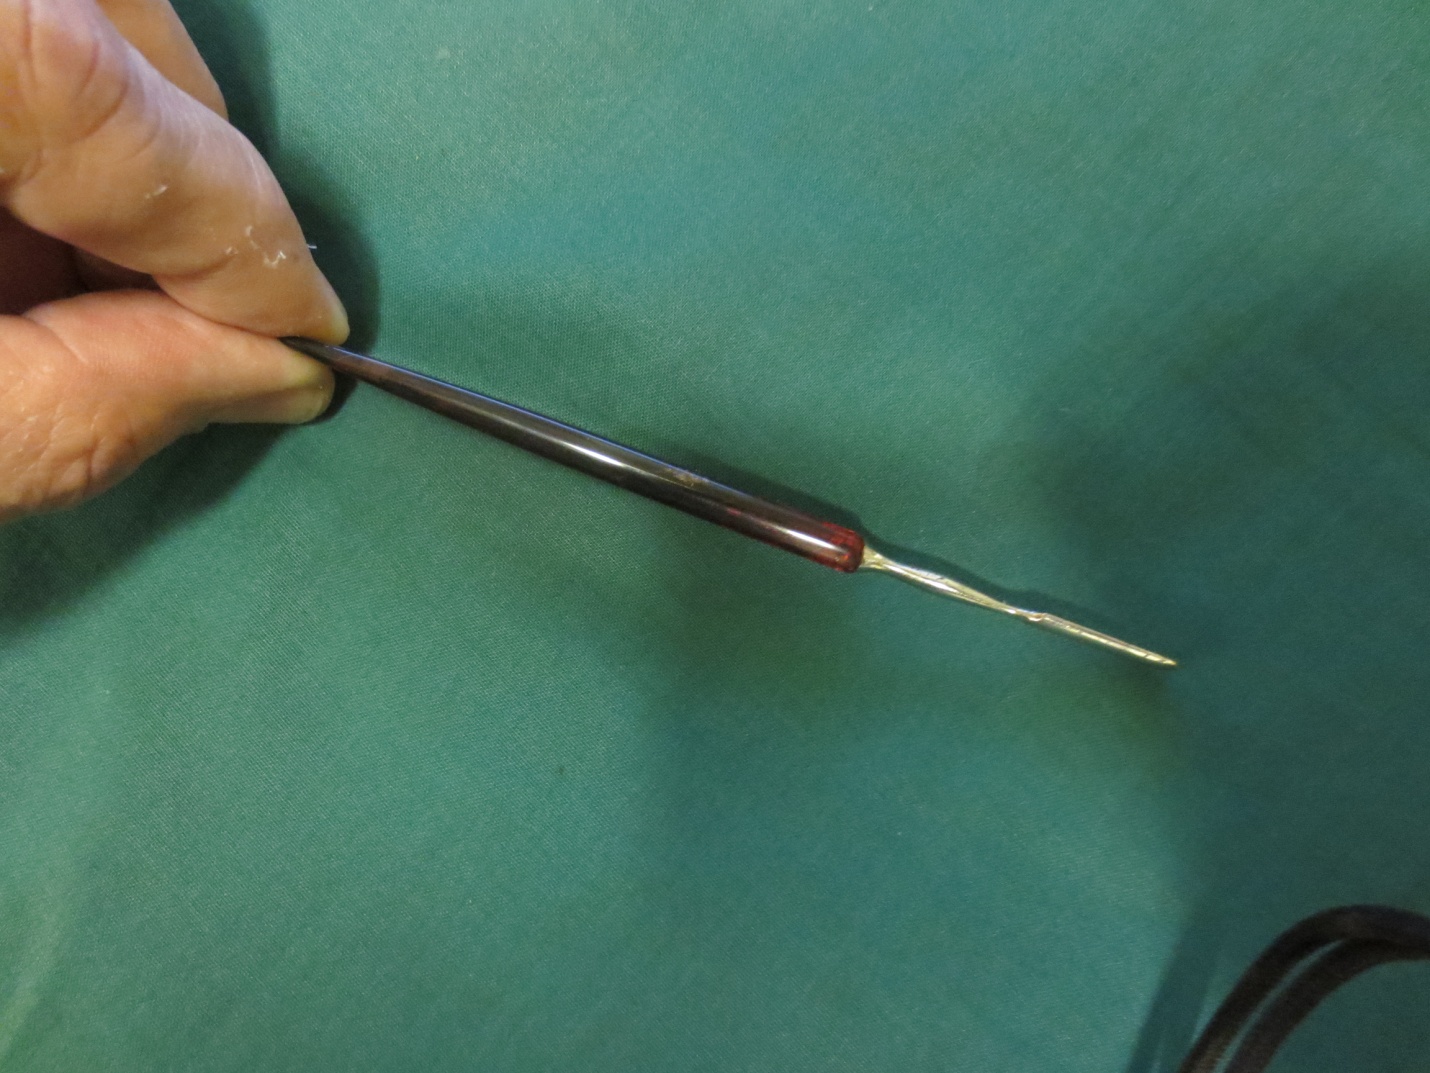
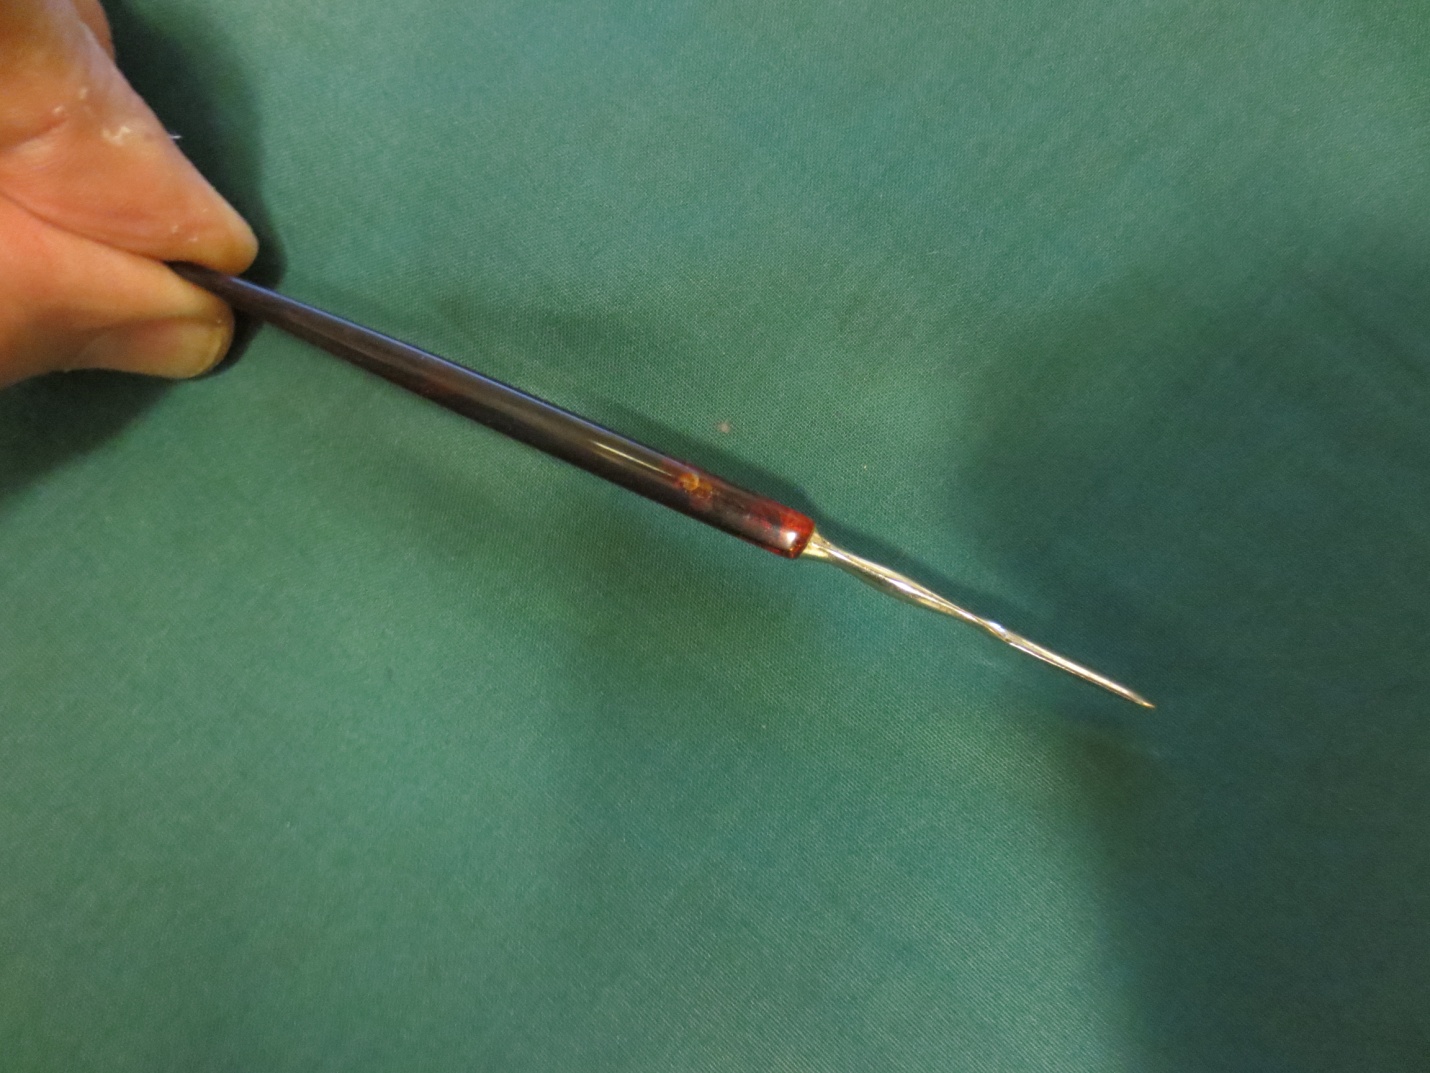
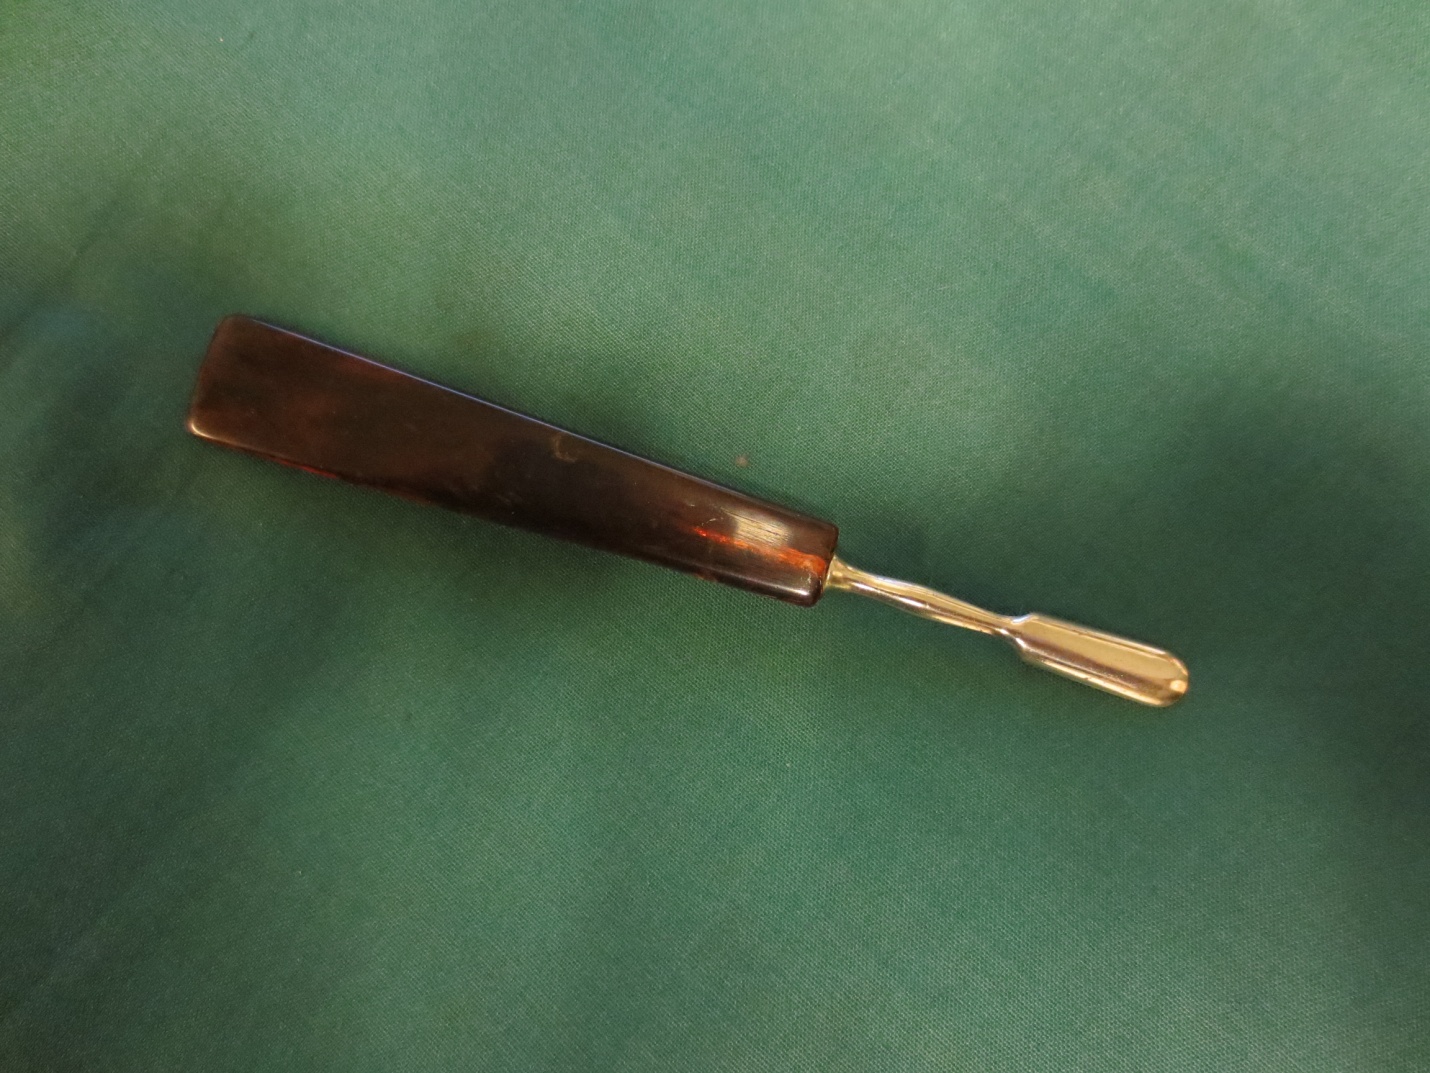
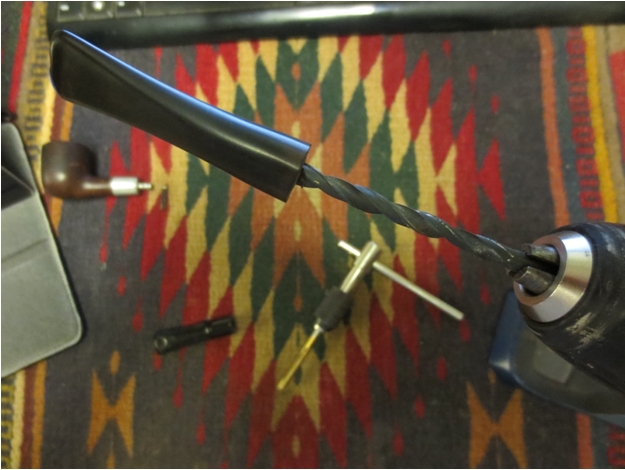
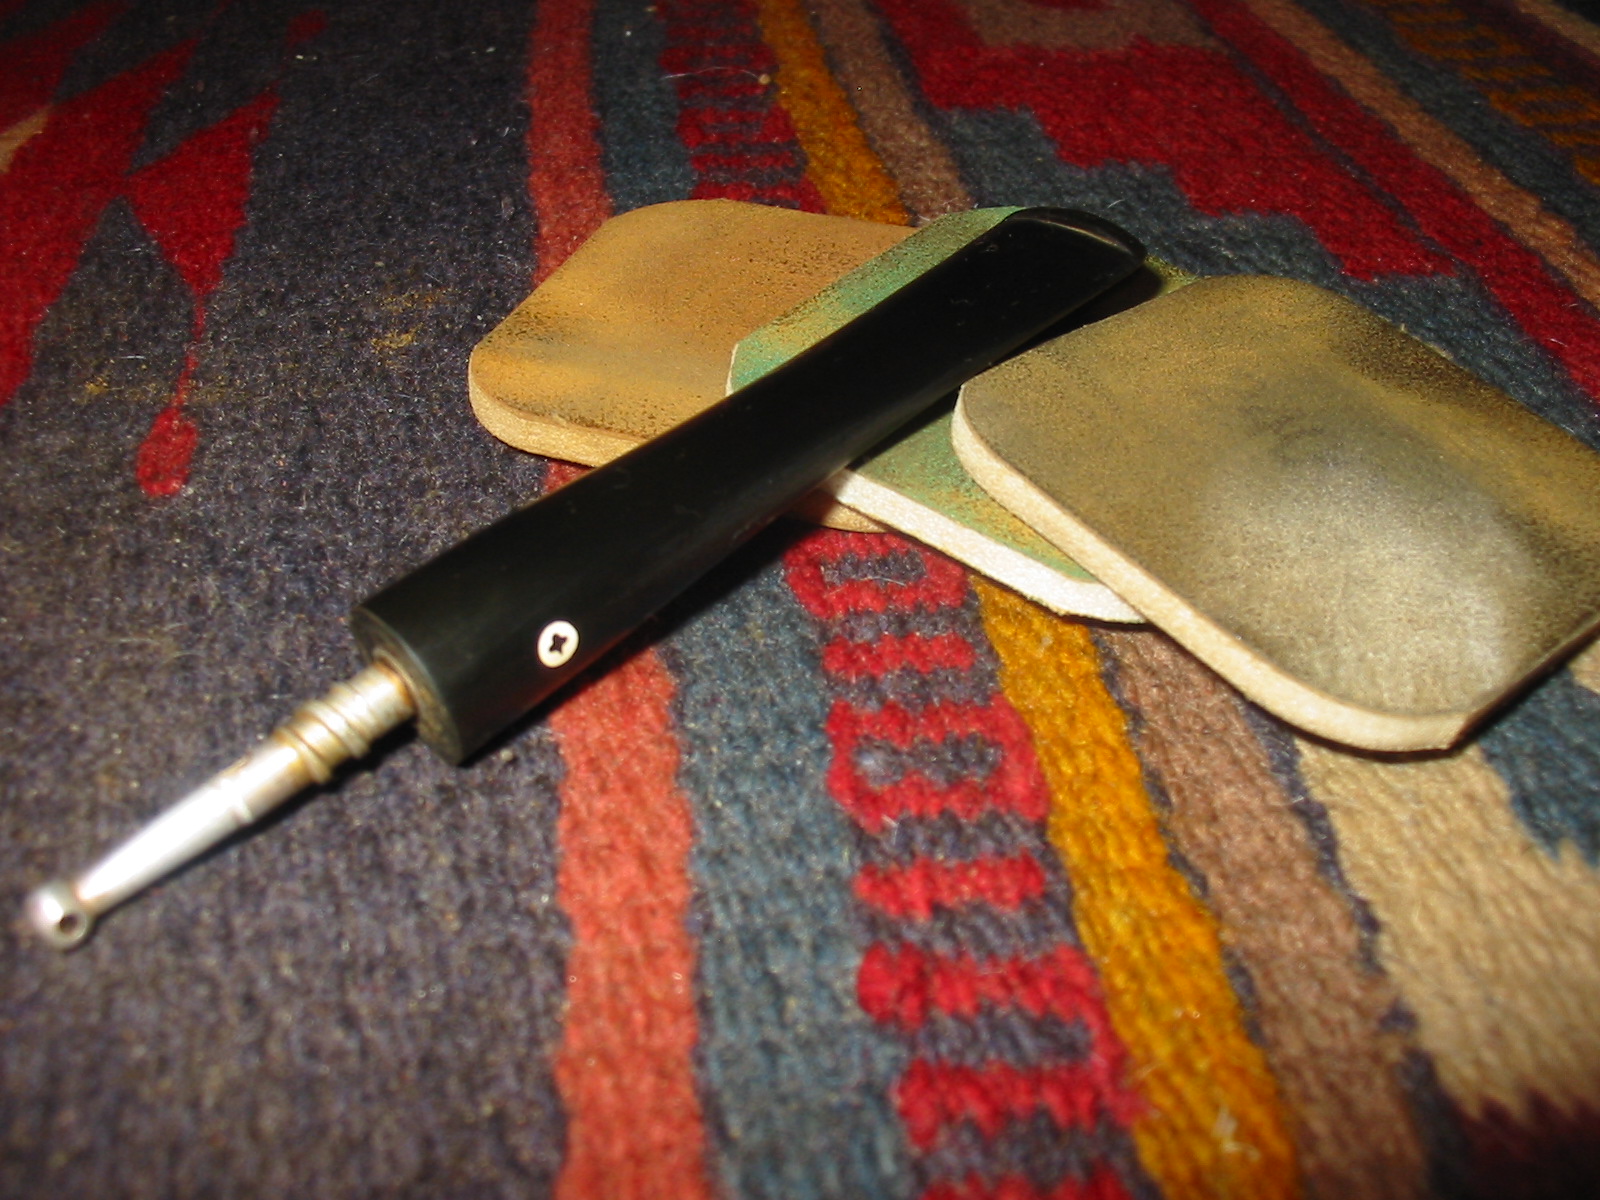
In addition to the standard 8” diameter buffing wheels, ball type goblet buffs as shown in Fig.3 are also available from Beall and smaller buffing wheels can be purchased from other manufacturers, the smallest ones are available from companies supplying tools for the denture and jewelry industry and are shown in Fig. 4 together with a ¼” drill rod extension for reaching into deeper hollow vessels.
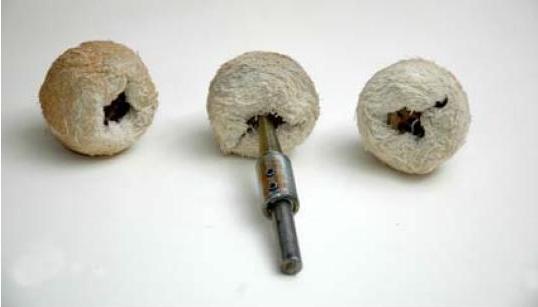
Figure 3

Figure 4
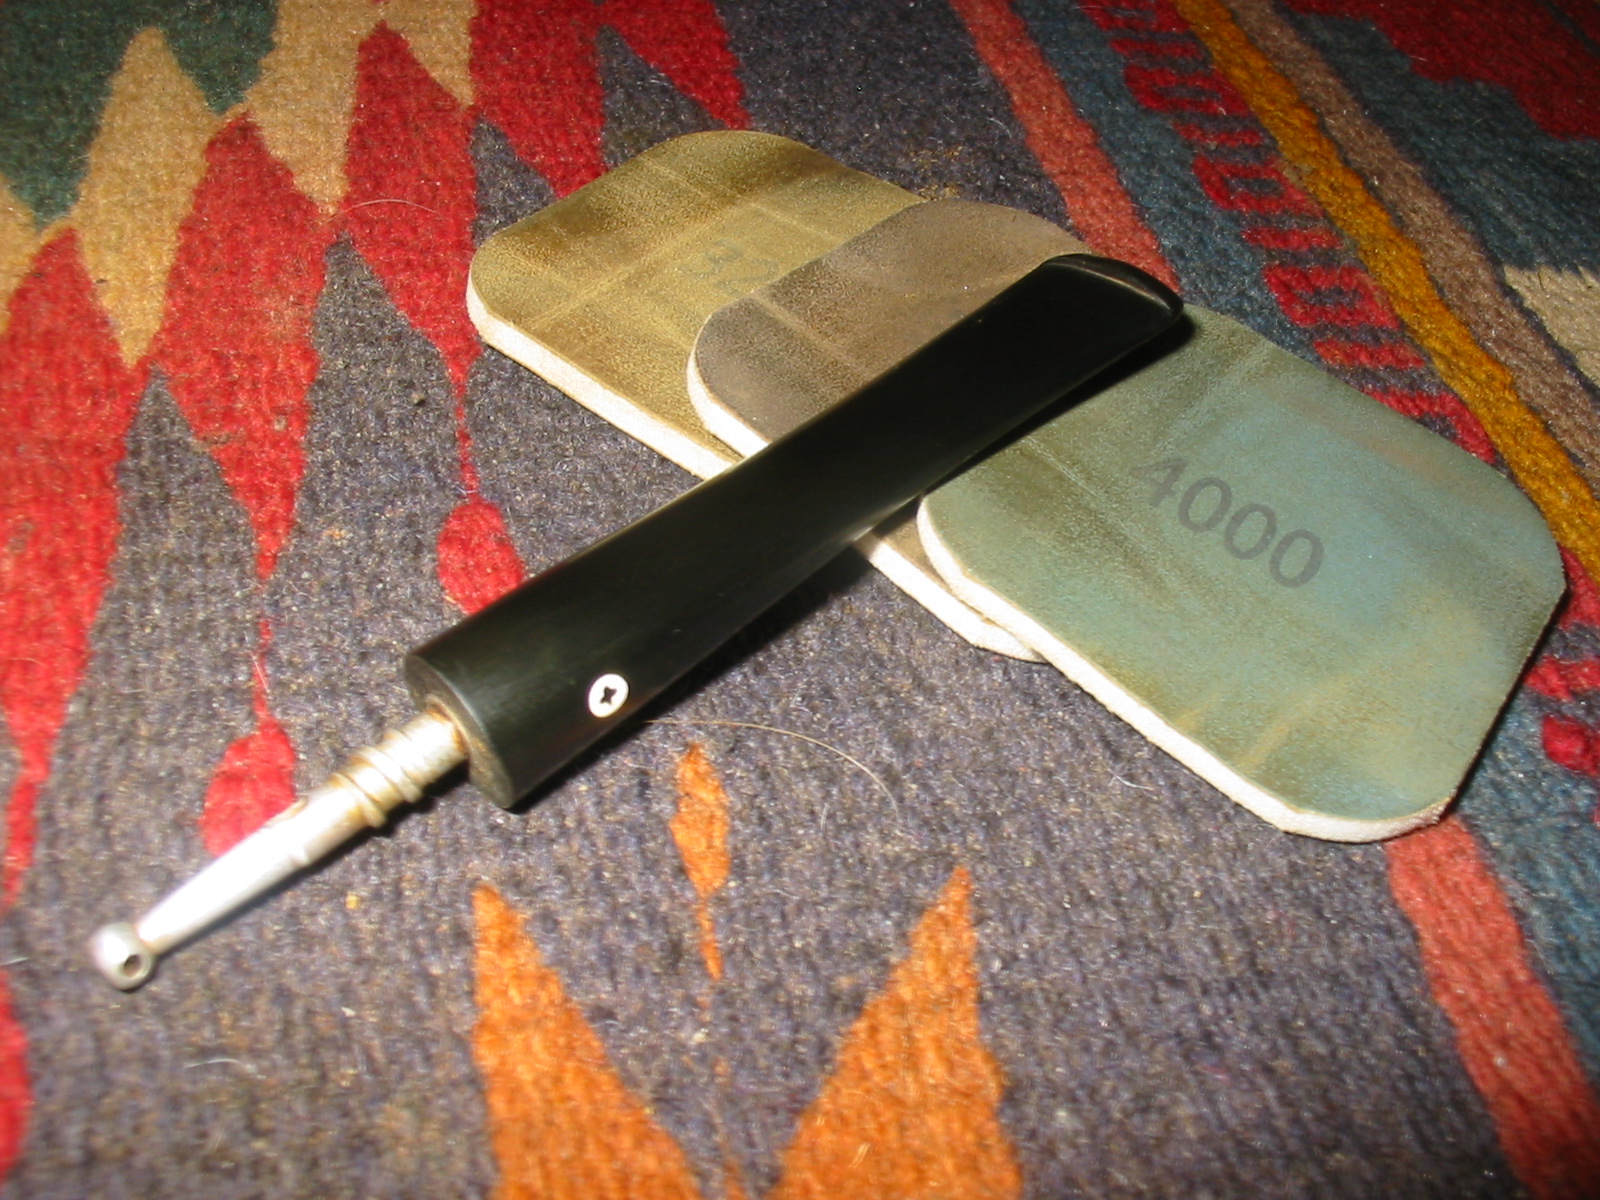
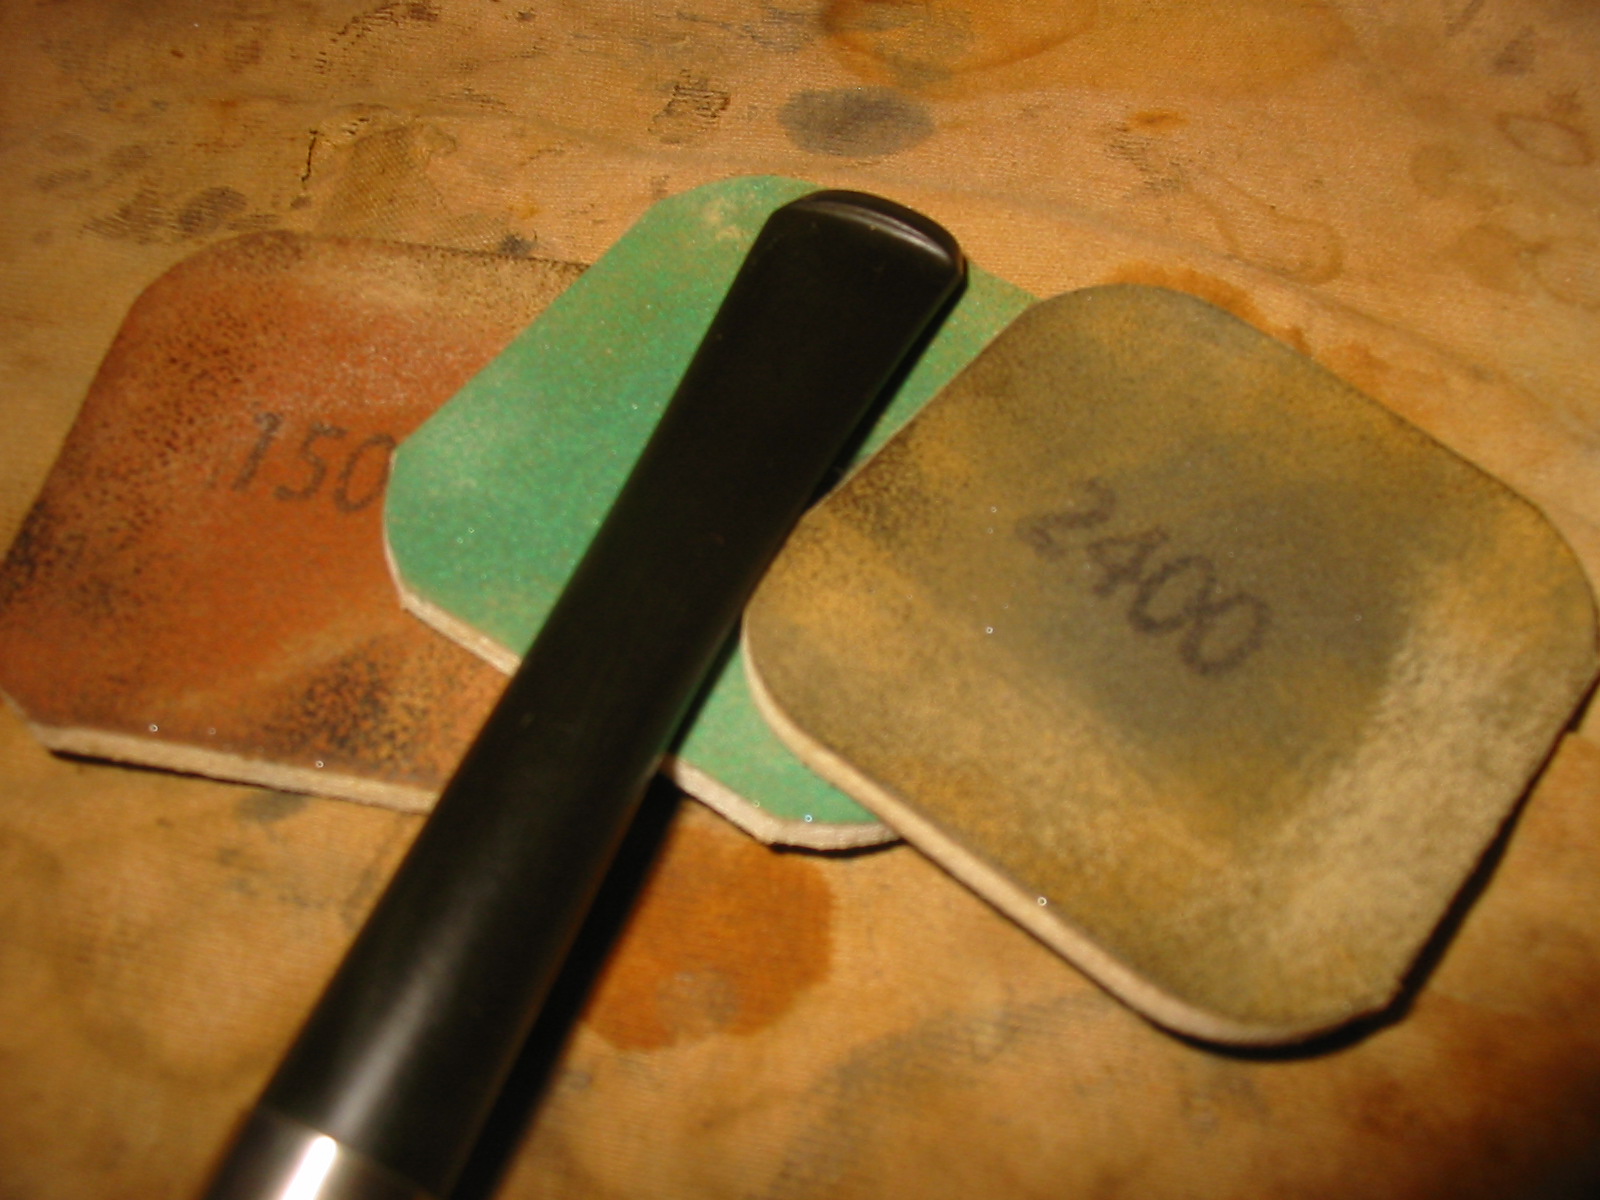
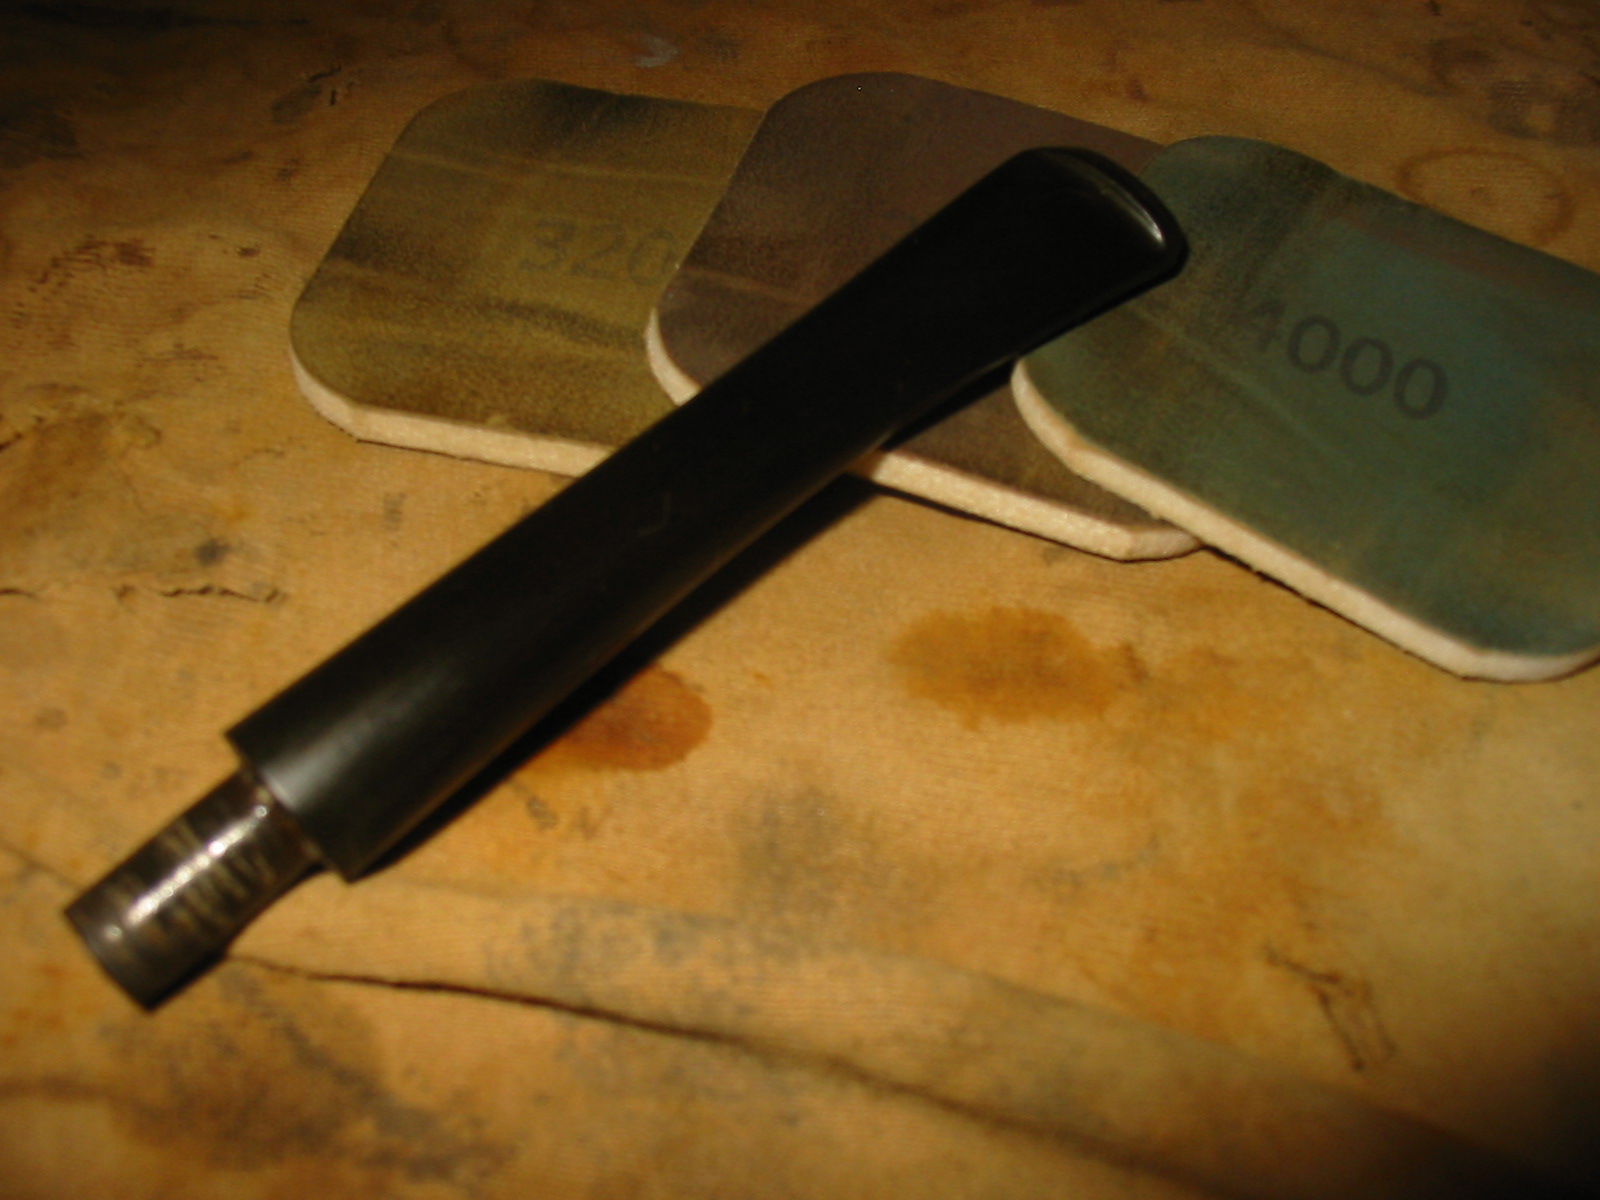
It is also a good idea to permanently mark each wheel for the procedure it is intended for, because the factory applied descriptions are hard to read.

Figure 5
While most woods may be buffed bare, a more durable finish will be achieved if a sealer or penetrating oil finish is applied first. Sand your work to at least 220 grit, but I power sand to 400 grit, which of course results in a higher gloss on the buffed piece.
After sanding I apply one or more coats of a good quality penetrating oil finish such as “Minwax” Antique Oil, “Watco” Clear Danish Oil or tung oil. When the oil is completely dry the buffing process can begin.
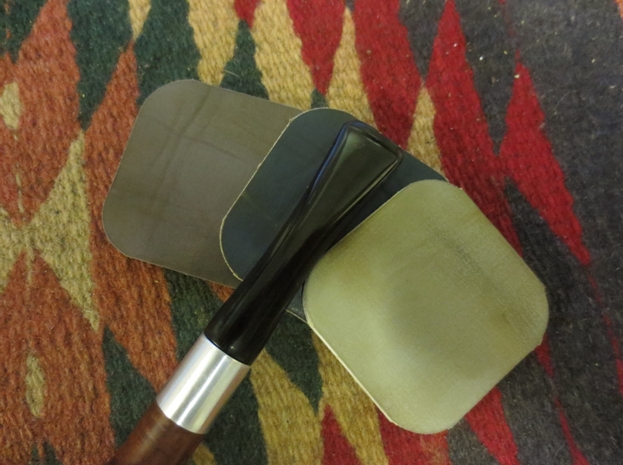
The process begins with the all-linen Tripoli Wheel and the red Tripoli Compound, Figure 6.
Apply a generous amount of compound to the spinning wheel and begin buffing the work piece. You must hold it tight and position it slightly below the center of the wheel, so the wheel cannot “grab “ the piece. You will be surprised how much damage can be caused to your prize winning turning if it leaves you grip. I have heard of turners placing a heavy padded blanket on the lathe bed and behind it, to avoid too much damage just in case you lose your grip, especially on irregular shaped pieces or items which have a ragged rim, which easily can be caught by the revolving wheel.
Several applications of the compound maybe required if you work on a larger item.
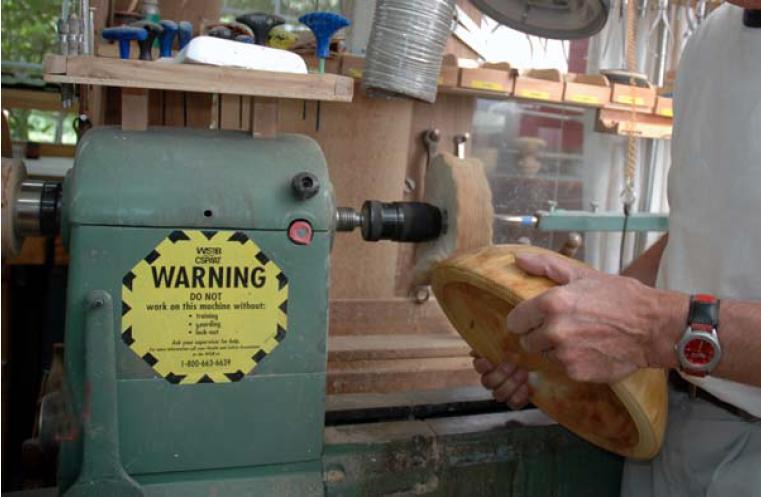
Figure 6
The next step requires the softer, linen-cotton blend White Diamond Buff and the harder, drier White Diamond Compound. Only a relatively small amount of this compound is applied to the revolving wheel and the work piece is buffed lightly. If there is any residue left from the Tripoli, it will be removed at this time during the final polishing. Fig. 7 shows the inside of a larger bowl being polished. Again: HOLD ON TIGHT, when the wheel gets near the rim!
At this stage I want to point out that I do not like an arrangement where all the polishing wheels are mounted on one shaft. As is evident from this photo that a large bowl like the one shown could not be polished on the inside with all wheels spaced and mounted on one shaft. But it could be time-saving if turnings only require to be polished on the outside.
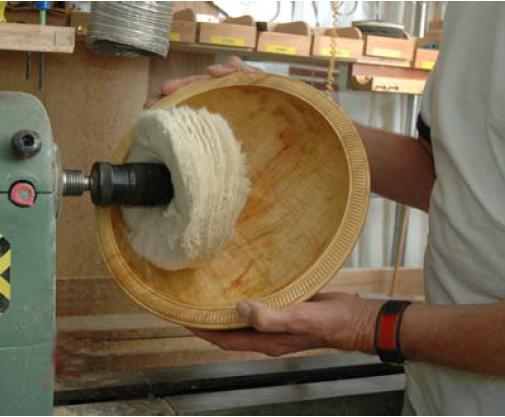
Figure 7
If the wheel gets loaded with too much wax, streaks of melted wax will appear on the surface being polished and at times it is almost impossible to remove these blemishes by additional polishing.
This last step of buffing the work piece very lightly on the wax wheel will quickly produce a beautiful protective sheen, Fig 8.
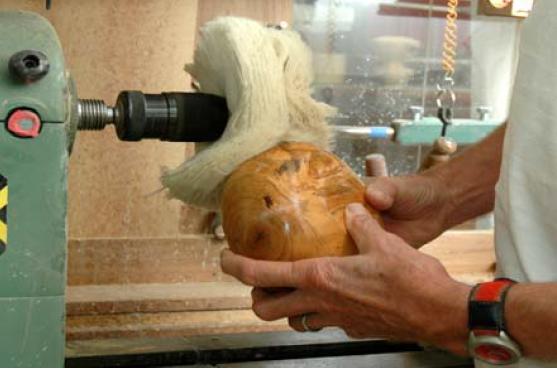
Figure 8
I use a dedicated clean soft cotton flannel wheel for this last polishing step.
From the steps described above it is evident that buffs with different compositions are used: The Tripoli Wheel is a somewhat stiff all-linen fabric, the White Diamond Wheel has linen plies interspersed with softer cotton ones and the Wax Wheel is very soft all cotton flannel fabric.
Many turners advocate assembling their own system by searching and buying the individual components and therefore save some money. I have tried this method, but in the end the cost was about the same and I was never 100% sure I had the right wheels for composition, diameter and thickness. So at this point I suggest for a beginner turner to purchase a fully assembled kit.
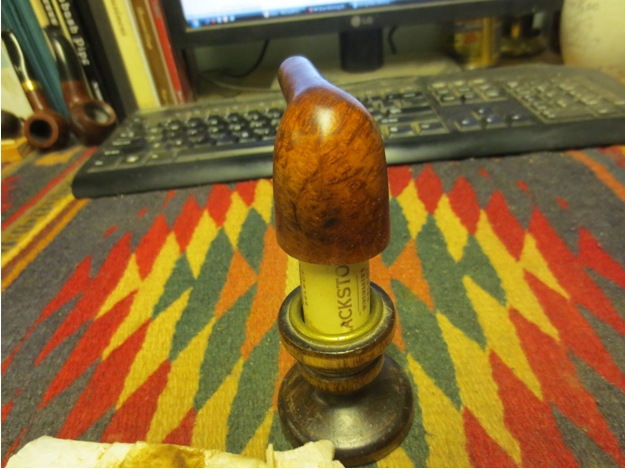
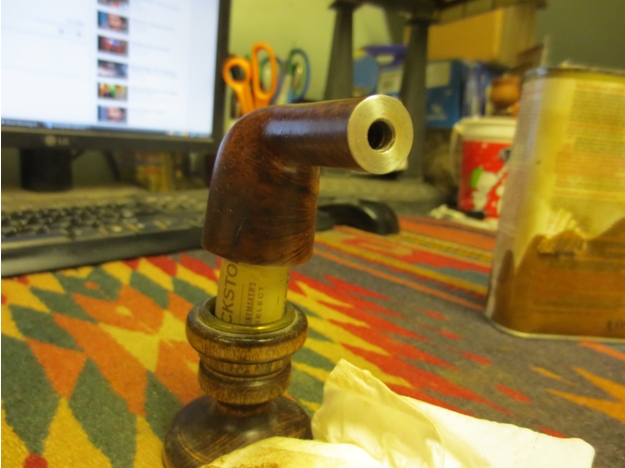
Other turners are suggesting to have dedicated motors for each wheel with about 1750 rpm. That seems to be a good idea, but we turners already have the “Motor”, the wood-turning lathe, why not make use of it? The biggest advantage of doing this is that most lathes have some sort of speed control, which is very advantageous when polishing inside hollow vessels or forms of various diameters. Whilst a buffing wheel at full rotational speed cannot be inserted into a vessel, which has an opening smaller than the wheel itself at a low-speed the wheel can be squeezed and forced into the opening and all the steps of polishing can be achieved safely, but at a slightly slower speed, see Fig.9 and 10.
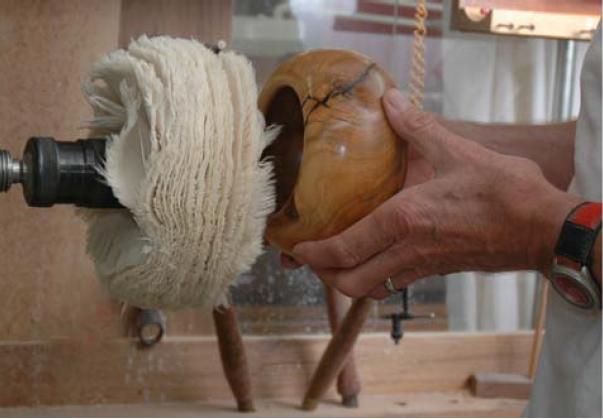
Figure 9
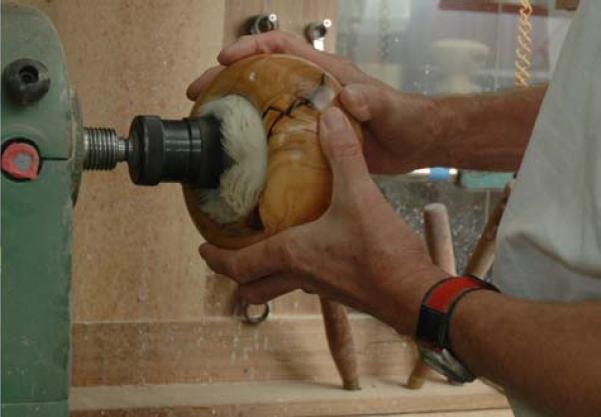
Figure 10
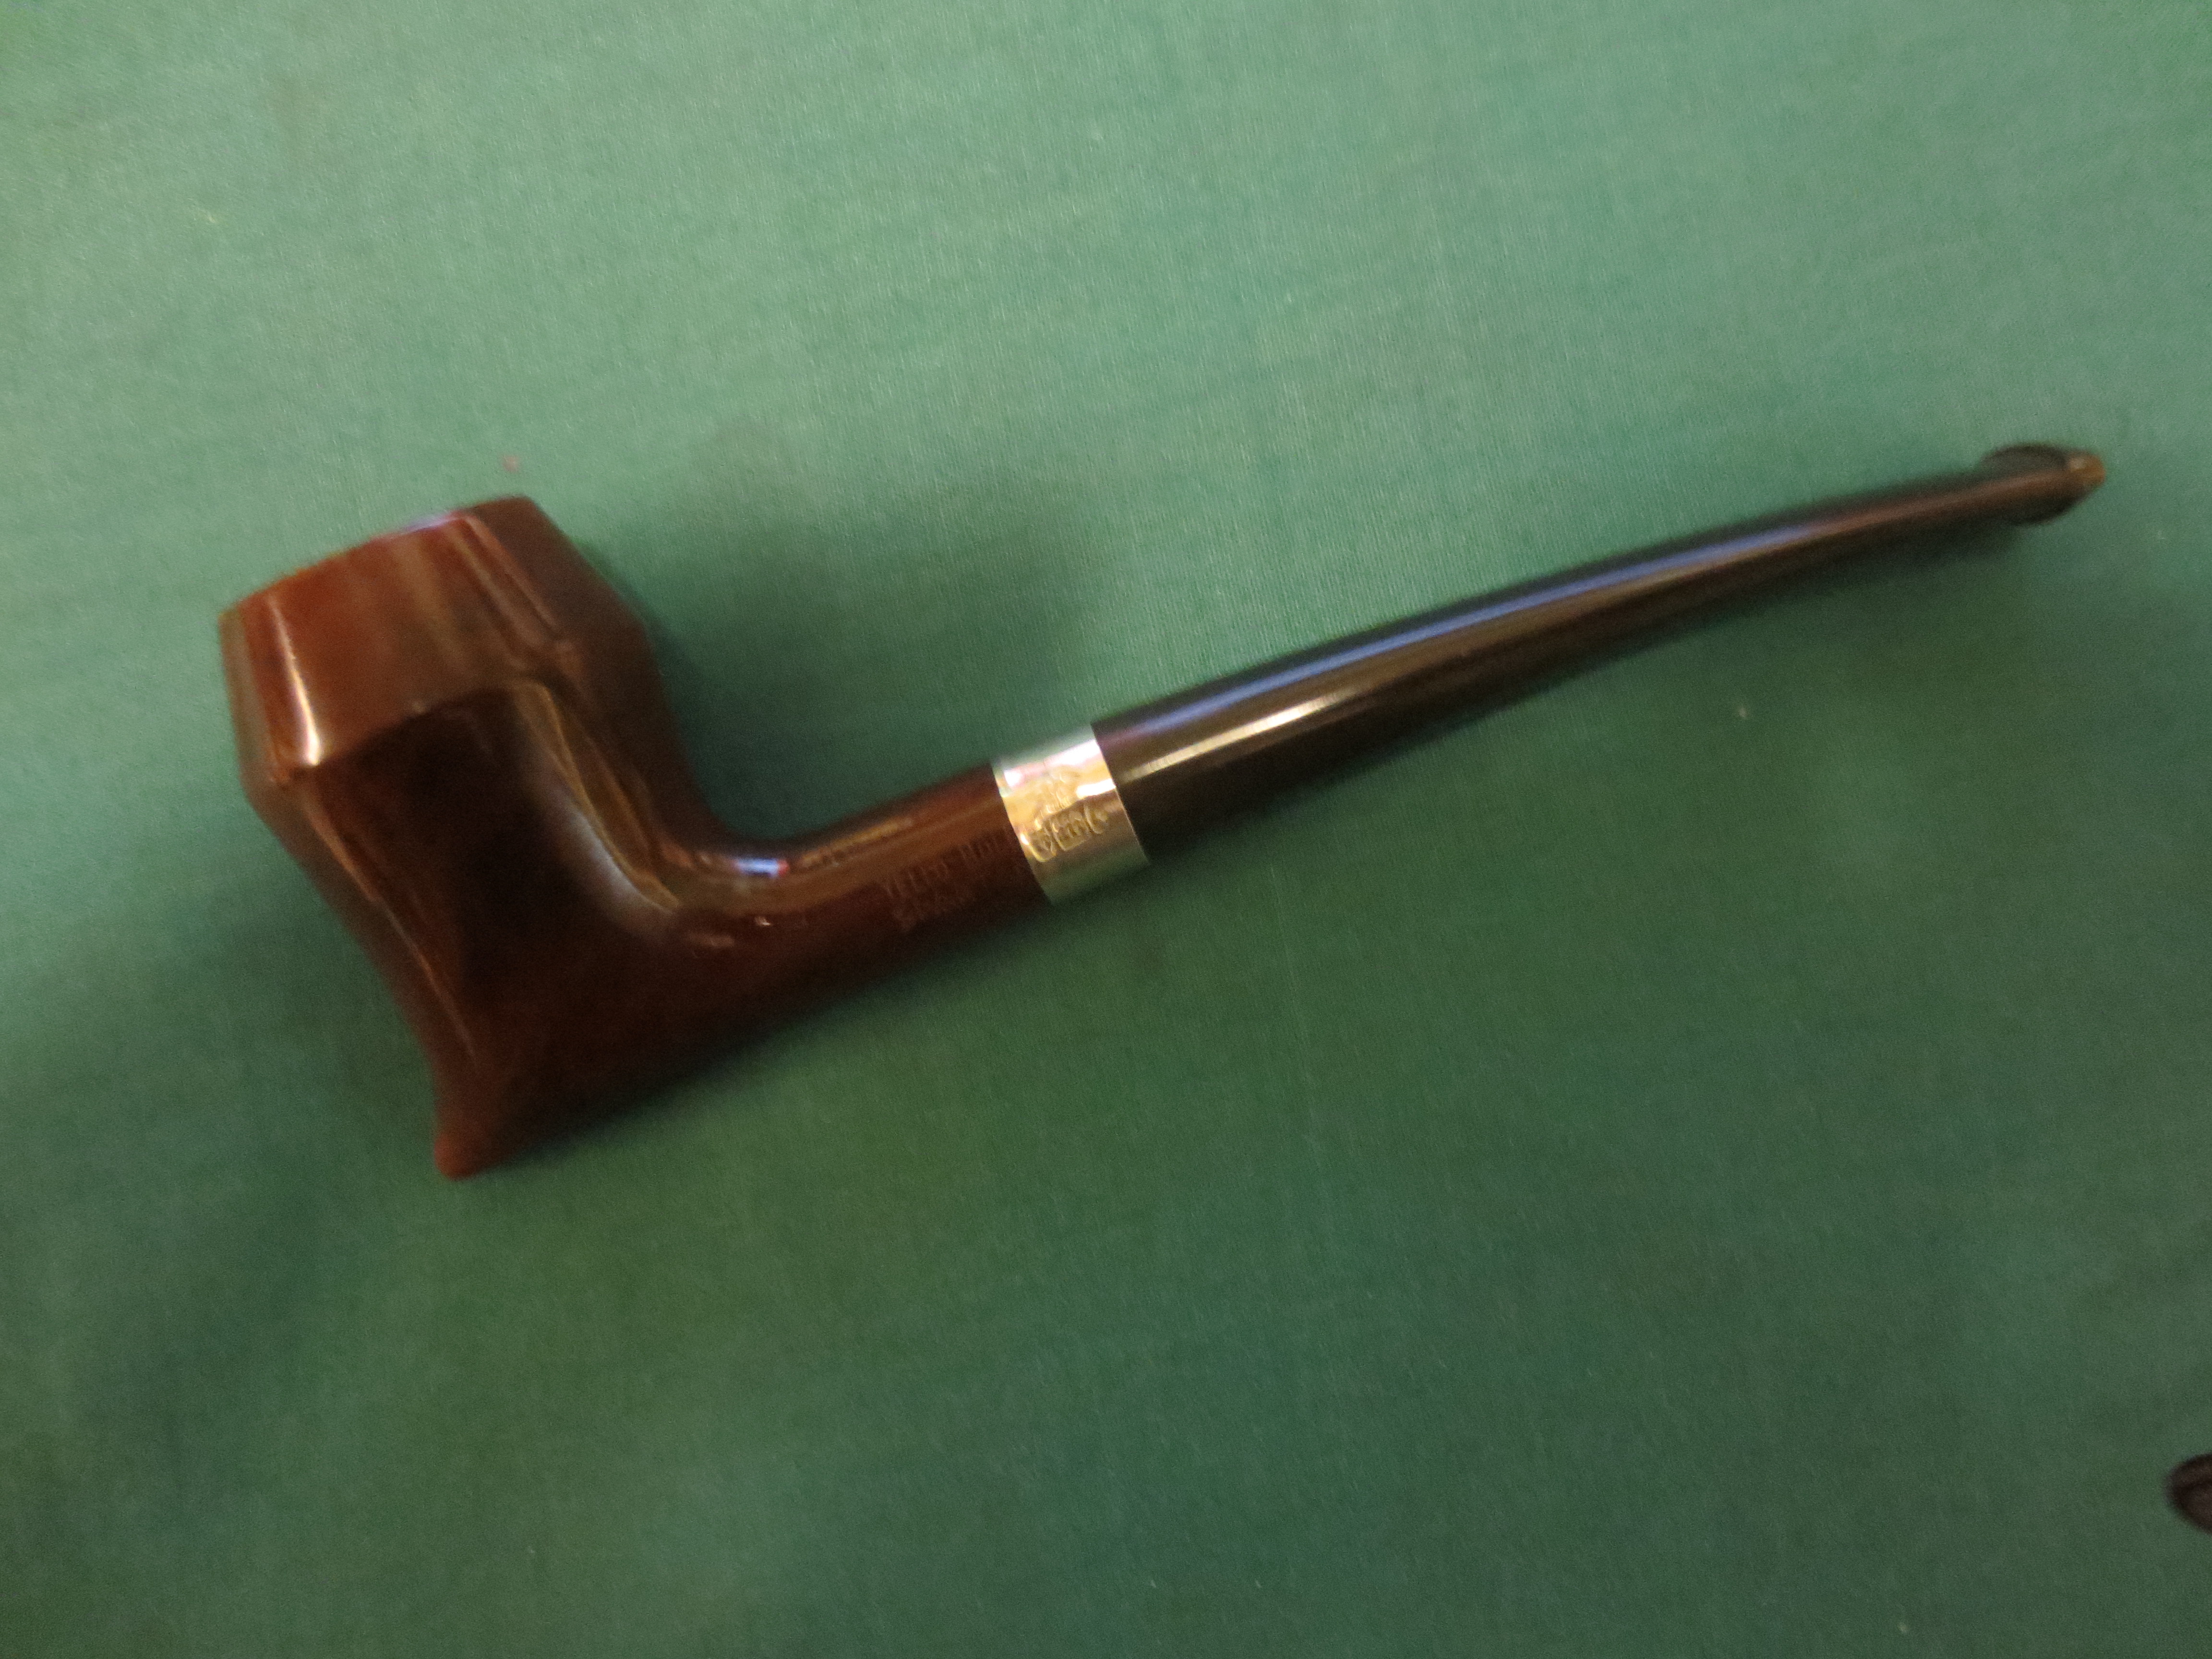
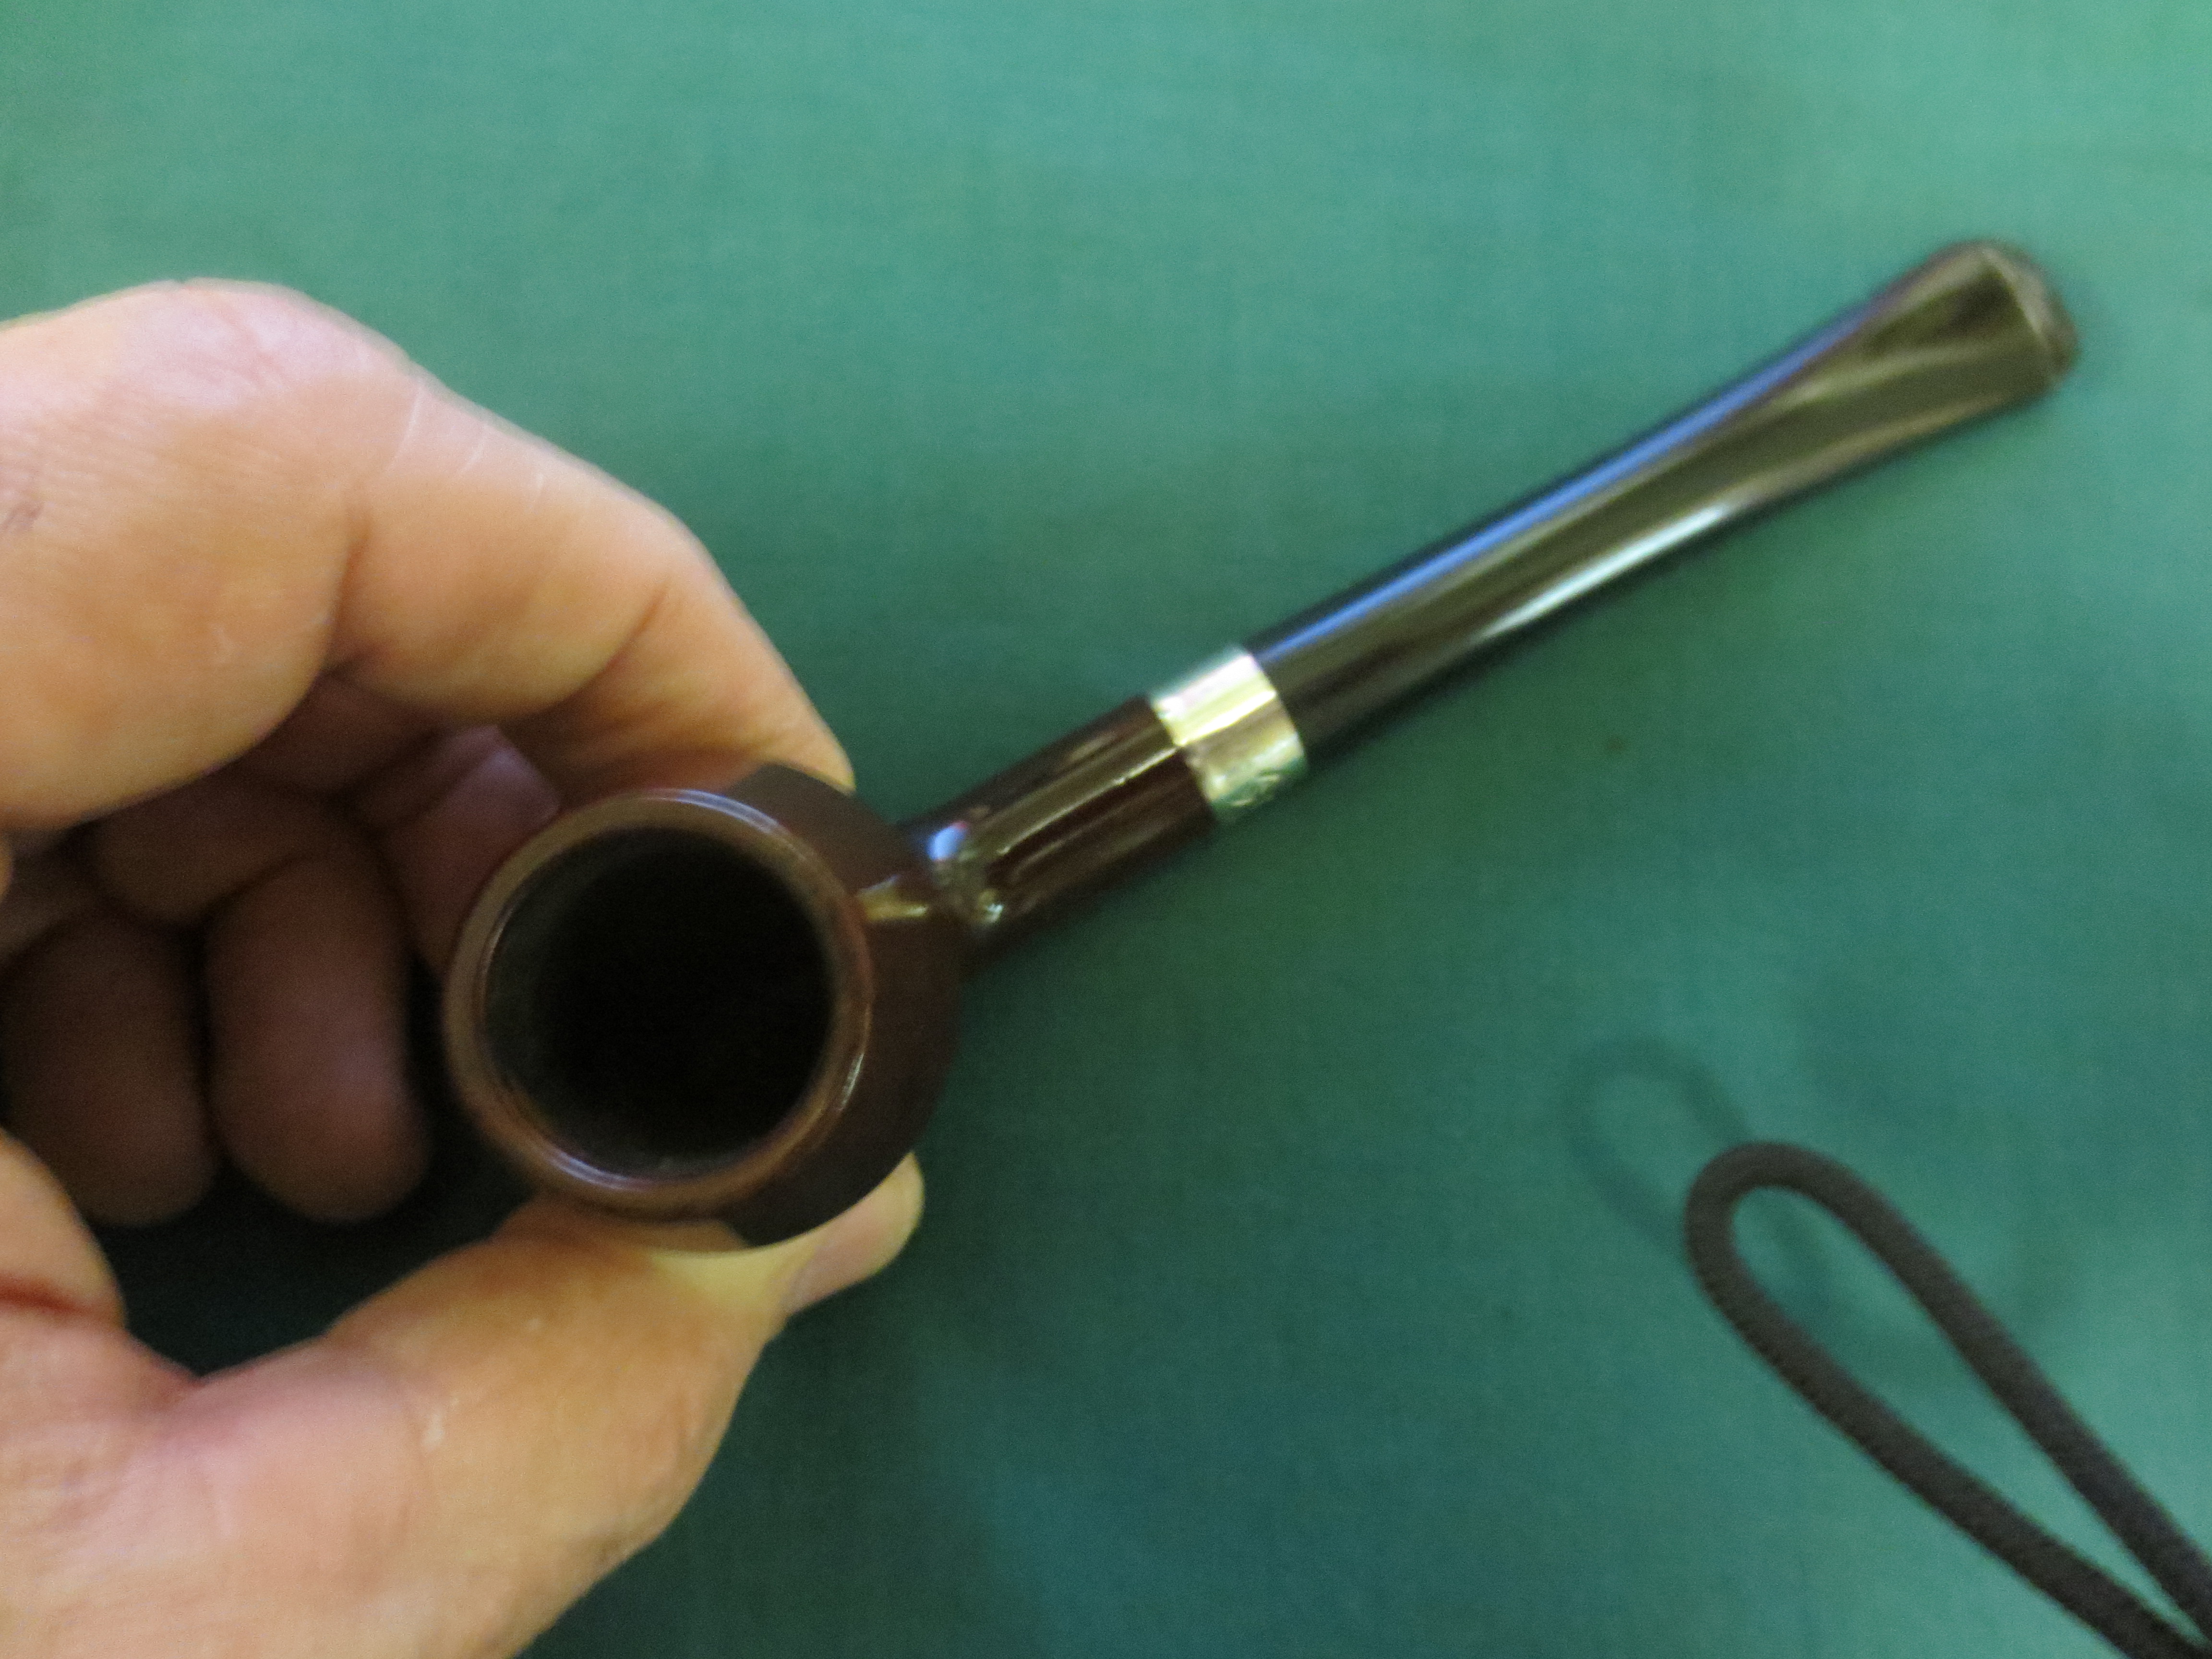
The use of such a buff is shown in Figure 11.

Figure 11
The White Diamond and wax wheels never require cleaning or washing. Once they are loaded, only fresh compound or wax are needed as required. They are actually getting better with age, but a bit smaller in diameter!
If the Tripoli compound becomes too built-up on the all-linen wheel it has to be cleaned. In order to do this, simply back a piece of coarse grit sandpaper with a piece of scrap wood or use a fine wire brush and hold it up against the spinning wheel until the built-up is removed. I find that I have to this only on very few occasions.
A bit of a safety advice when using the polishing wheels:
Always wear eye protection and a suitable dust mask. The Tripoli Compound contains silica quartz and may cause temporary irritation of eyes, ears, nose and the respiratory tract and prolonged excessive inhalation may result in a respiratory disease.
Do not wear loose clothing while performing any polishing procedure, but that applies of course to any work around the woodturning lathe
I have attempted to describe a finish and polishing process, with which I am very familiar. I have used it for many years in addition to other finishes, such as lacquers etc. For simplicity and speed in any wood-turning shop, it is hard to beat the system described here, not necessarily the assembled Beall system but any system using the same components from various suppliers.
Many of the instruction shown here are gathered from the clearly written operating instructions, which accompany every kit supplied by the Beall Tool Company.
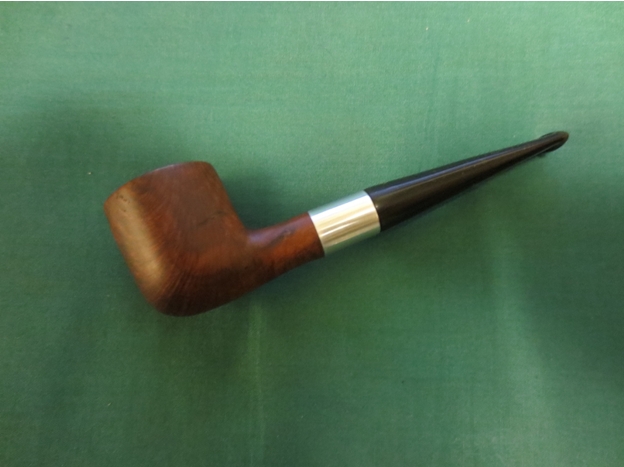
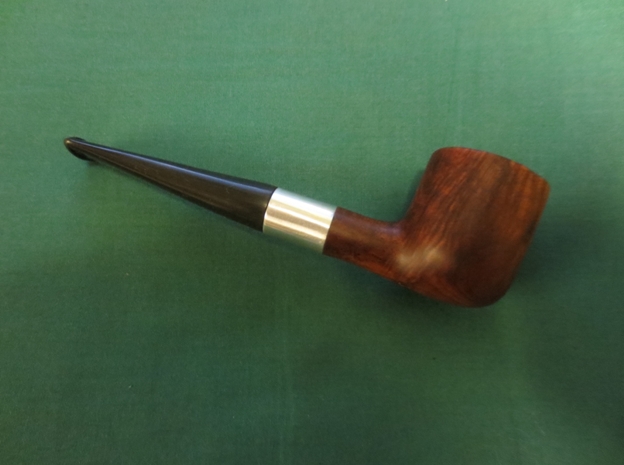
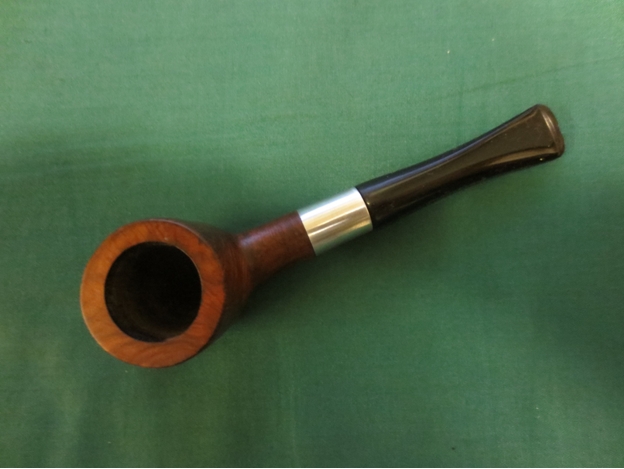
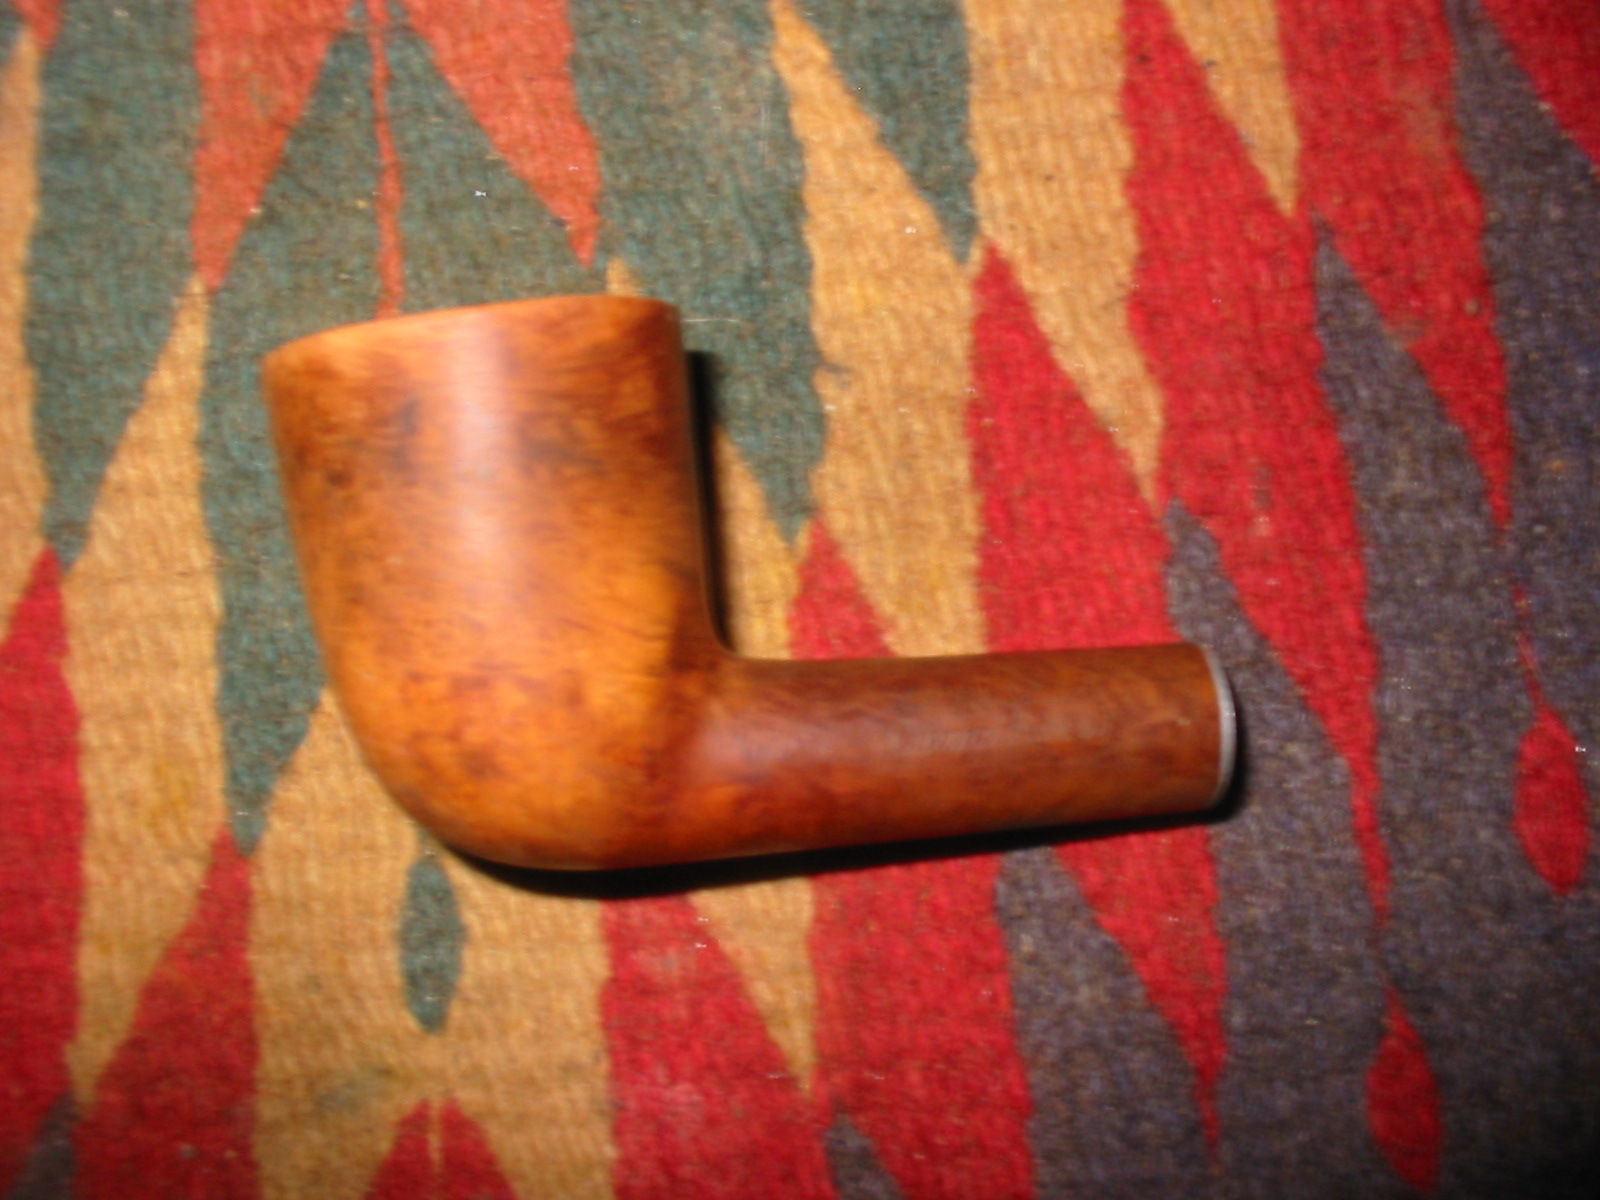
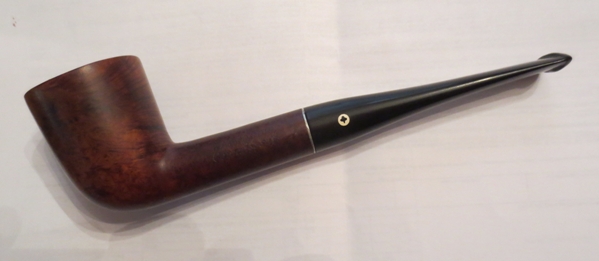
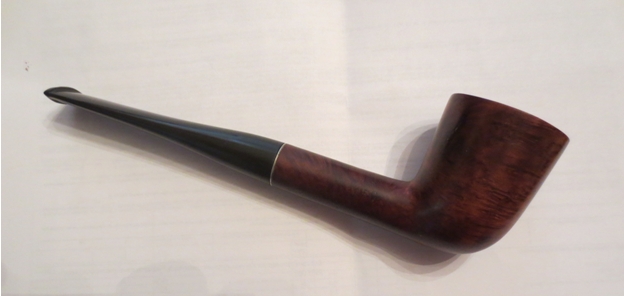
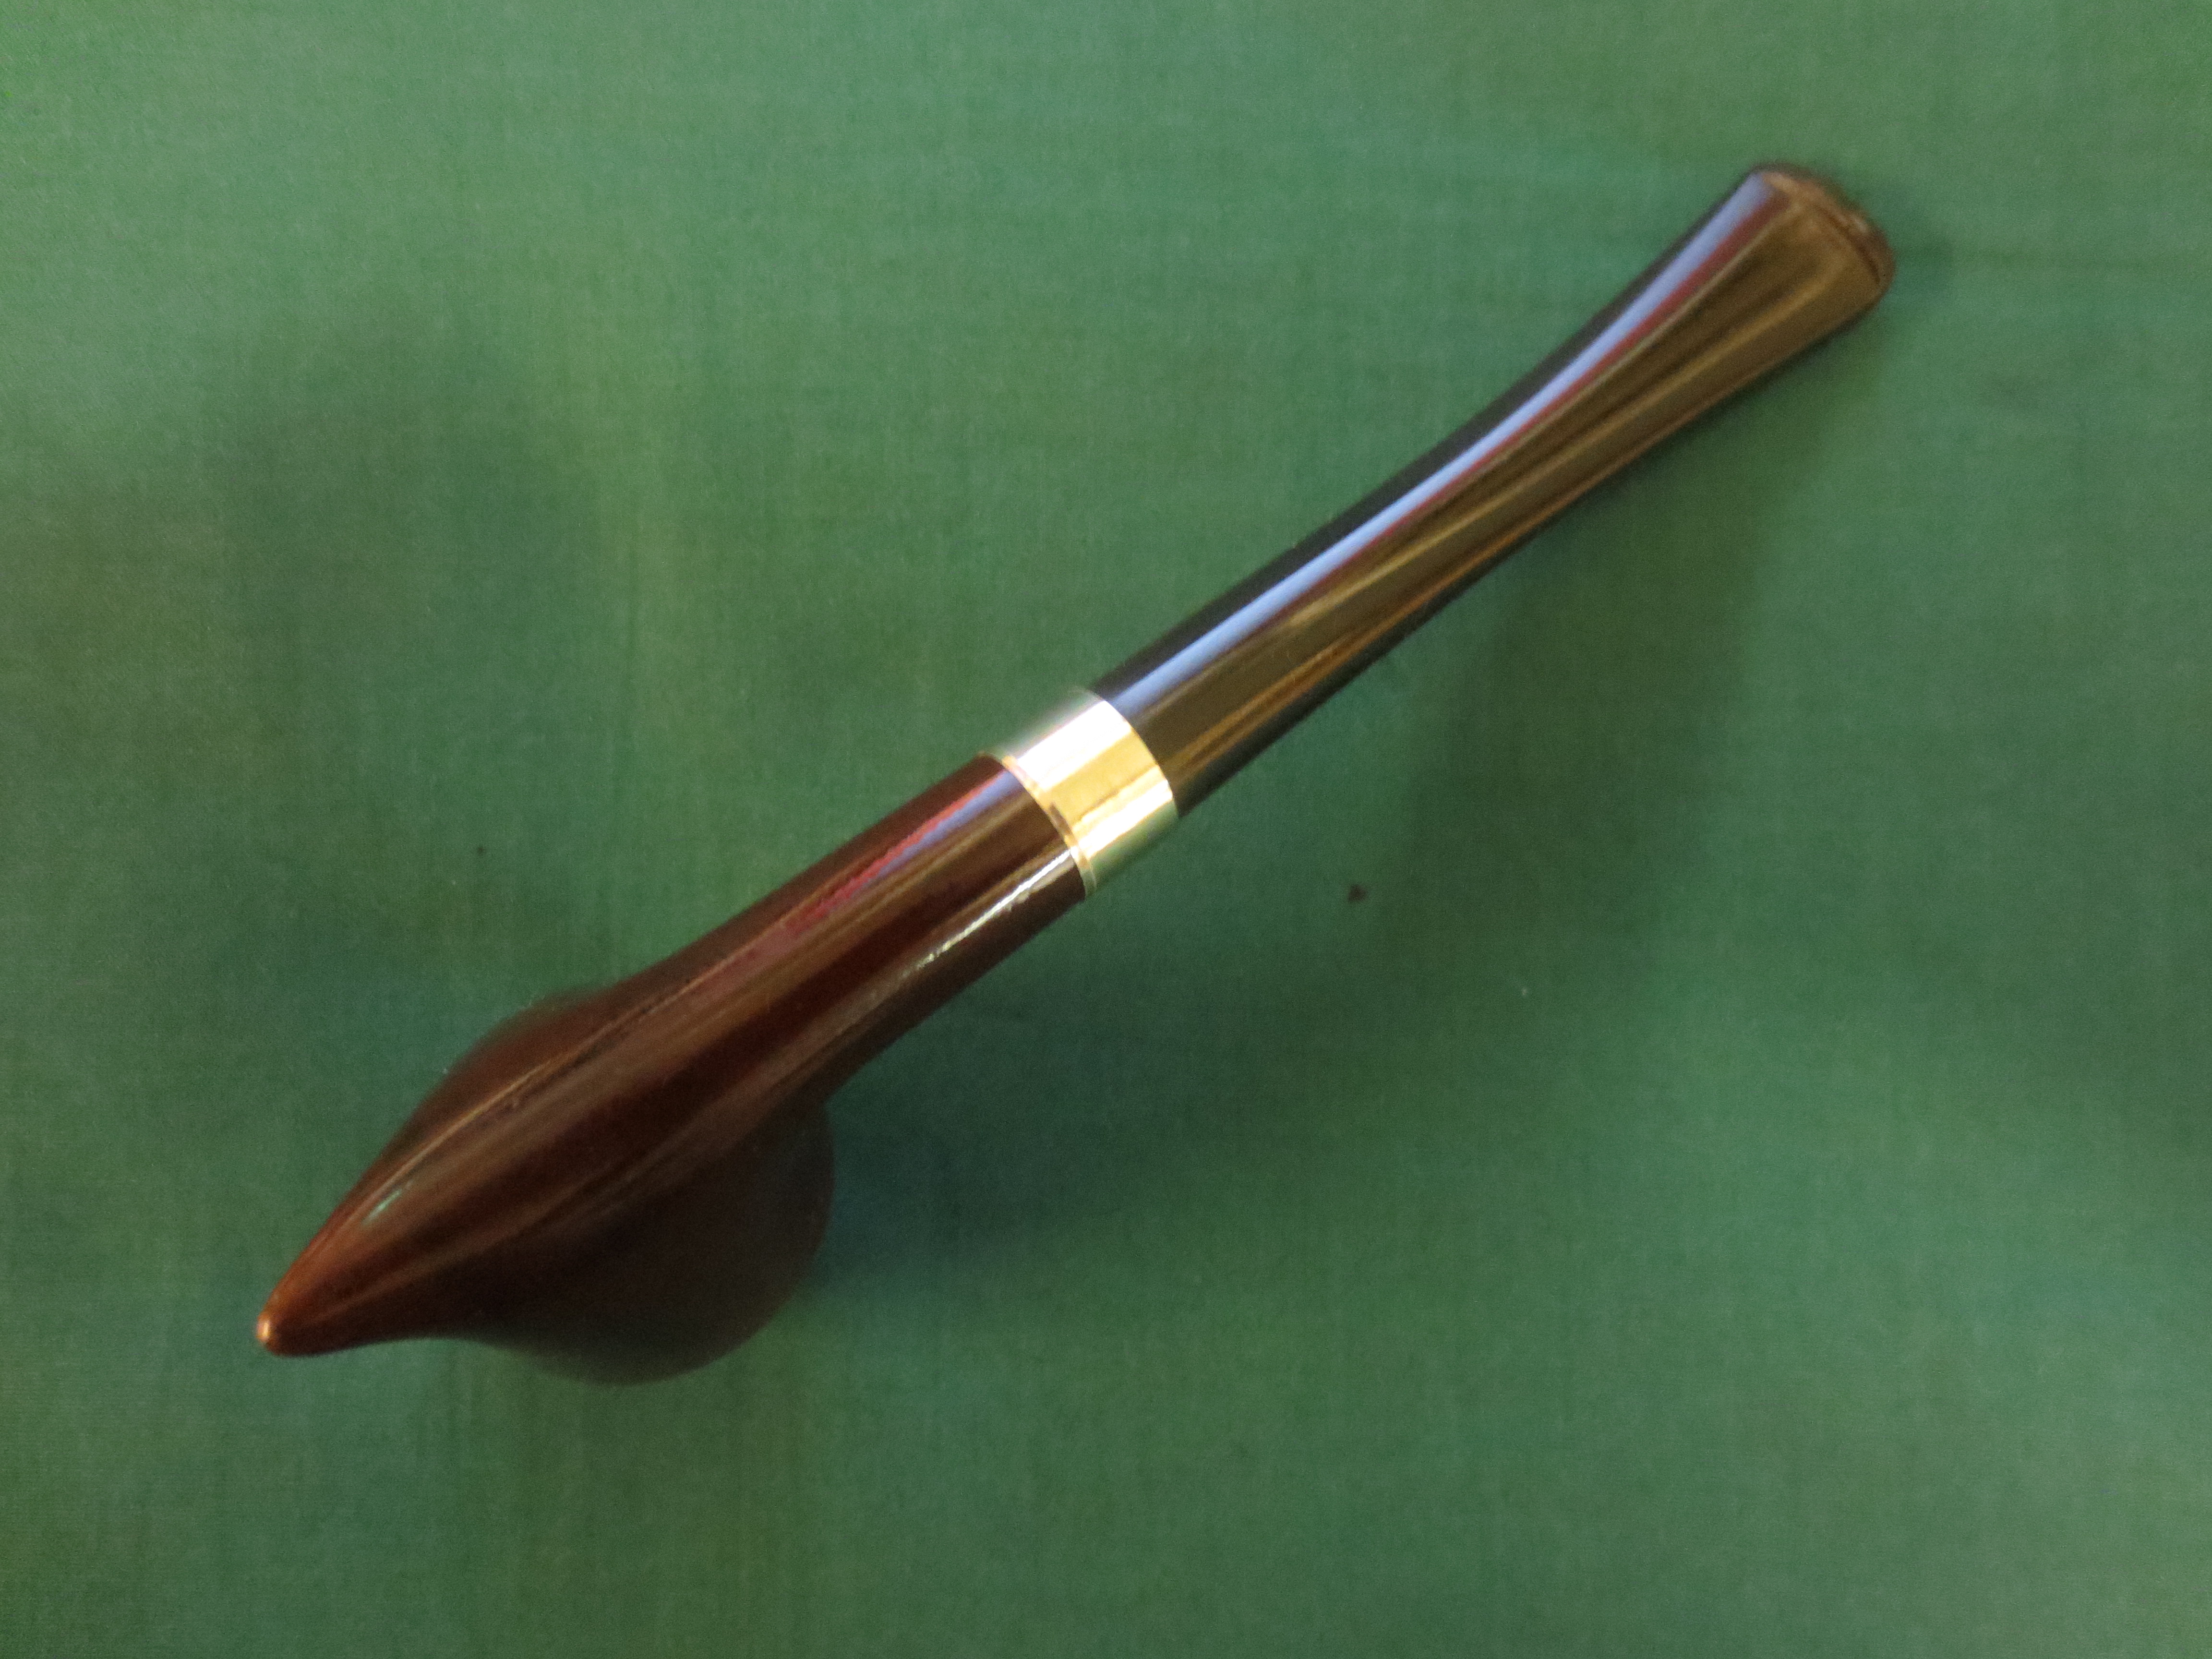
Figure 12 shows some typical bowls finished and photographed for this article and I welcome any comments and/or corrections with regards to the above described procedures.
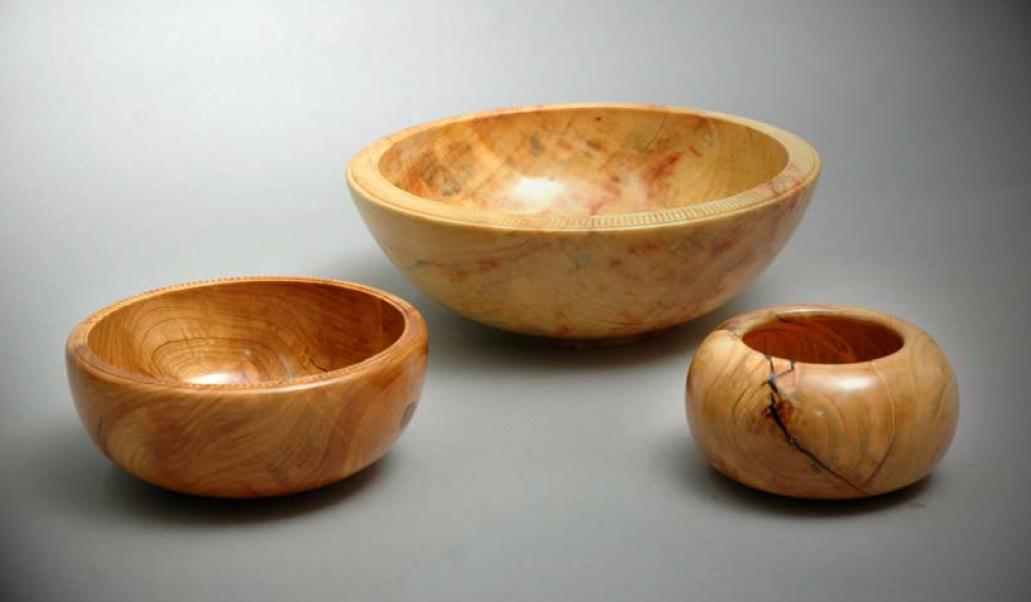
Figure 12