Blog by Steve Laug
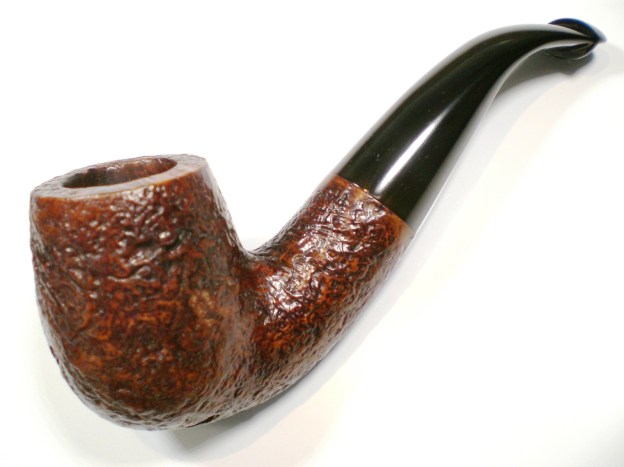
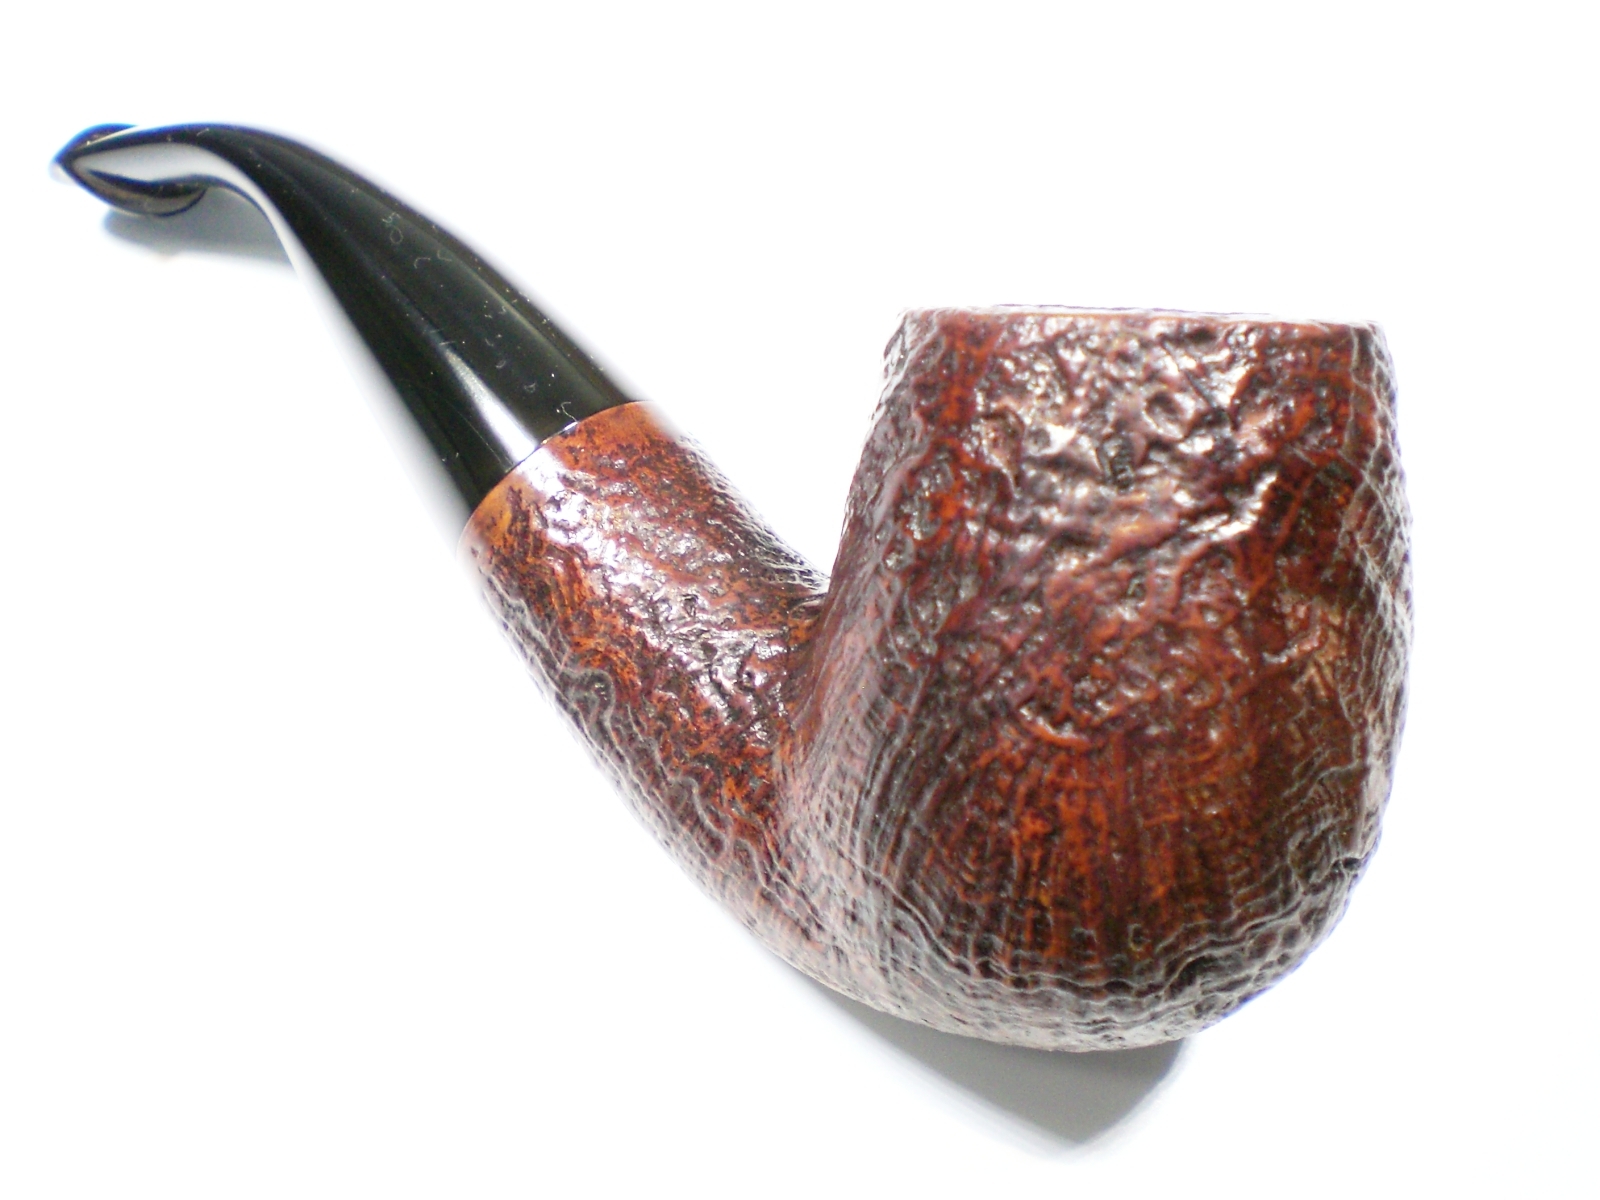
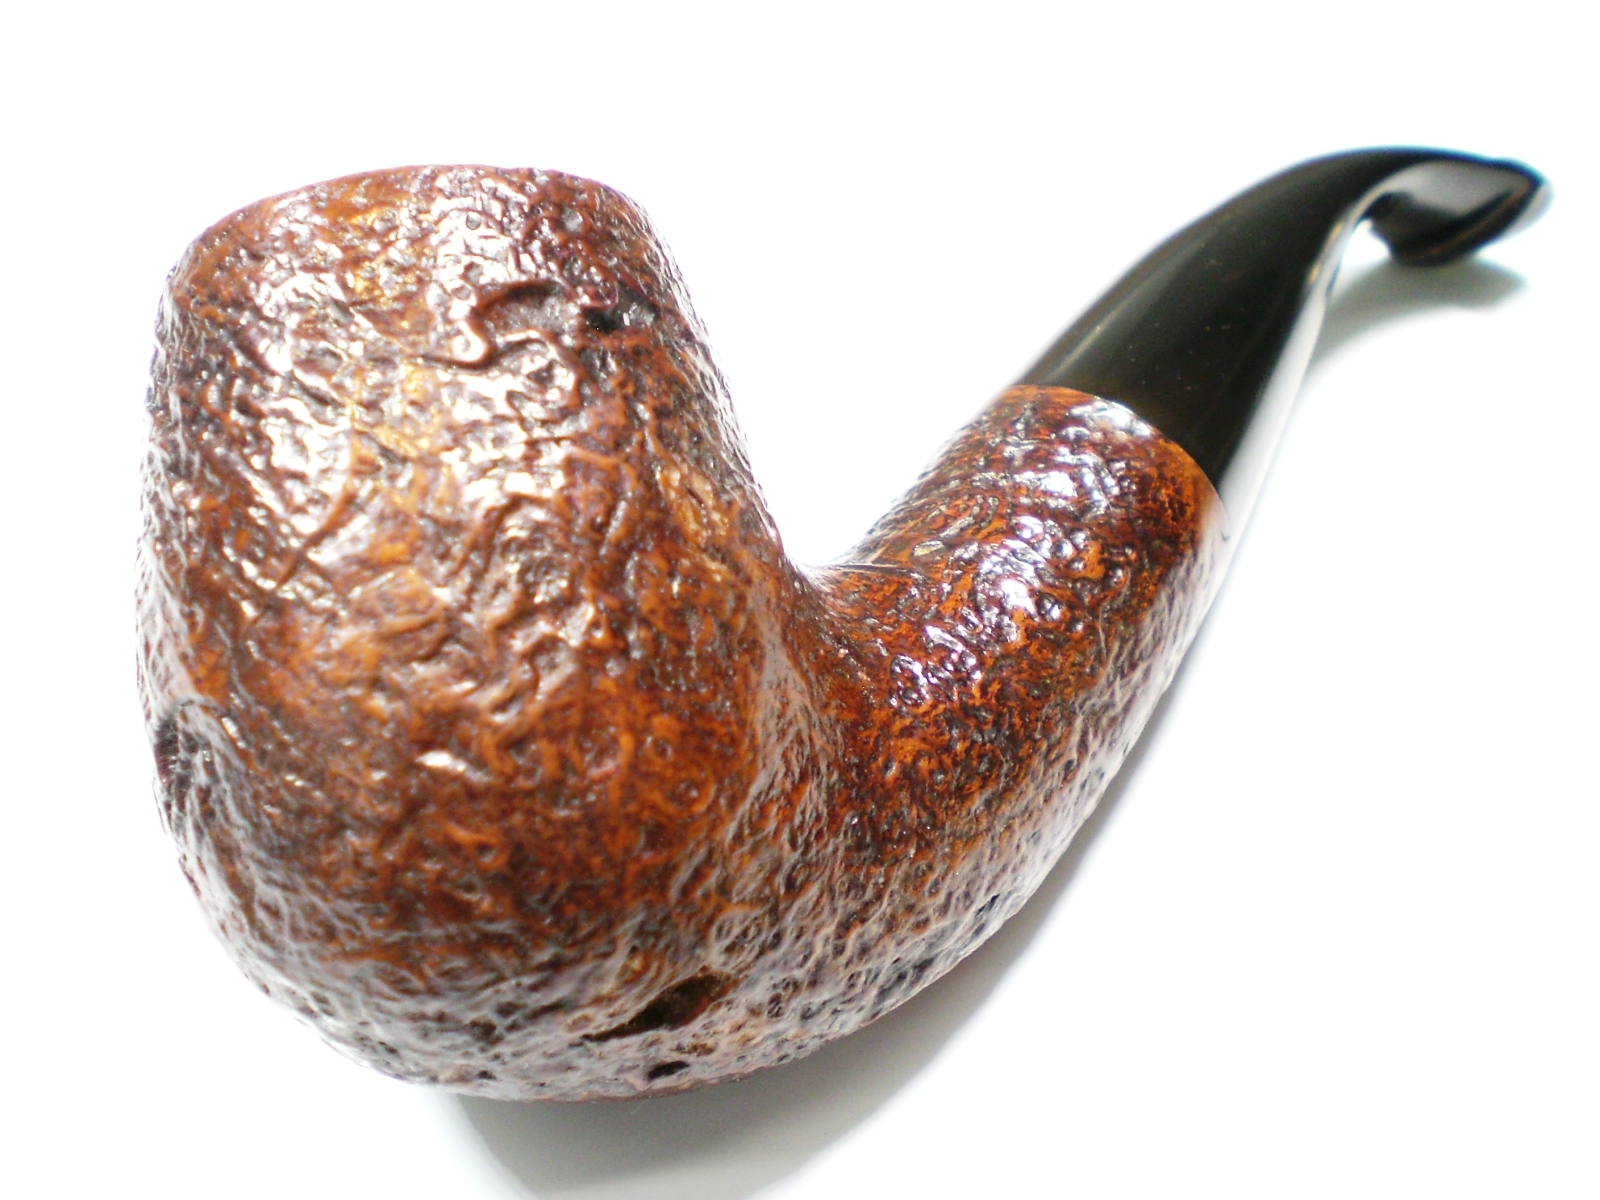
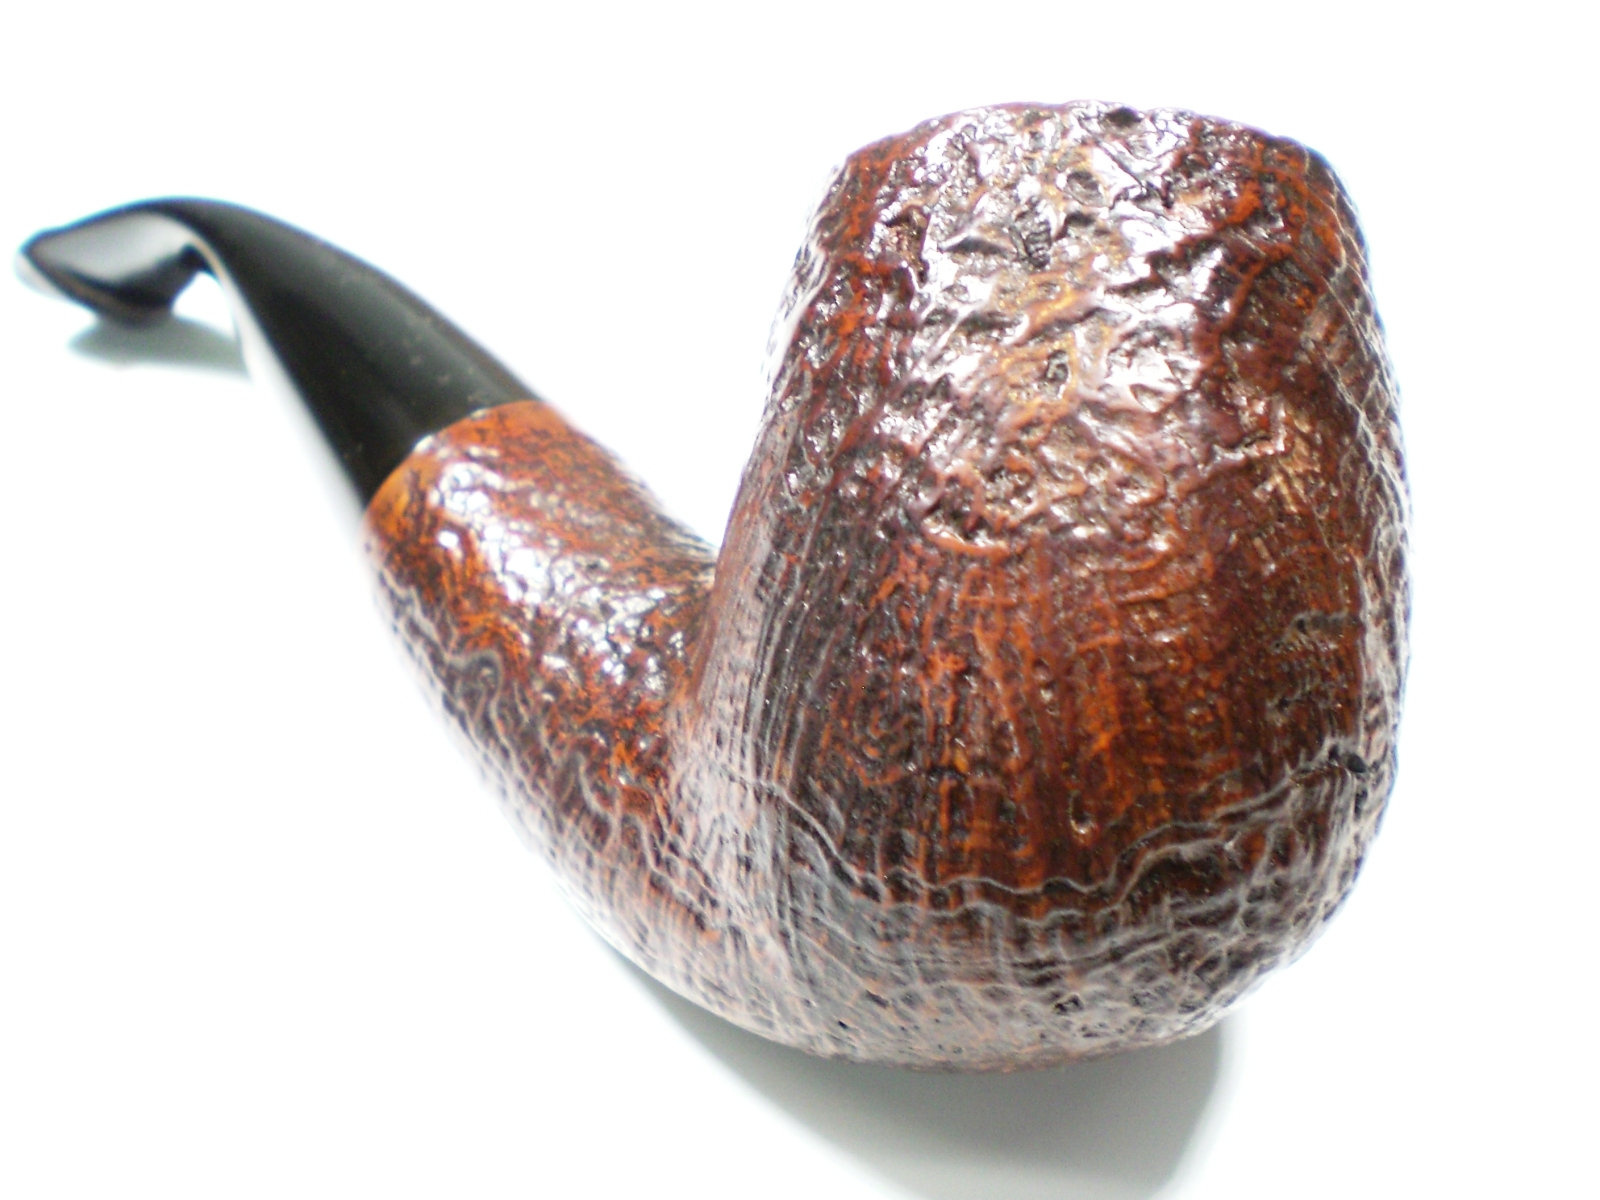
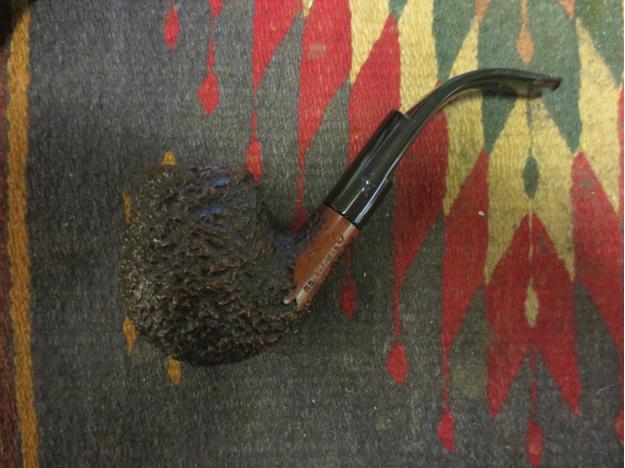
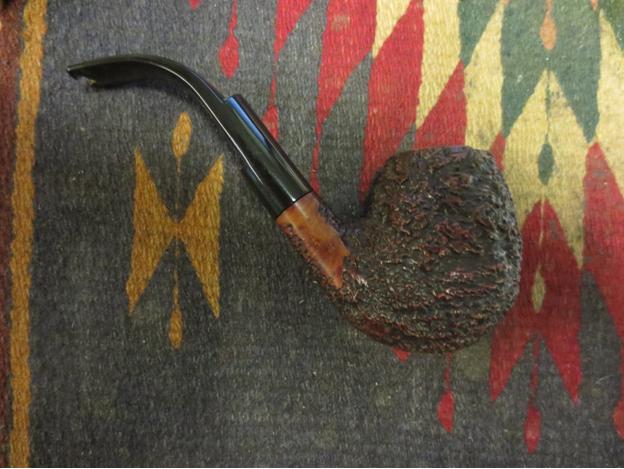
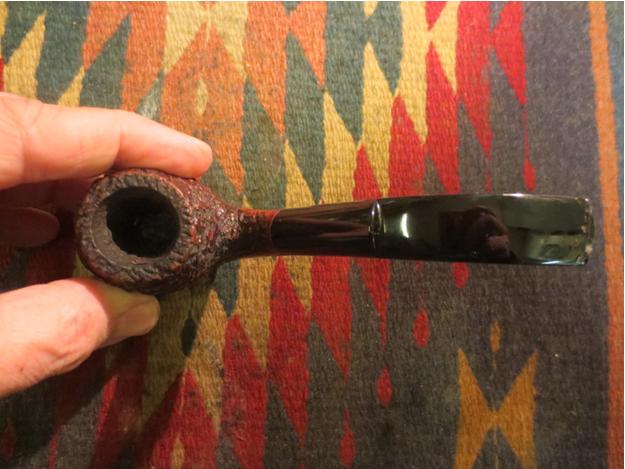
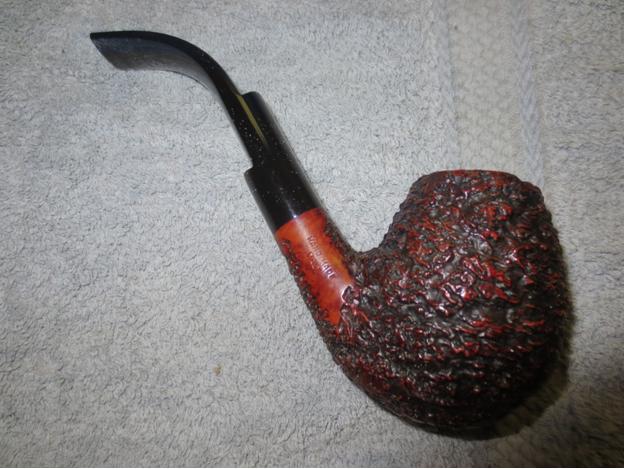
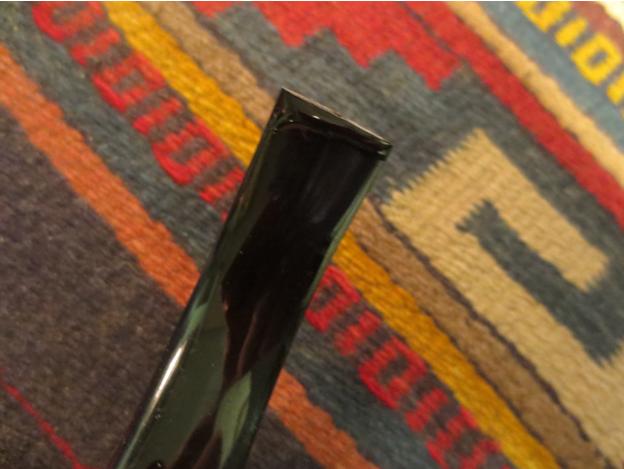
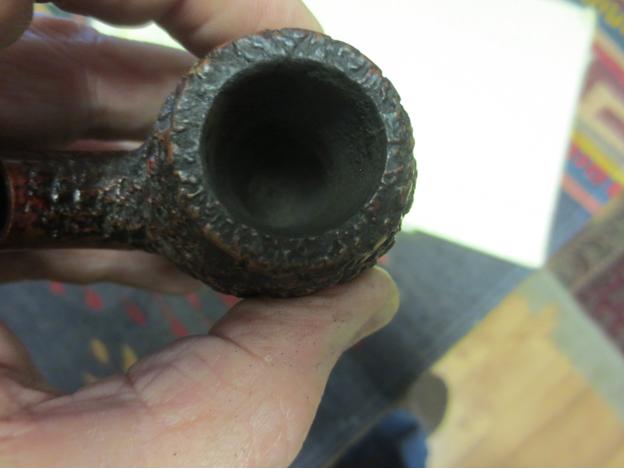
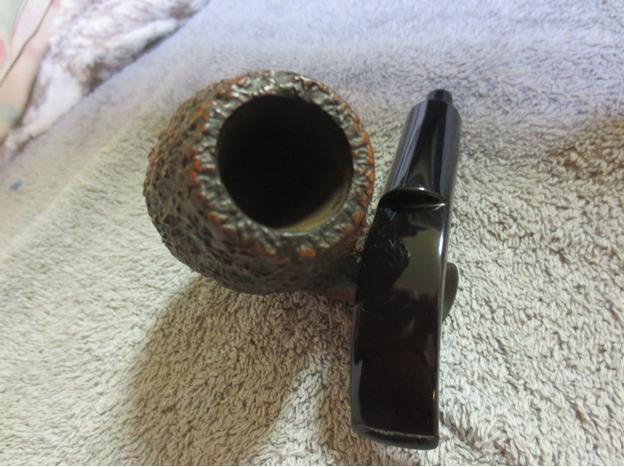
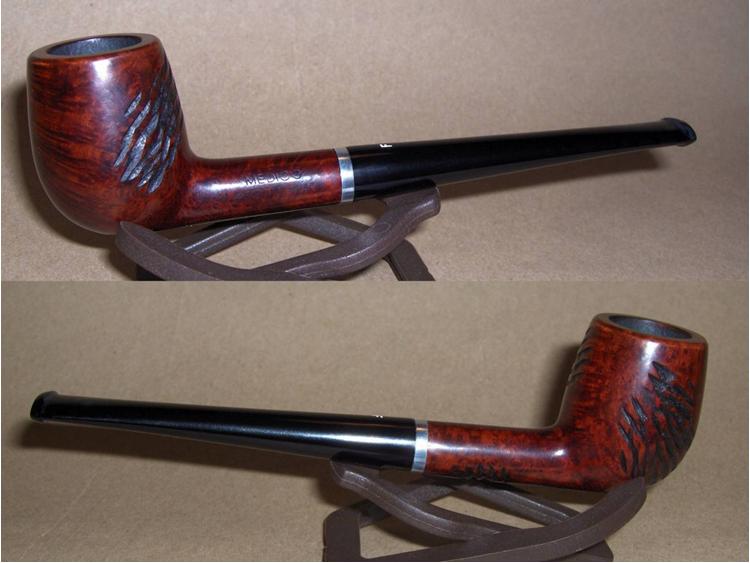
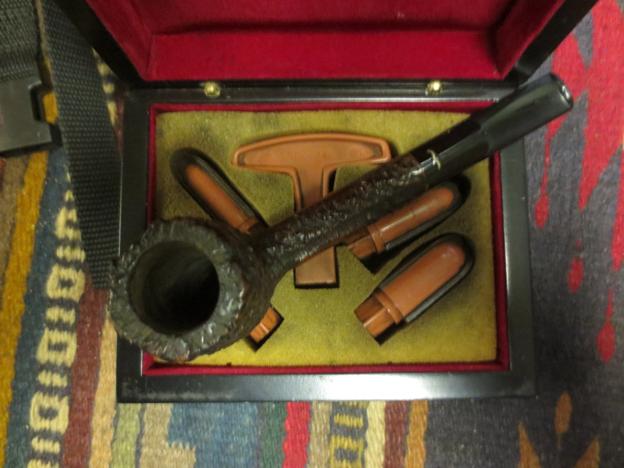
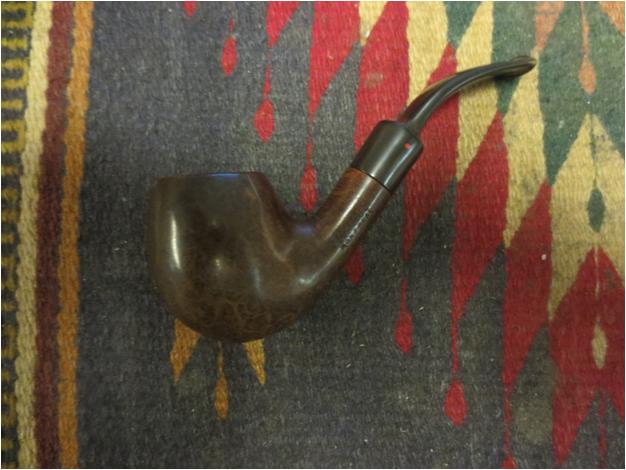
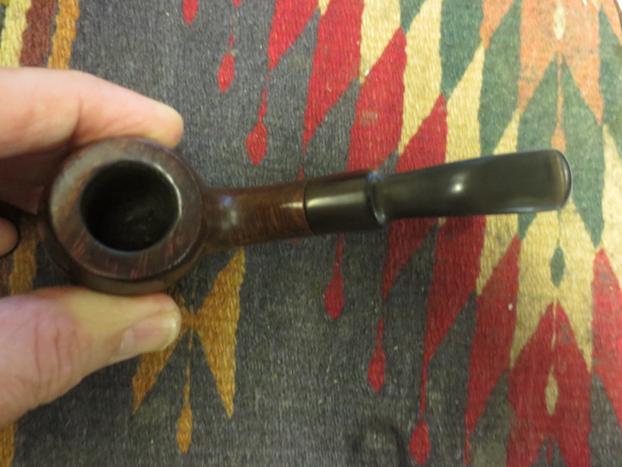
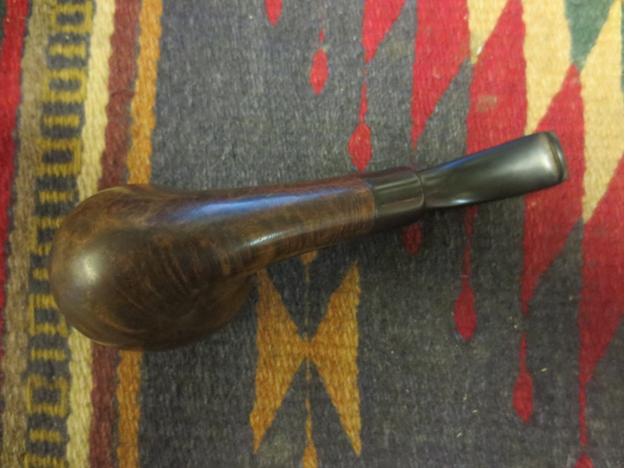
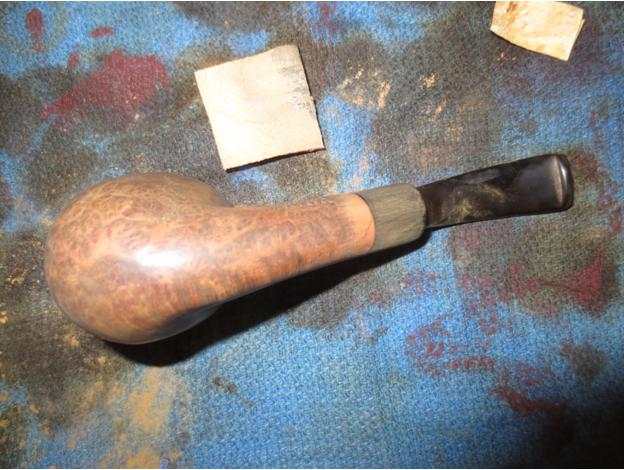
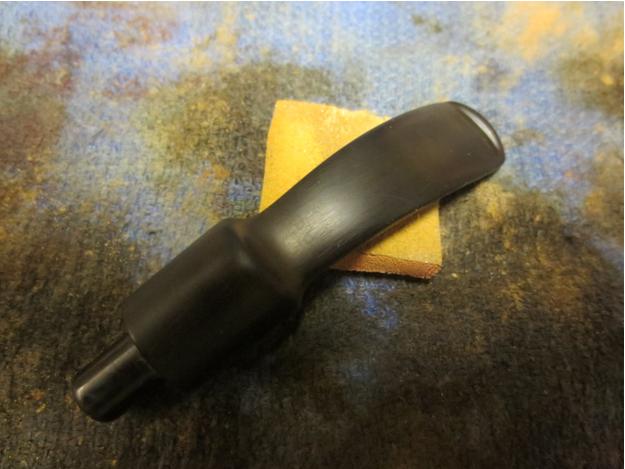
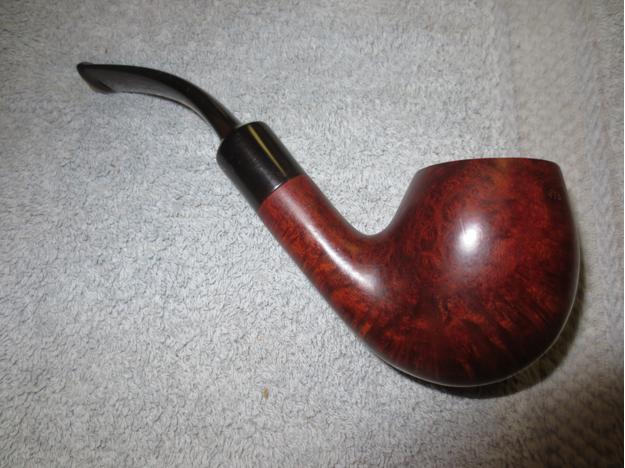
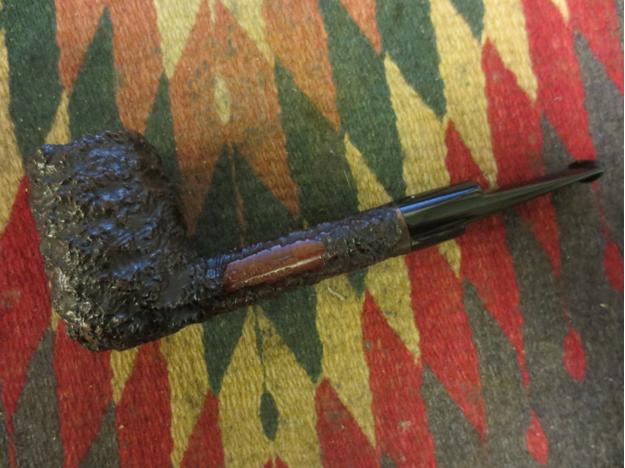
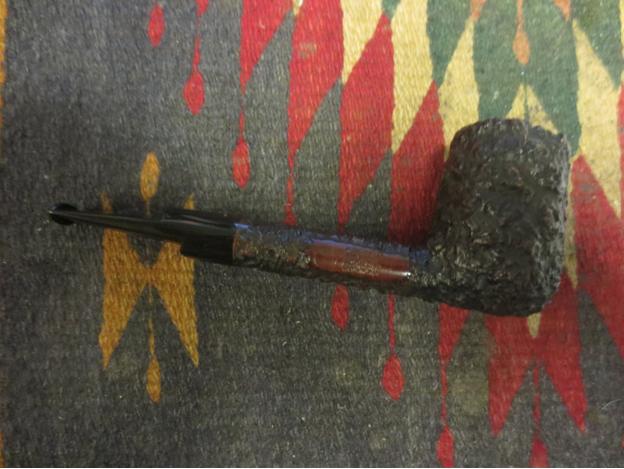
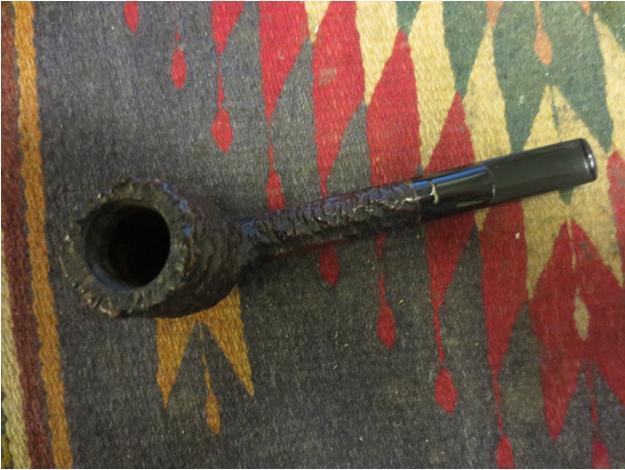
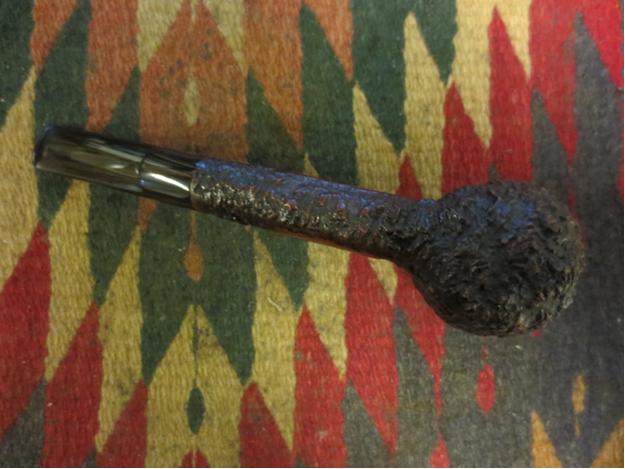
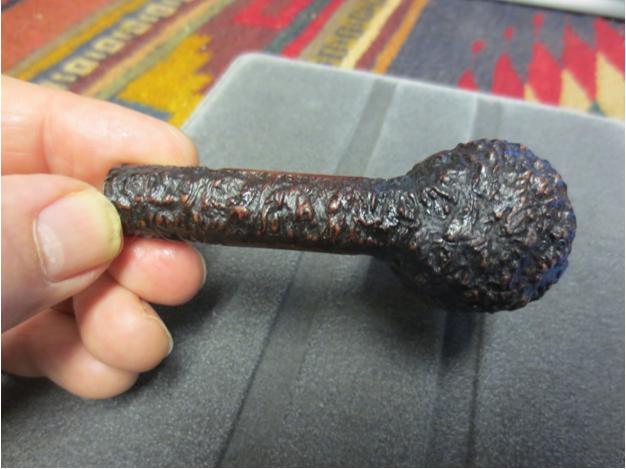
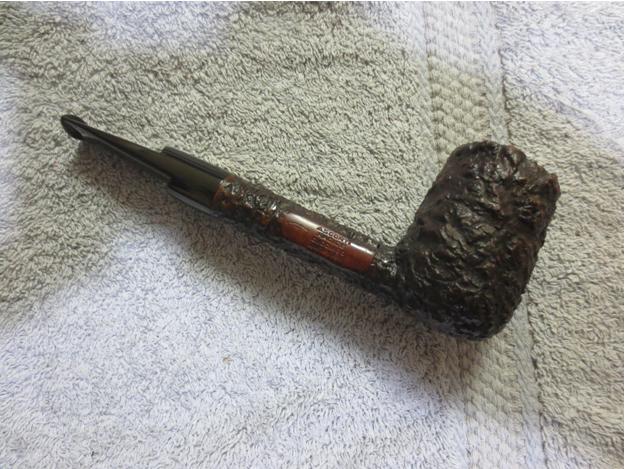
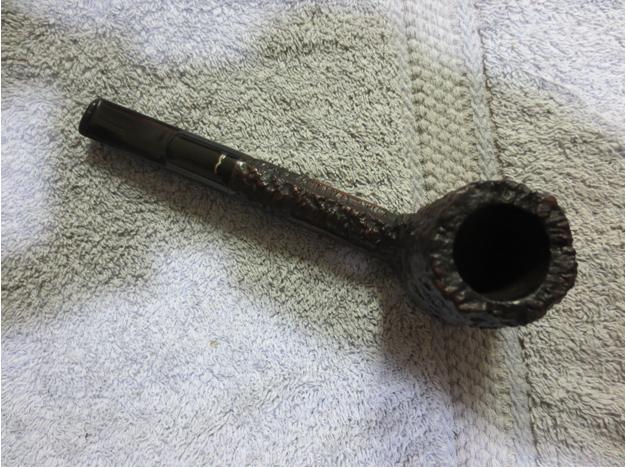
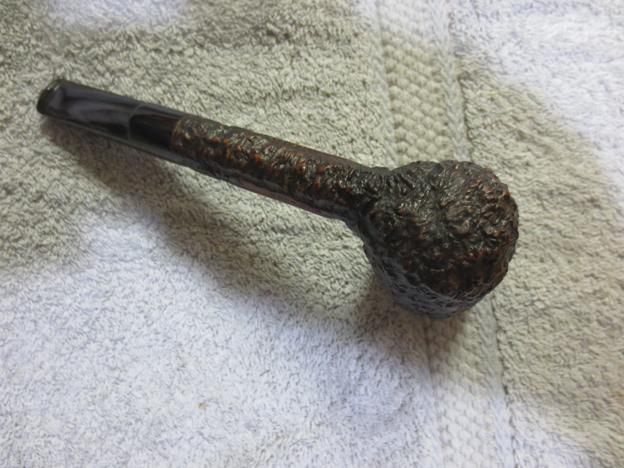
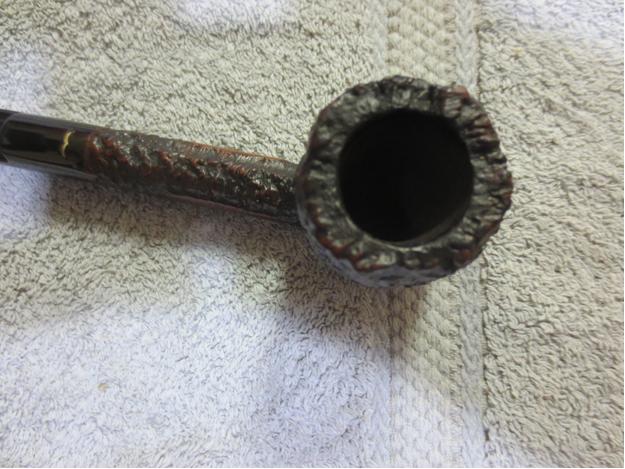
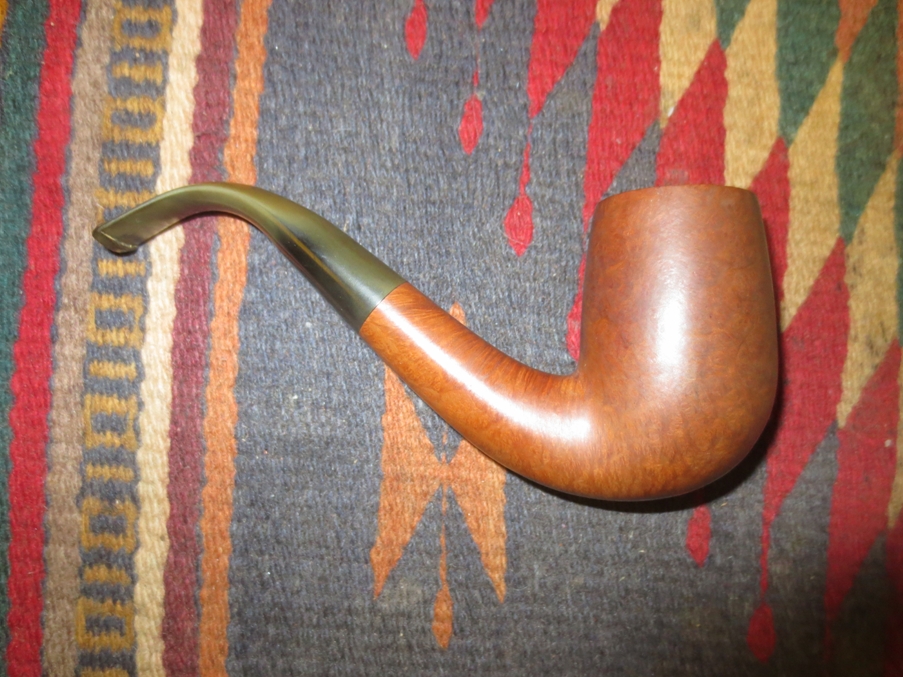
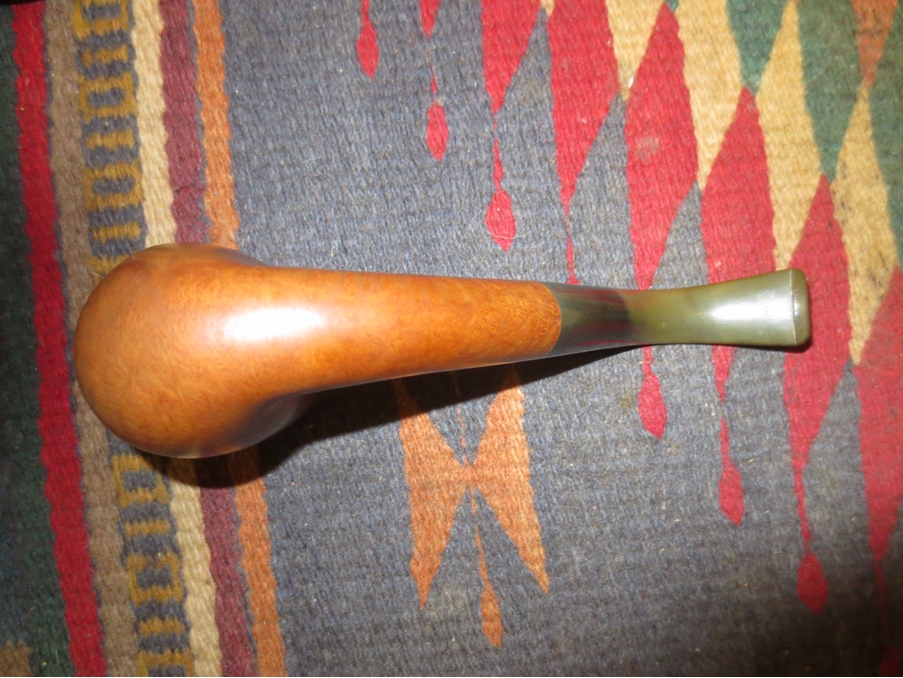
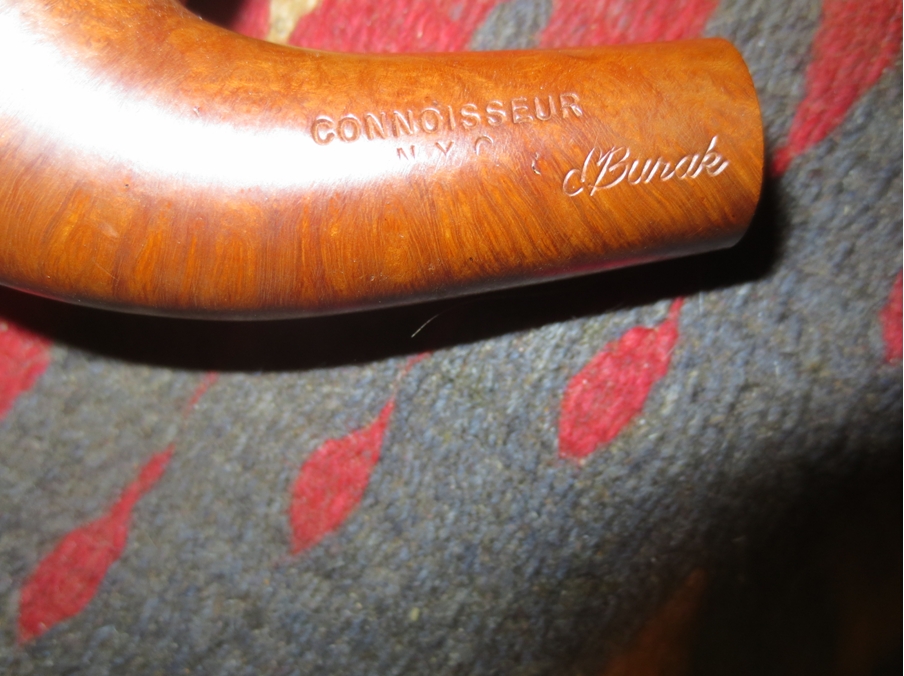
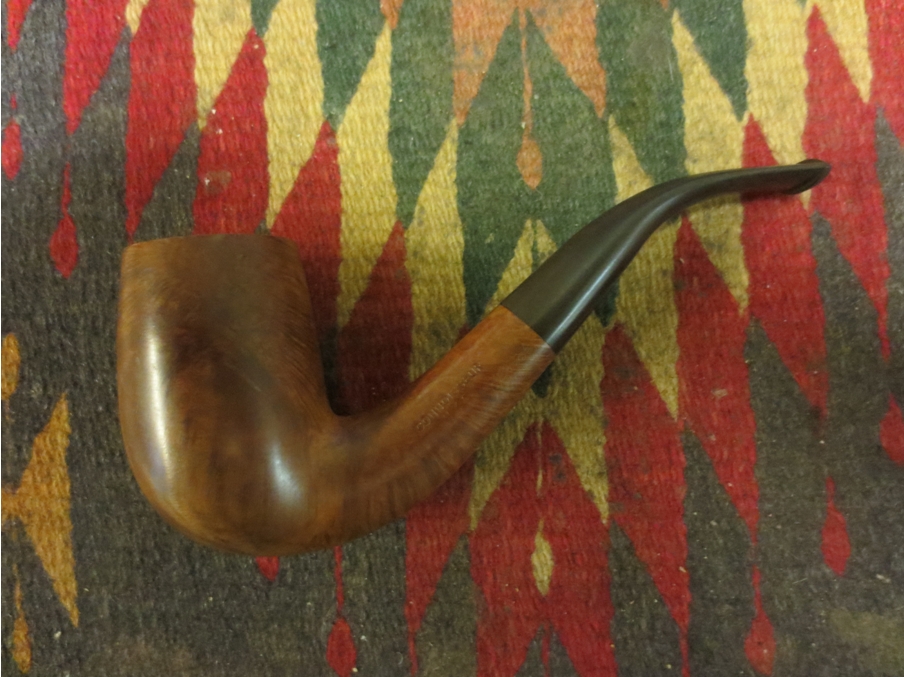
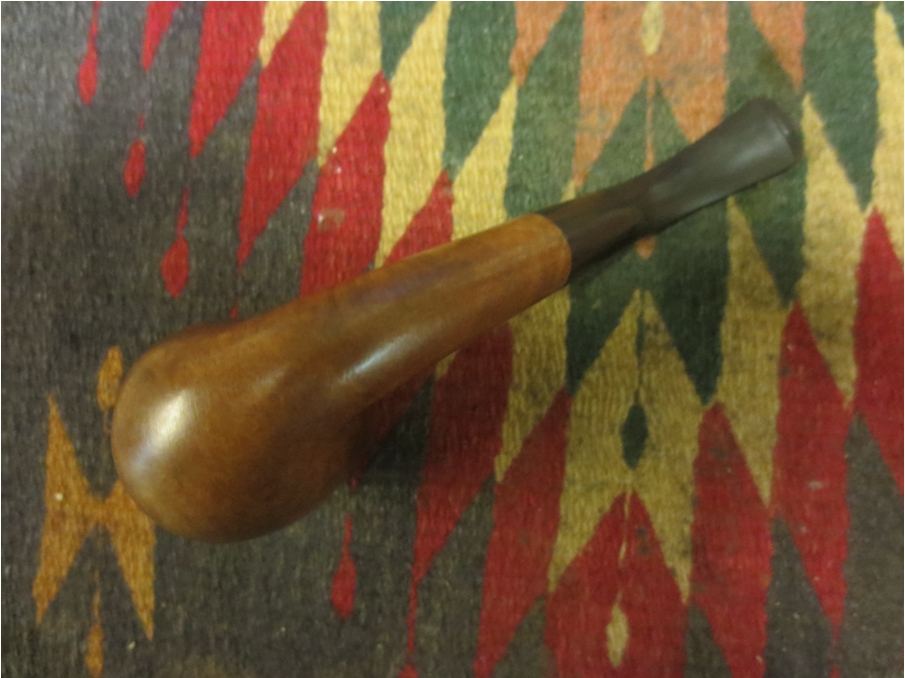
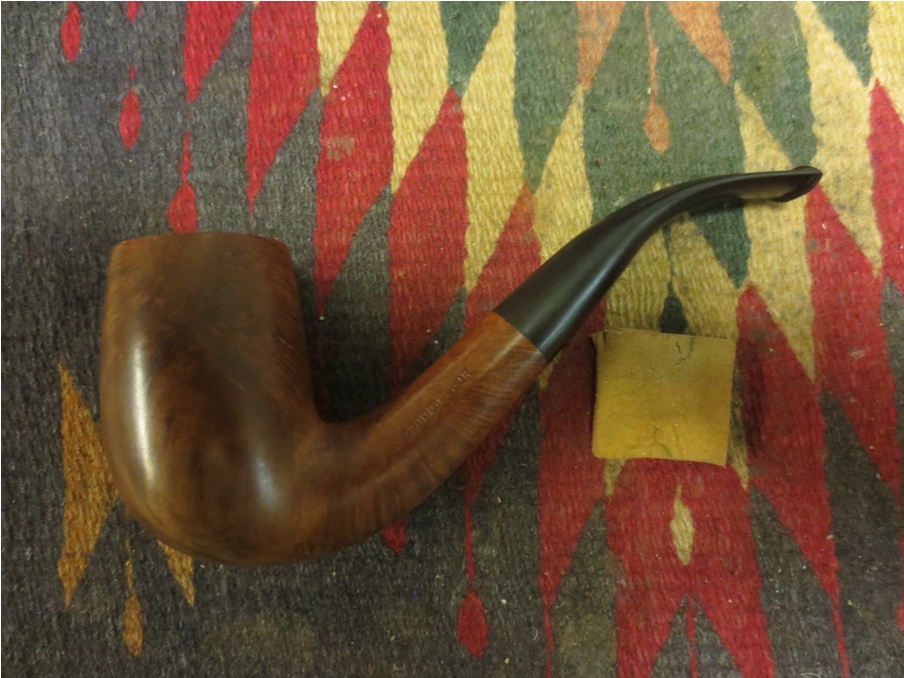
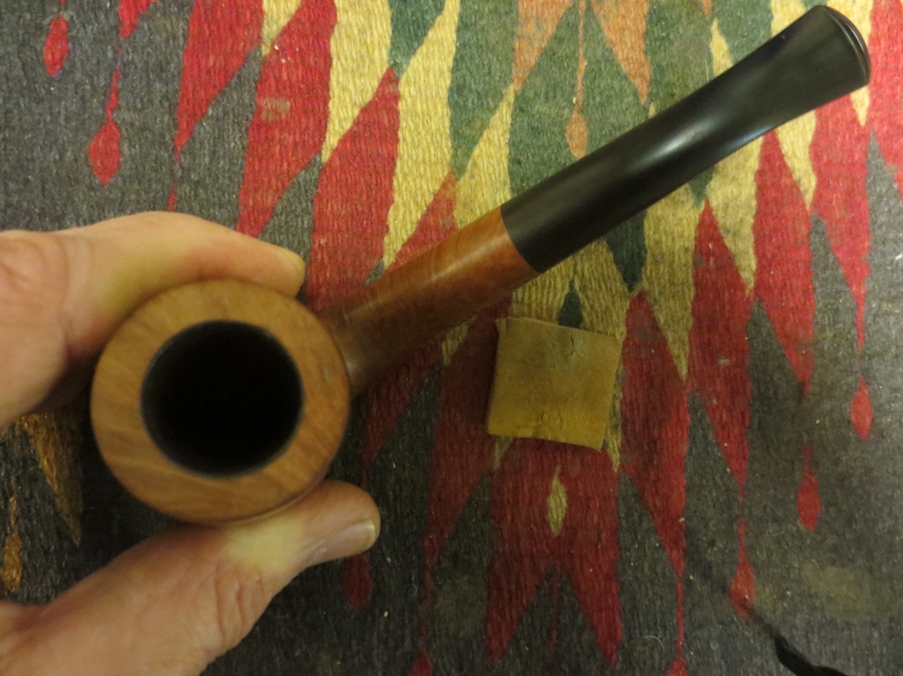
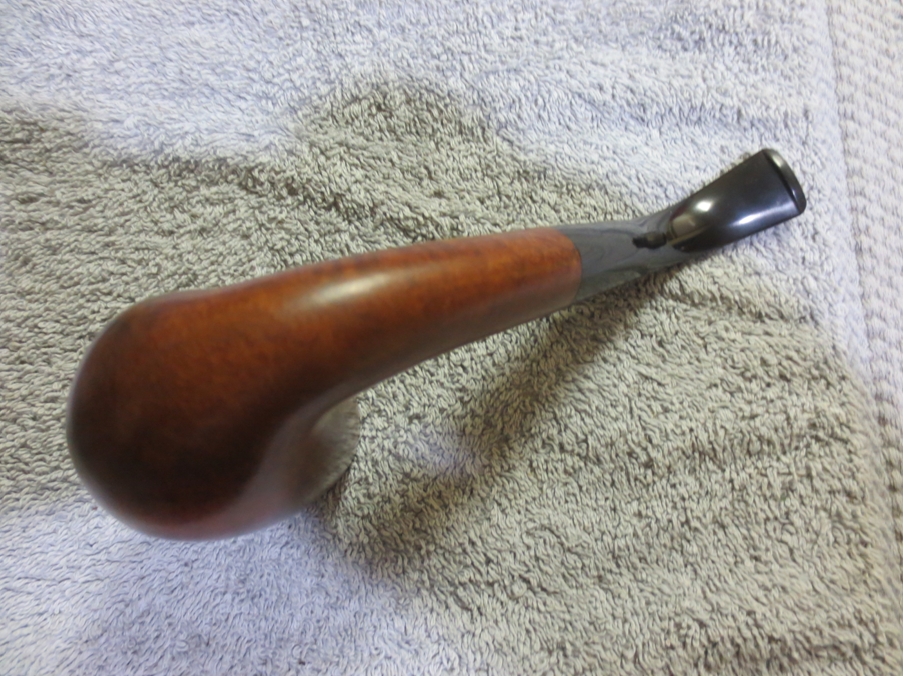
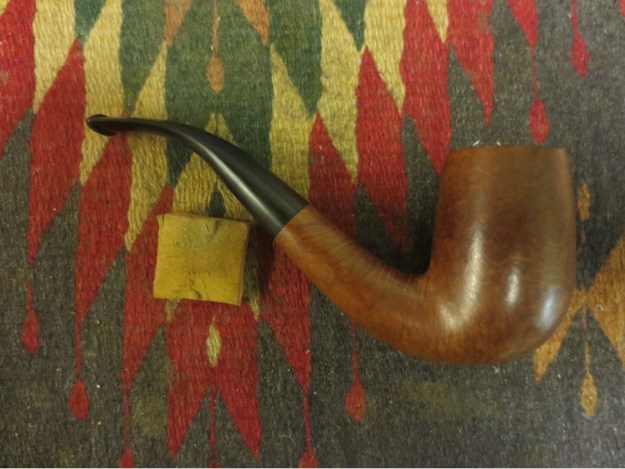
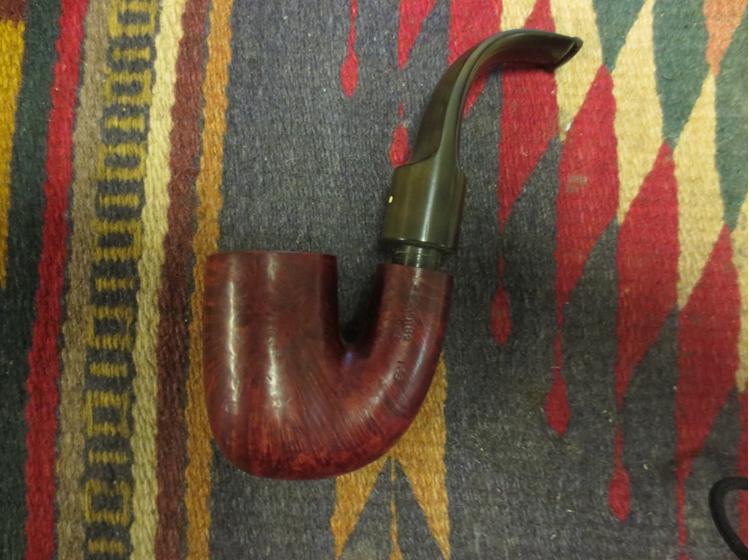
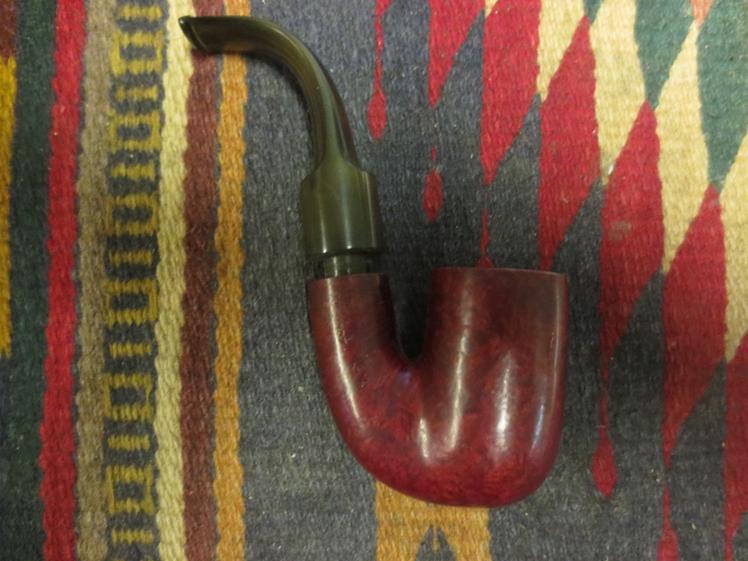
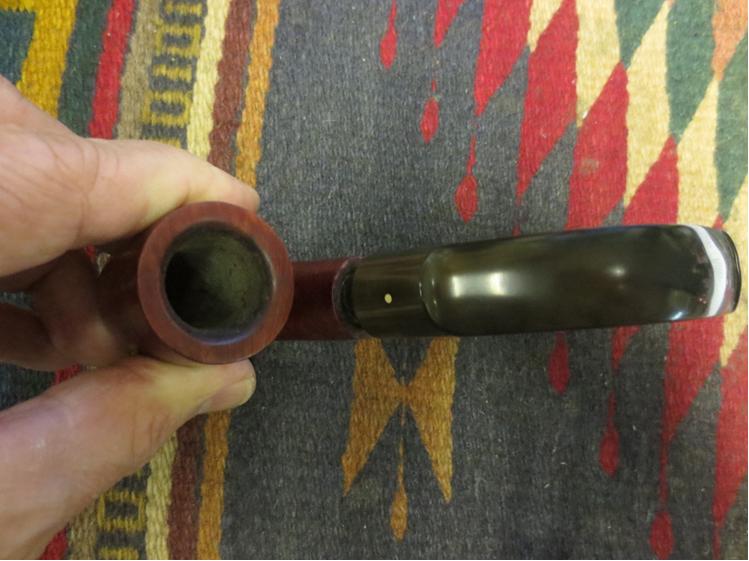
The next pipe that came to my worktable was the shapely stack pictured below. It is stamped Connoisseur over N.Y.C. on the left side of the shank and then below that E. Burak in script. The majority of the stamping is very sharp. The N.Y.C. is a bit faint. There is no other stamping on the pipe or shank. The briar was natural and unstained. It had darkened slightly with age. The finish was dirty and there were a few dents and dings in the briar. The stem was badly oxidized and had several small tooth marks on the surface. It was over bent and the way it hung in the mouth would dump the ash in your lap. The rim had a tarry buildup on the back top surface. The inner and outer edges of the rim were in perfect shape. There were some small sandpits in the briar on the left side of the bowl and on the underside of the shank. The inside of the shank was dirty and black with tars and oils. The bowl inside was thickly caked with a crumbly soft cake that was flaking away in some parts of the bowl. The shank itself was interesting to me in that it looked perfectly round. Once the stem was removed the drilling of the mortise was centered but low on the shank. The drilling was perfectly aligned but the airway seemed constricted. My guess was that there were tars and oils clogging the airway in the shank and the over bent stem made the draught constricted.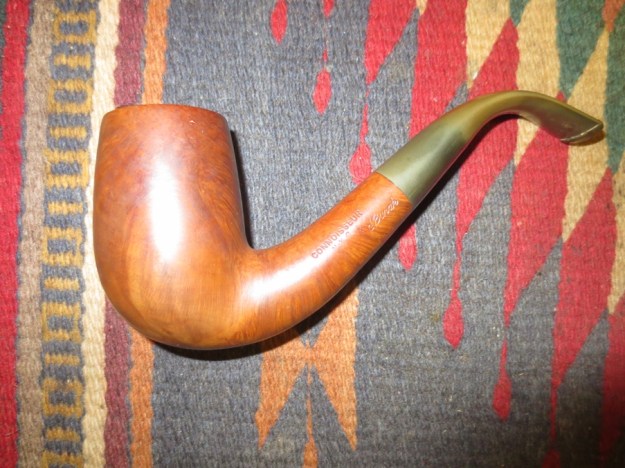


 Over the years I have had several Connoisseur pipes but none of them were stamped like this one. I wondered about the stamping. It was my guess that it somehow helped with dating the pipe to a particular time in Ed Burak’s pipe making career but I did not know for sure. I decided that before working on this particular pipe I would do a little research on the brand and the maker on Google. I always check Pipedia to see what they might have on a maker. In this case I was not disappointed. There as a great article on the site. The link to that is: http://pipedia.org/wiki/Burak.
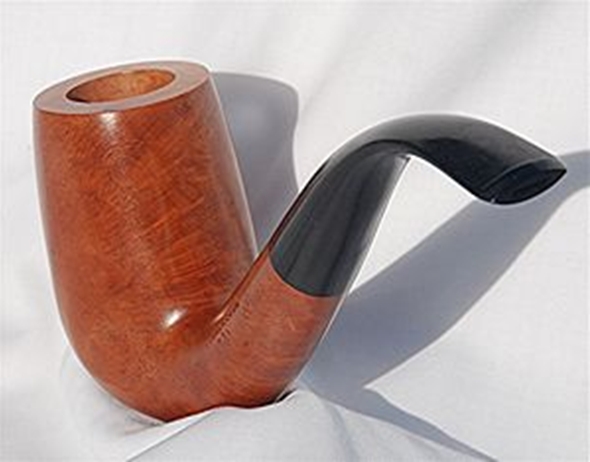
On that site I found not only some history on Ed Burak and the brand but also a photo of a pipe that was the same shape as the one I was working on. I was fortunate to find it because it confirmed my earlier assessment that the stem was over bent. With the photo and a second one that I found on another site I would be able to correct the bend on the stem and open the airflow from the bowl to the button.
I also found some great information on the site regarding Ed Burak. I quote from that article below. If you should wish to read it in its entirety click on the link noted above. The article is entitled, The Art of Edward F. Burak, Dean of American Pipe Designers.
 “Ed Burak is the dean of American pipe designers whose work has had a worldwide influence on the thinking and the work of contemporary pipe makers.”
“…he met and subsequently began working with Meerschaum master Paul Fisher, with whom he stayed 5 years. During that time he produced a small number of Meerschaum pipes, a few of which are still extant in collections. He also worked for Wally Frank as a pipe designer. In 1968 he bought the Connoisseur Pipe Shop, where he was able to concentrate on his own designs. Burak’s pipes have been carved by a number of well-regarded pipe makers, among them Joe Corteggione and Tony Passante. Several of his freehands are in the Museum of Modern Art in New York and have been part of a traveling exhibit of the American Craft Museum.”
“Burak’s work is best known as pipe design as fine art. He admires pays tribute to the classic English designs of the old Barlings and Comoy’s and offers a line of “Classics” which begin with these traditional values yet reflect his own interpretations.”
“Because these pipes are different, so carefully crafted, they not only please the eye, but educate it. Most pipe makers will start with an idea and work the wood toward that goal, but will change their original design to accommodate the briar. Burak does not allow the medium to modify the intent. Minor surface flaws are left on the pipes. No staining is permitted; all Connoisseurs have a natural finish, with only carnauba was added.”
“As a significant footnote, the reader should note that Ed Burak’s pipes are NOT made by Paul Perri, nor Weber, nor Jobey, as erroneously stated in Lopes’s book “Pipes: Artisans and Trademarks.” Burak prefers not to disclose the name of his current pipe carver.”
I also learned on Pipephil’s website, http://www.pipephil.eu/logos/en/about-en.html that the stamping did indeed give some information that helped in identifying the period that a particular pipe was made. There I found that one may generally separate Connoisseur pipes date of manufacture into three periods.
From late 1960’s until 1974: no stampings
From 1974 until 1981: CONNOISSEUR over N.Y.C.
From 1981 on: CONNOISSEUR over N.Y.C. and Ed Burak’s signature
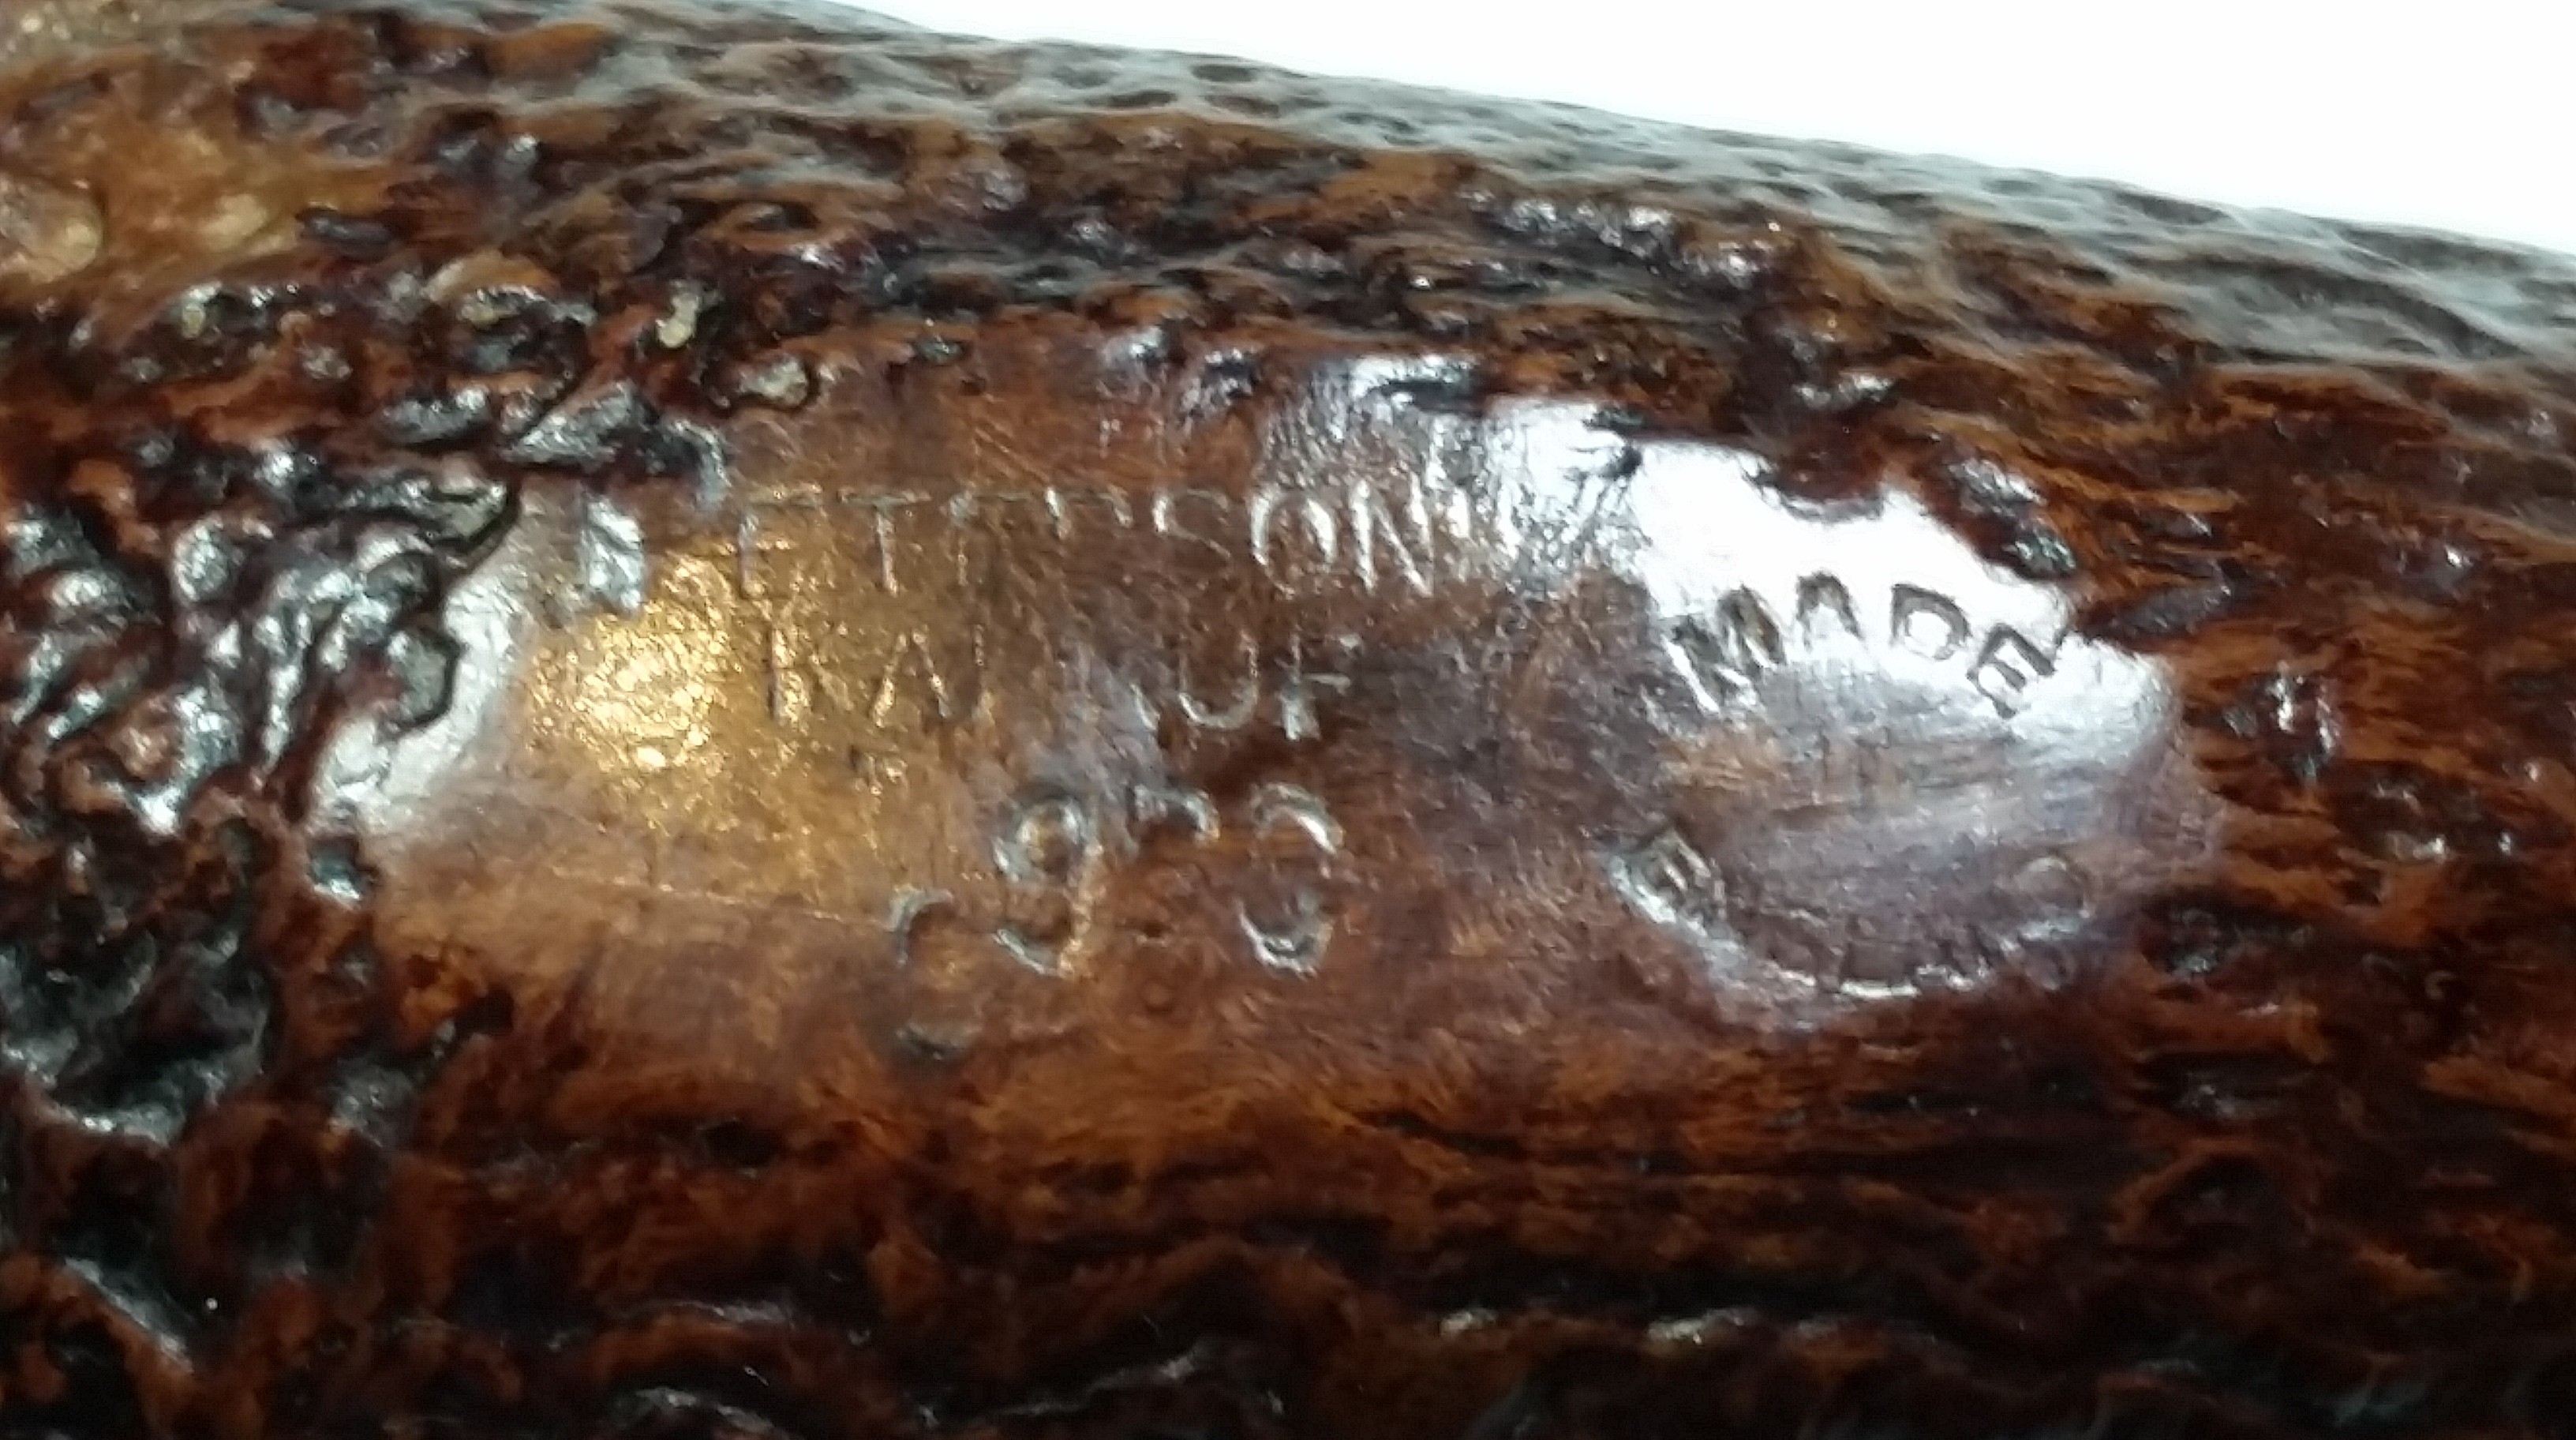
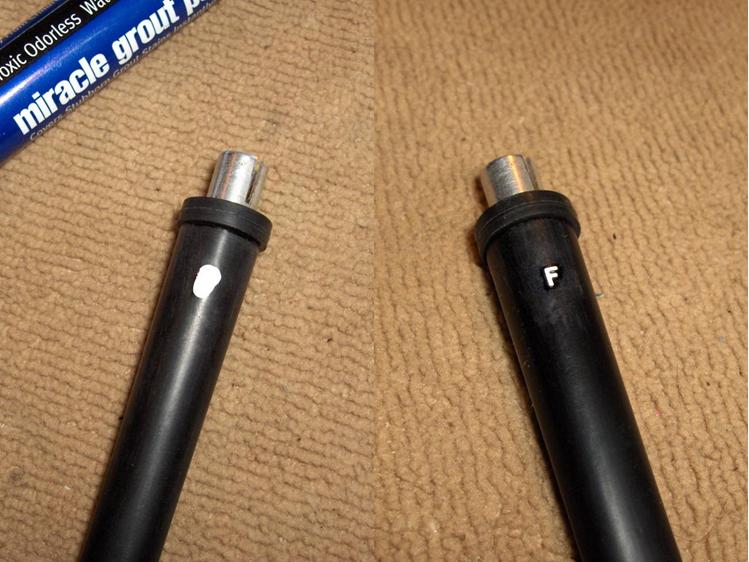
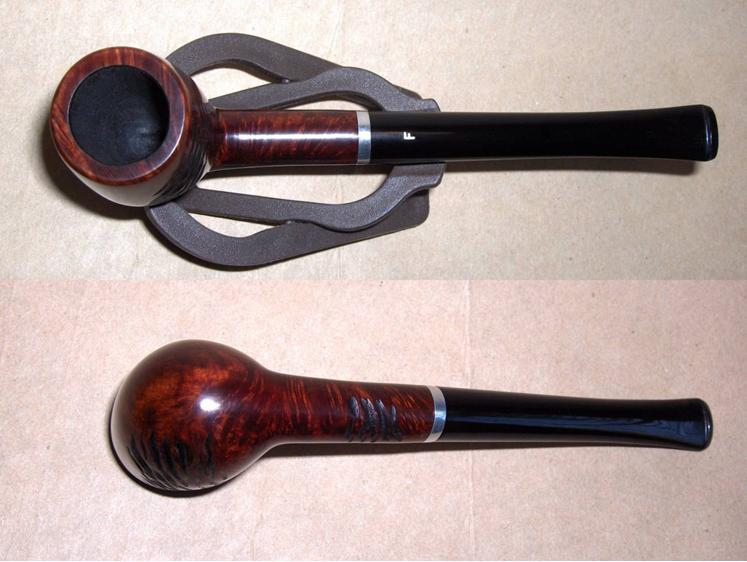
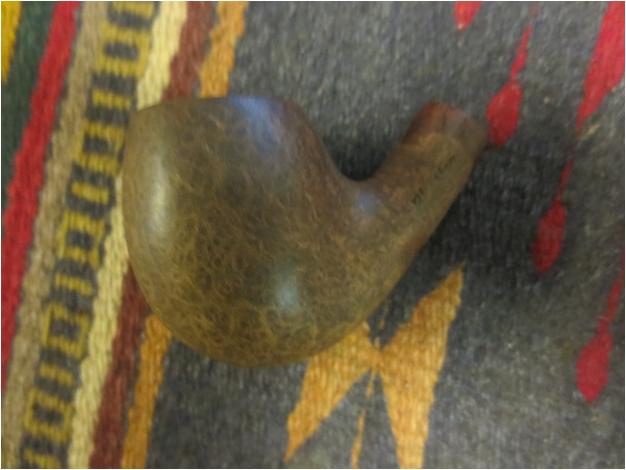
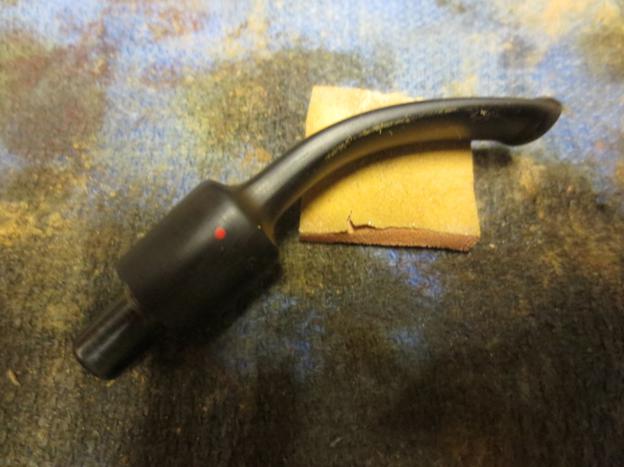
The pipe I was working on was stamped like the photo below. It had the Connoisseur over N.Y.C. stamp and Ed Burak’s signature. That dated the pipe to the time period from 1981 to the time that the Connoisseur Pipe Shop in Manhattan closed in 2009 on Ed’s retirement. Included with the photo of the stamp was a picture of a tall stack pipe that looked identical to the one that I was working on. Using the photo above and this photo gave me a clear picture of what the bend of the stem was like originally. I took a photo below of the stamping on the left side of the pipe that I am working on for comparison with the one above. You can see that they have the same stamping.
 On the Puff.com Pipe Forums I found a thread on Connoisseur pipes that confirmed how the pipes were finished when they were originally made. http://www.puff.com/forums/vb/general-pipe-forum/299824-ed-burak-pipes-man.html. There in the latter part of a post by a member identified as Mr. Rogers was the information that I was seeking confirmation about.
“His premium pipes were like nothing I had seen before. He finished all of his pieces with only wax, no stain. He incorporated blemishes into his designs and made no attempt to hide these flaws with fillers. I frequented the CPS (Connoisseur Pipe Shop) as a high school, college, then grad school student, never really having the funds to purchase his premium pieces. As luck would have it, once I became established in my work/field, the CPS was long gone…”
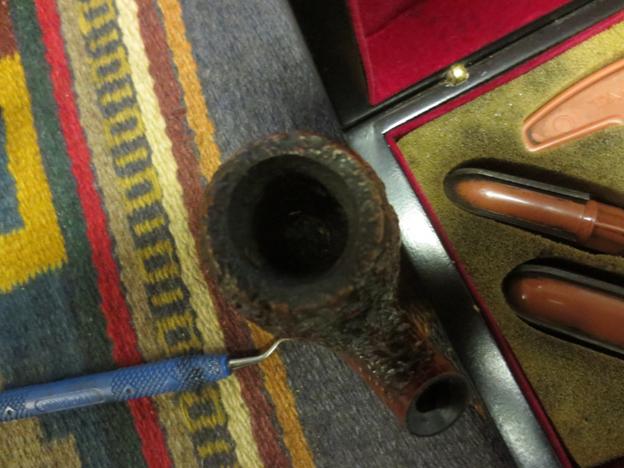
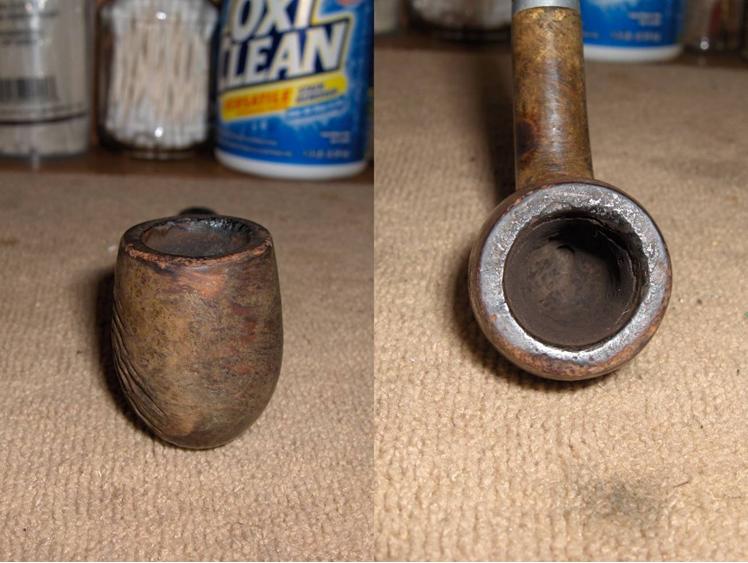
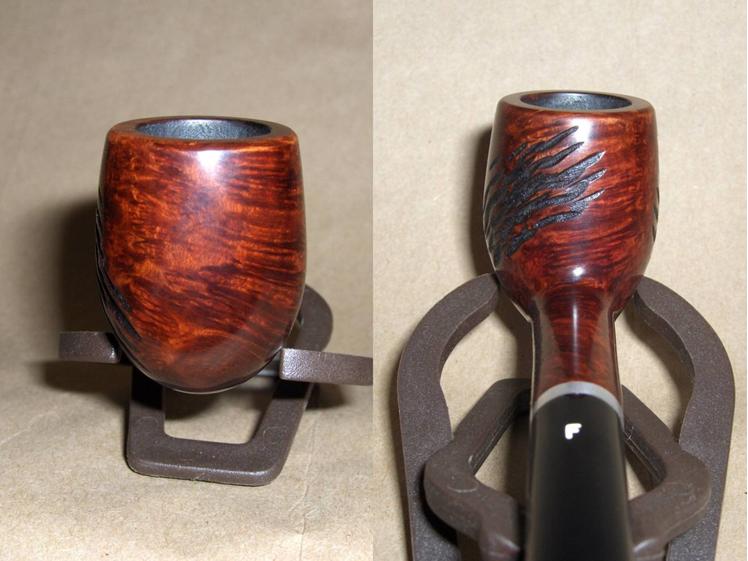
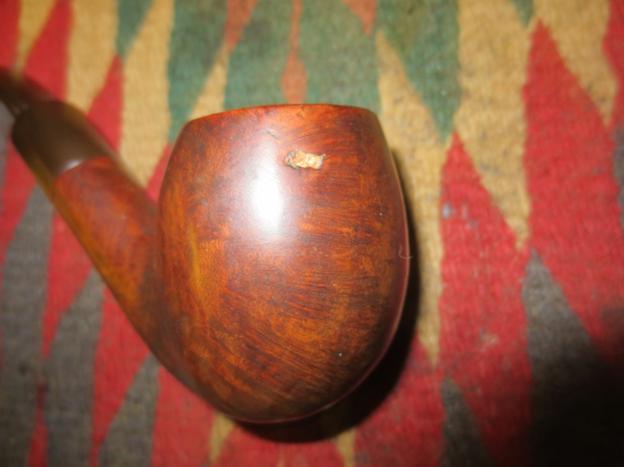
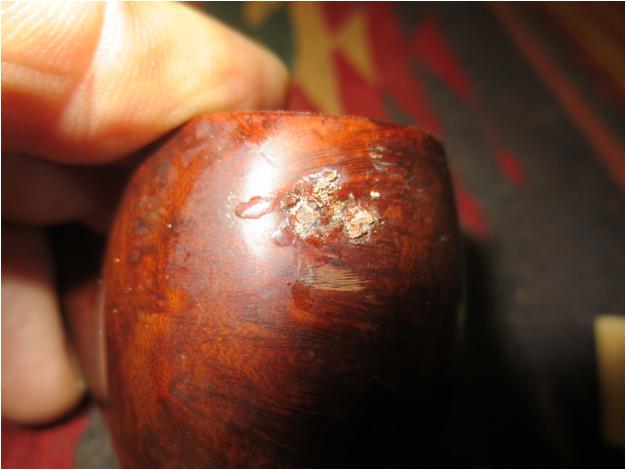
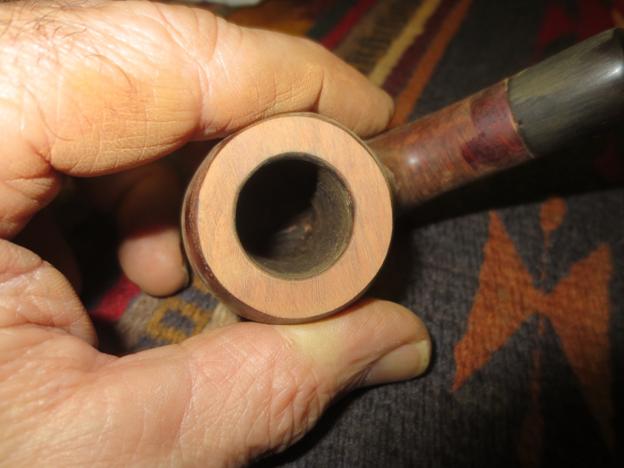
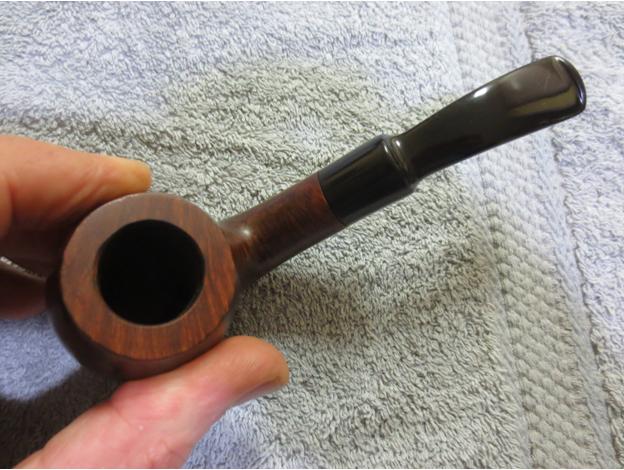
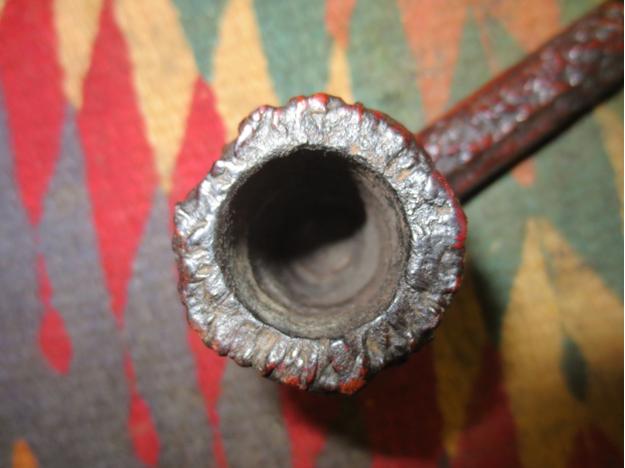
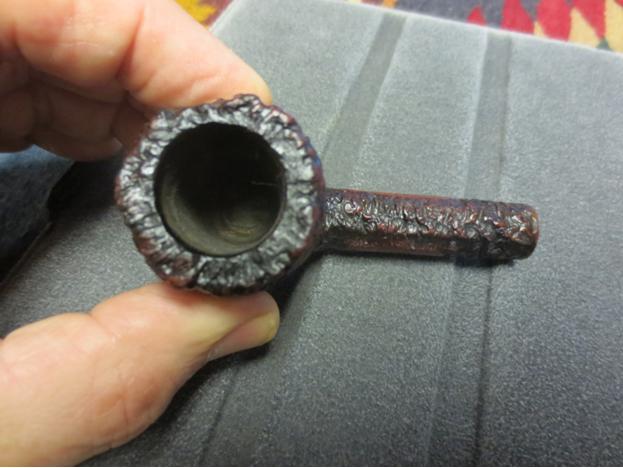
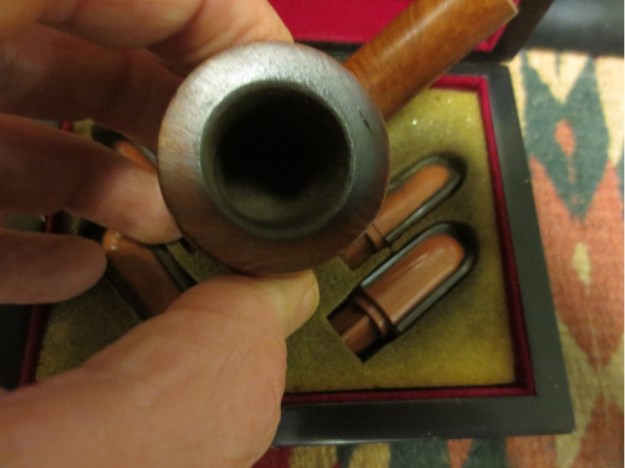
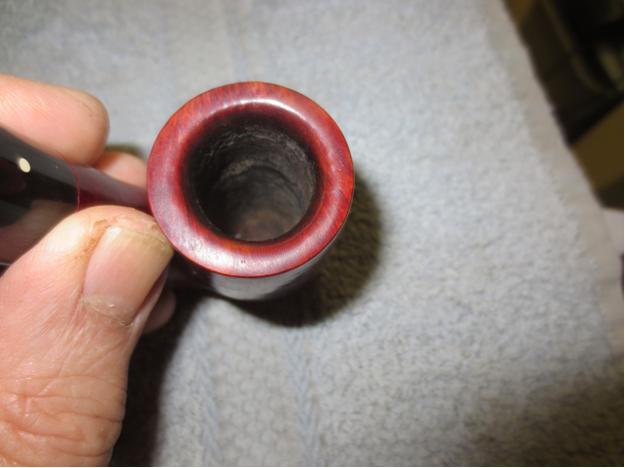
Now that I had a pretty good idea of when the pipe was made and what the stamping meant, it was time to go to work cleaning up this beauty. I took a close-up photo of the bowl to show the state of the uneven broken cake that was formed on the walls of the bowl. The cake had a fuzzy appearance that bothered me. So before I cut into it with the reamer I examined it with my lens to see if it was mold. I was glad to see that it was merely dust particles. I was able to blow them out before with a blast of air before I reamed back the cake. You can also see the flaw on the back side of the rim centered between the inner and outer edge of the rim. I reamed the bowl with a PipNet reamer. I started with the smallest cutting head and worked up to a cutting head the same diameter as the original bowl. The bowl was U-shaped but narrowed slightly half way down the bowl so I had to use the second cutting head to clean out the bottom half of the bowl and smoothed out the transition between the two cutting heads with a sharp pen knife. I took the cake completely back to the bare wood so that a good, clean, solid cake could be formed.

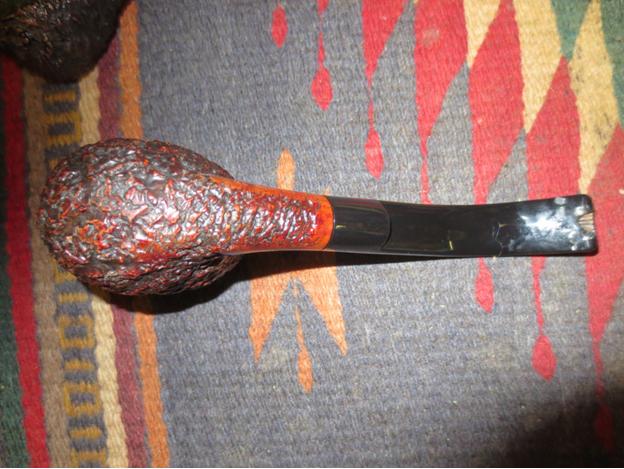
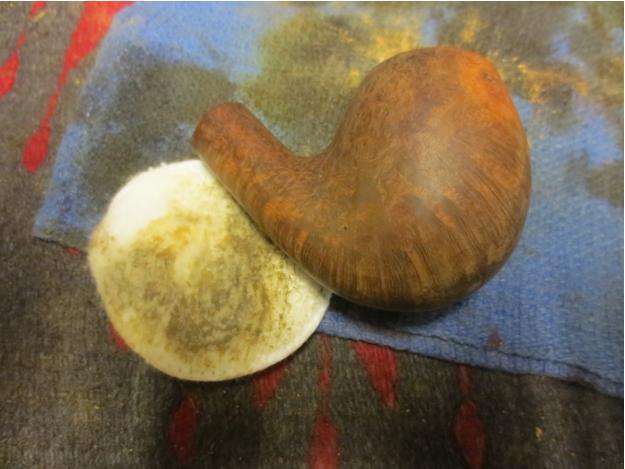
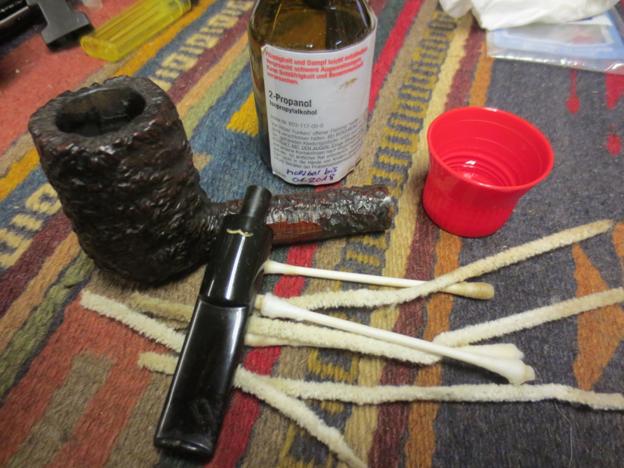
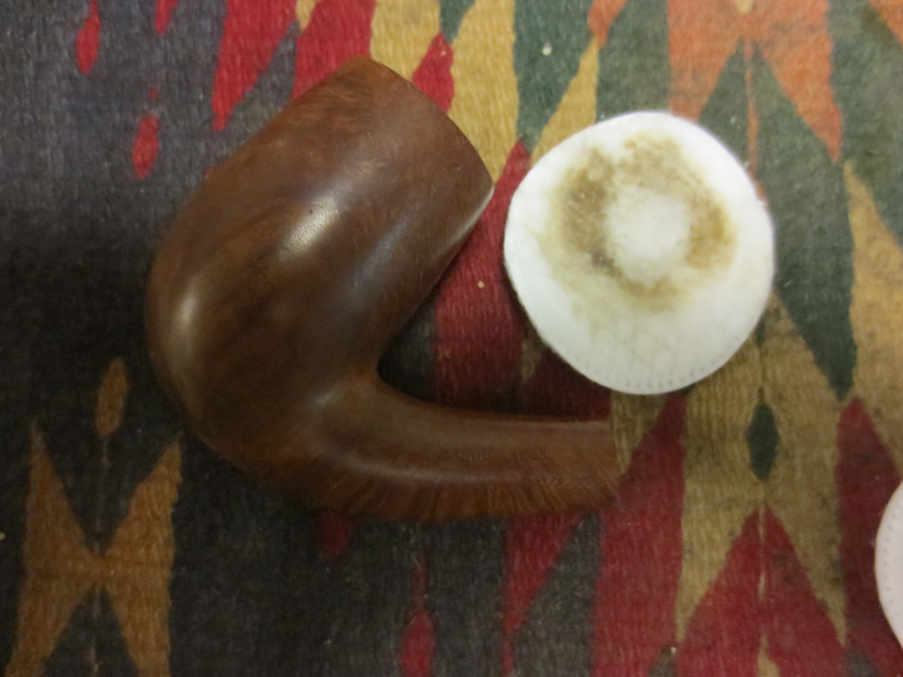
 I scrubbed the exterior of the natural briar with alcohol on cotton pads. It removed the grime, oils and ground in dirt from the finish and left the briar clean.
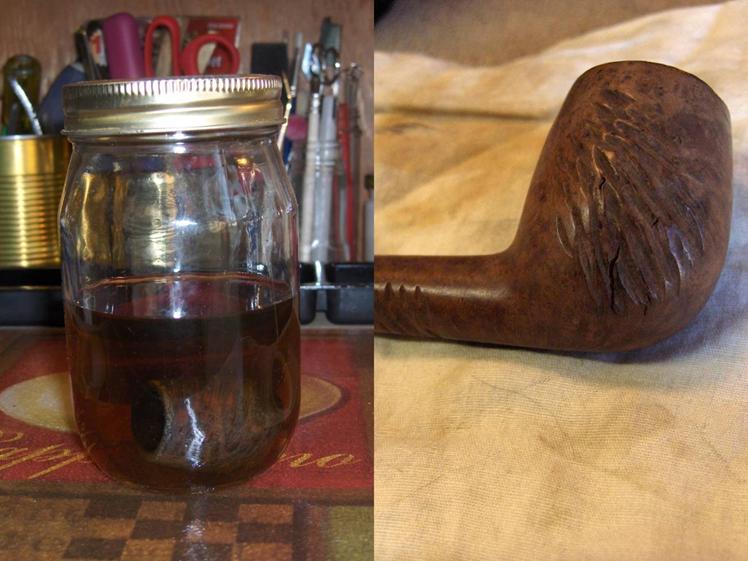
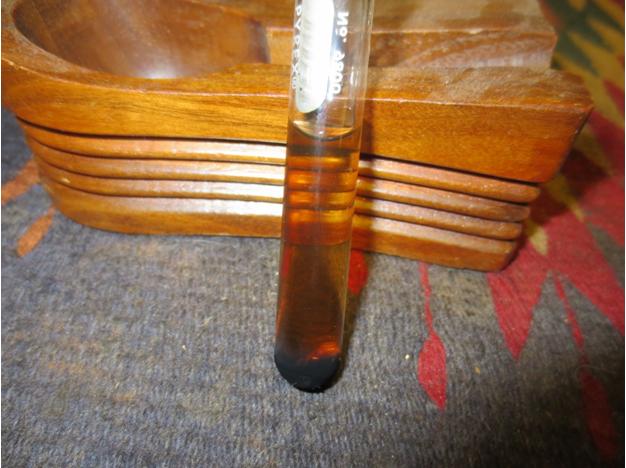
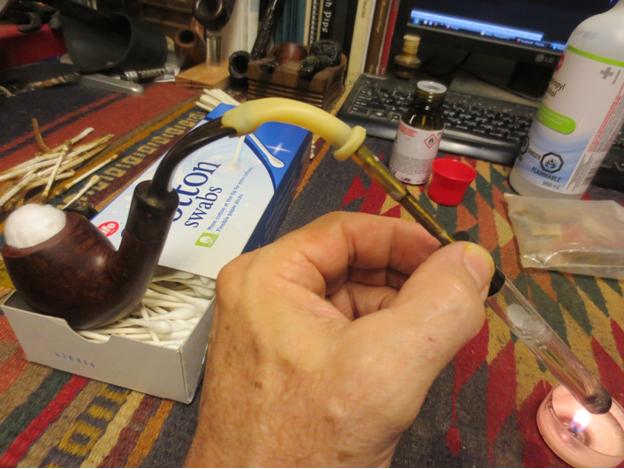
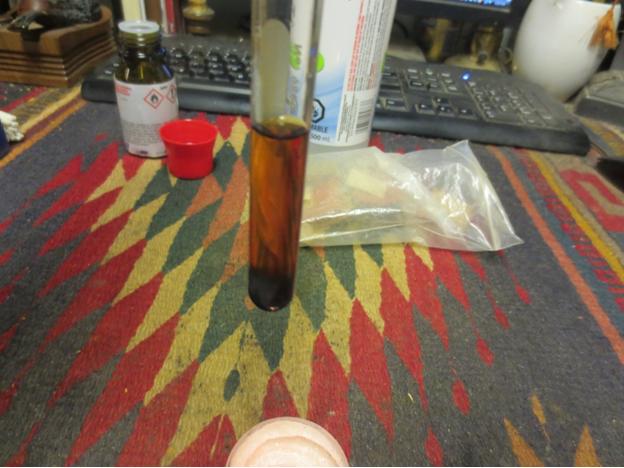
 I dropped the stem in a bath of Oxyclean. Almost as soon as it hit the water and I shook it the mixture turned amber coloured as the Oxy worked on the oxidation. I set the bath aside to let the stem soak and turned my attention to cleaning up the bowl.
 Before I could repair the flaw on the rim I needed to clean it up. I lightly topped the bowl on the topping board using 220 grit sandpaper. Once I had topped it lightly I washed it down with alcohol on a cotton pad to remove the sanding dust and blew out the dust in the bowl.
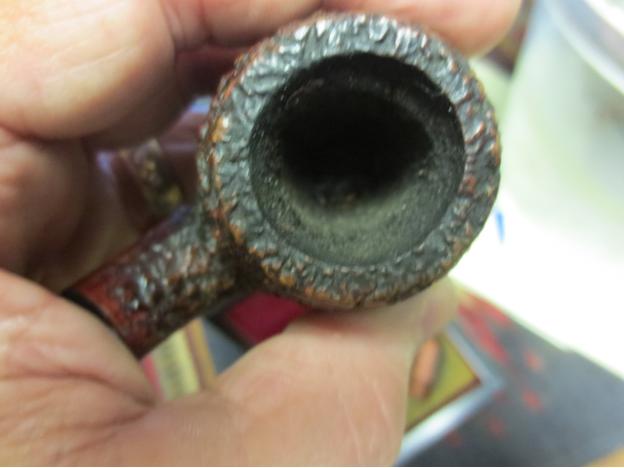
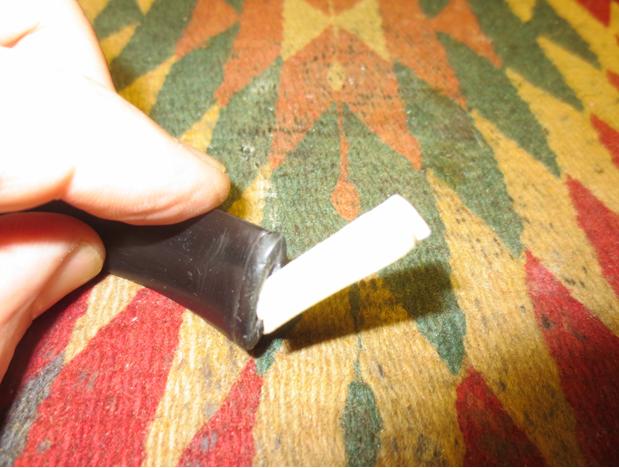
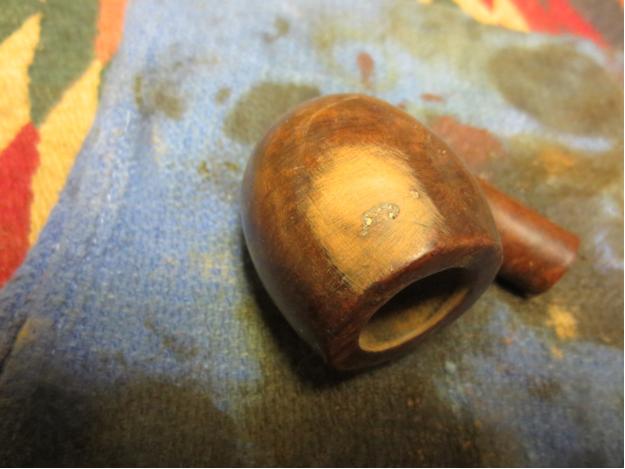
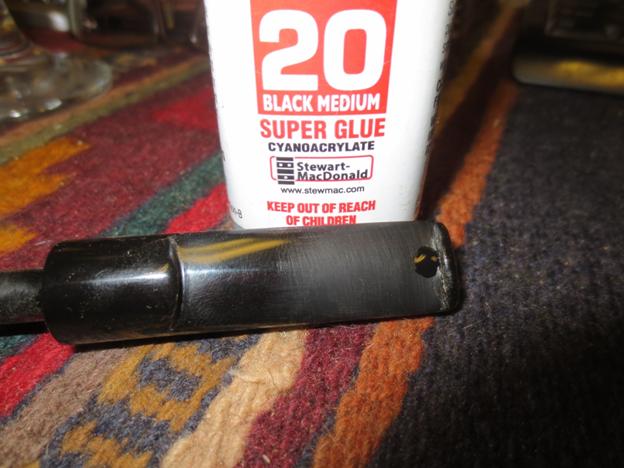
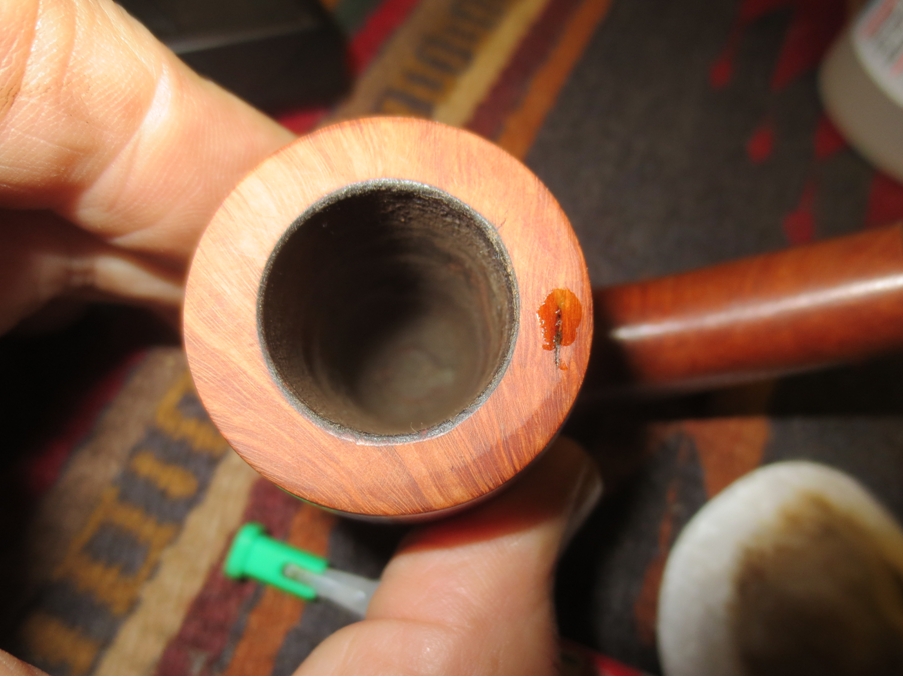
 I picked out the dust and grime in the flaw and used a drop of clear super glue and some briar dust from the topping of the bowl to fill in the flaw. Once it was hardened I sanded it with 220 grit sandpaper on the topping board and then with a medium and a fine grit sanding block to smooth out the scratches and polish the rim.
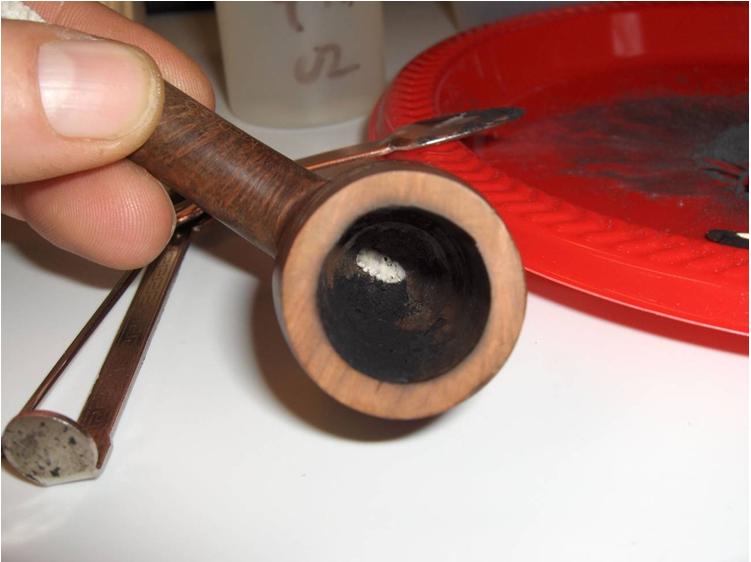
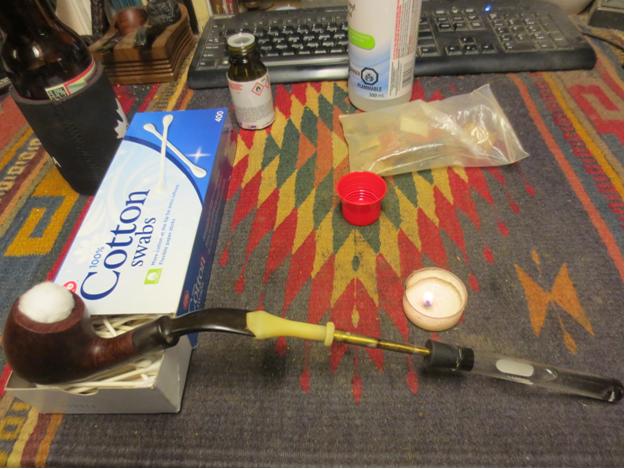
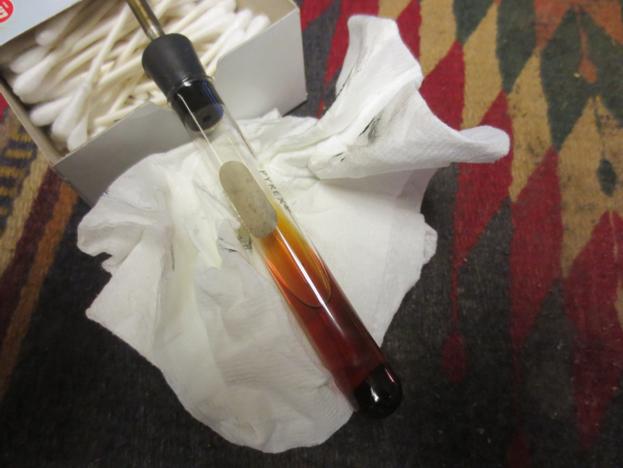
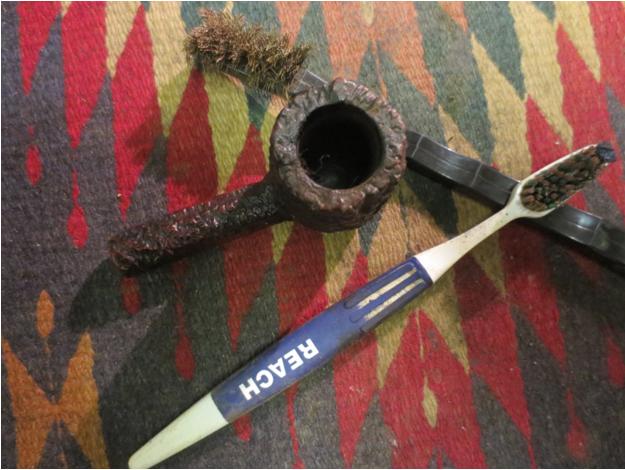
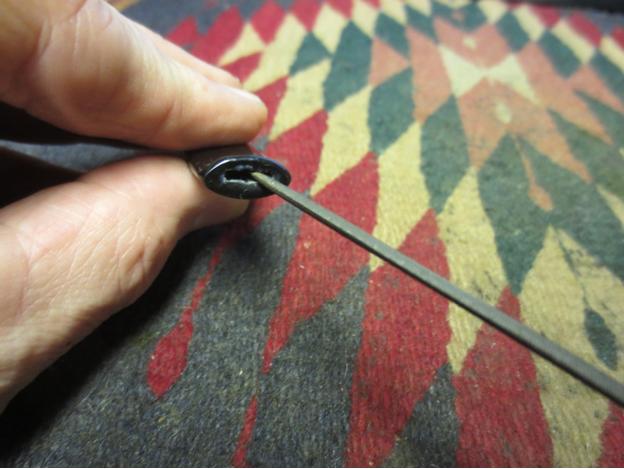
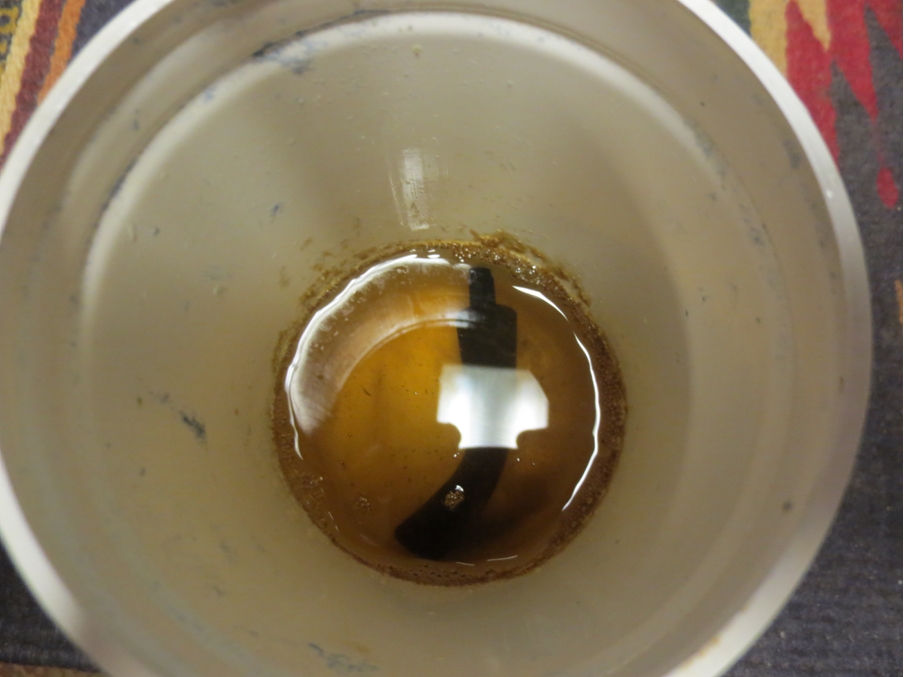
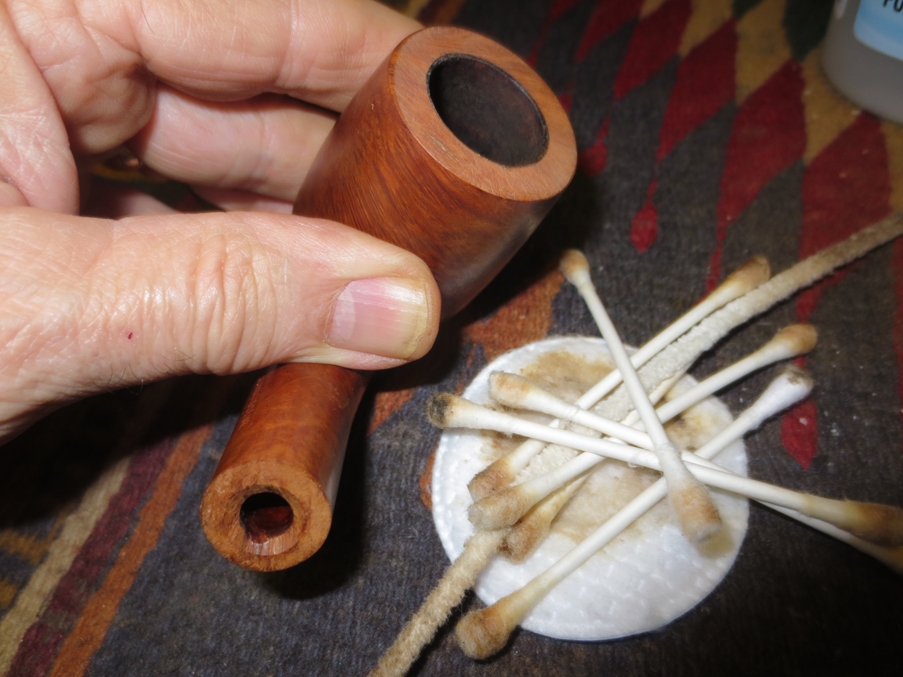
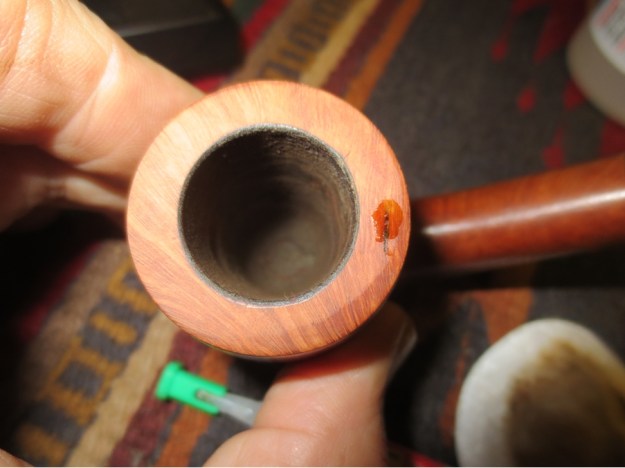 The photo below shows the repair to the rim as well as the oils and tars on the cotton swabs and pipes cleaners that I used to clean out of the mortise and airway. I also wiped down the inside of the bowl with alcohol on cotton swabs to remove the dust and any remnants of the old cake.
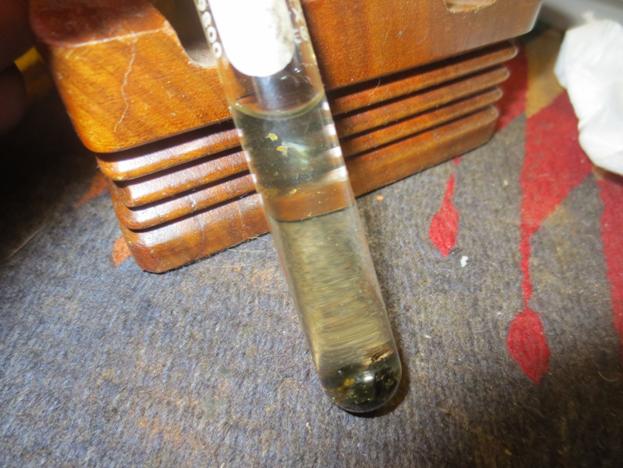
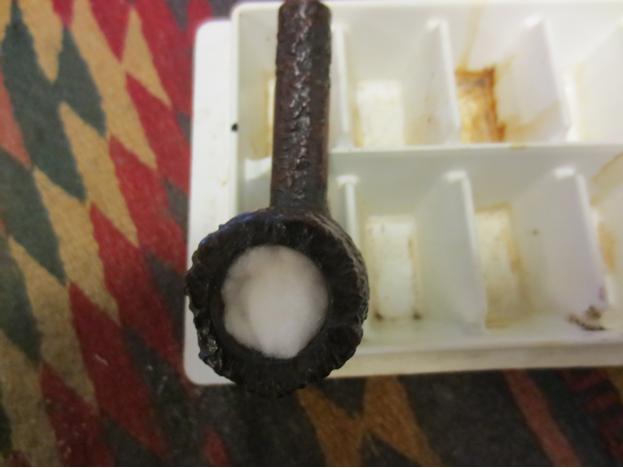
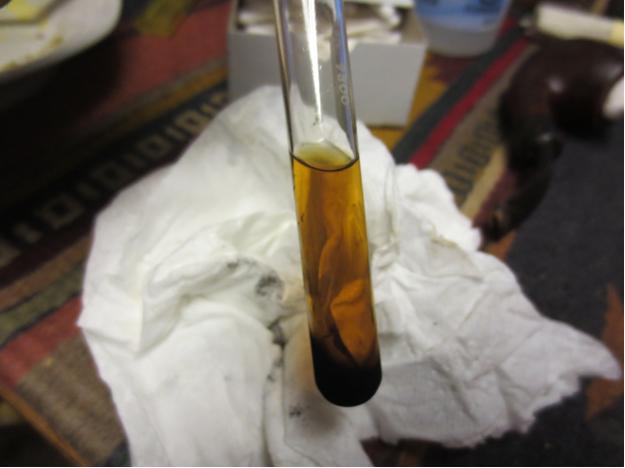
 With the bowl cleaned and repaired I took the stem out of the Oxy bath. It had been soaking for about 2 hours and the oxidation was softened and brought to the surface enough that when I scrubbed stem to dry it off I was able to remove much of it.

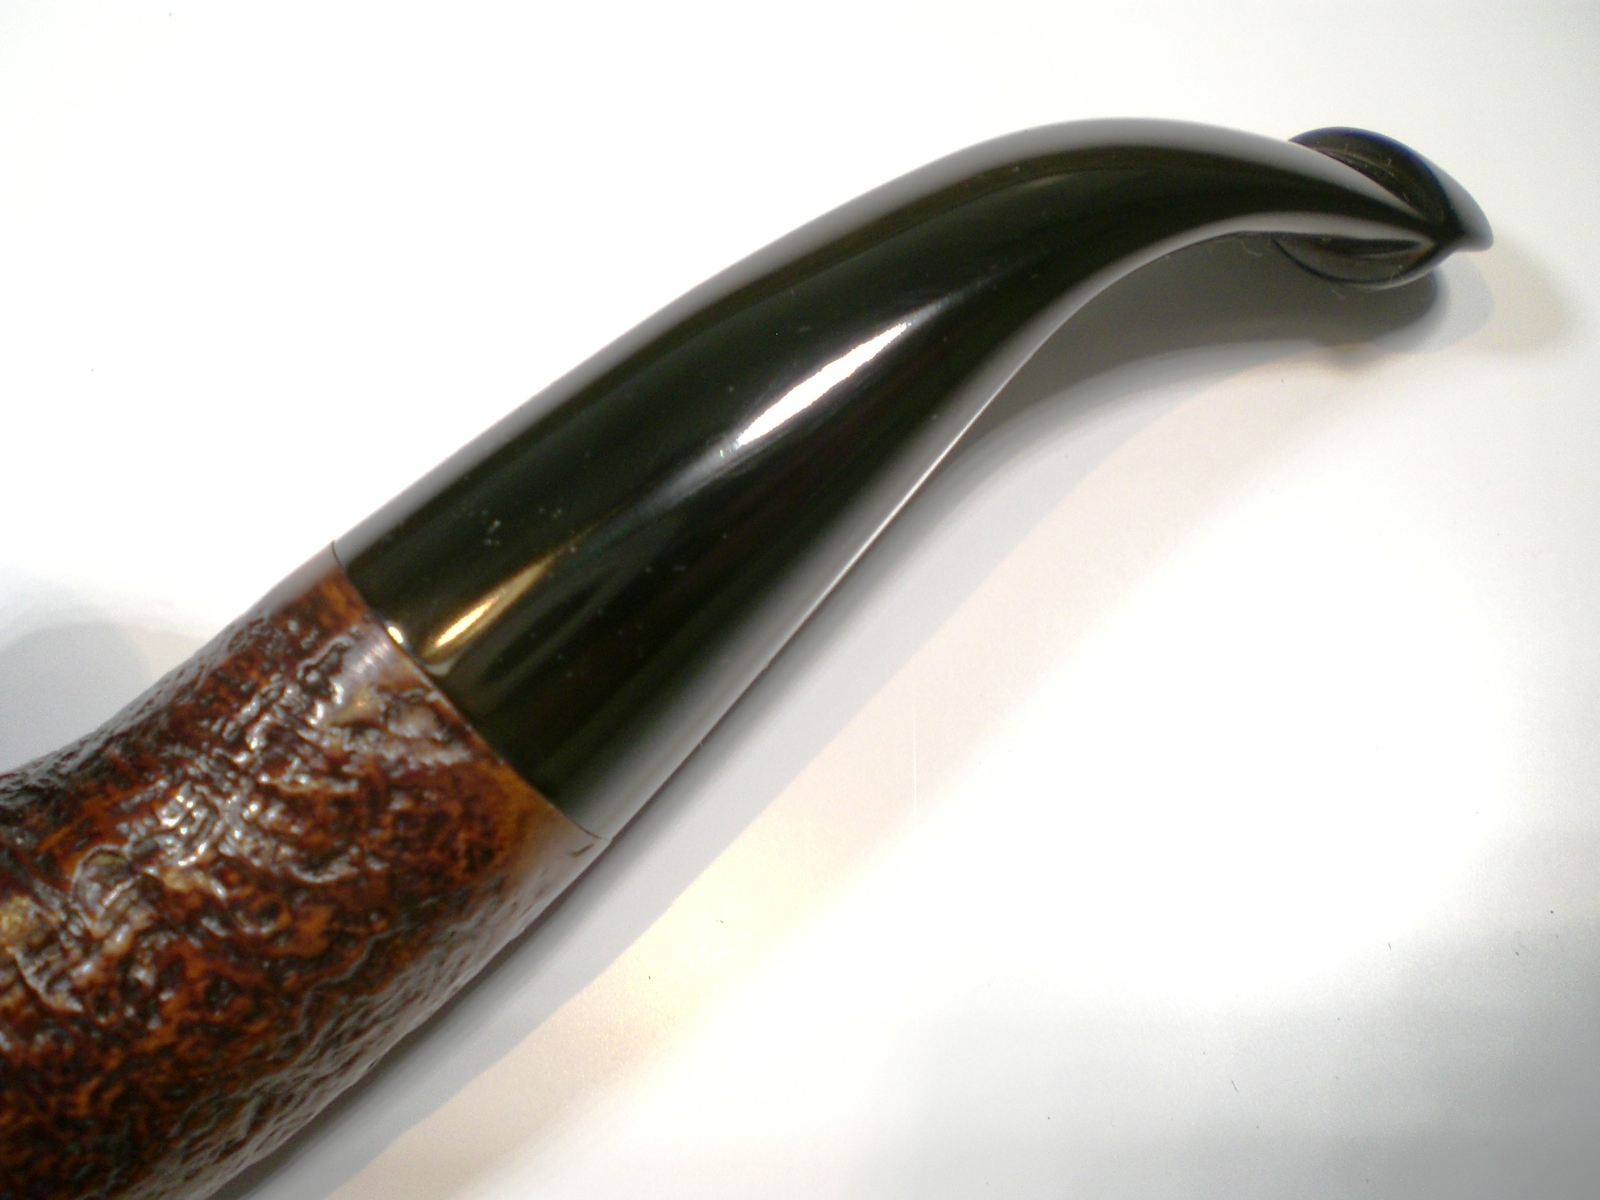
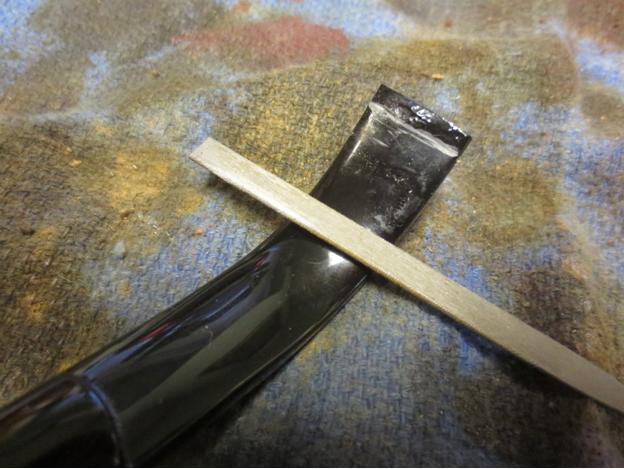
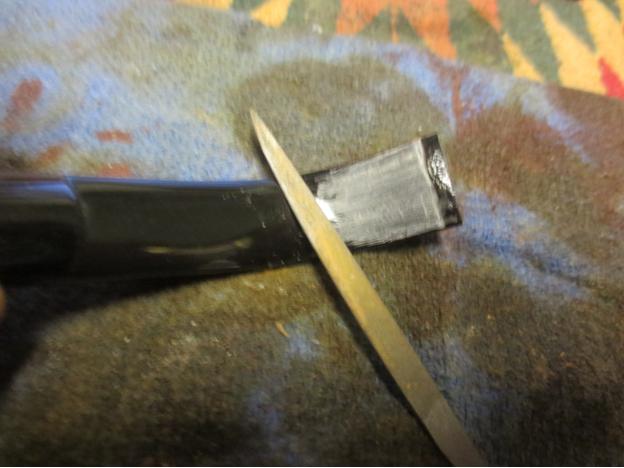
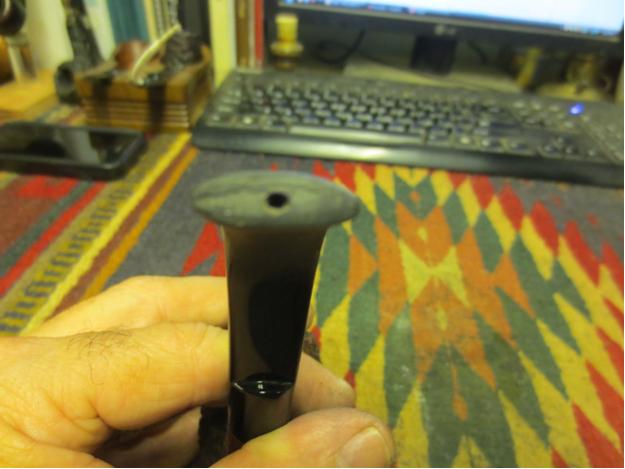
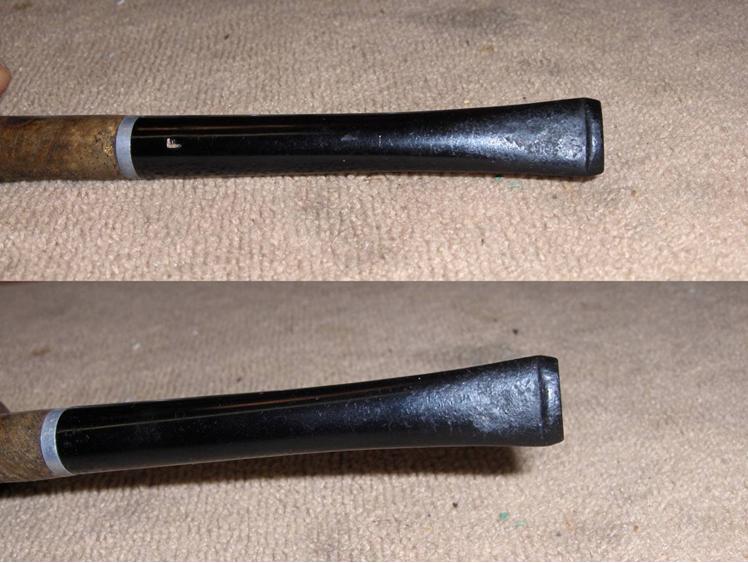
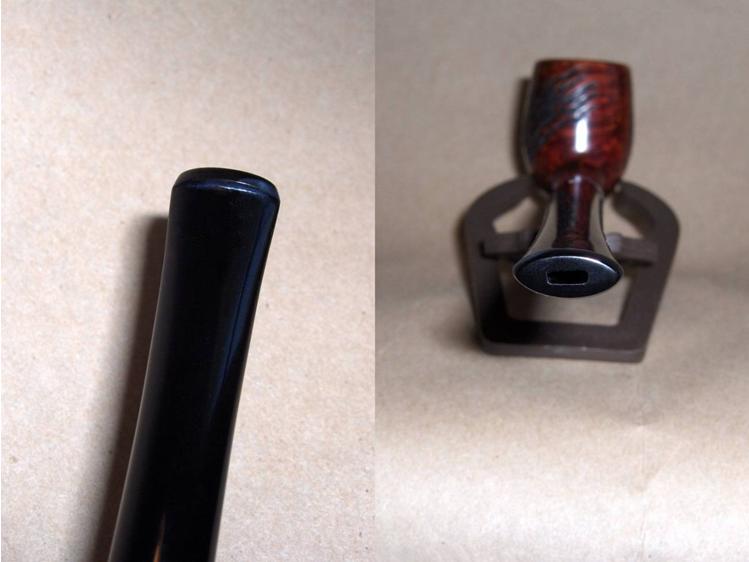
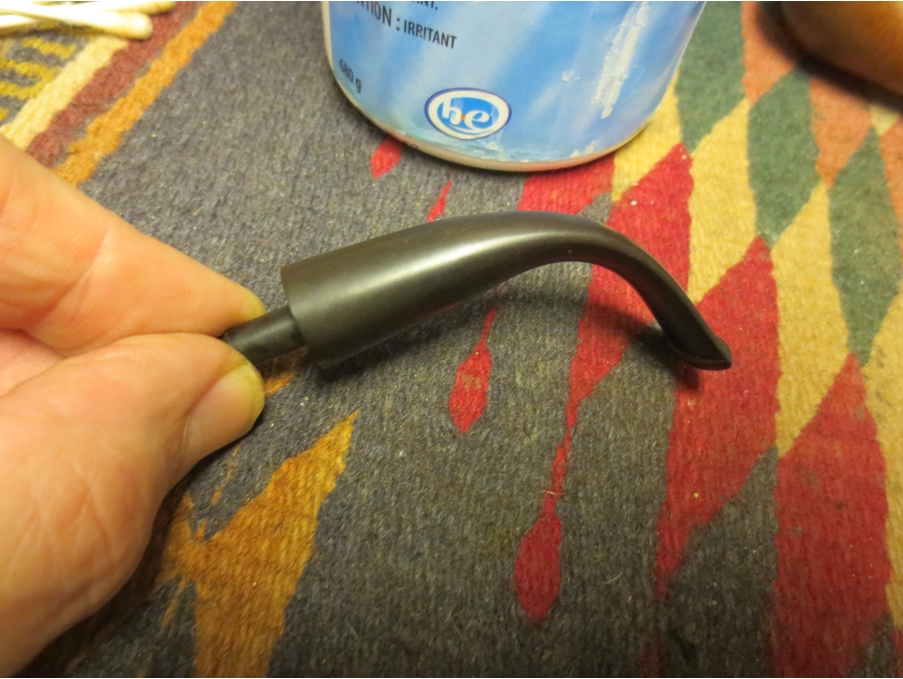
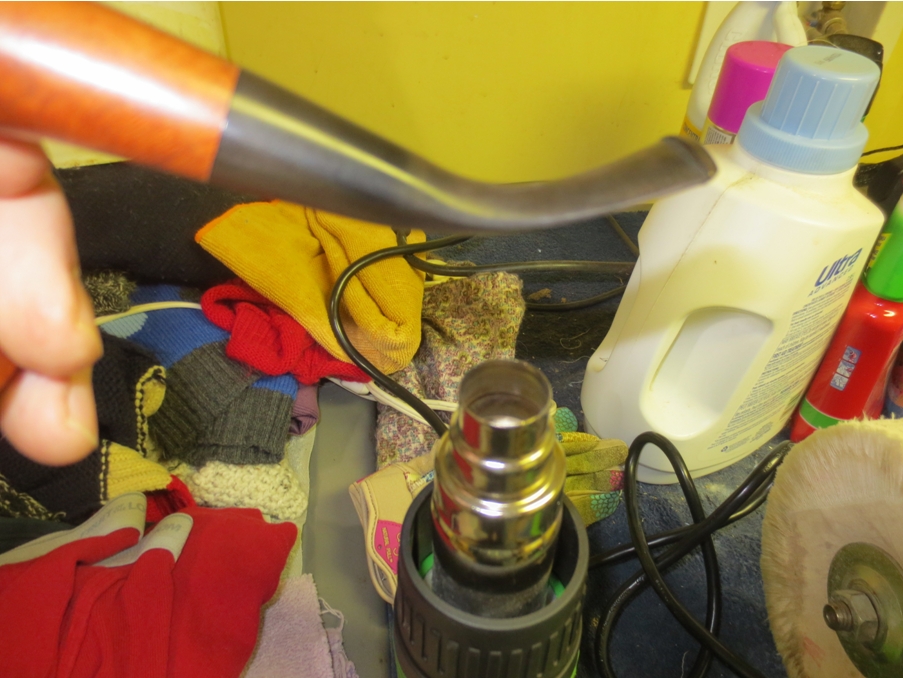
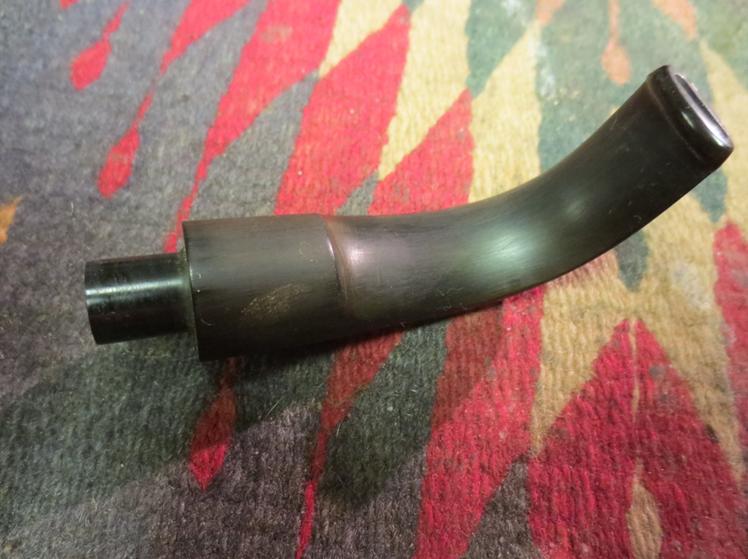
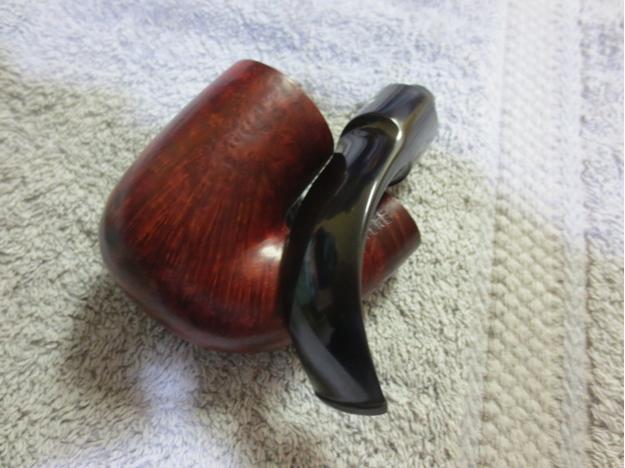
 I put the stem in the shank and used a heat gun to heat the vulcanite and reduce the angle of the bend in the stem.
 I took it back to the work table and took the next four photos of the new angle of the stem to see how it looked from the comfortable distance of the computer screen. I took it back and heated it again to bend it slightly more. The angle was close but I would need to adjustments to get to what I wanted for the bend in the stem.
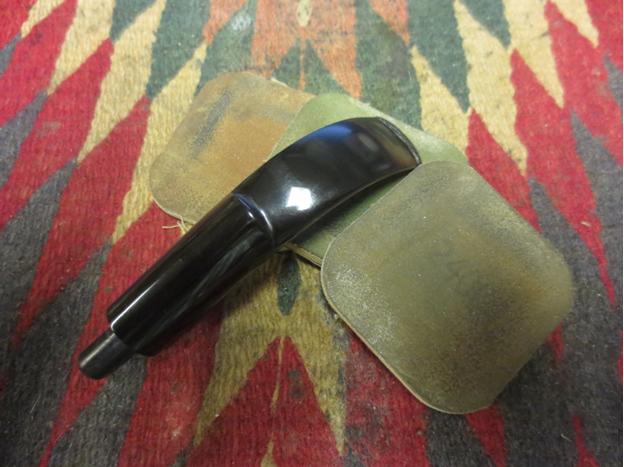
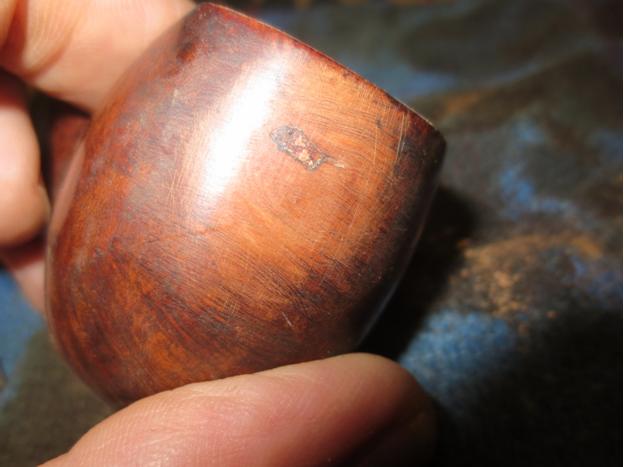
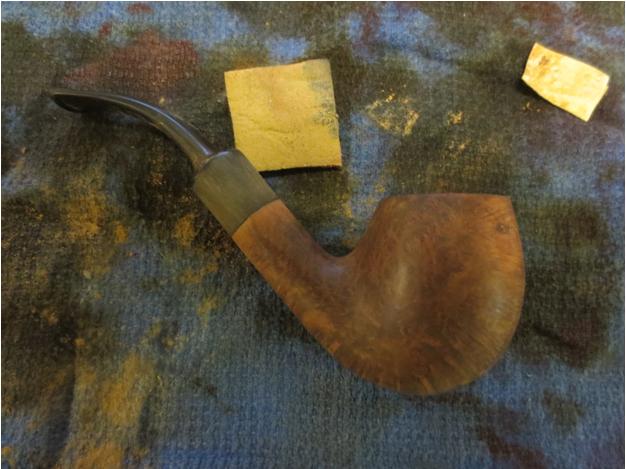
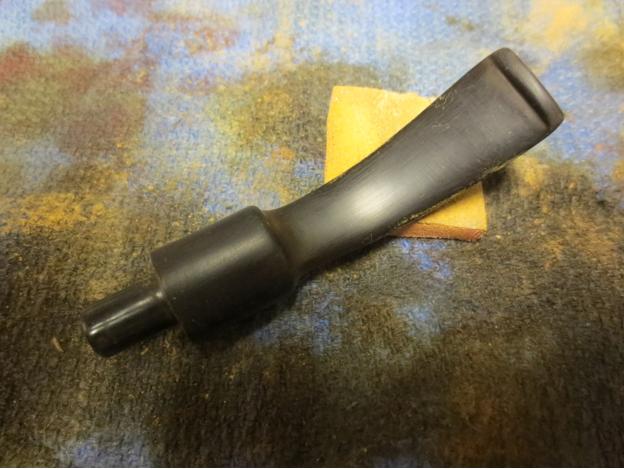
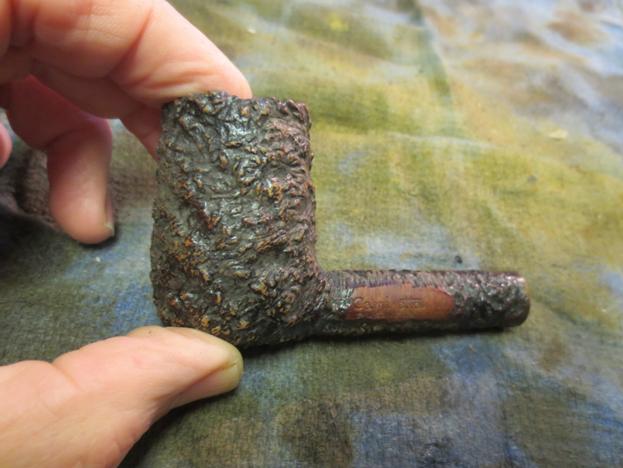
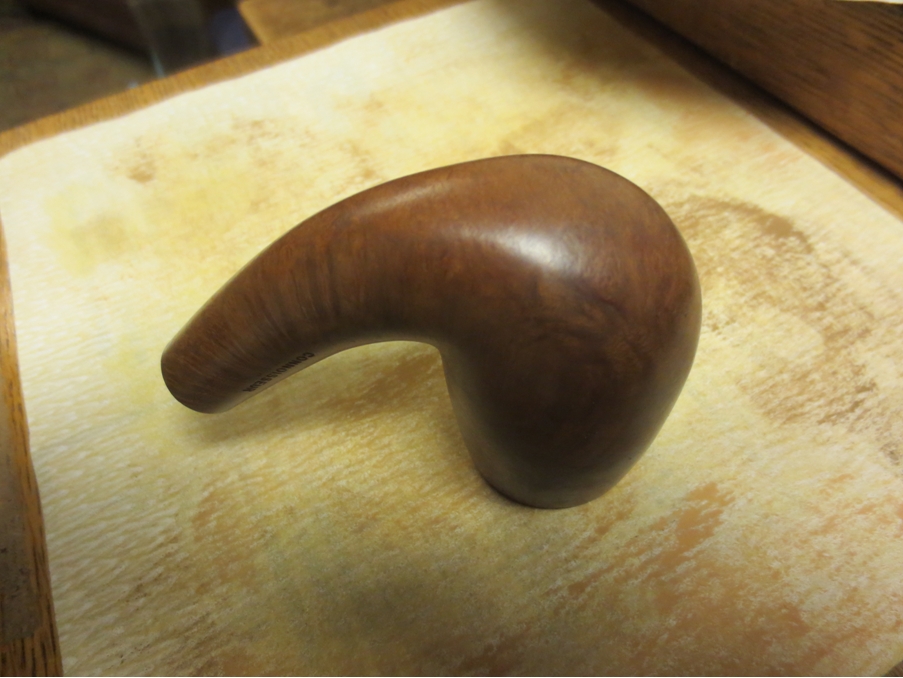
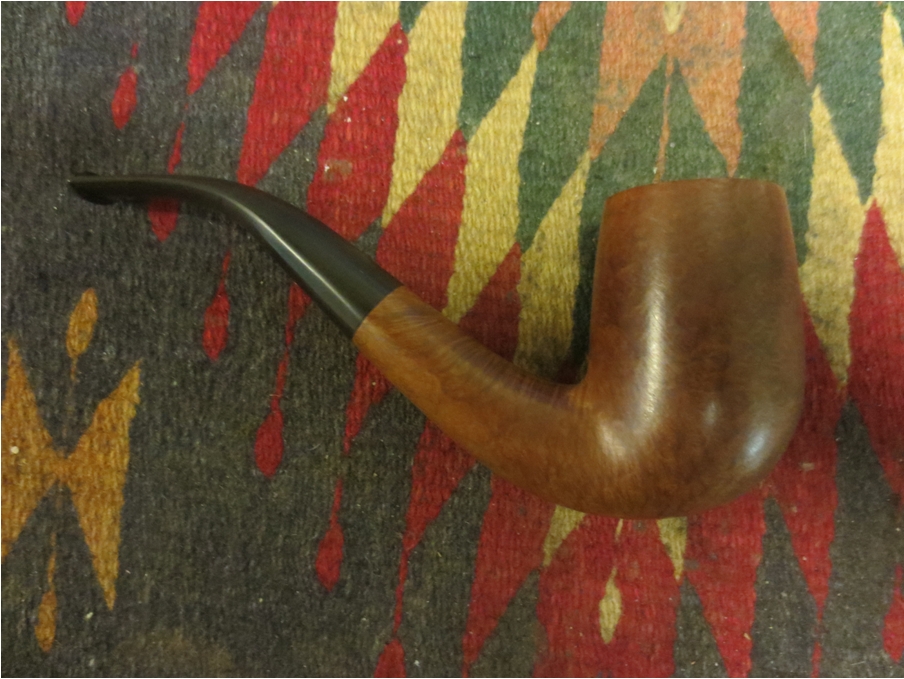
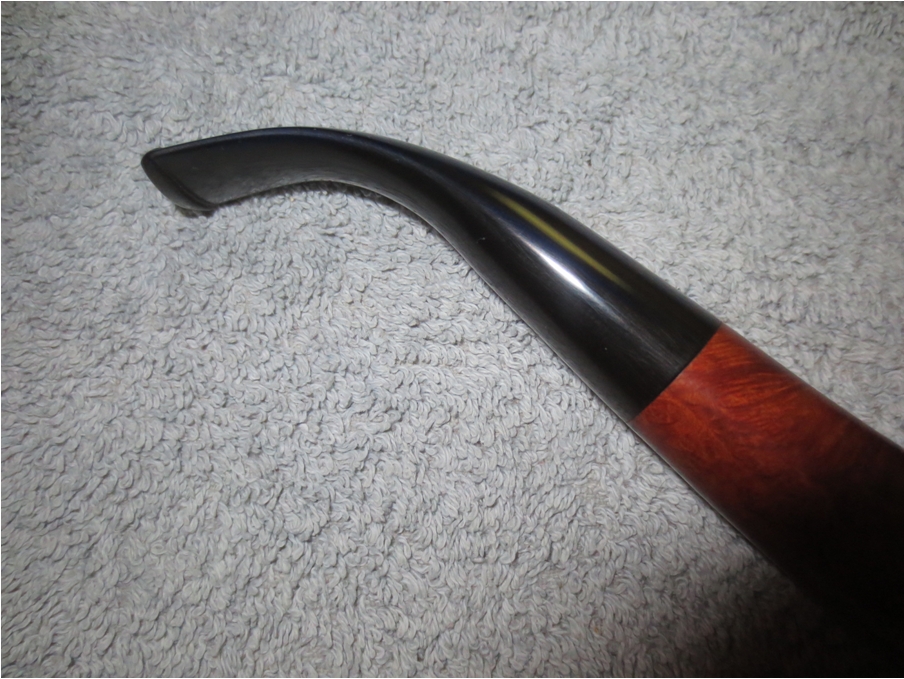
 While this photo was taken to show the stem it also gives a good picture of the repair to the rim on the pipe. It blended in very well and looks far better than the original crevice.
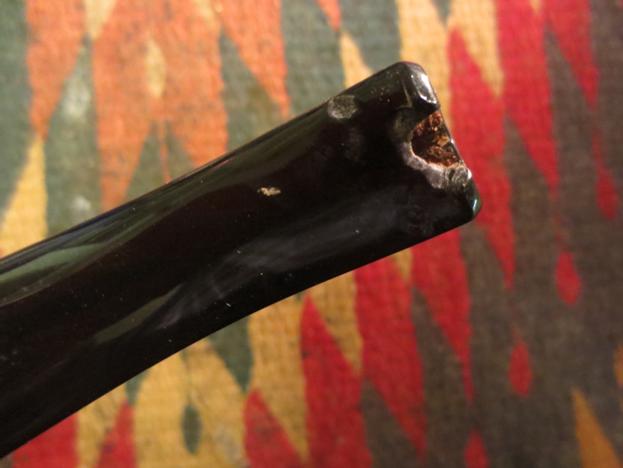
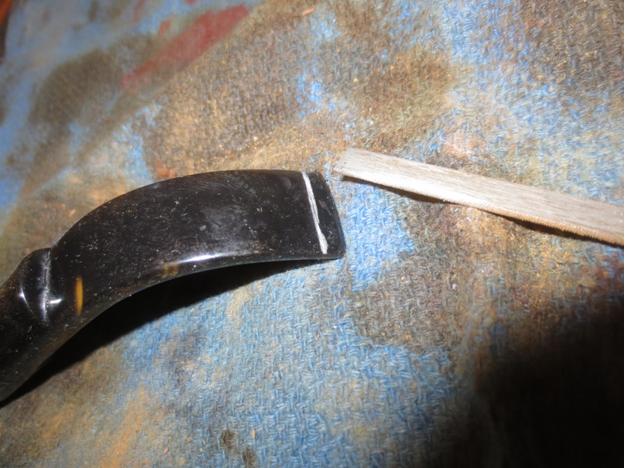
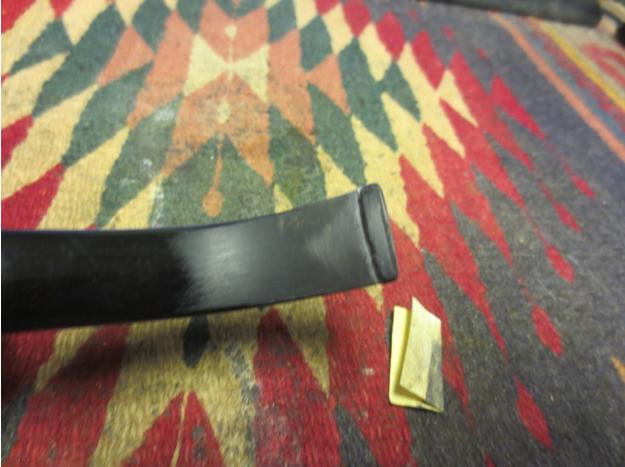
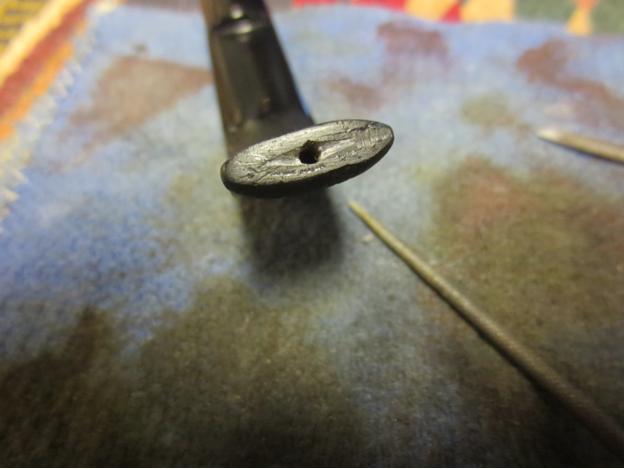
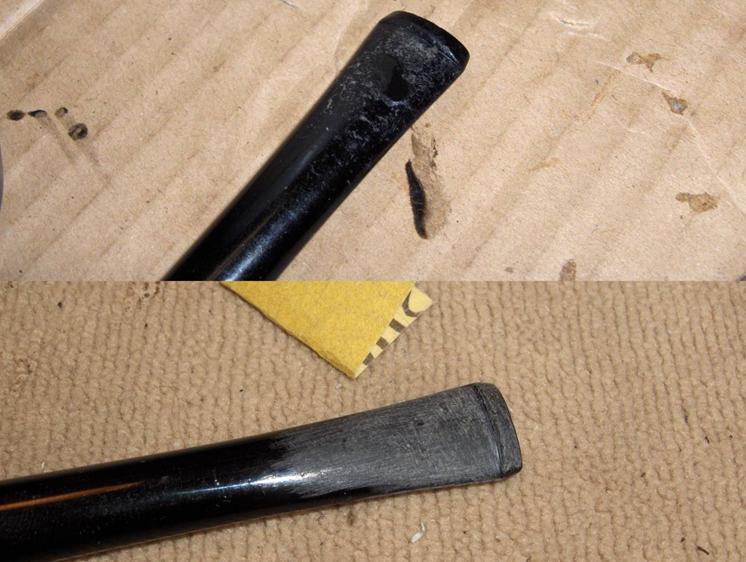
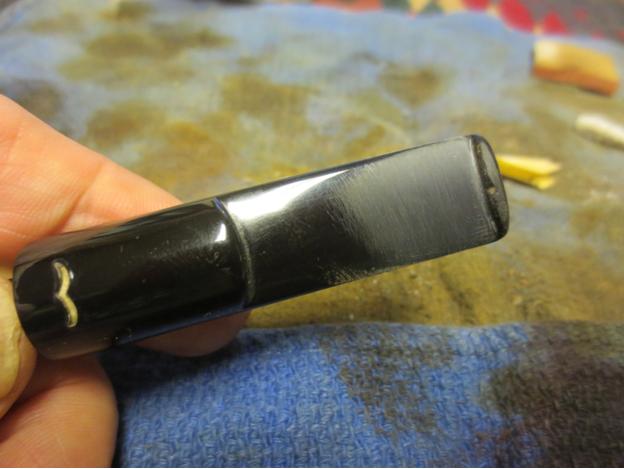
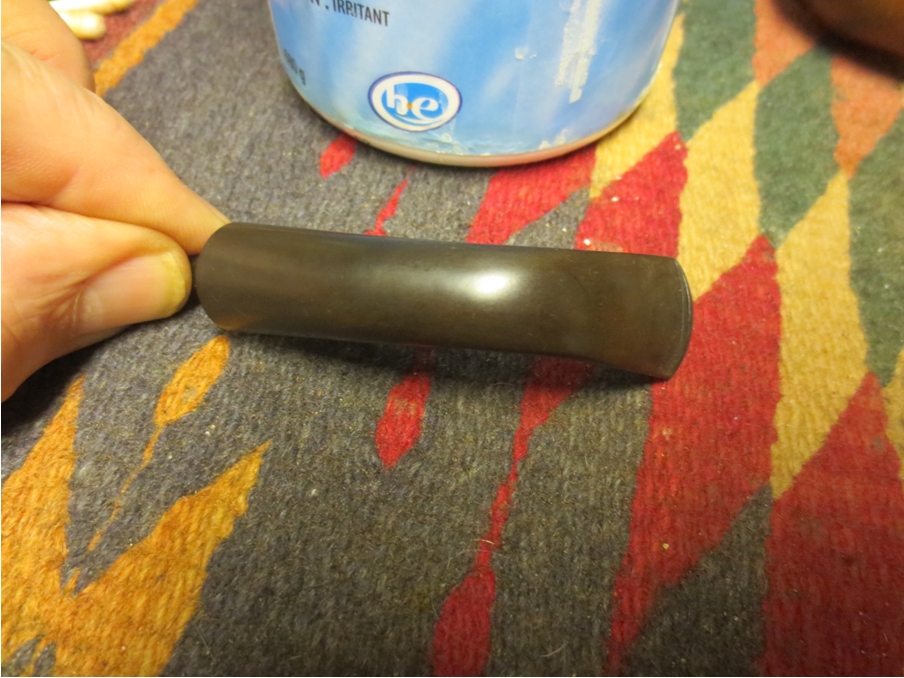
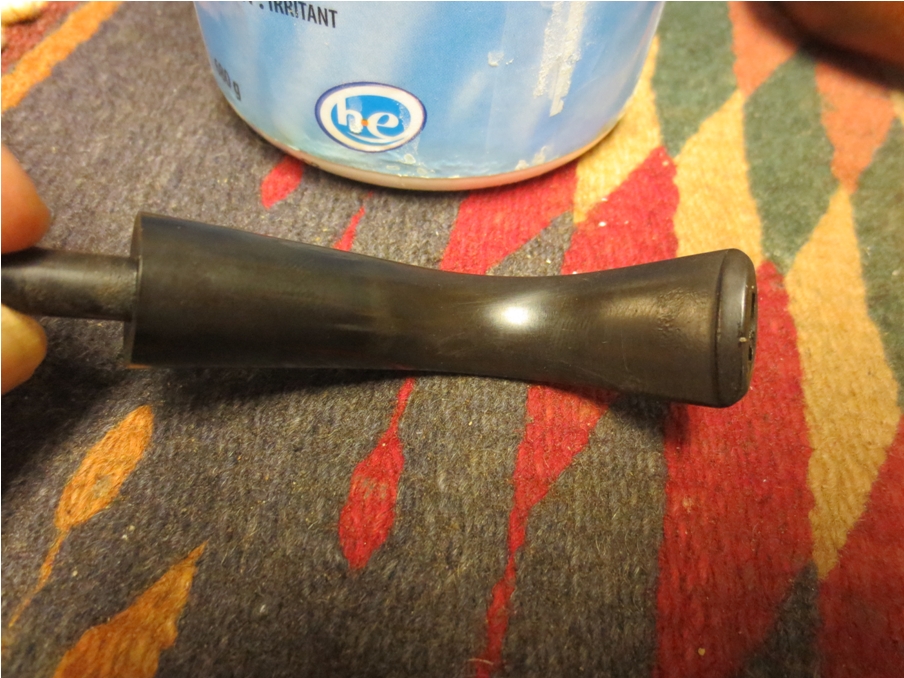
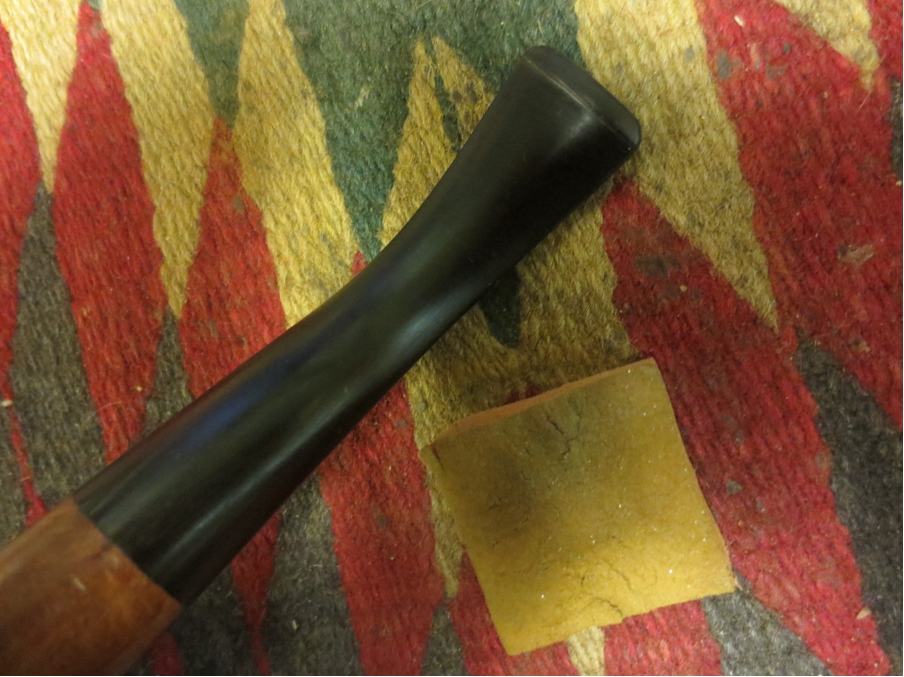
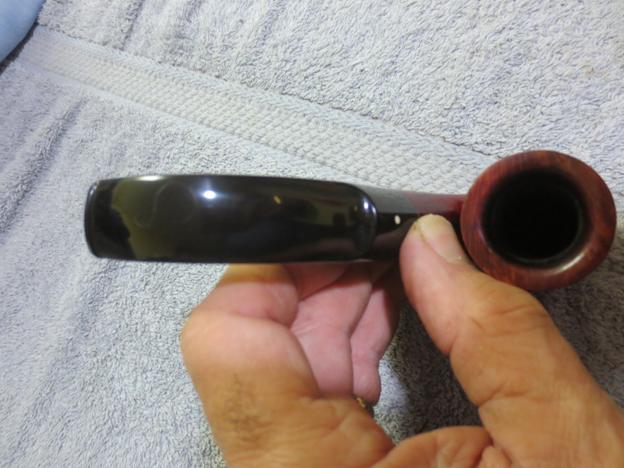
 I sanded the stem lightly with 220 grit sandpaper paying special attention to the tooth marks and tooth chatter near the button on both the top and bottom of the stem. Once I had removed the marks and chatter I sanded it with a medium and a fine grit sanding sponge to remove the scratches.

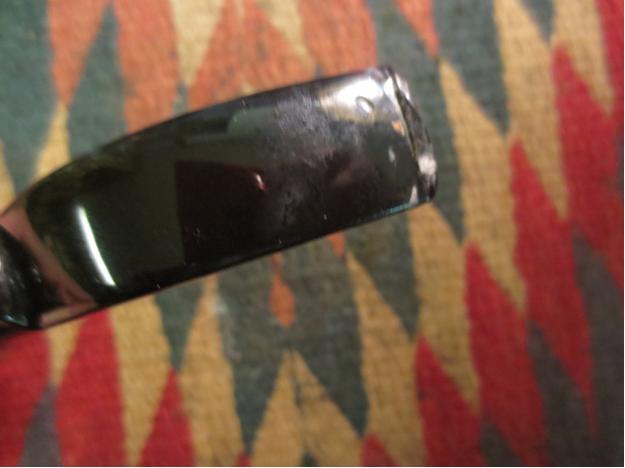
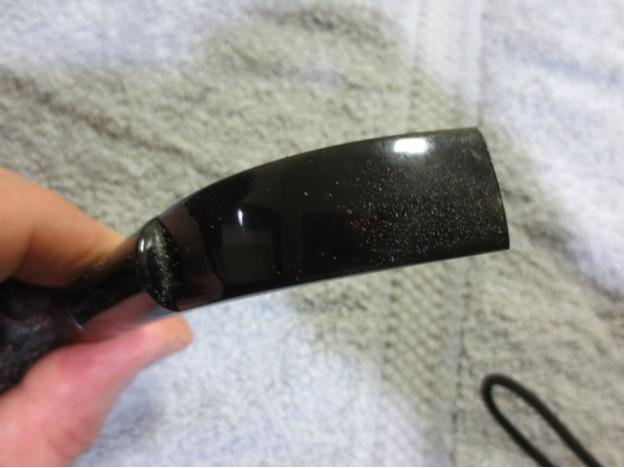
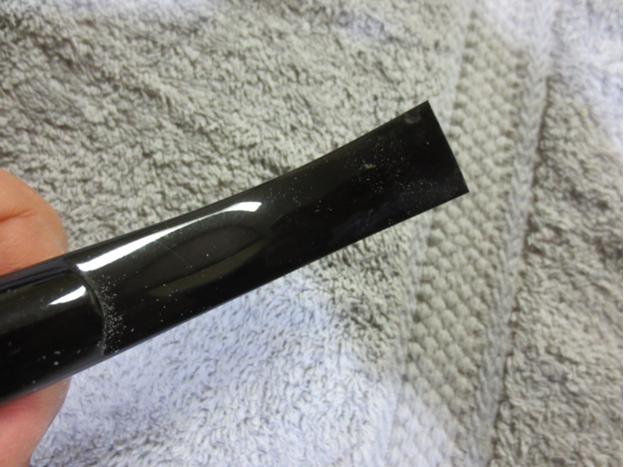
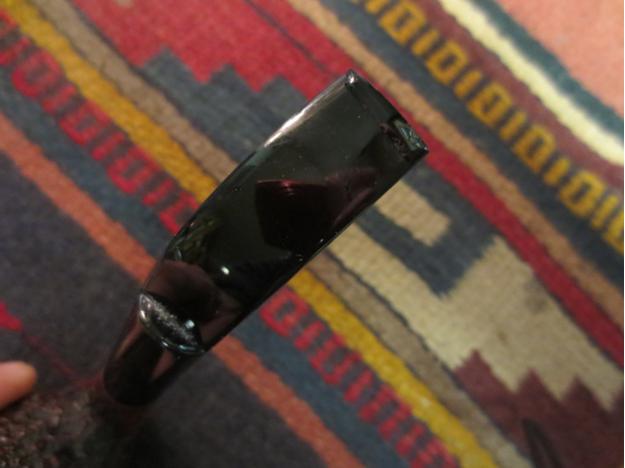
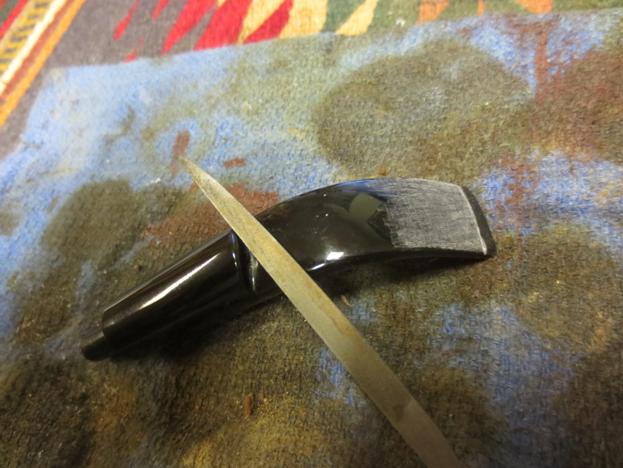
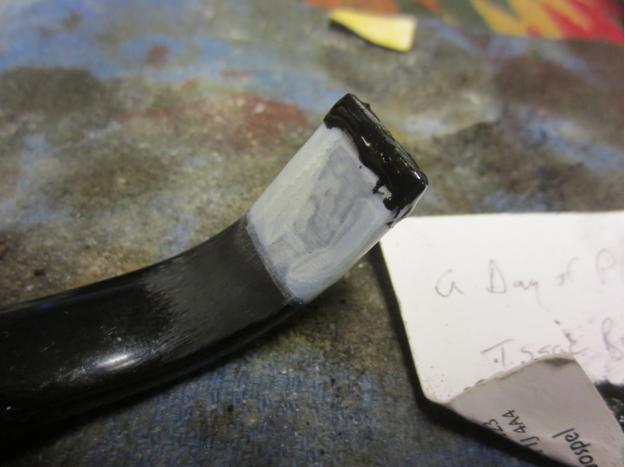
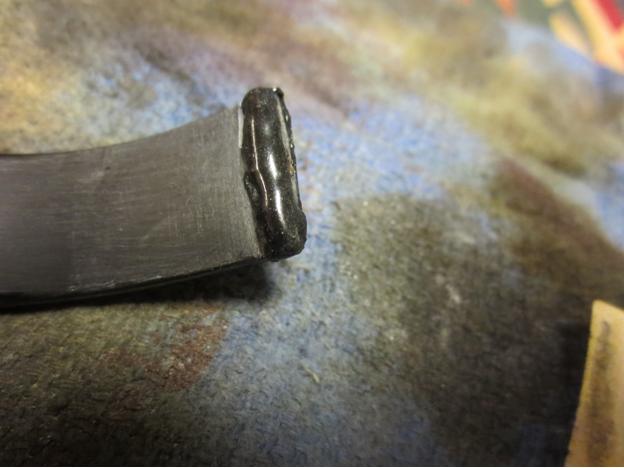
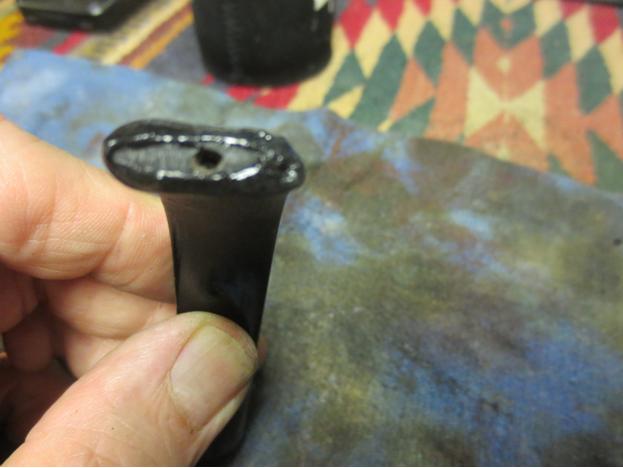
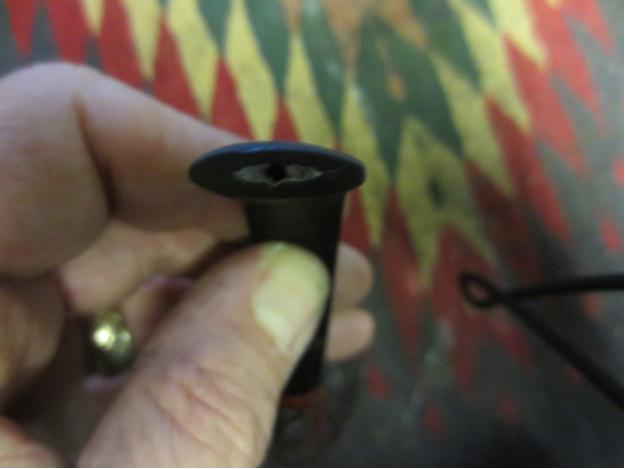
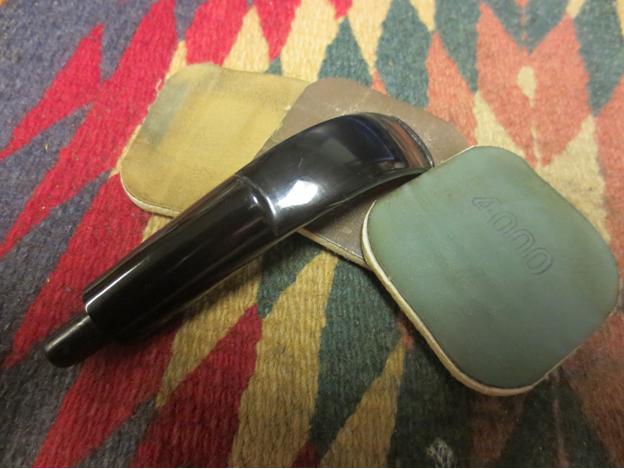
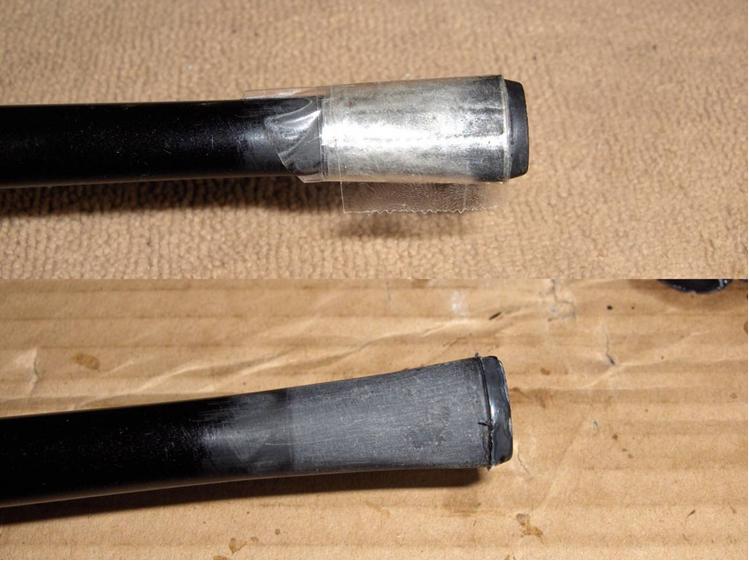
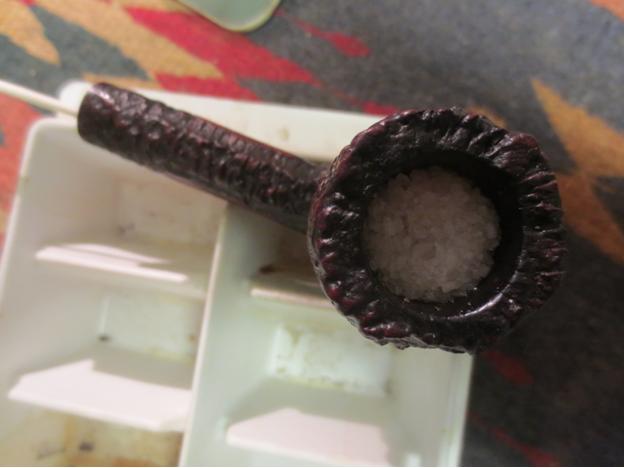
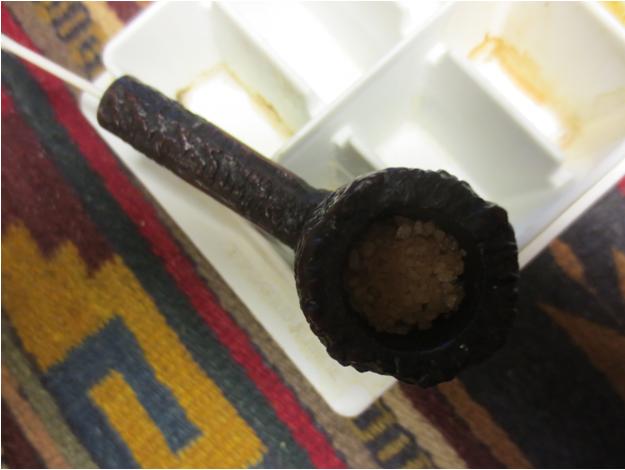
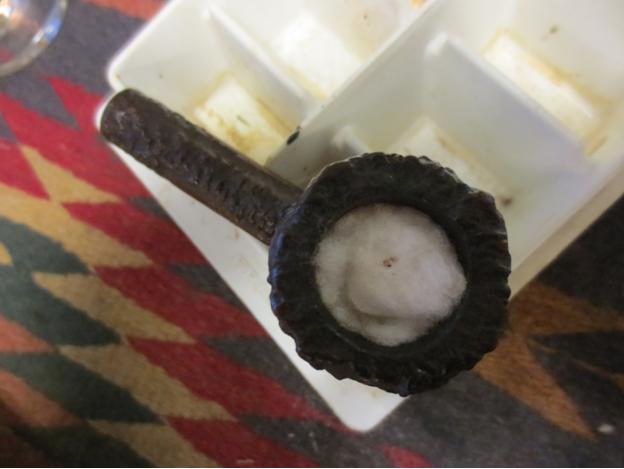
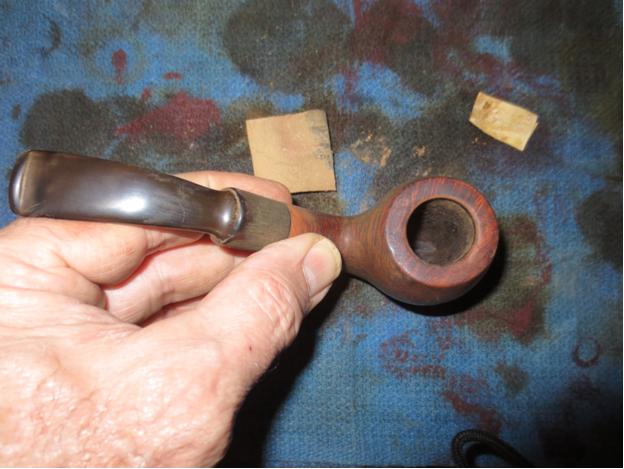
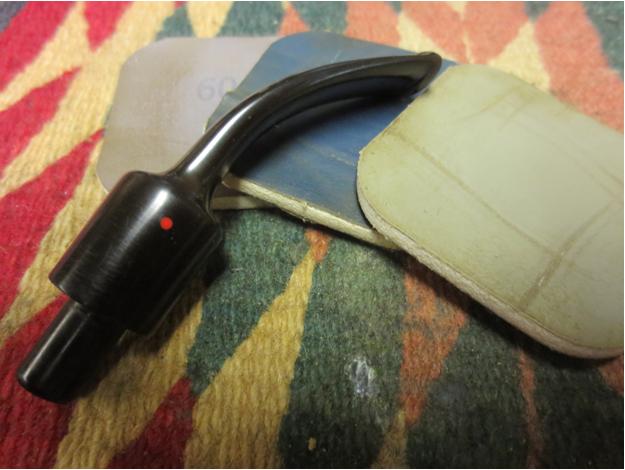
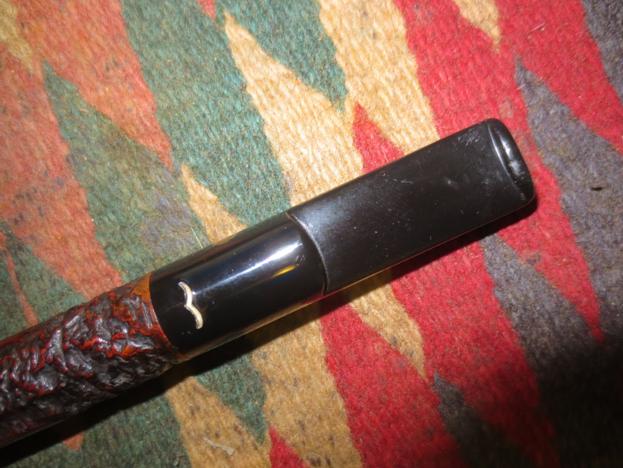
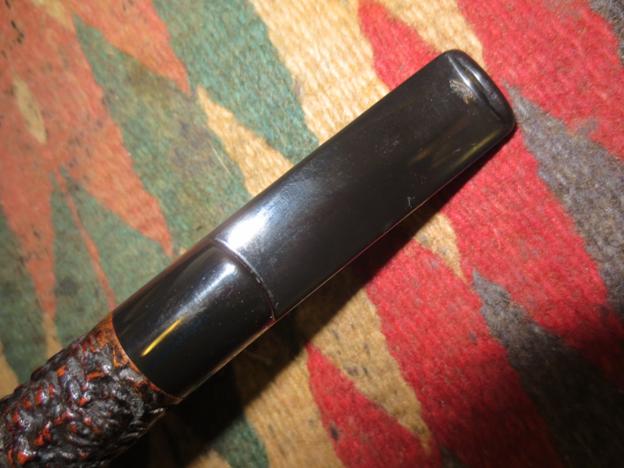
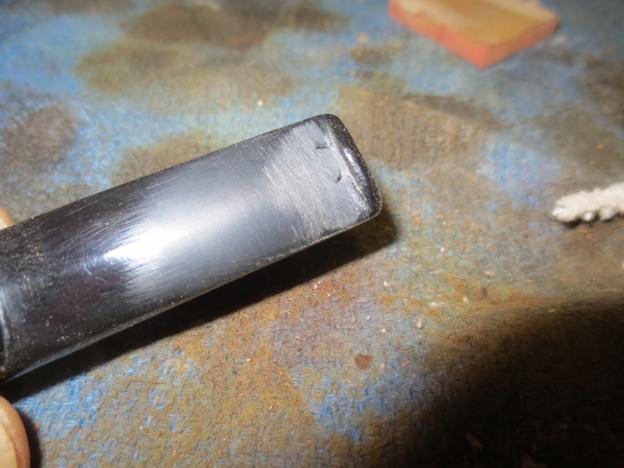
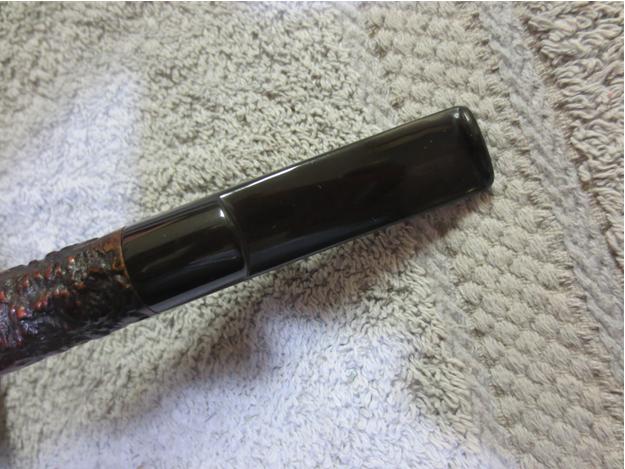
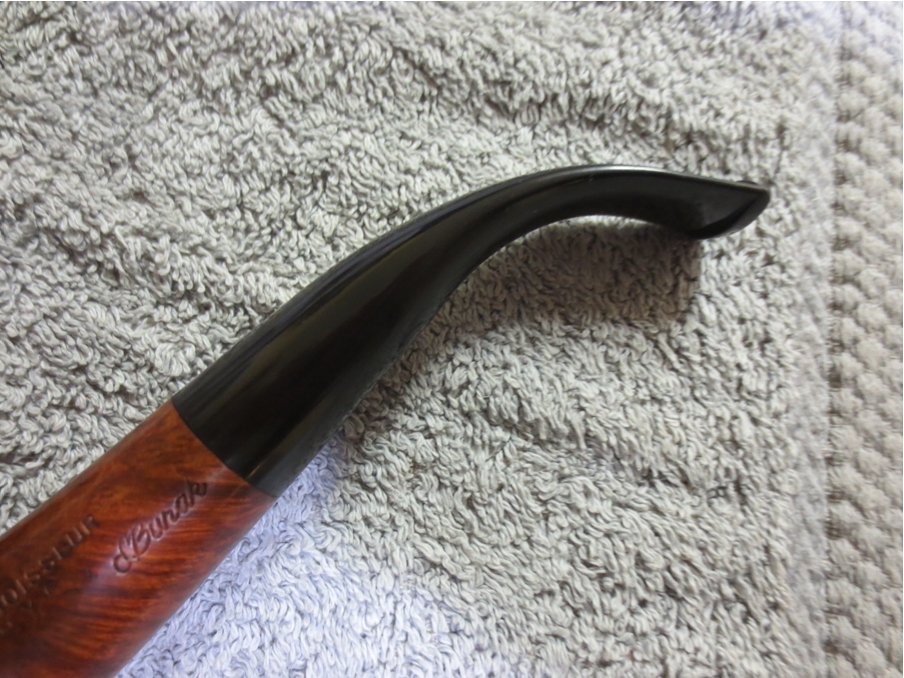
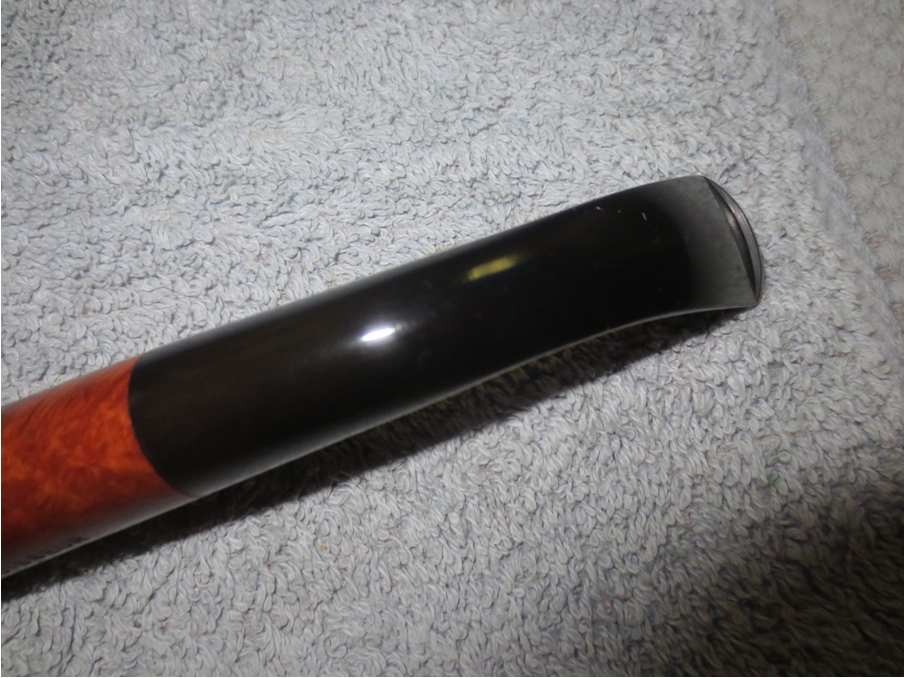
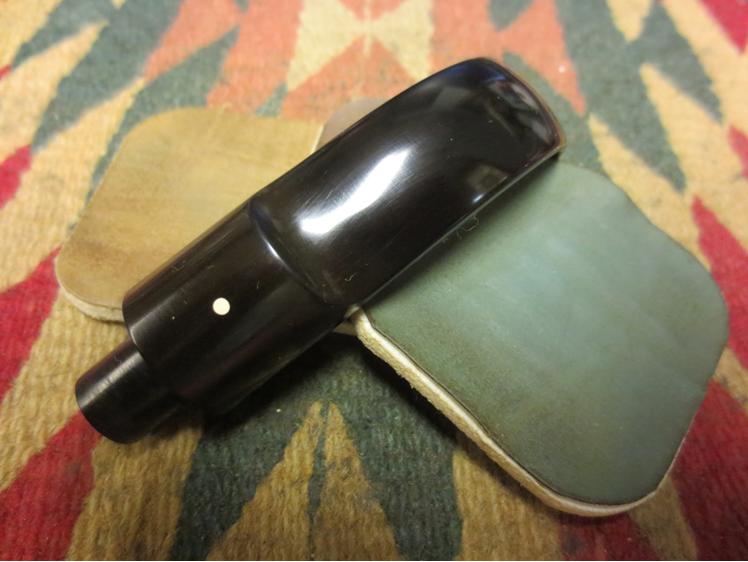
 The next four close-up photos show what the stem looked like at this point in the process of removing the oxidation and scratches.
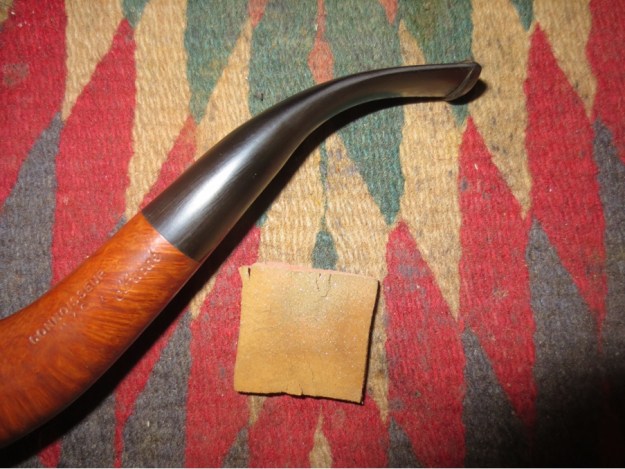


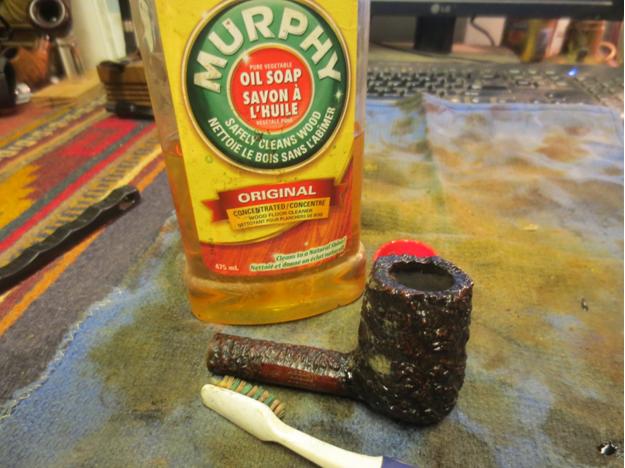
 To highlight the beautiful mixed grain on this piece of briar I rubbed it down with a light coat of olive oil and let it soak into the briar.


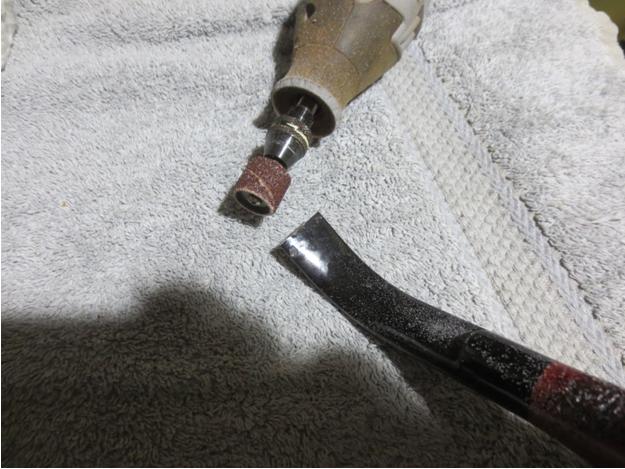
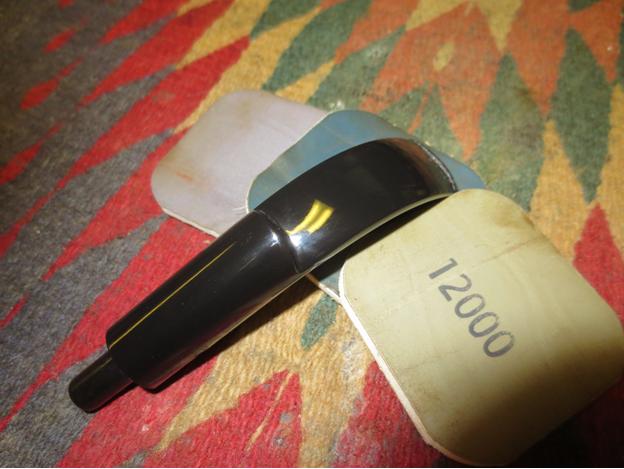
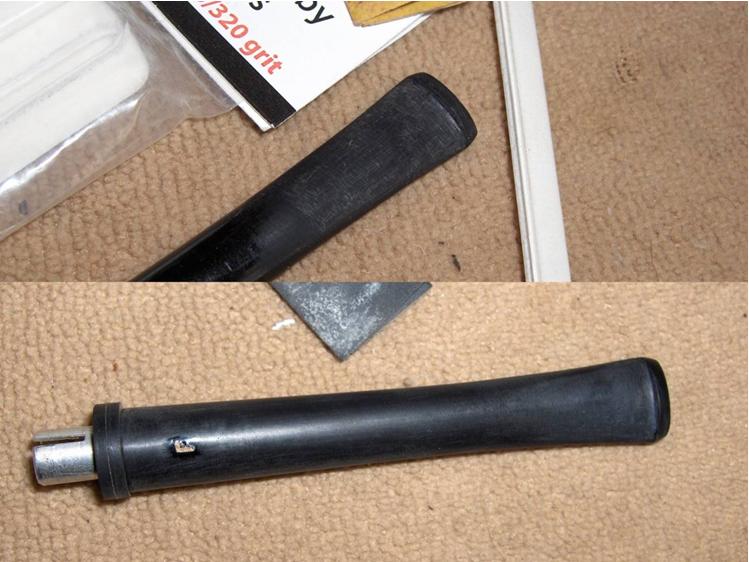
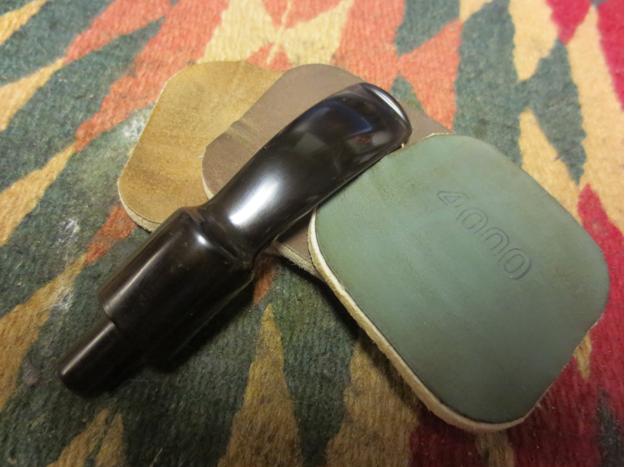
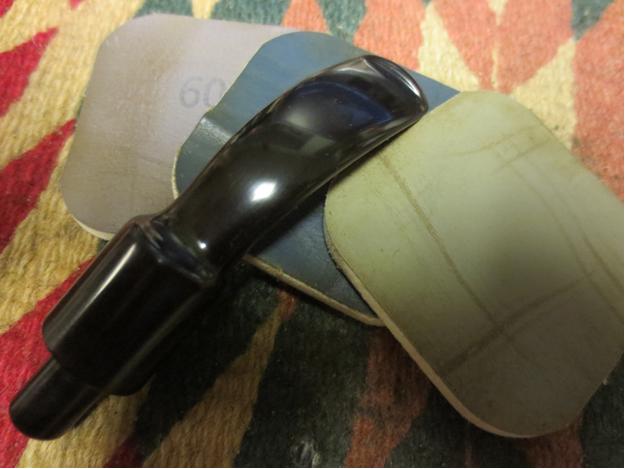
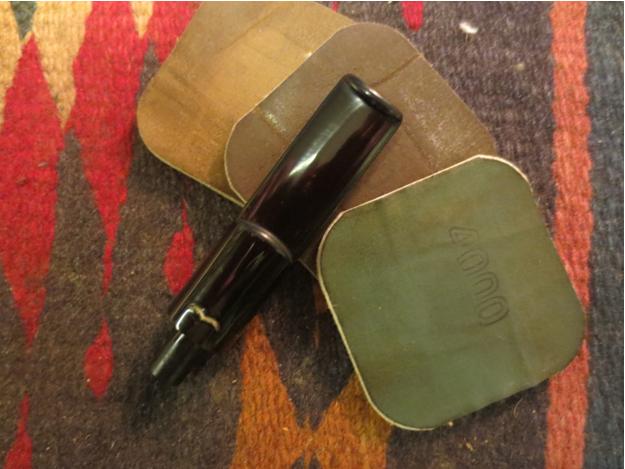
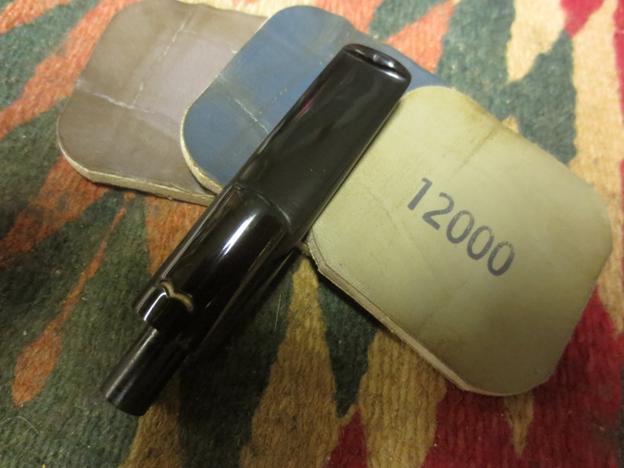
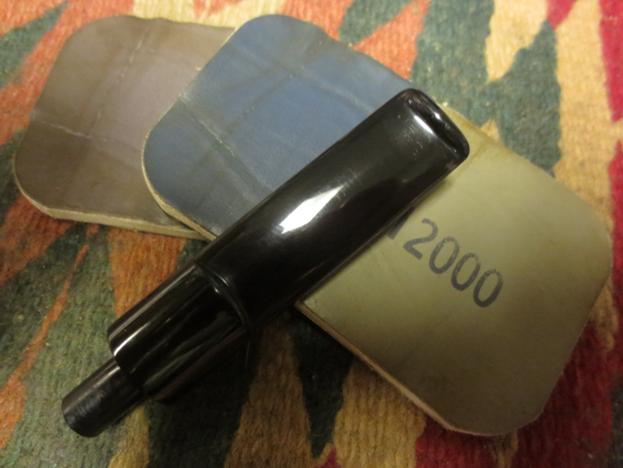
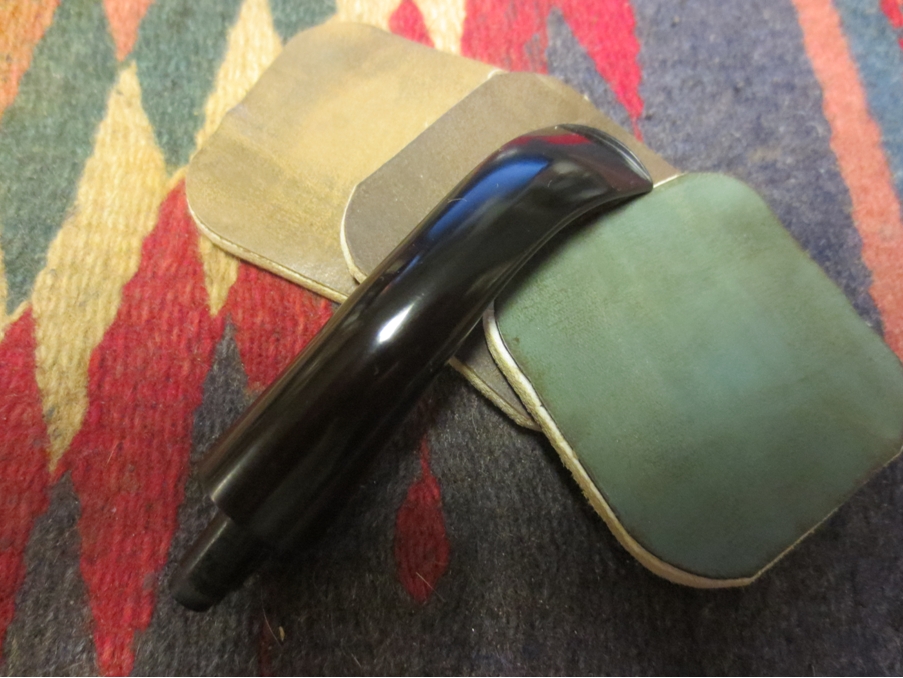
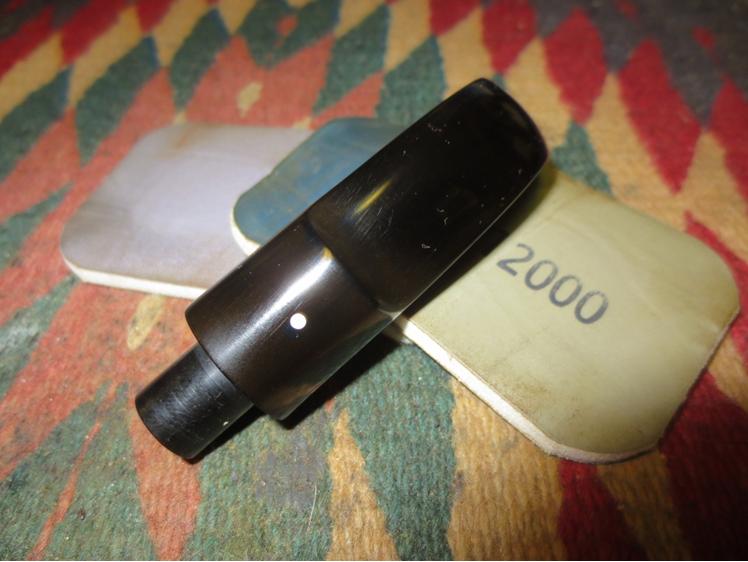
 I sanded the stem with micromesh sanding pads – wet sanding with 1500-2400 grit pads. Once I finished with the 2400 grit pad I buffed it with White Diamond and then rubbed it down with Obsidian Oil.
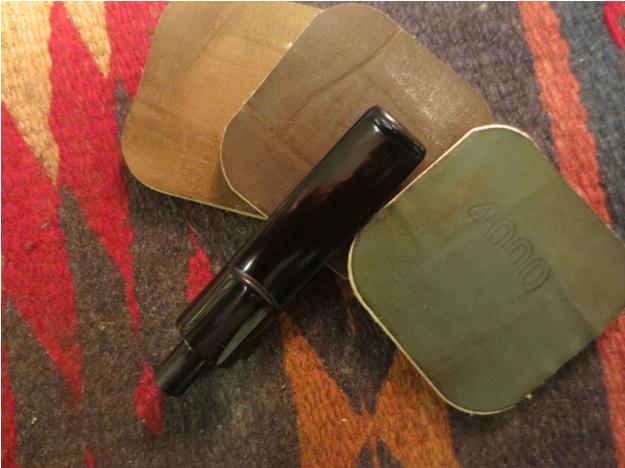
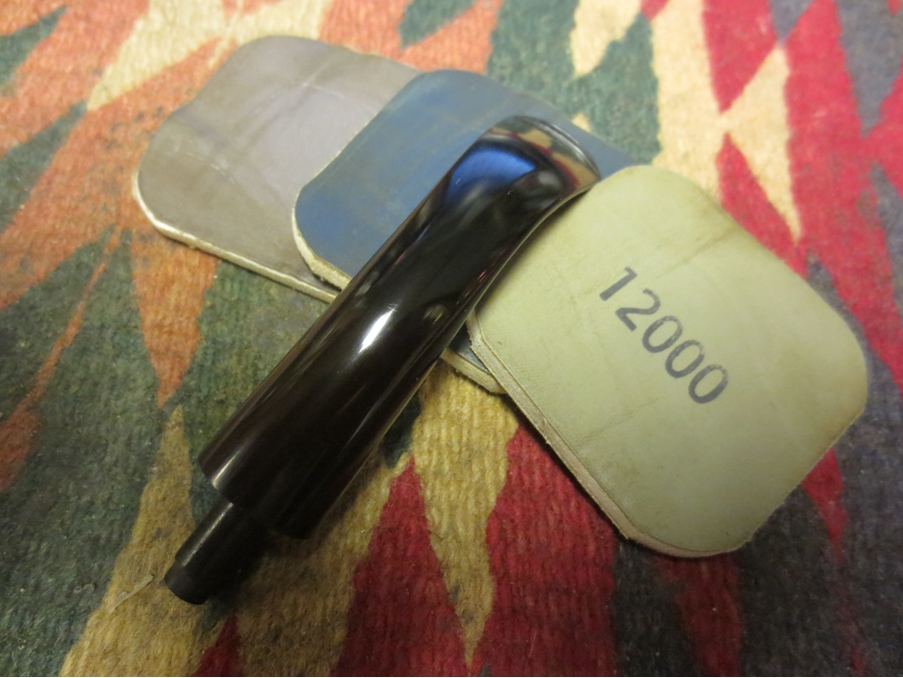
 I dry sanded with 3200-4000 grit micromesh pads and again rubbed it down with Obsidian Oil. Once it dried I lightly buffed it again with White Diamond to give it a deeper polish. Then I continued sanding it with 6000-12,000 grit micromesh sanding pads.
 I gave it a final coat of the oil and took the pipe to the buffer and buffed it with Blue Diamond Plastic Polish.


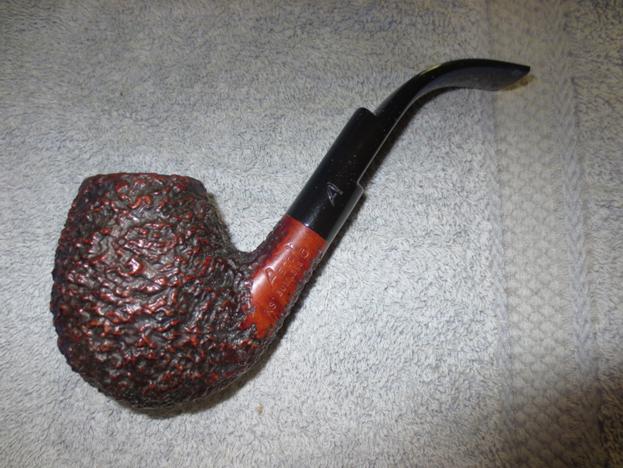
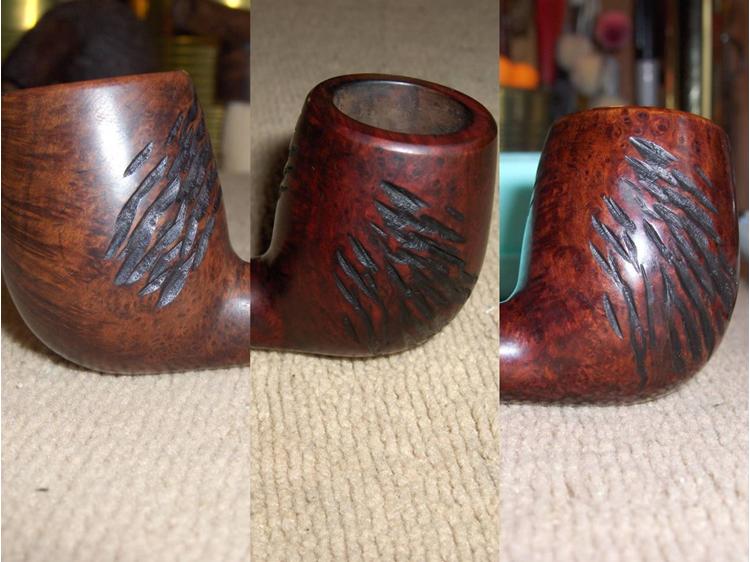
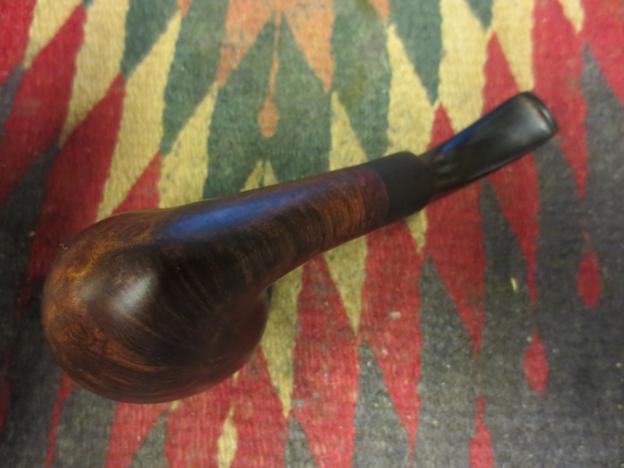
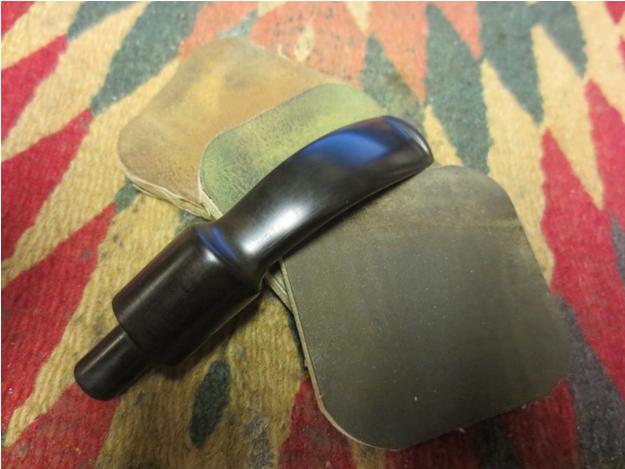
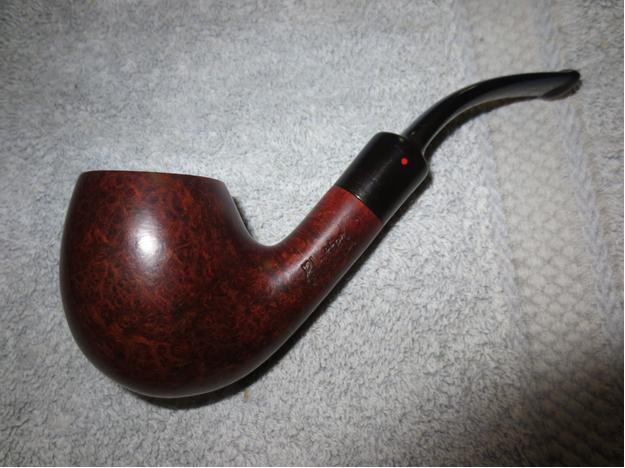
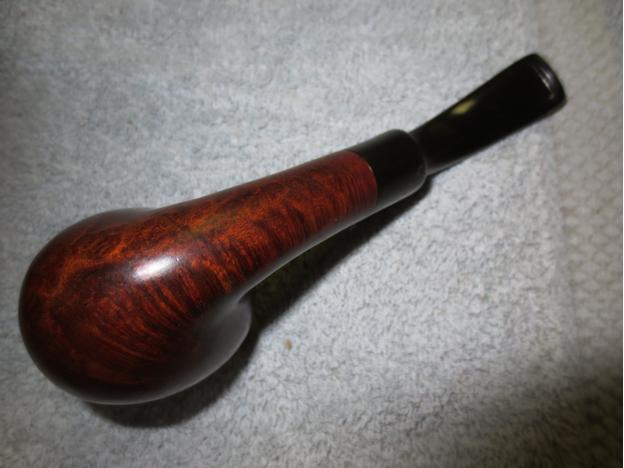
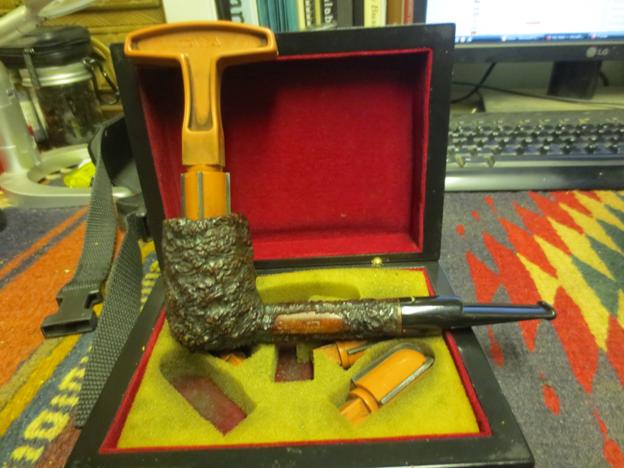
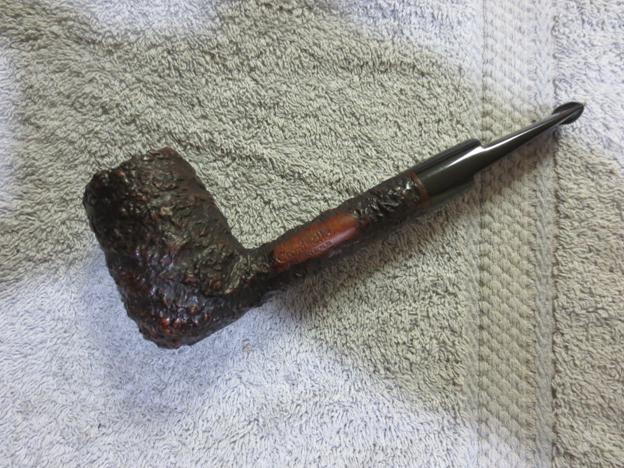
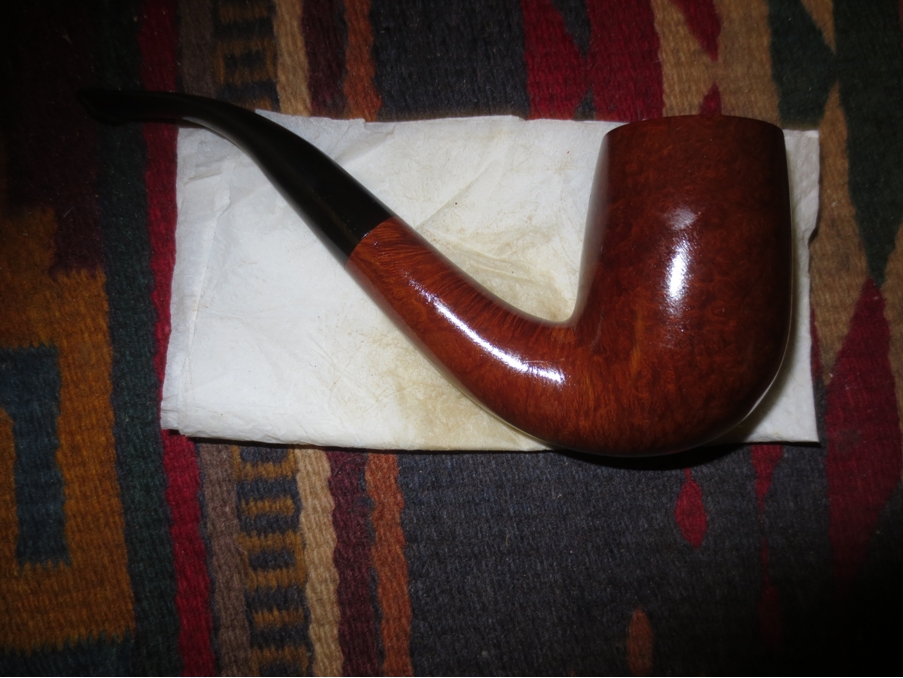
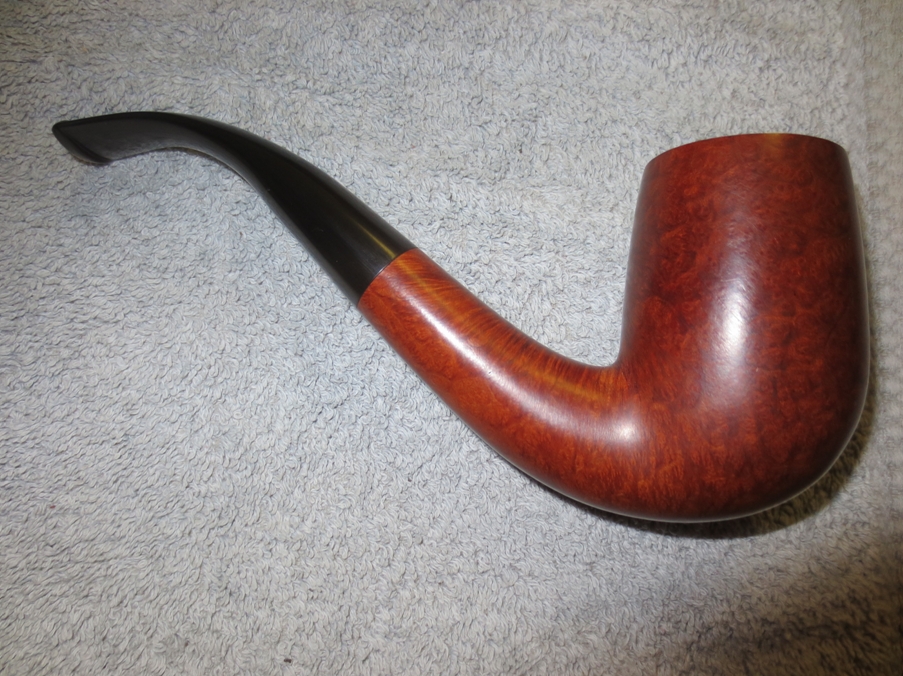
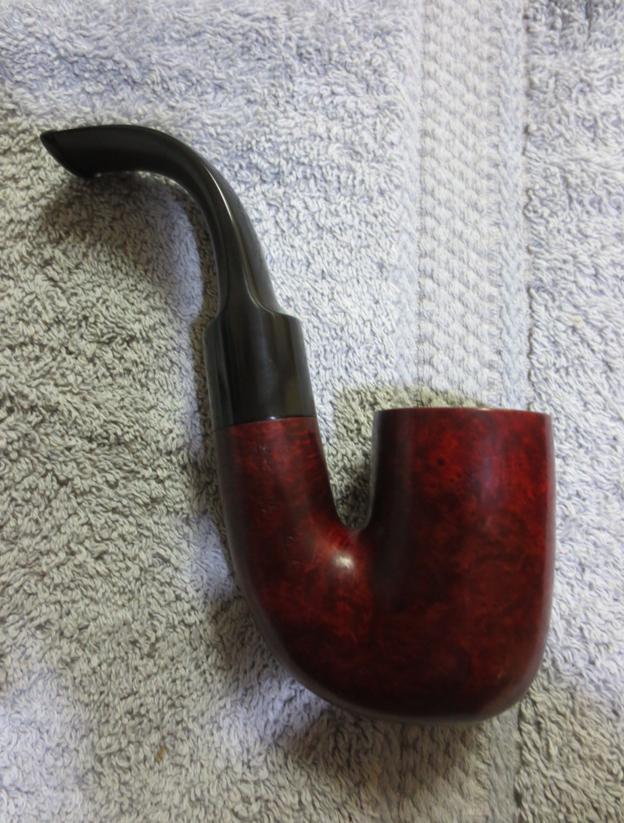
 I buffed the whole pipe with Blue Diamond and gave it multiple coats of carnauba wax to protect the finish and the stem. I finished buffing it with a clean, soft flannel buff and no buffing compounds to raise the shine on the finish and the stem. The finished pipe is shown below. Thanks for looking.


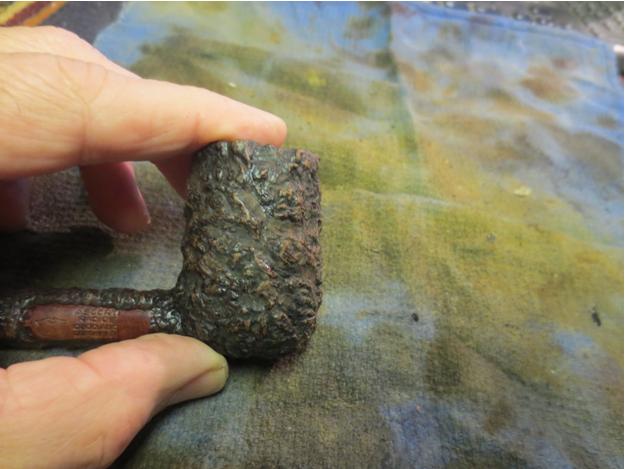
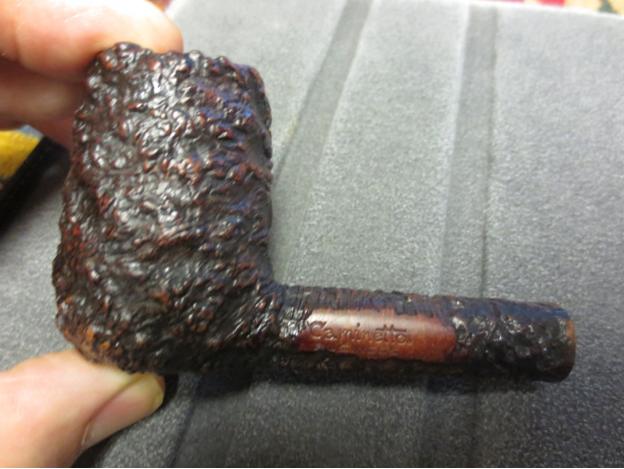
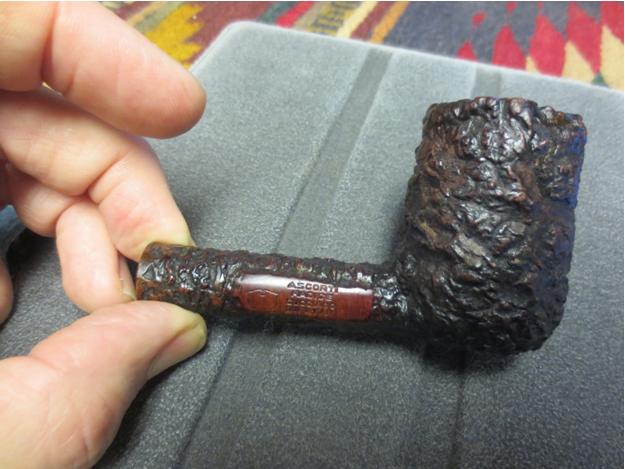
 I cleaned out the shank with pipe cleaners, cotton swabs and isopropyl alcohol until the swabs came out clean. I cleaned the airway to the bowl and gave the bowl a light reaming to remove the uneven build up. I scrubbed down the rim and removed the light build up that was there and polished the bowl with carnauba on the buffer.
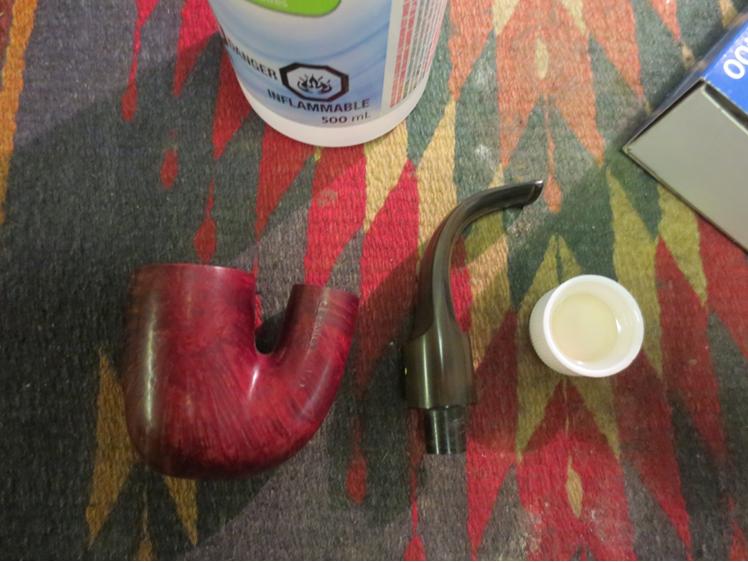 I lightly sanded the stem with a medium grit sanding sponge to loosen the oxidation and with 220 grit sandpaper to remove the tooth chatter and small dent.
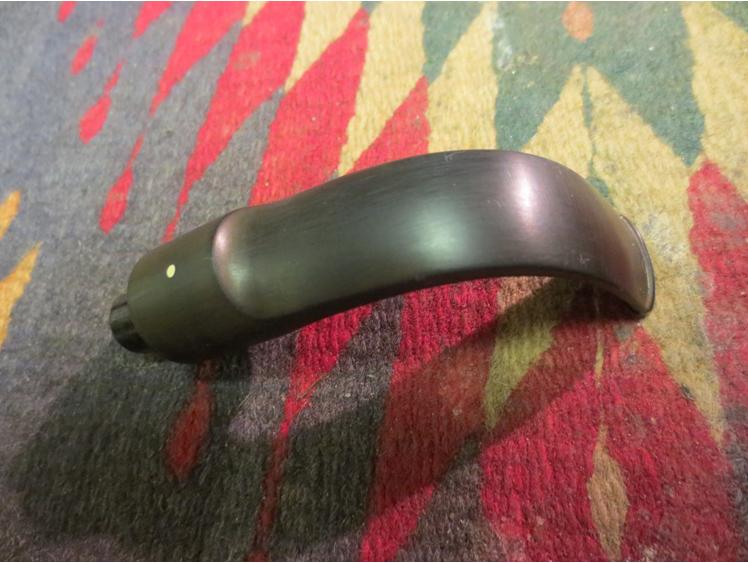

 I mixed up a batch of oxyclean and put the stem in the bath to soak overnight.
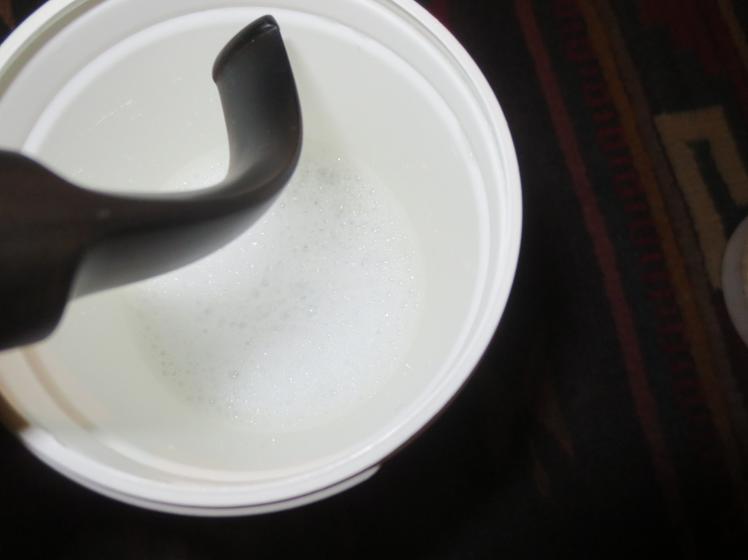 In the morning I took the lid off the container and removed the stem. The water had turned amber coloured. The oxidation had risen to the surface of the stem and I rubbed most of it off with a coarse cloth. I cleaned out the stem with alcohol and pipe cleaners and used the dental pick to clean out the slot on the stem.
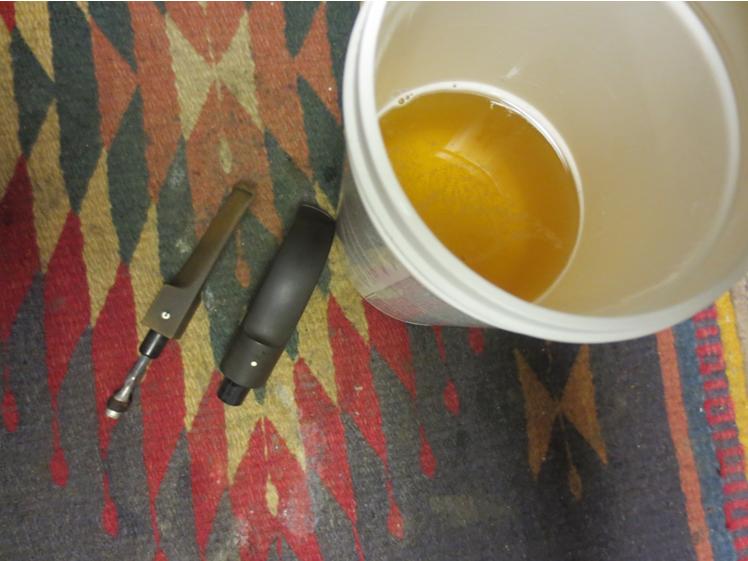 I sanded it with a medium and a fine grit sanding sponge to remove the softened oxidation.
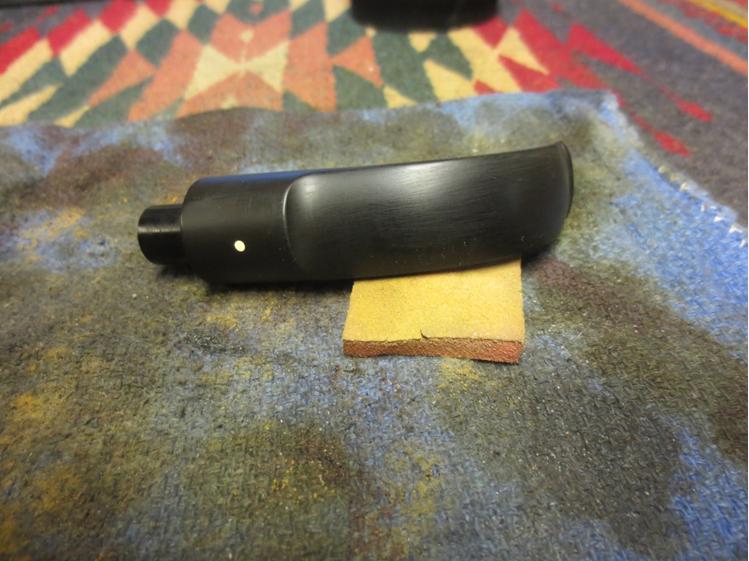 Then it was time to polish it with the micromesh sanding pads. I wet sanded with 1500-2400 grit pads and dry sanded with 3200-12,000 grit pads. I rubbed the stem down with Obsidian Oil between each set of three pads. I buffed the stem with red Tripoli after I finished with the 2400 grit pad and with White Diamond after the 12,000 grit pad.
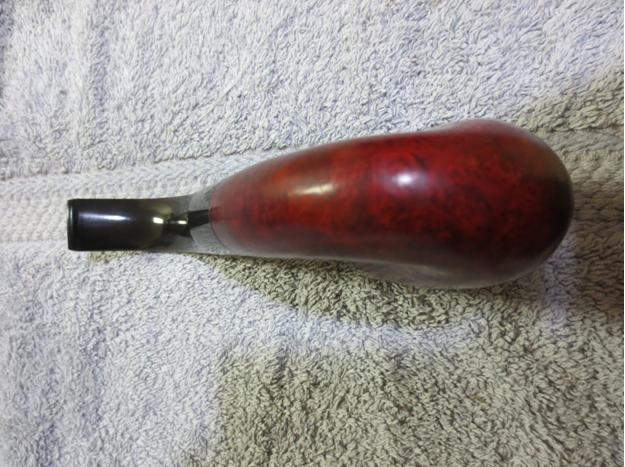
 There were still some scratches that showed up in the bright light of the flash so I worked it over again with the last set of pads and then buffed it with Blue Diamond Plastic Polish on the wheel. I finished by giving the bowl and stem multiple coats of carnauba wax and then buffing it with a clean, soft flannel buffing pad to raise the shine. The finished pipe is shown below. Somehow in the photos the fluorescent lights lend the photo a yellow tint that I normally do not get. The stem is absolutely shiny and black and the bowl is a rich oxblood red. It is ready to be smoked and enjoyed.
 Thanks for looking.