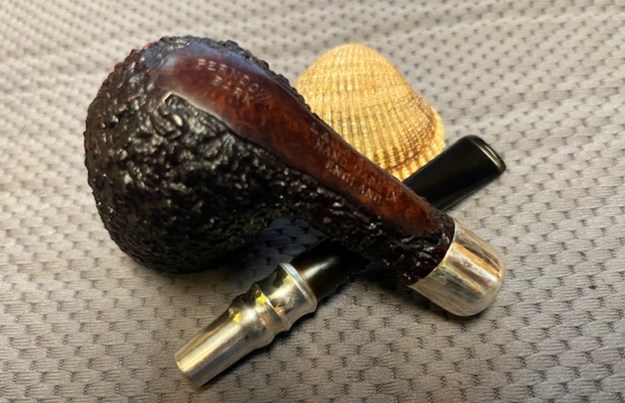
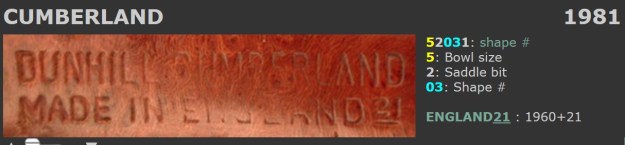
By Steve Laug
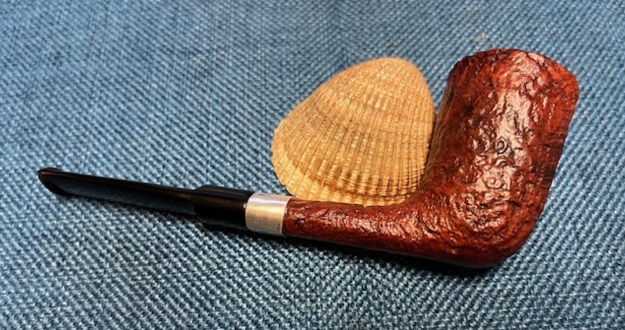
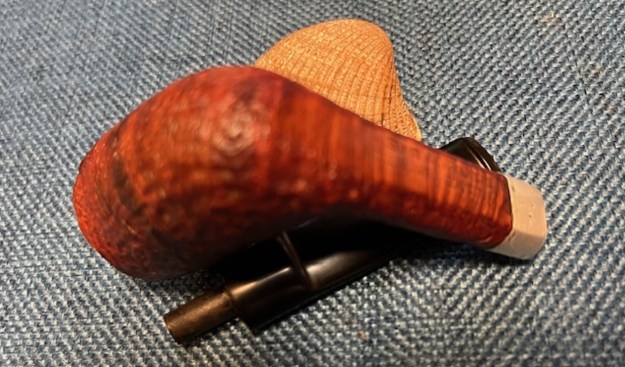
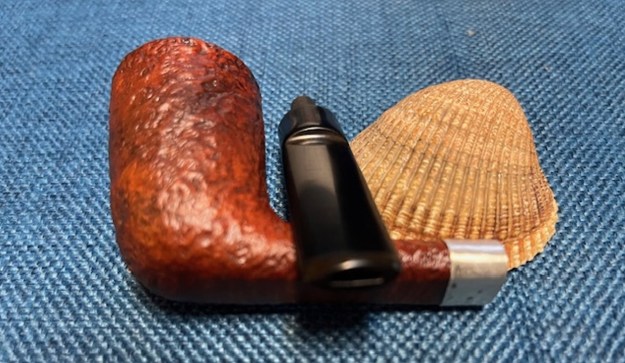
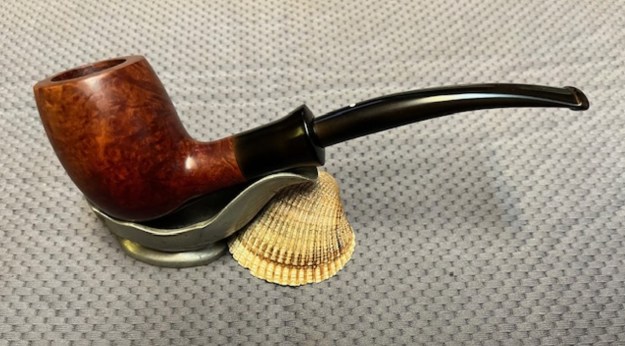
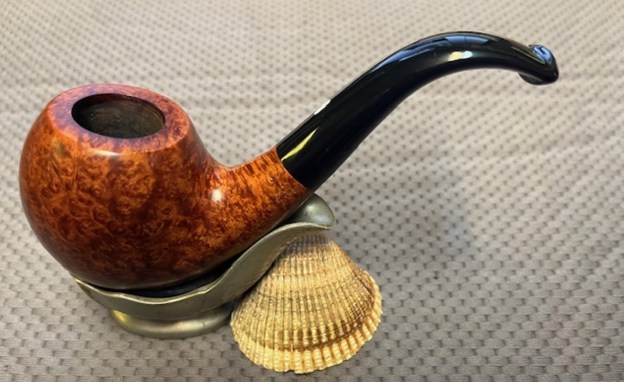
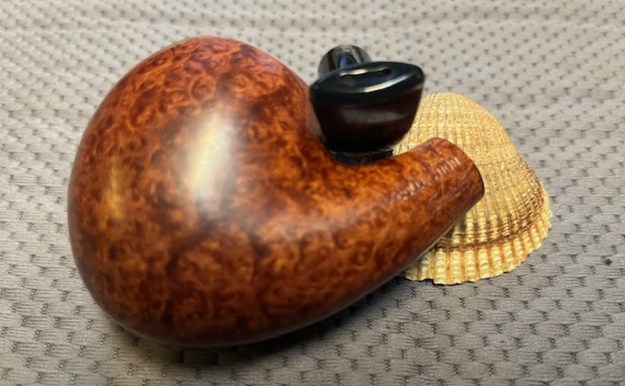
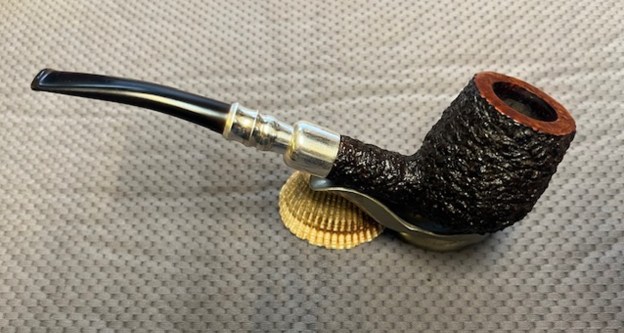
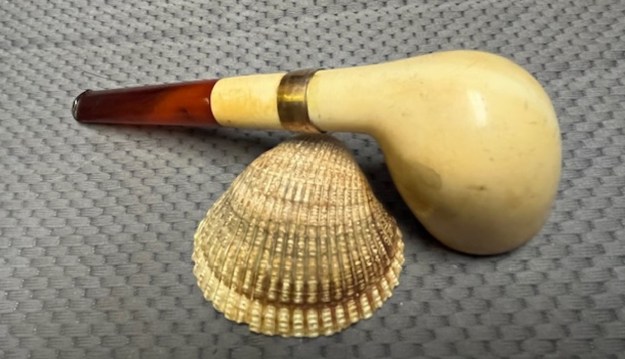
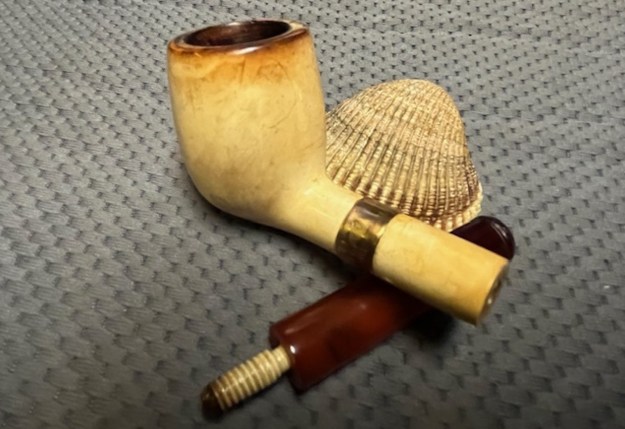
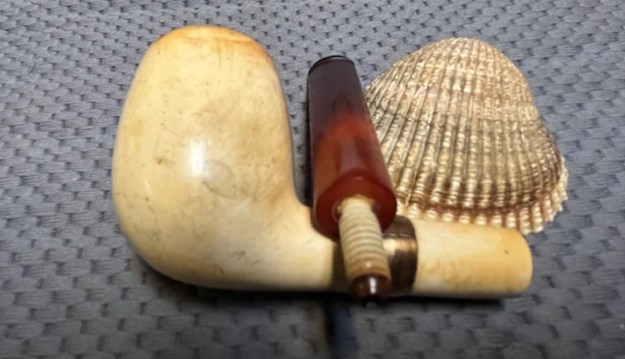
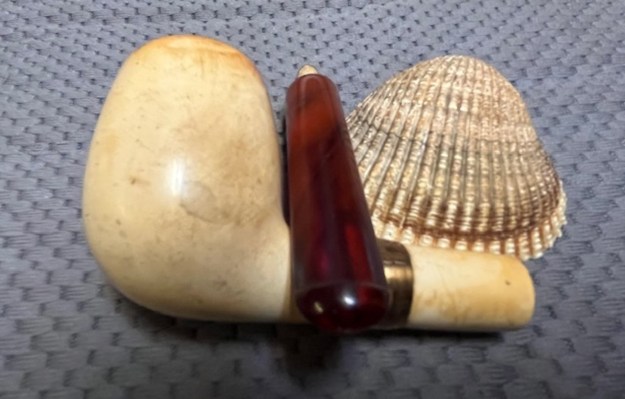
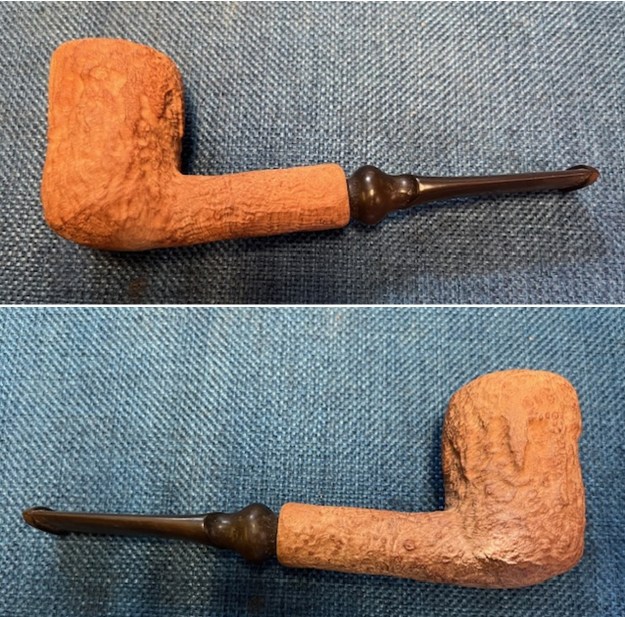
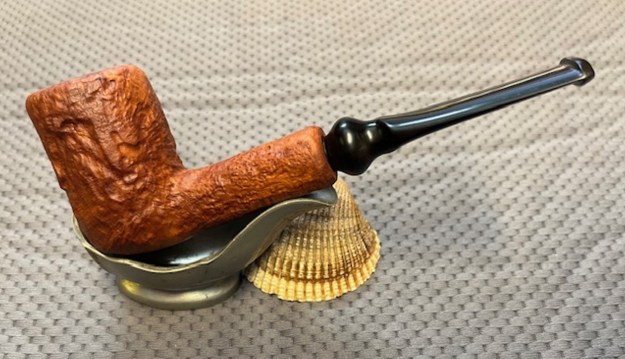
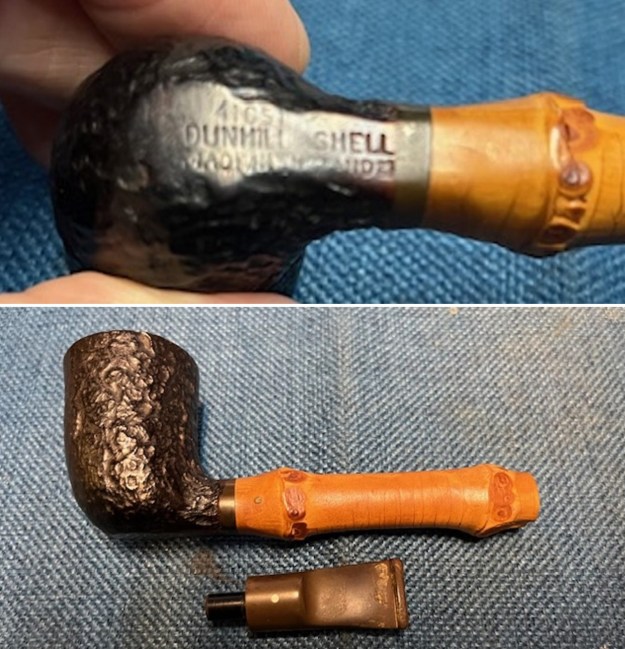
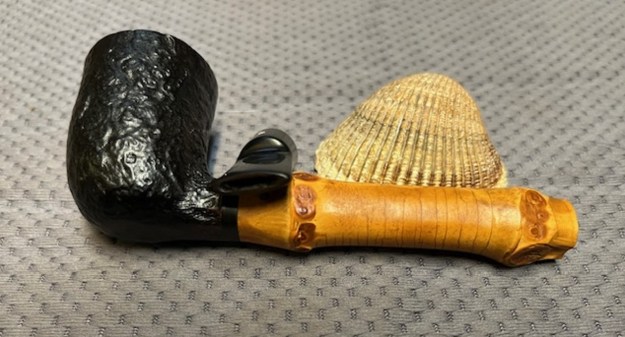
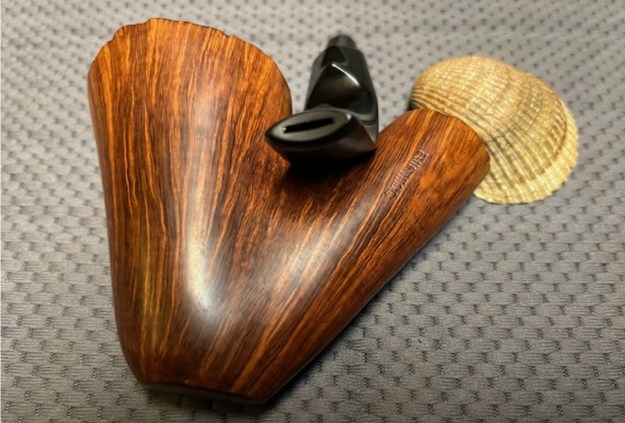
A week or so ago I traded some pipes for the two Castello Pipes below. The fellow I traded them with and I both felt we got a great trade. I chose to work on the bottom pipe in the photos below next. It is a sandblast finished Castello that is quite stunning. It is stamped on a smooth panel on the underside of the shank and reads US [followed by] Castello [over] Old Antiquari [followed by] Made in Cantu [over] Italy. That is followed by Kino in script in an oval. The bowl had a light cake and smelled primarily of Virgina tobaccos. There was some light lava on the smooth rim top but the inner and outer edge looked very good. The sandblast finish was dusty but the sandblast grain was beautiful. The acrylic stem has a white Castello bar on the topside of the taper. On the underside it is stamped Hand Made [over] Castello. There was a Softee Bit protector on the stem that had bite marks in it so I was a bit worried what might be underneath. When I removed it there was some light build up along the inner edge of the rubber bit guard but the acrylic was free of any bite marks or chatter.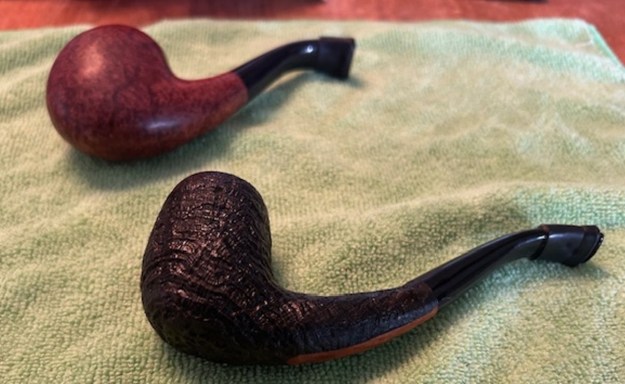
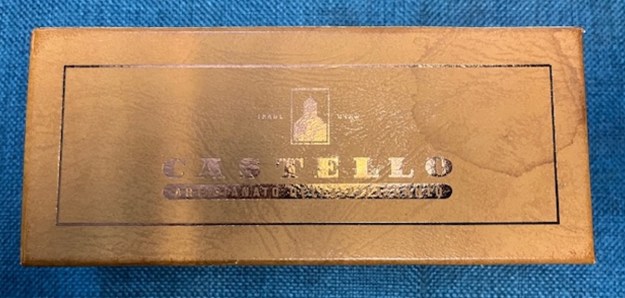
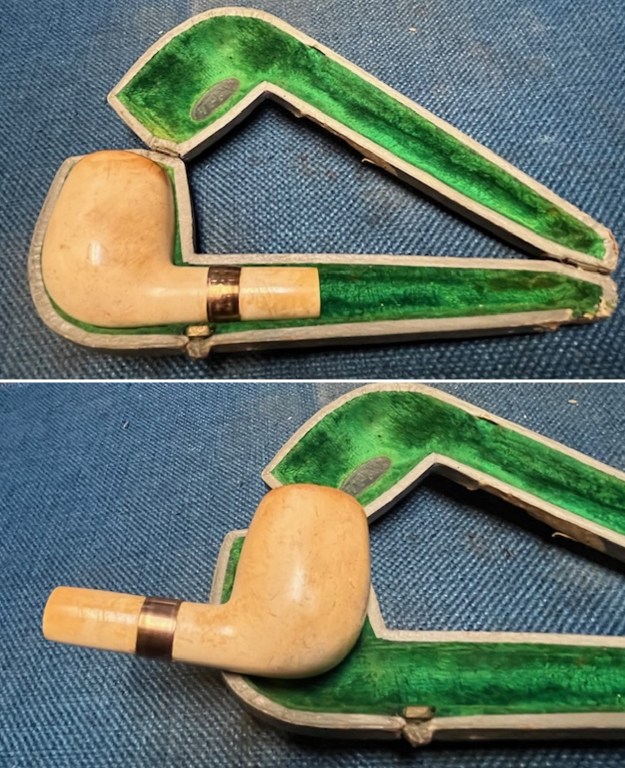
 When the pipe arrived, it was in the Castello original box with the rich wood colour. The box is hinged on the back of the box and has no damage on the box but a tear on the back right corner of the lid. The hinge was in good condition. The top of the box has the Castello Castle logo with Trade on the left side and Mark to the right of the mark. Underneath that it is printed Castello [over] Artigianato Della Pipa – Cantu. On the end of the box it is stamped with the Castle logo followed a box with CASTELLO [over] a box for a shape or pipe shape/line designation. Underneath it is stamped Made in Italy.
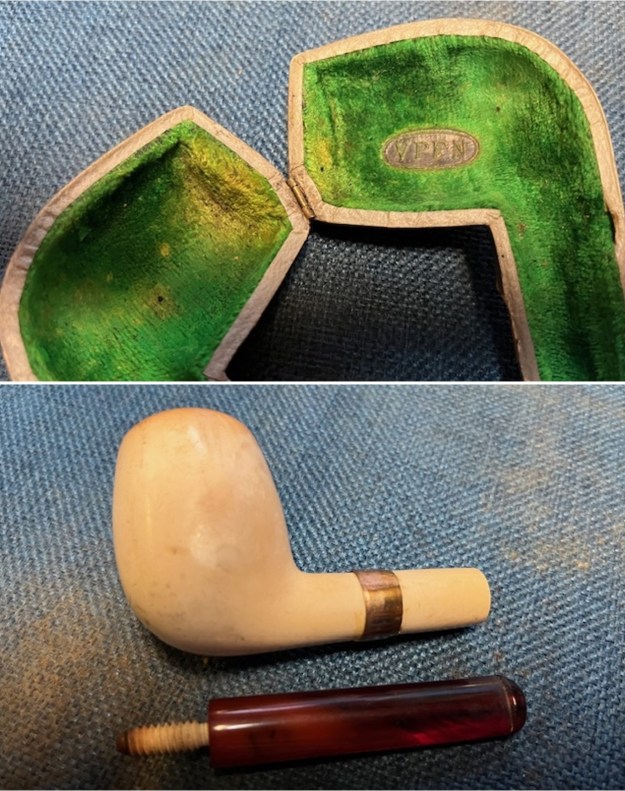
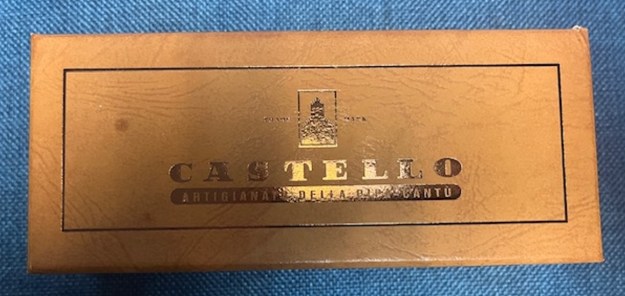 I opened the box and took a photo of the pipe inside. The inside of the cover it is stamped with the logo over PIPA CASTELLO [over] Made in Italy. The box had a cream coloured yellowish suede leather material with the same logo and stamp. The stem had a Softee Bit in place that I removed before I took the photo below.
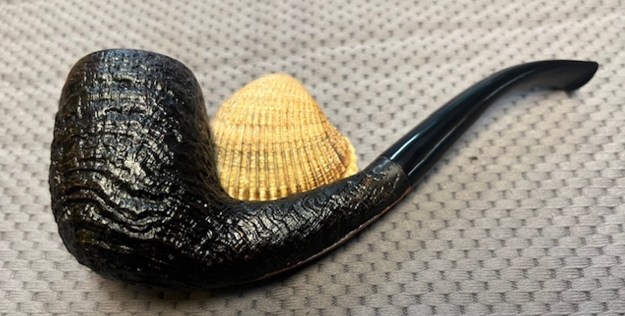
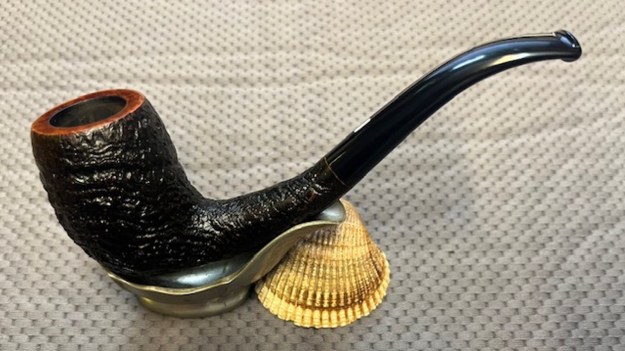
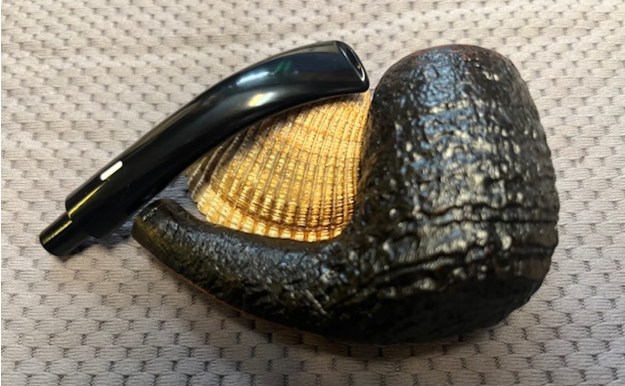
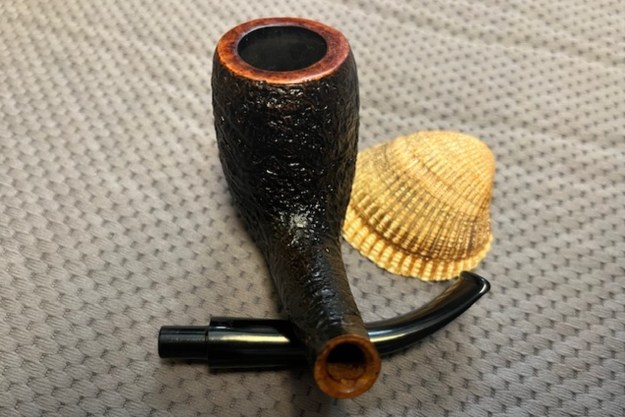
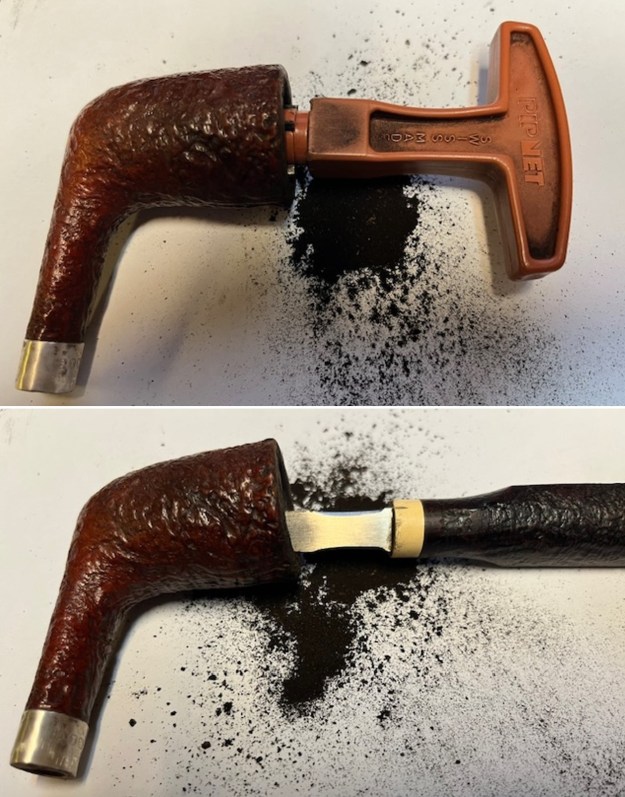
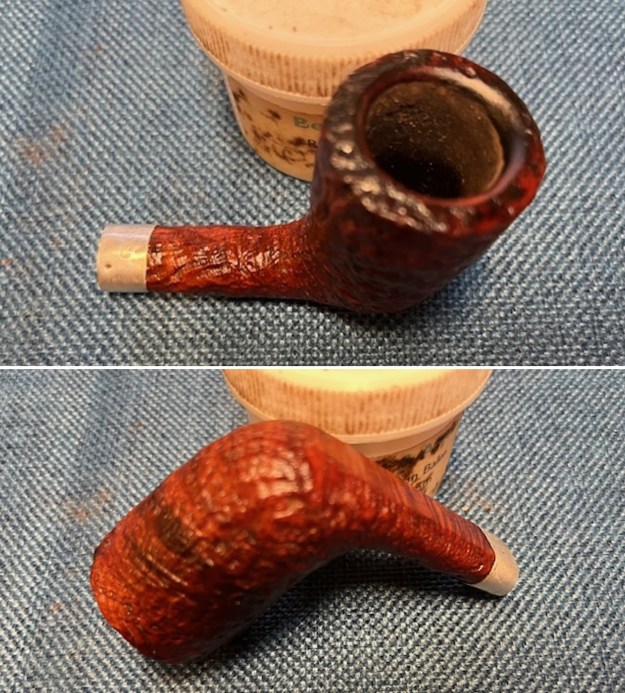
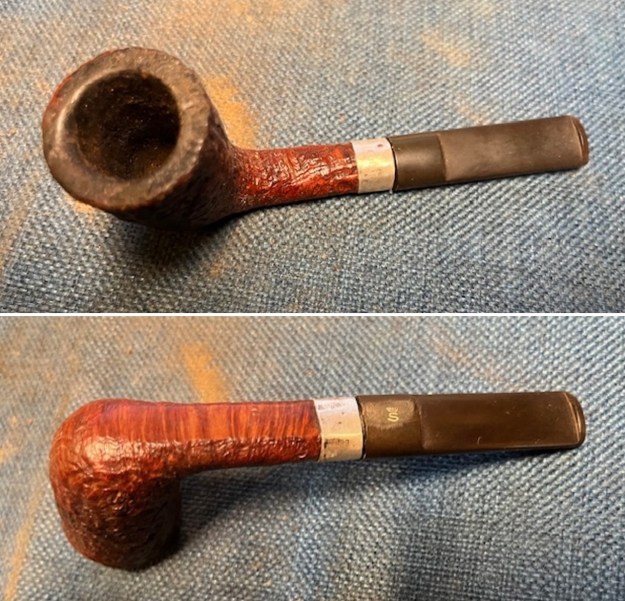
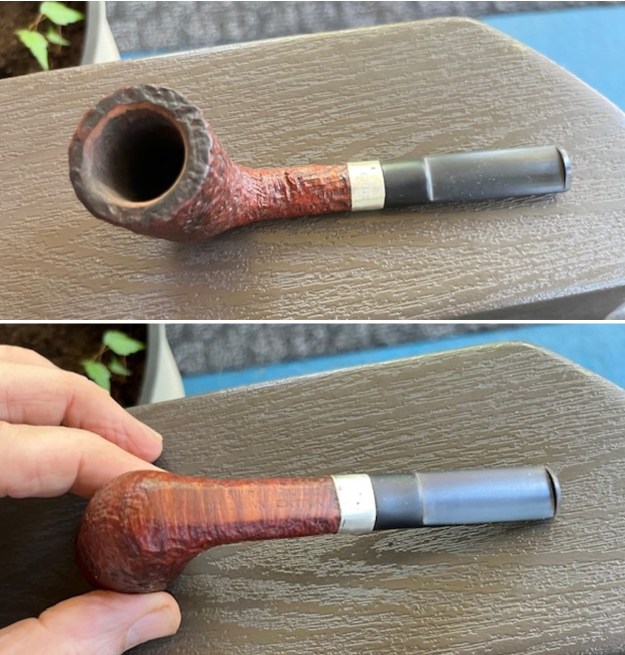
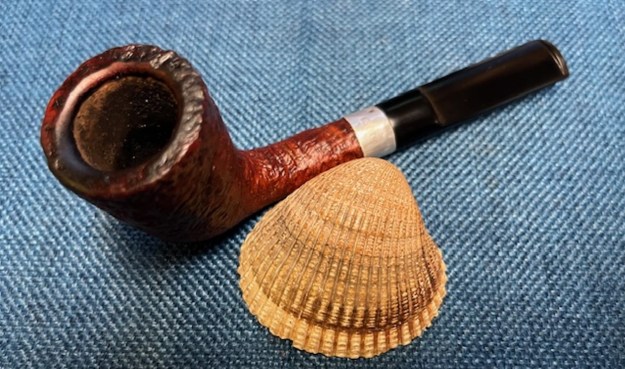
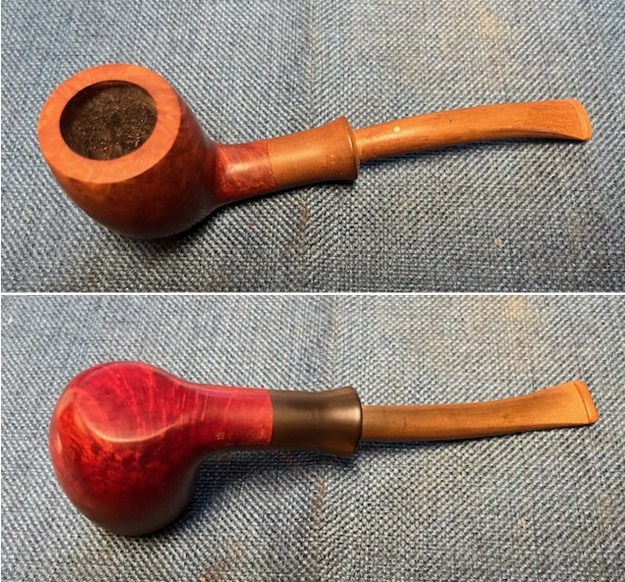
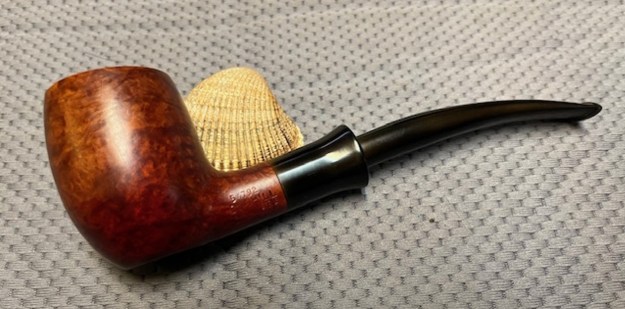
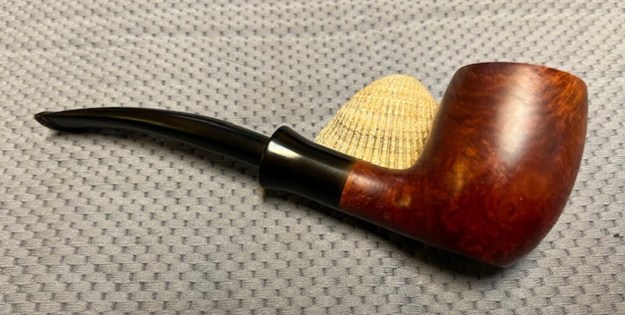
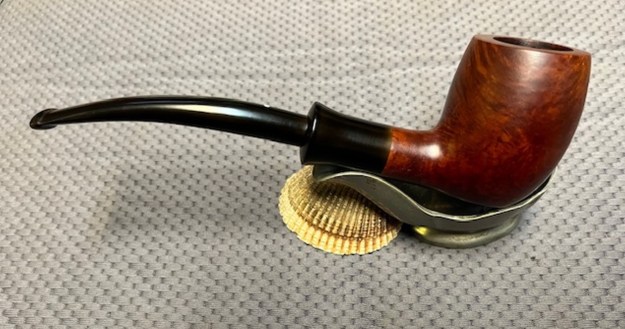
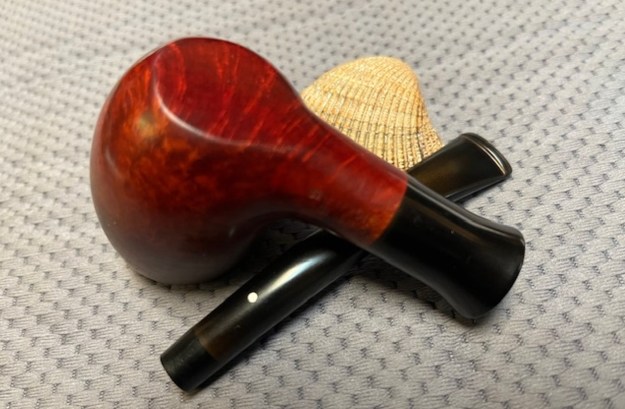
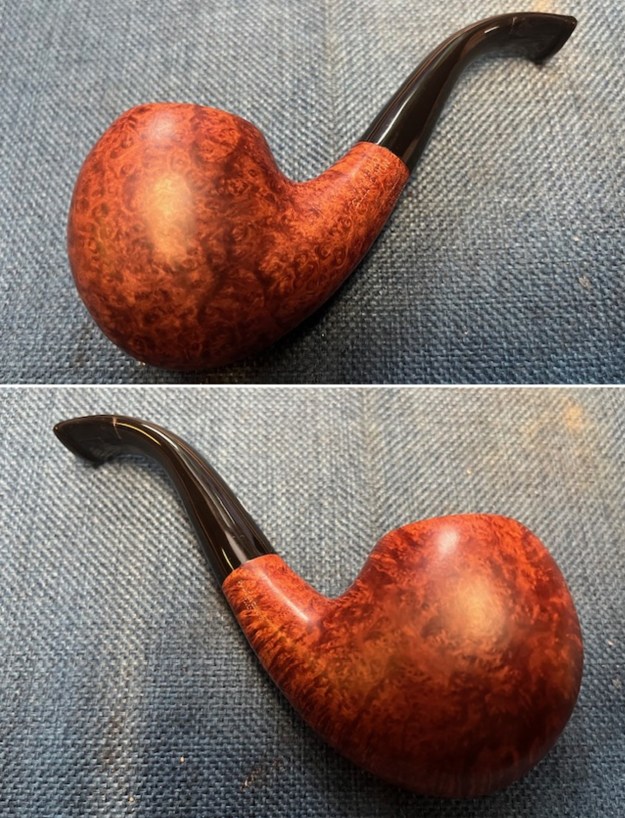
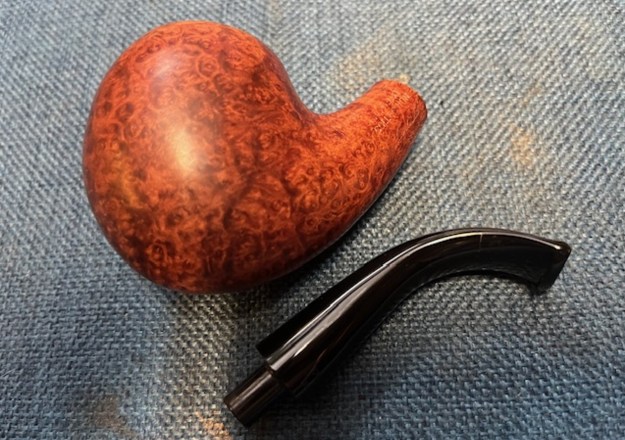
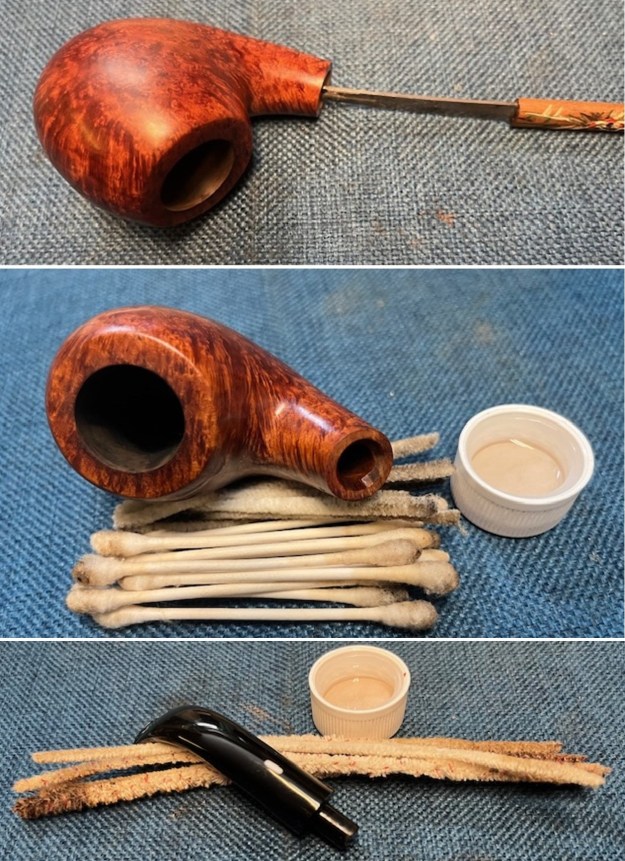
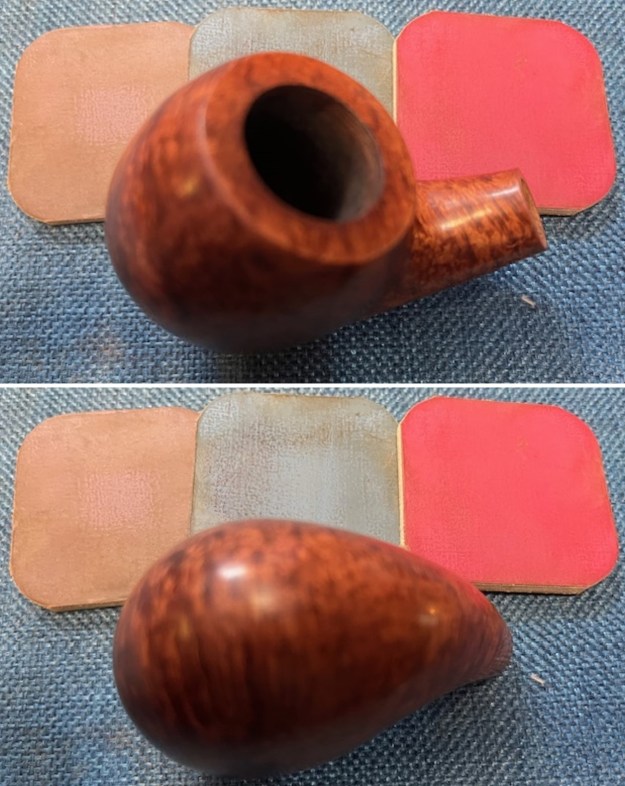
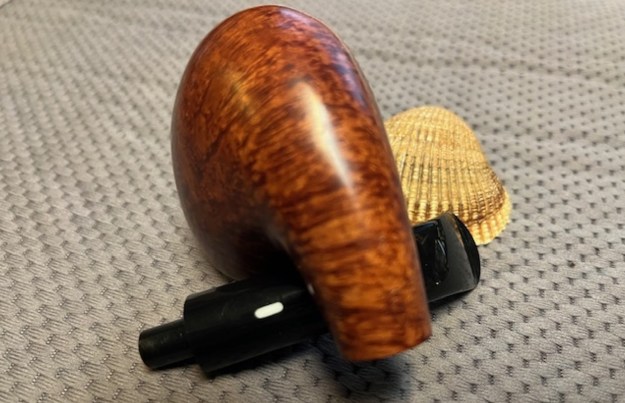
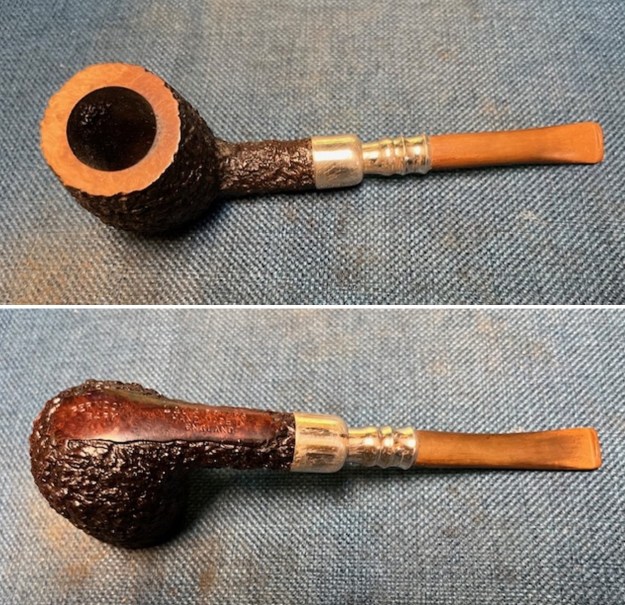
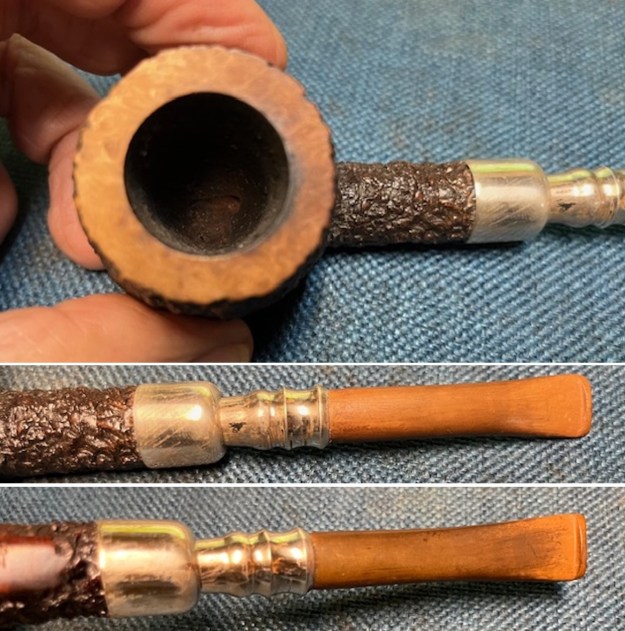
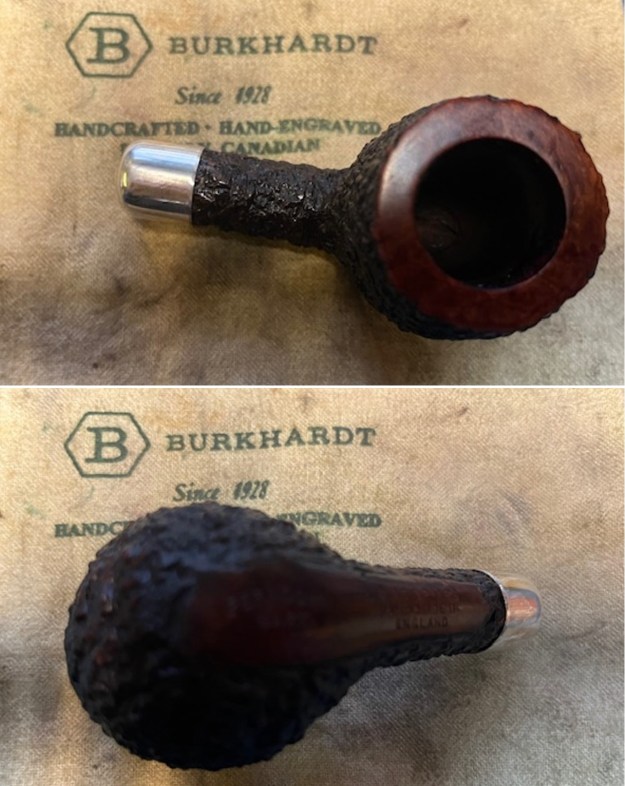
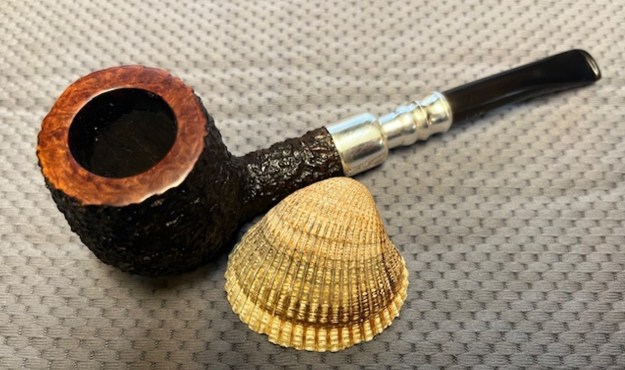
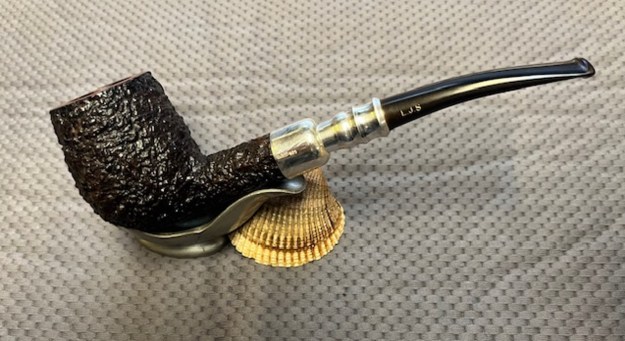
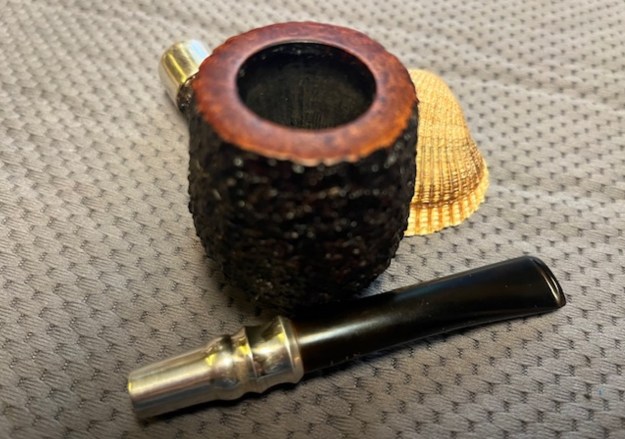
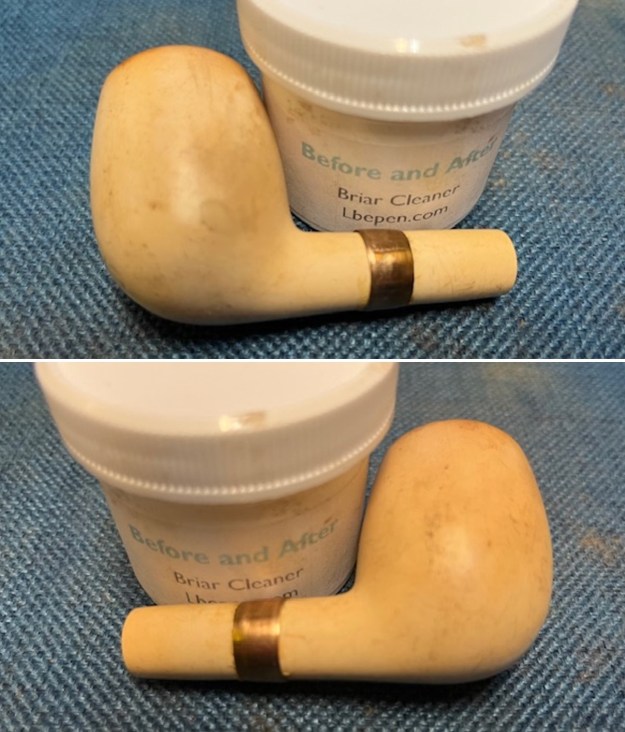
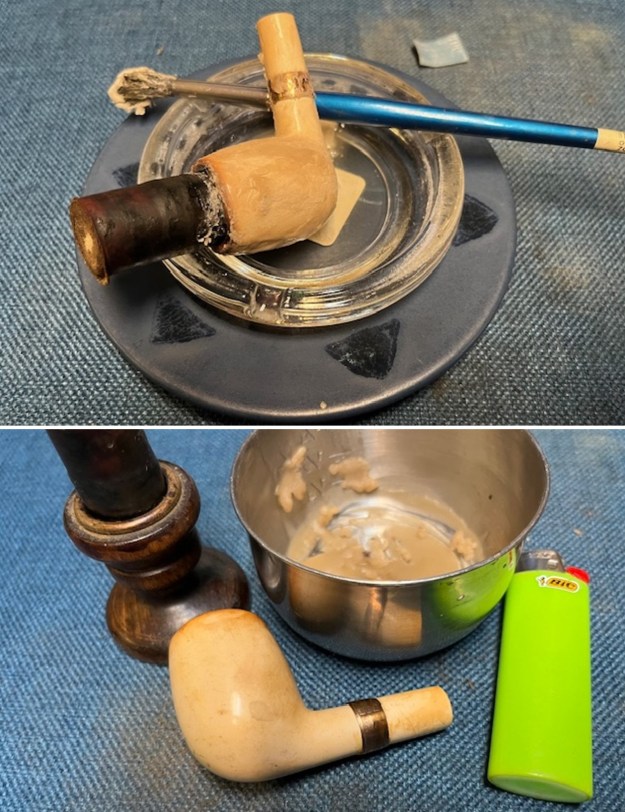
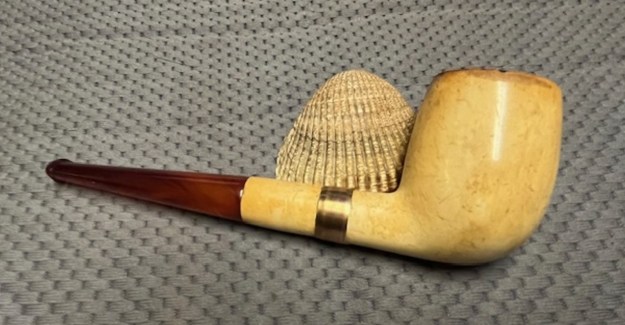
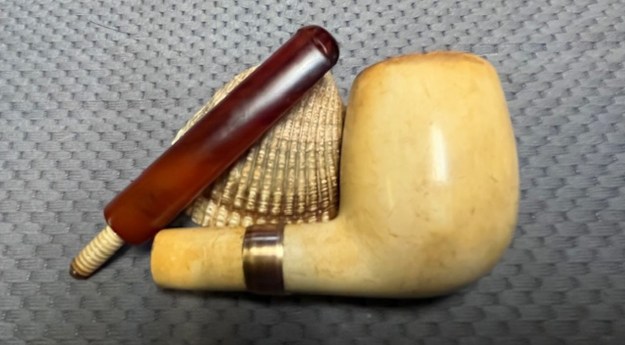
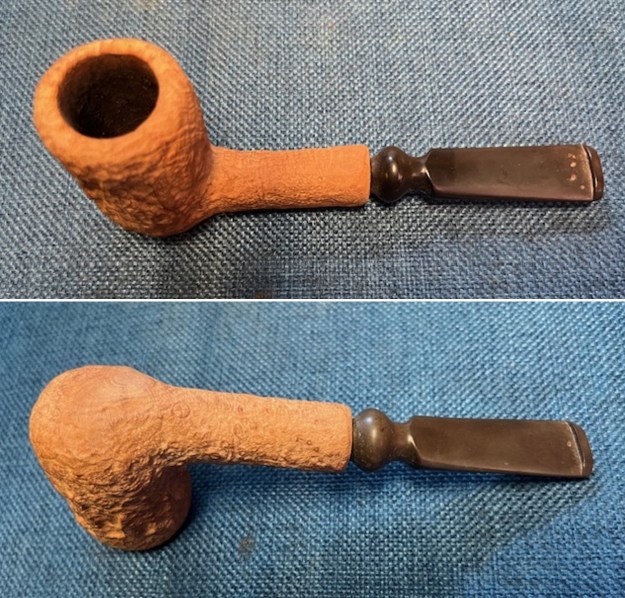
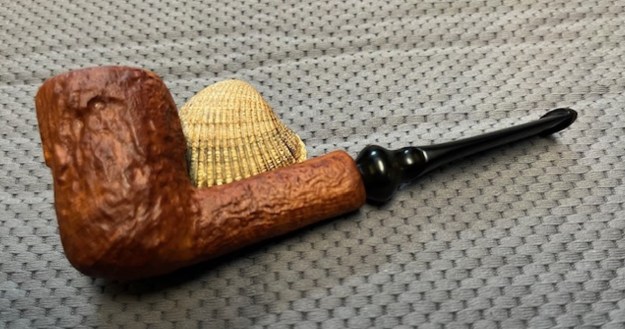
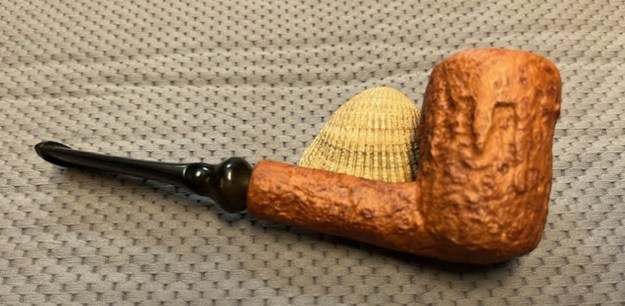
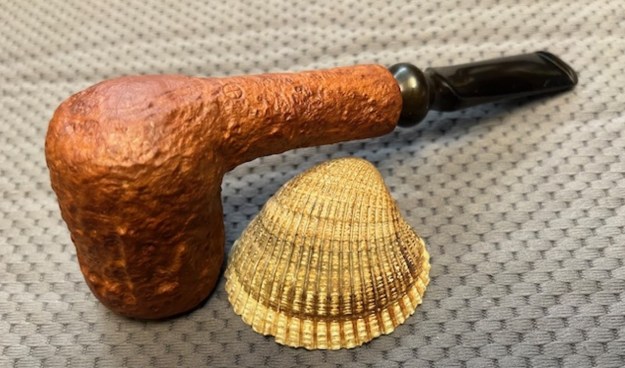
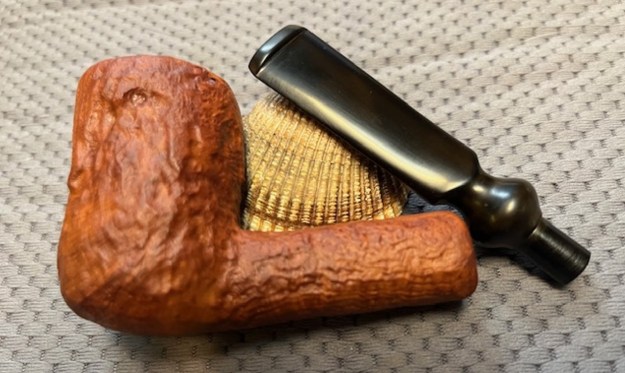
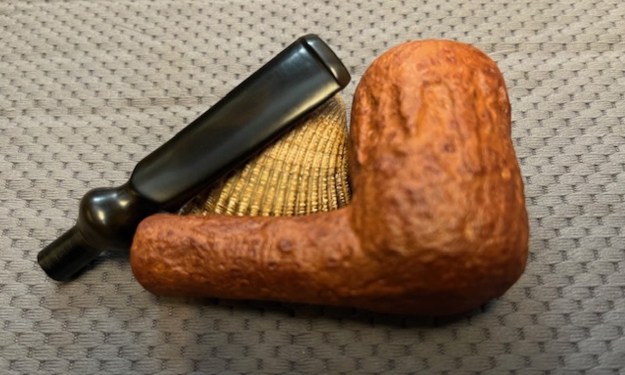
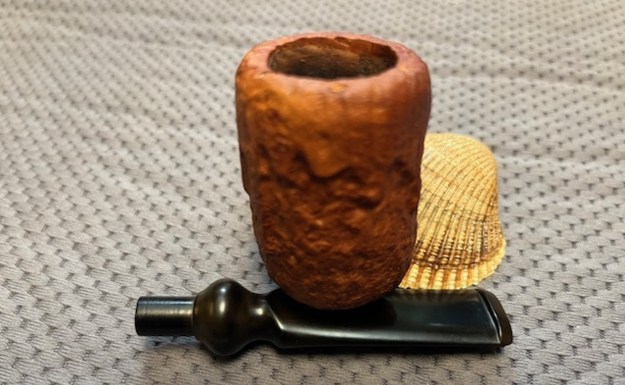
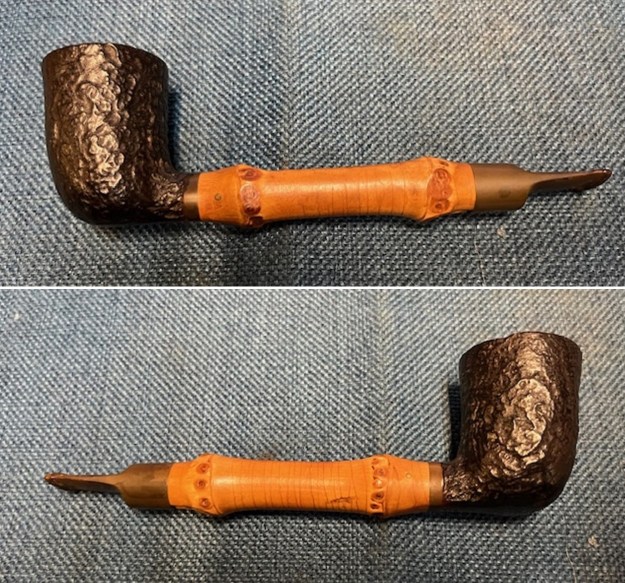
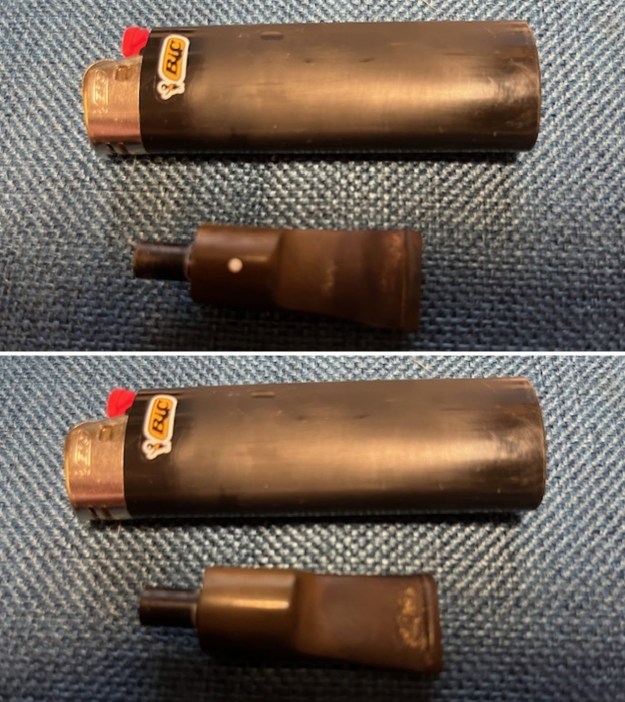
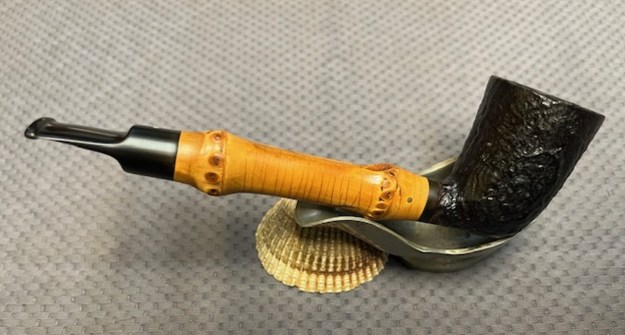
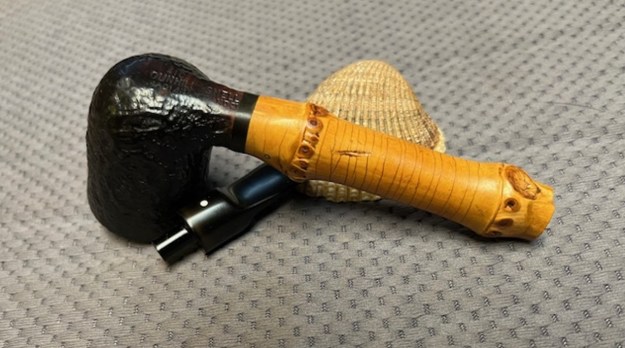
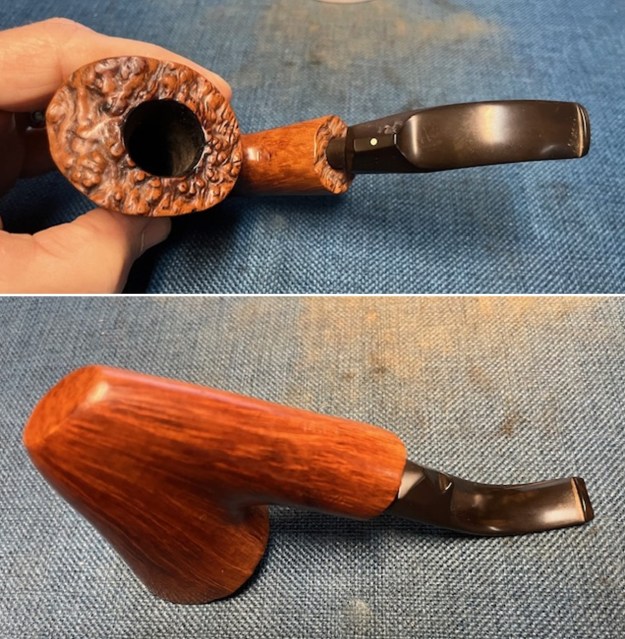
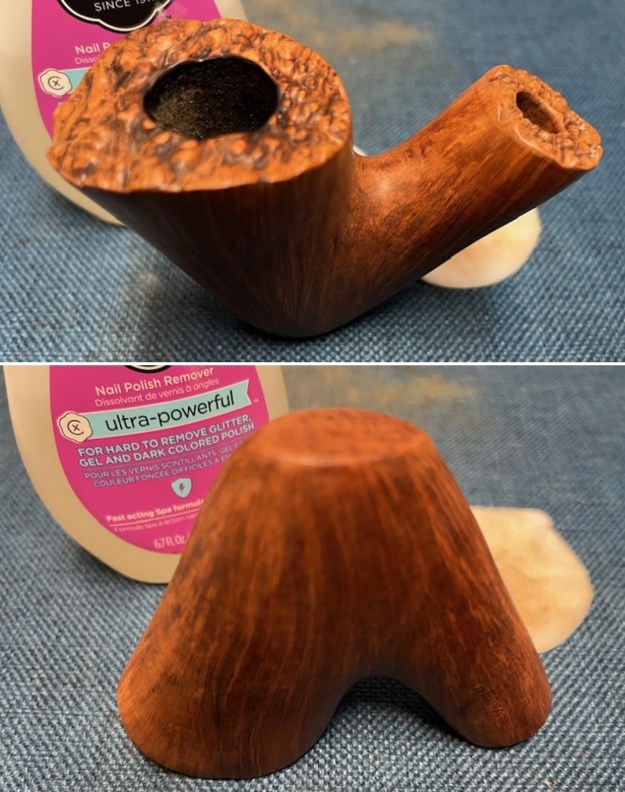
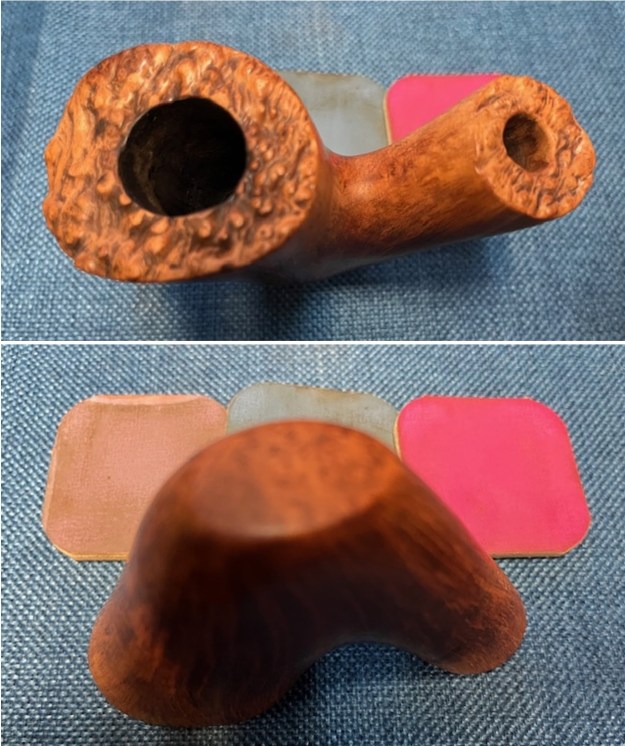
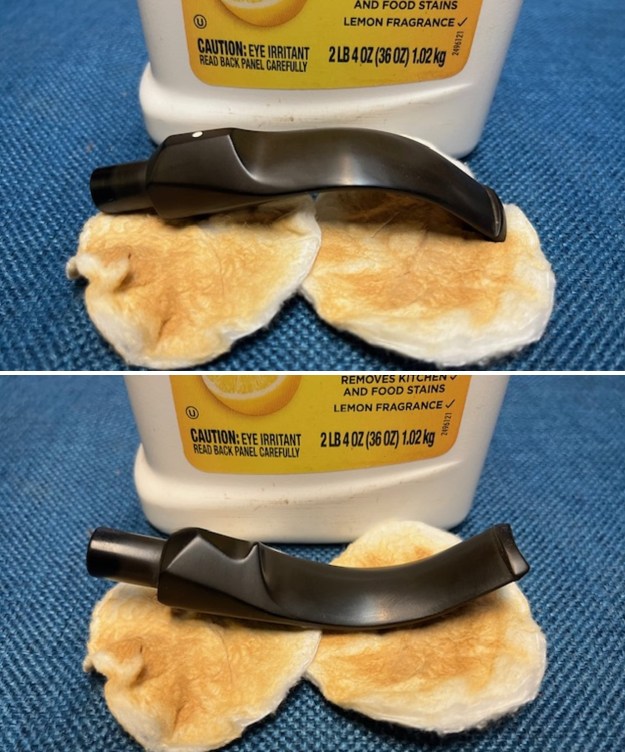
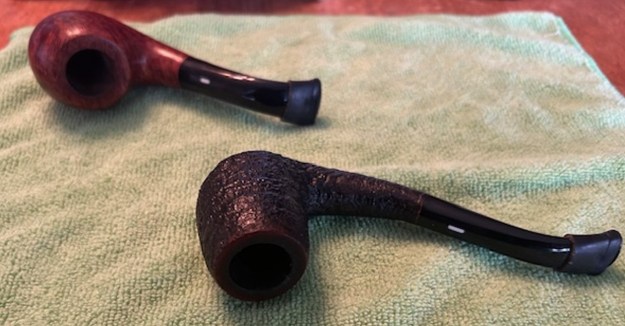
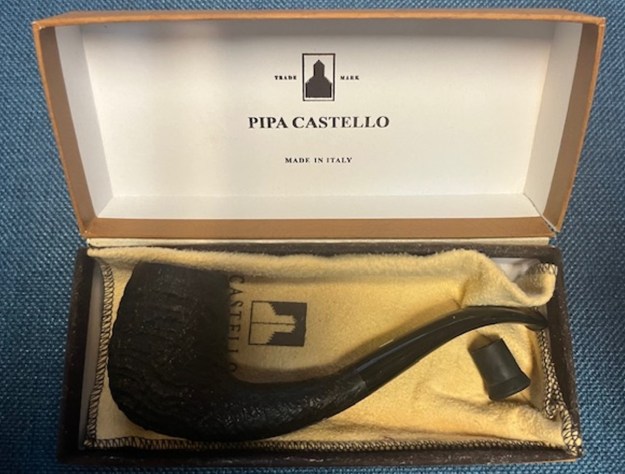 I took photos of the pipe itself to give a sense of what was needed in the cleanup of the bowl and shank. I would need to ream and clean the internals of the bowl and shank. The stem had grime on it where the edge of the Softee Bit was on the stem. There was no tooth damage or chatter on the acrylic surface.
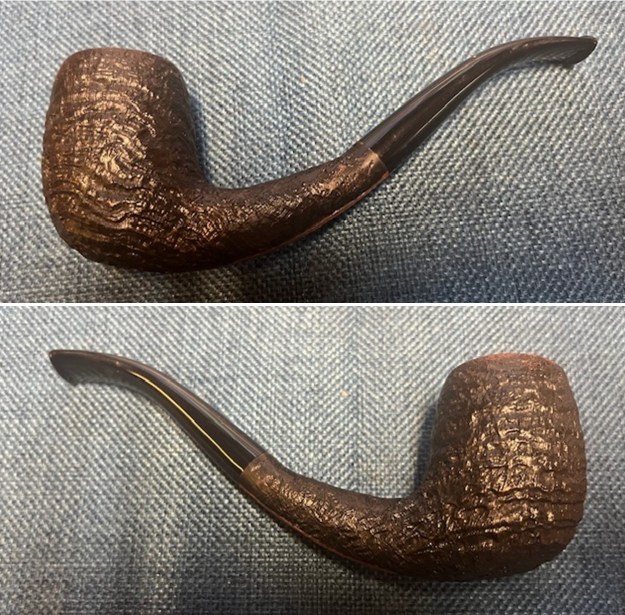
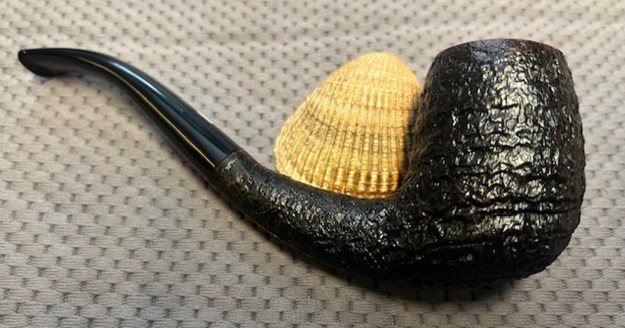
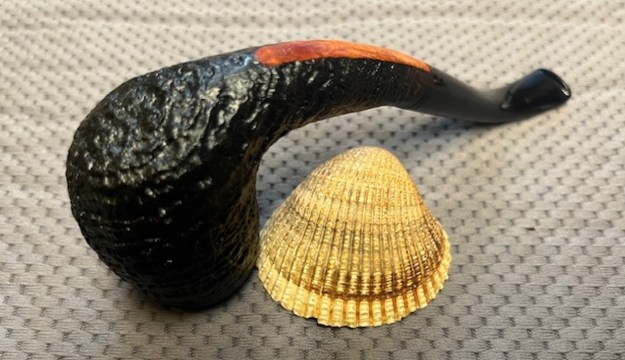
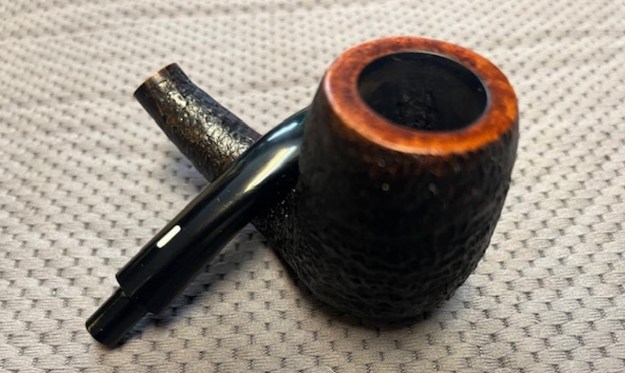
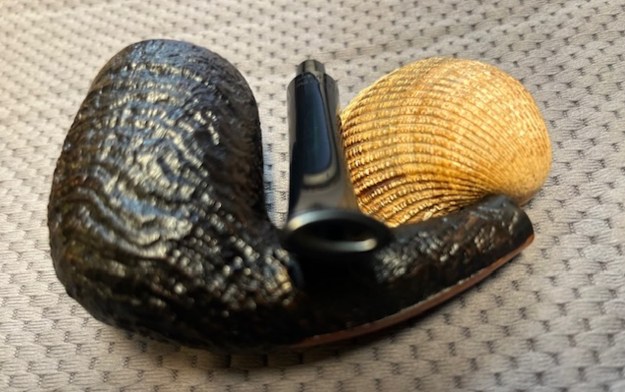
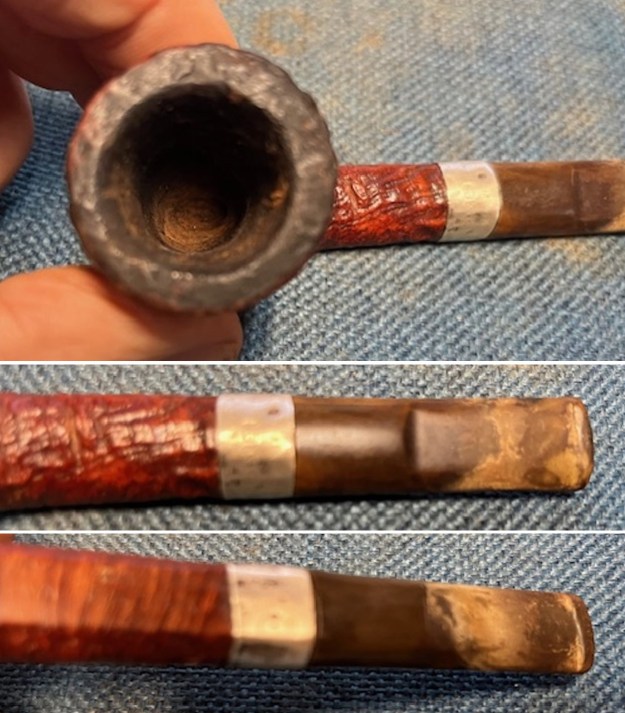
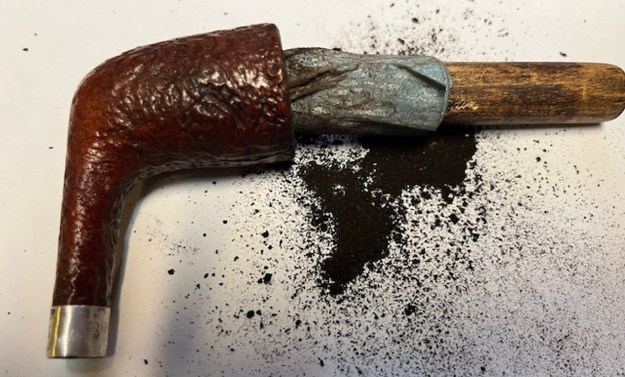
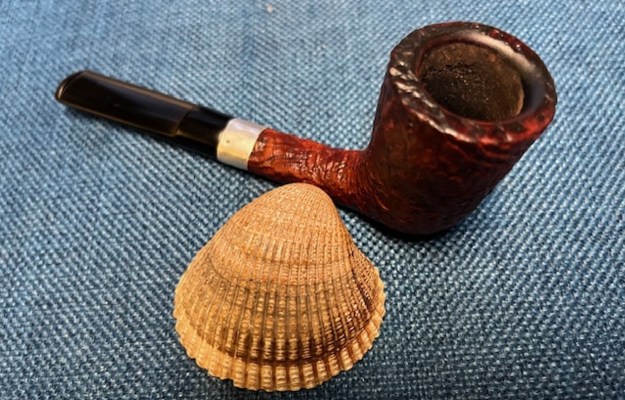
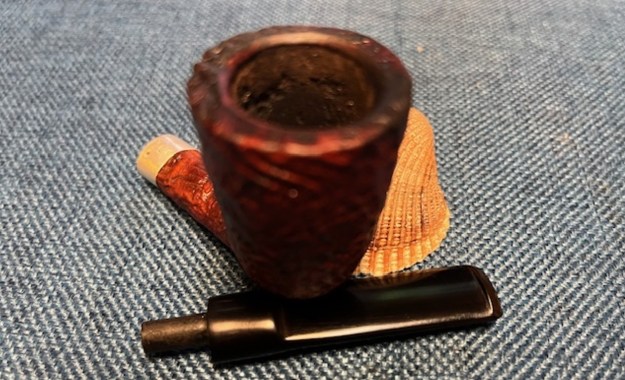
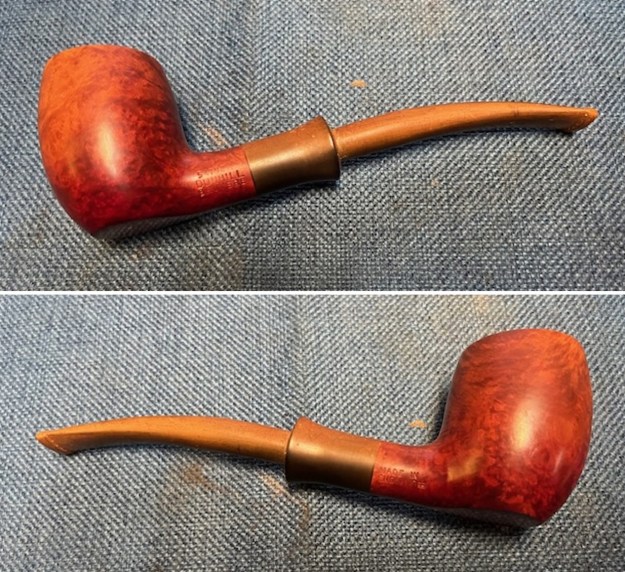
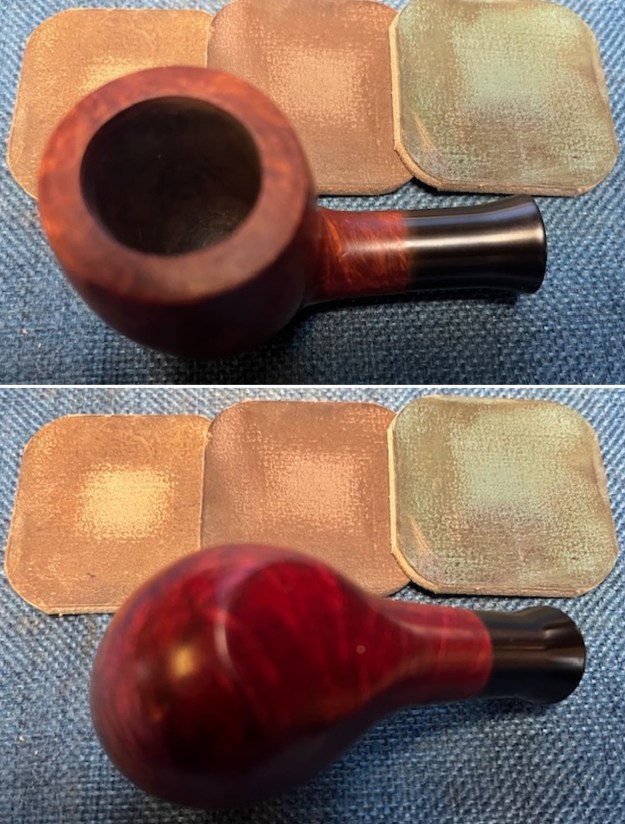
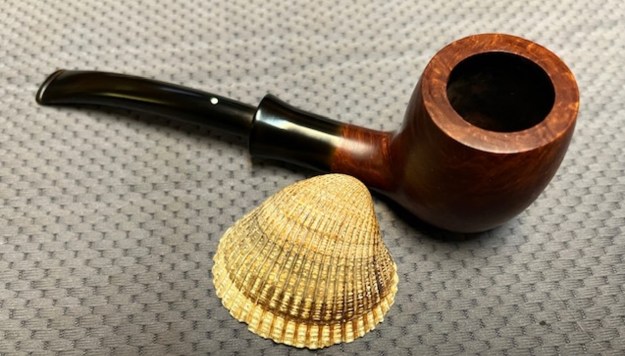
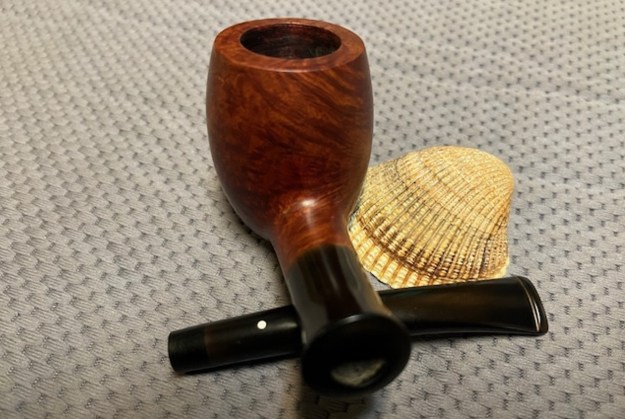
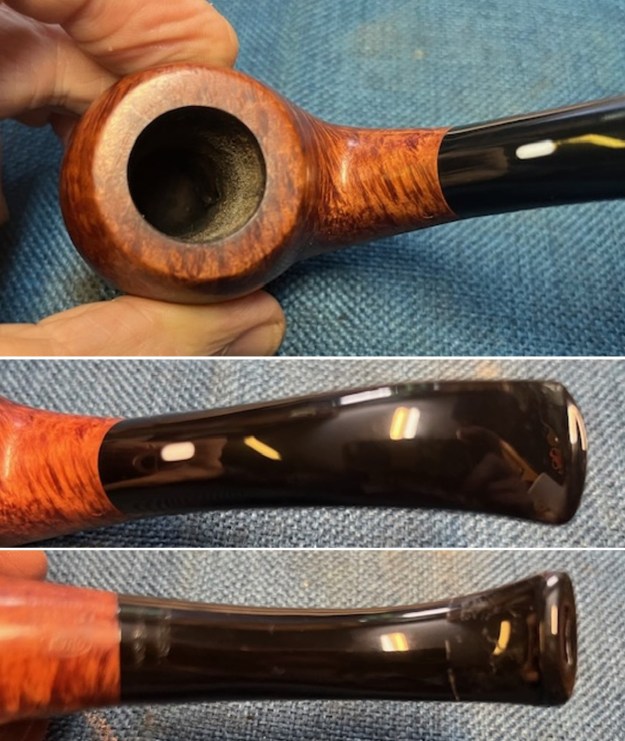
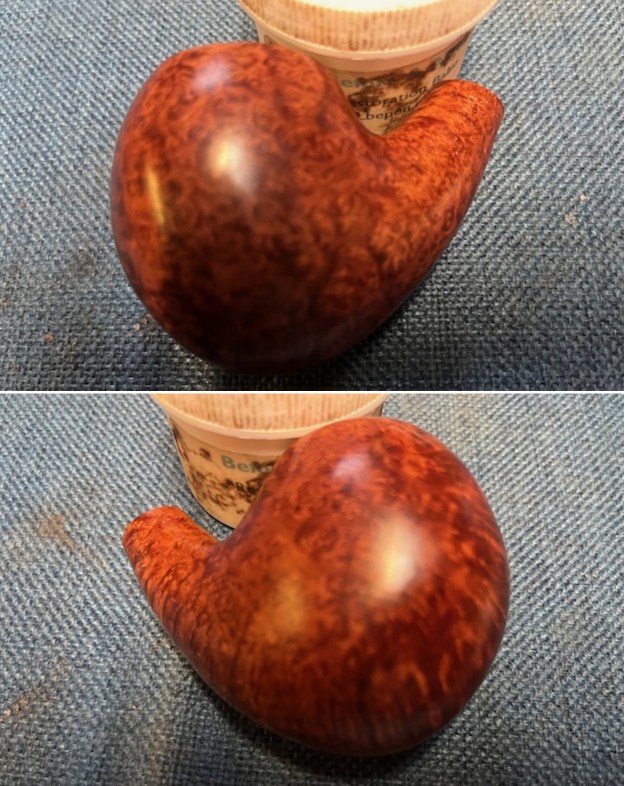
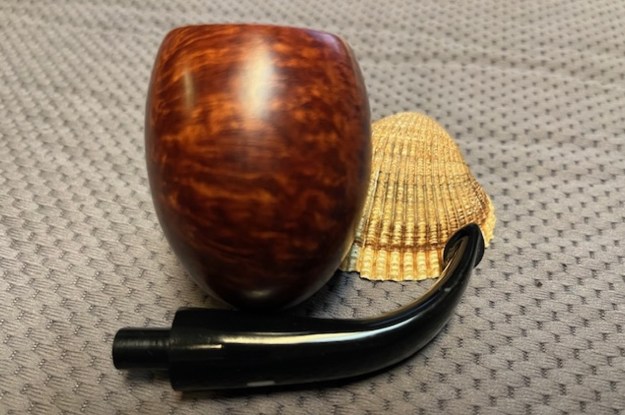
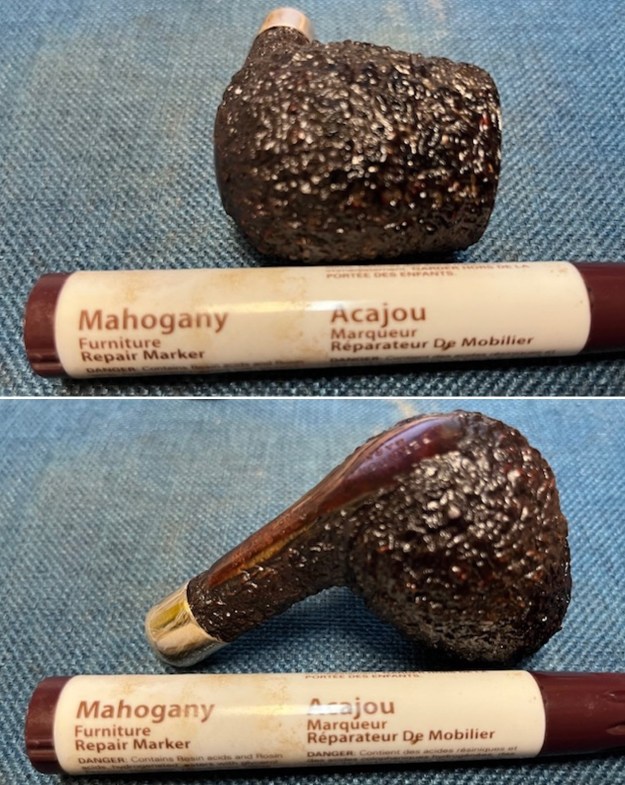
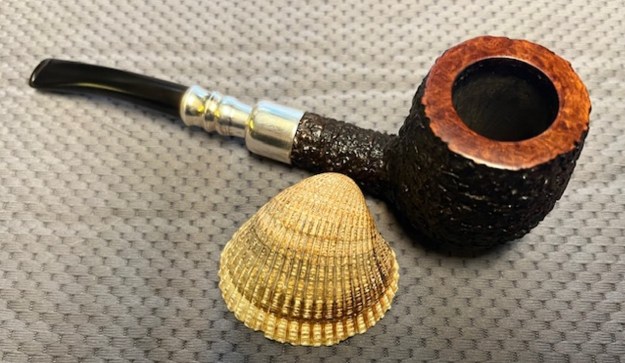
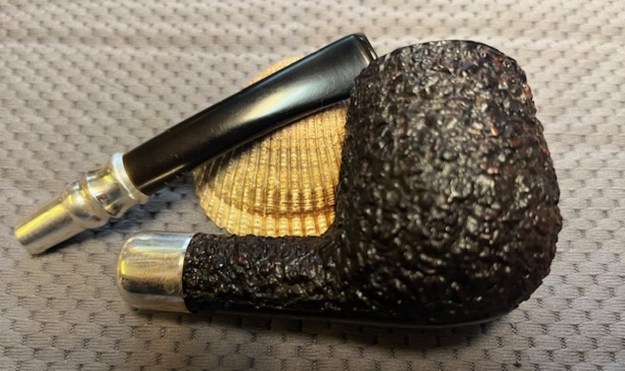
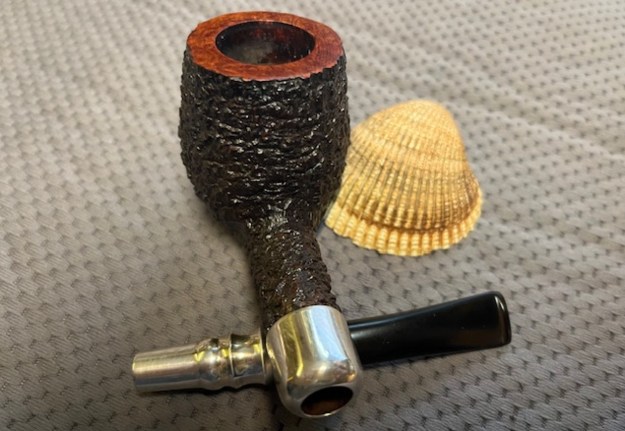
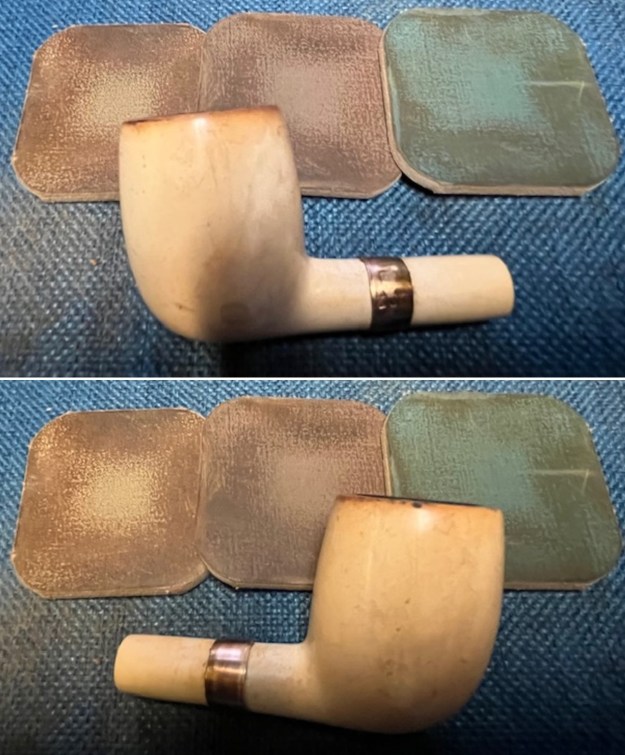
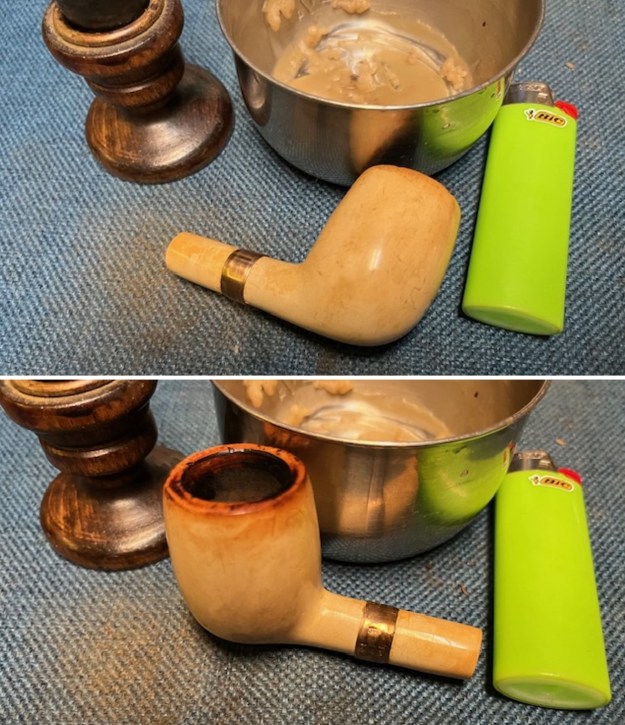
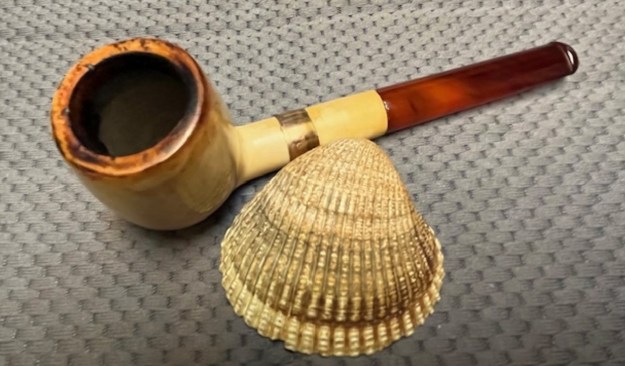
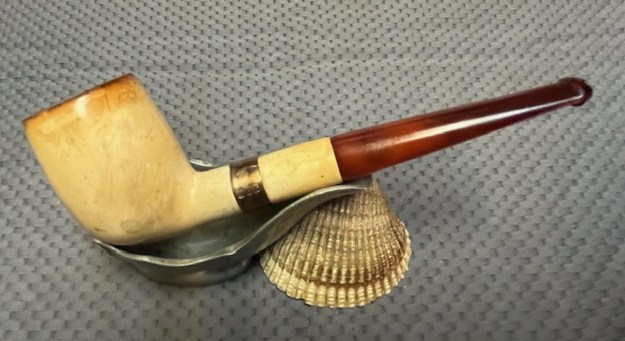
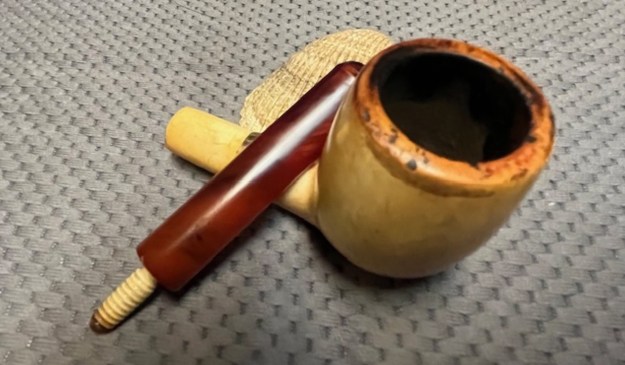
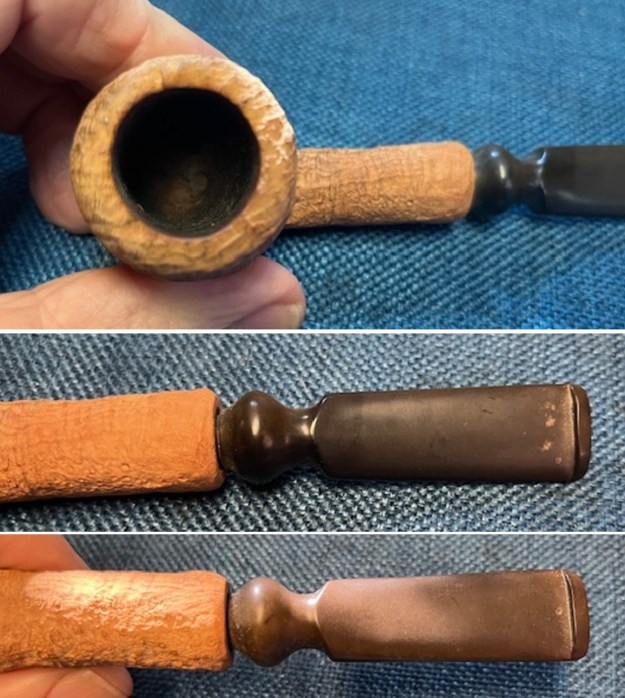
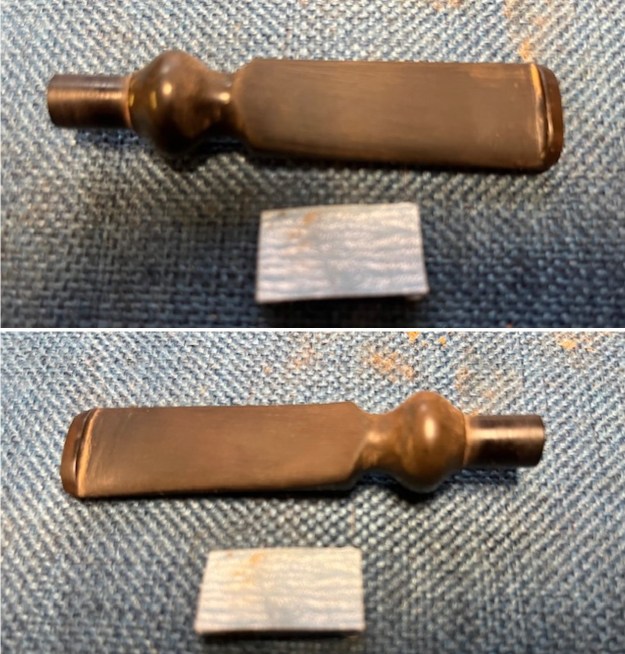
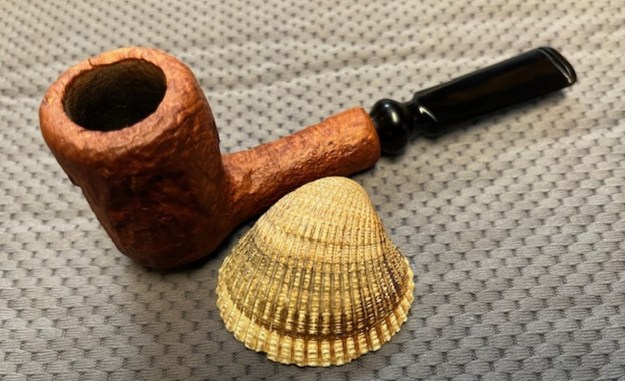
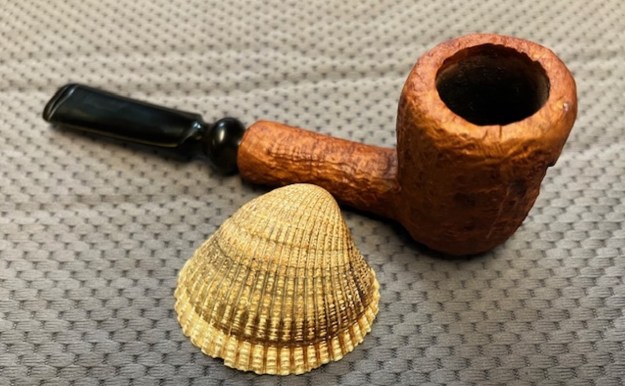
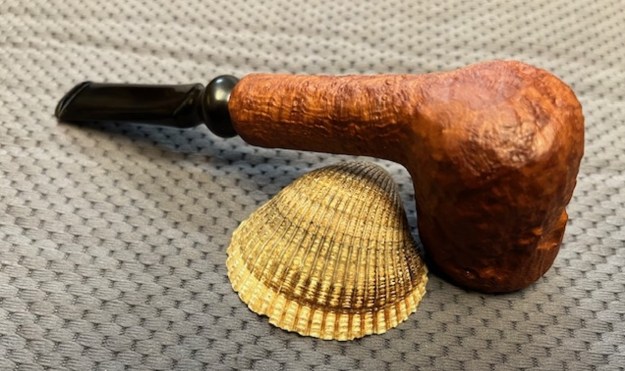
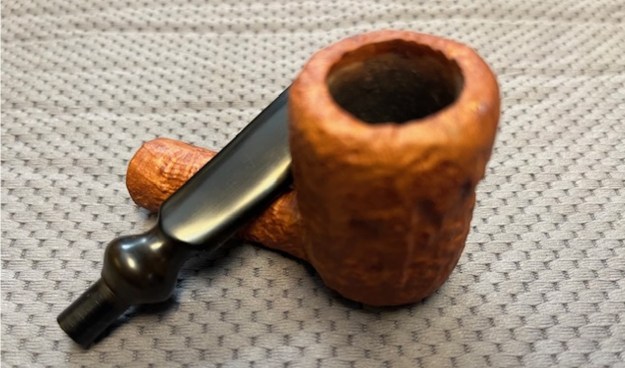
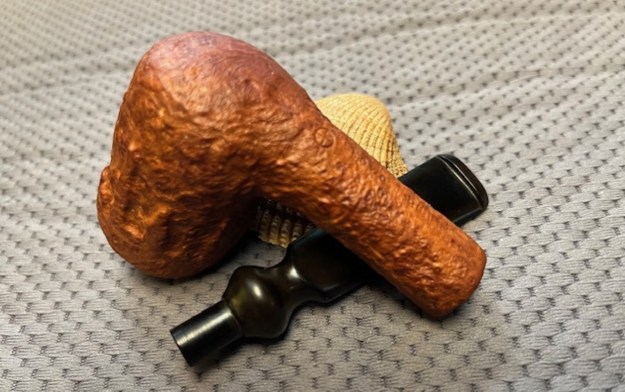
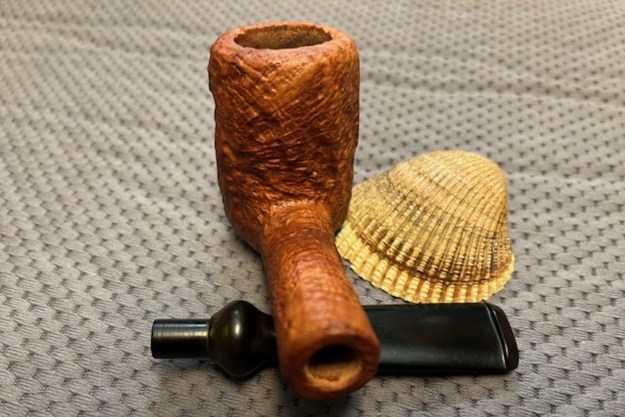
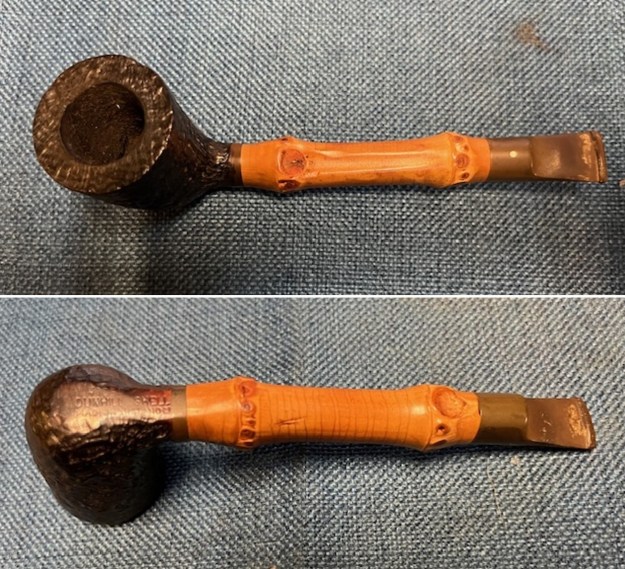
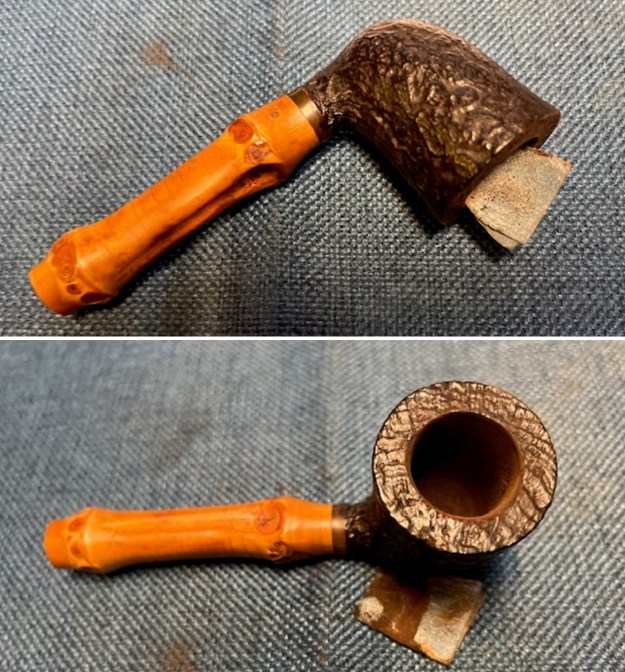
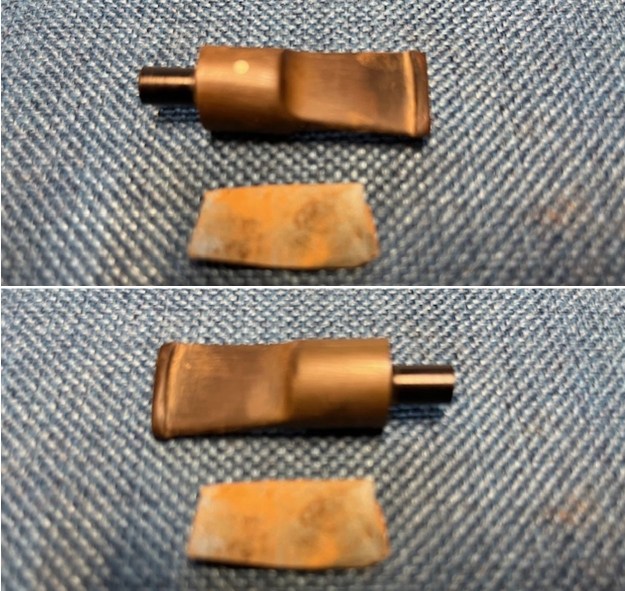
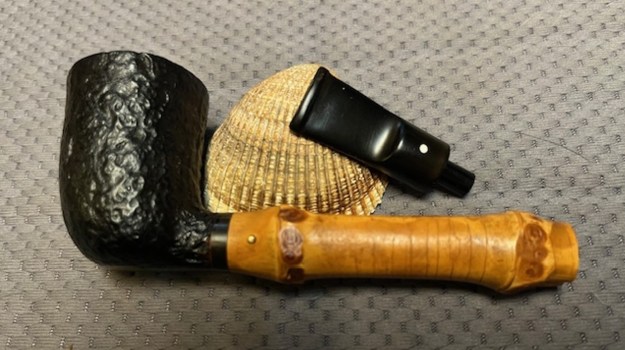
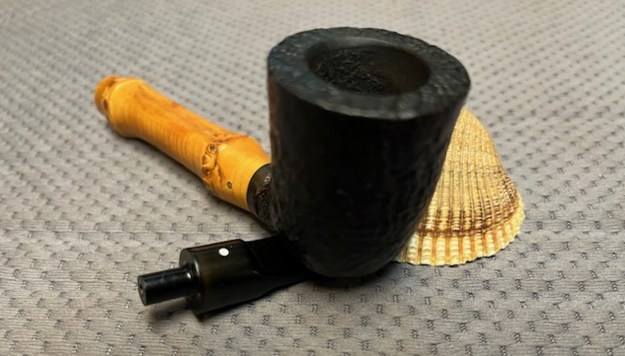
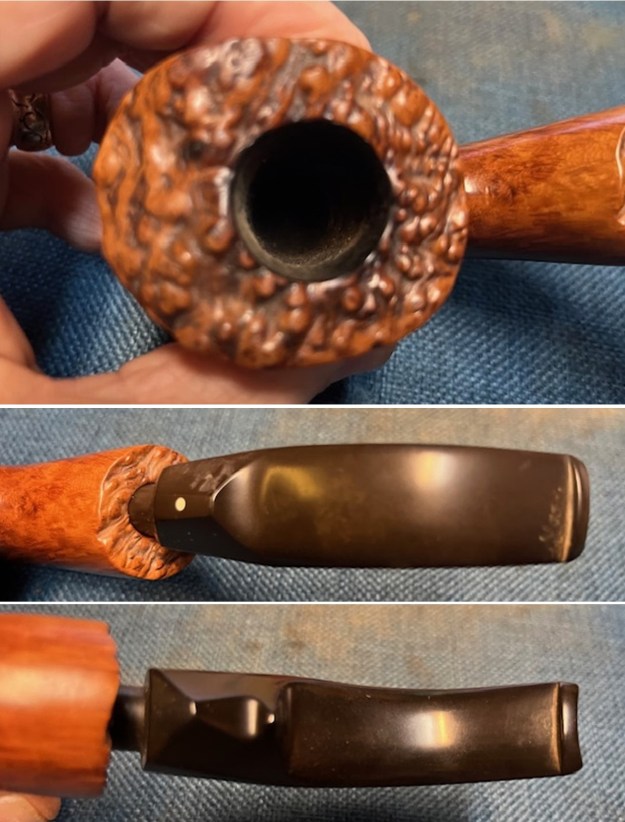
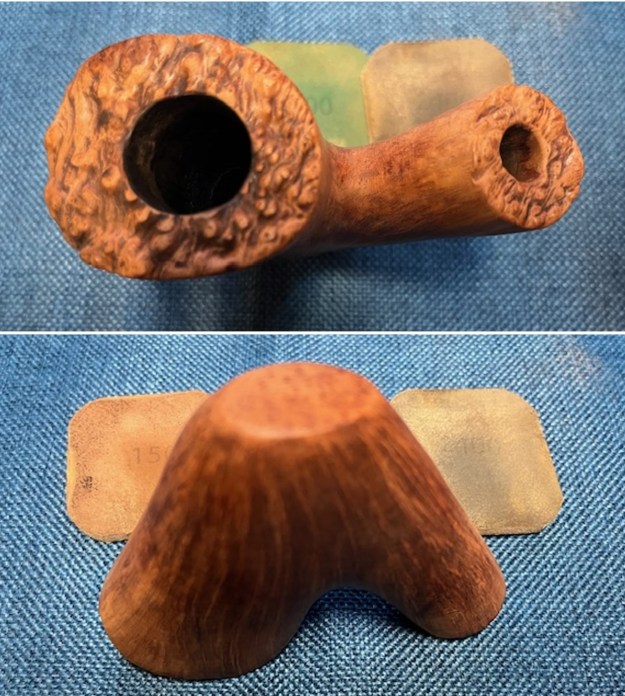
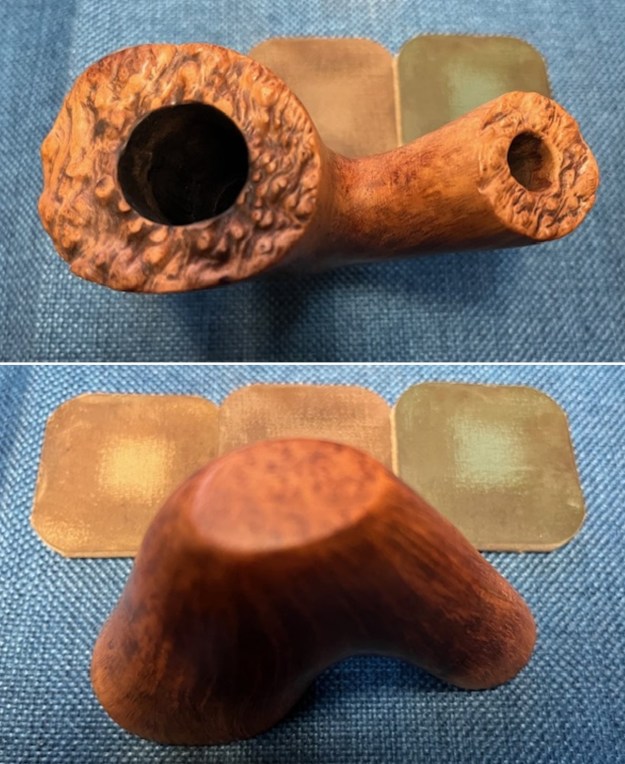
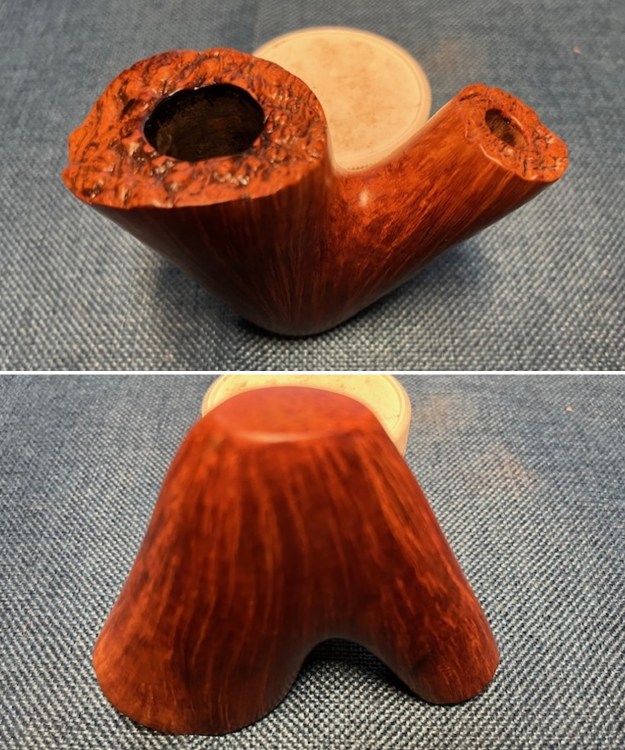
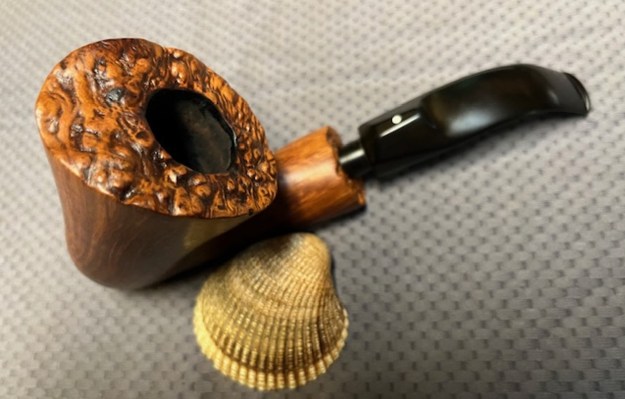
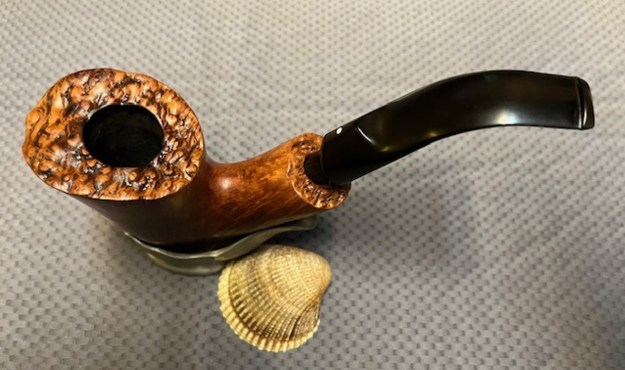
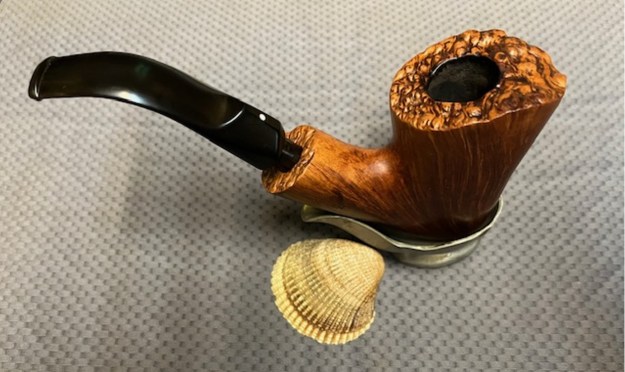
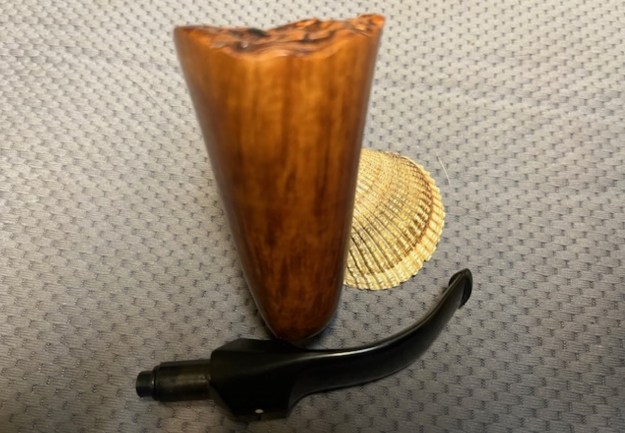
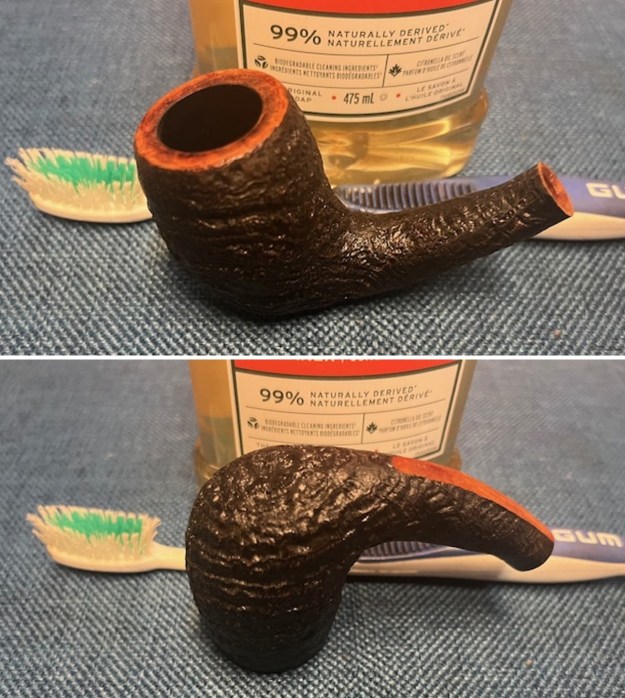
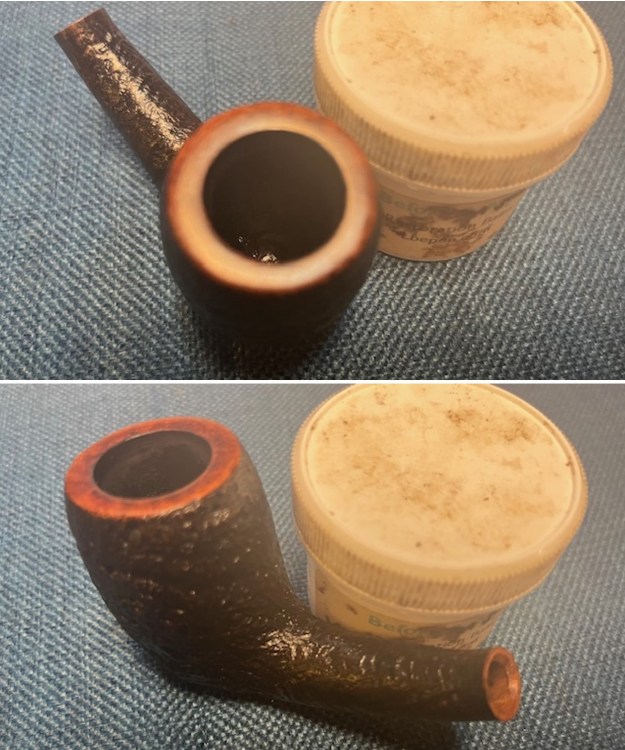
 I took a photo of the bowl and the rim top. You can see the light lava on the rim top, slightly heavier toward the backside. You can also see the cake in the bowl. It is light to moderate in terms of thickness. The stem surface is undamaged on both sides ahead of the button. Other than the grime left behind by the Softee Bit the stem looks very good.
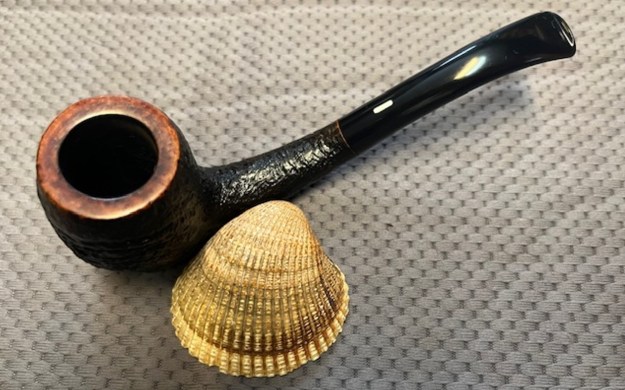
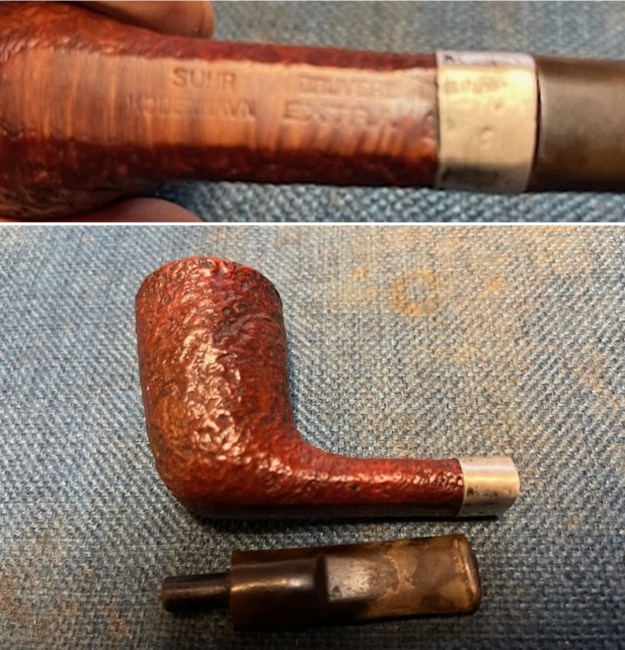
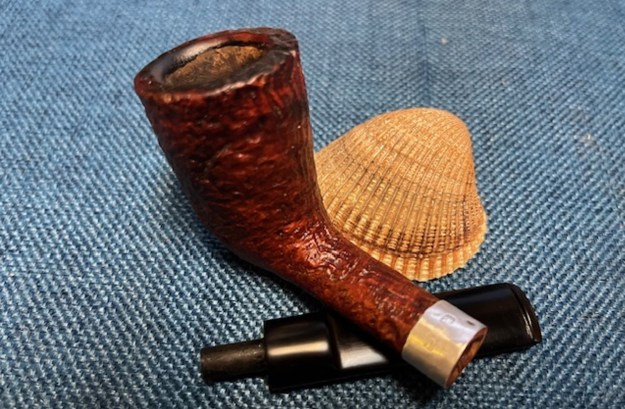
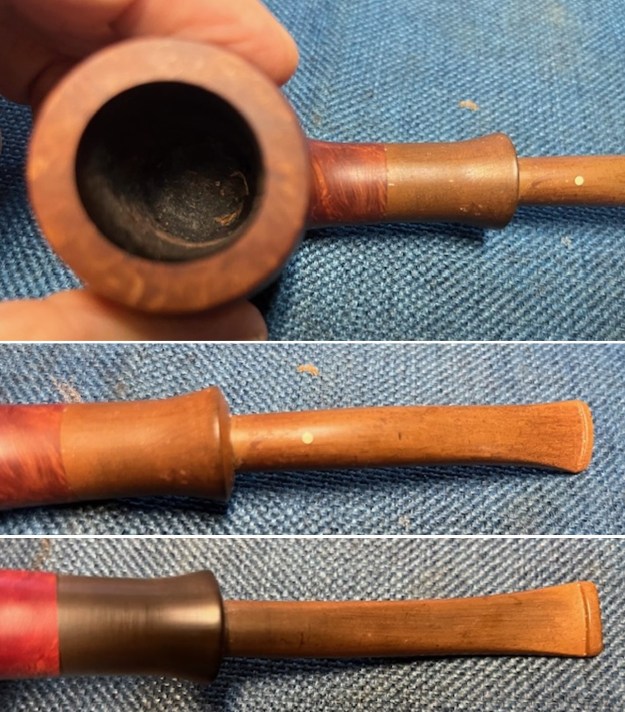
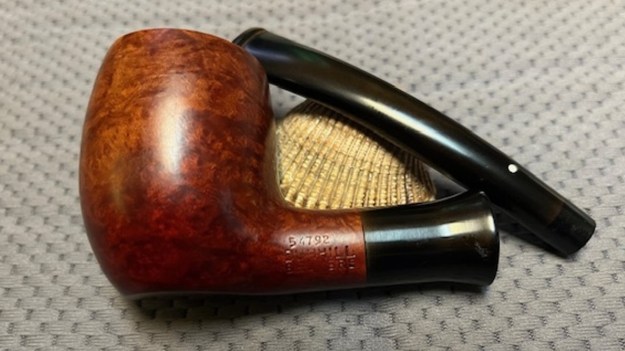
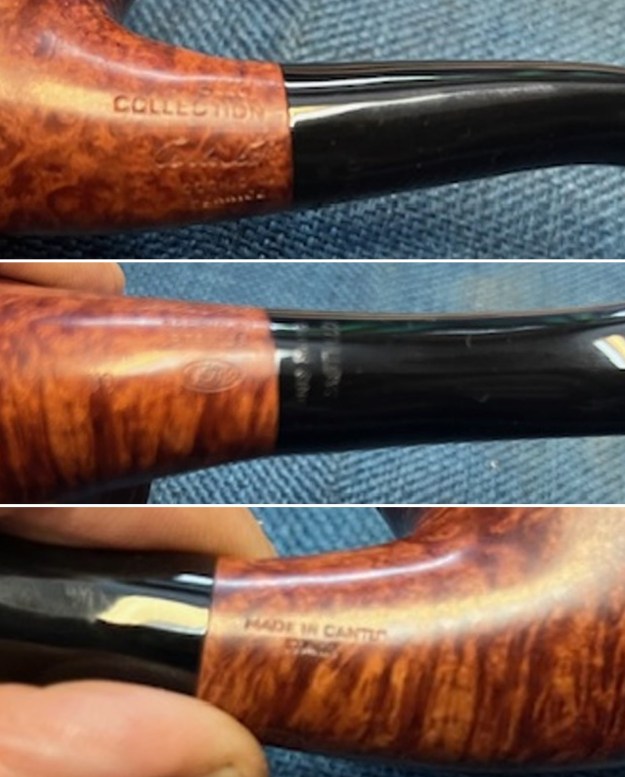
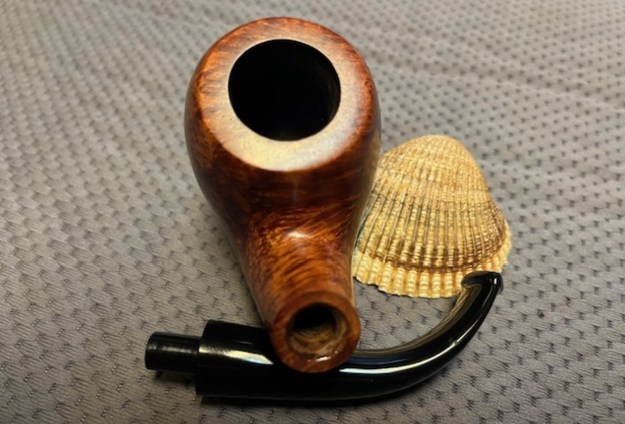
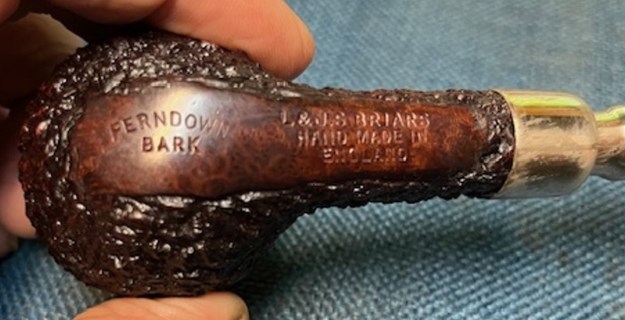
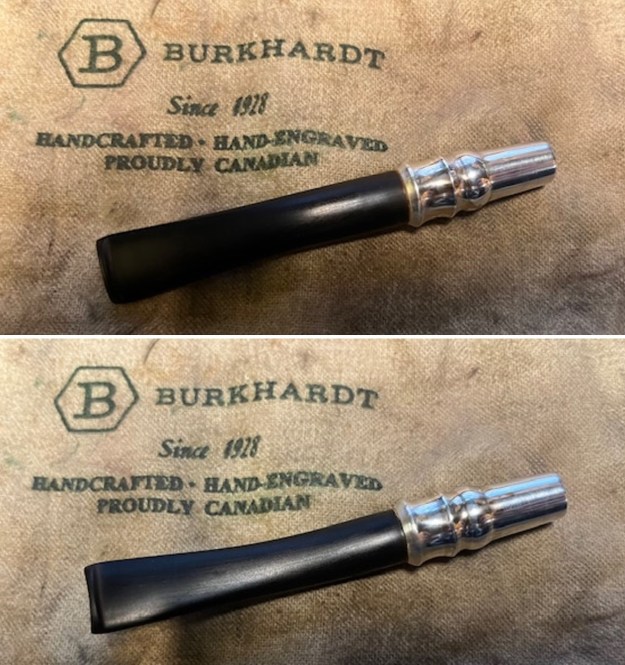
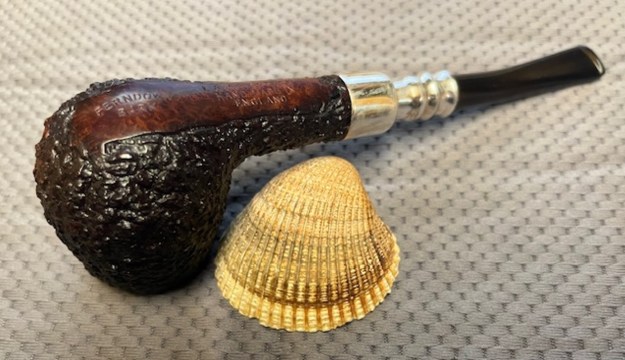
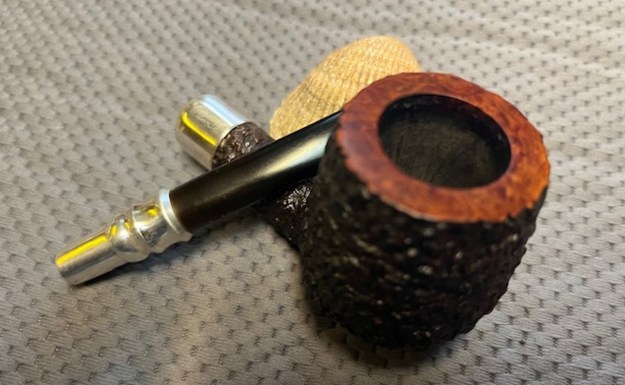
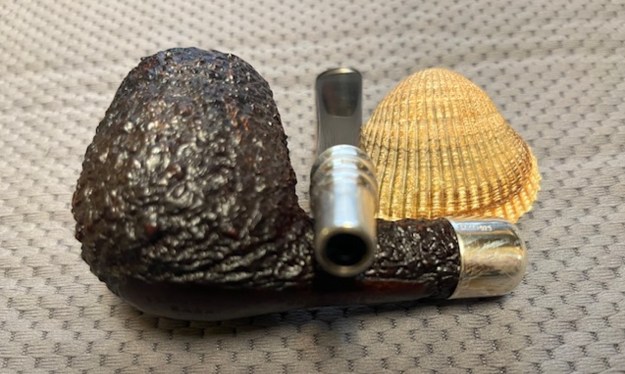
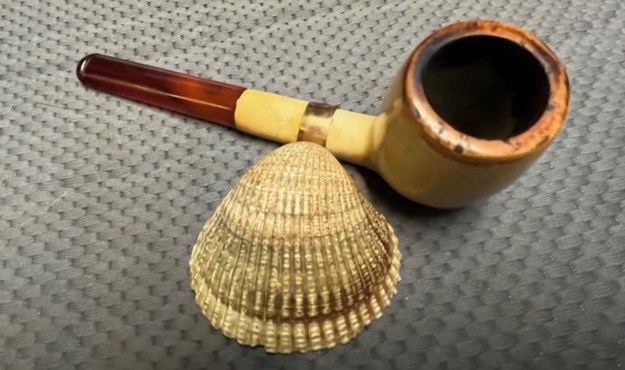
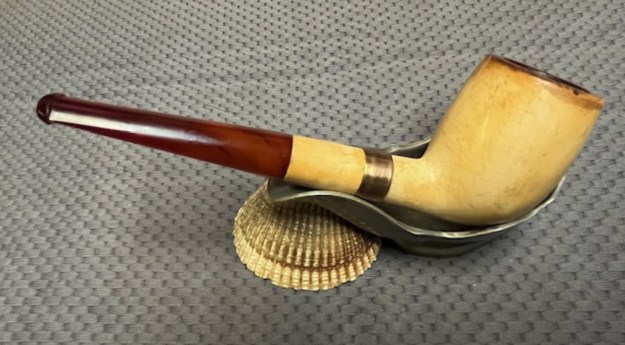
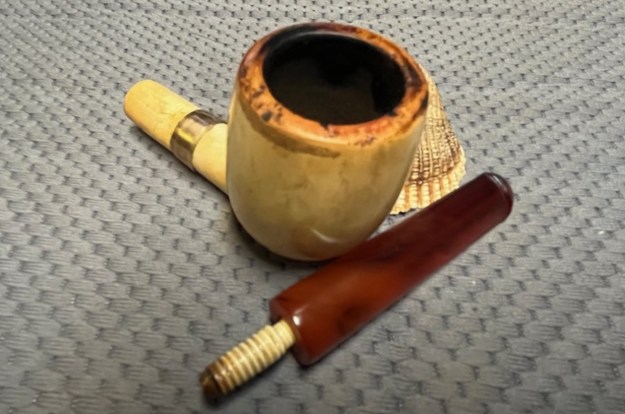
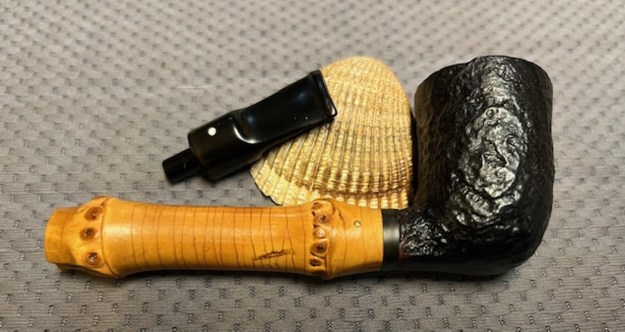
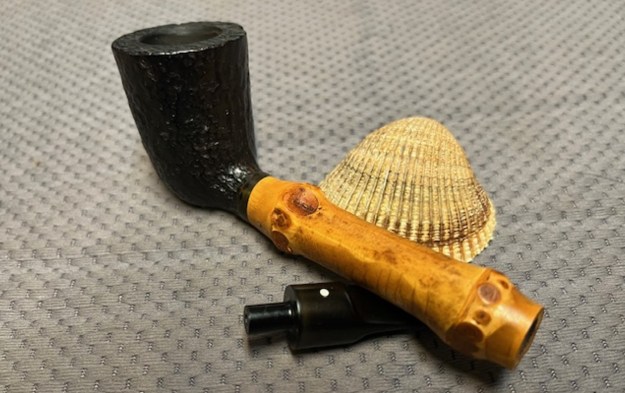
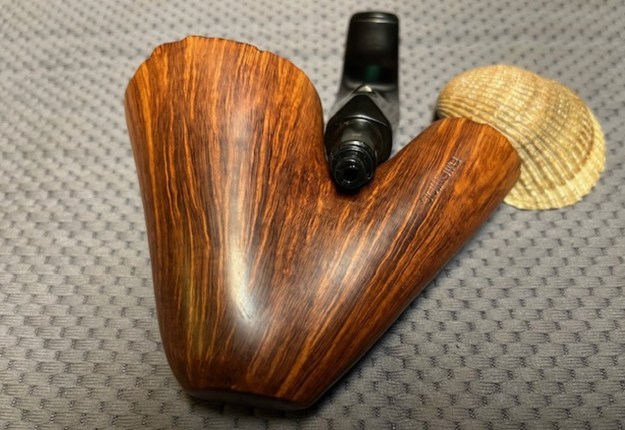
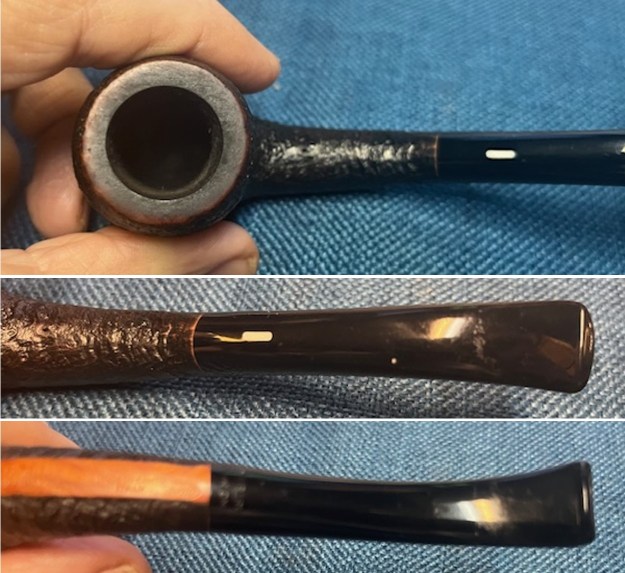 I took a photo of the stamping on the underside and stem. It is clear and readable as noted above.
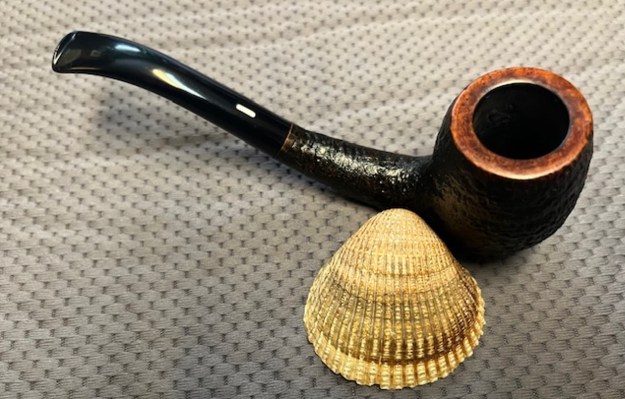
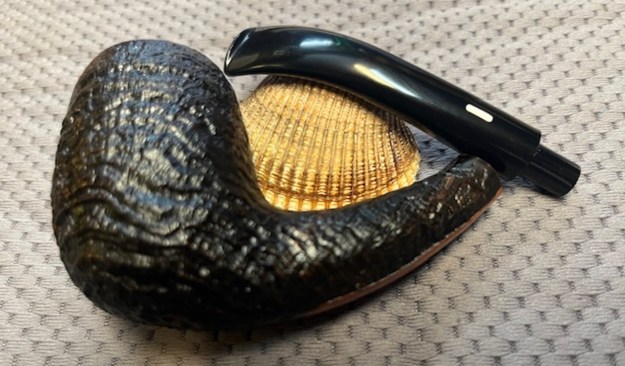
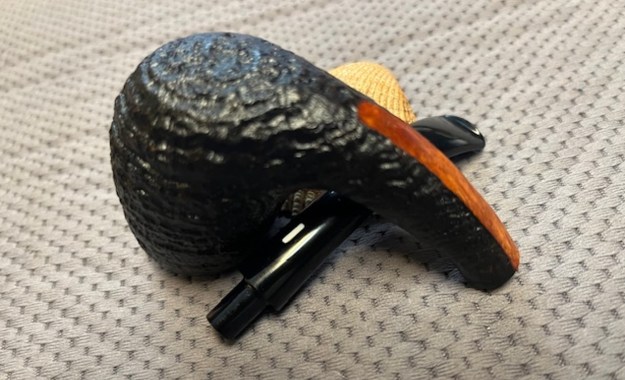
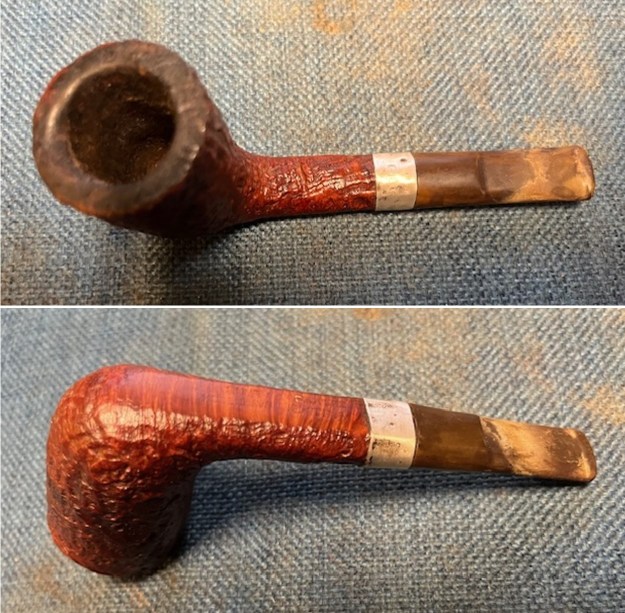
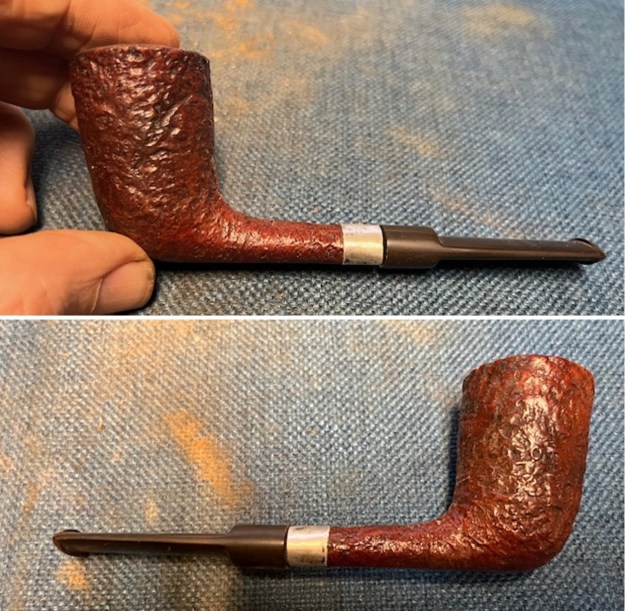
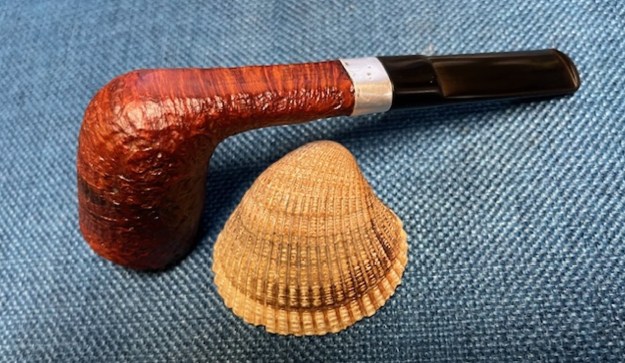
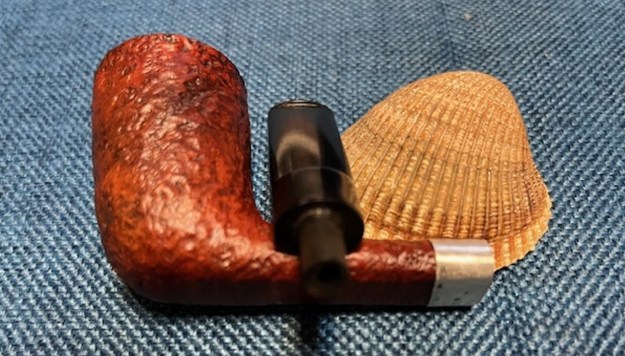
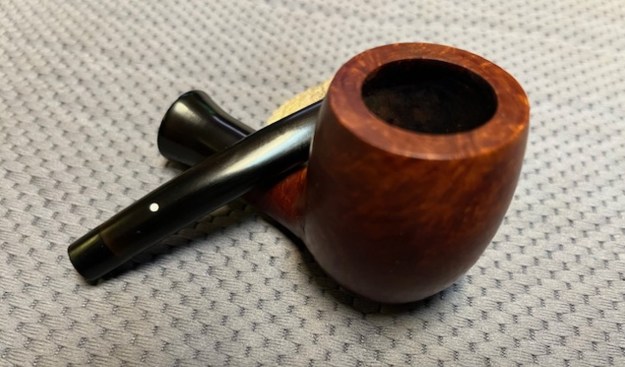
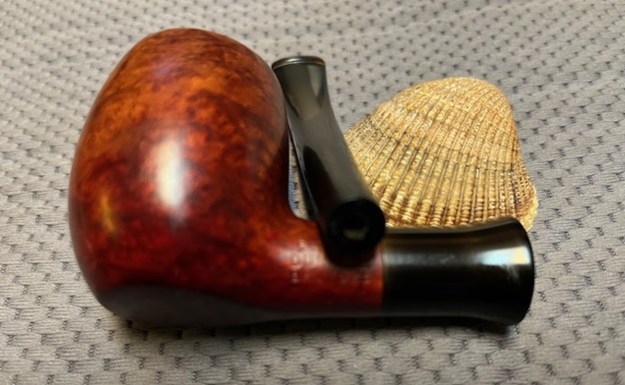
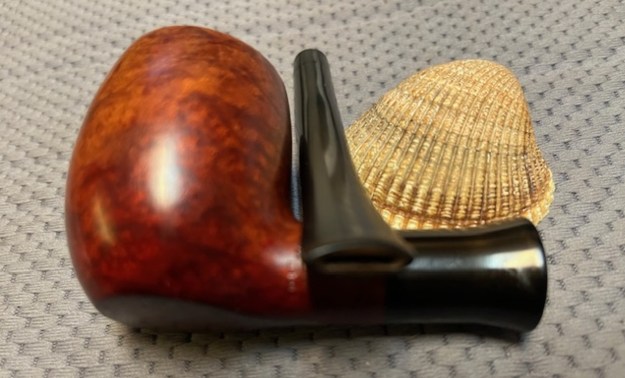
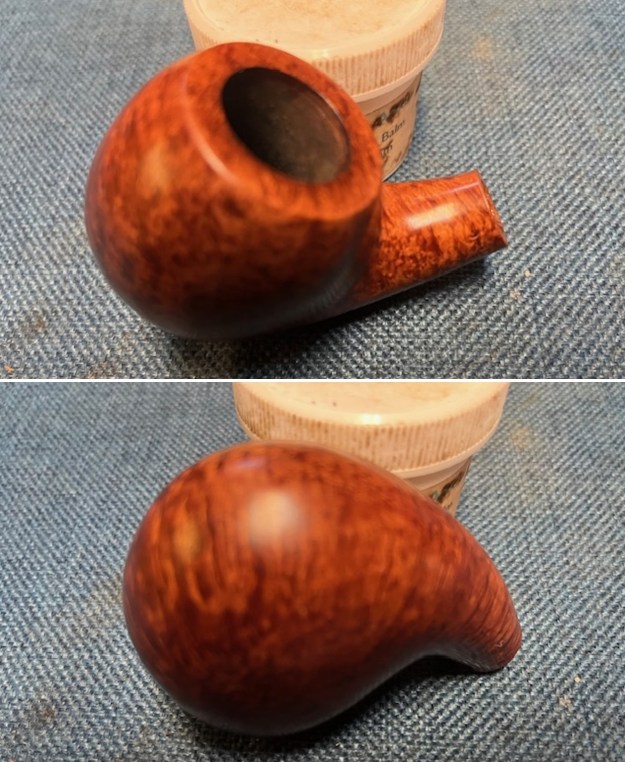
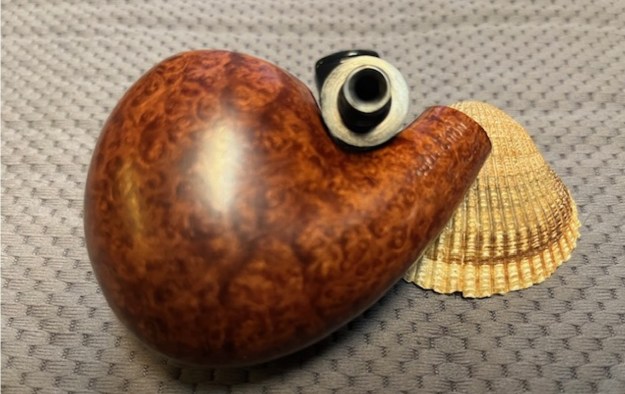
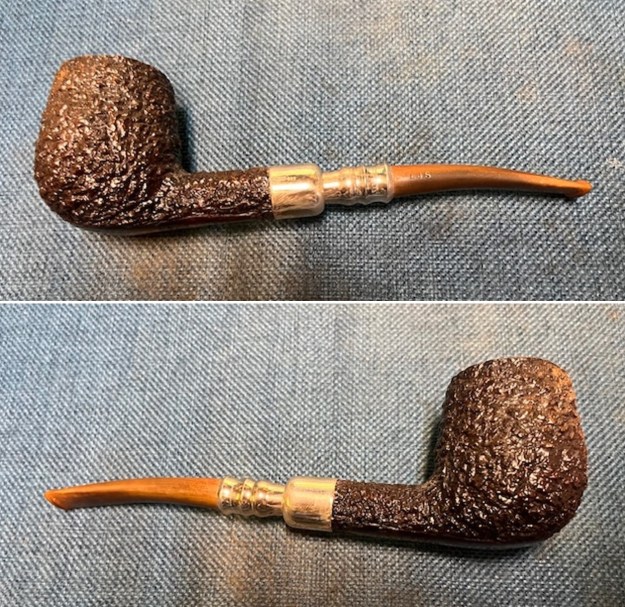
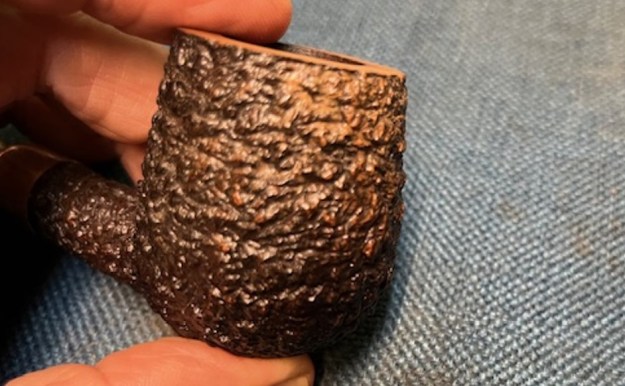
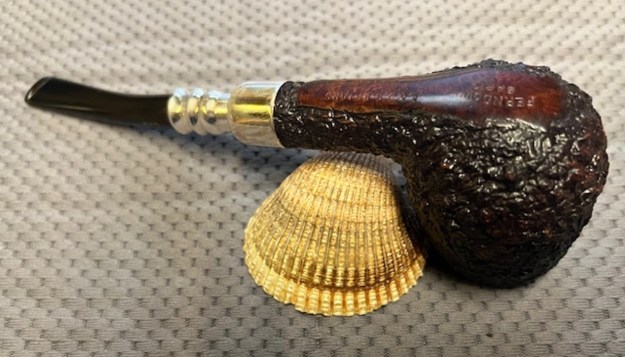
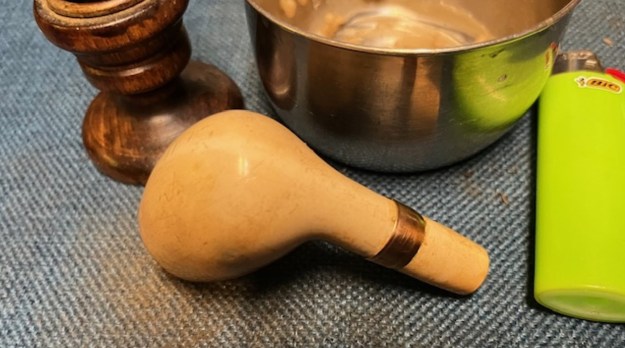
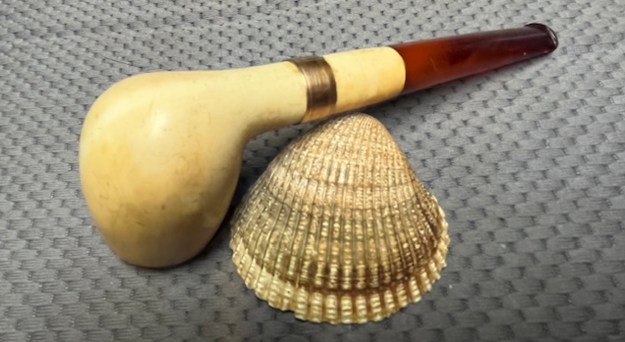
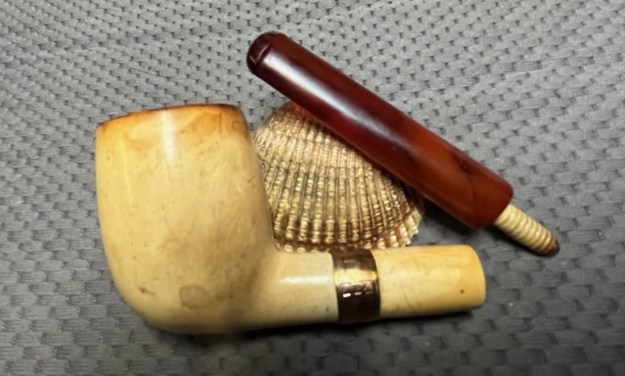
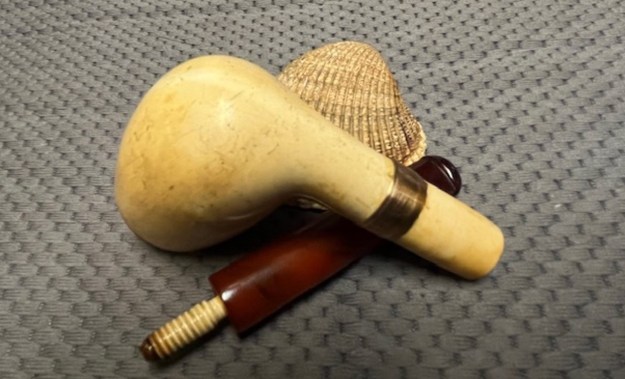
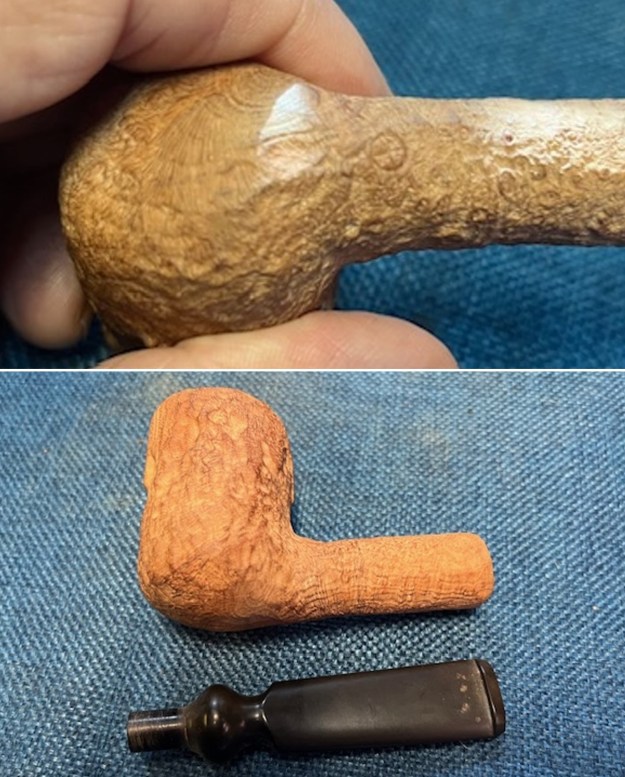
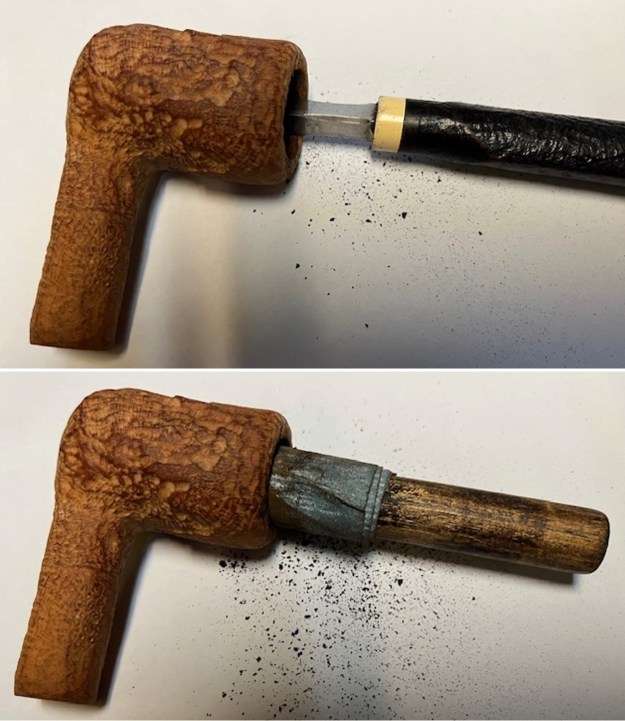
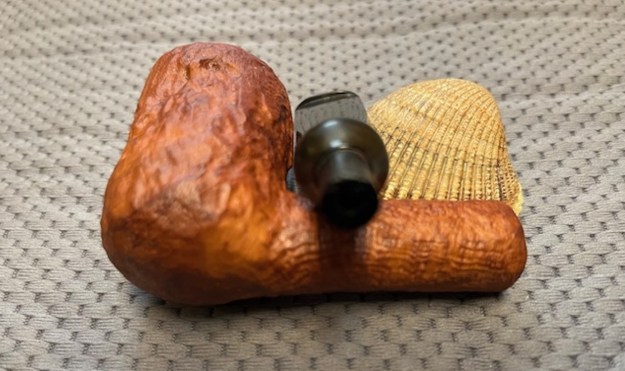
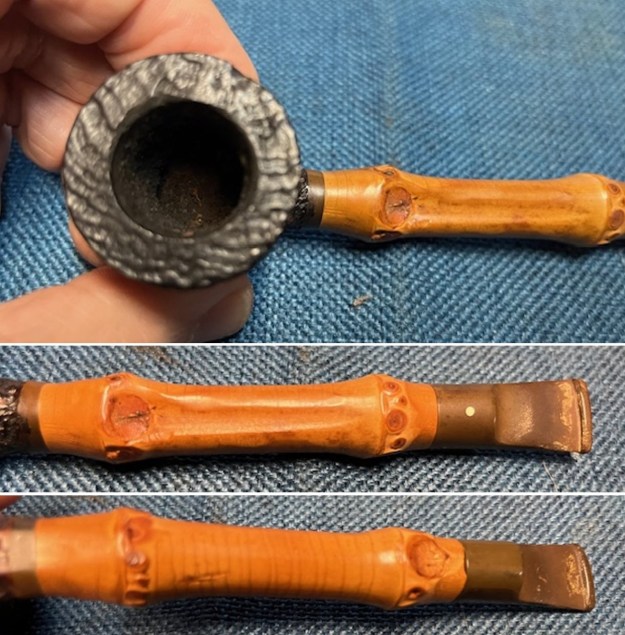
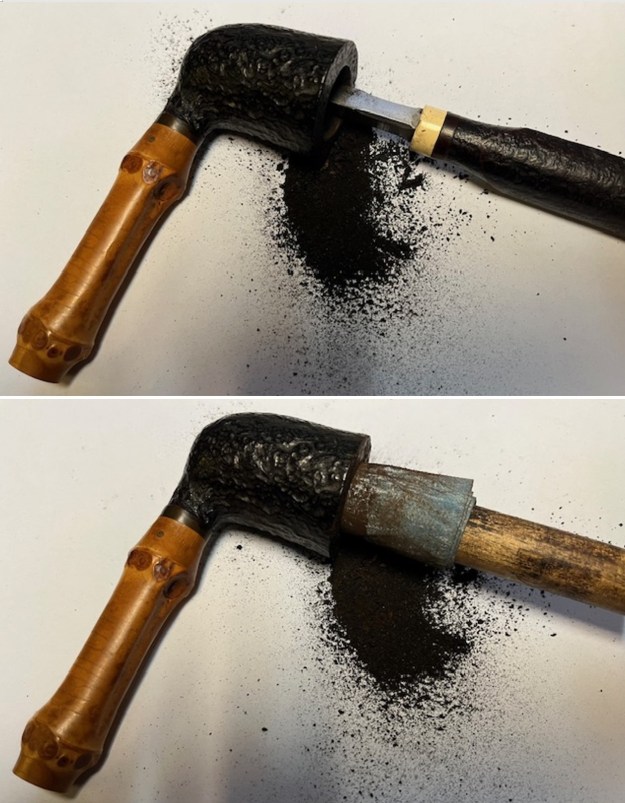
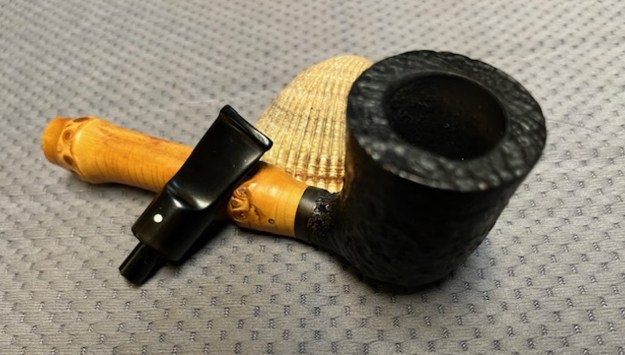
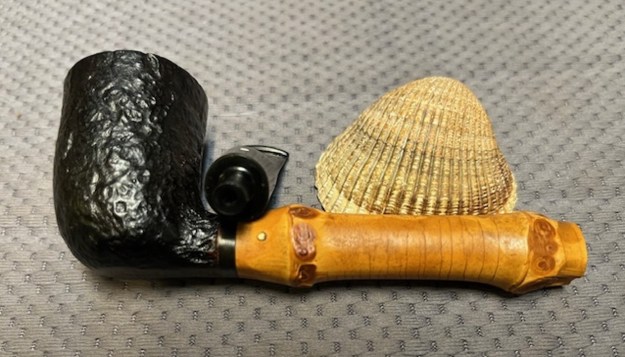
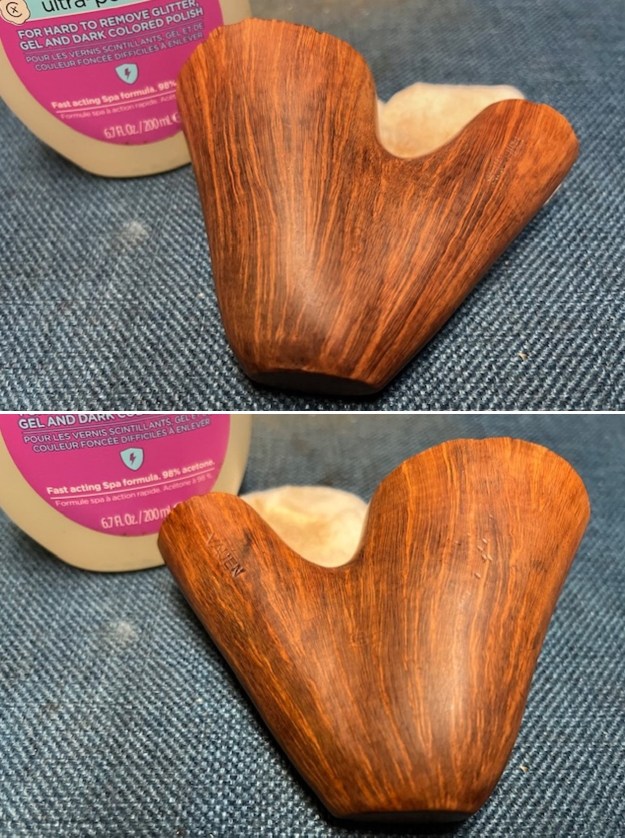
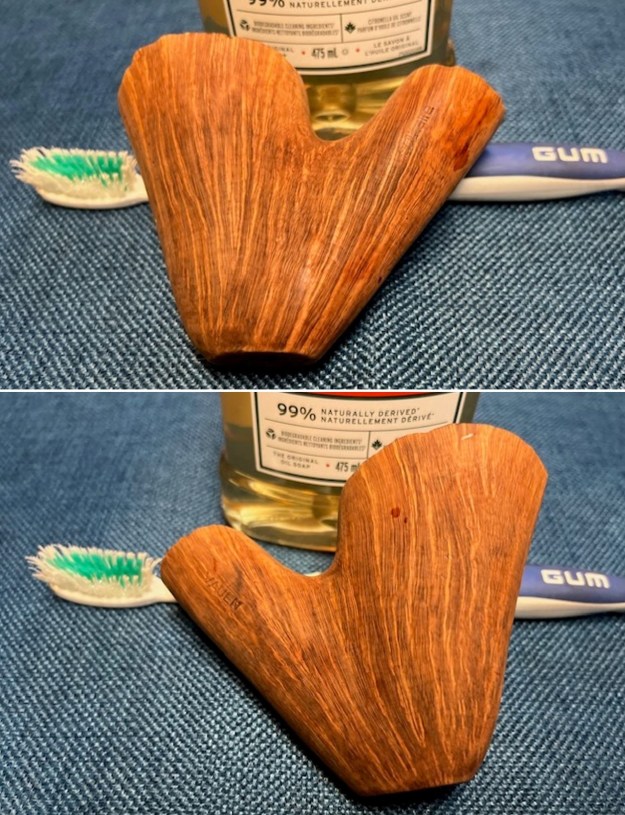
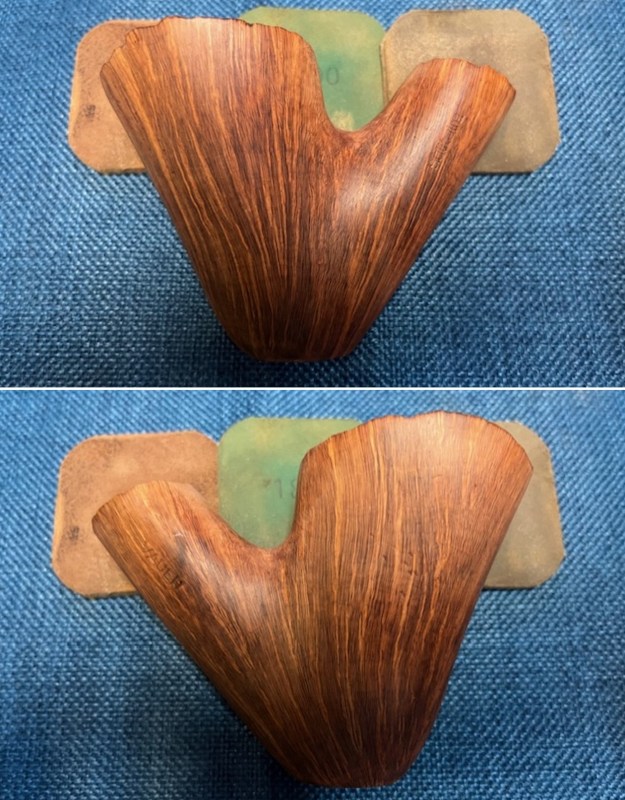
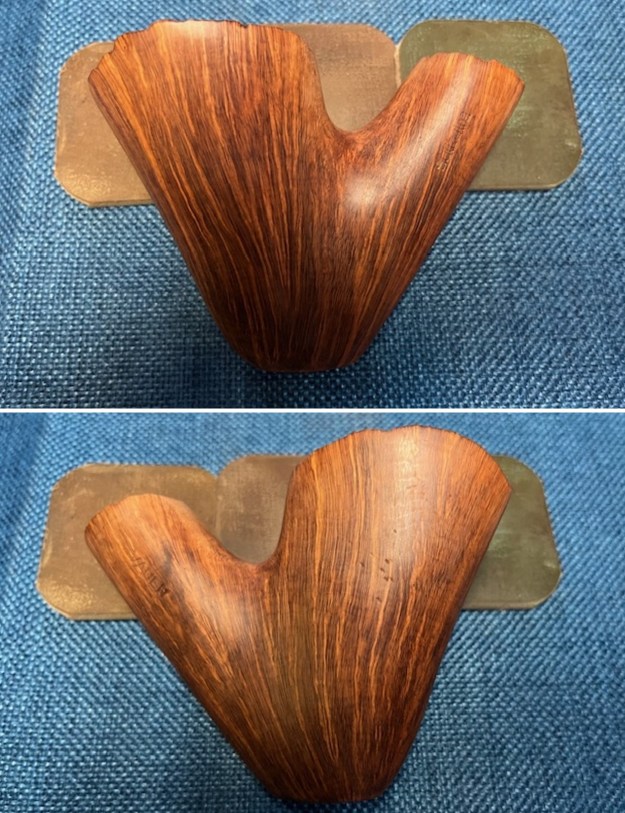
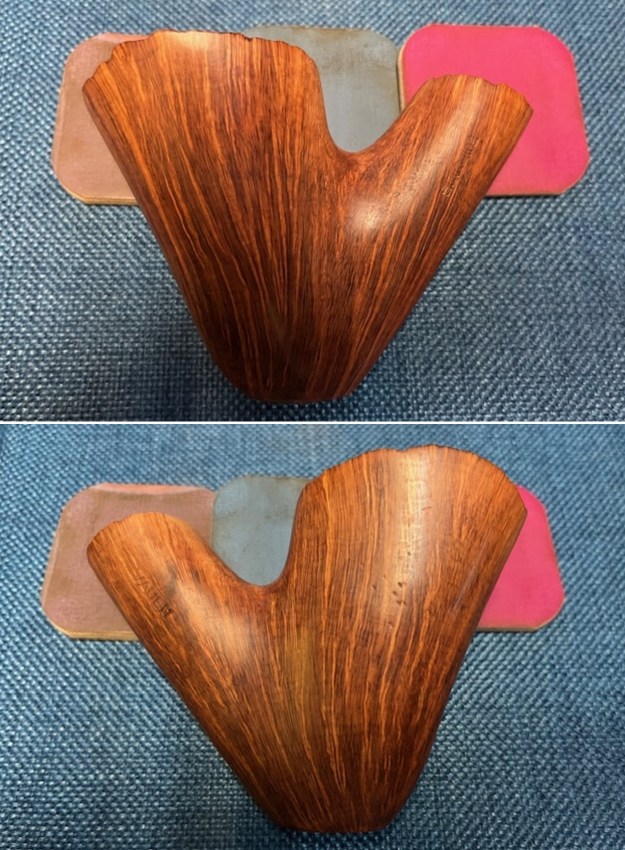
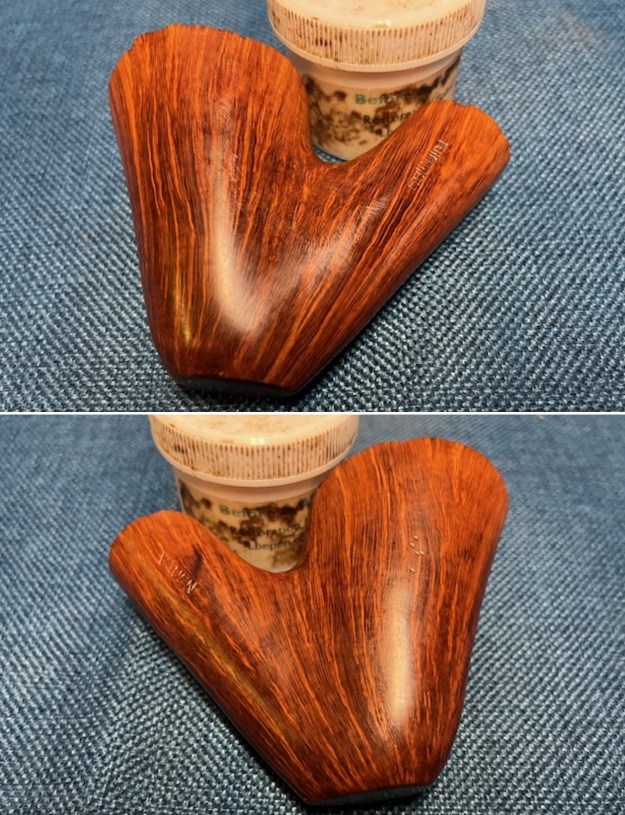
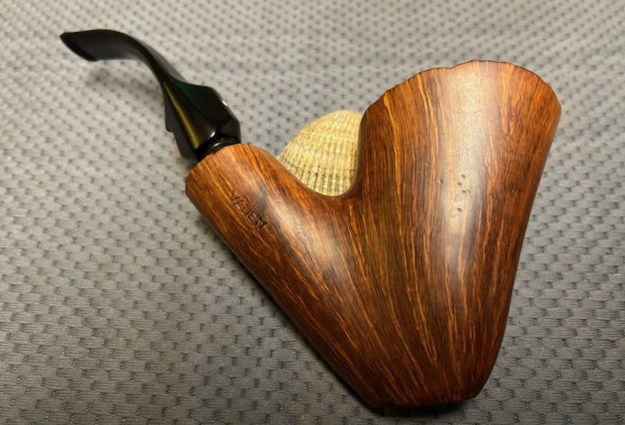
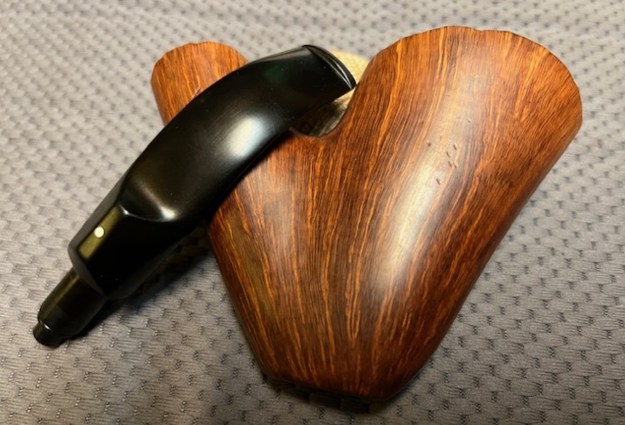
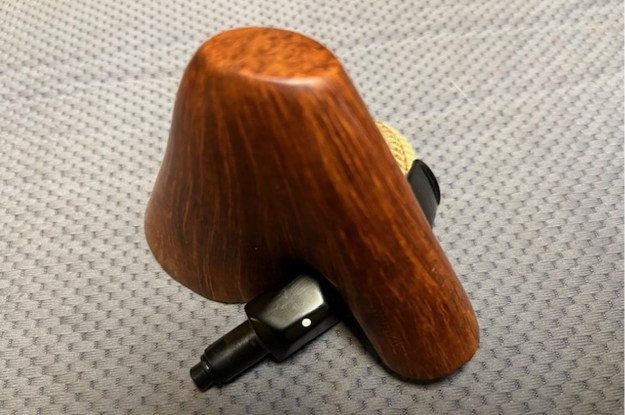
 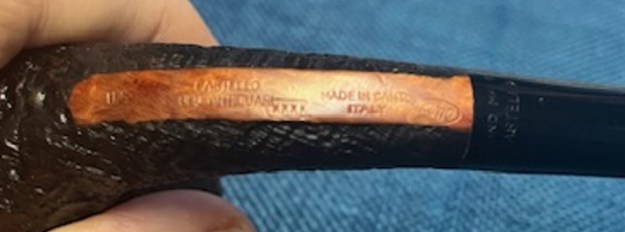 I removed the stem from the shank and tried to capture a bit of the beauty of the birdseye grain on this lovely piece of briar. The grain is the same on both sides with cross grain on the front of the bowl, the back of the bowl and the underside of the shank at the end.
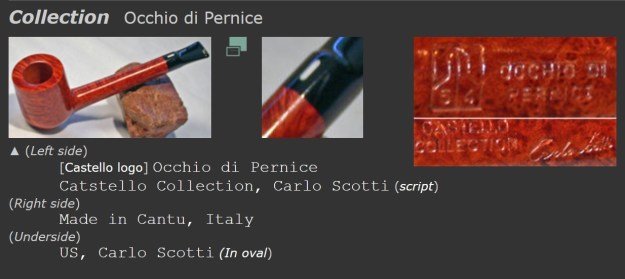
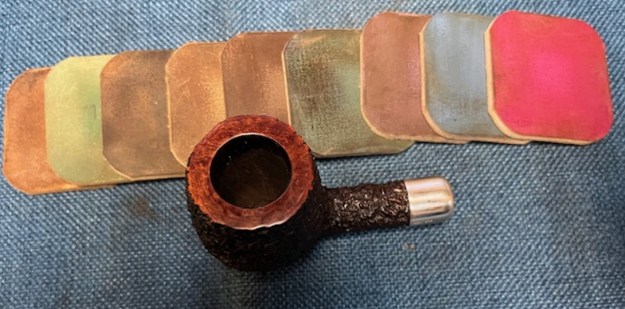
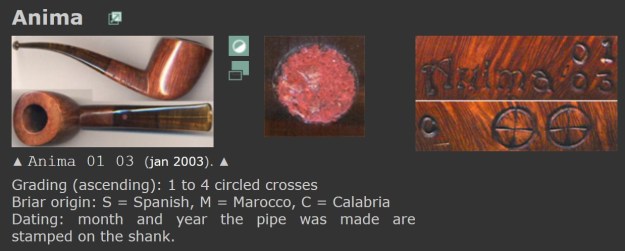
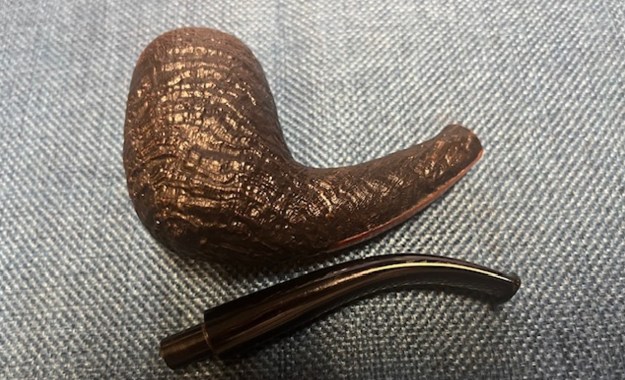 I checked on Pipephil’s site (http://www.pipephil.eu/logos/en/logo-castello.html) and found a section on the Old Antiquari. It also had some information on the family line of the Scottis. I included that information below the screen capture of one of the pipes.
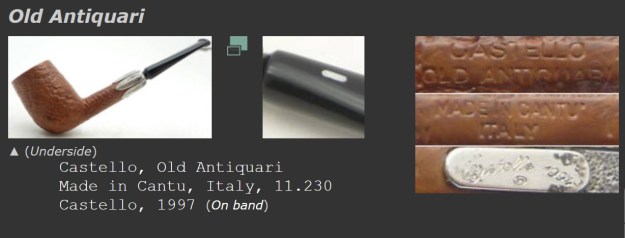 Castello PIPA CASTELLO di Carlo Scotti & C. was founded in 1947 by Carlo Scotti († 1988). Franco Coppo (AKA “Kino”) who married Carlo Scotti’s daughter Savina, manages (2012) the corporate since 1985.
A great history of the brand is available on Pipedia (https://pipedia.org/wiki/Castello). It is worth a read.
I did a google search on the Castello Old Antiquari Swan Neck Billiard and found a link to an apple shaped Castello Old Antiquari pipe with a very similar profile along the underside of the shank (https://www.smokingpipes.com/pipes/new/castello/moreinfo.cfm?product_id=345891). Chuck Stanion has a brilliant description of the pipe that easily applies to the pipe that I have in hand here. I quote:
The heel of this Castello Apple is quite long, adding to the goose-neck quality of the shape’s silhouette, but it has not been flattened for sitting, so you’ll need a pipe stand. The smooth rim matches the highlights of the sandblast perfectly, and is brightly contrasted by the pure-white mouthpiece. The blast is craggy and deep, offering substantial hand comfort for long smoking sessions. – Chuck Stanion
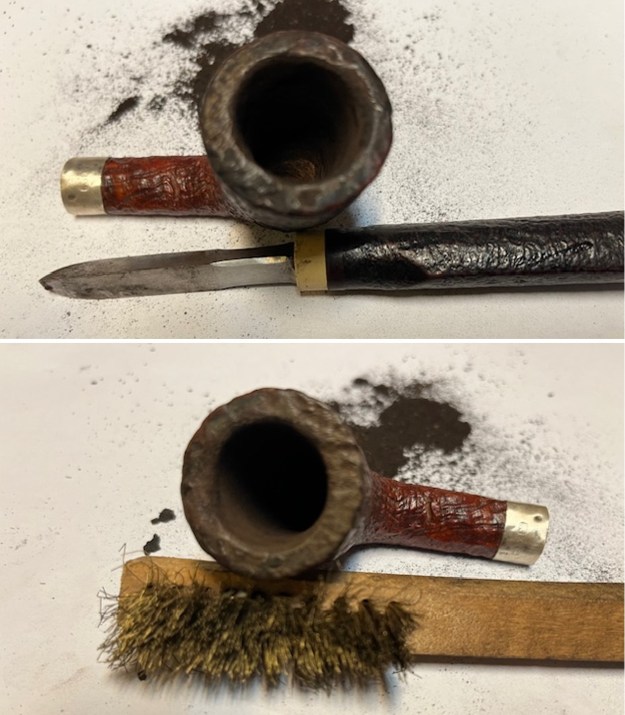
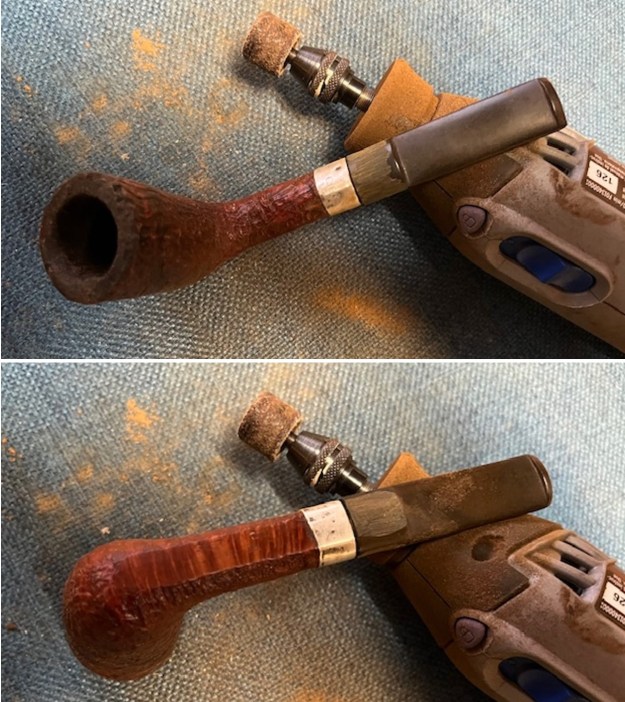
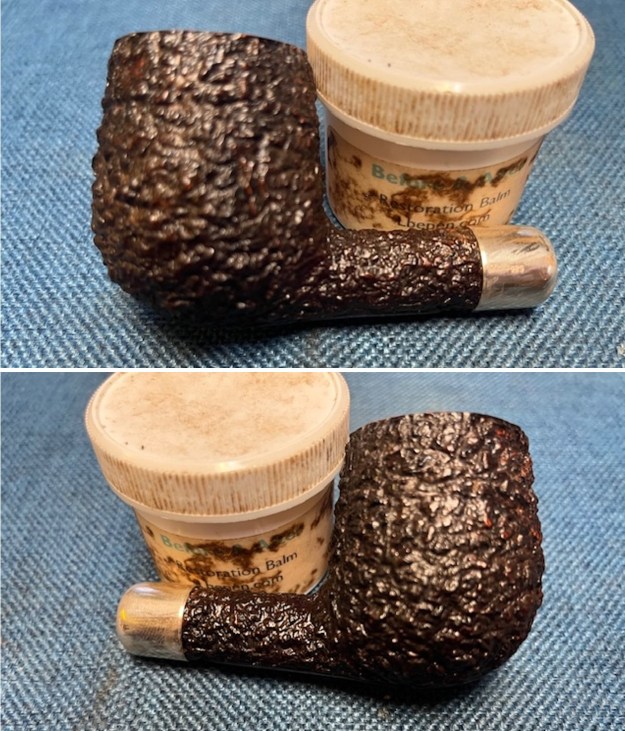
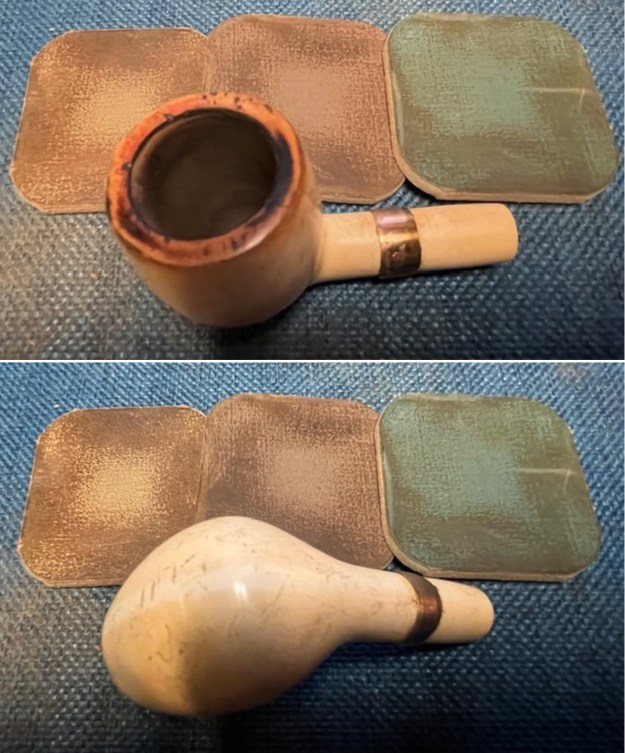
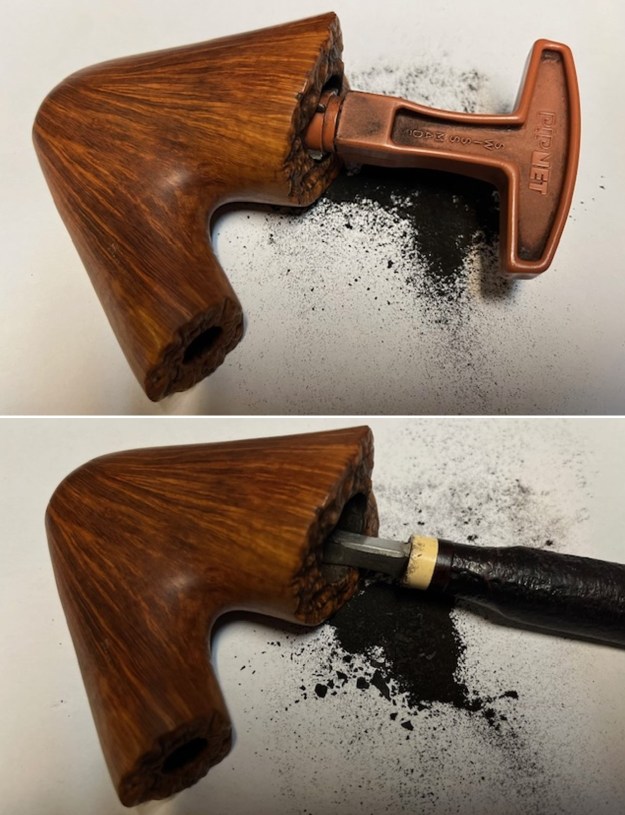
Now it was time to work on the pipe. I started my work by reaming the pipe. I scraped out the light cake with a Savinelli Fitsall Pipe Knife. I took the cake back to bare briar. I sanded the walls smooth with 220 grit sandpaper wrapped around a piece of dowel. The bowl walls looked very good with no burn damage or checking on the walls.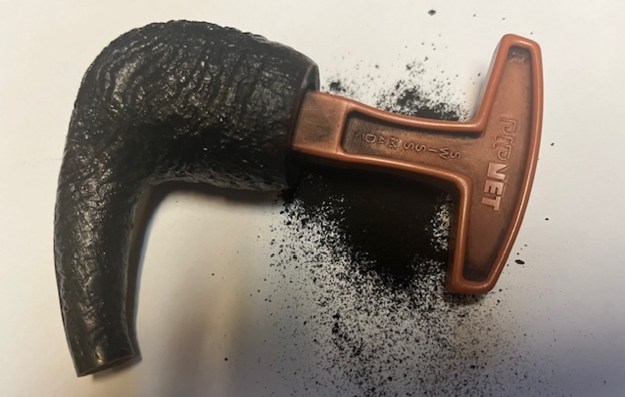
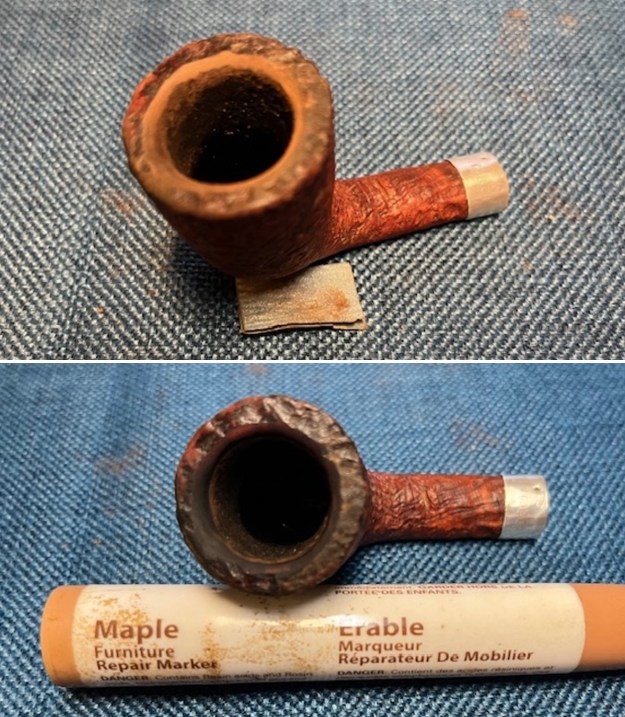
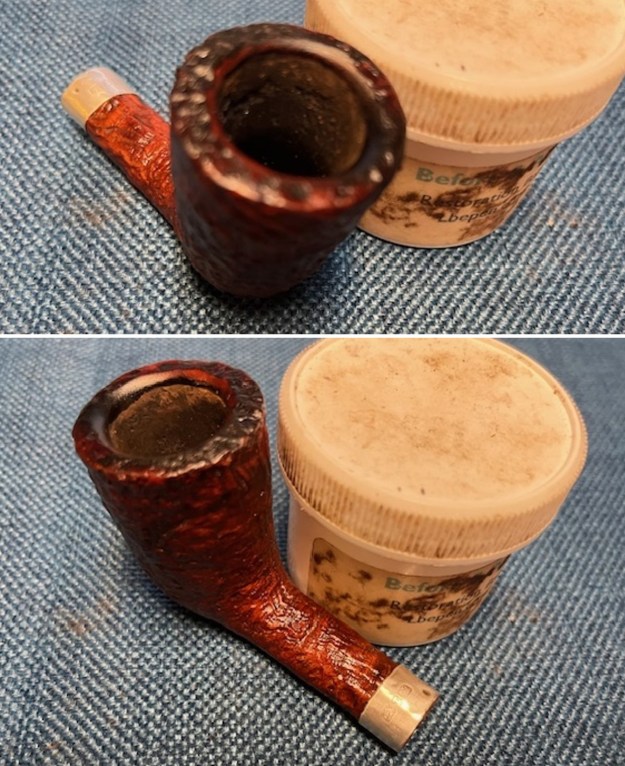
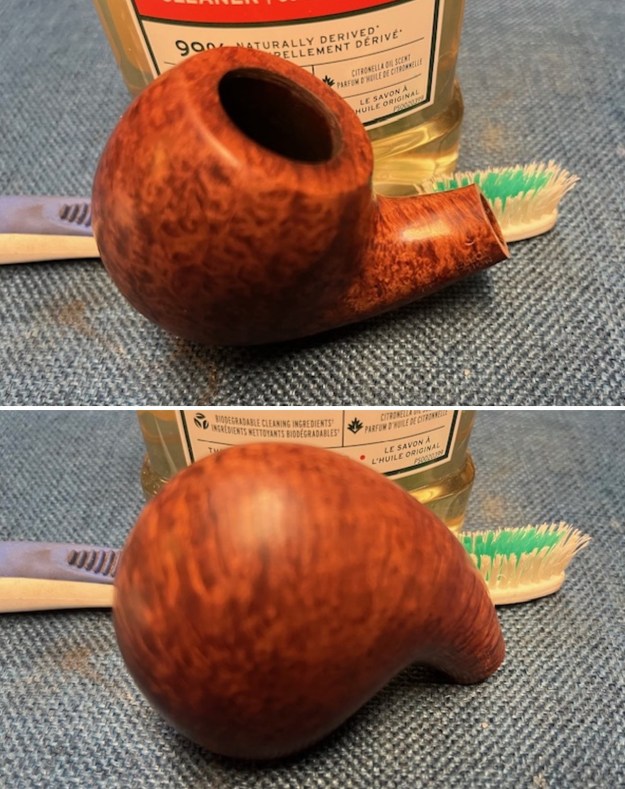
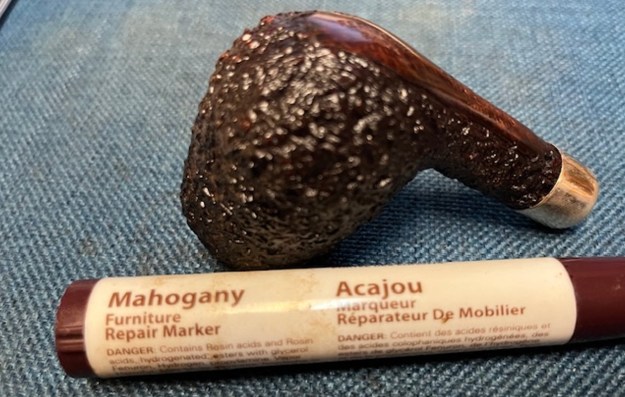
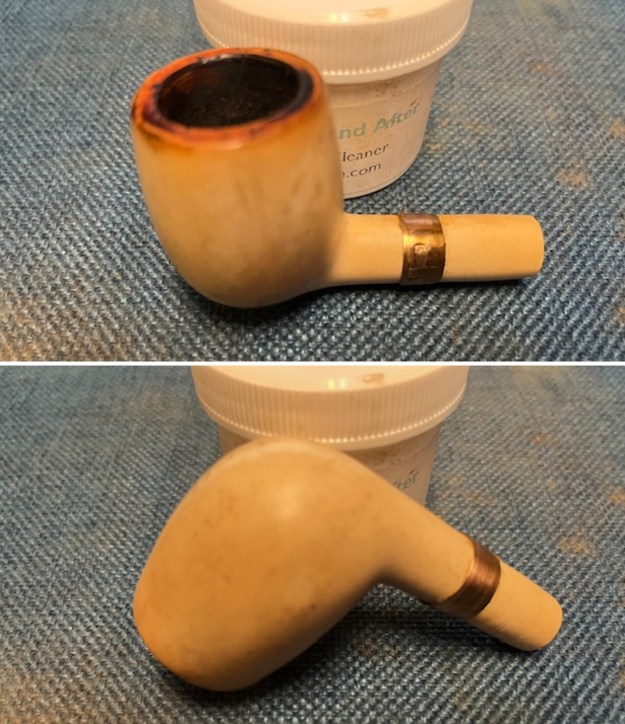
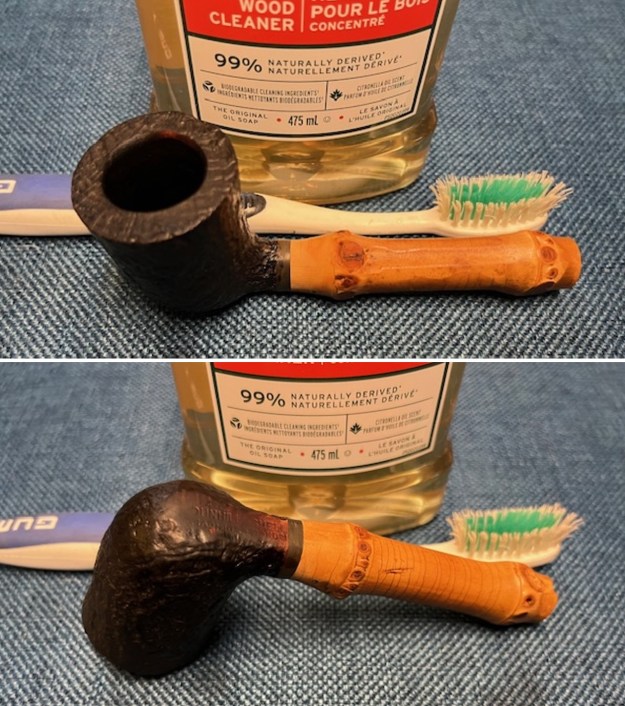
 I scraped the smooth rim top with the Fitsall Knife edge. I was able to get the thick grime off. I scrubbed it down with a damp paper towel and it looked much better.
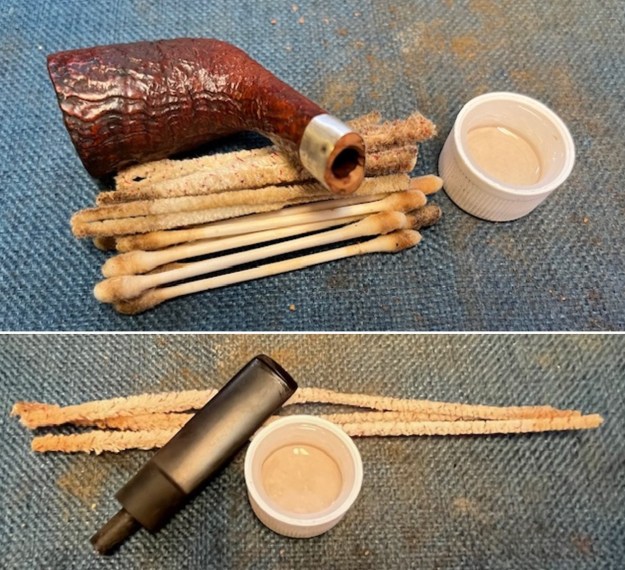
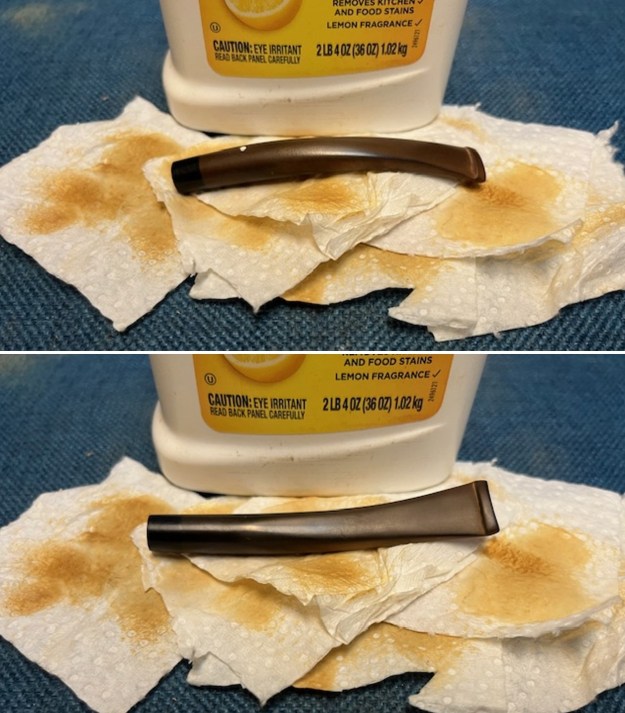
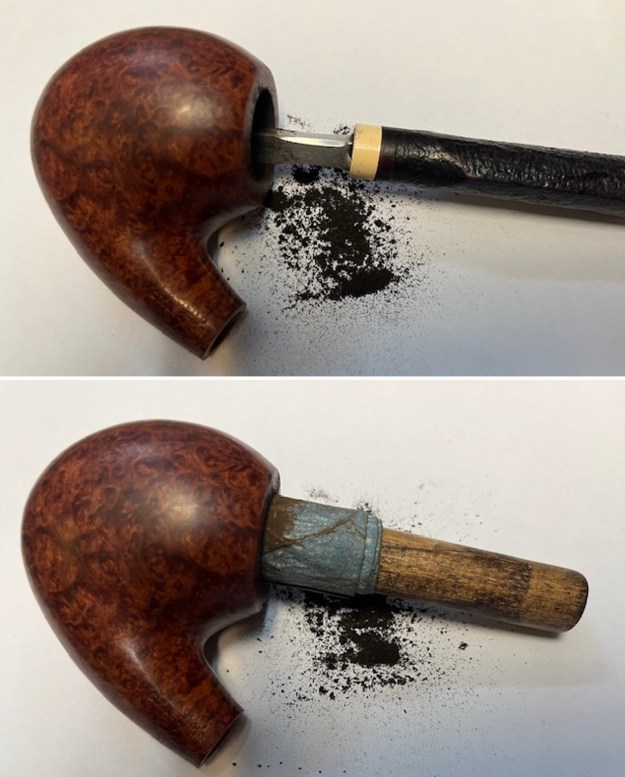
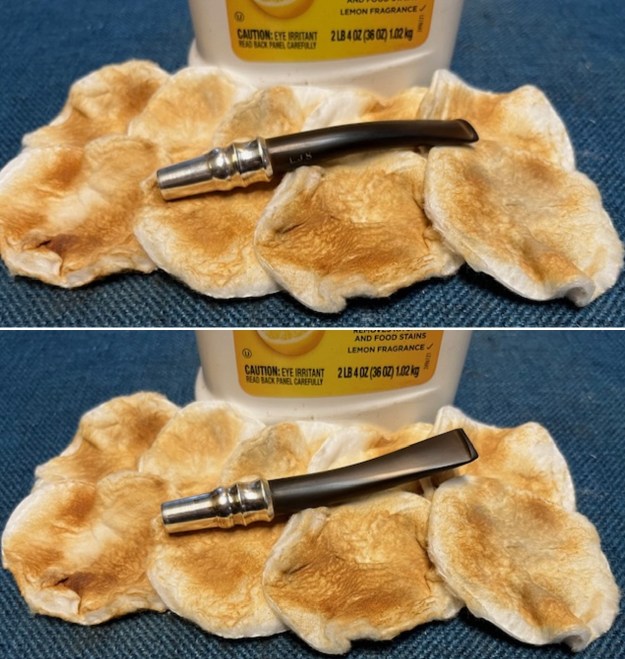
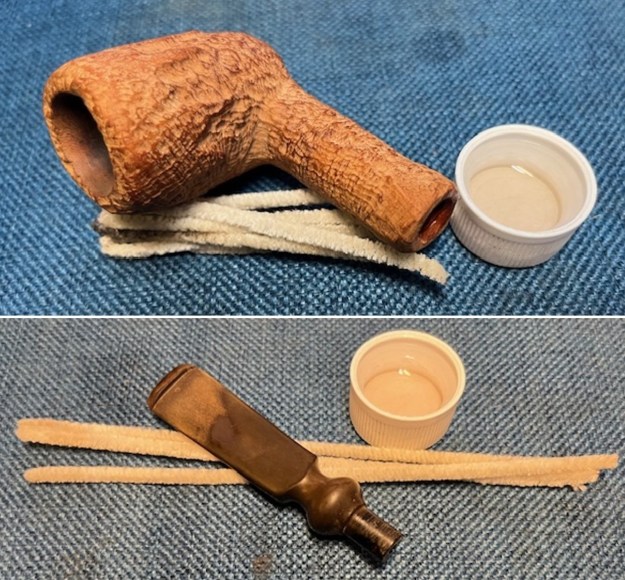
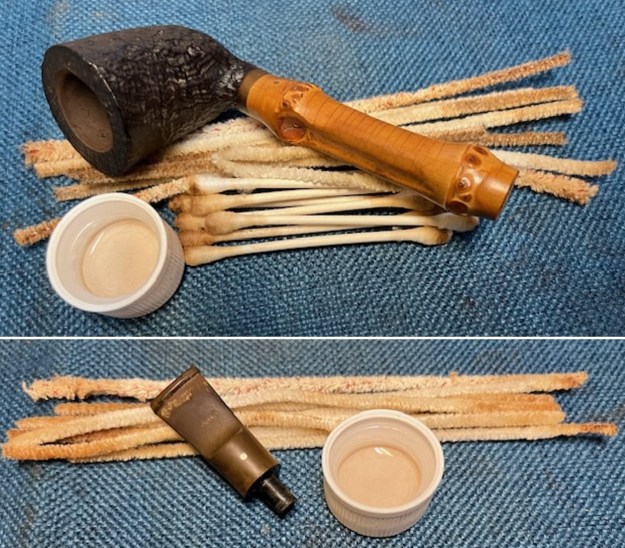
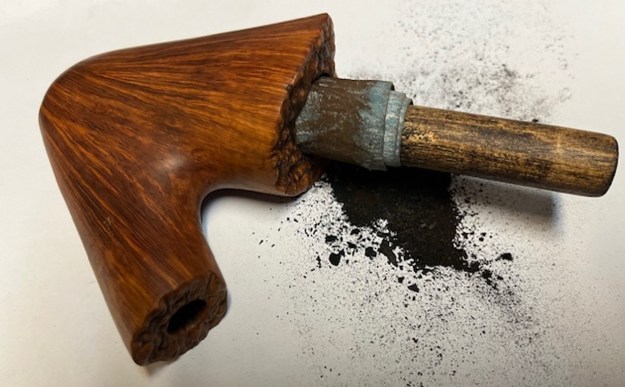
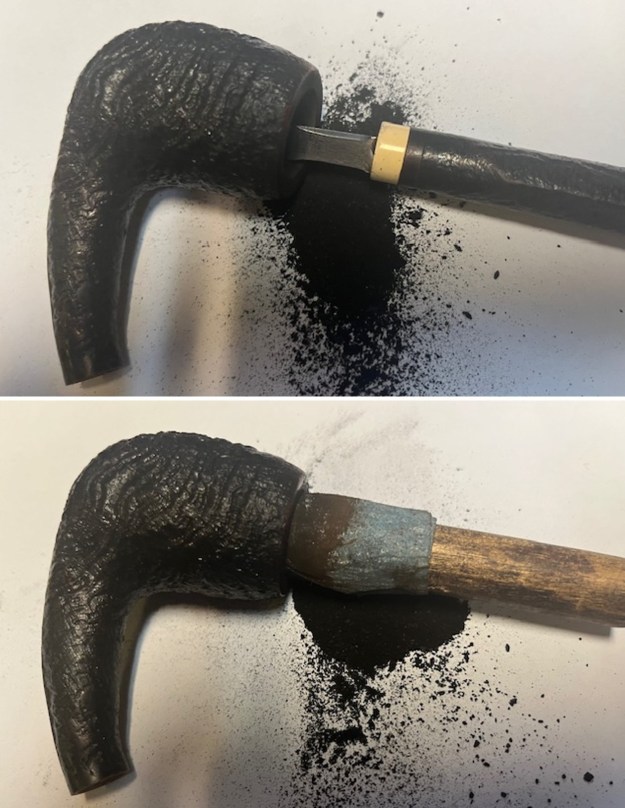
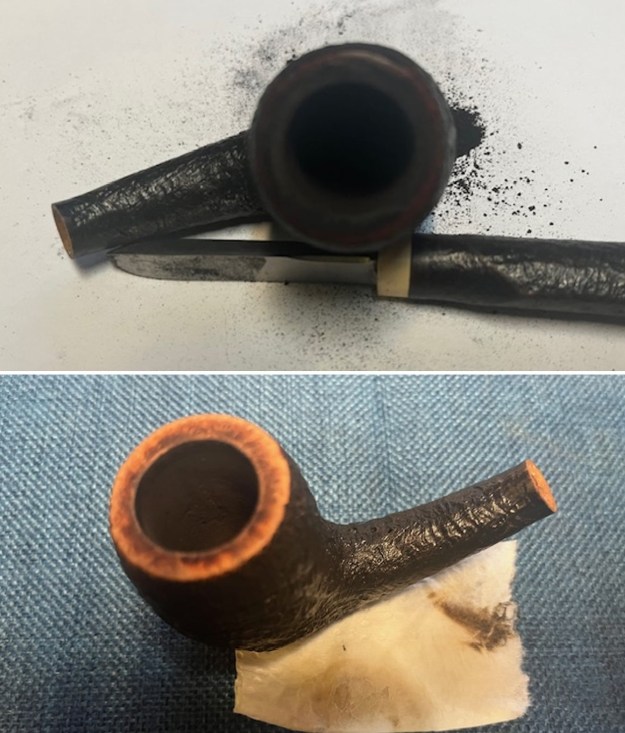 I cleaned out he internals of the shank, mortise and airway in the shank and the stem with alcohol, cotton swabs and pipe cleaners.
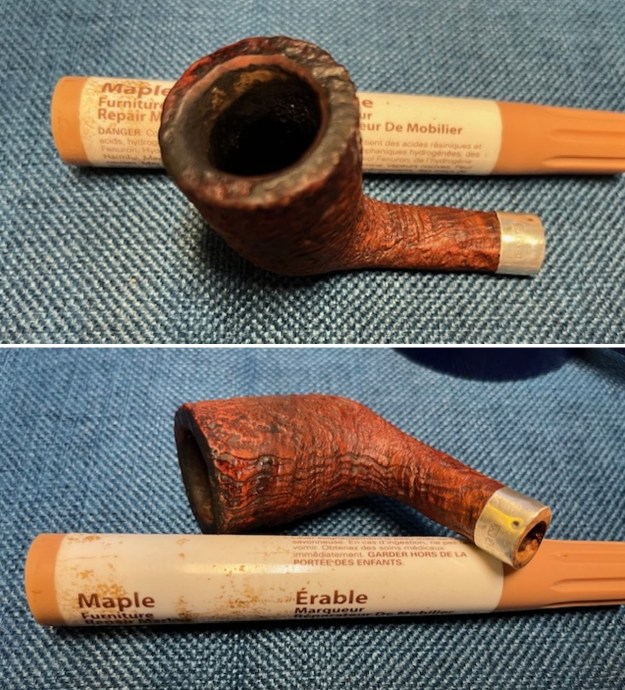
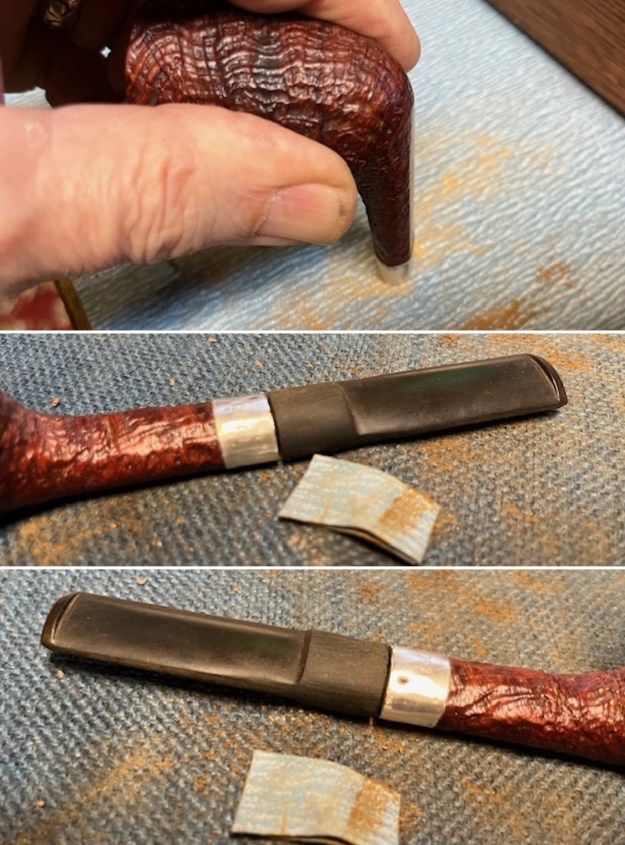
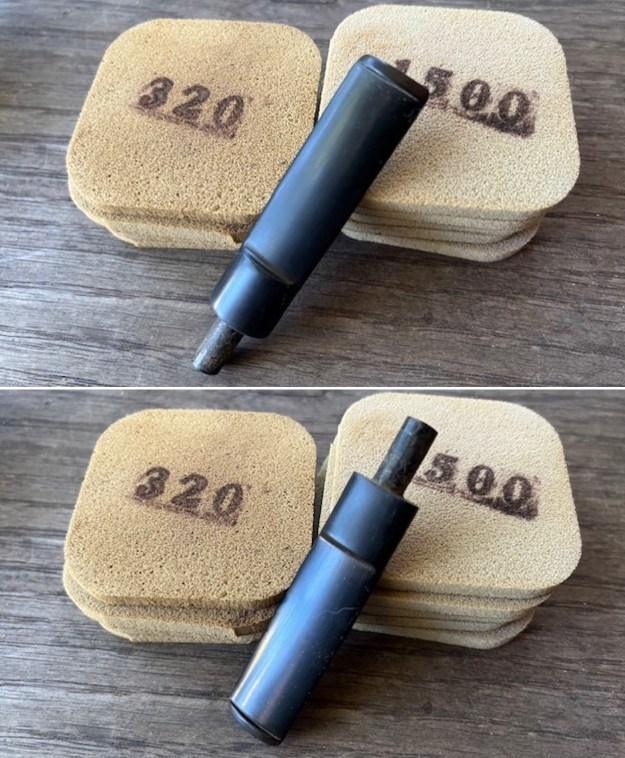
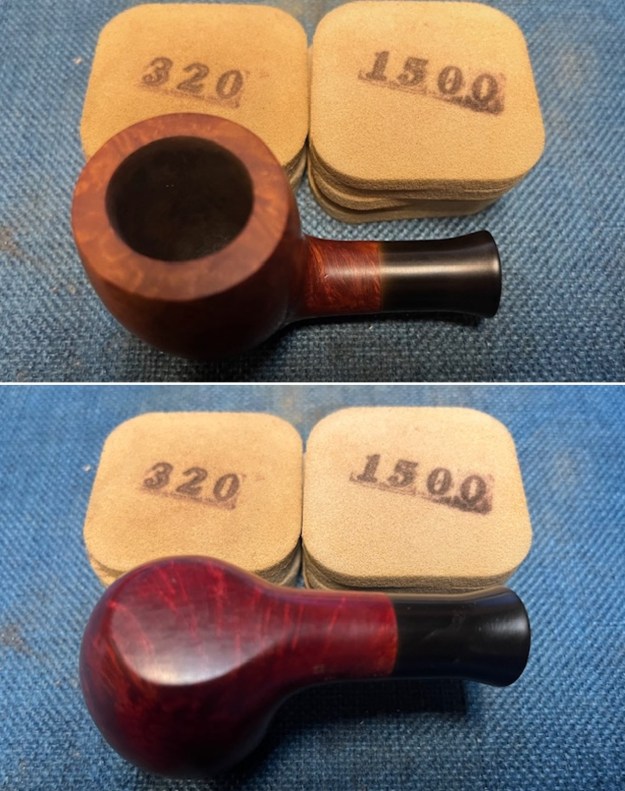
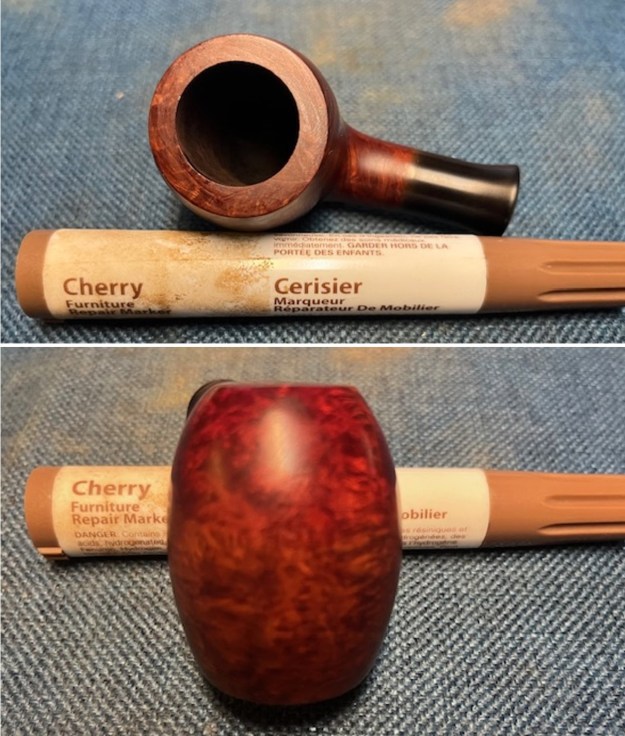
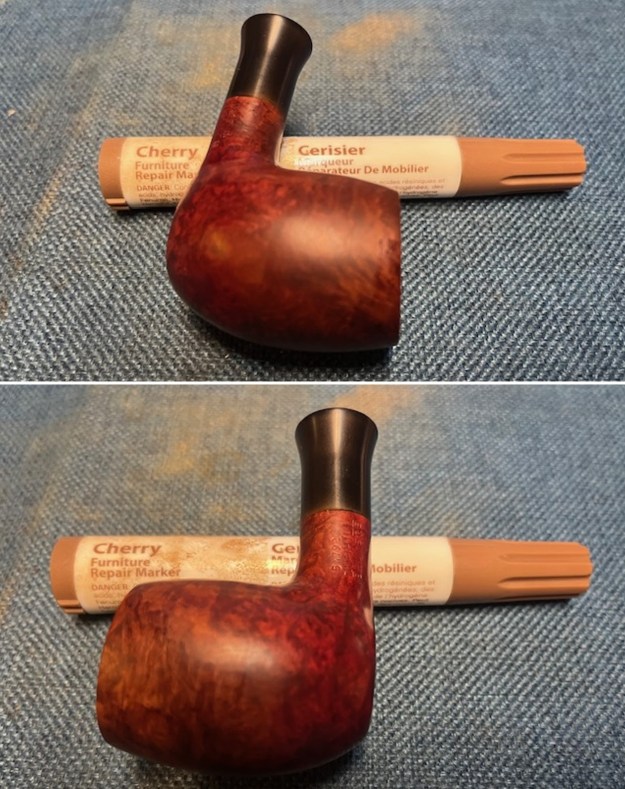
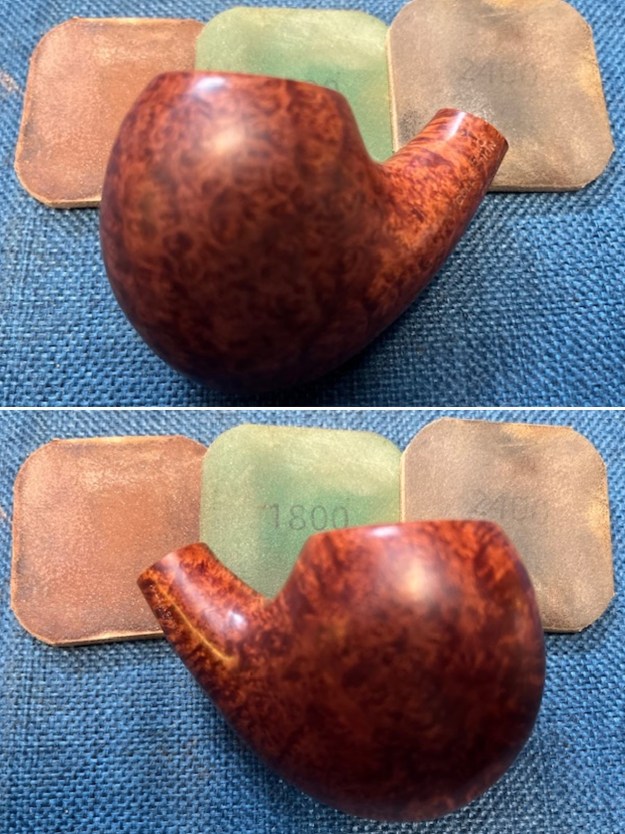
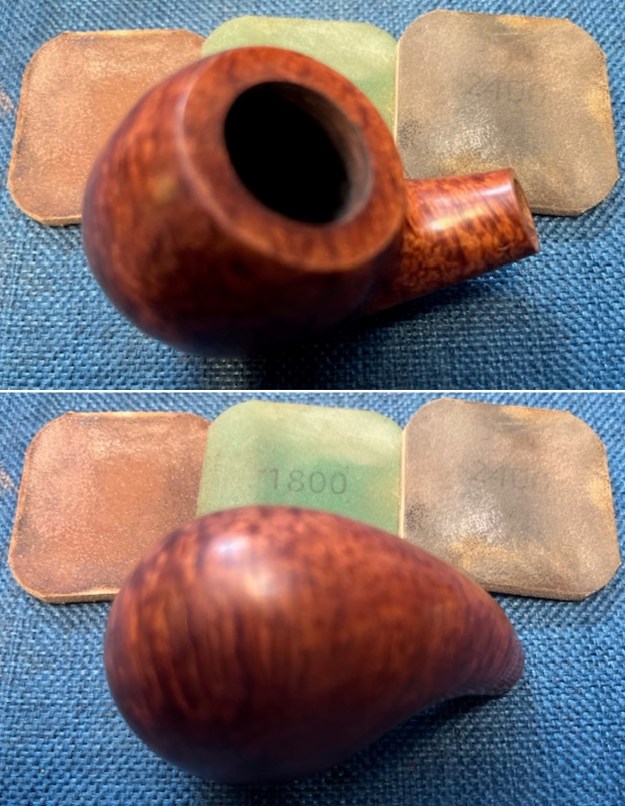
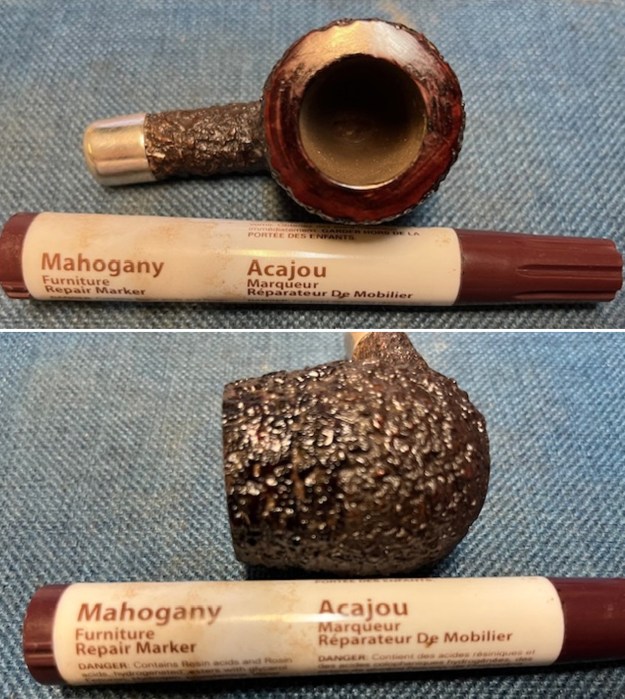
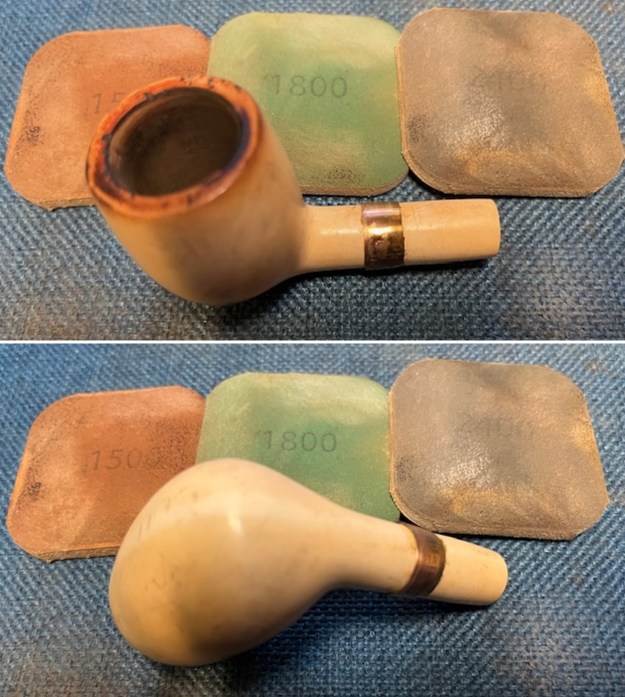
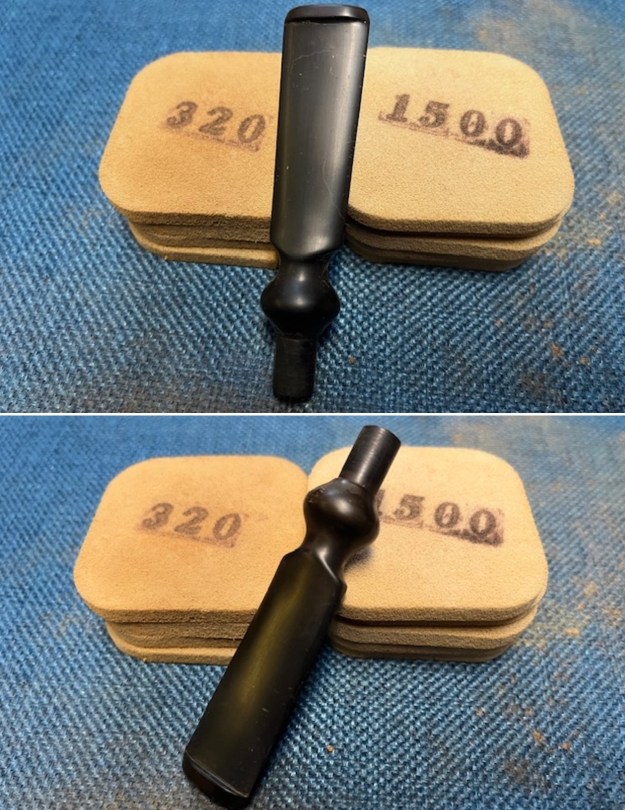
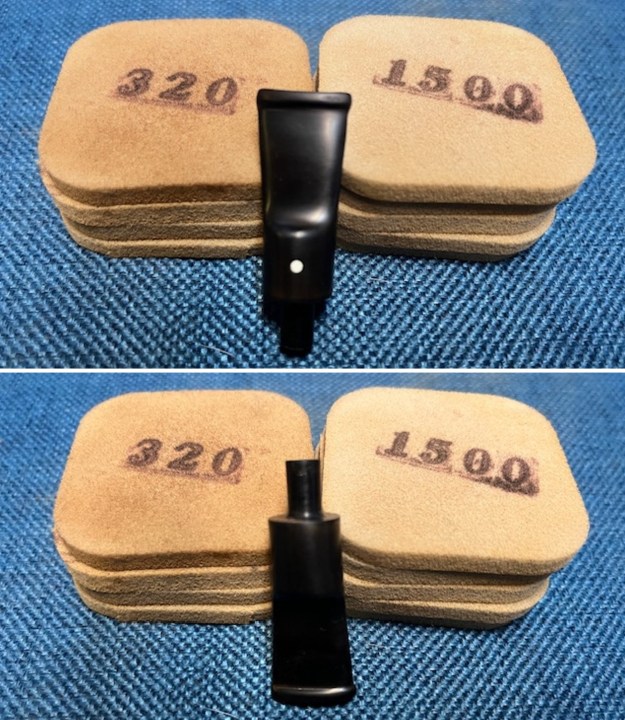
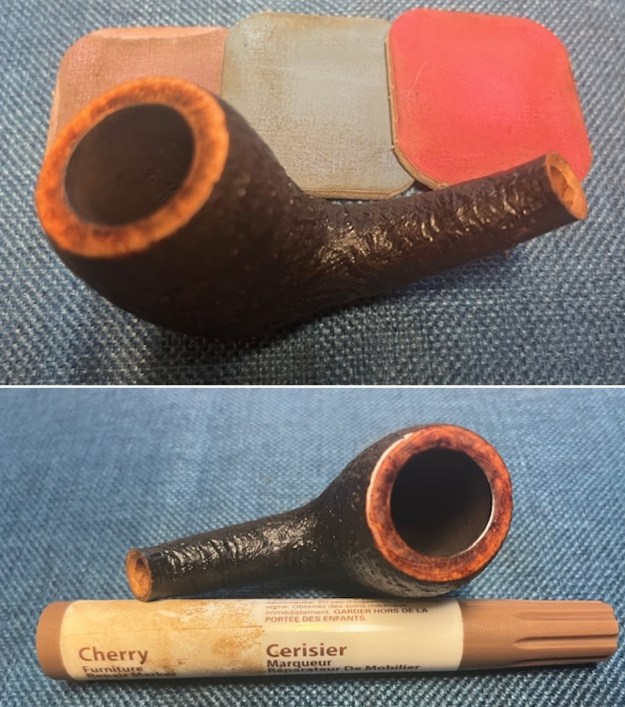
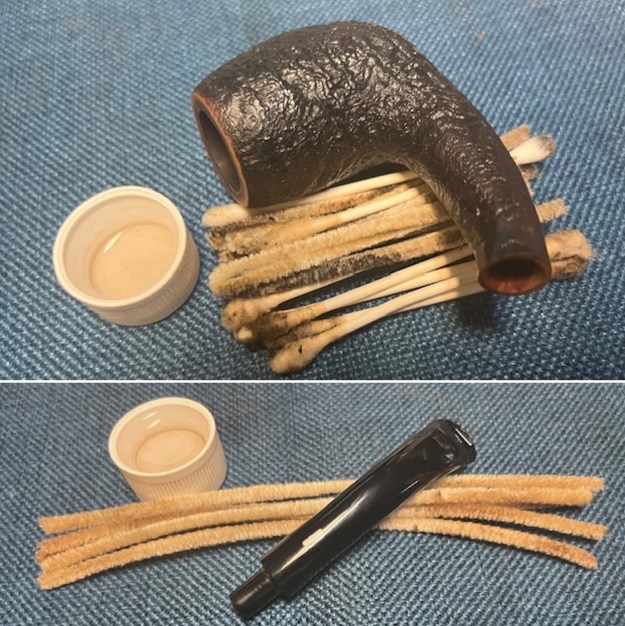 I polished the rim top with micromesh sanding pads. I dry sanded with 1500-12000 grit sanding pads. I wiped the rim top down after each pad with a damp cloth to remove the debris. I touched up the rim top with a Cherry stain pen to match the smooth patch on the bottom of the shank.
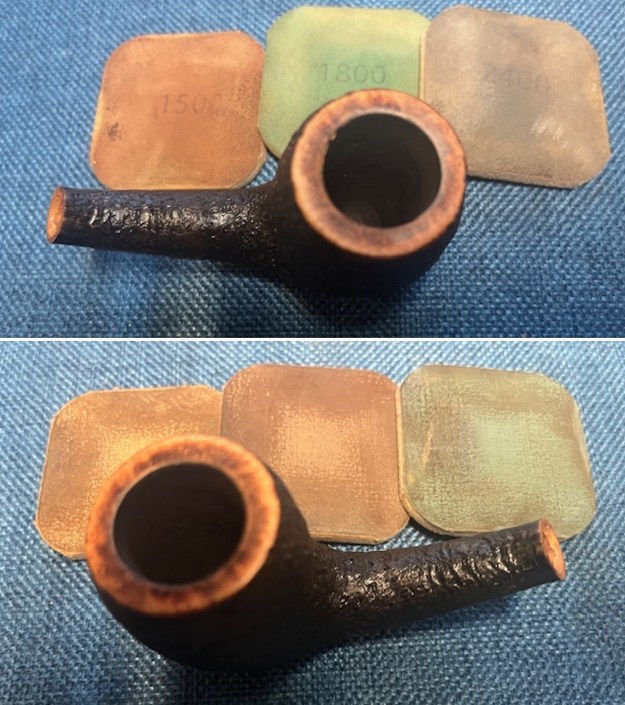
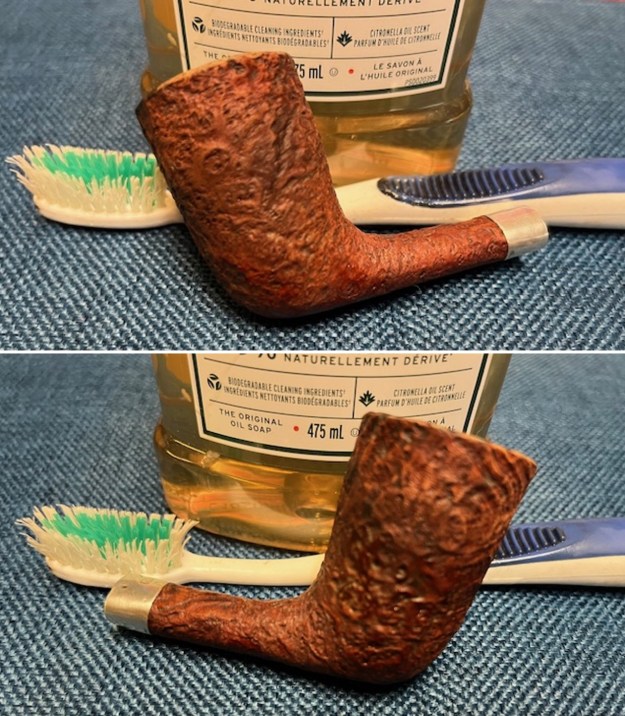
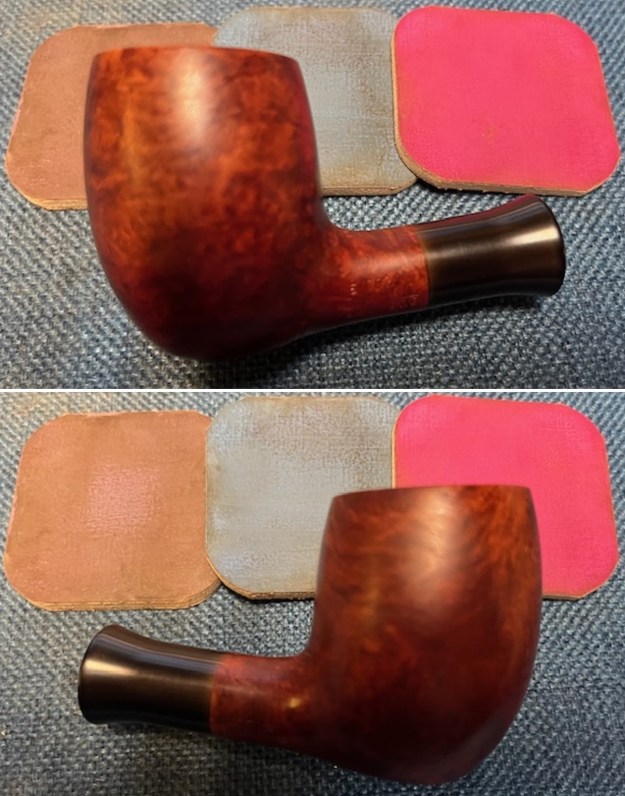
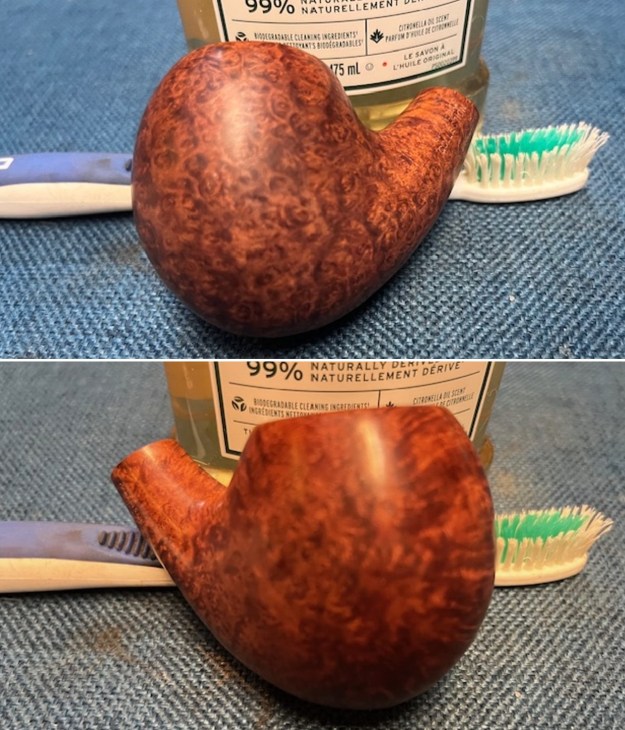
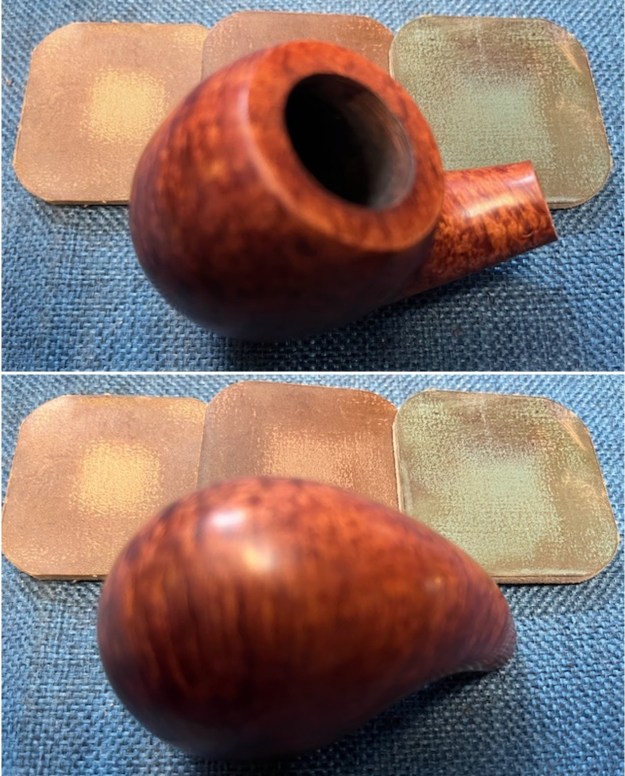
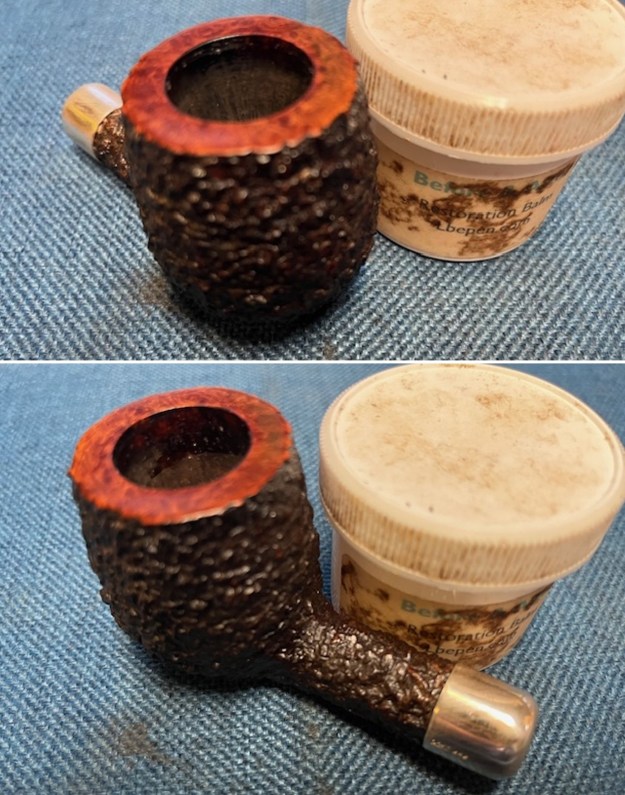
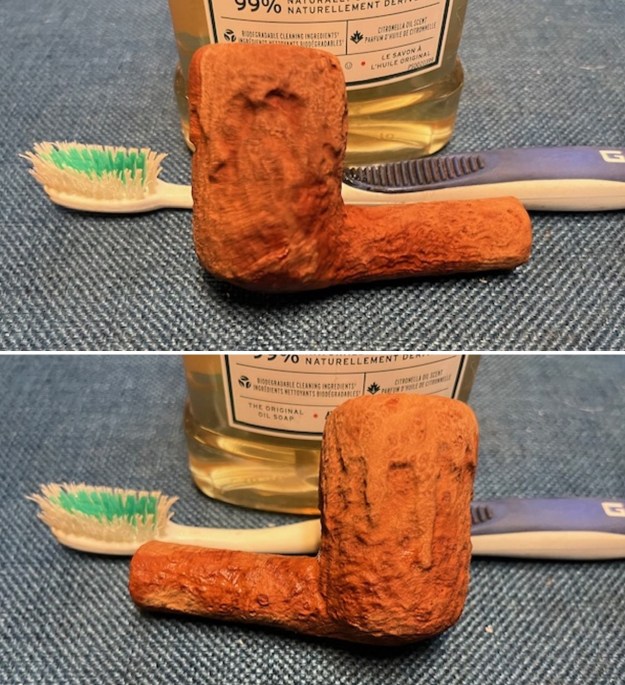
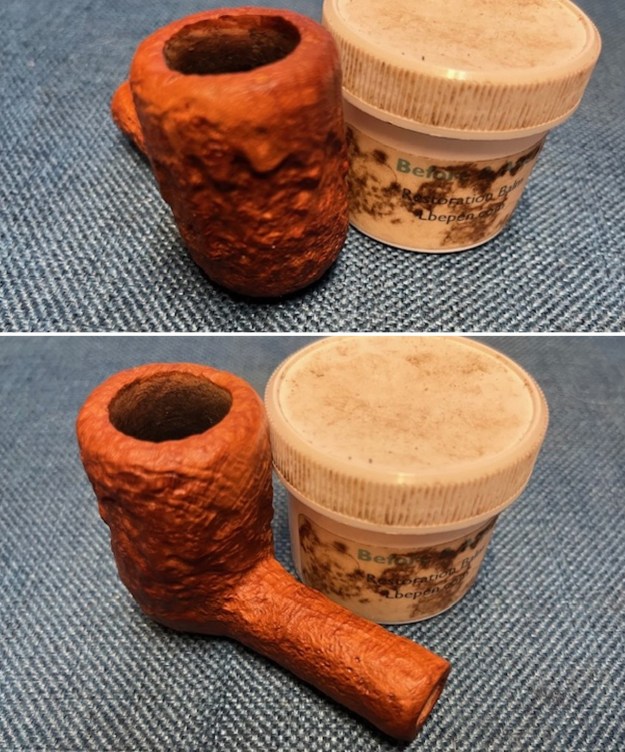
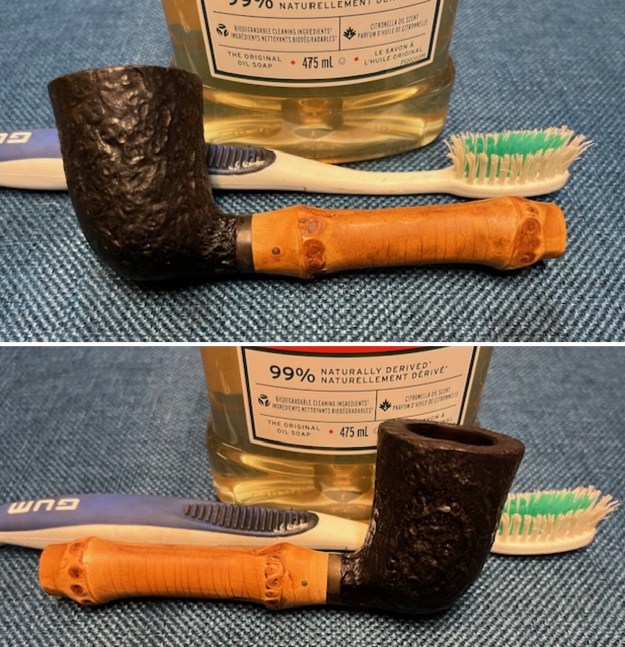
 I scrubbed the externals of the bowl with undiluted Murphy’s Oil Soap and rinsed it off with warm water to remove the soap and the grime. I dried it off with a soft cotton towel. It looked much better at this point and the grain really stood out on the bowl sides.
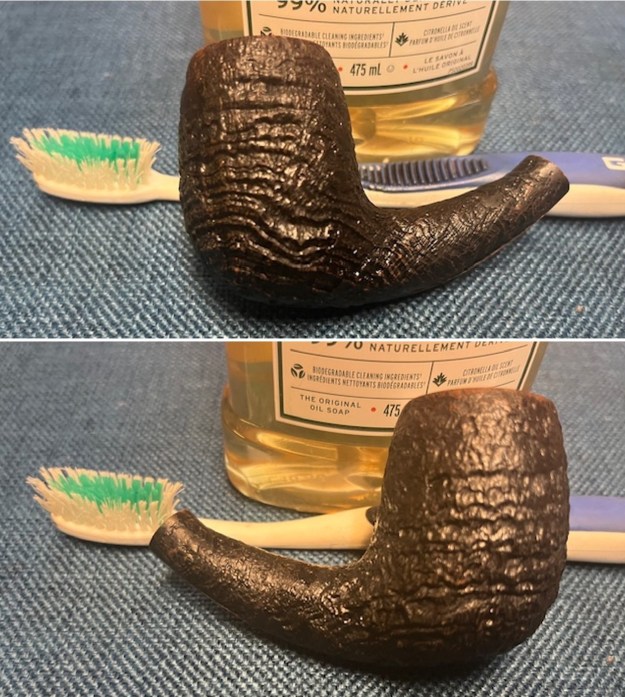
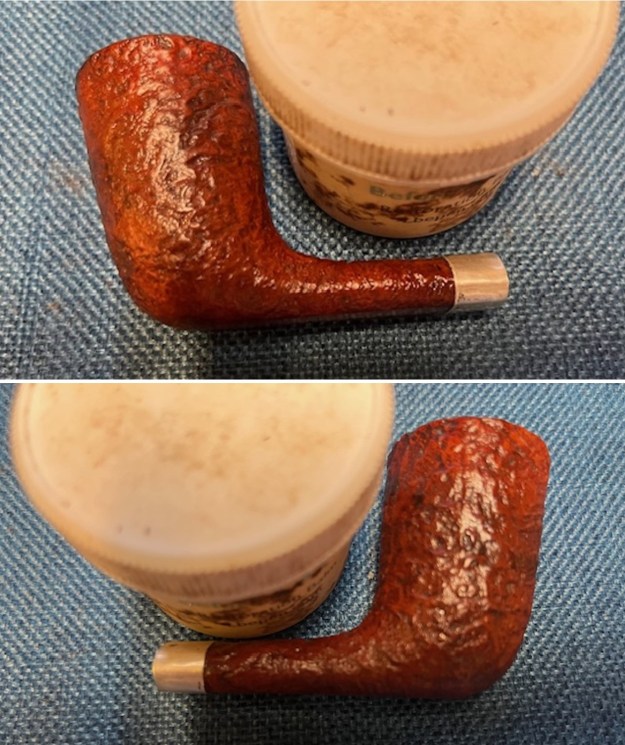
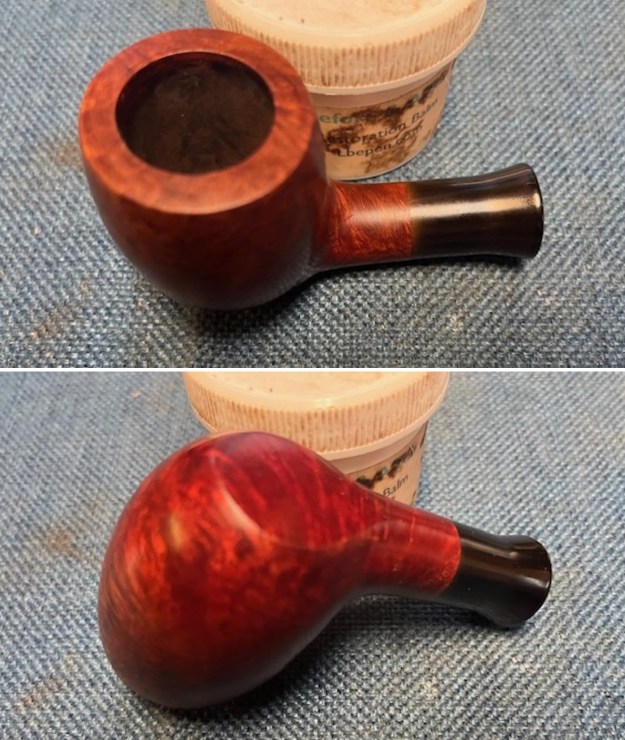
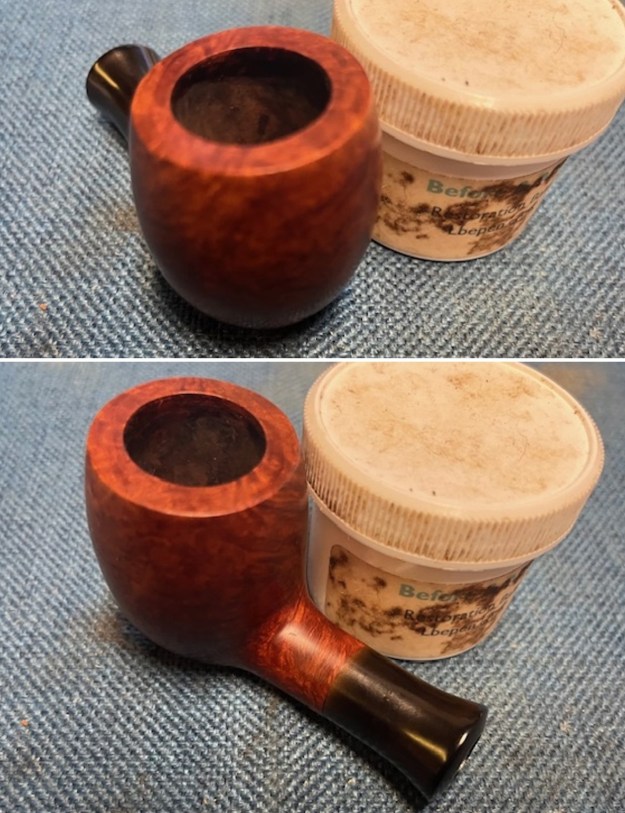
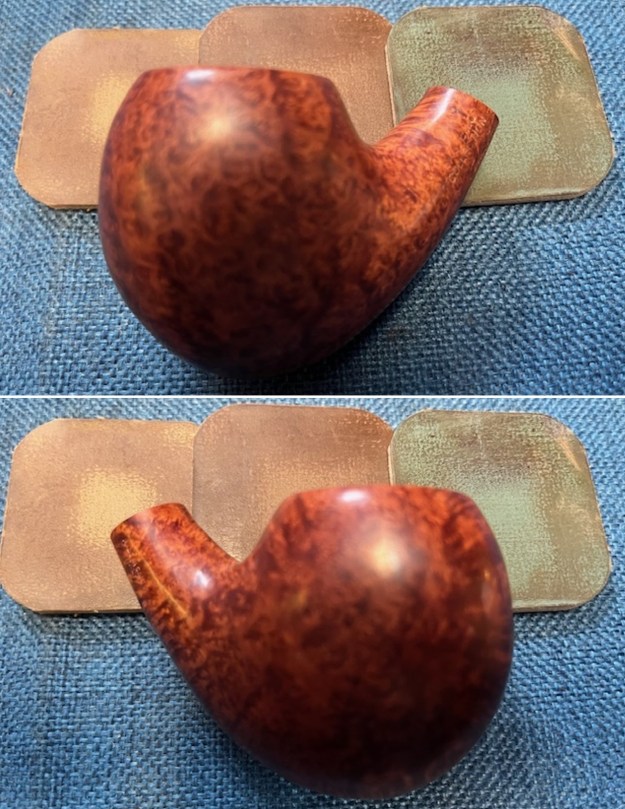
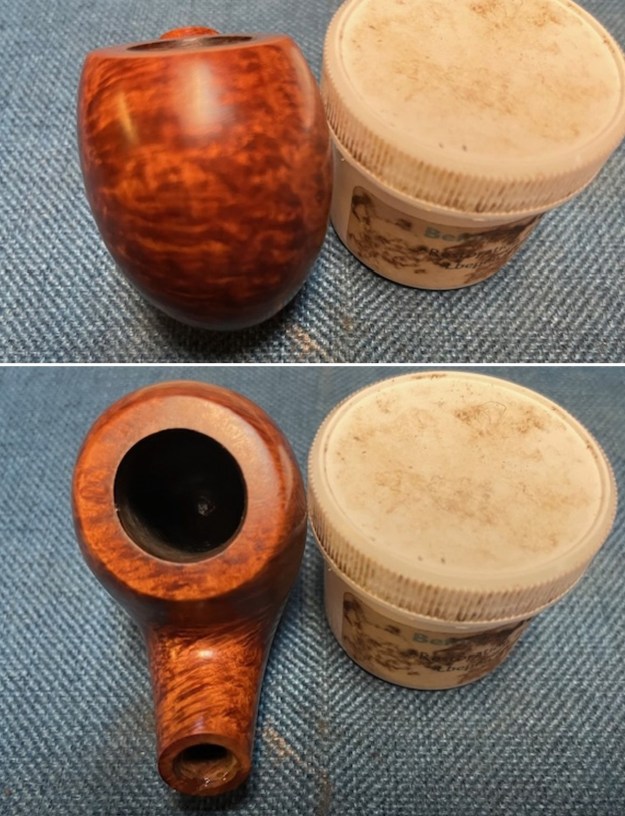
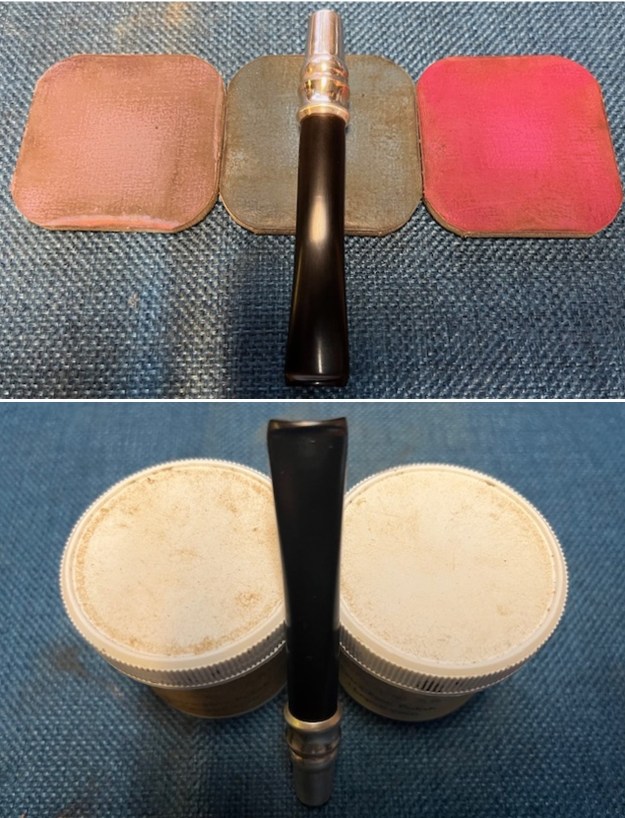
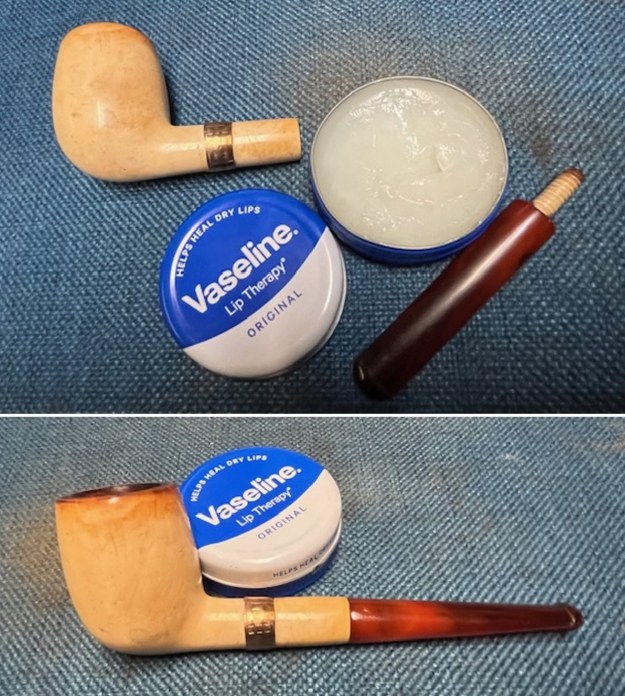
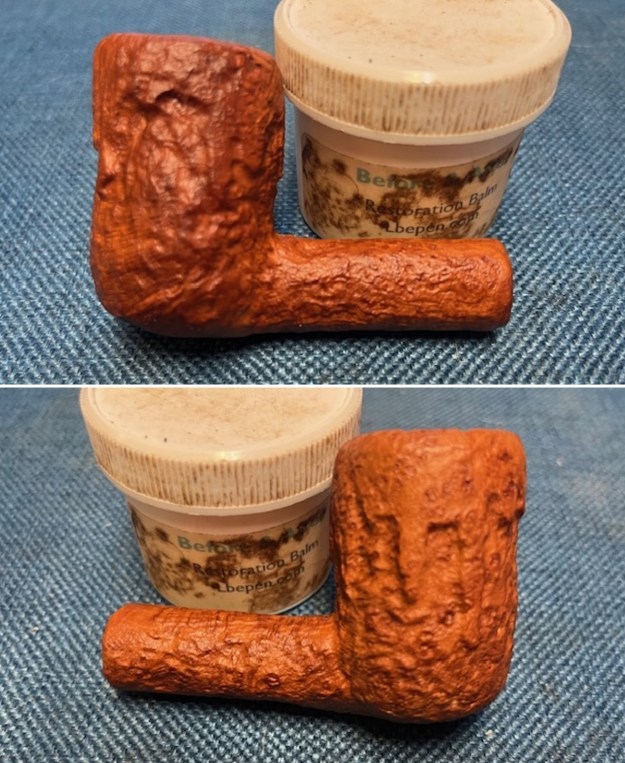
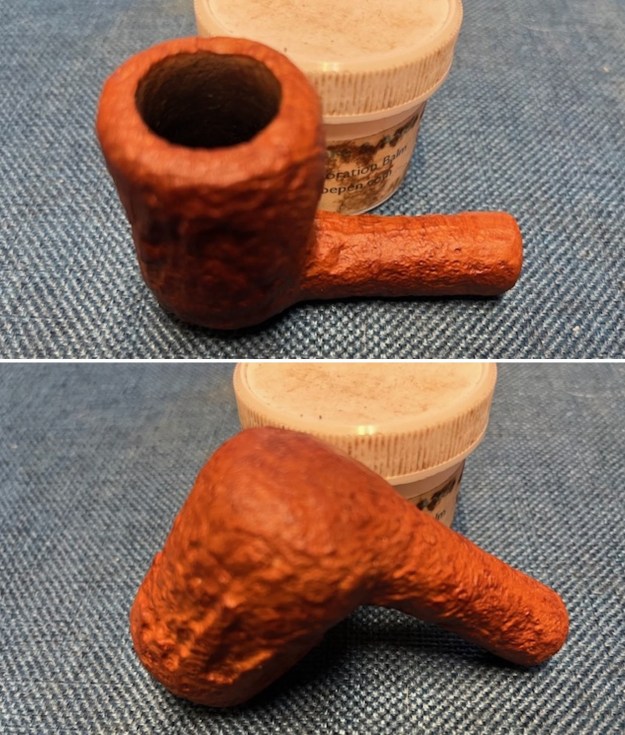
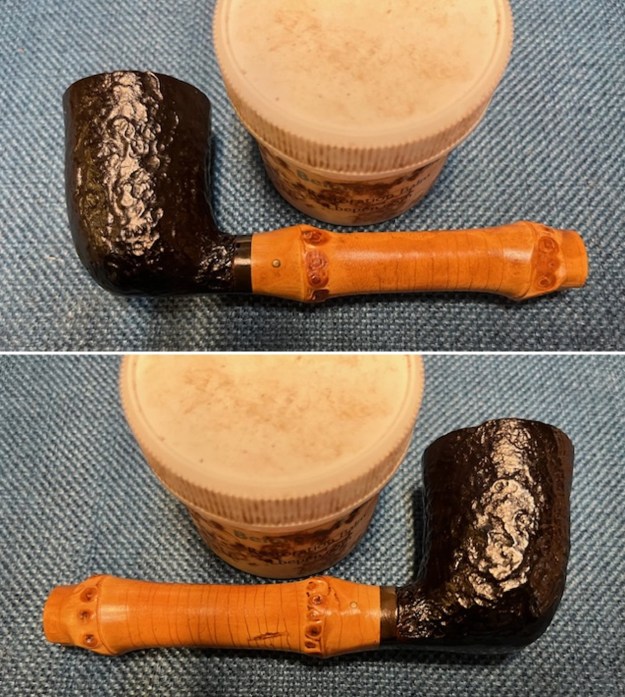
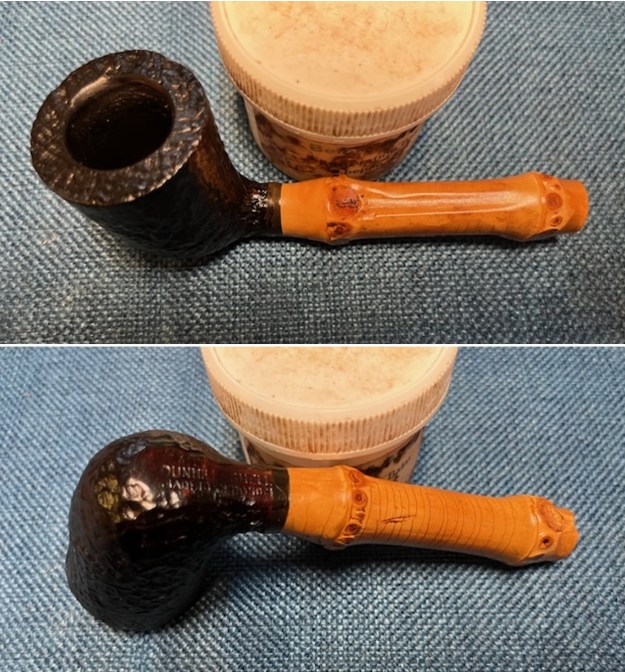
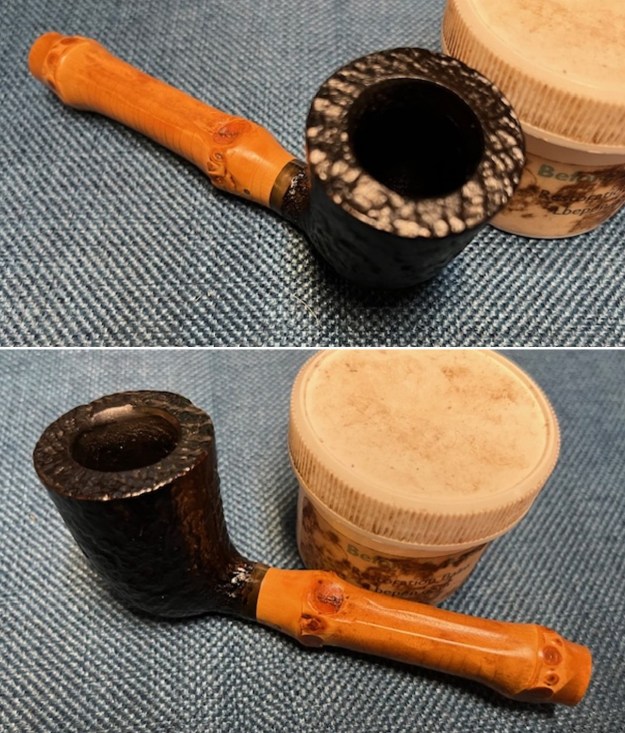
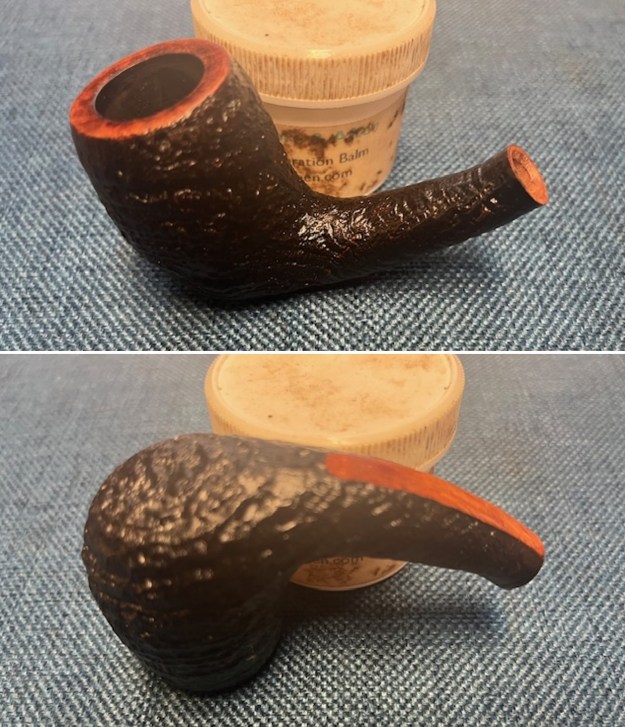
 I rubbed the briar down with Before & After Restoration Balm. I worked it into the smooth surface with my fingertips. The product works to clean, enliven and preserve the briar. I let it sit for 10 minutes then I buffed it with a cotton cloth to deepen the shine. The briar really comes alive with the balm.
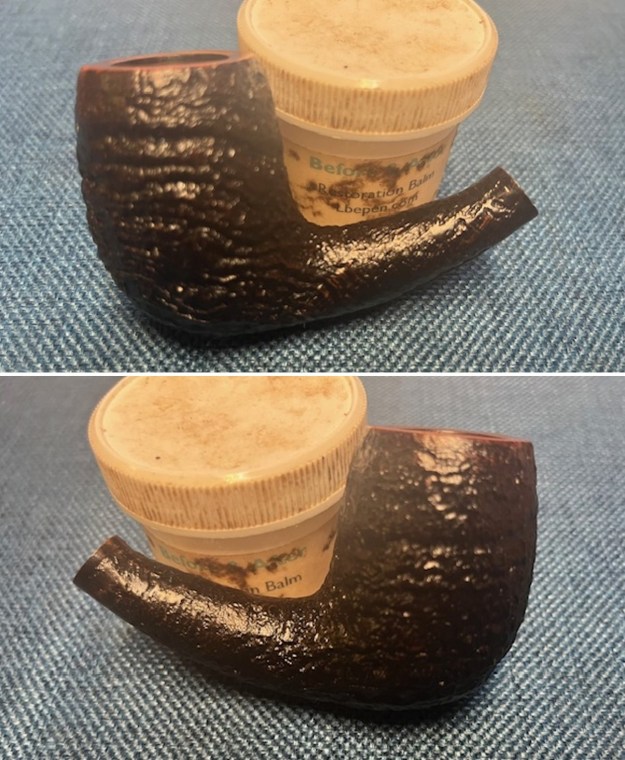
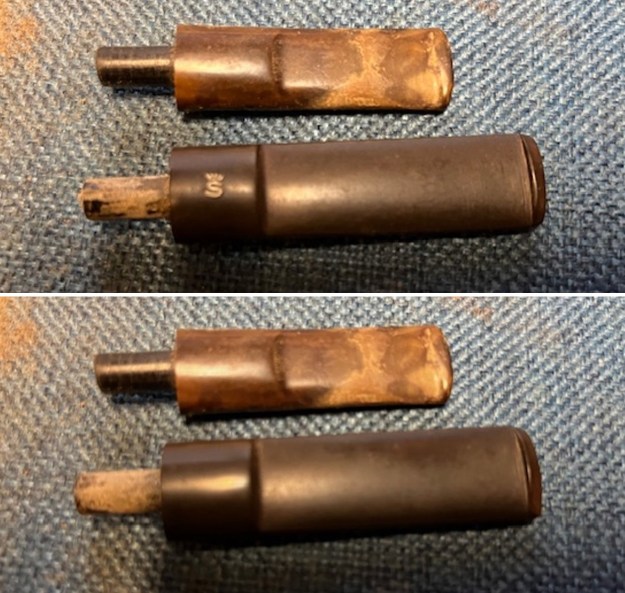
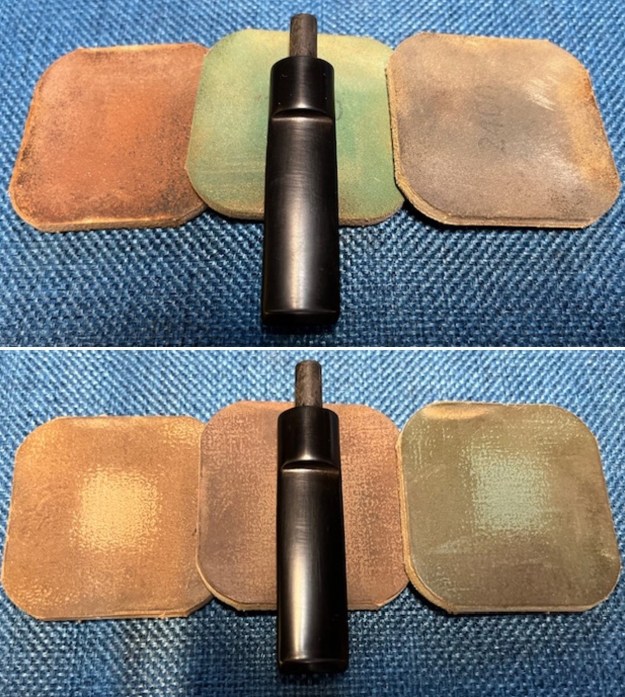
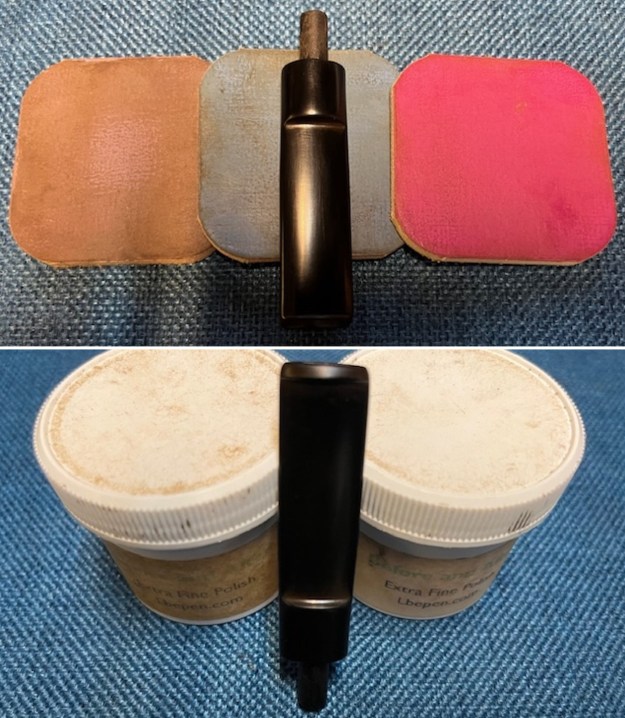
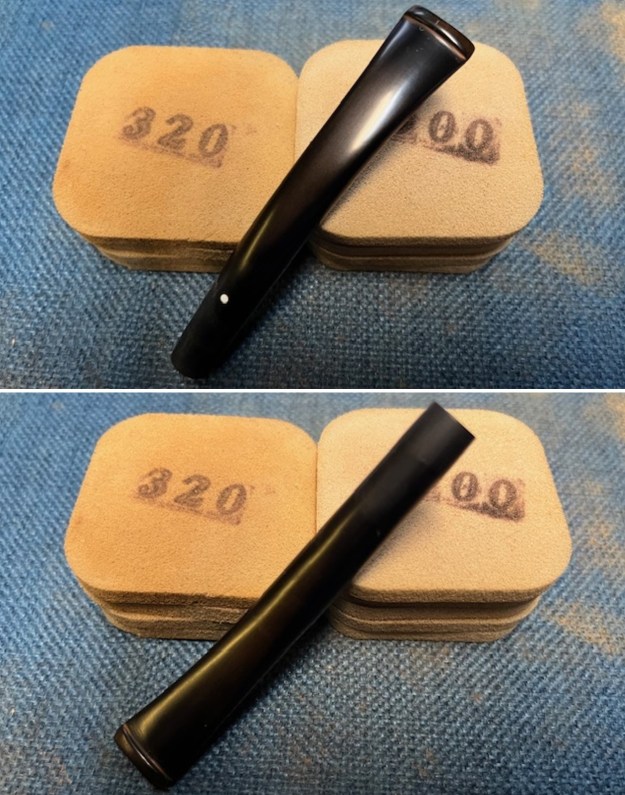
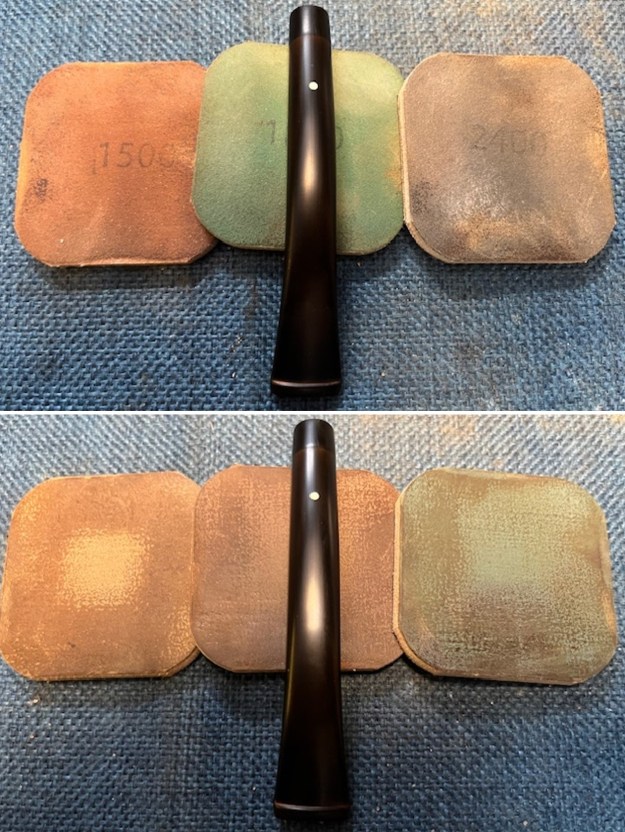
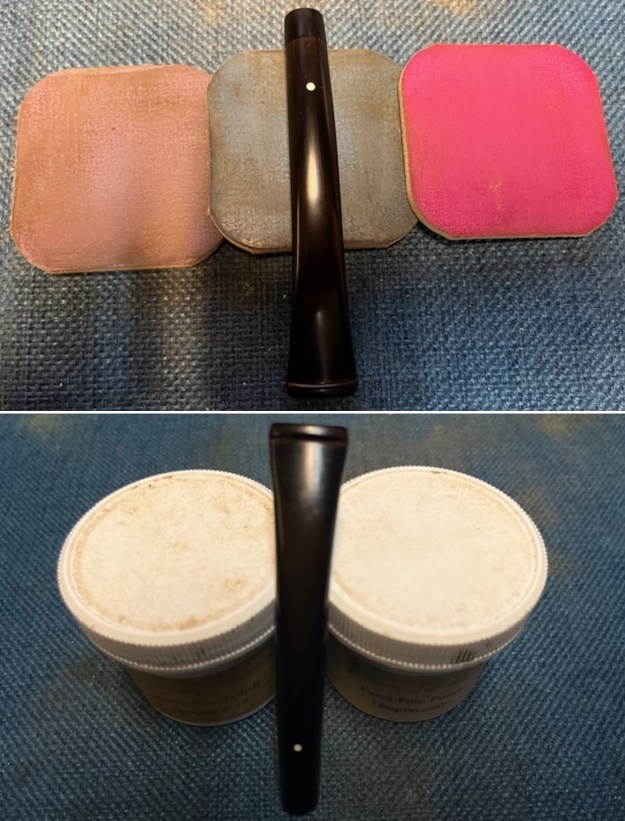
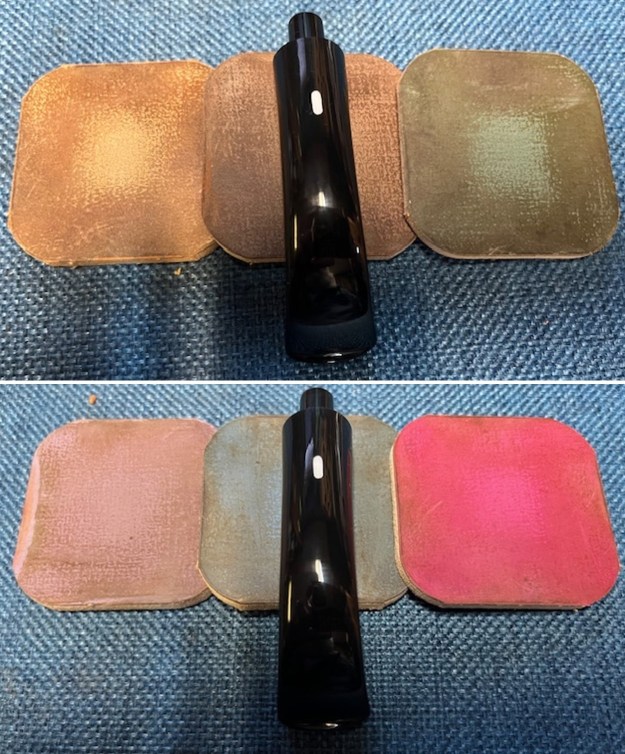
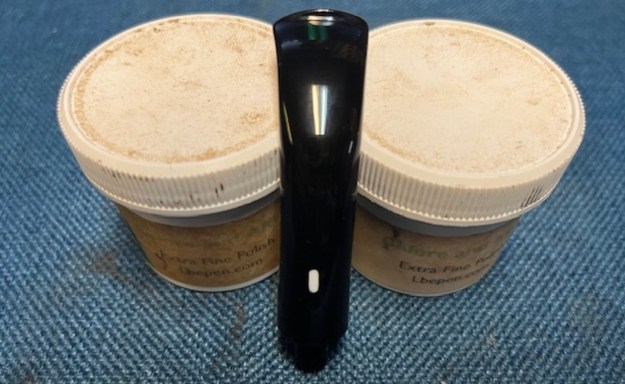
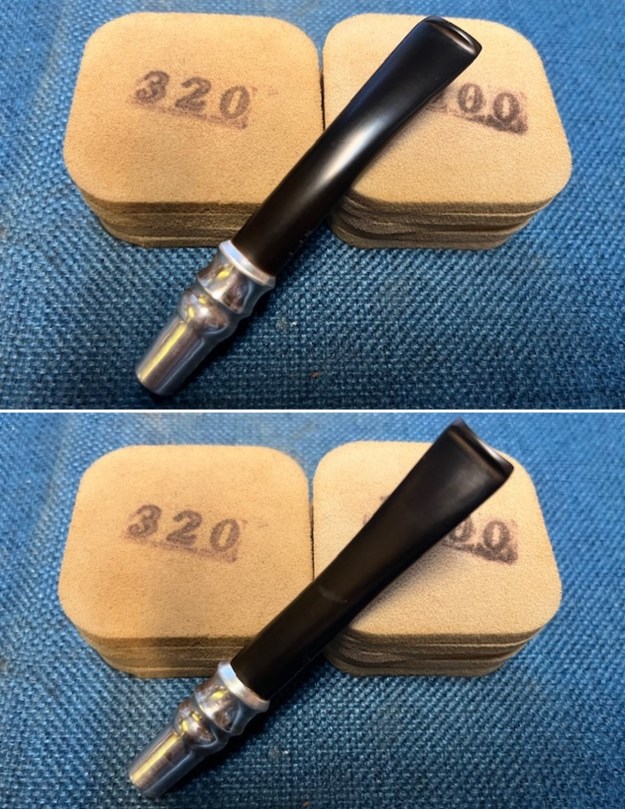
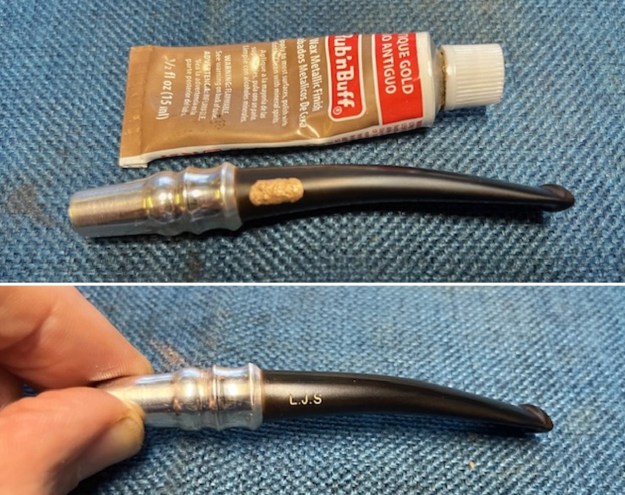
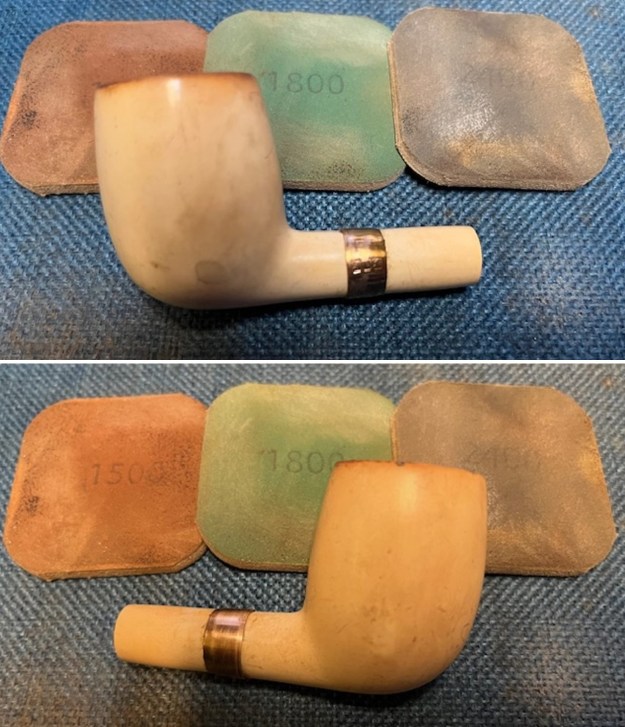
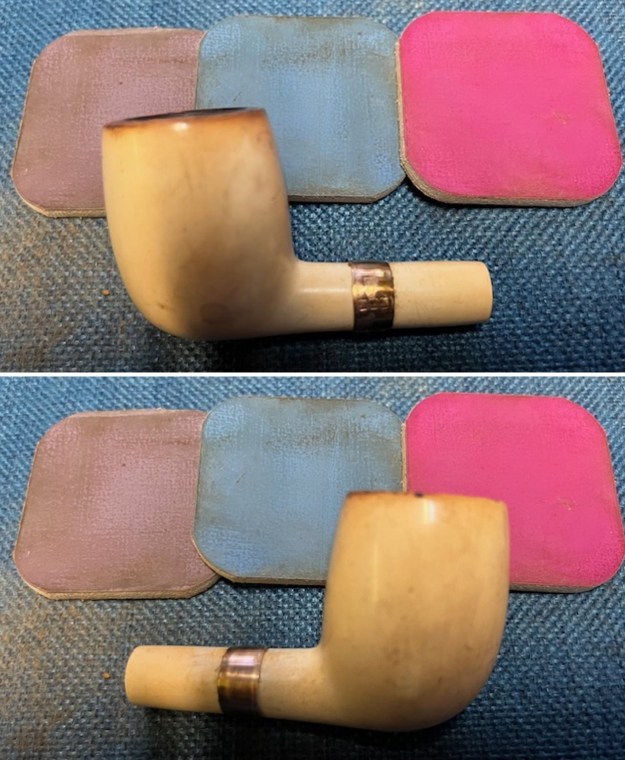
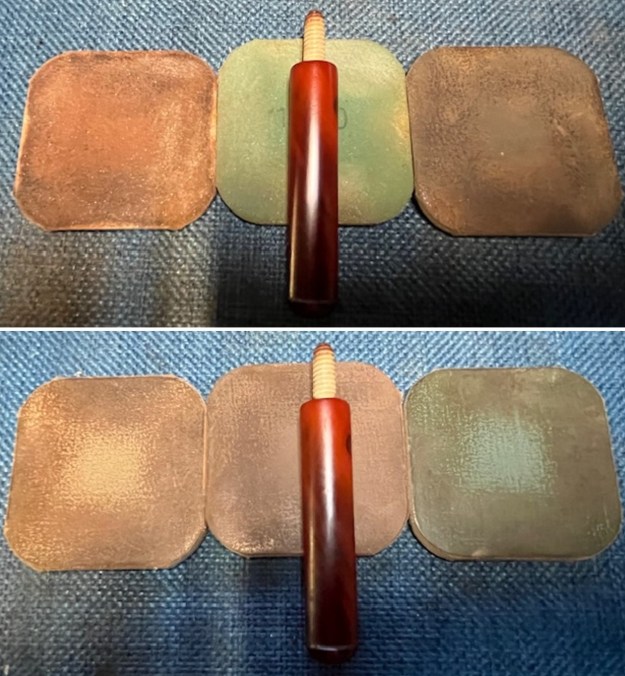
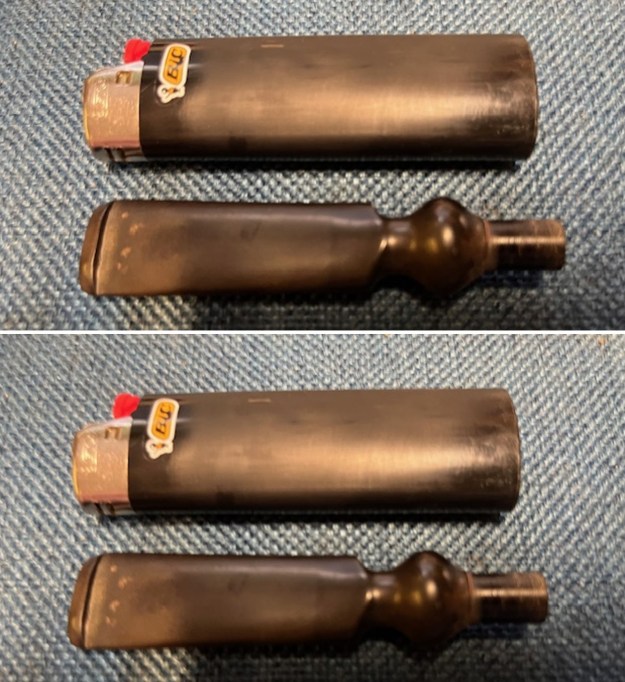
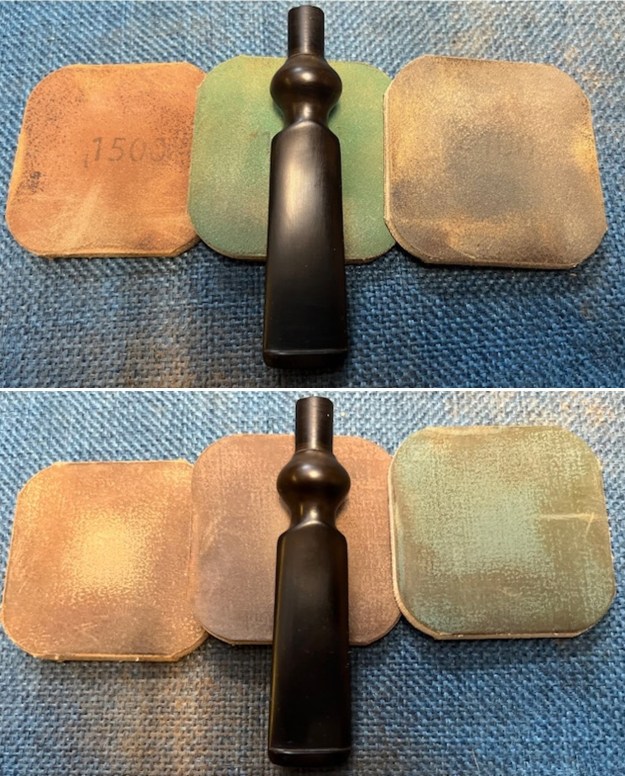
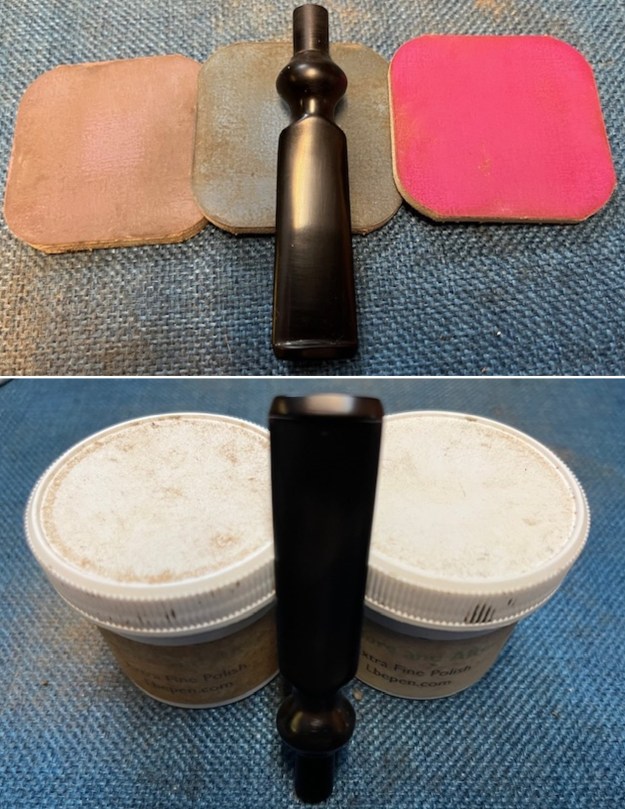
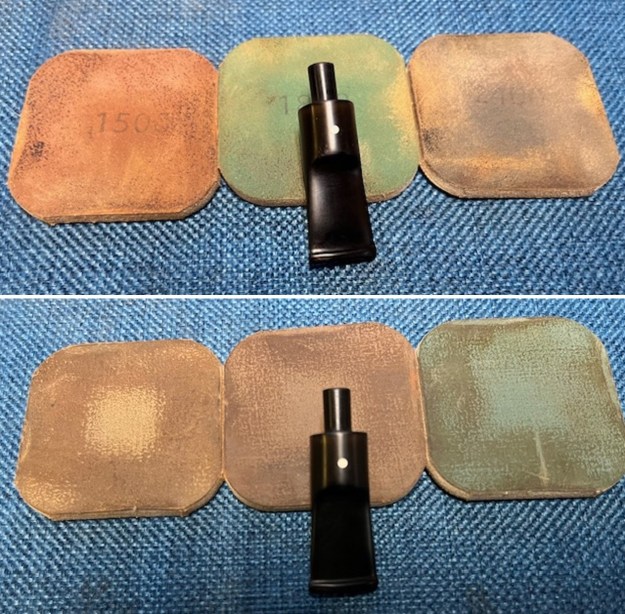
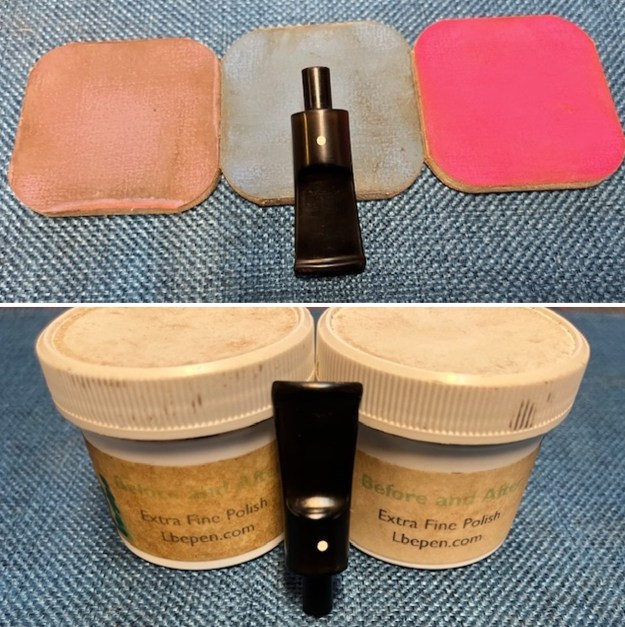
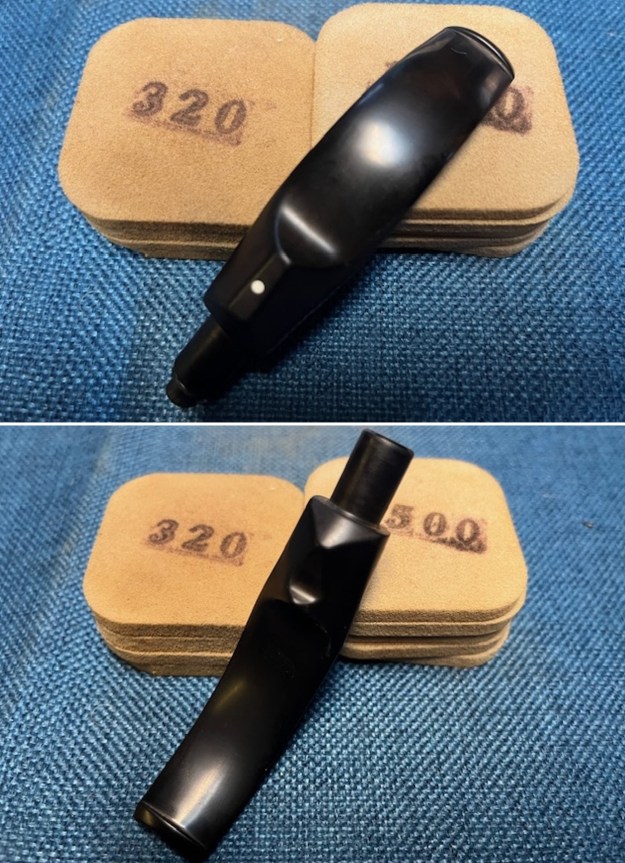
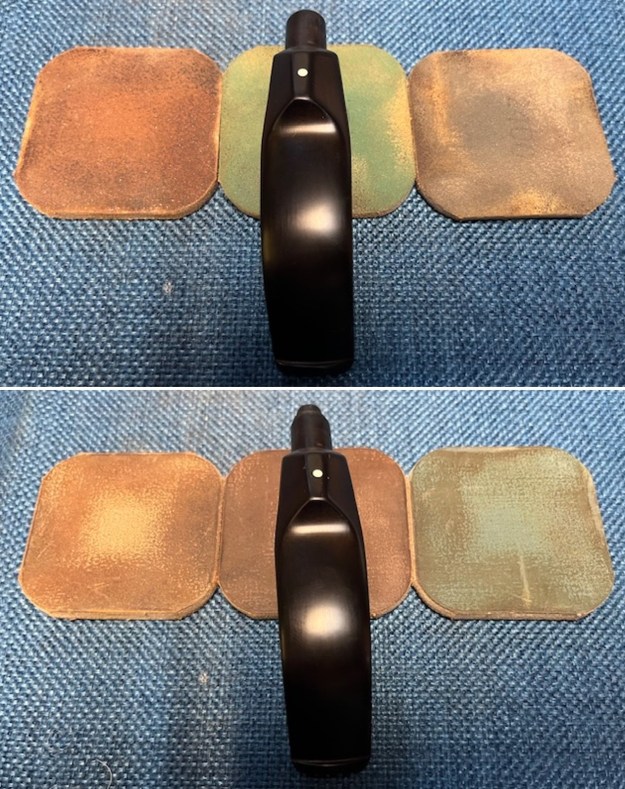
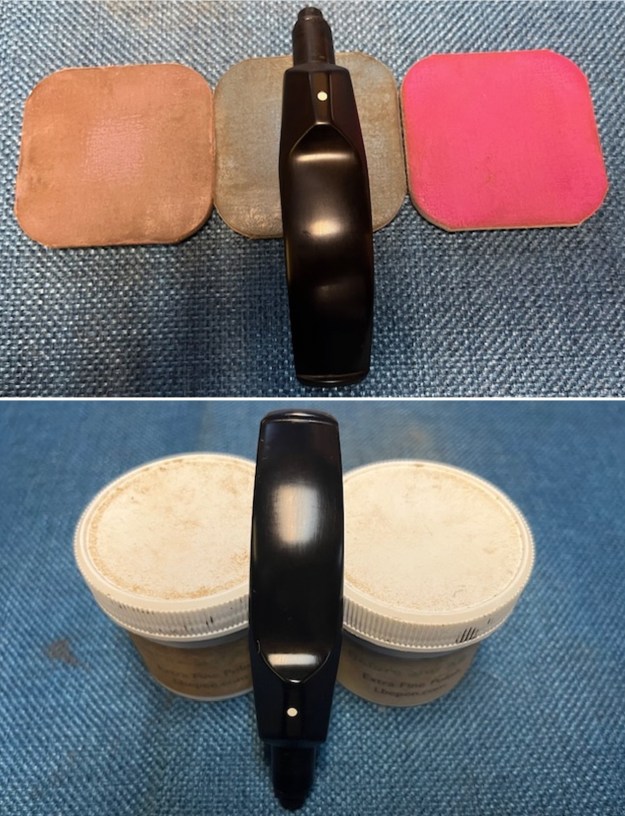
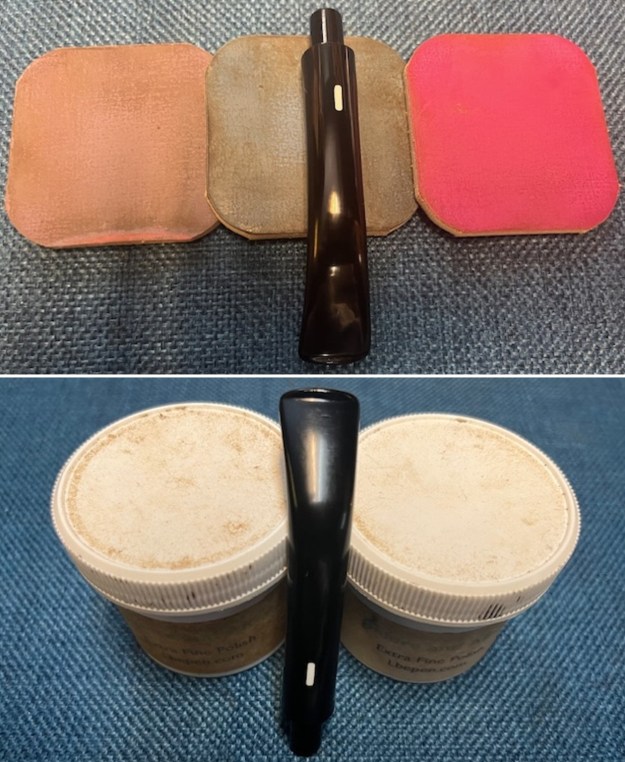
 The stem was in such good condition that I polished the acrylic stem with the higher grit micromesh sanding pads – 3200-12000 grit pads. I wiped it down with Obsidian Oil after each sanding pad. I used Before & After Pipe Stem Polish – both Fine and Extra Fine to further polish the stem.
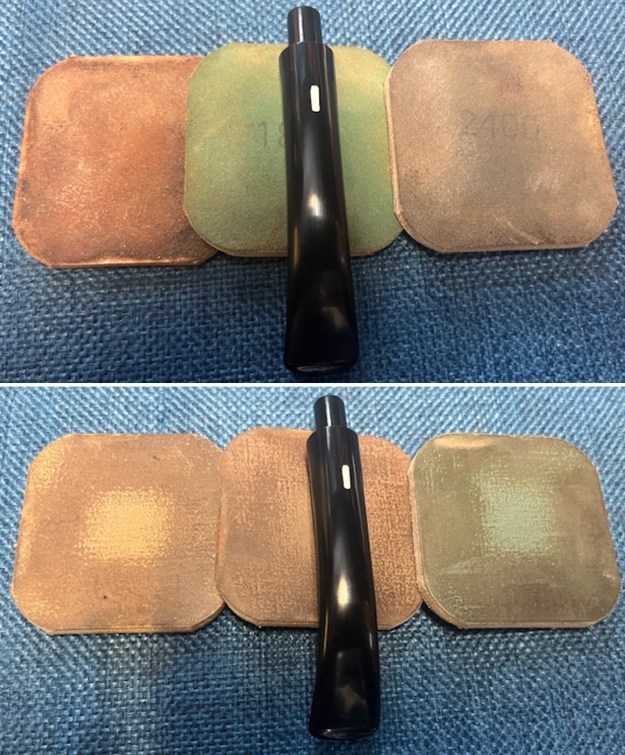
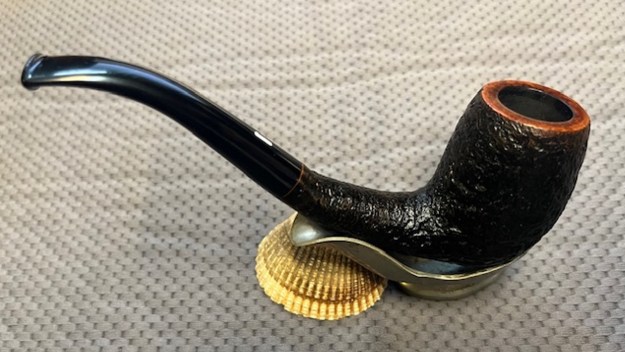
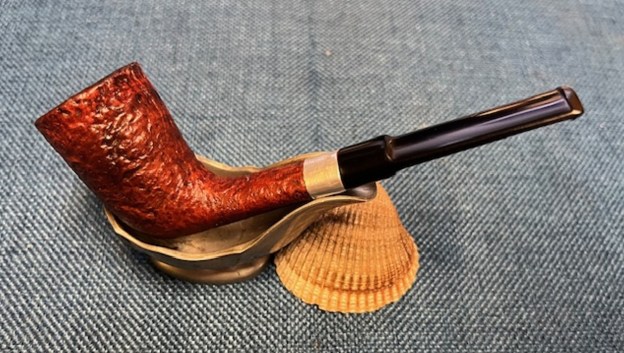
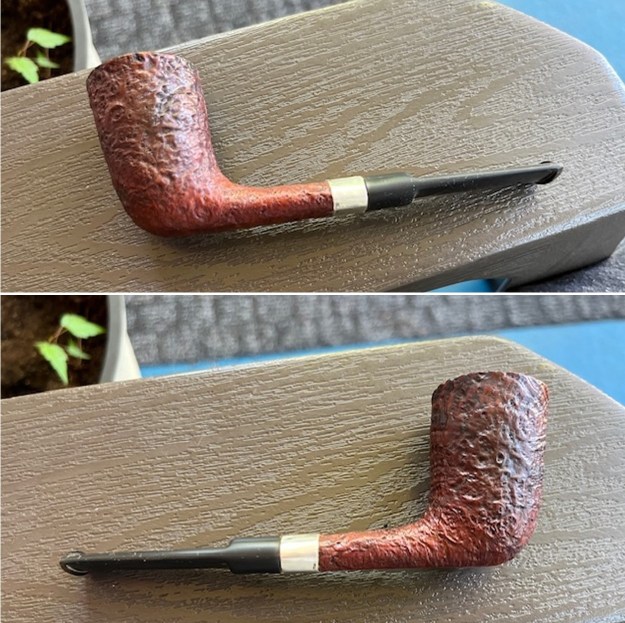
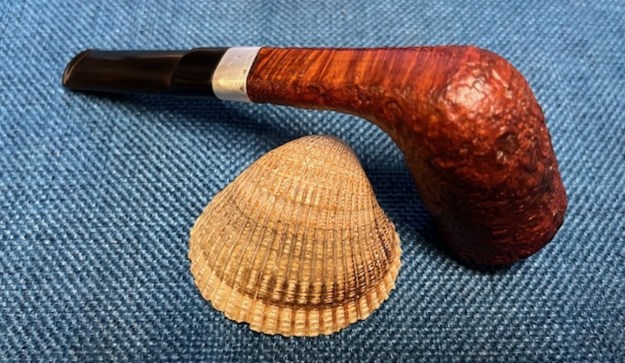
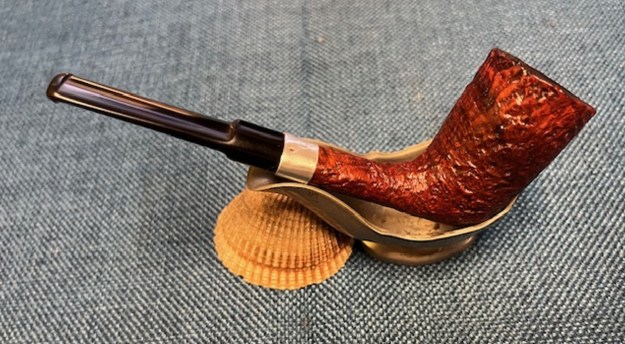
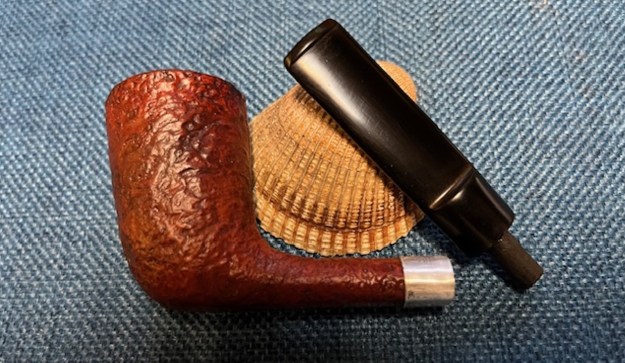
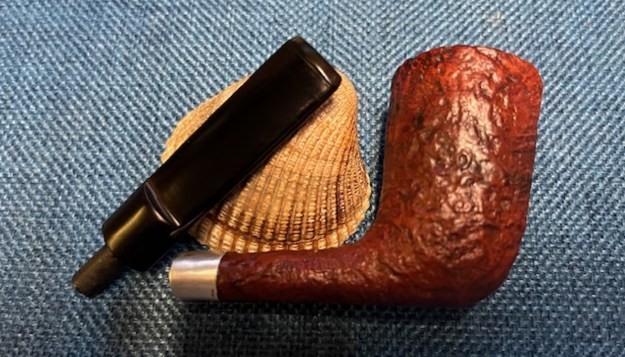
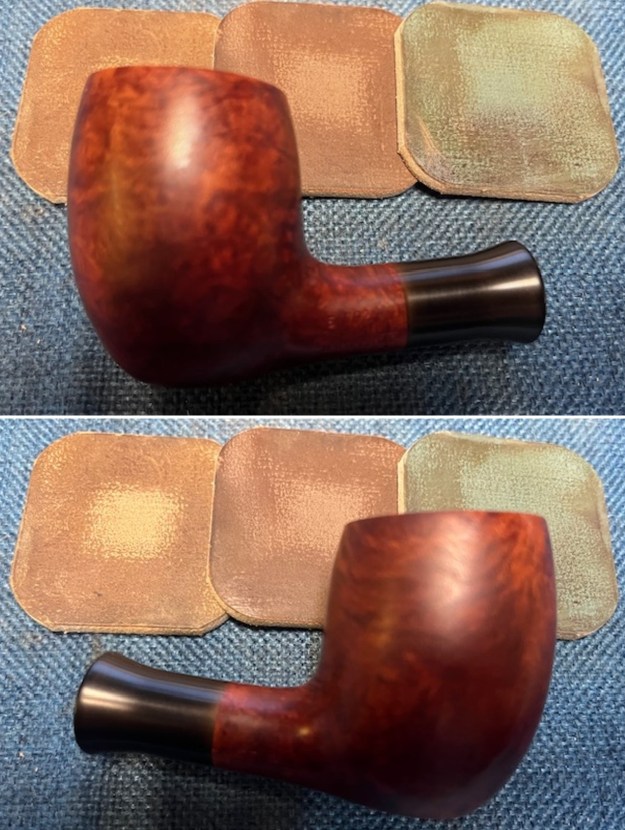
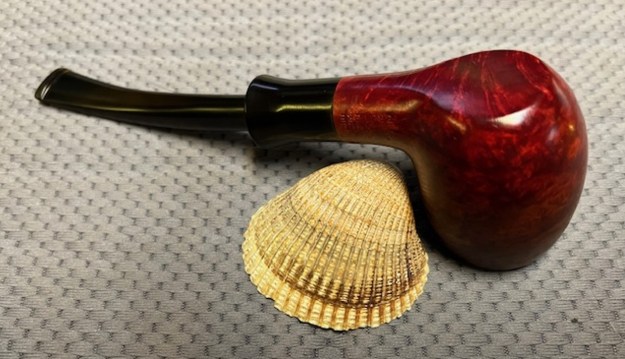
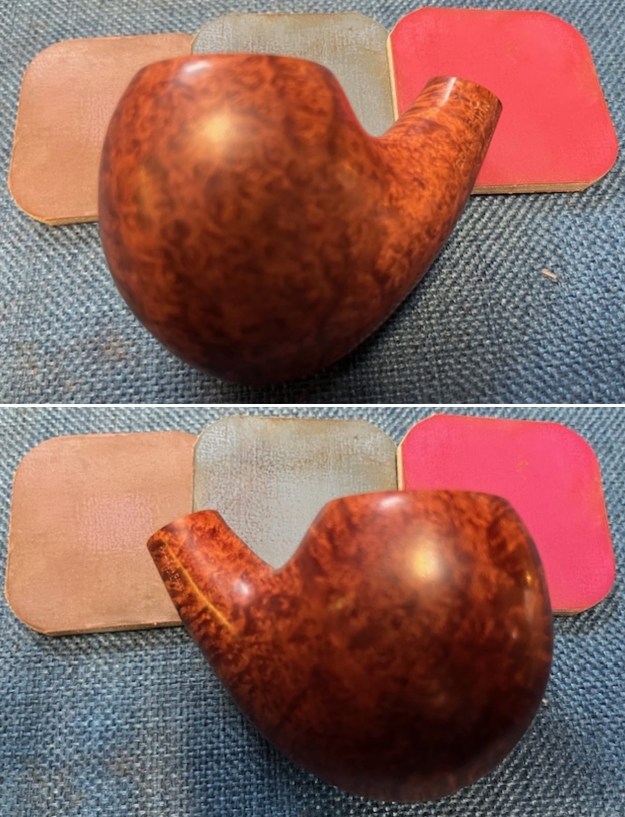
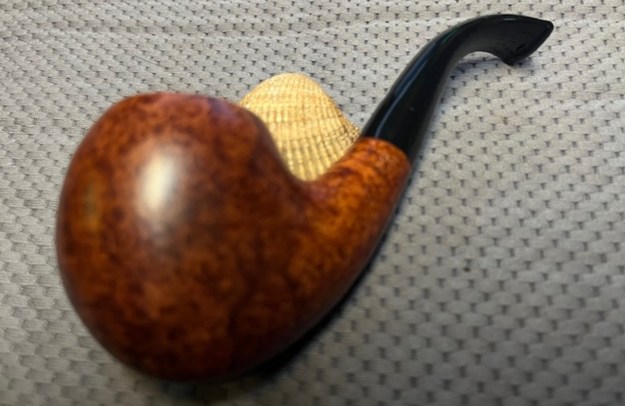
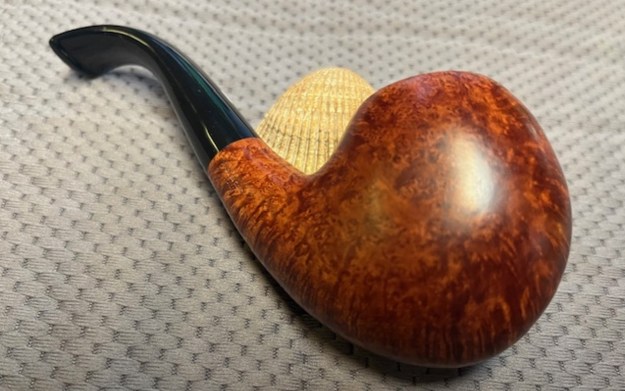
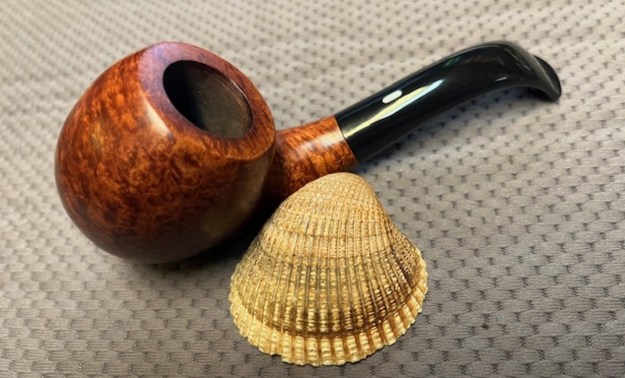
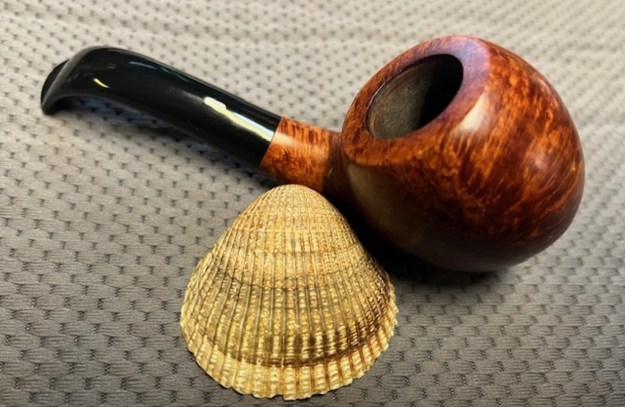
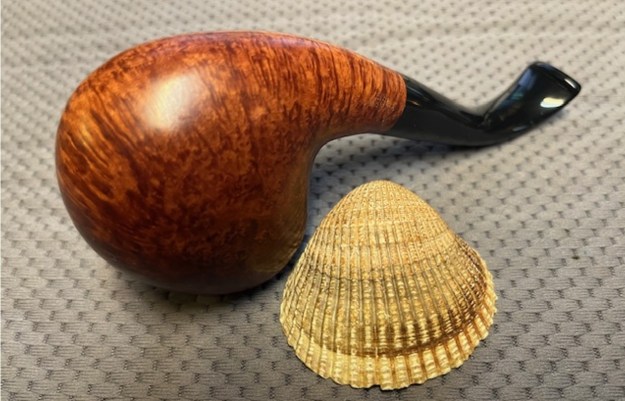
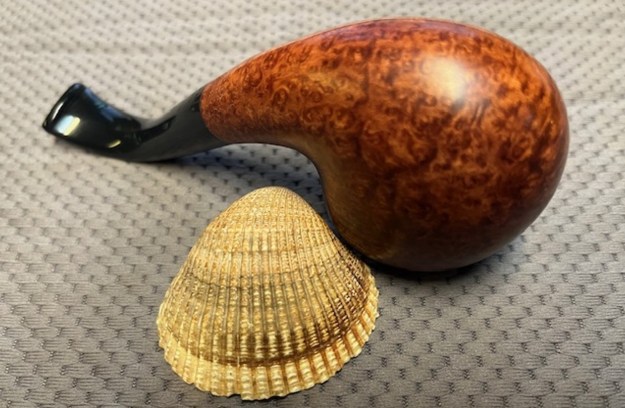
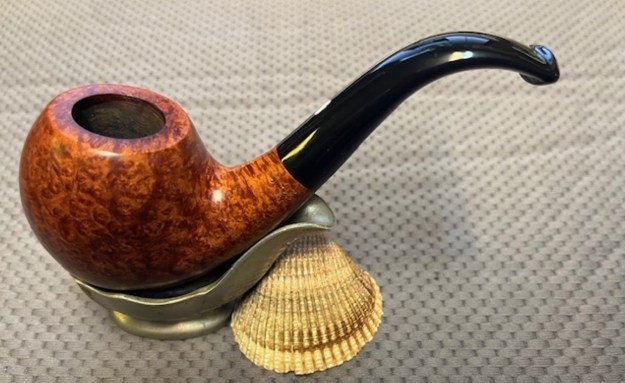
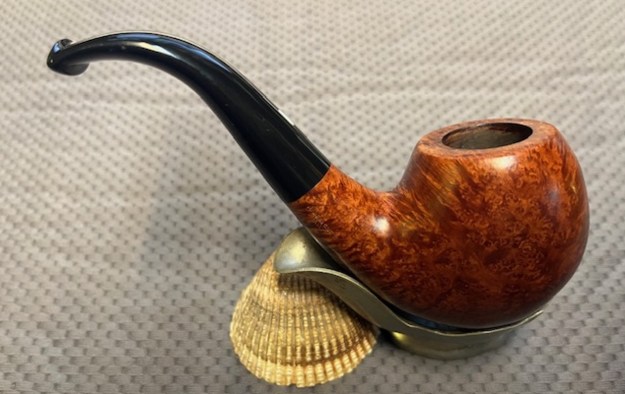
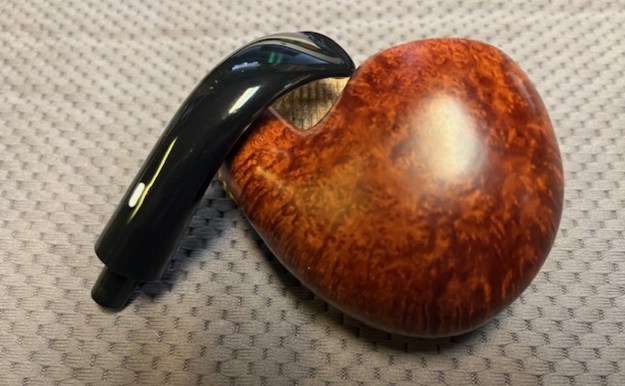
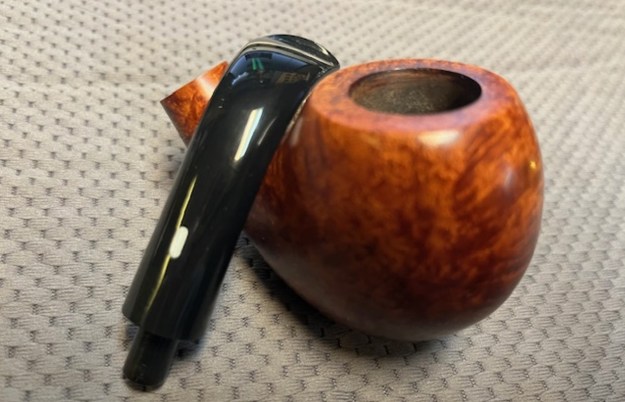
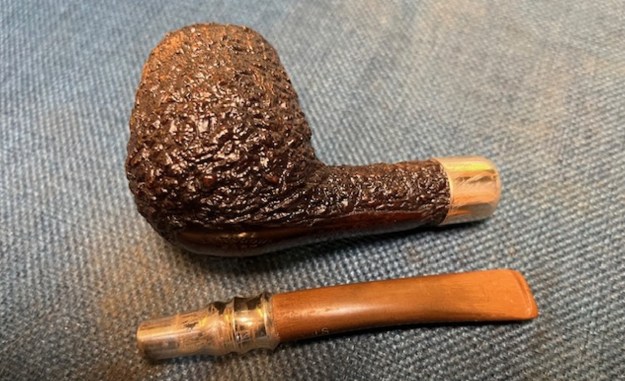
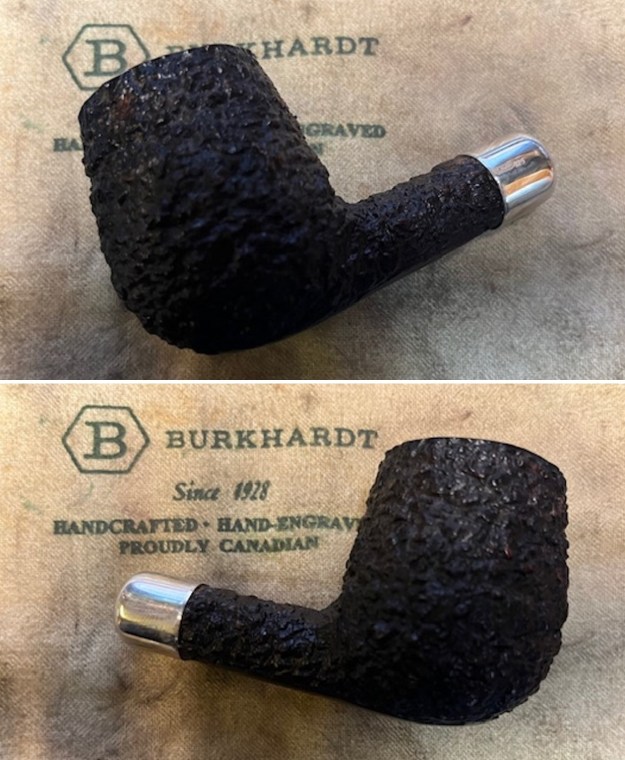
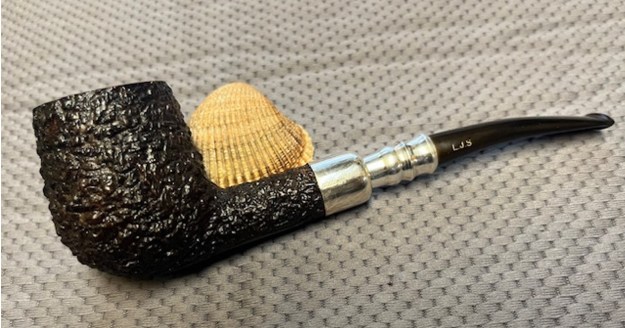
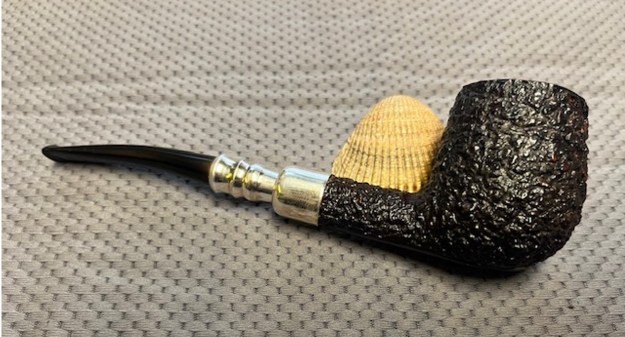
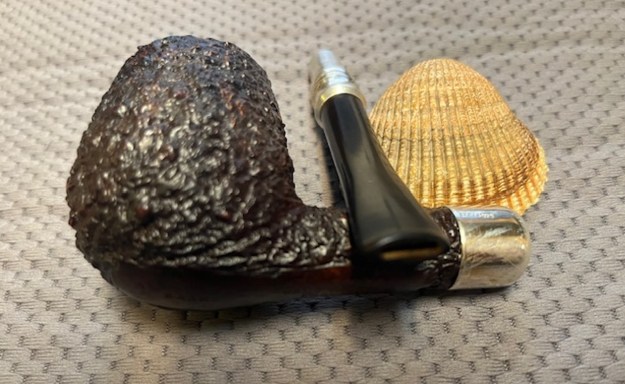
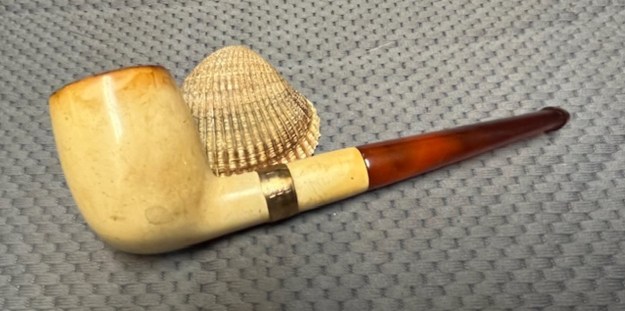
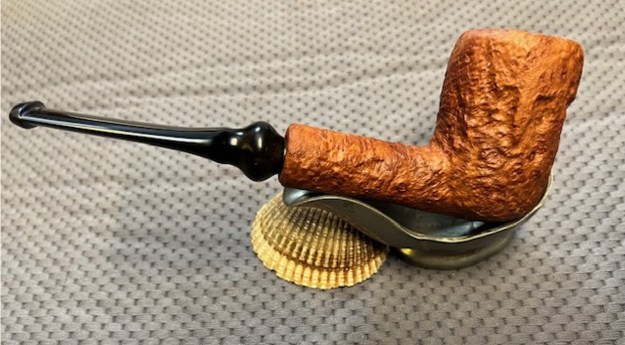
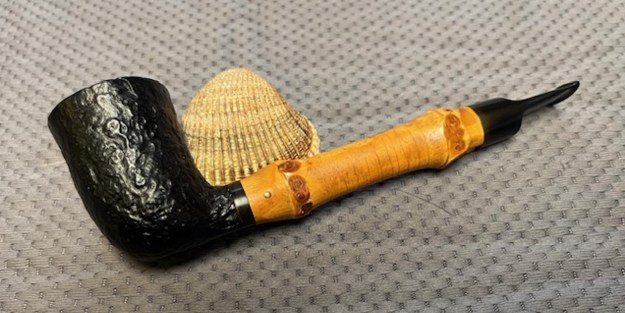
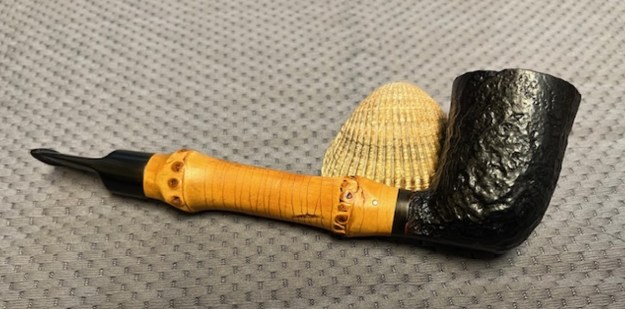
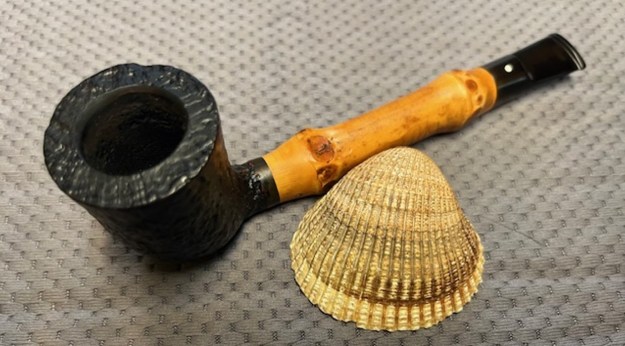
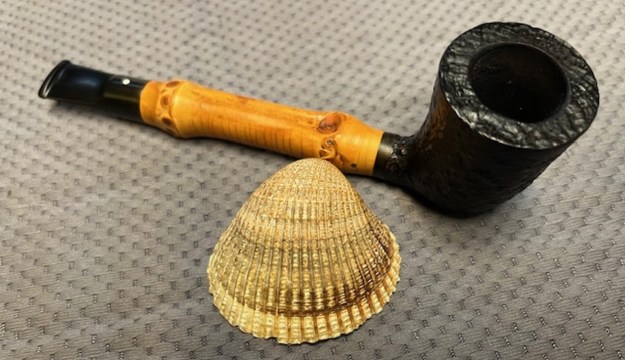
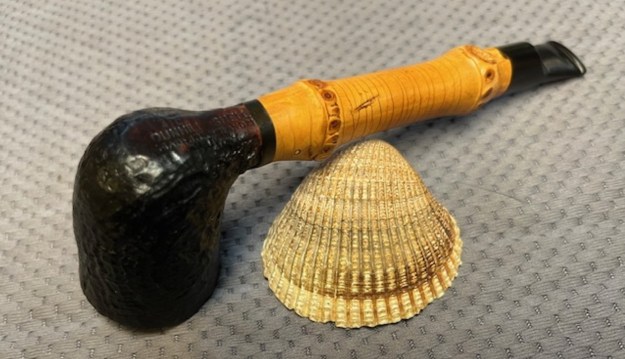
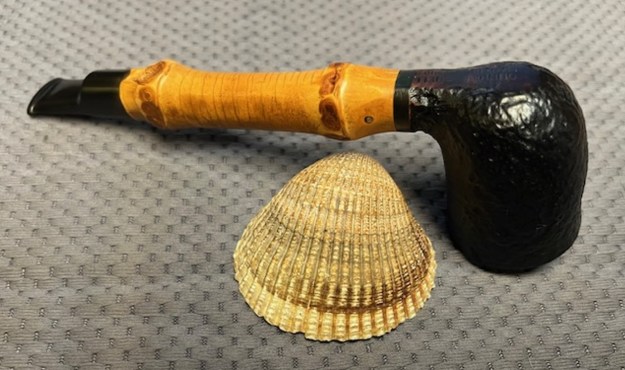
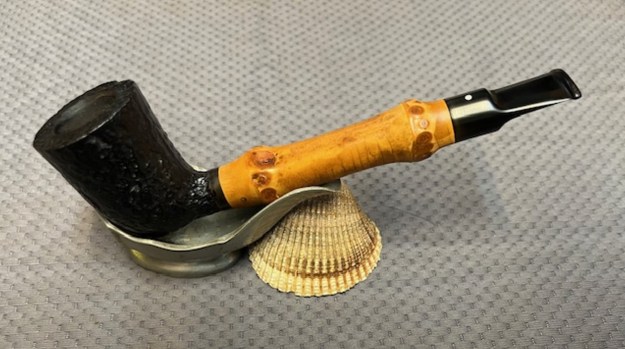
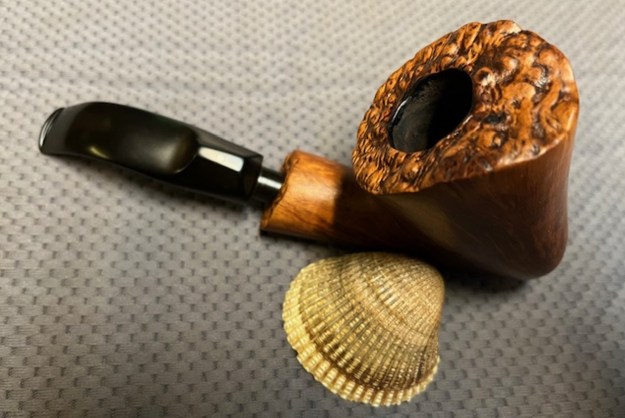
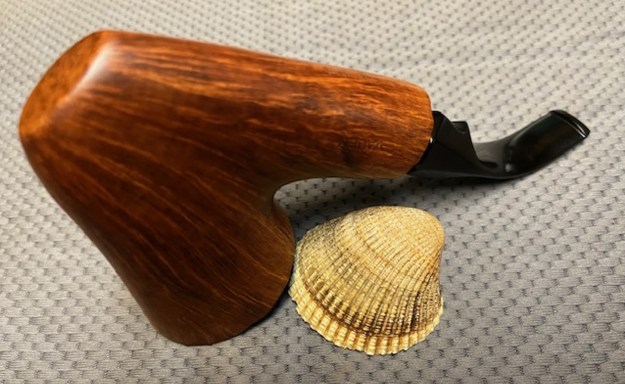
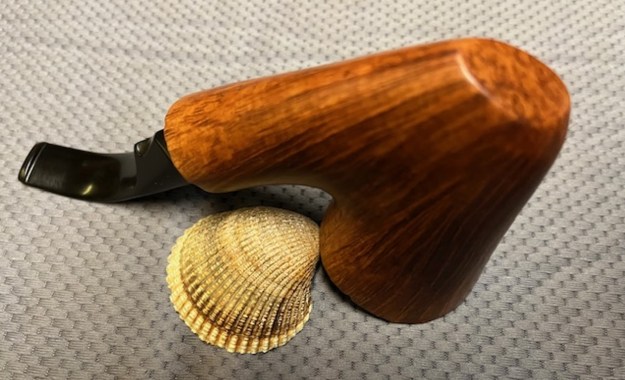
 This beautiful Castello Old Antiquari Sandblast KKKK Swan Neck Bent Billiard with a taper acrylic stem looks amazing after the work on it. The briar is clean and the blast really came alive. The rich brown stains gave the finish a sense of depth with the polishing and waxing. The finish really popped. I put the stem back on the bowl and buffed the pipe with Blue Diamond on the buffing wheel using a light touch on the briar. I gave the bowl and the stem multiple coats of carnauba wax on the buffing wheel. I buffed the pipe with a clean buffing pad to raise the shine. I hand buffed the pipe with a microfiber cloth to deepen the shine. The finished Castello Old Antiquari Swan Neck Billiard really is a beauty and feels great in the hand and looks very good. Give the finished pipe a look in the photos below. The dimensions of the pipe are Length: 6 inches, Height: 2 inches, Outside diameter of the bowl: 1 ¼ inches, Chamber diameter: ¾ of an inch. The weight of the pipe is 46 grams/1.62 ounces. I will soon be putting this pipe on the rebornpipes store in the Italian Pipe Makers section. It should make a great smoker that the next steward will enjoy. Thanks for reading this blog and my reflections on the pipe while I worked on it. It was a fun one to work on.