Category Archives: Pipe Refurbishing Essays

Essays and pictorial essays on the art of refurbishing

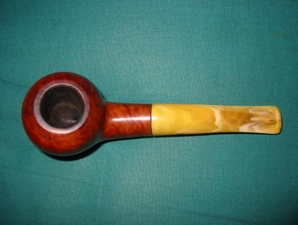
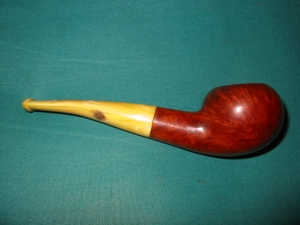
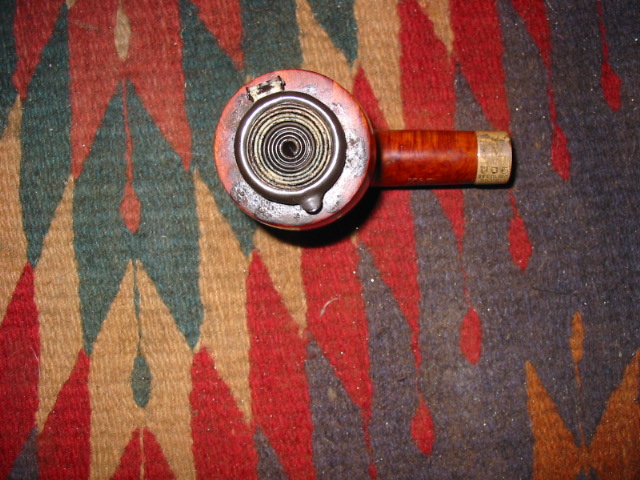
KBB Yello-Bole Premier – Stem repair and refurbishing


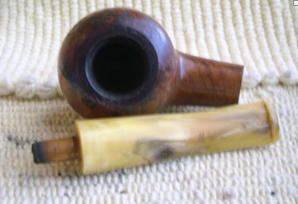
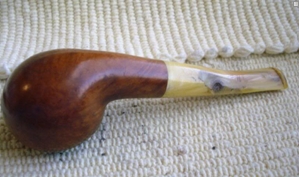
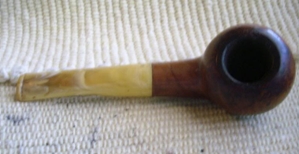
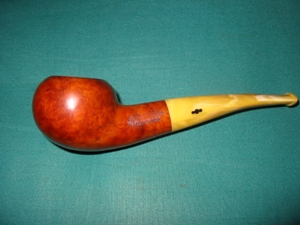
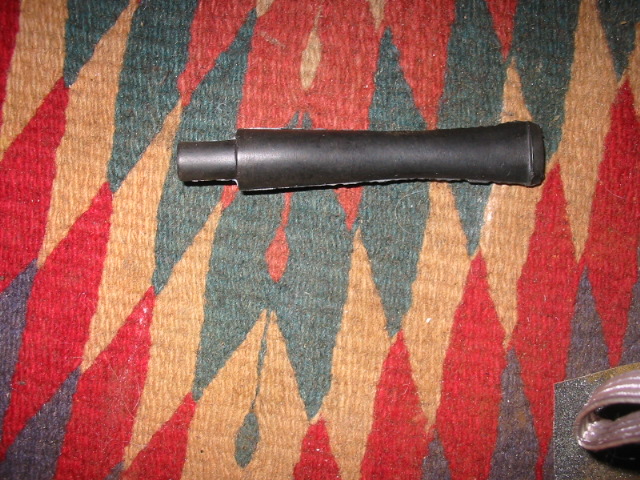
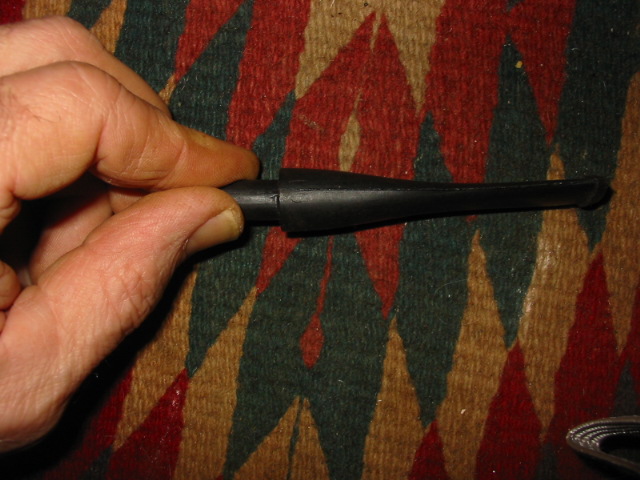
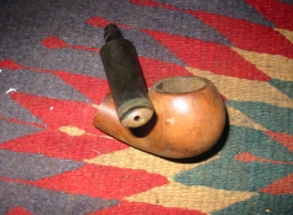
Just received that old propeller KBB Yello Bole pipe that I picked up off ebay. The bowl is in better shape than the pictures on ebay showed it. The burned spot on the Bakelite stem on the right side bottom was actually very deep. I cleaned it with alcohol and a dental pick to take out the affected material. It was a sizeable dent. I then cleaned and dried it and used a clear epoxy to build it back up. I am sanding it now to make sure the transition is smooth but at least it is gone. The hole is filed and a bit dark but the stem has black/grey streaks in it anyway so it is functional. Here are the photos from ebay showing the before.

ImageImage

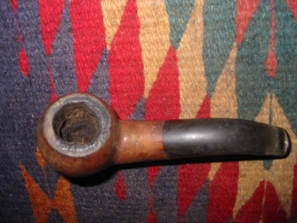
In examining the pipe it is clear that it is an old timer – propeller logo on the stem, bakelite stem, and the stamping. It is stamped KBB in a clover and Yello-Bole Honey Cured Premier over Imported Briar. Once I had repaired the stem with the epoxy as described above I scrubbed the top to remove the tars and grime. The shank and inside the stem was clogged with tars and took a lot of bristle cleaners and alcohol to get it to come out clear. The finished stem came out smooth and solid. It still shows some of the shape of the burn but the affected part was removed. The bowl was cleaned with oil soap and then hit with a quick coat of medium brown stain, polished and waxed. This time I did it all by hand without a buffer. I used the micromesh pads and I really love the way they work.

Along with the pictures above here are some shots that show the state of the bowl before cleaning.

ImageImage

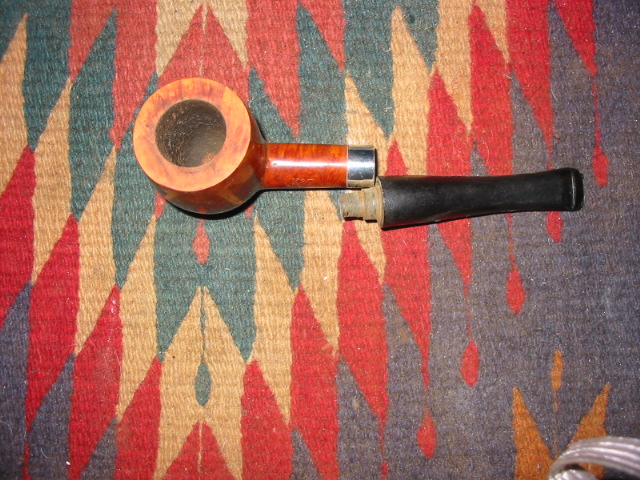
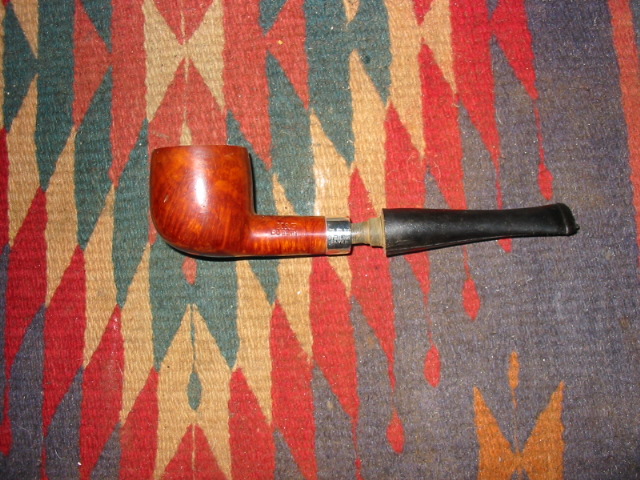
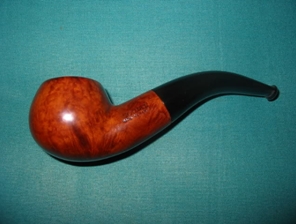
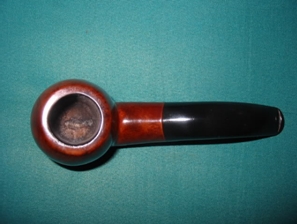
Here are pictures of the finished pipe in all of its beauty.

ImageImageImage


Fitting a pipe with a new stem – photo essay


Blog by Steve Laug

I picked up this pipe bowl – a Pete 207 – an early Peterson from the late 40s. It was in need of a stem. I have a couple of cans of stems that are precast blanks. They need to have the tenons turned to make them fit correctly.

ImageImage

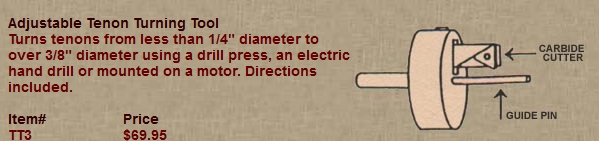
I have a PIMO tenon turning tool like the one pictured in the diagram below. I have to drill the stems to fit the guide pin as they are generally very small. Once that is done with a bit on my cordless drill I then put it on the tenon tool and adjust the carbide cutter to the diameter tenon I want to cut. I always start large and work my way down. I have found that trying to cut too much off at once causes the tenon to chip or break. So I start large and work my way down until it fits the mortise. I found this YouTube link that gives a video presentation of the process so I have included that as well for your information http://www.youtube.com/watch?v=drKxzteEEPk A quick look at the video will show you the process I use in turning the tenons. I generally turn the tenon until it is close to fitting and then finish the fit by hand. I have found it is better to proceed by hand from that point so as I don’t take off too much of the vulcanite and have a loose fit on the tenon. I will show that process from the point the tenon has been fit in this pictorial essay.

Image

Below is a stem blank that I picked up online from Pipe Makers Emporium. I have several coffee cans full of different sizes of blanks. I sort through them to find one that is close to the outside diameter of the shank. I find that it is not too difficult to get the two to match with a lot of sanding and fine work.

ImageImage

Below is a picture of the bowl prepped and ready for the new stem. I cleaned the top and polished the silver band as I want nothing in the way of a tight fit for the stem. You will also notice in the photo that the tenon is partially turned for a fit. I stopped at this point to show the process. The large portion still remaining on the tenon shows the first turn of the tool to take off the first portion of vulcanite. I keep the tool turning so that the carbide blade removes the face of the stem as well so that the seat will be straight and flush at the union of stem and shank. I find that when I do this at the beginning of the turn it give a good clean finish. The step down in the tenon shows the next portion removed. I have adjusted the tool to take off that portion. After this photo I finished turning the tenon.

ImageImage

The PIMO tenon tool took a bit of work for me to figure out the adjustments as I purchased the tool second hand without the instructions. The fellow I bought it from gave me some quick lessons on how to adjust it. He even threw in the hex keys!! So needless to say, I learned by trial and error how to adjust the cutting head and keep it straight for a straight cylinder cut on the tenon. Since then I have it has been pointed out to me that Kurt Huhn of Pipe Makers Forums has noted the tricks I learned the hard way.

ImageImage

I will try to capture the trick in my own words, combining what I have learned the hard way with Kurt’s recommendations. The first step in the process is to adjust the cutting head. Start by removing small portions at a time. To deep a cut makes the cutter wobble and give an uneven tenon. To adjust the cutting head insert the adjustment hex key (larger hex screw on the tool) and the lock key (smaller hex screw) into their set screws. Do not turn them, just insert them. Push in lightly on the adjusting key and pull up slightly. Loosen the lock key a quarter or half turn. While maintaining the up and in pressure on the adjusting key turn it in increments of a half turn (think half hour on a clock). With steady pressure on it by pulling it up, the arm with the carbide cutting head is not loose and wiggling as it is adjusted. If it is loose while adjusting it, you will get non-cylindrical tenons regardless of the number of turns from zero. Do not let go of the adjusting key, tighten the lock key while the pressure remains on the adjusting key. Pull the adjusting key straight out, being careful not to turn or press down on it. Trim the stem and repeat as you need to get a good tight fit on the tenon.

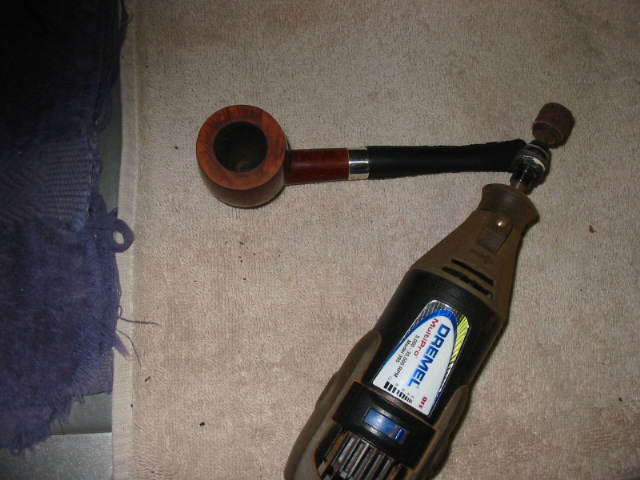
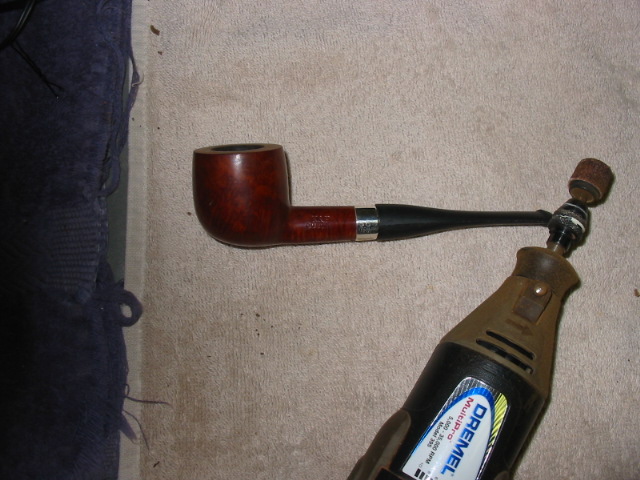
The next sequence of photos shows the tenon finished and the fit clean and tight. I hold it up to the light to make sure that there is no light showing between the stem and shank. Also note the Dremel with the sanding drum in the photo. I use that to bring the outside diameter of the stem to a close match to the shank. I run the Dremel at the middle speed to allow me more control of the tip as I take off material. If I run it too fast I find that it takes off too much. Too slow and it leaves a chunky beat up finish that takes a lot of sanding to smooth out. As can be seen from the photos there is not much material that needs to be removed for a smooth fit.

ImageImage

In the photos above I have used the Dremel and removed material to the point that the stem and the shank are almost level. I did it in stages with the stem on the shank and rotating the pipe to keep the perspective round and even. Once I got it to the stage above I move to my table and continue the rest of the work by hand. Sand paper in a variety of grades starting with 180 allows me to work the remainder of the material off and to get the scratches and grooves from the Dremel worked out of the stem.

Each of the next seven photos shows the progress of the stem toward the finished product with the different sand papers. Once I have removed the majority of scratches and grooves left by the Dremel with the 180 grit (pictures 1 &2) I move on to using 220 grit and 240 grit to take down more material. Care must be exercised to not scratch the band or the shank. The idea is to leave the shank exactly like it was without scratches or marks (pictures 3,4,5).
ImageImageImageImageImage

Pictures 6, 7 & 8 show the stem after using 1600 grit wet dry sandpaper. Each sanding step removes more material and evens the flow of the stem to shank. It also removes scratches and prepares the stem for the finish sanding.

ImageImageImage

The last four pictures show the pipe after sanding with micromesh pads – 1800, 2400 and 4000 grit. Generally each of the pads progressively polishes the stem. Any places that still show scratches send the stem back to the 600 wet dry sanding or even further depending on the depth of the scratches. When the polish is clean and smooth I take the stems to my buffer and buff with white diamond that raises a deep reflective finish on the stems.

ImageImageImageImage

My Wife Says that I am a Scavenger…


Looking at the picture below, you might agree with her and think that I have lost whatever was left of what few brain cells that remain in my 57 year old head. My wife and daughters are likely convinced that this is closer to the truth than I care to admit.  I will even agree that while both you and they may be correct, you need to understand that I intentionally bid on and won this lot from EBay recently. While nobody else wanted the lot I did!

Image

I just received them in the mail today. They came well packaged and labelled. In fact they were better packed than virtually every other pipe I have ever received from EBay shippers. The box was a solid 2”x4”x8” and stuffed with paper packing materials. The stems and pipes were then bagged and wrapped in bubble wrap and stuffed in among the packing papers. It was as if the seller was trying to protect a rare treasure. I opened the box and cut the tape on the packaging to expose the pipes inside. Five of the six pipes had cracked bowls and the sixth had a cracked shank and stuck stem. The bag included 9 extra stems that were actually quite old and three of those were military bits for spigot style pipes. The five cracked pipes were admittedly firewood and beyond repair.  The sixth one, with the split shank, which was the cleanest of all, could be repaired with glue and a band. I set it aside for a rustication project. In examining the split bowls I noted that they all had the same problem – a huge amount of cake. I am talking about cake so thick that you can barely stand a pipe nail spoon end down in some of the bowls. The cake had erupted from the tops of the bowls and had exerted so much pressure that the bowls were split in multiple places, as you can see in the picture below. It is a shame really as two of them, the ones with the stems on in the picture below, are opera pipes with oval bowls.

Image

Now you might wonder why I would purchase this lot. It was not a surprise or a disappointment to me, after opening the box, because I had asked enough questions of the seller to know exactly what I was getting. I had been the sole bidder, no other competitors for the lot to drive the bid higher.  In the past, when no one else bid, it used to bother me because I asked myself what I was missing. You see I was not bidding on the pipes.  I could care less about these pieces of firewood that were beyond redemption. What I wanted in the lot were the older stems and I bid accordingly, and I ended up with 15 stems, once I took the pipes apart, added the stems from the lot and found an extra one in the box.  I could not have been happier because I prefer to use stems from a similar era to re-stem the older pipe bowls that I have. These stems provide me with a solid batch of stems and in the next few months they will have new bowls attached to them. The beauty of this lot is that none of the stems were chewed or gnawed, and only one has a very repairable tooth mark. In this sense the old stems were my real and intended acquisitions.

I am a scavenger of pipe parts. It only is a matter of perspective that enables one to see beyond burned out unsalvageable shells of pipes and identify the many salvageable parts they contain. There are always parts on the worst of them that I reuse – stems, bands, logos, etc. that can be scavenged and re-used.  I have a box of these parts that has come in handy more times than I can remember. But another good part of the lot is that once I clean up the older briar some of the shanks could provide the base for tampers and such. The rest may well go in the fire pit this summer but you never know. Part of my hunting through thrift shops, rummage sales, garage sales, and Craig’s List for pipes always includes the element of hunting for pipe parts. I have scavenged old broken KWs and Yello Boles and kept the stems to use on sister pipes. I have cleaned up chewed KW and GBD stems so that I could remove the logos and medallions and re-inserted them on new stems or stems missing the logos. Even these little parts are always removable and reusable. It only takes eyes to see the possibilities in old castoffs.

Only one final word… if you begin to pick up my scavenging ways make sure to leave some parts around for me. Also if you need someone to blame for your newly adopted bad habit I am more than willing to take the blame… for a small price – say a few stems and parts. That is it for now I am off to take apart those old pipes and strip them down.


Another Rustication – another finish with the new tool


Blog by Steve Laug

I have been looking through my box of pipes for refurbishing for a second one to rusticate with the new tool. I had several laid aside as potential candidates for this treatment but had not gotten around to doing it yet. Then this week I received a box of pipes and pipe parts from a purchase on EBay. In the box was this little apple shaped pipe. It had a large split in the shank that is visible in the photo below. The bowl was also extremely caked and needed to be reamed and cleaned. I always do that field dressing before I go to work on the deep clean and refinishing. Before I could do anything with the finish on this pipe I would need to repair the cracked shank. I cleaned the surface of the shank and used a dental pick to remove the grit that had built up in the crack. I wanted the surface to be clean so that the glue would adhere correctly and bind the two sides of the crack cleanly together. I then filled the split with superglue and squeezed the crack together with a pair of pliers. After the glue dried I banded the shank with a pressure fit nickel band. I reworked the tenon so that the stem fit correctly.

Image

When I had repaired the pipe I examined the bowl to see what choices I might have regarding refinishing. The shape is one of my favourites so I would have like to just do a clean and re-stain of the bowl. However, the closer I looked the more I realized that my only option, if I were to hide the fills and crack well, was a rustication. So my choice was made and I decided to rusticate it with the new tool I had crafted from the Philips screwdriver. I also decided to give it a bit of a different rusticated look than the previous one I have posted here. I wanted to see if the tool would give a bit of versatility in the rustication pattern that it created. With that mission in mind I attacked the bowl seen in the pictures below.

ImageImageImageImage

I wiped down the outside of the bowl with some acetone to clean off the grime and give me a fresh surface to work on. I spread out a cloth on my work table to collect wood chunks that came out in the rustication. I have found that it is easier to clean up after my work this way as I merely have to fold up the cloth and shake it out when I am finished. From the last time I used the tool I had learned that the handle was hard on the palm of my hand so I also wrapped it with a thick cotton cloth to act as a pad. This additional padding would add a cushion of comfort for me as I pressed and twisted the shaft into the briar of the bowl. The picture below shows the beginning of the process of rustication. I generally start with the side of the bowl while holding the bowl in my hand and pressing the shaft of the tool into the wood and twisting it and moving across the surface of the wood. I often move from the side of the bowl to the shank. In this case I did a portion of the bowl and then moved to the shank and did the rustication all the way around the shank and on the bottom of the bowl before moving on to finish the bowl.

Image

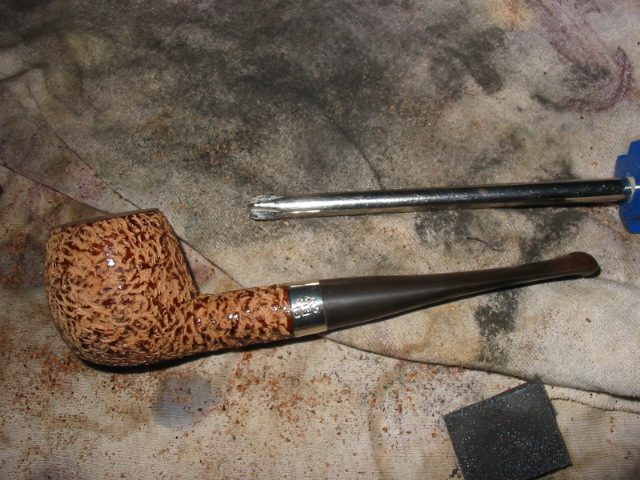
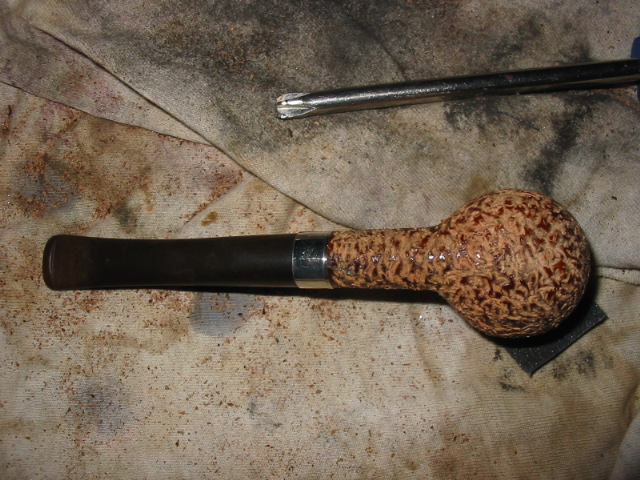
This rustication pattern is slightly different than the previous one. I was aiming to experiment with the versatility and it was working well in my opinion. I decided to go over the surface of the bowl only one time before checking and roughing up sections that needed further roughening. I wanted the finish to have a softer look on this bowl than the first one I did. I also wanted to leave some high spots that could be polished to give a contrast finish rather than a matte finish. I think the feature I like the most in the new tool is the ability to navigate the tip very close to the band without damaging it. It is very easy to control in tight spaces on the pipe. The four pictures below show the pipe after the rustication is completed. Above and to the right in each picture is the blade of the tool that I use in the process of rustication.

ImageImageImageImage

Once the rustication was completed I used some 240, 400, and 600 grit sandpaper to sand the top of the bowl and clean it of stain and dark spots. My goal for the rim was to be able to see the grain patterns once it was stained as it would serve as a contrast to the rough surface of the bowl.

The pipe was ready to be stained. I decided to use a dark brown stain on this one, knowing full well that when I gave it a buff it would lighten considerably. I applied the Fiebings stain with the dauber that came with it. I find that the wool ball on the end of the dauber is thick enough that it carries the stain into the nooks and crannies of the rusticated surface. When I stain a pipe bowl, I always start on the bottom of the bowl as the stain will run toward the top. I follow it up the sides with good coverage and finish with a coat on the rim of the pipe as the last thing. It seems to also help keep the stain on the outside of the bowl. I generally stain the shank once the bowl is completed.

When the entirety is stained I light it with a match to flame the stain. The flame burns off the alcohol with a blue flame that sets the stain more deeply in the briar and helps it dry it quickly. The fire is short-lived and there is no concern of setting your bowl on fire. Be sure however to remove the open jar of stain so that you do not inadvertently set that on fire. I then re-stained the pipe a second time following the same pattern, flamed and set it aside while I work on the oxidation on the stem. I let the stained bowl dry for two hours before taking it to the buffer and giving a light buff with Tripoli and White Diamond. I decided to buff this bowl instead of just leaving it rough like the previous one because I was trying to achieve a different look.

I finished the buffing by giving it a light buff with carnauba wax. I am happy with the finished pipe and the look that it has. It is very different from the previous pipe I rusticated with the tool and demonstrates the capacity of the tool to work different finishes.

The final four pictures below show the finished pipe.

ImageImageImageImage

Refurbed Social by Comoy’s


This afternoon late the postie delivered the Social pipe made by Comoy’s that I picked up off Ebay a few weeks ago. I took it apart and went to work. The bowl was pretty caked and broken up inside… cake falling off the walls. The The top was tarred. I reamed and cleaned it. Interestingly this is an old timer. It has the old orific button as I show in one of the before shots of the stem. It has some kind of reservoir between then end of the stepped tenon and the the airway into the bowl. It is below the airway and the tenon is drilled with the airway high to match up.

I put the bowl in an alcohol bath and cleaned it up. The mess came off really well. I then sanded the bowl with 600, 1800, 2400 and 4000 grit and then restained it with a medium brown stain. The Stem was soaking in Oxyclean and when I removed it I cleaned the grime off of it. It was a bit oxidized so that came off no problem. I then buffed the entirety with white diamond and then Carnuba. Here are the before shots:

ImageImageImageImage

You will note there are some pretty deep dents in the side of the bowl. These came out a bit but they remain as character marks. There were some on the underside of the shank as well. They too remain.

After refurbishing:

ImageImageImageImage

Refurbed and old timer – WDC Bakelite


I finished up a pipe that is stamped WDC in a triangle and Bakelite on the shank. The bowl is briar and by the way the stem is put together it is clear that it is an old timer. It has a screw mount stem with a bone tenon and the red Bakelite stem has an orific button.

The bowl was caked and had cob webs! (no kidding). The bowl and shank were cleaned and reamed as usual. The stem had bite marks and needed to be sanded and then finished with micro-mesh pads and finally a trip to the buffer and Tripoli and White Diamond. The bowl was re-stained with cherry and then buffed and polished. The stem was over turned a bit so heated the tenon water and it seemed to expand (?) a bit and loosen so I was able to straighten it out on the shank and it fit perfectly. I wonder if on these old bone tenons that the hot water may actually expand them a bit – not sure how that works but it certainly worked with both of the ones I did today.

Thanks for looking and all of your comments. It made for a great day and it is good to look back and see the work completed today!

Before:

ImageImage

After:

ImageImageImage

Refurb on a Irwin (GBD Second) Saddle stem Billiard


The 1976 GBD Catalogue says this about the Irwin pipes: “The warm dual-tone brown finish deepens with repeated smoking. Finest Rum is used in the special process of maturing these fine pipes. Its smooth flavour complements the natural taste of fine tobacco.” Knowing that when I came across this old timer I put in the pile to recondition while I was off this week. It is stamped Irwin over London England on the left shank. On the right side is the shape number 1207. It was caked a bit so I reamed the bowl and wiped it down with alcohol. The shank was dusty and dirty so it was cleaned as well. The bowl then went into the alcohol bath and sat for a half hour while I worked on the stem. It was in pretty good shape with a minimum of teeth chatter. I sanded out the tooth marks and sanded the residual oxidation on the stem. I then buffed the stem and polished it.

Once I was finished I took the bowl out of the bath and wiped it down. It was clean and once it dried was ready for sanding in preparation for a new coat of stain. I wiped it down with clean alcohol to remove any dust and then stained it with a cherry stain to bring out the brown highlights in the finish. I then buffed the entirety and waxed it with carnauba. I am very happy with the results. Thanks for looking. Here are the before shots:

Image

Image

Here are the pictures after refurbishing

ImageImageImage

Refurb on a Gourd Calabash


This one needed a bit of work. The Meer bowl came out easily. The cork gasket was dry so I greased it with Vaseline to soften it. While it softened I cleaned out the gourd with a pic and wipes. It had some hard tars in it. The bottom of the bowl was black so I cleaned it as well. The rim was tarred and dark so I wiped it clean and then sanded with micromesh pads to get the grime off and give it a sheen. I set it aside and went to work on the outside of the gourd. It had lost its shine. I cleaned it with Murphy’s Oil Soap and once clean sanded with the micromesh pads. Once done I buffed it with White Diamond and Carnuba. Then I went to work on the stem. It is amber. In the case a piece of the stem was chipped and lying loose. I used super glue and repaired the chip. The silver band was loose on the gourd so I removed it and cleaned it with silver polish. I refastened it with superglue. Once the entire pipe was cleaned and the stem was cleaned and dry I reassembled the pipe and gave the cork another coat of Vaseline before putting the bowl back in. It is stamped with hallmarks that are hard to see as they are worn. It looks like the reclining lion (sterling silver) the other two are worn. The makers mark is MSNF in a rectangle. Not sure who that is? Anyone know??

Here is the finished product. Thanks for looking.

ImageImage

Image

I wrote to Gary Schrier regarding the Calabash via email and he replied as follows:

… Your pipe was made in the London area, and hallmarked at Goldsmith’s Hall, London, because of what sounds like a leopard’s head, that hall’s guild mark. The maker’s mark, “MSNF,” is unknown to me. Chances are likely it belongs to the “mounter” or silversmith who did the work (but not necessarily the maker of the actual pipe). It’s an insignificant brand, though; this does not detract from the pipe. It was probably made around 1907 thru 1911. I hope you enjoy it.

Refurb on a 3 part horn


Just finished up this unique piece. It is three part horn. The bowl screws off the shank and has a briar thread connection. The stem is also a screw on with a metal connection into briar. The stem is also an orific button. There is no stamping on this old timer. I really like the uniqueness of it.

I reamed and clean the bowl. I took apart the three parts and cleaned each on separately. The outside was wiped down with alcohol to get off the grime. The insides were scrubbed with a bristle pipe brush and pipe cleaners and alcohol. The stem was oxidized so it was sanded with 400, 600, wet dry sandpaper and 1800, 2400, 4000 micromesh pads and then hit with red tripoli and white diamond before being given a coat of carnuba. I sanded and restained the bowl with a cherry stain and then buffed and waxed it as well. This one will be a fun one to smoke!

Before shots:

ImageImageImage

and after shots:

ImageImage

Bruyere Deluxe Horn Stem refurb


Blog by Steve Laug

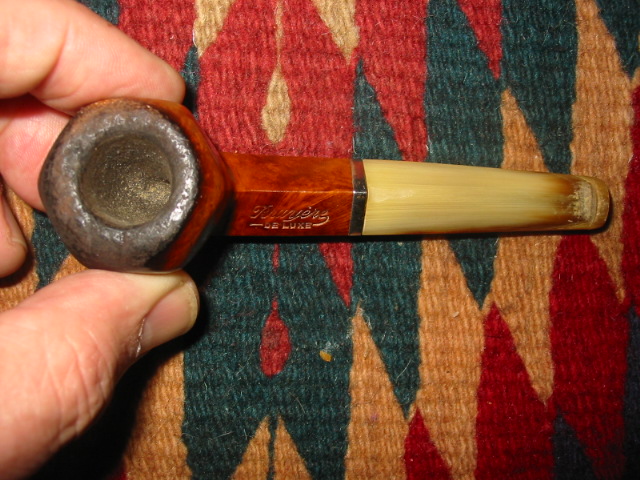
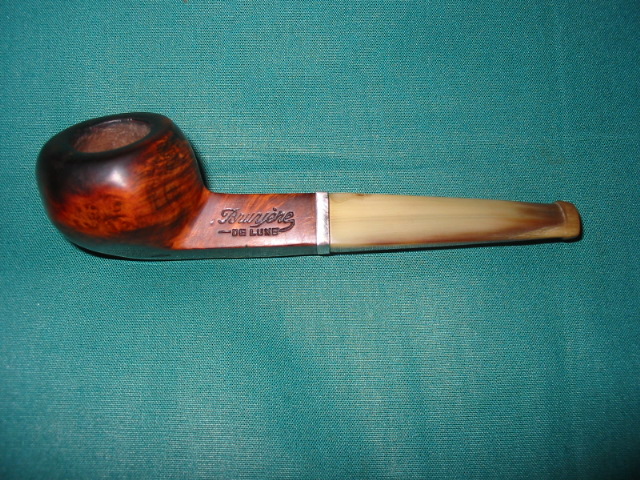
The two pipes that had what looked like horn stems arrived yesterday. They indeed were horn stems. One of them the little 4 1/2 inch bulldog need some work on the stem as it had some tooth marks. The bowl itself was rough. The varnish (?) was crackling and the lava had overflowed the top of the bowl and stained the wood around it. Fortunately it was not charred at all! I reamed and cleaned the bowl. It was a mess. Then I sent it to the alcohol soak and it lifted some of the tars and stain as well as the varnish. I then reworked the bowl with sand paper and with micro mesh pads. It then was re-stained with a black under stain and then a cherry over stain. I then buffed and polished it.
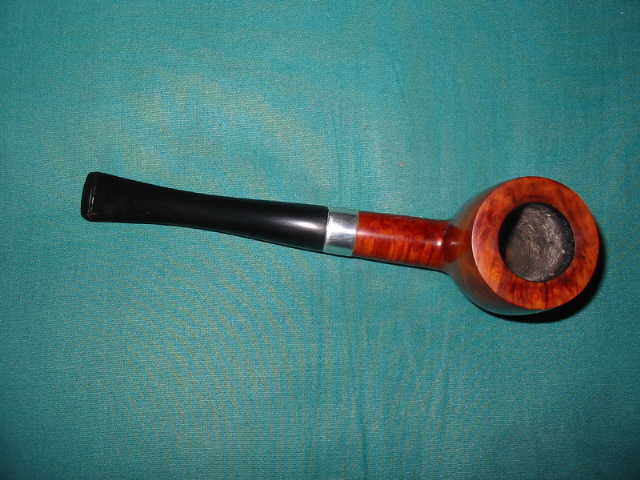
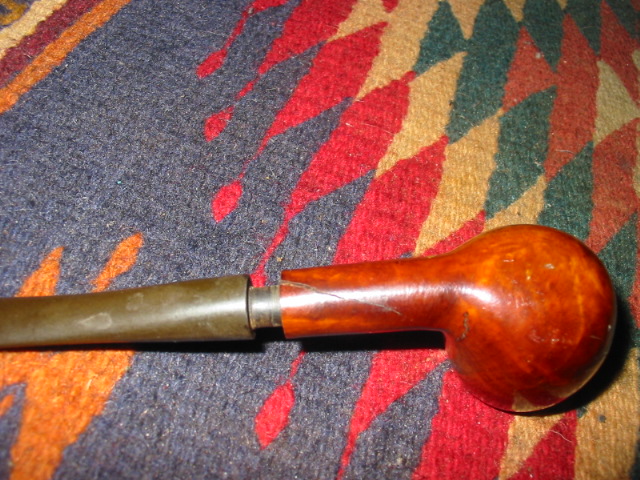
For the horn stem I heated a knife and used a damp cloth and the hot knife to lift the tooth marks. Thanks to Nigel and others (Chris/Caskwith) who gave that bit of advice. It is the same process that is used to lift dents in the briar. I repeated this process until they were gone and the stem was smooth to touch. I then used micro mesh to sand and polish the stem. Finally I gave it a buff with white diamond and carnuba wax.

Here are the before shots:

ImageImage

The front rim was solid but the tars seemed to have permanently stained the briar. I did not want to take much off as it would change the panel shape of the bowl so I cleaned the wood as deeply as I could and was able to get it so that I can see grain through the dark stain. I may give the entire bowl a dark stain to further hide the top but still considering that…

ImageImage

Image